




NotThatWayThisWay
Finding my way
-
Joined
-
Last visited
Everything posted by NotThatWayThisWay
-
Hi Dave I put them under the body suspension mounting not taking weight though, that was through the sill jacking points and some jacking pads, jacked up via the suspension arm close to the body mounting. There are substantial frames close to the suspension mountings prob ok with some wood buffers Regards Richard
-
Just done rear springs on my 2018 Octavia - tips Used my steel ramps with wood packing and trolley jack pucks both sides on jacking points, more secure than stands as have a slight slope to driveway, stands under as well, doubly safe Removed both lower shock absorber bolts from inside with jack taking the tension, outer nuts appear captive, welded to the suspension arm, you won't loosen them! Loosen abs wiring from inner wings, mount eases straight out from fork mounting. I found old springs still tight even levering bottom arms down so used spring compressors to give extra 1/2" Fit springs correct way up when compressed slightly top rubber mount located, ensure bottom end locates against tab on bottom rubber mount Don't refit shockers until both new springs located! Reposition with jack and torque to 50lb/ft? (check that! for model) Springs always snap on bottom coil so plan to rustproof before winter! paint fails, water gets in then crack forms, eventually weakening the spring until it snaps!
-
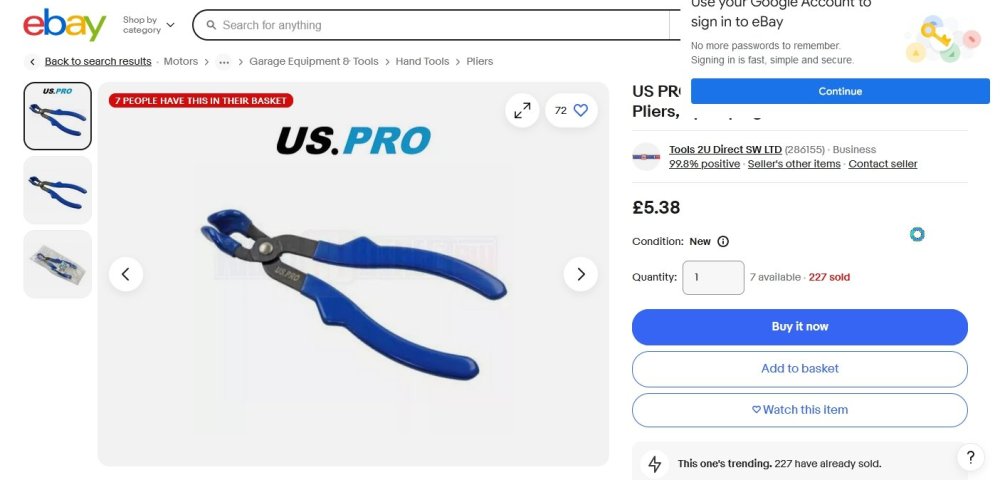
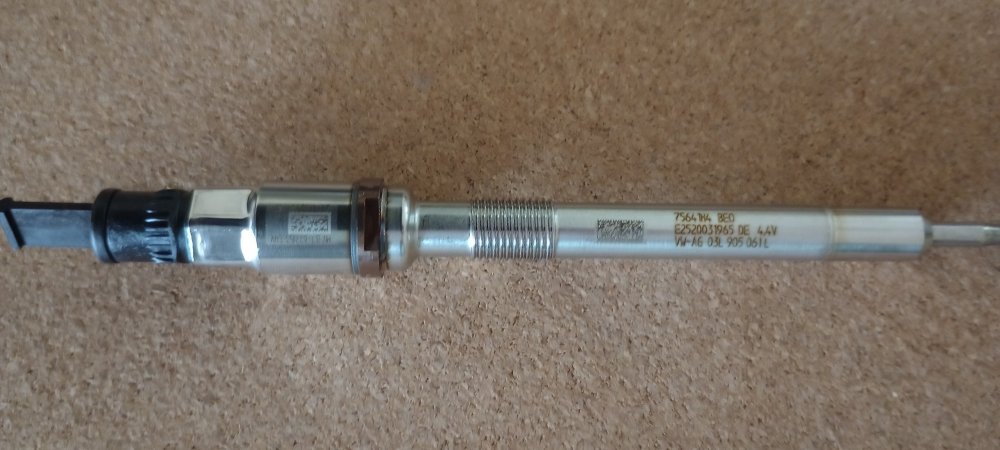
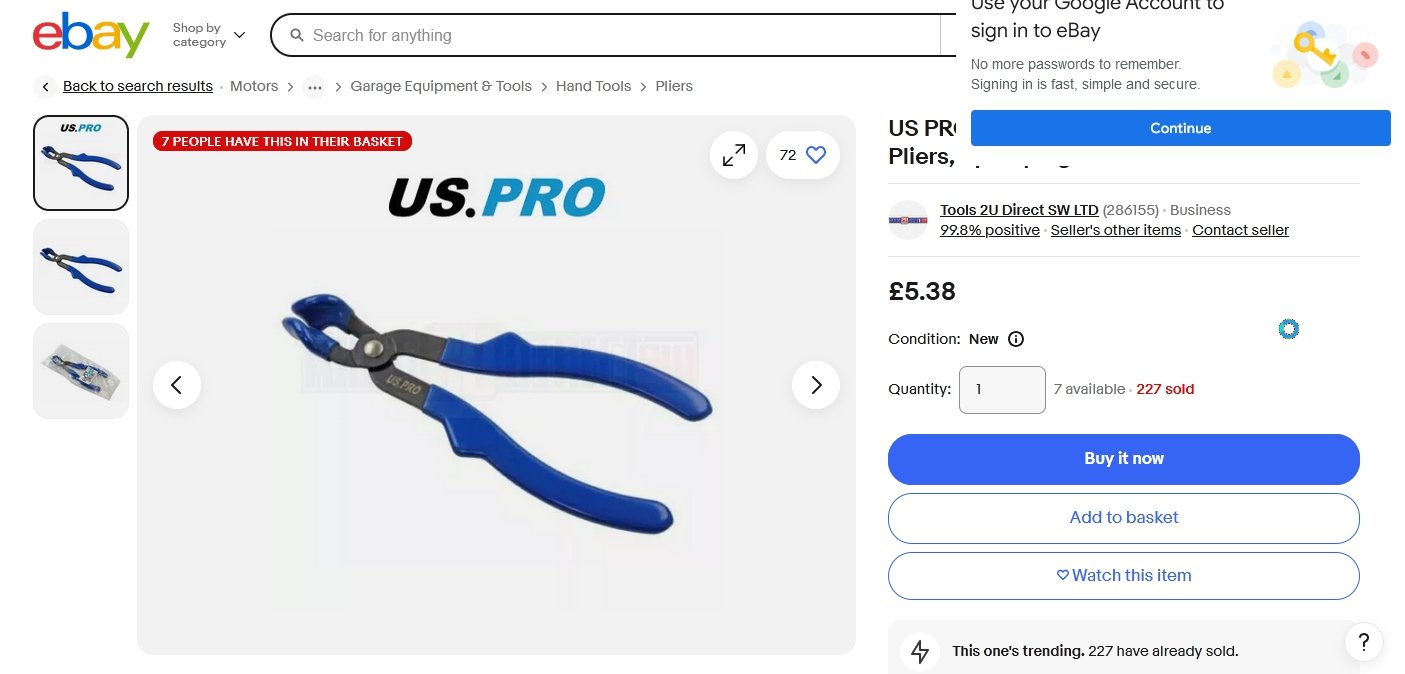
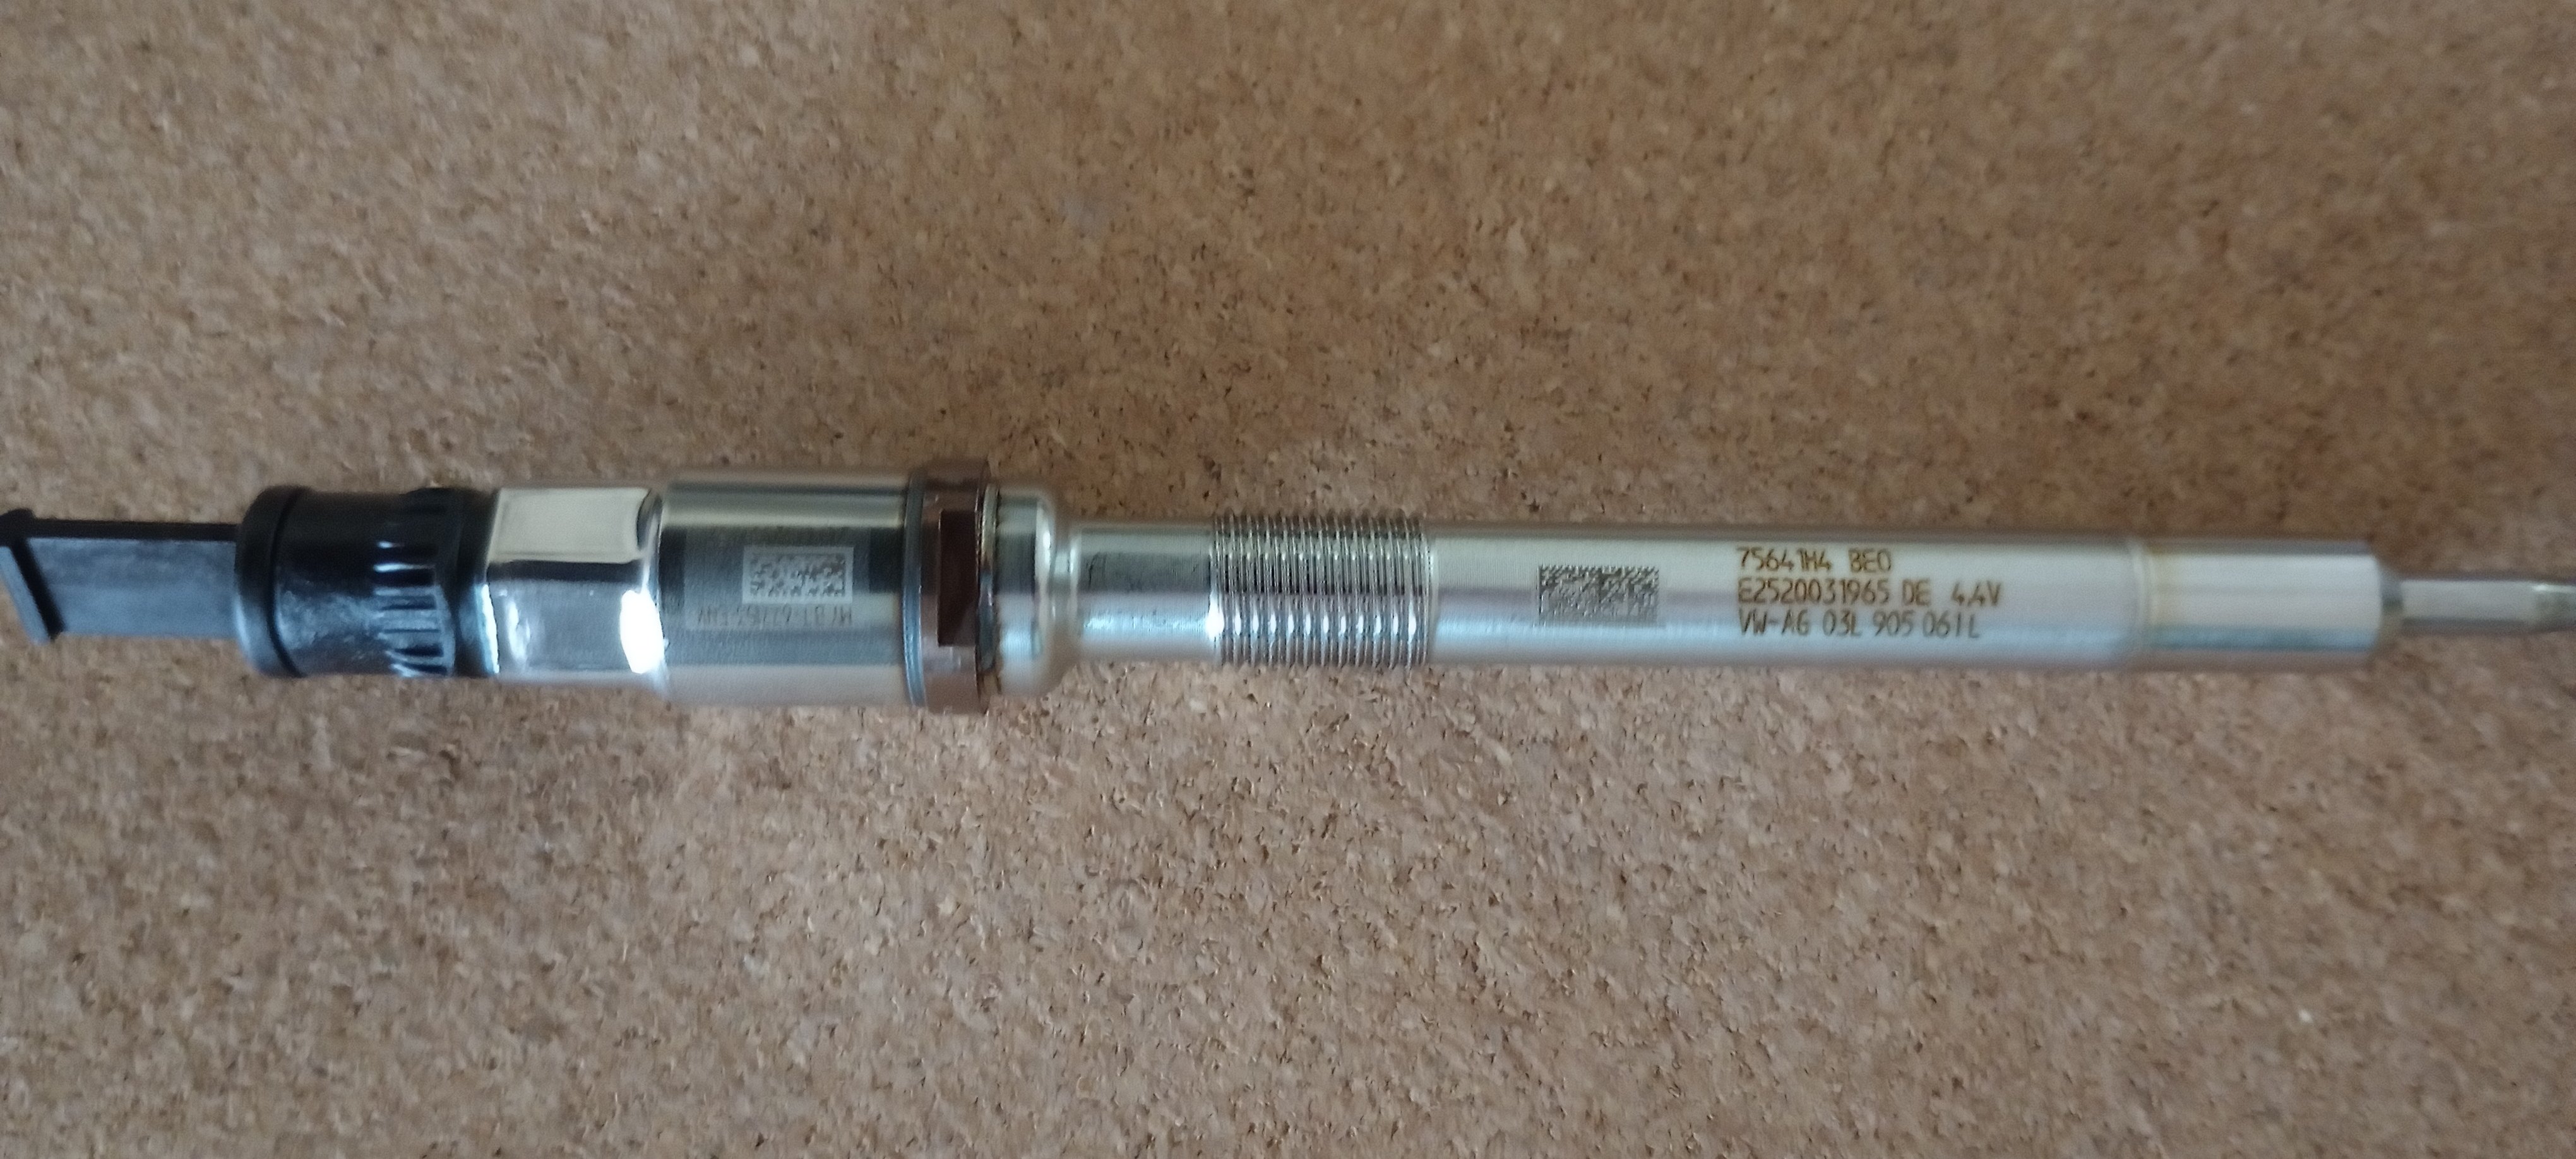
Hi everyone, just a few comments on glow plugs after replacing one on my MkIII 2018 Octavia 2.0TDI Only buy OEM from a reputable Skoda/VW supplier, lots of cheaper options but compatibility (lots of brands and numerous part nos) and quality dubious! and returns problematic First remove glow plug relay and check resistance on top 4 terminals to battery earth (cyls 4 3 2 1 in reverse order), should be around 1 Ohm or lower, anything over 5 could be a problem, I got 38! Remove the lead and check again, relay connection to lead terminal, should be very low but not open circuit which would point to faulty lead! Some plugs and relays difficult to source at the moment, numerous reasons given but cold weather showing faults could be to blame Plugs awkward to get at, buy a spark plug lead remover from ebay, big help as they do stick Have a decent deep socket available to clear plug terminals, cyl 1 2 & 4 10mm, 3 is 12mm as its pressure sensing and expensive £140ish (No you can't fit the cheaper plug!) , others around £30 Use some good penetrating oil (not wd40!) a few days and night before, let a few heat cycles work it in, before tackling as they are known to snap if you're heavy handed I also put a few drops of plain oil down each plug as well use an air line to blast dirt from around plug (or an earosol duster as used on electronics!) and check with torch, found a small stone in mine, you don't want that dropping into engine! amazing how much dirt comes out, perhaps a thin paintbrush dipped in oil will loosen and bring out stubborn dirt! Start with a hot engine to help release plugs and soften lead rubbers, more penetrating oil will cool the plugs and help to loosen Use a torque wrench to loosen max 20Nm (loosen not tighten!) hopefully will come straight out as mine did, too much force and it will snap and spoil your day! (40Nm I would say is the limit, more lubrication and leave it for another day!) Put a smear of ceramic grease on new plug threads and where plug seats by tip Don't drop the new plug in or drop it on it's tip, easily damaged apparently, use the terminal blanking plug to guide it in Tighten by hand until it seats, light nip with 3/8 drive ratchet, then back it off a turn, hand tighten again until it seats, tighten 30 to 45 degrees 1/4 turn no more To me that felt about right, I had a small torque wrench but accuracy probably out of range at 12 to 15Nm, and smaller wrenches expensive! All in all could be a really easy quick job, (can't say cheap) or an absolute expensive nightmare Prepare, plan, execute (check torque settings, electrical readings for youself, this is only guidance from my experience and research) Regards all
-
Could I post this to gain support for change to make highway authorities more accountable for public accessible records in support of damage claims and improve road safety https://chng.it/HNWykgKWxH
-
Yes it does unfortunately, don't think there is an option to display it with say music playing, pity not an option on menus! as less intrusive especially at night.
-
On Columbus system, hold the power button a few seconds, screen will blank off, then clock appears, swipe left for three display options! Thanks to other contributors for pointing me in the right direction.
-
Yes mine flickered just before going off, then invisible in the dark! I used these. https://www.ebay.co.uk/itm/SMD-SMT-Surface-Mount-LED-1210-3528-PLCC-2-Blue-Red-Green-Warm-Cool-White-RGB/392851933552?ssPageName=STRK%3AMEBIDX%3AIT&var=661746934317&_trksid=p2060353.m2749.l2649 The 3528 relates to the size (3.5mm x 2.8mm). If you just replace one, not sure if the cool white or warm white will be the best match, (think it's warm white?) get both and test them, i made up a 3v button battery and leads to check all the other leds while i was in there. Remember photos before you start, (cold, ign on) then when rebuilding, don't push the pointers fully home until tested on car and happy, i'm going down that route to re-synch mine as missed that step, though not far out, how accurate are they from new?? Have fun and hope it goes smoothly, let me know Regards Richard
-
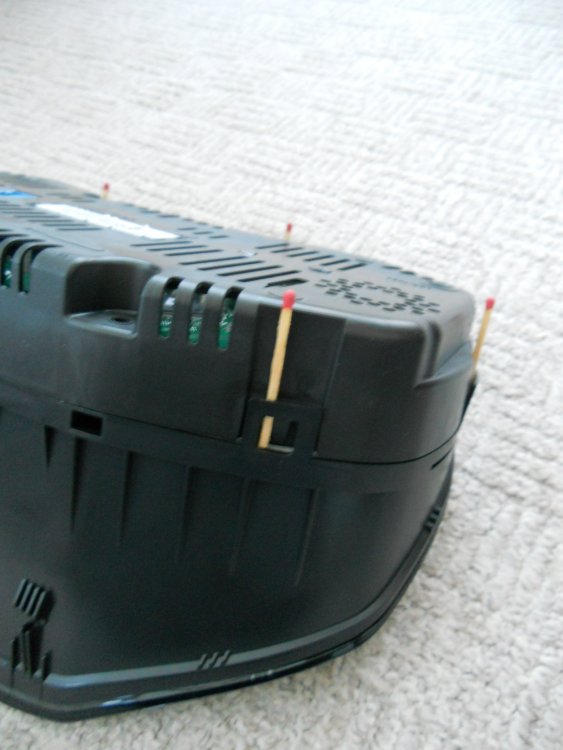
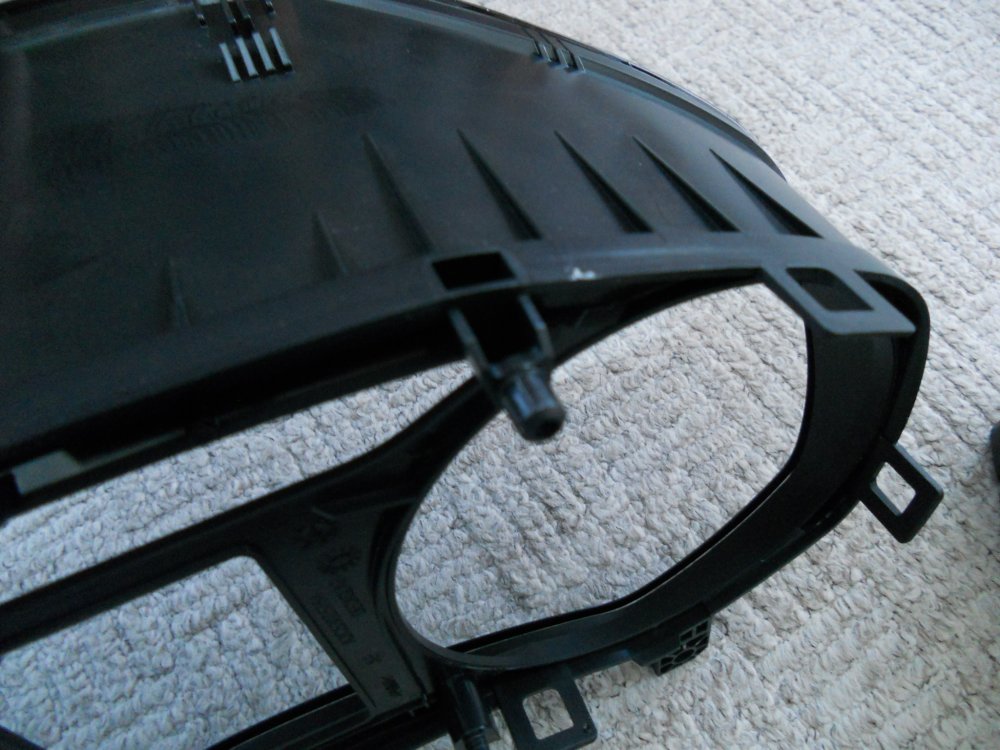
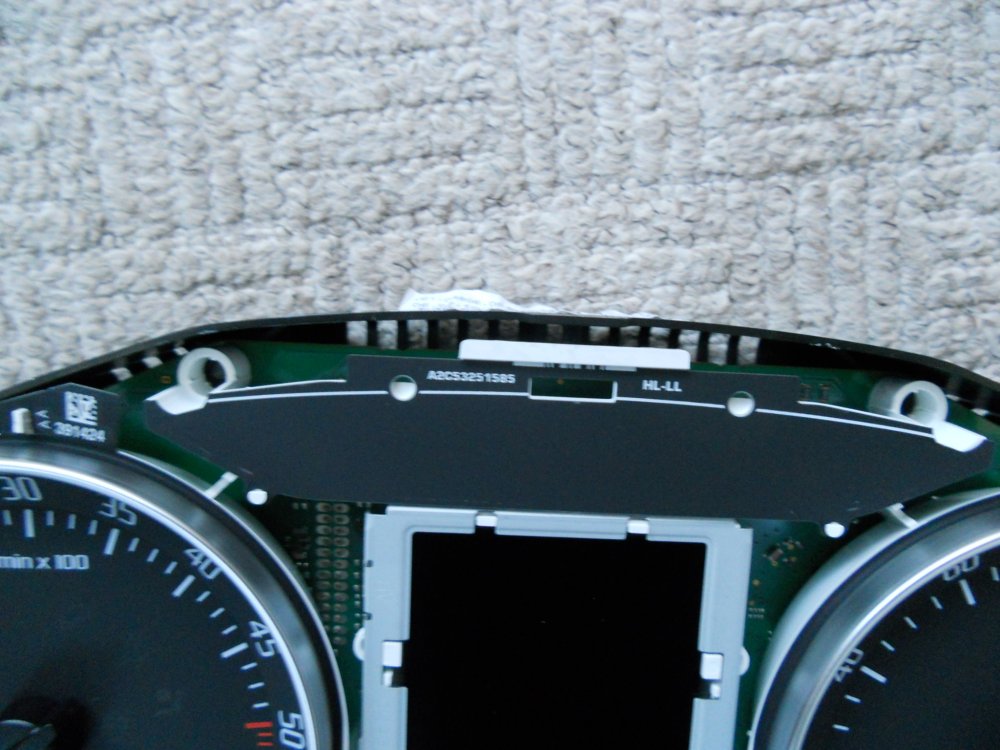
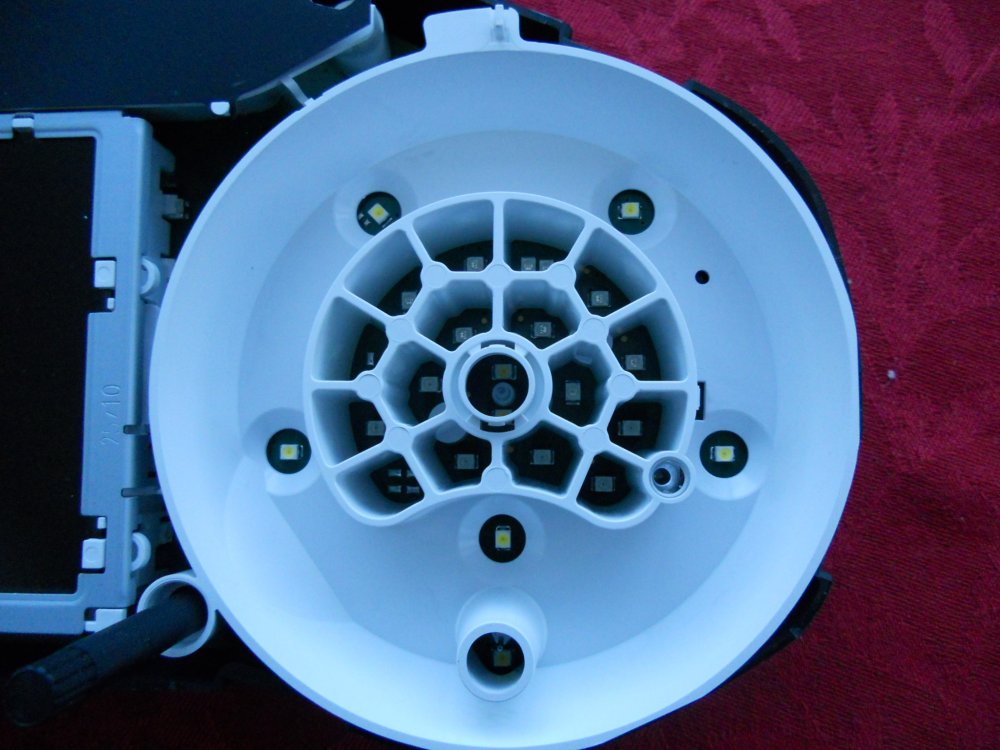
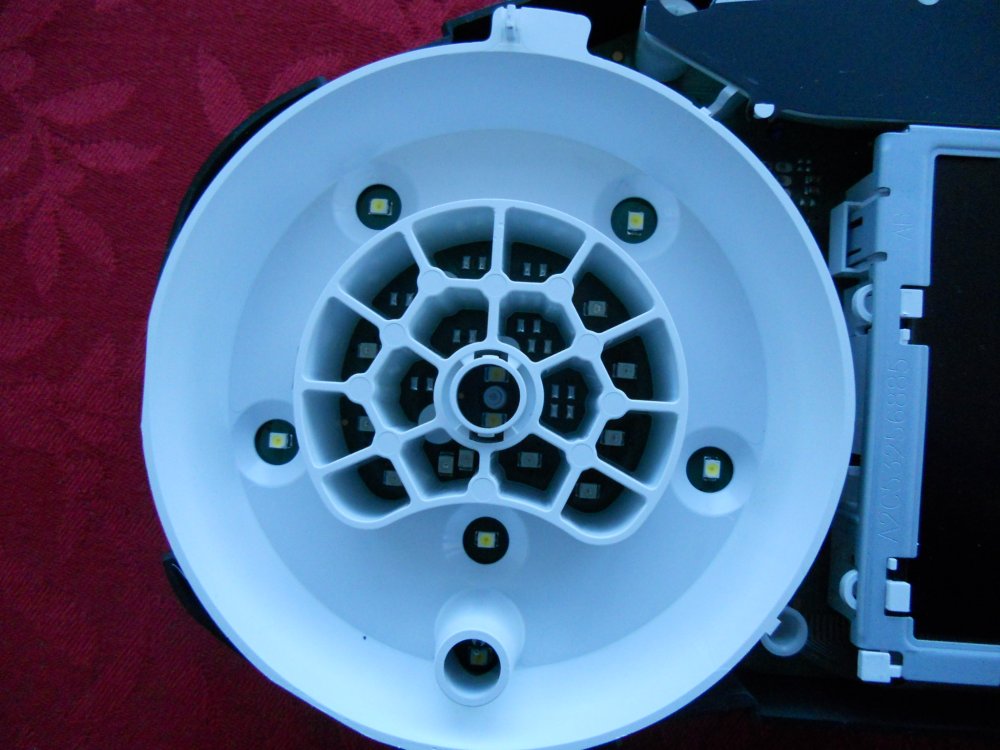
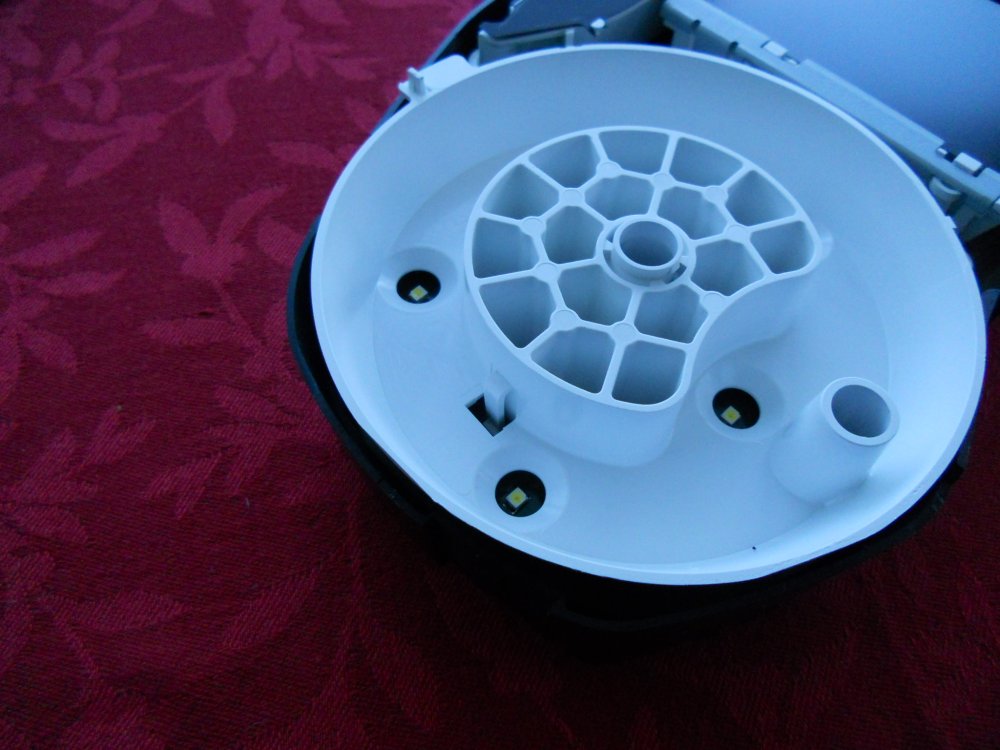
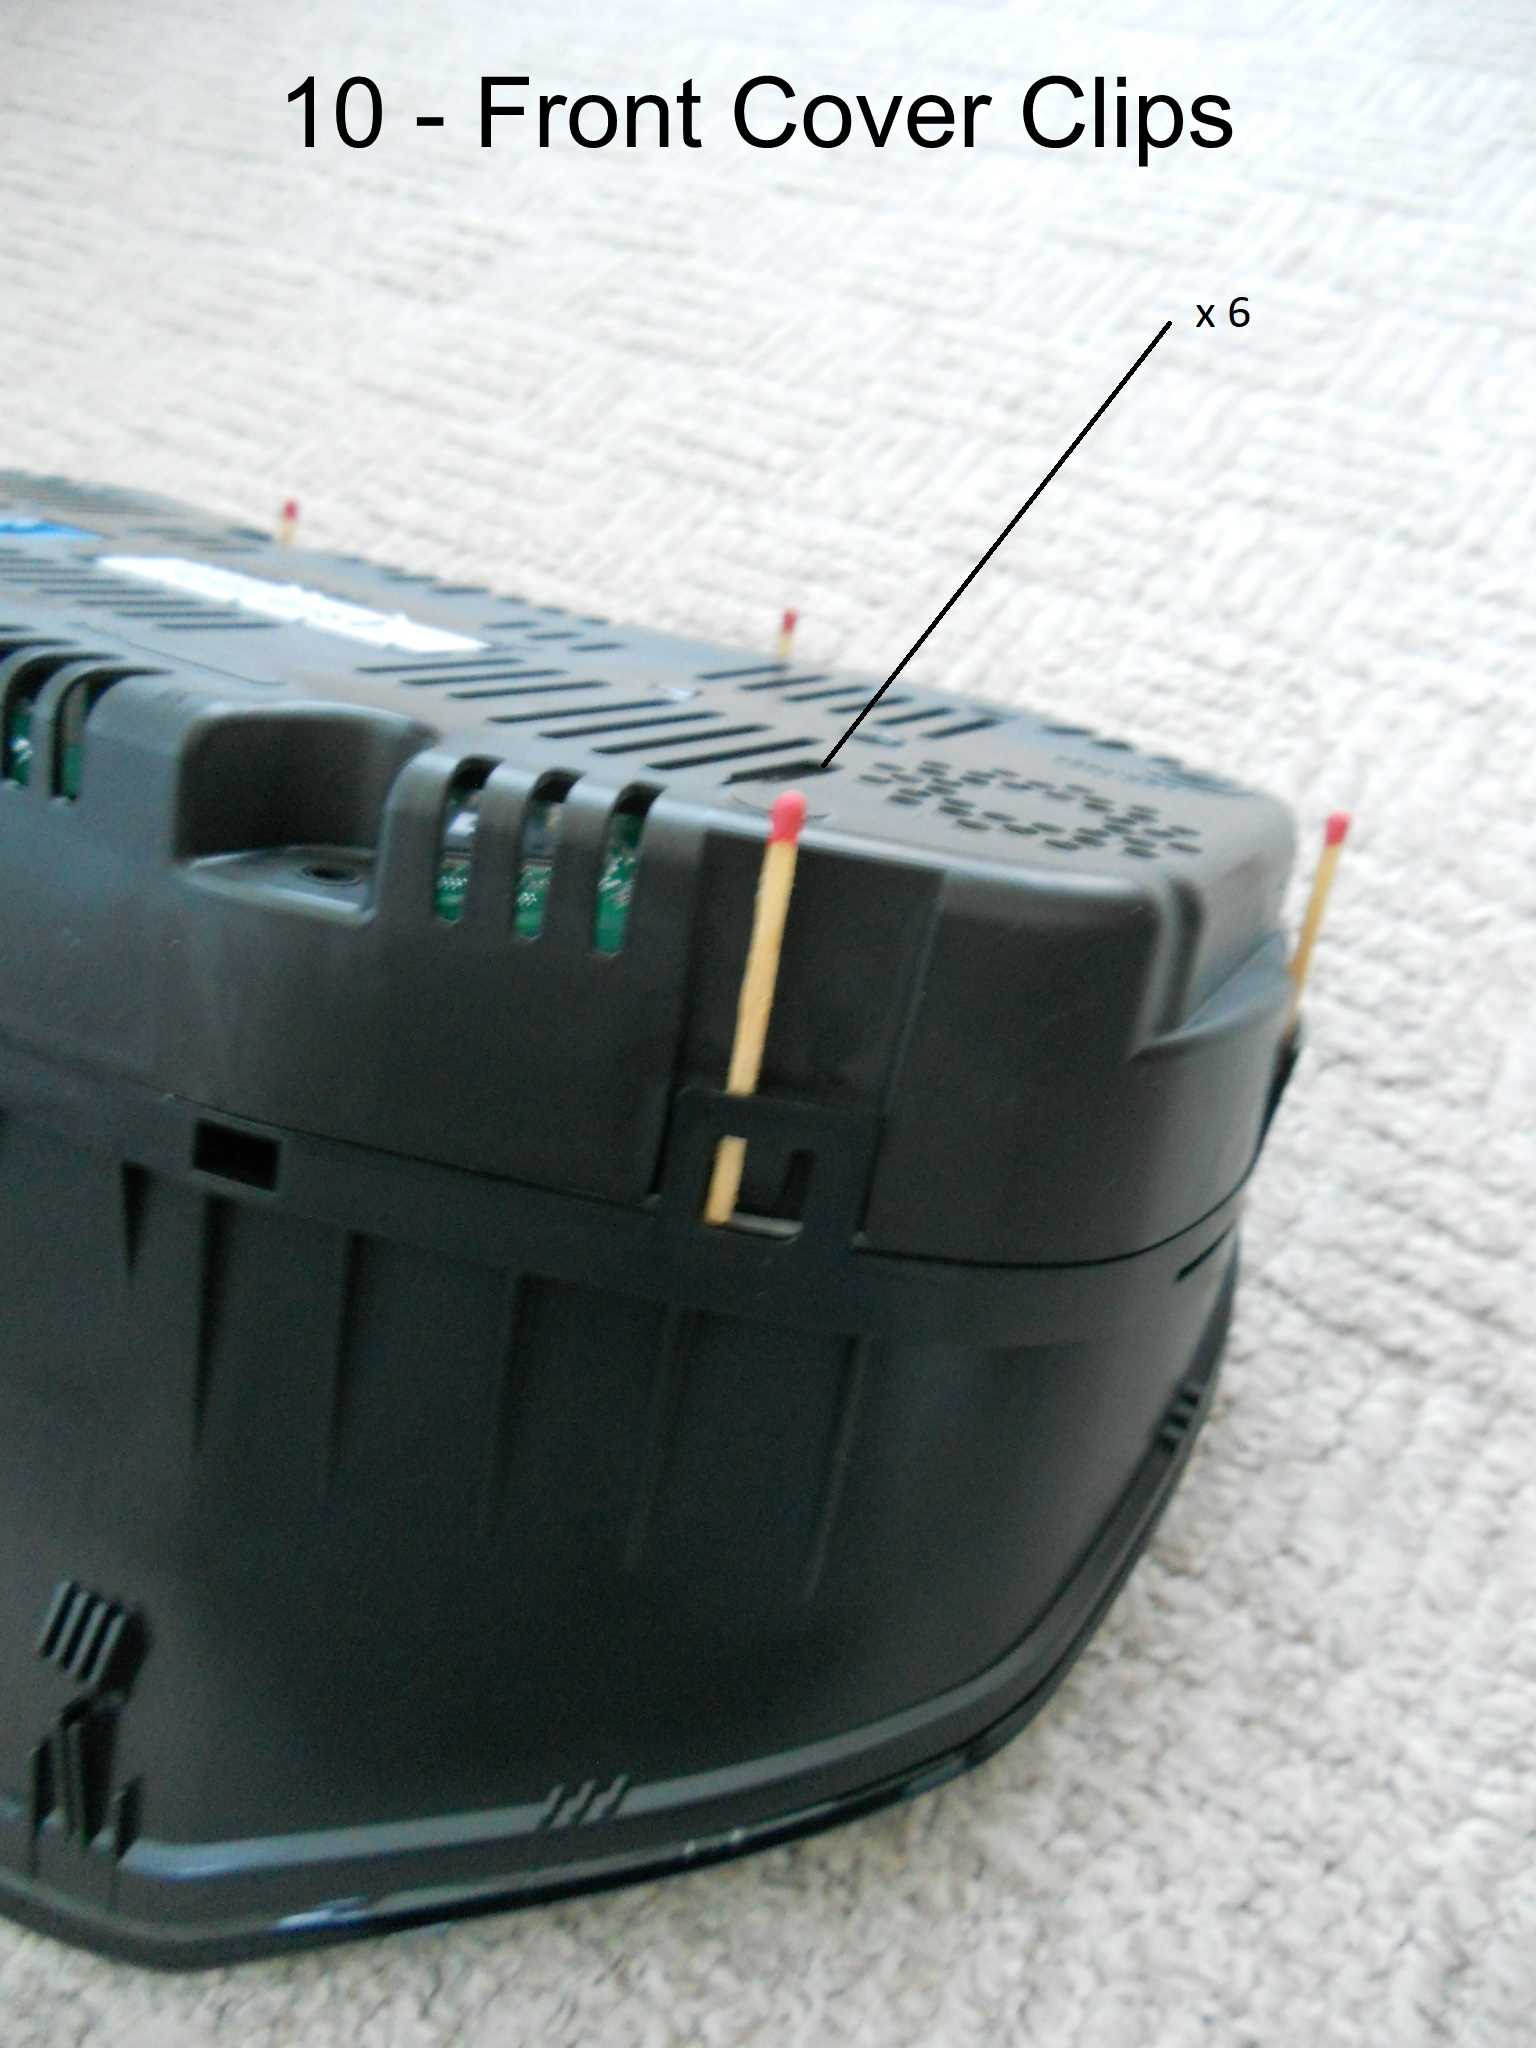
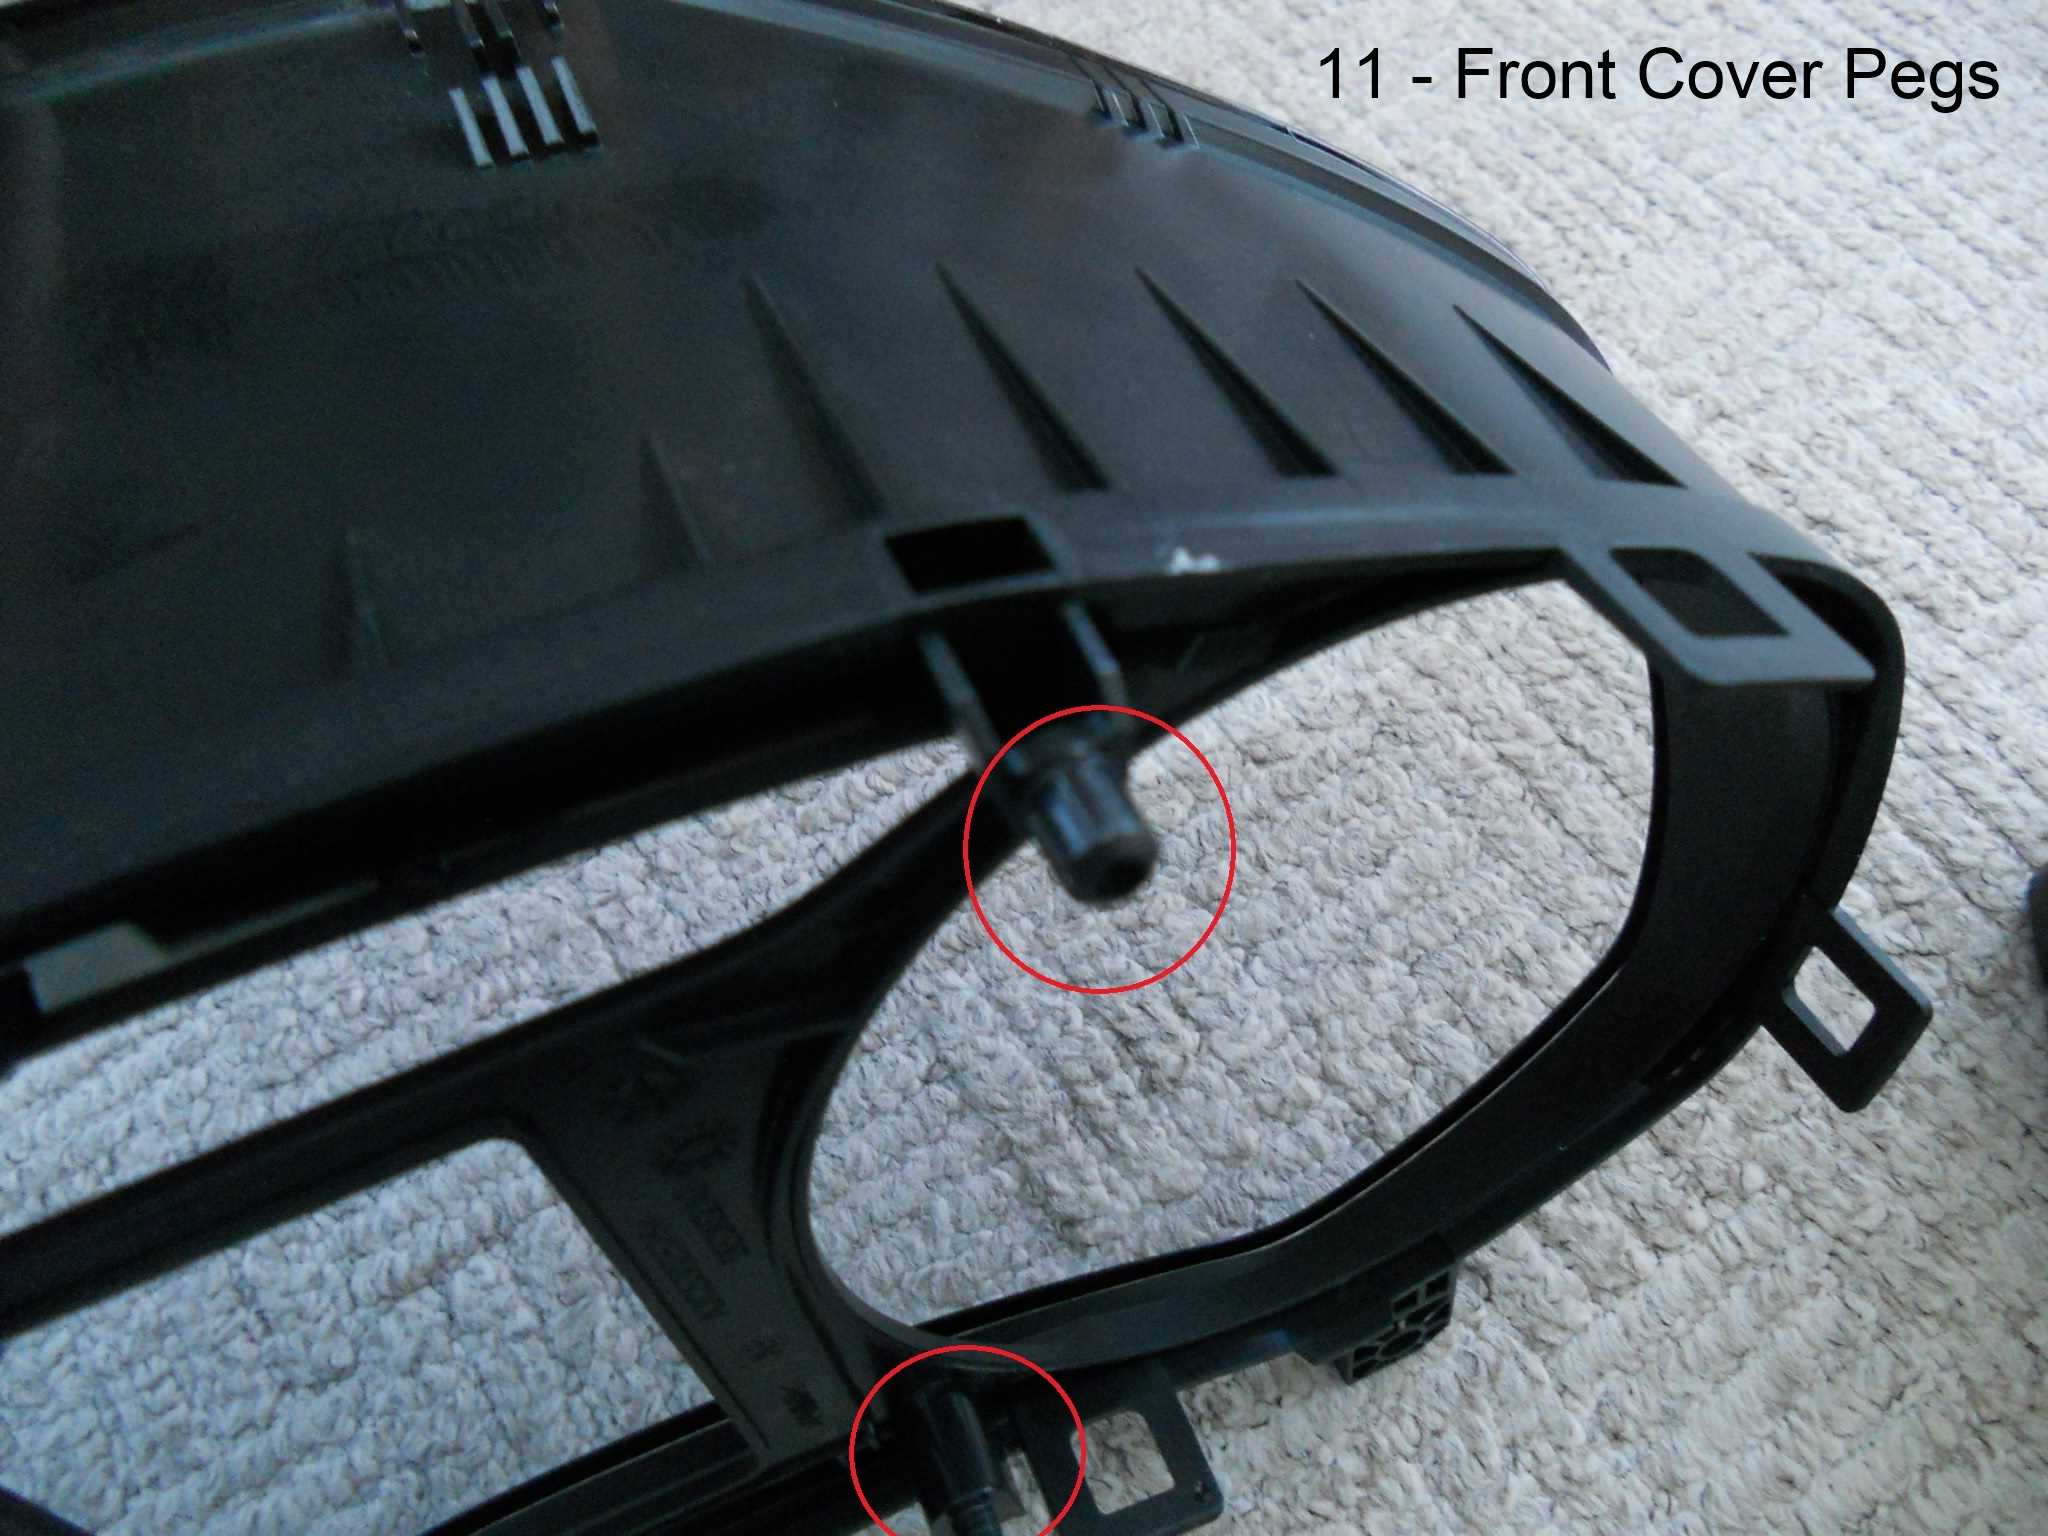
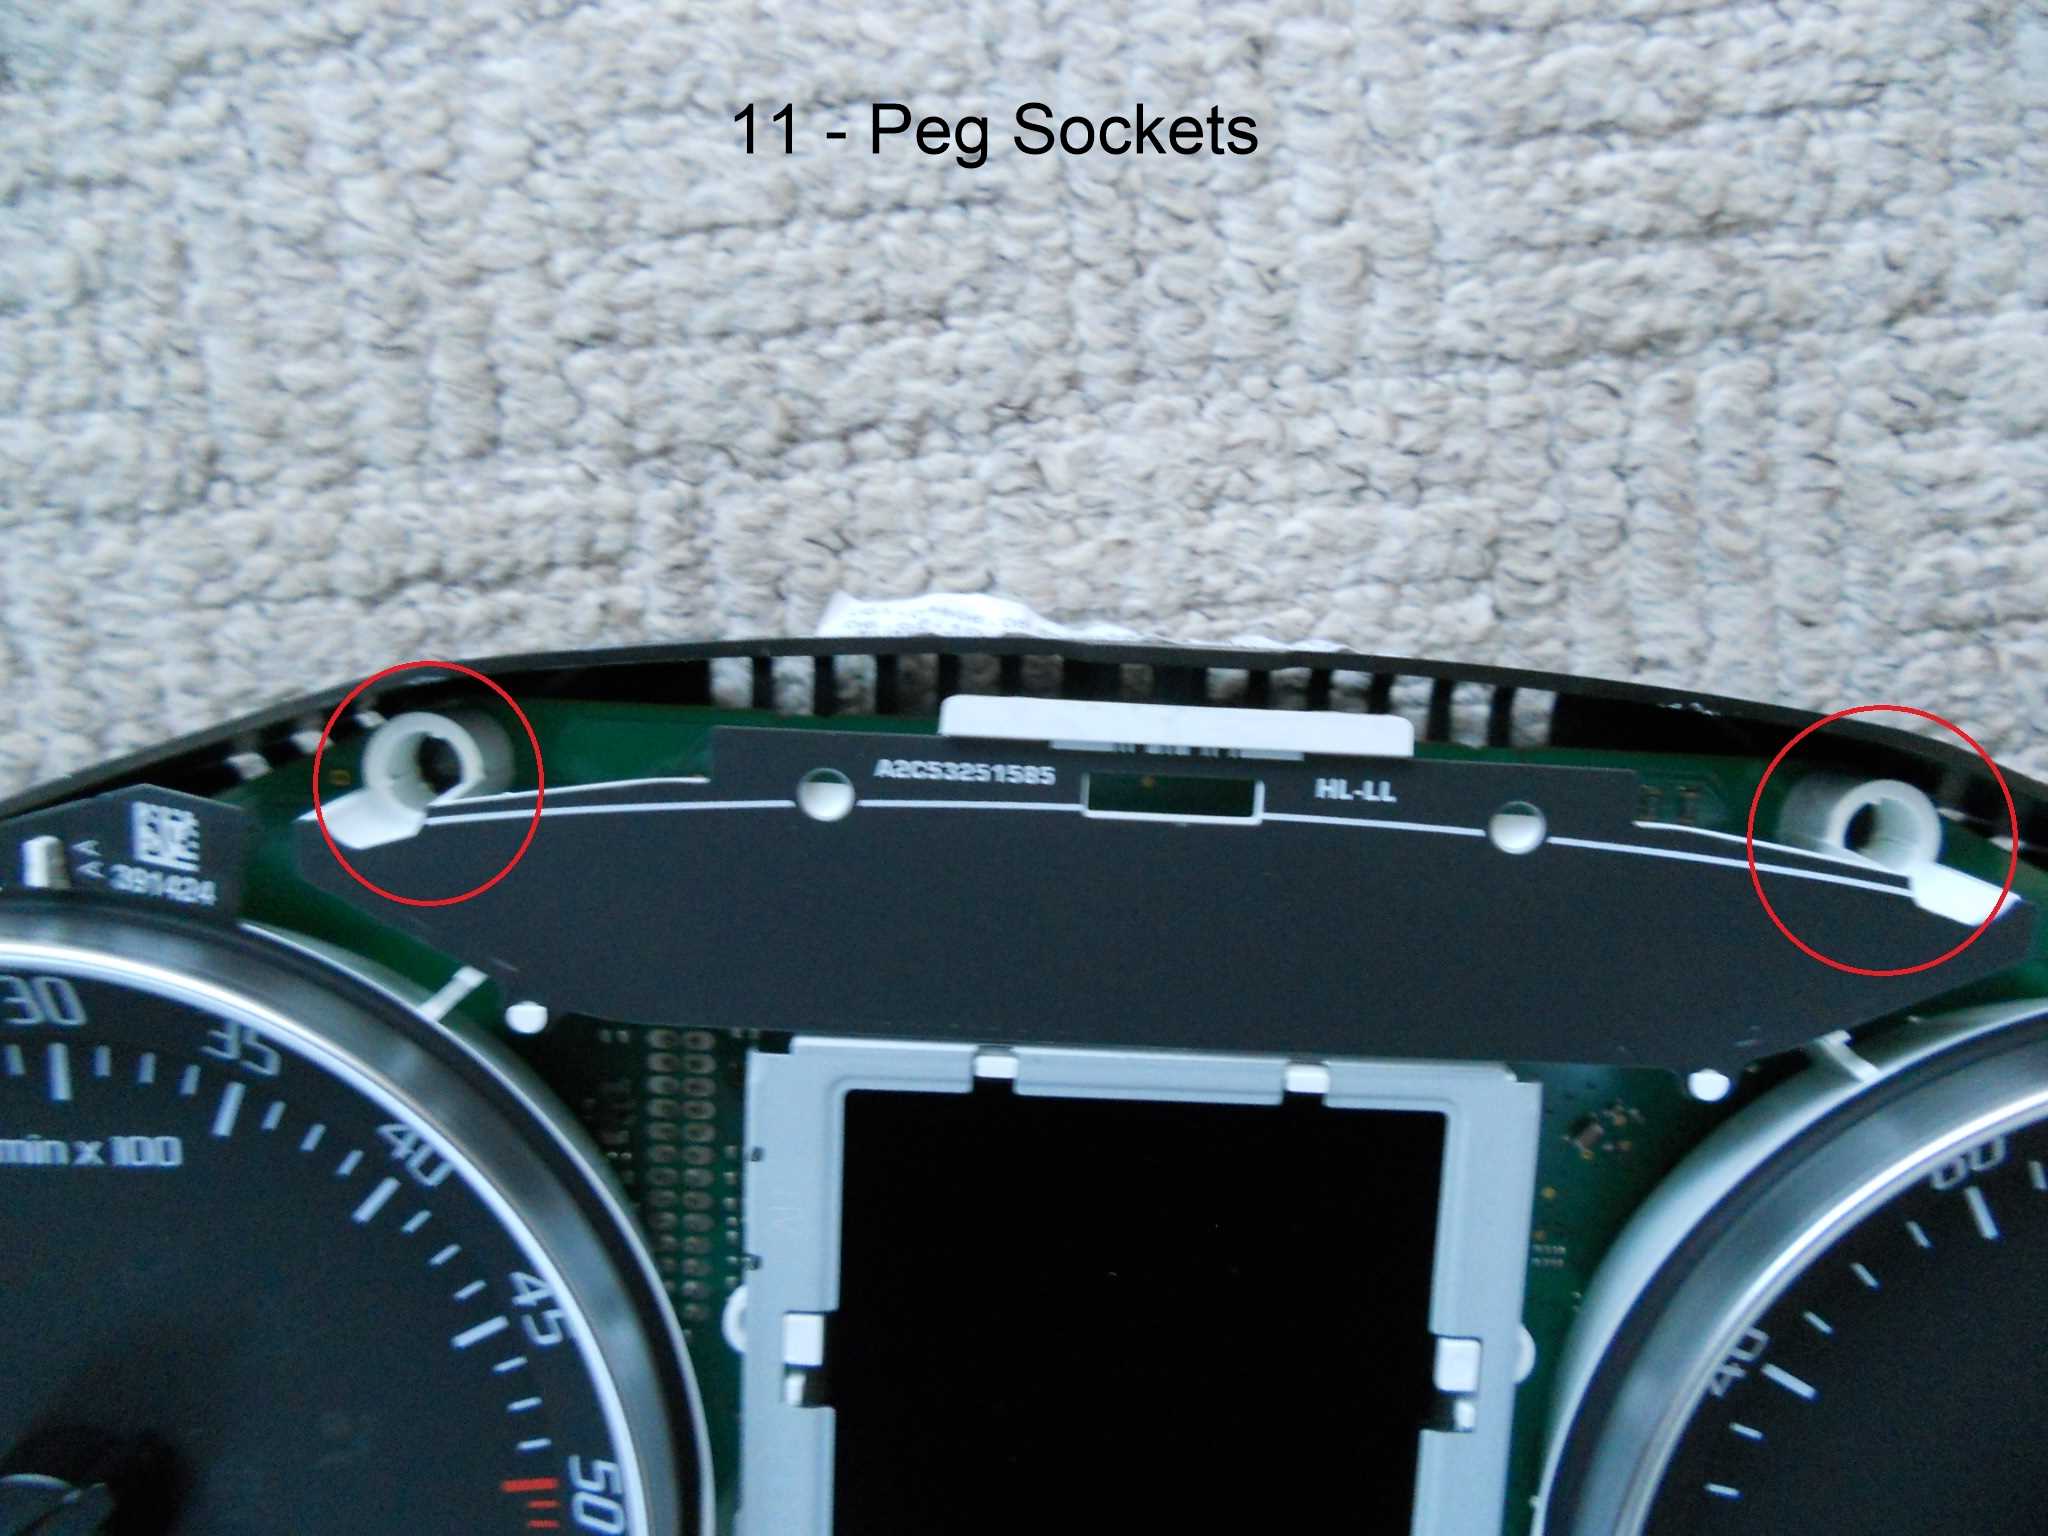
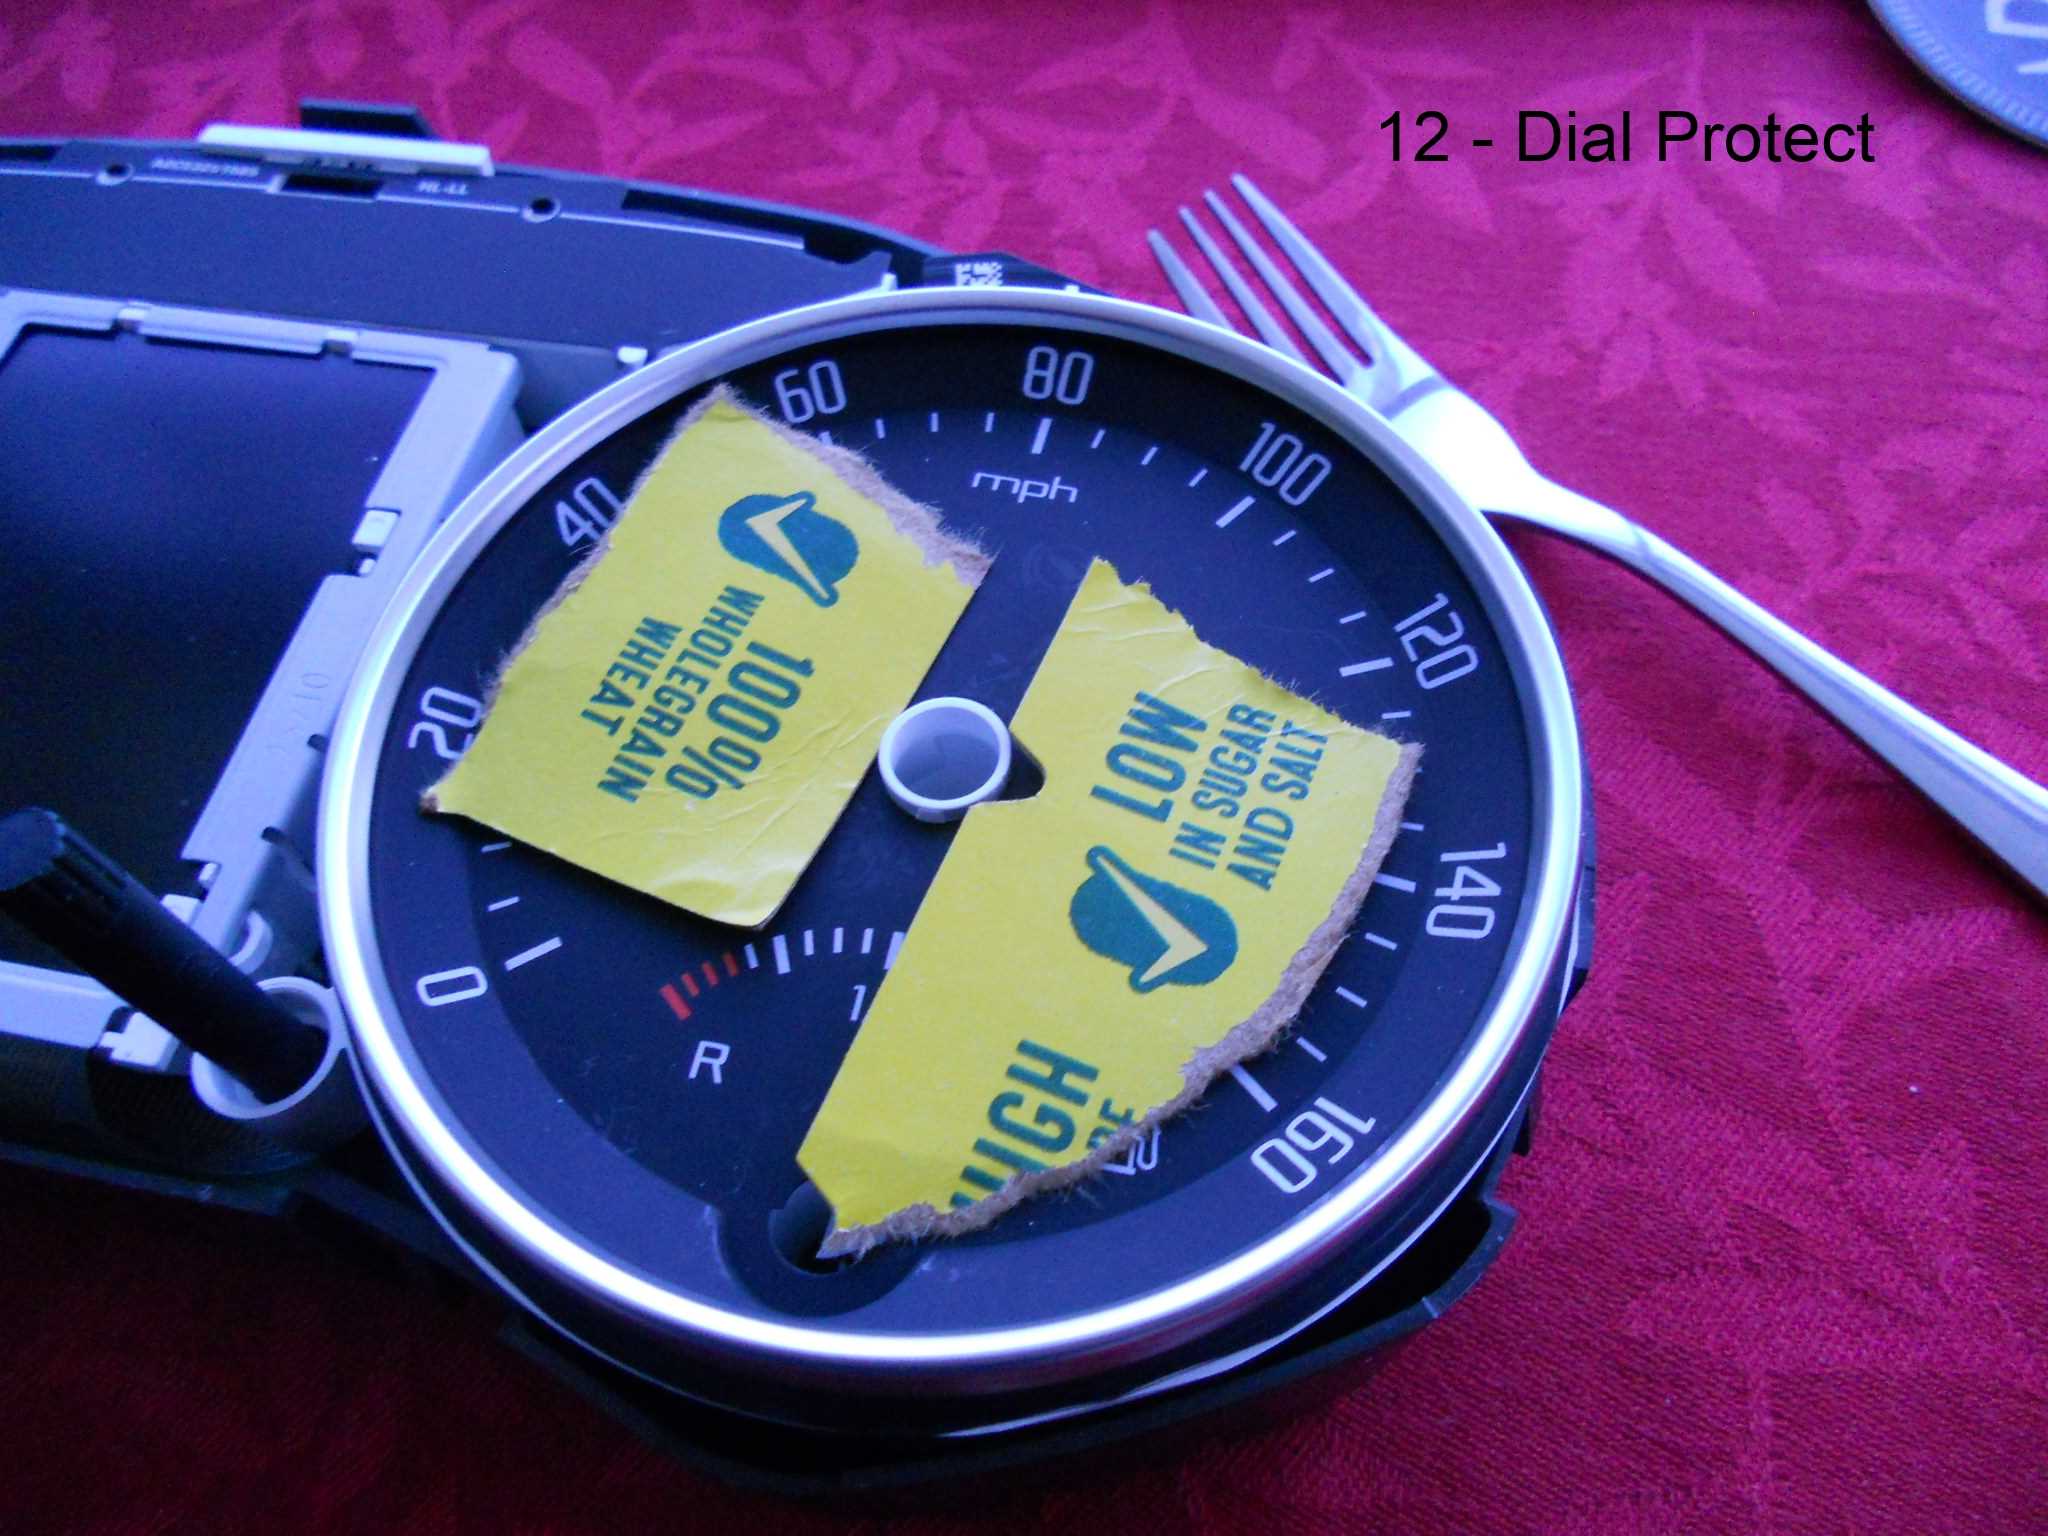
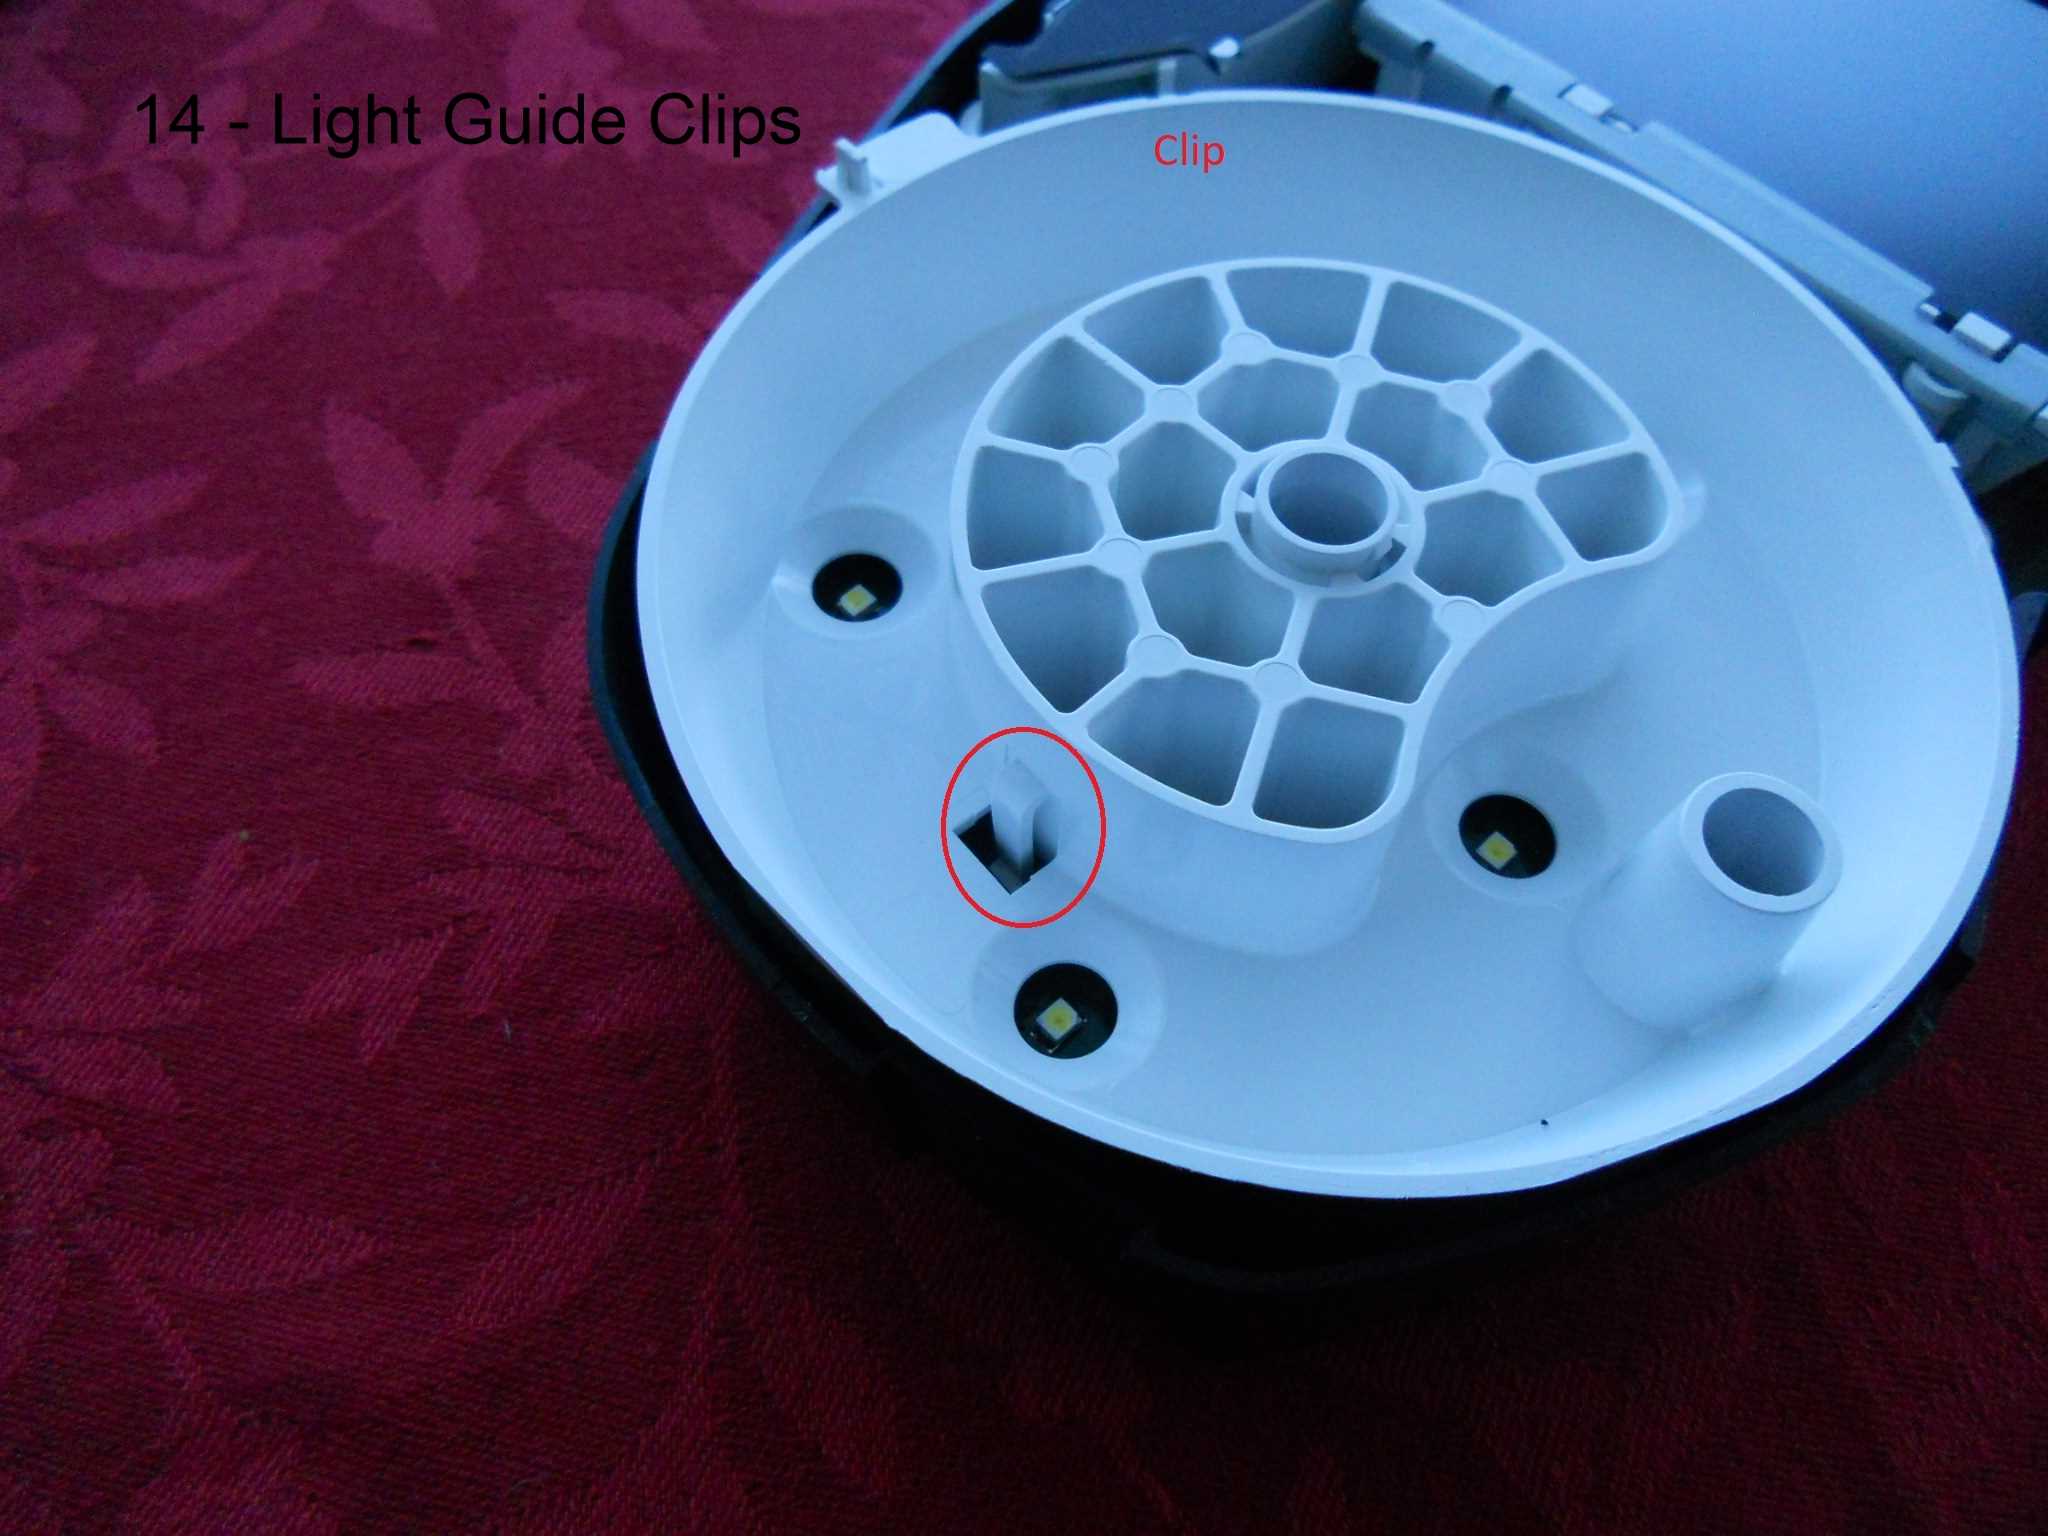
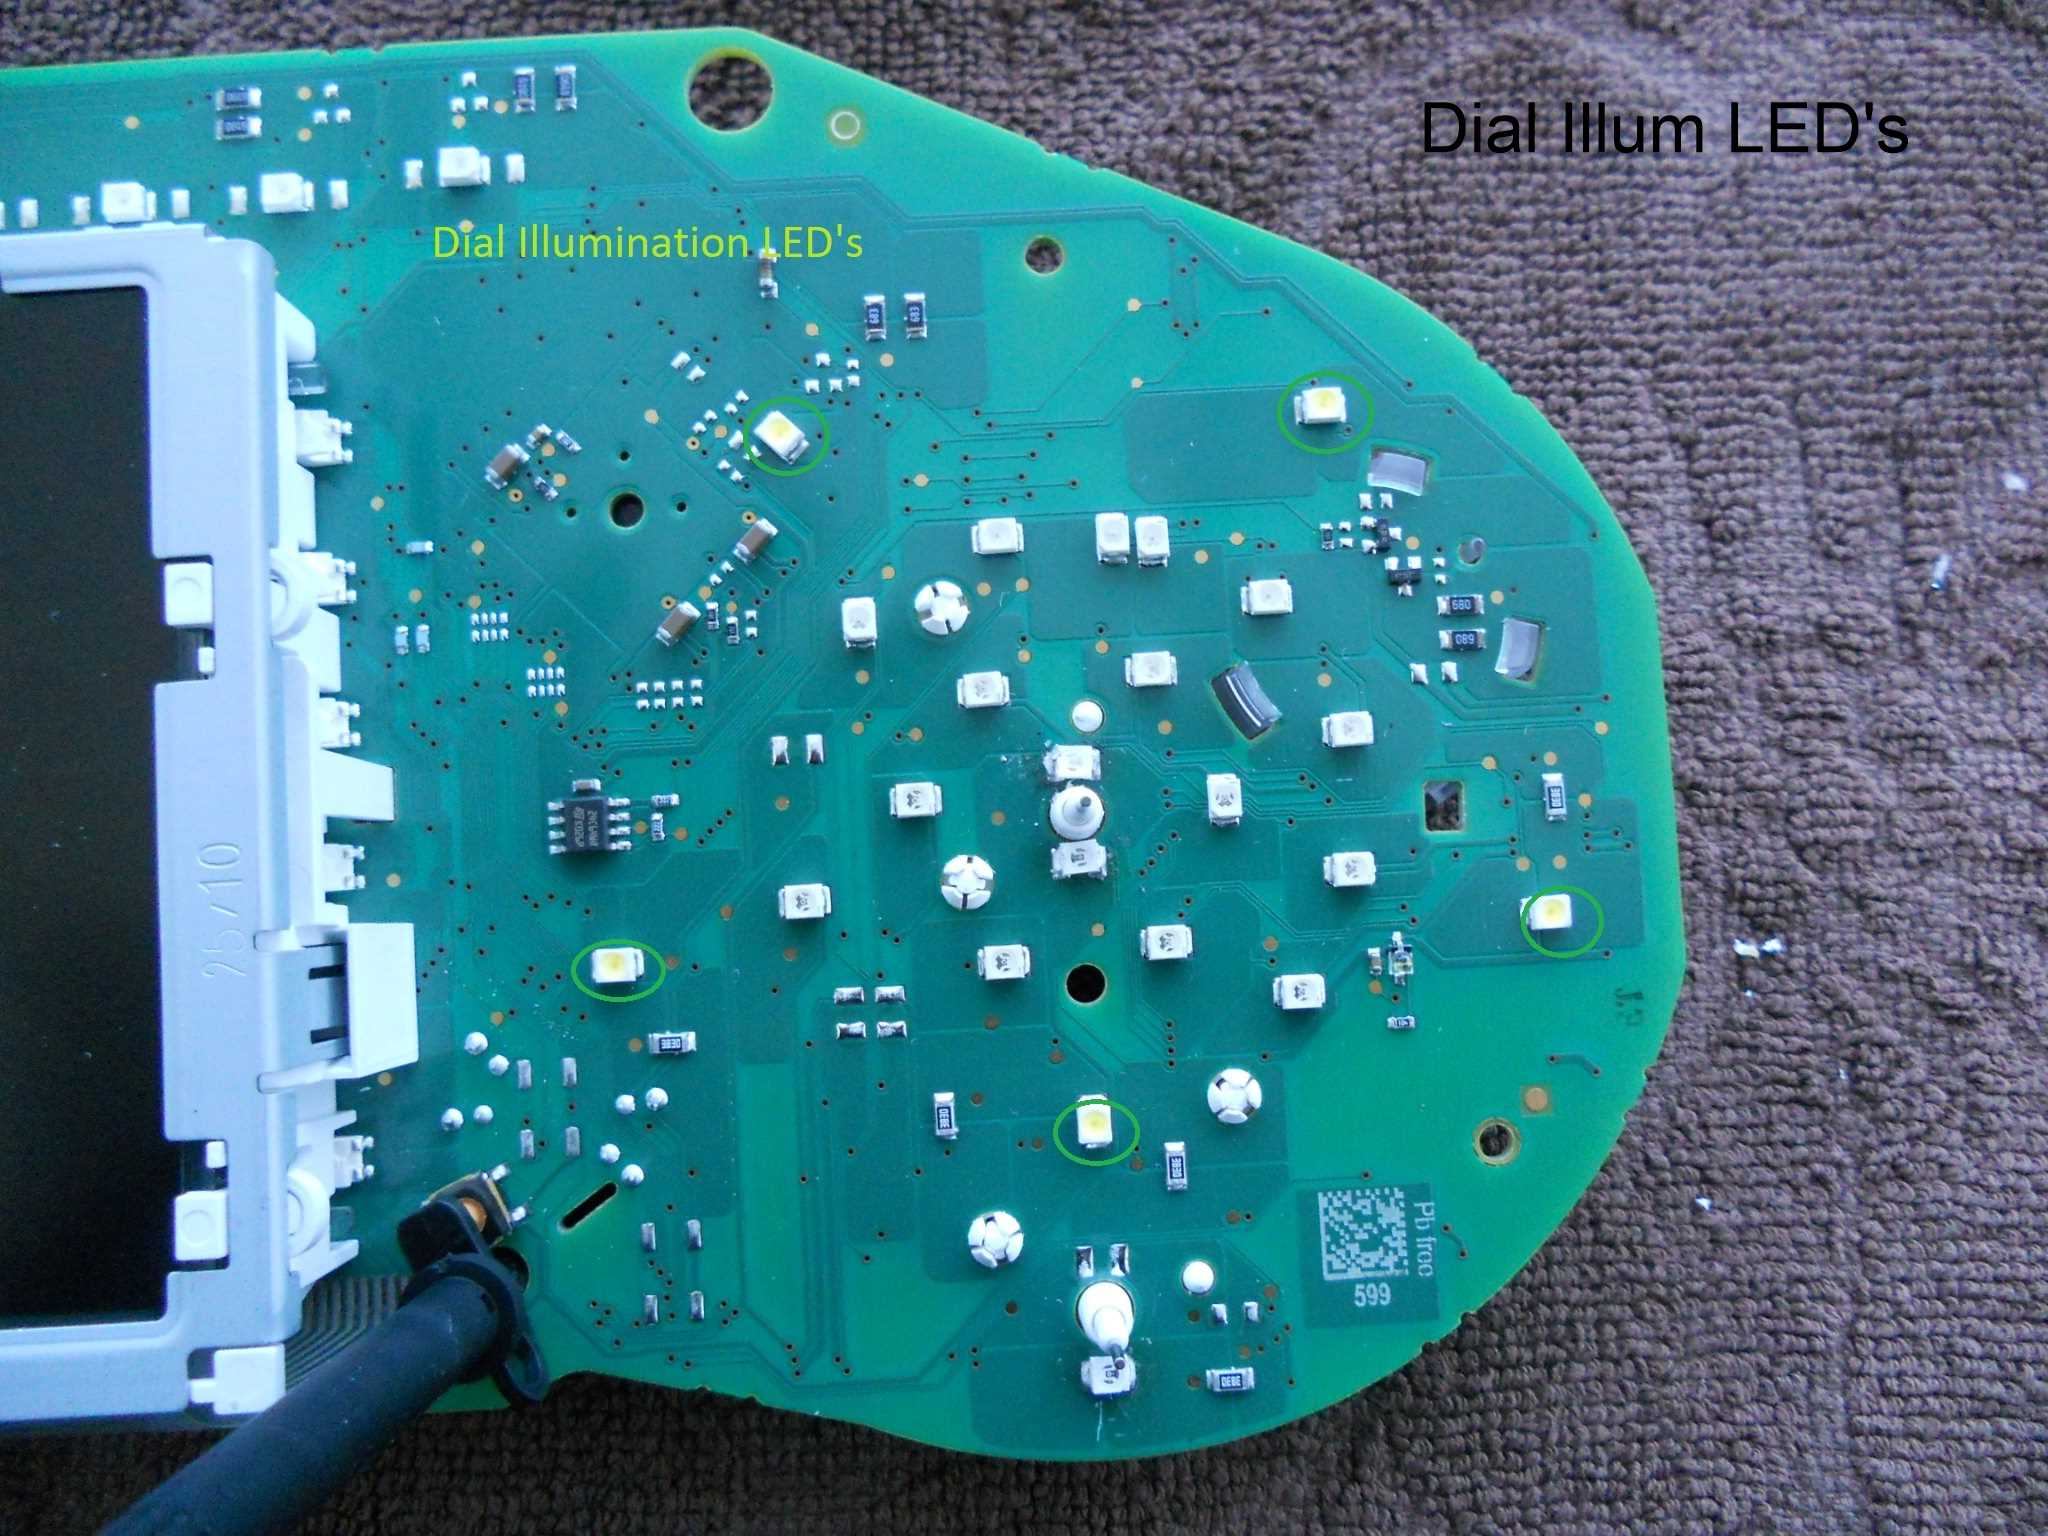
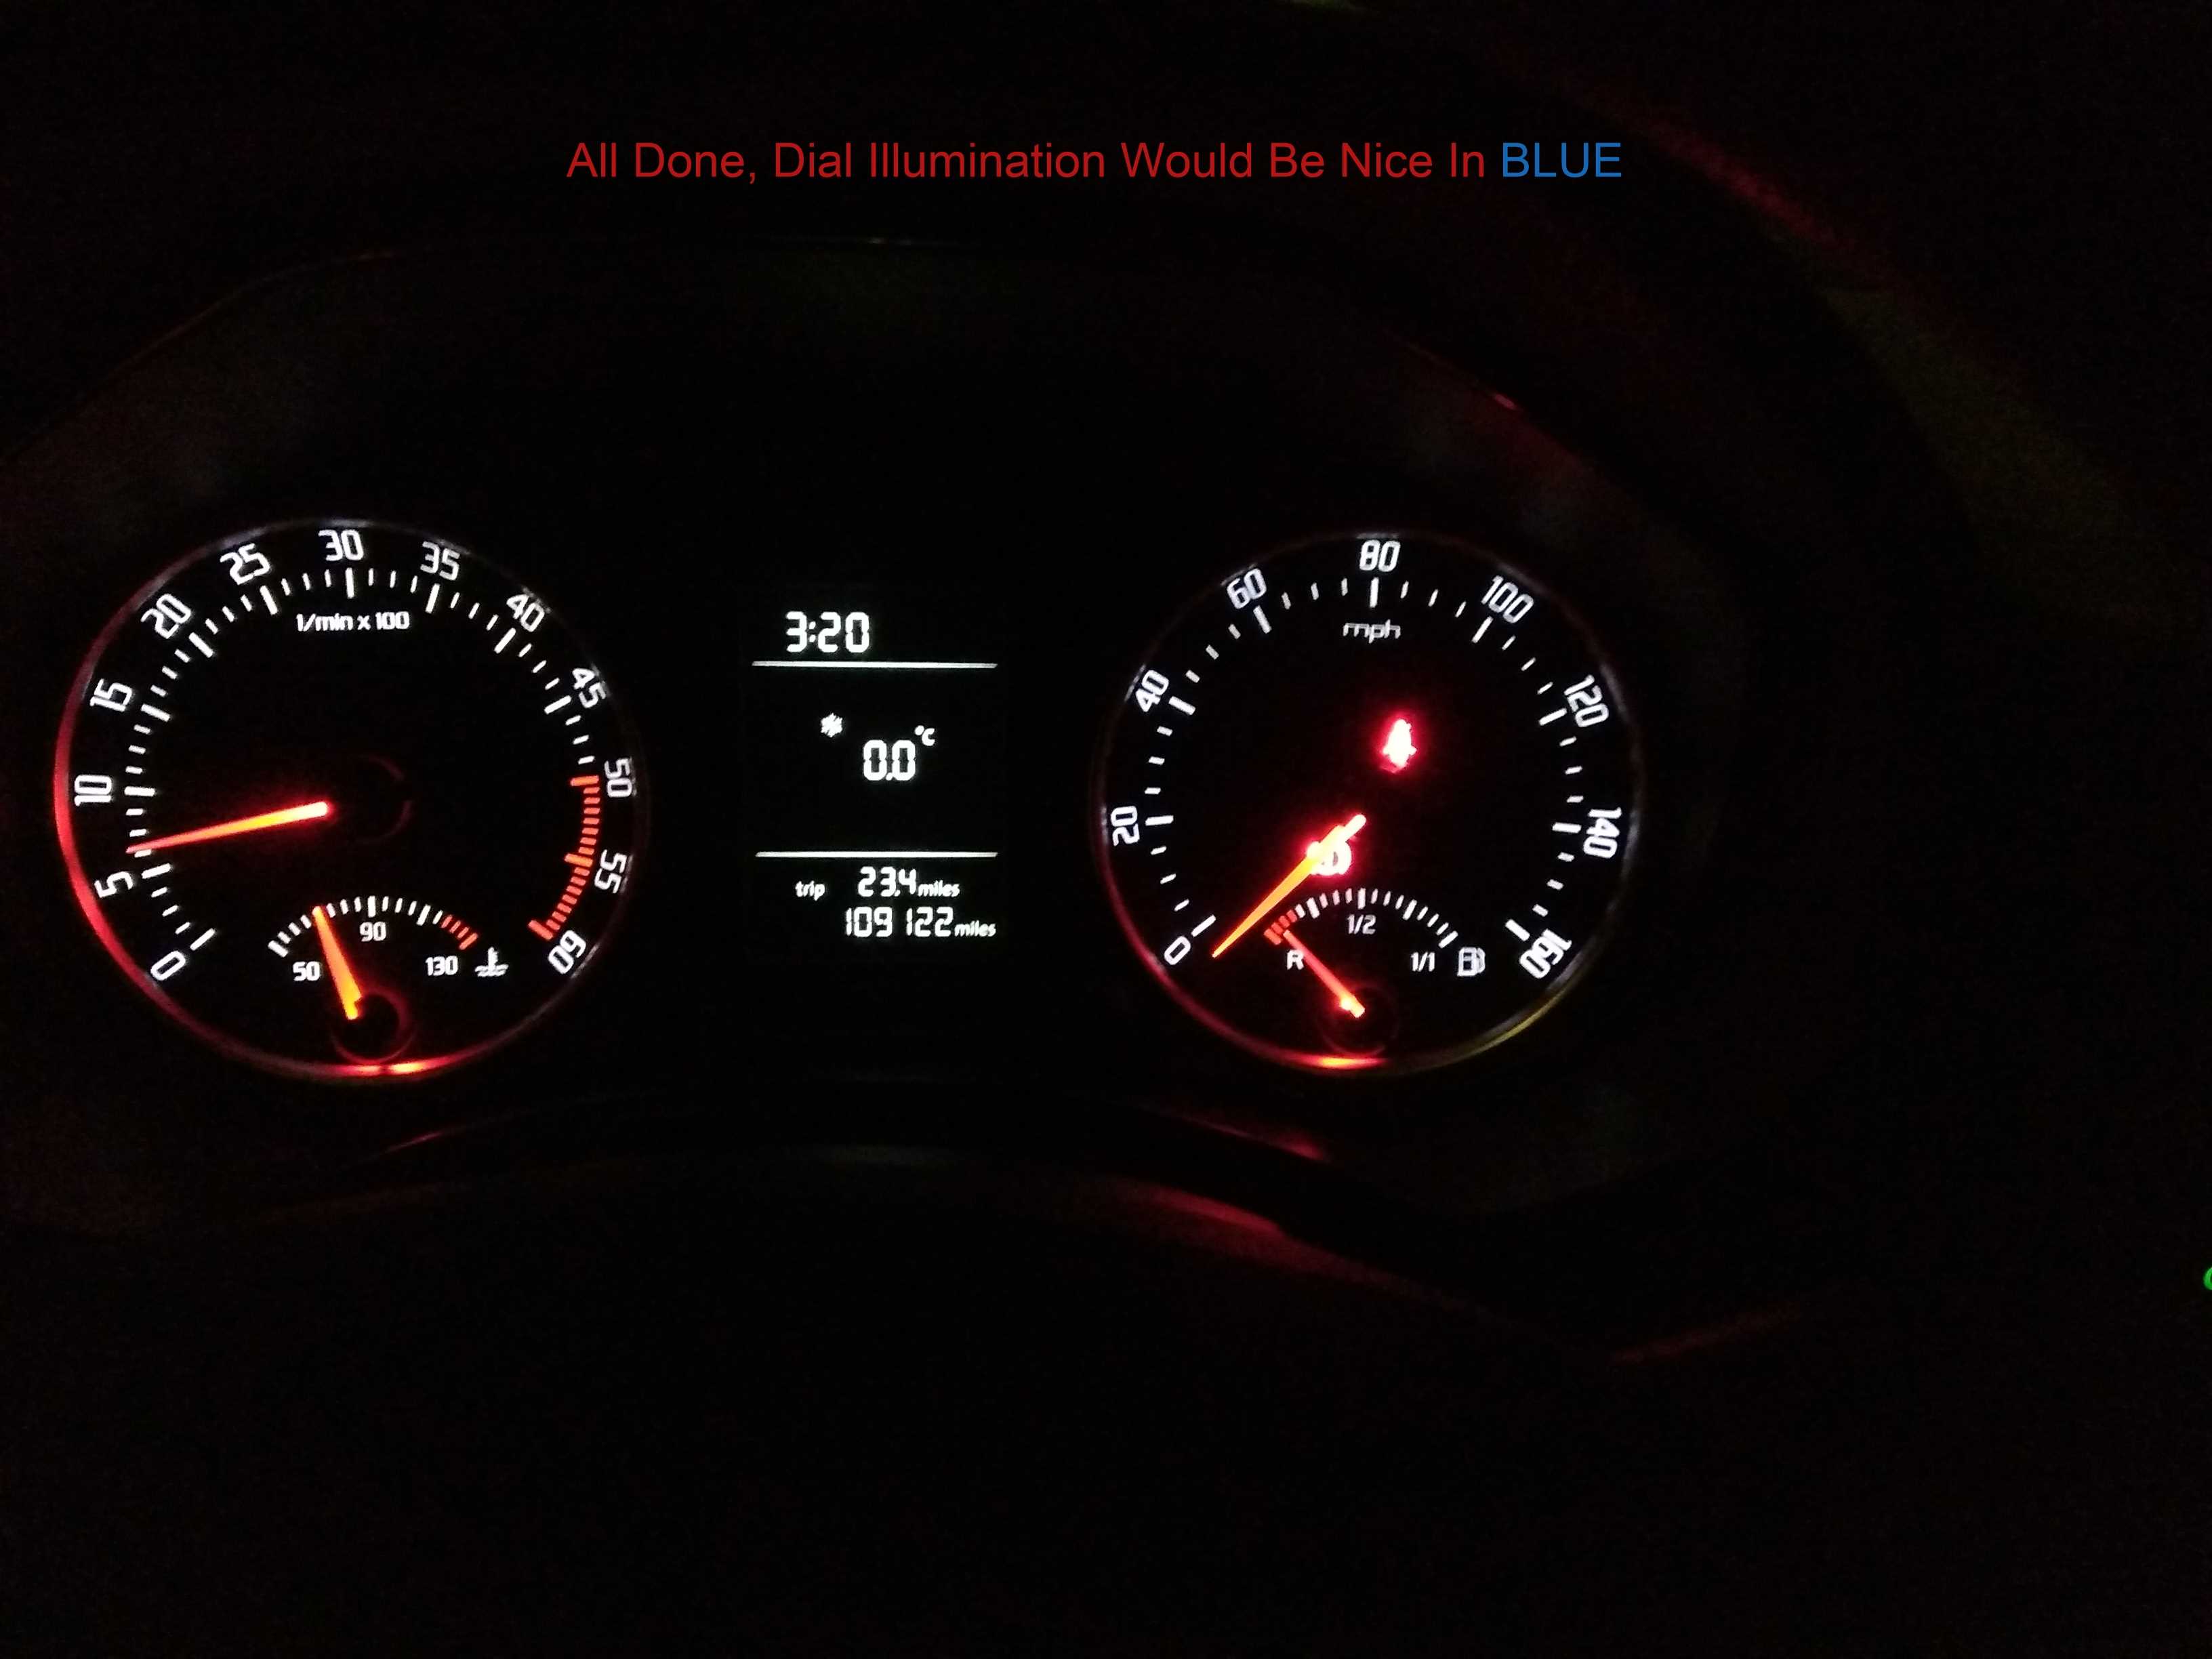
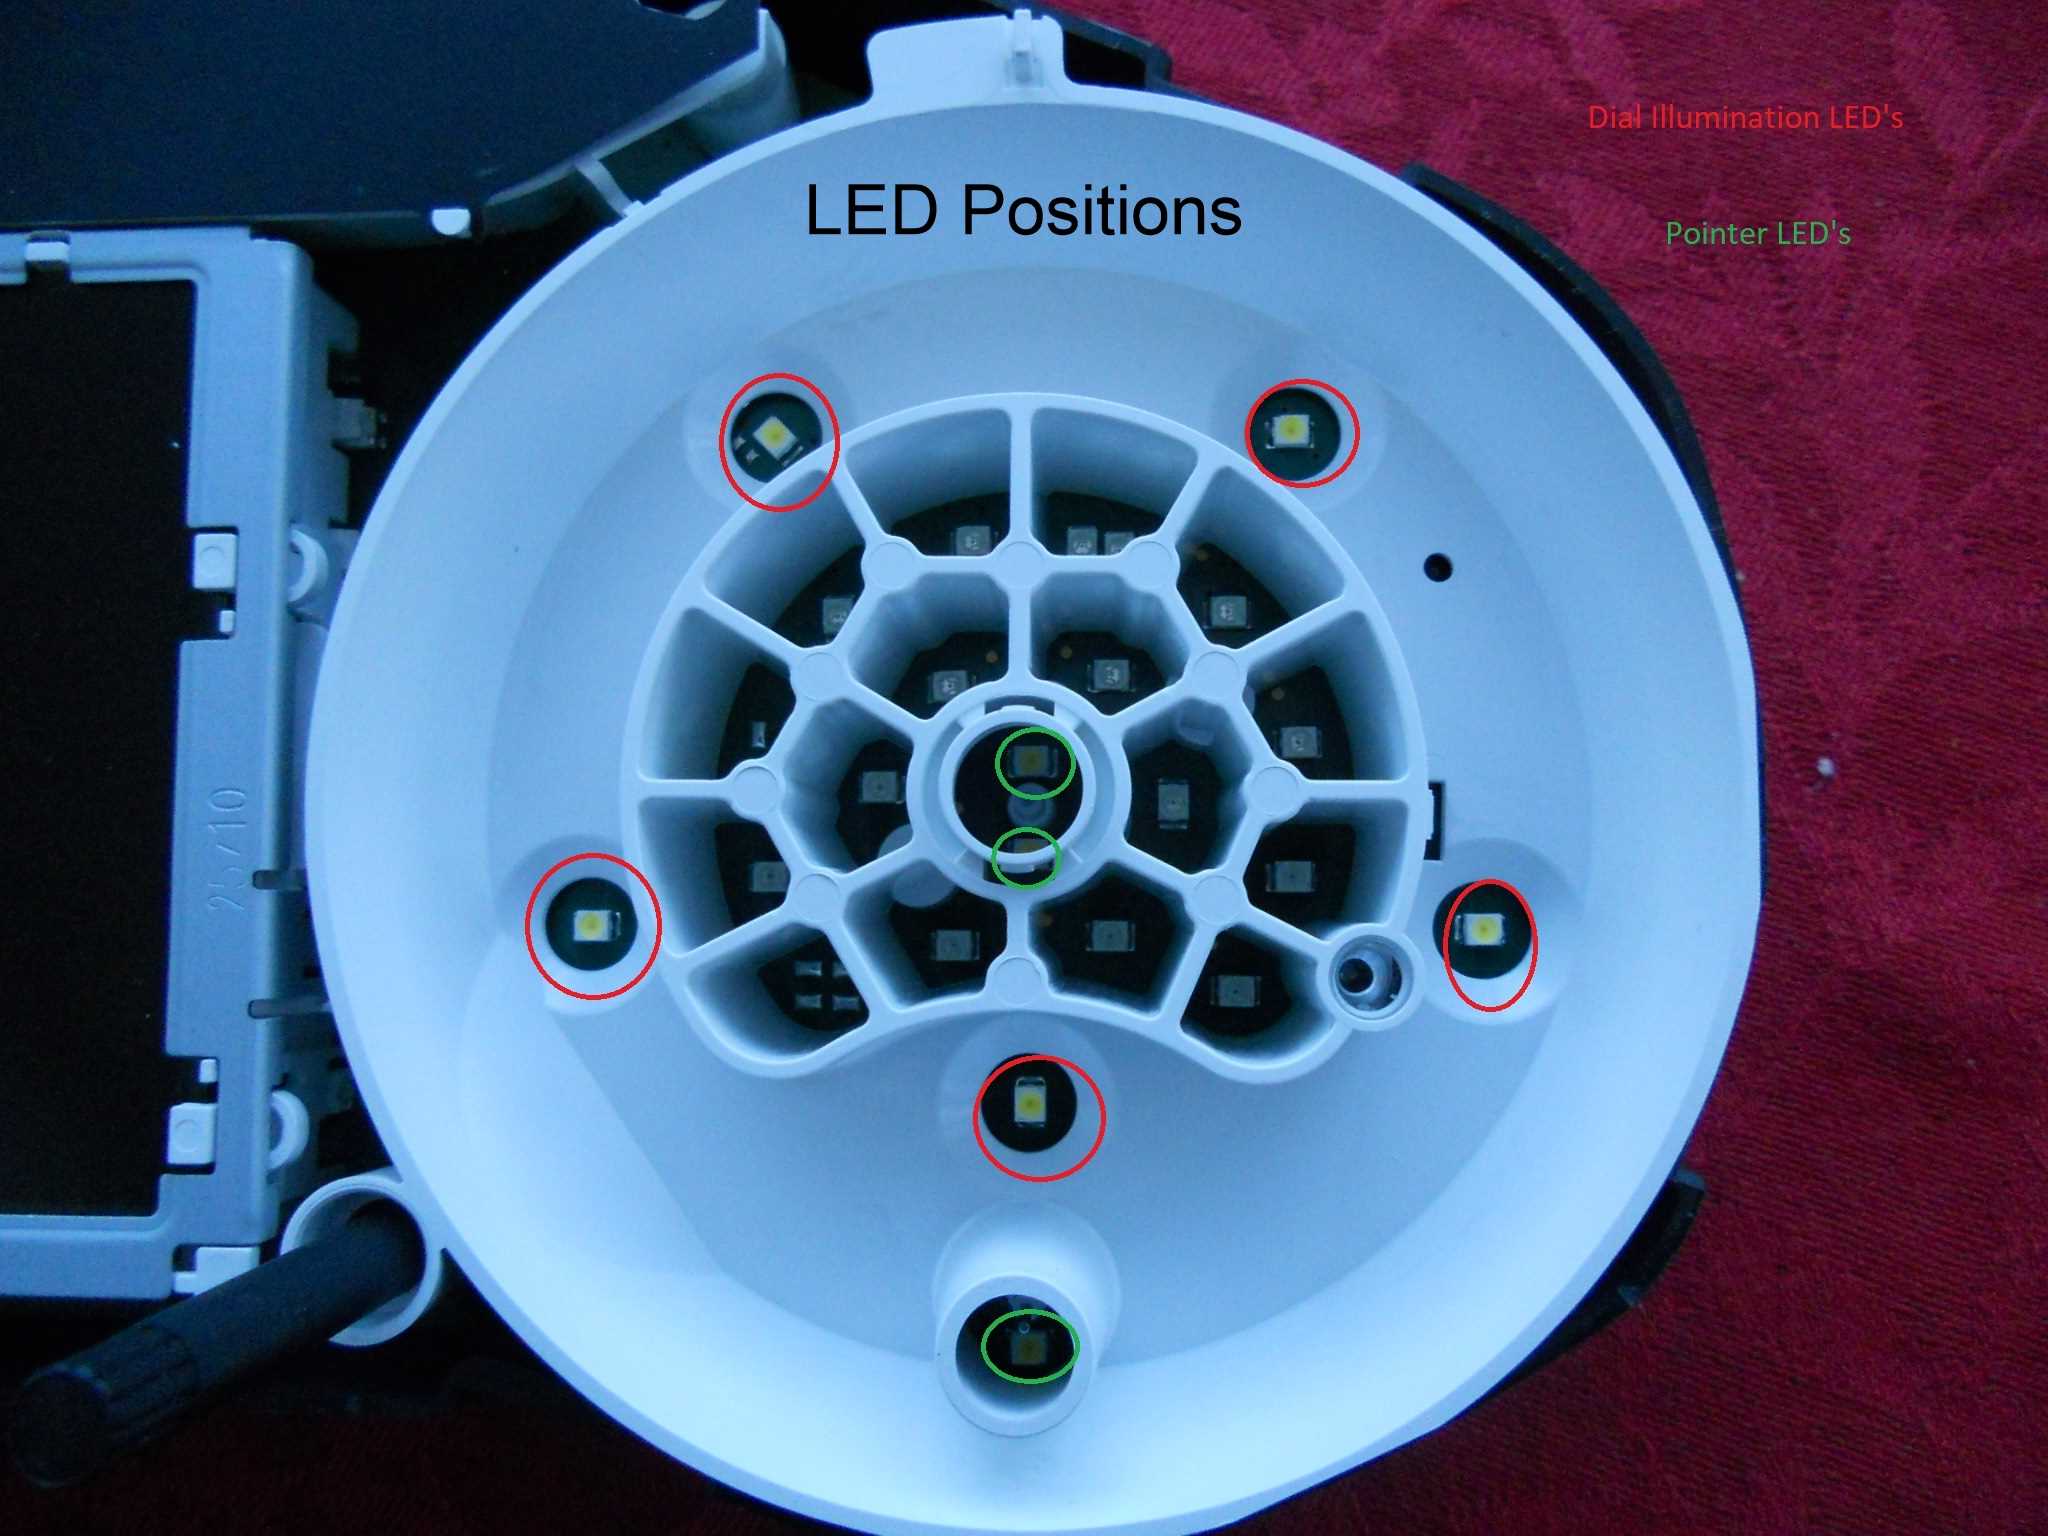
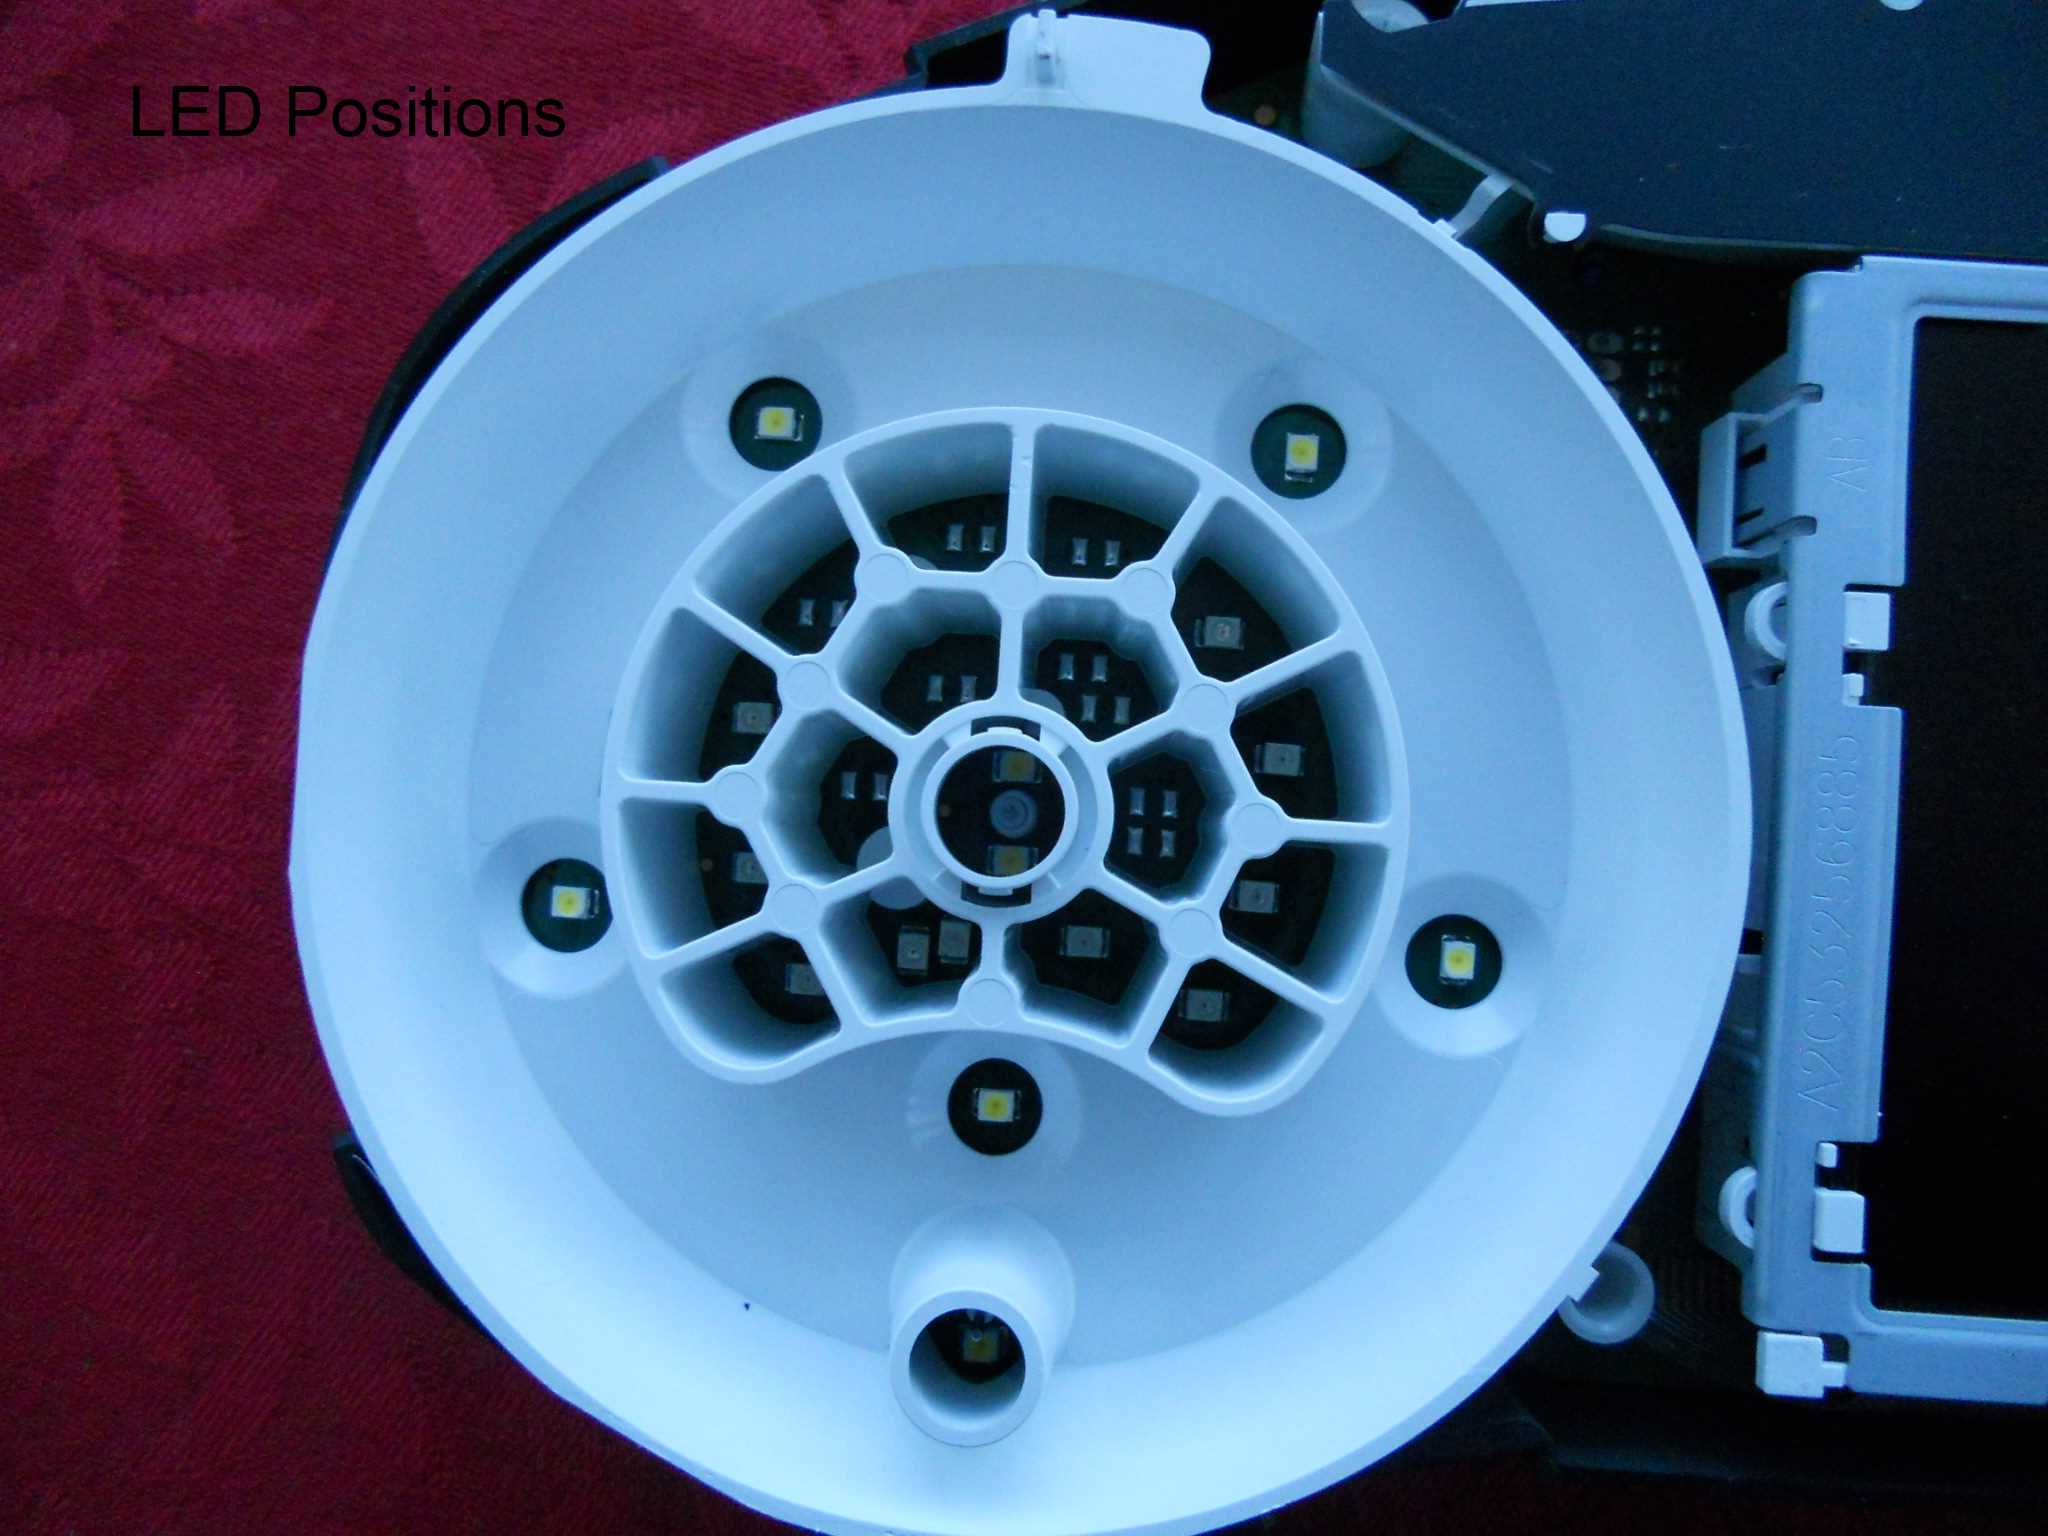
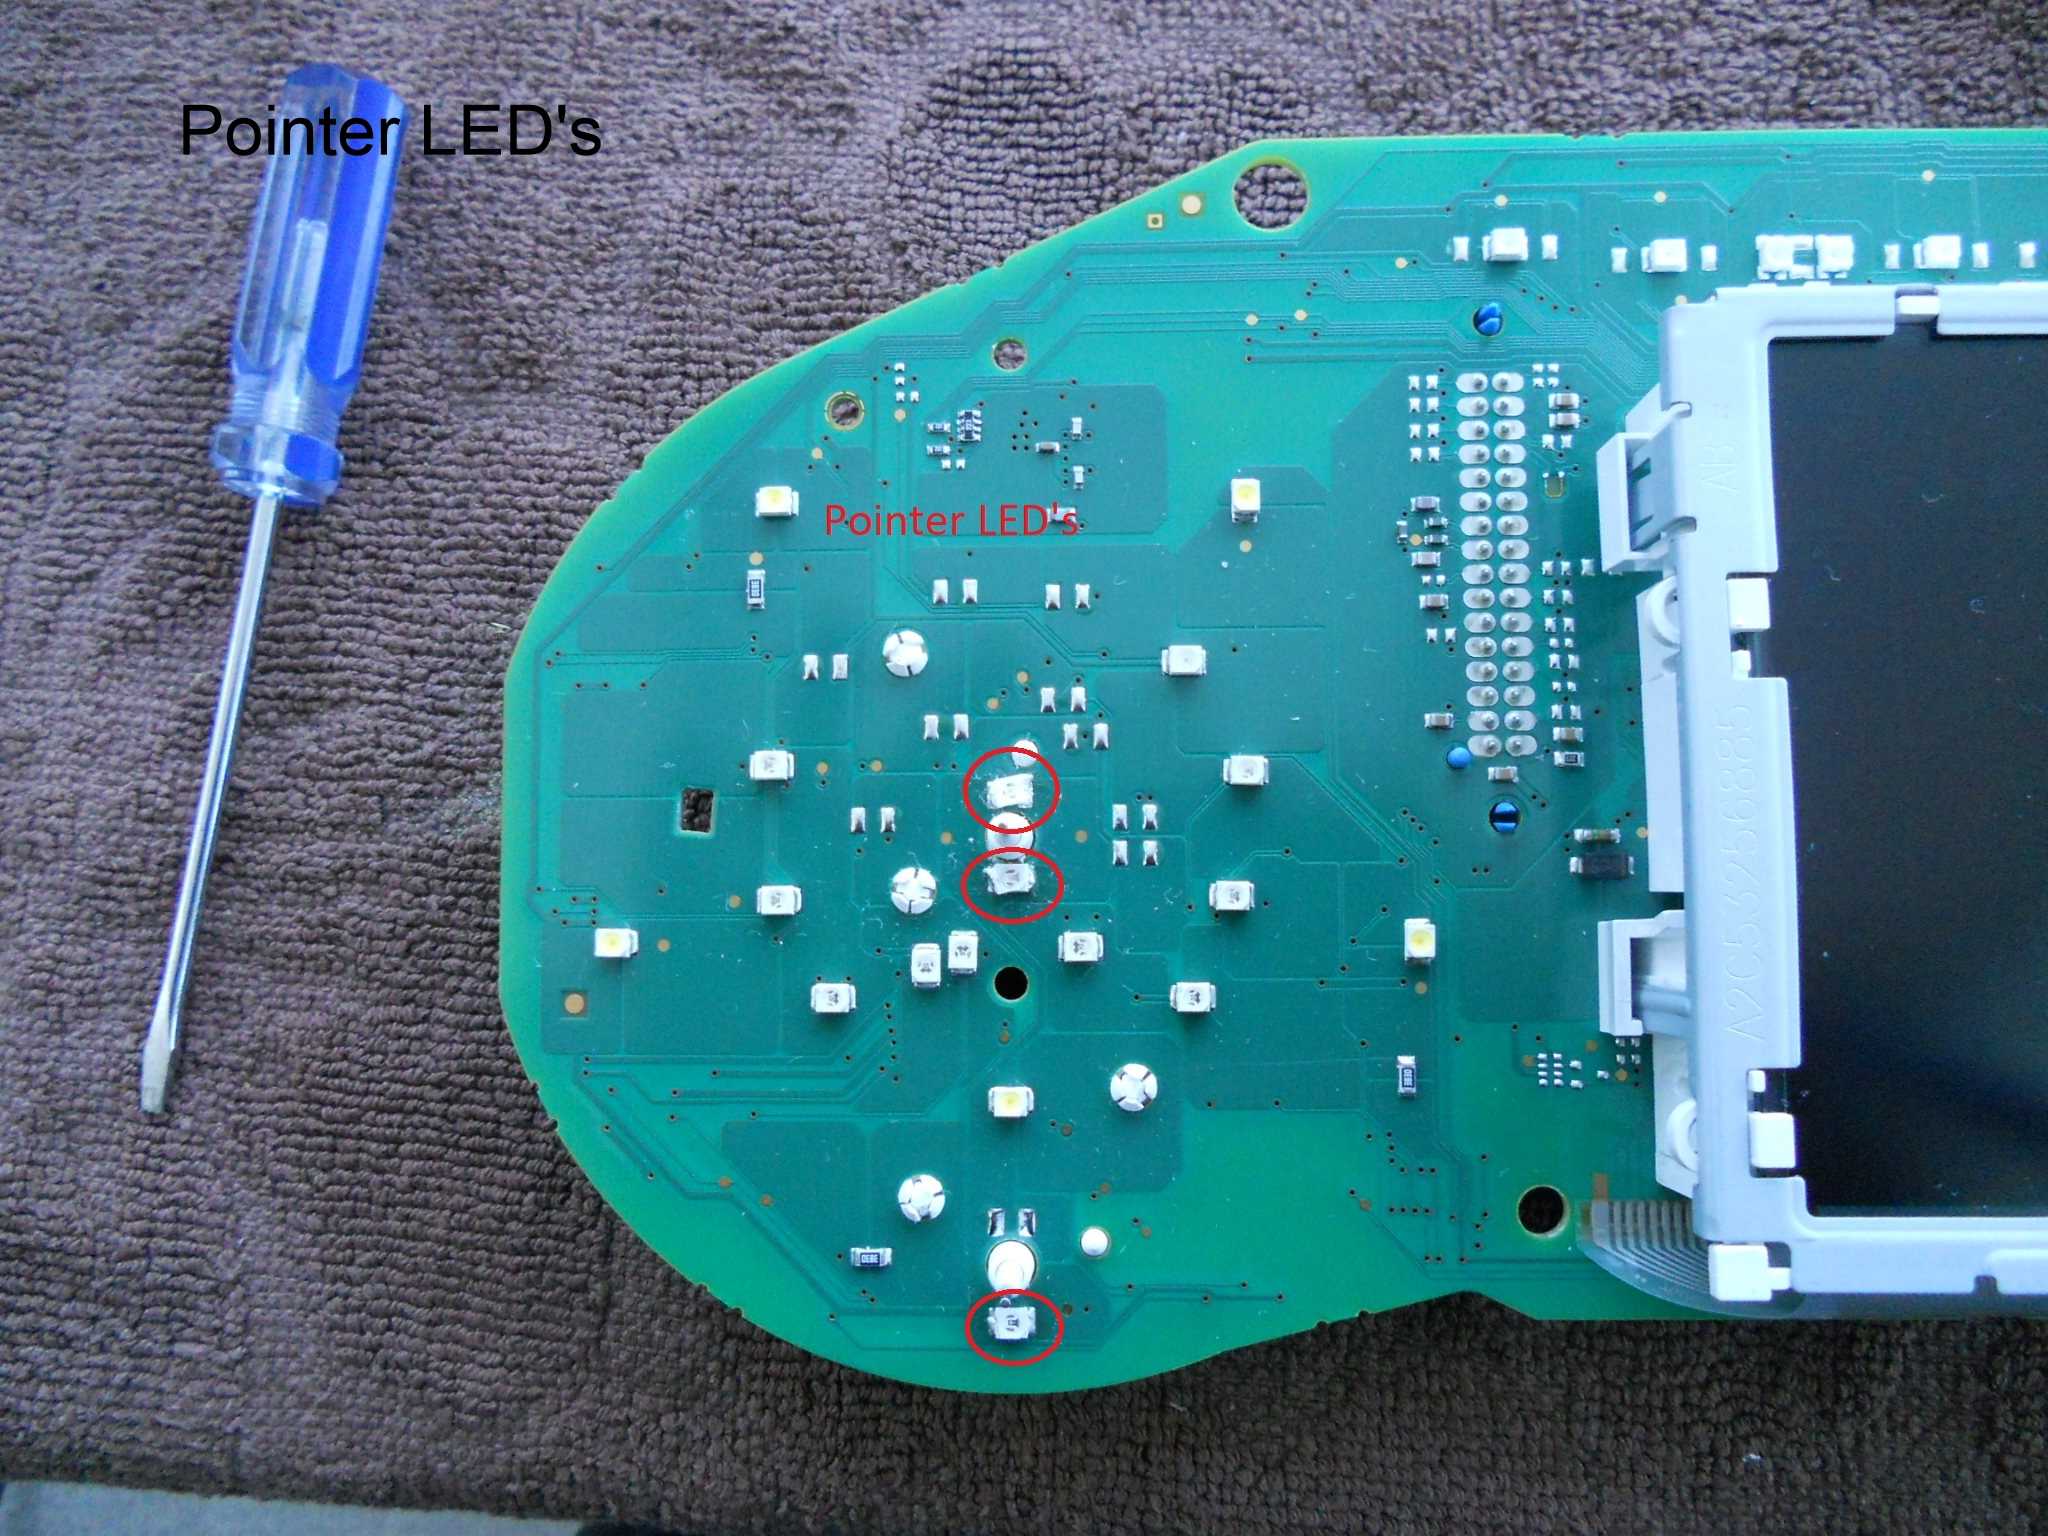
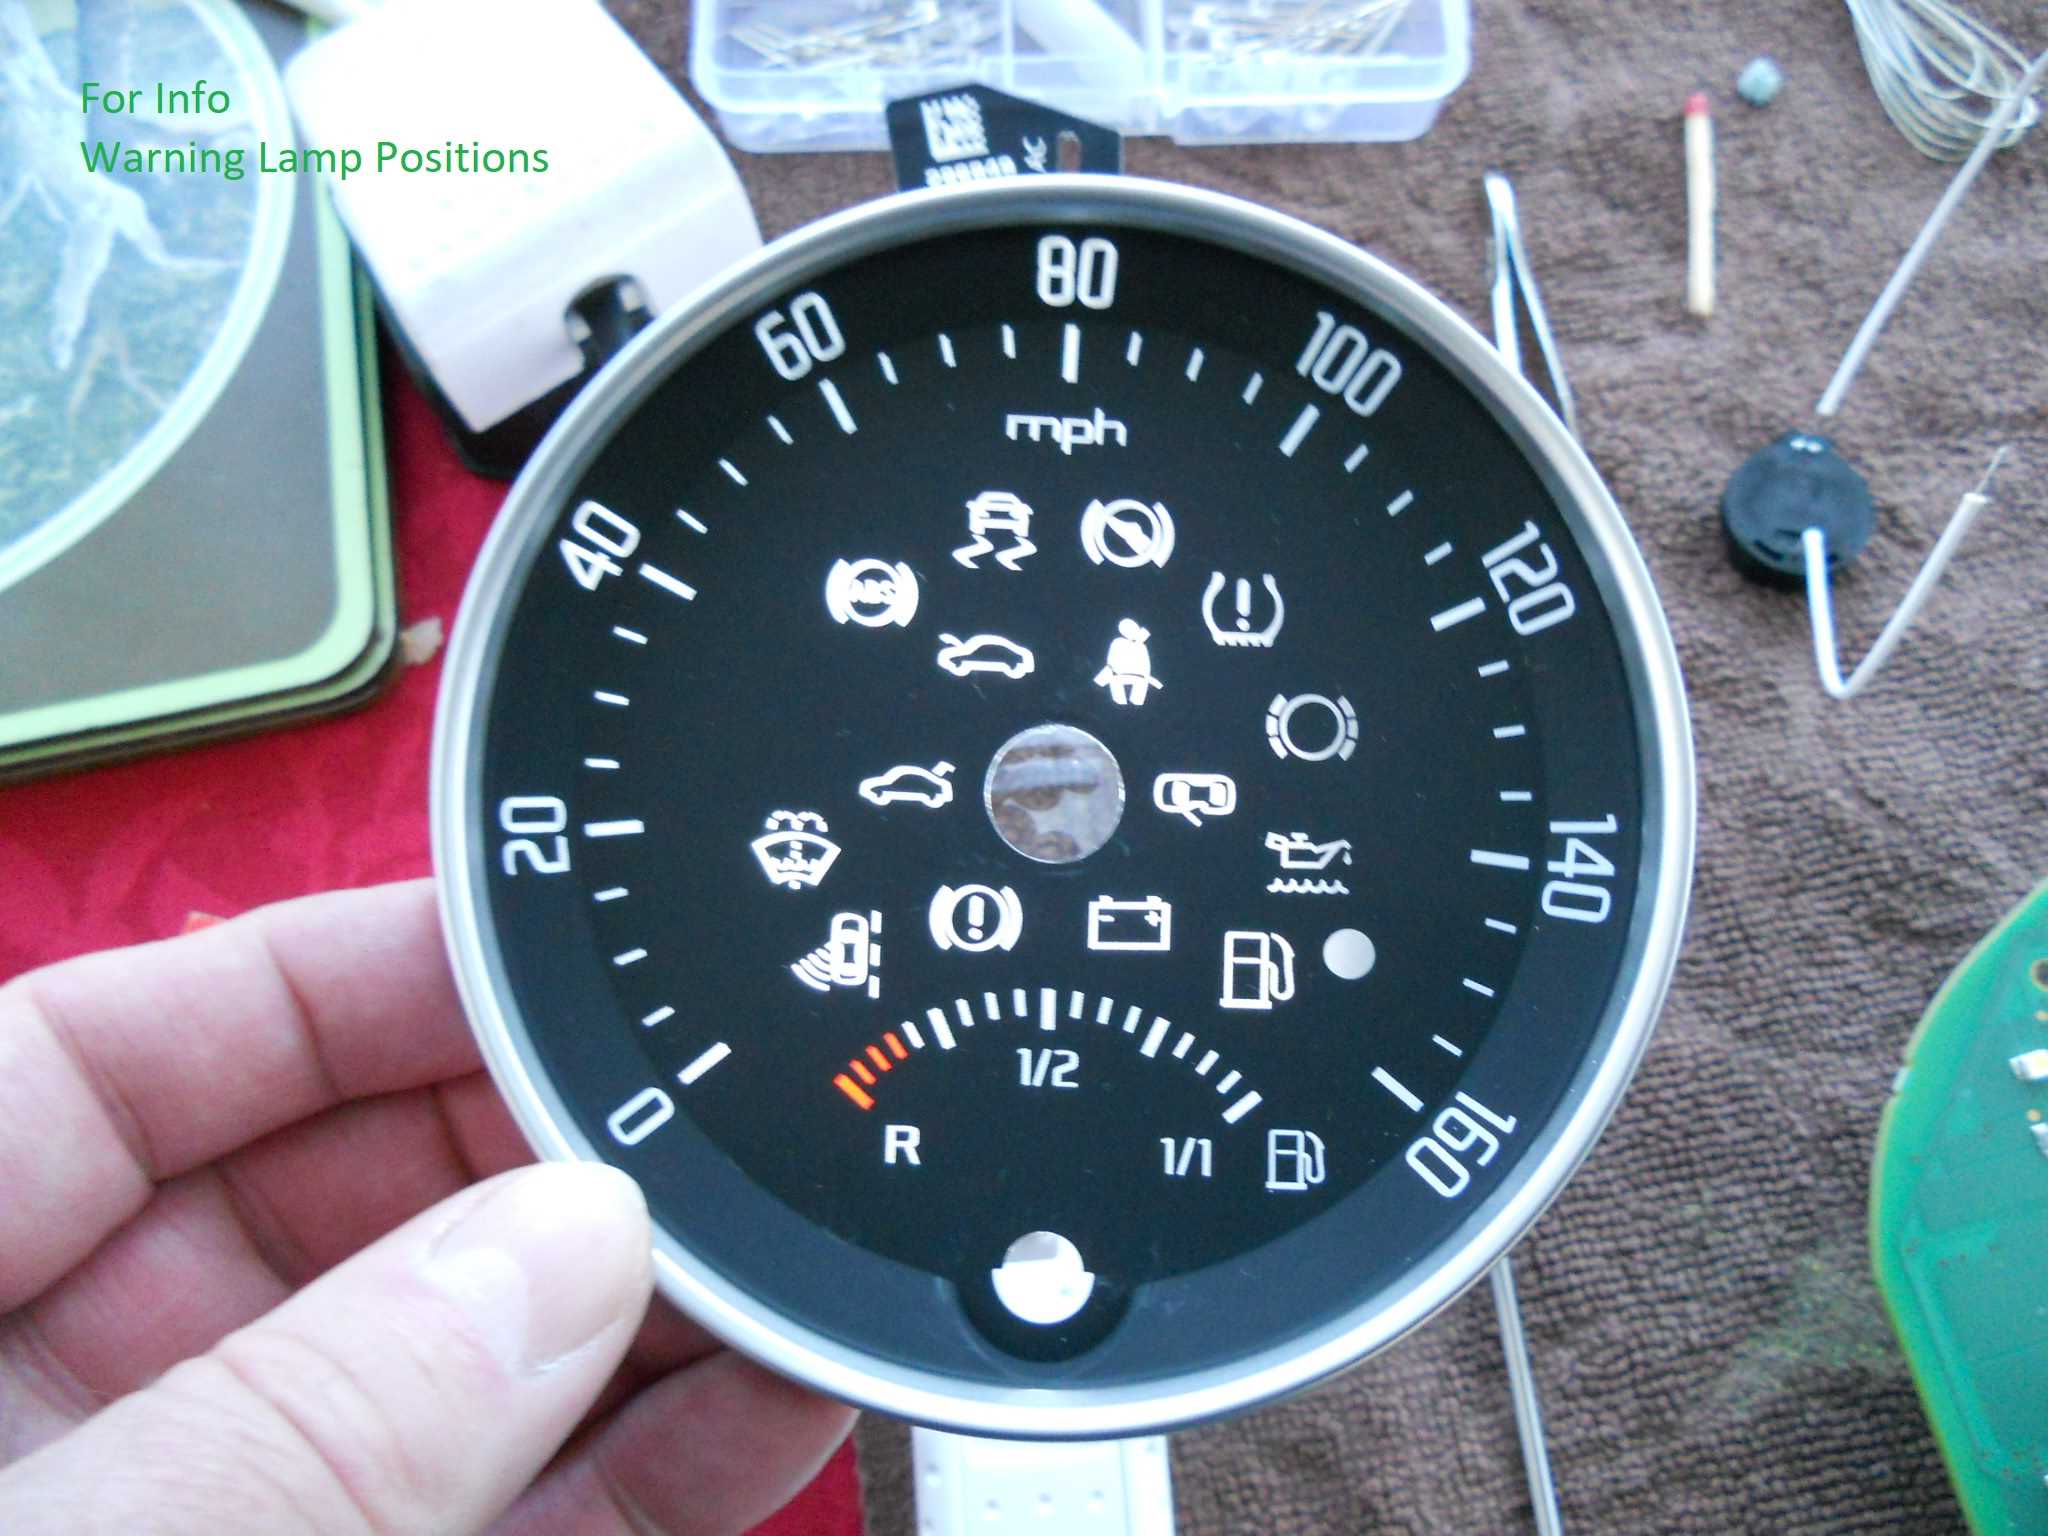
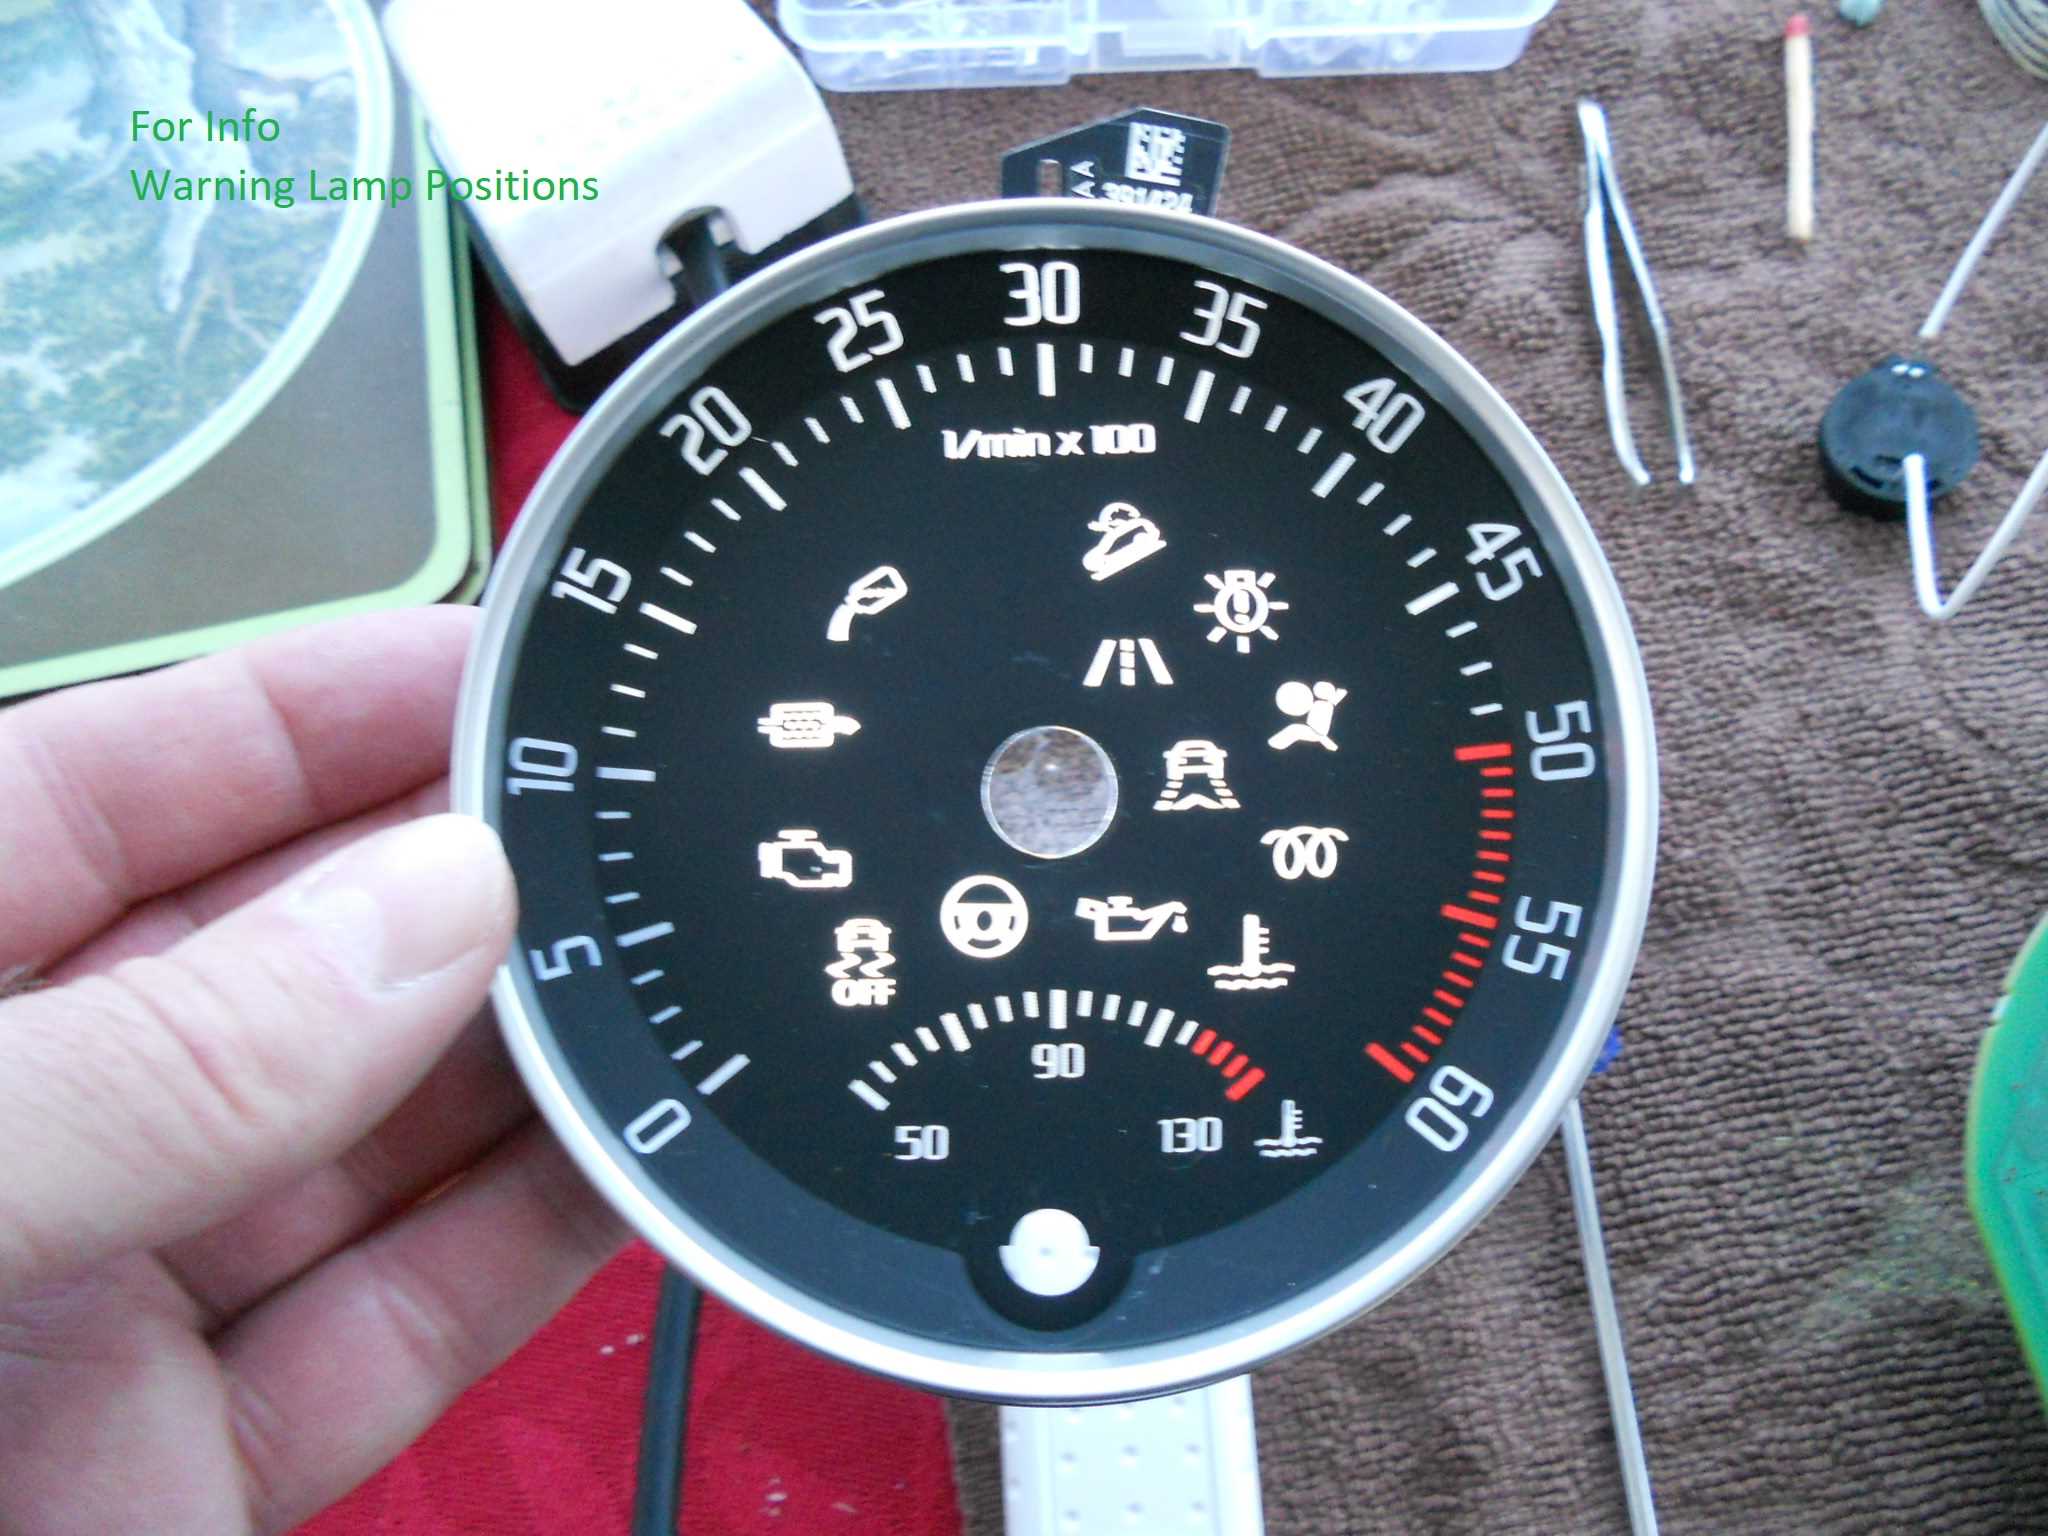
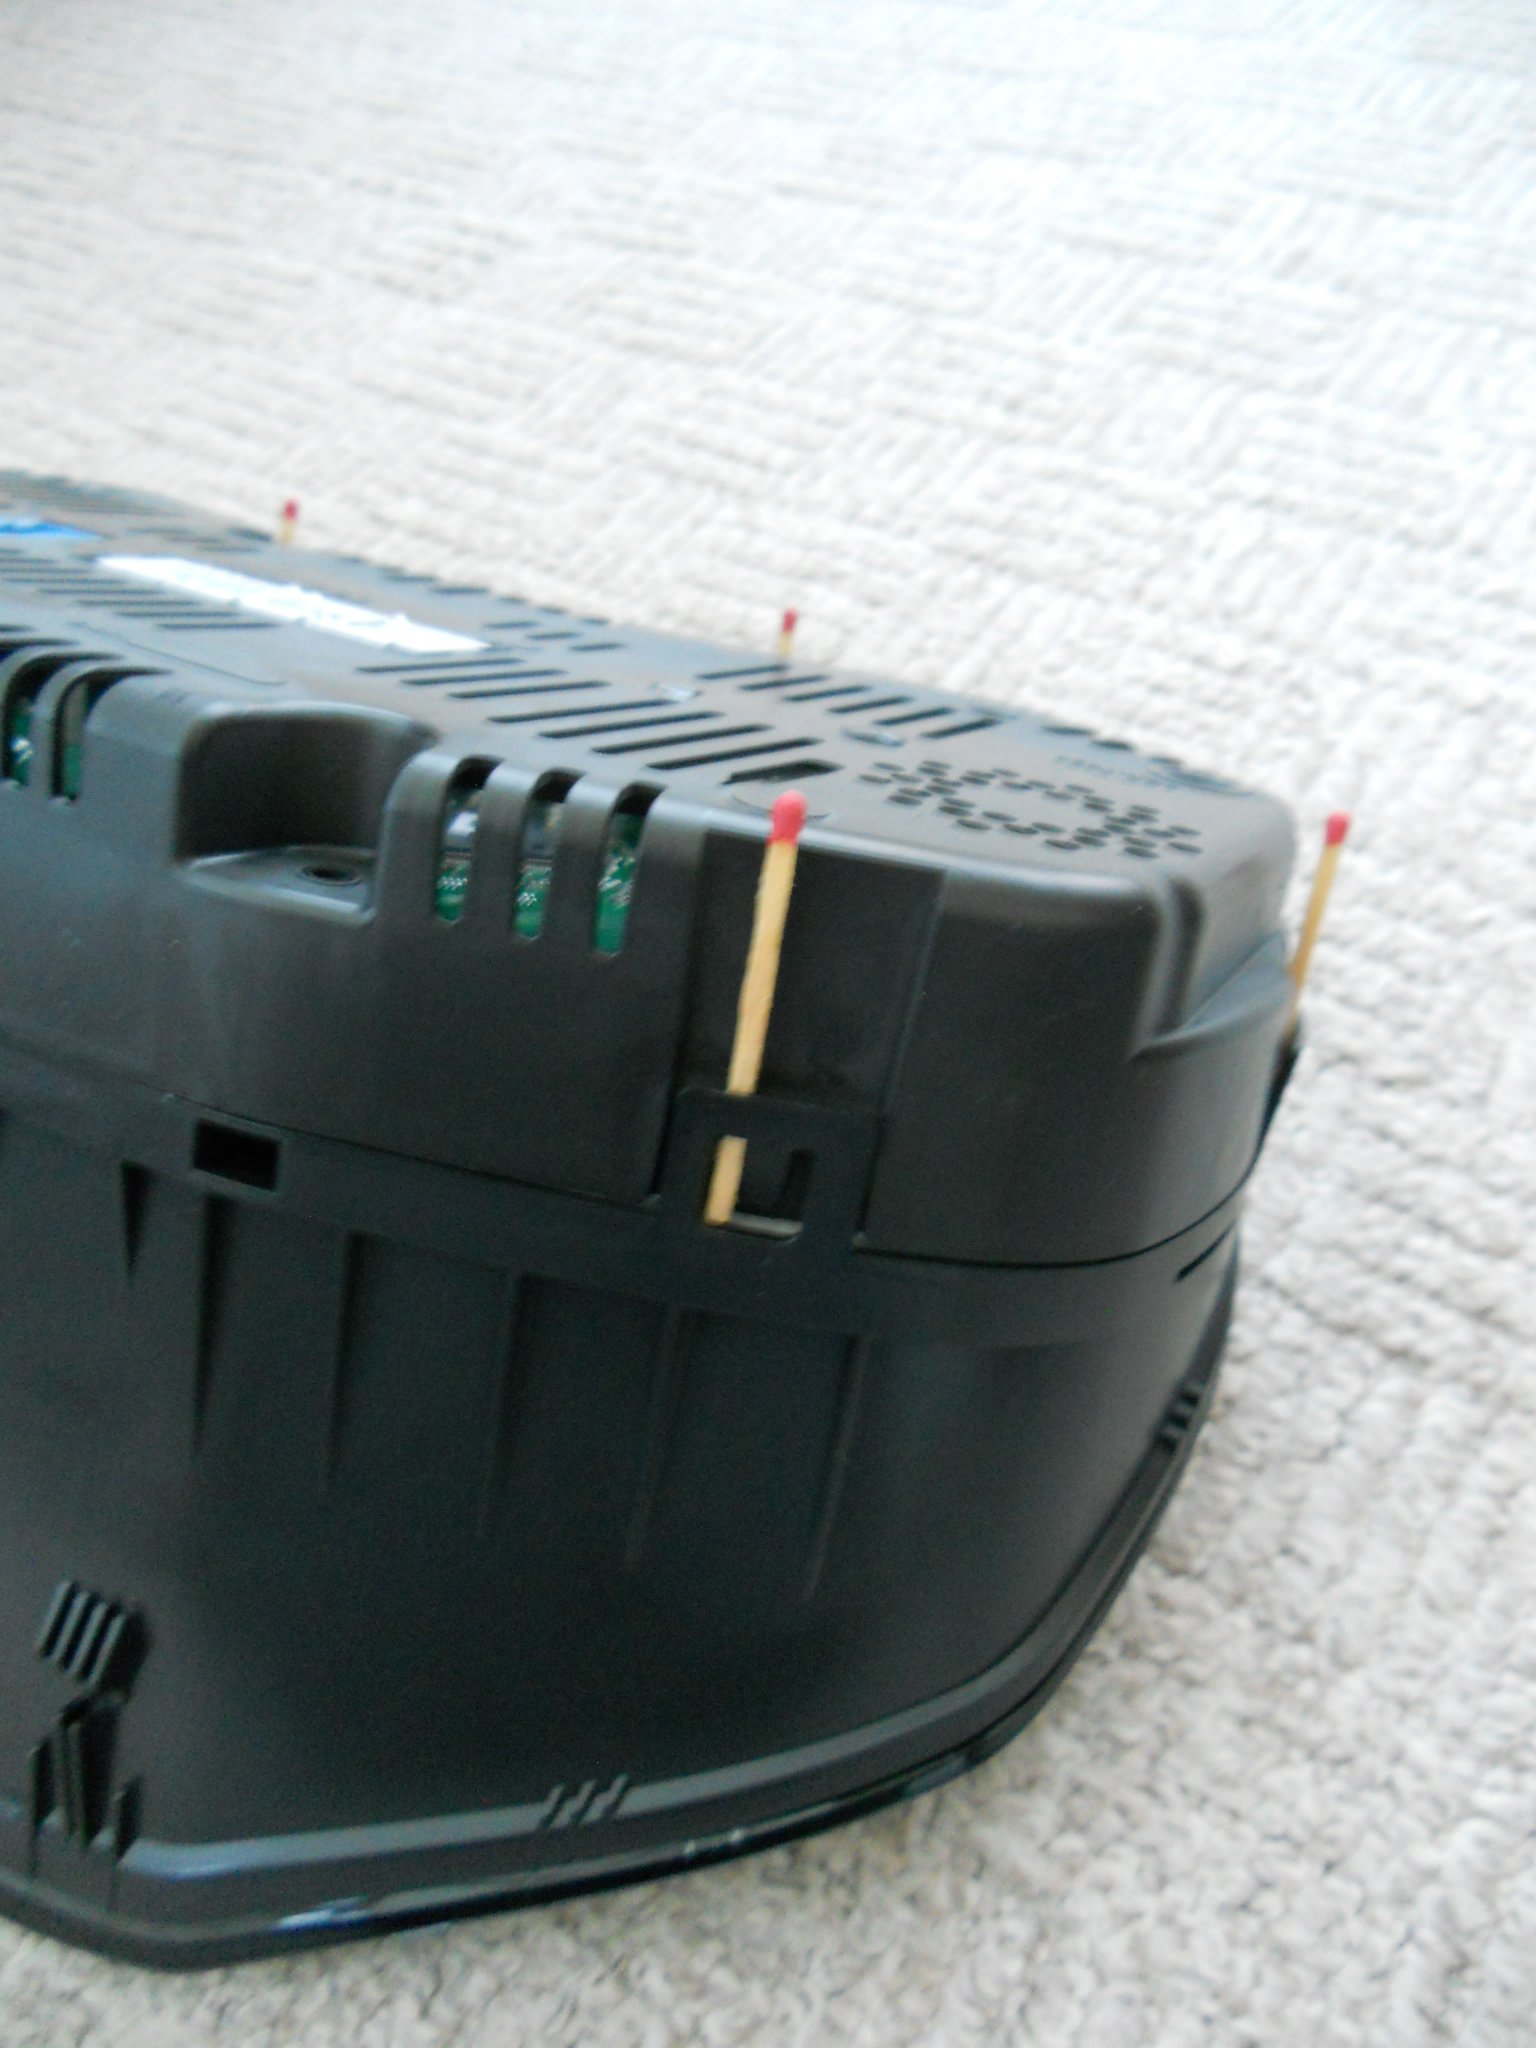
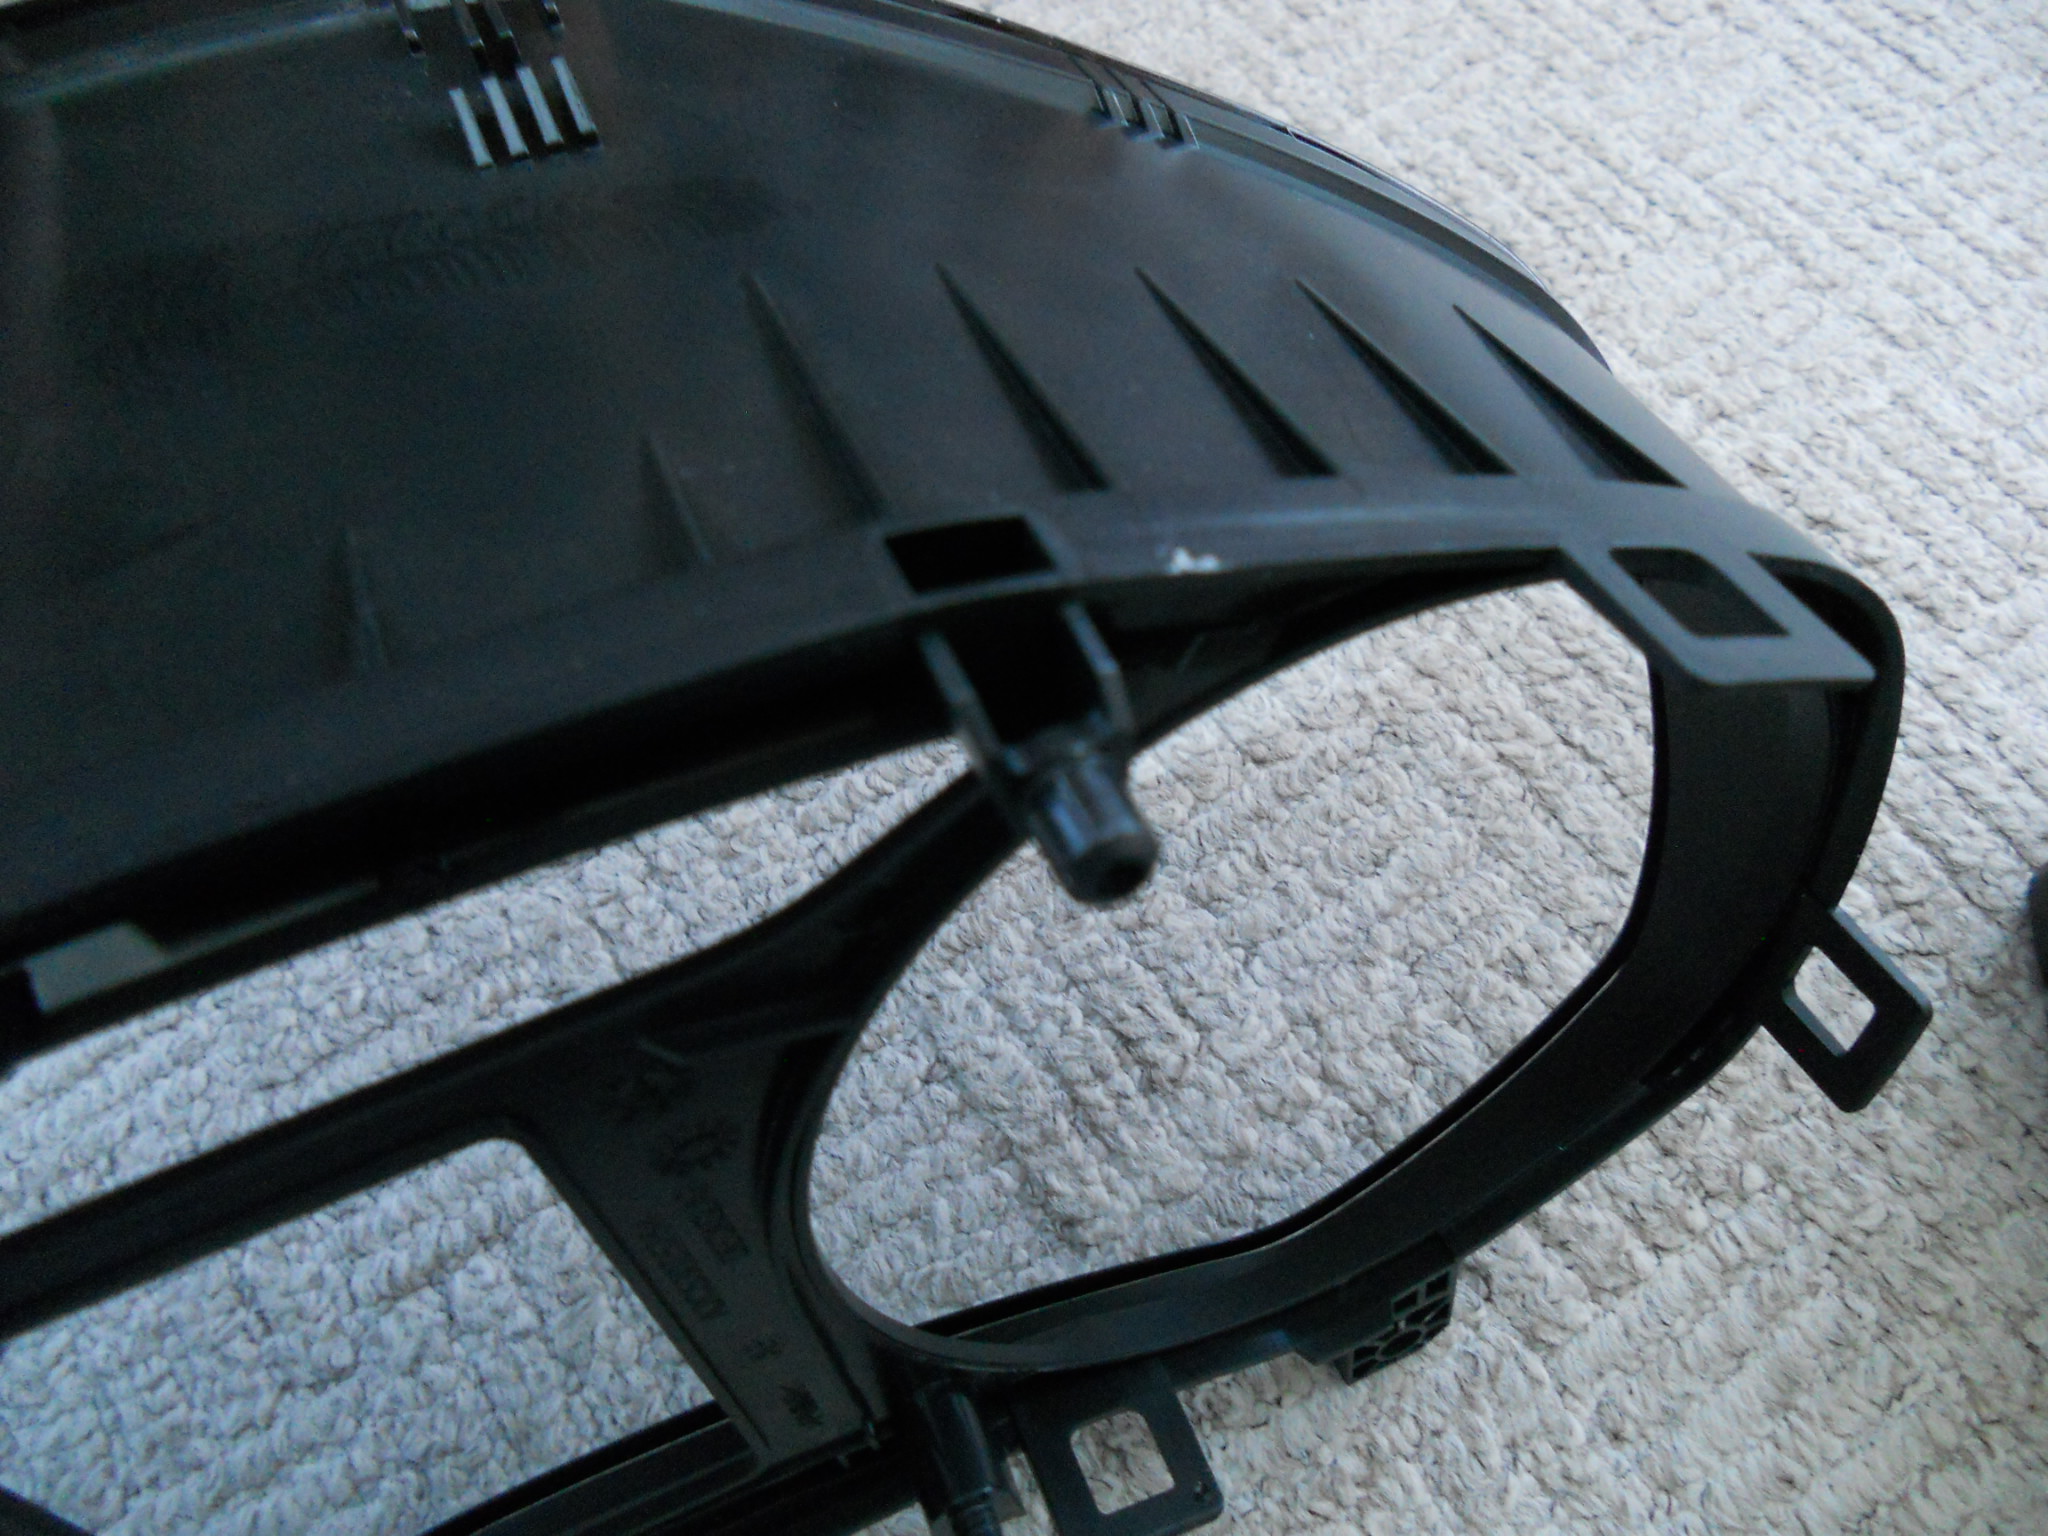
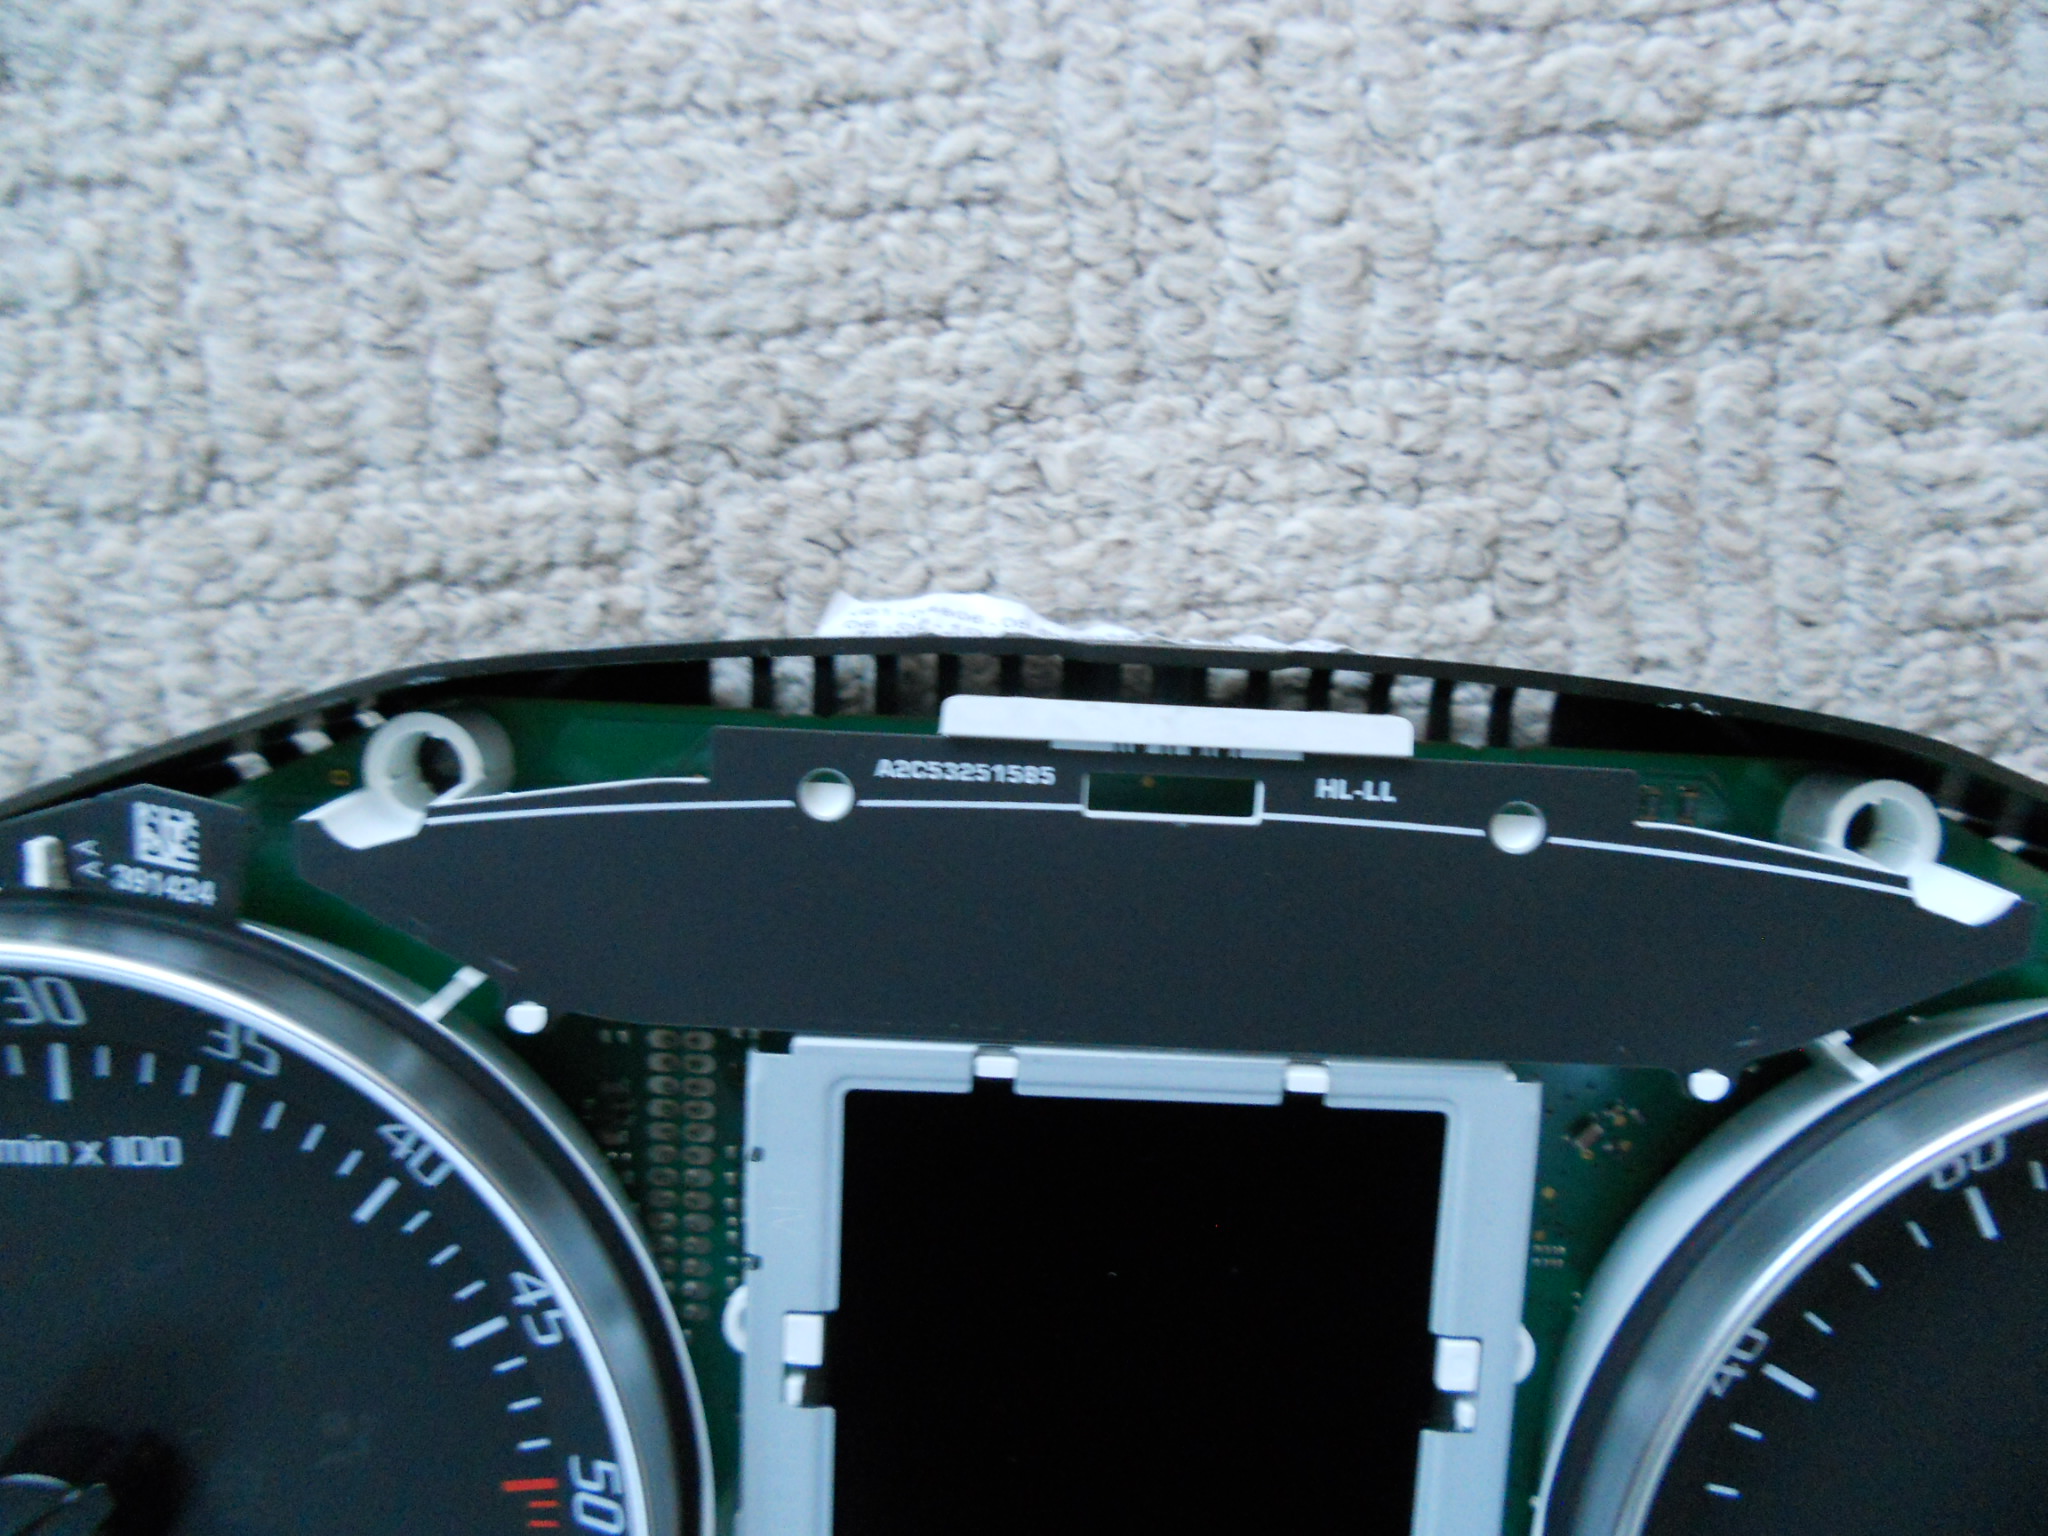
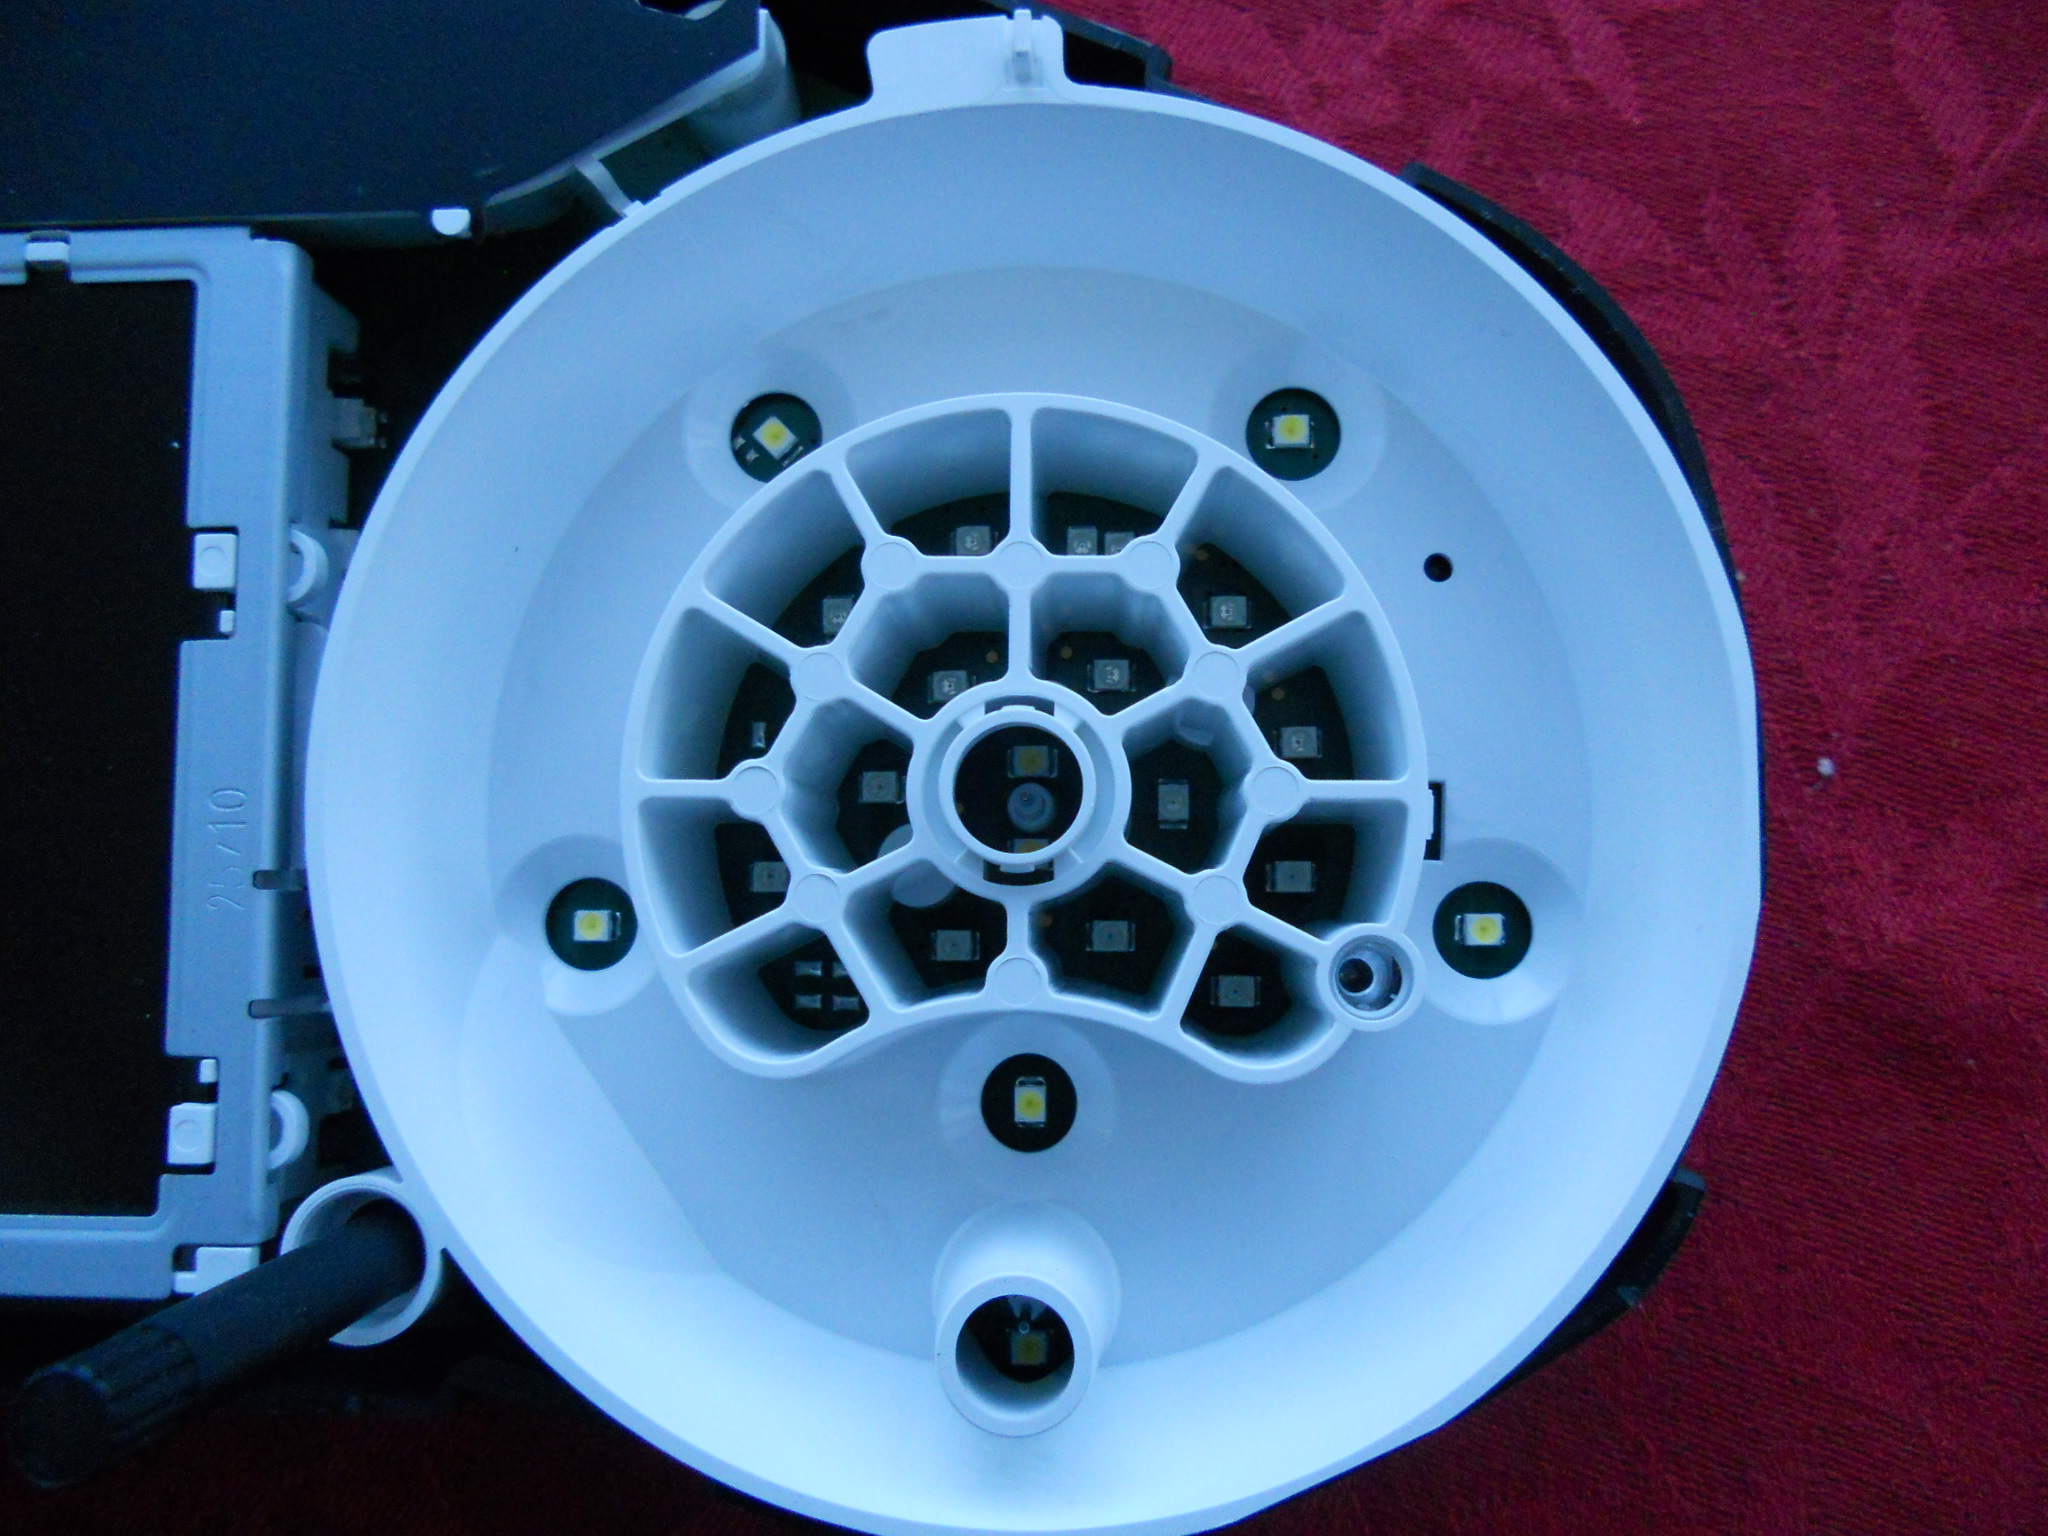
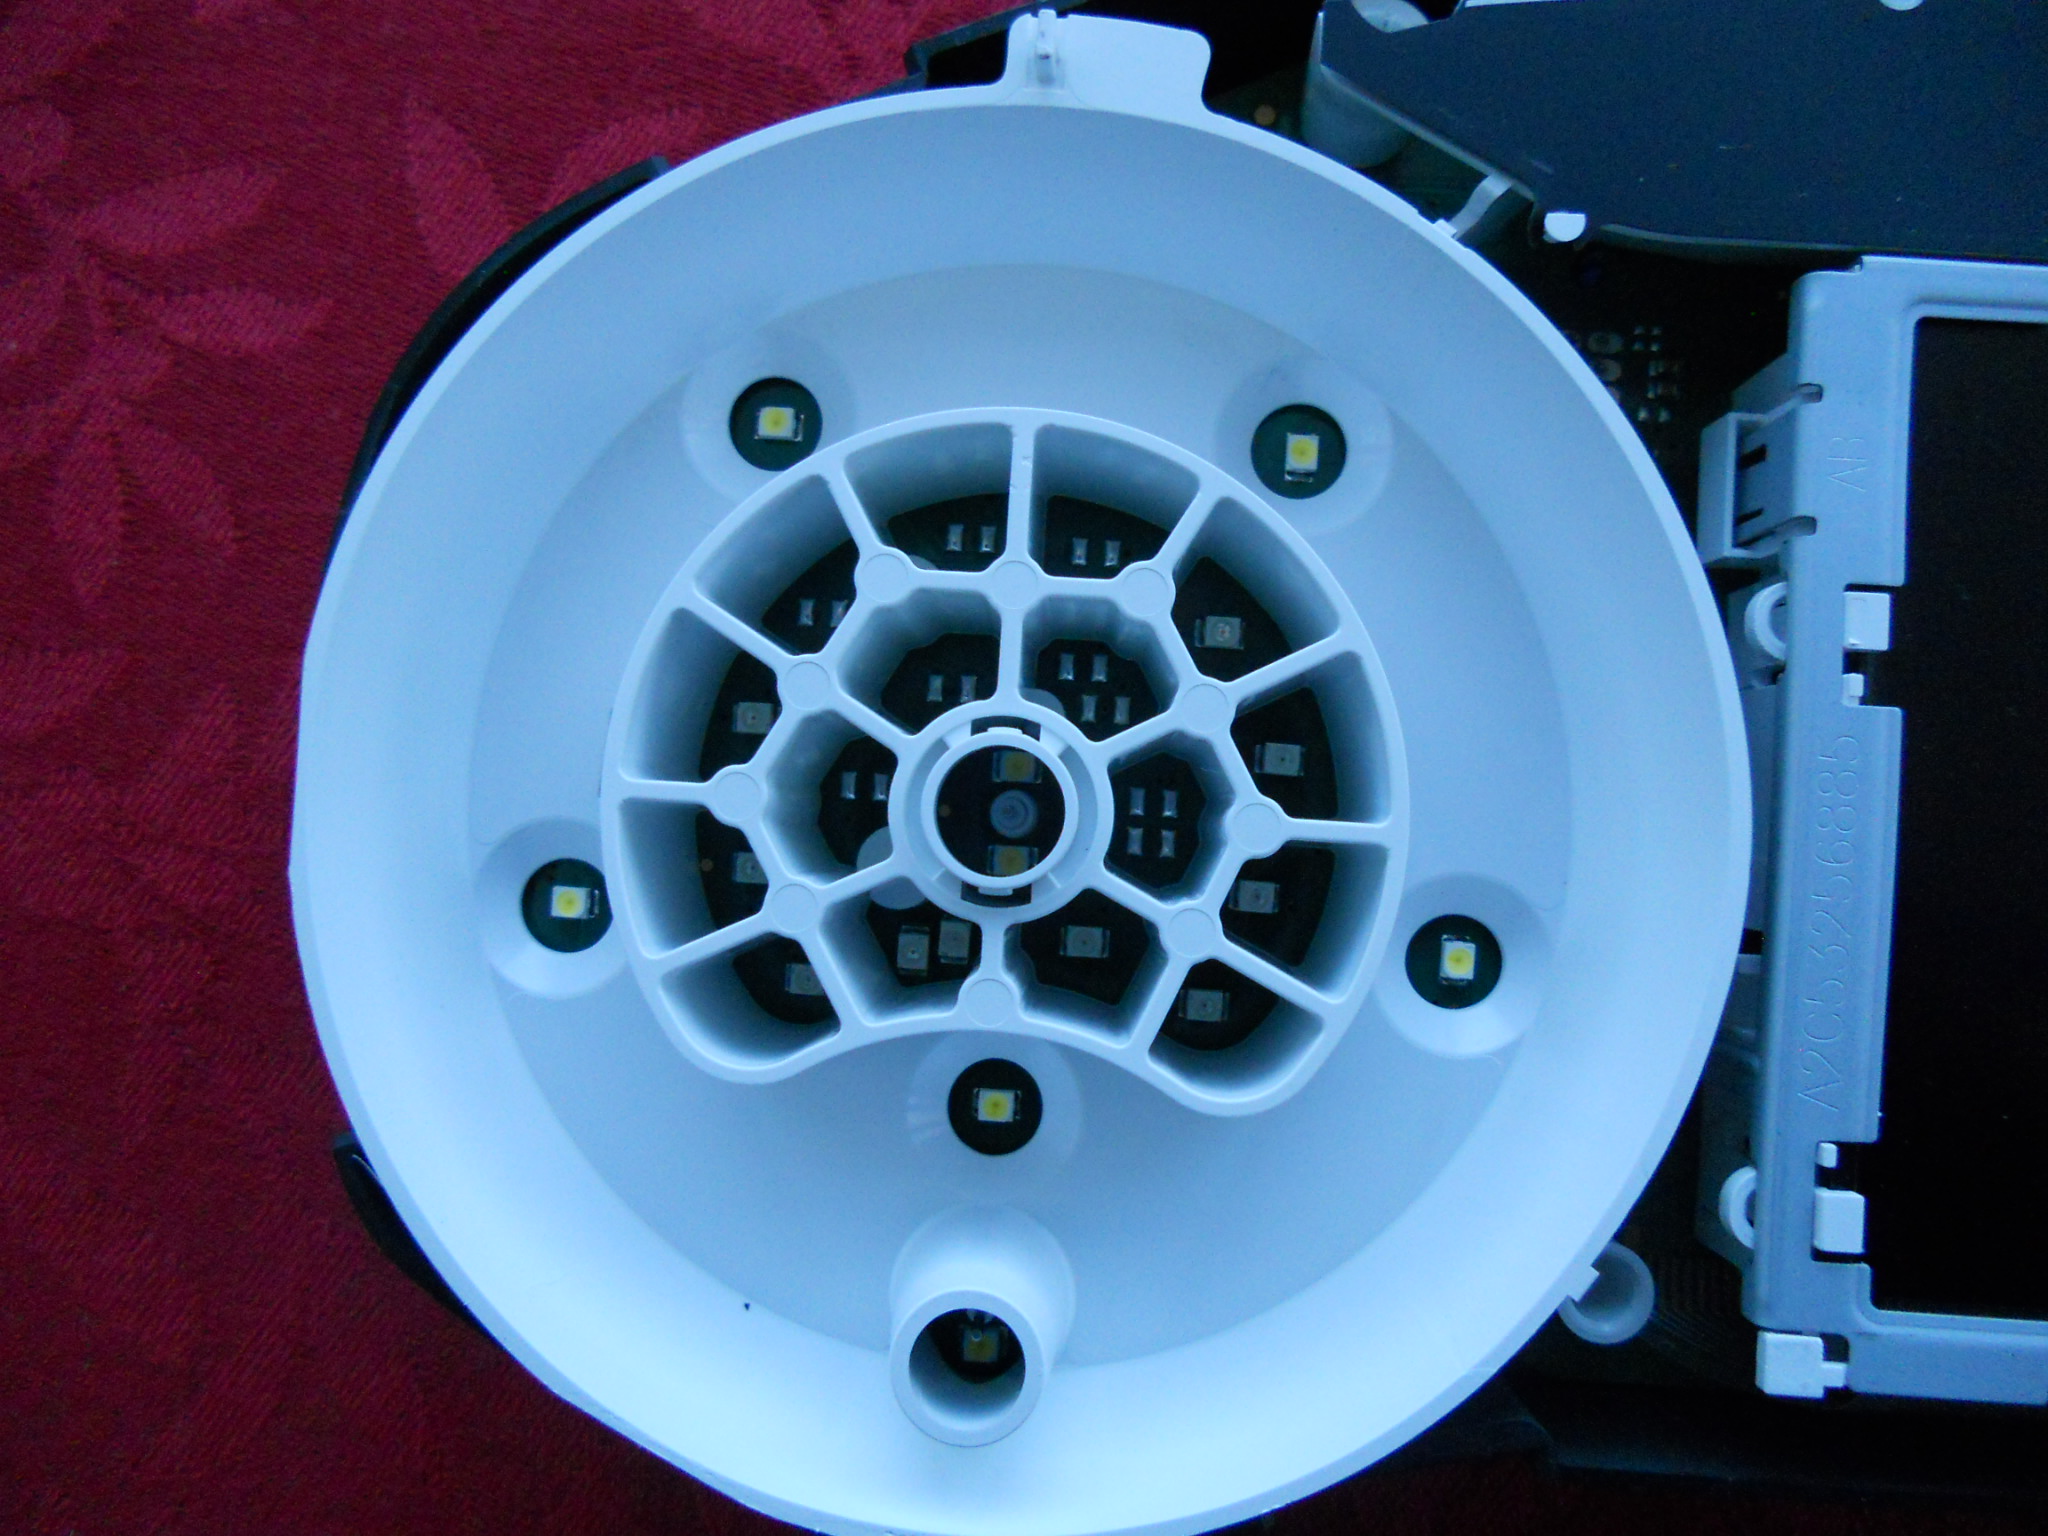
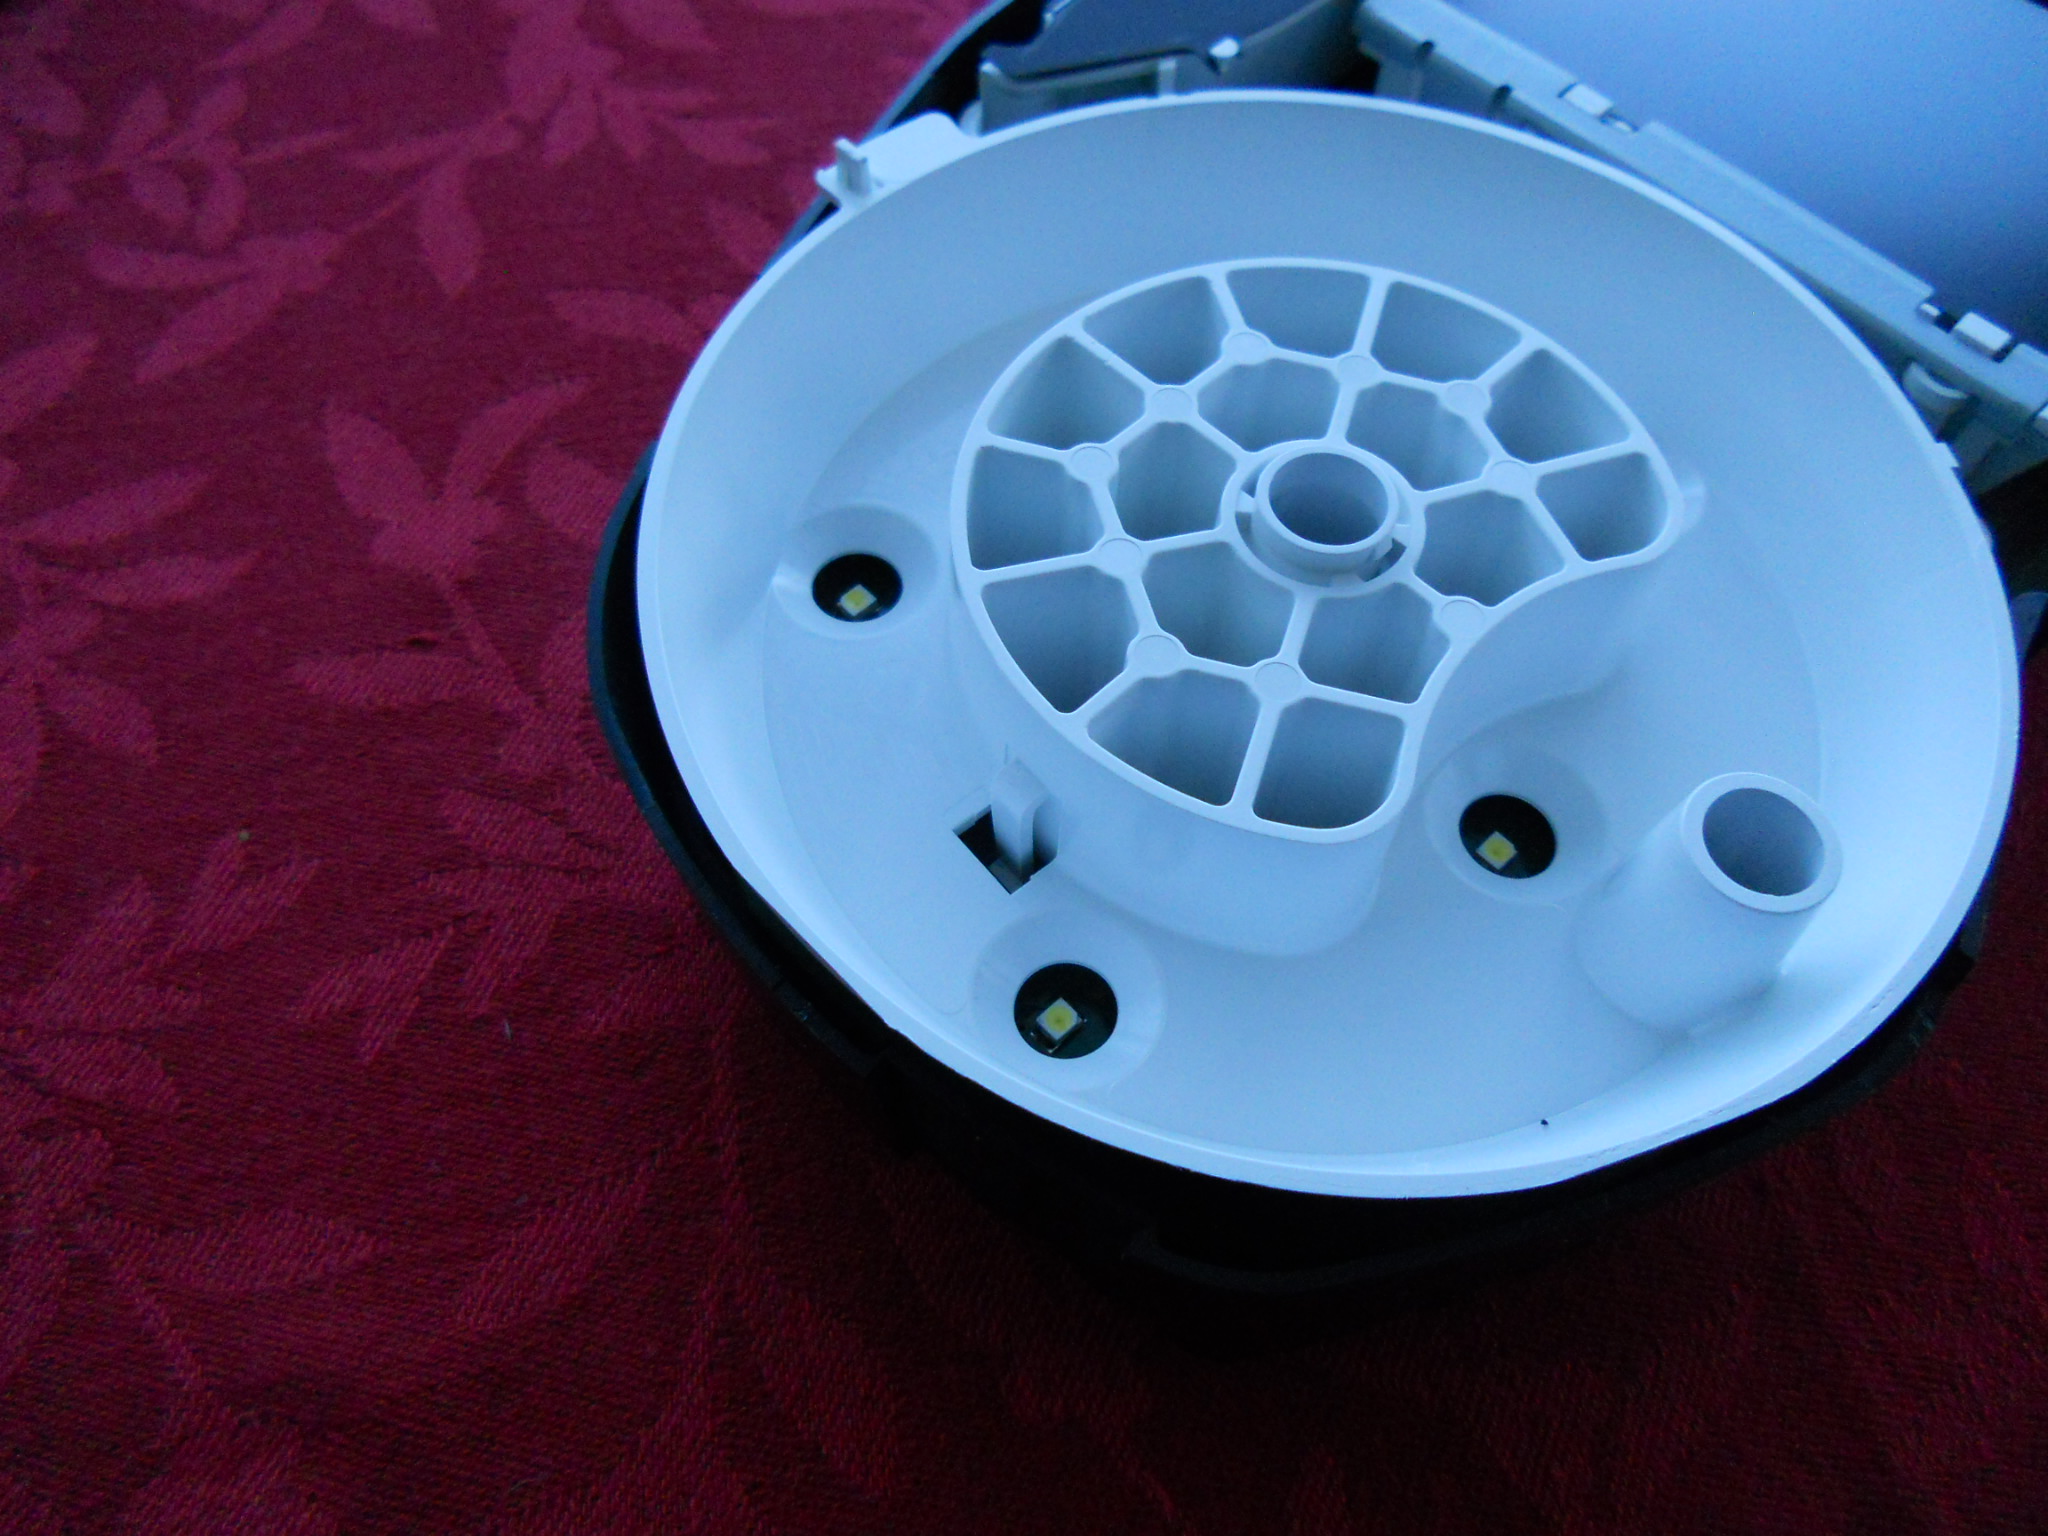
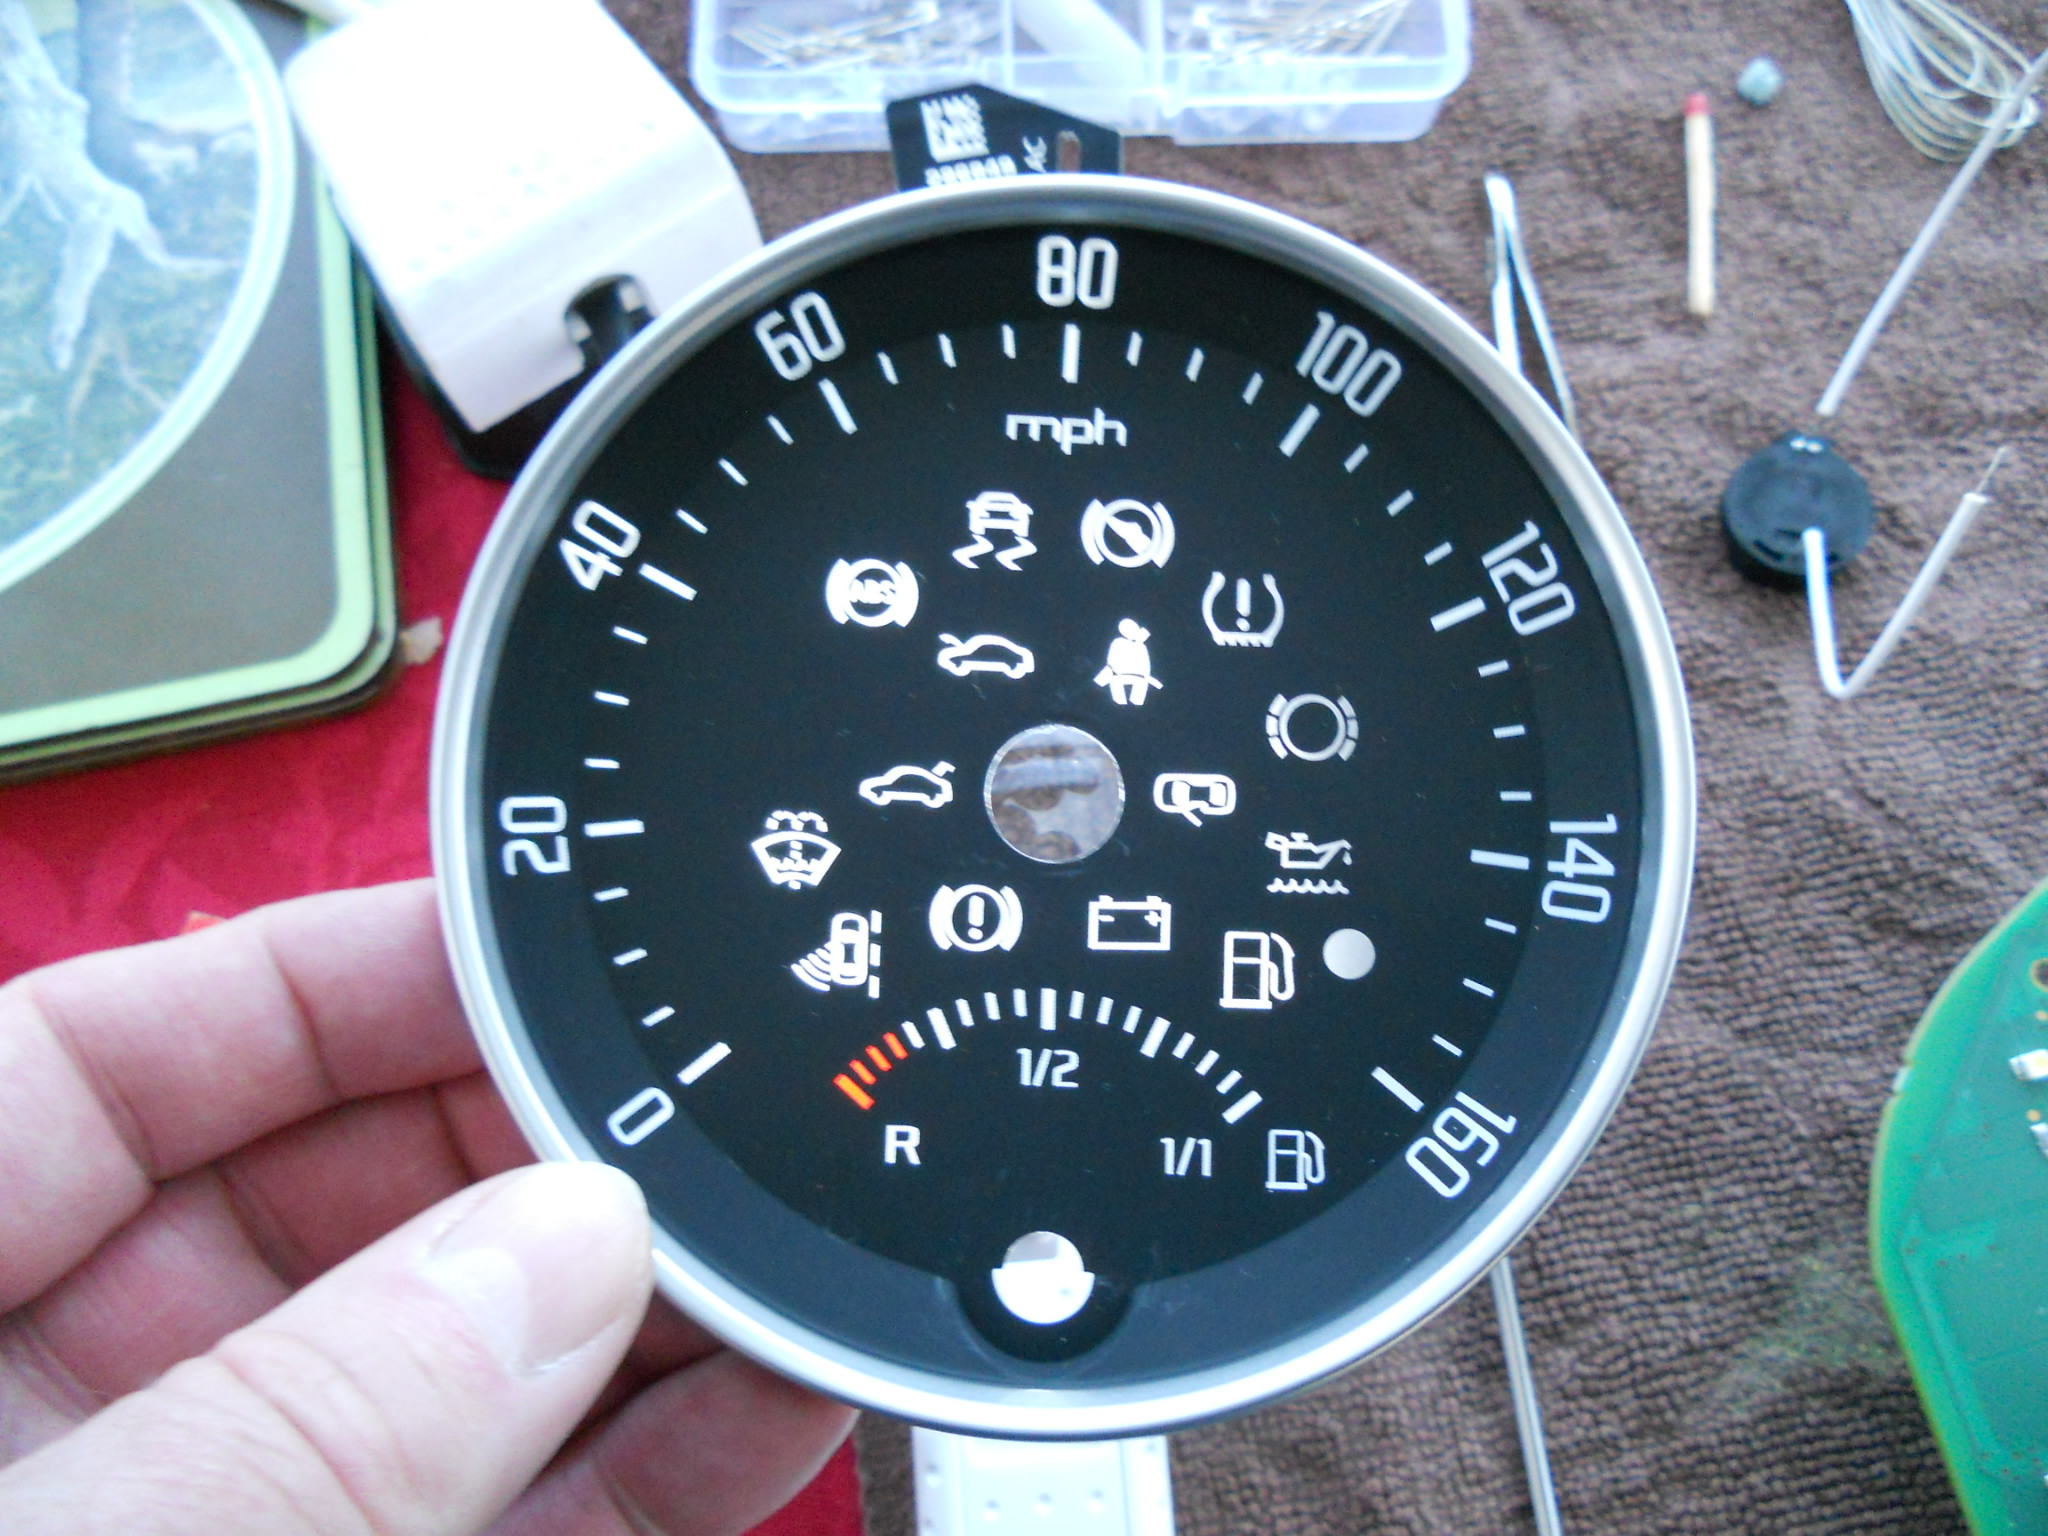
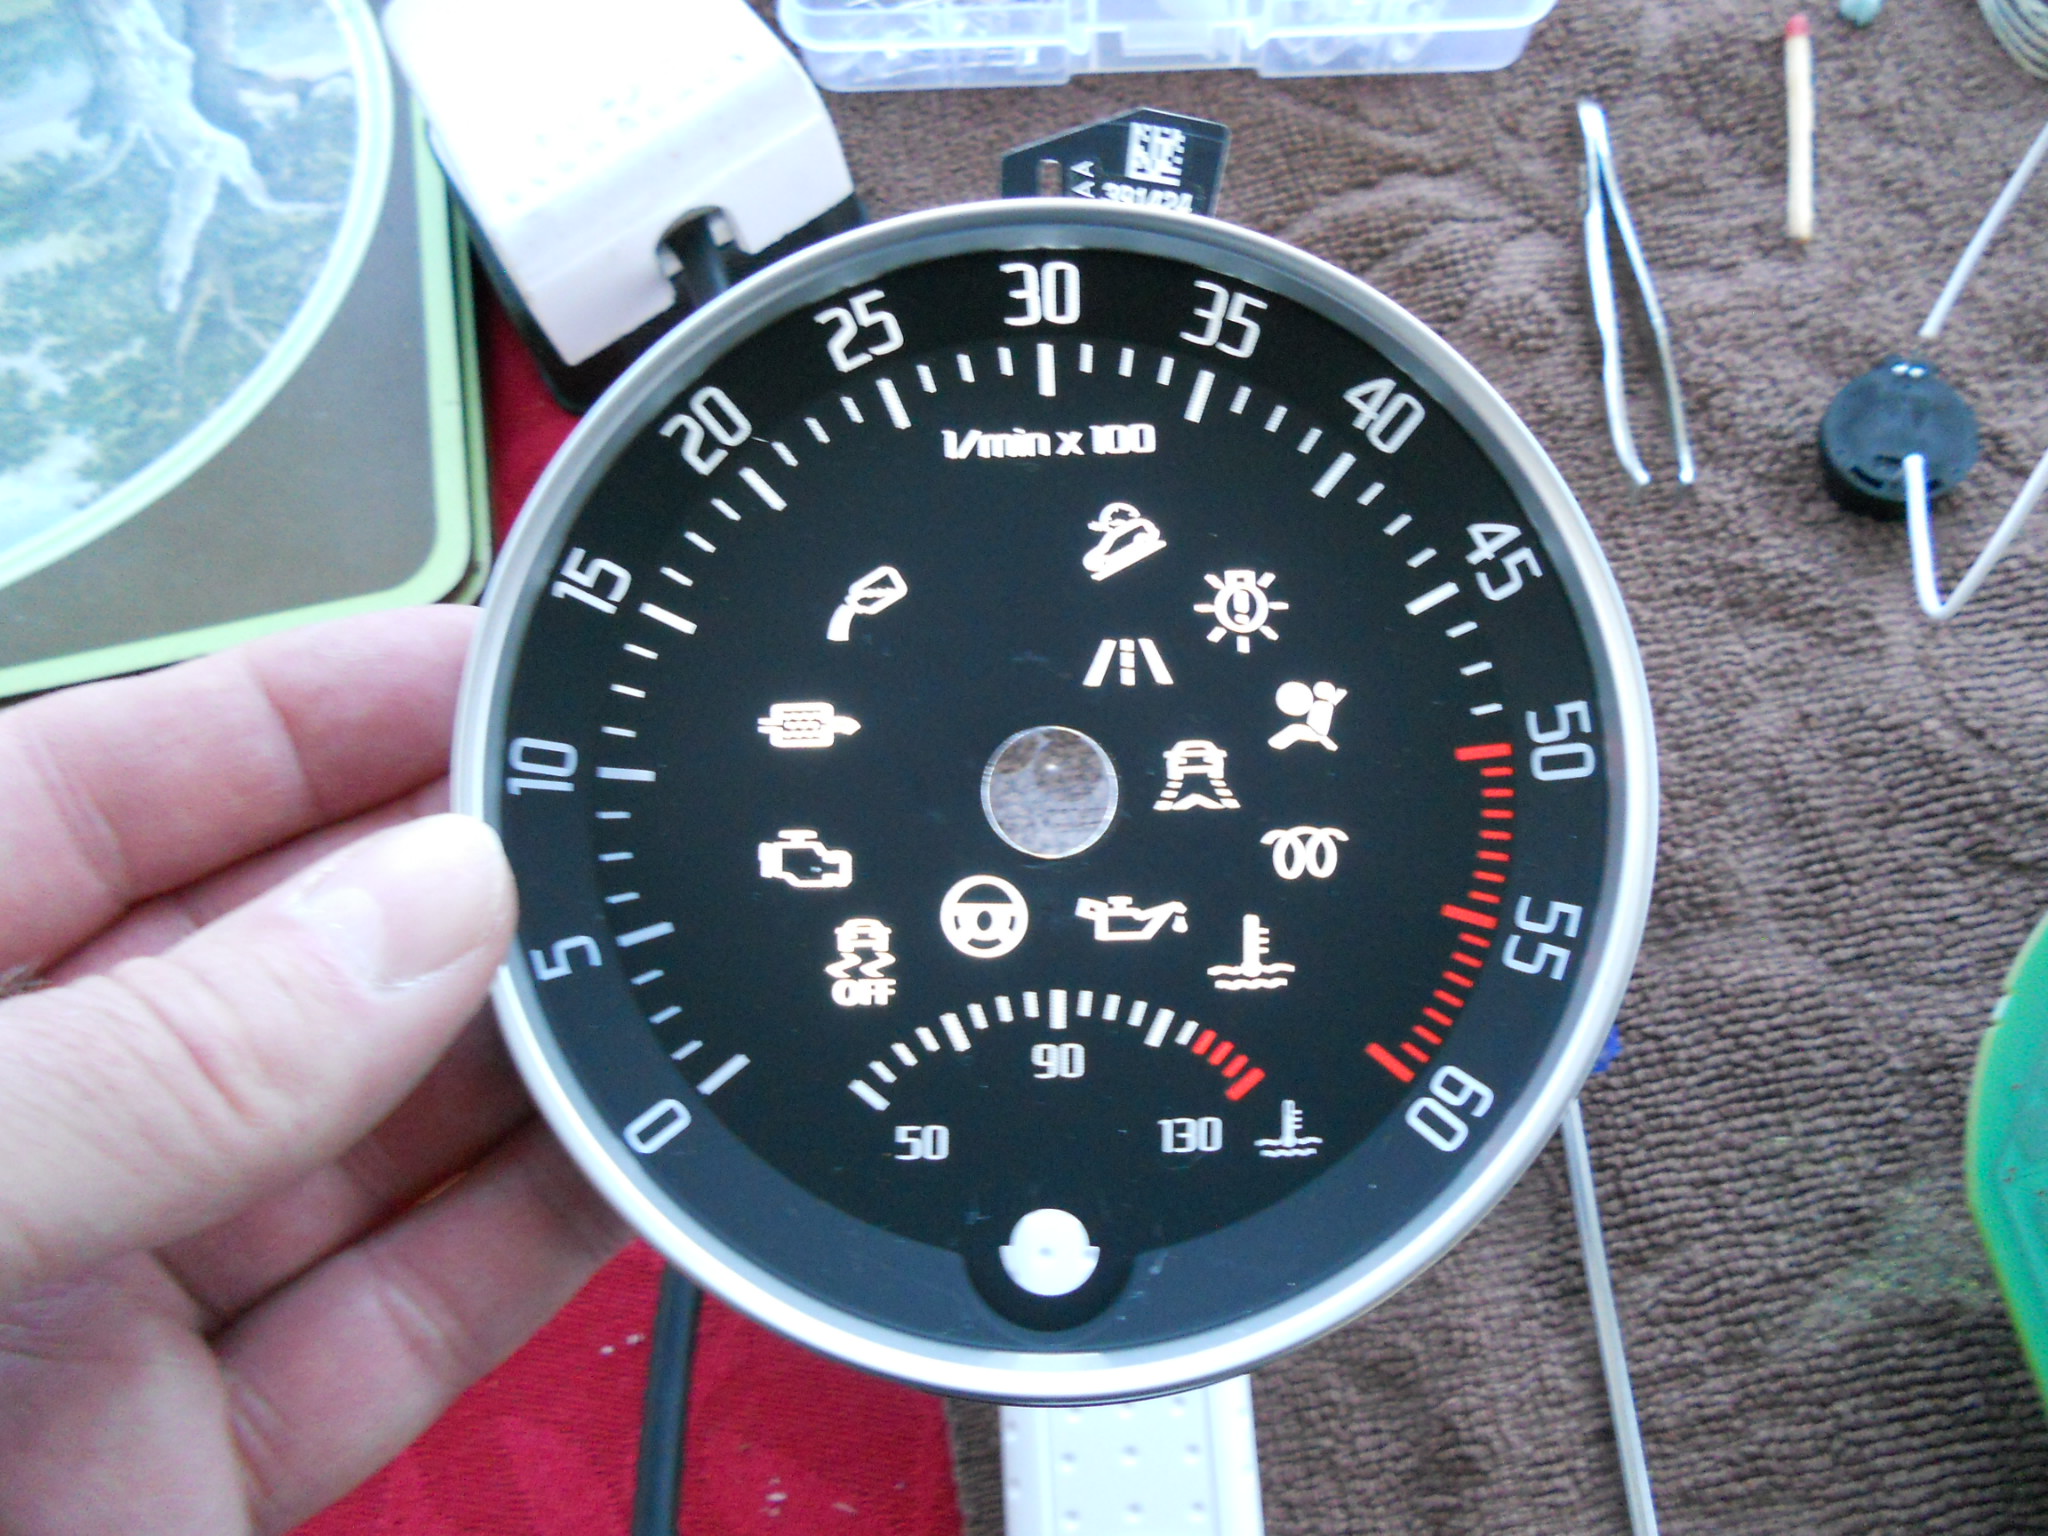
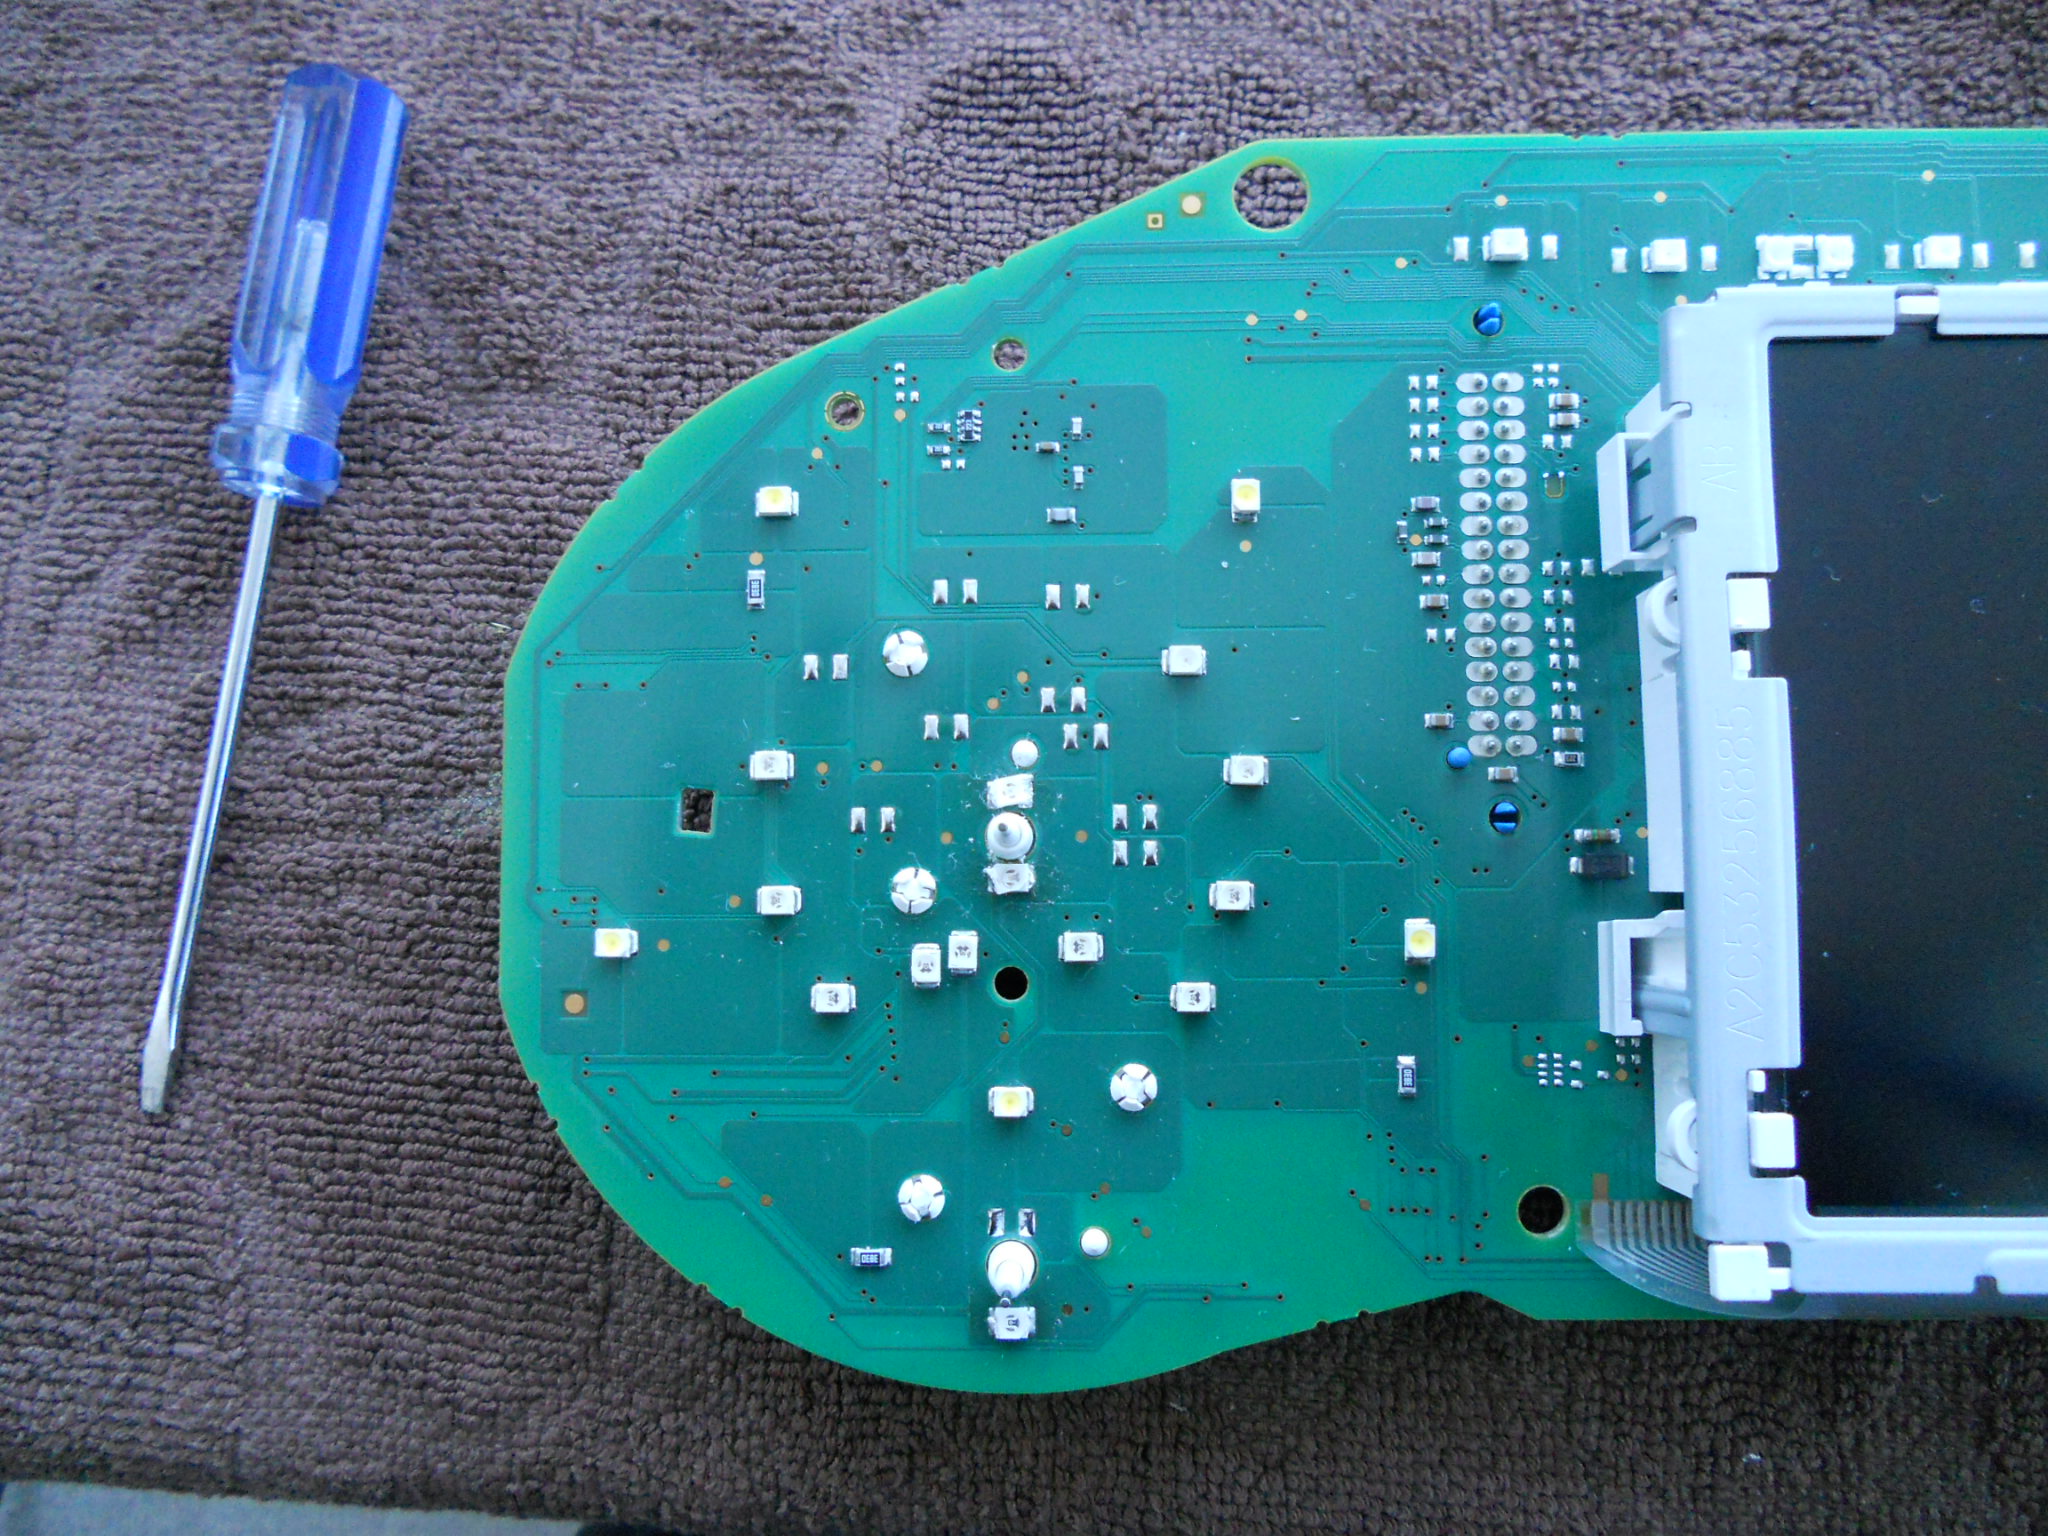
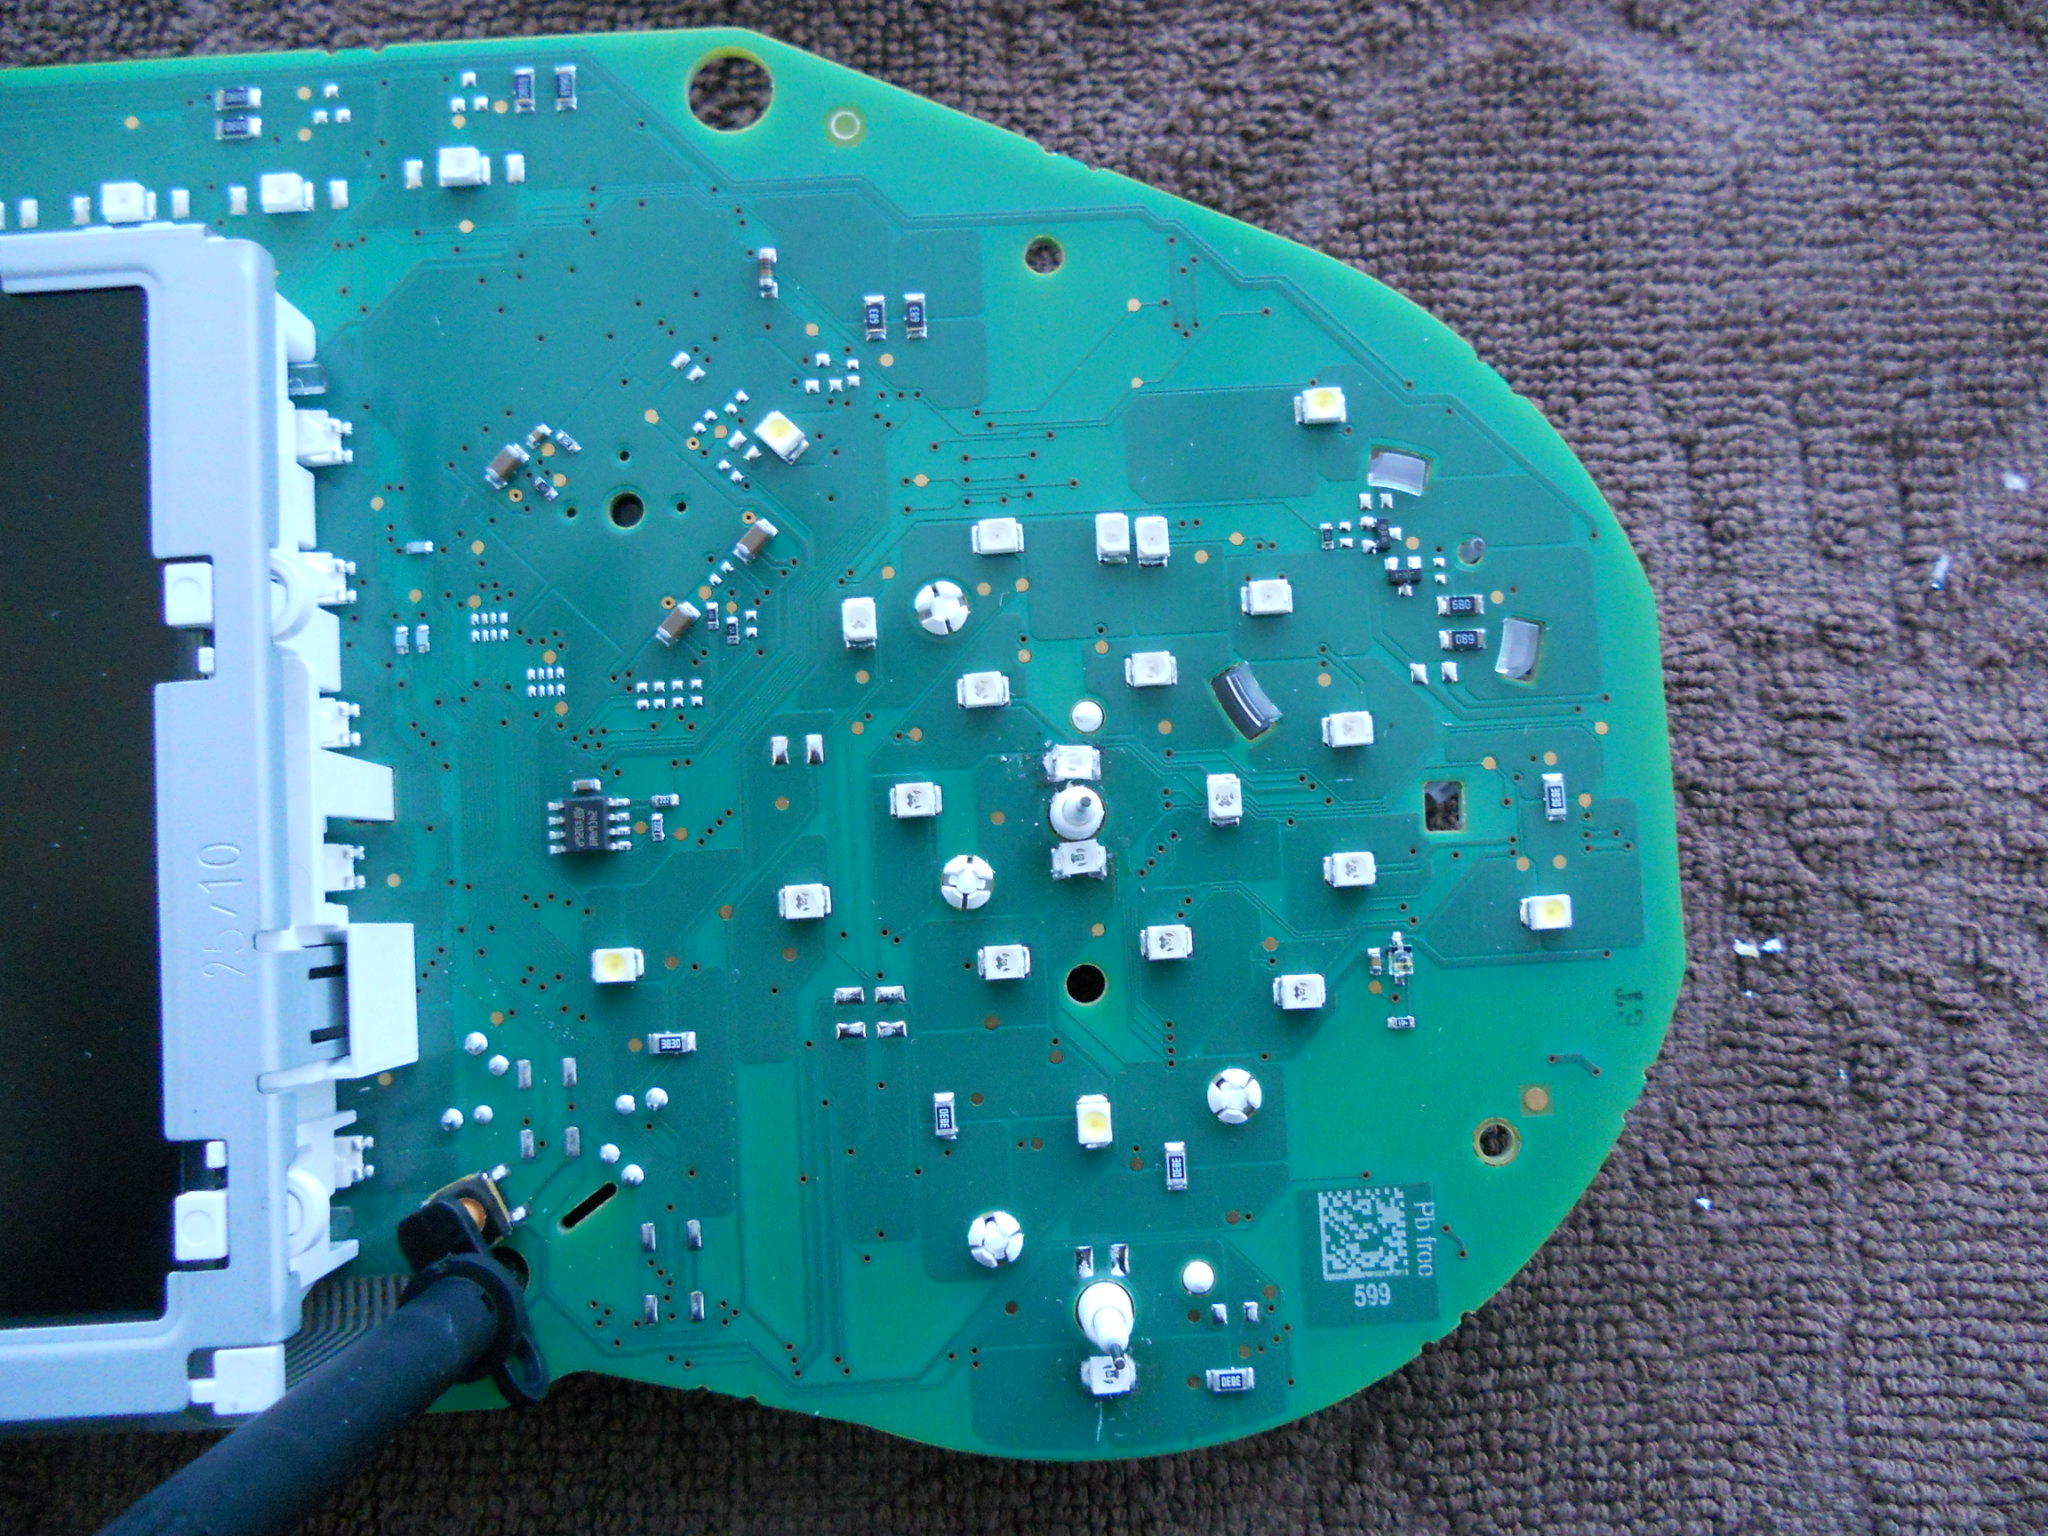
thanks will i be able to edit it to link photos to text etc?Hi all Had a few good tips from here so thought I'd give something back. Speedo pointer light went out after flickering for a while, it's a surface mount LED so not as easy as a bulb change. If you want to attempt this you need a steady hand, good soldering skills and a good few hours spare time to fill in, easy in the curreent climate. If not I'm told you can find people to do the job for £100+ I'd recommend you practice on an old scrap board before diving in. So here goes:- 1/ drop the steering column and extend as far as poss towards you 2/ press in the lighting switch, turn a little clockwise then pull towards you, the switch will release and pull from the dash 3 / detach from the wiring, small tag presses in towards the wires, then pull off 4/ remove the surrounding grey plastic trim, easing at each end towards you with a flat screwdriver, 2 clips 5/ same other side of the column, 2 clips 6/ pull the plastic trim under the instruments towards you, attached by cloth trim to column so just move it out the way 7/ remove the 2 torqe screws from bottom of instrument panel, mag screwdriver or carefully, if they drop you may never see them again 8/ push an old cd/dvd (or any one of the wife's) between top of instruments and dash binacle, works great to release the top clips 9/ ease unit out and turn to release multi plug, lift small tag this will push plug out 10/ on desk, remove glass and front cover, matchsticks can help hold the 6 tags open 11/ ease the 2 pegs out top and 1 bottom, back cover comes off 12/ slide 2 forks under pointers where possible, I used thin cardboard (gives better support) to protect the dials as easily marked, they pop off and do fly so expect to chase them, they pull straight off, a push fit 13/ remove 2 dial backgrounds, held at the middle by two tabs, thin srewdriver underneath, carefully work them up and off 14/ press two tabs on white light guide panel and remove 15/ the black cover now unclips so you can access both sides of the board, better access for soldering I changed the original white LED's for red, giving red pointers, considered changing background to blue, but more time needed and decided not to push my luck, the pointer LED's are on full time so must usually fail first 16/ now the fun soldering bit, i found it easier to melt one side and twist slightly, the other contact will snap off, so pads need to be cleaned up for new LED, used a match to hold them in place then heated to fuse each side, difficult to get flat and level but will do the job, make sure you fit them right way round, therwise don't work, corner notch is the clue, note before you work on them 17/ reverse order to rebuild, I connected panel to car first and checked all ok Only prob i have now is fuel is reading empty! might reset itself Hope the photos help, will update where needed soon and pic of panel at night Regards R
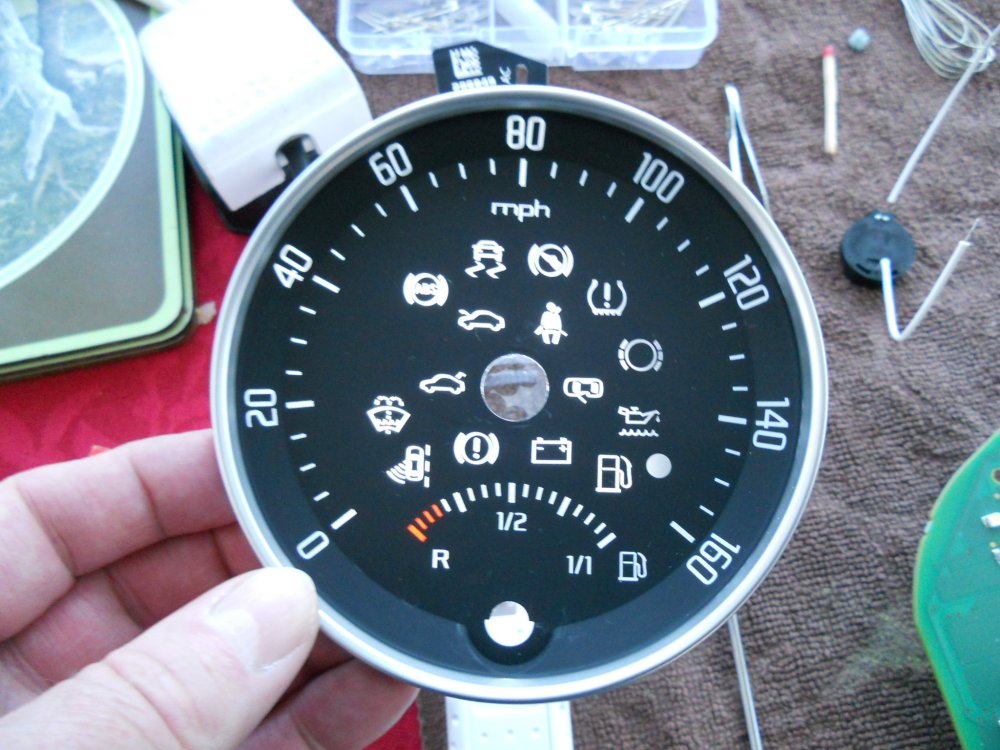
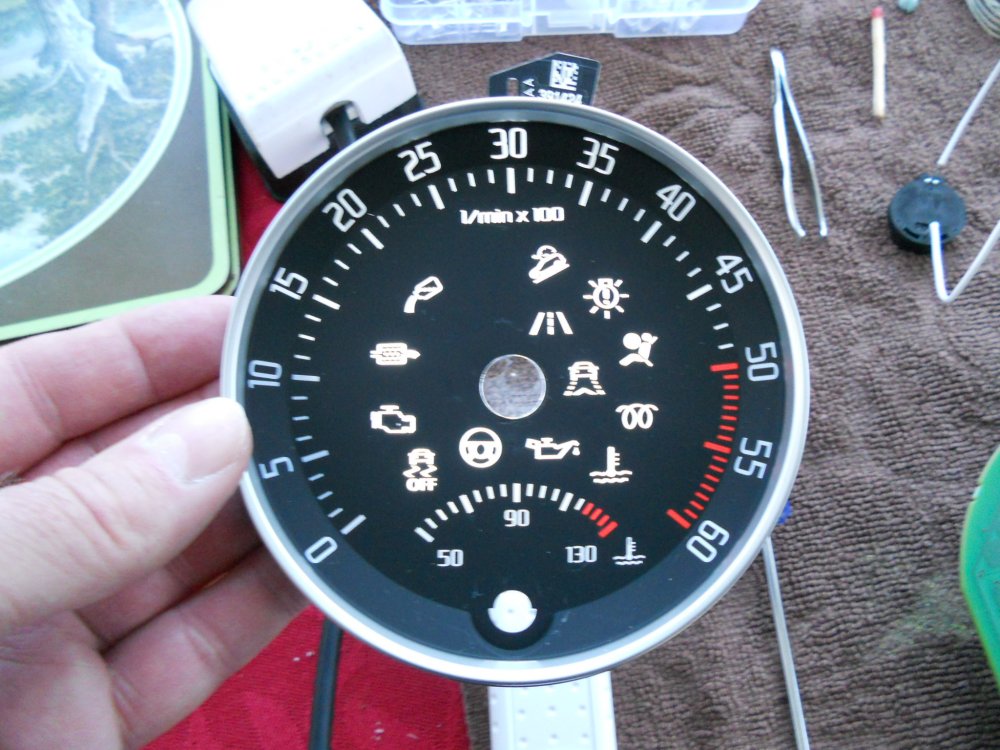
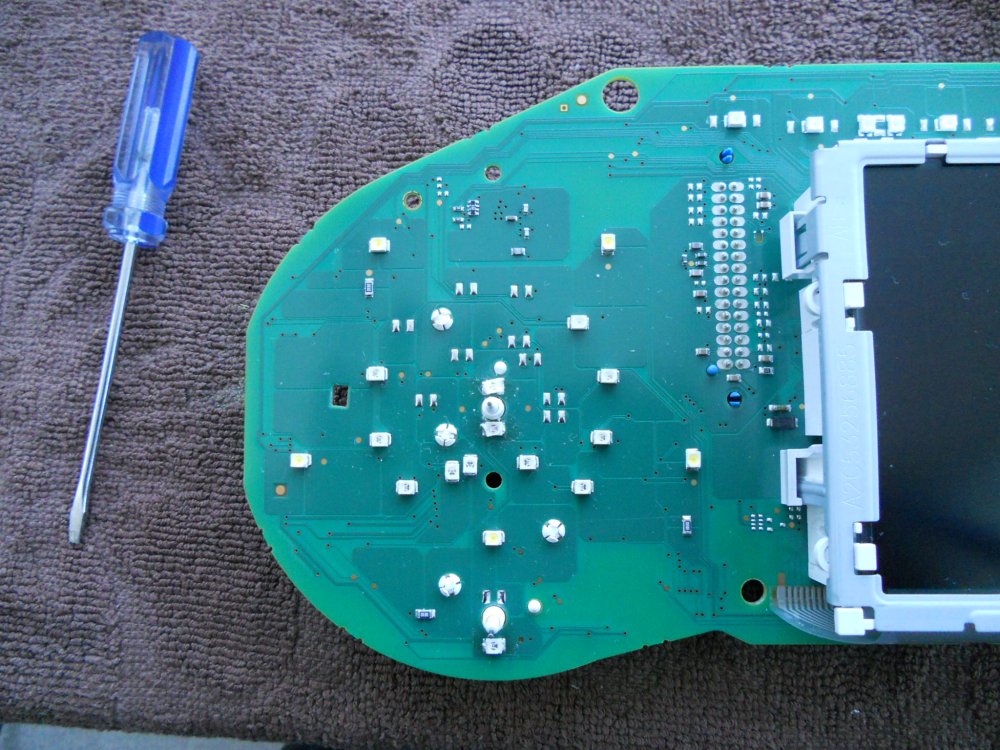
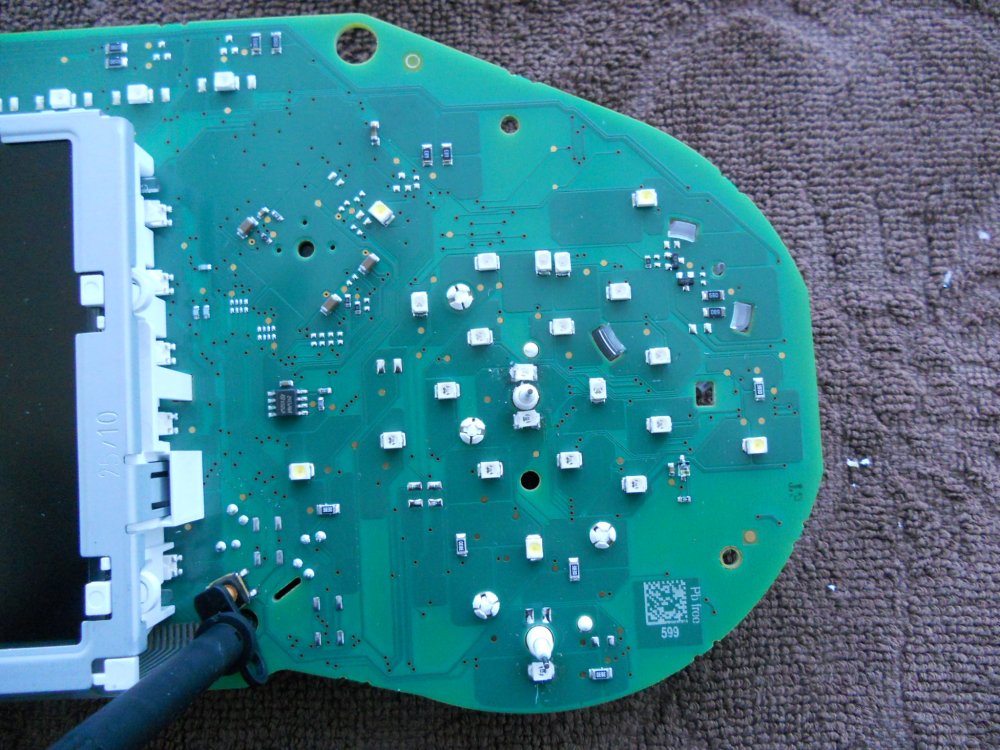

Important Information
Welcome to BRISKODA. Please note the following important links Terms of Use. We have a comprehensive Privacy Policy. We have placed cookies on your device to help make this website better. You can adjust your cookie settings, otherwise we'll assume you're okay to continue.