Jatra
Finding my way
-
Joined
-
Last visited
-
Great! I'm going to have some time to solder it maybe tomorrow or later on this week. I planned to use the angled connector piece from the new motor and take the old connector from the circuit board, then create some frankenpart out of those. This way I don't have to cut wires and it's hopefully going to be easy to use and sturdy. There is 14 pins on both, so should be doable. Should bring you a six pack or something next time we visit my wifes relatives in UK 😅
-
For reference, there is the part I removed and one I'm struggling to fit. There is no single digit right on the old one, and seller told me that it was fixed on a car electric's shop. Woldn't recommend that shop.
-
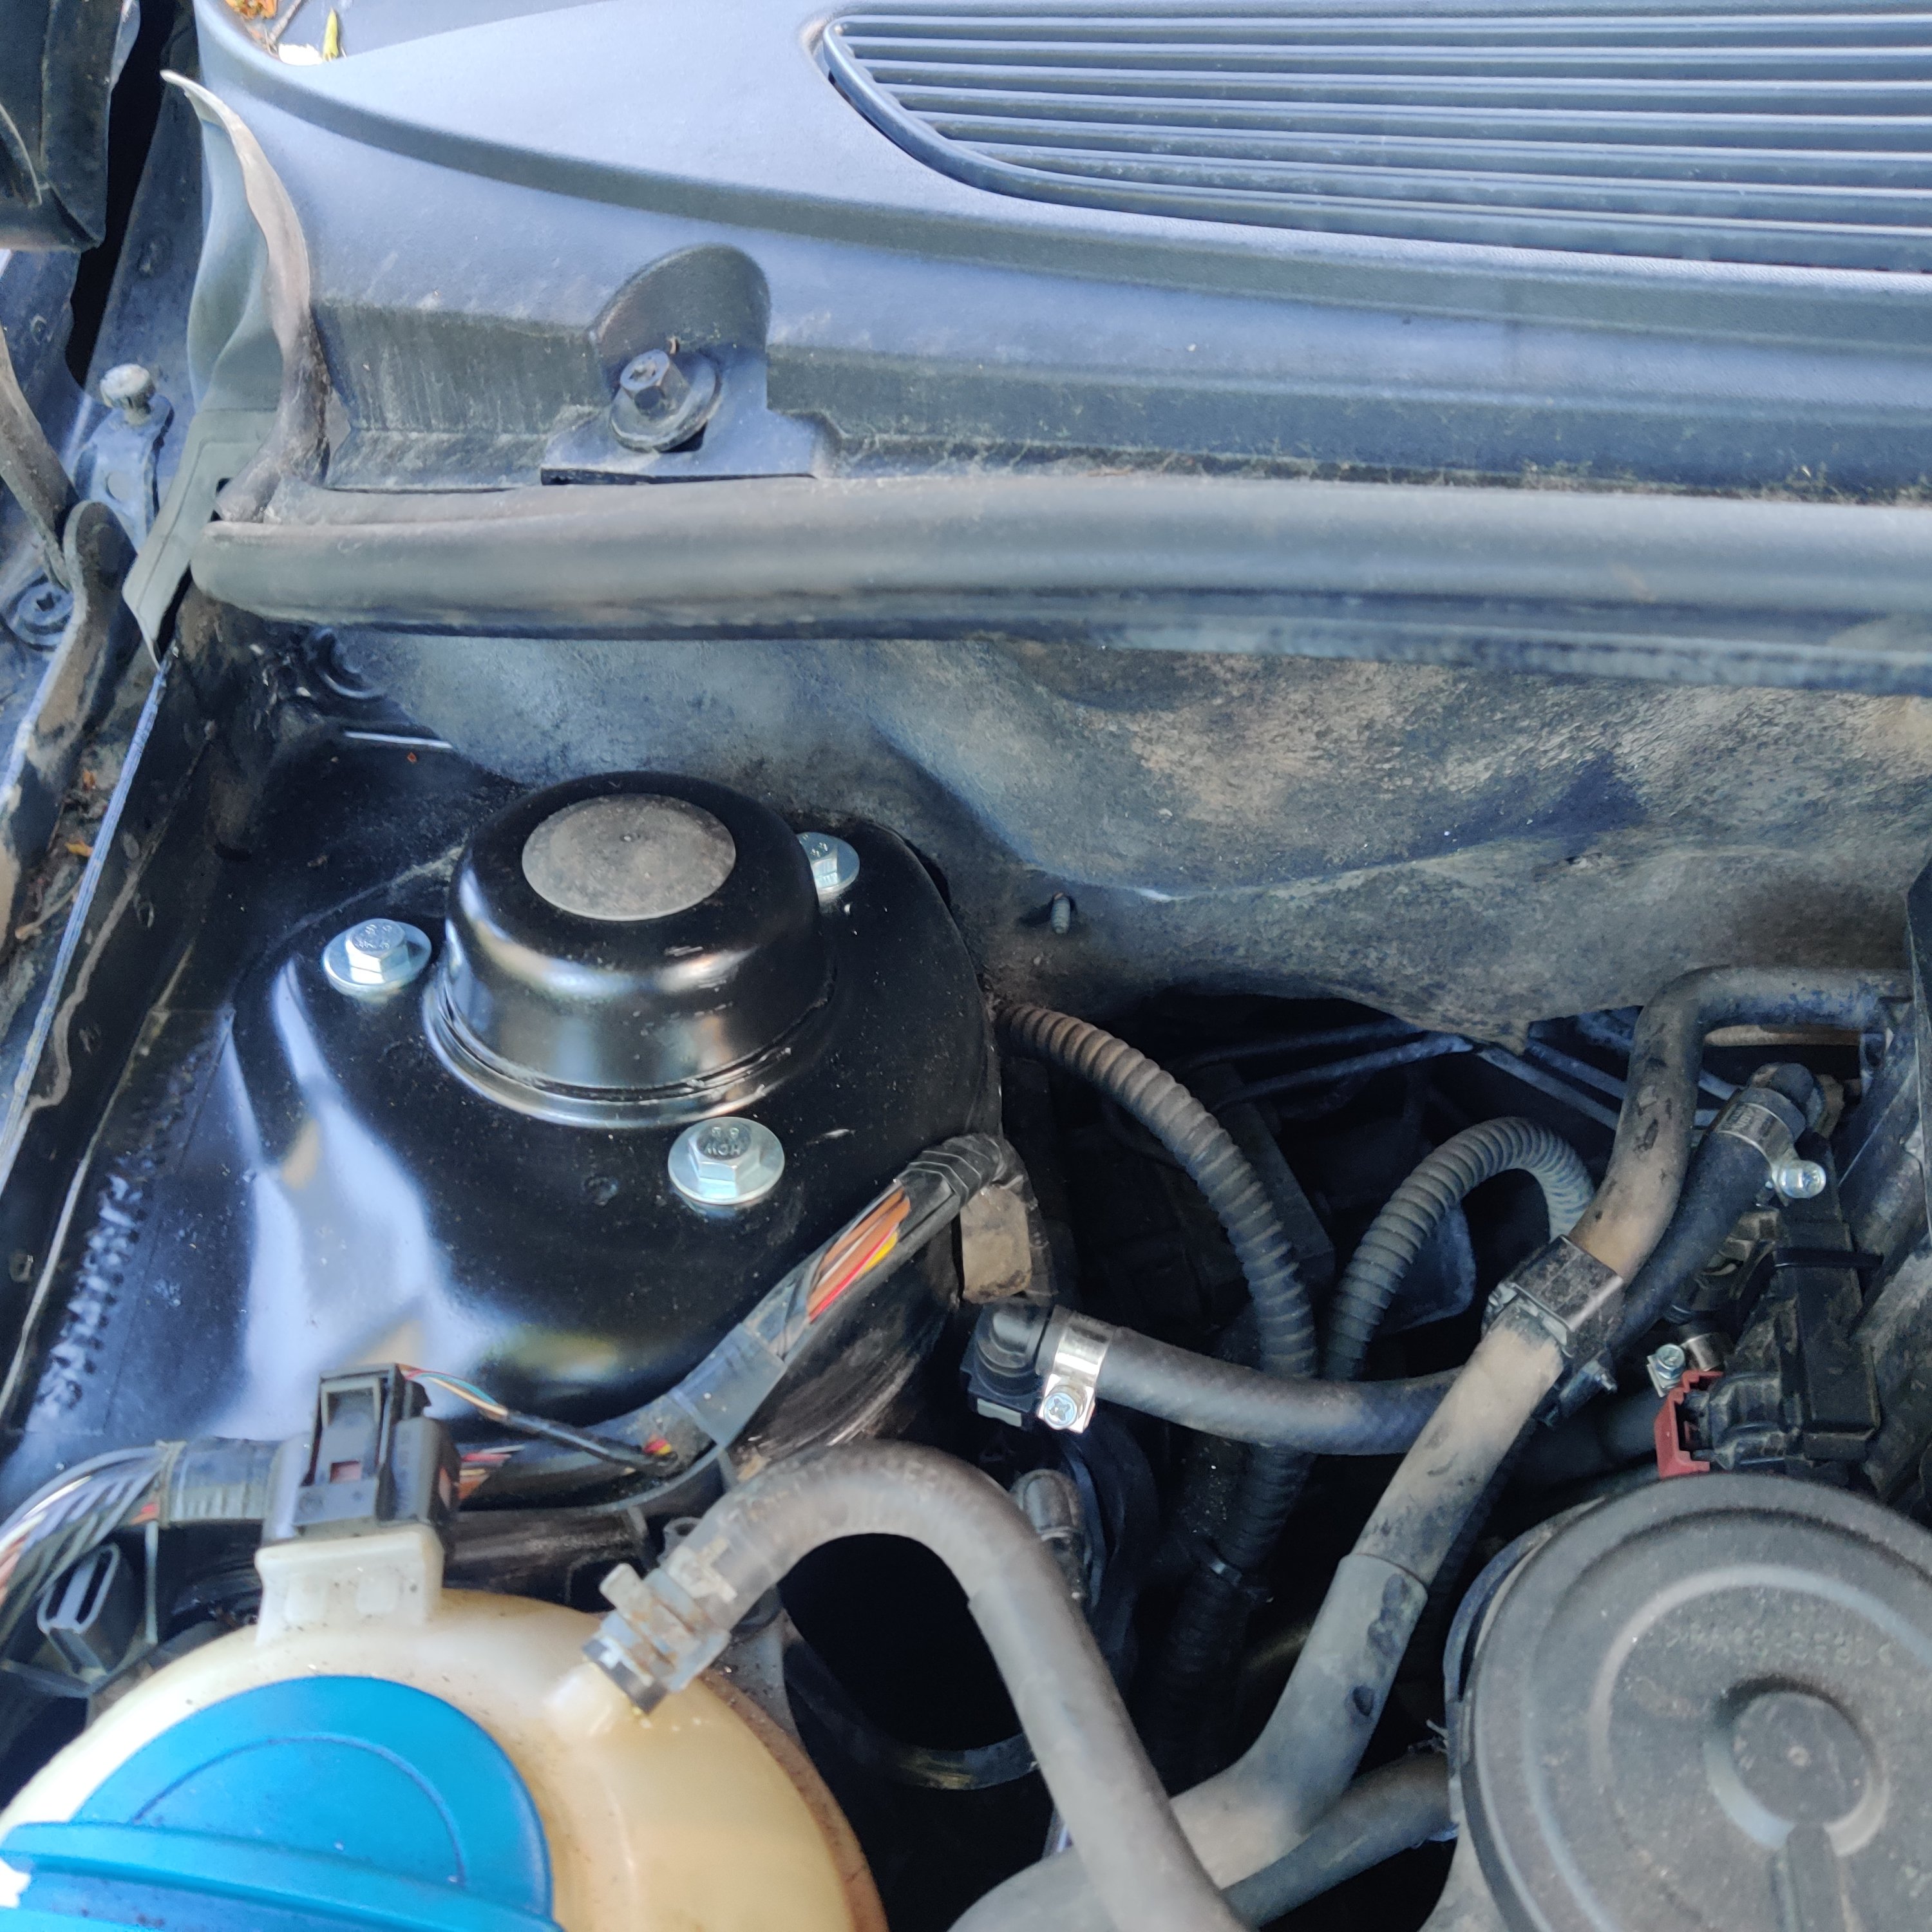
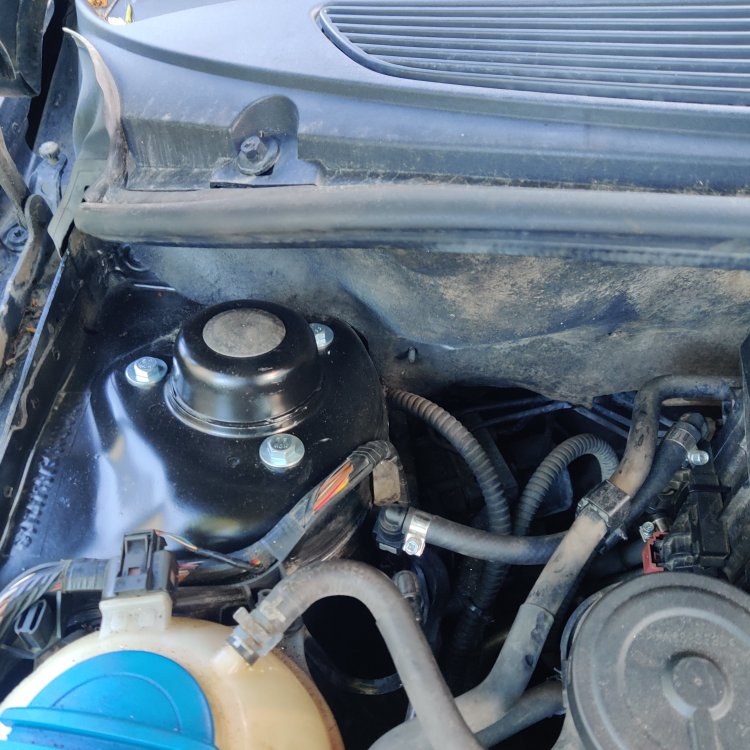
Hi again! Roomster is still kickin' but needs a lot of attention here and there. Since the both of rear window lifters failed recently and I have spares on the go, decided to remove wrong driver door motor and change the right part there. Well, that seems to be not so easy, as Pete told, so wiring diagram could bev extremely helpful, if anybody do have it?
-
Thanks for a extremely fast and informative answer! That sounds perfectly doable, so I have to look for a connector to match and a wiring diagram.
-
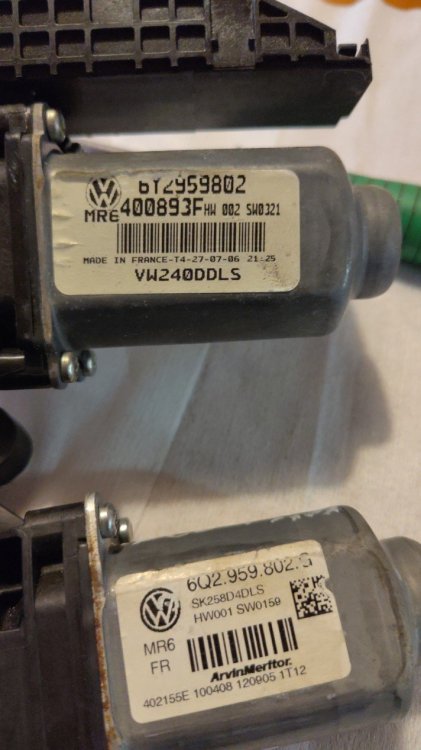
Hi again, Pete! I managed to find a motor with matching second line, and this is definitely from Roomster with 4 power windows. Anyhow, the first line is wrong as it's 6Q2.959.802.G so is this any use for my car? If this is from too new car, I assume the operating protocol is different or something like that?
-
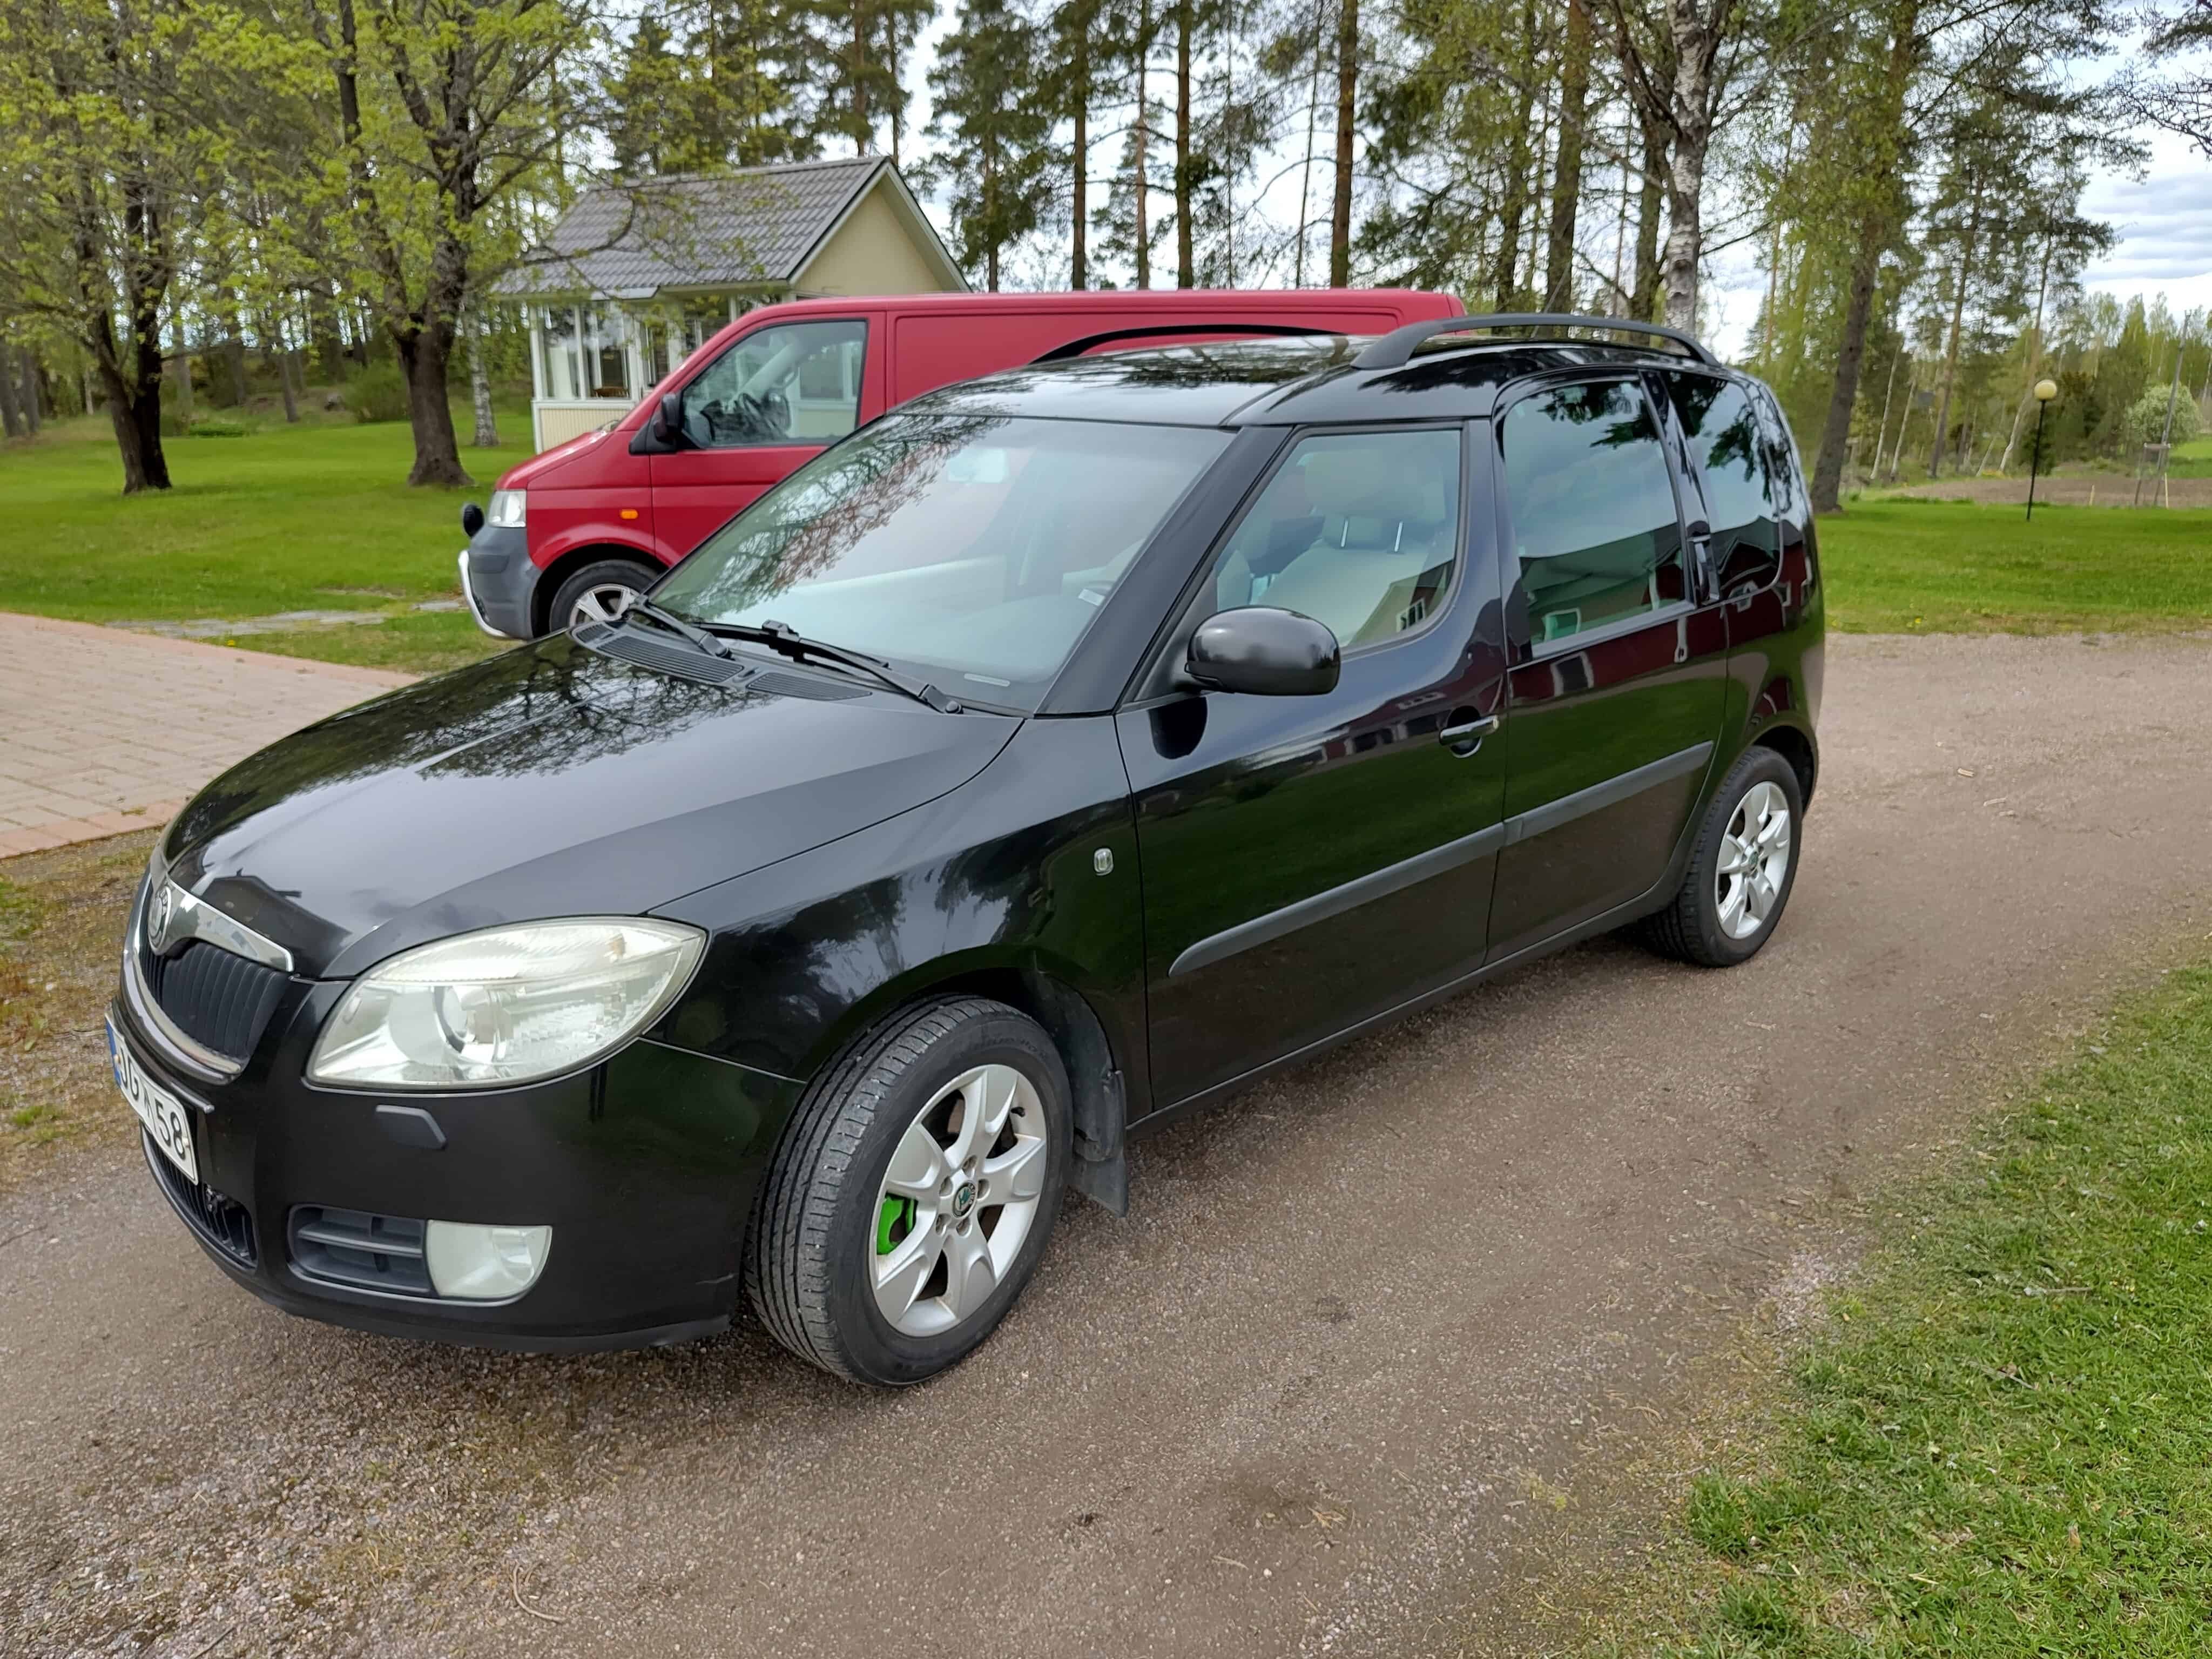
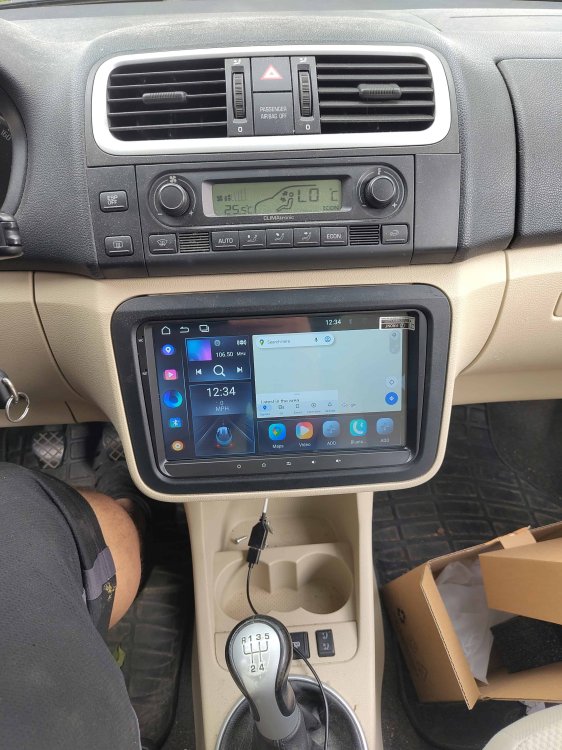
Little something here and there. At last I had some inspiration for make up, have to admit that I managed to fake it look better than it is. There is some rust on the skirts which I brushed with rust off and then old trick with Black Magic Turtle wax and rotary machine: Headlights should be polished and licence plates and Škoda-badges replaced with new ones to refresh the looks a but more. To bring the infortainment system to the date I installed Eonon VWX7 Android head unit: This seems to be quite good for the price, don't know for the long run. It was cheap, so I don't have extremely high exceptations, but it' s definitely an upgrade for the ease of use, like fast connection to phone, large screen for navigation and handsfree calls with working steering wheel controls. I've ordered some bushings for front and suspension rear, to get rid of some annoying noises. AC have leaking pressure switch, that's one thing that I don't have tools and knowledge to fix, so that's going to be a visit to a shop next week. Hope it's not going to be very hot until that.

-
Long time no see, but I still got the Roomster alive and kicking - even got it inspected with only one note about a dead rear light bulb. I ordered an cheap 9" android infotainment system to keep oldie a bit more up to date (could add something about that to project thread) and to have some more bells and whistles. I'm planning to change the speakers too. I do have some reasonably nice used Audison 3-way speakers already and while there is oe place for tweeters, those are nowhere near optimally aligned, should be noticeable improvet to make proper tweeter pods to sail panels. Then the question: where is the high pass filter of the original system? While I could run new cables all the way from the player to doors it would be lot less hassle to use original cables. To do that, I should disable oe tweeters and their filter, but where is the filter? And yes, the original system is 2-way, let see if I have enough motivation to craft some place to dashboard for midrange. If not, then I'll go 2-way way.
-
I don't know anything about regulations in Poland so firs thing should be to contact your local inspection station. Technically I' m quite sure this could be done, if you have like moderate experience with cars. Someone could maybe tell more about electrics, I don't know how much the ecu is connected to other electrics of the car, I've swapped engines only on older cars. You should have harness diagram to check everything out. Via the vin numbers of the project car and the donator you can check the parts numbers and get to know what are the differences and similarities. It's never a fast and easy to swap different engine to a car, with enough preparation you could make your decision if it's worth it. There is no factory made Roomster VRS, so could be a nice to have one of a kind!😁
-
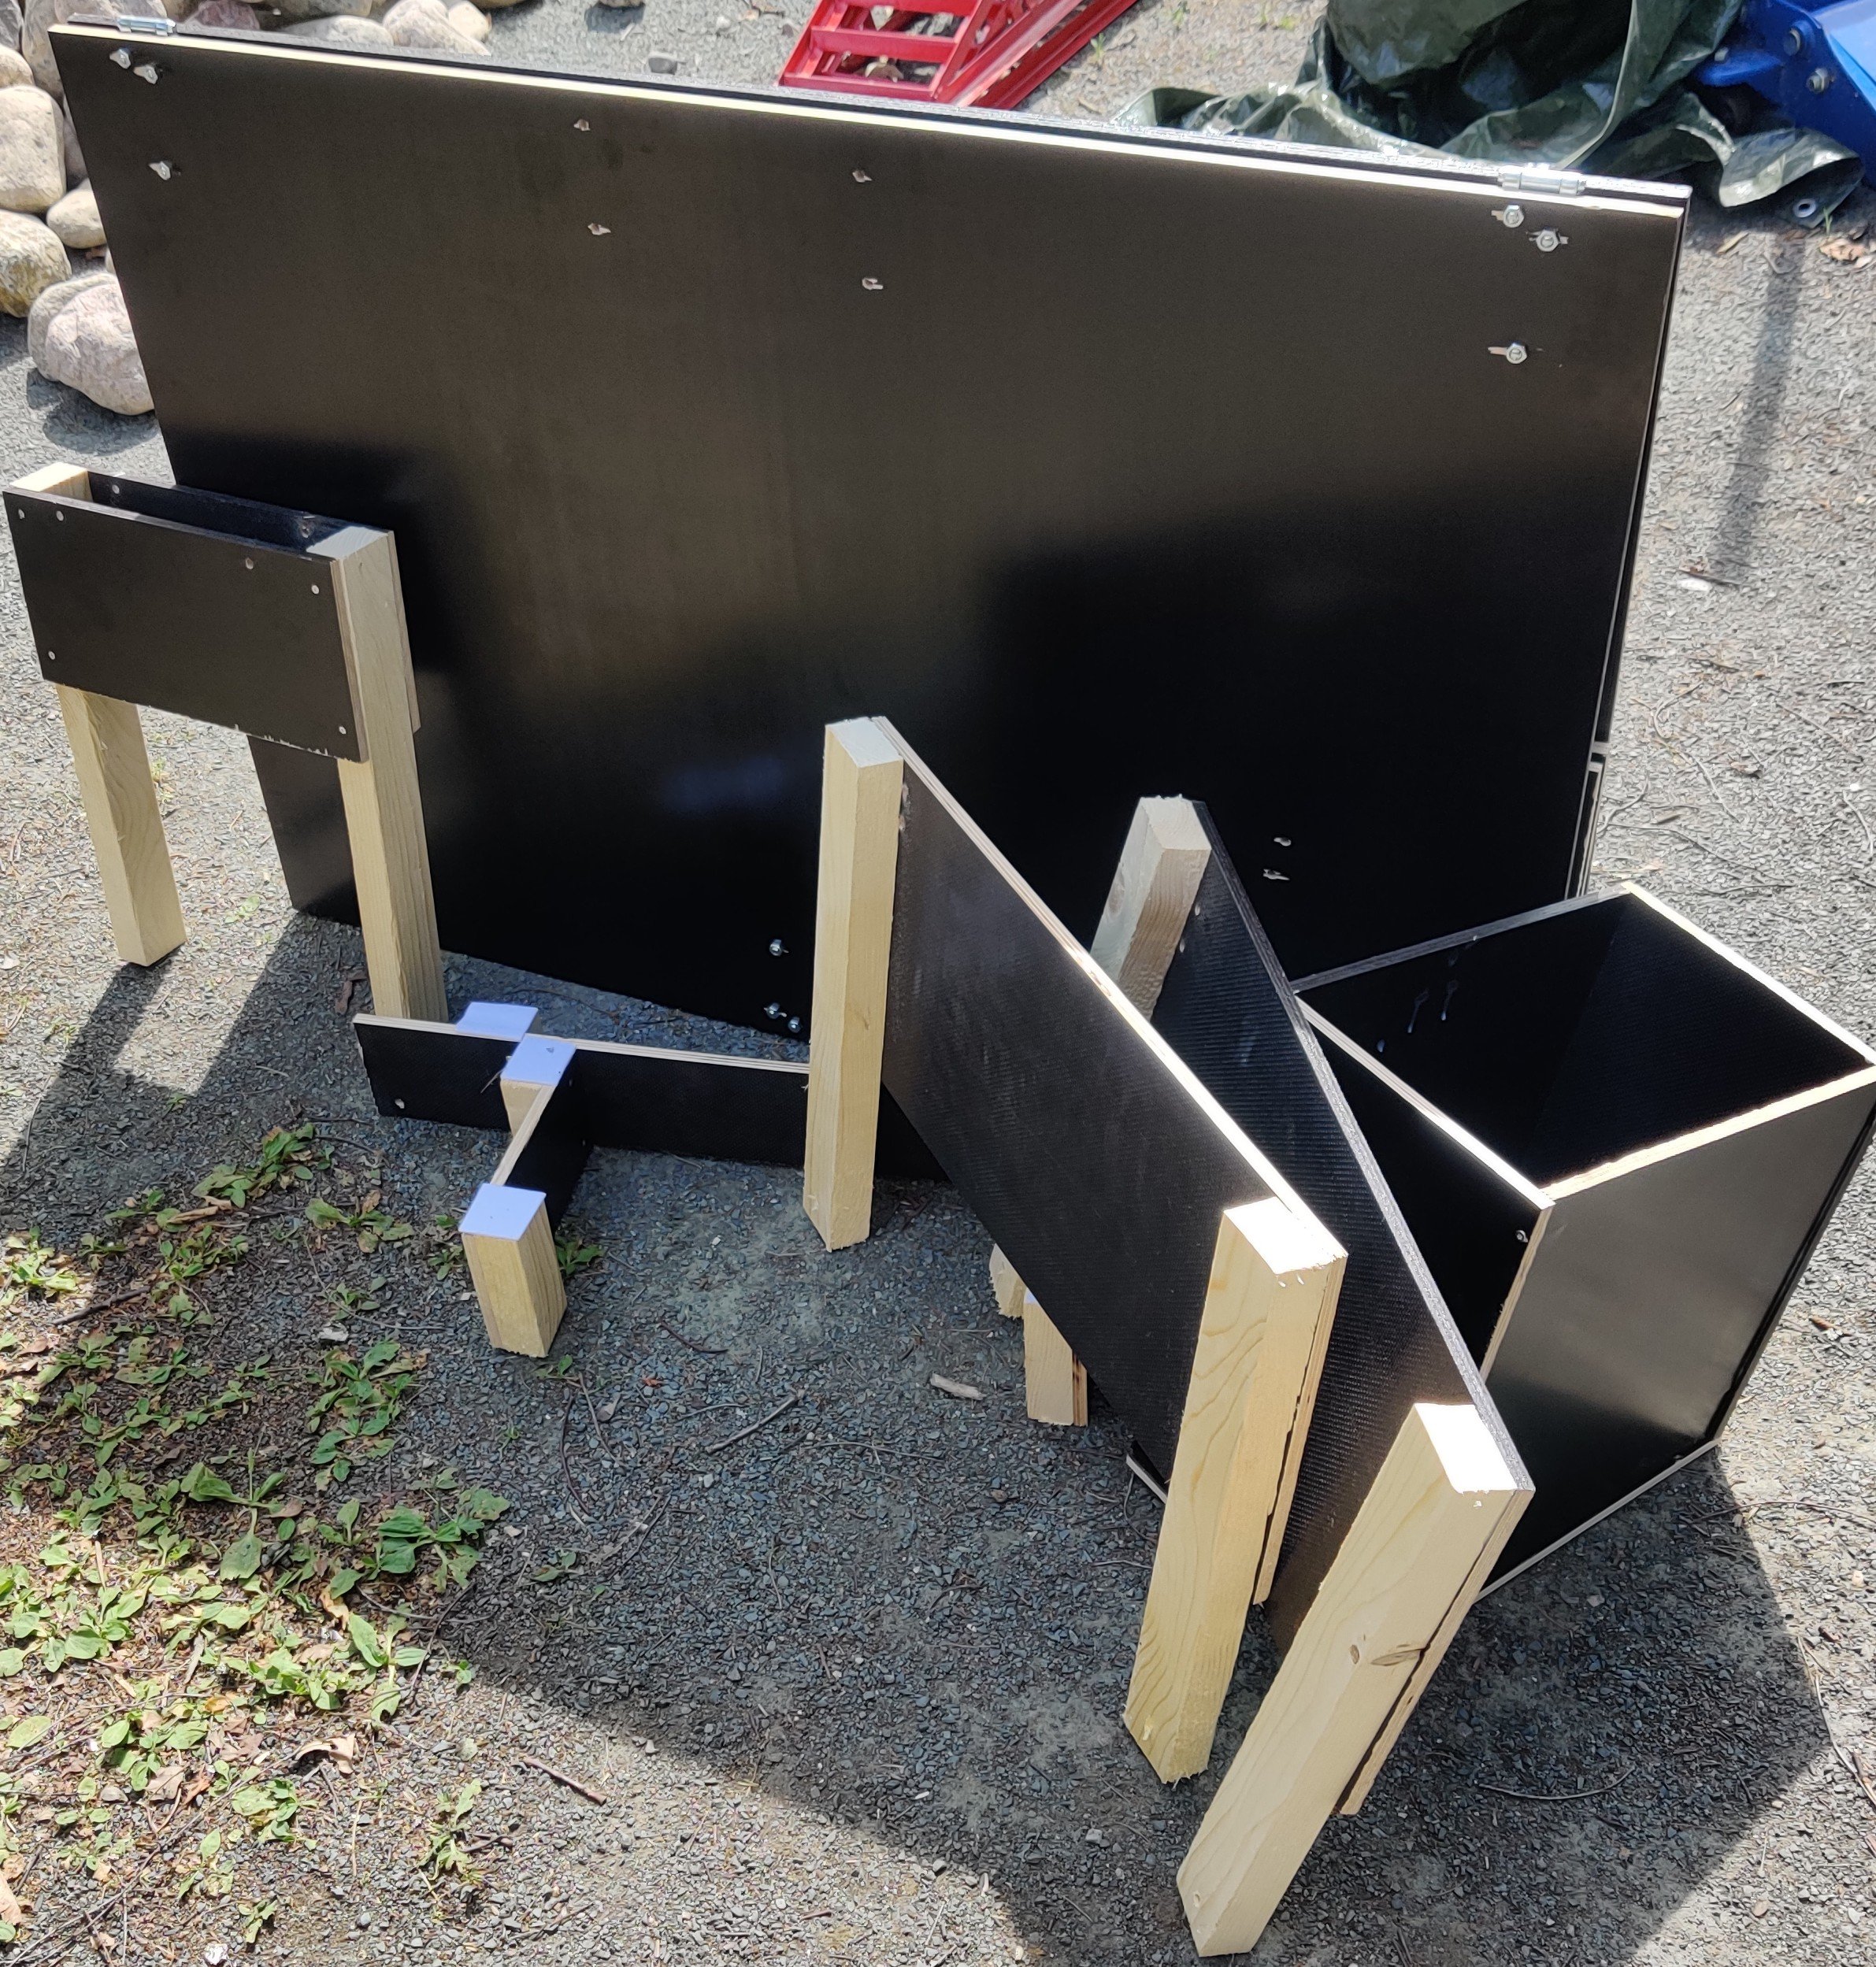
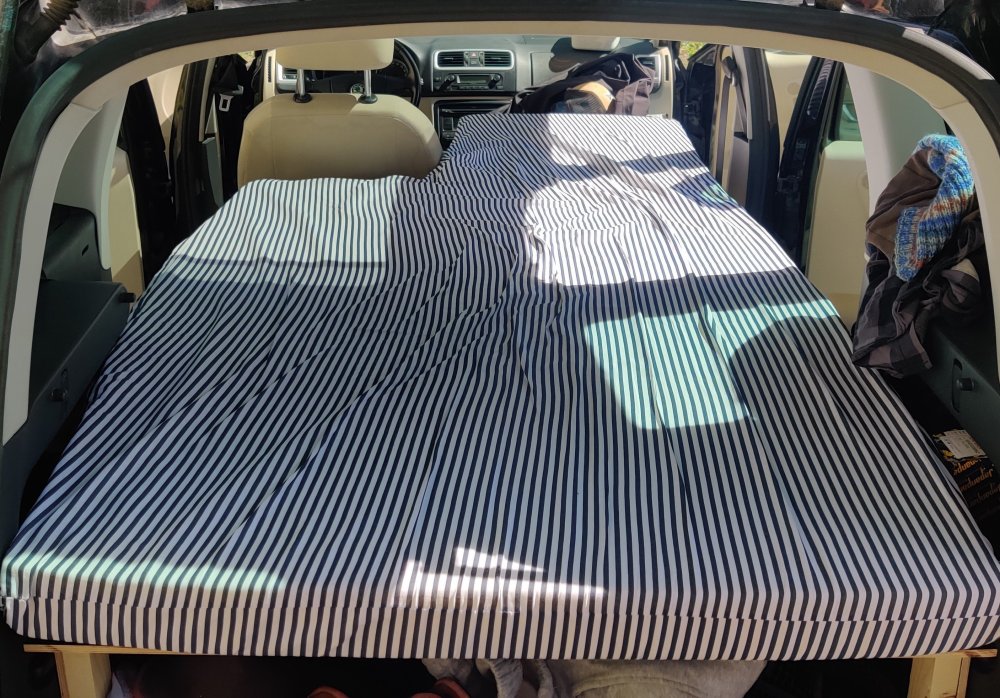
Last week I made a light sleeping equipment to be added to Roomster as needed, and during the midsummer I made first three nights fly fishing trip to north east. Everything worked quite ok, middle frame wasn't sturdy enough so little bit of wobbling while climbing in, and the bed plane didn't stay levelled. Bed was straight enough for sleeping, so not a biggie. Because the car is used mainly on other duties, the camping equipment should be easily removed and stored, so I made it mostly foldable. The parts are attached with one gargo cloth and few zip ties, so its quite fast to put on and take out. With everything on, there is plenty of room for sleeping and stuff needed. Bed is comfortable for one, maybetoo for two very small persons or persons who like to sleep very close together. Main area is 100cmx140cm and the add on on the passangers side is 60x70cm so it's quite nice. I wanted to make it driveable while the bed is on full size to avoid hassle while changing locations, and you don't have to do a lot of setup. The add on is foldable to give normal room to your right shoulder while driving. I'm going to make some little upgrades, but the basic idea is good enough now.

-
I fought with those few days ago, too, so I feel you. My decision was to let rear carriers be, as those can be serviced as is. If those have to be took apart, warming it up with gas burnet till it's red hot and opening the bolt after that is the way how shops do it. Another fastlane is to cut those with grinder, but then you need new carriers. After all, you managed to take those off, so congratulations!
-
I"m quite sure that almost anything from local hardware store is more cost effective than wrapping. I've never done it, but did a bit of research about that, just for same purposes. Could be easier to say, if we could see some pictures about what kind of damage there is. About rattle can work, it is as well a thing to learn, as a beginning you have to use enough of it to have a proper layer, too thin layer is worse than some leaking. You can always correct little leaks with water sanding and polish paste, if you have time but want to go cheap.
-
If you have laquer damage, it's possible to fix to be quite ok with 2k rattle can clearcoat. If there is rust, it needs to be sanded all away, fillered, sanded, primed and then painted - first colour, then clearcoat if it's metallic. With matching vinyl wrap you need all that filling and sanding too, and it's much more difficult to find right colour. Wrapping won't make it amy easier even if you find right colour, and on hood shiny wrap will matte much faster than 2k clearcoat. Won't get professional results with spray, but with right products and enough patience with foundation you can make it look nice enough, if enough is enough.
-
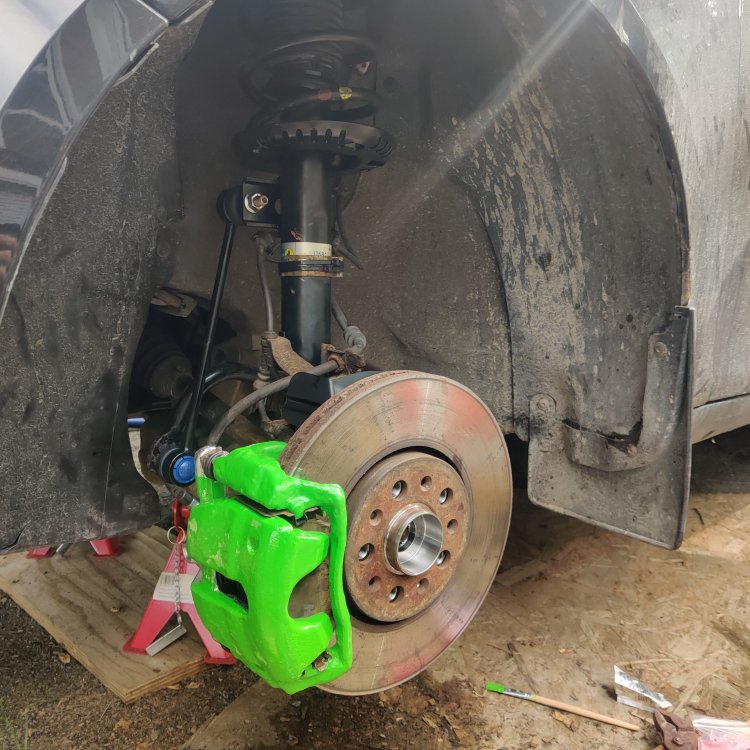
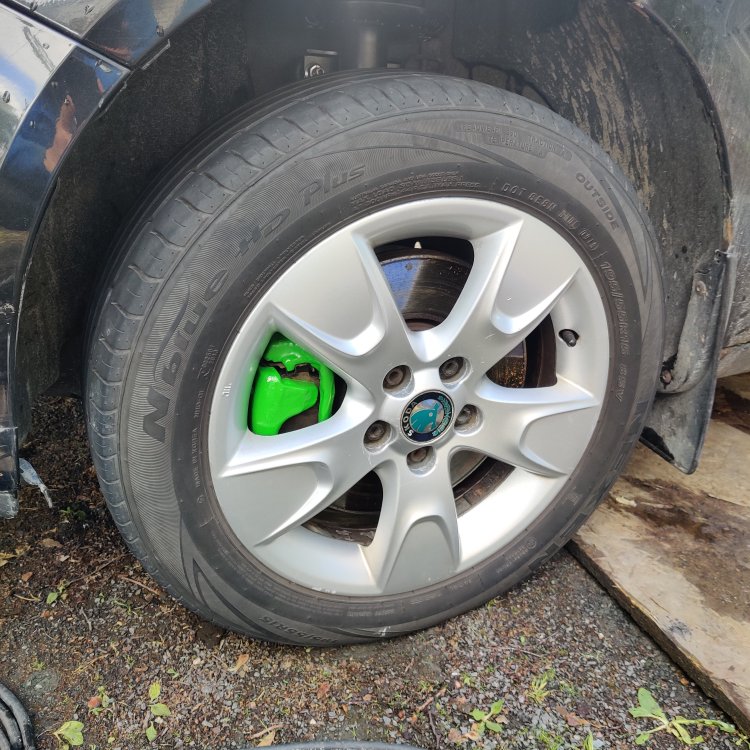
Brakes were very much stuck, rear calipers weren't saveable, so there is new calipers, rear needed just some cleaning, lubing and new seals and they are ready to go. Handbrake cable seemed to be new, but the problem was in the lever, I hope that they will stand some year or so after this refreshment before they are stuck again. As every car enthusiast knows, the colour of the brake calipers is crucial for the performance. Paint them red to increase performance or green to increase fuel economy, a well known fact. As this is not going to be a track day vehicle, I chose green - it's in the Škoda logo too, so nice match (should order new badges thou, to have that green). And then with cleaned oe wheels: Now I'm just waiting some construction guys with a digger to get out from the yard road to have a test drive to see that everythings working. At least I have to visit a friend with a correct machine to clear the error codes.
-
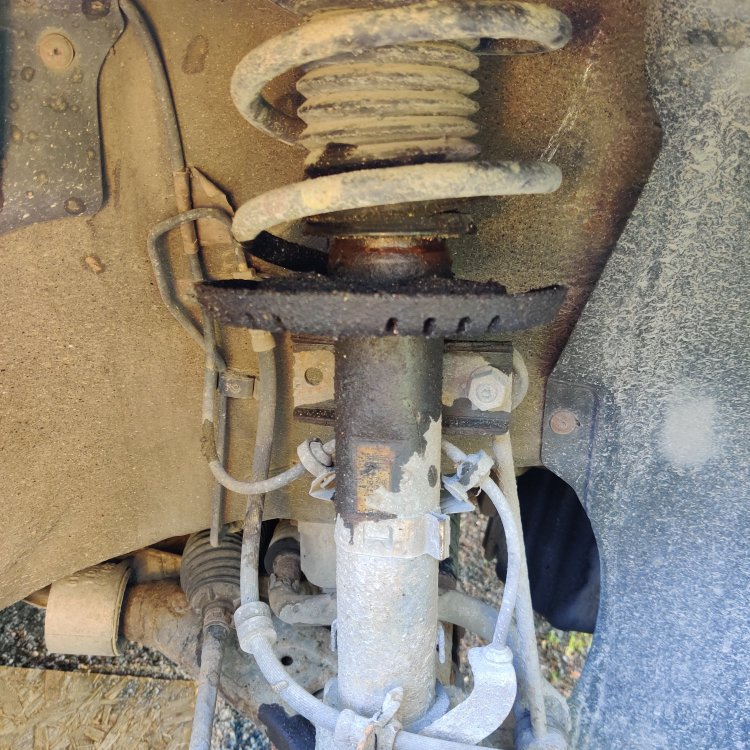
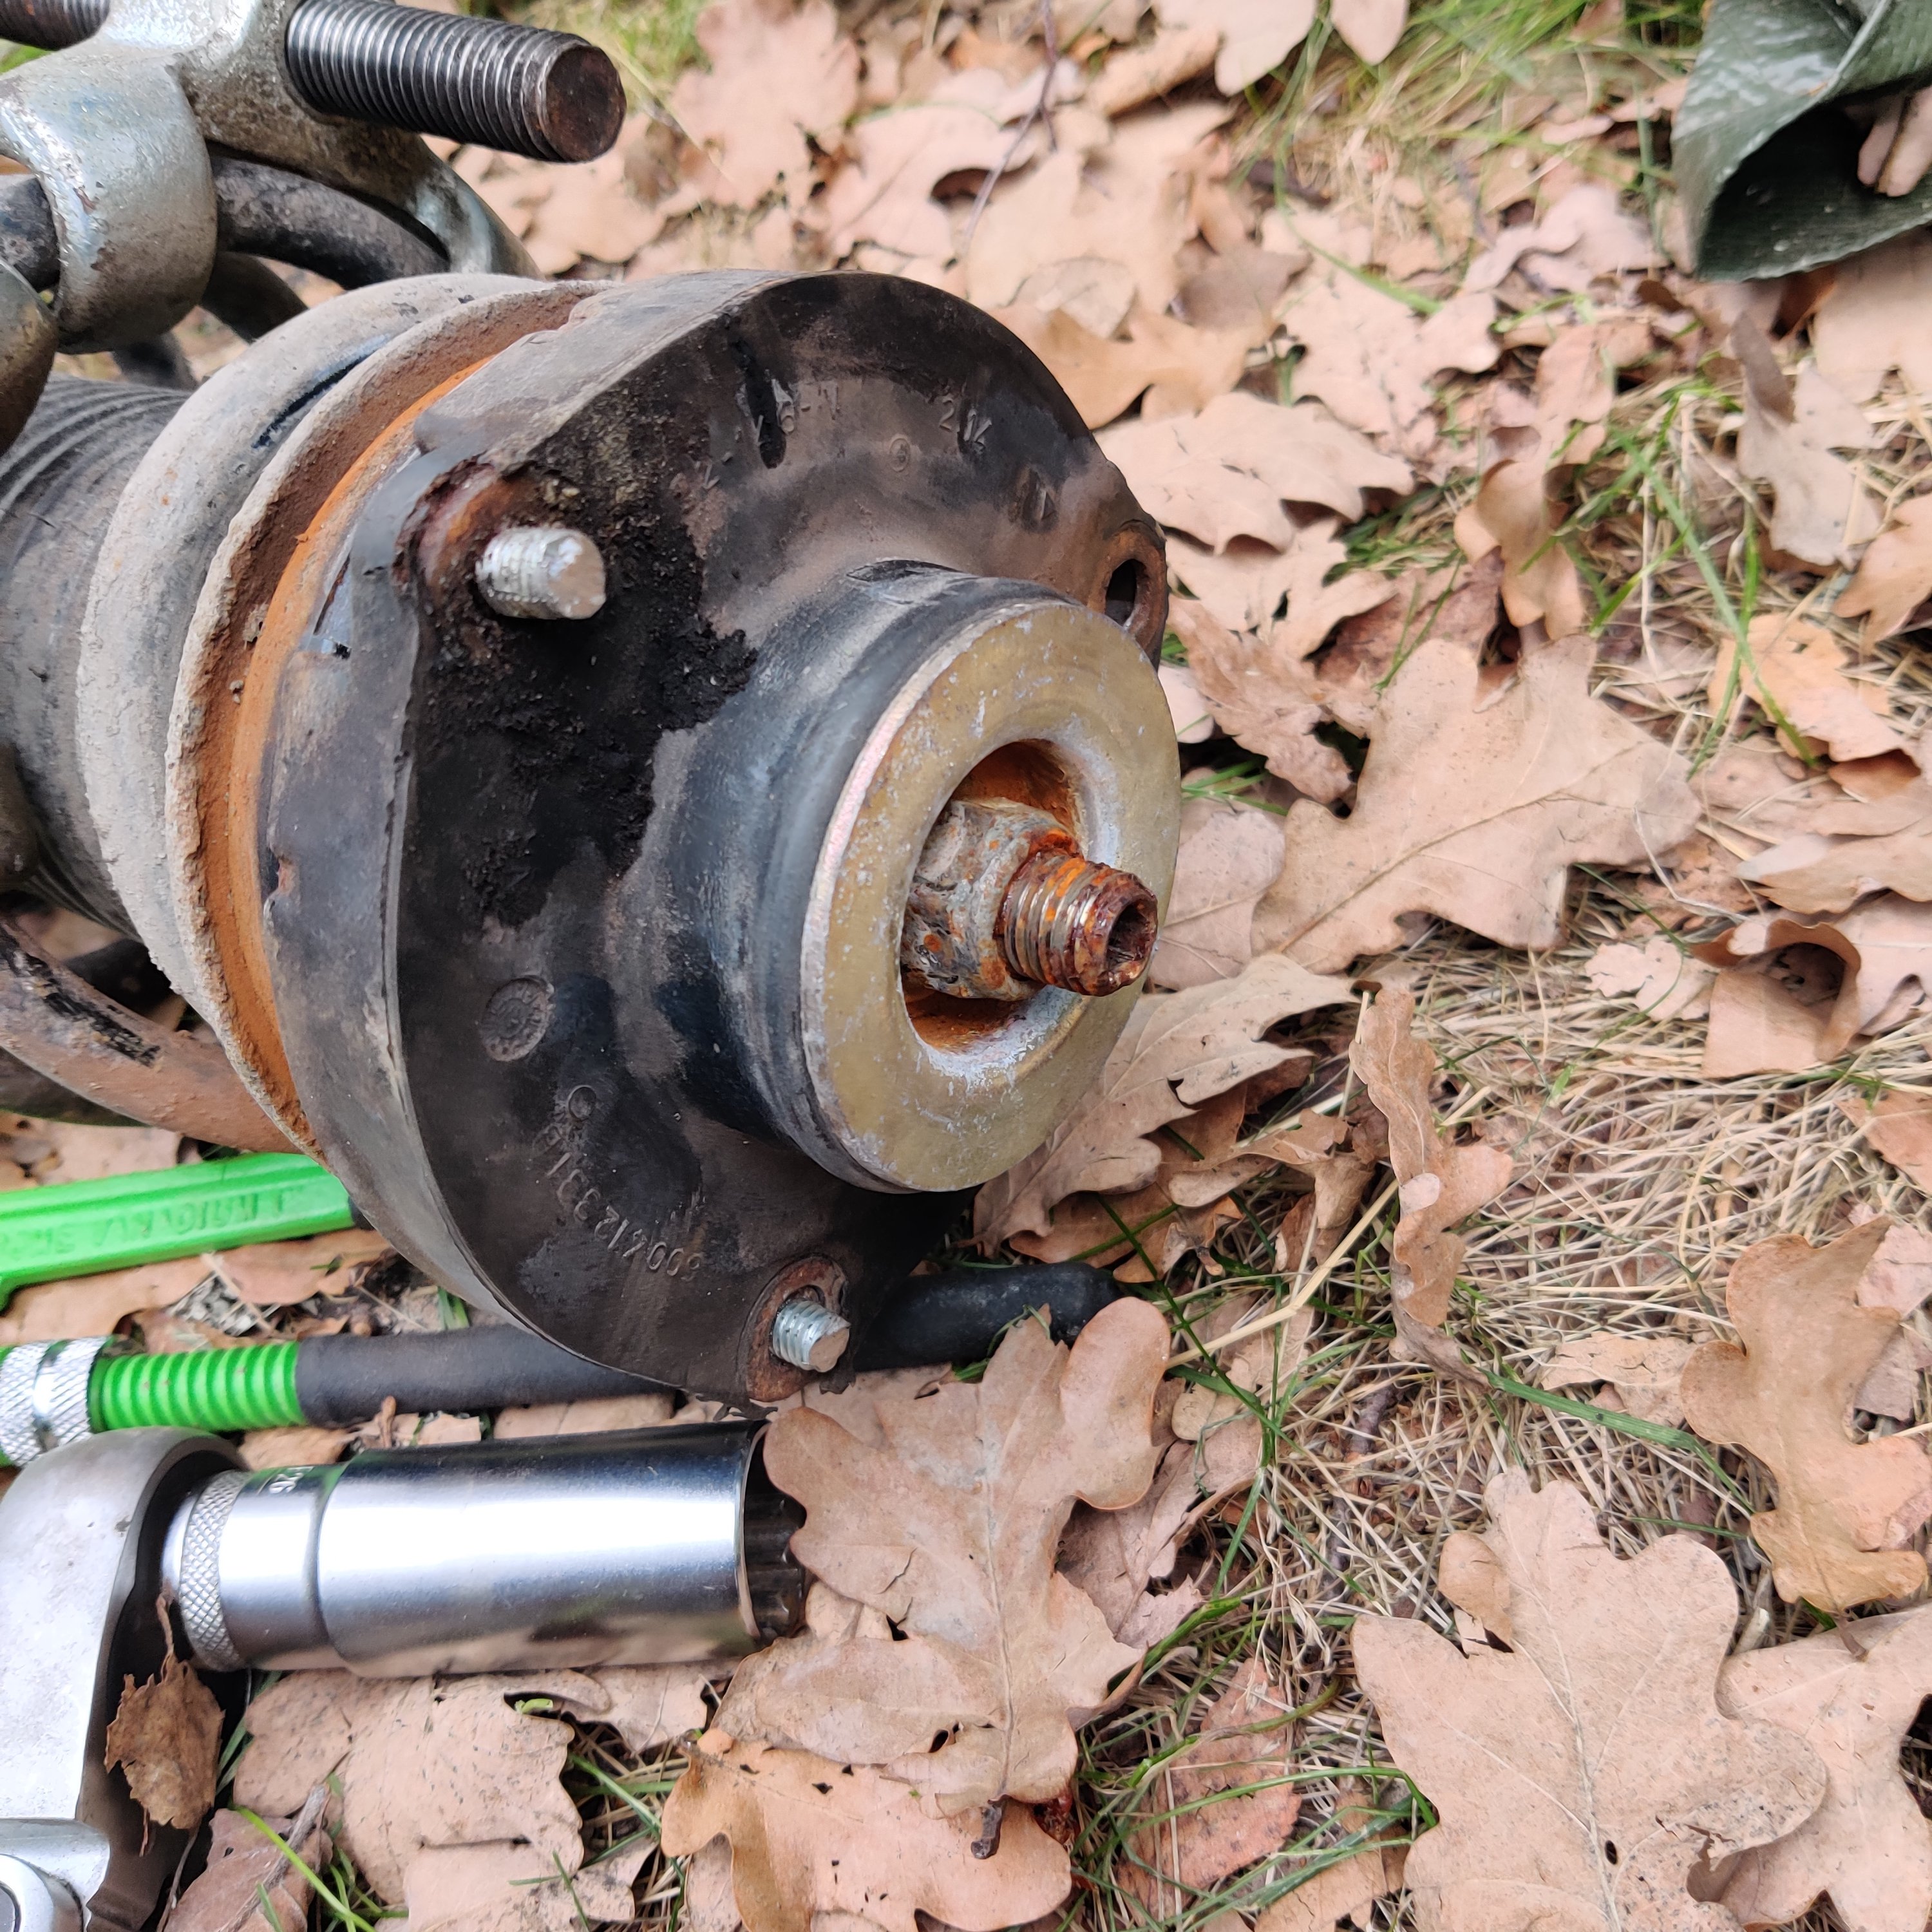
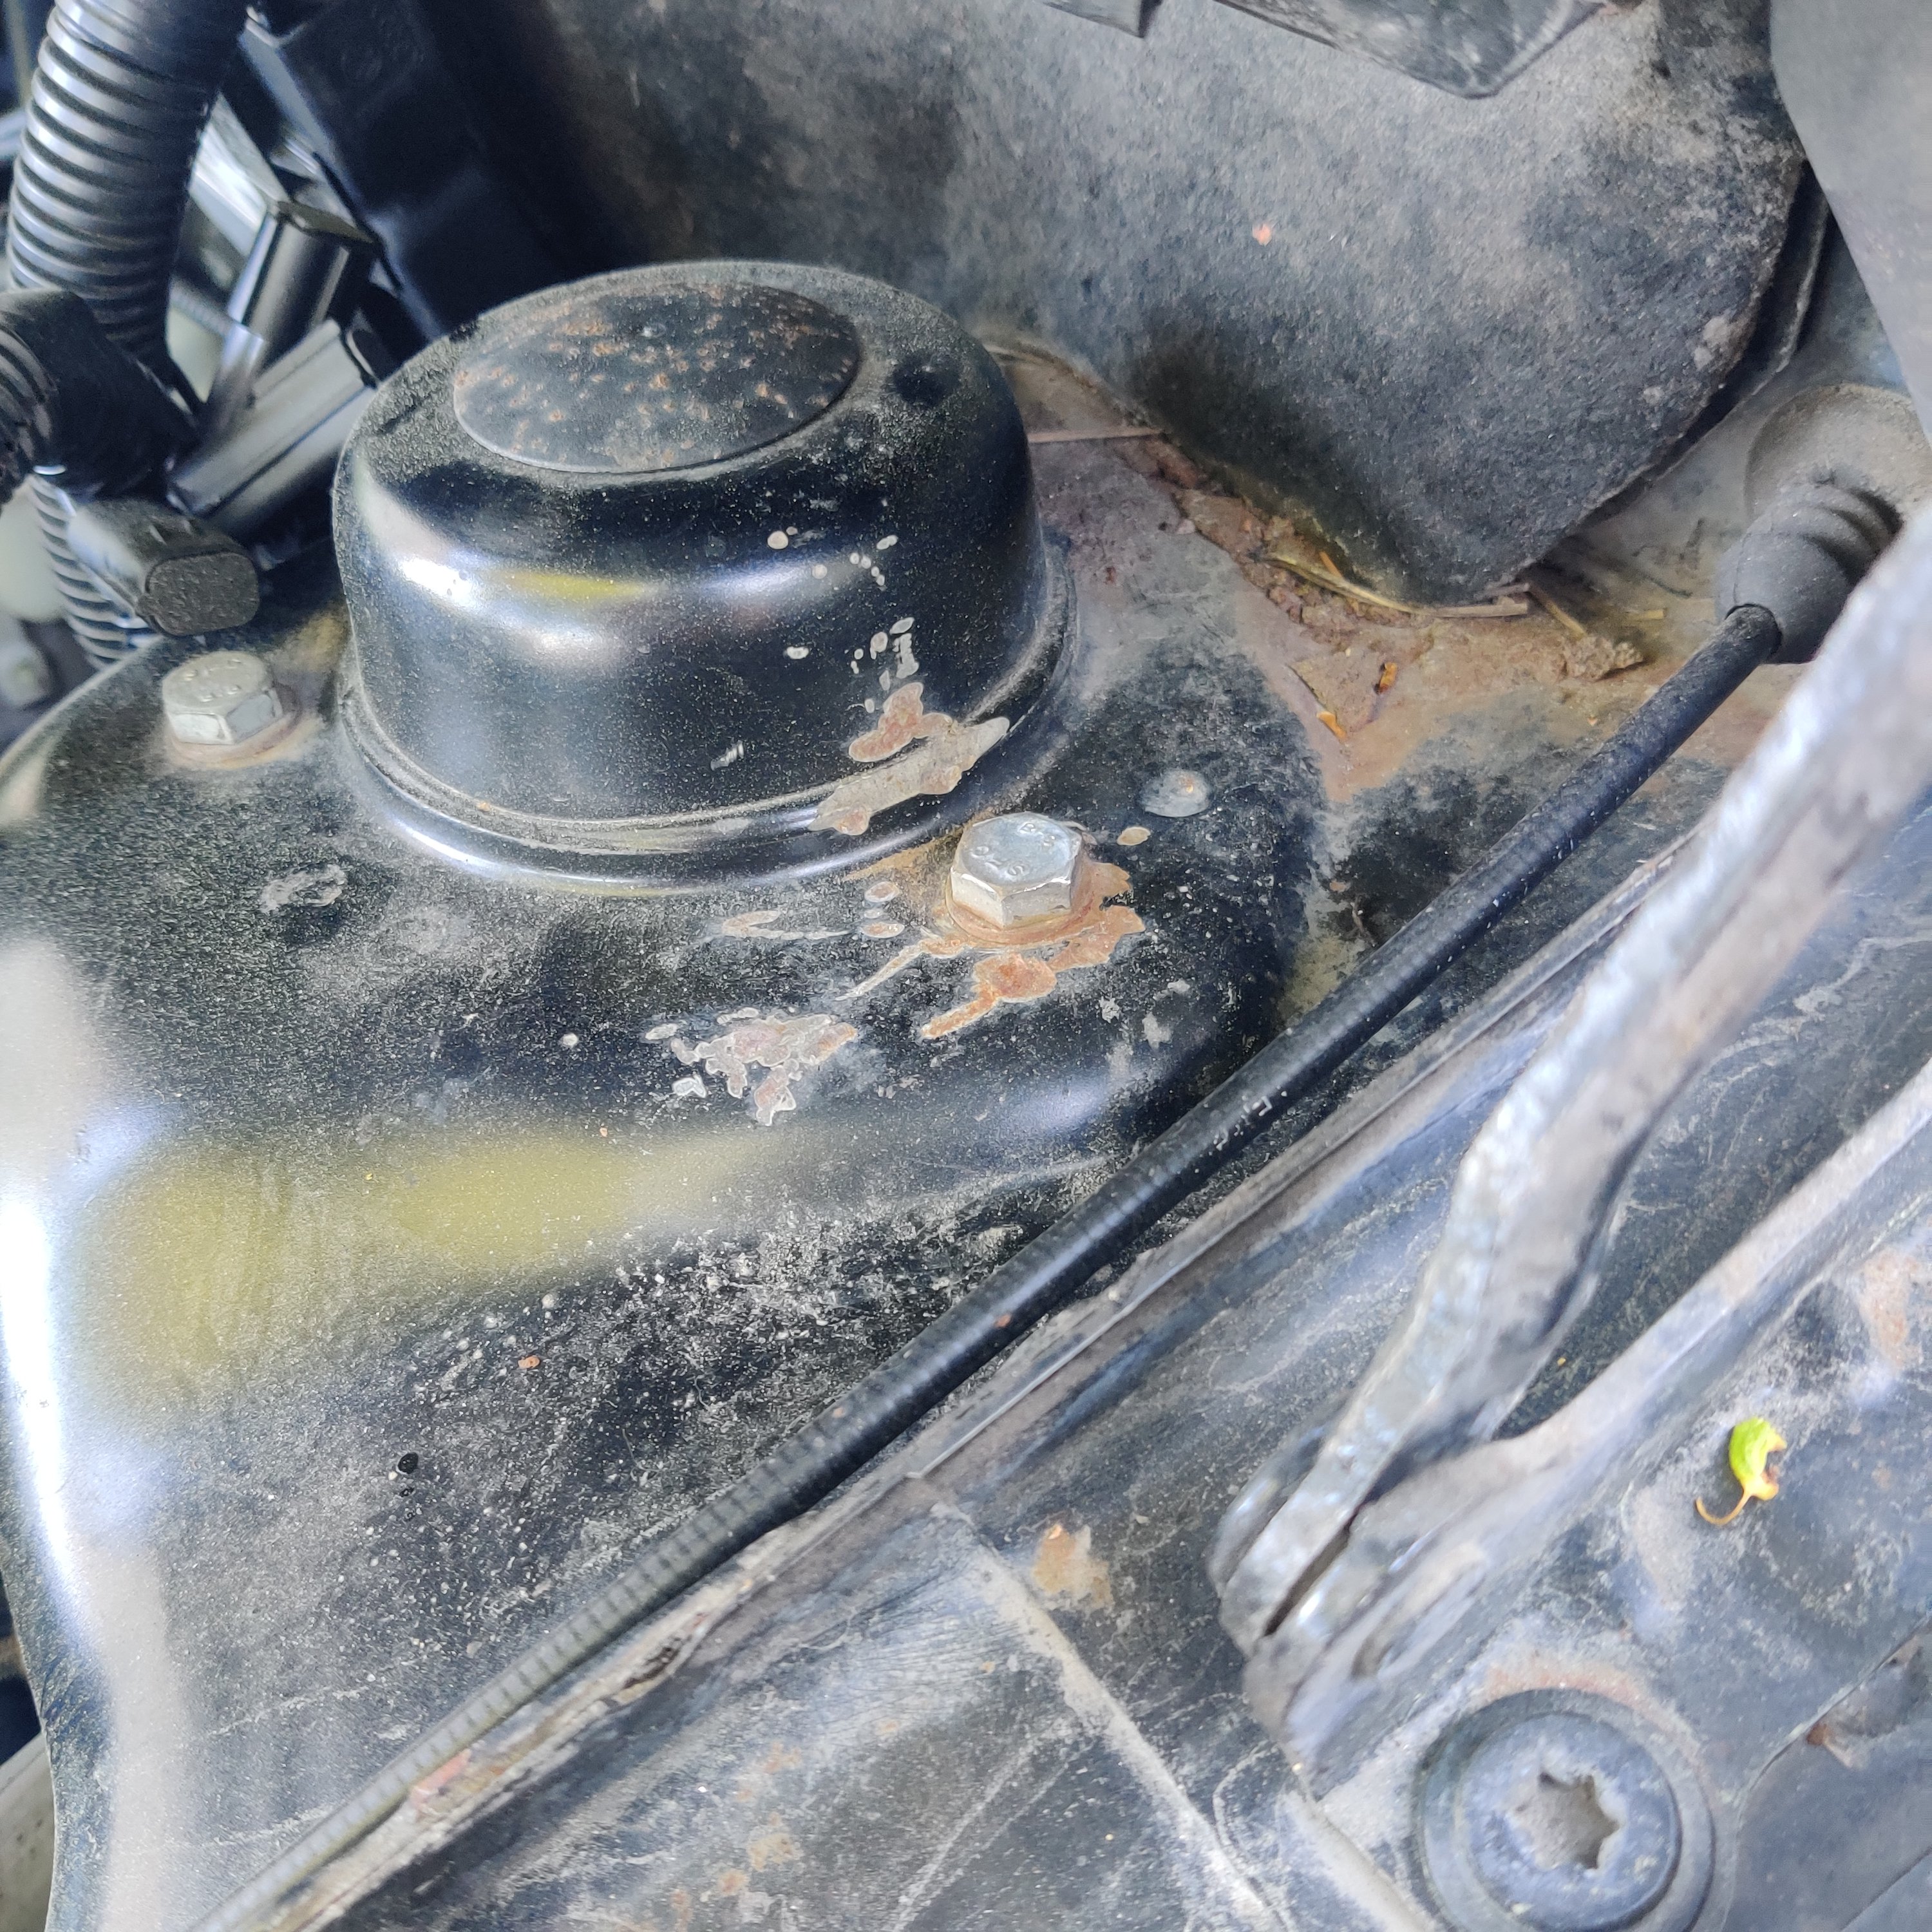
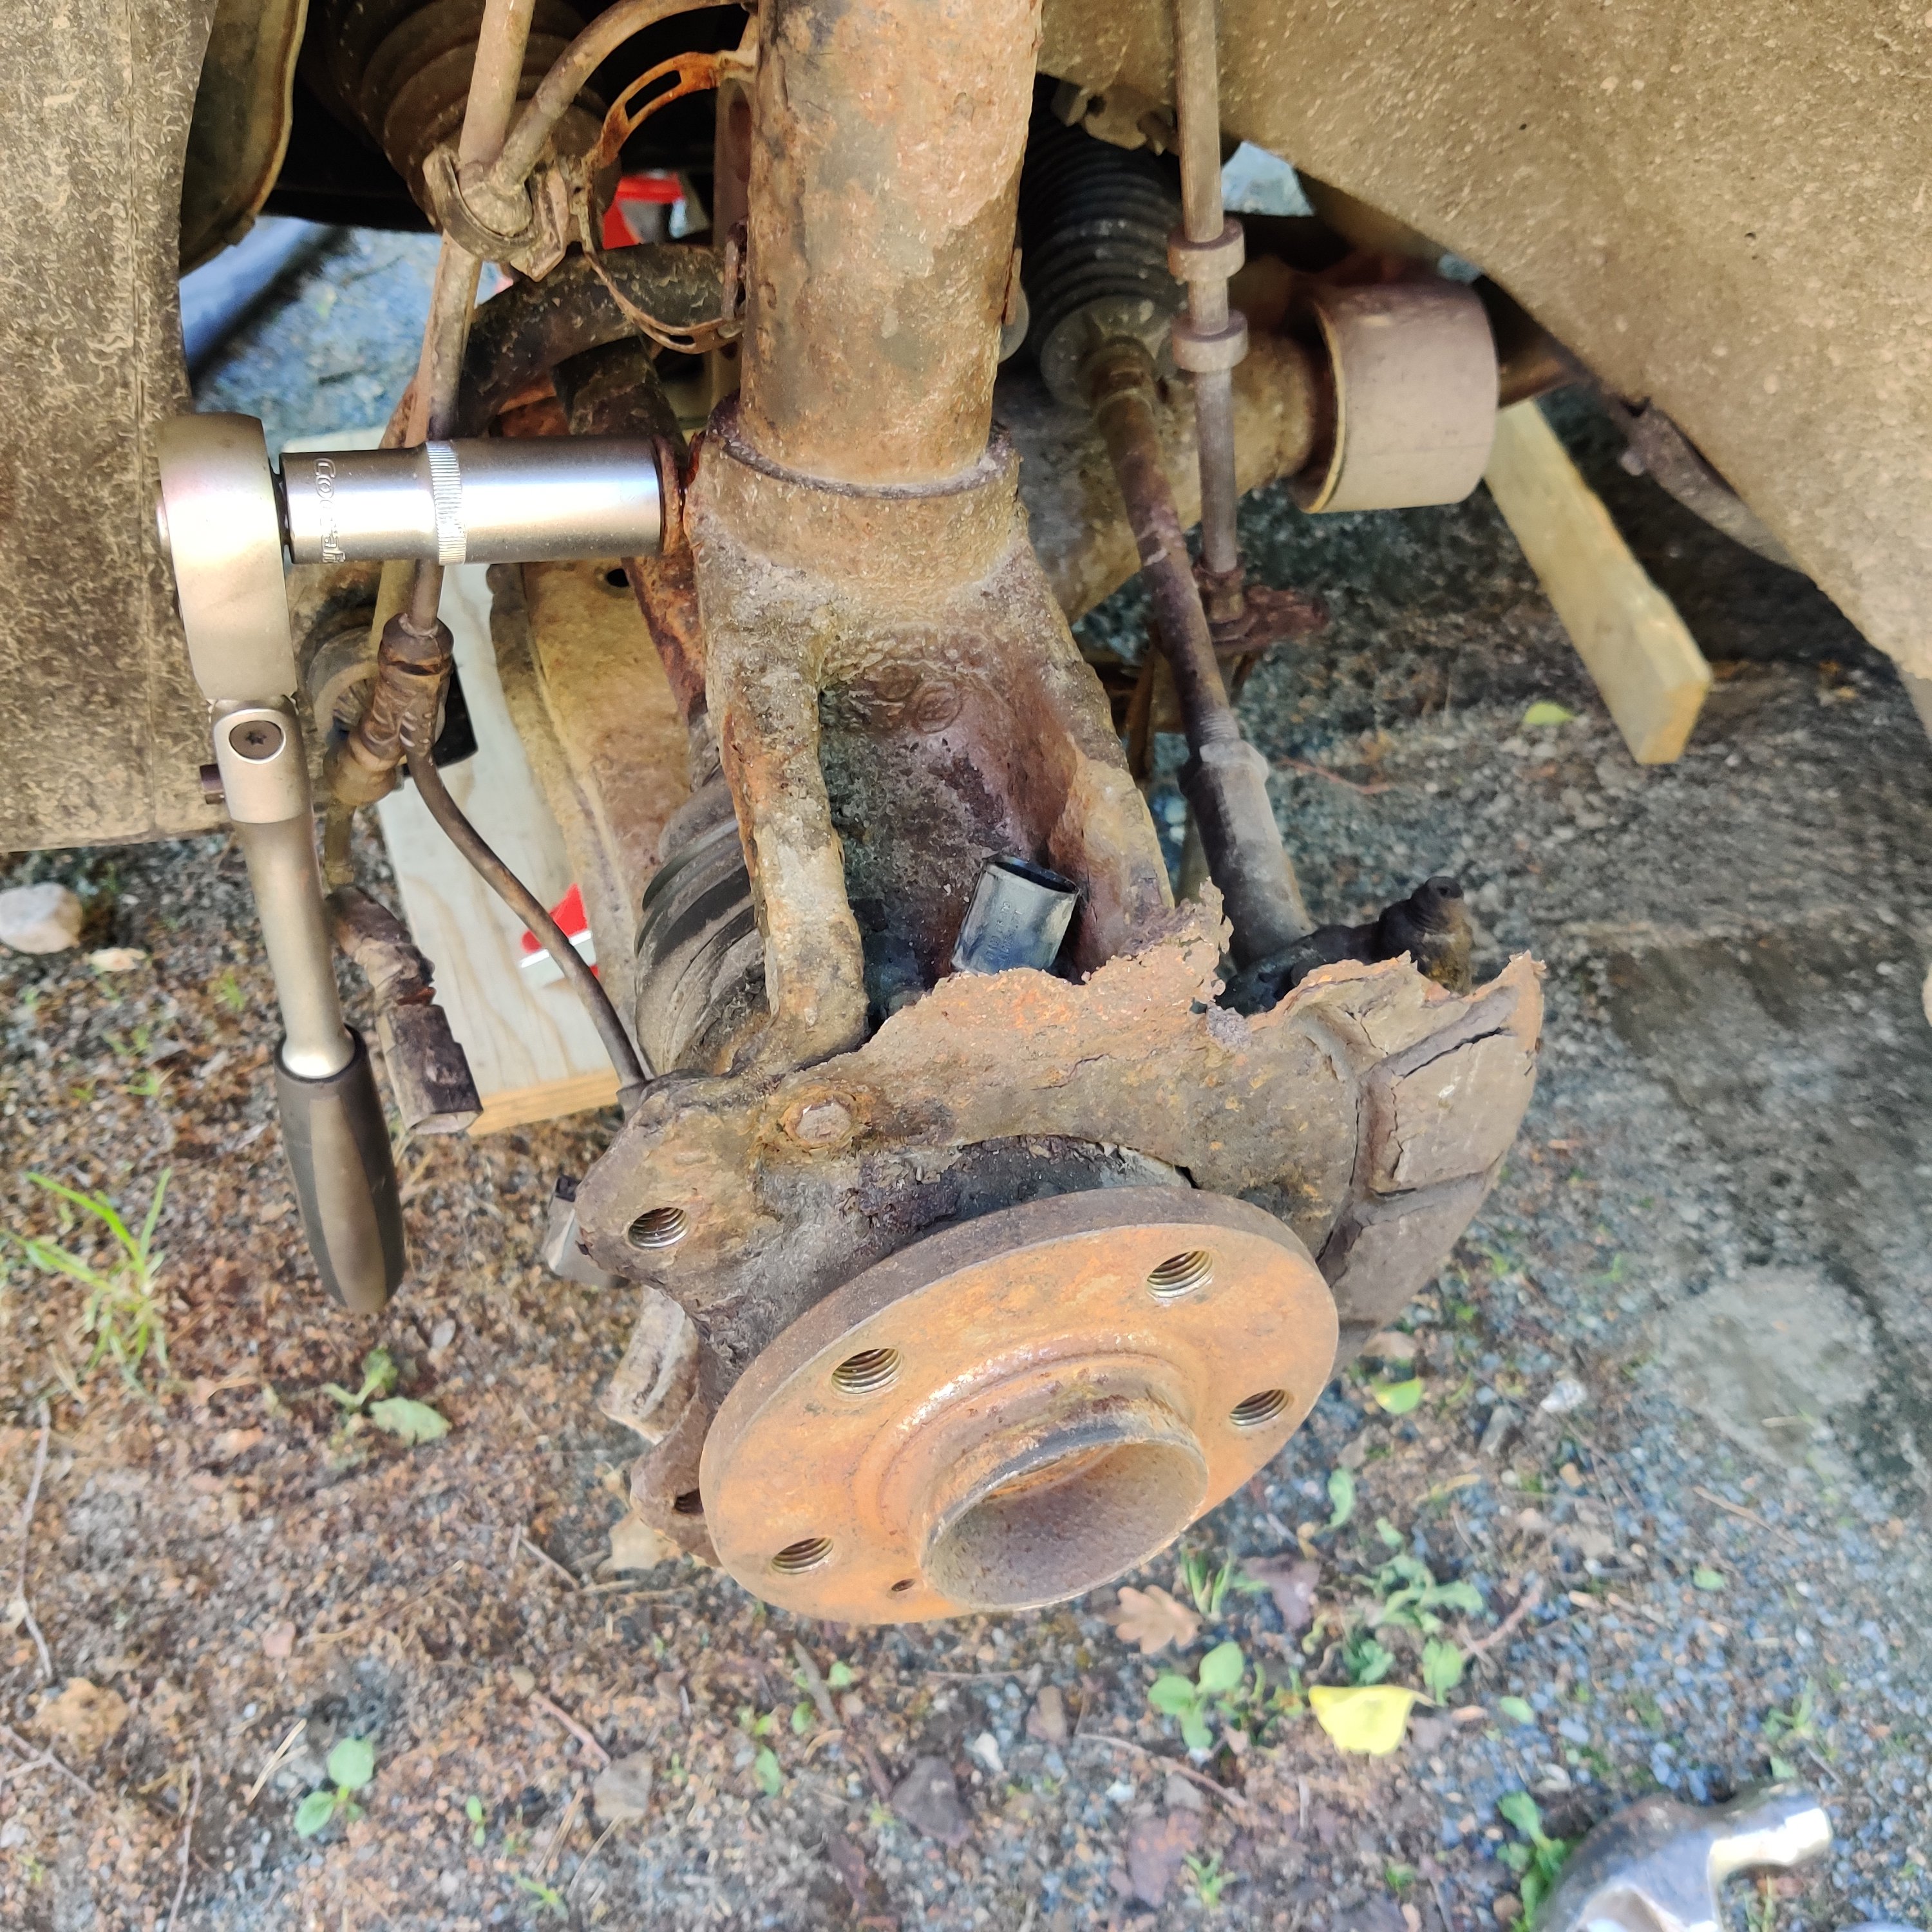
One of the hardest job was the steering bearings. My first car of this generation of vag cars, so I didn't know about the nice structure of nuts, where they are somehow molded in that rubber ring and welded on an extremely thin plate inside the molding. While the are exposed to the conditions inside the fender, of course they will be stripped away from that plate while a innocent diy-guy tries to take them apart. I should have noticed that something is wrong as I saw this: But I didn't. So a bit too much force and not enough patience and I too sawed those bolts off. Don't recommend that to anybody, it sucked. Construction is like that: There you can see bolts that are cut. Nuts spinned freely in that rubber thing. After the foxtail saw and a bit frustraited owner the area around those bolts looked quite rough, so I did a bit of make up with steel wool, and rattle cans, first zink primer then black: I like it, but now everything around needs some attention too, to match, maybe.


-
First week of summer vacation, giving some attention to the car. Quite everything of front suspension was more or less in the end of lifespin, so lot of stuff to take apart. For example right side absorber had decided to let all of the oil go: And as you know, in over 15 years in northern conditions, there is no place that's free of corrosion: Beside the ordinary hand tools there vere a lot of hammering, grinding and little bit of foxtail saw here and there to take everything out, it took the most of the time.