Loek
Finding my way
-
Joined
-
Last visited
-
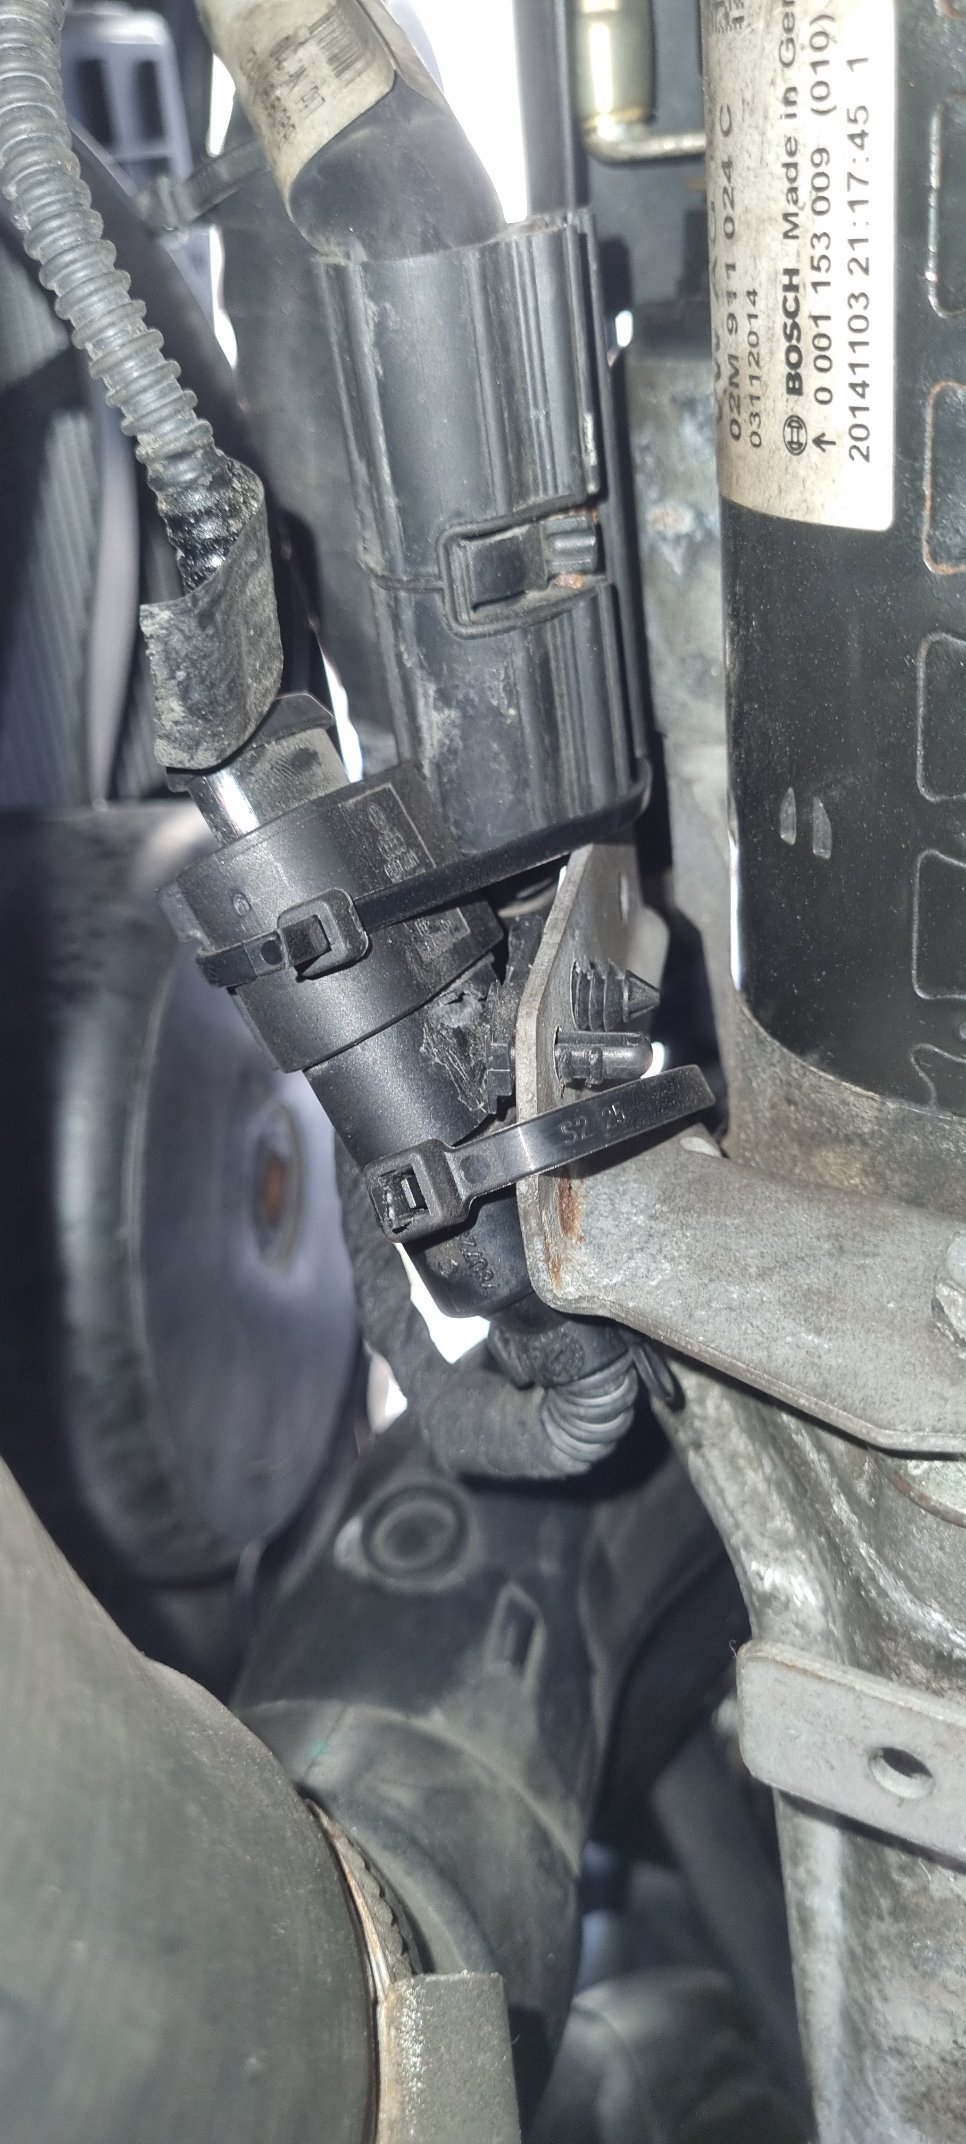
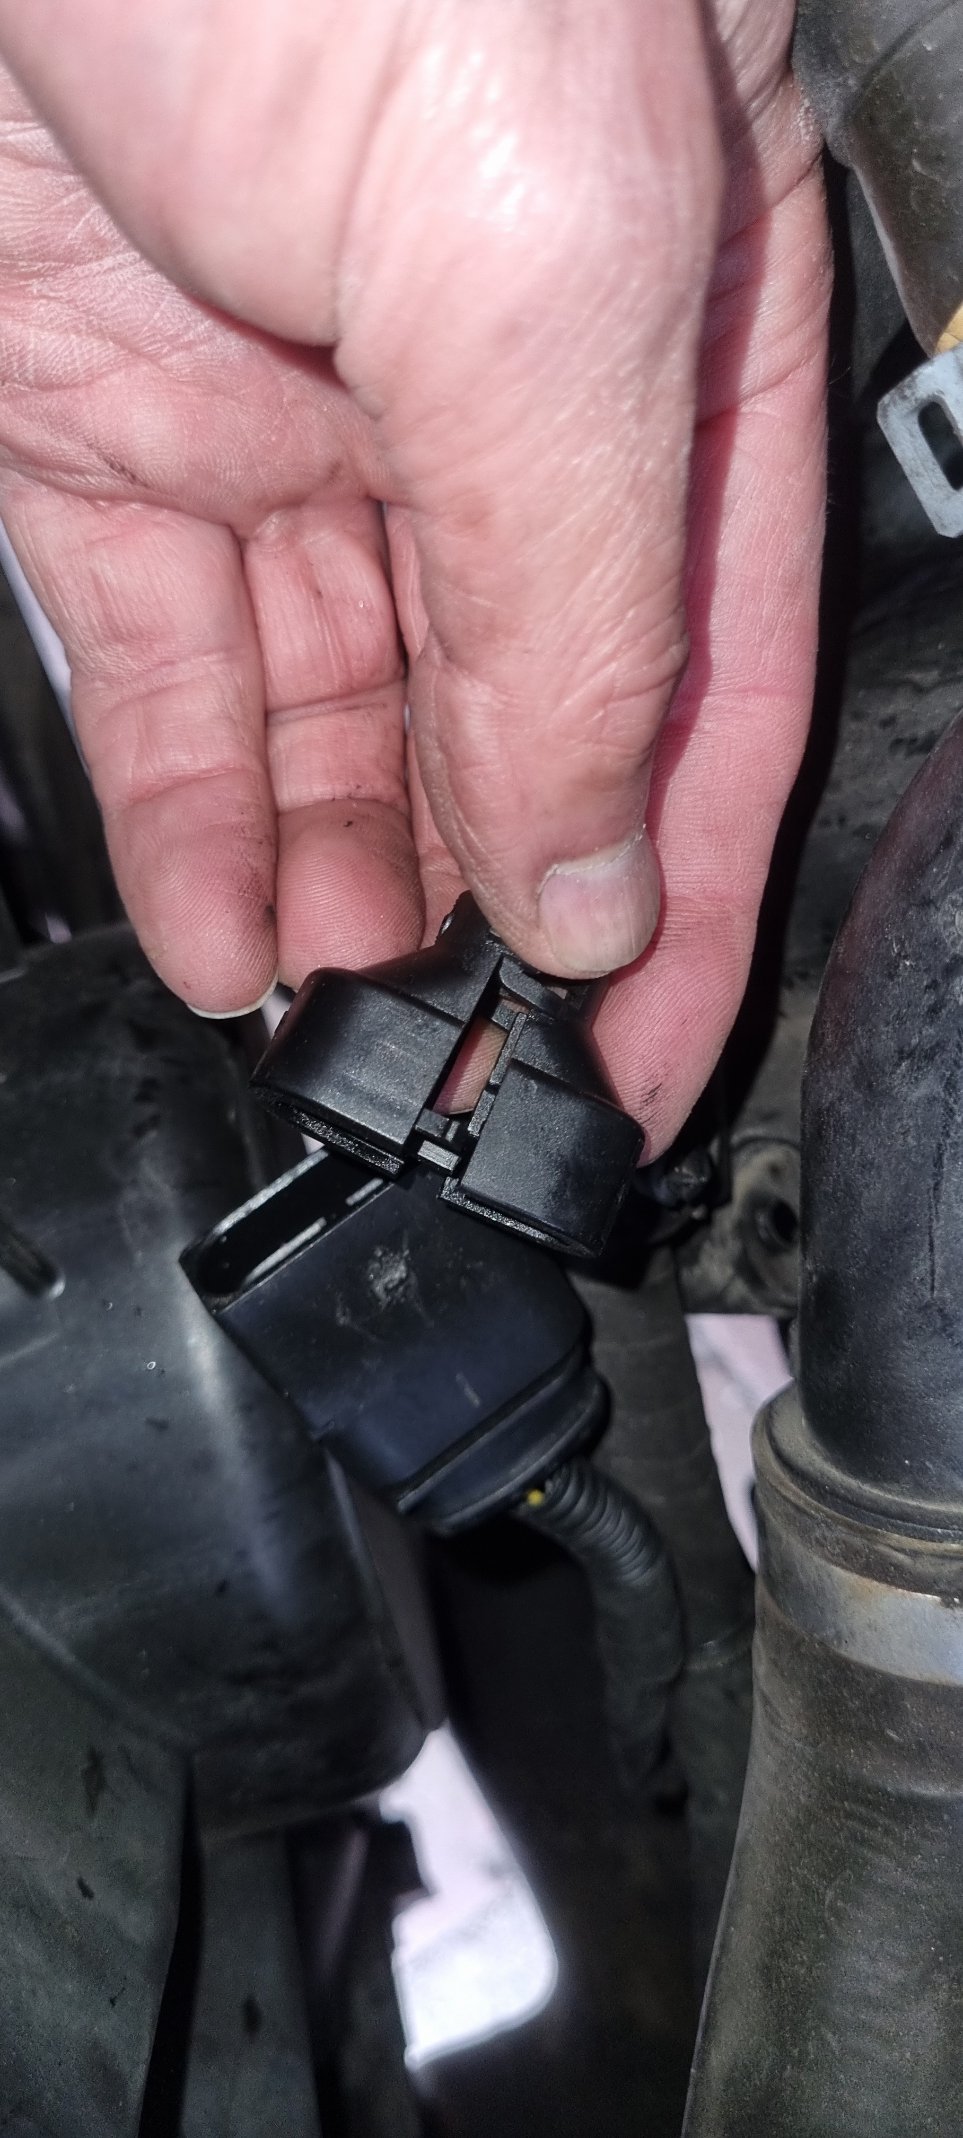
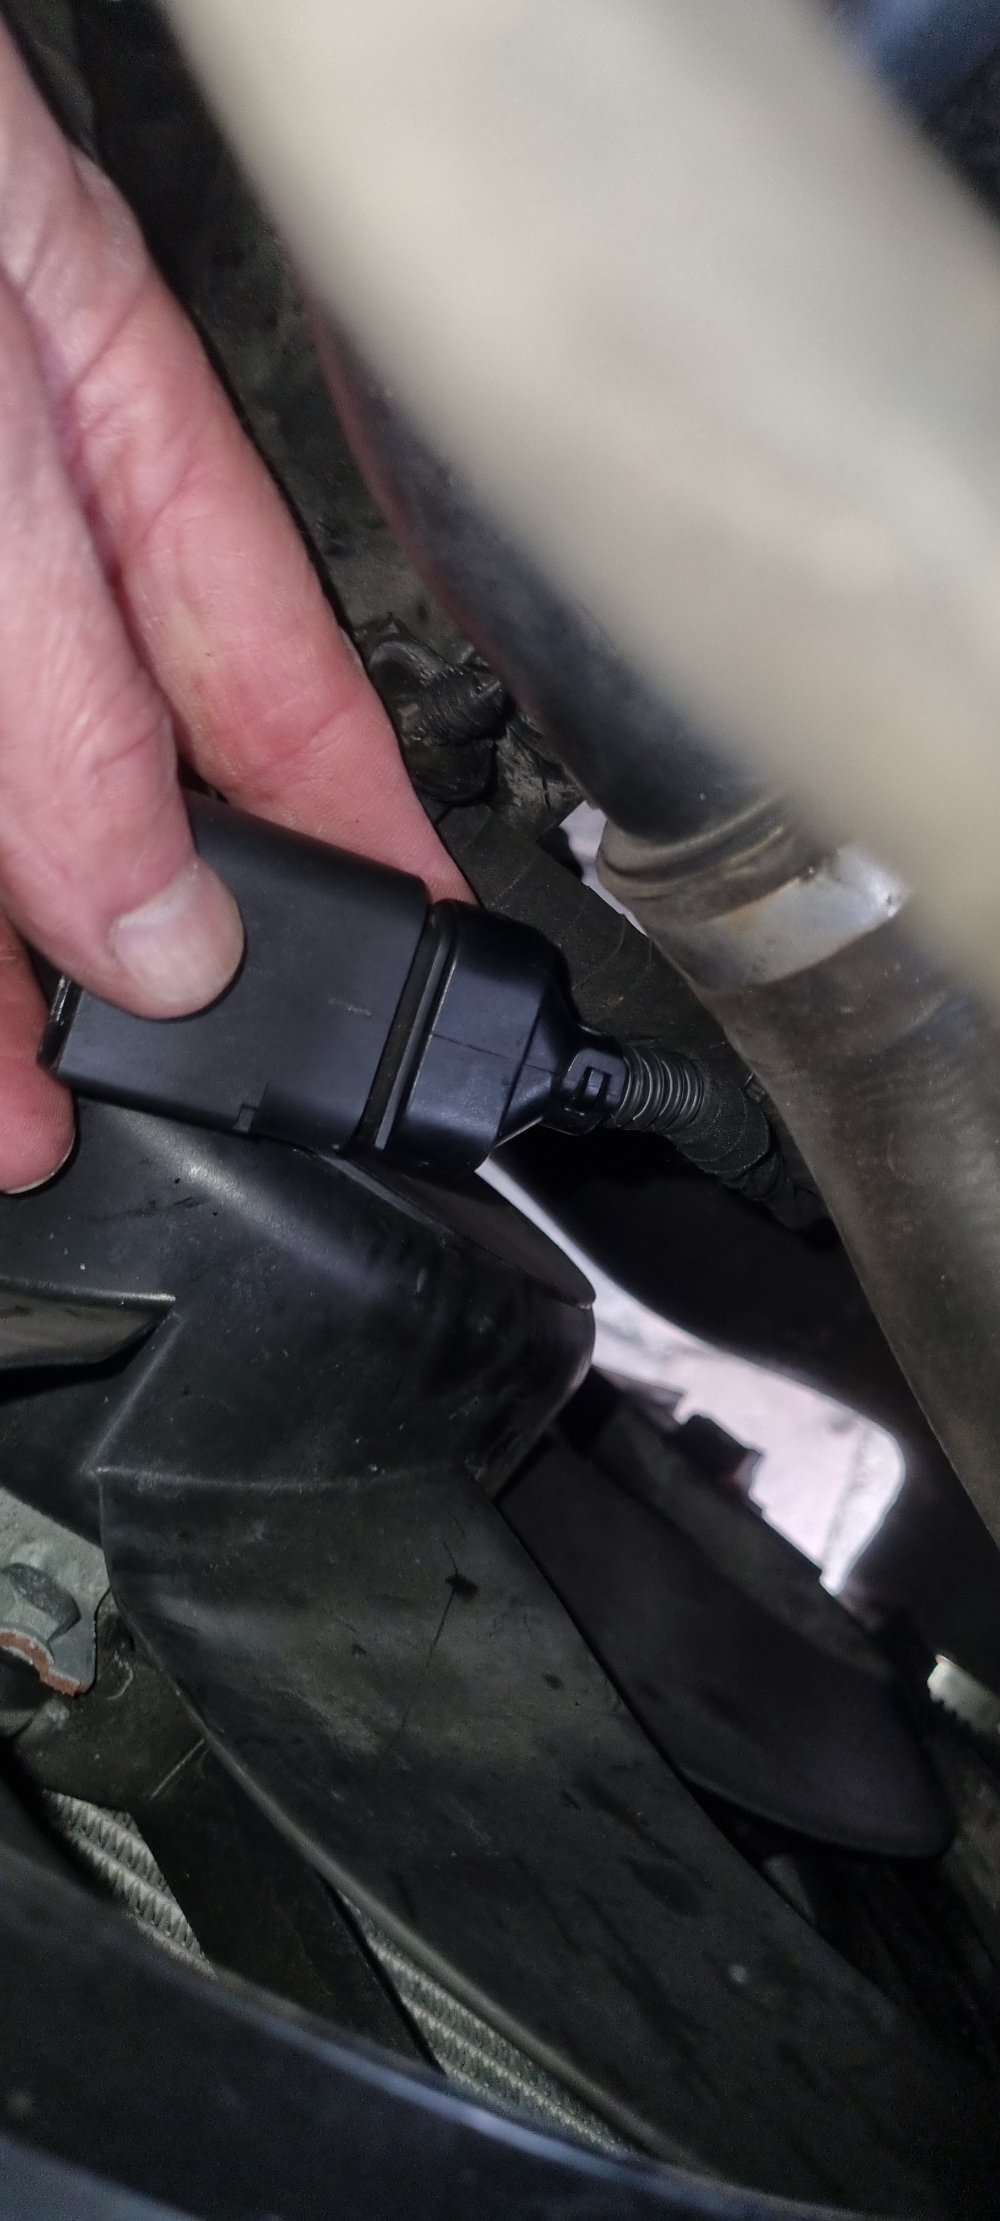
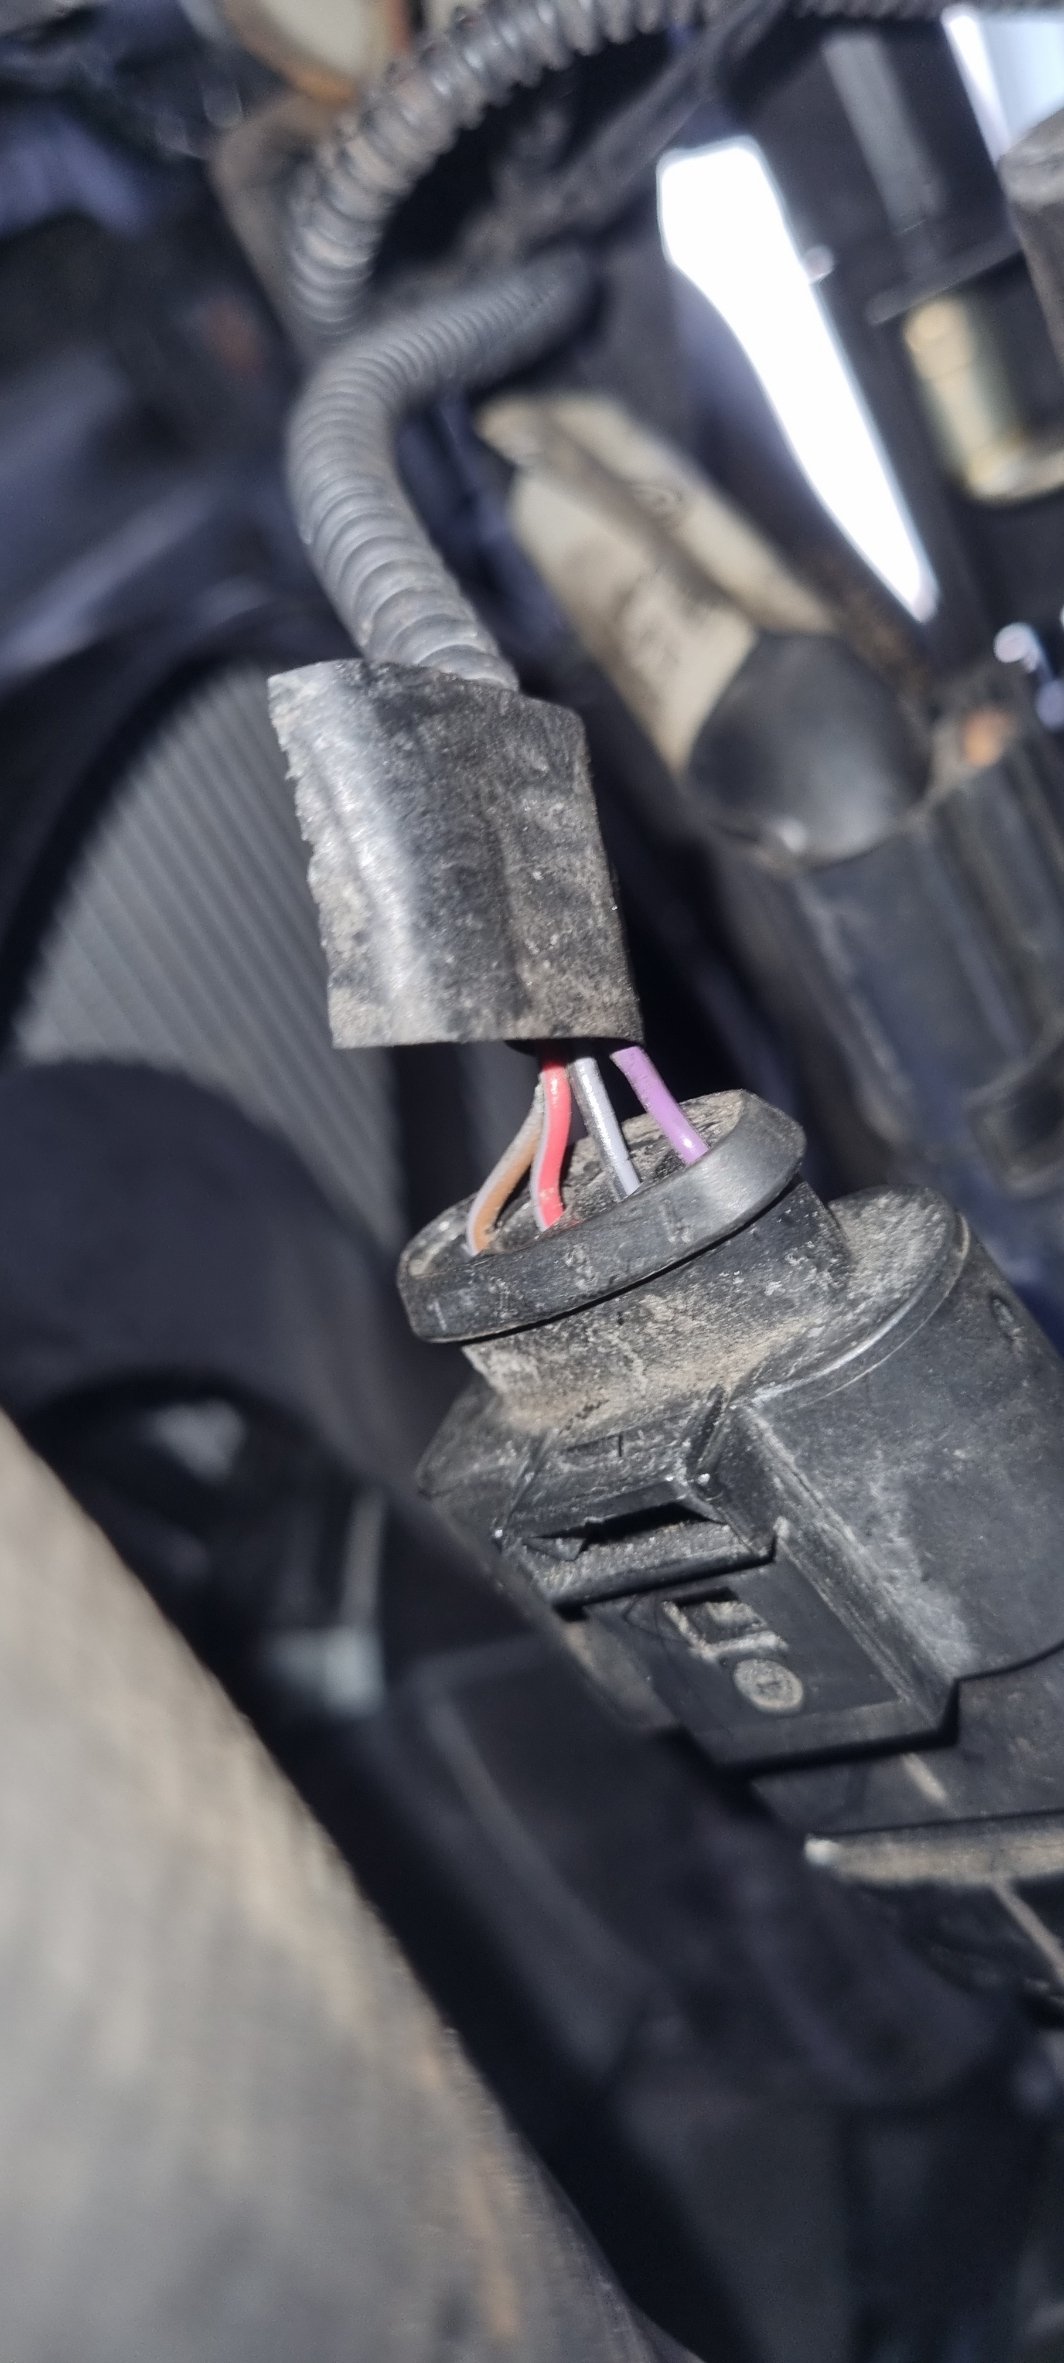
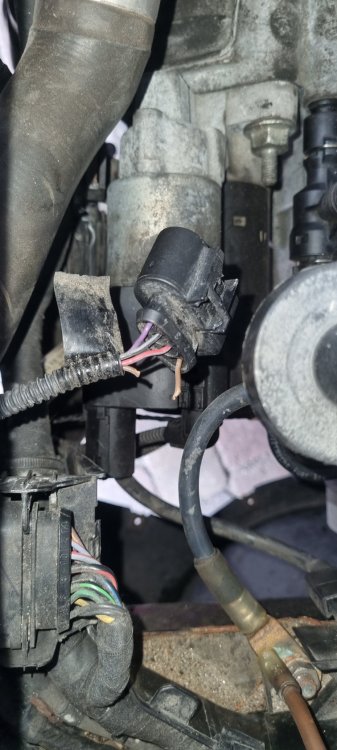
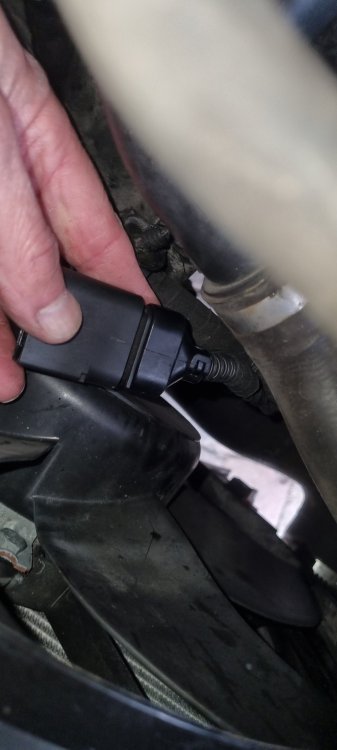
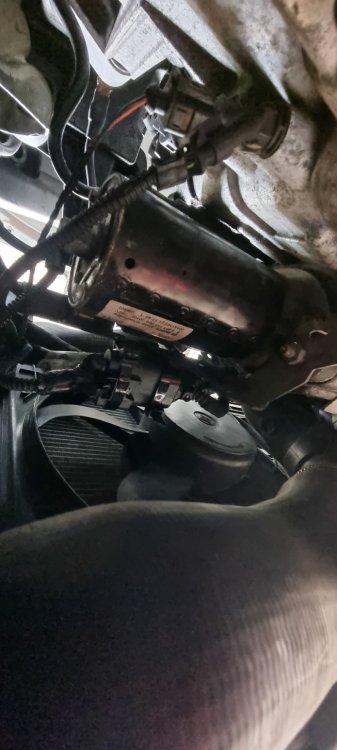
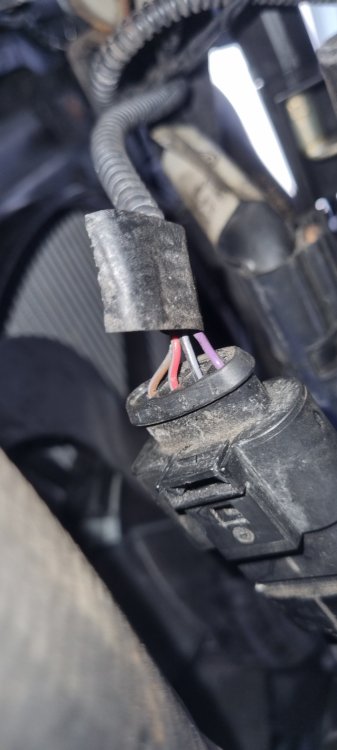
OK, Discaimer: I'm Dutch, thus we drive at the right side, maybe right and left in the story below might be reversed for British use. The intemediate connector is located on a steel bracket on the start motor. I moved the airfilter out of the way thinking it was beneath that, but other than bringing light from above that is not very useful. You can work from below after removing the bottom plate, just as for accessing the MAP sensor (near the aircon pump). The intermediate connector should be shoved onto a plastic clip that is press fit into the bracket. The black Bosch thing on the right on the first photo is the start motor, the round thing on the right is the smaller fan. The connector is mounted horizontally, but on the photo the bottom one goes to the MAP, and the top one goes to th ECU. Maybe the connector comes off easily, but I guess it is hard to shove back on because another connector directly above sits in the way (from down here I could not see how to get that one out of the way either) Whoever has worked on this thing decided that two tie ribs would be sufficient. I hate it when a mechanic does not bring back the stuff as designed,... unless I do it myself, of course ;-) Anyway you can also see a loose tape and that is where a simmilar end cap should be fitted as on the other side. That cap can split in 2 halfs and clip back on very easily. I'll add some extra pictures of that too.the intermediat The second photo shows the culprit, when in state of photo 1 the strands might or might not touch each other, now you can clearly see it is broken. (if you look closely you see that I have ruined the locking by to much force with a screwdriver on the wrong side, is is also old and brittle plastic after 10 years) The ribbed harness of behind the connector to the ECU can split open, so you can create some extra slack to work with. I stripped and tinned a piece of lead and soldered them together. I know soldering is really a bad habit for automotive wiring, but I do not have the right crimp tools and managed to pack it strain free against the connector. For now it is OK (all flashing dashboard lights and limp mode stays away, Yeah!!), and if I can find the right connectors I'll replace it when I have the time and nice weather. I also mounted the intermediate connector back with tie ribs, but now sturdy against the connector above, see the third Photo. So to wrap up: If you ever have a MAP sensor error. 1 Try to read out the system with a CAN bus dongle, if the error is intermitting big chance it is the cable, not the sensor. 2 It is easier to just replace the sensor, they are not expensive 3 It is not very easy but with a multimeter you can check between the MAP sensor and Intermediate sensor, I have not found a partnumber or harness on the Internet. 4 to access the connector at the ECU is doable but clumsy: remove the rubber strip at the windshield side, you can lift the plastic shield just enough to get to the ECU. The 94 pole connector is the back one and it is harnessed to a thinner cable that runs to the left. The thick and thin cable are attached to clips that you have to loosen to be abele to bring the 94p connector to the front. But the access these you have to remove the ECU bracket that is fastened with two 10mm nuts. The round part of the connector can be detached to access the required leads. A complete harness that contains the 94 pole connector and the intermediate costs around 450 Euros, and it must be a pain to install. If you encounter the same problems as I had, please do not hesitate to reach out. Cheers! Loek


-
Hi Breezy_Pete, Don't bother, i've found it, or at least the color codes match :-) (and it is not at a place where you can see it on a dismantled engine/gearbox, I've tried that EBay path to no avail also). I'll make pictures and post my journey here later. Regards, Loek
-
Thanks Breezy_Pete, I will try this weekend to get to this intermediate connector by removing the Airfilter and maybe other parts. From below it looks like the bundel of wires from the MAP sensor is going up in that direction. What bothers me up front is that there seems a harnes bundling the MAP and a few wires attached to a 2 pole connector at the aircon pump. But bundling seems unappropriate when T4 is only a 4 pole connector. If I find this intermediate connector I will post a photograph here. If not, my fall back quick and very dirty solution would be to draw a leadwire from the MAP to the ECU directly. It is as good as impossible to follow the harness all the way up, so that will mean a creative route... Regards, Loek
-
Opening this topic again. Can anyone show me the appropriate schematic page of the MAP sensor of a 2.0 TDI CR (CFFB)? And know how to find the intermediate connector? I have already replaced the MAP sensor. For what its worth: I have tested between pins 1 and 2 and there seems to be an NTC sensor in place. The higher the temperature the lower the resistance. That is why I think I have a intermitting bad contact between the sensor and the ECU at the intermediate connector. When I move the motor a little by use the gas pedal or shift gears I see the intake temperature on my ODB11 app jump to -40 degrees Celsius for a very short time, apparently -40 is the value belonging to the highest possible resistance. When the -40 lasts long enough (half a second or so) the engine goes into limp mode. When I completely disconnect the MAP sensor the reading stays at a solid -40. I have tested connectivity between the 94 pole connector at the ECU and the 4 pole of the MAP sensor with a multimeter and no matter how I wiggle and pull on the connecting wires/connectors at both ends it will not disconnect. So: intermediate connector is the prime suspect, as breezy Pete says:"Somewhere on the gearbox". I could not see anything from below or above. Should I remove the airfilter? (because it looks like the side of the gearbox. And is that a lot of work?) Anything else to remove? Thanks in advance, Loek (that is how you spell "Luke "in Dutch)
-
On my AC pump I could read the label on the side of the compressor. First with a mirror on a stick and later on an neighbour came with an endoscope (which confirmed that a mirror works fine) 🙂 There seem to be a lot of different AC compressors installed within Skoda/VAG. But that also means that a lot of alternative brand of compressors will fit too. My dealer said a new compressor would cost around a 1000 Euro's (and an extra 500+ for a washer, installation and filling), whereas the exact same make model was to be found for less than 500 via a quick Google. Alternative brands with decent reputation like Mahle would be less than 300. Good luck, Loek
-
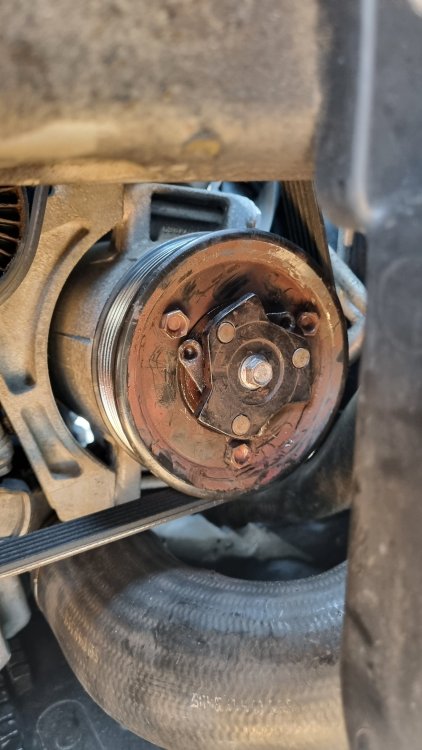
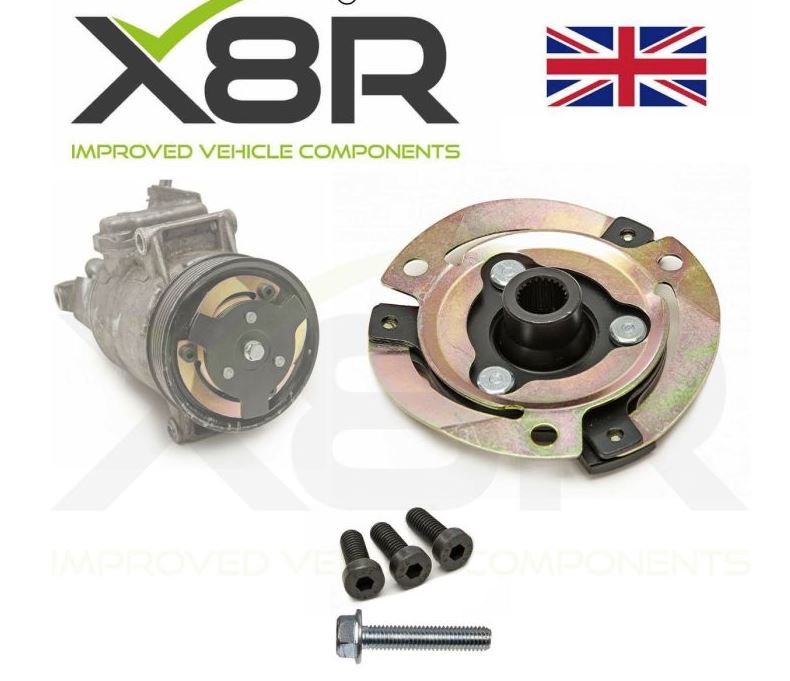
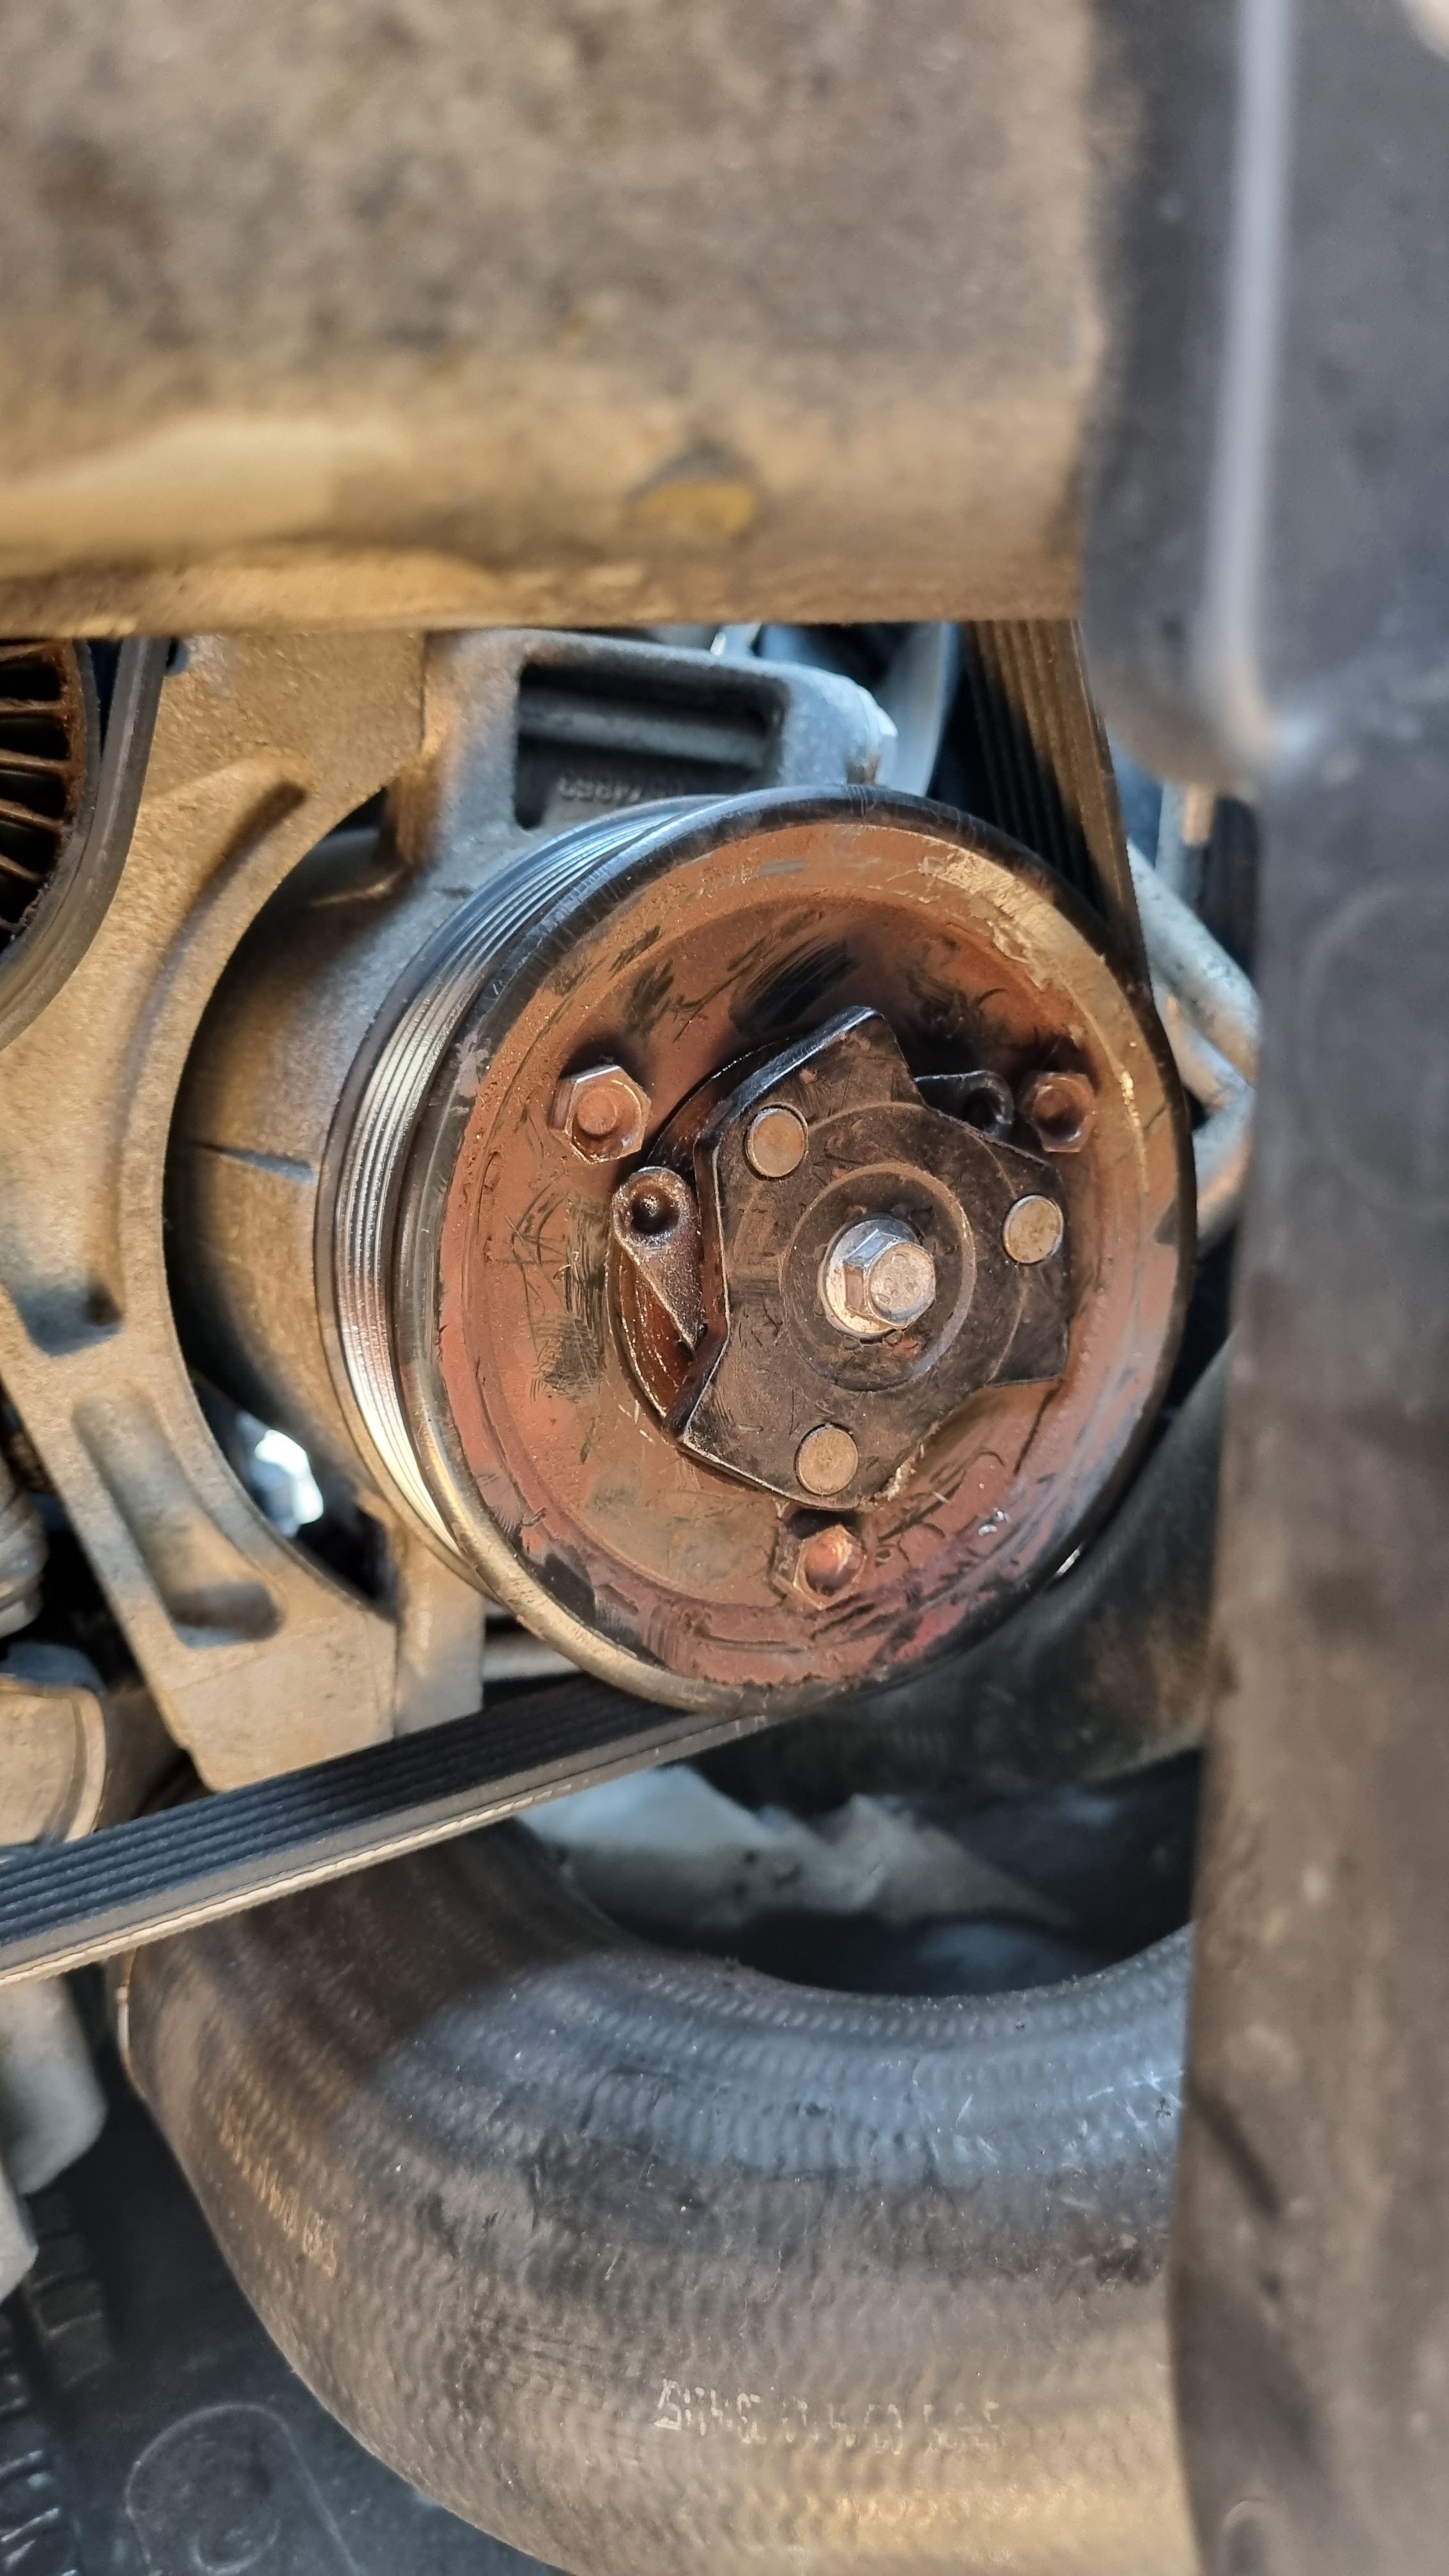
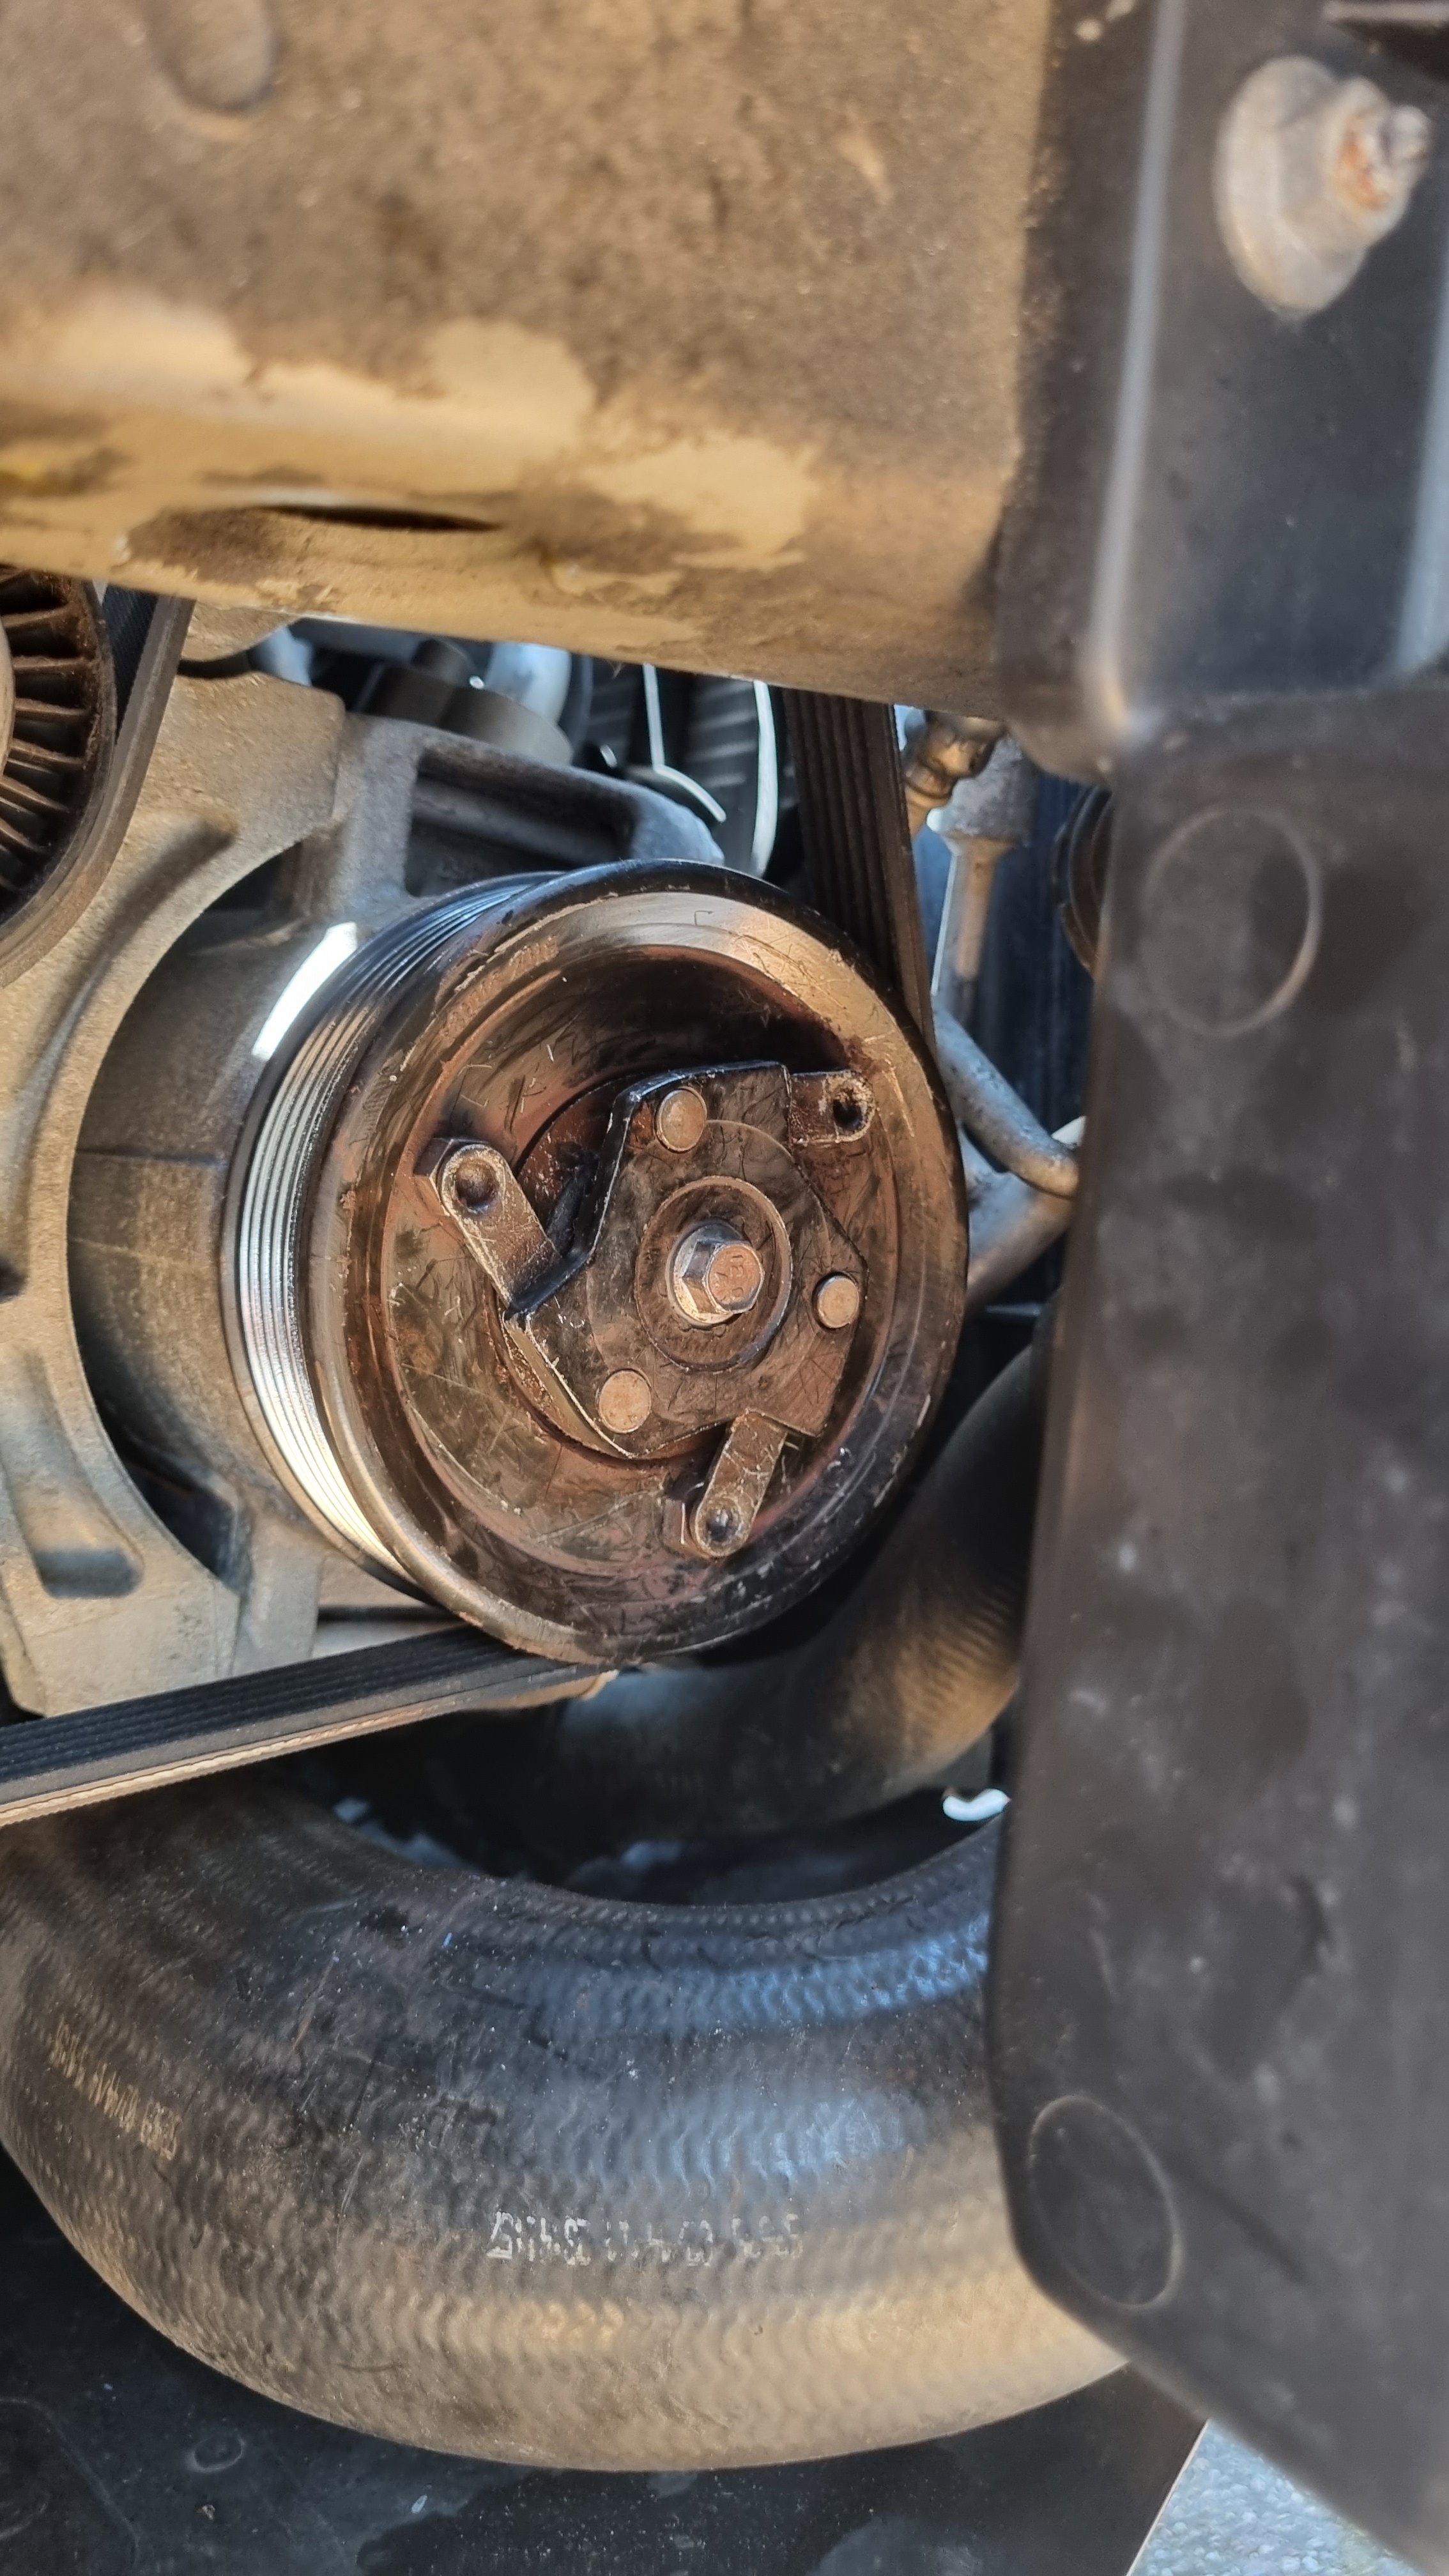
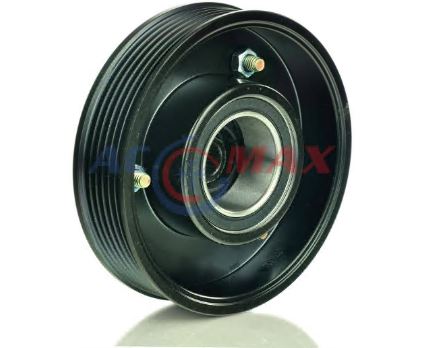
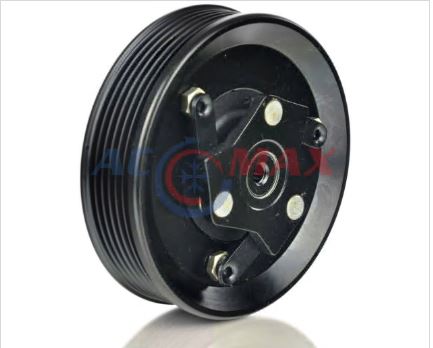
Thanks J.R. for the reply. My challenge will be trying to exchange the clutch with pully while not disassemble the compressor off the engine. There probably will be just or just not enough room for the puller in my toolkit. There also is a Youtube vieo of someone who put a big screwdrive behind the plate (of different typ) and yanked it off. While the pully sounds OK when turning , my dream is to just replace the dented bolts and leave the pully on. But as the pictures below that I grabbed from a Polish site show: the bolds seem to be screwed into ordinary nuts that can't be reached (and may fall off). @PipH: is this also the case in the original compressor that you took apart? In that case I do have to replace the Pully as well. Can anyone tell me the trick to remove and place the belt without damaging anything? Hereby i may be jinxing it but thusfar my quick fix still holds 🙂 Cheers! Loek
-
Hi, I stumbled upon this topic and as it seems I have the exact same problems with my Suberb Combi II. My normal garages over here do not have time to fix airco's before my vacation (mid July). So I took a look myself and indeed the clutch was worn and faulty see the now familiarpicture on the left.. To be sure this was all that is wrong I put the levers back in the dented hex bolts and then turned the bolts another 180 degrees (probably overdid the advised torque a little bit 😉 Now for the moment the clutch picks up and the airco is working like a breeze again, no pun intended. So maybe this quick fix may be of help to others. I do want to replace the clutch with a new. Then have to pull the plate off the shaft, did anyone succed with prying it off with a big screwdriver? Not sure there is enough room for a puller. With a mirror on a pole I could read Delphi DH5 5K0820803A And when looking on Google for a replacement clutch there seem to be different models, like the one in the third picture. Do they all automatically fit? Are the dented bolts M6 and set in a standard pitch? Regards, Loek (Which in Dutch is pronounced as Luke)