Leaderboard
-
.jpg.1006585dfe4e2977315b67c3d642e37b.jpg)
Guest_
FREEDOM13Points83,824Posts -
penguin17
Resident Member7Points3,563Posts -

JohnnyType2
FREEDOM6Points2,377Posts -
RobClubley
Honorary6Points14,042Posts


Popular Content
Showing content with the highest reputation on 03/04/18 in Posts
-
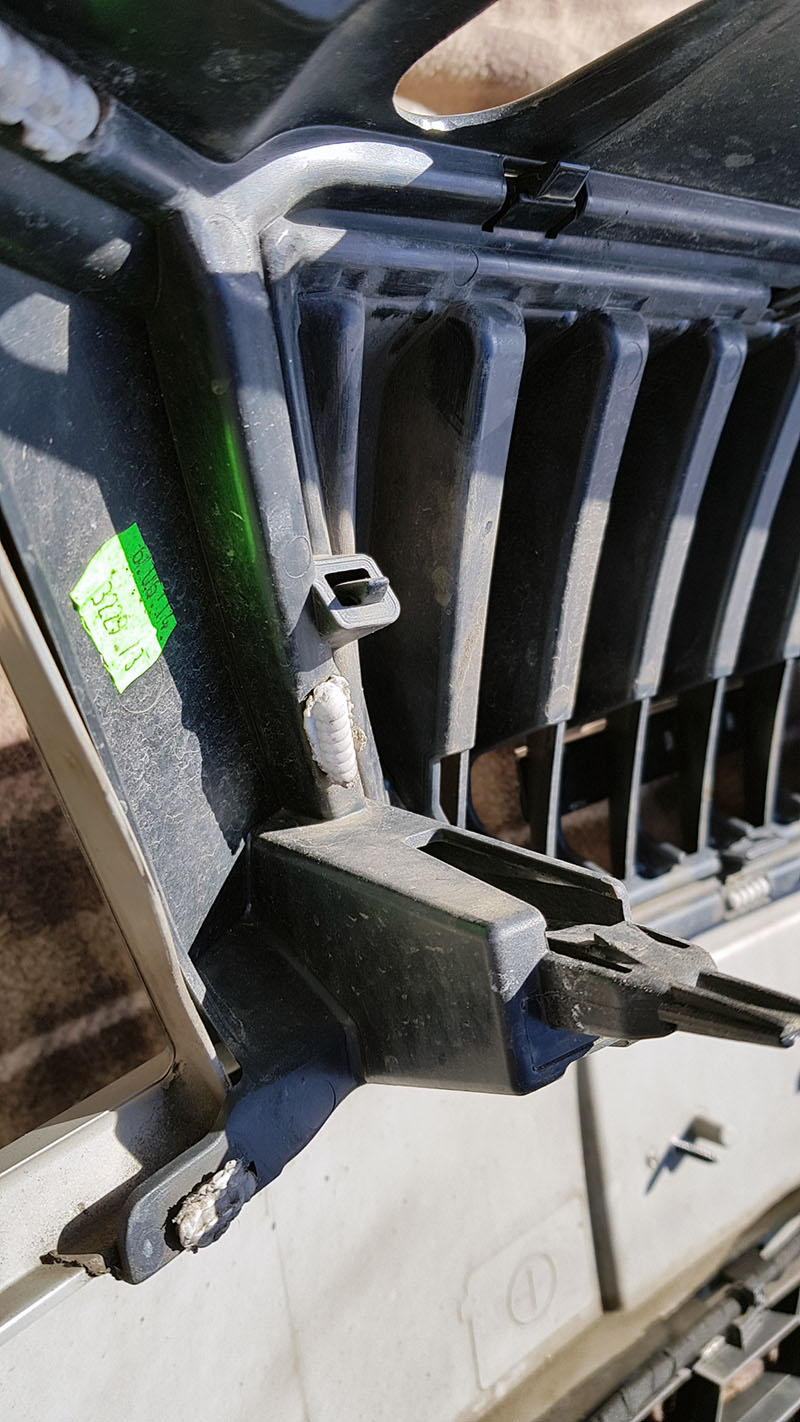
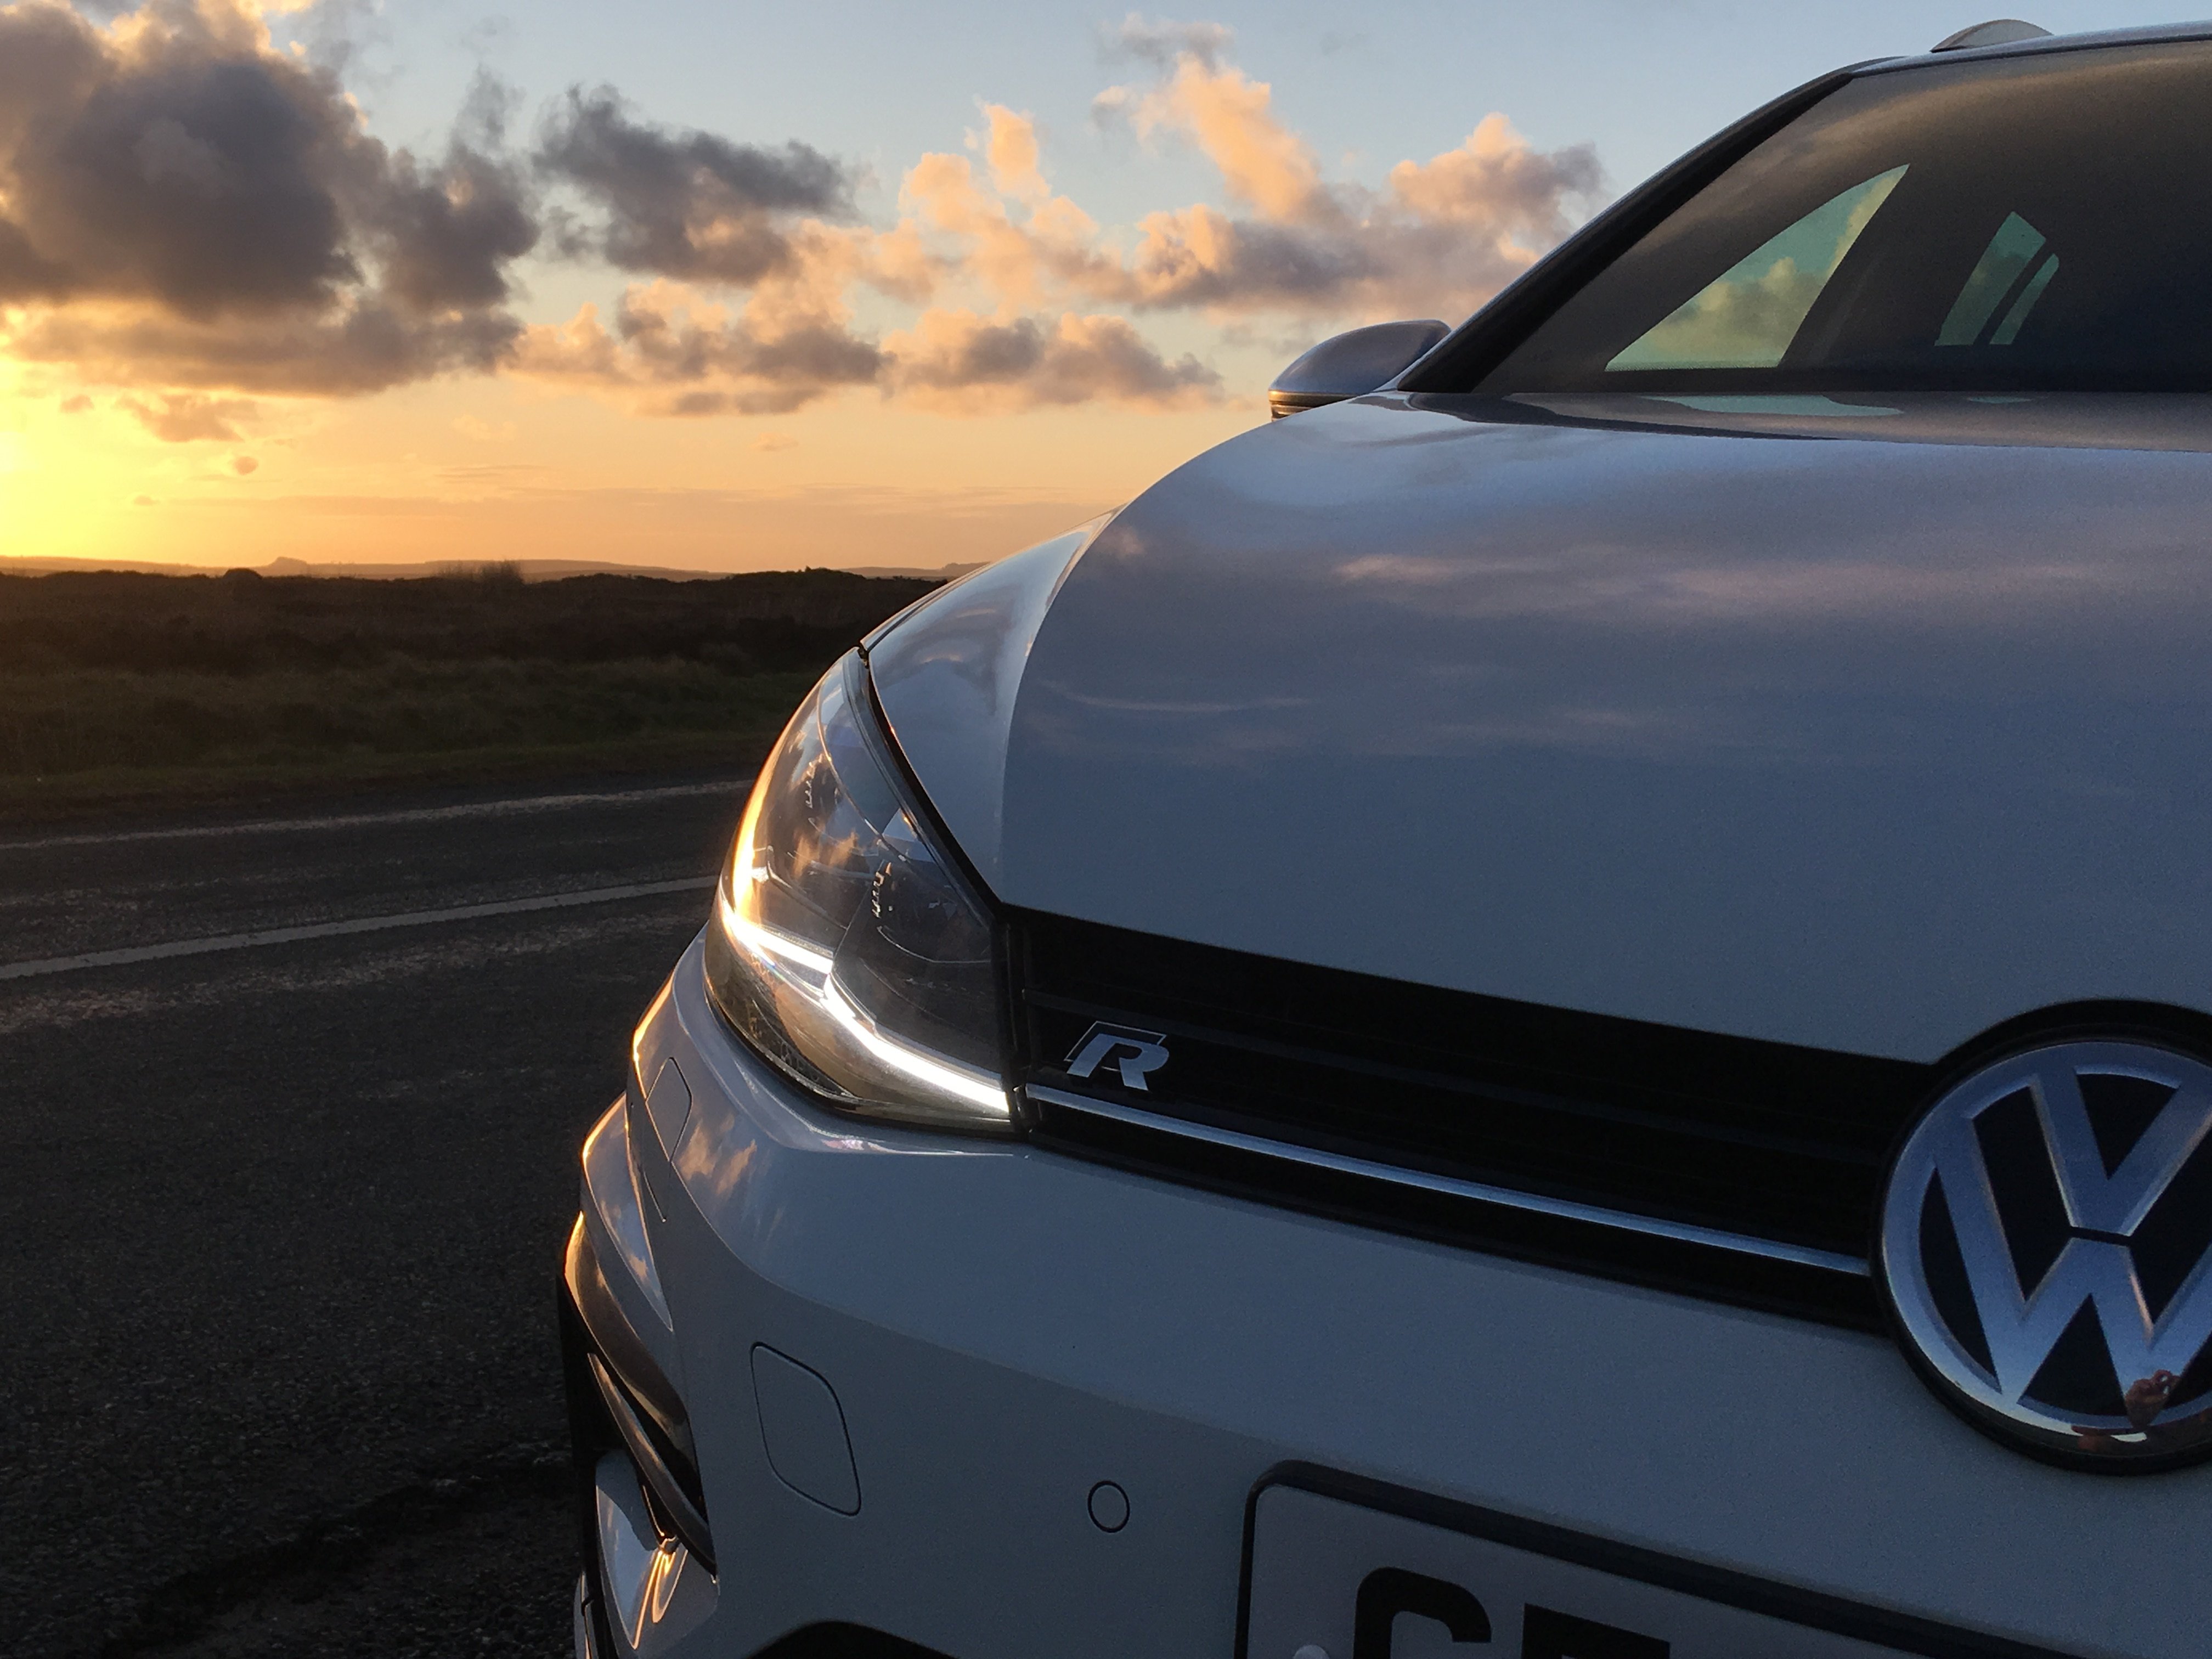
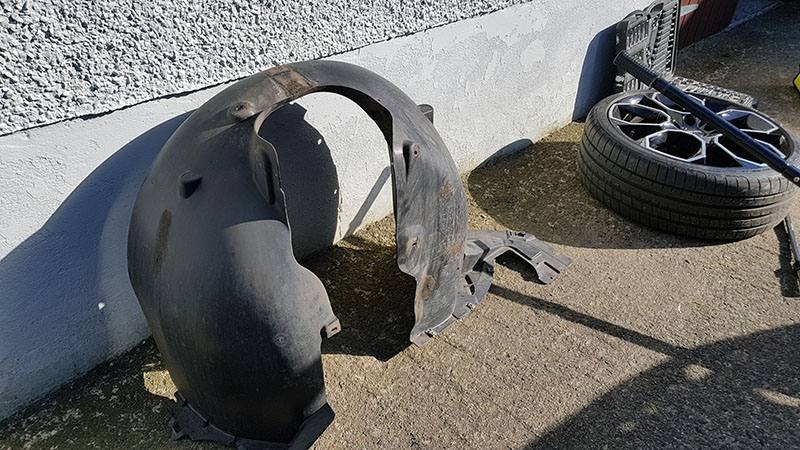
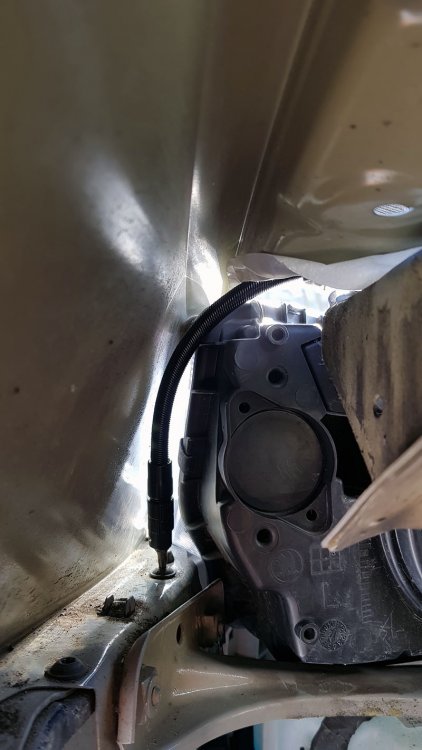
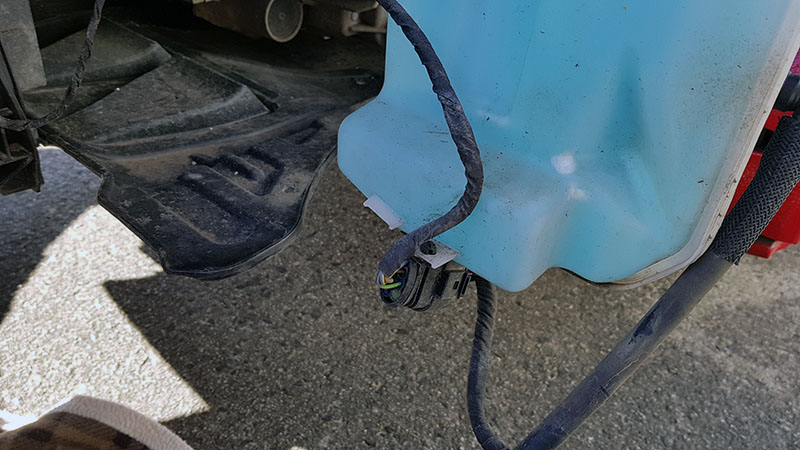
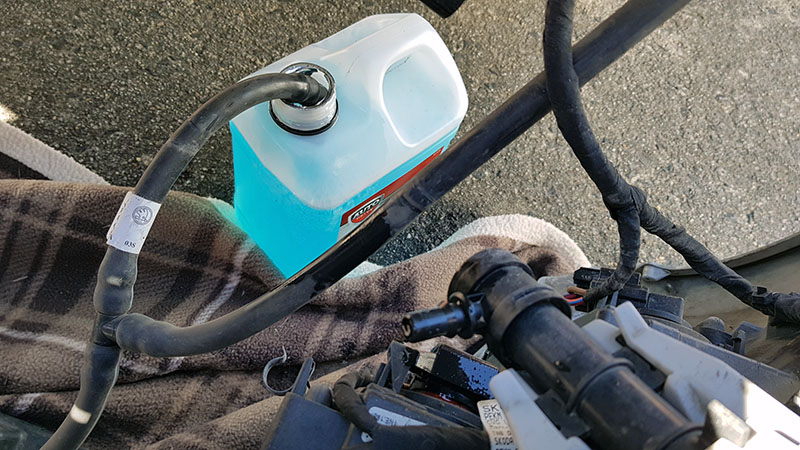
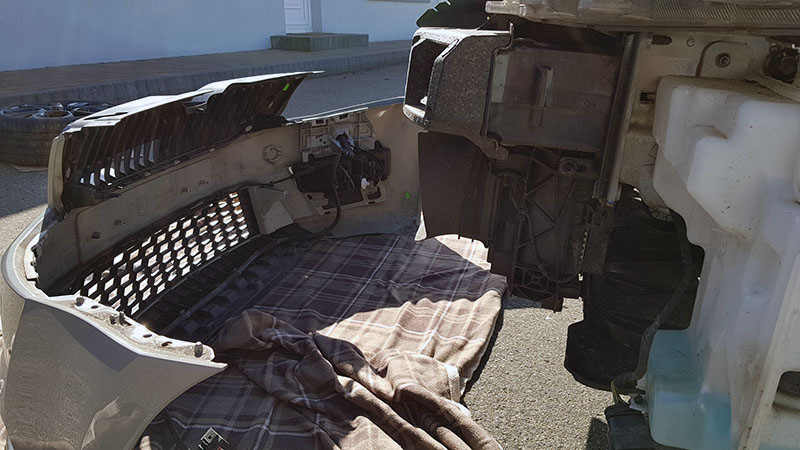
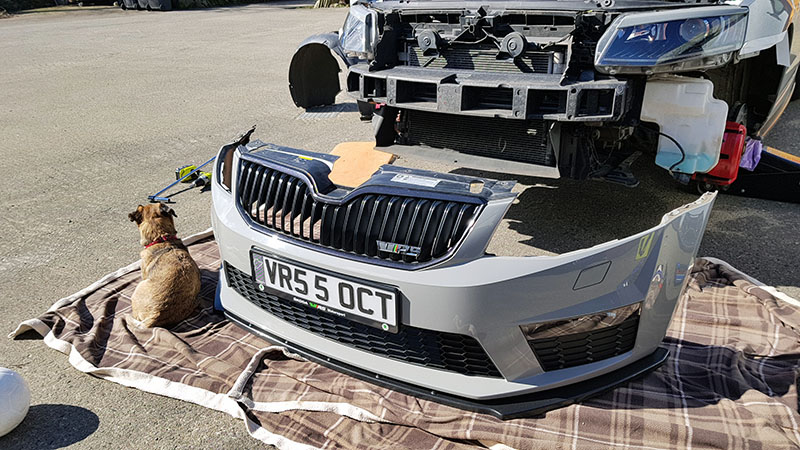
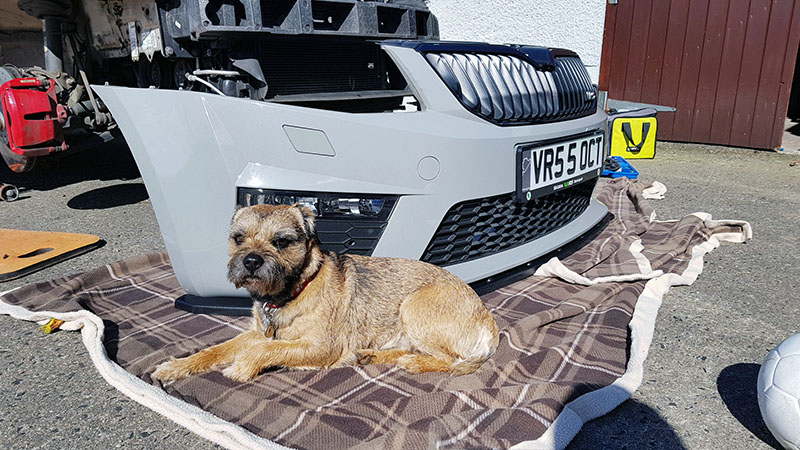
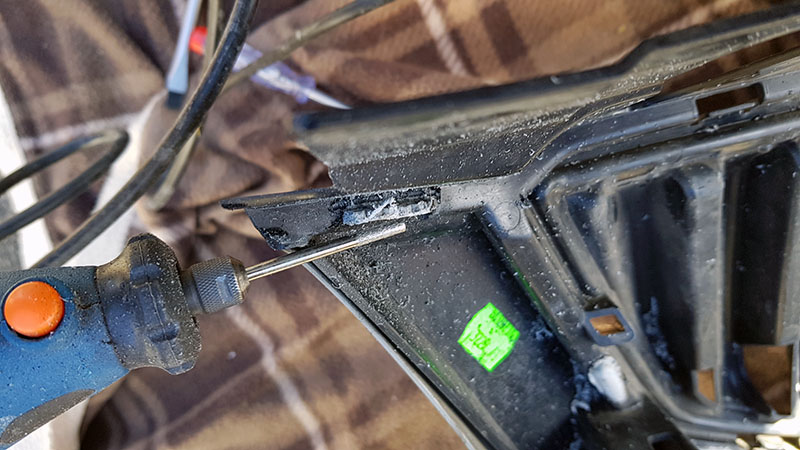
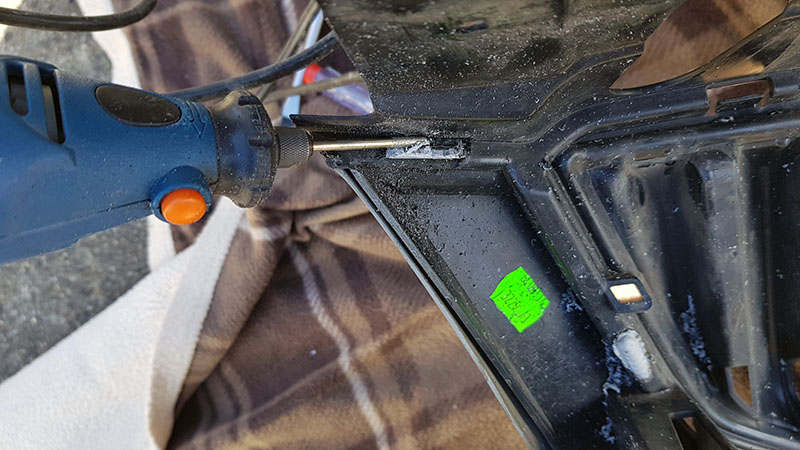
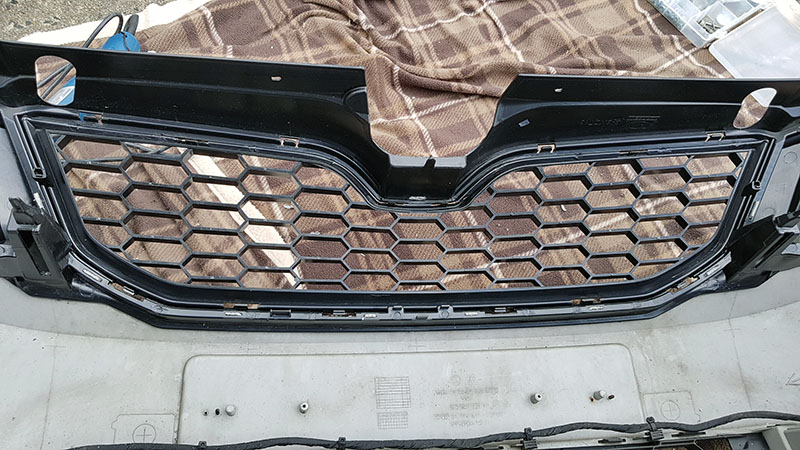
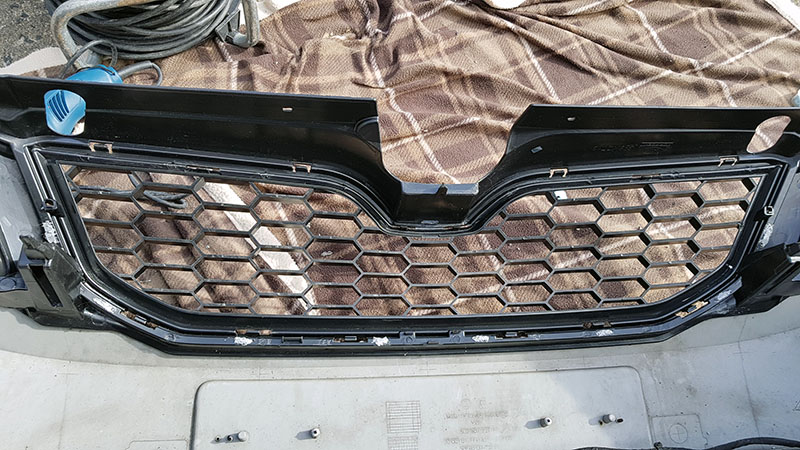
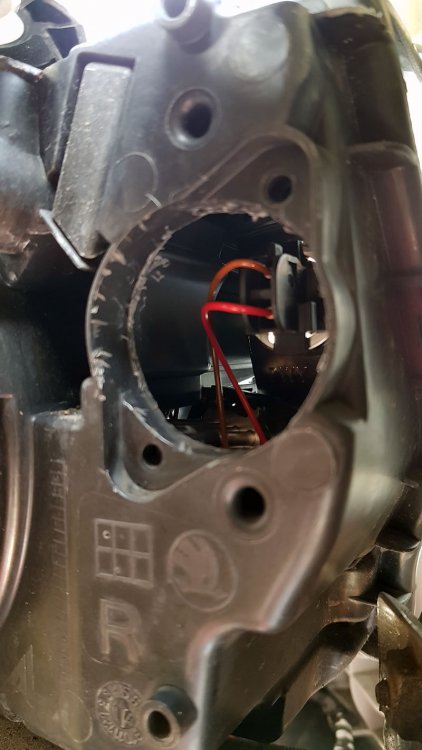
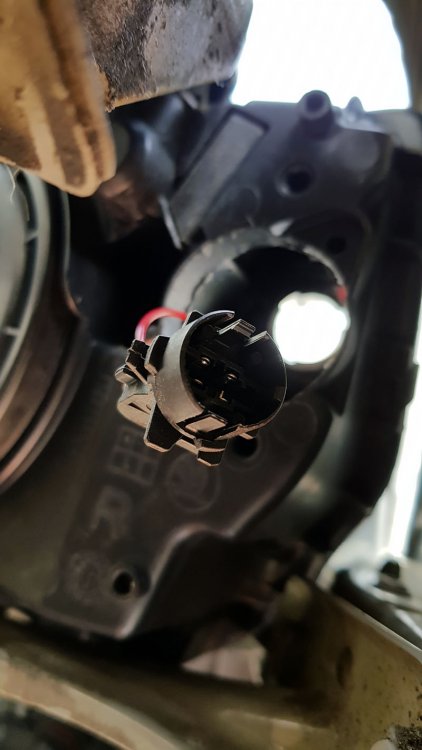
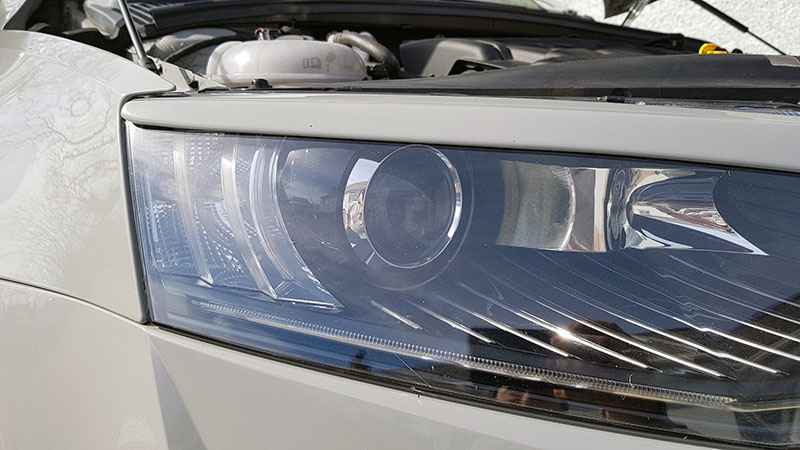
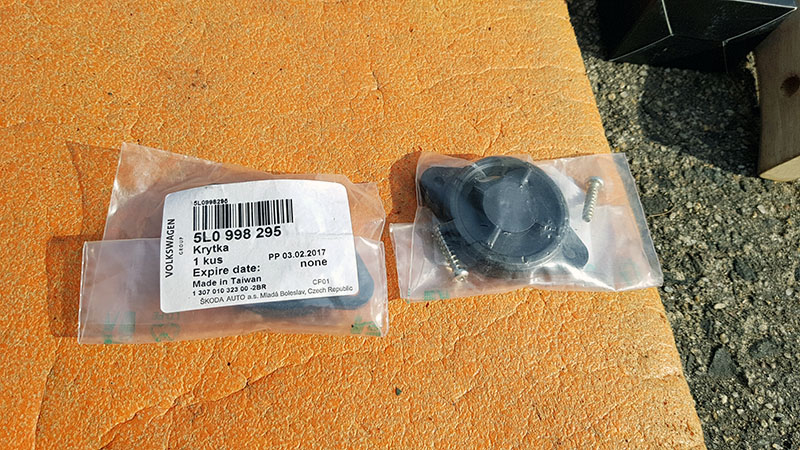
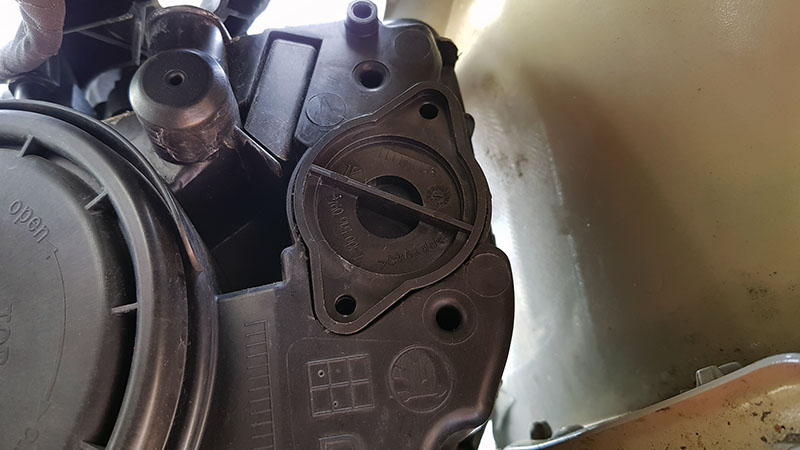
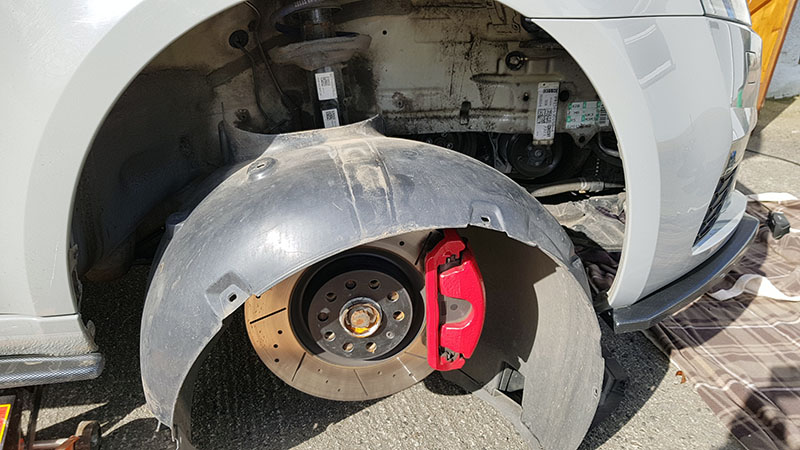
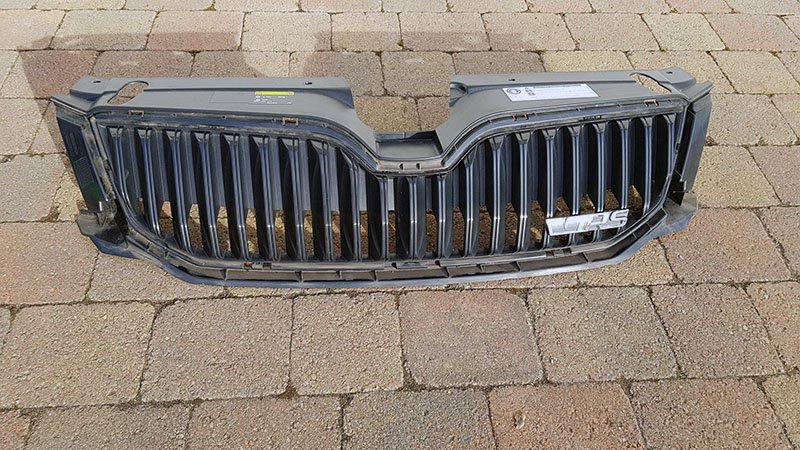
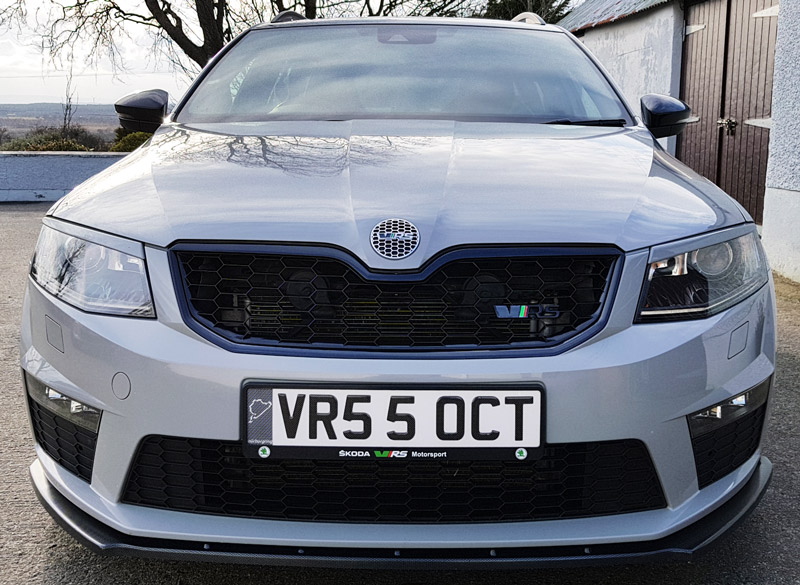
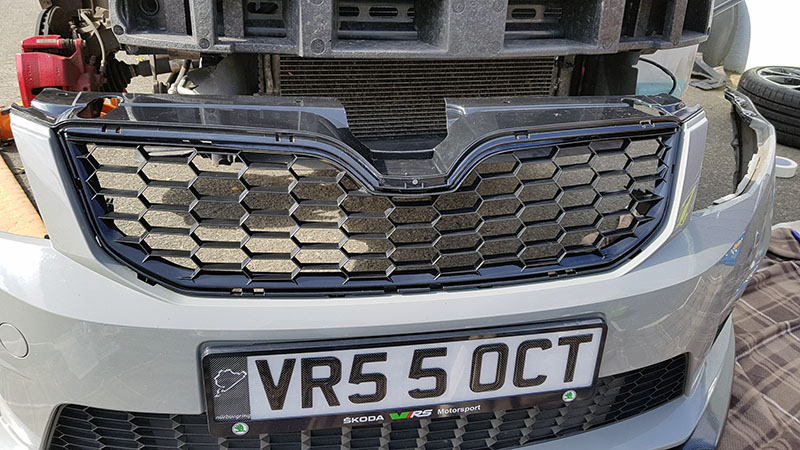
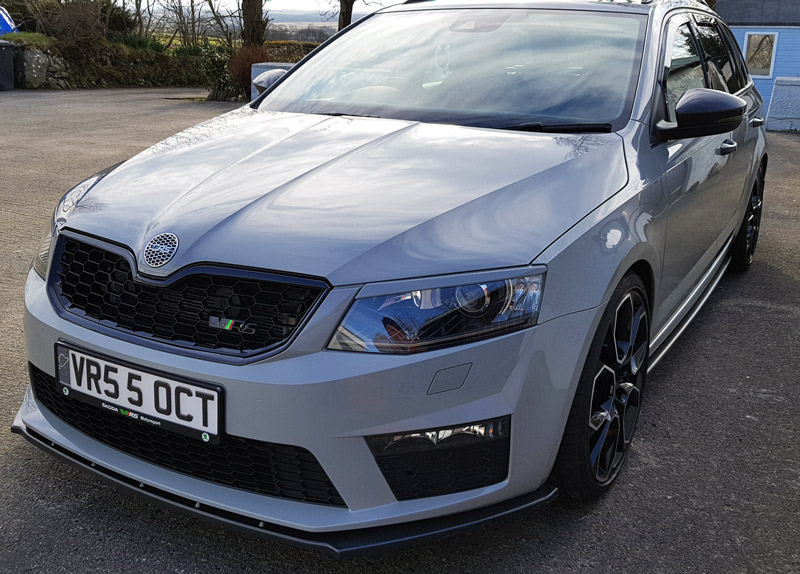
I struggled to find any decent pics of the actual process of removing and fitting the honeycomb grill so i took a few of my own. arch lining removed, the lining extends to the front of the car so you have to remove at least four fixings under the car on the engine tray (all the fixings are torx 25) before you can pull it out. I think there are about 15 torx head fixings per arch liner. two screws that need loosening before the bumper can be dropped, i tried but failed to do this without removing the arch lining but to be honest, i spent more time swearing than it would have taken to get the wheel and arch out, if you dont have a flexi tool you will need a small ratchet as even a medium one is too bulky to get at the bolt at the front. I ended up coming down though the engine bay using a 20 torx to work the screw out. Electrics must be disconnected here i found it easier to drain the bottle from the connector on the headlight washer before removing the connector from the bottle. bumper disconnected and ready to remove the grill surround i had some help removal of the surround is easy with the bumper off. Be careful not to damage the clips, start at the top and work along left to right, and then do the bottom as i found it was easier to work the surround off more gently. here you can see one of the two brackets on the bumper fixing it to the body, if you open the bonnet and look down through the two large round openings at the front you can see where you use a flat head screw driver to push down on this clip and pull back to drop the bumper down. plastic welding on the grill surround looks like this and has to be dremelled off Dont remove too much as you will melt the reminder to fix the new grill on. new grill popped into place... and the remaining plastic melted over with a soldering iron... Plastic melted over forms a strong enough bond to not need glue or any adhesive, its not pretty but its strong and solid enough not to come off. Just make sure you only dremel off enough to remove the bumper and no more. while i had access to the headlight from the arch i removed the indicator cover with a blade and replaced the nasty orange indicator with an LED one, and used the cover kit from skoda to seal the headlight again. the LED is coloured but no where near as strong as the original bulb. Brightness is the same or stronger i haven't had a chance to see it at night but day time definitely looks same or better. the holder has a groove so the bulb can only fit in one way. Dont forget to test the indicator before refitting (thanks @KevC_Derby) here is the part number if you need the covers from skoda, they are about £7 each i think. cover in, nice tight fit, it has an O-ring so should be moisture resistant. No drilling required as the supplied torx bolt just screws in. not a great pic, sorry, but no more nasty orange glow in bright sunlight. with the grill fitted, time to reverse the process... I fitted the surround back before refitting the bumper as i was able to see all the tabs seated correctly from the back. wheel arch back in... old grill out (and forsale) vRS badge painted in black magic also fitted that's it, i don't think i would be as nervous next time as when you figure out all the fixings its fairly straight forward. Some tips would be tape up the inner wing if you are accessing the inner bumper screws from the engine as it will protect the paint on the wing if the flexi-driver rubs it. Also tape the join between the wing and bumper before you remove the bumper as it has a tendency to flip up as you pull it out if you are on your own. This should stop the wing getting damaged/scraped. tools were 20 and 25 torx bits, flexi driver to reach the awkward bolts, large flat head screw driver to pop the two front brackets and a flat blade trim tool to remove the grill surround, dremel for the plastic welds and a soldering iron to melt them back again, other than the normal tools for removing the wheel. Over all for fitment i would give it 9.5/10 all the fixing points are perfect but the top of the grill just below were the front bonnet badge is, sits a few mm too low and looks as though its where the moulding was filled, you have to get up close to see it but its nothing to fret about, im just very fussy. The only thing i would worry about are the extra stones onto the radiator, but i've seen someone fit a mesh ordered from eBay which was the perfect size and looked great. I'll do a follow up when i get it.


 2 points