Defblade
Members
-
Joined
-
Last visited
-
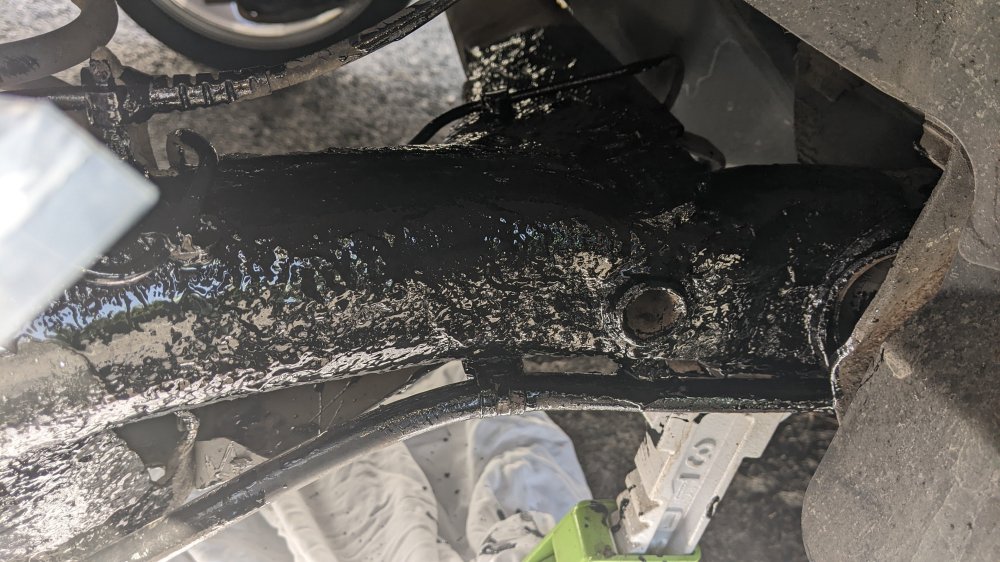
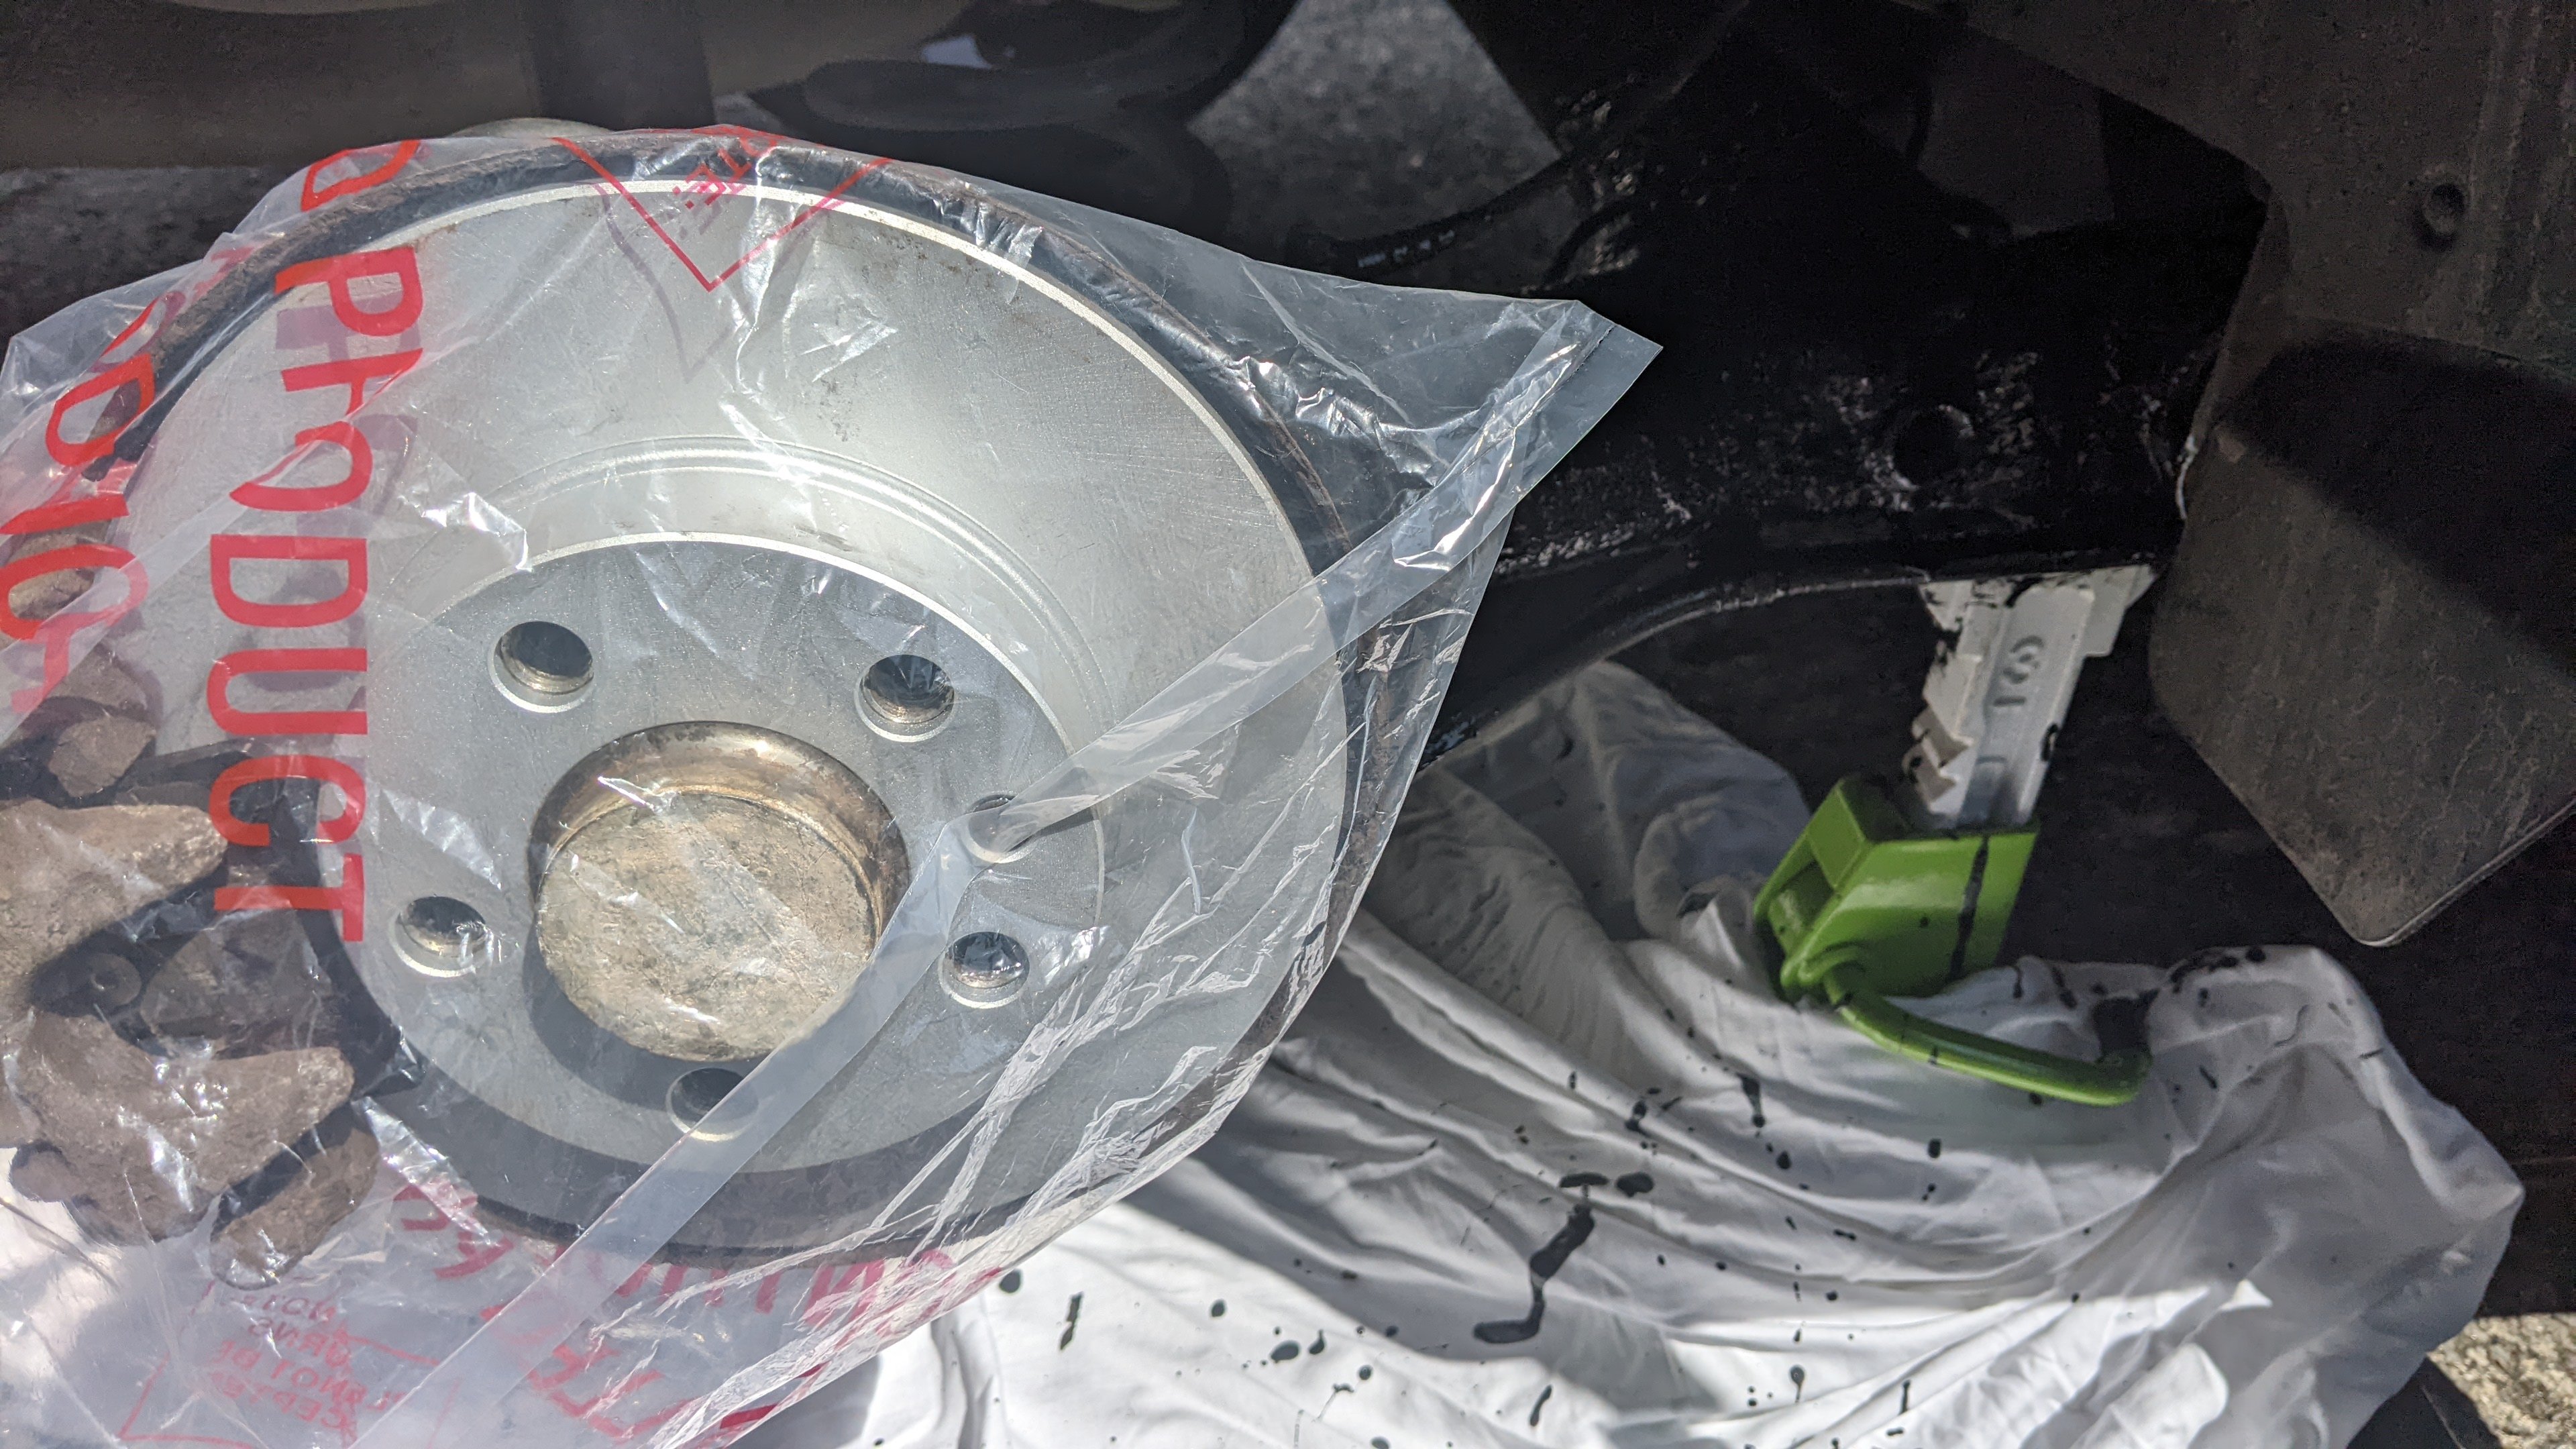
Having done the front brakes at Christmas, the rears needed some attention recently, especially the passenger side where the disc was quite lipped and in a bit of a state - I think the caliper/handbrake might have been sticking at some point. So new discs and pads both sides, and a new caliper on the passenger side. The car is coming up 10 years old either June or July, so no surprise to see the rear subframe was getting quite crusty, so while the wheels were off, I scraped off the worst of the crust, wire brushed what I could, sprayed it all down with brake cleaner and brushed lashings of hammerite on, should help it last a bit longer

-
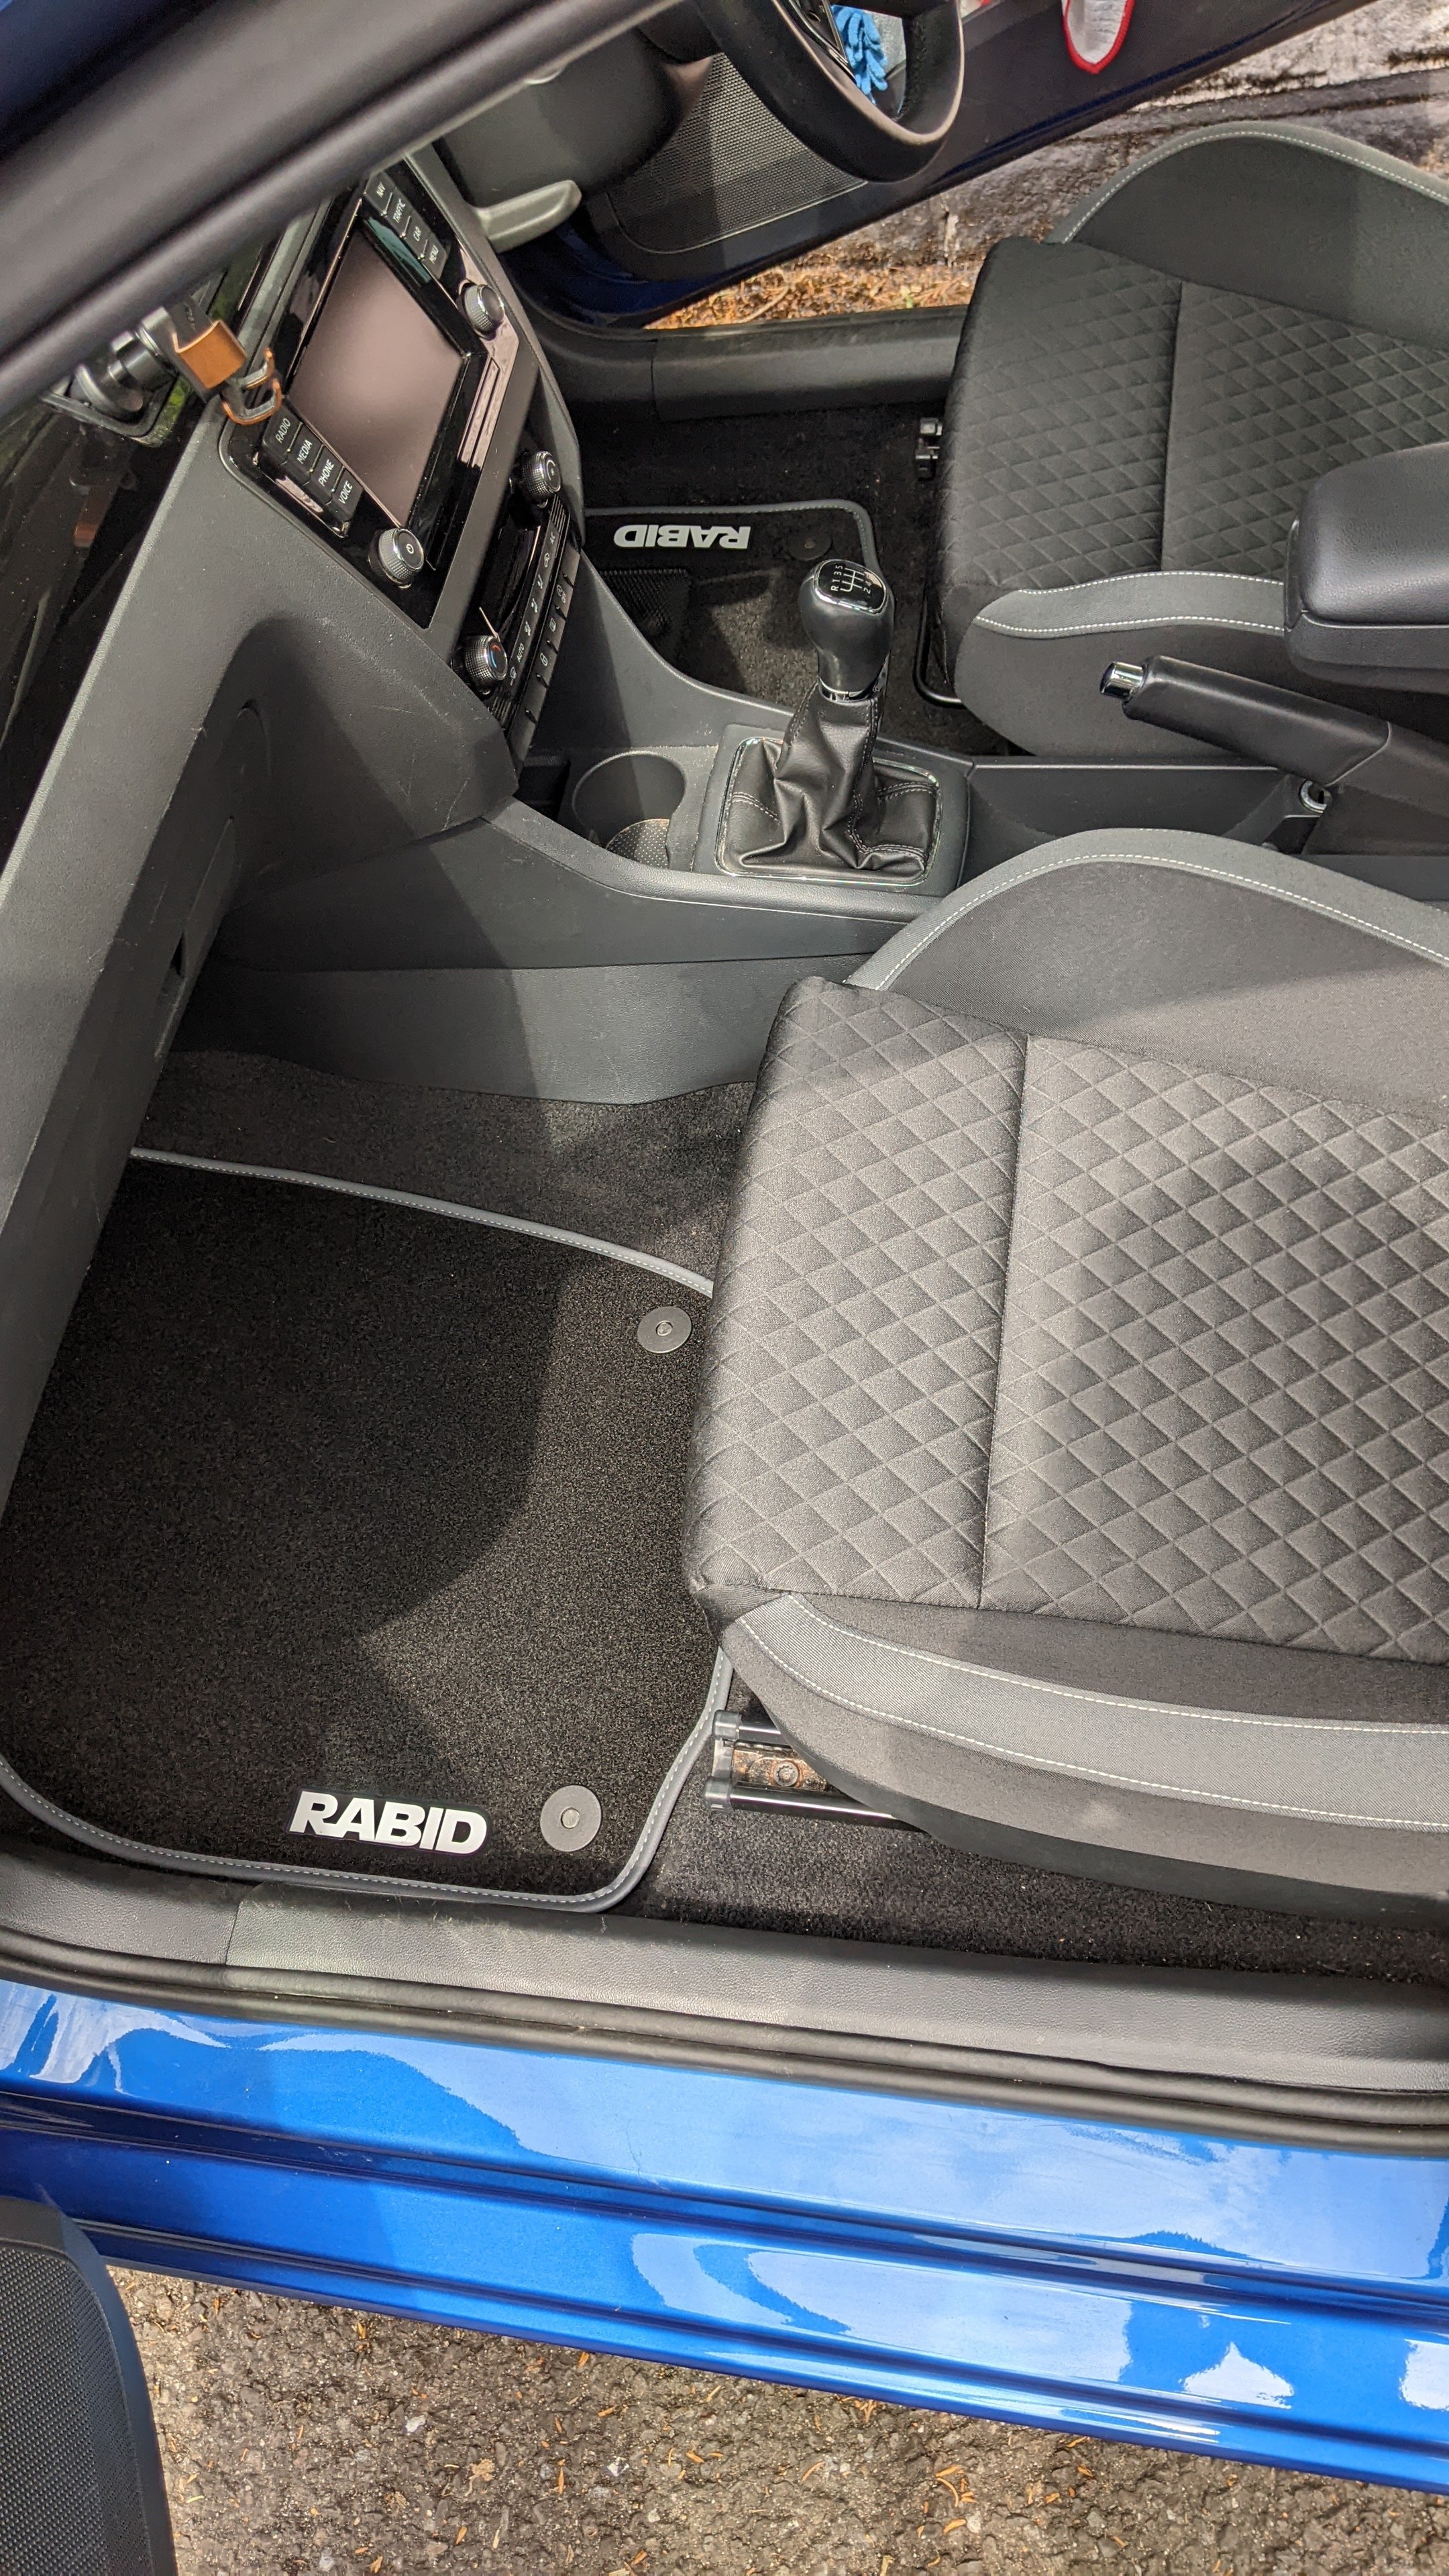
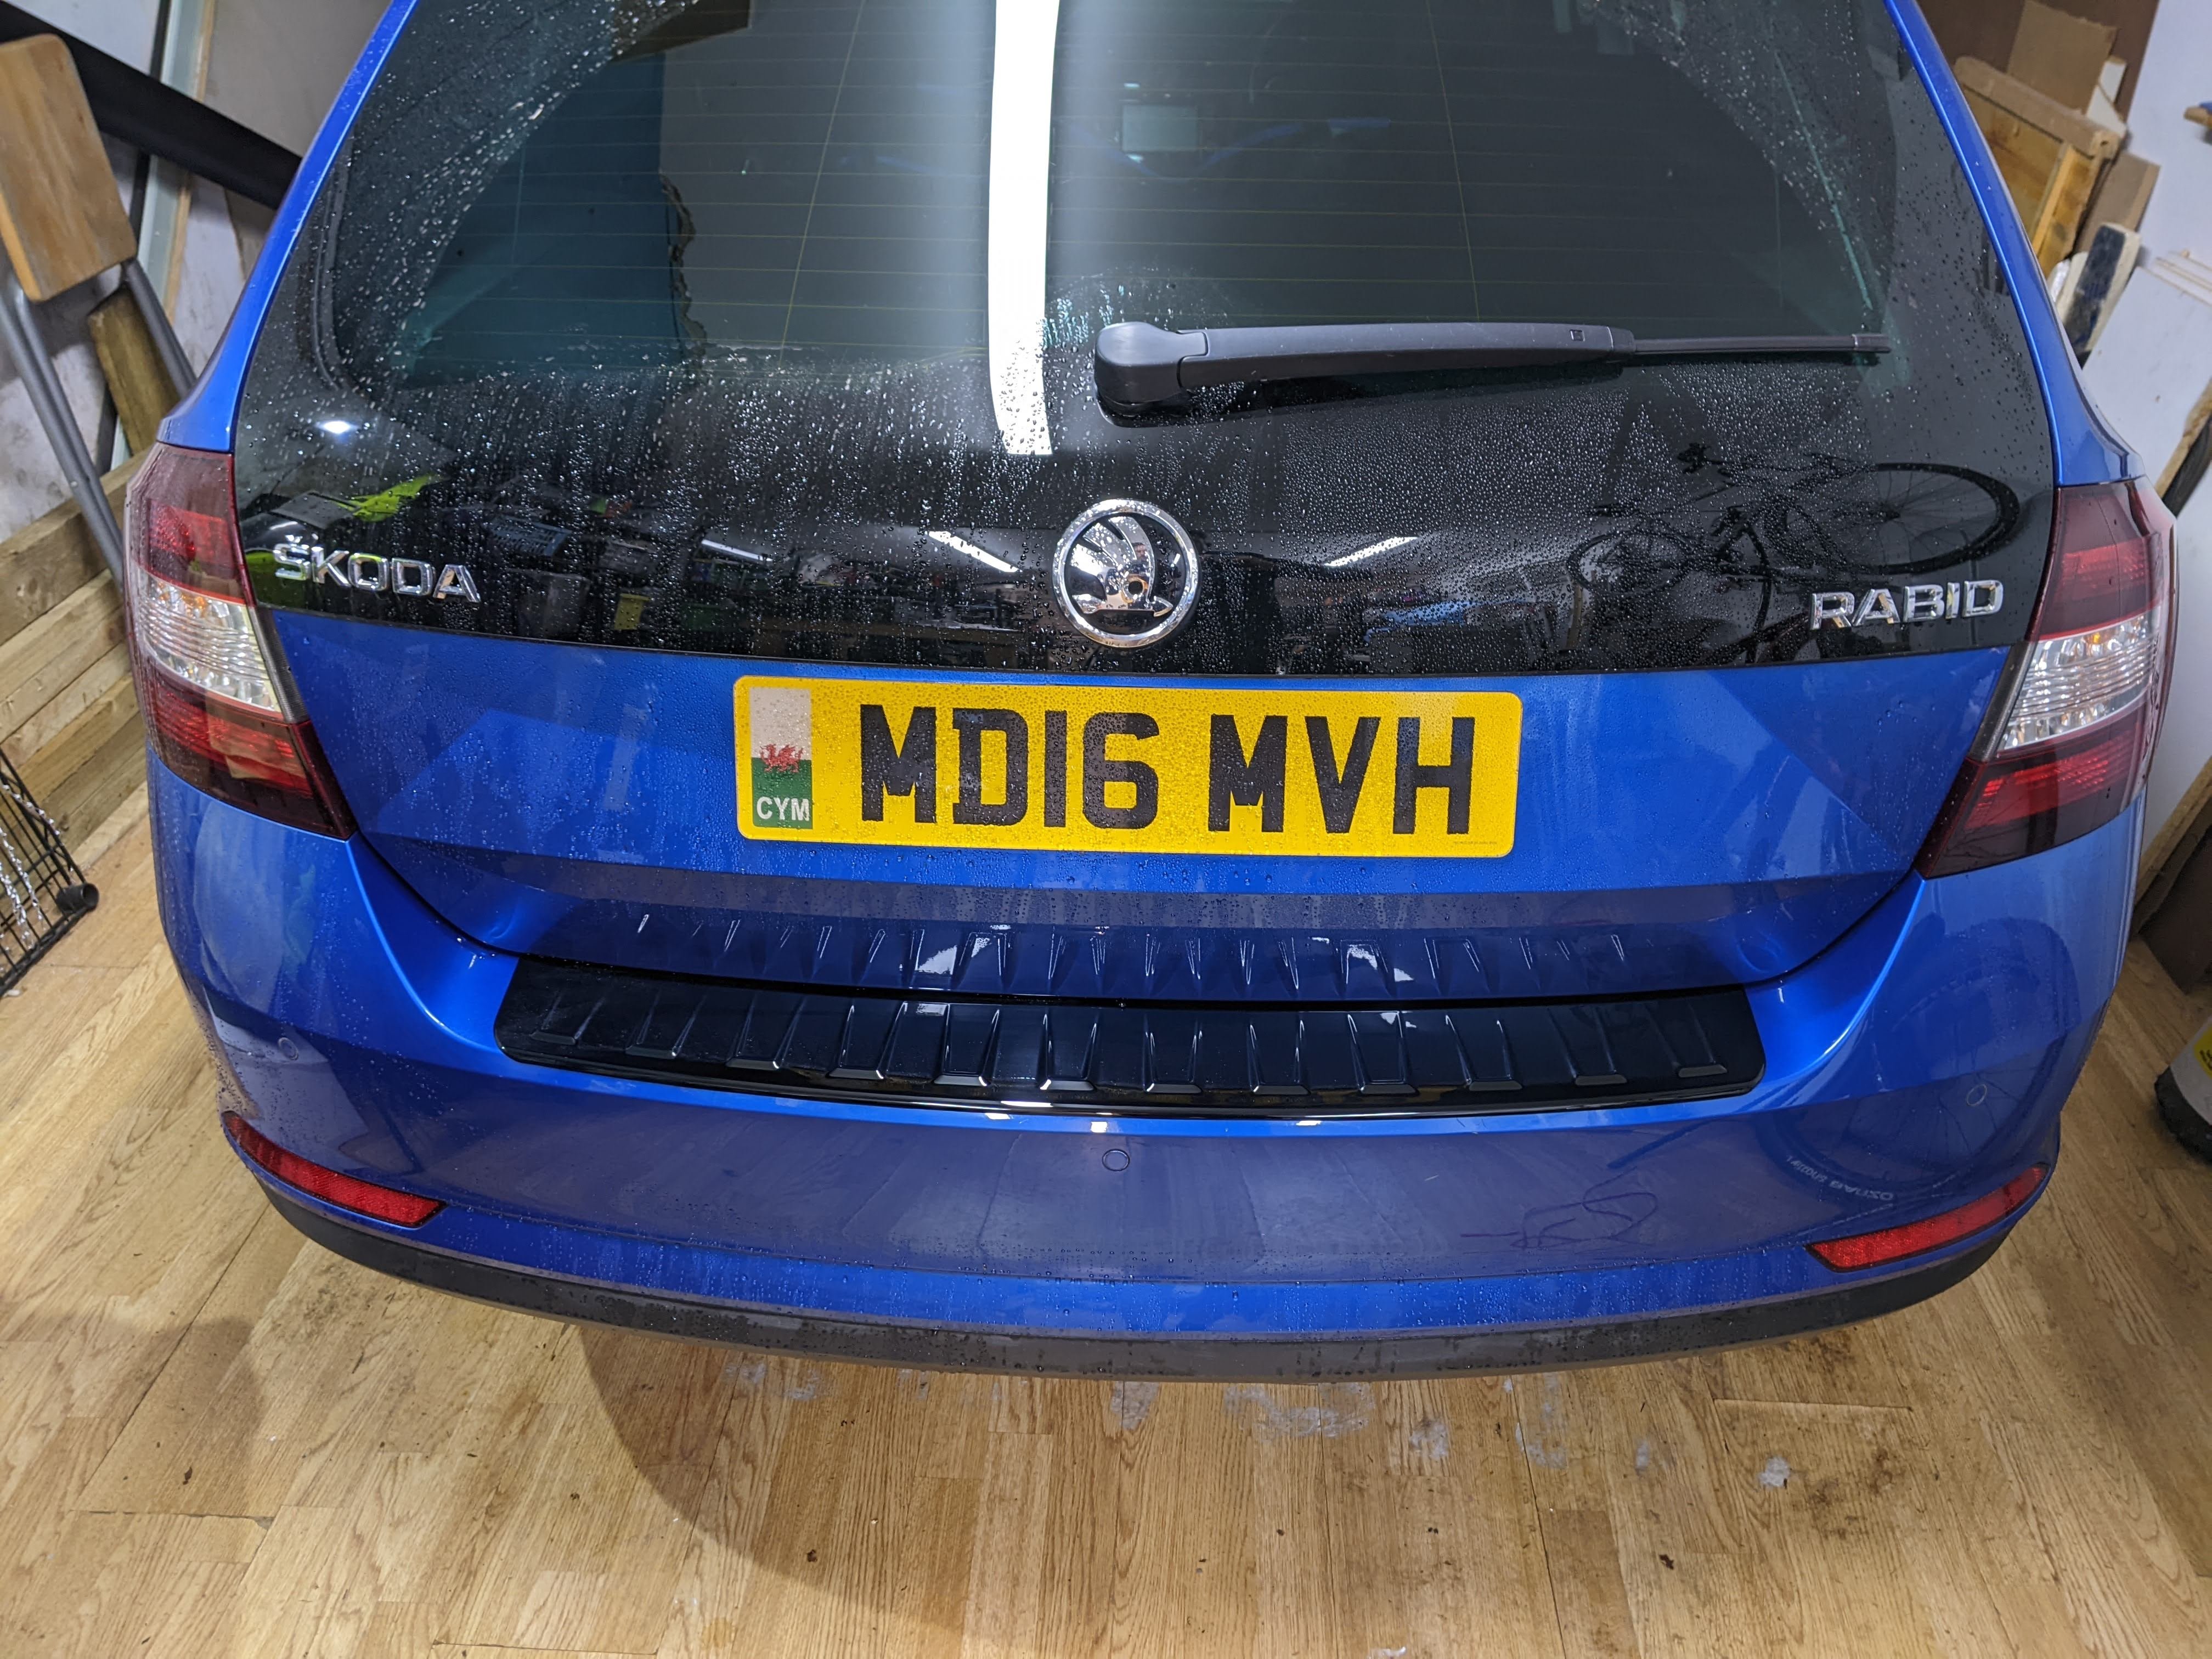
New mats, with the correct model name ;)

-
Driver's front brake was getting sticky and hot, I think it was the caliper as I cleaned up all the sliders, pads, carrier etc and it kept happening (although not all the time). The MOT man said both sides were dragging a little on his machine, so I decided it was time to do a decent refresh on the front - discs, calipers, sliders and pads. Also a full brake fluid flush while I was there as it was definitely overdue. It's not letting me upload a photo today, but it's clean silver brake parts ;)
-
Had the wheels refurbed (in Audi Titanium):
.thumb.jpg.e241718e70a075752821d0740a3b198d.jpg)
.thumb.jpg.ccb6046d18fd8a8efd9fa5c36c103a4e.jpg)

-
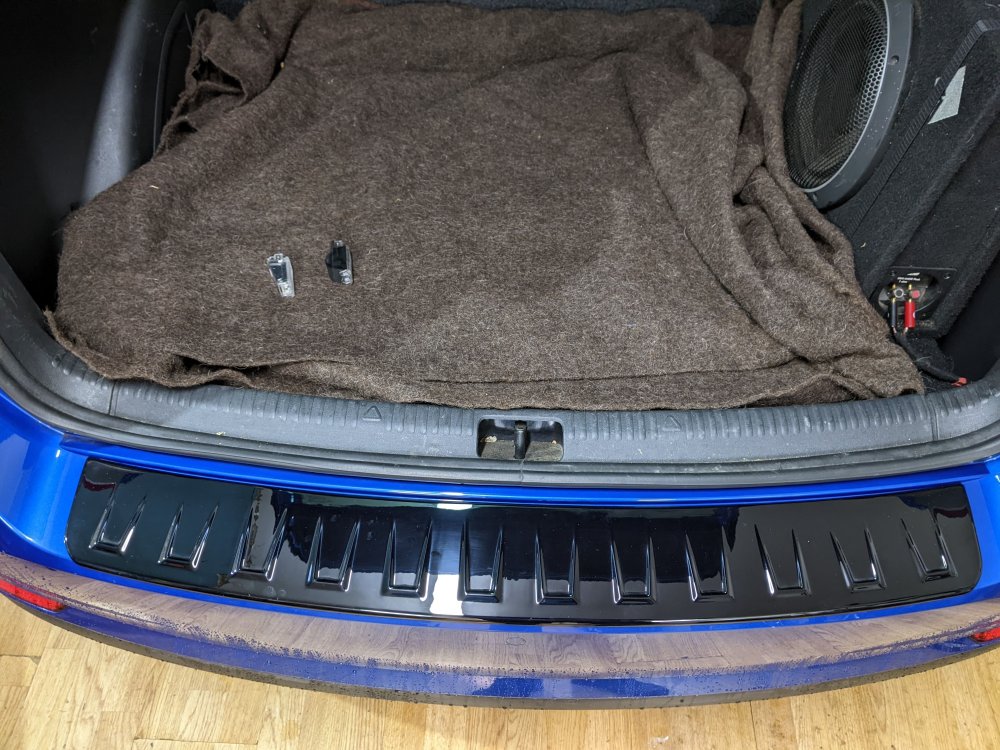
I got on the internet after typing the last post, and a few more bits arrived today... new wheel bolt covers (a couple have gone missing, not sure how...); new wheel centre badges although i'm not fitting those yet - I haven't quite decided what I'm going to do with the OE wheels yet, and I'll save these until something refurbed or brand new needs them; the LED boot light; and a boot-scratches-be-gone 😄

-
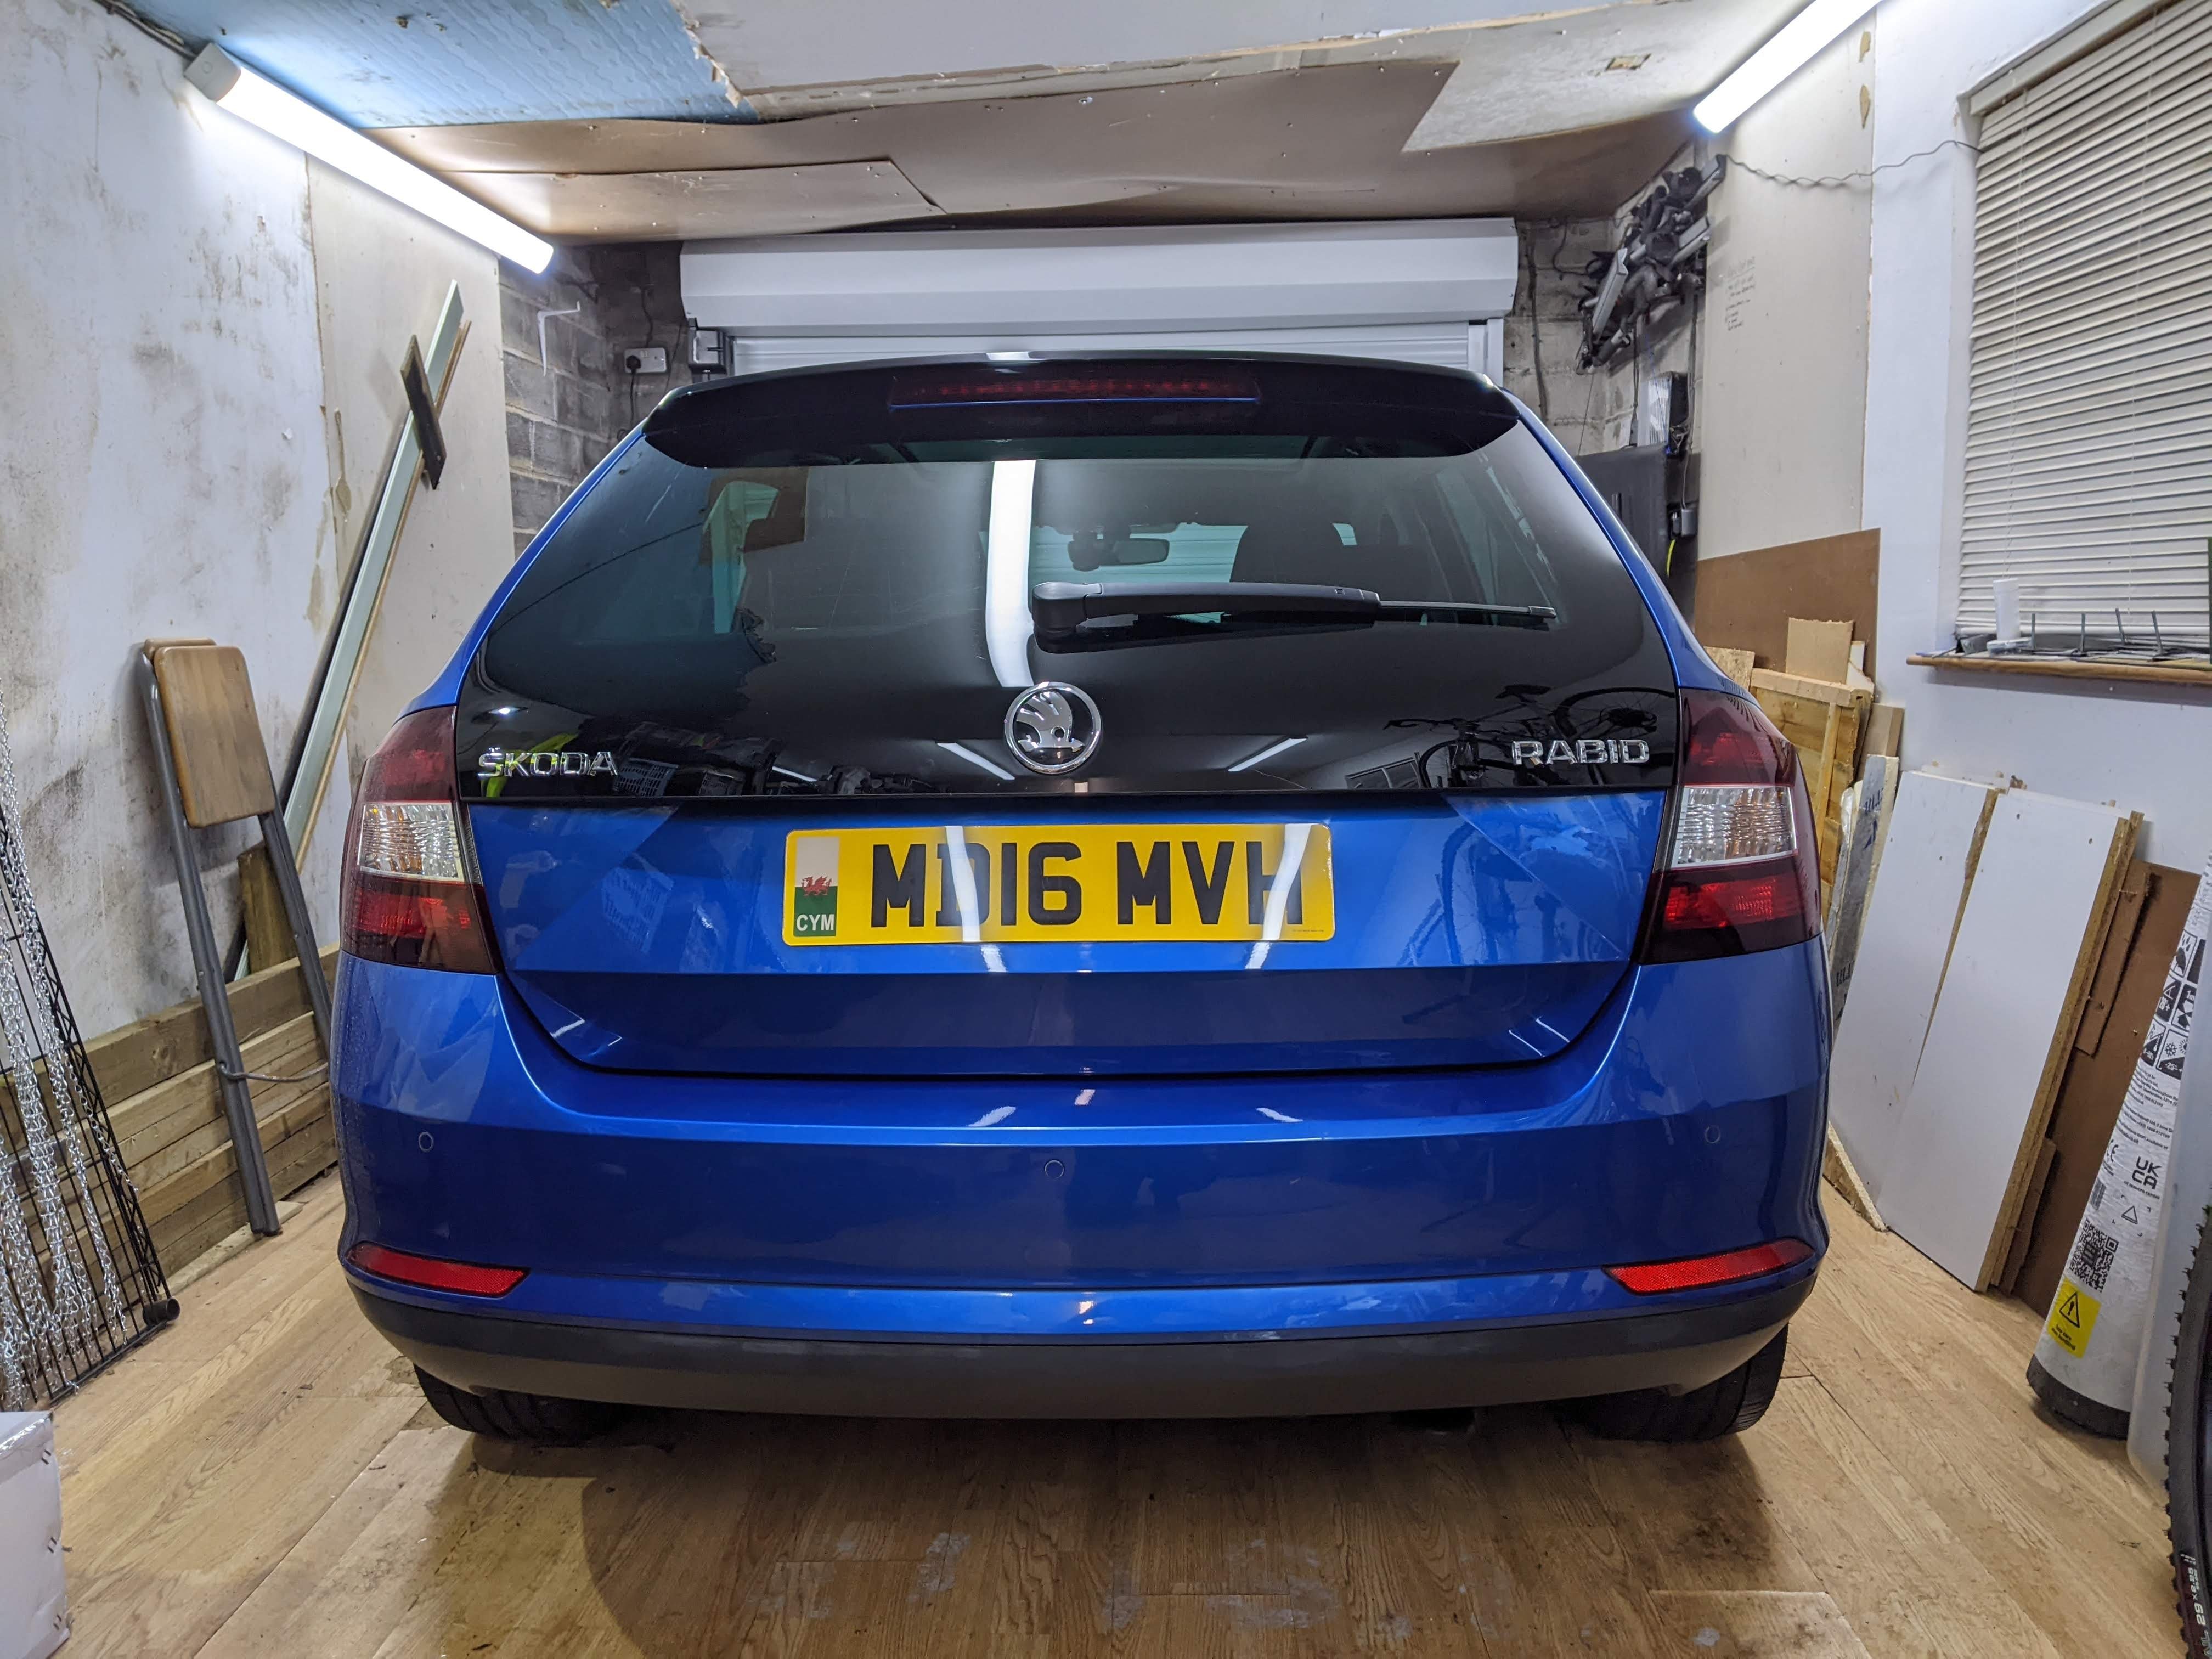
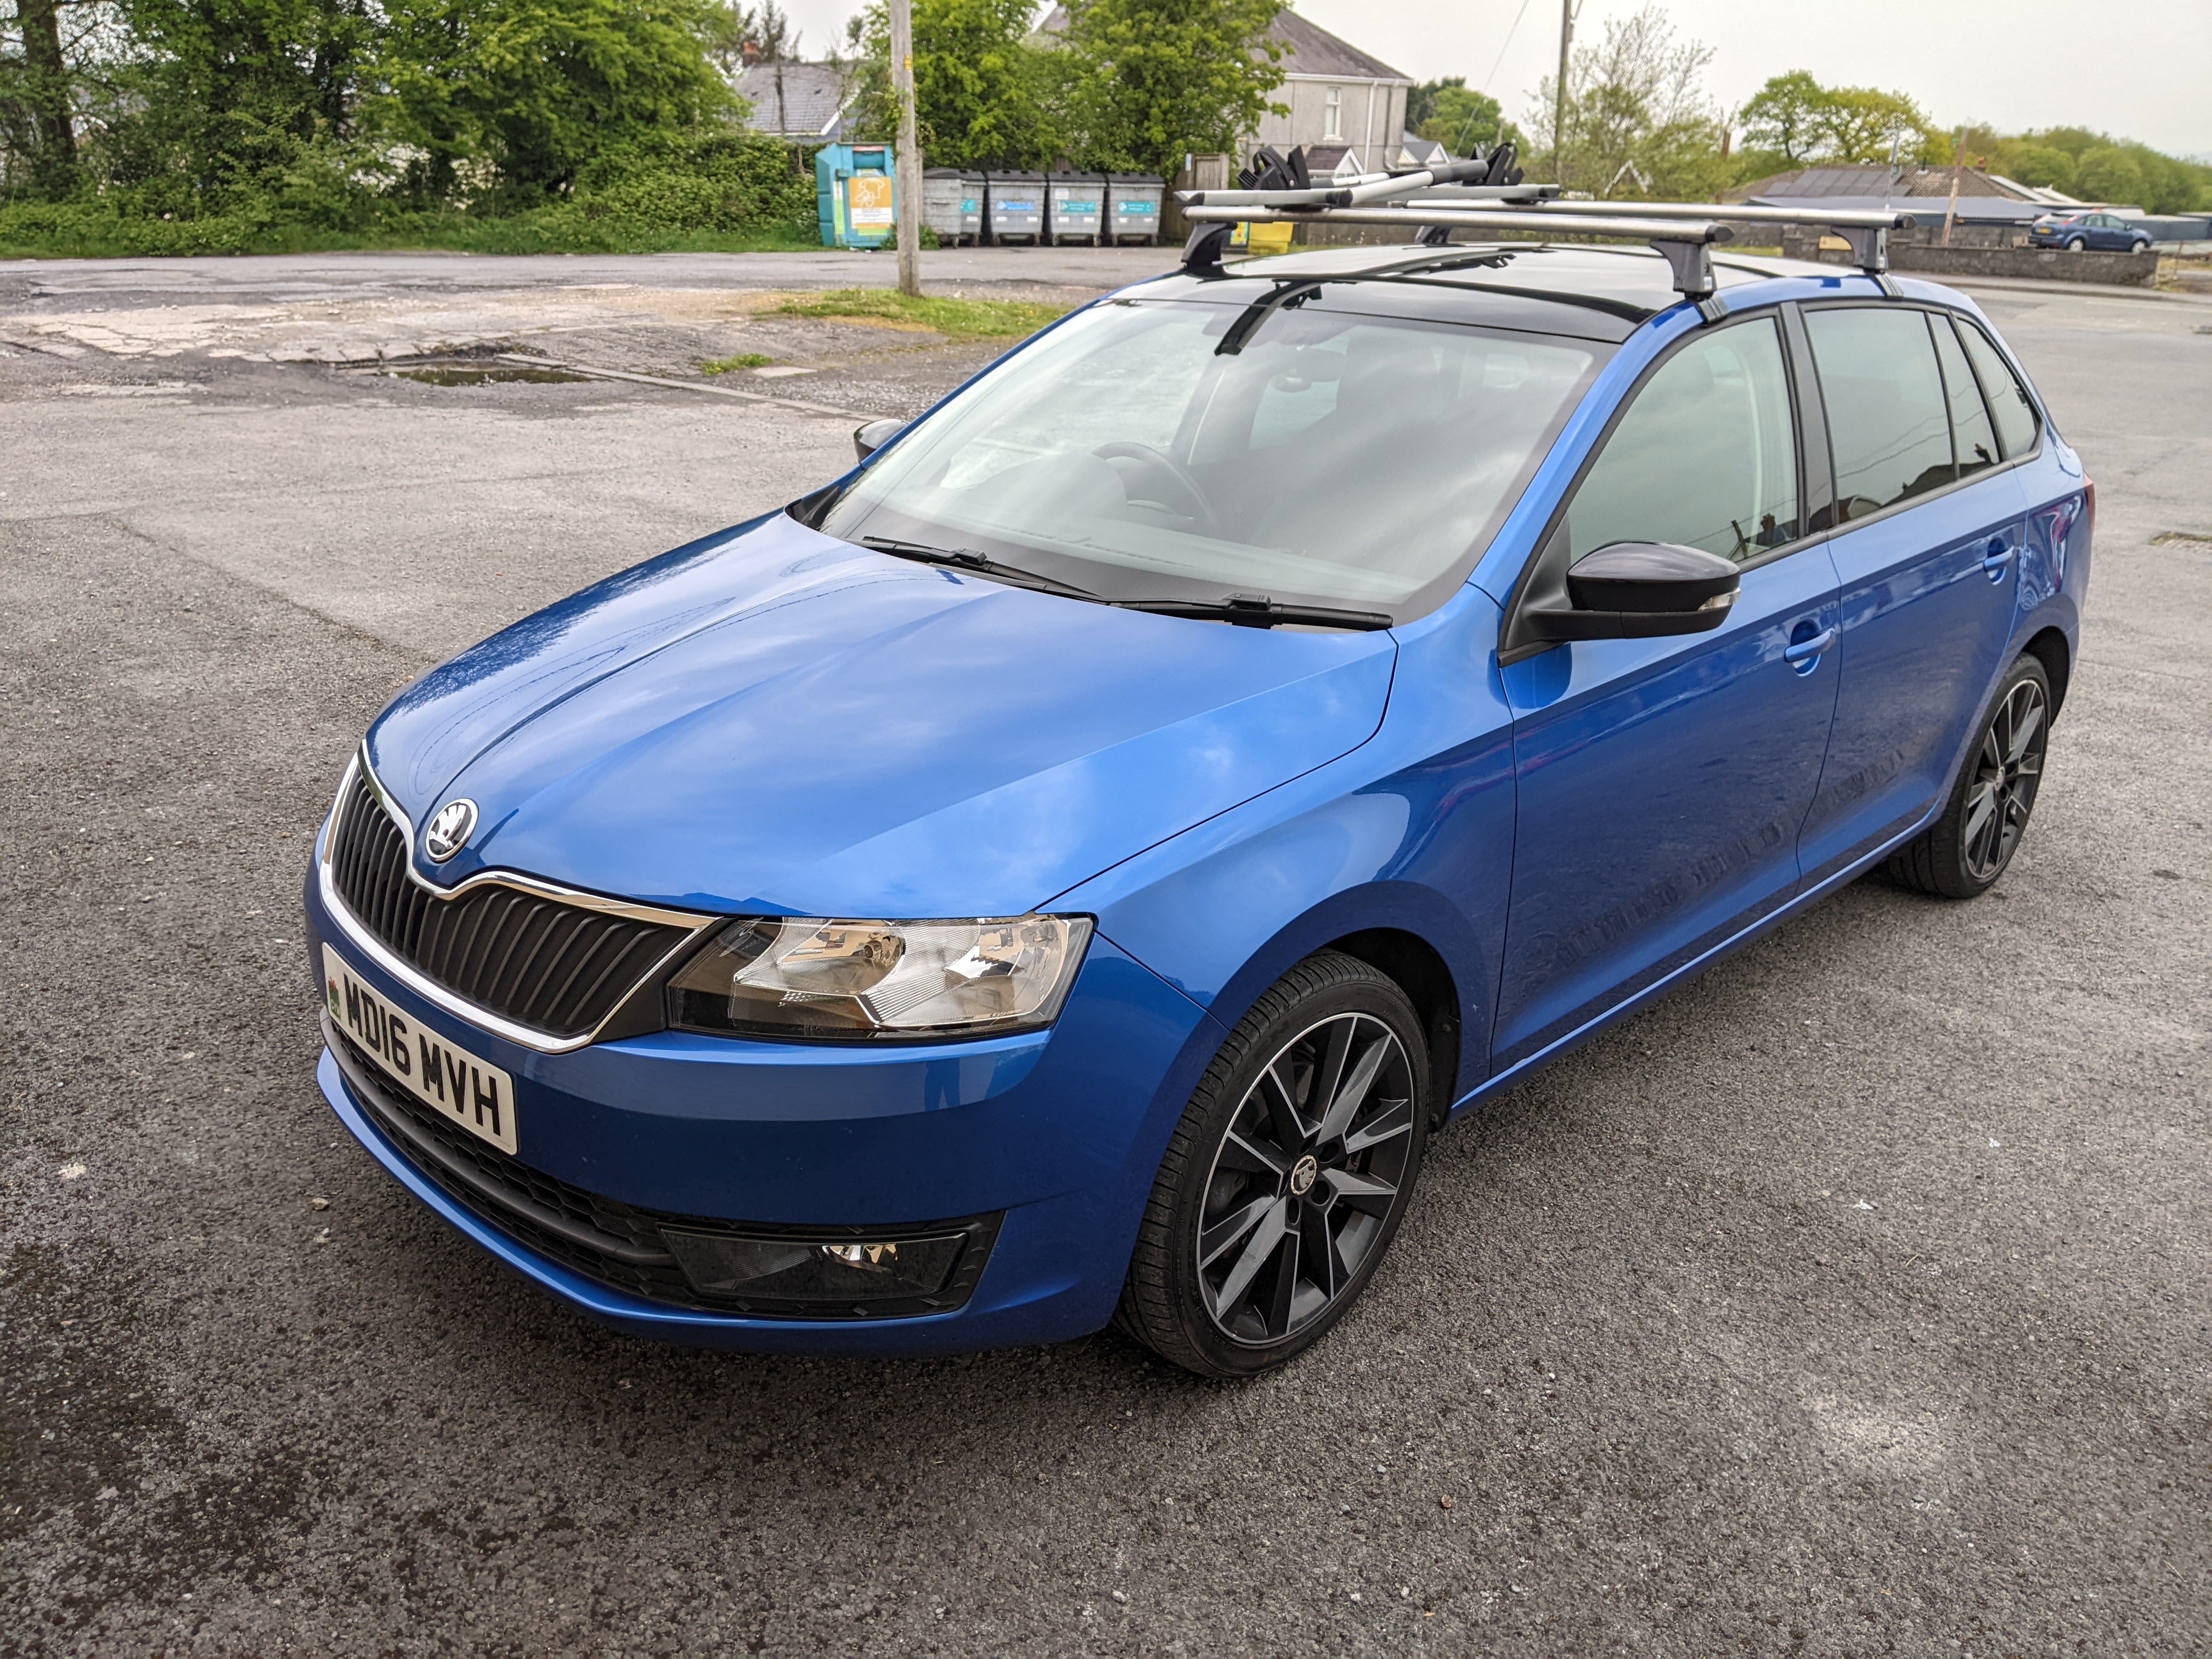
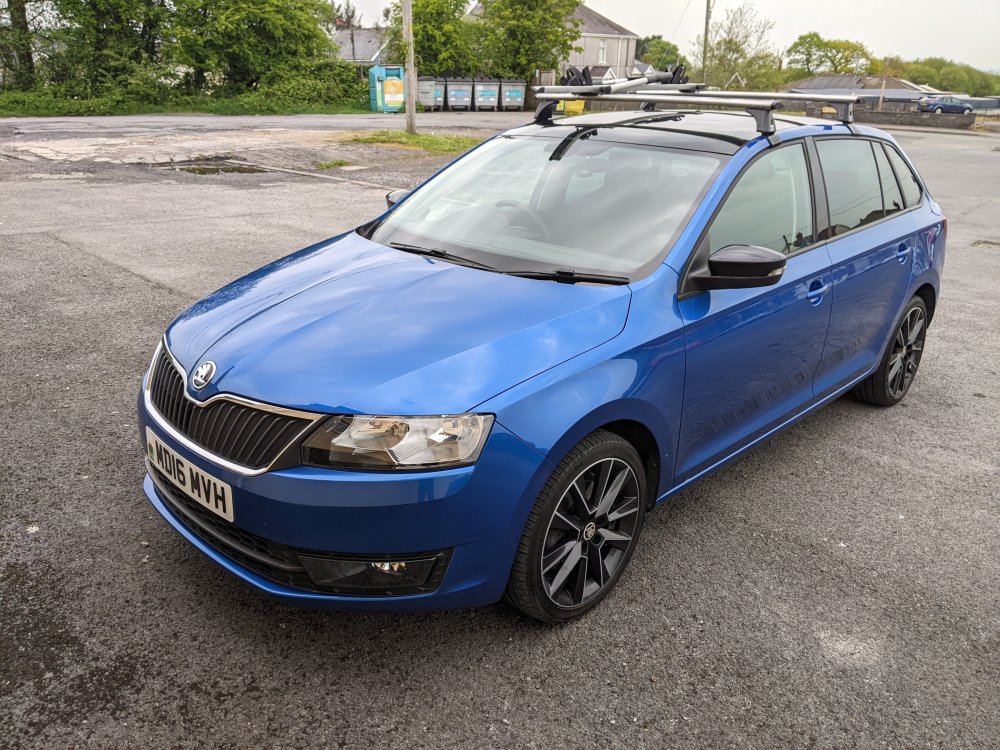
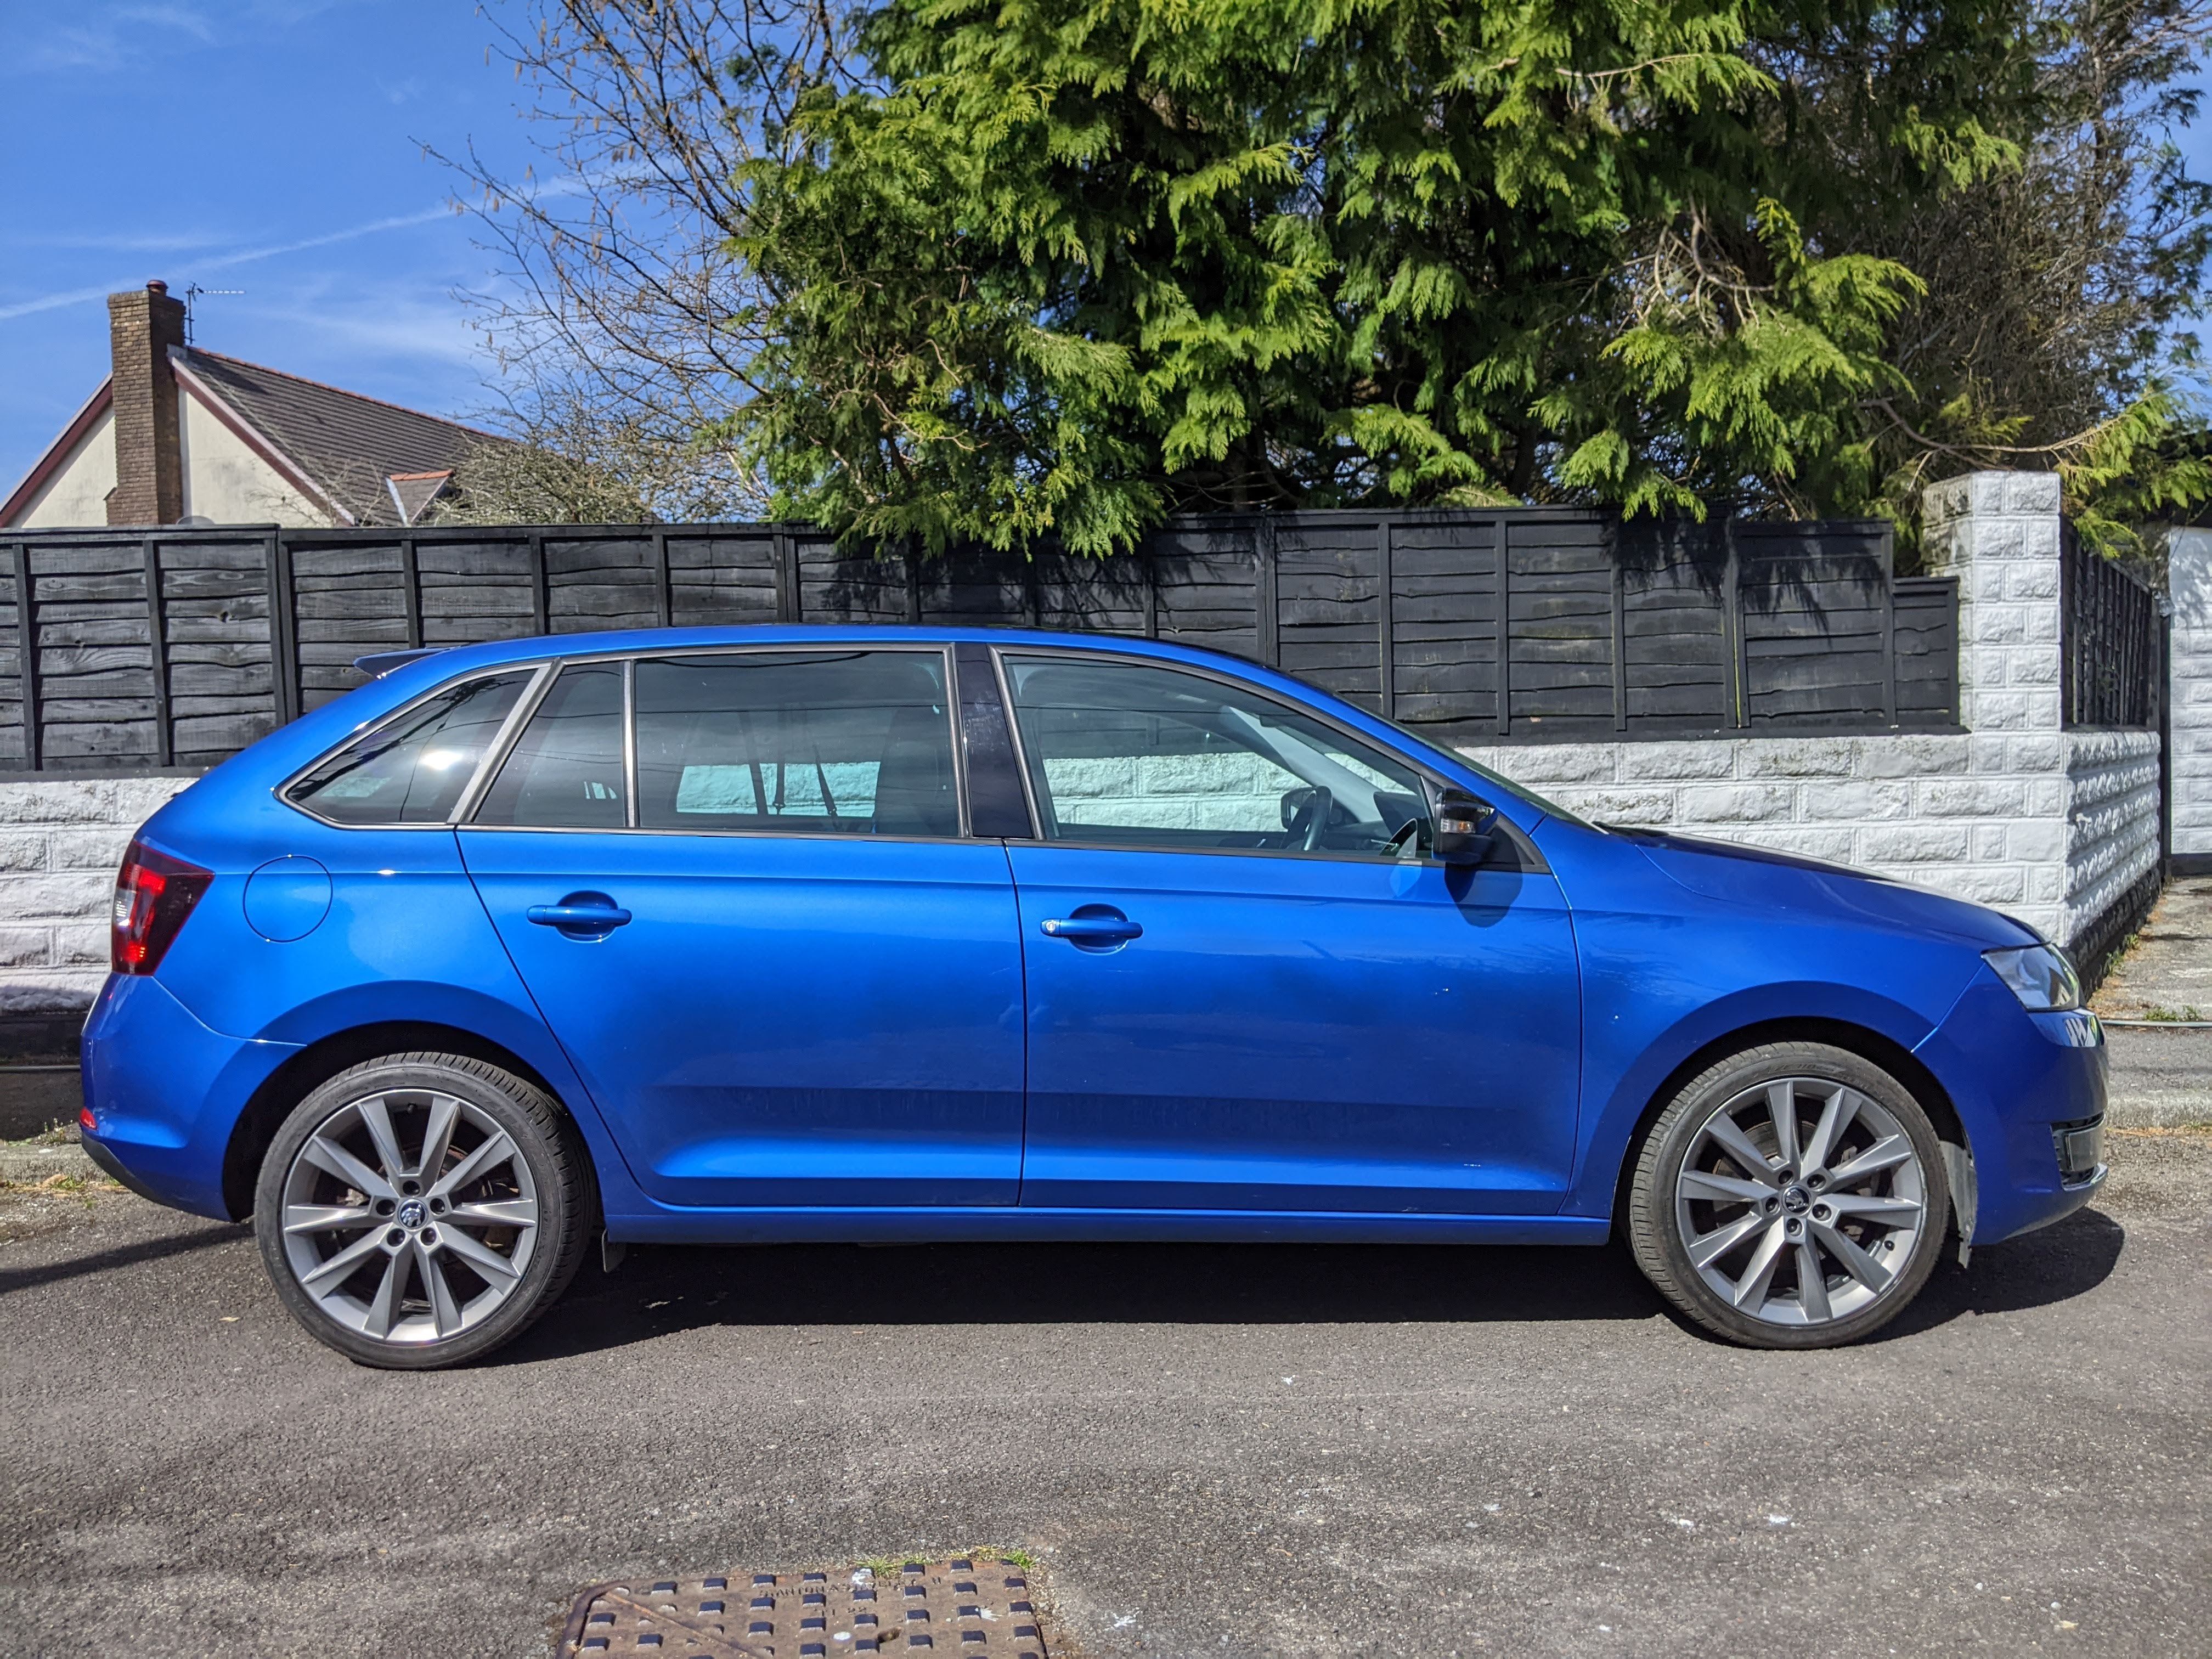
Well, it's been a while since I updated here. This week is the 5 year aniversary of buying my Rapid, and to say I've never kept a car this long before should tell you most of the story I've not ended up making much in the way of further mods - not helped by SuperSkoda not sending things to the UK after Brexit. I have bought a set of 15" (Octavia) alloys for winter tyres: Changed the Focals to a more sensitive (that is, louder for the same power) set of Audisons... yes, it annoys me they went in on the wonk, but that's where the terminals needed to be: And not much else apart from drive it and give it plenty of servicing as and when. Bought at 17k miles, just coming up to 60k now. Had a day off today and it wasn't raining for once, so it got a full wash/clay/polish/wax today. Still comes up well for an 8.5 year old car, but it has certainly picked up some scratches especially around the boot from day-to-day use and tip runs. The wheels could do with a refurb now; I might get them done once I've swapped to the winters later in the year. It has carried bikes inside and on the roof, has a roof box for running daughter's stuff back and forth to university, sits on cruise at 76mph with no fuss and little noise (if the stero is off!), lets me do those 7 hour drive university runs and get out without any great aches or pains, and does it all at 40-45mpg. I did get the urge to swap it out for something less sensible earlier this year, but I just couldn't bring myself to do it. Even if I had, my wife said she'd rather sell her Citigo on and keep the Rapid for herself! I have been considering performance mods for a bit more interest... I see mapping could take it to maybe 140 brake with no other work, but I'm a bit reluctant as I've had poor results from mapping in the past; or airbox/turbo from the 1.4/exhaust could see around 180... but I'd probably rather just buy a faster car at that point. So sticking with OE for now. Just one problem has cropped up in the last couple of weeks - the scroll wheel on the RHS of the steering wheel has gone very intermittant. Googling suggests it's not uncommon across various models and new switches or a software update might sort it. I've tried a bit of contact cleaner and and air blaster with no improvement... the switches are £140-odd, and all the same info is availble on the HU, so I think that's just not going to be fixed So, here's to another 5 years 🍻
.thumb.jpg.ff55a0cf5d6e21ca5dec8312b0aa9ec4.jpg)

-
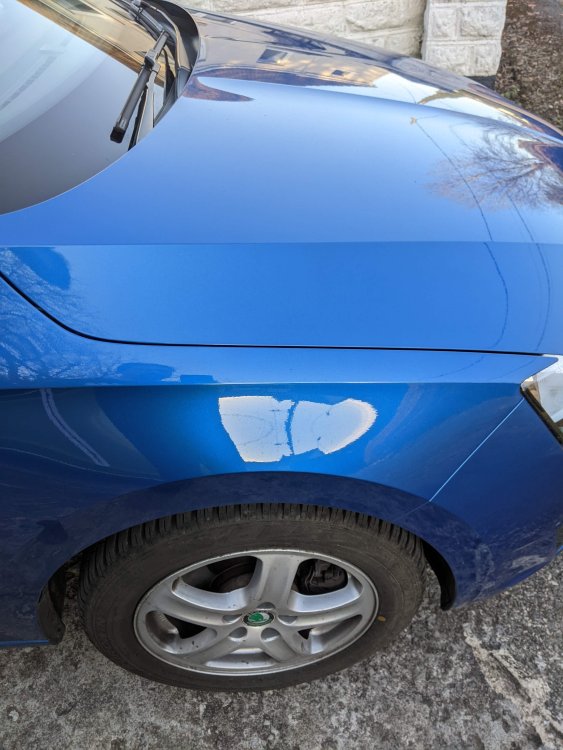
Had a few stonechips and scratches on the doors filled in last week; washed, clayed and washed again beforehand; a quick all-over hand polish 2 days later, then waxed. Wheels are to be refinished in the near-ish future, hopefully....

-
I believe they were Octavia wheels in the first place. Think I'll get the correct size put on just to save worrying...
-
So, apart from a very brief test during which I had no accidents claims or convictions, did you not see the bit where I said I will be declaring before using? Twice. Could we please leave this sanctimonious and already-covered-for-those-that-can-read area, and answer the actual question I posed?
-
Call handler I guess - no problems in principle with fitting smaller alloys and winter tyres... but that may all change when I actually want to put the changes through, I know!! It's all ebay stuff, so if it doesn't work out, the worst that happens is it goes back on ebay. If I need to change the tyres to OE, I'll still put the other ones up to get a few quid back.
-
Hi all, Picked up a set of 15" alloys with the correct size and offset etc to use for winter tyres. They have come with some fairly unworn winters fitted, they'll be good for at least this year and maybe next... but they're not quite the right size. Officially, I should have 185/60, these are 195/65. So they stand about 30mm taller/15mm larger all round than the OE 17s. or the recommended 15" size. I've popped them on the front (where clearance looks tighter and the wheels have a lot more moving to do), checked clearances on full lock both ways and been for a short drive... no obvious problems. As expected, Waze confirms that they make my speedo pretty much spot-on accurate rather than over reading. Given that my insurance is happy with the change (I did check regarding the wheels but not the tyre size), is there any real problem running these tyres? Thanks in advance for your comments.
-
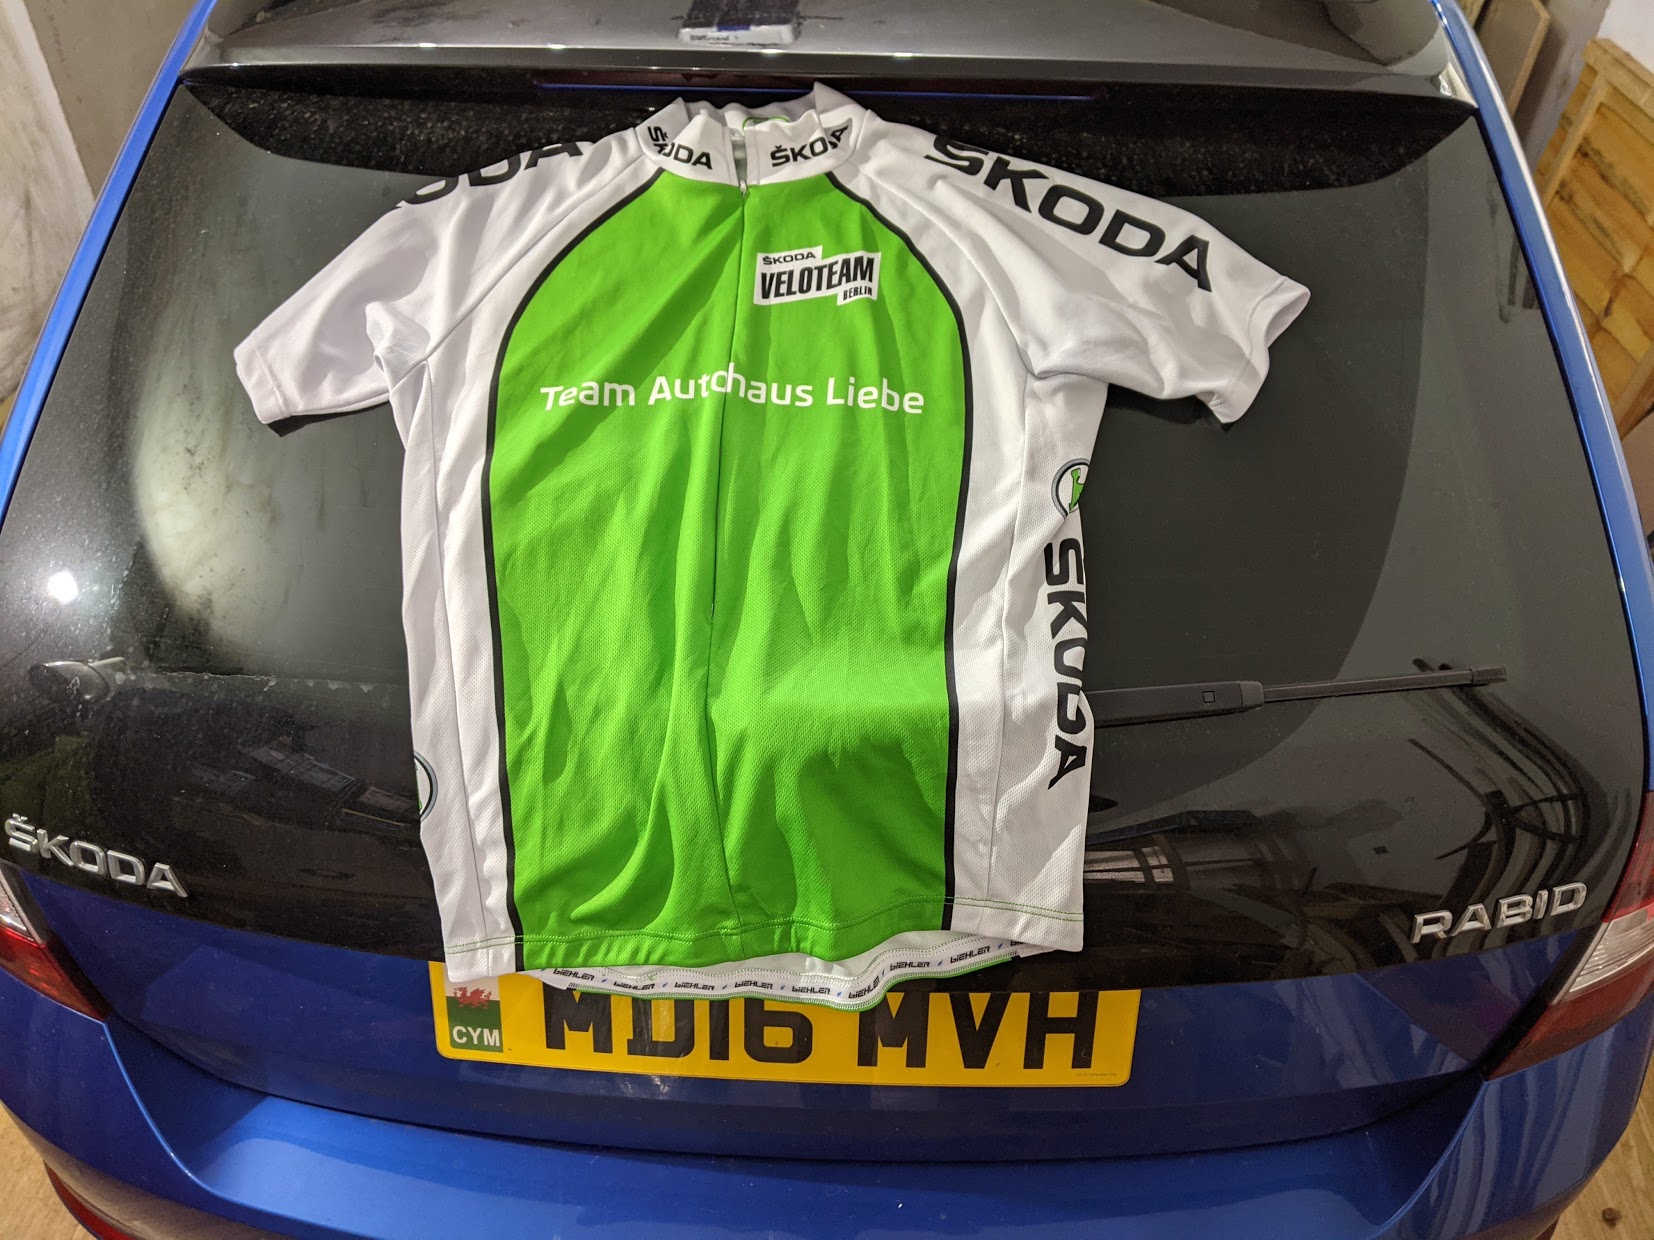
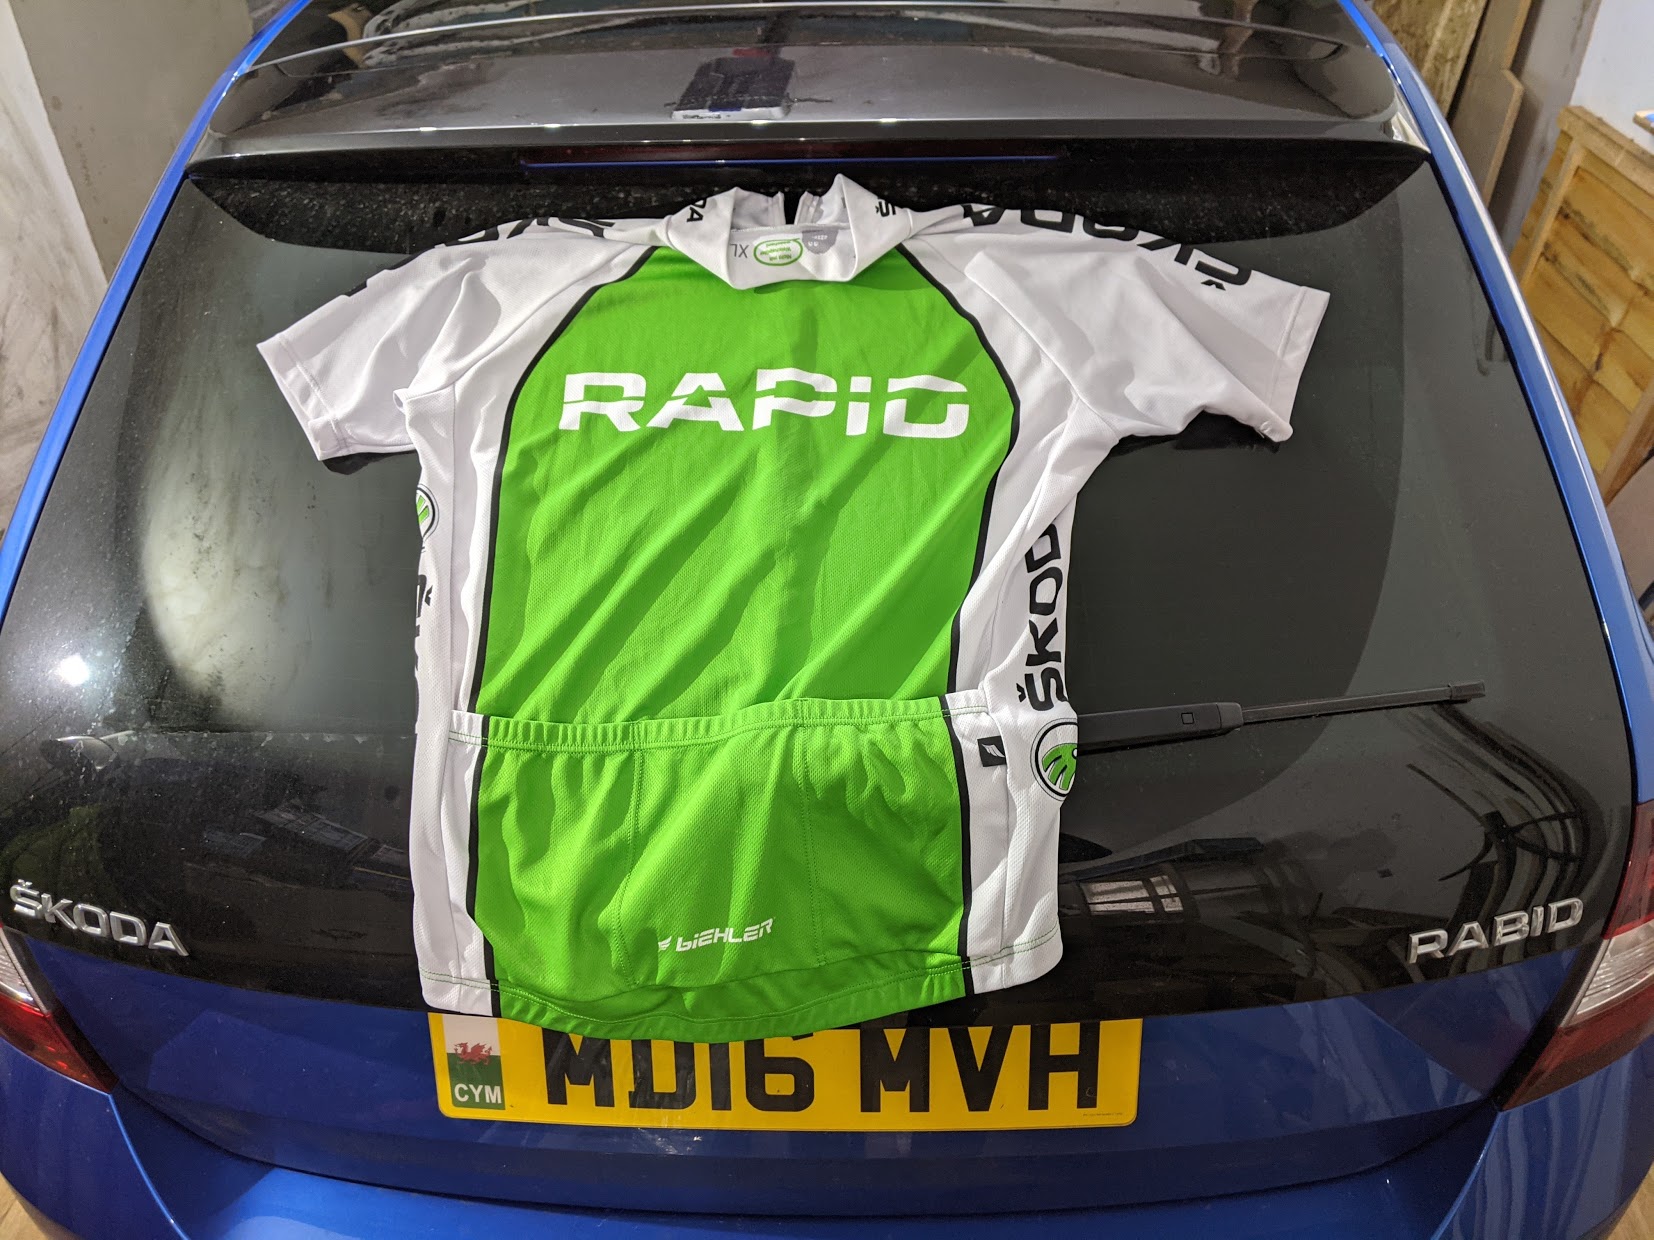
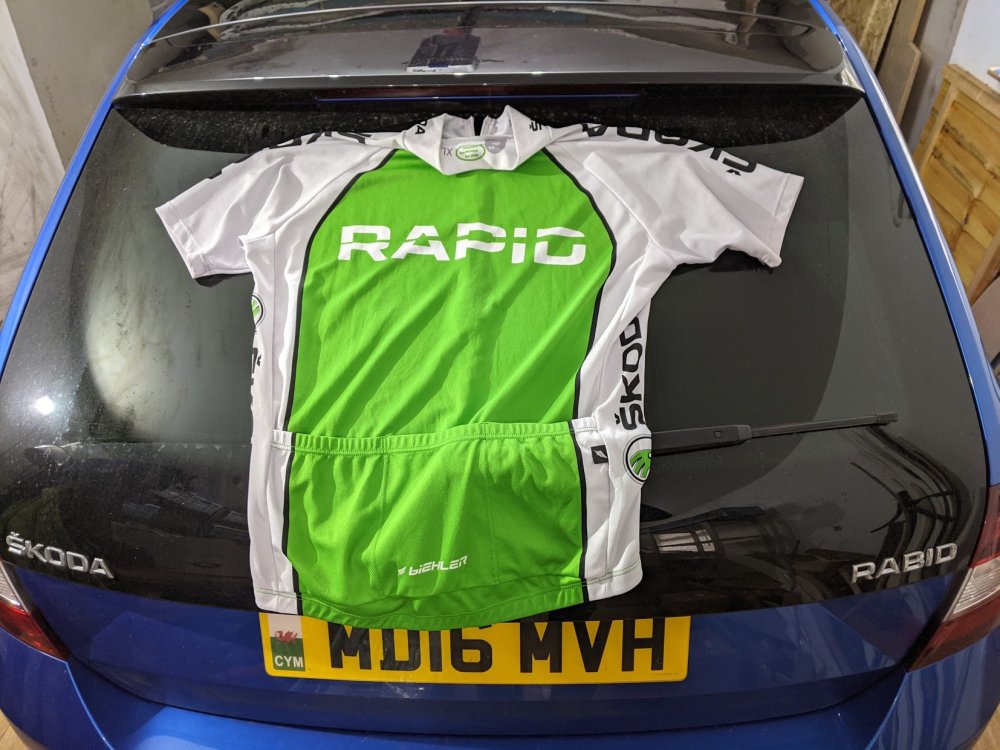
Not entirely about the car - one of my other loves is cycling - this came up and was a must-buy the second I saw the back

-
Cheers The hinges weren't a choice so much as what was in my tub of hardware! I haven't really even thought about them in use.
-
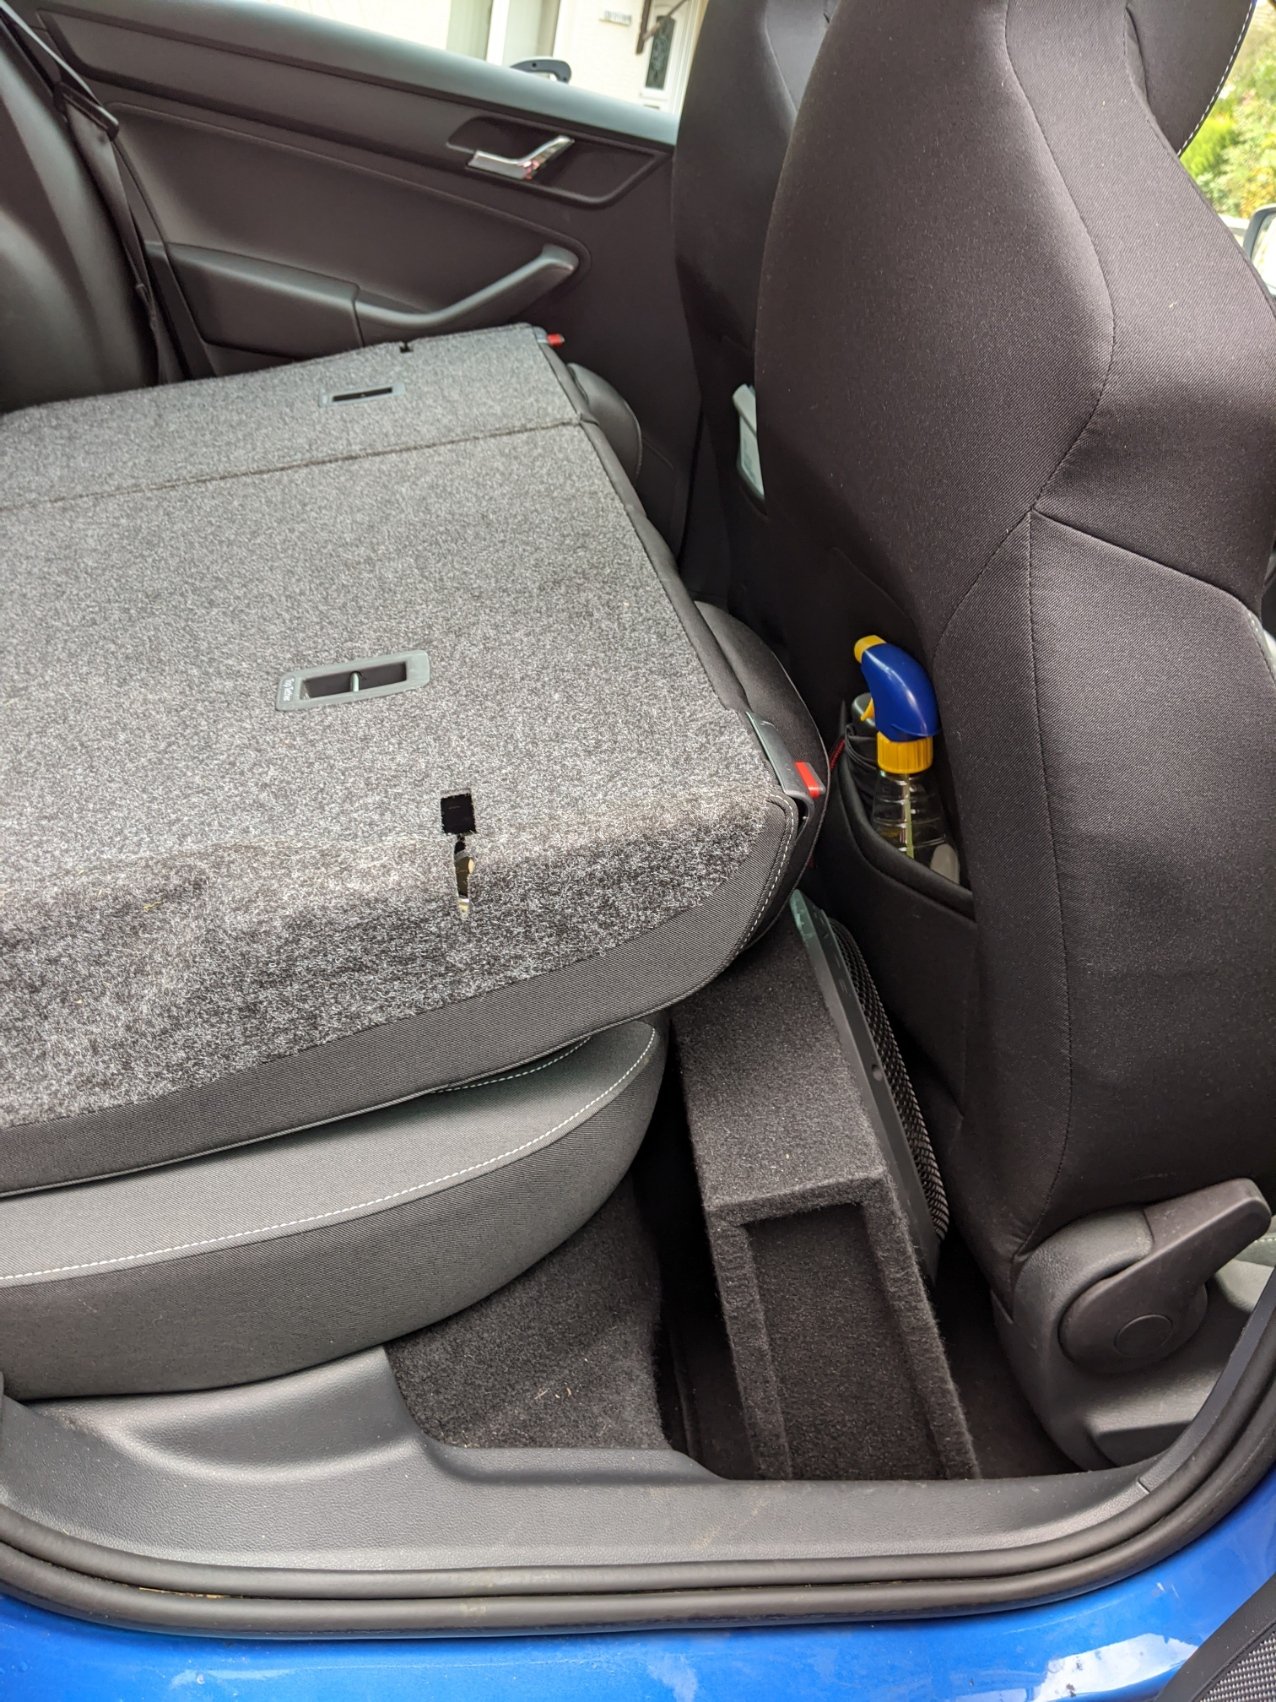
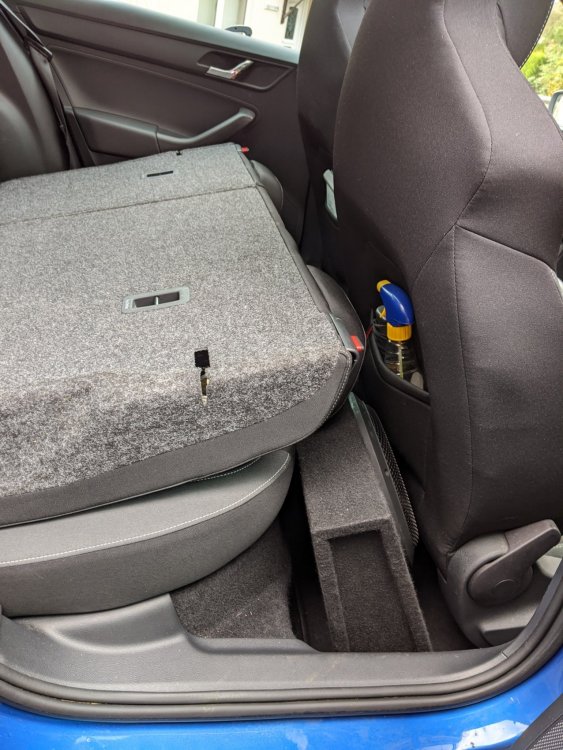
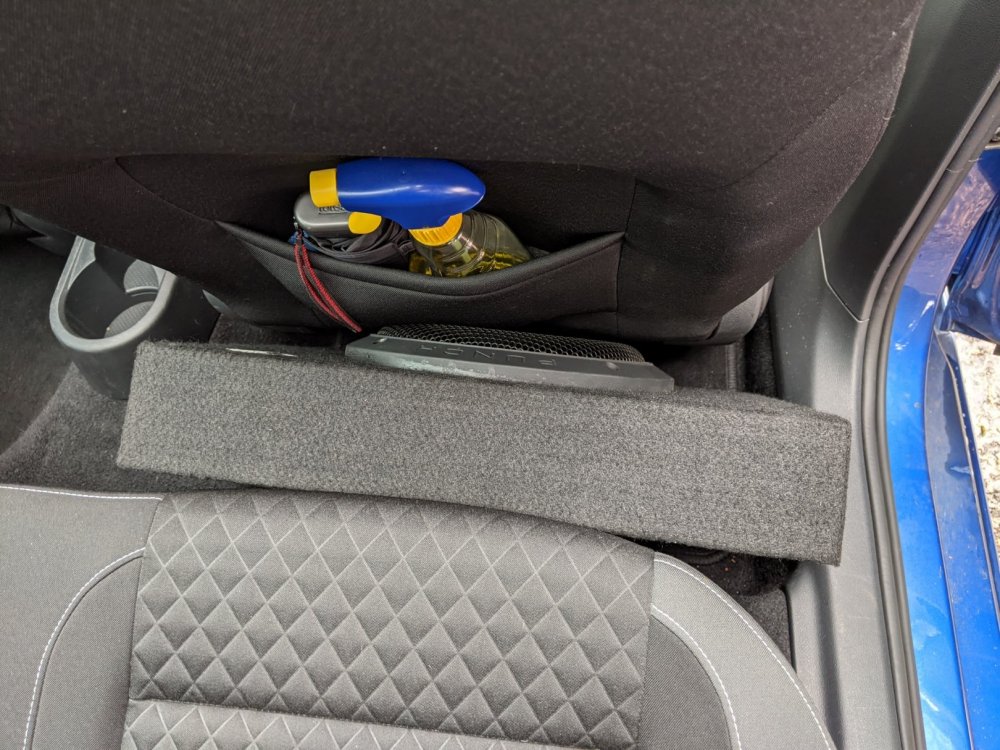
Just a quick couple of pics to show the sub box in it's alternate location, seats down, ready for a tip run: Works just fine and I now have vibro-massage function for my back if I choose the right music
-
I haven't changed them; not sure if I'll bother as I have them switched off in the settings anyway.

.jpg.03e8ae15cc0faf5c98df1d5d4196de6e.jpg)
.jpg.d4ff220244be737f43ab67fe37f245dd.jpg)


.jpg.b89508c12deae38e6289113d1f36fc5f.jpg)