slow_nick
Members
-
Joined
-
Last visited
Everything posted by slow_nick
-
Yes I cut holes in the rubber seals not the door 😂
-
I am confused
-
Why would I get rust issues..?
-
I believe the Octavia door seals are notoriously bad. Have you checked to see whether the drain holes are blocked? I cut extra holes in mine when I bought it after seeing numerous threads on here about it, I've never had the ingress problem and I hope with the extra holes I never will
-
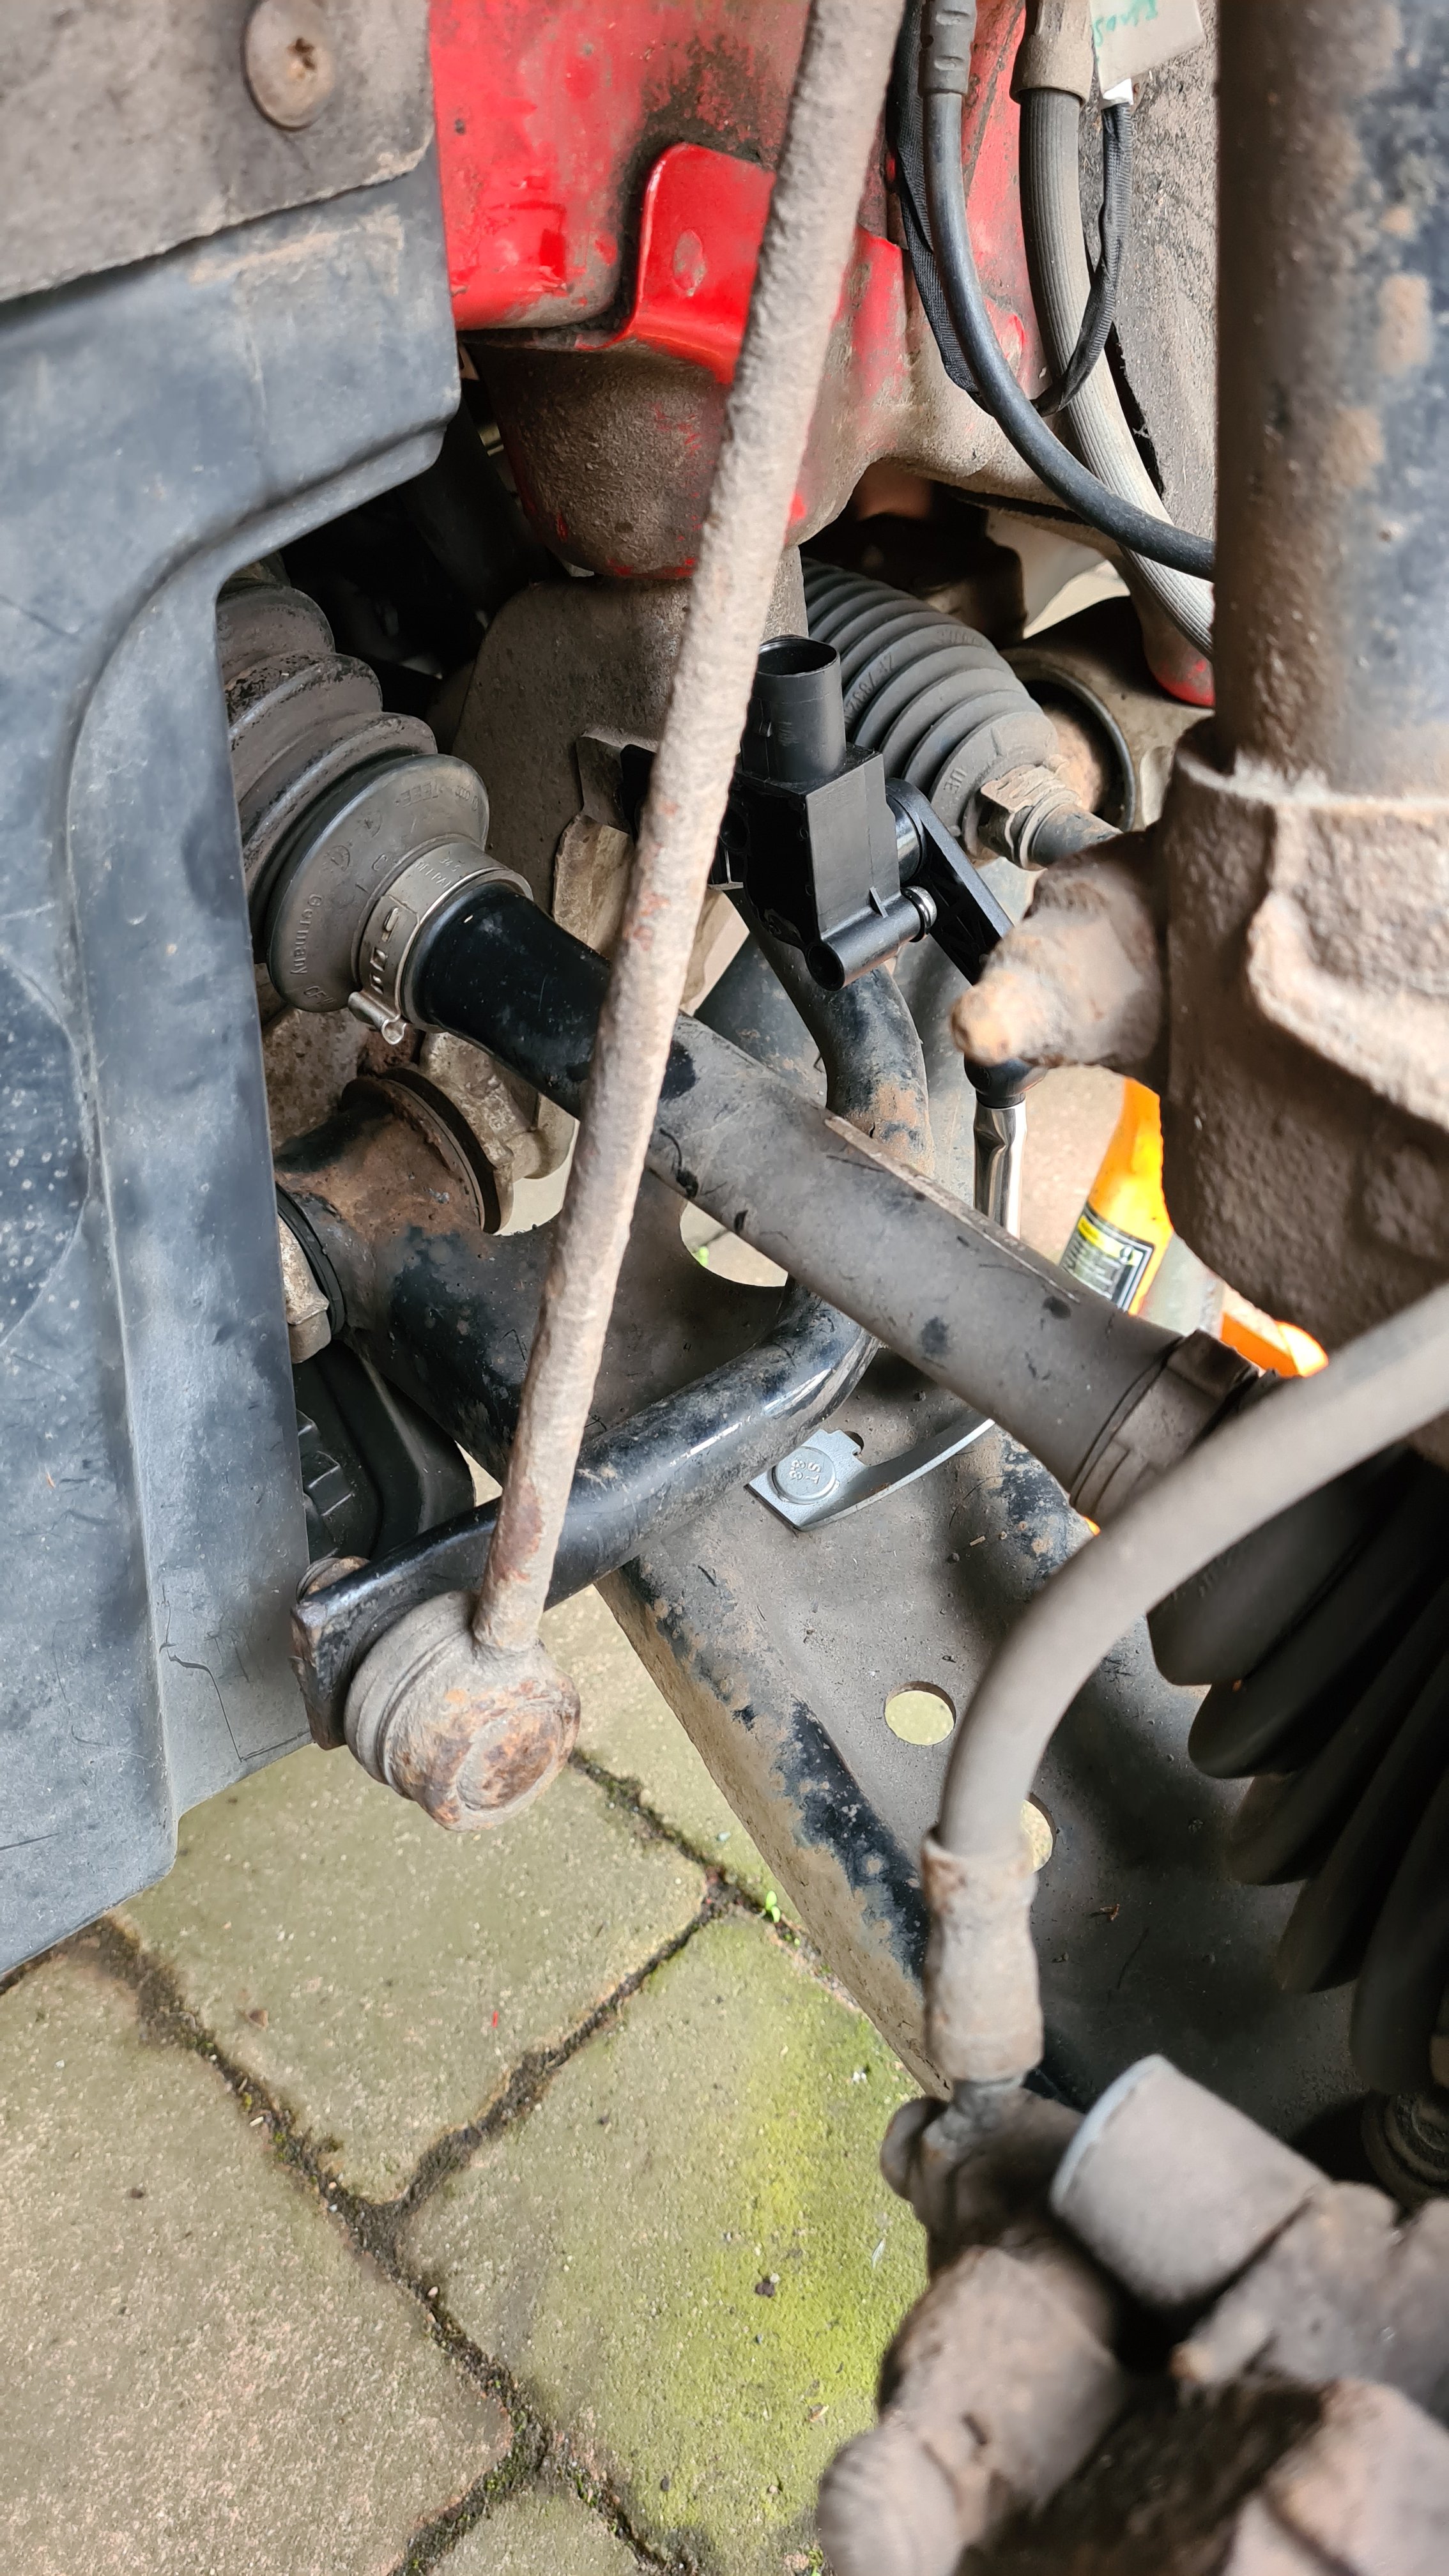
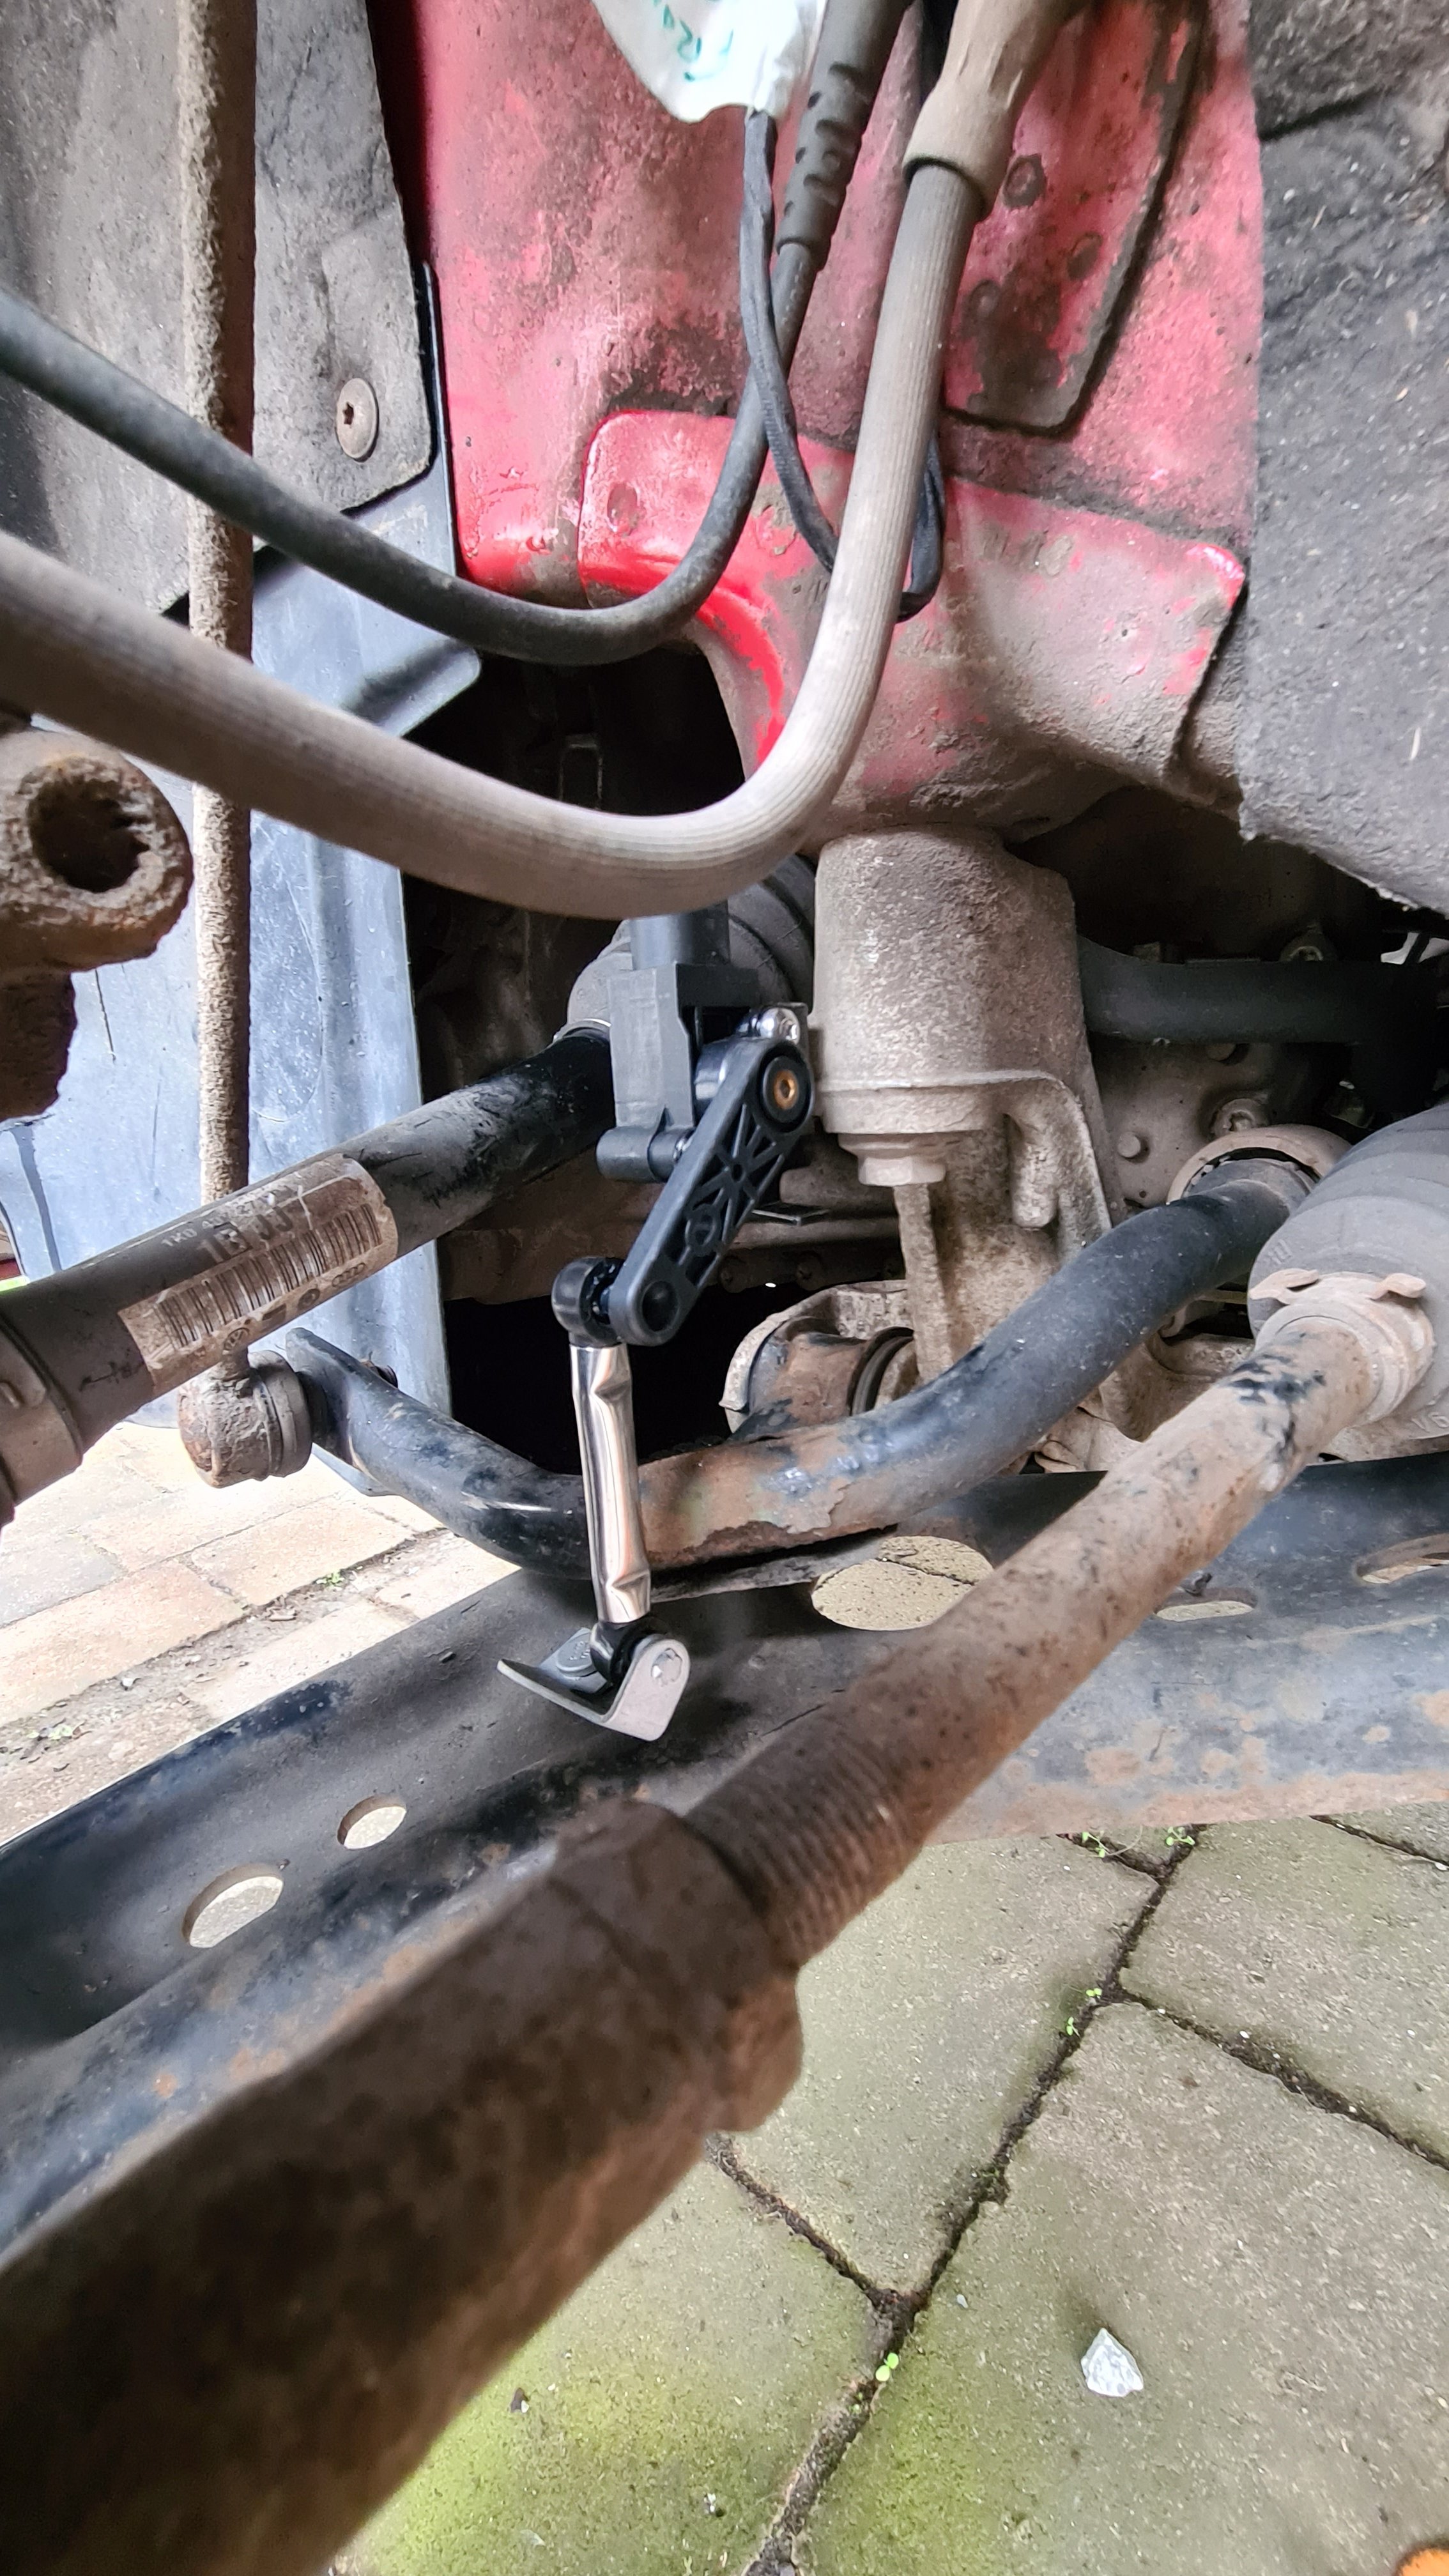
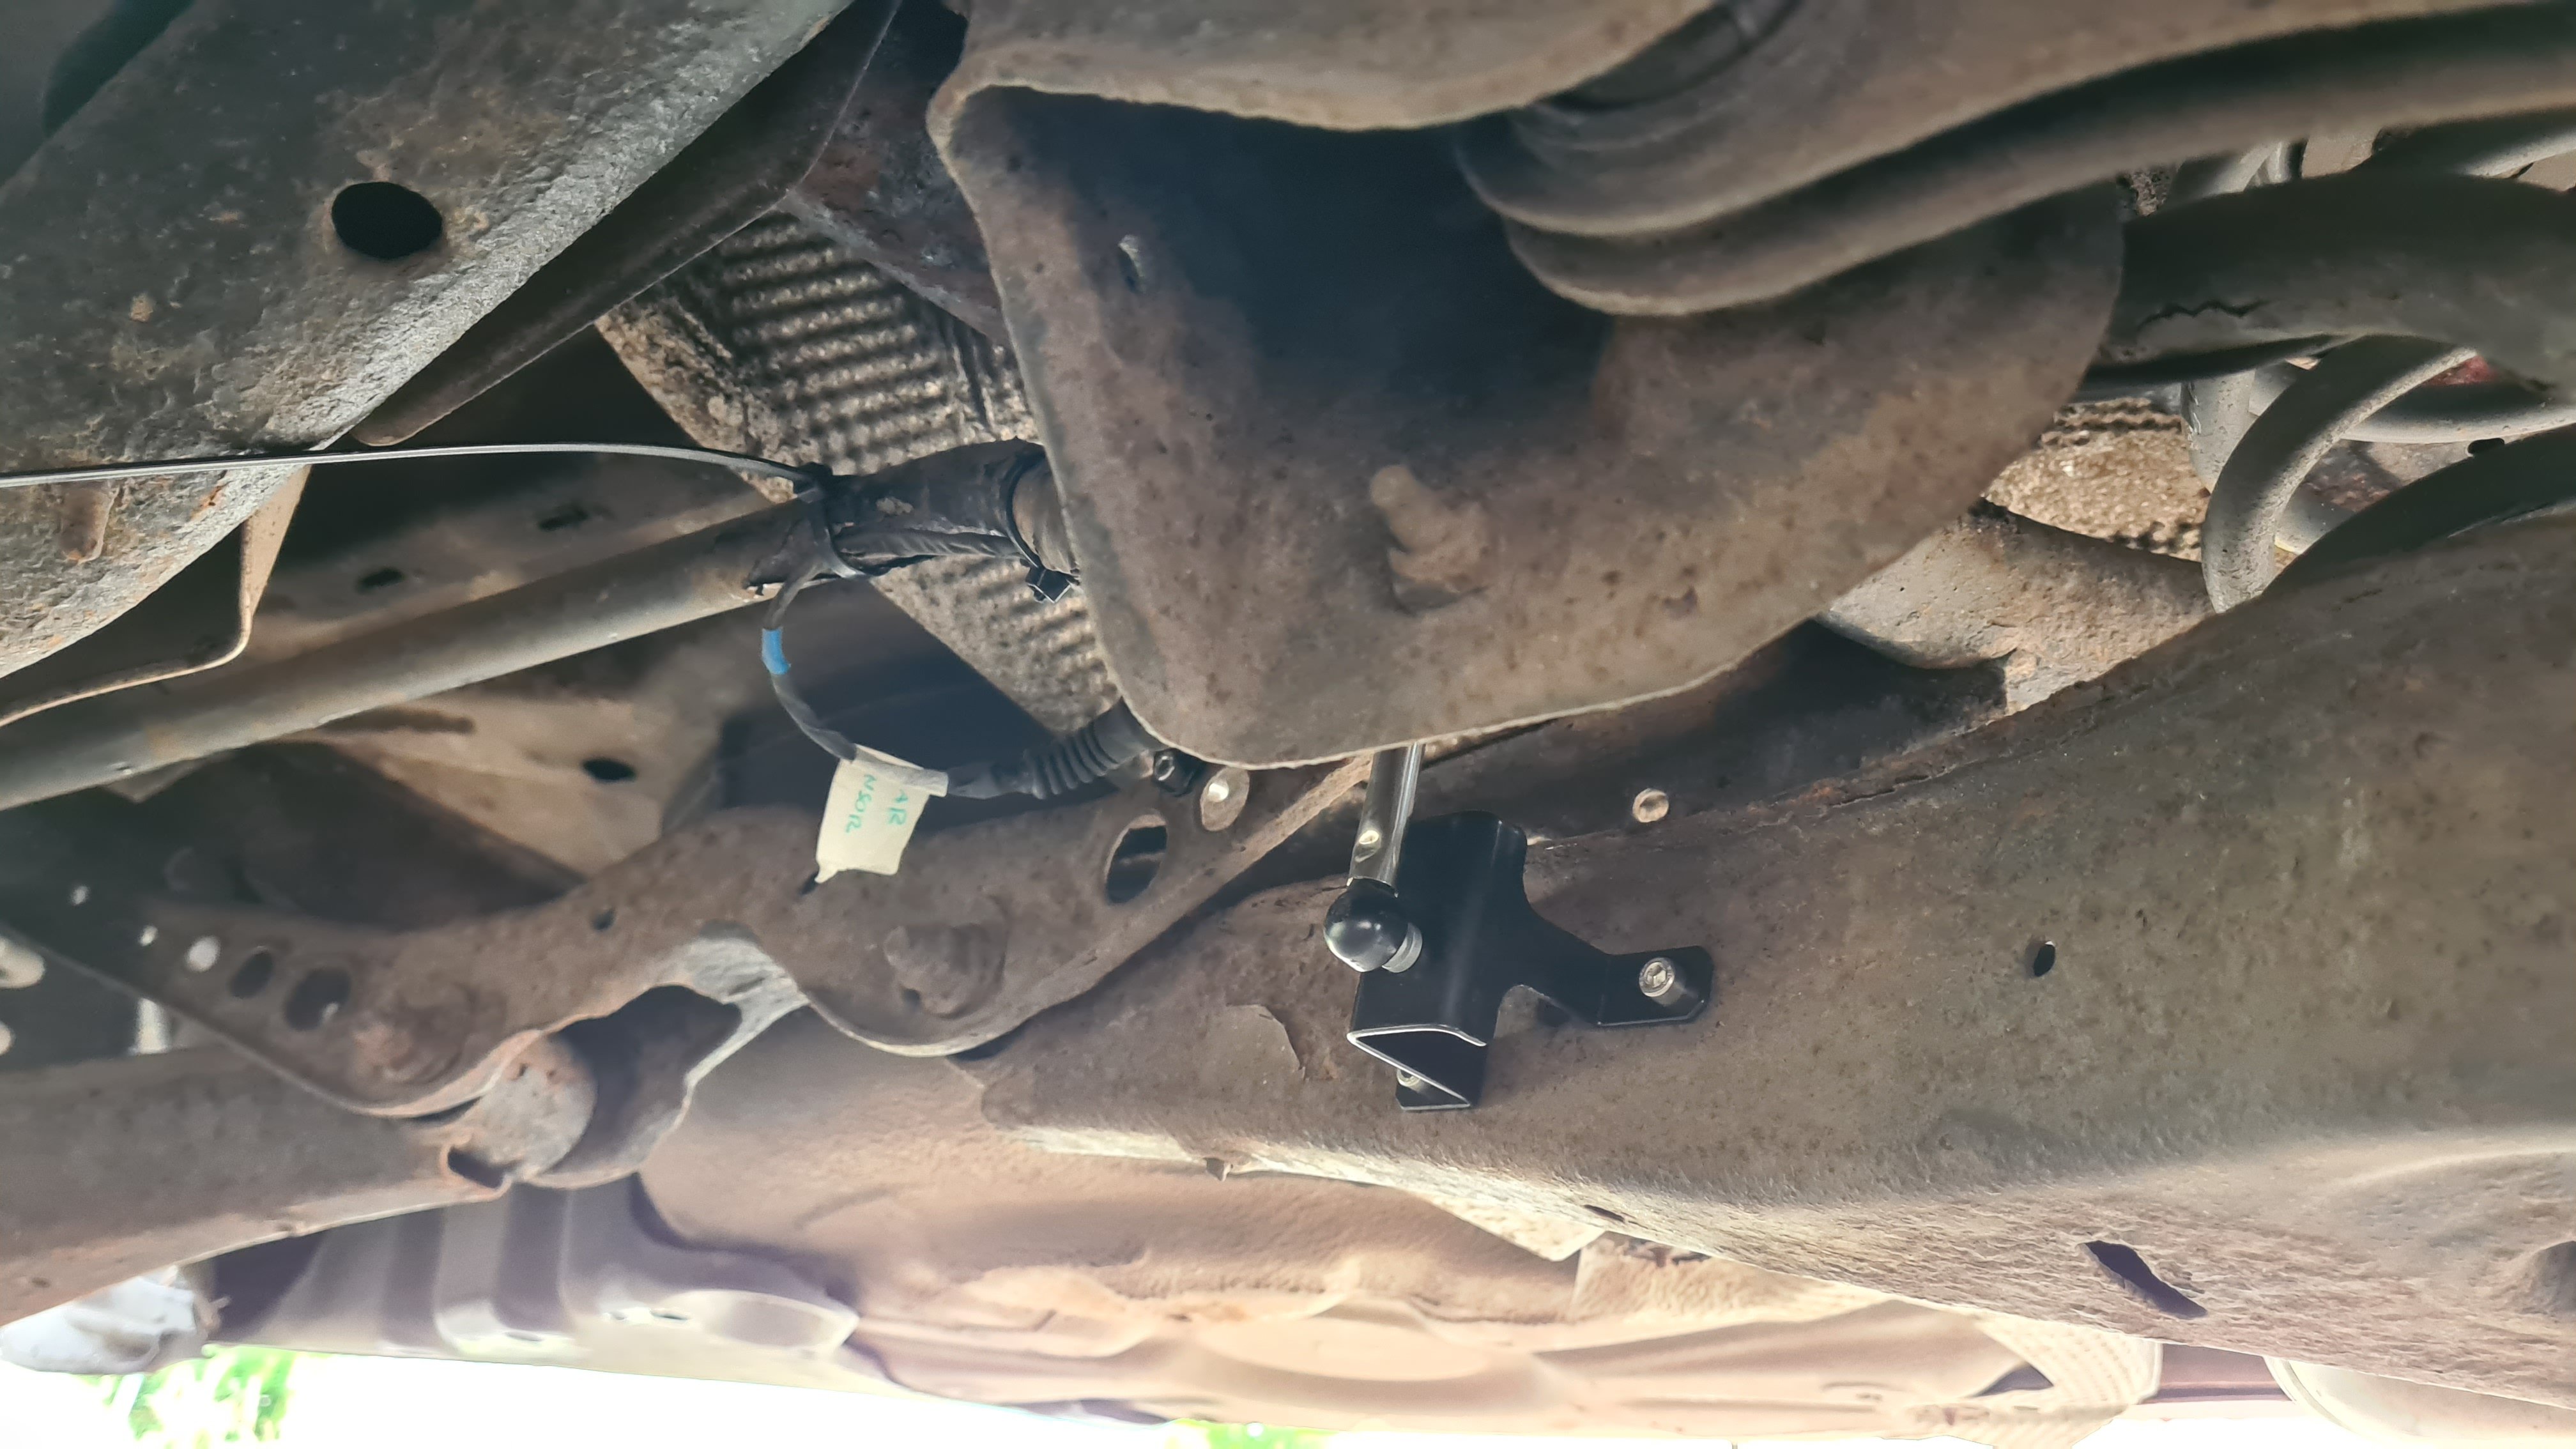
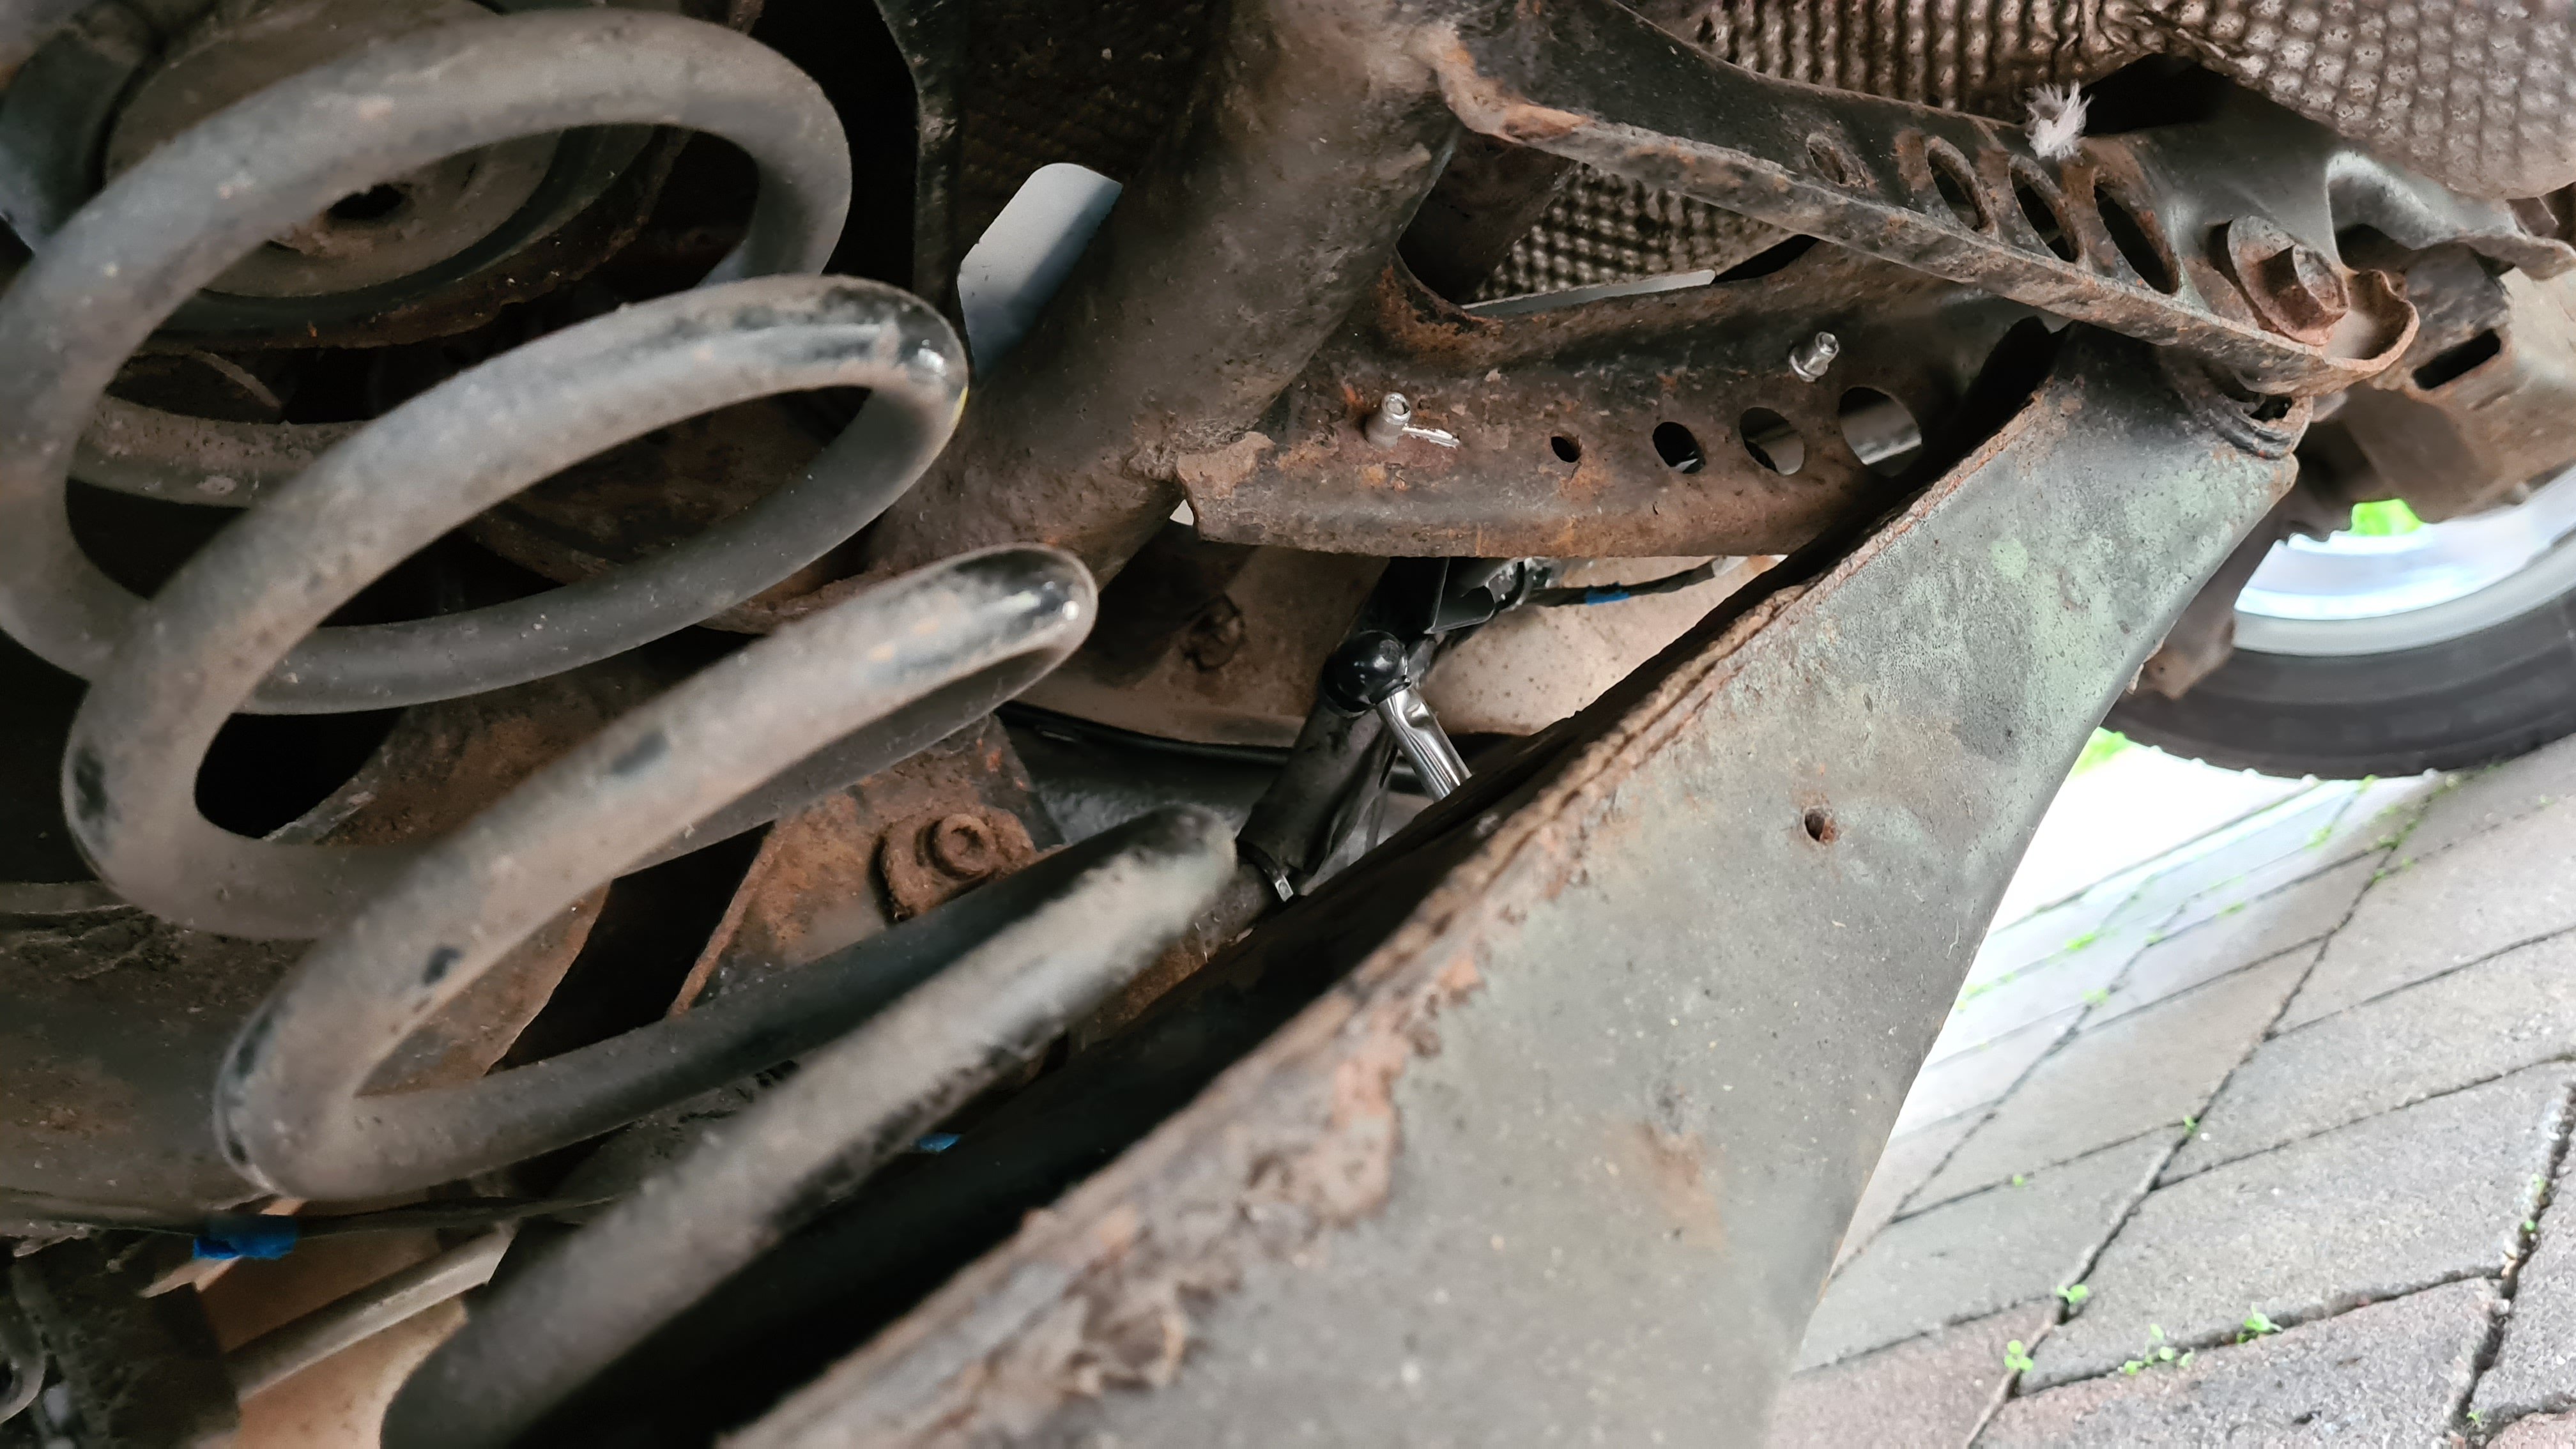
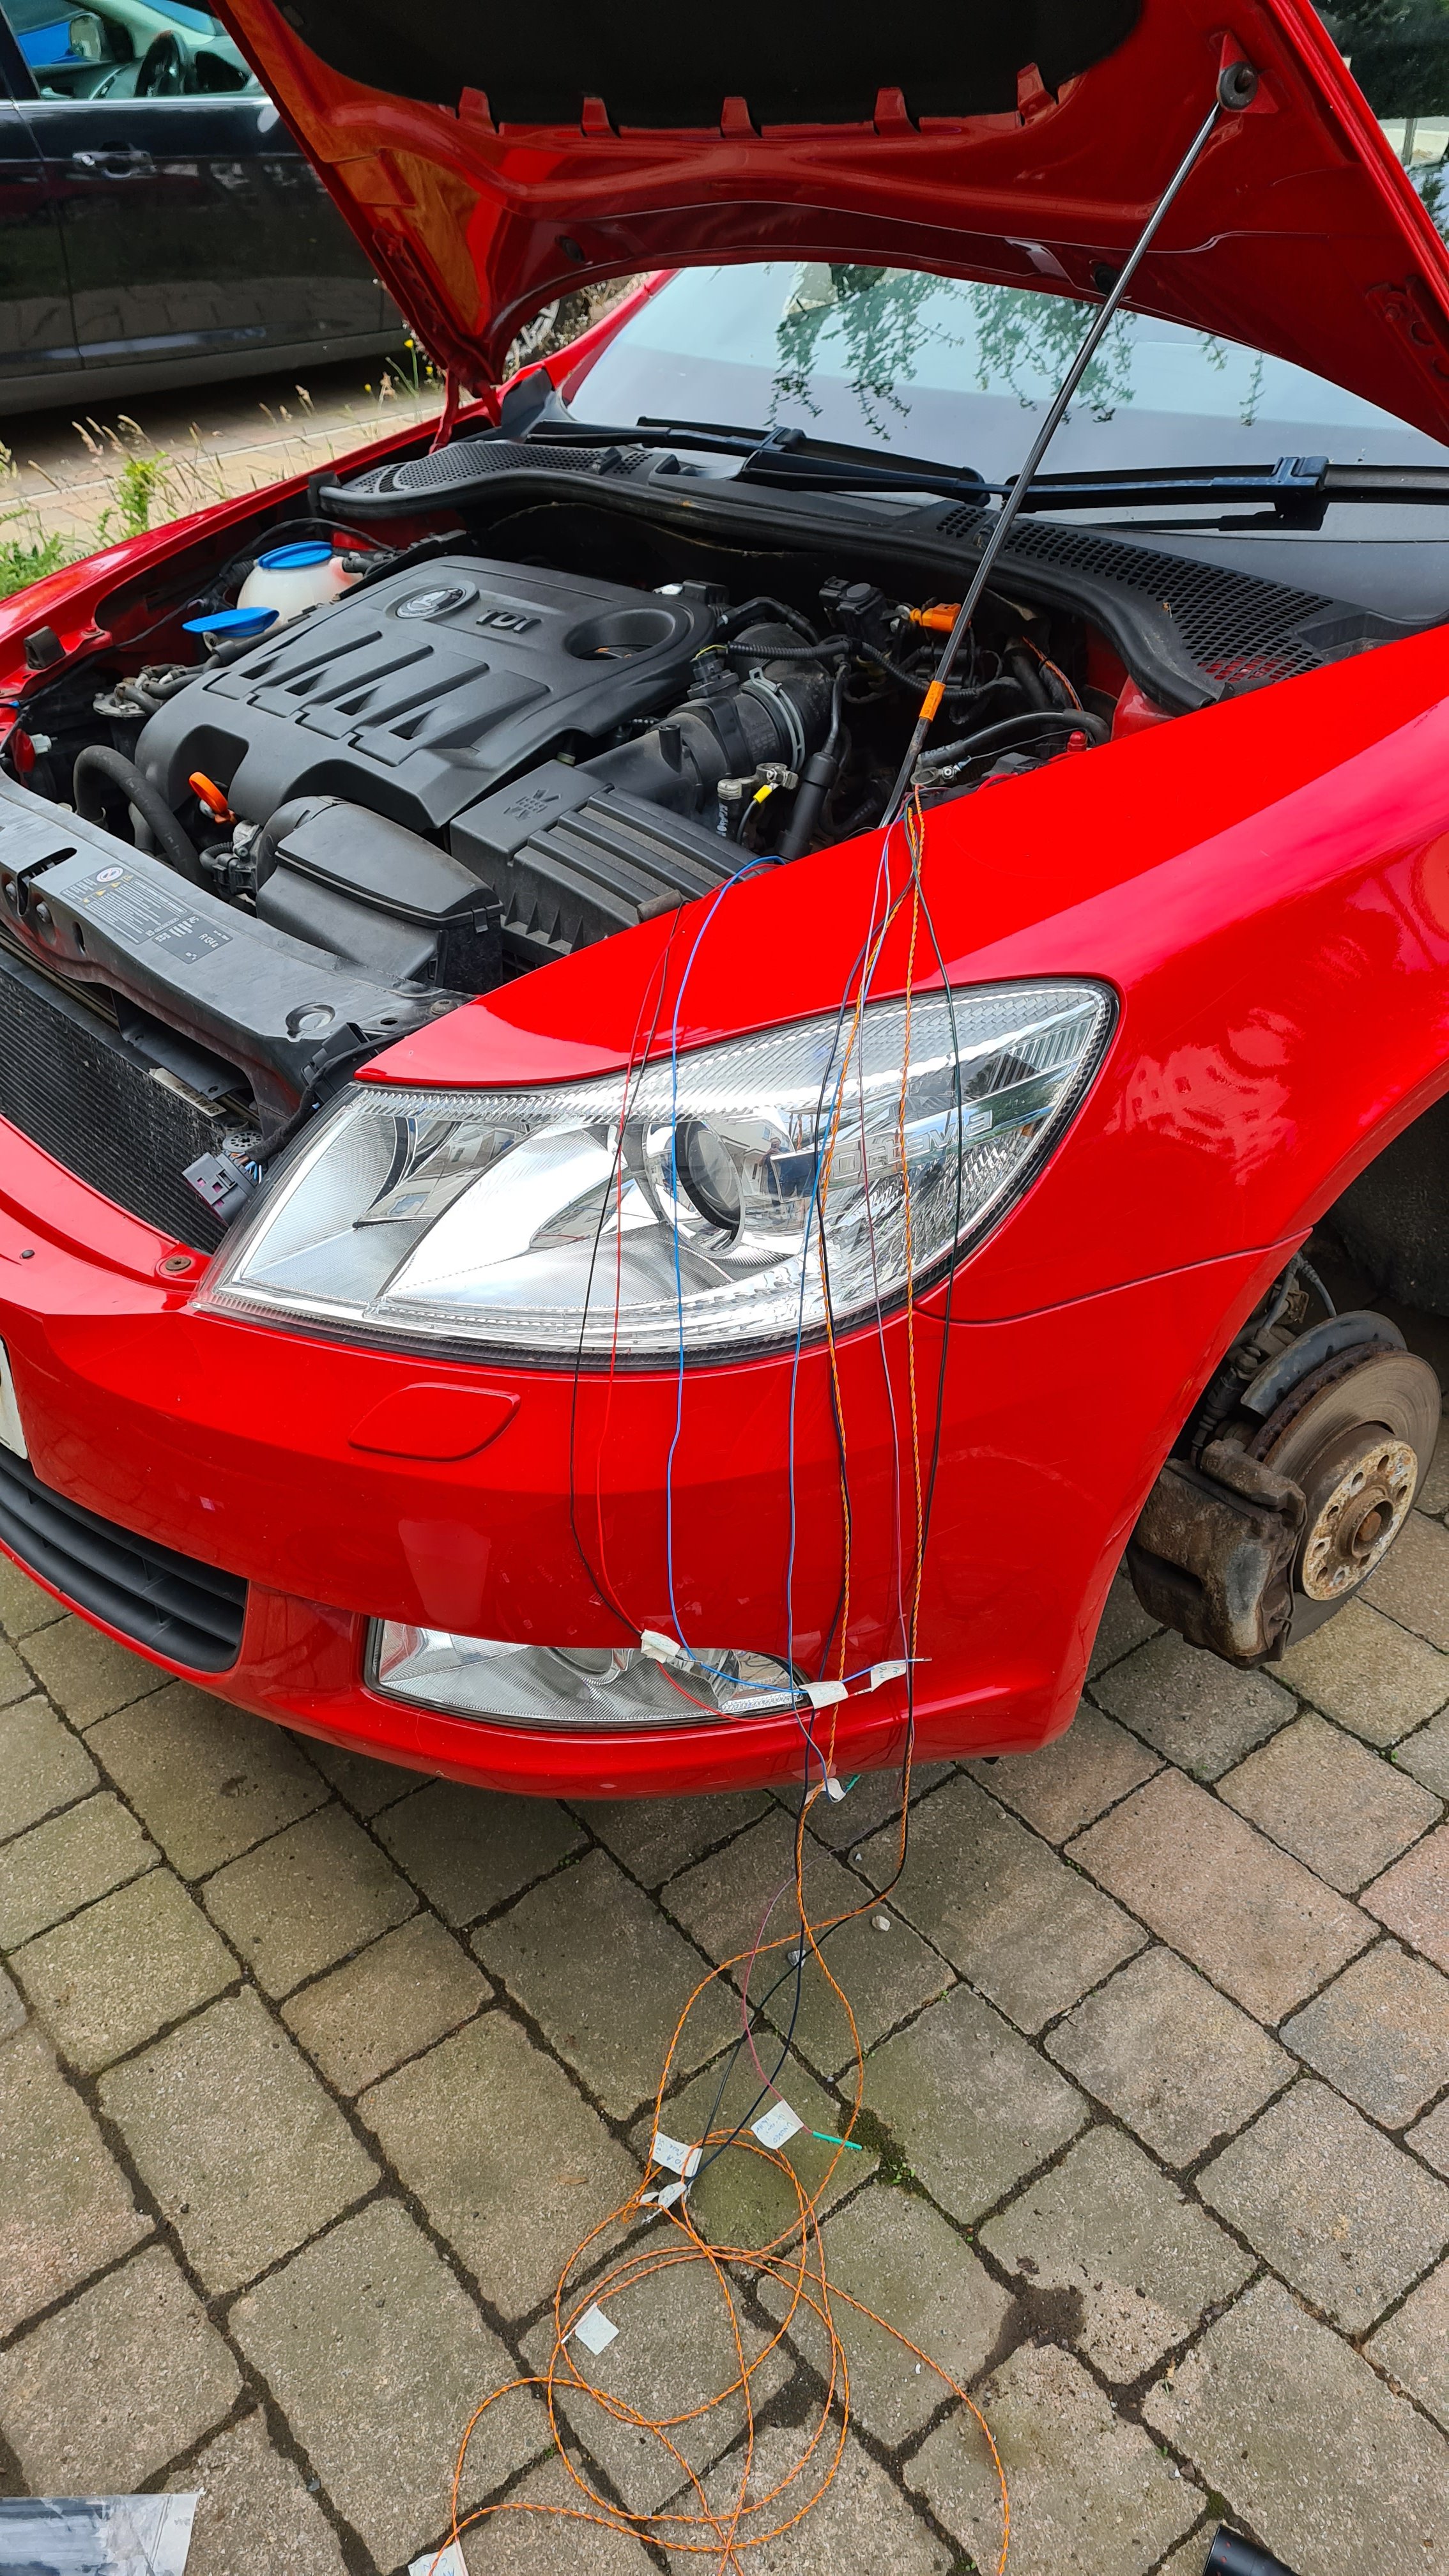
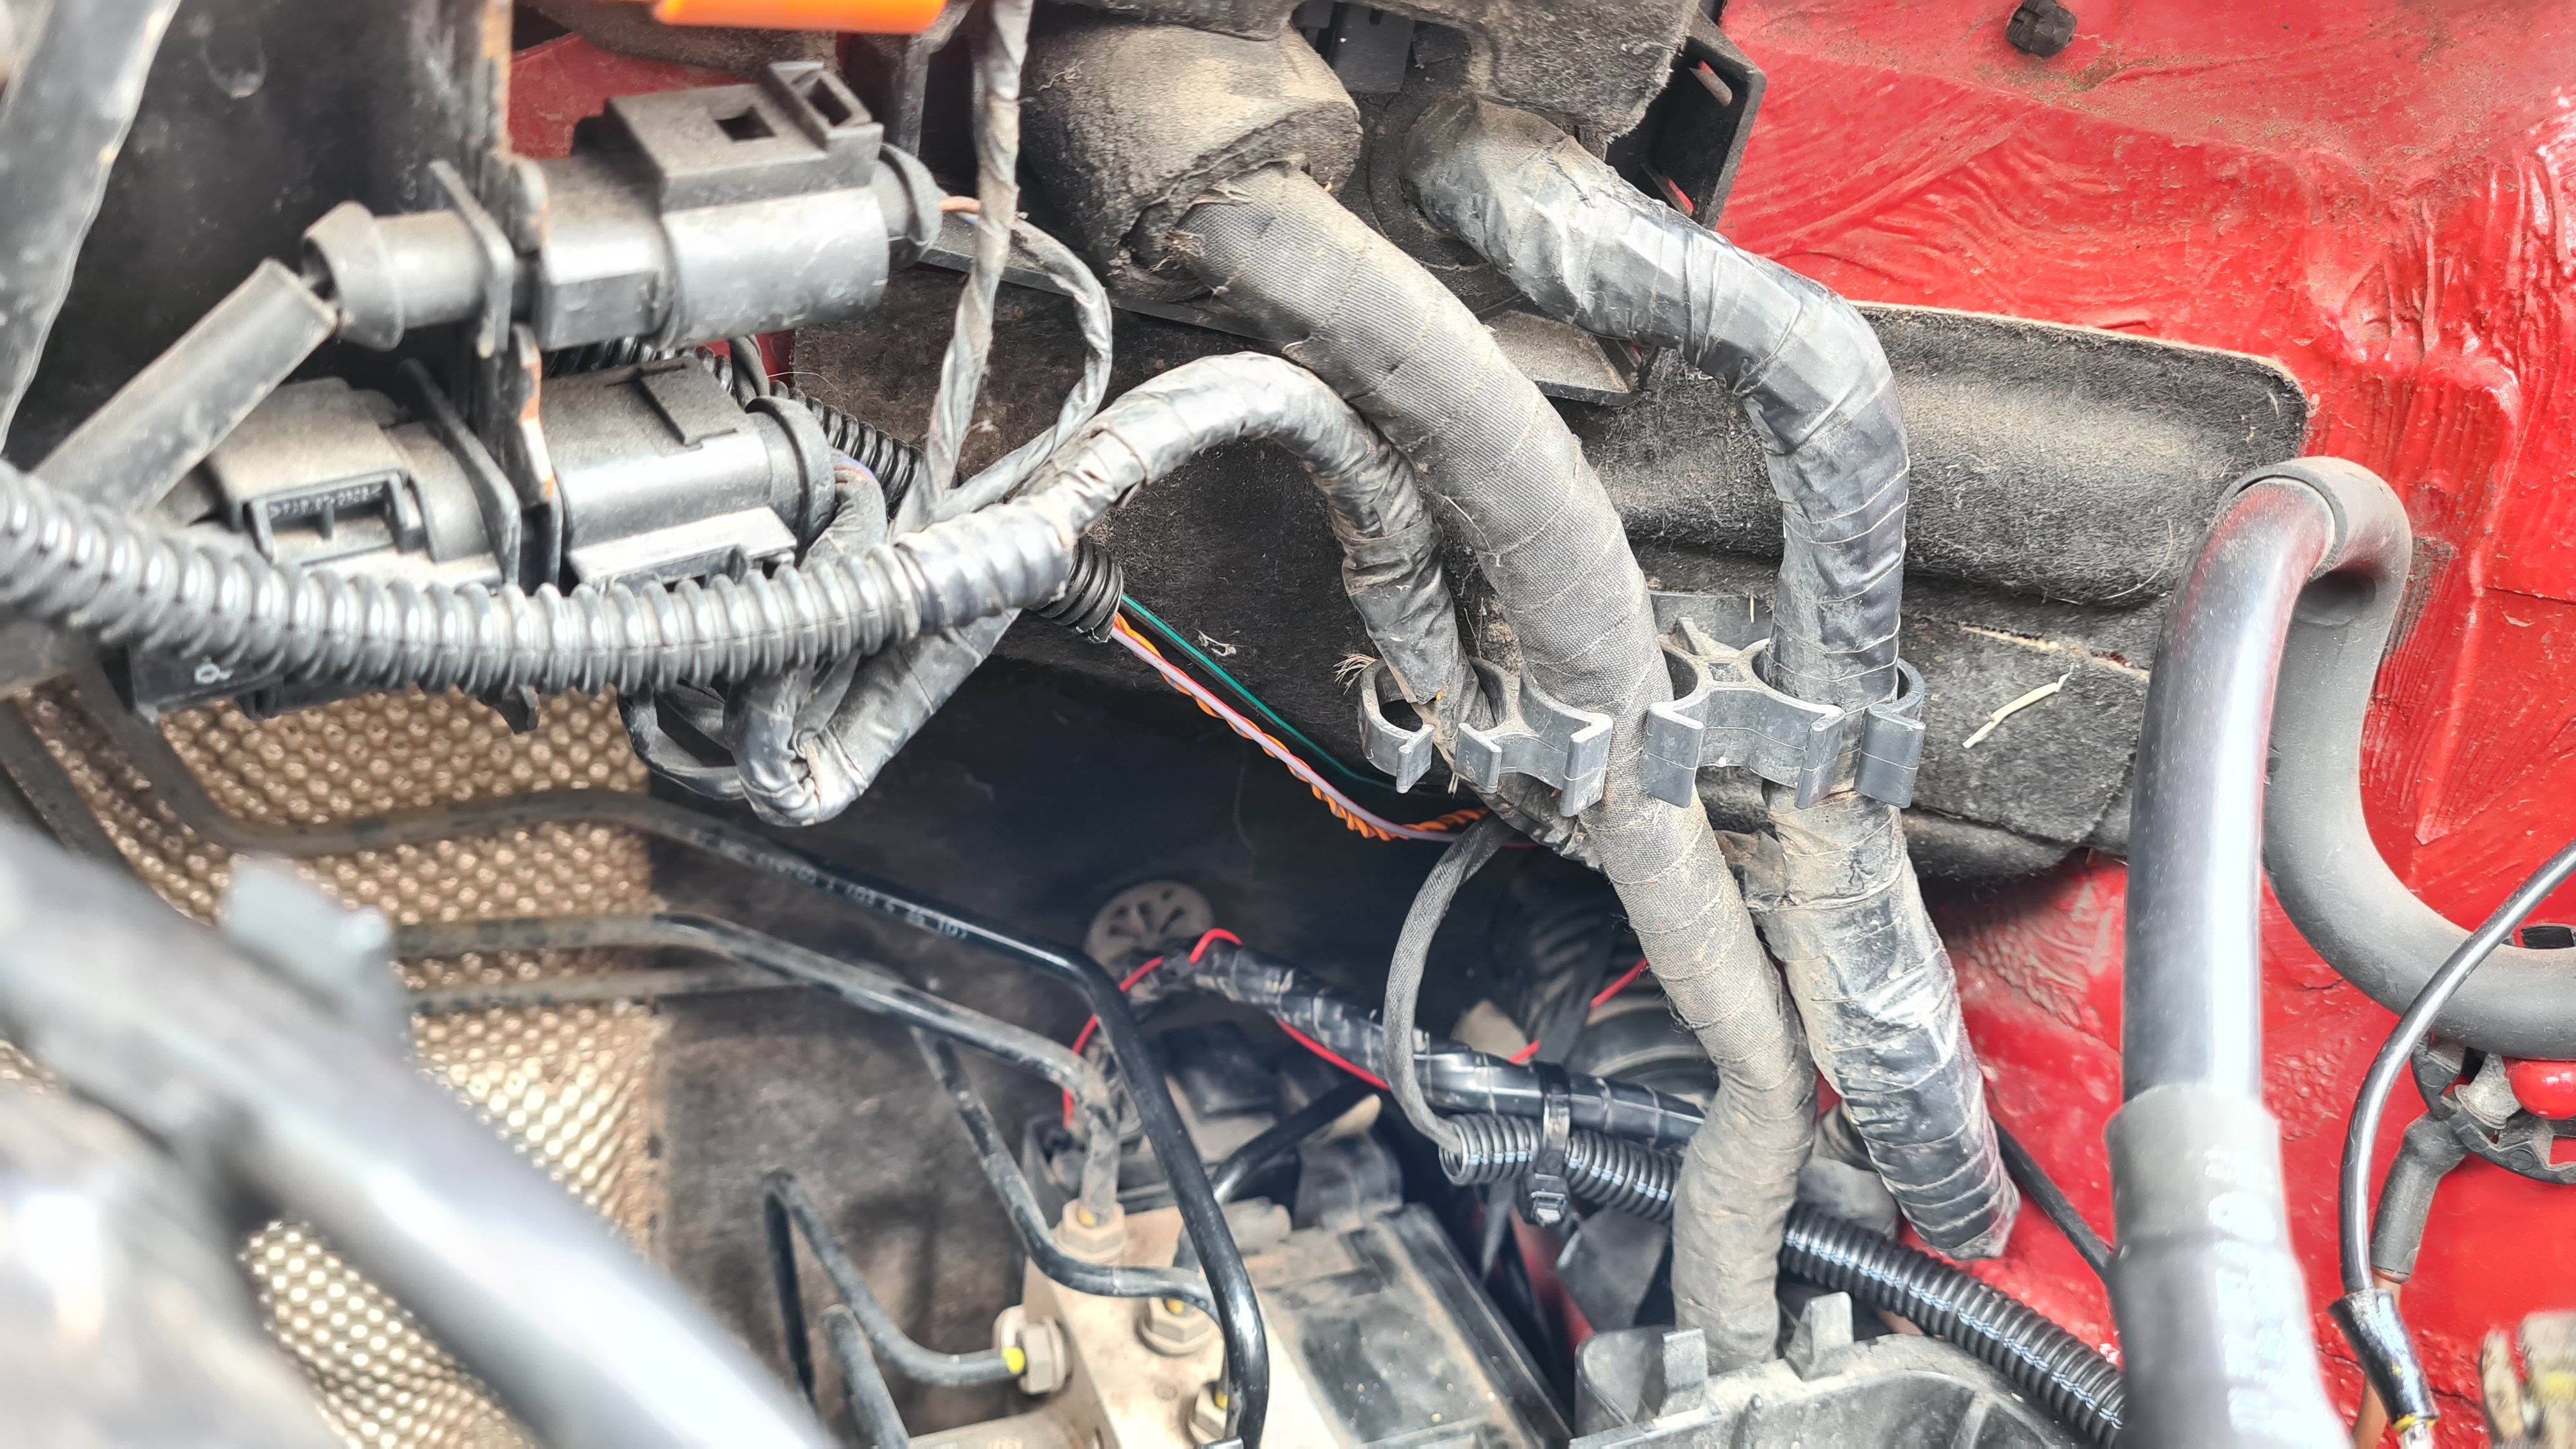
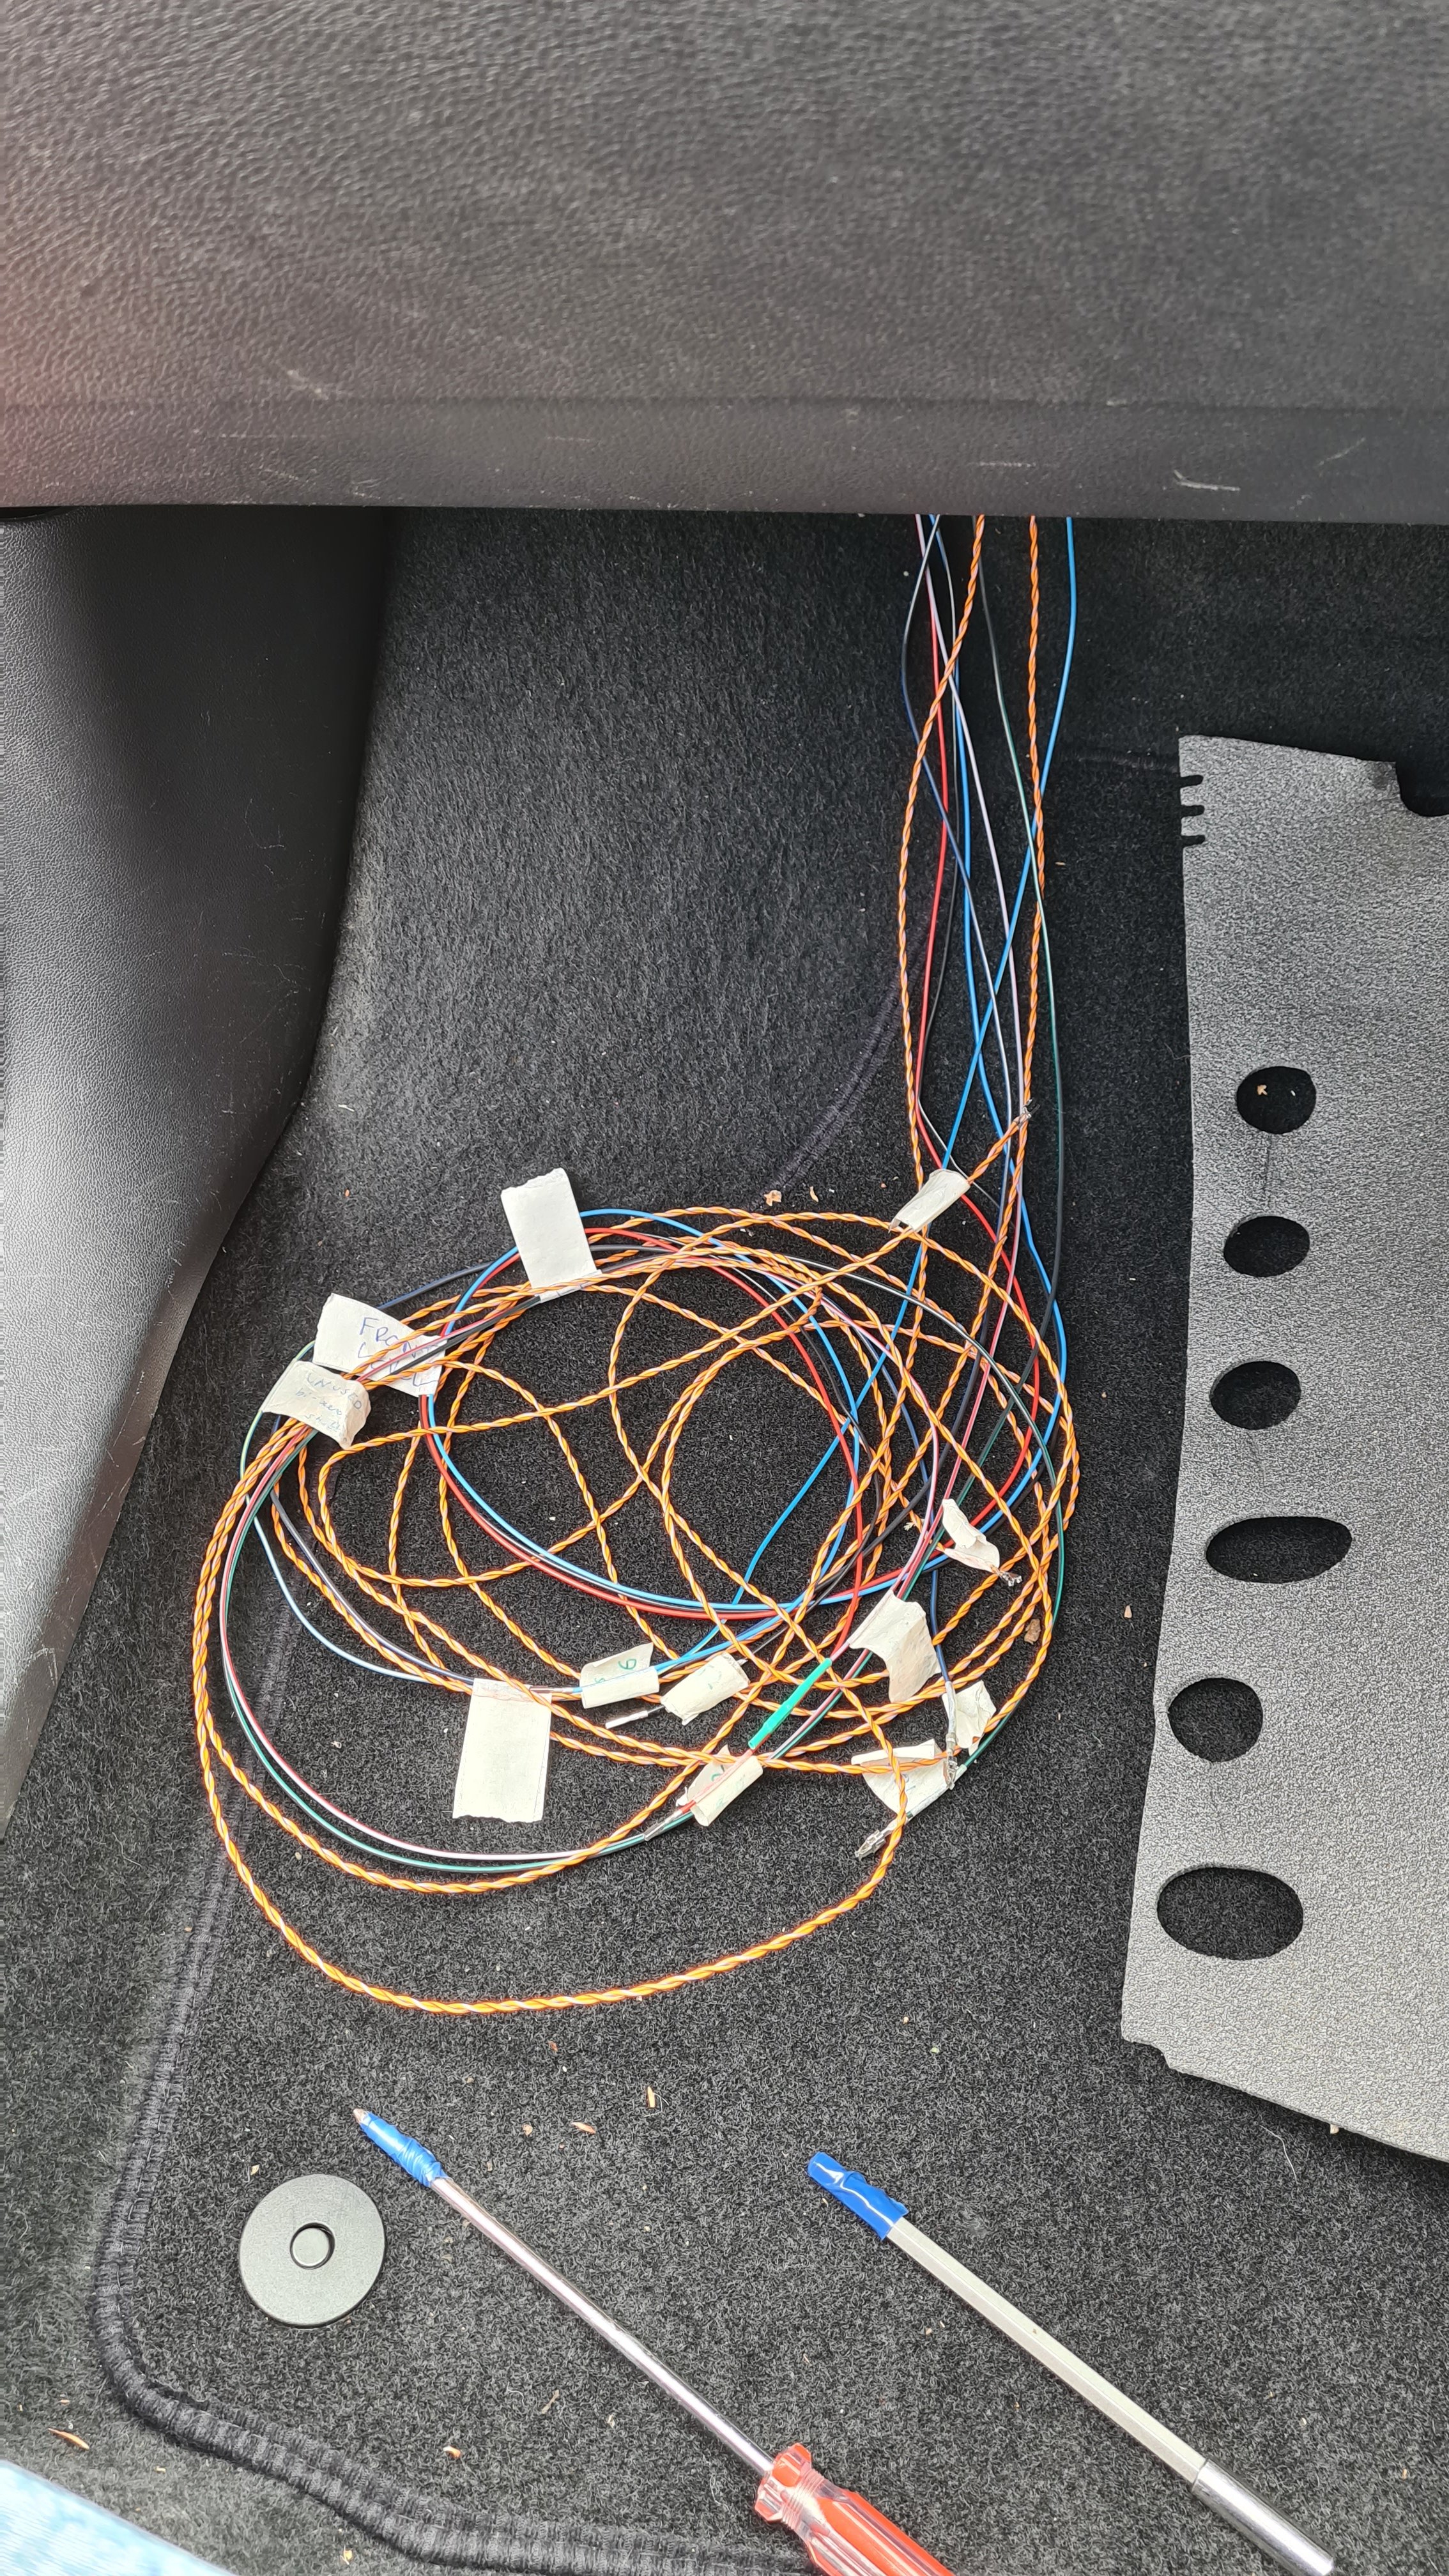
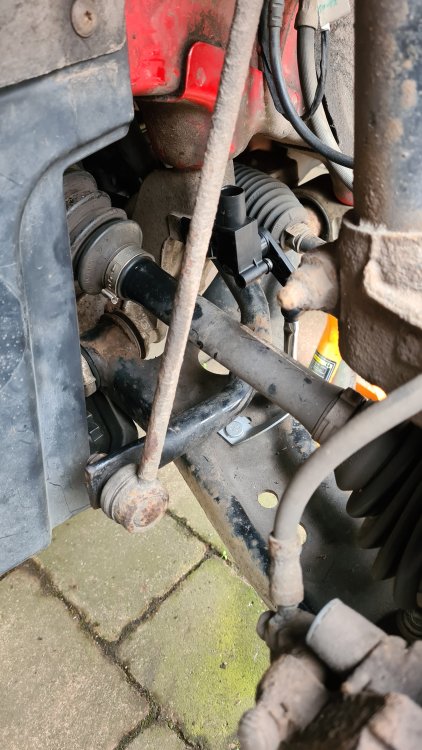
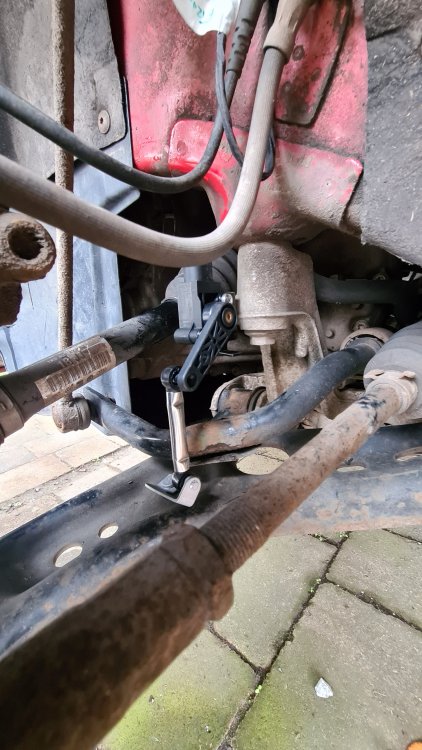
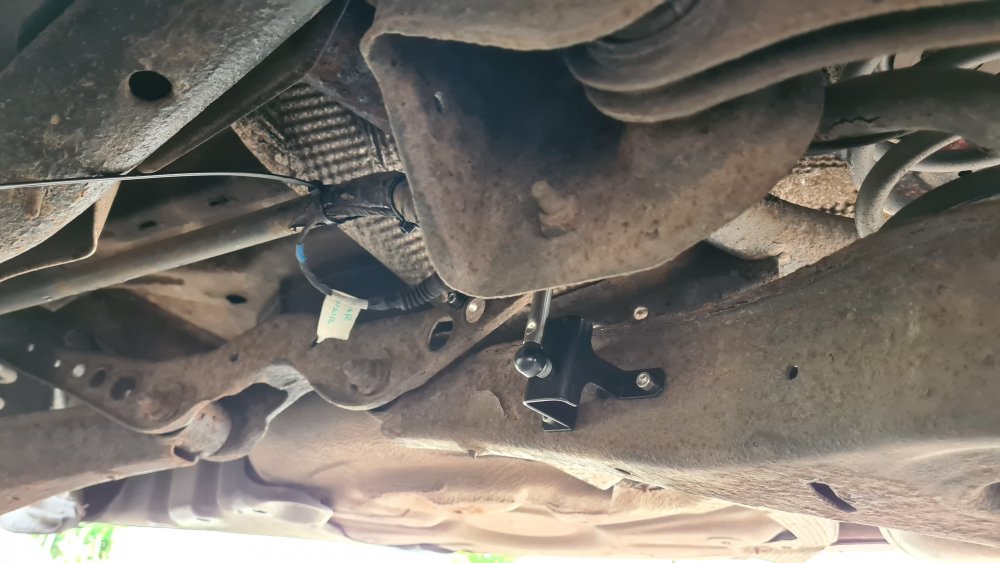
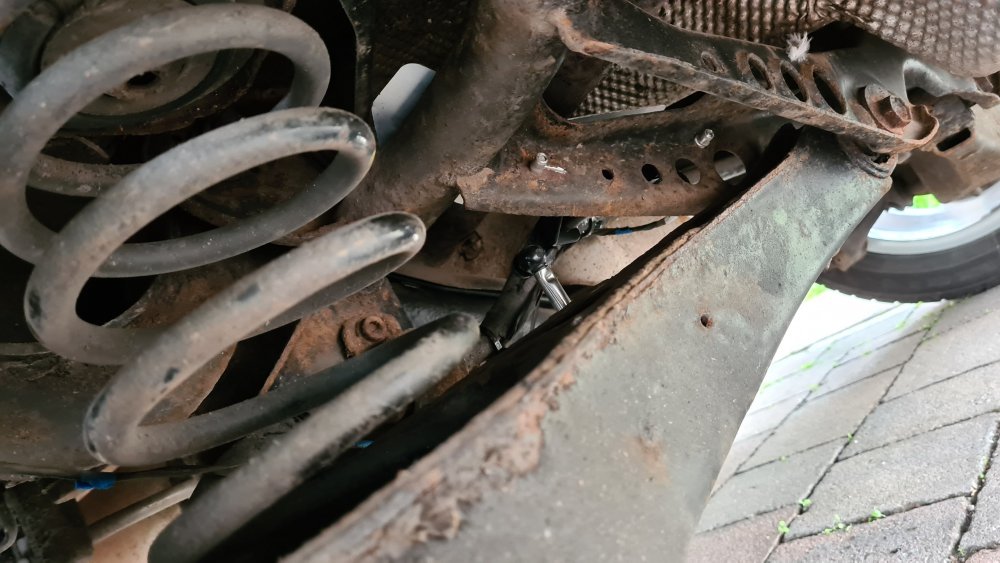
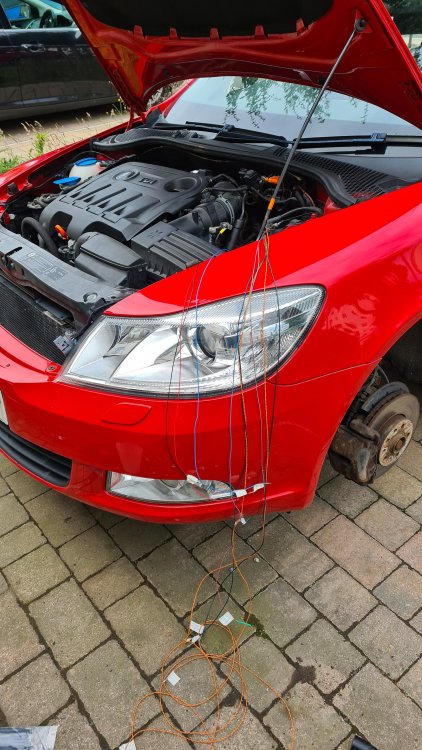
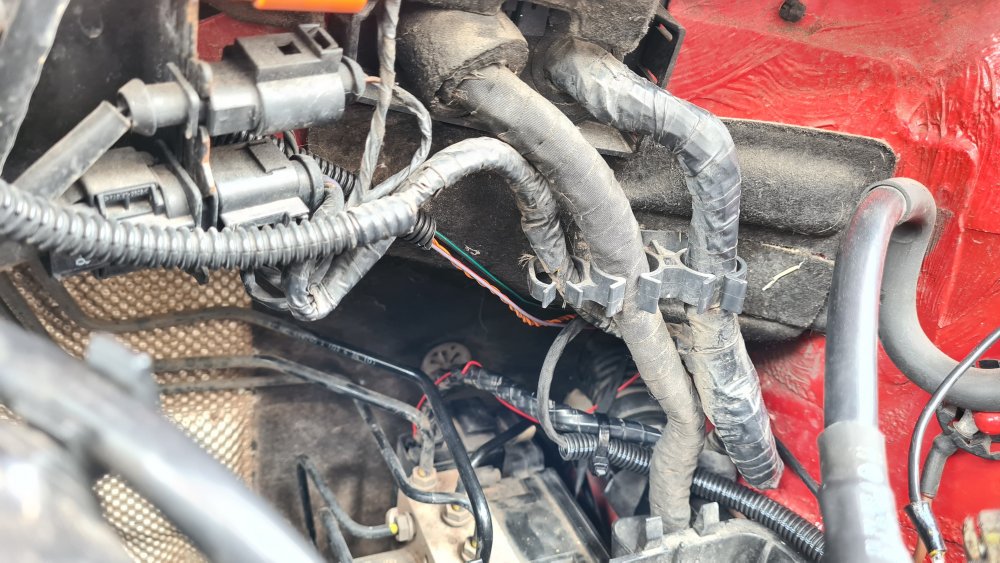
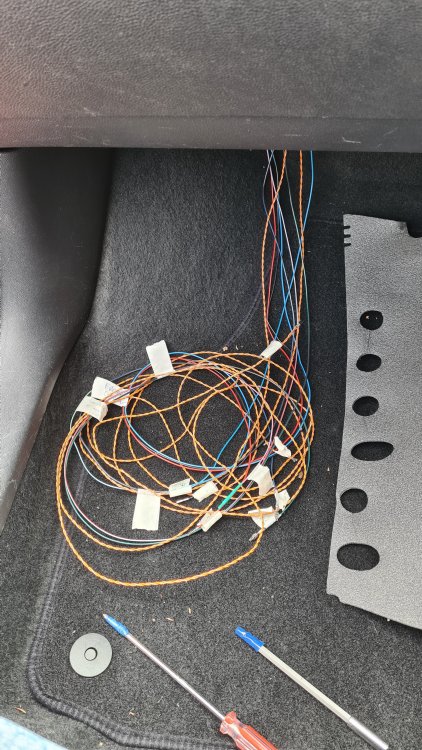
This retrofit is not substantially difficult depending on the vehicle you do it on. You should have good amount of technical ability (be able to understand wiring diagrams and work with 12V electrical systems) and a small amount of mechanical knowledge. I consider myself a fairly competent technician and I still got a lot of help doing this. Any part numbers I quote are for a UK spec Octavia in RHD, but should be identical for LHD (other than the headlights which are obviously different). Prerequisites that I know of: A BCM and CAN gateway which support xenon headlights. I cannot give a definitive list of part numbers which are compatible, but I know that BCM 1K0937087J and CAN gateway 1K0907951 are compatible. Headlight washer jets - fitting this is a major job in itself and is outside the scope of this guide. UK MOT rules require all cars first used after 1 September 2009 with high intensity discharge headlights (any dipped beam light source with an output greater than 2000 lumen) to be fitted with a headlight cleaning system. See https://www.gov.uk/guidance/mot-inspection-manual-for-private-passenger-and-light-commercial-vehicles/4-lamps-reflectors-and-electrical-equipment#section-4-1-6 My car is an Elegance spec so had headlight washer jets fitted as standard, I believe the Scout is the same. This saved me a lot of work. Quite a lot of time and money. The conversion cost me about £500 in total, but this heavily depends on how much you end up paying for the headlights, which are by far the most expensive parts of this conversion. Parts required: Nearside xenon headlight 1Z2941015G Offside xenon headlight 1Z2941016G If your headlights do not come with the ballast/driver and AFS slave module, the part numbers are 1Z0941641B and 7L6941329B respectively. AFS master (range control module) 5M0907357C with software SW 0142 or later Front suspension level sensor 1K0941274C Rear suspension level sensor 1K0941273N Fasteners for level sensors: Front 1x M6x16mm bolt N10653201 with washer N0115477 1x M6 nyloc nut N10205802 Rear 5x M5x16mm bolts hex head N10430104 2x M5x3.8-6.5mm XL rivnuts N10601701 3x M5x0.5-3mm rivnuts N10597701 Dashboard dimmer switch without manual headlight range adjustment 1Z0941333A Wiring loom - I used this one from Aliexpress which was designed for a mk6 Golf and required some adaptation as the pinout is not exactly the same as the Octavia. I also had the seller include an extra level sensor cable, as the Octavia uses two level sensors as opposed to the single one in the Golf. Step 1 - install level sensors. The front sensor is very easy to install. Take off the front left wheel and have a look at the subframe immediately behind the CV gaiter. There are two holes; the left one is a simple hole which is where the guide pin on the level sensor bracket goes, and the right hole is threaded, so put your M6x16mm bolt with washer in here. The bottom part of the sensor goes into more existing holes on the lower suspension arm, near the anti-roll bar. Make sure the arm on the level sensor is pointing outwards. The rear sensor is a little more tricky as you have to get fully under the car. You also need to set 5 rivnuts in the left suspension - 2 in the upper arm, and 3 in the lower. The holes already exist, there should be 3 in a triangle at the bottom and 3 in a line at the top. You only need to set rivnuts in the outer 2 holes at the top. Unfortunately I forgot to take decent photos of mine, but you should get the idea. Mount the sensor using your M5x16mm bolts, once again making sure the sensor arm points outwards (it will not work if it's pointing inwards!) Step 2 - install wiring. This is probably the most time consuming part of the conversion. I tried to make mine as neat and OEM looking as possible. You will ultimately end up with wiring running between the following locations: nearside headlight and centre of dashboard (behind climate control panel) offside headlight and centre of dashboard front level sensor and centre of dashboard rear level sensor and centre of dashboard centre of dashboard and CAN gateway (buried at the back behind the steering wheel) centre of dashboard and cabin fuse box (or other suitable power source) The looms for the headlights themselves have a short section which converts from the 10 pin halogen headlight connector to the 14 pin xenon connector, and also a CANBUS twisted pair and power wire for the AFS slave which needs to go into the cabin. I used some flexible conduit cable tied neatly from both headlights to near where the grommet in the bulkhead behind the battery is located as this is where I'd be passing the wiring into the car. I got the wiring for the front level sensor into the engine bay through the hole that the brake pipe goes through. The rear level sensor wiring enters the car through the same rubber grommet the ABS cable goes through, and runs down the passenger side of the car up to the front. Once all the wiring is in the front, you need to get it into behind the climate control panel. This is pretty easy as you can just push it through the gap between the carpet and the plastic surround of the centre panel.
-
This thread is 4 months in the making (because I am exceptionally lazy) but the project is finally complete. Long story short I have a 2010 Octavia Elegance and I wanted to upgrade the standard Bolero headunit to something with bluetooth and DAB. I also wanted to have navigation if possible but this wasn't an absolute requirement. I also wanted to keep the CANBUS functionality of the OEM headunit, mainly the HVAC and parking sensor display. After discovering with absolute disbelief the insane prices that Columbus/Amundsen+ headunits go for and considering they are quite dated now, I settled on a cheap Android headunit from eBay. This is the one I purchased: http://www.ebay.co.uk/itm/253355453163 For some reason the seller has massive inflated the price of it - it was £199.99 and I submitted an offer for £180 in December 2019 which was accepted. It arrived after about a week (apparently from the UK): I pretty quickly got around to fitting it once there was a decent gap in the terrible weather we had over December and early January. One thing I'm glad about with the Octavia is that the headunit is held in with torx bolts, and you don't have to mess around with stupid release keys to get it out. You just need a long enough T20 torx driver which I thankfully had. The plastic trim just pops off with a flat screwdriver. Out of the box the headunit has FM radio, bluetooth, CD/DVD player, WiFi, CANBUS decoder, two microSD card slots, and an absolute multitude of inputs on the rear: As you can see it has the quadlock connector and a double Fakra connector so it truly is plug and play. There is an input on the rear for an external microphone (which is included) but there's also a mic built in to the headunit which I've found out works sufficiently well so I didn't bother with the external mic. I also didn't fit the included GPS antenna which I'll explain further down. The manufacturer makes a load of extras you can add on to this such as tyre pressure monitoring (you have to screw sensor caps onto the valves, which gives you active TPMS), front and rear camera inputs (front can be recorded like a dash cam, rear is just for reversing I think and comes up automatically when you select reverse), DAB/DAB+ radio, even a 3G/4G dongle so you can keep the headunit connected to the internet at all times. After a couple of weeks of tweaking settings and volume levels etc I was at a point where I was pretty happy. The FM radio app works pretty well, and I also installed Plex from the Google Play store as I run a Plex media server at home which contains a lot of my music. I can tether the headunit to my phone to stream music when I'm out and about, or I can sync music for offline listening while my car is on the driveway and in range of my home WiFi. All in all I was happy. I purchased the DAB module (about £30 I think) which arrived fairly quickly. It connects to the headunit via one of the rear USB ports, so I've just stuffed it down the back of the console. I didn't want to use the supplied GPS antenna (the little black box you're supposed to stick on your dashboard somewhere), or the supplied DAB antenna (one of those stupid stick-on things that goes in the top corner of the windscreen). I did want GPS and DAB but without the ugly antennas and after a lot of research I settled on the best (but probably most expensive) option as suggested by @langers2k which was to change the standard roof aerial for one which has GPS and DAB built in. Thankfully VAG make a shark fin aerial with GPS and DAB as they obviously sell cars which can come with those things from the factory. There just so happened to be a brand new one of these on eBay for £70 buy it now that someone had bought for a VW Polo and never ended up fitting so I bought it. As you can see there are 4 connectors coming from the aerial, these are FM/DAB (white), DAB (black), GPS (blue), and GSM (violet). The GSM antenna is used in cars with factory telephone preparation, as some headunits have rSAP so when a compatible phone is connected by bluetooth, the stereo can make calls through the SIM card using an external aerial for better reception. The standard aerial on cars without GPS/DAB/etc only have a single connector - the white FM/DAB one. Replacing the aerial is very easy, you just pull a plastic trim in the boot off by hand and then you can pull down the headliner. The aerial is held in with one massive nut (I think it's 19mm) that you can't really see but it's very easy to feel. Obviously my car didn't have the wiring in place for the extra antennas so I had to order a few cables and adapters from chinarf on eBay in order to connect everything. I needed two 5m extension cables (one for DAB and one for GPS) and then a short patch cable for each to convert from Fakra to the appropriate connector. Putting these cables in was very easy, I used some semi-flexible cable fishing rods to push the cables through to the passenger A pillar where I pulled the trim off to receive the cables. It was pretty easy although annoyingly I snapped one of the cables after it got snagged on something and I yanked it, so I had to order another one from chinarf and wait another 3 weeks. I ran the cables down the passenger A pillar and behind the dashboard into where the headunit is. This is quite tricky unless you have very small hands! Connected everything up and it all worked wonderfully I am very impressed with the DAB radio, it actually sounds better than FM from this stereo. The reception from the OEM shark fin aerial is excellent. The navigation is flawless and works nicely in Google Maps. I haven't tried any other navigation apps yet. Only thing left to do is add a reversing camera. The headunit has a composite video input on the back so any basic camera should work. My intention was to get one that's built into the boot button like this: End.
-
In the manual for my FL Elegance it says you can enable and disable the daytime running lights by doing some funky movement with the indicator stalk. To enable: within 3 seconds of turning on ignition, pull the high beam on and hold the stalk up (right indicator) for 3 seconds To disable: same as above except hold stalk down (left indicator) instead I did the enable earlier and it gives the confirmation chime after doing it successfully but the DRL bulbs in the fog lights do not come on. In fact nothing comes on. If I try to do the enable trick again, it doesn't give the chime, but if I do the disable trick it gives me the chime, then I do the enable again and get the chime so something's definitely working somewhere. I looked through the settings in the maxidot with it enabled and disabled and there's nothing in there about daytime running lights. It is worth mentioning that my car does not have auto lights as standard but I have fitted the auto switch, although it hasn't been coded yet so the lights just stay on all the time when the switch is in the auto position, although I don't think this should affect the DRLs (yes I did test with the light switch in off position...) Would be great if anyone can shed any light on this