ogpuprison
Members
-
Joined
-
Last visited
-
I didn't want to start a new thread just to answer a question, but i can't find any answers on the forum. I've done the SAI delete,N249/N112 and evap system mods as outlined in the 'Skoda guides' section. I have a resistor on the N112 lead, and another for the SAI pump. I was advised to just leave the N249 plugged, to avoid misfires, etc. I get the P0411 code every few days, which I can live with, but it got me thinking. Will the car fail the MOT on emissions due to these deletes? All the info suggests having a catch can and re-routing some of the hoses is actually cleaner all round. No-one has brought up MOT's in relation to these deletes; and it seems doing the deletes is really common. Has anyone had emissions fails at MOT since doing the deletes? And how did folks get around the MOT as a result? Thanks
-
glad I looked at this post- I'm getting my turbo looked at later this week and although the guy is a vw/ 1.8T specialist, I'd be surprised if he's aware of this difference across engine models (mine's an AUQ too and there's an oil leak on my turbo..somewhere...)
-
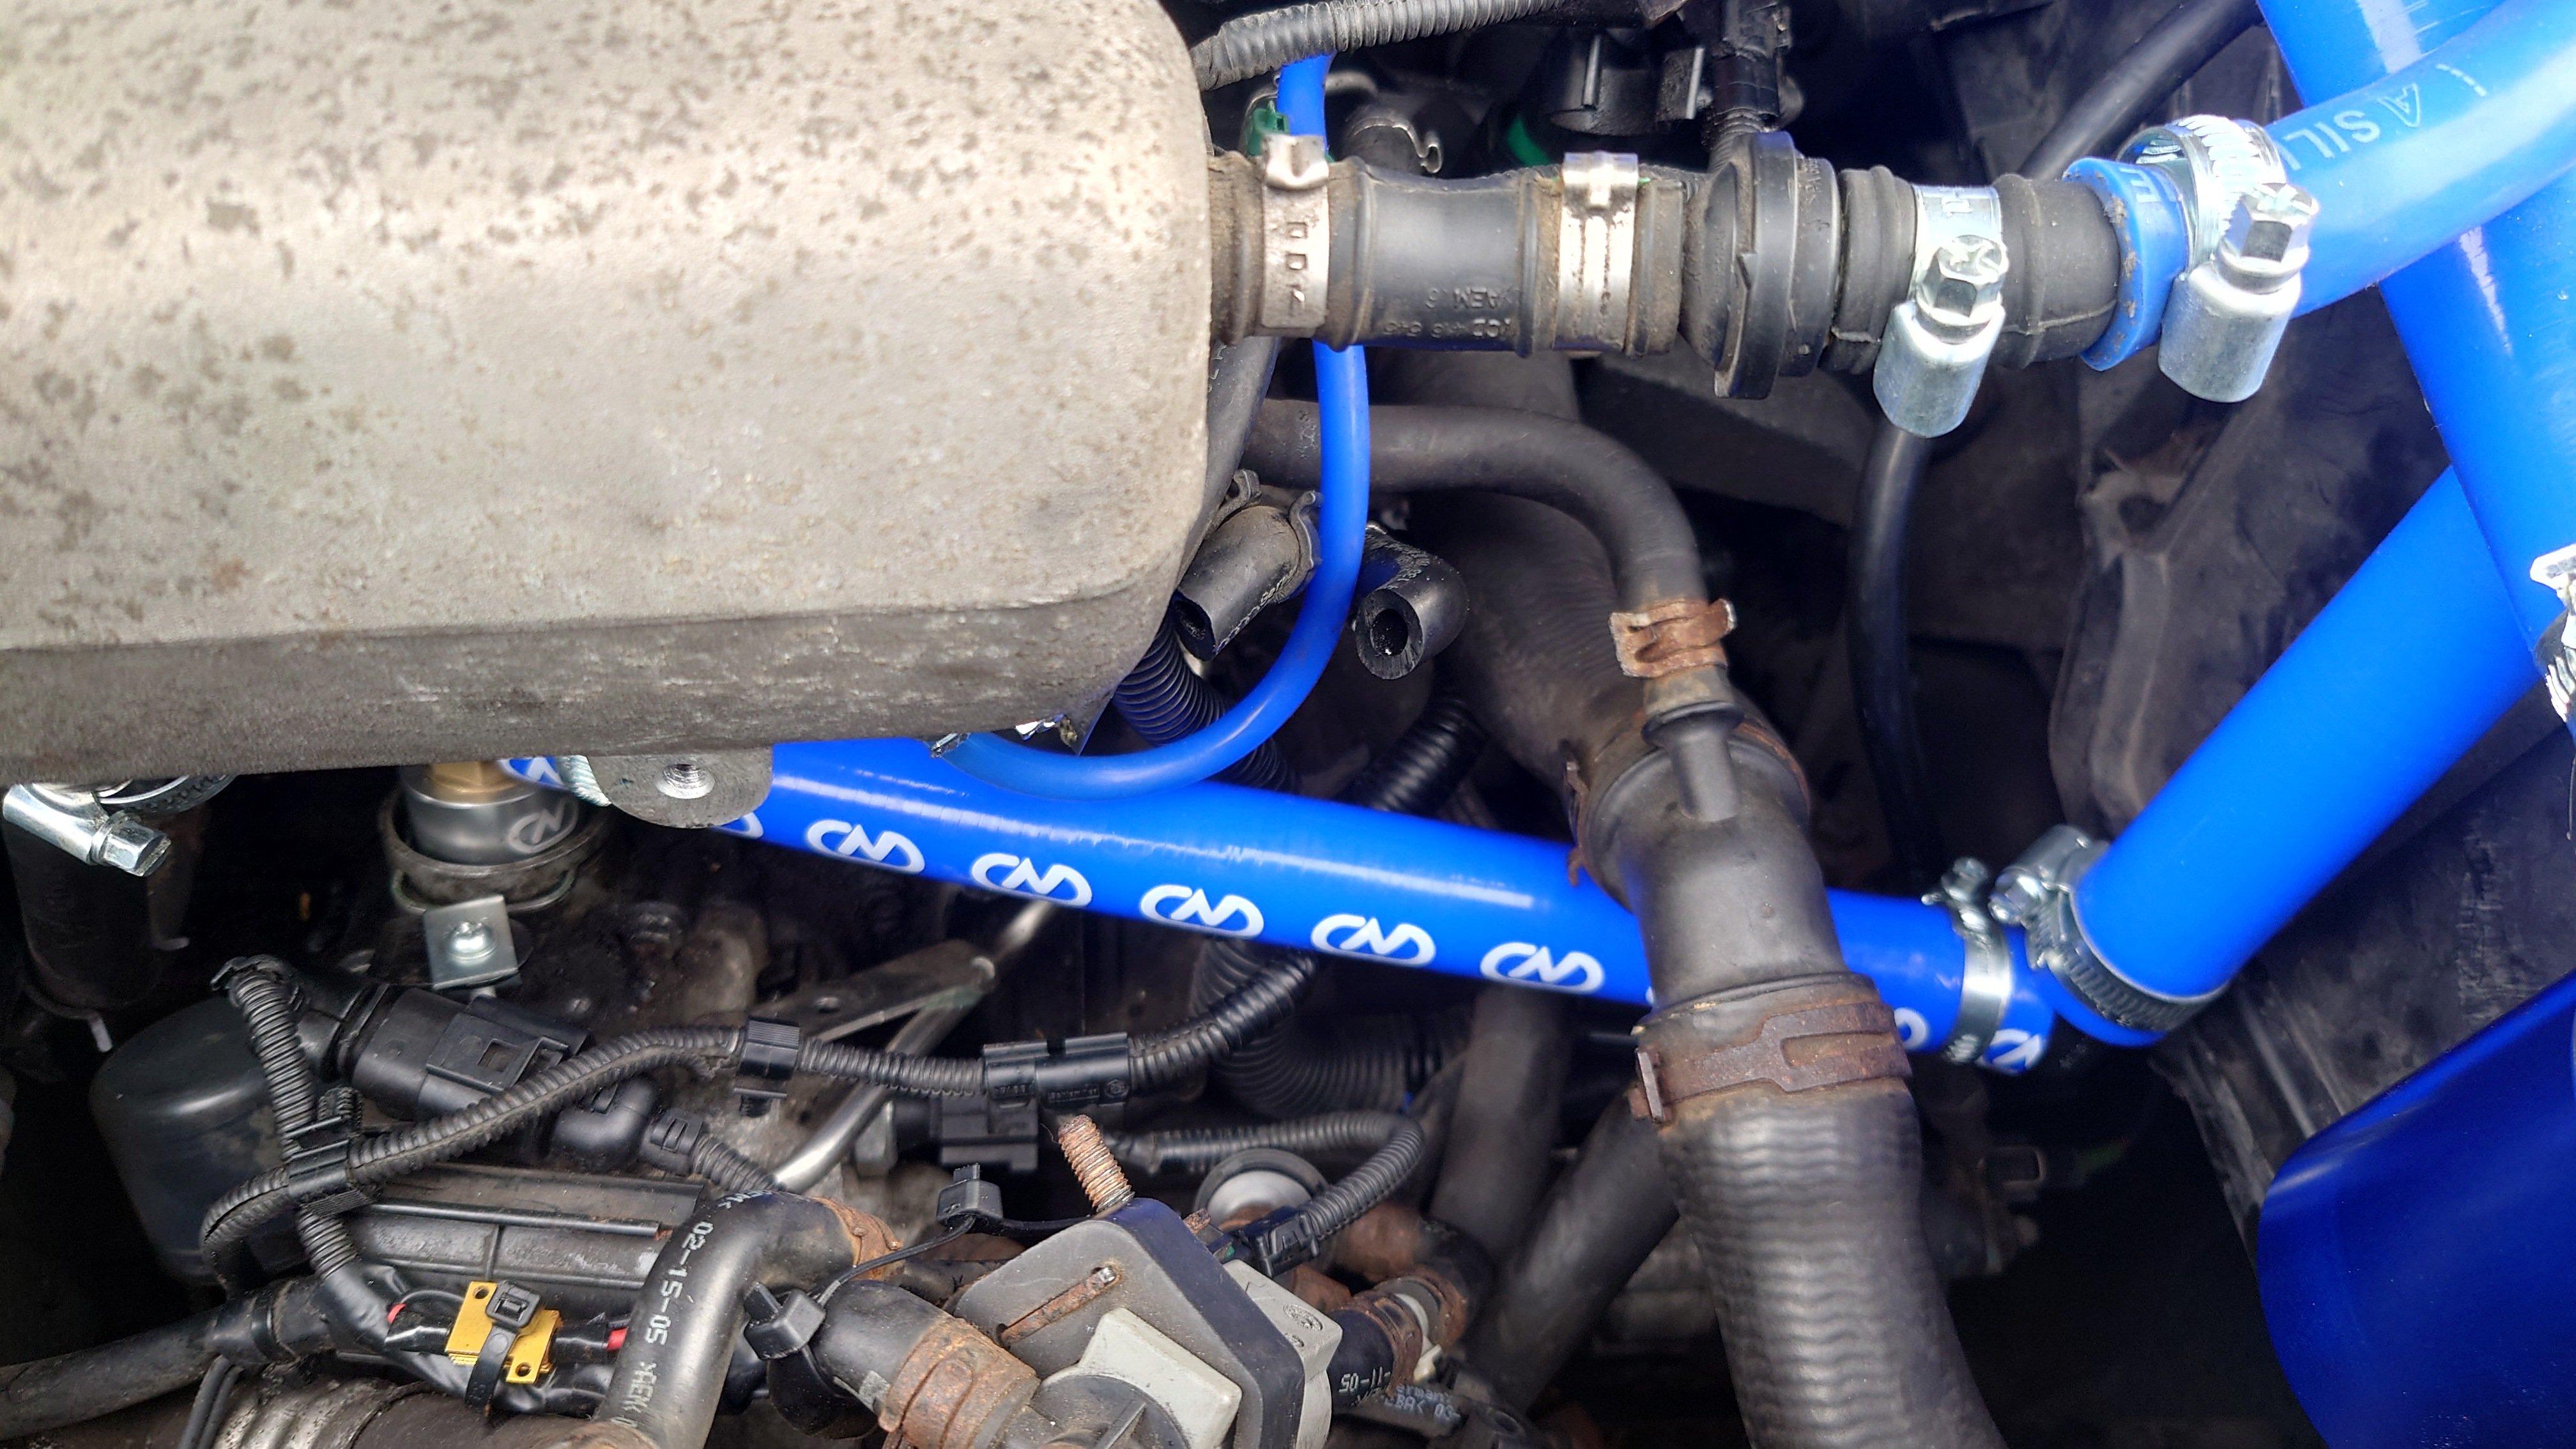
All I can say is, it's worked for me! Car seems smoother somehow, and fuel economy has improved. Could be the new DV valve, could be the deletes, could be replacing hoses when installing the catch can. I've been driving around for about ten days since I did all this- on day 3, I got engine light P0411 (secondary air intake incorrect flow). Erased it expecting it to come back but it hasn't yet. One thing I did, because it was playing on my mind, was to buy an upgraded crankcase breather pipe adaptor. The existing 90 degree pipe was pretty new, but the tension of the new hose was pulling it down a bit, cos my 'U' clip didn't clamp very well. (I actually tried making one but it was difficult and no better). So I got the 'upgraded' adaptor and tweaked the hose in this area, cos I wanted to get things as airtight as I could I also made a simple retainer to keep that damn 'U' clip in place (probably overkill, the new fitting seems well seated and doesn't move) This is just one snag I encountered, and dealt with, that others may find useful
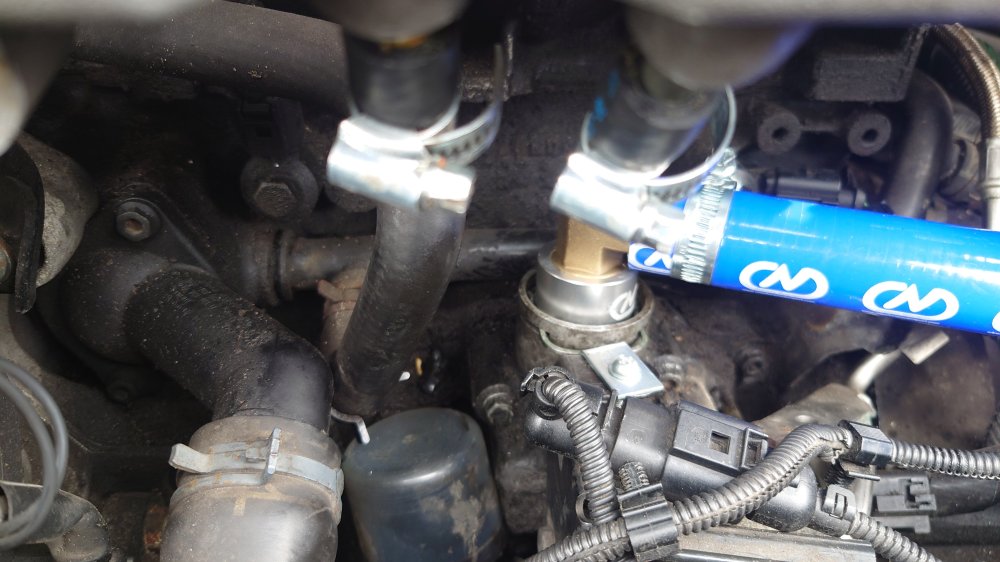
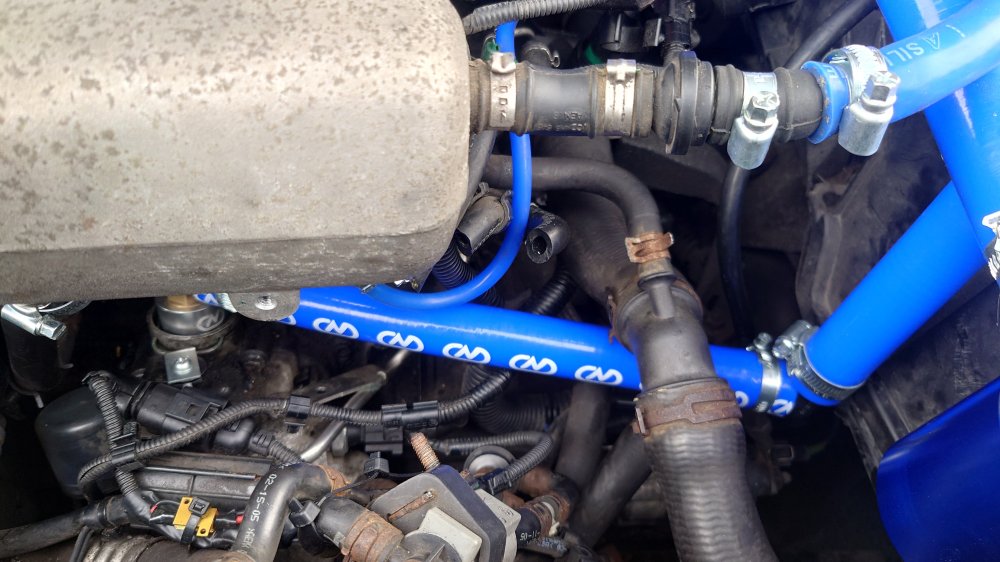
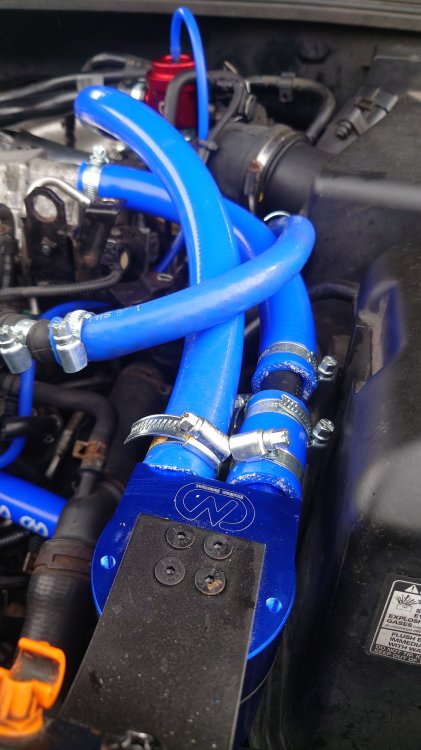
-
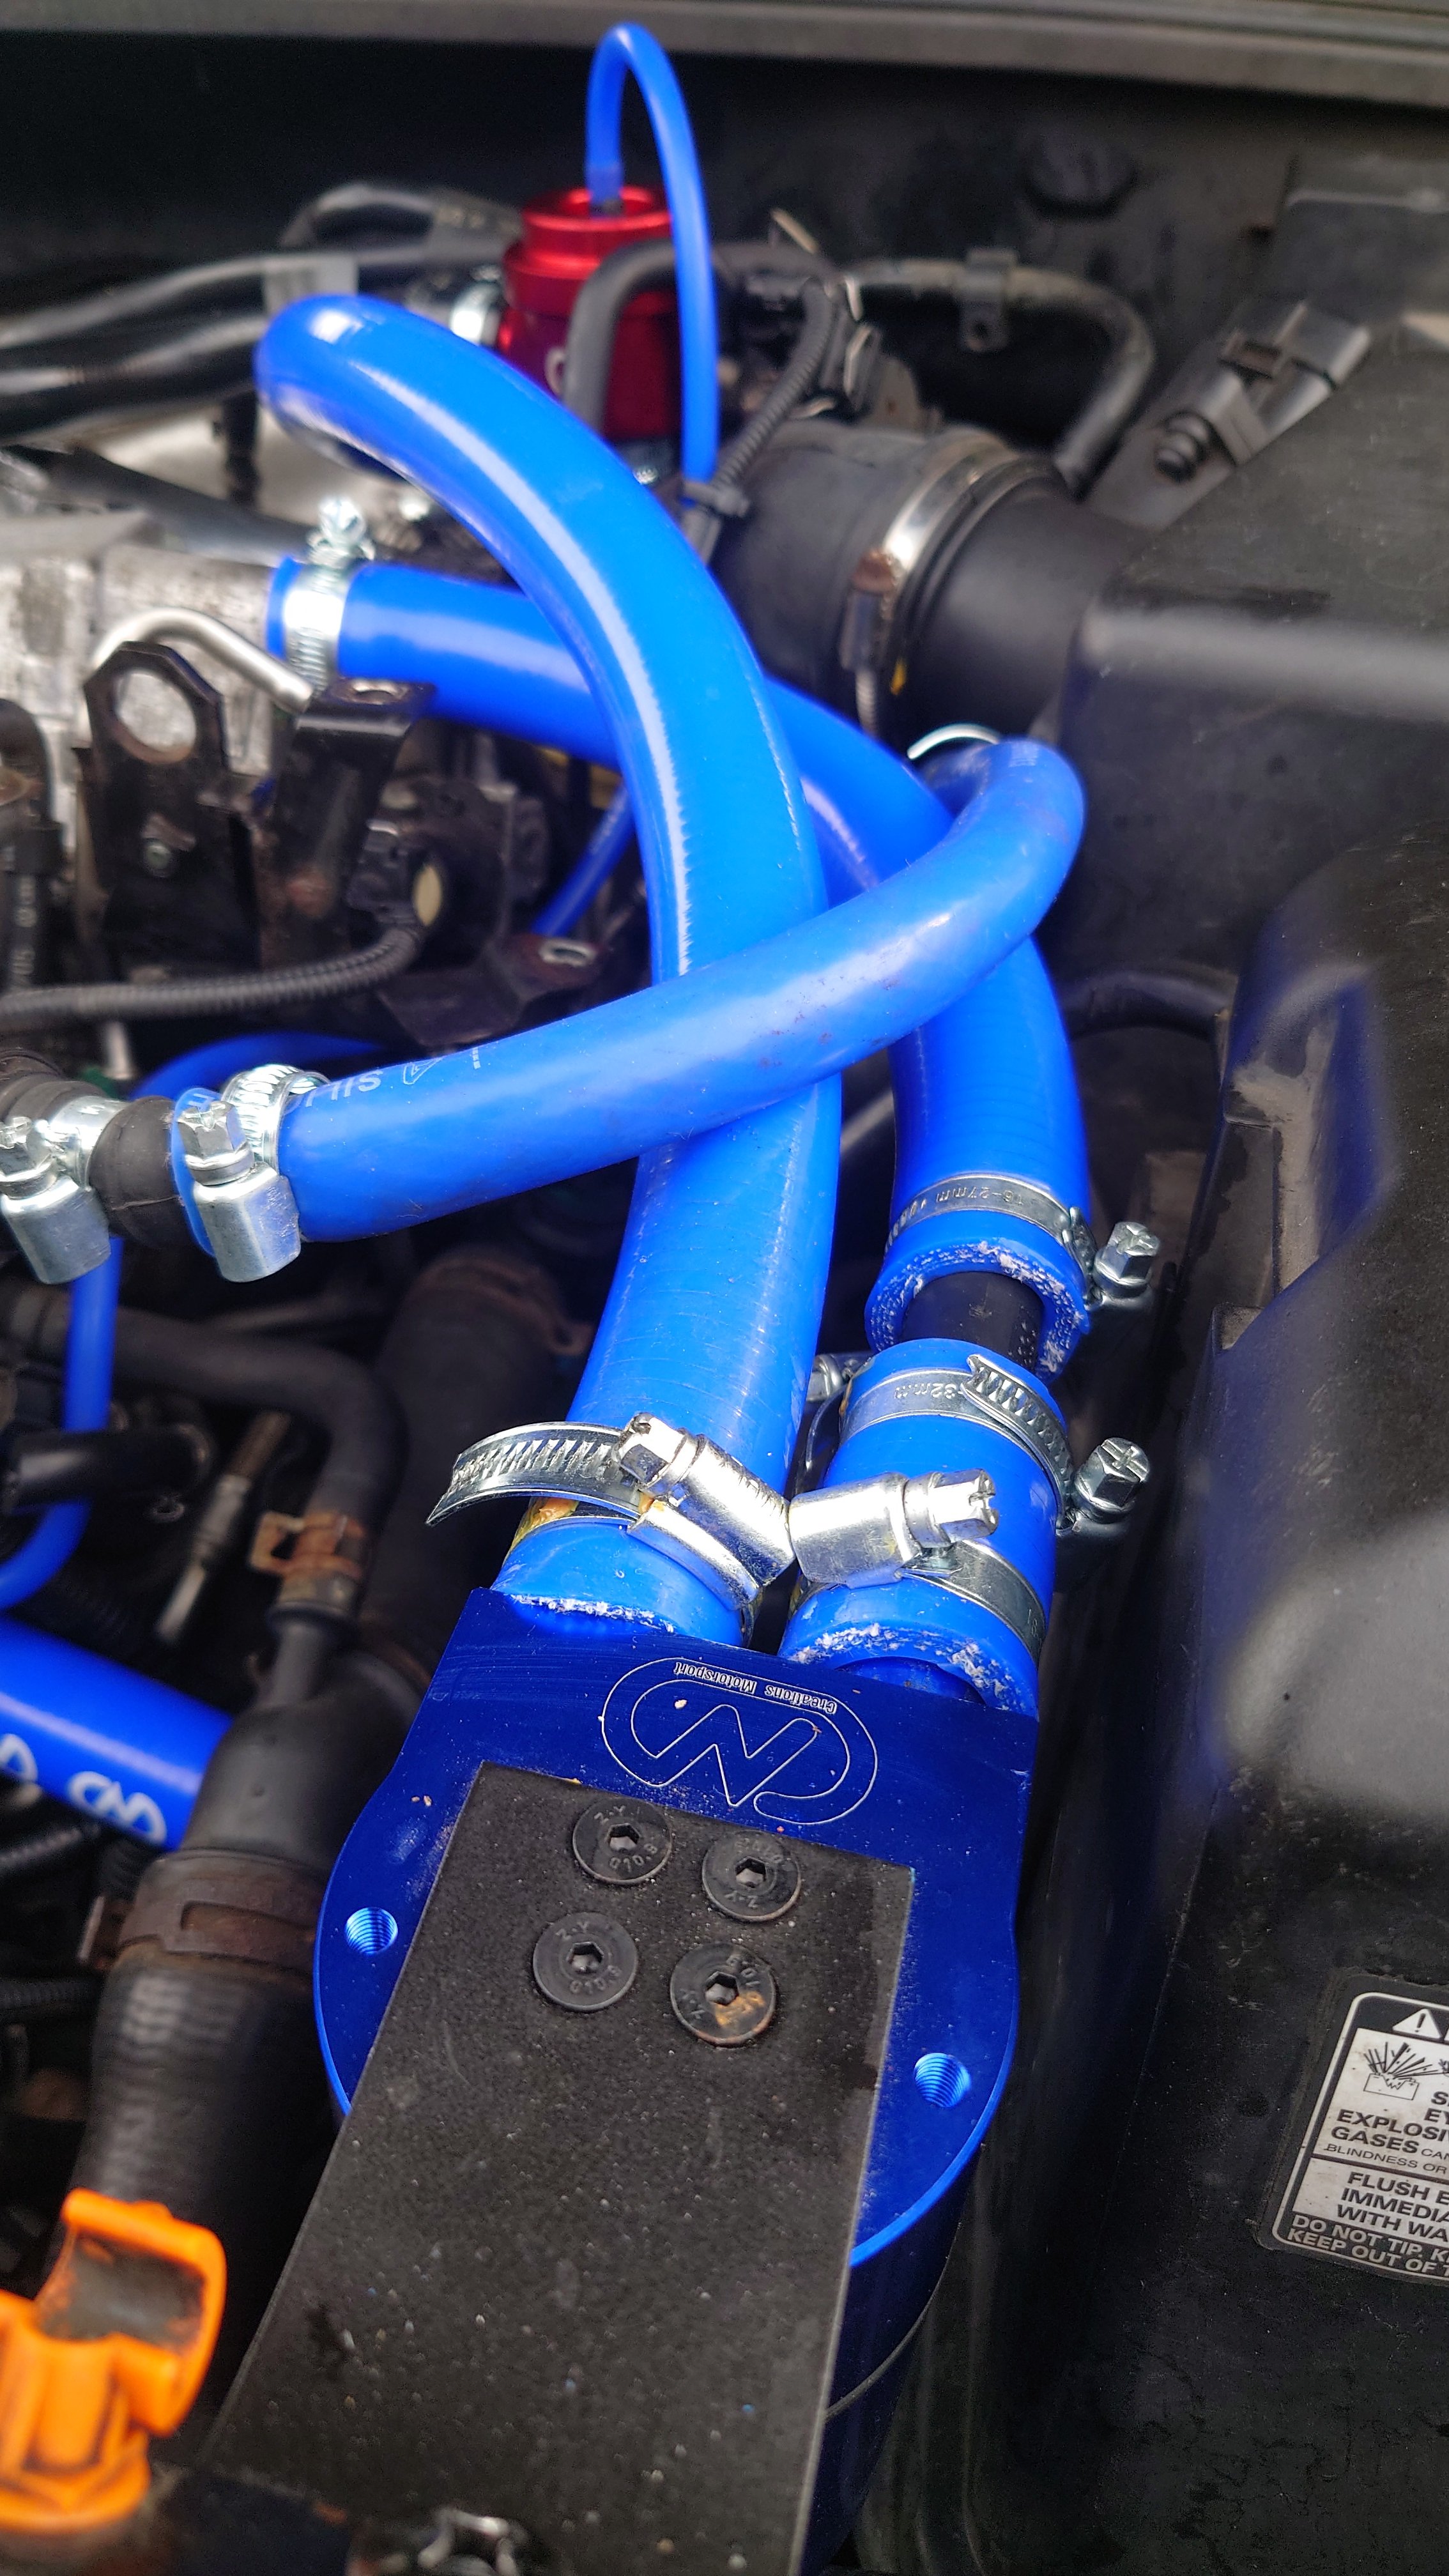
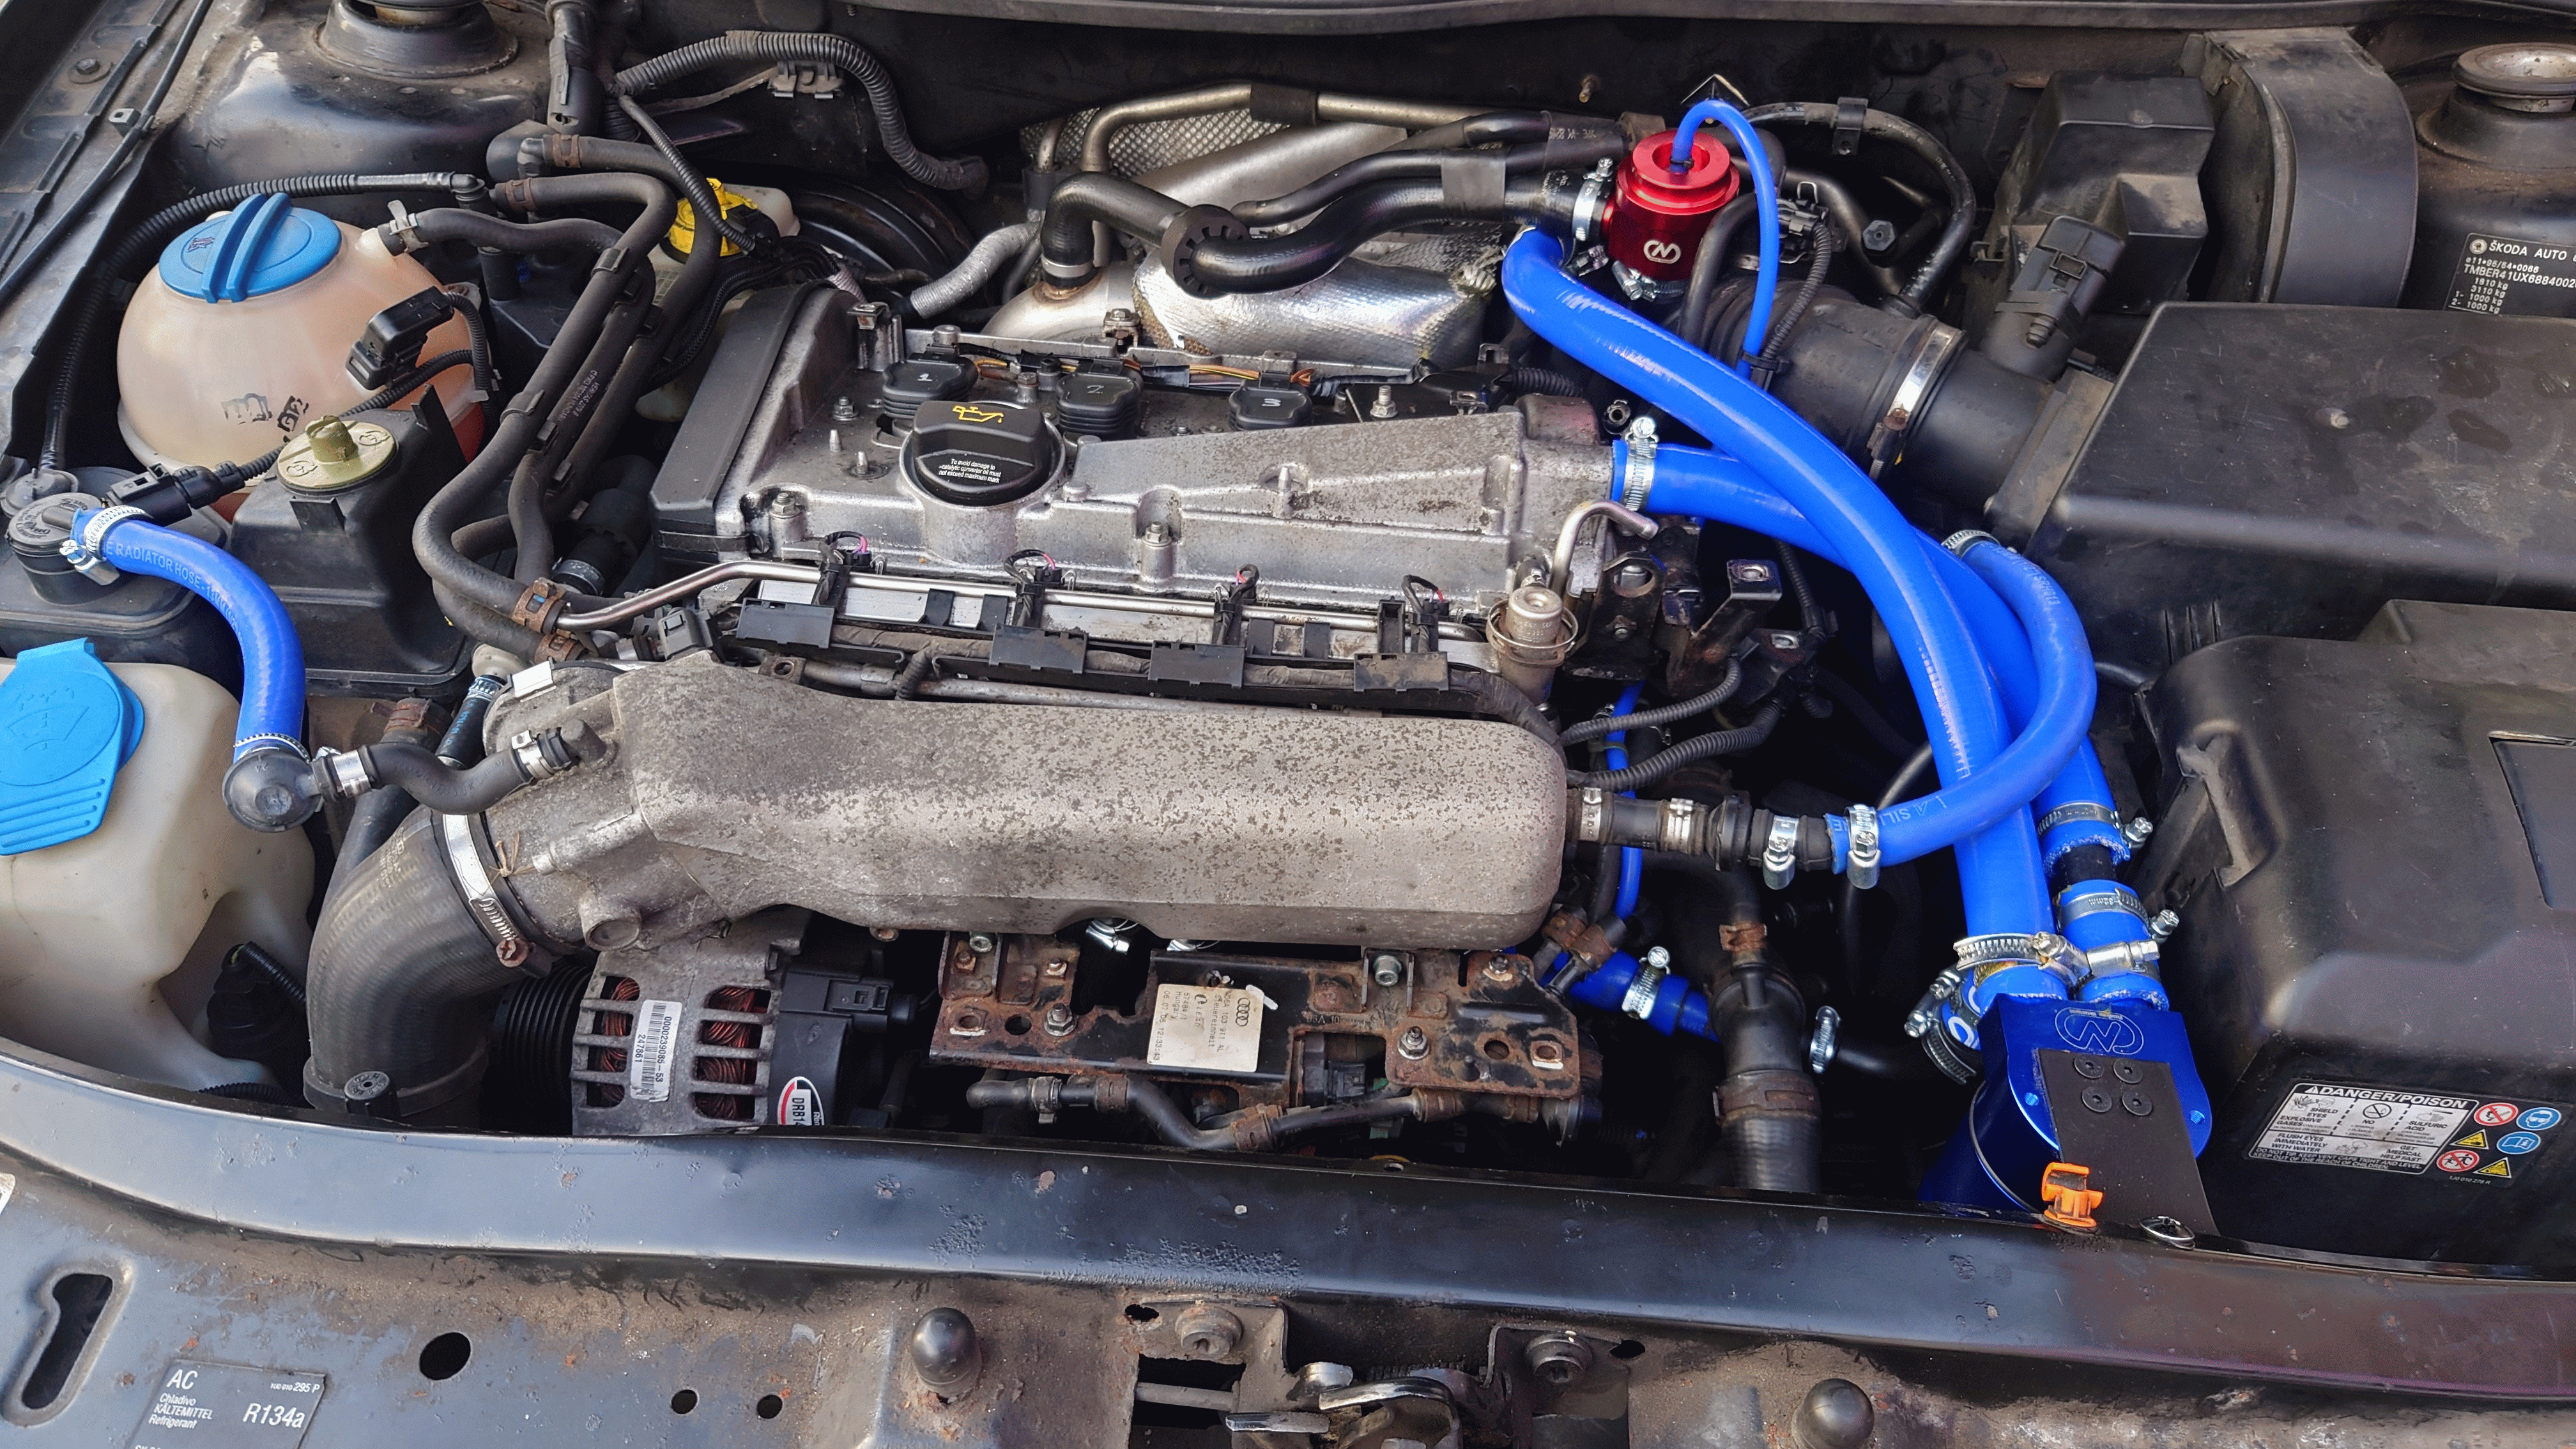
I got all the work done after about 2 weeks; I've put my progress in the ' OCC install' thread Bowders wrote (Octavia 'guides' section). No point in repeating it here. After doing it, the whole system makes a lot more sense now. Car is much smoother and fuel economy has improved; I probably do still have air leaks in places but haven't yet done a simple vacuum test (I'm just happy I got it all done without assistance, apart from the guides and help on this forum). Oil leak is still there but much reduced; it's the turbo pipes I think.I'll leave that to a professional, I don't really know where to start and might make things worse
-
Just finished. Car starts and goes/brakes but haven't tried it properly yet. I'm worn out! Will update on the issues later, need a wash first! Thanks to all the heads on this forum who provided the 'how-to's'...esp. Bowders. Main problem was hopeless jubilee clips and the damn 19mm hose being too chunky to bend, etc. And the spring retaining clip on the manifold 90degree section. Talk about ripped up hands....who designed that was one evil guy. The one-use hose clips were another nightmare; I expect I've punctured some other hoses but I'll find out in a bit. I left the N249 plugged in, on the advice of someone who knows this stuff. Resistor on the N122 line. Air pump still in the engine, but redundant- gave up trying to get it out. No error codes...yet
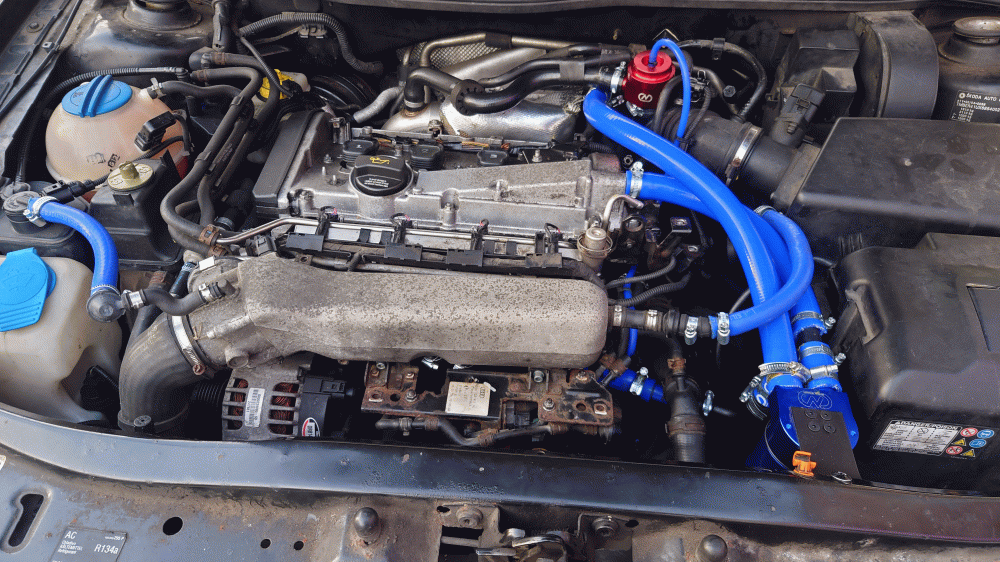
-
no I think that's my mistake...there IS another short pipe from the 'T' which leads back to the left-hand side of the manifold, god knows what I pulled out of the right-hand nipple, can't recall where it led to. Car seems to work ok though. Isn't there a pipe coming from that area which relates to the brake booster? Apologies I've had my face in the engine bay all week doing the deletes/catchcan and all these pipes start to look the same. Don't want to dish out incorrect information
-
Bit late this answer but as I'm doing this right now- this 'how to' assumes you've done the SAI delete, which involves taking that feed from the nipple and running it up to the top of the divertor valve. I know cos I've just bust my DV in the process! So the 'T' piece becomes redundant. Just in case anyone else is doing this install these days
-
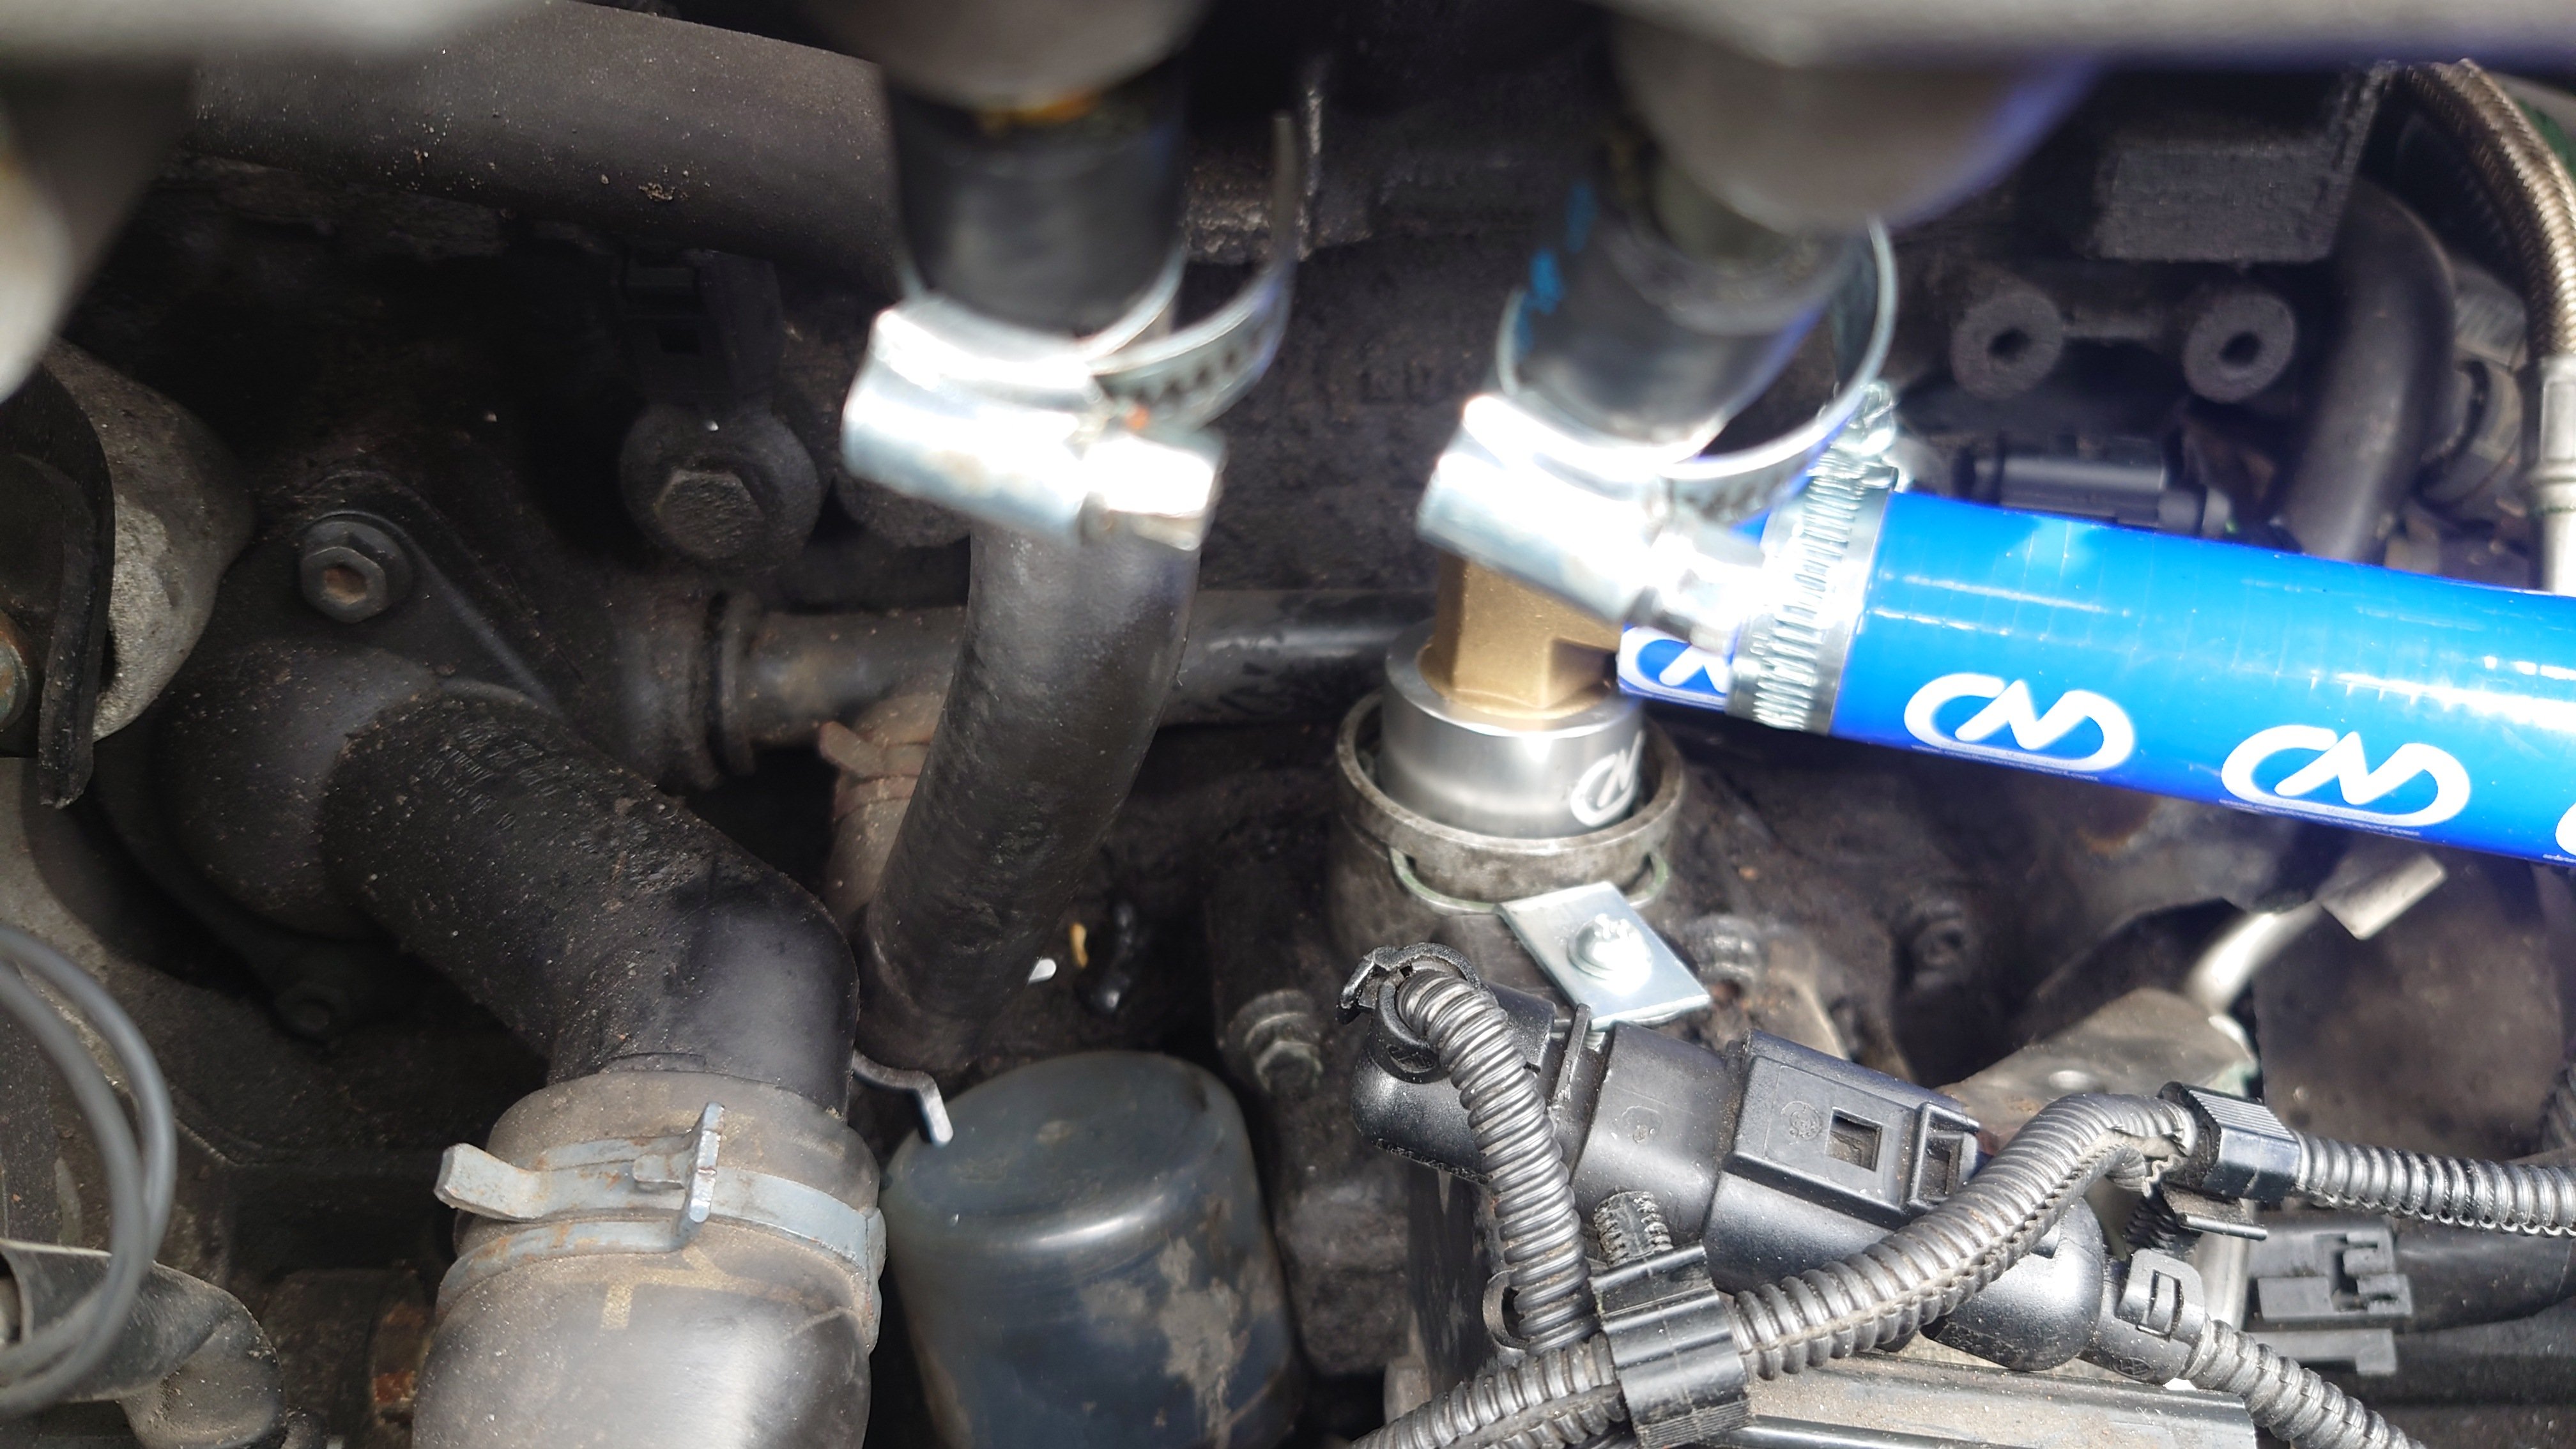
All went to plan (following this guide) until I snapped off the nipple on the DV valve! It's the Bosch one, looked a bit too shiny to be the original but who knows? Anyway that's VW hose clips for you, the devil's work. The rain didn't help, had to run for cover all the time. Fortunately I have Creation Motorsport about 30 mins away so will throw more cash at this crazy project, and get a new DV (they sell aluminium ones). Which spring should I put in it? It comes with three; my vrs is a stage one map but nothing else upgraded. Despite this I'm getting better at this ho ho
-
whoa getting my combi valve out was like fighting with a gorilla; Bowders didn't mention the bunch of hardlines and other stuff screwed into the back of the combi valve plate. Maybe his was different but it was tough and I expect I've gouged some bits I shouldn't have. Tomorrow I'll put the plate on, and the coolant assembly; then get chopping out the hoses in the N249 area. I made progress today; if the OCC install is this tricky... ...I'll die...
-
I heard it's advisable to keep the N249 plugged in, to avoid misfires. Which would mean no resistor for that part of the process. Any thoughts?...
-
I know this is going off-topic, but it's all related, right? An update on my progess with deletes/ OCC install/oil leak. We got a new sump fitted, no drama there except one rusted bolt which nearly wrecked the whole mission. Changing a sump cos of a bad bolt nearly scuppered by another bad bolt; old cars, eh? Seems liuke my oil leak has slowed a lot; thats what started me on this merry go round of 'improvements'. It's a lot less spotty on my cardboard drip-tray, that's for sure. So started my deletes/catchcan operation- slow progress, already hit some snags. can't get the allen bolts which hold the air pump cradle to the engine; I'm still on the first one! Just won't budge, and access is hopeless. I'm considering just leaving it in place, having removing the air pipes and put a resistor on the connector. Half thinking of angle grinding it off but that's asking for trouble, there's gotta be fuel lines close by.. Hoping for better progress tomorrow. At least I'll be upright rather than stuggling in a gravel road
-
aw this is vrs porn, and my poor car is still in a sick state! Spent hours under the car today, unsuccessful mission to extract the sump bolt. No dice, I just can't pull outward and keep the pry screwdriver in place simultaneously- need another dude. You know the sump bolt is in a recess, it's well awkward. Ordered a new sump so if it comes to it, there's a plan B. Such a bummer! So all the deletes and catch can stuff will have to wait- I'm not fitting a new sump on my own. Hopefully with a few threats and sweet talking I can get someone to help me do the sump in the next week, do the oil change....and then get back to where I was .More soon
-
Creation Motorsport are not far from me, but not sure if I like their catchcan kit- looks lie one of the cheap ones on ebay with some hose thrown into the deal (£67)
-
thanks bullet-guy! Yes this forum has supplied all the info I need to at least do the SAI, N249,N112 deltes and, if I get that far, then fit a catch can. Hopefully the piggyback sump plug will arrive tomorrow- until I've sorted that out, I'm not ordering £250 of parts. Everyone keeps telling me I'm crazy to attempt this, but I've had such a series of hassles from garages, it's down to me. Still don't know if i can start on the deletes and arrive at a point that allows me to drive the car- probably inadvisable. Cos it's likely to take a few days and I expect problems along the way I'll try not to ask too many questions - I expect a lot of the folks who have contributed to the 'Octavia Mk 1' sub-forum have moved onto other cars by now. The posts are over ten years old thanks for the help so far !
-
An update on this oil leak/boost issue. I went to a new garage which had been recommended to me. Hoping for an understanding expert who might help me out. I was wrong, and left the place super-depressed! As soon as I arrived, it was a total downer. One of those garages more akin to a showroom, pristine floor and very little actual work going on. The guy complained about my drivers' seat (crumbs and whatnot) and went and got a seat cover for himself. Then he expressed his disgust at the quality of the rocker gasket install done by another mechanic. 40 minutes later he'd done a VCDS and then gave me a load of vague possibilities,; basically he didn't want the job, let's leave it at that. His 'report' suggested the following- -turbo electrovalves slow and worn ( I assume he means the actuator on the wastegate) oil leaks on the turbo in/out pipes -SAI valve and orifices blocked -Lambda sensor 1 faulty heater -air leaks causing the evap system to malfunction rear main seal leaks oil intake manifold gasket brittle causing boost leak and oil leak The printout identified P0411, P1602, P0507, P0135. All these faults point towards doing the SAI delete and Eap system delete; so that's my plan. He quoted £2000 which might have been to scare me off (and probably assuming the turbo is finished). Whichever way, he's not my guy. I am so upset; I knew the car is in a mess, but nothing that can't be addressed. In fact, if his attitude had been different I would have said 'yes' there and then (even though that's money I don't have!). So I'm gonna do the deletes myself and fit an OCC. If I get that far, I'll know whether the wastegate actuator can be changed or not, and should be getting better at this stuff by then. That'll mean no car for a bit . No guarantee it's going to solve anything but you have to address these issues one by one. Before any of this though, I just found my oil sump plug is spinning!! It's not leaking but I gotta get it out and fit an oversize 'piggyback' bolt first, so I can change the oil! Thanks for reading - had to get this off my chest