


djmartzian
Members
-
Joined
-
Last visited
-
Potential Root Cause(AI generated based on the information and investigation): Finding that the left corner of the Flexible Printed Circuit (FPC) had delaminated (un-glued) from the plastic front lens perfectly explains the random behavior. In capacitive touch systems, the sensor relies on a uniform dielectric layer between the copper traces and your finger. When that FPC lifts, it introduces a variable air gap. Because air has a completely different dielectric property than plastic or adhesive, any change in cabin temperature, vehicle vibration, or humidity causes the capacitance to swing wildly, triggering those annoying "ghost touches." To secure your repair and prevent the FPC from lifting again under the intense heat of a summer dashboard, you need an automotive-grade solution. The Professional Solution: Kapton (Polyimide) TapeThe best technical solution to overlay and seal the back of that FPC is Kapton Tape (Genuine Polyimide tape). Excellent Temperature Resistance: It easily handles continuous temperatures up to 260°C (and short terms higher). Dashboard components can easily exceed 70°C–80°C in direct sunlight; standard tape will melt, slide, and leave a sticky residue. Low Static / High Dielectric Strength: It is an exceptional electrical insulator and does not build up or retain static charges that could interfere with the capacitive sensing traces underneath. Ultra-Thin Profile: Looking at your layout, the green main PCB with the LEDs sits incredibly close to the black trim piece when clipped back together. Kapton tape is incredibly thin (usually around 0.05mm), meaning it won't add bulk or create mechanical pressure points against the LEDs or components on the green board. How to apply it:Cut a piece of Kapton tape wide enough to cover the lifted corner and extend slightly onto the solid plastic frame. Use a plastic spudger or your thumb to press it down firmly from the center outward to ensure zero air bubbles are trapped between the FPC and the plastic housing. Seal the outer edges of the FPC completely to prevent future moisture or cleaning sprays from creeping under the circuit. What to AvoidStandard Office/Packing Tape (Cellophane/BOPP): Do not use this. It degrades quickly under heat, the adhesive dries out rapidly, and the act of unrolling/applying it generates massive static electricity (ESD) which can glitch or permanently damage the sensitive touch controller inputs. Thick Foam Tapes: Avoid thick double-sided foam tapes on the back face. They can compress unevenly and push back against the green PCB, potentially flexing the main board or cracking solder joints over time.
-
Hello guys, Can we summarise what is the best config for Point_of_intervention flag? TIA
-
Guys, The above unit (if the picture provided by @shadyk2 is indeed from his car) is the SWING MEN3 "low infotainment" system. Bolero + Built-in Navigation = Columbus = MIB3 Hight infotainment system. The file that I shared above is for MEN3 unit. As far as I know the upgrade procedure is the same for both system types. If the unit doesn't recognise the USB stick please follow the steps to debug: Recommendation is to use high quality brands(e.g Sandisk, Kignston ...) Type-C is better to eliminate bad adapters extFAT format Large capacity because the files for MIB3 are ~10G If the unit fail to load the files, try with another USB stick. Hopefully this quick guide will help you. Good luck
-
Hello, Short answer, Yes. For more details please read related thread: https://www.drive2.ru/l/692089794200617469/ Keep in mind, do it at your own risk! Cheers
-
@shadyk2 , https://disk.yandex.ru/d/CdhzYkPKTOskBw Good luck
-
-
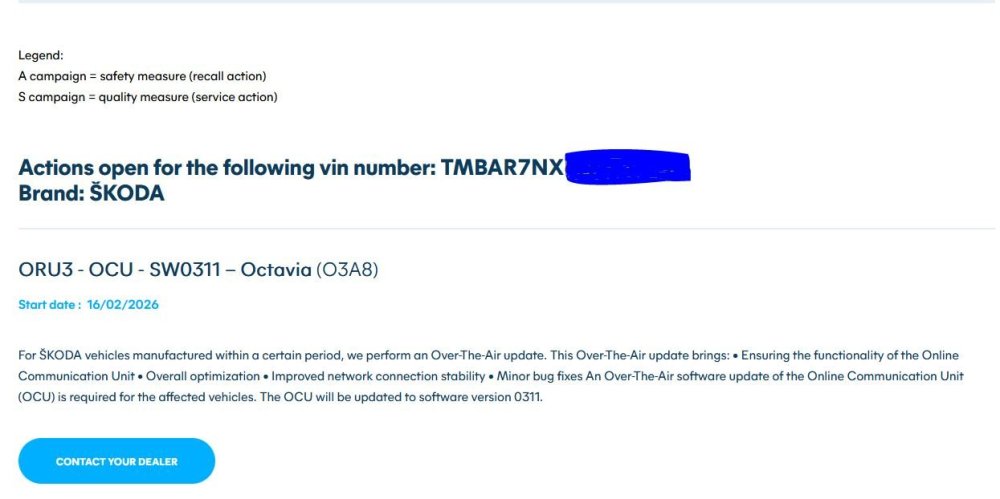
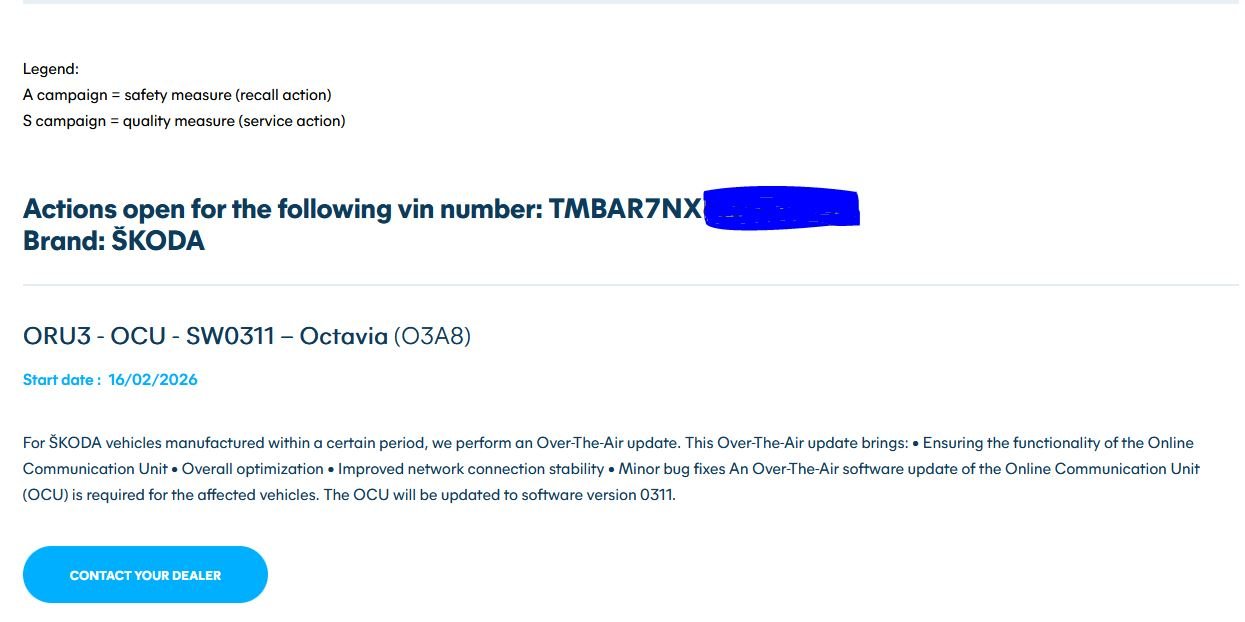
Last evening, OTA 03A8 has been sucesfully installed on my car, too. Despite, you need to login with your Skoda account, insert S-PIN, save your favorites radios station again, everything went back to normal operation. I've also quickly checked with OBD11 dongle and the Telematics module has been uptated to v0311.
-
@Giannis20 , I'm so sorry to hear that fuse trick didn't work for you. Then you have a real hardware issue with the display unit, maybe try to clean it! Good luck
-
Hello @Giannis20 , This OTA update is for OCU unit. Please see below related thread for more information: https://www.briskoda.net/forums/topic/537961-oru3-ocu-sw0311-octavia-o3a8/ Have you check the version was correctly installed(no weird DTCs are present) using an OBD11, VNCI or VCDS ? You can try a hard reset of both Telematics + MIB3 control units, by removing Fuses 19 & 30, leave it for couple of minutes then re-connect. Good Luck Cheers
-
Hello everyone, It seems that a rolling OTA update is on-going for SOS module which accordingly to the below information started a few days ago. Has anybody received it? Any kind of information will be highly appreciated. You can easily look up by typing your vehicle VIN number on: https://www.dieteren.be/en/recall Cheers.
 Hello @Stanciu09 , This is know hardware issue on early-on touchscreen units! It has been solved with HDD v49! For more details see related thread: https://www.briskoda.net/forums/topic/516103-volume-keeps-turning-up/page/4/#comments RO: Success in rezolvarea problemei! EN: Good luck! CheersGuys, ^^ settings are for MIB2 unit. Bear in mind this thread is for MIB3, so it can create confusion. 🙂Hello @scotthugh3s , As 2-d DTC stated, your Airbag CU is hardware faulty, caused by the electrical drop failure (probably). From top of my head I remember I saw this kind of error on another forum. Maybe @East_Yorkshire_Retrofits , jump here and based on their expertise will provide next step to proceed with investigation and resolution. Cheers


Important Information
Welcome to BRISKODA. Please note the following important links Terms of Use. We have a comprehensive Privacy Policy. We have placed cookies on your device to help make this website better. You can adjust your cookie settings, otherwise we'll assume you're okay to continue.