


a1topdog
Members
-
Joined
-
Last visited
Everything posted by a1topdog
-
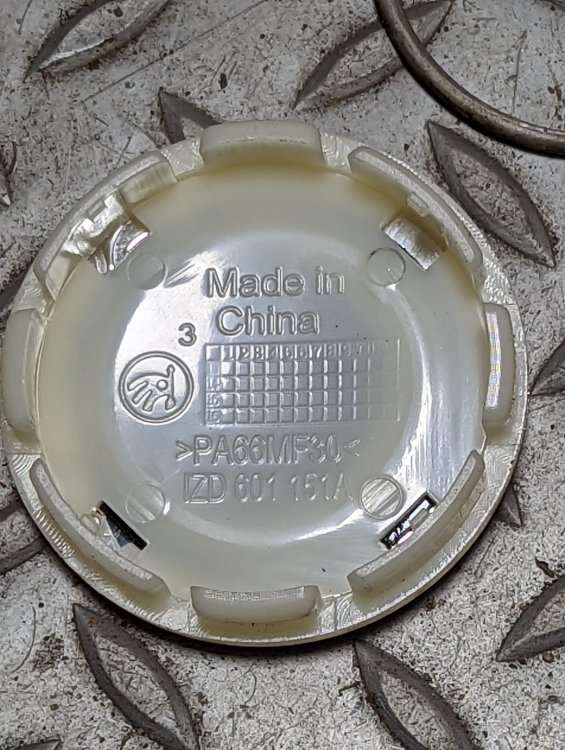
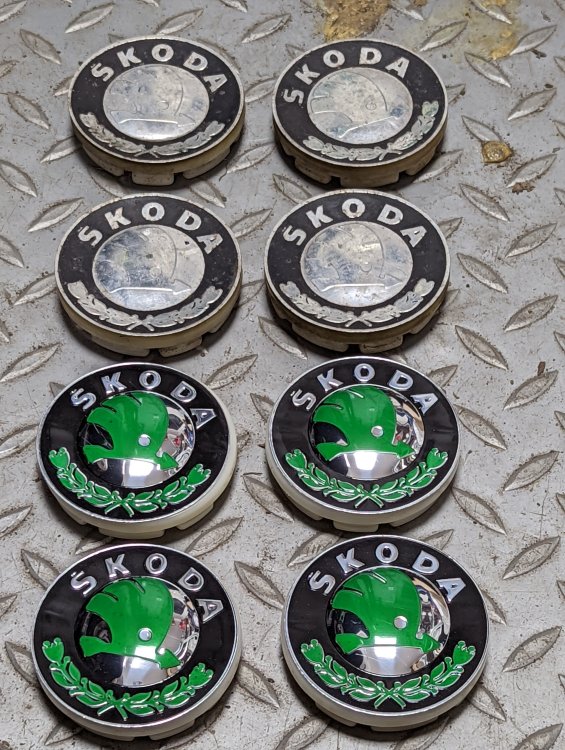
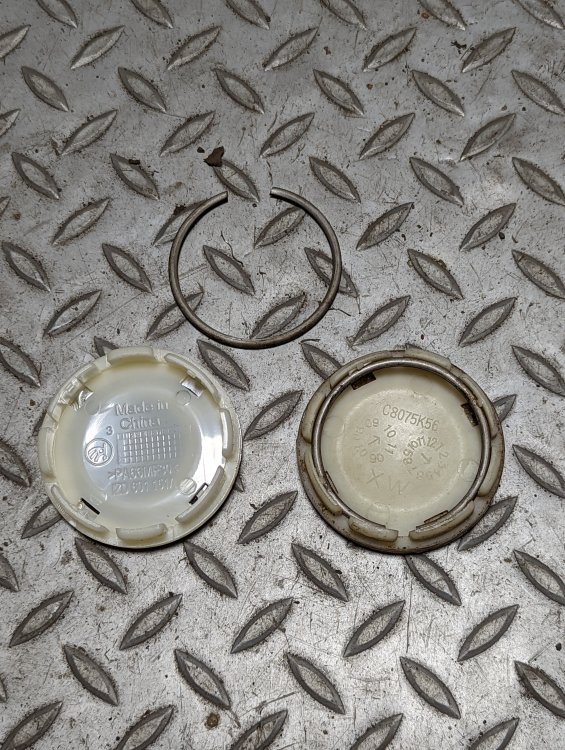
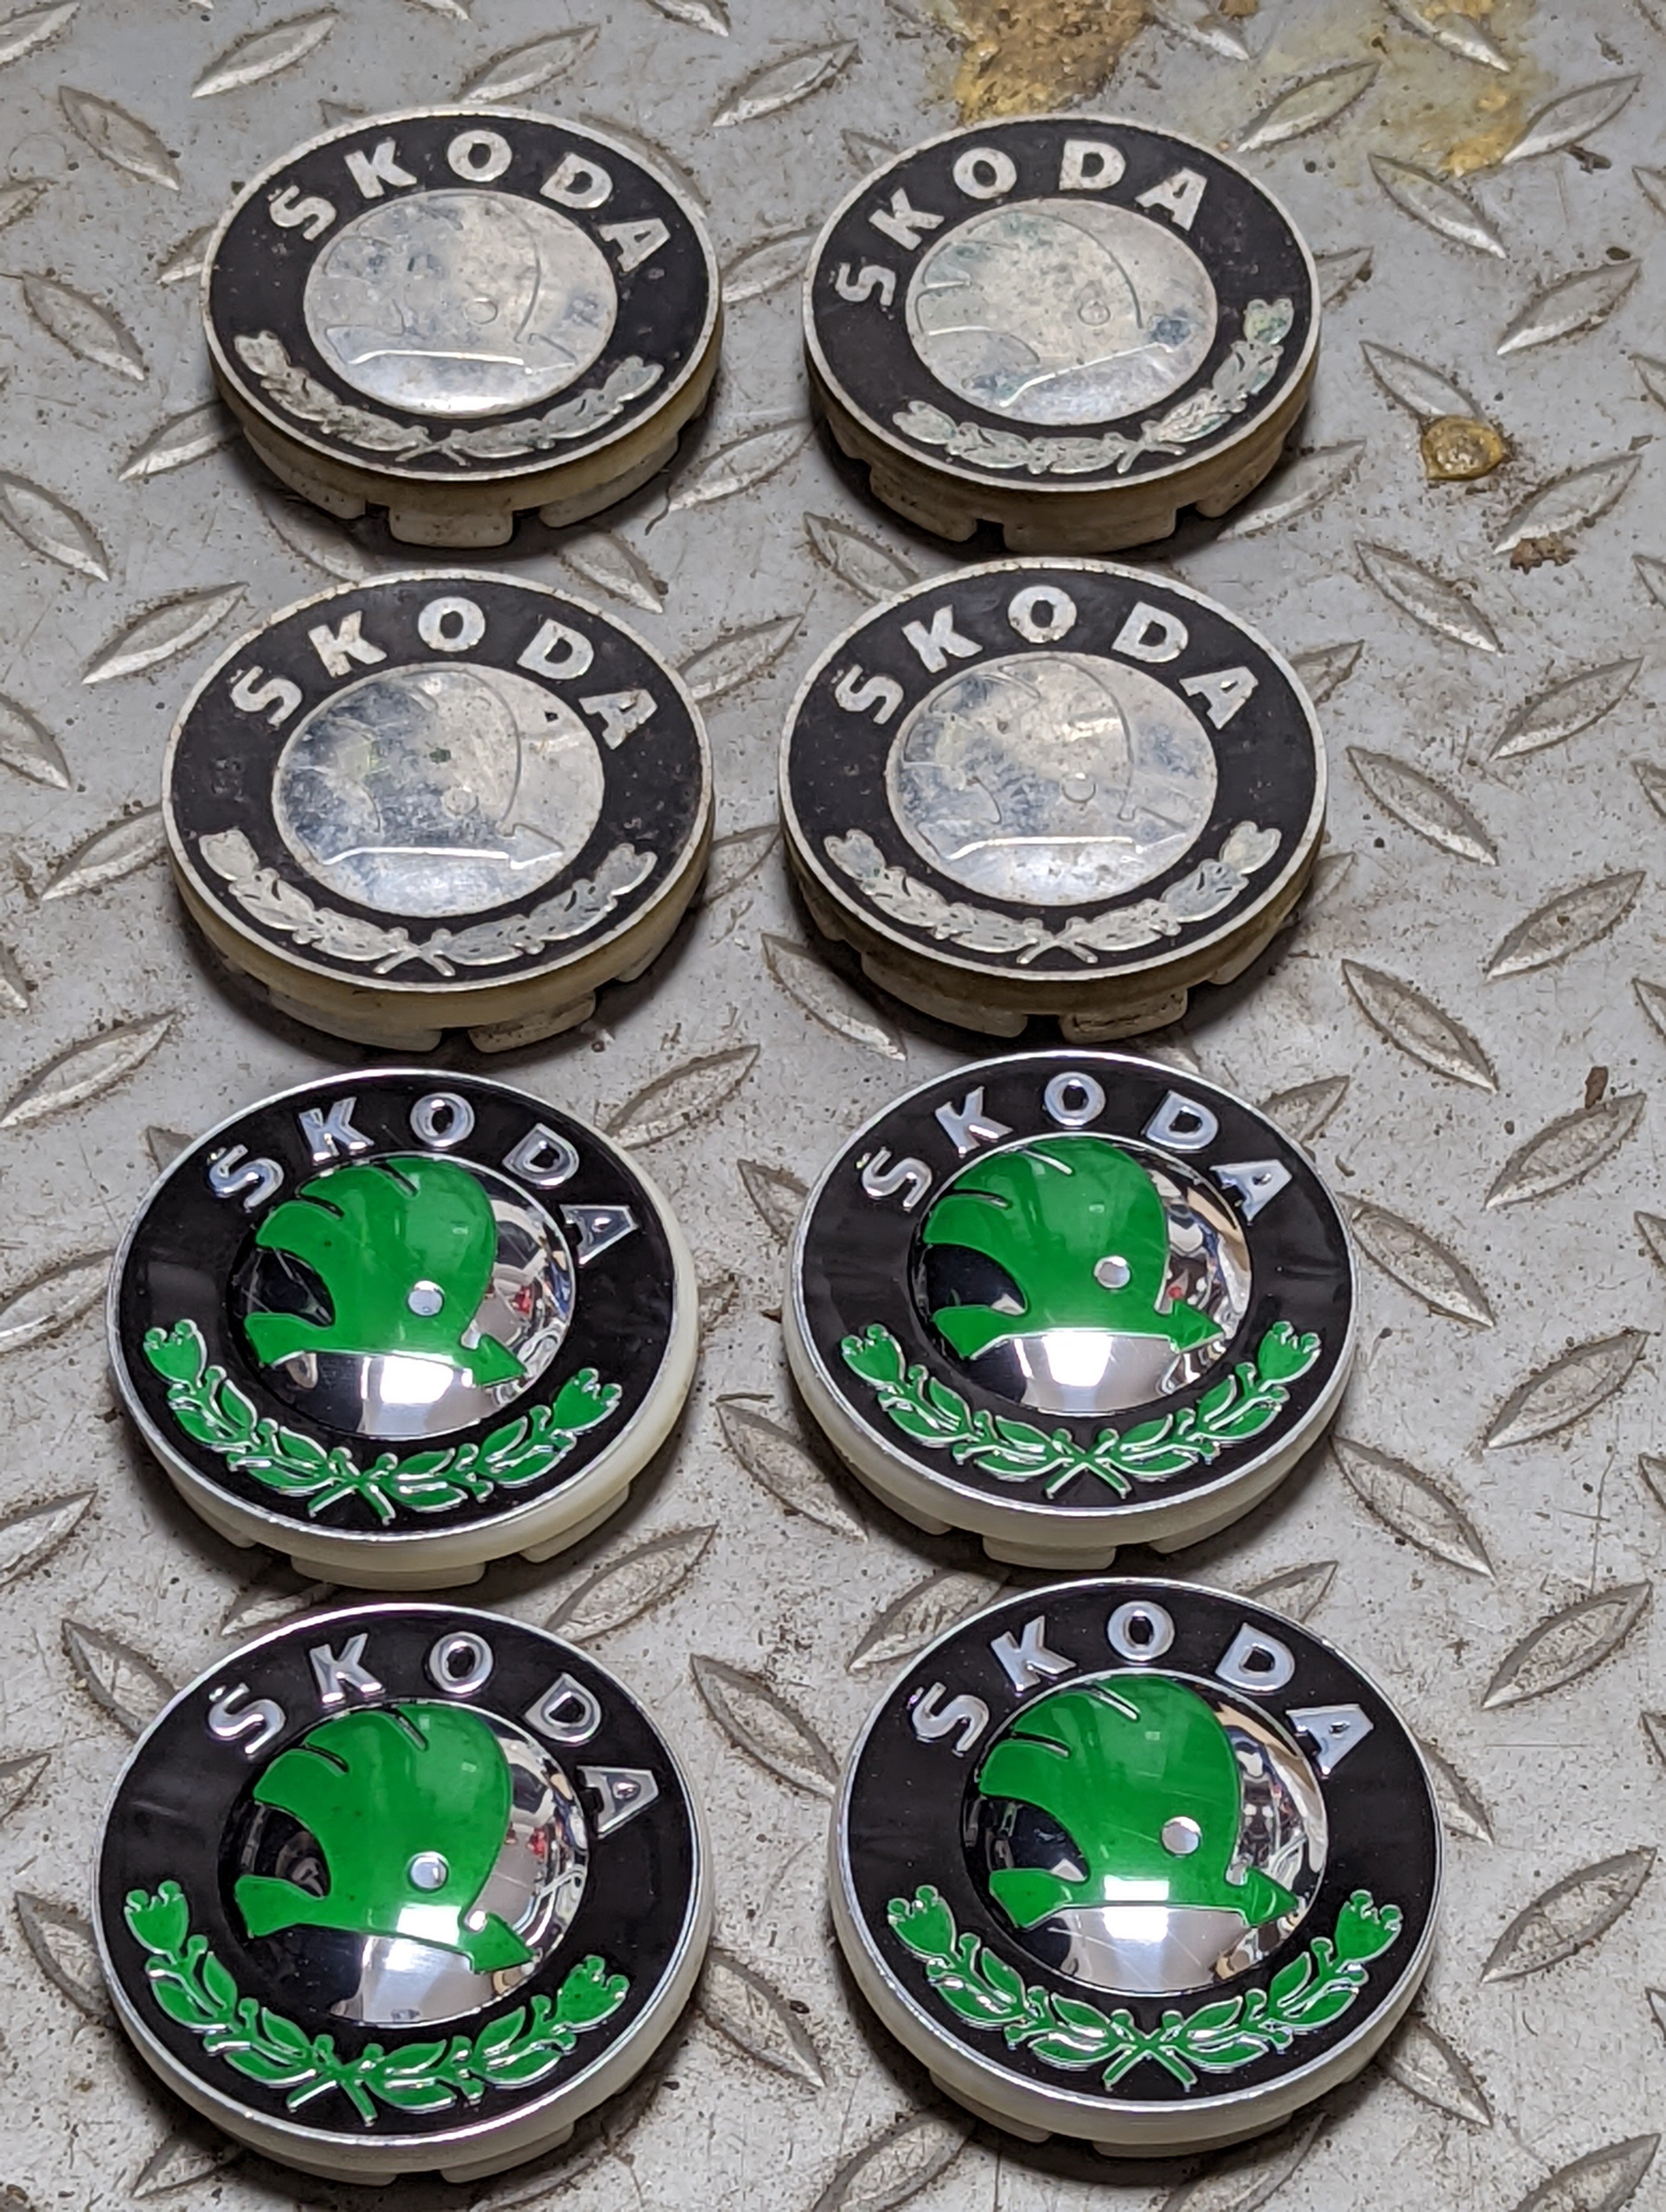
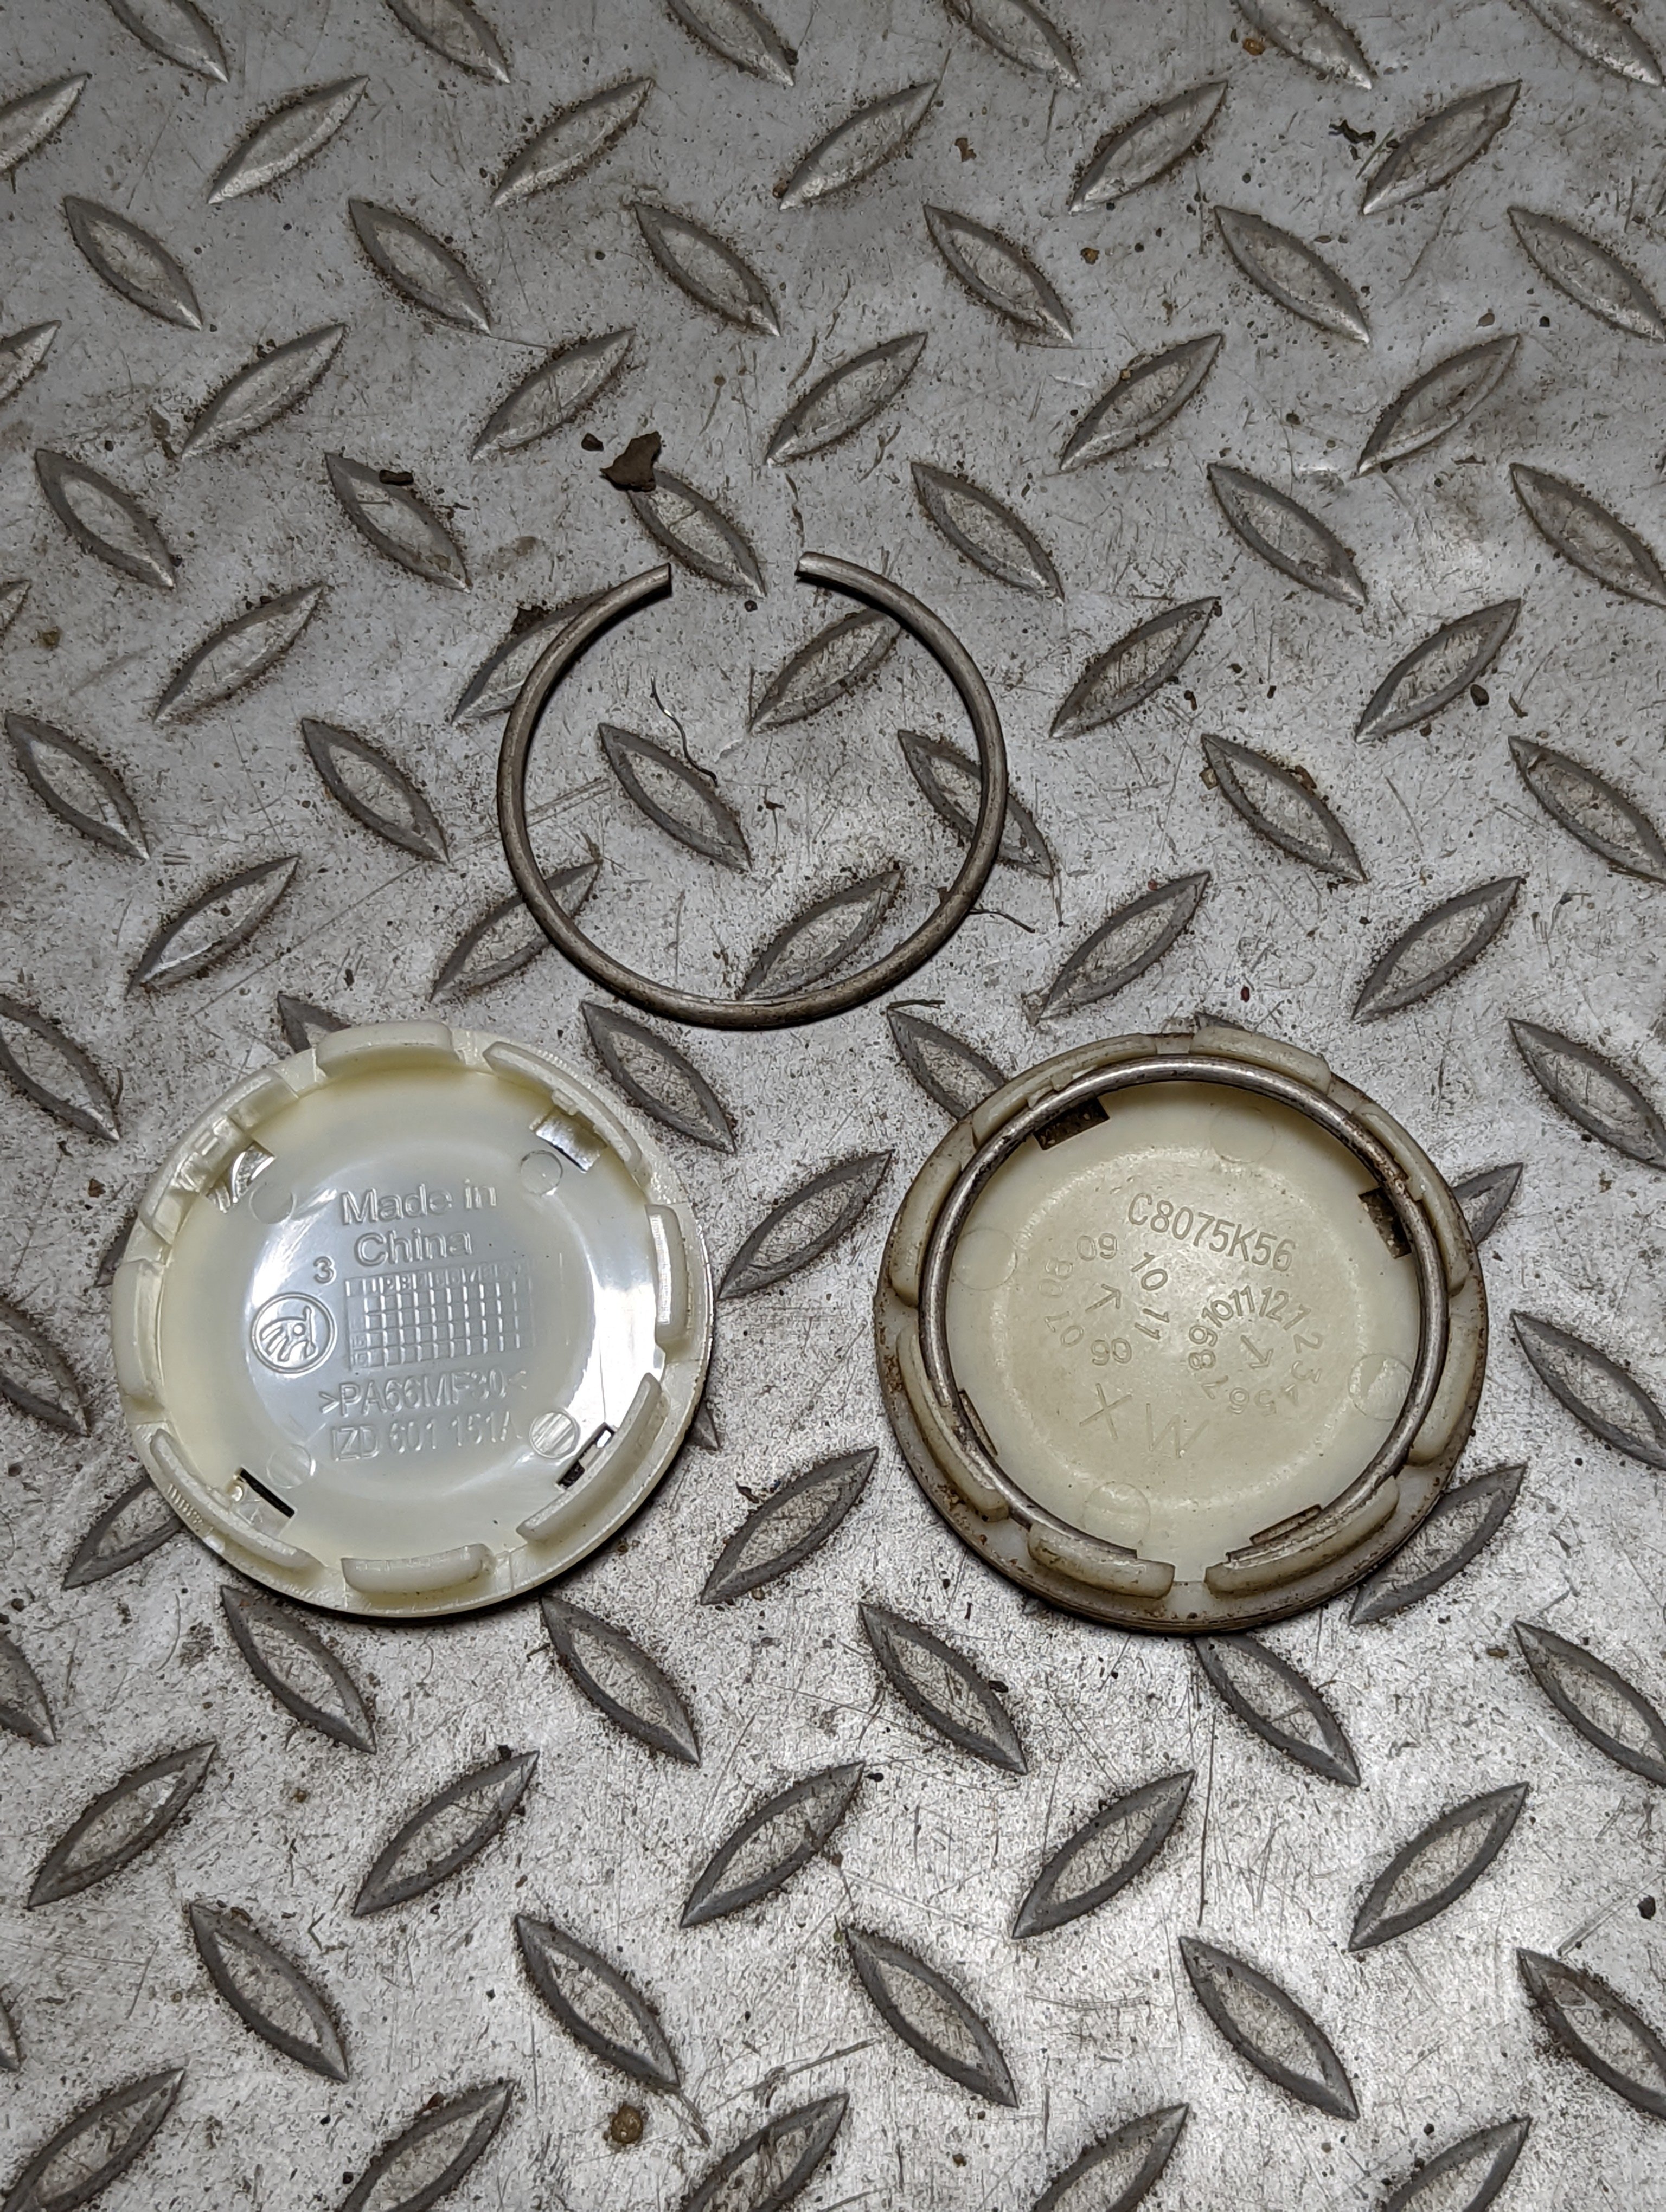
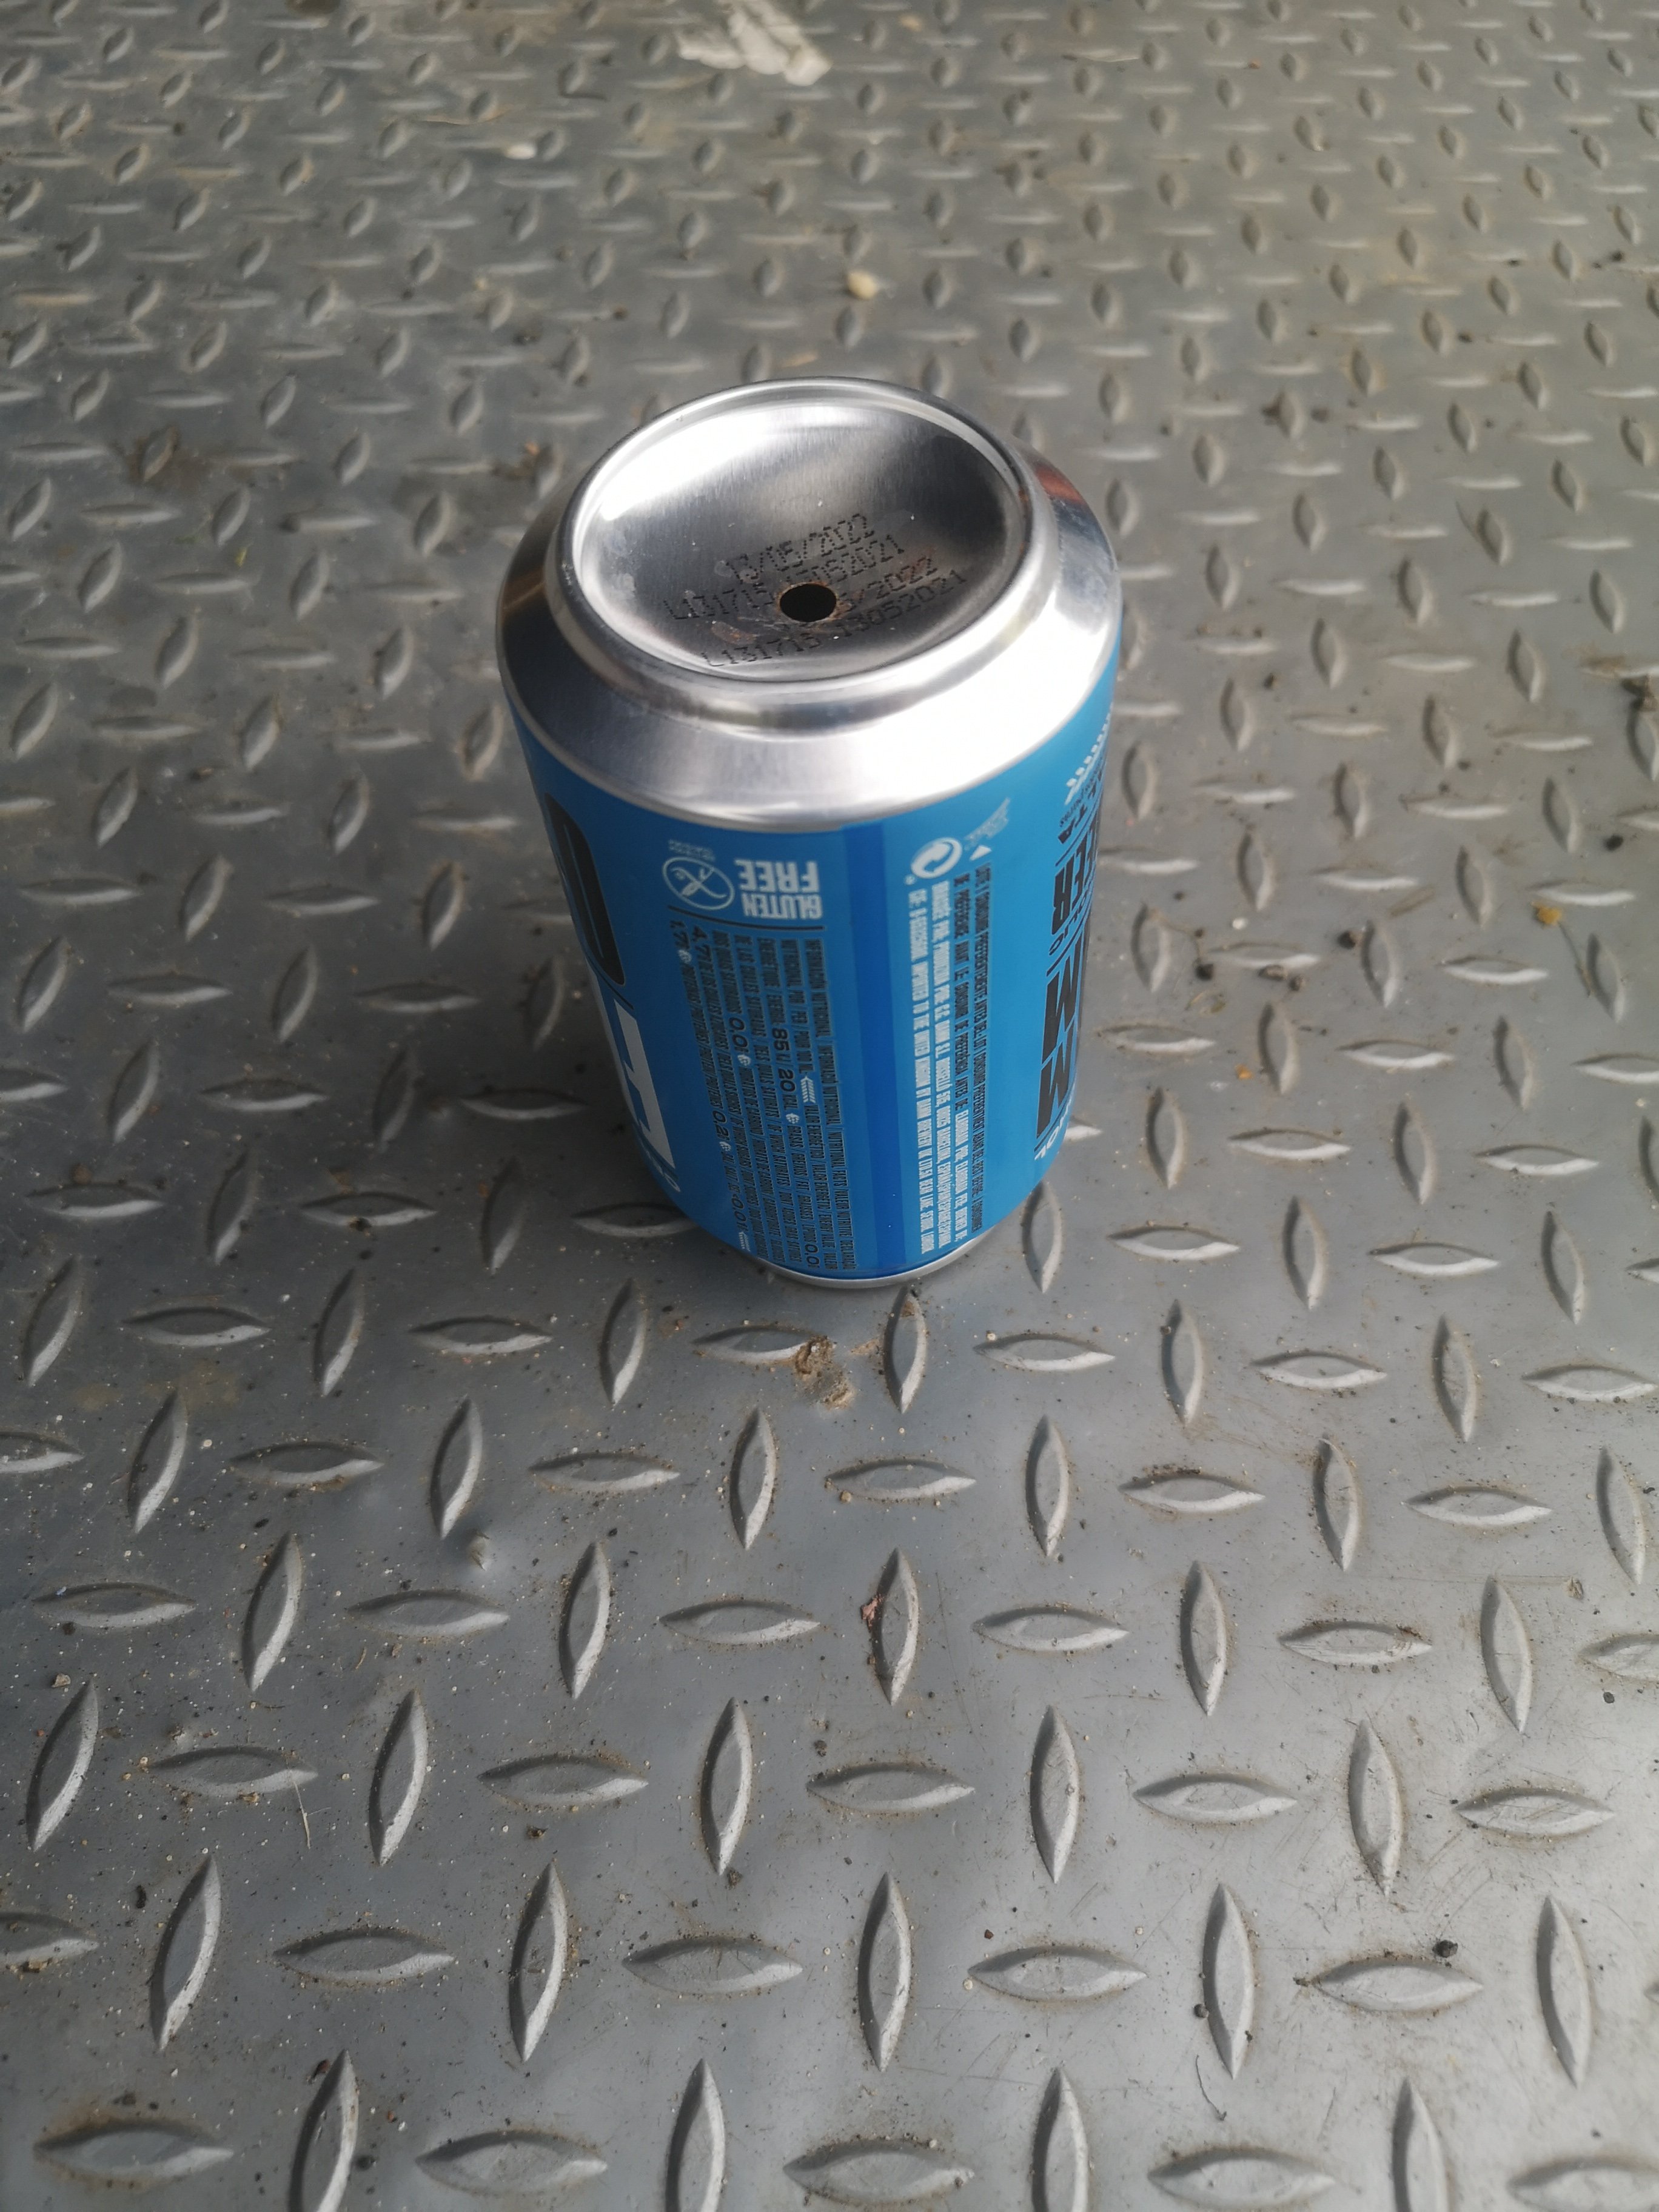
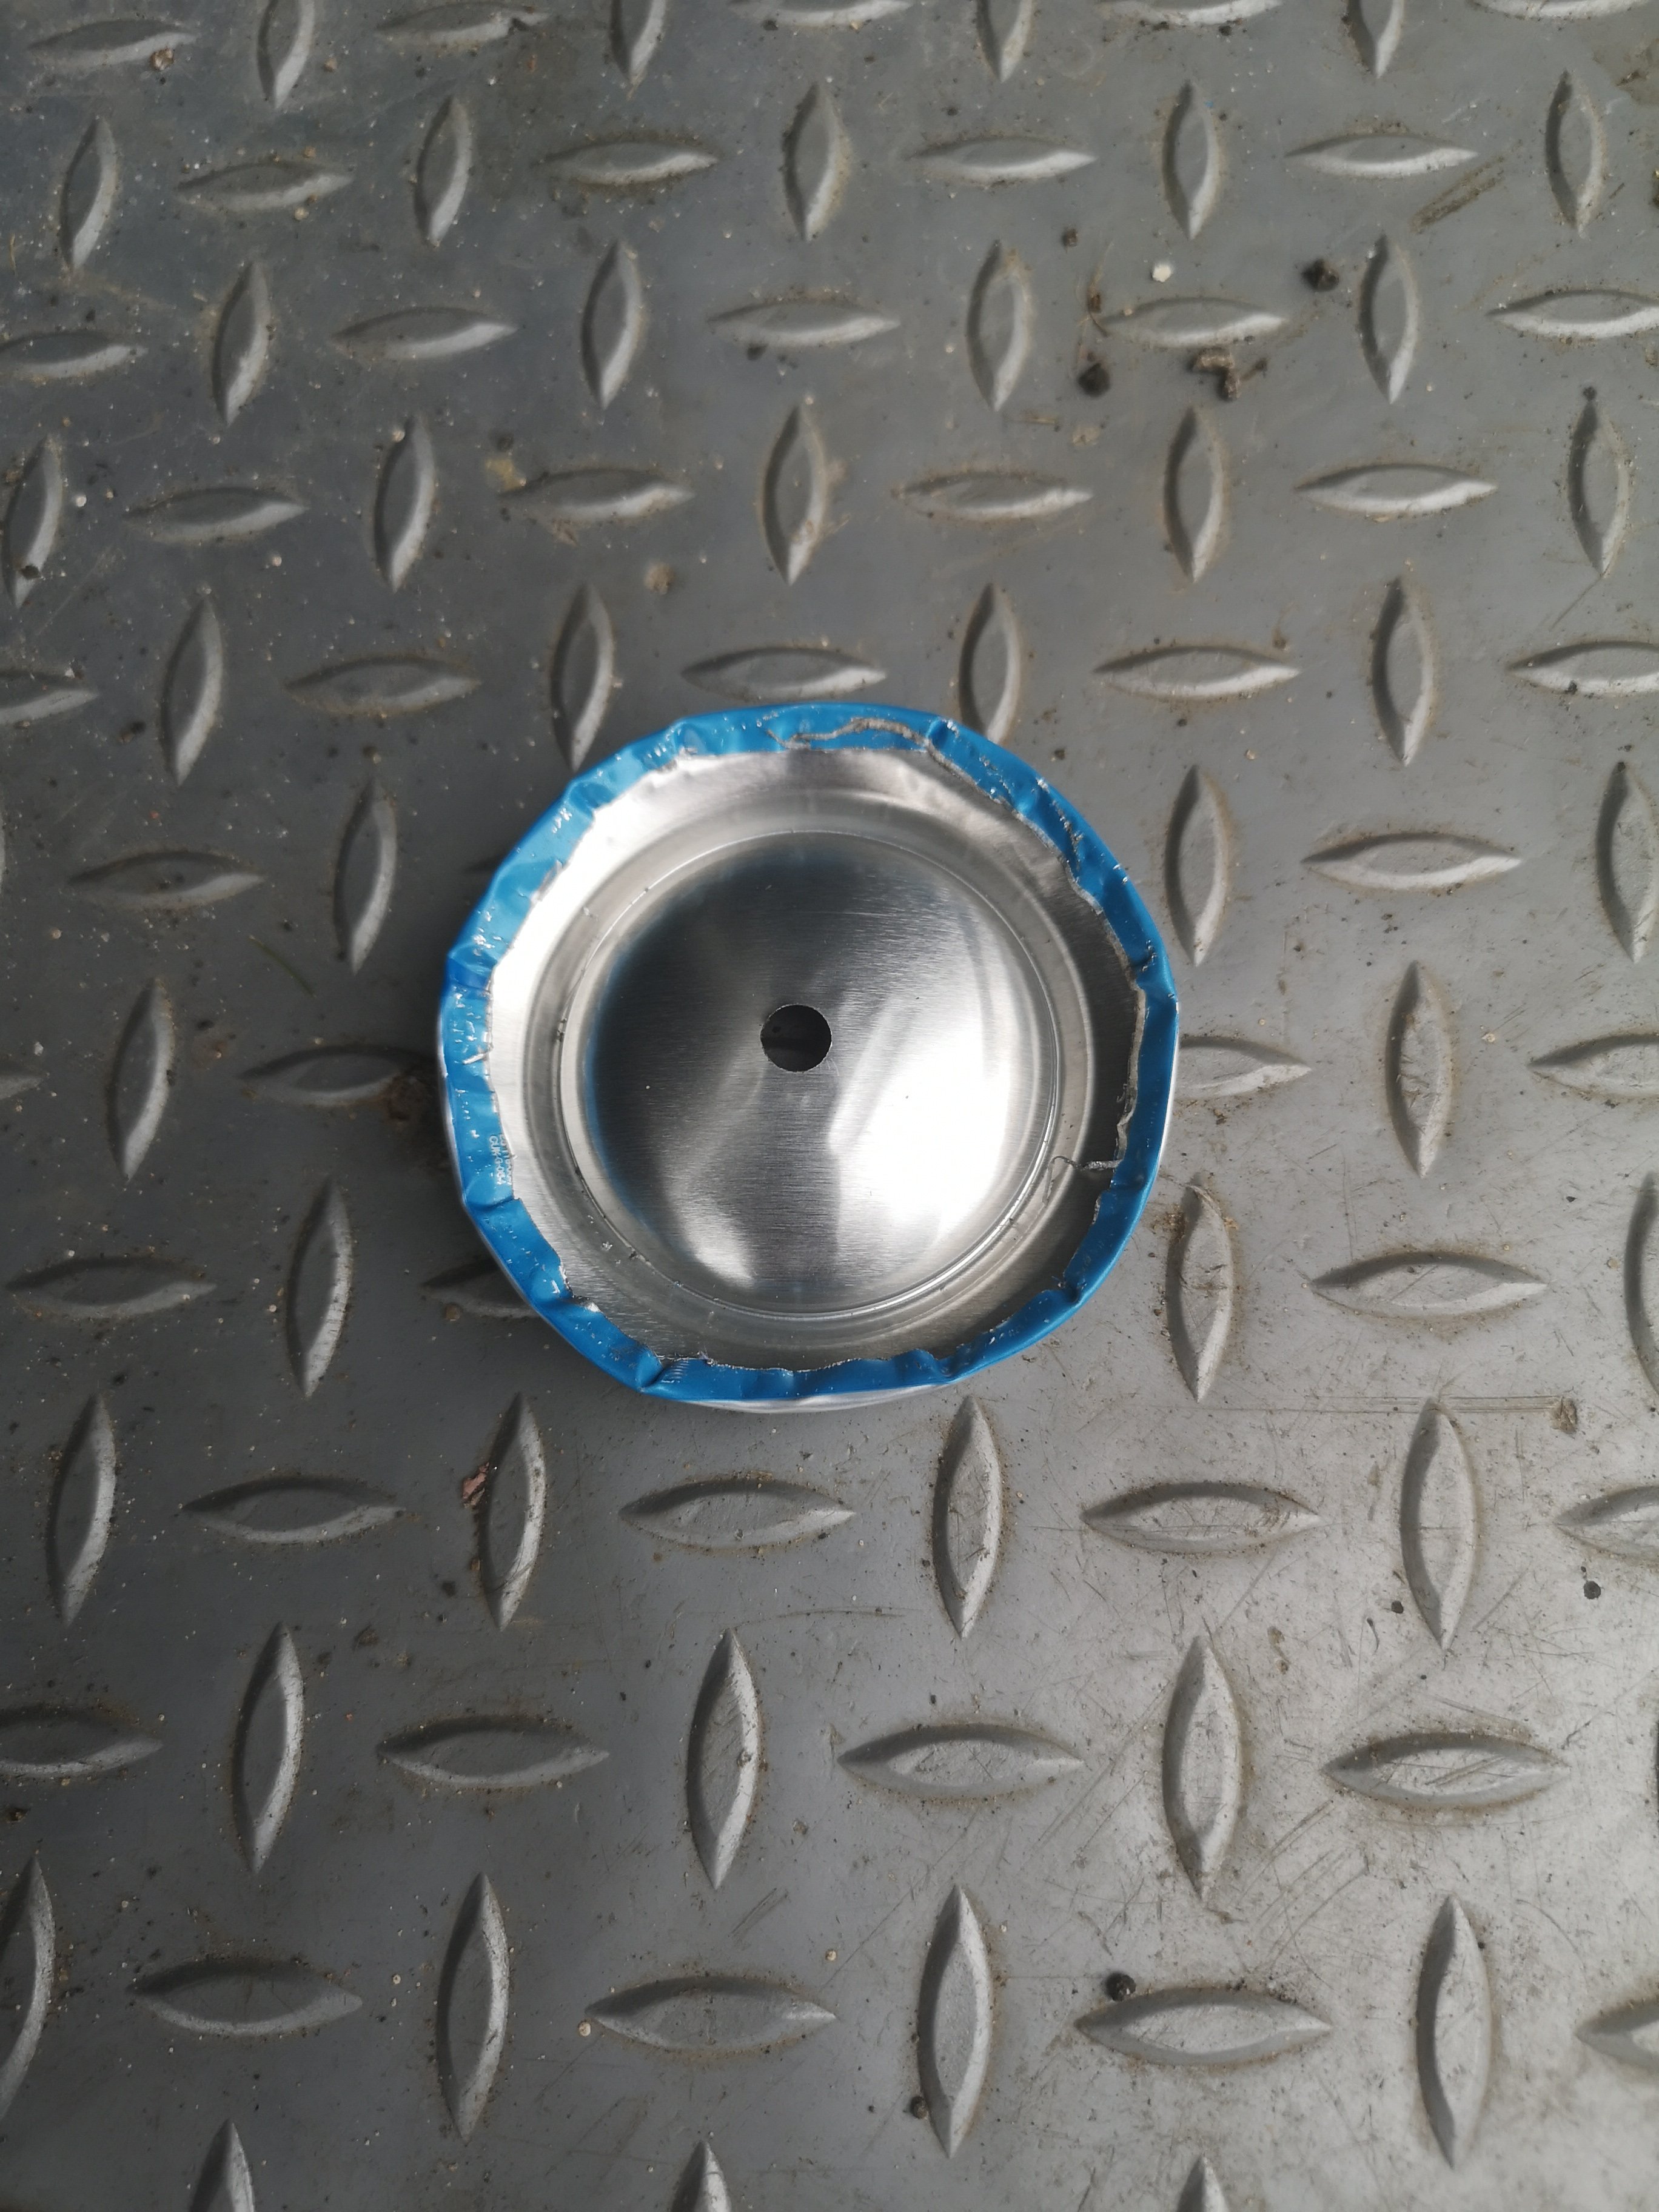
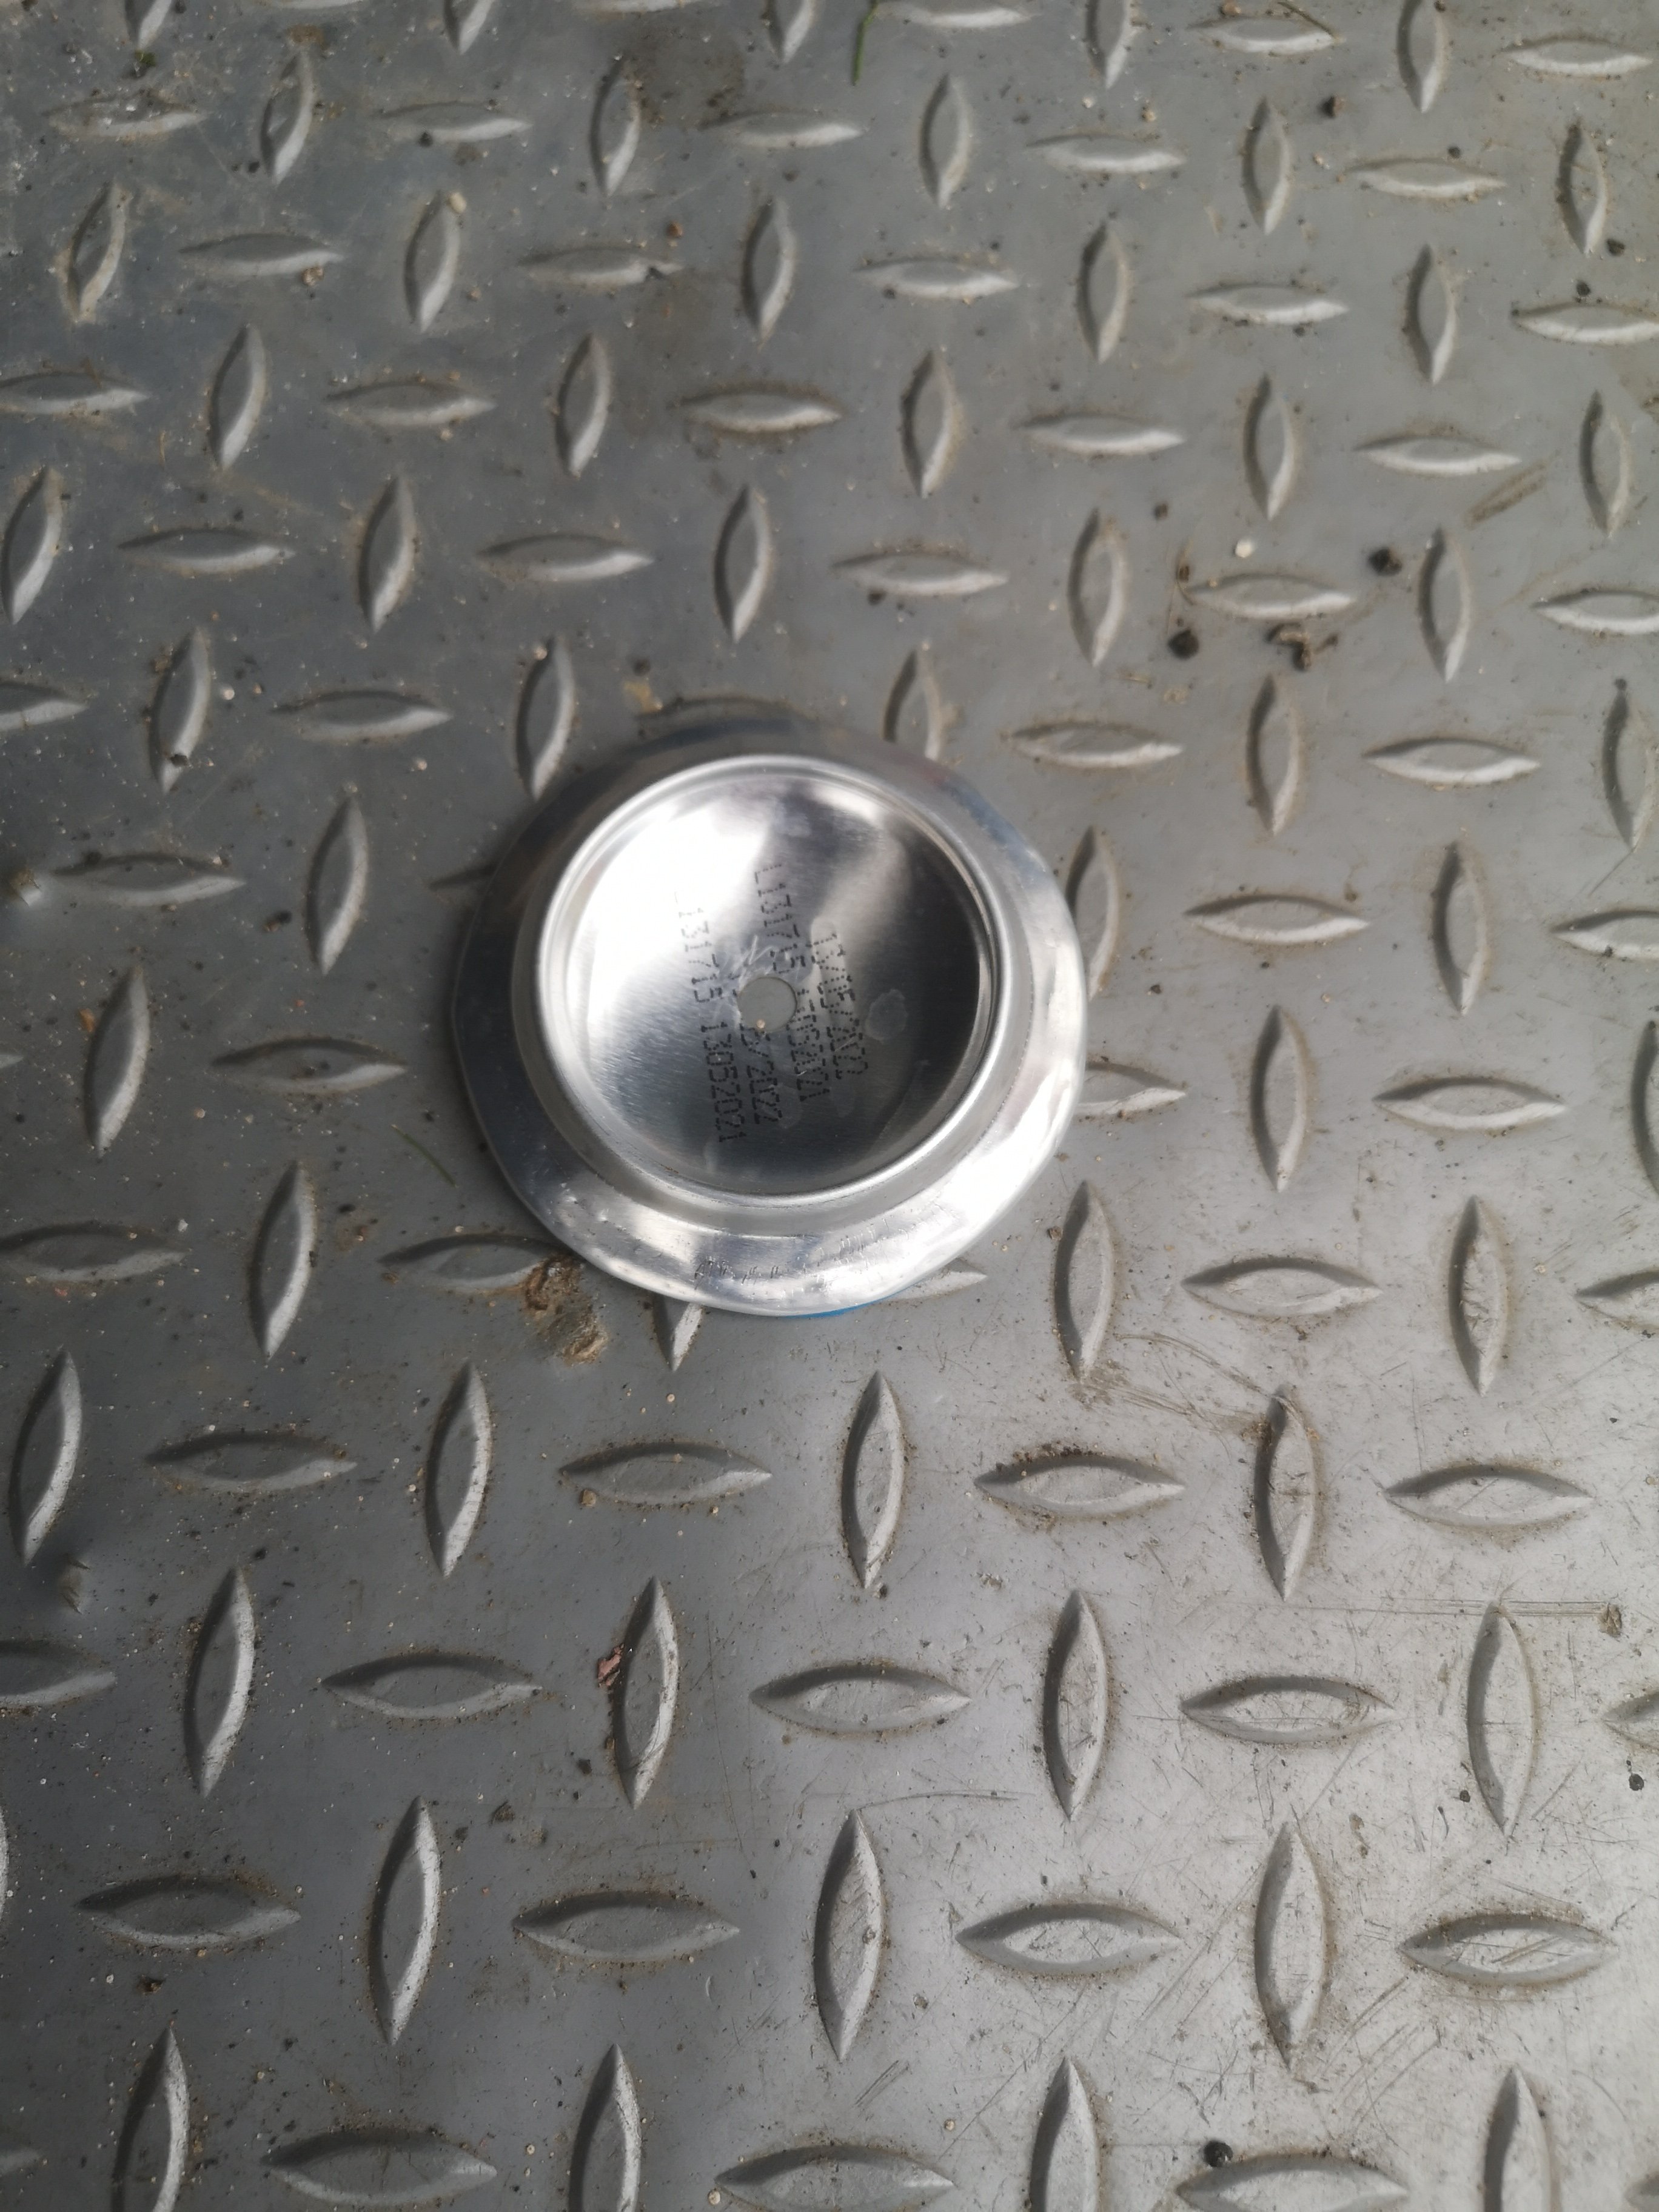
The wheel rims are in ok condition for now but needed new centre caps. I bought some from eBay, which I thought were repro, but the have the Skoda logo and part number stamped on them, so not sure if they are genuine or not? I swapped over the metal rings for the originals and all good.
-
-
-
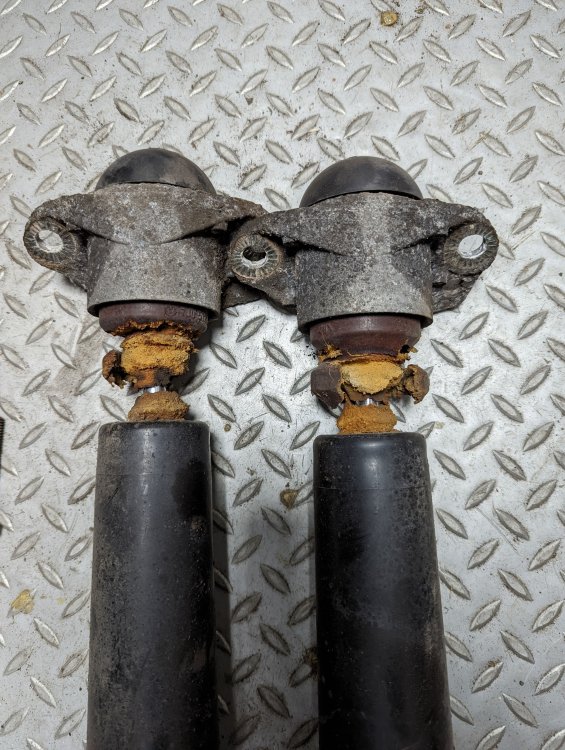
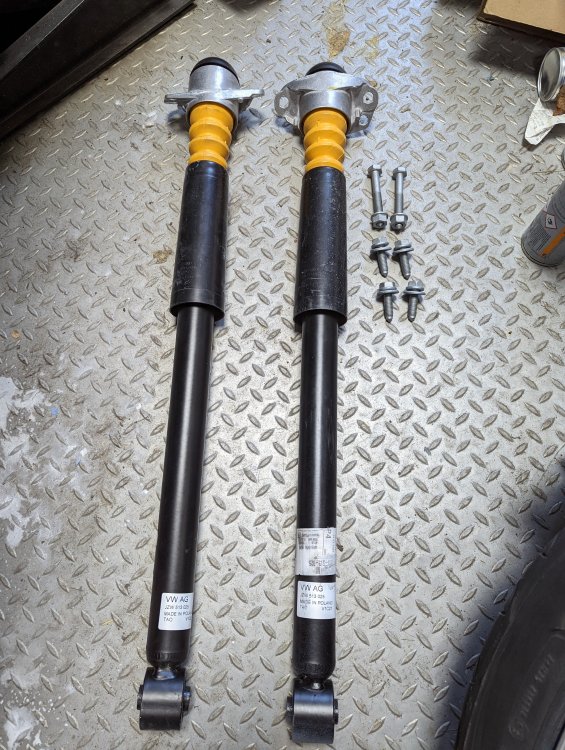
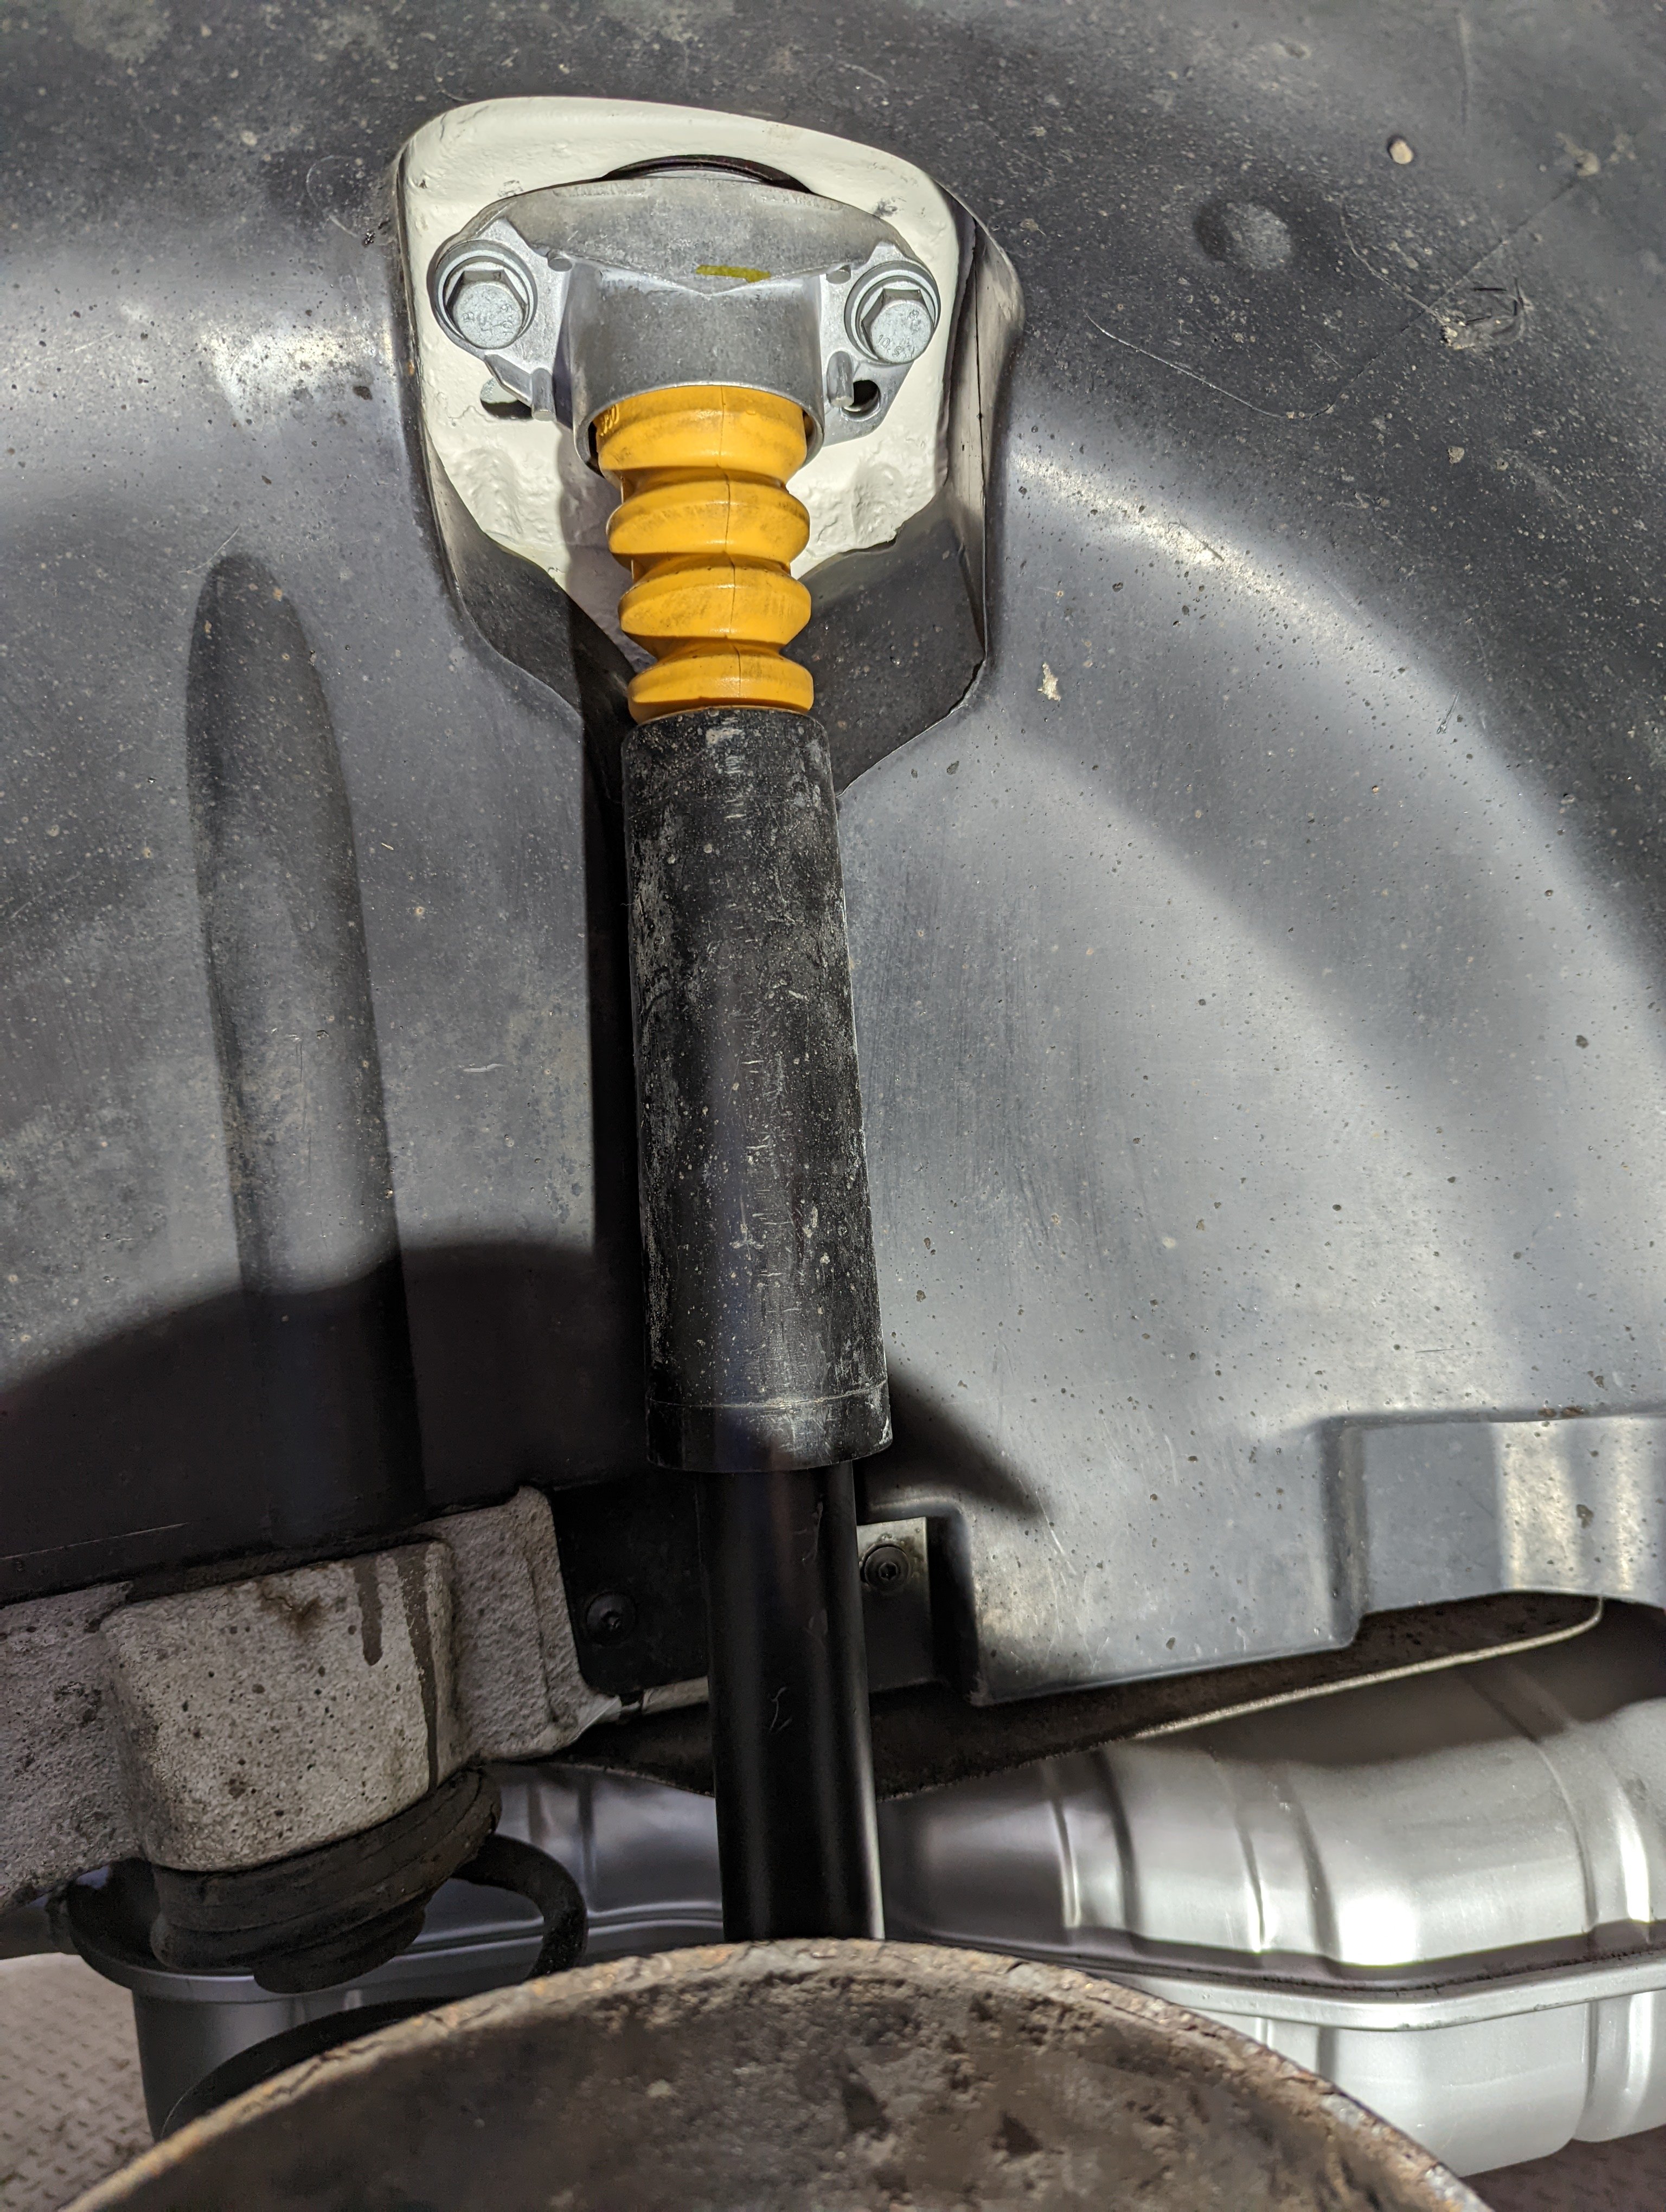
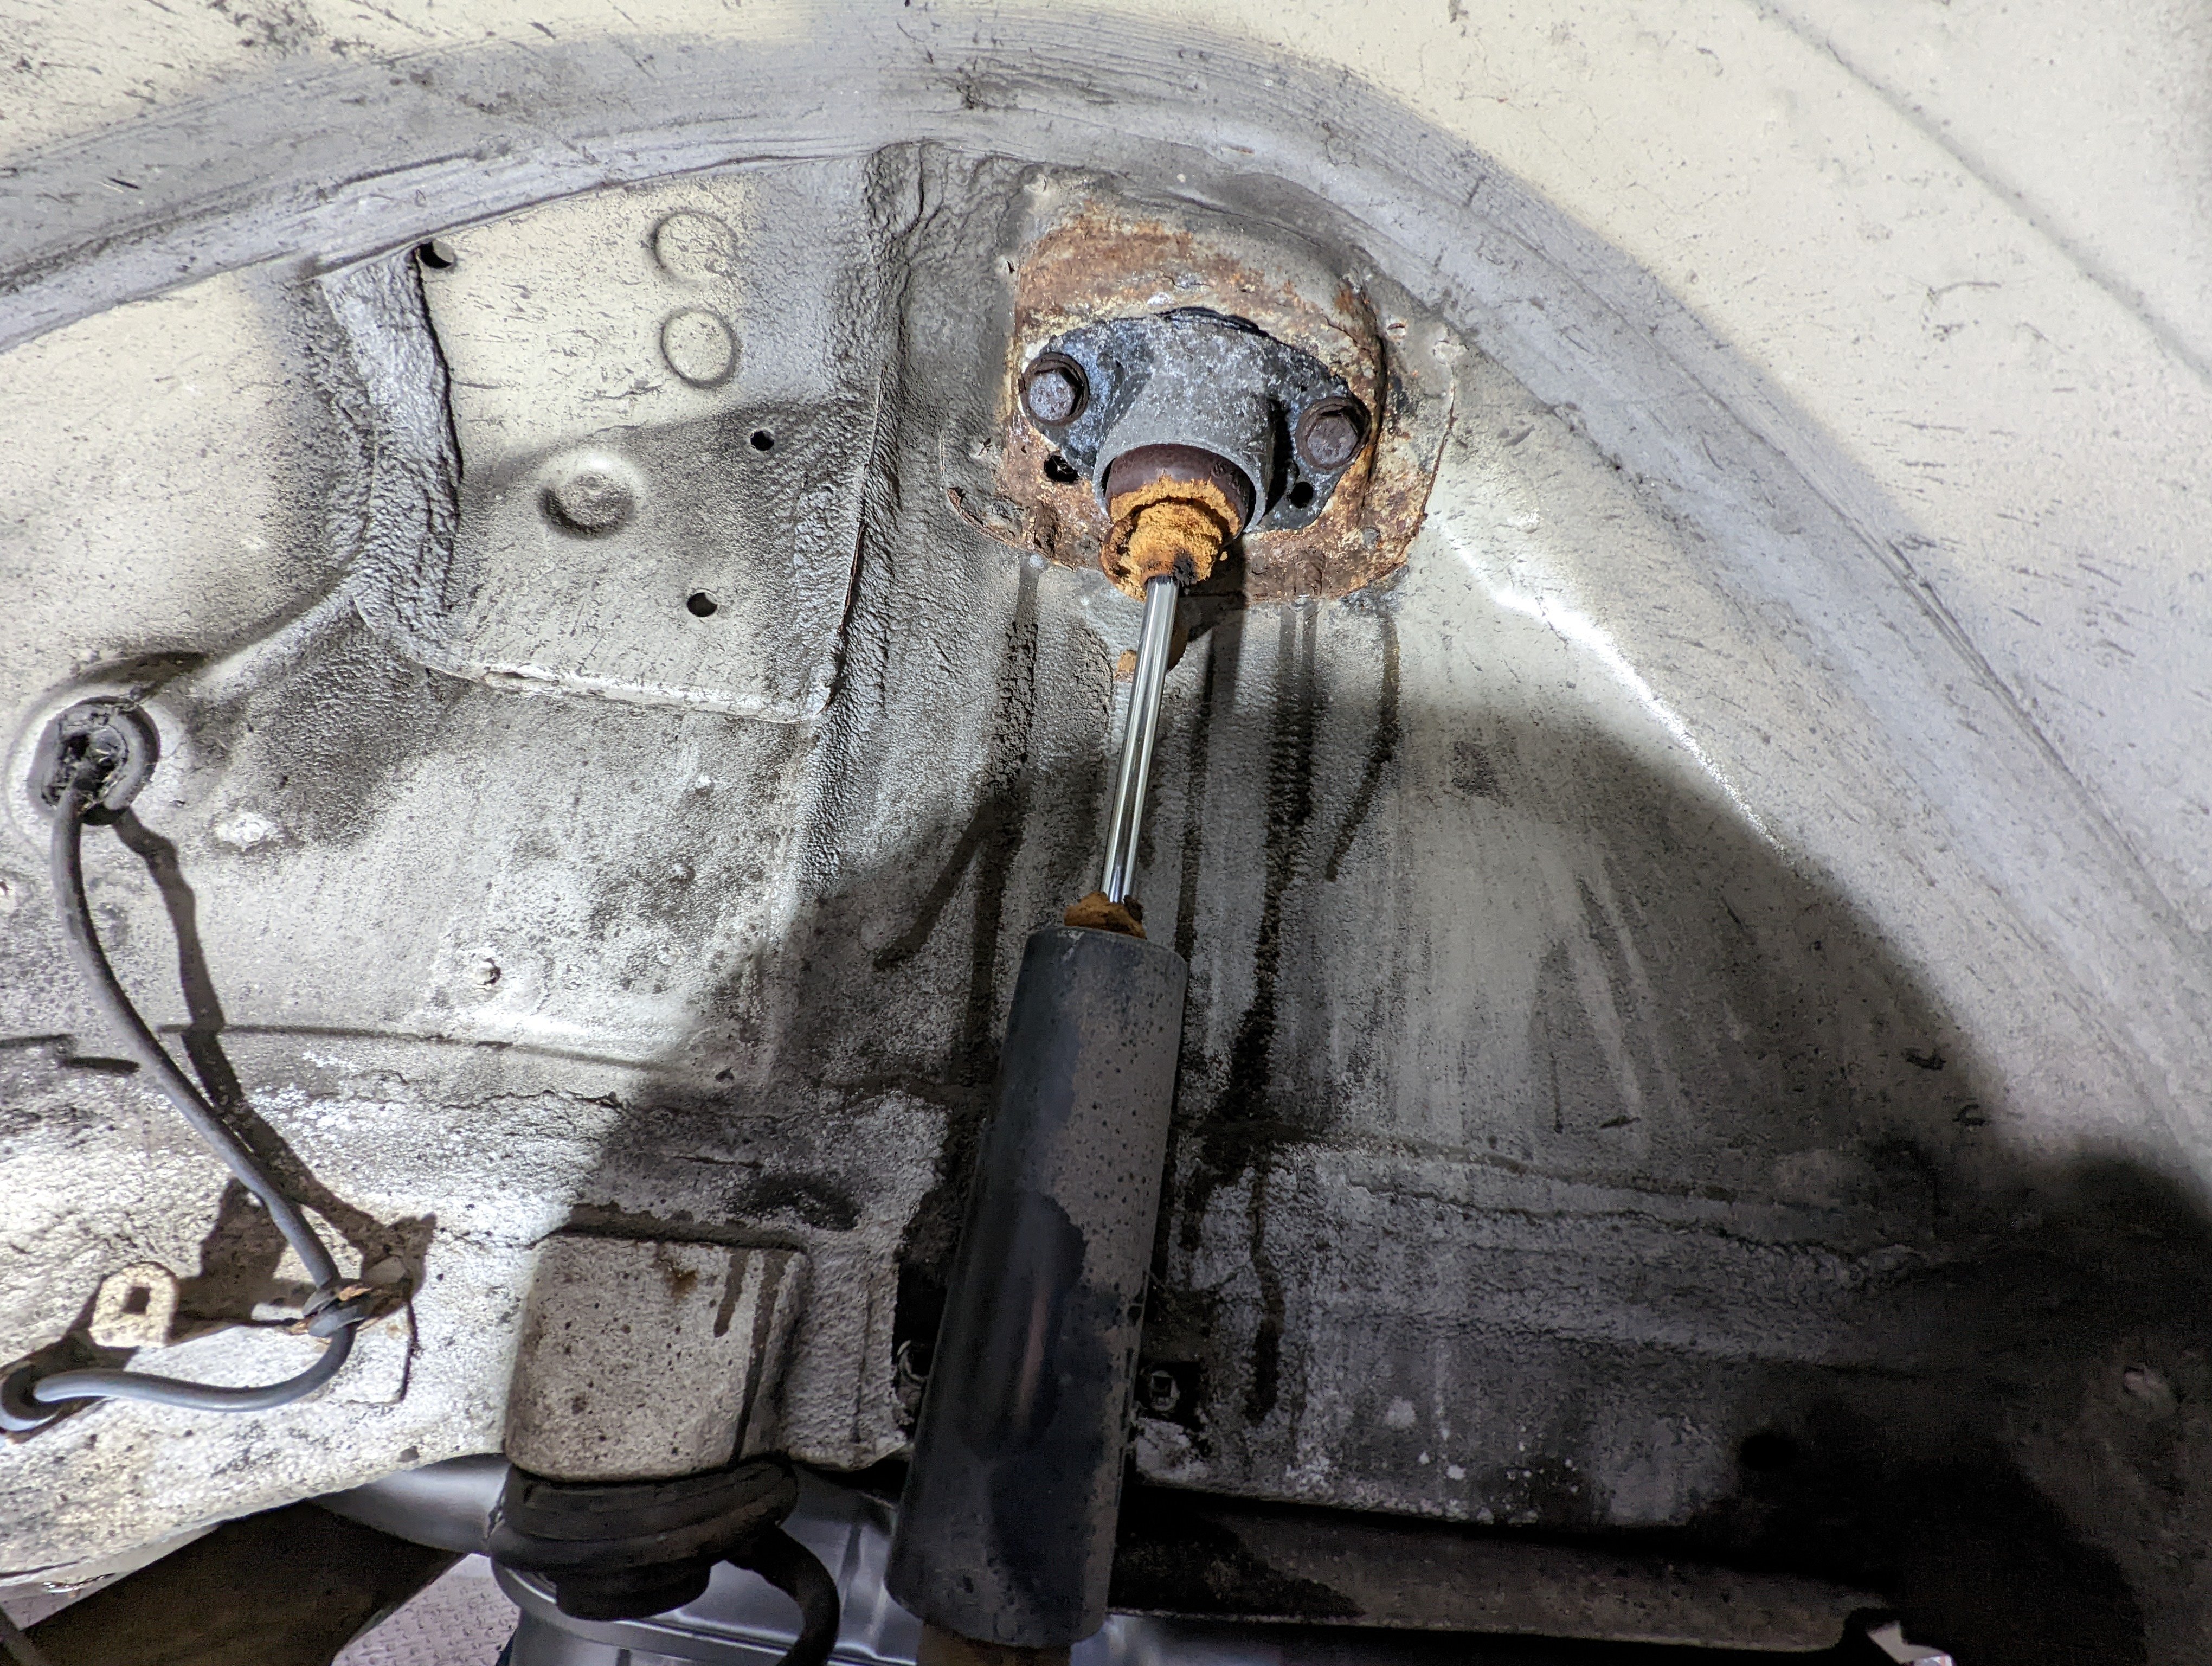
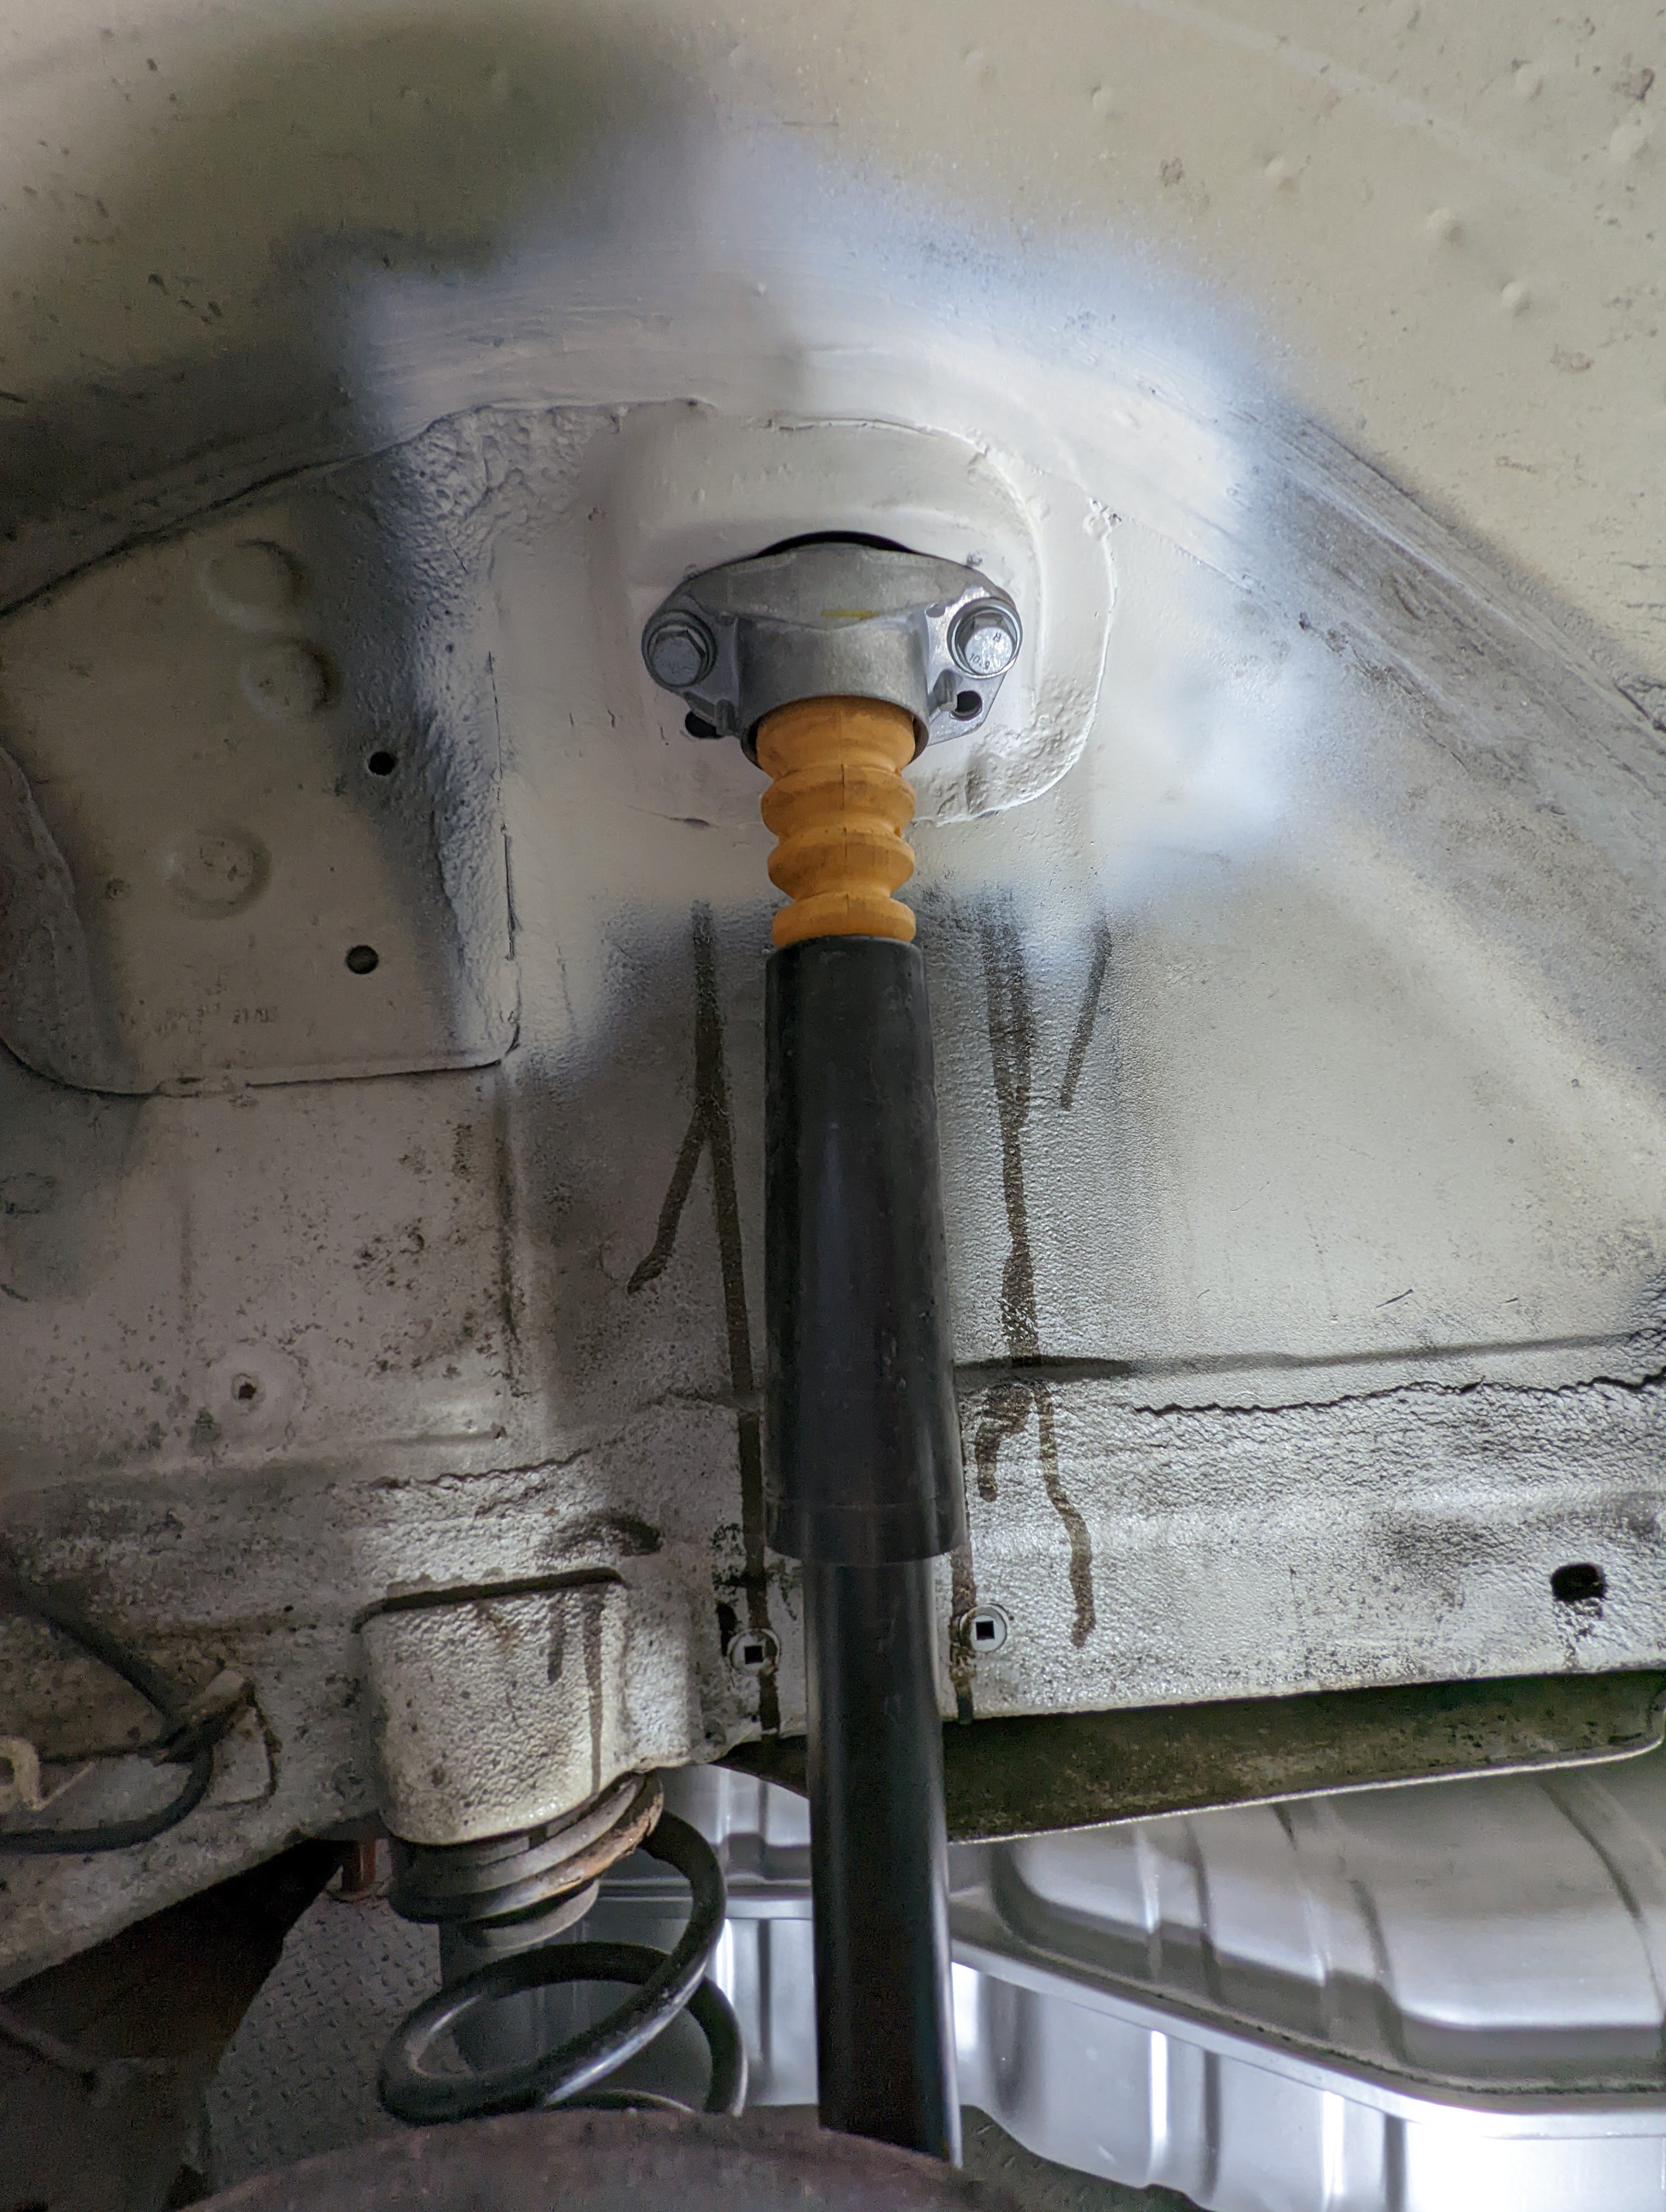
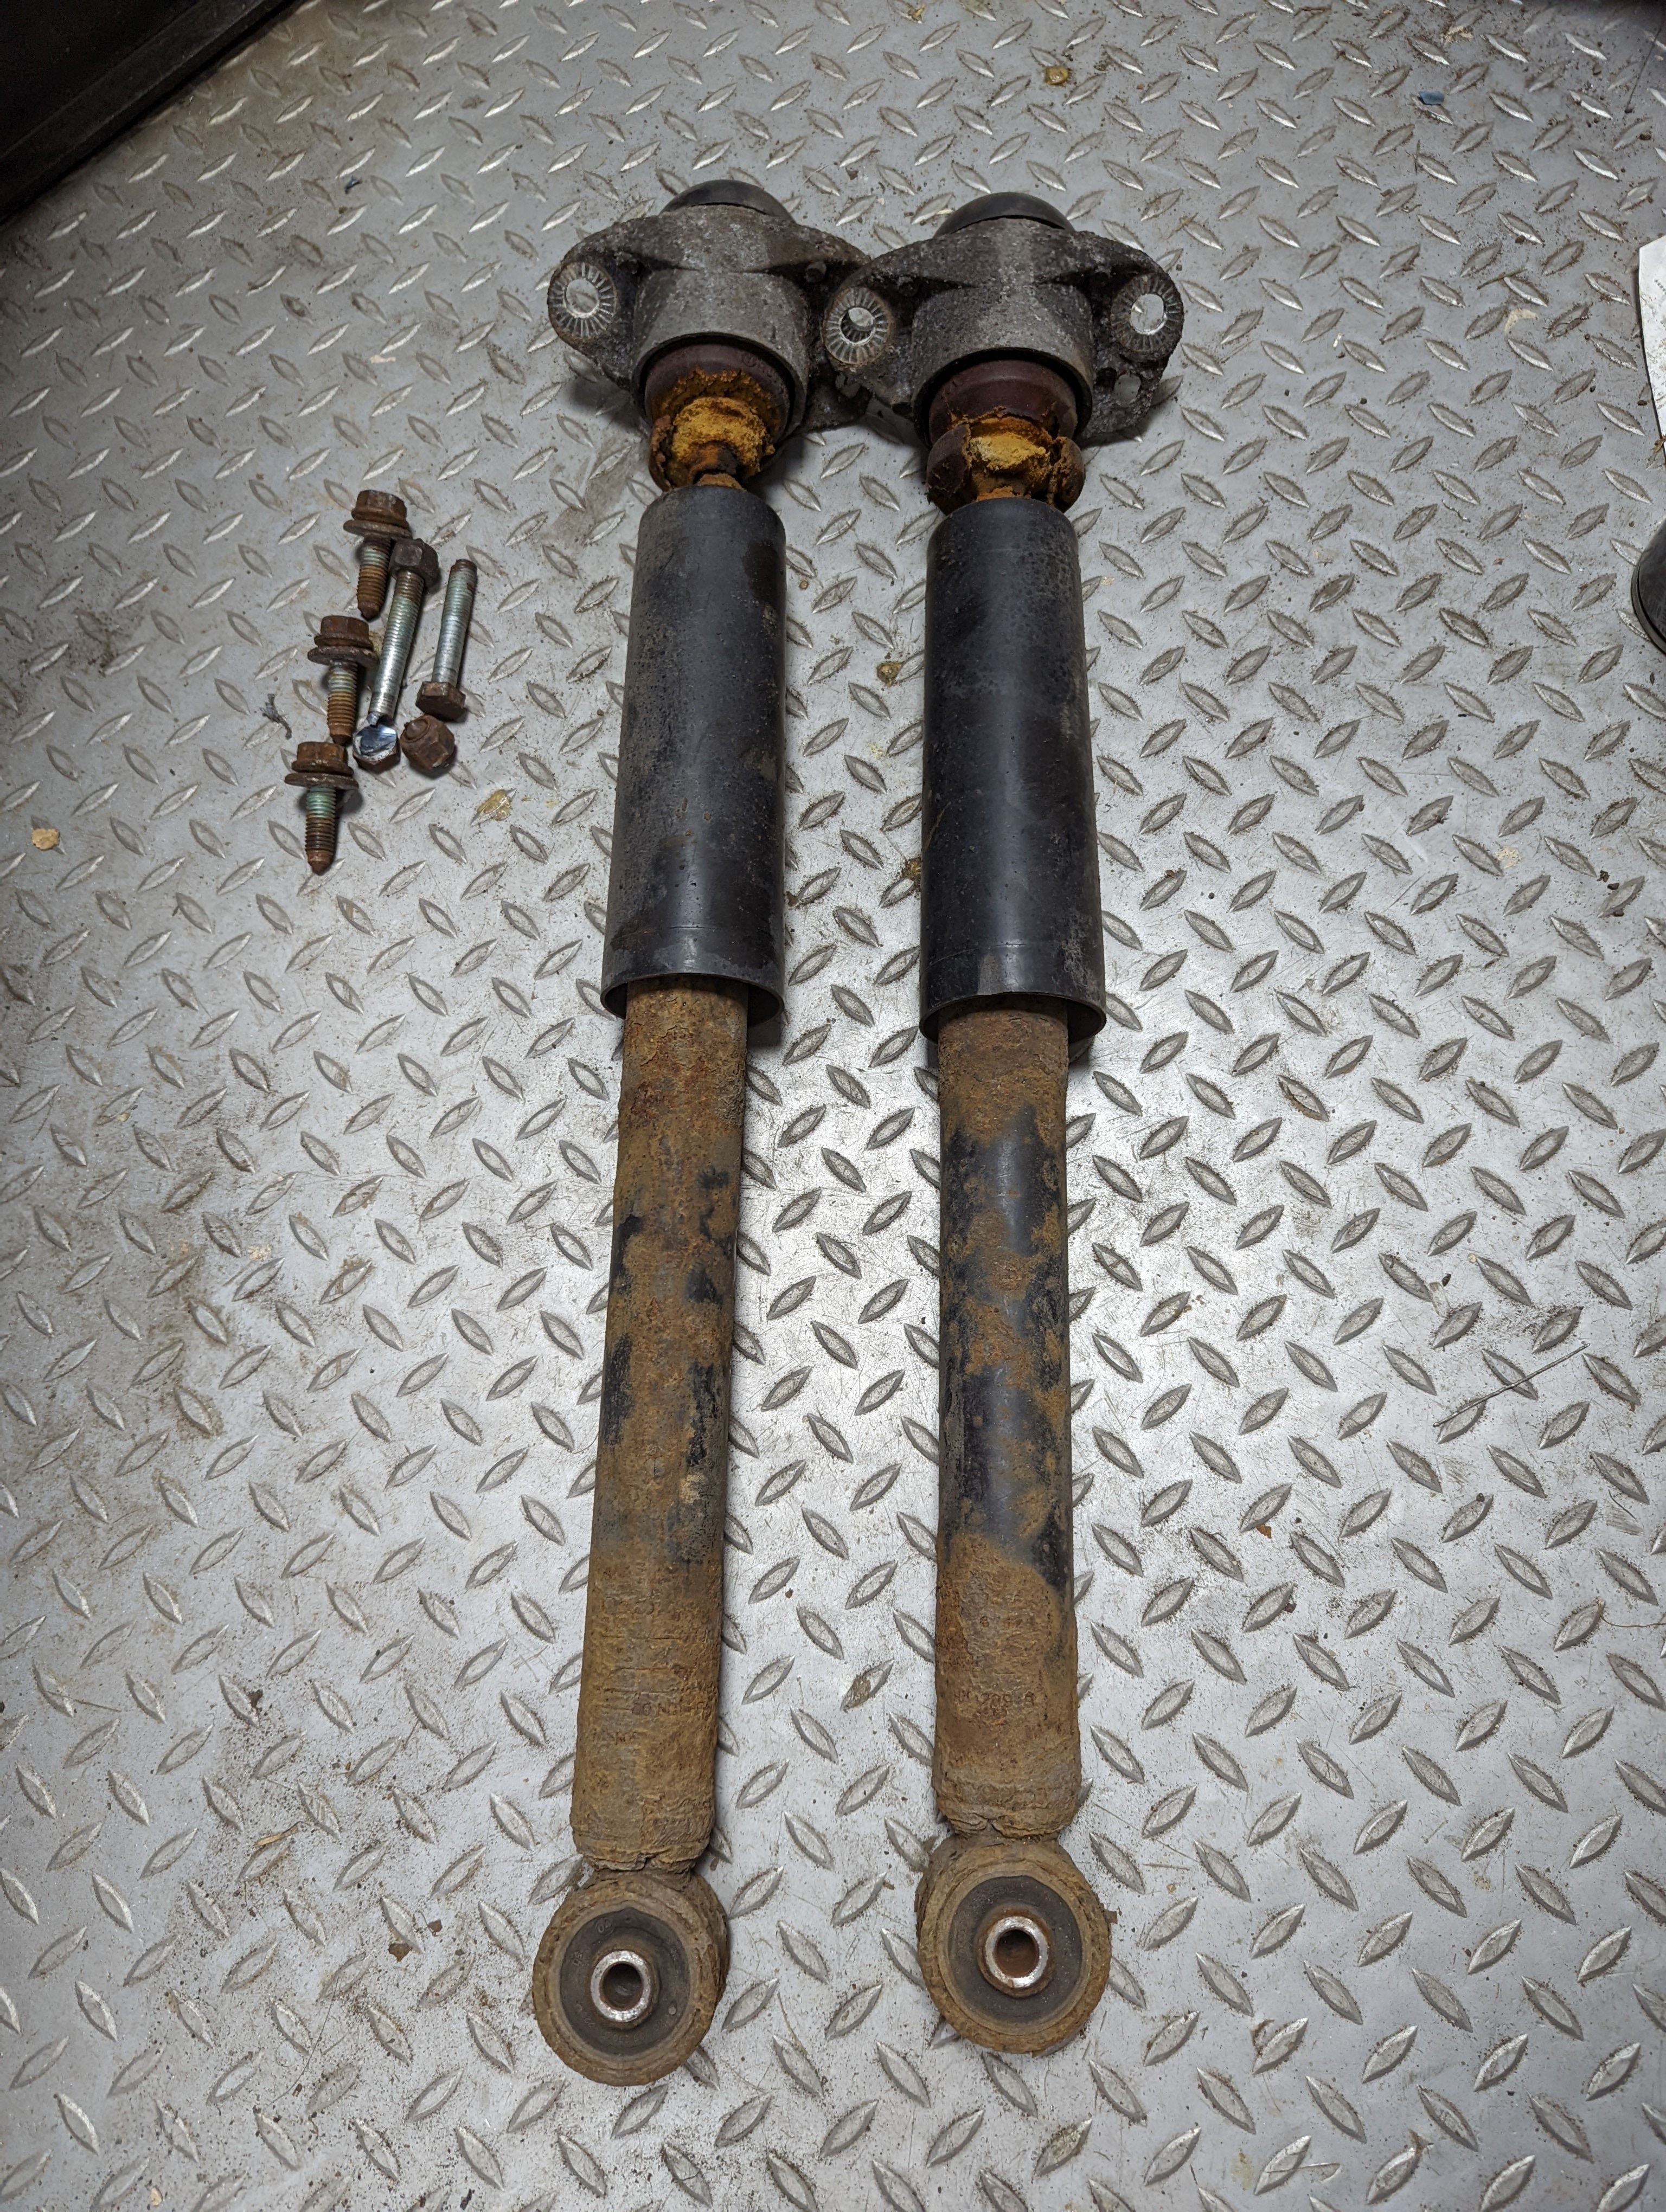
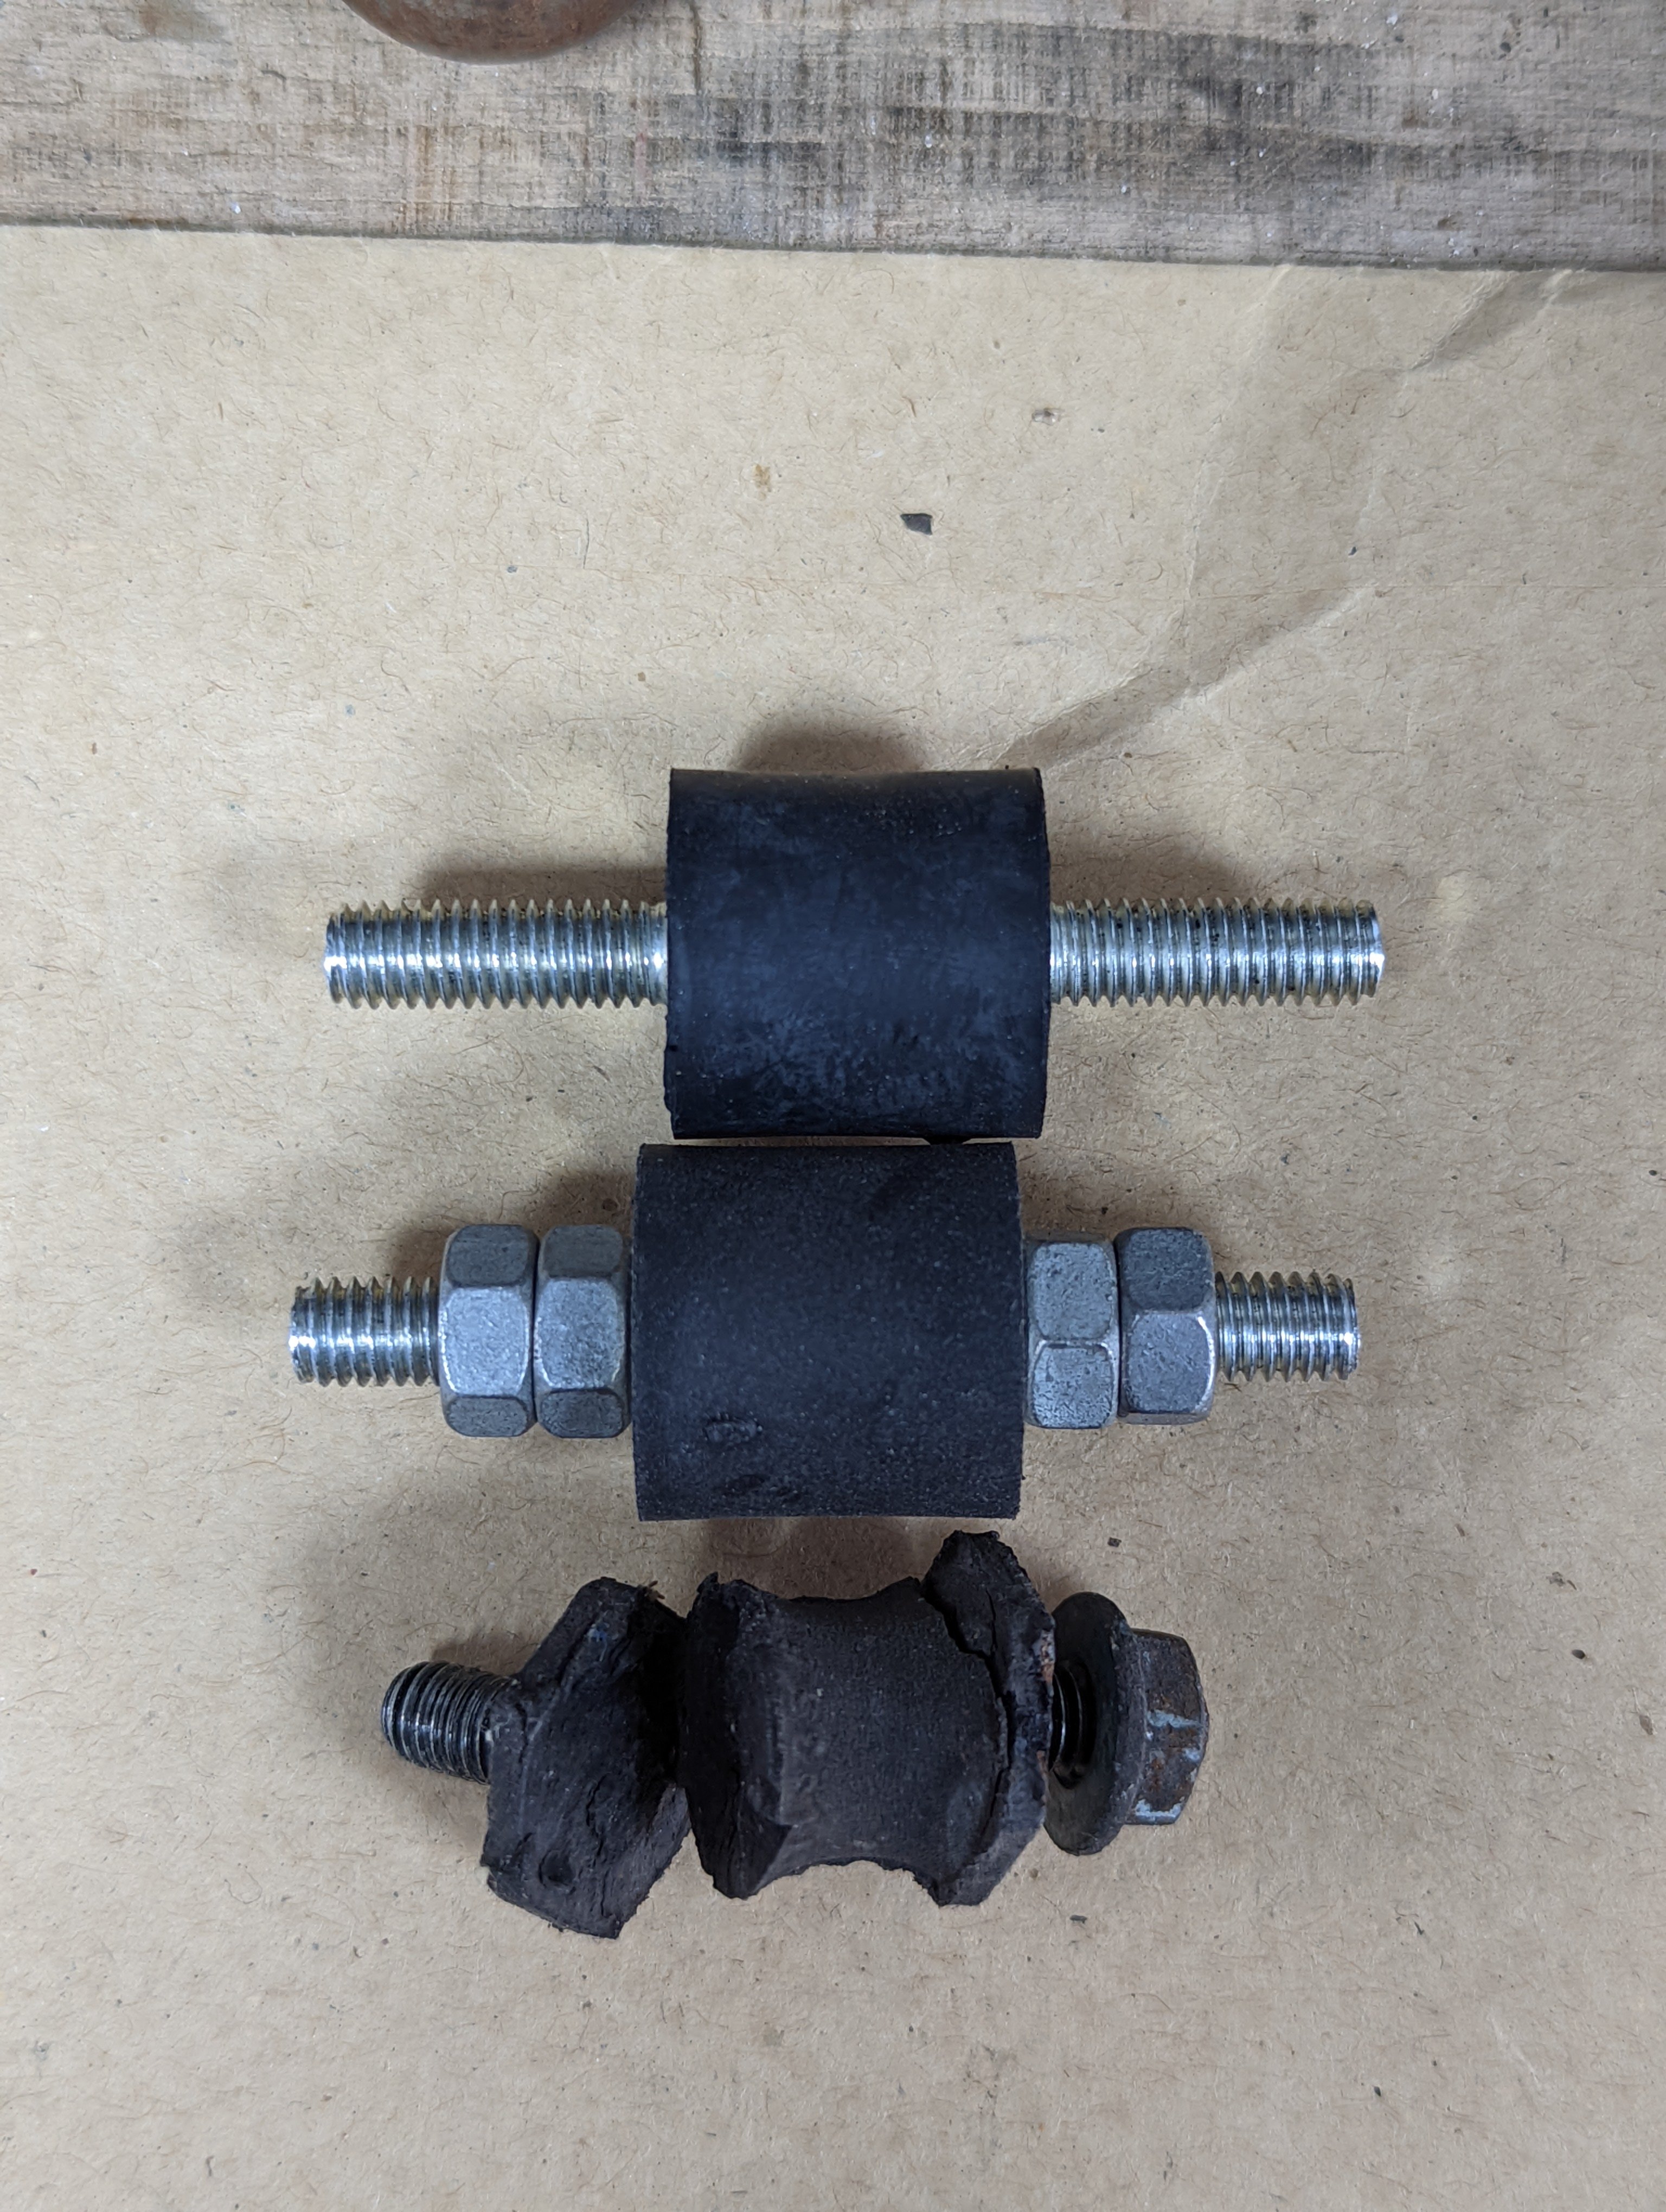
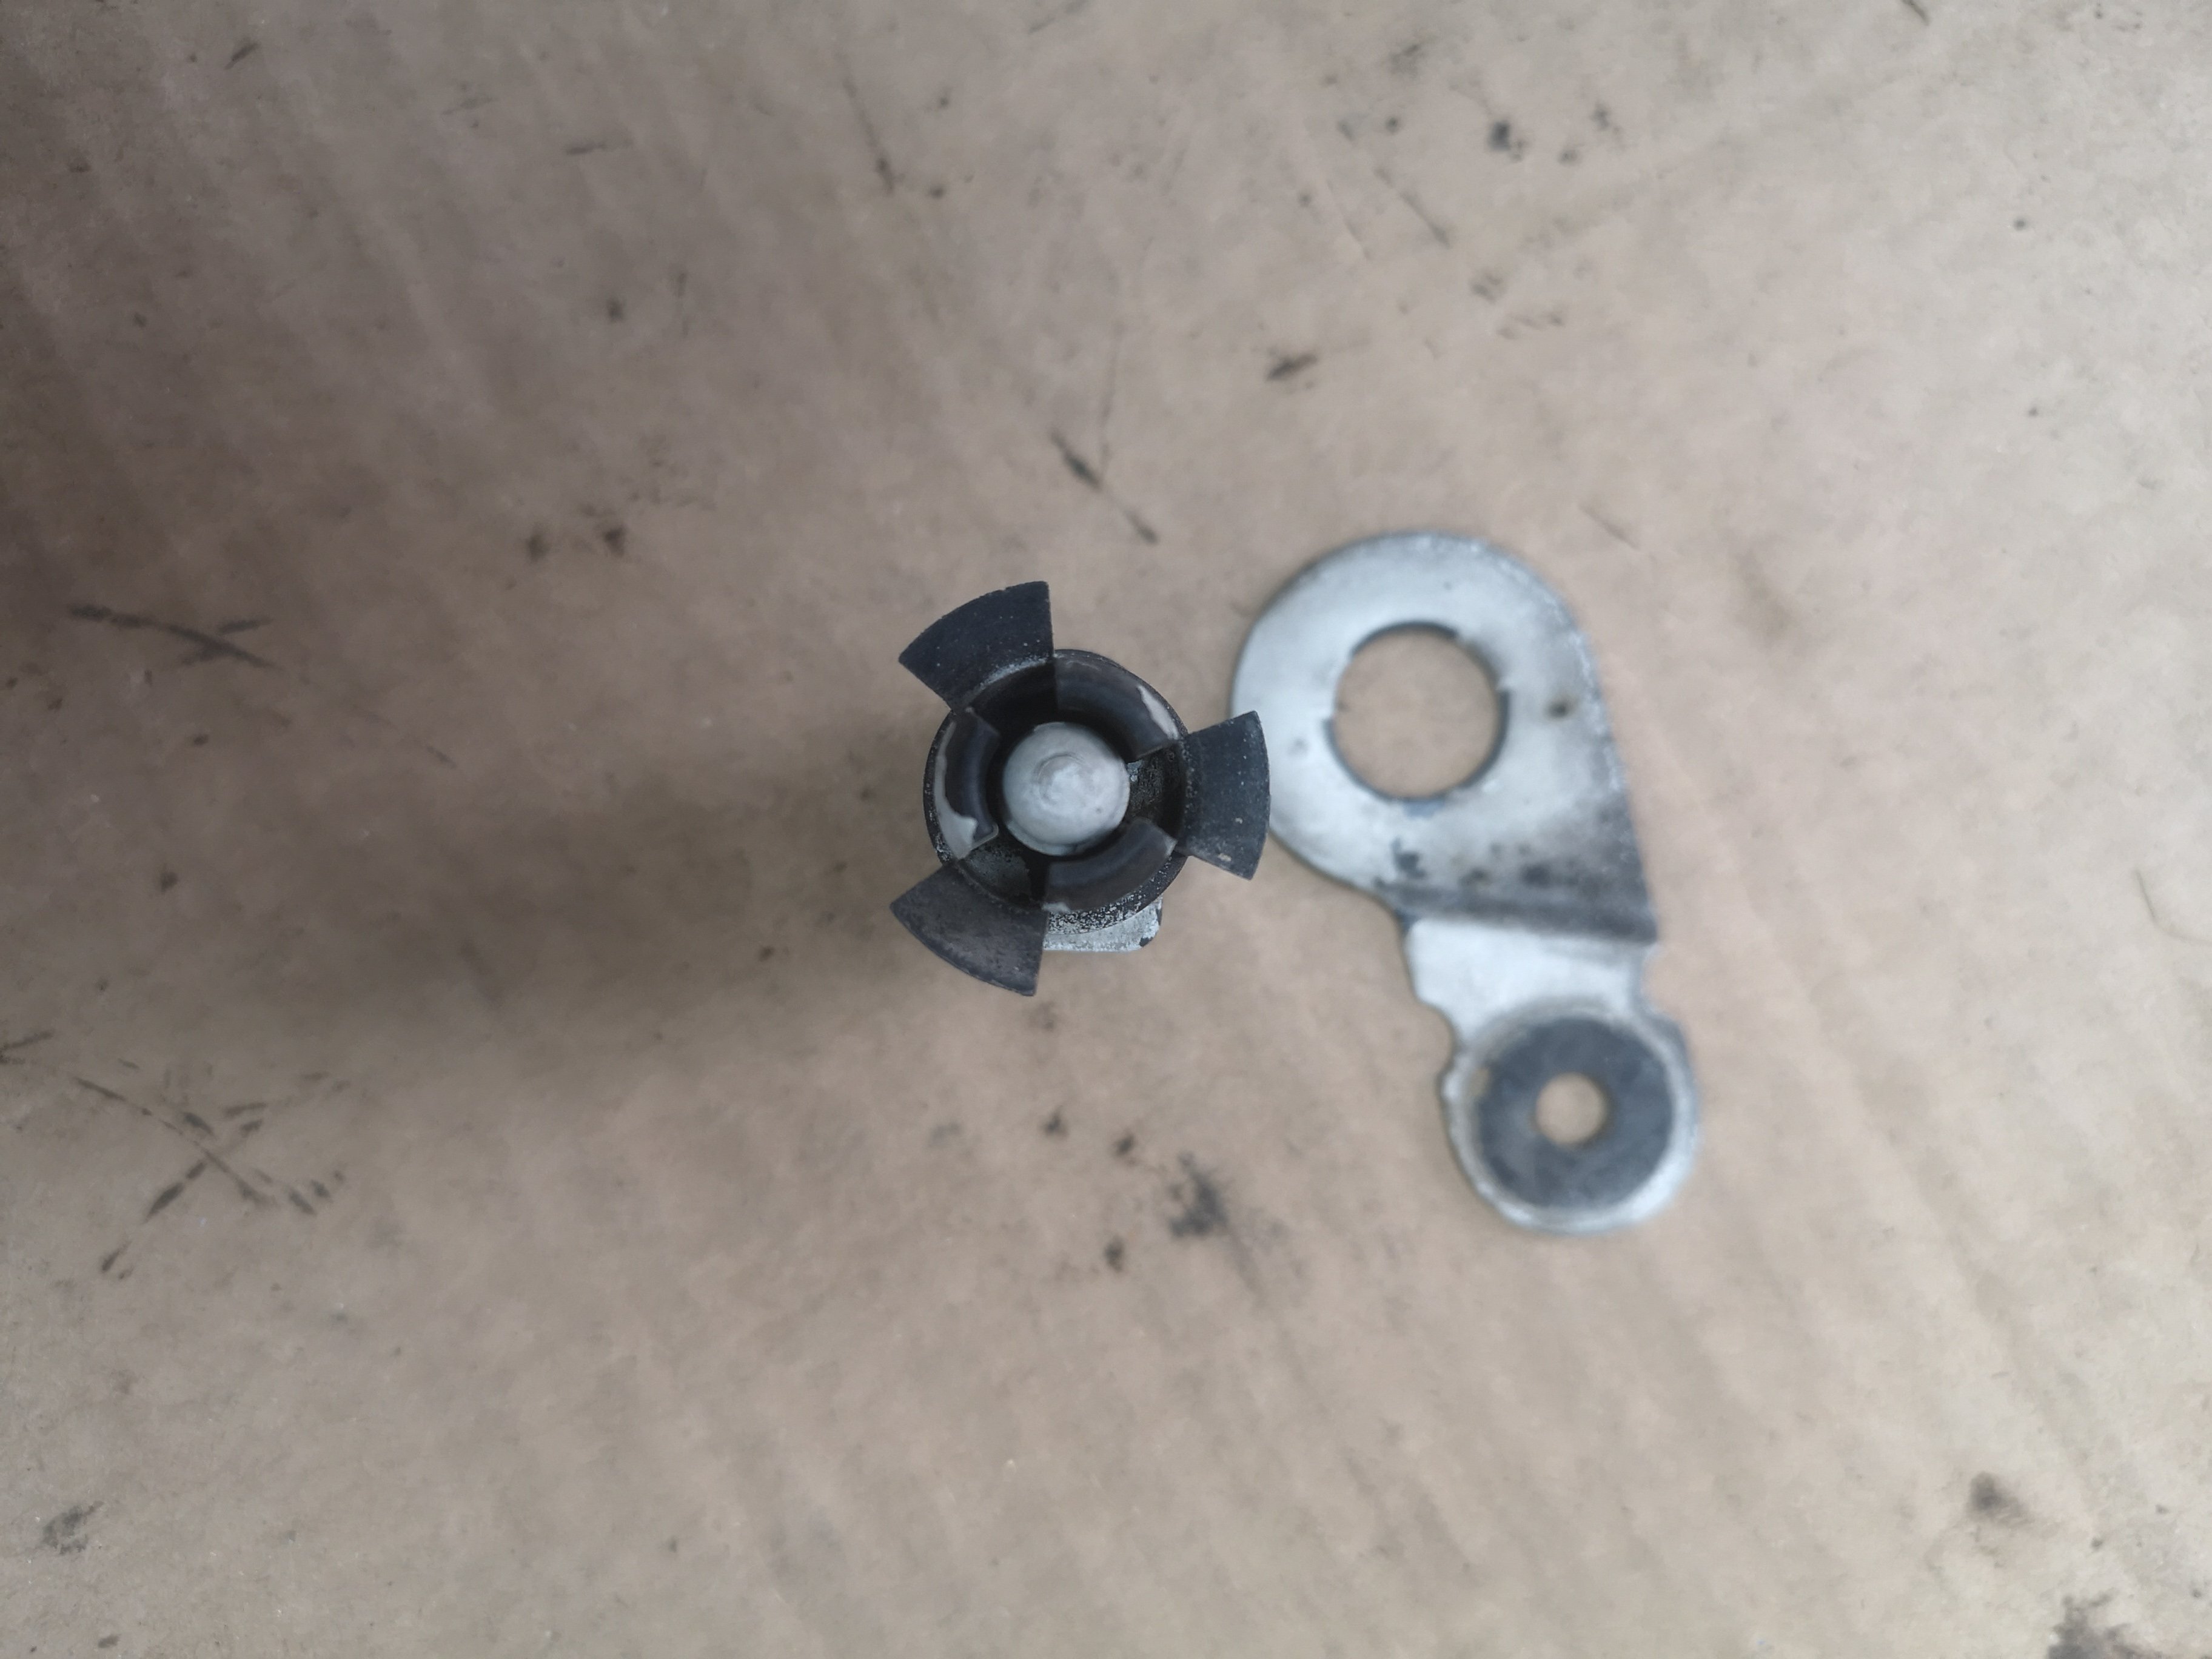
Both rear shocks, bumpstops and mounts were absolutely knackered. They had no rebound at all. This first picture shows them full compressed, when they should be expanded. Replaced with genuine rear shocks and mounting bolts, and aftermarket bumpstops and mounts. I reused the original sleeves.

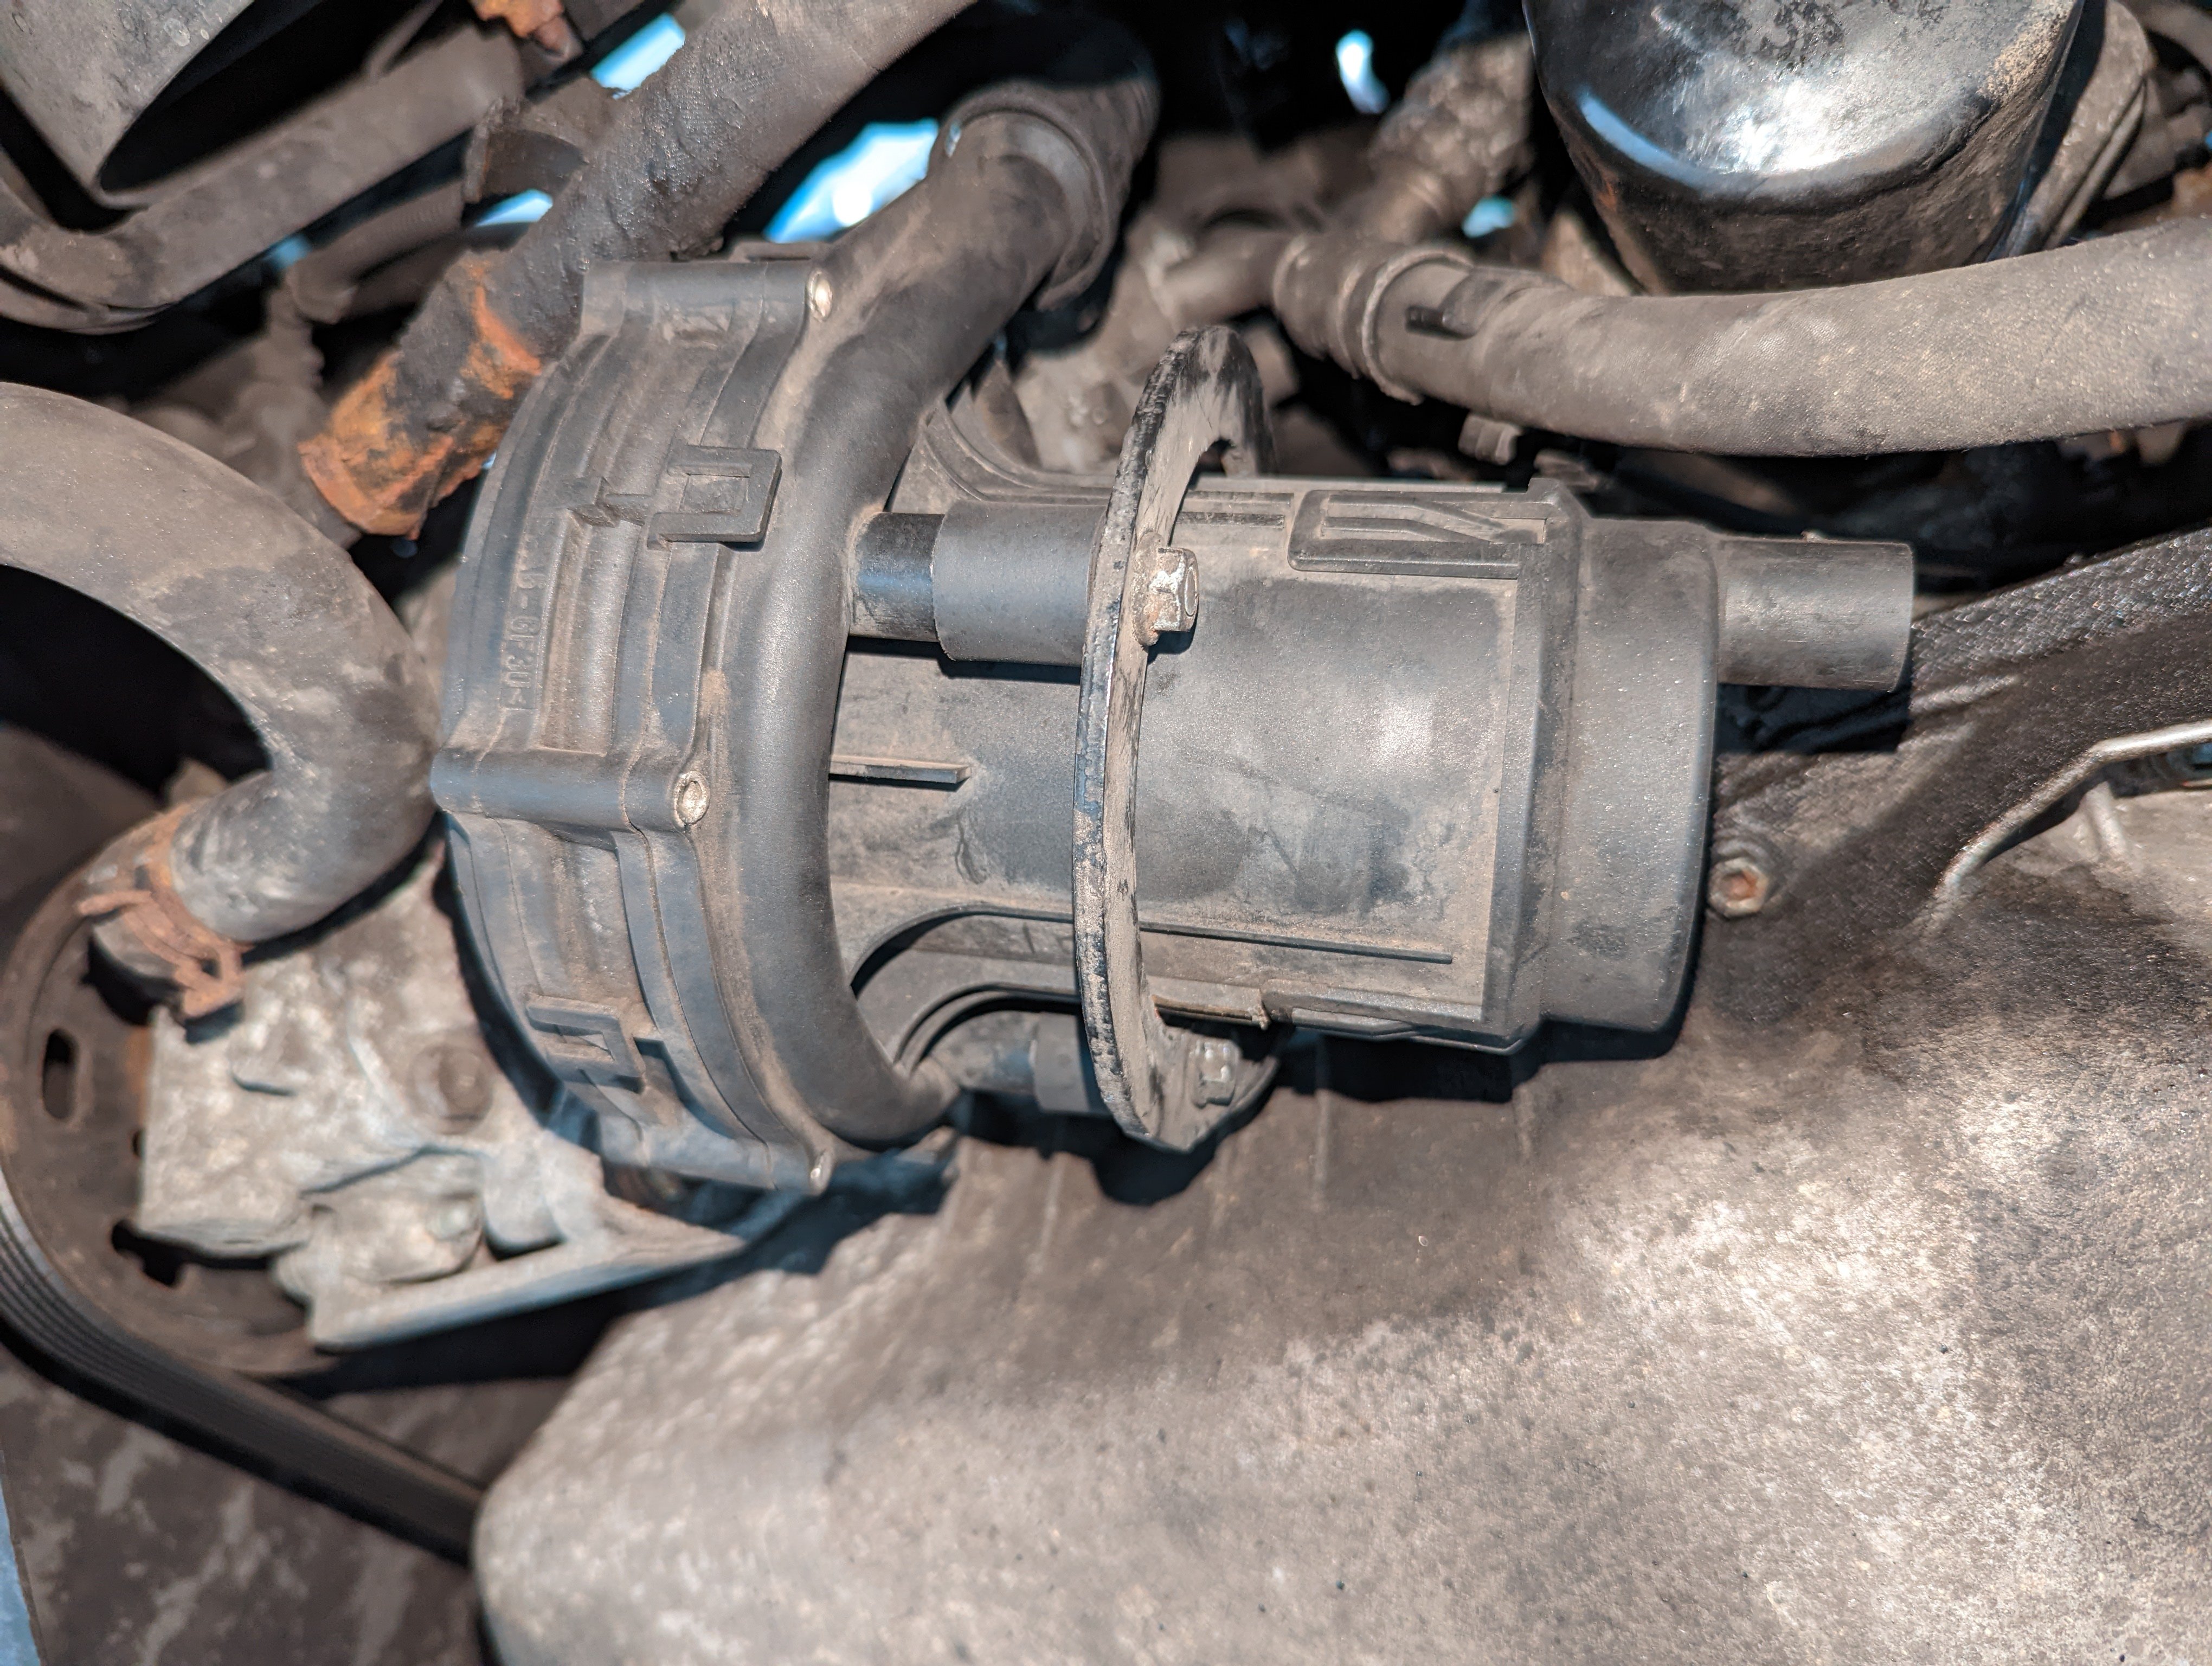
 The screen washer pump wasn't working. The factory one has two outlets, I assume one for the front washers and one for the rear. Yet I couldn't find the rear washer pipe in my engine bay, no idea why that would have been removed. I don't need the rear washer so I just used a replacement pump with one outlet.
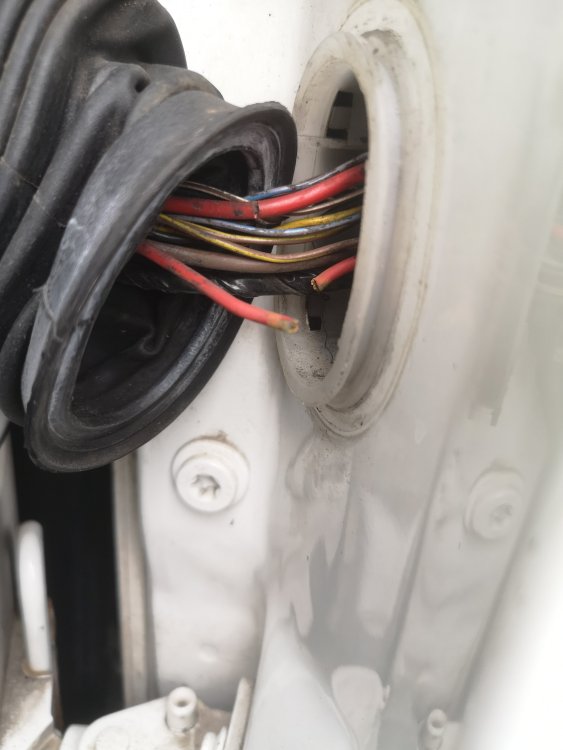
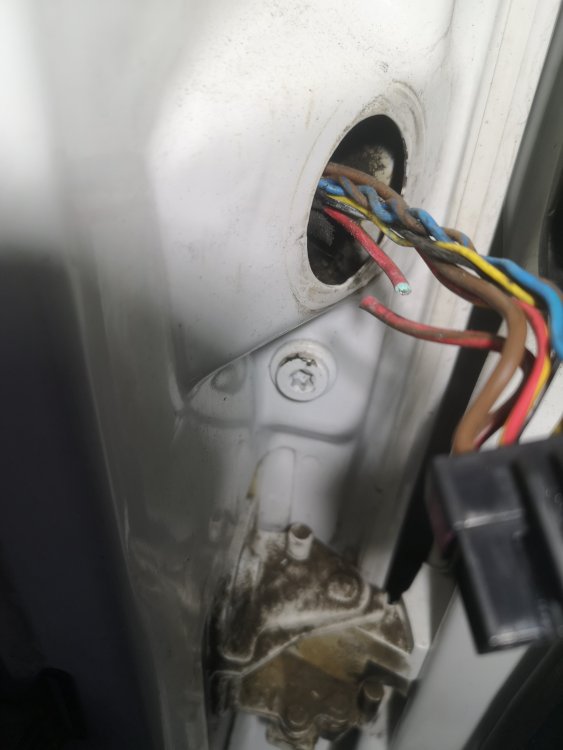
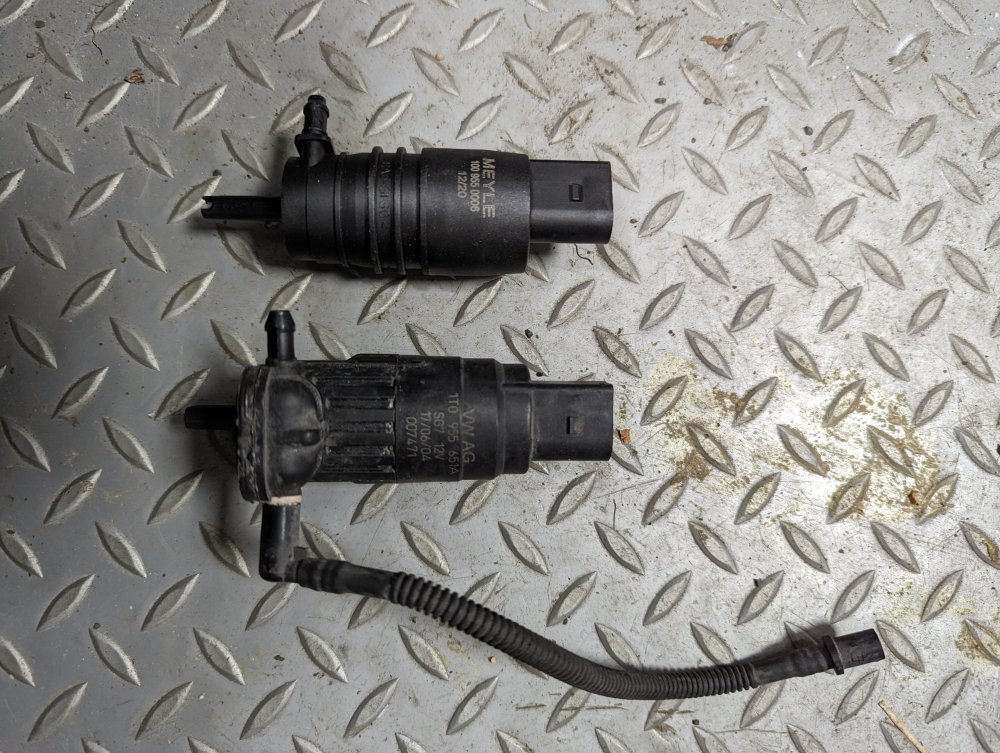 Spent some time today tackling some of the electrical gremlins. First up. Was the outside temp sensor. Looks like it received a coat of paint when the front bumper was painted as some point. I scraped the paint off the sensor, but it was still not reading right so I ordered a new one. Next up was the drivers mirror not working. That was quickly traced to a broken wire in the loom where it passes through the large rubber grommet on the door. I soldered the wire together and mirror now working. Last up was the passenger side rear window not working. I could hear the motor clicking. The connector on the module was good, no corrosion. I pulled back the rubber grommet on the door to check for broken wires, all looked good. Next I disconnected the loom at the b Post (that's a pig to do) so I could do some continuity tests. I completely removed the rubber grommet and pulled the door loom to get better access, and hey preston a broken wire was found further down the loom, inside the door. This nearly had me beat, and I was happy for a bit of luck. I soldered the wire and window now working. Makes a change to fix things on this car without having to spend any money!
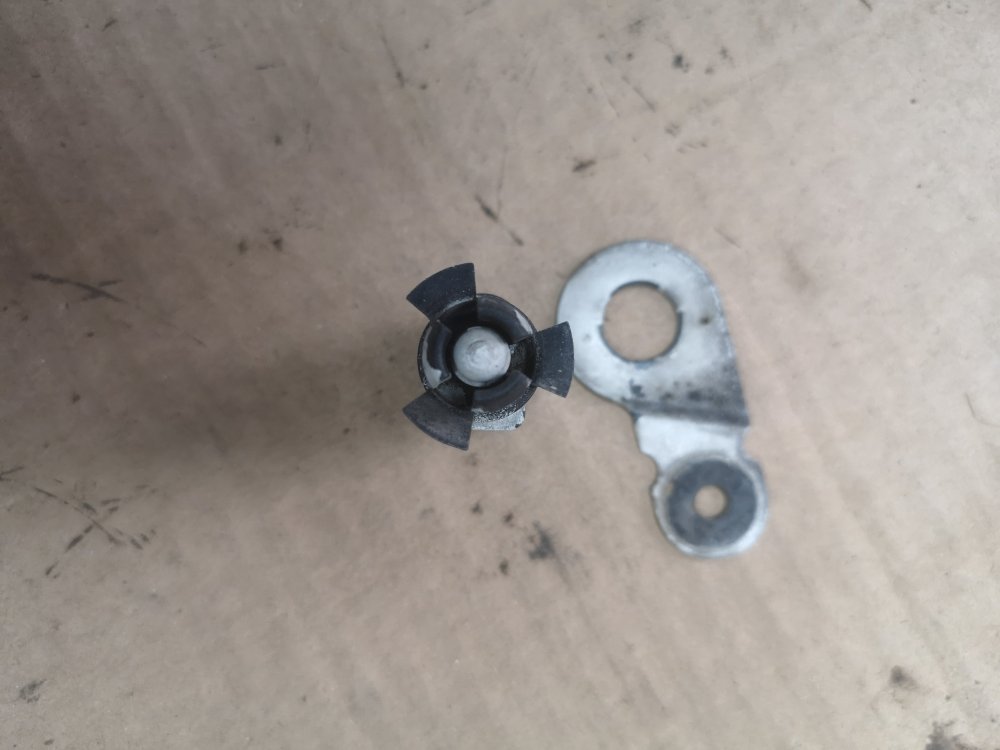
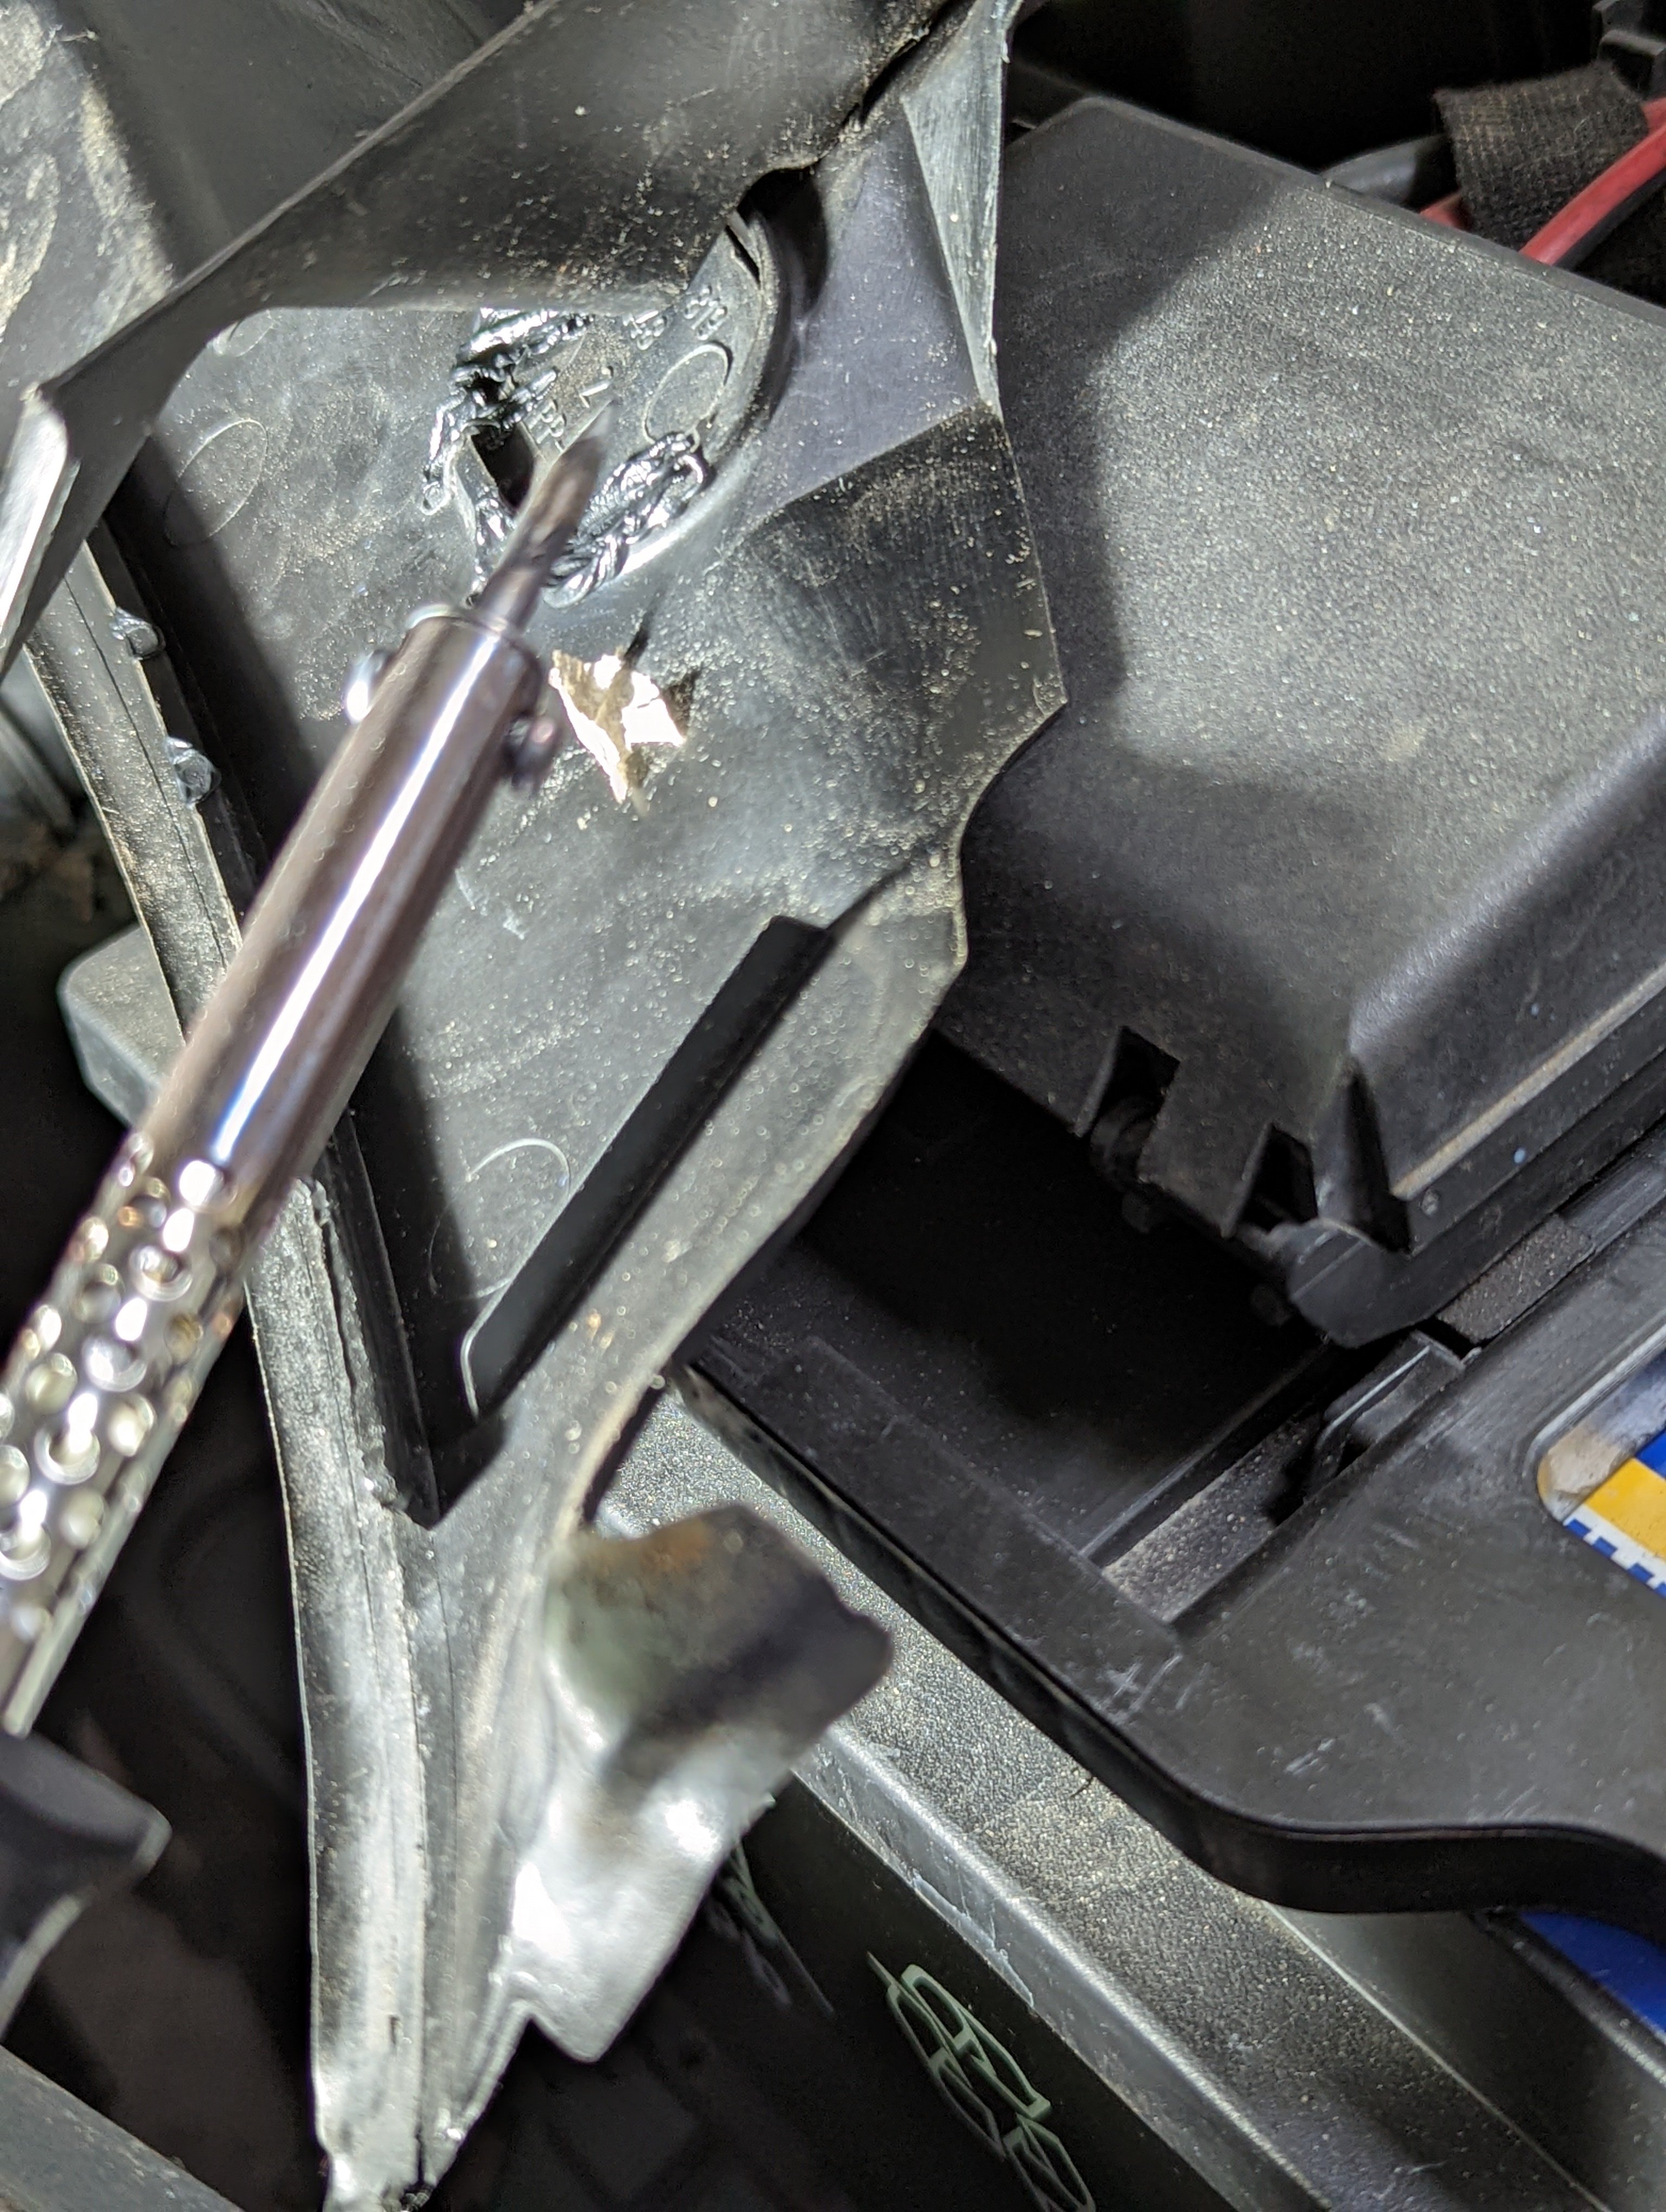
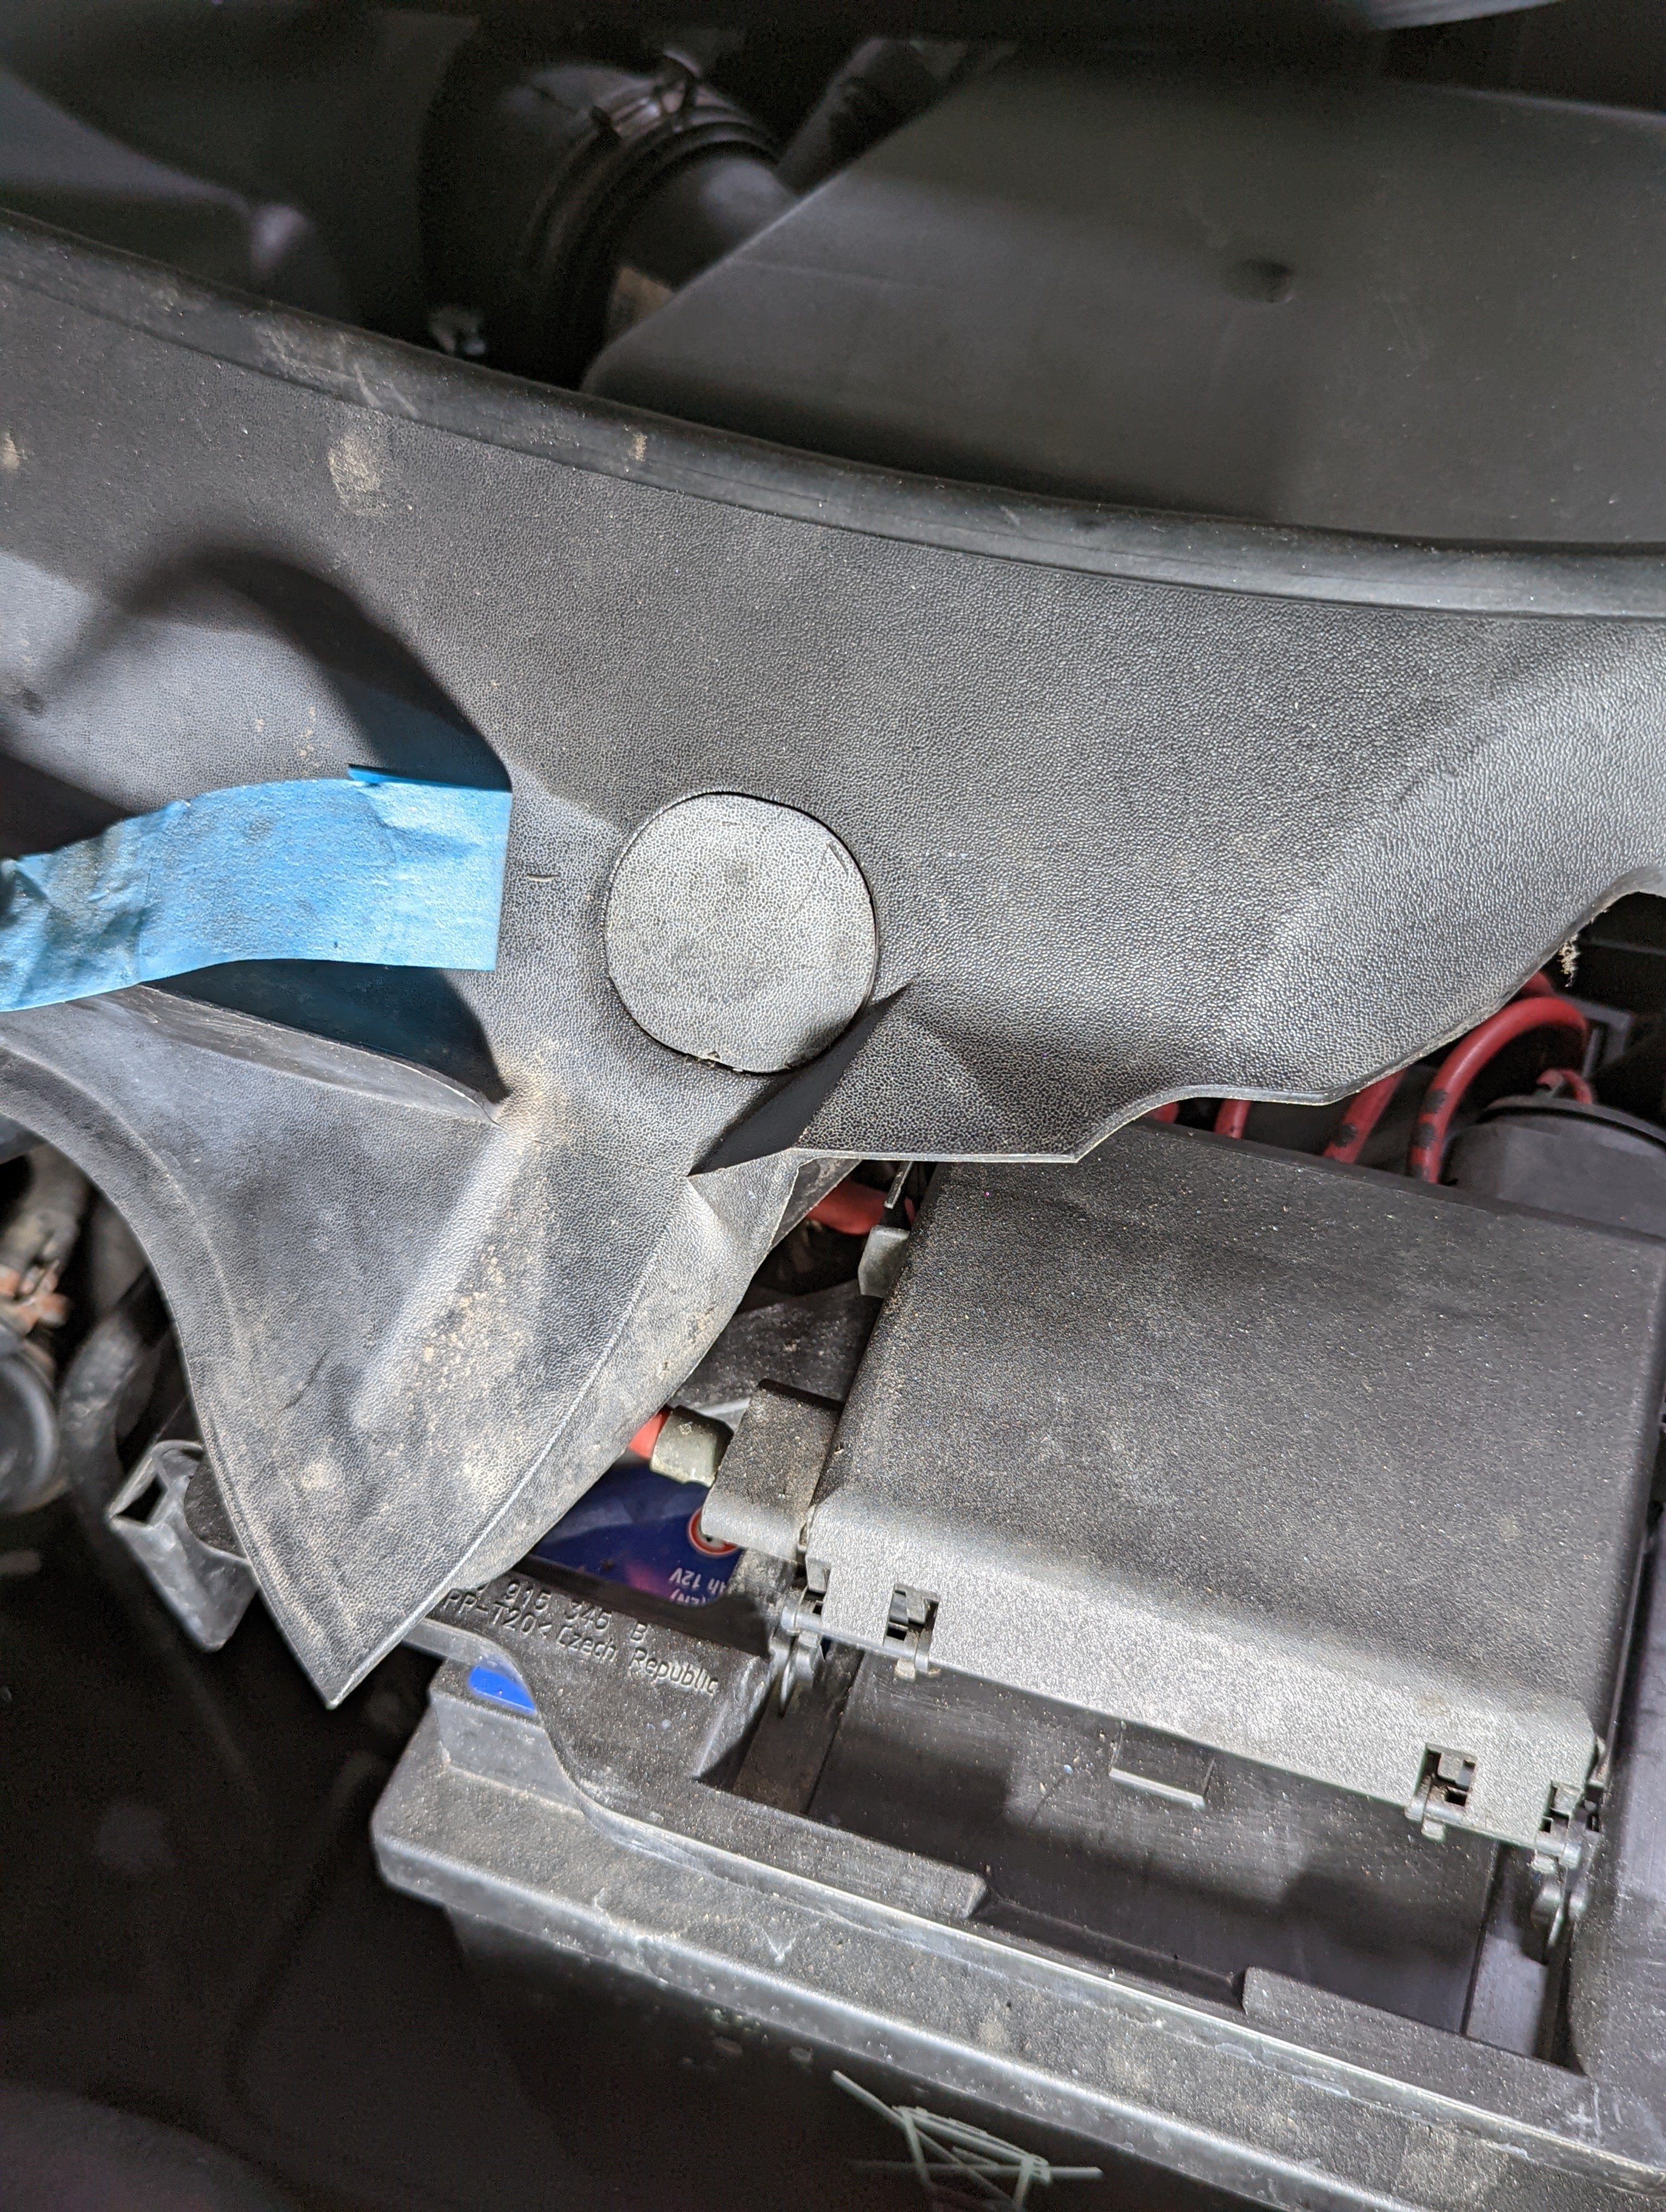
 Thanks, I don't have electric seats, so must be for the windows.What does the fuse in the green holder do, as seen in this photo. It located behind the dash on the drivers side, just above the pedal box. Also what is the correct size fuse for this?
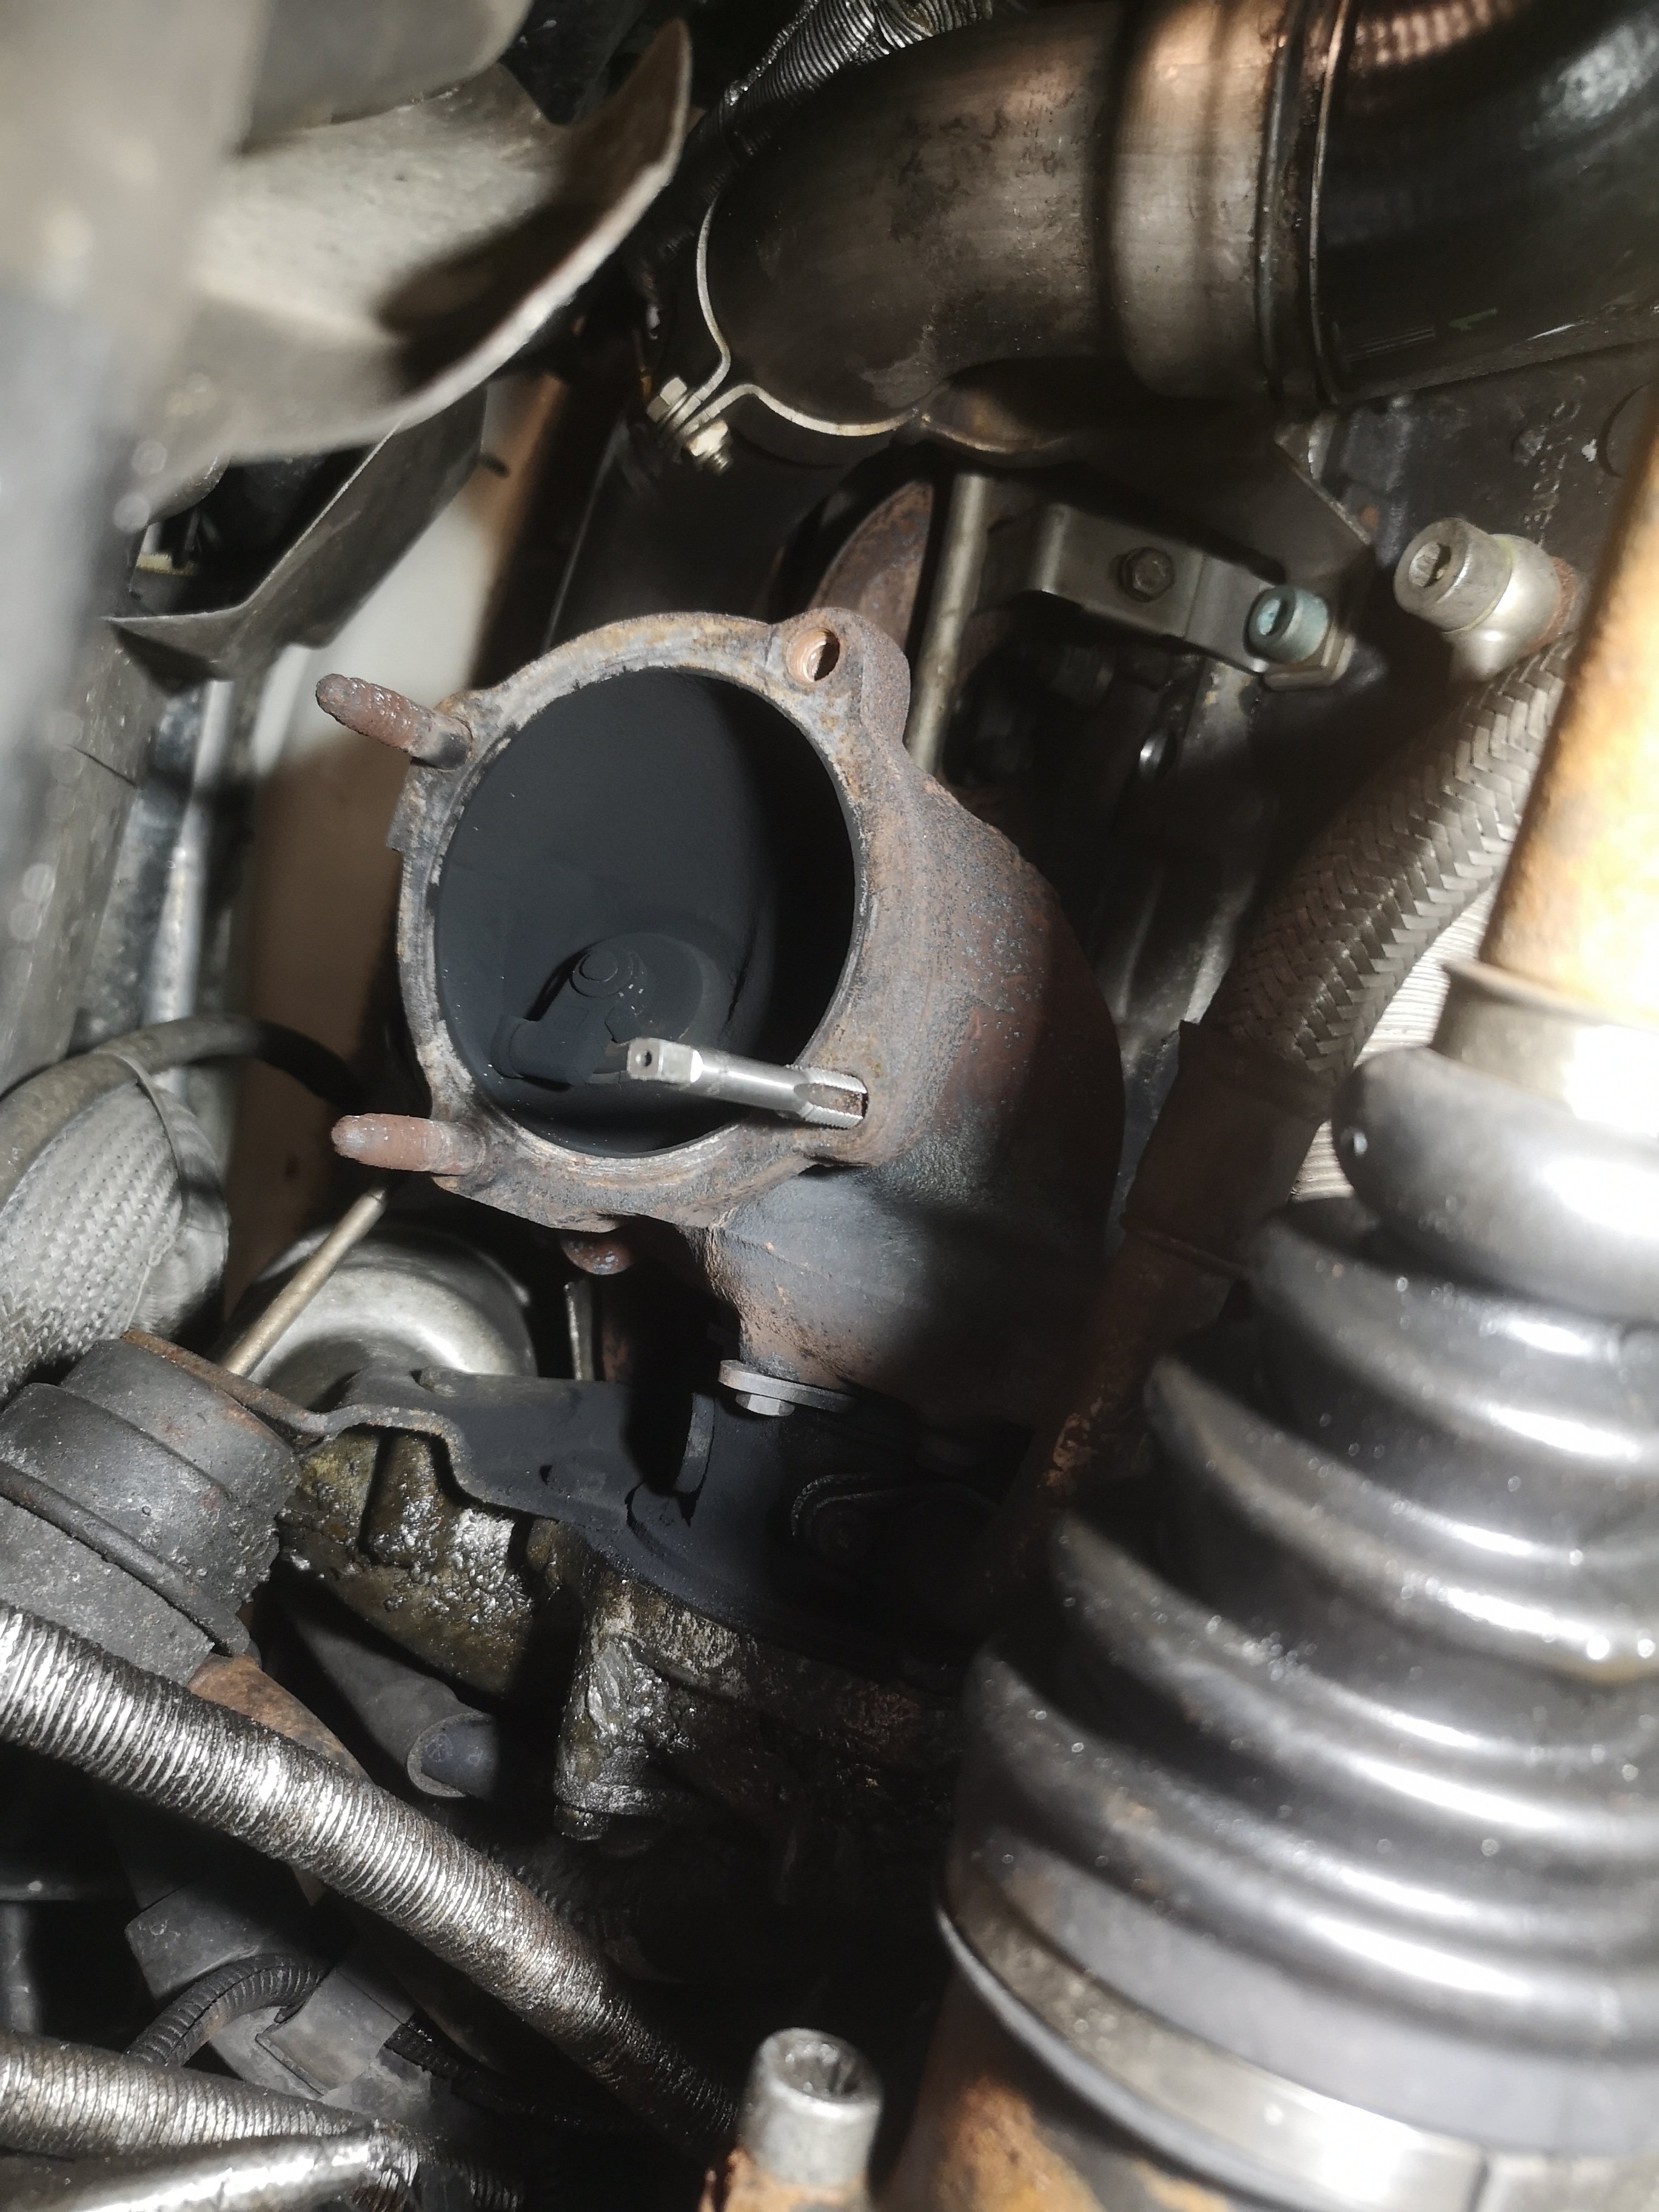
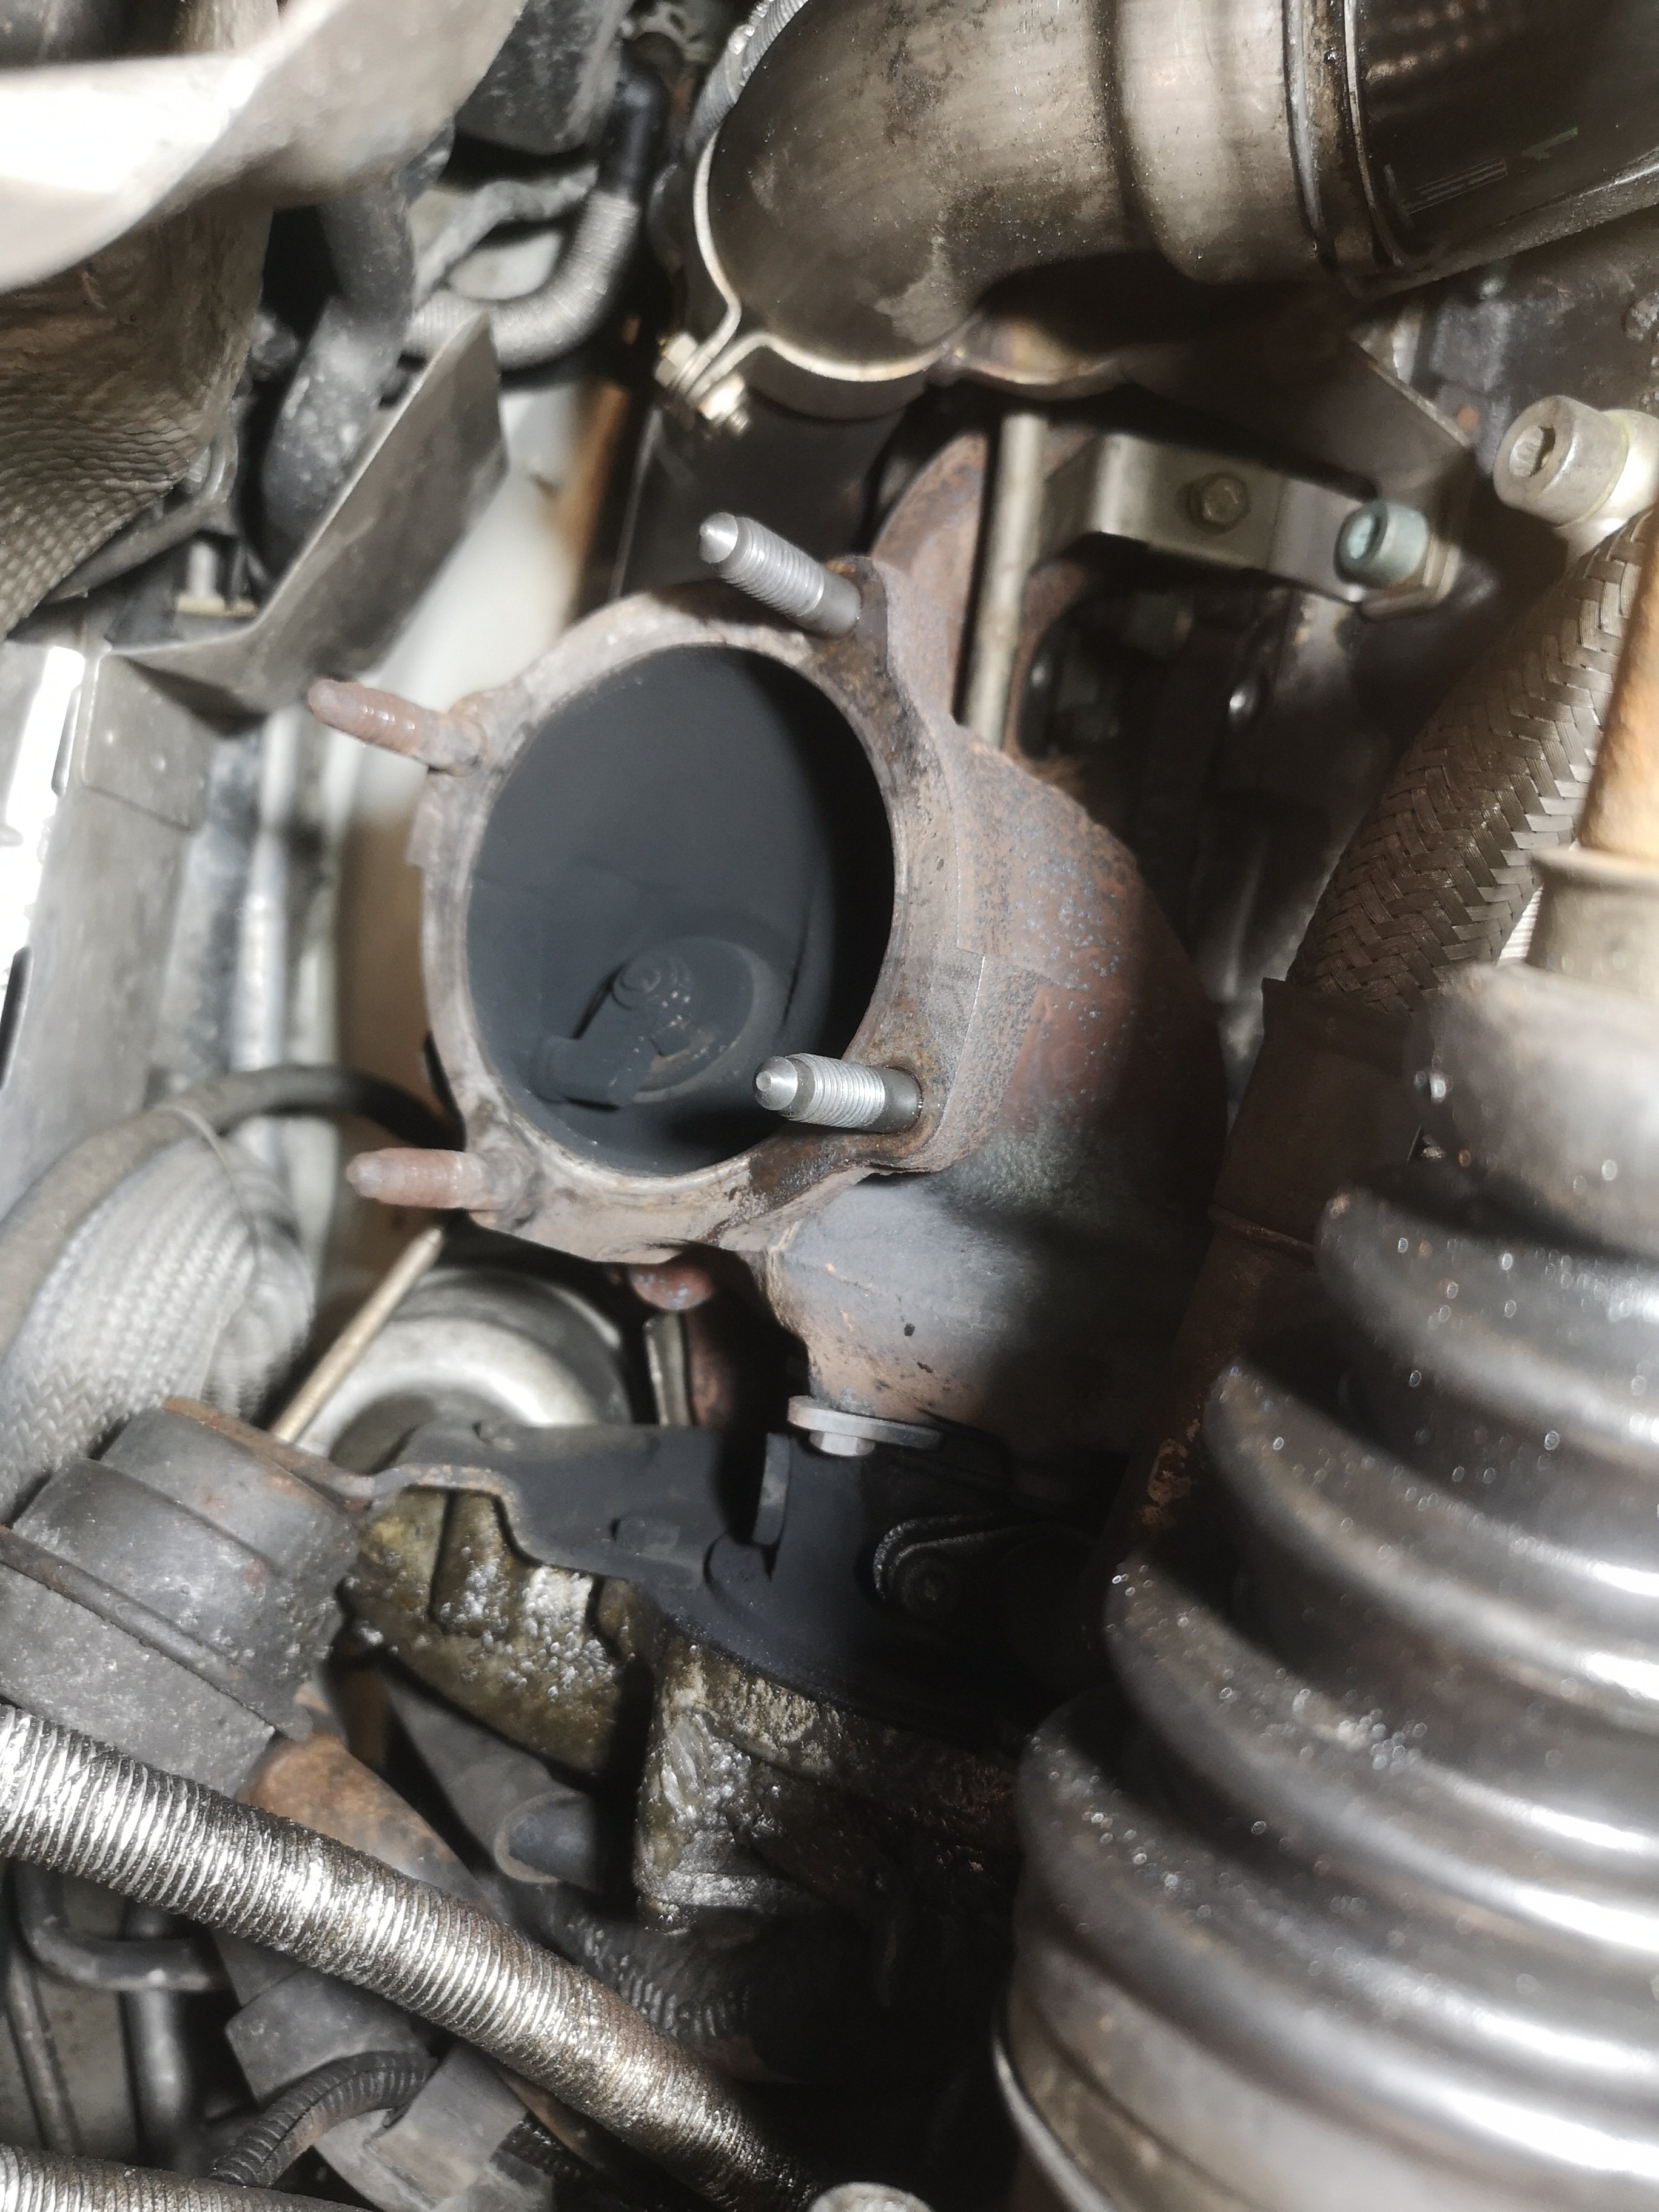
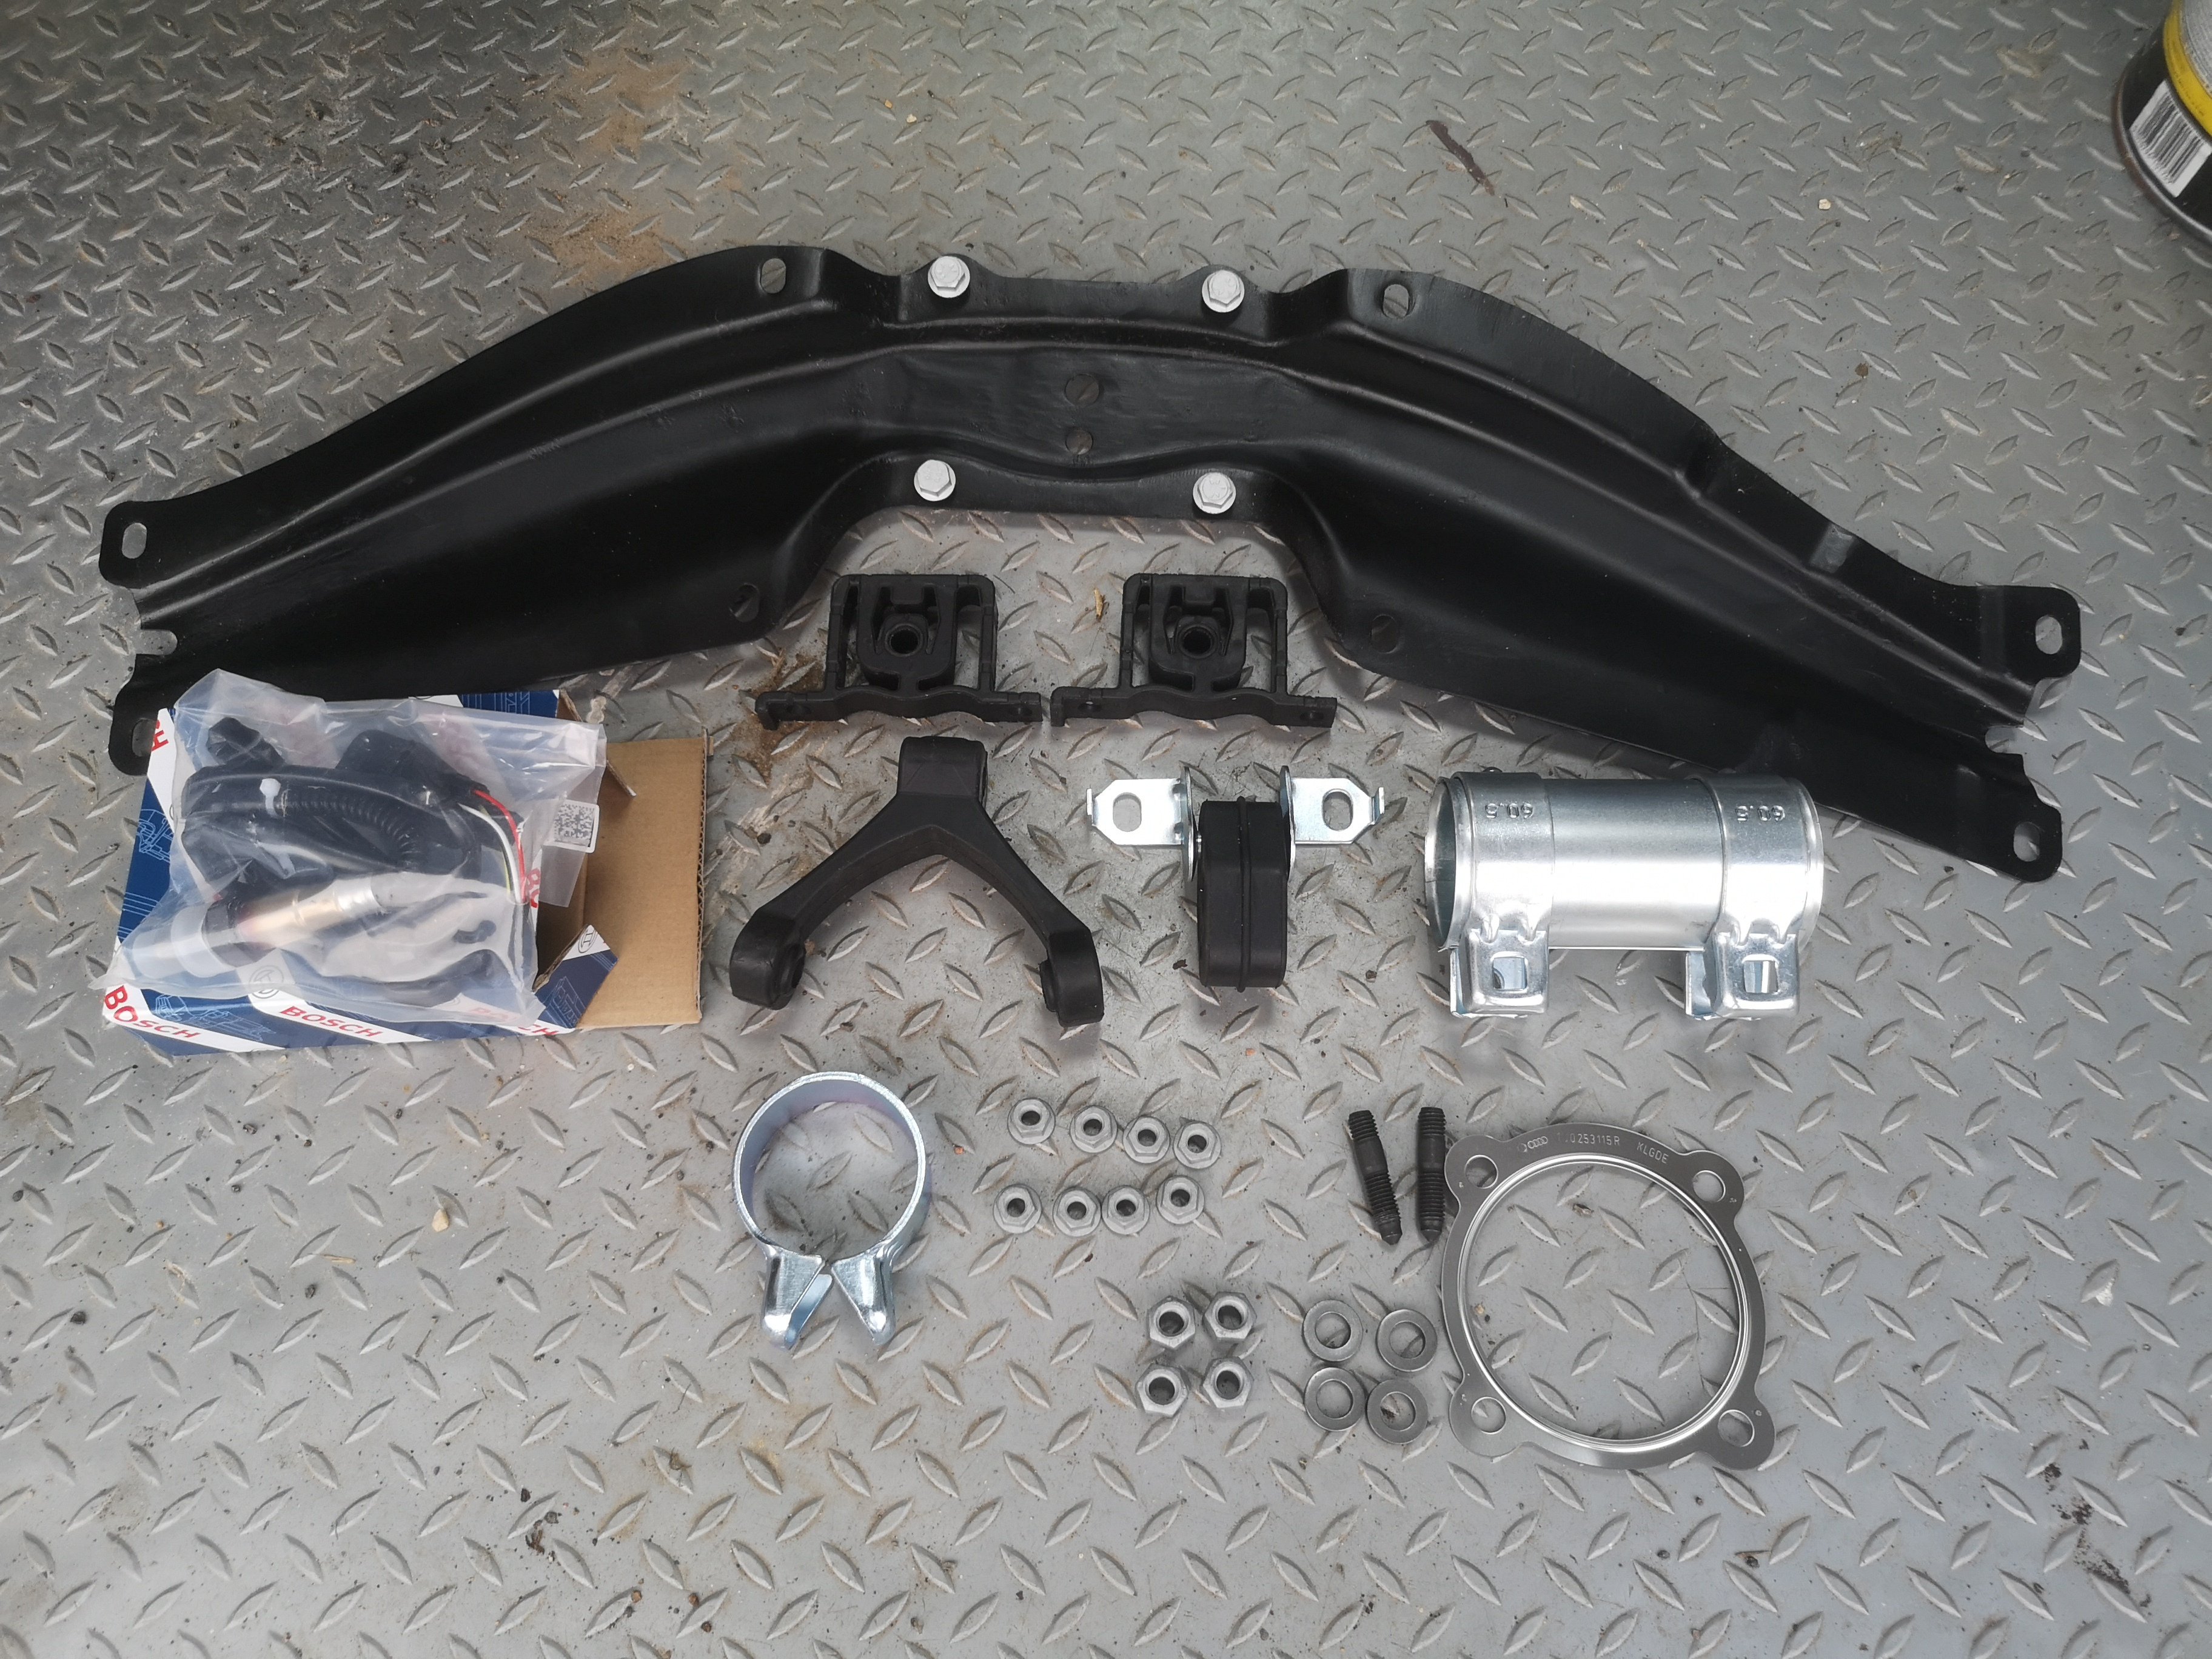
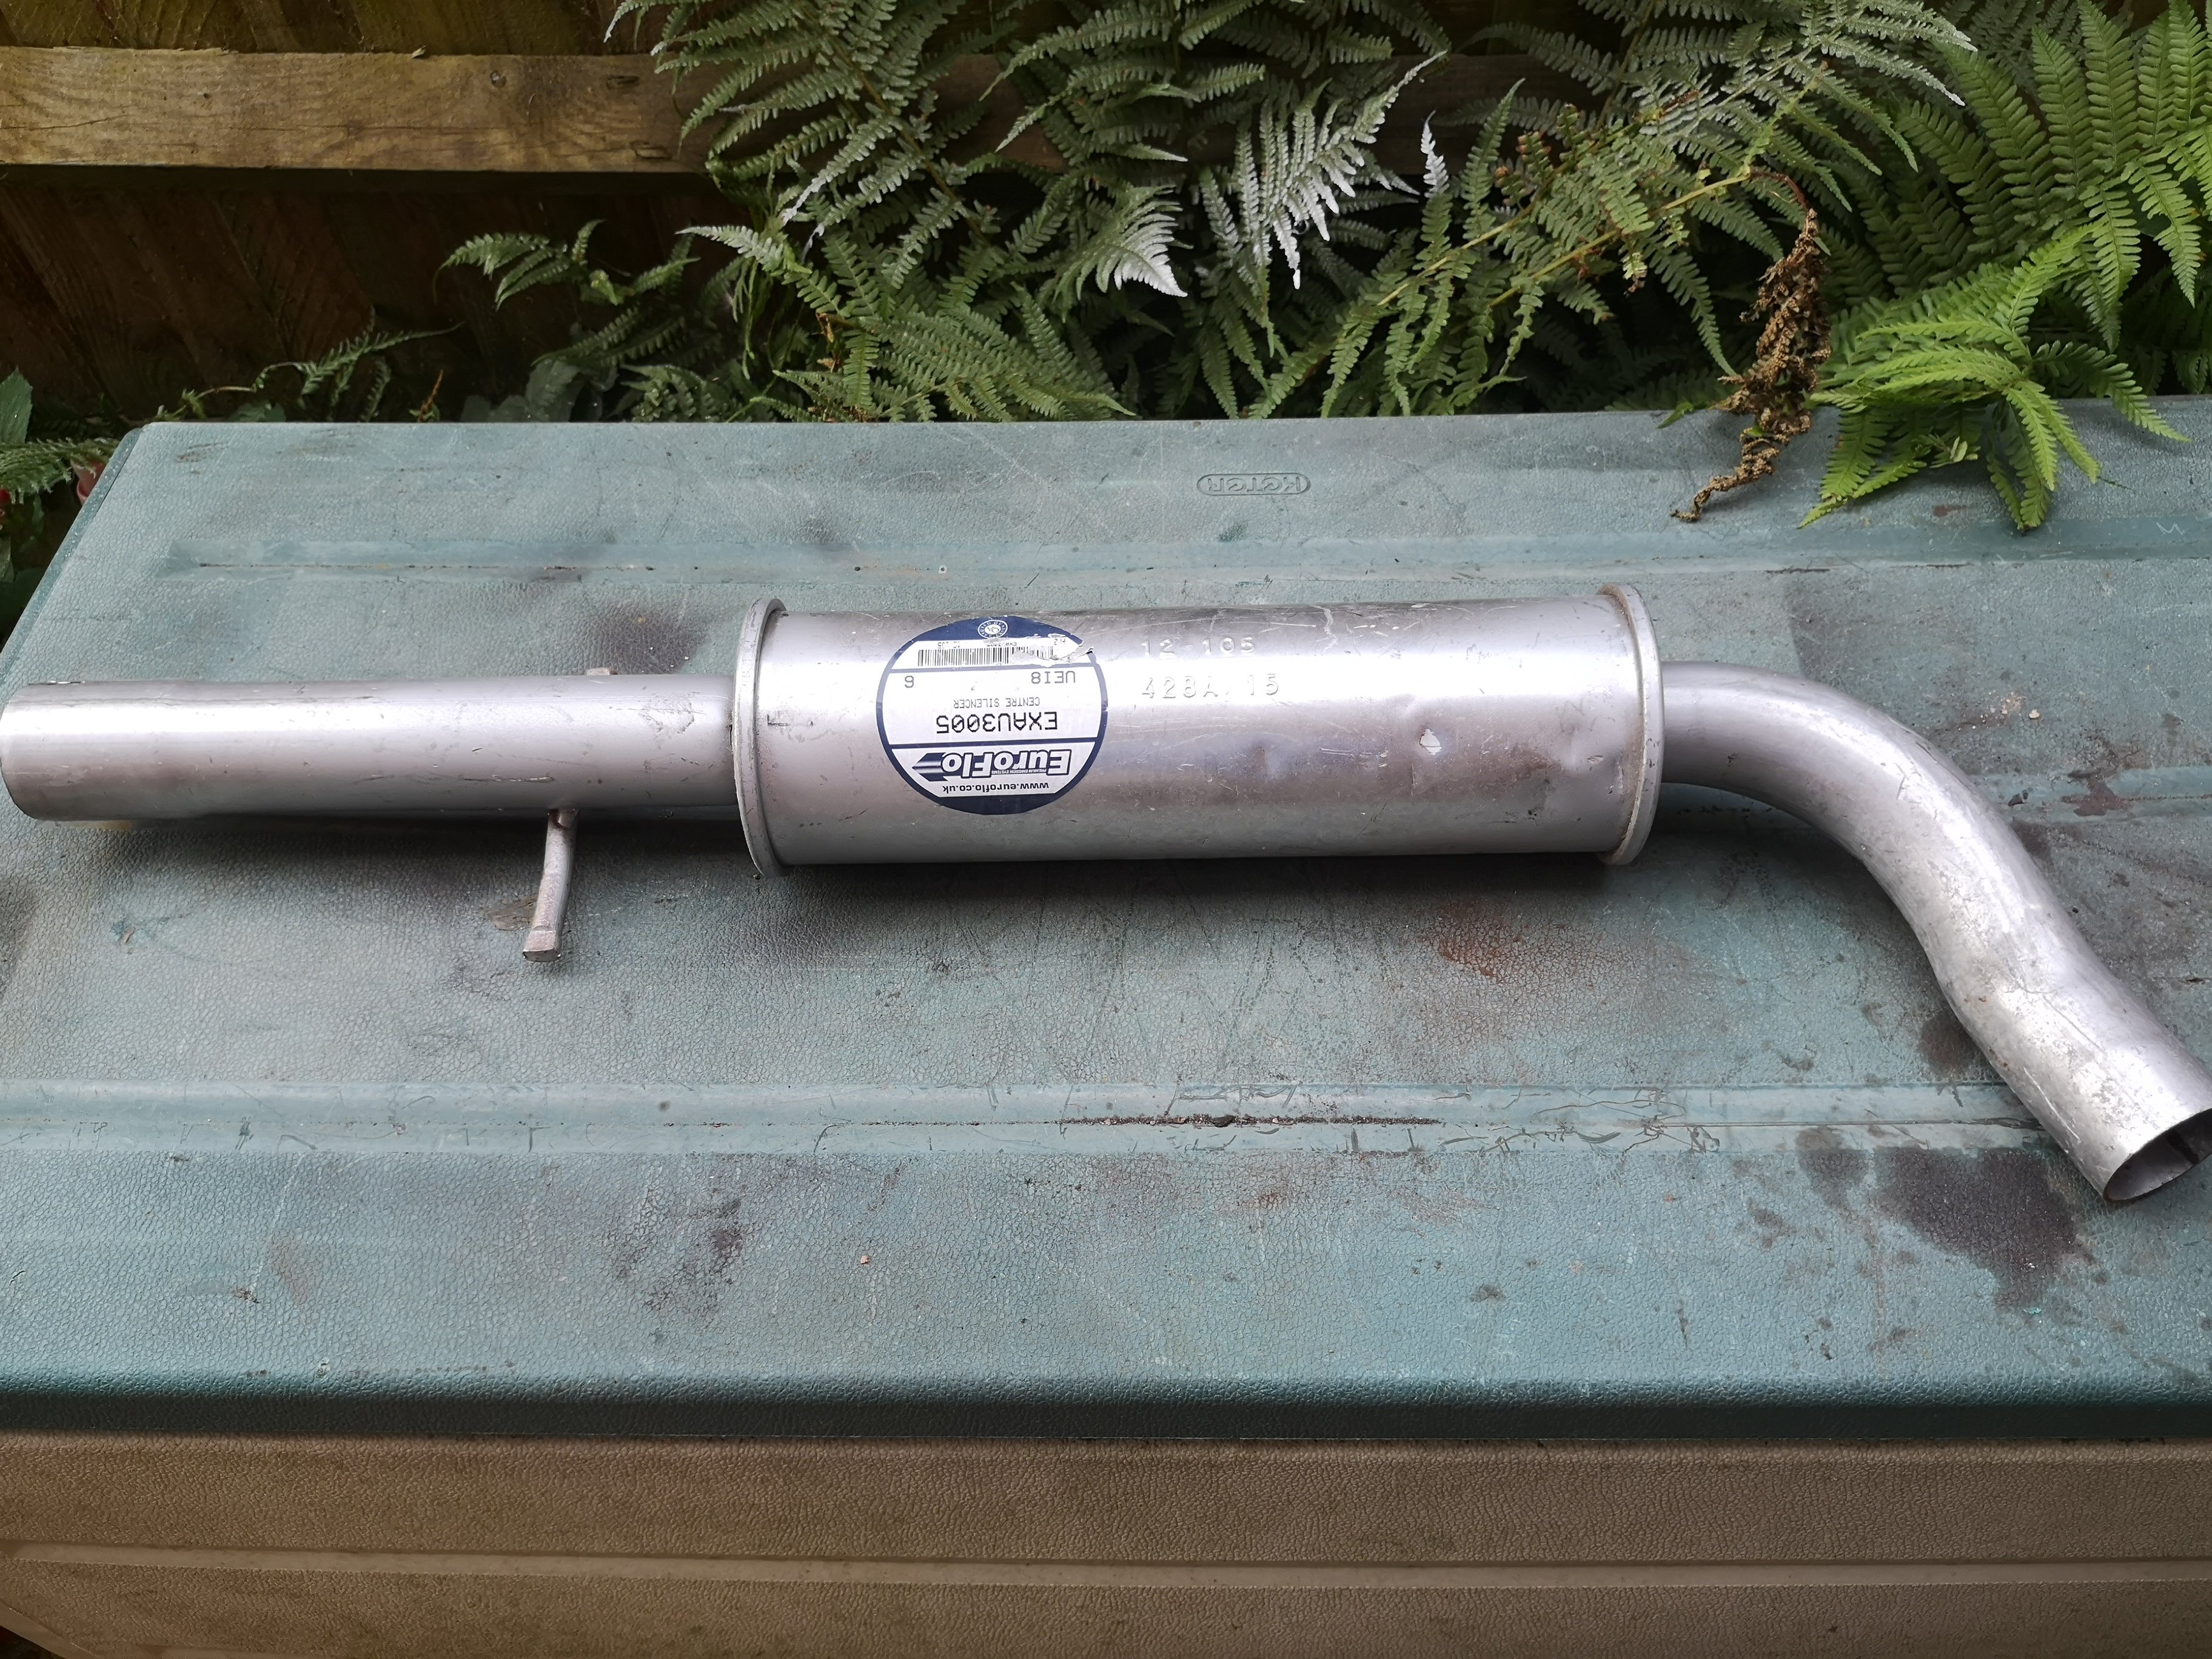
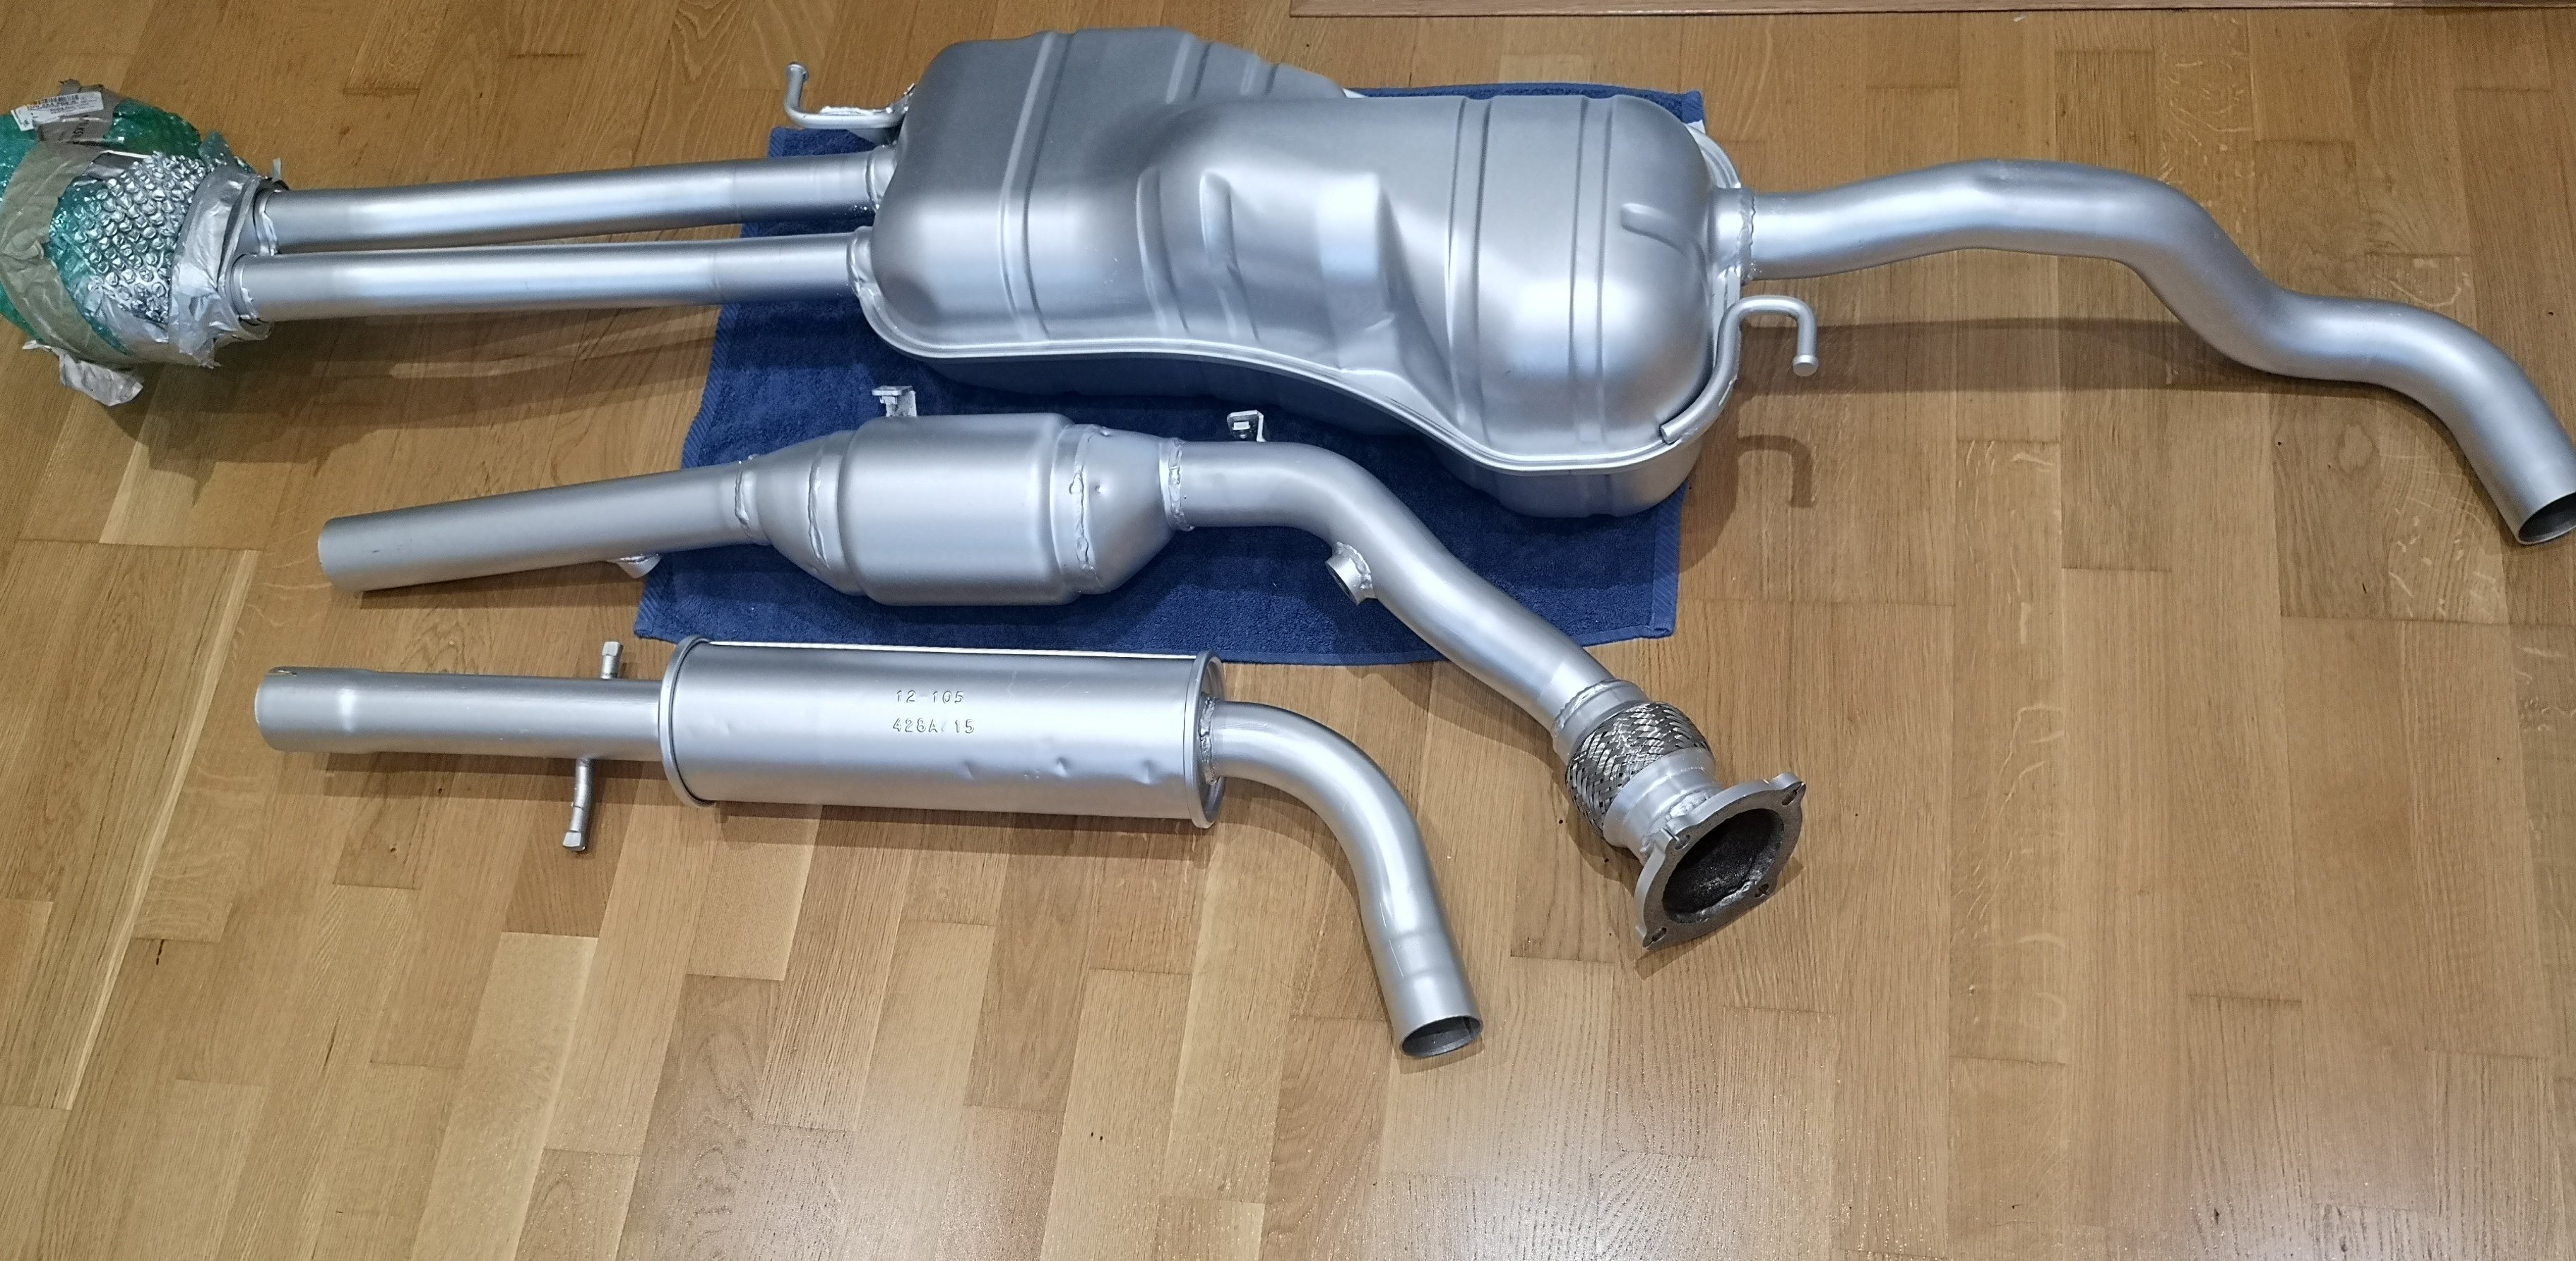
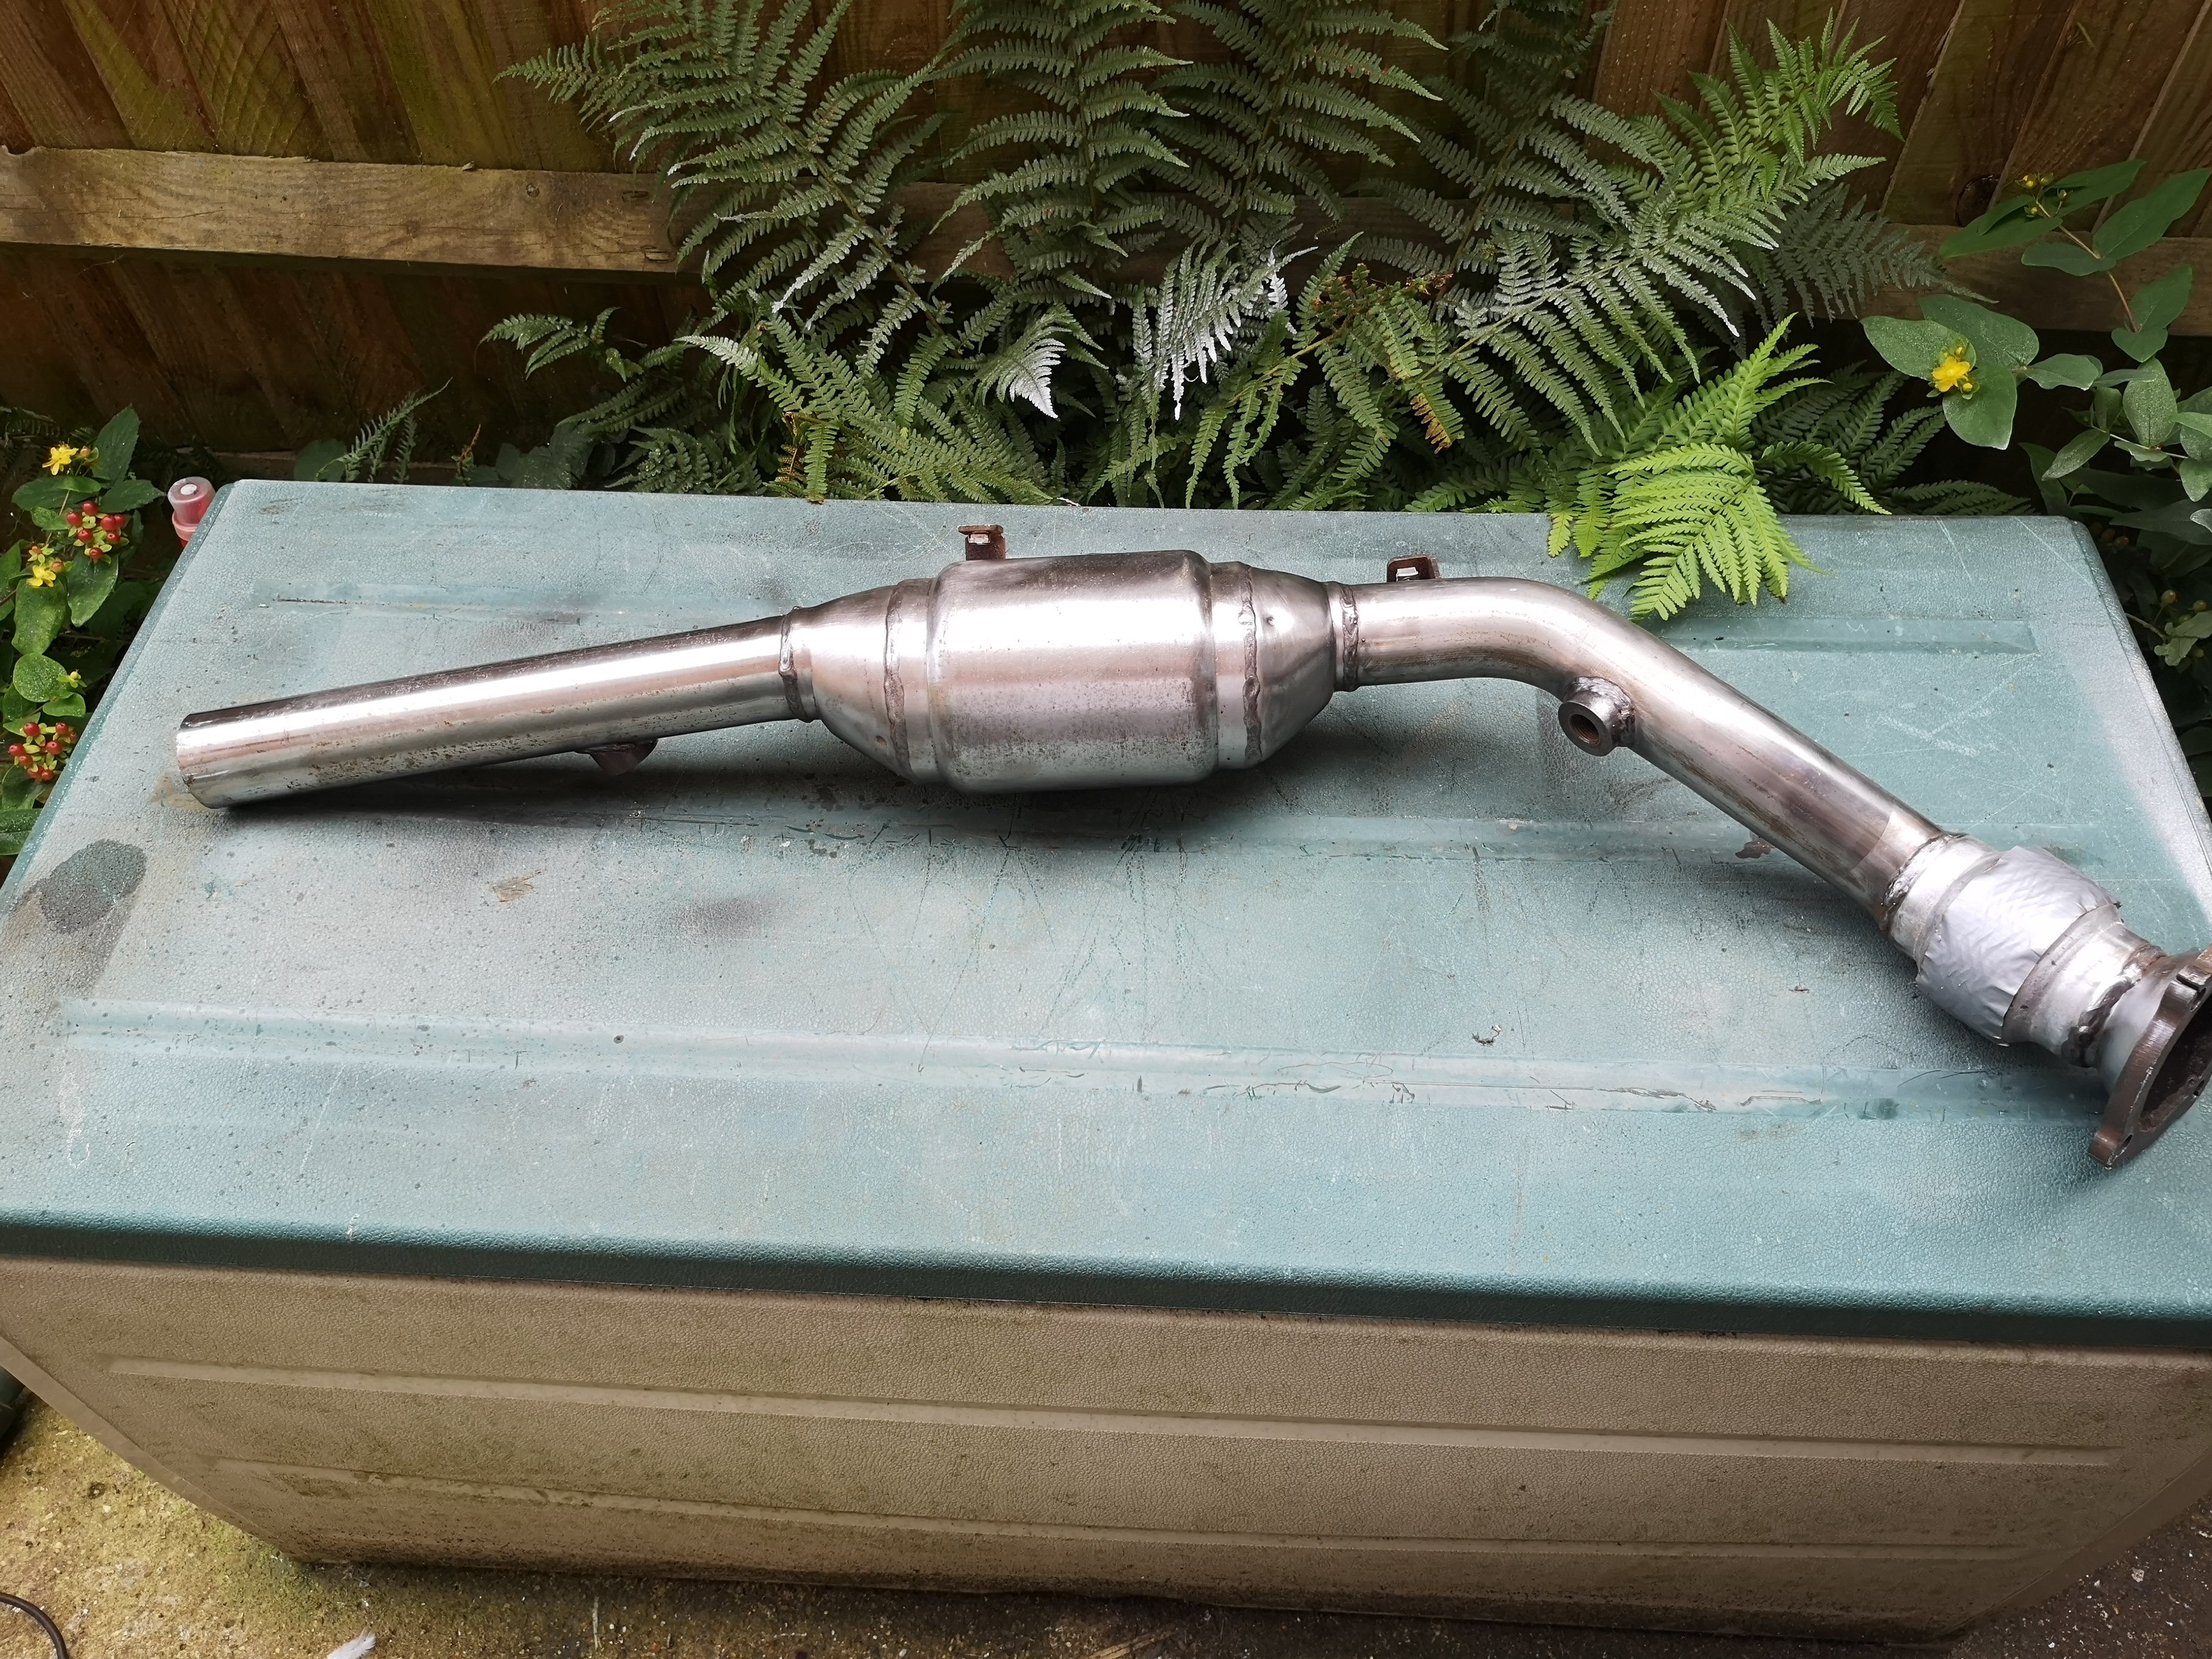
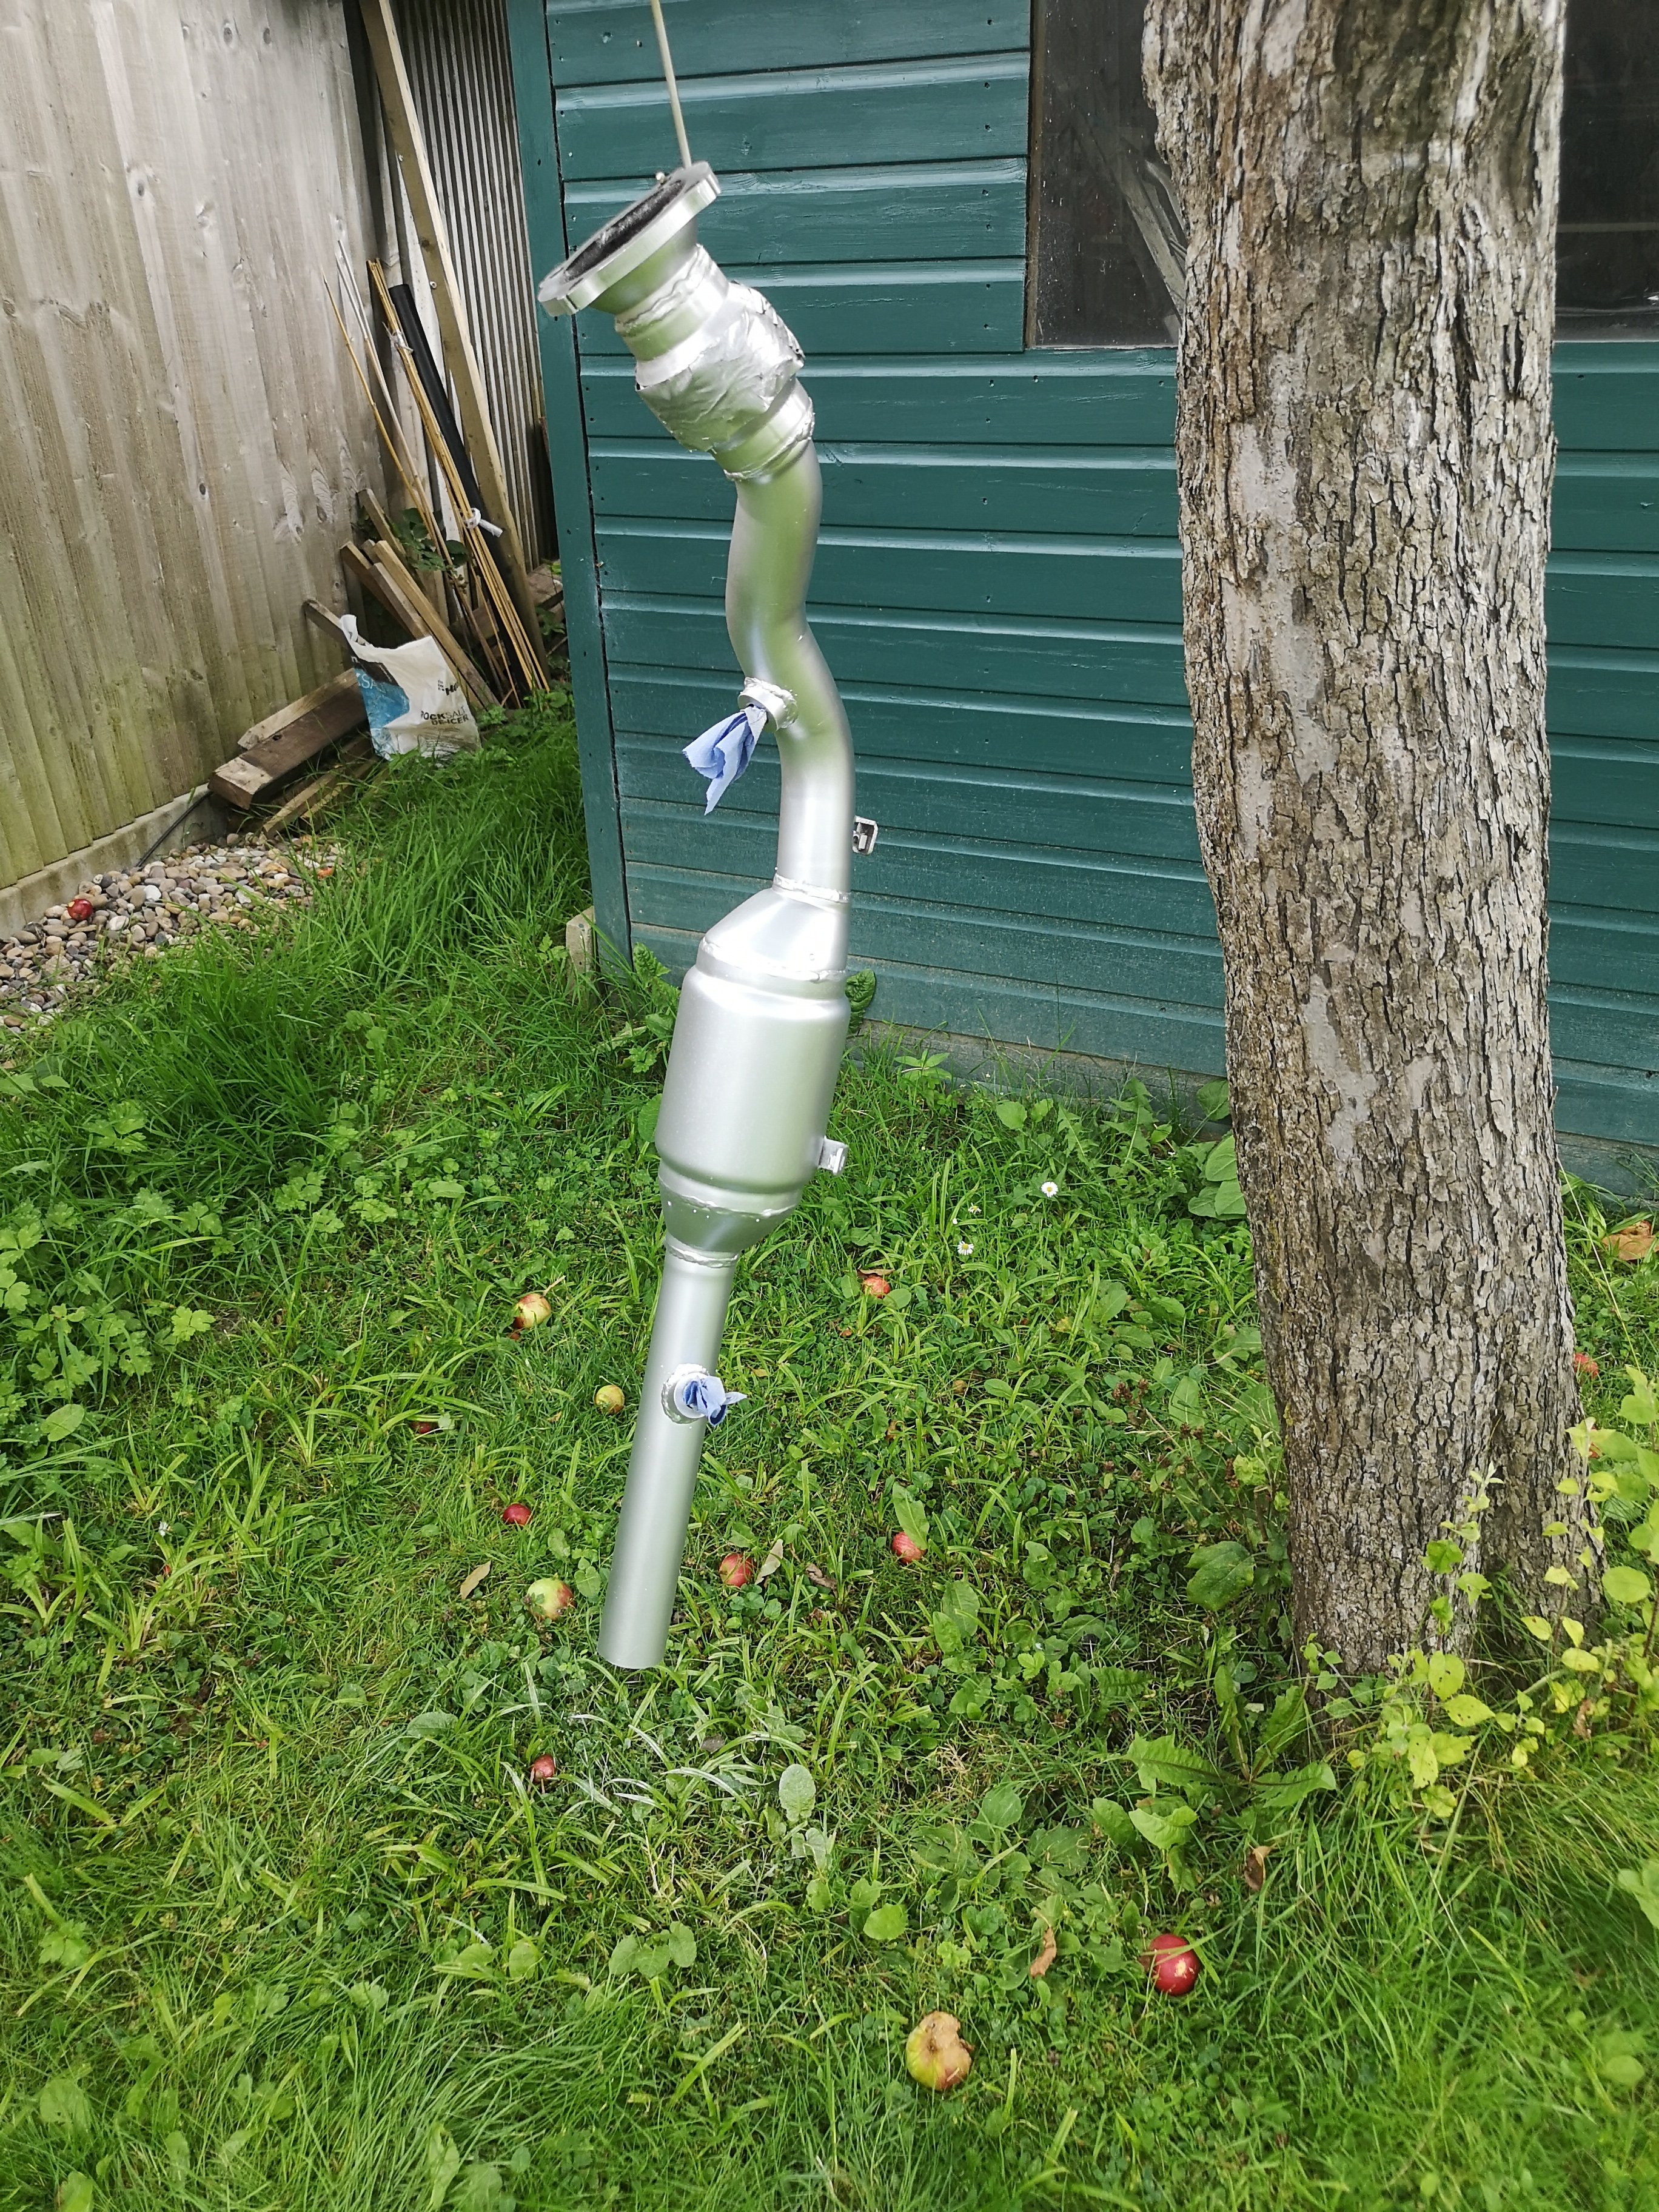
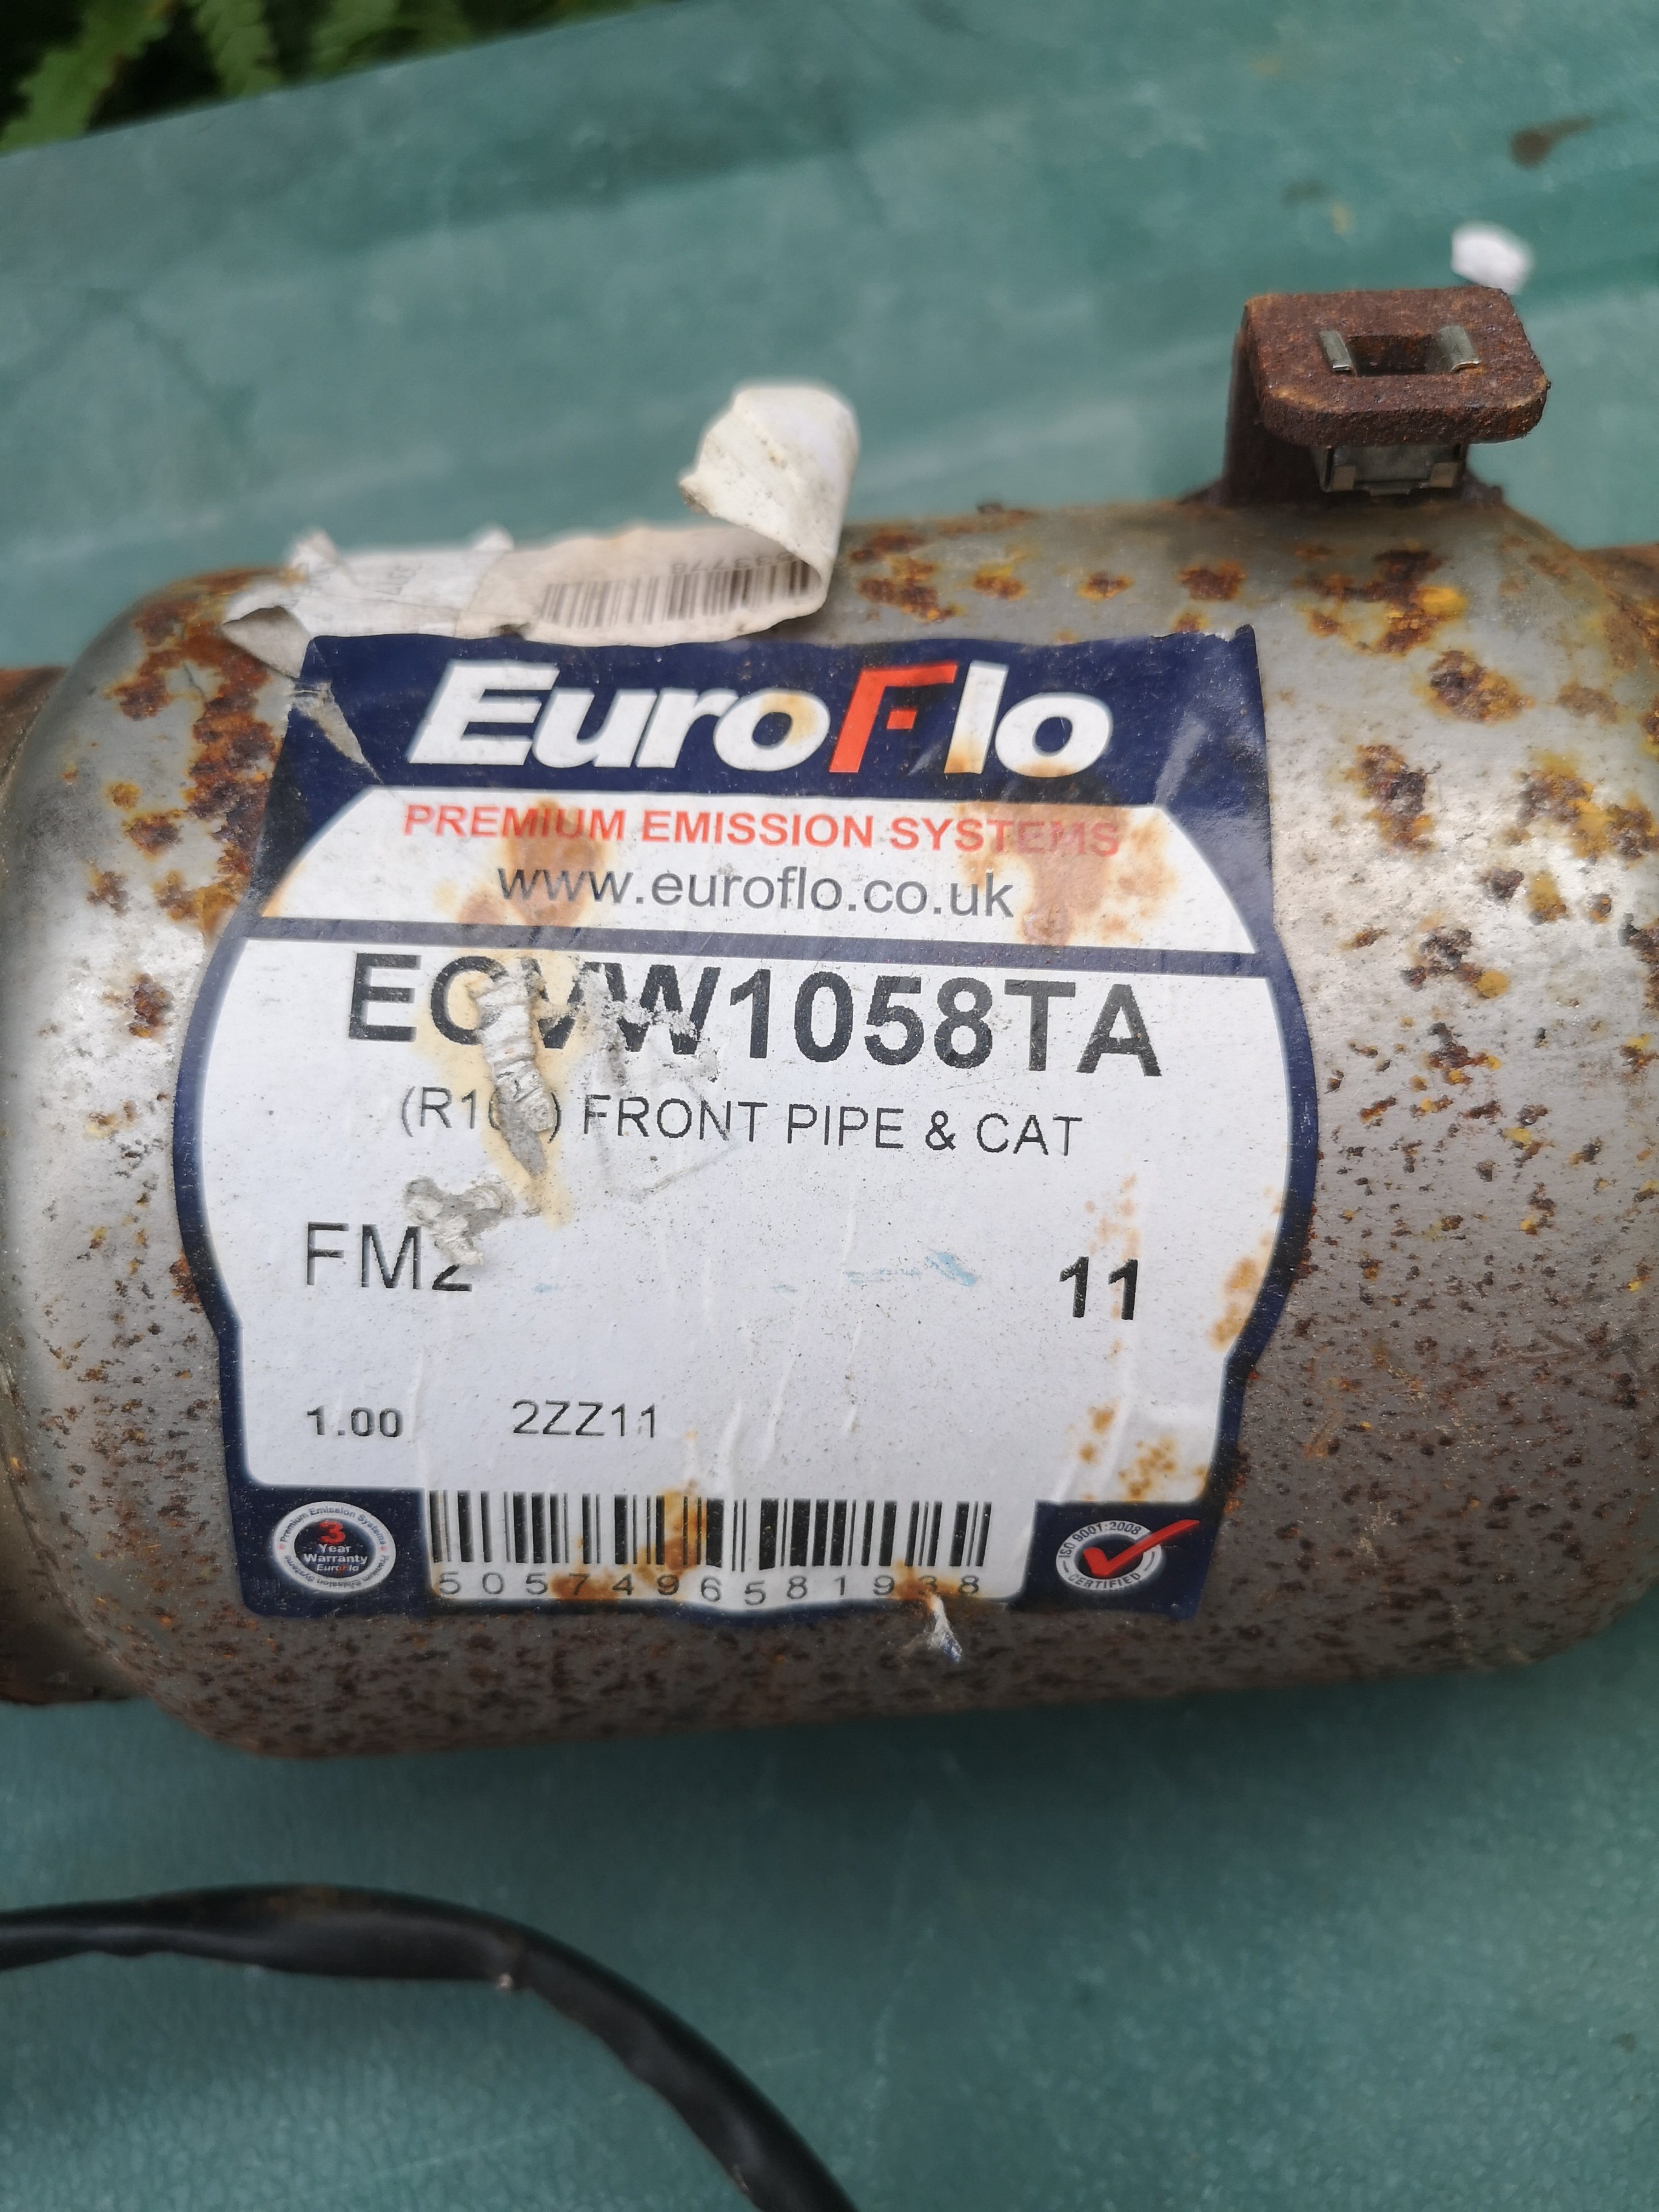
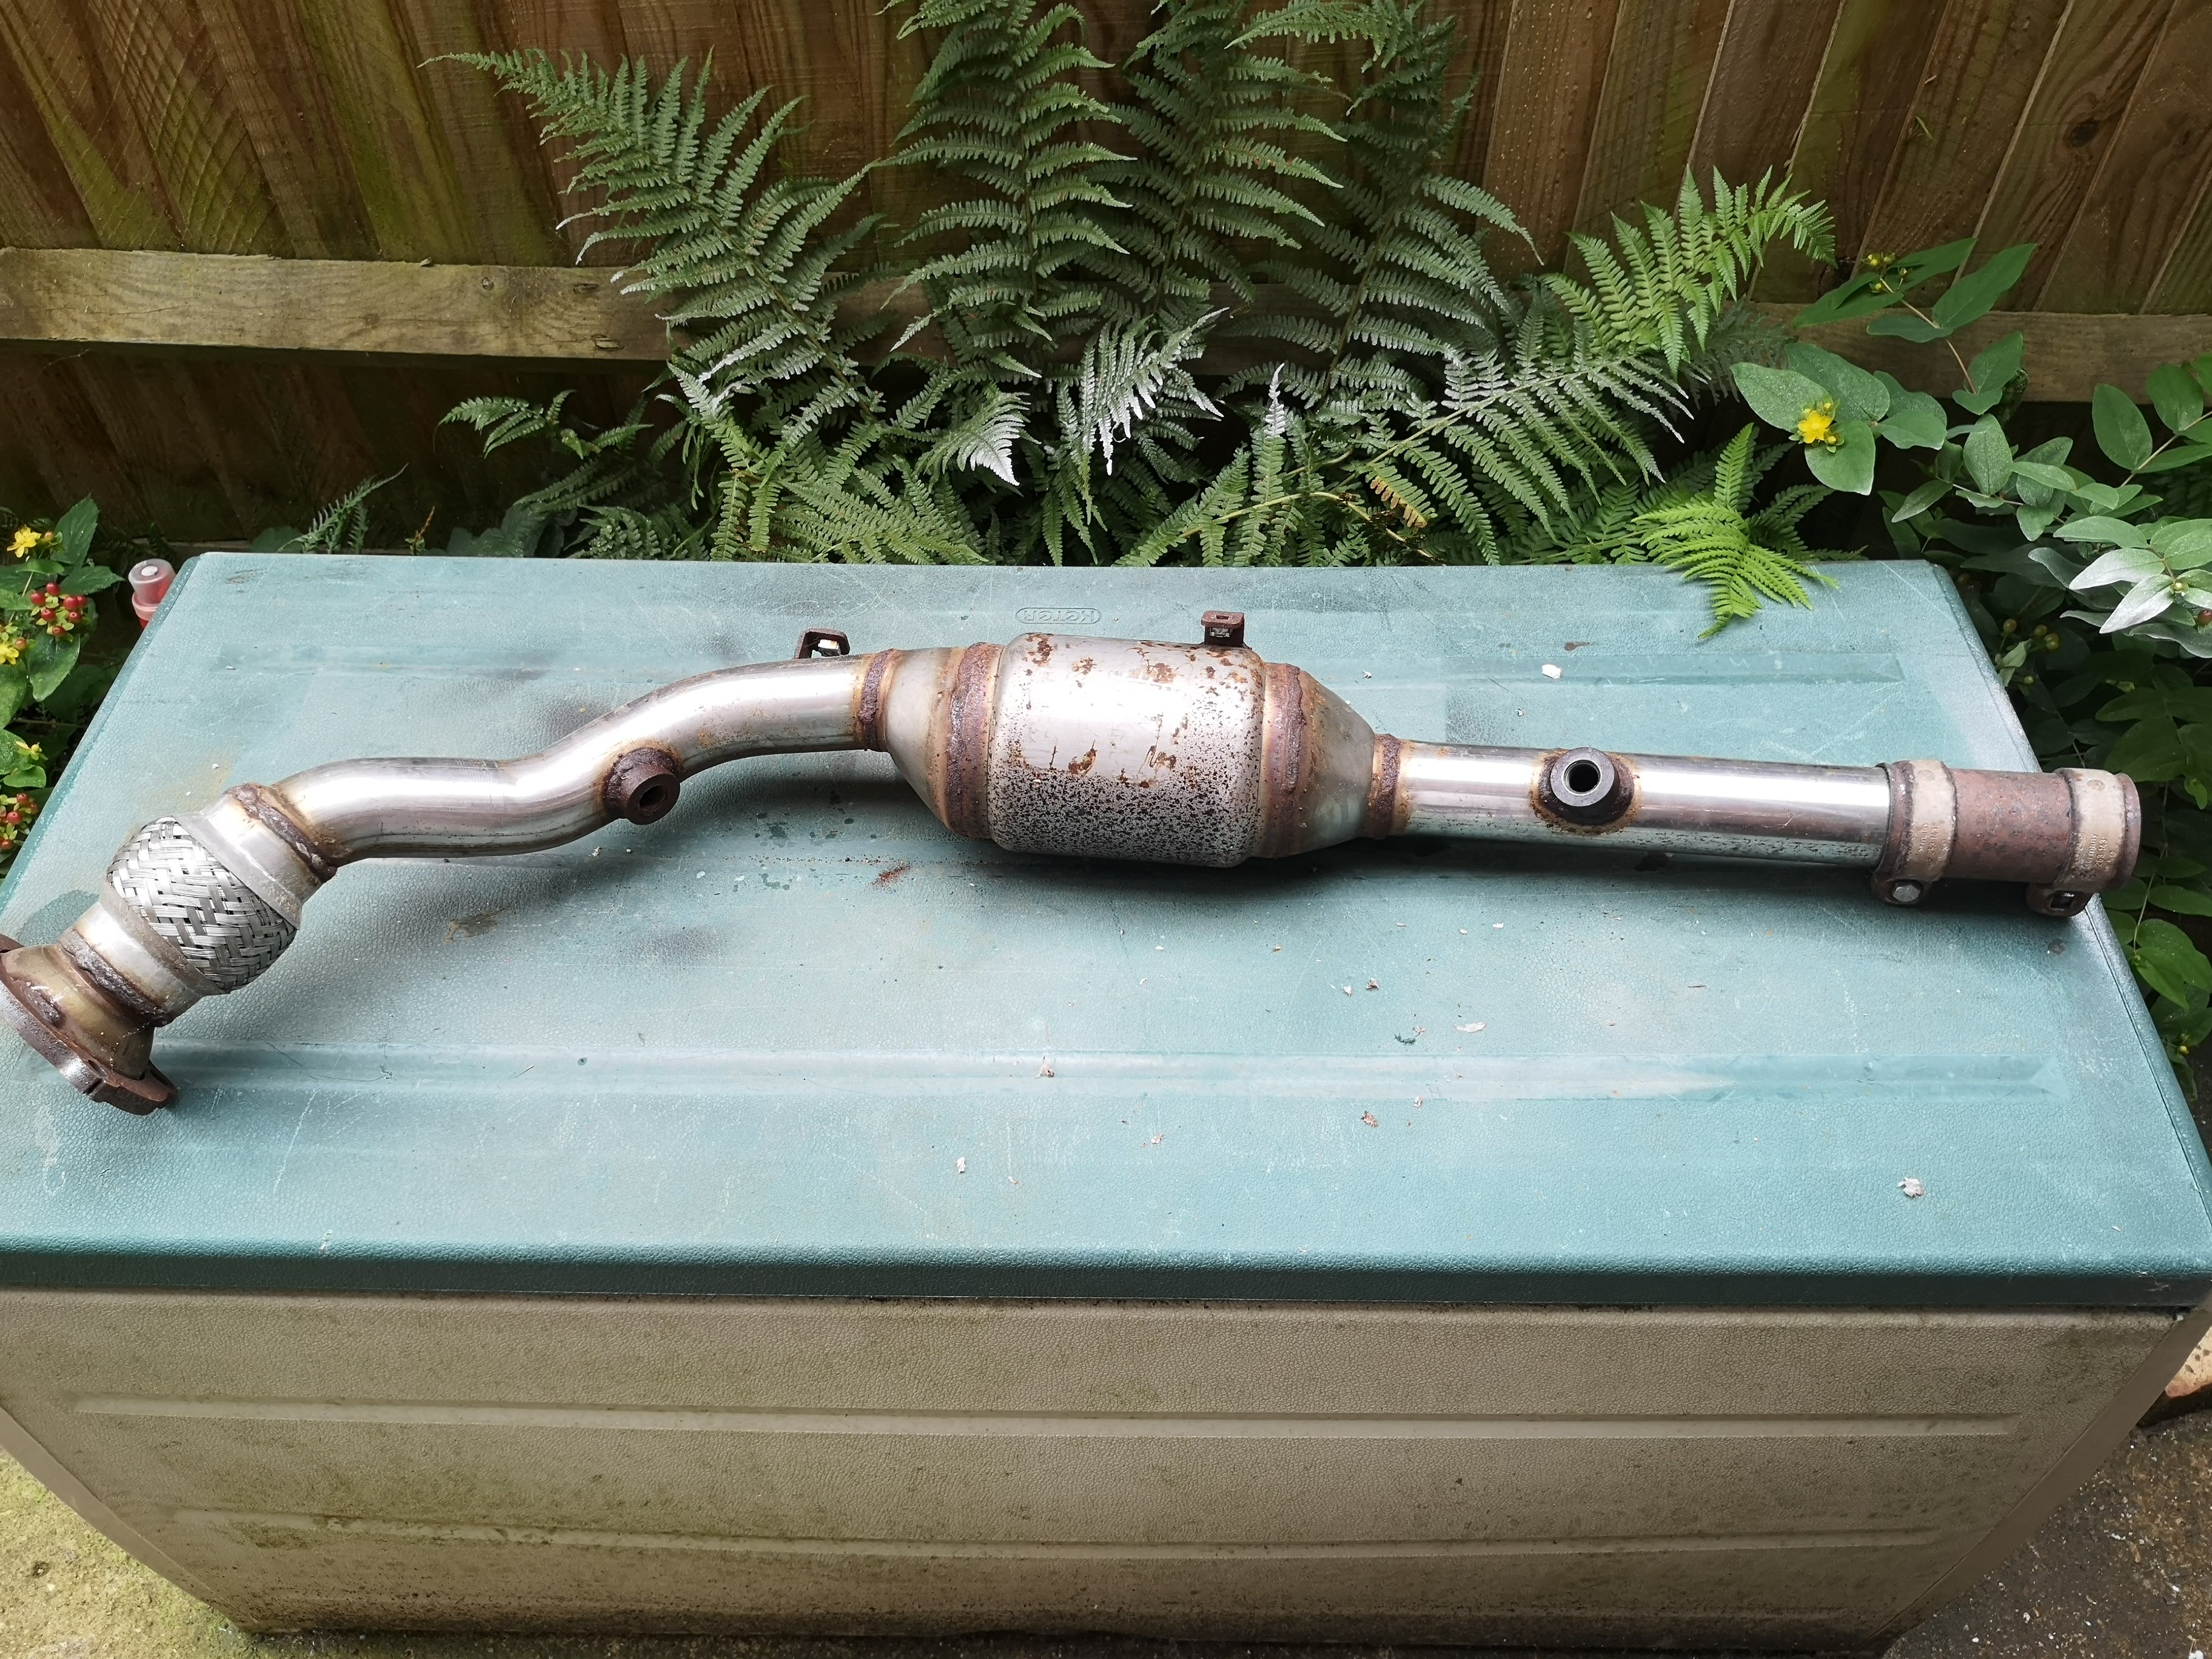
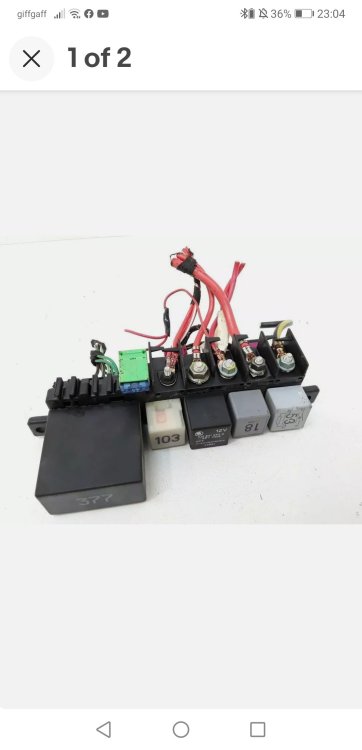 No, just keep it moving, it's fairly easy to do.I've just used a soldering iron to plastic weld bumpers in the past. Usually you can just melt the 2 sections together. If you need to let in additional plastic you need to make sure you use the same type of plastic. The type is normally stamped on the panel somewhere, eg ABS etc.Got all new hardware to fit the exhaust. I'll fit a new front lambda while I'm at it as the car was still running one dated 2003, and these can be a pain to change in situ. Just a bit of preventative maintenance. The last job holding me up fitting the exhaust is a couple of snapped manifold studs. I'll have to drill and tap those, which will be fun due to the tight space.
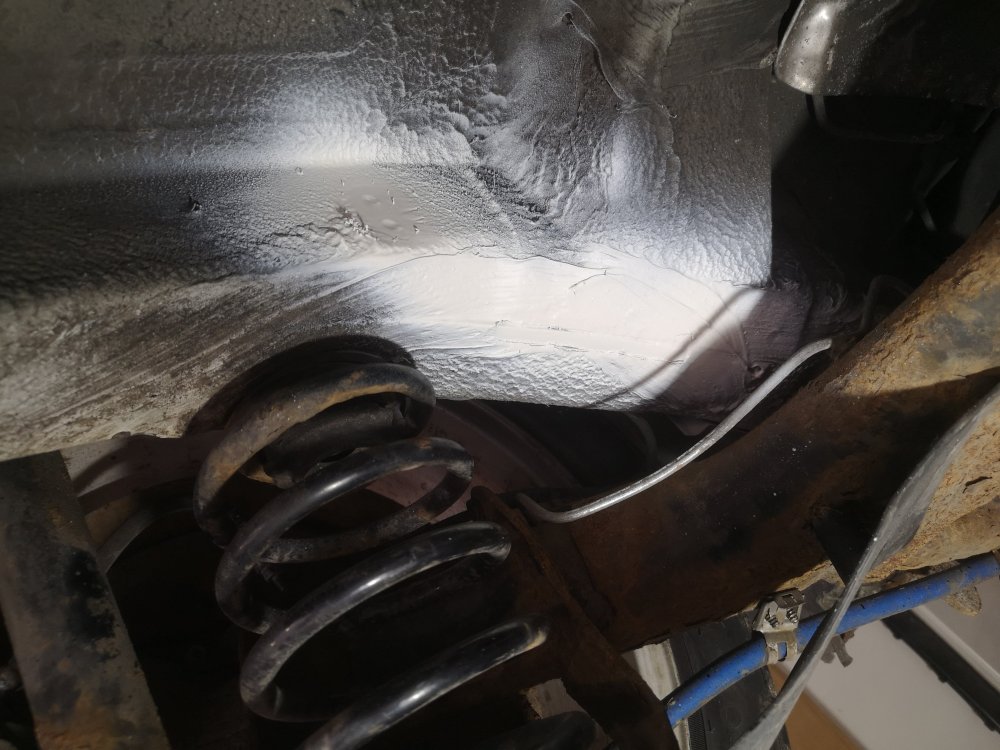
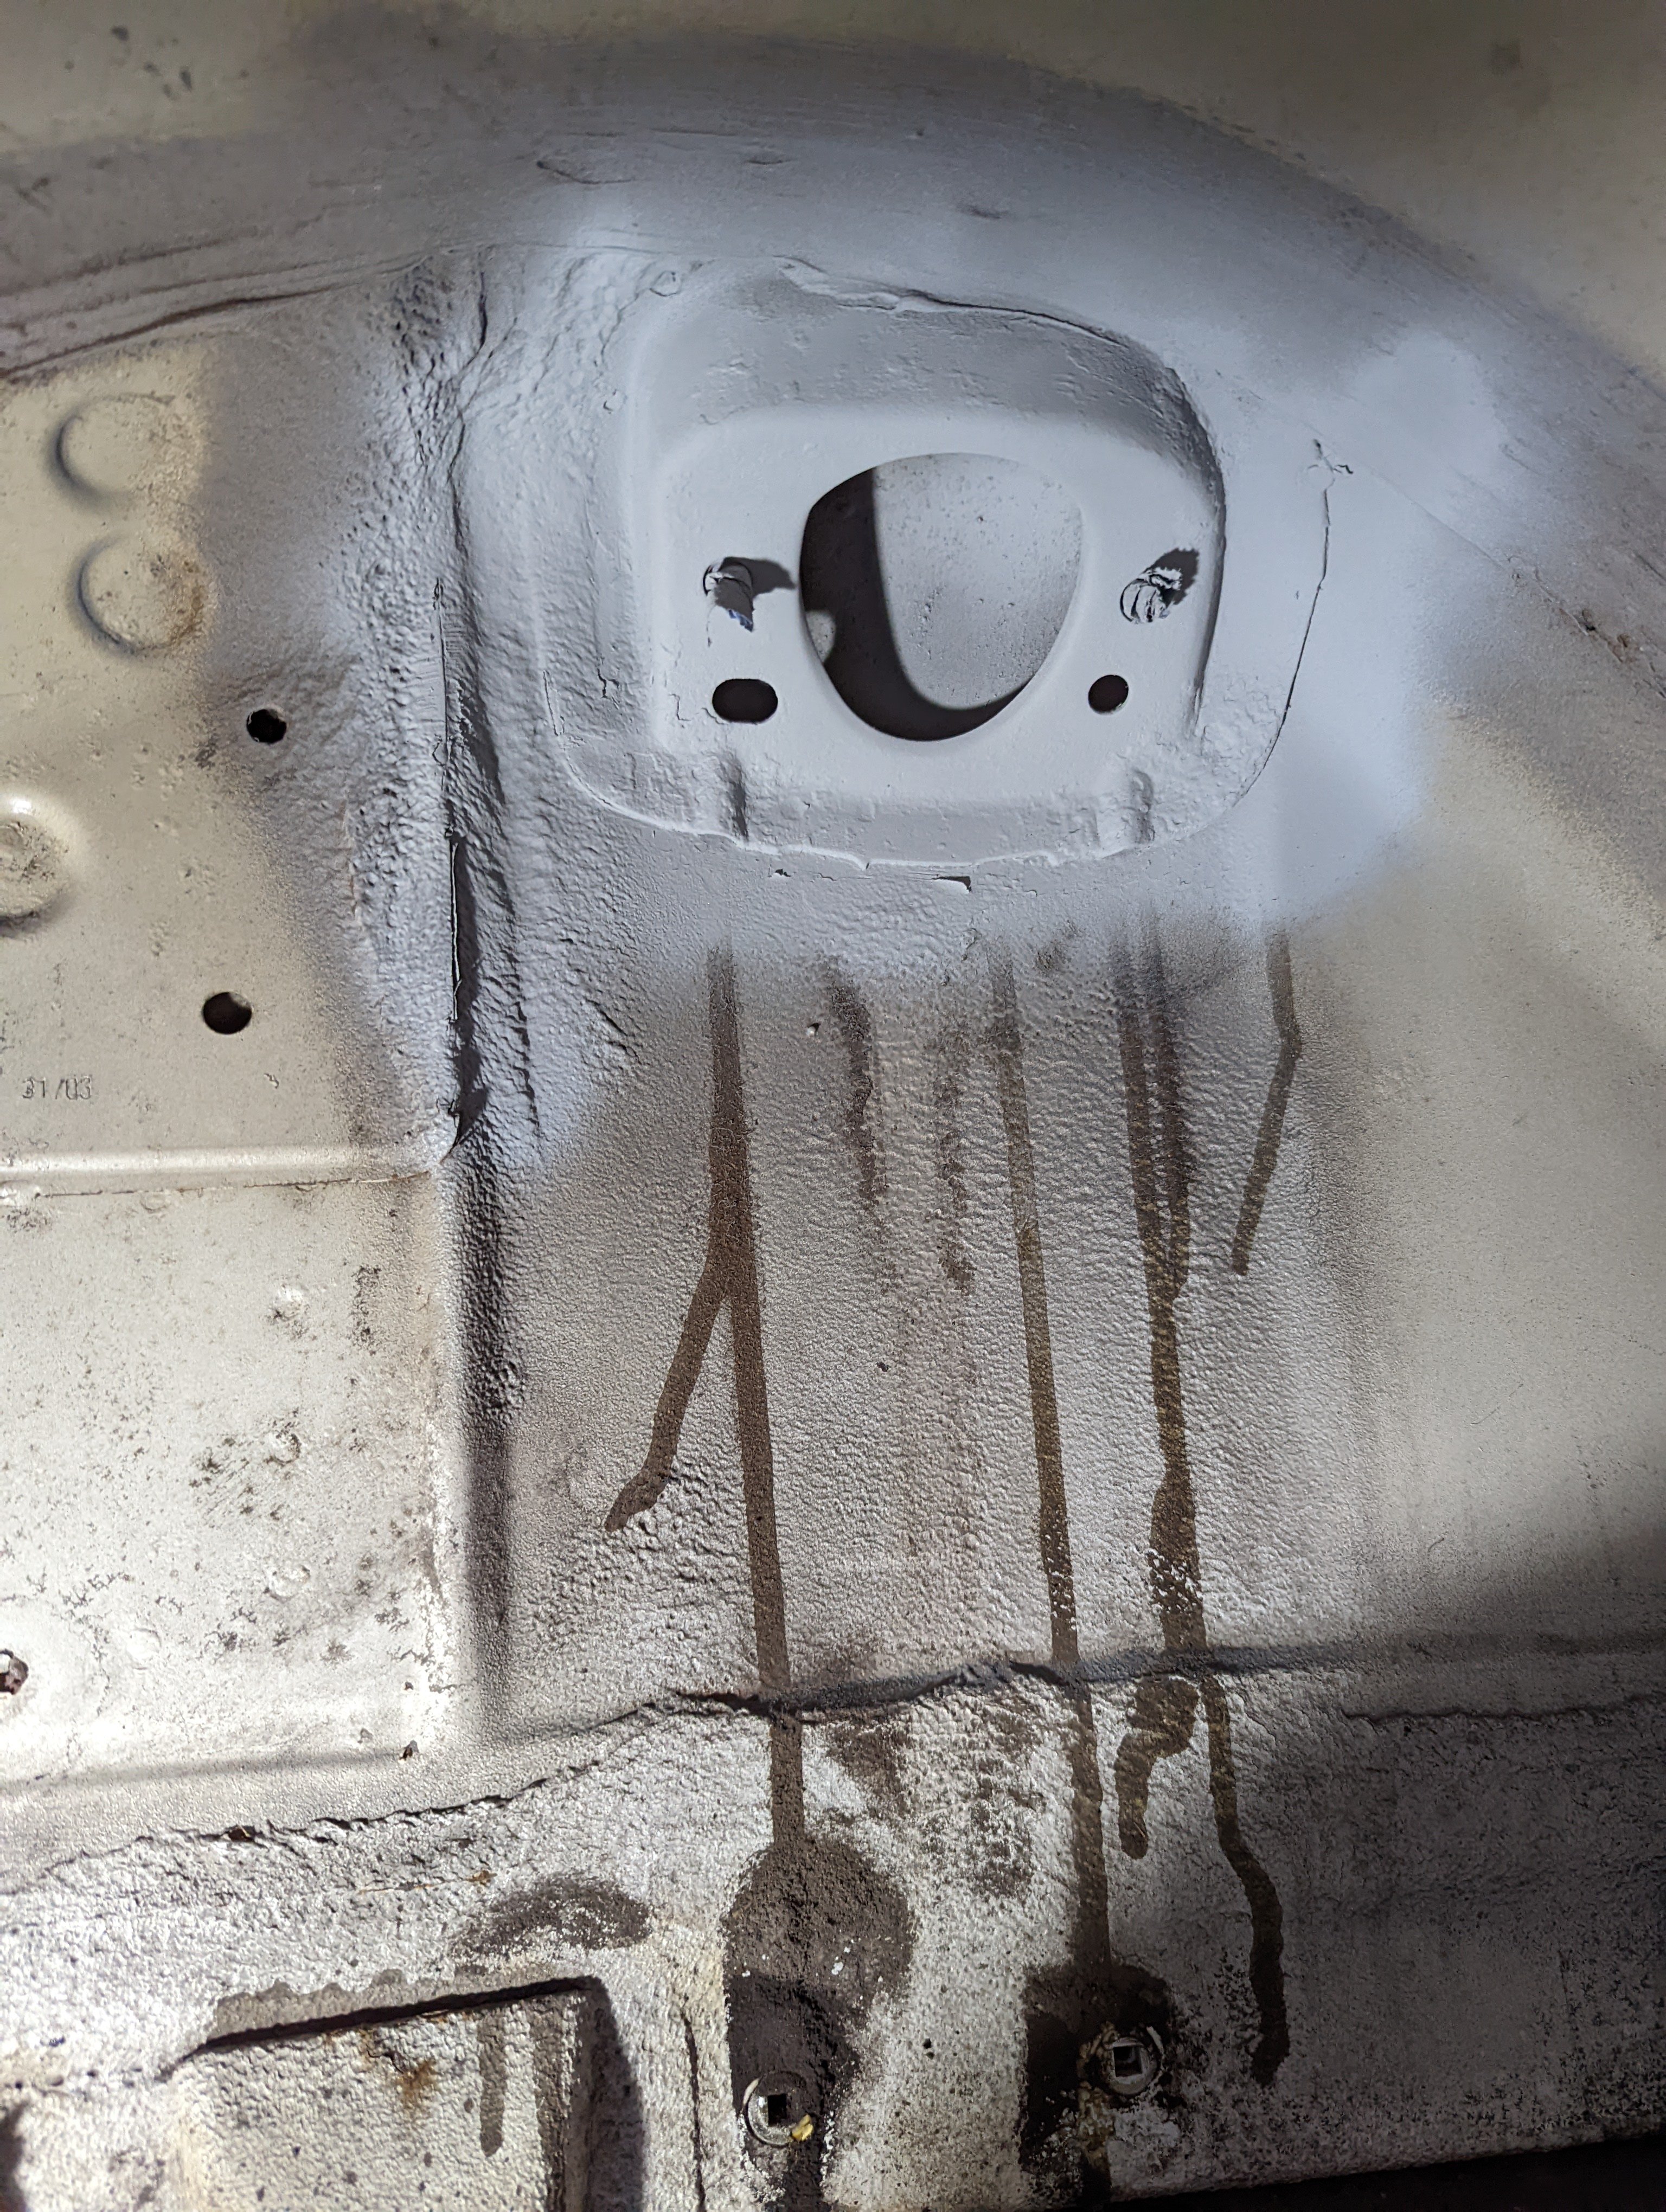
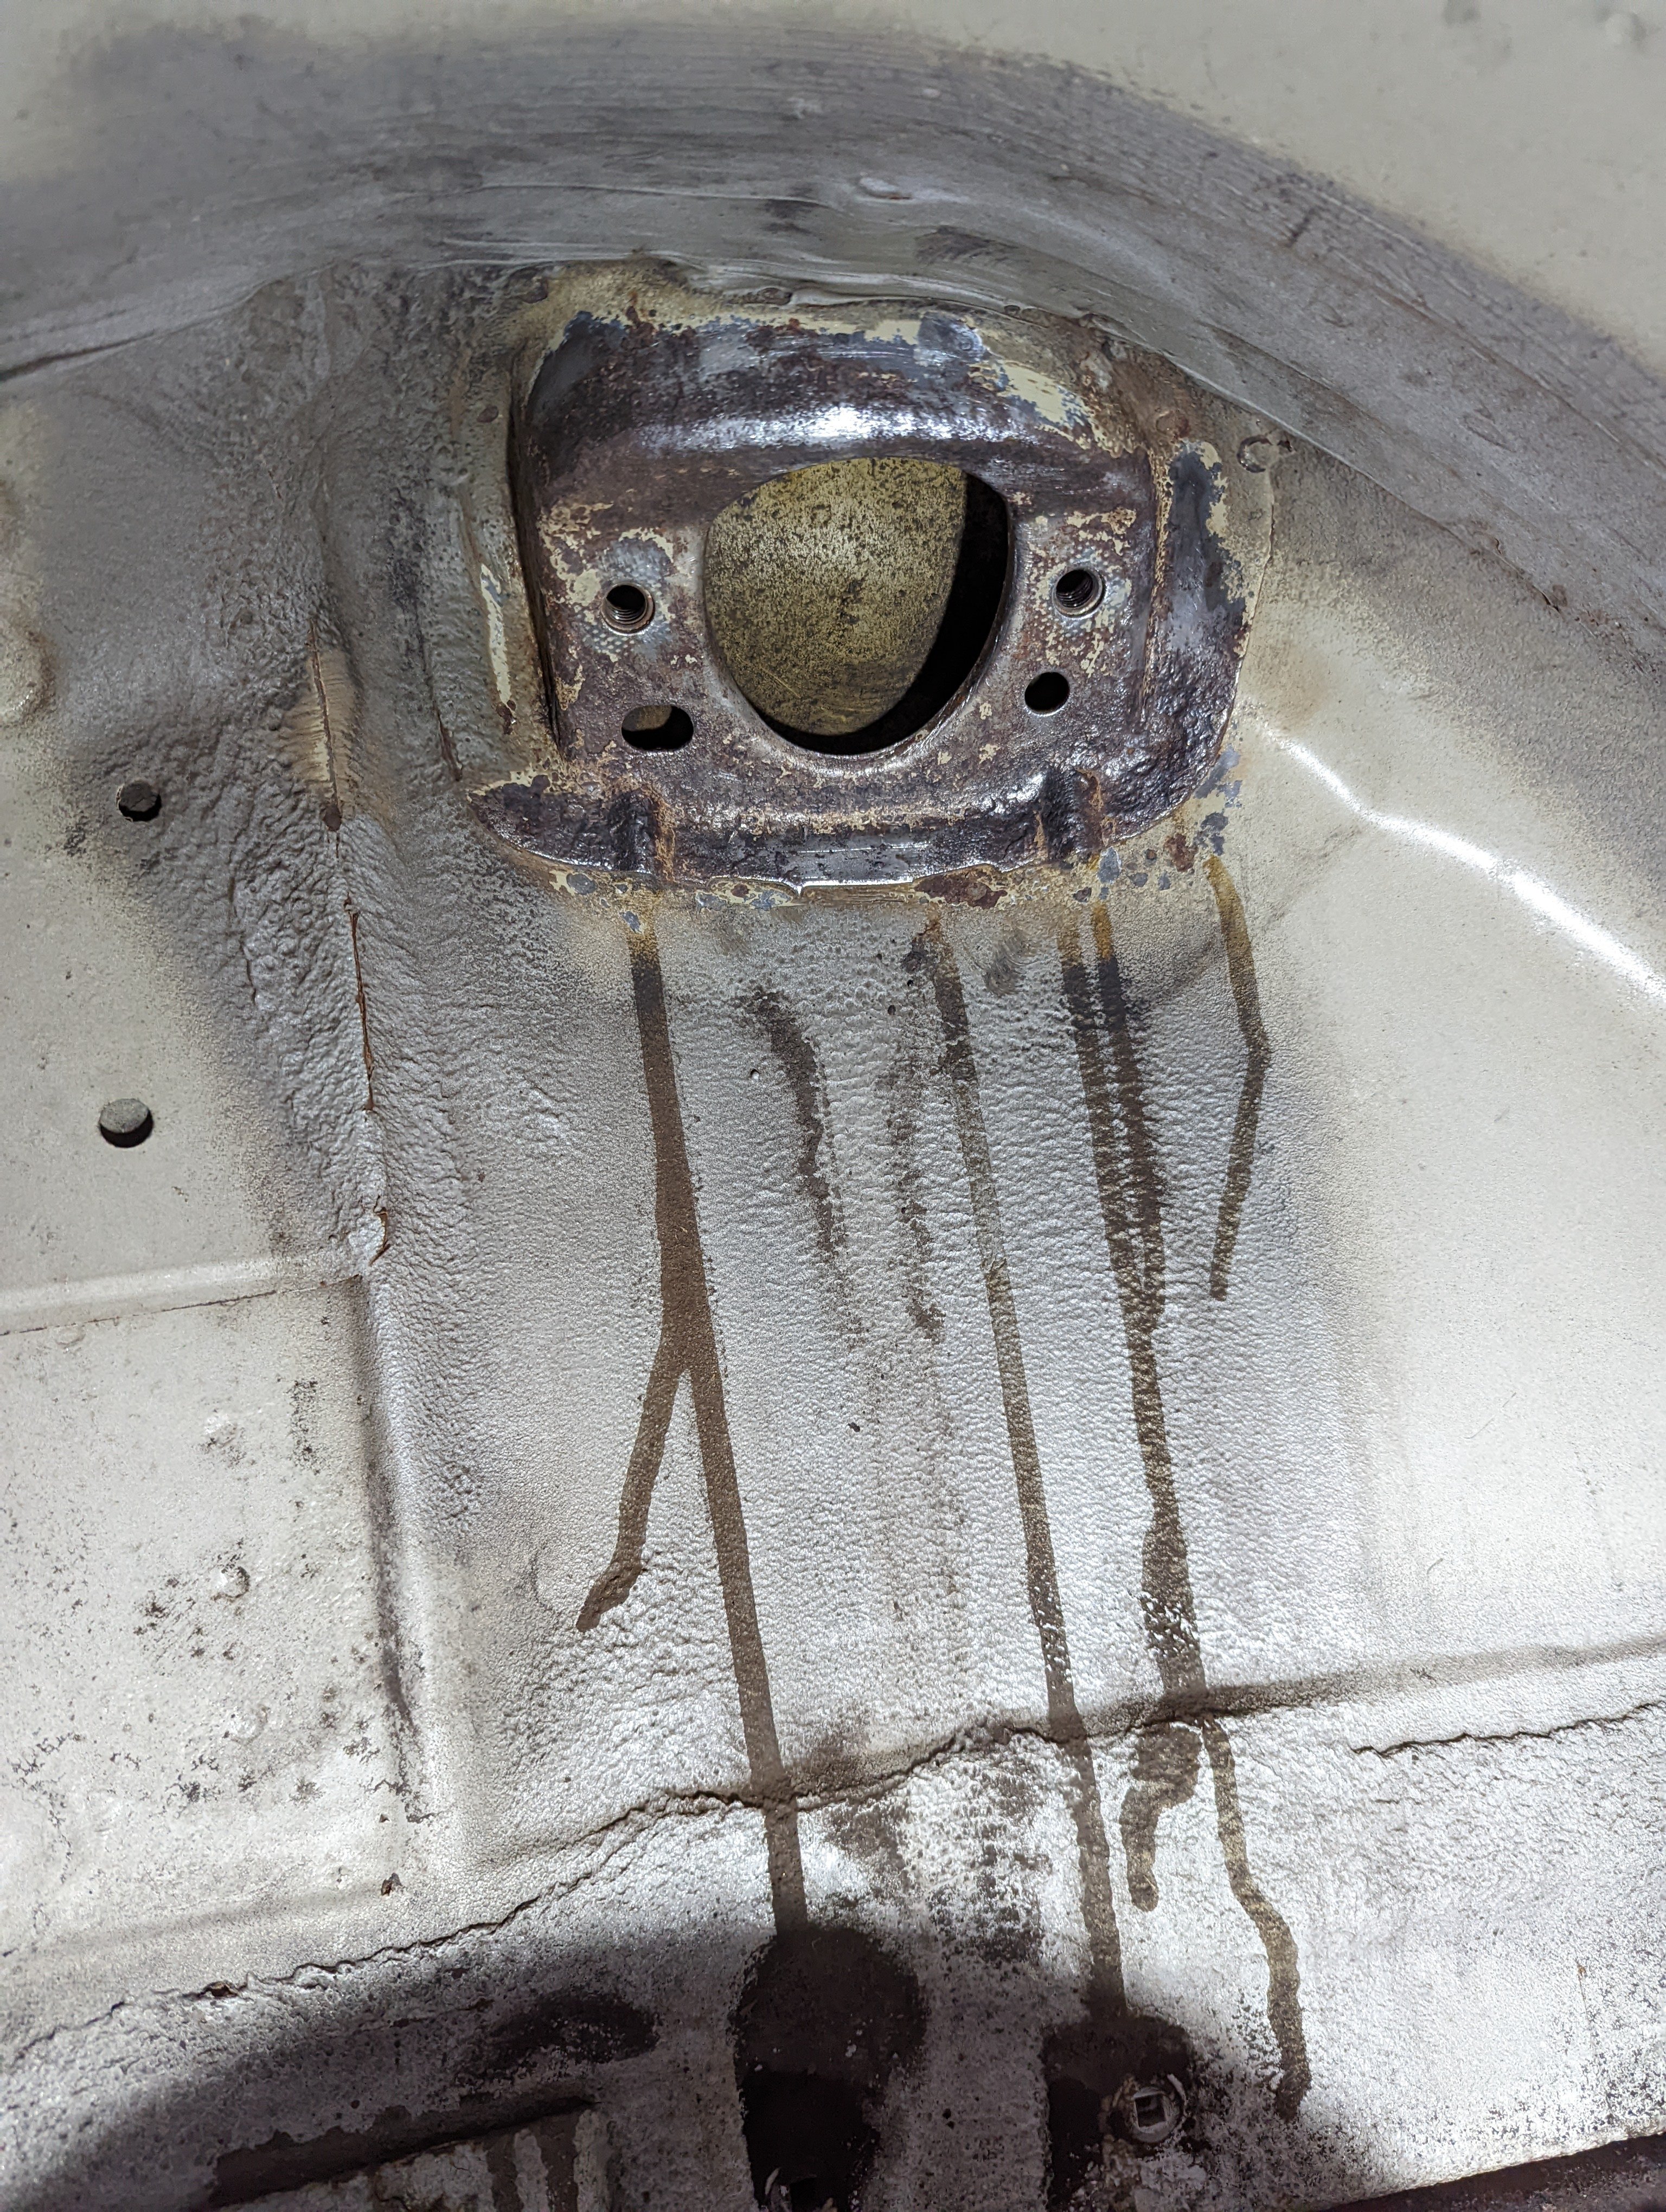
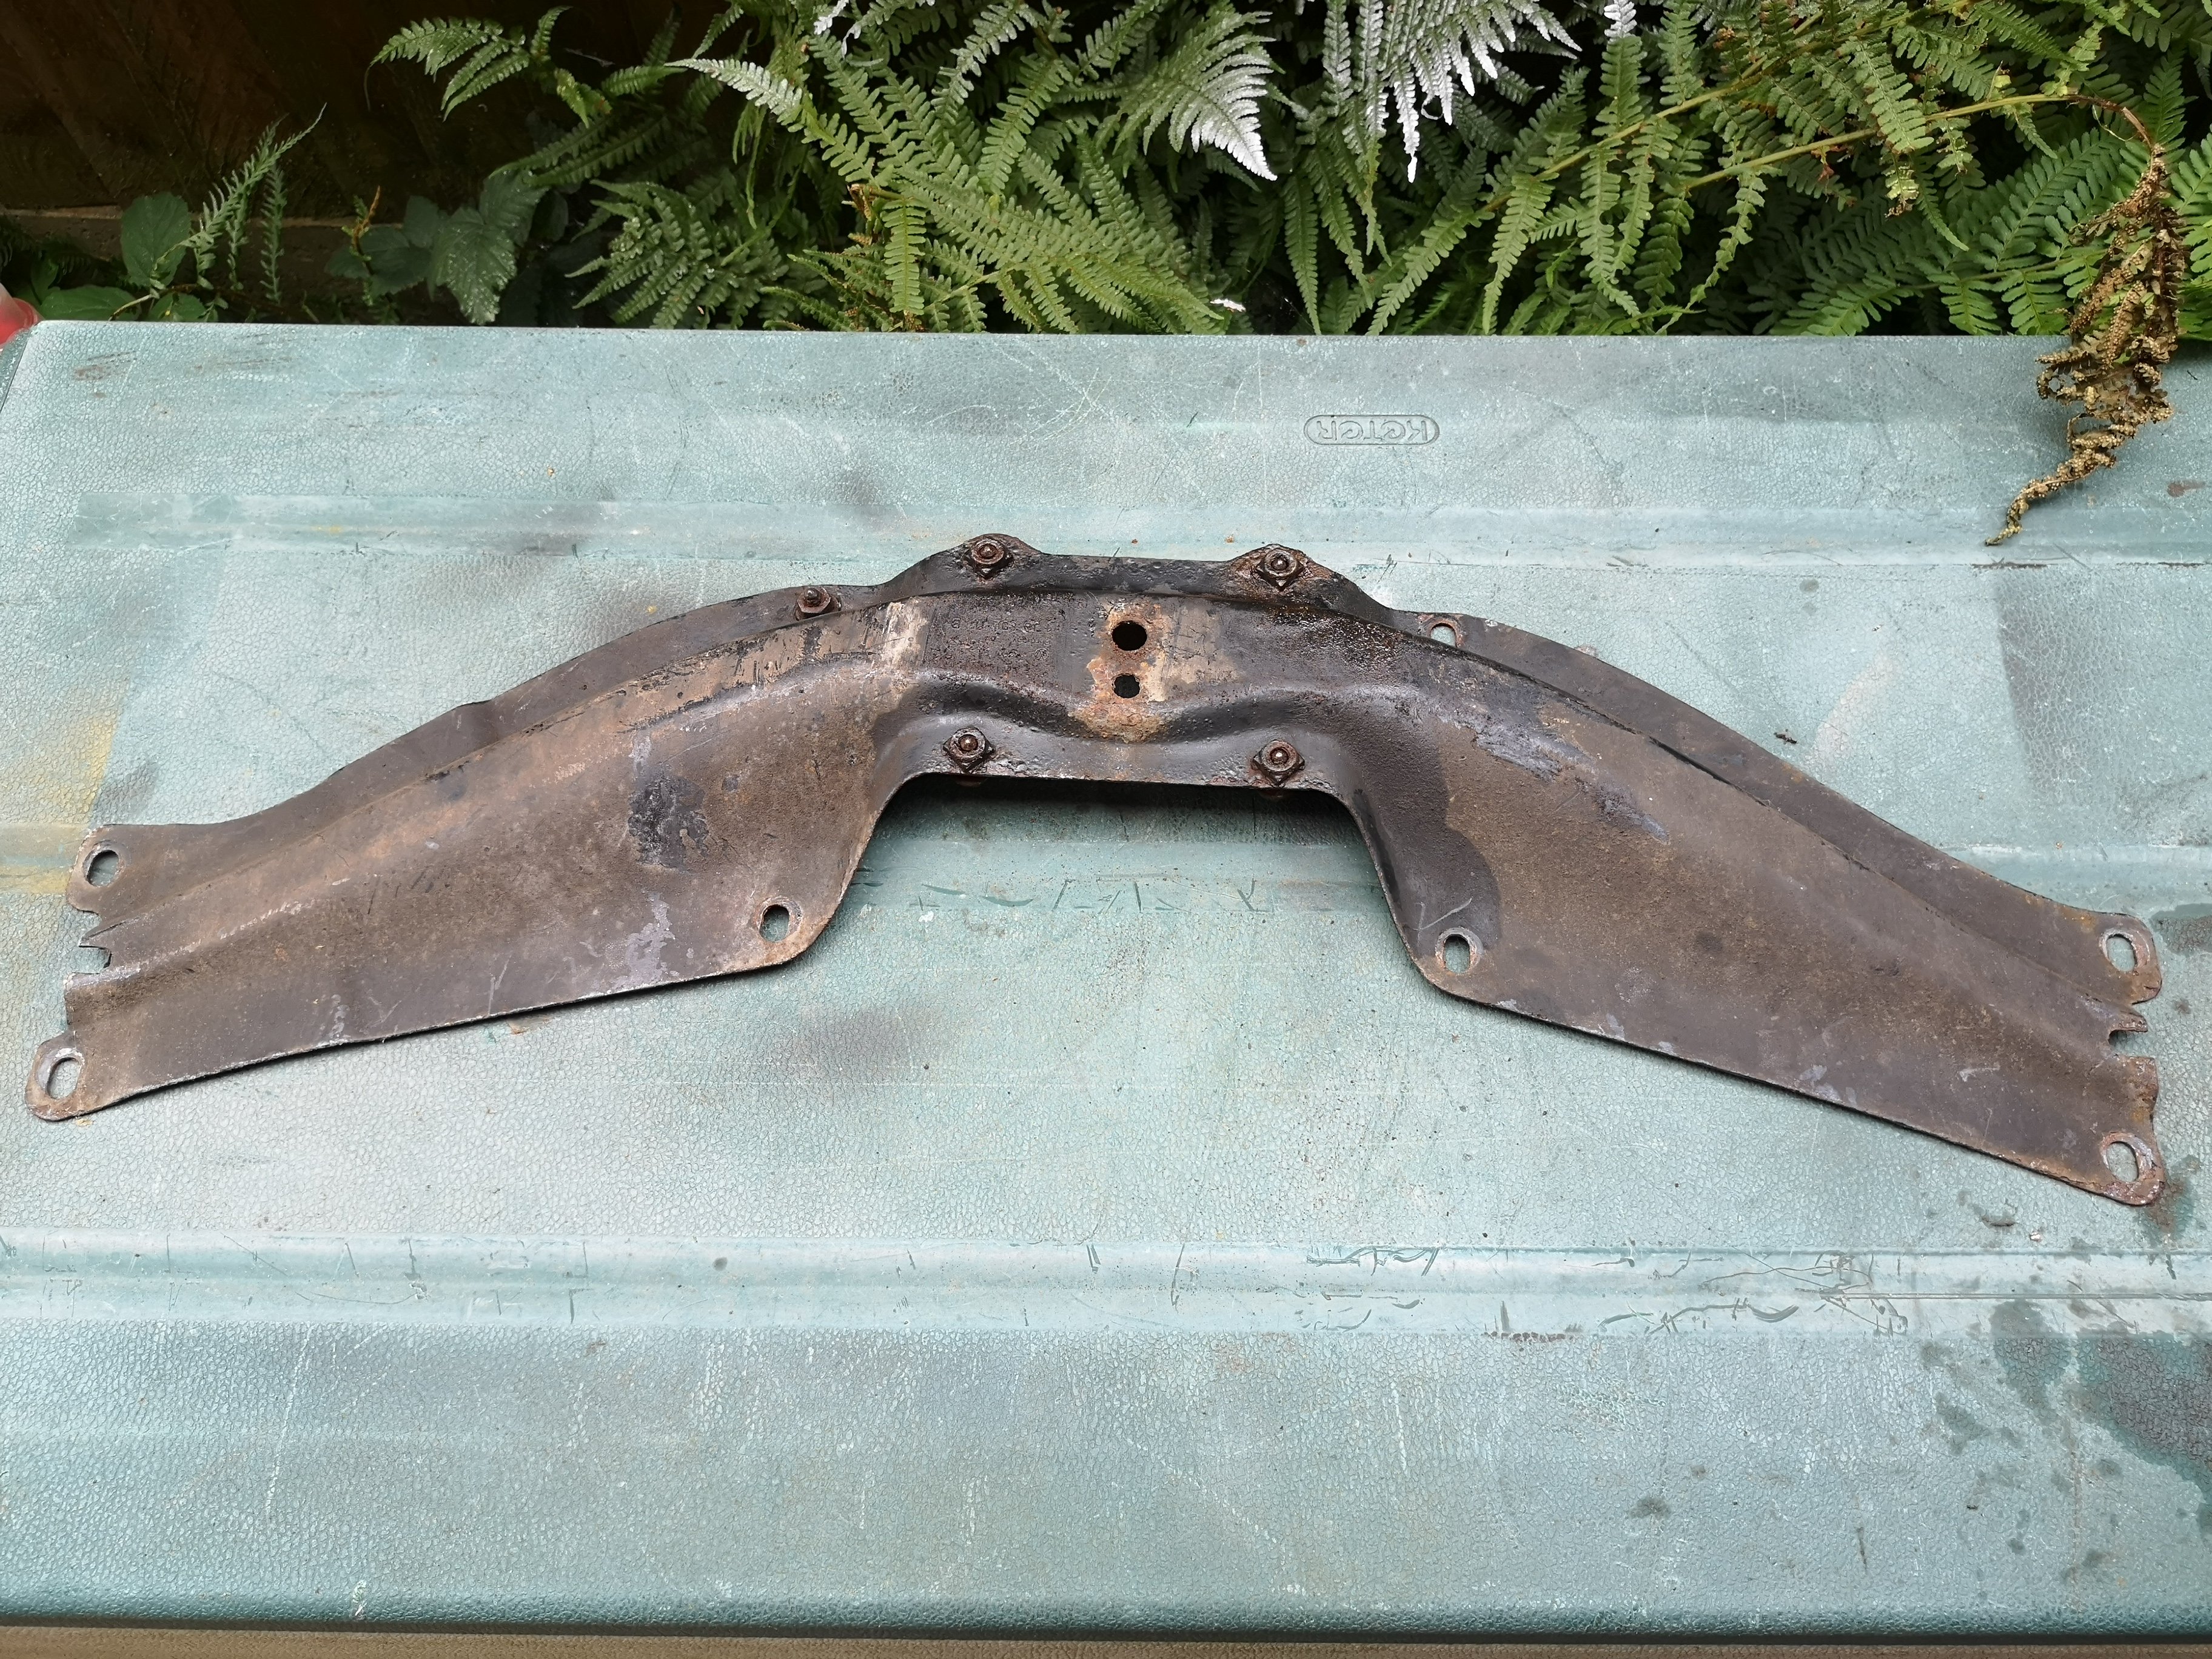
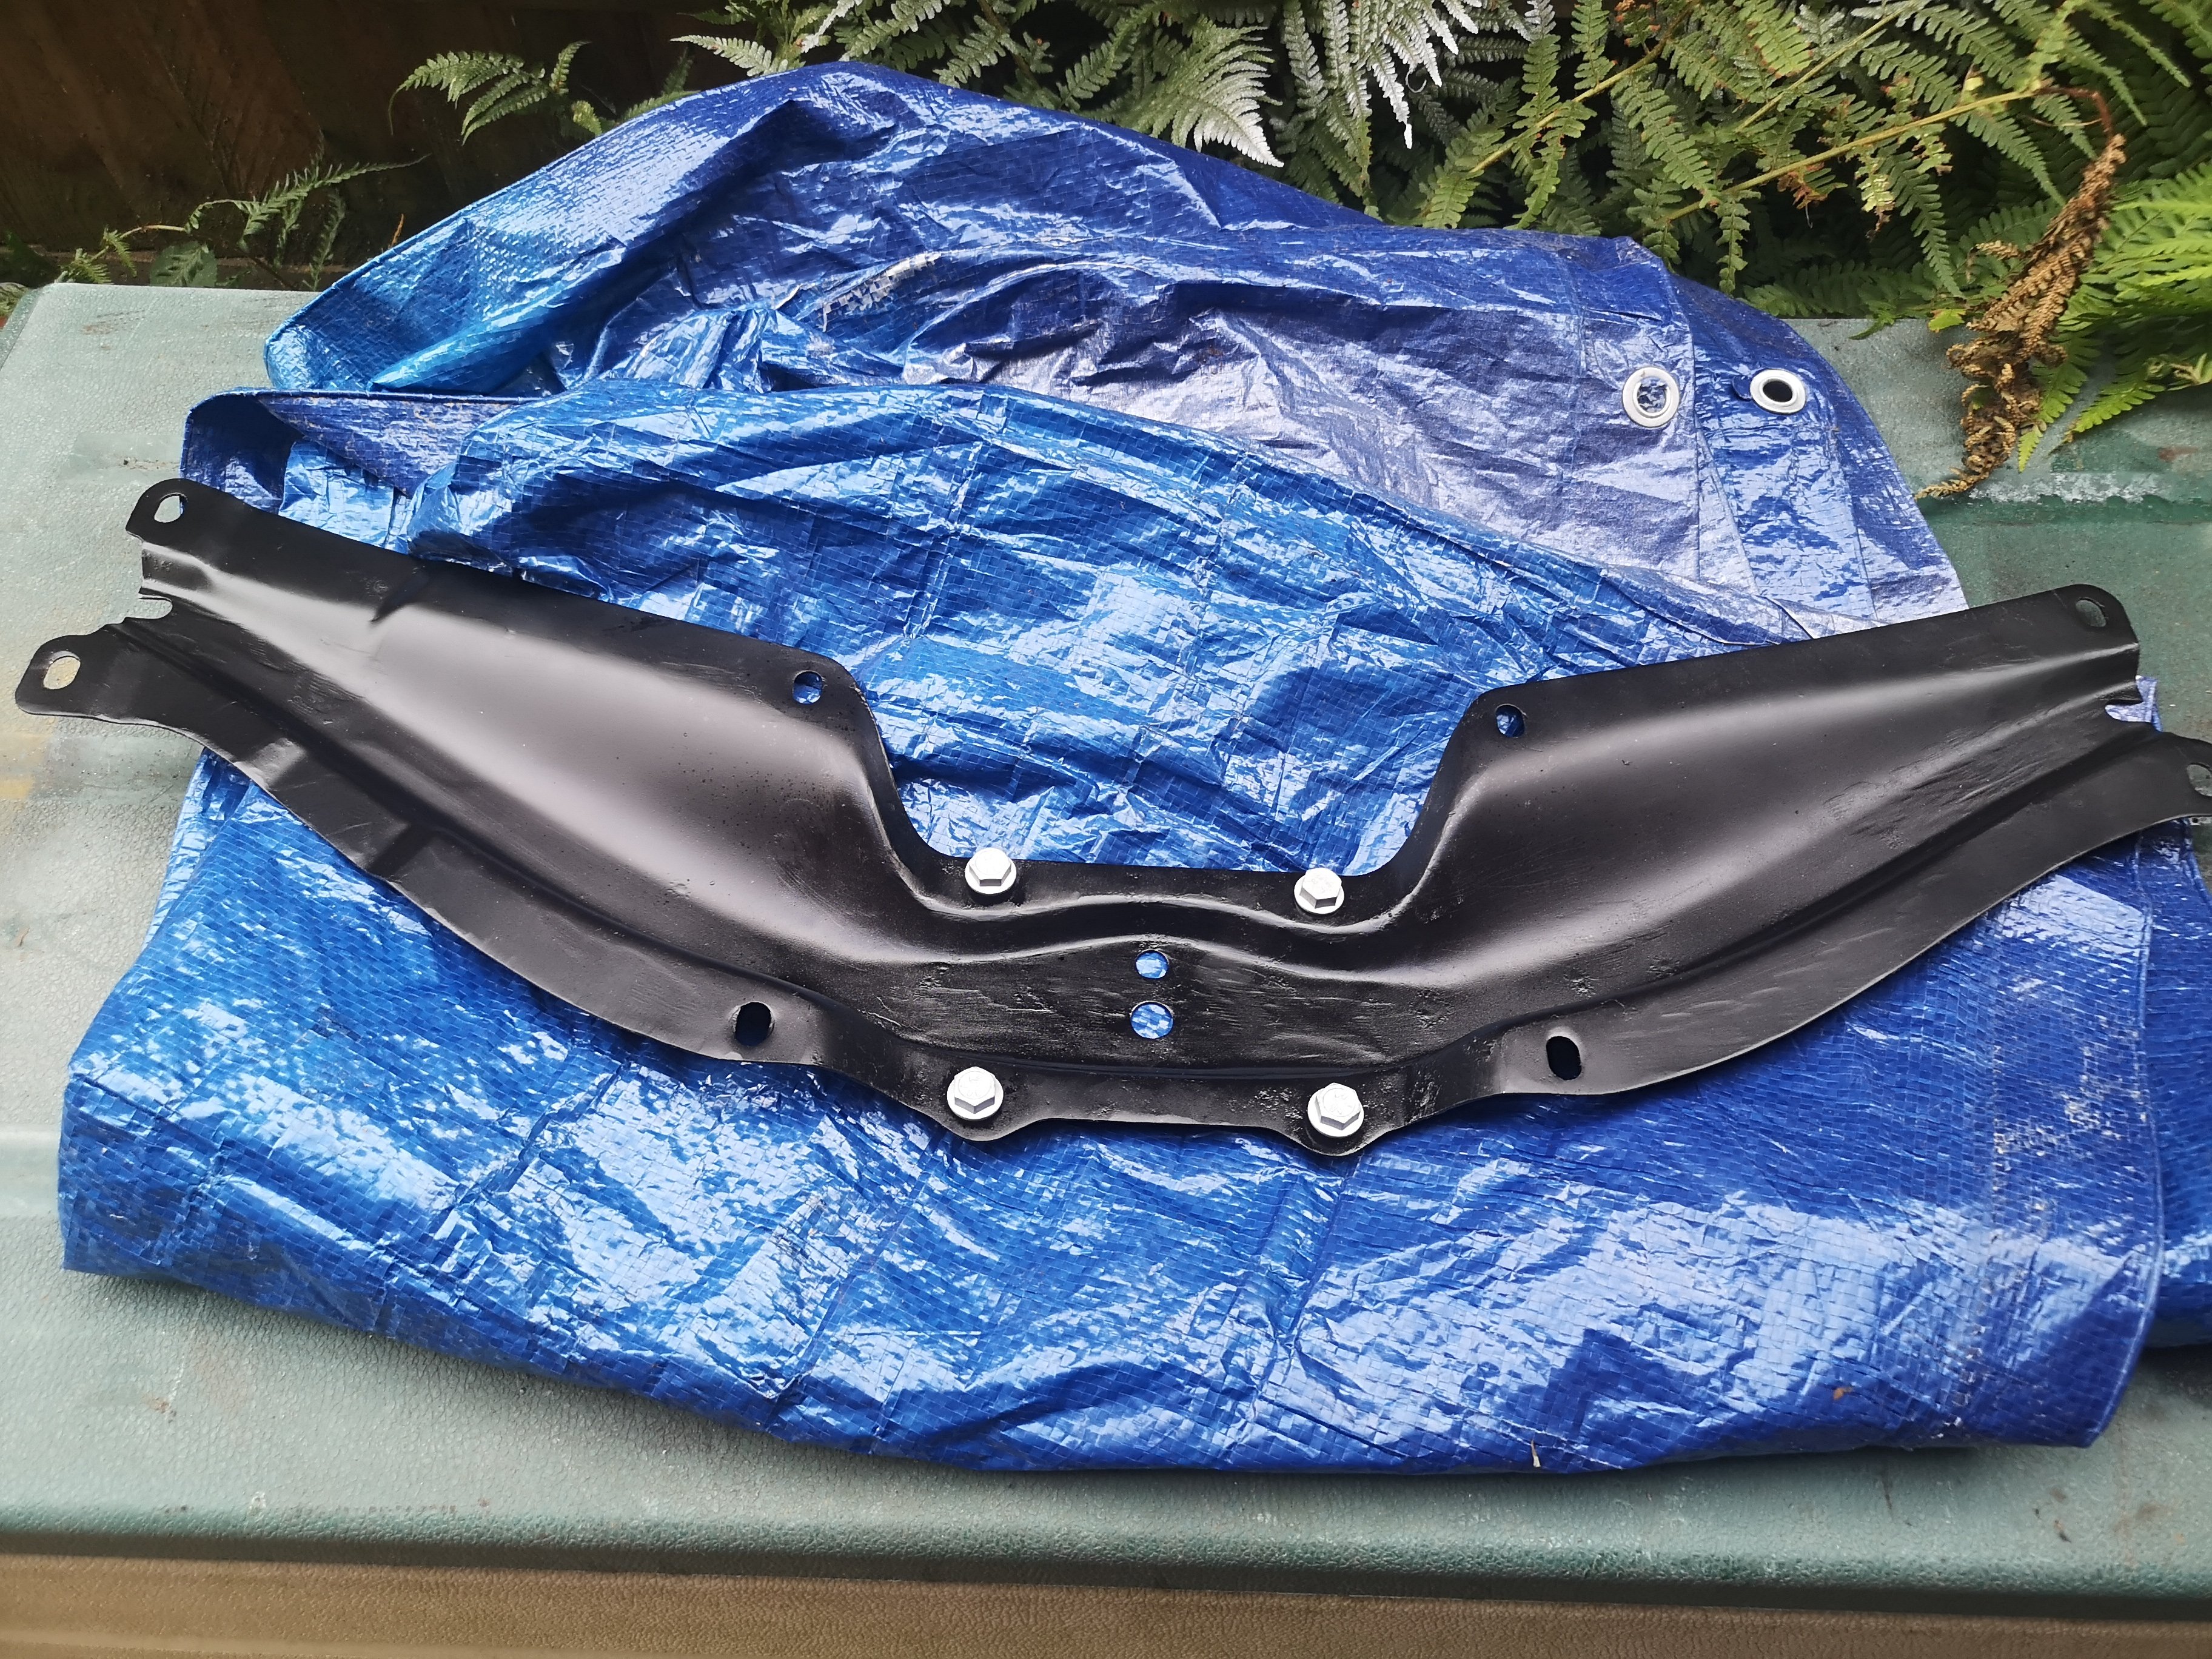
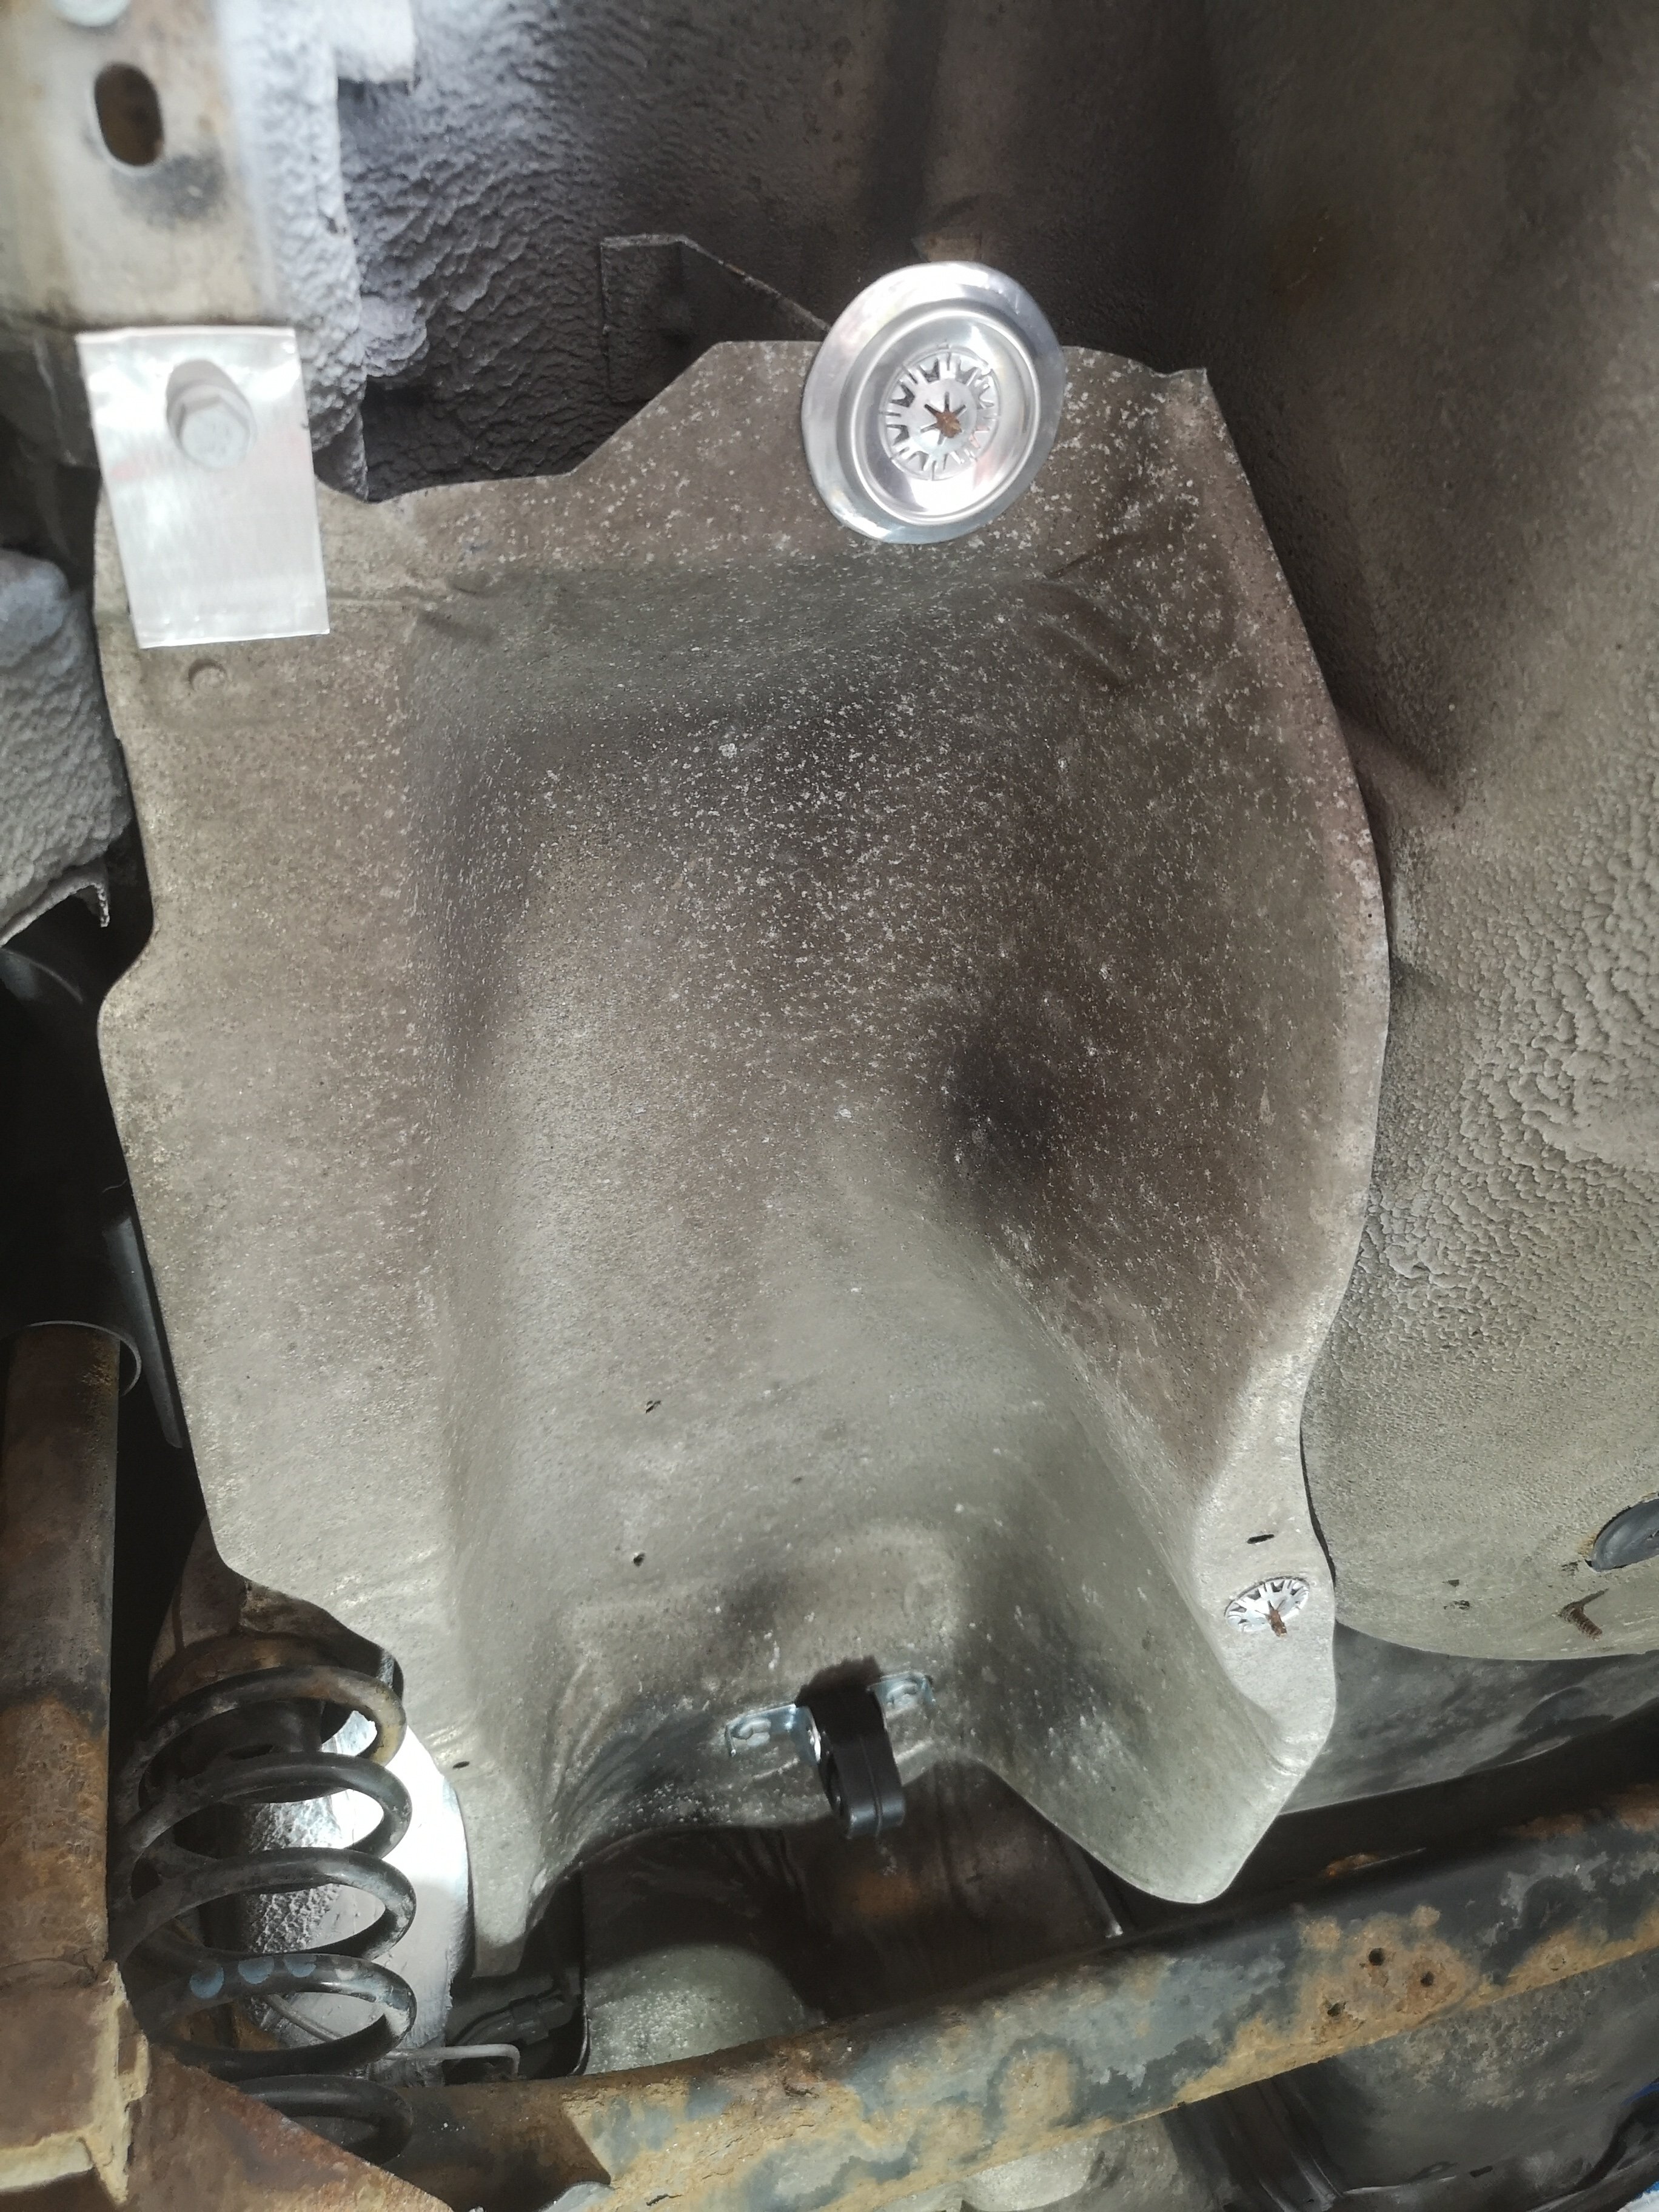
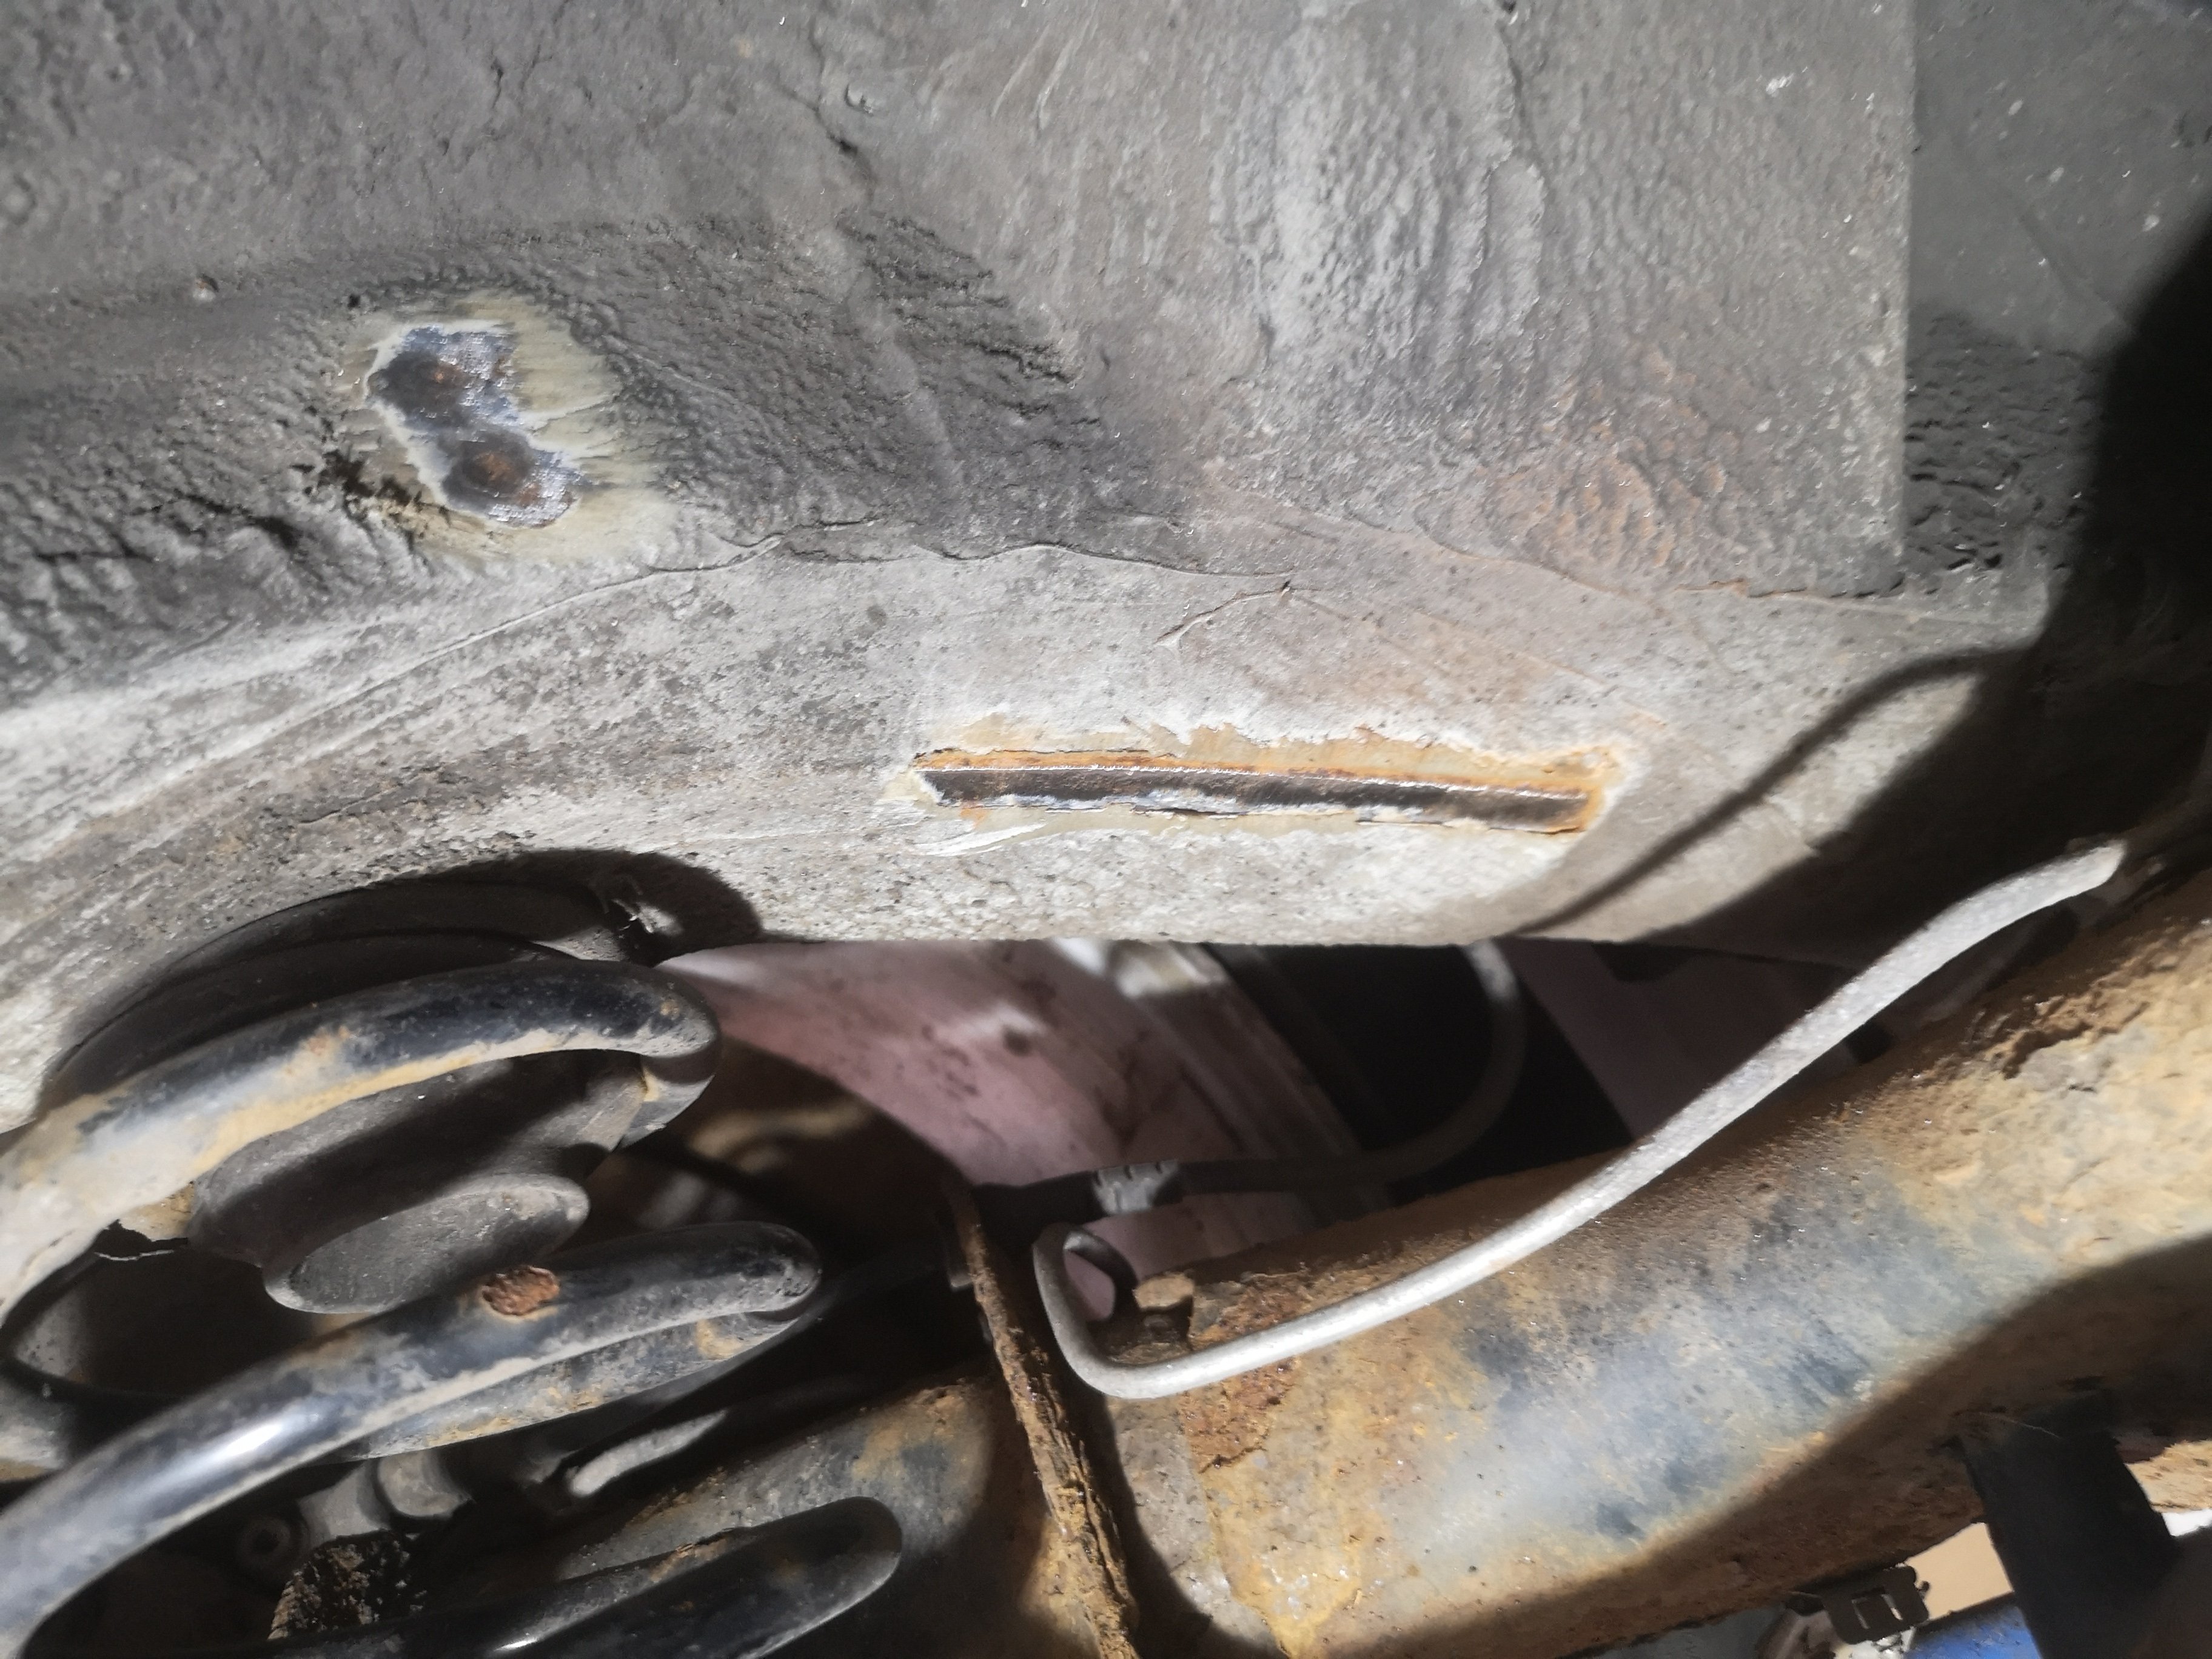
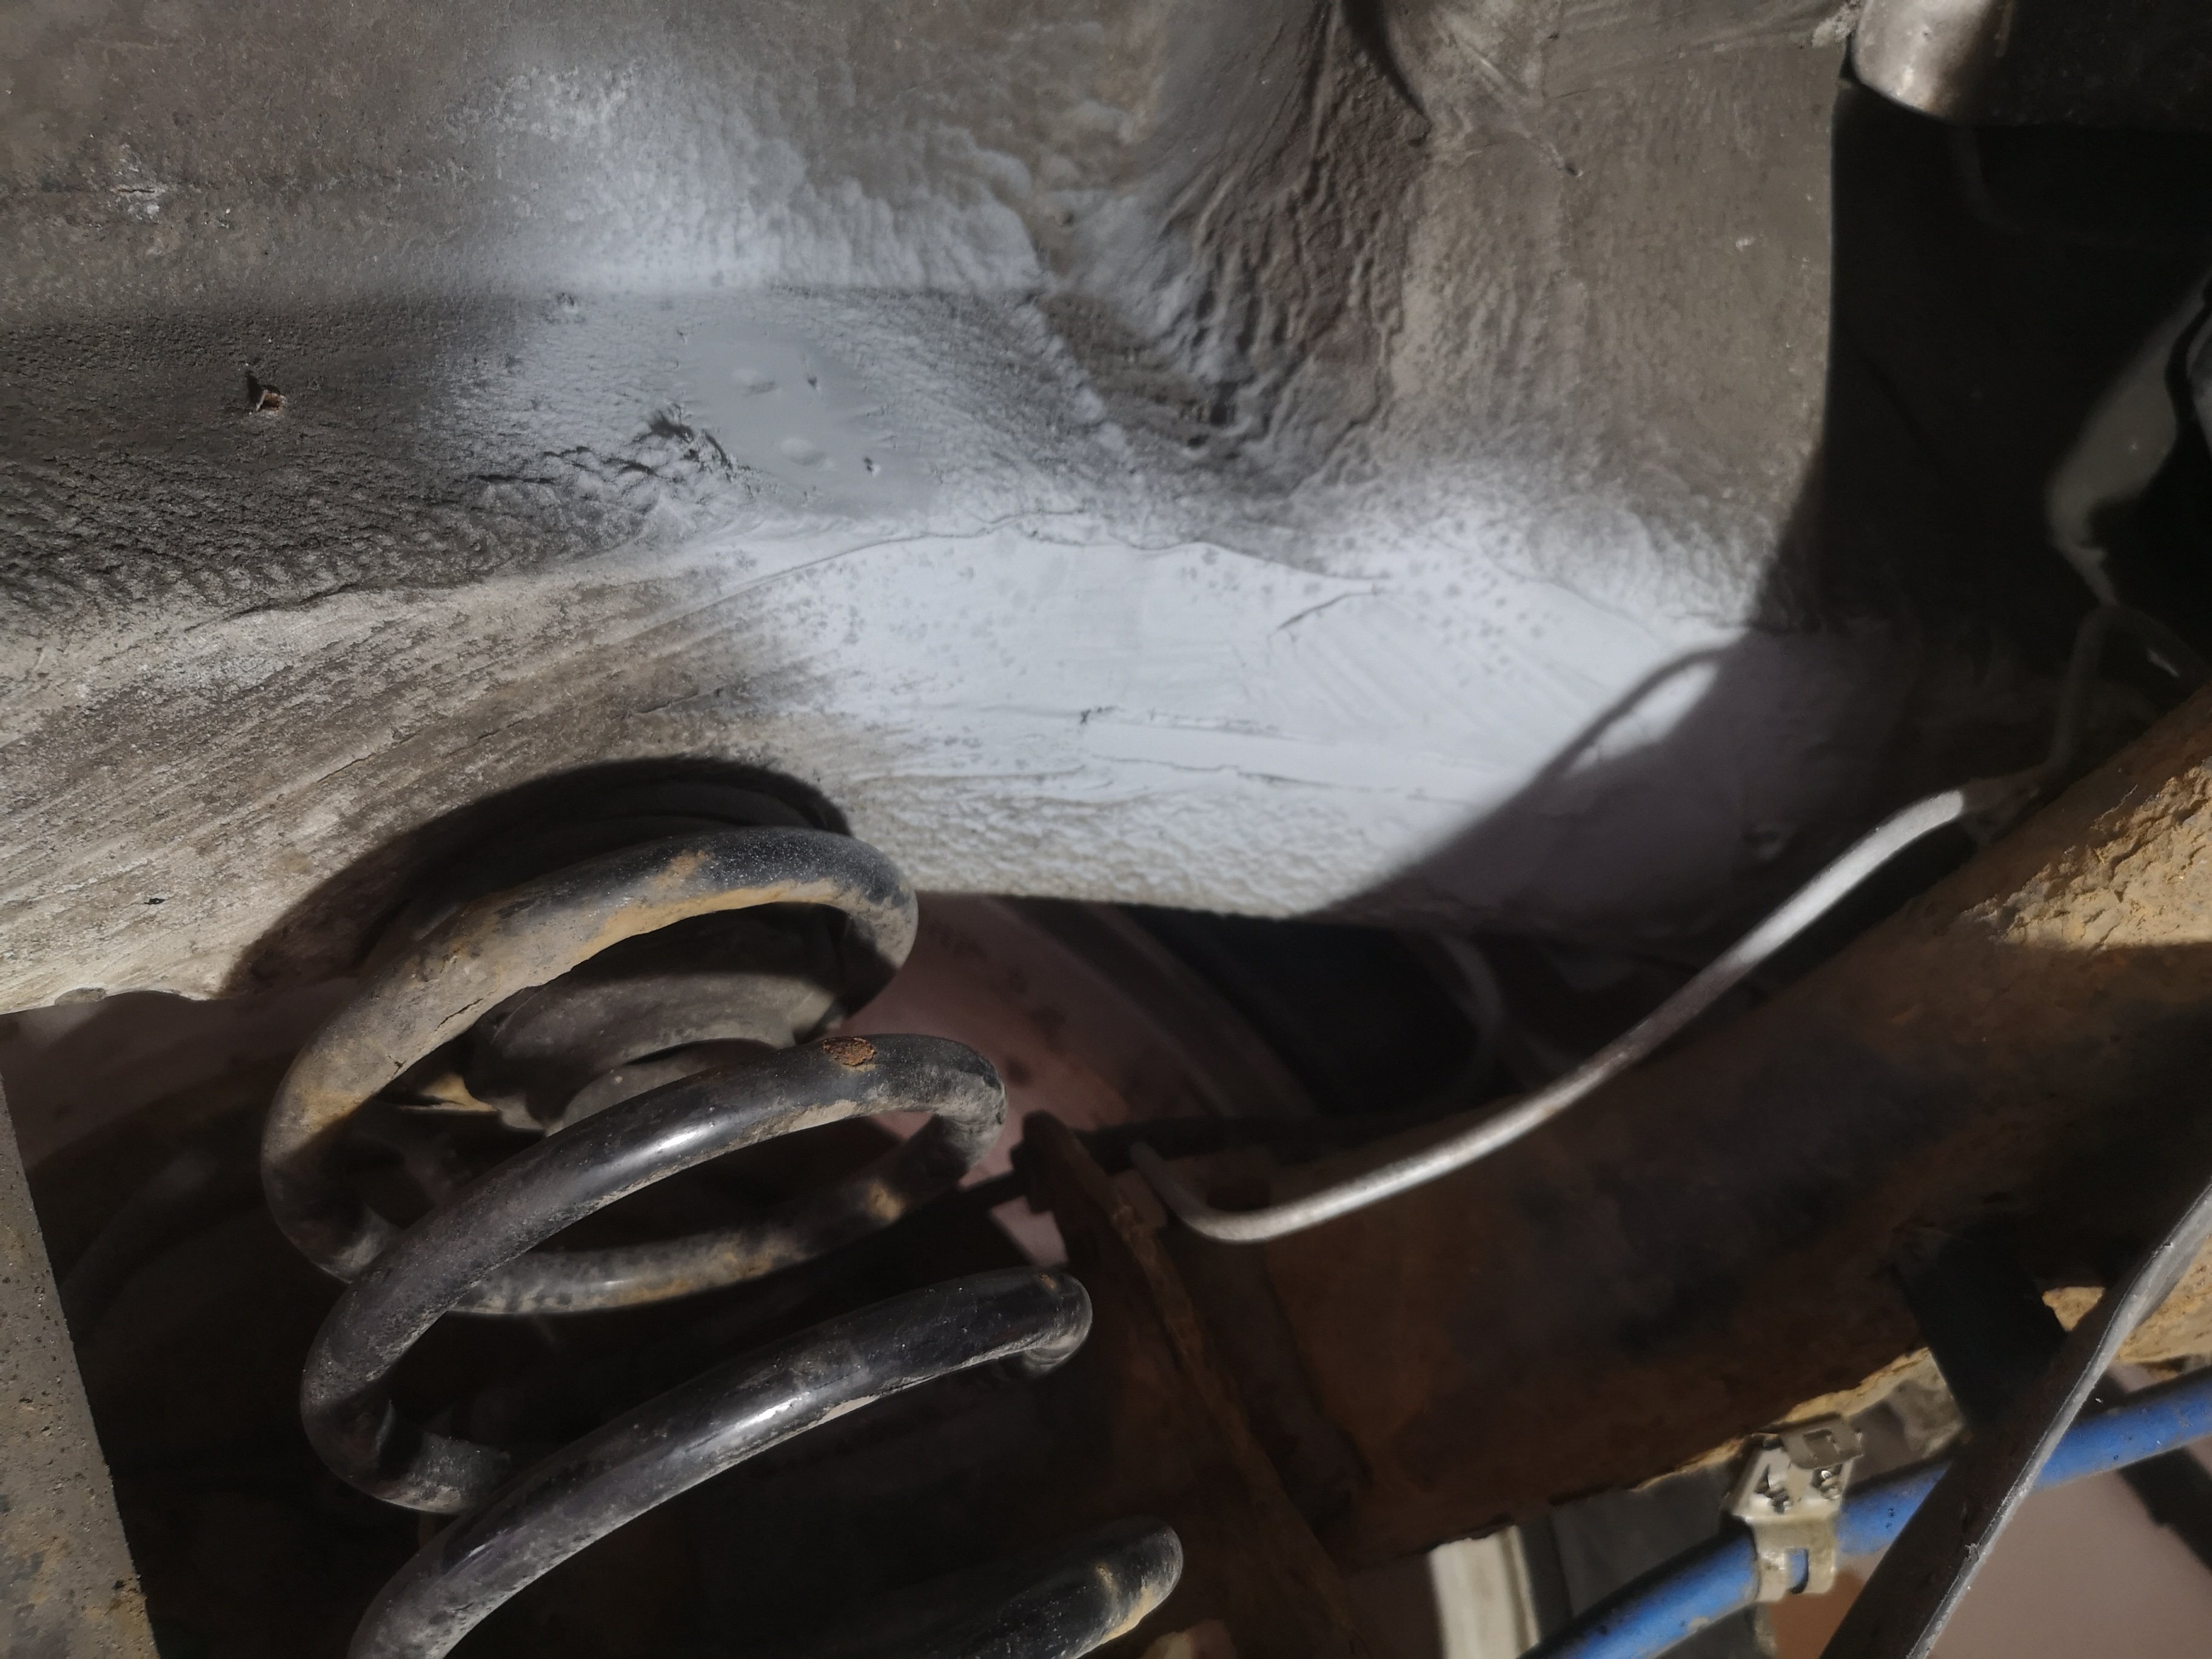
 While replacing the exhaust I noticed the heat shields were loose. I removed these to repair then and noticed some light rust in a few spots where the underseal was peeling. (see what I mean about one job leading to another) So I sanded these back, zinc primed the bare metal and finished with a splash of stonechip.
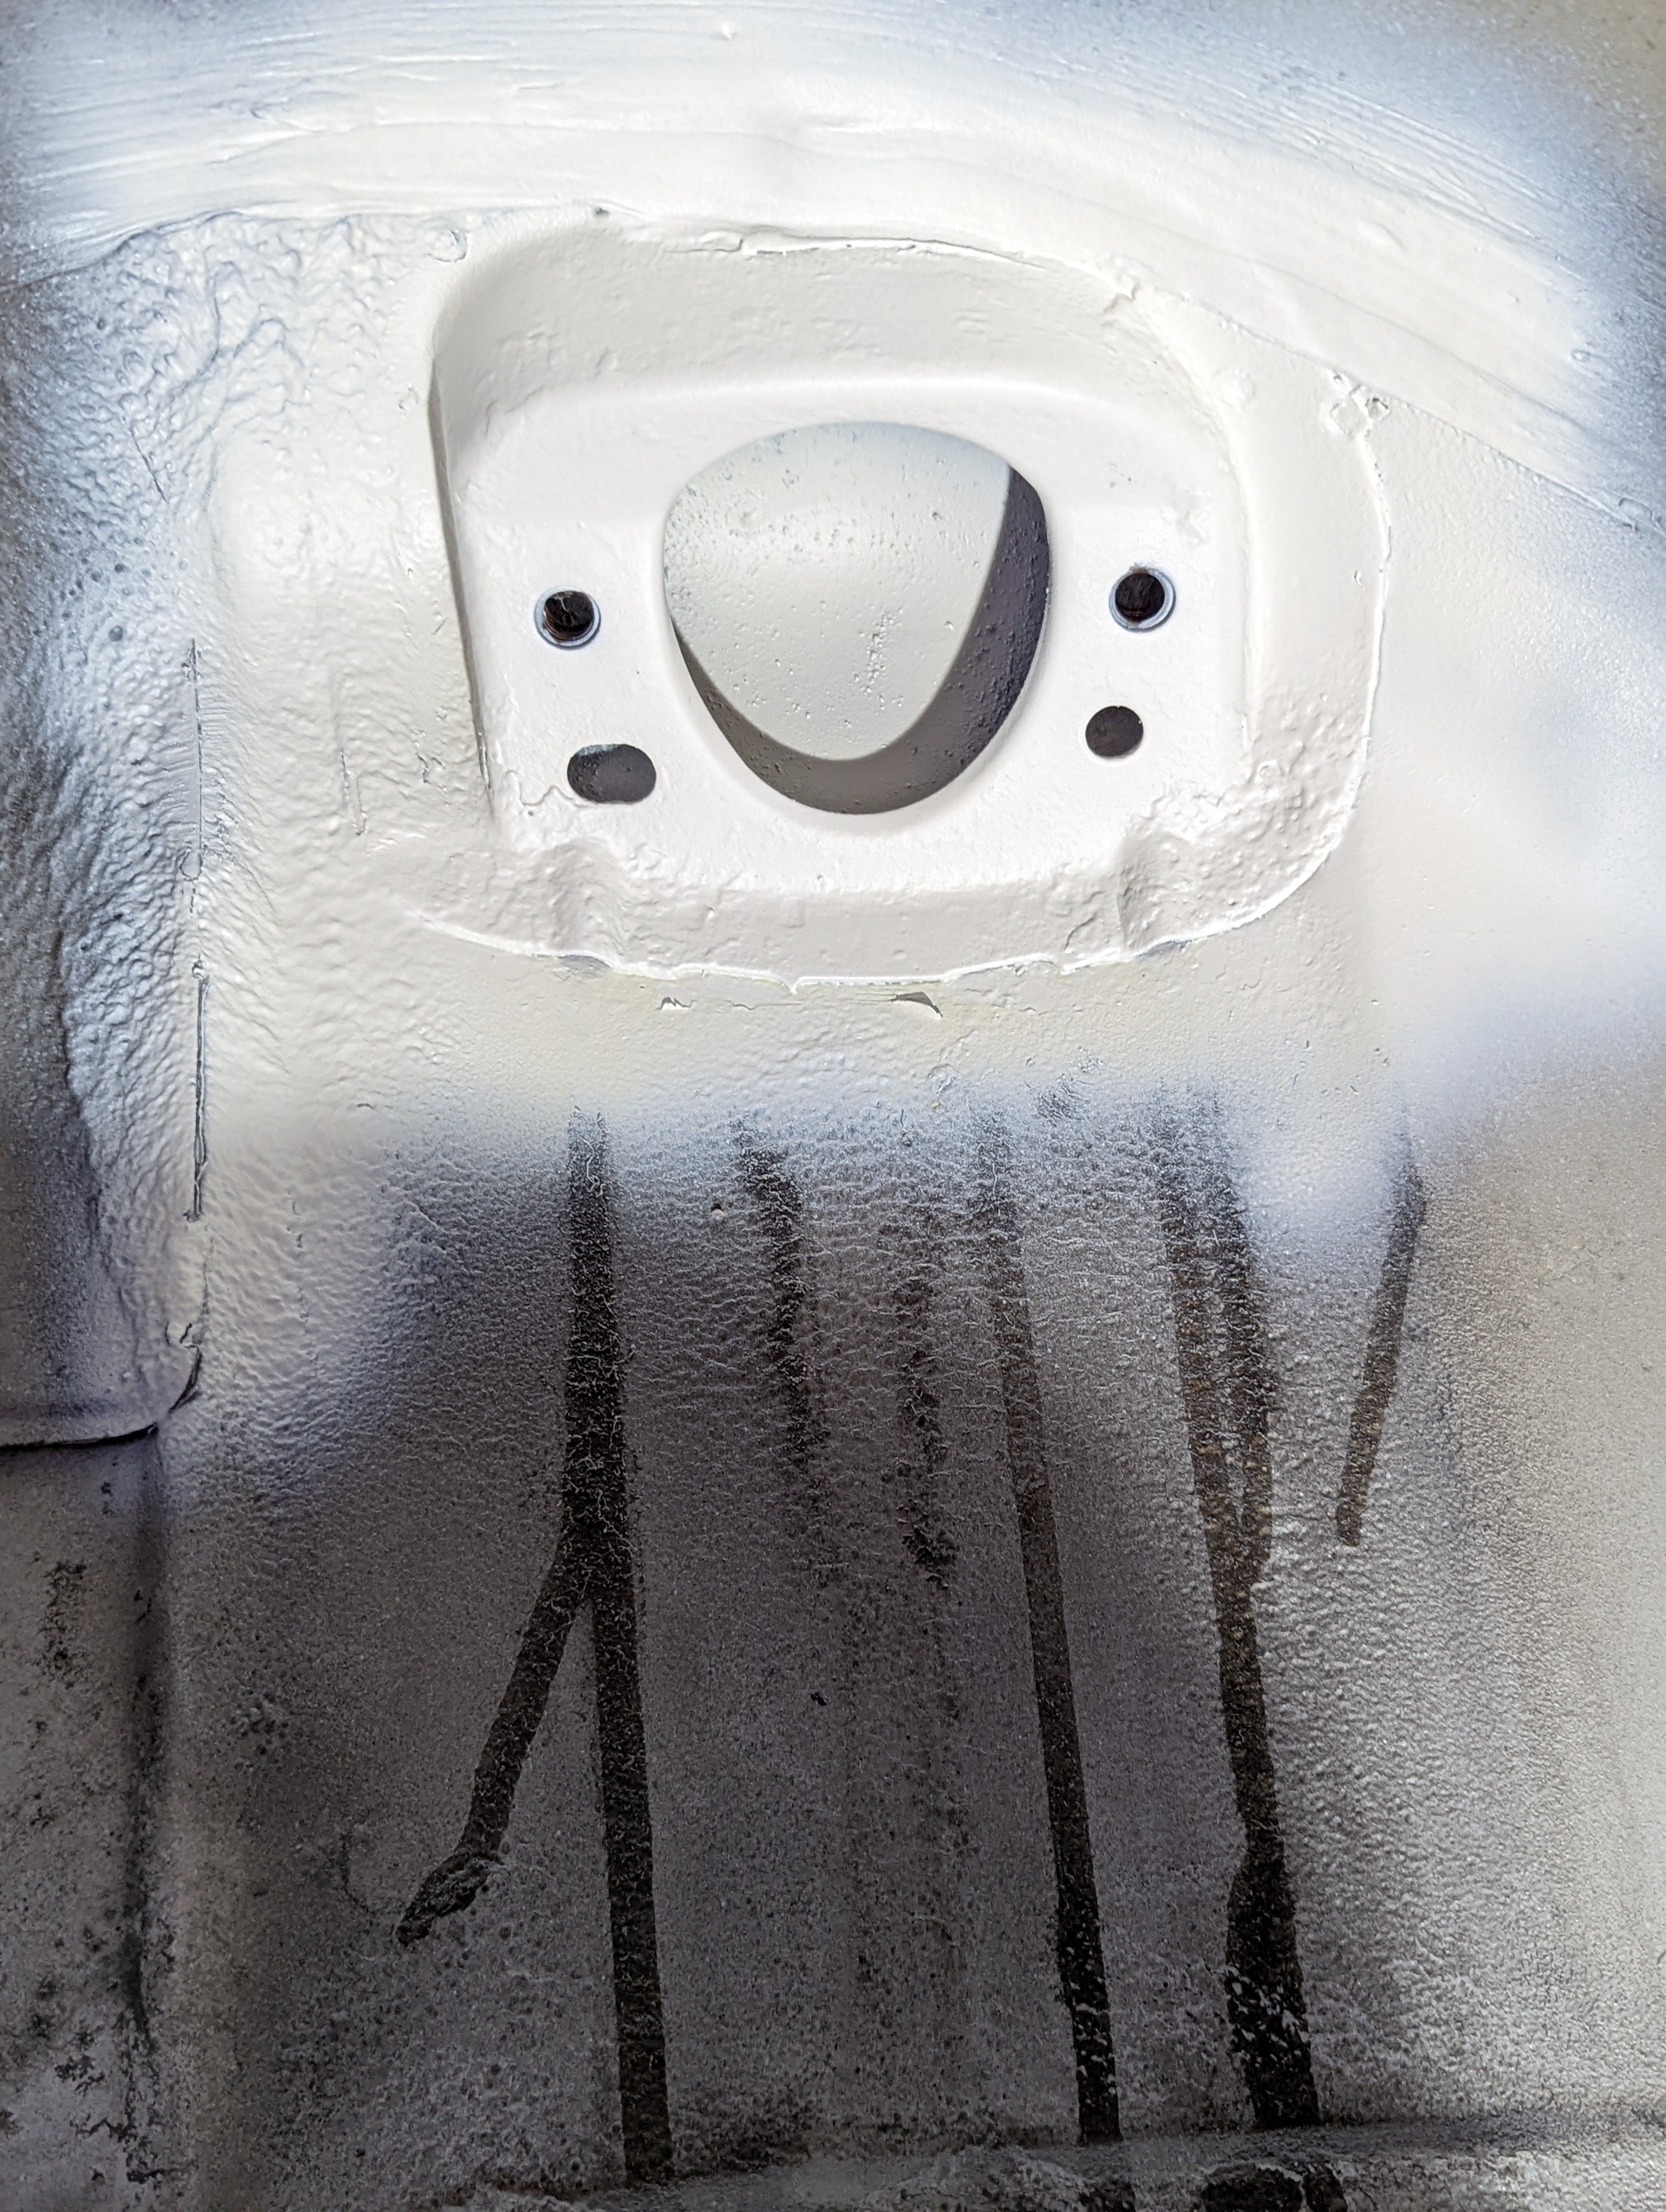
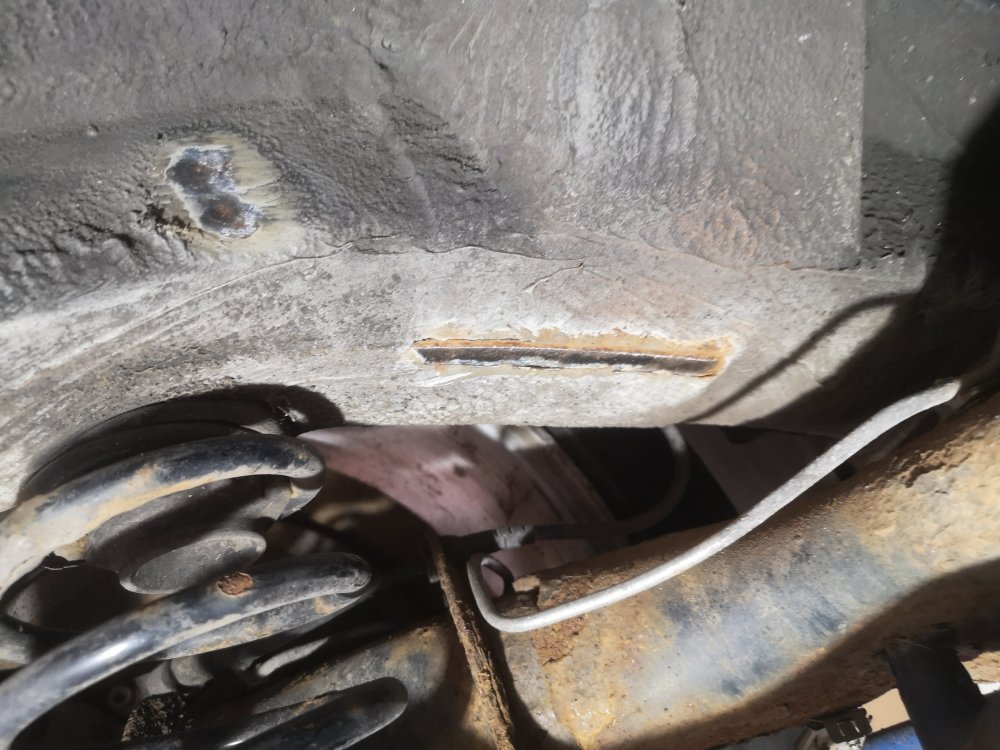


Important Information
Welcome to BRISKODA. Please note the following important links Terms of Use. We have a comprehensive Privacy Policy. We have placed cookies on your device to help make this website better. You can adjust your cookie settings, otherwise we'll assume you're okay to continue.