


rbhelle
Members
-
Joined
-
Last visited
Everything posted by rbhelle
-
Yeah, its actually so cheap that customers in UK should consider towing the car from all over UK mainlands to get it fixed there. Probably still save couple of 2-3-4 hundred Gbp 🙂 In Norway people travel 5-6-7 hours to get their cars fixed in Sweden.
-
Wtf??? Thats just crazy cheap for that job parts included!!! It actually means they do the work for free.
-
Wow, not bad. That equals approx 2h for a complete clutch dmf replacement in "man labour"...1h is just crazy fast.
-
Well, lucky you dont live in norway then. Here they quote approx 2700Gbp at dealership. 2200Gbp is only at a few acceptable workshops, those under 1800Gbp is likely those who only accepts hard cash and hand you a handwritten receipt... For 1000Gbp you will get it done money under the table wise at a "friend" (parts labour included). Prices i norway are crazy compared to in UK.
-
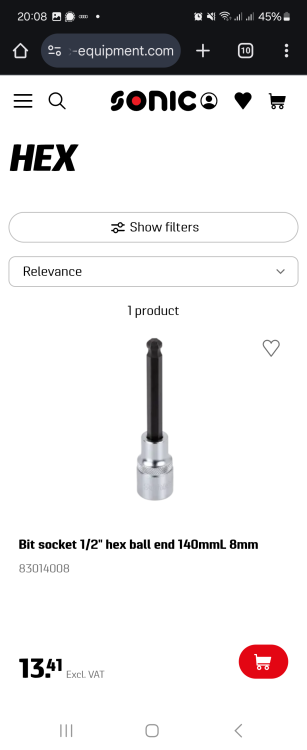
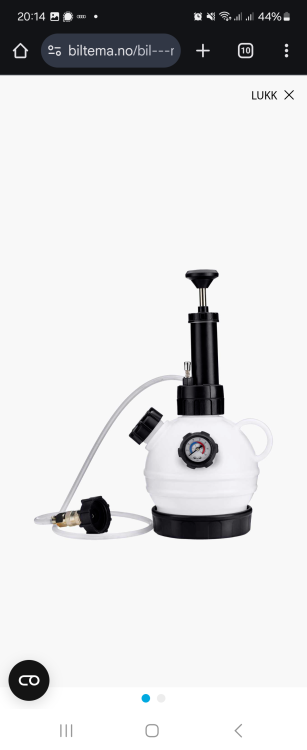
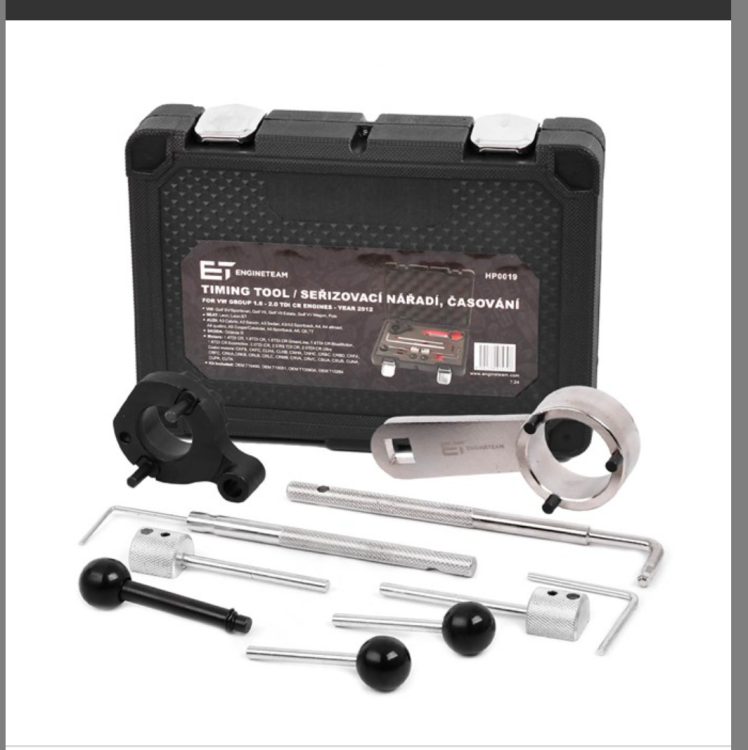
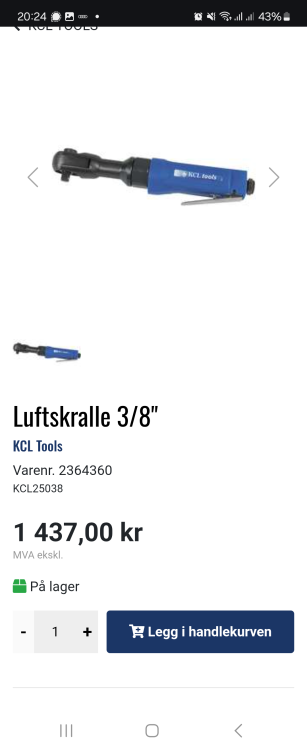
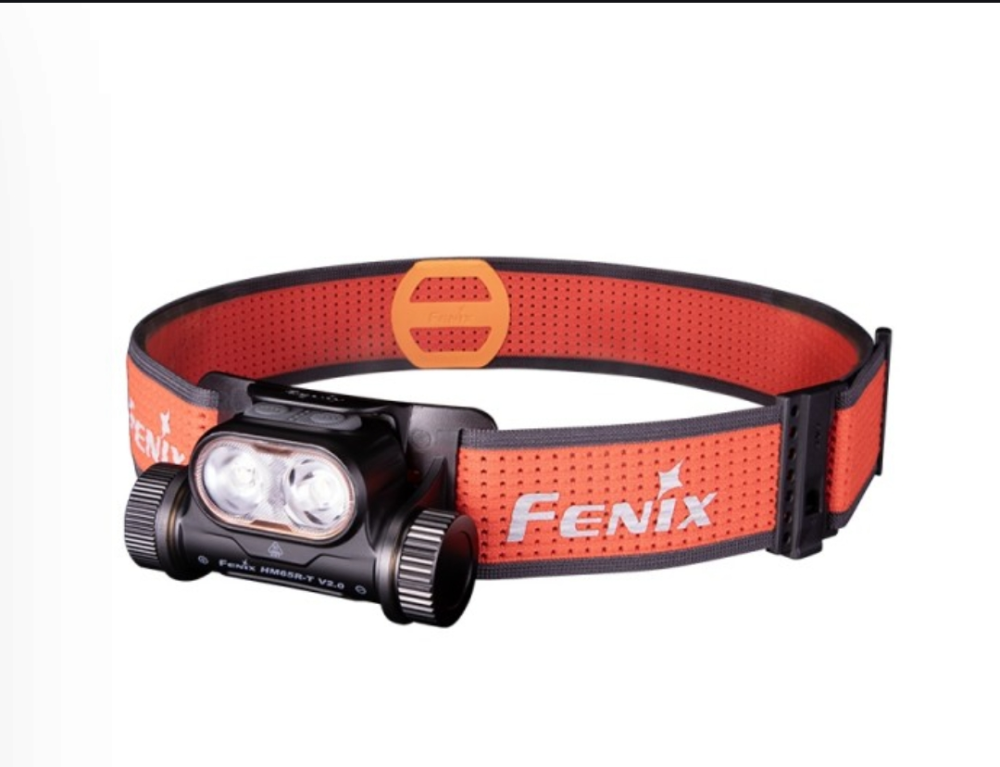
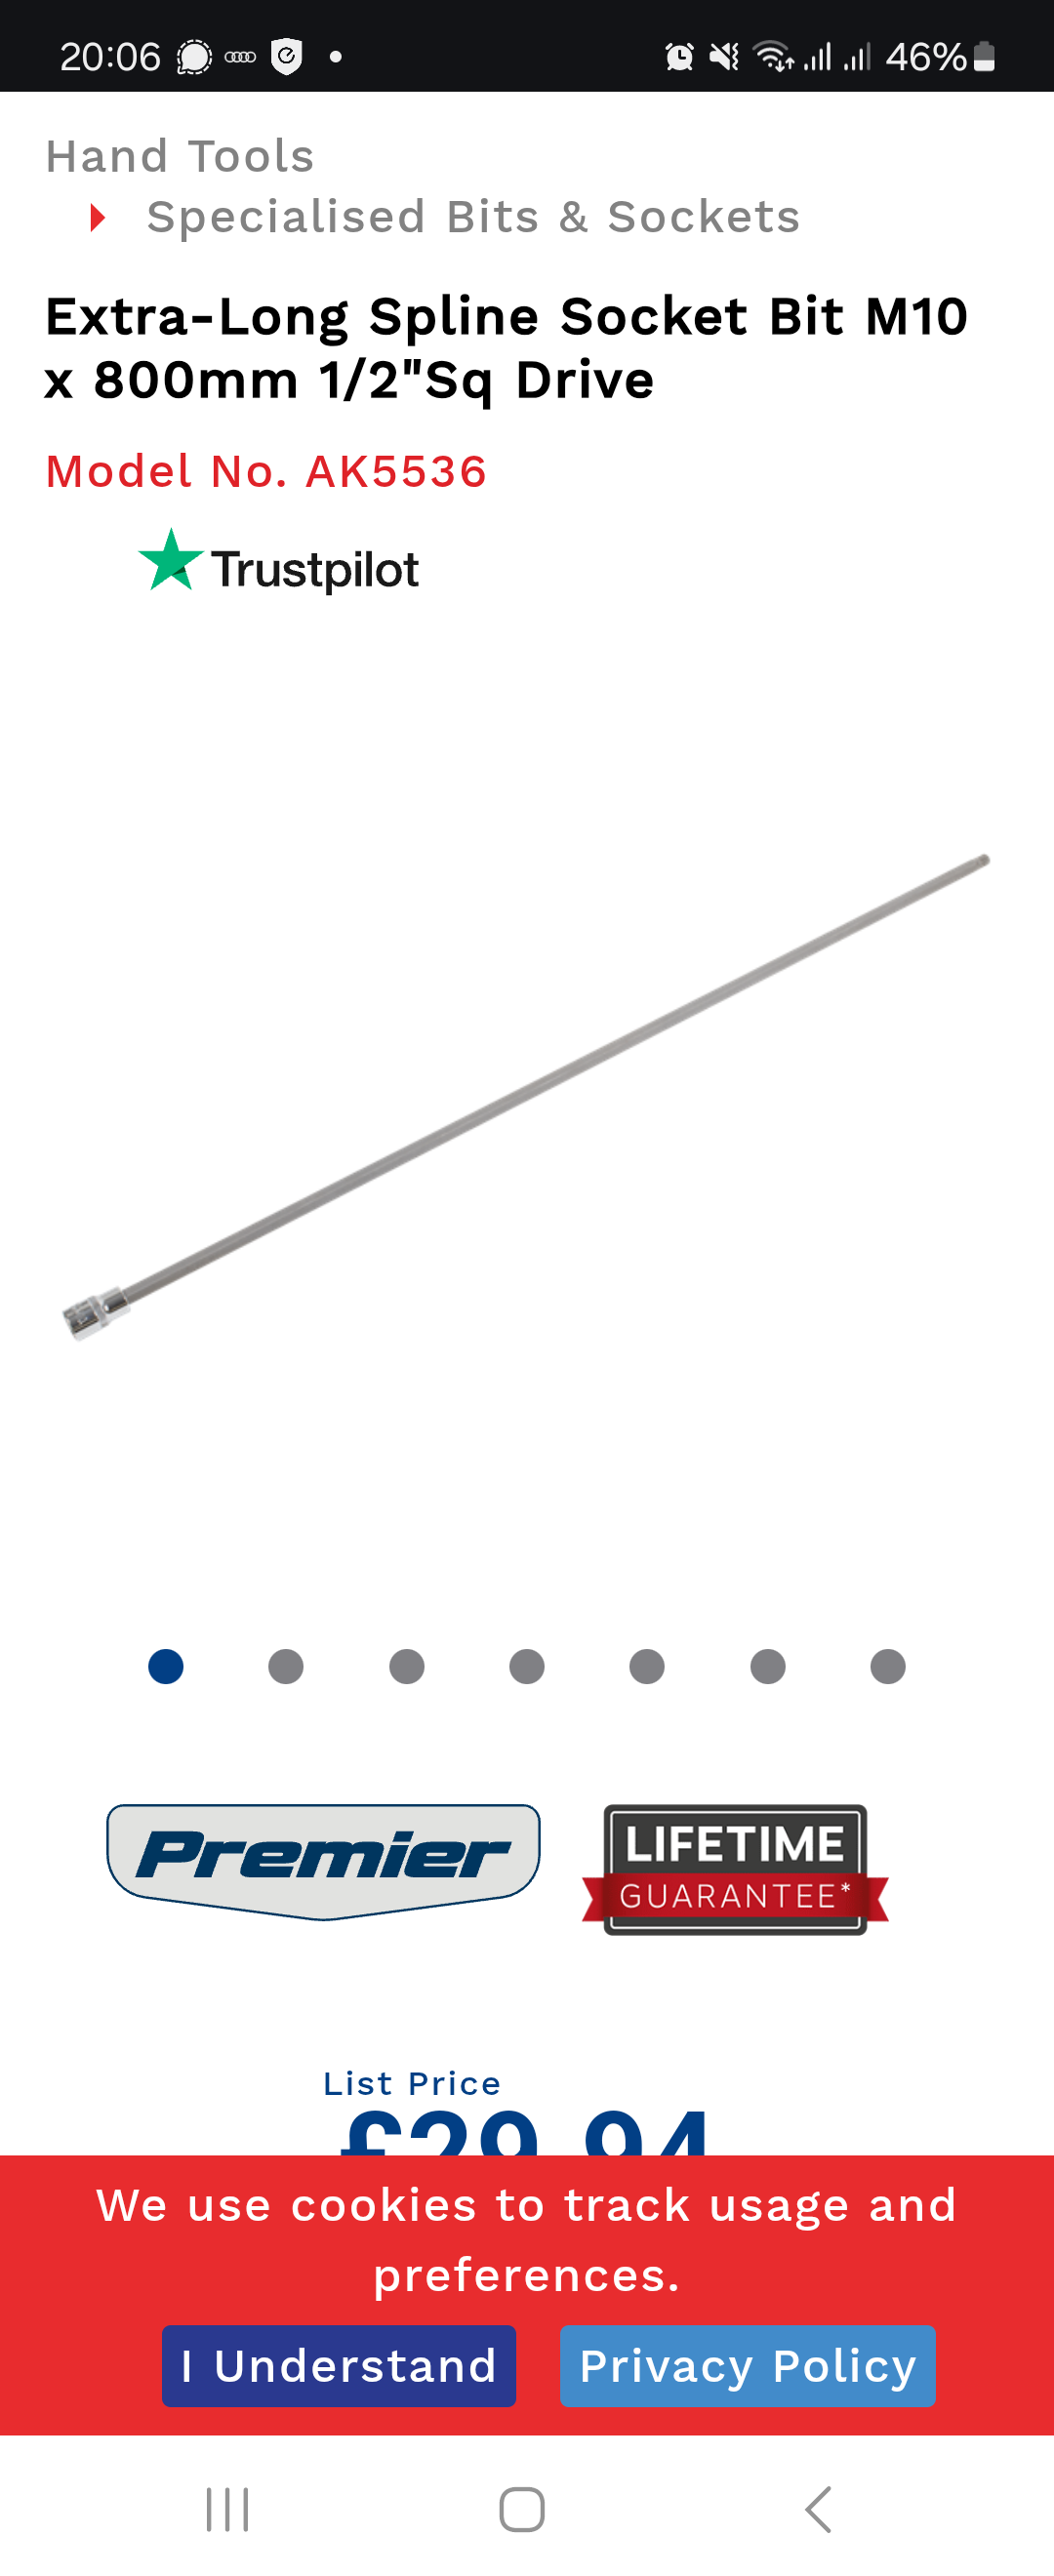
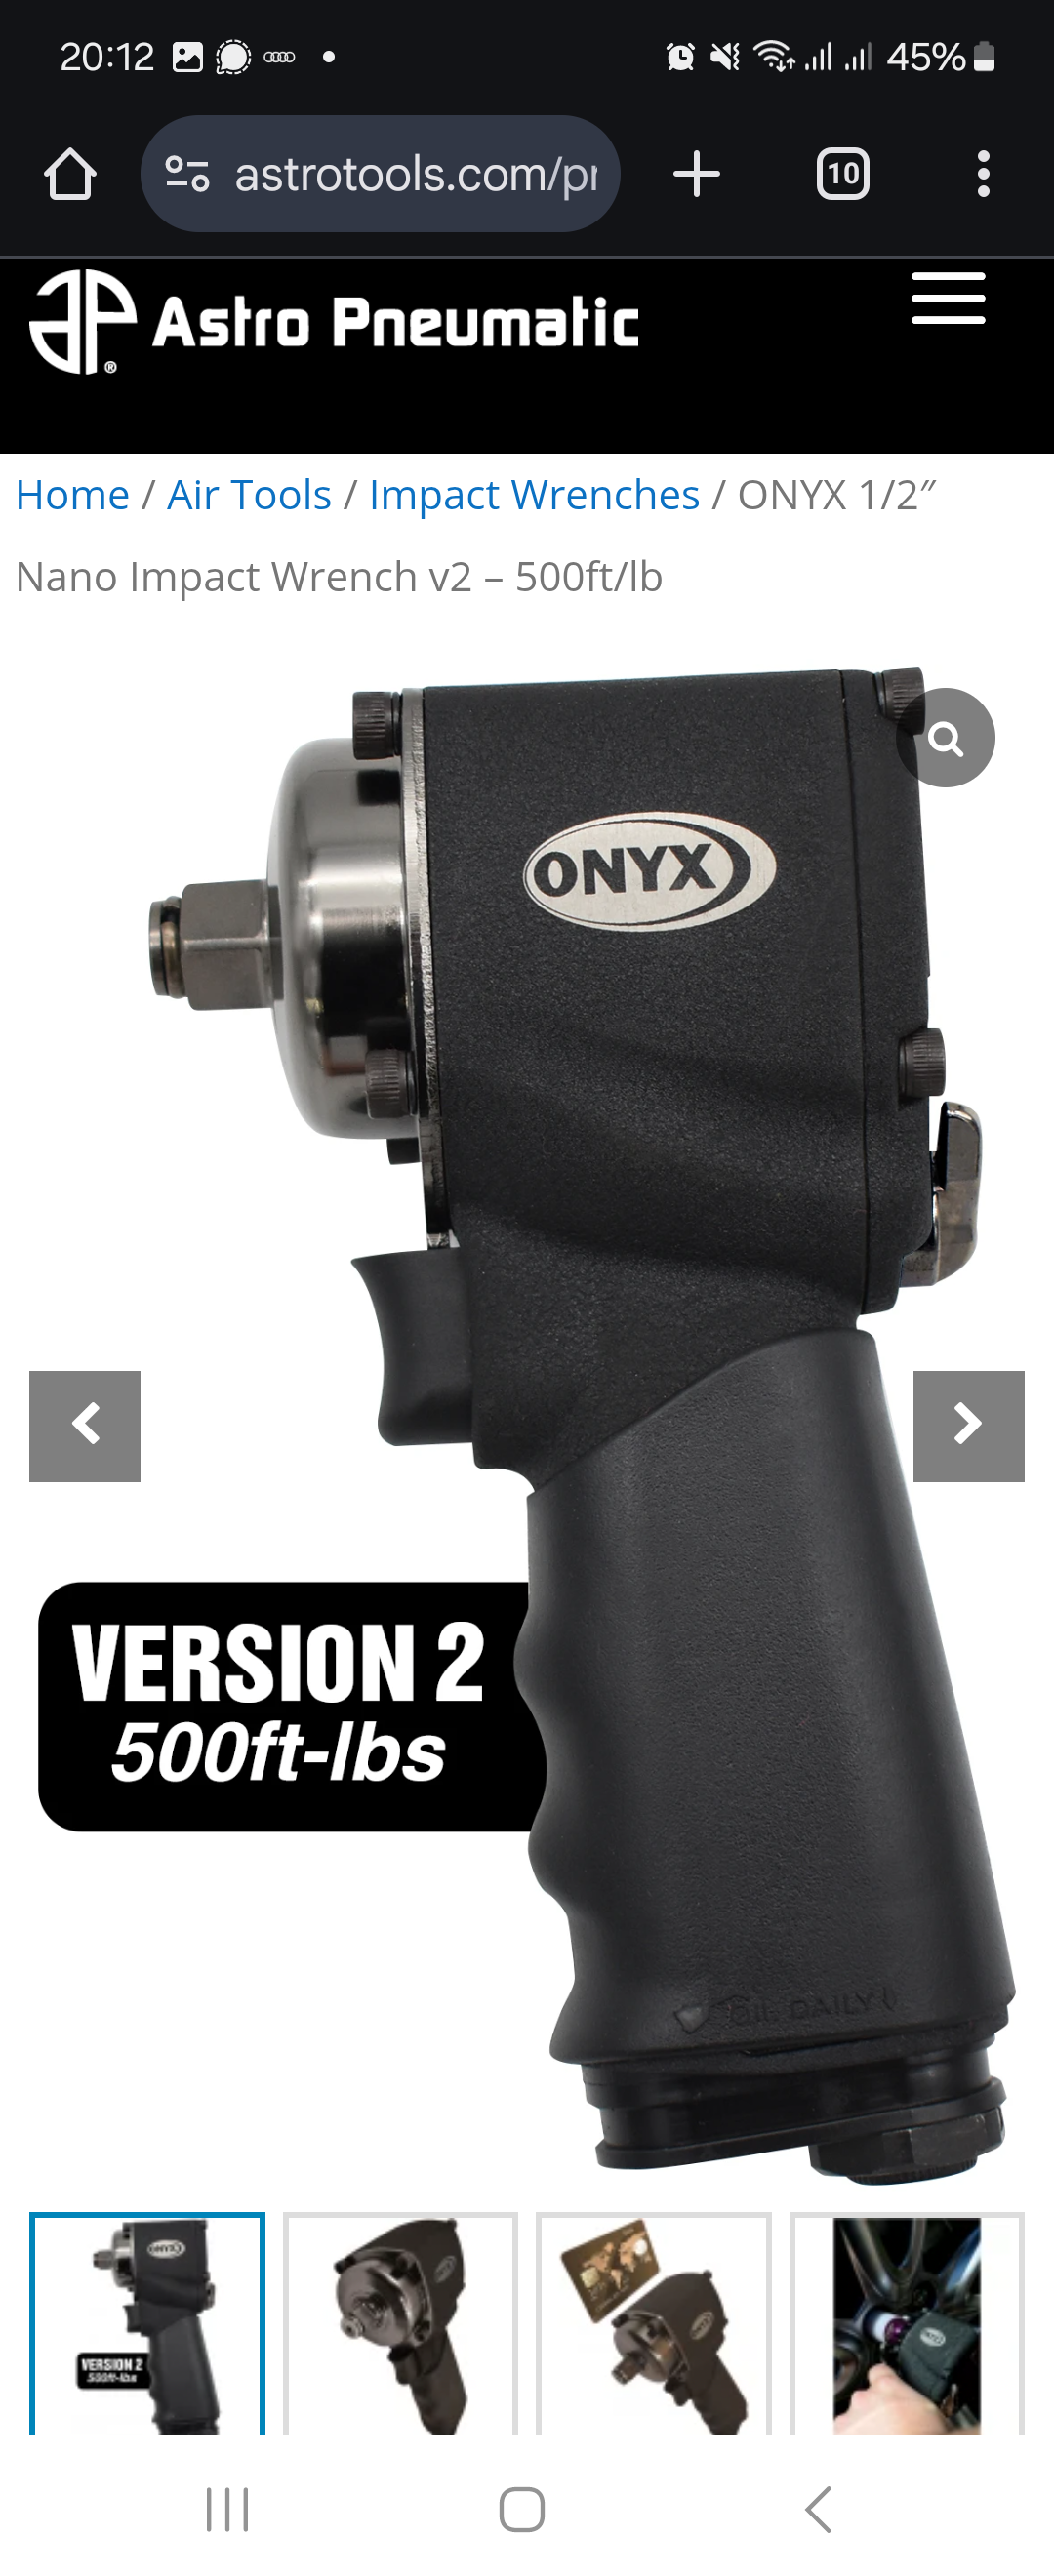
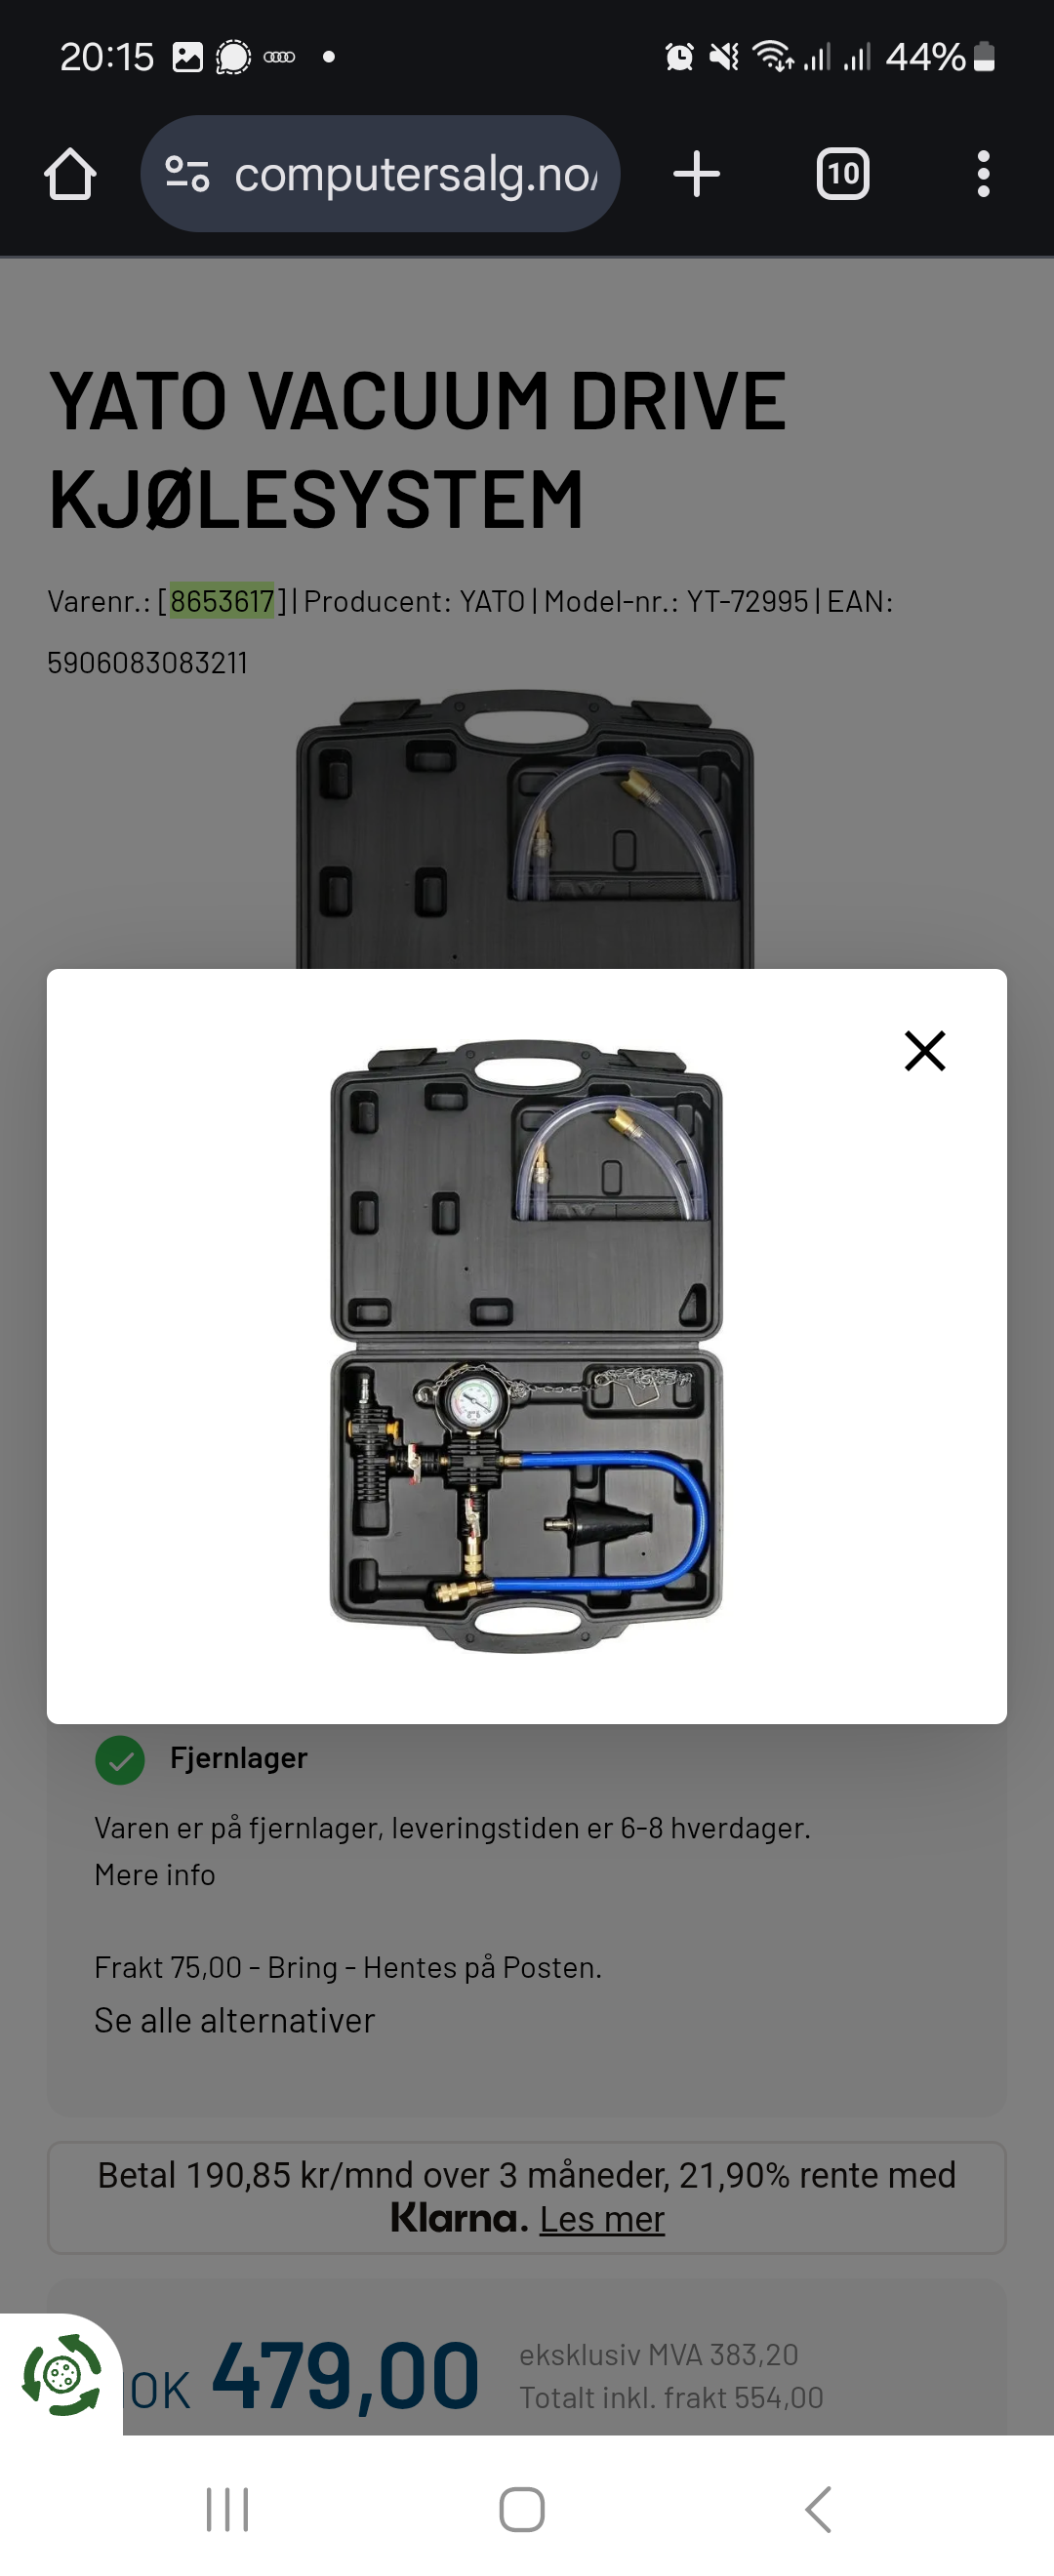
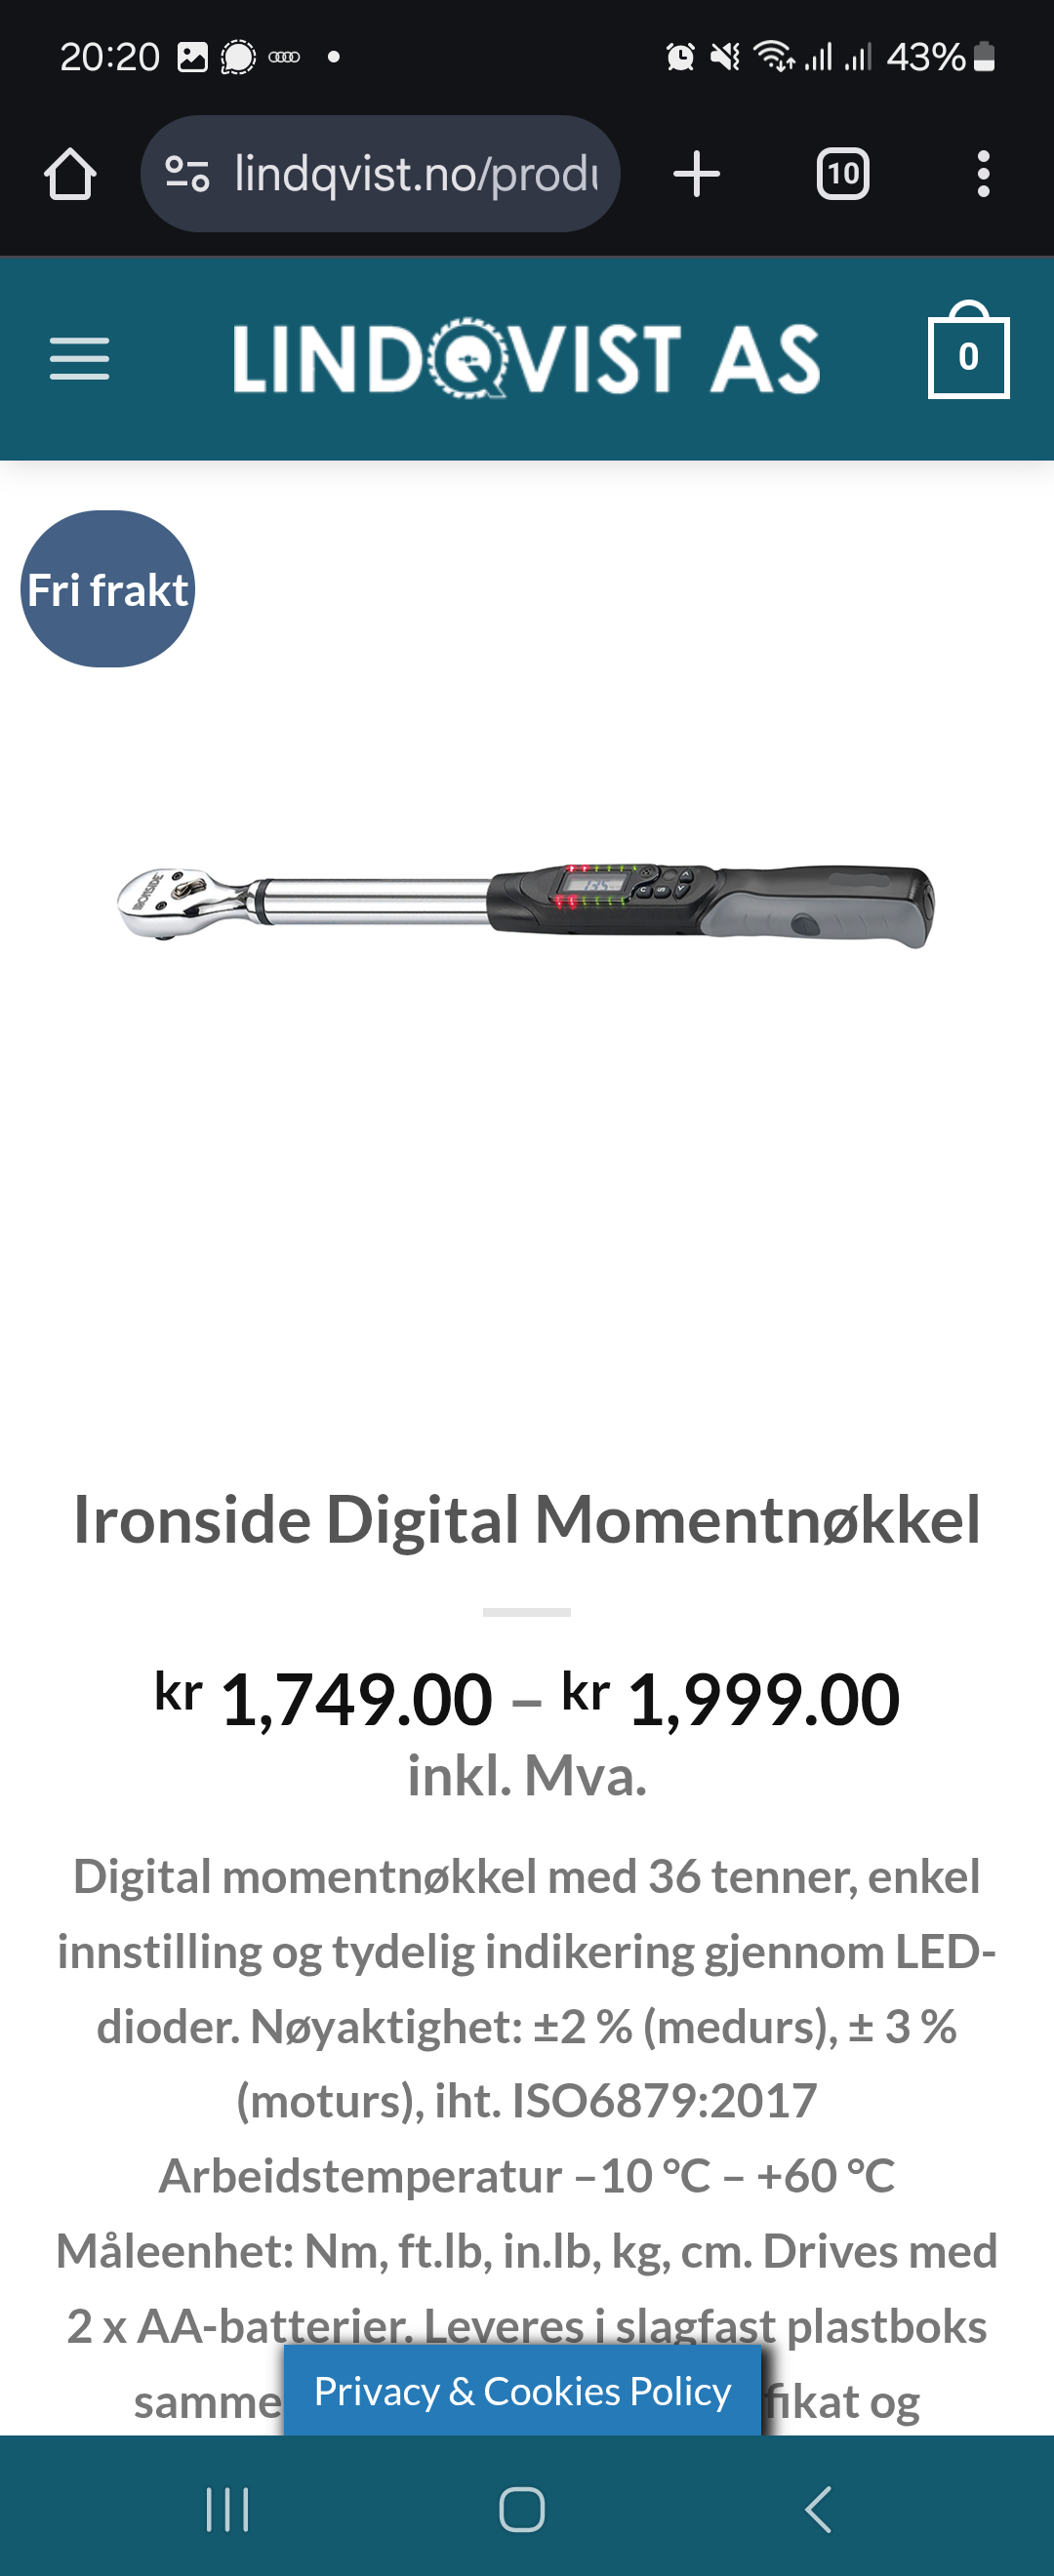
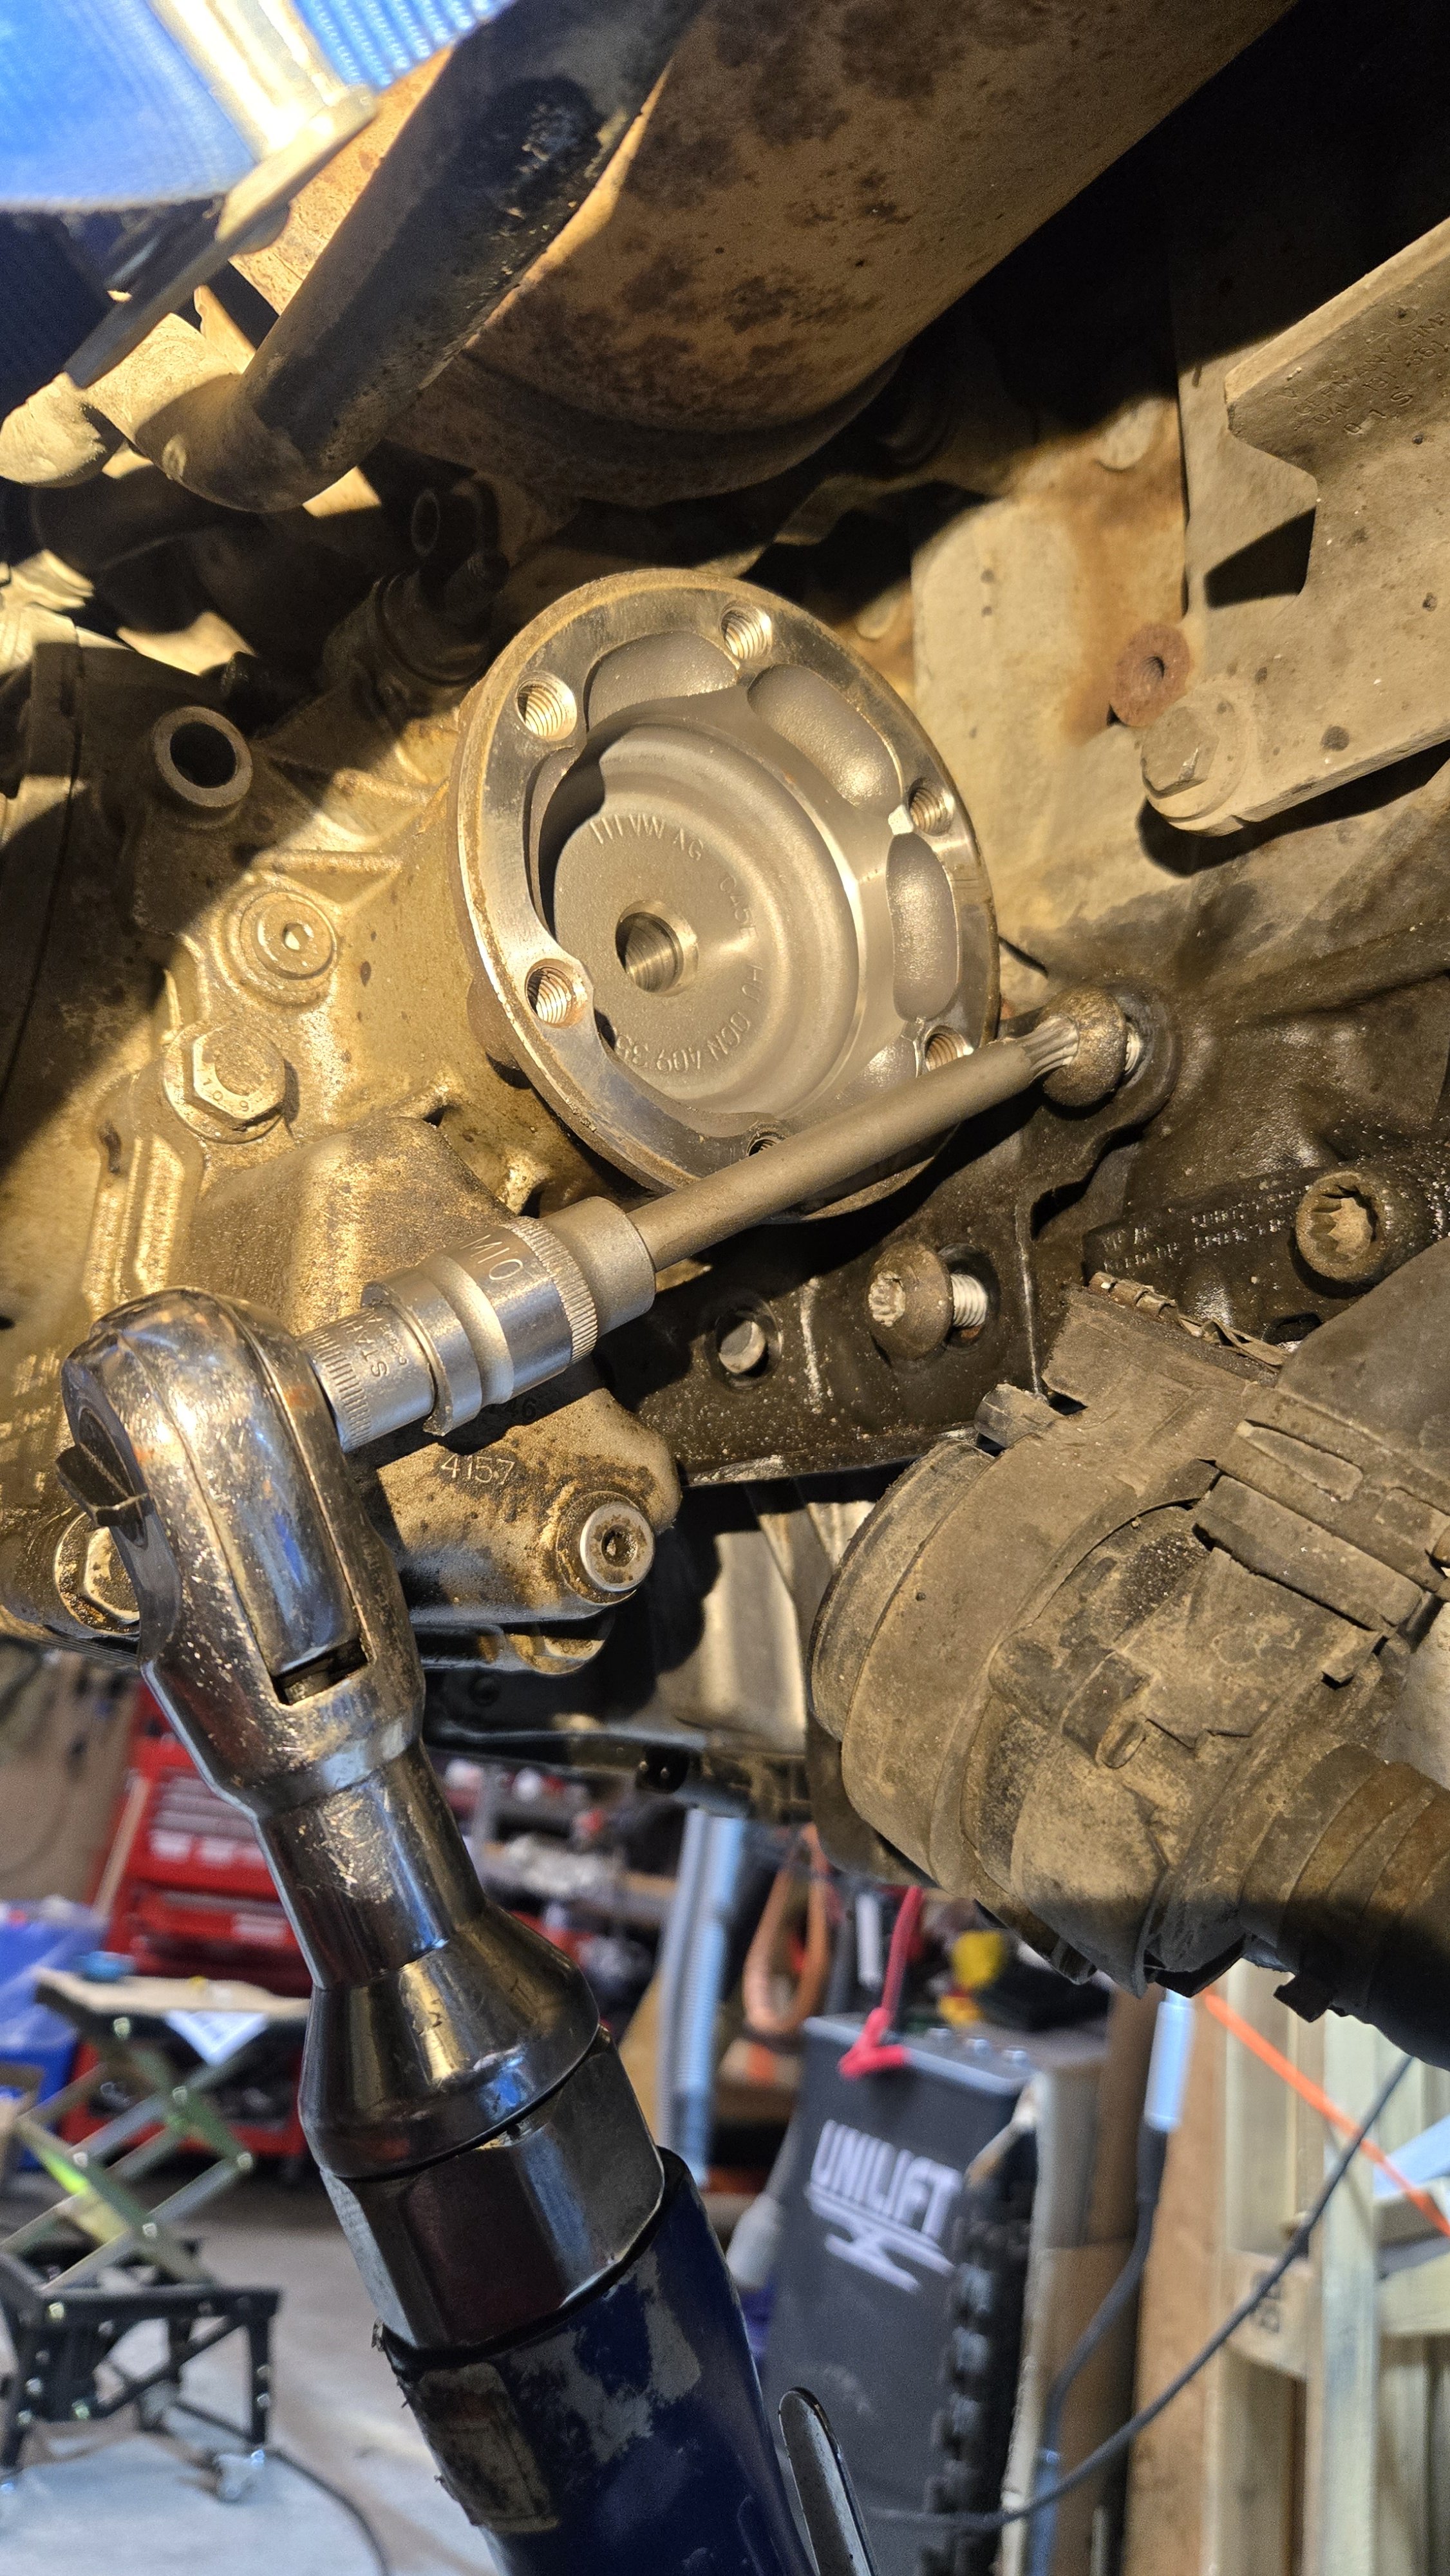
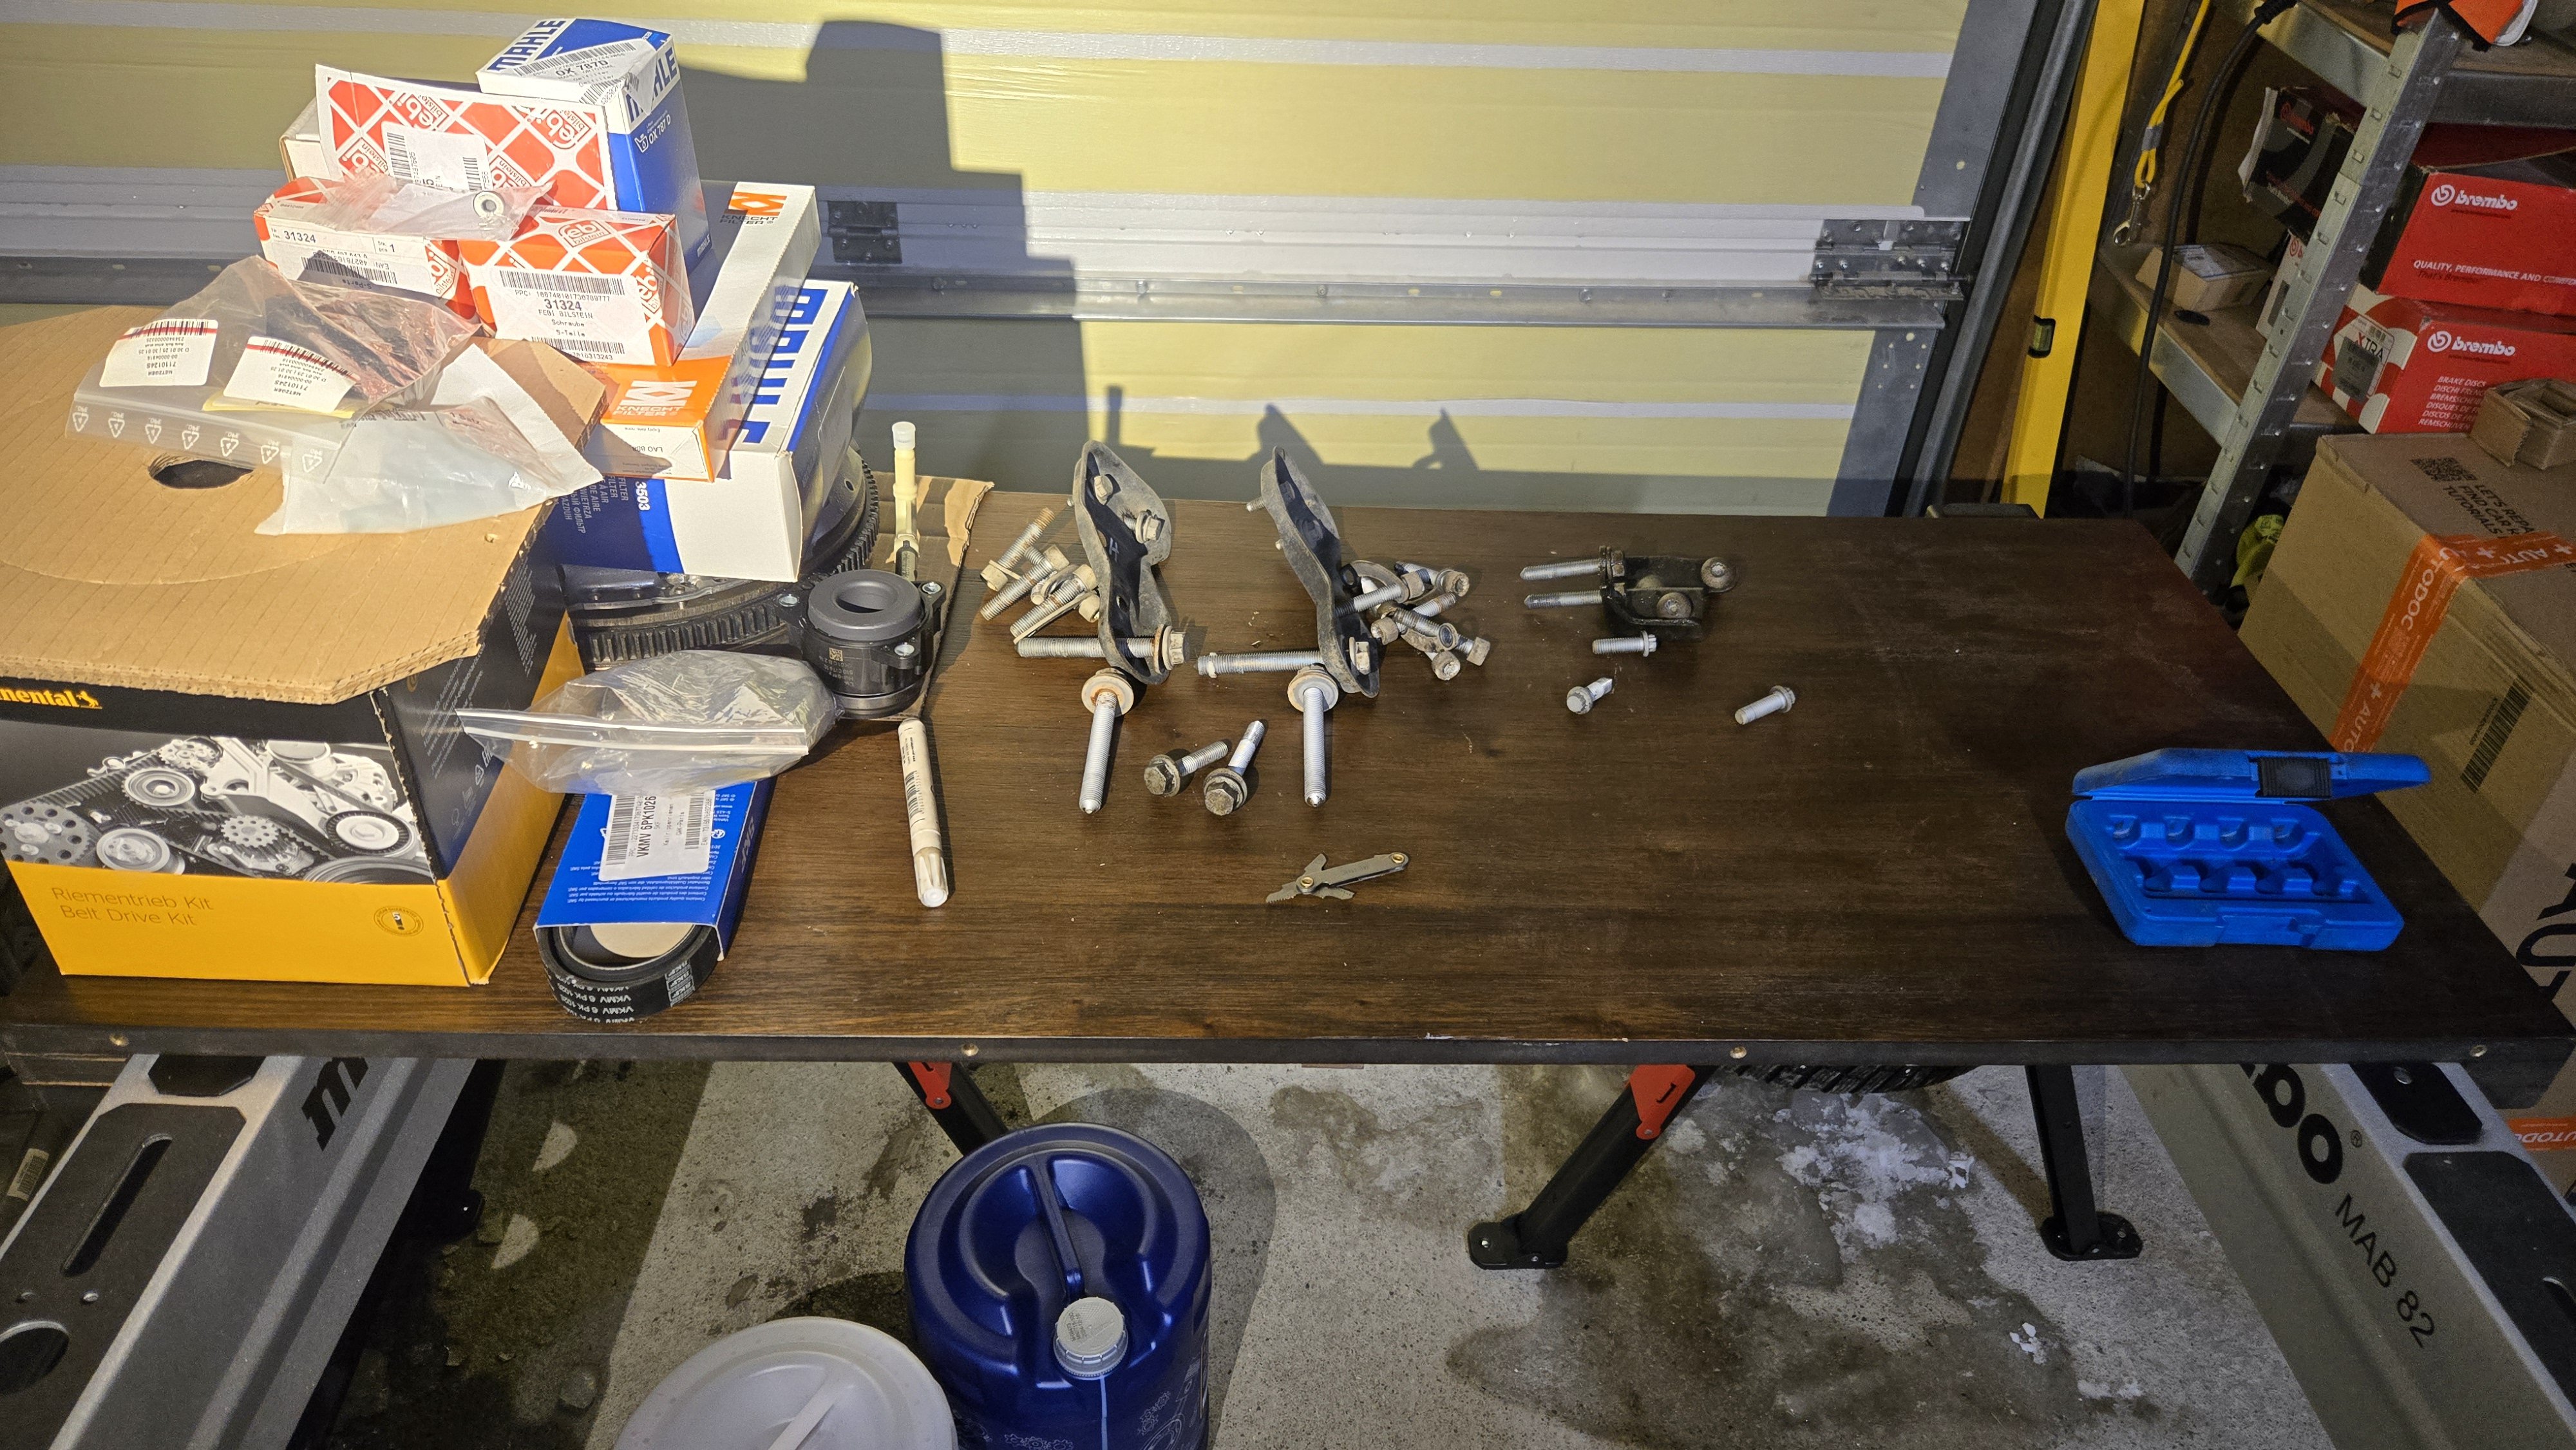
Update. All good now. After clutch bleeding it was just to fire it up and clutch working again. Well, actually I did the timing belt and waterpump first since car is already on ramp. Bit timing on these CR tsi engines are easy to do. Have bought myself a CR ea288 timing kit that actually worked. Some of these kits are made by the lowest bidder, but this one I got now was pretty decent. Its a keeper and it is made by Profitool. Probably cheap sucker, but it worked well. Did not opt for Sonic kit since it was 3x the price. Still, doing a clutch on a octavia Mk3 4x4 manual 6spd gearbox with the ea288 engine is much easier than on a octavia 4x4 mk2 with manual 6spd and ea 189 engine. Here are some tools that really made it easy doing this operation: 1. A 800mm long xzn m10 1/2" bitpipe (reach inner driveshaftbolts from outside the brake disc) 2. A 140mm long round hex 8 bitpipe (some of the 16mm bolts on the bellhouse have hex 8 as an option) this is a lifesaver.. 3. A 140mm long round xzn m10 bitpipe for difficult to reach xzn bolts (bracket for bevelbox/engine) 4. Astro Onyx 1/2" pneumatic gun. This is so small and poweful that it reaches all those hard to get bolts. It takes out all bolts except the axle nut. Axle nut required a bigger 1/2" pneumatic impact gun. 5. Pressure brakebleeder makes brake/clutch bleeding a one man job. 6. Pneumatic Pressure coolant filler device. After opening the coolant circle from vcds, use pressure device to refill and that eliminates use of vcds to bleed in sequences (low high). 7. Profitool ea288 timing toolkit. 8. Ironside Digital torque wrench 20-200nm. This saves a lot of time when it comes to set different torques. Have mechanical as well, but much faster with digital and you dont need to release tension when done. 9. And last but not least, my old 3/8" pneumatic air wrench. I love this since it is powerful, 75nm torque. Actually better than my Milwaukee cordless long reach head 3/8". Besides, airtools never loose juice and no need to charge them 😊 I know that many use cordless, but I am leaning towards the opposite. Cordless is nice oitside garage, but in garage, I use 90% airtools. They are lighter, smaller and packs just as much power. With angle couplers the hose is not an issue. Since I upgraded my old high torque air impact to a more powerful one, I have not used my Milwaukee M18 high torque (1989nm nutbusting). It is just to heavy and cumbersome compared to the new pneumatic one. And the pneumatic one do take out axlenuts and crankbolts with no issues. And the last thing, that I have a lot of, is headlights. I use this one; Fenix HM65R-T v2. Especially the daylight mode (more yellow) is superb for my eyes. And it lasts a good 3-4h as well. Replacable batteries.


-
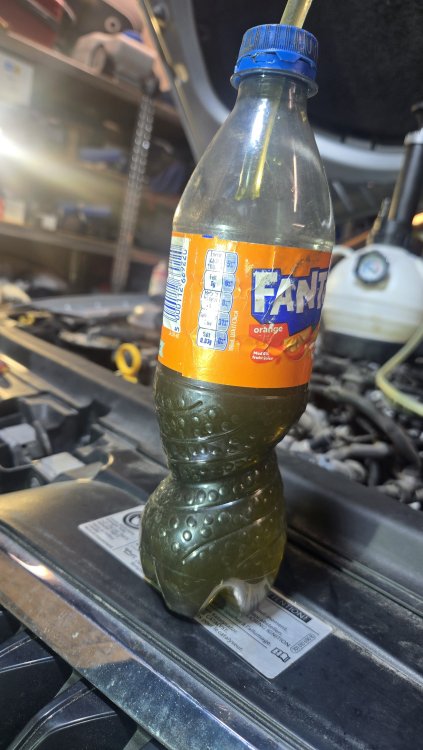
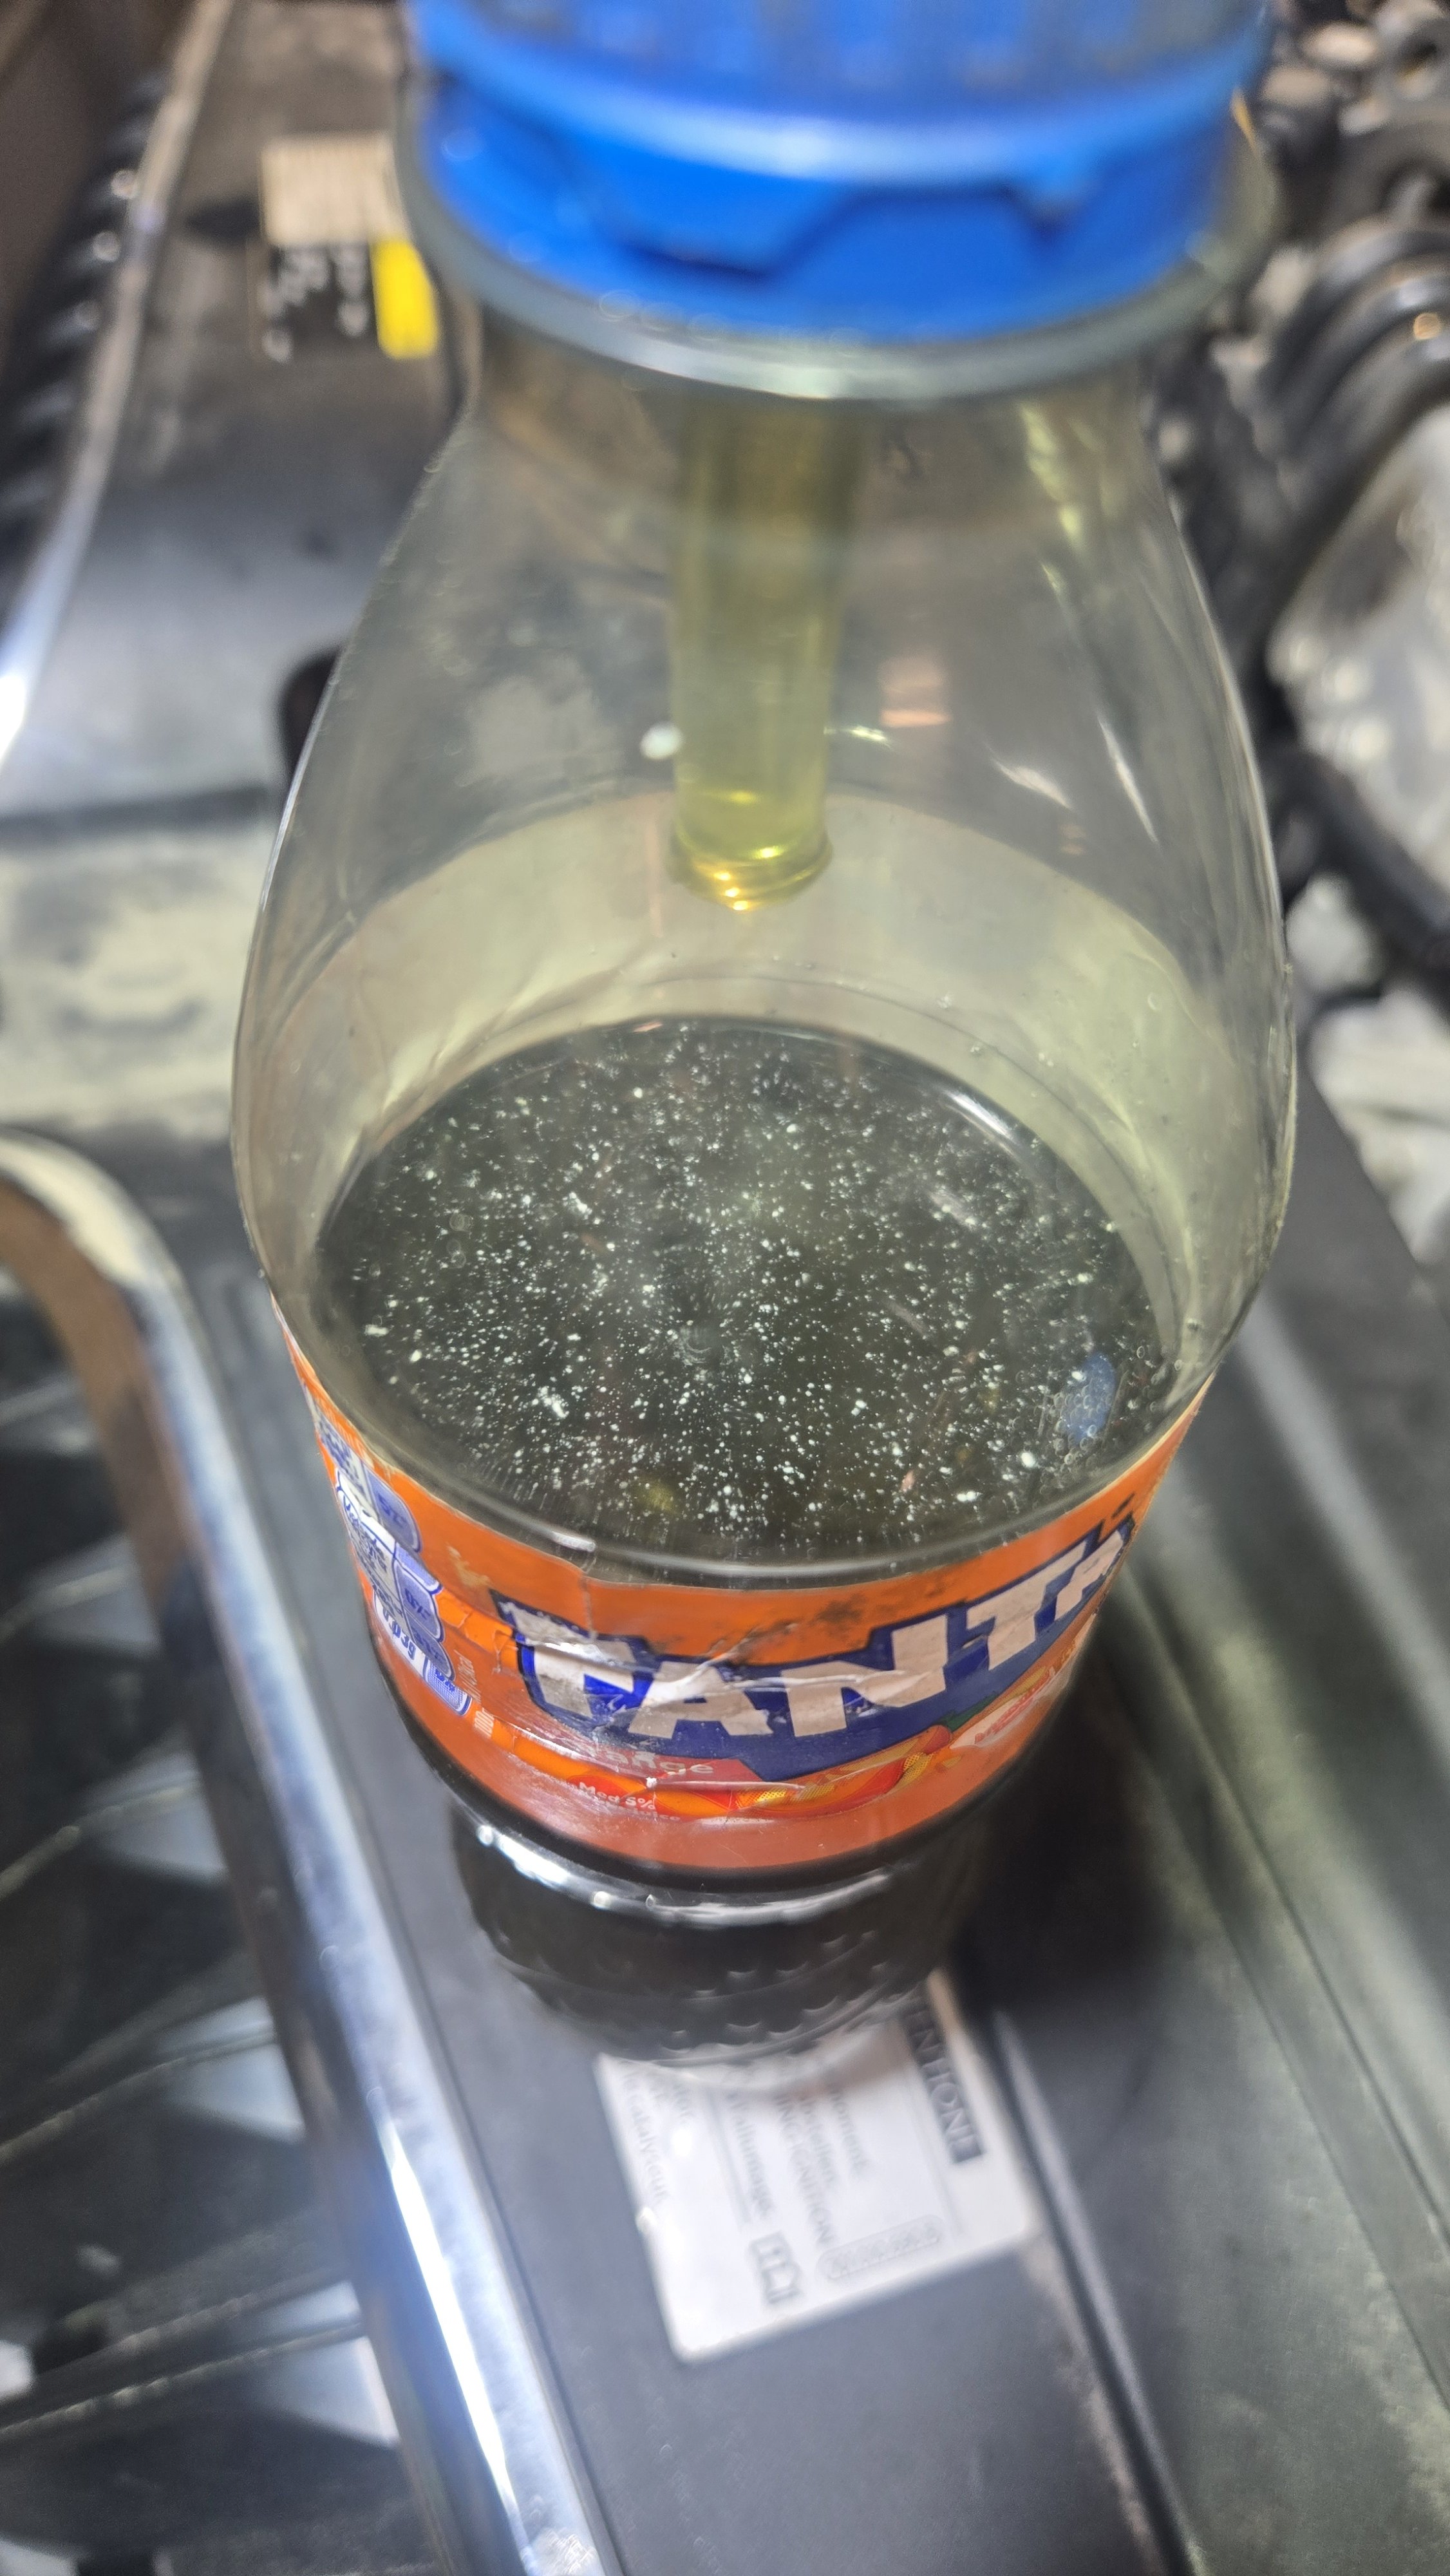
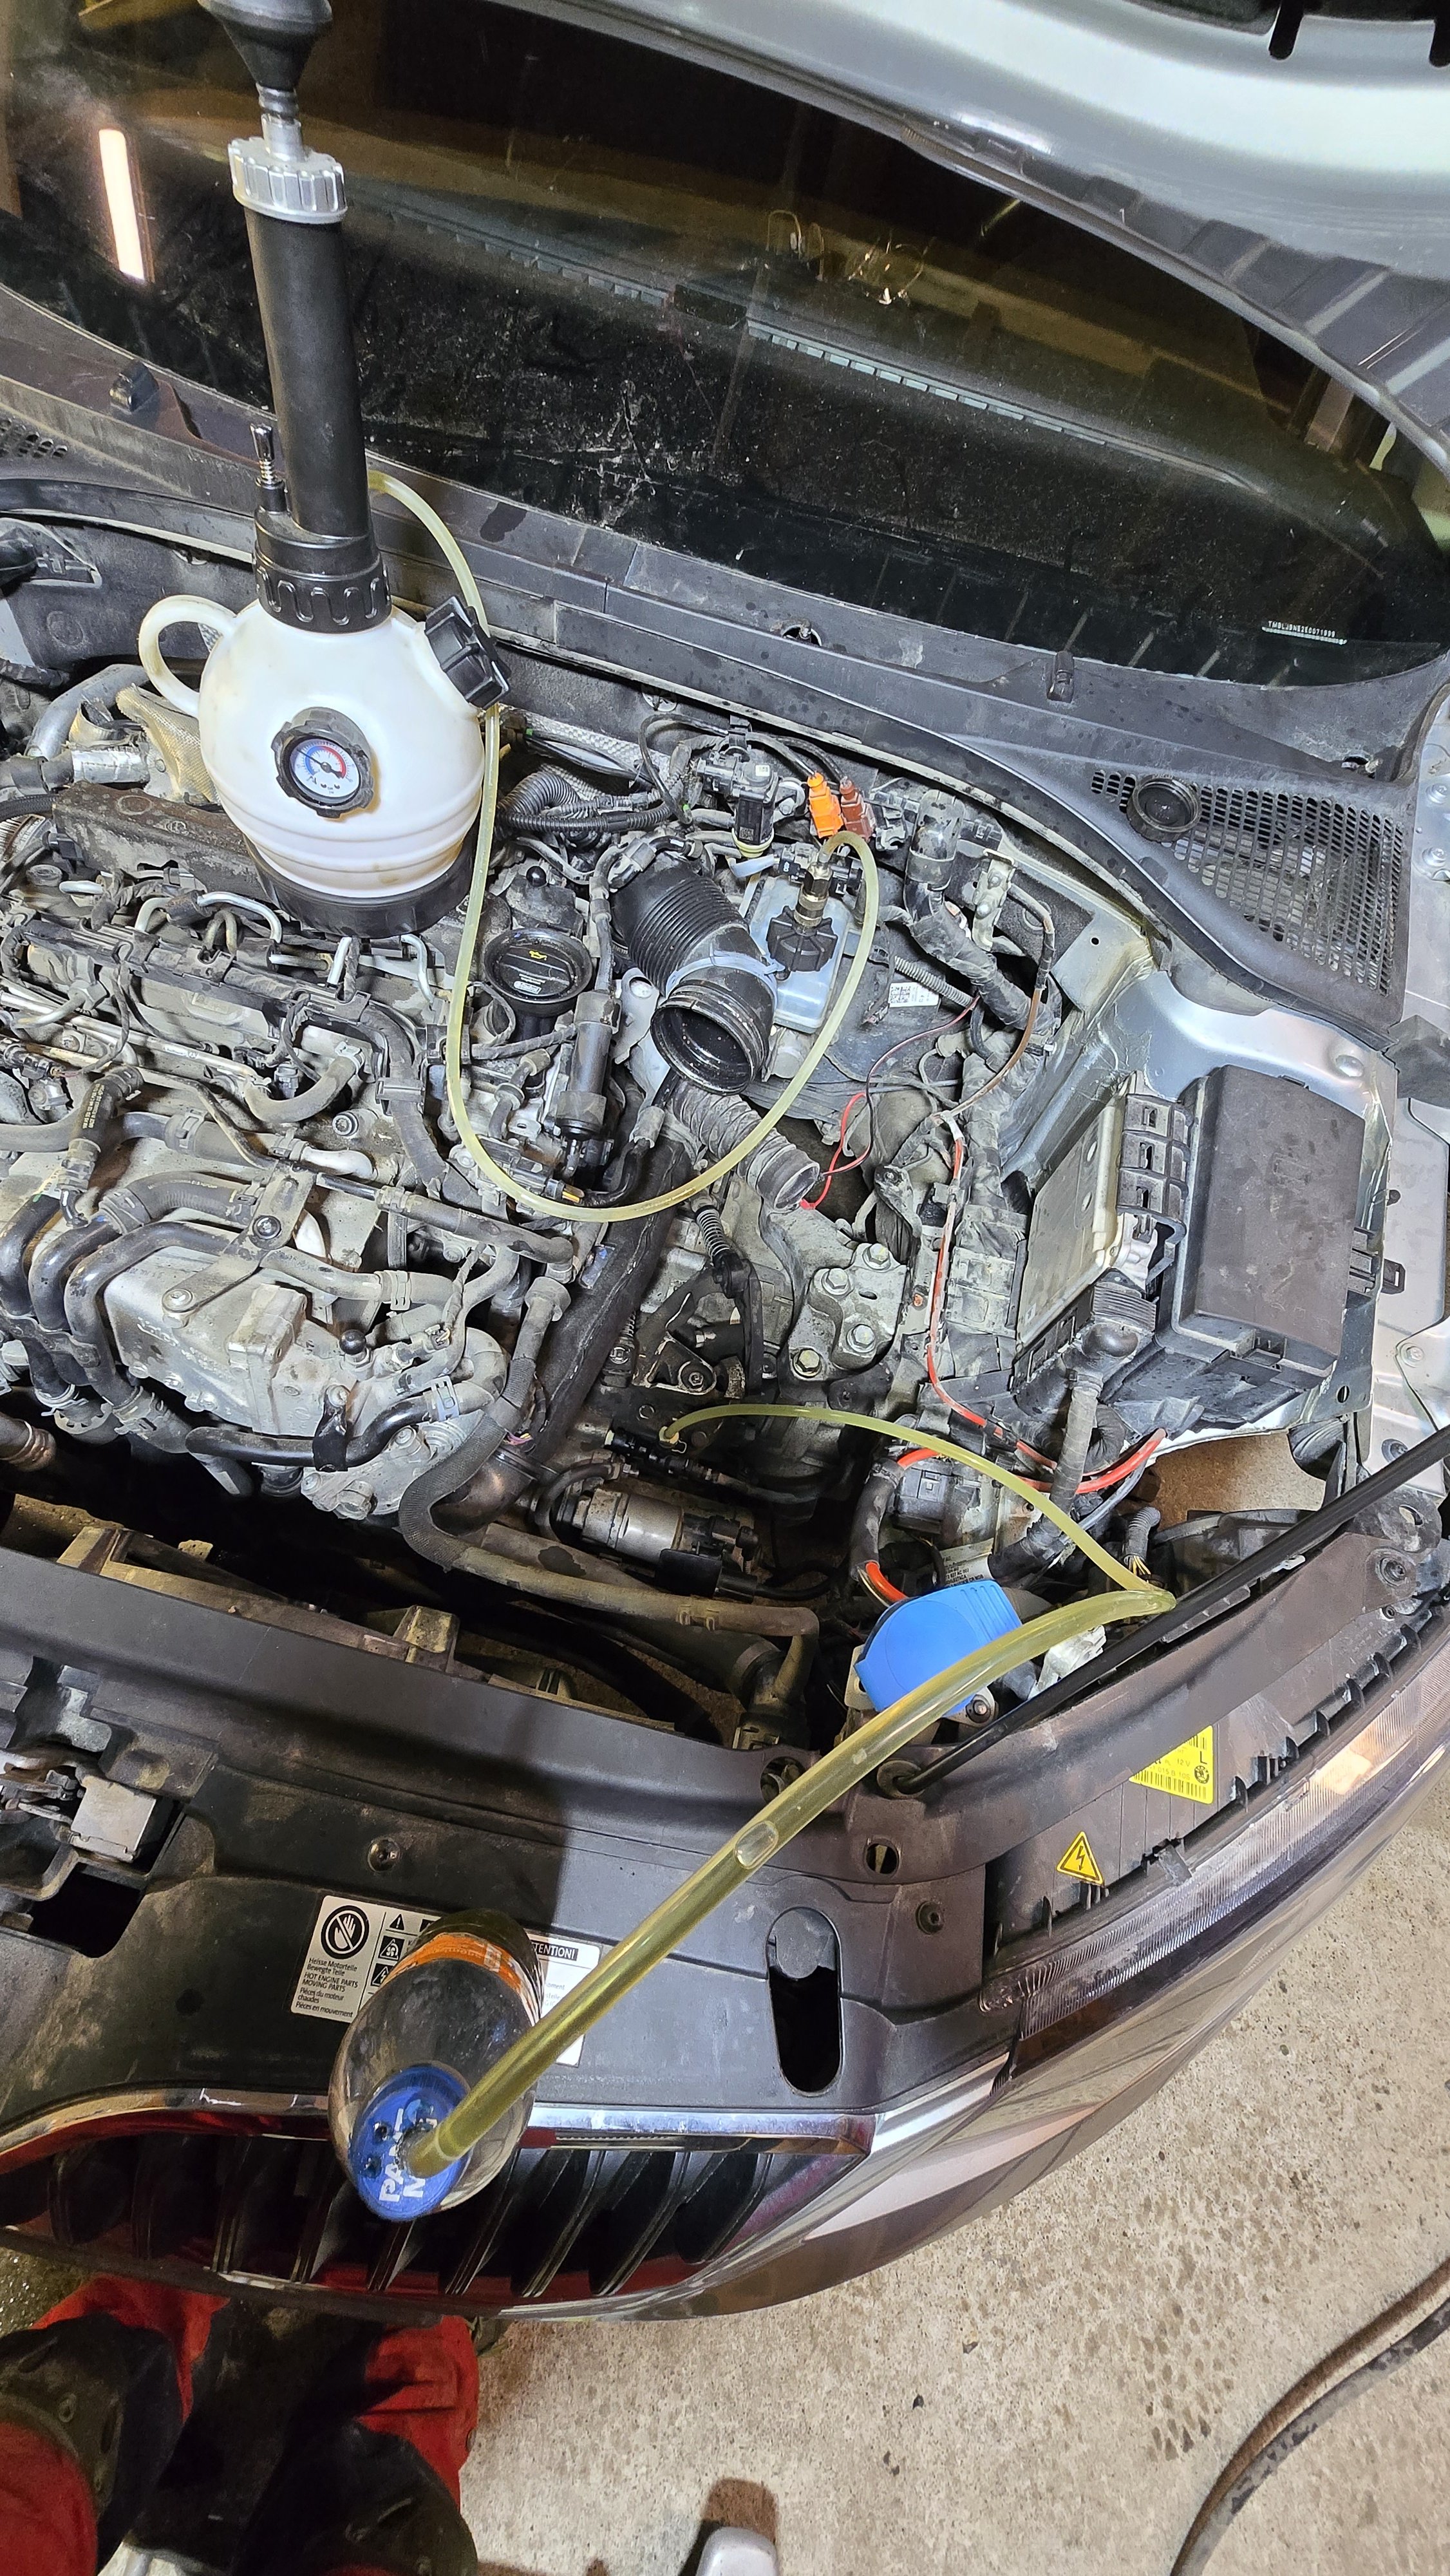
So, after clutch replacement, needed to bleed the slave cylinder. And wow, that was a lot of debris and dirt inside. Also did brakefluid and that was better. So, do bleed out the whole clutch system as best one can. I used more than 1.5ltr of brake fluid to get the dirt out.

-
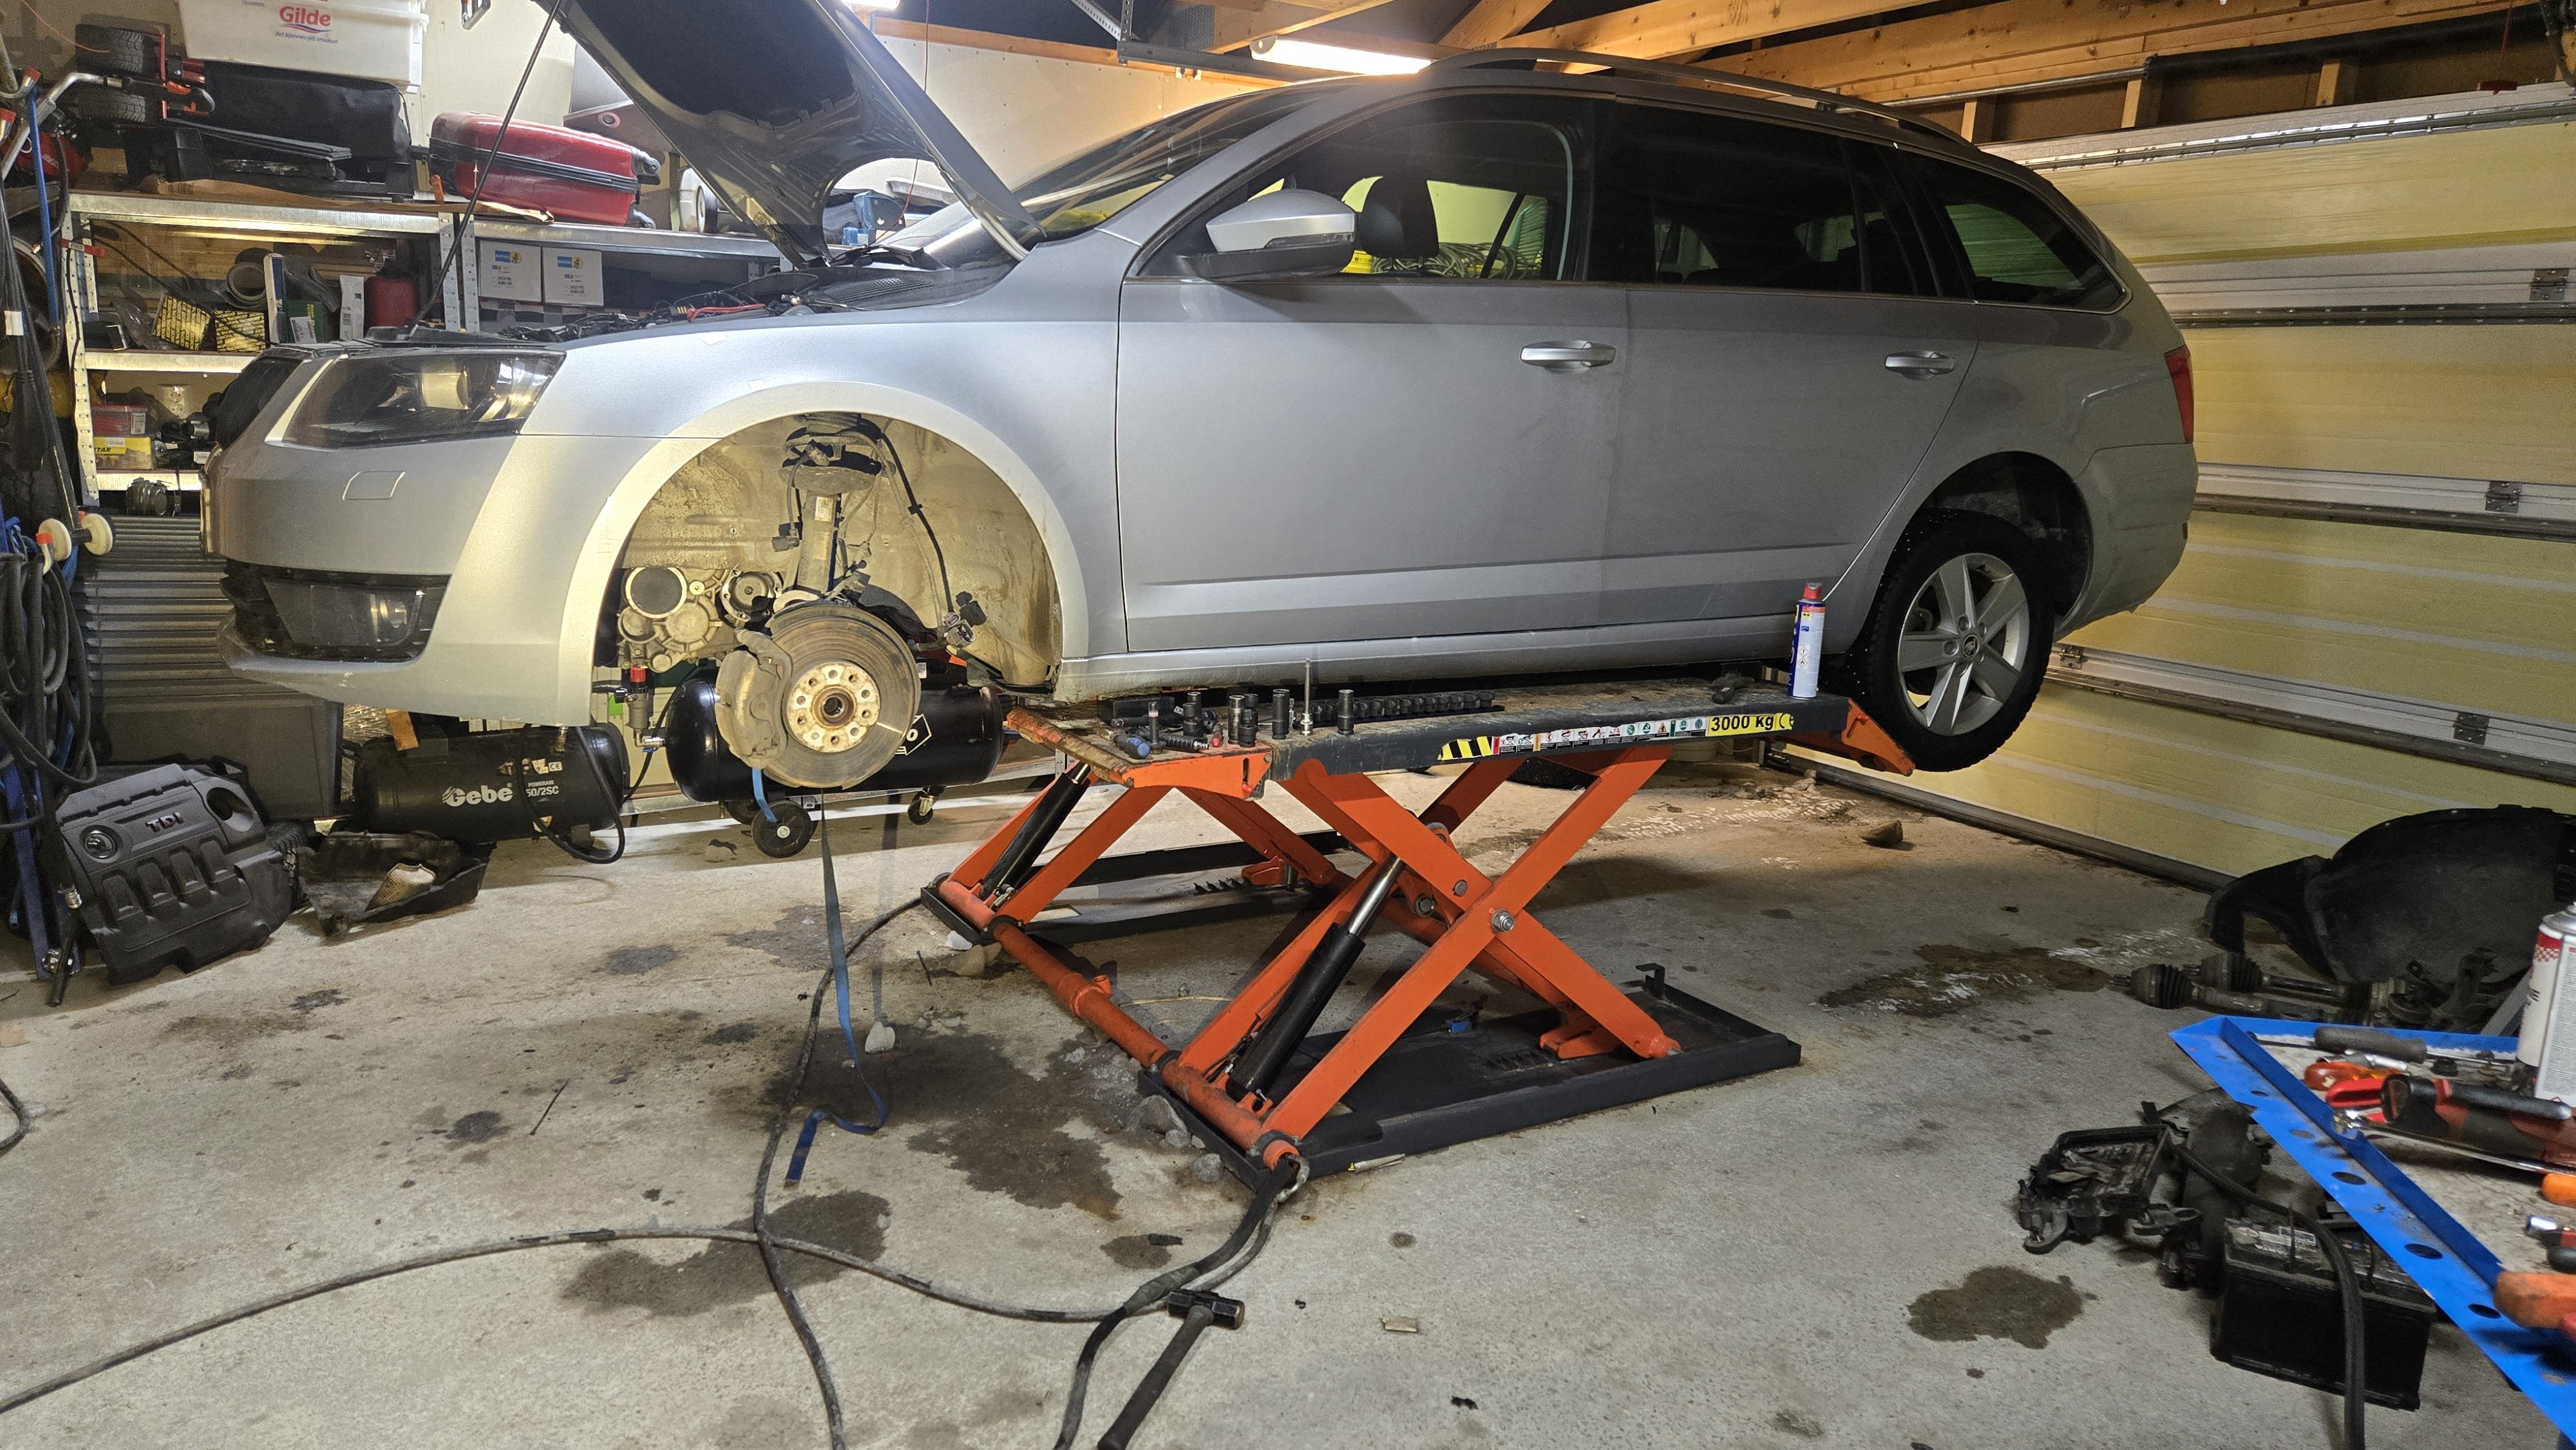
Oh, here are my garage measurements: From ground floor to roof floor it is 2,52m. Width from wall to wall is 7,01m Depth from garageport to wall is 7,5m Since floor to roof floor (attic floor) is only 2,52cm it i too low to have a 2 post lift. Thats why I have a scissor lift since lifting height is 1,05cm. In other words, I have just enough clearence to the attic floor when I max out the scissor lift with a superb mk2. Actually, I have enough space to even lift my Audi Q7 Etron almost max lifting height. Standard floor to roof in norway is approx 2,40m, but in the garage I added 10cm. Should have had it to 3,5m if you ask me. That would have been ideal for a small 2 post lift.
-
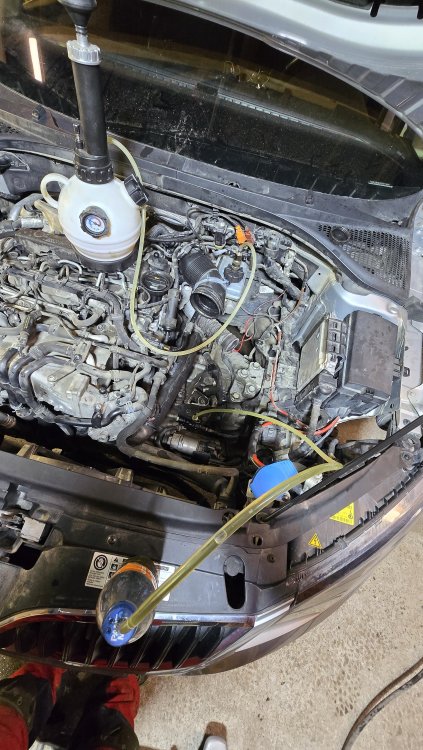
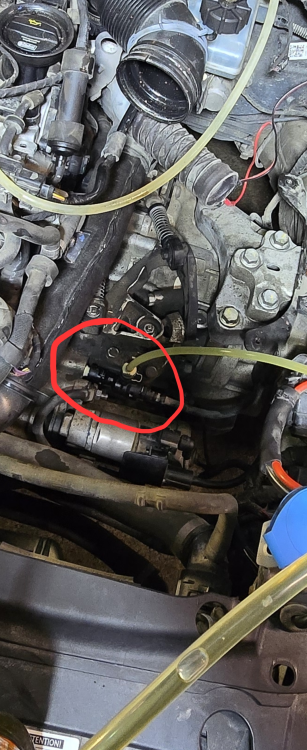
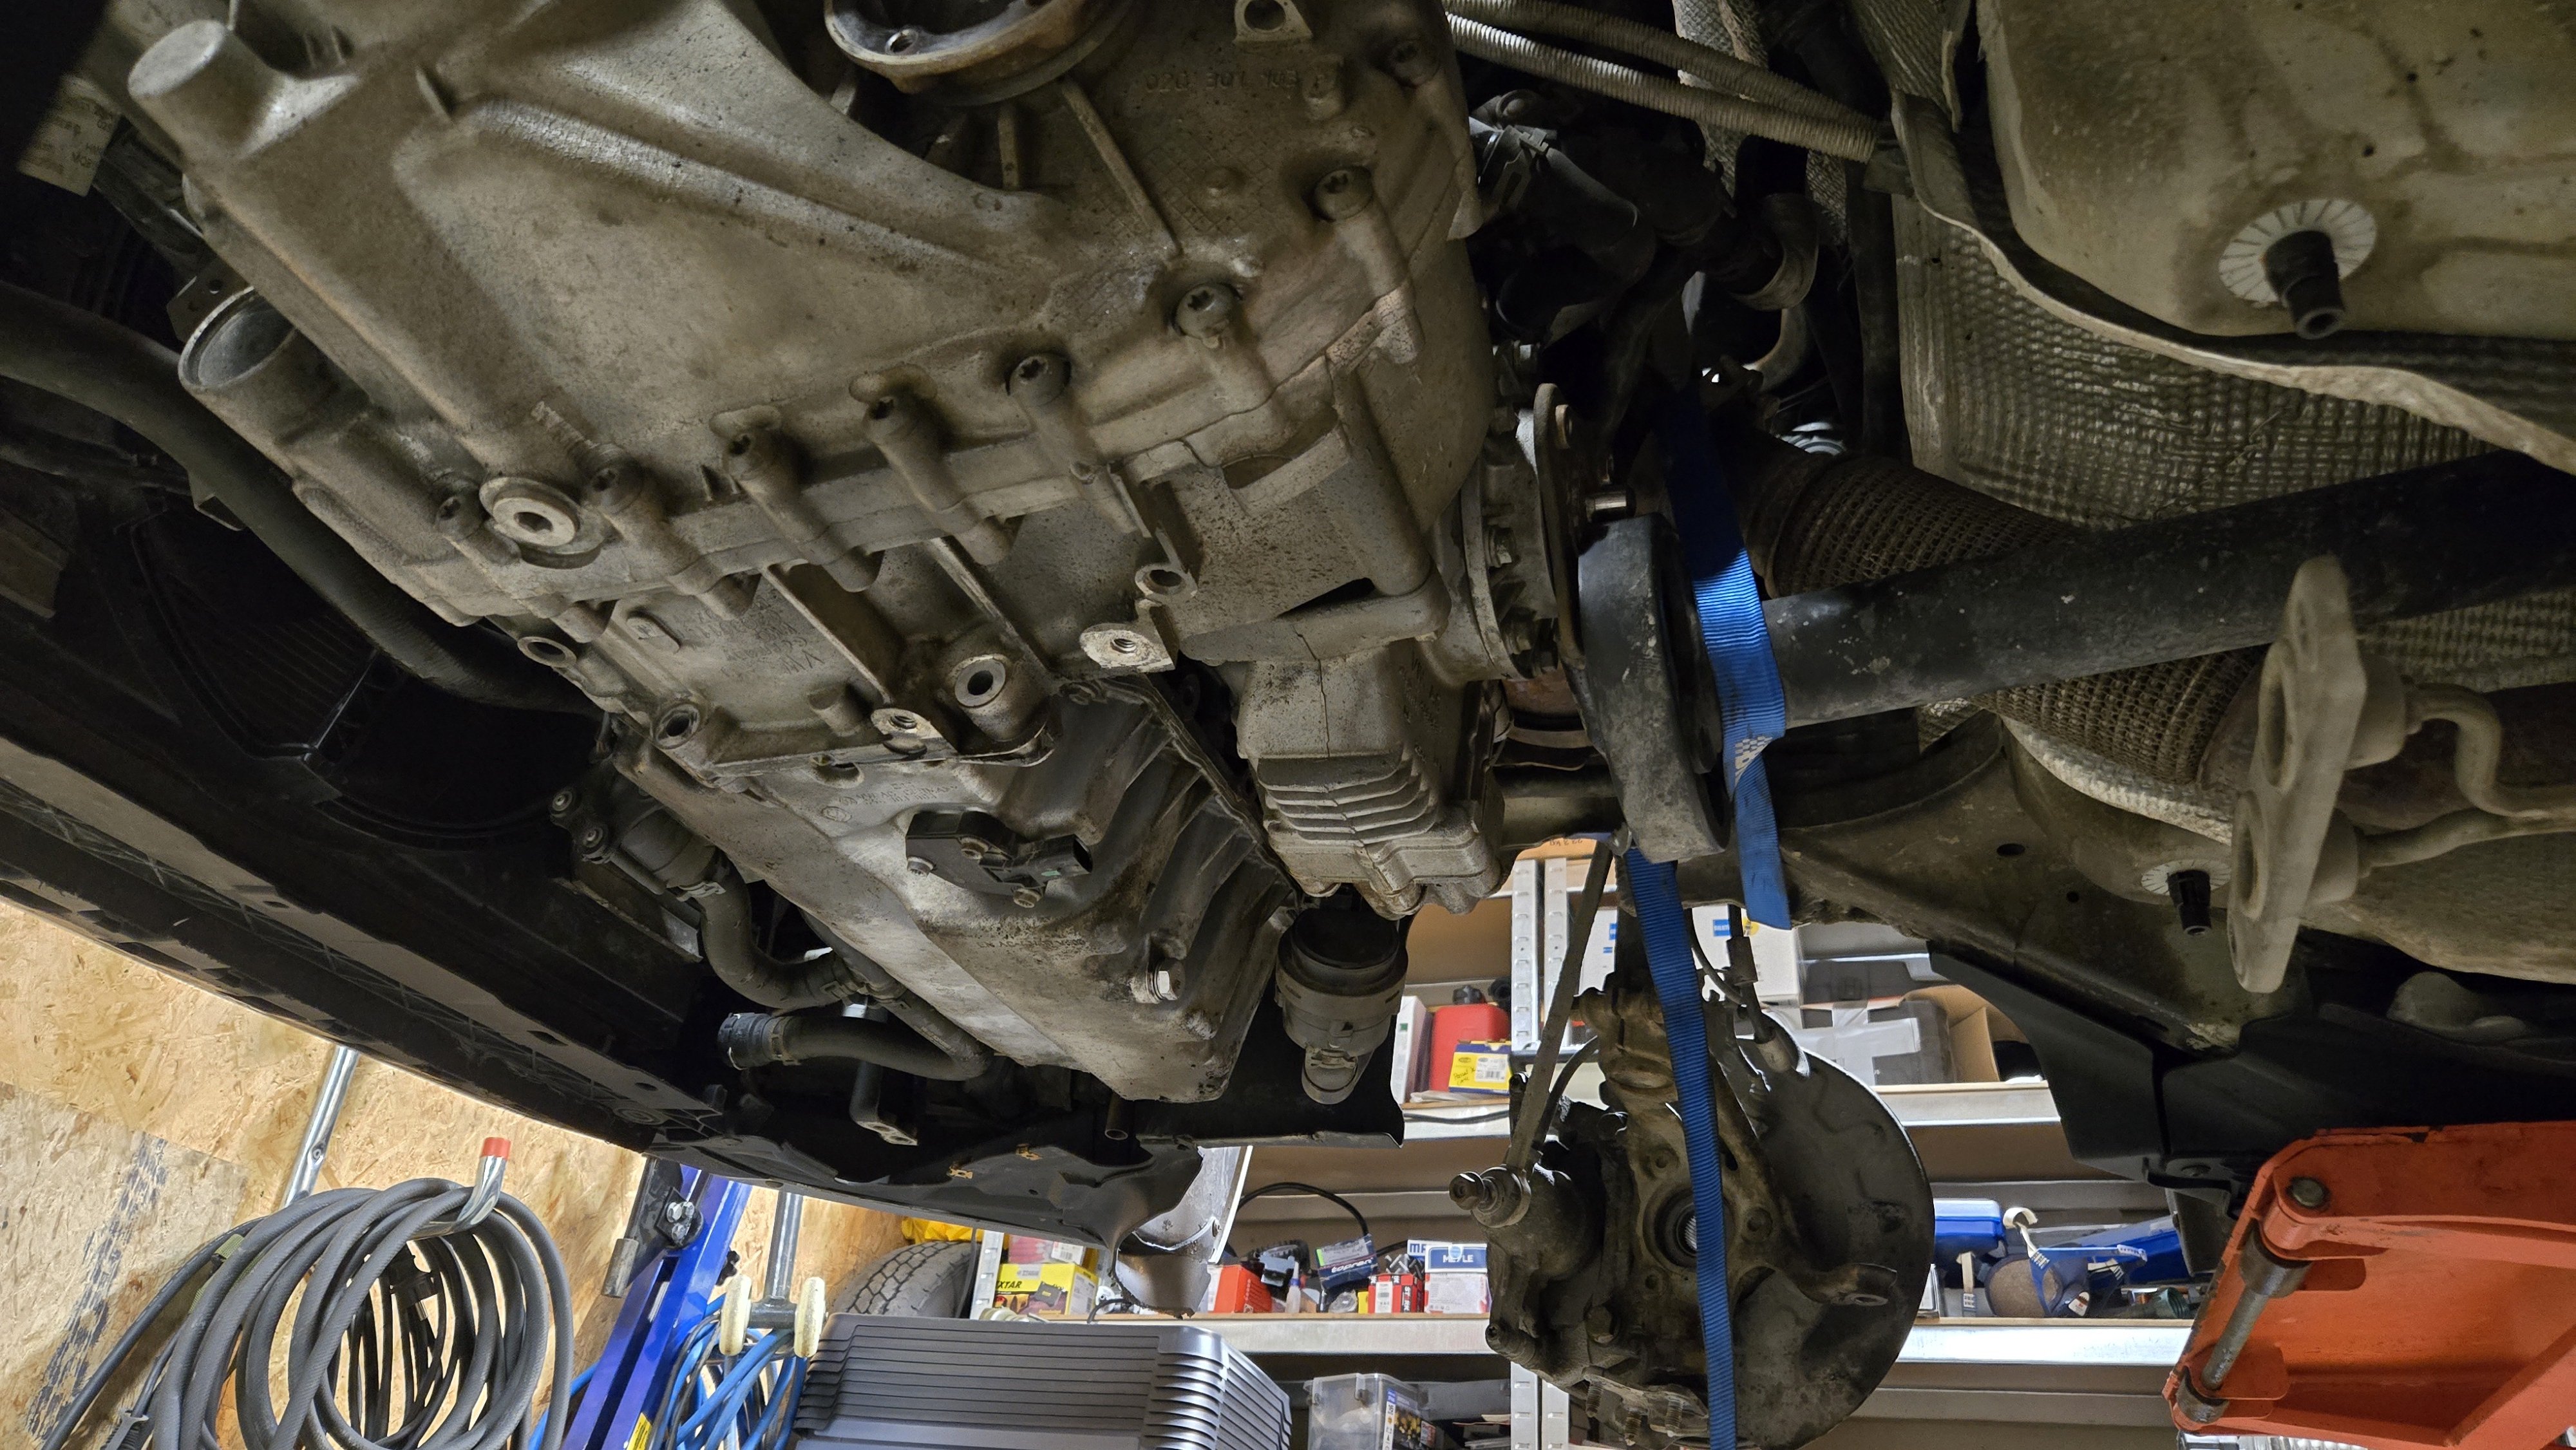
See attached picture of the slave cylinder connection stub. Good place around it.
-
I really do not understand how they are to use 16h labour....?? That is like 2 full days. How do they manage that? 16h is twice the time if going flat rate...
-
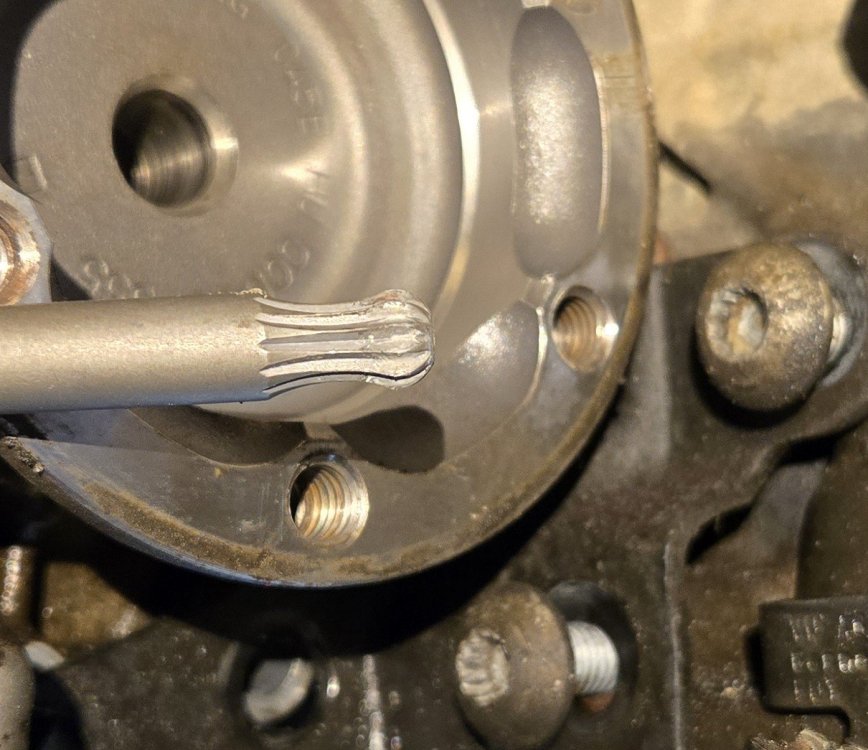
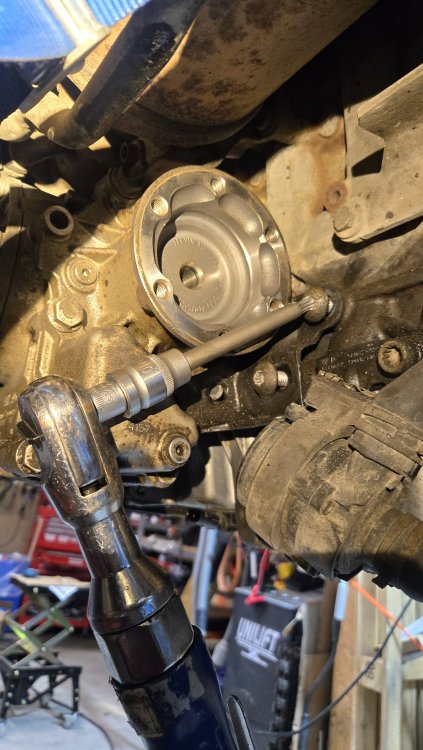
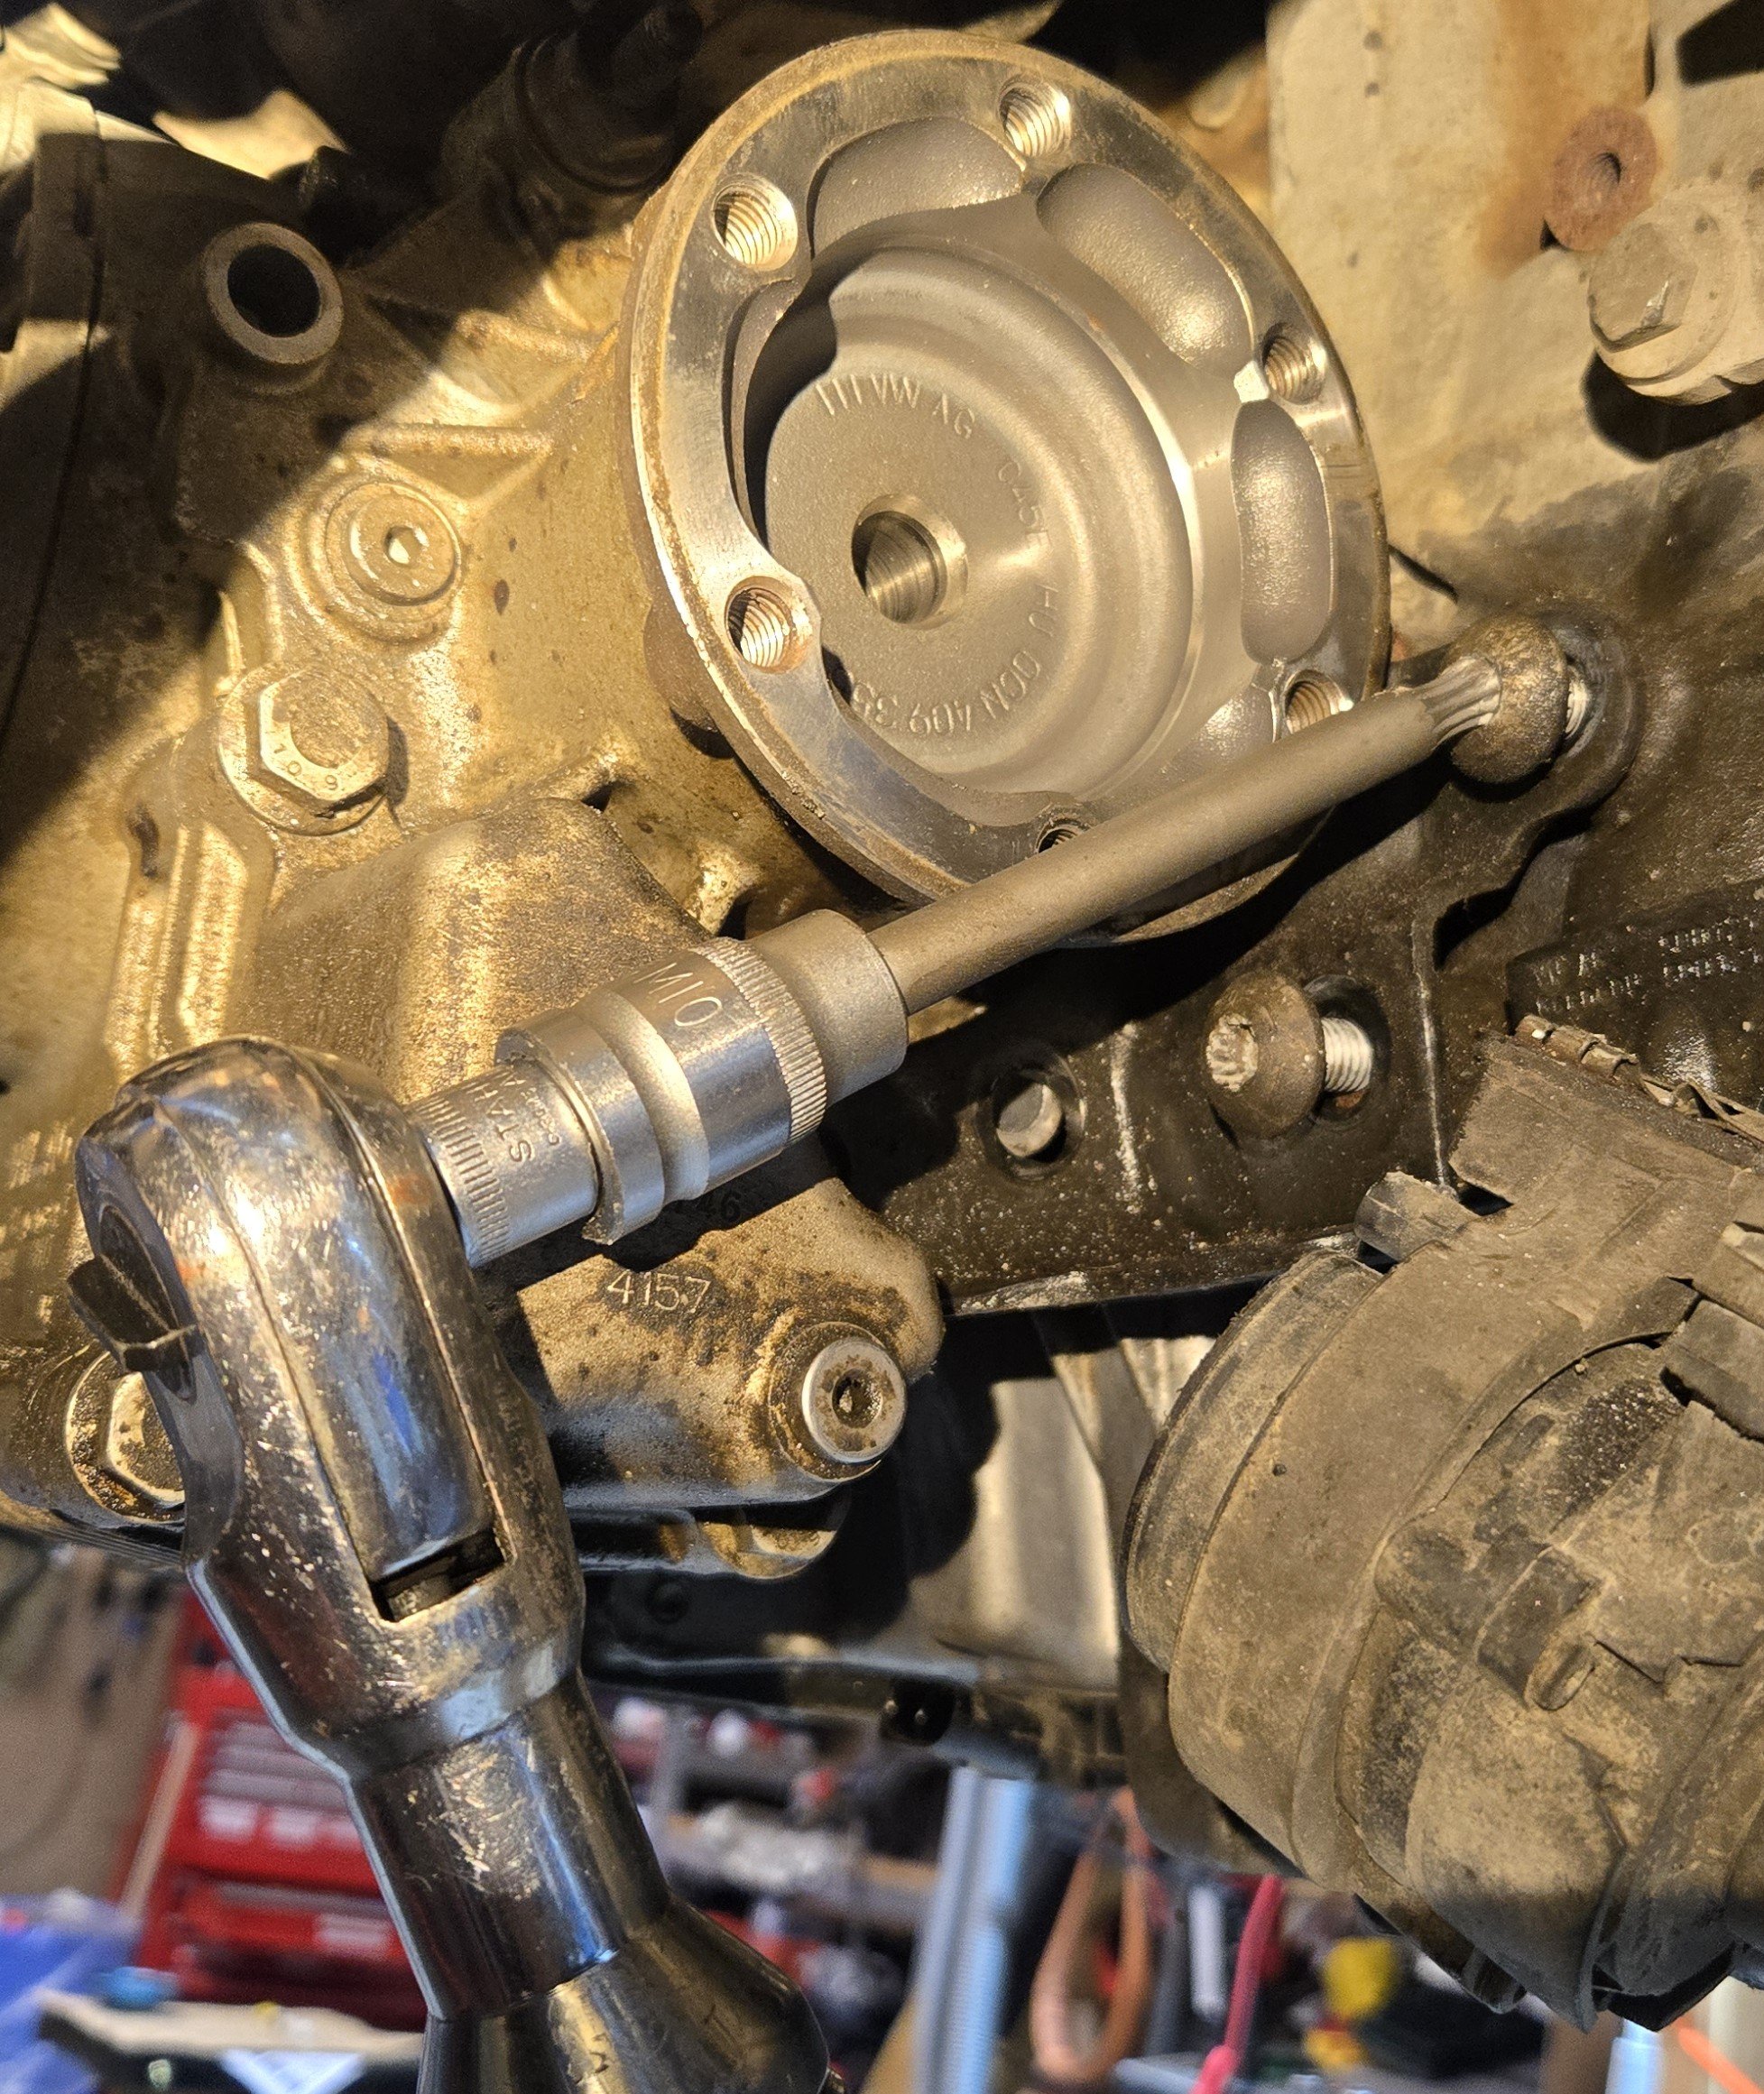
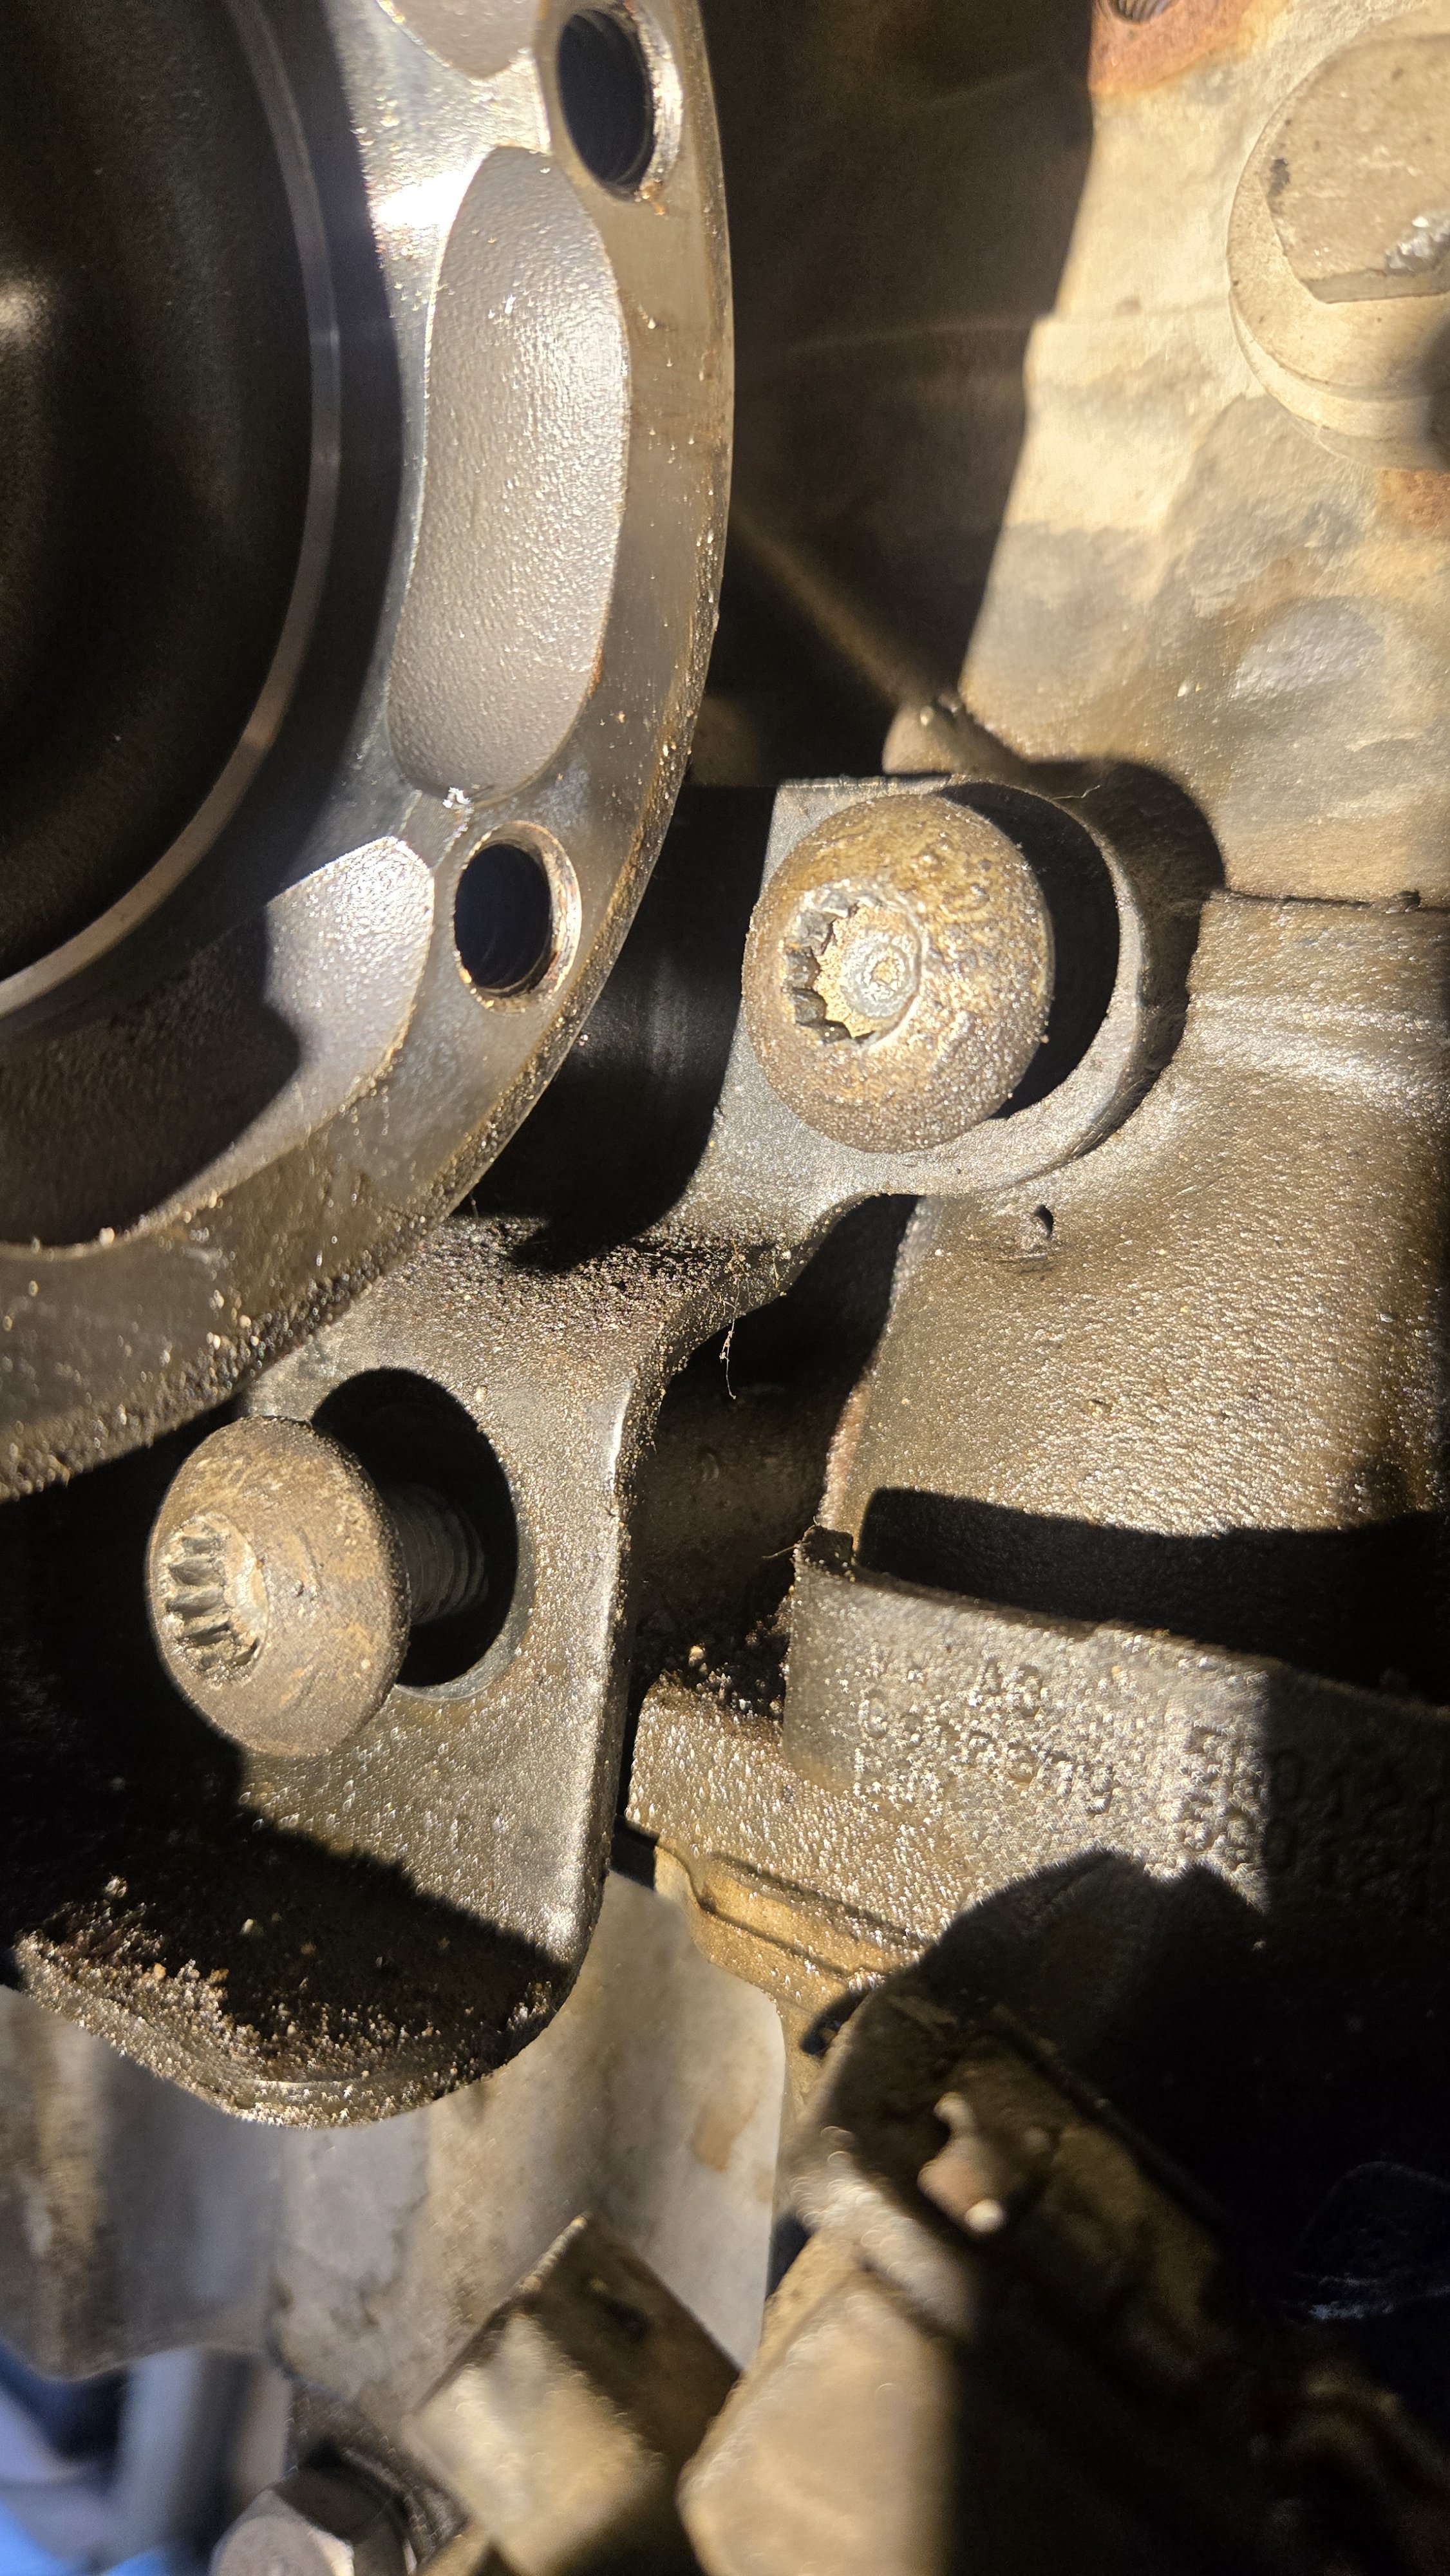
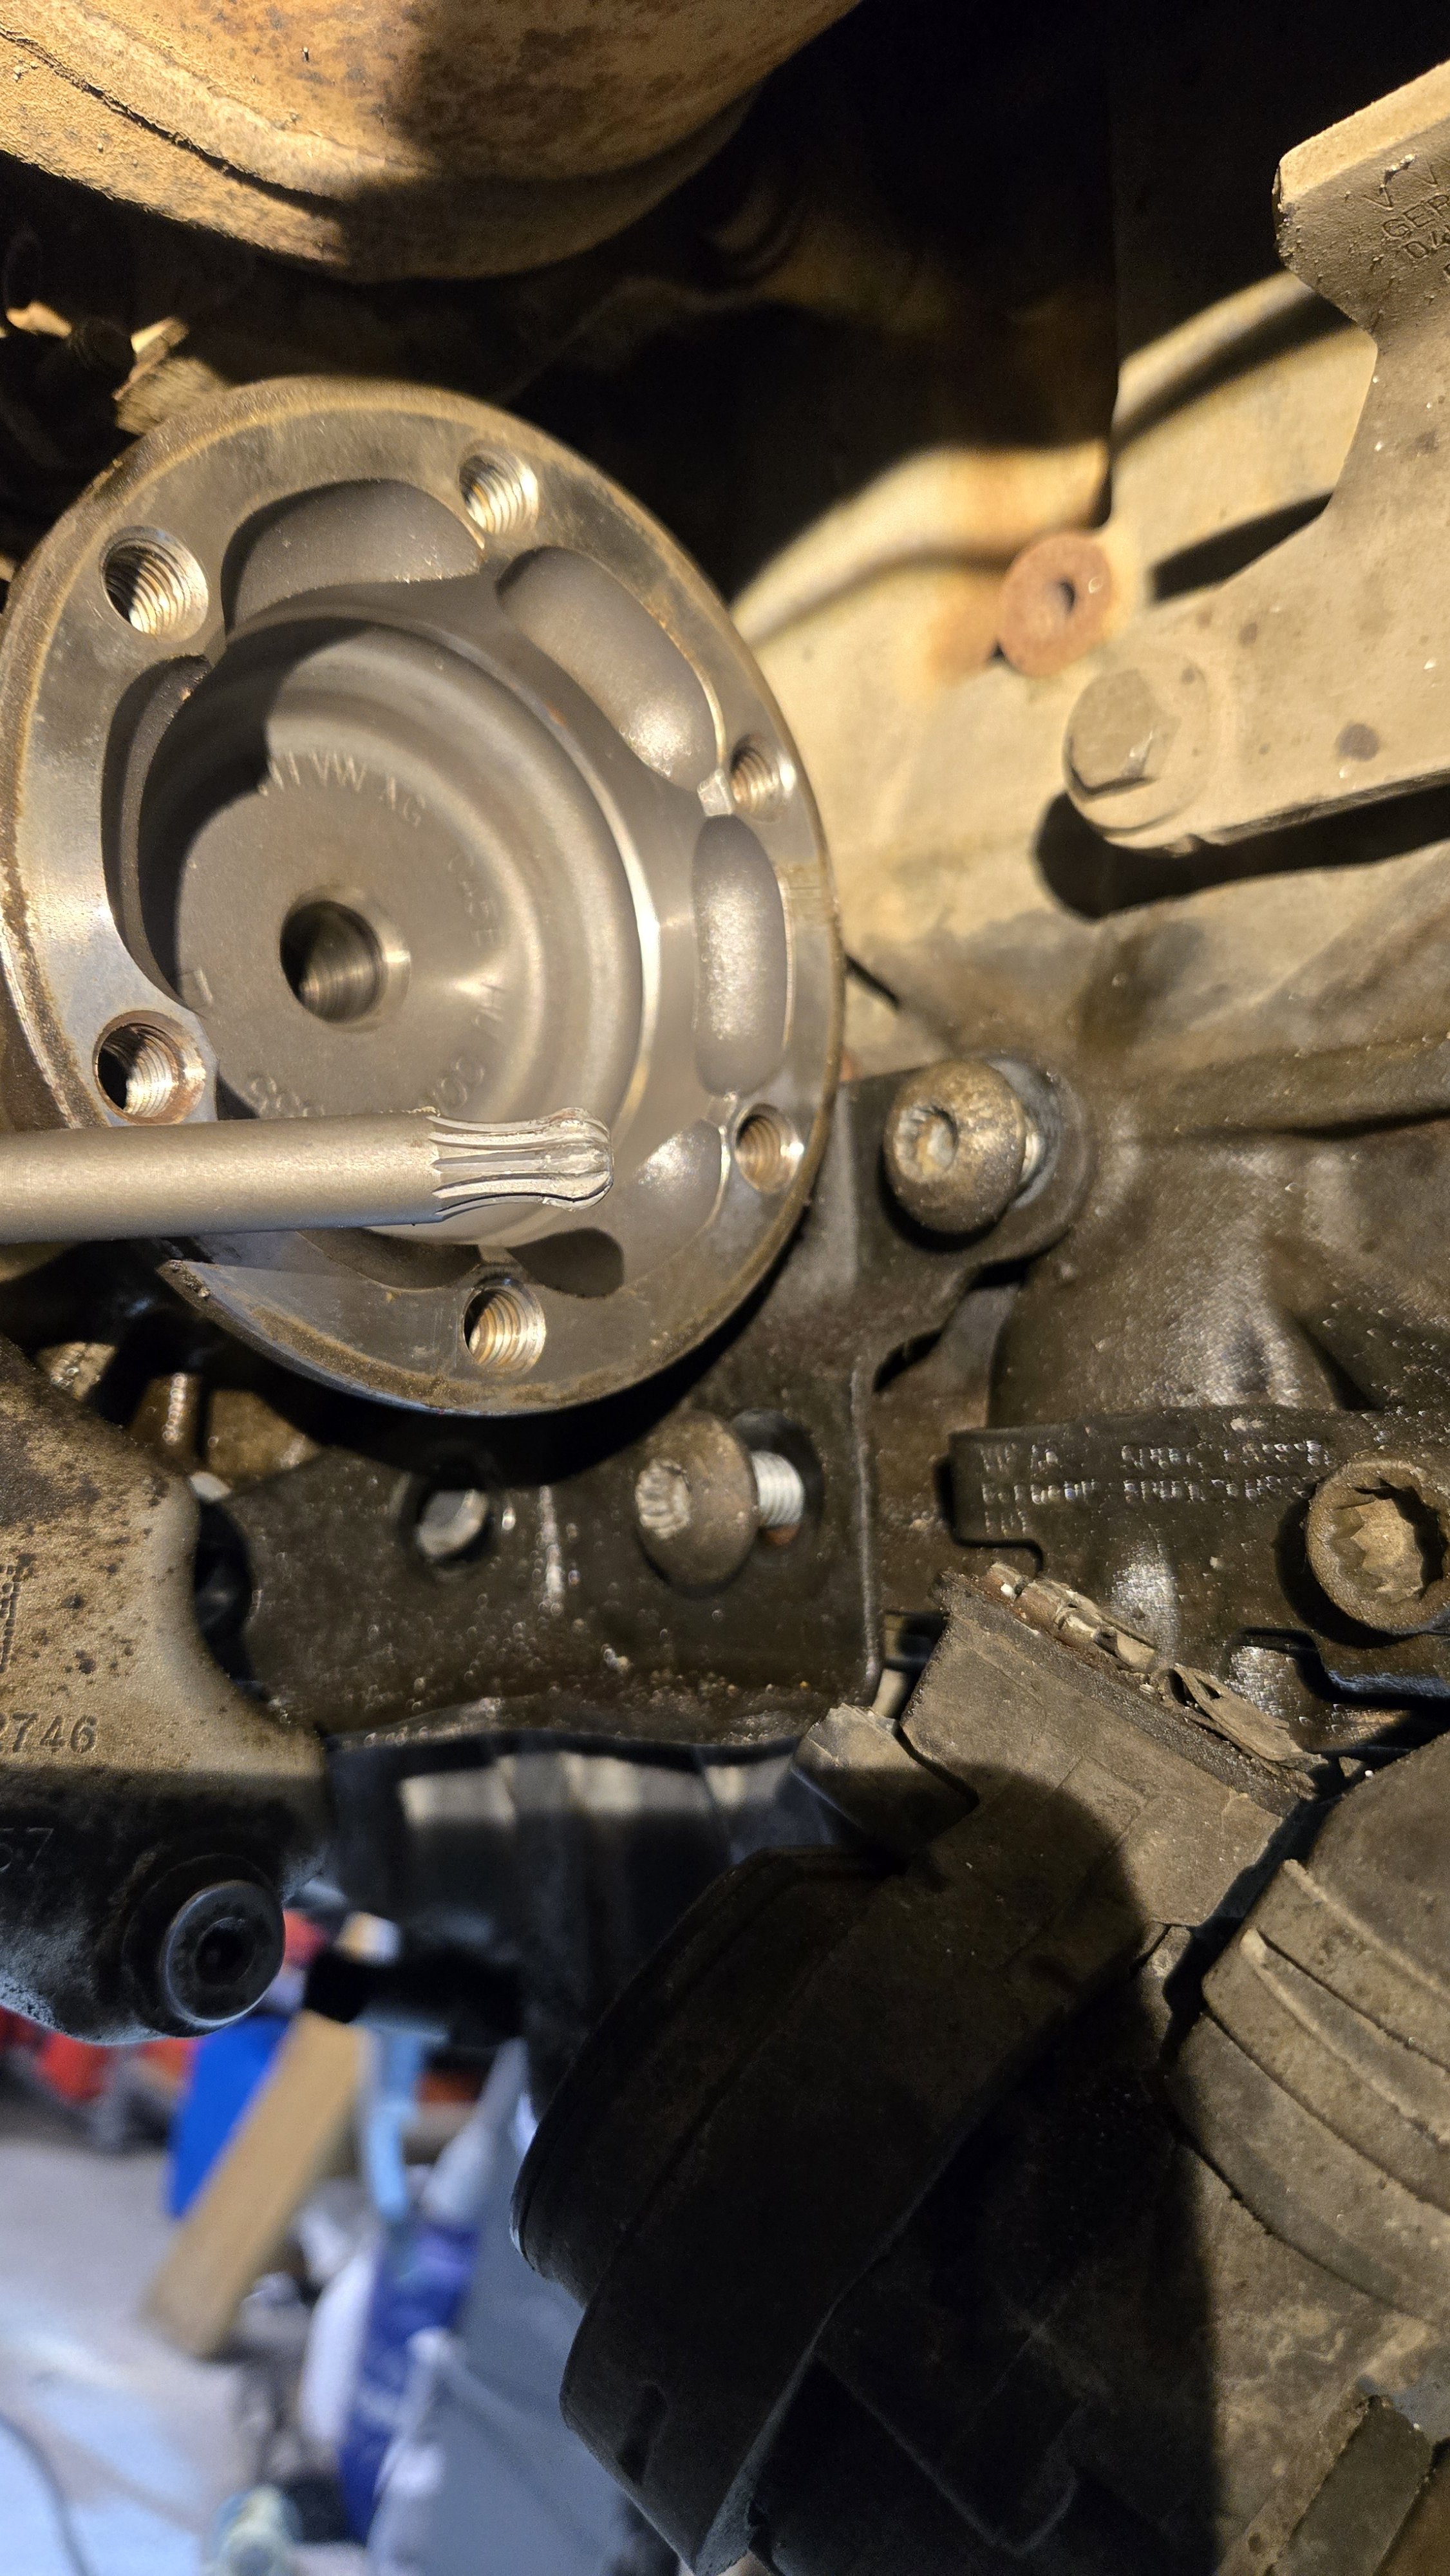
This bit is a lifesaver. It is actually a special tool for VAG meant to be used on gasoline engine head bolts. But this XZN nr 10 round head pipe is excellent to use in tight spaces due to angle function. So I use this on all xzn bolts on VAG. Very handy to use on driveshaft bolts that are tight and xzn 10.
 Today, 3h work and complete clutch replaced. New dmf, bearing, clutchplate and pressureplate. All done in 5h, and thats a new record to me.
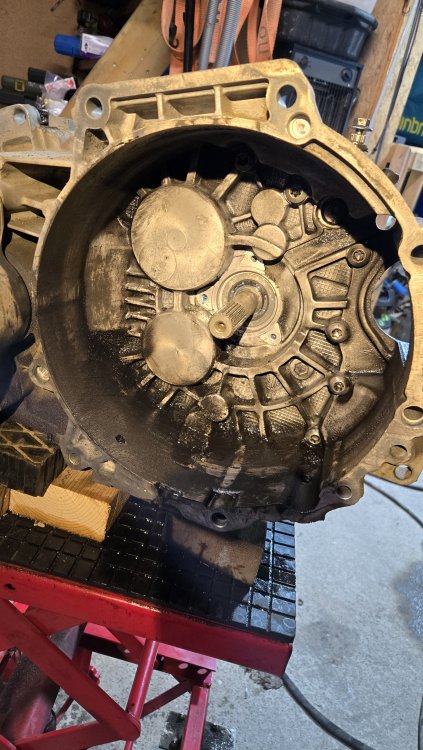
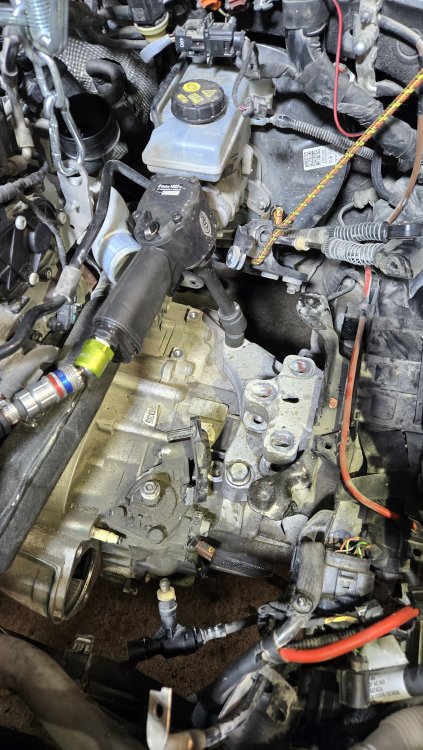
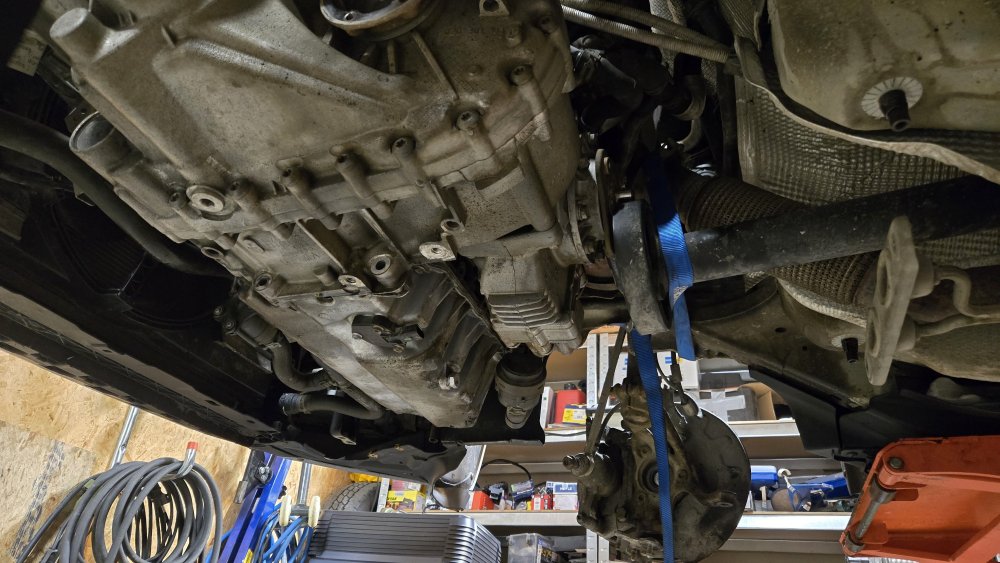
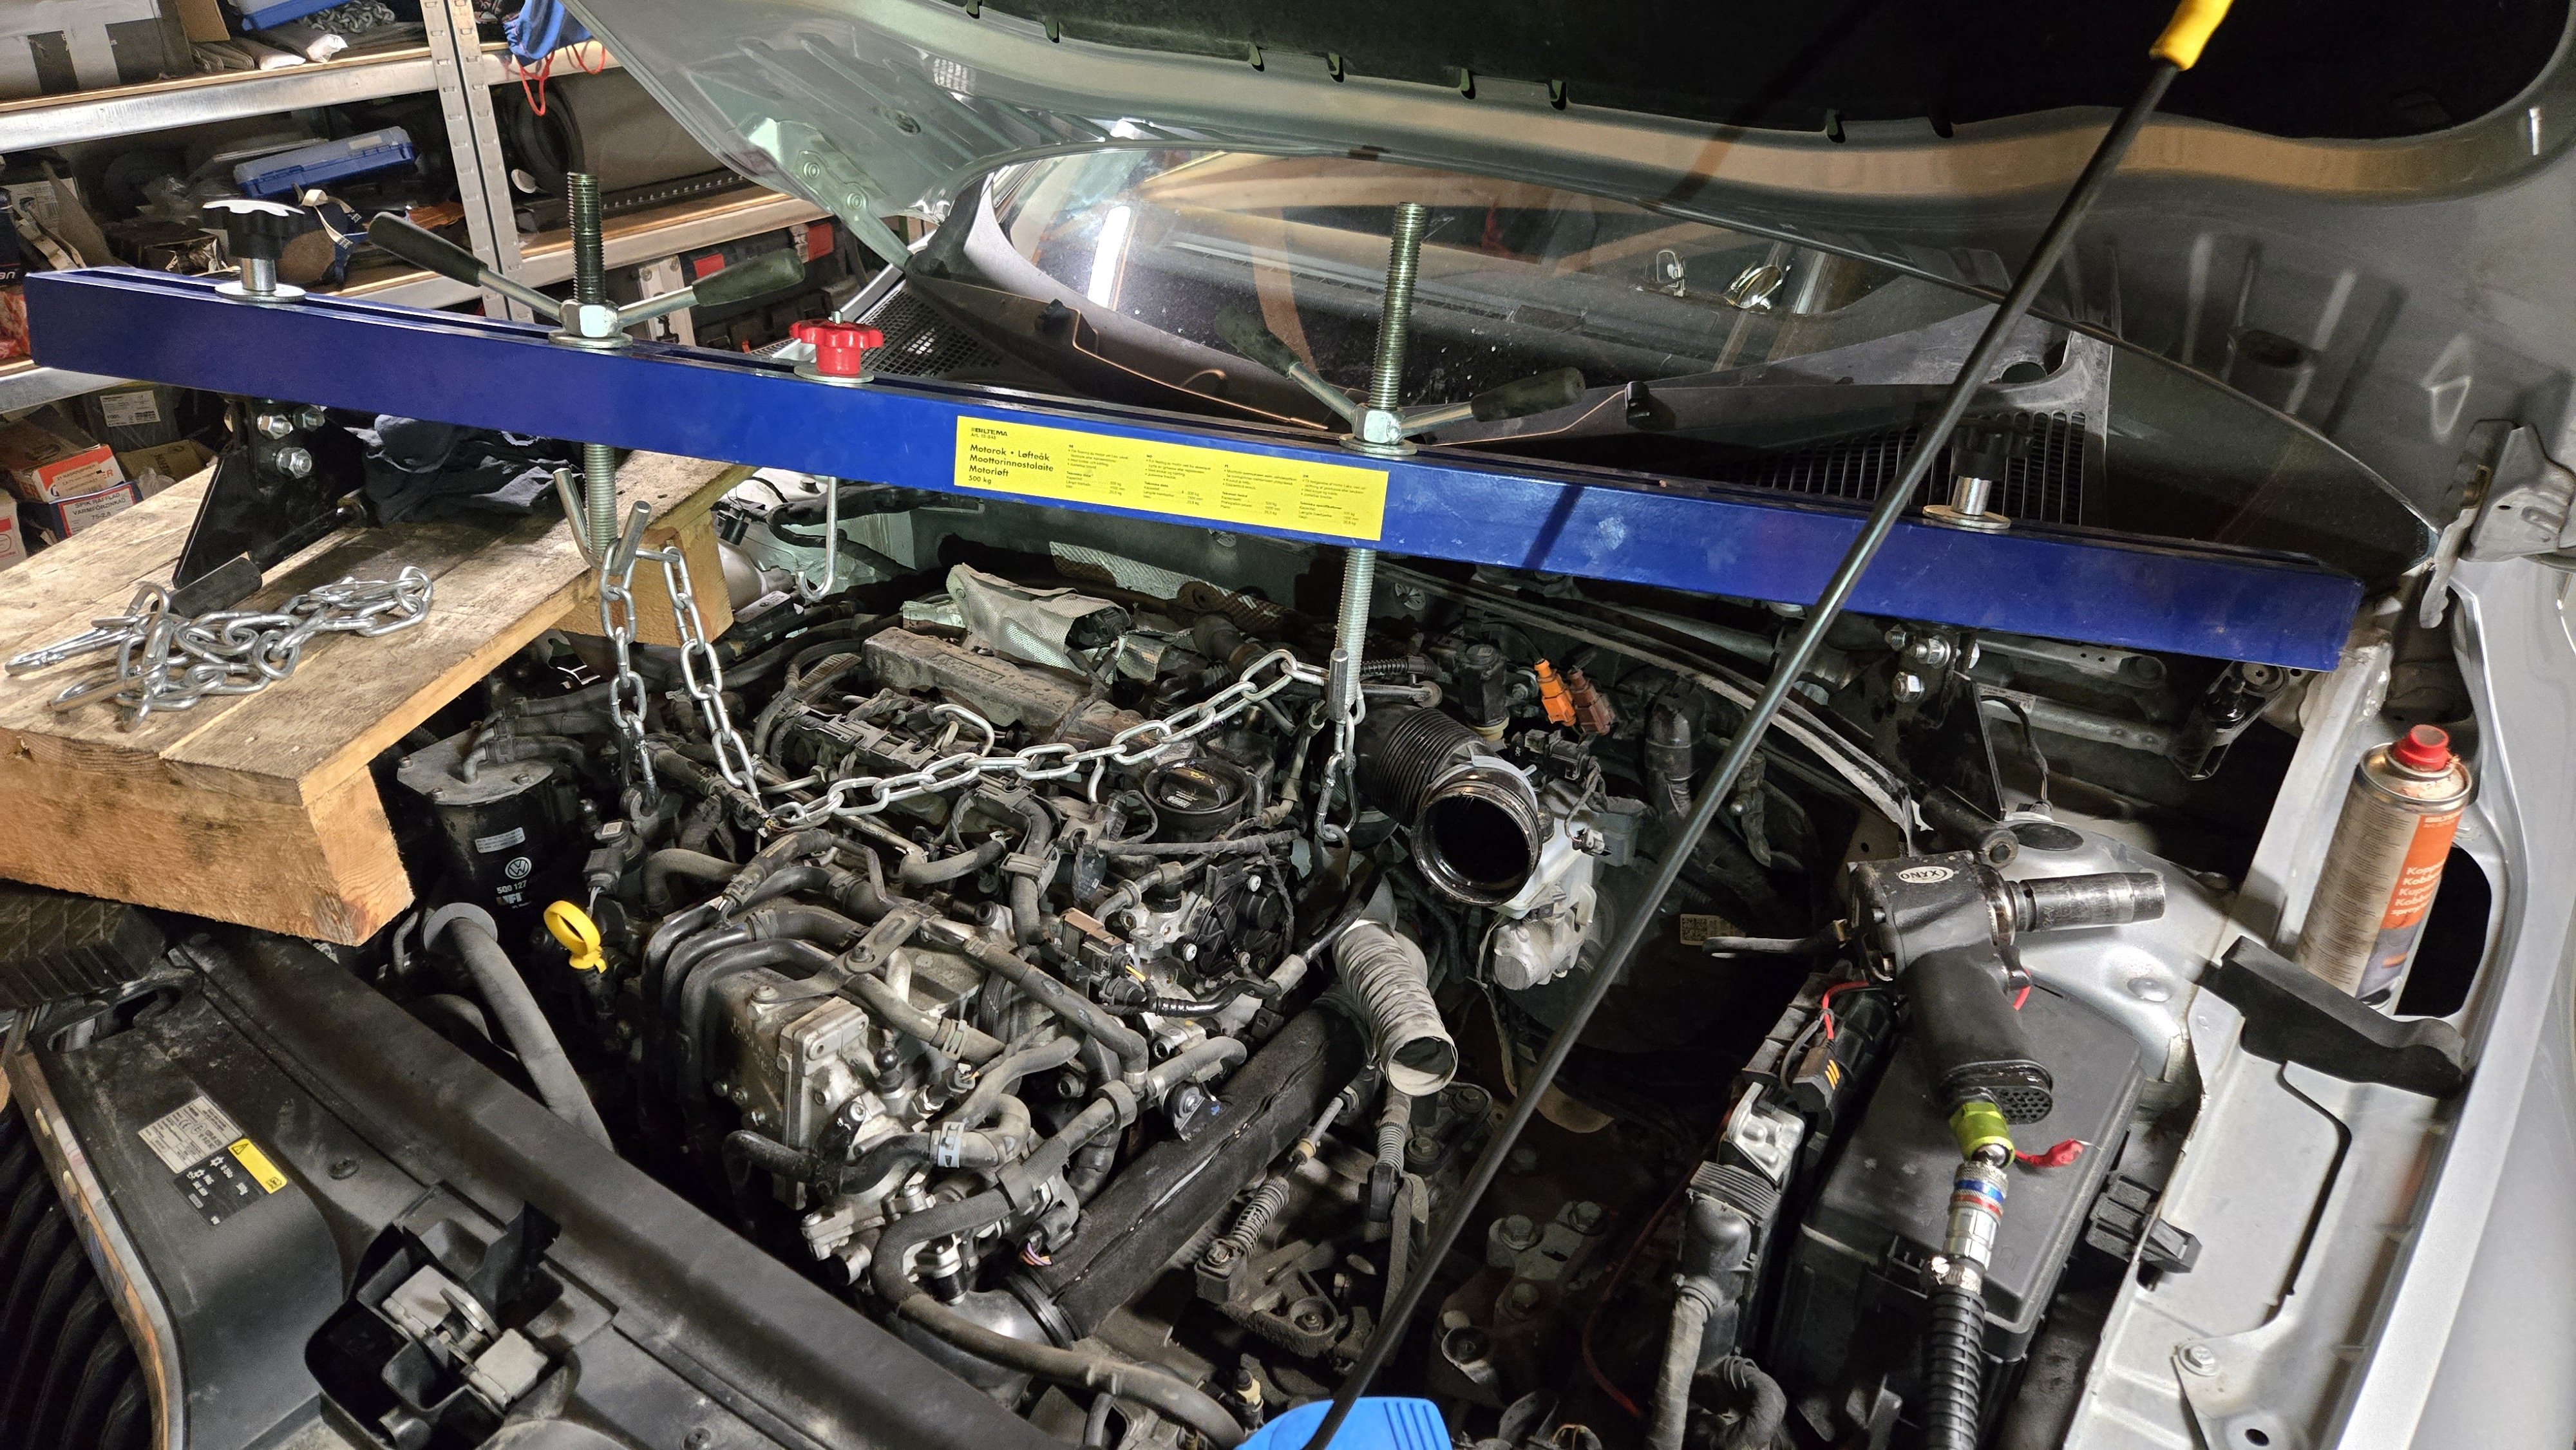
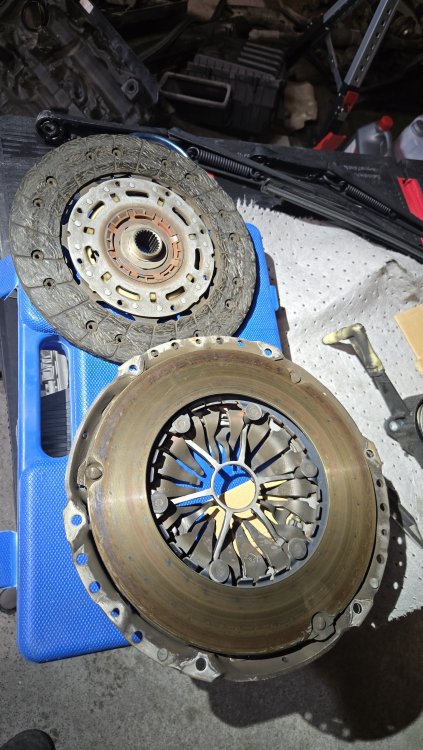 Height is 1.05m. So, enough for me to do all type of work under. Needs to be said, that if youre like 2m tall, I guess it is better with a 2 post lifter. But especially for suspension work my scissorlift is perfect.148000 km/92 000milesAll the other parts on the table is also to be done this weekend. Timingbelt/wp, haldex service, xenon bulbs and full large service-oil, filters-breakfluid and inspection. We did a price research and received some offers for all the jobs parts included from local workshop (a good one). It was a total of 4089Gbp... these cars truly are pretty expensive to fix/service.Yes, what happened with this car? Suddenly, clutch pedal went straight to bottom and didn't return. My take when I heard about it was "oh, its likely the concentric slave that has failed" But it could also be bad break fluid, leakage, air in system and dirt in system. So, went over to look, saw that fresh break fluid between the engine and gearbox together with a lot of fluid on the underside engine dampening cover. So, since the original slave on these are slightly deeper than the ones that you can buy or get from dealer (superseded), one has to replace concentric slave cylinder AND a new pressureplate as well. At least thats what the factory repair manual states. Anyway, when all has to come down, there are no valid arguments against just to whole clutch replacement; dmf, clutch and pressureplate. The price difference is marginal when you diy, but substantial if factory workshop has to do it. In Norway just the dmf is like 1000Gbp... Bought all Luk parts at norwegian shop for approx 430Gbp shipping included. If we bought from Autodoc he could have saved another 150Gbp, but we are in a hurry and couldn't wait 2 more weeks (shipping to norway is sometimes like 2-3 weeks from autodoc). Local indyshop quoted 2151 Gbp for the job and parts. Factory workshop quoted more than 2725Gbp.Took upon me the job to help a colleague. Car was towed to my garage today and started immediately. I must say, have done 3 cars now with 4x4 both manual and dsg gearbox. But this is first time replacing a clutch on a MK3 octavia tdi. And what a nice development from Skoda when it comes to easy accessability to mounts, bolts and nuts. Really, it is just wonderful to work on this 150hp tdi with 4x4 compared to a MK 2 4x4. Especially around the bevelbox and the bracket to the engine block. No need to f...around with oil return pipe, take out drive axle flange, dpf or any of that s...t. Saved me at least one maybe two hours. I spent 2 hours today and gearbox is ready to be dropped. Work steps were as follows: - Wheels off - Drop subframe with steering rack, used subframe guiding pins in order to not have to do an 4-wheel alignment - Drive axle out (i took both sides) since I like to have as much room as possible. But one really need to disassemble the inner knuckle. But space is nice. - Mark up and disconnect propshaft tie it up. Remove all lower bolts (2 I think it was) except 2 right and left side bolts from gearbox to engine - Next was to remove air filterbox, battery and tray to get access to starter, mounts and shiftercables. - Then I used a engine beam to support gearbox. I hoisted the engine a bit up to loosen the mount and bracket just to check alignment on the beam. All good, and tomorrow is a walk in the park with, starter, shiftercables and shifter. Finally disconnect wires and remove gearbox mounts etc. And voila, gearbox ready to be dropped on a gearbox lifter. I calculated approx a total of 7 hours for the job, but I do believe that I will be done in maybe 5hours now. Thank you VAG engineers for making a diy mechanic life easier compared to work on MK 2 tdi 4x4 manual gearbox.
 I see several doing this op without vcds, and have done it my self as well. The fluid level is not that far off, just start the engine so the haldex pump starts a pre-load irder to circulate oil. After it is up to temp, top off. If you have vcds, after initial filling, start engine and run until temp is within specs. Keep engine running hook up vdcs and go to controller 22-AWD then basic settings and test haldex pump. Let it run its test, takes some couple of minutes. It will tell when it is finished. Now oil has circulated enough. Shut off engine, check fluid level and top off if necessary. Done. I have vcds now and used it the last time doing this service. Makes things a bit easier of course, but still, its optional. Guess many non-factory workshops just test by running engine and then tops off afterwards....Everything back in order again?Oh, yes, the rear exhaust has to come down. I used a gearbox jack to support all things. But, be aware, If you dont have a lifter, you do need some big jack stands to get the car at least 45-50cm off the ground.@Edguzia Oh, the price I got is for factory new. Used ones with low mileage is around 200-300 Gbp, same as in UK. If you just replace the bearings, you get those for like 50Gbp. But to replace, you will need a bearing extractor ad of course some tube sealant. But that is very doable. Here is a video on how to do it. But do notice, this guy takes down the whole subframe. You dont need to do that. In elsawin, that is not the described way on my superb. You just take down the rear diff and haldex as a whole unit. Rear diff is mounted to subframe with only 3 xzn screws. 2 of them reachable from the rear boot bottom behind some rubber seals. Or there are markings on where to drill 2 holes exactly above the screws. Drill hole and just cover them up with rubber seals after done. The last xzn screw is reachable from under the car. Only stuff that has to come off are the anti roll bar, rear drive axles and both springs and the propshaft joint to the haldex. Saves you a lot of time vs taking whole subframe down. Below is a video on how to service the bearings and races.Yeah, did them both since 1 was bad. Oh, them partnumbers....hmm, front bevelbox use the same, as rear, but there were different partnumbers left right side if I remember correct. 02D 525 596 B/F is for right side (i used Elring 871.180) and I do believe 09A 409 529 B/C is for left side (Elring 877.460). But do checkparts catalogue etka.Anyway, I would listen to what @J.R. has to say. He is a mechanic and probably knows a lot more since he was or is a professional mechanic 🙂


Important Information
Welcome to BRISKODA. Please note the following important links Terms of Use. We have a comprehensive Privacy Policy. We have placed cookies on your device to help make this website better. You can adjust your cookie settings, otherwise we'll assume you're okay to continue.
Account
Navigation
Configure browser push notifications
Chrome (Android)
- Tap the lock icon next to the address bar.
- Tap Permissions → Notifications.
- Adjust your preference.
Chrome (Desktop)
- Click the padlock icon in the address bar.
- Select Site settings.
- Find Notifications and adjust your preference.
Safari (iOS 16.4+)
- Ensure the site is installed via Add to Home Screen.
- Open Settings App → Notifications.
- Find your app name and adjust your preference.
Safari (macOS)
- Go to Safari → Preferences.
- Click the Websites tab.
- Select Notifications in the sidebar.
- Find this website and adjust your preference.
Edge (Android)
- Tap the lock icon next to the address bar.
- Tap Permissions.
- Find Notifications and adjust your preference.
Edge (Desktop)
- Click the padlock icon in the address bar.
- Click Permissions for this site.
- Find Notifications and adjust your preference.
Firefox (Android)
- Go to Settings → Site permissions.
- Tap Notifications.
- Find this site in the list and adjust your preference.
Firefox (Desktop)
- Open Firefox Settings.
- Search for Notifications.
- Find this site in the list and adjust your preference.