Everything posted by Zlatko580
- Activating SmartLink on Swing 3
-
Activating SmartLink on Swing 3
Try it again, unsolder, and solder again... It is probably not well soldered. However I strongly discourage desoldering as it is not simple proces, if you want to do it properly. In my experience, I did this process of activating smartlink 4 times, every single time it was possible without unsoldering... If problem persist I recommend you take unit at some mobile phone service or similar, and ask them do soldering of eeprom chip.
- Activating SmartLink on Swing 3
-
Activating SmartLink on Swing 3
Hi, I believe these head units are very similar, probably based on the same platform, so it’s possible that this guide will work for them as well. However, I haven’t personally tested it, so I can’t guarantee that it will work and you proceed at your own risk. If you decide to try it, take extra care and make sure everything is aligned with this tutorial. Make sure the EEPROM is the same as the one used in Škoda units, and check that the script prints FAZIT and Train correctly, etc. Also, even if the script is different for SEAT and Škoda and something goes wrong, you can always write the original EEPROM back. That should return head unit to its default state.
- Activating SmartLink on Swing 3
-
Activating SmartLink on Swing 3
Then it is not releated to the multimedia unit itself. Its releated to USB port, USB cable, or phone itself. Try with other USB cable - phone, make sure USB port is functional, try to insert flash drive with music and see does it recognize flash drive for example. Or with some diagnostic tool check for error codes on 5F. VCDS can be bought preety cheap, for example 20-25€. EDIT: On my car octavia 3, I had broken usb port. Plastic part inside port was missing, so I was able to insert usb cable on two oposite ways, but only one is correct. When cable is insert wrong way, error code is stored in 5F, you need to clear that error in order to make usb port functional again.
-
Activating SmartLink on Swing 3
I didnt updated mine, because it works perfectly, no need to update. When you press app button does it say that you need to unlock it or say "connect your phone theough usb..."? Also you can scan 5F infotainment address with vcds or odis to see is there any error codes. When I used bad cable, he triggered error, something like "bad usb connection" or something simillar.
-
Activating SmartLink on Swing 3
Problem with USB cable or USB port. I had problem with both. Try another cable and make sure you insert it in usb port "correct" way. My USB port was missing plastic part inside, so it was possible to insert usb cable wrong way. Try to restart MIB, press and hold power button, then try with another usb cable, and make sure you insert cable in correct way.

-
Activating SmartLink on Swing 3
You can read adaptation channel: Confirmation of installation change on 5F with VCDS or ODIS, write its value on that website, click on magnifier, and get new key. Write that new key on same adaptation channel, and clear fault codes. It should work that way. With eeprom programmer idk, probably yes but it would be hard to do as there is no tutorial how to do it. First option is much more convinient.
- Activating SmartLink on Swing 3
-
Activating SmartLink on Swing 3
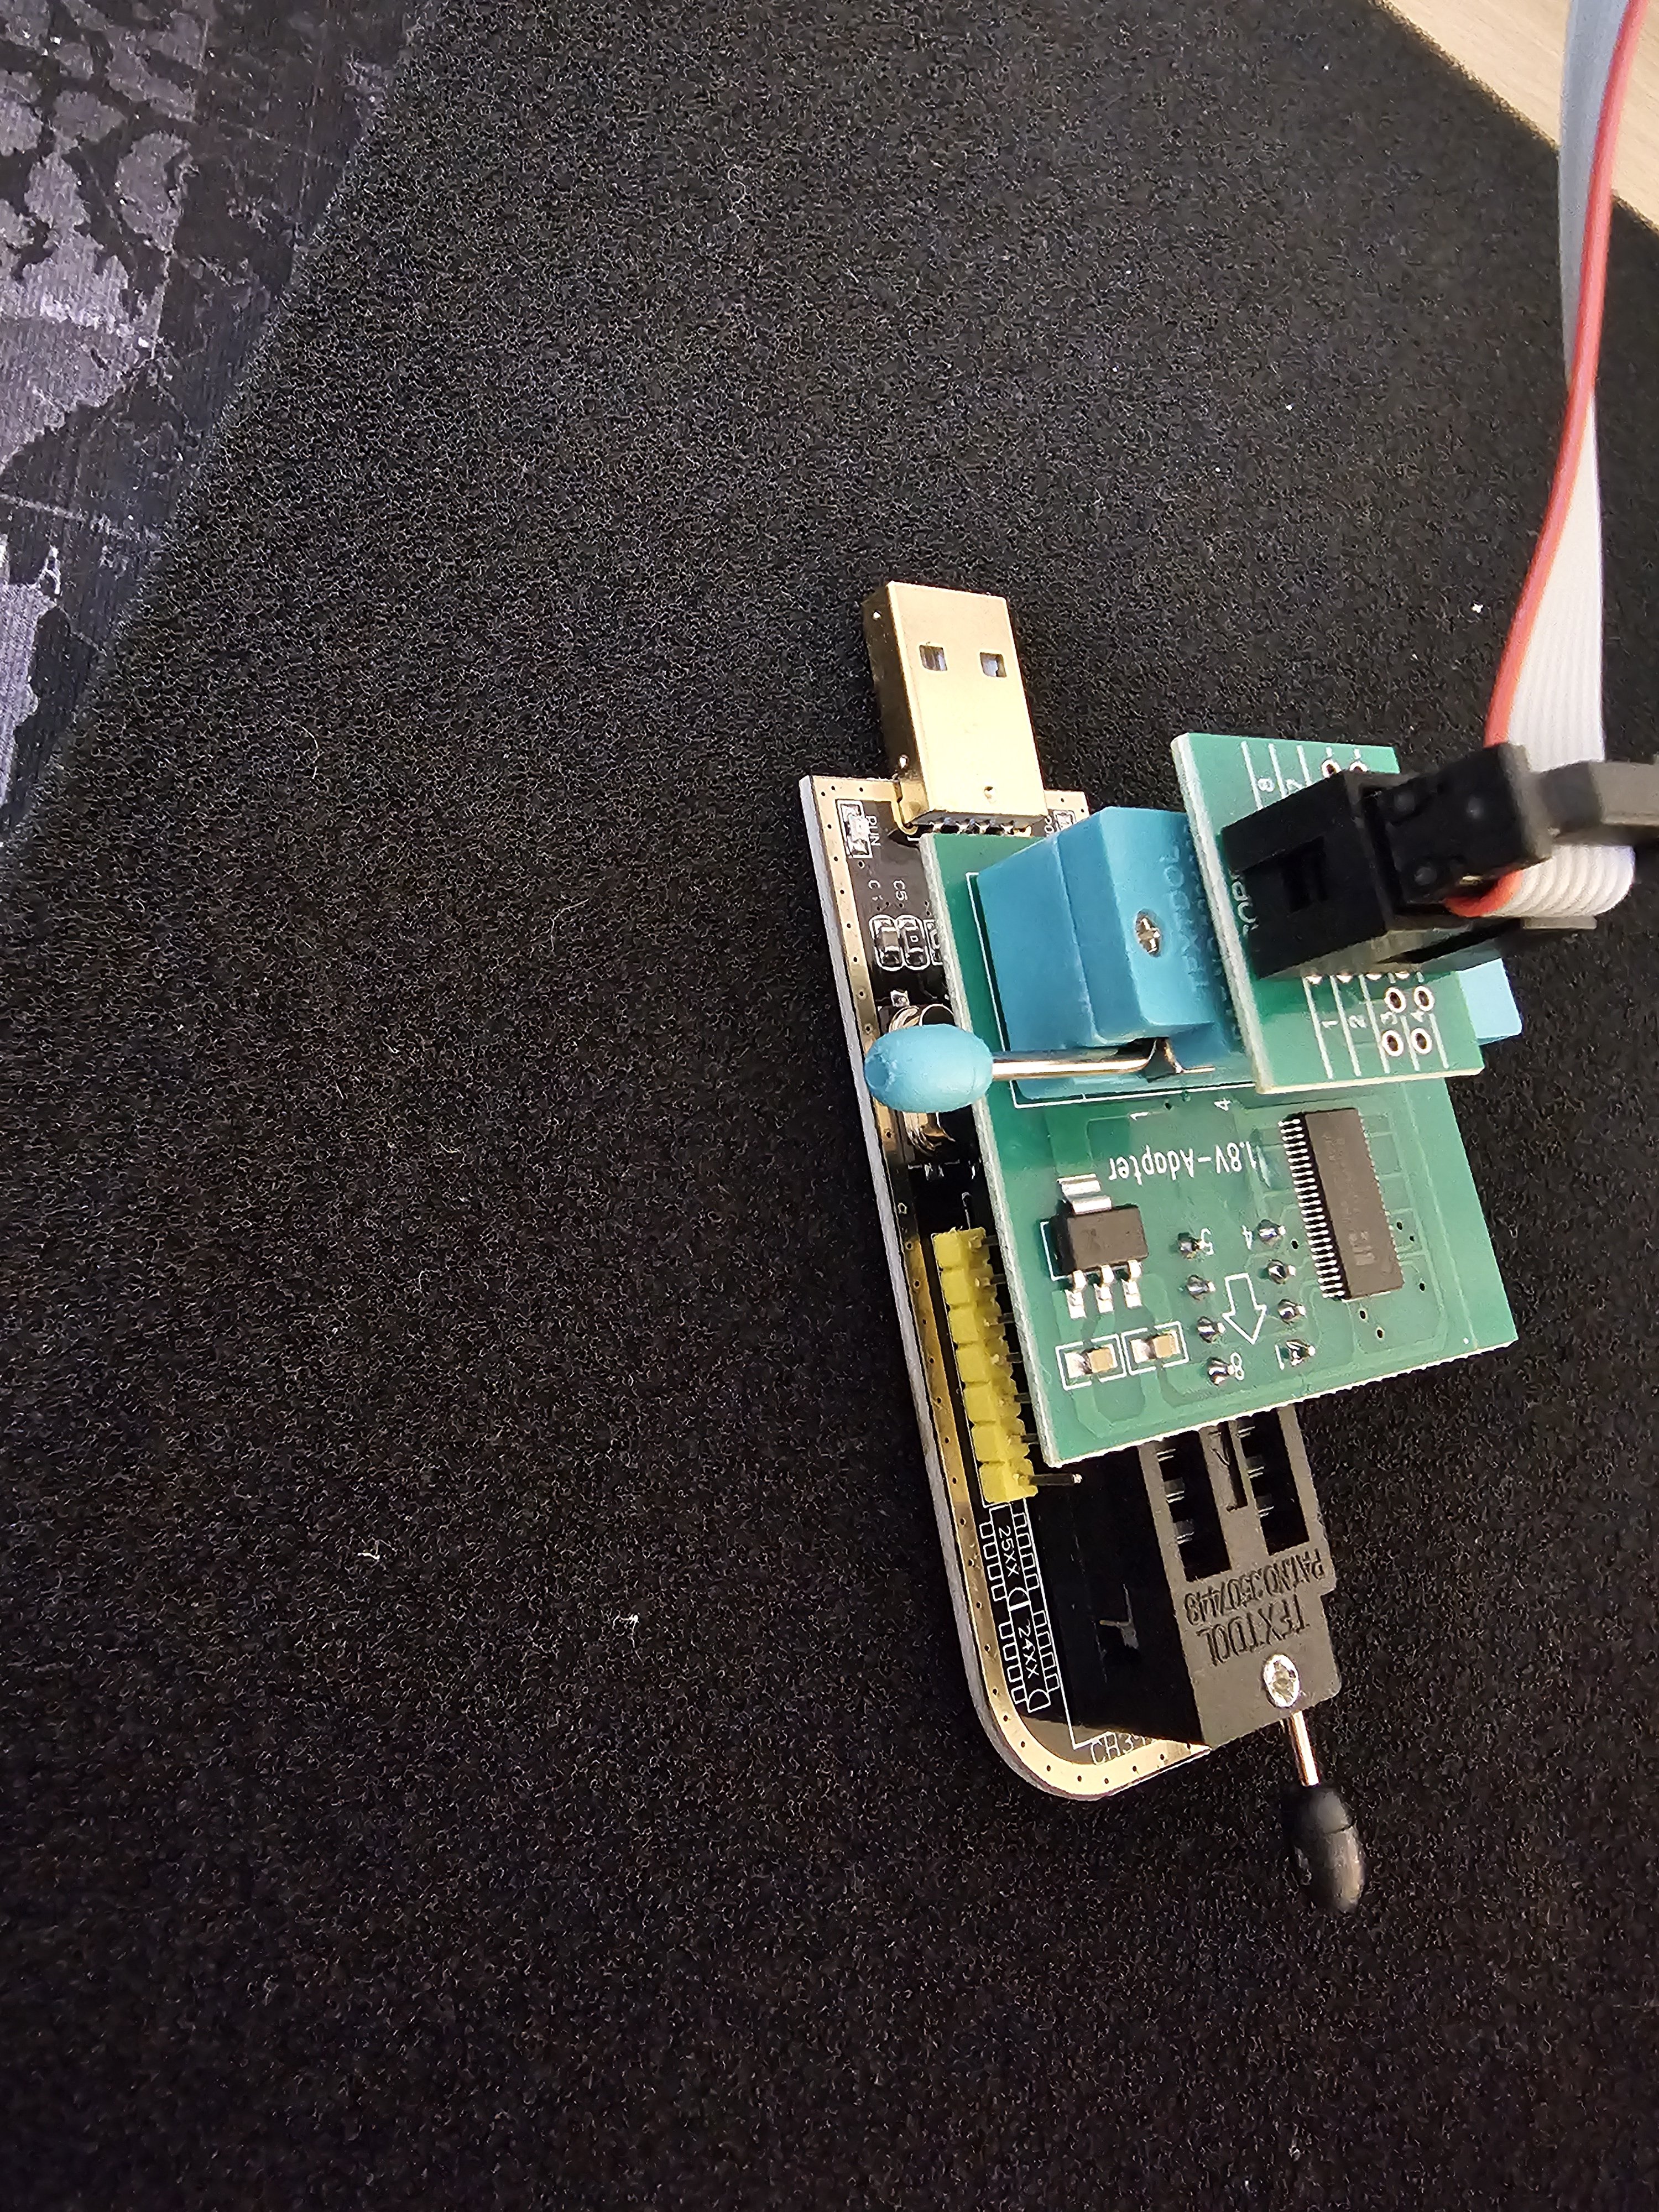
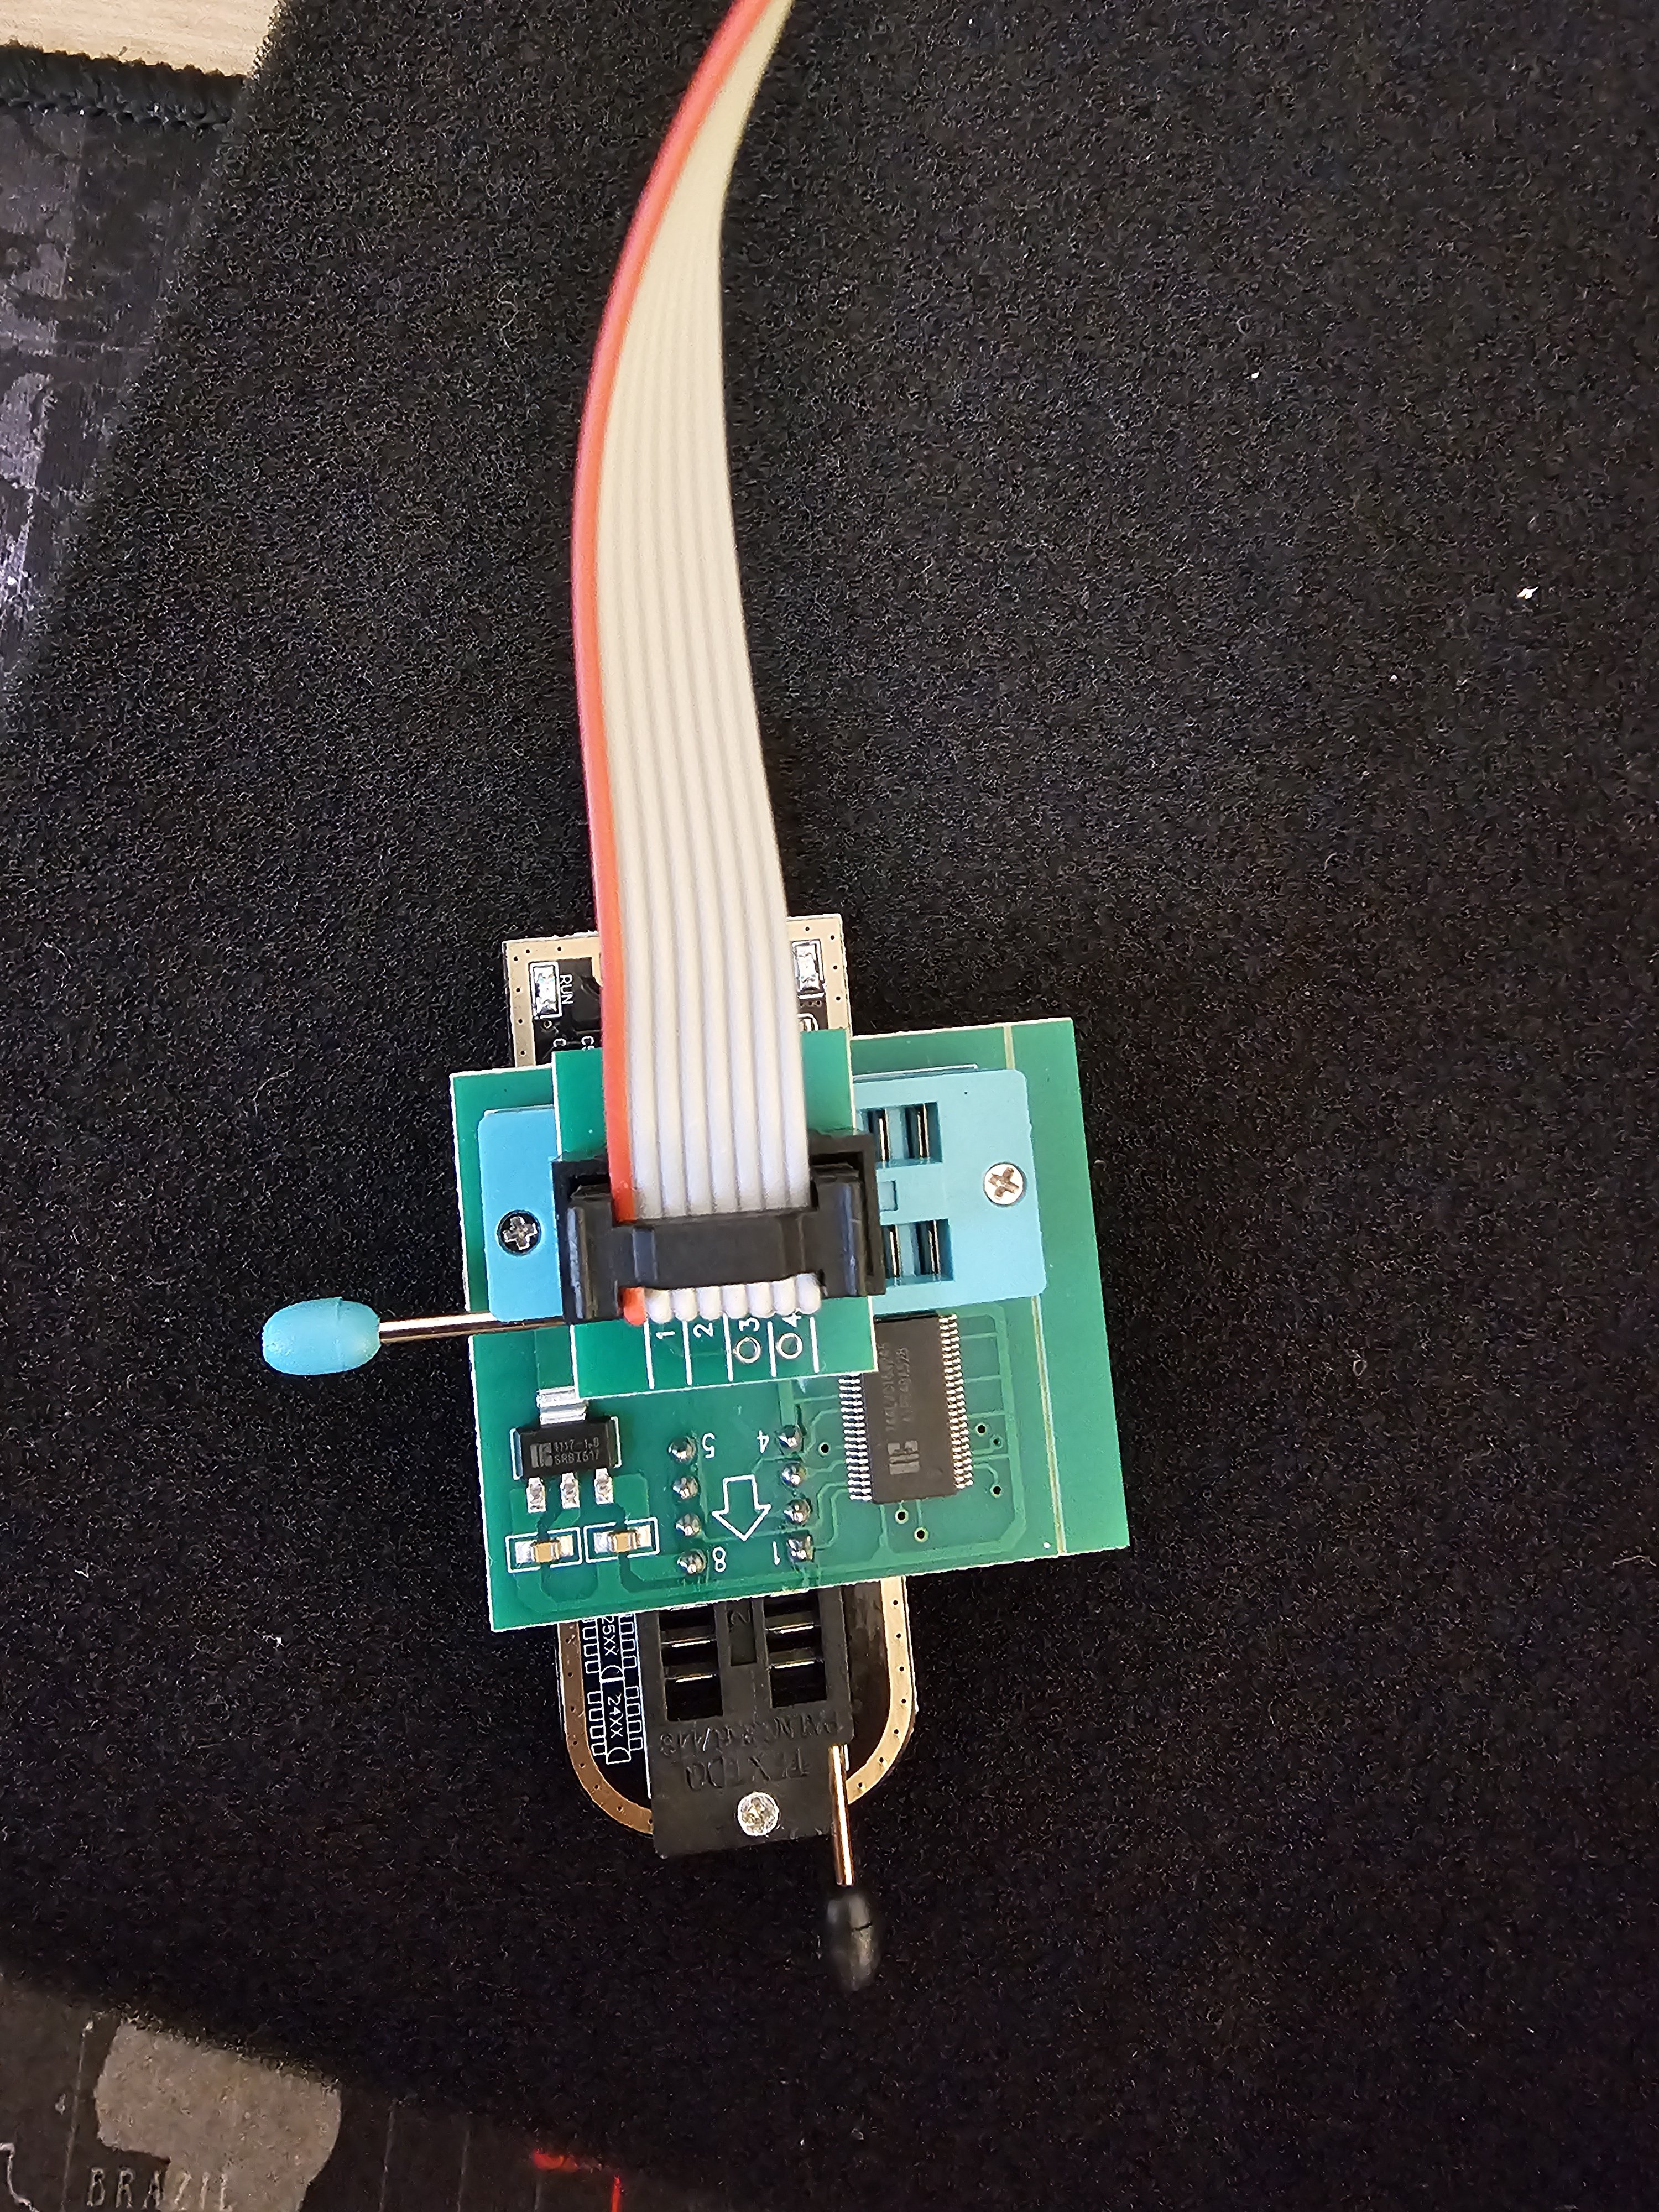
Hello, I activated Smart Link on my swing 3 radio, at Skoda Octavia mk3 MY 2018, so I want to share with everyone how it can be done. DISCLAIMER: You do it at your rensponsability, is not easy to do, and you can mess things out, possible brick you device. Do it only if you have expereince in this kind of activity. Physical tools needed: Tool for removing radio 4 pieces, just google "VAG radio removal tool", cost about 1€. CH341A Mini Programmer, cost about 10€. PC/Laptop Philips screwdriver Software needed (all software in attachment): CH341A driver NeoProgrammer Python (In windows 11, open start menu, type cmd, press enter, type Python, press enter. Microsoft store will open with Python 3.13, click on "Get" and wait to install complete.) Python script for activating CarLink (MEN2SwingPatch.py) Install CH341A driver and NeoProgrammer, make sure python is installed, put MEN2SwingPatch.py script at some accessible location (for example at root D:\). Firstly, you need to remove radio from car, its pretty simple, just insert four "keys" and pull the radio out. Then remove 6 screws from the top and 2 from the bottom, split display from the unit, and pull the top cover to expose top of the PCB. I removed PCB fully from the case to check is there present video chip for reversing camera (unfortunately not), but you don't have to do that. After top cover is removed, and PCB is accessible, you have to find ST 95256 R EEPROM. Put clamp from the CH341A on the EEPROM chip, make sure red cable (clamp) is on the pin 1 (EEPROM). Clamp connector insert in appropriate adapter, and adapter insert in CH341A in part intended for 25XX, make sure red cable facing toward lever. Plug CH341A in computer USB port. All this can be sawn in picture named EEPROM 2. Run NeoProgrammer.exe, go to Hardware tab, select "CH341 Black". Next go to IC>Search>type 95256>select M95256R> click on Read IC. This is the tricky part, if you get all blank result it means that clamp on the eeprom not have a good grip, try to move clamp left-right, take it off and put on again. After 5-6 times of re adjusting clamp I finally got the eeprom content. Save it on pc (for example at root D:\ as 1.bin). Read IC couple more times to be sure that you have good conection to the eeprom chip (if you want to take extra check, you can compare couple .bin with Notepad++ to be sure that you have identical read every time, this is good sign that all is correct). Make sure you dont move accidentaly clamp or PCB. Click on start, type cmd, press enter, navigate to D:\ (place where you saved EEPROM dump and script), type python men2swingpatch.py 1.bin, press enter. If everything is correct you should get printed on display TRAIN:xxx, FAZIT: xxx (see picture "script"), and now you have file named 1.bin_patched.bin. This new file we now need to write back to the eeprom. Get back to the NeoProgrammer, click on File>Open and find 1.bin_patched.bin at D:\, click on Write IC. After writing you can read it again and compare to patched bin, just to be sure its written correct. Now you can disconnect clamp, assemble unit and put it back in the car. Enjoy in your unlocked Smart Link. DOWNLOAD needed software