DensYeti
Members
-
Joined
-
Last visited
Everything posted by DensYeti
-
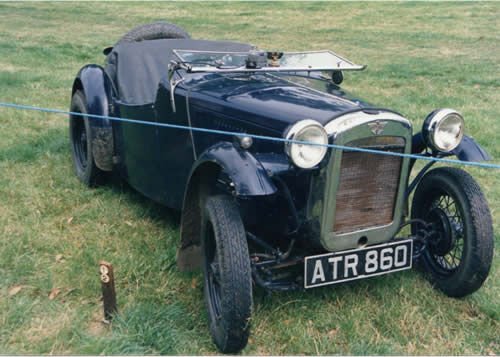
I have just replaced my 2010 Yeti 1.2 TSi S petrol manual with a diesel manual Citroen Berlingo Multispace 2016 (chose that year for its update features.) The Berlingo was chosen because it has the lower flat floor right to the back and wife can put my folding wheelchair in more easily than lifting over the Yeti's raised cill. We like the sliding rear doors. Other than that the rest is quite similar to a Yeti. The only compromise was it being a diesel instead of petrol as I would have preferred so have the nuisance of adblue and particulate filter (Modern law requirement for cleaner exhaust). Having looked long and hard to find a car I jumped at the chance of this one which was the right price which was lower than all others at a 17,000 milage. Why lower? well it was insurance right off cat S (repairable) but only because of outer damage to the 2 nearside doors and windows. No damage to cills or A and b and C posts. With doors and windows replaced and small scratch on rear panel sorted it is back to being immaculate. It has marginally more room than the Yeti. Bought it without going to see it and had it transported down to me. The seller was extremely helpful and honest When I delved further into it I found it was the top of the range model and it had all the optional extras available fitted as well. Only thing I don't like is the inevitable multitude of electronic add ons that seem to come with all modern cars. As I had a right leg amputation followed by right knee replacement (followed by broken femur when I fell over practising using crutches with my prosthetic leg) I will be getting hand control fitted once left leg muscles strong enough to allow me to walk again with tin leg. I am longing to get back to driving my "proper car" 1980 Reliant 3 litre V6 4 seat convertable with no electronics and totally self maintained and my 1935 Austin 7 2 seater Nippy. As a lively quite strong retired (now 80) professional electronics operator/engineer I find it quite horrifying the way things are going where we are now so reliant on the throw away attitude and garages/makers dealerships with seemingly ignorant workers with no common sense. I am fortunate to have a good independent garage nearby that did work on my Yeti while I got on with doing the work needed on my proper cars. So now my Yeti is up for sale now just putting advert on here so look above.
-
2015 Car is an Octavia Estate with 1.2 TSI 105ps petrol. Did this engine have a cam belt or a timing chain? My 2010 YETI 1.2 TSI has a timing chain (It had a new engine after destruction due to chain debacle with VW). Seller of Octavia is claiming "cam belt changed at...." So did the 2015 Octavia have a different engine spec with a cam belt or was there a change from chain to belt between 2013 and 2015 and if so when? Salesman at dealership was particularly ignorant about any information about the Octavia...optional packs for example. I have seen one Octavia Estate that had an optional suspension height increase pack but can't find any information about what was involved (around £127 at the time). Would be a good mod for my rough farm track. Am looking to sell Yeti and get a USED Octavia Estate SE...fewer bells and whistles the better for my cars please. Den.
-
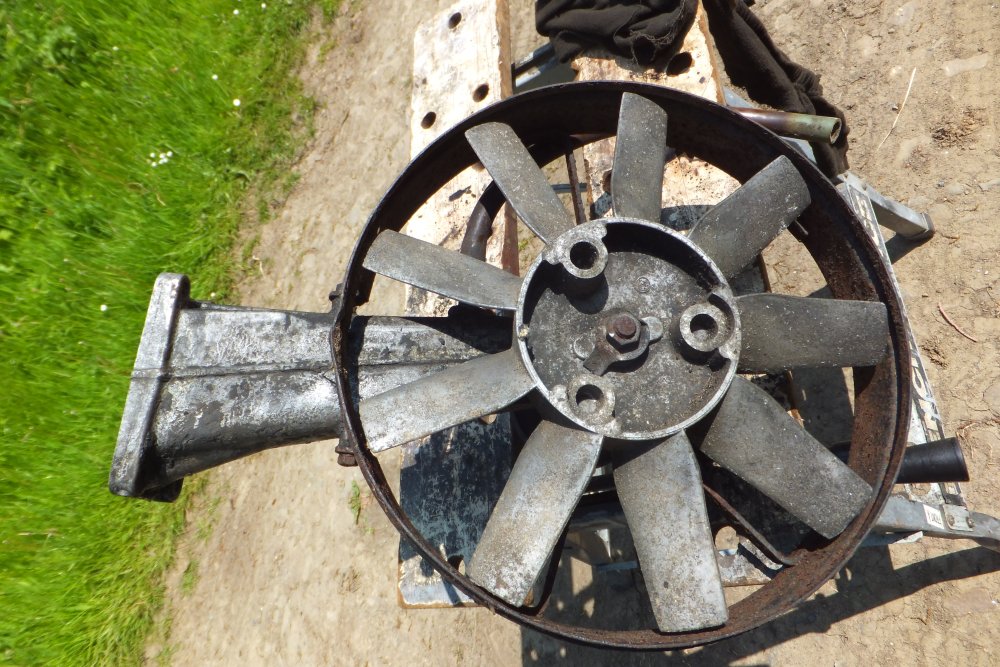
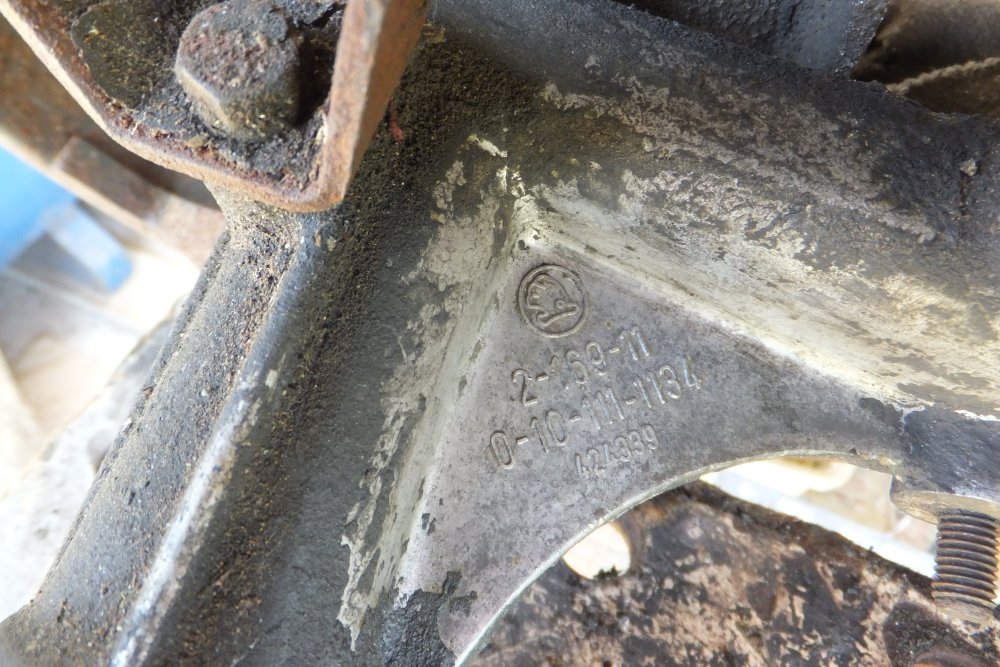
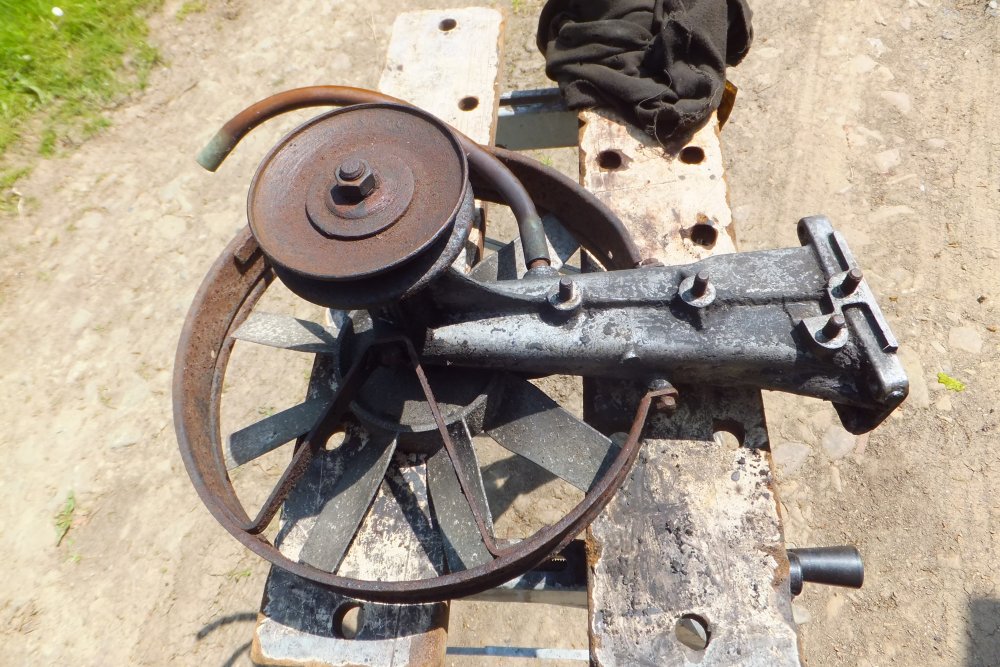
Does anyone recognise/want this fan which looks part of water system as it is hollow with feed pipe. Looks like the SKODA logo on the casting web.
-
After last scare from oil warning light and from previous faults....ABS.....I think it might be time to get an OBD II. Have read up a bit and even read some "what are best OBDs for 2022" features but no one or even one make seem to be quoted by several as consensus for a good one. A fairly basic one seems to be the requirement for me and Foxwell NT200 seems promising while Honest John recons Auto MaxiLink ML329 is a bit better with more+ better functions........this is only 2 out of a confusing vast array of what is out there (I note the ML329 by Autel does not have capability to download updates for apple OS, only for windows PCs. Am still a bit confused as to what features I really require (I do not have a smart phone so those bluetooth readers are out). So what would people recommend?
-
Thank you for the rapid detailed replies. I am now de-stressed 😊 The Yeti is kept looked at and periodic simple checks like oil/water/other fluids checked. End March was its last oil change/full service at a reliable local garage (while I got on with complete nut/bolt rebuild of 1936 car.) Note - a garage that really does check and actually does service items rather than just see if it has a fault.....Quote from a large main dealer after callipers had to be replaced and rears ditto due to seizure having not been greased in-spite of regular service by Skoda franchised garages......"Oh we only inspect and only take action if we see a fault" !!!!!! I have the satisfaction of knowing that my local actually does re-grease the sliding parts of callipers as well as actually doing all the other SERVICE requirements. I am more used to dealing with vintage (up to 1930), post vintage thorough breads (PVT up to 1939) and classic - currently very modern 1980 (proper classic not just old). An oil pressure gauge tells you exactly what is going on and any variance from what is expected can be usually fairly quickly diagnosed to a fault. Modern vehicles seem to be aimed at trying to electronicaly cover all posibilities and even cover what some rather silly people will do or not do. Someone will say a lot of it is to save manufacturing cost.......great but. when even a small fault occurs the average person can be landed with a rather large bill negating the saving in purchase........together with depreciation you pay more in the end. Having spent a professional career working with high end defence equipment, I can say that automatic fault indicating systems are somewhat limited and sometimes even indicate false problems. Sorry for bit of rant but we need to come back to reality.......I dread the thought of "driverless" cars that need no driver input. Dennis
-
2010 S model 1.2TSI. Switch on ignition (but not start engine) Warning lights show and some go out as normal till engine started then all off. But I have noticed that on switch on but not start up the oil-can light comes on red for about 3 seconds then changes to yellow and blinks 4 times then goes off and stays off when I start engine. I would have thought light should have stayed on till engine started?? Sorry but have just noticed this and can't remember what has previously happened.....am I just worrying needlessly and the light should go off and when engine starts the computer recognises that and an oil pressure fault would be shown........or is there a defective pressure sensor? Where is the sensor? I hate these modern vehicle controls systems...so unreliable. Dennis
-
Thanks for your photos and being good enough to open up your switch again. My swich is 5LO 941 431 G. The problem I have is that having taken out the 3 screws in the base the base does not come off. It seems to be still attached to something and when you try to pull it off it still seems to be attached by a spring to the main body.....pull the base out a bit and it springs back when released. Is there anything else to be prodded once the 3 screws are removed to get the base off?? Looking down the 2 slots in the turret that sticks out the bottom (turret part of switch base) I can see that there is a fairly strong spring coiled round the inner part of the turret. That must be the spring you push against with switch in off position to then twist to release the 2 tags to remove the switch from the dashboard. Dennis
-
While researching renewal of rear ABS sensor and ABS reluctor (on the hub/bearing unit) I came across a discussion that named the required tool for removing the hub bolt as being a "four square" socket. Apparently so named because they are formed by having four squares on top of each other to give the number/size of splines......bit worried local garage who are going to do the job never heard of such a socket type. Now I can't find the reference. I am sure I easily did a search previously and easily found details of a four square.......now I can't find anything when doing a search. I seem to remember they were also referred to by three letters as a type. Anyone know...can point me in right direction Dennis
-
Frenchtone You say 3 bottom screws out and bottom just comes off. As you can see from my above remarks my one seems held in place by a spring.......are/were you able to see why that might be when you had yours in bits? Did it take much force to remove the bottom plate? Any photos of innards? Anyone any photos of innards? Dennis
-
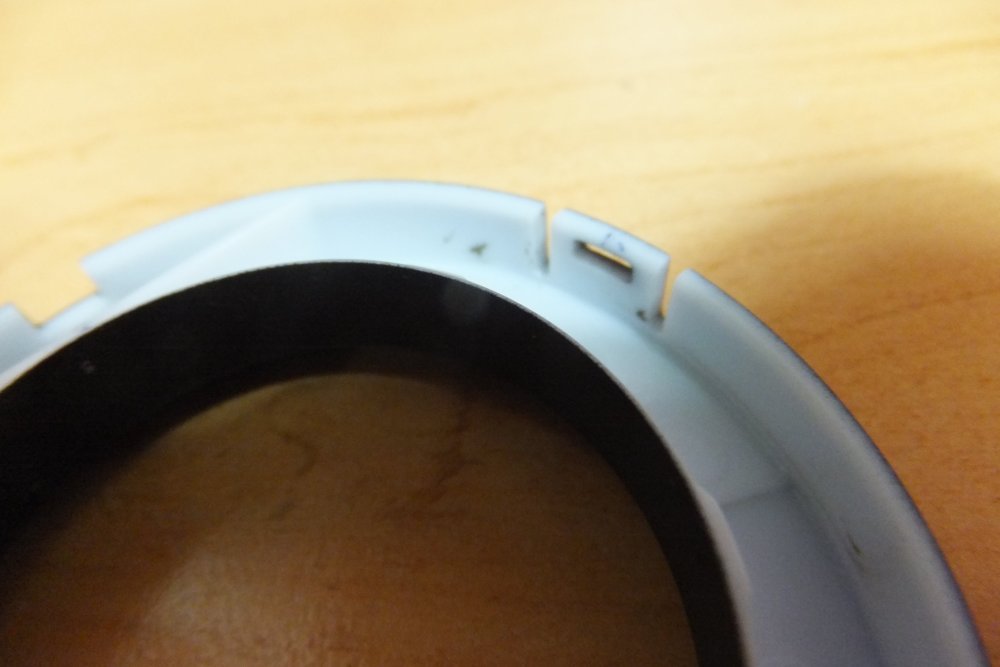
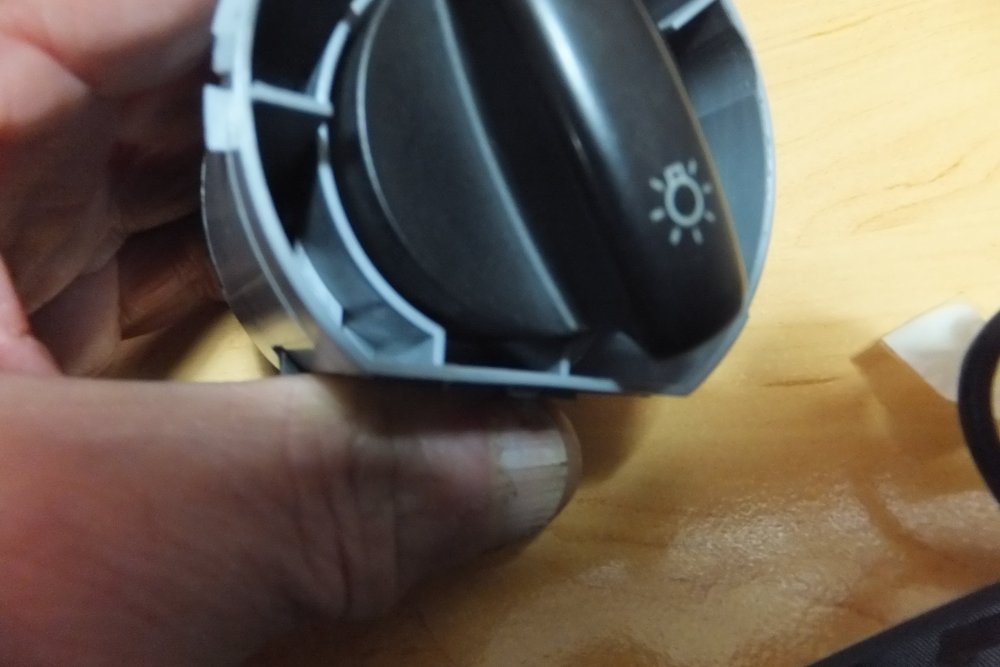
Now managed to get time to have another look at switch. 1. The 3 screws on the bottom of the switch removed with T6 screw driver. The bottom does not just come off to reveal the circuit boards as someone previously suggested. Pulling on the bottom bit pulls it out a little bit but it is spring loaded and springs back. That is with switch turned to off position. Turned to side or head the bottom bit does not spring out even a little bit. 2. Became bolder and with small flat screwdriver I prised under and twisted at the 3 small tags + 1 round the bezel (photo 2). You have to prize under the light grey part of the bezel, not just try to lift the black rim. Also where the flat is on the body there is another tag that needs to be levered up then the bezel can be lifted off. But still none the wiser how to get any further. 3. looking into the top I can see that the switch would have to be in the sidelight position for the overhanging switch knob to pass down through a cut out channel in the body. (still no pull out function possible for fog). So where to go from here???
-
I thought the TORX went down in size by a factor of 5. Hence thought next size down from 10 was T5 which is why I ordered T5 bits. But when received they were far too small. Found tables that give specification sizes for TORX (alternative name is STAR) , distance across points being one measurement but my poor old eyes found it too difficult to get a good measure but around 2mm. Ordered a set of 6 cheap screwdrivers - T5, T6, T7, T8, T9, T10 - arrived today and it turns out T6 seems to be the size that fits (not T7 that I thought my point to point measurement indicated). Can anyone else confirm T6? Would still like to know order of dismantling to get at innards to see what may be causing the stiffness in turning the switch. Does the top rim have to come off....3 little tags in photo 2....don't seem to have enough hands to hold all 3 in at same time......or can you just pry the very flimsy looking black lip on each over the grey tag and it will stay clear so escutcheon can be lifted off over the switch knob? . Does that bit even have to come off to get at bits that might be causing lack of rotation. By the way WD40 Water Dispersent formula 40 will leave an insulating residue on switch contacts (bad experience on a ship when a junior sprayed inside several boxes containing many largish relays causing much malfunctioning of communications system such that very very many relay contacts had to be individually cleaned. Dennis
-
THERE IS NOT ONE ON NEARSIDE!!!!!!! on my basic 1.2 S petrol. After fitting replacement light switch I was checking lights all round........oh bother, nearside (RH drive UK) fog bulb not lighting up, offside one ok. No bother simple bulb replace job. Opened up rear lamp (2 Torx T20 screws and pull off ball locators then 1 T20 + 3 plastic tag clips to remove bulb holder):- 1. checked bulb (bottom one) resistance with meter and found ok with a low resistance; 2. Checked contacts in bulb holder and all looks clean with continuity from earth section and feed centre contact back to pins on plug.....now getting worried; 3. check for 12 volts on feed pin at plug in socket????????? oh dear no contacts to be seen at the pin position!!! have they dropped out with broken wire??? AH HA there is no wire going to that pin socket, only 5 wires from loom!!! MUCH WASTED TIME and by now very cold with hands nearly not working. Why on earth is the N/S rear fog not wired in......I suppose a meter or so of wire cost saved but to actually fit a bulb in the fog position......ah well. At least we know where there is a spare 21W single centre contact bulb. Will have to prove to MOT man I think? Dennis
-
Ah-ha. my sets only go down to T10....should have realised there were smaller just like watchmakers sets. 2 t5 bits on order now.
-
New switch (second hand) received and fitted and all lights working again. Removing switch from dashboard was a bit touch and go as push in and twist in off position proved rather stiff! Now I would like to dismantle switch to see if can free it up, so questions:- 1. 3 small Allan key screws on base - what size key? I have many but can't find one that seems to fit well. 1/16 inch too big, 1.5mm too small 2mm too big. (Using calliper to measure across flats and readings on allan key pack holder) 2. Once undone does whole innards just slide out and will there be any bits falling off (springs/ball bearings etc)? (will dismantle inside a plastic bag to catch any bits) 3. 3 little tags around side of top rim - does rim have to come off first (can see knob slightly sticks out over rim so may prevent innards with knob from just sliding out the back once 3 screws removed?) Does black rim just prise over the grey tag? (spudger poised) 4 What exactly is the order of opening up and striping down? Once achieved will do write up with details and photos. Would be really good if someone who has done it could give details and maybe pictures to help me achieve fixing without wrecking switch. Dennis


-
Does the Yeti 1.2 TSI have a replaceable sensor ring? I am looking at getting ready for fixing my ABS fault (left rear nearside) and apart from the sensor am a bit confused as to whether the sensor ring is replaceable on the hub or whether it will be the complete hub that has a built in ring. Have seen adverts for APARENTLY sensor rings for Yeti AIC at £8.38 to Tristan £17.77 and even higher for others but there seems to be a variation in quoted sizes for diameter though consensus seems to be 86 tooth. Have been looking at "online car parts.co.uk" . Most confusing.
-
Thanks to all replies. Does anyone know the actual spare part number for the correct switch for the 1.2 2010 Yeti? There are many switches to be found on ebay etc that look the same but on further digging can be seen to have difference , e.g. different plugs, different functions. As a retired electronics engineer used to dealing with many sophisticated sea going electronics I am aware that it is all too easy to cause damage by connecting wrong terminals (differing wiring in the same physical plugs) I don't want to cause a bigger problem. There are times when ignorance is bliss causing less stress😀 Which makes are reliable? There is one site selling 9 different make/price from £50+ to around £10. Unfortunately, though the date and make of Yeti are entered, most of the switches they show, when clicking on details say not suitable for your car!!!!!! Being a bit isolated I don't want to put car out of action. Switch now becoming a bit stiffer even just switching side then head. Am wondering if I squirt switch cleaner fluid on switch, still in dashboard, whether any danger of dripping down inside dash onto anything below and causing any other damage (short cut?) Dennis
-
spudger???? Like to know exact details of jobs before attempting so I don't end up doing more damage than good 😀 Since the facia on these switches on a lot of the Skoda seem to look the same (except for AUTO position) it is good to know part number...or if maybe if pins in plugs on some are just redundant and not used. Certainly Fabia looks same on front but has different plug or socket. Ebay has 2011 1.6 TDi - part 5LO941431G which looks same.
-
OK thanks for replies. Can see how switch comes out. Next question....how to open up switch to clean/check for (seen somewhere) tracks on printed circuit boards
-
2010 1.2 Tsi SE petrol Yeti. First indication of problem at March 2020 MOT advice notice fog light switch stiff to activate. Tried switch and yes was a bit stiff to pull out after turn to side lights on and head lights on. Some time later...months or weeks during 2020 when car little used had to do a run during which bad rain weather encountered and switch was normal and easy to turn and pull out to both positions. Now and again on various occasions I tried switch and still easy function with all lights working. Then another trip with bad weather and switch turns to side then head lights but will not pull out for fog and rear warning (this during day). There is absolutely no movement when try to pull out to first position whether switch in lights off, side only or side and head positions. 1. What could possibly be causing this? 2. How do you get at the switch (detailed instructions please including how to remove any panel as I am all too aware how easy it is to break little plastic holding lugs)
-
Thanks to all for info and advice. I now know what is involved and could probably do it myself. But am fully committed to getting my Austin 7 Nippy special rebuild finished for the Austin 7 Centenary celebrations in July 2022 so no work time to do anything else. Yeti will have to wait till I can take to local garage to do the job.
-
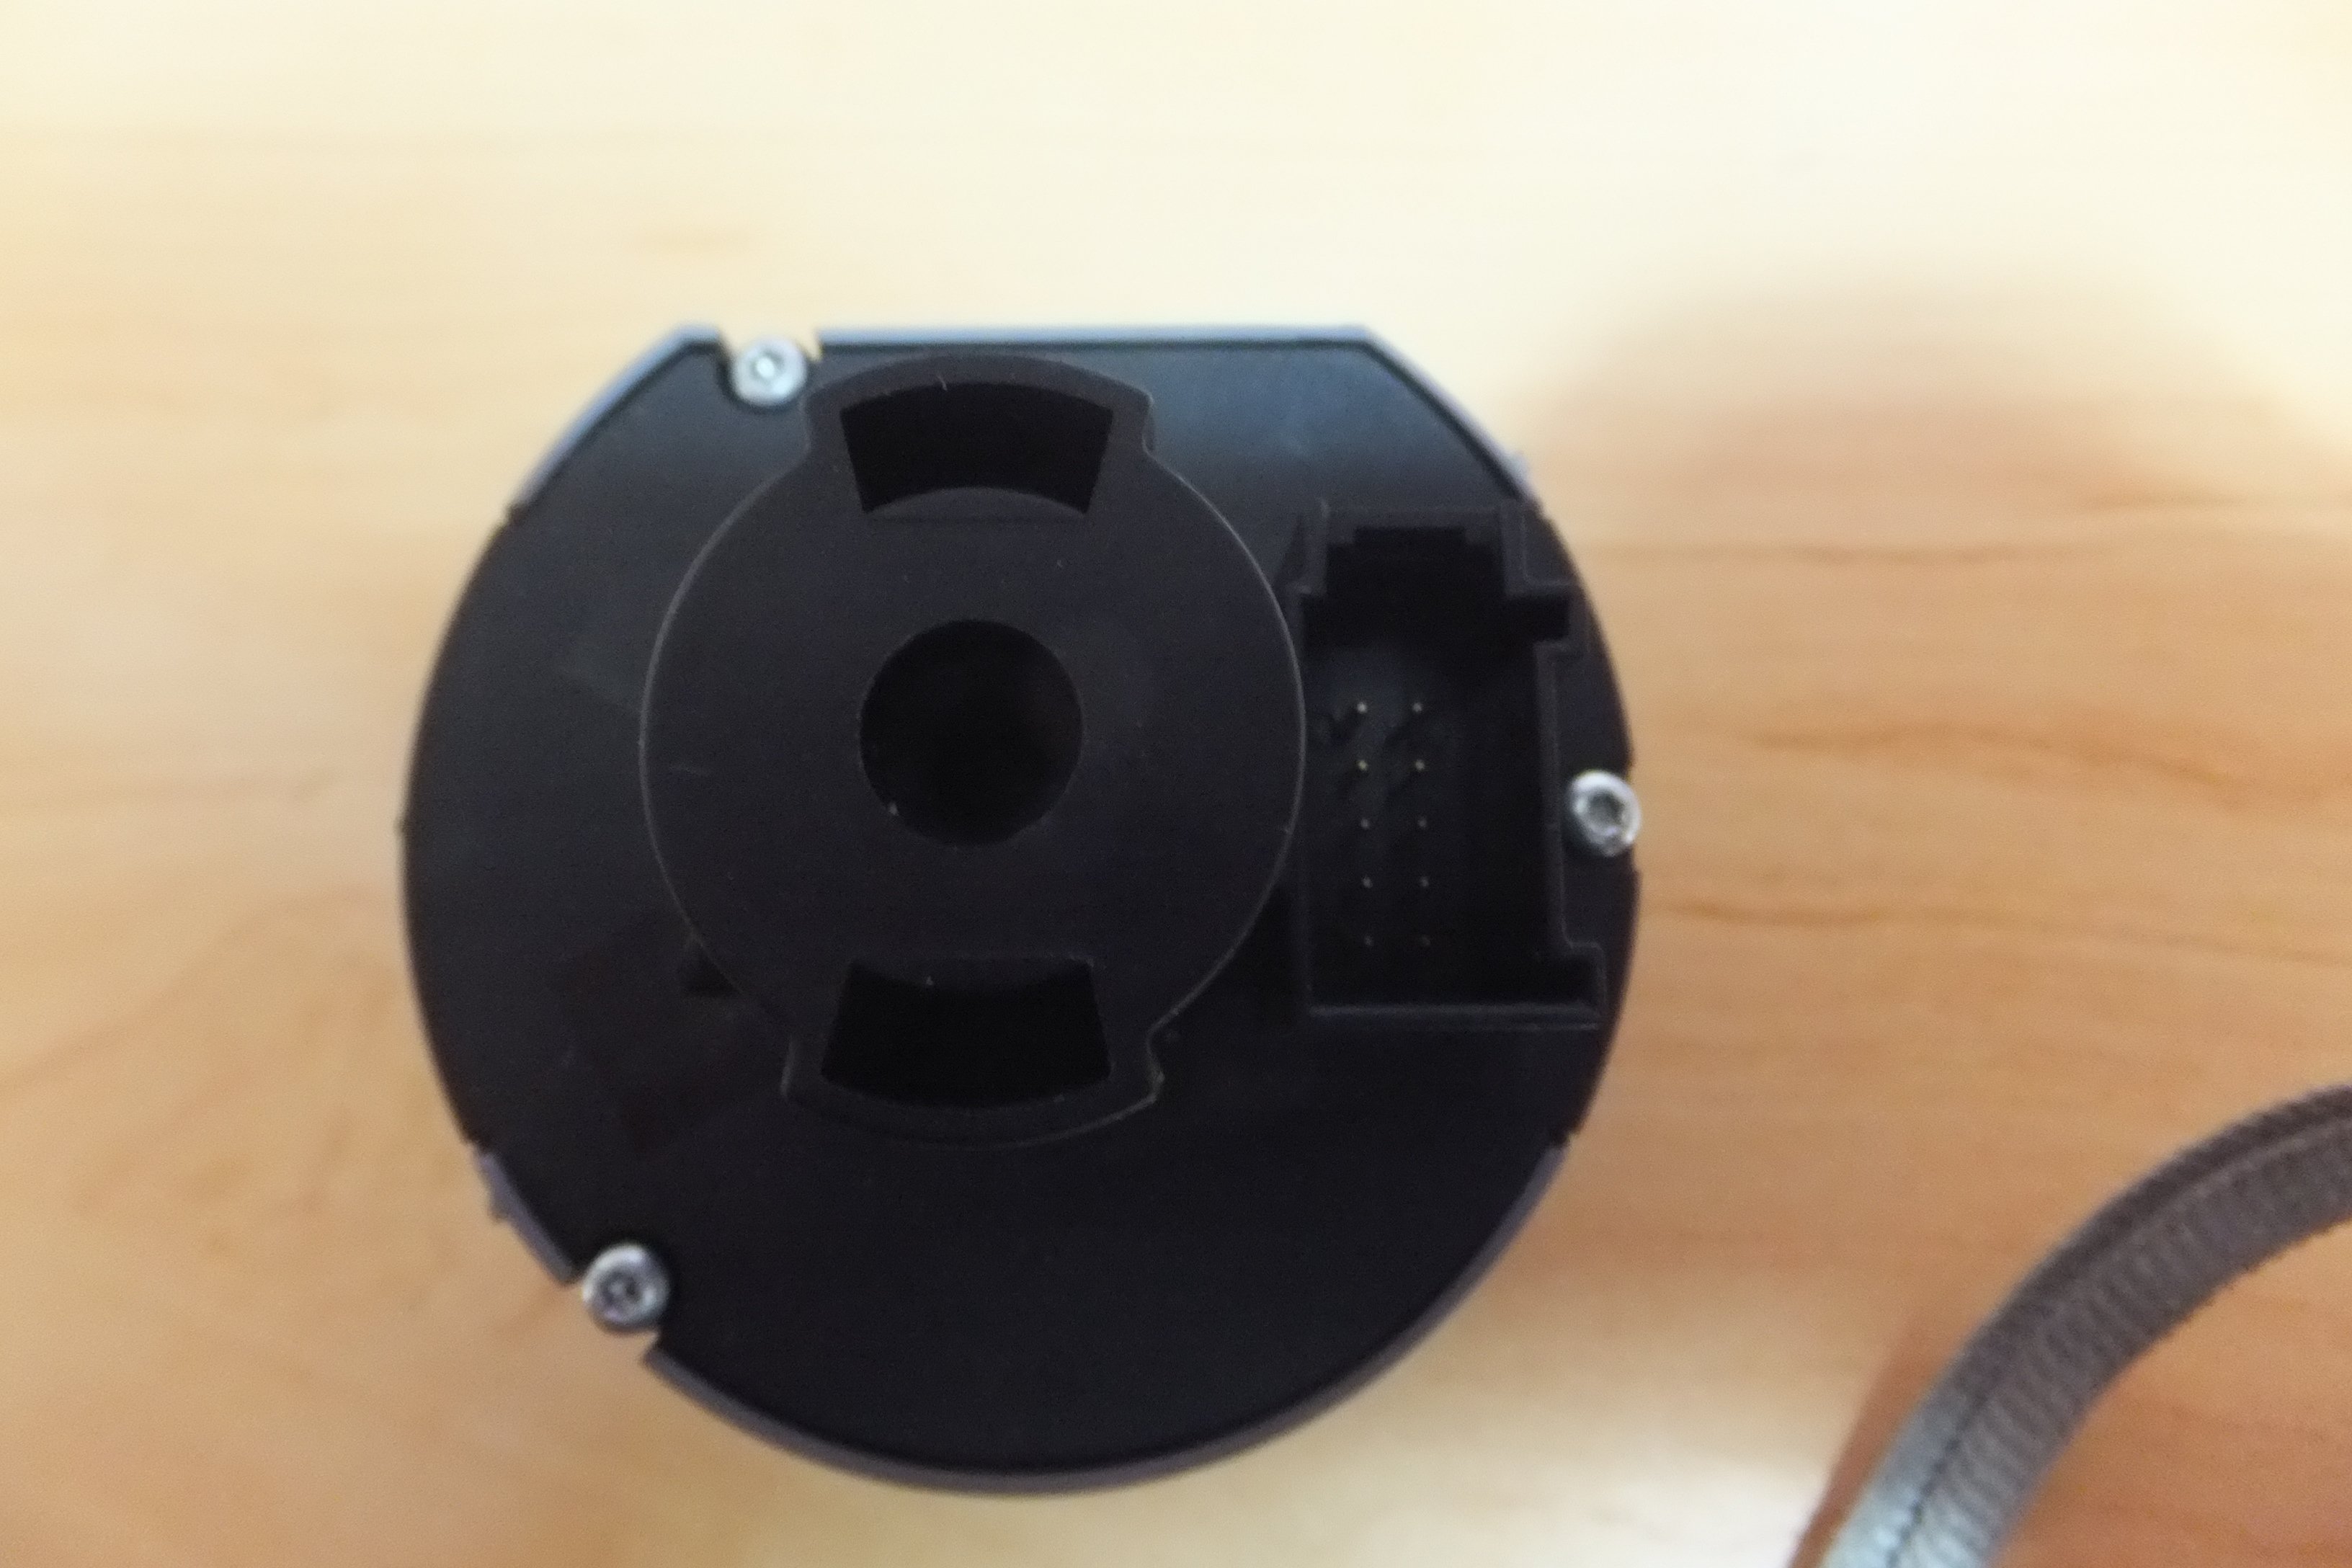
The wiper motor with the lid pulled off the printed circuit board box (PCB)...it just leavers off. At the bottom is the 4 terminal connector. The top left corner of the PCB box has a raised channel that runs diagonally up and to the left and where it meets the end of the motor you can see 2 round white dots with black centres. these are where terminal prongs of the motor touch inside the lid to supply the motor with 12V; the top one being + and lower one -ve. Pull off the washer nipple from the end of the wiper spindle so the supply pipe will come away with the lid. The 9 Torx screws can be taken out and the lid lifted off to see the interior simple mechanism for moving the wiper arm and to expose the 2 motor terminals. Nothing falls off or becomes displaced doing this. Silicone grease can be renewed on the mechanism. Put a 12V supply across the motor terminals as above and it should run the motor and drive the mechanism......mine did so it must be the PCB at fault. The top left corner of PCB shows 2 larger soldered oblong terminals where the motor connections are connected. The lower, -ve of the motor connects via the lower of these 2 solder terminals to the left solder terminal of the 4 on the bottom of the board and then to the left plug terminal (brown wire to loom). I don't know what the other 3 terminal inputs do but they must be the different supplies to the board to control the 2 parking positions, 1 wipe on engaging reverse (sometimes?), and delay between wipes. Since motor and mechanism are in good condition I would like to just connect a +ve from one of the terminals/socket pins to the motor so that it runs again simply switching on/off at the column stalk but hesitate to experiment in case I upset another bit of the circuitry within the car. I was hoping there might be someone much cleverer than me that might be able to work out what goes on on the PCB?? As a retired electronics engineer used to working on far more complex equipment down to fault finding to component level I am stumped without a circuit diagram and description. Who knows, it might just be a very cheap component that has gone US and can be replace/bypassed.

-
Different view same thing.

-
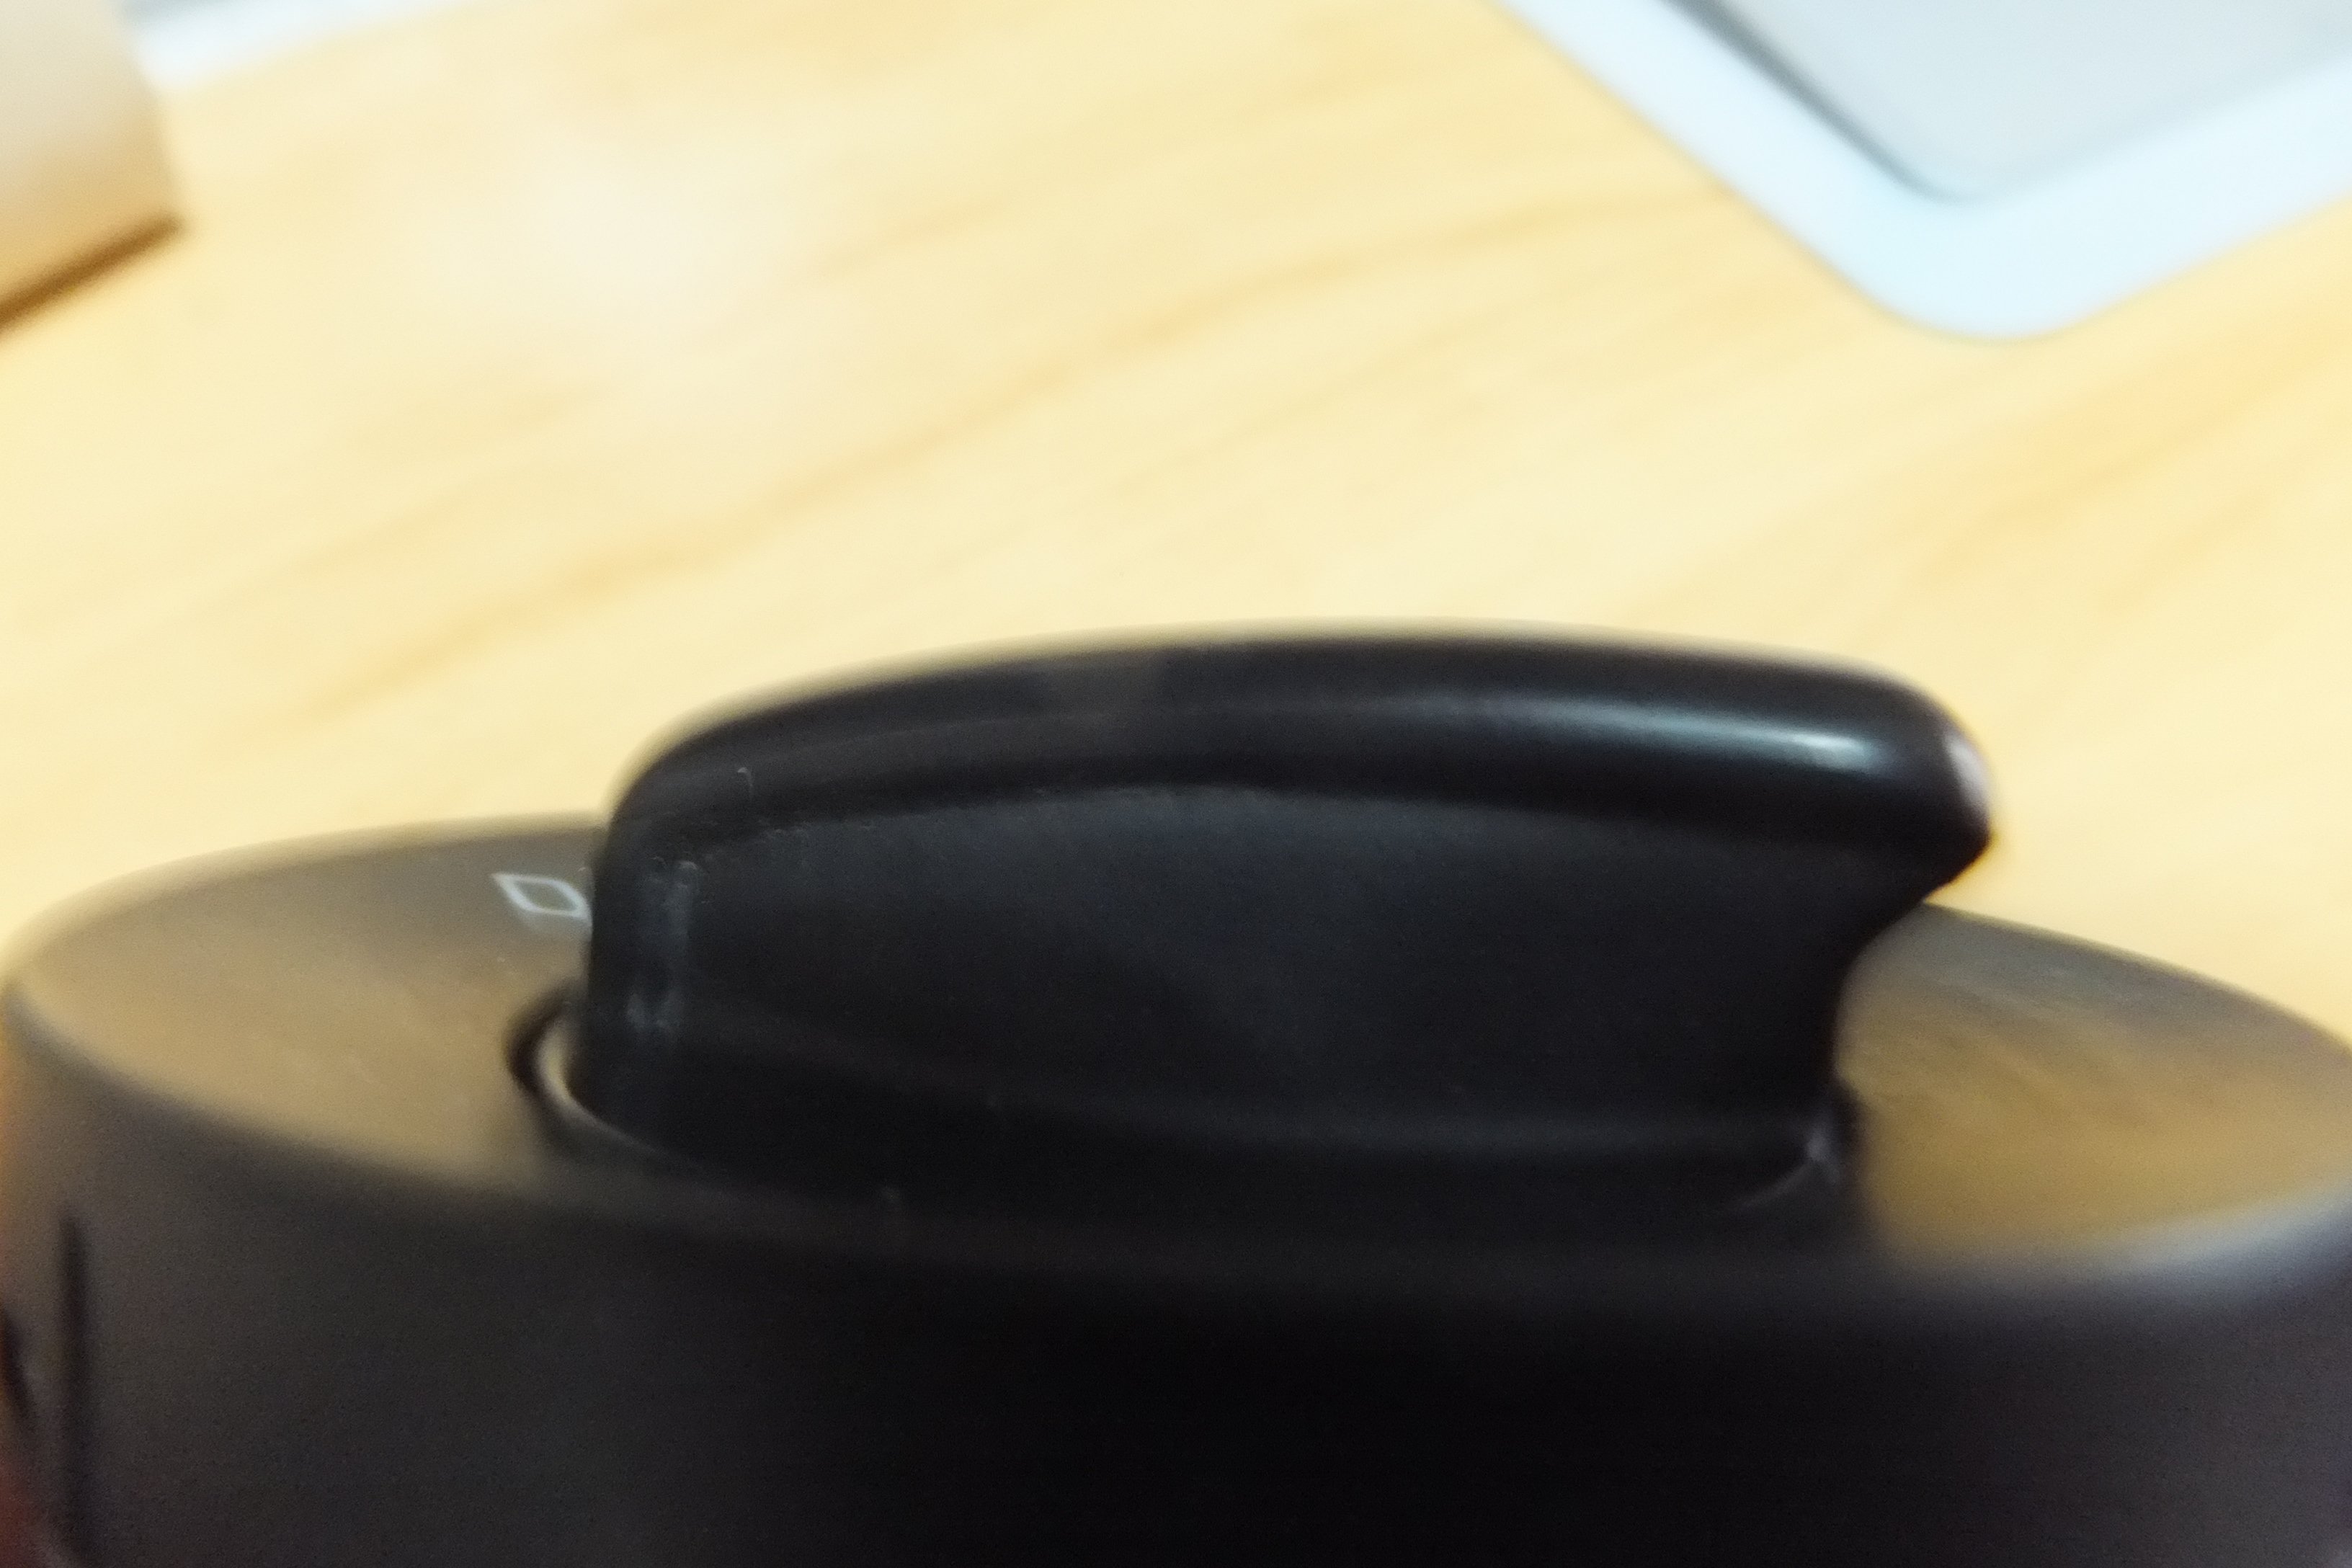
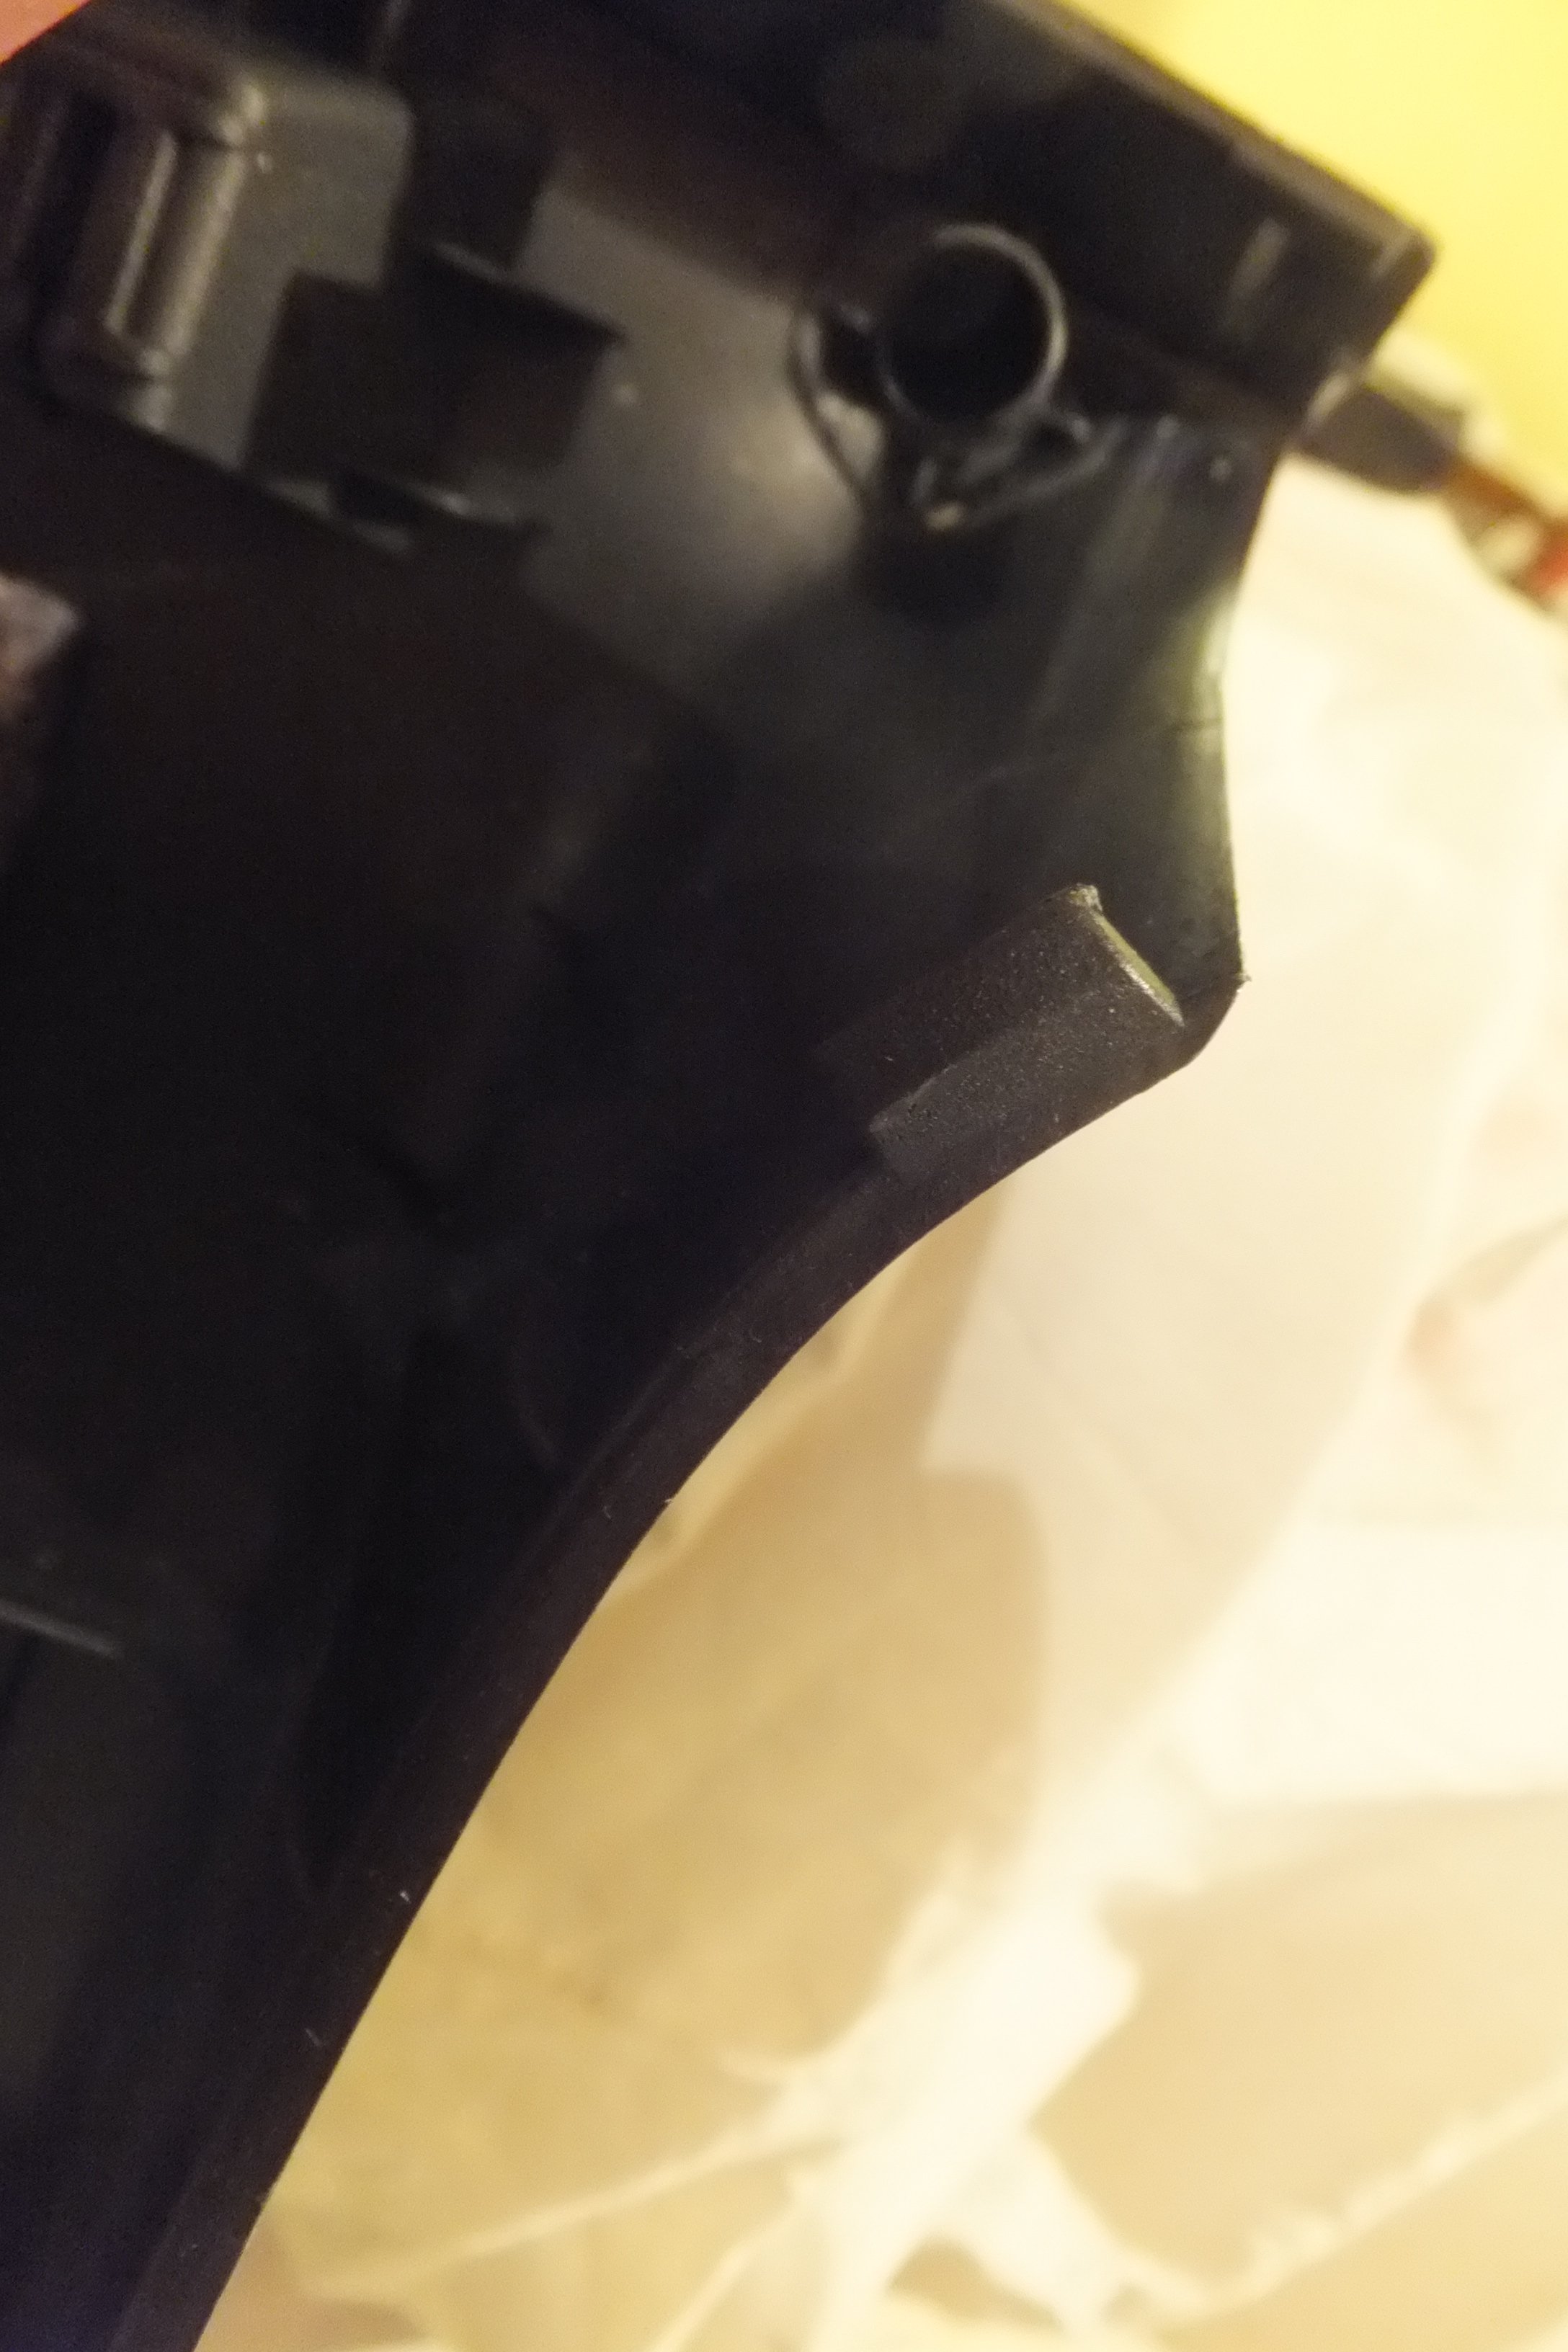
More due limited file size. This shows protruding part at top of each corner of the top flap that clips onto tailgate....easy to break off??

-
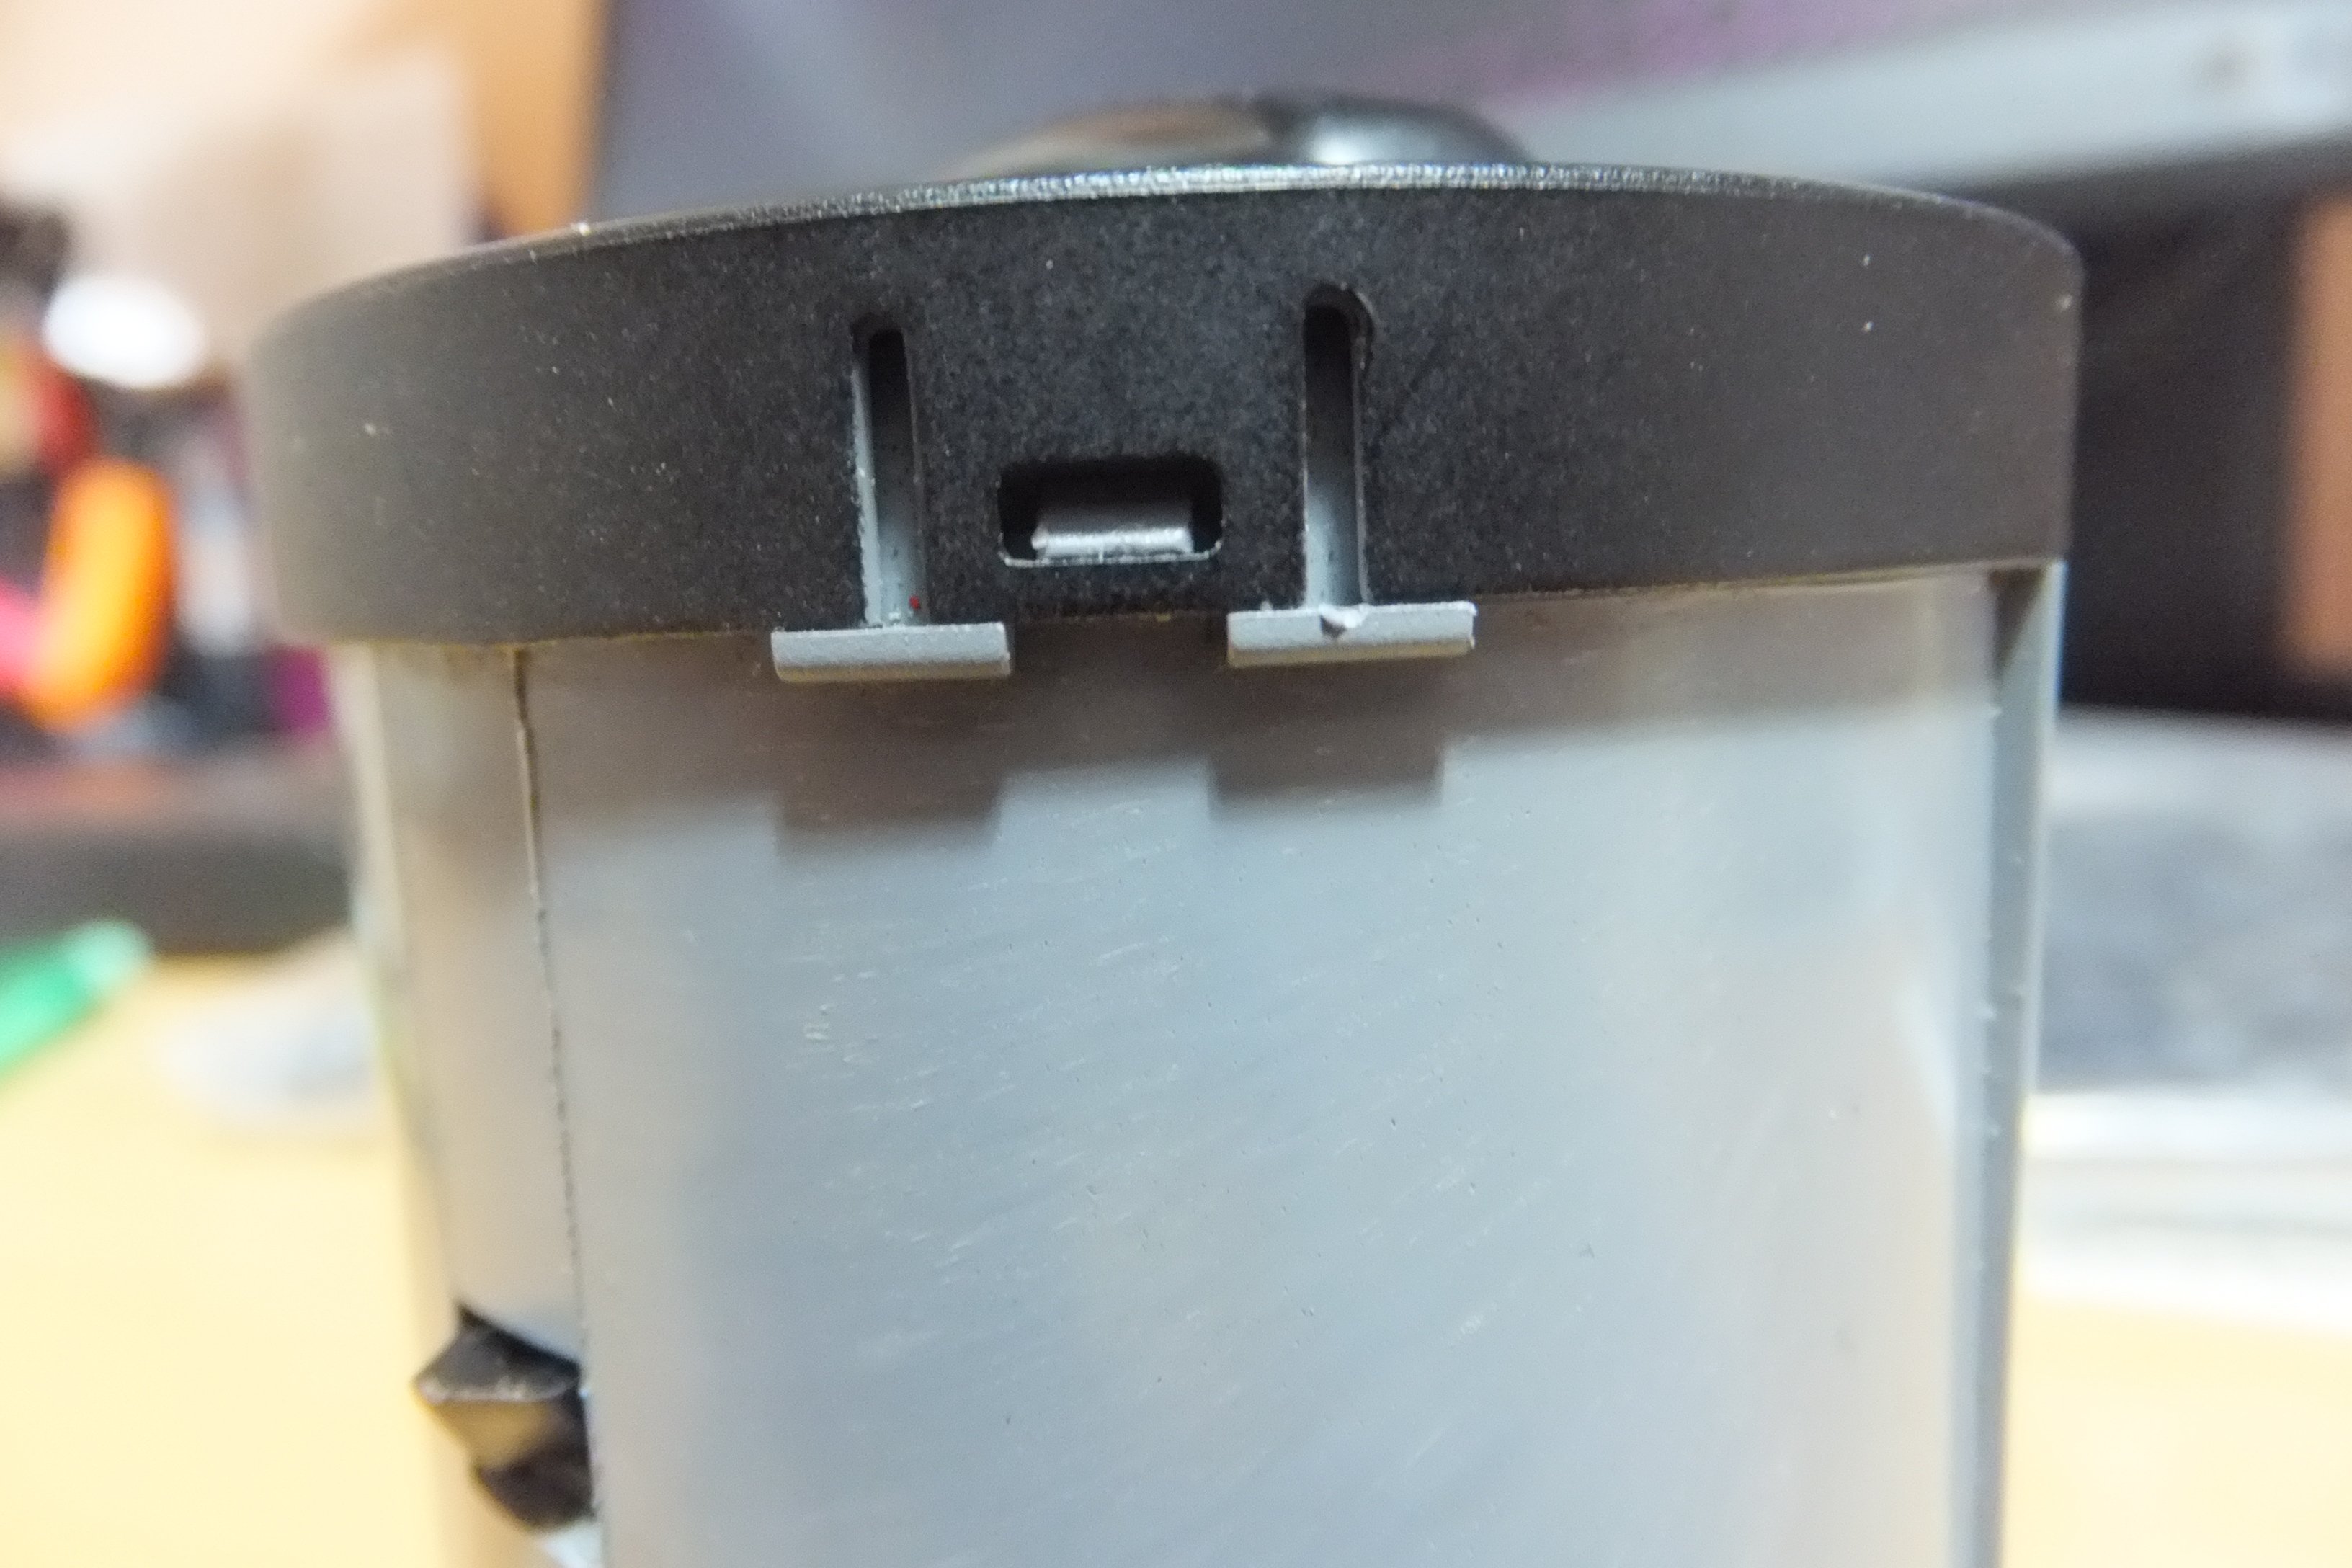
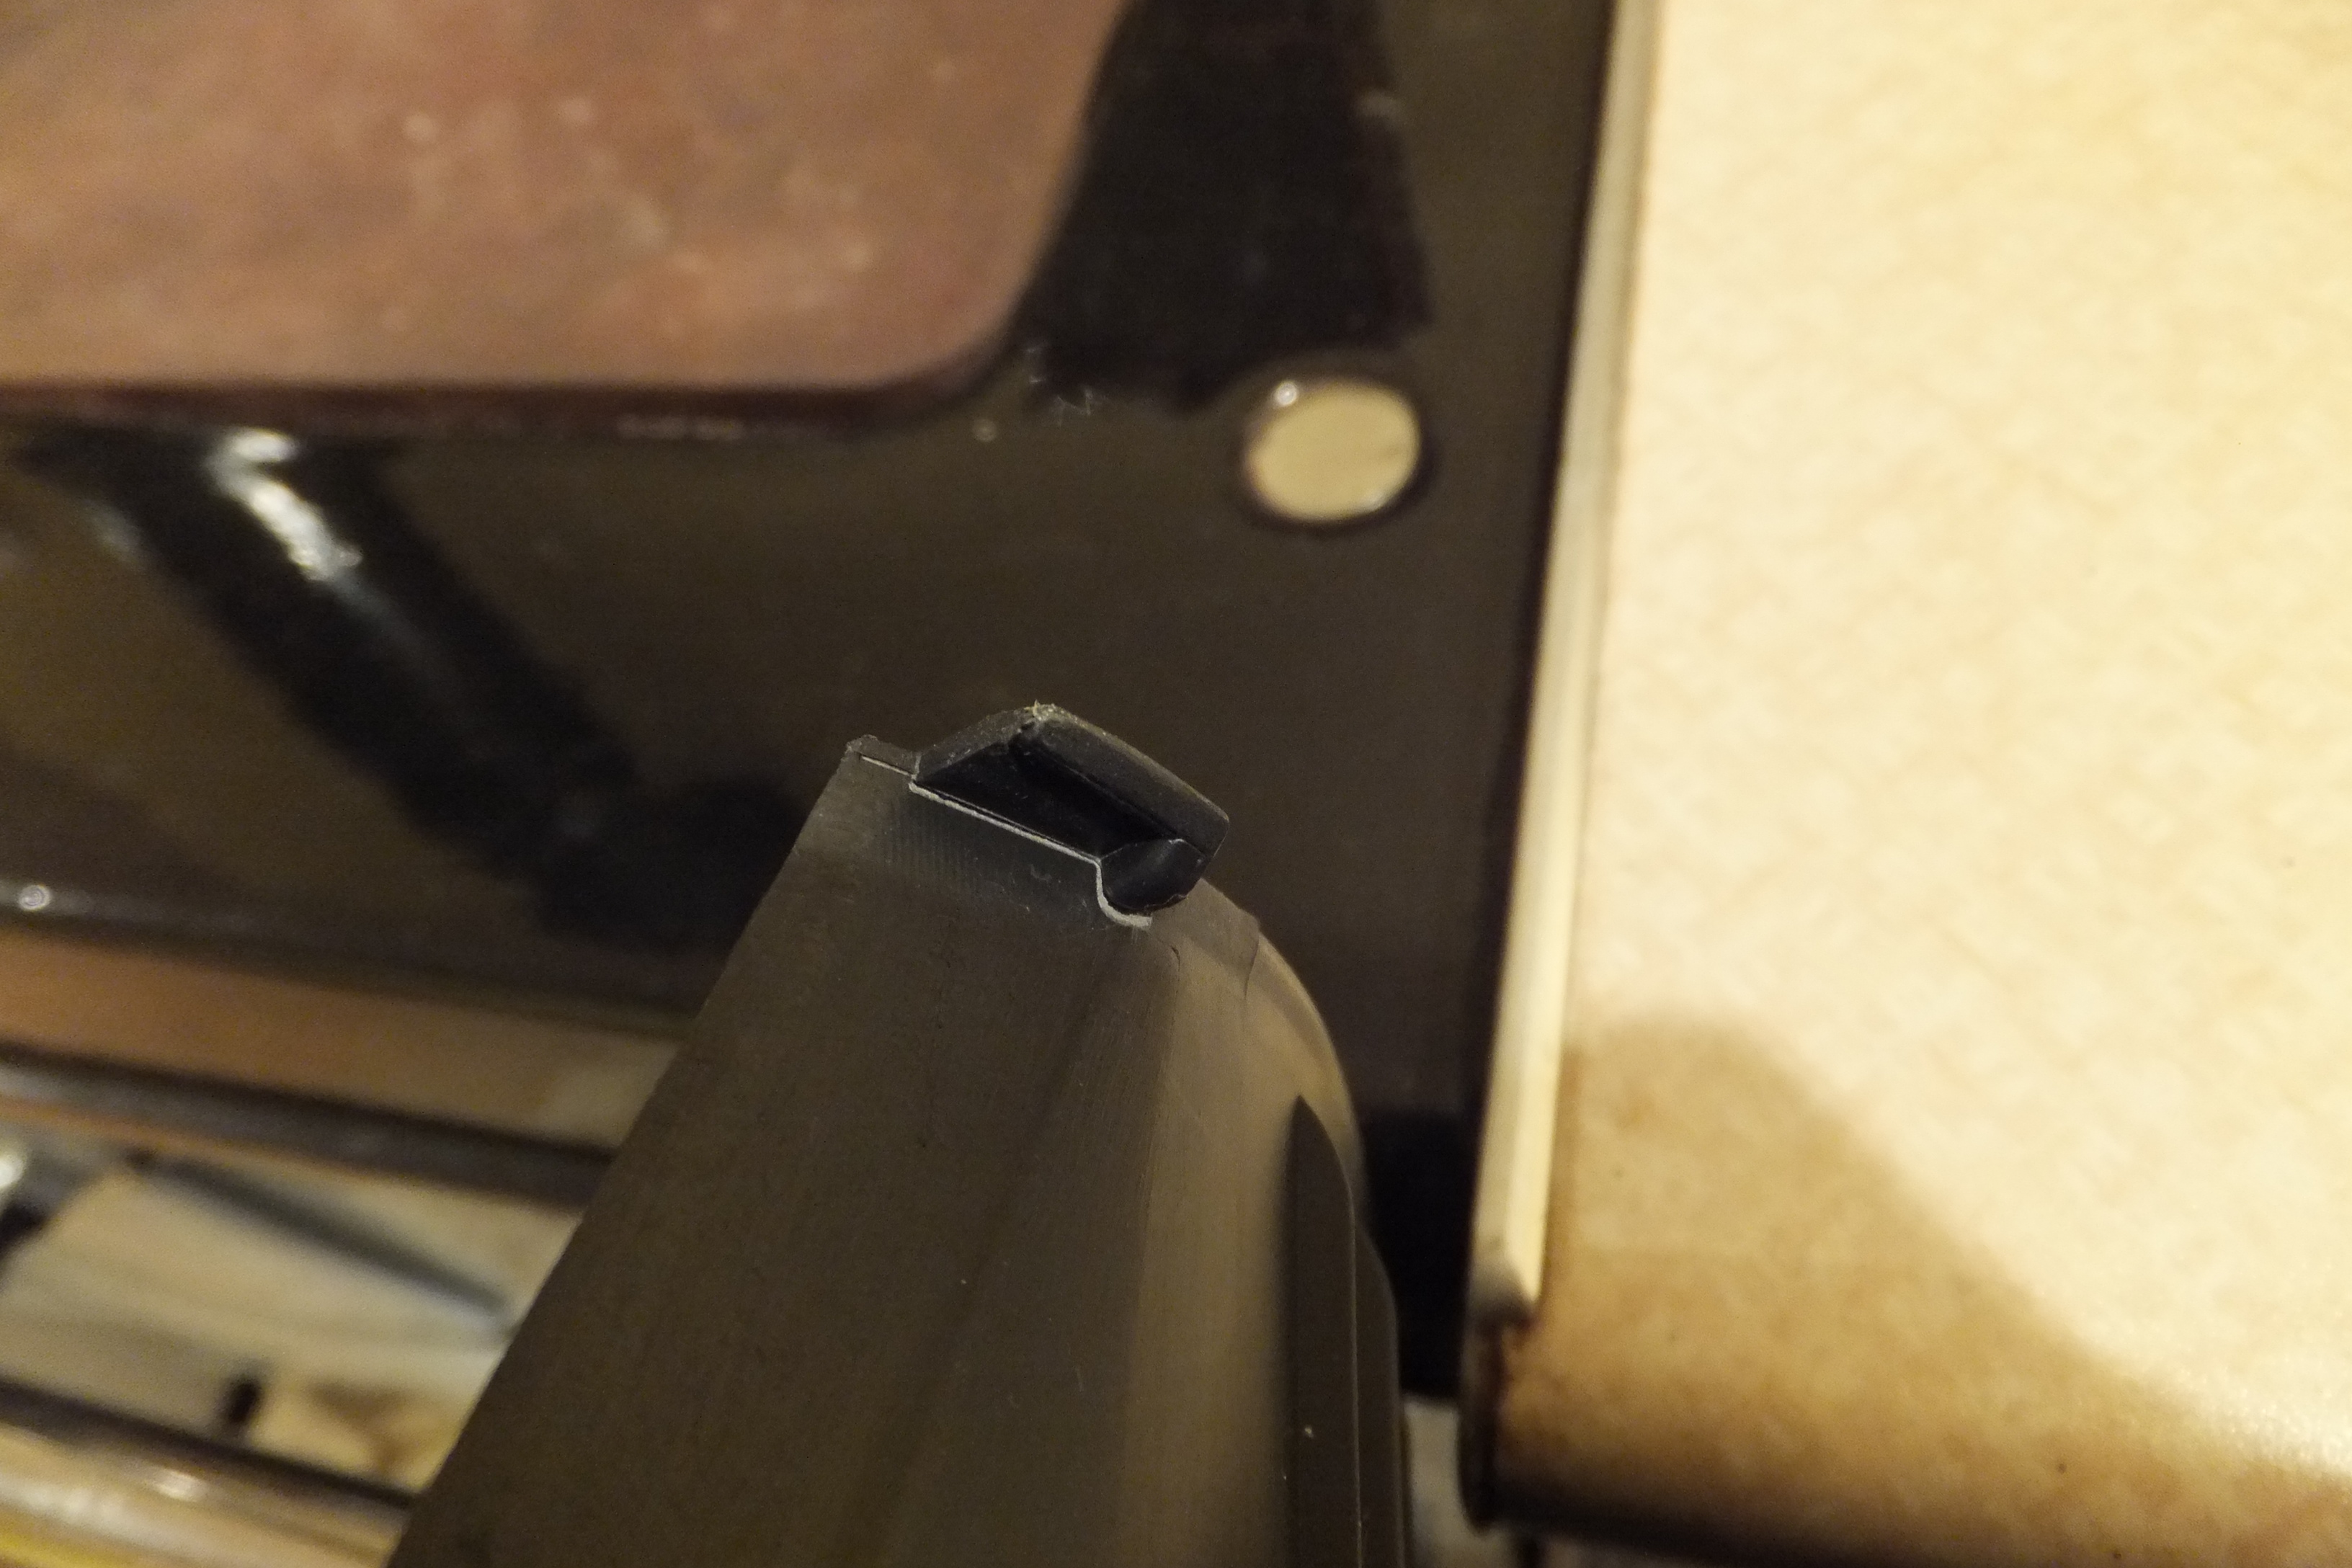
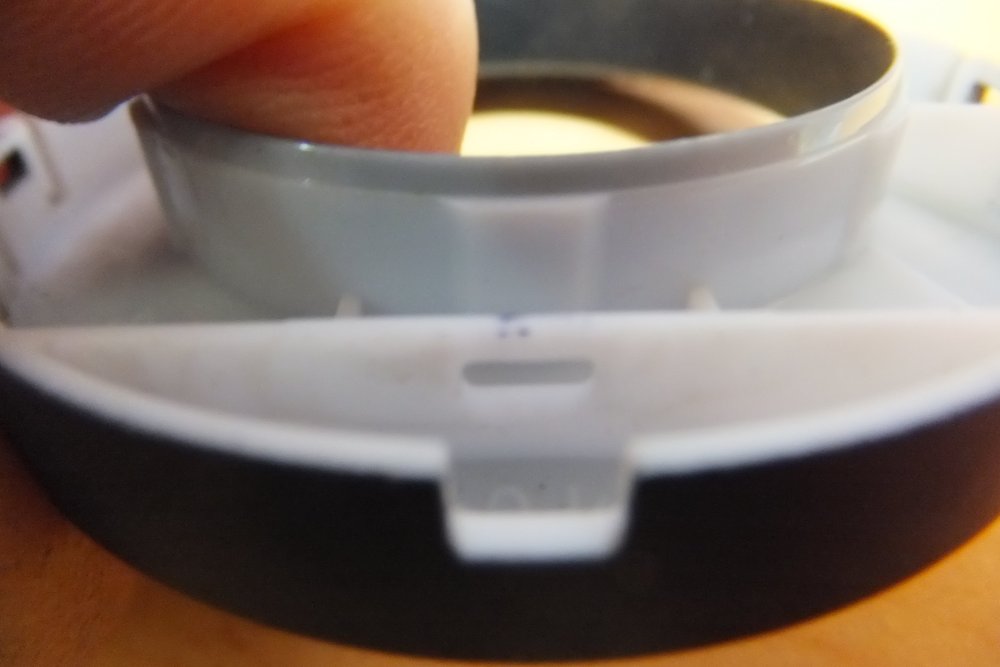
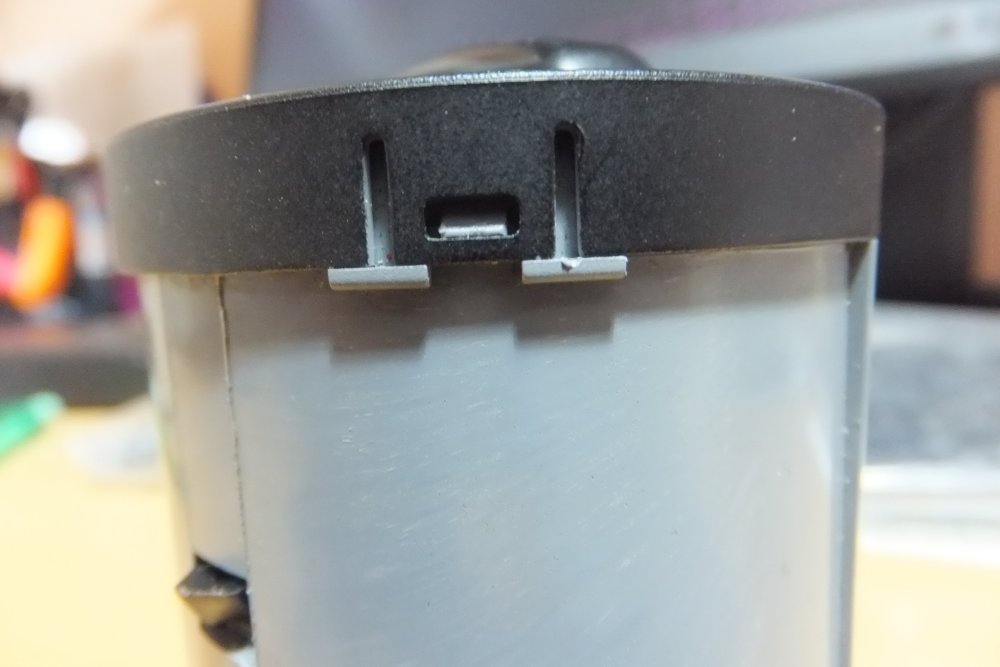
Limited file size...so here continues. This shows the clip in the turret and how it slides out after slightly squeezing. Mine had 3 clips missing!

-
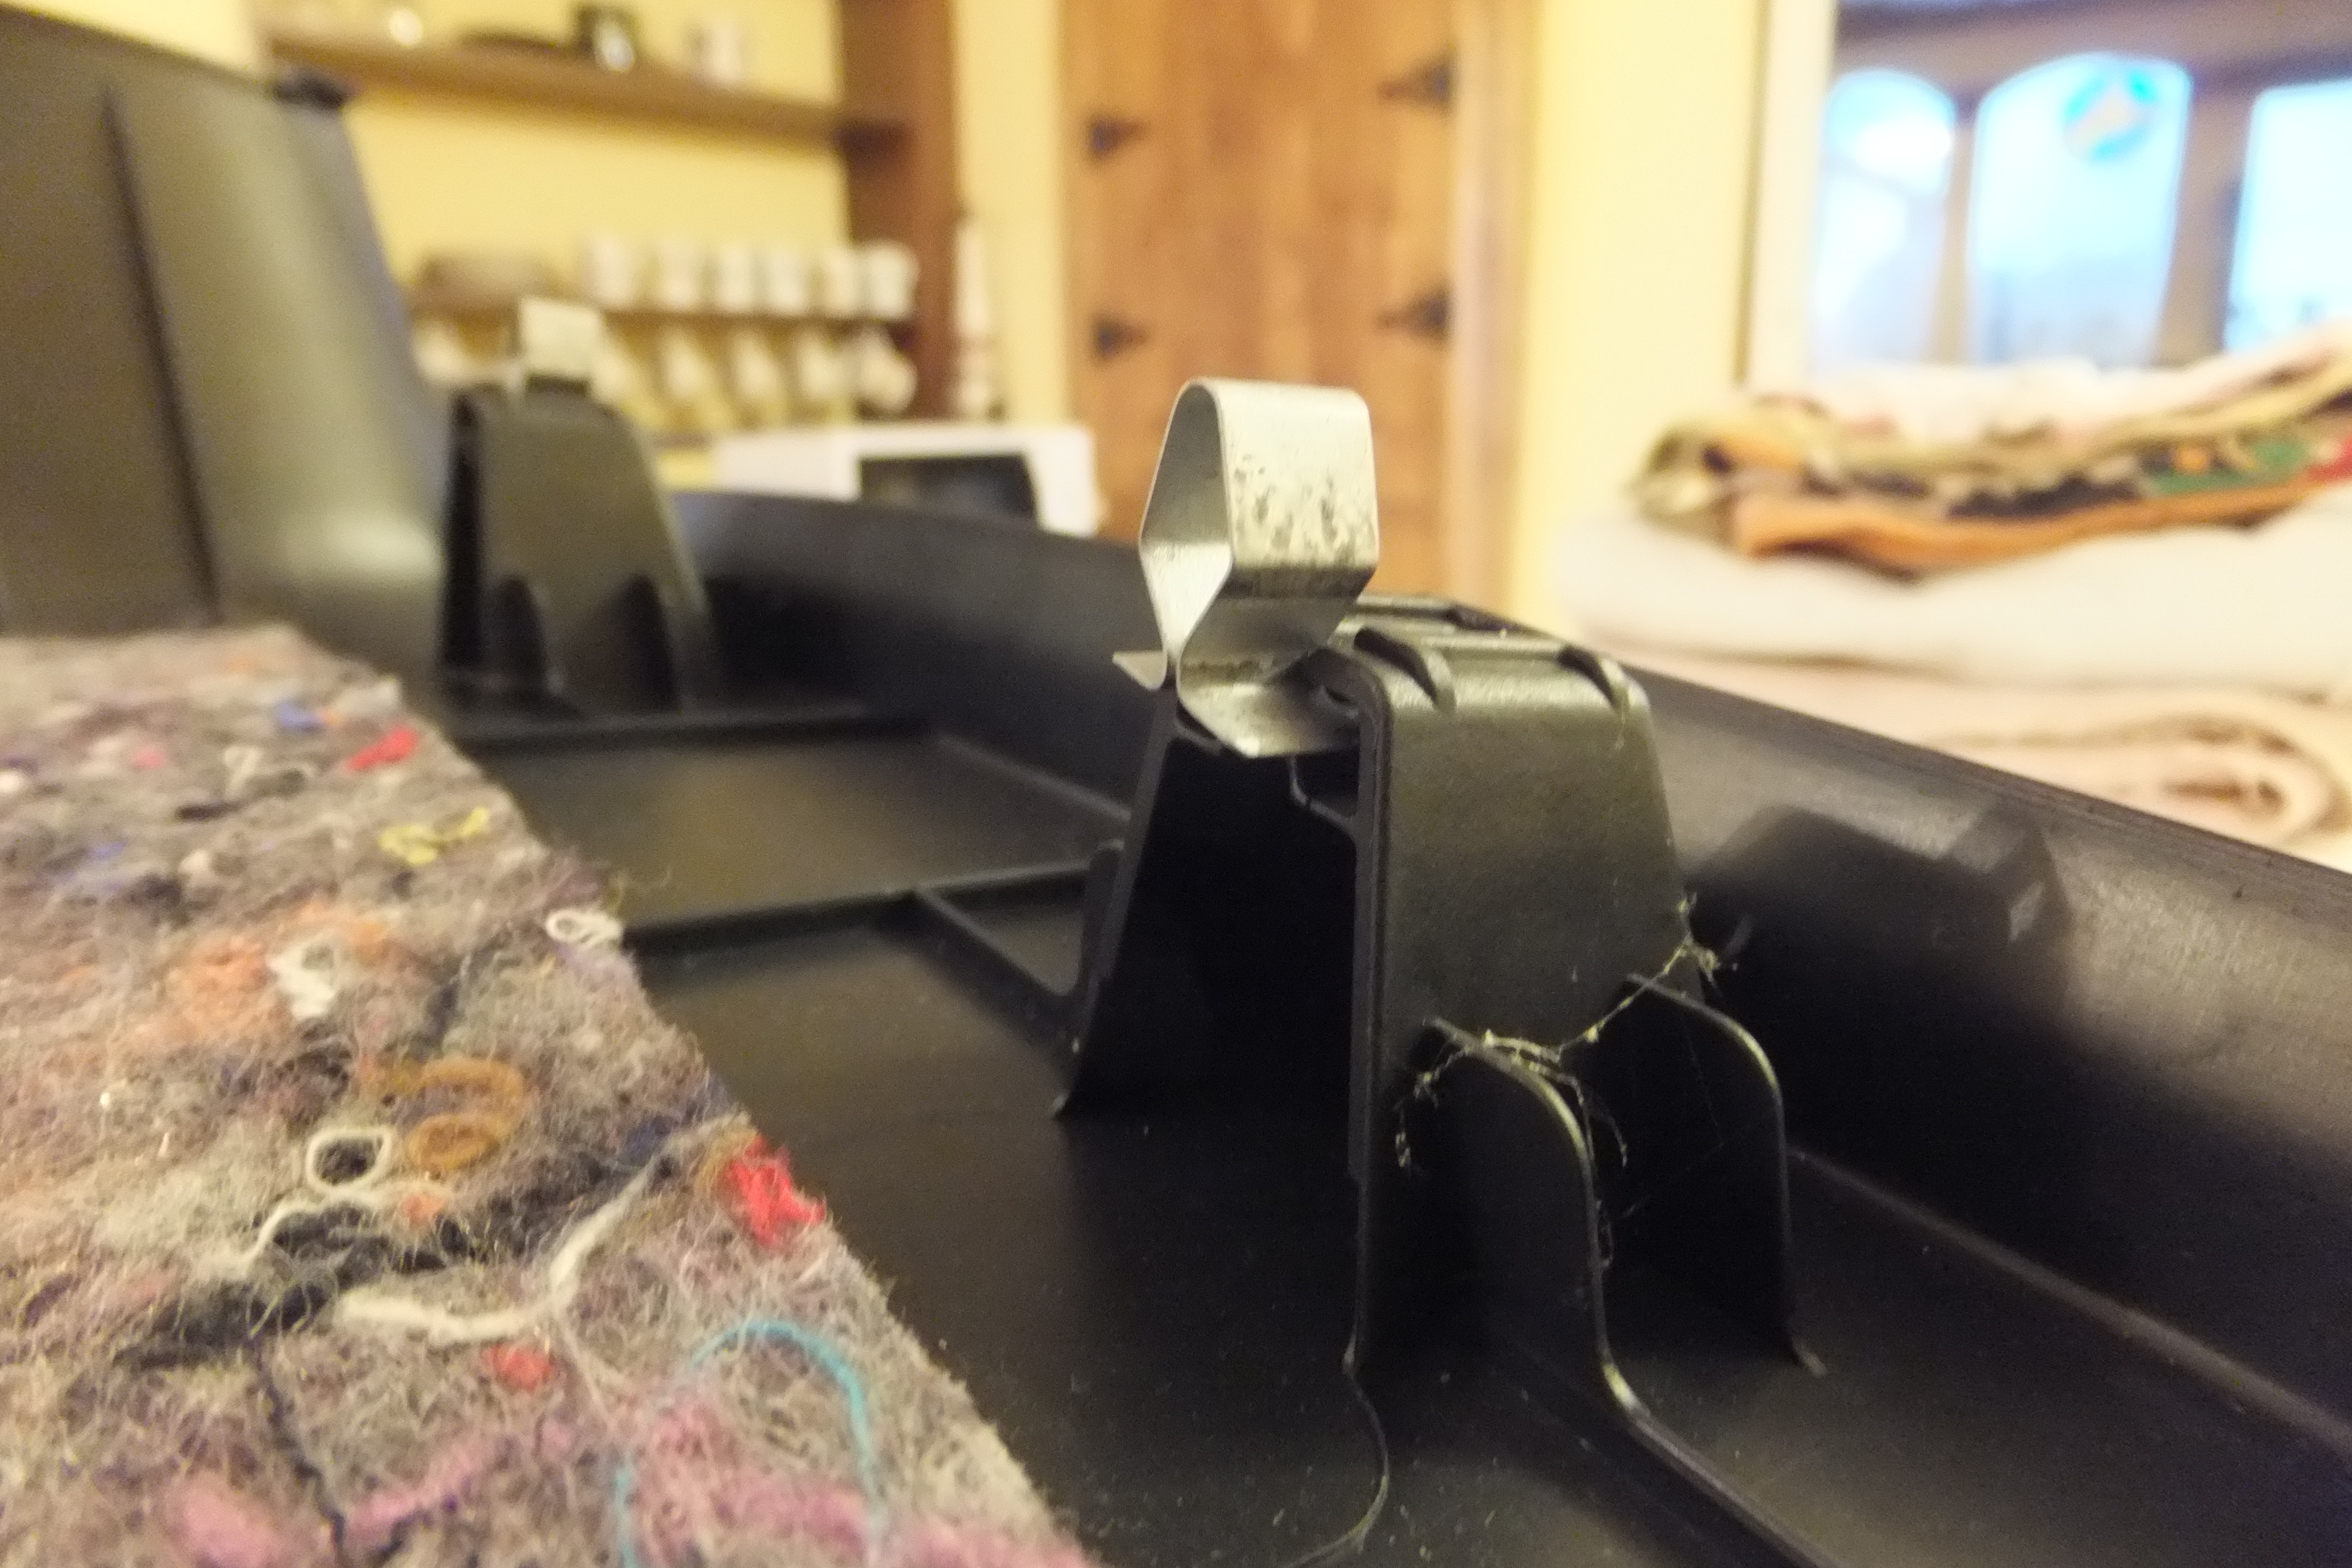
More...removing tailgate panel. This shows the position of the turrets with the V shaped spring clips that just push into slots in the metal of the tailgate inner skin. On each vertical side there are 3; at bottom there are 3 on each side of the lock cut out; along top there is one on its own then the next is up un the hump, then 2 further along. Mine had 3 clips missing!