Everything posted by ogpuprison
-
aw this is vrs porn, and my poor car is still in a sick state! Spent hours under the car today, unsuccessful mission to extract the sump bolt. No dice, I just can't pull outward and keep the pry screwdriver in place simultaneously- need another dude. You know the sump bolt is in a recess, it's well awkward. Ordered a new sump so if it comes to it, there's a plan B. Such a bummer! So all the deletes and catch can stuff will have to wait- I'm not fitting a new sump on my own. Hopefully with a few threats and sweet talking I can get someone to help me do the sump in the next week, do the oil change....and then get back to where I was .More soon
-
Creation Motorsport are not far from me, but not sure if I like their catchcan kit- looks lie one of the cheap ones on ebay with some hose thrown into the deal (£67)
-
thanks bullet-guy! Yes this forum has supplied all the info I need to at least do the SAI, N249,N112 deltes and, if I get that far, then fit a catch can. Hopefully the piggyback sump plug will arrive tomorrow- until I've sorted that out, I'm not ordering £250 of parts. Everyone keeps telling me I'm crazy to attempt this, but I've had such a series of hassles from garages, it's down to me. Still don't know if i can start on the deletes and arrive at a point that allows me to drive the car- probably inadvisable. Cos it's likely to take a few days and I expect problems along the way I'll try not to ask too many questions - I expect a lot of the folks who have contributed to the 'Octavia Mk 1' sub-forum have moved onto other cars by now. The posts are over ten years old thanks for the help so far !
-
An update on this oil leak/boost issue. I went to a new garage which had been recommended to me. Hoping for an understanding expert who might help me out. I was wrong, and left the place super-depressed! As soon as I arrived, it was a total downer. One of those garages more akin to a showroom, pristine floor and very little actual work going on. The guy complained about my drivers' seat (crumbs and whatnot) and went and got a seat cover for himself. Then he expressed his disgust at the quality of the rocker gasket install done by another mechanic. 40 minutes later he'd done a VCDS and then gave me a load of vague possibilities,; basically he didn't want the job, let's leave it at that. His 'report' suggested the following- -turbo electrovalves slow and worn ( I assume he means the actuator on the wastegate) oil leaks on the turbo in/out pipes -SAI valve and orifices blocked -Lambda sensor 1 faulty heater -air leaks causing the evap system to malfunction rear main seal leaks oil intake manifold gasket brittle causing boost leak and oil leak The printout identified P0411, P1602, P0507, P0135. All these faults point towards doing the SAI delete and Eap system delete; so that's my plan. He quoted £2000 which might have been to scare me off (and probably assuming the turbo is finished). Whichever way, he's not my guy. I am so upset; I knew the car is in a mess, but nothing that can't be addressed. In fact, if his attitude had been different I would have said 'yes' there and then (even though that's money I don't have!). So I'm gonna do the deletes myself and fit an OCC. If I get that far, I'll know whether the wastegate actuator can be changed or not, and should be getting better at this stuff by then. That'll mean no car for a bit . No guarantee it's going to solve anything but you have to address these issues one by one. Before any of this though, I just found my oil sump plug is spinning!! It's not leaking but I gotta get it out and fit an oversize 'piggyback' bolt first, so I can change the oil! Thanks for reading - had to get this off my chest
-
I'm probably going to be the last person in history to attempt this! Unfortunately I'll have no car for about a week, and that's if things go to plan. Garry C said 'we did this on a sunday morning' - this will take me days!! Even if I were to fit the resistors first, I'm pretty sure I couldn't drive with pipes missing and open holes in the manifold, etc. So what's the suggested order of procedure? Remove SAI, N249, N112, then the Evap system.... then fit a catch can? I've been trying to figure out the cost- and sourcing the lengths of hose. I've got issues with lack of boost and oil leaks, and the VCDS report seems to make this project even more worthwhile (secondary air injection valve blocked,evap system malfunction due to leaky gaskets, turbo leaking a bit on input and output). Still don't know if my turbo is shot or if my power loss is due to leaks of air and oil across the system(s).Report also mentioned wastegate and turbo bypass valves being worn /slow to open and close. But the guy didn't reckon the turbo is wrecked, or at least he didn't say that!
-
Dean- thanks for the heads up. The SAI removal/etc is a bit involved but I'm sure I can manage it- in fact, the vacuum tube hoses by the dipstick could well be at fault- that would explain my low boost/ bad economy issue. Whether it has anything to do with my oil leak, I wouldn't know. The hose kit I bought had the vacuum tube assembly included, which I didn't fit. Maybe I should. It looks well complex to me, but I've got my head around the engine bay now so it could be a job for sunday. I've been pointed to a supposedly good mechanic though, at the very least I'm gonna get him to get his VCDS on it. Might tell me something. Incidentally, what does N249 /N112 refer to?
-
I managed to get the whole lot changed over the last two days. My primary concern is the oil leak; after getting rocker gasket replaced, next step was all the ancient hoses. So as I'd bought them, I thought I'd address the leak first- although most of the guidance on briskoda encourages the OCC and delete route. I had to read all this to help me do the job, and it sounds like the way to go. But I've done it and I'm jolly proud of myself! Wrecked my hands as expected, and have probably dropped some bits into the manifold hole-we'll see. Only had time for a 20 miunte drive to the supermarket though; and it was too dark to check on leaks. Will update tomorrow. But while it's in my mind, here's the troublesome bits- scraping and digging the broken 90 degree elbow remnants from the hole; took forever. A washer came out at the end, as well as a 4cm section of pipe.Stupidly I didn't put the washer back but I did put a new one on the new elboy. The spring clip was another struggle, as it's partly under a cable mounting plate (getting it back in was the difficult bit). the pipe that goes up from the 'T' was a hassle- I couldn't get it reach so used a section of 19mm breather pipe from a scrap vehicle, cut to size. It's not rigid plastic but I couldn't give a **** by that stage. When I first drove off, it seemed at bit jerky in first/second gear, but that was probably my stress overthinking stuff (i.e; forgotten how to drive) I'll drive againtomorrow. I'm hoping for better boost, economy and whatnot, and hopefully a dry oil-free parking space! Oh yeah, the 'third' valve I mentioned was a mistake- it was simply a steel hose termination in a green shroud, that looked like a valve ..until I looked at it properly. More later
-
sorry mine is an AUQ 1.8T engine
-
I hope the good folks at Briskoda can help me get this straight, once and for all. Cos getting my head around the PCV valve/breather hose/inlet manifold set-up is driving me nuts. So much conflicting info and diagrams (not on this forum so much) has made me realise the OCC route makes sense. I've got an oil leak and have been trying to sort it out. Rocker cover gasket change= still got a leak. The two mechanics I know are being really evasive (i.e; too ****in complicated for them). So I'm currently replacing a the breather hoses. I was intending to just replace the sections one by one, to avoid mistakes, but a lot of my system has been bodged badly, and some pipes just go to fresh air!Anyways I've got as far as the 'T' and, as we all know,this area tends to disintegrate and is difficult to access. I don't really know what the clump of pipes under the dipstick plate are; I'm currently trying to get the plate out! I have found the end of the breather pipe that goes in above the dipstick / oil filter area (into the manifold) is just falling out. But I've also found there's another valve in the pipe at that point. That makes three valves! One on the 'T', one near the air filter (hockey puck) and now this one. Something strange here. No wonder my oil filler cap blows rather than sucks. Does anyone know how to fit the rigid plastic bend piece that should be in this oil filter hole? Are three valves found normally? Most info I've read suggests two. And I haven't even got to the 'other' branch of the 'T' section. There's two great threads on briskoda covering this- but they're old and if I were to ask there, I'll probably get no answer since they're 2013 or something. And they don't cover the issues I'm bumbling my way through, like removing the dipstick plate, orientation of the two 'green' valves, and why my oil filler blows (Negative crankcase ventilation, if you like). I intend to keep my VRS for at least another year and a daft oil leak is not gonna beat me.This is probably the reason the boost is poor, economy of fuel is down and the leak itself. Thanks people
-
I replaced the oil pick-up pipe a couple of years back, in cars this old the pipe does get blocked and it can lead to allsorts of issues. Parts may be cheap, but it took me and a knowledable mate a good few hours to do the sump drain/clean and puttting everything back together. Think we did the throttle body input while we were at it, and obviously did an oil and filter change. oil pick-up pipe is a common source of trouble in these cars, apparently.
-
I'd love to raise the height of my vrs but it's a bit of an unnecessary expense I reasoned. Those spacers I've seen, cost about £140 for all 4, to get an extra 30mm...just worried it'll change the handling too much and I'll crash. No doubt the insurers will need to know as well. Roads are really bad after winter as everyone in the UK knows too well
-
Well, fuses are there for a reason; I said to my mate,'why do we need a fuse between alternator and battery' when the alternator has a regulator.. and he said ' cos the regulator could fail'. Well yeah, but why not carry 4 spare wheels cos you might blow 4 tyres? Sure you get my drift. But it seems more like the cable was burned up and as a result, had burned the insulation off the next cable to it (the 110A car systems cable). Or the other way round. I've driven loads since I repaired it, the cable insulation and fusebox cover all look in good condition, so I'l just keep an eye on it. I did go a scrapyard in cheltenham today and tried pulling an altetrnator cable out of a Golf (07 plate) but it was too hard without any tools. I might go back and get it (<£10 he said) if I can figure out how it comes out. I don't think it's part of a larger loom so should be possible
-
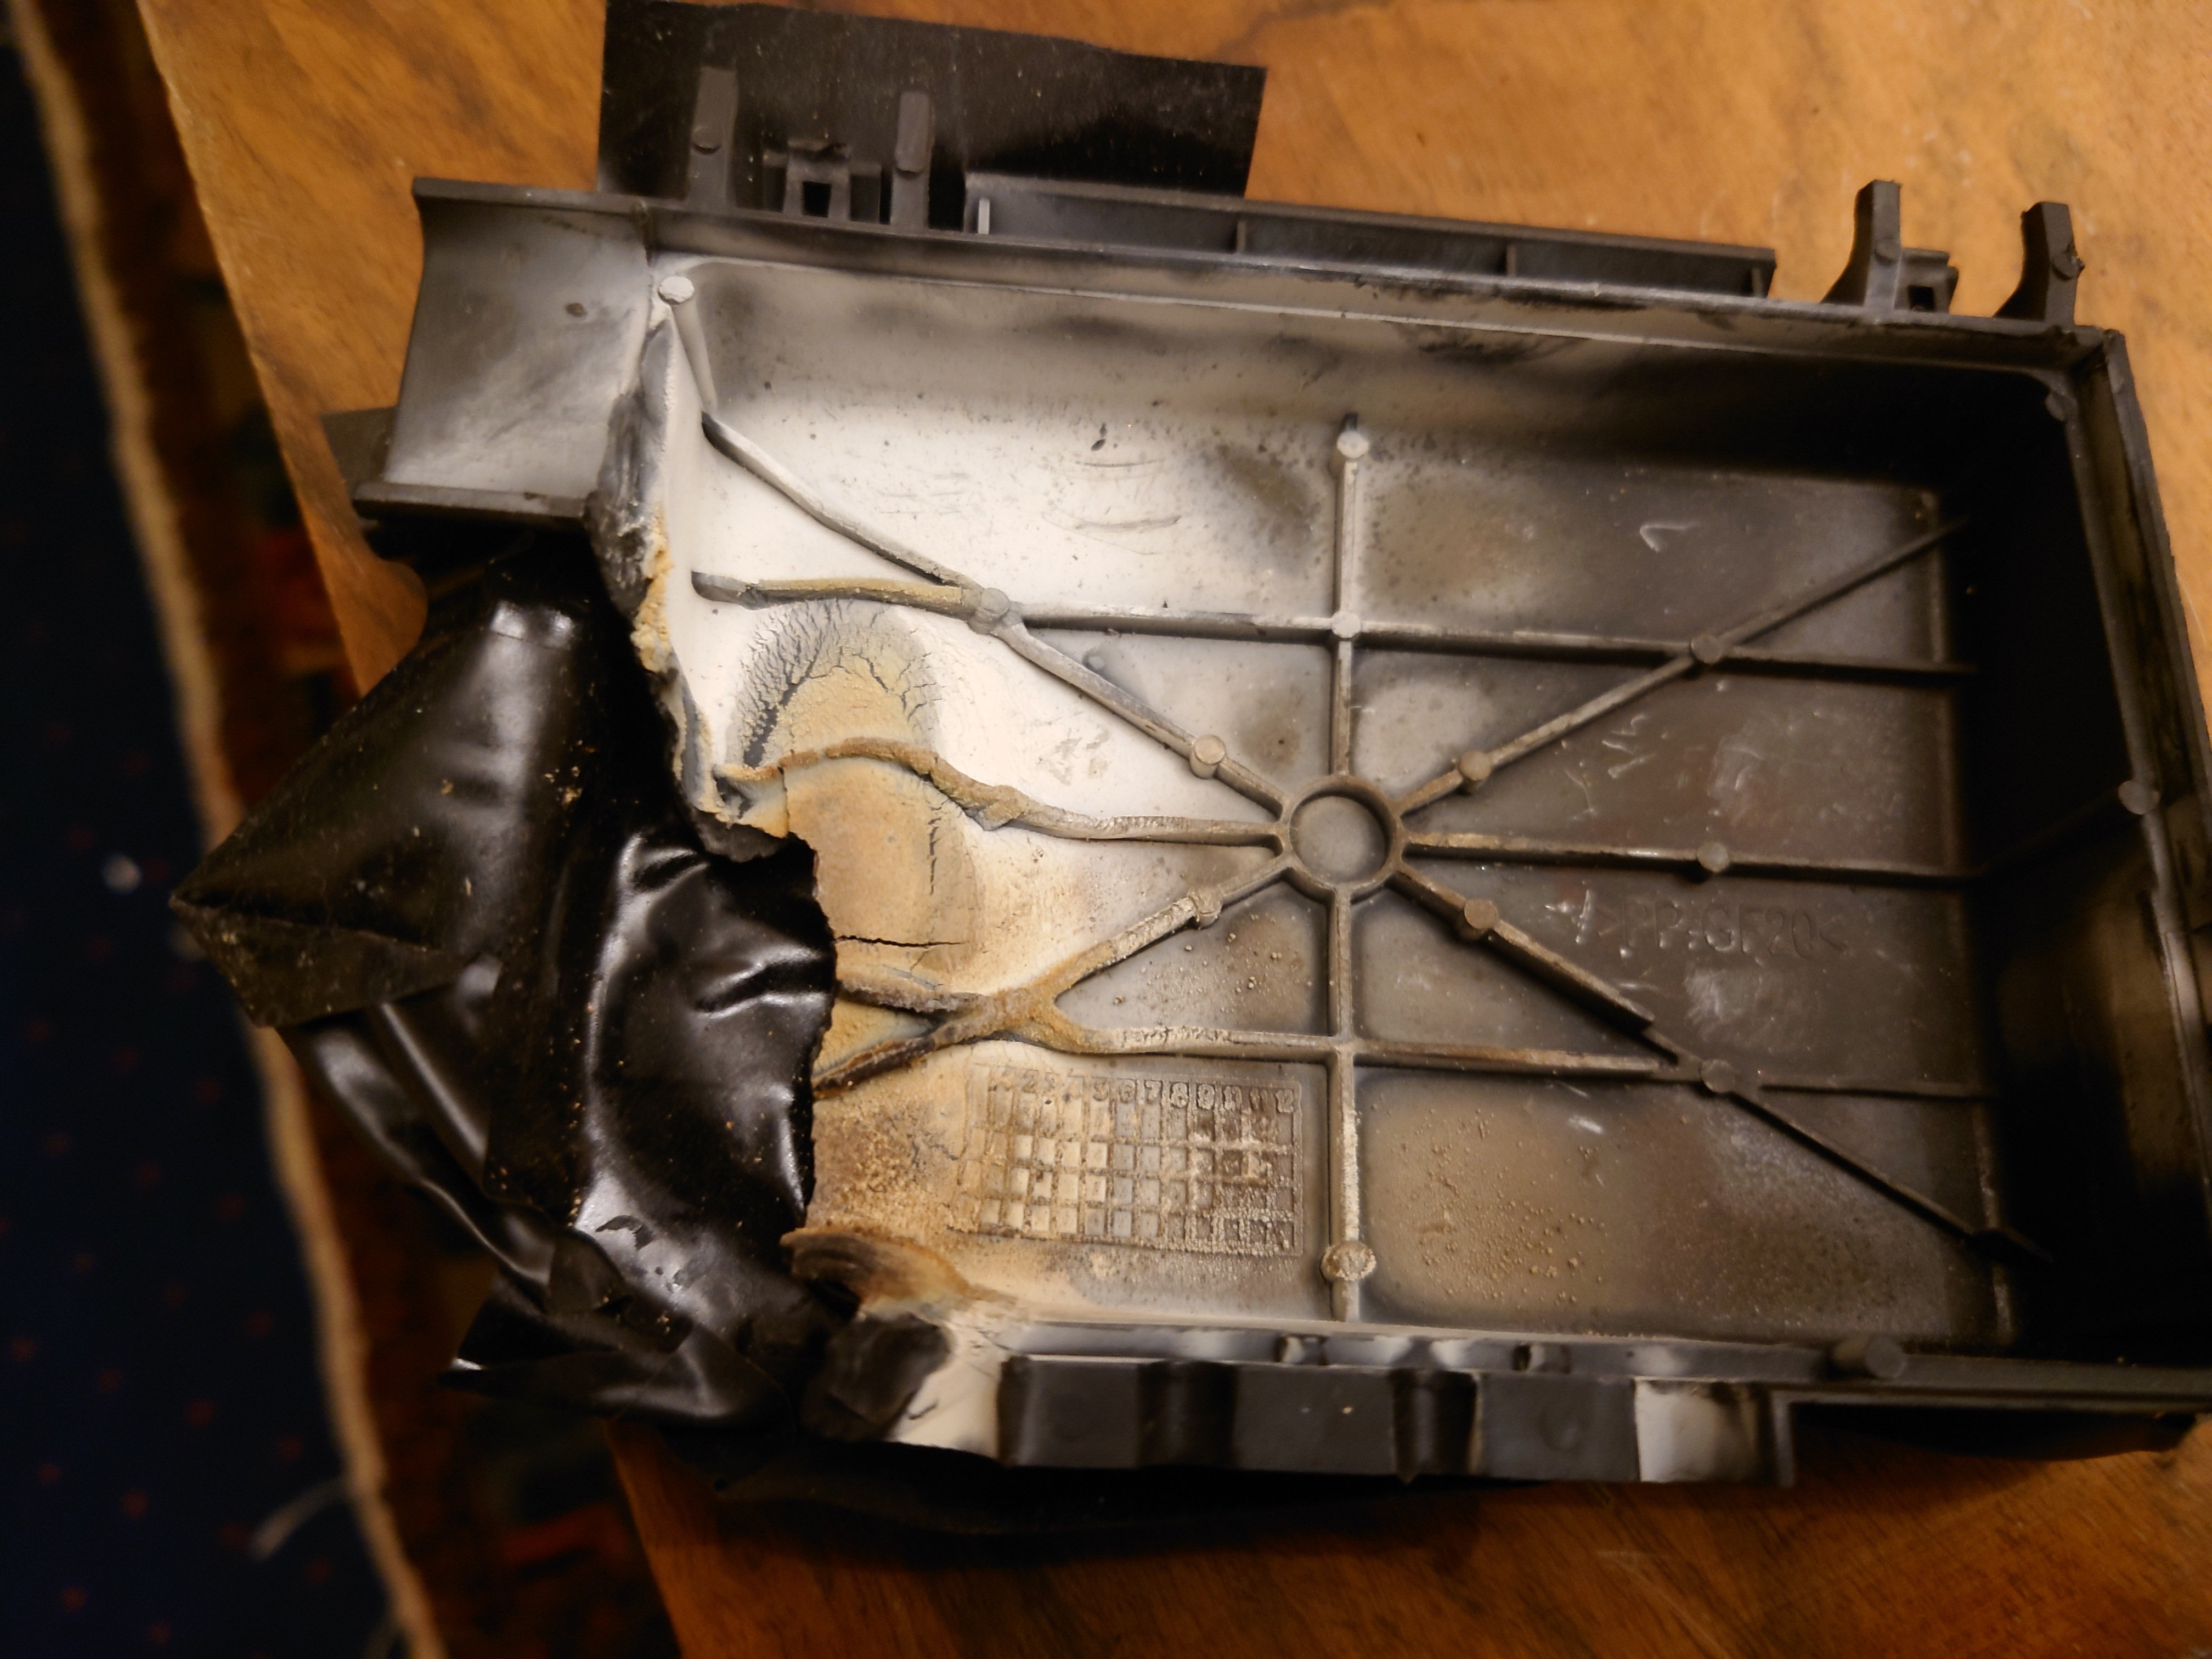
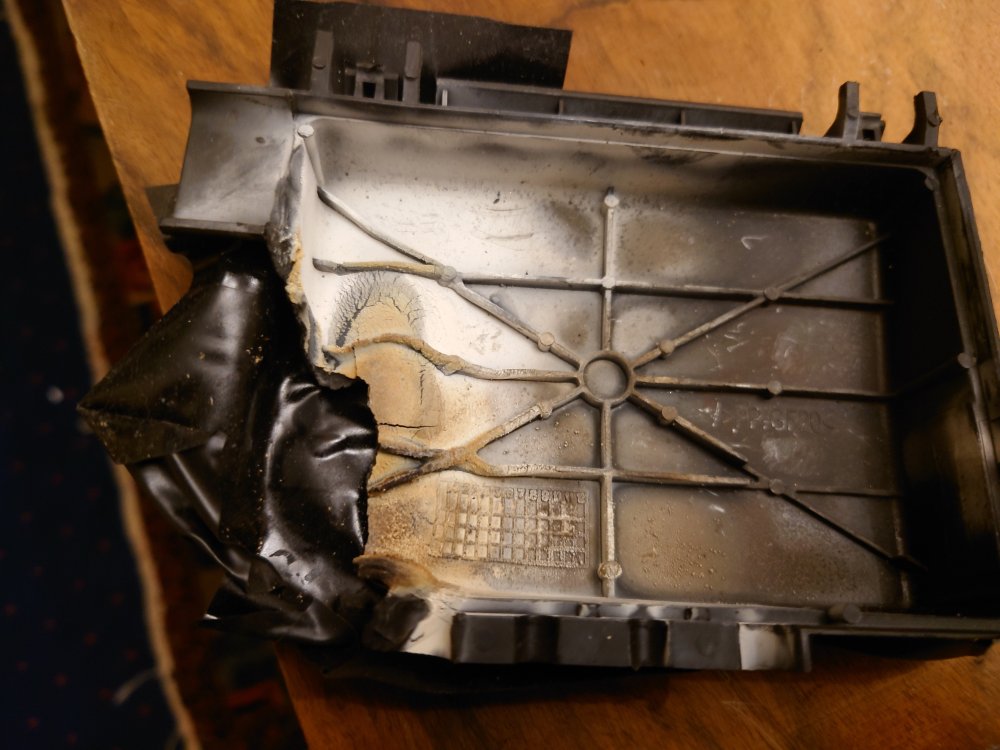
Actually I didn't take any pictures but here's what's left of the fusebox cover! I've driven about 150 miles since doing it, took a look today ands looks un-melted thus far. It is still hot on the alternator cable side of the new box, sadly...so one day I need to trace the alternator cable and see if there are any other sections that are corroded/exposed/whatever. But the weather is so **** I can't face it right now
-
...all done, but had to exchange the loop connectors for ones with a 6mm hole. I only cut off about a centimetre as there wasn't much slack to play with; scrubbed up the end, then used flux and solder to reduce oxidation Getting them onto the cable itself was a struggle but they crimped up good. Let's see how long the fusebox lasts this time
-
Hey thanks! However I'm aware of the alternator cable getting hot and resistance build-up, just wondered if the cable can be cleaned up at the alternator end and if there's a specific resistance I should be aiming for. I' should receive the fusebox tomorrow so intend to risk snipping alternator cable and re-crimping the loop connector. I got some 16mm w/8mm hyole ones, just hope they're up to the job. These crimps didn't state their accepted current, I'm just gonna go for it... if there's enough cable to pull up, that is. If the issue is common it wouldn't surprise me if it's been done ten times before by previous owners! It's crazy that the various fusible links are so close together and their high-current connectors are a bit exposed if you ask me. Do the real skoda hardcore re-route these to ensure a more reliable electrical system? The amount of diagnostic weirdness these fuseboxes and their connectors can cause blows my mind
-
This is interesting, as I have an issue which may require some alternator work. The alternator fusible link in the battery fuse box has burned up; I only replaced the fusebox a year ago. The fuse link is rated 110A; despite the winter and it's demands on the car's electrical power, I think something else is sucking power causing the fuse to blow. And when people say 'earth fault', I reach for my revolver... finding earth faults in an old car is gonna take weeks! I read somewhere that it's common, the Mk1 VRS blowing alternator fuses. Considering it shuts the car down, I have to sort this out, not just patch it up. I also read there can be arcing to the 110A fusible link, but I'm not sure about this. Something else would cause arcing, no? This is where a VAG scanner would be helpful, but I don't have one. Does anyone know if the alternator belt tension could be causing the problem? I'm sure the alternator itself is fine
-
Awesome info Dean/ Mike! Taking out the whole assembly sounds a ballache but I've done worse (oil sump removal, door window motors, alternator and mountings). If we ever get some dry weather, I'll go for it. One last thing- if the wipers are at rest when you remove everything, is there any 'lining up' of the motor into the assembly that I need to be aware of? Cos I don't really want to do all this, put it back into the car, then have to take it out again cos the wipers are doing crazy unsynchronised patterns! (hope this makes sense, it's hard to put into words) thanks again
-
Yes I saw that catalog, with the exploded diagram of the linkage, with the main crossmember(?) refered to as the 'base'. I have no idea whether the motor is old and tired, or the linkage has something restricting movement. I want to buy a complete assembly really, cos someone here said setting up a new motor to a linkage is a pain in the ass. When I had a go at servicing it, I didn't get the whole thing out; I just used a wire brush, isopropyl then silicon grease. And checked the connector. Could be more grit/obstruction round the back which you can't really get to without removal. I think it's the linkage; if I push the wiper arm, it gets it moving. Don't point me in the direction of the relay! That's another can of worms
-
My wipers packed up miles from home on the night of the snowstorm in December 2025. After 3 hours, the Green Flag dude arrived and got them working in about ten seconds. The rest of the motorway journey is worthy of a movie, but not right now. Few days later, after some useful info from this forum, I accessed the mechanism, cleaned and greased the parts, then all good for two weeks. Then they stuck again, which a sharp tap with a hammer sorted out. However, I don't need this happening to me again, not at 80 on the motorway. So I've been looking on ebay, etc, and boy, it's highly confusing. For a start, should I risk a used motor and linkage, which is probably about the same age as my existing one? Or go for a new motor and linkage, and then have a mare trying to calibrate the motor to the linkage positioning? At this point I'm trying to find the correct parts- my VIN suggests it's a 1U, so am I right in thinking the 1Z motor/linkage won't fit? Cos they're a lot more commonly available. Another forum member said the VRS Octavia (which mine is) has different size arm shafts- anyone know if this is correct? I find it unlikely but what do I know! So it's a minefield. New motors on eBay are listed with compatible OEM codes, and it appears the numbers are the same, whether a Mk1 or Mk2 Octavia. If anyone has a Mk1 VRS and done this repair, I'd be grateful for any info regarding the motor and linkages you used for the job...thanks
-
yeah, like me. I'll be doing it in 2 days when the part arrives. From a slight leak, it's suddenly turned into a big leak and I have to load up with coolant after 30 mins of driving. I blame a 292 mile trip on the hottest day of the year...pushed it over the edge... About 2 months back I was getting the coolant light coming on regularly, doing my head in, so I did a flush, and used the proper G12 red stuff. Good move, as it left a telltale residue...around the CTS area, so I ordered the flange (06A121132AP). I really hope it's just this that's leaking and nowhere else, or I'm going do something rash
-
yeah- I was worrying about carrying 210kg of slabs the other week until I read up on this. But the car felt slow and low - even if I had 600kg as acceptable payload, I wouldn't have considered more than 200kg, speed bumps would be painful. My Mk1 is old and sometimes feels like it
-
Aw f**k man, that's such a shame. Considering the work you've done on it... ...I'd buy it myself but I'm not having a yellow car! All the new **** you've put into it... i'm gonna cry
-
awesome report. I just installed one , not quite the same method but this guide was invaluable. Took me ages, afternoons standing in the rain soldering and struggling with interior trim fixings and a fck-up which knocked out my instument cluster (just a fuse, no speedo unit surgery). Works well but my rear headliner looks like someone's head has crashed into it...never mind
-
oops- odometer is ok, I meant the trip computer
-
This will probably be figured out tomorrow morning, but here goes. I've been trying to install a reversing camera, powering its' trigger by using the centre pins of the lighting cluster. Messed up the wiring so disconnected it all ... so imagine the vehicle is back to how it was before. My fuel gauge has gone bananas, so contant 'low fuel' beeping. swinging from 0 miles to 70 miles of fuel left. Then engine management light stays on. Now the speedo is stuck at zero, and the odometer as a result. Reverse sounder isn't working either. Another thread has an entry referring to the reverse light sharing power with the speedo, etc- which kinda points the finger at me, fcking idiot. The route i took for the camera cabling ran from the rear hatch handle, up the passenger side of the hatch to the roof, and i took a power lead from the left rear light (centre pin) and ground from the bodywork along the passenger side. Sure I poked some wires when getting through the hatch cable shroud which goes to the roof, but its unlikely I punctured the insulation. Any thoughts on how to go about resolving this, and have I possibly blown something along the way? how does it all go together? And what's that bolt and wiring directly underneath the left rear light cluster? Car is a VRS 2005