vRSAnt
FREEDOM
-
Joined
-
Last visited
Everything posted by vRSAnt
-
If anyone like me interested in what the parts are. I got hold of a full original kit for the UP I got an accepted offer near £130 so tidy price. 1S0054630 I also picked up facelift controller if needed which is for 1S0054630B, instead of using 1S0054630 which may be only for the navigon unit earlier car, as far as I can work out so far I think this is the only major difference ( hopefully) for just over £20. Which is a lot less than I've seen online or able to be supplied for the facelife kit so taking a bit of a gamble. 3 harnesses: 1S0971065D main bumper harness 1S0054733A extension harness for connecting bumper to ECU (round 8 pin to square 12 pin) 1S0054733 brown 16 pin connector for all the important connections +3 sensors and sensor brackets and other bits to complete. If it works out will progress this further.
-
I'd go with "they all do that" and unless you want to go shelling out wasting money on supposed "preventative maintenance" ( assuming the clutch isn't seeming like its about ready to be done), there are threads on this and up forums if you want to search
-
Noticing this thread although there are other places you can ask questions ( and be ignored) one thing Mr Rubbish is missing out is permanence. You ask questions or give answers and they can be sticky or searchable for ages here, in fact hard to keep them off google. I often come back to questions I've asked and find them on cross searches :D Try that with something like FB forums, this is why dedicated sites like this can trump others.
-
I have been waiting on a shortlist supposedly for clutch but heard nothing, I think they are overbooked with work at AKS and to be fair I should really have been chasing, but I hardly use my car so not really been a priority - been isolating as my wife has been under treatment for cancer anyway. Having successfully (touch wood!) sorted a clutch on wifes citigo, being a give it a go kind was wondering has anyone tried on Octavia 5e (2.0 TSI) manual 6 gear to sort the clutch? Its over standard power and I find that its starting to slip at demanding higher power/ foot down. I can drive reasonably normally for now, for the most part this is fine as the UK is becoming a giant speed camera pothole anyway but could be useful if ever wanting to serve a dual purpose of visits to pod / track where power can be more unleashed with mostly less consquence, again touch wood. Might also be useful time to review the differential / or reports of weak 4th gear shaft support? I gather people use something like this. I think I'm not brave enough for that kind of work though and would seek assistance from an engineering company. https://www.darksidedevelopments.co.uk/products/02m-02q-gearbox-4th-gear-input-shaft-support.html That said some interesting videos on youtube do reveal some of the secrets behind it - like https://www.youtube.com/watch?v=ldr4wyHQ5g0 For the clutch might be a job similar to this though its for a Seat ? https://www.youtube.com/watch?v=W6MkMAQeOJ4
-
Done and dusted and fitted, was only about £45 from there although the liners aren't the best quality, they certainly will do the job ok and its disgusting the throw of muck so I think this are well worth it Found it wasnt obvious screw holes on the drivers side rear where the filler is, and somewhat poor design of the budget liner so had to cobble in various places to secure so that was secured at both ends, one on the side and one at the top whilst the other side has 3 sides plus both edges and one top so seems the more secure of the two arches but the liner shape itself tends to keep them in place so doubt they are going anywhere
-
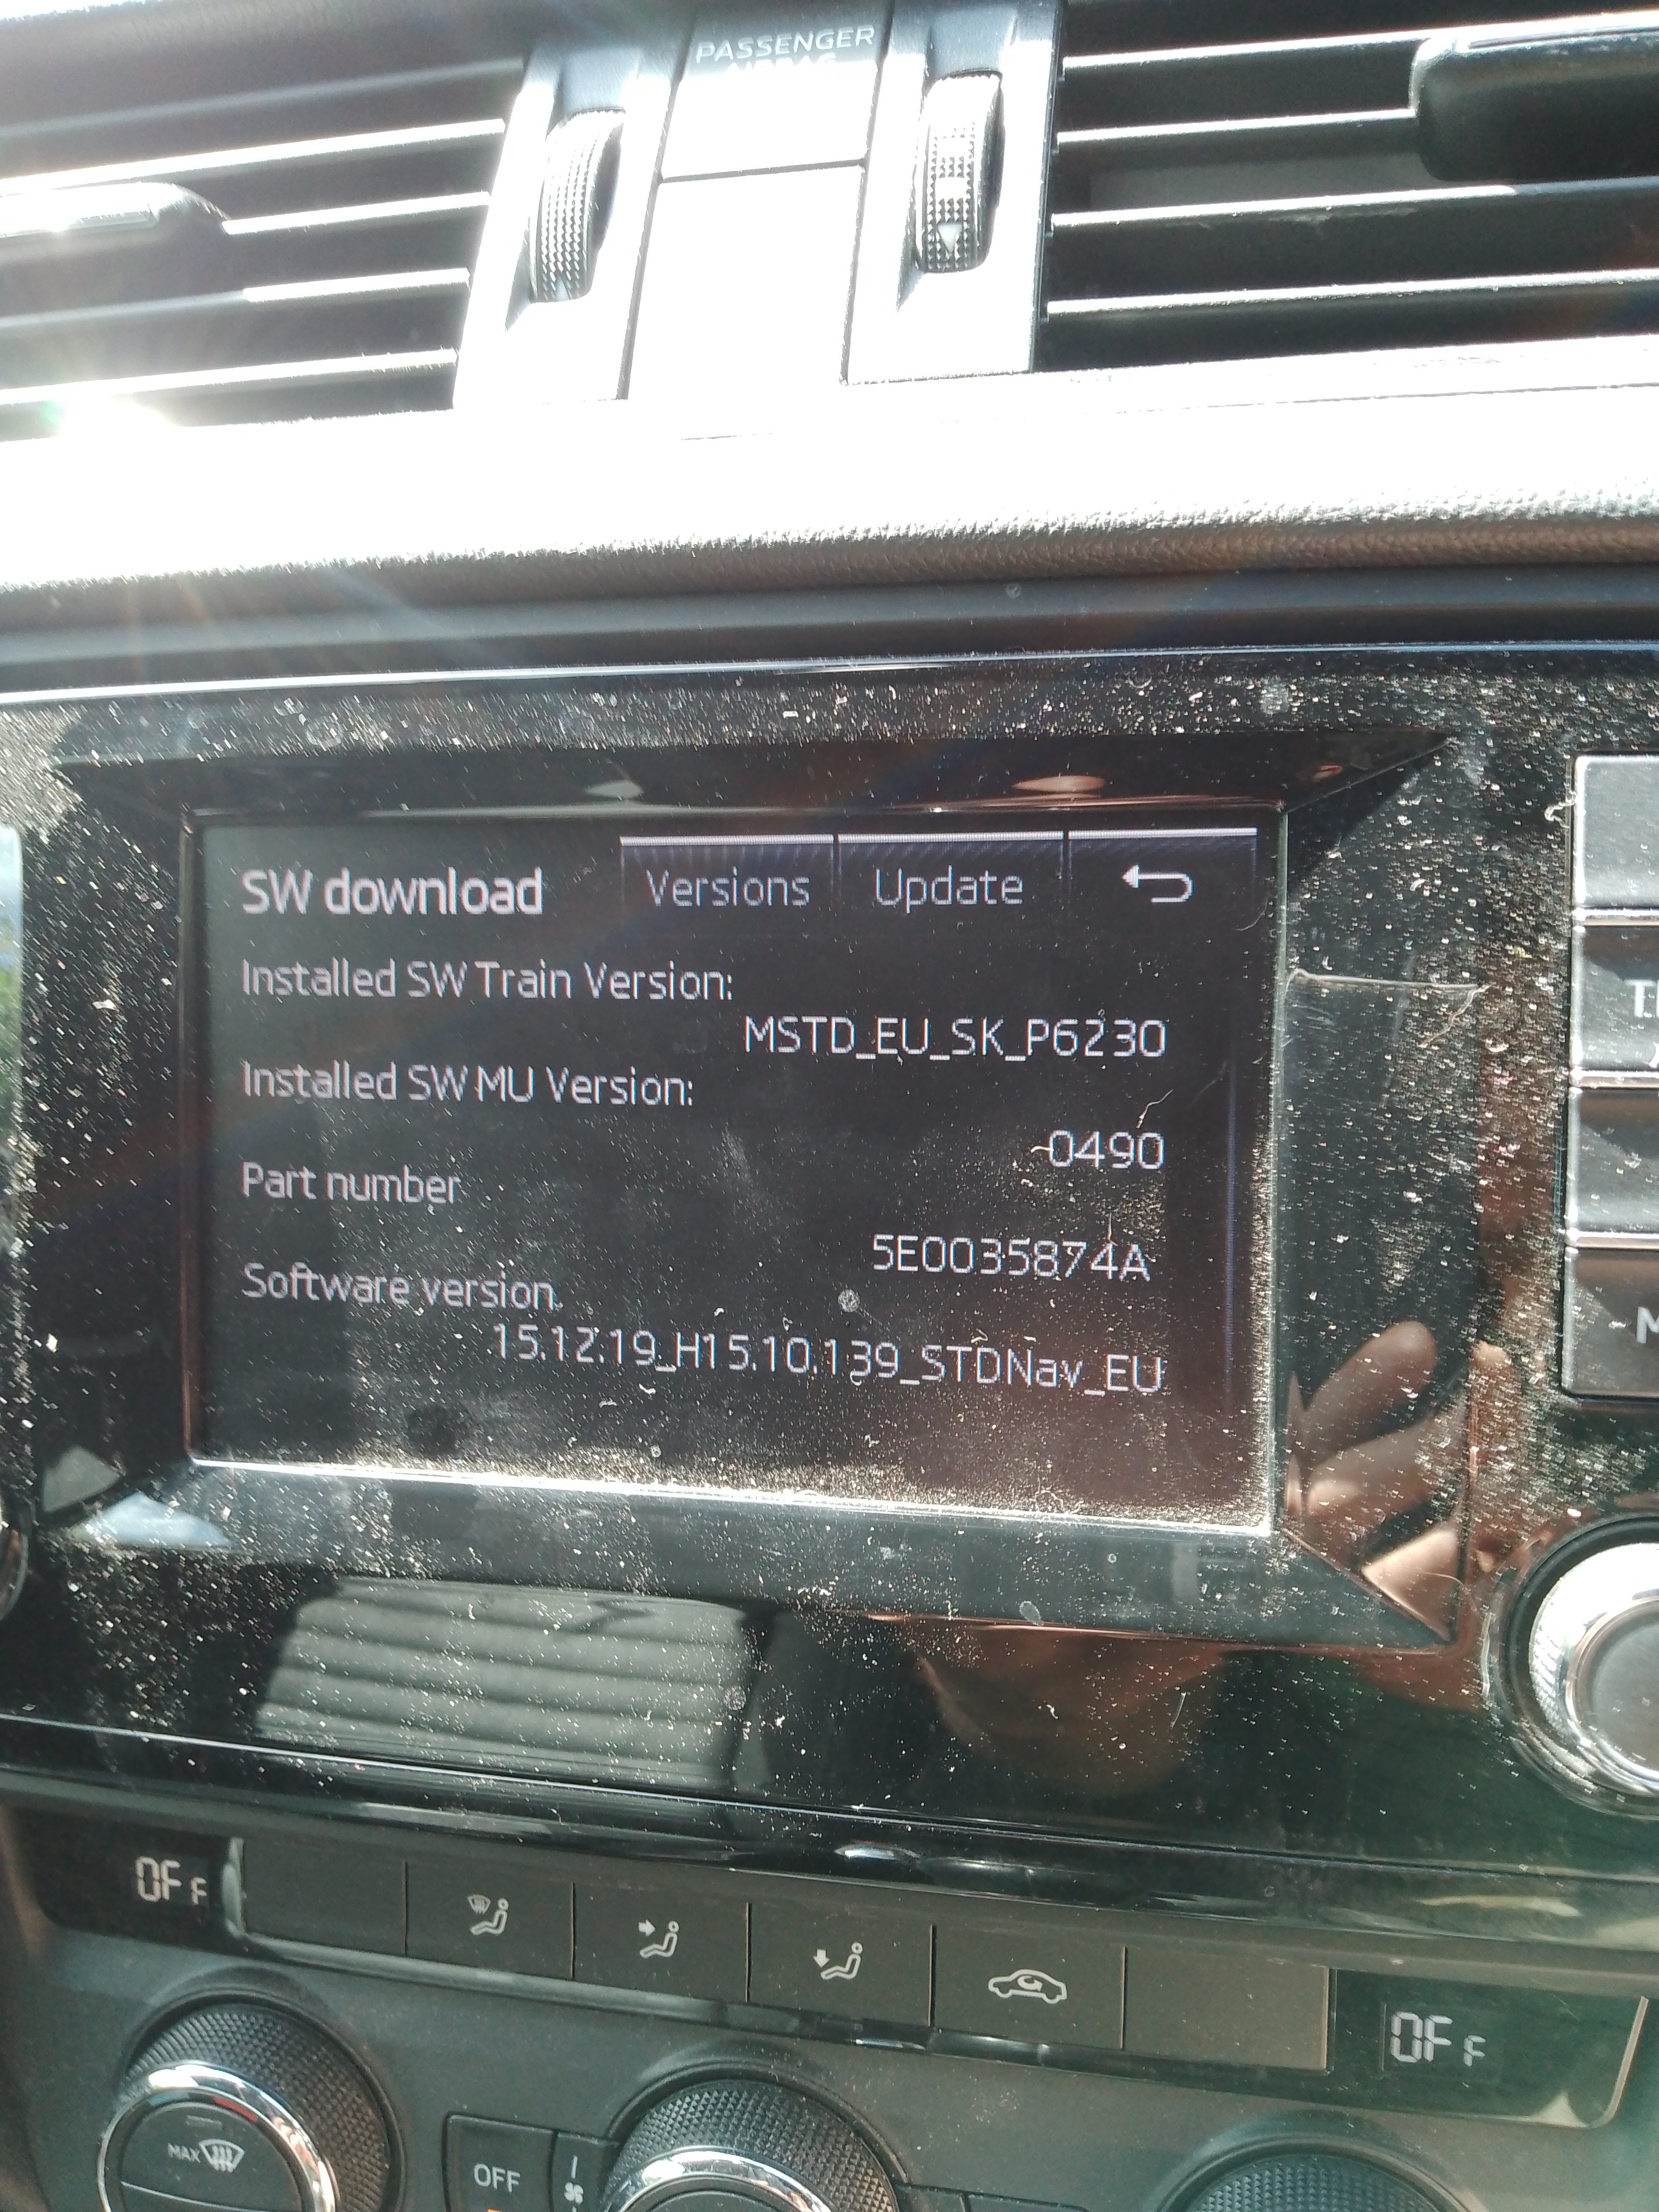
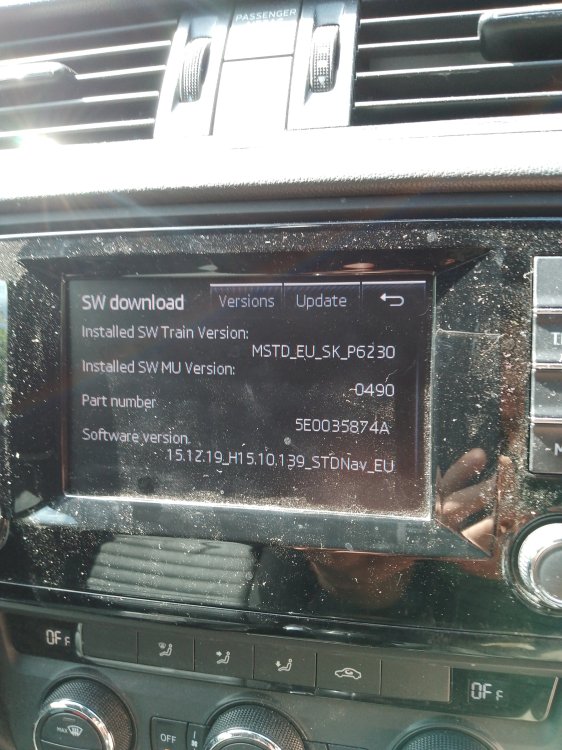
I used a copy of this MSTD_EU_SK_P6230 MU0490 if anyone else needs, the site I think I had it from was mibsolution.one is currently down though. I was wary of the copy I had and passage of time, but it worked fine installed, I just have to clear the fault code ( have odbeleven but pro ran out and doesn't cover the adaption by looks of it) Excuse the state of my interior I don't use the car that much and could use a vaccuum.

-
I used a copy of this MSTD_EU_SK_P6230 MU0490 if anyone else needs, the site I think I had it from was mibsolution.one is currently down though. I was wary of the copy I had and passage of time, but it worked fine installed, I just have to clear the fault code ( have odbeleven but pro ran out and doesn't cover the adaption by looks of it) Excuse the state of my interior I don't use the car that much and could use a vaccuum.
-
Wonder on options for parking sensors / camera to aid the wife ? This is the mobile phone version though, not sure though if its worth replacing out the mount cradle for something more permanent android based?
-
got autodoc ones on order, pretty cheap compared to other places....should be a doddle to fit
-
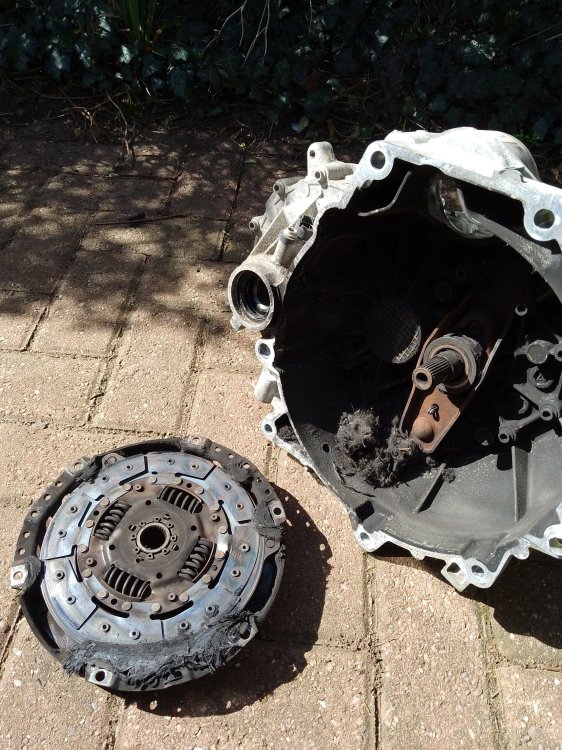
If it was me I'd have a go at replacing myself, what is the worse that can happen its already damaged? You just have to read up what is involved. Never done a gearbox out clutch replacement job before but did that earlier this month albeit a smaller citigo but apparently they are harder due to the lack of room. Sod that broken engine tho, I wouldn't be paying 4 figures in that state
-
Its even on the MIB helper site if you google for it (MSTD_EU_SK_P6230 MU0490) so should be able to d/l from there, I did. I've been long time getting around to doing it, things getting in the way...wife cancer and due to that I'm doing everything, both her folks died in the last year too, and she burnt out her citigo clutch trying to get to one of them in hospital ( for context had a puncture first though) ...I finished repairing the clutch just earlier this month. Maybe we will catch a break and win the premium bonds soon ? So I'm gonna be onto this soon hopefully asap. Also have to replace one of my shocks and take a look at the spring - the other side failed ( prematurely?) common issues on these roads snapped and I had the garage replace that side but might do the other one myself as I got the equivalent Monroe shocker brand new off ebay, IIRC I had it for about £40 or so. Given what happened to the other spring I might need to factor in one of those but no idea what it is, I think sportier OEM one.
-
Anyone bother with the Rear wheel arch liners....not paint affected on the petrol filler but aware they cheaped out here and was thinking of giving it a good clean and fit these might be a good idea ?
-
Not to rub it in about cost but mine would have been under £100 if I didn't have to get more fluid, thats £75 for the clutch, £10 for Fuchs fluid, and £11 or so for a bearing pushing tool as I didn't want to whack the driveshafts out of the hub ( being sensitive). If I'd caught the original gearbox oil which I was inclined to do but then didn't, it looked like it came out clear given the car only on about 36k, would have also saved on the fluid cost but never mind, still cheap as chips. I would have charged myself that much for all the hassle though.
-
FINISHING a clutch job I think! Finally got the fluid posted ( didn't want Comma so had to wait patiently for more Titan from Opie, refilled and tightened the filler). Good news goes back and forth no issues ! Just having to loosen and retorque the hub nut properly for bearing life before it goes for MOT
-
Gearbox remounted, I needed some help as its heavy as hell and just couldn't get it in the right way...nearly there, at about 33 min of the video Failed at trying to get the starter back in so leaving that and everything else to tomorrow on
-
I don't like leaving to chance, even the supplier site confirms the product matches the cars boot codes. Automotive aftermarket | Valeo Service Seems to be the 60hp rather than the 68 or 75hp. Also RNY Gbox
-
This is only a 7 year old car, pity the fools that work on the really old ones! Break things into smaller jobs, never have a target to complete date ( don't do on a required car), take the small wins and don't stress the hard ones, just rethink it. e.g. Im stressing about one bolt not getting off, different approaches can work, don't just rush into making a bad decision. Combo of using the power tools to release some bigger stubborn nuts, then some others I have more than one tool is useful....a wheel wrench style one was useful, getting into places a normal wrench won't as it has it on a bit of an angle but then supporting it as I'm putting torsion into breaking the nut with other hand, so less likely to "slip off and round the nut" With more experience and mechanical sympathy you tend to get a better feel. For me the dismantling is the hardest part, though documenting, or comparing videos and carefully storing what you remove is hoping to make the job more easy on assembly, at least haven't got that awful will it come off feeling to worry about Comes simply down to PPPPP
-
I got this clutch VALEO 826362 arrived today, but the pressure plate fingers have narrower diameter opening, had GSF check its definitely Skoda Citigo matching my reg - but having to improvise a bit as my aligment tool isn't small enough to centre in the diameter gap. That said I think you can adequately centre / measure it from the other side and the tool still keeps it from moving so I don't have to rush out and get a new tool? I assume the gap on the pressure plate isn't too important and as long as I can align in, should be on for completing this soon. Slowest clutch job ever eBayVALEO 826362 Clutch Kit Fits Seat Cordoba Ibiza Mii Skoda...• Manufacturer: VALEO. • Clutch: for vehicles with push type clutch. • Hub Profile: 22,1 x 20,3.
-
"It was smoking a bit" she said
-
I don't recall it ever did this on wifes Citigo (2018) but does it on more expensive Skodas like my vRS however. Could be confusion of ownership or more than one vehicle.
-
I am so slow ! Generally I don't work unless its sunny out, and has to be a weekend lol So I don't really want to do anything this weekend So far Driveshafts out, cable support out, maybe whole gearbox today Or close- mount support, clutch slave and starter out of the way so its just to drop the remaining gearbox bolts and it should be off, going to put off for another day
-
Alright this requirement is dusted now, £9.45 for ebay item 365432008742 which worked wonders A good number of turns and it was off Probably could have bashed the hell off of it, but this reduced any potential damage and also noise to surrounding area reduced and I can always sell it on later if I dont need it!
-
Actually referencinig the technical data seems to almost be the same oil spec so doubt could go far wrong with either https://www.opieoils.co.uk/p-976-fuchs-titan-sintofluid-fe-sae-75w-synthetic-manual-transmission-oil.aspx https://cdn.partsfinder.bilsteingroup.com/pf-document/BGIF300833_D.PDF
-
Hi, Febi 21829, I know Febi is well respect and much cheaper than OEM one thing holds me off ordering it is the only API spec reference is on suppliers xref, not on back of the bottle? e.g. ebay 375408106413. Seems to just mention • Specification: VW TL 525 12 Meanwhile I found Fuchs TITAN SINTOFLUID FE SAE 75W has the correct marking VW TL 525 27 right on its spec so may be more perfect and inclined to order this I have some unused same brand SINTOFLUID but in 75W-80 actually although similarly that doesn't have specifically this ref - perhaps is a little thicker ? Might be ok for topping up the tiny 100cc amount needed for refill though ? Reluctant to pay 5x over for the VW oil...
-
Another option US PRO 5156 is also an almost identical domestic option ( seemingly sadly with little actual technical info and looks a little less flexible than the china counter part).