


PaulWalls
-
Posts
66 -
Joined
-
Last visited
Content Type
Profiles
Forums
Gallery
Shop
Events
Downloads
Posts posted by PaulWalls
-
-
I can't never get 5,000 rpm when I am driving. I can't go further than 3,200 rpm. Is the carburetor guilty for this condition? According to the manual a Felicia 1.3 should be able to develop 45 Kw = 60.3 HP @ 5,000 rpm!
-
Adurer could you clarify a little further this:"input shaft bearings are shot". Thanks.
-
Believe or not but untill now I haven't tried the 5th gear since my Felicia is very weak. By the way I've got the Felicia clutch and manual gearbox manual if someone is interested.
-
Yes I admit my camera isn't a good one. Sorry! But I do know the difference between a coil spring and a piece of wire even though I am an amateur mechanic. I just need to improve the photos. I am sure you will see the wire very clearly. I myself helped the mechanic to find such a piece of wire and he warned me "not to take it away".
-
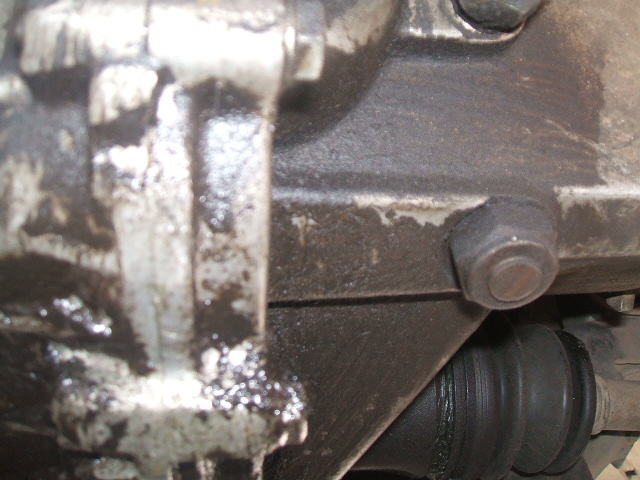
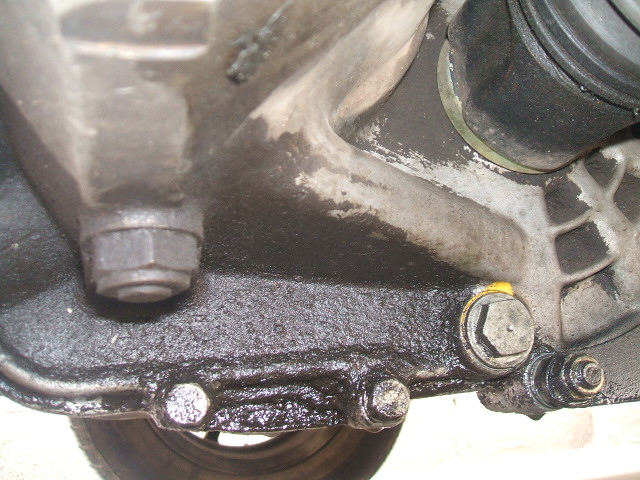
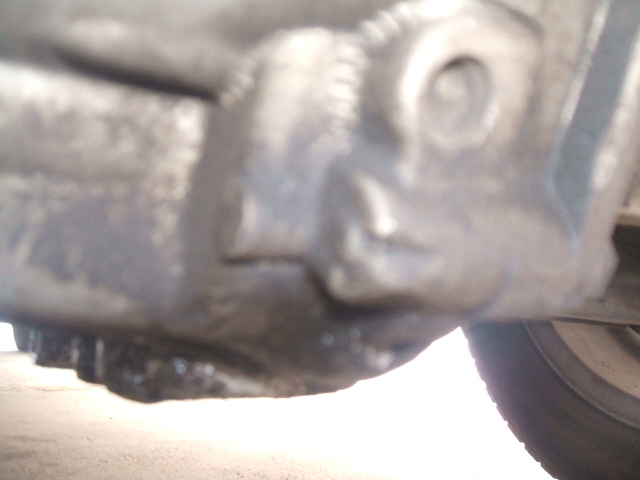
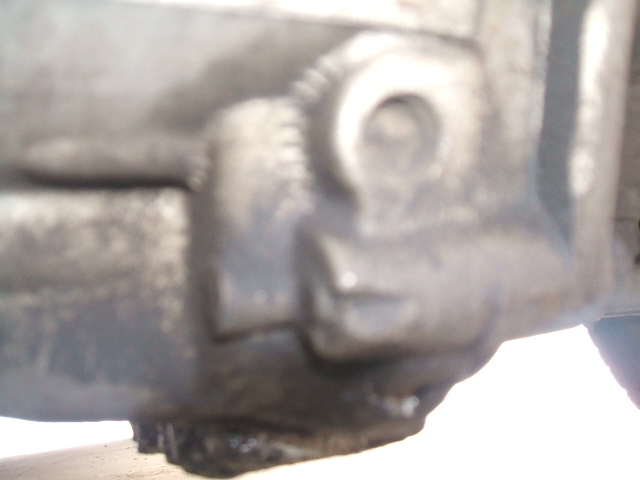
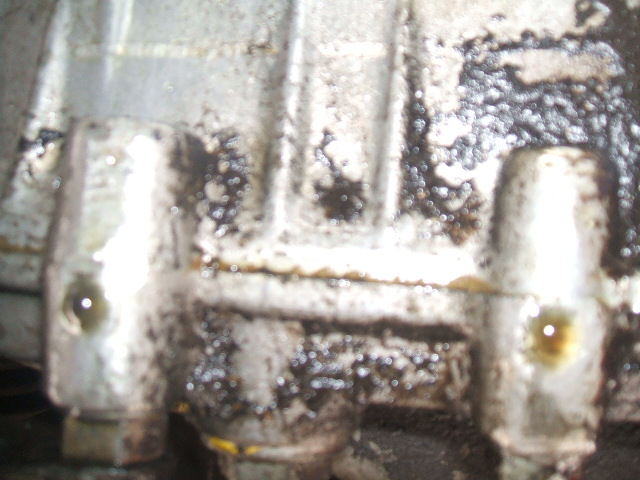
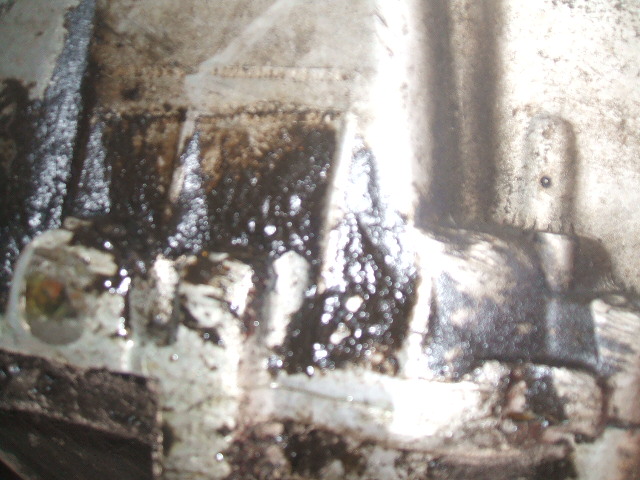
My yard is stained with oil drops. Every morning I see a small spot of fresh oil on the floor. A mechanic suggested me the same as adurer i.e. cleaning the gearbox surface and detecting from where the leakeage comes out. However it is a difficult task since the car is too low and there is a little space to maneuver. According to the mechanic I have to change the oil retainer seal or perhaps the gasket. But I am afraid I can't make it by myself. I will add some more oil trying to avoid a more serious damage. And that will be all. I want to be sure where I have to pour the oil. I want to show you some photos.
An additional issue regarding this problem is that when the car is still cold, there is a eerie sound coming from the gearbox. This sound has been there since I bought the car. I have recorded the sound and I would like to share with you. When we rebuilt the engine, we replaced the clutch bearing that according to the mechanic was the problem but the sound didn't stop.
-
Wire inside de carburetor.
http://img802.imageshack.us/img802/7523/wireinsertedincarburetoe.jpg
http://img856.imageshack.us/img856/7595/wireinsertedincarbureto.jpg
http://img829.imageshack.us/img829/7595/wireinsertedincarbureto.jpg
http://img15.imageshack.us/img15/7595/wireinsertedincarbureto.jpg
http://img805.imageshack.us/img805/6075/wireinsertedincarburato.jpg
http://img69.imageshack.us/img69/6075/wireinsertedincarburato.jpg
http://img35.imageshack.us/img35/6075/wireinsertedincarburato.jpg
-
Adurer please have a look at the wire inserted in the carburetor.
http://img94.imageshack.us/img94/7595/wireinsertedincarbureto.jpg

-
Adurer please have a look at the wire inserted in the carburetor.
http://img802.imageshack.us/img802/7595/wireinsertedincarbureto.jpg
-
I have started a new topic regarding a stubborn gearbox oil leak.
http://www.briskoda.net/forums/topic/263751-felicia-13-heavy-gearbox-oil-leak/
-
Well folks I proceeded to change the carburetor base. It took me around 3 hours! But finally everything went ok, well almost everything.
After doing my job, I was very excited but the engine didn't start! I had to literally suck gasoline with my mouth to fill that small plastic vase that conects the inlet of the carb. After 45 minutes of checking and re-checking everything the engine finally started!
I sincerely expected a radical change but I guess my expectations were too high. The engine is still weak and I am not satisfied. What's the next step?
-
Hello Skoda fans I am here to trouble you with a new problem to be solved. My Felicia is permanently leaking oil through the gearbox and I am afraid I have to add some ASAP. How do you do that? Thanks.
-
-
Yeah I didn't mention why I wanted to check the brakes.
Well when I am doing 70 km/h or more I feel a rapid unconfortable vibration on the steering wheel and in the car, when I am driving at lower speeds, I don't have that vibration.
Another reason is curiosity and the need of learning. I just wanted to check how my rear brakes were. I wanted to see it by myself.
Adurer could you comment on the grease I used? Is it everything ok?
-
Thanks Adurer very useful especially for an amateur like me.
-
Excellent Adurer! (like always), very clear explanation, thanks! I finally got a camera to take photos. I will post them -hopefully tomorrow. Thanks again!
-
 1
1
-
-
Hey, guess what folks, I FINALLY DID IT! Thanks to the last illustration provided by Adurer, I am very happy! But I had the brilliant (or stupid perhaps) idea of removing the old black dirty grease with a brush and gasoline. I cleaned the drum very carefully, and I greased it again using a darkblue-color grease: ABRO HIGHEST GRADE, #3 Synthetic lithium grease, NLGI 3, penetrating range 220-250, dropping point 288ºC, viscosity index 145. I hope I didn't use the wrong grease!
I couldn't remove the shoes, it was very difficult, the horizontal tension springs were very hard to move away but the shoes seem to be in a still good condition (????), you need to see them by yourselves through a photo. Perhpas if Mr. Adurer can explain us how to release the shoes I will do it next time.
The tension spring that I have previously broken was there, but without one of its ends, I just had to use the same one streching it (sorry it was Sunday!) so it reached a hole on the lower part of the left shoe. A big horizontal tension spring that joints the shoes below, was affected by the 12x60mm bolt that I clumsily used to release the drum!
I think some grease leaked into the drum because at the beginning I couldn't notice any improvement, but after driving a while, the brakes worked wonderfully!
-
I finally did it! I had to remove a big nut and a conic bearing. Then the drum came off like a leave falling from a tree. Very easy!
-
Thanks again for your time and patience. I have two questions:
1) I don't have a "torquemeter" or any similar tool in order to calculate 8Nm, I guess I wil have to trust my err hand?, having in mind not to tighten too much the screws.
2) regarding the "metalic mating surfaces" you mean all the metalic parts that are in contact with the manifold? Could you please clarify this point a little further?
Thanks!
-
Thanks Adurer you are my hero! Very clear explanation. I will do it first thing tomorrow. MUCHAS GRACIAS AMIGO!
-
"On some models, it is necessary to remove the outer wheel bearing in order to remove the drum". Is that what I've been missing?
-
Hey, I've been trying to remove those stupid brake drums without any result, in fact I use a screwdriver as lever to push up the mechanism with that spring and what I caused is a new problem: the spring fell off inside the drum and now the shoes don't work (which worries me a lot!) and you can hear a sound of the spring rolling with the drum when you drive the car. The brakes are weaker, I have to be very careful!
I hammered the bloody drum for half an hour and nothing! I even use a couple of 12x60mm bolts to get sufficient pressure to release the drum and I think I've worsen the situation! Now I'm really preocupied, what if I broke something inside! I think I am missing something regarding a big nut "remove the large nut and split pin holding the drum on" (I don't understand this part), which nut? the one that is on the wheel axis?
-
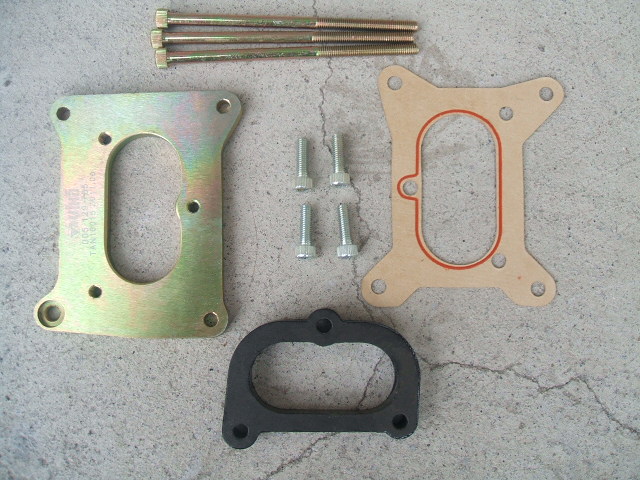
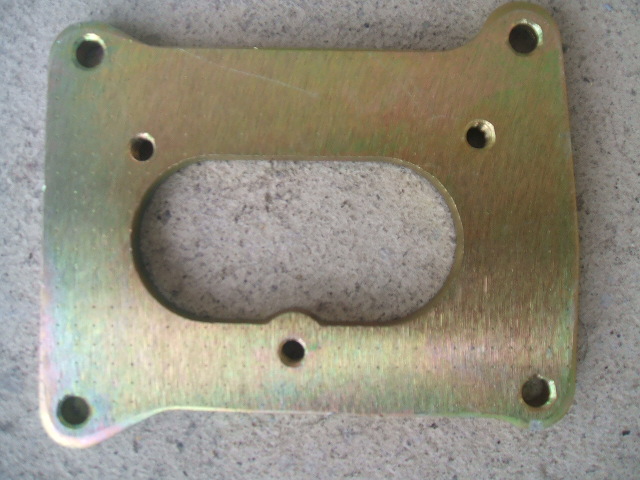
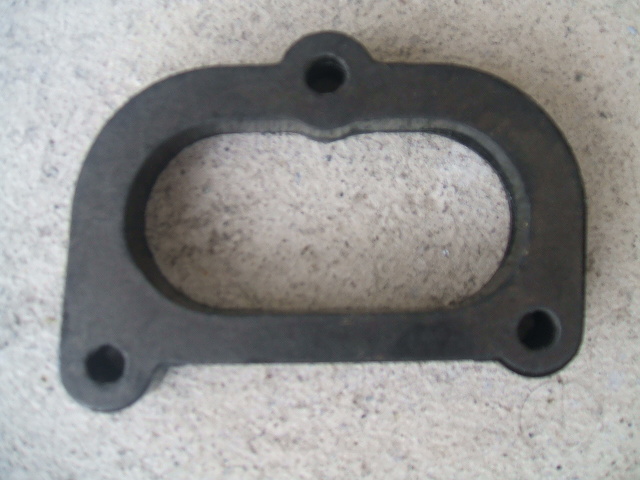
I have finally bought the "carburetor support metal" for $13.00 and it looks exactly like the photo.
The metalic gasket has two sides one with the inscription VIKA and a code number, this part looks to me absolutely flat and the other side is dented with tiny holes, this part is completely flat too, and my question at this point is:
<do I still have to sand both sides or which side?> <What number of sandpaper do you recommend?>
Regarding the other black gasket which looks to me made of mica and with a kind of paper-like sides, it looks flat too, and if I sand it, I'm afraid I could damage the very thin paper-like layer. Do I have to sand it too?
What is the secuence of assembling? What comes first?
There is a paper gasket, where should it be placed? Should I use a gasket sealer?
-
Hi Bill I've been trying to get that bloody drum removed but without any result. Please could you explain this part: "Remove the large nut and split pin holding the drum on" I don't understand it. I think that's my problem. Thanks!
-
"remove the large nut and split pin holding the drum on".hi that method is correct,remove the wheel with the drum exposed and the hand brake off remove the large nut and split pin holding the drum on.
next use a larg screw driver or some thing similar too wedge this in between the drum and the back plate then use a large rubber mallet or a normal club hammer and hit the side of the drum not the part facing you to the side wear the face of the brake shoes are as you hit the drum apply pressure with the screw driver in the same place this expands the metal just keep repeating this as you turn the drum and it will come off.you don't have to hit the drum too hard.i have never broken one using this method
bill


Felicia 1.3 carburetor tuning
in Skoda Favorit, Skoda Felicia, Skoda Fun and Skoda Forman
Posted
I haven't tried to clean the carburetor for a second time however I did it when the engine was rebuilt. The mechanic suggested to "adapt" a japanese carb and throw away the PIERBURG 2E3. The mechanic didn't have time to learn about an eeire German carb. But I am a fan of Germany and I couldn't let it happen. You know Deutschland Deutschland über alles!
I had no idea about carburetors but I took the chance to open it and clean it. I had read and studied the PIERBURG 2E3 literature, but it didn't help me much. I had to use my intuition.
The second stage mechanism was completely stuck, I had to remove the plate, which was very hard especially due to the bloddy screws. I had to use an electric drill to penetrate and break one of the screws. I was lucky not to damage the thread where the screw was inserted. I sanded the axis and after careful work, I mounted all the pieces back. I thought I had achieved the task of my life, I was very proud of it!
Mine wasn't that bad as the one in your illustrations. I suspect is the second stage throttle as you correctly mentioned. Although it could be a defective float/ incorrect level as well. I discard the other reasons: wheels and brakes.