Toonarf
Members-
Posts
27 -
Joined
-
Last visited
-
Days Won
1
Toonarf last won the day on 2 January 2019
Toonarf had the most liked content!
Profile Information
-
Gender
Male
-
Location
Hesketh Bank, West Lancashire
Car Info
-
Model
Ex Skoda Trophy Rally Championship Favorit
- myProject
Recent Profile Visitors
1,013 profile views
Toonarf's Achievements
-
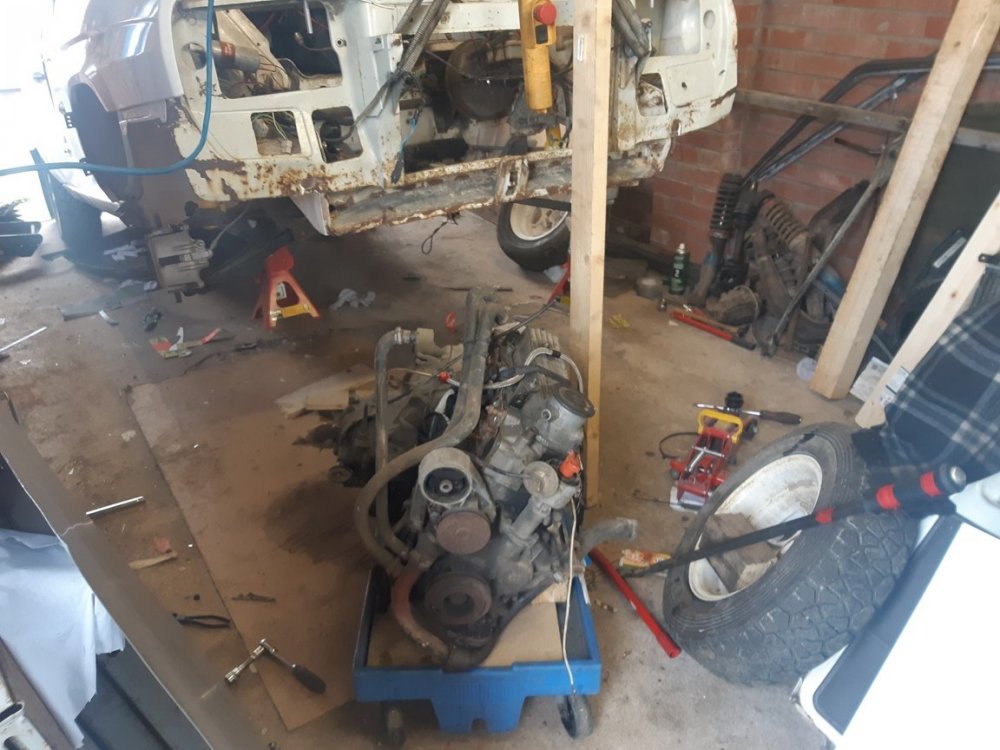
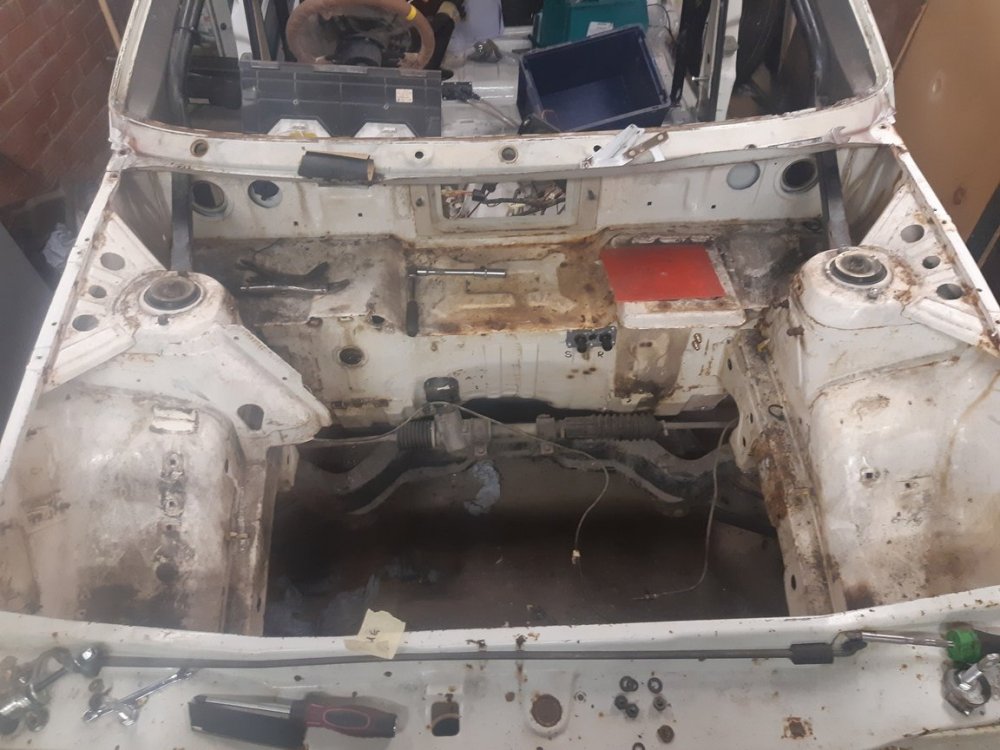
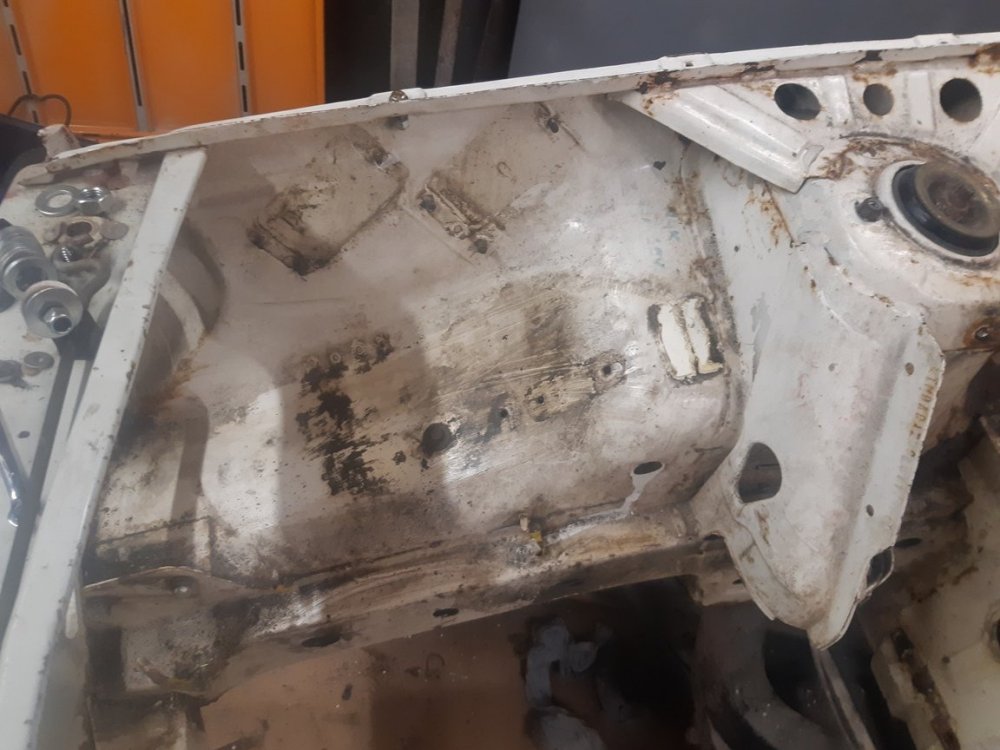
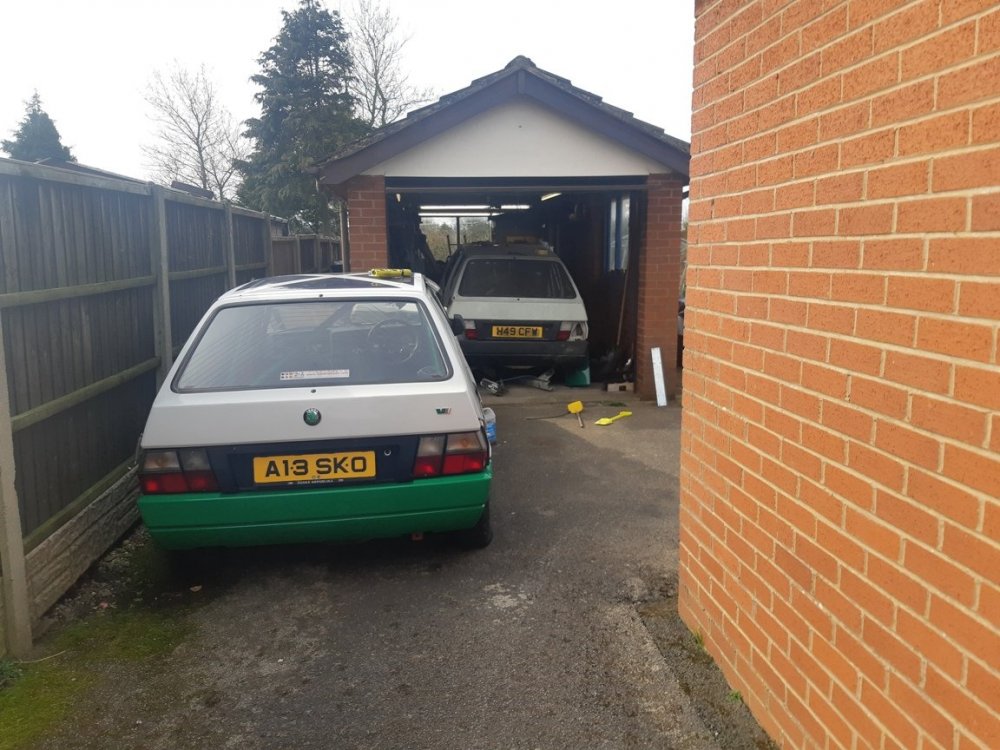
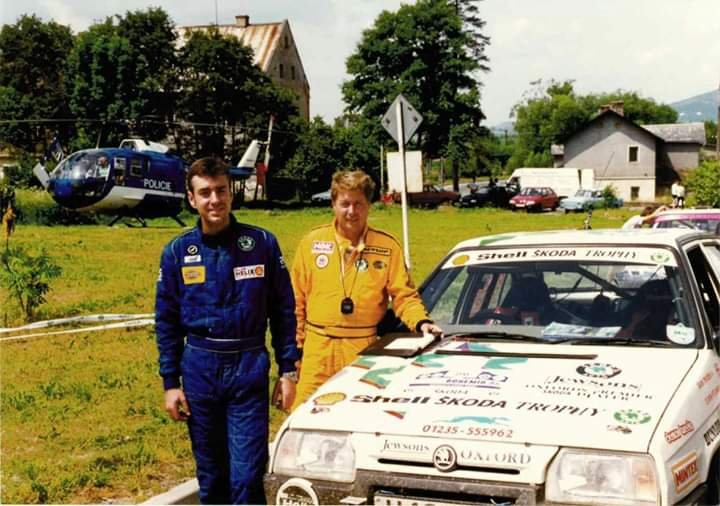
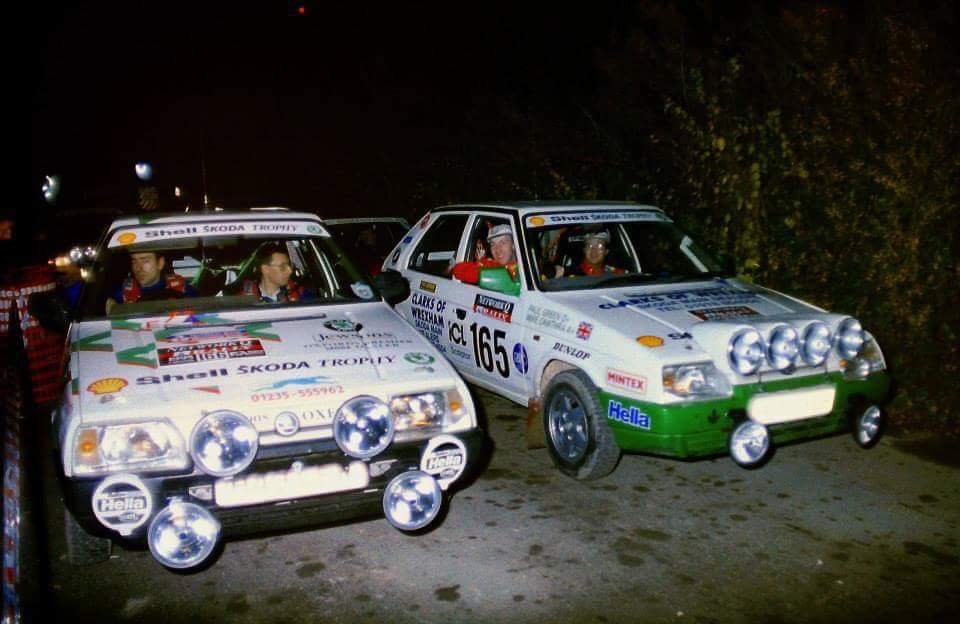
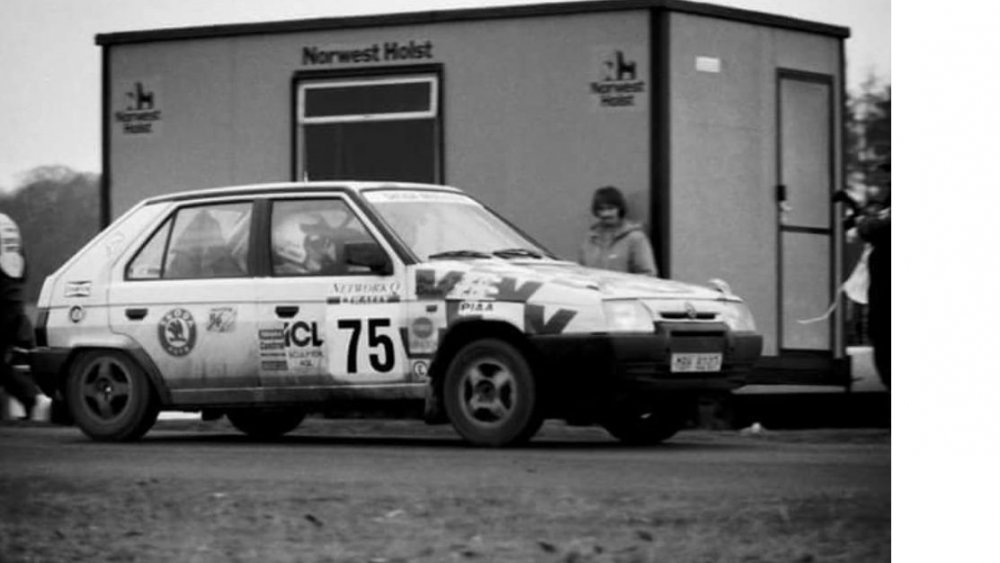
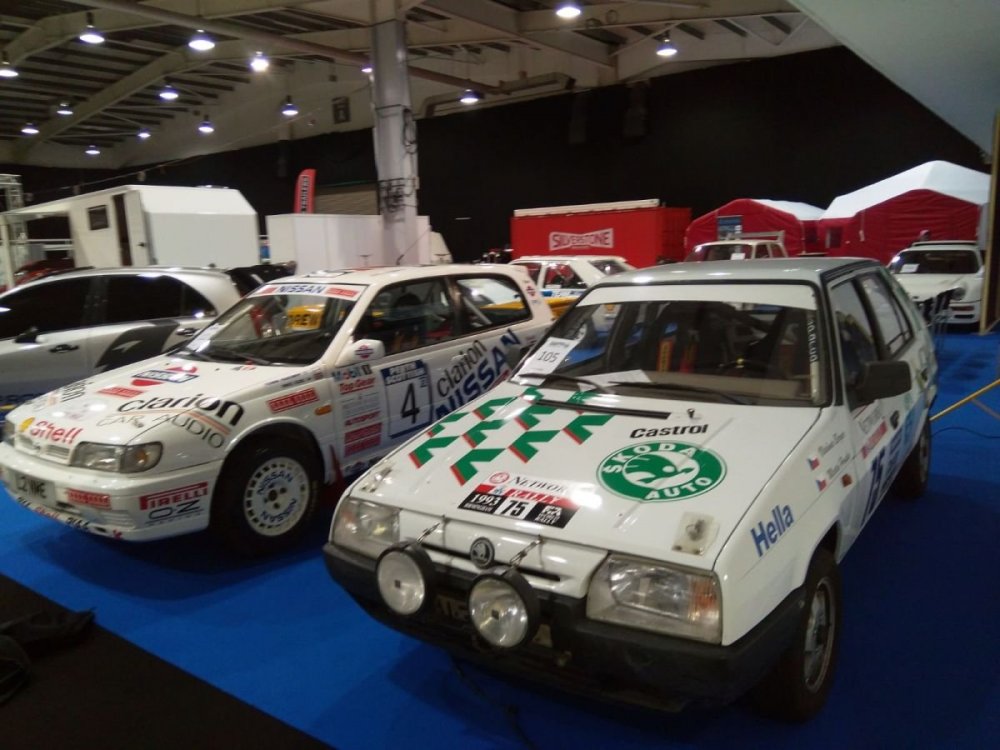
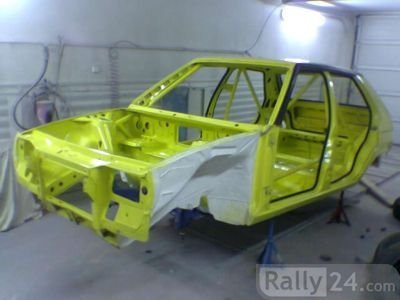
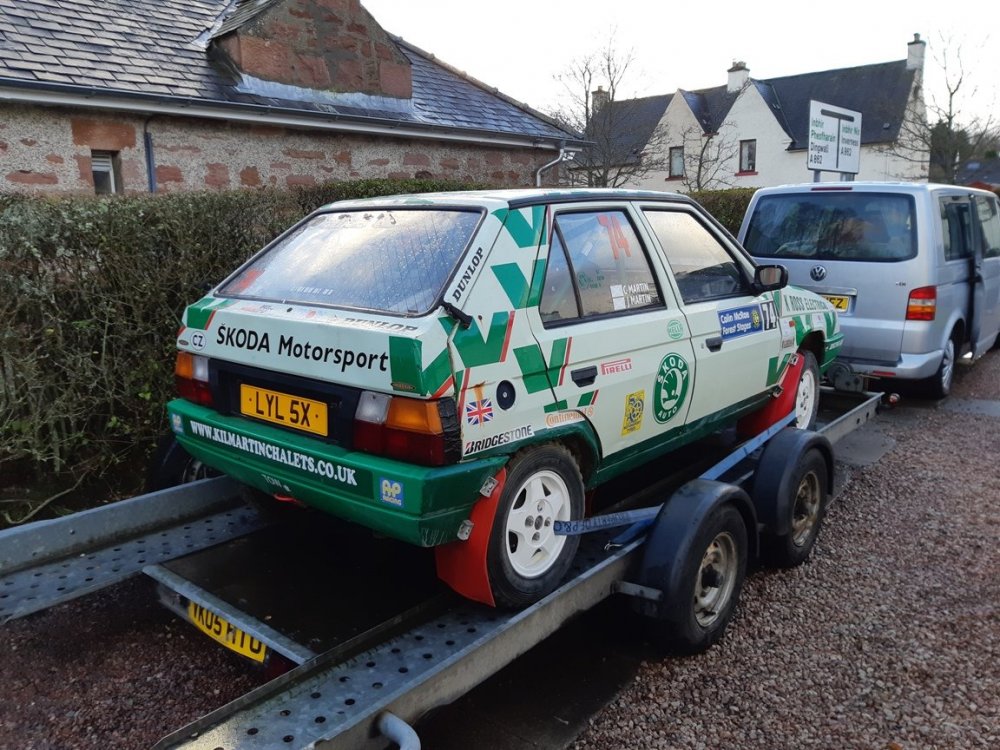
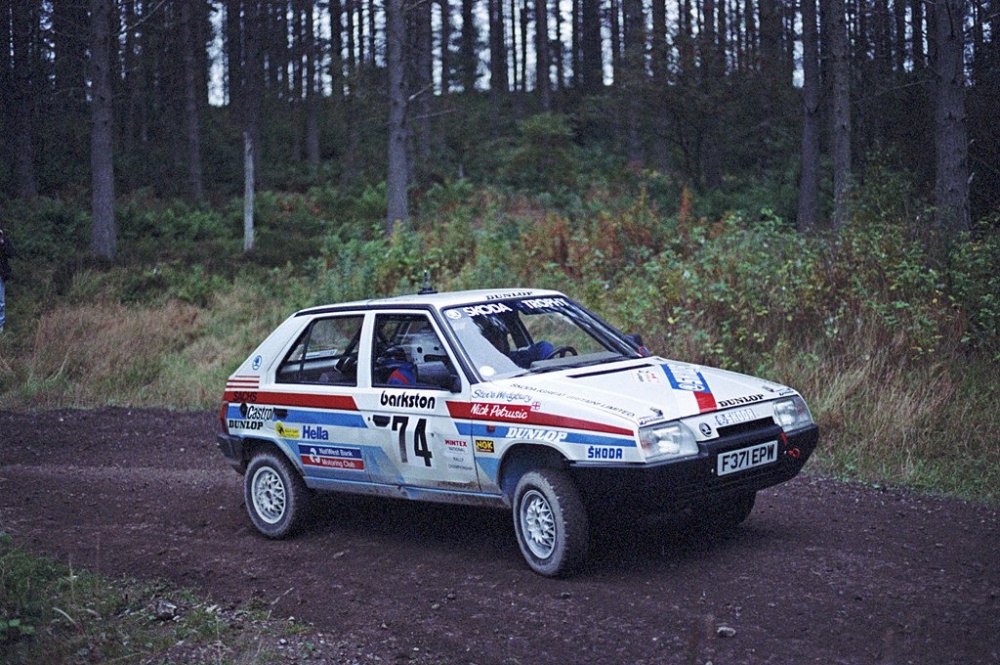
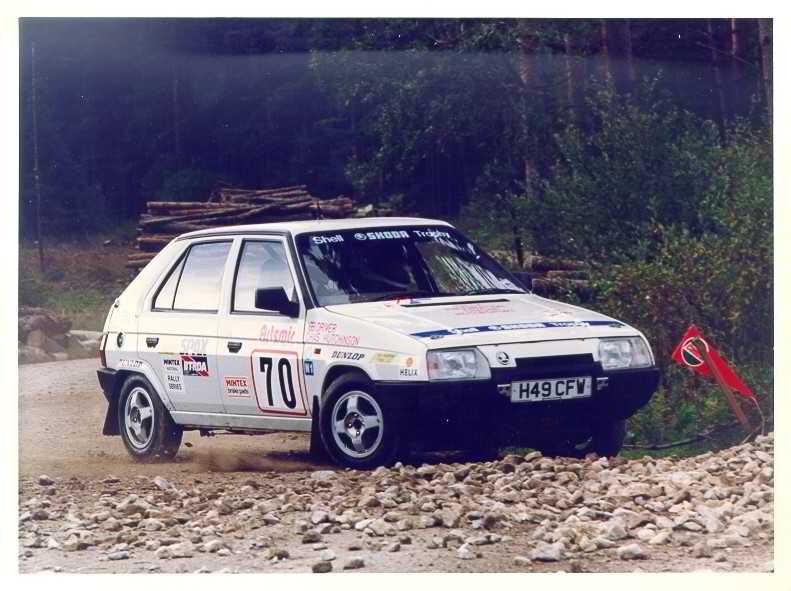
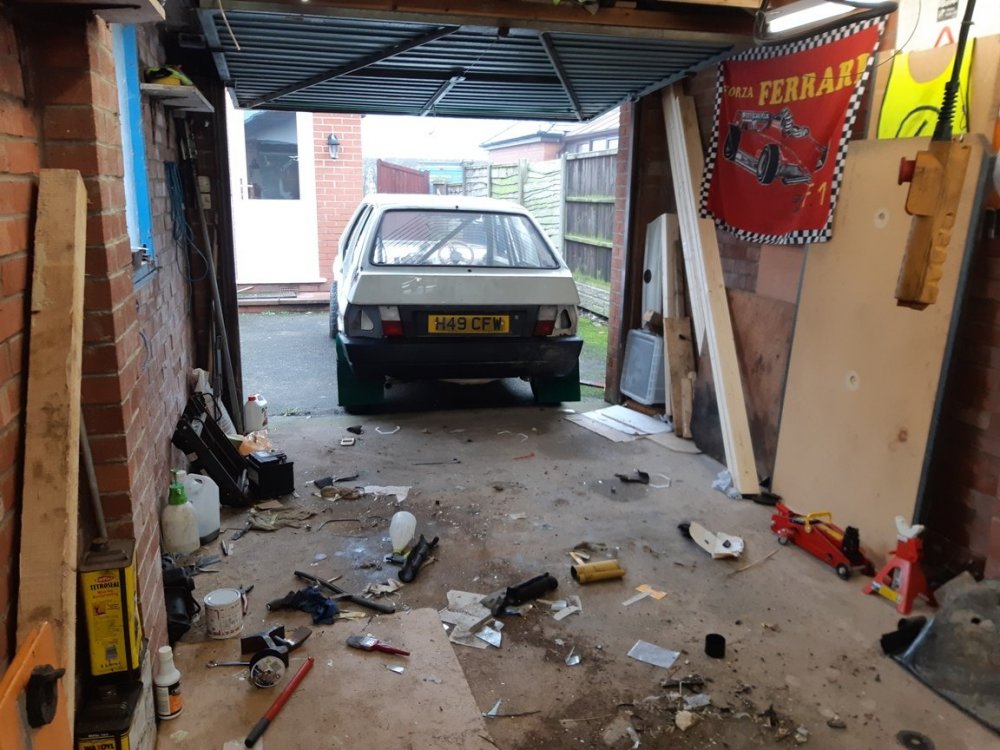
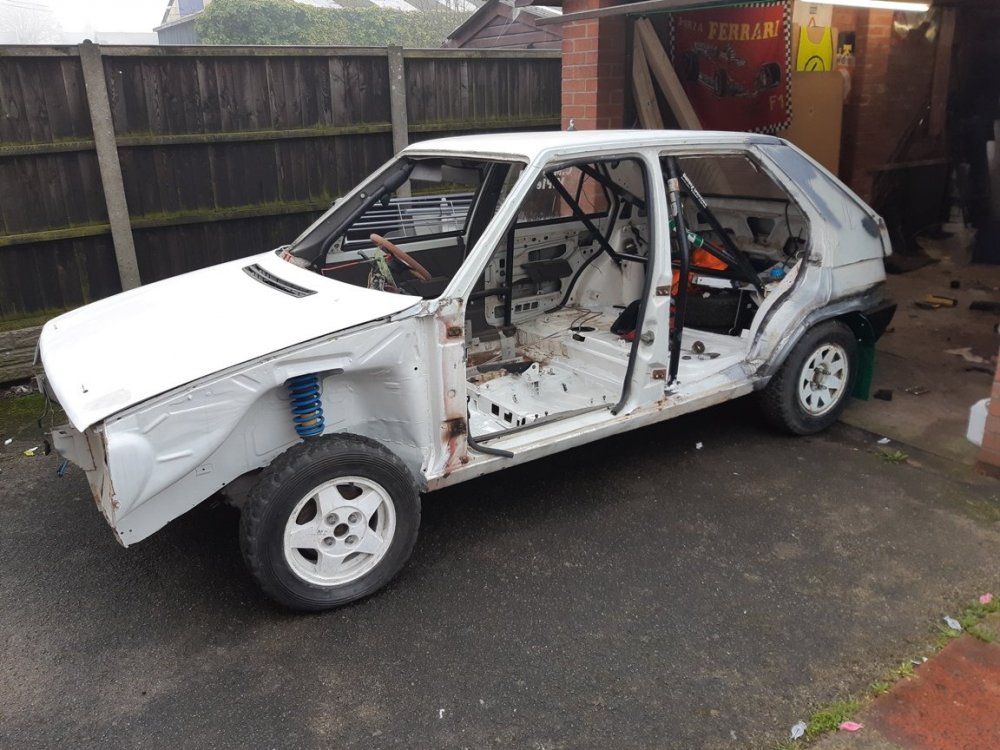
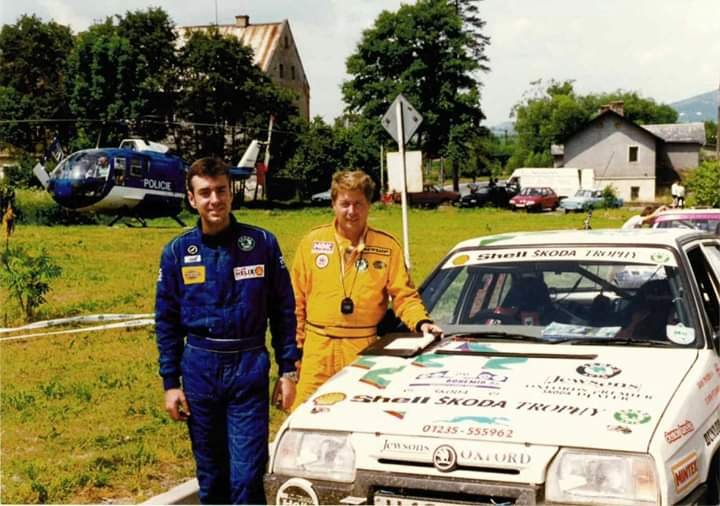
Hi All I am still working on the car, just lacking both the time and interesting pictures to post. I lifted the car off the engine and gearbox last Saturday morning. I rested the engine and gearbox on a trolley and wheeled the assembly out with the car lifted, Simples…….. There a couple of photos of the engine bay with nearly everything removed to allow the under bonnet area to be painted at the same time as the body which is happening next week, I am waiting for the nod from the painter to deliver it to him. The forth picture is of H49 and A13 SKO at restoration HQ. The ex works car, LYL 5X, is in dry storage. I will be repairing the engine whist the shell is away being painted and I will hopefully take lots of photographs of progress and be able to update regularly. The final picture is of H49 during the 1995 Rallye Bohemia which is the local rally to the Skoda factory in Mladá Boleslav. Tim Green and Peter Johnson came home 4th in class first Skoda Trophy, beating Carl Stevens in A13 FAV by 31 seconds. I was able to drive A13 FAV at Race Retro earlier this year. Thanks for looking David
-
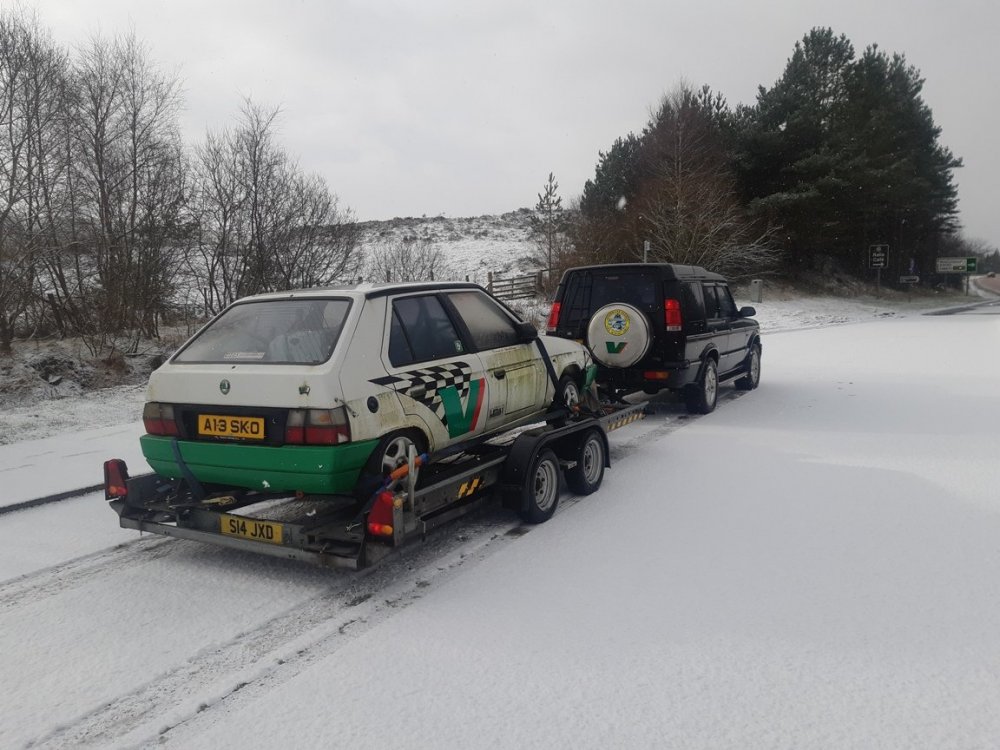
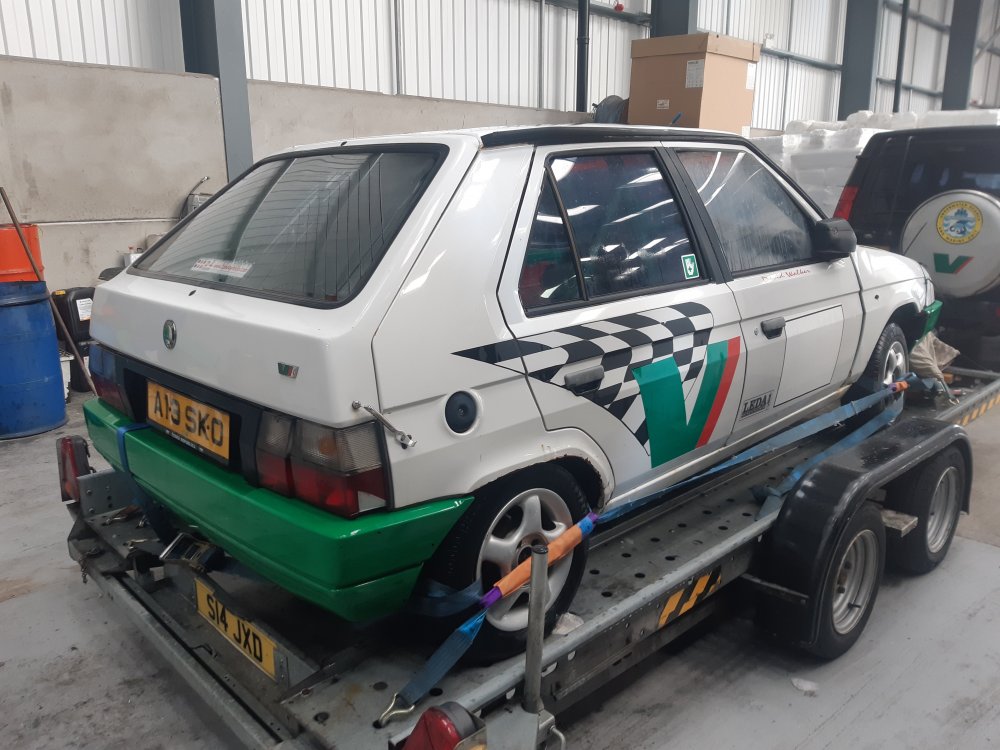
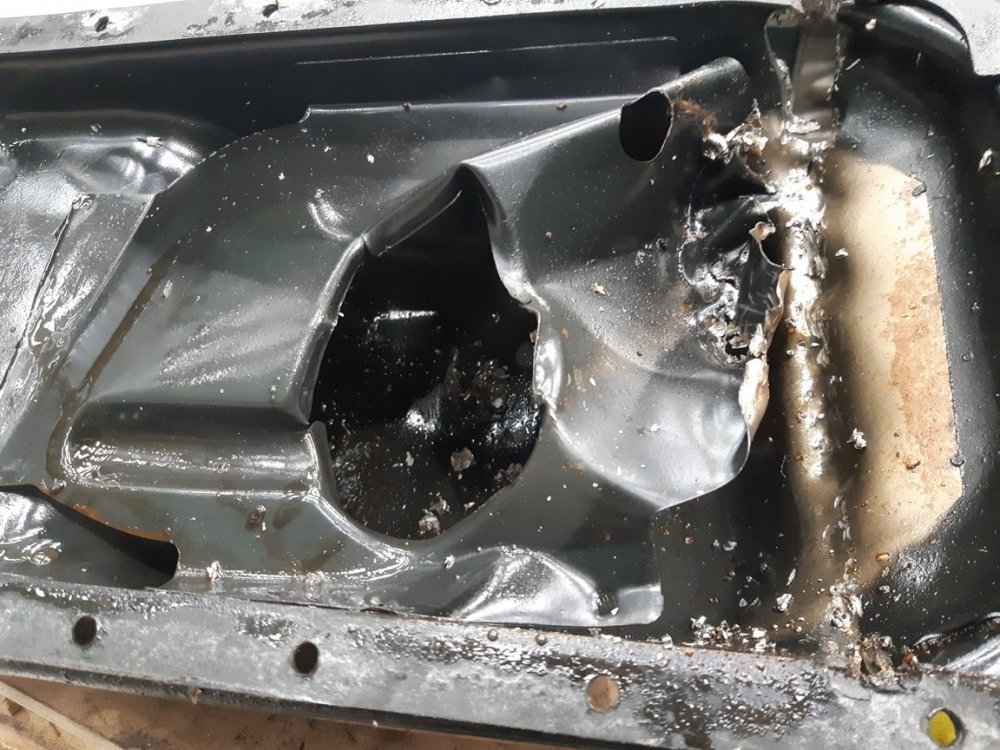
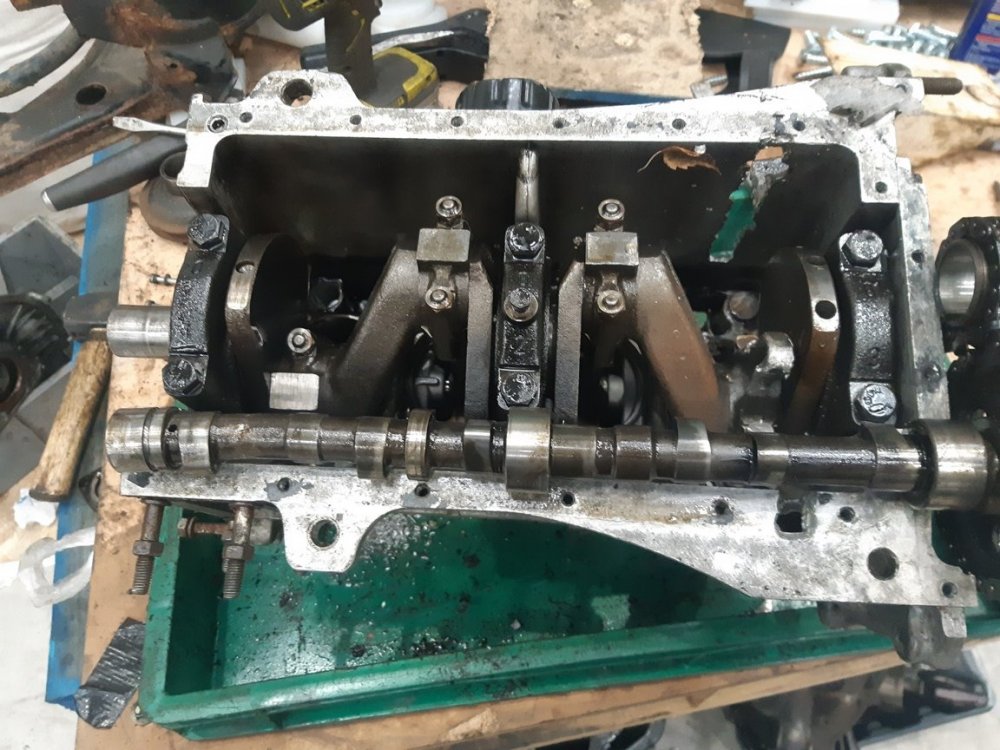
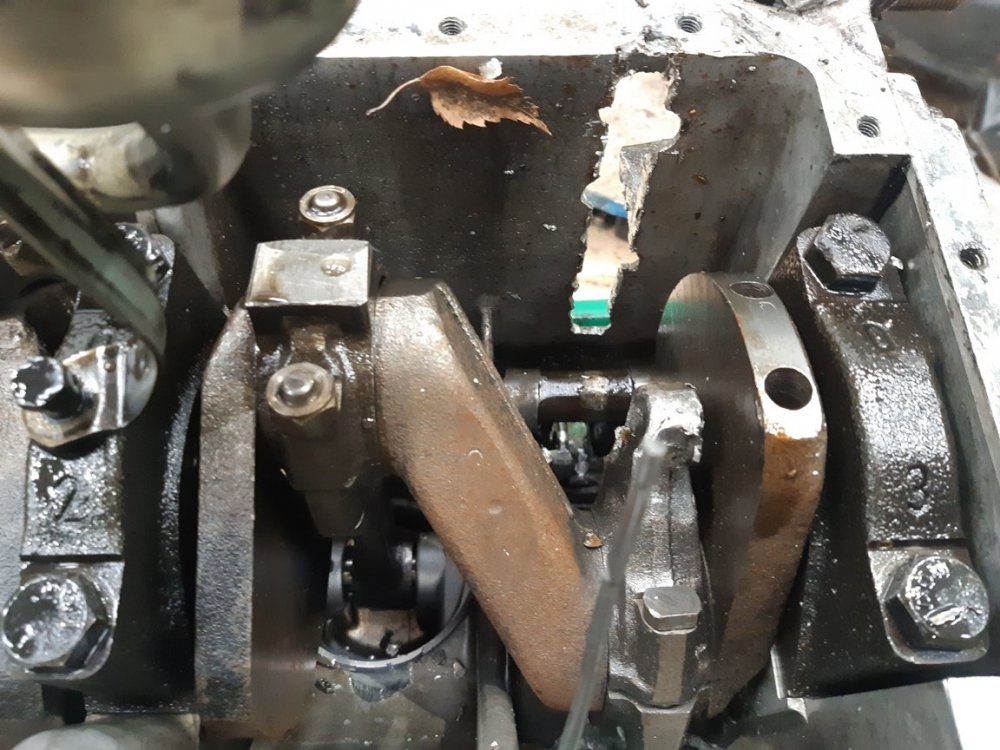
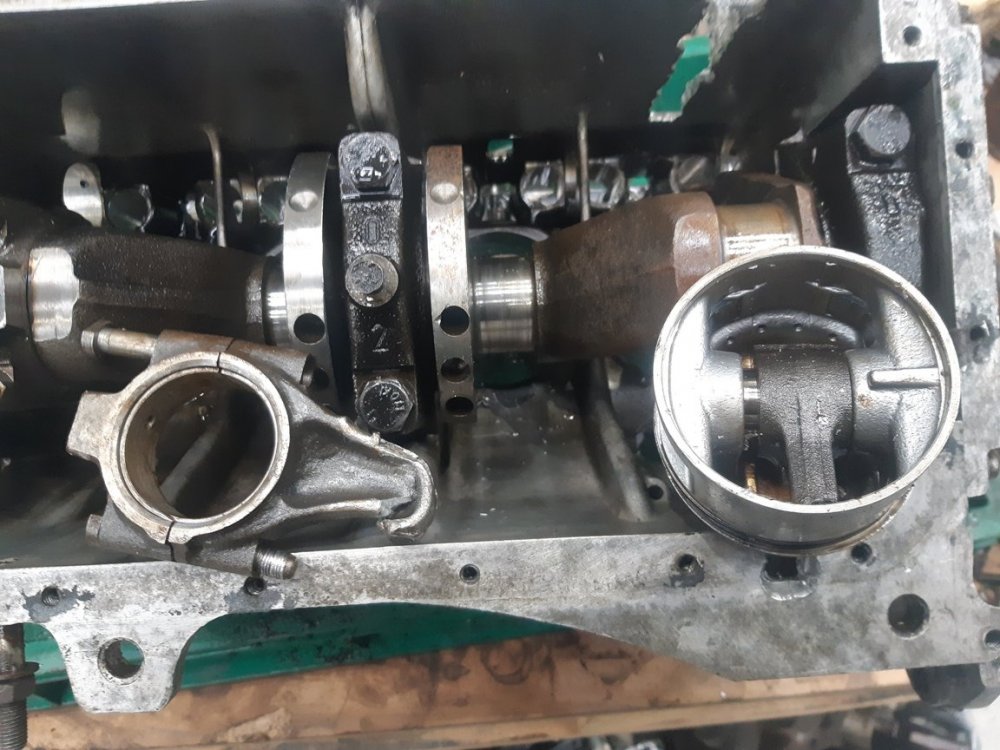
Hi Everyone Firstly apologies for a lack of updates recently, I got busy and couldn't find the time to update. The welding is however almost finished and I will put up the last instalment soon. I am currently removing the engine, it has a high antifreeze content in the sump and a very rattly timing chain. So a quick rebuild and freshen up is called for. So to the reason for this post. You might recall that in early January we had a small road trip to Inverness to collect another ex works Favorit. The car came with a huge spares package including another Favorit rally car. Last weekend had been pencilled in for the return trip the first picture shows the start of the trip home, we took the picture then before the snow got worse.....which it did. The car as shown in the picture contained 5 gear boxes and 2 engines along with a large pile of spares hence the lowered stance. The second picture is back in Lancashire after a quick steam clean to remove some of the green mold. The number A13 SKO had been transferred before we got the car. The last pictures are the stripdown of one of the engines, we knew it had blown up but wanted to hopefully save the head and the cam, it was supposed to be a quick engine. Its certainly light weight now. The head is good and saveable, I fear the cam may have opened its last valve.................... The engine let go on a stage but carried on running for about a mile to the end of the stage. Thanks for looking David
-
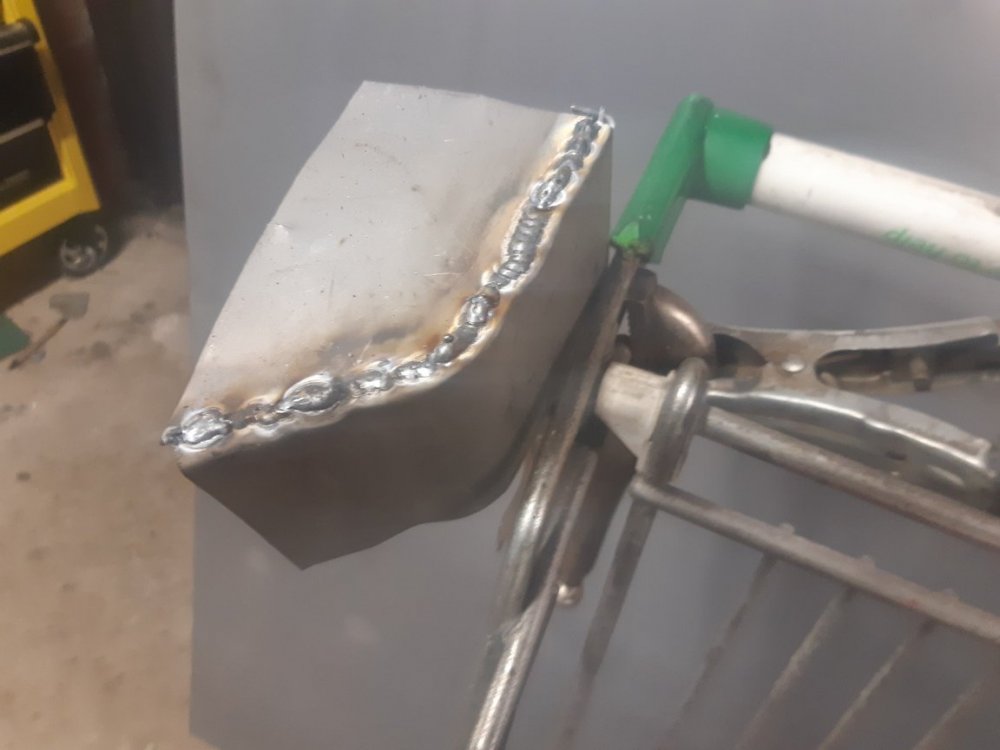
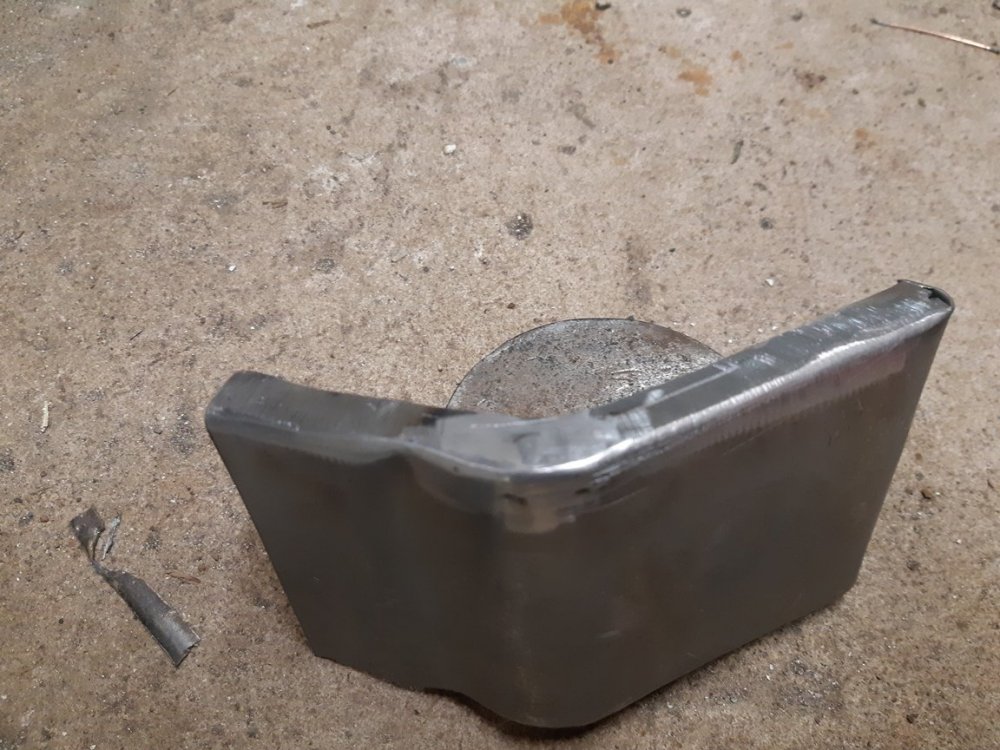
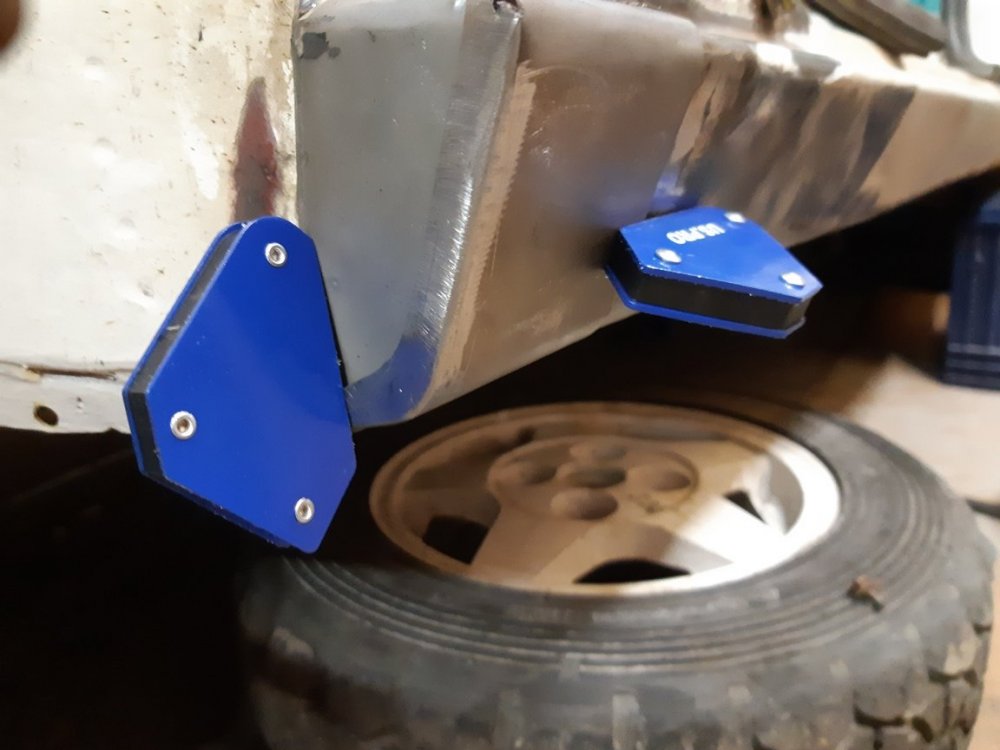
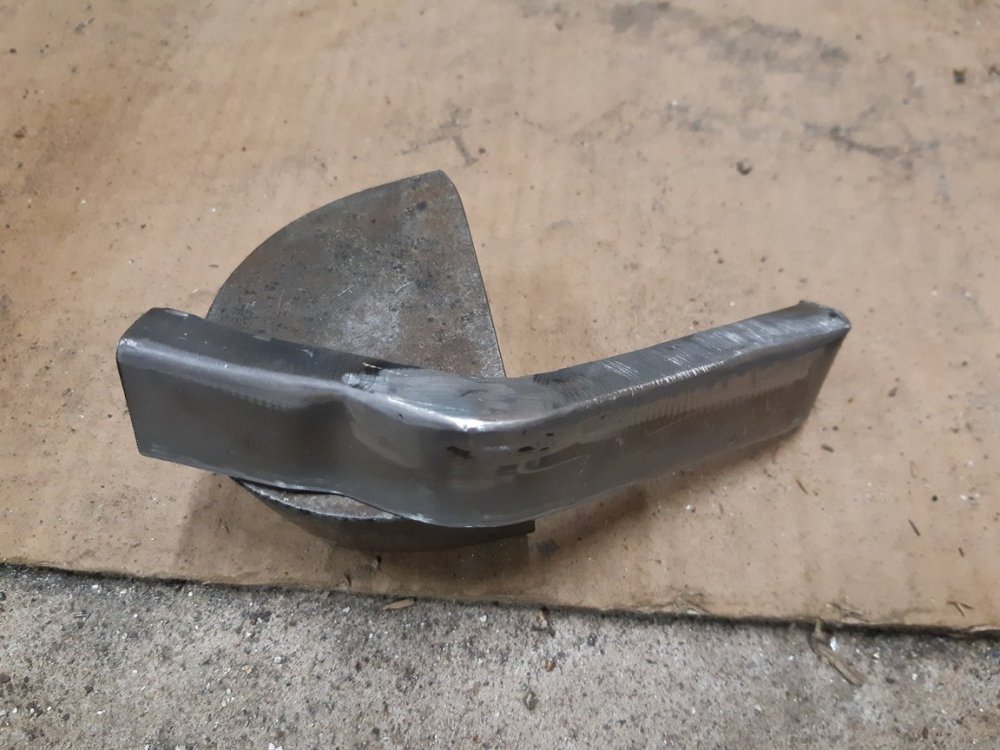
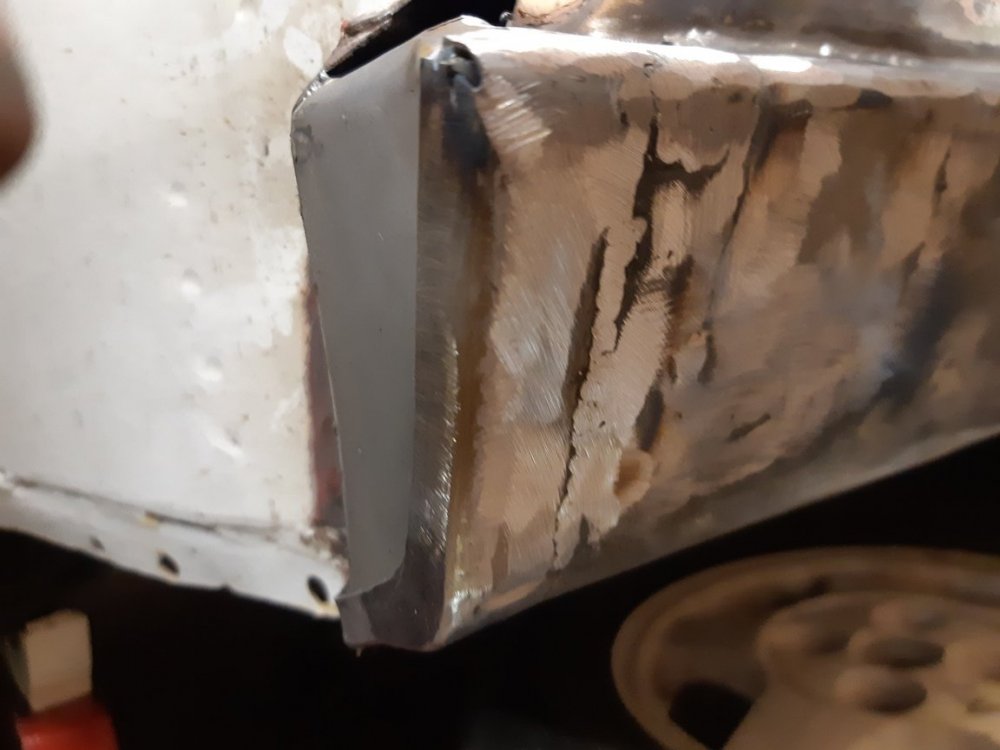
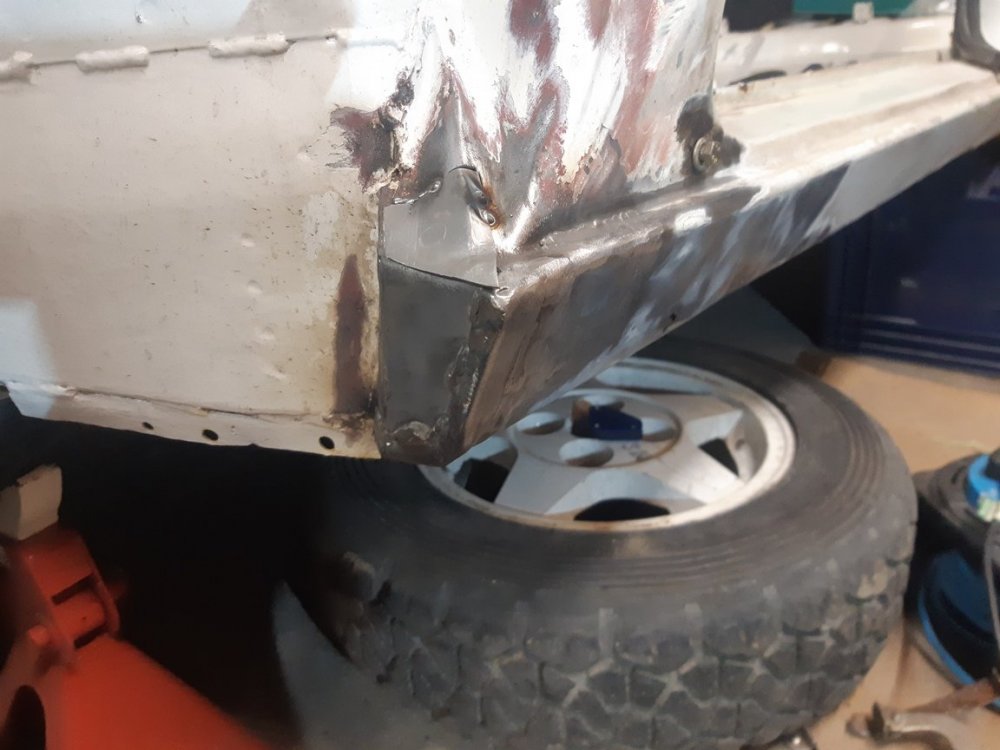
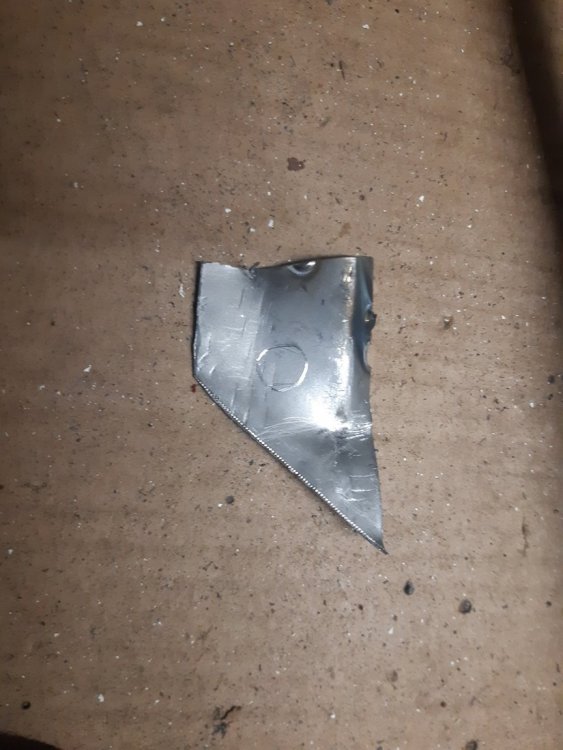
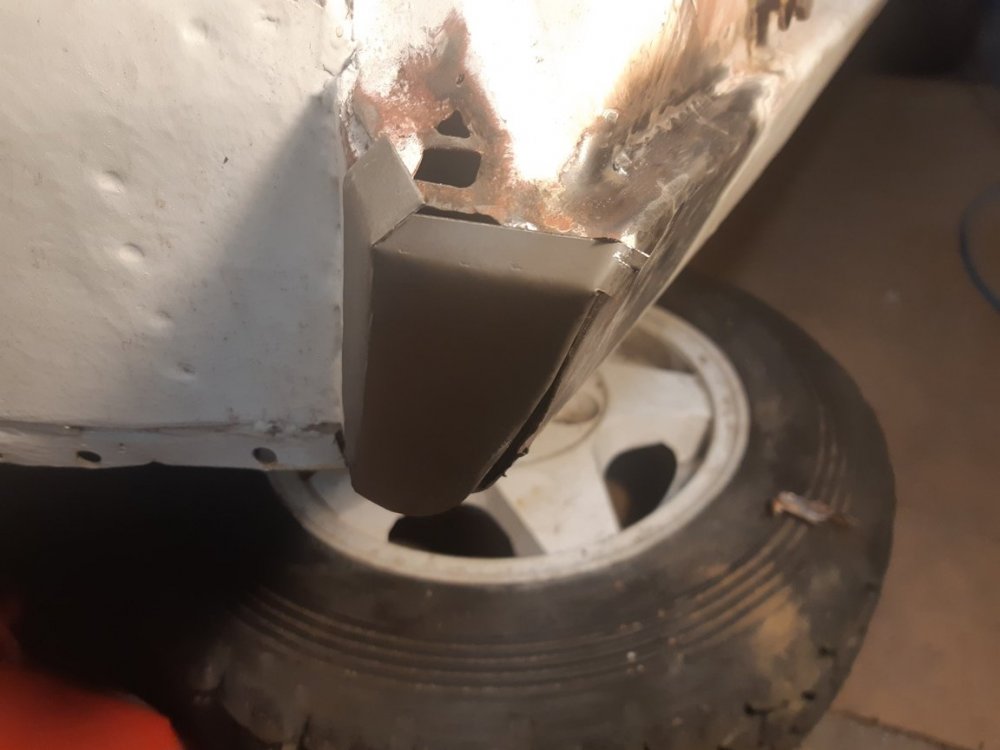
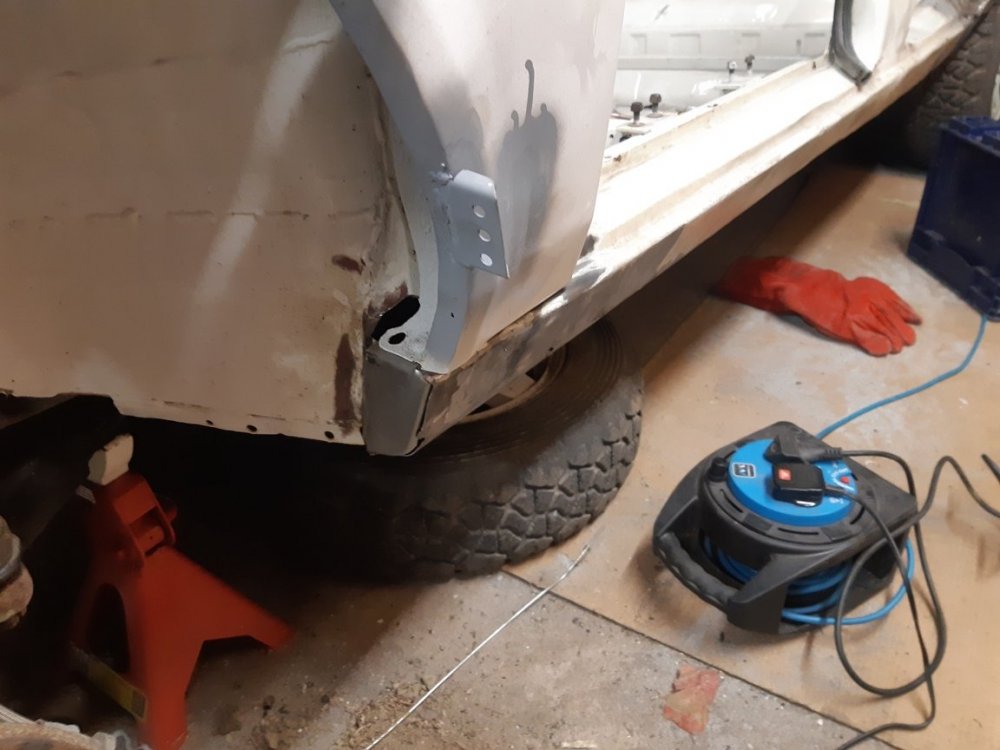
Hi Everyone Thanks for all the recent comments both about the build and last weekend, anyway back to welding…….. Tonight I spent butt welding the repair panel that I have made to the front edge of the cille and around the cille end closing panel which I fitted the other night. I will let the photos do the talking. Photo 1 shows the repair panel during manufacture I bent a piece of metal to the profile of the cille and then turned a small flange on what would be the front face. To this small flange I welded a fillet to create the shape shown. It is clamped to my welding trolley which as you can see is re purposed. I found it, phoned the owner who declined to collect it, so I found a use for it. Photo 2 shows the front flange cut down to the correct size after I had cleaned the welds back. Photo 3 shows a trial fit held in place with my new magnets. Photo 4 shows the panel with the excess now cut from the cille side. I find it makes life much easier with parts like this to make parts over size and cut them down, rather than struggling with small parts which are harder to hold , weld, grind etc. Photo 5 is of the part being welded in. I had quickly dressed the vertical weld back to check everything. Photo 6 is with the panel fully fitted and the top triangle tacked in place to mark the position of the captive nut which will hold the bottom of the wing. Photo 7 is of the triangle removed to to fit the captive nut in the centre of the circle. The final photo tonight is with H49 along with H288 XES with its green bumpers. Supposedly A13 FAV is in the background but under its first UK registration number of L910 ORP. The event is the 1994 or 1995 RAC rally. H288 XES is still about as well although it needs a full body rebuild. Thanks for looking and do please comment. David
-
Me too, Jimmy and Russell Brookes slugging it out to be top Brits on all the big rallies in Chevettes Sunbeams and the Opels. Great stuff! Cheers David
-
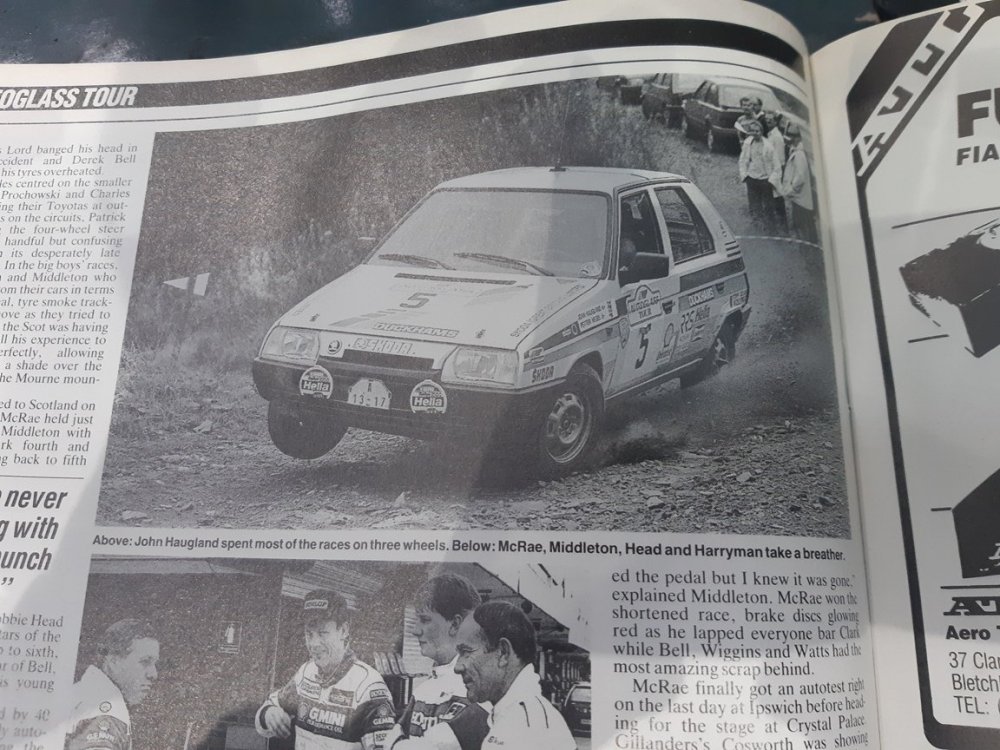
Hi Everyone An update on H49 later tonight or perhaps tomorrow. In the mean time here is Jimmy McRea giving it large on Saturday or Sunday. and a couple of photos from the weekend of A13 FAV, coincidentally note the names on the wing of the Peugeot car parked behind FAV in parc ferme
-
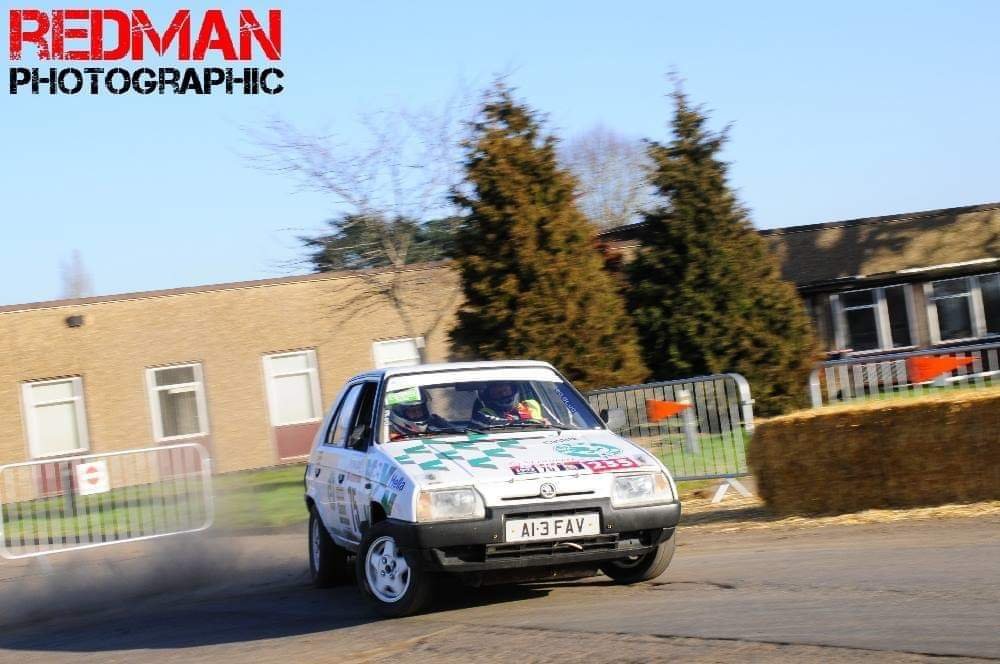
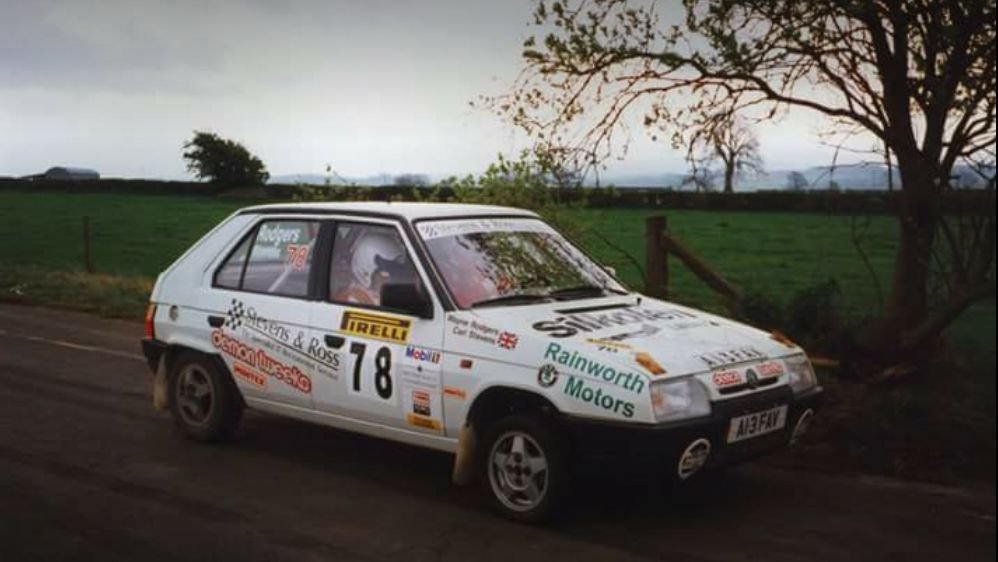
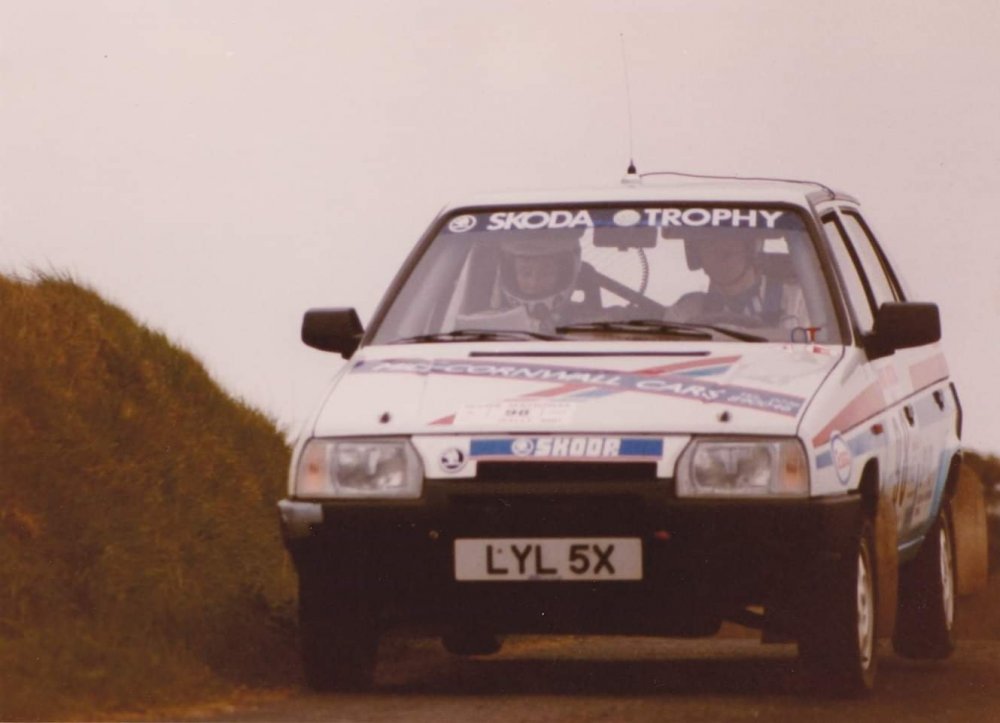
Hi Everyone No welding this weekend ........I am off to Race Retro https://www.raceretro.com/ supporting Simon Daly with A13 FAV. If anyone is going come over and say hello I will be near the Rally Rides all weekend. Pictures tonight of A13 FAV, first is a Stage start on the 1993 RAC which was the cars last rally as a Works car, and is the livery the car now carries. The second photo is of the car in its trophy guise owned and driven by Carl Stevens. The last picture is at last years Race Retro where the car was on static display. This year we hope to be demonstrating it and using it for rally rides. So a Favorit being used in anger........ Cheers David
-
favorit rally please help
Toonarf replied to Sdp312's topic in Skoda Favorit, Skoda Felicia, Skoda Fun and Skoda Forman
Hi Sdp312 Welcome fellow ex Trophy car owner...... I was tempted to go and look at that car up in Cumbria, its lack of any history that I (we) could find put me off a bit and then the ex works car I have recently bought came up for sale in Inverness so that was bought instead. My project ids here if you are interested. Cheers David -
Thanks Stratosg. They are simple skills that I have picked up over the years. There are far better car rebuilders out there than I am and I stand in awe of thier skills........................... There are a lot of video's on Youtube both professional and amateur which are worth watching, and some not worth watching .....you can learn from them all. I suppose its all relative. The repair I have enjoyed most was the rear arch, that was a satisfying repair. Any car I am interested in always gets the rear arches felt early in any inspection. H49s near side was nasty.......and so much better when I had finished. The rest of the repairs are letting patches into panels that ideally I should replace. If I did that the restoration would take years and so it would be years before I can enjoy using it. The ex works car I have just bought will be completely stripped and rebuilt properly whilst I use H49. I keep the picture below on the wall in the garage it is what I wish & hope I could achieve. Cheers David
-
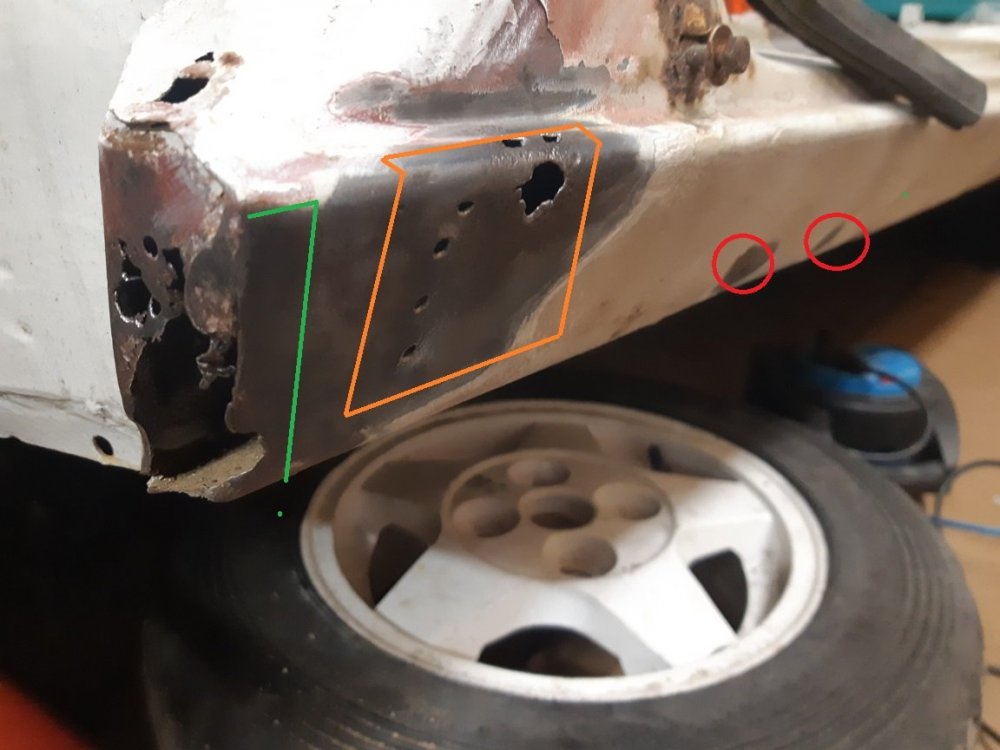
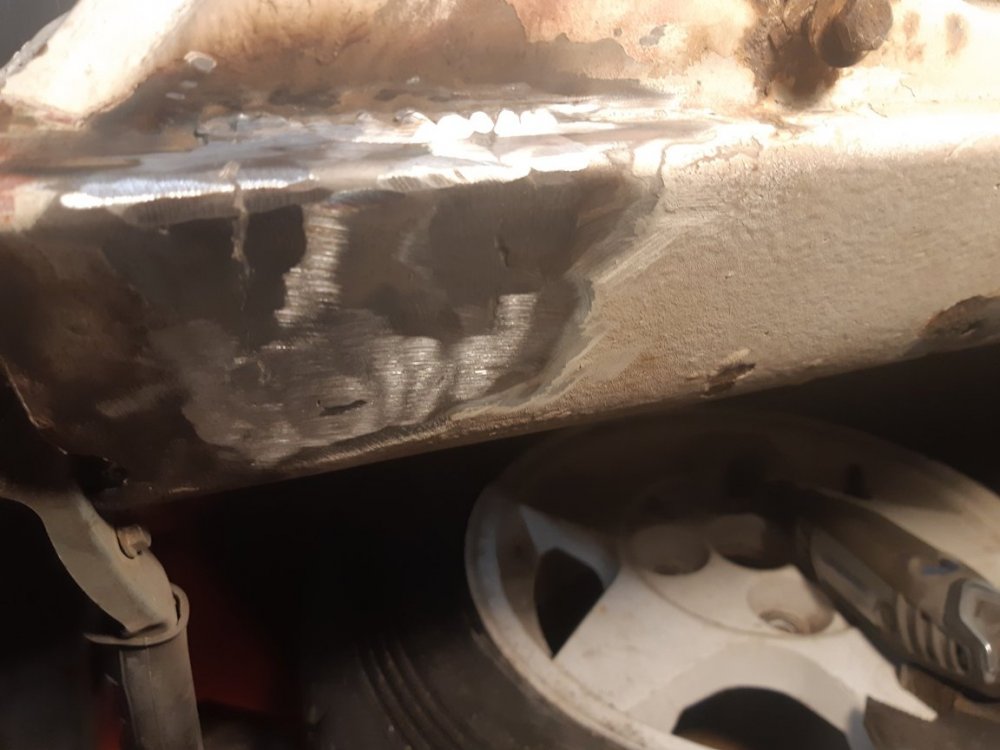
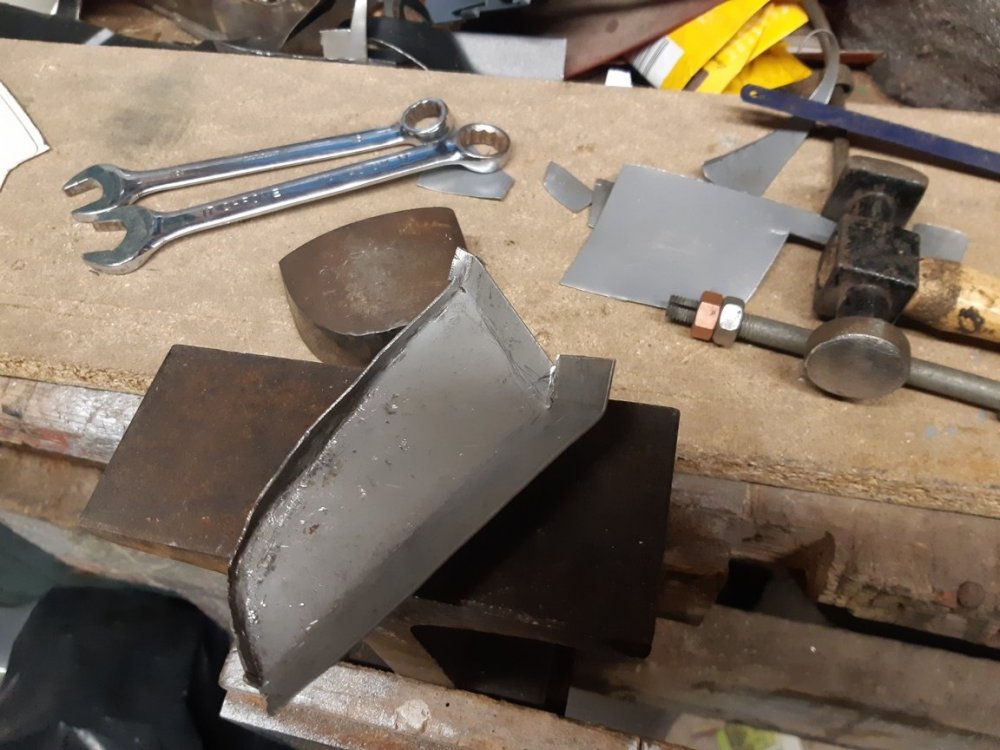
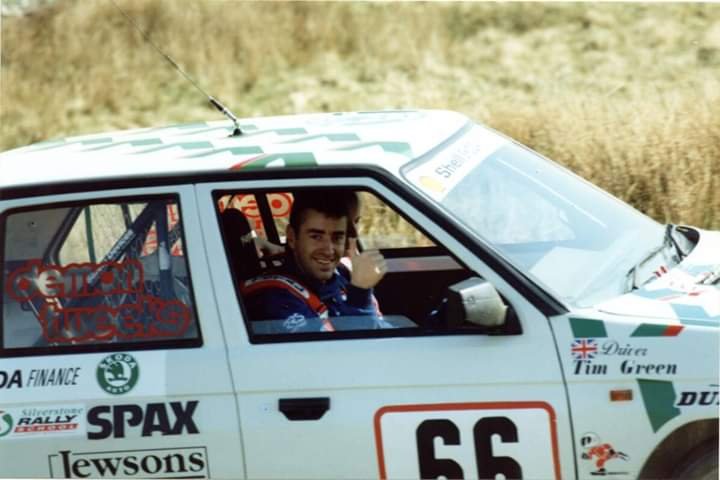
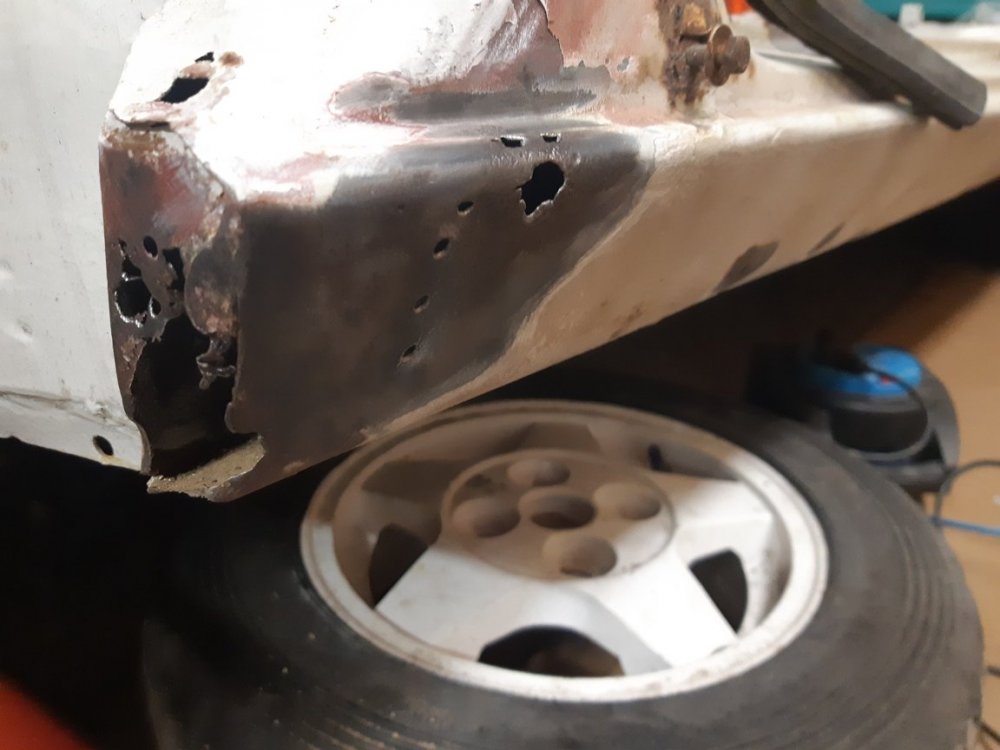
Hi Everyone So I left things last time with the revelation of a frilly cill end at the near side oh joy. The cill is rusty inside and will need copious quantities of waxoyl to preserve it for as long as possible. Back to the repairs, firstly I inserted a patch panel to repair the area bordered in orange on the first picture. I did this to test the weldability of the cill, if it was too thin to weld it was beyond help and I would have to replace it. The second picture shows the repair whilst grinding the welds back. Back to the first picture the 2 areas circled in red are 2 small rot spots I will sort with micro patches, with the end of the cill shown with the green line showing the approximate size of that repair part needed, this repair piece will also need a return to weld to the front face of the cill closing panel referred below. The third picture shows the panel I formed to close the front end of the cill. This was the part that drew my attention to this rot in the first place. The forth picture shows the part being trial fitted. The fifth photo is with the cill closeing panel welded in and trail fitting the wing. The last period photo is a thumbs up from Tim Green. Cheers and thanks for looking. David
-
Thats one way of putting it. The McRea in the photo is actually the late great Colin's Dad Jimmy. Cheers David t
-
Hi Everyone I am still on with Project H49 but recently and life the cold spell have got in the way and slowed progress, but hopefully I am back on with things. Tonight I broke the out wire wheel out to clear the paint from the front end of the cill, to weld a mudflap mounting bracket. The first picture shows the holes revealed. In the past few weeks I have replaced the petrol and brake pipes and refitted some front calipers that I overhauled. In other news I am now the part owner of another rally Favorit, this time a very early car. It is going to need a full restoration, it needs cills floor pans and rear wheel arches. It also needs a roof because it has had a light roll in its recent past. The windscreen hole appeats to be the wrong shape as well. As is always the case it was local, not!, it required a quick 720 mile round trip to Inverness to collect. The third picture is copied from a 1989 magazine and shows the car with its famous driver. The final photos are from its days competeing in the Trophy after it was sold by Skoda Motorsport to Skoda UK and then onto its first registered owner. It was originally registered as an age related F reg. Thanks for Looking David
-
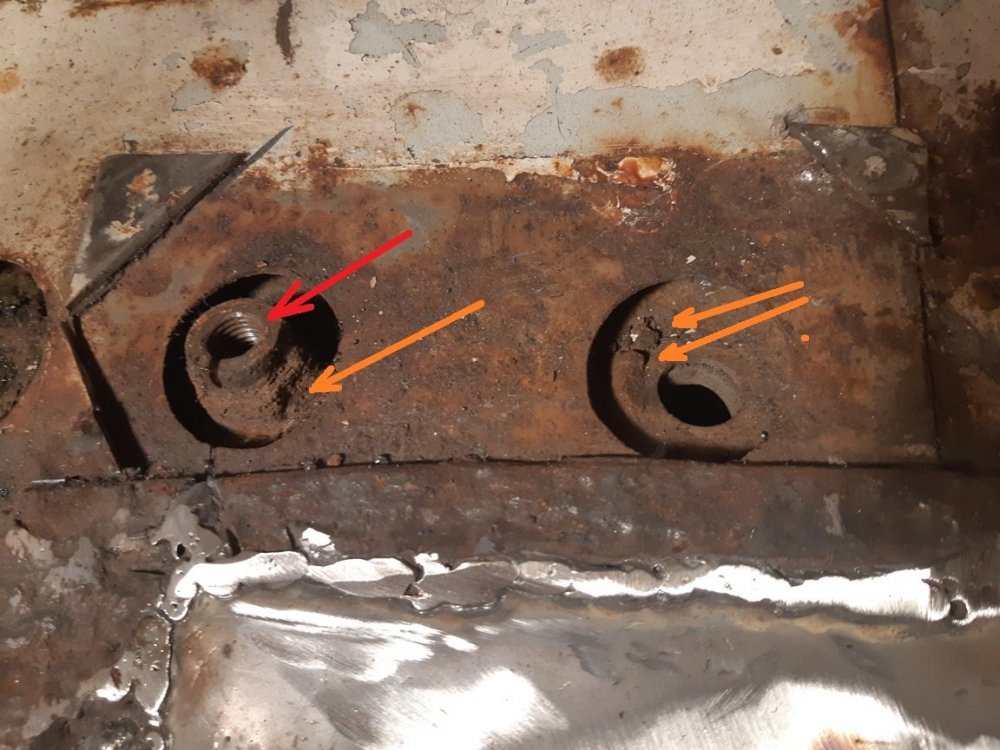
Hi Ken, thanks for taking the time to reply. As you will have seen in the last restoration photos, about 5 posts back, the welded in captive nut must previously have come loose and which must have been a pig to sort out. When I fully removed the support plate the captive nut was missing. The nut has to be 13mm high to fit tightly under the stiffener and is M10x1.25 which is a metric fine thread and not as readily available. I would prefer to retain the M10 x 1.25 thread to avoid any future complications. Furthermore to enable full welding the replacement fitting would ideally have a flange on the bottom to give access for welding. The hexagon part would also need to be reduced as much as possible again to give more access for welding. These design requirements mean that I need to find someone with a lathe to turn me the part. Hence my statement “I just need to plan and execute the replacement of the missing wishbone mounting nut” Below is a close up picture of the area, the red arrow points to the remaining captive nut, the orange arrows indicate welded areas. Best regards David
-
Hi All Thanks for all the positive comments, they help to keep me going when its cold in the garage and the fire in the living room is much more inviting and all I have to look forward to is more welding. Anyway enough feeling sorry for myself I am doing this for fun so I need to smile......... and progress is happening, I am almost finished with the floor pans I just have to plan and execute the replacement of the missing wishbone mounting nut. Then the the floors are finished. It is also going to be painted very soon so good progress. No pictures of the floor pans sorry they are a bit same s@@t different day. The big news is that I have a part share in another Rally Favorit. More news soon but its a bit rough so will need a full restoration before any serious use. Tonight's picture is of H49 in an earlier livery note the early grill. Cheers and thanks for looking. David
-
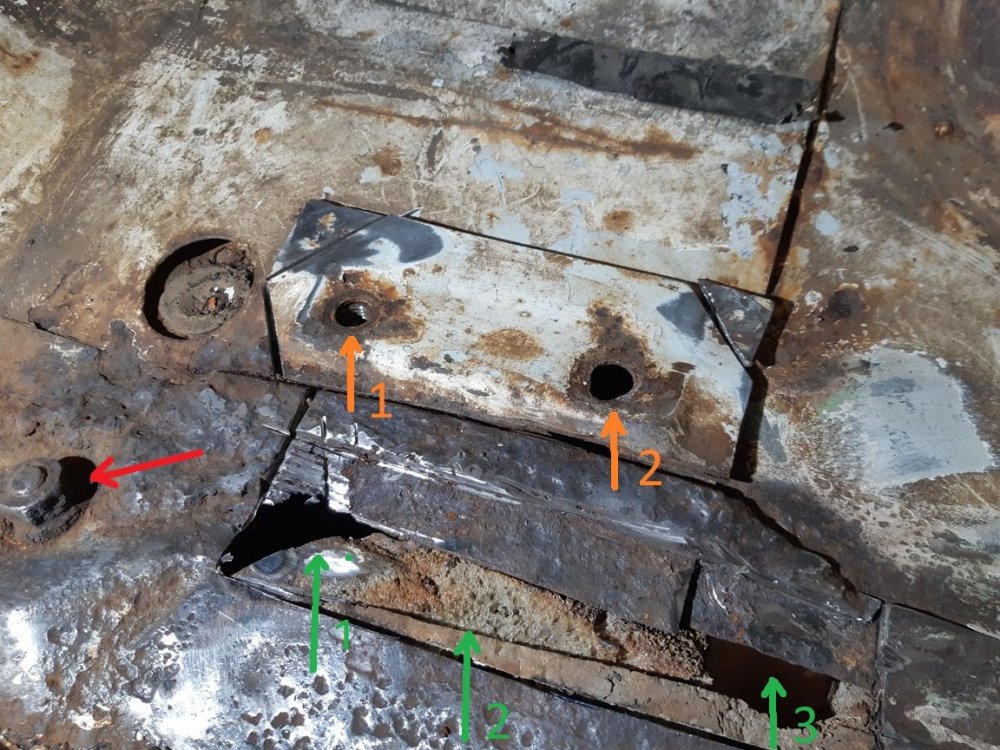
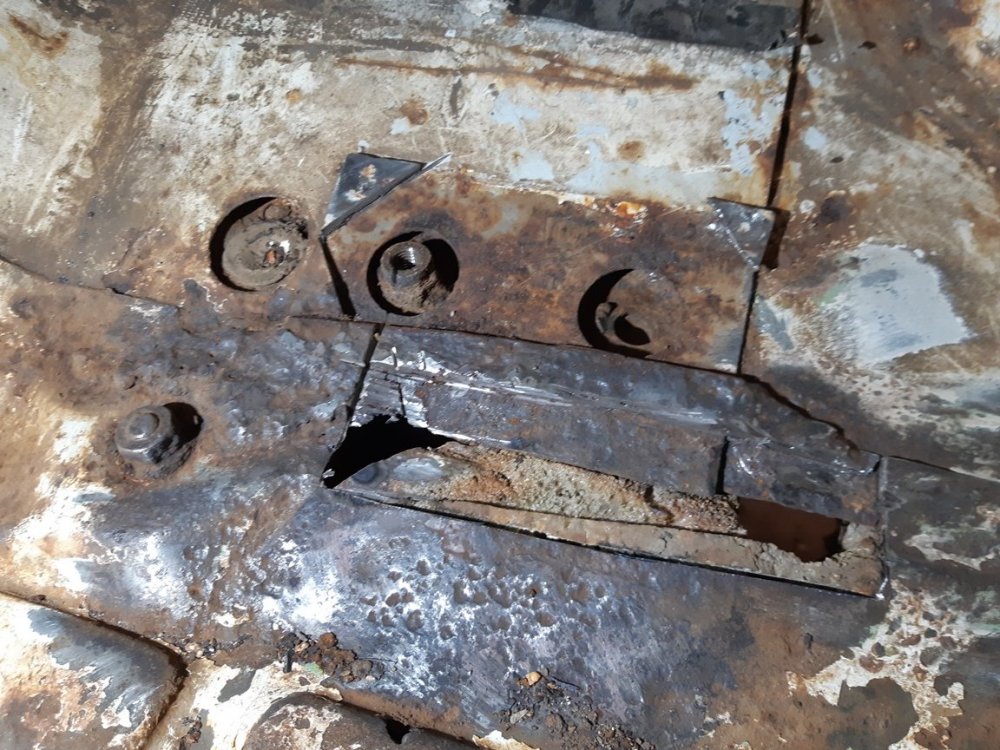
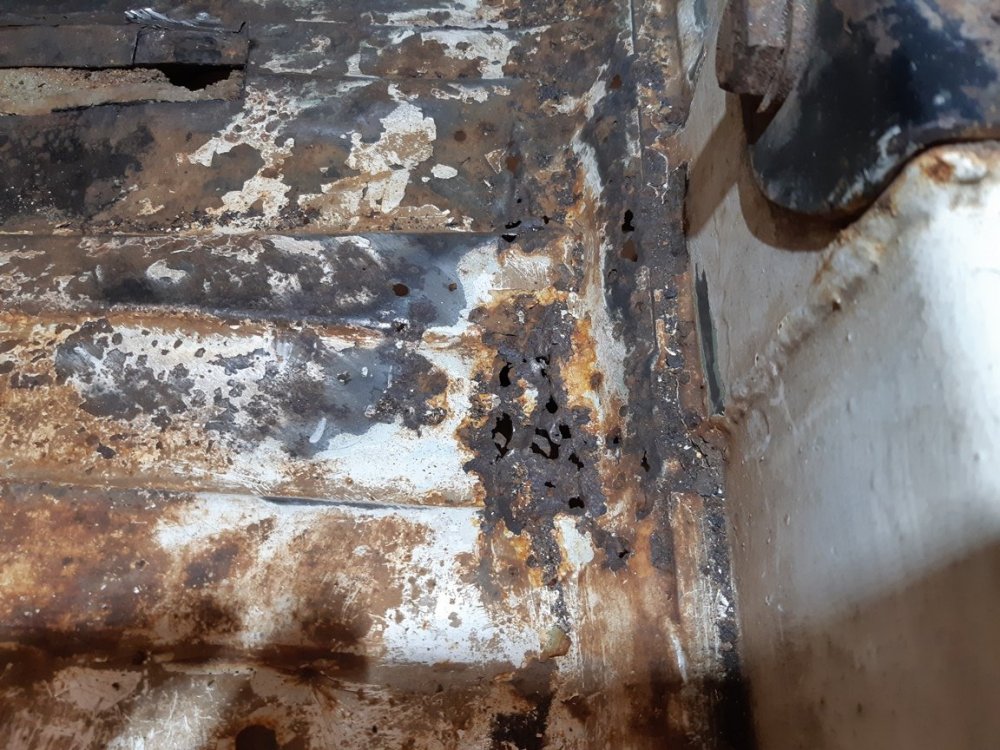
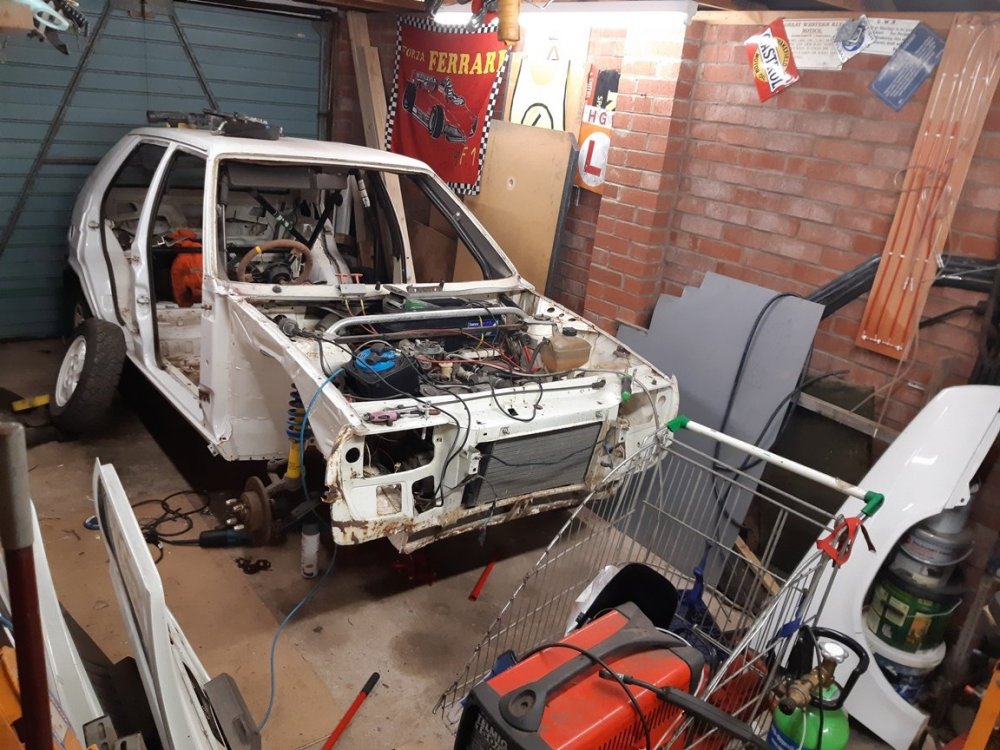
Thanks Scout. Hi All No updates for a few weeks due to the busy Christmas period. However over the break I was able to get her going drive her out of the garage sweep up underneath, turn her and drive her back in again. So some progress! I had to turn her around because I only have electric plugs down one side of the garage. It was also a boost to finally have a drive of 50 metres as well. The first 2 pictures were taken during turn around day last Thursday. The third picture was taken after I had started on the driver’s floor pan which is the worst so far for corrosion, due to time constraints the replacement floor pan it really needs will have to be fitted later. The red arrow points to a sump guard rear mounting. Green arrow one points to the upper flange of the chassis rail, I cut the metal out to remove some previously badly repaired corrosion. The 2nd arrow points to the foam which has been used to fill the chassis rail presumable to slow down its deformation during rough road rallying. The third arrow points to the circular hole left in the chassis rail during manufacture. The orange arrows point to the captive nuts which hold the rear end of the wishbone. You will notice that one of them is missing. The thread I have discovered is m10 x 1.25 a fine metric. So the next picture shows the same scene with the stiffening plate removed, it is held in place with a spot weld in each corner. I will weld it back in place after I have finished along the cut edges. Next is a view of some rot I have to remove. The last image is a general view of the workshop facilities. Thanks for looking and as ever all comments welcome David
-
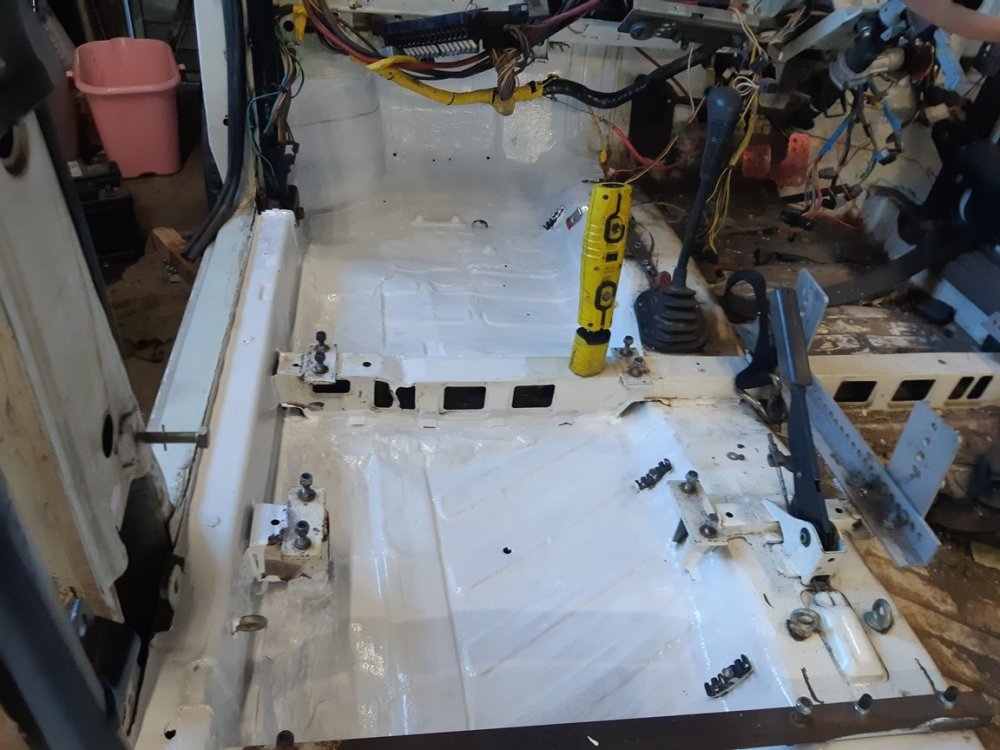
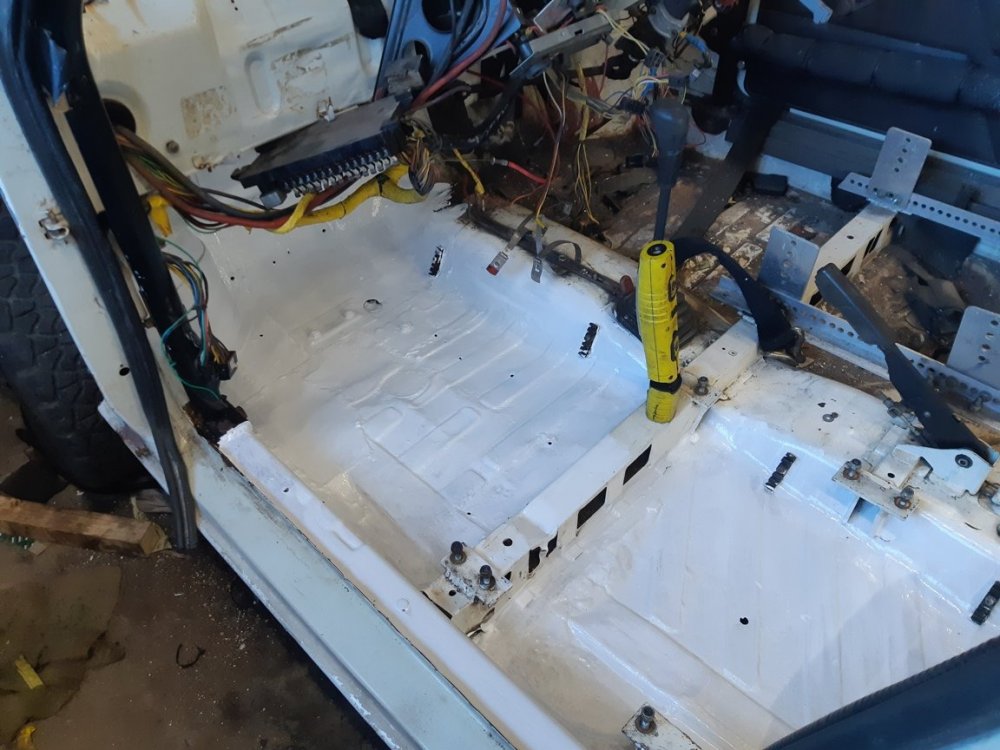
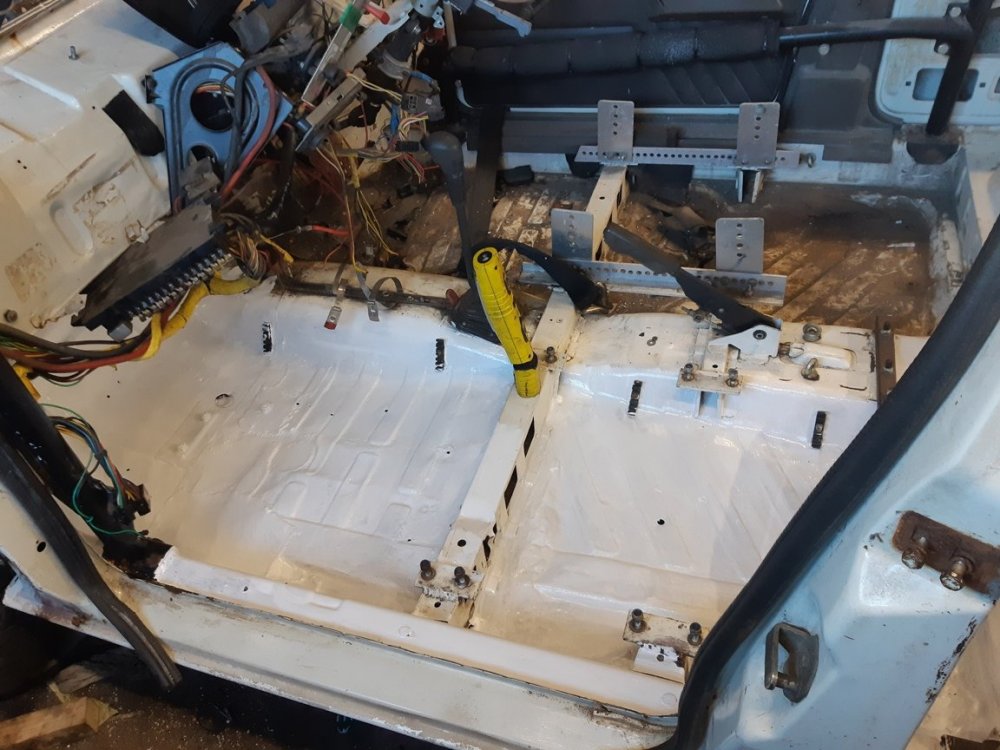
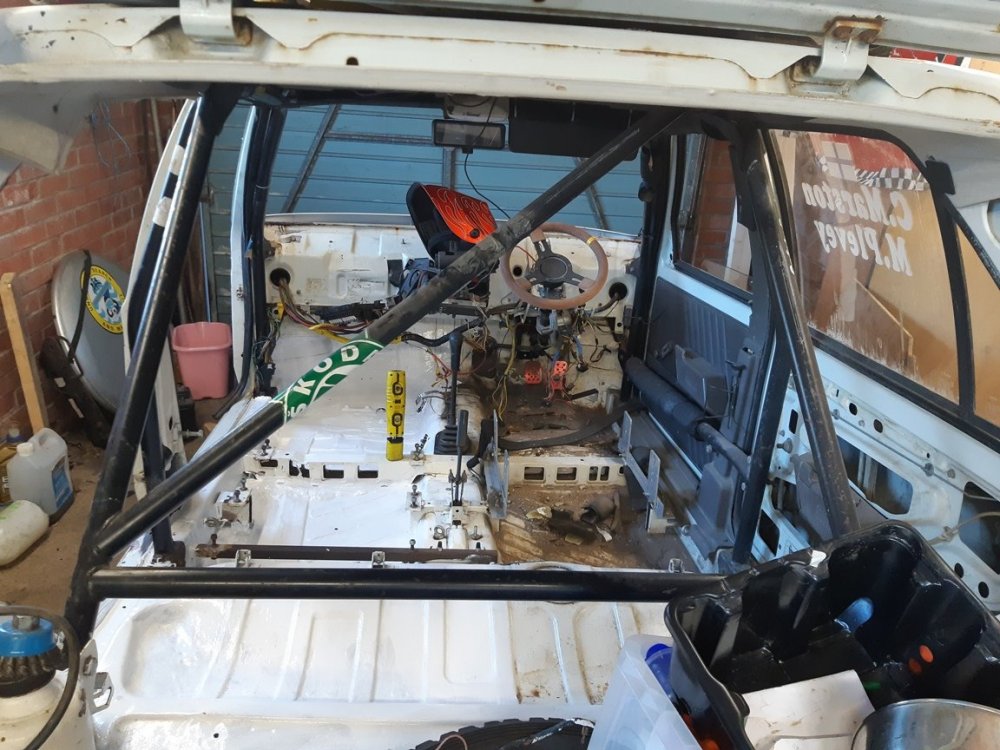
Hi All I see its nearly 4 weeks since I updated, this not due to a lack of progress although I have not been able to spend as much time on 49 as I would like. As the years pass a warm fireside seems more preferable to a cold garage these days. However I have finished the passenger side front floor pan, I found 2 areas of rot which I cut out and butt welded patches into. No photos sorry, they were simply too similar to the rear pan repairs. I have now painted the passenger side floor pans which now look great and will help motivate me to progress the driver’s side. I hope to have the floors finished for very early in the new year. We are hoping to show the car and give passenger rides on the rally stage at Raceretro in February next year. https://www.raceretro.com/ I have also taken the time to bring the brake pipes and in particular the fuel pipes up to the latest MSA standards and at the same time renewing the fire extinguisher system which now has to be plumbed in and use tanks that can be serviced every 2 years. I am getting down to the last few period photos that I have and would love to know of any others that may exist. Thanks for looking David

