commievid
Members
-
Joined
-
Last visited
Everything posted by commievid
-
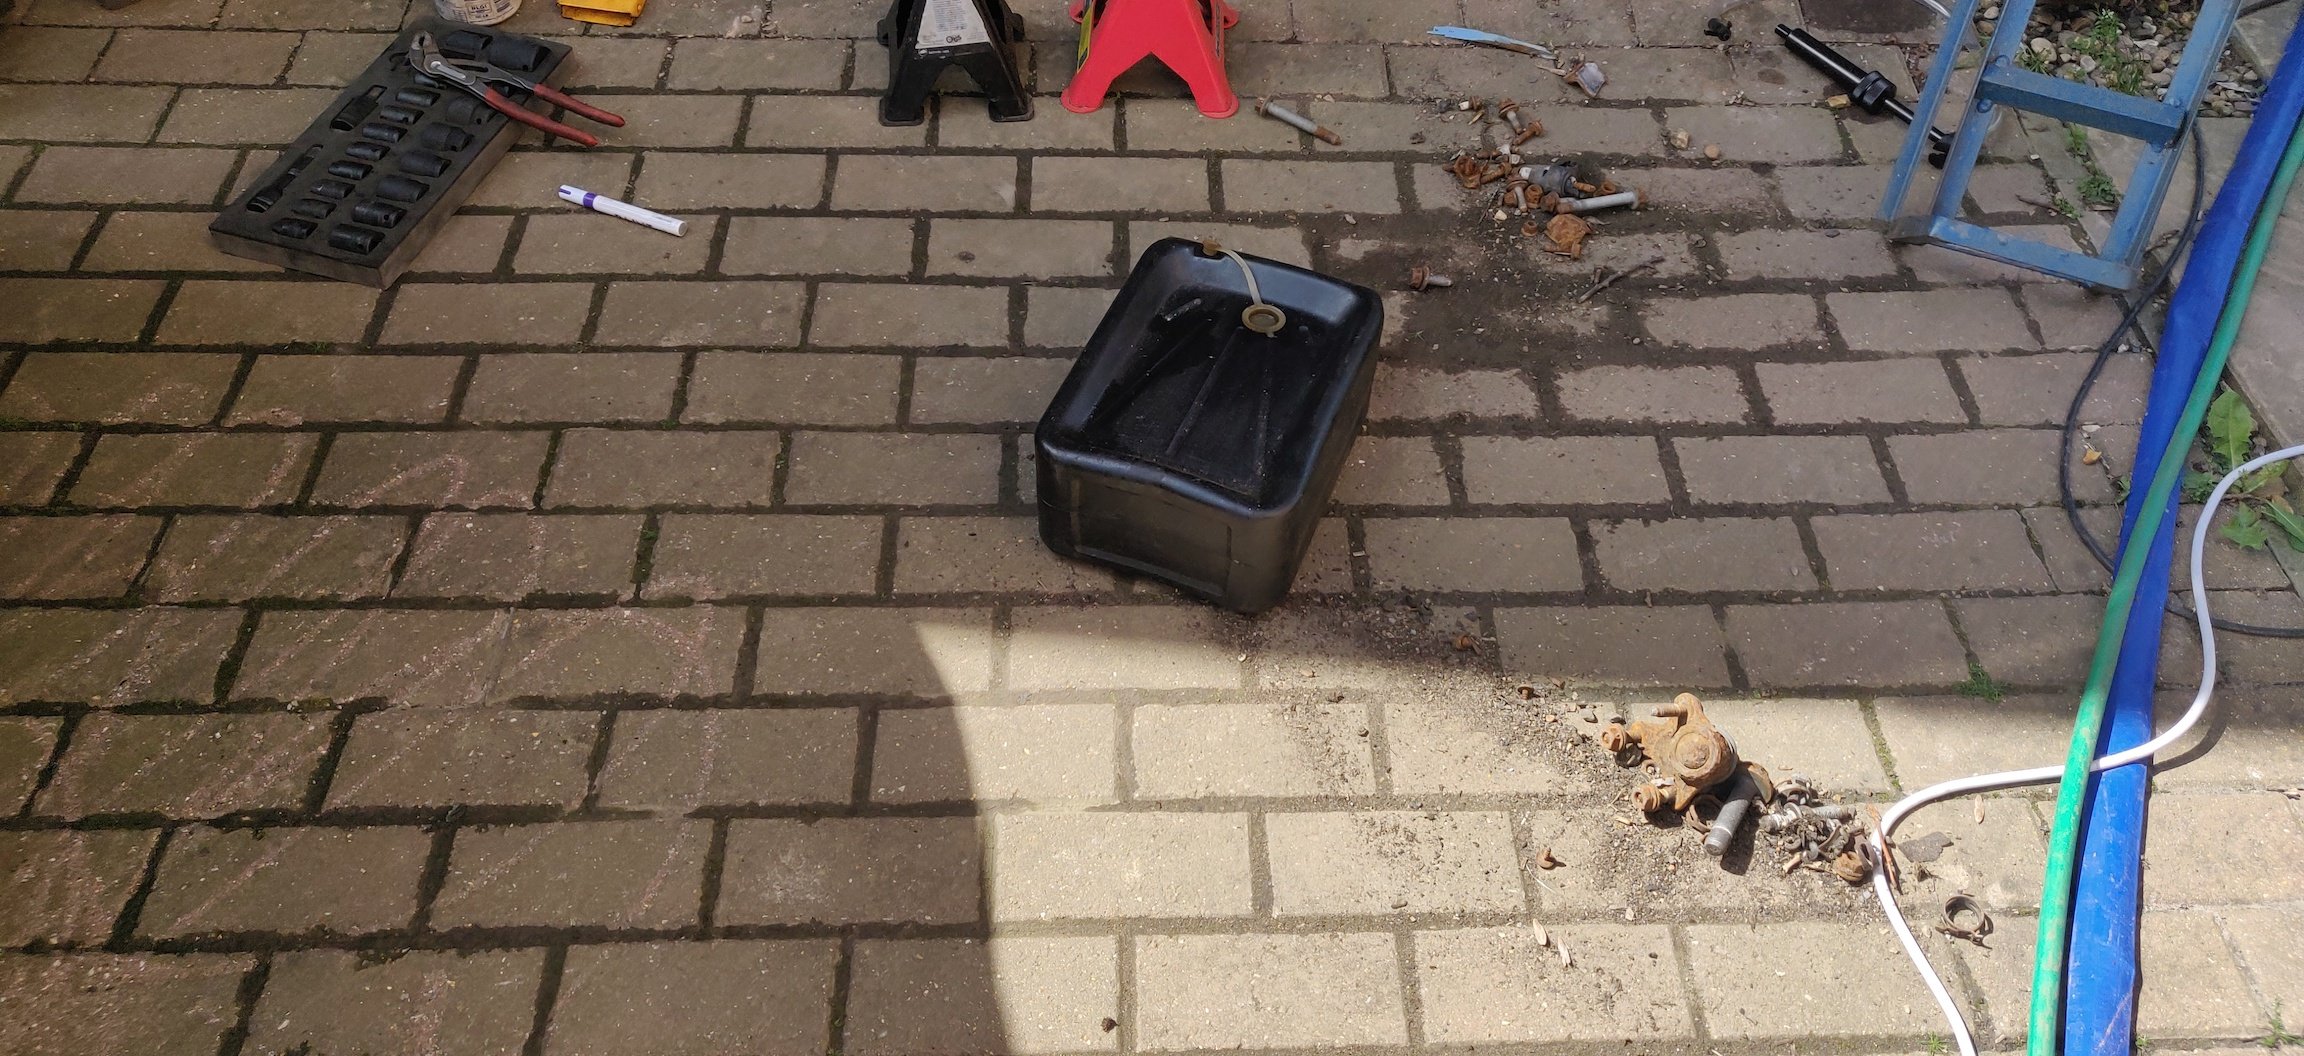
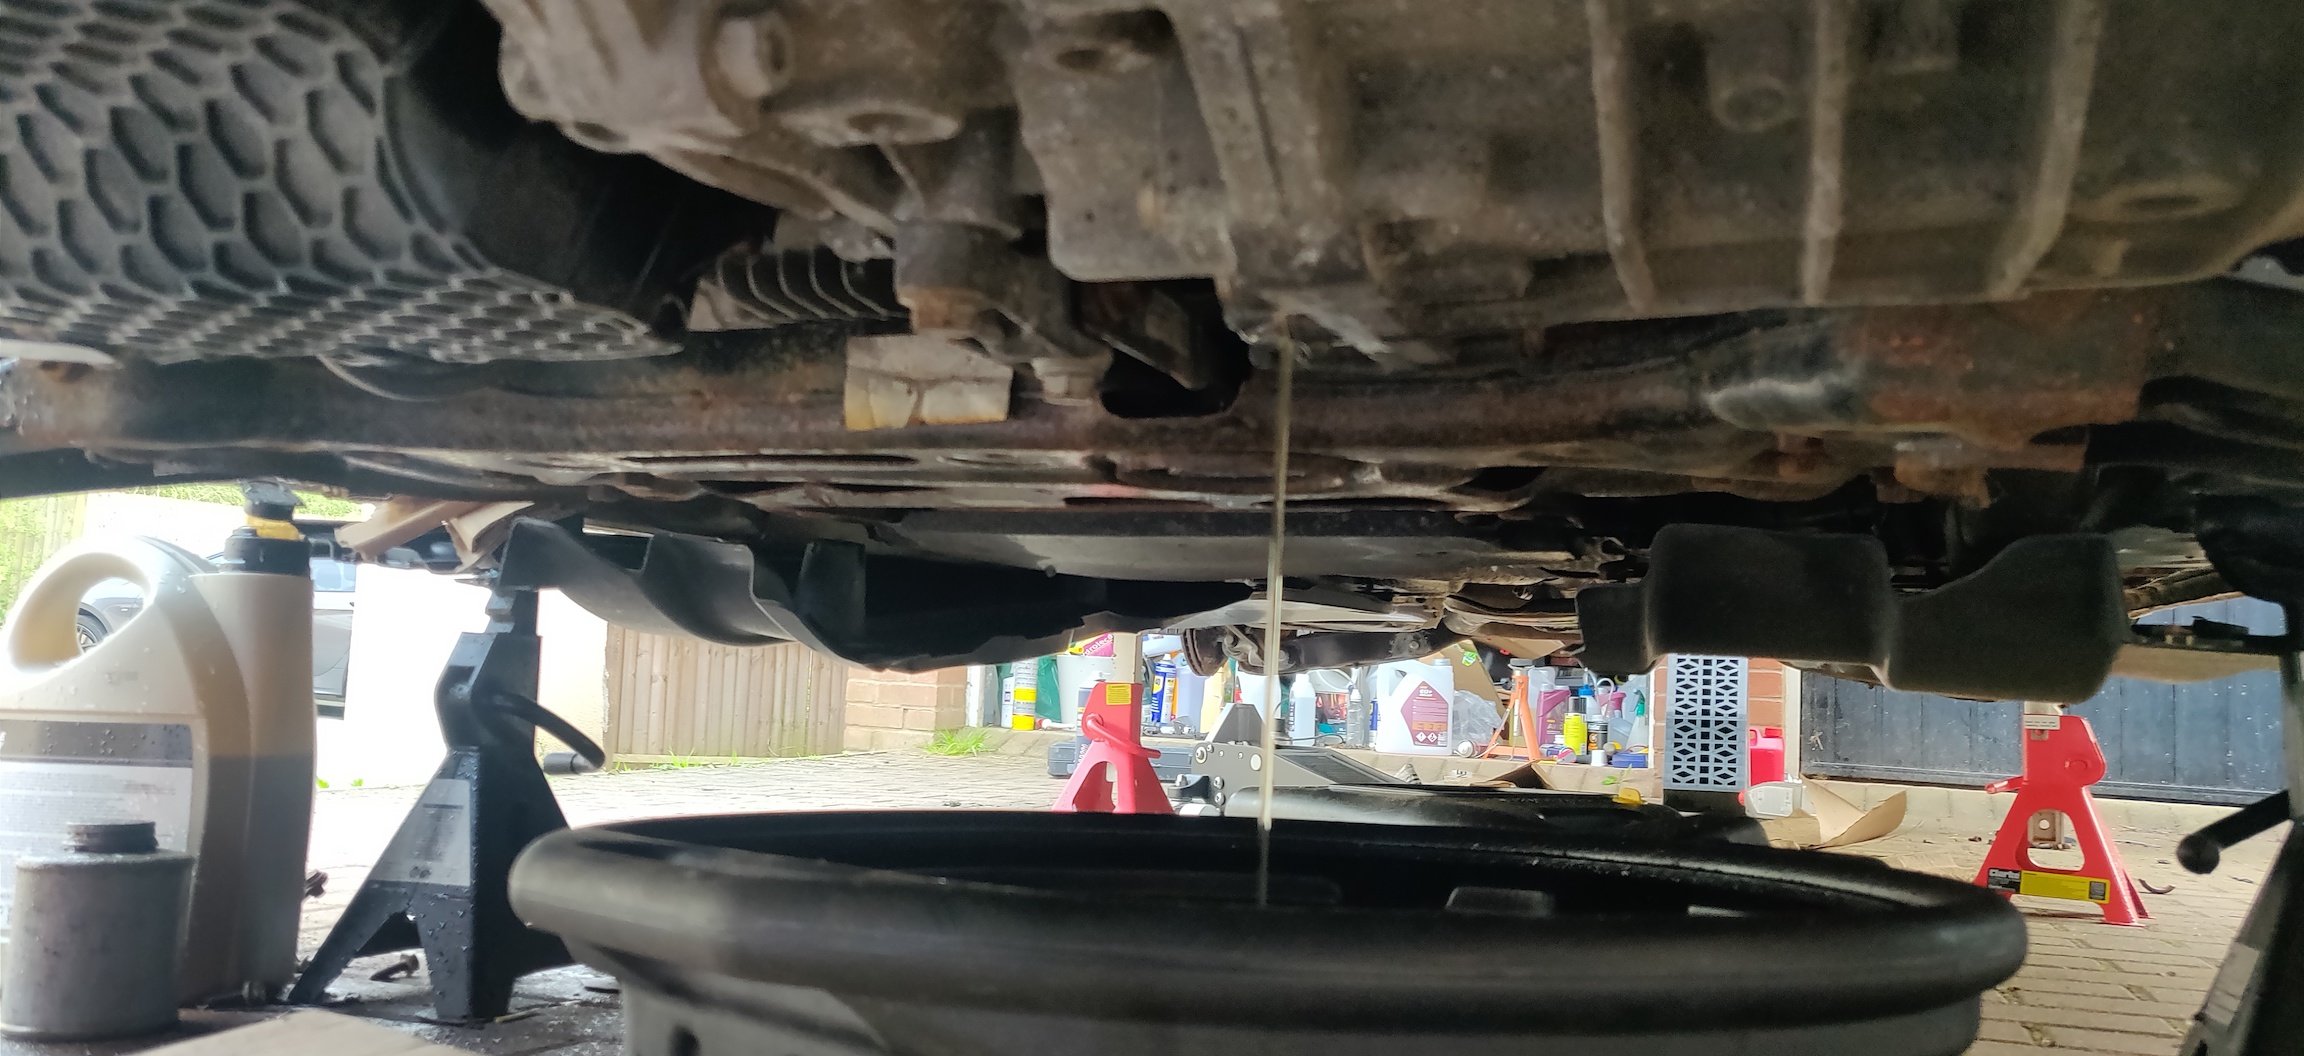
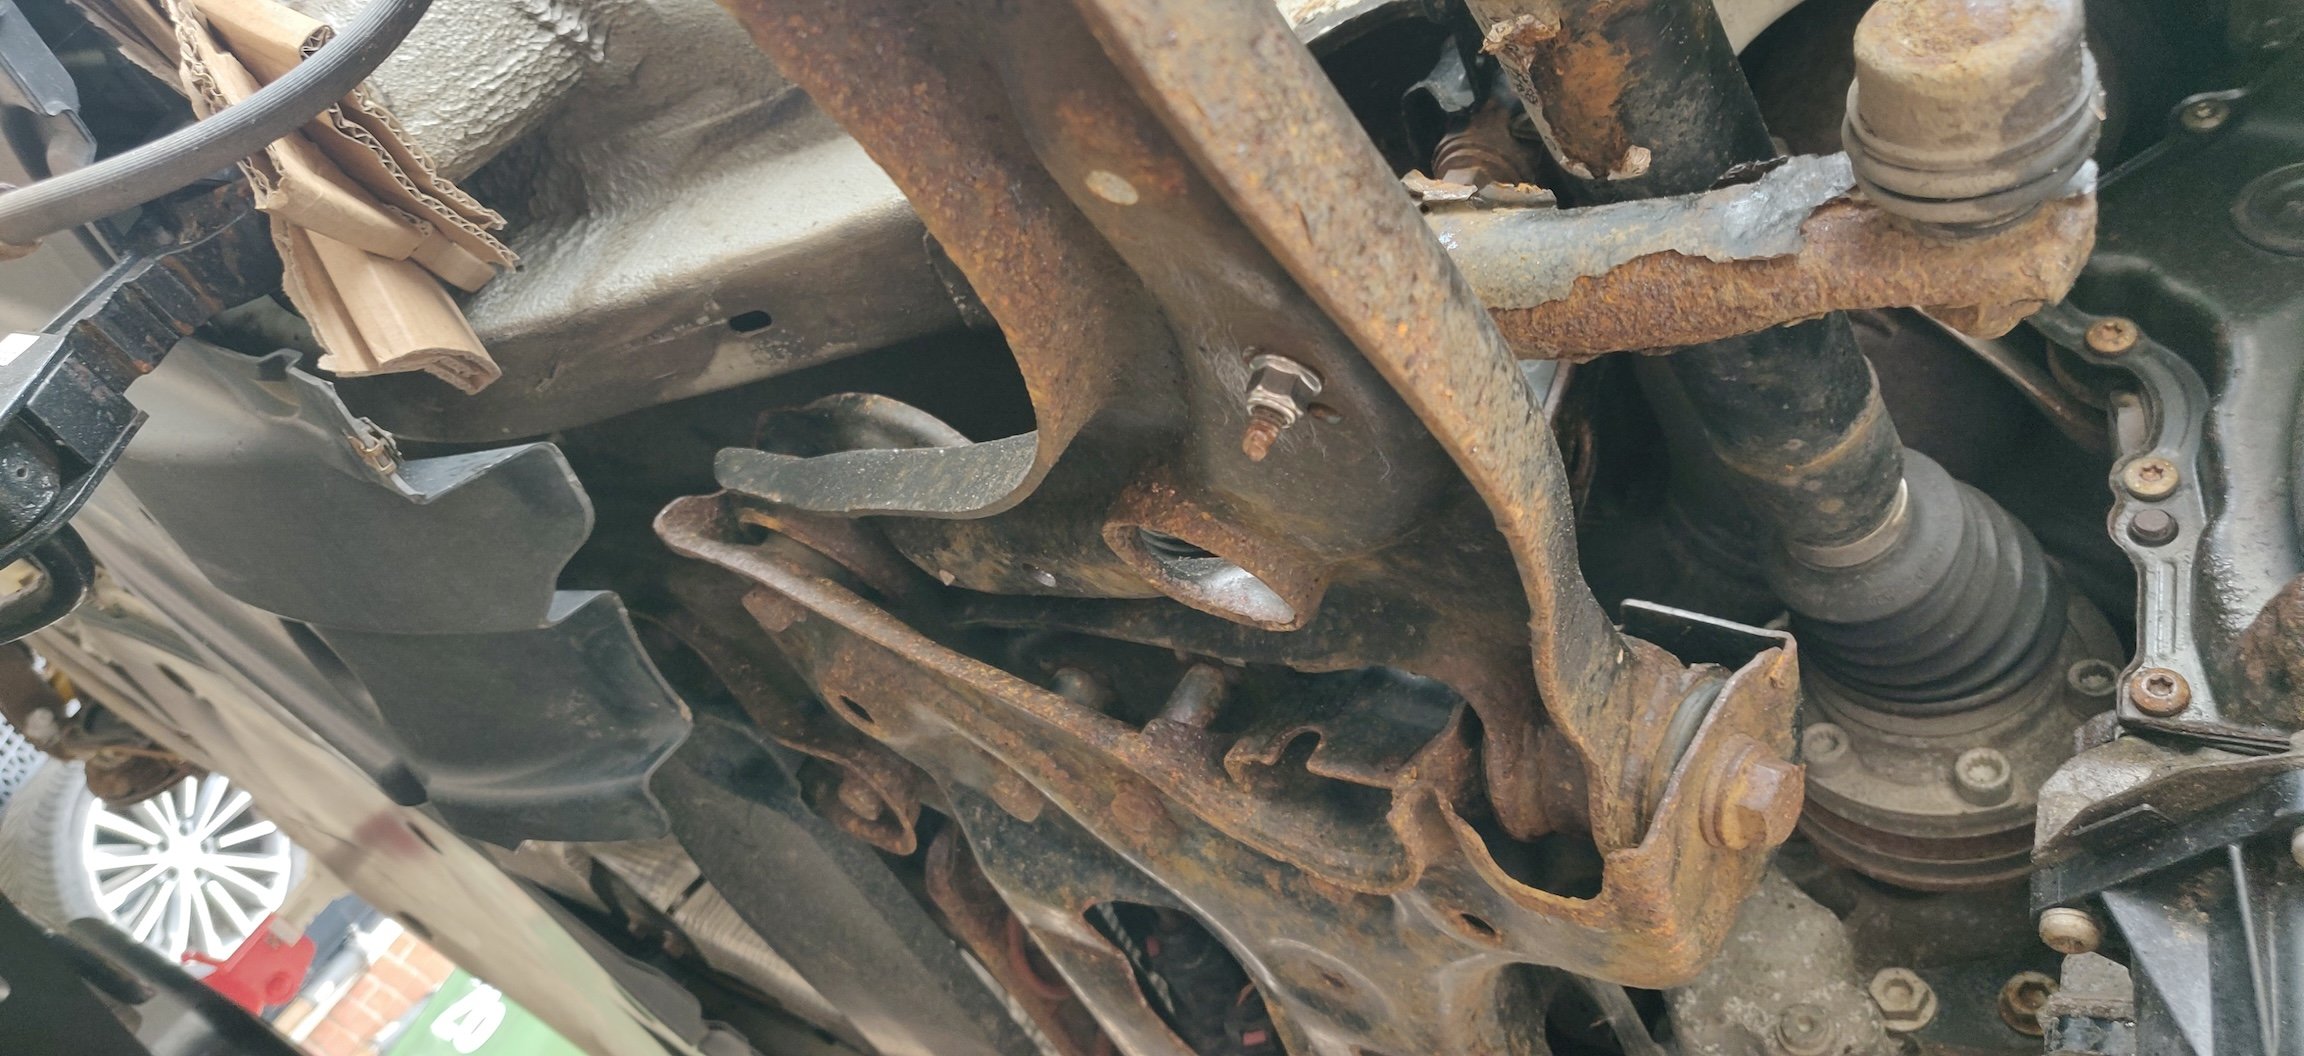
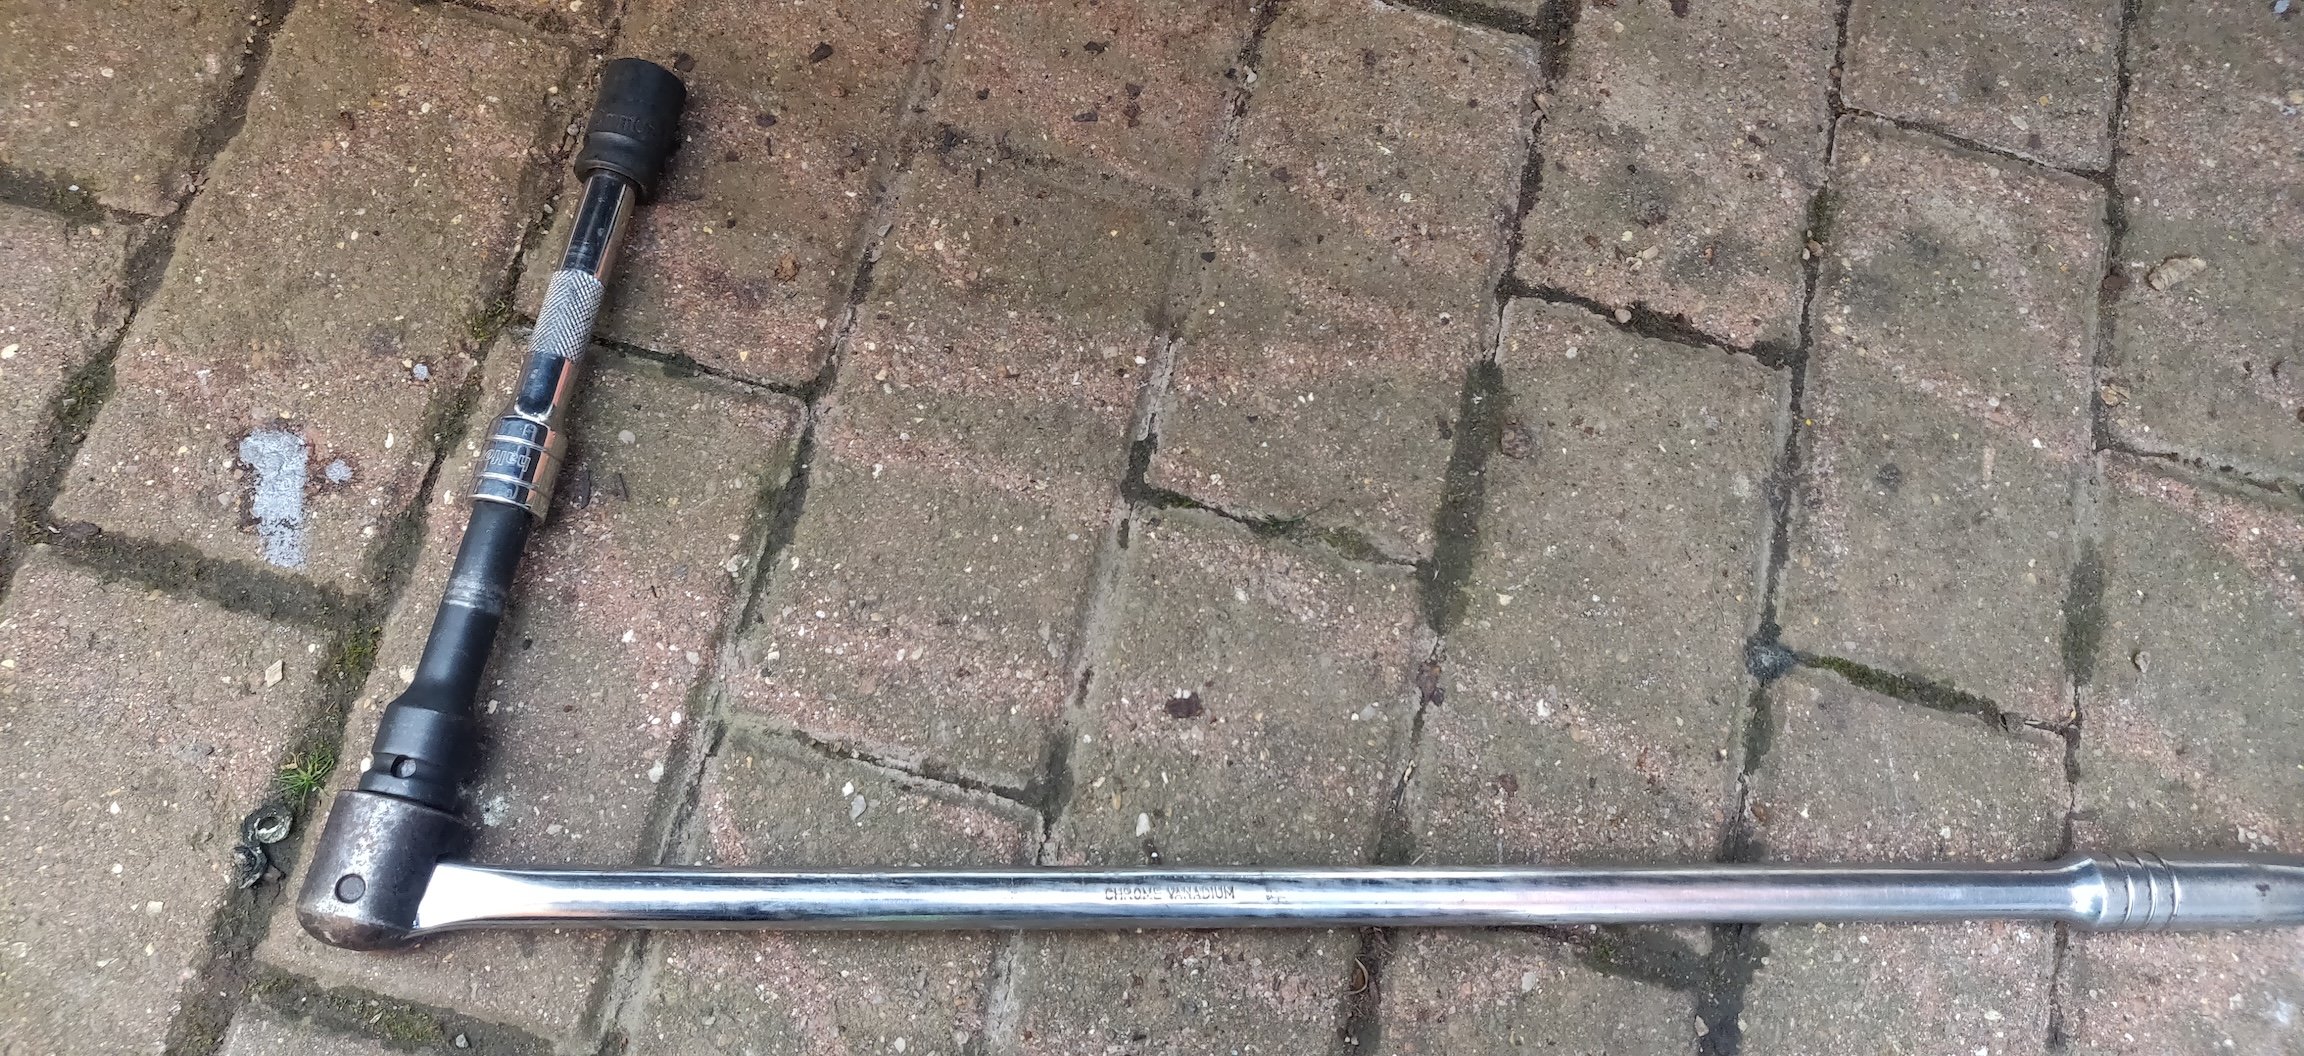
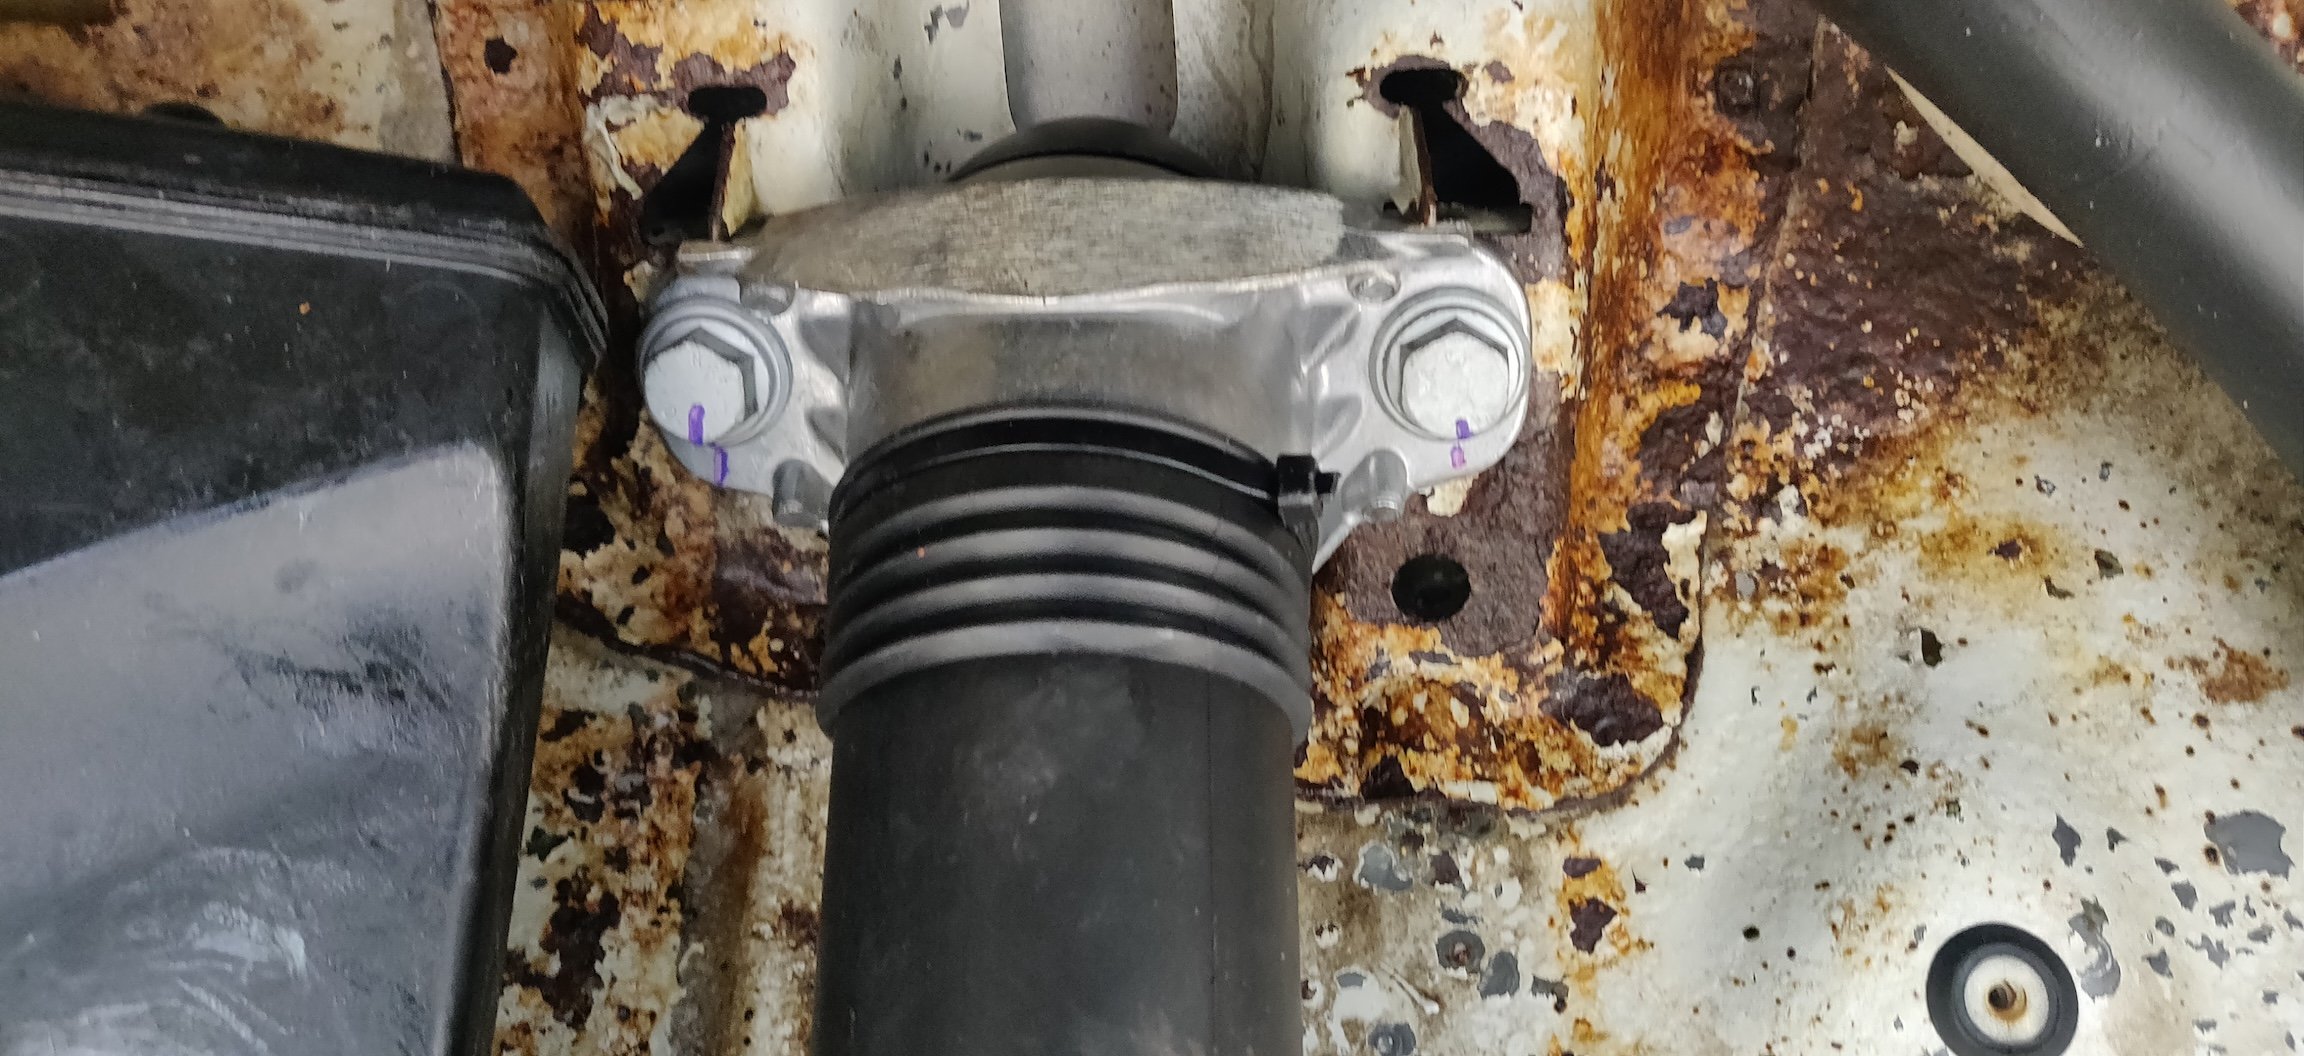
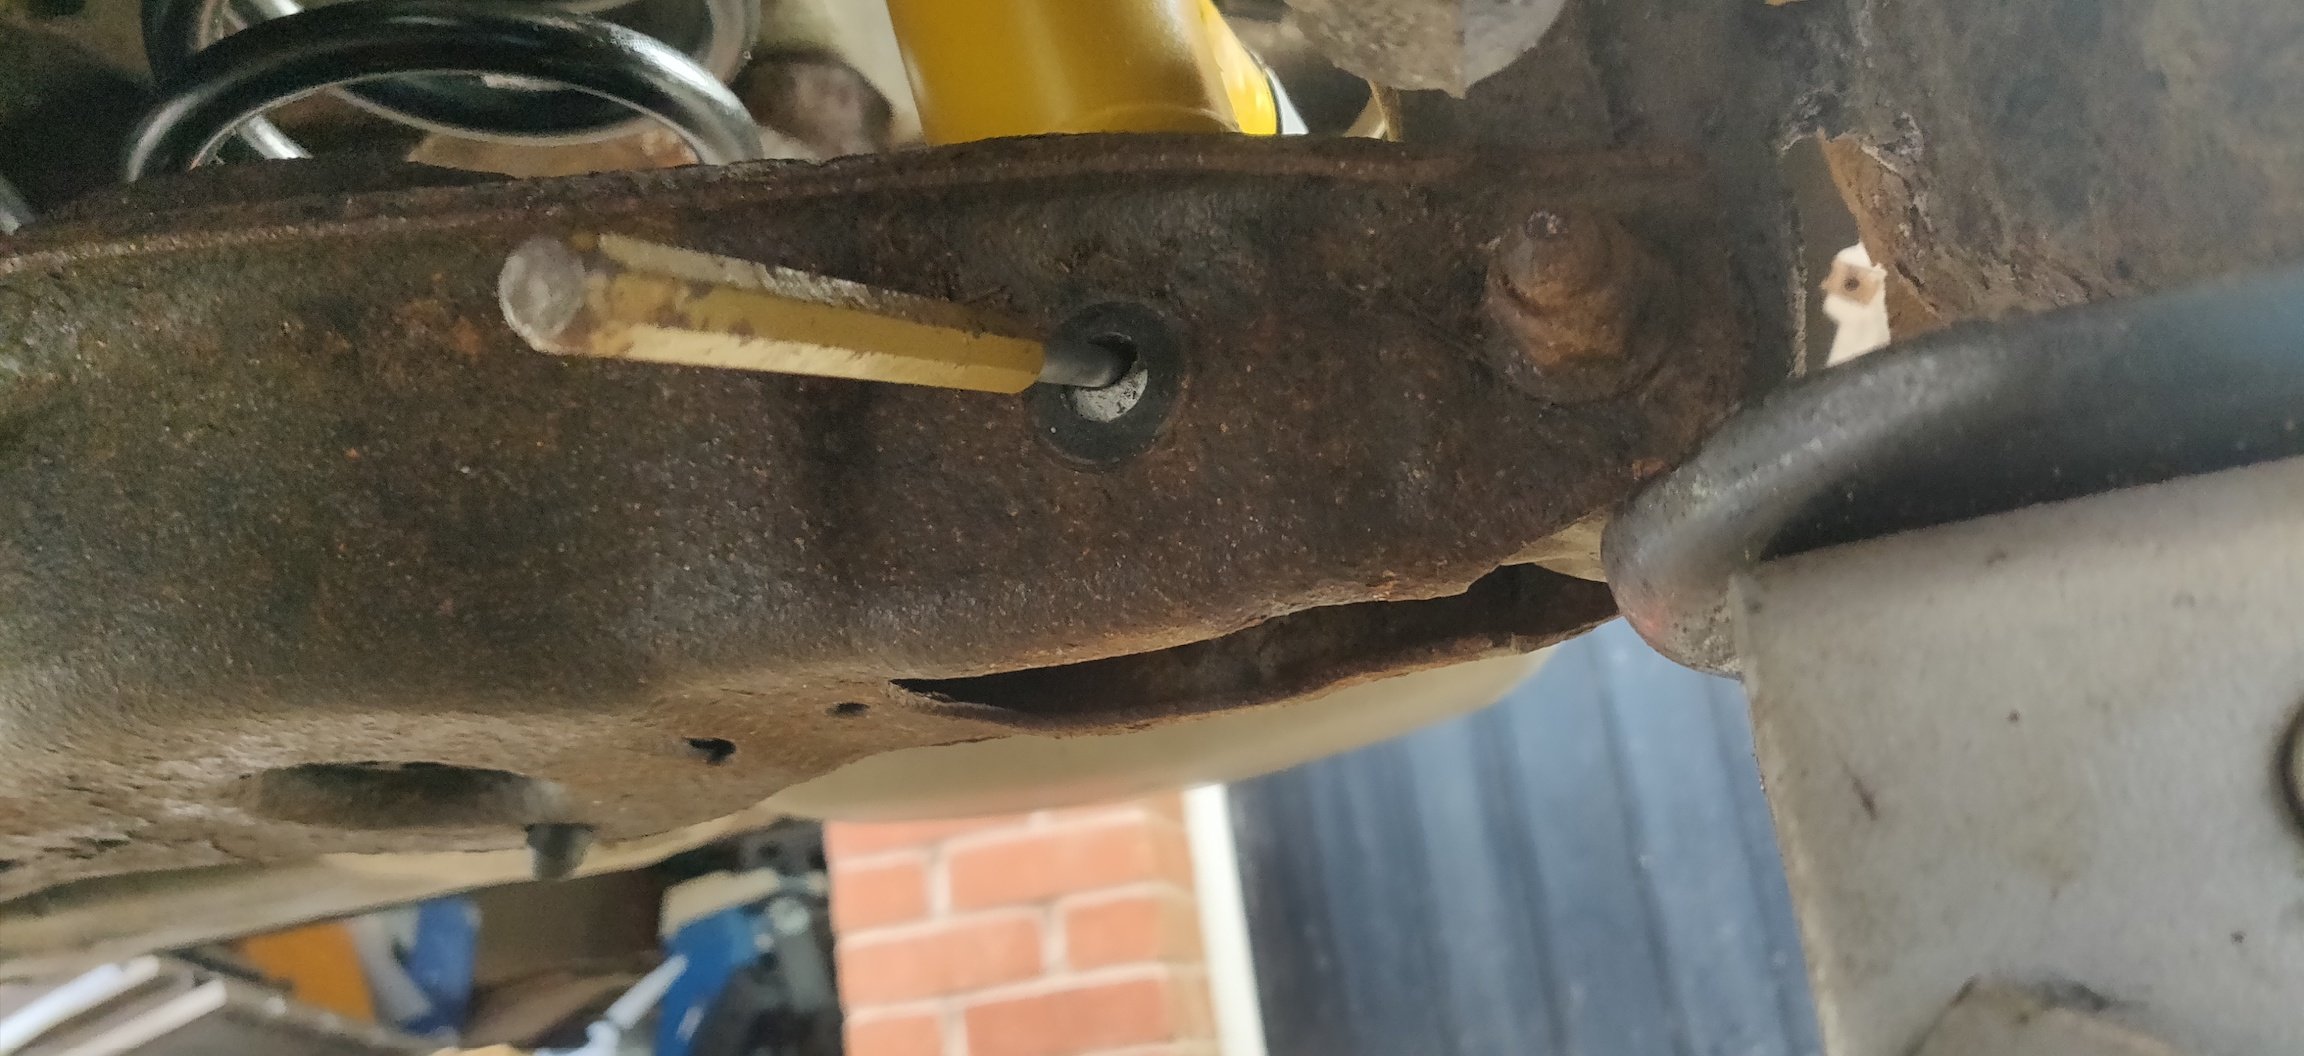
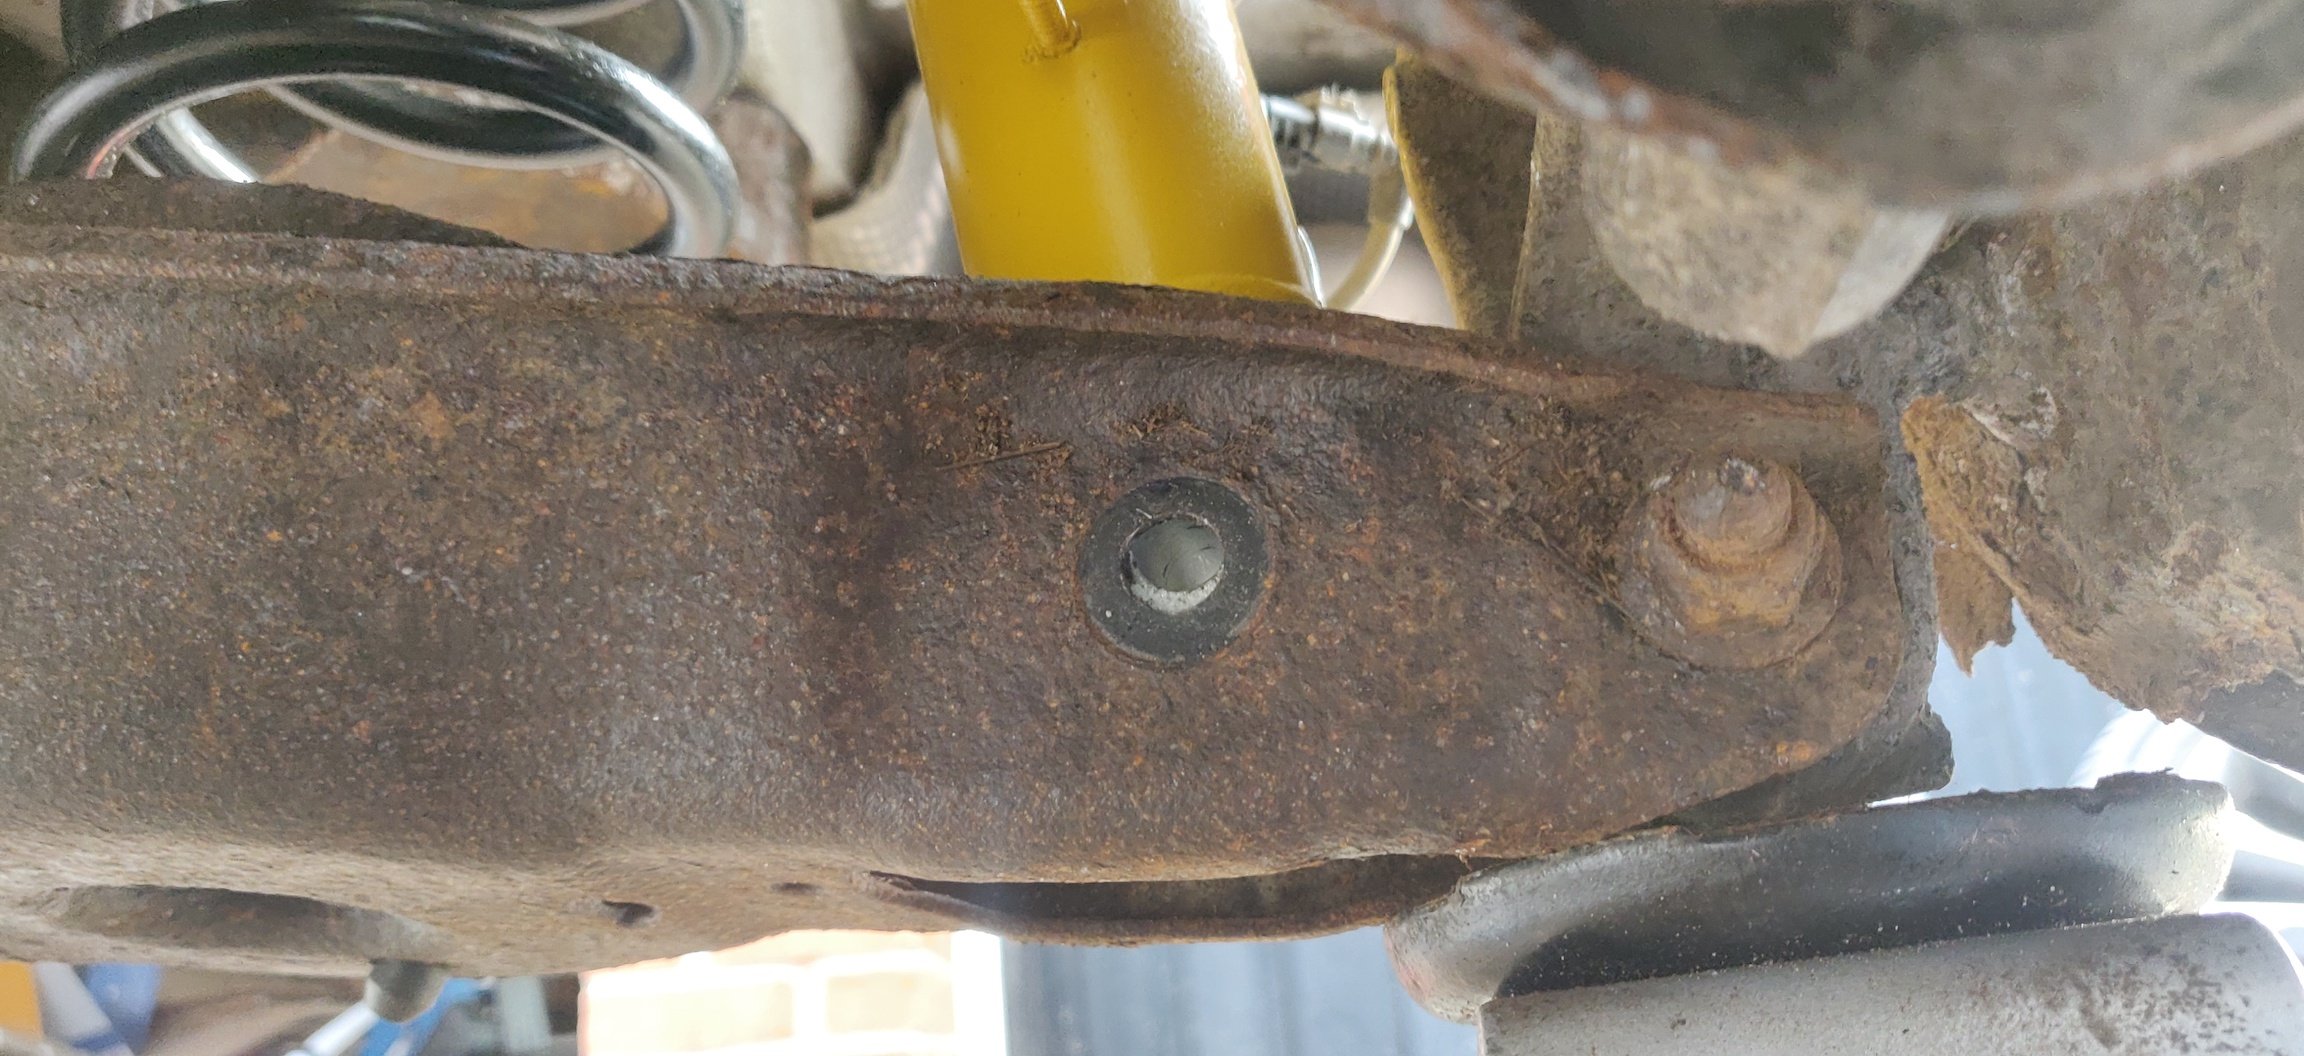
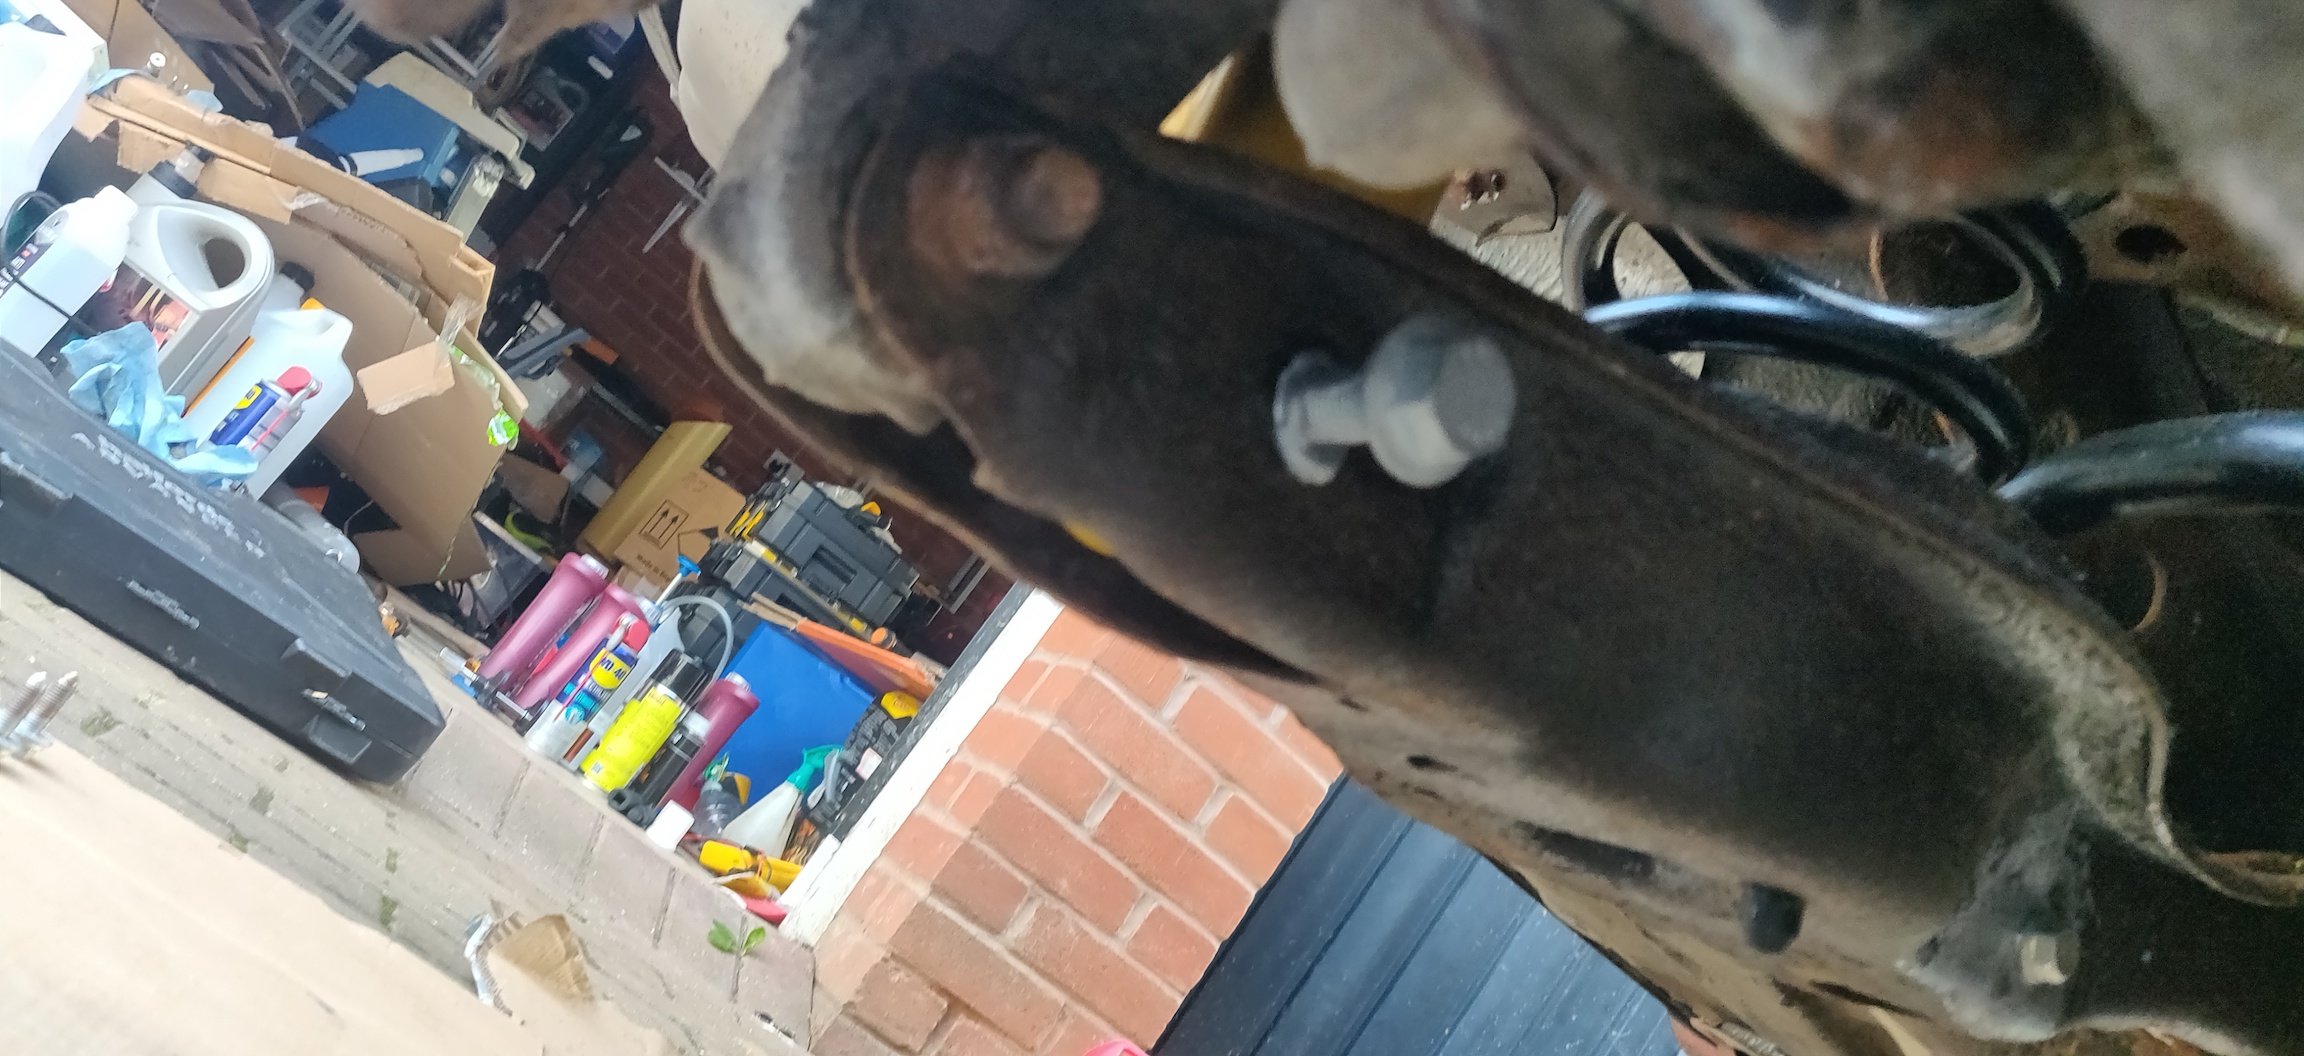
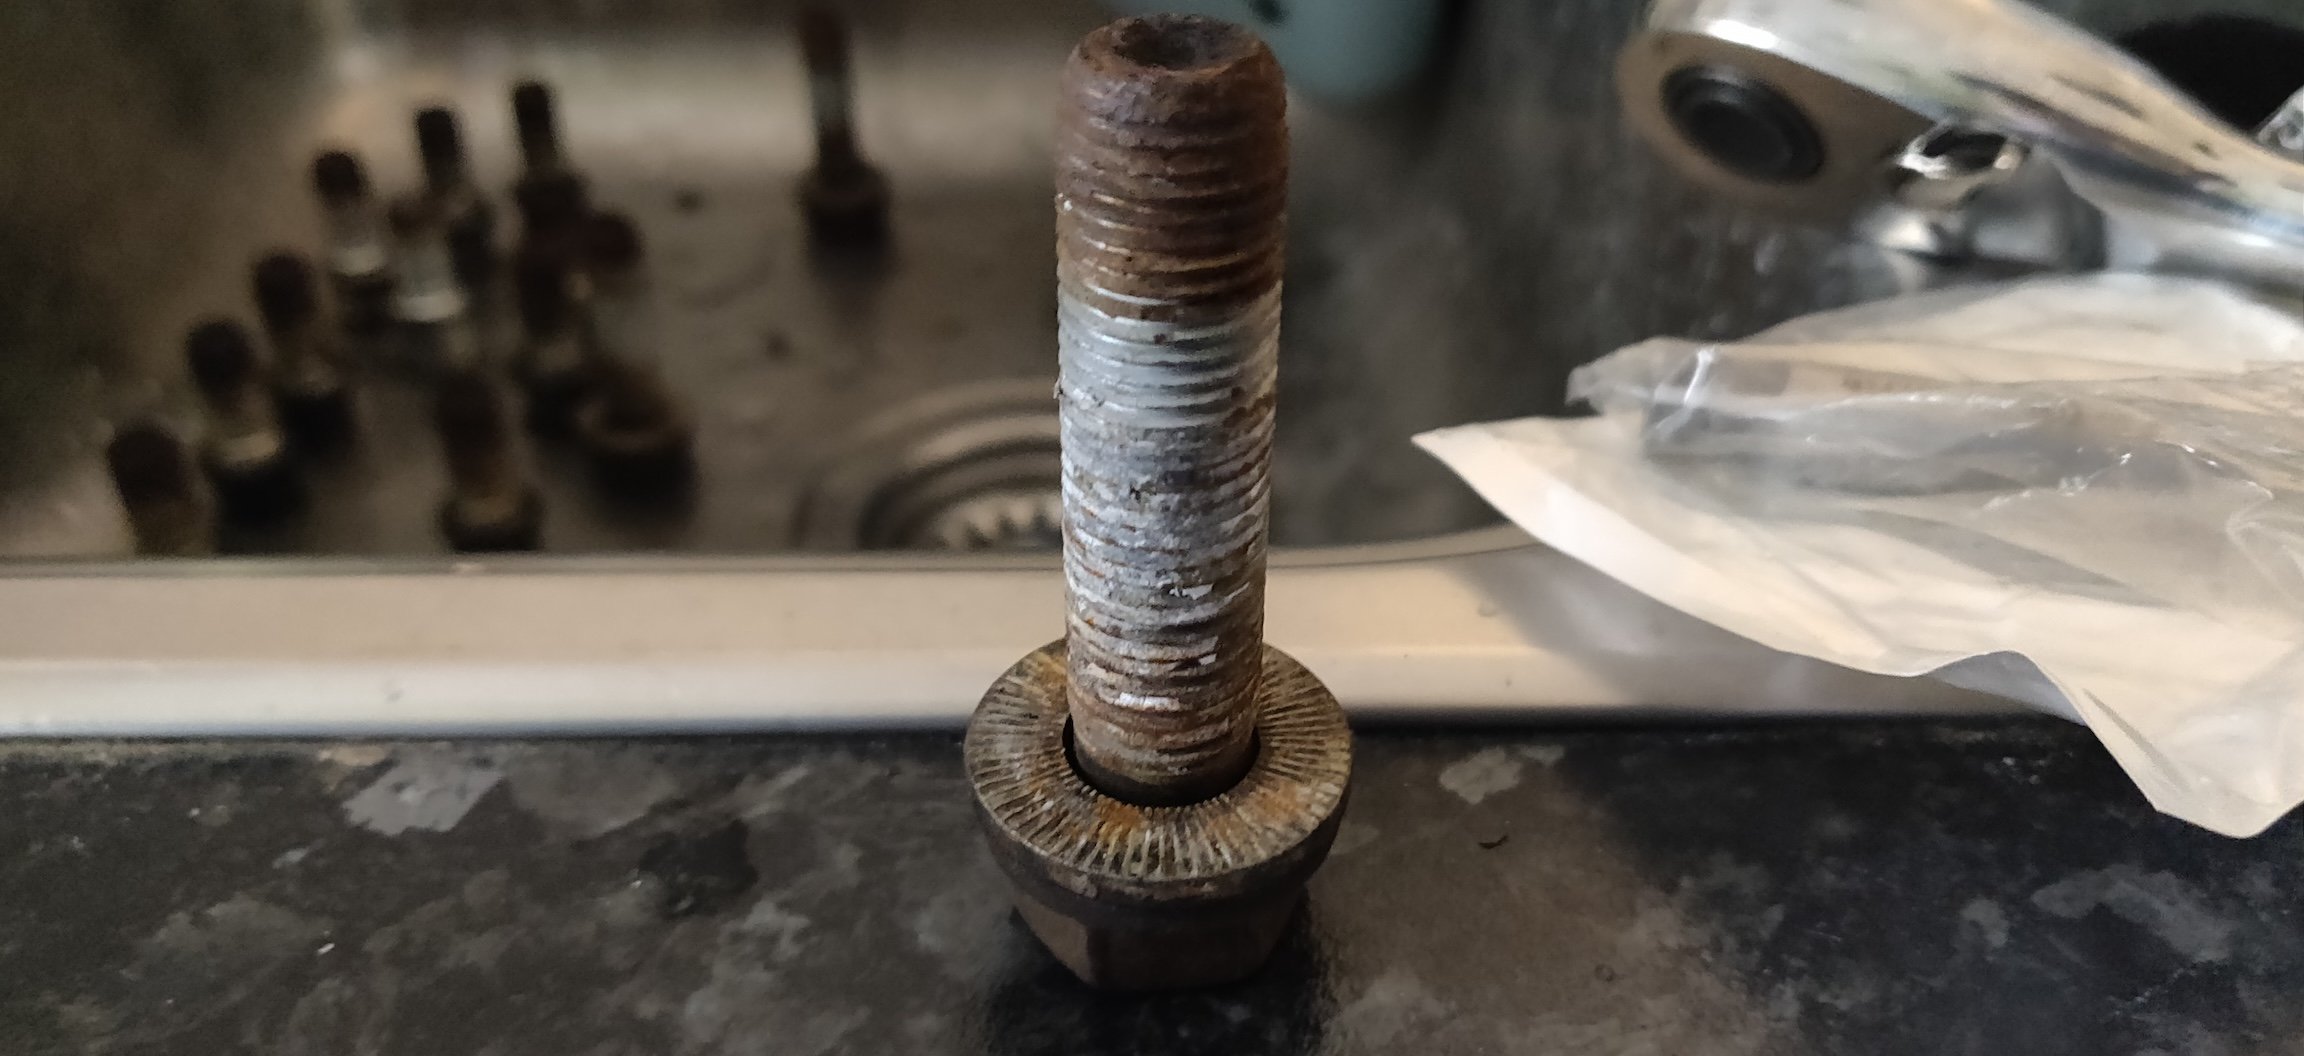
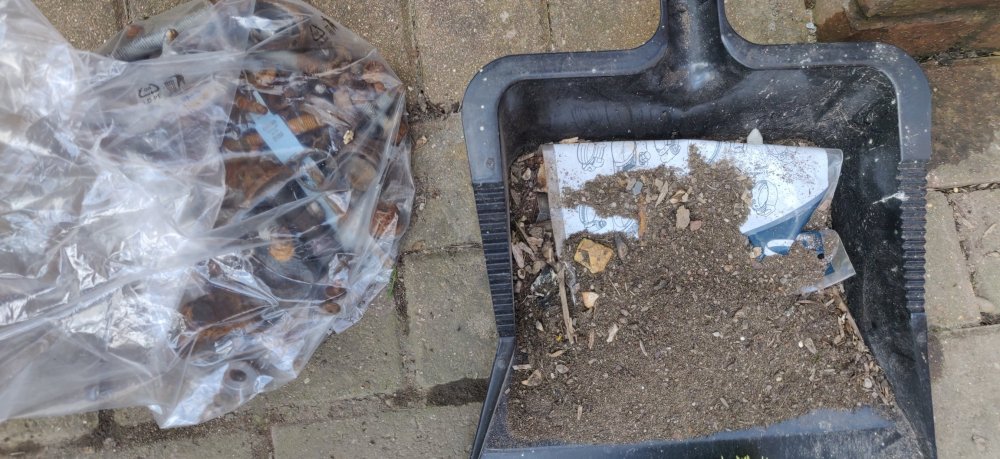
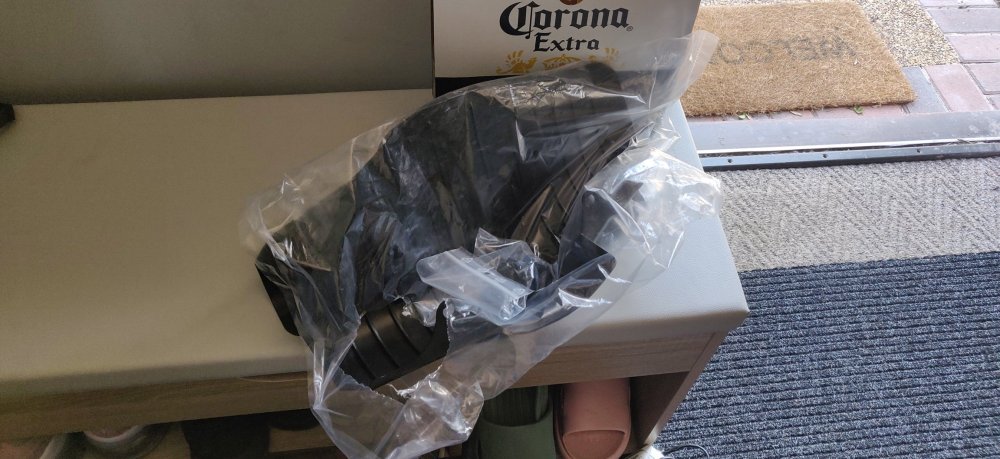
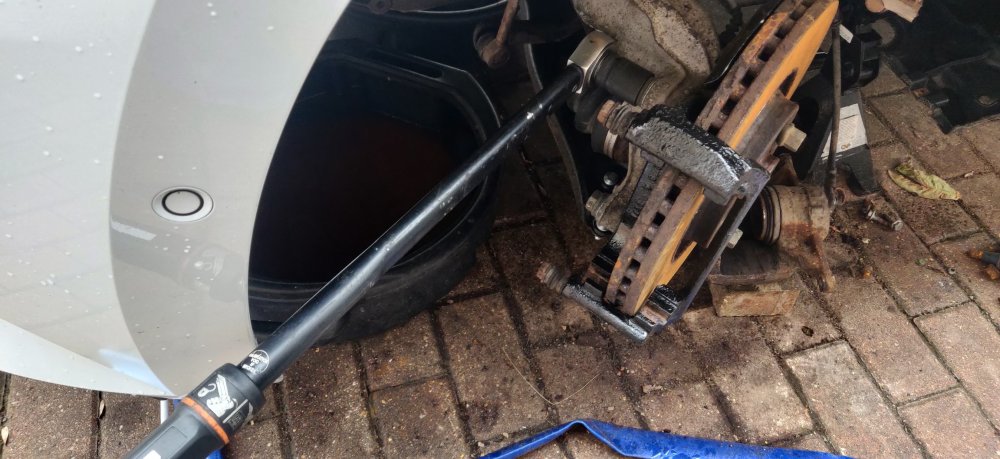
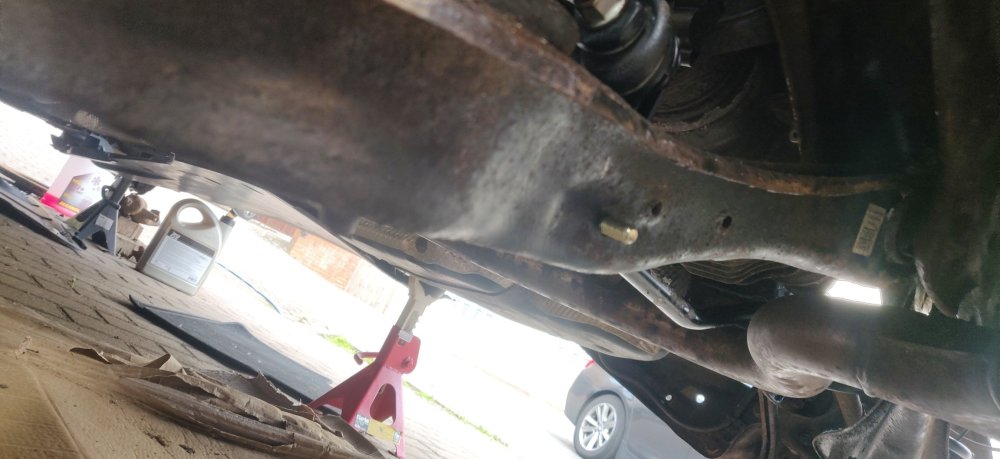
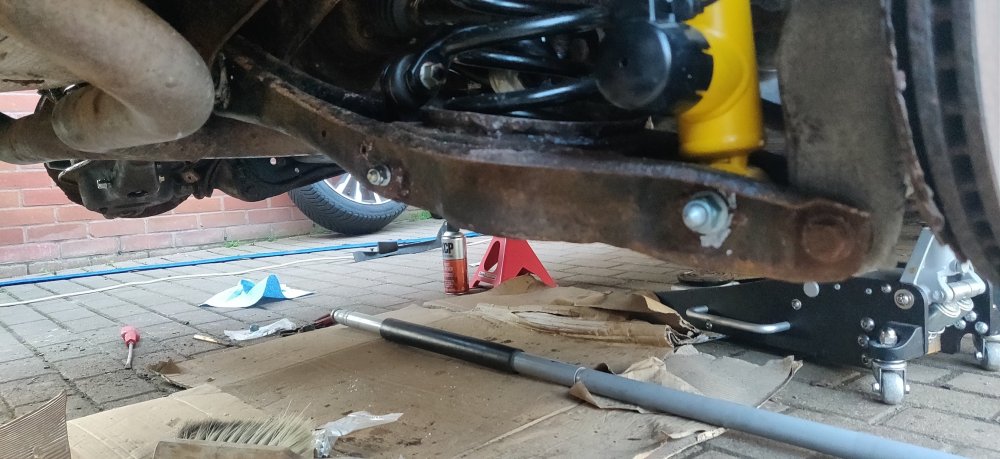
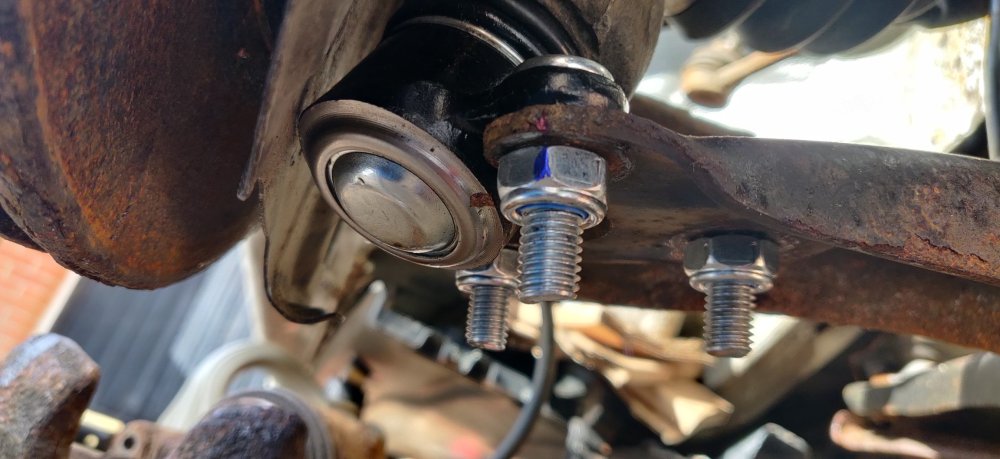
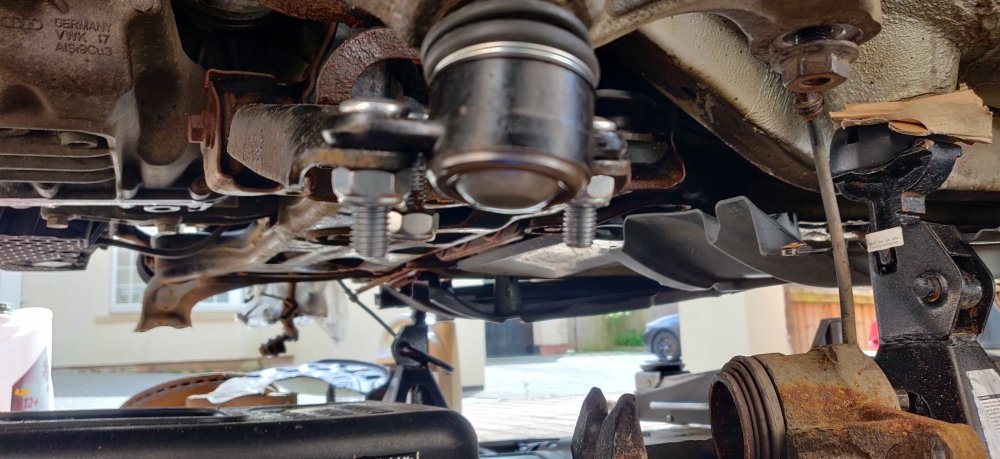
Really only this left: The driveshaft bolts. You can just about see I did the old sharpie to mark it, on the right of the bolt, with the aim of getting the bolt pointing downwards. This was fine up to 45 degrees: But after that point the 1/2" breaker bar was starting to bend uncomfortably, so got out the 3/4" breaker and the trolley jack levers to act as extensions: It's uncomfortable: It could well be one or two degrees shy, but honestly, I felt something or more likely, a limb was going to be in danger if I explored further. So before I got too excited: Had to clear out the driveway and sweep it all up: This won't entirely be the car, but given the amount of mud and crud under there, there was quite a bit to clean up. It was at this point that I went back into the house to get the cars that I noticed: Not the beers, but the aero covers for the lower arms! Maintenance: £2299.88 Upgrades: £1332.92 Miscellaneous: £697.20


-
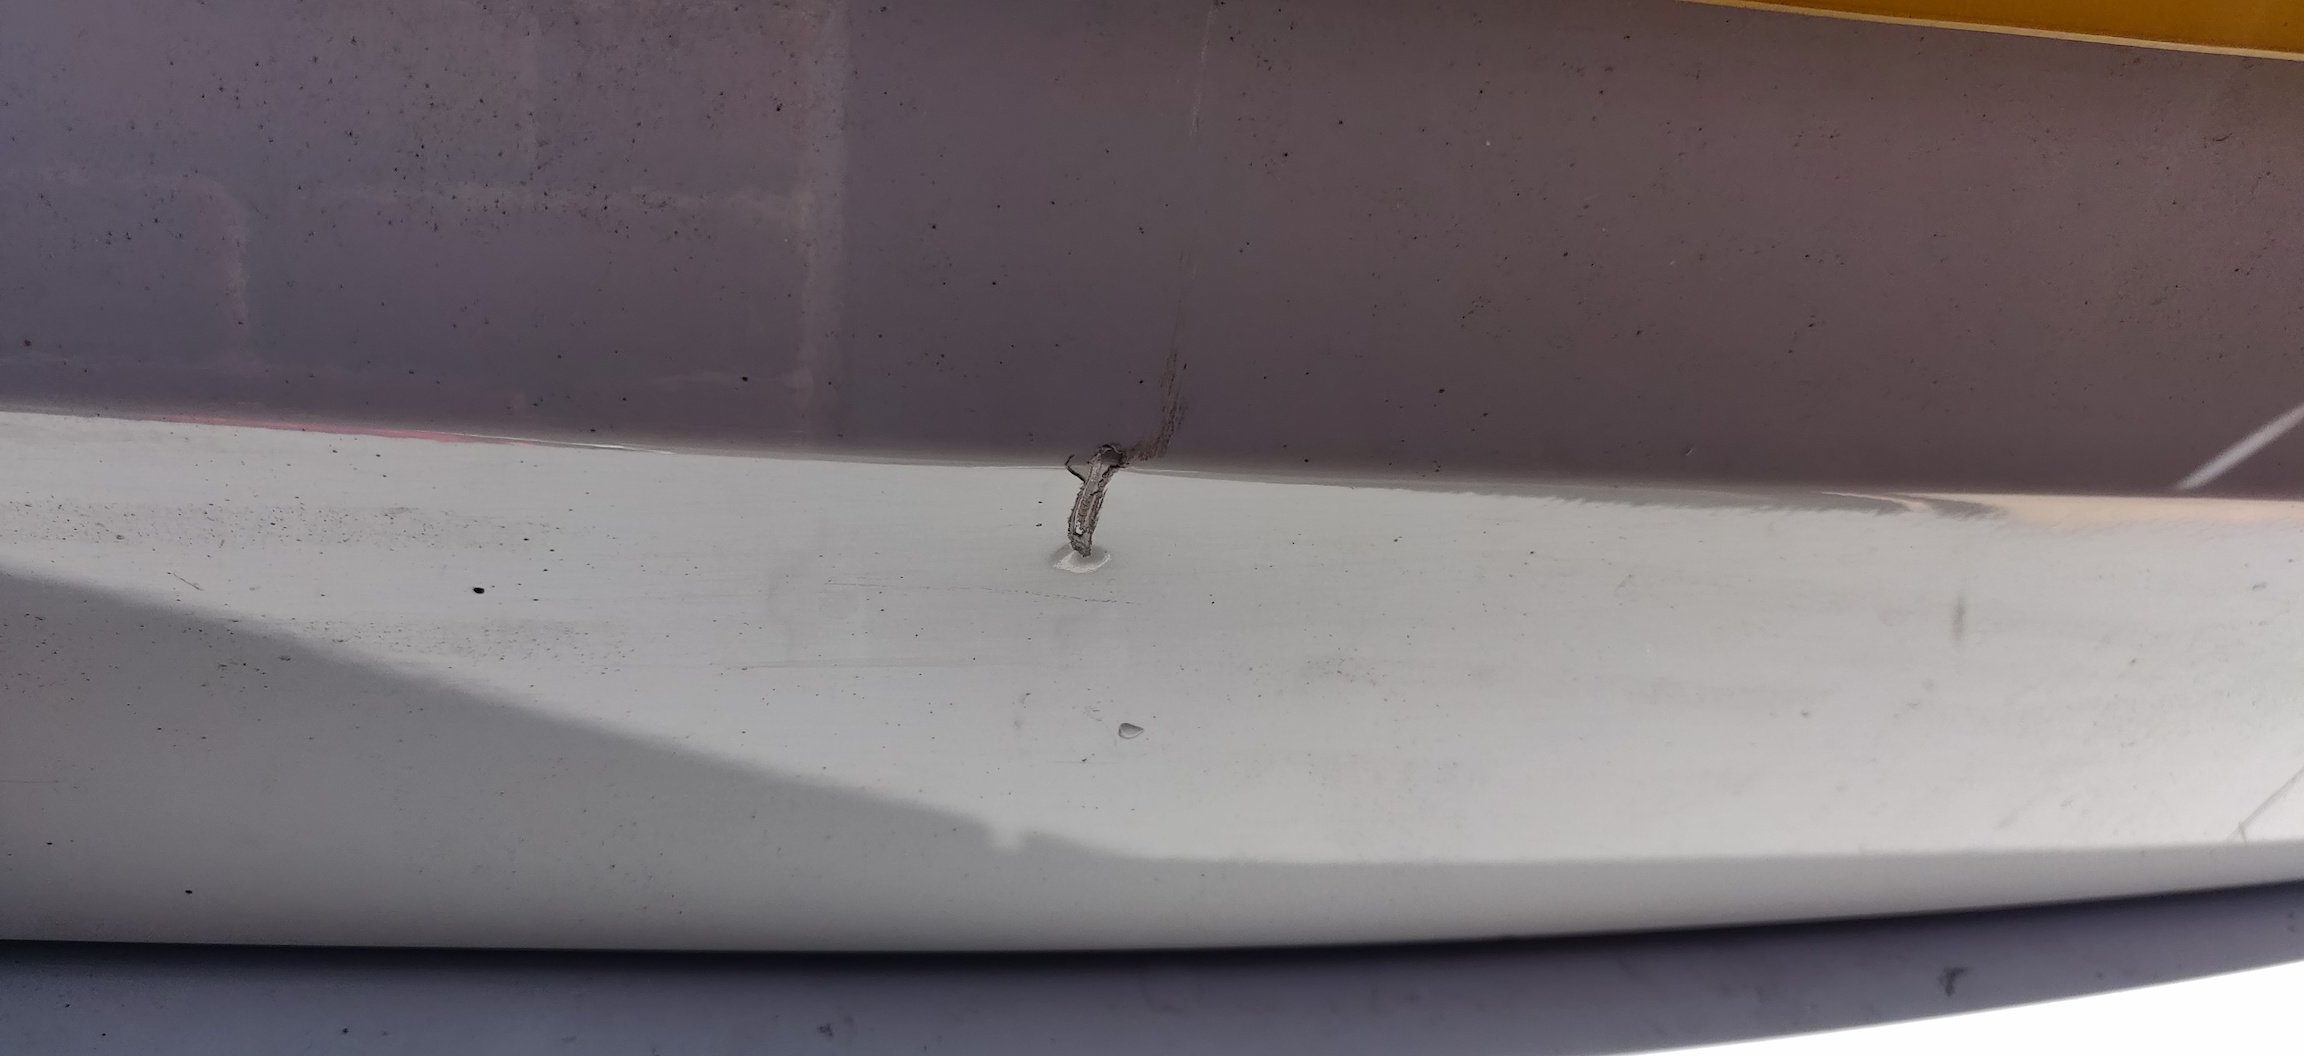
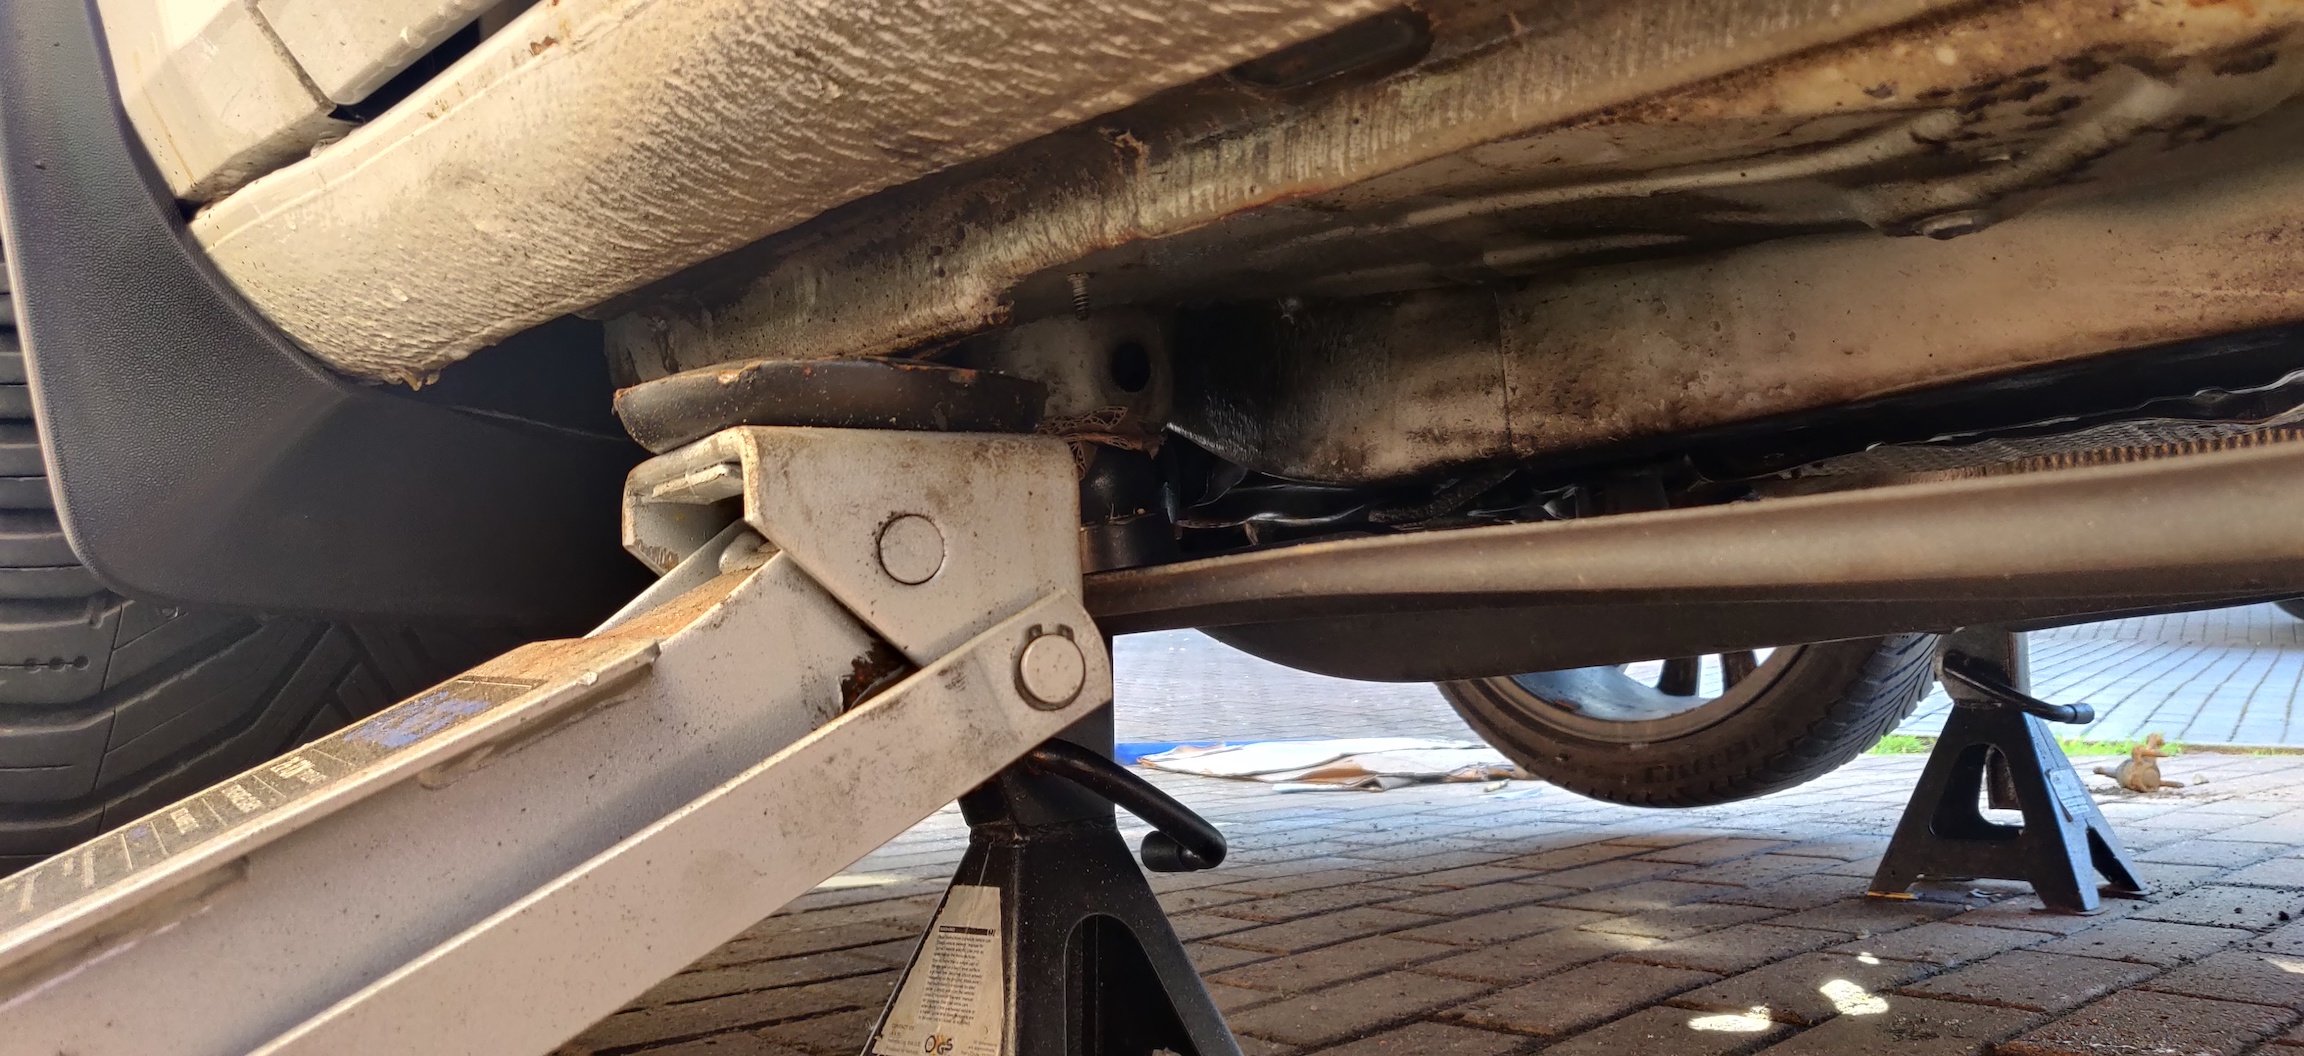
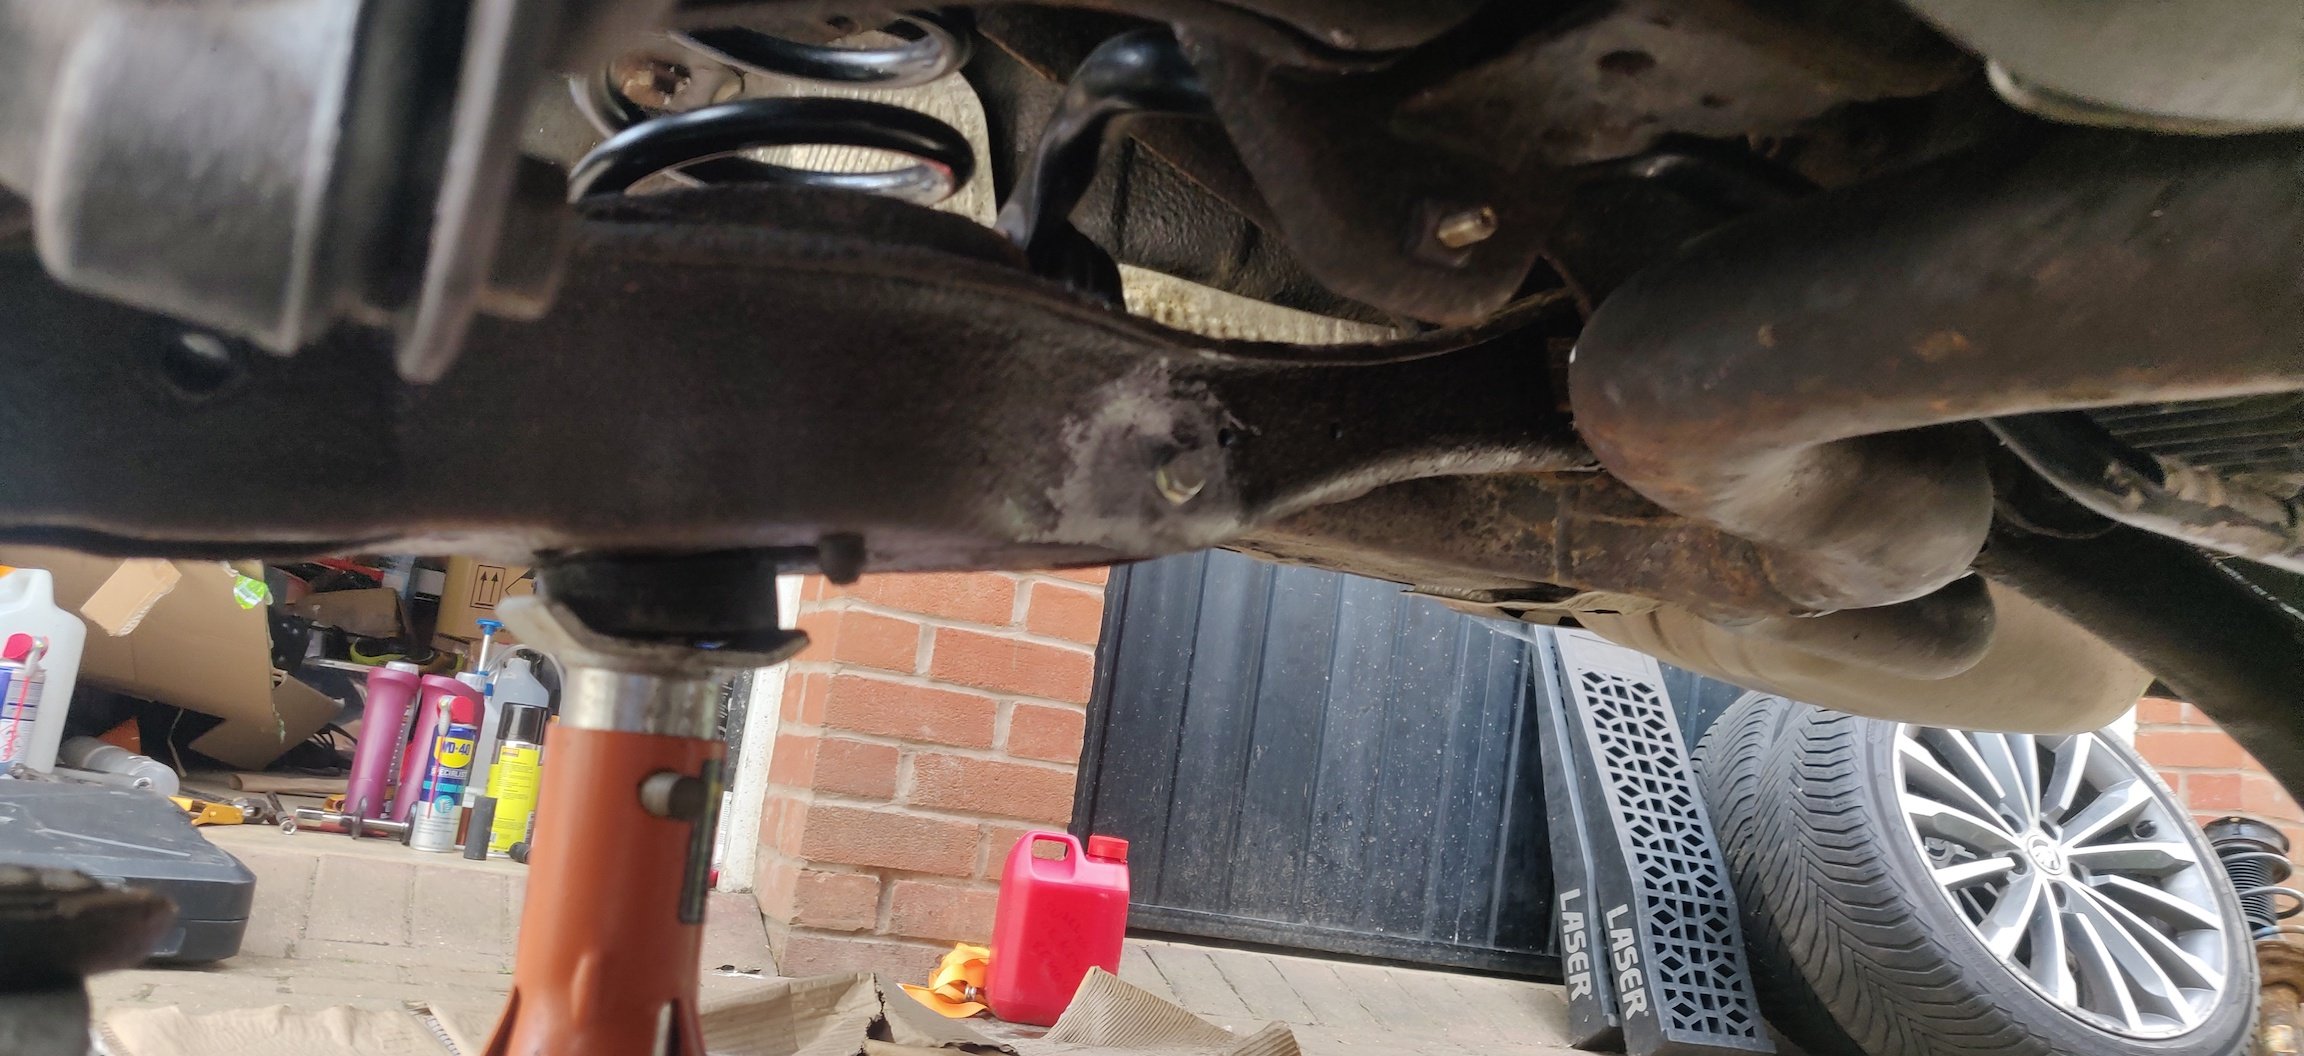
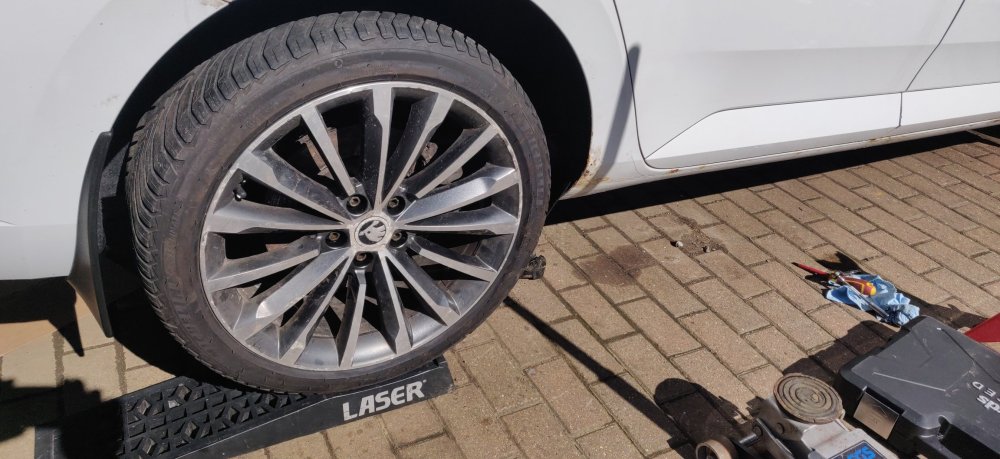
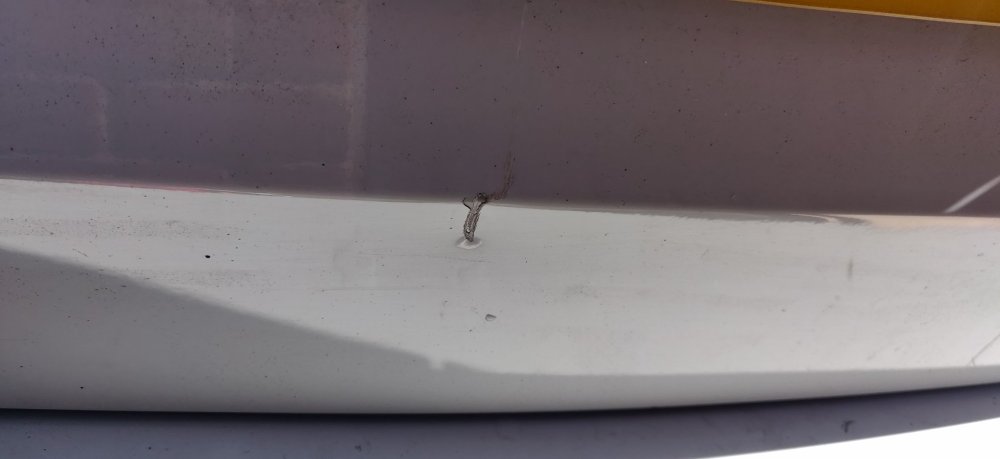
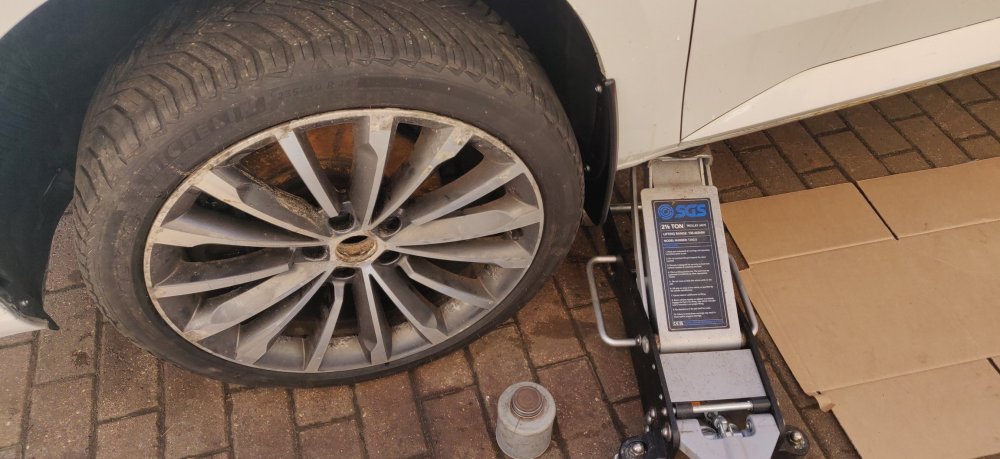
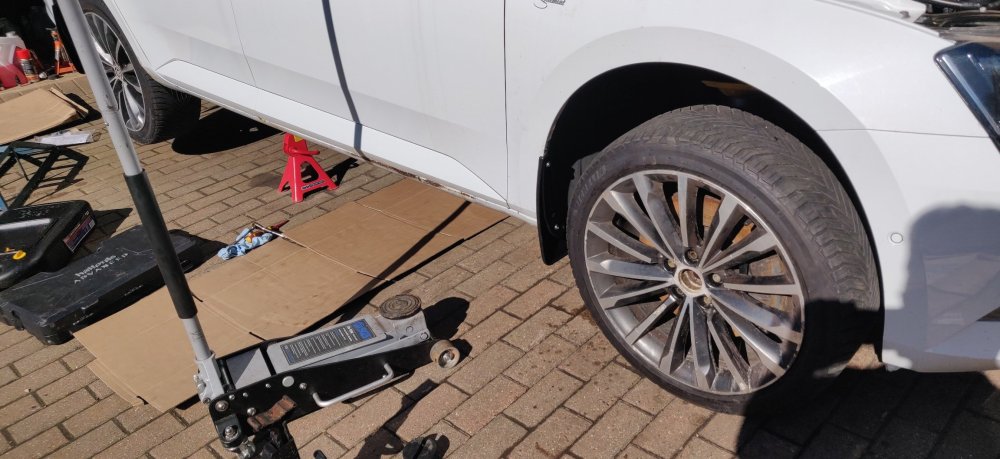
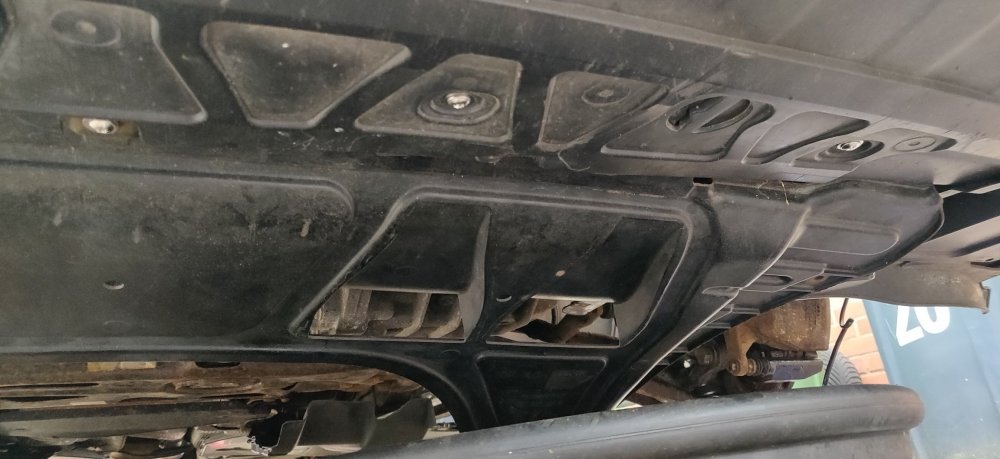
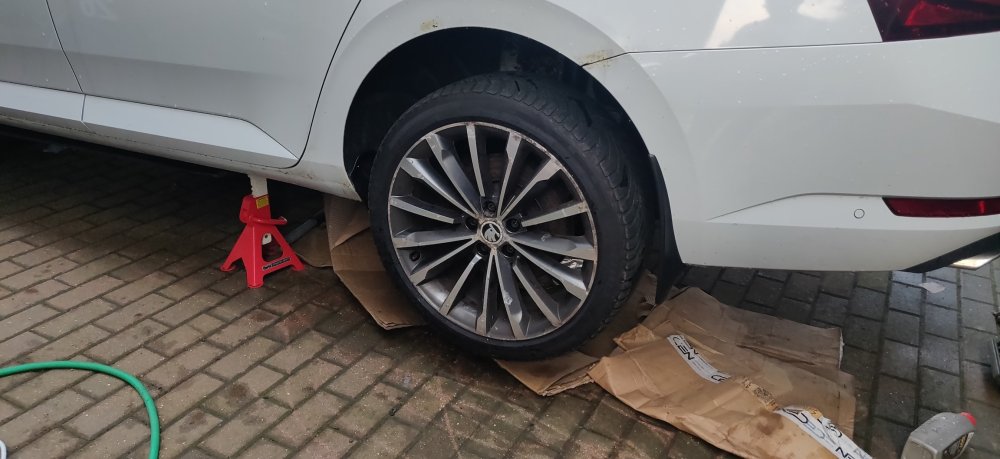
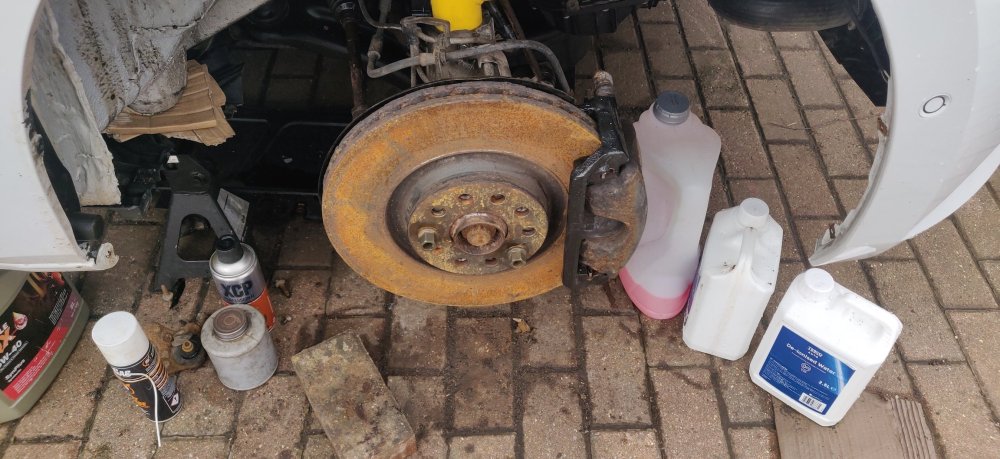
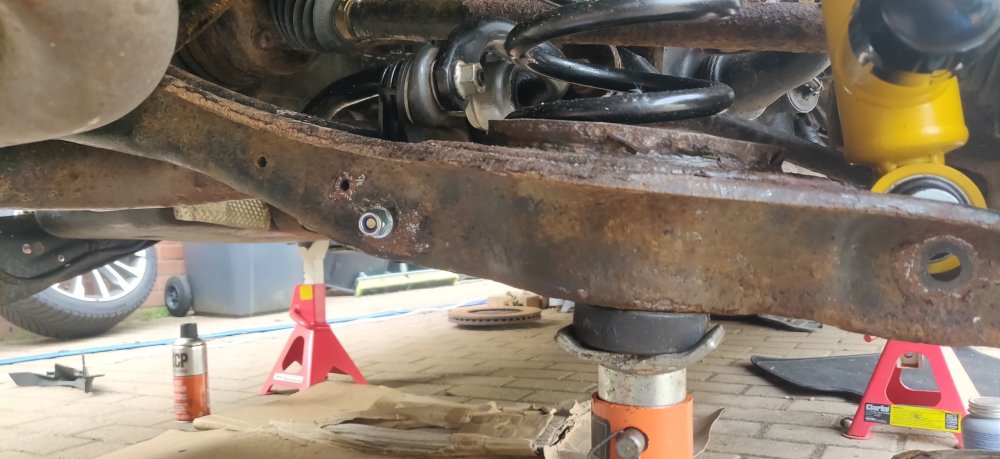
So the original plan was to get the rear wheels onto ramps, but as I jacked up the rear right, I noticed the other side axle stand start to angle and be on 2 legs instead of 4. The trolley jack wasn't moving as it was lifting as much, one of many reasons I hate block driveways. So lowered it and instead put it on lower profile ramps instead: Repeated for the other side: From there, if I needed to use the higher ramps, I could do so. It did look like enough clearance to get under though, and from there, with the weight of the car on the ground, could see things like the clearance on that left rear damper wire: Looked much less terrible than other angles I guess. So from there, tackled the easier bolts: This is anti roll bar links to the lower arm, 13mm bolt and nut. Because I deliberately used standard M8 8.8 bolts, swotted on the internet, suggesting 25-28Nm is standard torque ranges, so went and applied 26Nm on these. Similar bolts for the clamps, so other than needing an extension for the top: Just tightened to 26Nm, alternating between the two to try and clamp the bush down evenly. Unfortunately, this then happened: Basically put a scratch and tiny dent into the centre of the tailgate: Turns out the virtual pedal worked. As I was getting out from underneath and getting the bigger torque wrench, I guess my body was detected as a foot and the tailgate started to raise, but with my garage door open and in the vicinity, the tailgate got caught on the door, leaving this and the tailgate giving a long beep about it not opening fully. I'll just dab some touch up paint for now, and assess whether I get it sorted properly. At least the virtual pedal works. So lowered the tailgate, closed the garage door, and then reopened the tailgate. Don't open the garage door fully in the interim. Back to the original programme: The rear damper lower bolt and nut were next, 18mm for nut and bolt. These are done to 70Nm first, was able to do so with the space available. Once done, got back out to get the breakers, but before that: Decided to distract myself by installing the upper tailgate trim. Some of the metal spring clips were falling off, so resorted to duct tape to keep them in place before clipping it back in and fitting the two screws for the underneath of it. Then, got a sharpie: Similar business to the strut bolts, where I marked a place on the nut and the intended destination as it were. For the right side, the spanner was able to counterhold against the lower arm itself, so got the breaker and eventually: I had to resort to taking the socket off the breaker bar every now and then and re insert at 90 degrees to get the socket back onto the nut as it was tightened. For the other side, was not able to get the swing on the breaker for whatever reason, so jacked it up higher and onto the other ramps. Same deal, but the counterholding was now against the tyre, so not sure if that was ok: Seemed to counterhold it sufficiently though: So marked up everything and well, that was that I think. For those that asked, this is the left brake cover: This is the right brake cover: Probably par for the course I feel. I don't think many people take off the rear brake discs to give them a clean or rust treatment, more so if a computer is needed to disengage the parking brake, so I usually expect them to be missing circa 10-12 years of age. Anyways: Nothing stopping the rears being jacked up, ramps removed, and the rear wheels on the ground. So it took a couple of months, but the car is on terra firma. Maintenance: £2299.88 Upgrades: £1332.92 Miscellaneous: £697.20


-
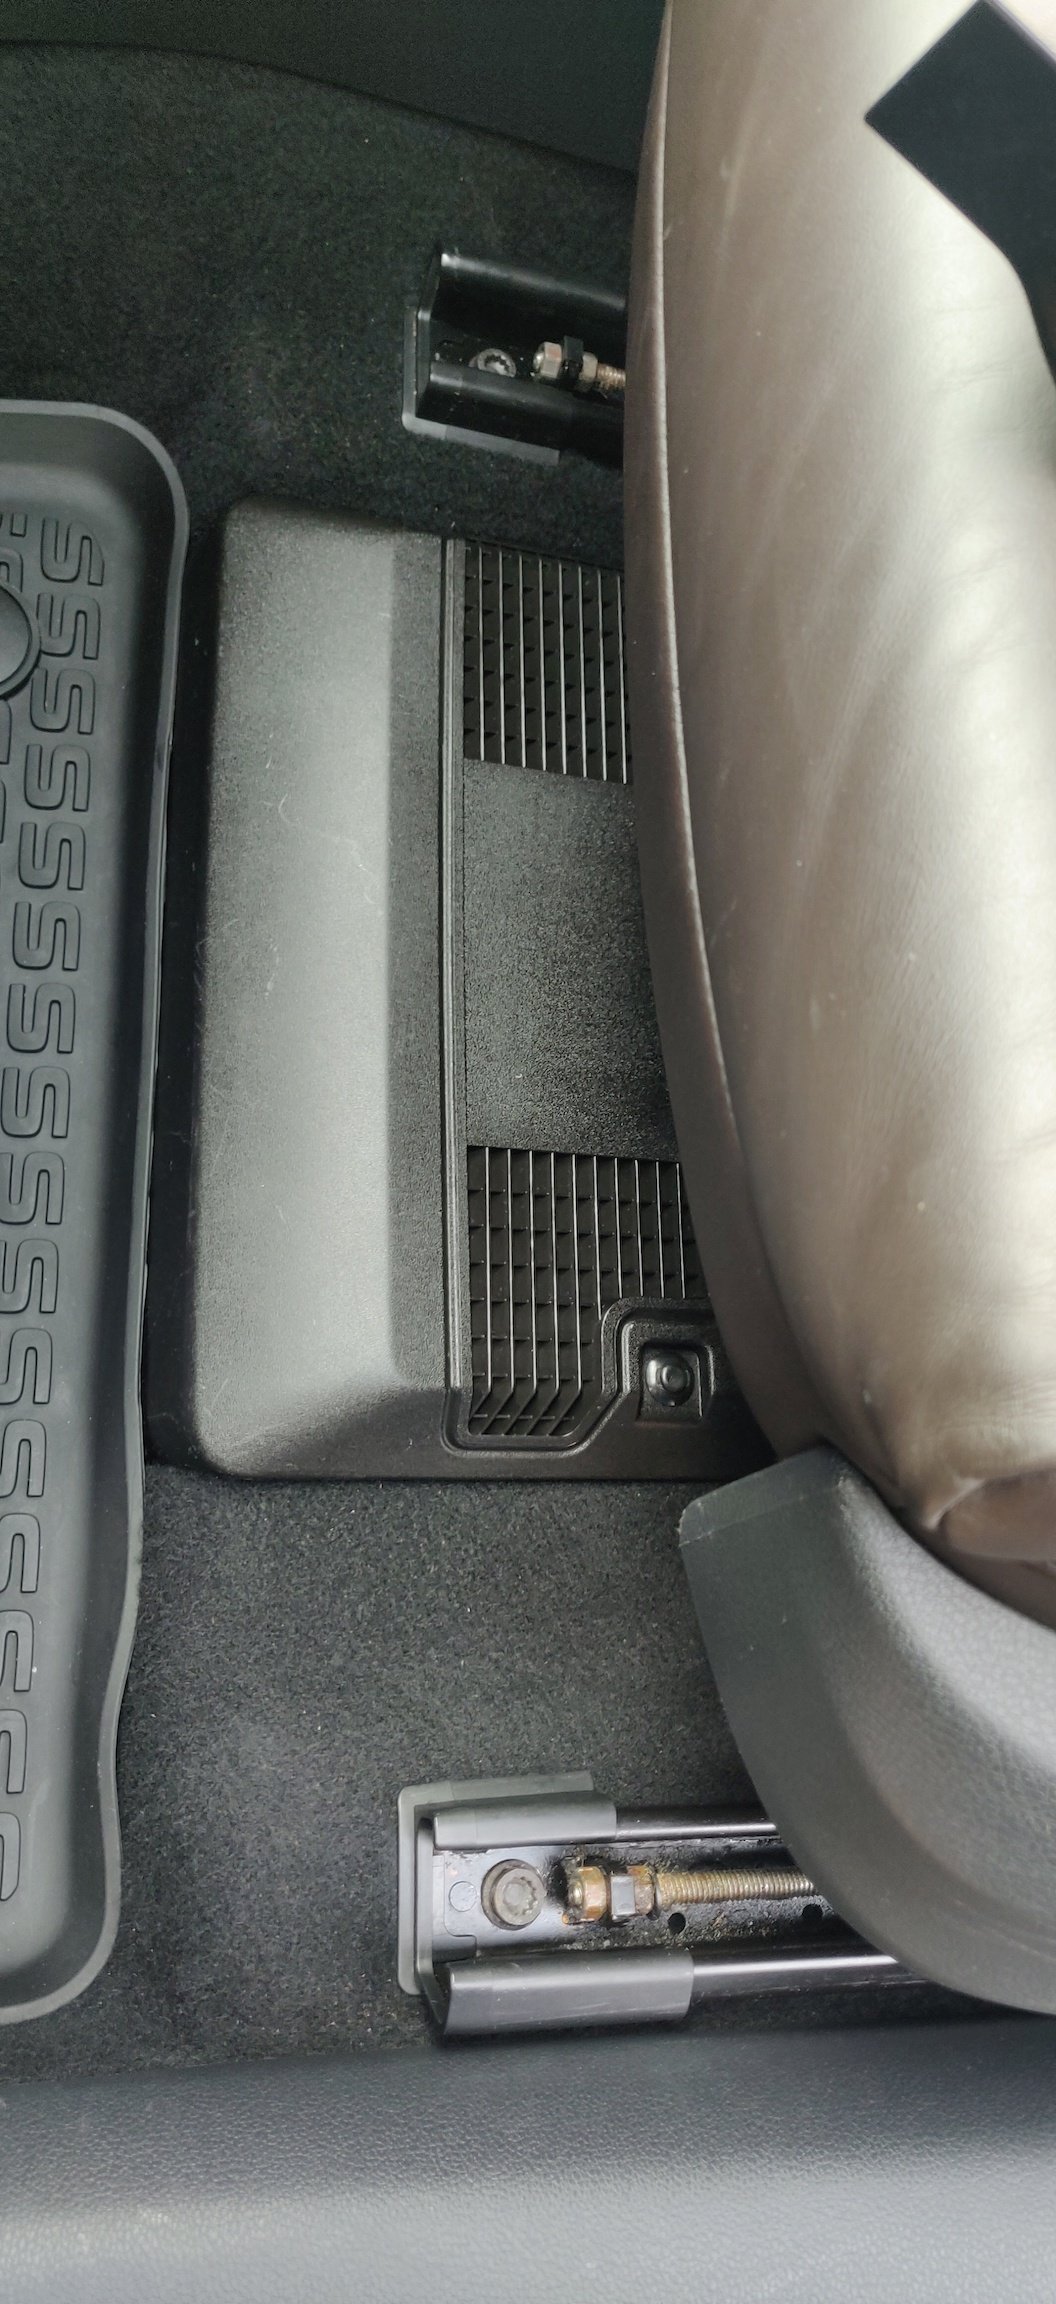
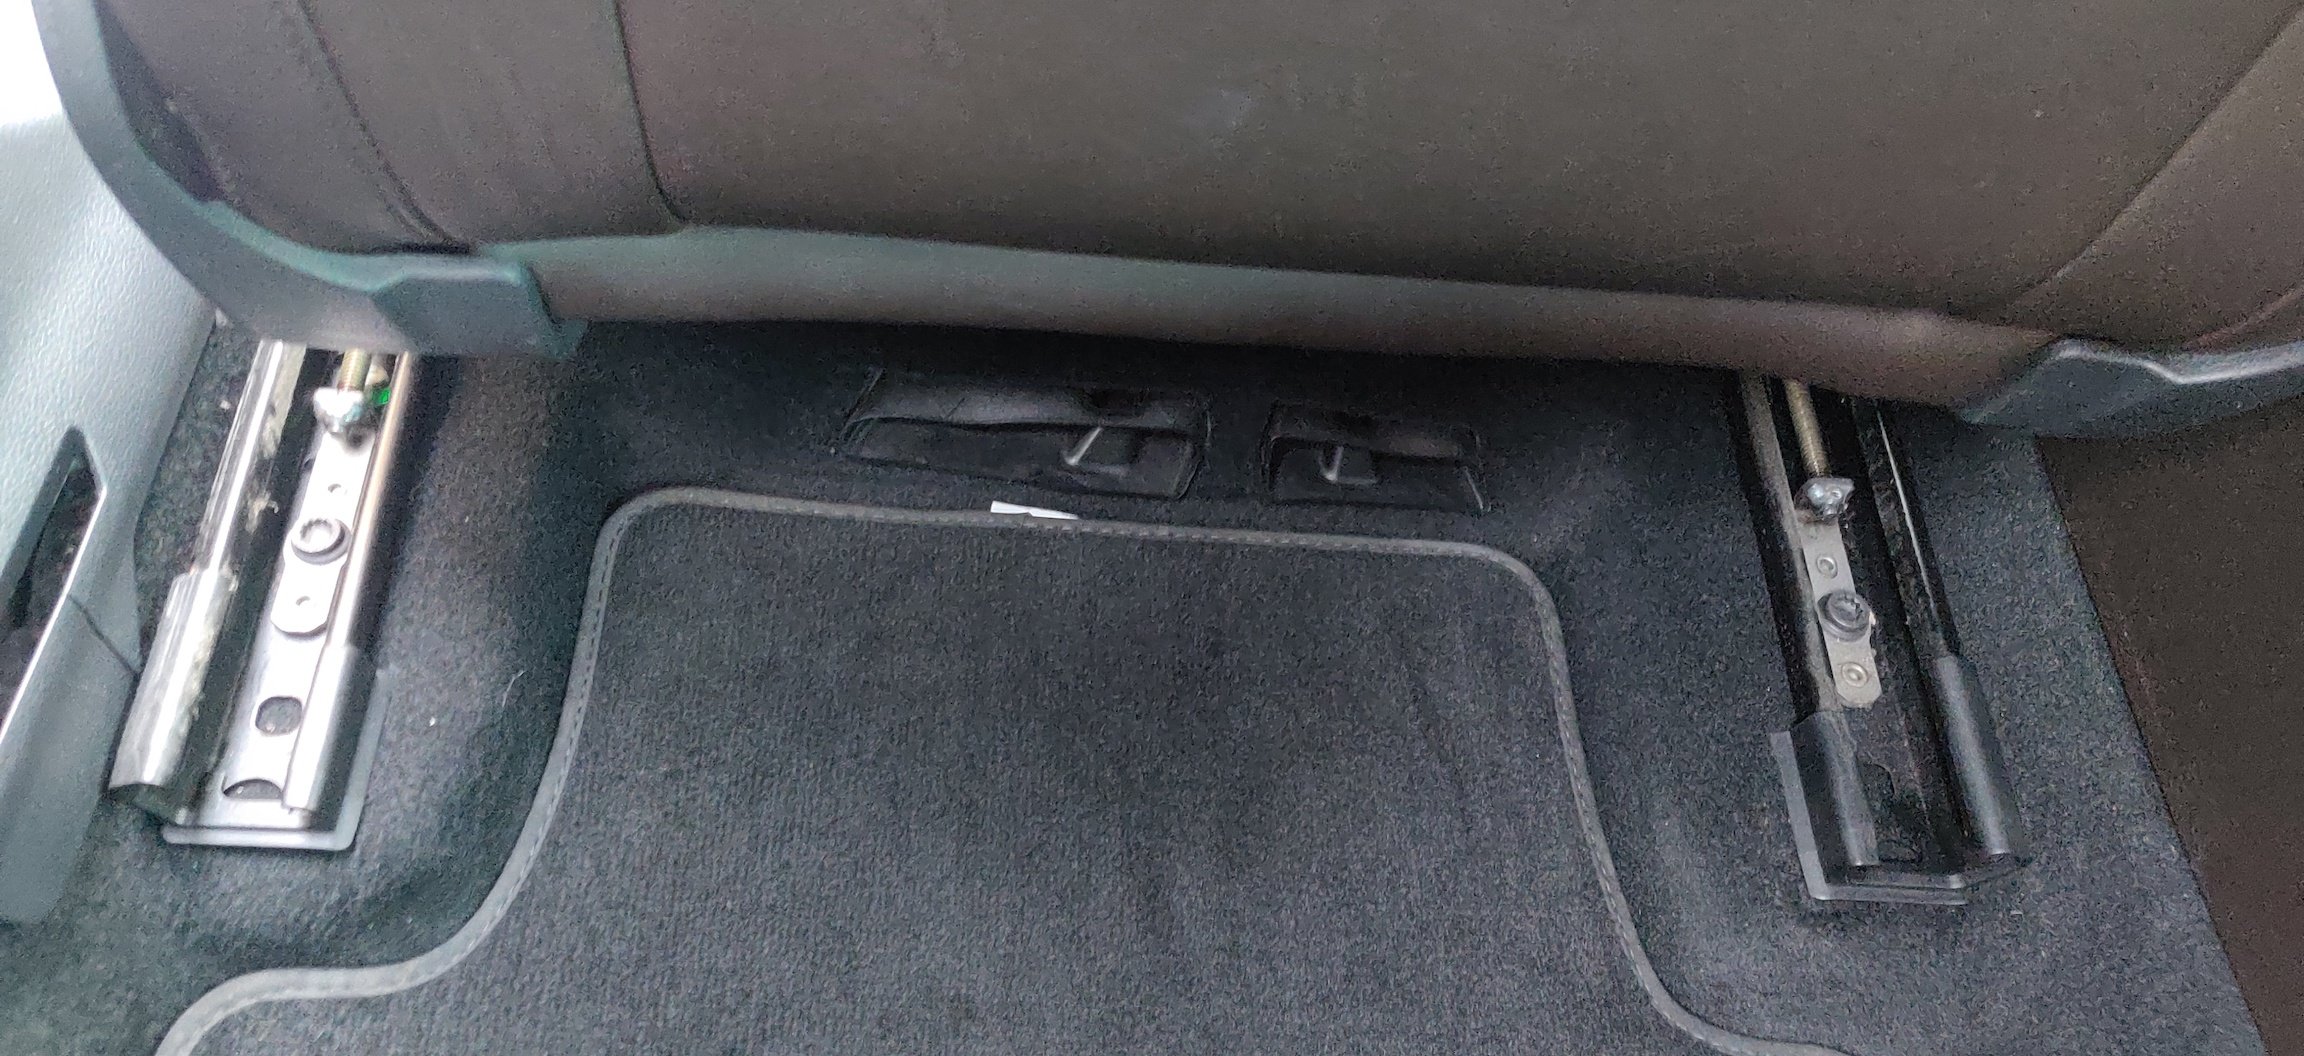
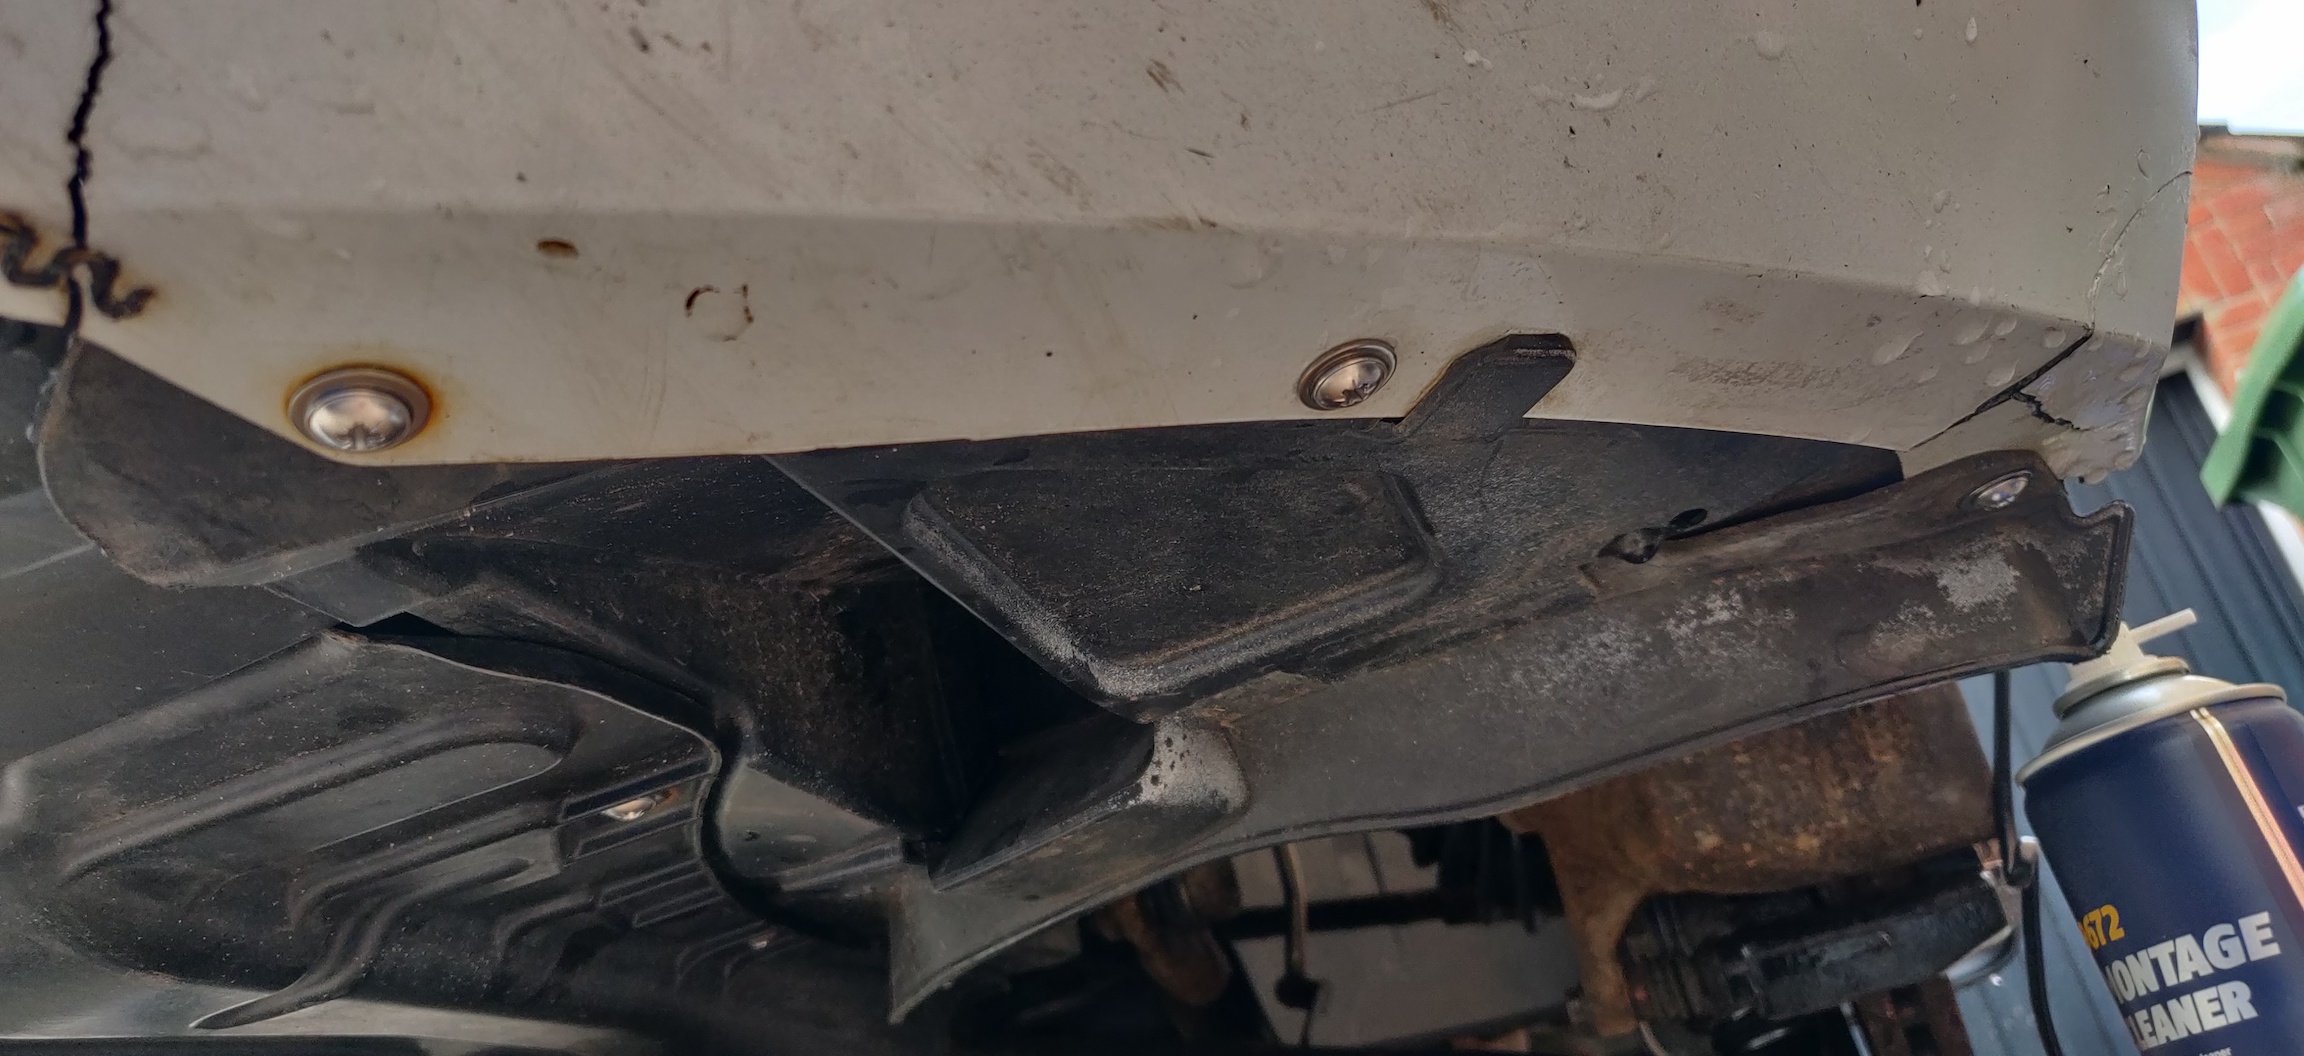
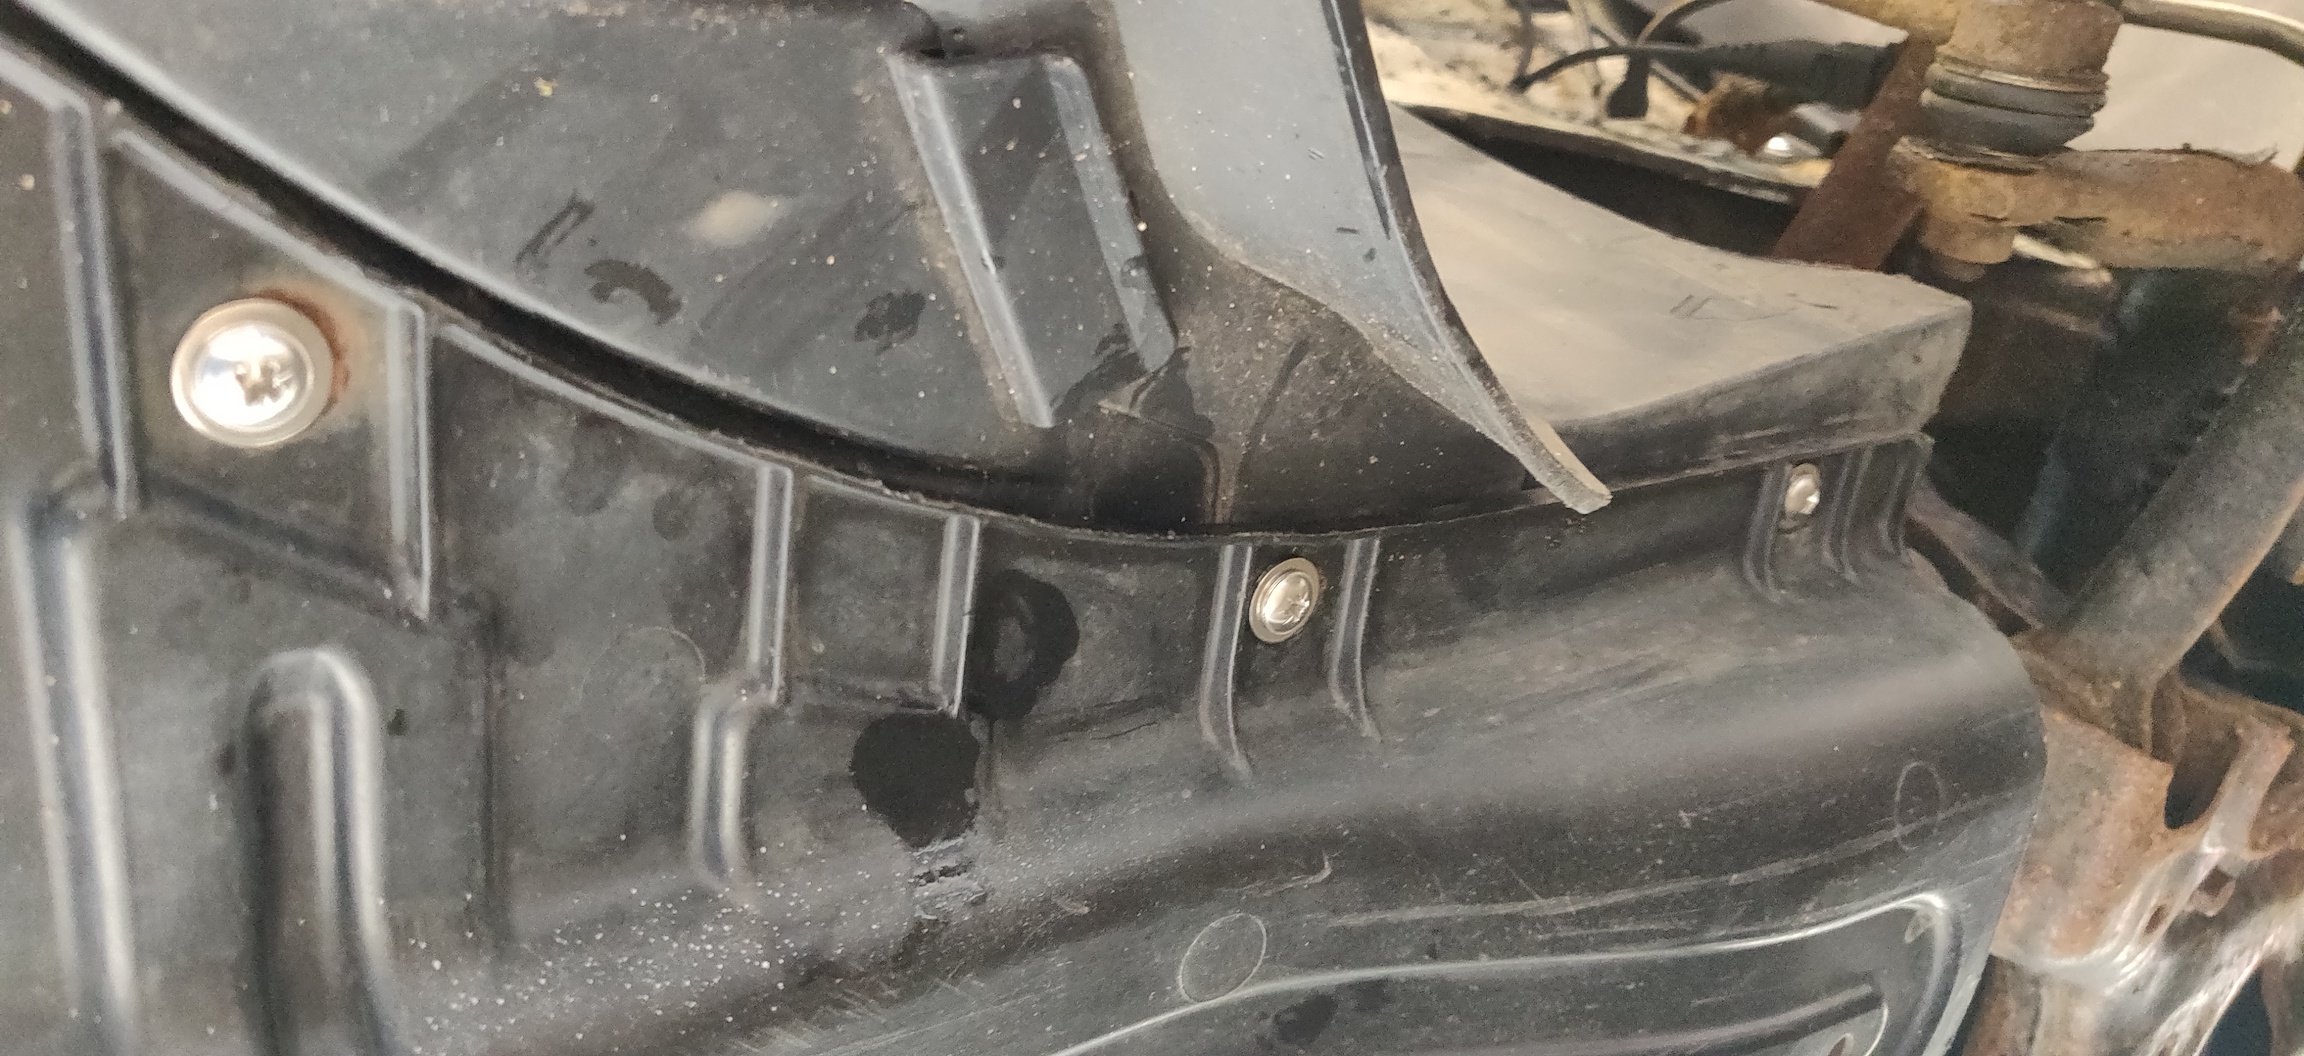
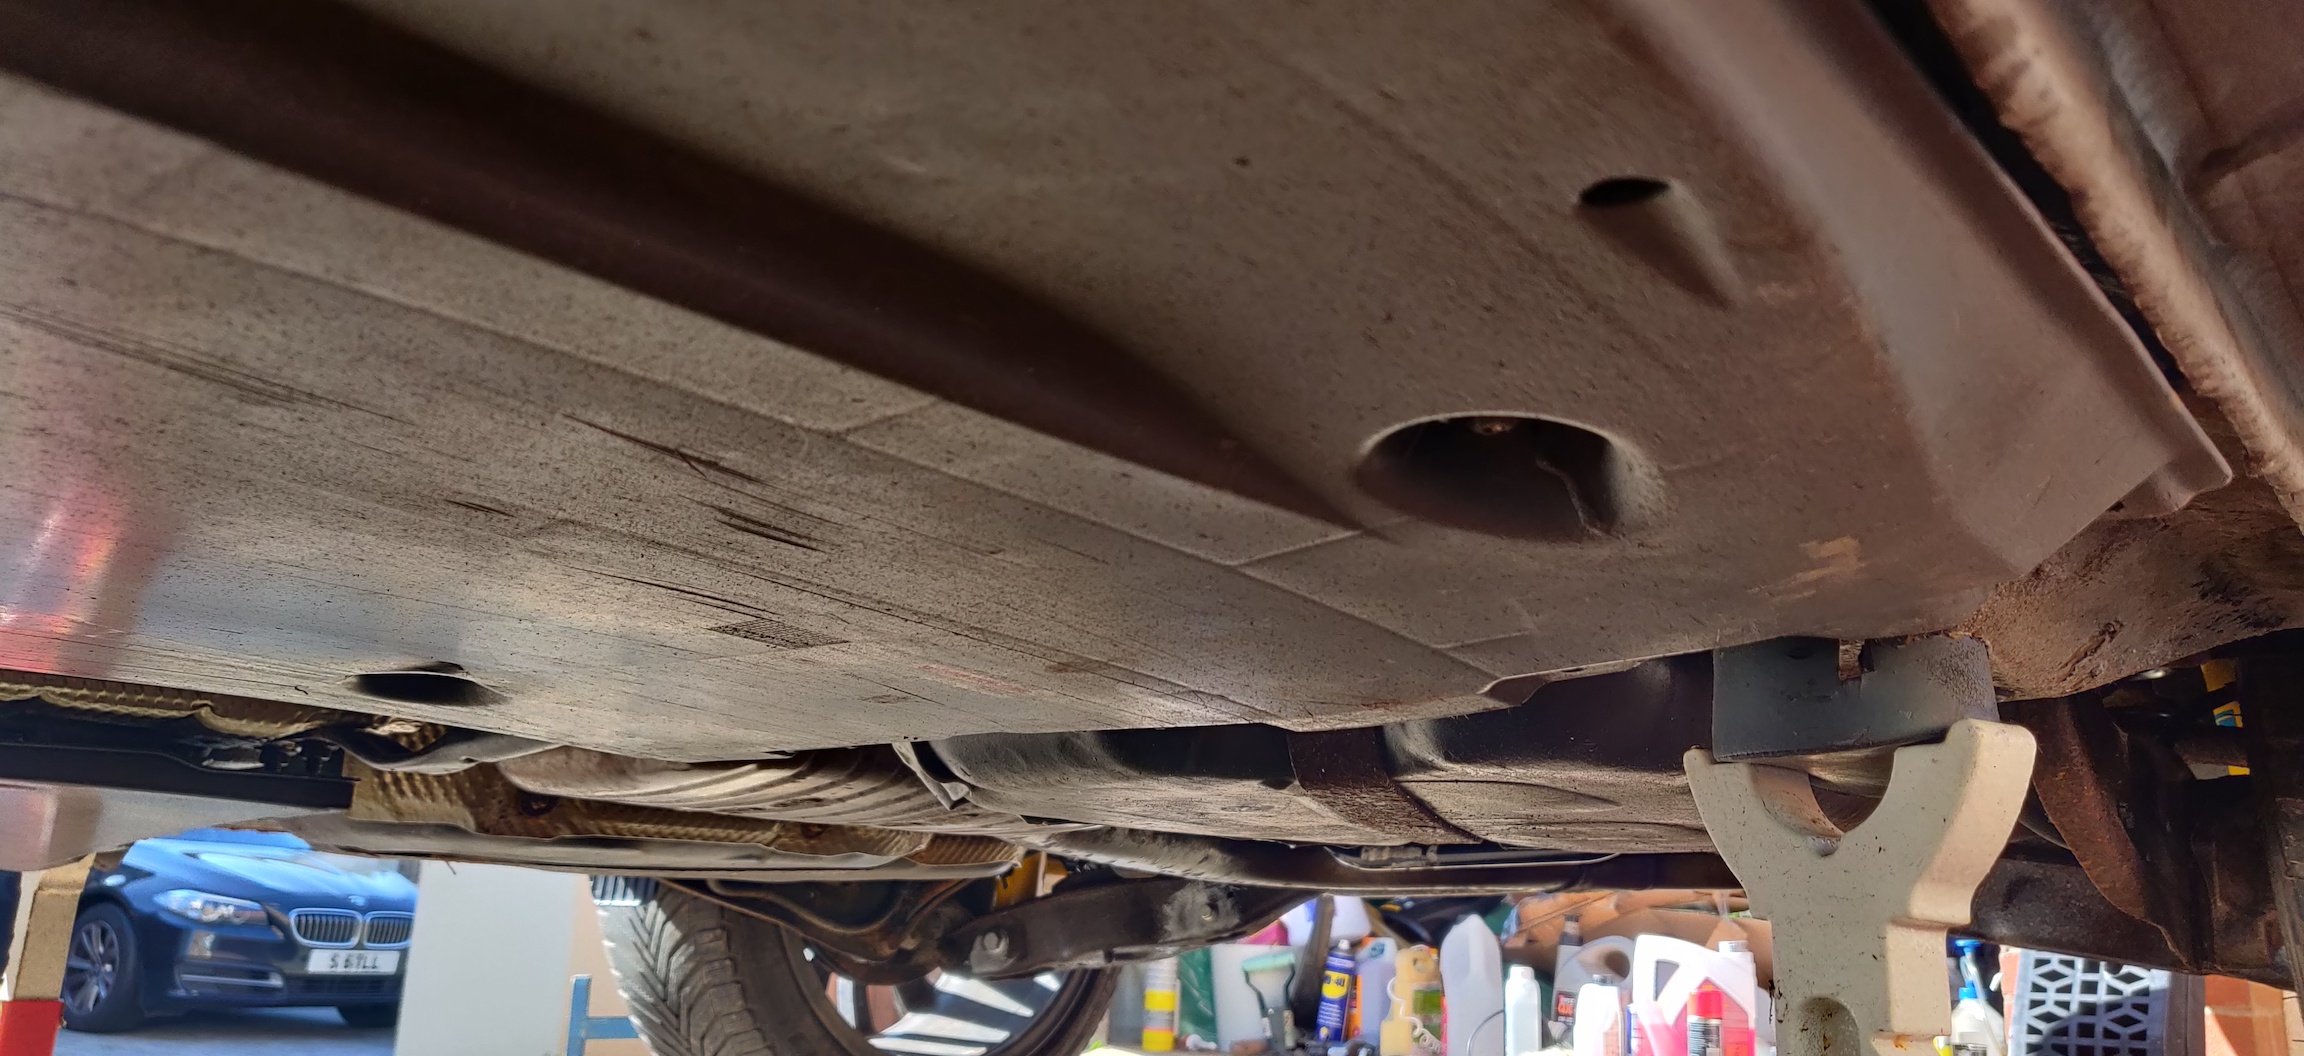
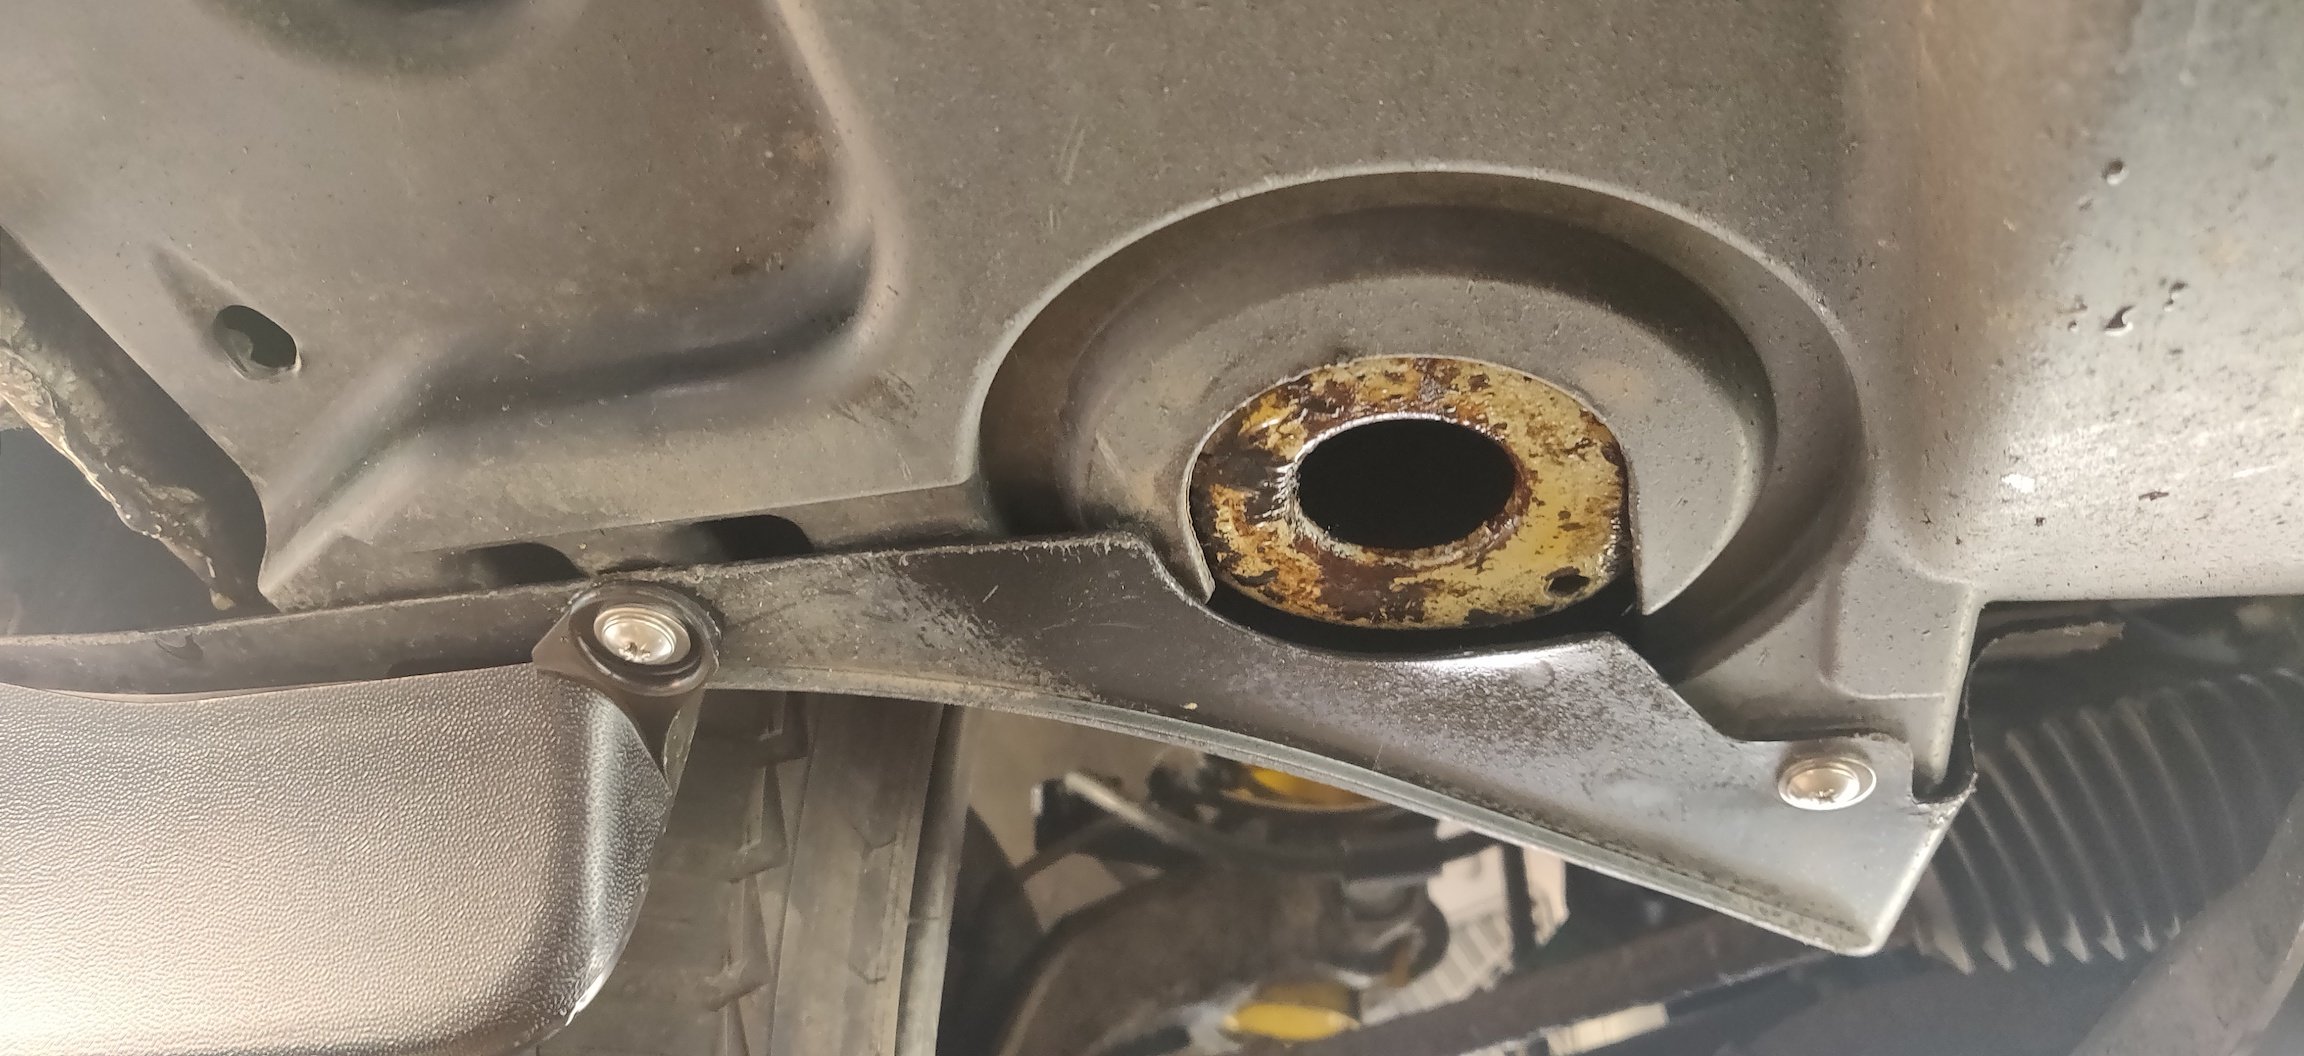
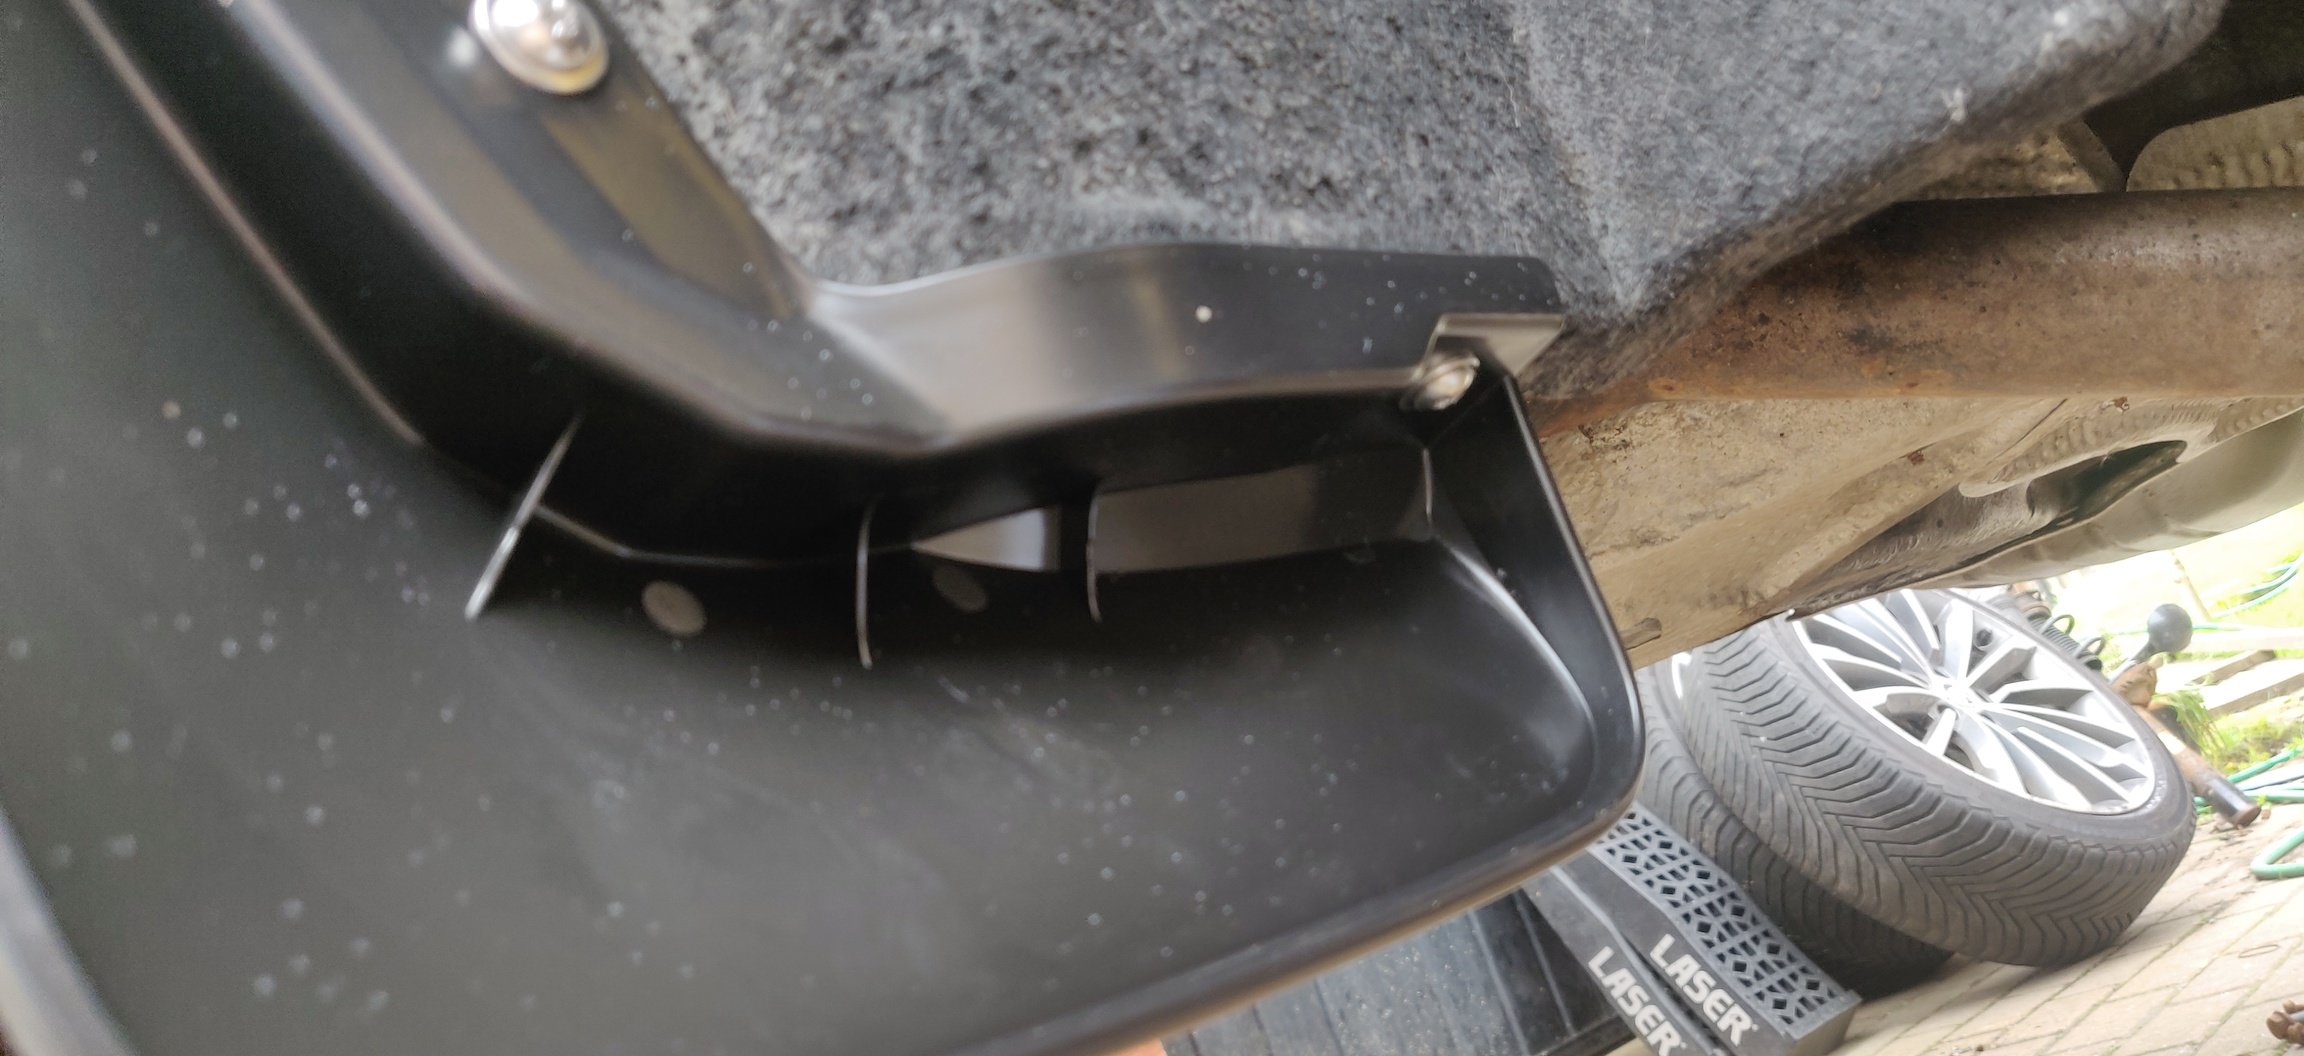
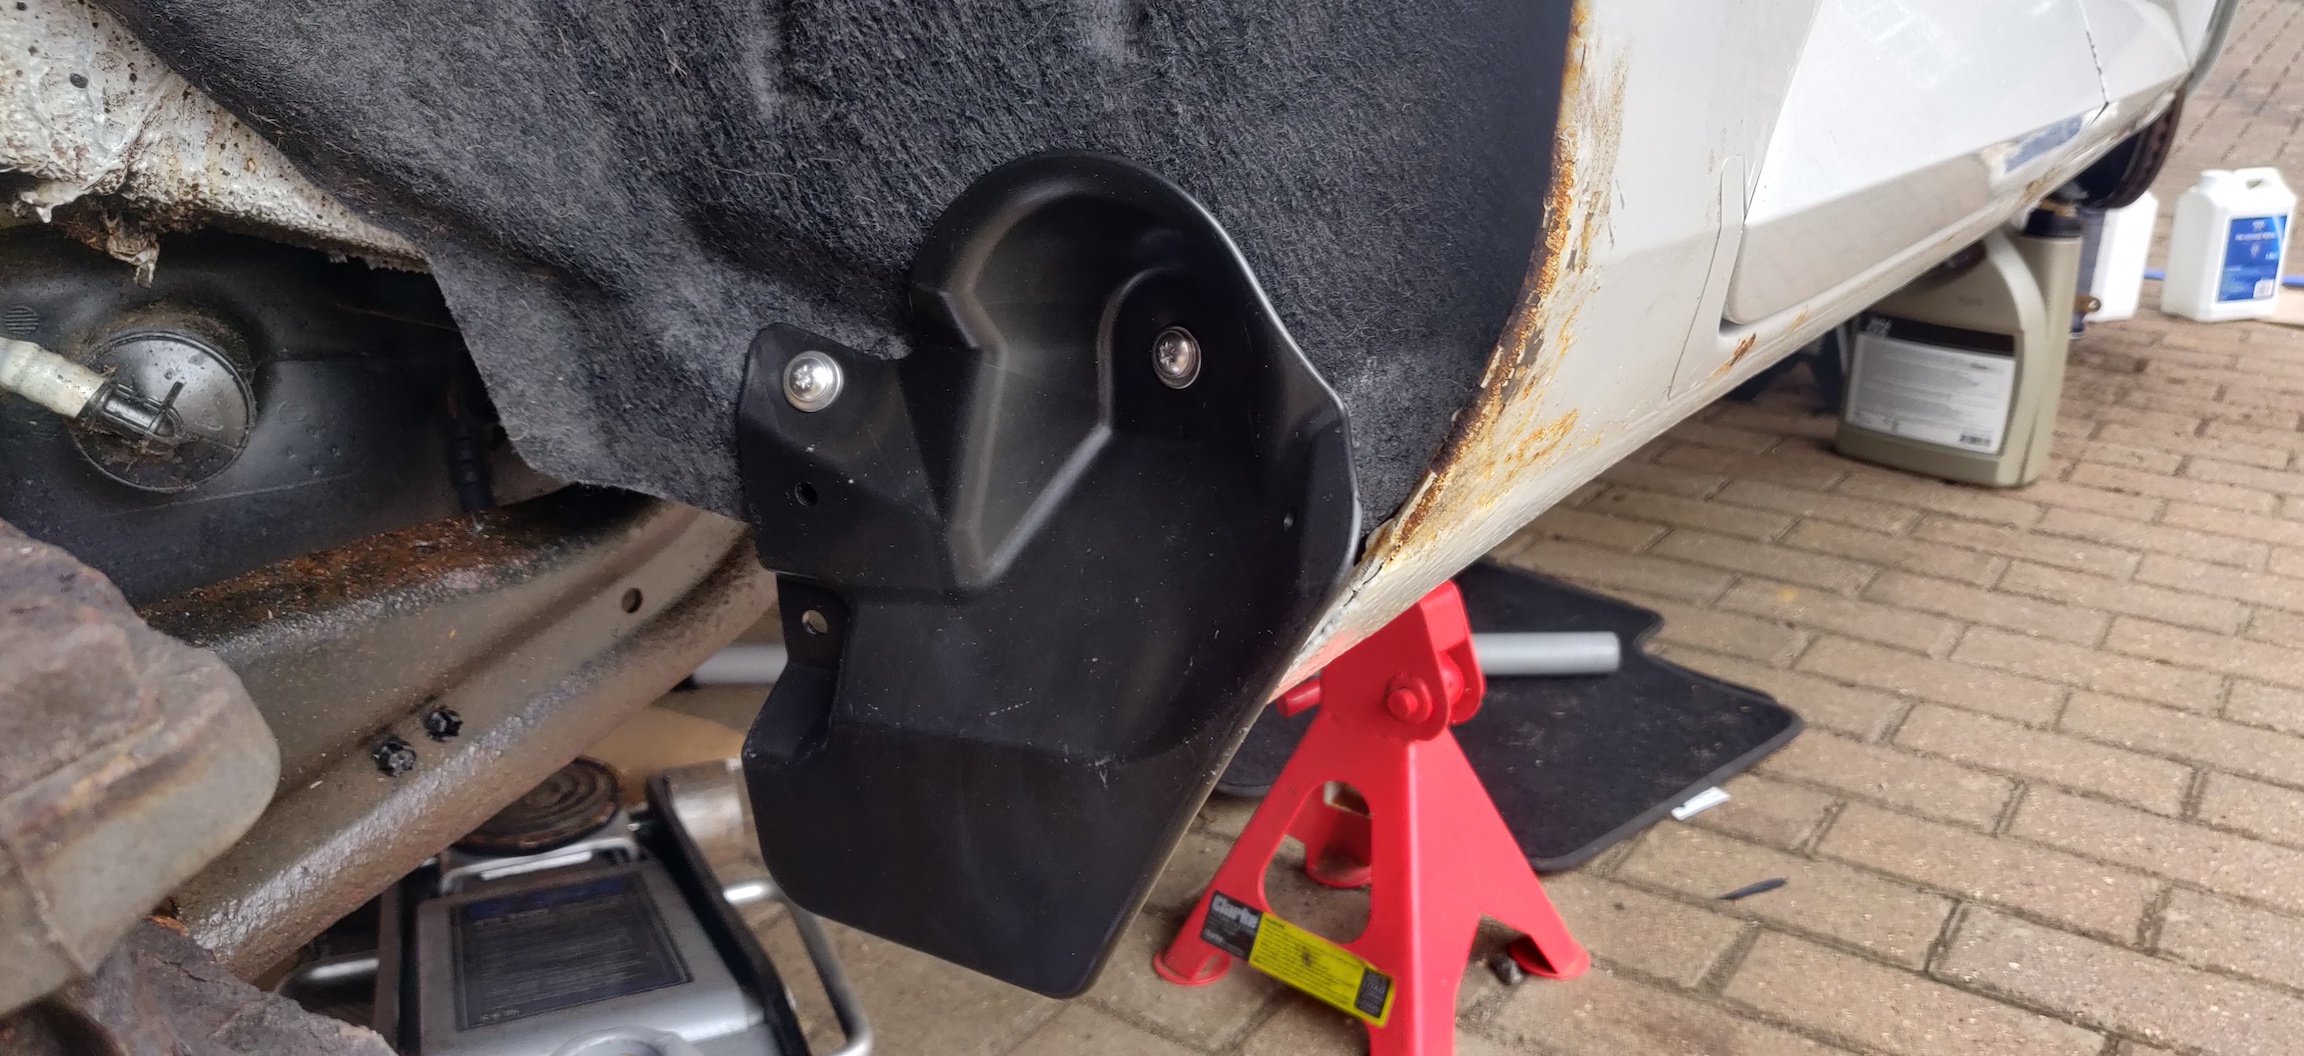
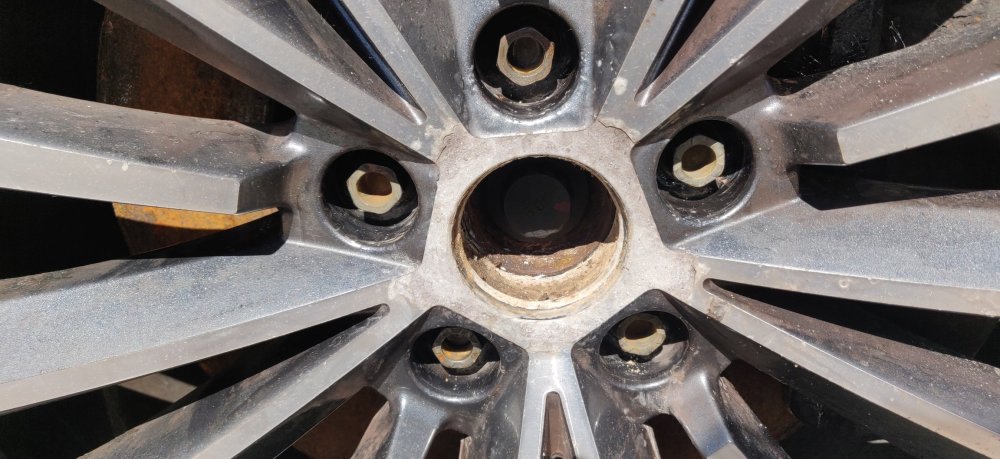
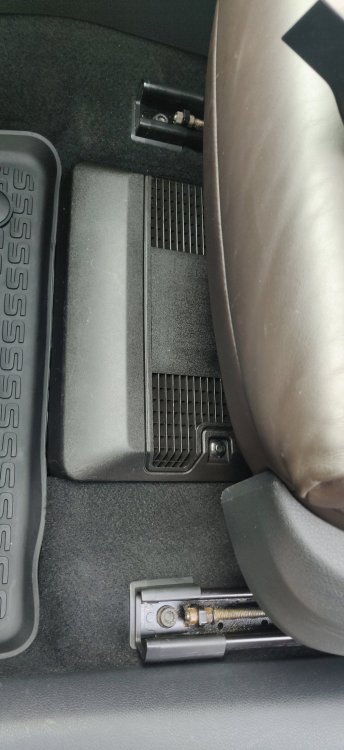
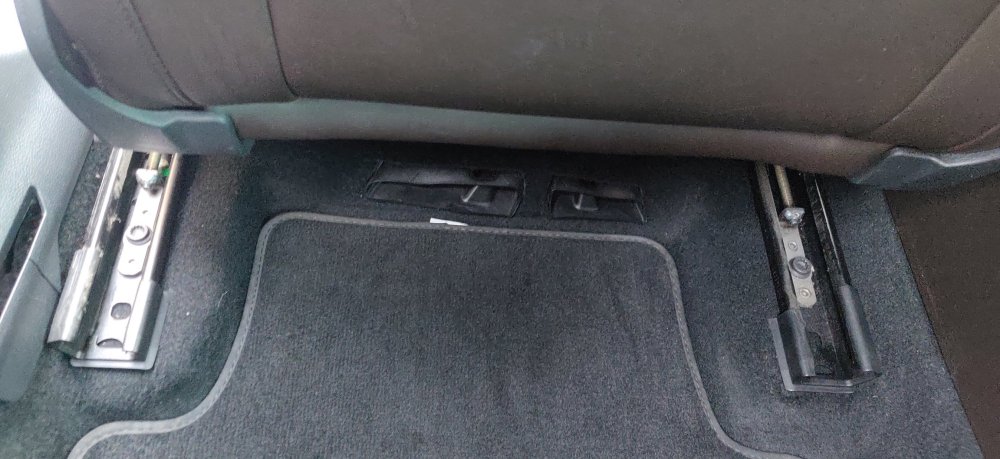
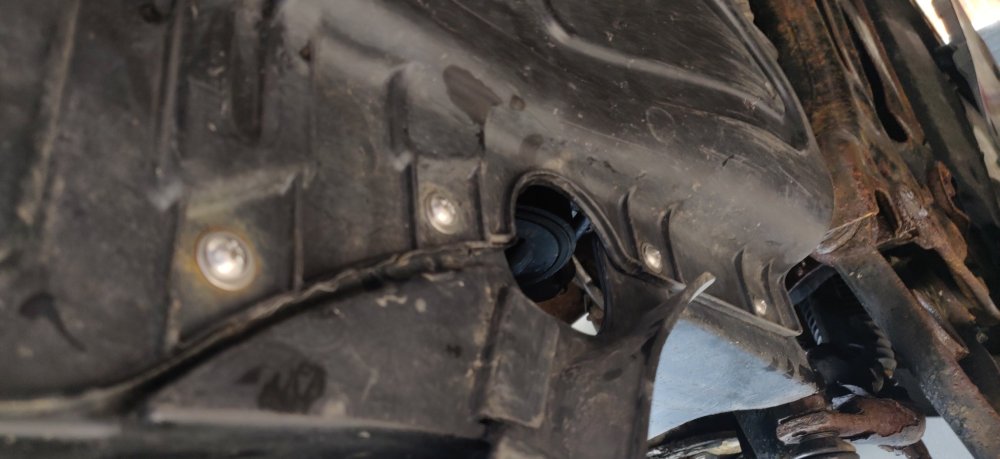
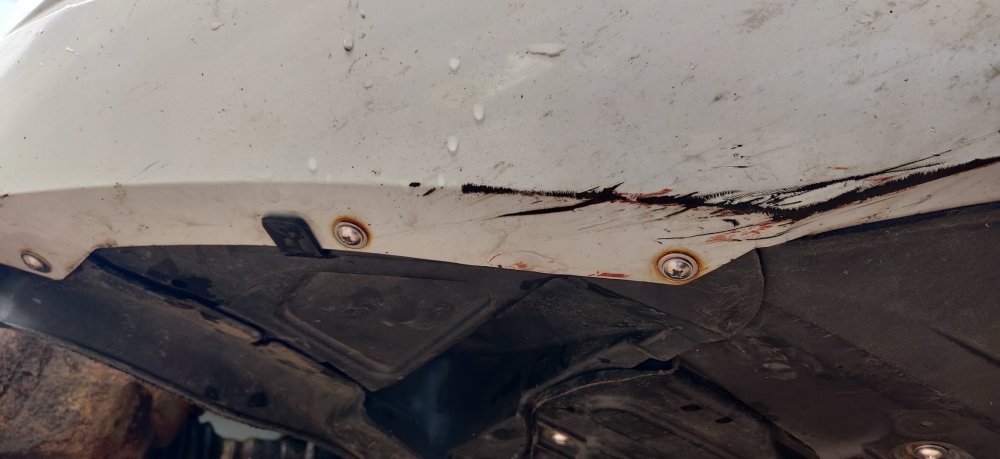
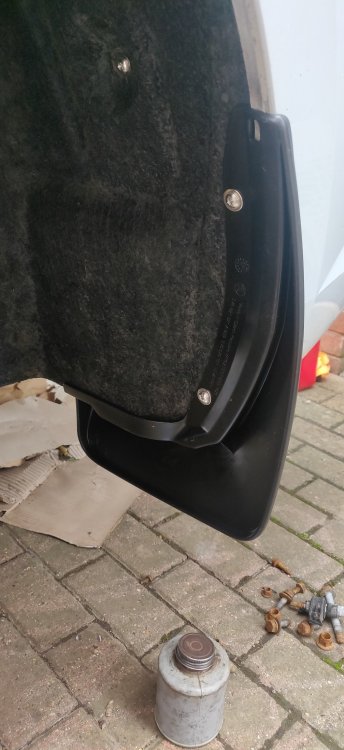
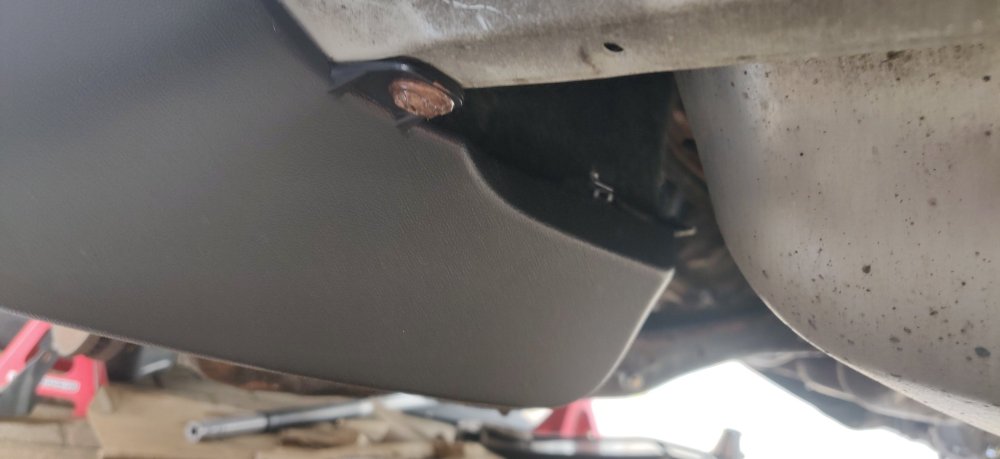
Could well be, I'll sort it out again sometime next week or so. Whats an extra £20 or so of more DSG oil in the grand scheme of things? It was a bit rainy Friday, so just did some quick things: Given the electrics were back on, made sense to sort out the seat bolts, so an M10 bolt and tightened to 40Nm: Then move the seats forward to do the same for the rear. So for the additional washers, I would either buy the same from eBay and wait until next week, or pay a bit more and get it quicker. It turned out to be £5.99 for 50, either via Amazon next day or from Screwfix, so was then a case of whether I'm bothering with driving to collect. Chose Amazon, as it arrived on Friday and can't do anything in the rain anyway. So come Saturday: Got started on the remainder of the front underside and wheel arch liner screws. This is the left corner, with aforementioned badger damage. There are three screws here for the liner to the bumper. The front undertray has an additional three to the liner as well: Then the one on the front lower with the spoiler lip and liner: Then just chased around the wheel arch to get the last remaining ones in: Remembered the new brake retaining clips: Ended up tapping them in with a hammer: Before going back to the ground for the right underside: This is the front right side, so unless the badger threw across and this is blood, this side has traded paint with something red: With that done, there's no reason to not put the wheels back on. So remembered the driveshaft bolts, and so tapped out the wheel centre caps with a rubber mallet and a drift: Gave the inside and the mating surfaces a good seeing with a wire brush and brake cleaner (mountains of aluminium dust and presumably rust from the driveshaft bolts). But other than a light coat of copper grease on said surfaces and bolts: Wheel is on. So jacked up that side on the sill: In order to free the axle stand and start getting that underside panel refitted proper: On the right side, jacking this part up was also enough to lift the rear axle slightly free, so was able to get the plastic panel aligned and fitted: It needs sliding underneath the mudflap: So one of those situations where it might have been easier if the mudflaps were installed after, but the wheels being on would have made that a bit more of a faff. The left side doesn't have a bung, and I'm not sure the jacking pads I have got are the correct ones for the Skoda Superb. I think I need the older ones, might have mentioned this before. The underside panel then has one more screw: This attaches to what appears to be a rear undertray piece aft of the engine: So with that, lowered the jack: Getting there. So repeated for the other side: Wheel installed, and jacked up. The mudflap and underside panel needed some wiggling to get the screw holes aligned on the right, as per the mudflap originally: But once done, that was it: The front wheels were on terra firma! Of course, with the previous post about checking the DSG oil level again, I'll have to figure out some easy way to get the car raised but level to recheck it all. I'll continue with a couple more posts as Saturday started to gain momentum at this point. Maintenance: £2299.88 (+£5.99) Upgrades: £1332.92 Miscellaneous: £697.20


-
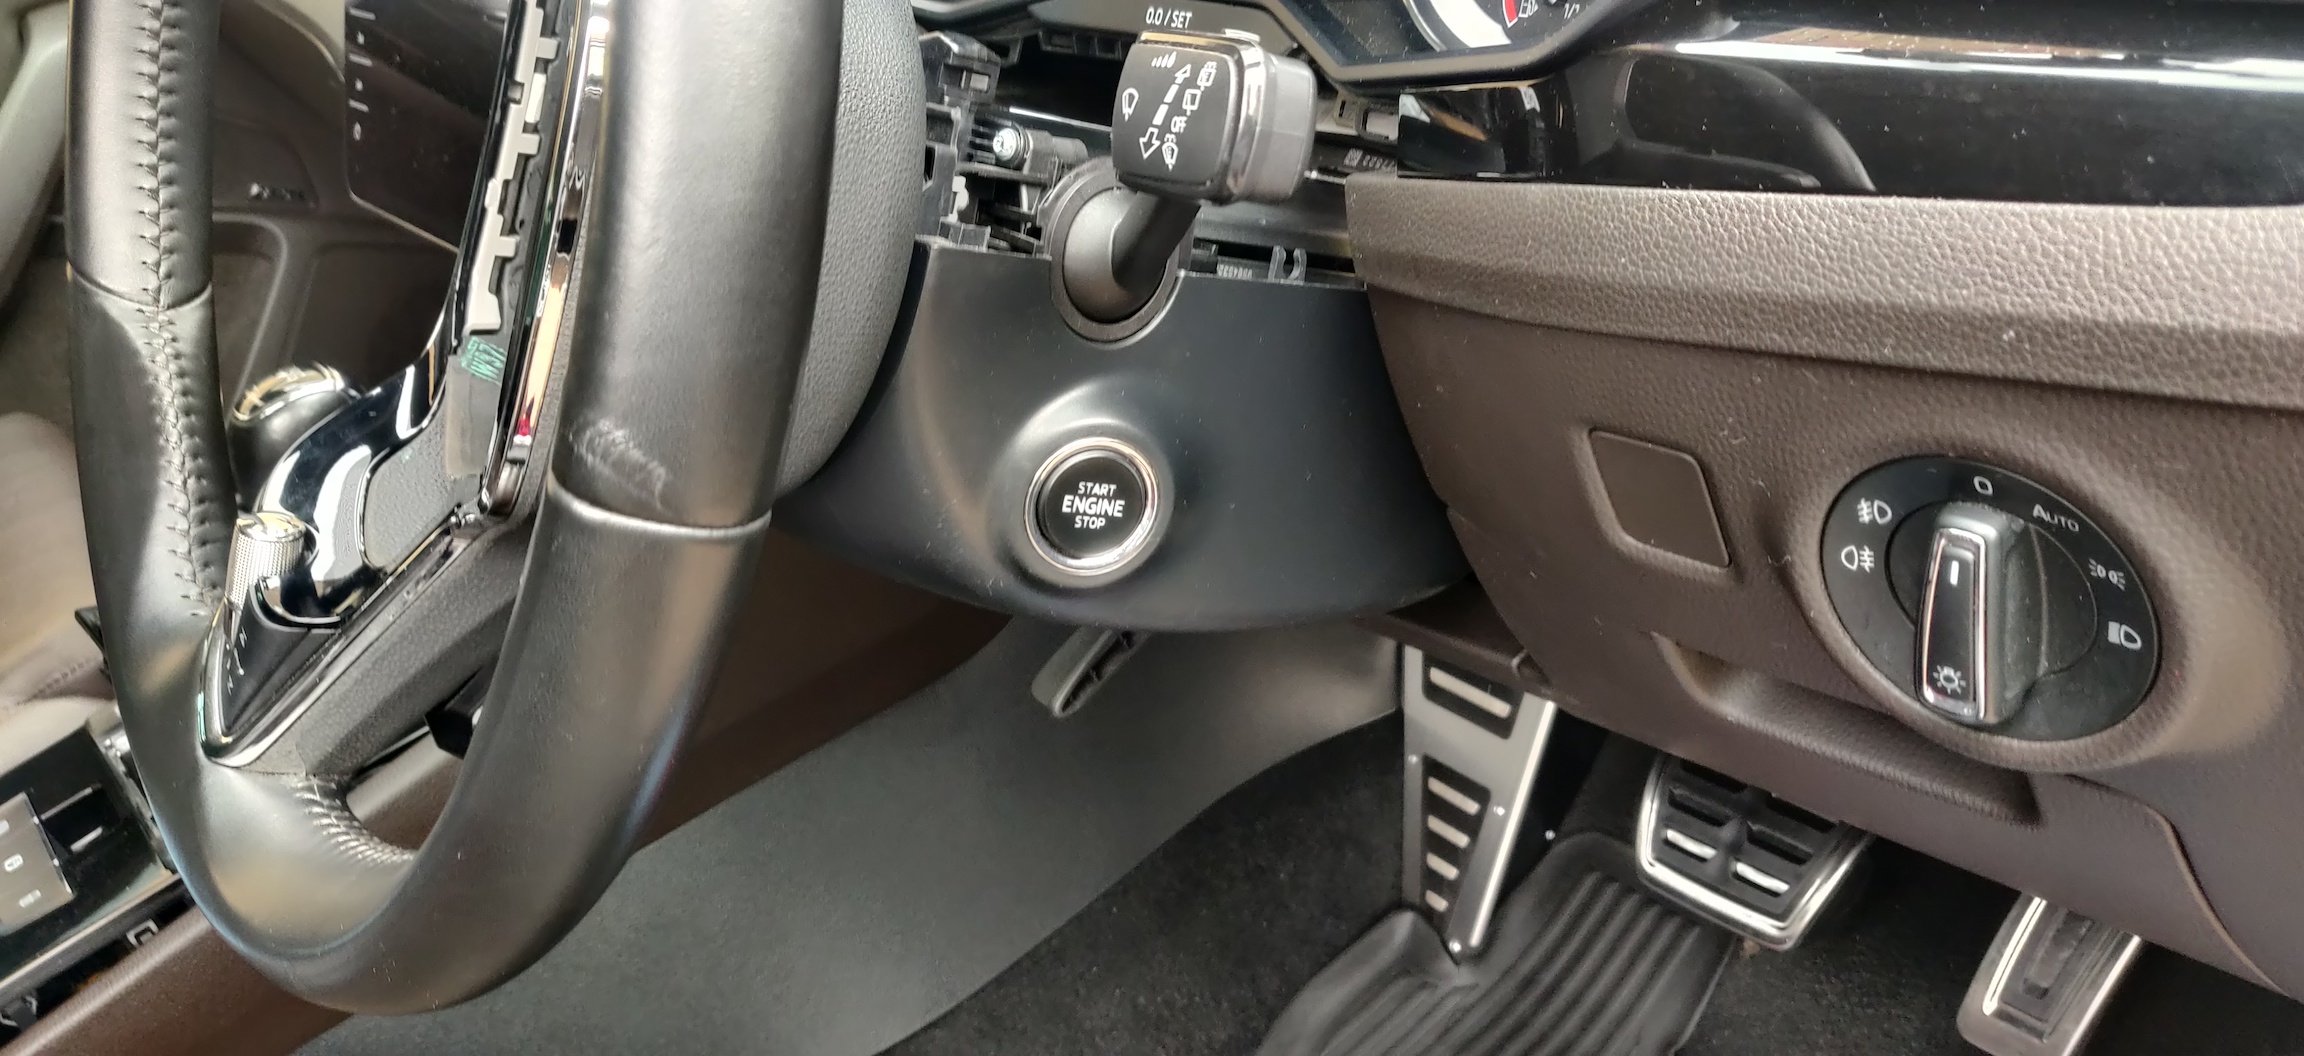
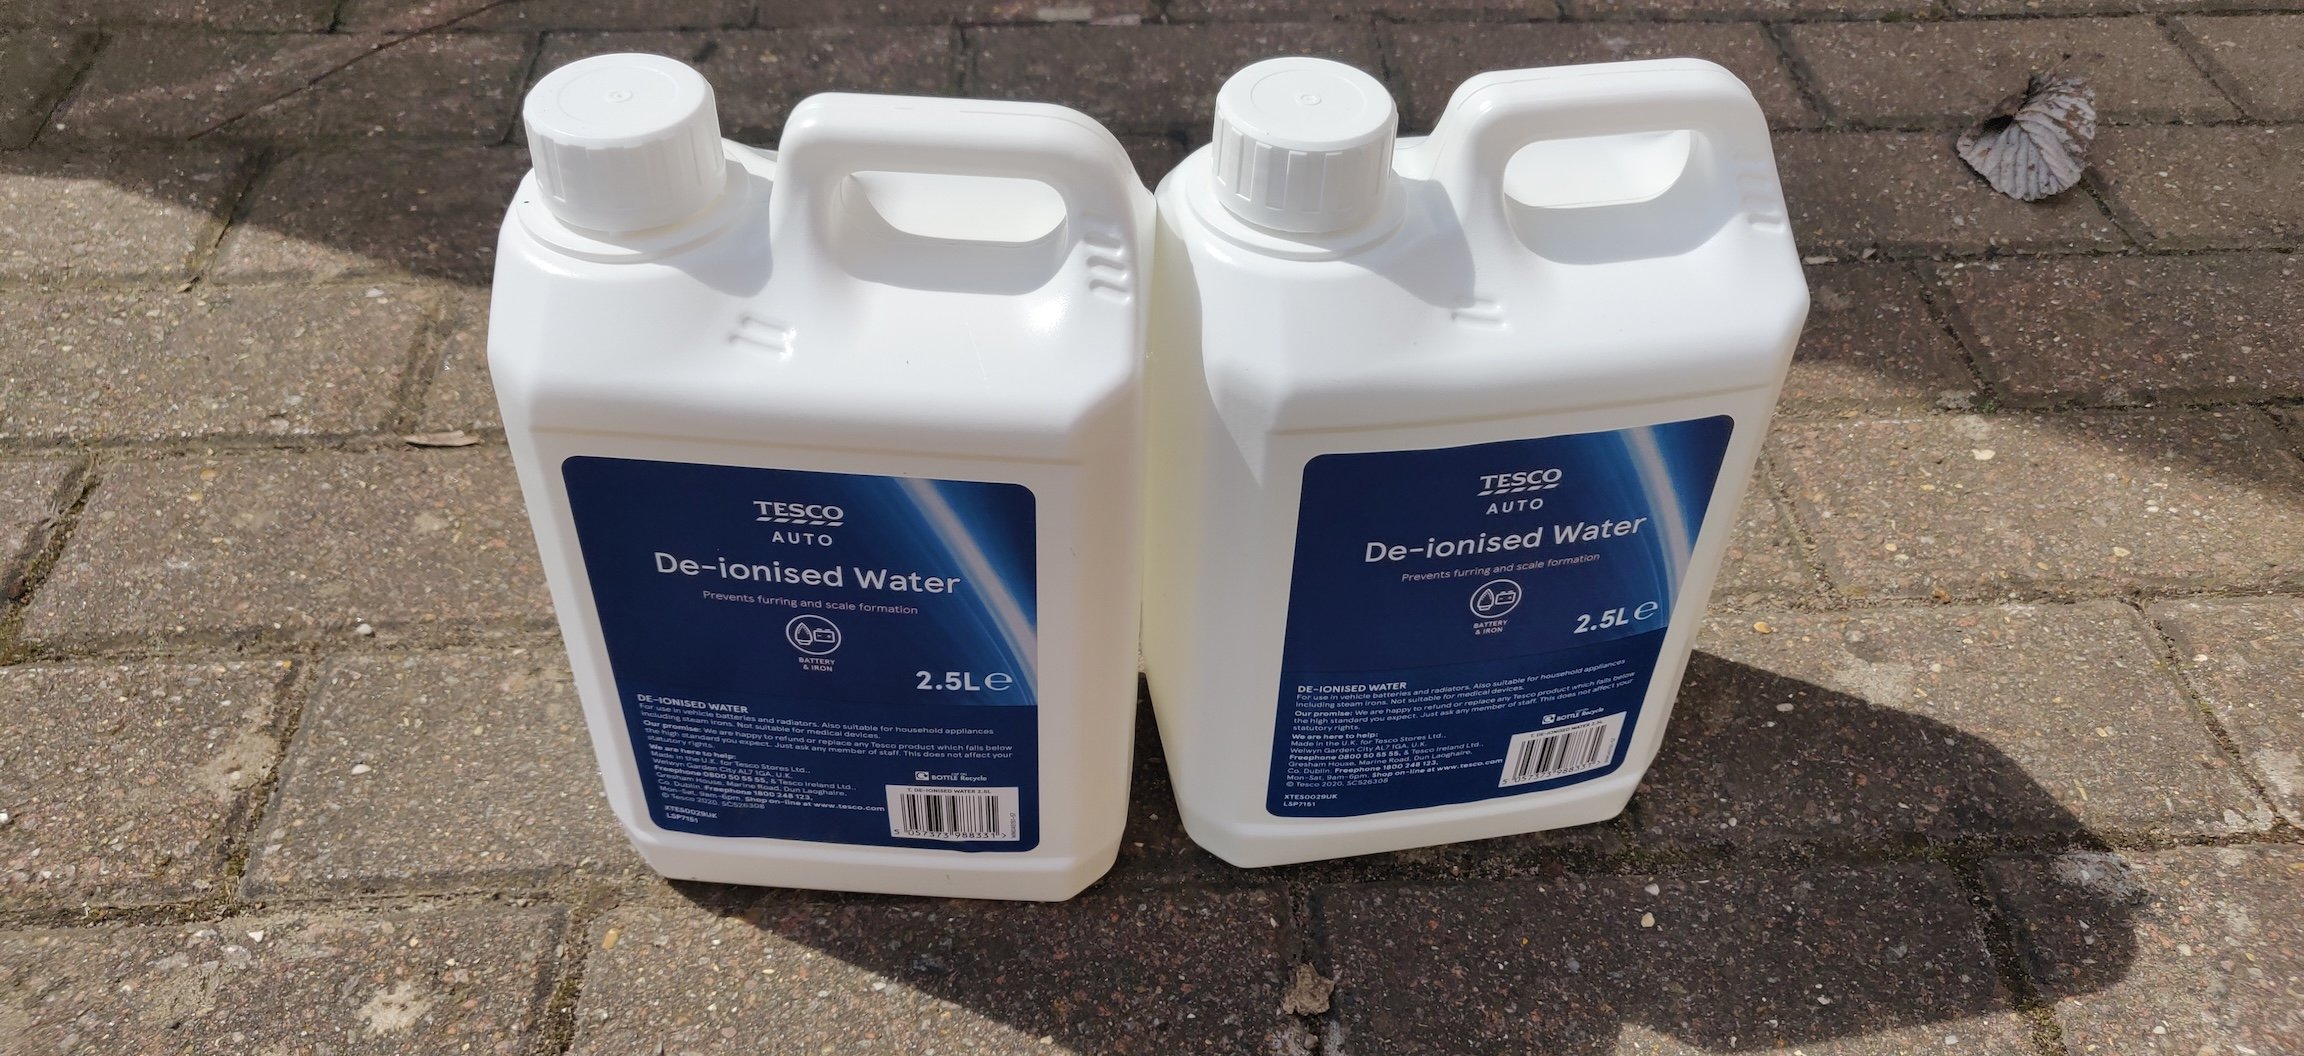
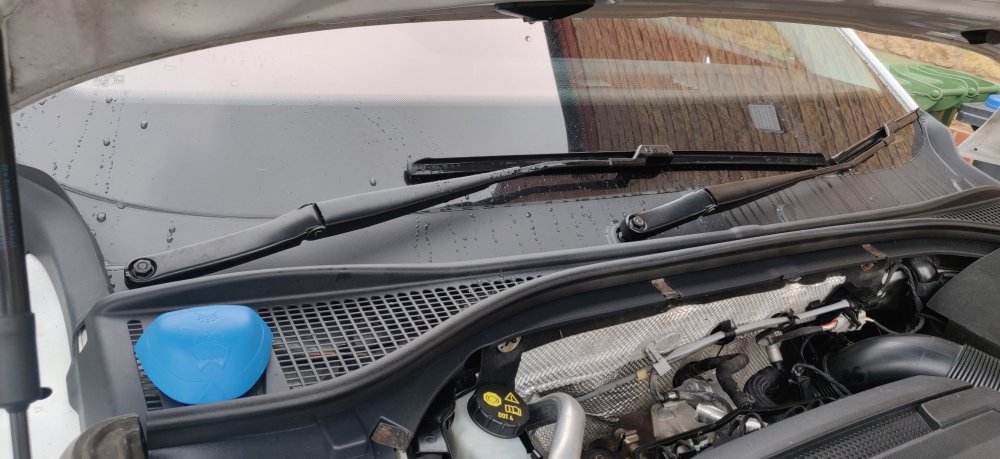
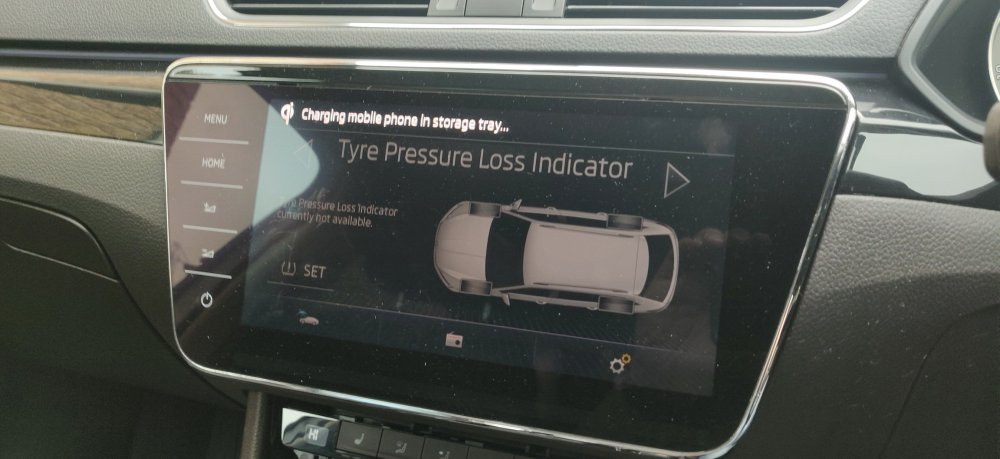
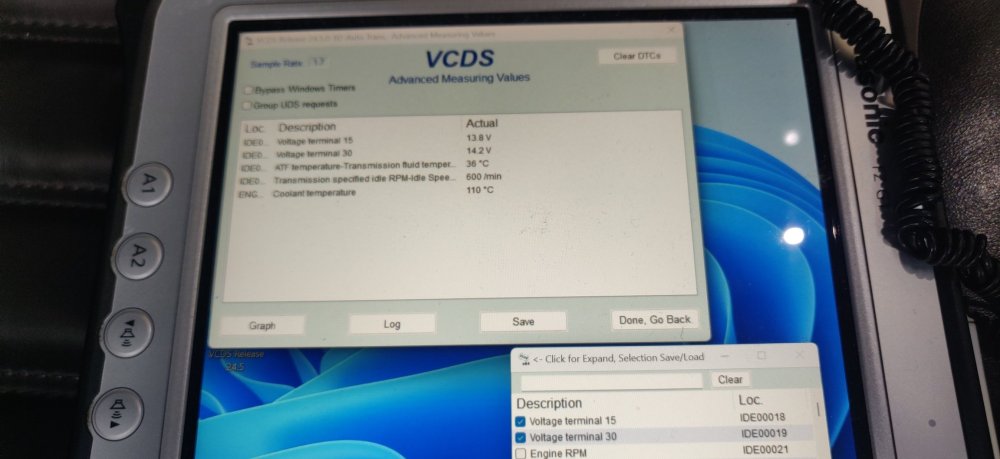
So went ahead and fired up the car yesterday and warmed it up: Undid the fill bolt and a tiny bit did come out, but honestly, not enough for me to have worried, but at least that doubt's out of the window. So went and reinstalled the wiper arms: The windscreen has a few marks, which I believe are used to align the wiper arms, so just had them aligned to be parallel, got the retaining nuts down, then wiped the arms a few times, before tightening to 21Nm. The workshop manual states there's a 4mm leeway so lots of room for error and the wipe pattern looks ok. The display is mentioning low wiper fluid level, so my deionised water for testing is seeing good use. Still not sure about the dribbling right nozzle though. Need to find the wiper arm covers and pop those on. Managed to play around with the coding for the 5F entertainment unit, to enable baseplate and wireless charger for said baseplate: Which then makes this appear when a phone is on the charger, so that's sorted. I'm struggling with a few issues with the Steering module, some errors about the Cruise Control. I also can't seem to find anywhere to have the heated steering wheel button on the steering wheel itself working. Can't tell at this stage if its the gateway, or the clock spring that replaces the previous one. Could even be the replacement indicator stalks. Sod's law, I'll have to revert and tackle one thing at a time. I mess around with cars primarily to get away from Software Engineering, but I guess these days it's coming back. So started to get the right side wheel arch liner back on, with mudflap: This was the one that was previously broken, and the bottom screw was not aligned to the captive nut on the sill, so I guess the damaged mudflap implies some misalignment of the sill. Just used brute force to get it in, worry about the sill later (as you're all well aware). Less drama on the other side: I'm at the point where I've run out of the washers, so more than 50 are needed for all the wheel liners! Will order some more. Last bit: Got the front undertray fitted. This is kind of dry fitted for now as I'll need to align it all with the wheel liners and what not. So once additional washers arrive, I can sort out the rest of the front liners, then probably get the front wheels possibly. Raining most of Friday though, so on comes the weekend. I'll need to figure out how best to relay whatever VCDS stuff I get up to, as I feel that could be the rest of the month before MoT time. Maintenance: £2293.89 Upgrades: £1332.92 Miscellaneous: £697.20


-
Manual doesn't say to turn off the engine, will do it again.
-
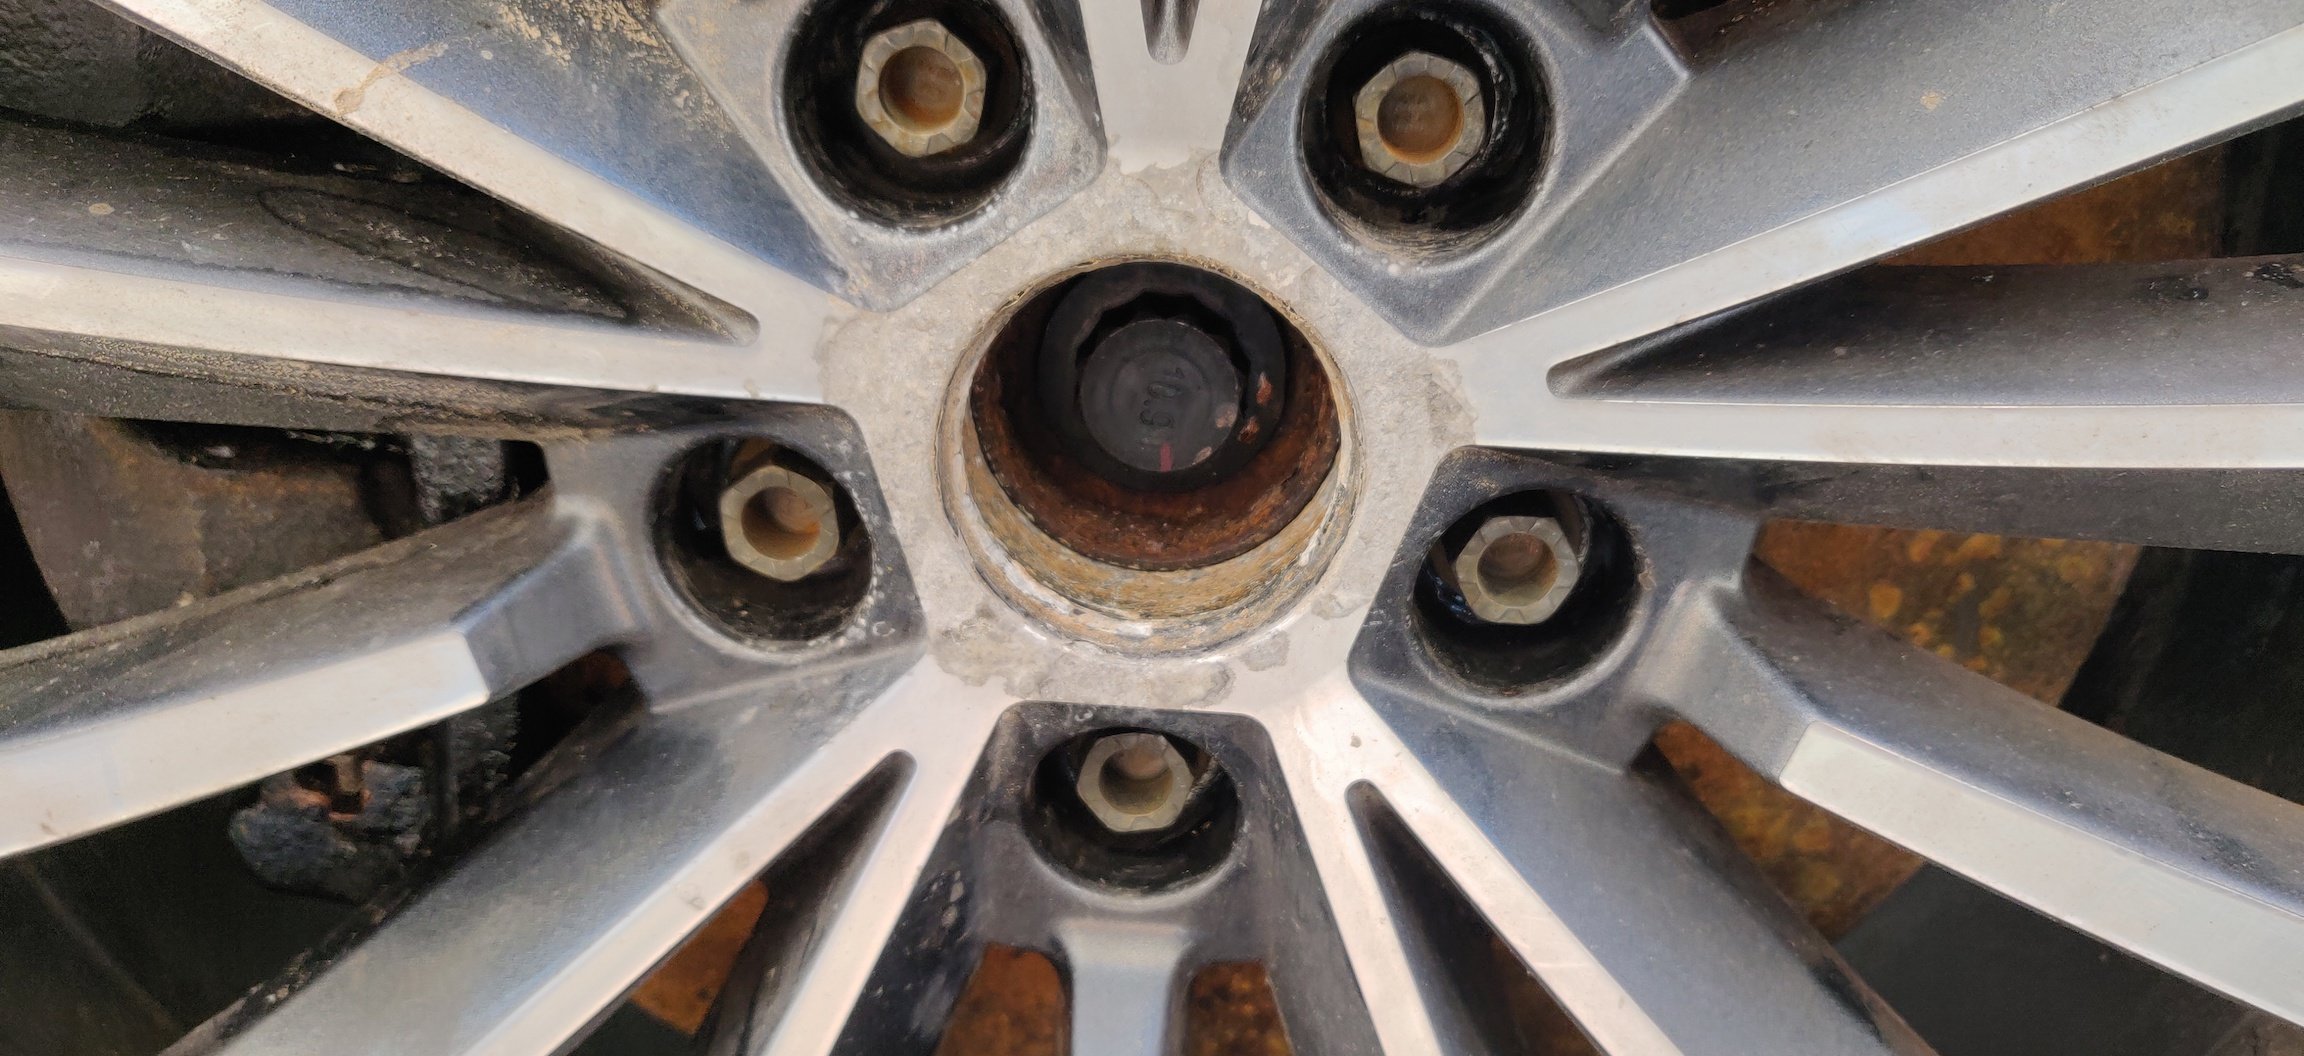
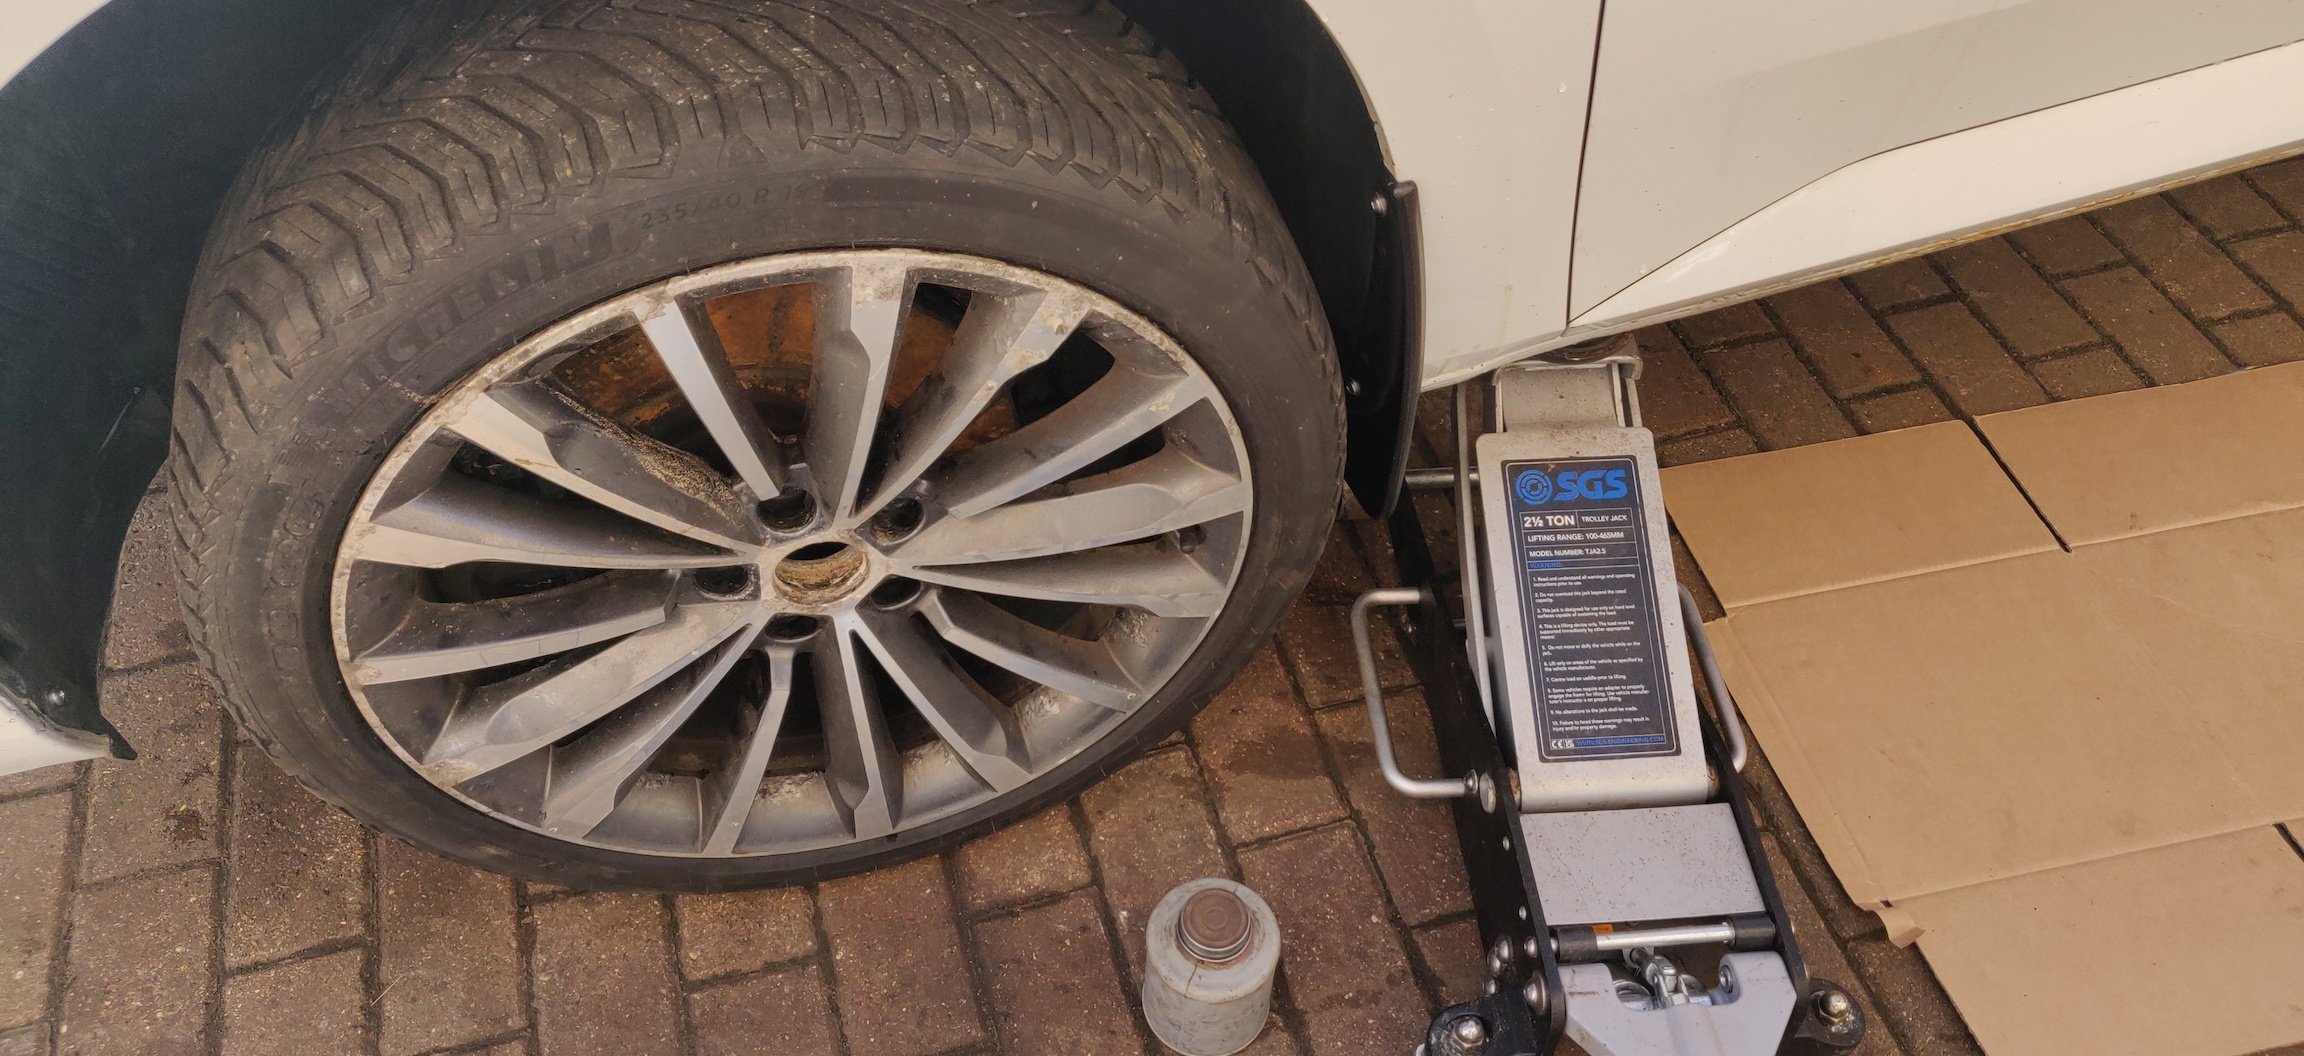
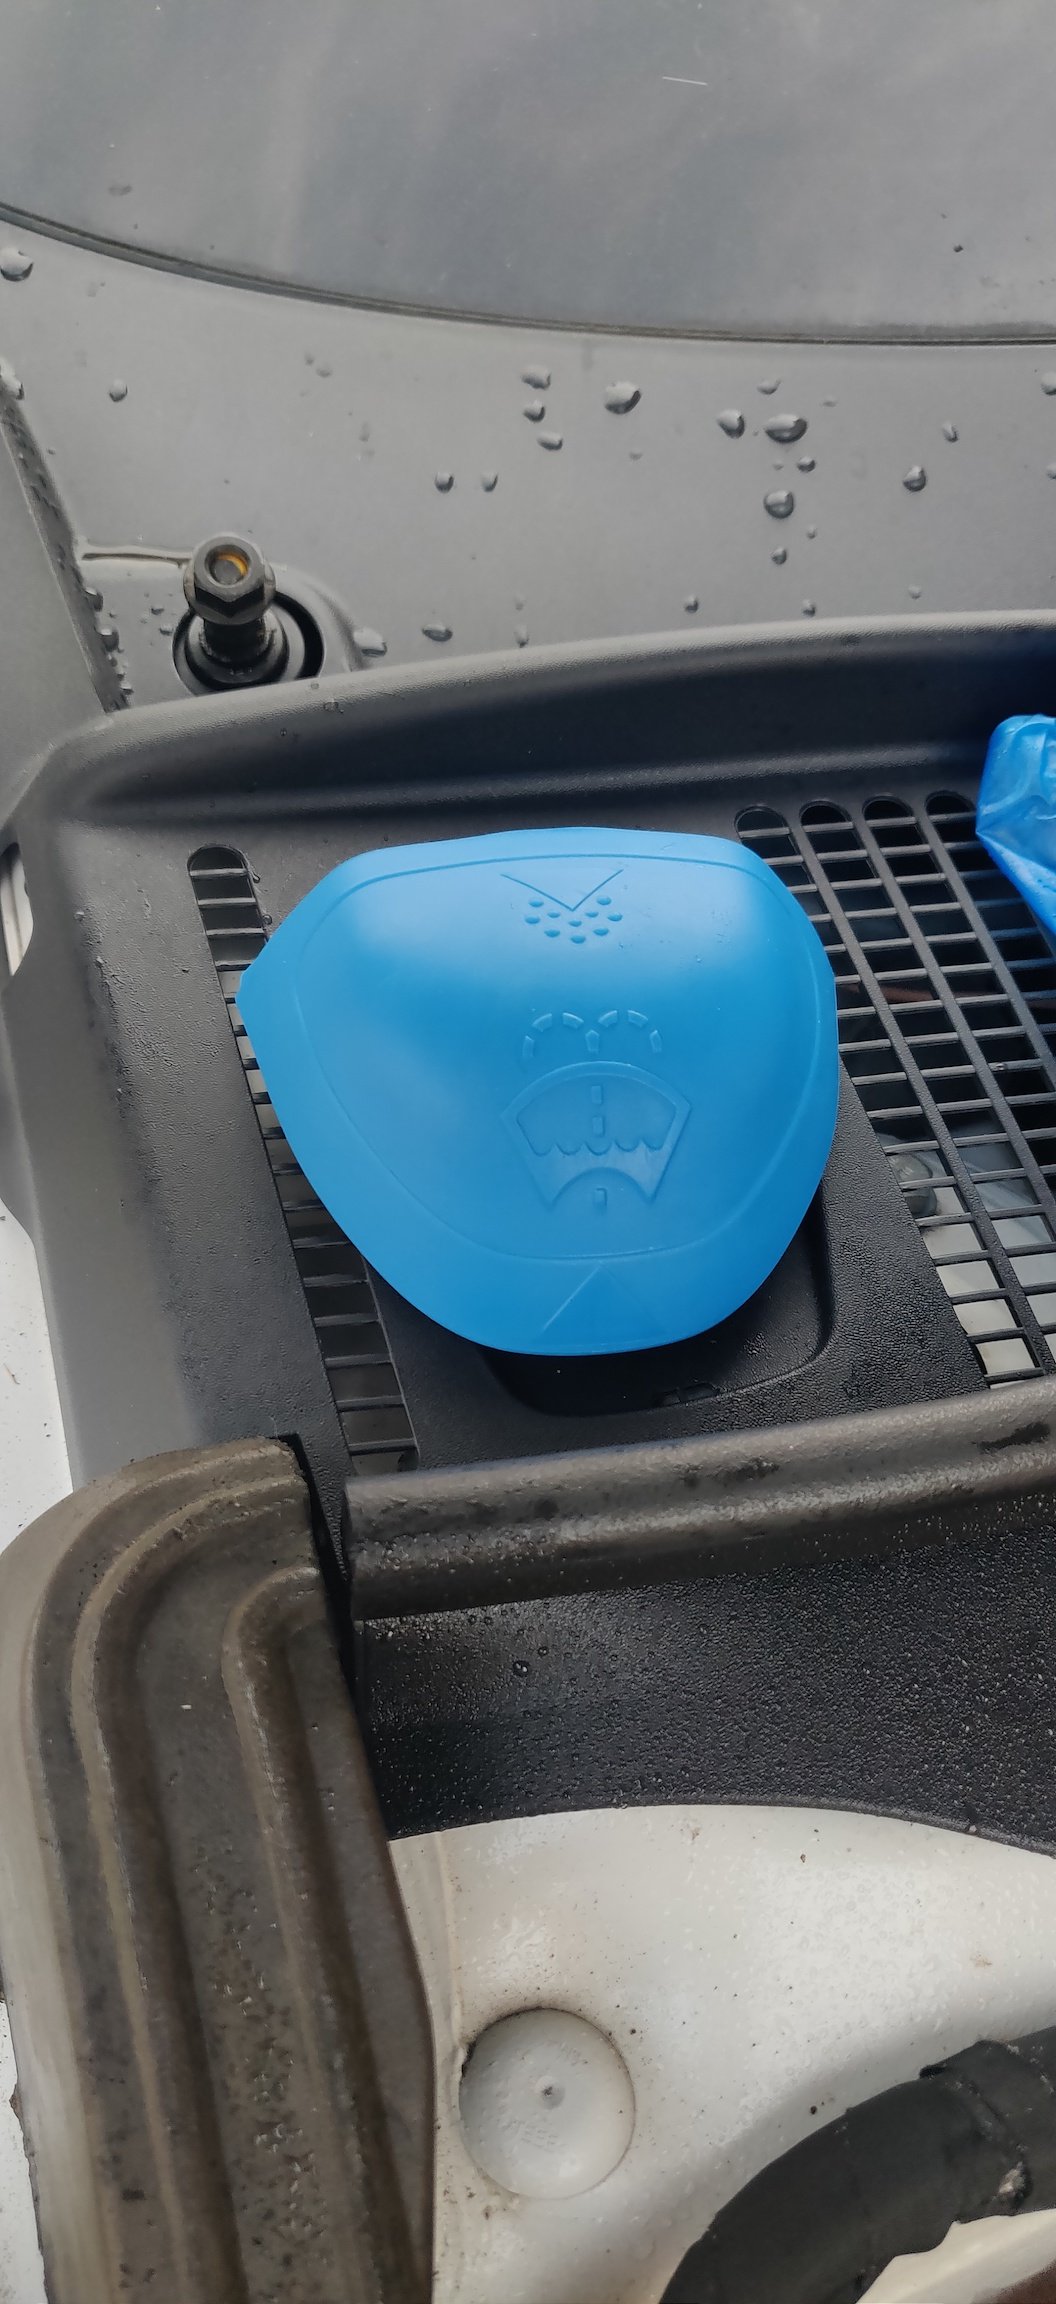
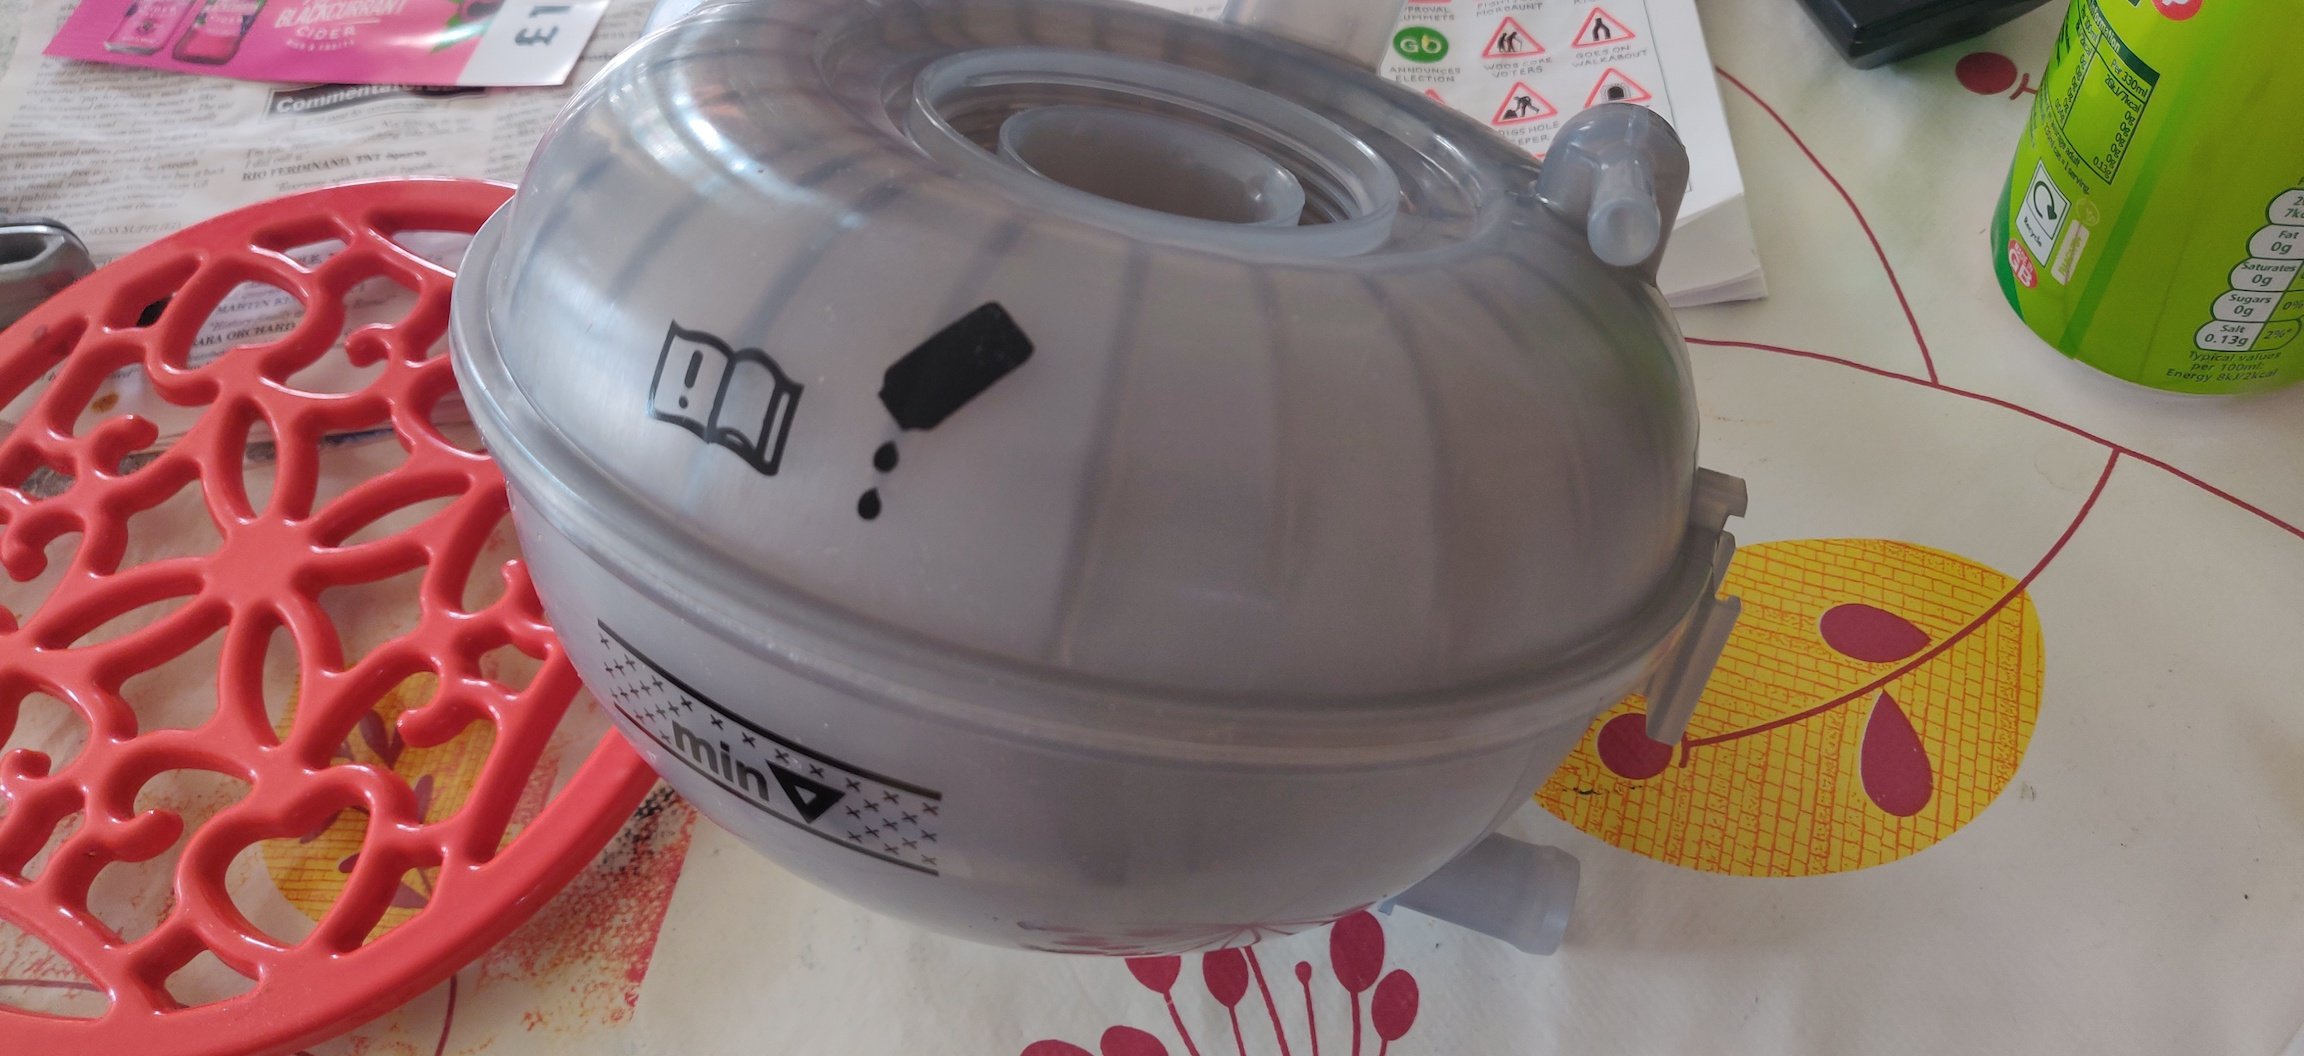
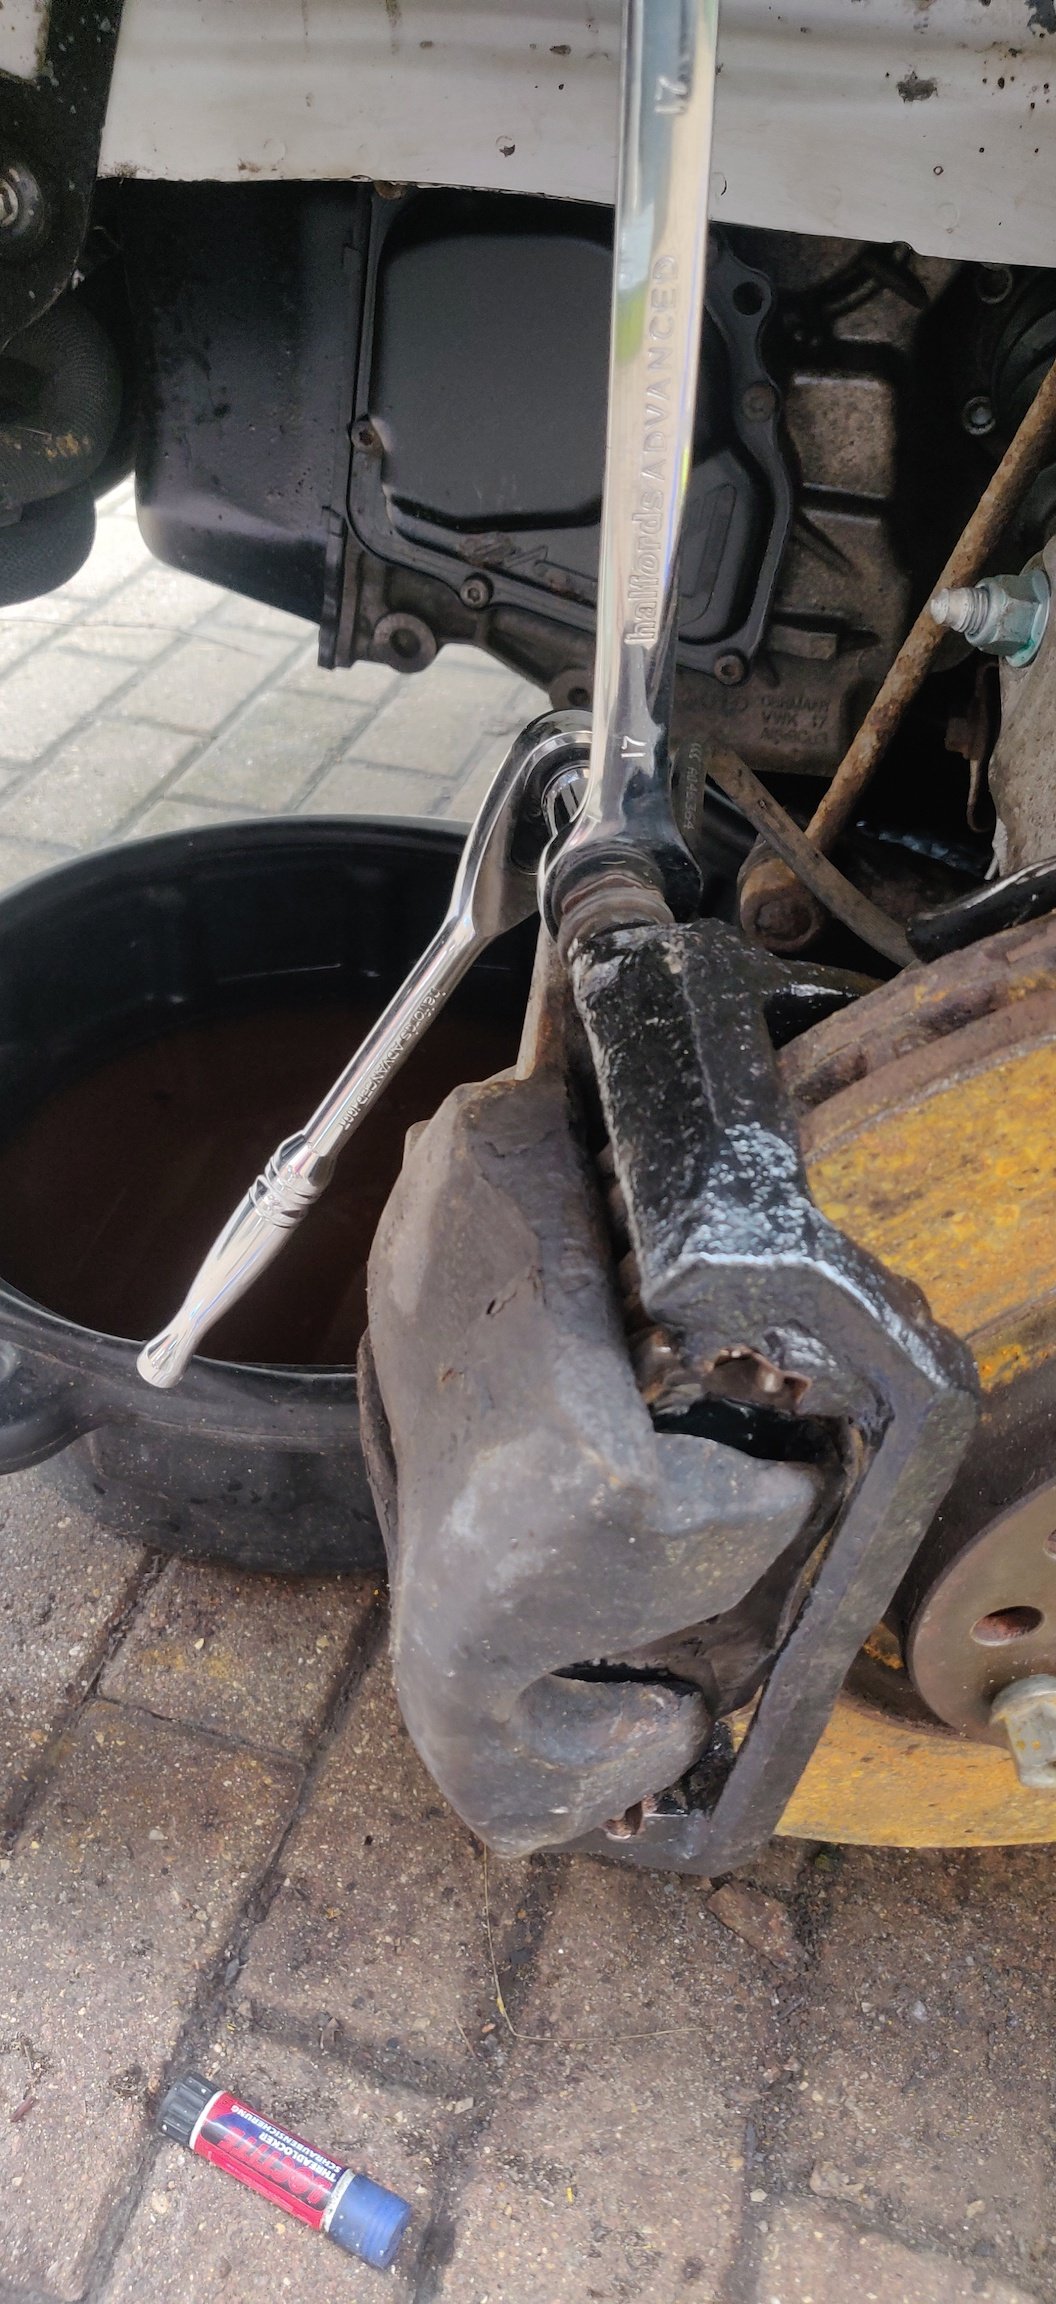
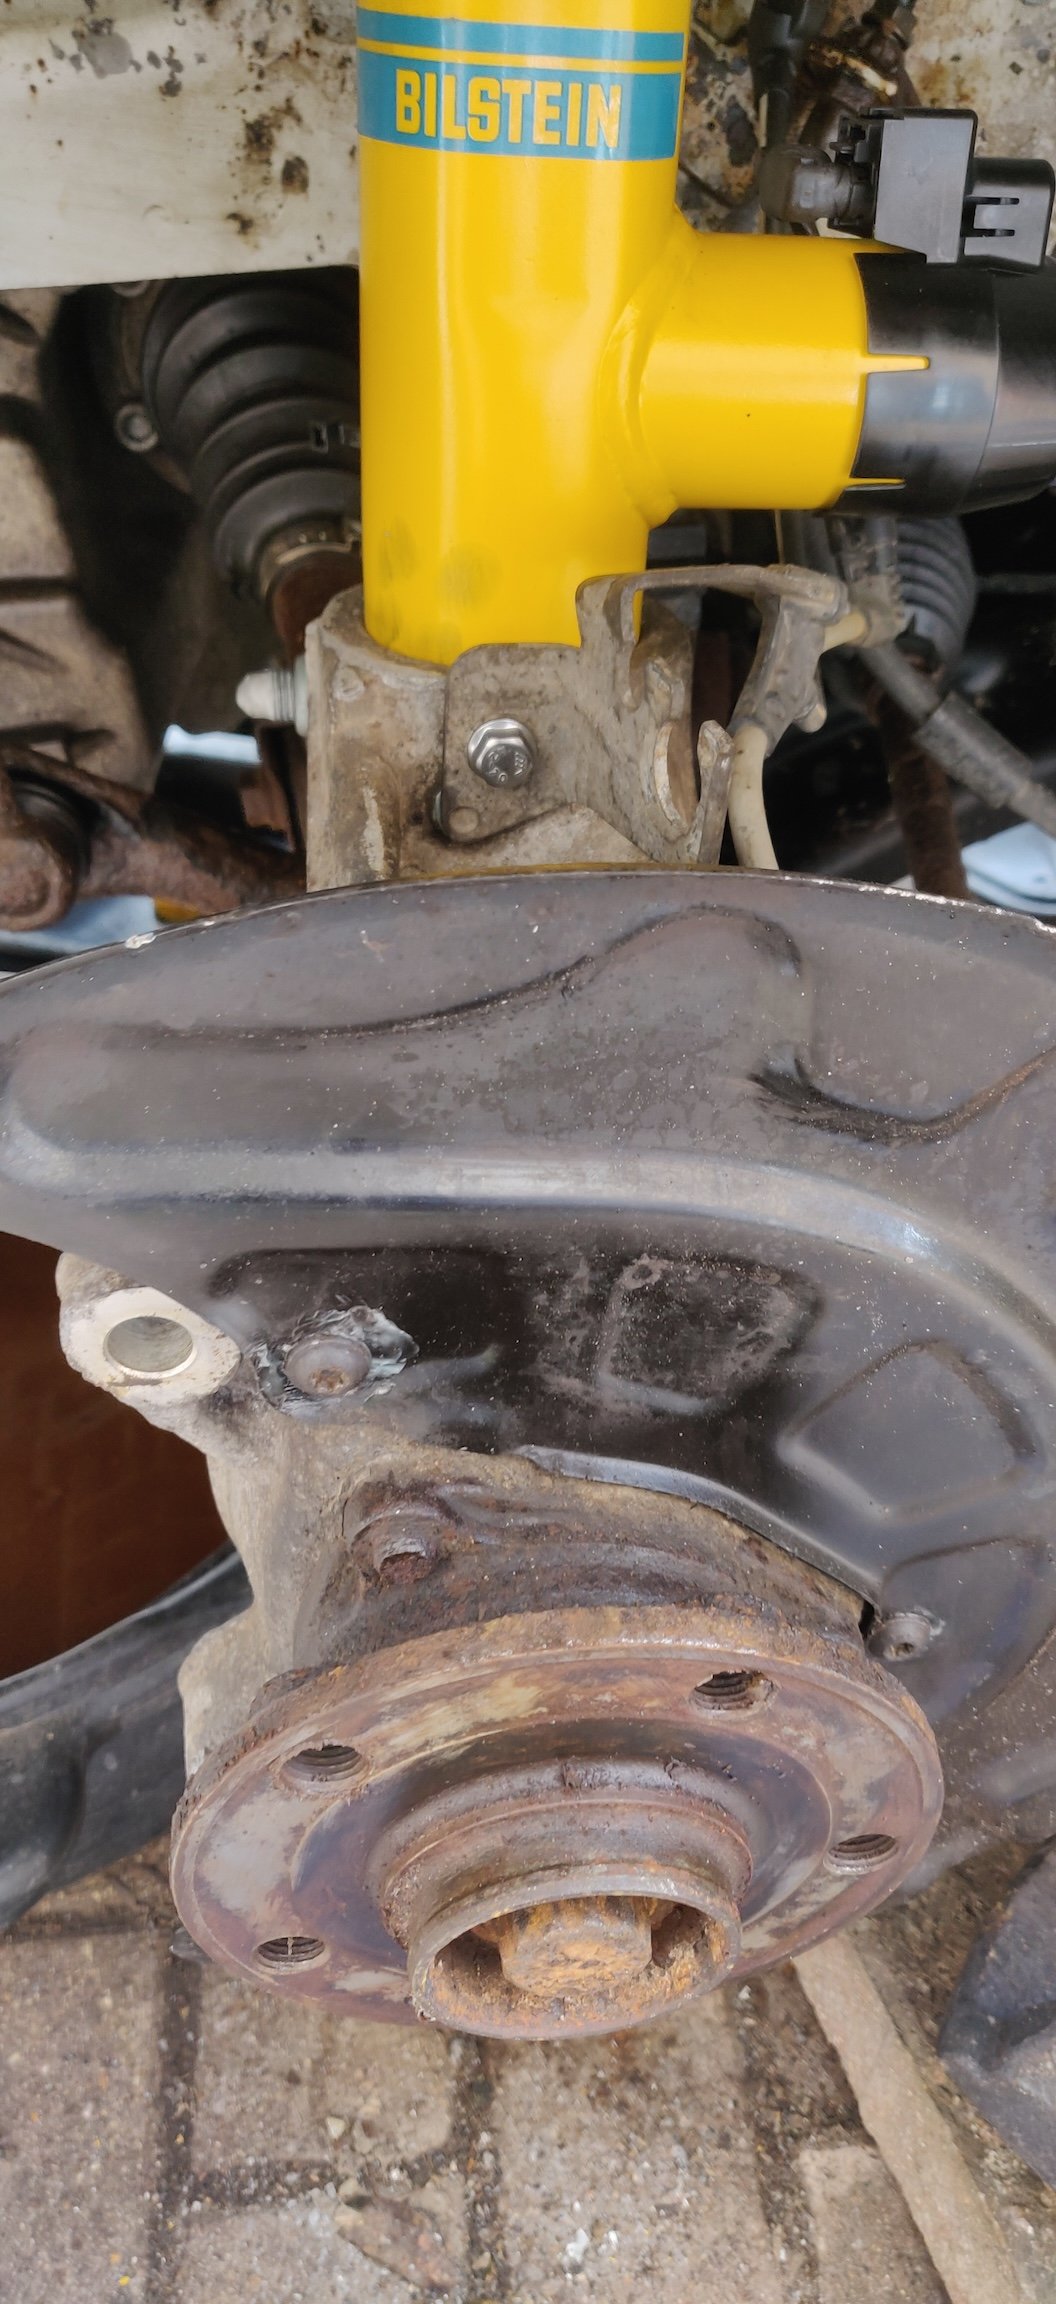
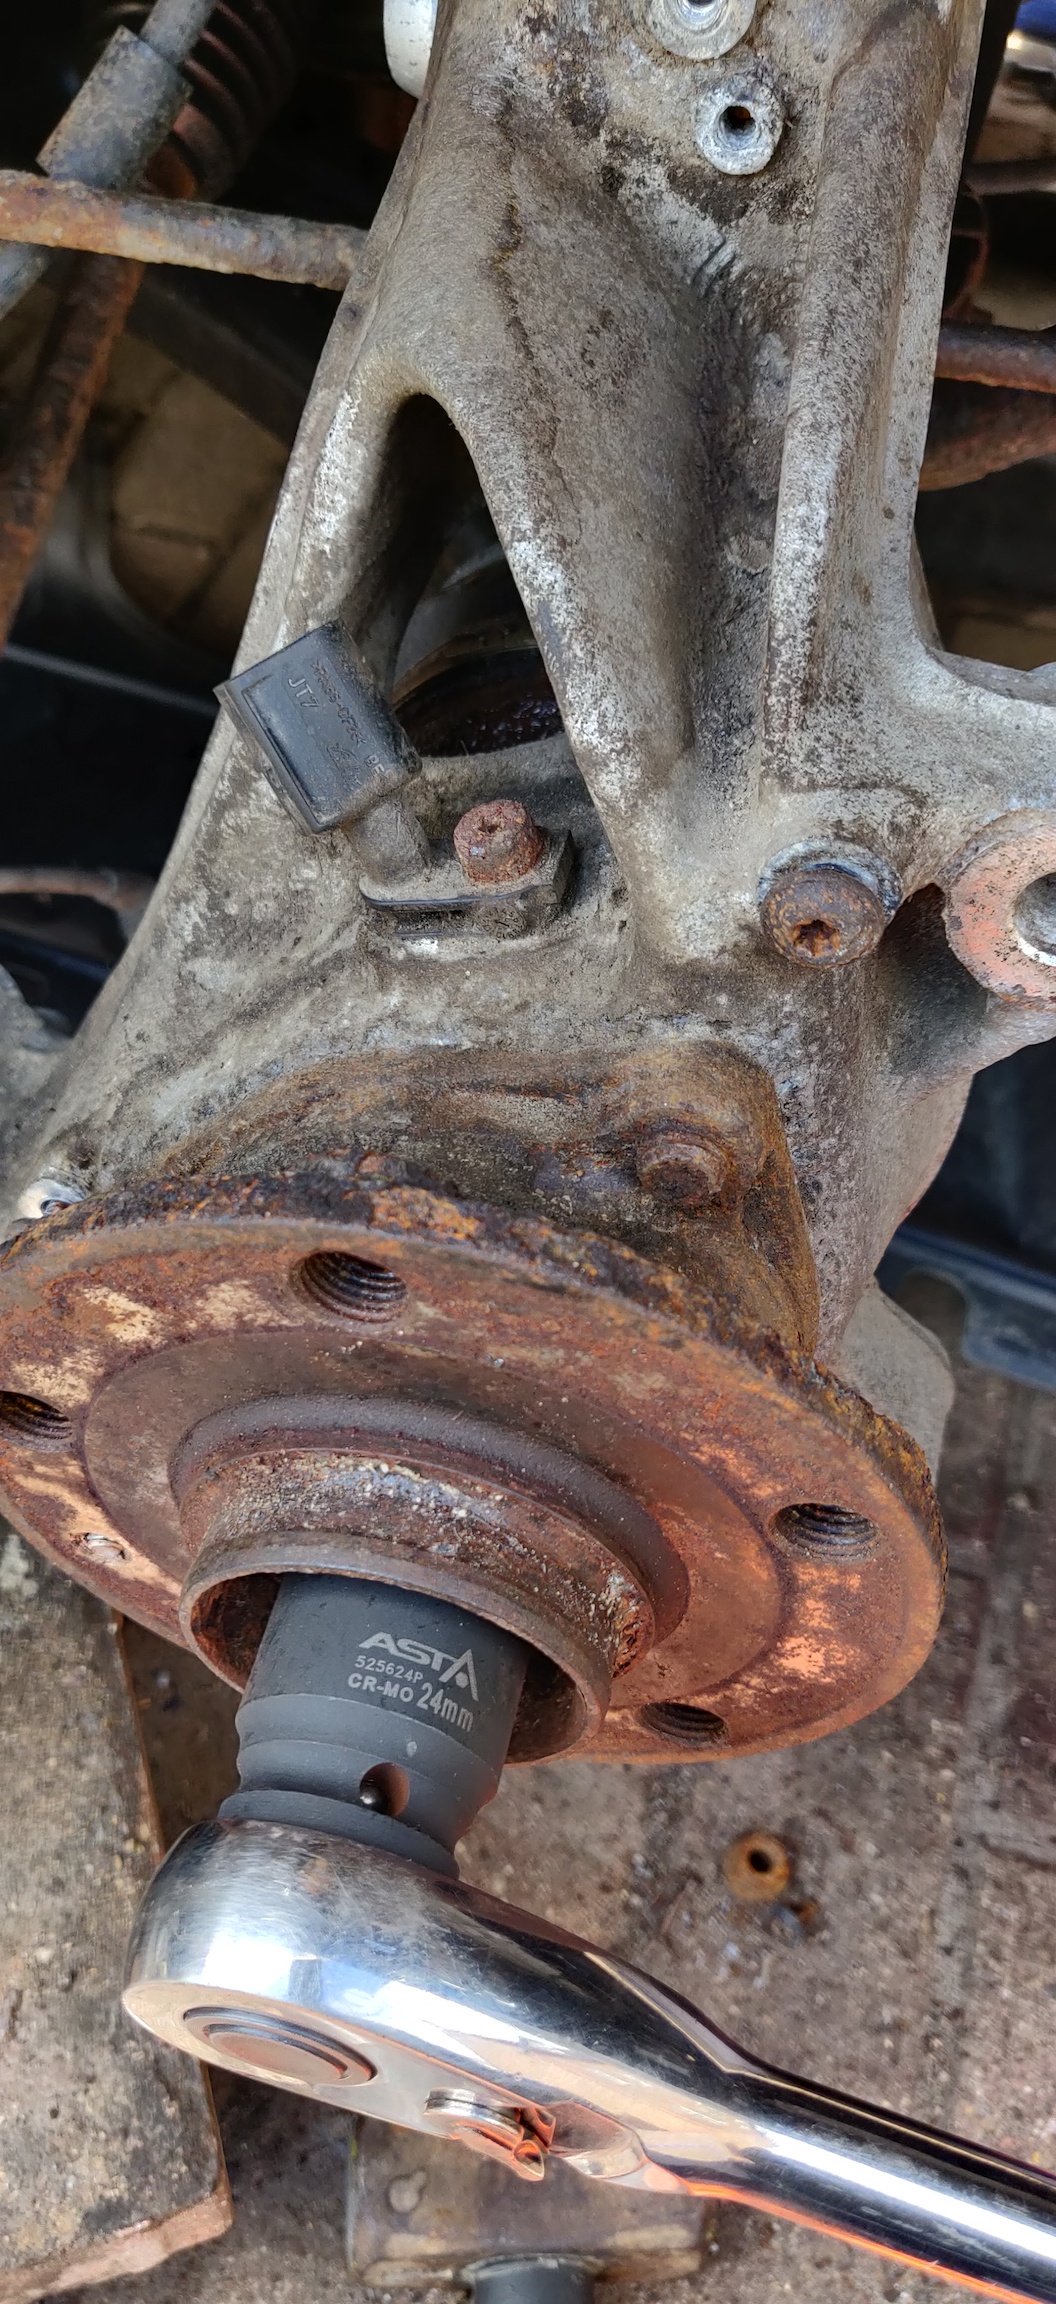
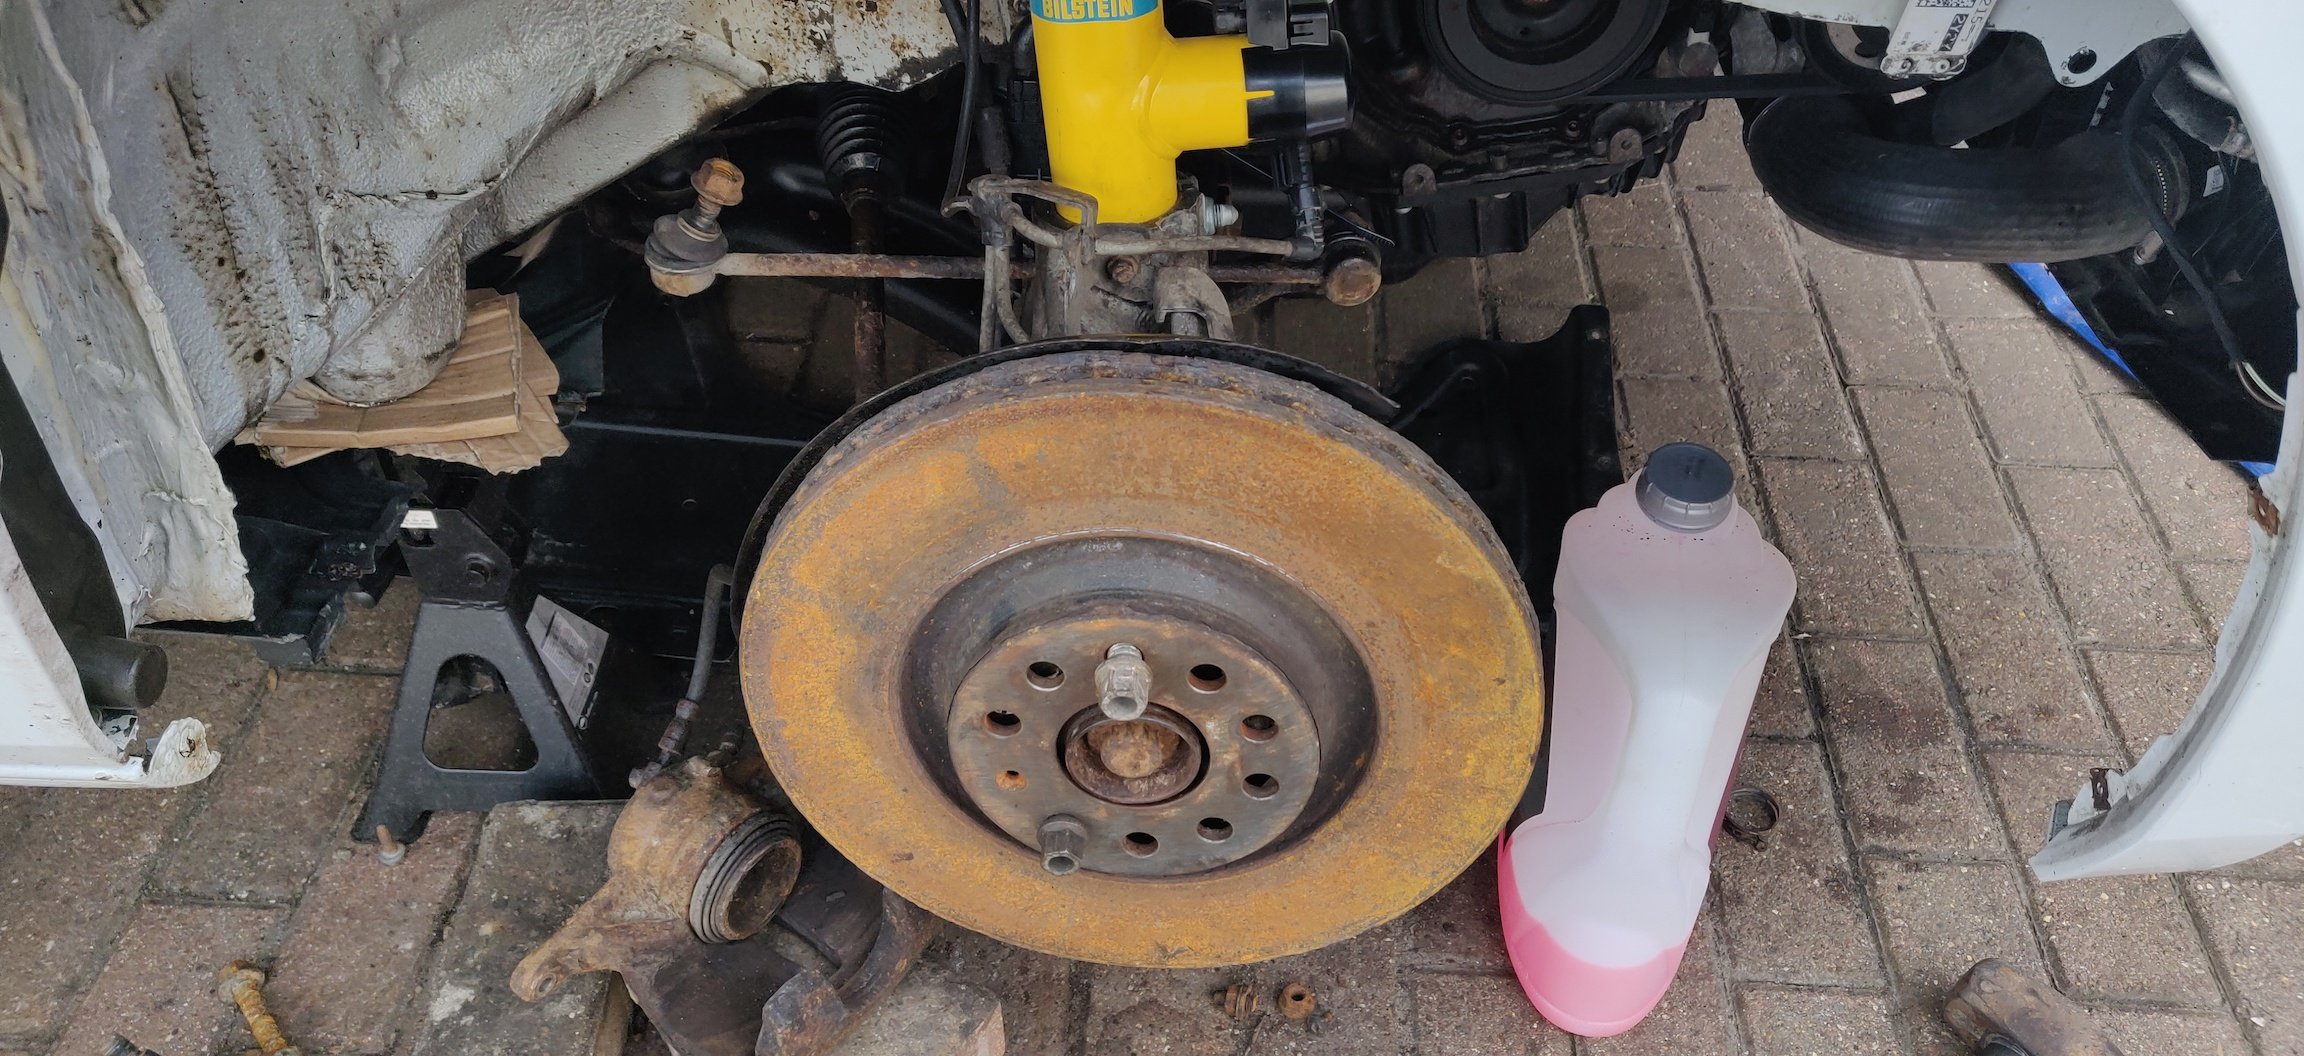
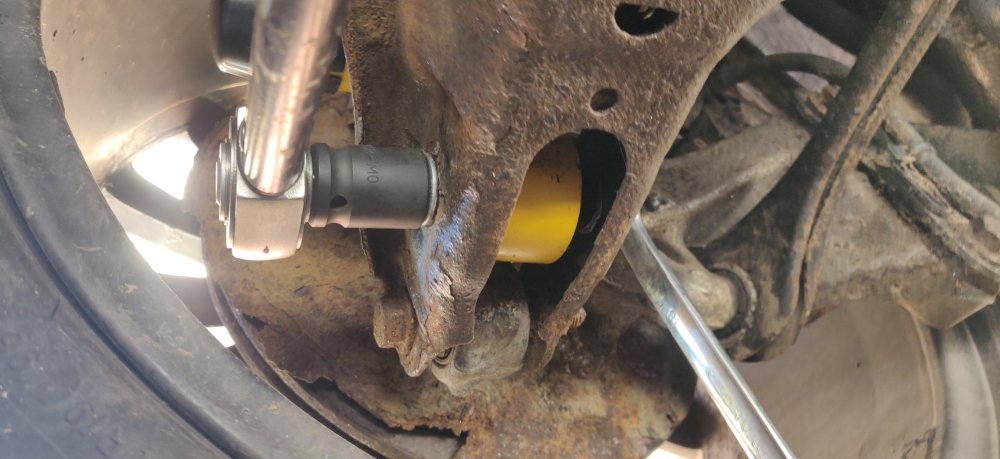
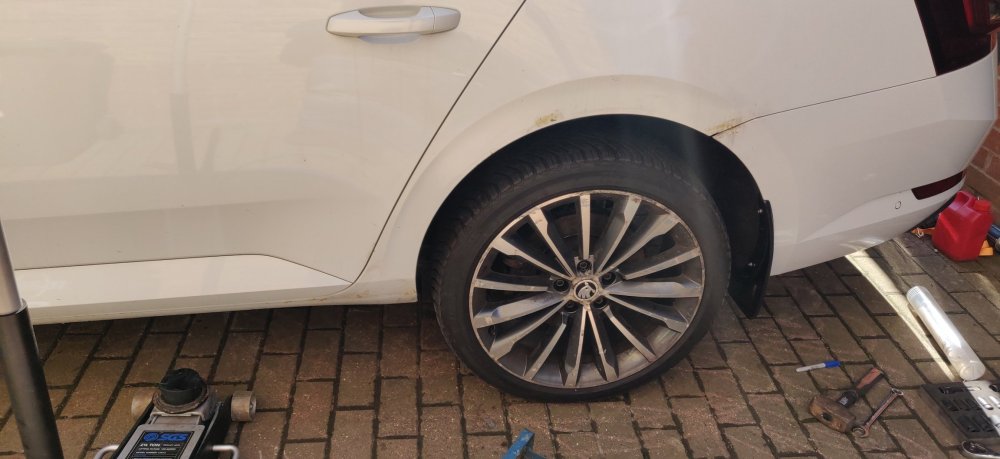
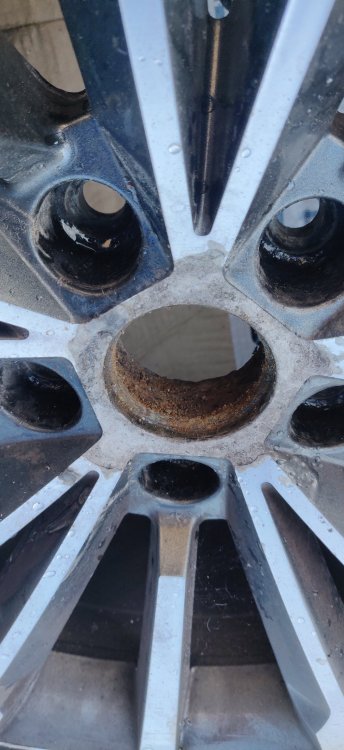
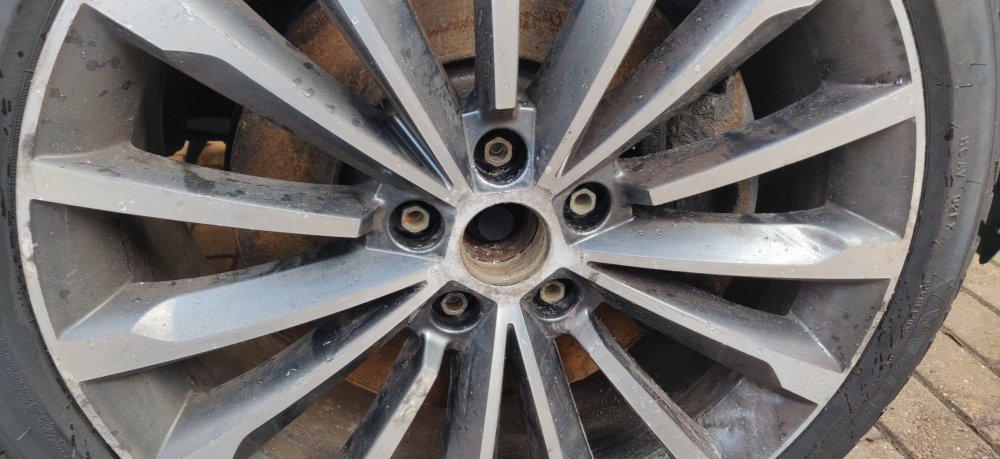
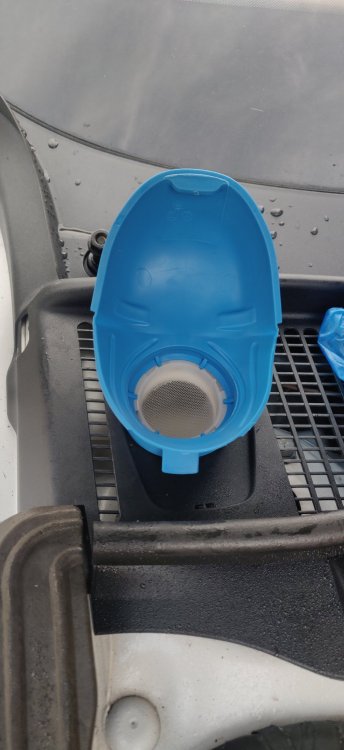
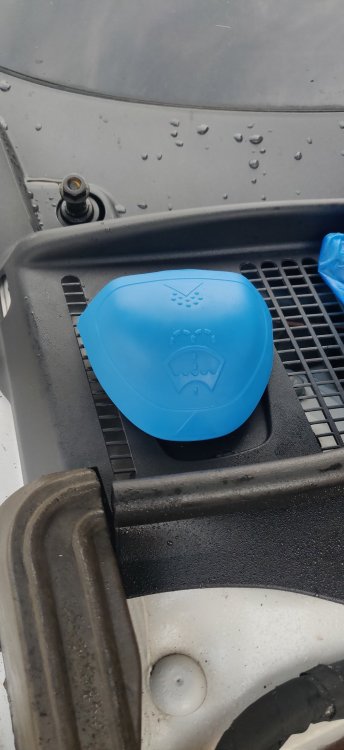
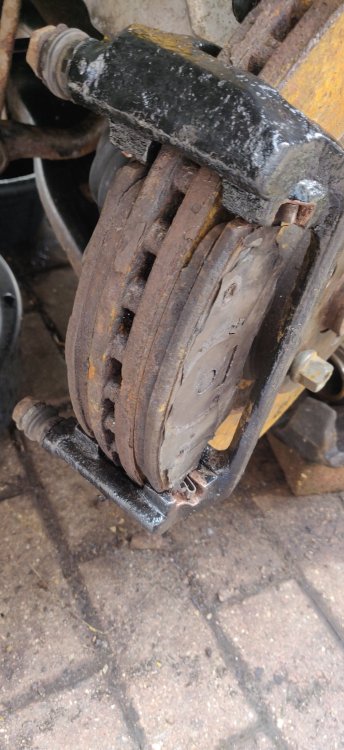
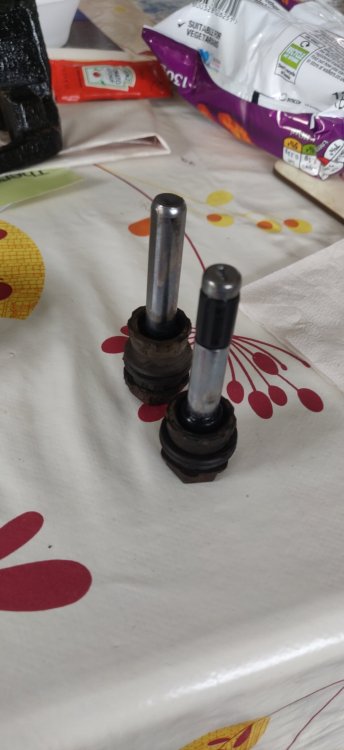
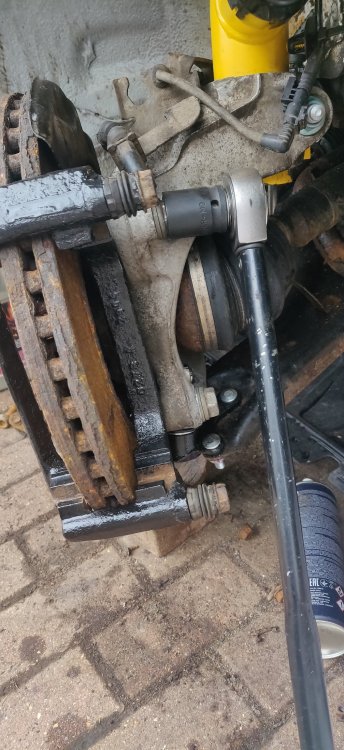
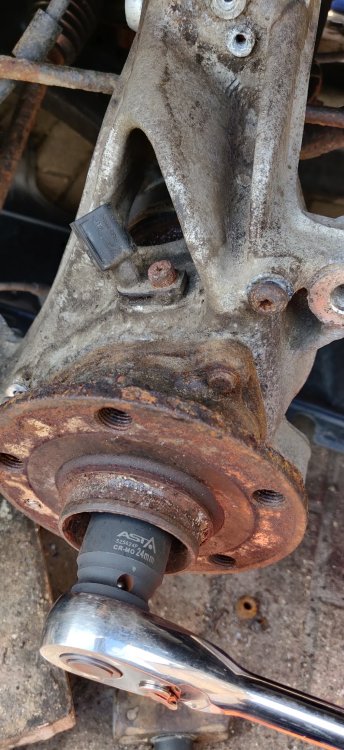
So after said quick bite, decided to do some more random things: This has been on the back burner for a while. I noticed this while perusing random things Skoda, and was genuinely interested to see if this thing fits: It looks a bit daft in its location on the Superb, but I'm sure looks less so on other cars. It's genuinely something I'm impressed with, the way the cap also acts as a funnel which will make filling up much less of a messy affair. It was £9.95 on eBay. These will end up on all the VW group cars. I'll need to reinstall the front wiper arms, but still noticed: The right washer nozzle is still looking like it is dribbling. Any ideas would be appreciated. If TADTS then I'll leave it at that. So for want of other things to do, got the replacement driveshaft bolts and attempted to tighten them up: It meant resorting to stabbing a screwdriver into one of the vents on the brake disc to act as a counterhold against the brake pad carrier. It worked though, and was enough to tighten to 200Nm. According the workshop manual: The bolts with the A suffix just need tightening an extra 90 degrees, so probably could have given it a go with the screwdriver holding it. I think I'll leave it once the wheels are on and its on the ground, as that'll feel a little easier in regards counterholding. Speaking of wheels: Couldn't see a reason why the rear wheels couldn't go on, so on they go. Used a small dab of copper grease on the wheel bolts, as they're pretty clean after the use of the tap and die. Used loads on the wheels and mating surfaces just in case. As the handbrake appears to be in place, was able to tighten the bolts to 120Nm. So I'll need to jack up the rear further in order to slide some ramps under, hopefully then lowering the wheels onto those ramps will then give me enough clearance to get under and do the last of the bolt tightening for the dampers. I think also the anti roll bars as well as I've forgotten those. There's very little left to do at least from a mechanical perspective. I'll pretend those errors aren't there for now and do some swotting up around those. Maintenance: £2293.89 Upgrades: £1332.92 (+£9.95) Miscellaneous: £697.20


-
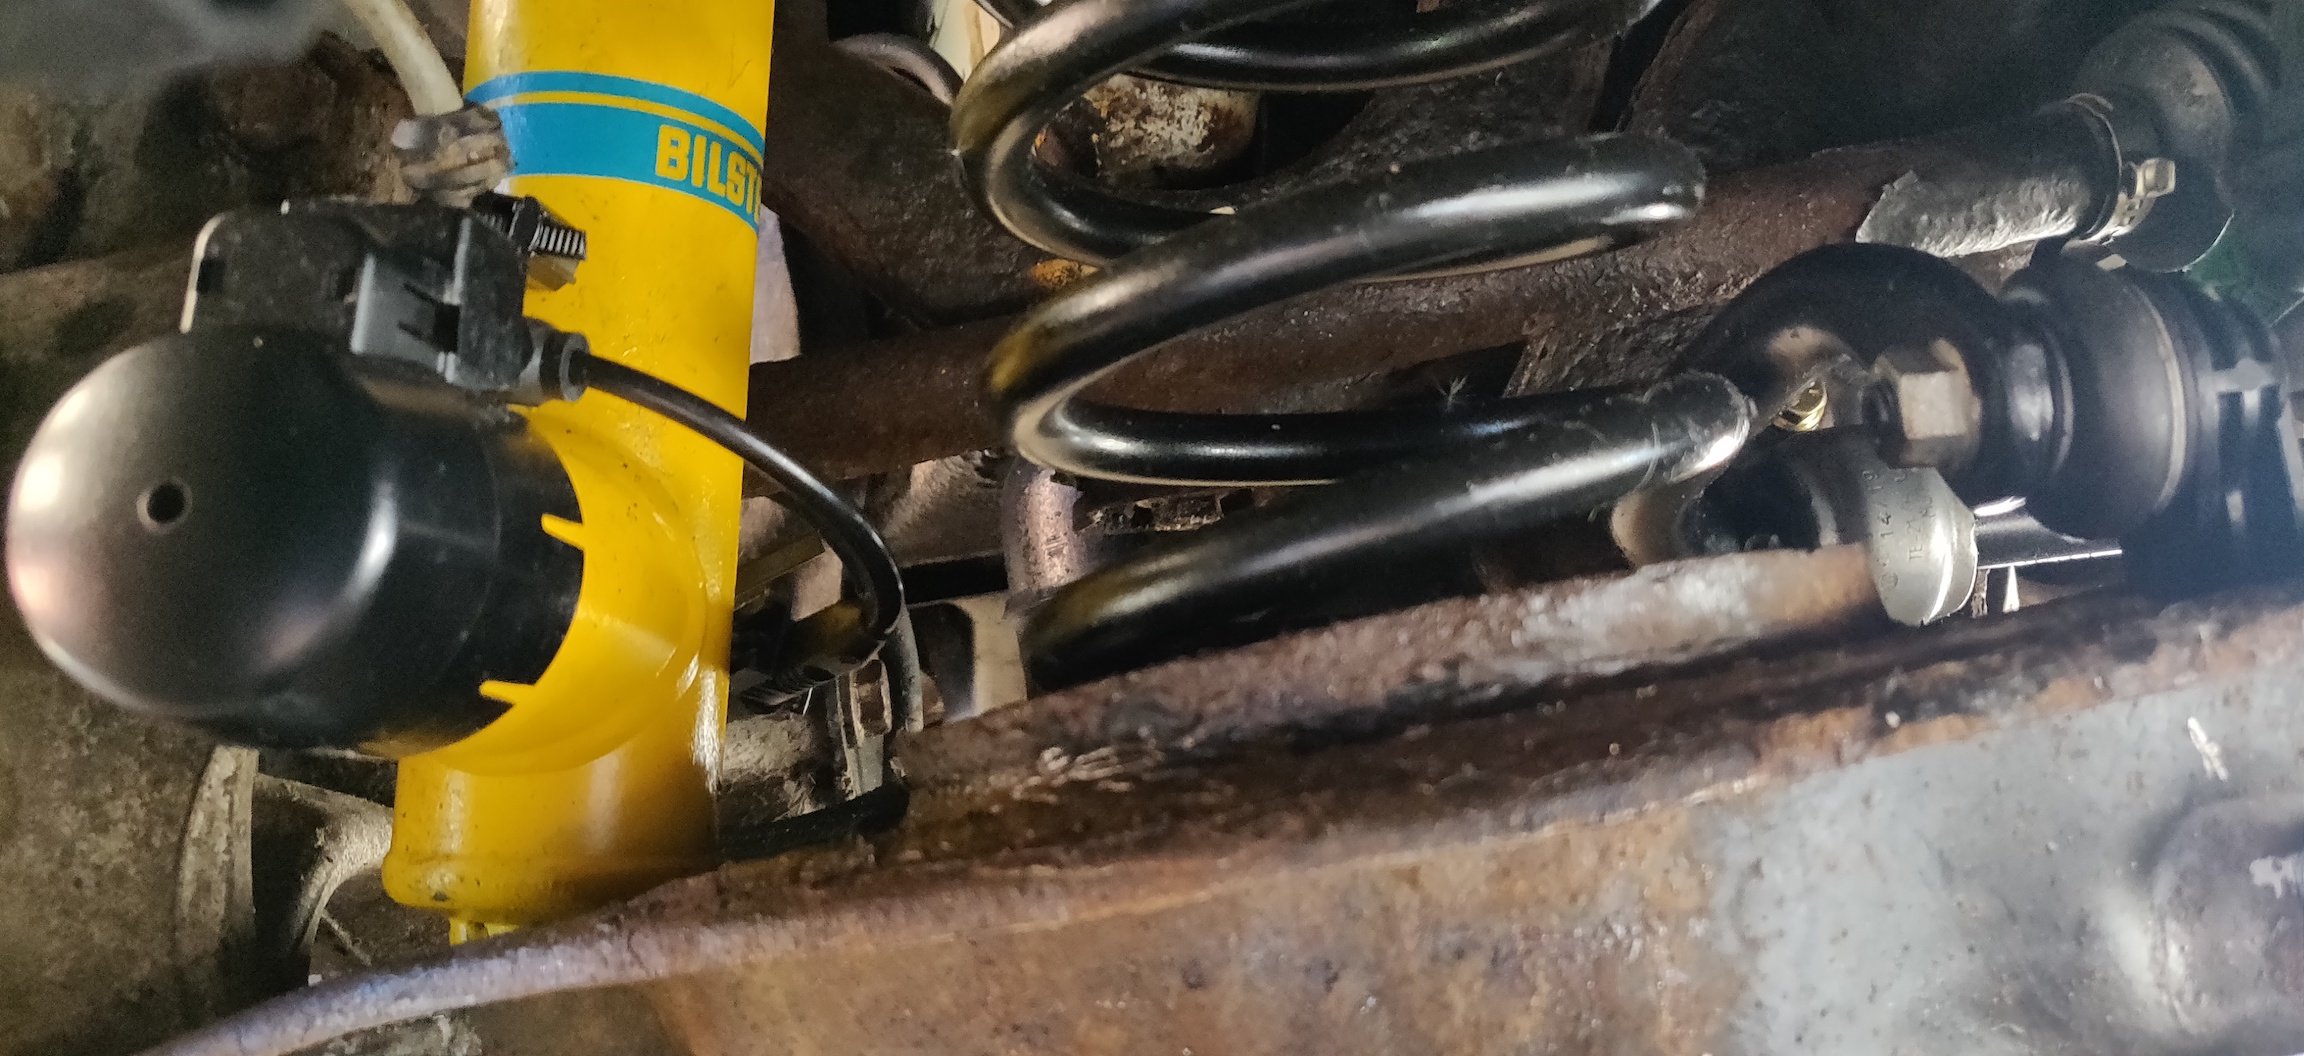
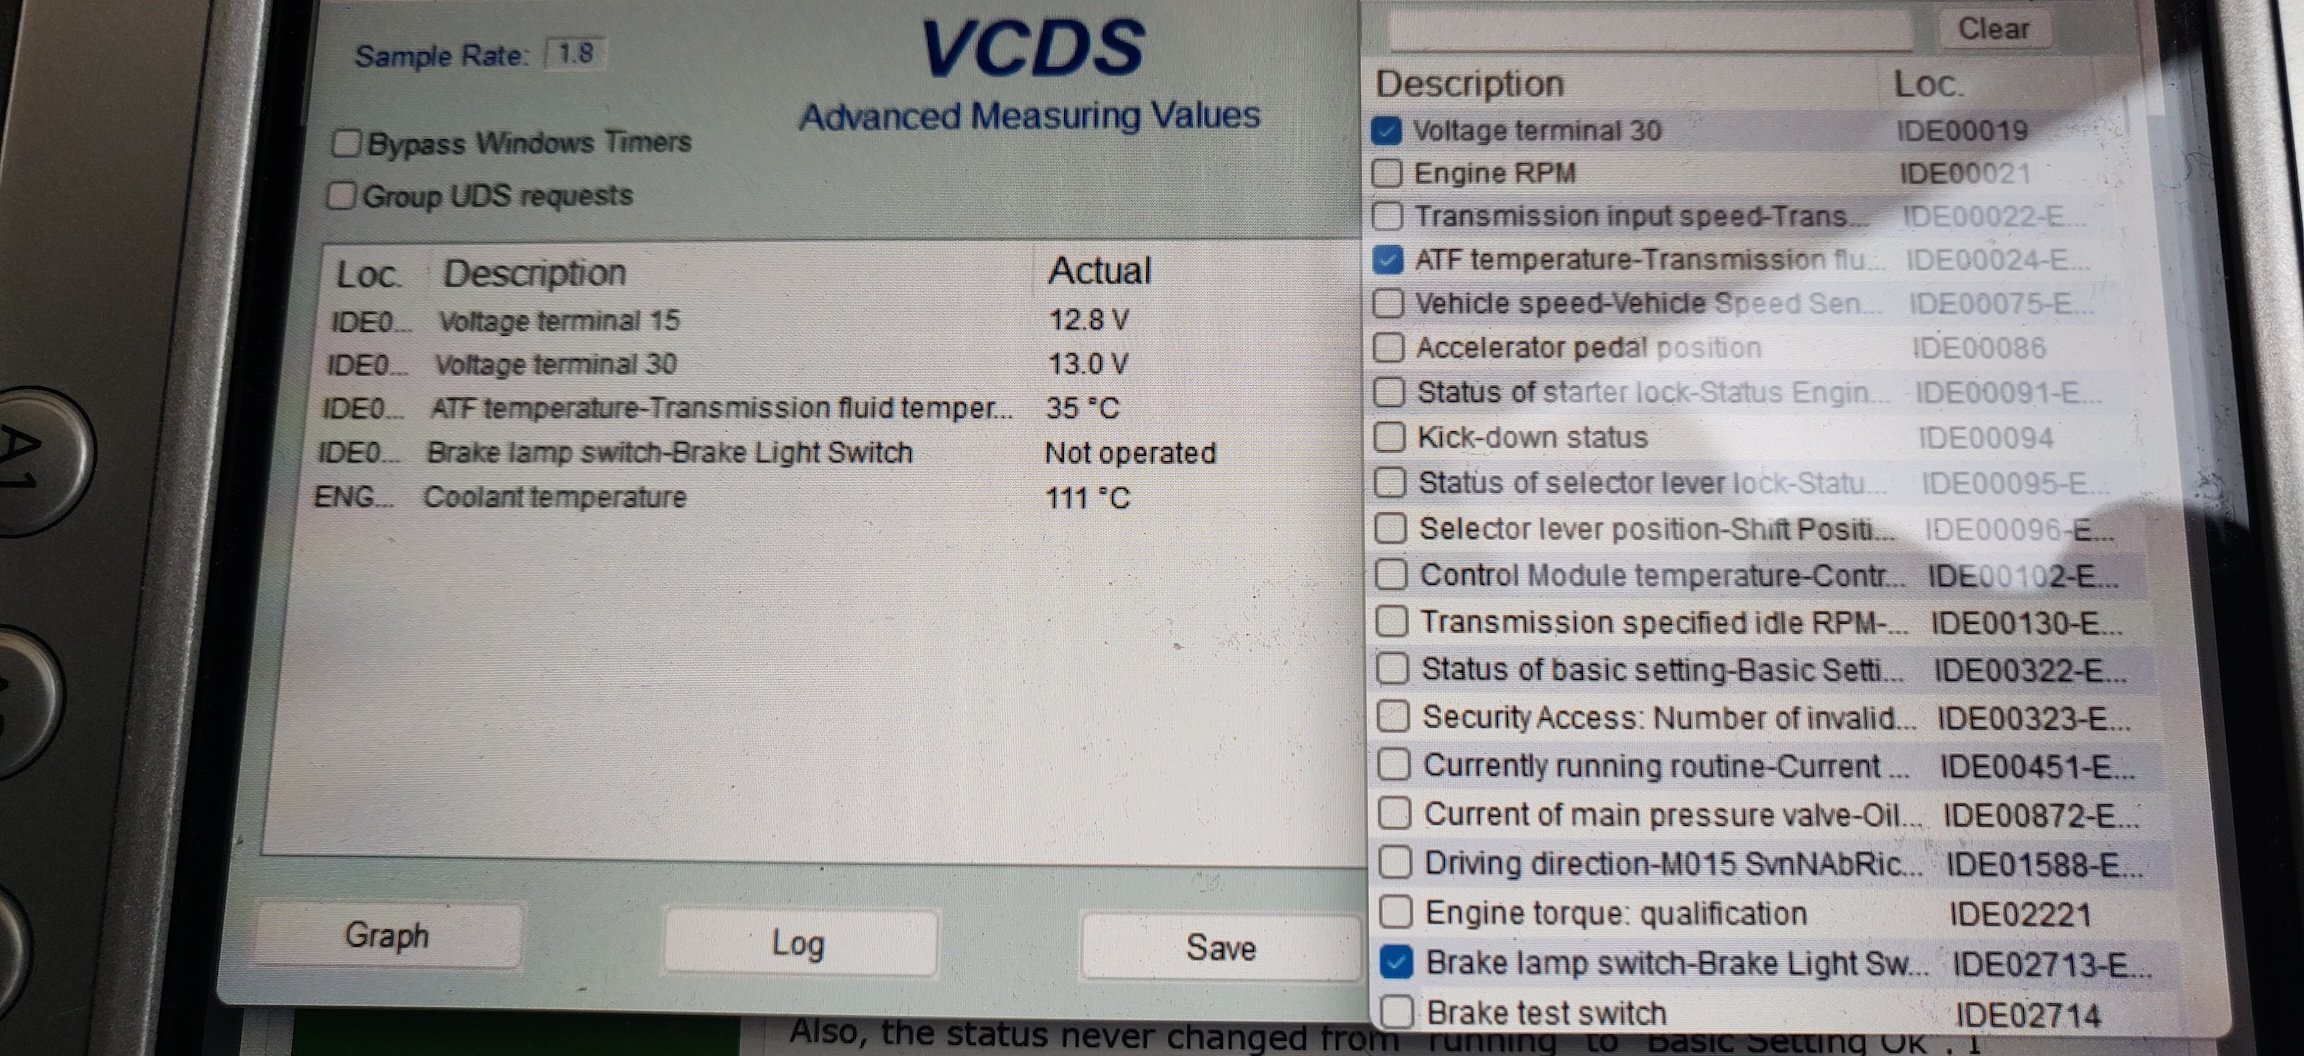
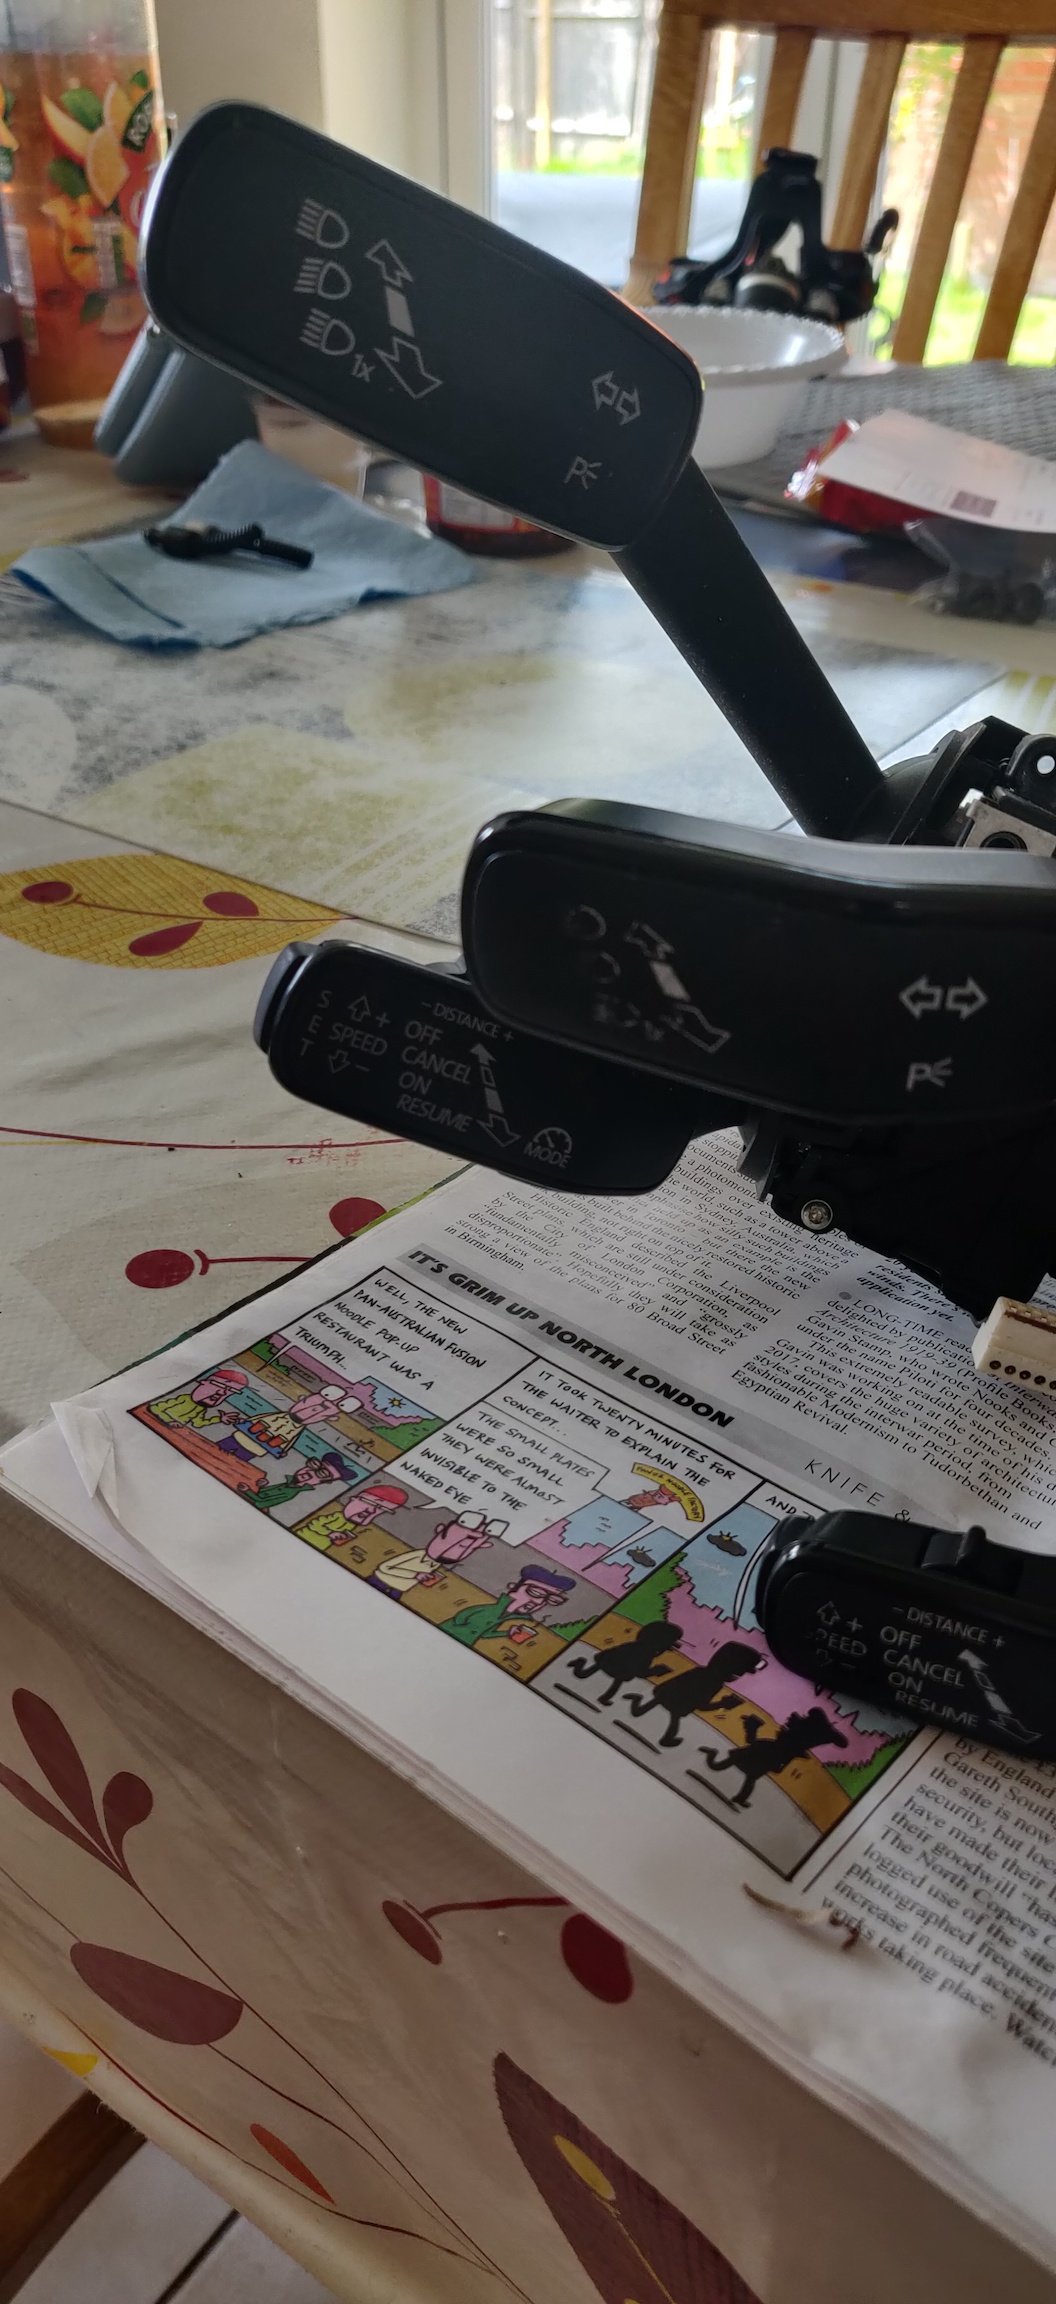
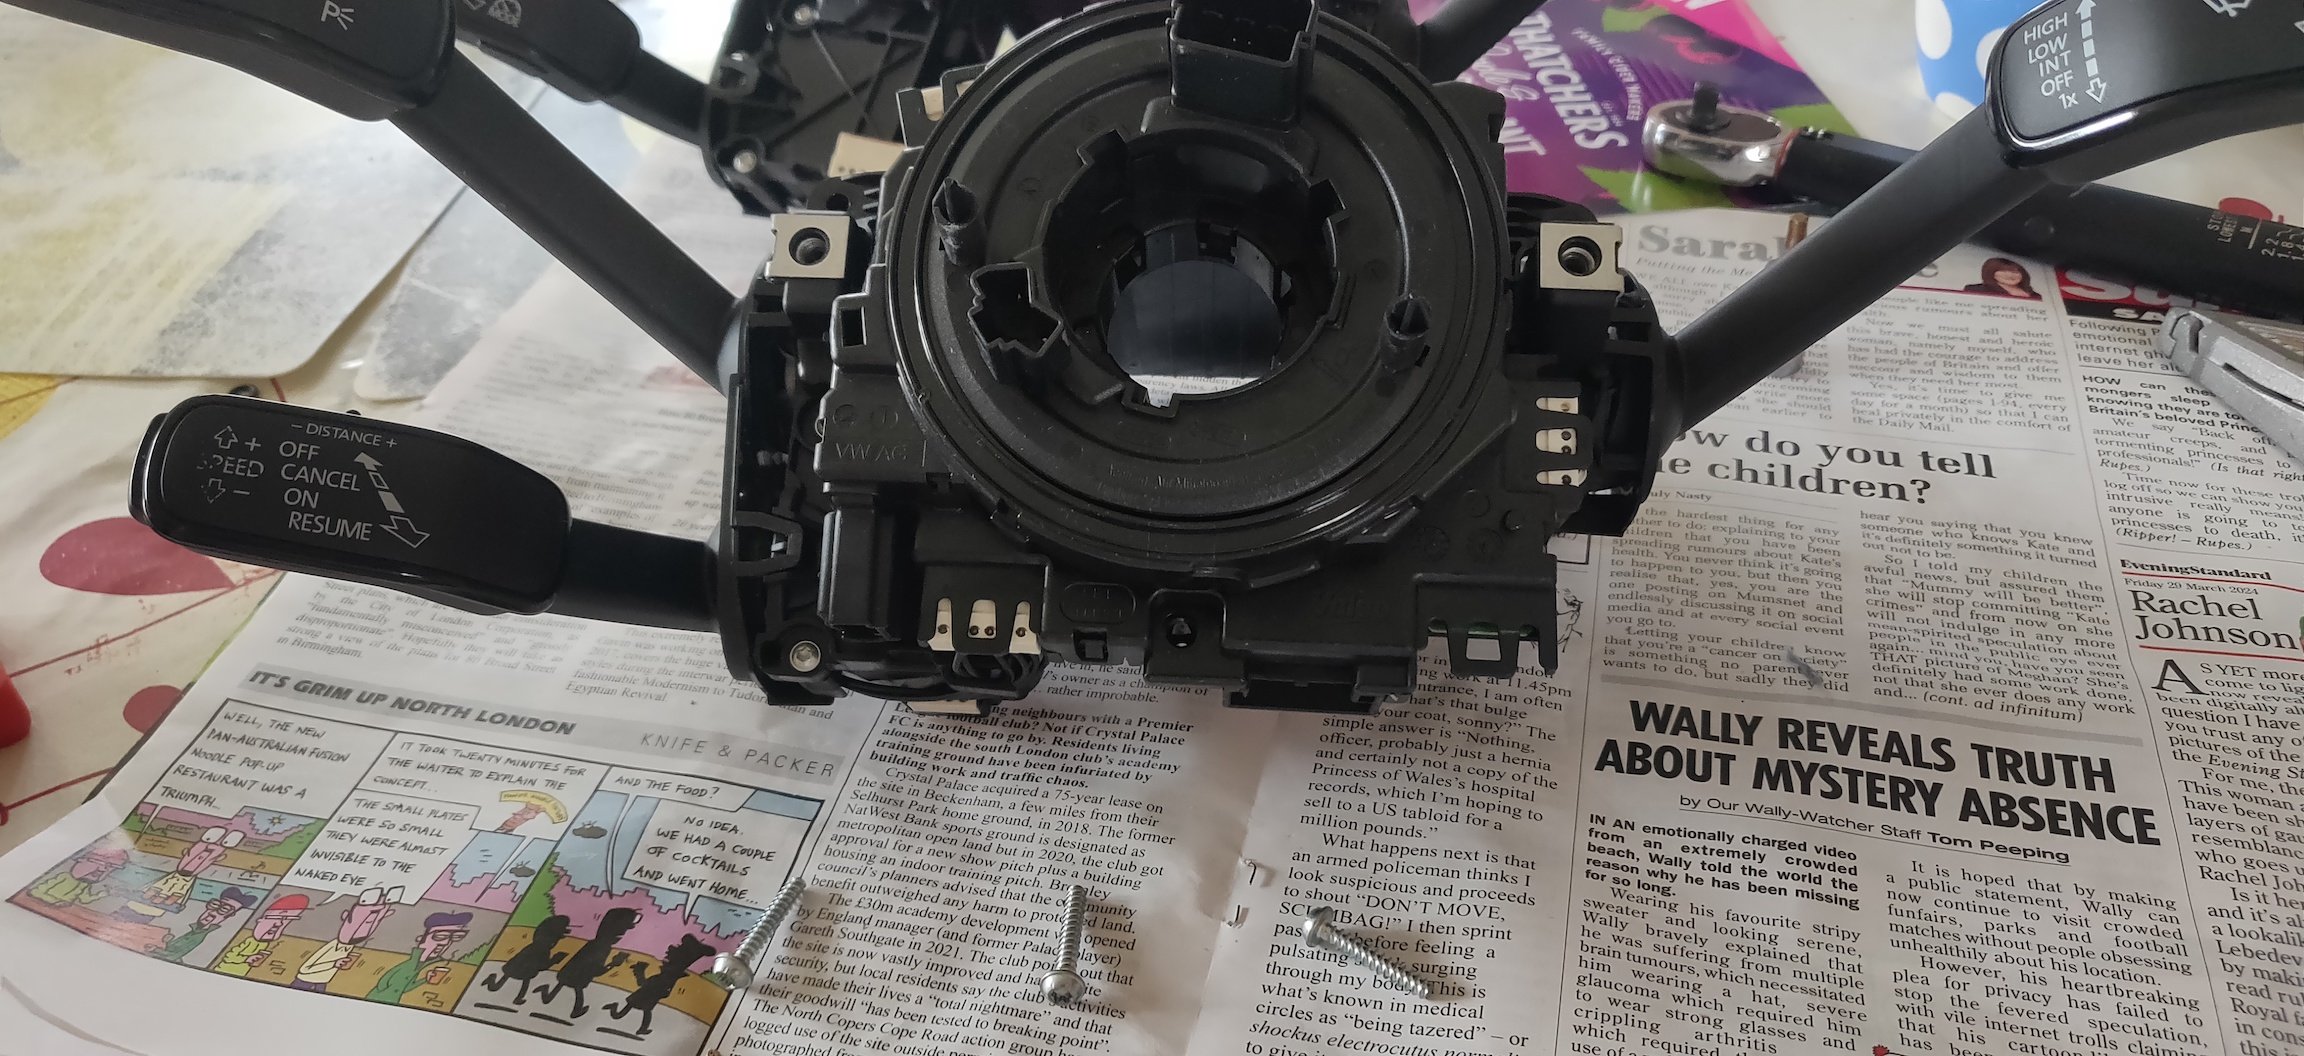
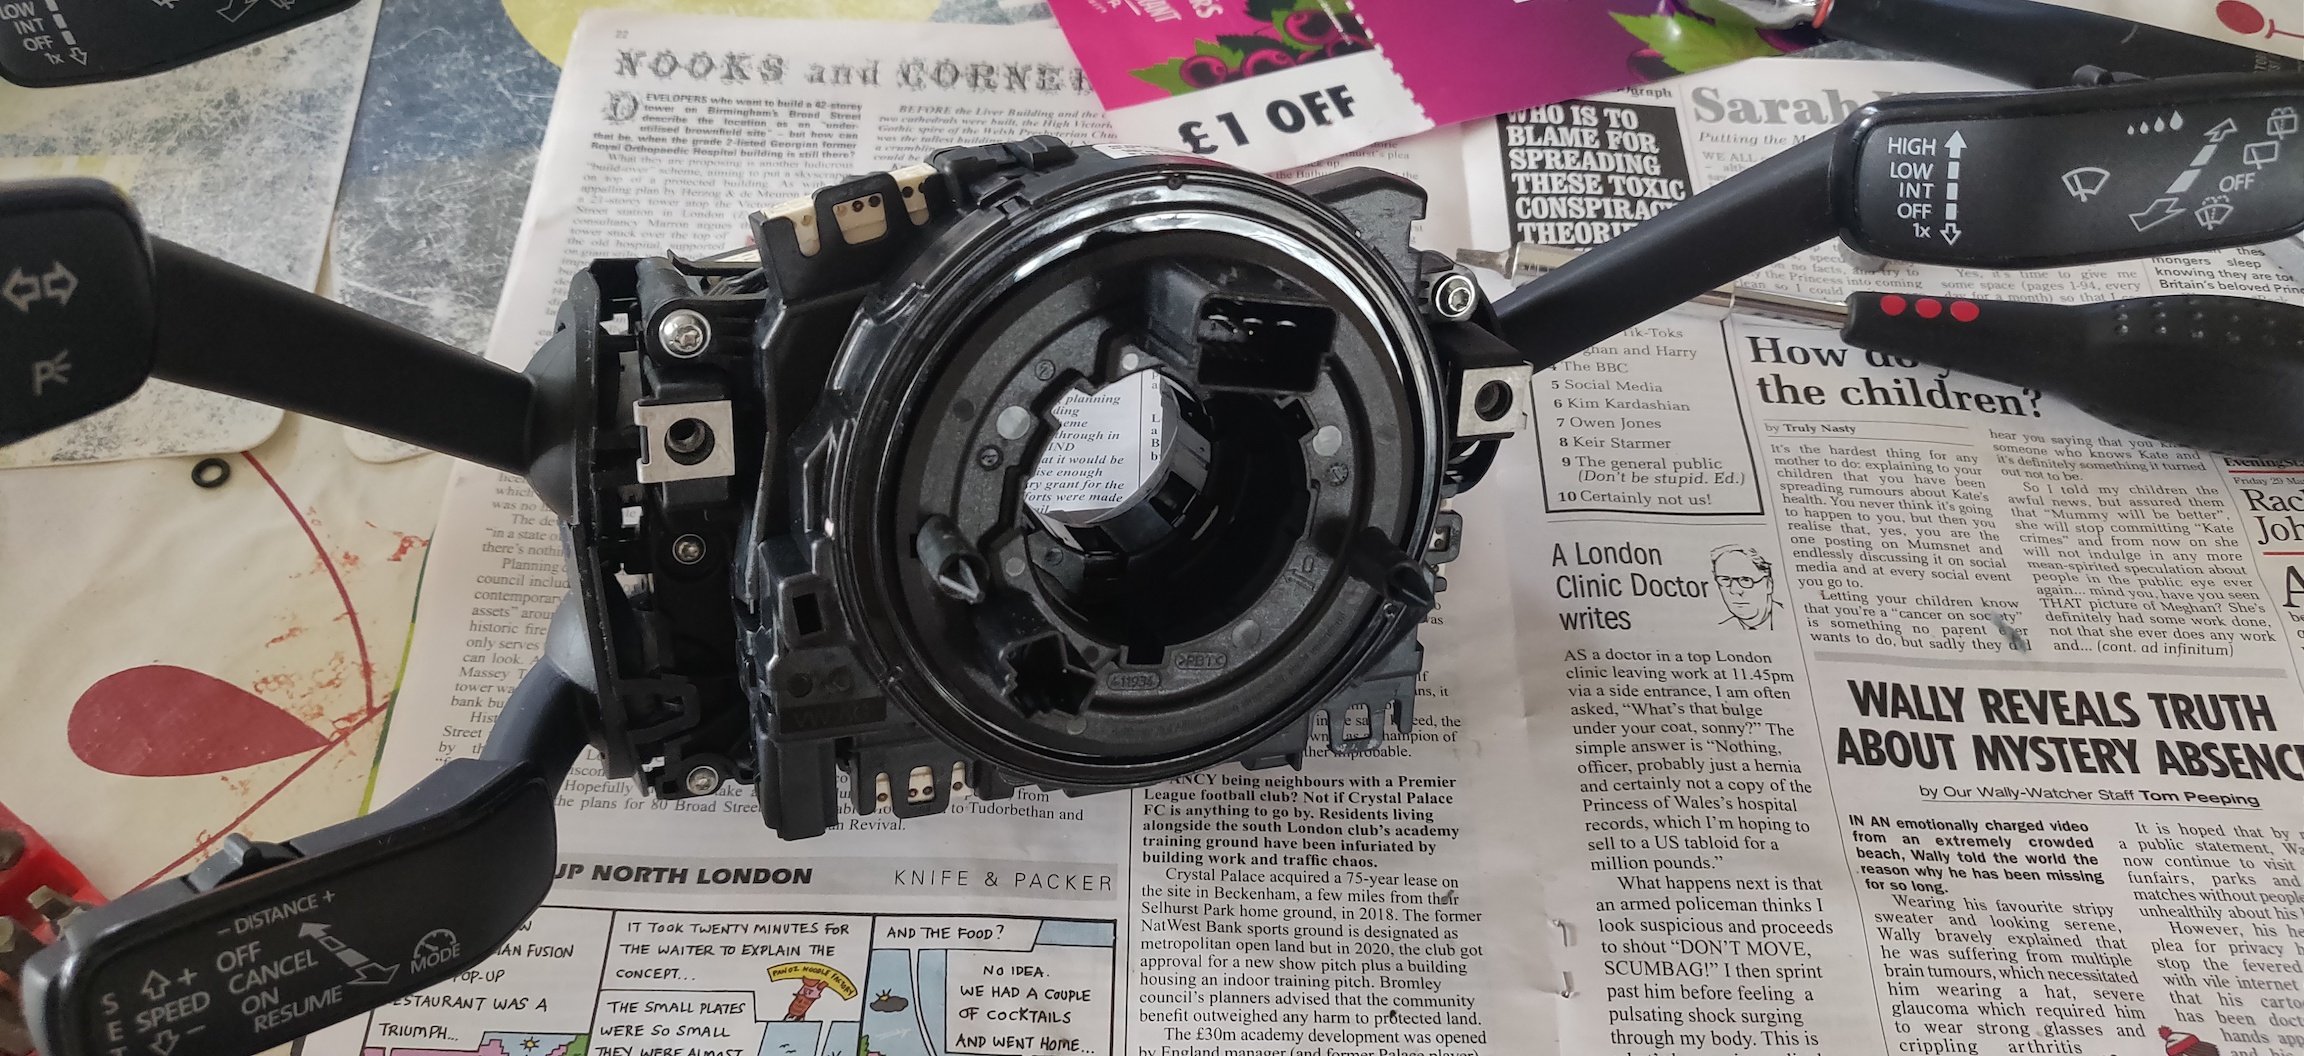
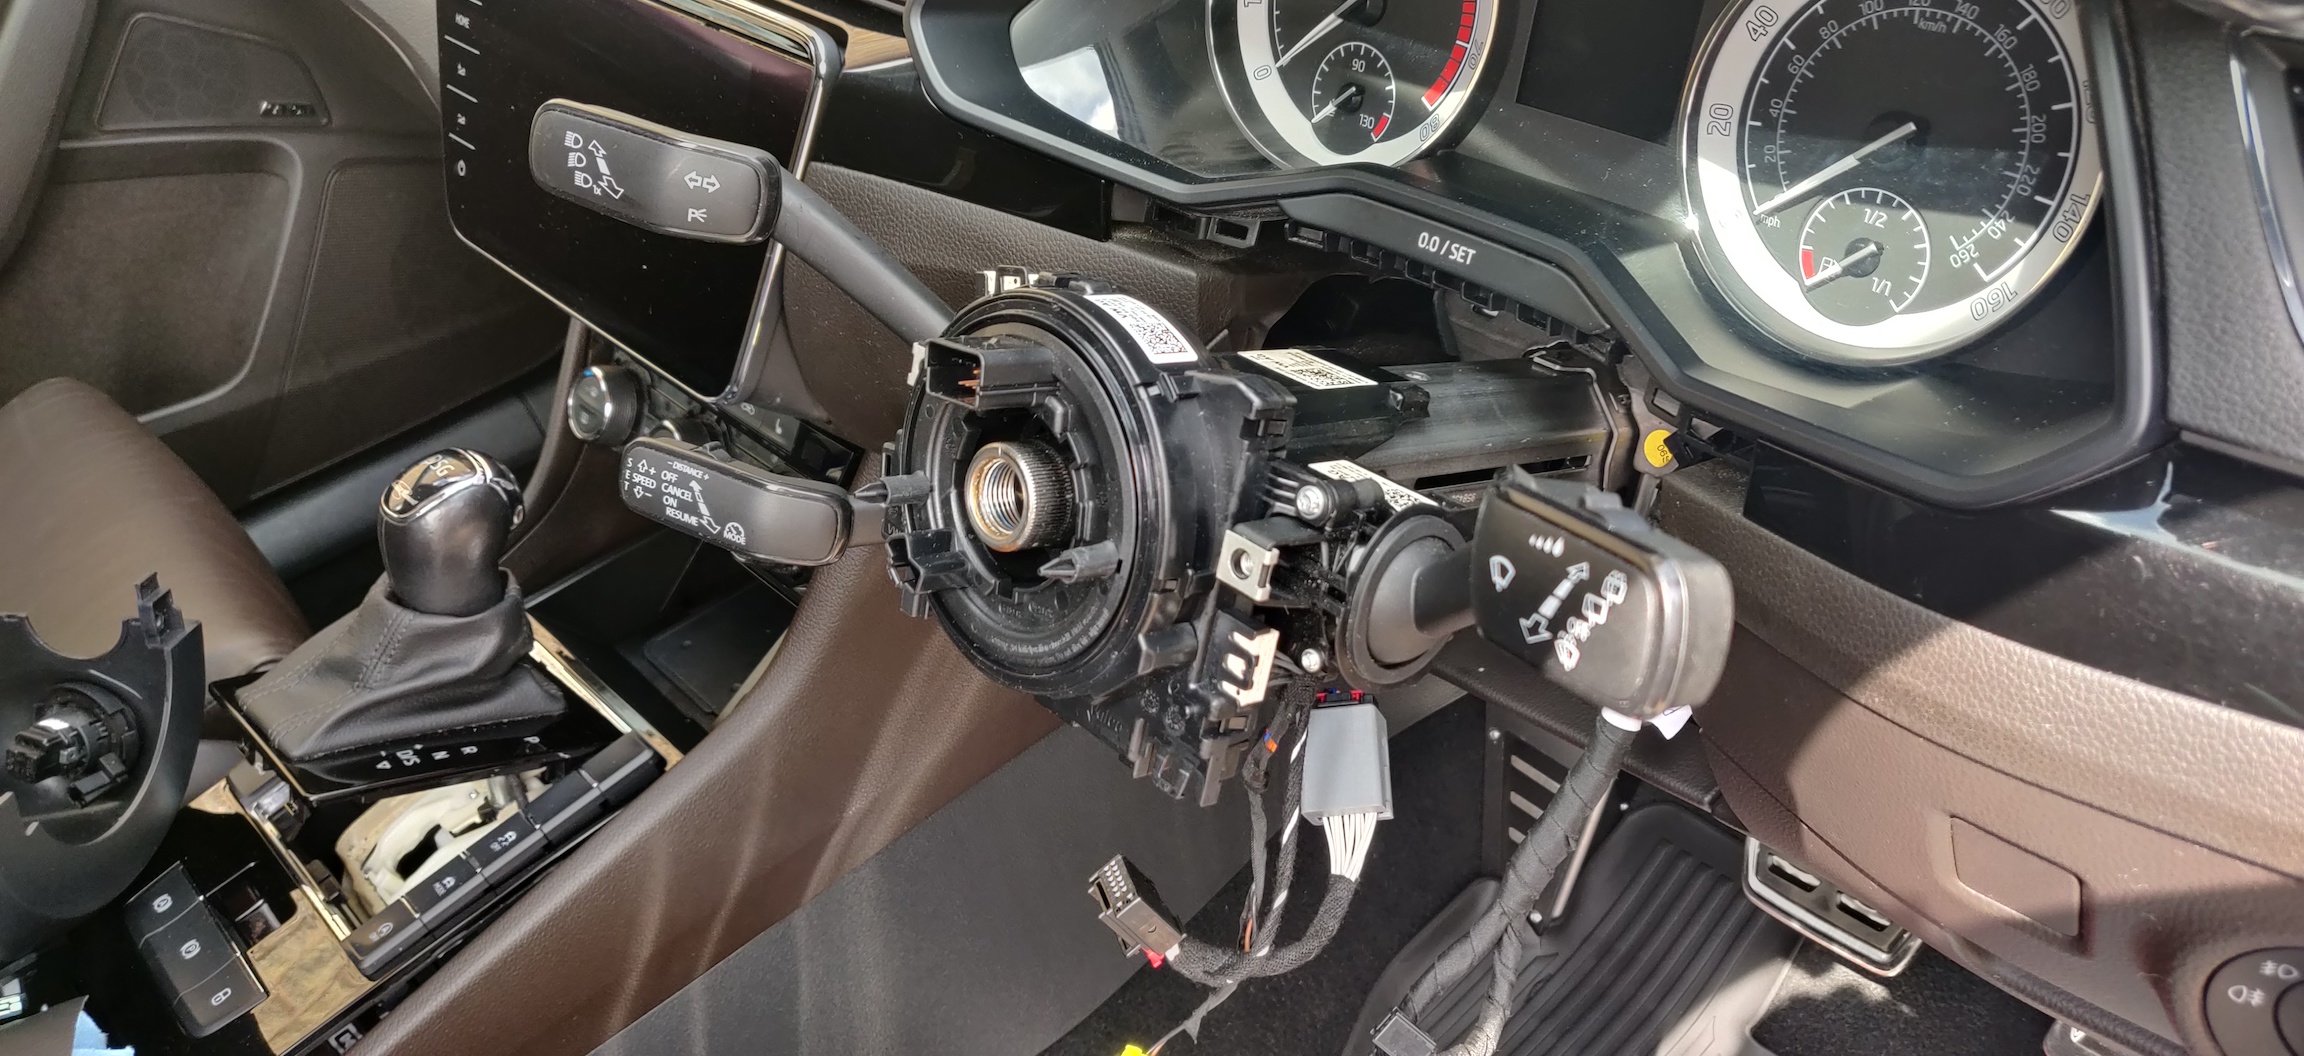
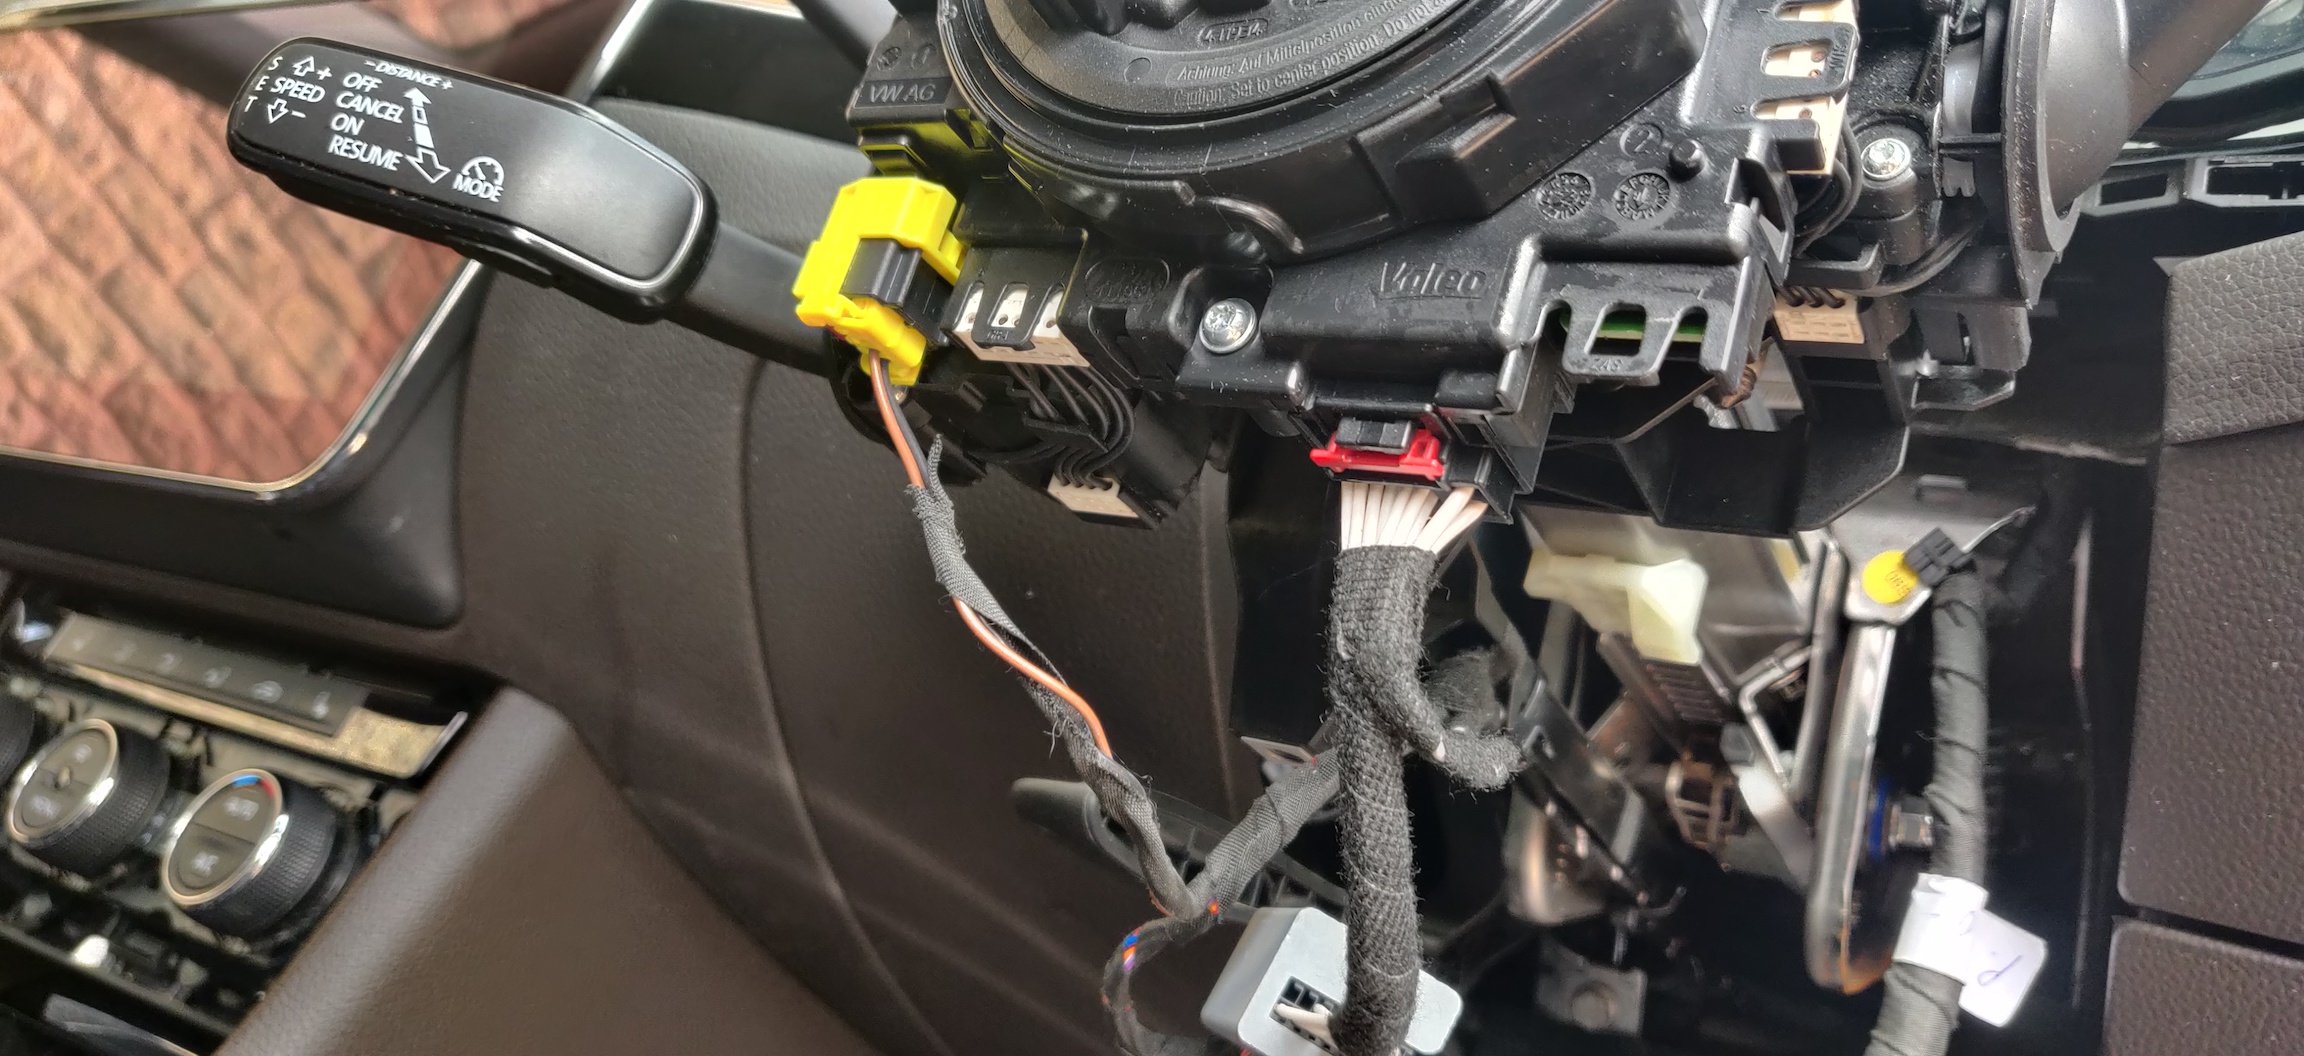
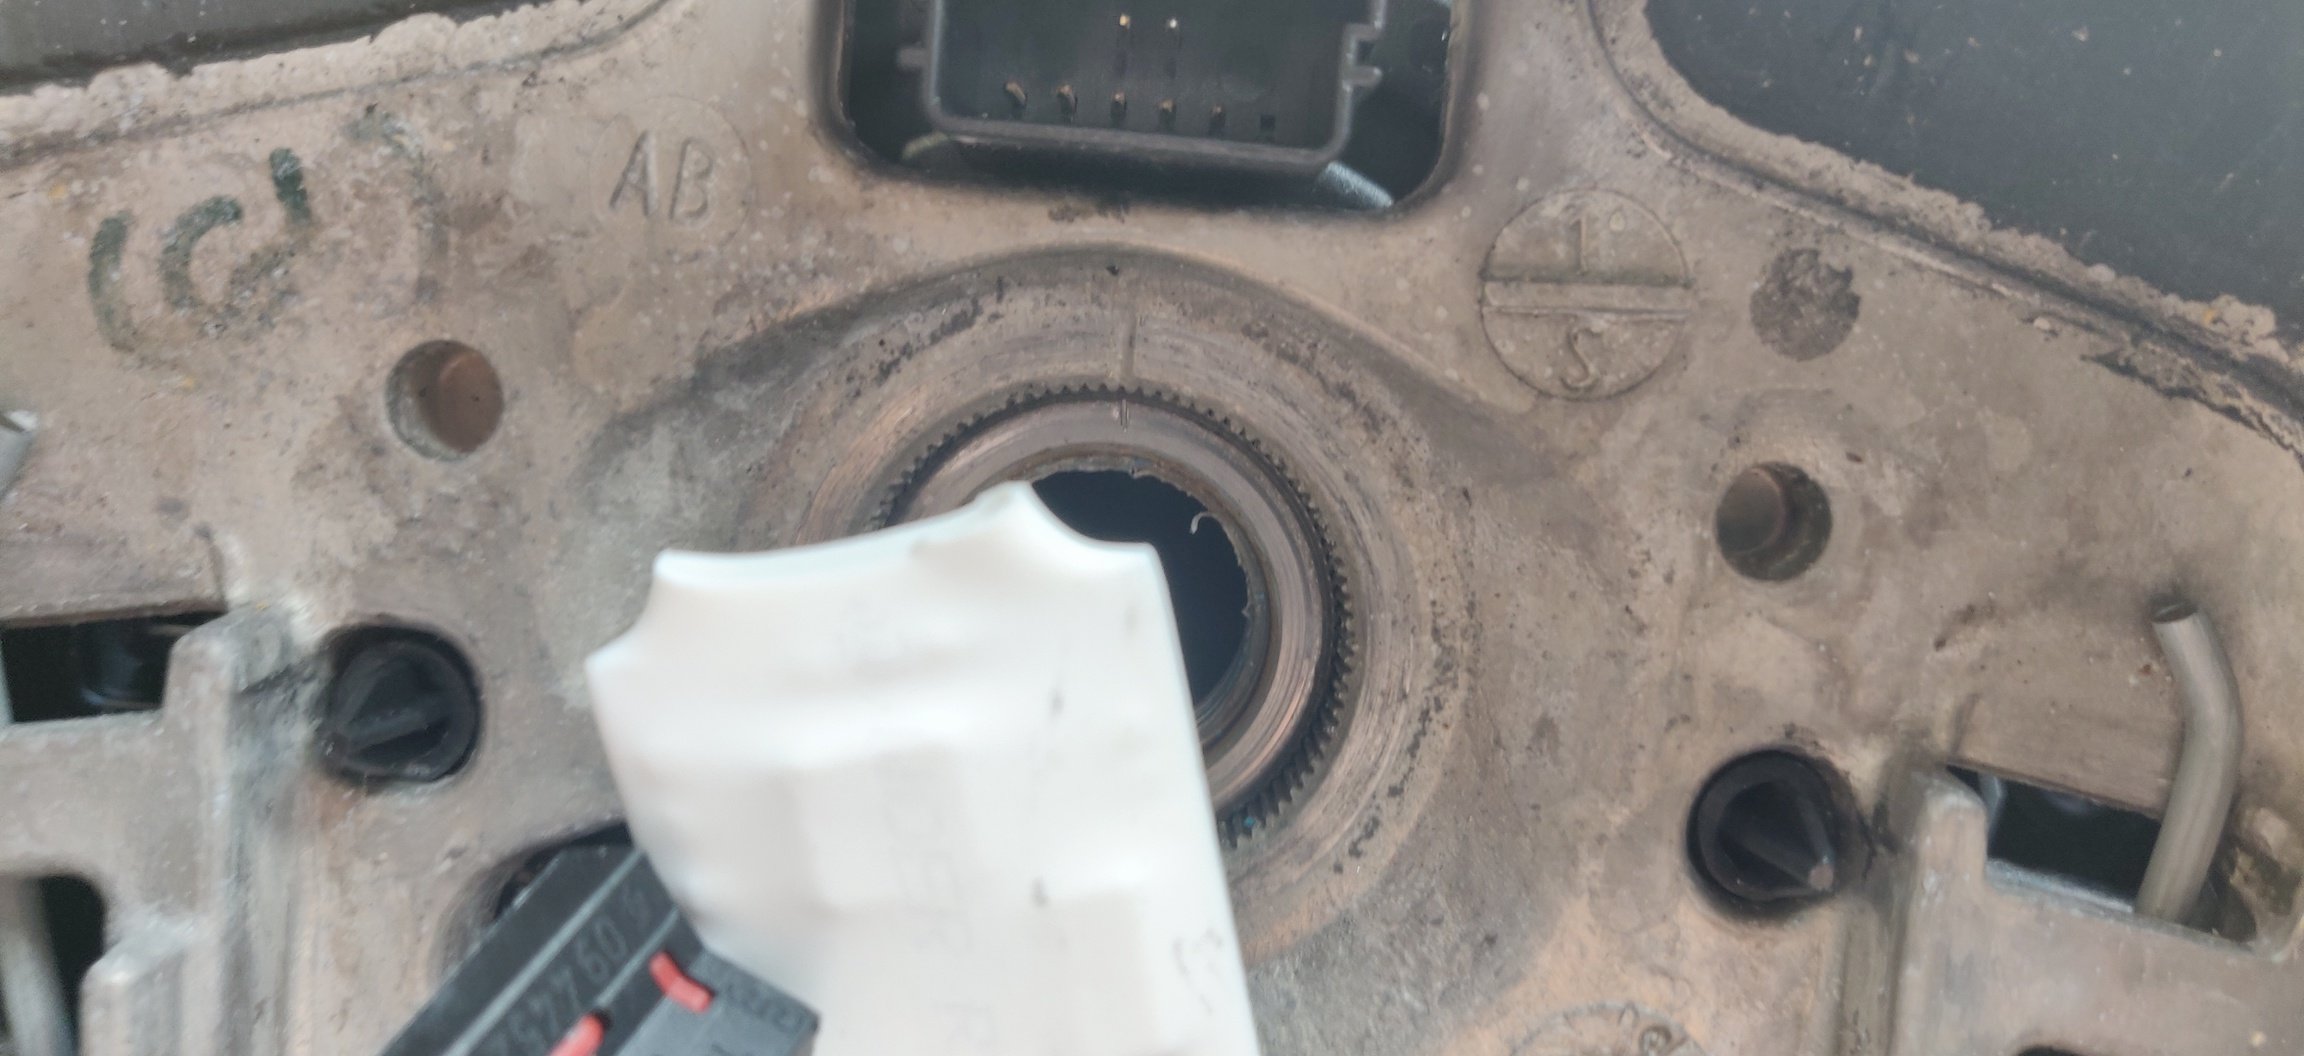
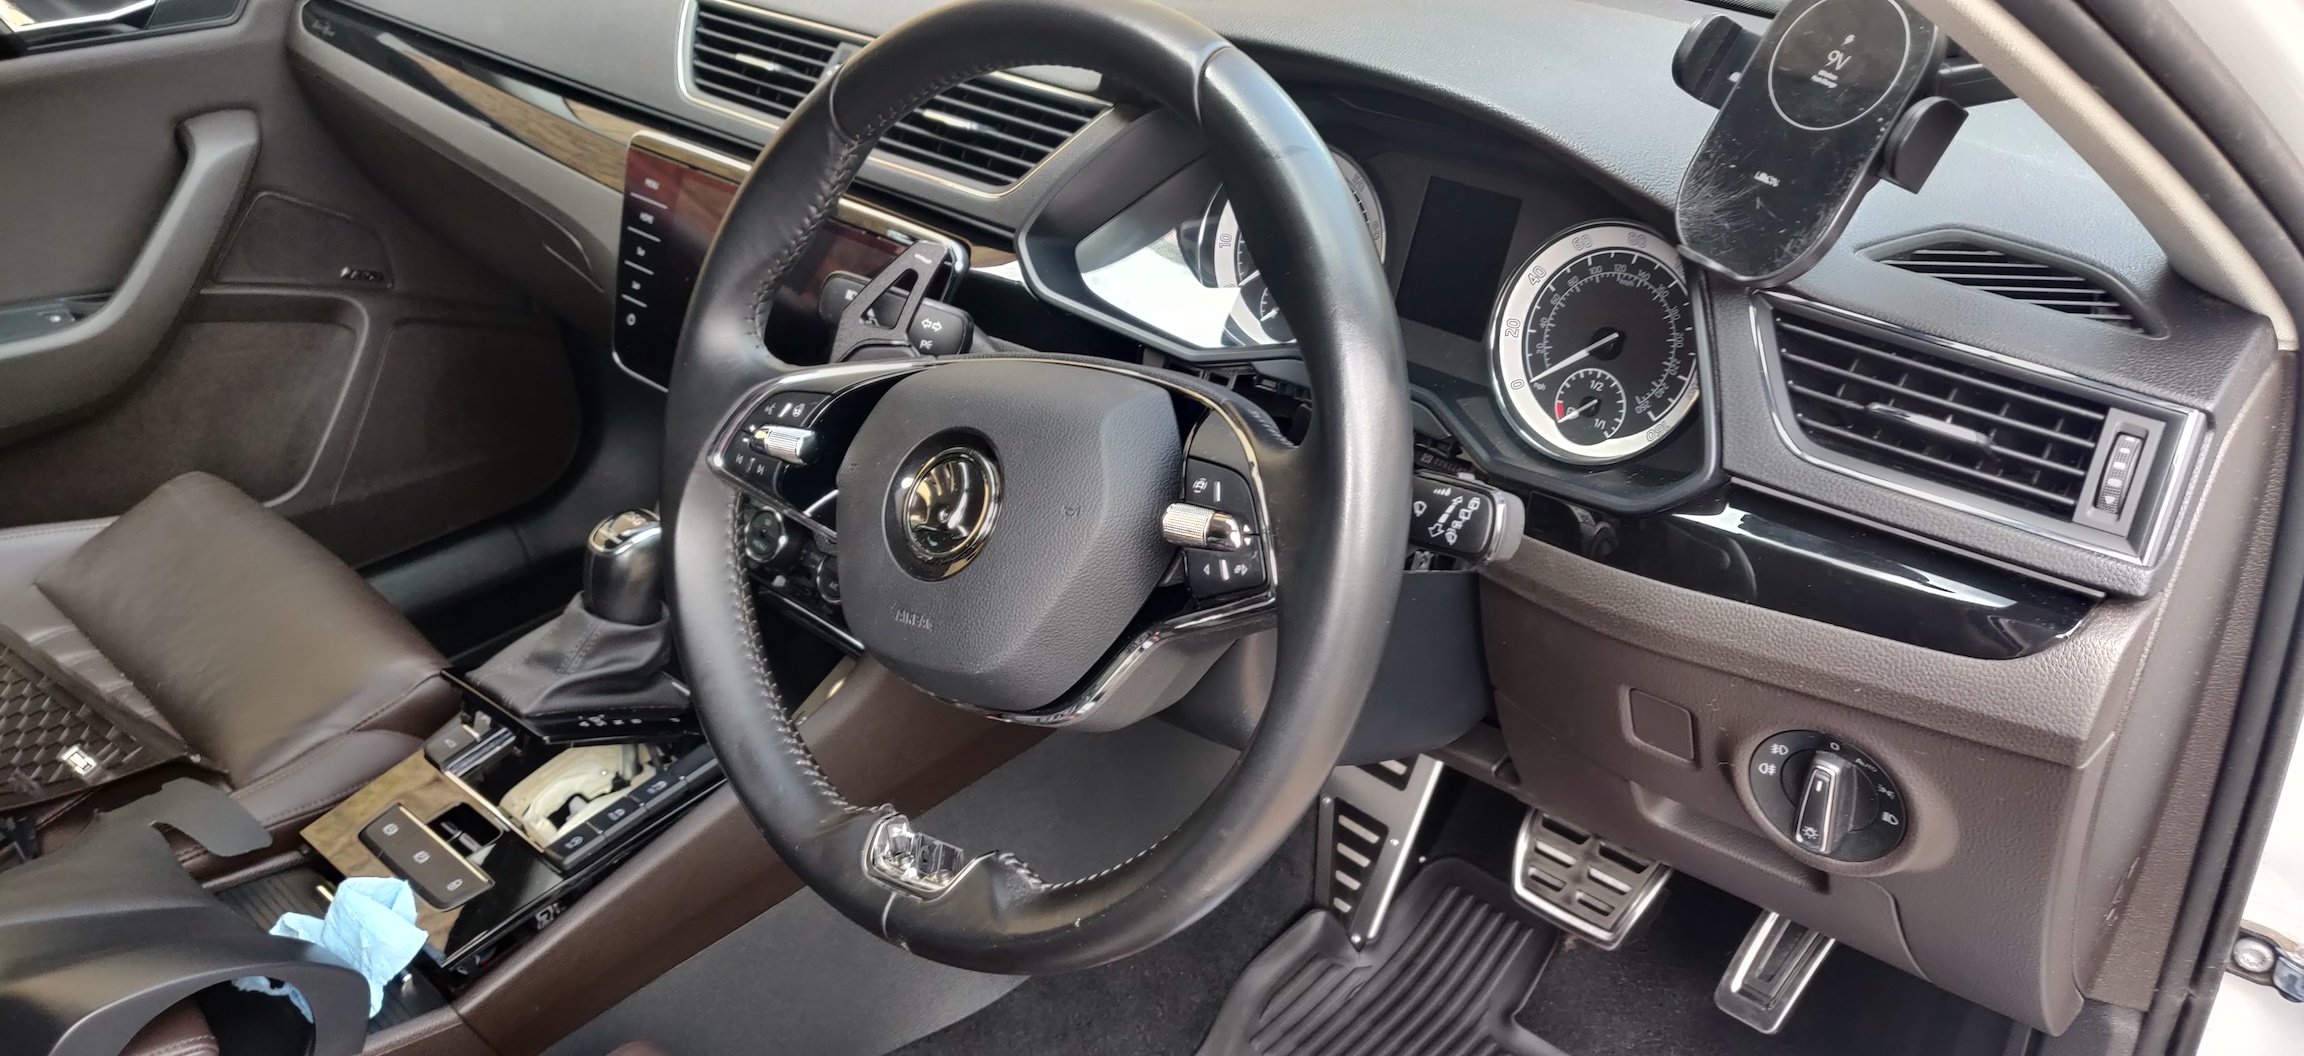
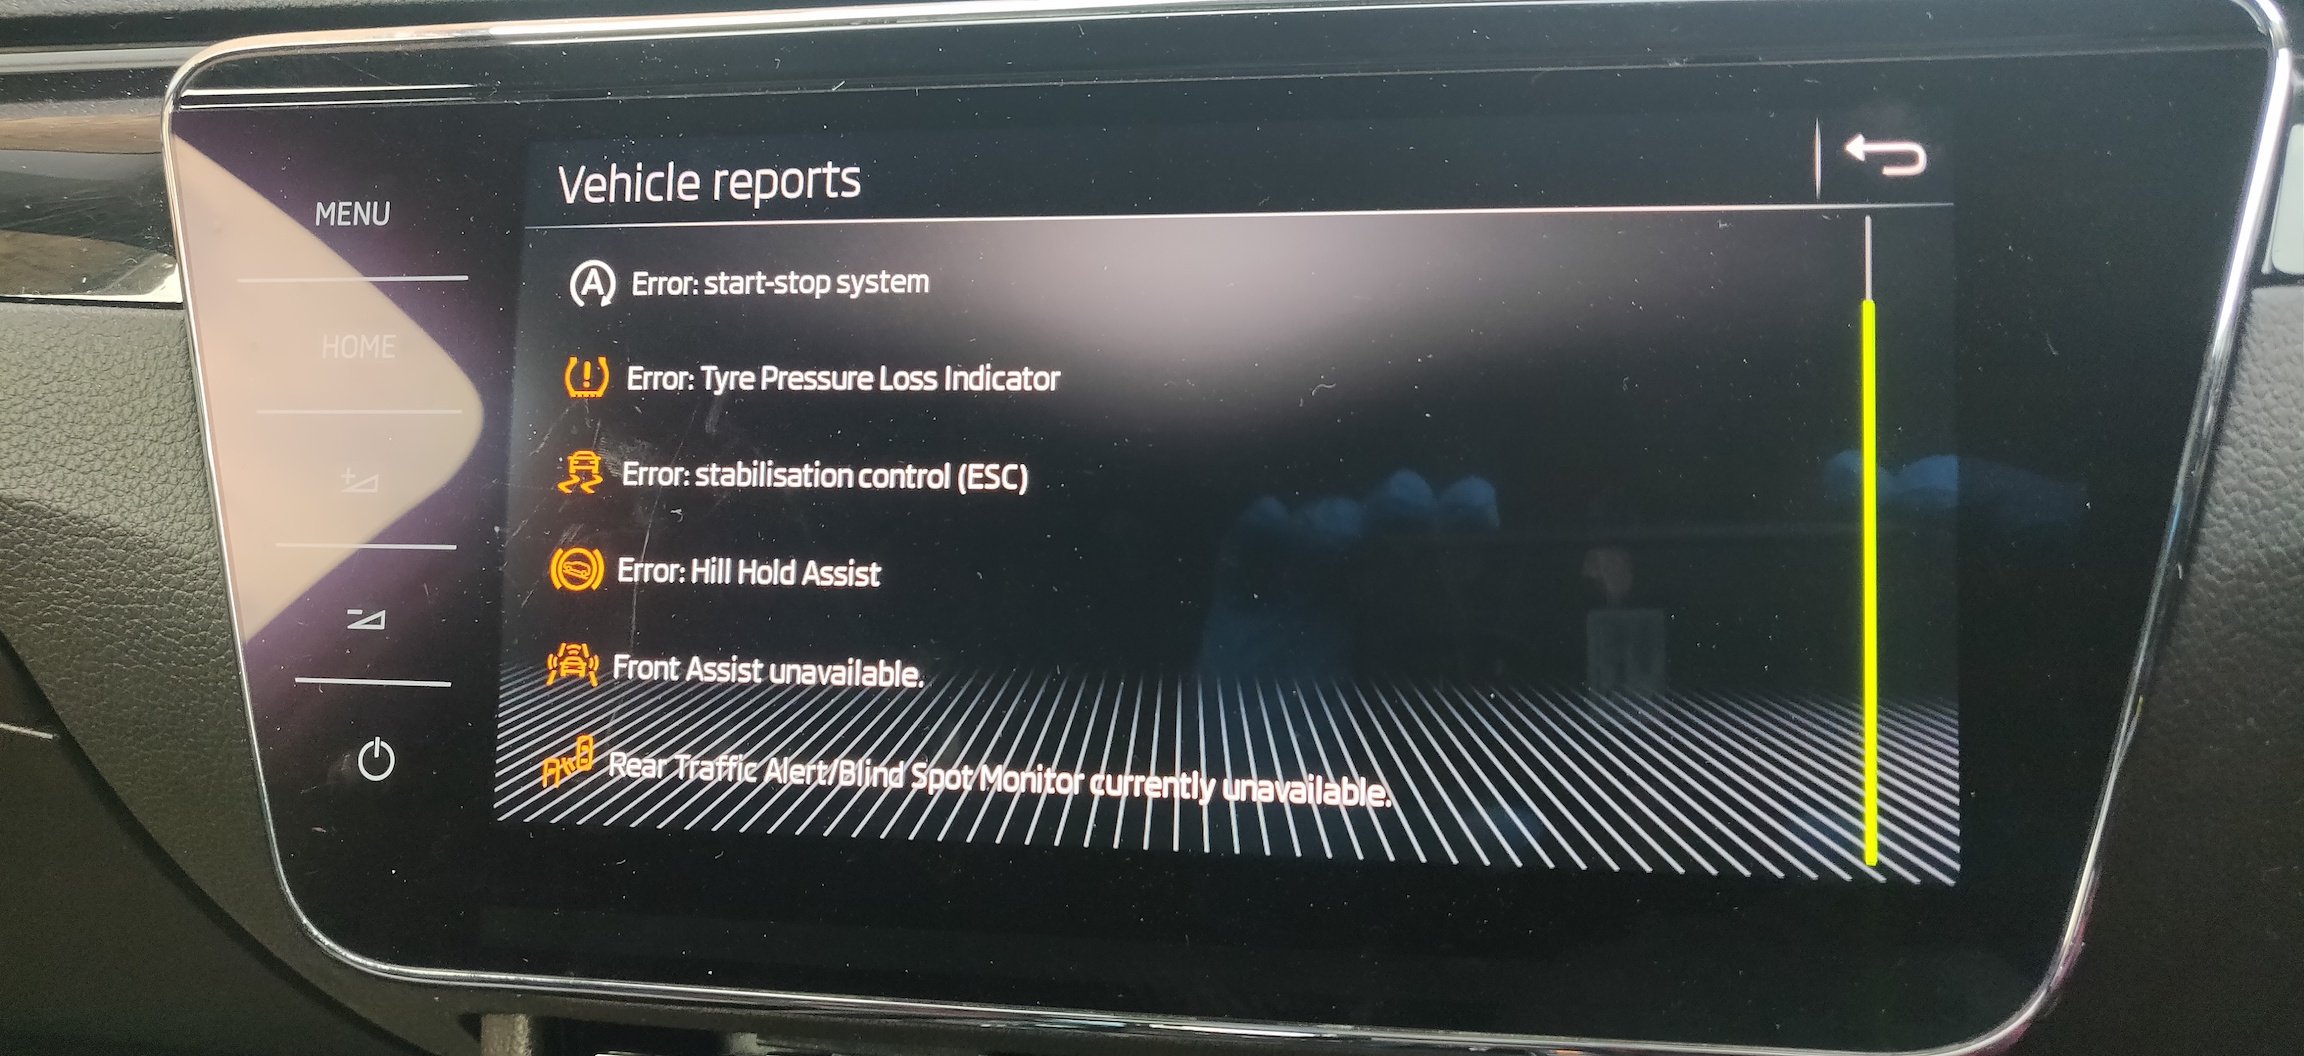
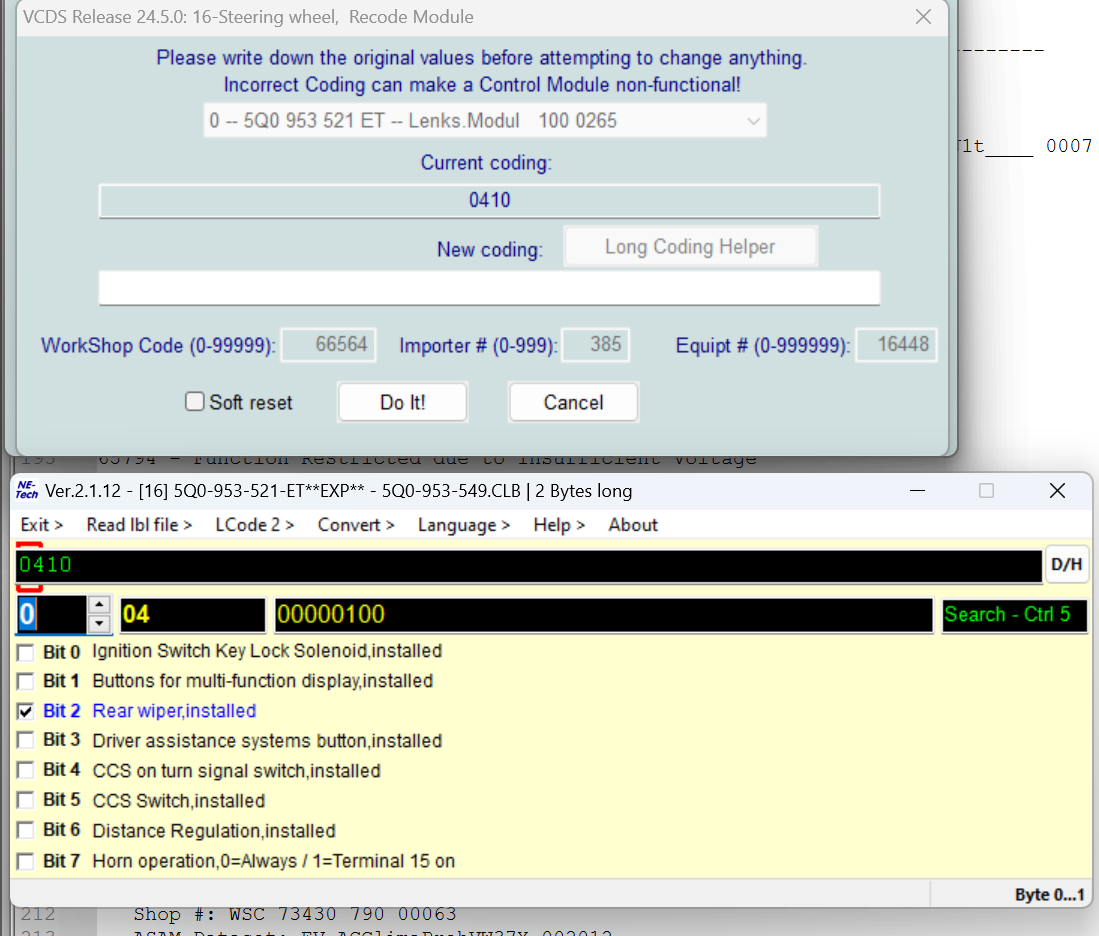
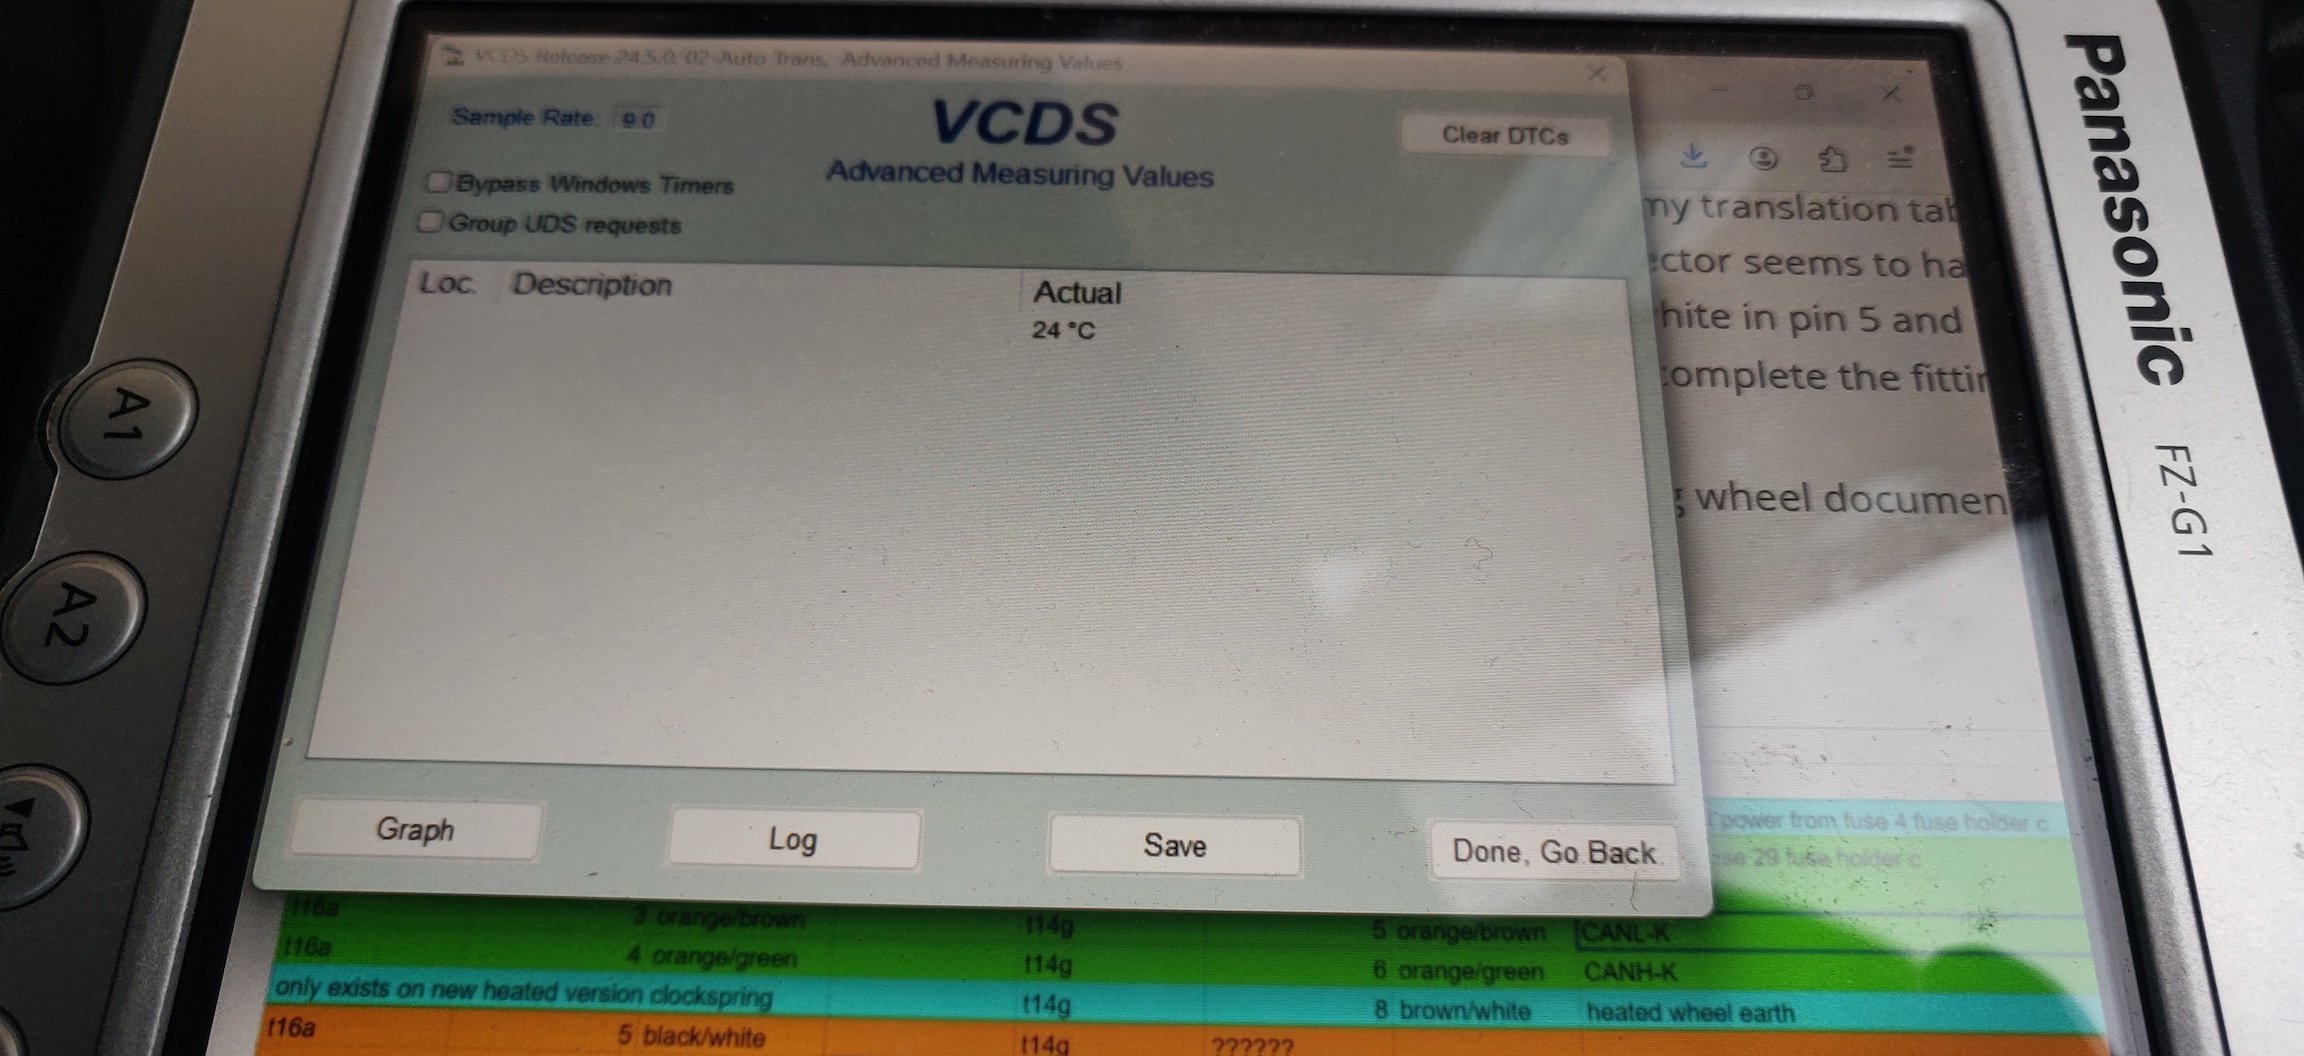
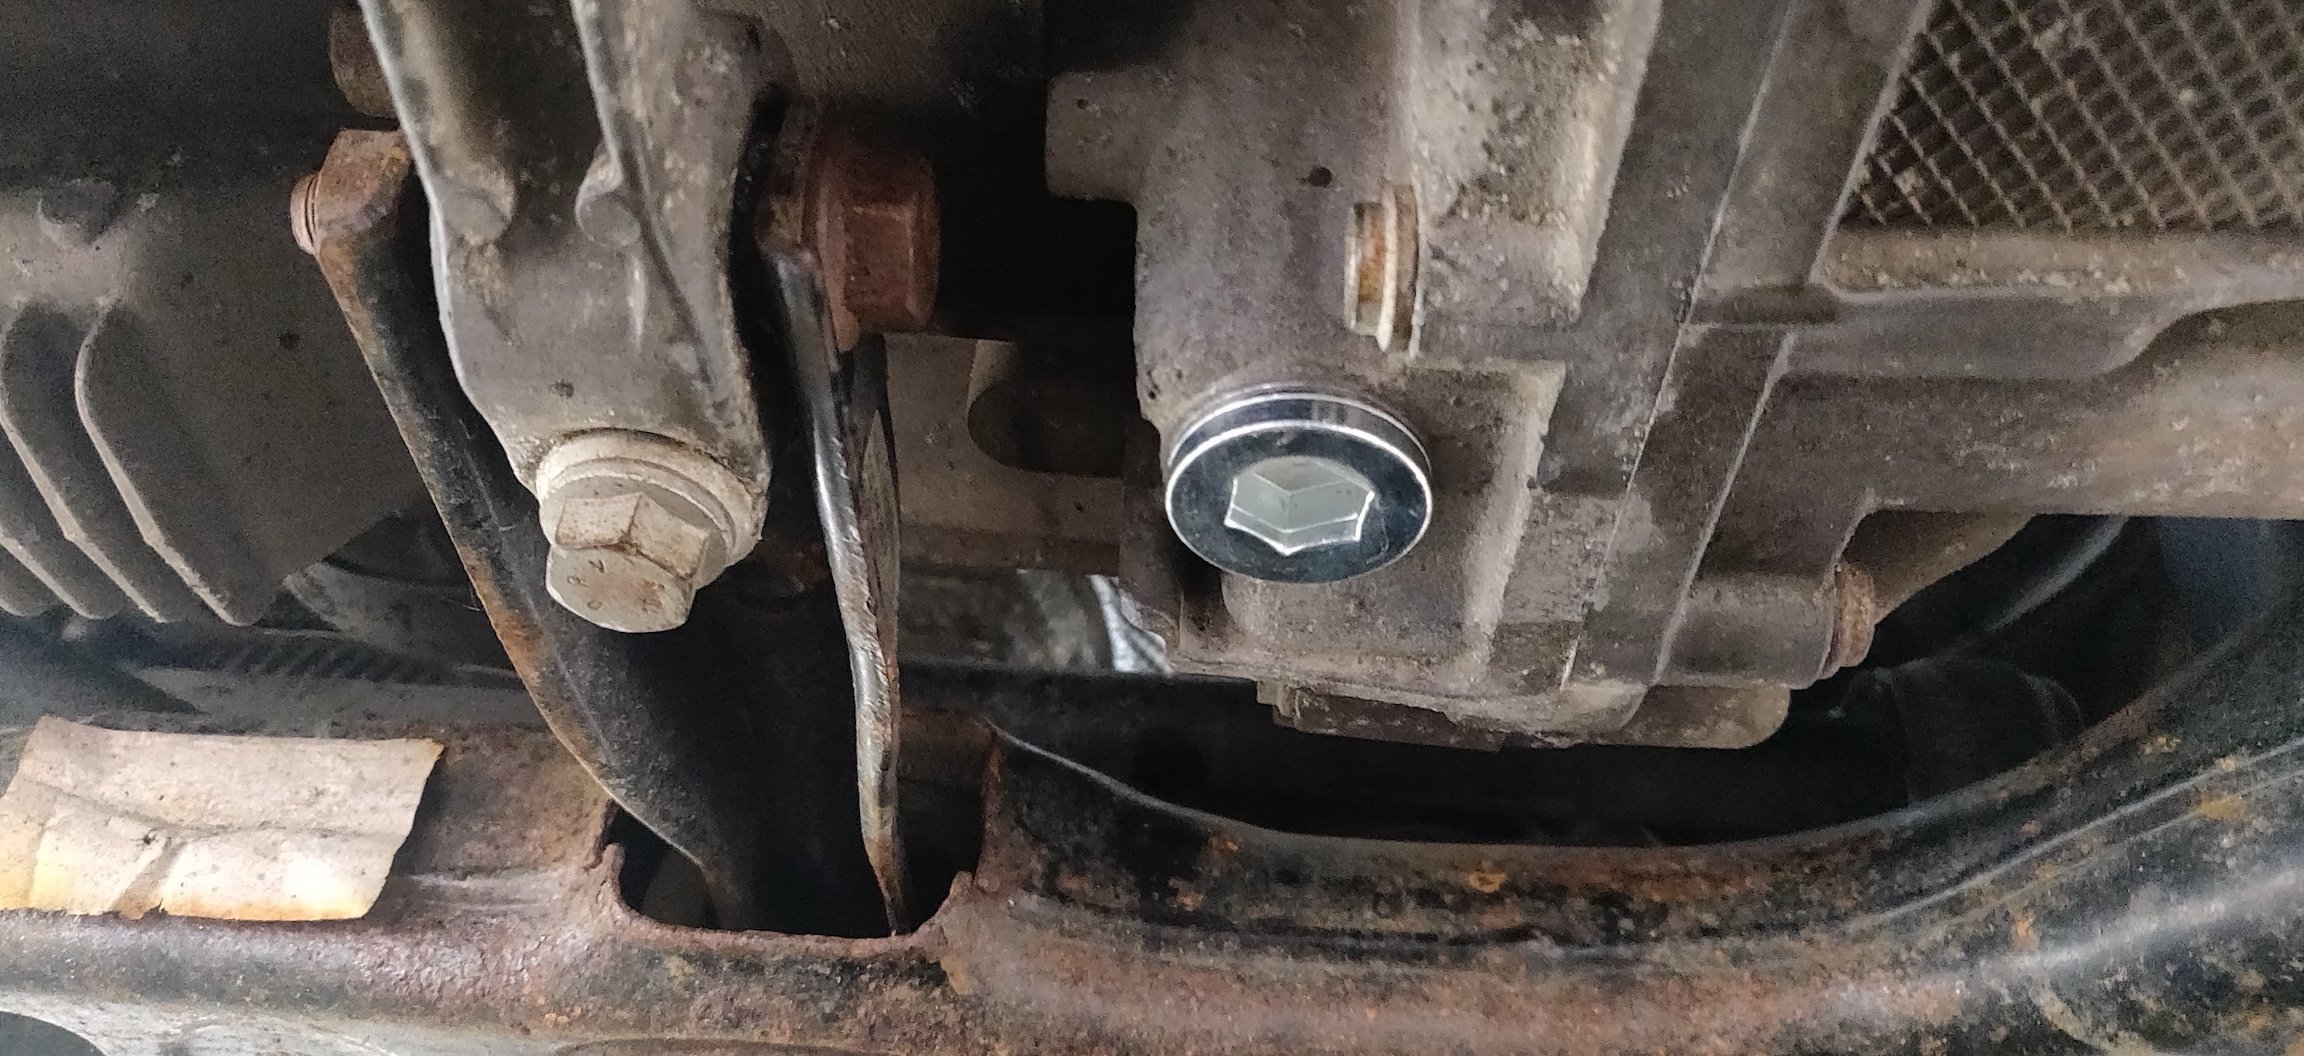
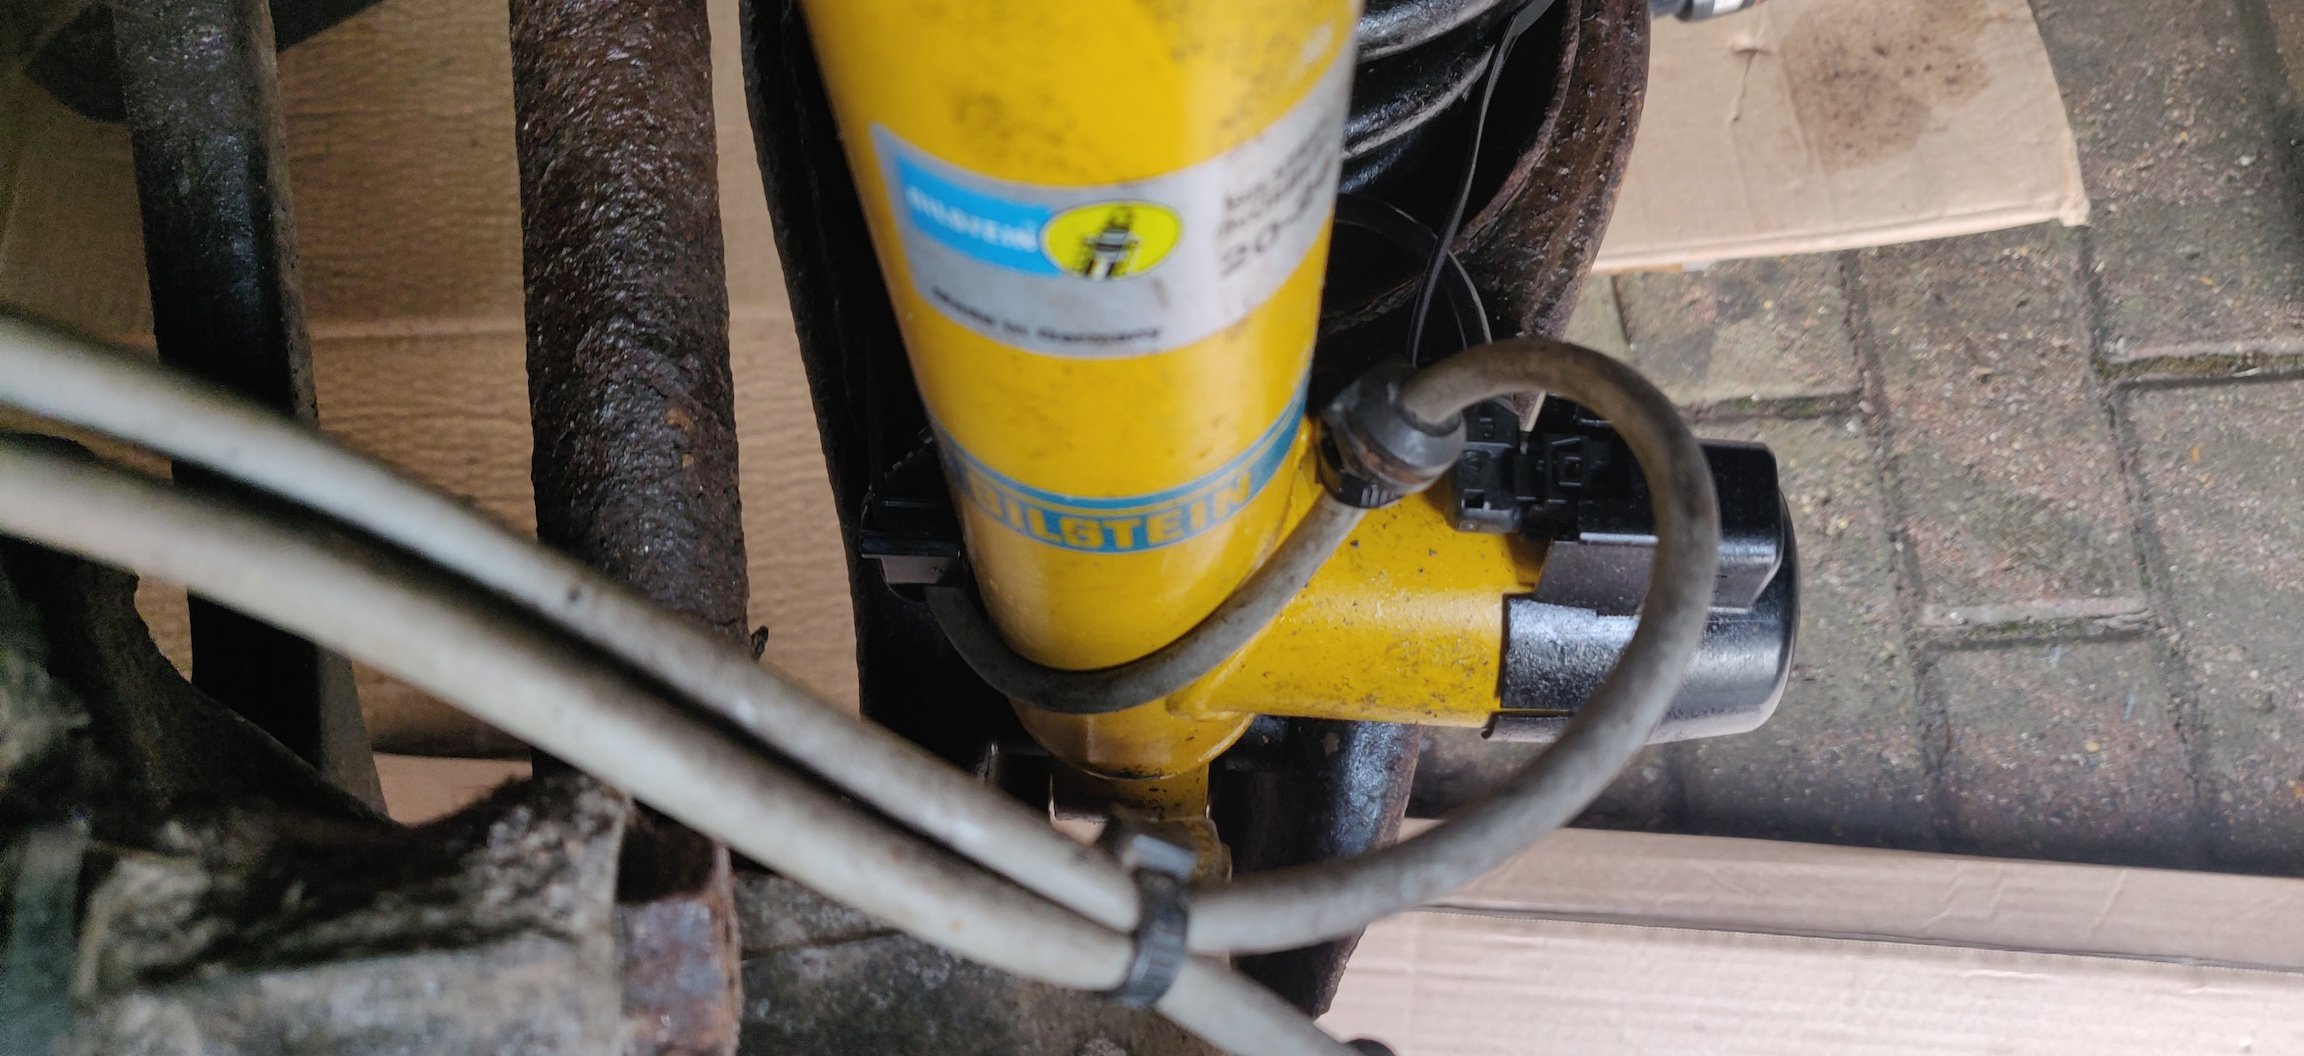
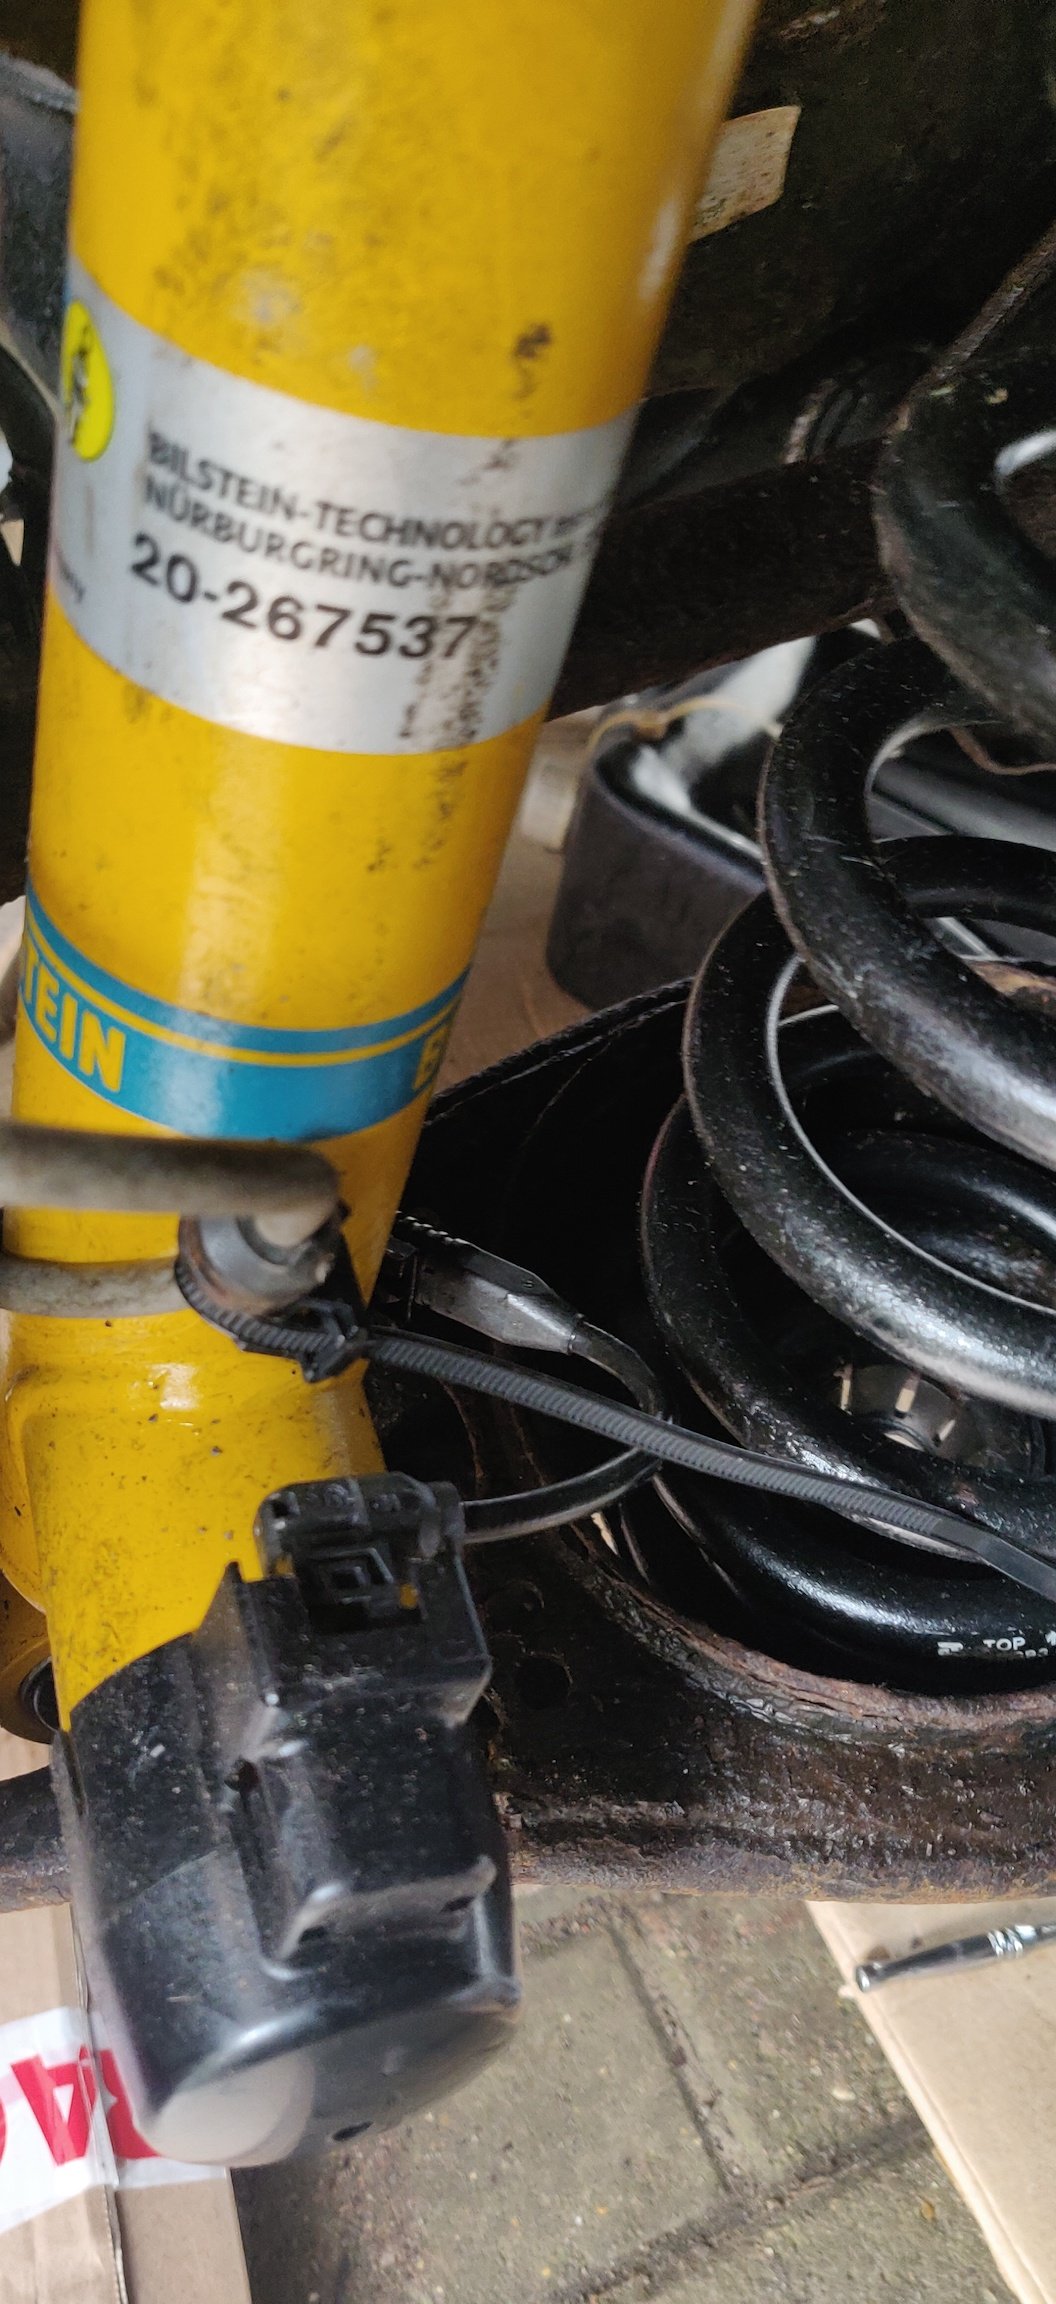
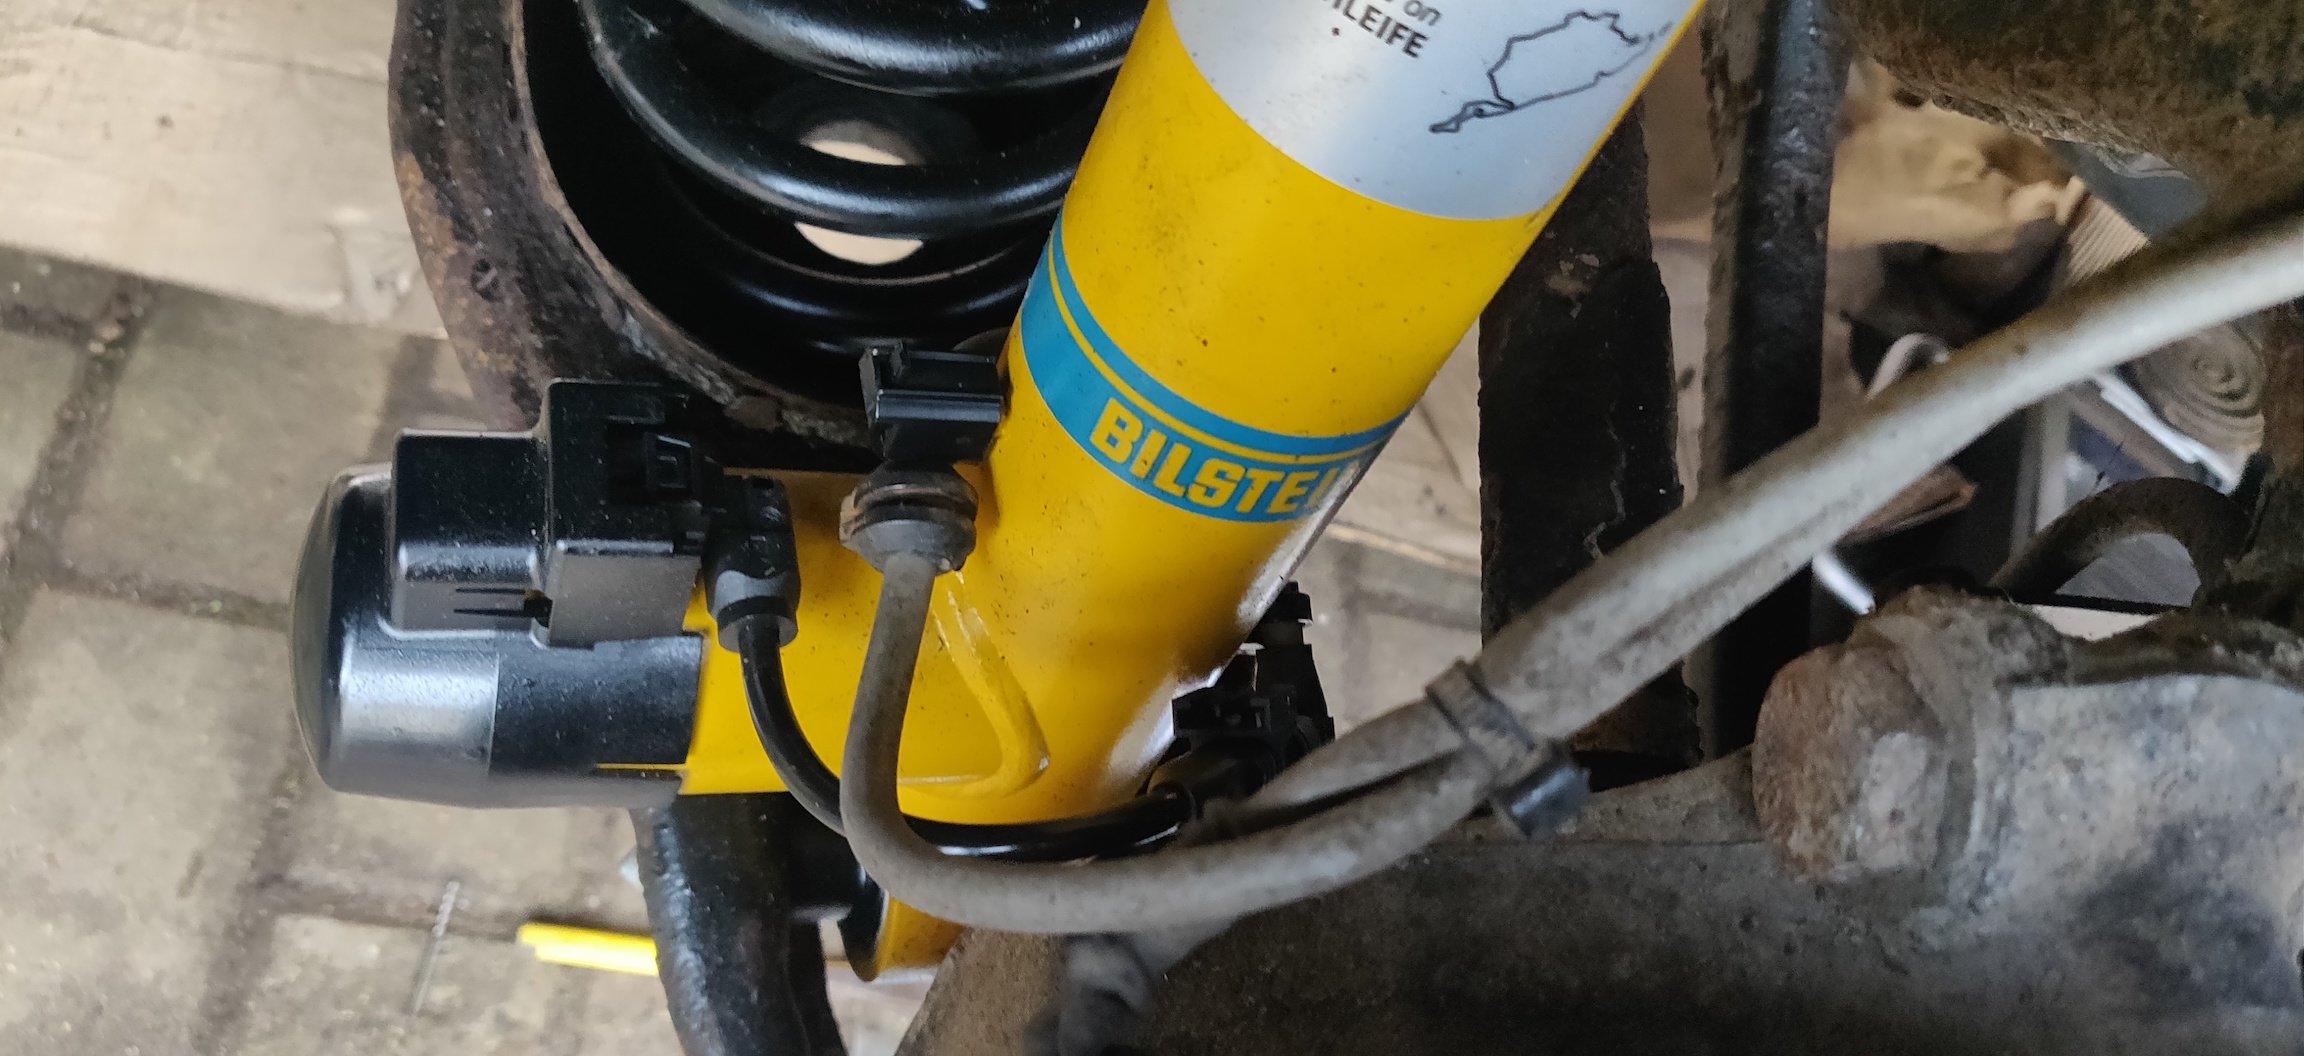
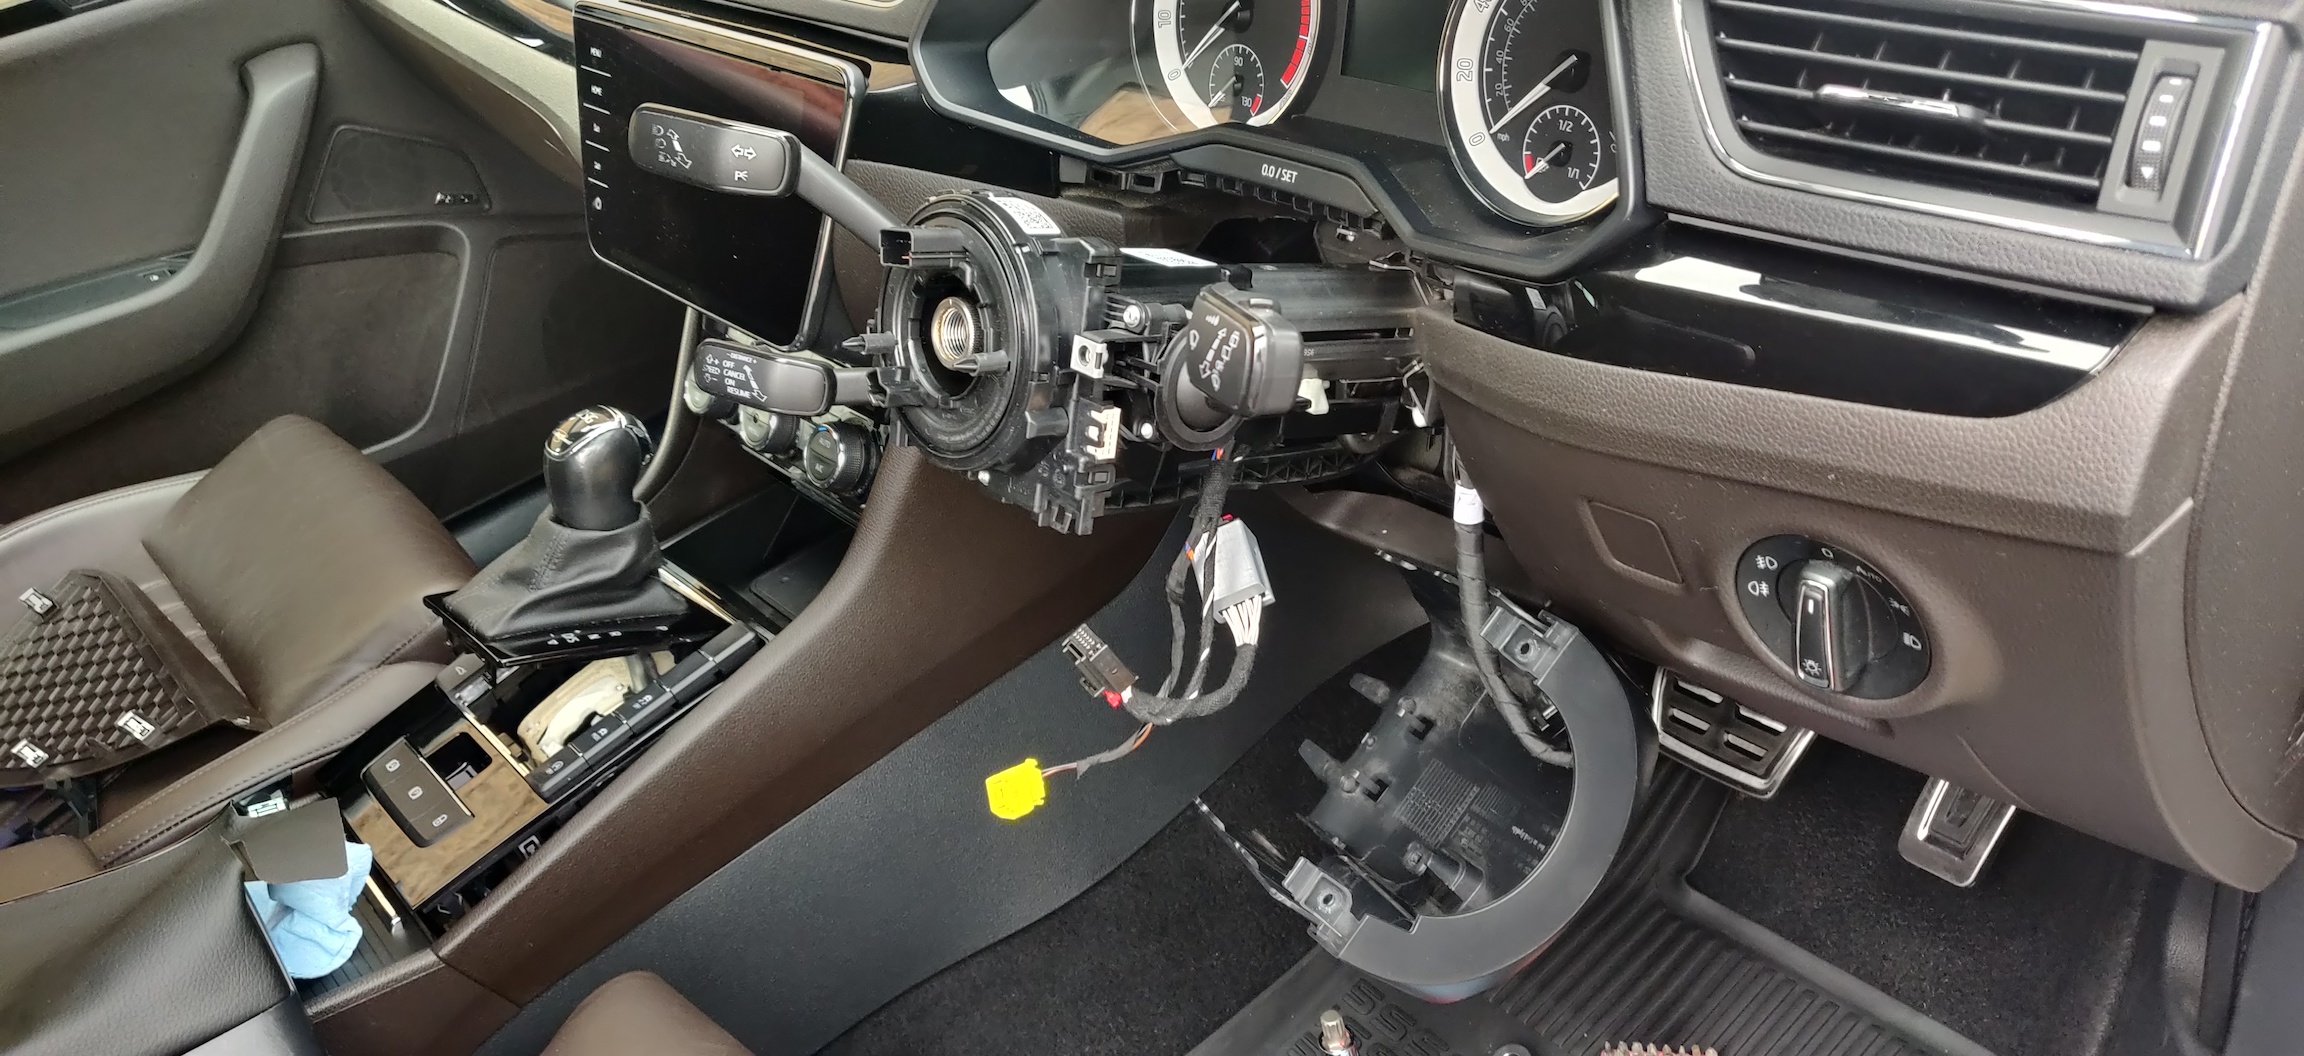
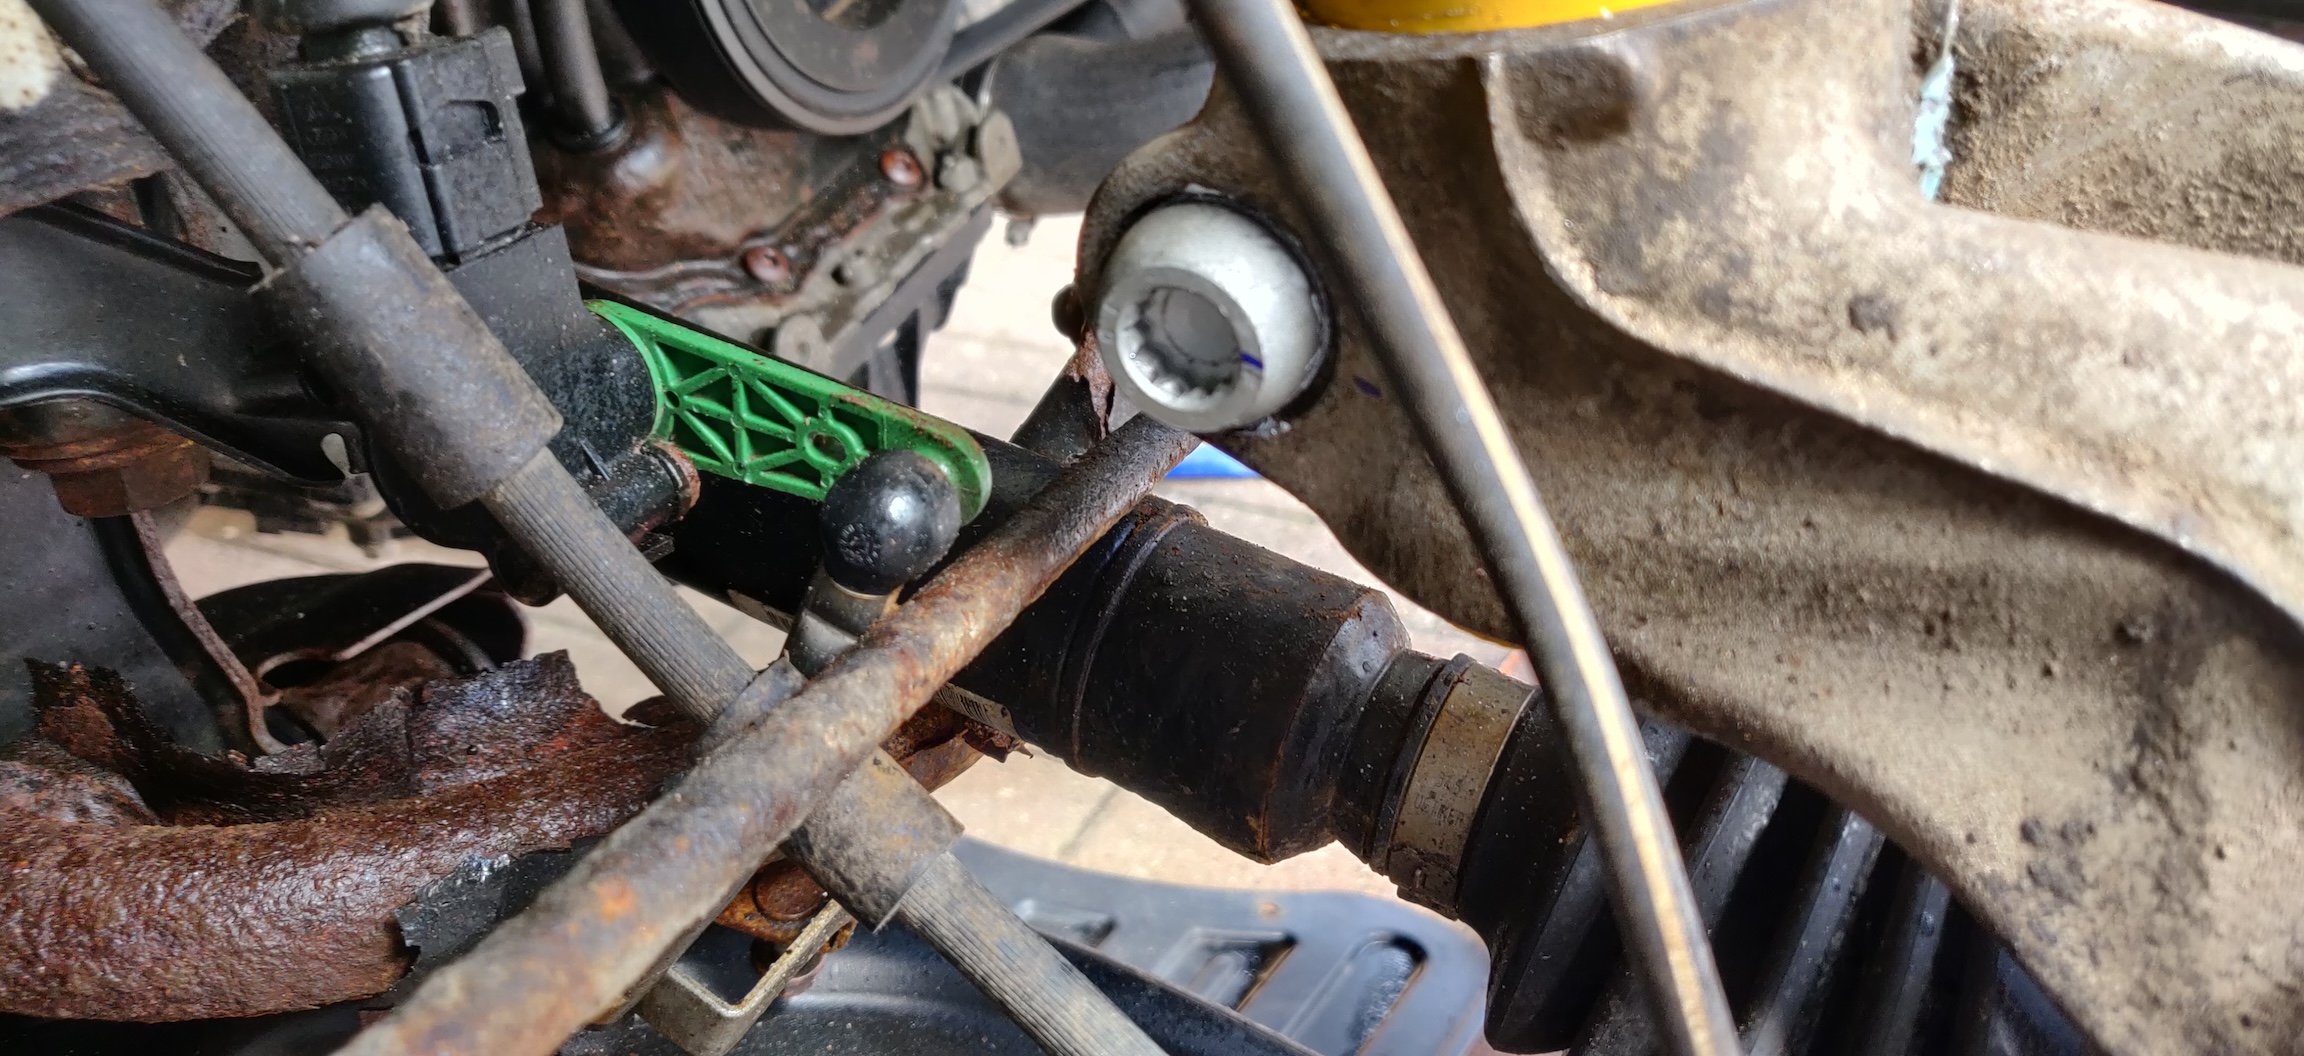
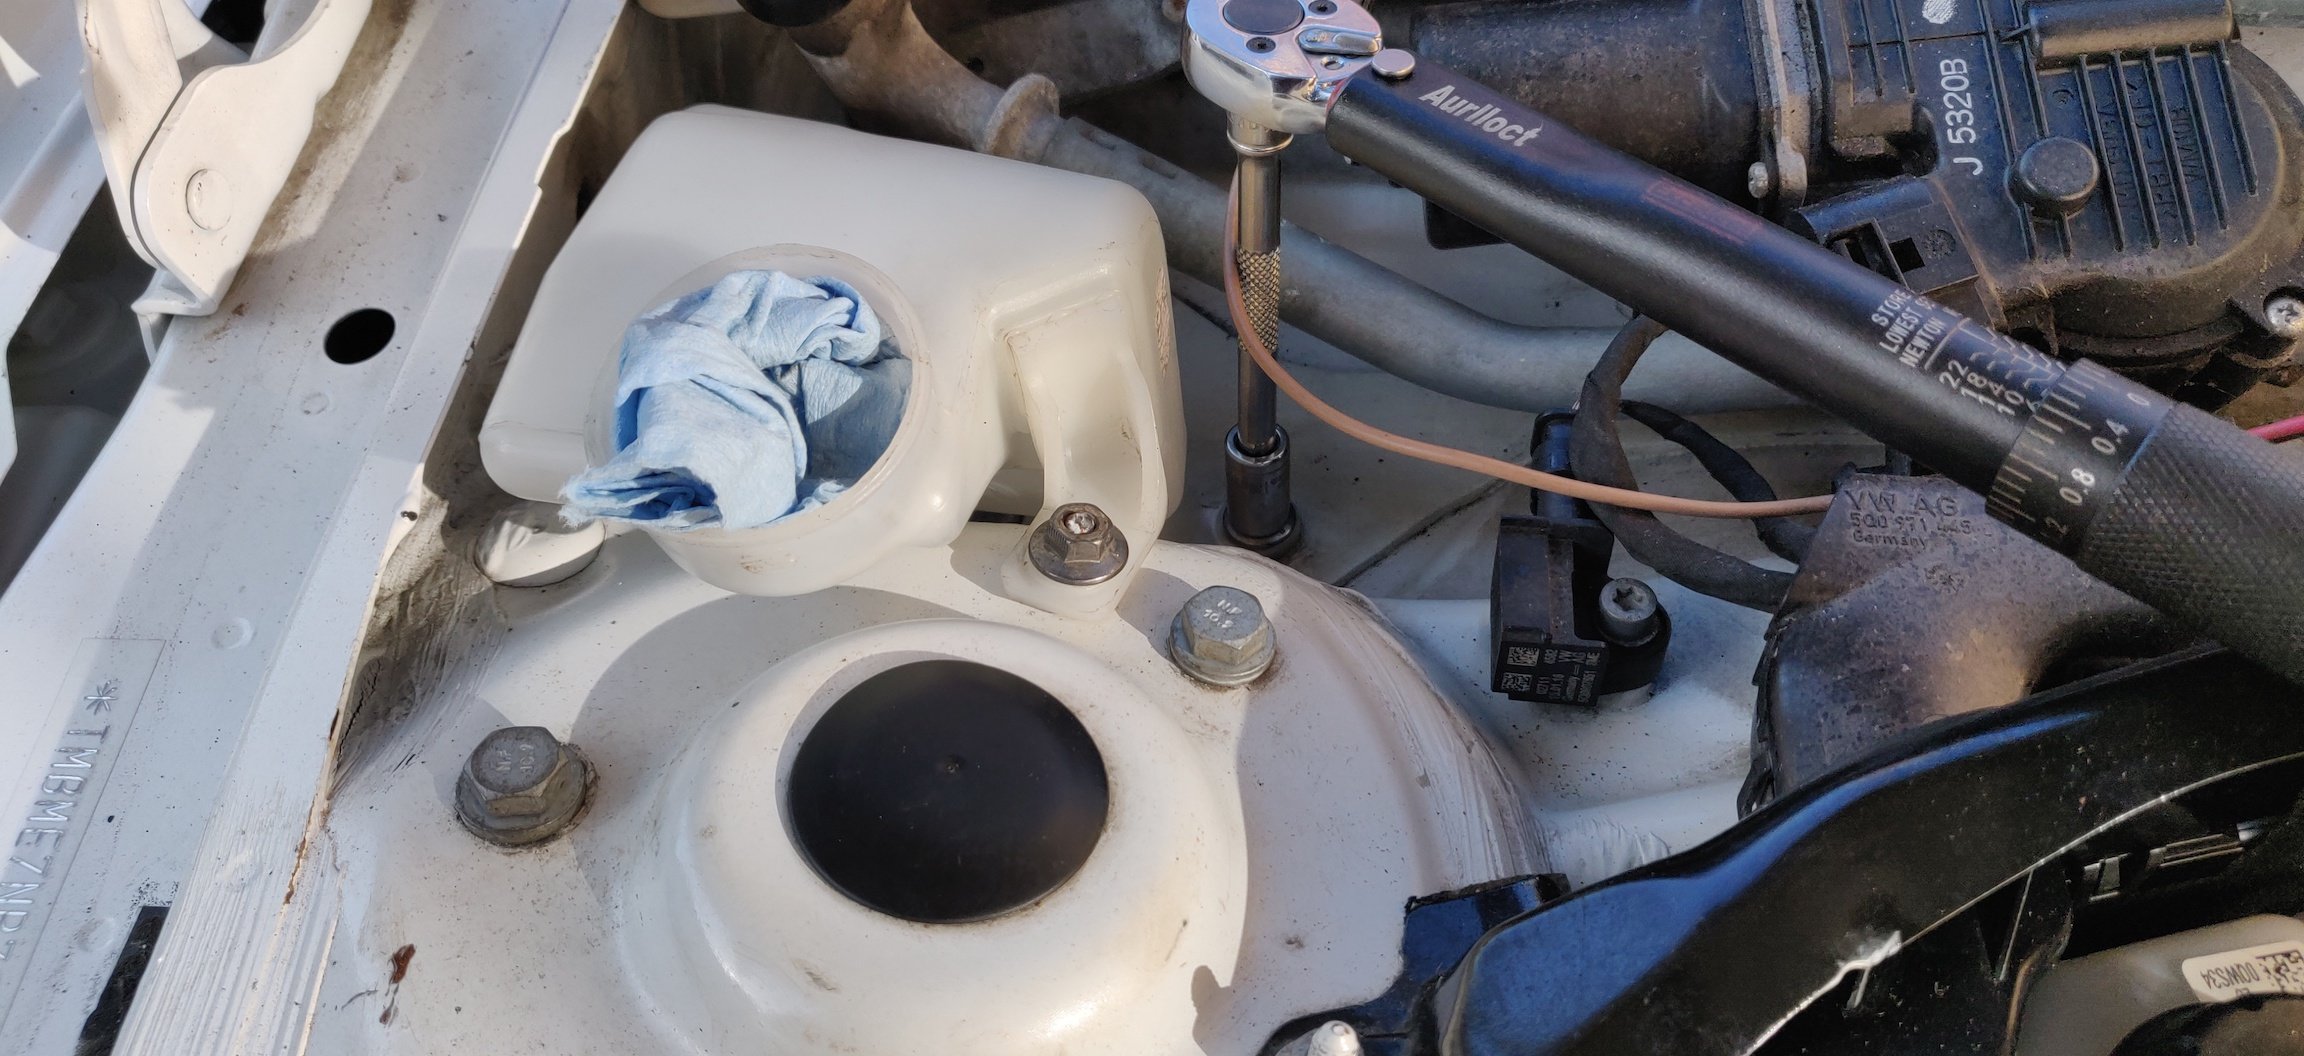
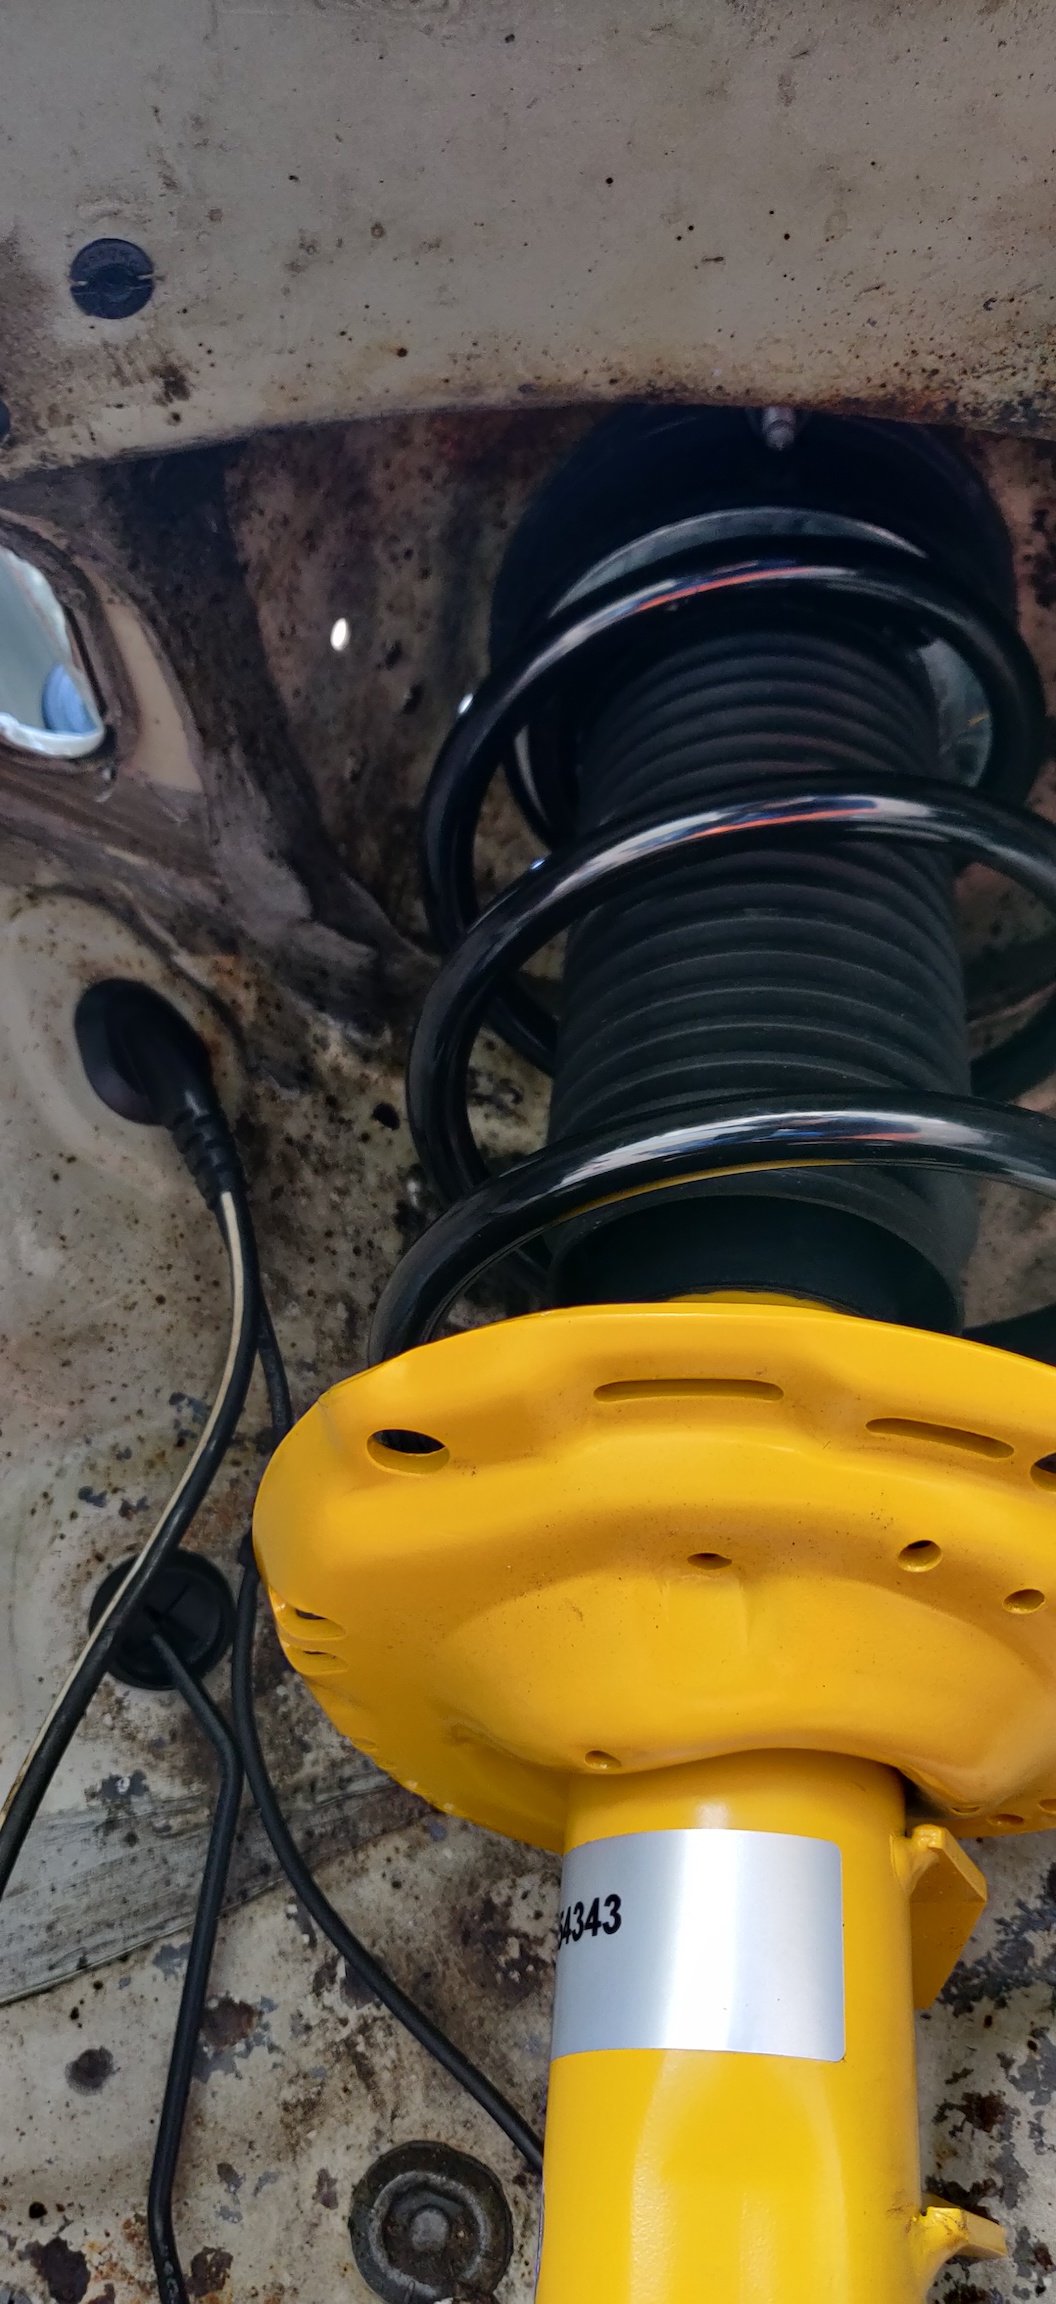
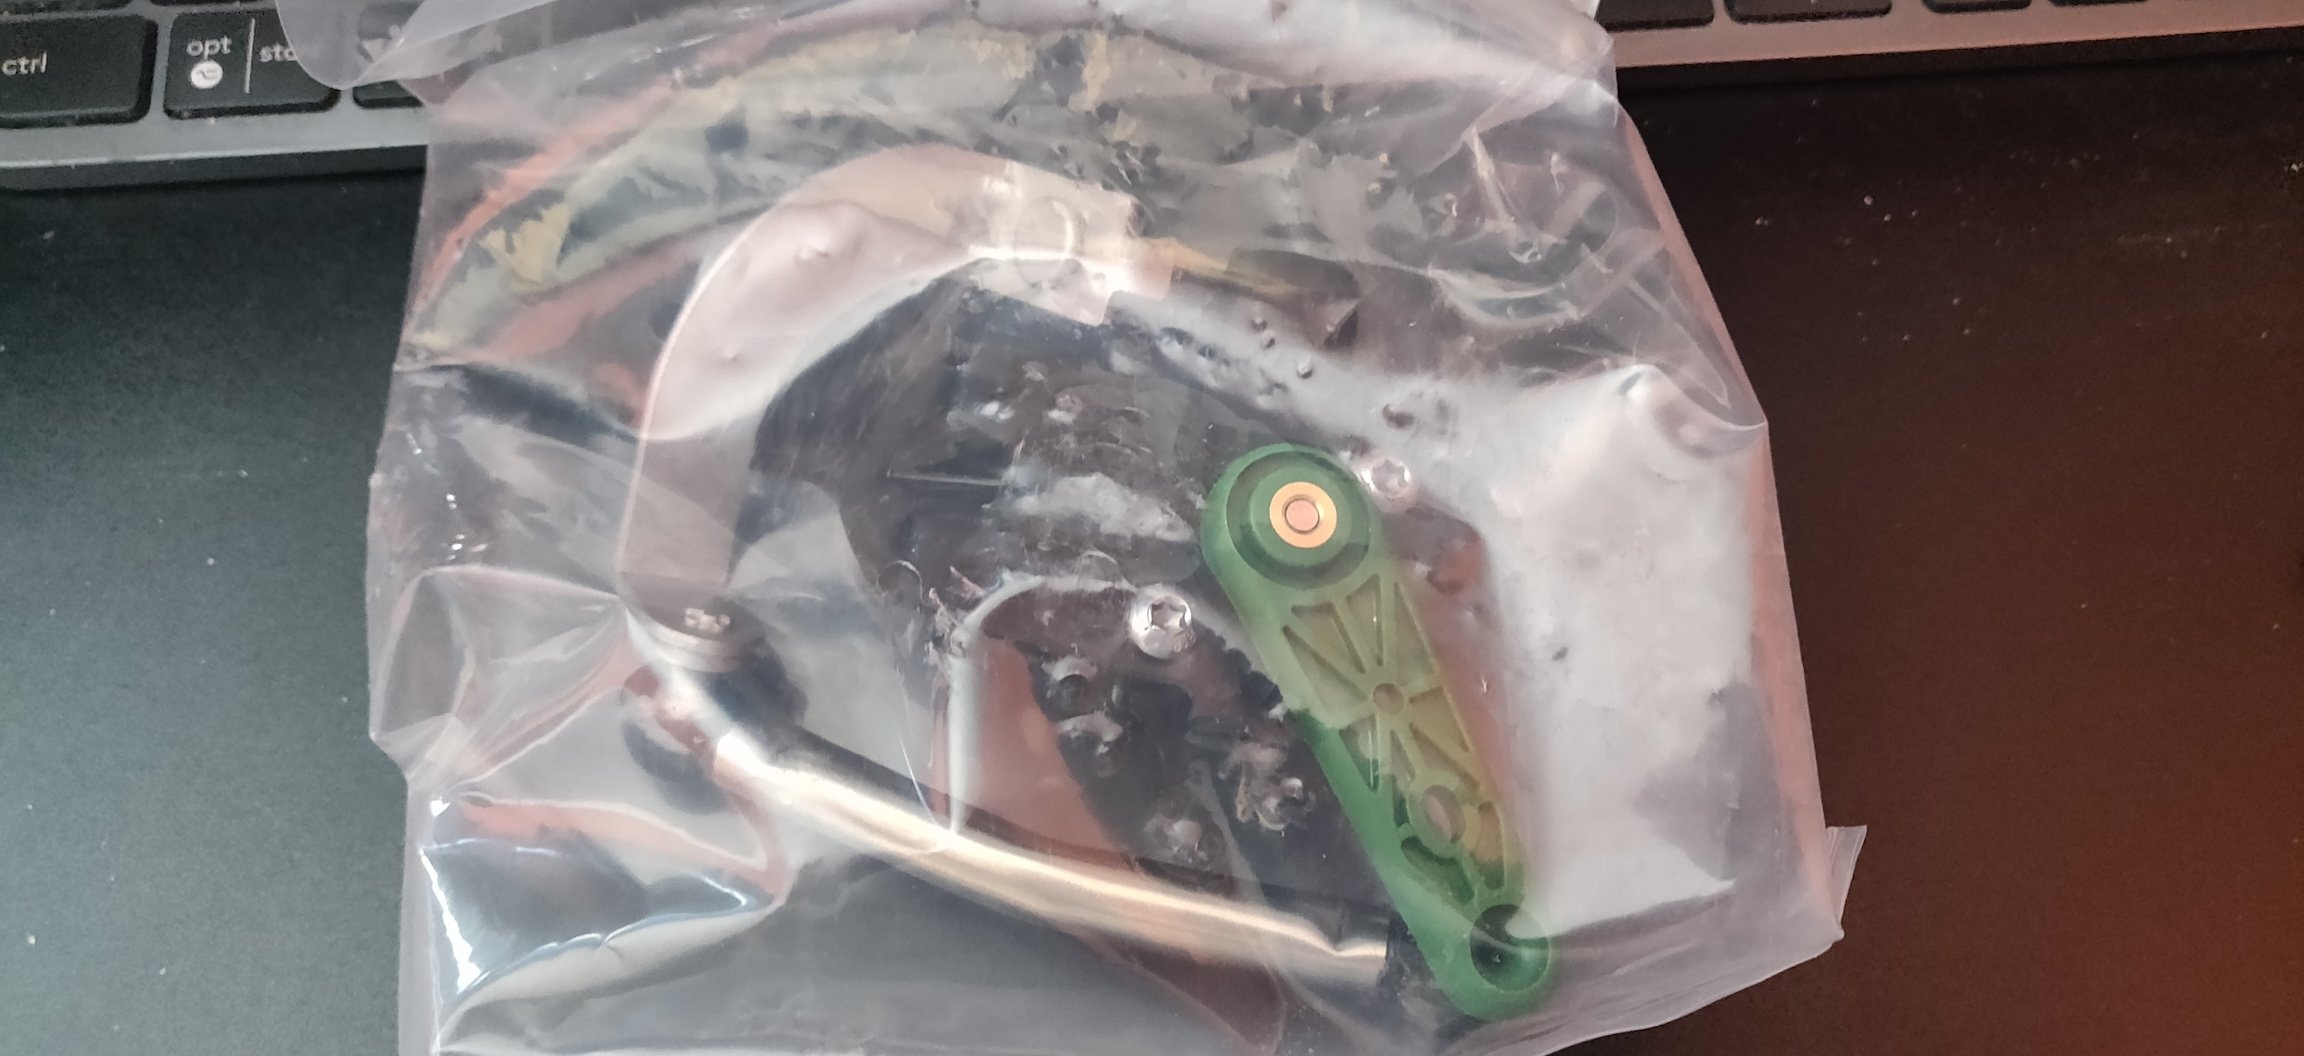
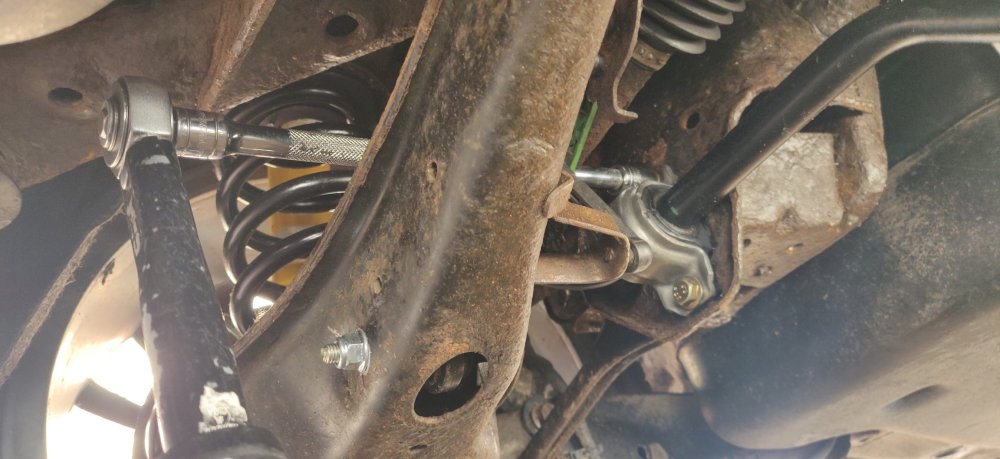
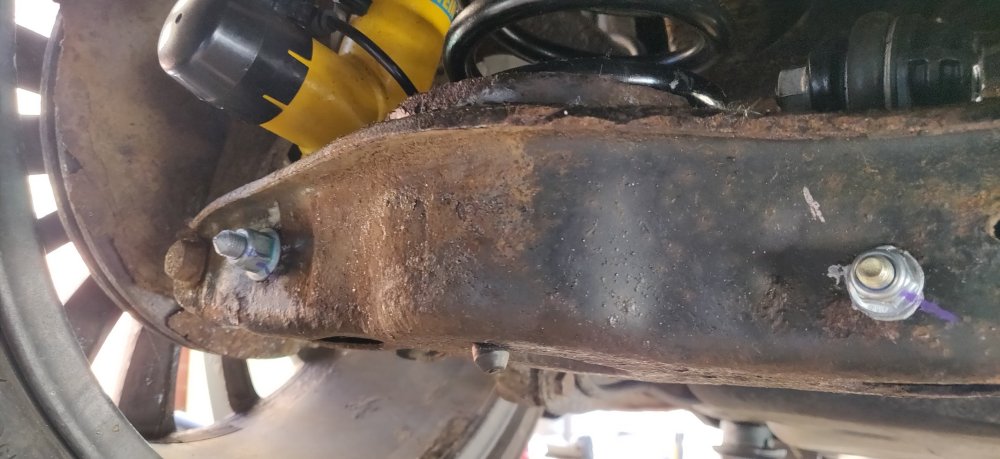
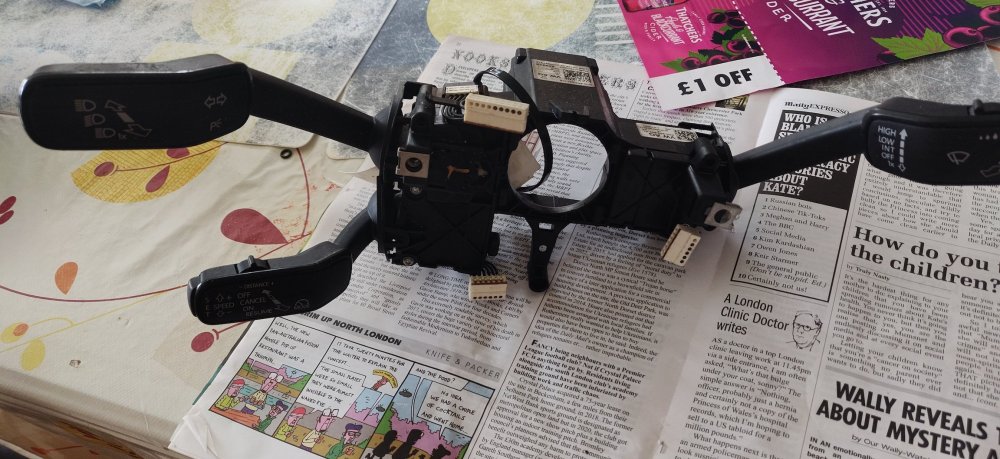
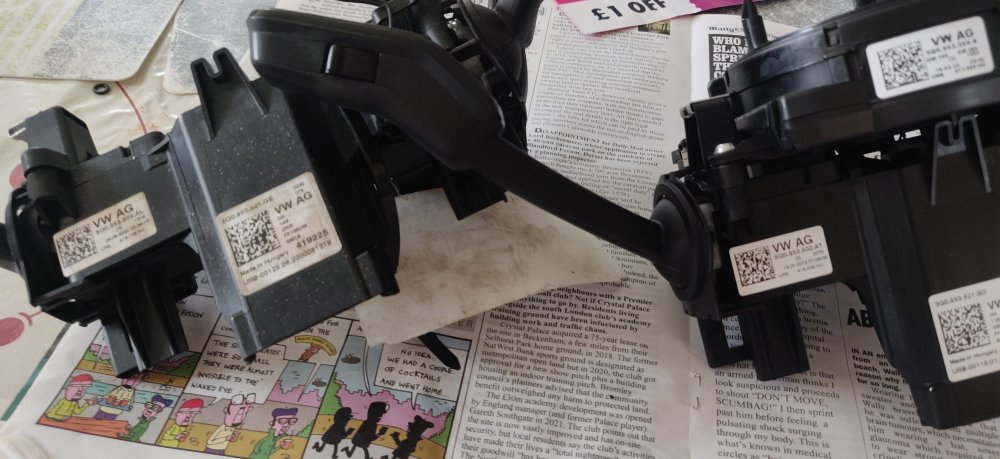
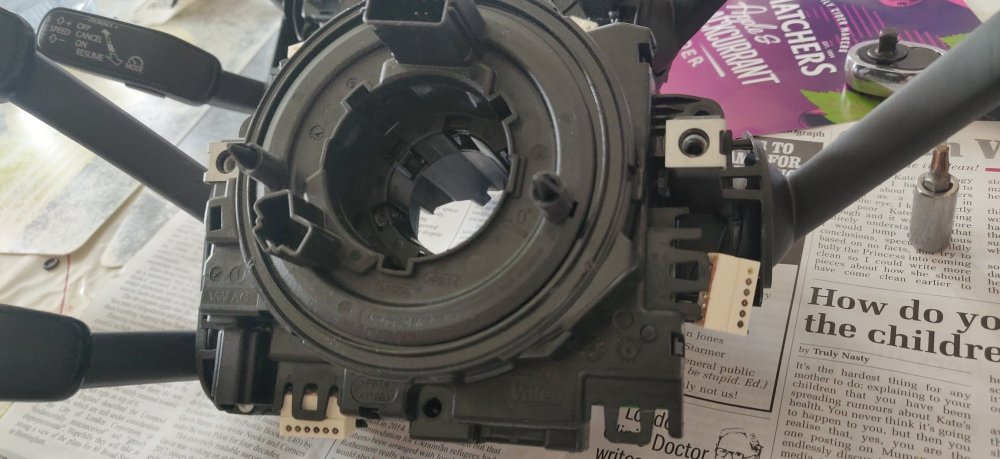
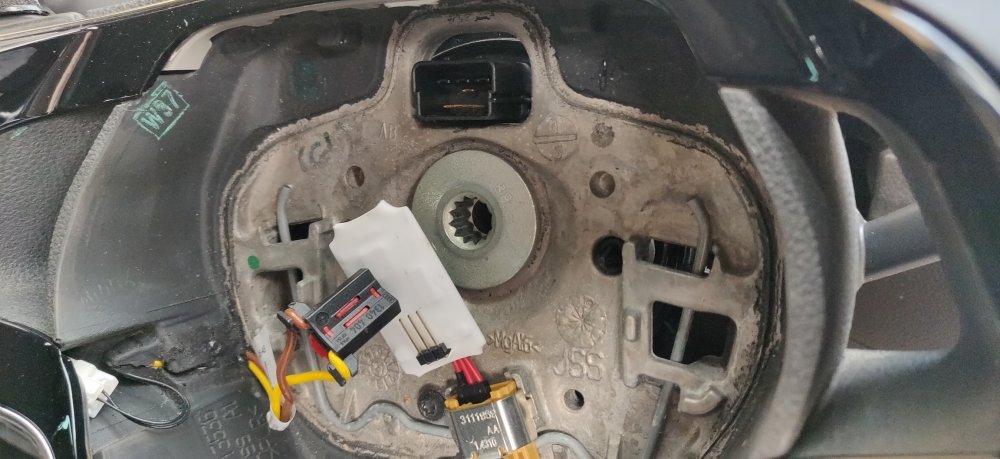
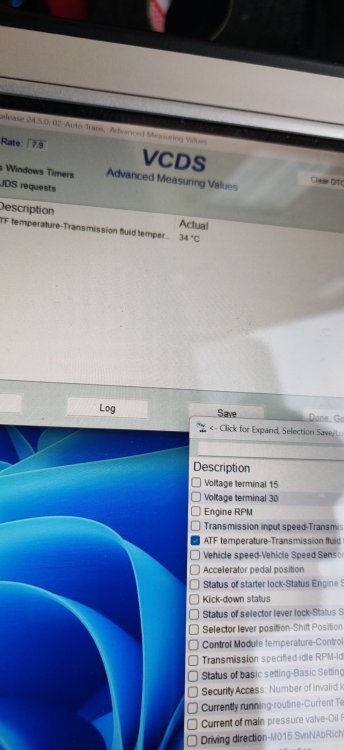
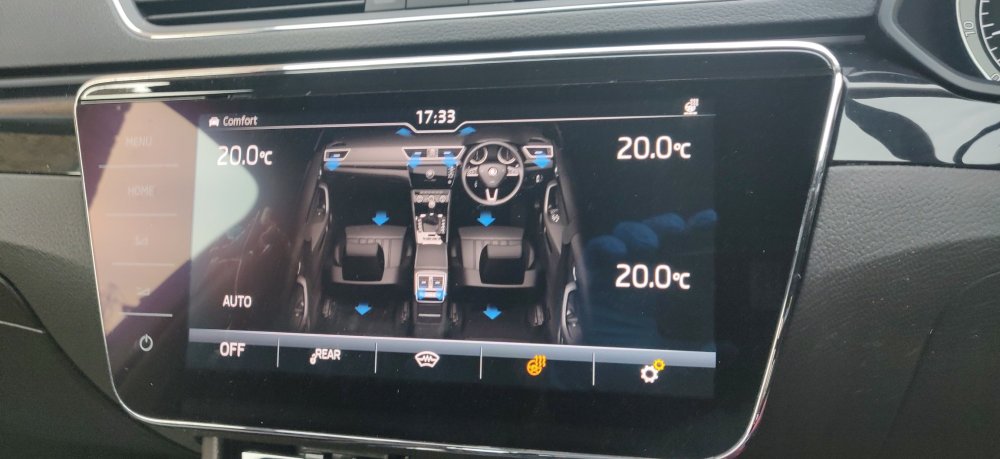
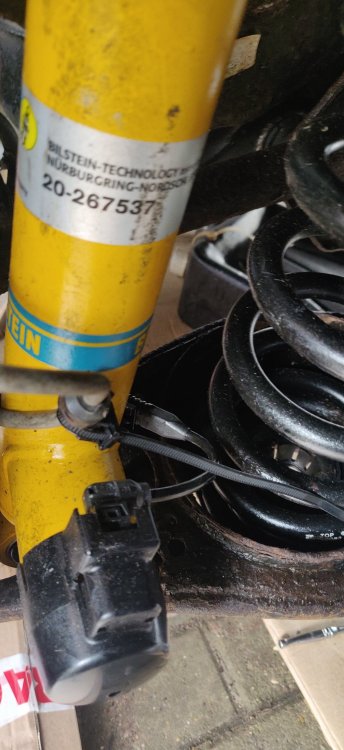
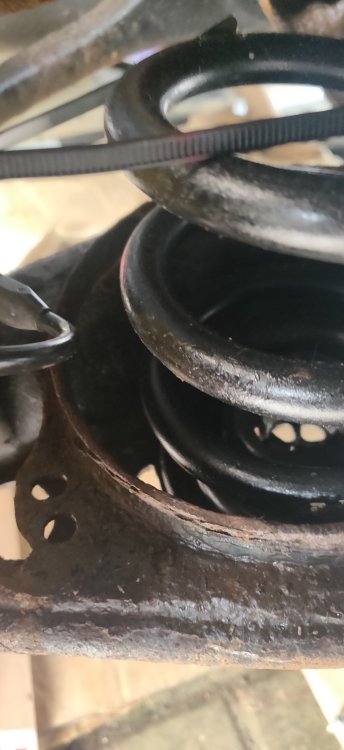
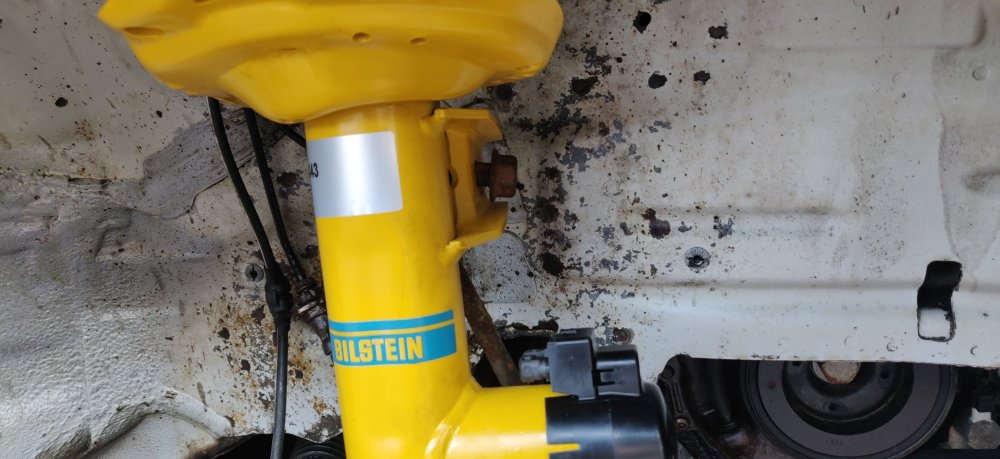
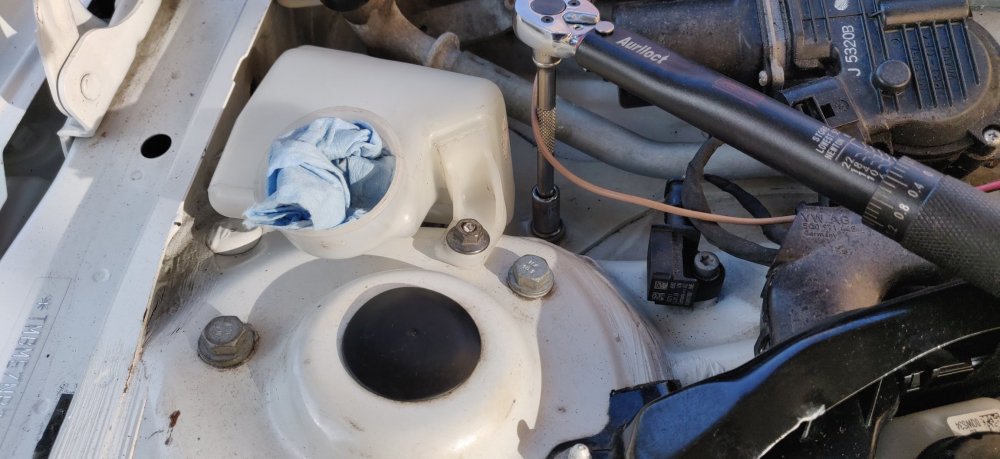
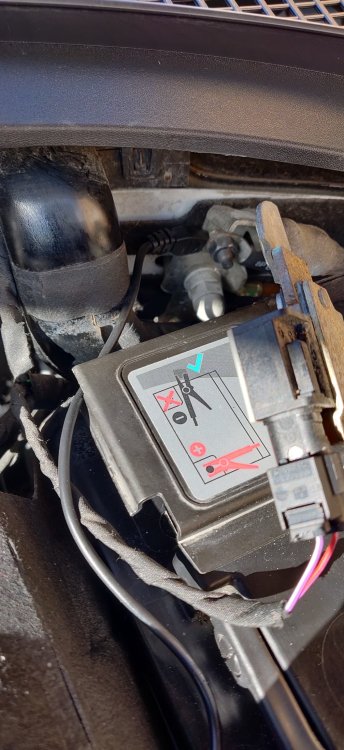
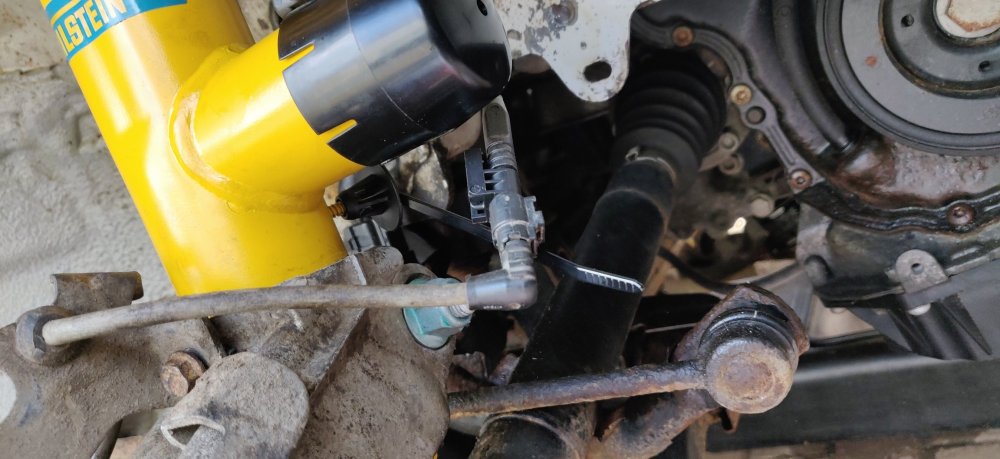
So the weather forecast was for an afternoon of rain and thunder. That didn't happen, only about 3 sudden downpours, then dry after work. So ended up doing what became a whole bunch of random things. This arrived, as mentioned in an earlier post: Some replacement indicator stalks, which came to £50 from eBay. Primarily because the left stalks just look worn: The replacement one also comes with a "Mode" button on the cruise control stalk. The part numbers look similar enough: We'll find out soon enough whether it all works. The stalks appear to be 5Q0 953 502 AT versus 5Q0 953 502 AL, and 3Q0 953 521 BD versus 5Q0 953 521 GE. The latter is interesting. According to eBay the donor was a 2020 Seat Arona, so maybe that's the reason for 5Q0 versus 3Q0. Not sure why there are two part numbers as well, I don't think they can be separated. Anyways, used a T15 Torx to undo the three screws keeping the new clock spring in place: Then disconnected the three white plugs around the clock spring which then allows the clock spring to come free: Then attach it to the replacement stalks: It should be tightened to 1.5Nm, but my small torque wrench only goes to 2Nm, so just less than hand tight as a guess. The thing clicks into the steering column: A nice bit of simple engineering for a change. The connectors then go to the bottom of the clock spring: Then reattached the steering wheel. Made sure the splines align with the mark on the wheel: Then installed the retaining bolt and tightened to 30Nm: The workshop manual then says angle tighten to 90 degrees, which wasn't difficult at all, then a case of connecting the air bag connectors to their respective parts (not sure about the harness adapter as it didn't really come with instructions, so just best guess, based on the black mark on one of the wires presumed to be ground, and so aligned to the brown wires: The airbag then clips into place, but I've left it loose for now, because I now something will come up meaning I may have to dismantle things to check. So. There's technically nothing stopping the car from being powered up. So connected the negative terminal, got my key and turned on the ignition: Loads of errors. Not particularly surprised. With the car's ignition on, tried to get the rear washer on to see if the repair worked. Nothing. The wiper didn't turn on or the washer. Got the VCDS and noticed the steering wheel section had a different coding to original: The original steering wheel had coding 0610, and the new one initially had 0010. Used the coding helper and selected "Bit 2 Rear wiper, installed", which changed it to 0410. For some reason, I couldn't code it to 0610, saying "Out of range" or something. So left it at 0410 for now, to see if it did what I expected: It did. Looks like it works absolutely fine. So, did some more pre flight checks and ums and ahhs. Then put my foot down and started the engine: I then followed the guide for the DSG oil change, following the advacned measuring values and specifically for the DSG oil temperature. So it started at around 24 degrees. Then it's a case of going through the gears with the brakes on, about 3-4 seconds per selection before going back to P, then the waiting game: Took about 15 minutes to get to 34 degrees. Got distracted and messed around with some additional coding, in the Auto HVAC section this time: For whatever reason, the heated steering wheel button on the steering wheel itself didn't seem to do anything, so after coding, tried it on the touchscreen. It seems to work, now that the weather is warm of course! Also stuck a phone onto the charger to see if something happened. Looks like it did, so I think another case of more coding to get something displayed on the touch screen about it. Then messed about with other measuring values before I noticed: The DSG oil temperature was at 36 degrees, which is the 35-45 range required. So turned off the car, scrambled under and opened up the fill bolt: Quite a bit gushed out. Then after what seemed like ages: Went to a dribble. Still had a wait a bit more before it became a drip, at which point I inserted the new fill bolt with new washer and tightened to 45Nm: Went to the back and pumped a bit more oil into the Haldex, about 3-4 pumps before it dribbled out again: So tightened to 15Nm and sprayed brake cleaner around, before going around the general area with XCP. Whilst down there, fitted the bottom of the level sensor: The bolts for those was 5Nm as per the top bolts. For all intents, that's it for servicing and most of the stuff down there. Will need to tighten the lower bolts but that's it. Almost forgot: Got the cable ties from the Bilstein dampers and attached them to get the wiring cleaned up: The routing does seem to be quite close to the spring: It's about 6-8mm clearance, which is probably alright, surely? Repeated for the other side: The route is similar: This time its closer to the driveshaft. There's actually more clearance, the perspective of the photo is making it look closer than it is. Stopped there for a quick bite to eat. Maintenance: £2293.89 (+£50.00) Upgrades: £1322.97 Miscellaneous: £697.20


-
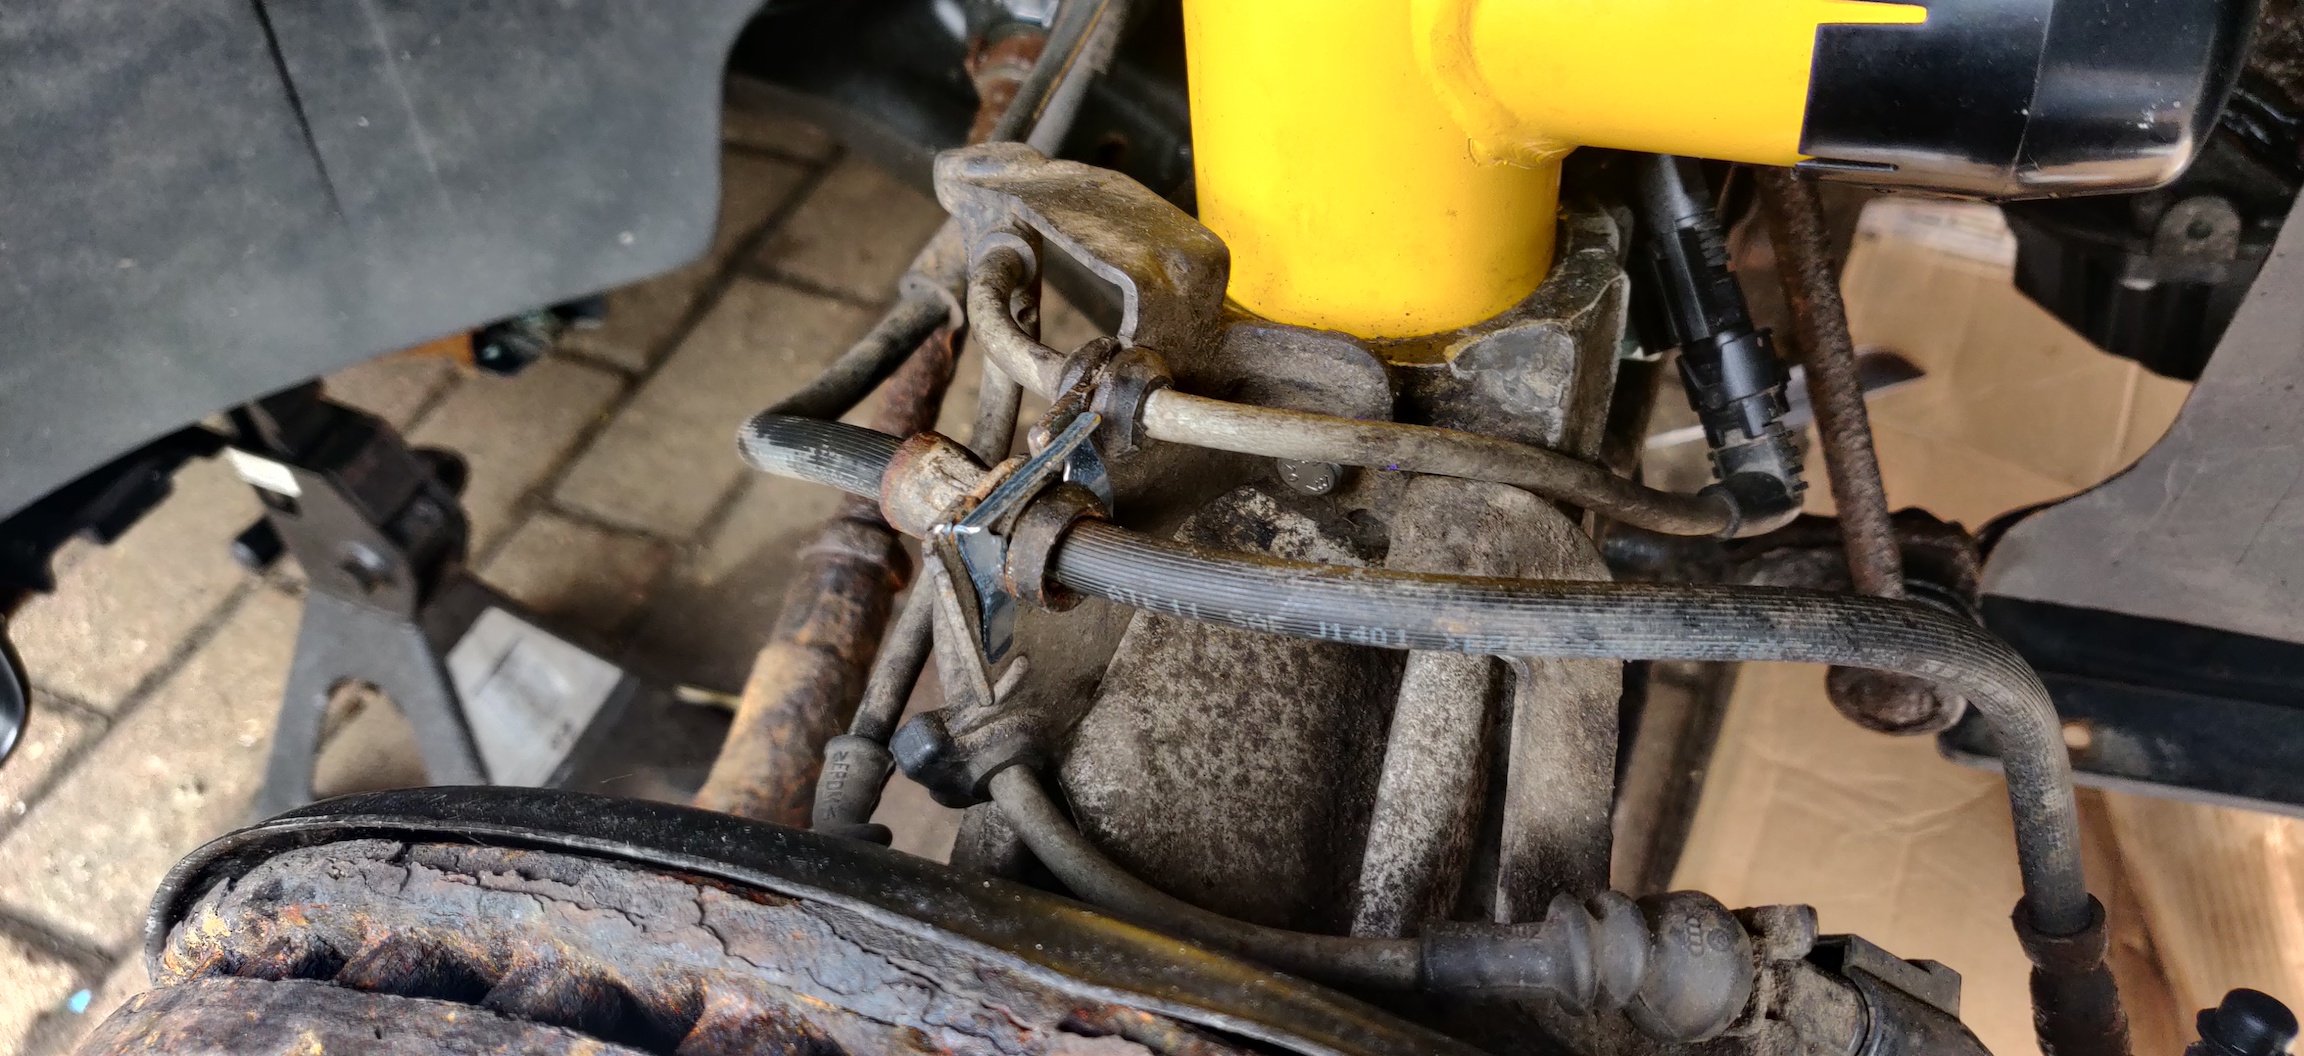
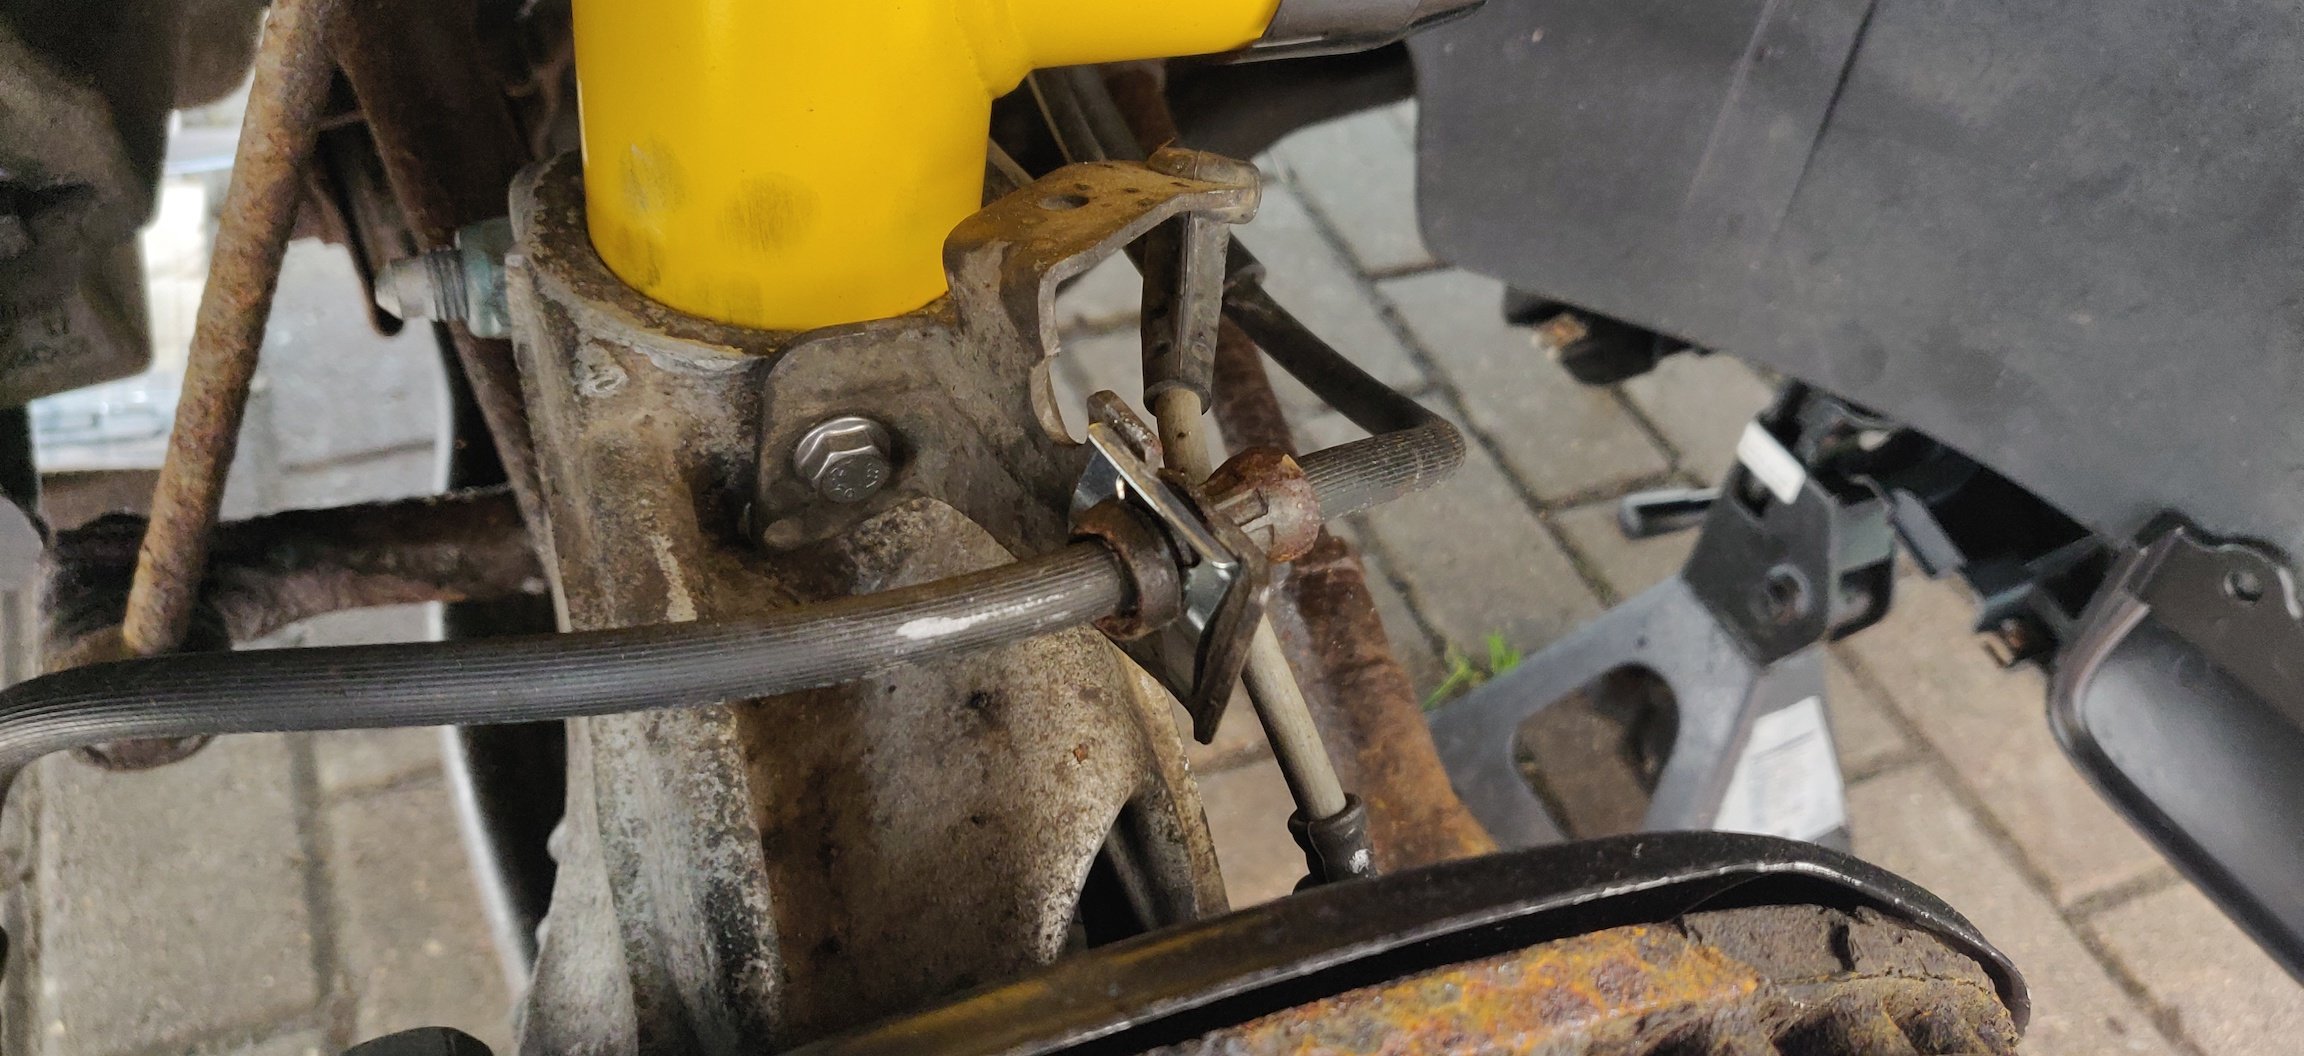
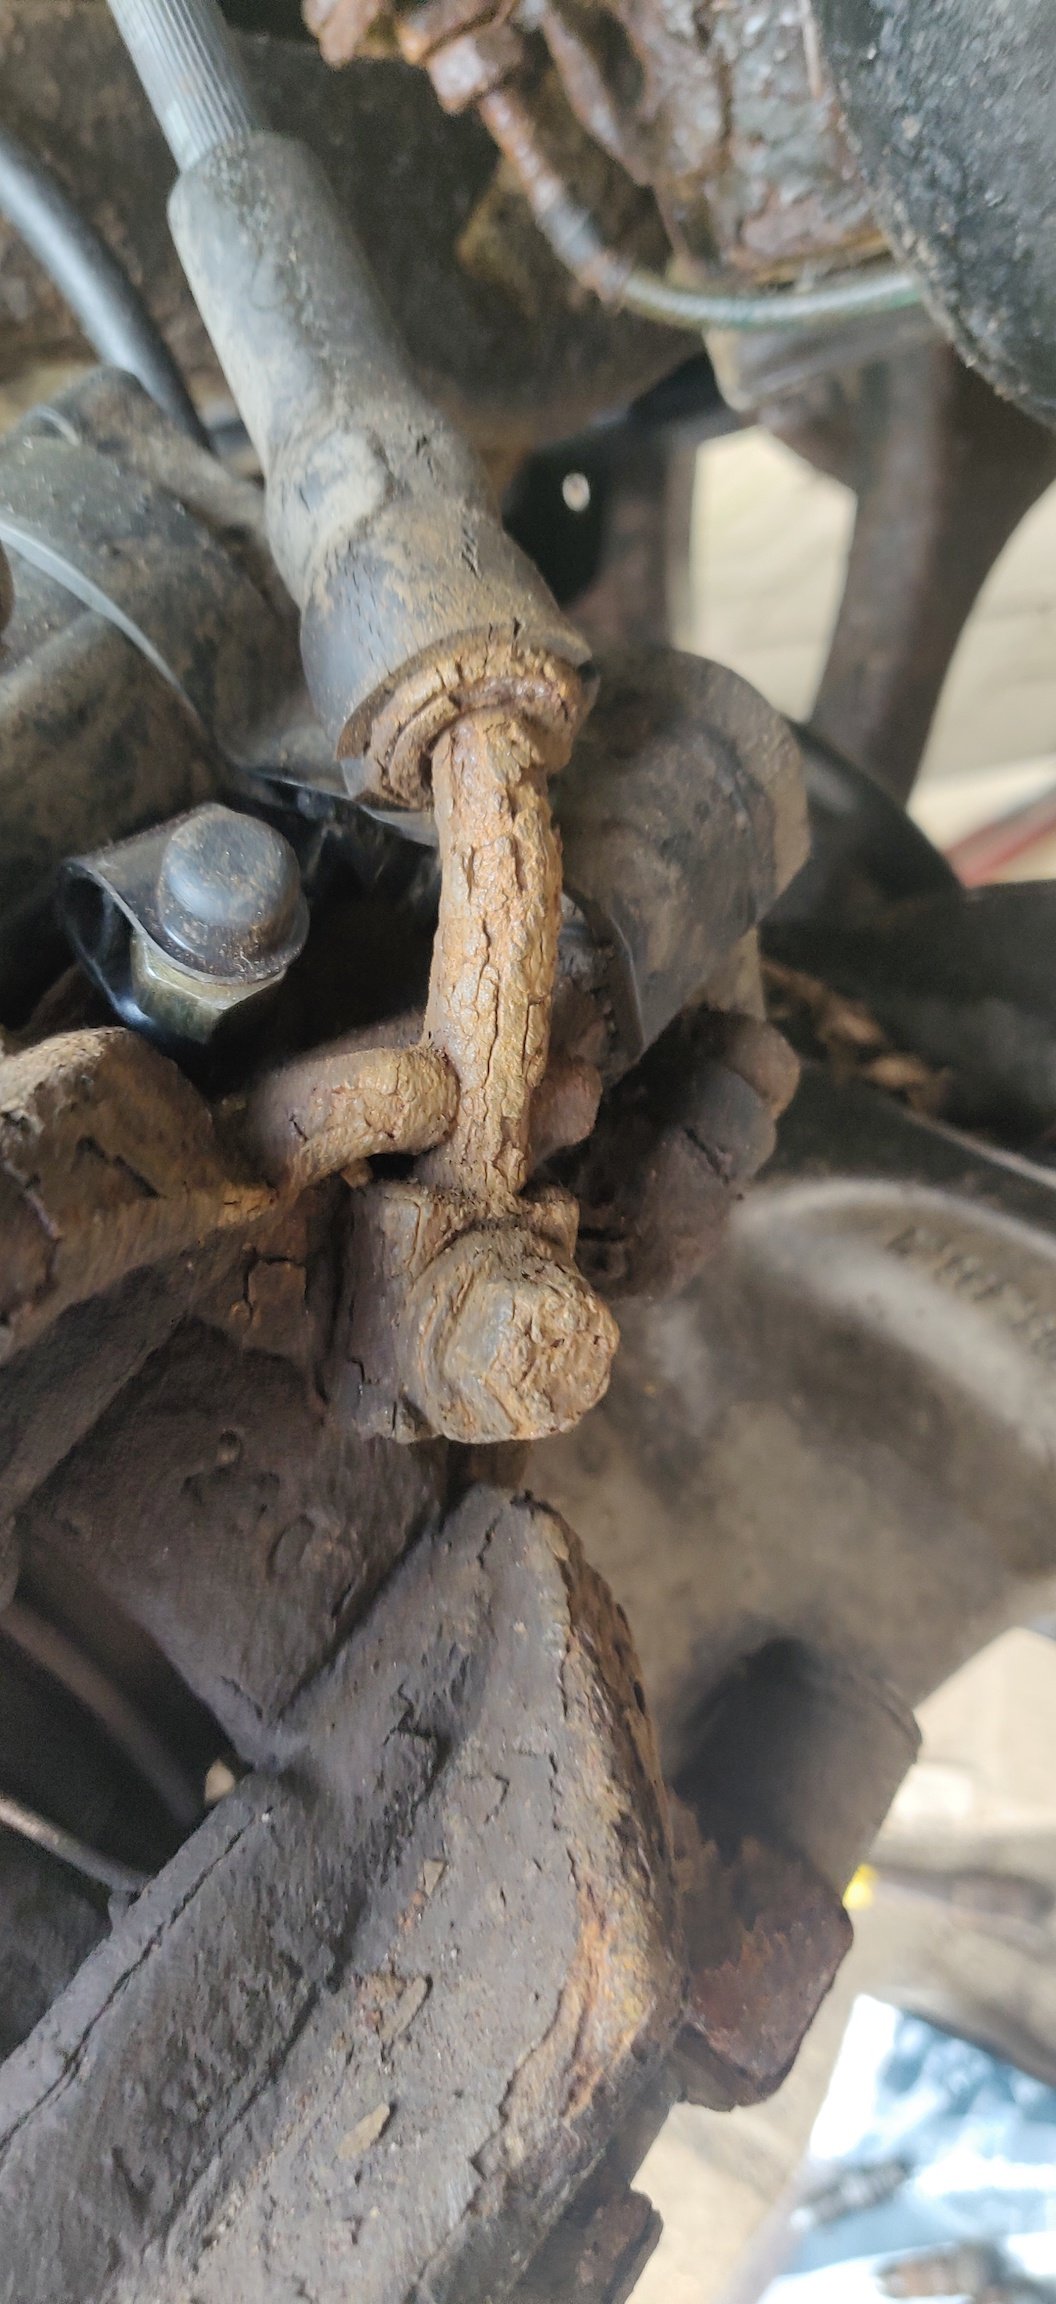
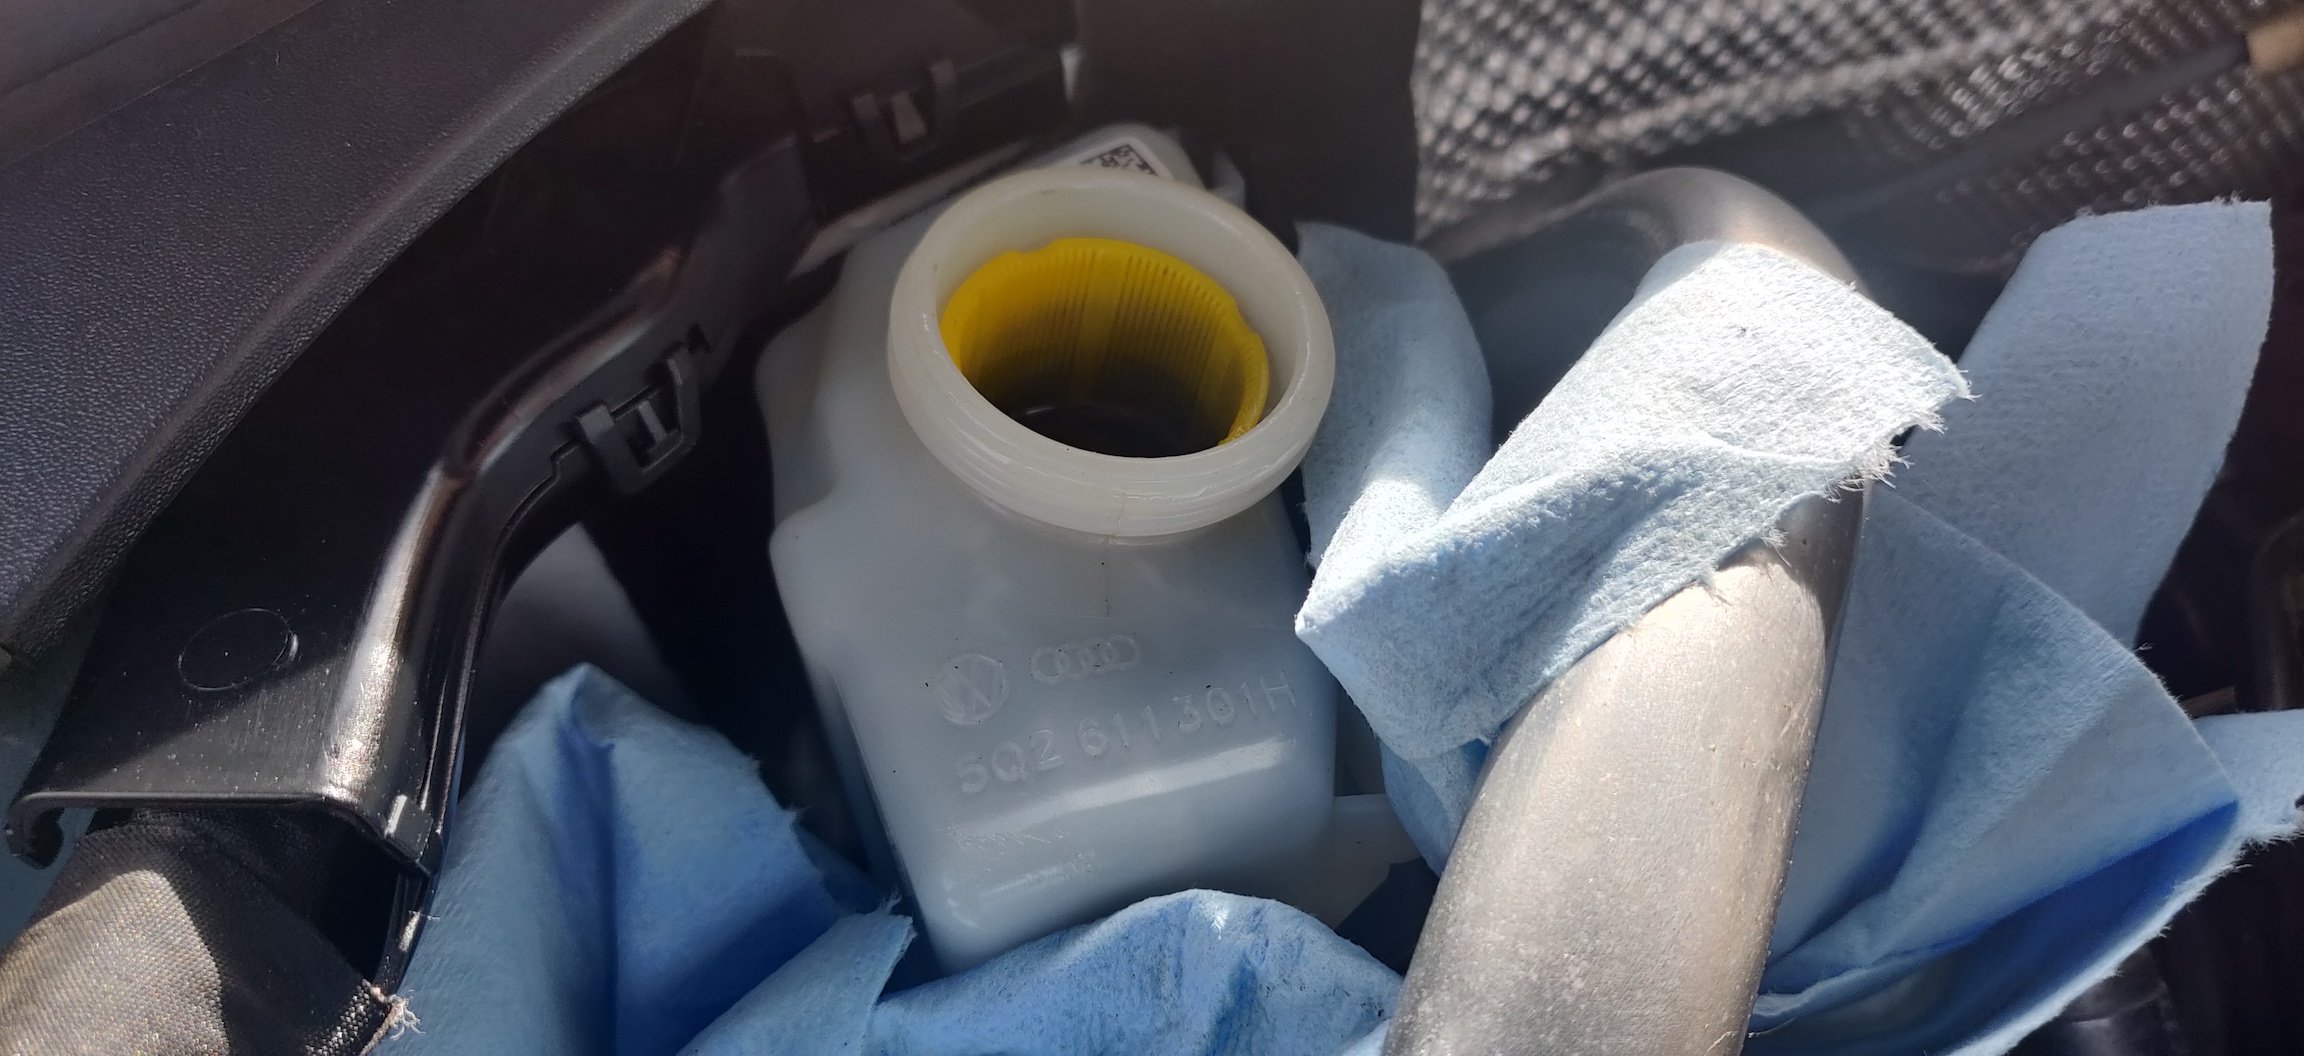
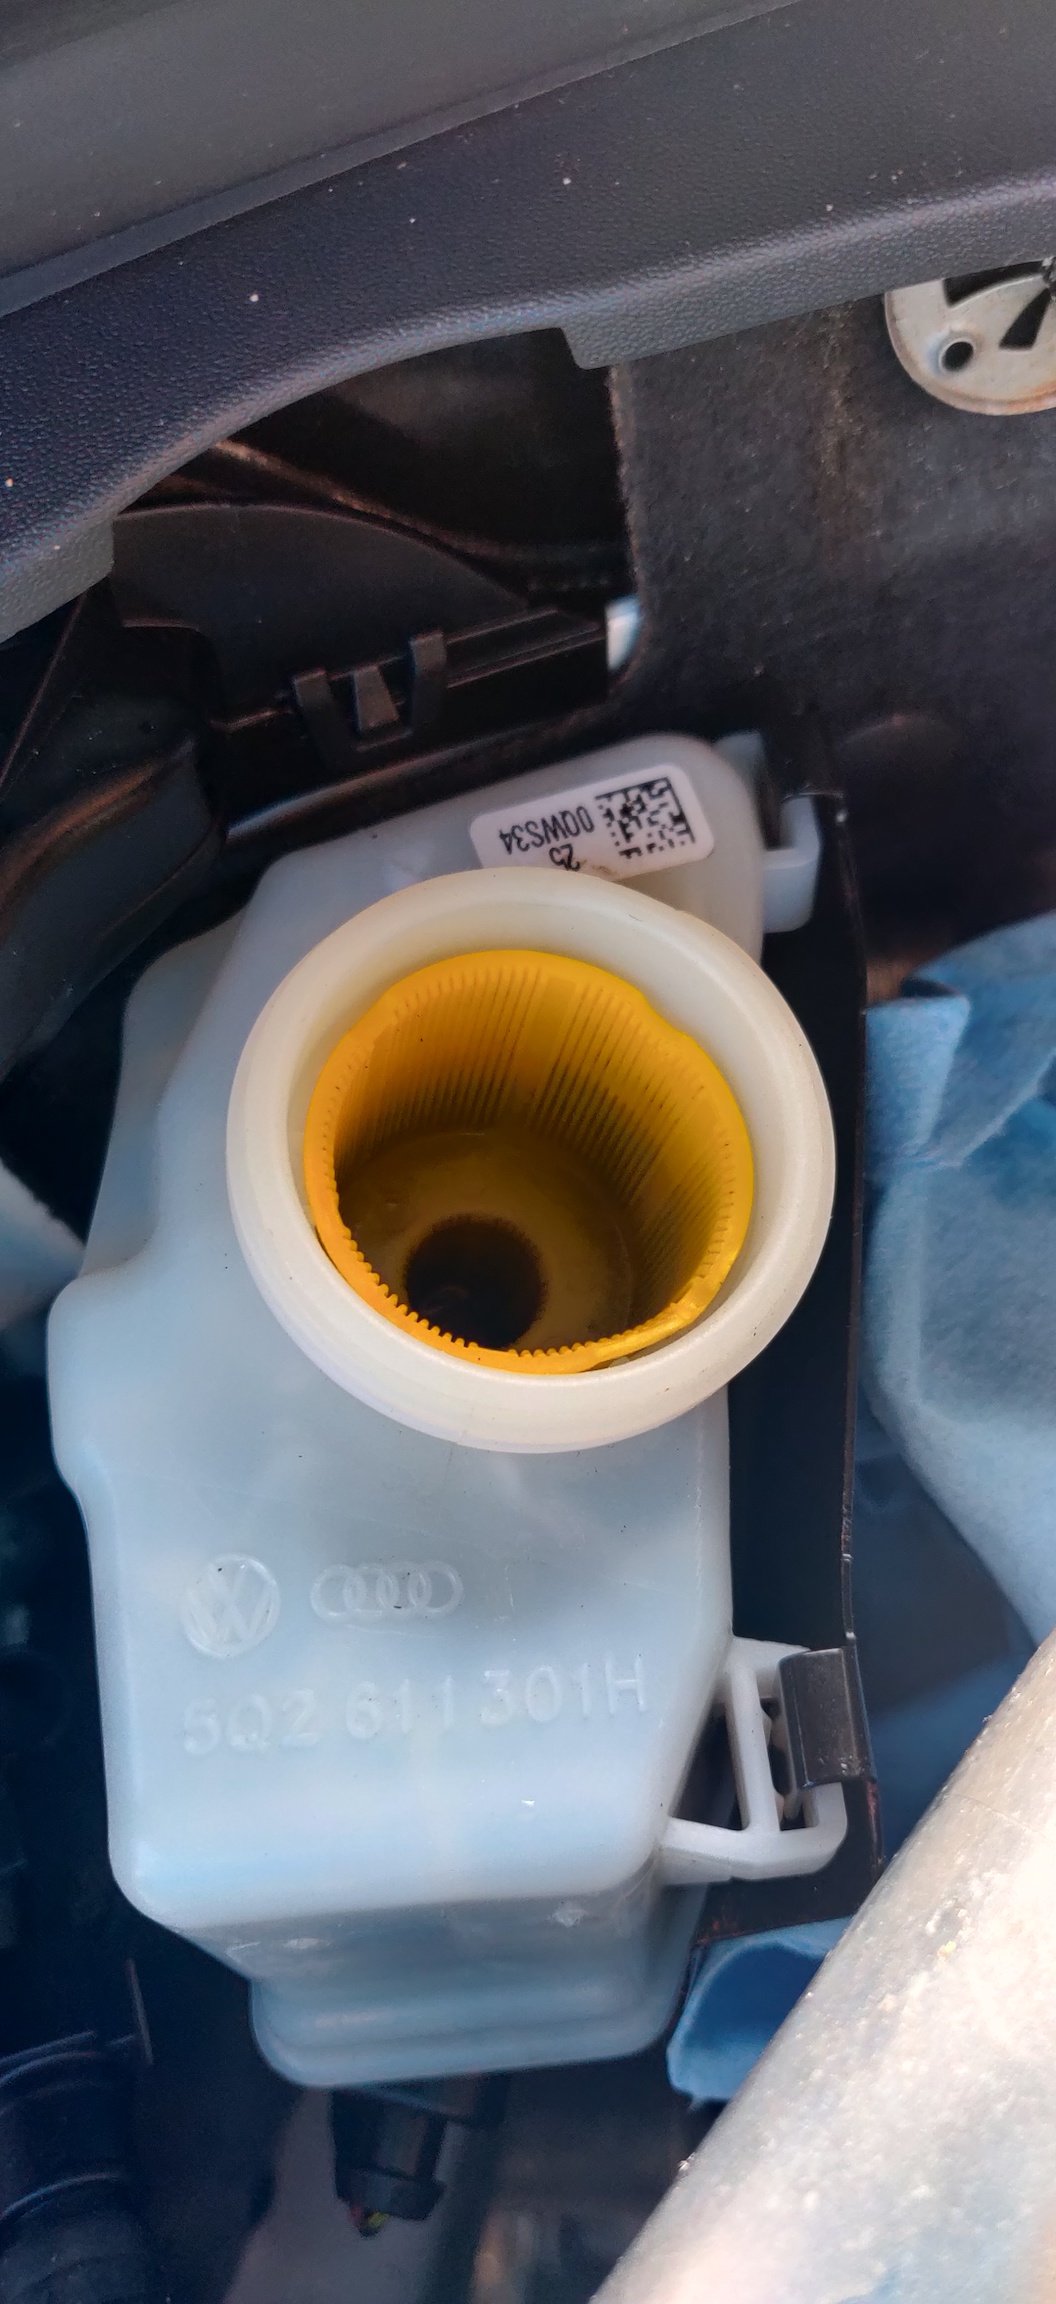
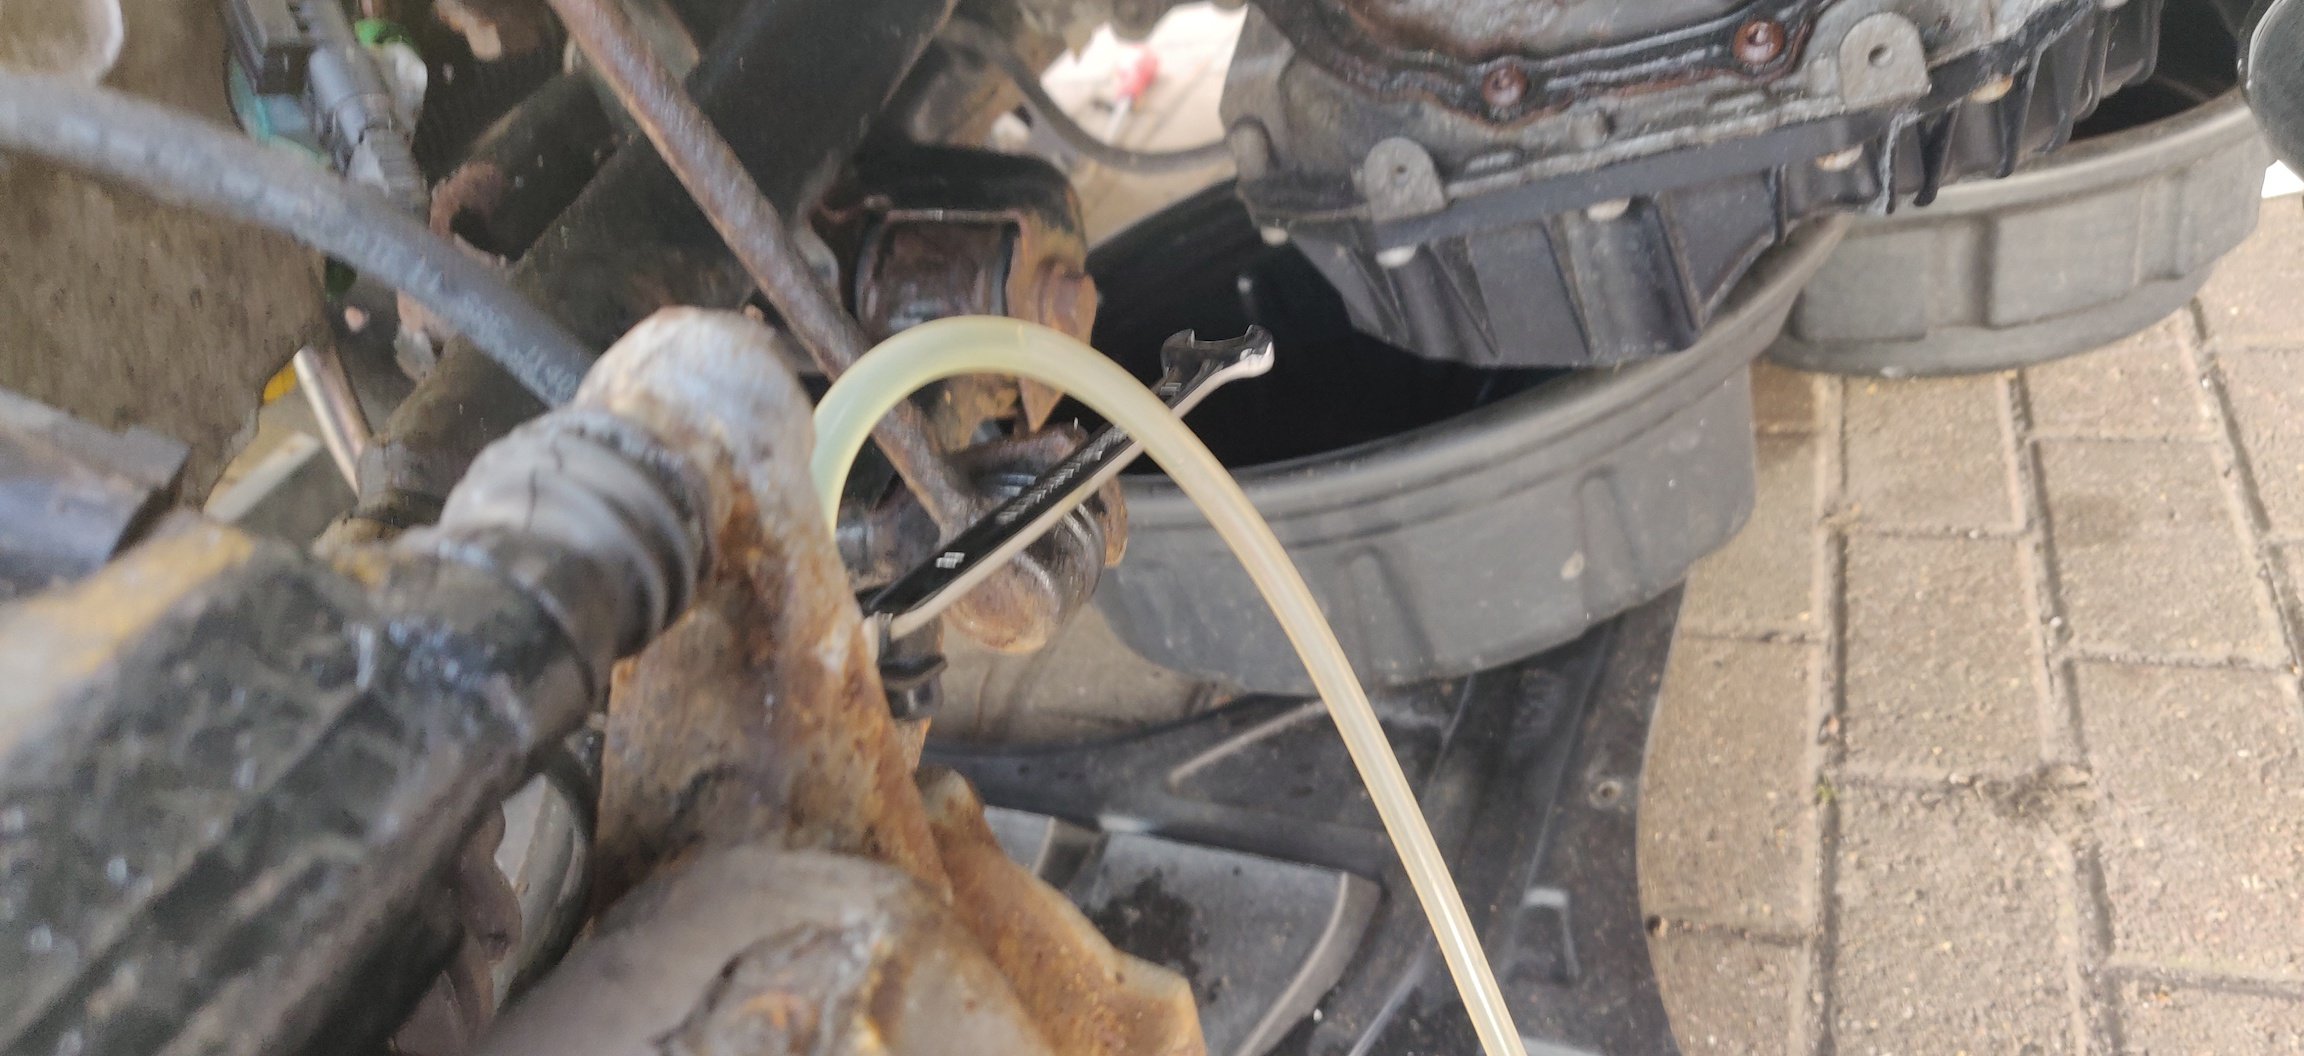
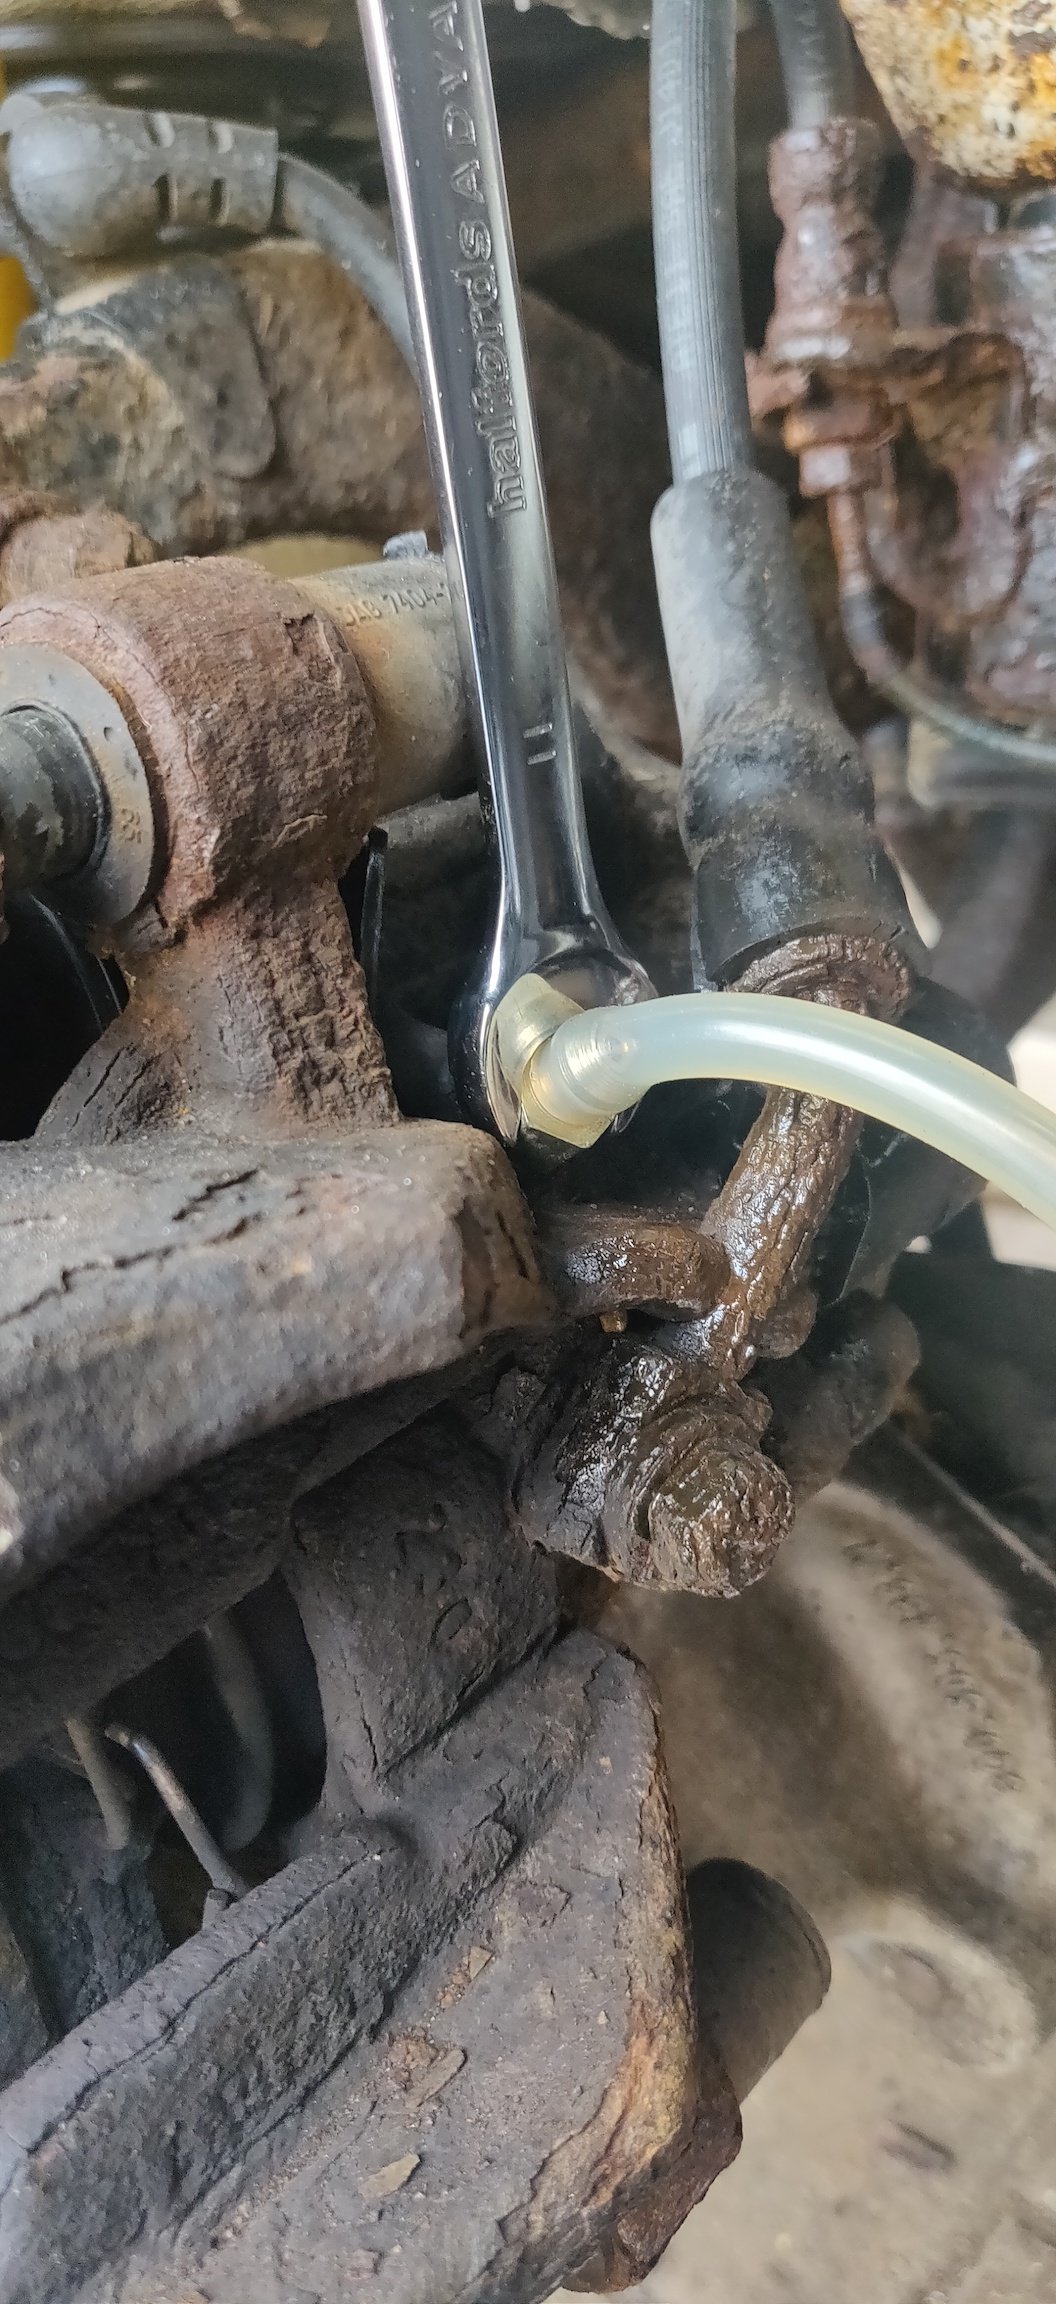
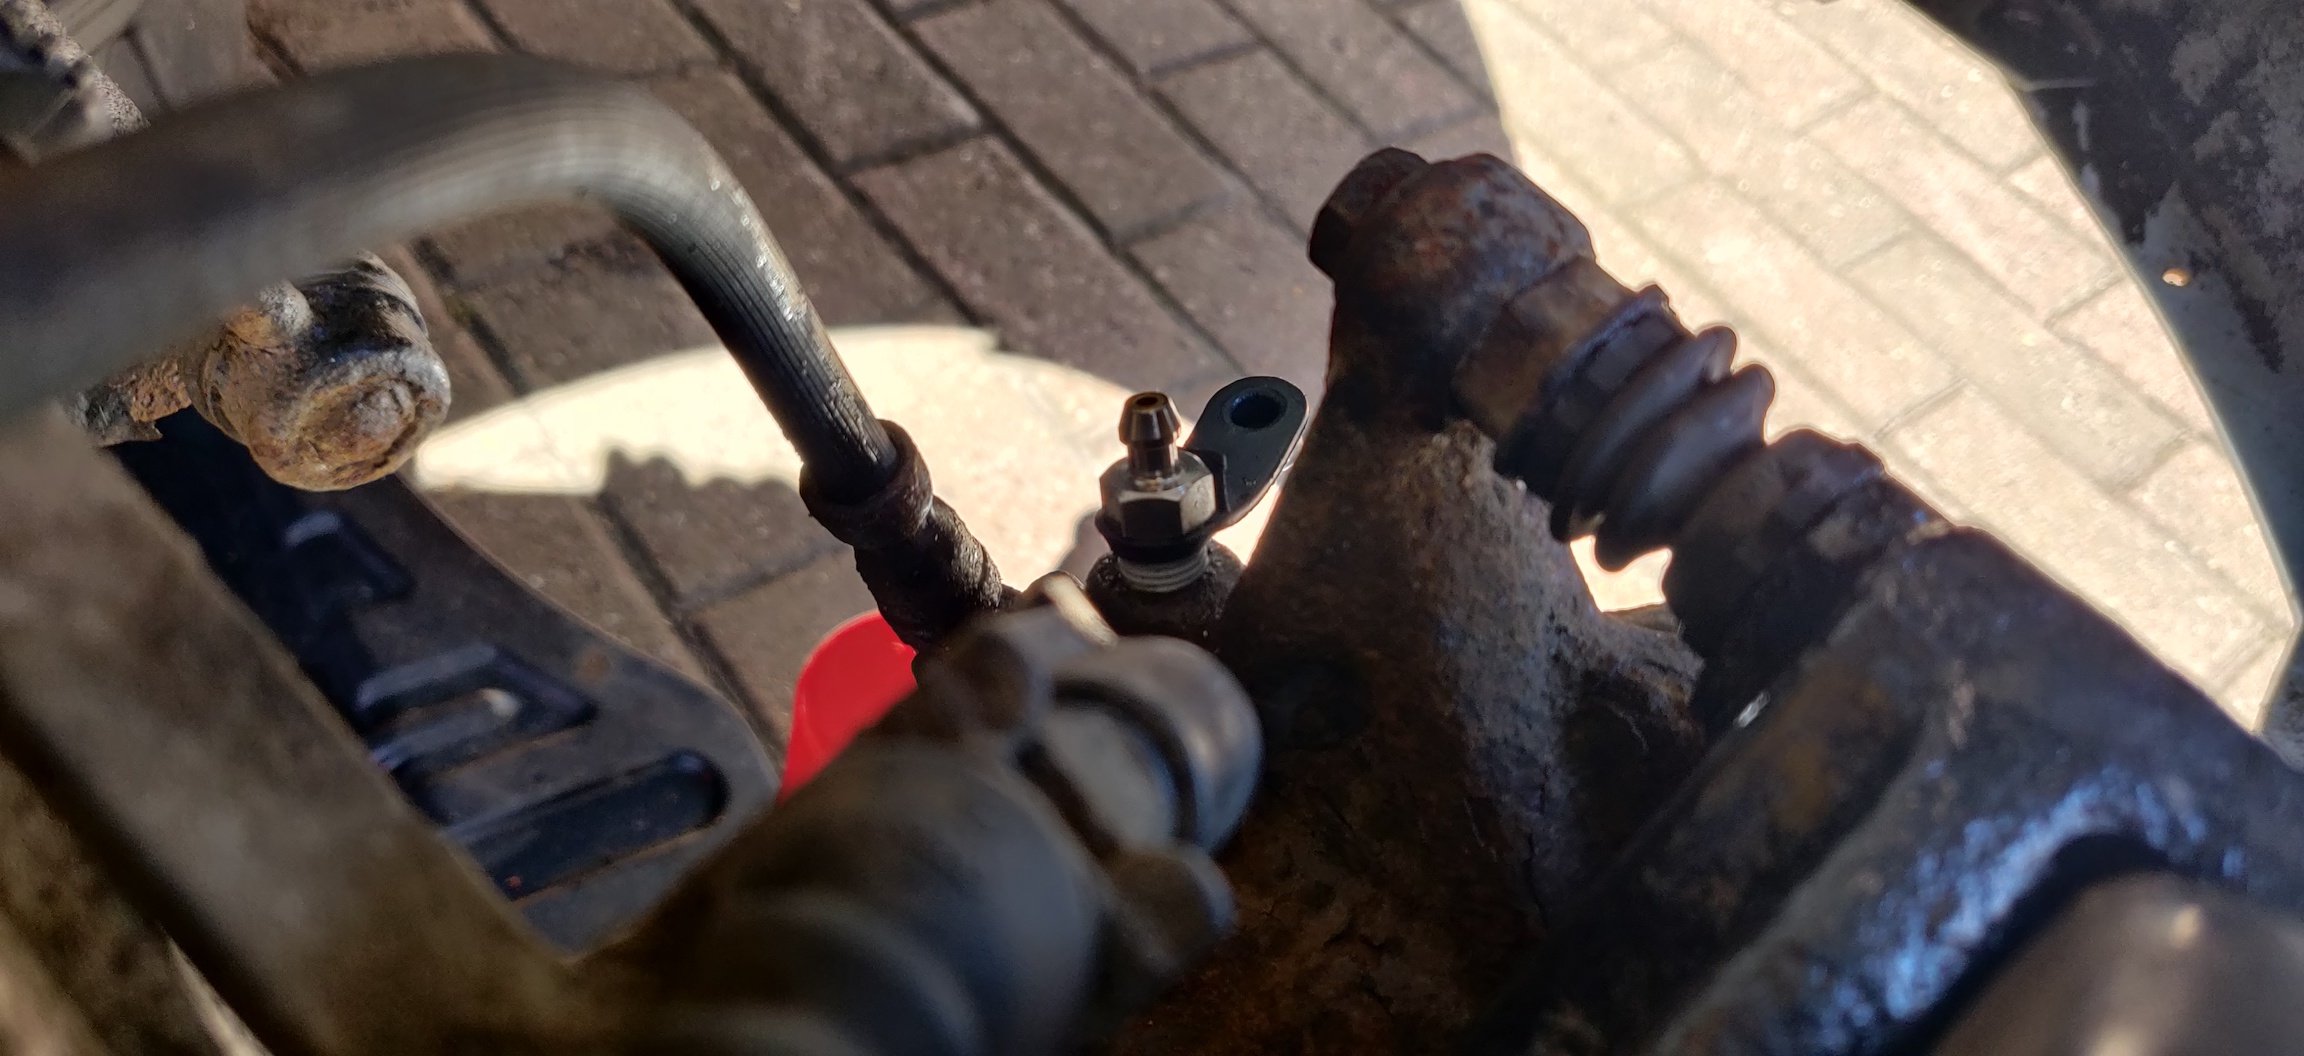
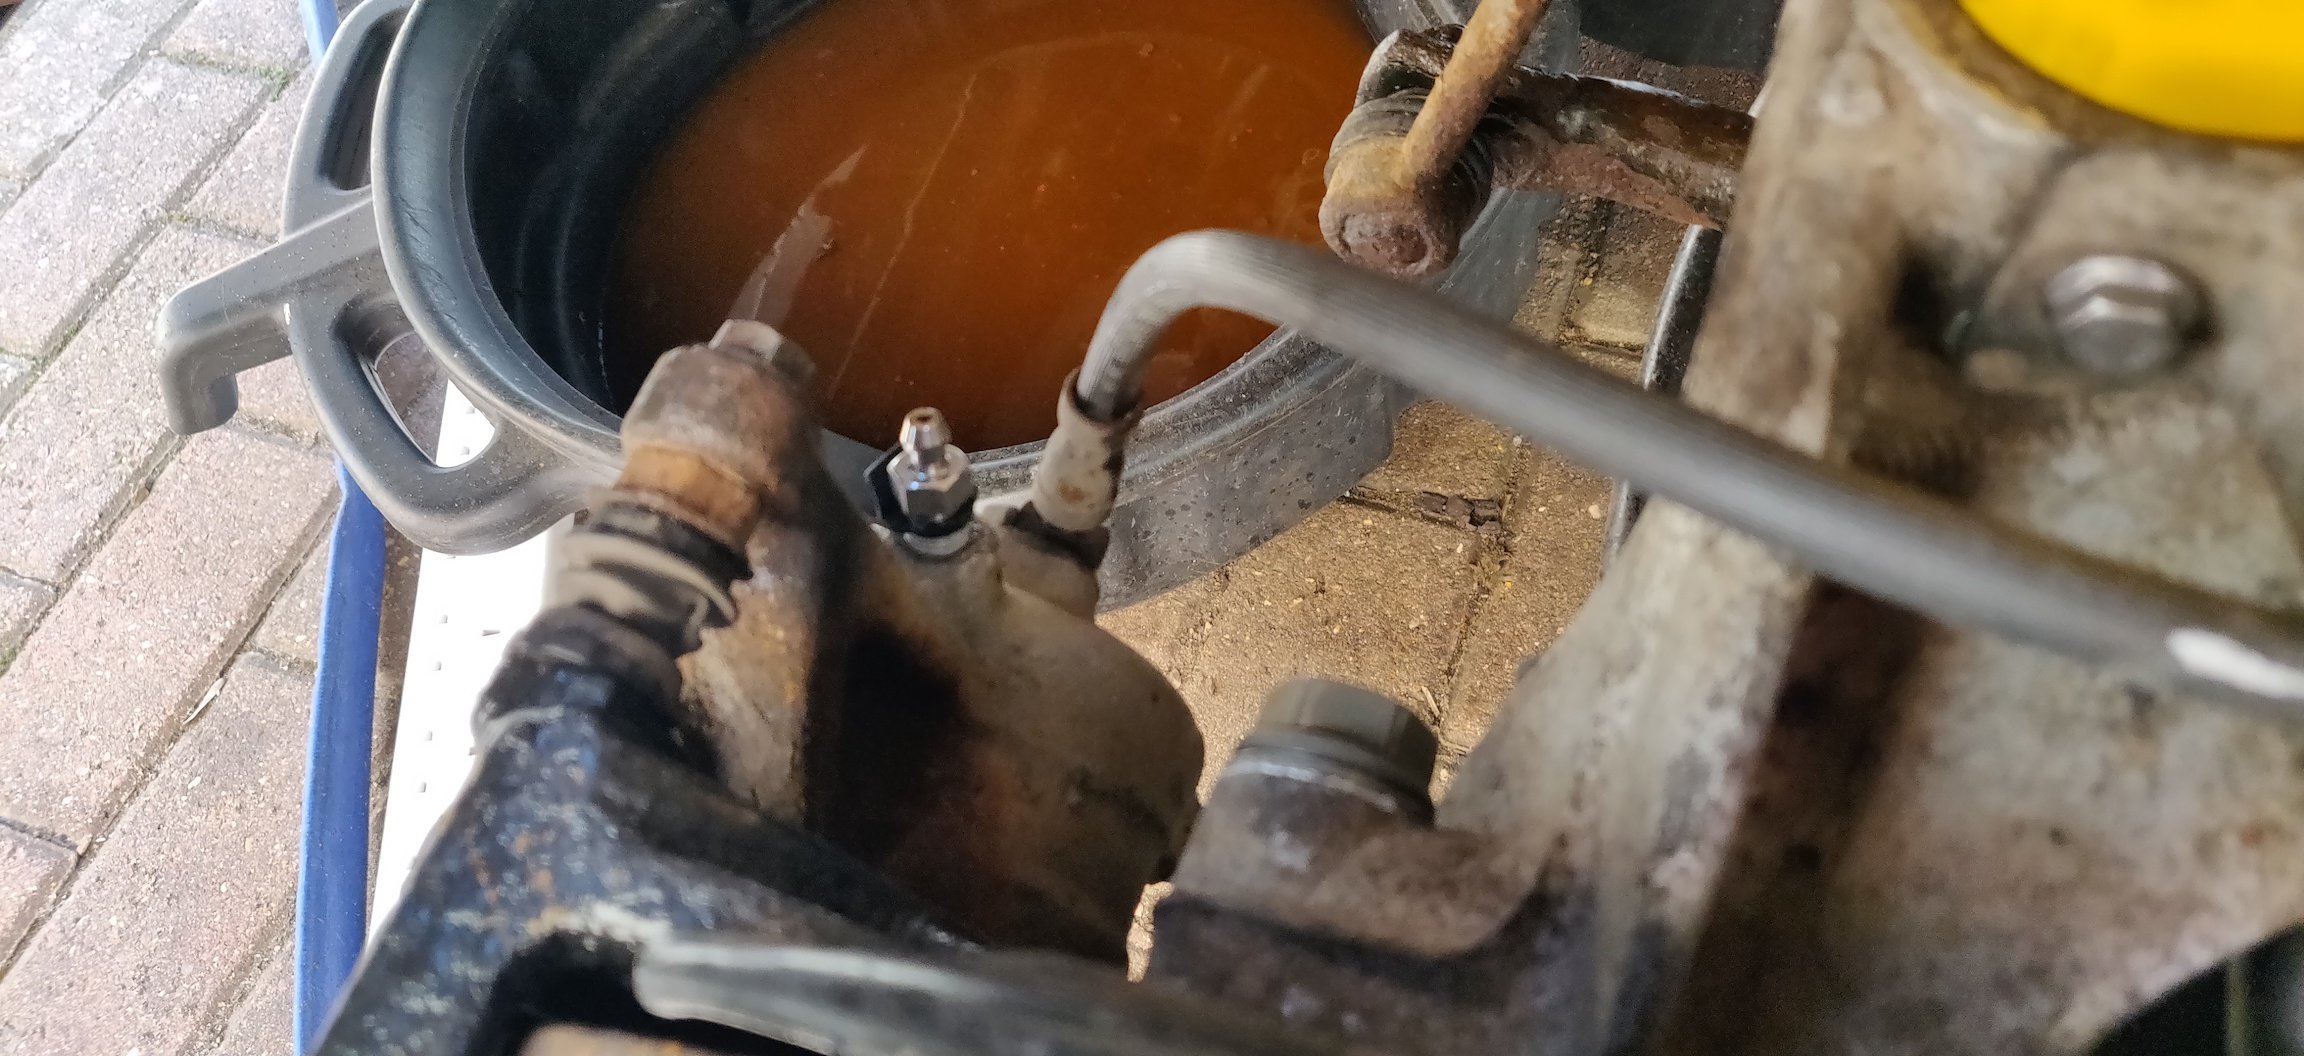
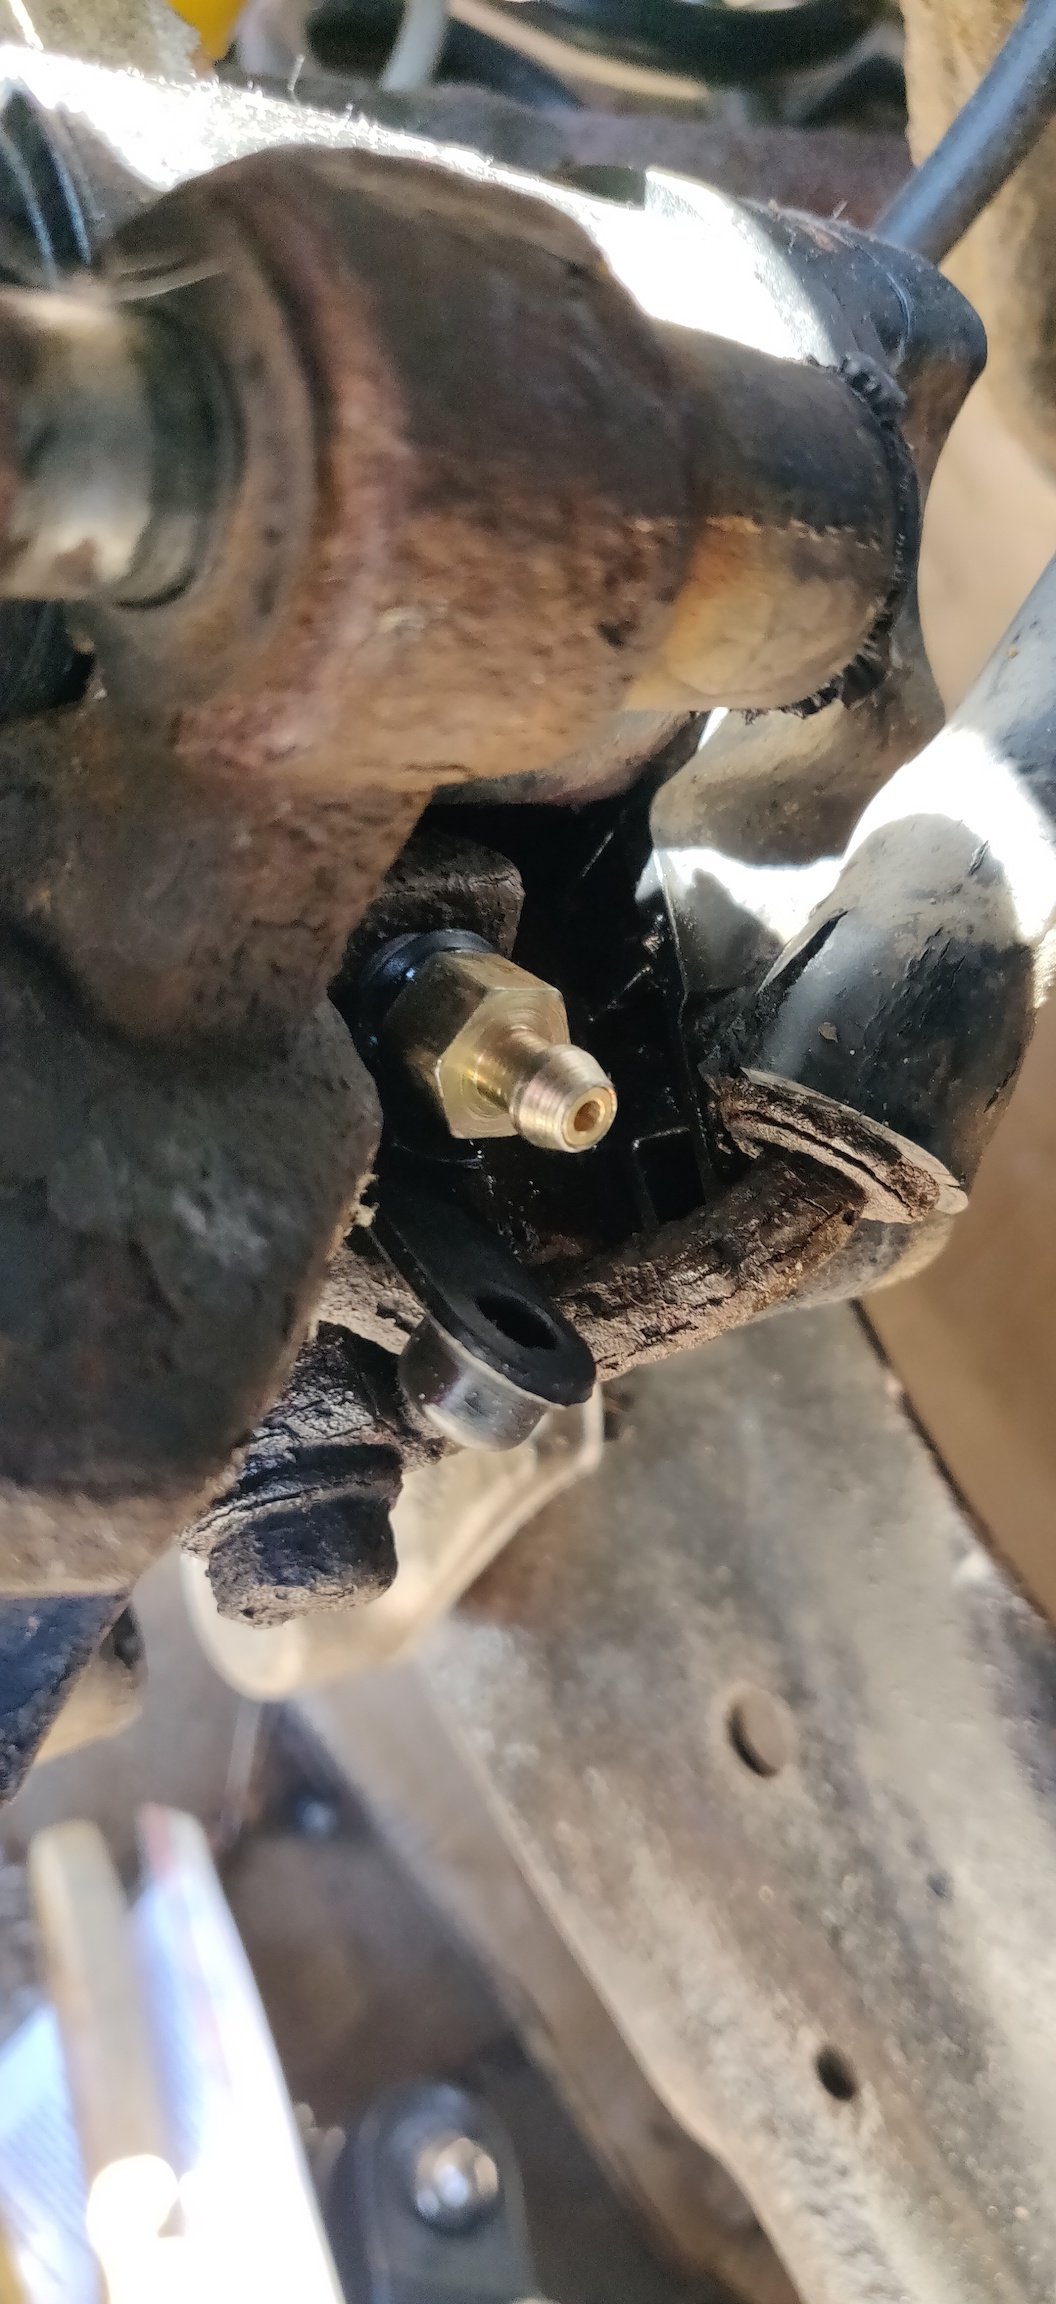
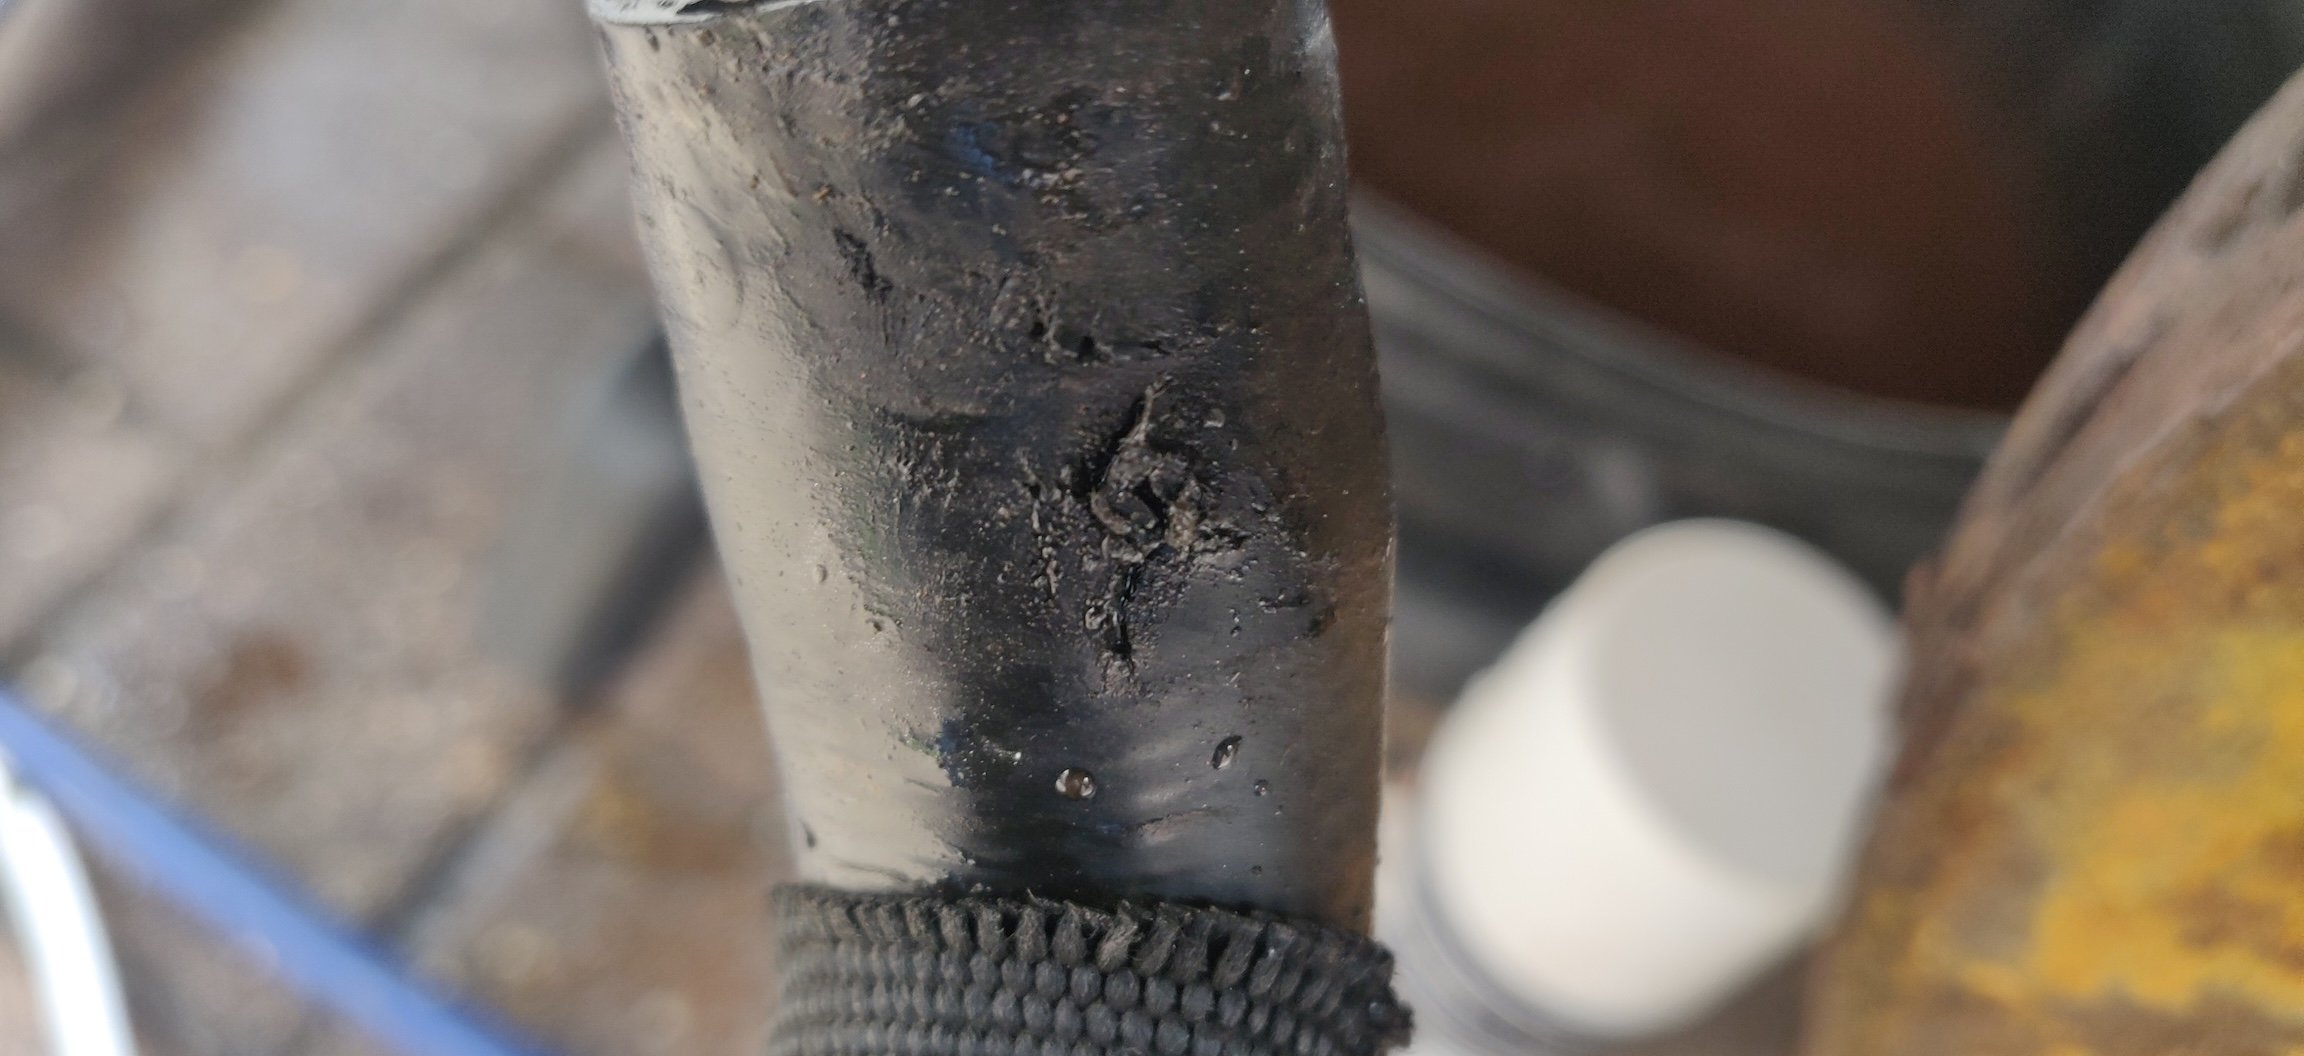
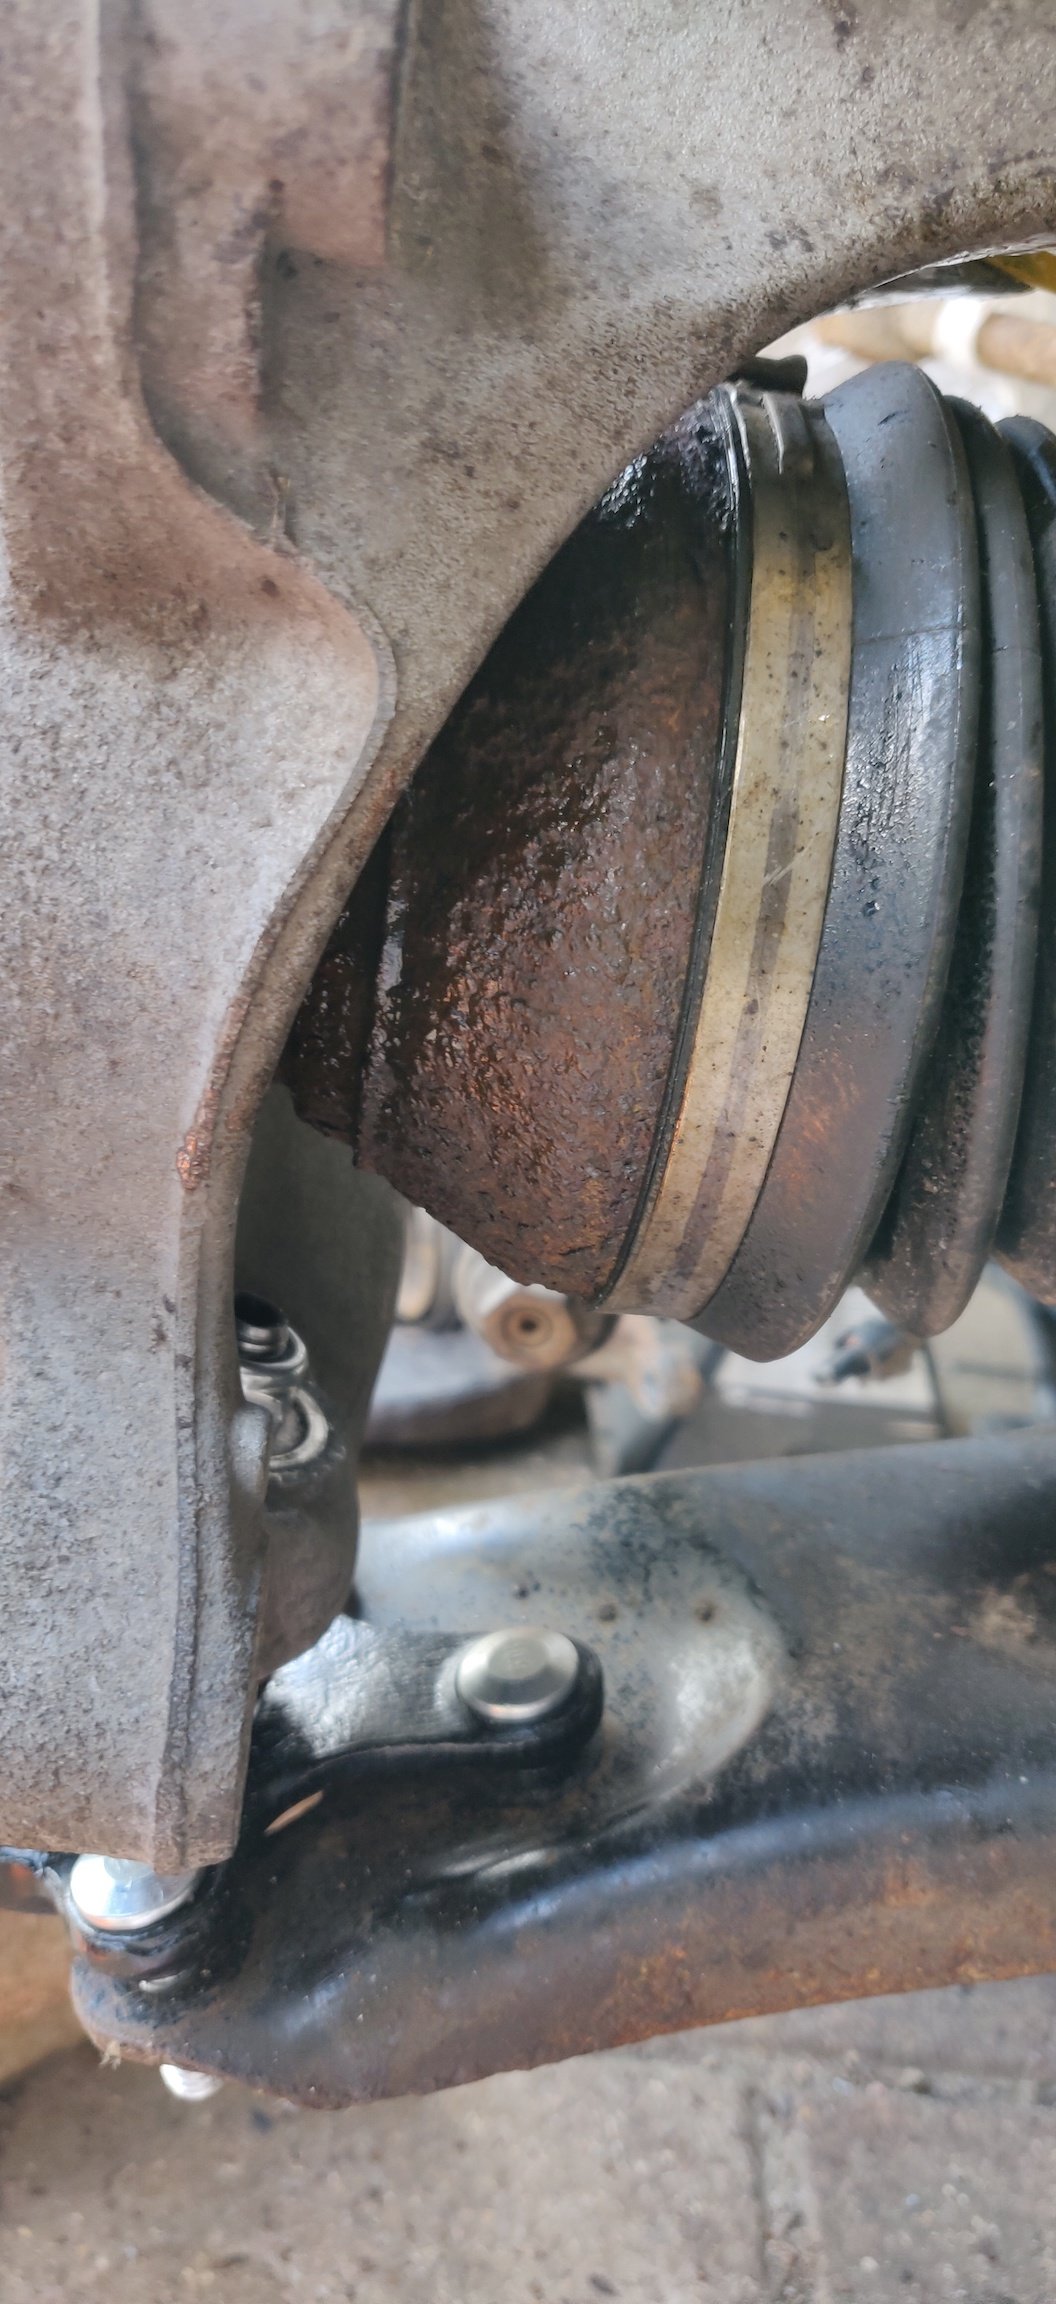
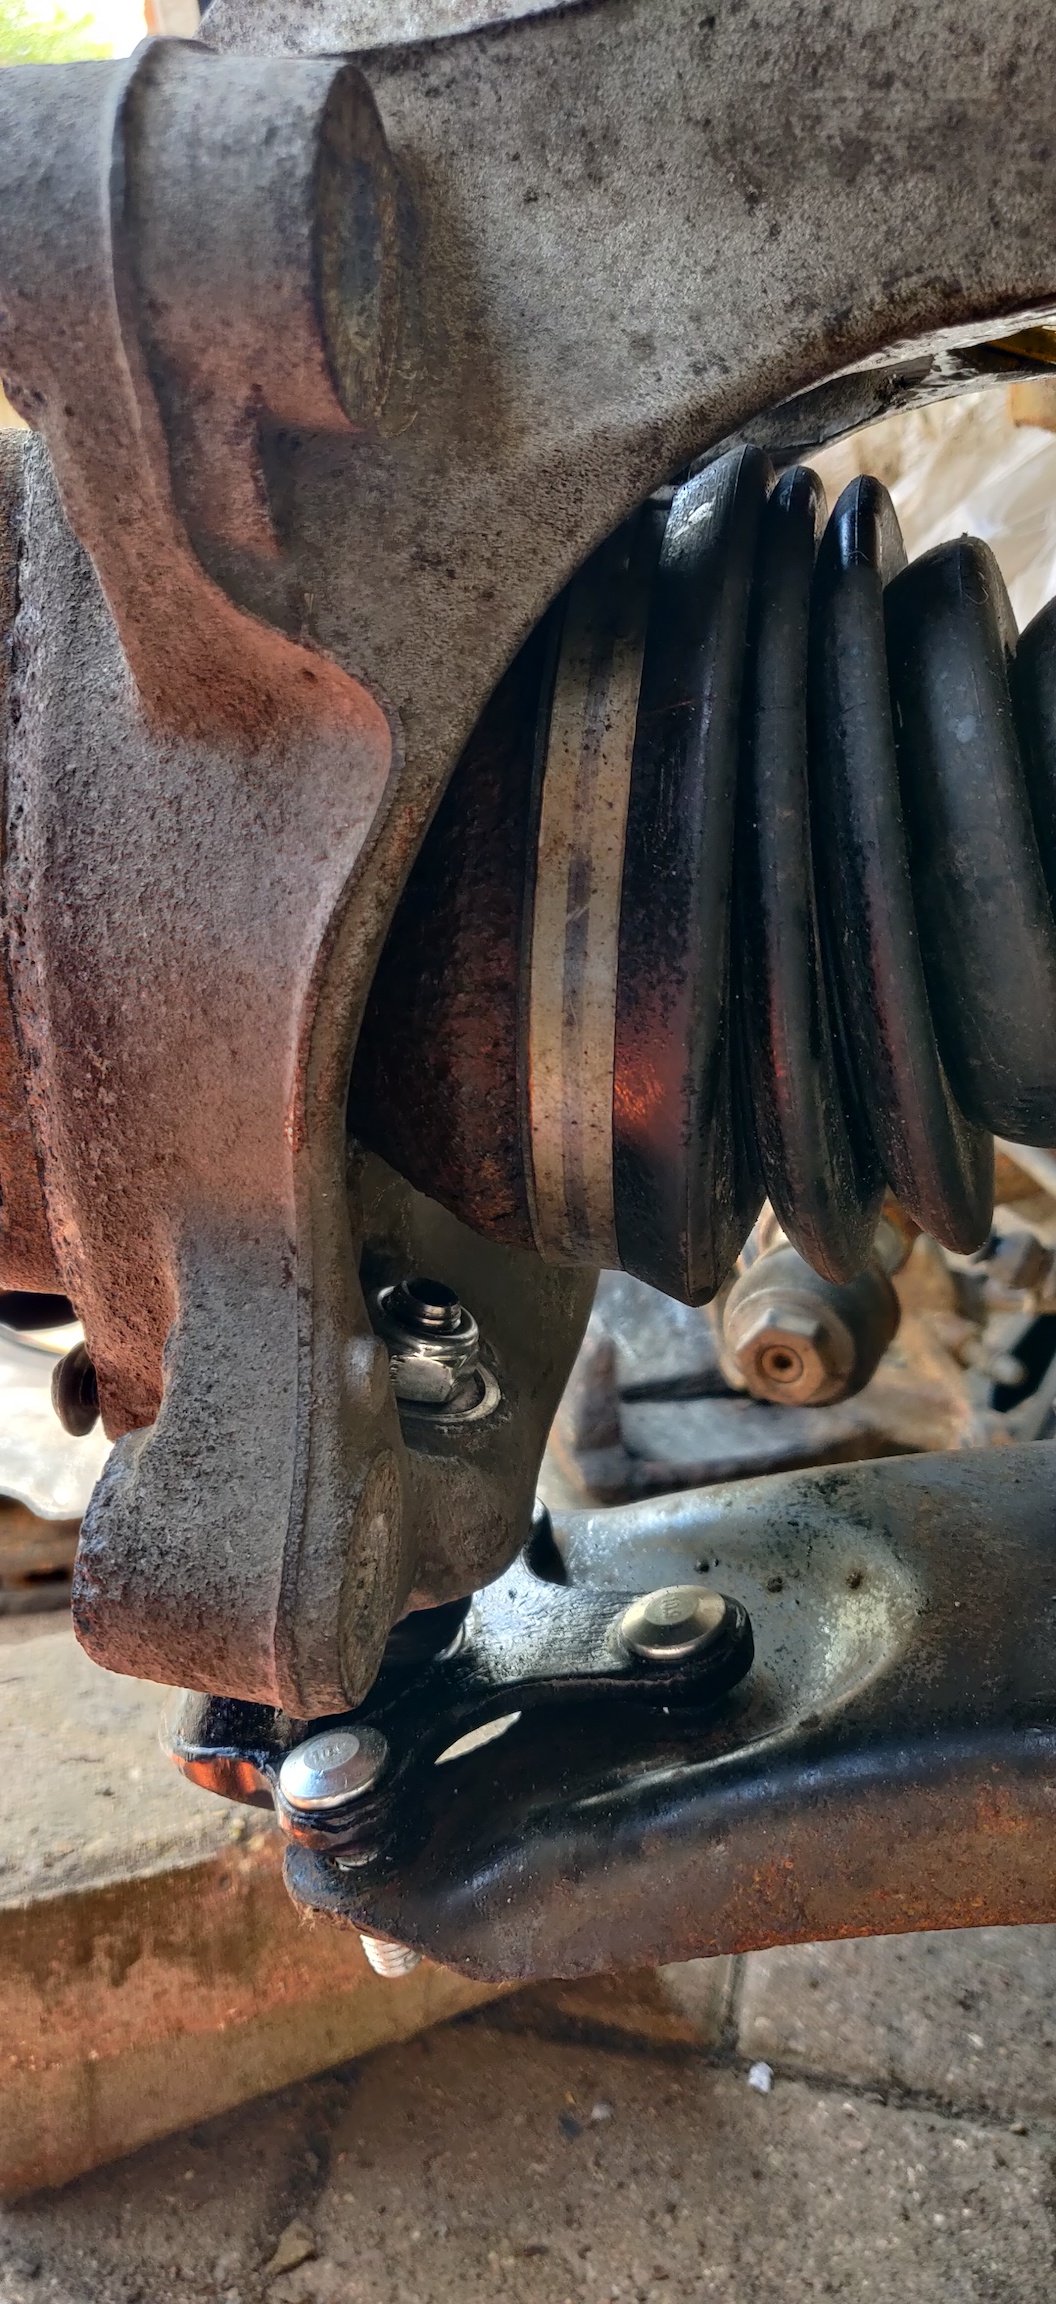
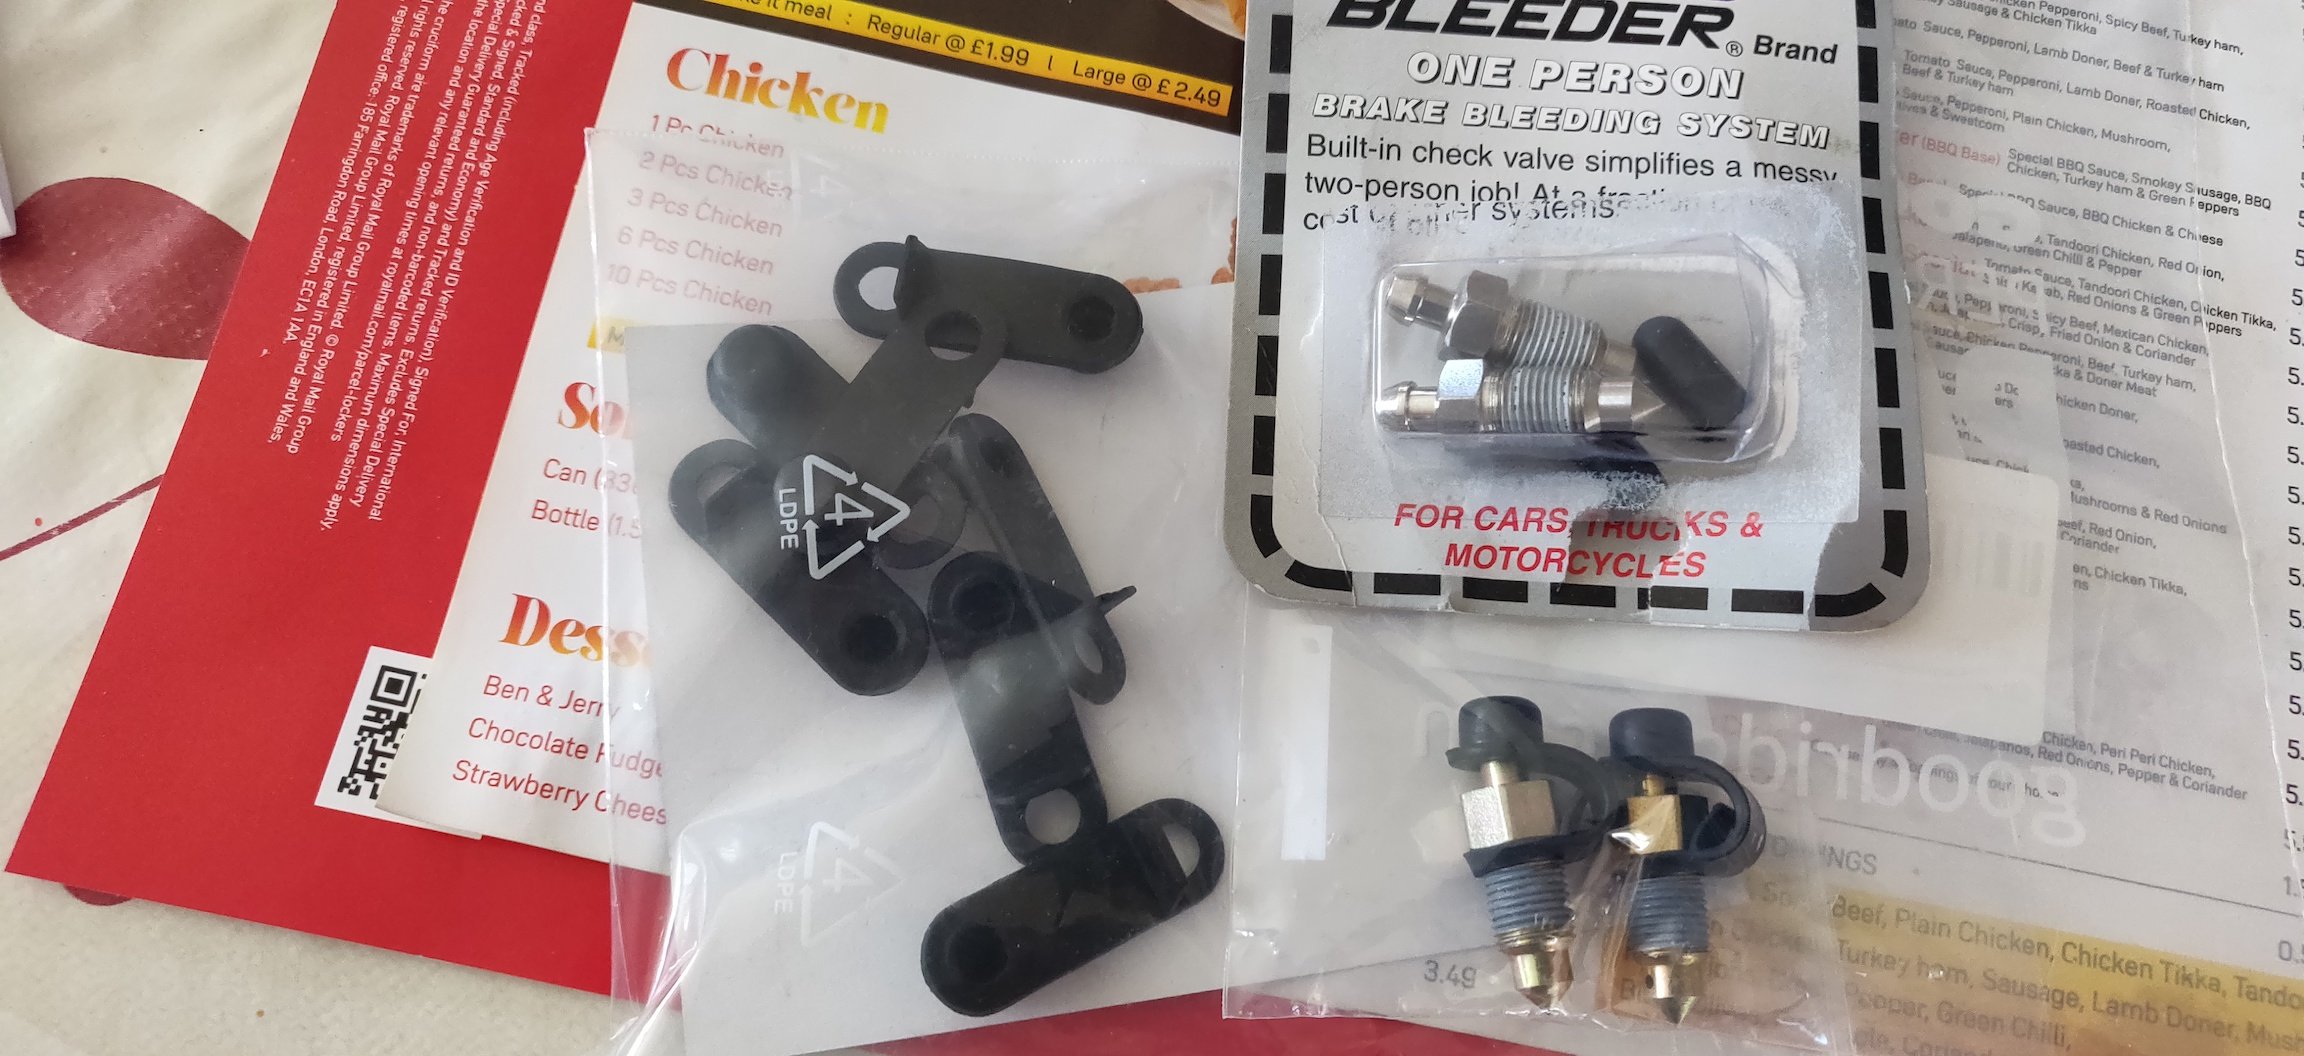
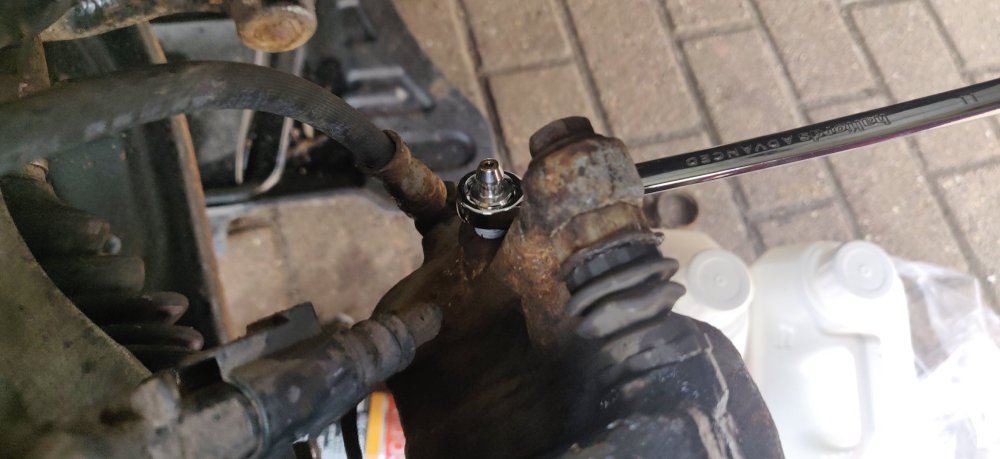
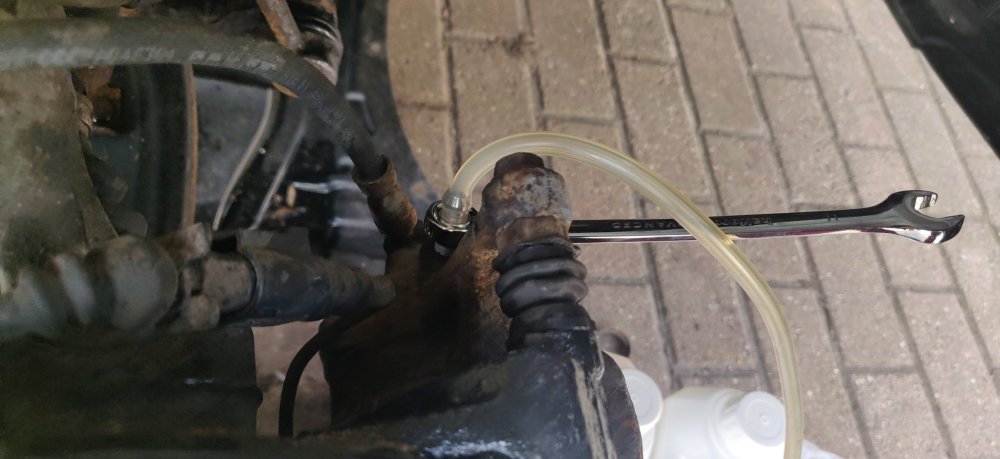
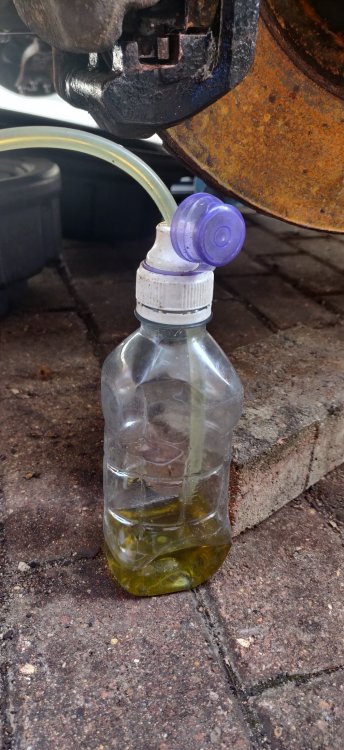
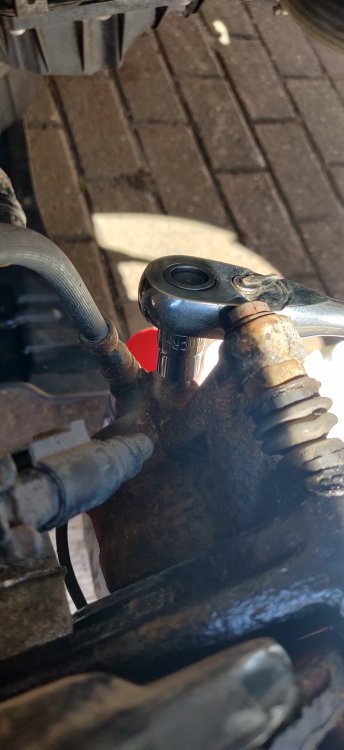
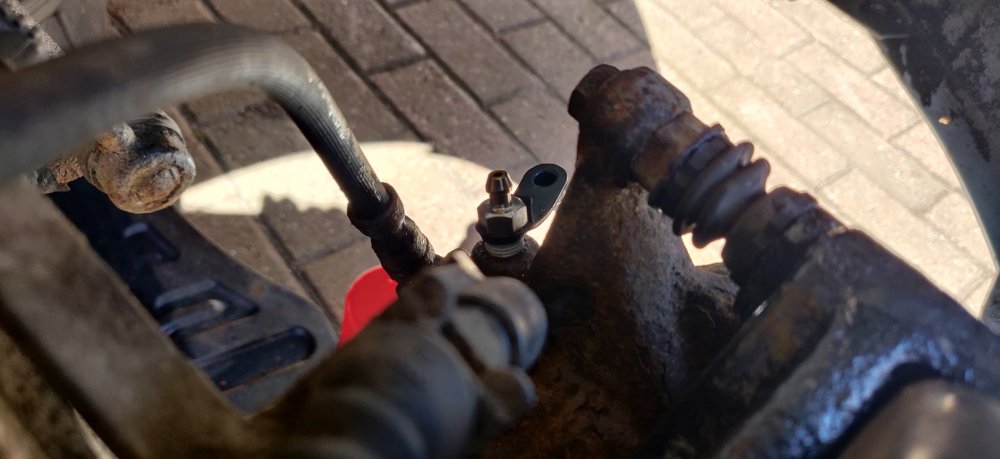
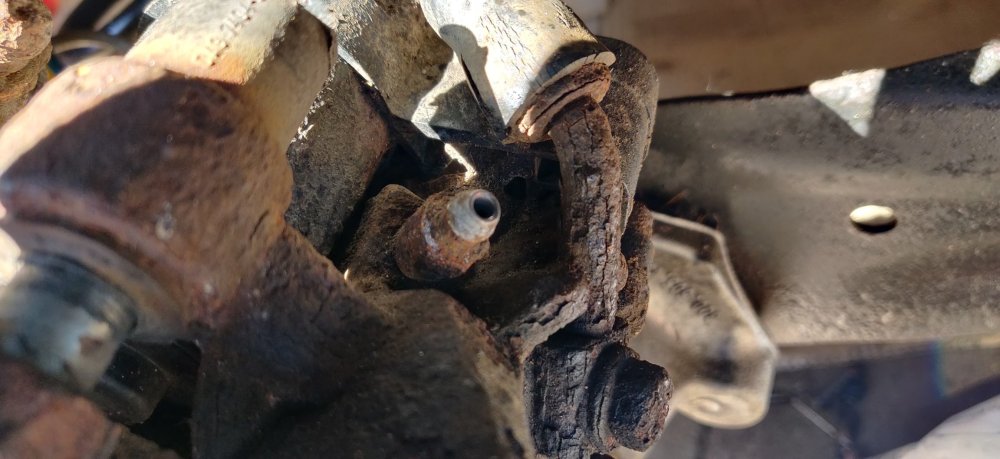
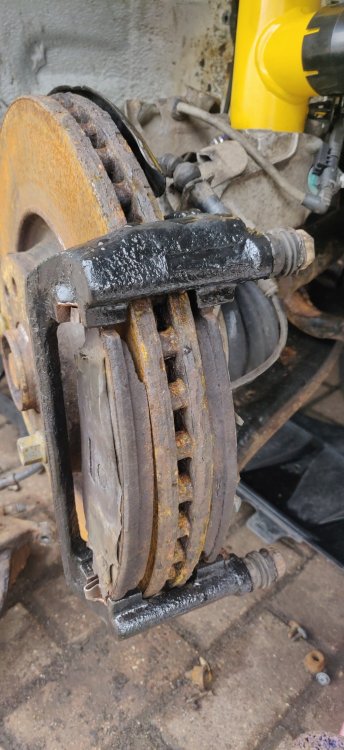
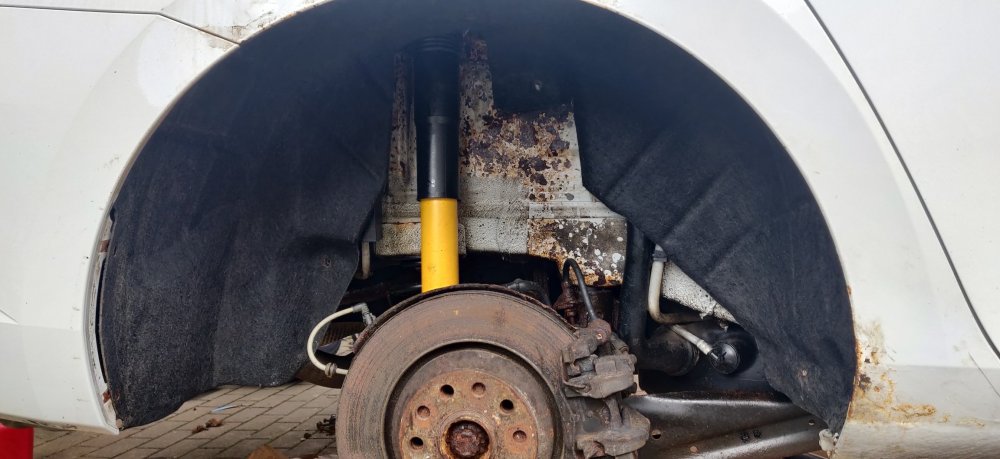
So there is an eagle eyed reader Indeed, it does look grim: Replacement stainless brake lines were always on the cards, so it's a case of whether these last long enough before my hand is forced. Having said that, I've seen brake lines in just as bad a state and they've been pretty much fine. I've probably jinxed it of course! So in the early evening, went to bleed the brakes: Now, normally, I'll take off this strainer/filter thing and get a syringe in the reservoir to get out the existing brake fluid, before filling it up and then bleeding. However, seems to be a VW group thing, but these don't seem to make it obvious how to remove them. So gave up and just siphoned out as much as possible: Then started filling with new DOT 4 stuff. Well, it had about 750ml as I've used some for topping up some other cars over the last few months. Decided to just use the speed bleeders rather than a pressure bleeder. So got an 11mm spanner: Then got my trusty brake bleeder tube: It was a bit gusty, so got the brake bleed bottle surrounded: Yup, it's essentially a sports cap water bottle. I've had this for ages, maybe 8 years or so now? If it ain't broke... So normally it's a quarter turn, but I think even an eighth would be sufficient, then just start pumping away at the brake pedal: I think the general rule is to just make sure not to go too hard on the brake pedal, lest you risk messing up the seals on the calipers. I've done this once on the Peugeot 205 GTI which resulted in a replacement master cylinder (it was a recurring theme on that car how much I messed up those brakes). Again, normally, I usually bleed them from the furthest caliper from the master cylinder going to the closest. Some do it from the ABS pump. But the workshop manual states to start with the front right, then left, then the rear right and rear left at the end. So just went with that order, pumping about 40 times per corner, topping up the brake fluid as necessary (quite difficult to gauge on the reservoir, so just topped it up until it topped that yellow filter thing): Some of the corners came out a little green, which is a bit worrying. I've found quite a few cars where it came out slightly green instead of a darker shade of brown, but I suppose it's better than flecks of dirt or loads of bubbles. The rears were annoying: The bleed screw is tucked inbetween the brake line and caliper itself, so a spanner doesn't go on without it fouling something (unless I'm missing something). So was a case of just trying to undo it enough with the tight gap. Maybe a swan neck could work or something. Basically went through the calipers twice, in order to use all of that 750ml of DOT 4, hopefully making sure all the old stuff is out. Once done, did the same process as installing the bleeders, brake cleaner over them, then tightened to 8Nm once dry and tucked the covers back on. I sprayed some XCP over those brake lines, just to make myself feel better. One random thing left I did today: Started to dry fit the left front wheel liner, fitted some of the stainless screws into the central area. Will need to tuck the front into the bumper and align some stuff, then figure out the new front mudflaps. Maintenance: £2243.89 Upgrades: £1322.97 Miscellaneous: £697.20


-
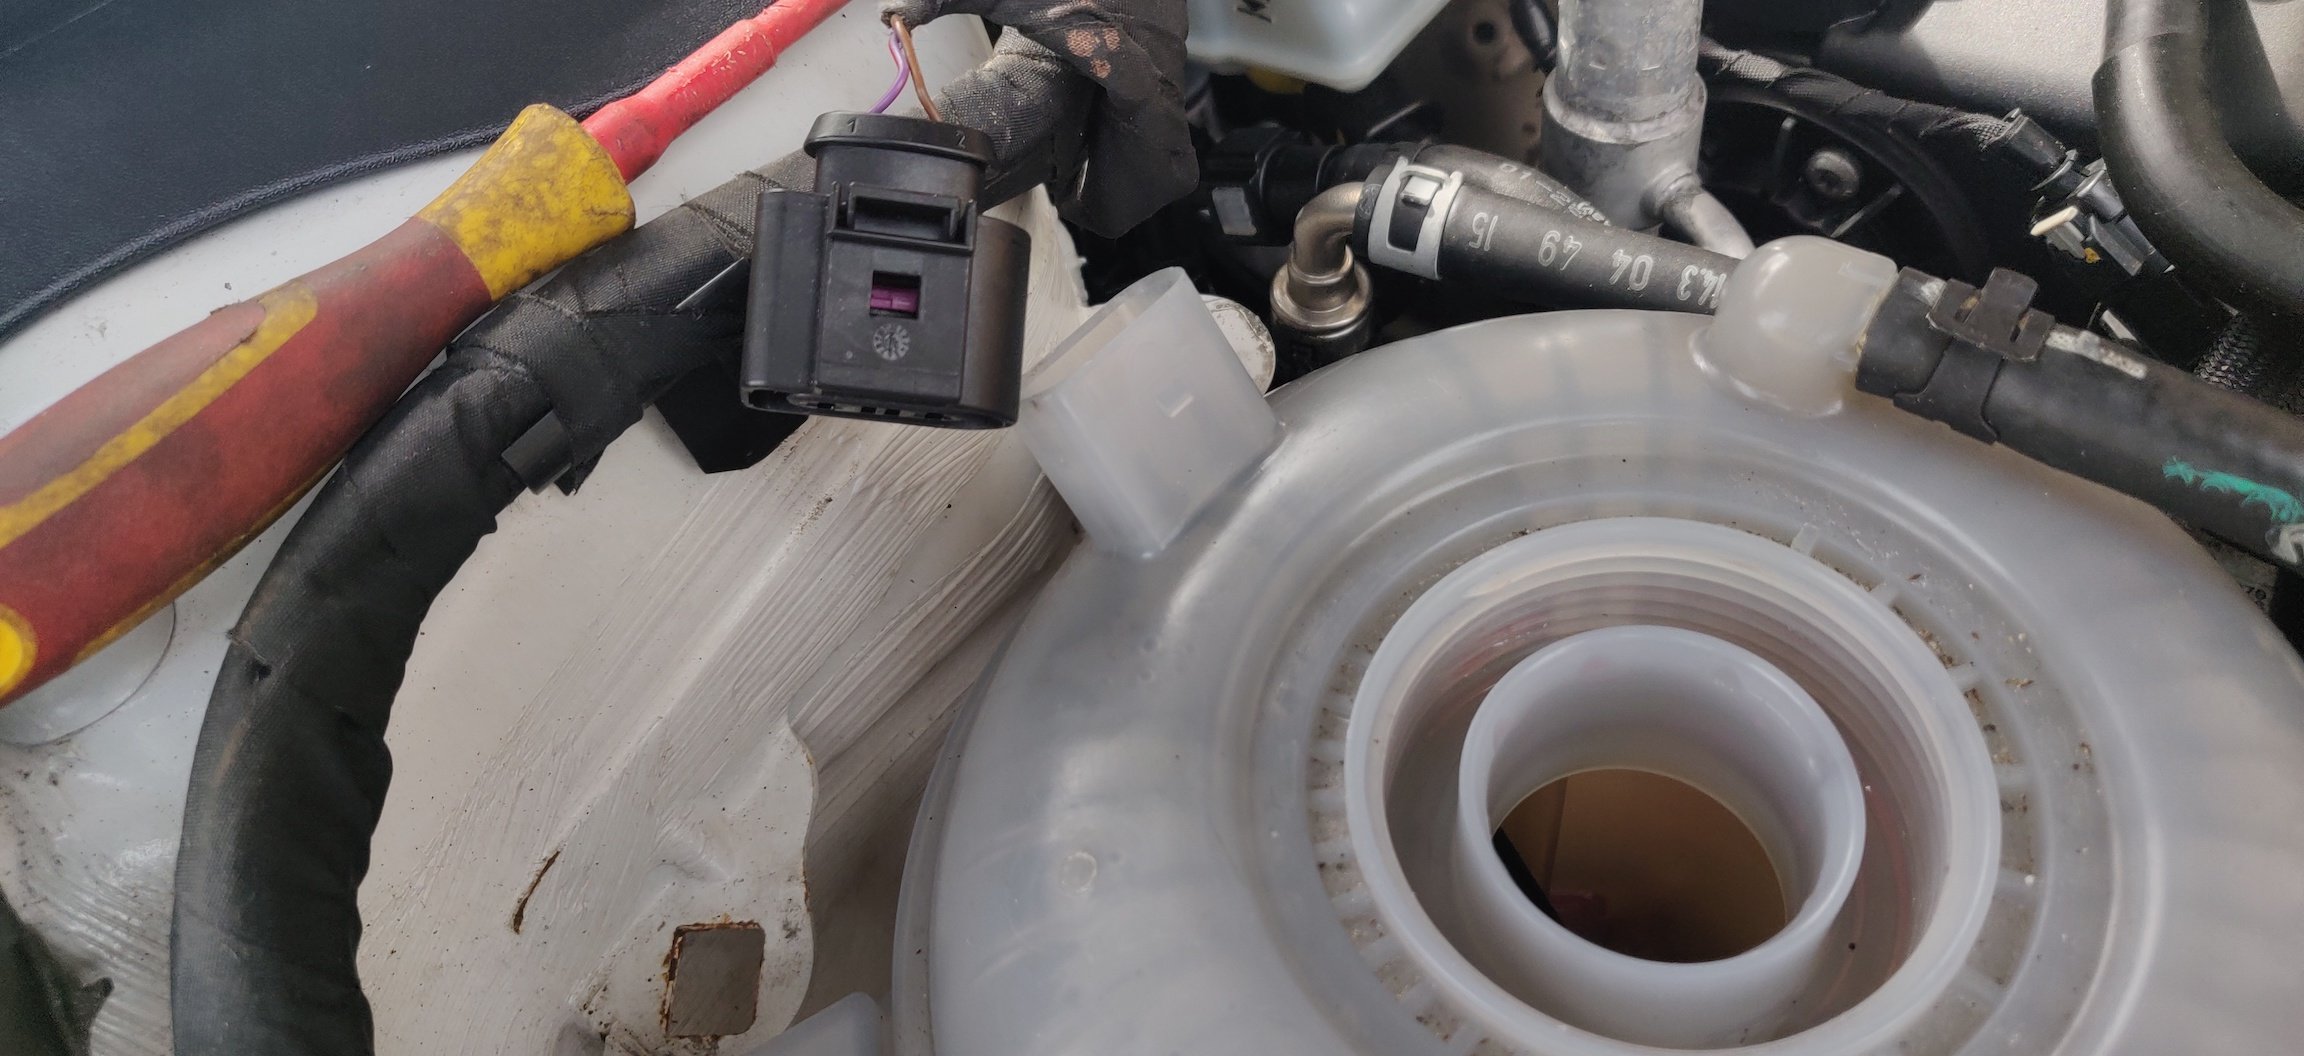
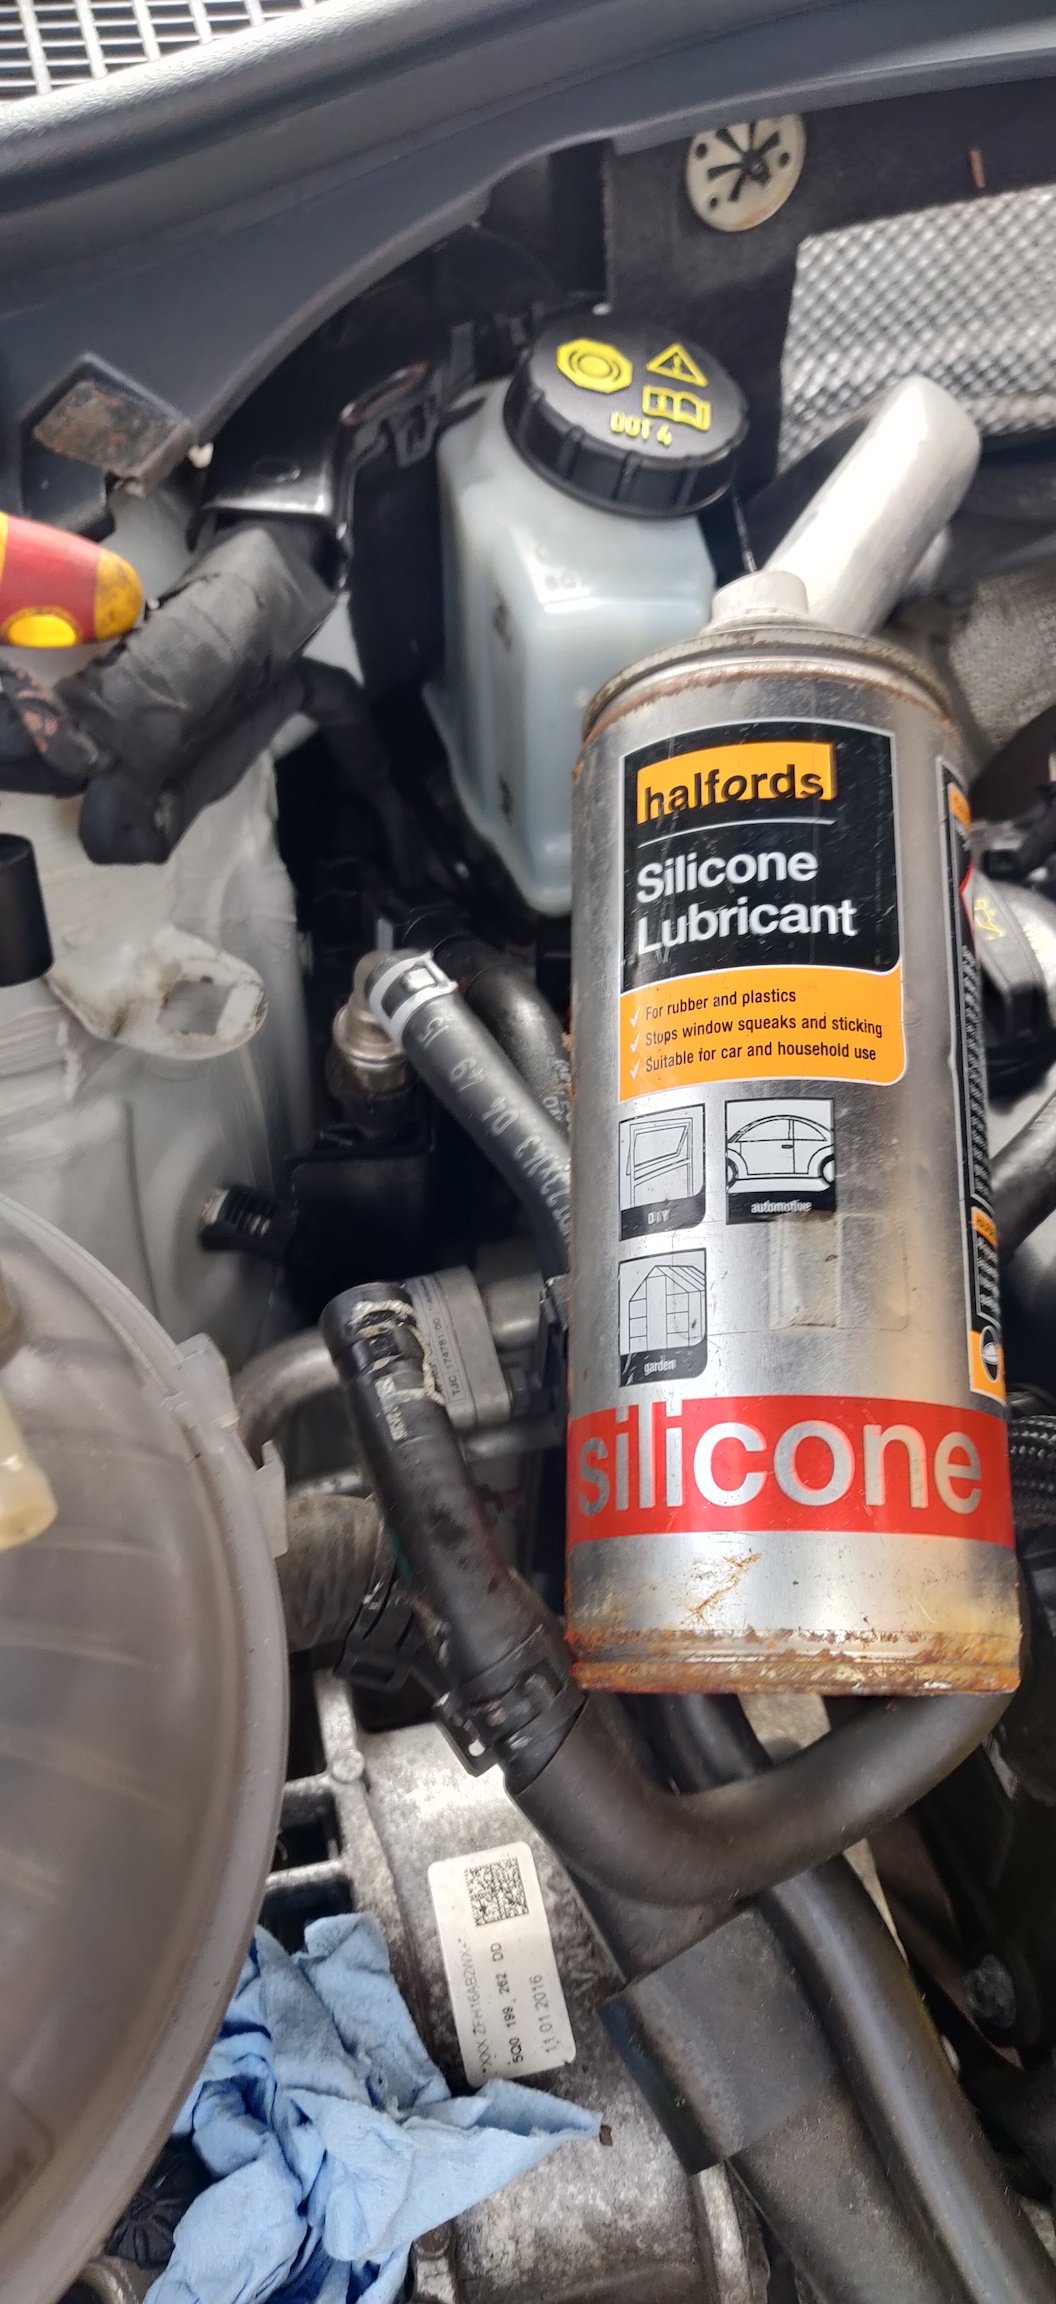
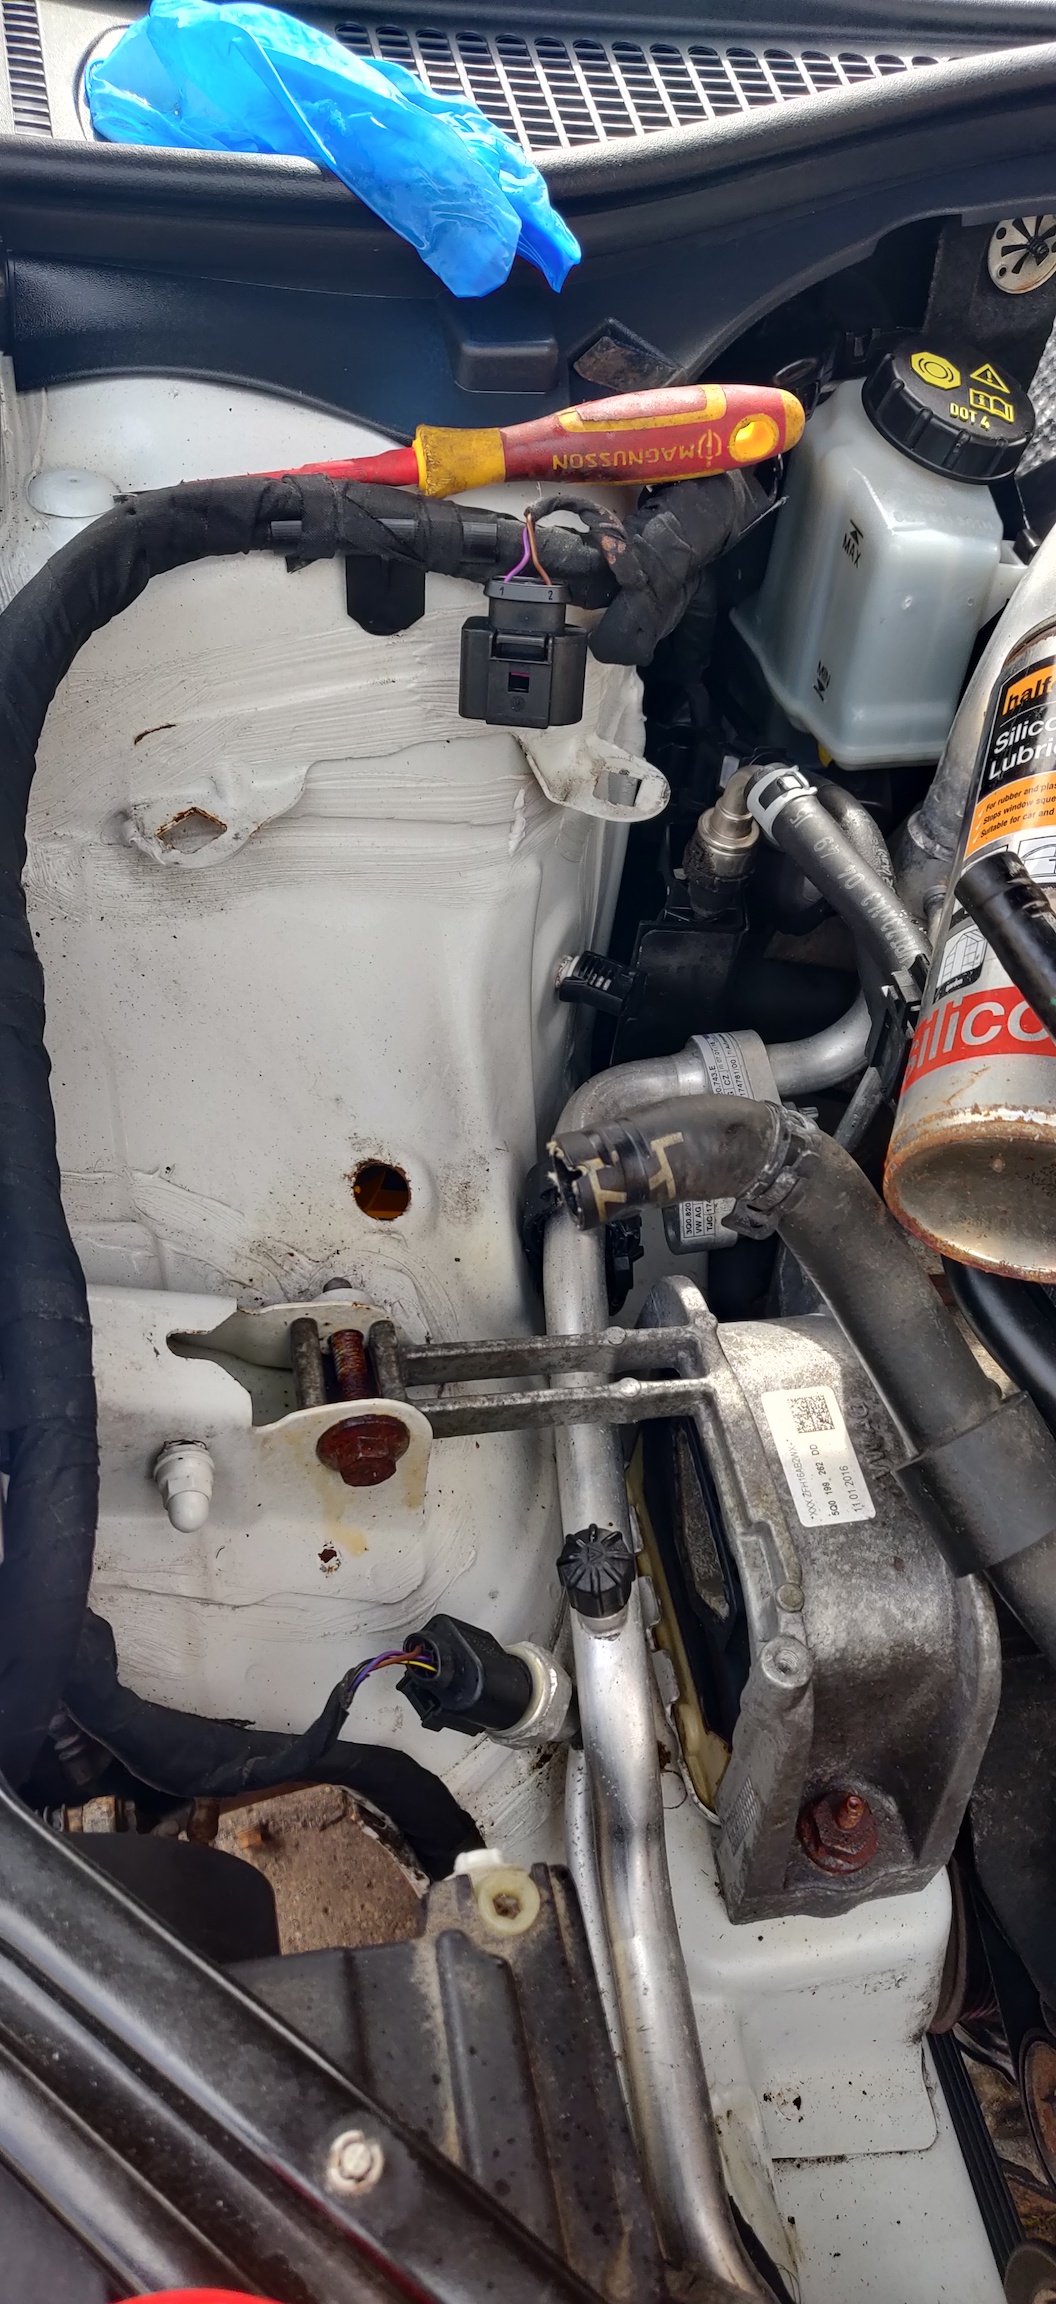
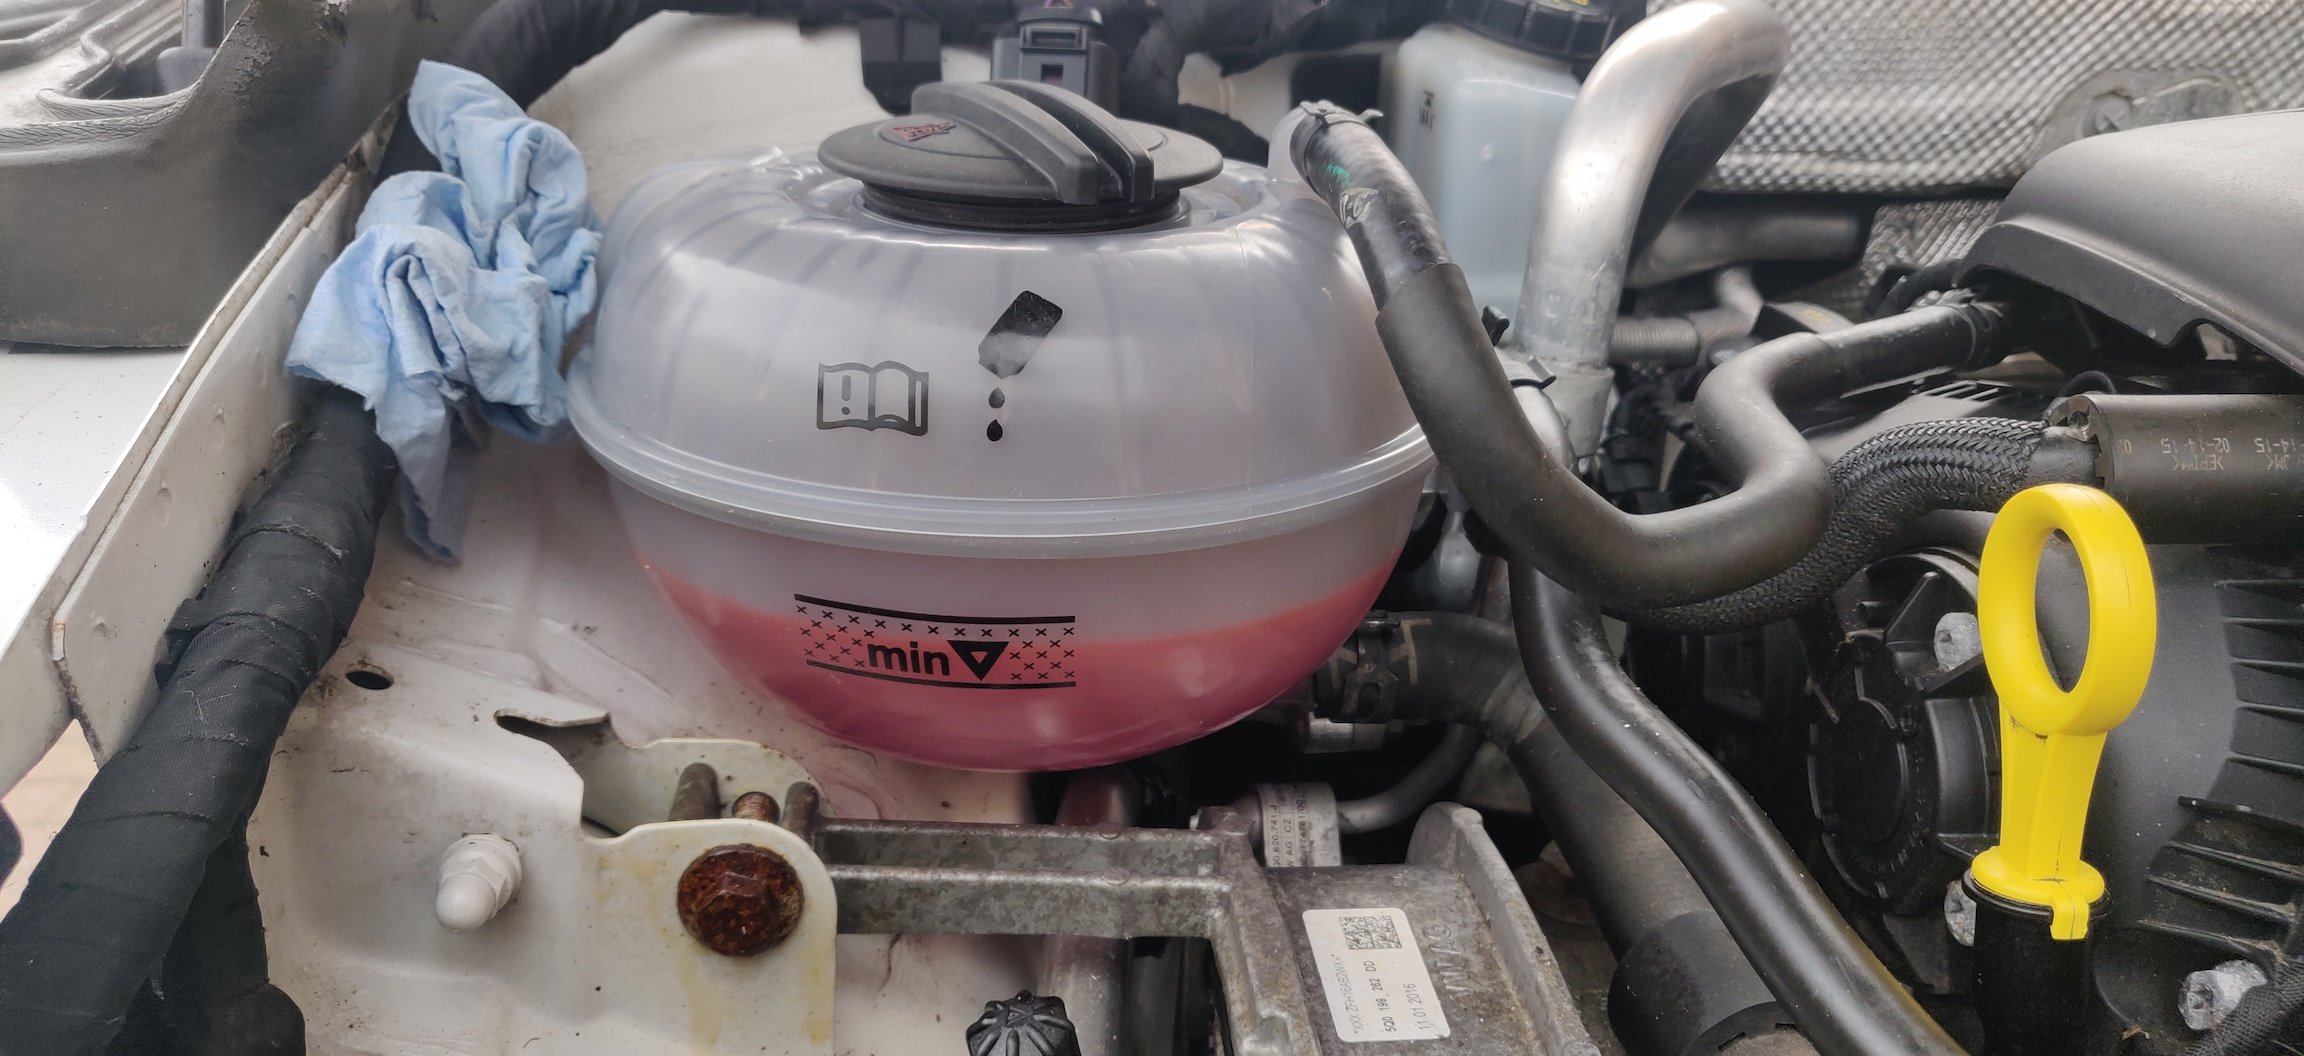
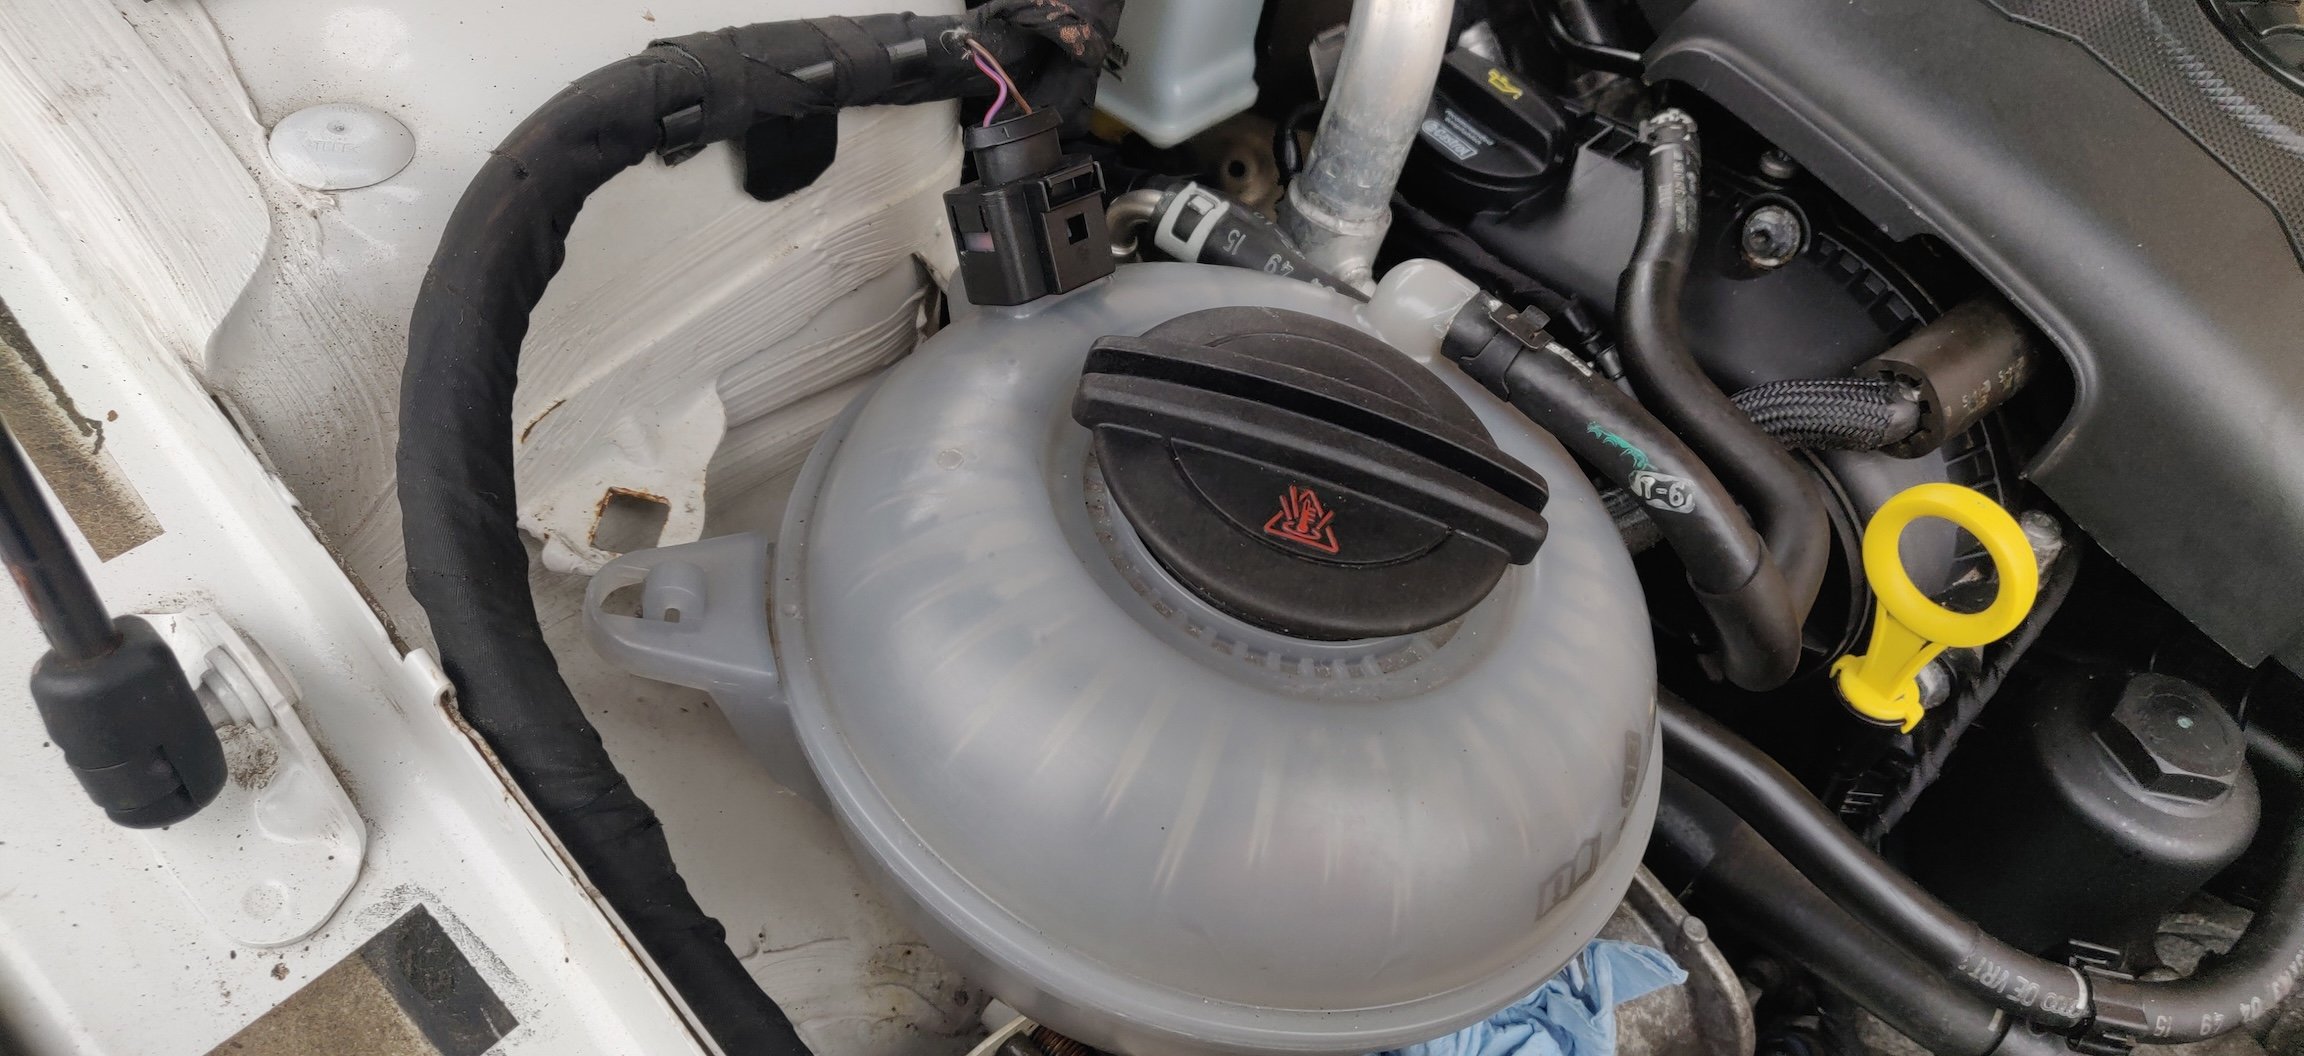
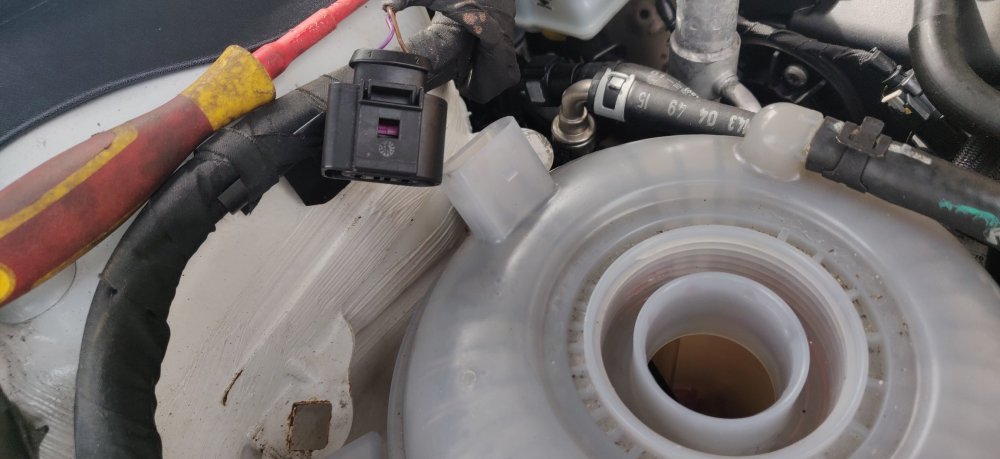
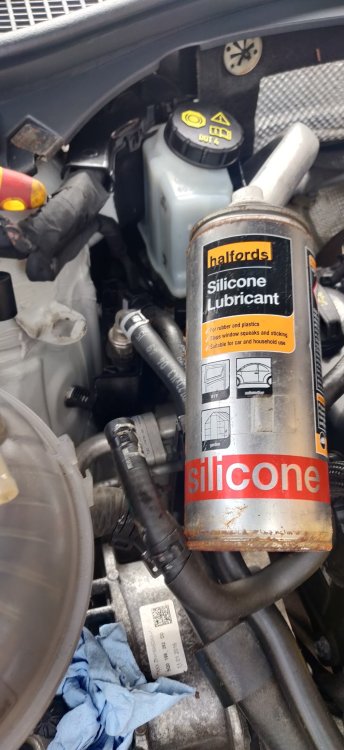
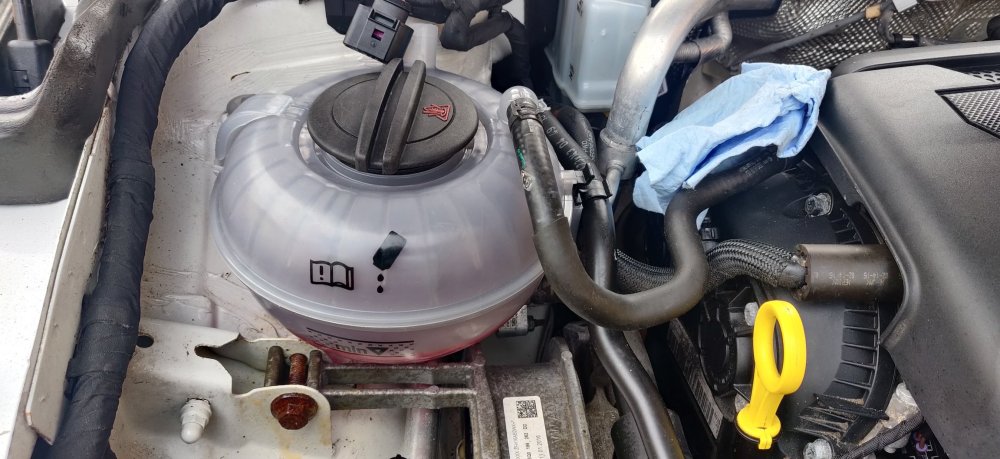
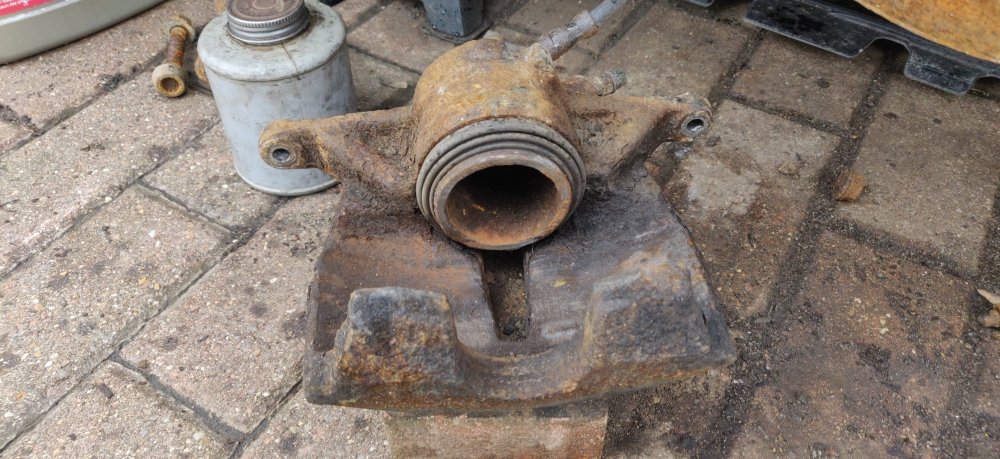
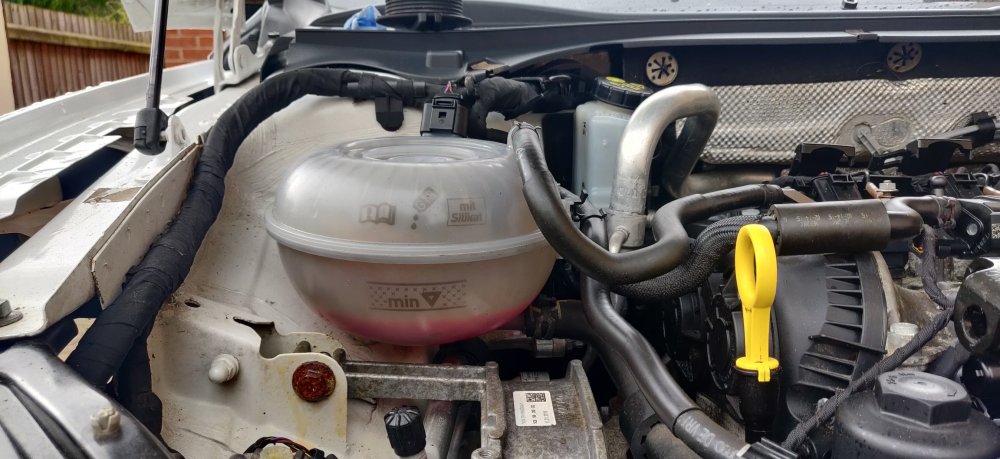
Any good car manufacture knows that the best engineered cars last exactly the warranty, so 3 years normally. They don't need to care about it any longer than that. Anyways: New coolant expansion tank arrived. £16.88 from eBay, took about a week so I suspect via China. Initially, the idea was to replace it just because the current one is a little dirty rather than any genuine reason. After some reading around though, I've discovered that G13 coolant has less effective silicates than earlier antifreeze/coolant solutions, so they decided in their infinite wisdom to have something akin to a silica gel bag in the coolant tank. I suppose the point is to make it last much longer between changes, see above regarding the best engineered cars. All falls apart once/if the bag itself falls apart. So this vanity act is now also preventative maintenance. So already started removing the existing tank, so just a few more things to disconnect: Electrical connector for the level sensor was nice and easy compared to say the Haldex controller under the car. I then tried a different approach with the hoses: Have some silicone lubricant spray lying around, which I've occasionally used on dirty belts which have helped remove squealing. So sprayed a bit on the ends of the hoses, then used a thin screwdriver to gently pop the hoses off. So there's a small one for the return at the top, then a clip in the middle holding other hoses, then the main one to presumably the radiator or somewhere else at the bottom: Fitting the new one is the ol' reverse of disassembly: Started to top up the coolant, then gave it a few hours before checking again: Eagled eyed readers will note the previous pic didn't have the connector plugged in, so that's sorted. Then topped it up just under max, will leave it and top up as necessary. I'm hoping the system will bleed itself, as I don't really want to go to the hassle of getting tools to introduce a vacuum. This is topped up with generic 5 year life coolant, which the labels suggest is G12+. I believe they're compatible. I think over the next few years, I'll probably drain and refill in 2 and then again in 4 years time to increase the amount of G12+ stuff in there. Then it'll be part of the C service every 4 years. The weather is positively Summer-like, so decided to dismantle the steering column area: The indicators on the left just look too shabby for my liking, so will be replacing them. Hopefully with a set that is still compatible, but we'll see. It then actually got quite warm in the cabin, so out again, and decided to tackle one more quick thing before lunch: I say quick... The speed bleeders use 11mm sockets, and so do the front, so got a couple of sockets ready, in order to try and swap them out as quick as possible: So got some Plus Gas on the front right to start: The plan immediately goes to pot, as the removal of the front right one a little stiff than I'd like. But it got free. The next issue was inserting the new ones in. This was mainly made difficult because of the covers I've used, which ended up just getting in the way of smoothly getting the threads on due to the way the calipers are all shaped. Just a case of persevering really, then eventually nipped up hand tight: The other side decided to be more of a pain to get the new one: Just a case of trying to stay calm lest cross threading occurs. Then the rears: Amusingly, the 11mm socket didn't fit, so went to 12mm, then 13mm. The 13mm fit, but then it turns out it was just a huge amount of crud, eventually clearing up to be 11mm: These were on tight. The 3/8" spanner was struggling to break them loose, and I was genuinely starting to panic. When I first got my Peugeot 205 GTI, it didn't have covers on the bleed screws, and so all of them ended up seizing to the caliper and rounding off, necessitating buying 4 new calipers. I didn't need to suffer that this time. The rear right was even tighter: It's just all located in such a way that dirt and crap just ends up staying there, not ideal. Lucked out again and it broke away without drama: So went around all the bleeder screws, sprayed huge amounts of brake cleaner around them to clean up the general area and to hopefully sort out any loose leaked brake fluid. Gave it a few minutes to dry, then tightened them all up to 8Nm. A random number as the Internet suggests anything from 4Nm to 10Nm for the bleed screws. So that's it for now. The brake fluid can pretty much be bled whenever now. Ironically, I could still use a pressurised brake bleeder despite the speed bleeders making one not entirely necessary. Depends what mood I am in the early evening. Maintenance: £2243.89 (+£16.88) Upgrades: £1322.97 Miscellaneous: £697.20


-
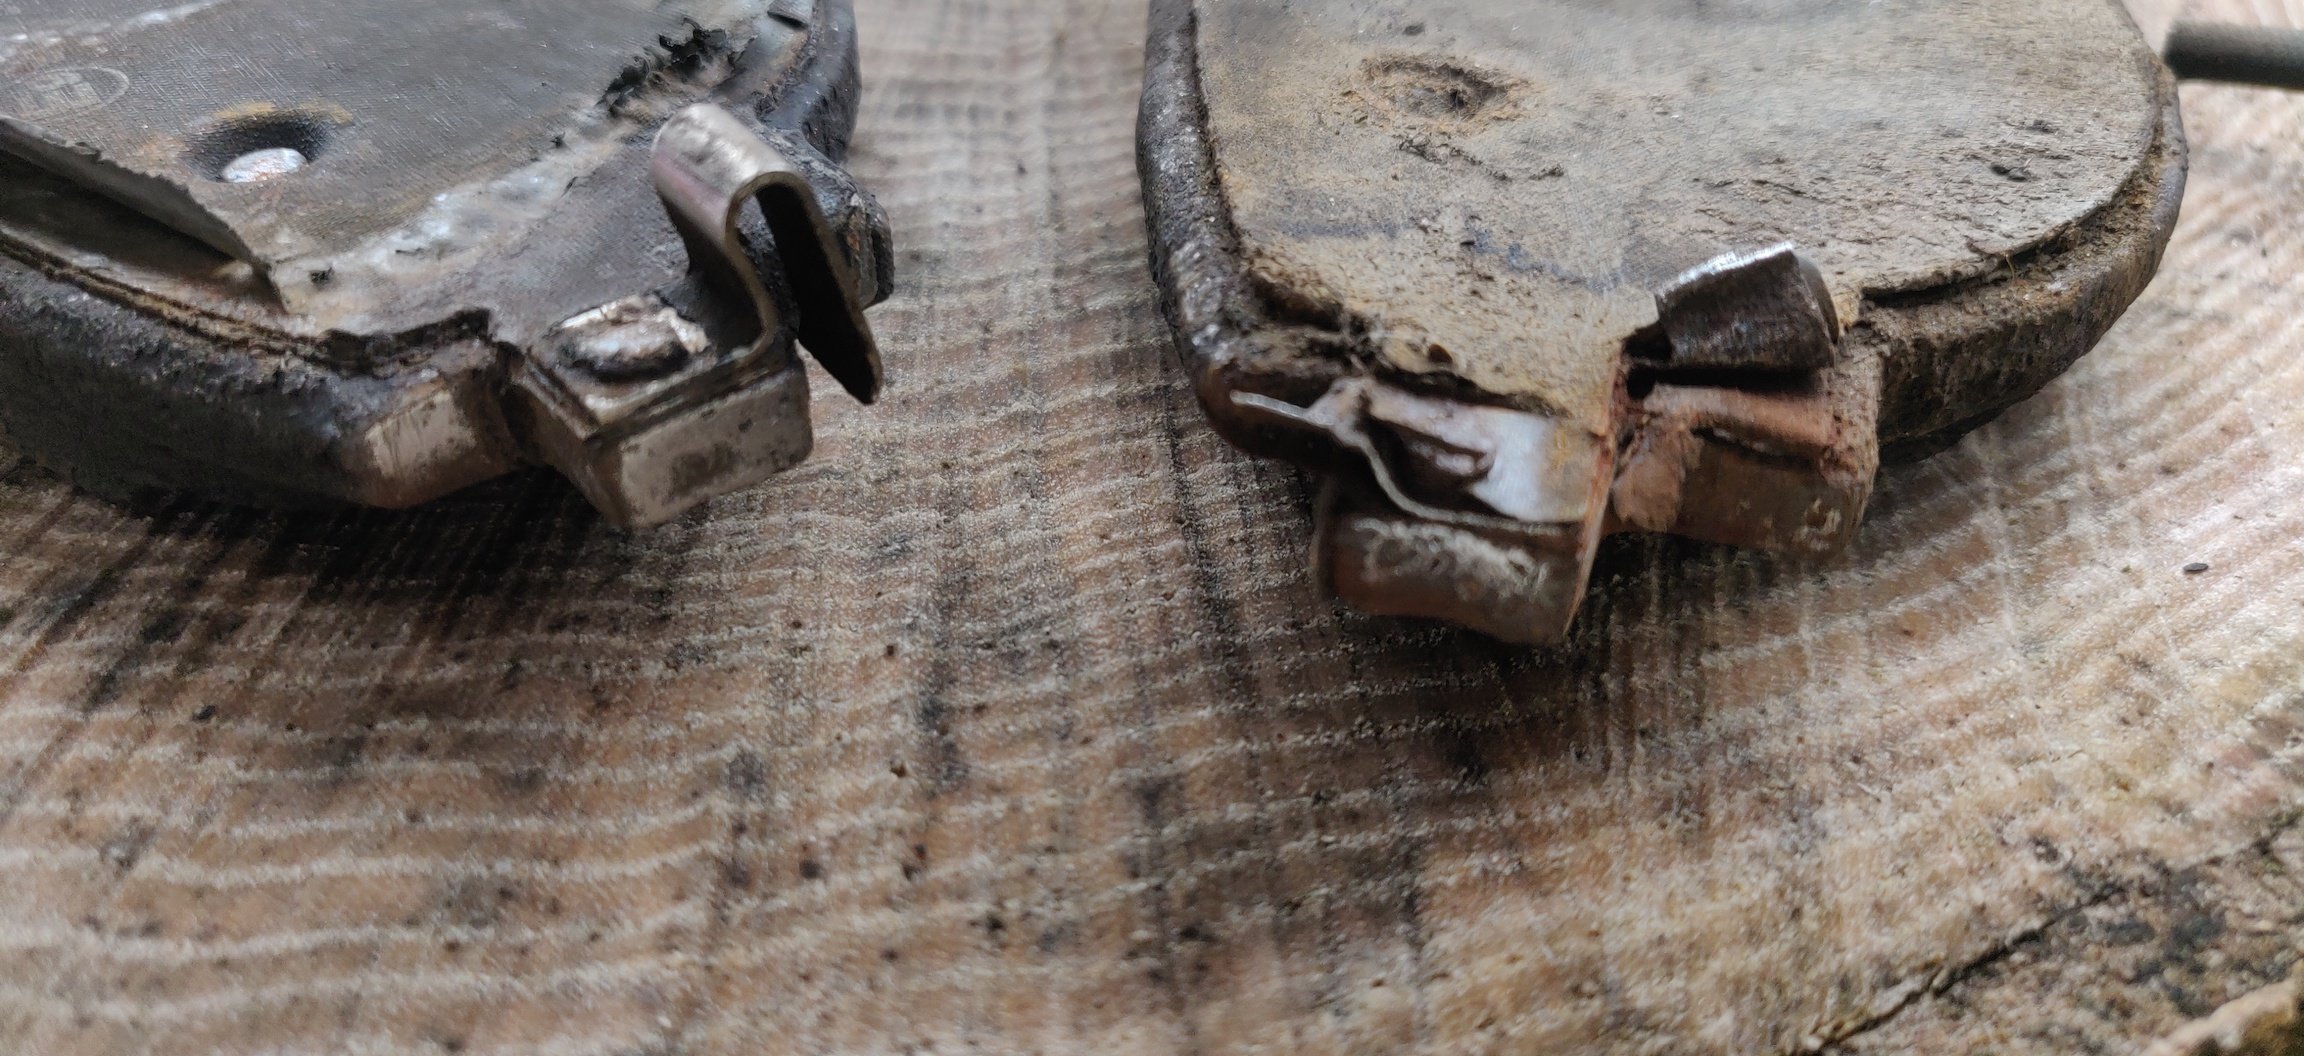
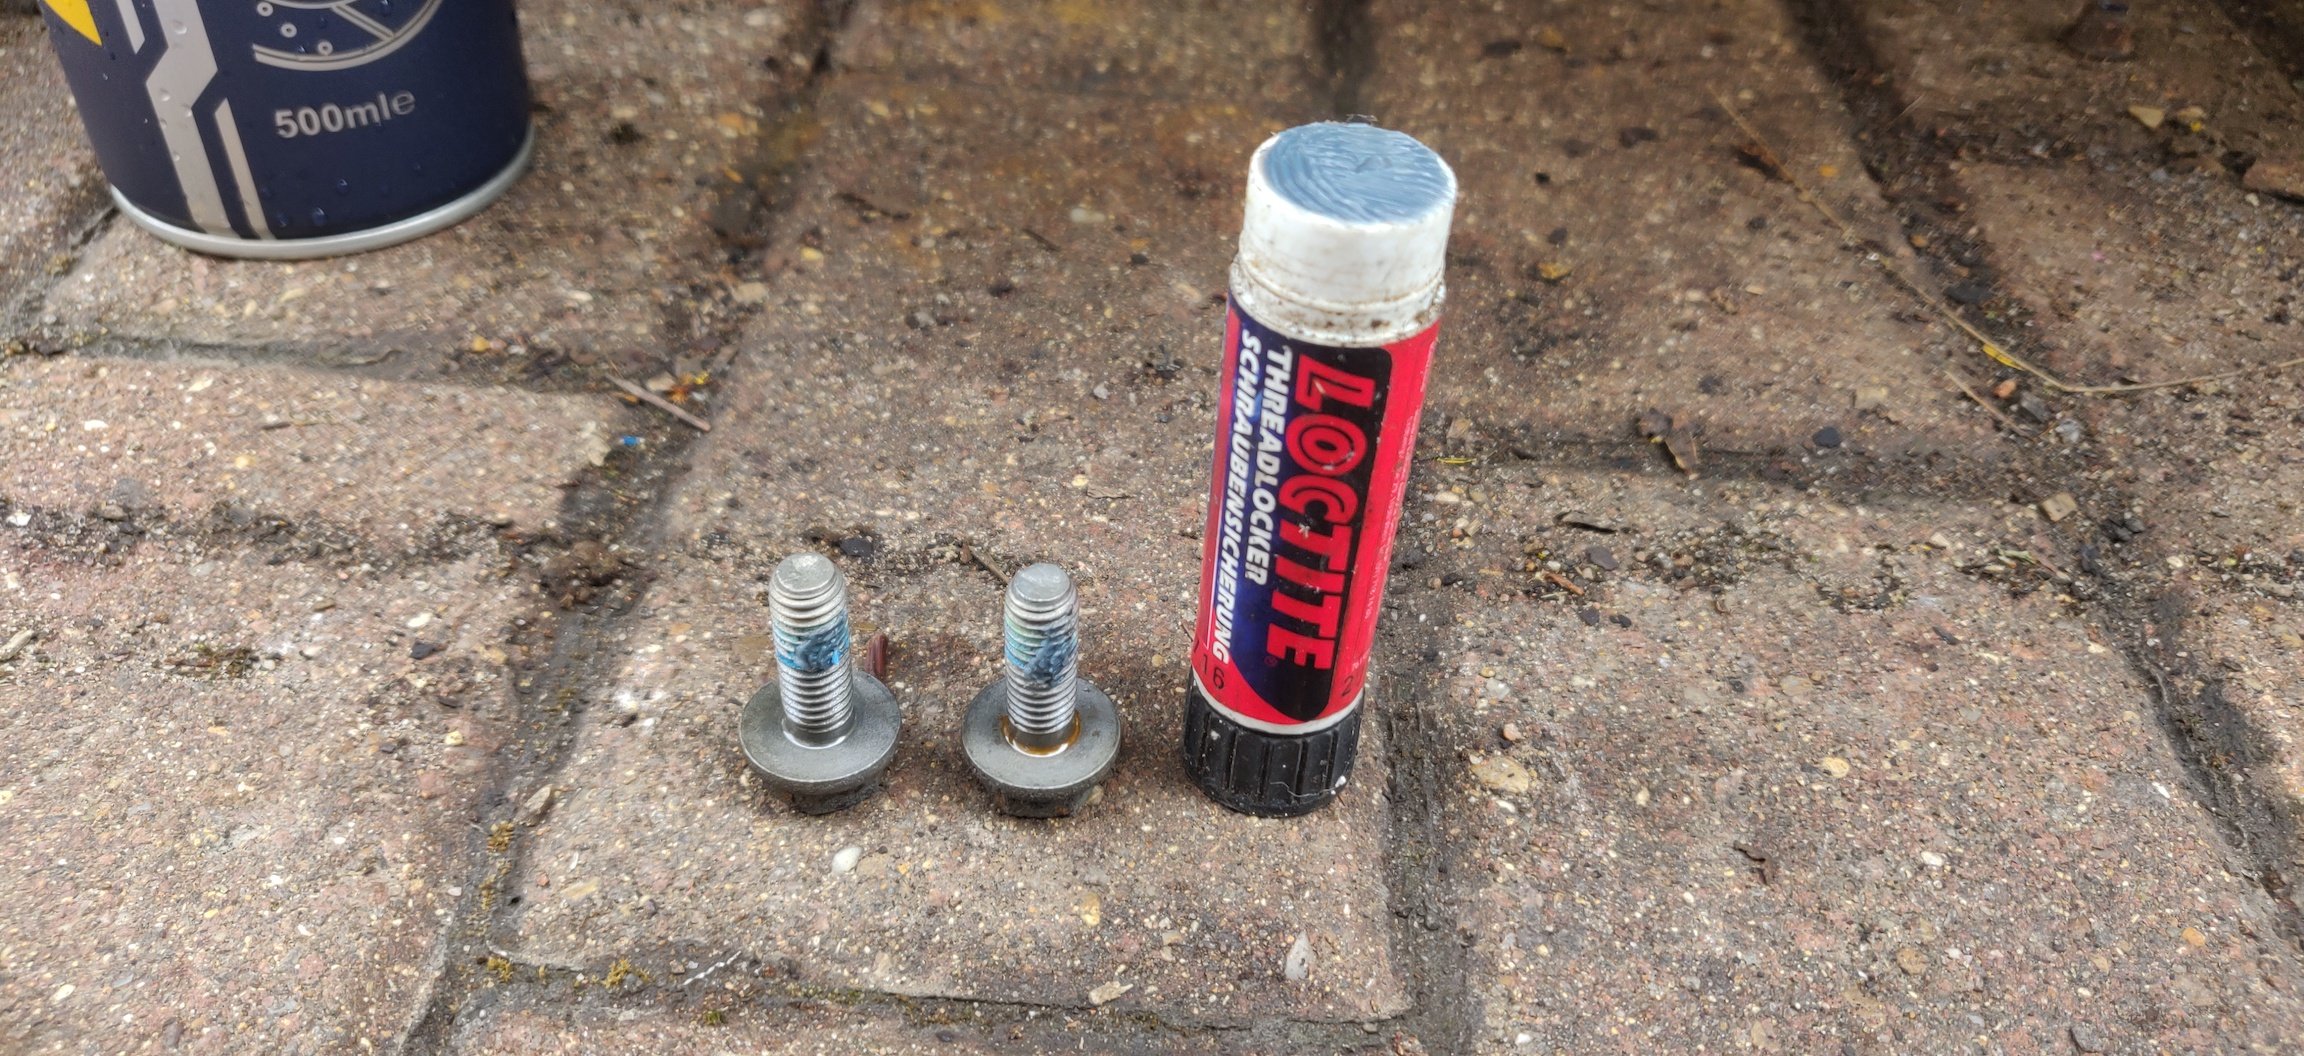
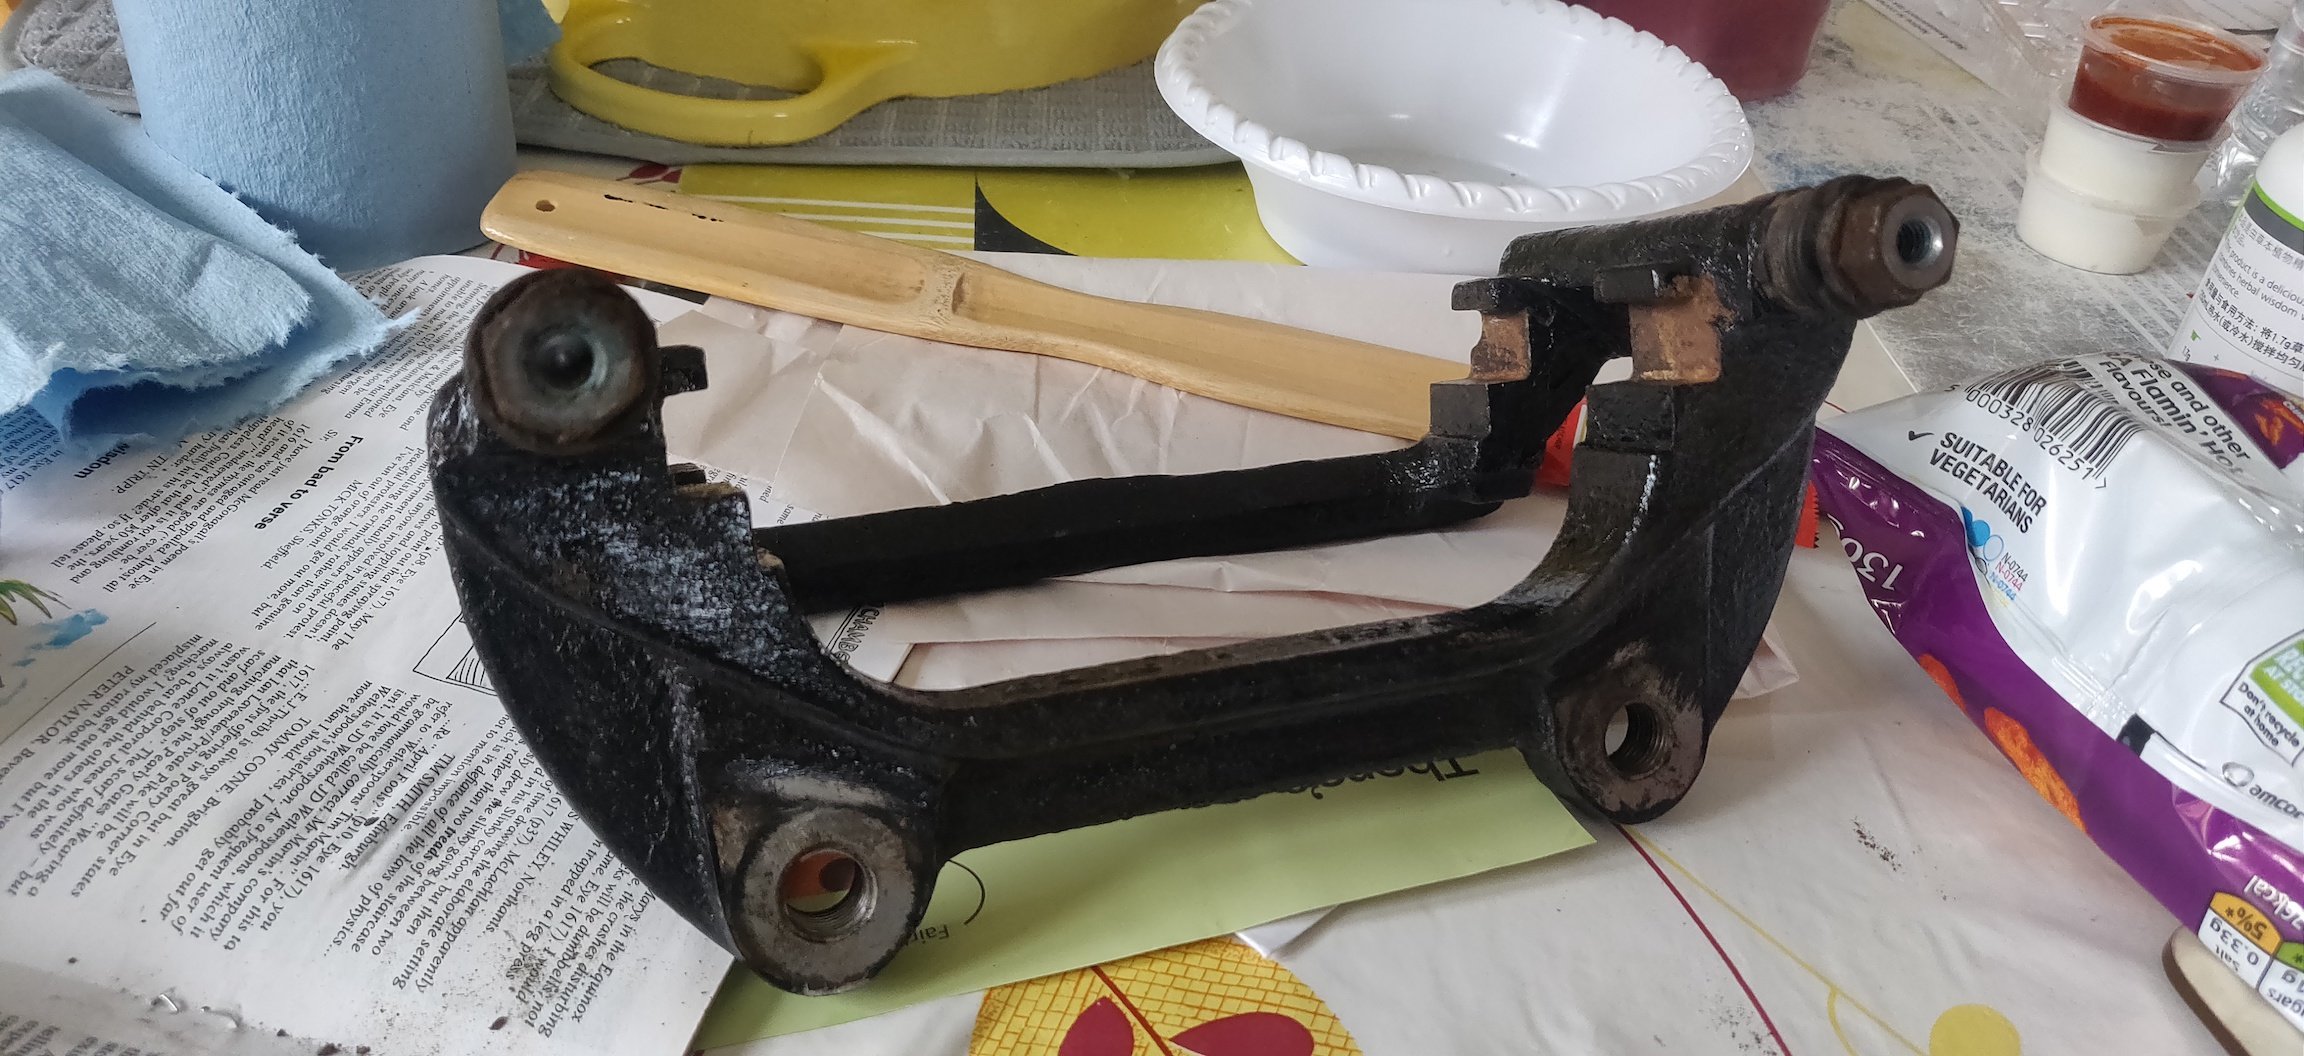
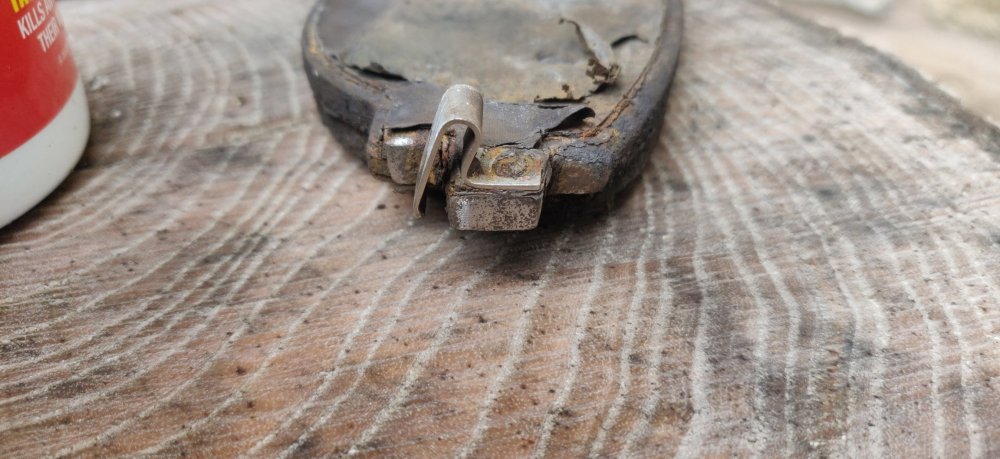
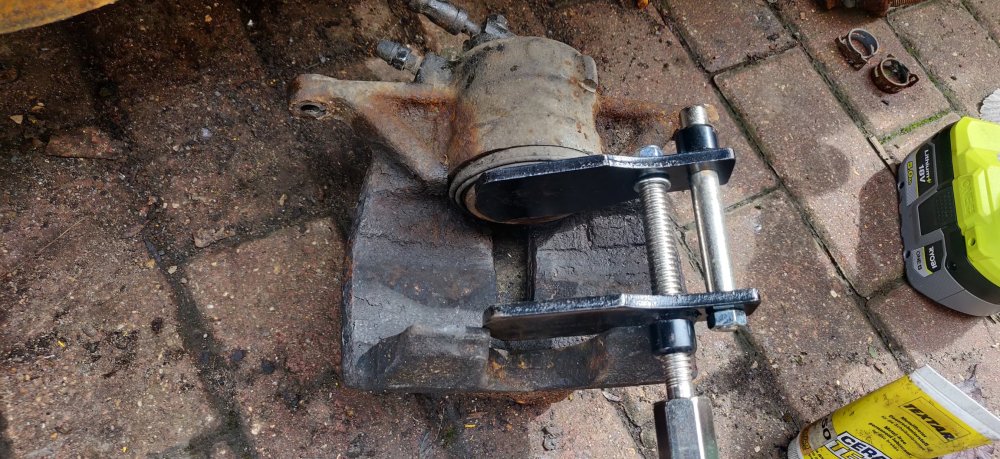
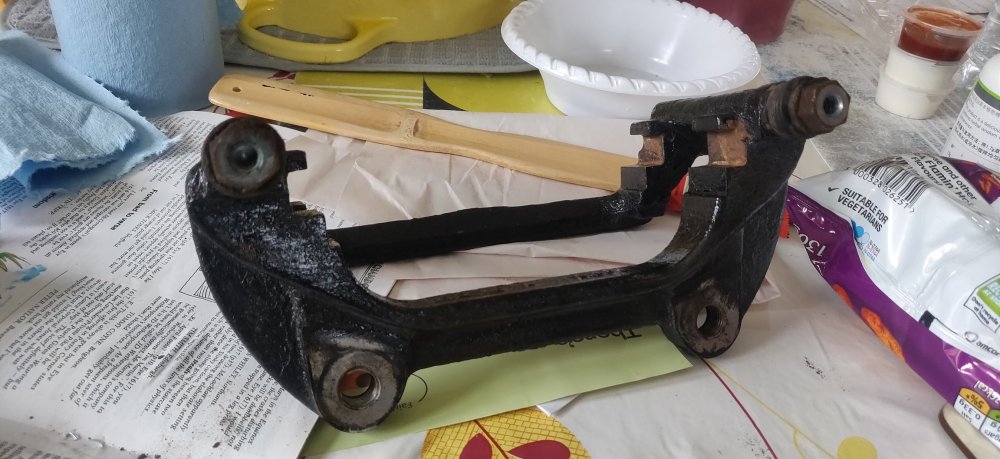
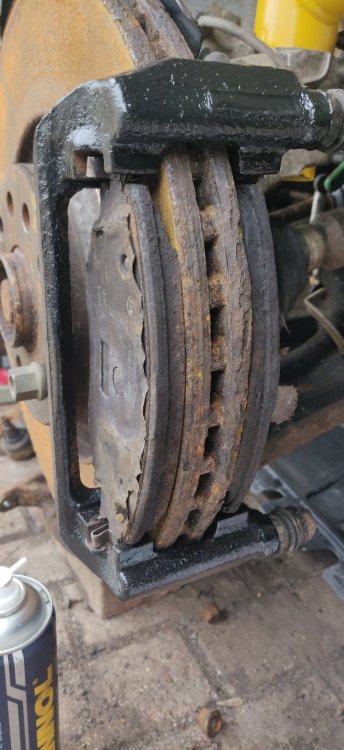
Overnight was heavy rain, into the morning, so bit of a write off. The weather got a little clearer in the afternoon so tried to get some quicker simpler things done. Went over the brake pads, where they contact and slide along the carrier, with the same flap wheel I used for said carriers: Only one pad seems to have its original stainless spring clips fully intact: One has one completely snapped, and 3 have a metal bit on the other side snapped off, so just went at them with the flap wheel to get them as clean as possible. Not too fussed as eventually these will be all be renewed over the next few years. Interesting that these cars have them physically riveted onto the brake pads, they're usually bits that clip into the carrier, or sometimes nothing at all. I presume its a small bit of stainless to reduce rust being a factor in gumming them up. Anyways, copper greased the contact areas on the carrier and slid them in: It's better than it was the first time they were dry fitted, but still not super smooth all round, some were fine, other's a bit stiffer. I'll keep an eye on them over the first few months on the road. The bolts for the caliper to the carrier had some blue threadlocker on them, so reapplied some fresh stuff: Then went and retracted the calipers: This is mainly to make it a lot easier to put them back on, and to gauge whether these calipers are going to be trouble in the medium term. They retracted in fine. Got some anti squeal paste and put it on the piston, and the backs of the pads where it'll touch the piston on the inside and the caliper on the outside, then put it in place: It was a 13mm socket for the bolt, and a 17mm spanner on the slider pin to counter hold it. These were tightened to 35Nm. So simply a case of doing the same on the other side: Definitely easier to do with the steering turned appropriately as per the pics above. Again, the pads were sliding better, just stiff on a couple of them. Used the flap wheel to clean the caliper piston face: Although it's really hard to tell given it's still manky. They all eventually look like this I suppose. But as per the other side, attached and tightened to 35Nm: I'll need to get those brake hose clamps tapped into the brackets for the hoses, but otherwise, that's it. The calipers were sliding horizontally without issue, easy to check with them retracted and the pads looking like halfway through their life. Went into the car and gently pressed the brake pedal a few times to get those pistons out and ready. The pic above shows the wheel bolts already rusting from the rain, so I'll probably need to clean those up again, then spray some of that XCP stuff on them once the wheels are on. Didn't want to risk getting caught out by the rain, so packed up for the day. Maintenance: £2227.01 Upgrades: £1322.97 Miscellaneous: £697.20


-
Between bits of rain, also managed to get those washers involved: So got the rear mudflaps in after fixing the rest of the wheel arch on. Partly followed this excellent guide: In addition to just using whatever was there. The wheel arch needed one of the new clips in place which does need a bit of alignment whilst looking straight up, so a bit of a faff with the wet weather: Just about seen on the inboard side of the liner. Repeat for the other side: The rears have a hook which kinda needs a bit of convincing to slot into the rear bumper, but other than that, pretty straightforward. Also fitted the other bits of trim on the other side. I think the part catalogues call them "spoilers": Again, used the three screw holes that I could see (one is underneath), there are two other holes, maybe to attach to the wheel liner, but can't tell at the moment. That could well be it for the weekend if the weather keeps misbehaving. TIme to get car insurance quotes as it looks like mid to end of May is a possible target. Maintenance: £2227.01 Upgrades: £1322.97 Miscellaneous: £697.20


-
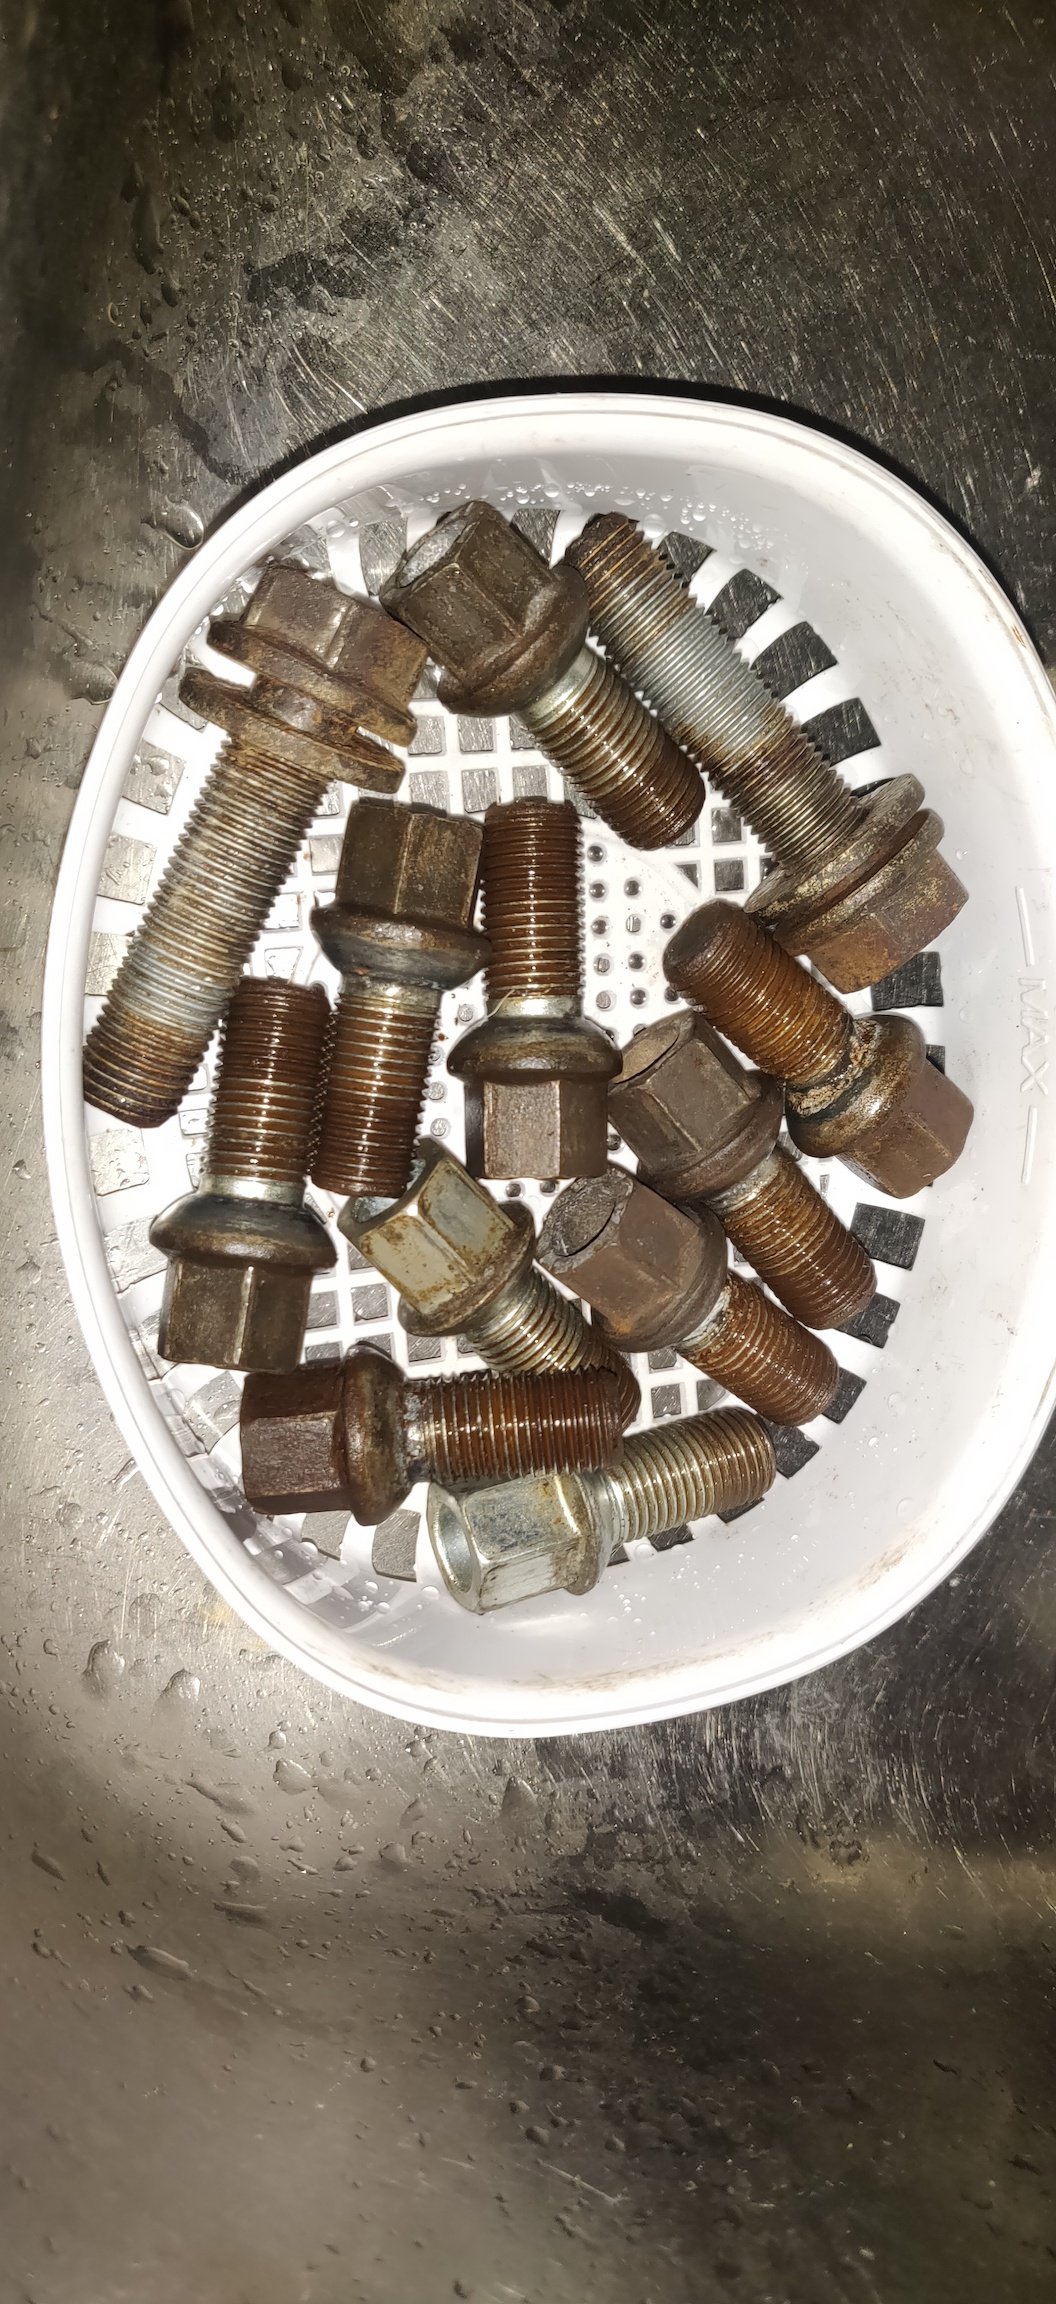
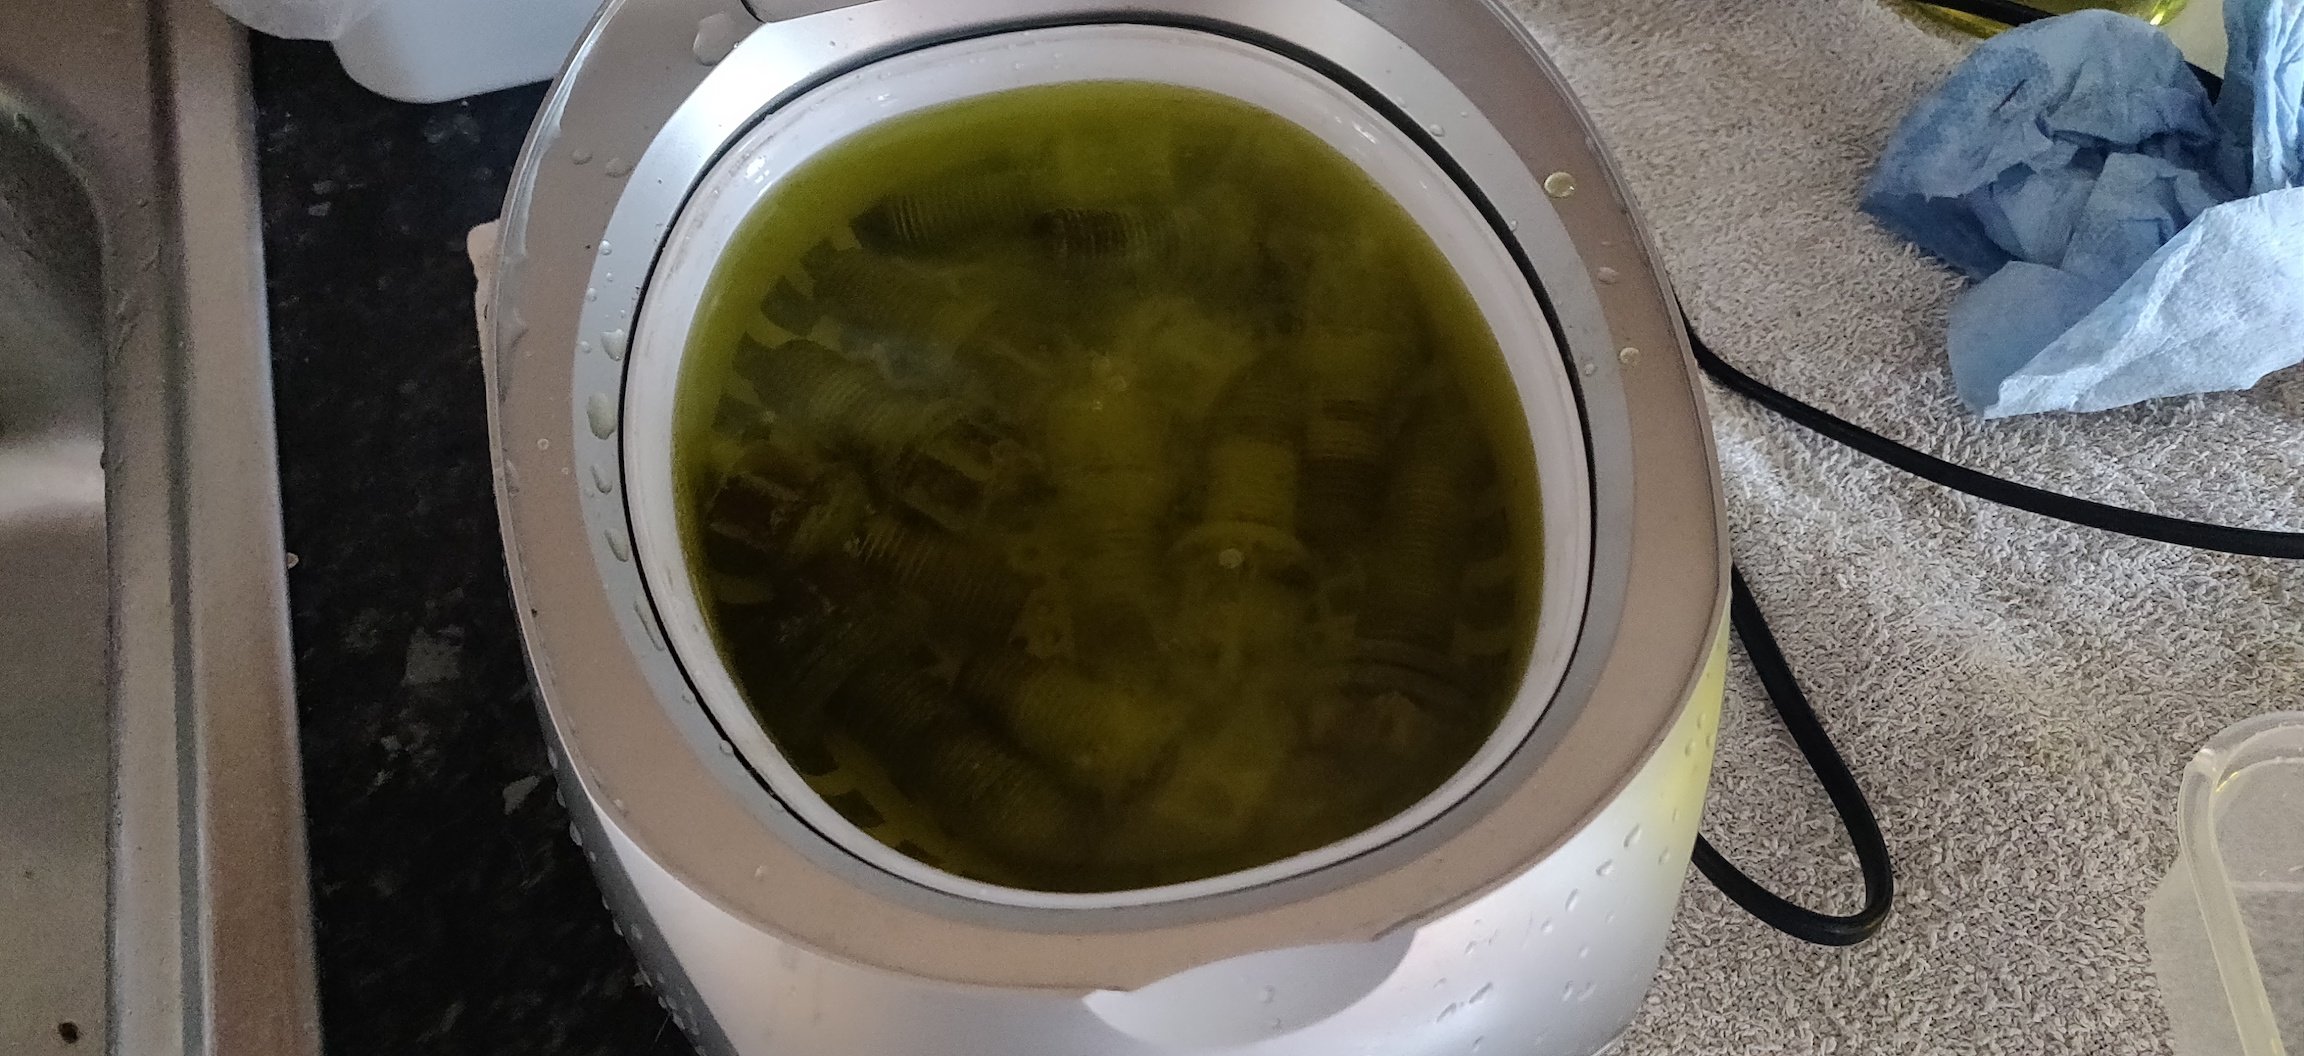
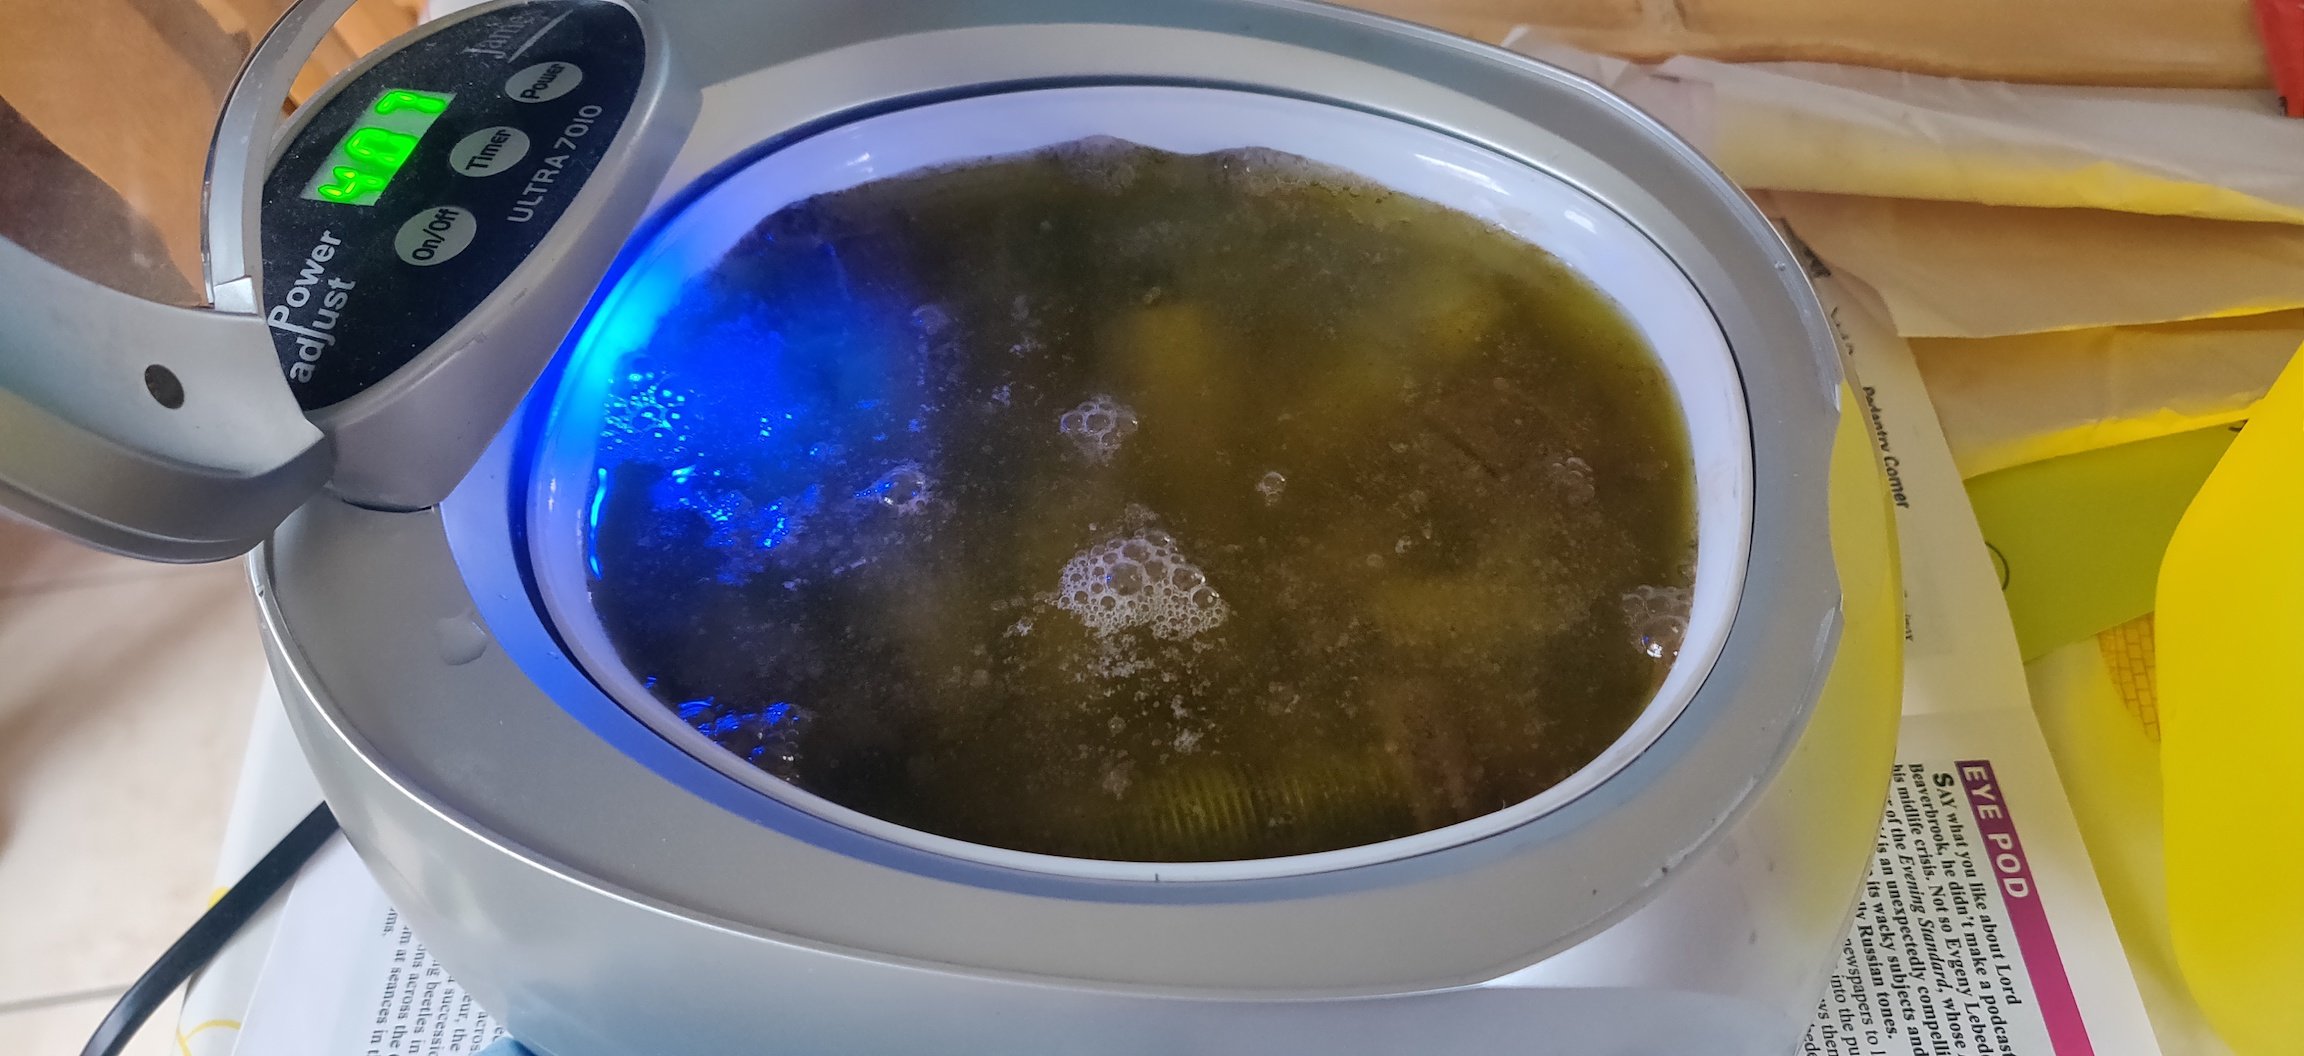
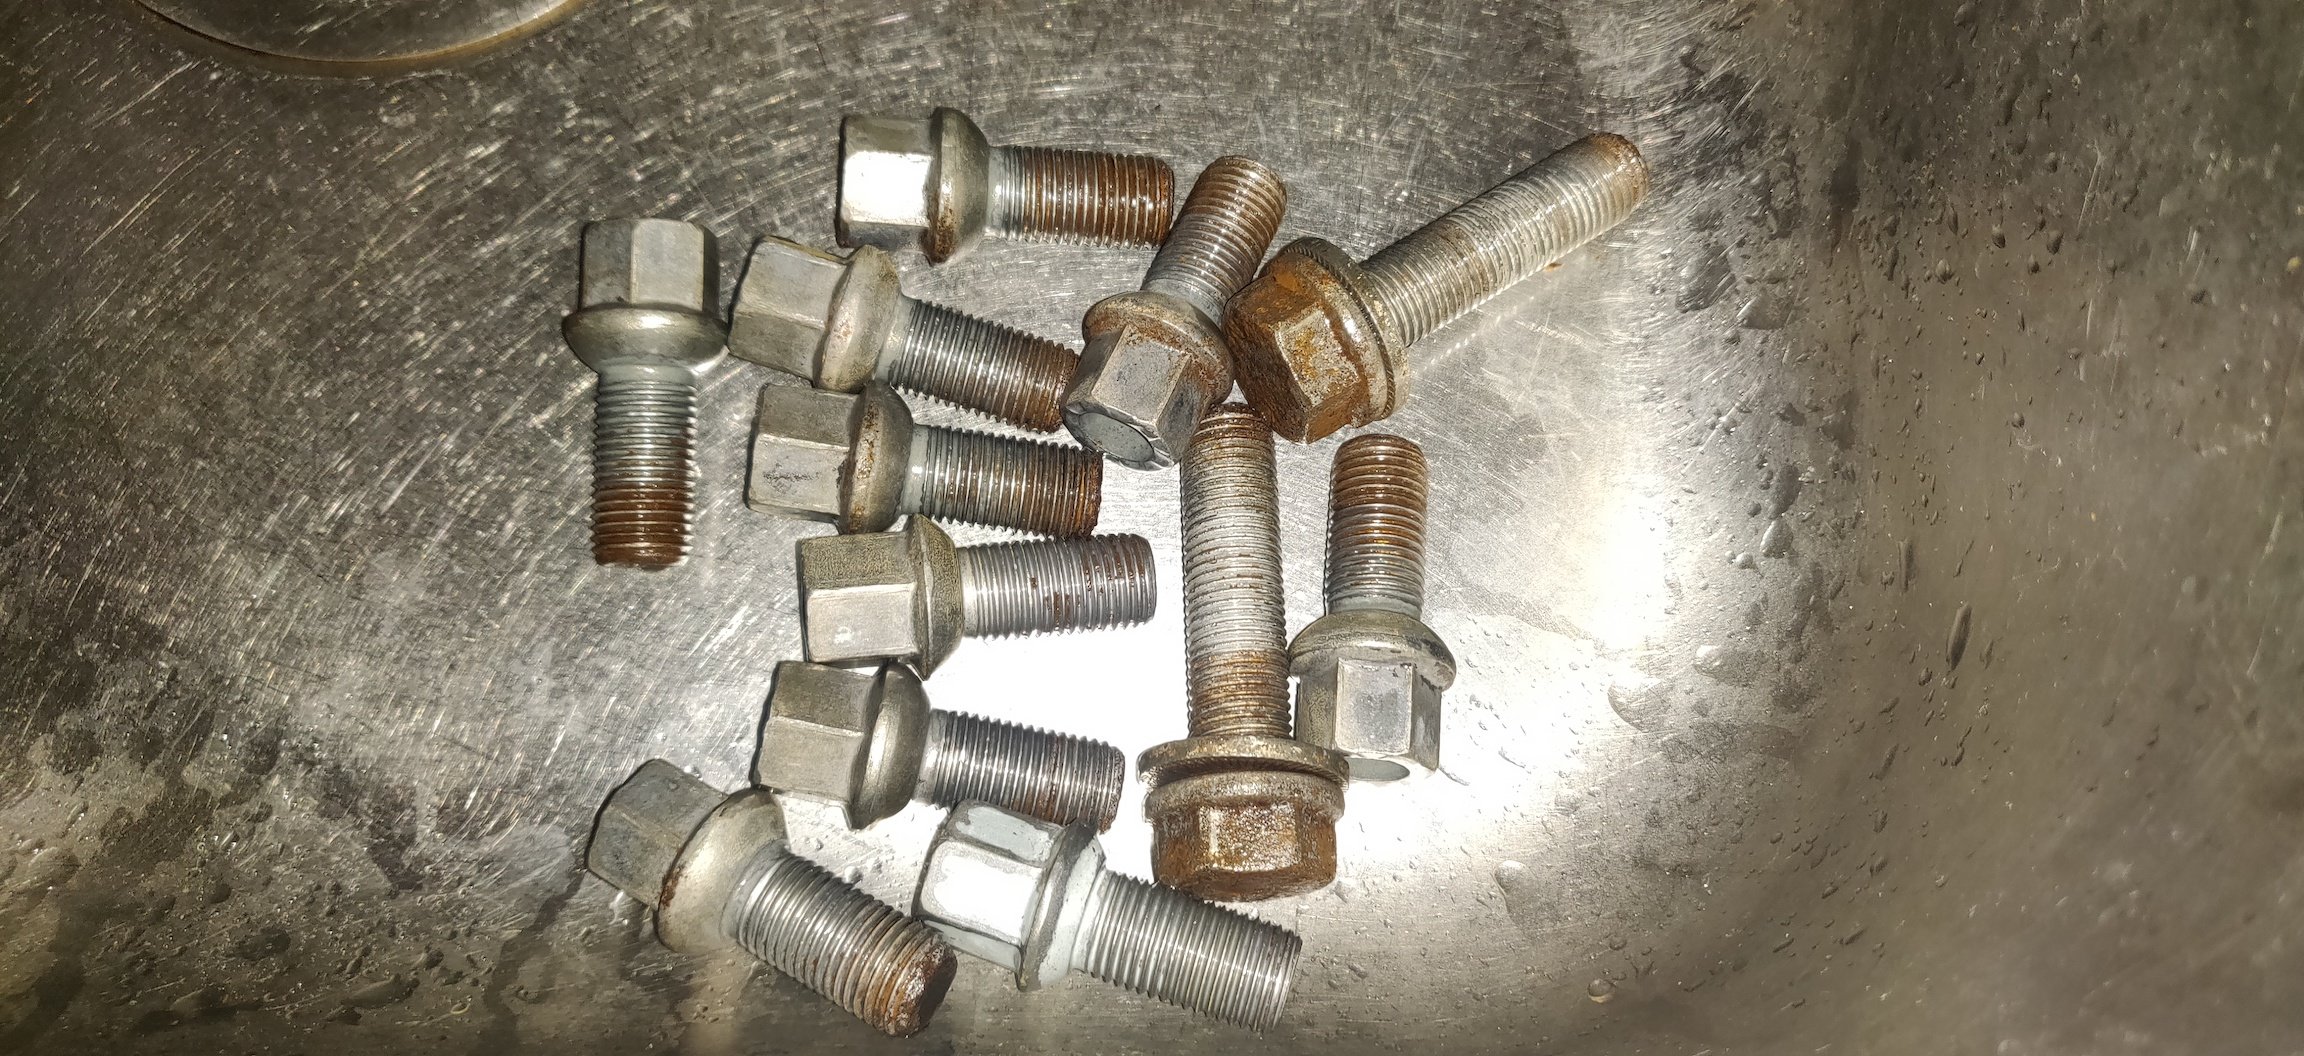
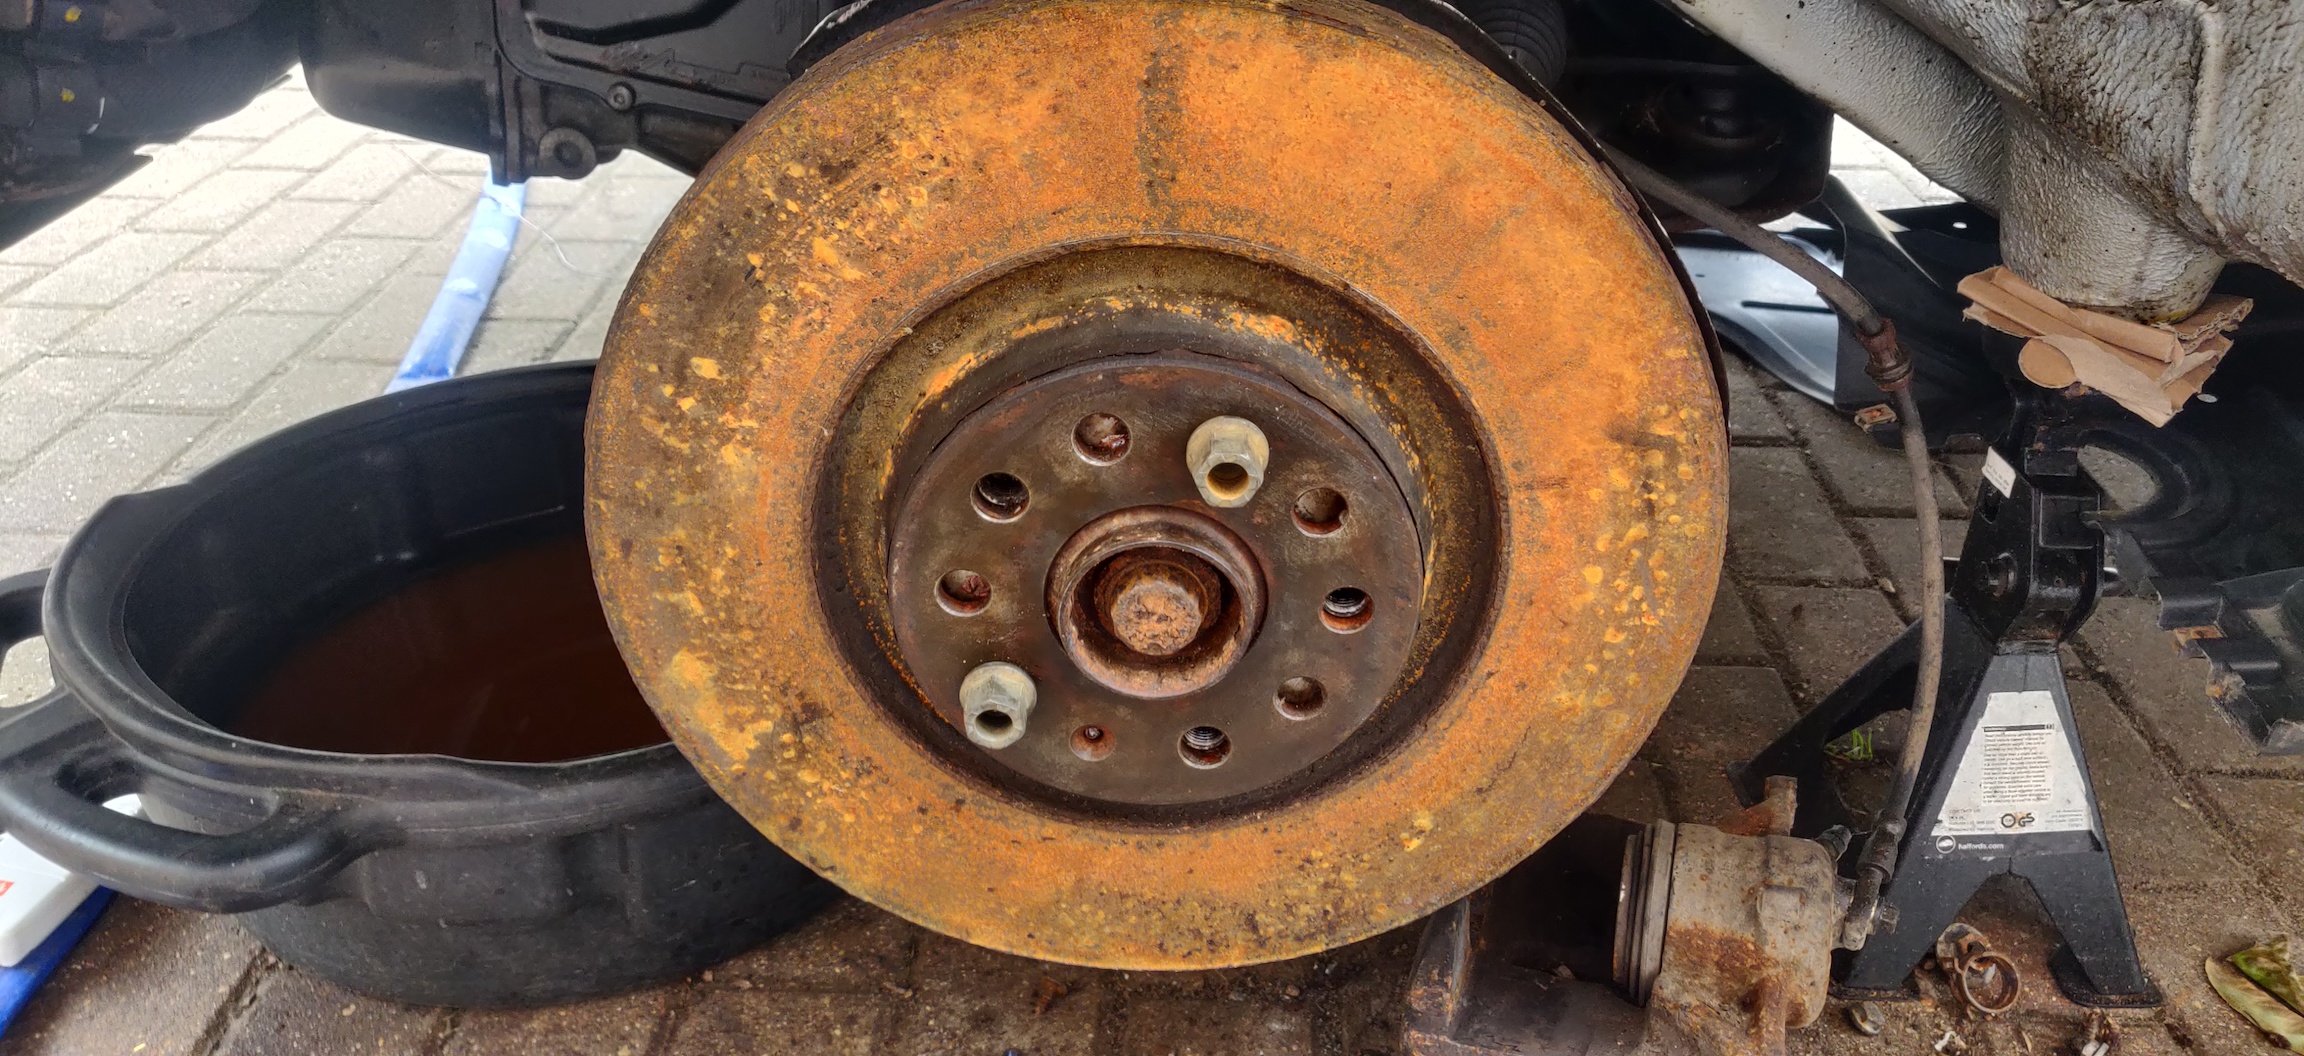
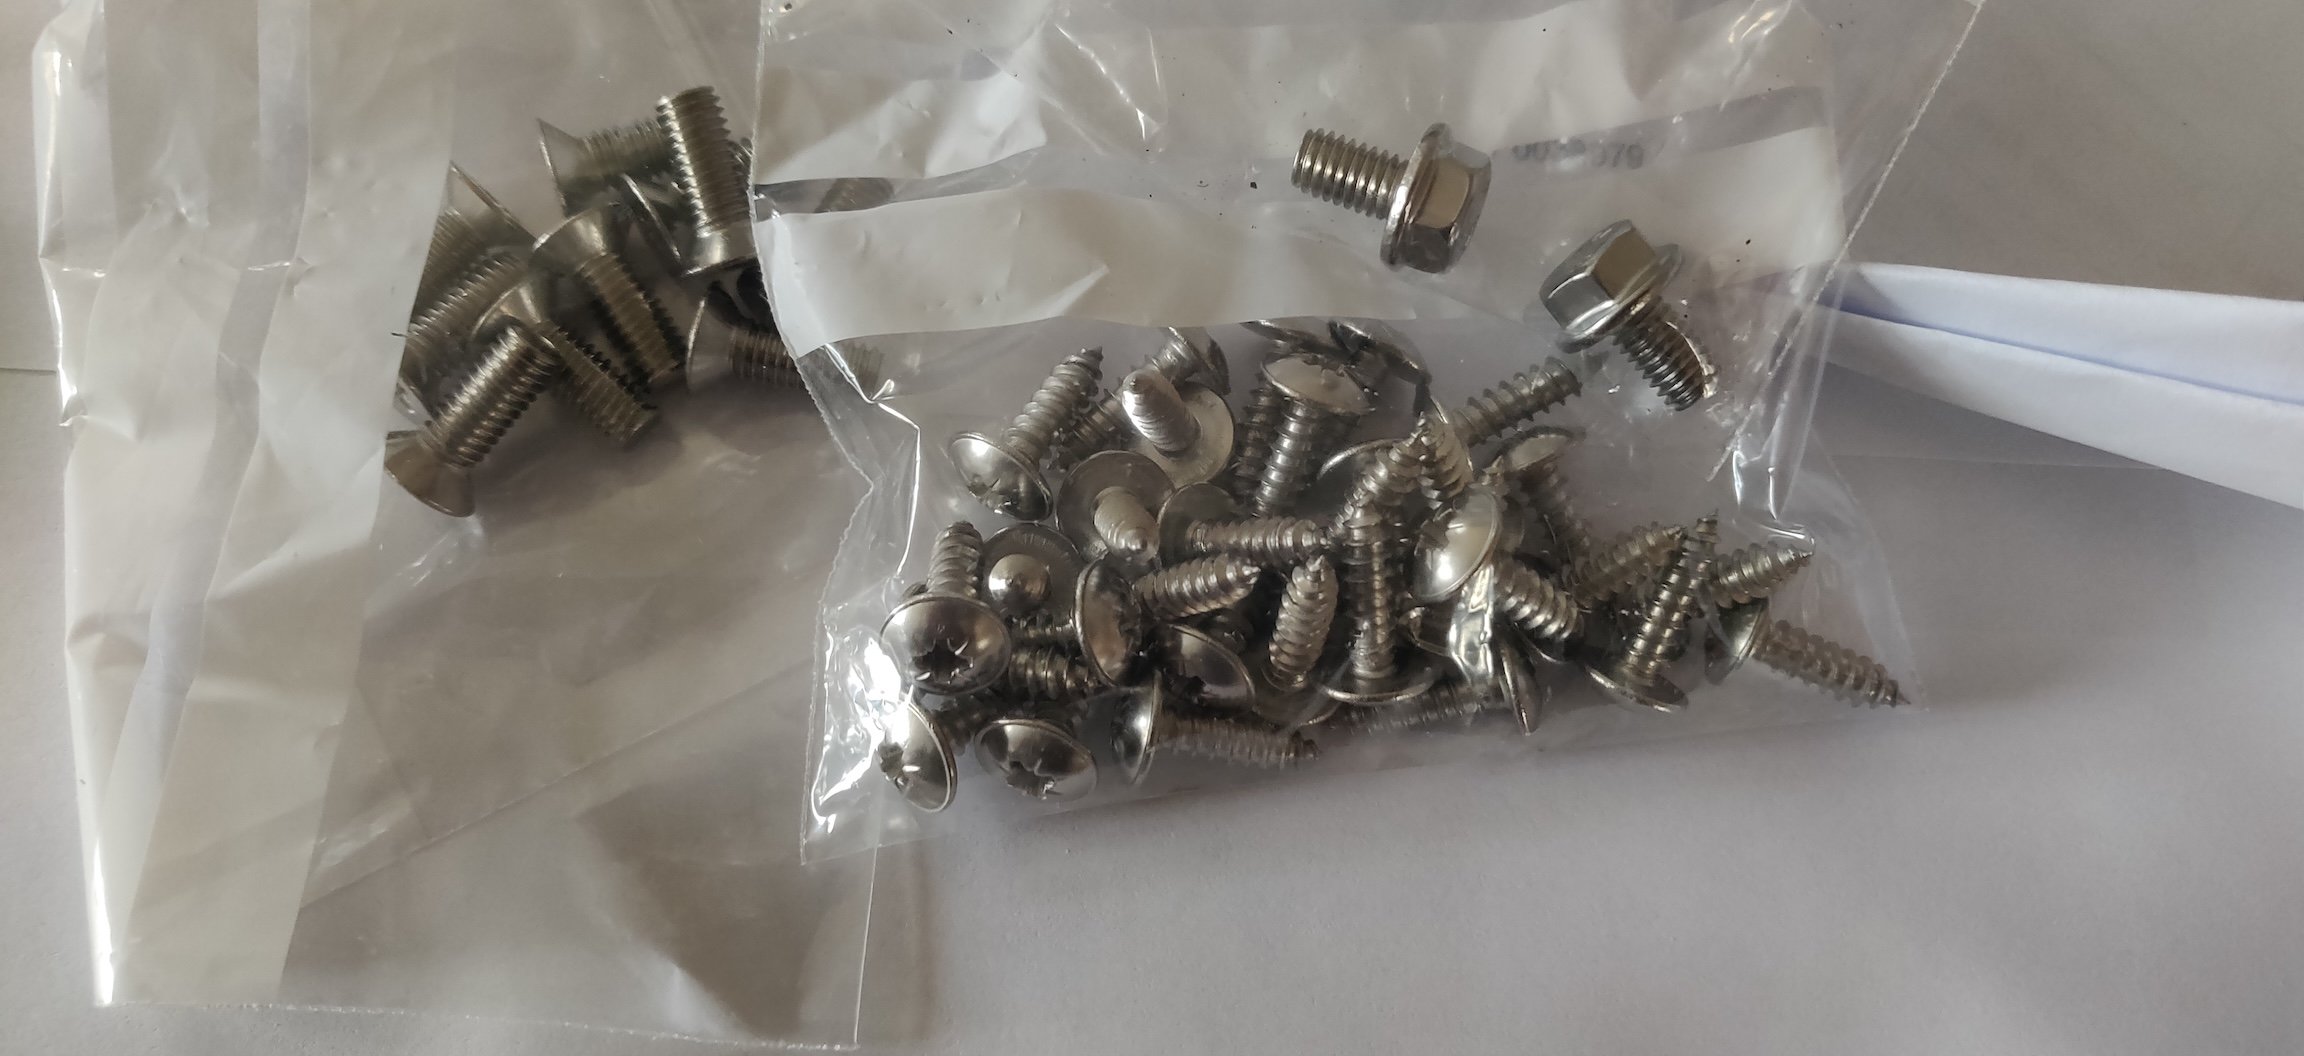
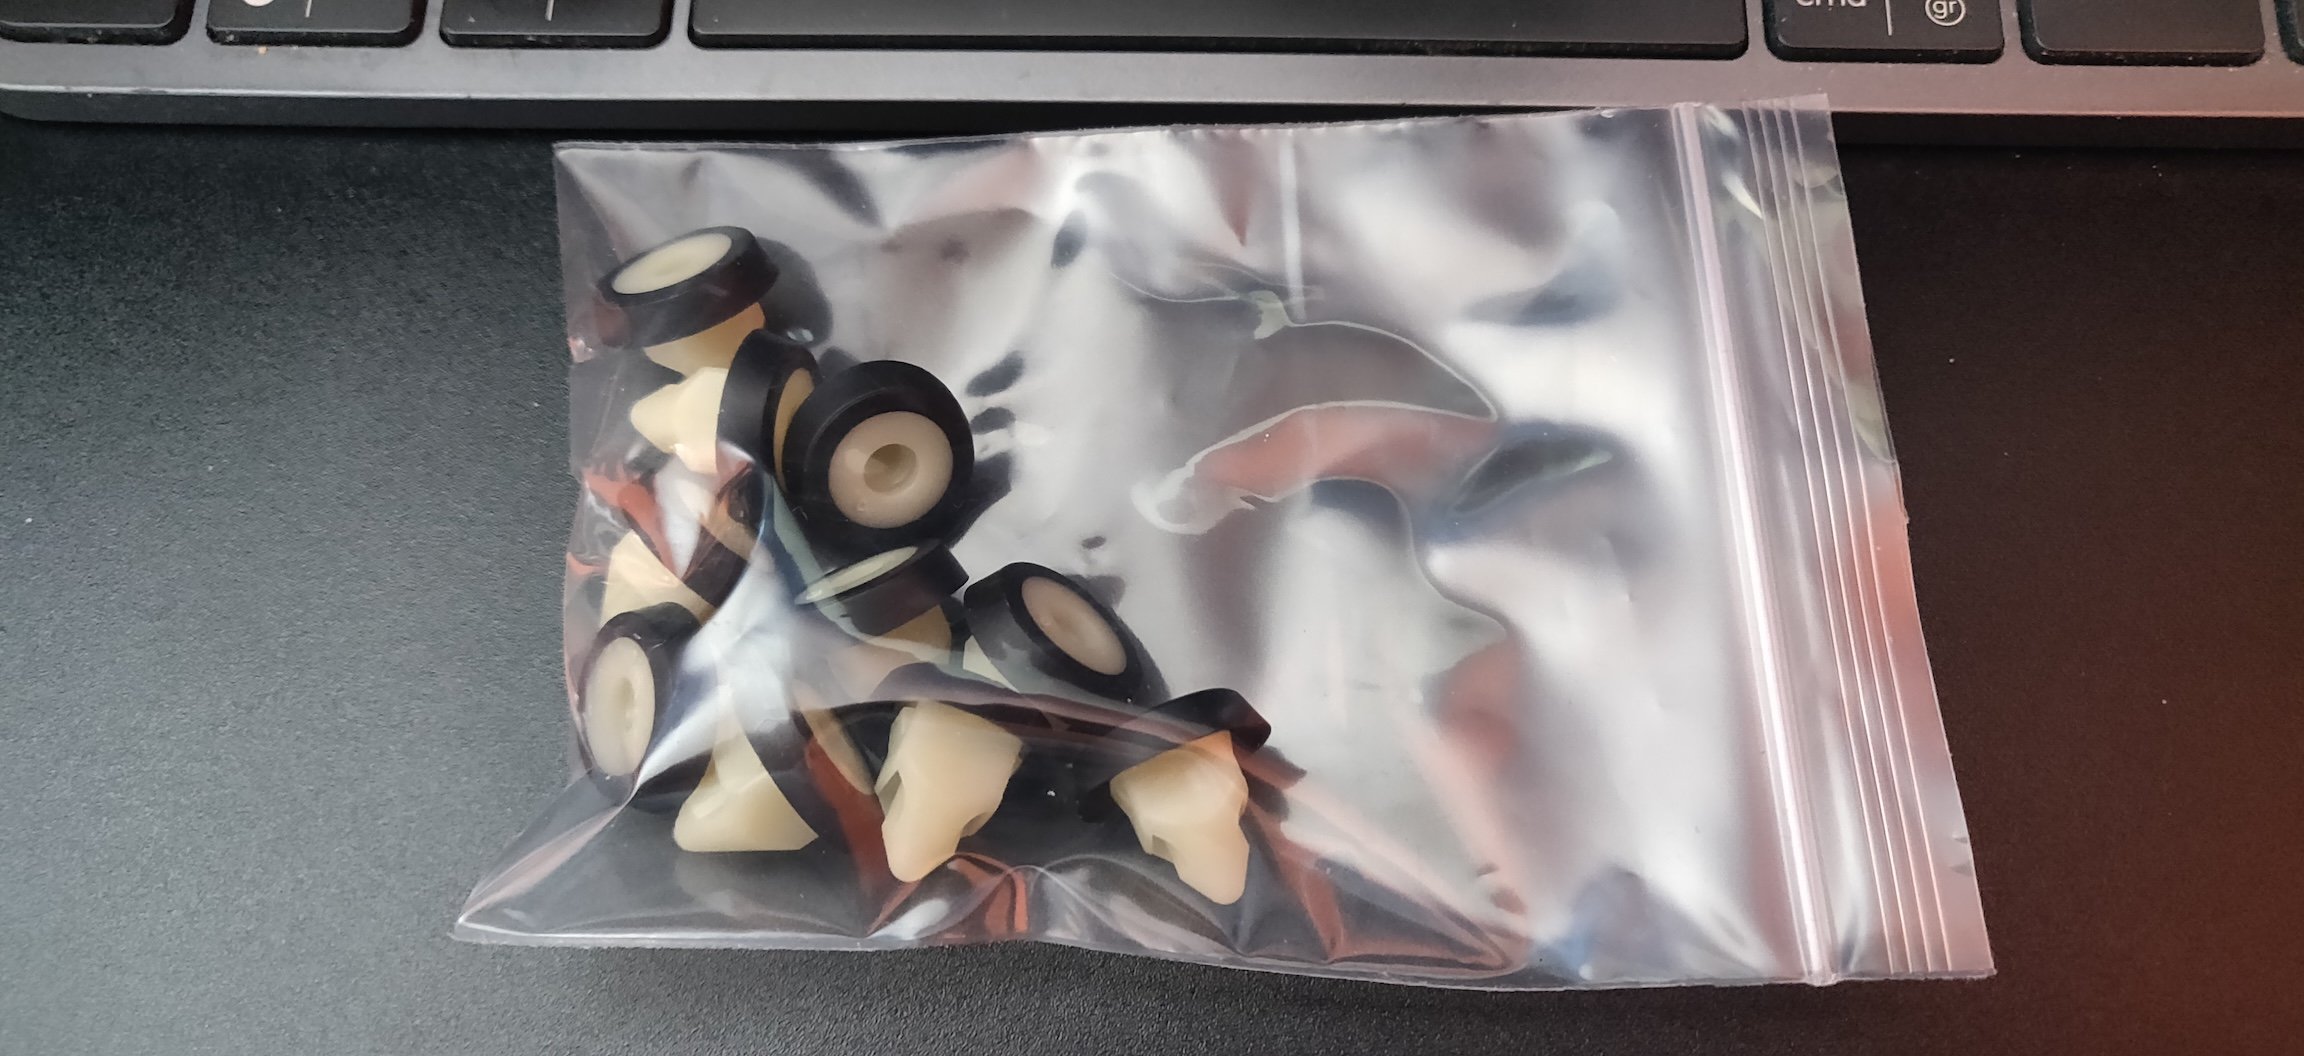
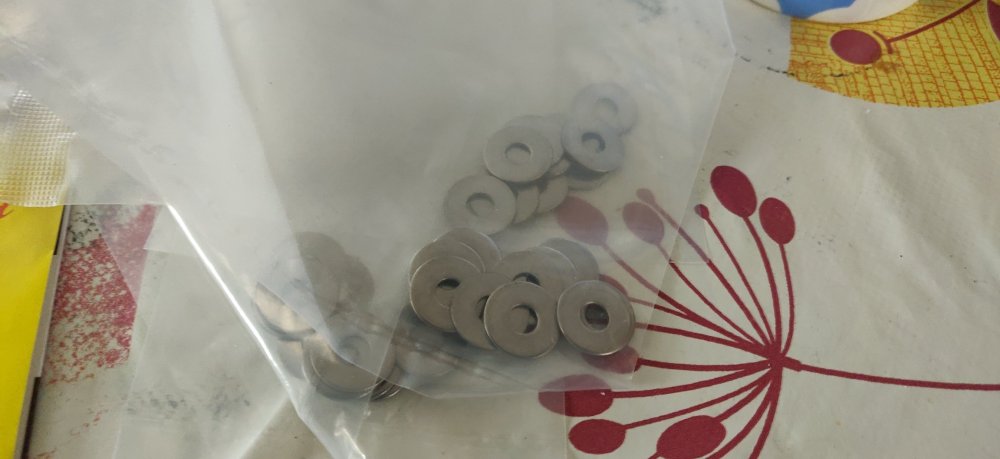
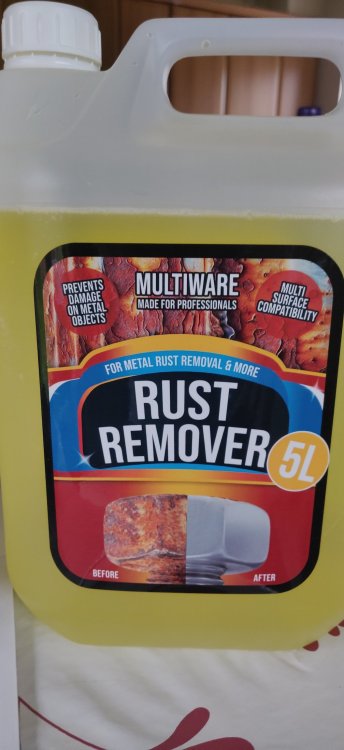
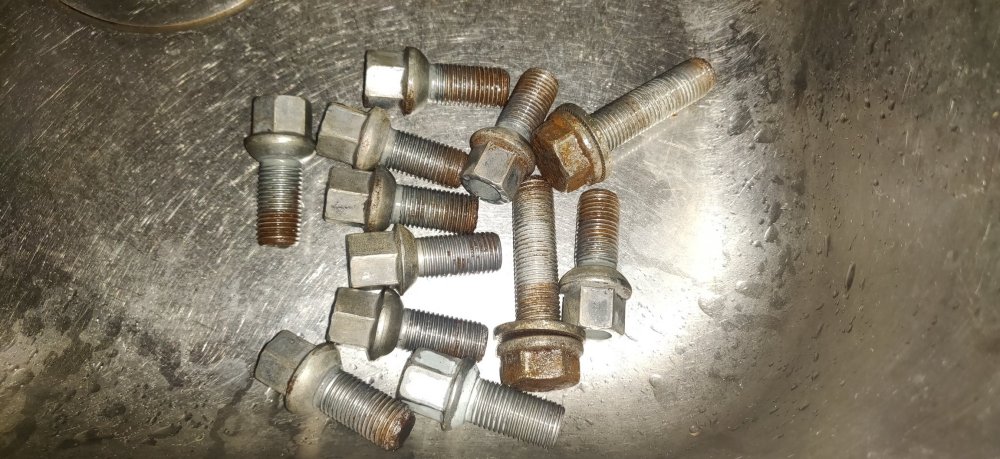
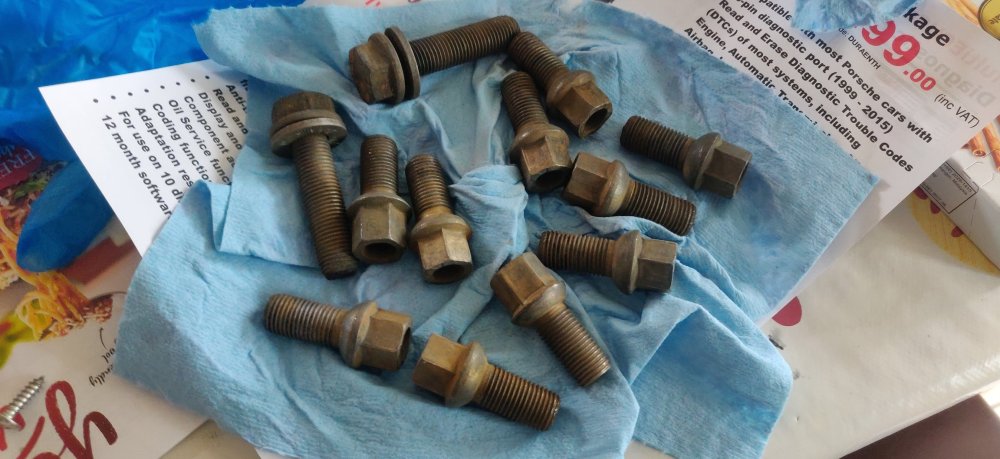
Weather's been inconsistent, so only a few bits done today. More deliveries: Some M5 washers to go with the stainless replacement screws for the wheel arches. £2.88 for 50 from eBay. Also some brake hose clamps: The ones I removed from the front brake bracket have decided to go missing, either that or they're still under the mass of removed and destroyed nuts and bolts. These were £3.23 for four. Also something random: A bottle of rust remover. This is pretty much by the look and smell of it generic Phosphoric Acid, mainly because if the weekend is just rain, I'll be inside. This was £9.95 from Amazon. So lo and behold: I stick half of the wheel bolts and brake pad carrier bolts into a tray: Then poured out the Rust Remover. This is into a small ultrasonic cleaner I bought years ago, which every now and then makes itself useful. Once the tray was put into the cleaner: The Rust Removed immediately went to work. These bolts were all put through the die with oil, so I suspect the resulting mess will be dirt, rust and oil amongst the Rust Remover. Turned the cleaner on for a 8 minute job: Then it basically bubbles away. Once done: Gave them a quick rinse to assess, and it's getting there. Put them through another 8 minute run: Probably as good as I'm gonna get it without seriously going mad. Be easier to source new bolts rather than carry on. So got the slider bolts for the pad carrier and gave them a good wipe clean: Then cleaned out where they go in the pad carrier, previously the grease in there was black, couldn't tell if it was dirty: Gave the sliders a coat of new grease: Then in they pop: So with a dry spell outside: Popped the brake discs back on and kept in place with a couple of the wheel bolts. I'll deal with the brake retaining screw in the future by simply replacing the wheel bearings if the car gets there. The wheel bearing threads were cleaned out earlier, so the bolts went in like new. Dry fitted the pad carriers with the cleaned bolts: Easier then at this stage to turn the wheel in the car to get a better angle to them: So took the opportunity to procrastinate and reassemble the bottom steering column trim whilst the wheel was going to be at angles (as the T25 bolts can only be accessed with the wheel at right angles). So it ends up looking like so: Then it was a case of taking out the bolts one by one and going mad with the Alumslip: Then getting them back onto the pad carrier and hub: With the hub turned there's enough clearance for the big torque wrench: So got the bolts to the 200Nm as specced. Same deal for the other side: Then dry fitted the brake pads: Looks like the right side inner pad is missing its little tab thing, but I don't think that's the end of the world, that'd be more for keeping the pads from banging I believe. The inner pad is also not moving on the carrier so freely, so will need to get some further cleaning on that part of the pad carrier. Probably should have done that all whilst it was off the car, but I guess I'm getting ahead of myself. Rain got just a bit annoying at this point (not heavy, but enough to be a nuisance), so took a break. Maintenance: £2227.01 (+£6.11) Upgrades: £1322.97 Miscellaneous: £697.20 (+£9.95)


-
Dealing with the corrosion first for a car that now has an expired MoT would have made things a bit more logistically difficult. If I got a poor body shop to handle it all, they'd have to endure some of the difficulty of removing bits to get at the bodywork, and at least my time and labour is free. Once all that is done, I'd still need to replace the suspension and spend the same amount of money anyway. At least this way, the car is usable (once all done of course), and I'll deal with the consequences of running with it as it currently is rust wise. It'll be a good review of whether Lanoguard does a decent enough job of not making things worse. There's nothing more expensive than a cheap German car, so I'm fully aware of the cost implications, otherwise I wouldn't have bothered in the first place.
-
Totally agree, market has warped. Cost of a brand new Skoda Superb Estate L&K is circa £47k (only in diesel at the moment), and that's now magically applied to used car prices. It is what it is as they say. The fancy DCC suspension meant spending more than I'd want on that, and my stupid desire for a heated steering wheel was a silly rabbit hole. It's only sobering because I'm keeping a very strict eye on the running totals, and I'm sure if we all did that, we'd stop bothering with cars very quickly!
-
Cheapest on Autotrader has been about £16.5k, so you are right, this was always the danger. In fact, once a body shop is involved, it'll blow that budget. The high road I'm trying desperately to take with my man maths is that even said £16.5k car is probably going to need something, and with what's been done, the suspension, general maintenance, and everything else means that once this drama is over, it SHOULD be just relatively smaller costs over the next few years, unless an itch needs to be scratched. Of course if the rust wins at the end of the day, then a lesson learnt.
-
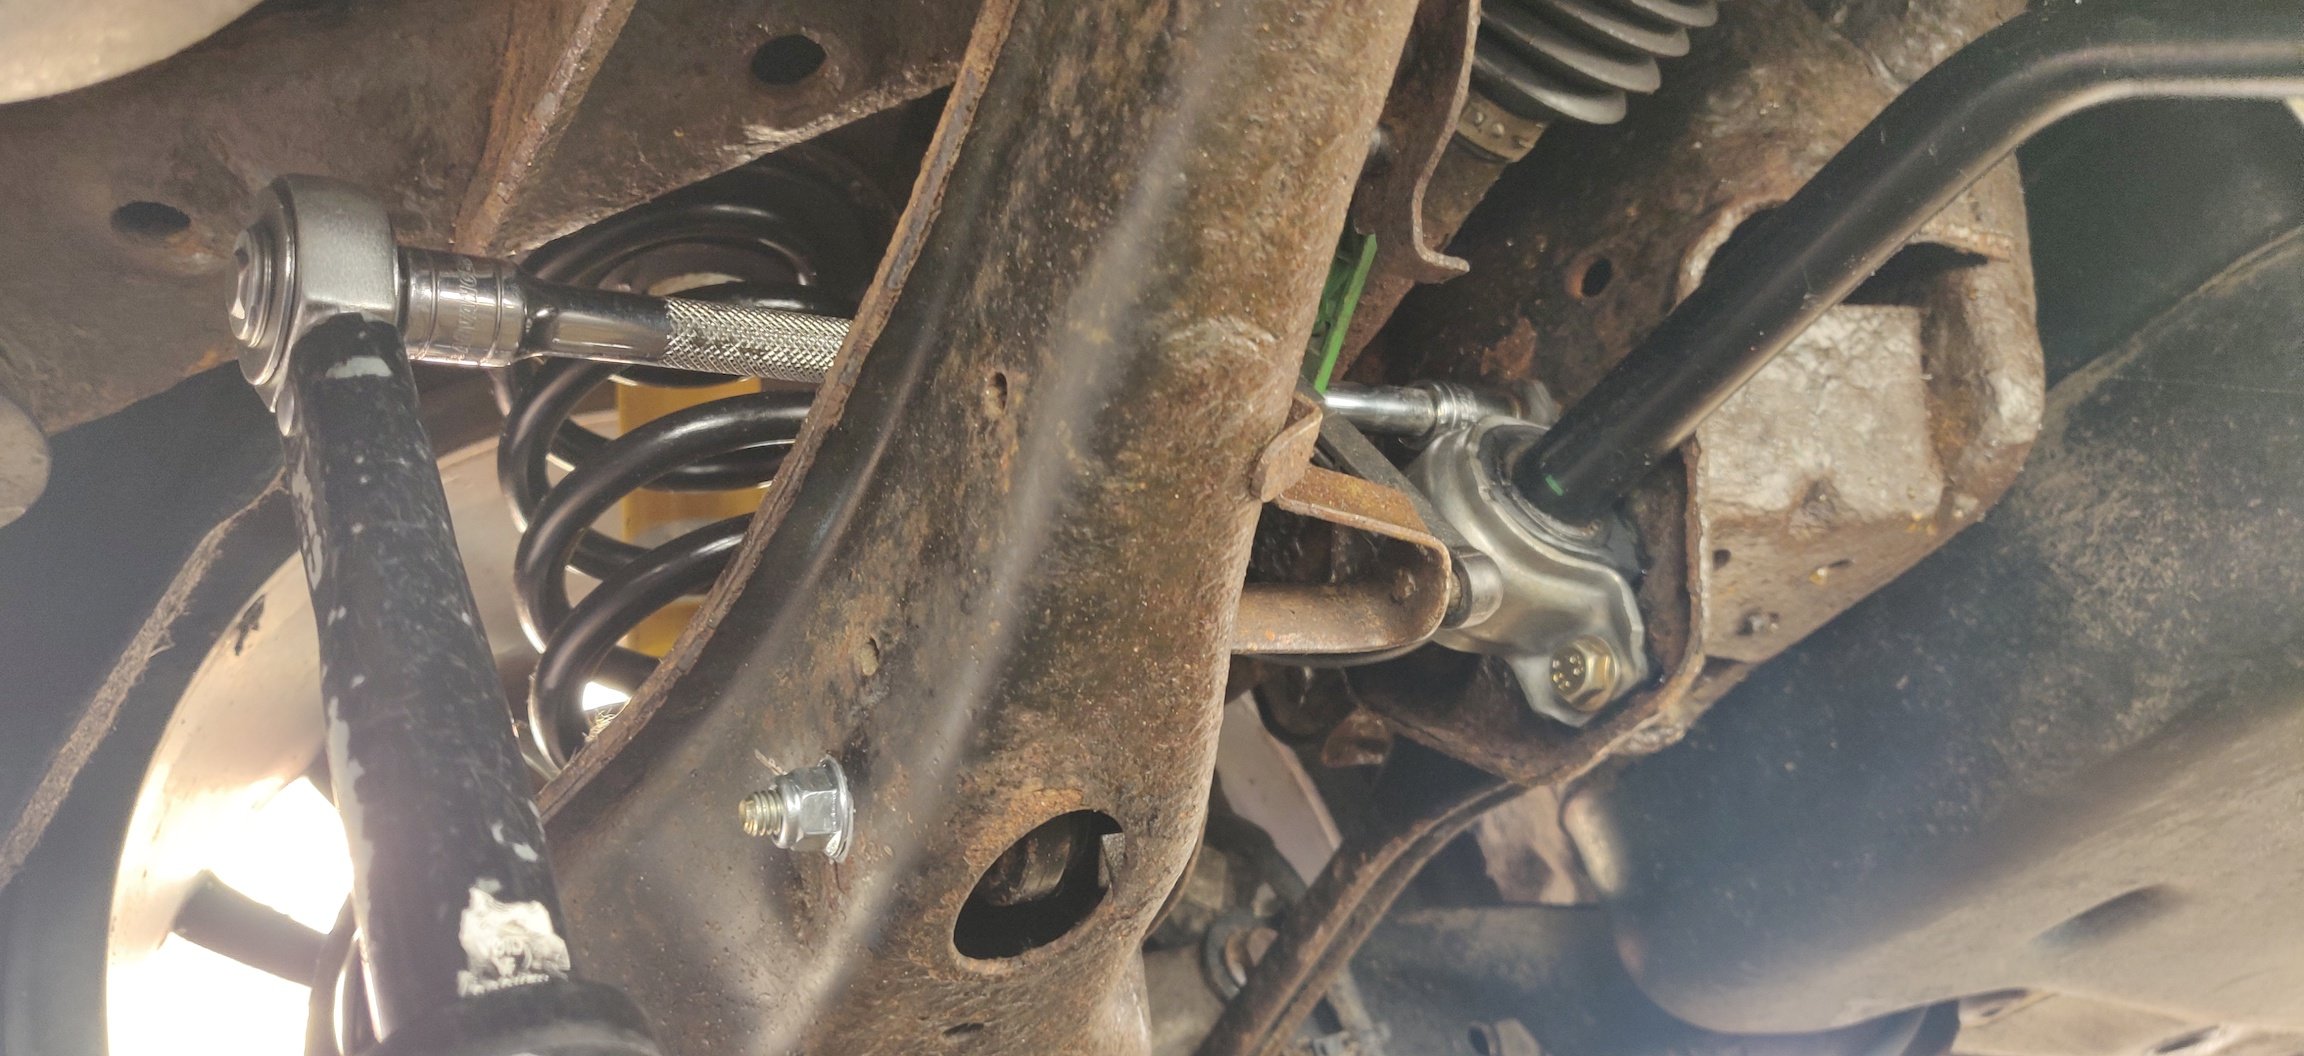
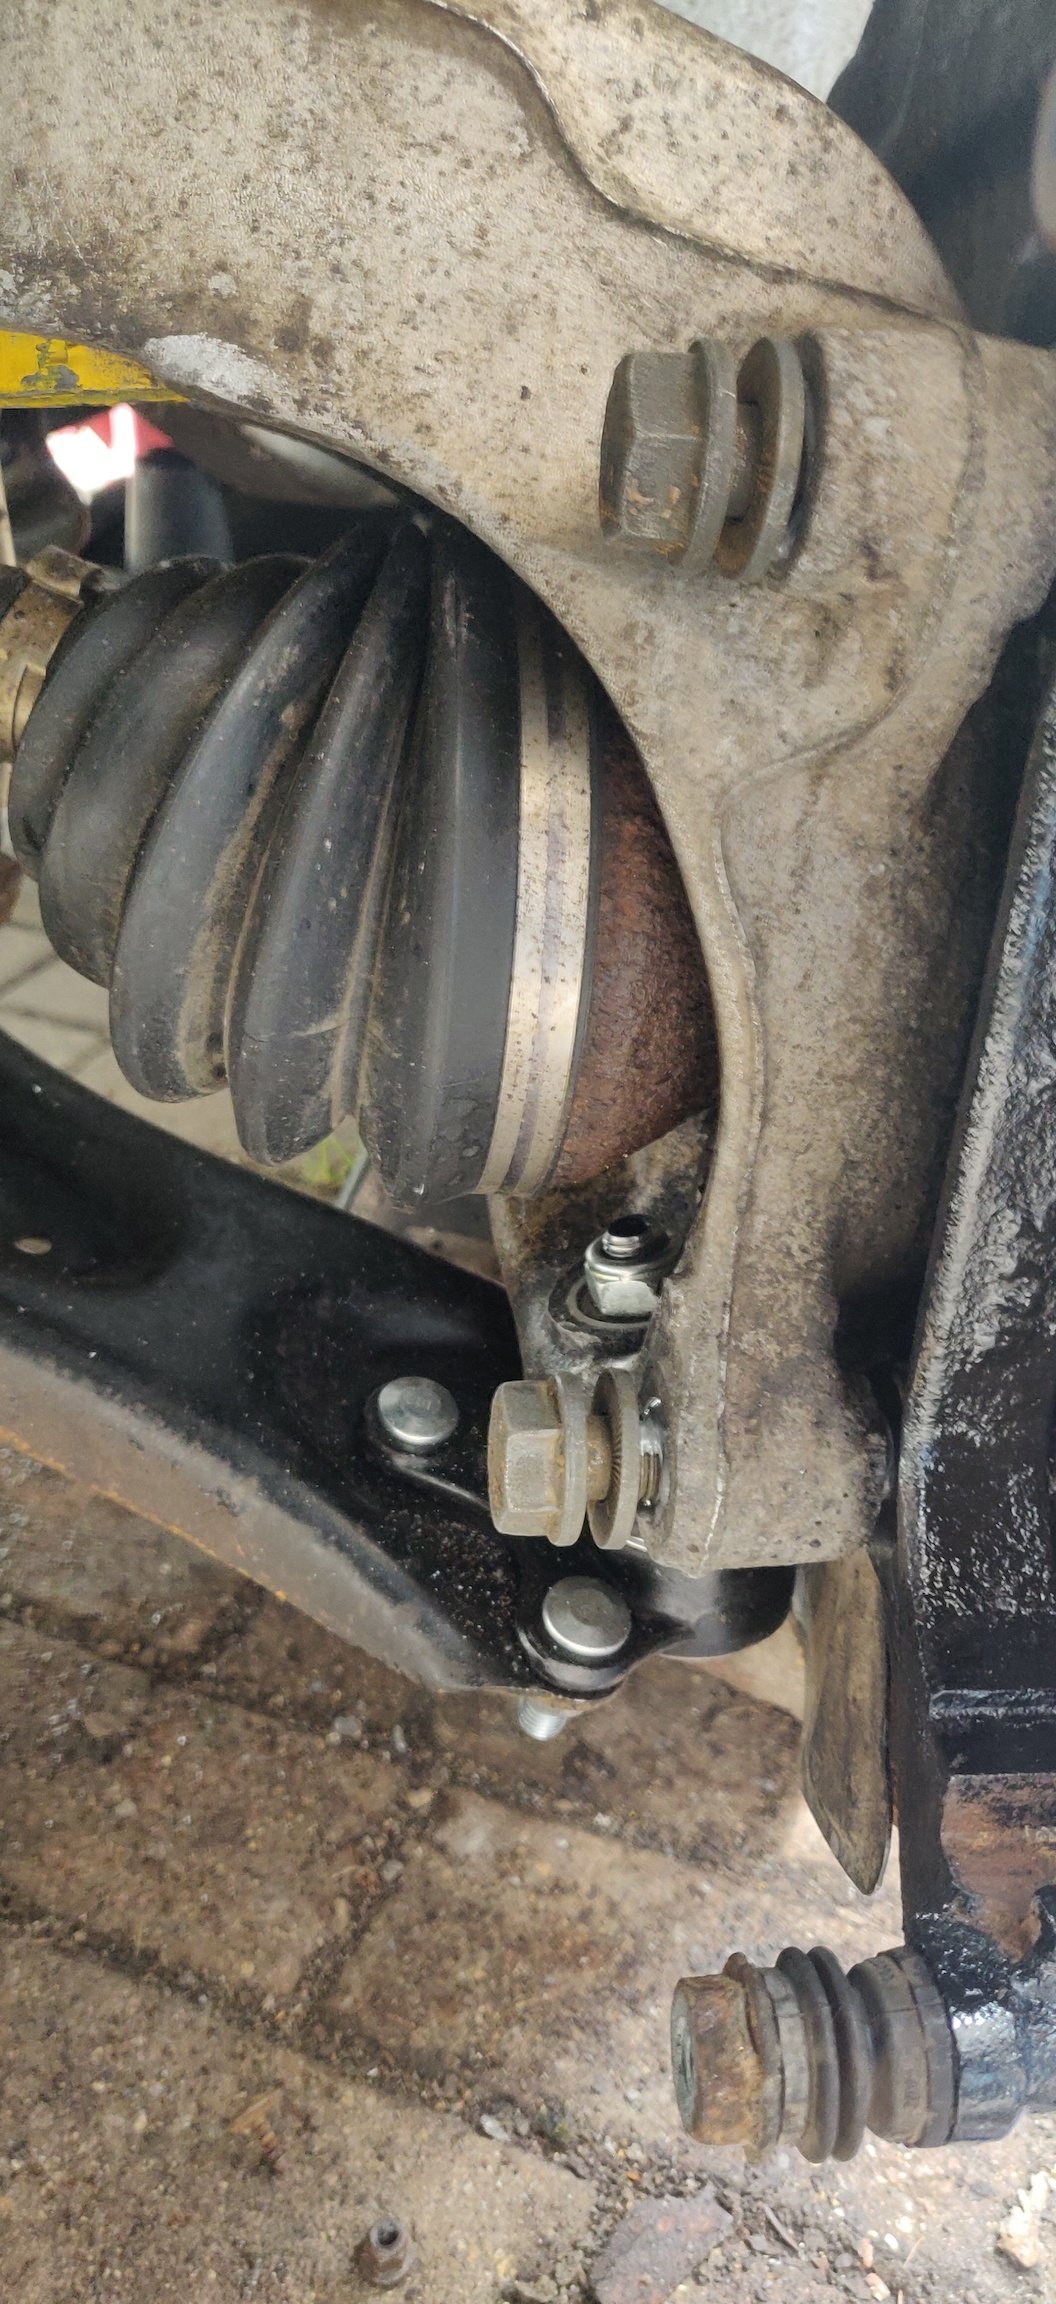
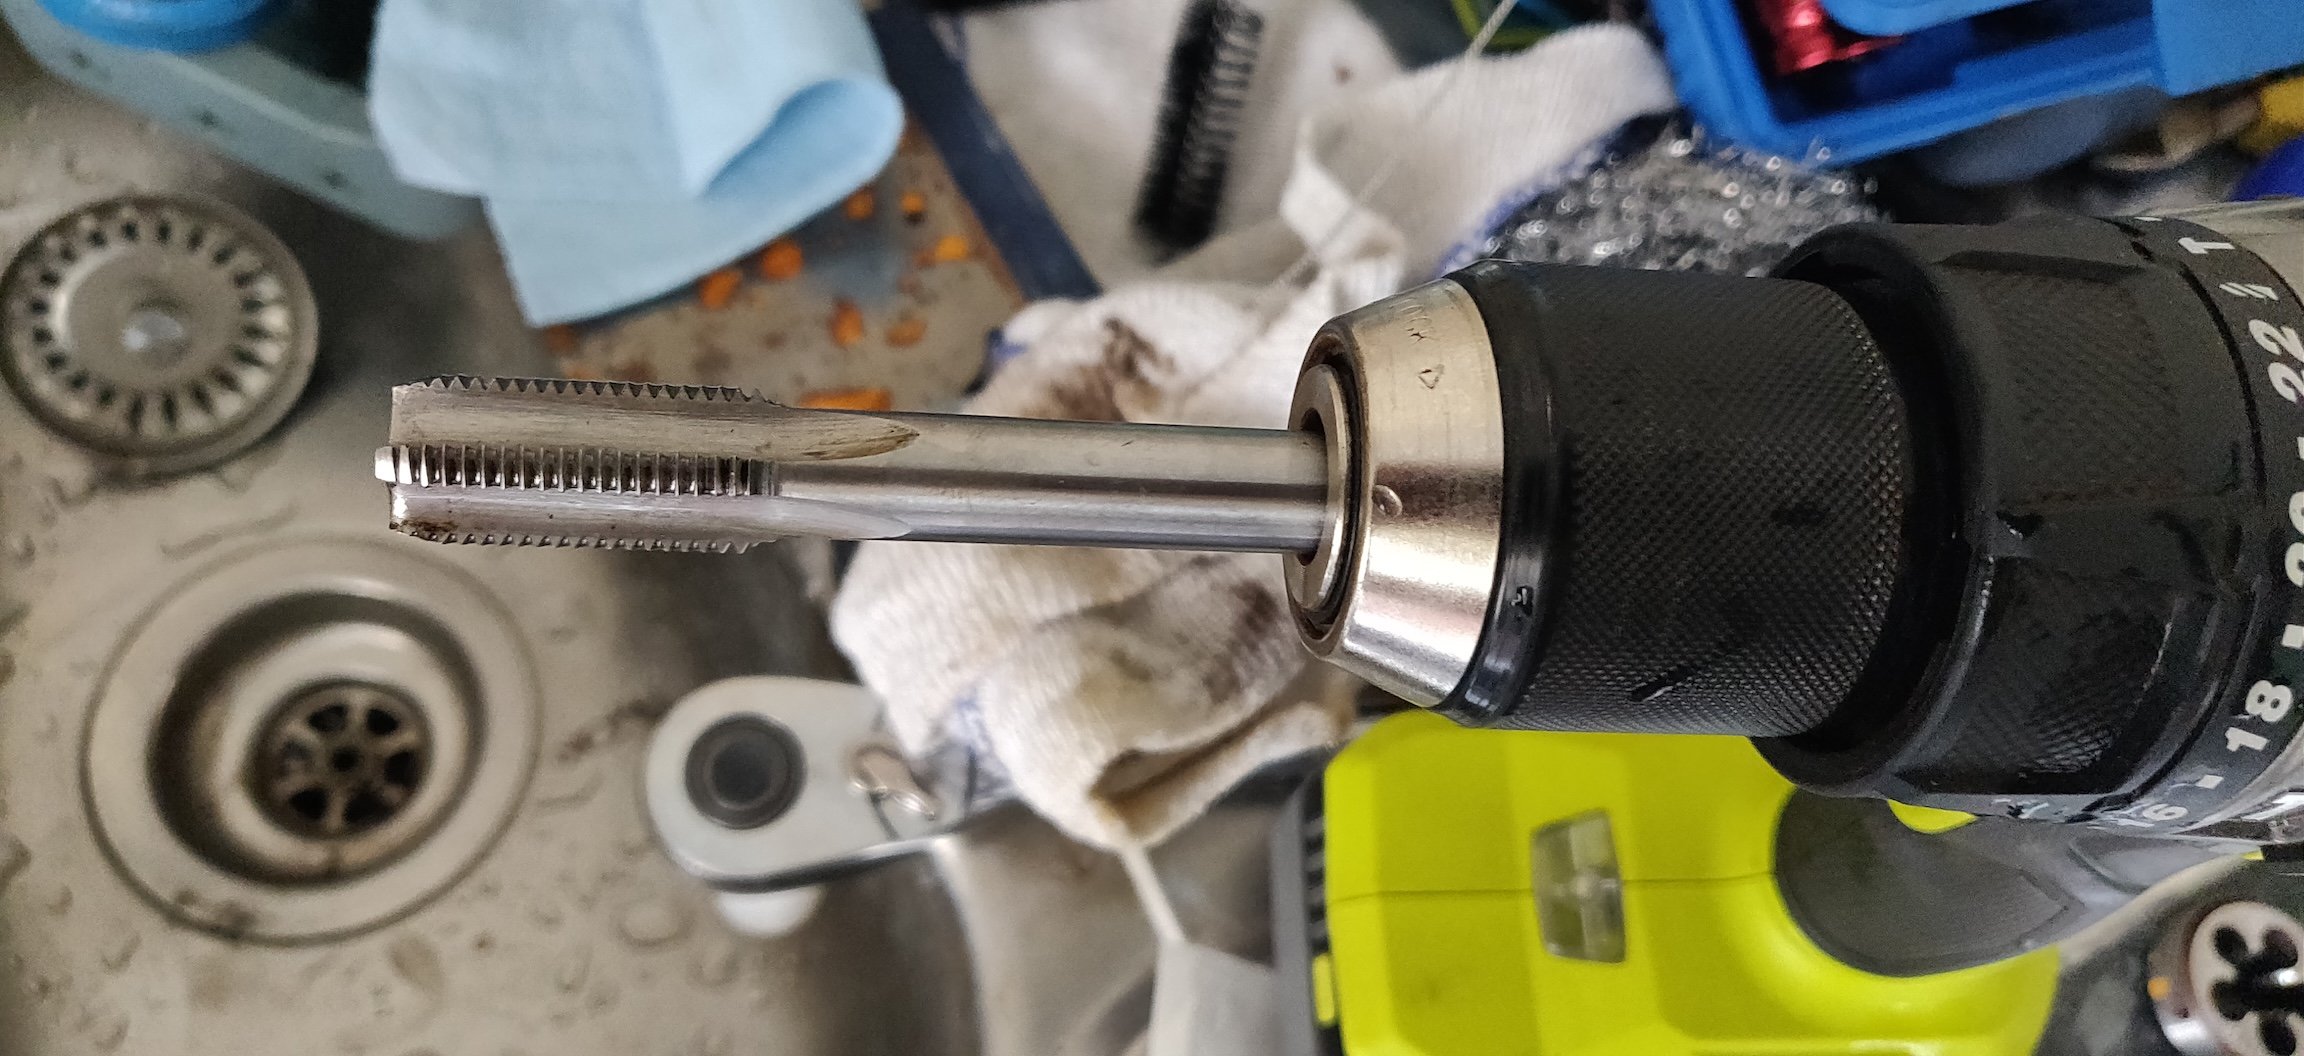
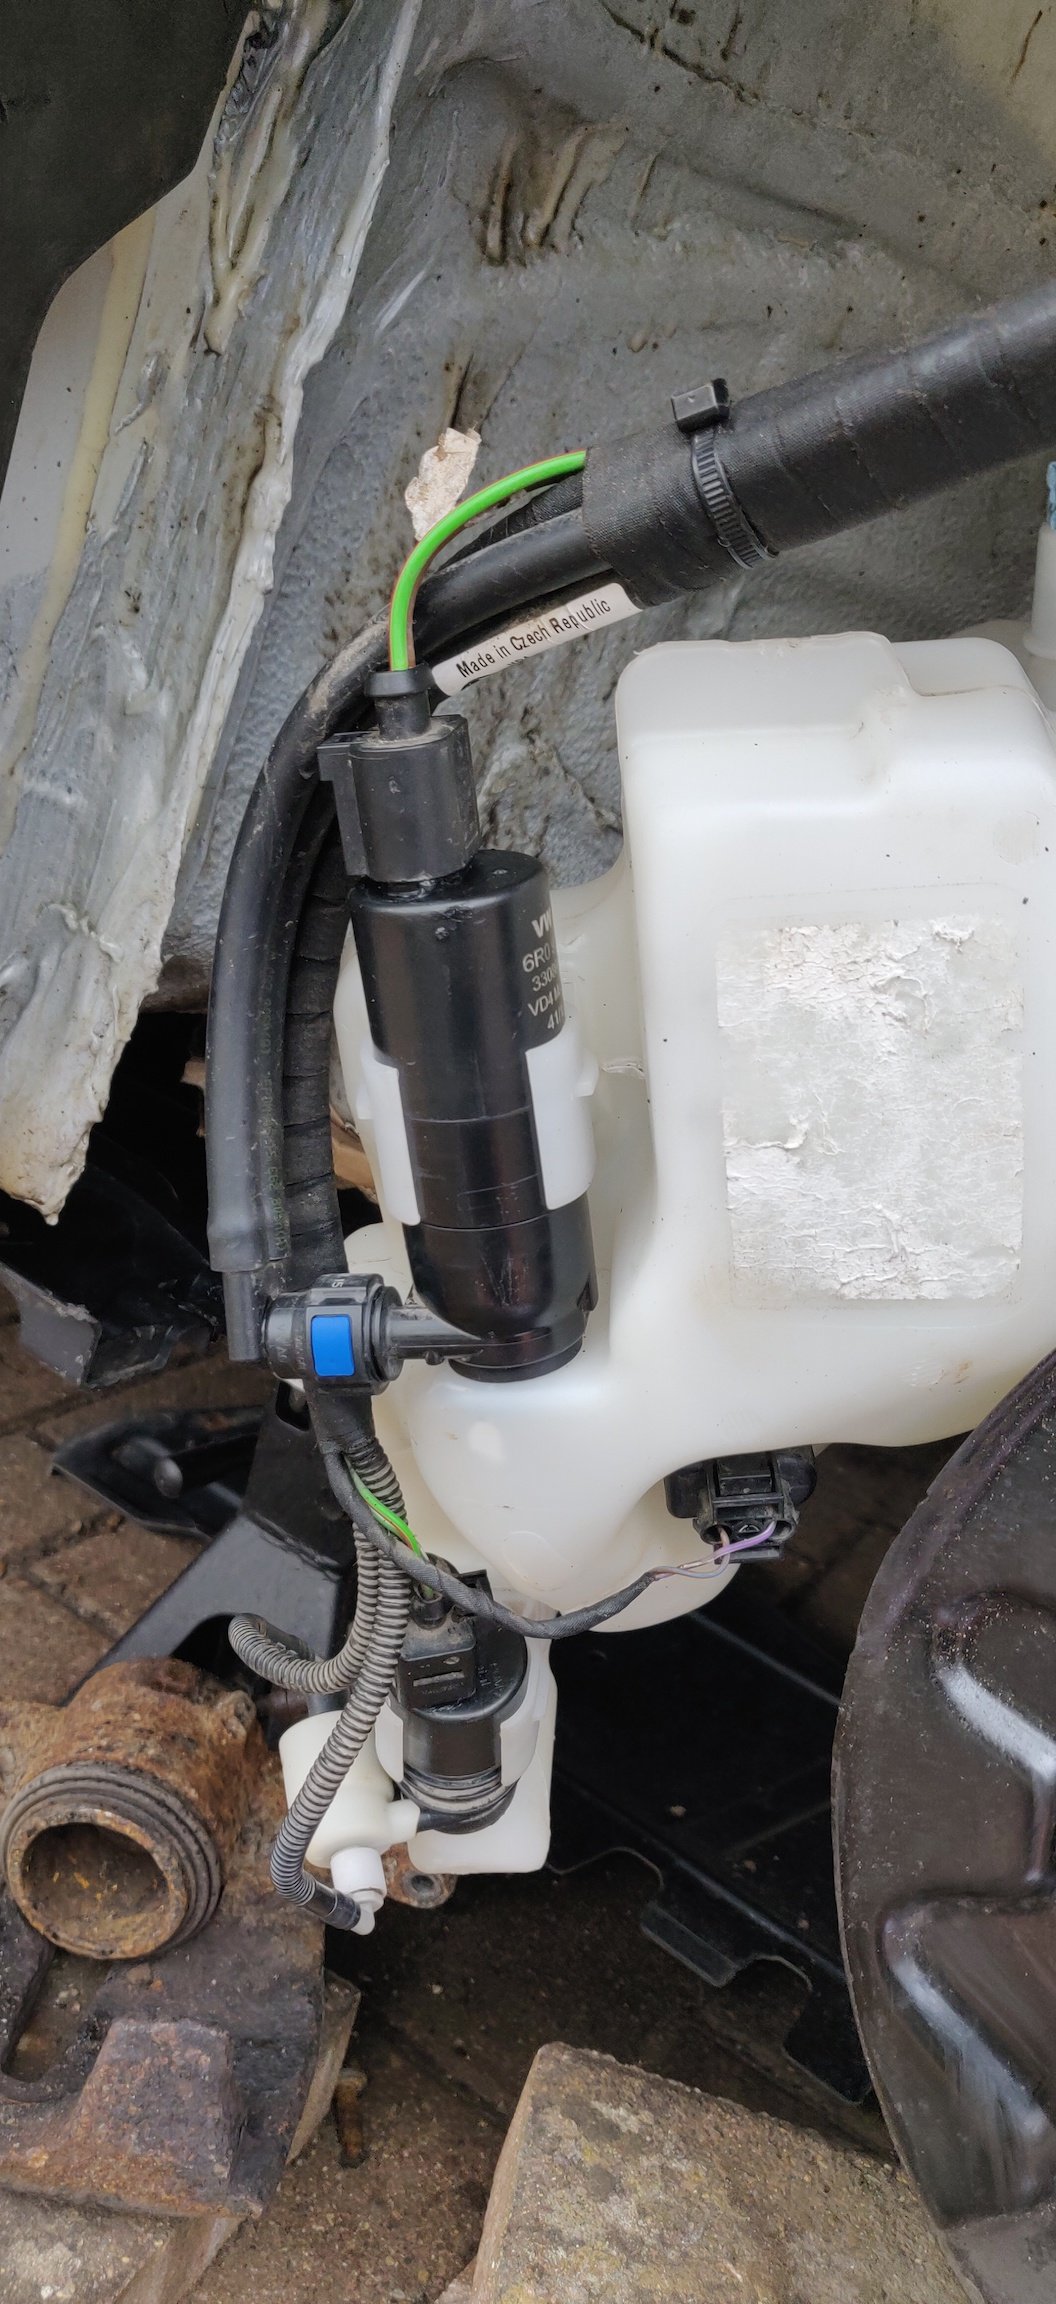
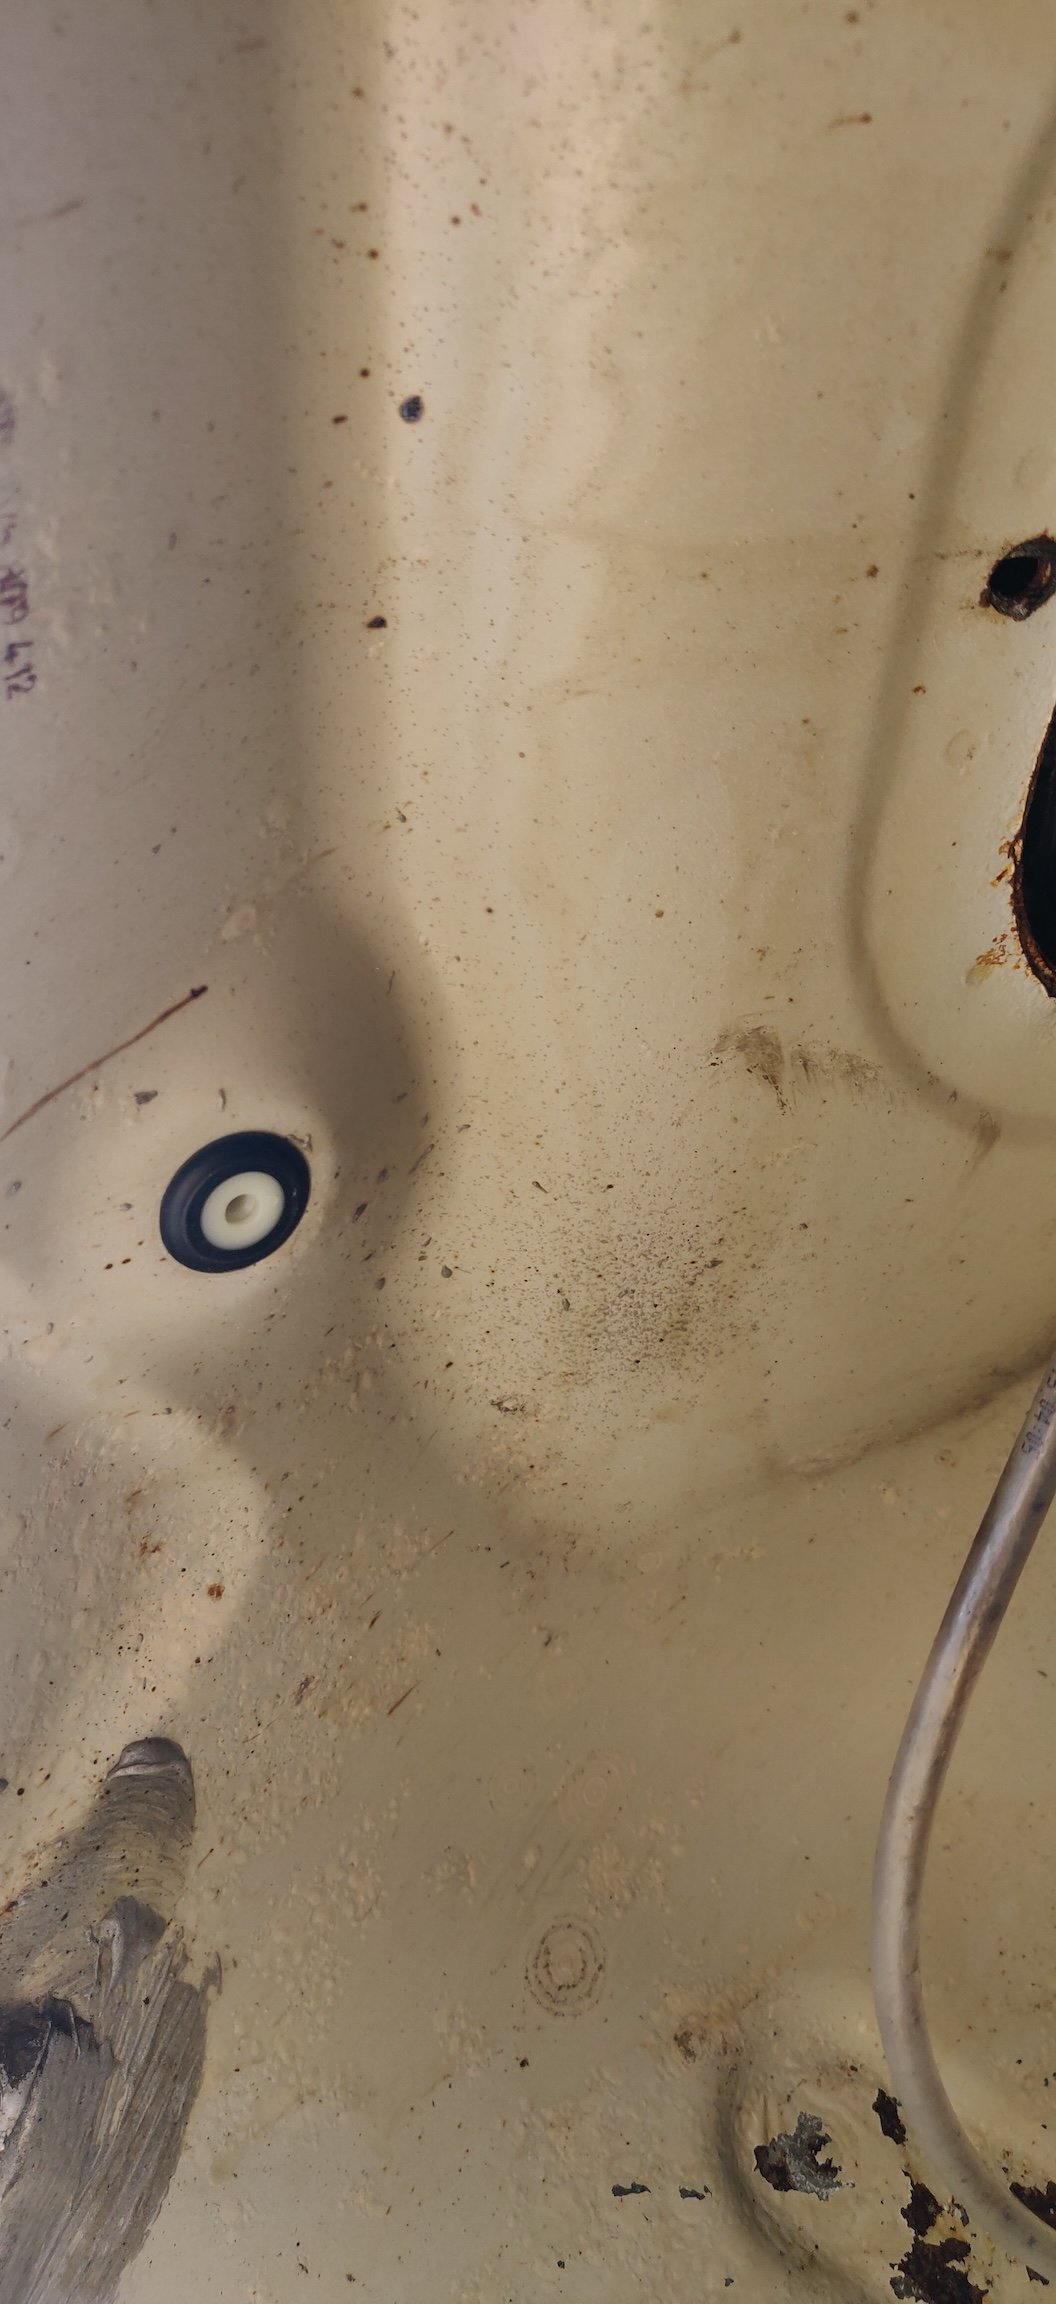
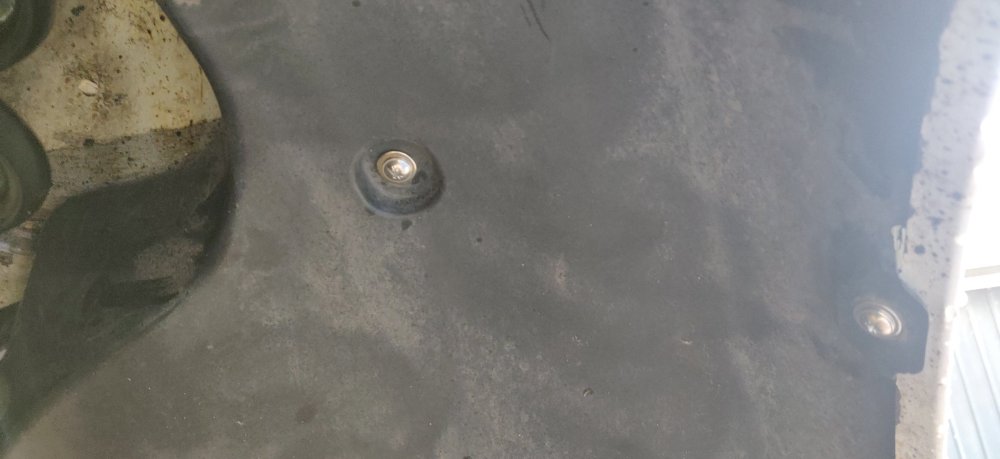
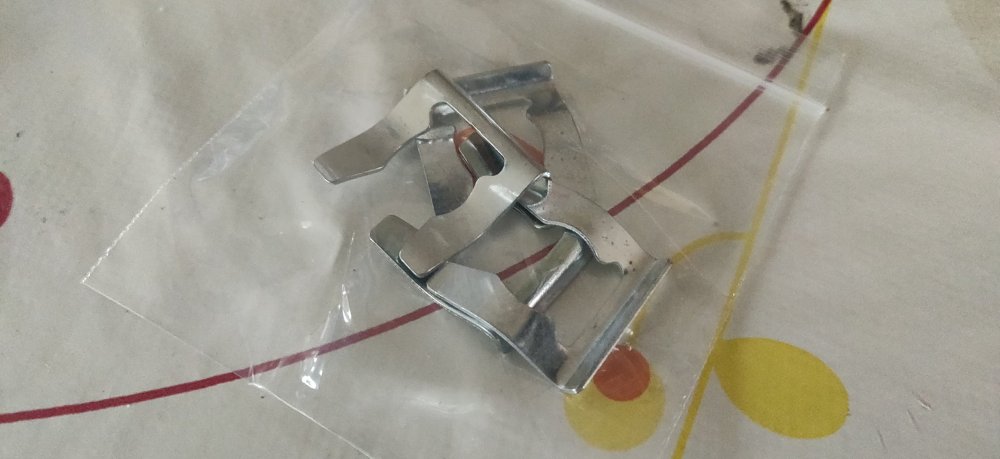
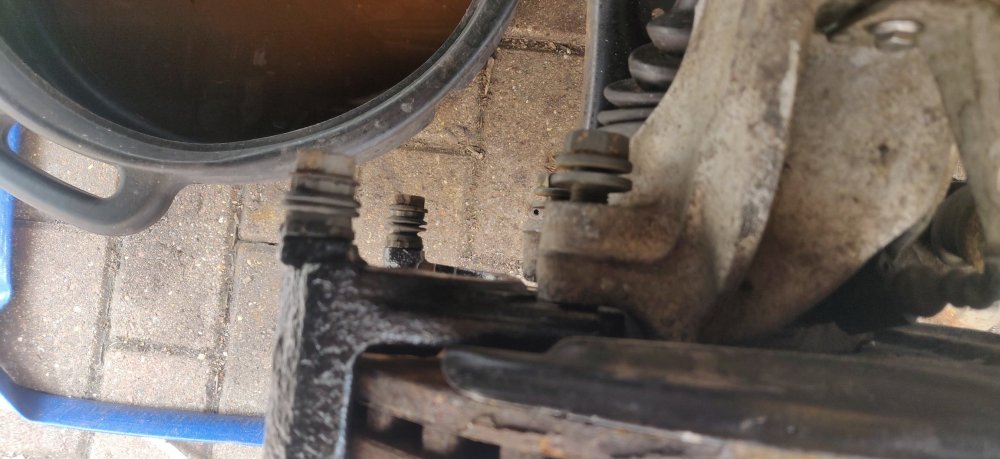
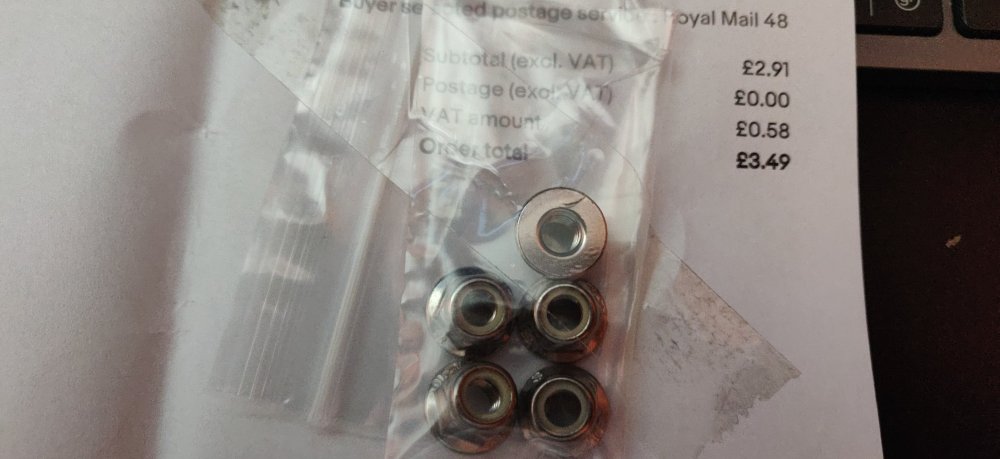
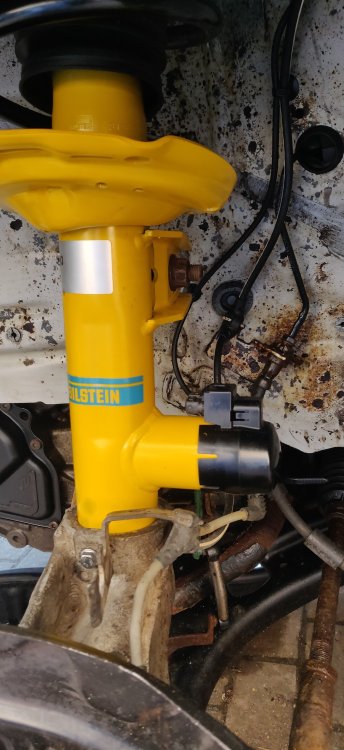
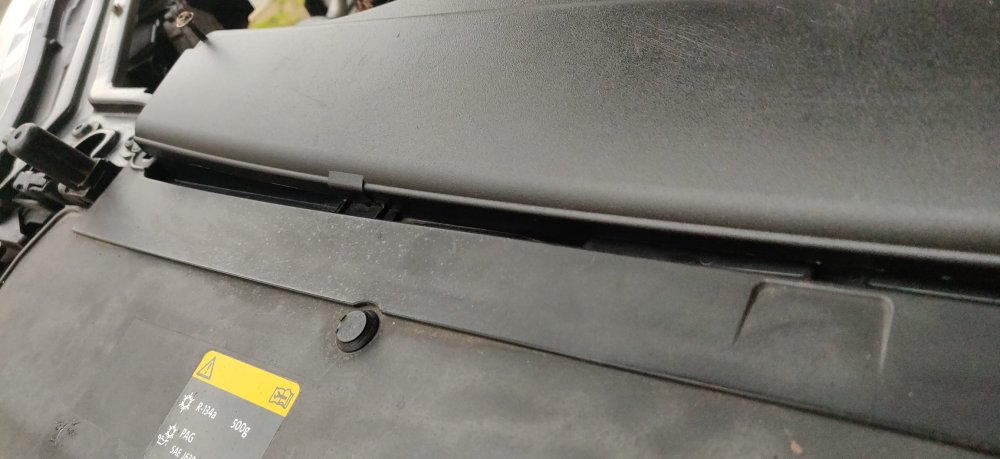
Random stuff: Got some deionised water from Tesco, £3 for the pair. More pics of nuts! Some stainless nylocs, M6, £3.49 from eBay. Whipped those right onto the level sensors, and tightened to 8Nm: Then started to sort out the wiring: The left side was fine, routing made sense, but the right side needed the wire to be forced out of the way a bit lest it will rub on the anti roll bar link. Once tightened the zip tie, cut off the excess. I think the clips that came with the struts can just be replaced with new zip ties when needed. The clips themselves just push onto the thread: As mentioned, the left appears to clear the anti roll bar link without issue: I'll have to keep an eye on these once the car is on the road. Then started to pop out the coolant tank: Looks like it's just clipped into place in about three areas without any fasteners. Not sure when the arrival date is for the replacement tank, getting a bit impatient! Looked for some easy stuff to do: Clipped the cowls into the windscreen, put the foams in and the seal. I'll probably need to get some foam tape to get the side foams firmly in place, but that's pretty much that. Will probably put the wiper arms back on once the washer stuff is checked out. Hopefully I don't have to remove the washer bottle as that'll mean the cowl is off again. Totally jinxed it I reckon. So back in the house, got the tap and put a drill onto it: Then with some oil, gave the threads in the brake pad carriers a pass through: Will go through the wheel bearings with the same step to clean them all up. Hopefully will make assembly nice and trouble free. That's me for the day. Weather isn't looking too great tomorrow, so might have to clean up those wheel bolts and see what I can squeeze in between rain spells. Maintenance: £2220.90 (+£3.49) Upgrades: £1322.97 Miscellaneous: £687.25 (+£3.00)


-
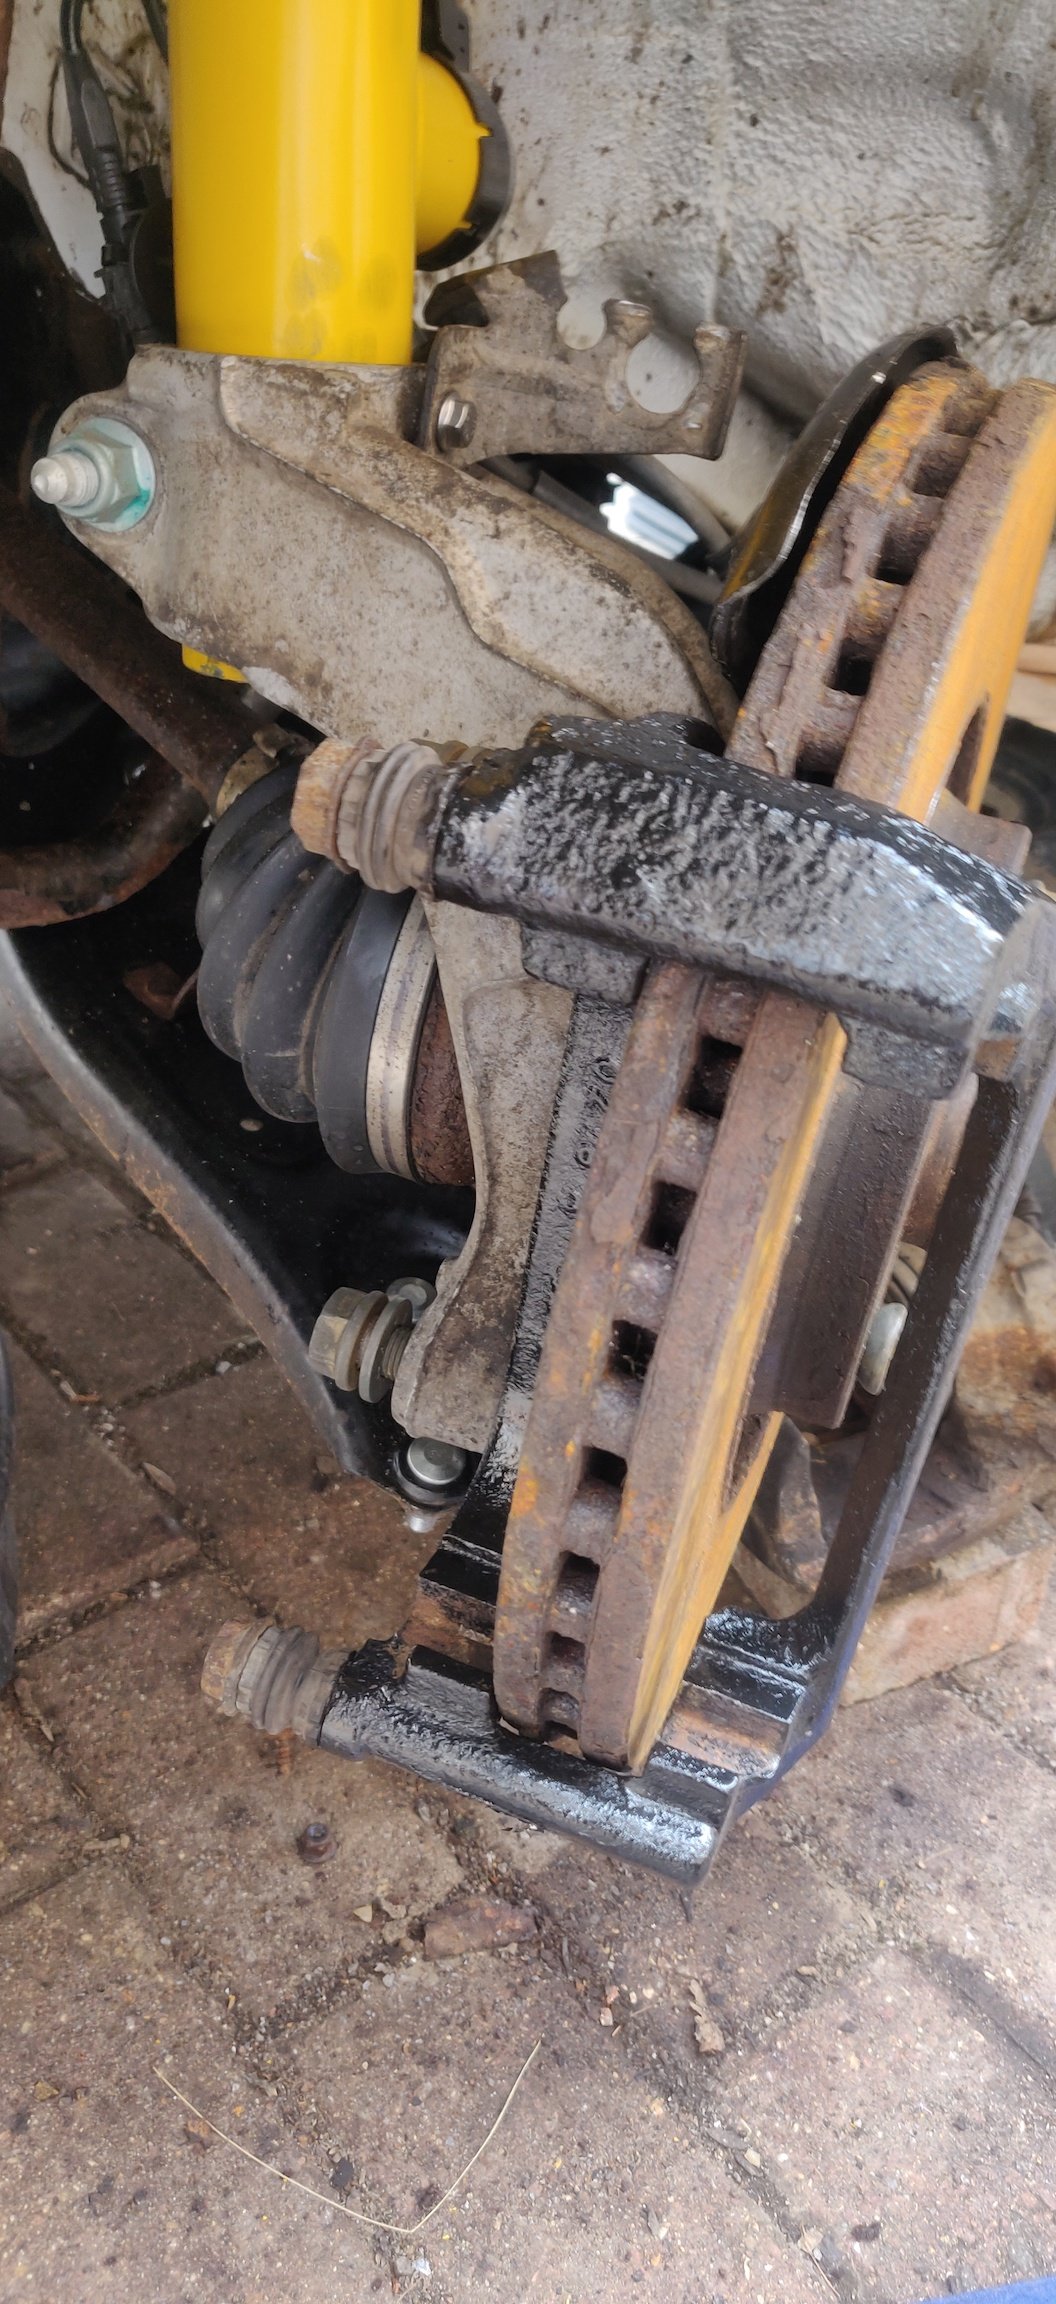
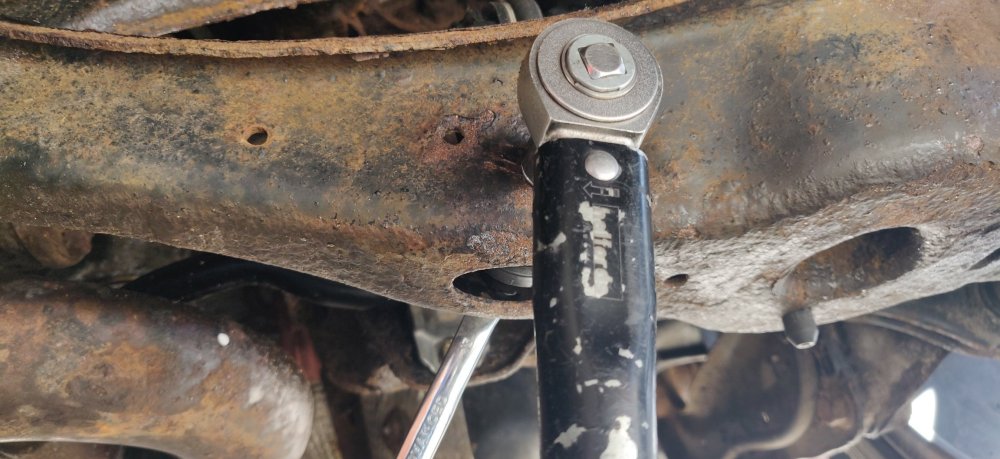
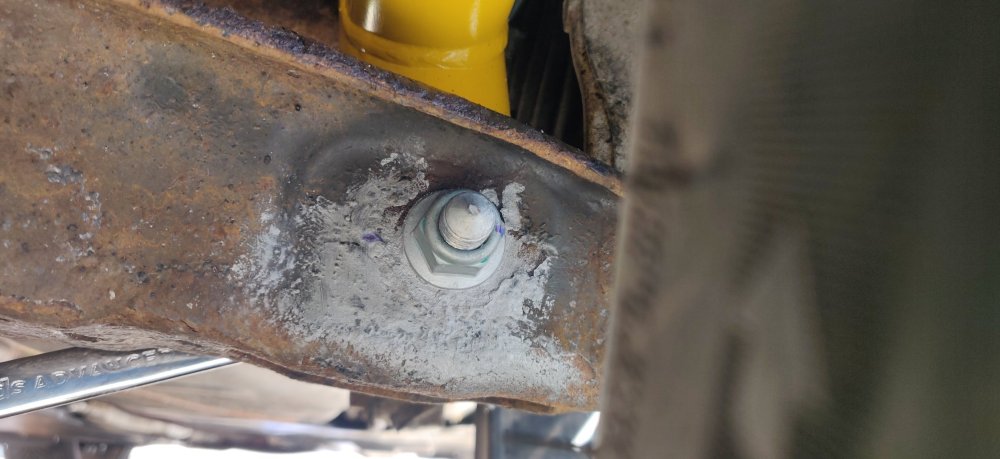
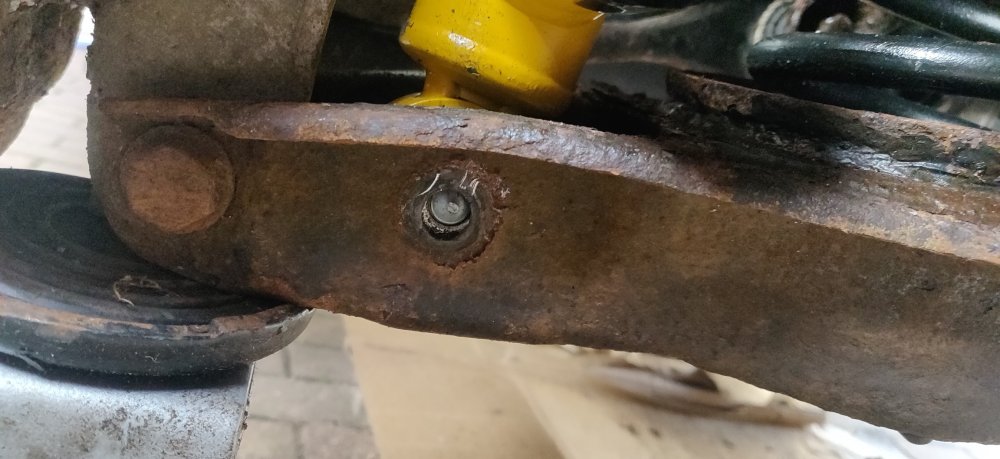
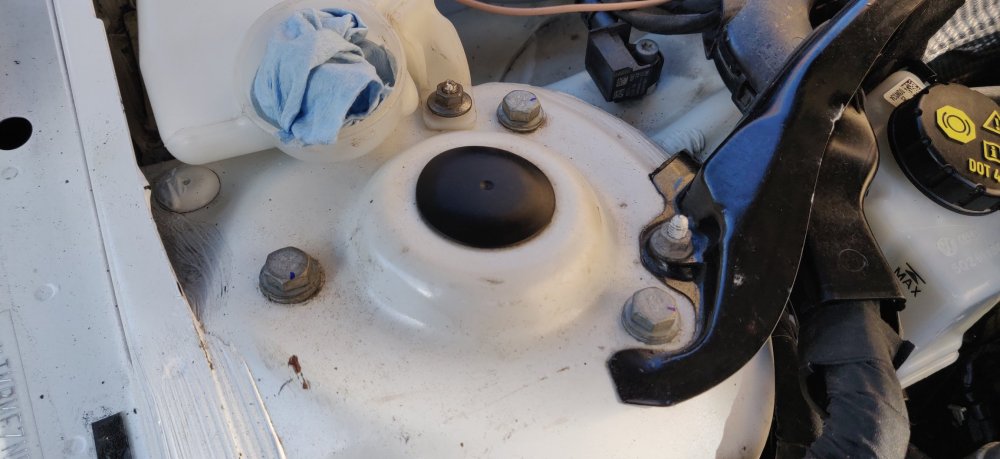
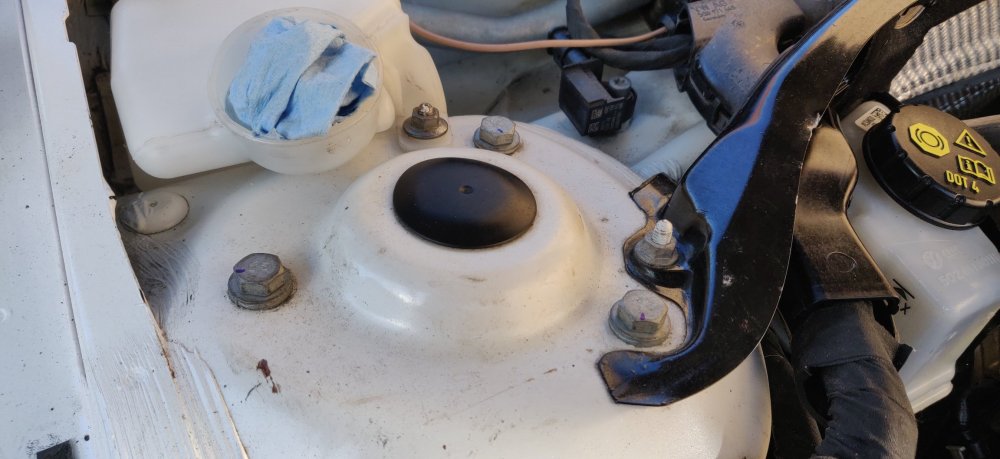
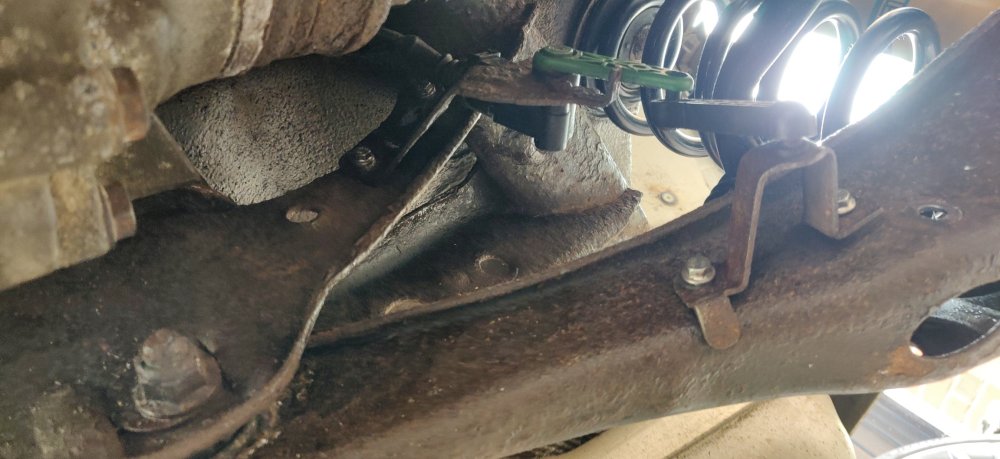
Squeezed a bit more stuff before work: Figuratively and literally. Got a lot of the stuff to be dumped into my work horse to be dumped later before lunch. I supposedly have a more practical car for these purposes ironically enough! I've left the struts for now. If anyone wants a possibly knackered set (they're rusty as hell), drop me a line, otherwise I'll set a bit of time to sort out their disposal (some drilling involved). Moving on, went to sort out the top rear strut bolts: Tightened to 50Nm, then marked up with a Sharpie to 45 degrees. Access is a little bit awkward: Didn't want to use extensions, but without them, there isn't enough clearance in the wheel arch to get the bolt tightened, and anything smaller was proving too much for my puny arms. Smaller wrenches would risk rounding (brute force can get clumsy, in my experience anyway) just as much as all these extensions if they're not on straight. Kept a hand firmly pushing against the extensions to the bolt, and gradually did it a few degrees at a time: So got the paint pen to mark it formally: Repeated for the other side: So with that, dry fitted the wheel liners: I think I'll need to get some washers to add to the bolts attaching the wheel arch just to give it some more spread, but it's getting there. Went to the front, and started to lift the lower arms with the jack: This then compresses the strut and eventually lets the anti roll bar bolt through: Slathered some copper grease and started the nut on it. Didn't take long before the bolt to spin with the nut. So went and raised the other side to attach that bolt: Once done, the raised anti roll bar had a holding effect on the other side, so just went with the impact wrench to buzz the nut in: Tried my best to not give it too many ugga duggas, regularly checking with a torque wrench to see if it clicked at 80Nm. Jacked up the other side to do the same process: I imagine I've probably overtightened them, but the torque wrench was still tightening them slightly when clicking, so I think it's not insanely so. Not too bothered, new shiny anti roll bar links are eventually needed (if not an entire replacement roll bar, it's looking as manky as the rear one). That's the big bits for the front suspension done. I'm waiting for some replacement nyloc nuts for the level sensor as they're a bit grotty, but otherwise, once those are done, that's the front suspension complete! Just need to clean up the Bilstein Damptronic wiring... Maintenance: £2217.41 Upgrades: £1322.97 Miscellaneous: £684.25


-
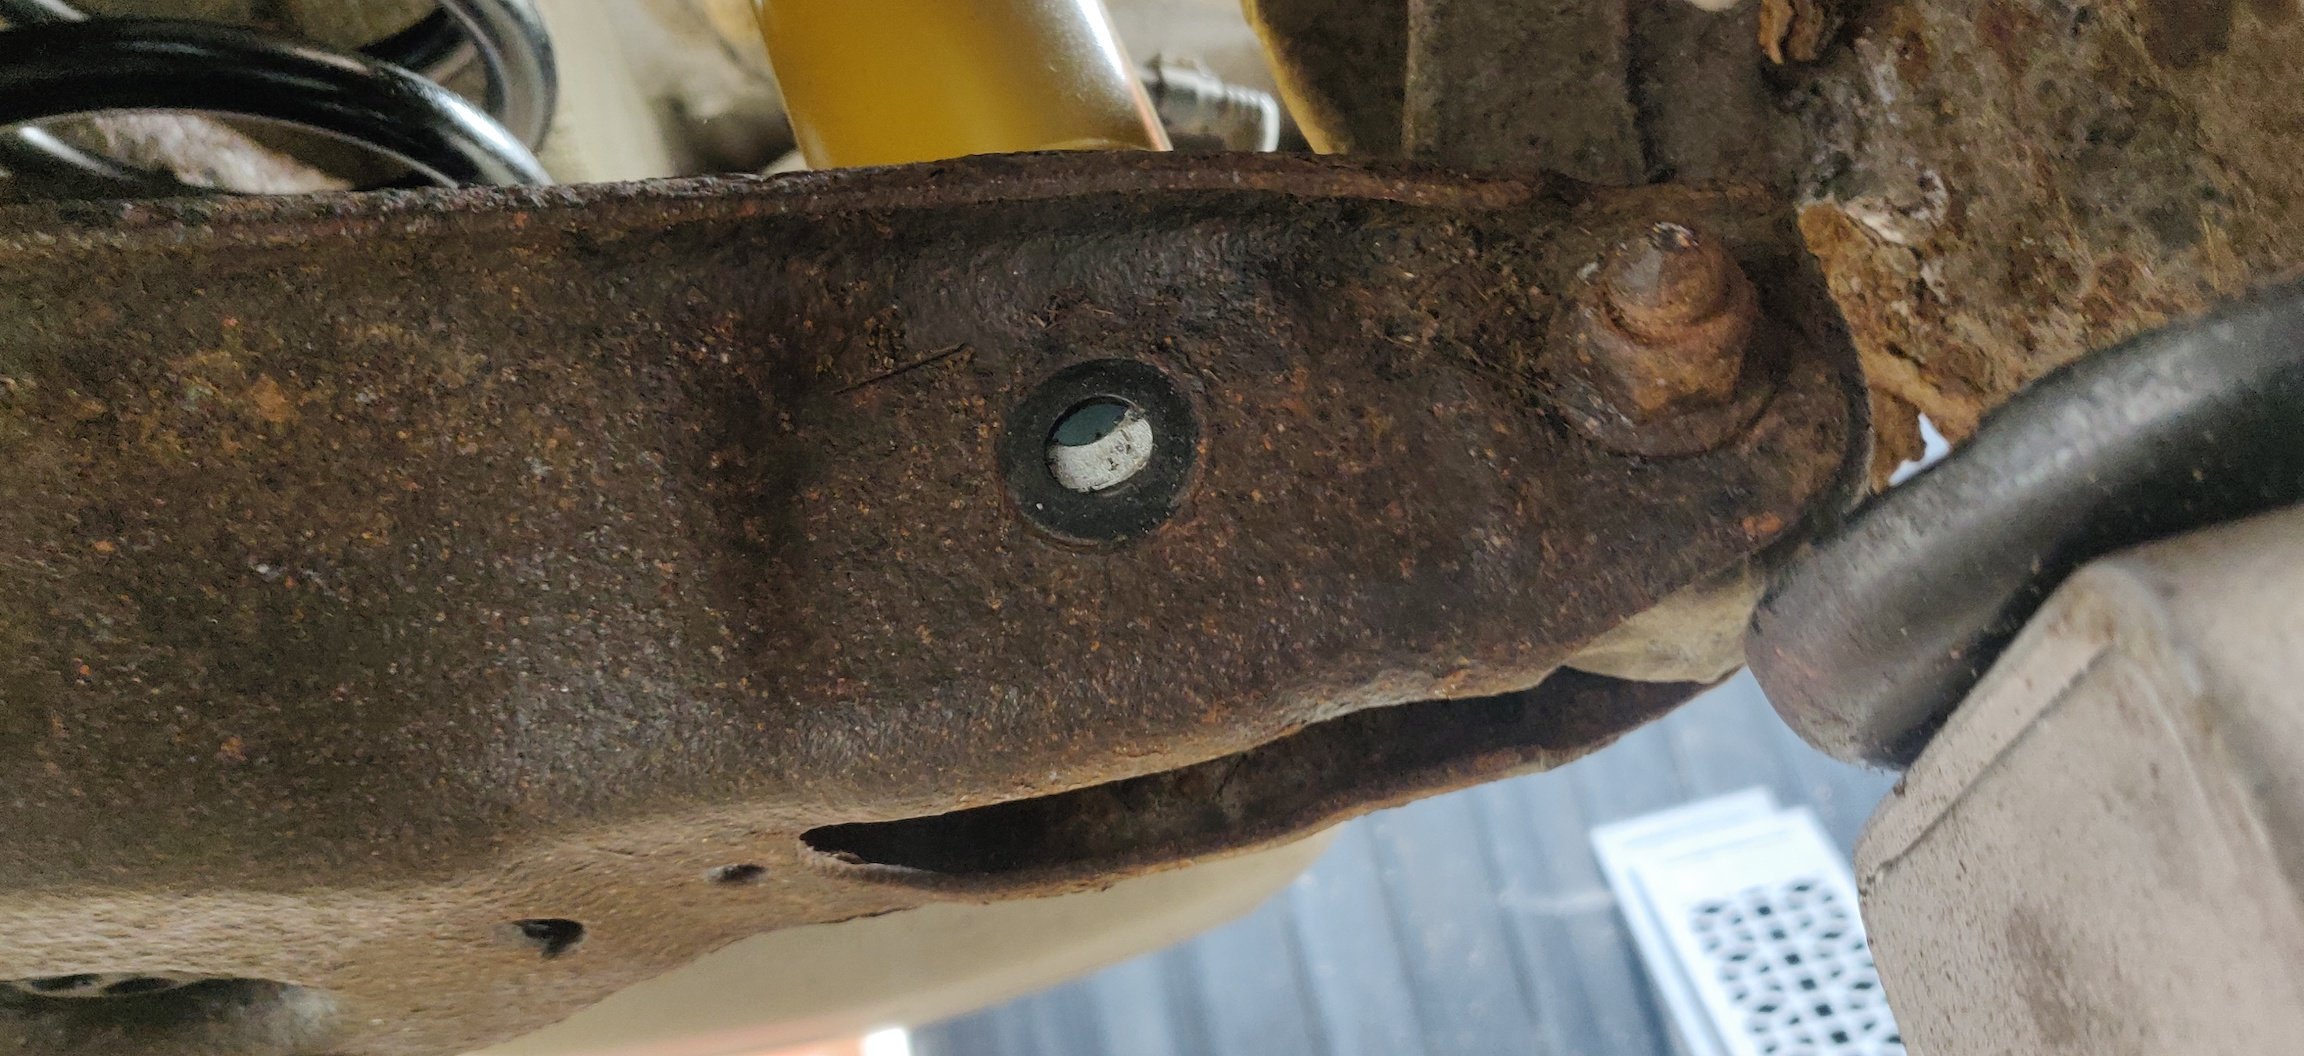
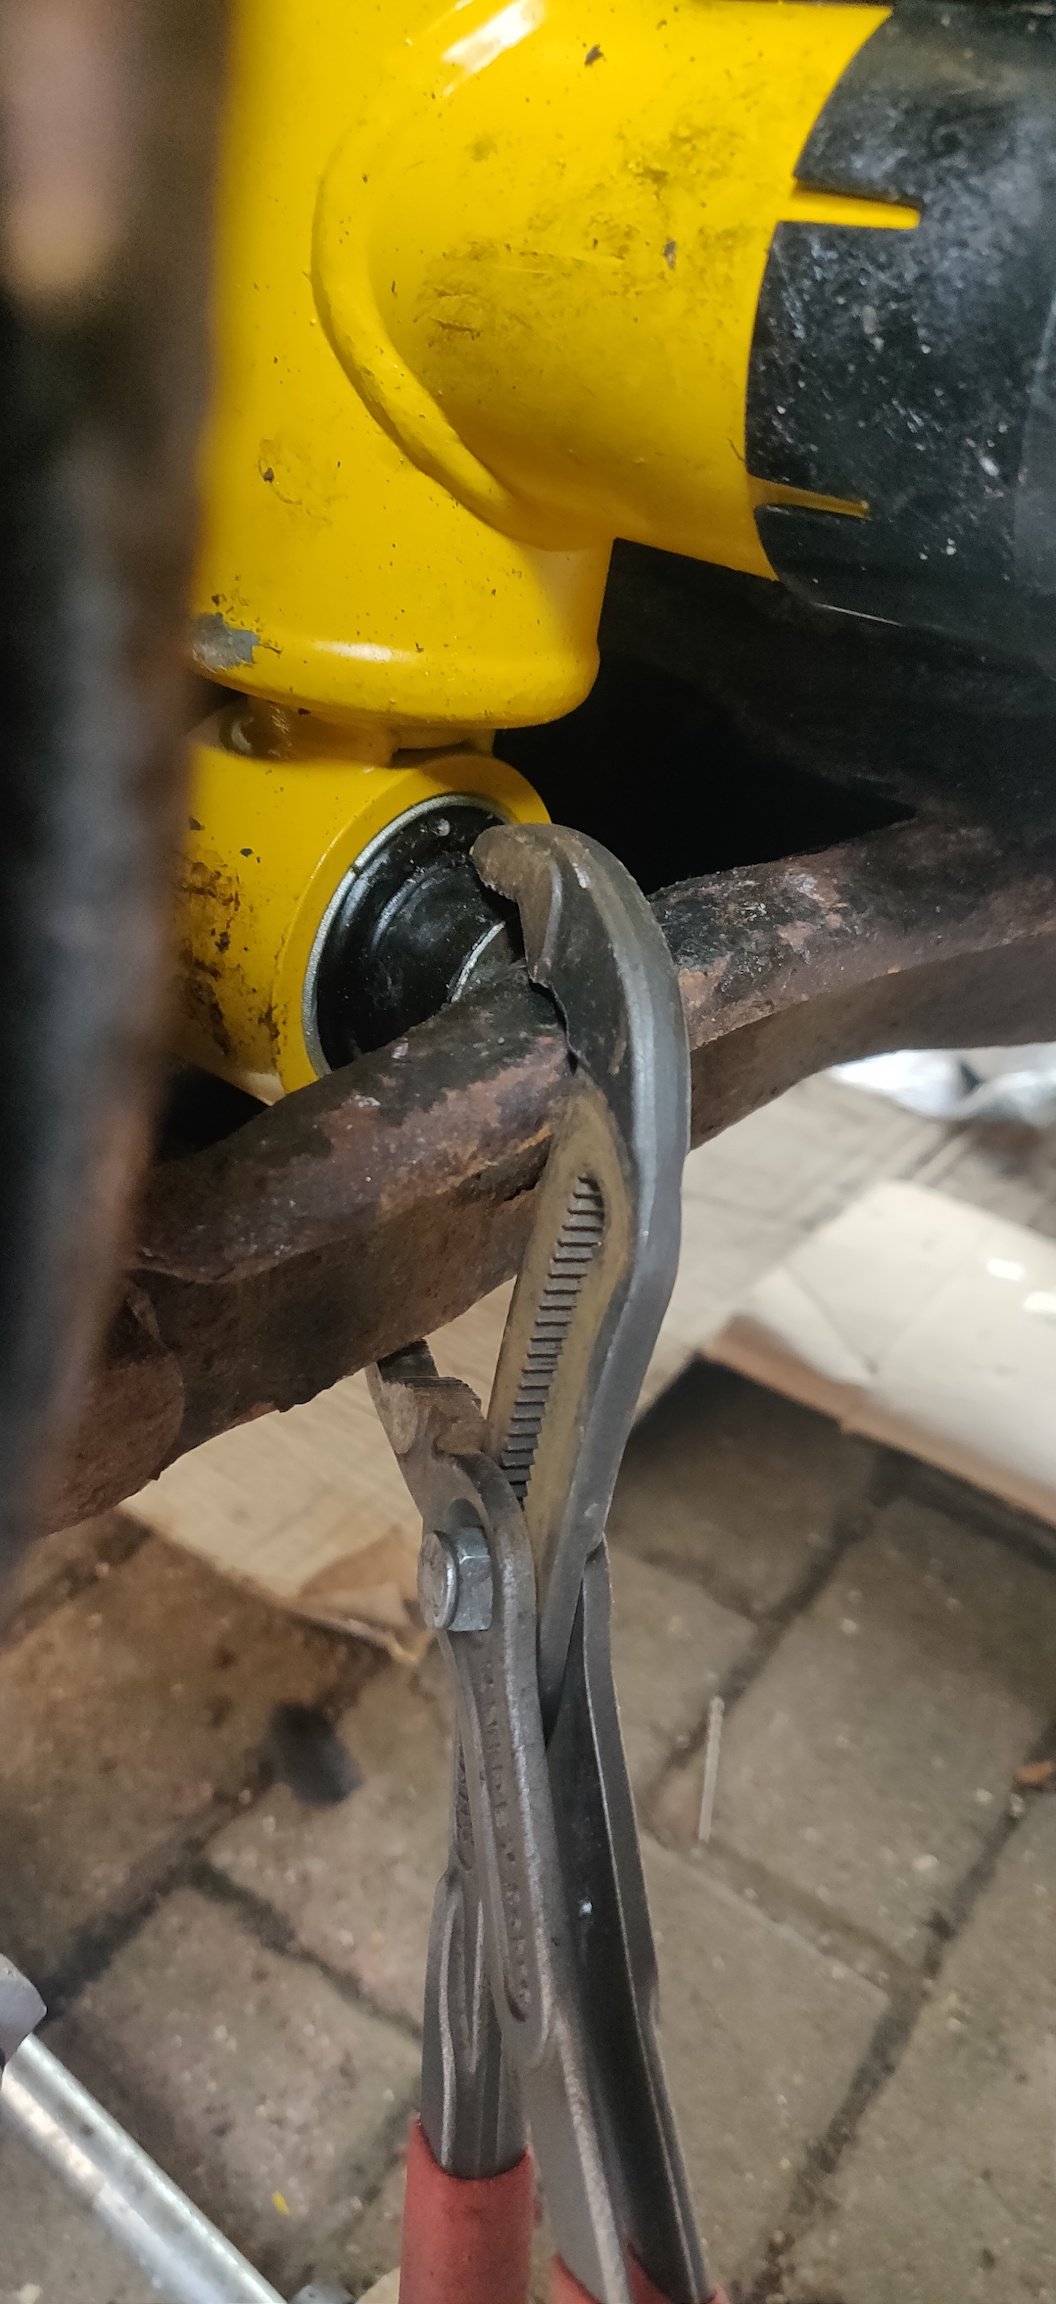
Tiny bit more before supper: Got the right anti roll bar bolt into place into the lower arm: Didn't take pics of this side as simply forgot to. This left the strut on the arm: Which seemed to be a bit stuck. So went ahead and did the opposite anti roll bar link, with pics this time. Essentially, its a case of clumsily using a jack to raise the lower arm: Then using a pry bar or some such under the suspension arm to move the link and try and get it aligned. There's a gap under the lower arms to do so, and after lifting it up a bit more, the side was clear enough to slip the bolt in: Once done, went and slathered a load of anti seize on the bolt before reinserting. The bolt stops roughly where the other side hits the arm: So it's then a case of raising and lowering the arm to try and rejig the link and get it clear: Tried not to raise it too high so as to start clearing the rear jacks, but eventually, this and more pry bar action eventually gets the bolt to be visible, so a few taps with a rubber mallet on the bolt head: Then it's clear enough for the nyloc nut to go in place. I've used aftermarket bolts, which are 8.8 bolts, so I'll double check the internet for recommended torques for such a bolt. It'll be the same as what I've used for the anti roll bar clamps to be honest. I then struggled with the struts. No amount of lifting the arm up and down was getting it to go in smoothly, so had to resort to being a bit ham fisted: I firstly used Knipex pliers with a widened jaw to try and clamp it into place, which got it started. From the opposite side: The hole for the bolt was starting to be visible, so just went at it with a chisel and hammer on the bushing part of the strut to get it a few millimetres further in: Then managed to get a punch small enough into the hole, and used it as a pry to get it further into place: Then a few more taps with a hammer was able to get a bolt into place: So once done, more anti seize before refitting. From there, it was a struggle with a hammer and chisel to get the other side further down and into place: This was as far as I got, before I decided to try a different approach. I went and undid the top strut bolts, and it immediately looked like the better option: Basically, once the top bolts were undone, the strut flies out, seemingly straightening out, which then meant the bottom bushing of the strut was easily manoeuvrable in the lower strut arm, hence the nut being put into place in the pic above. So it was then a case of trying to get the top mount aligned: This was met with a bit of resistance, but essentially, with some convincing, I was able to get it positioned a bit better, then a jack to lift up the lower arm helps locate it a bit better, then as per above, used the punch to help align the bracket with the holes, and once one bolt is in, the rest is straightforward: So yeah, lesson learned, do the bottom bolt first. Undoing the top strut bolts on the other side immediately dropped the strut into the lower arm, so it was actually not an issue at all getting the bottom bolt in: The strut can then be wiggled to get the bolt through: Significantly less drama. The top still has some resistance when being mated to the top: But it's pretty much the same thing, jacked up slightly, and using something to align it to get a bolt in. So went and nipped up the bottom bolts: Just to get the nuts in place for now, 18mm for the strut bolt, and 13mm for the aftermarket ones for the anti roll bar link (it's not a Japanese car, but the car still probably wishes me bad luck). So that's that: Just torquing up left. As the bottom strut bolt is bushed, I'll need to tighten it formally once it's on it's wheels. I'll probably do so and get some ramps so I have some semblance of clearance to do the tightening. It's similar to the Lotus, where the weight of the car acts as the reference point for the suspension, and when tightening up any bushes on the suspension, it essentially clamps the rubber at that point, so when the suspension goes up or down, the rubber bush will rotate but essentially settle back to its relaxed unstressed point. Tightening the bolts whilst raised as above will mean the rubber bushes will be in a slightly stressed position once back on terra firma, so shortening it's life as it goes up and down. This doesn't actually apply to the top strut bolts so not sure why I haven't tightened those up yet. I'll do that at the next possible opportunity, as with that, I can fit the rear wheel arches back onto the car. Can also reattach the rear level sensor, so best remember that too. Getting there! Maintenance: £2217.41 Upgrades: £1322.97 Miscellaneous: £684.25


-
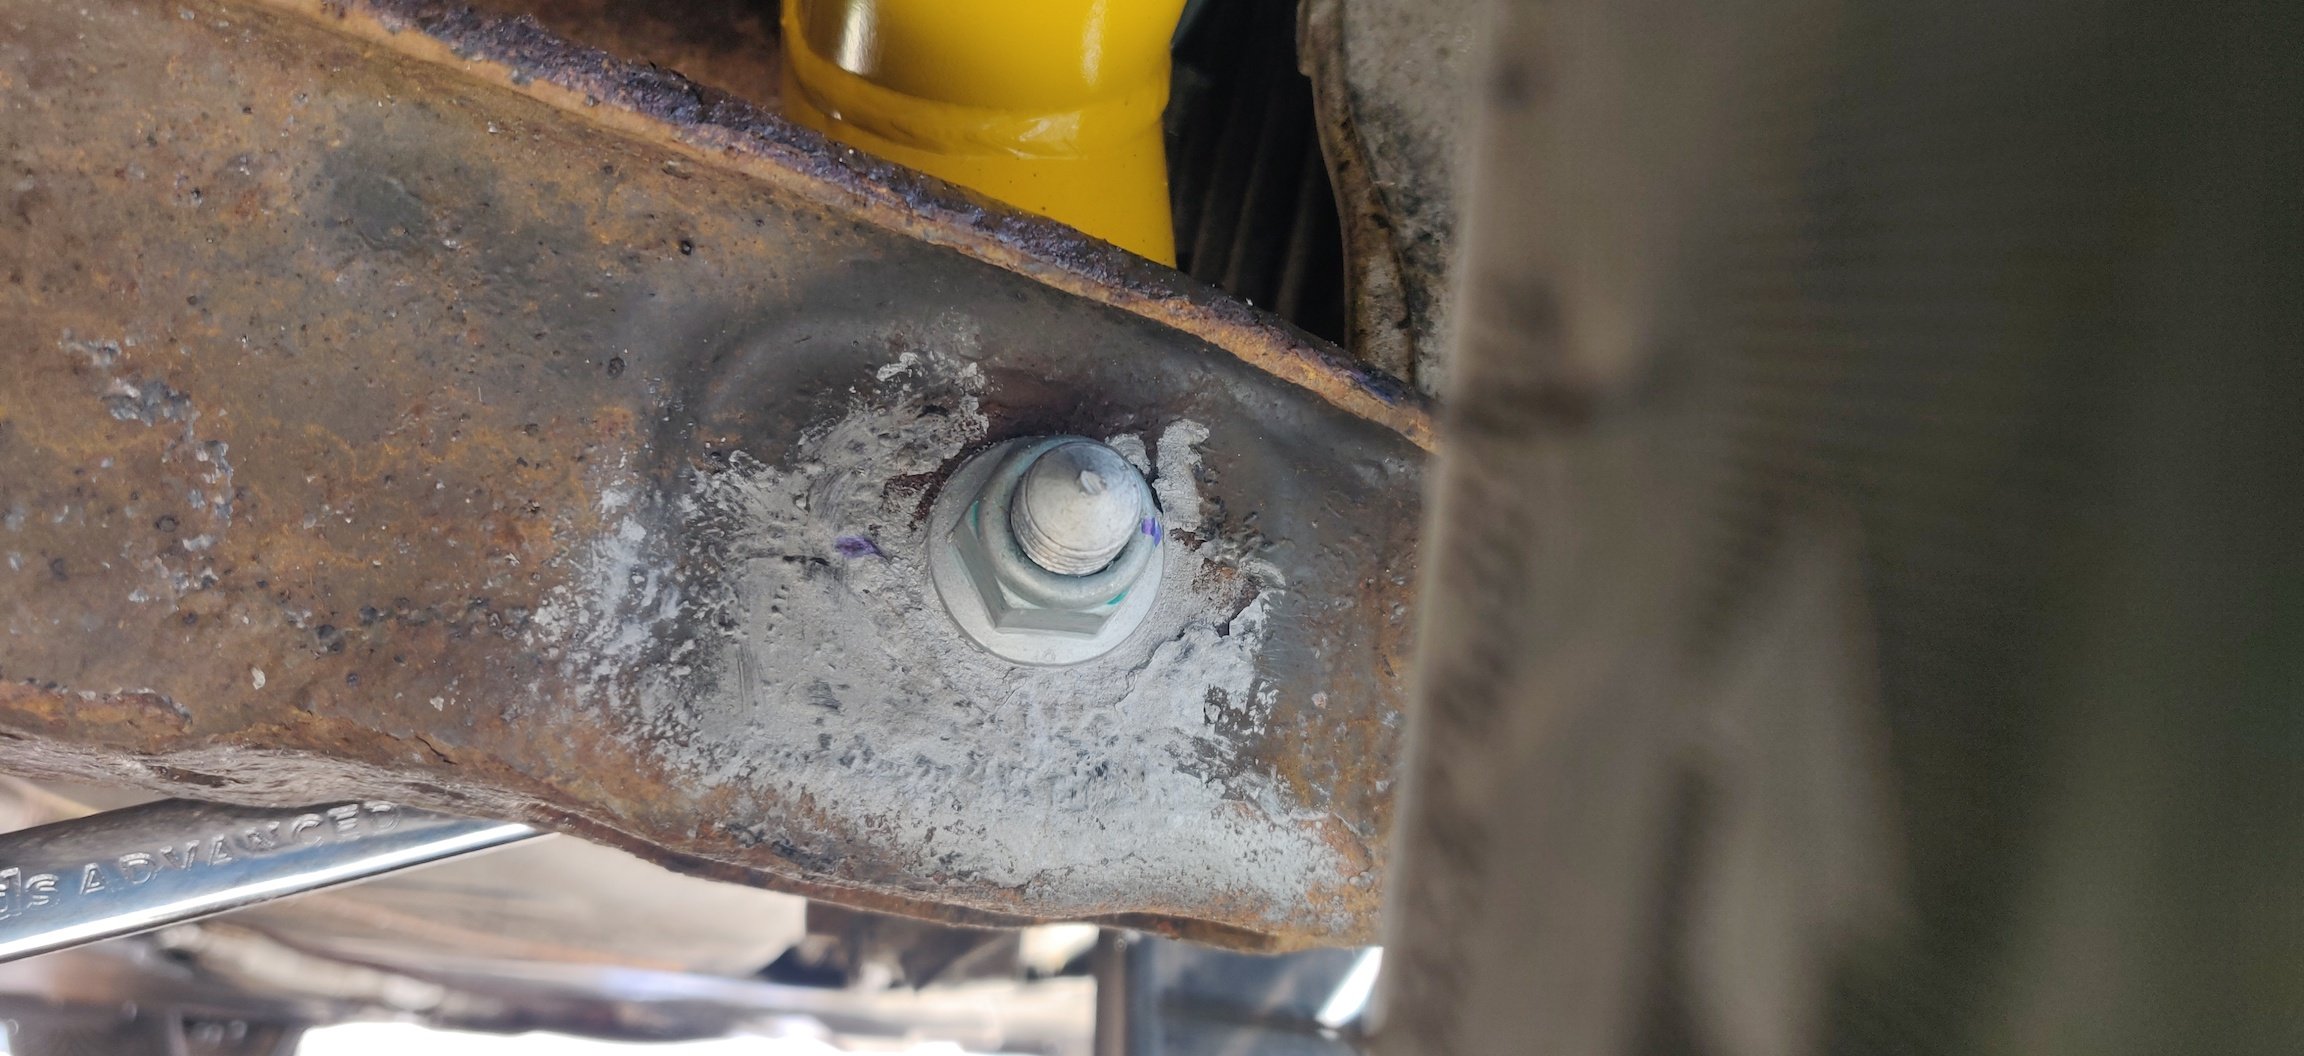
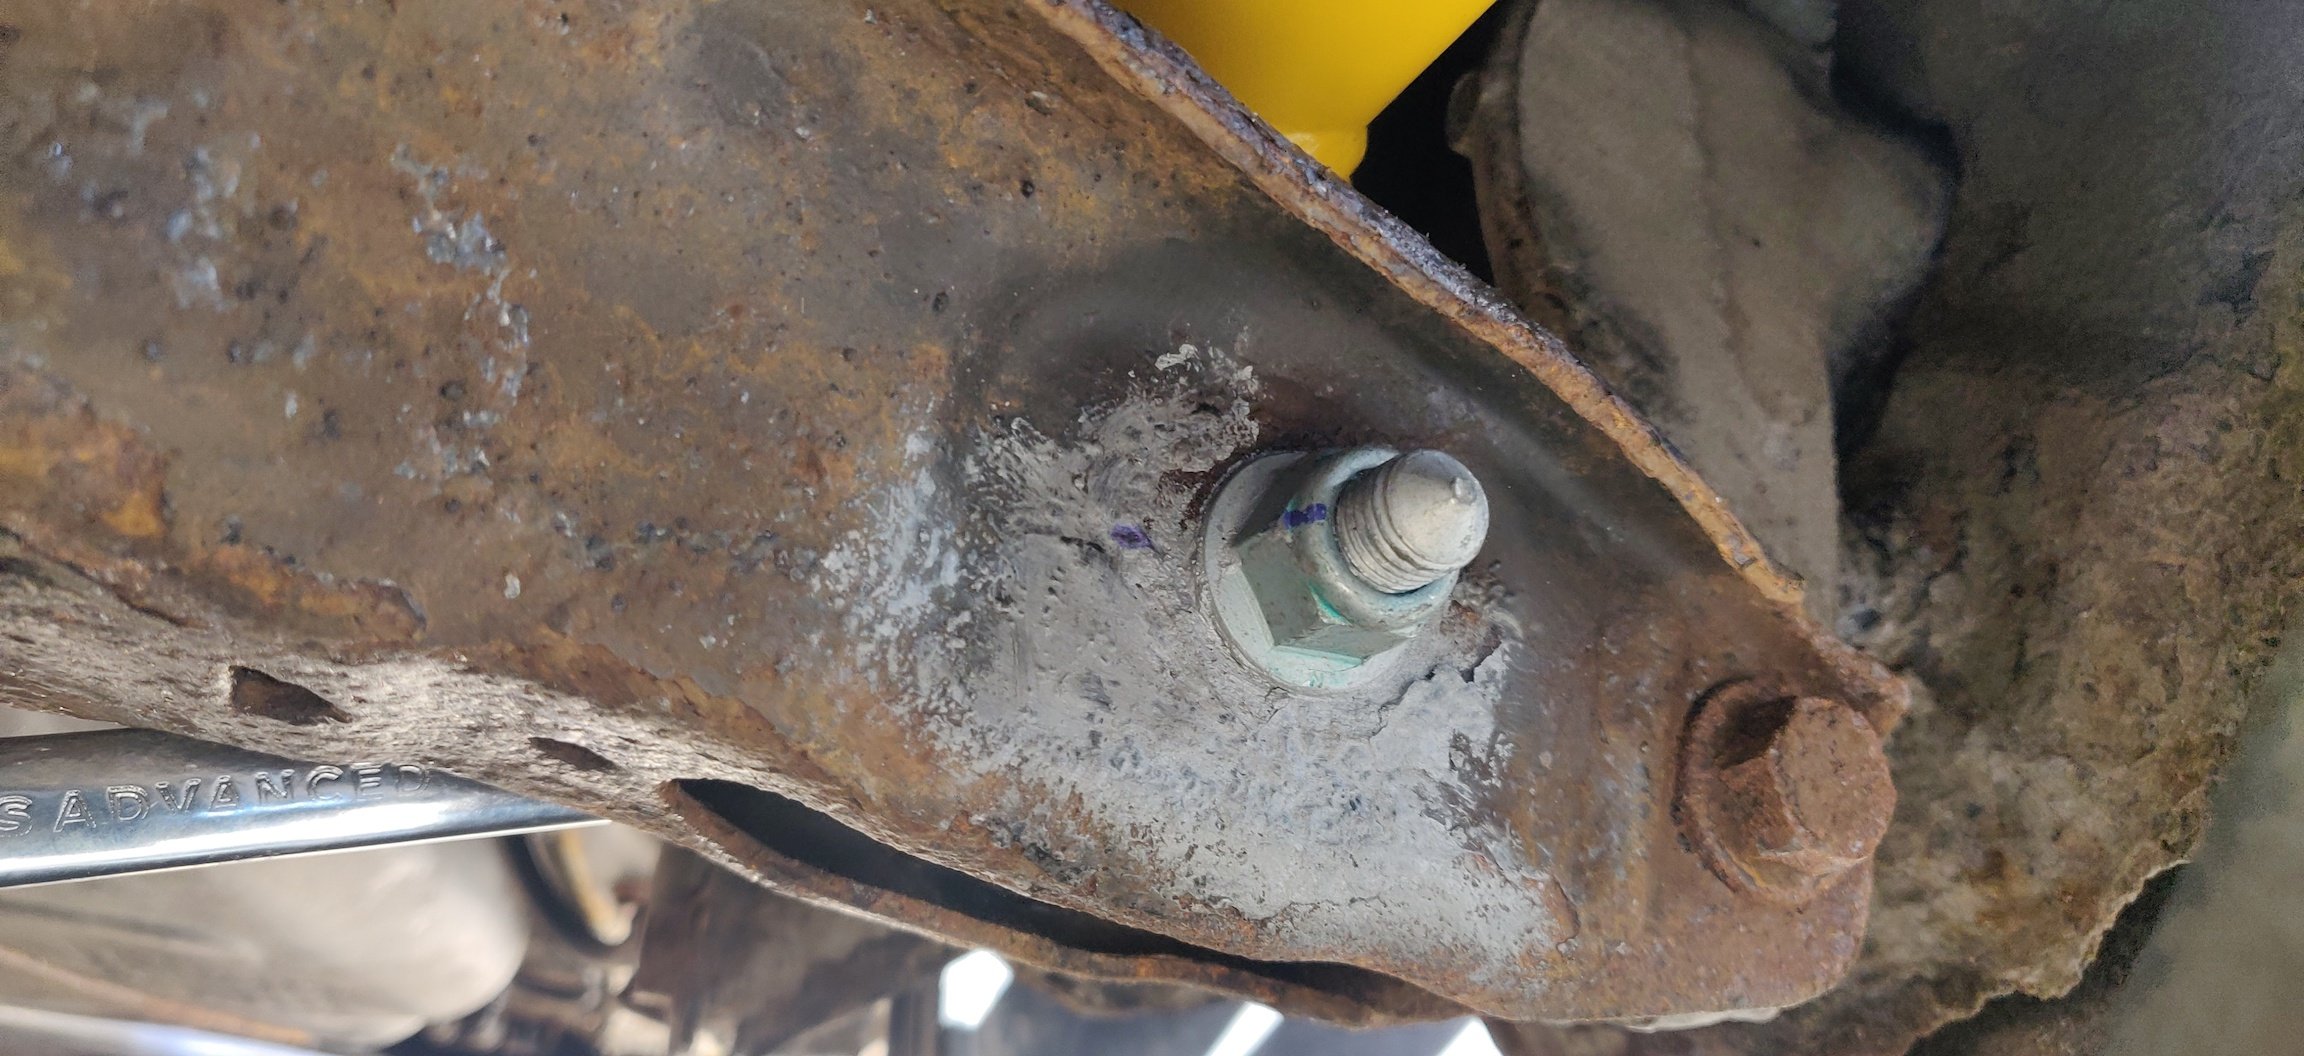
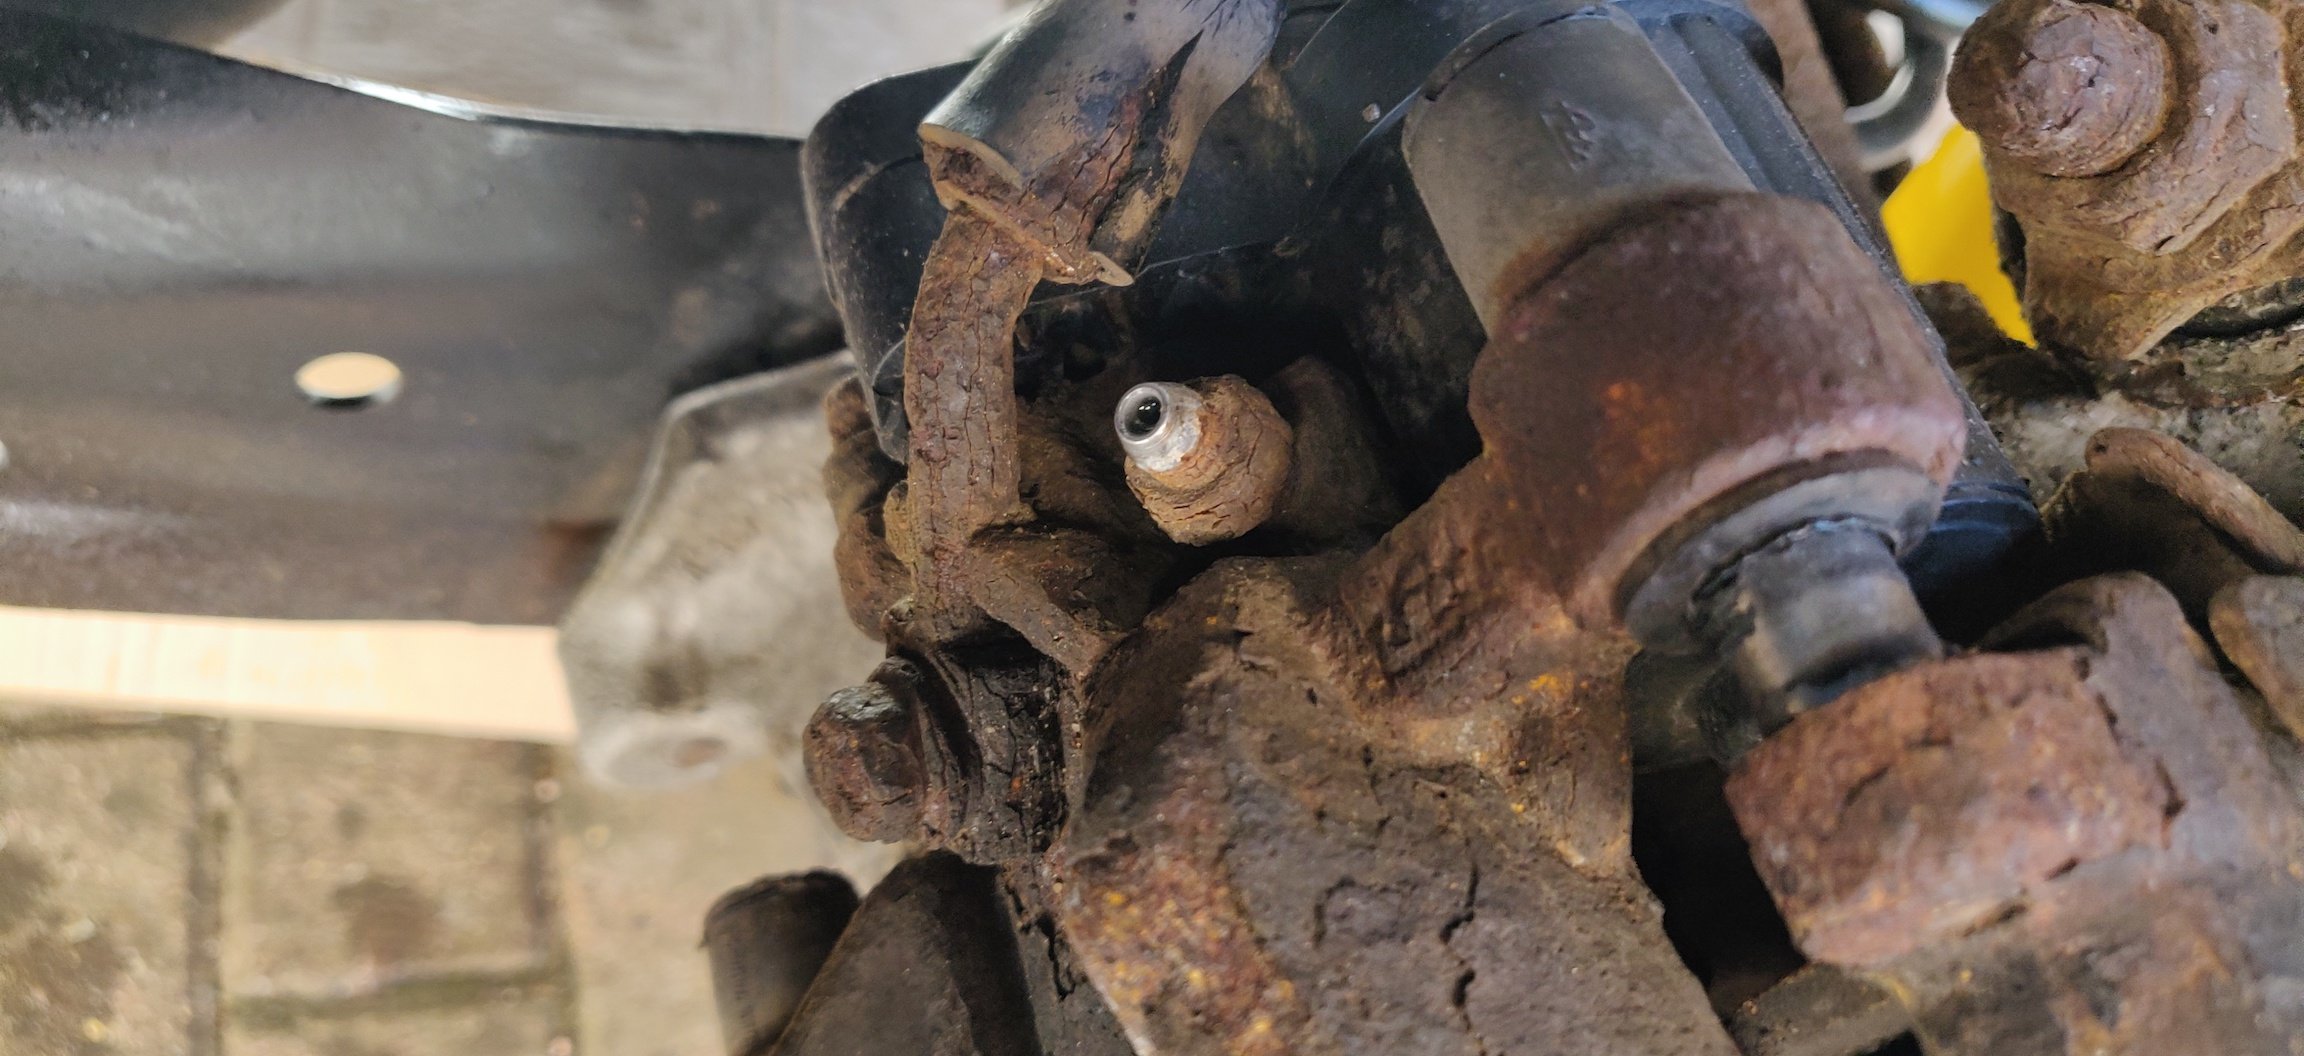
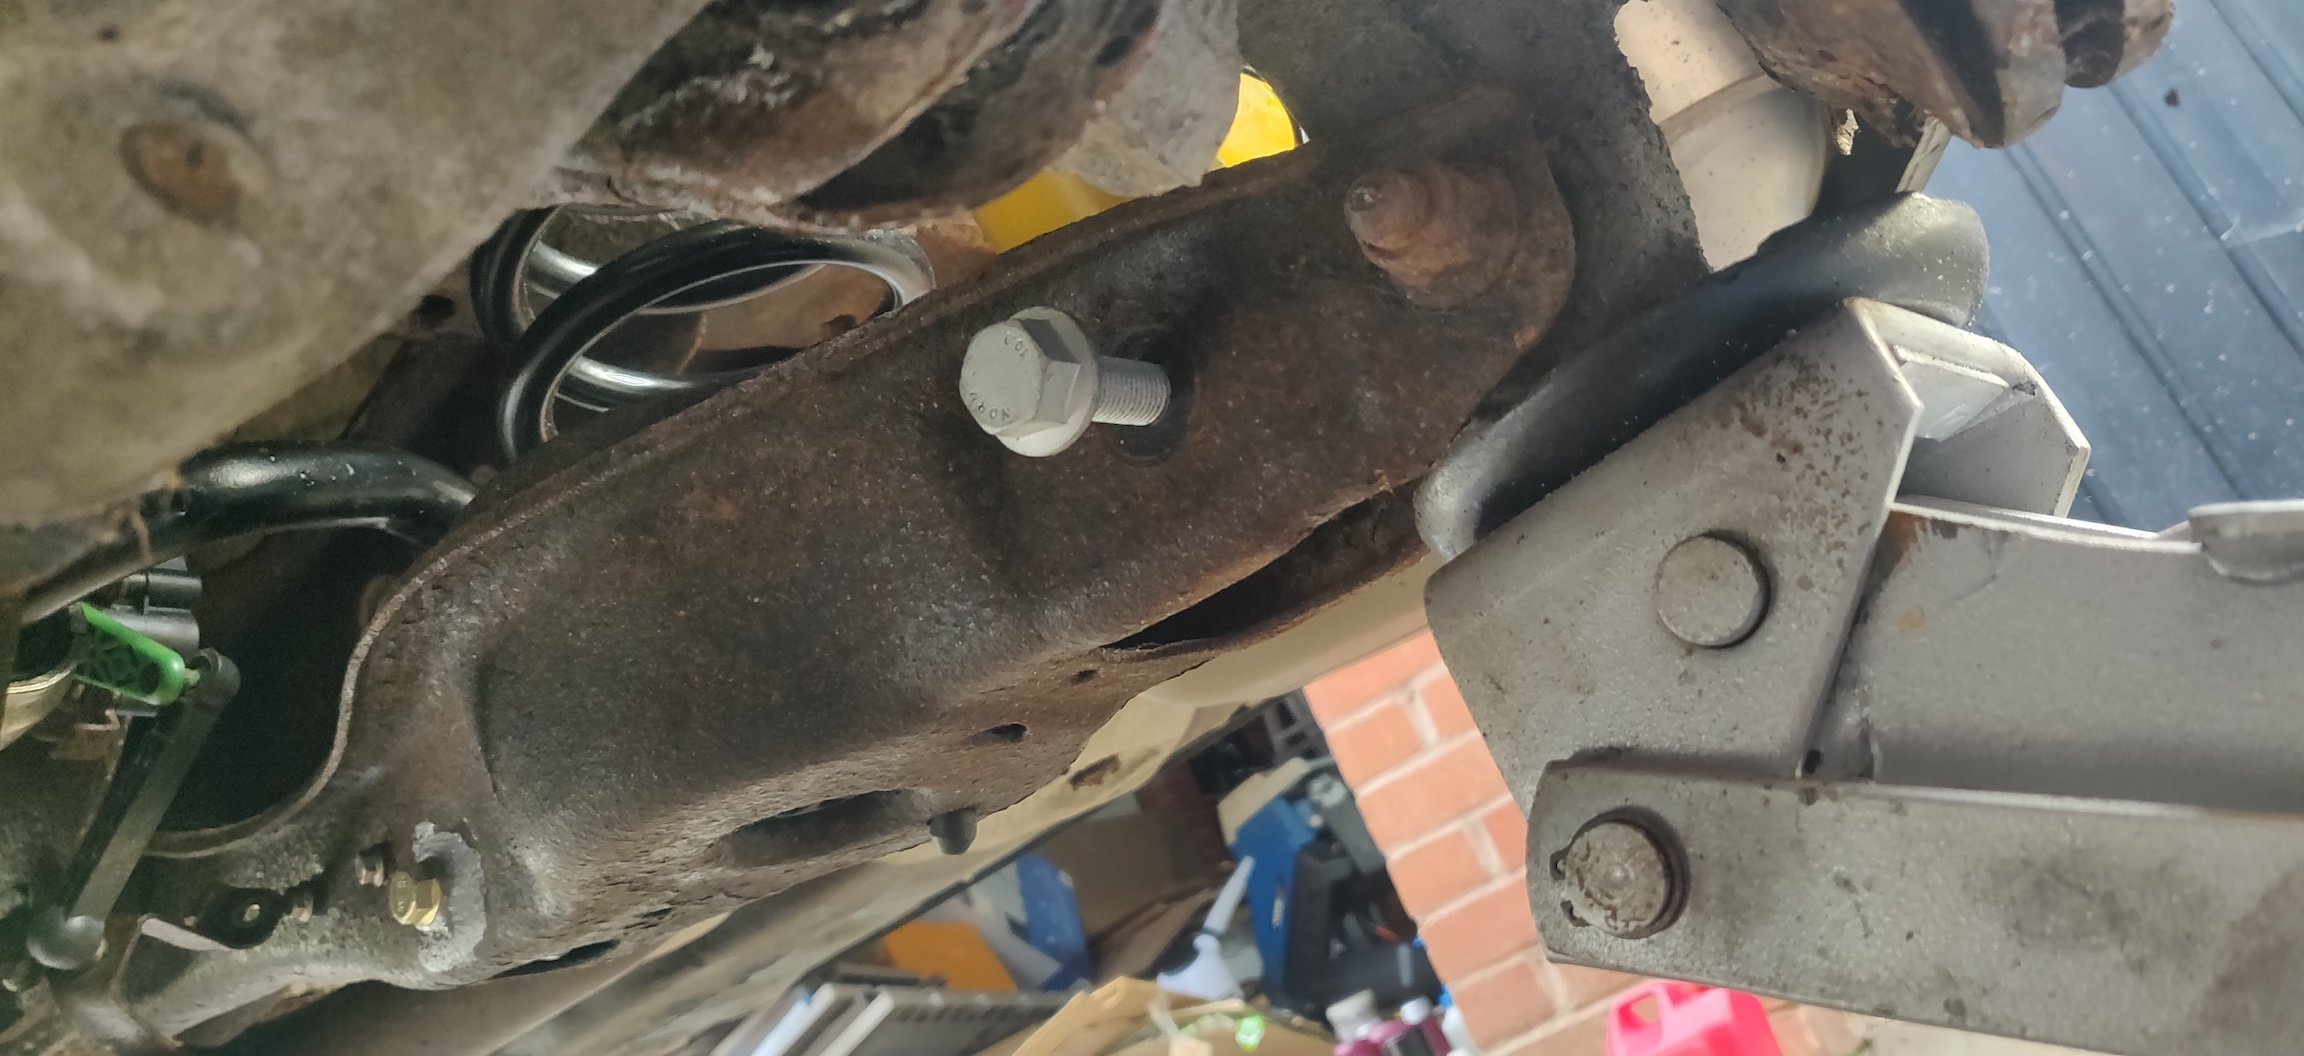
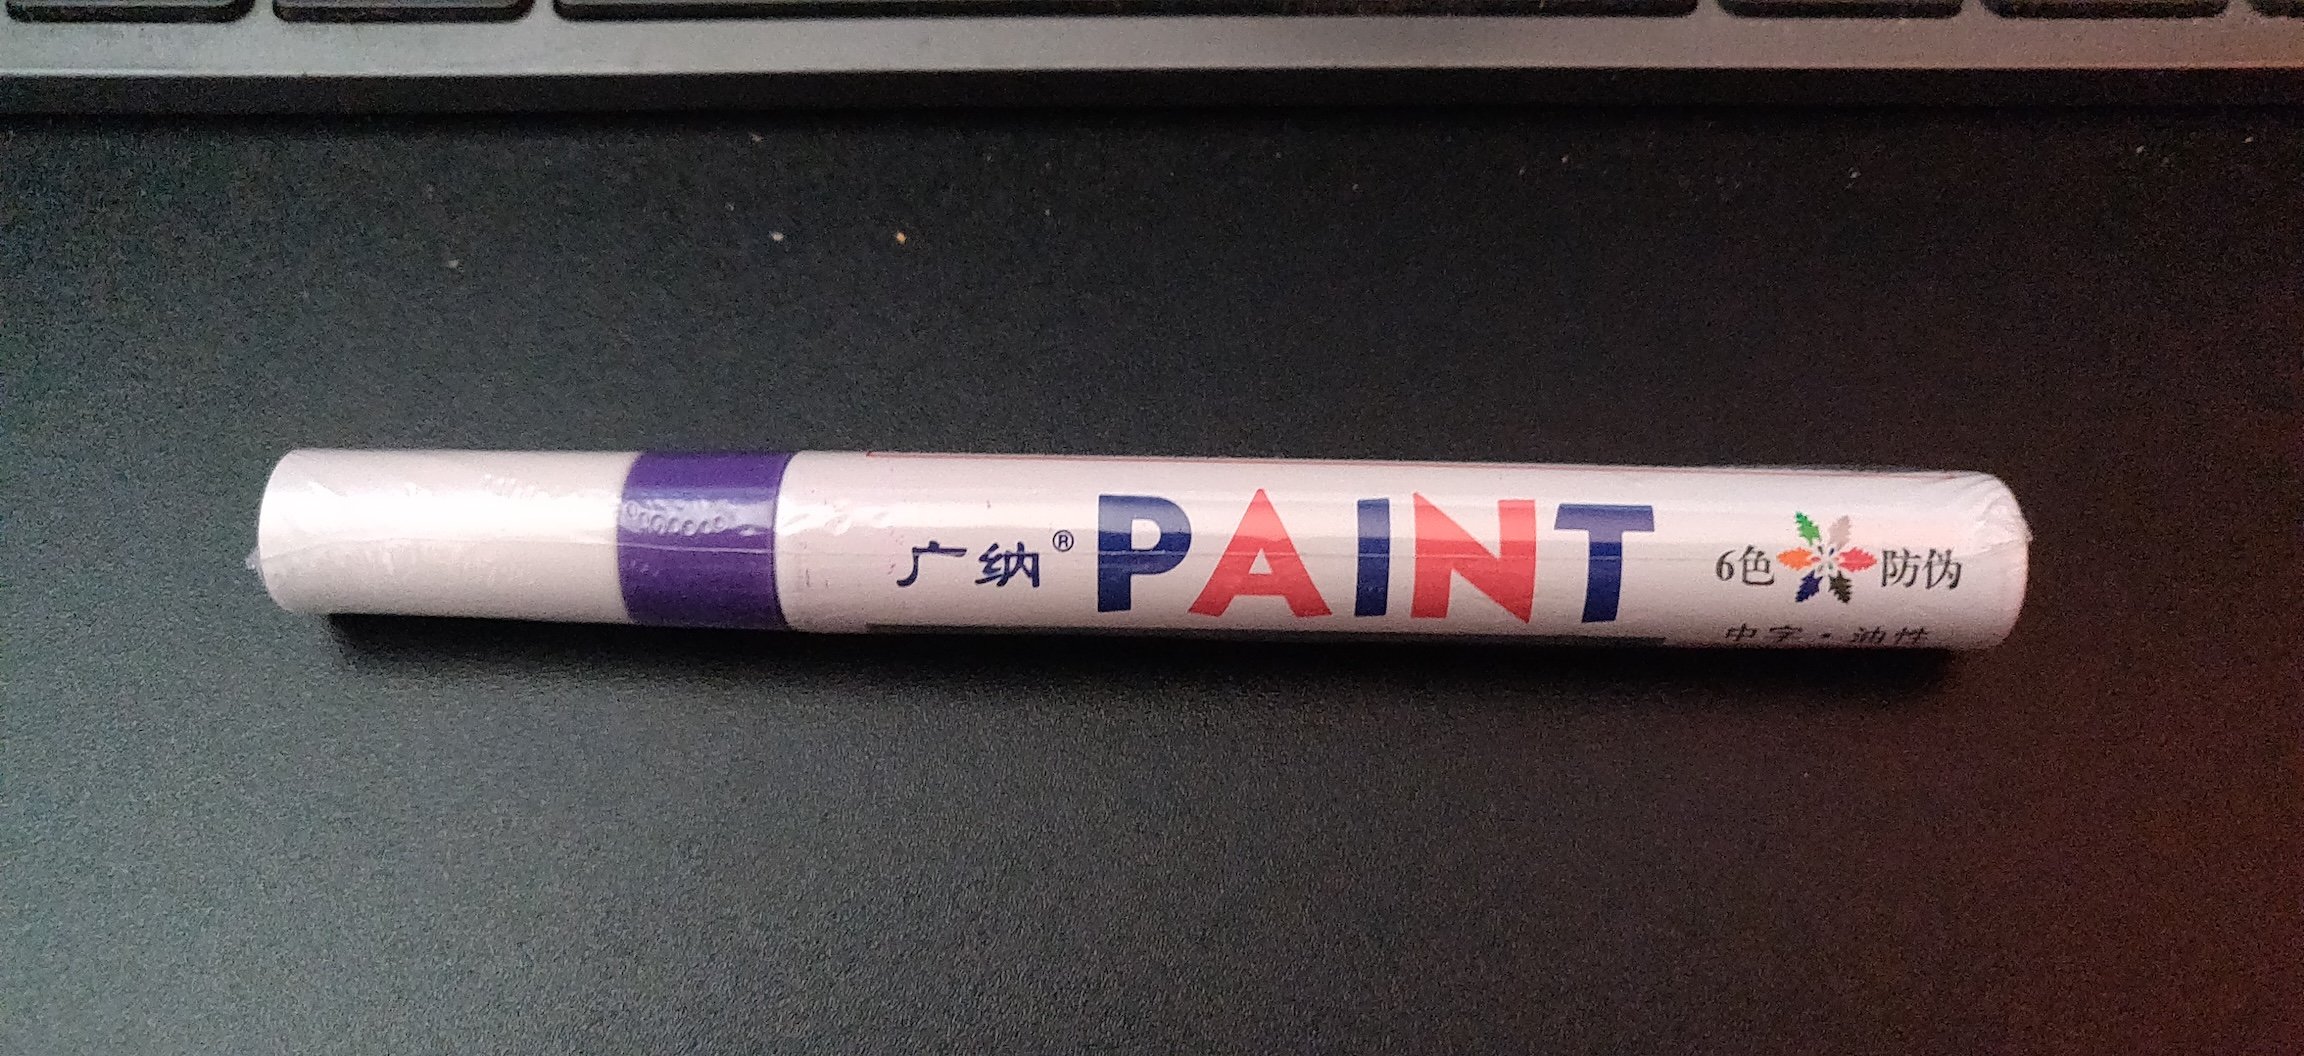
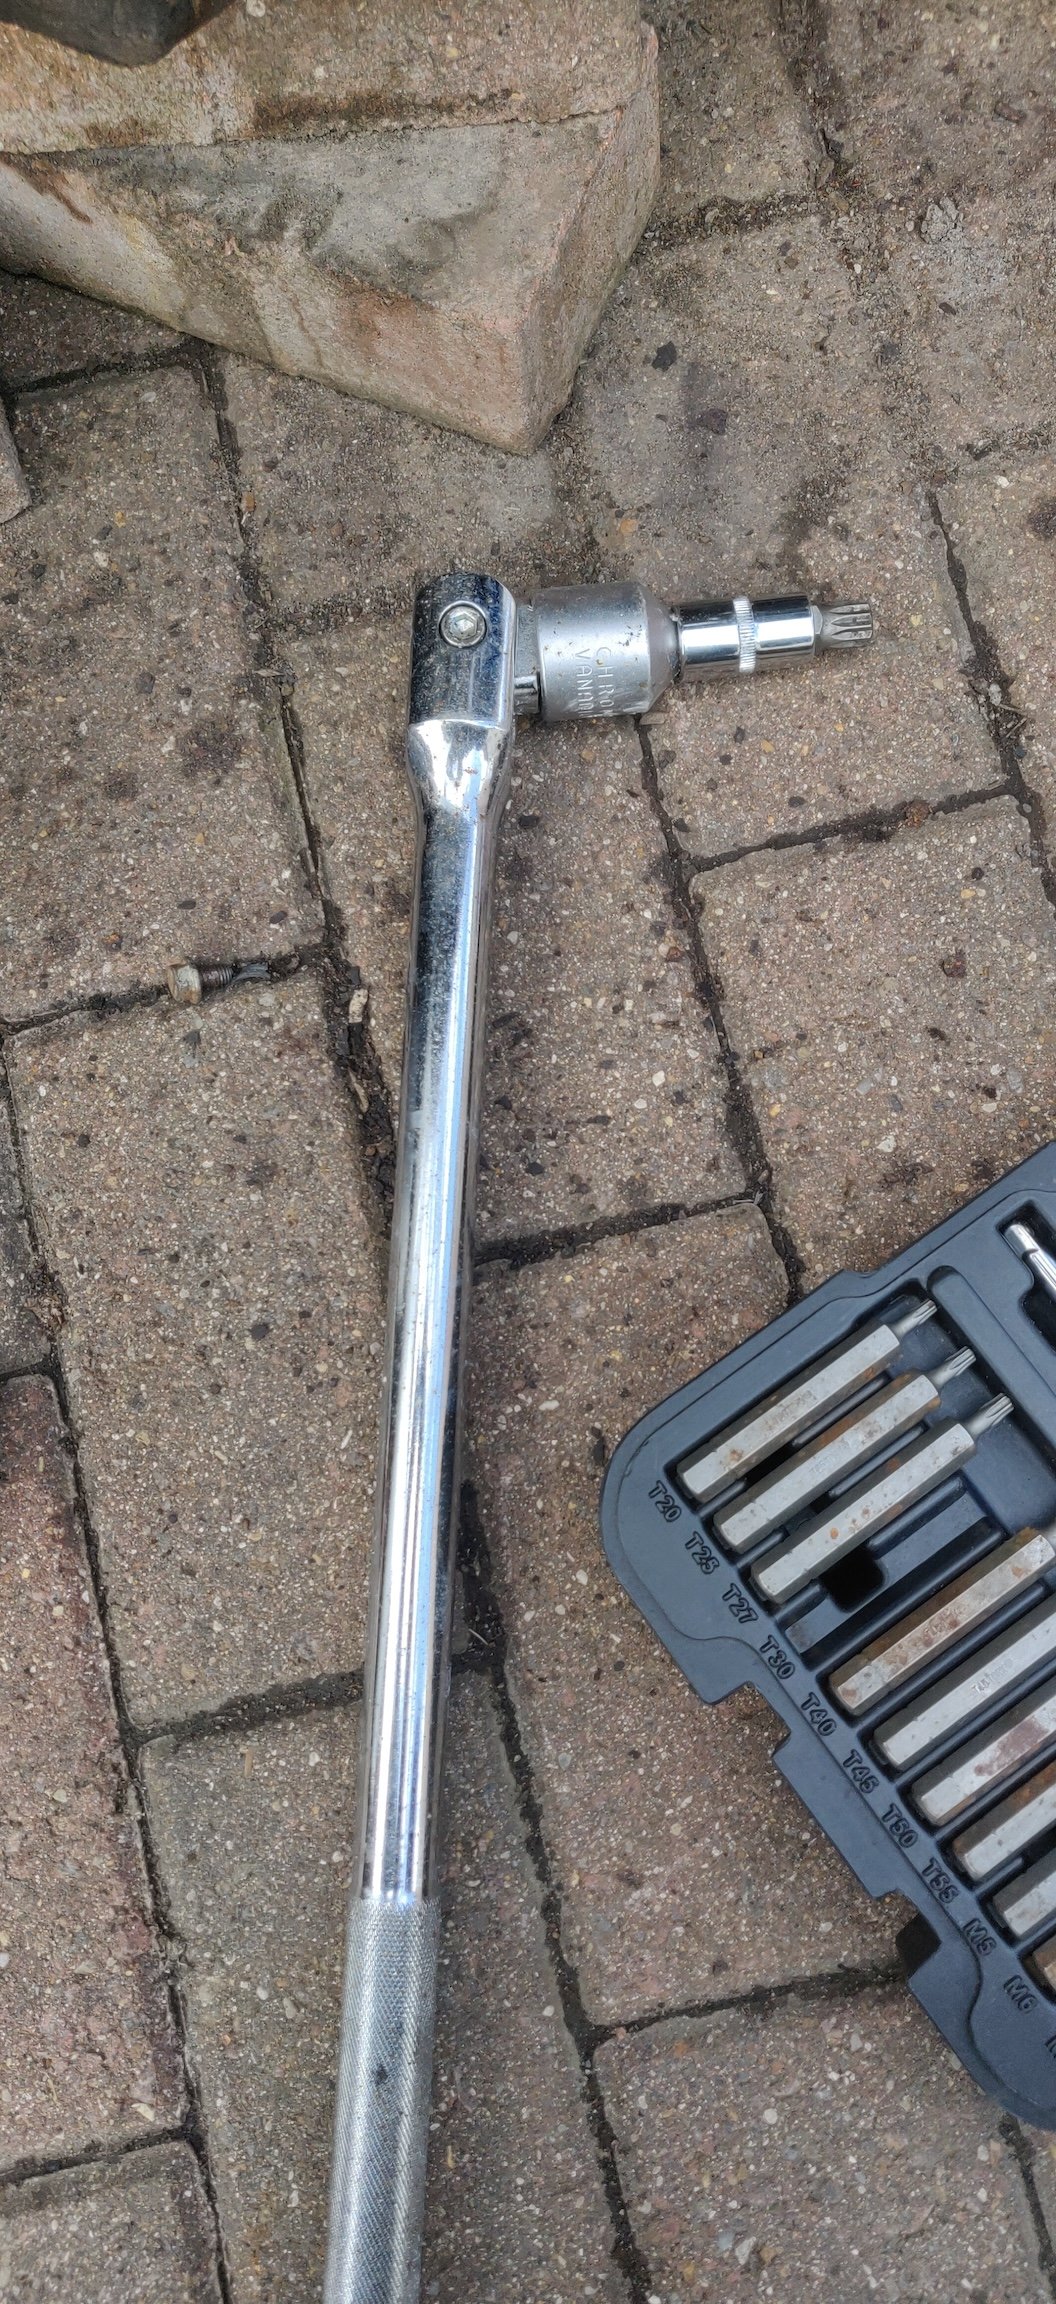
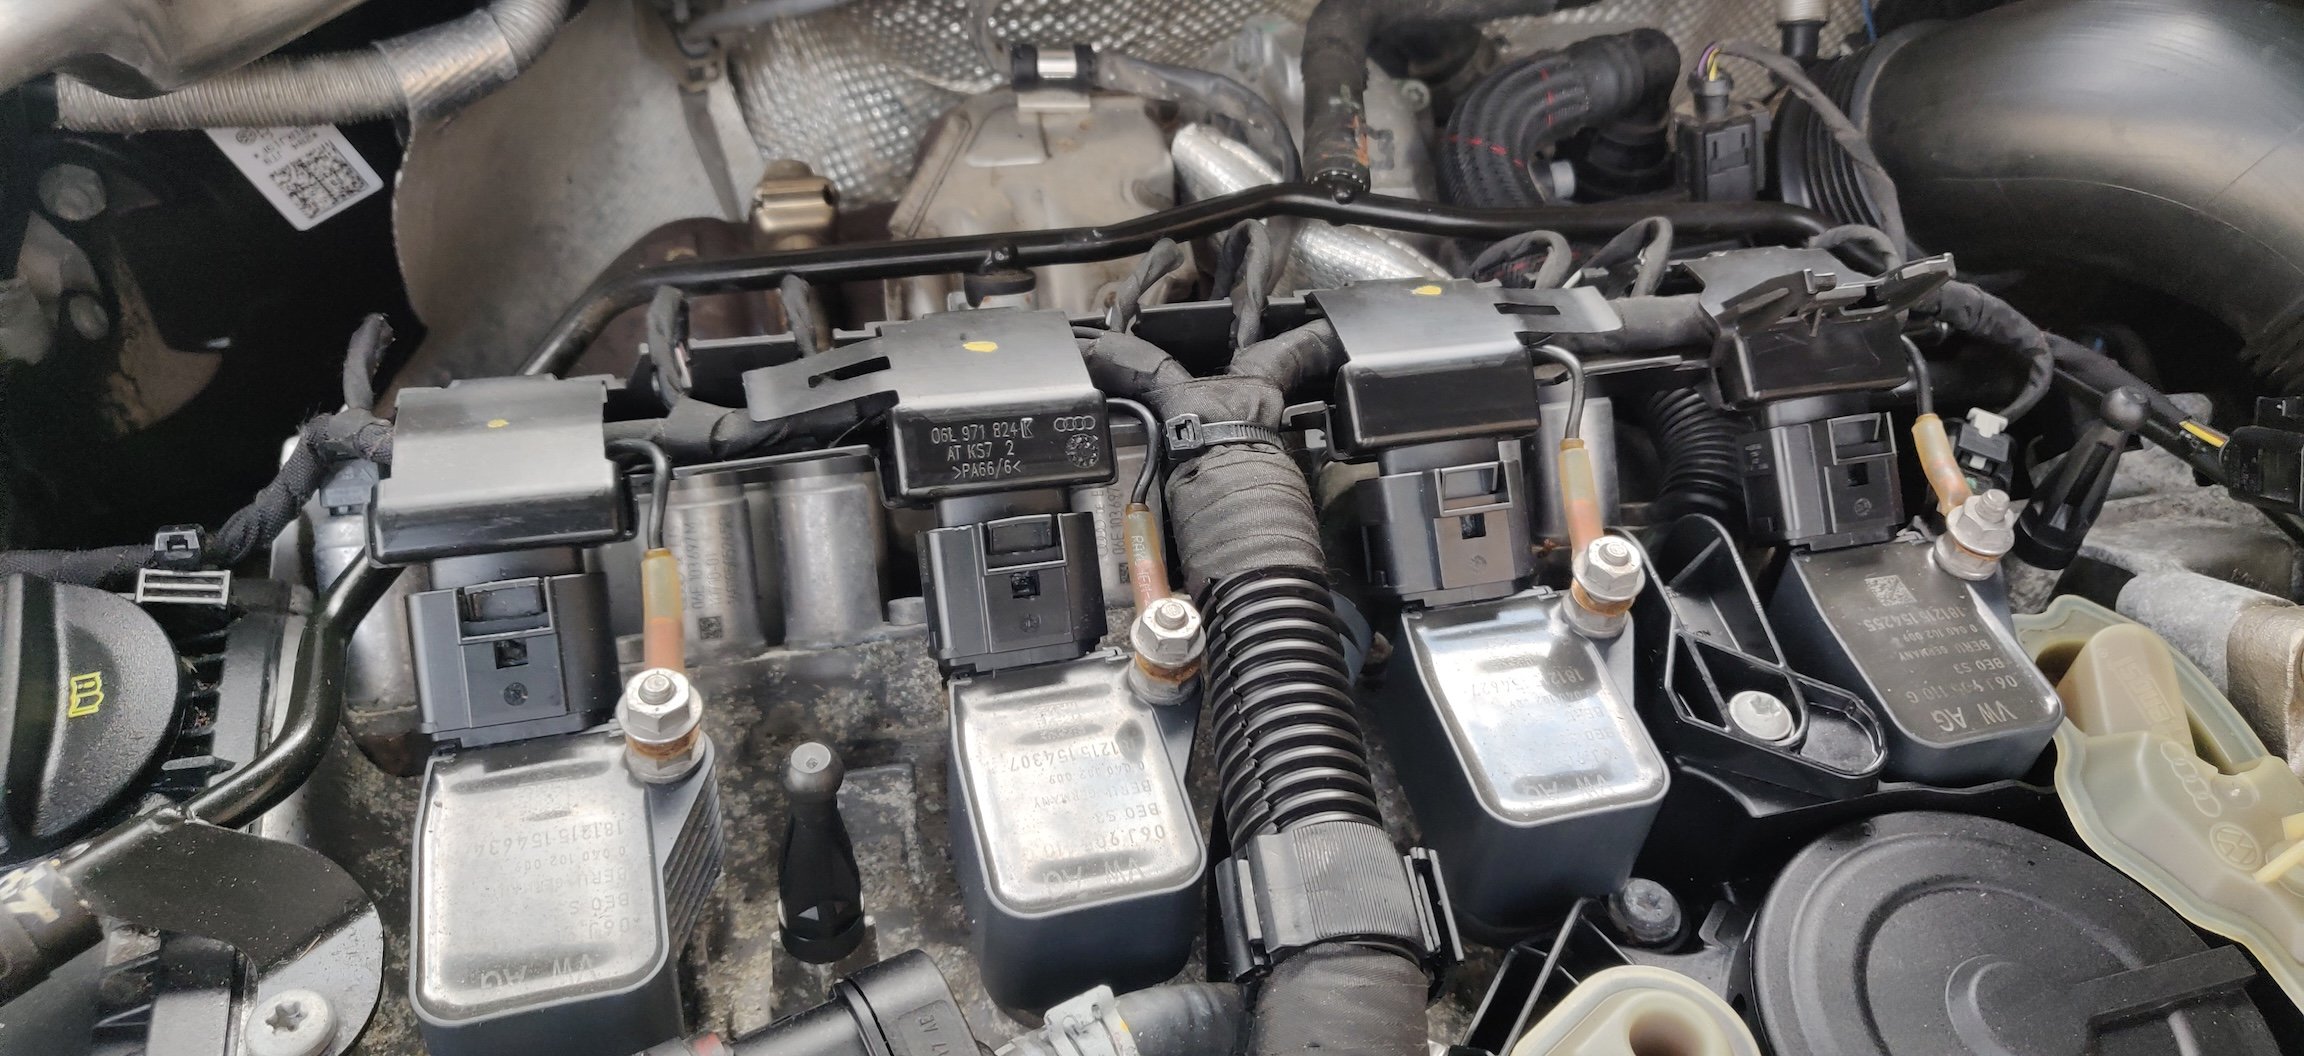
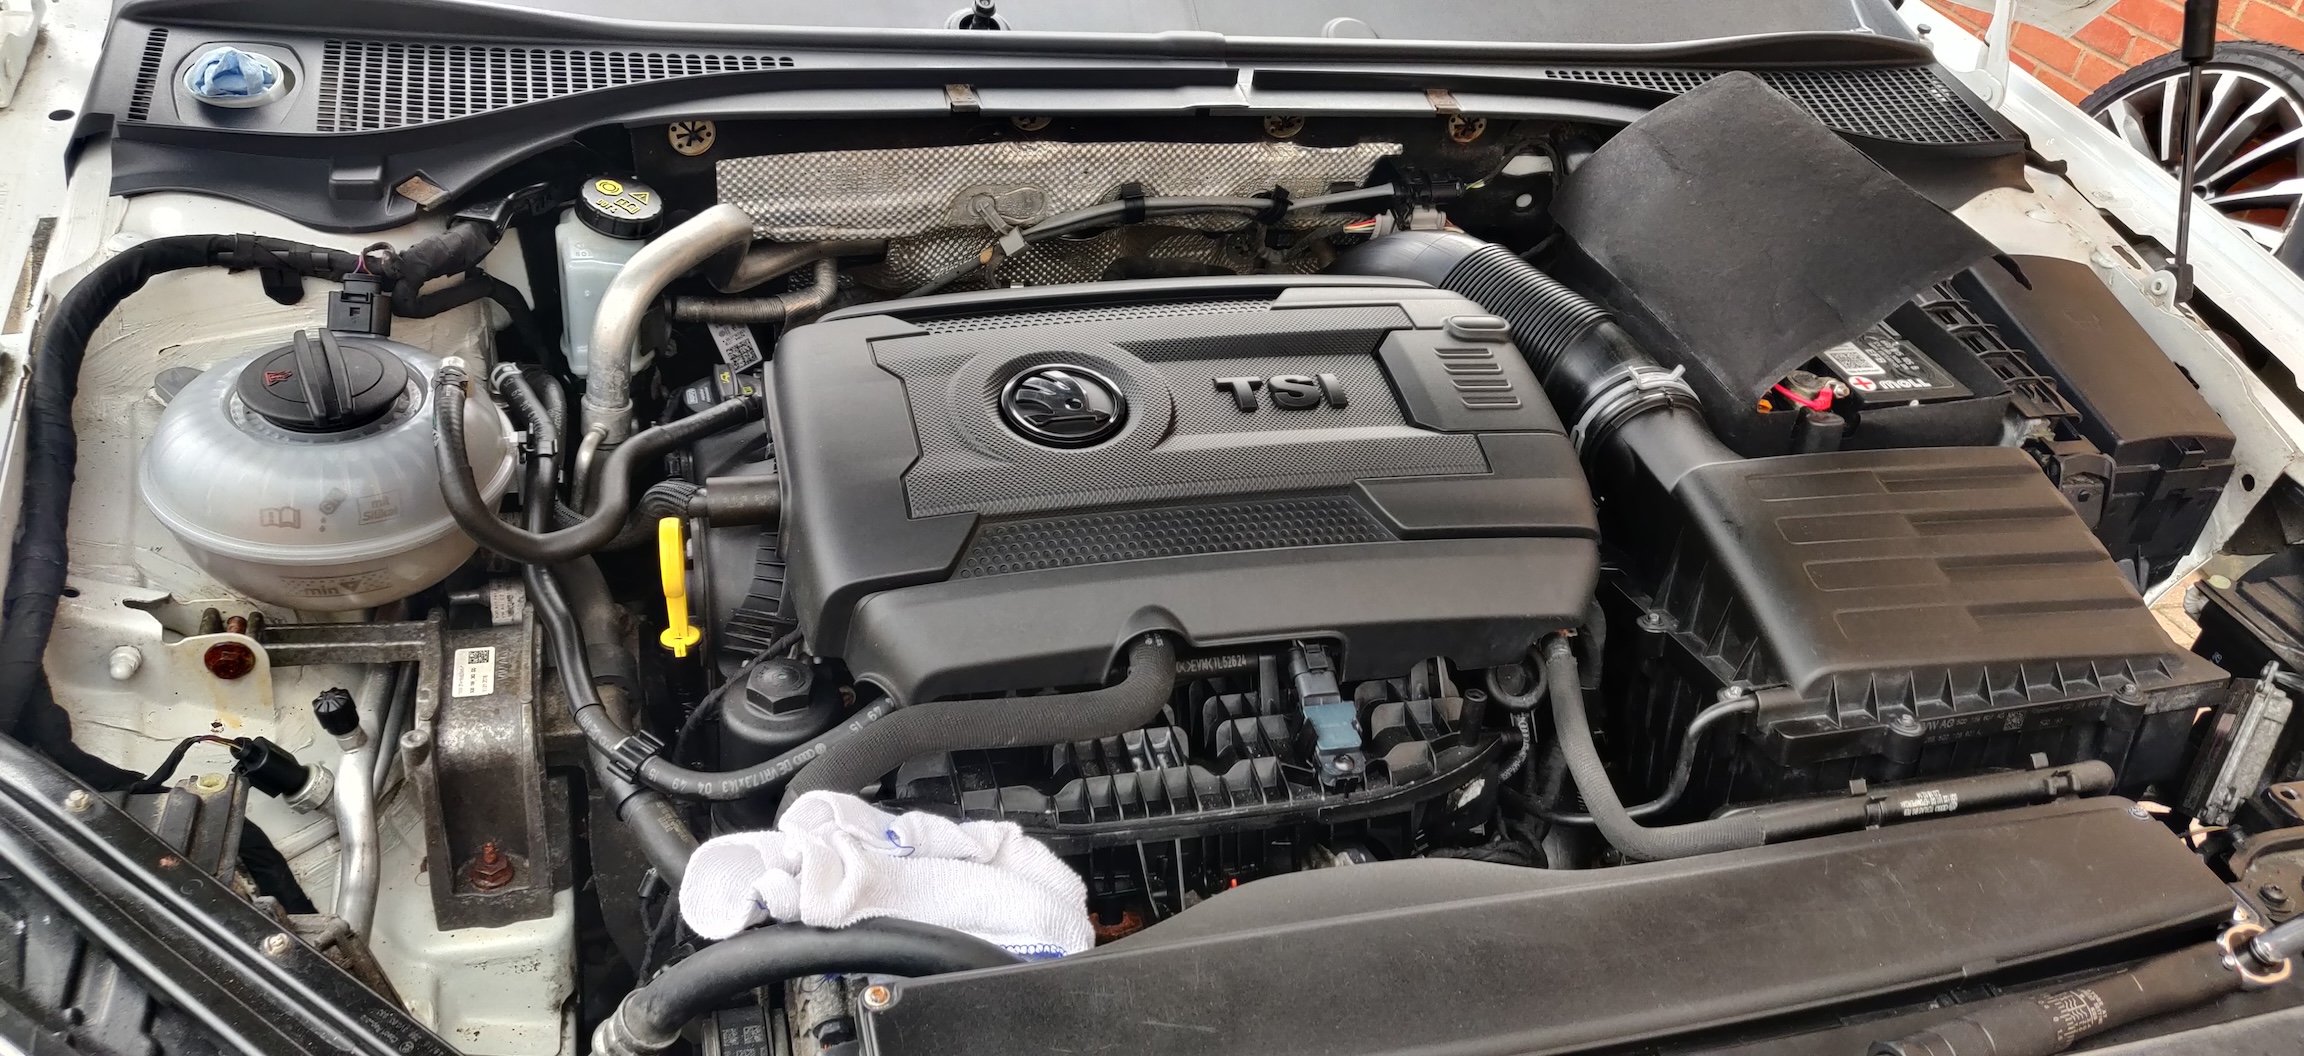
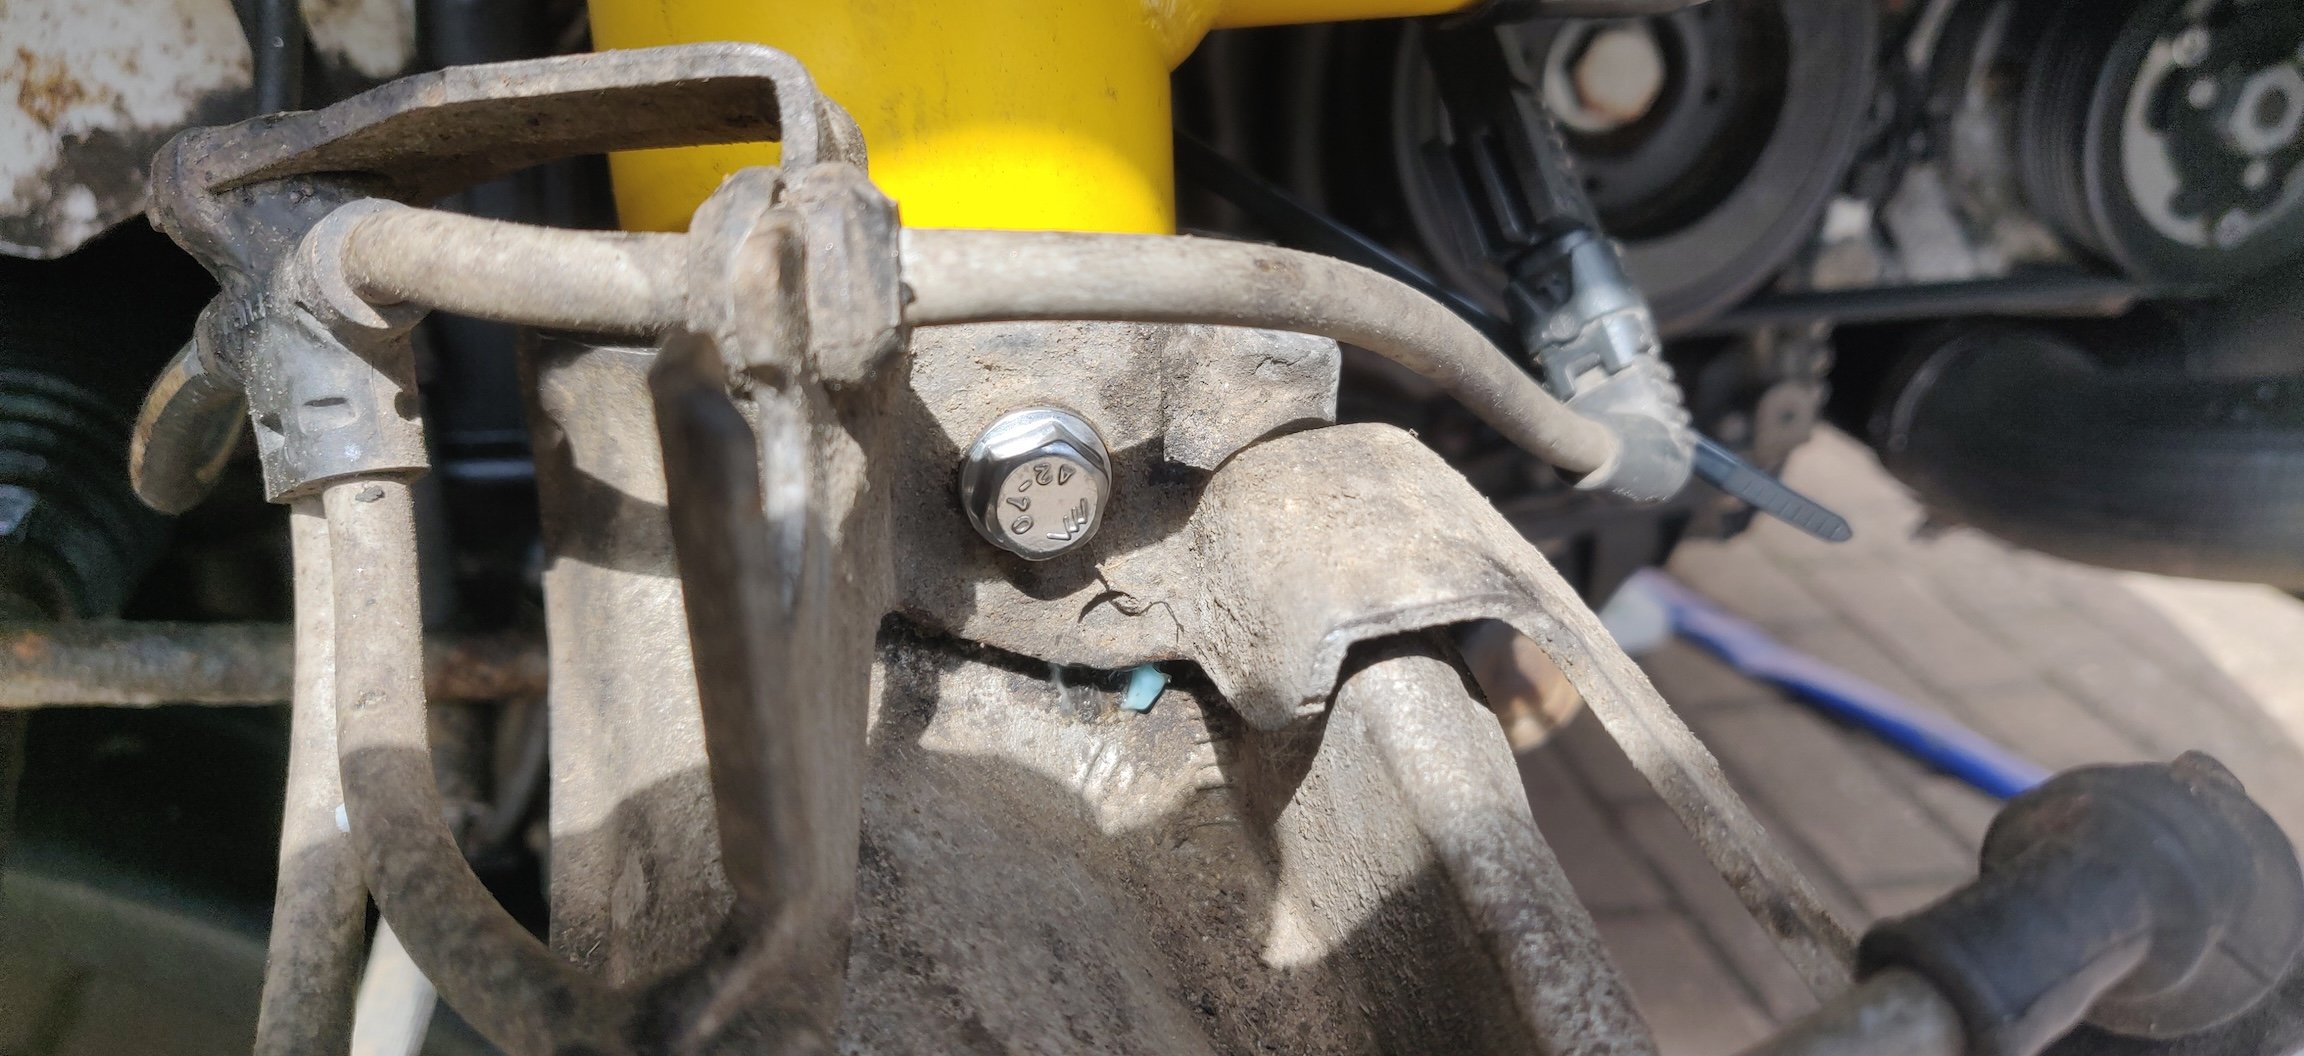
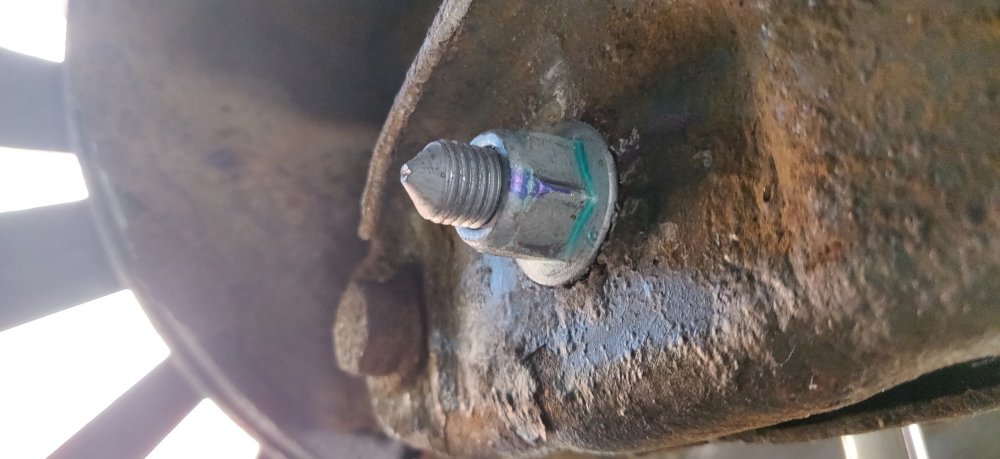
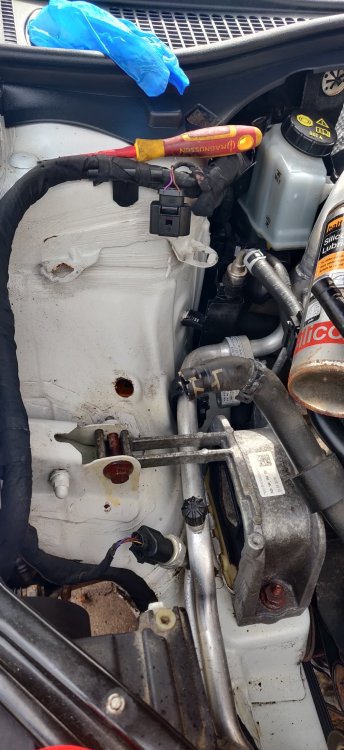
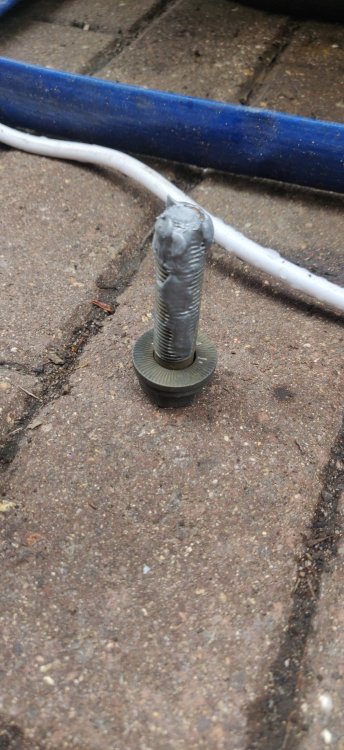
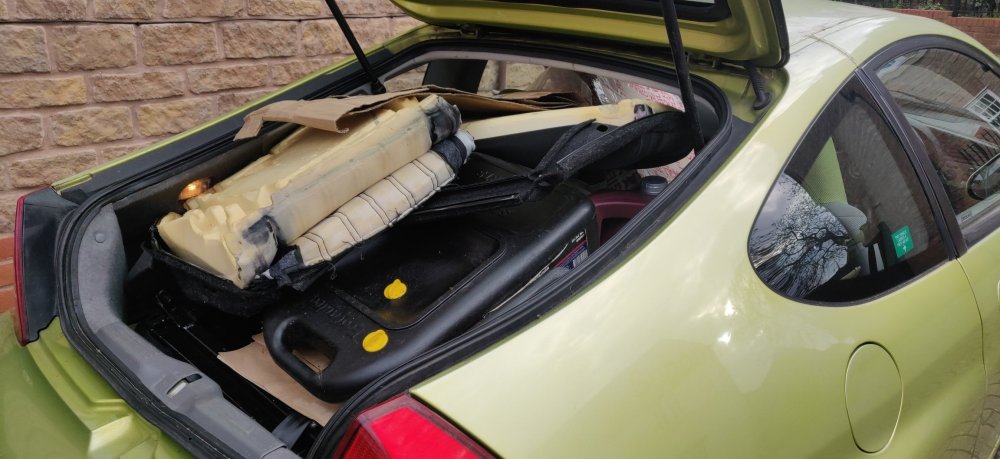
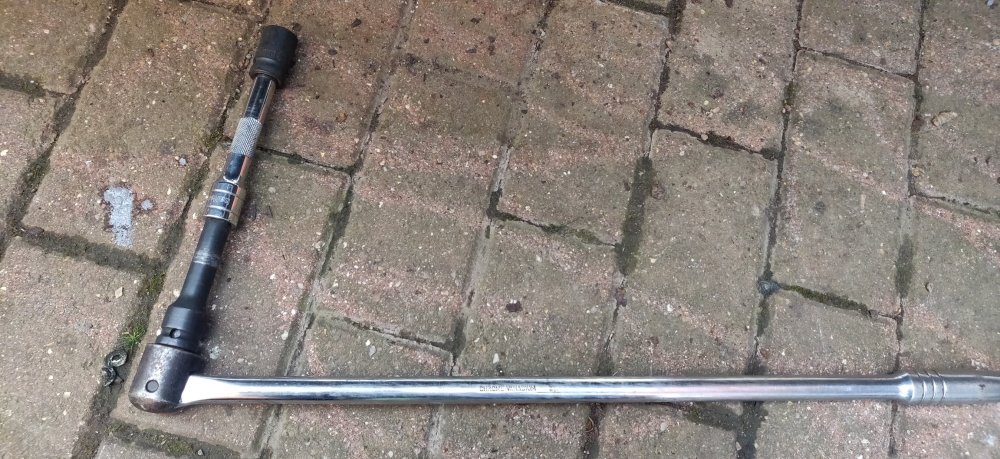
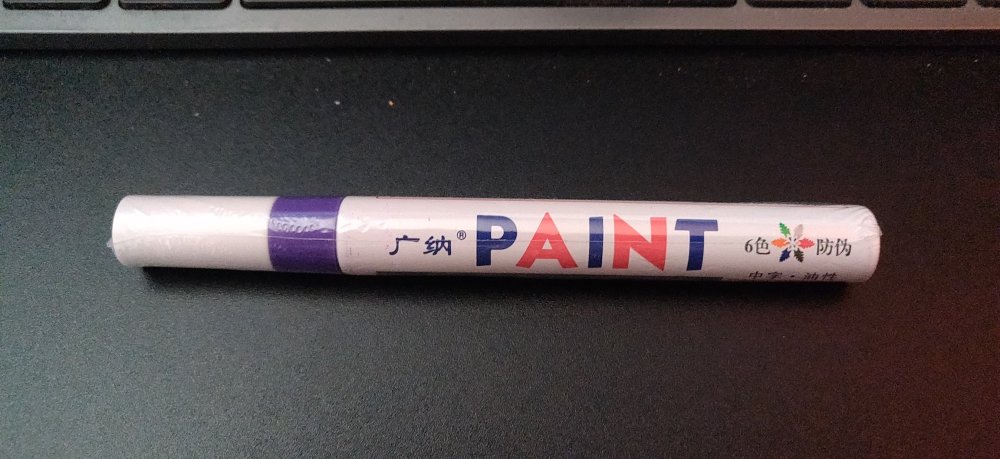
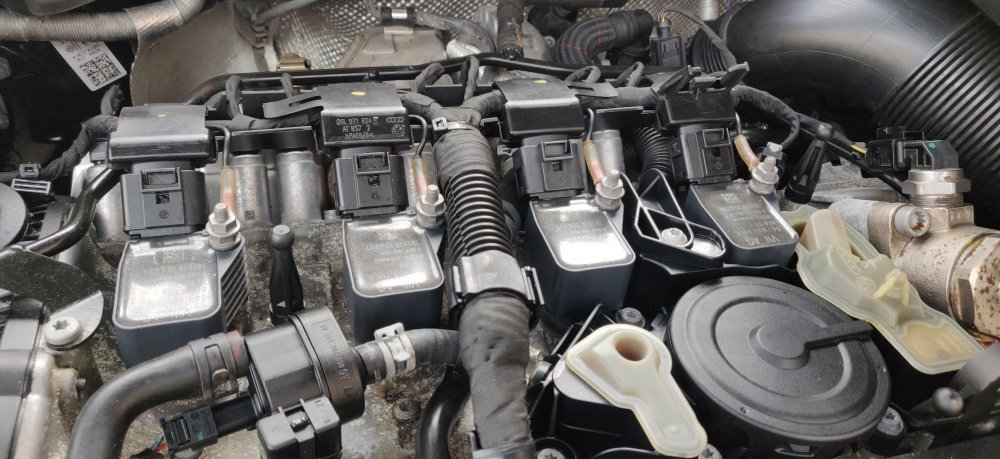
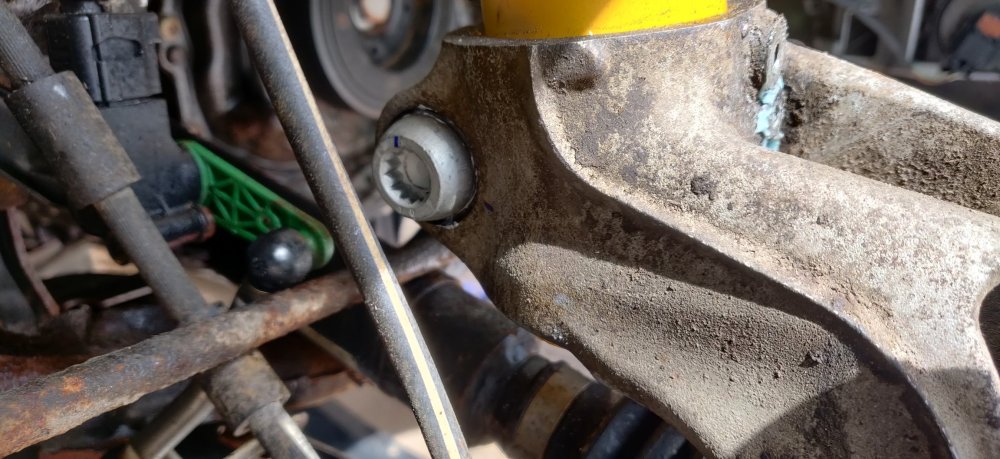
Weather is apparently going to get grim over the rest of the week, so decided to get some stuff in over lunch. Replacement paint pen arrived: Something from eBay for £2.89, got a purple one just because. Some more bolts: So some M6 x 10 flange bolts to replace the brake bracket ones to the front hubs, some M6 x 16 countersunk ones for the future when I get new wheel bearings and brake discs, and some additional screws in case I run short when reassembling the wheel arches. Totalled £10.78 from eBay. So another easy win thing, clipped the things on the coil pack connector back: Bit more of a faff than I thought it would be getting it all aligned up and actually snapping into place. Then checked the coil pack bolt thing to ensure its done to 10Nm, before nipping up the nut for the presumably additional ground bits also at 10Nm: Don't think there's anything else I removed at the top of the engine, so popped that plastic cover back on: Been a while. Then decided to tackle that 180 degree tightening. I rummaged through the garage to find: A 3/4 inch breaker bar, which I last used for my brother's Audi A3 where that crankshaft bolt is something insane in regards angle required. I ended up using my legs with my body braced against the wall to get the required leverage. If I'm ever unlucky enough to need to replace the timing chain on this engine, it'll be deja vu. Only have the reducer adapter for this thing though, as I can't justify the cost of dedicated 3/4 sockets for such rare use cases. So for the right side, took off the brake dust shield, and moved the brake hose and wiring brackets out of the way, so that the 18mm wrench essentially wedges against the hub: The plan was to mark the bolt with the sharpie and the opposite side of it, so that when it lines up, it'll suggest the required 180 degrees: The pic has some wiring in the way, but you can see the intended destination as it were. So got the M14 socket, into that 3/4 breaker and carefully applied some force: This pic shows it better, halfway there, just continue until: It's probably easier with some extension on it, but didn't want to risk rounding the bolt so kept a hand on it over the centre. Then got the paint pen and marked it up. So that's that. Got the stainless bolt to replace the existing one for the brake bracket and tightened to 8Nm: Then got the dust shield back on with that tightened to 12Nm, so that's the right side sorted. Left side was a little easier. For whatever reason, the nut was not rotating with the bolt, so was able to tighten the thing with just my other arm counter holding the spanner: Then the same process: The dust shield could have been removed which would have meant more of a swing with the bar, so probably slightly easier: But once done, tightened up the brake bracket and dust shield: So that's that! As eager as I am to get the wheel arches on, I ordered a replacement coolant expansion tank to replace the existing one, so want to replace that, before adding any more coolant in and checking for leaks. The other side has all the washer gubbins, so I still need to check for leaks and to flush all that hose work through. But for all intents and purposes the front suspension is complete. I'll start chucking the spoils of war at the local dump, like the bits of rear seat and what not. There's a fair bit! Maintenance: £2217.41 (+£10.78) Upgrades: £1322.97 Miscellaneous: £684.25 (+£2.89)


-
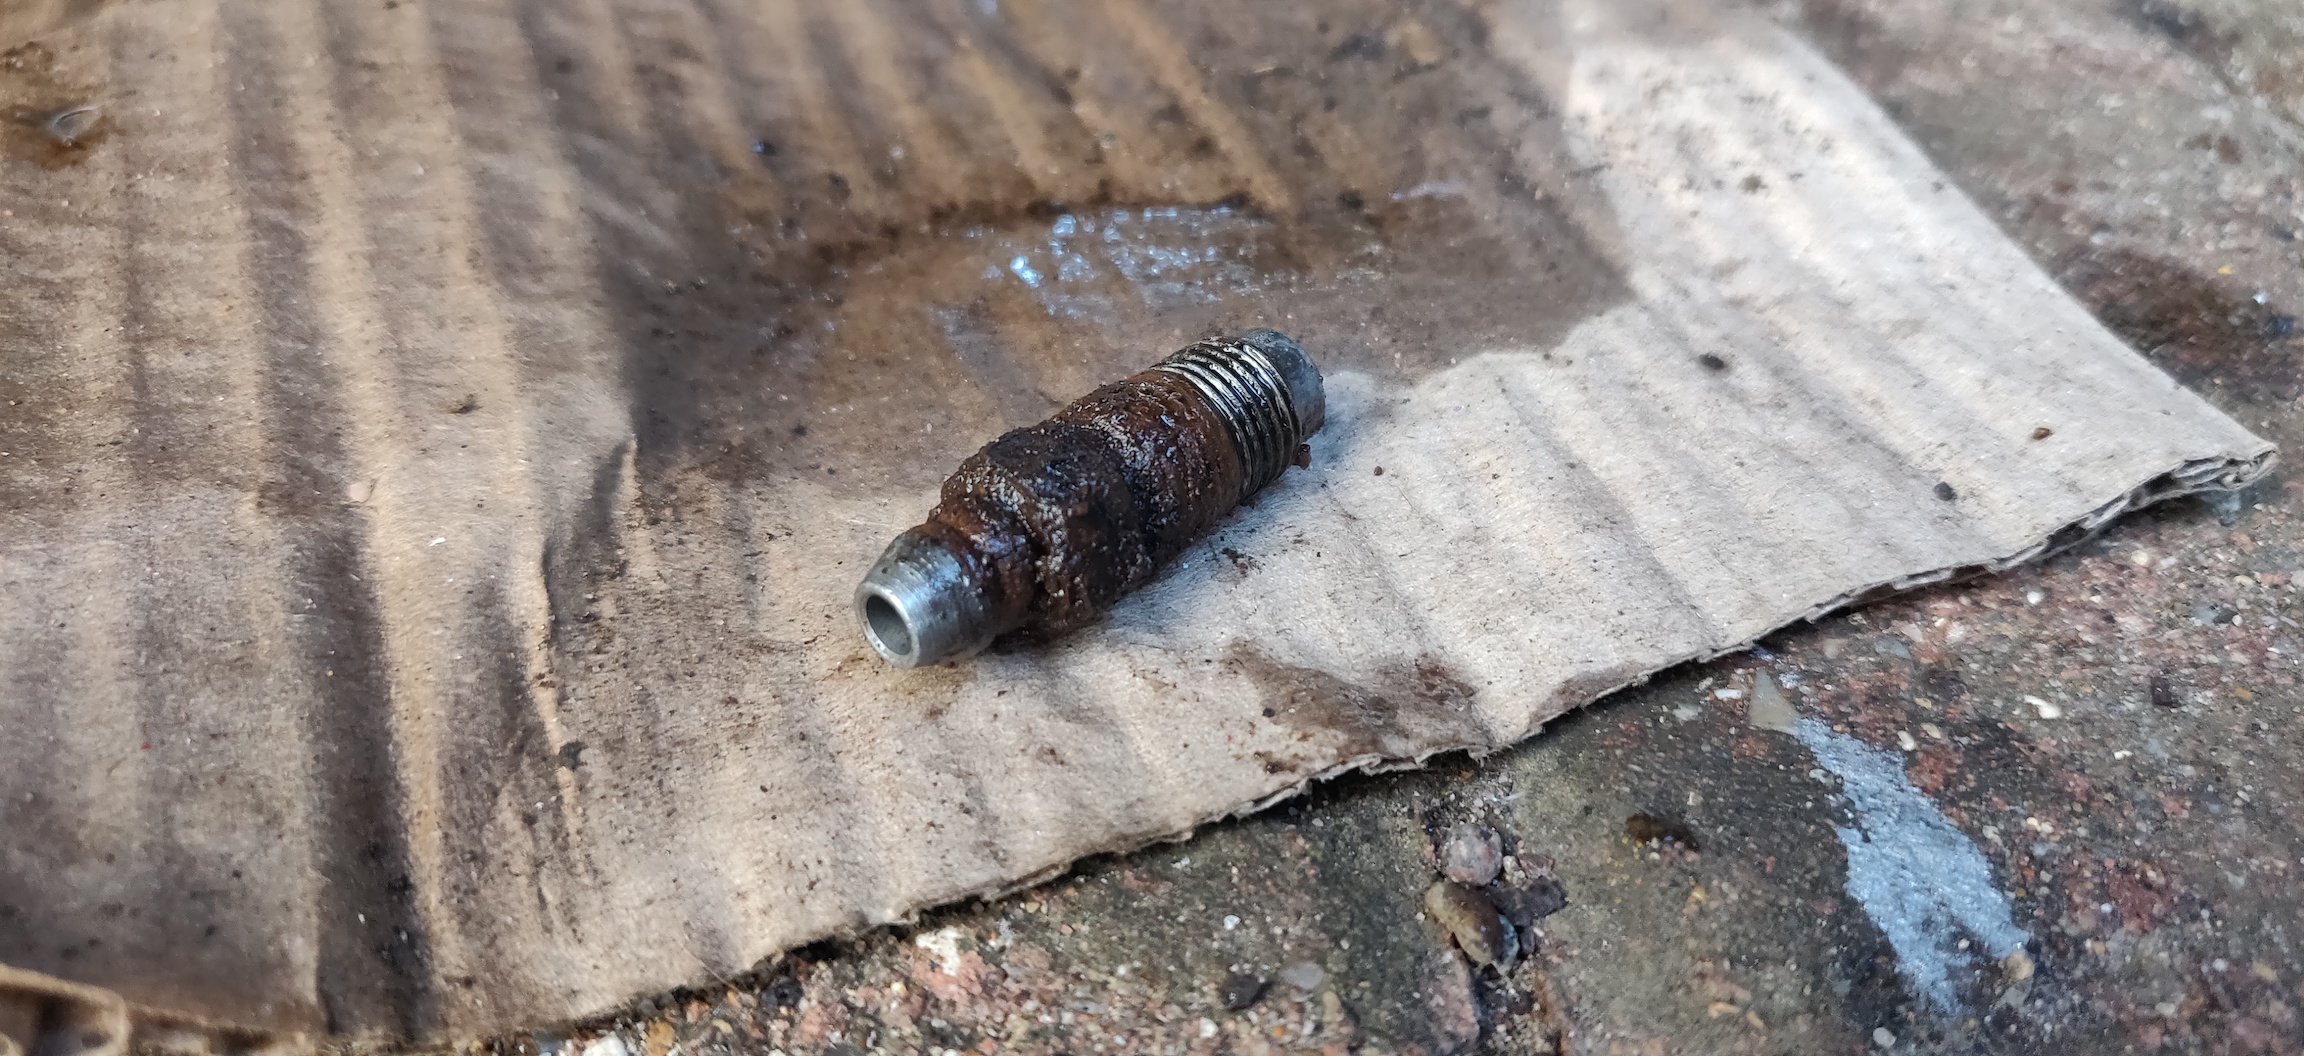
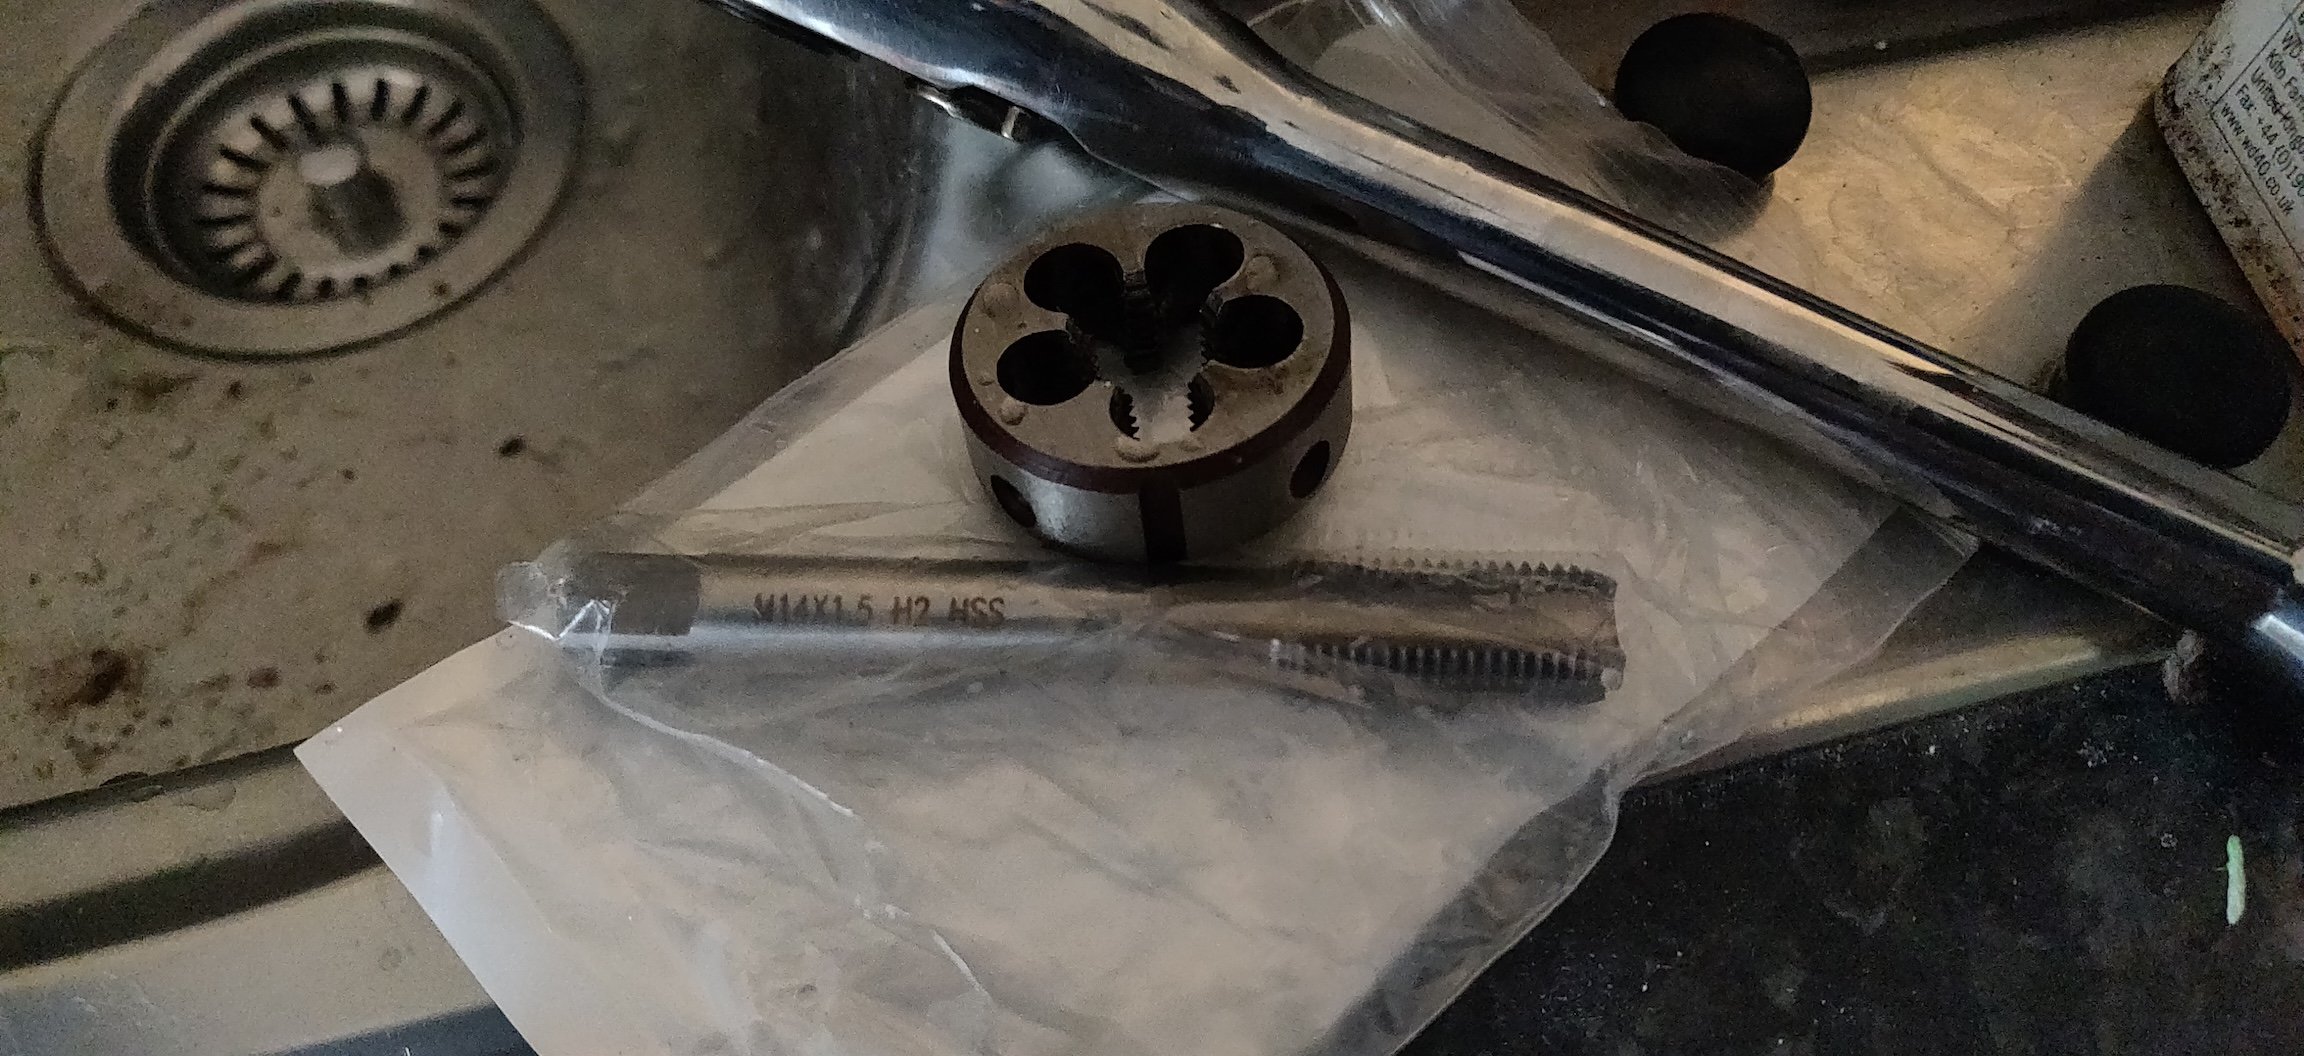
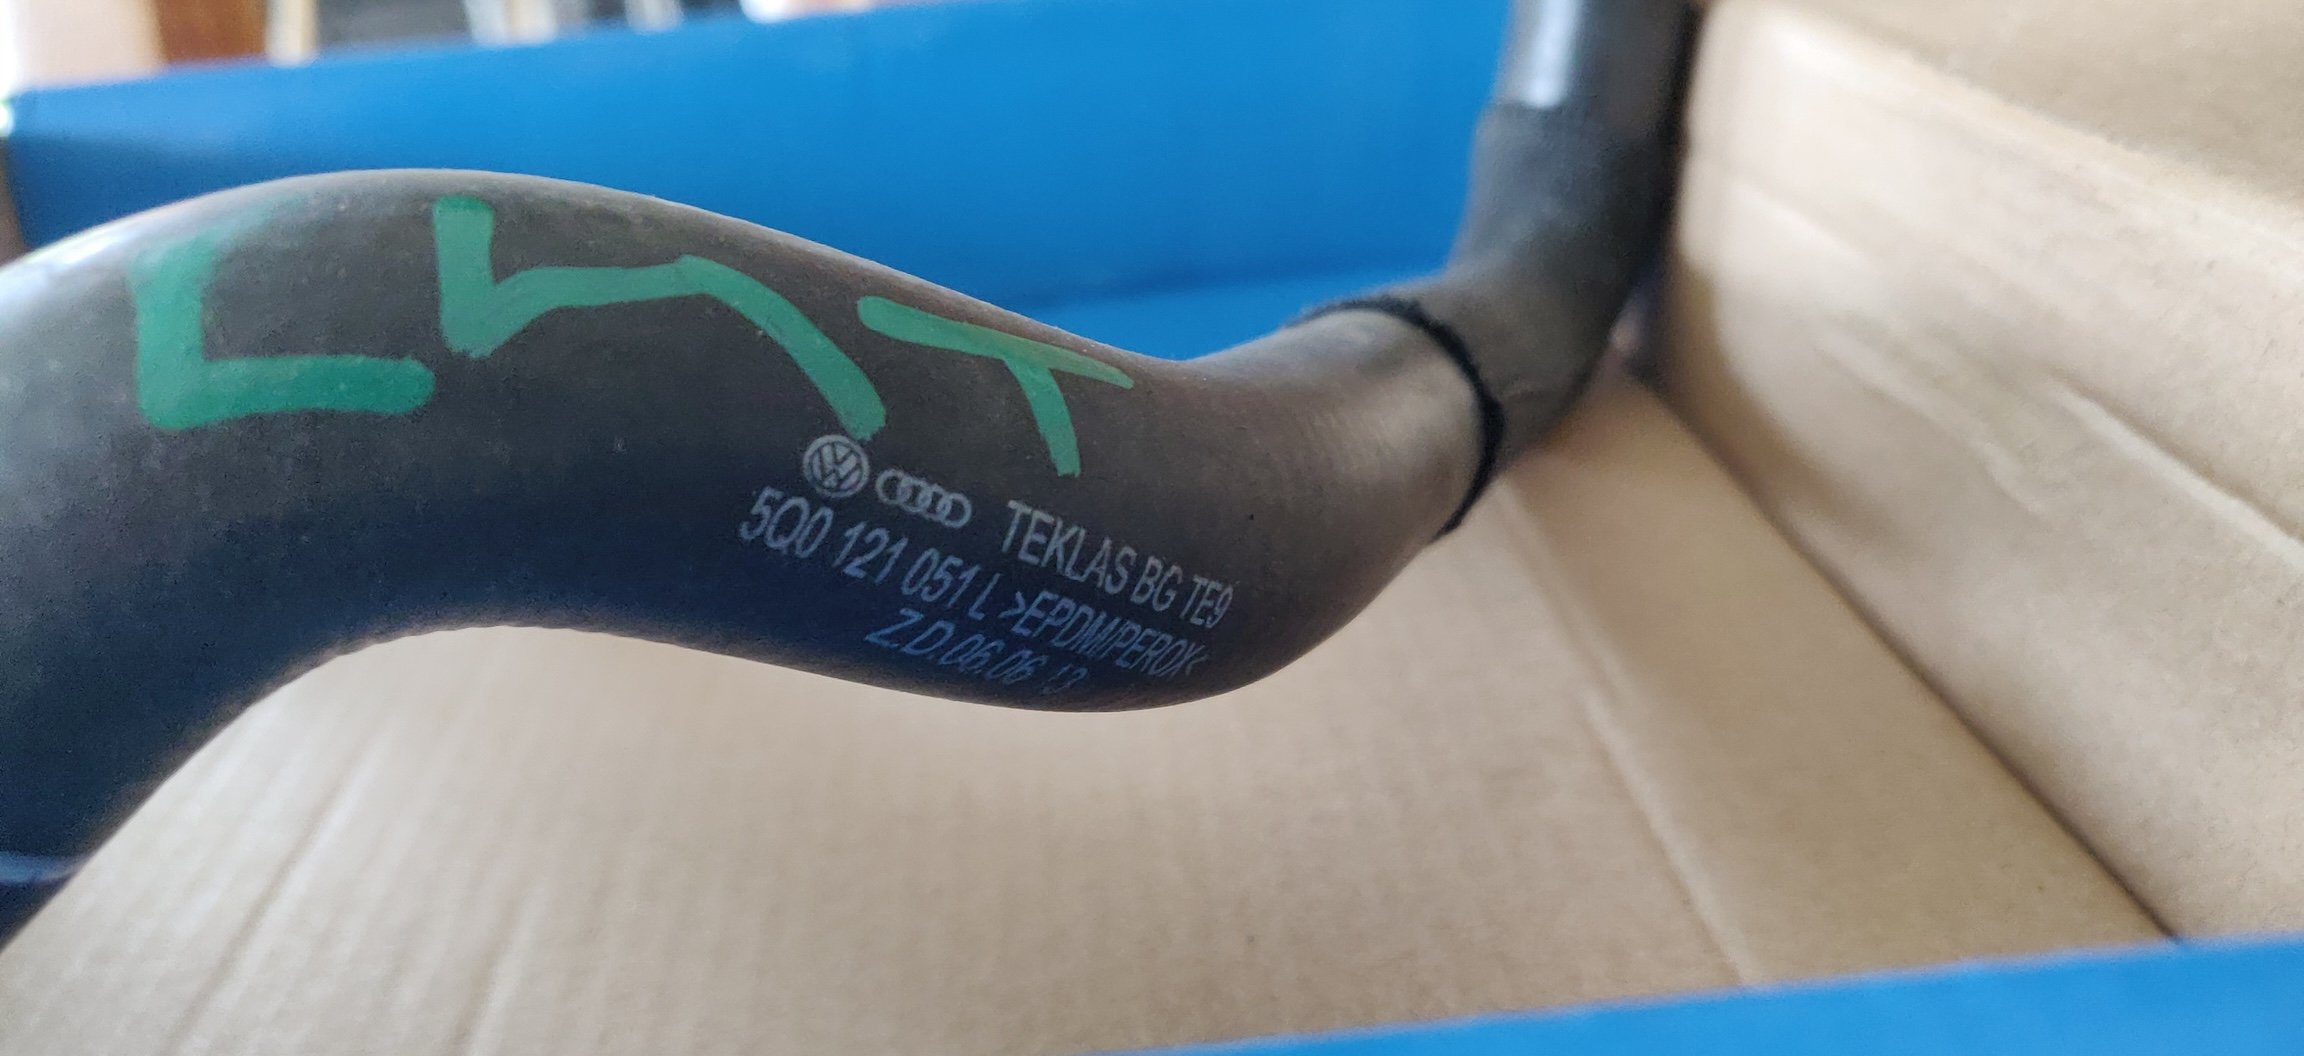
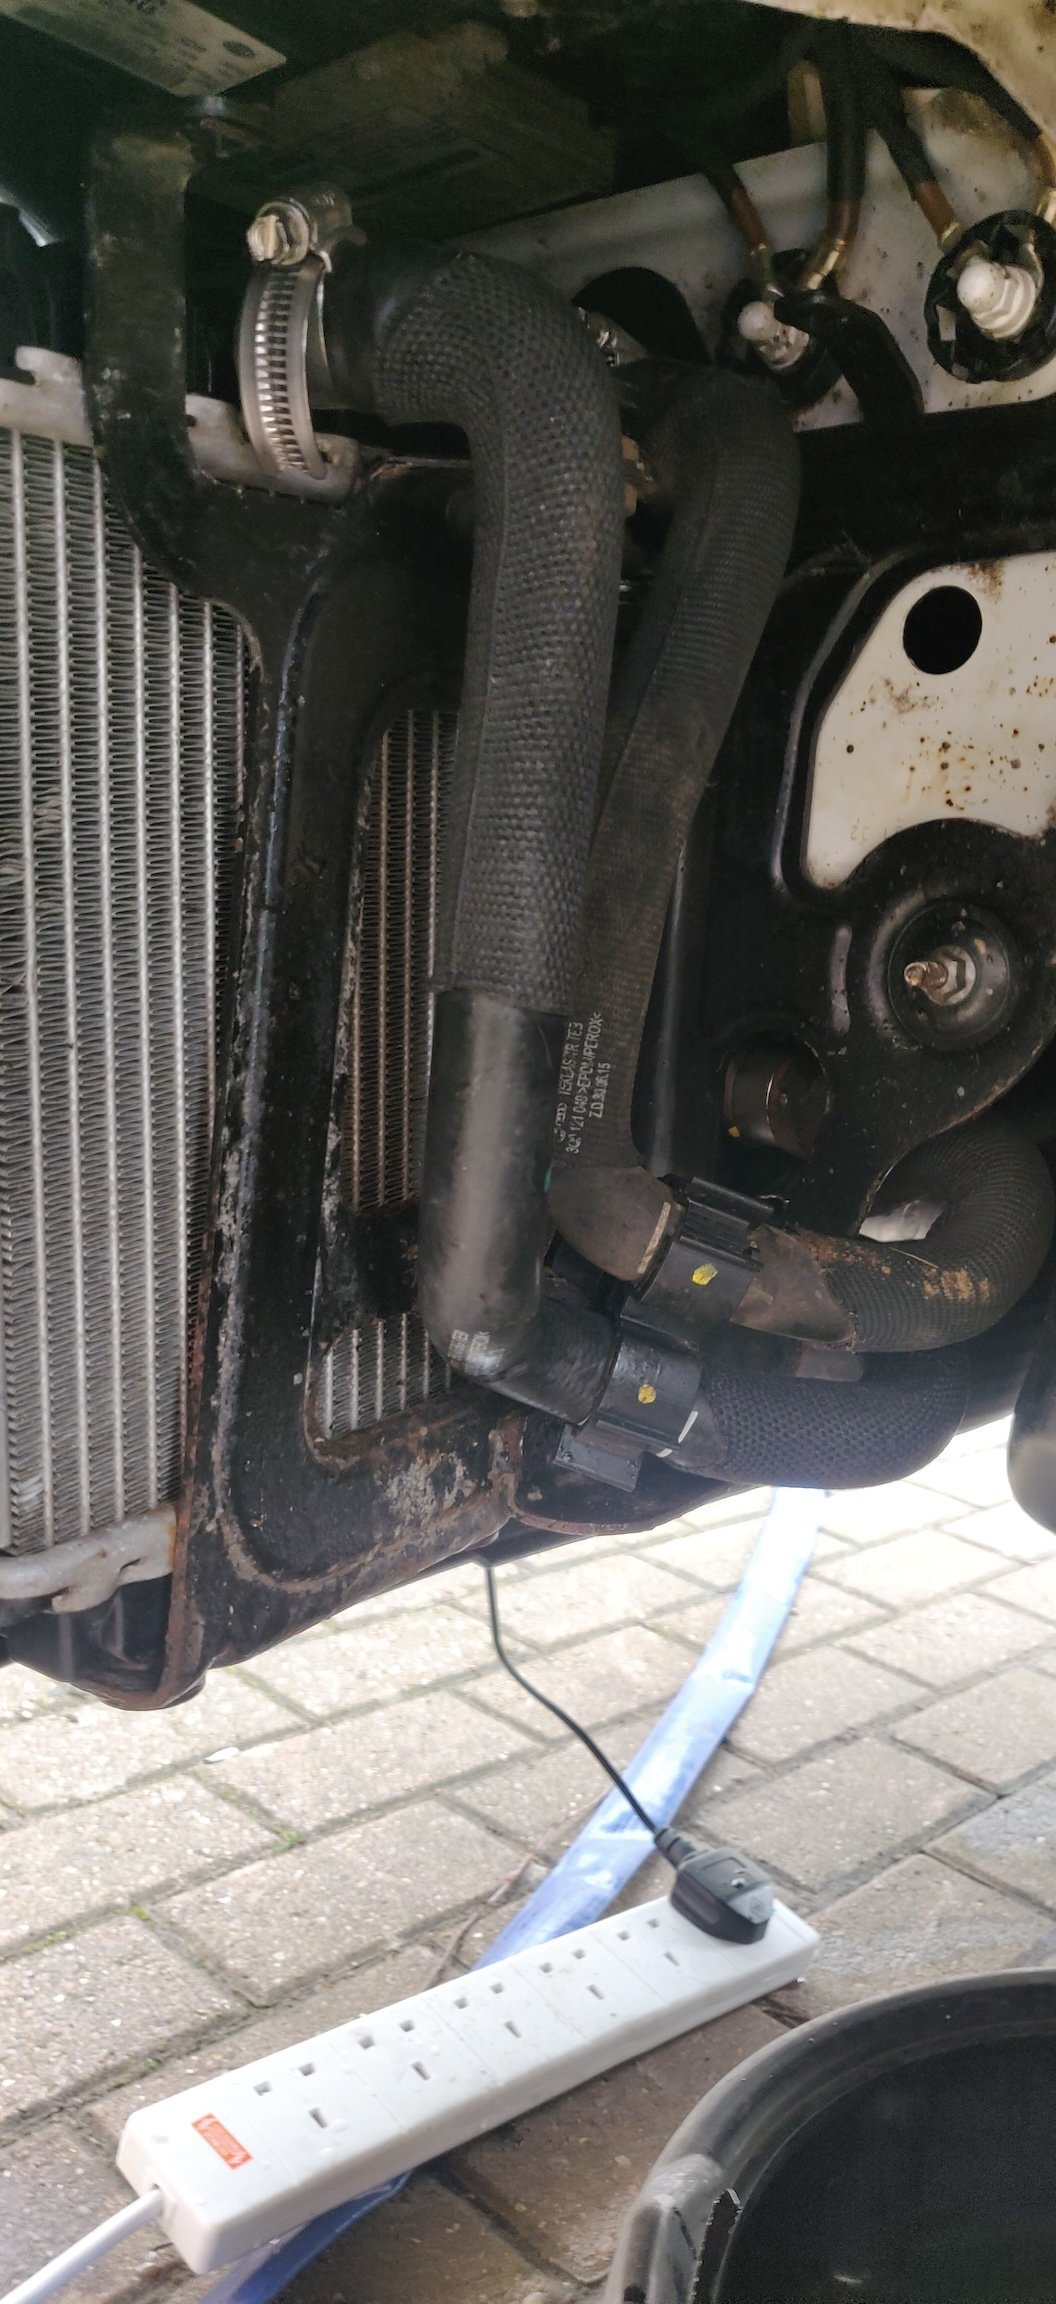
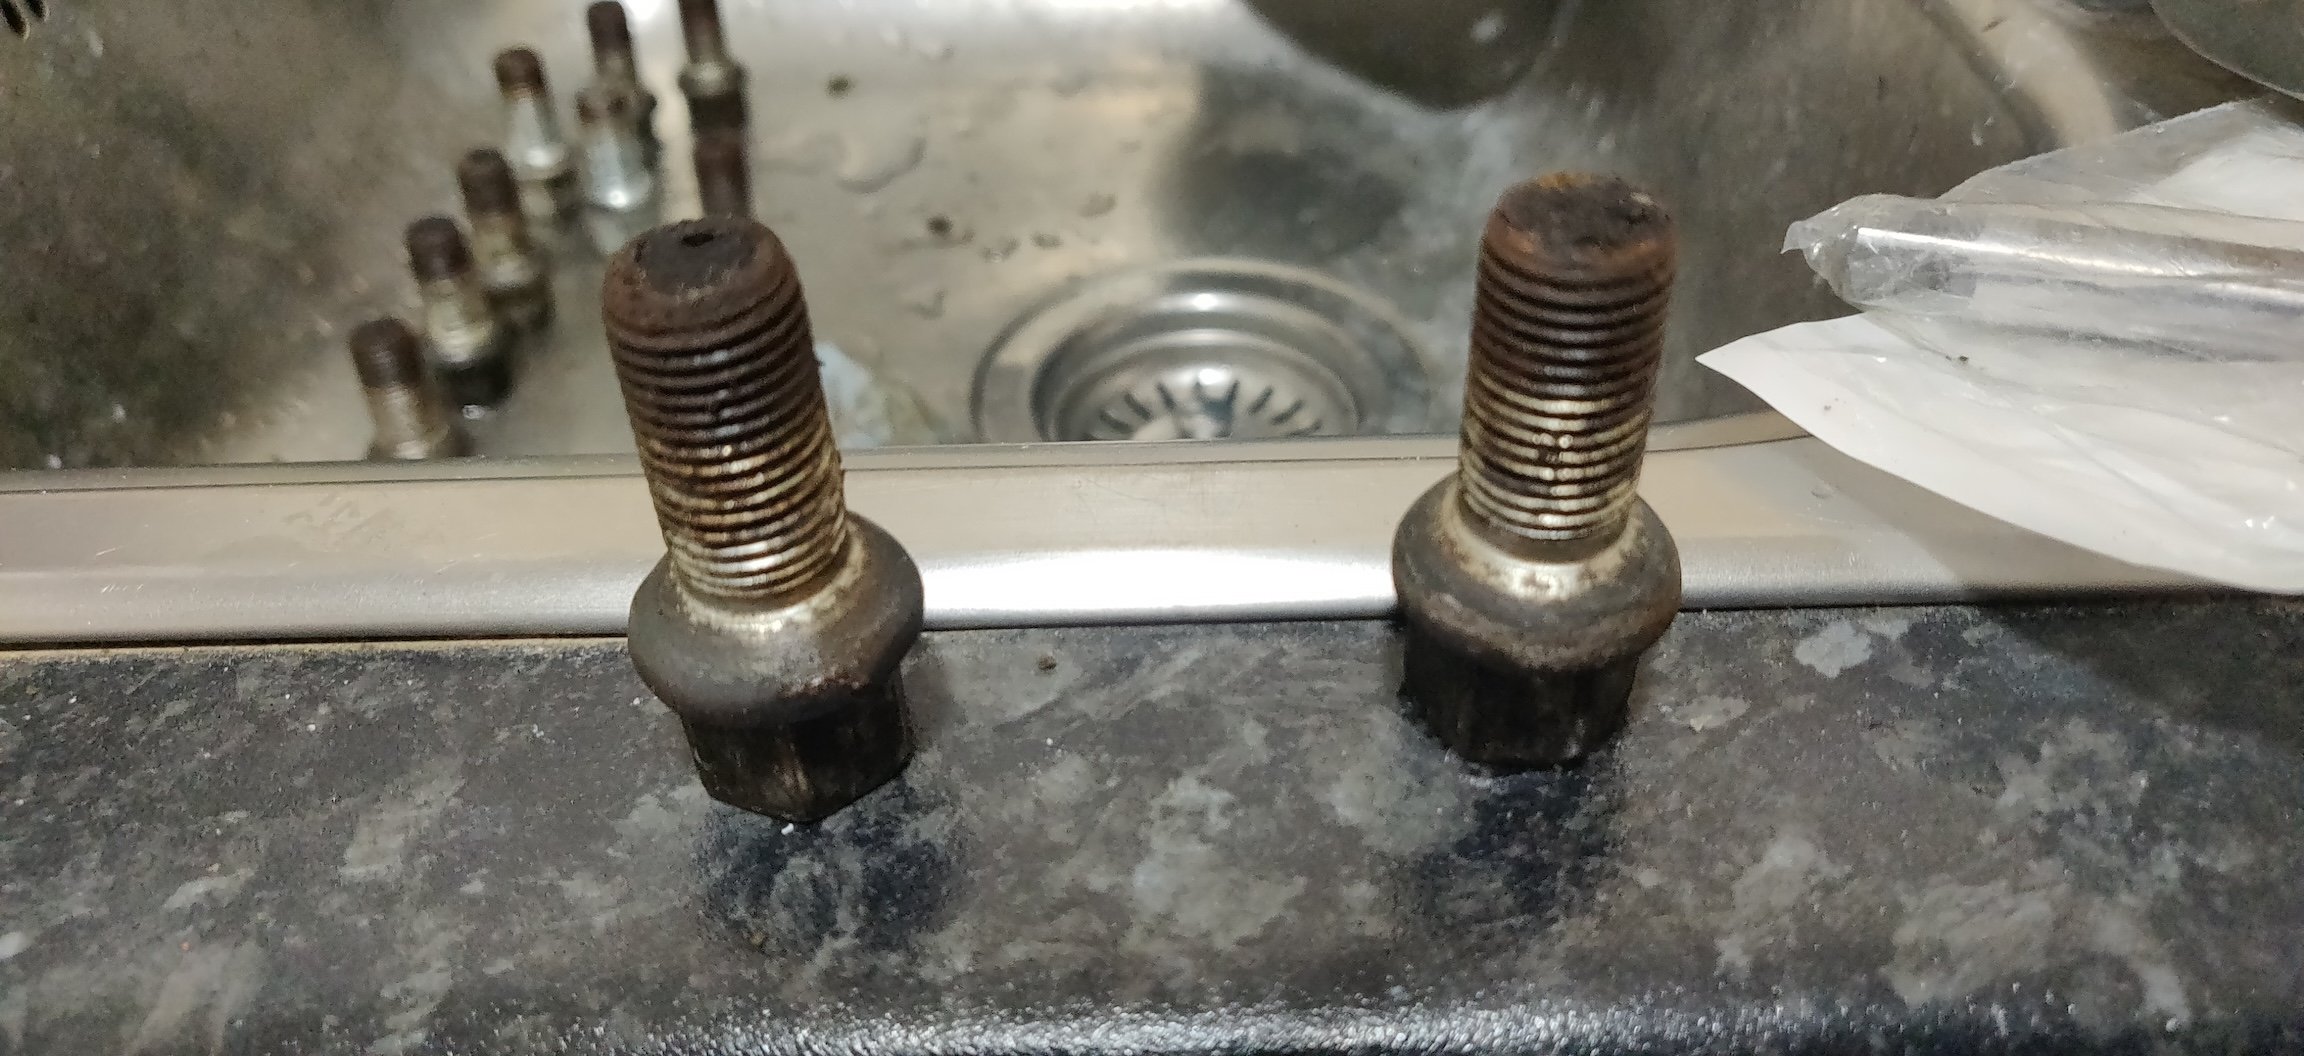
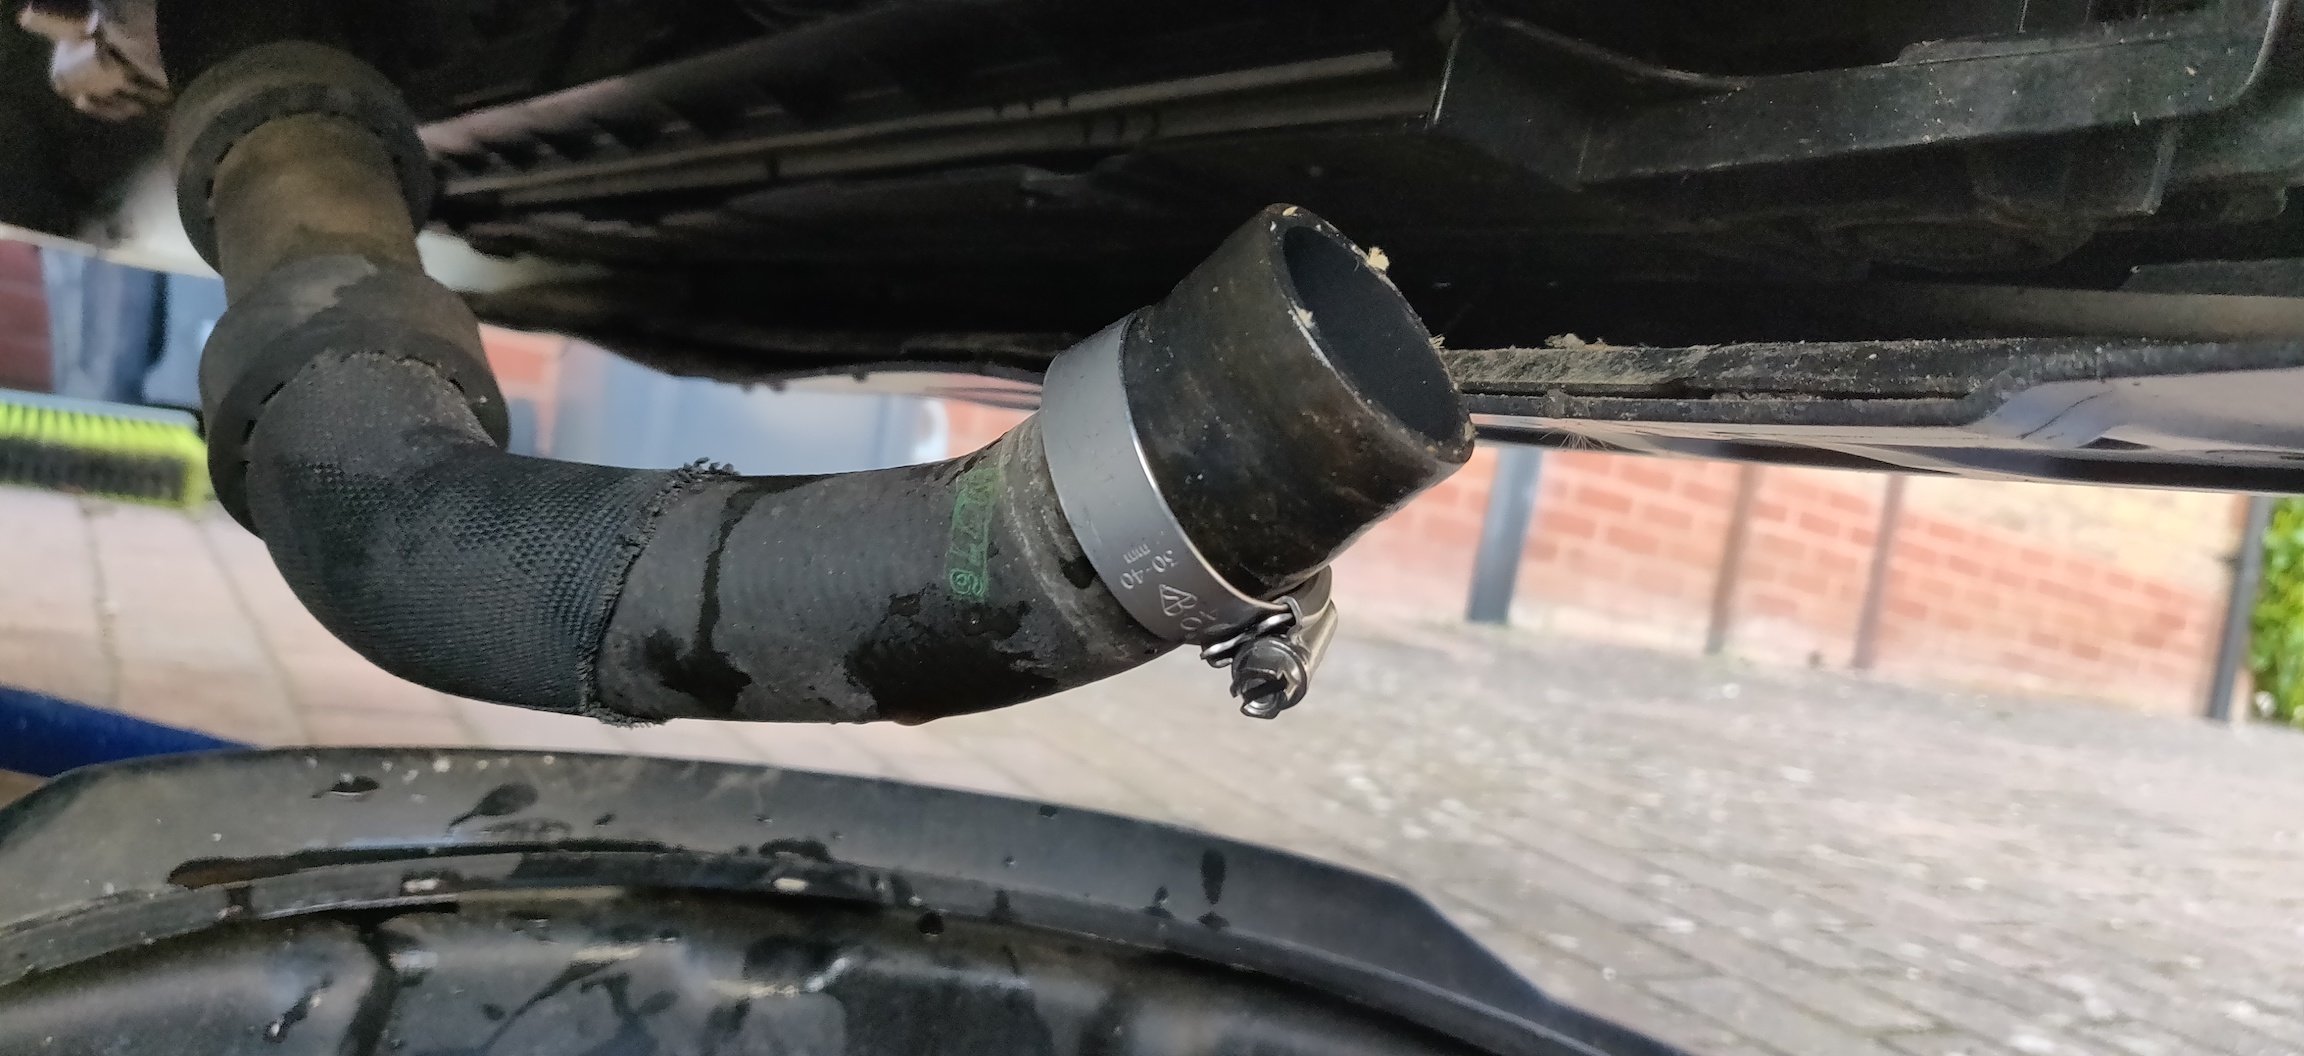
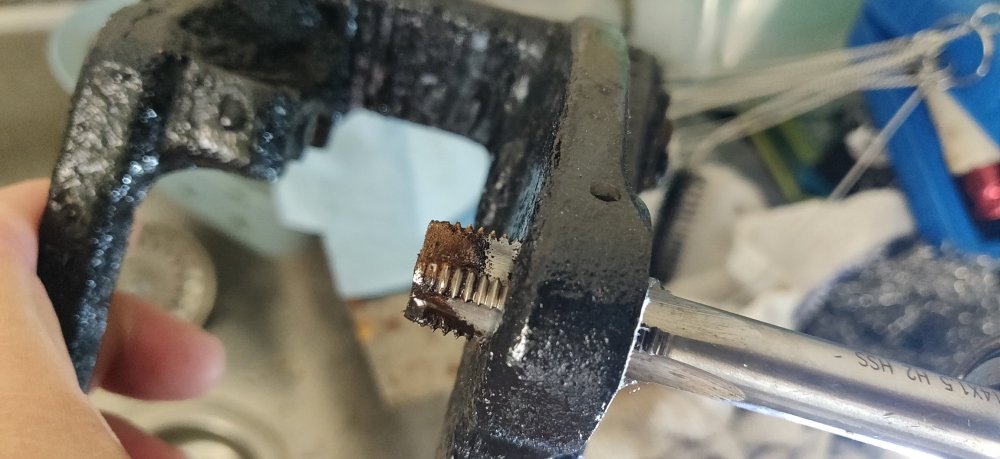
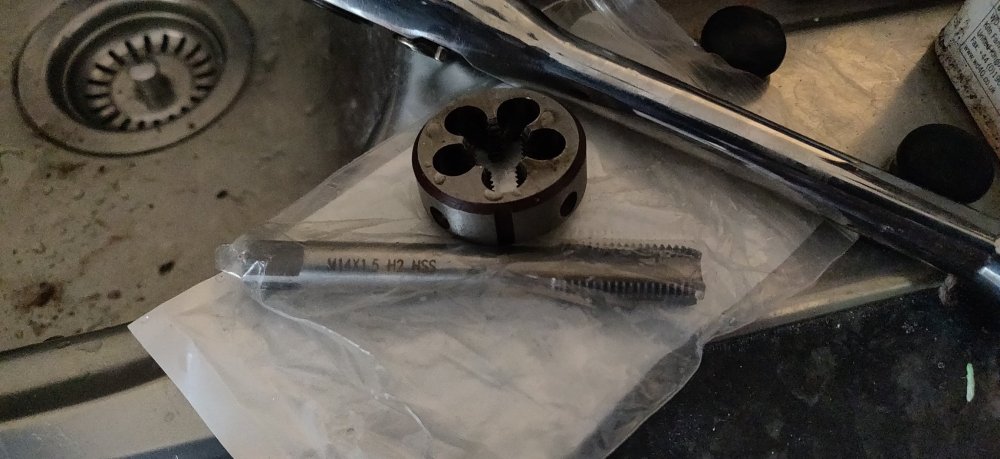
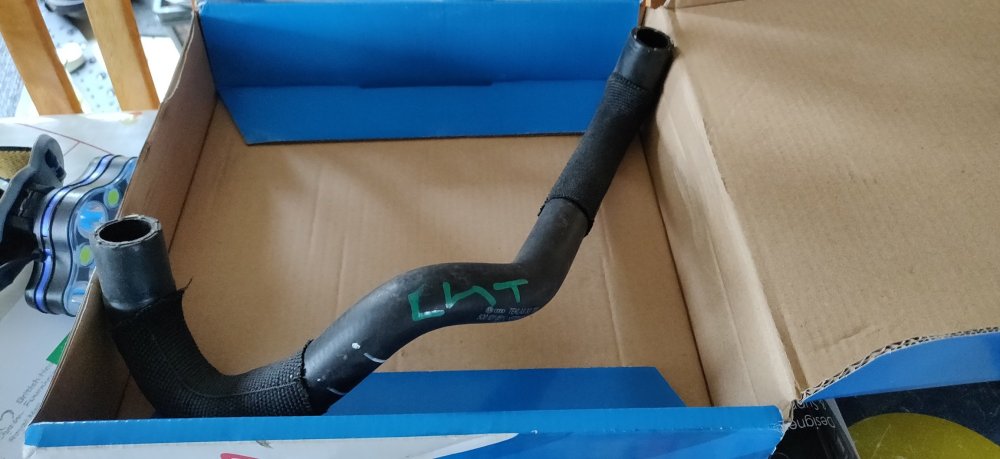
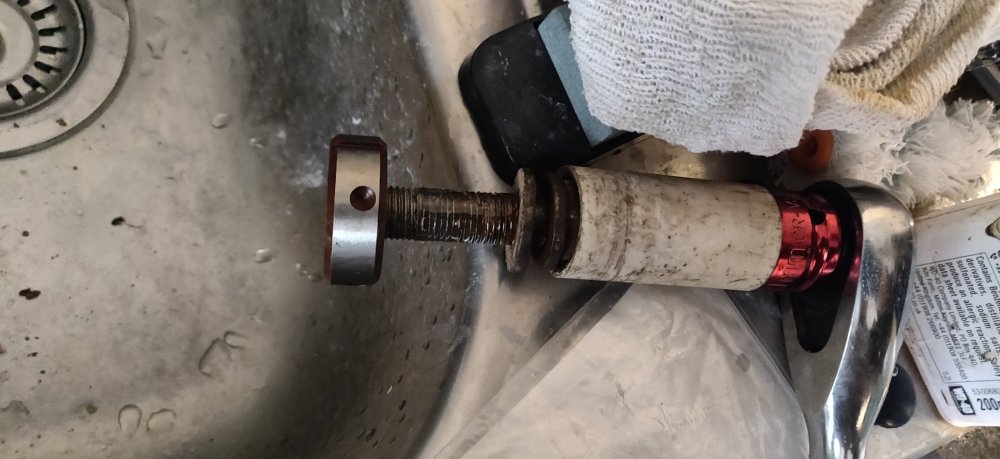
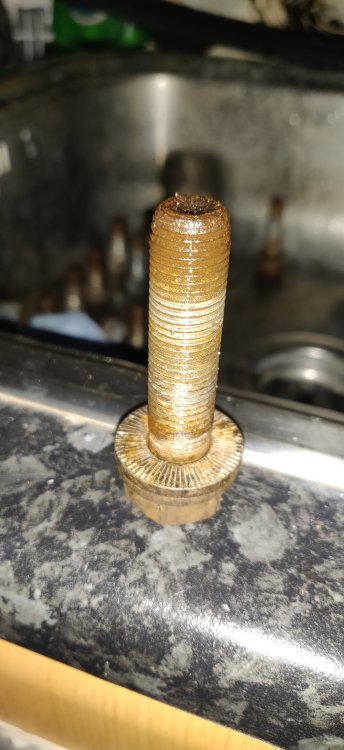
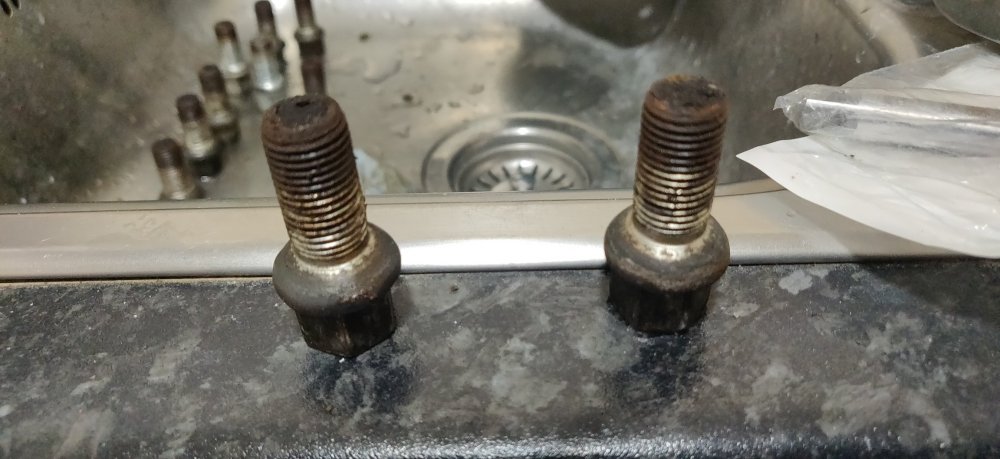
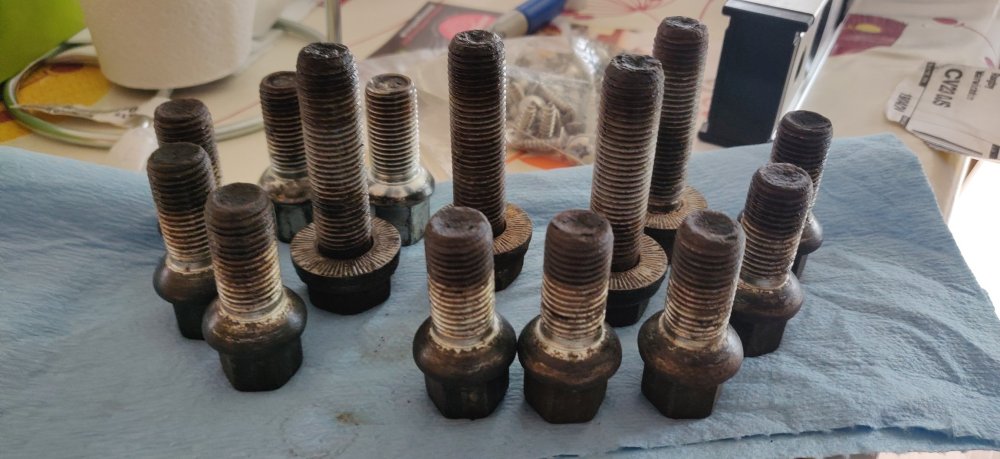
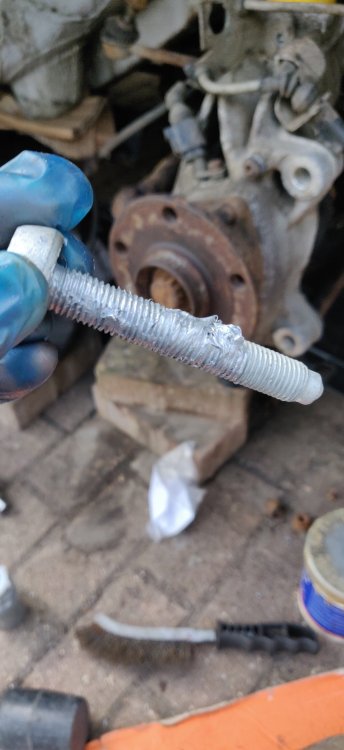
Quick update: Decided to get an M14x1.5 tap and die from Amazon for £9.99. The initial thought was due to the brake carrier bolts, and their general state, but weighed up the pros and cons of just getting new bolts. I then realised that the wheel bolts are the same, and they're in even worse state, so I felt cleaning them up with this will be worth it. Also this arrived earlier: The replacement hose to that additional cooler. Second hand one from eBay for £15.96 which I think compares similarly to an actual new one from lllparts etc. Guess I got impatient and didn't want to wait a week or the extra tenner or so for delivery unless I'm buying a bunch of stuff. It's the correct part I believe: So 5Q0 121 051 L as per https://www.lllparts.co.uk/product/5Q0121051L/skoda-coolant-hose-5q0121051l (the 5Q0 121 051 without the L suffix is more expensive). It's interestingly dated circa 2013, so it'll be the oldest part of the car! It came from an Audi Q2 according to eBay, so surely a premium part, lol. Anyway, the 7mm ratchet spanner to take off the clamps and replace with the new one: All tightened up to 5Nm. Then just topped up the coolant tank slightly: The old one with its rip: Chalk it down to my aggressive use of the pliers to free it from that radiator. Started to rain so tidied up, grabbed some bolts and ran back to the house. So this is an example of the brake bracket bolt: Just lots of aluminium corrosion where it passes through the hub and the rusty end which is where it's bolted and exposed to the elements. So got the die, put some 3-in-1 oil on its cutting thread and all on the bolt, and just winded it through: Any bit tight just got the ratchet spanner and for these bolts, a 21mm socket to aid getting the bolt through. It'll then usually go through easier and can then be done by hand. It's normally a case of winding a turn then back half a turn, but that's more applicable to cutting new threads. Once wound all the way in, just reverse it out: Quick wipe and it's better than it was. Repeated for the rest and started on the wheel bolts: The wheel bolts were a mixture of ok and horrid, some with mountains of grease built up and some without. This is after half of the wheel bolts: So I guess some brake cleaner would probably finish these off ready for reuse. Oh, and the other 10 bolts I guess. I'll check up on the coolant level later and once I top it off and it stays relatively stable, then we're really getting there. Still need to angle tighten the strut bolt to the hub, then reassemble the front brakes. Once those are done, then technically there's nothing stopping the car from being fired up! Maintenance: £2206.63 (+£15.96) Upgrades: £1322.97 Miscellaneous: £681.36 (+£9.99)


-
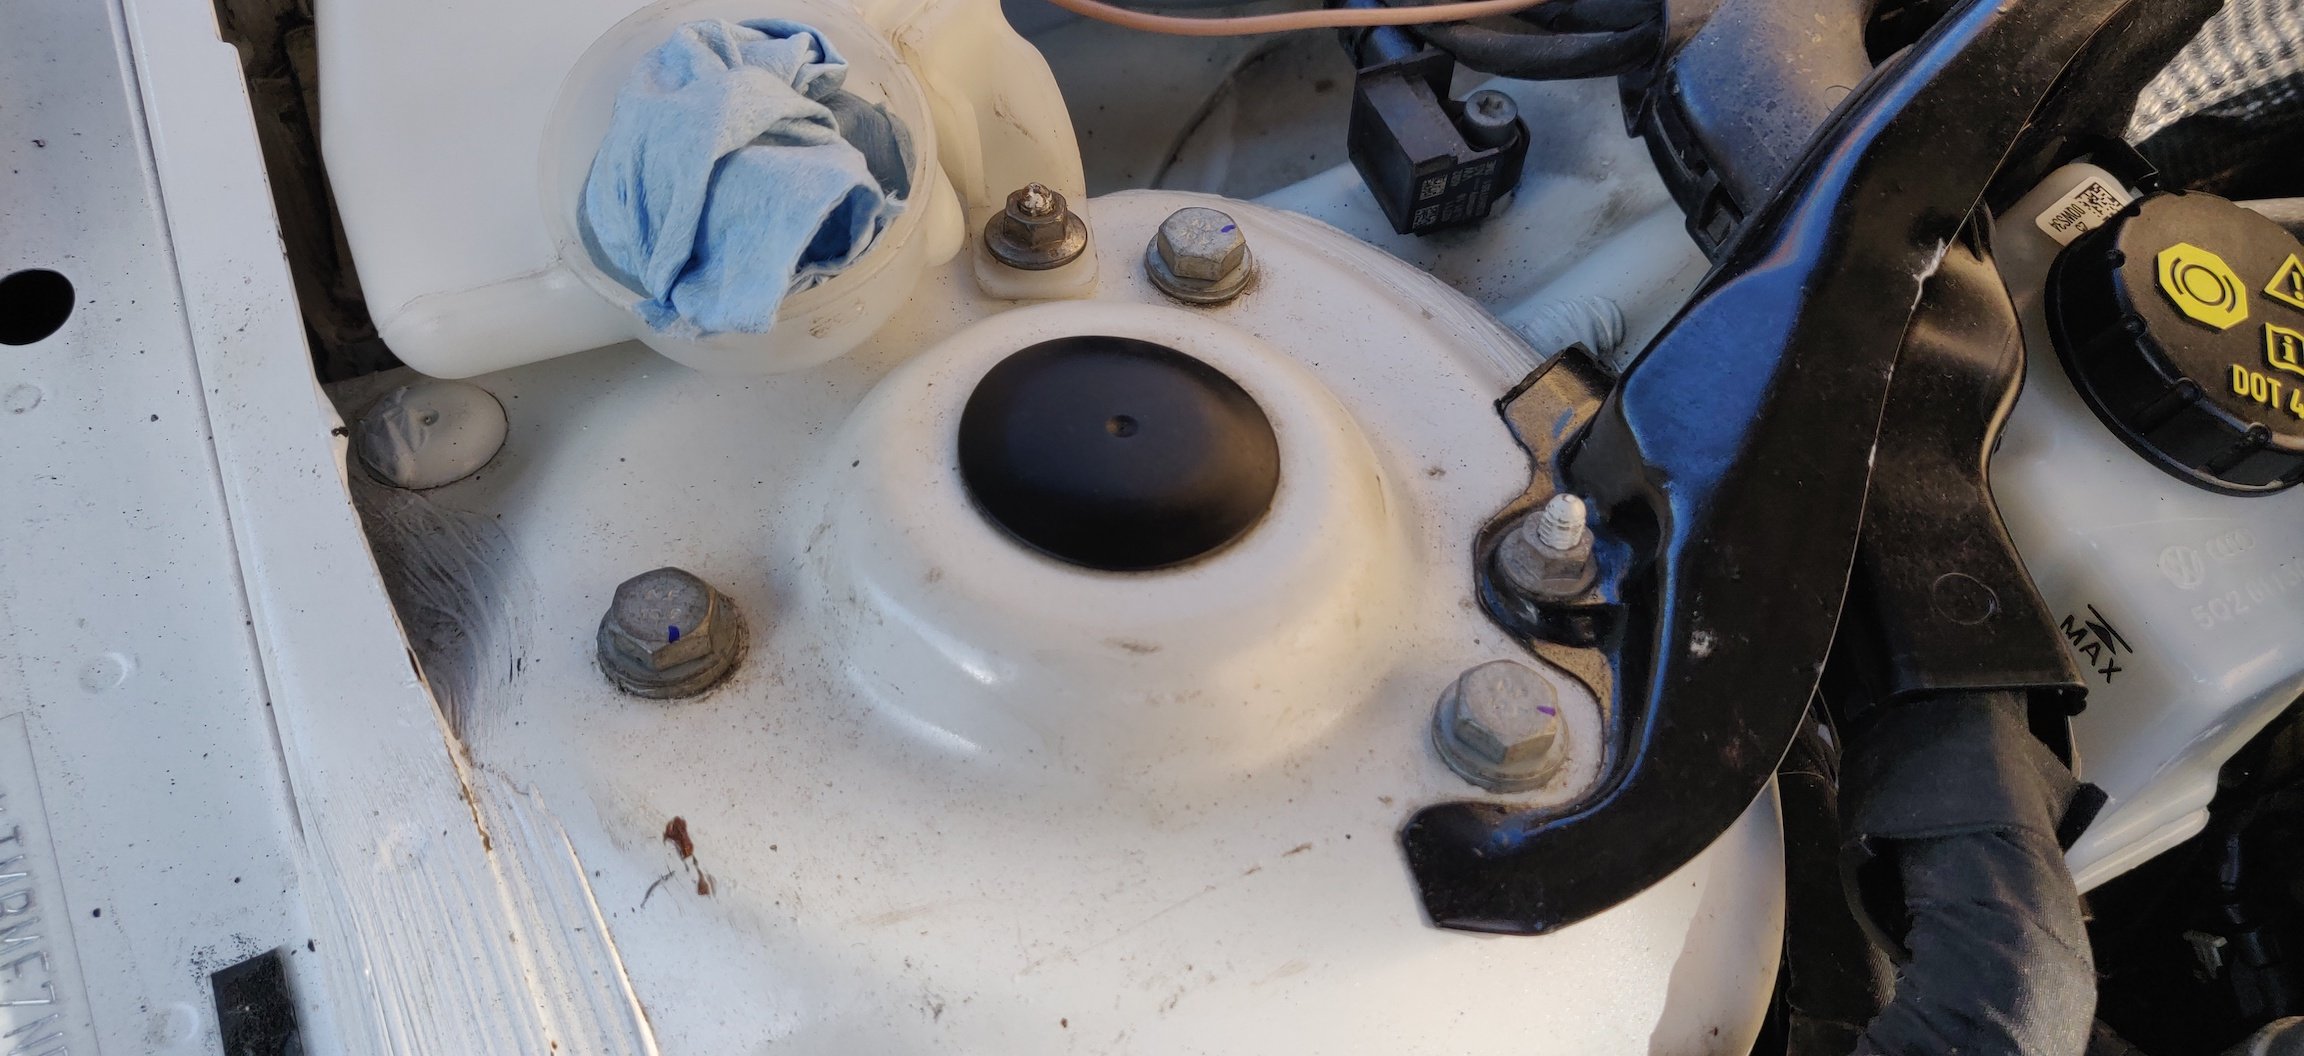
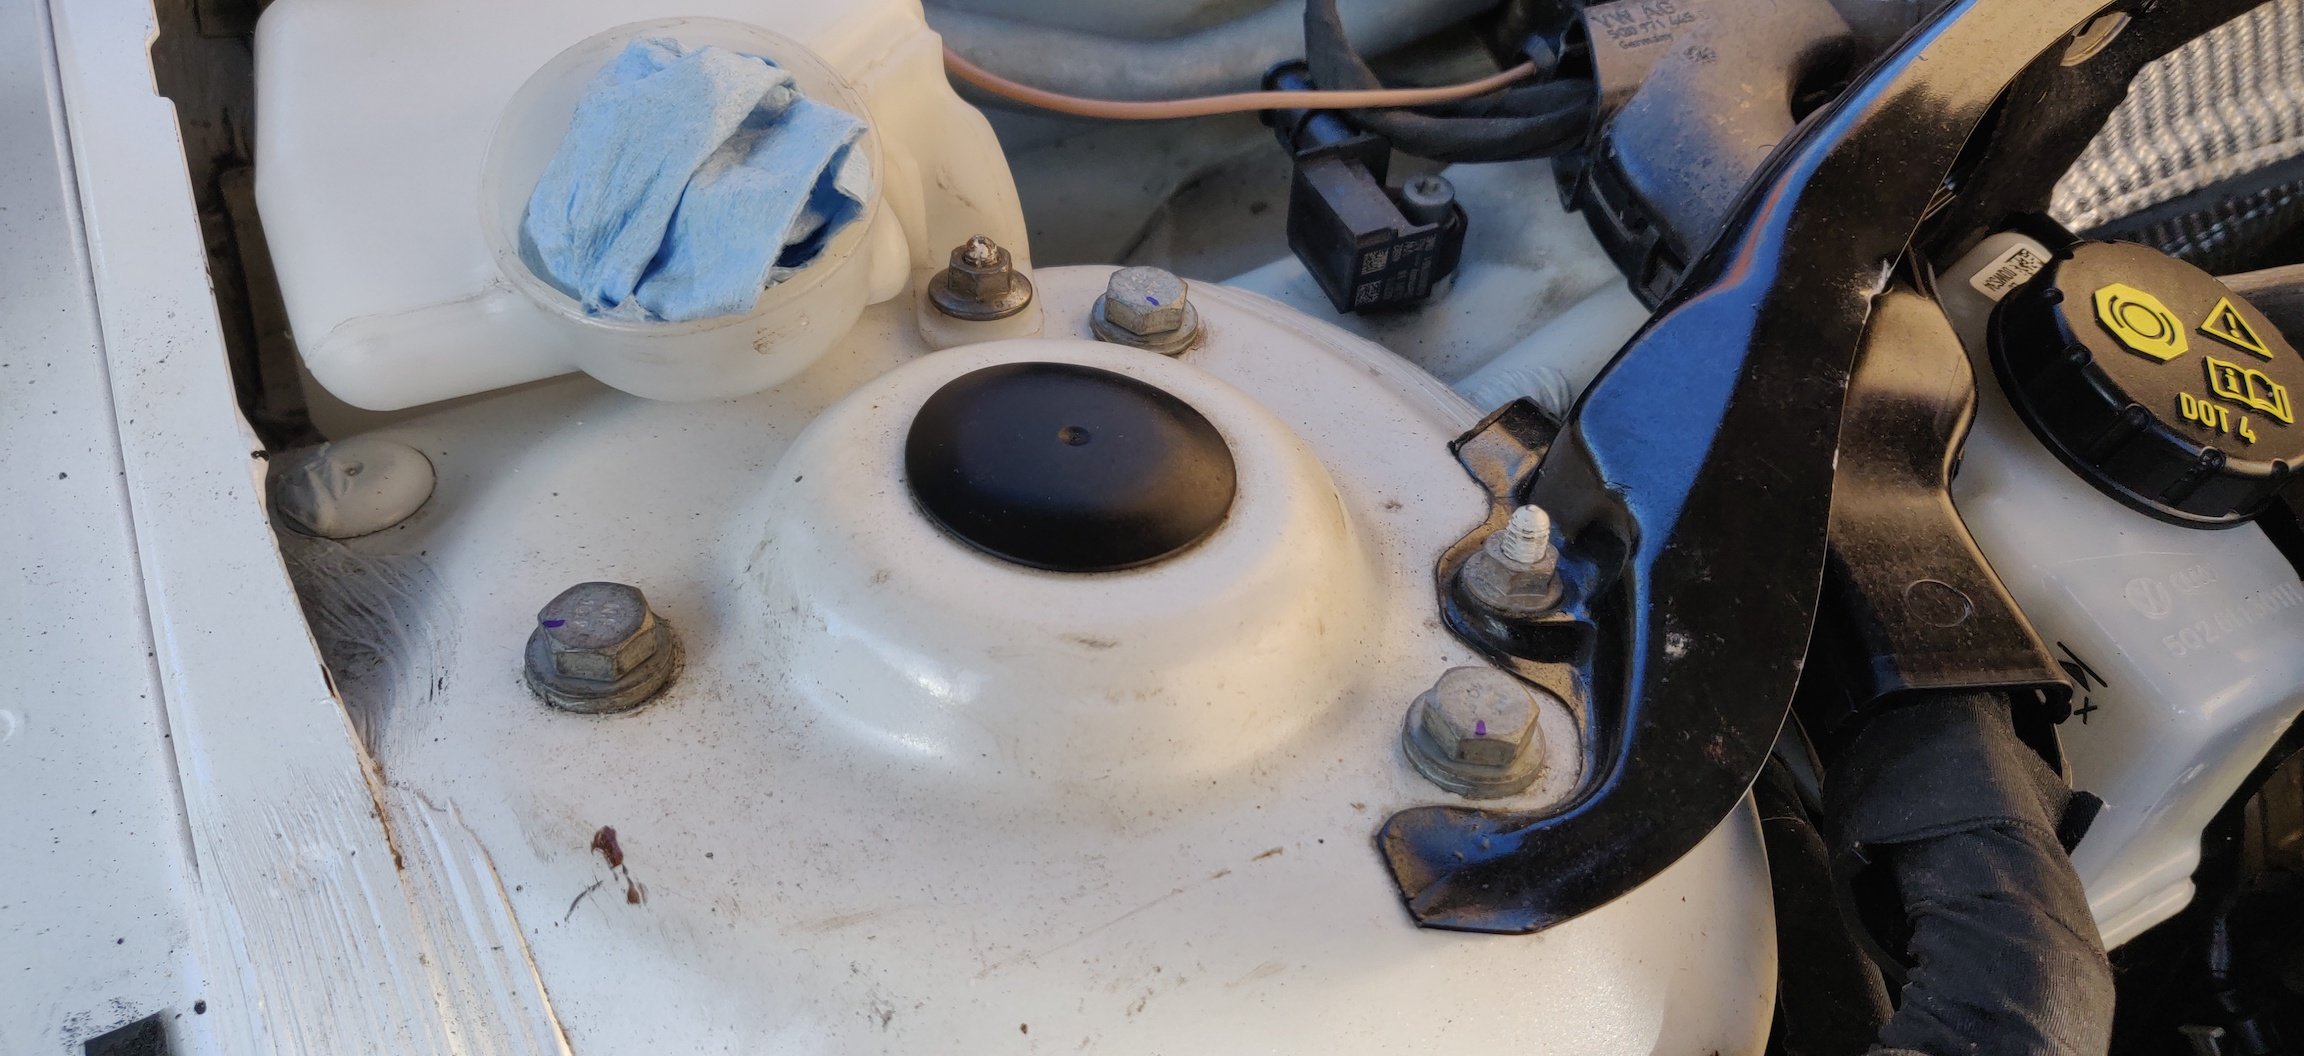
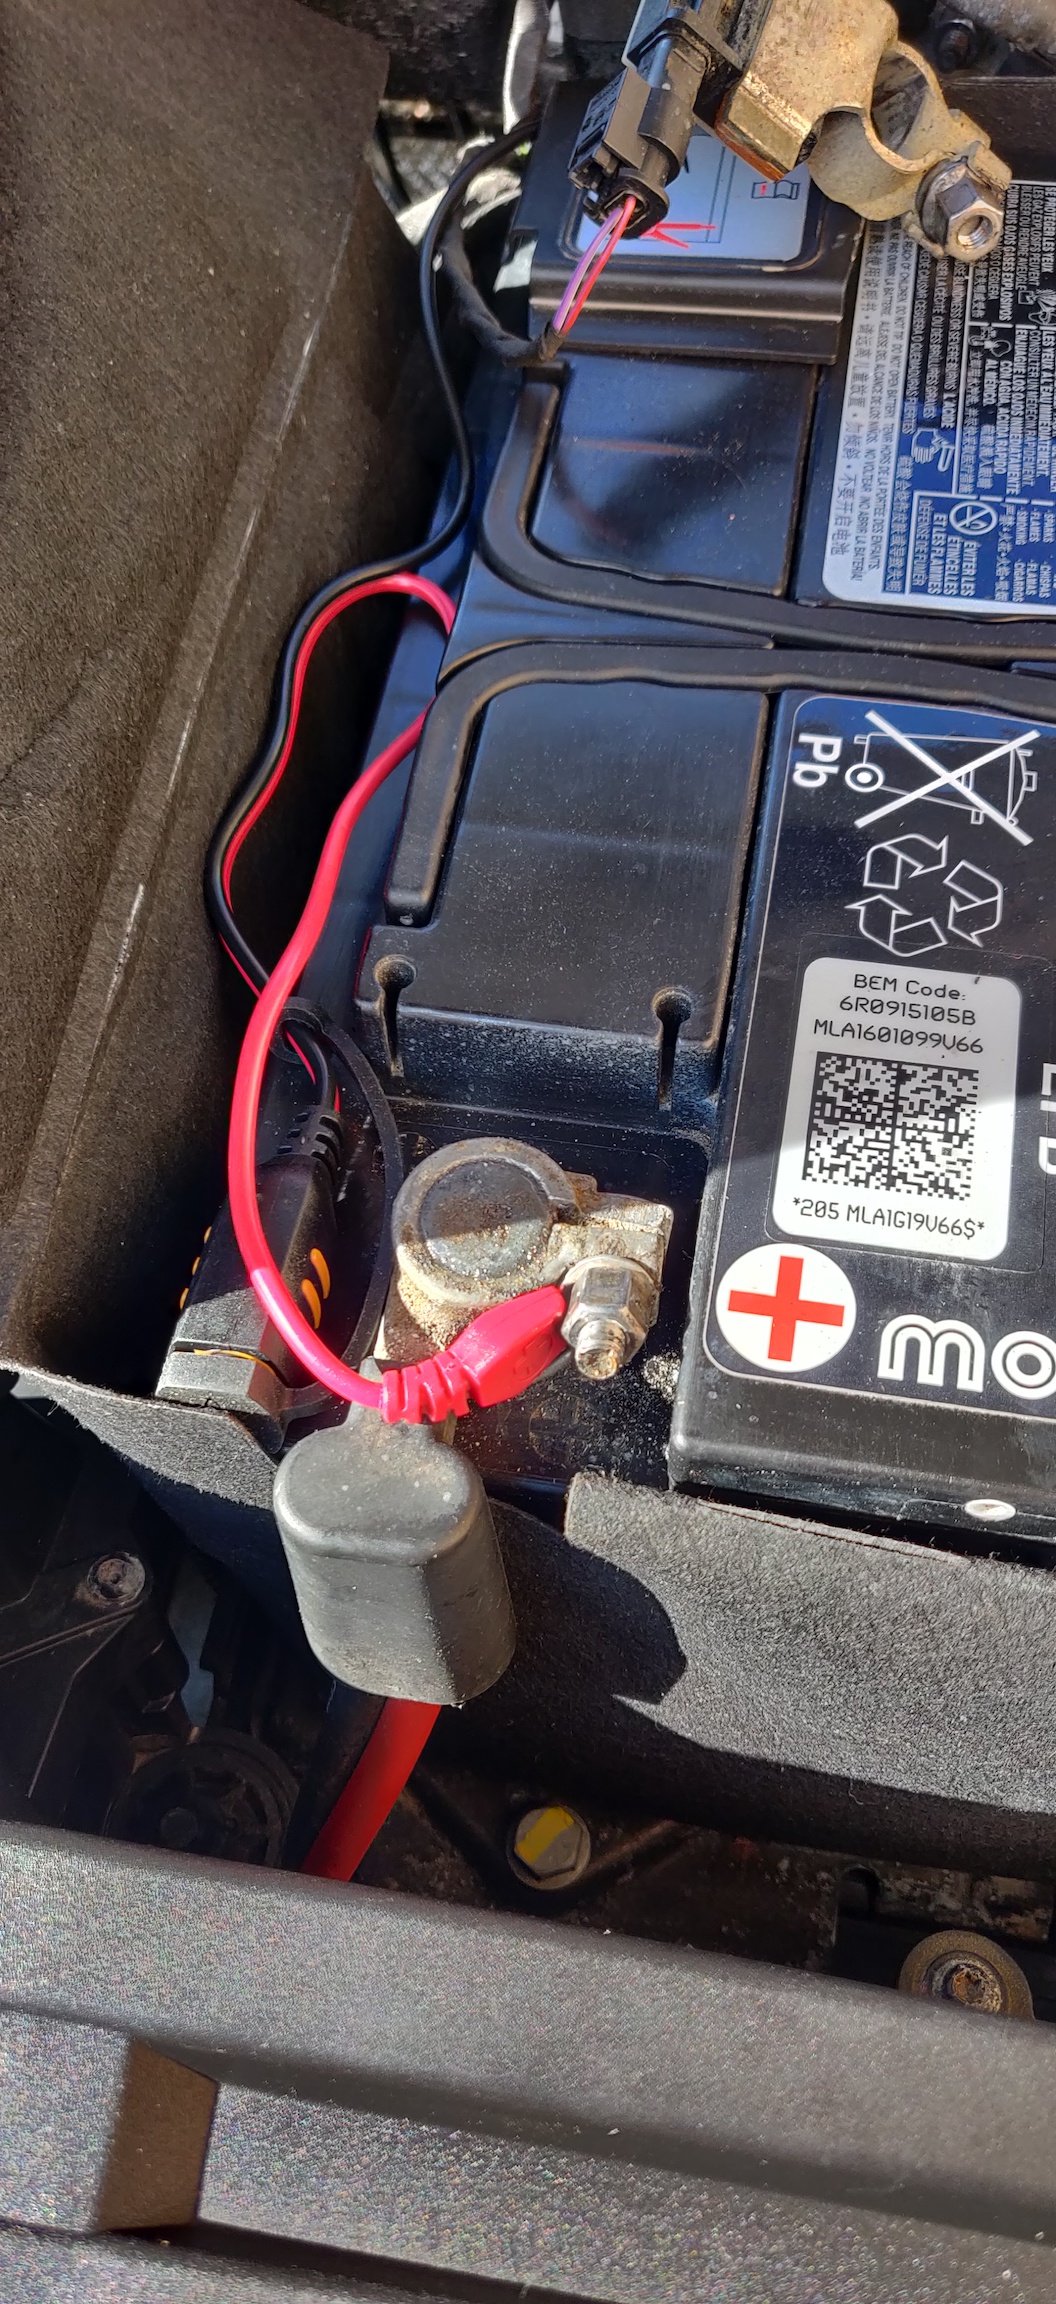
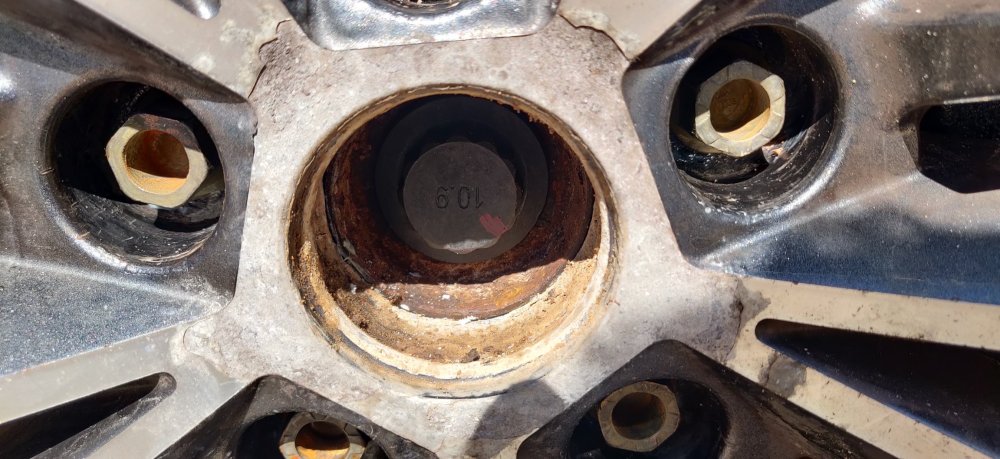
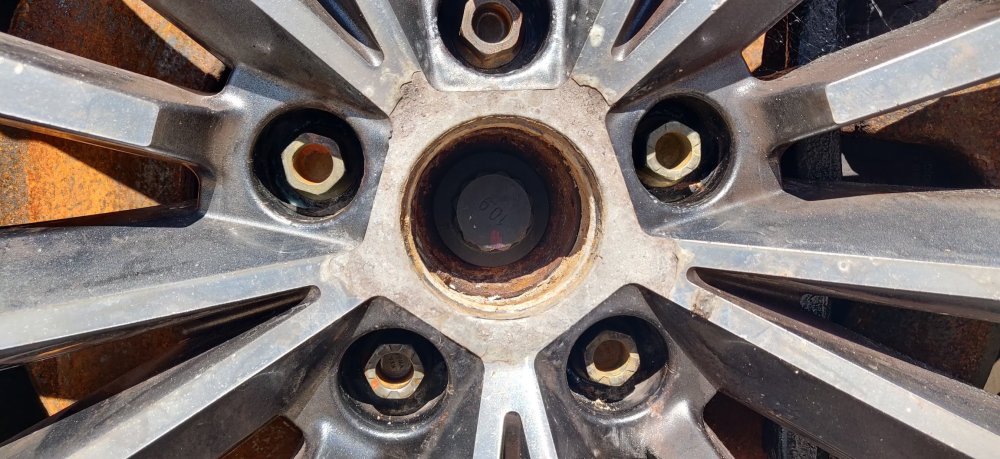
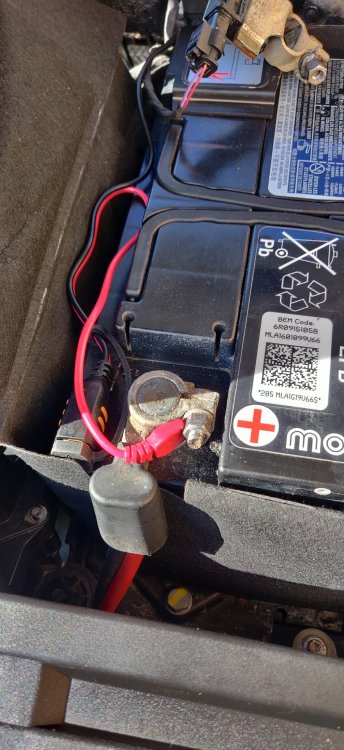
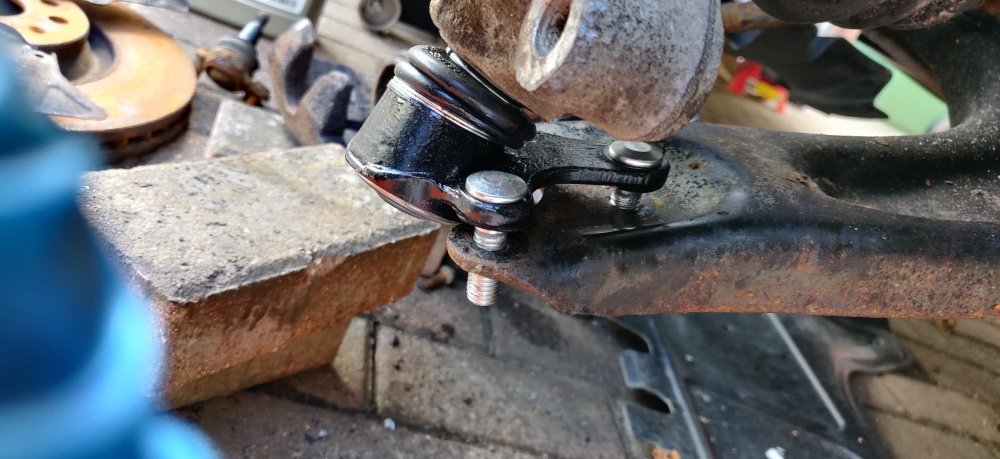
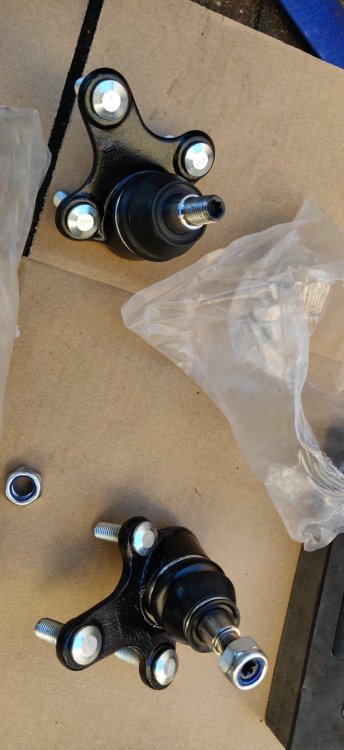
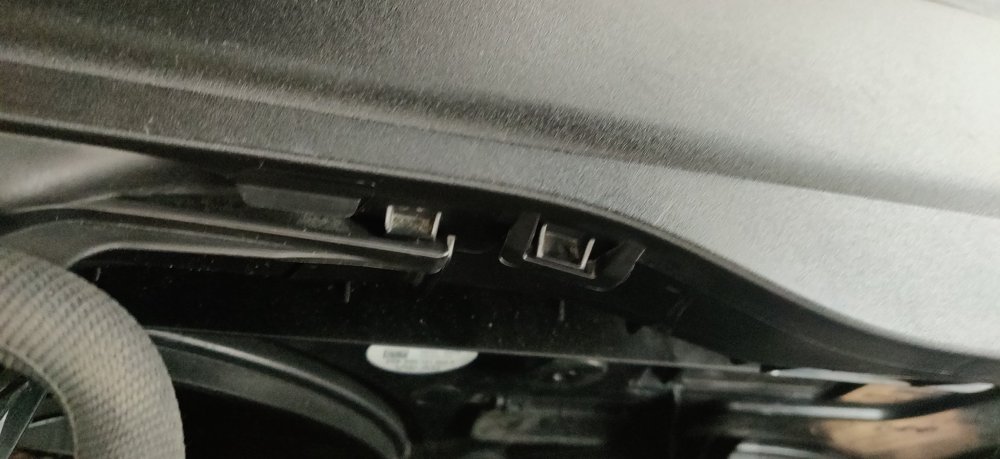
Squeezed some easy win bits before an afternoon off. Got the washer bottle in the wheel arch all torqued up to 8Nm. Replaced the torx screw with a stainless bolt, which has a pozidrive so actually like a phillips head just slips off after a certain tightness. The stainless bolts have a slightly smaller head than the OEM ones, so I'll have to play it by ear for the wheel arch liners. If I'm unlucky, I'll have to source some washers to go with them. Then went and plonked the top part of the washer bottle into the cowl area: The rubber bit that connects makes it a bit difficult if done dry, so best to smear a thin coat of silicone grease or probably some fairy liquid to make it slip into place without drama. The two nuts are then torqued to 8Nm as per the others. Then started on the top suspension strut bolts: The workshop manual actually outlines three variants for the bolts, and the ones I got were N 912 464 01 which needed 20Nm then 90 degrees. Interestingly the ones removed from the car were more likely the smaller N 101 277 07 as they looked like flange bolts rather than having a separate captive washer, so not sure if it actually makes a difference. Just sounds like a bit more exposed thread under the wheel arch? Anyways, as you can see above, I couldn't actually find my paint pen, so I'll need to buy another, but for now, used a sharpie pen to mark an arbitrary place on the bolt. This I can then use as a reference to whether I've tightened it up to an appropriate angle. I guess one could mark the bolt and then mark on the chassis the expected angle to really remove ambiguity: In my case though, I have pictures to act as proof I've done it. Same for the other side: So again, 20Nm then a right angle: I know there are fancy tools like electric torque wrenches that beep for a target torque and angle, maybe one day I'll splurge on one of those, but maybe not as this will be the last VW group car I ever own. Depends if any other cars with TTY bolts are on the horizon... Anyways, with the top strut bolts tightened, there's technically nothing stopping the cowl covers going back on: So dry fitted the cleaned up passenger side. The new one has holes in it for presumably a left hand drive wiper set up. I think I saw some grommets to cover those, so could still use the new one if I fancied. I put the clips in, but had to remove them again to fit the other side on: The driver side has a little latch underneath that slides into the passenger side cover, before it can then go over the wiper blade mounts and the hole for the washer bottle. Then put the clips in place for now more so I don't misplace them. I'll need to get the cowl covers to clip into the small bracket across the windscreen. Workshop manual suggests some washing up liquid as a lubricant, so same as my fairy liquid suggestion earlier. The driver side sticks up slightly at the edge, not sure if that's due to it being new and been packaged, hopefully it'll go back to a more expected shape. Decided to do another random thing: Had a spare Ctek connector with M6 eyelets, so connected it up to the positive. Bent the eyelet to allow the connector to be more horizontal, but I don't think that'll be an issue. The negative was a tiny bit more of a faff: The negative connector looks to be designed to not have its bolt and nut removed (not without bending out some locking tabs which keep them captive), so decided to fit it onto the chassis point which is used for jump starting too I believe. Was a bit tight, so just had at it with a spanner and tightened up as best as I could. Then tackled the ball joint bolts: I noticed the bolts on the ball joints are marked with 10.9, so consulting Google, for M10 bolts, the recommended torque is 75Nm. So decided to experiment. Torqued the bolts to 40Nm, as the workshop manual specifies 40Nm then 45 degrees. I then marked a corner as per above and got the torque wrench set up to 75Nm. By the time 45 degrees was reached, the torque looked to be nowhere near 75Nm. So left them at the specced torque, but presumably, they are nowhere near being stretched, so I think they should be fine? They're aftermarket, so nyloc nuts are involved rather than the typical self lock nuts as per OEM. The tie rod ends were at 20Nm and 90 degrees. I guess technically I should replace them, but I'm being a bit blase with the tie rod ends, I'd rather just replace them rather than a single nut. Of course, I totally expect the removal of said tie rod ends to be an absolute pain in the arse given everything else thus far. So that's it for now. I've torqued up the strut bolts to 70Nm, but haven't angle tightened them yet, as I think I'll need a helping hand to keep things from spinning, as it's 180 degrees, so a huge source of danger in regards rounding that spline bit bolt. Why not just a normal hex and normal non-TTY bolts? Maintenance: £2190.67 Upgrades: £1322.97 Miscellaneous: £671.37


-
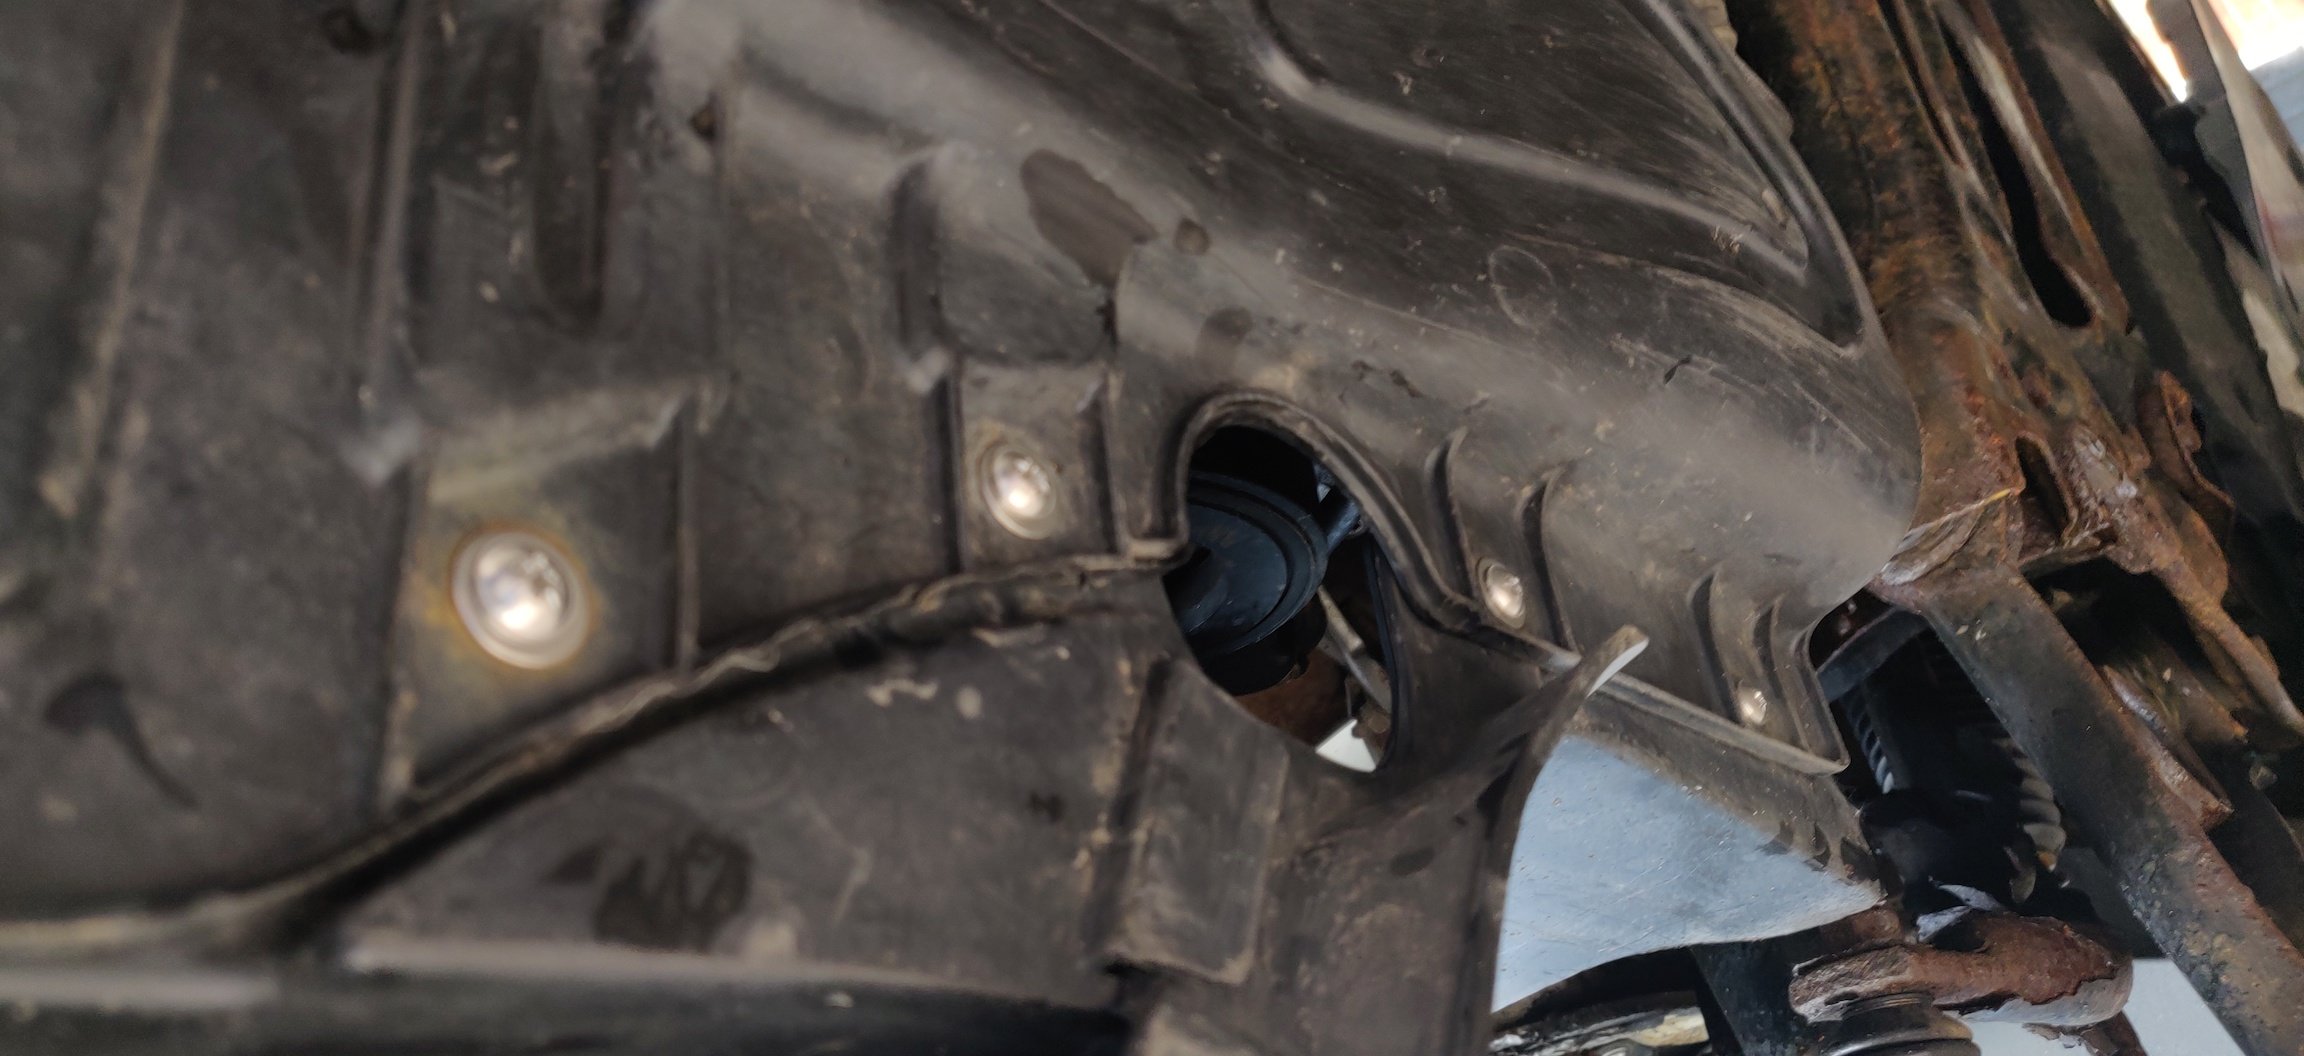
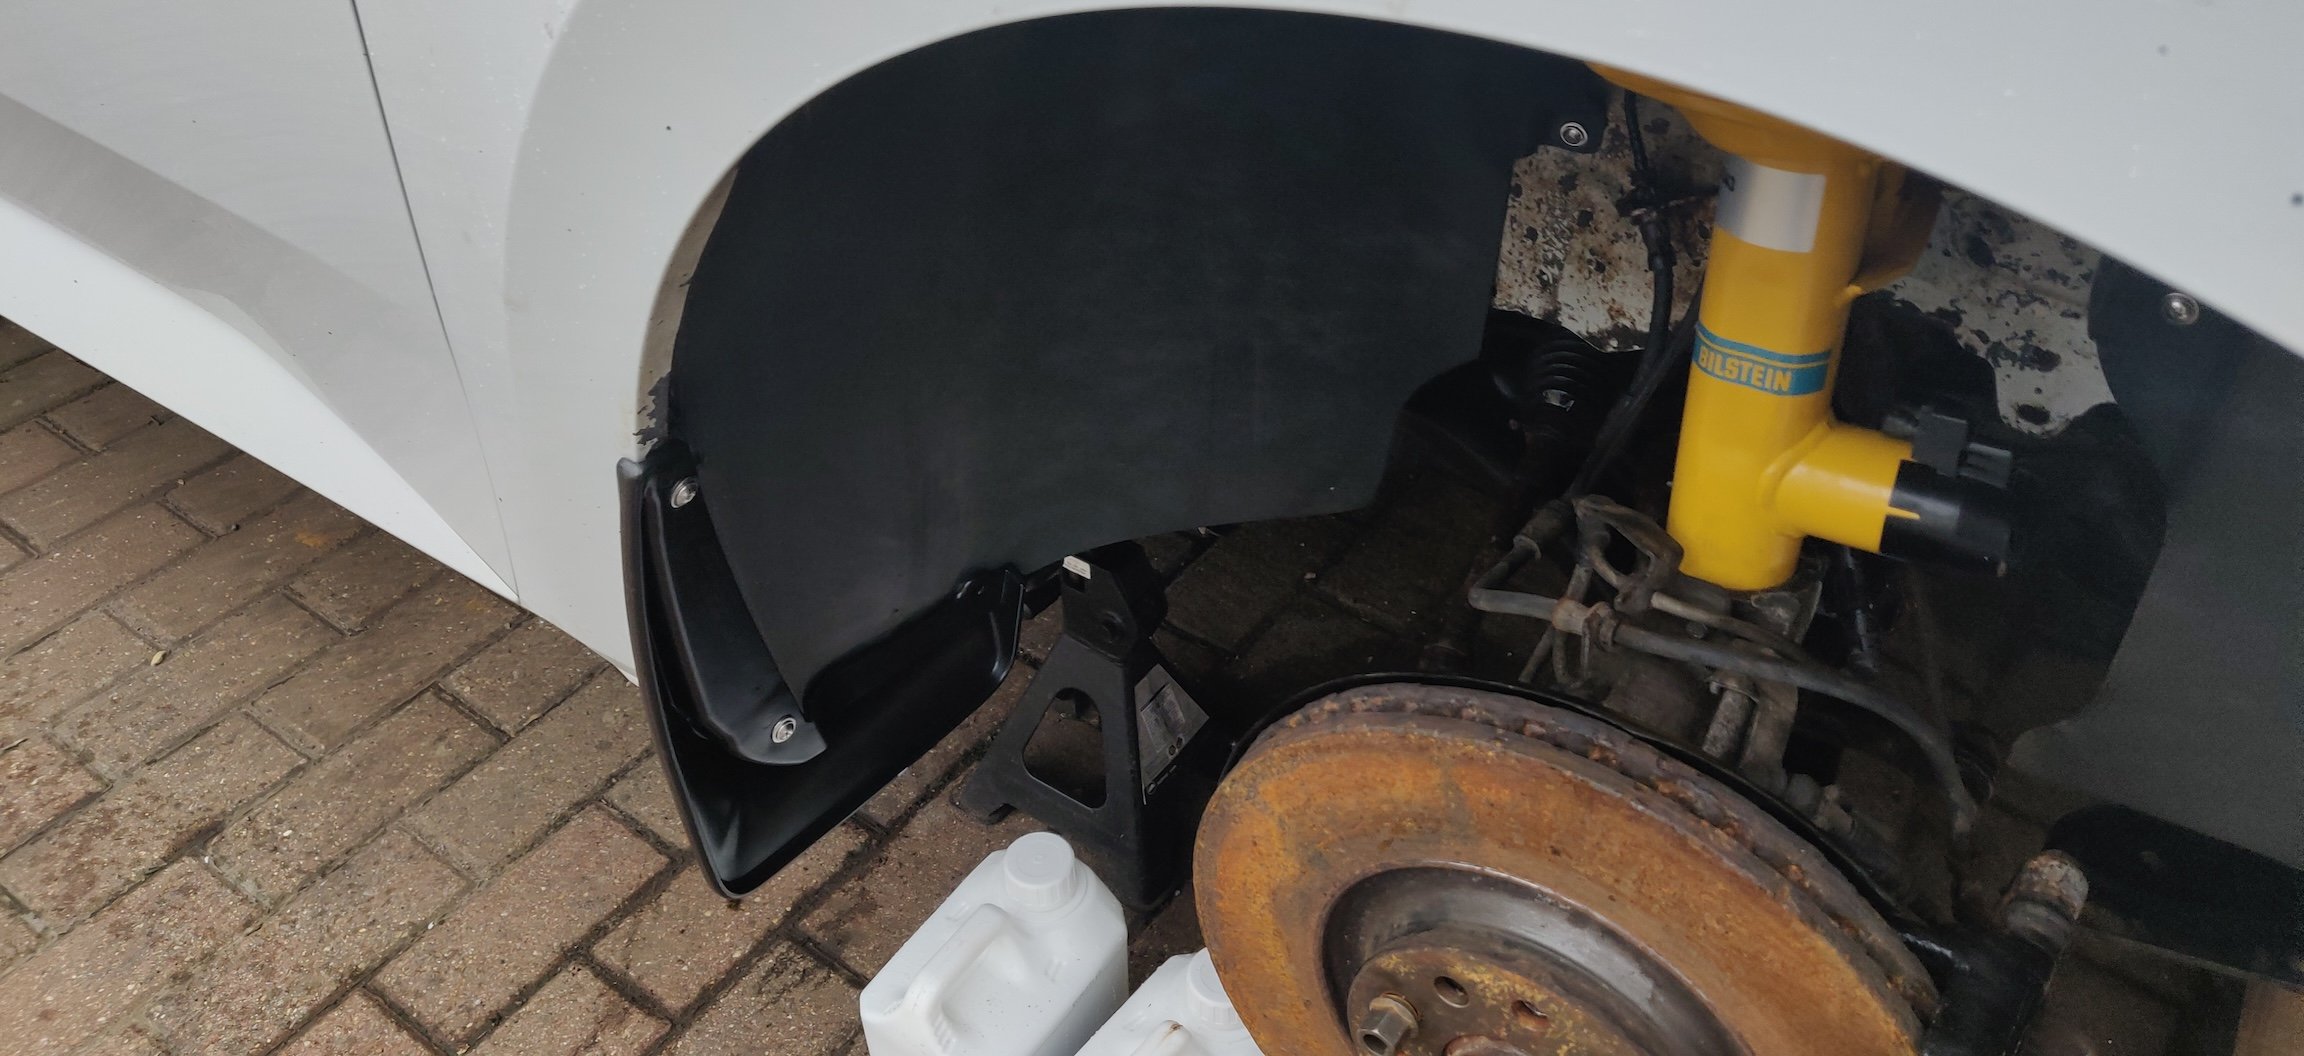
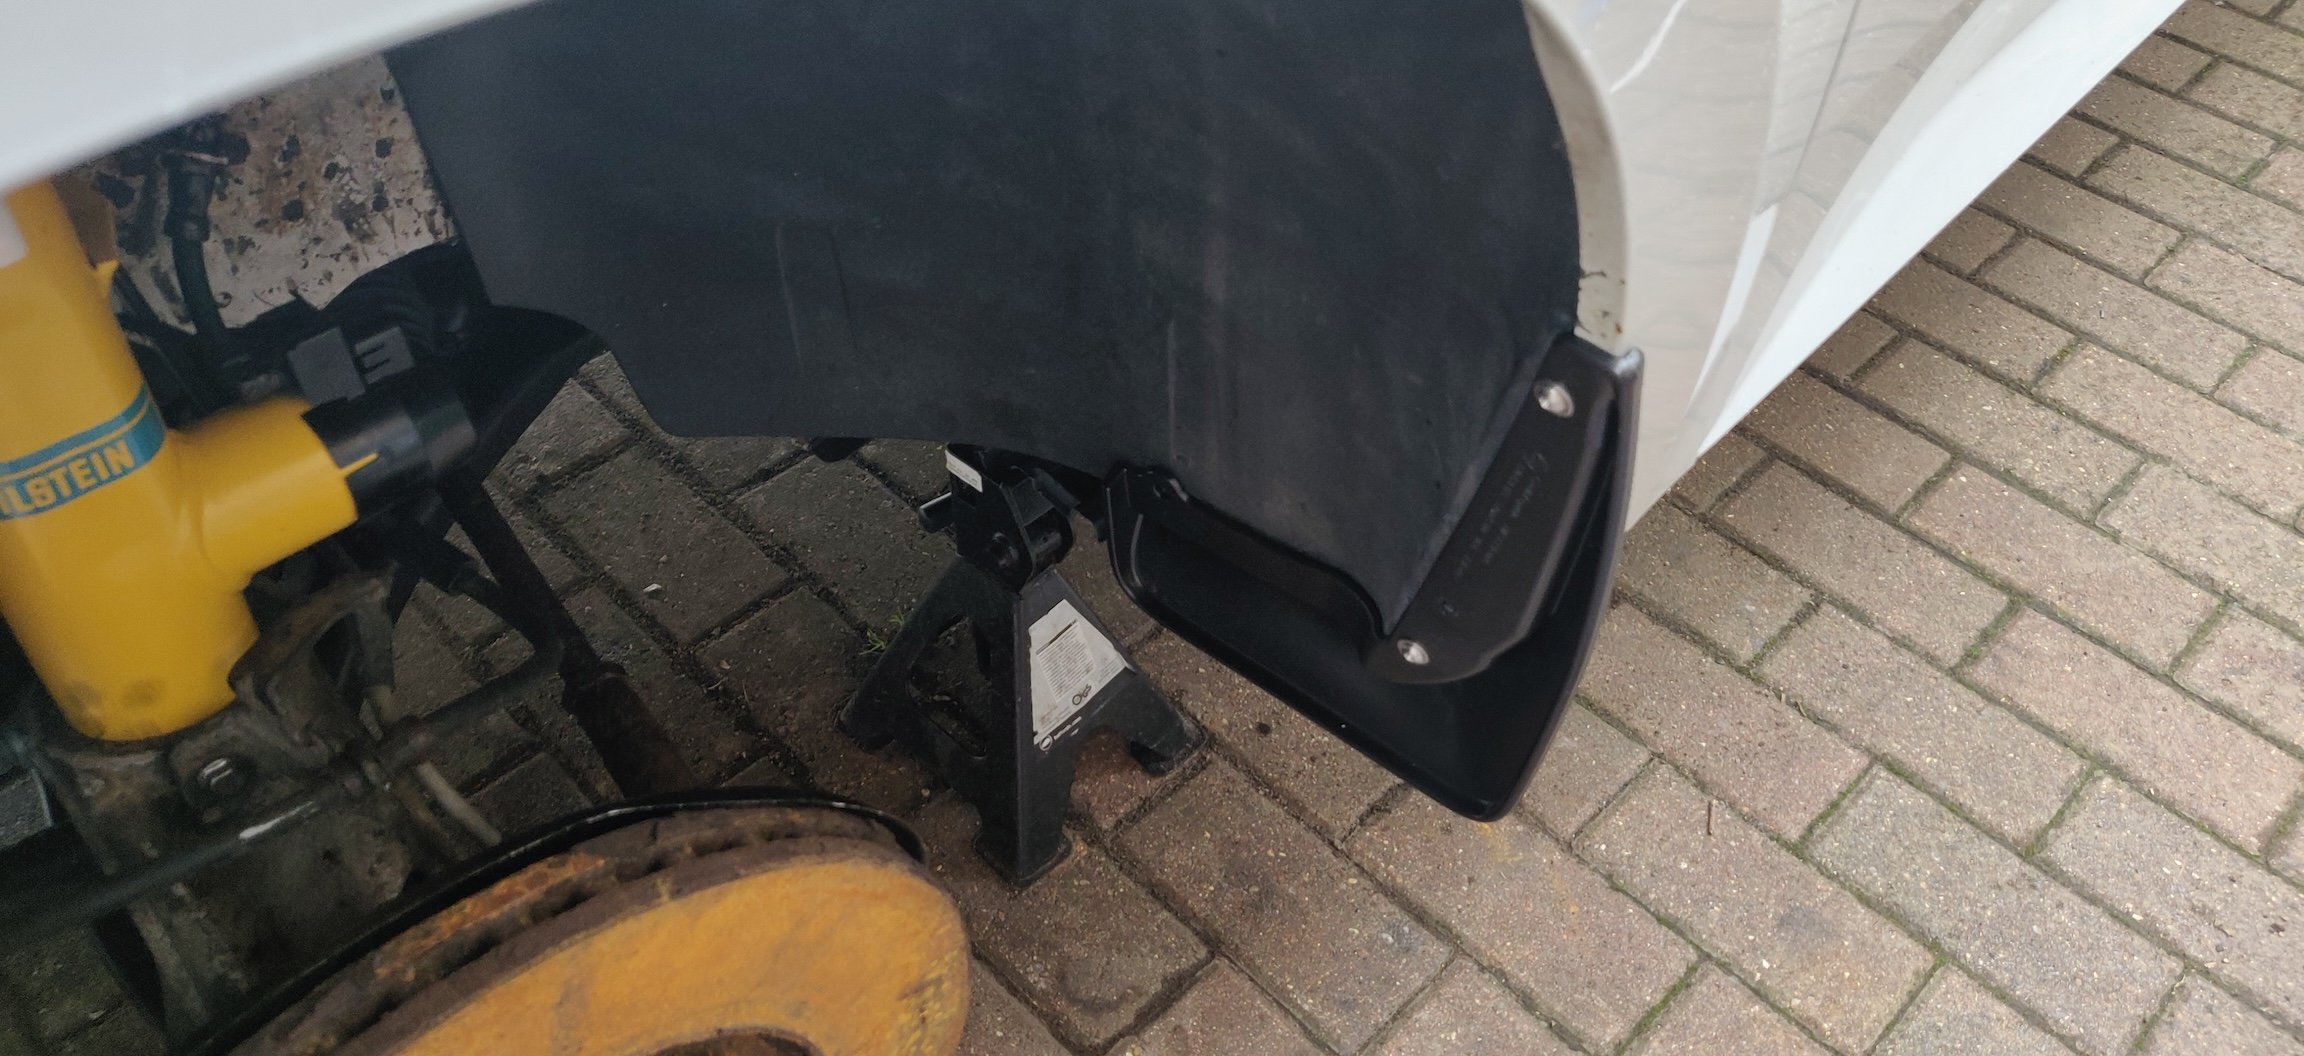
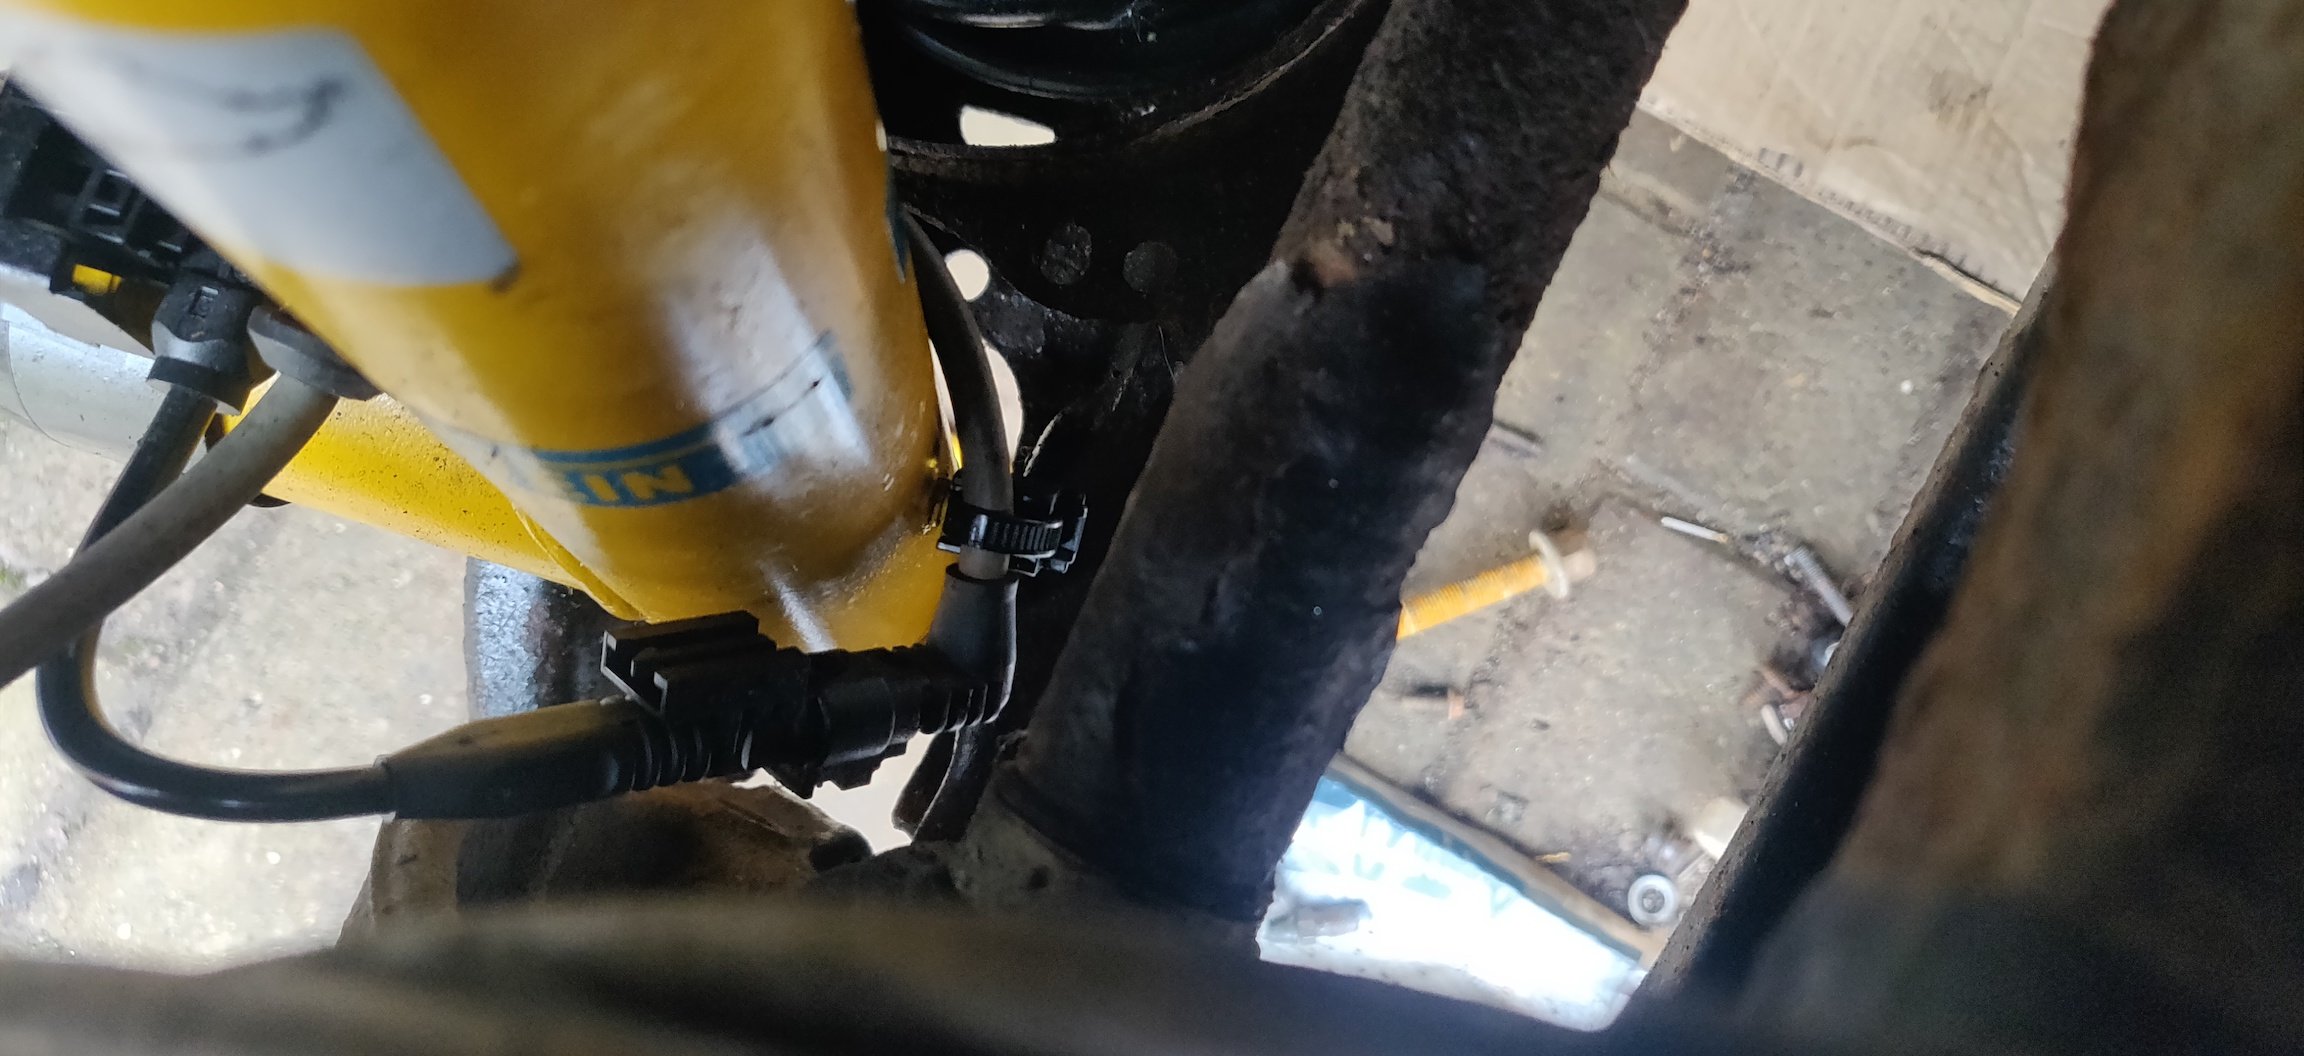
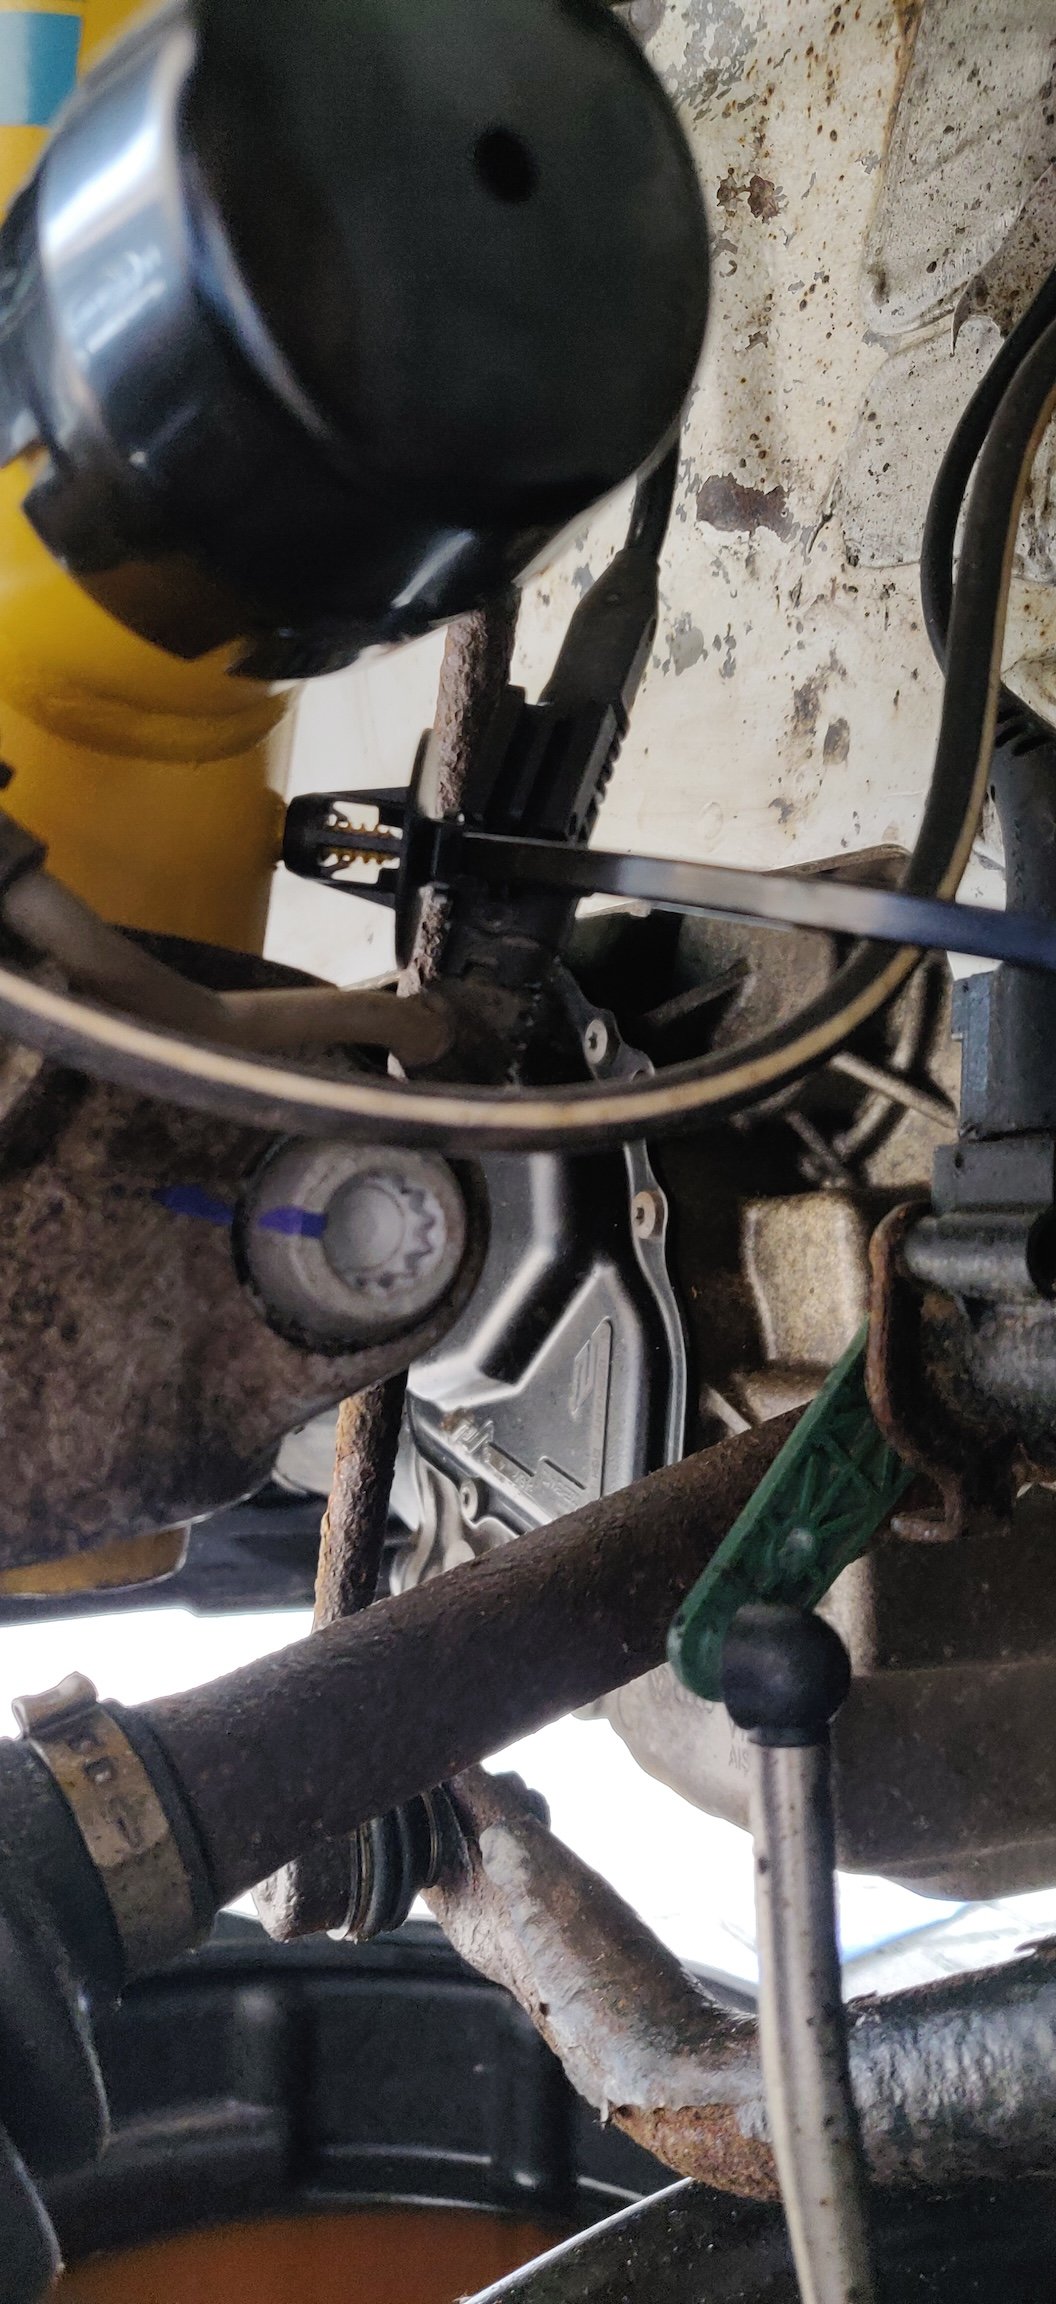
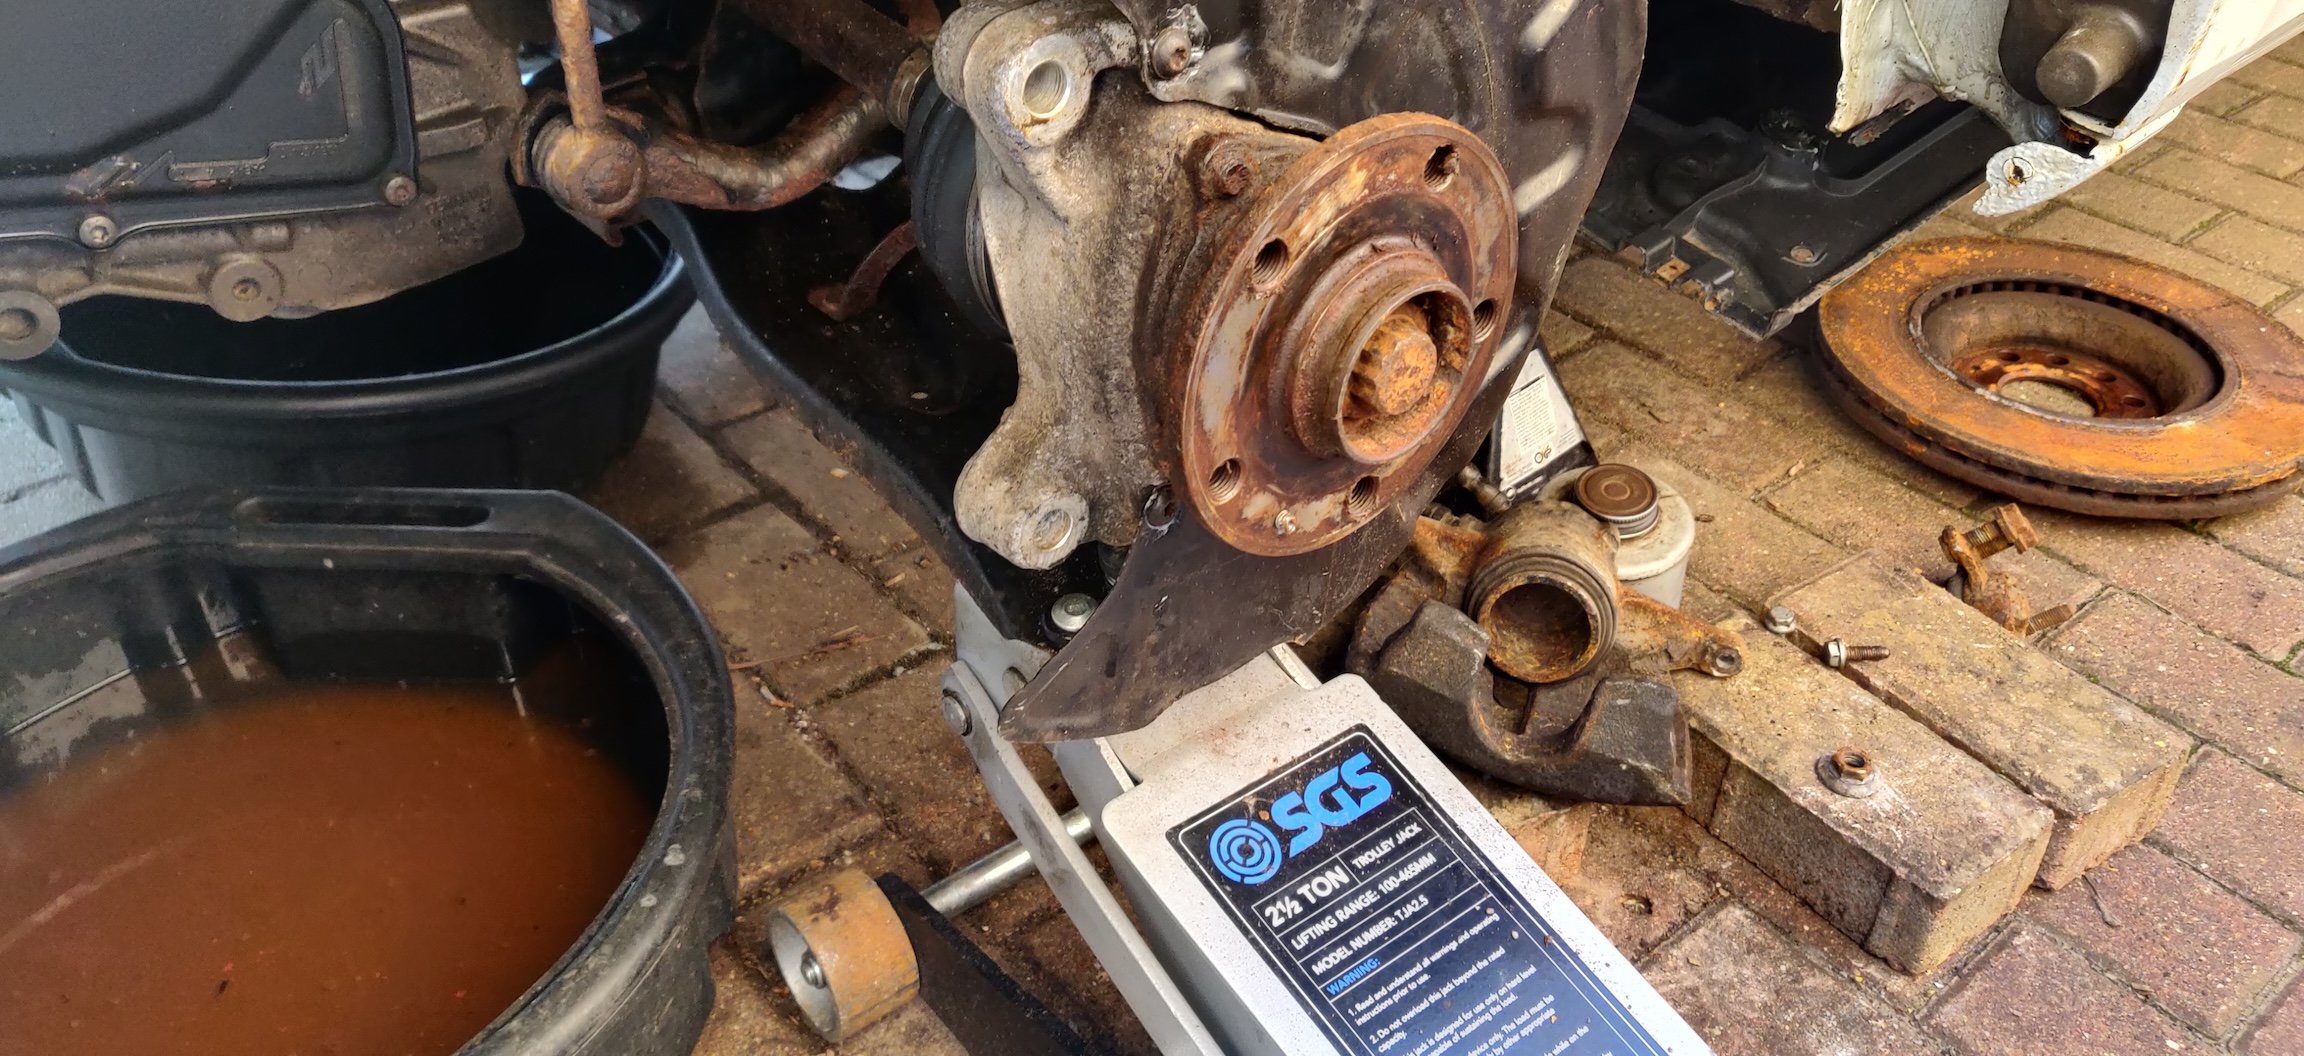
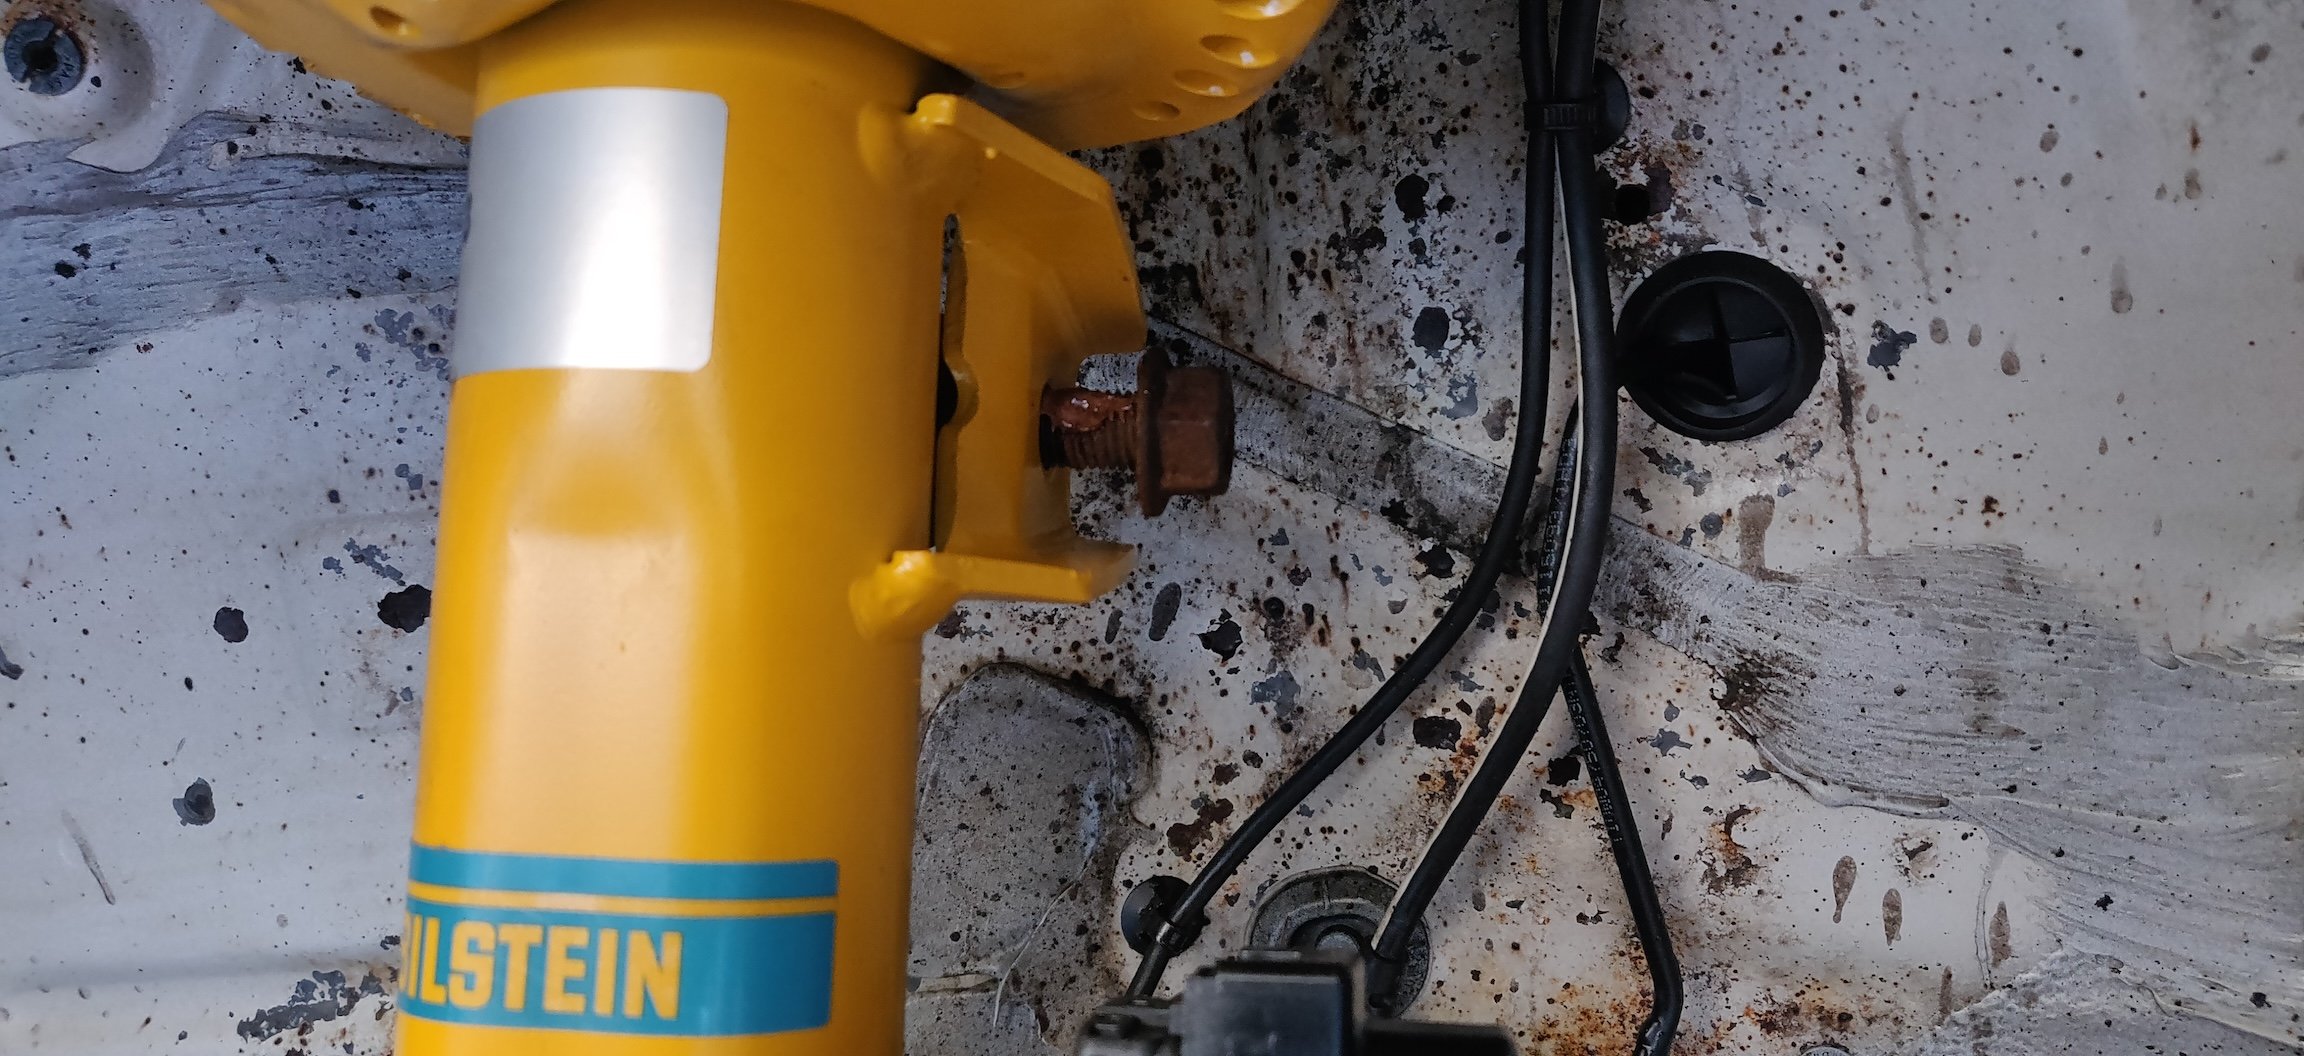
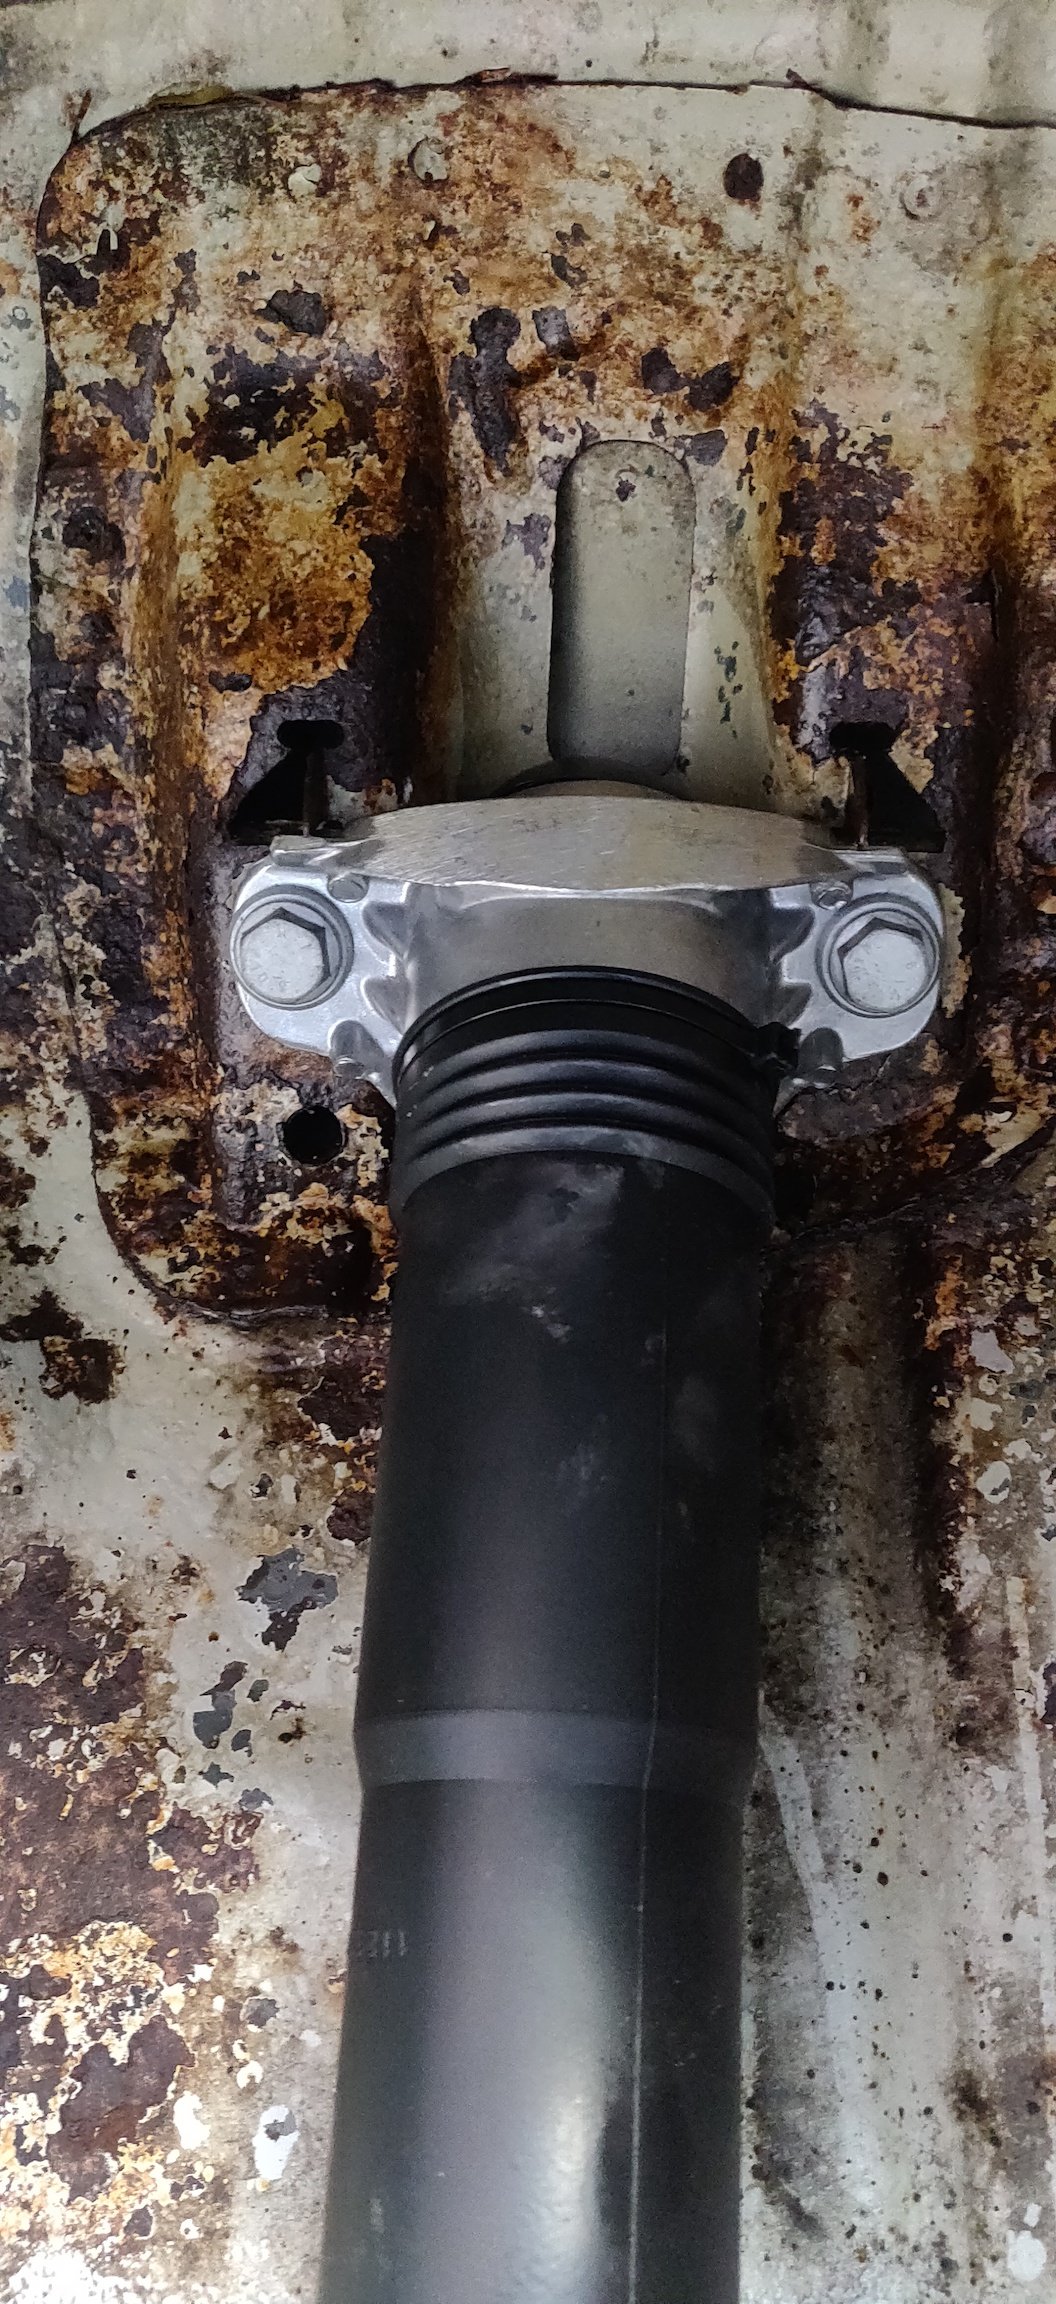
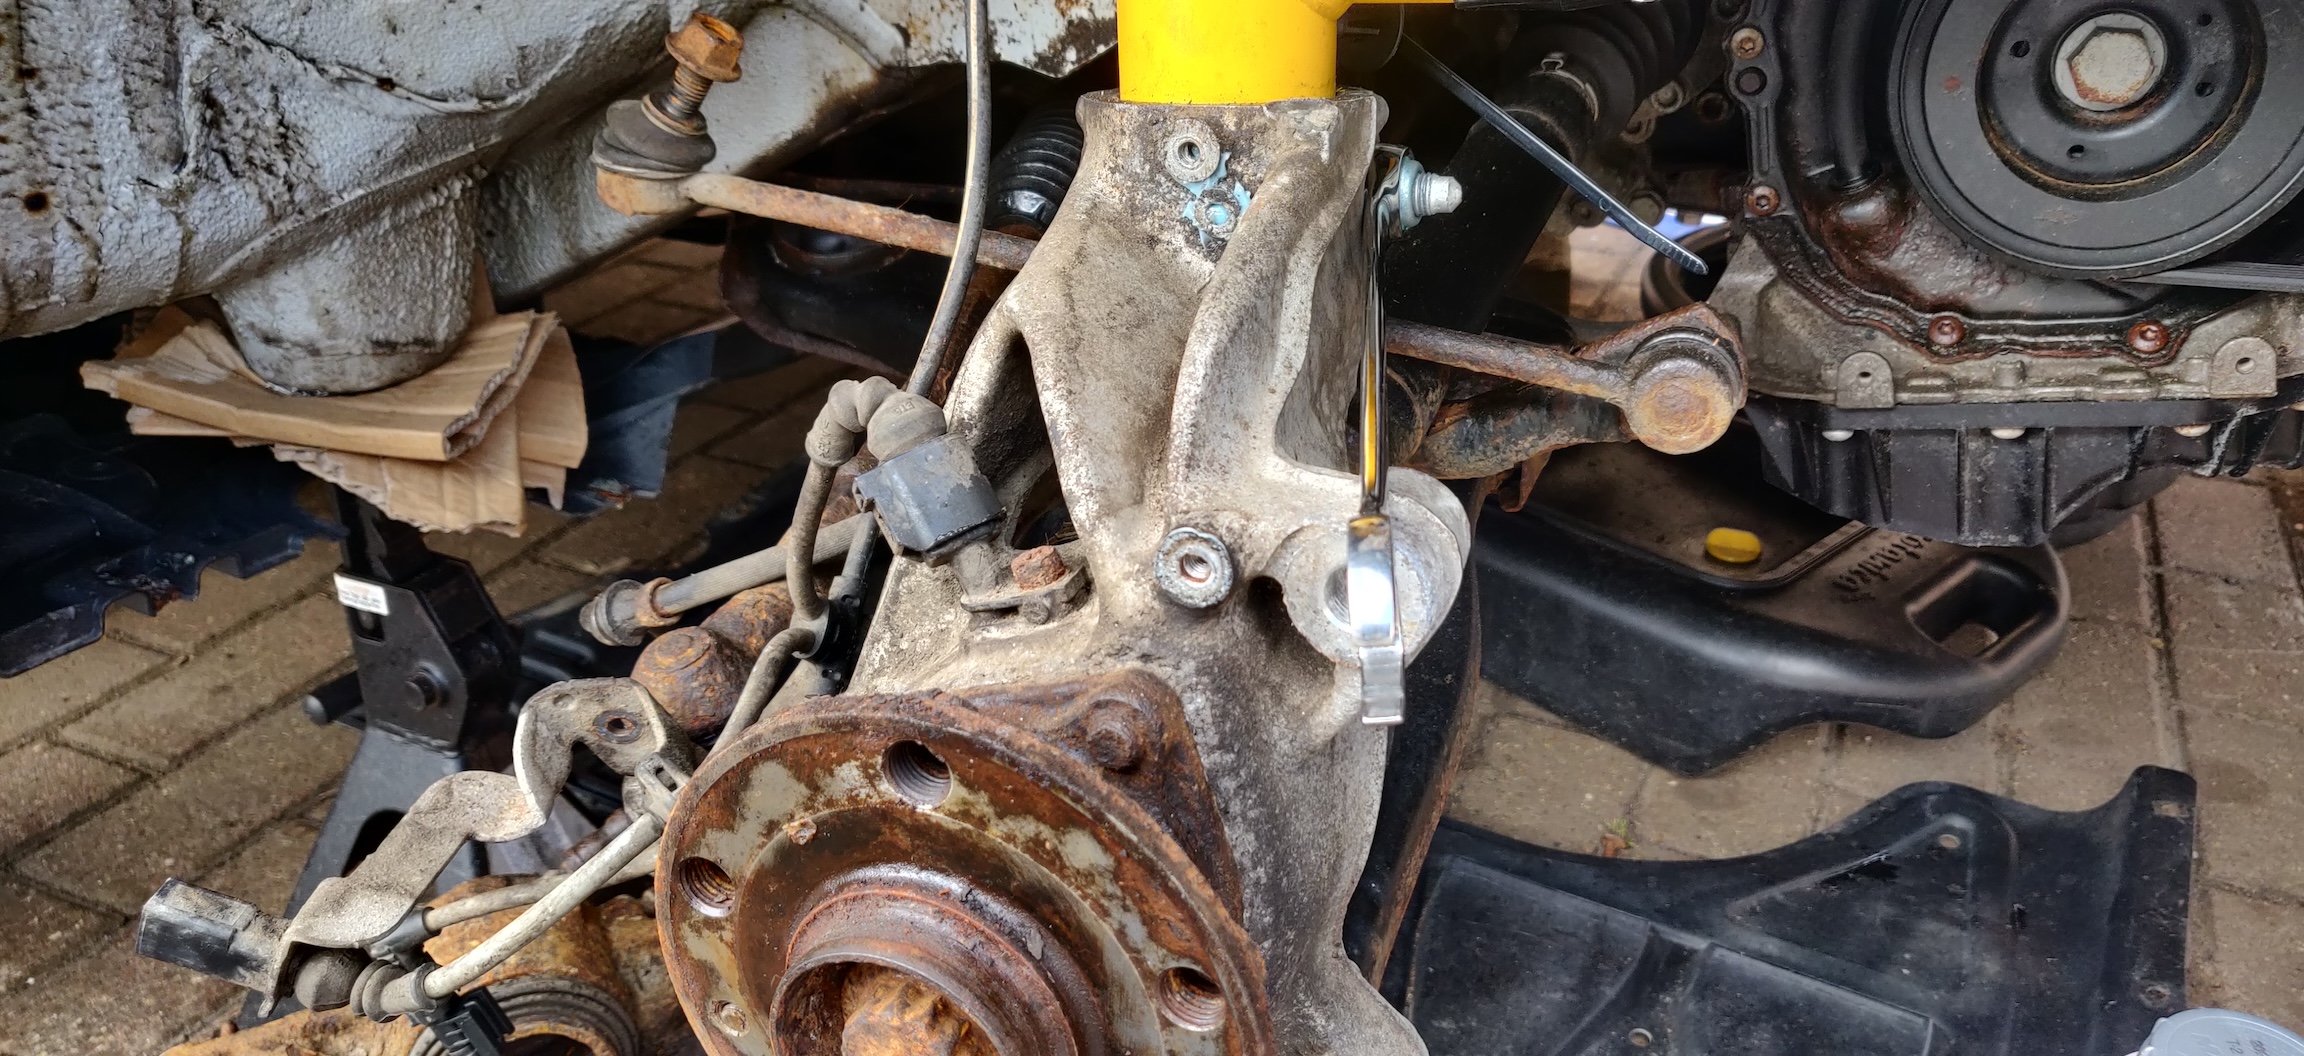
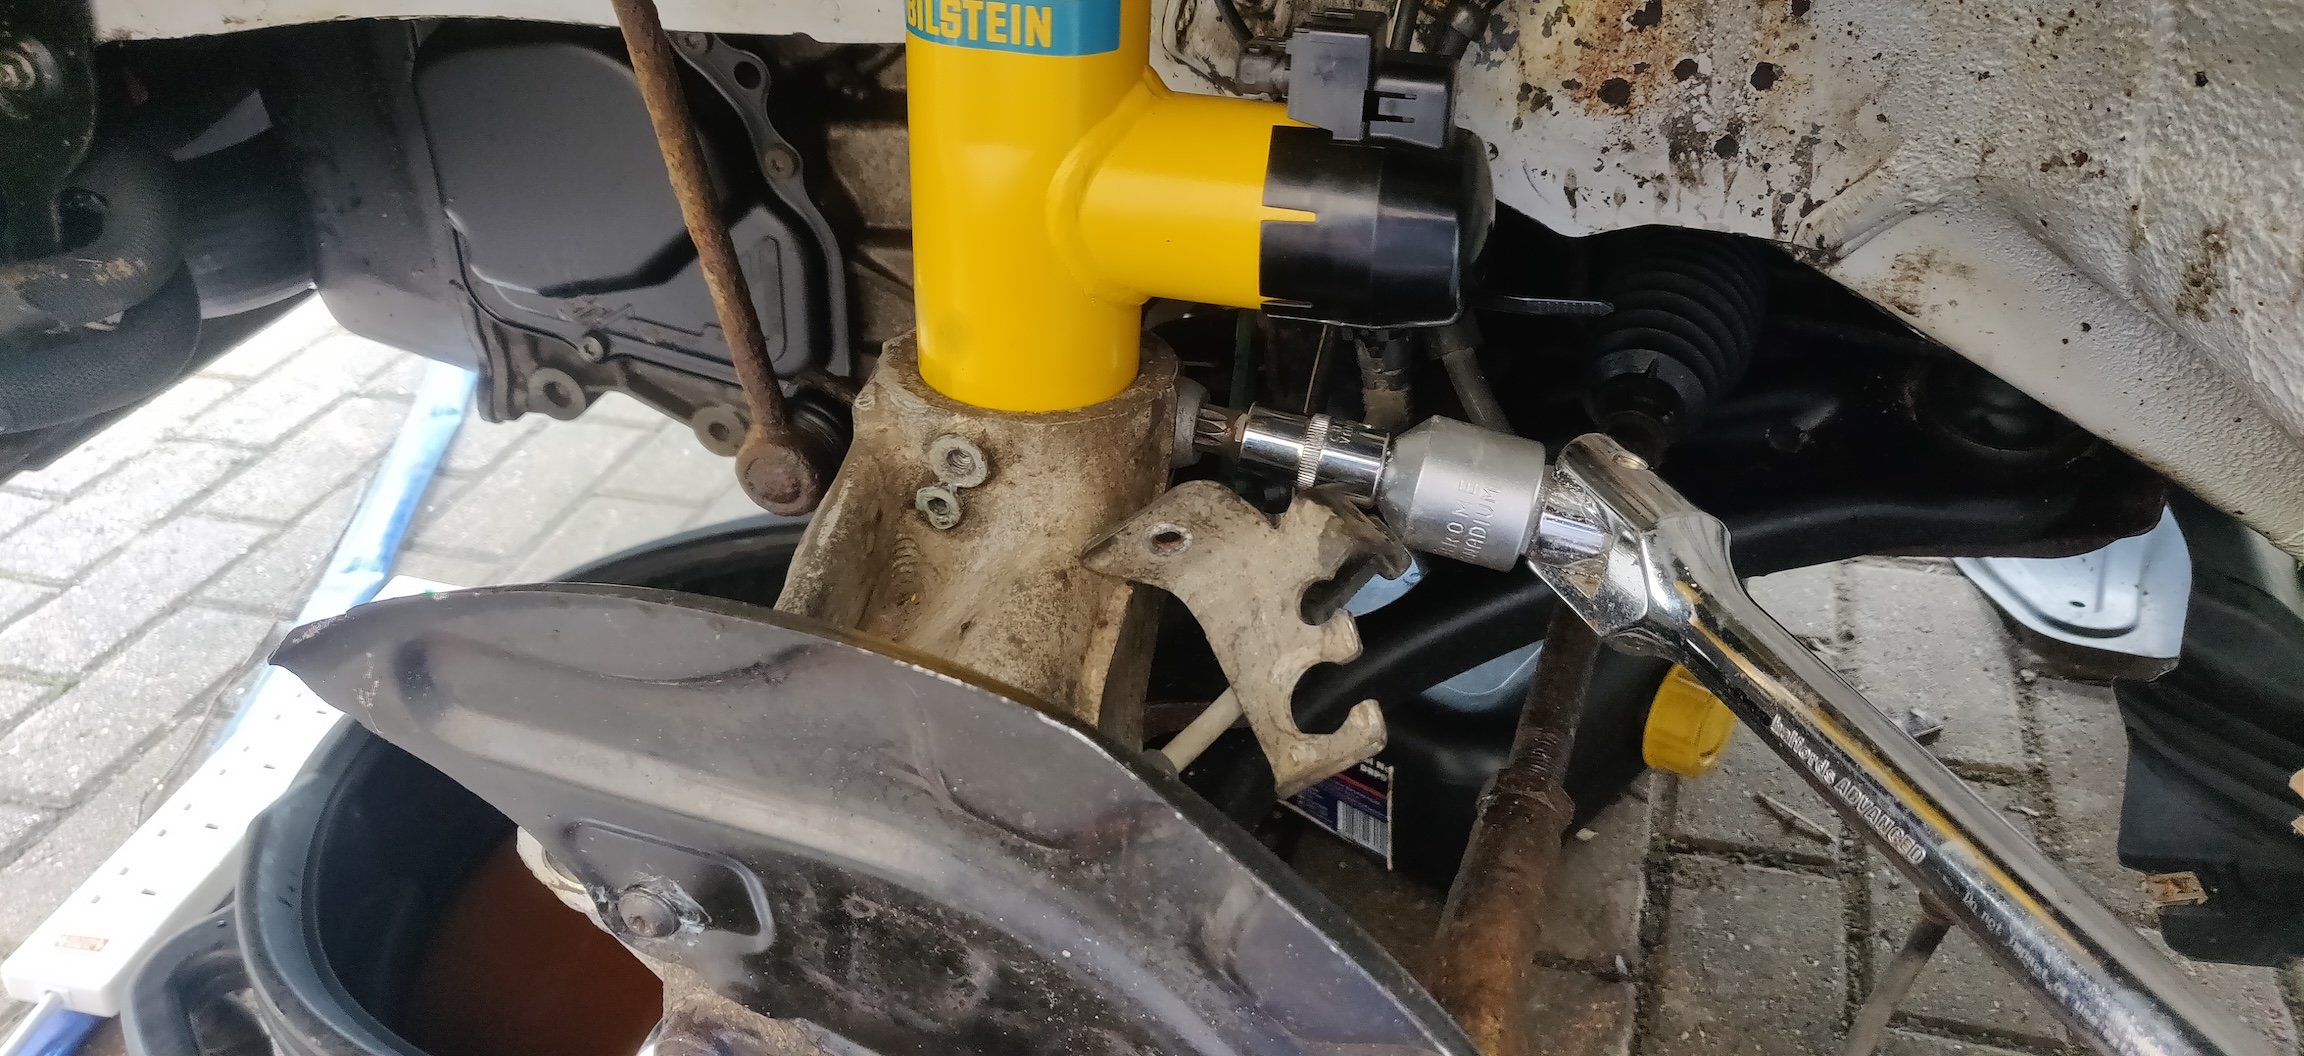
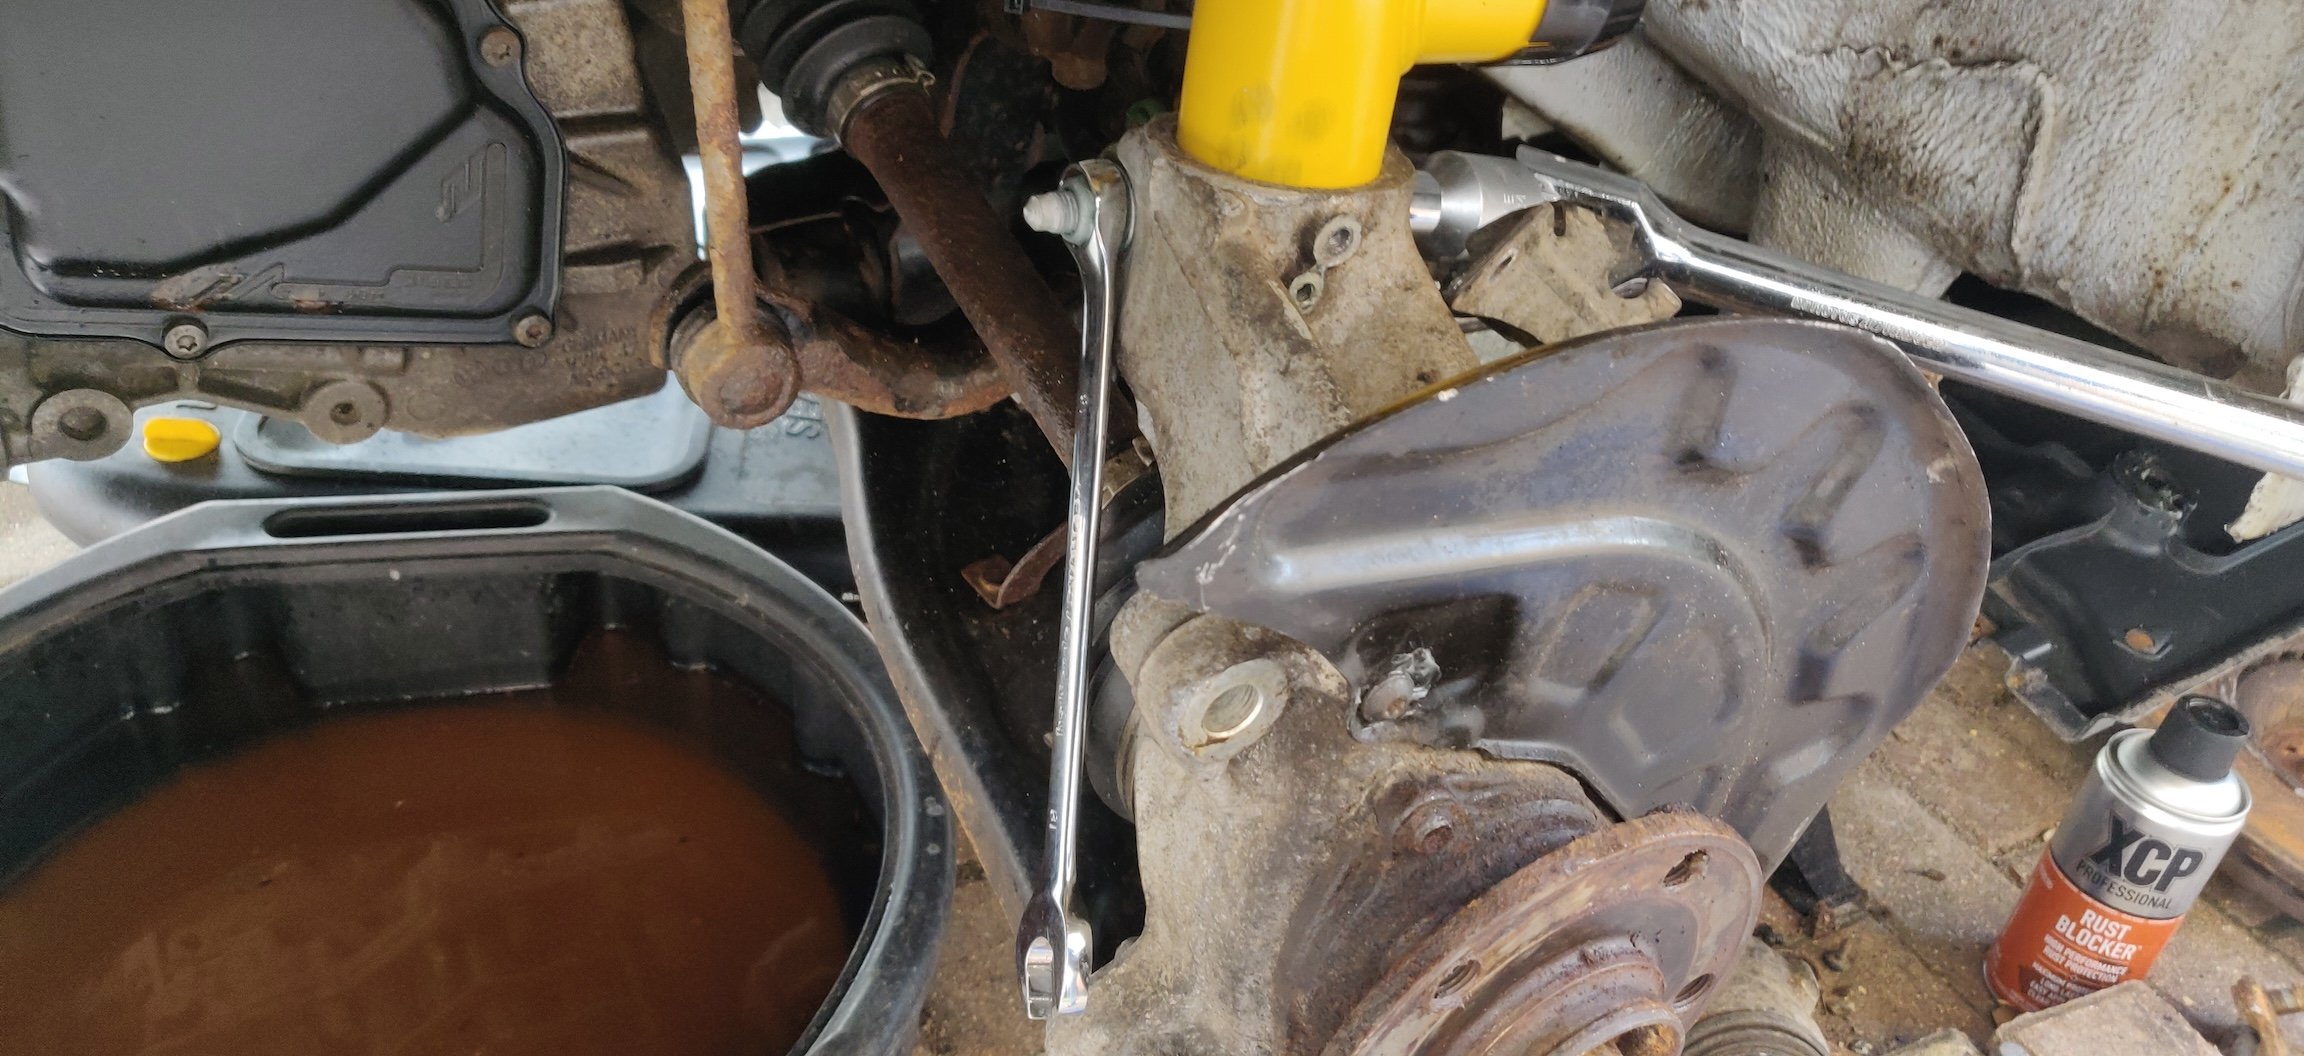
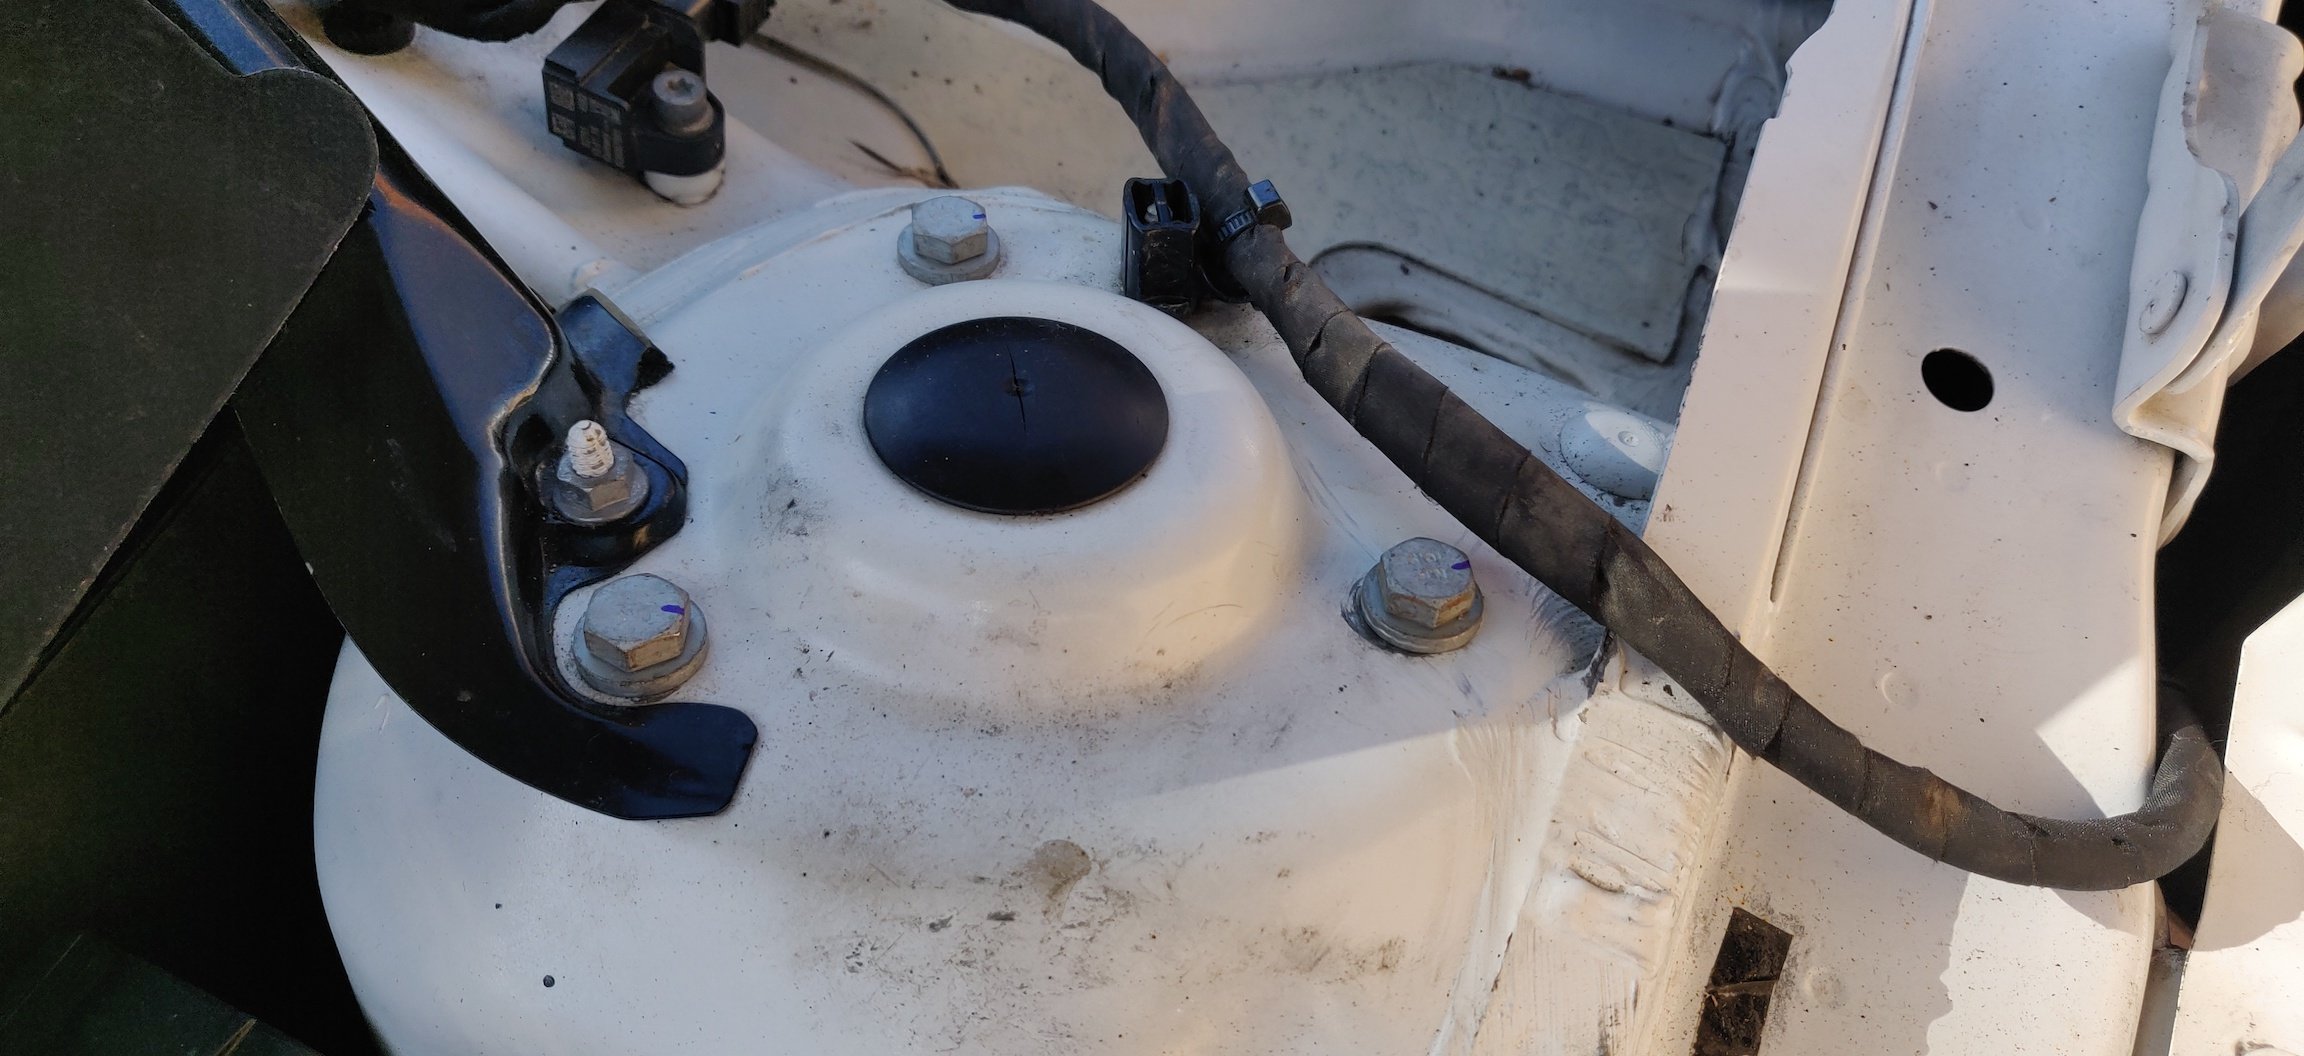
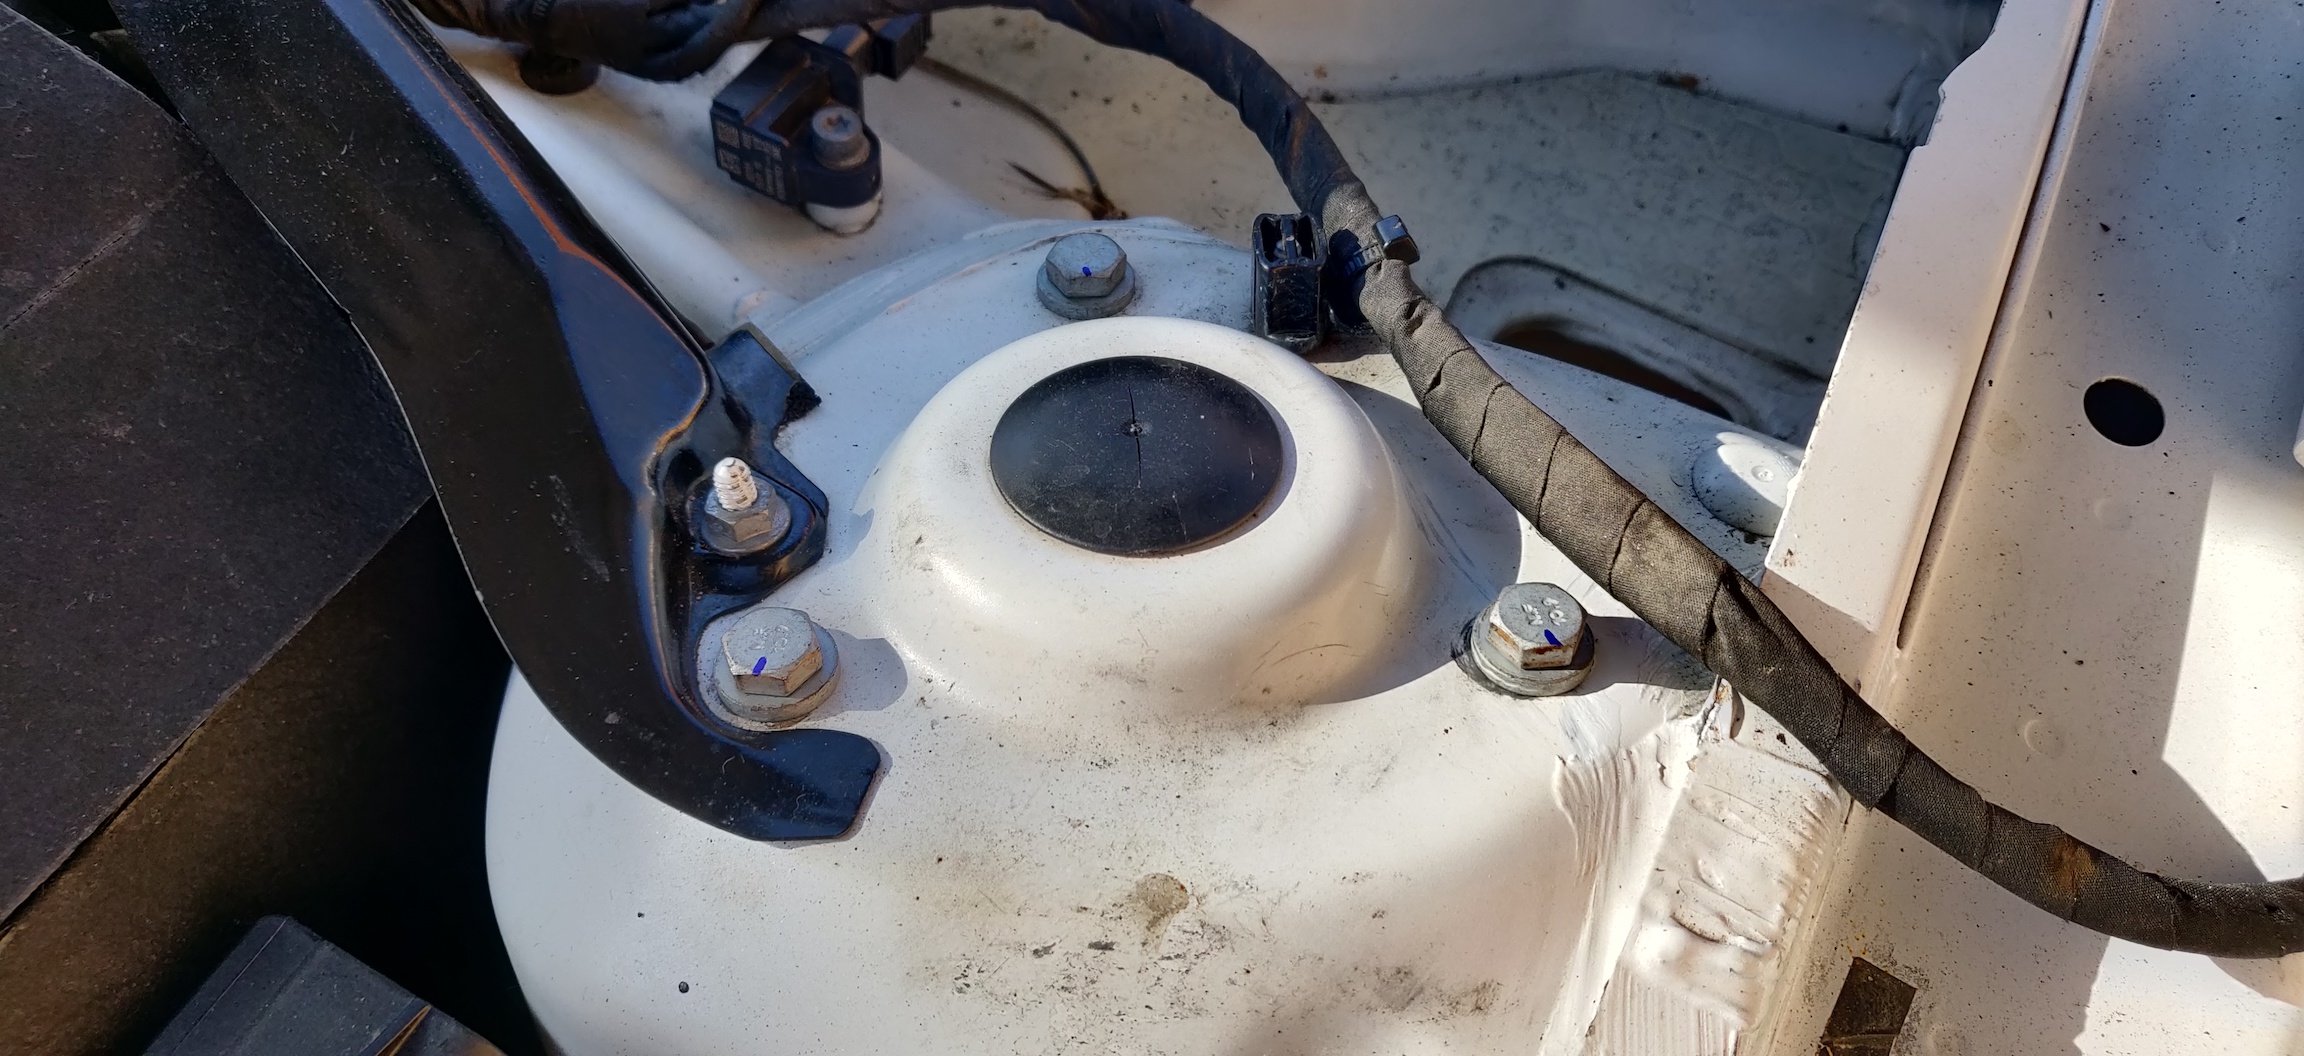
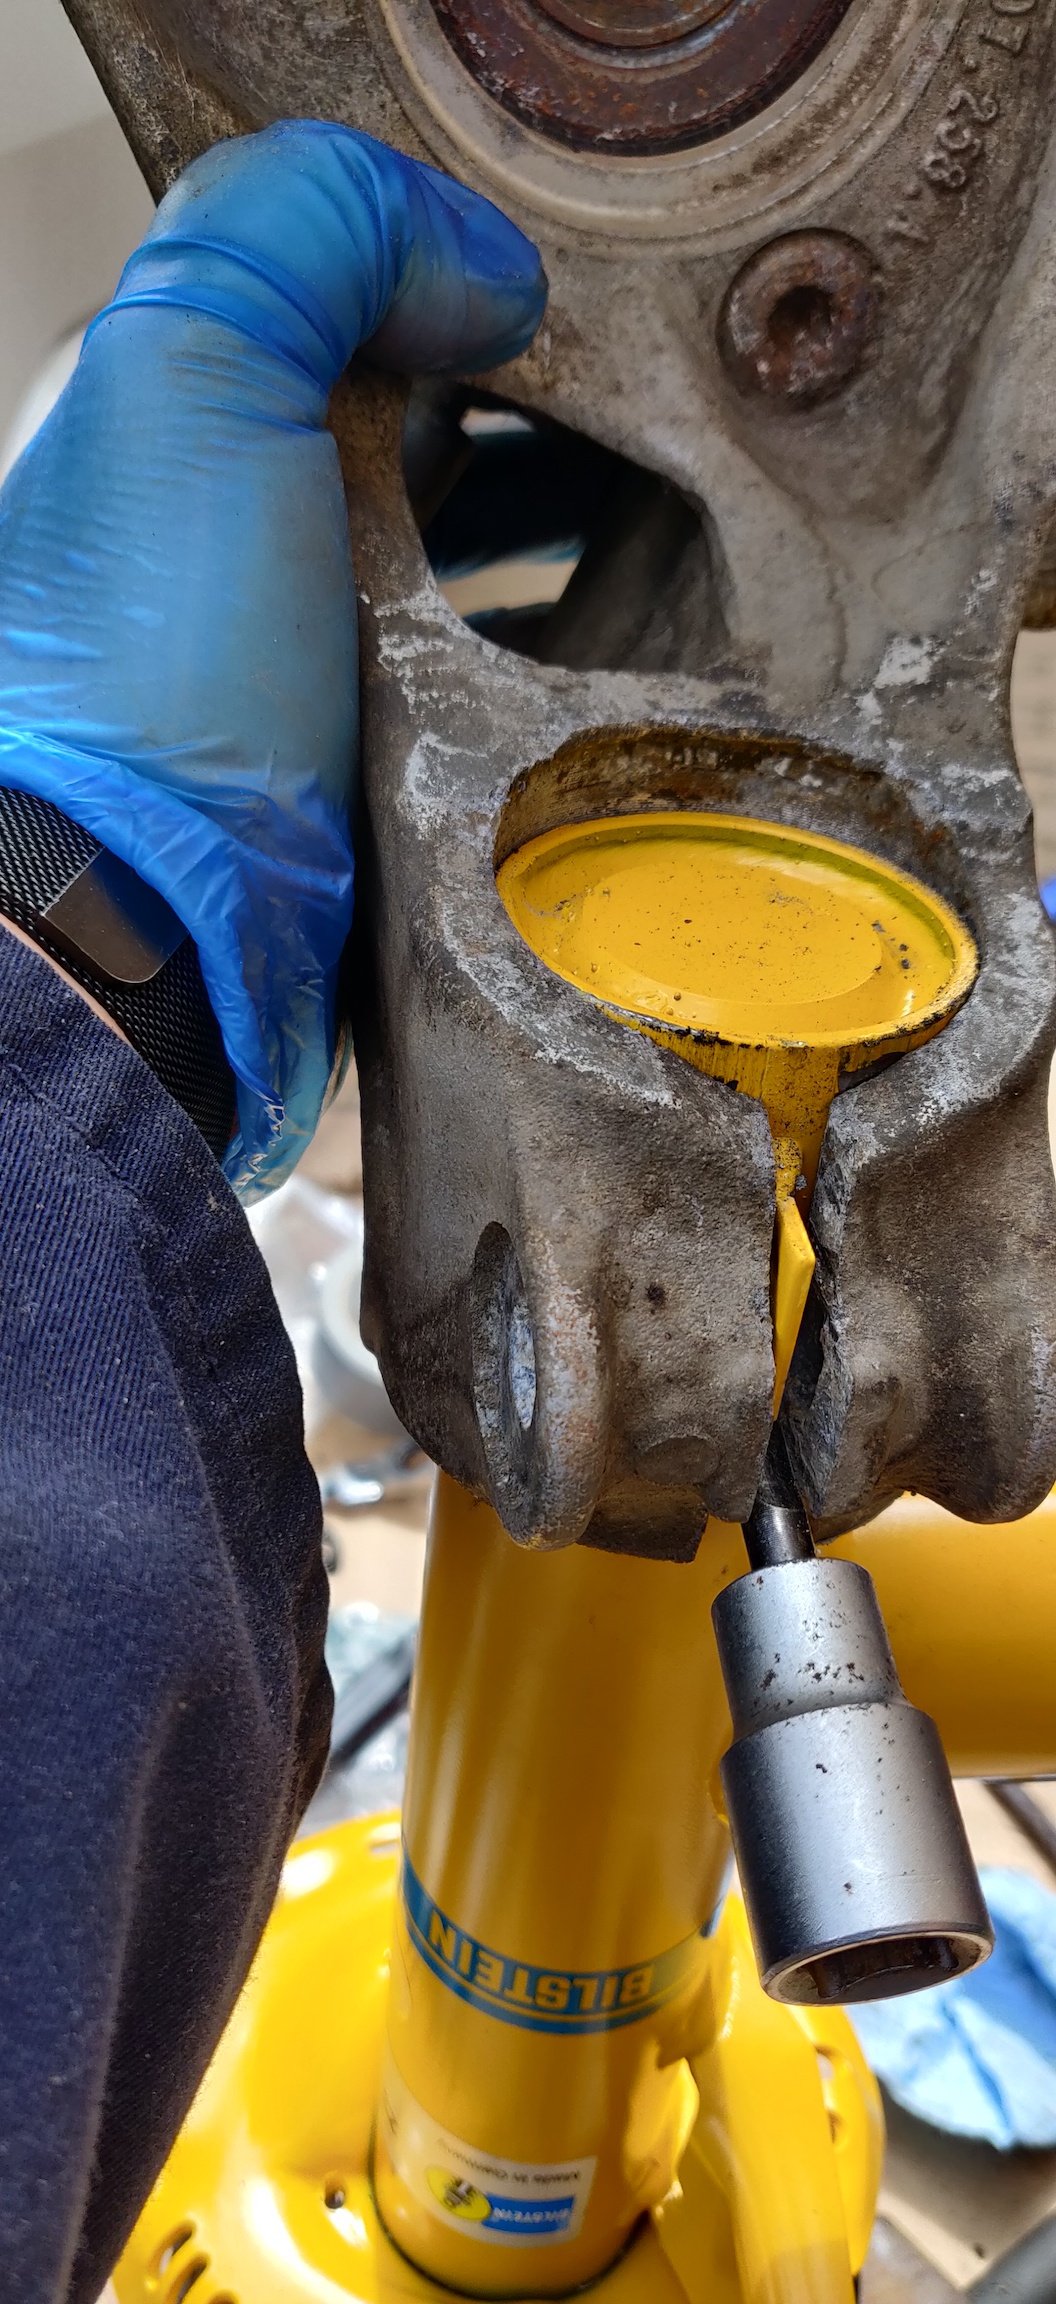
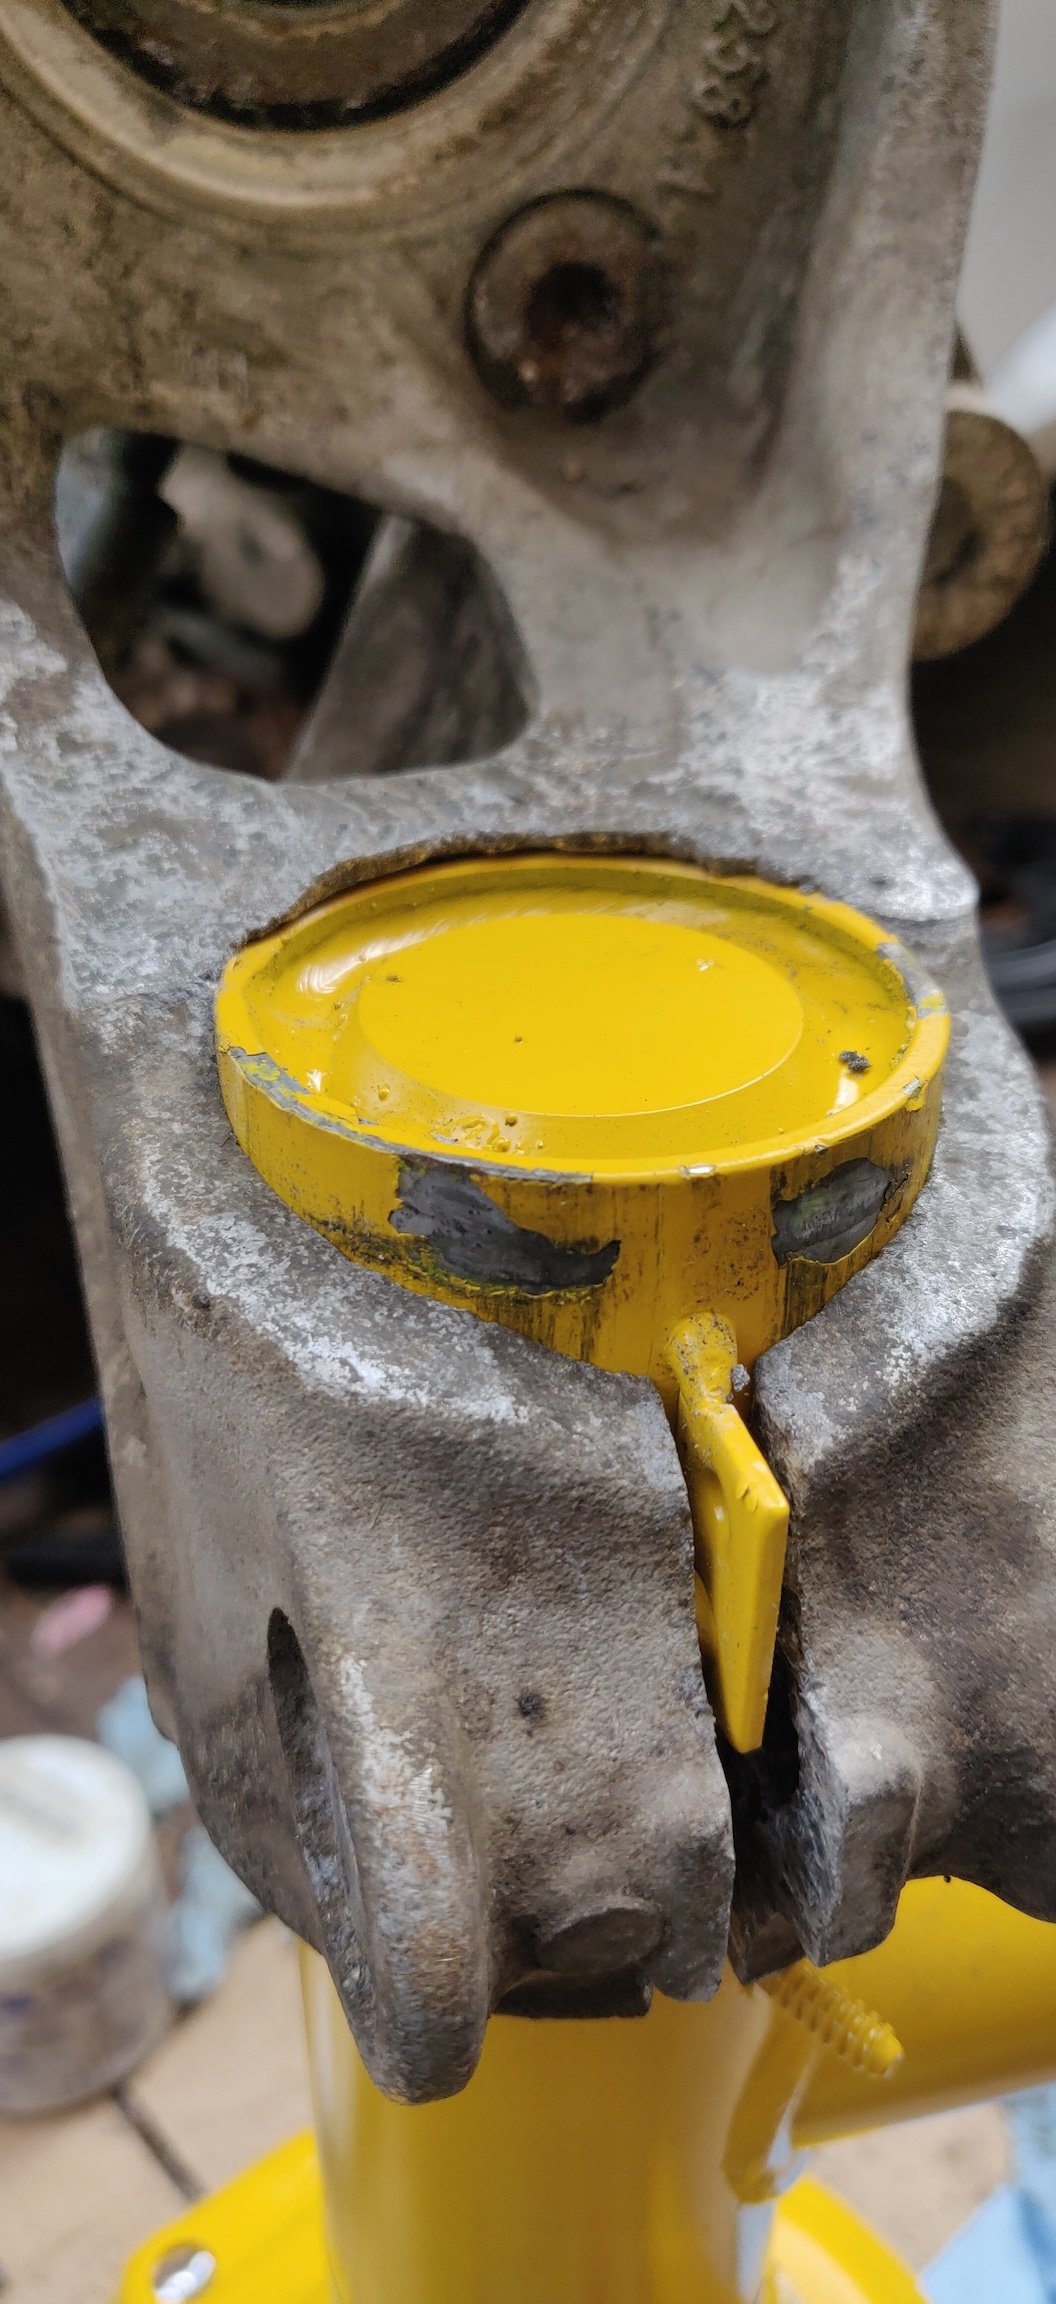
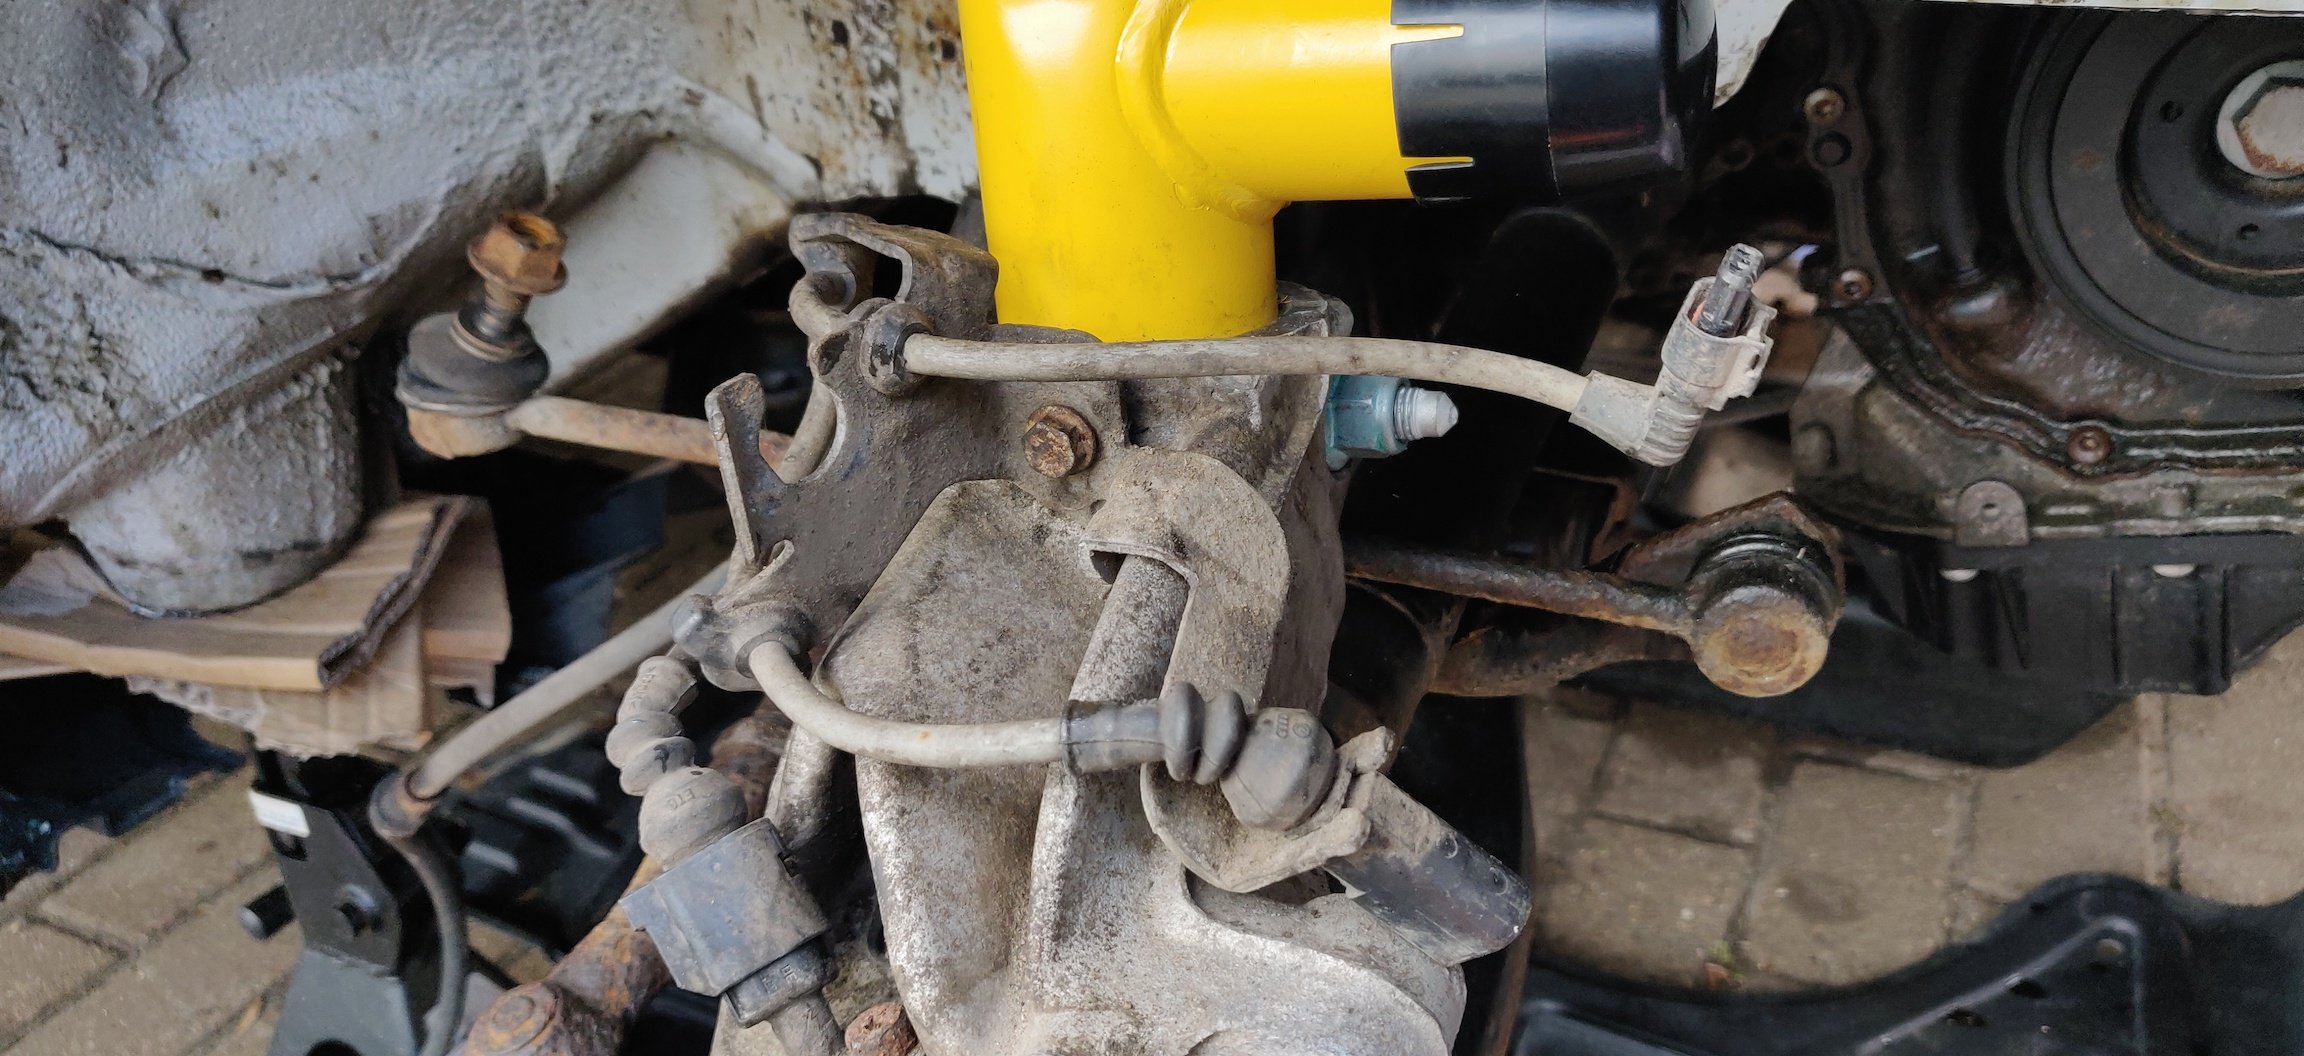
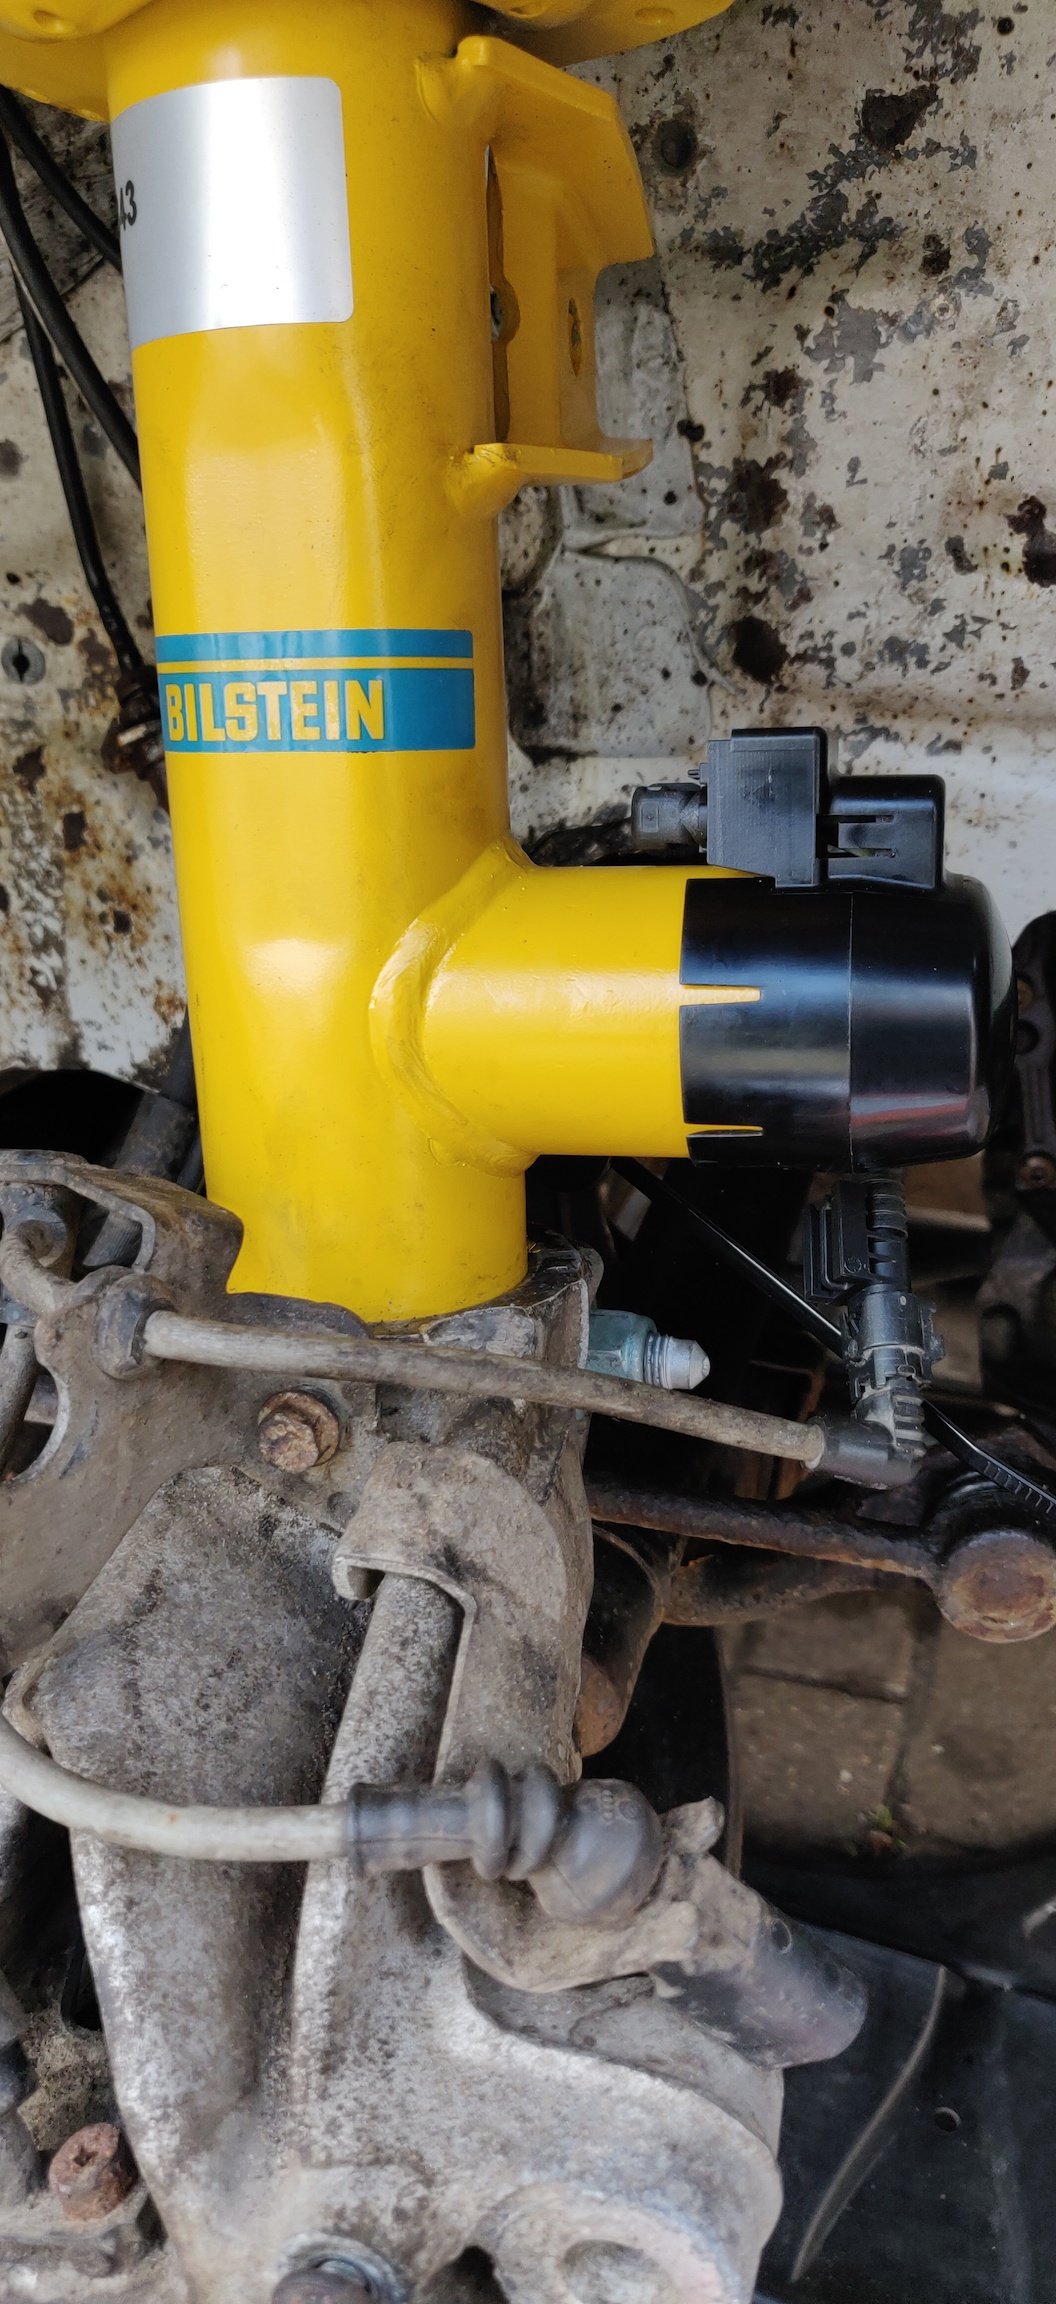
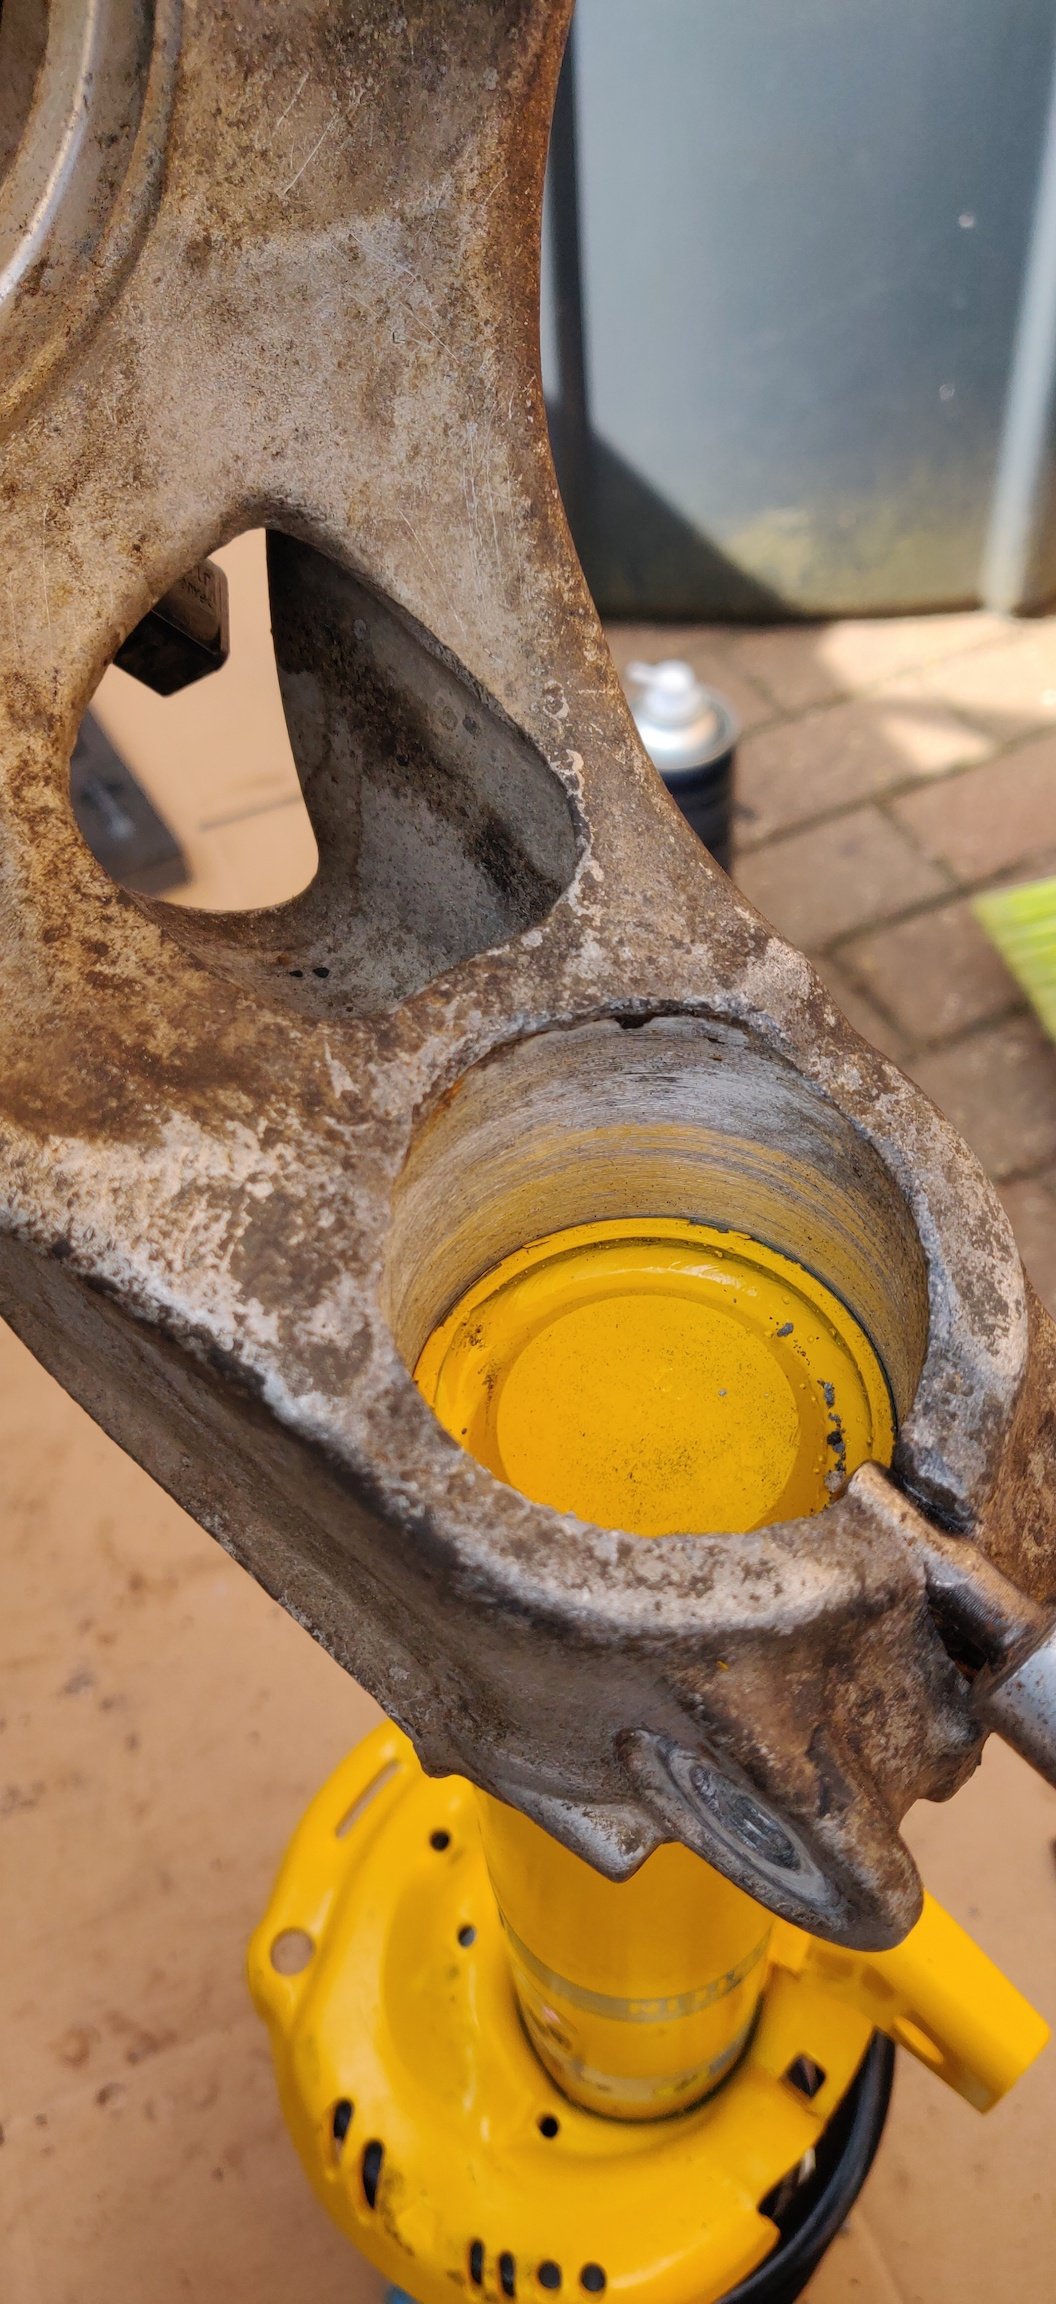
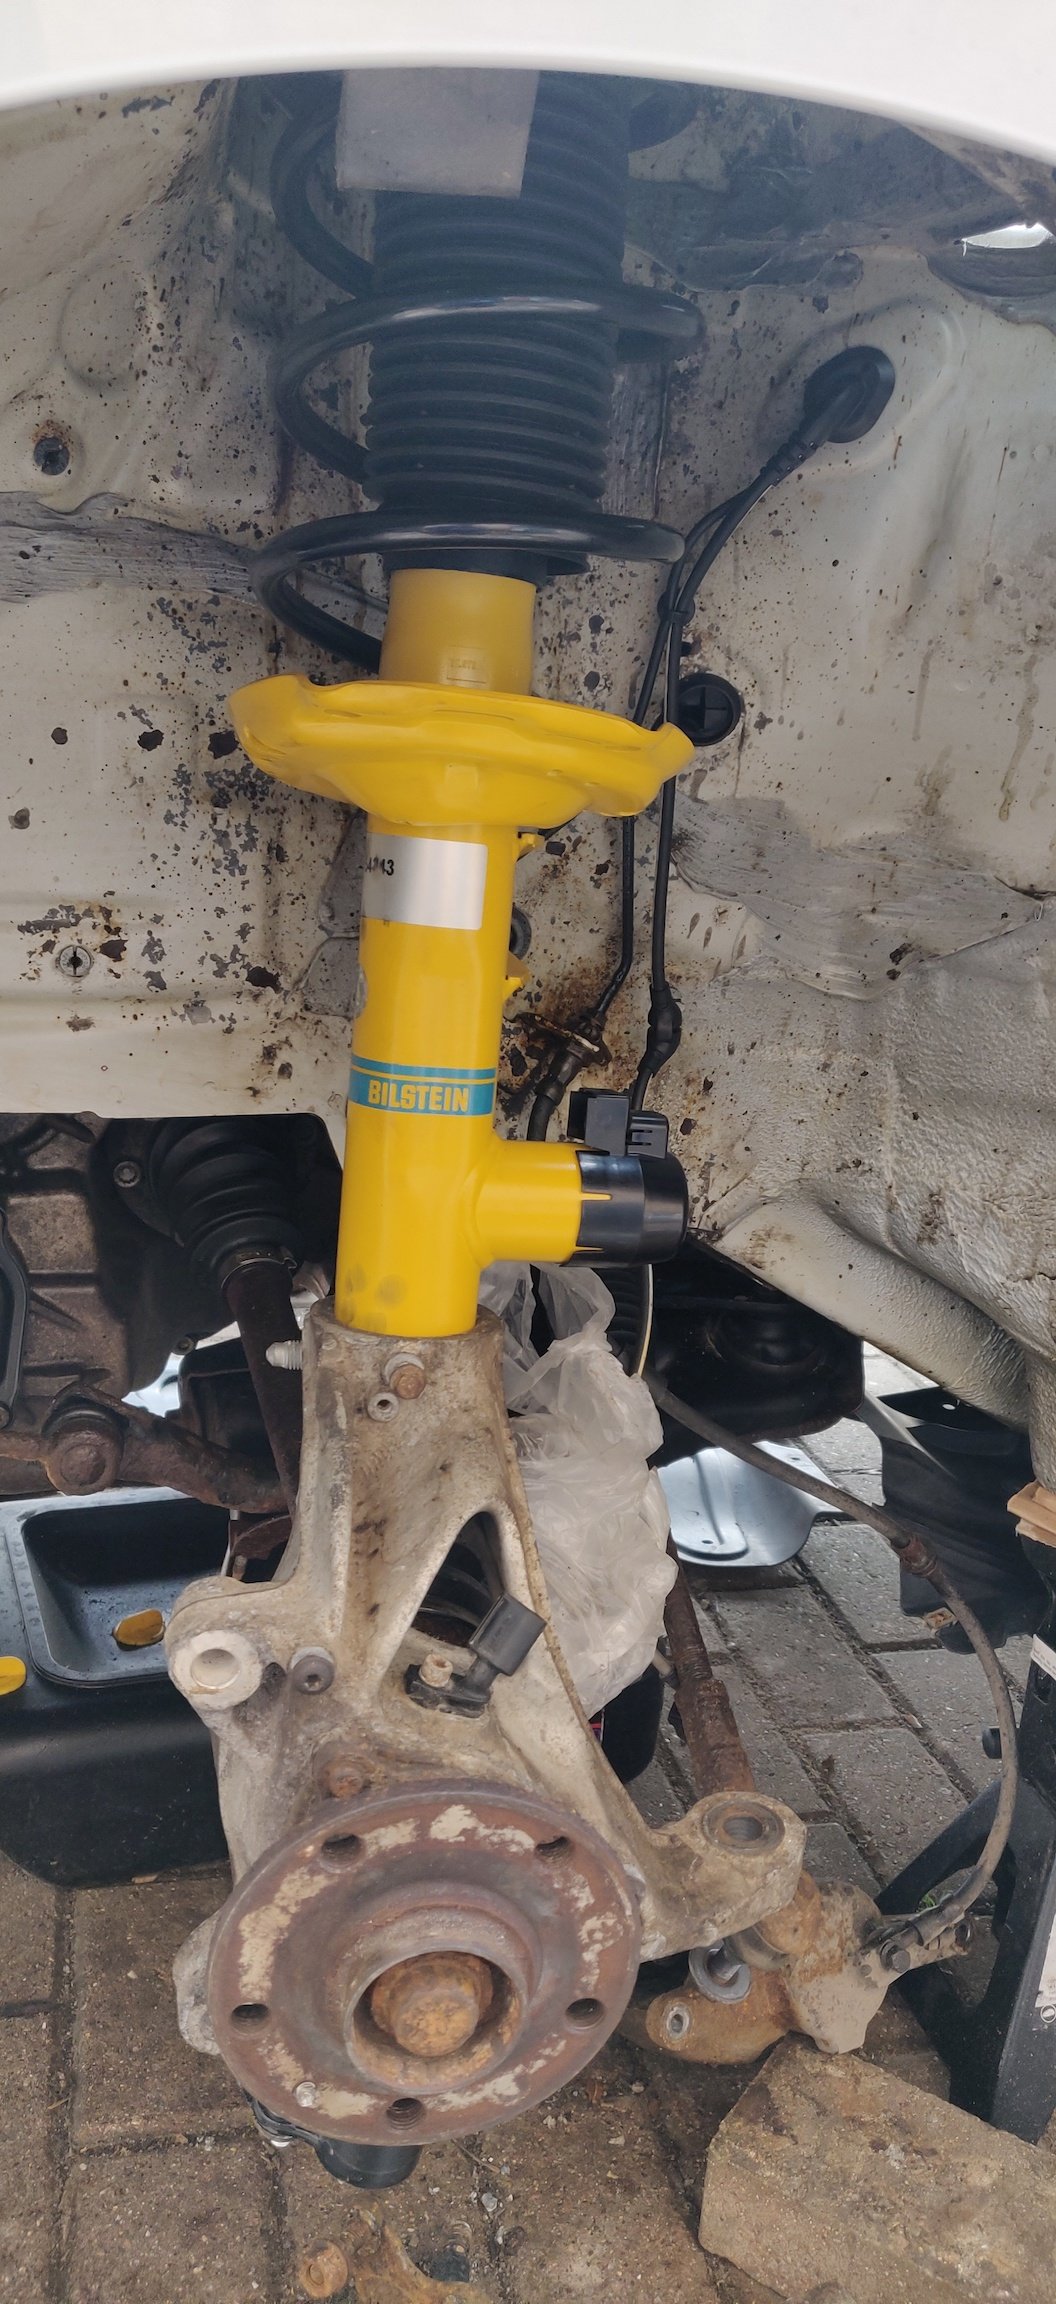
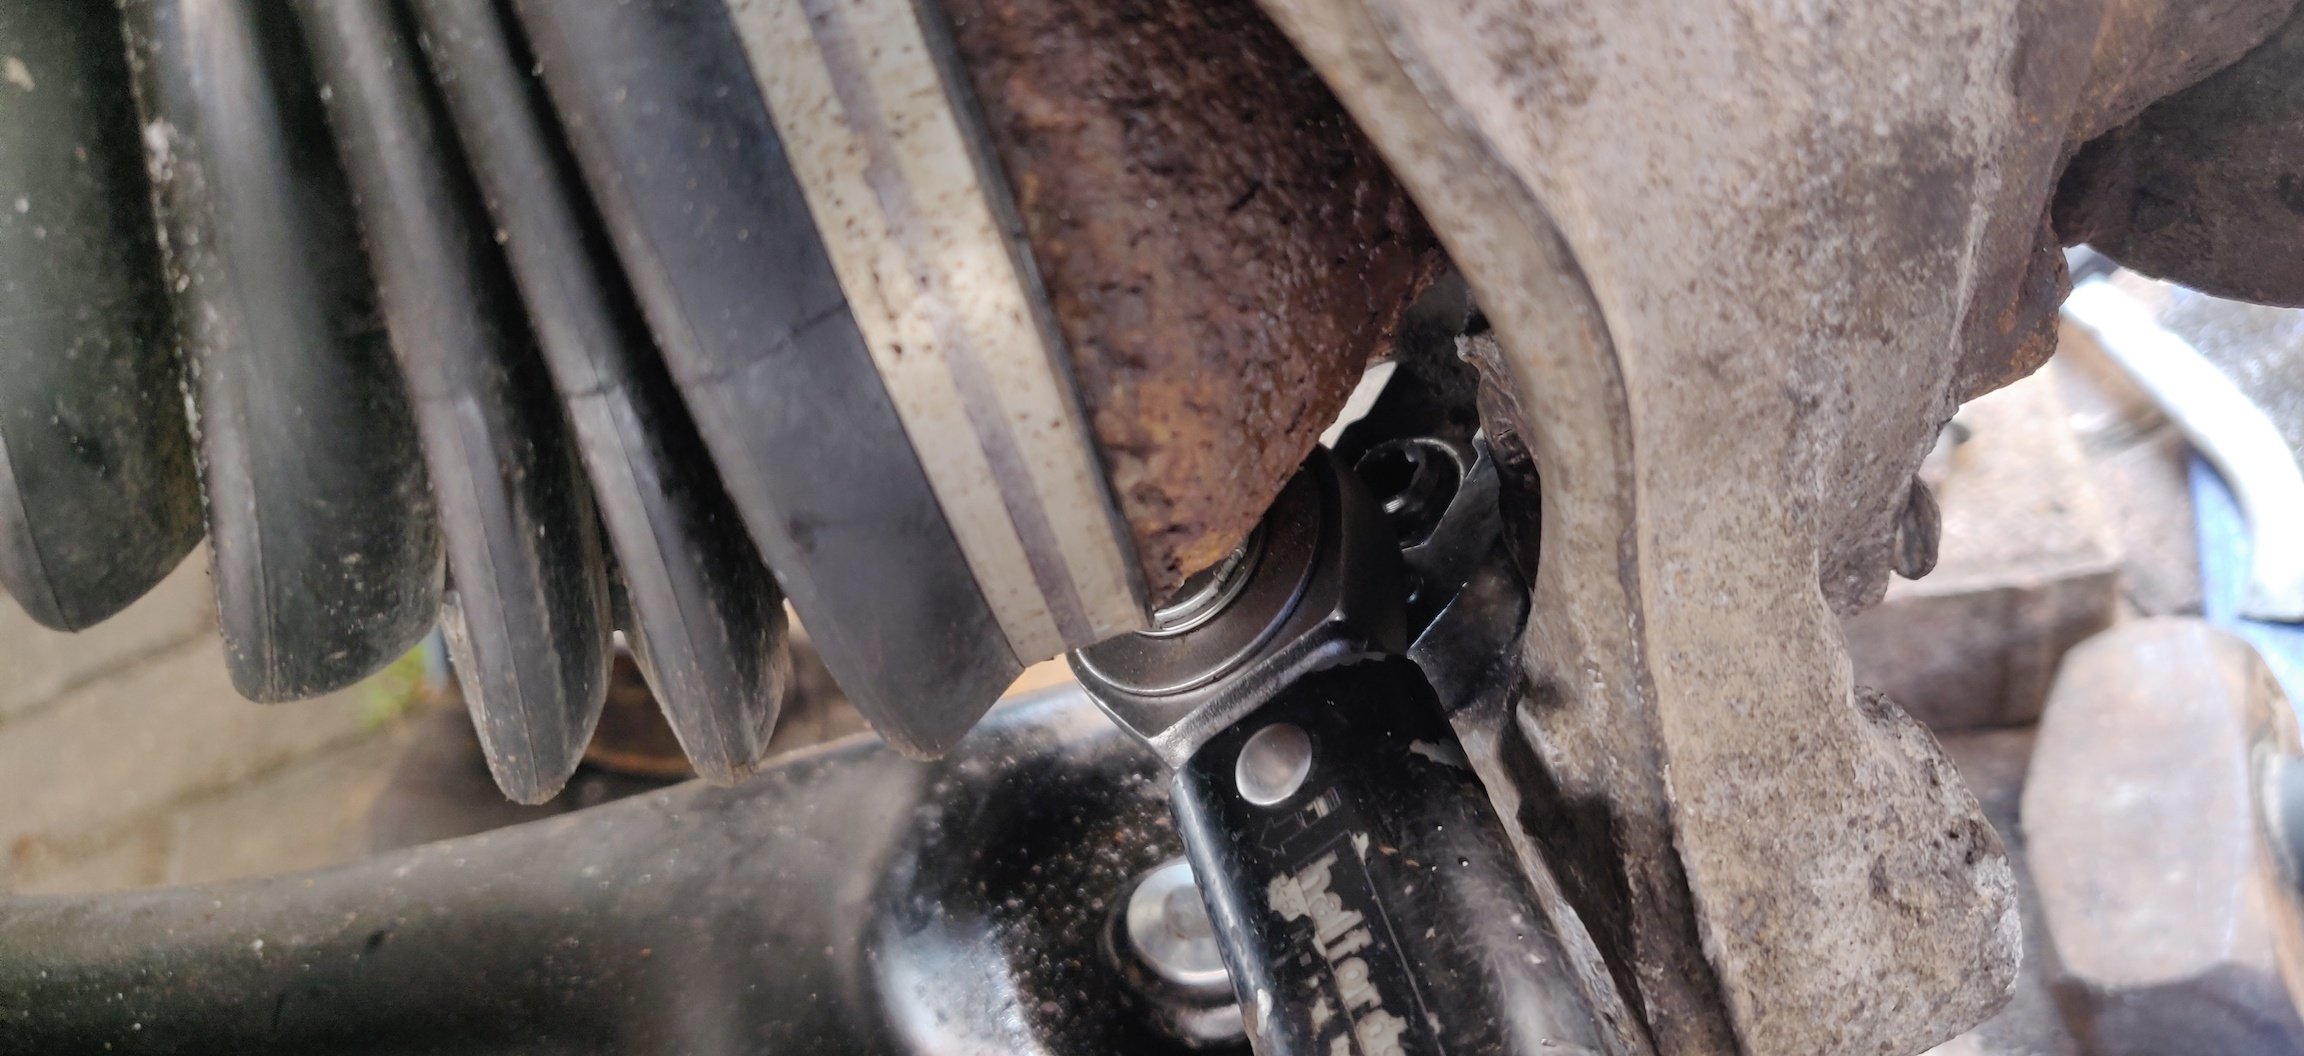
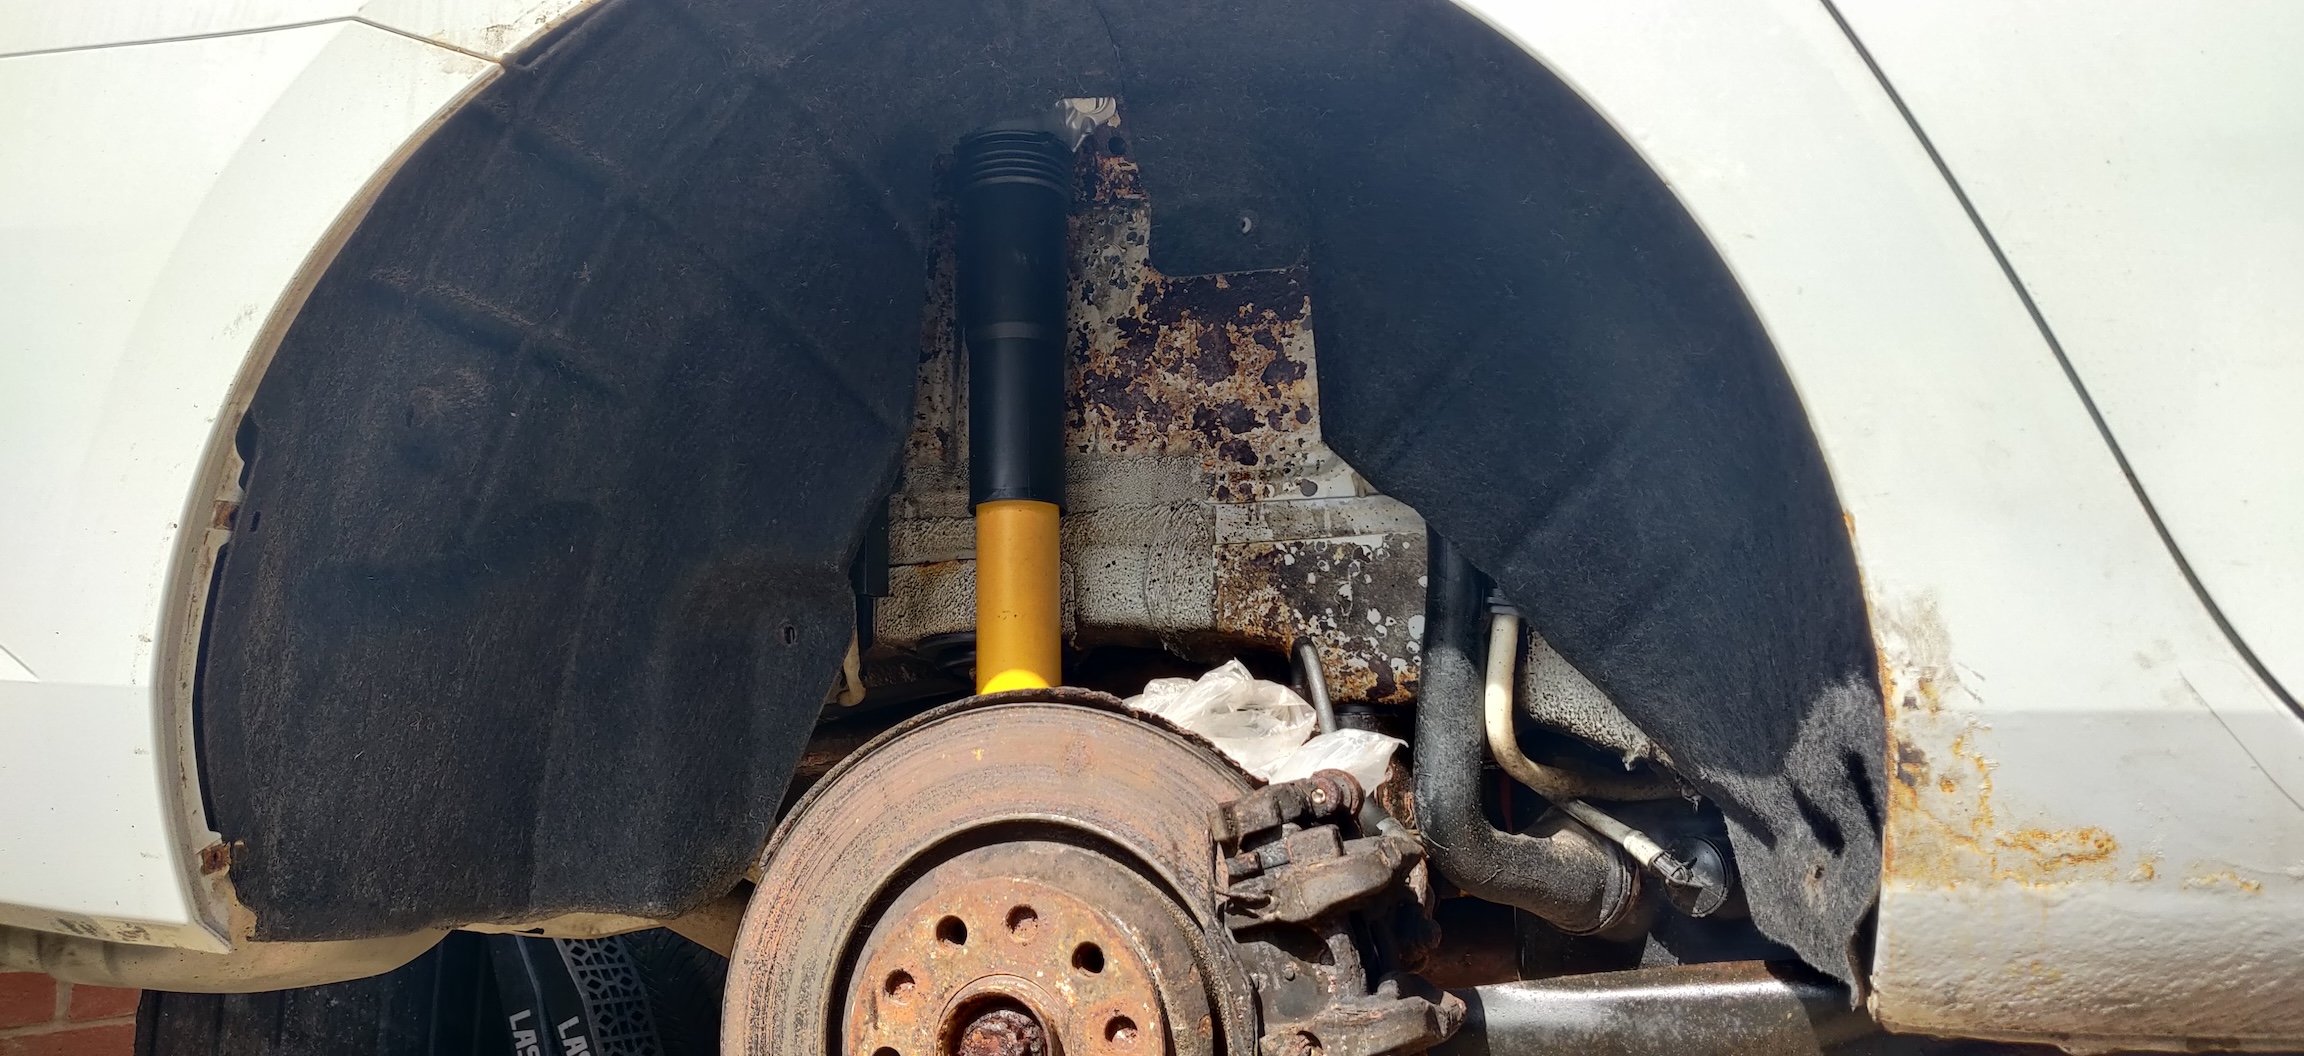
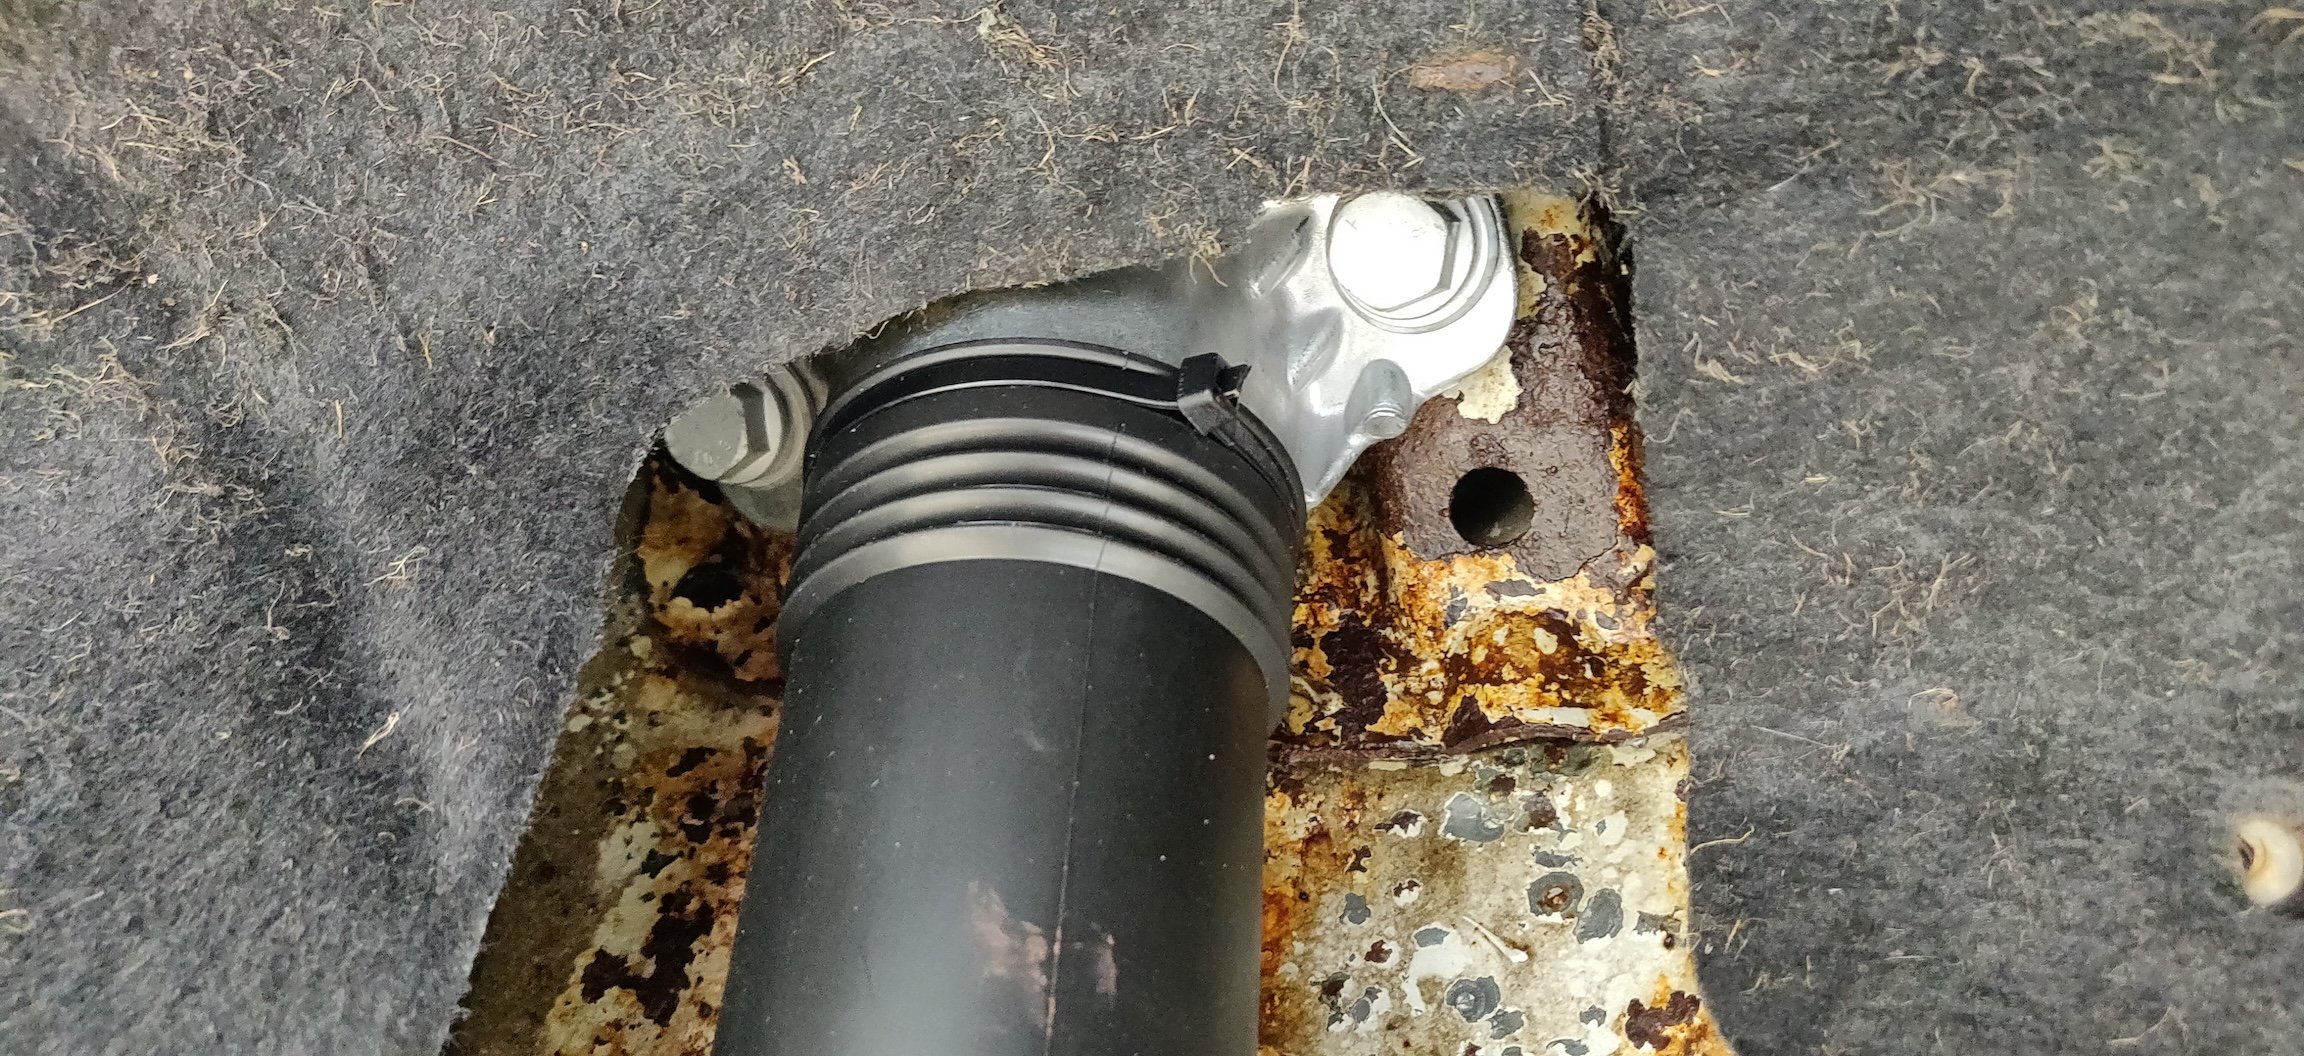
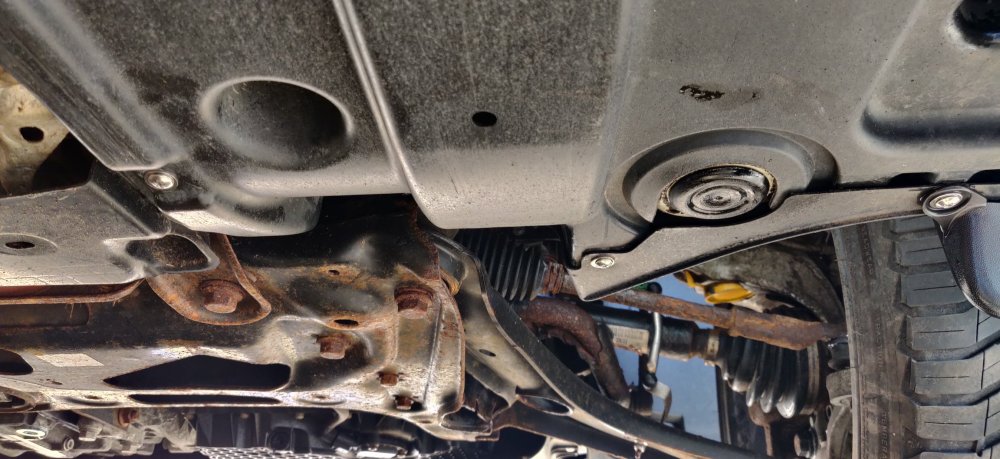
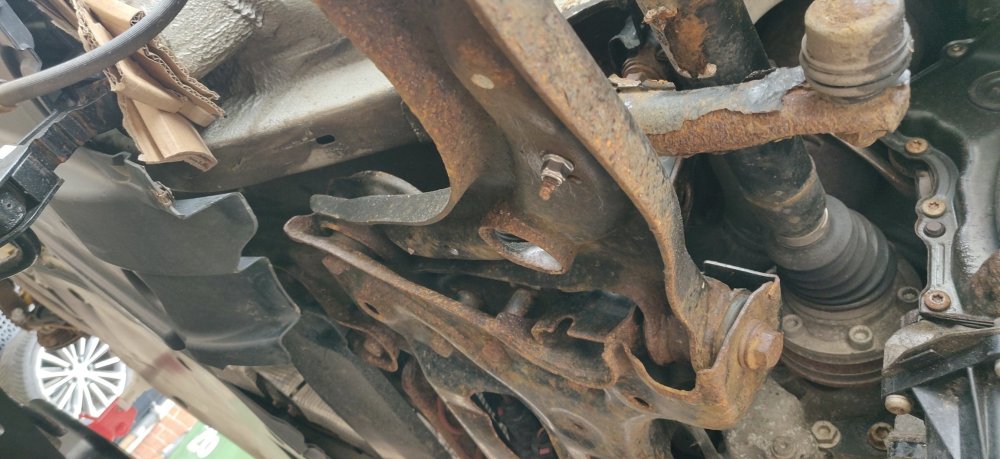
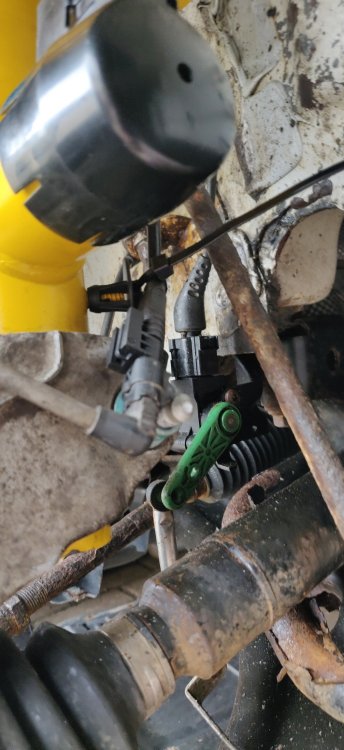
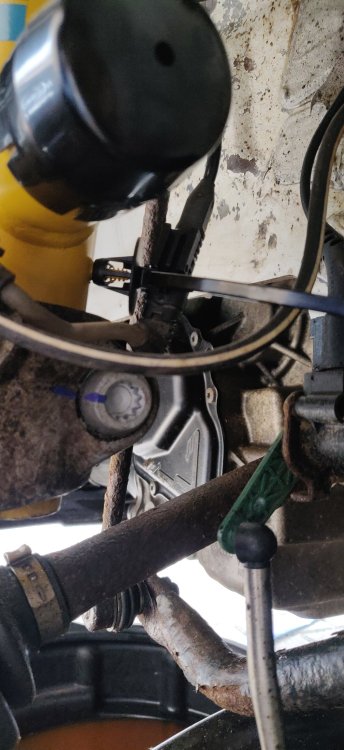
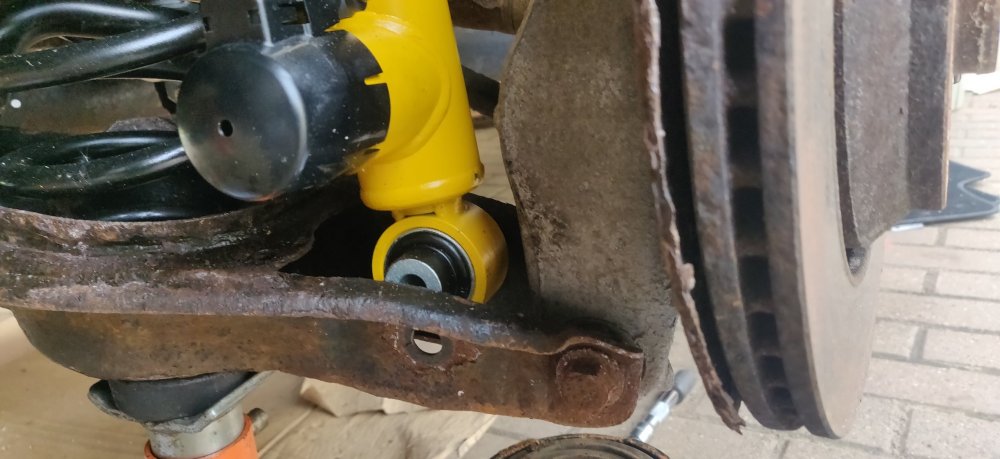
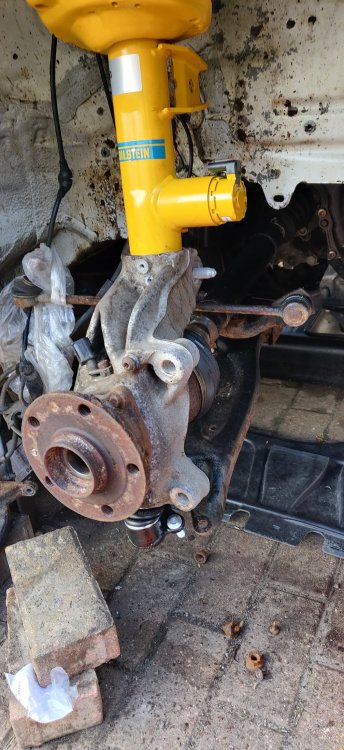
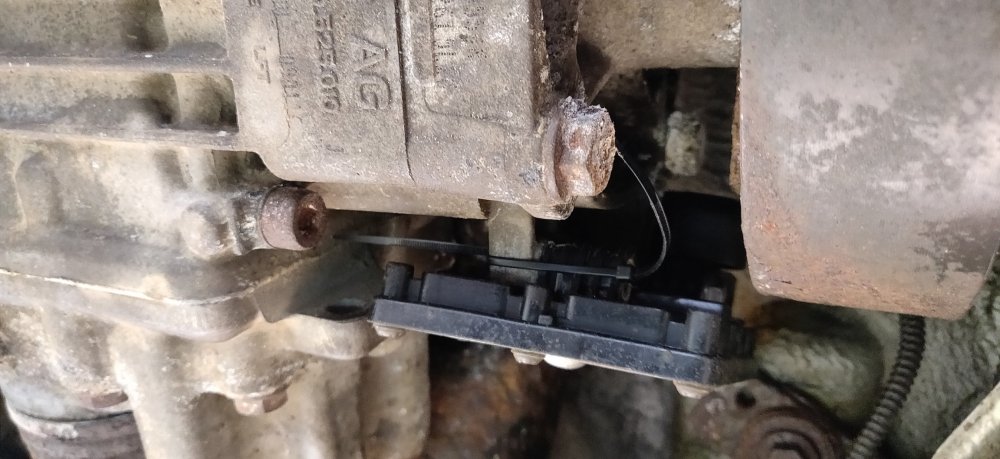
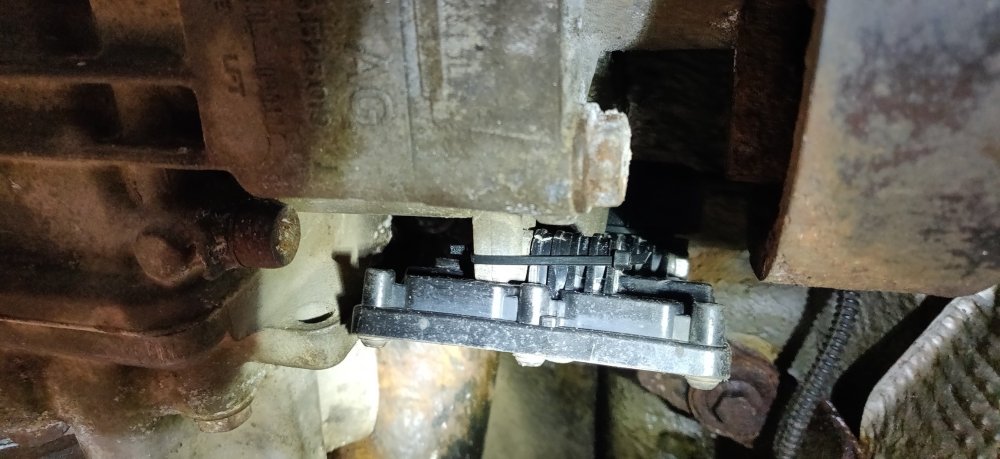
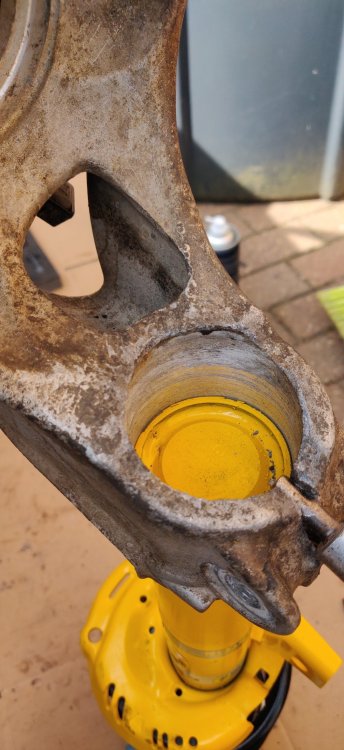
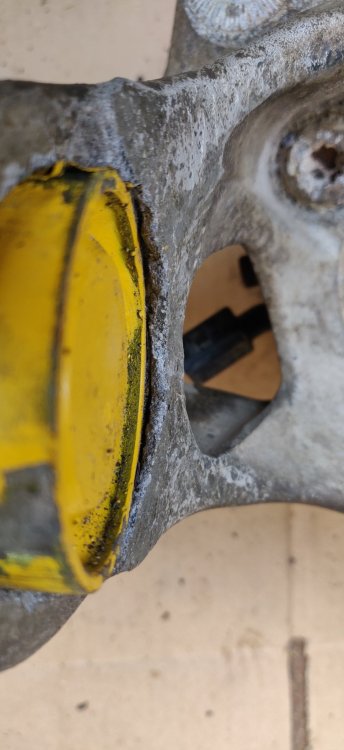
So after lunch, spent about 30 minutes going around looking for that socket. Found it eventually, and tightened down the driveshaft bolt to get it into the hub on the left side. So time to get the strut into the other hub. The other side seemed to go in much quicker: The rubber mallet was able to get a lot further compared to the other side: You can see the metal tab bit on the strut as it goes through the strut bolt hole. Presumably, the bolt prevents the strut flying away due to this tab, in addition to it being bloody tight I guess. Then a lump hammer and a few more taps to get it home: Or at least nearly so. This took an hour in comparison to two for the other side. No idea. I'm guessing the yellow paint job on the Bilsteins add a thickness, the hubs having years of corrosion, and possibly the spreader tool I used not spreading enough, were contributing to this crazy struggle I've had. If I get to a position where the struts need to be separated again for whatever reason, I'll probably need to research and see if there's a more significant spreader tool, just a fraction of a millimetre more was probably going to be enough. Anyways, fitted the strut to the turret: Then got one of the strut bolts and checked it goes in: So that appears to be fine. So then it's the same as the other side, tapping with a mallet to get the driveshaft into the hub, then lowering the arm to get the ball joint bolts in: Once a few more taps got the driveshaft in enough for the bolt, then began tightening it down: So it looked like this before: Then once the driveshaft bolt couldn't tighten by hand anymore: So once the ball joint nuts are tightened up, and the track rod end nut, then only torquing them up to spec is left. Well, bar the strut bolt, so for that just went mad with the Alumslip: Then put it into the strut, rotating it as I went in to try and get the grease spread out and filled the strut void as much as possible. The end wasn't greased, for the nut to be winded in: It's an 18mm nut, and an M14 spline bit for the bolt, just hand tightened for now. Then slapped some corrosion block grease where the bracket mates to the hub and copper grease on the bolt: Need to tighten this down later (or maybe source a stainless replacement). Then dry fitted the wiring to the Damptronic: The Bilstein dampers are supplied with an adapter to connect the Damptronic to the OEM connectors, fairly self explanatory, but the routing: Isn't super clear, so I've left the clip on the strut captive bolt and I'll plan it later. This is mainly to not have any connectors exposed. With the front struts only needing torquing, time to do something else: So given the right strut was just done, made sense to sort out the washer bottle, so attached the hoses and connectors to the washer bottle. Looked like it was fairly idiot proof. Used some of the dielectric grease on the connectors whilst I was there. Then the wiring and hoses were clipped to the top of the washer bottle, and essentially just wedged the washer bottle in: Takes a bit of wiggling and faff, but it eventually goes in, including that separate side bit, which also needs the hole in the end going through the opening in the windscreen cowl area. Started the nuts and bolt for the washer bottle, to be tightened later. So with that, went on to something else: Got the rear level sensor, dabbed some dielectric grease around the connector, and then fitted the top level sensor bracket to the subframe. This is tightened to 5Nm. The top bolt is a little bit of a faff to get to, best to tighten it down first with the bracket swung away, then put into position once ready for torquing. It may be easier to use extensions for the top, but was able to get the small torque wrench in there. I started dry fitting the bottom: But decided to undo it for now until the suspension bits on the rear are fitted proper. Not gone round to this as jacking the arms will be involved. So just the Haldex controller left, so put dielectric grease all over the connectors to try and stop dirt getting in and making it a faff to remove in the future. Then connected it all up, bolted the top bolt to 9.5Nm, and cable tied the bottom: Had to use a pair of smaller ones to do so, but tidied up: Who knows, I'm sure this'll be fine. So that was pretty much the day gone unfortunately. Got the flap wheel and started to clean up the wheel bearing faces and the brake disc, and have just used the wheel bolts to dry fit the brakes: They'll be taken off again in order to sort out the torque tightening of everything, but that's me for the week I think. Was expecting a lot more progress, but the faff of the struts into the hub really kaiboshed the day, and the ripped coolant hose just felt like icing on the cake really. Technically, I could still get the car's ignition on, which would be enough to get the washers activated, which could be something I could do during the week, to basically flush out the system. I'll need to disconnect the hoses from the jets front and rear and the headlight washers, fill it with some water and just use the stalk to squirt whatever out. This is mainly because of the bits that were in the washer bottle, which implies said bits are probably in the washer hoses. Could be the cause for the blocked washer jet, so want to make sure that doesn't happen again. Looking at the spreader tool I have, it looks like it may have suffered some wear from use, maybe that's why it was such a struggle? I need something to spread the hubs further? Well, doesn't matter know. For all intents and purposes, the suspension is fitted on the car, sort of! Maintenance: £2190.67 Upgrades: £1322.97 Miscellaneous: £671.37


-
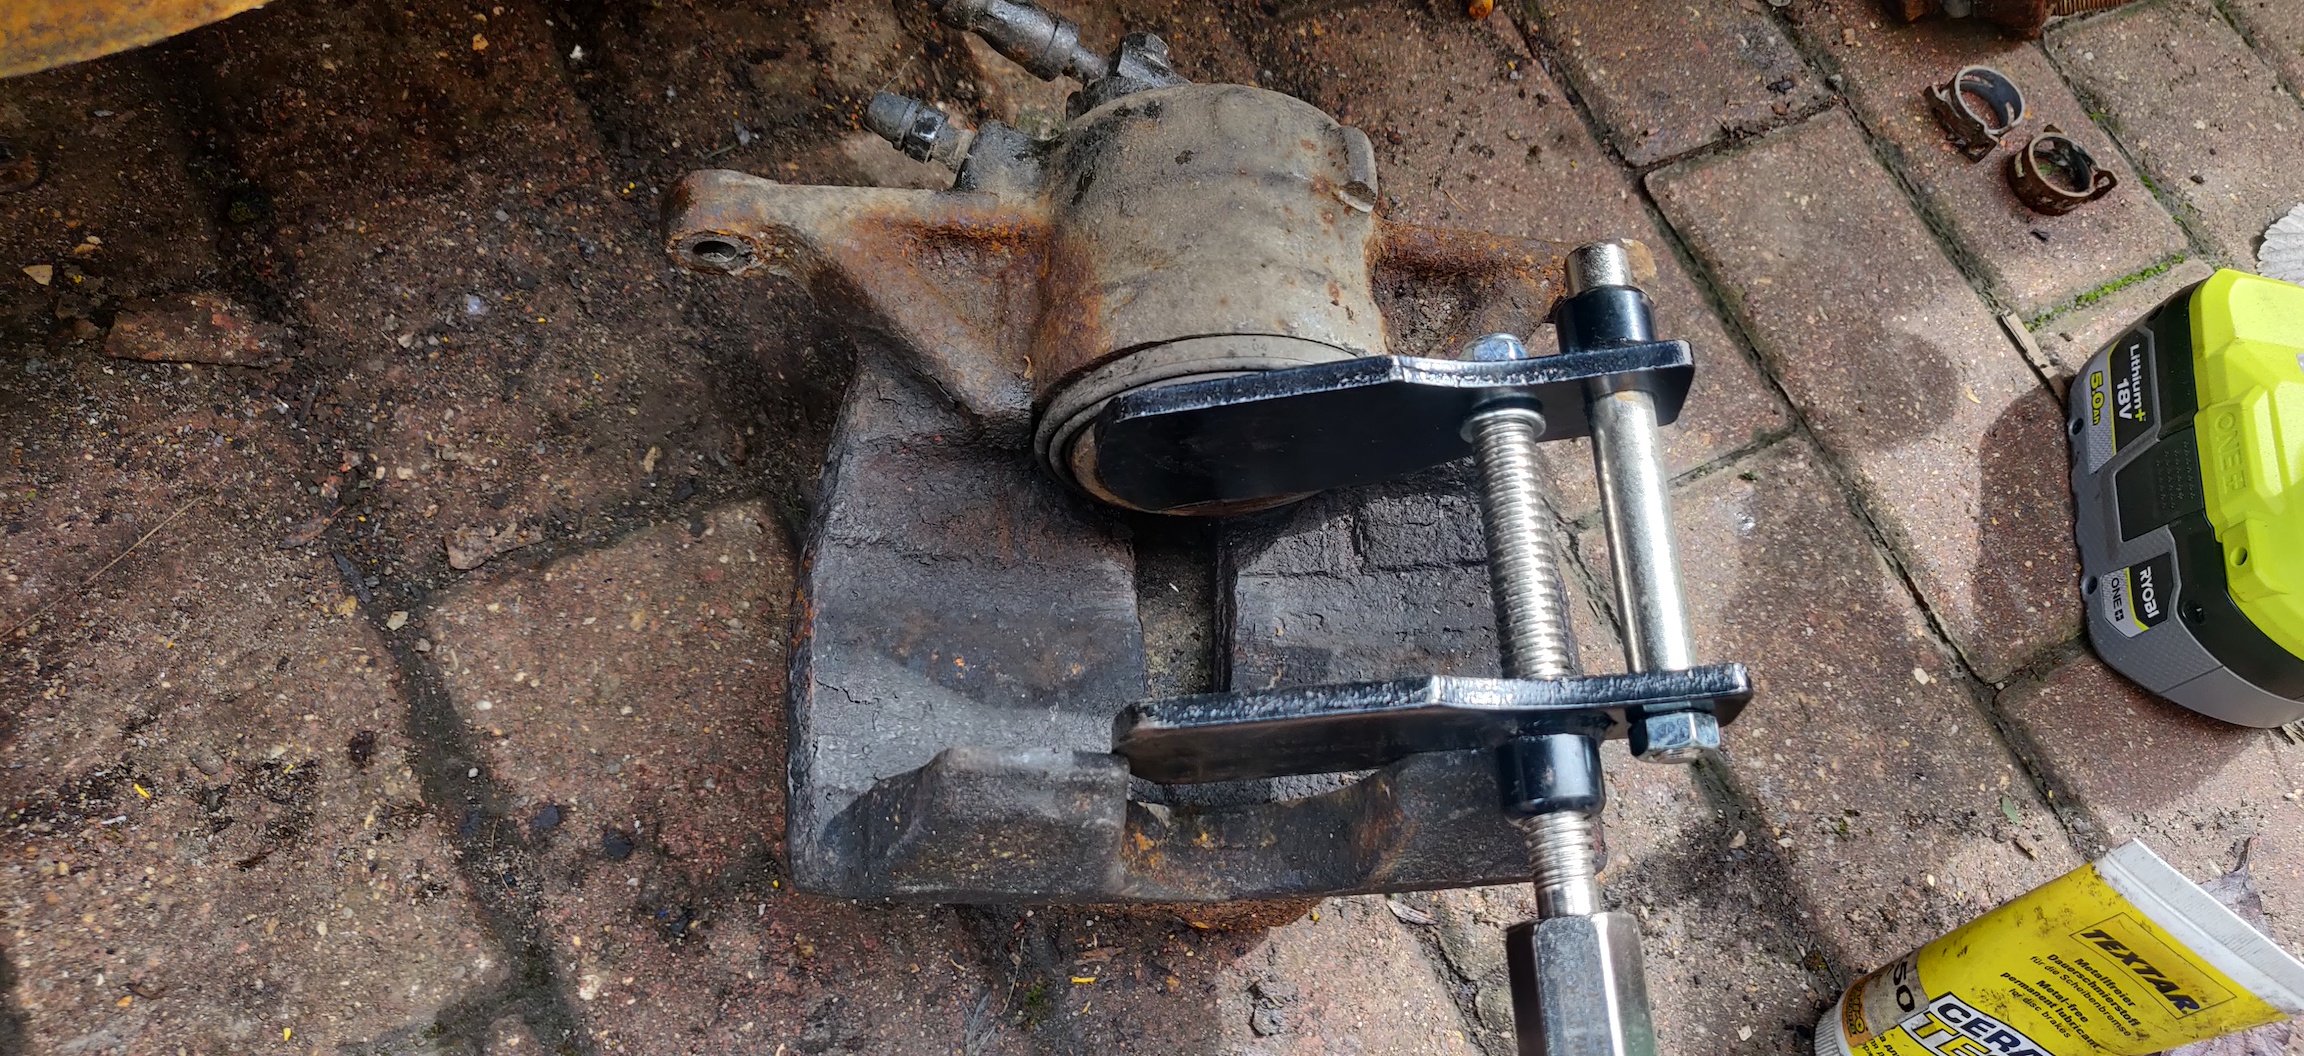
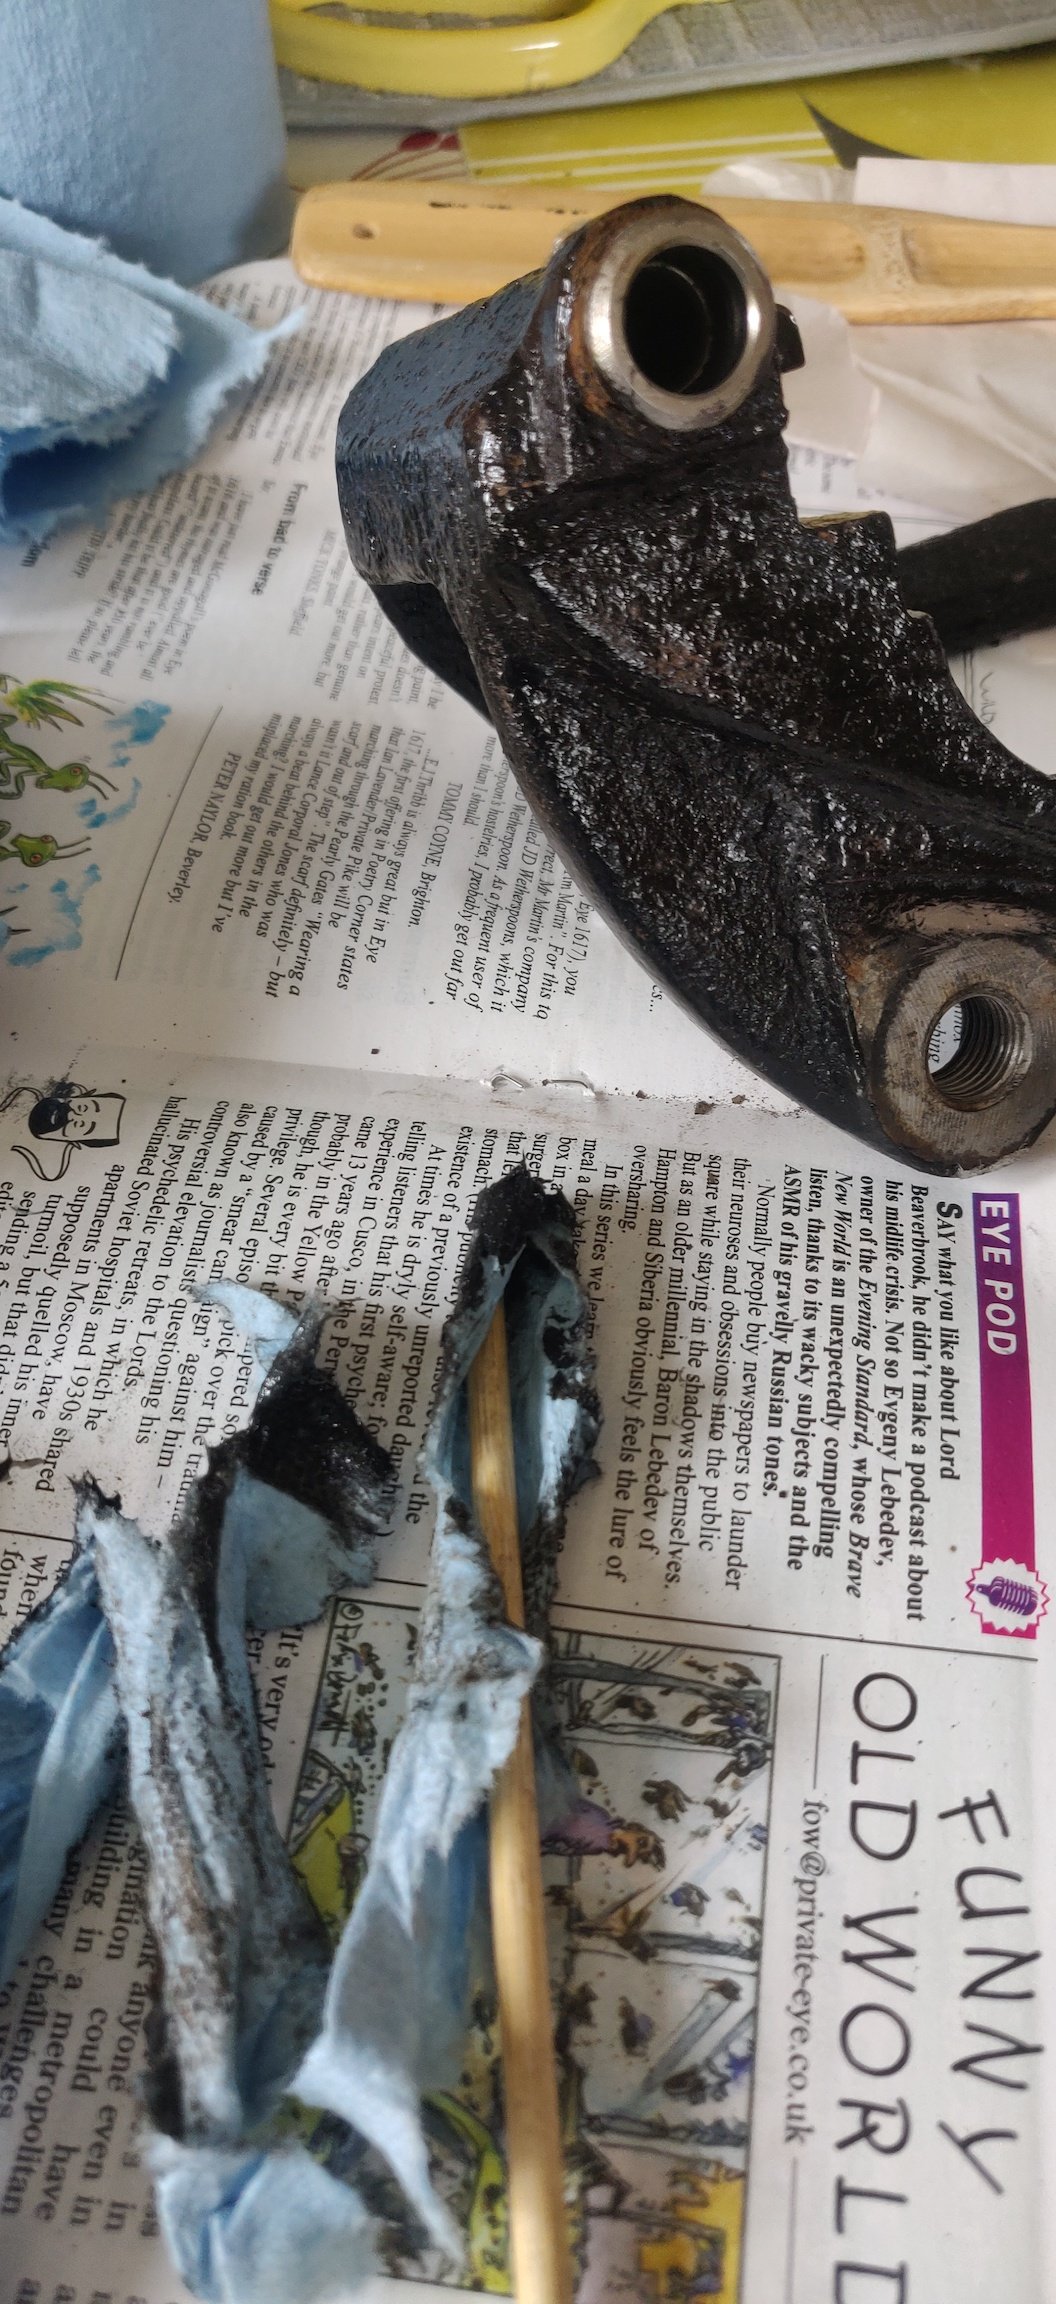
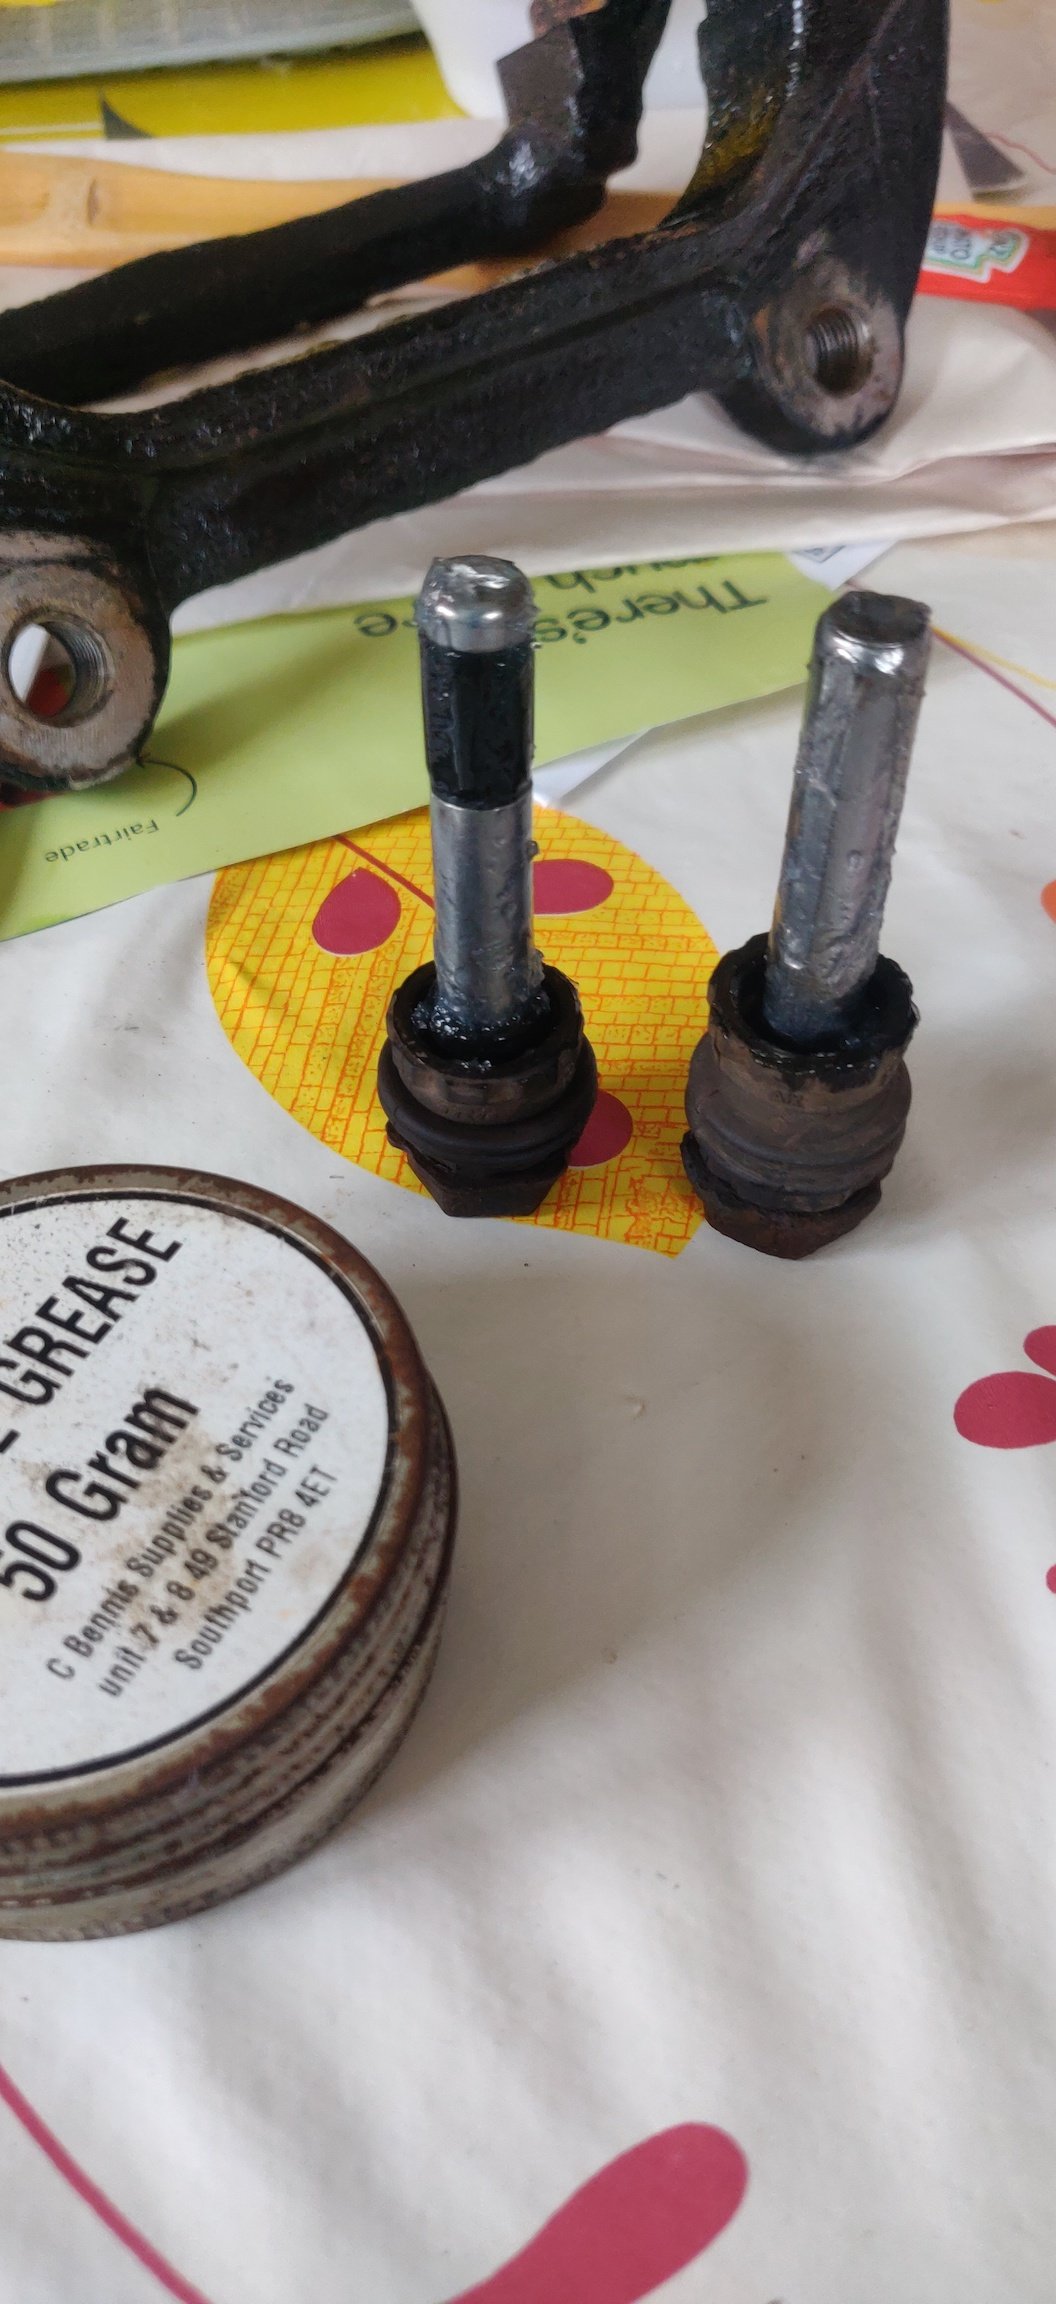
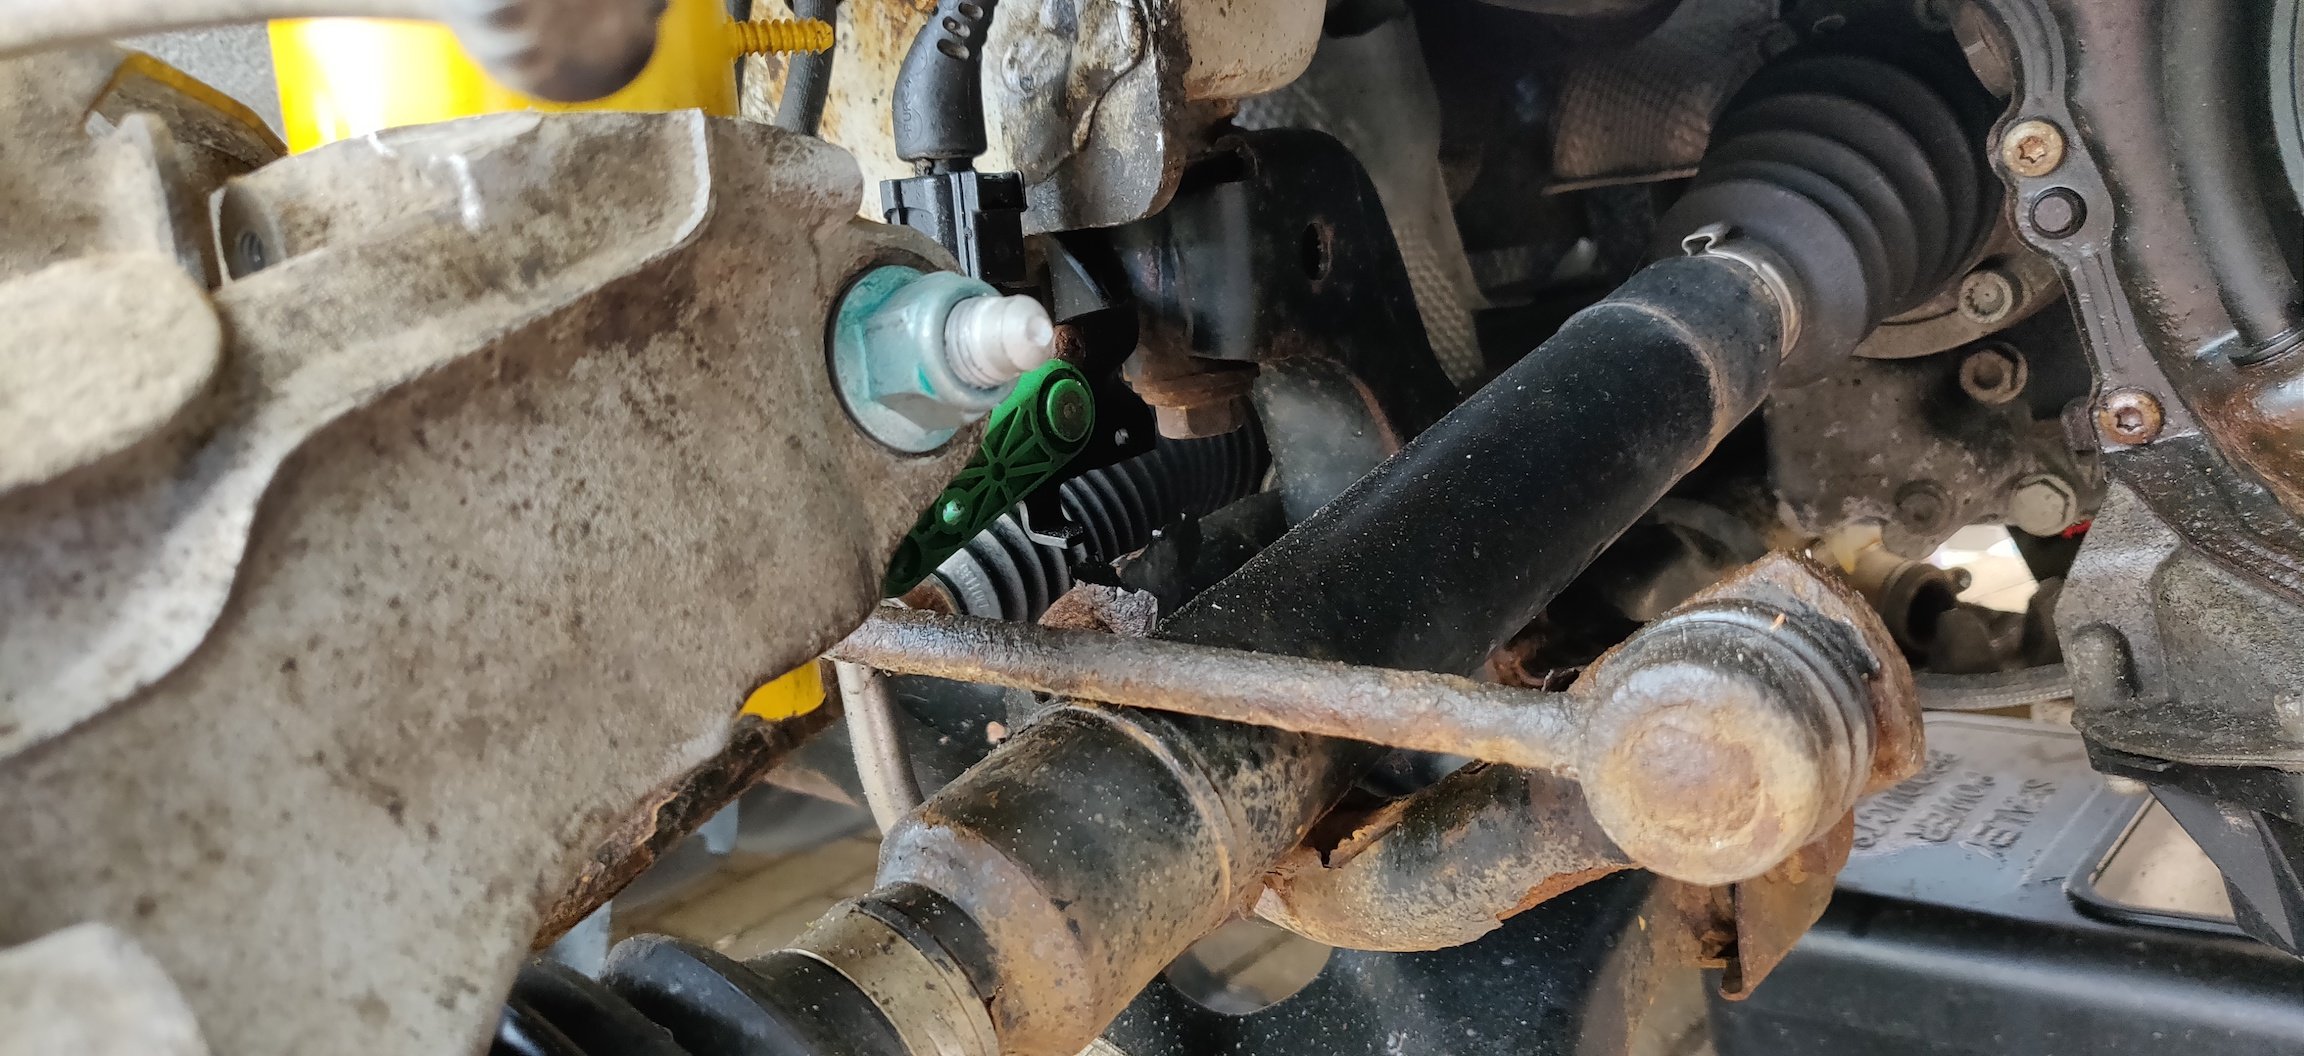
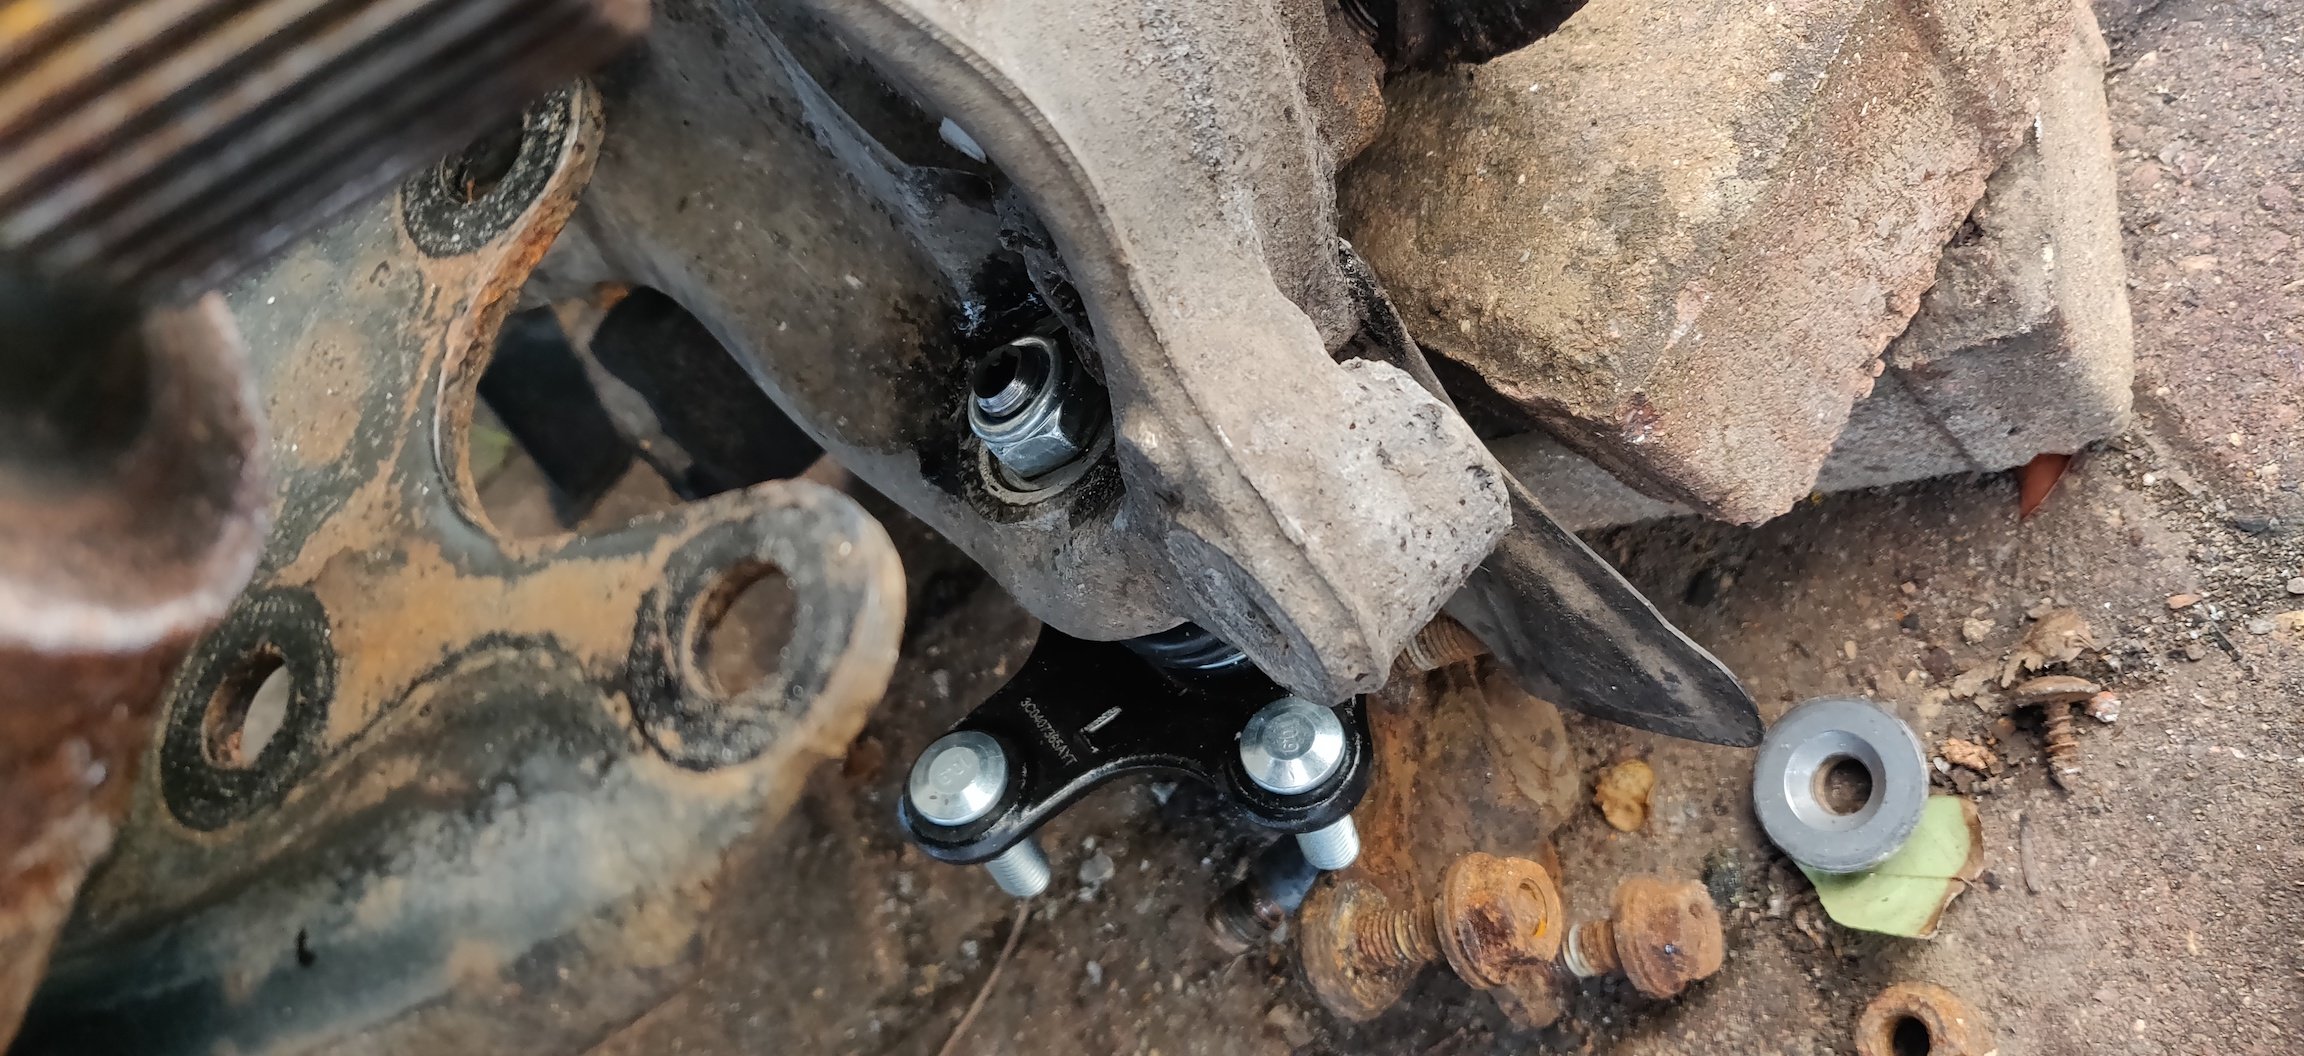
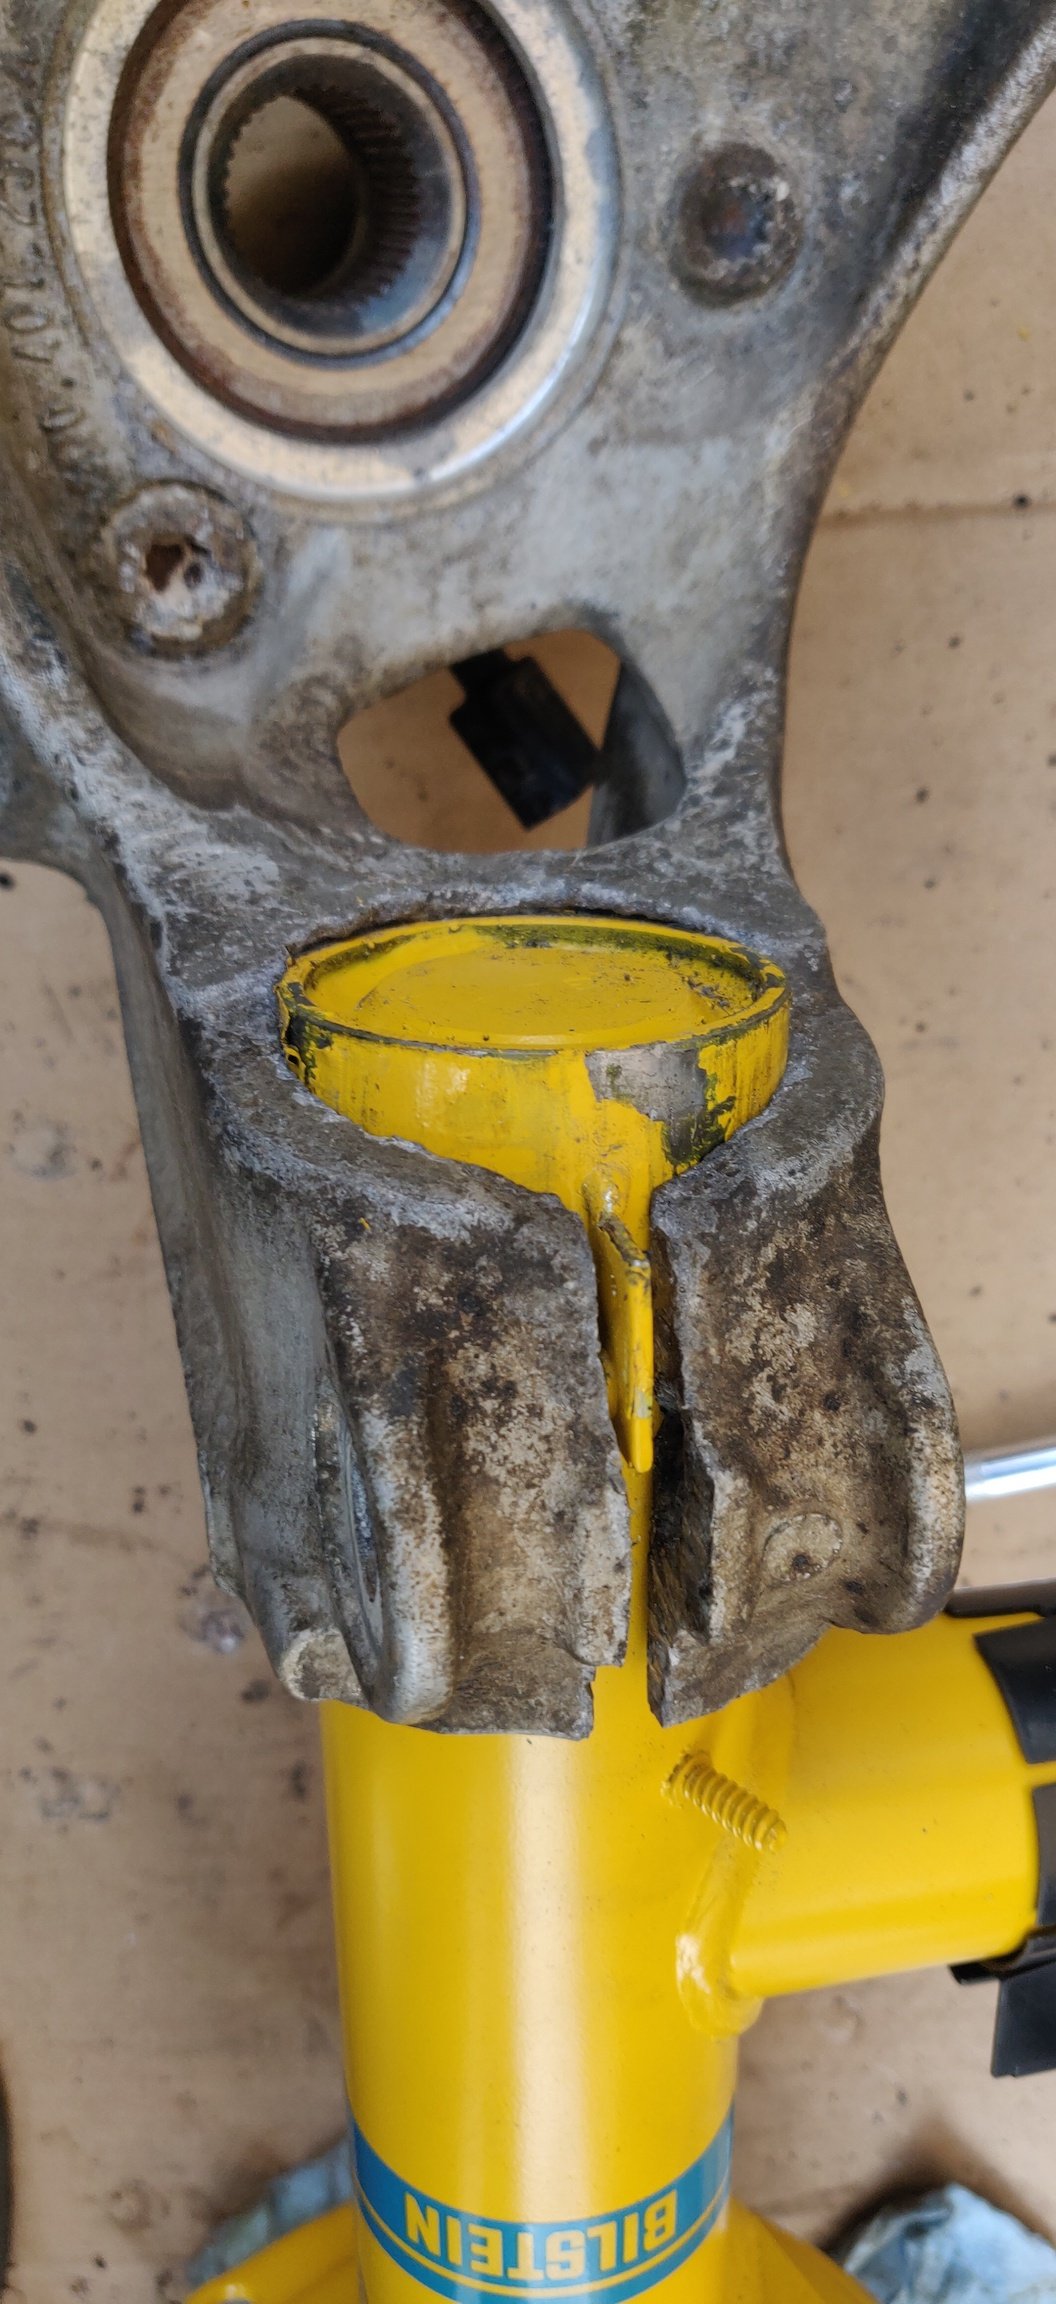
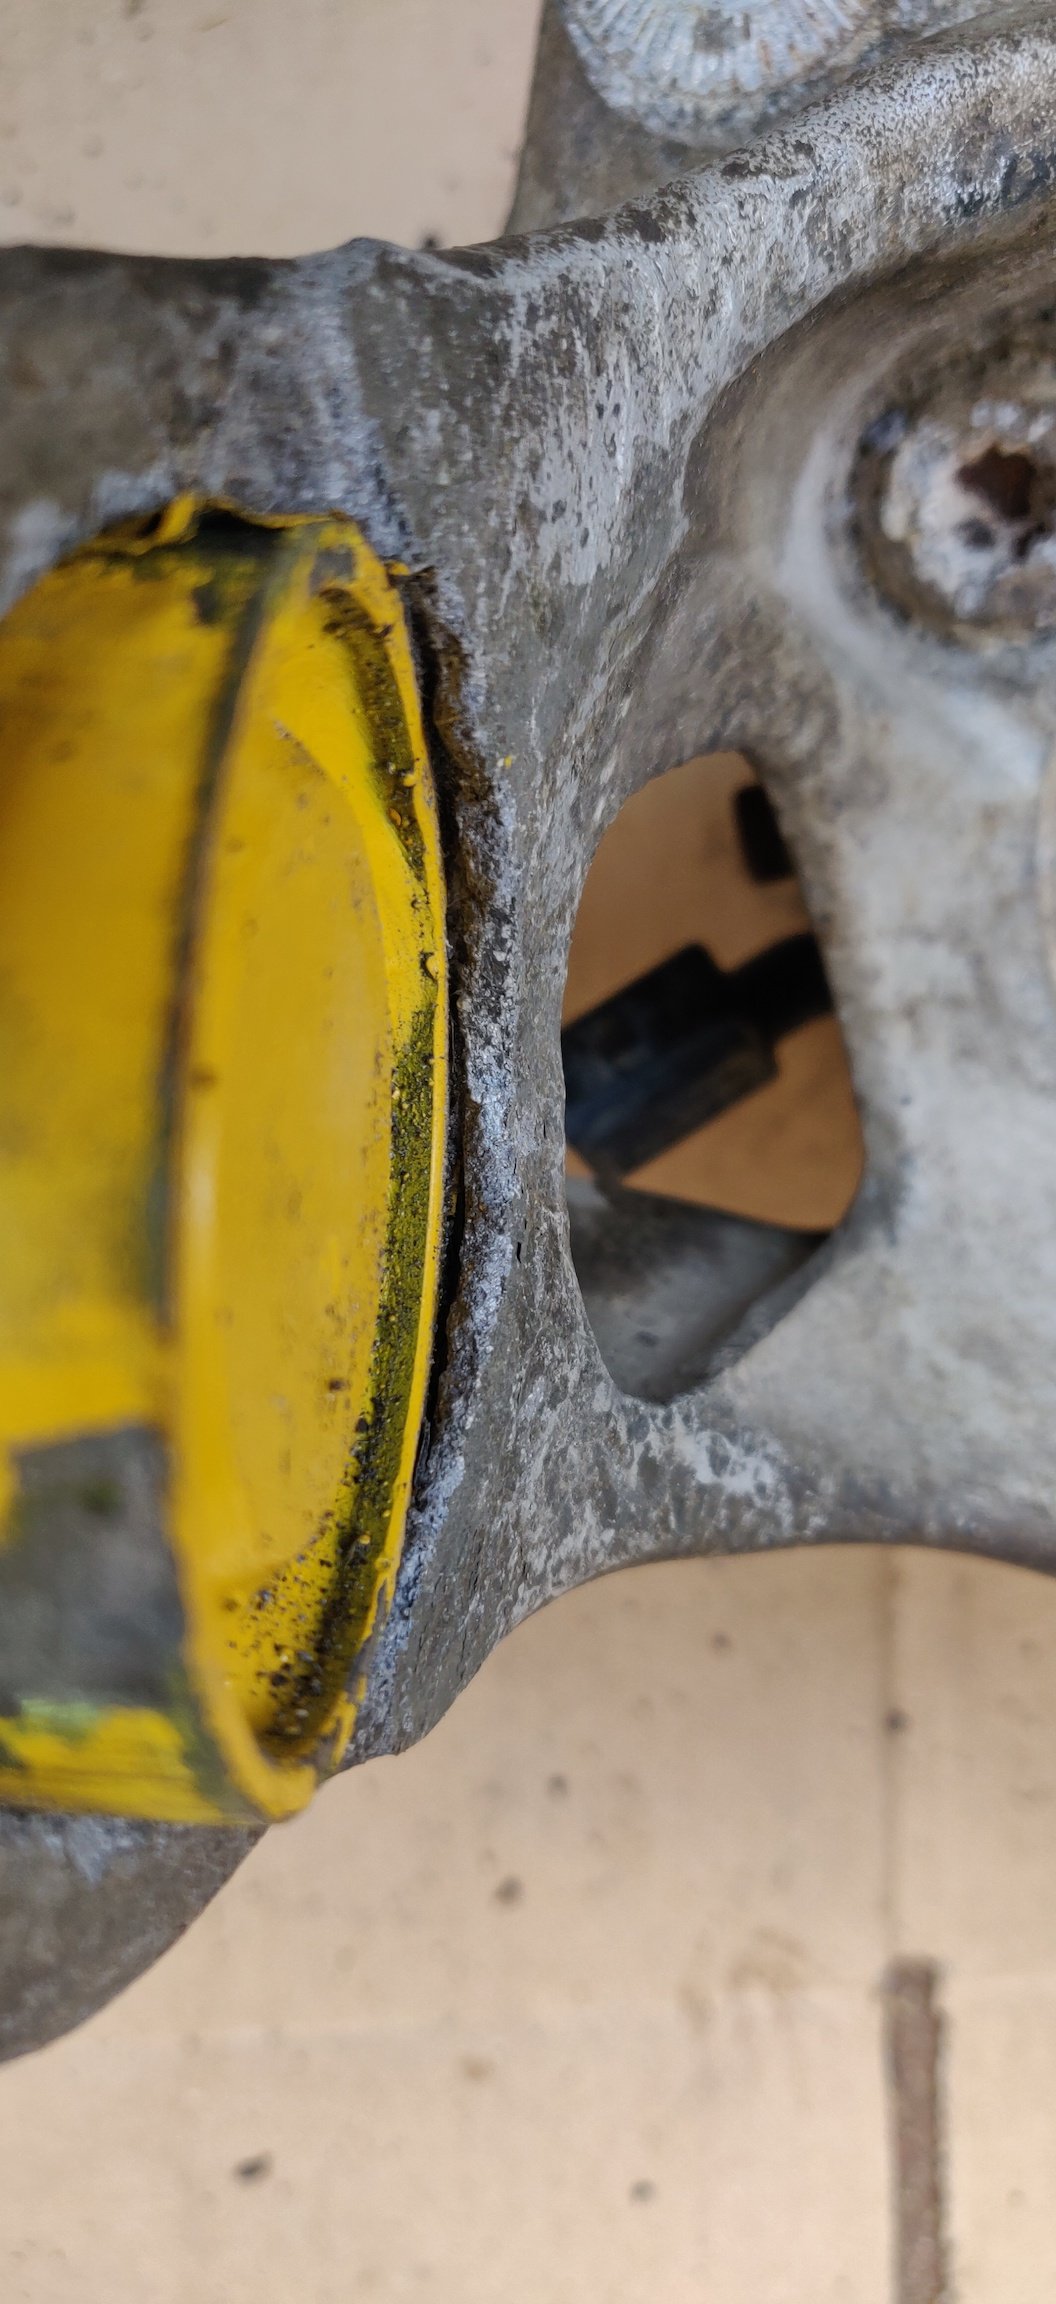
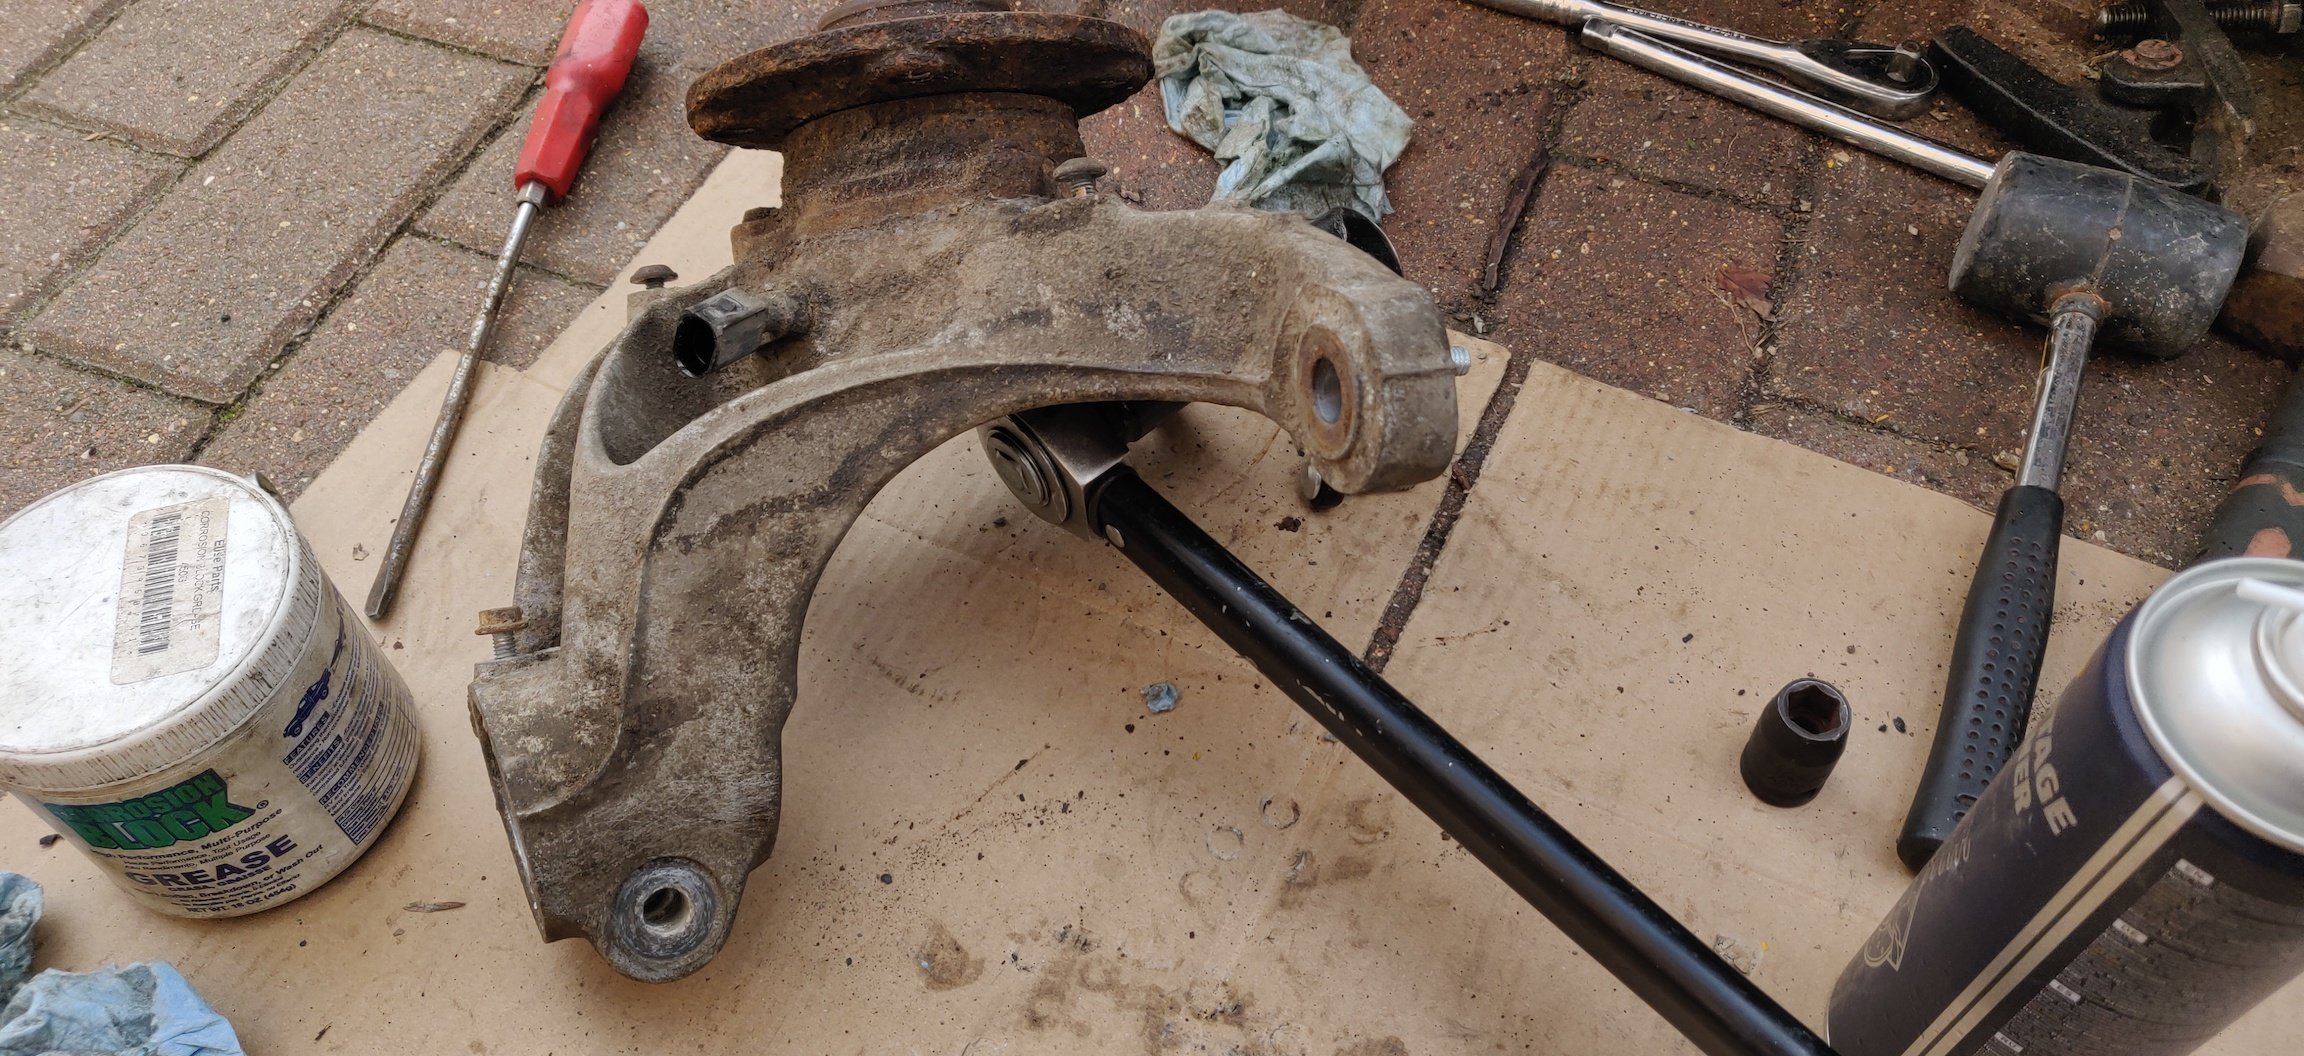
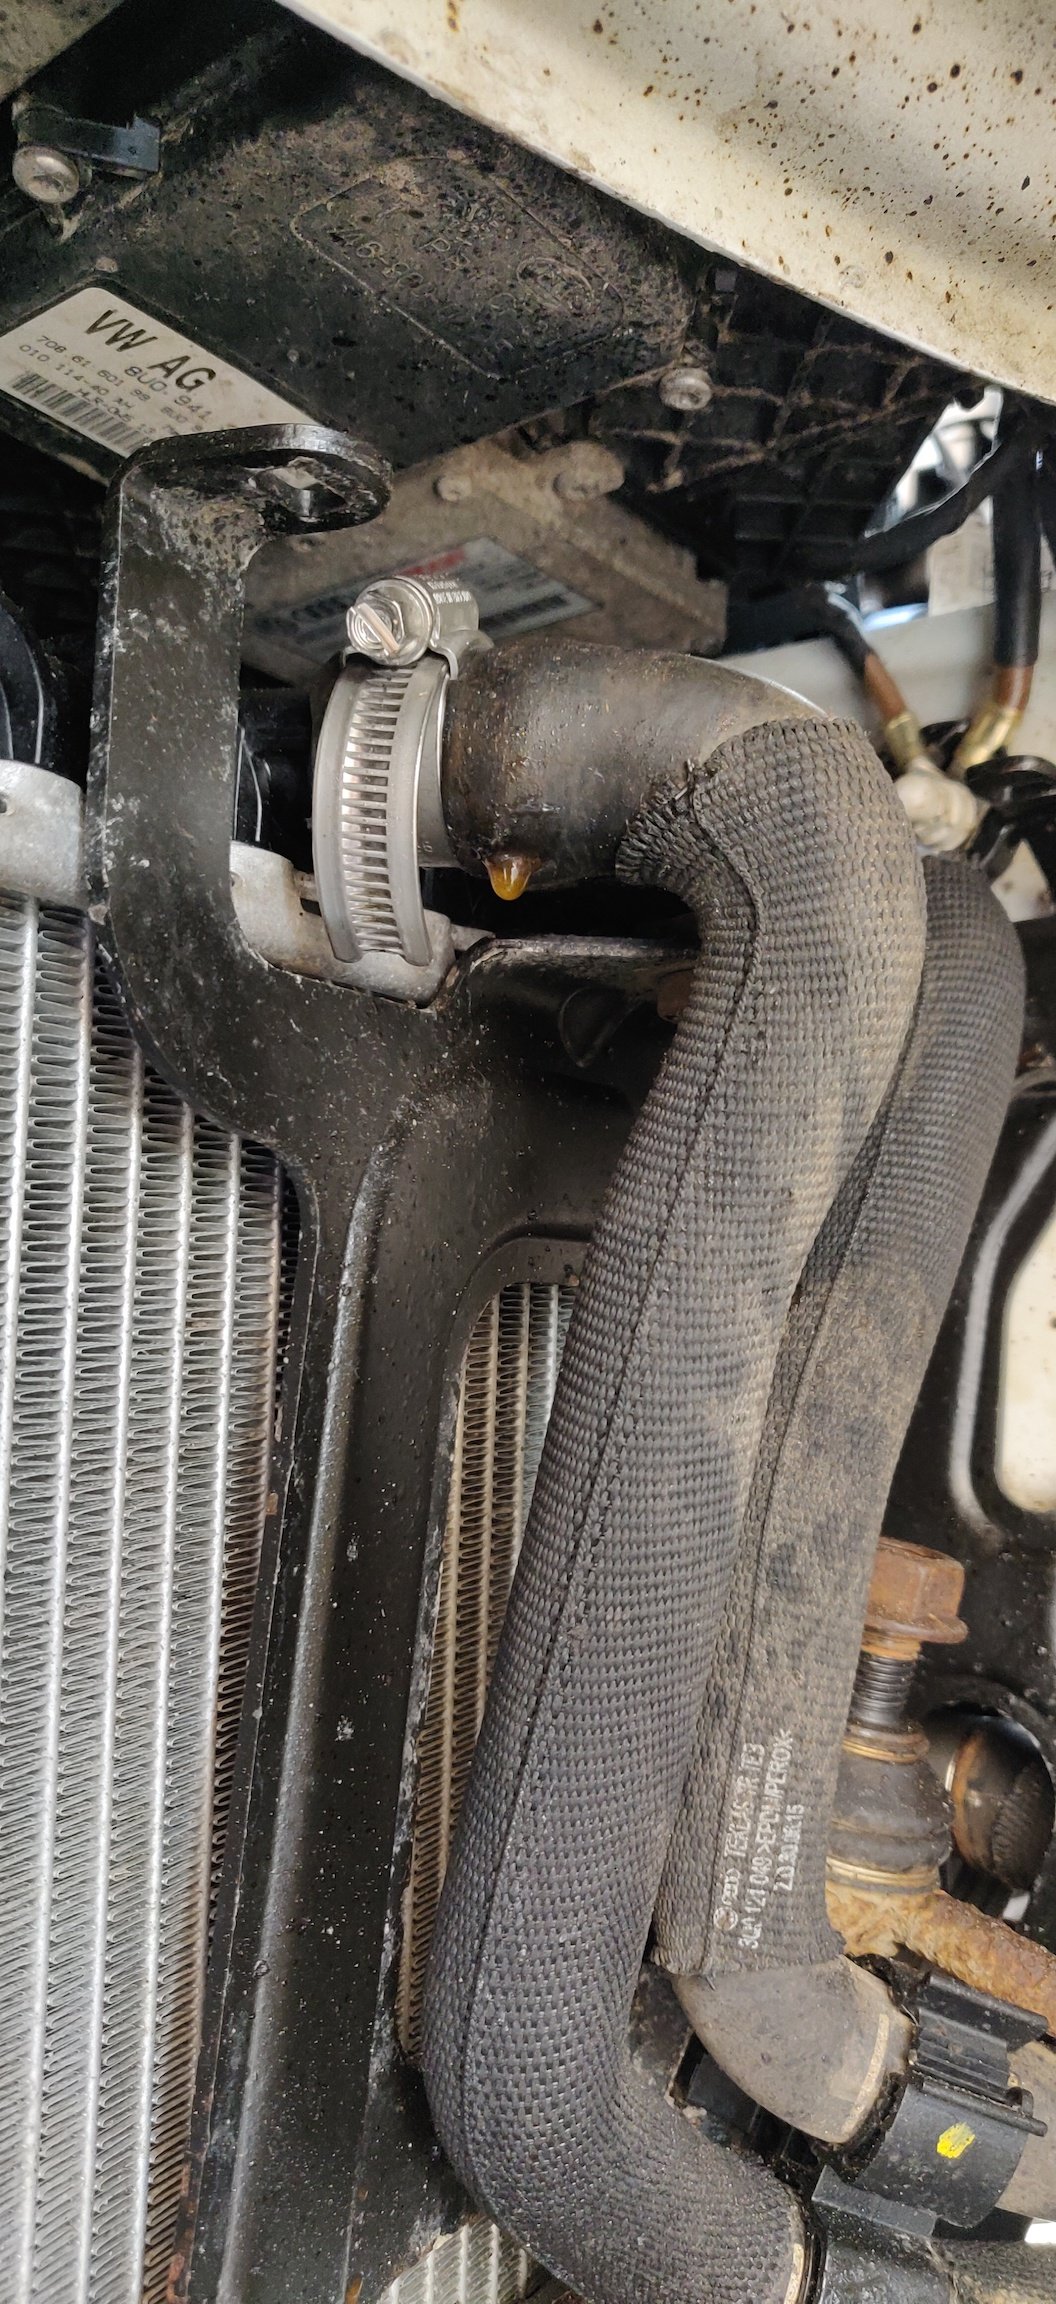
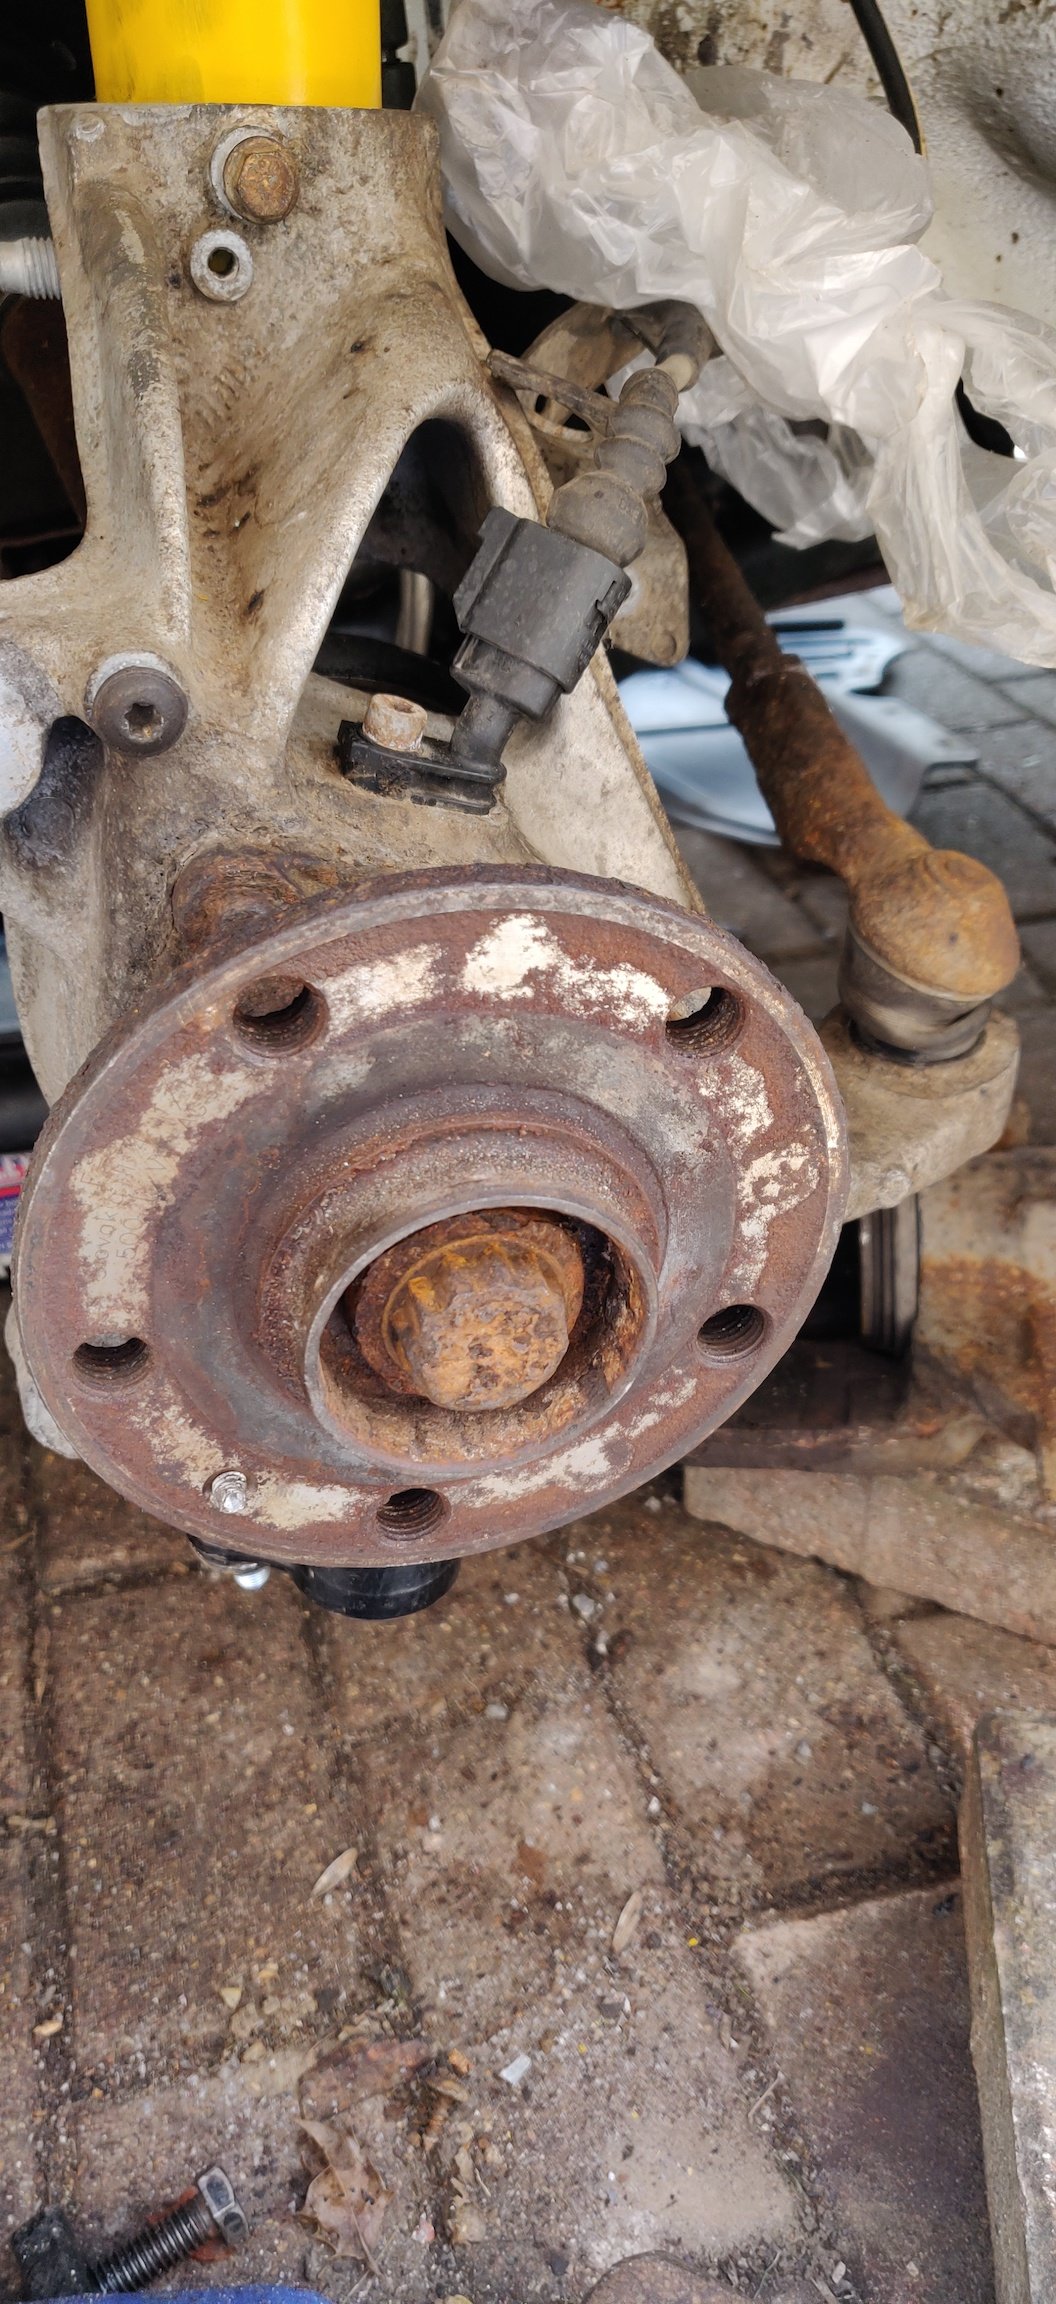
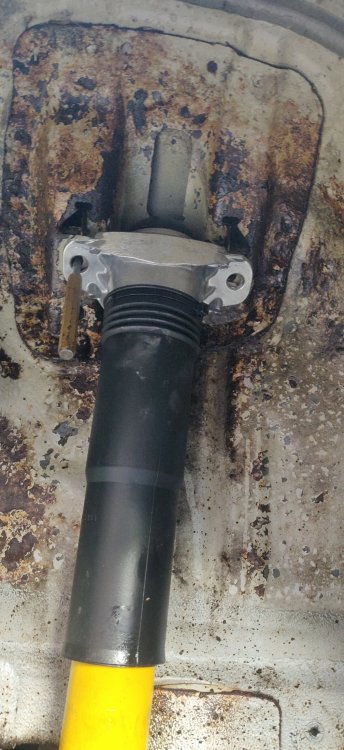
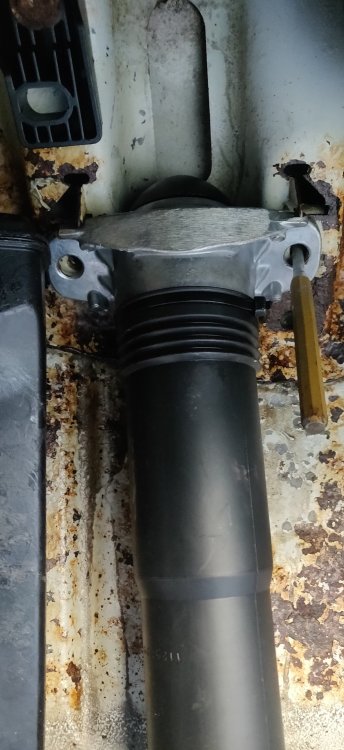
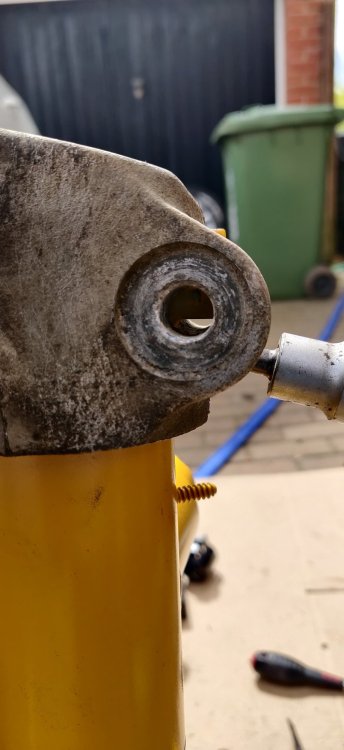
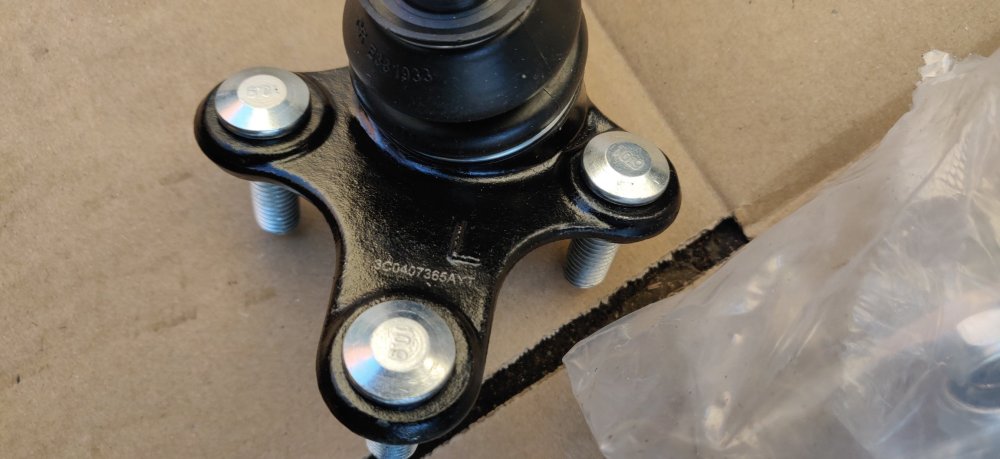
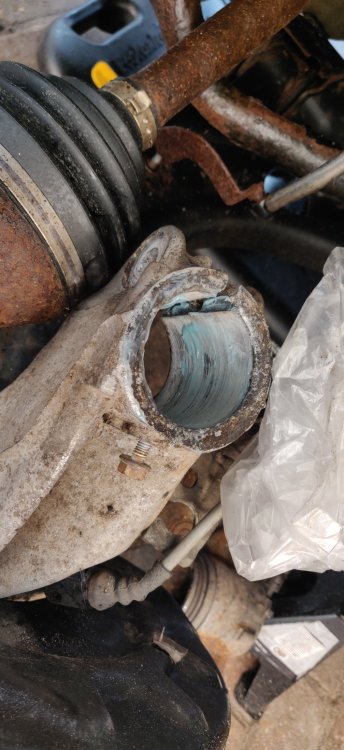
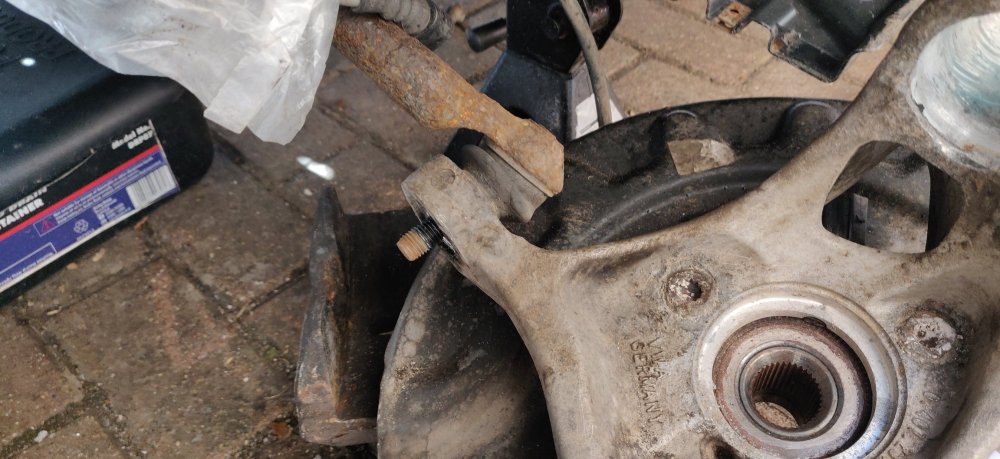
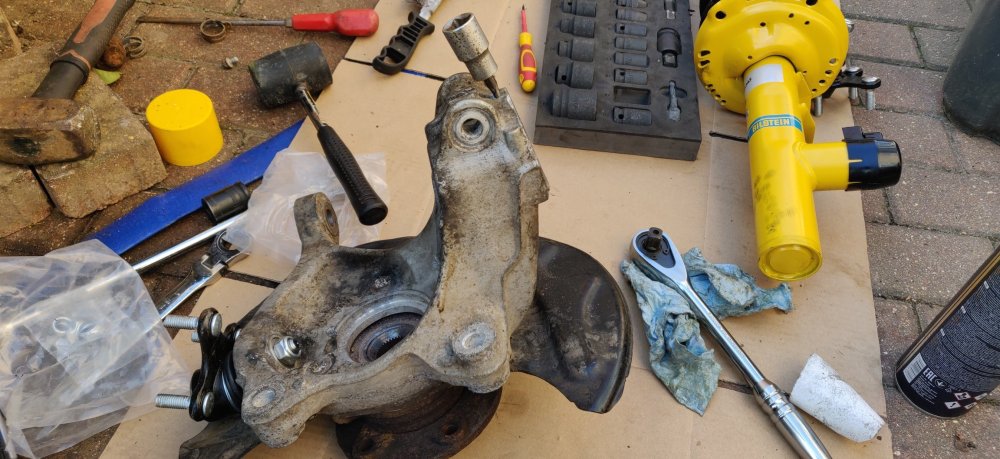
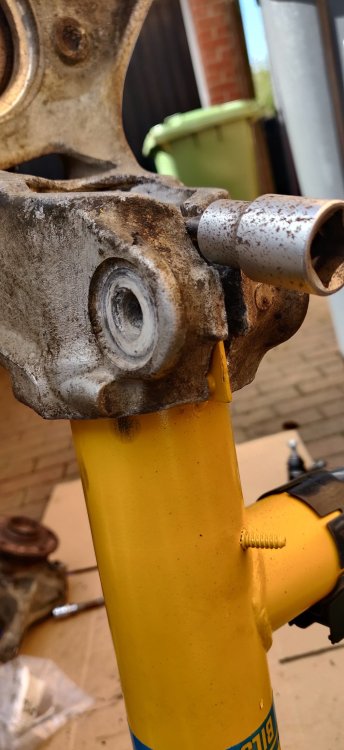
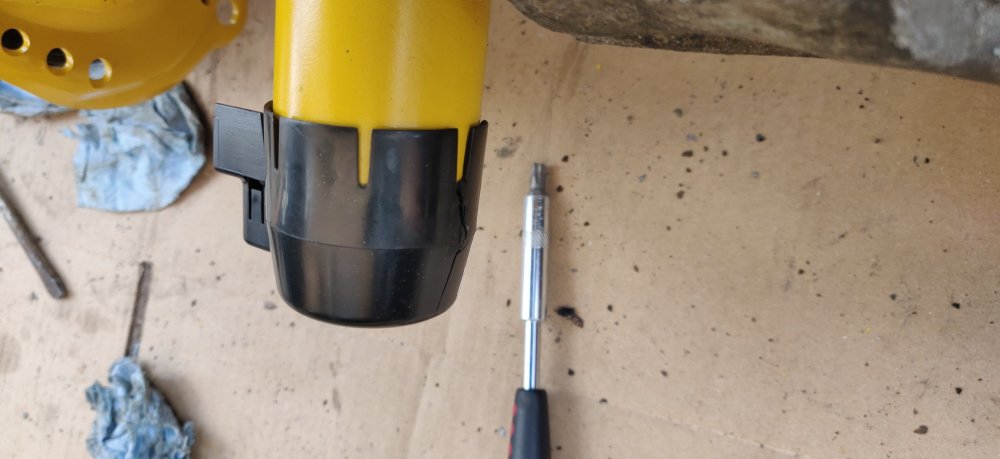
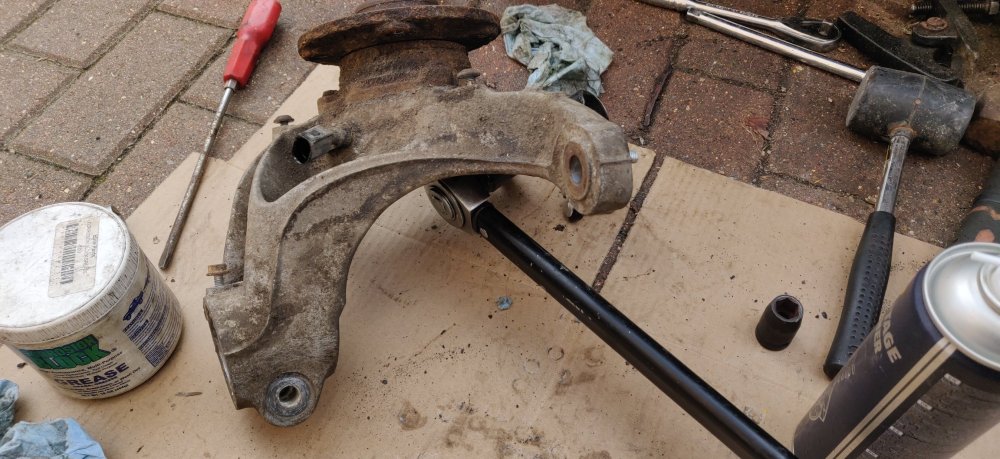
Not the smoothest of days. Got the balljoints purchased earlier out and ready: Workshop manual mentions they should be labelled: Just the one had a "L" labelled which presumably means the other is for the right, so went and started on the left side: Just wiped some corrosion block grease on the hub where the balljoint goes through and started tightening the nut for the ball joint. It was 19mm for these aftermarket ones as opposed to 21mm for the OEM ones. I then started to prep for the strut: Gave the inside of the sleeve a quick sand down with some abrasive lying around (120 grit just because it was around), then gave it a quick clean and a wipe of corrosion block grease. So time to get the struts out ready: Normally, I'd expect that after using the spreader tool to stretch out the hub slightly, the strut should then wiggle into the hub, the reverse of removal: No chance. Of course something was going to be more annoying than it needed to be. The strut would go in maybe a few millimetres but no more. After a few attempt, I couldn't see any other way of doing this than to tap it into place with a mallet. This kinda meant I needed to remove the hub from the car. So there was an ABS sensor connector, just disconnected with a thin screwdriver, then buzzed out the track rod end nut: Again, the ball joint removal tool couldn't do the job here for whatever reason, so I resorted again to just hammering it out. I wound the nut back in and tried to get it as flat to the bolt threads as possible, to try and reduce any damage. Then a few sharp thwacks: So the hub is freed, so the idea is to tap the hub into the strut from above, but first: I think it was a T30 torx bolt that keeps the heatshield in place, so some PlusGas and a bit of care and the bolts came free. Then it was just this: Very slowly going with constant thwacks of a rubber mallet. It was interspersed with regular moving around of the spread tool, more to take a breather: As it got further in, the rubber mallet lost effectiveness, so out of desperation, resorted to the lump hammer. I have no idea if I've done lasting damage to the hub, or the new strut, or both, with the constants bashing. But it eventually gets there: Seriously, this took about 2 hours of the morning, what I presumed was a 5 or 10 minute step! I believe the strut should be touching this lip: So it's probably a portion of a millimetre off. No idea if that's going to be a problem in the future. Of course, this also happened: Another cracked connector cover. Lucky I bought a spare. A slip of the hammer puts this right in the path, so for the other side, I'll take the cover off before I start the process. I then started to get the strut up and into the turrent: This is a bit unwieldy done solo, but can be persisted, then once a bolt or two in the turret is attached to the top of strut then I breathed a sigh of relief, at least it looks like it's attached! I started to prep the other side, so removed it from the track rod end same as the left side, but this time tightening the ball joint to the hub early doors, to 60Nm: Did not need any counterholding so probably should have done that for the left side before I continued. I noticed the coolant tank was low, so started to top it up, but then noticed a wet leg whilst working around the left wheel well: Looks like my use of the pliers to wiggle and loosen the hose has put a rip into the hose. Extremely frustrating given the top part of these hoses didn't actually need these new clamps installed, so damaging the hose puts a blocker on future progress. I don't think there's a decent approach to address this other than to replace the hose. So, looking back at the left strut fitted, lowered the arm and got the balljoint into lower arm and got the nuts tightened: Not torqued it to spec yet. There was actually a bit of a palaver getting the driveshaft into the wheel hub before this, again involved eventual tapping of mallets and so on, until it got in enough so that the old driveshaft bolt lying around was able to start winding in: This is because it would mean that the driveshaft bolt could then be tightened, hopefully pulling in the driveshaft and getting it home. With that, the ball joint under the driveshaft was tightened, via a crow's foot attachment: Kinda lucky it was 19mm as I don't have a 21mm crow's foot. Then tightened up the top bolts a bit more: So at this point, I couldn't find the 24mm 12 sided socket I bought to undo these driveshaft bolts. But it was midday by then, so took a break for lunch. Maintenance: £2190.67 Upgrades: £1322.97 Miscellaneous: £671.37


-
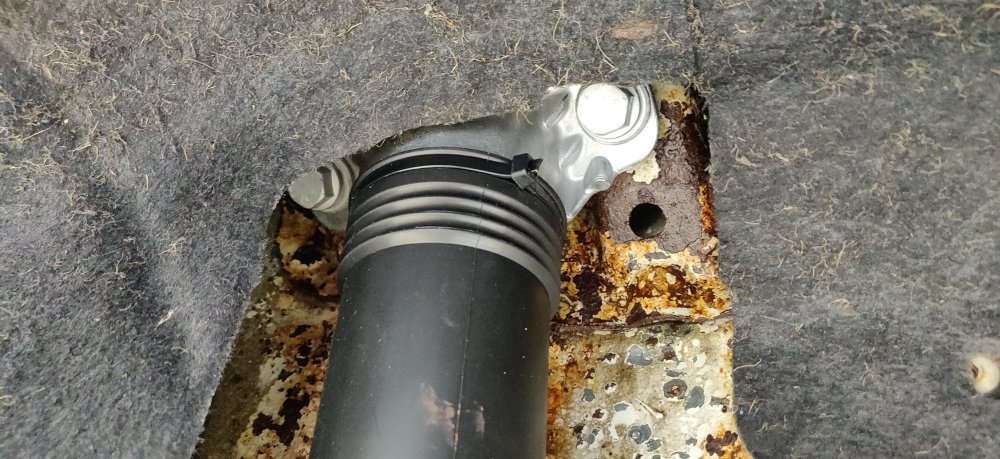
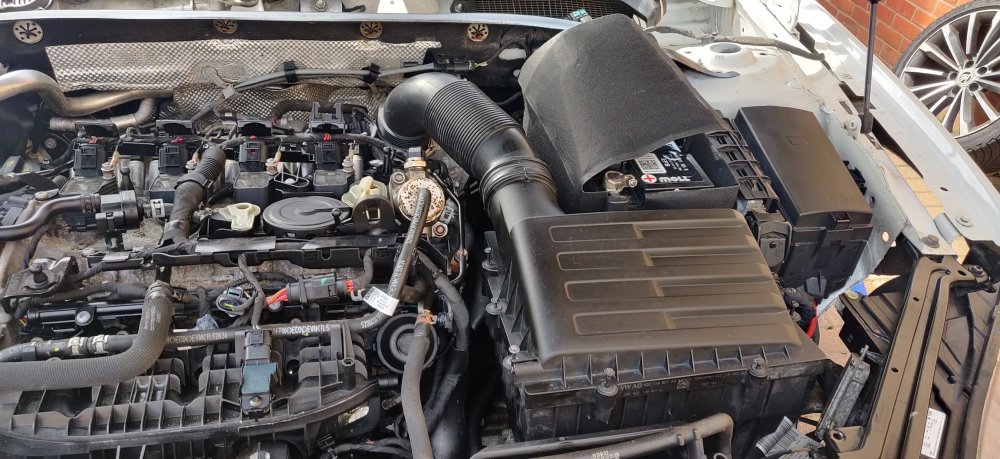
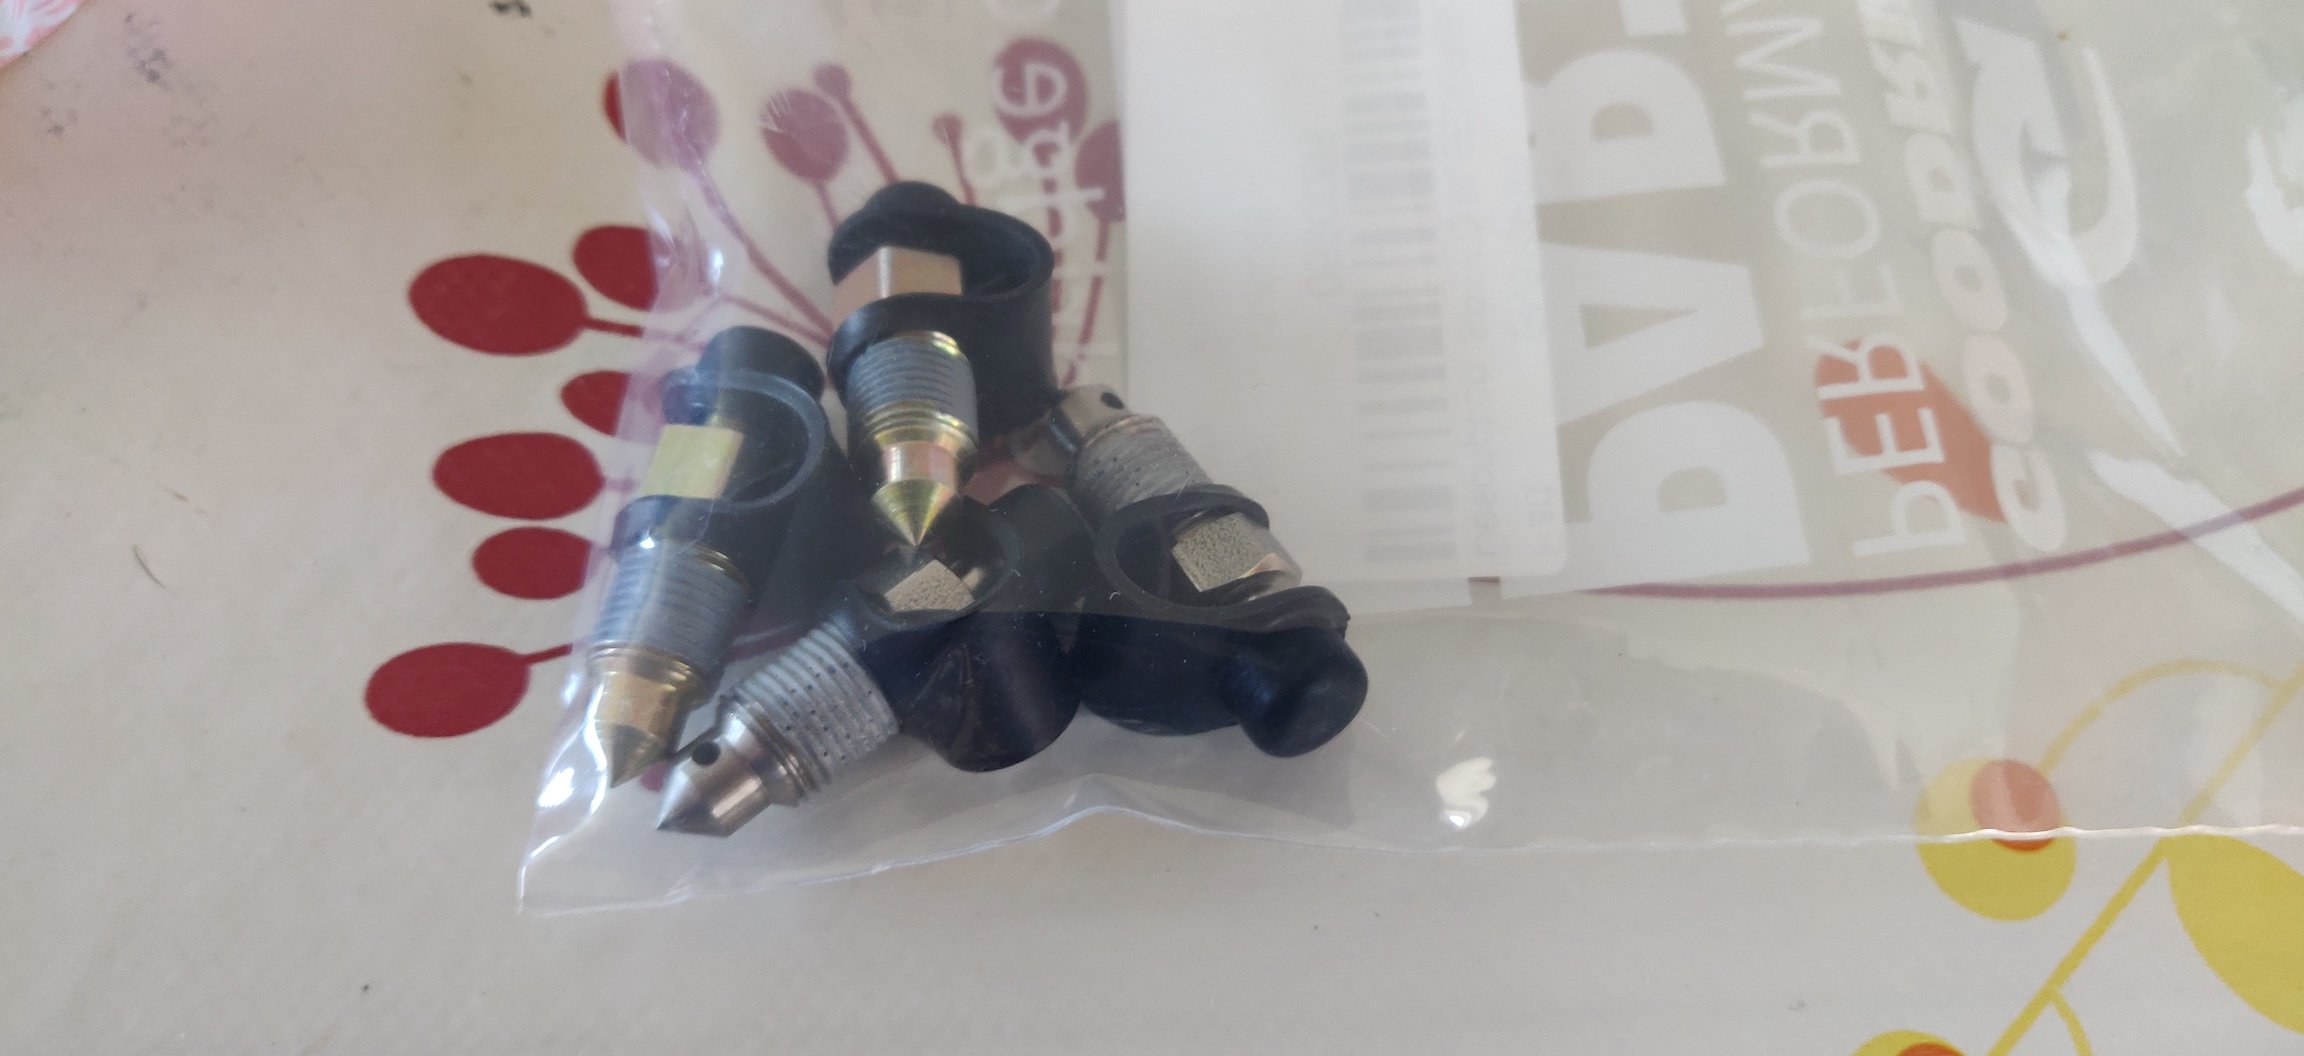
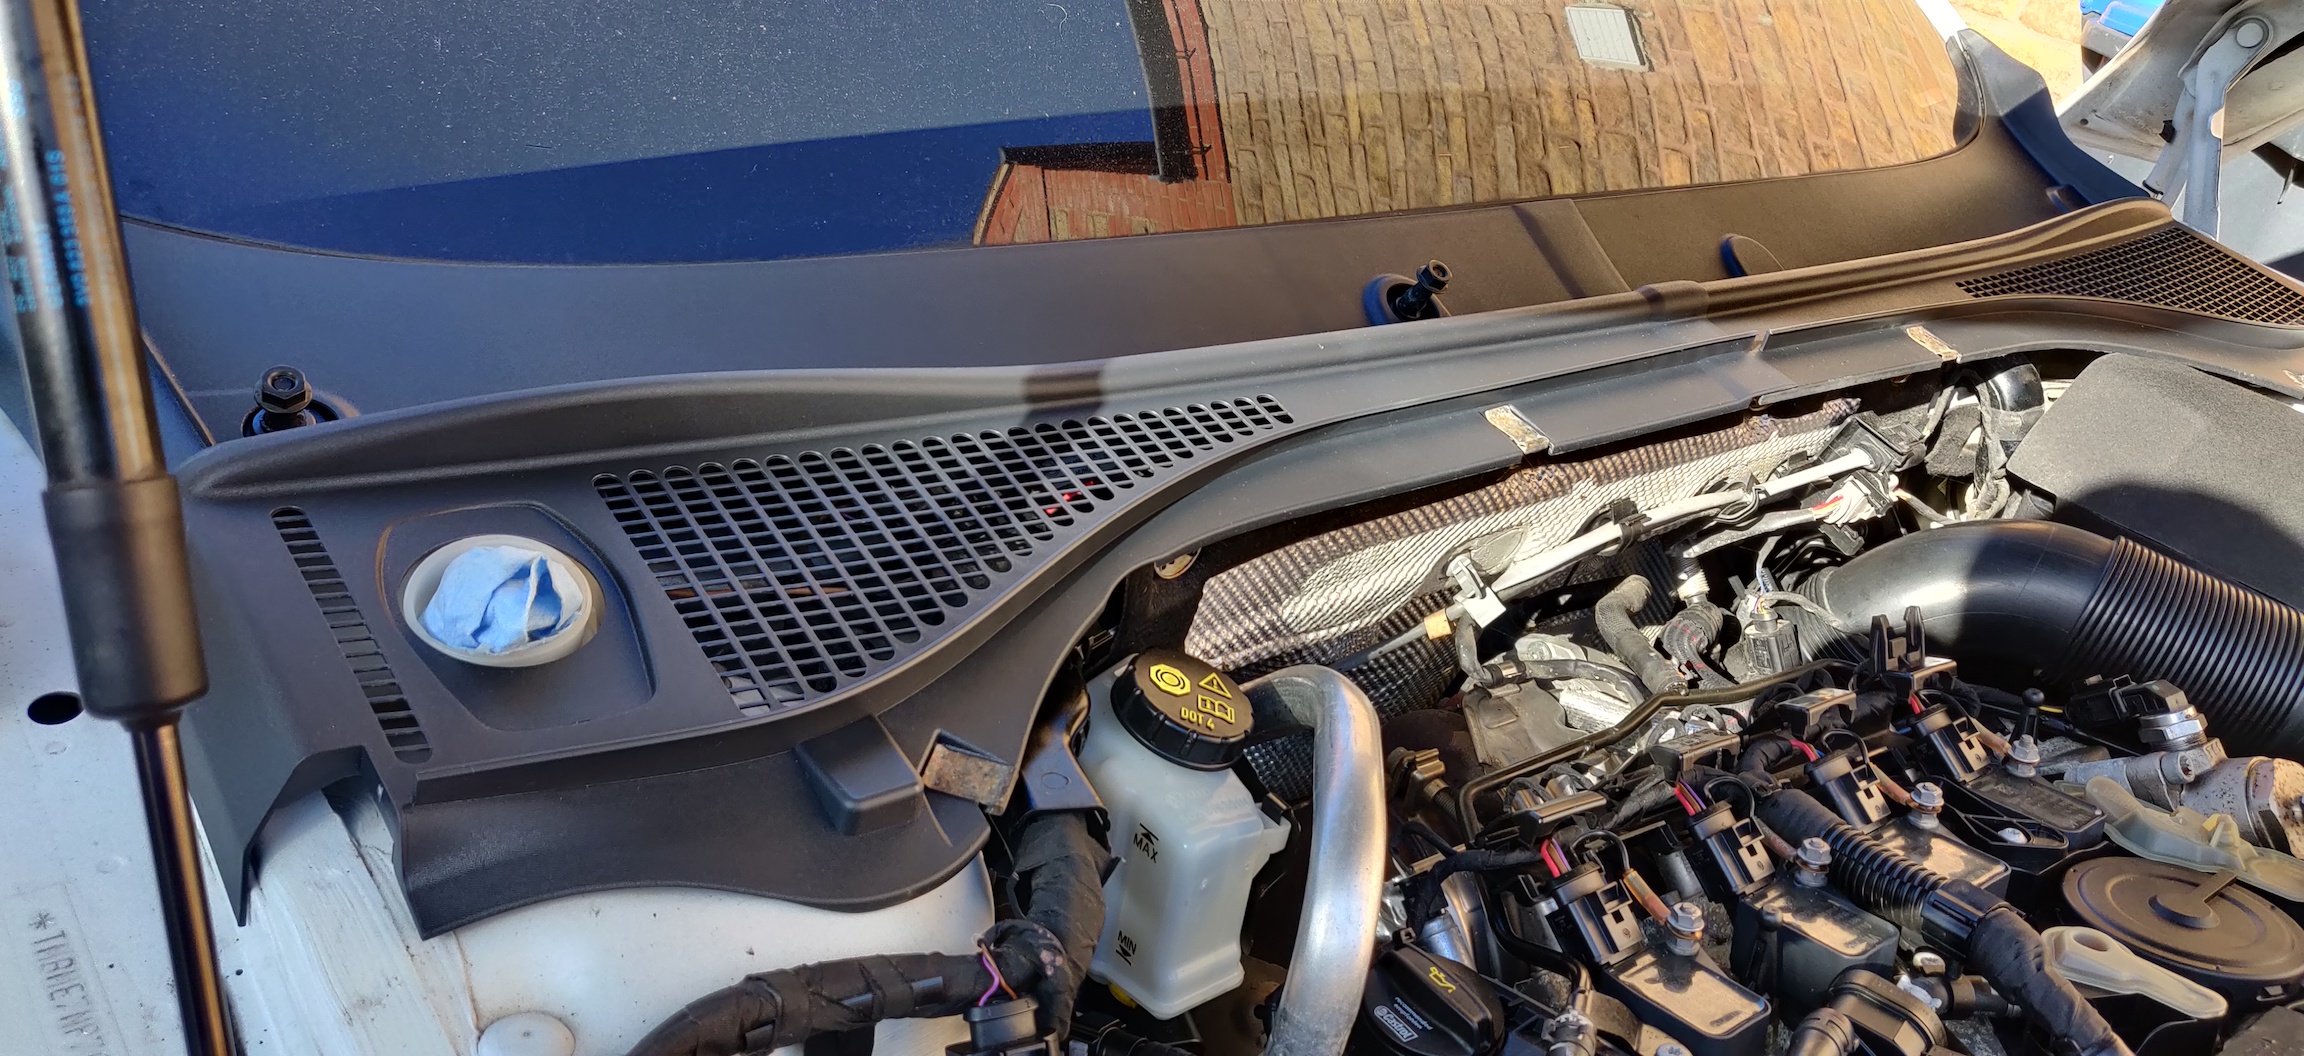
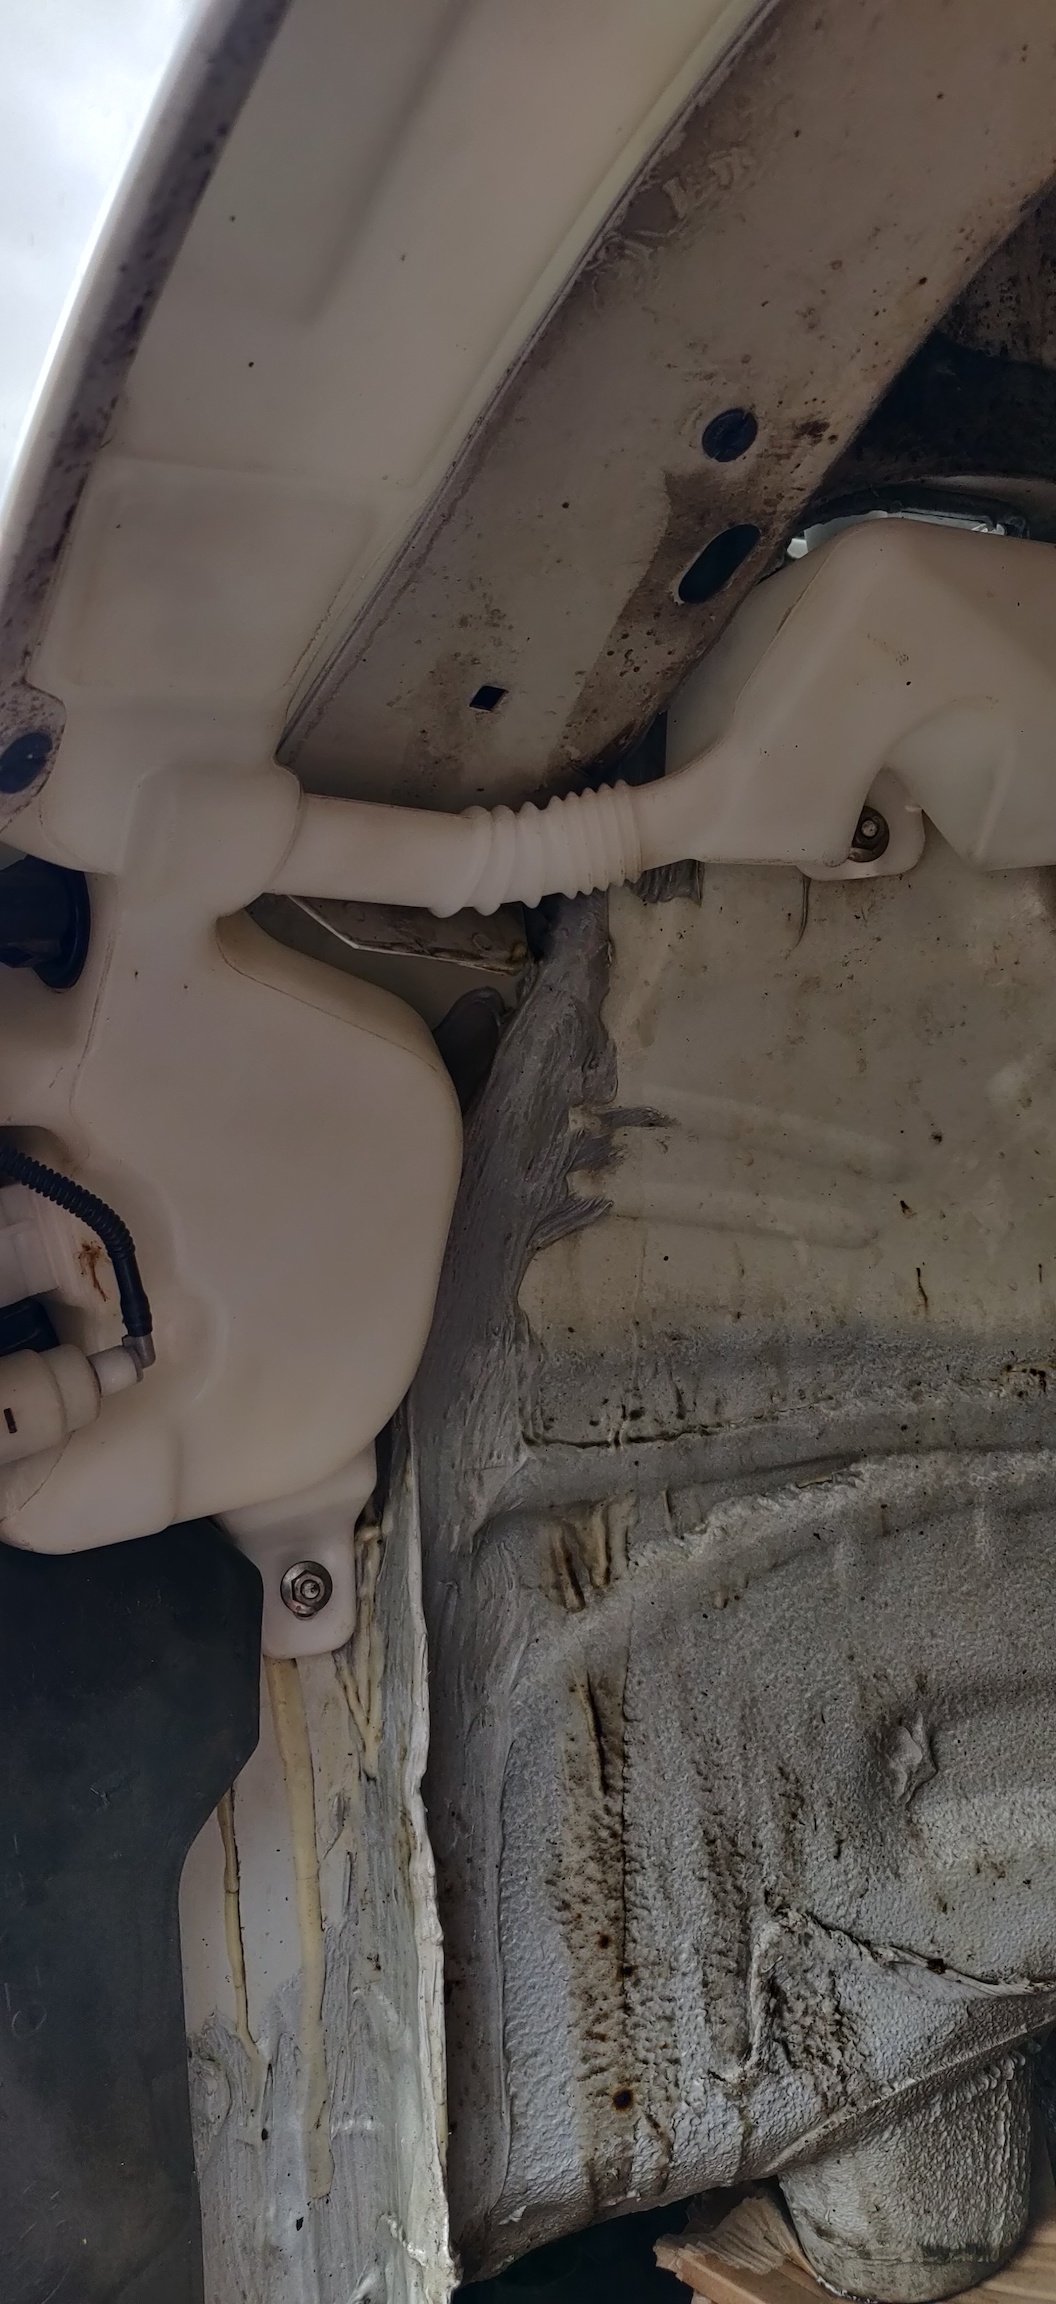
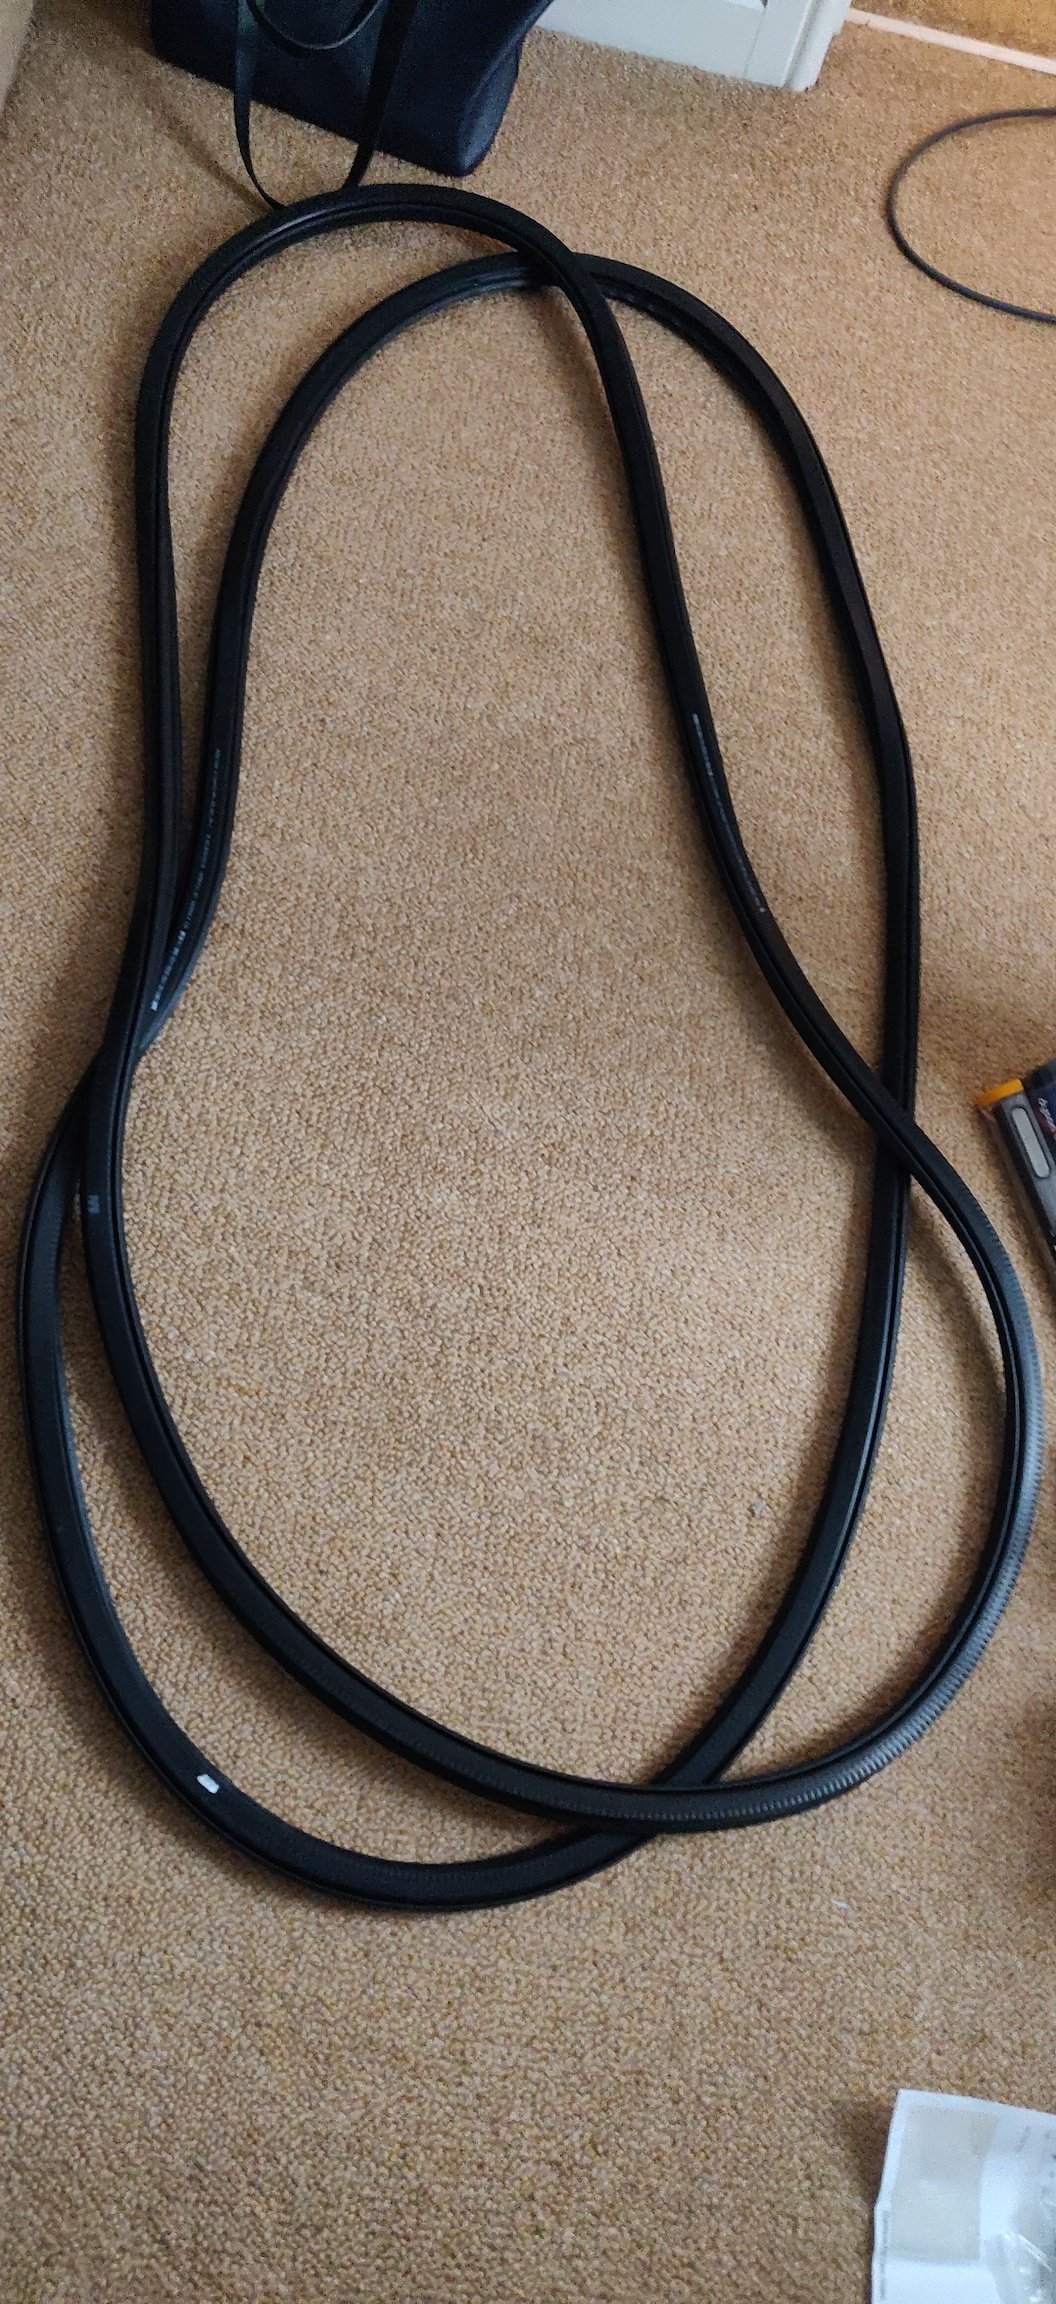
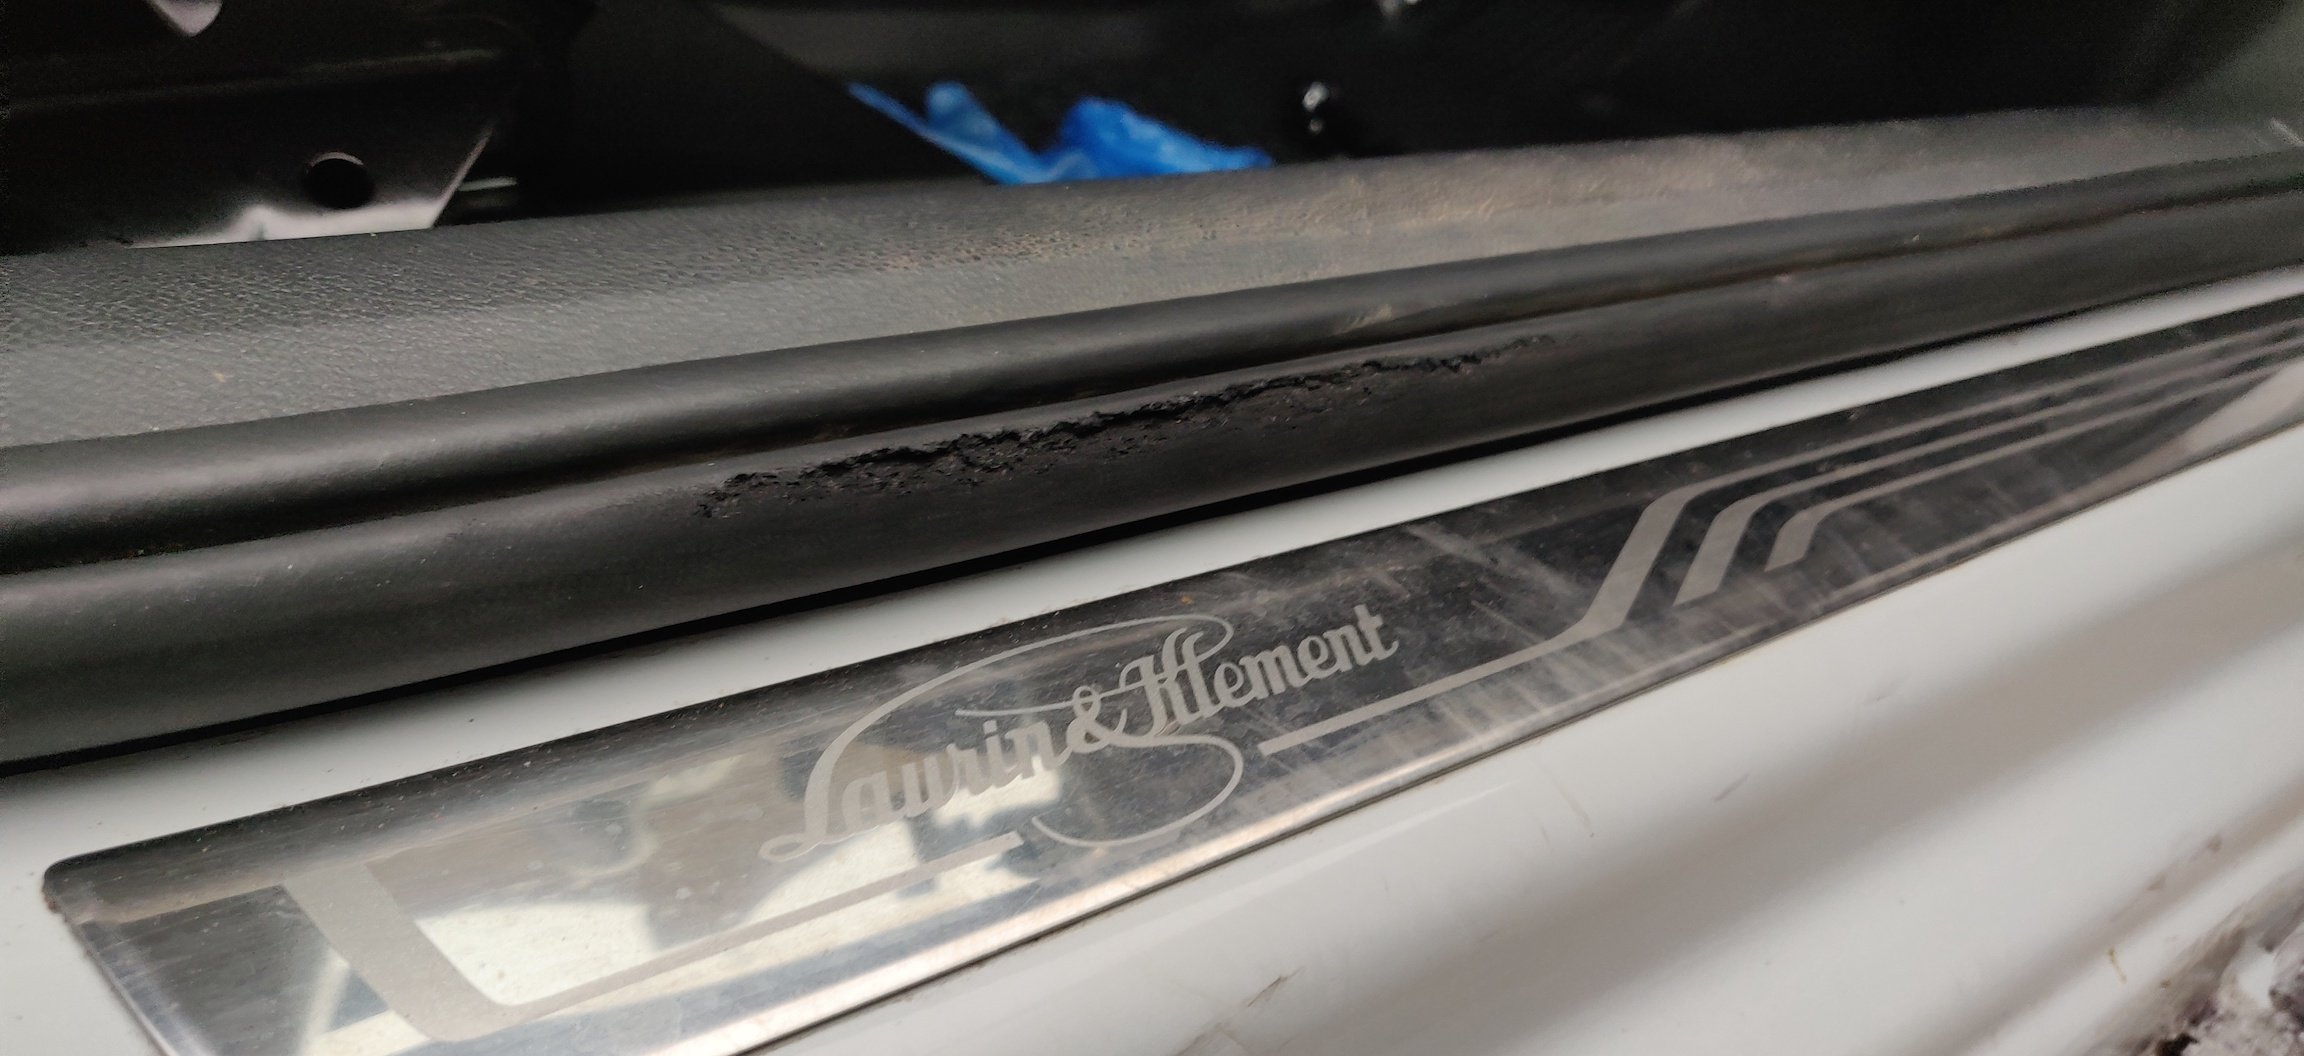
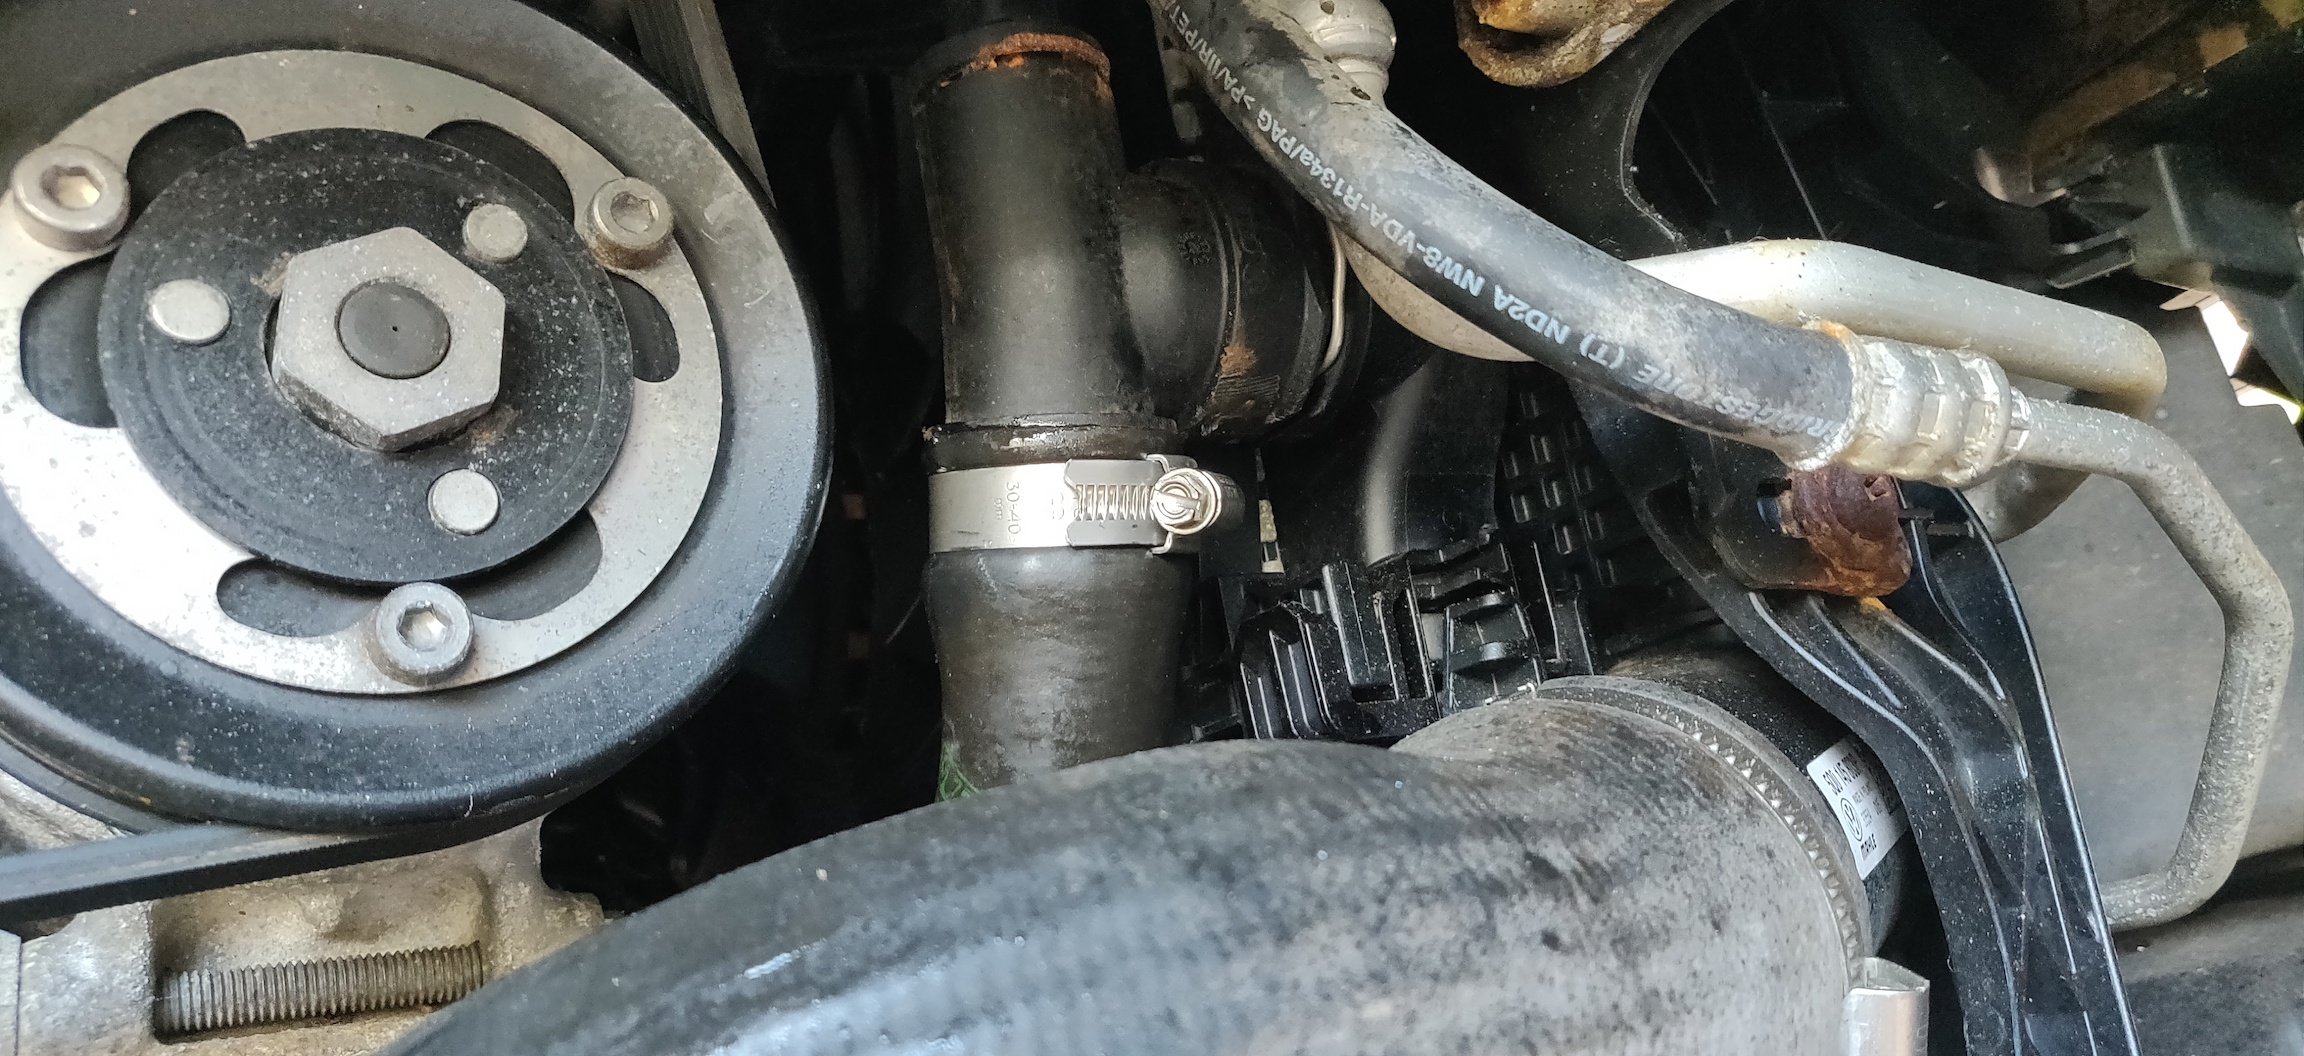
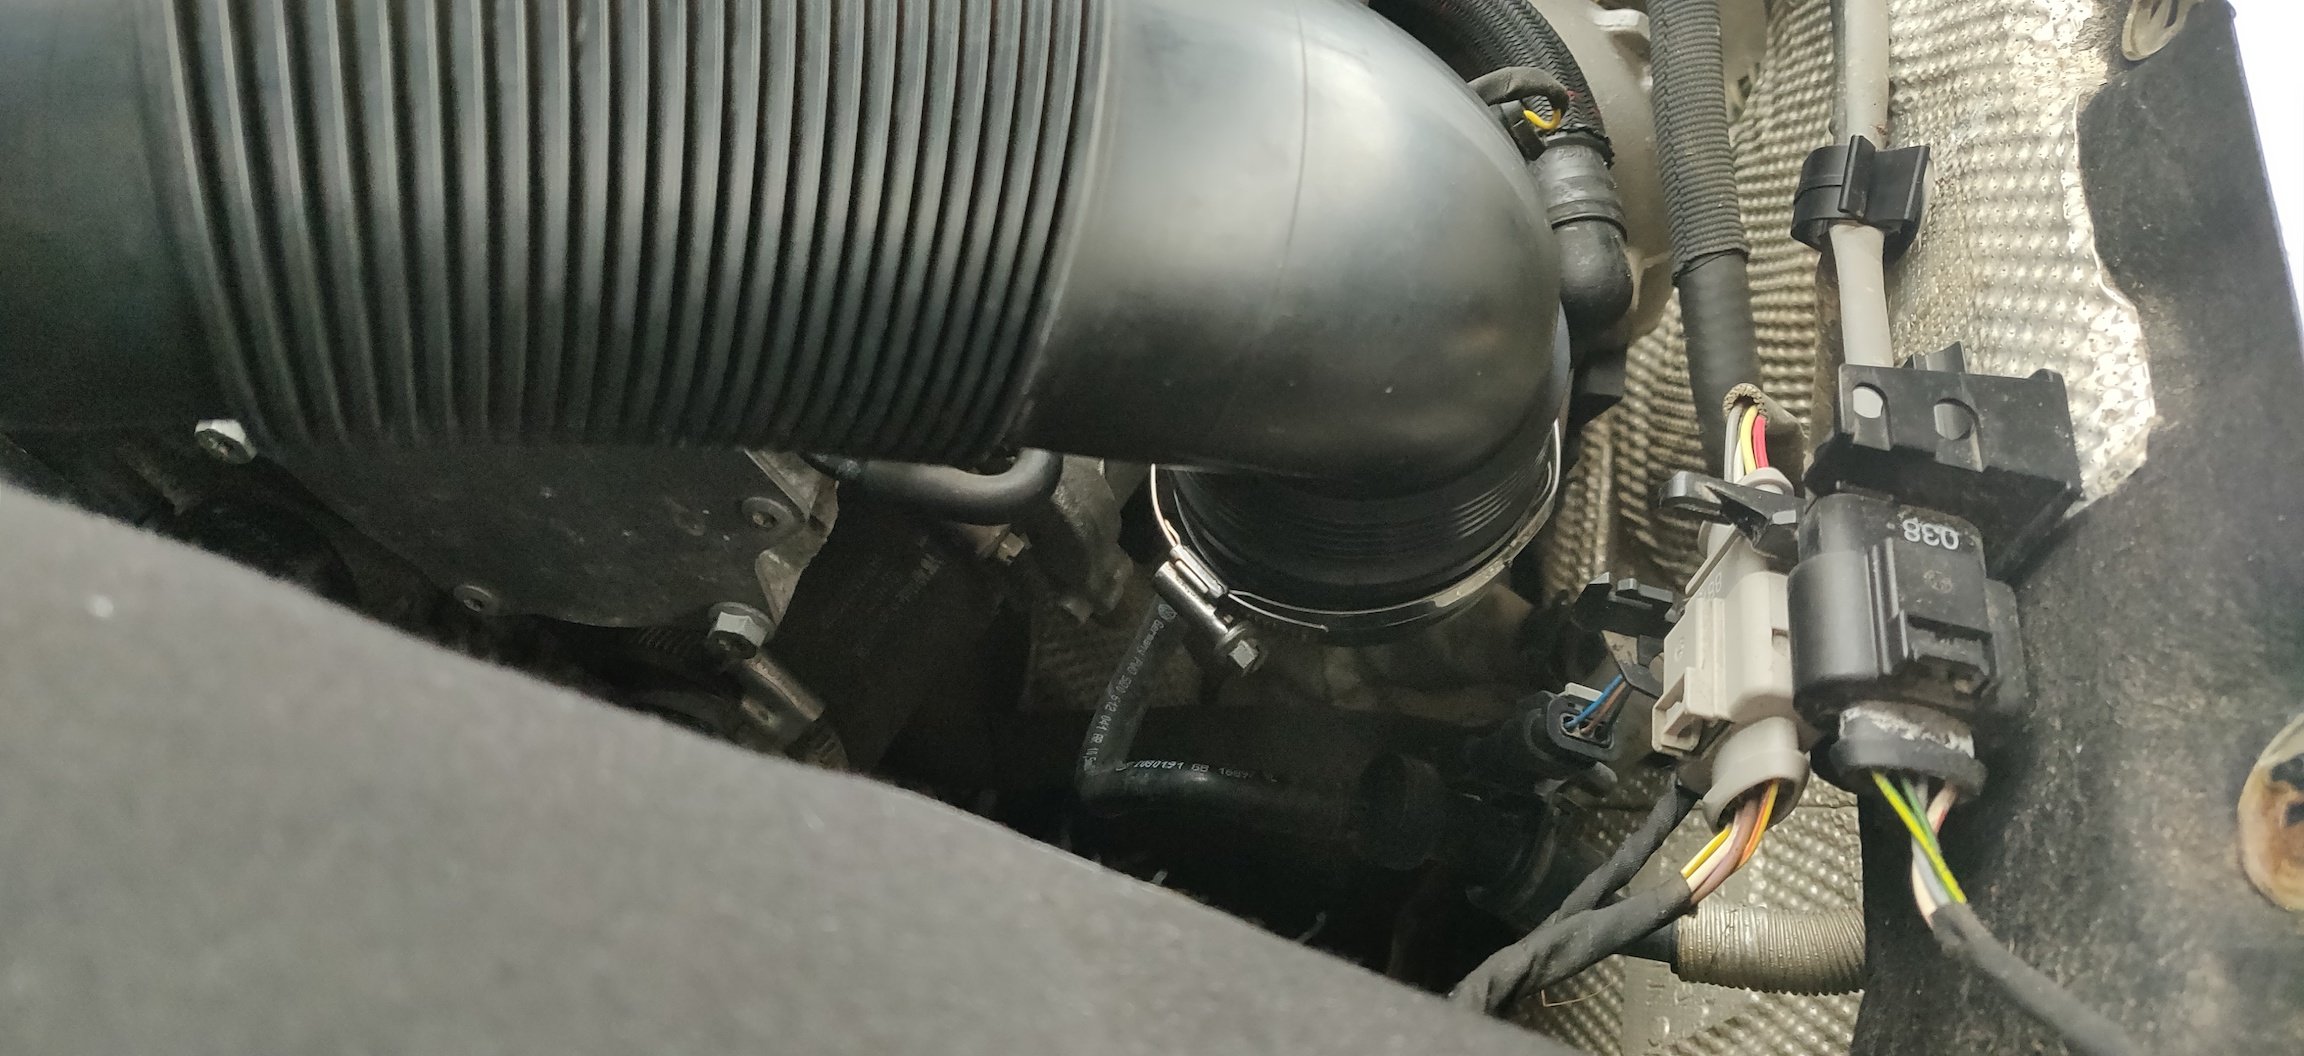
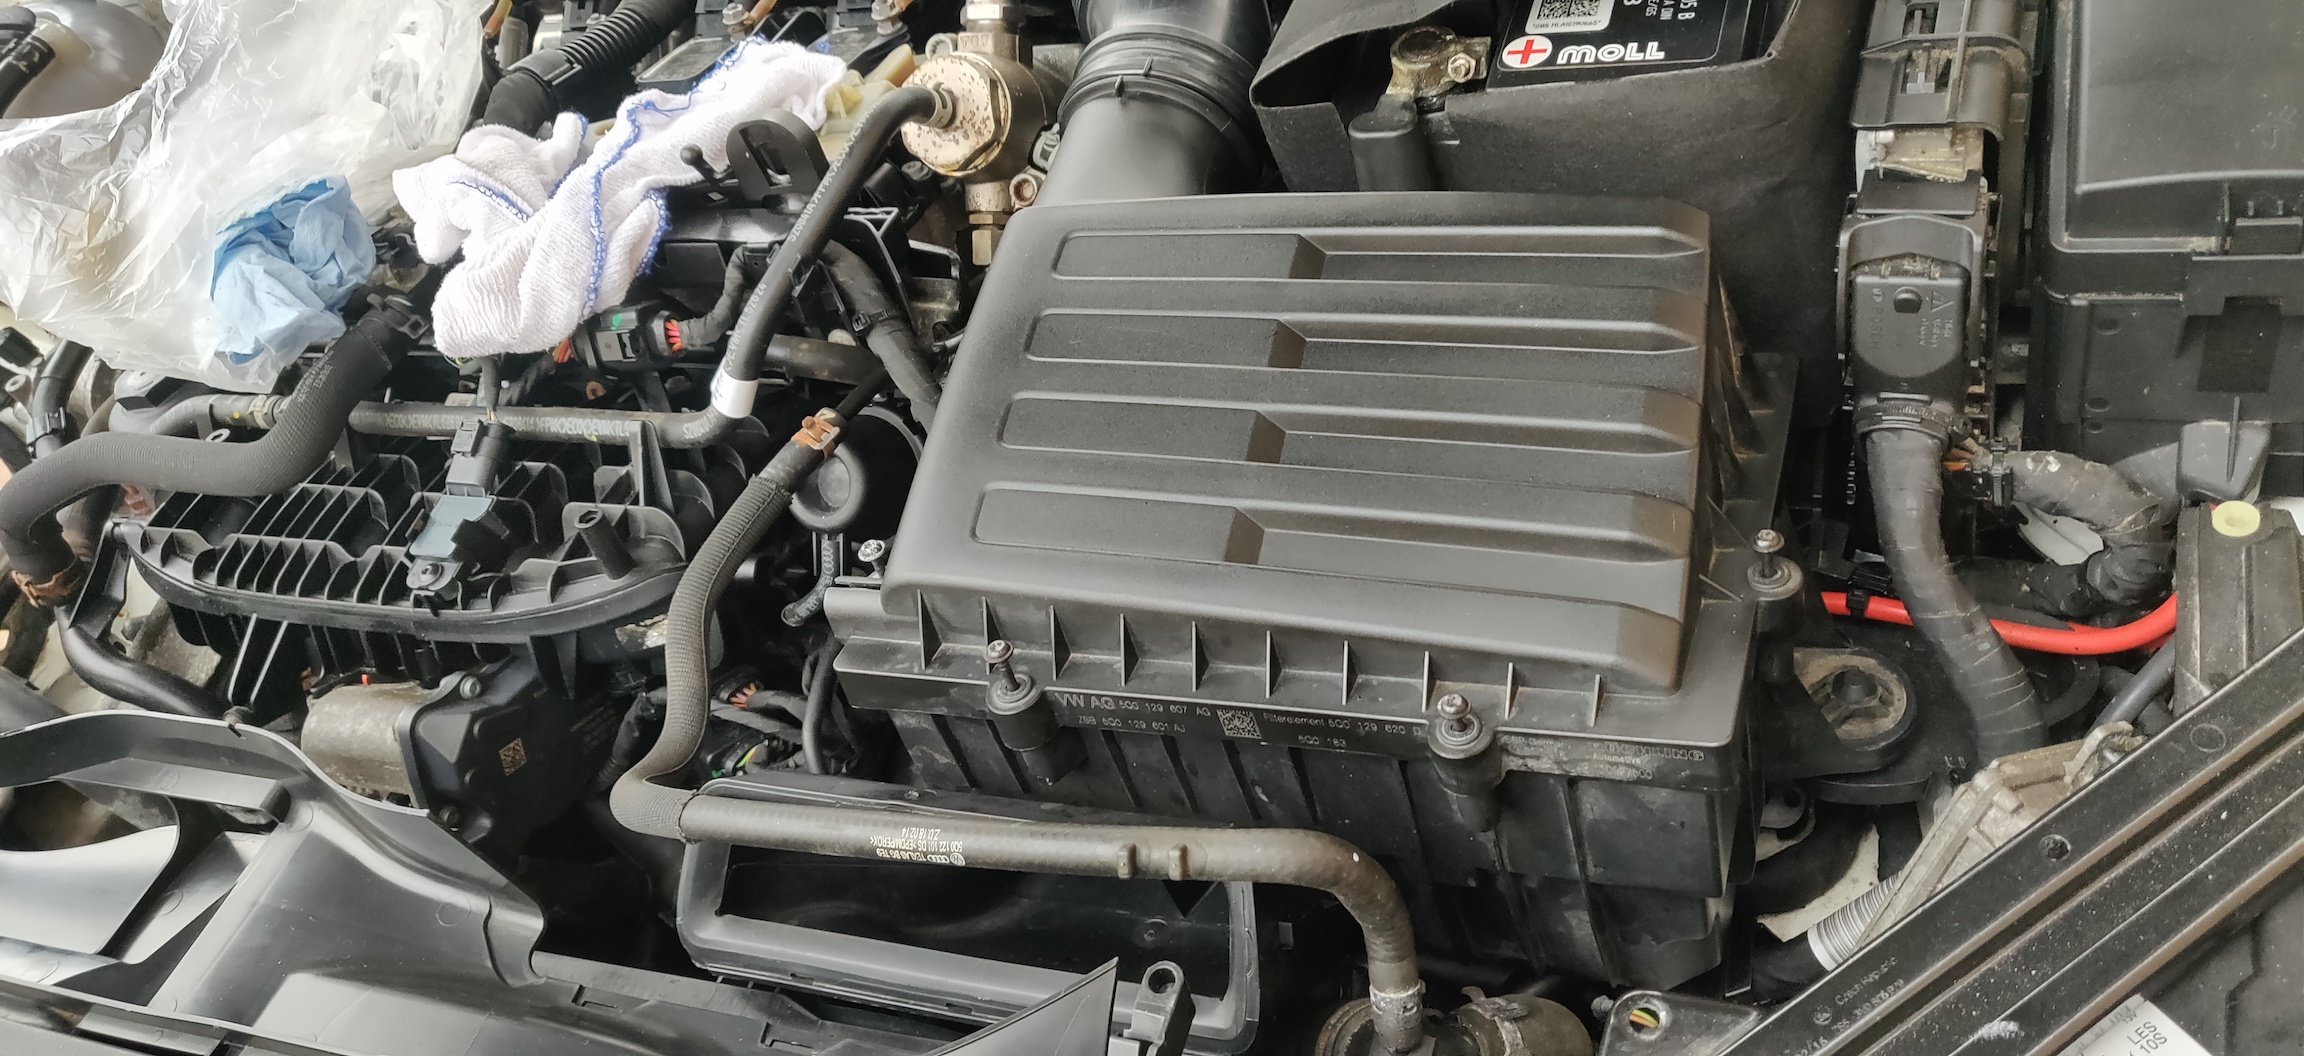
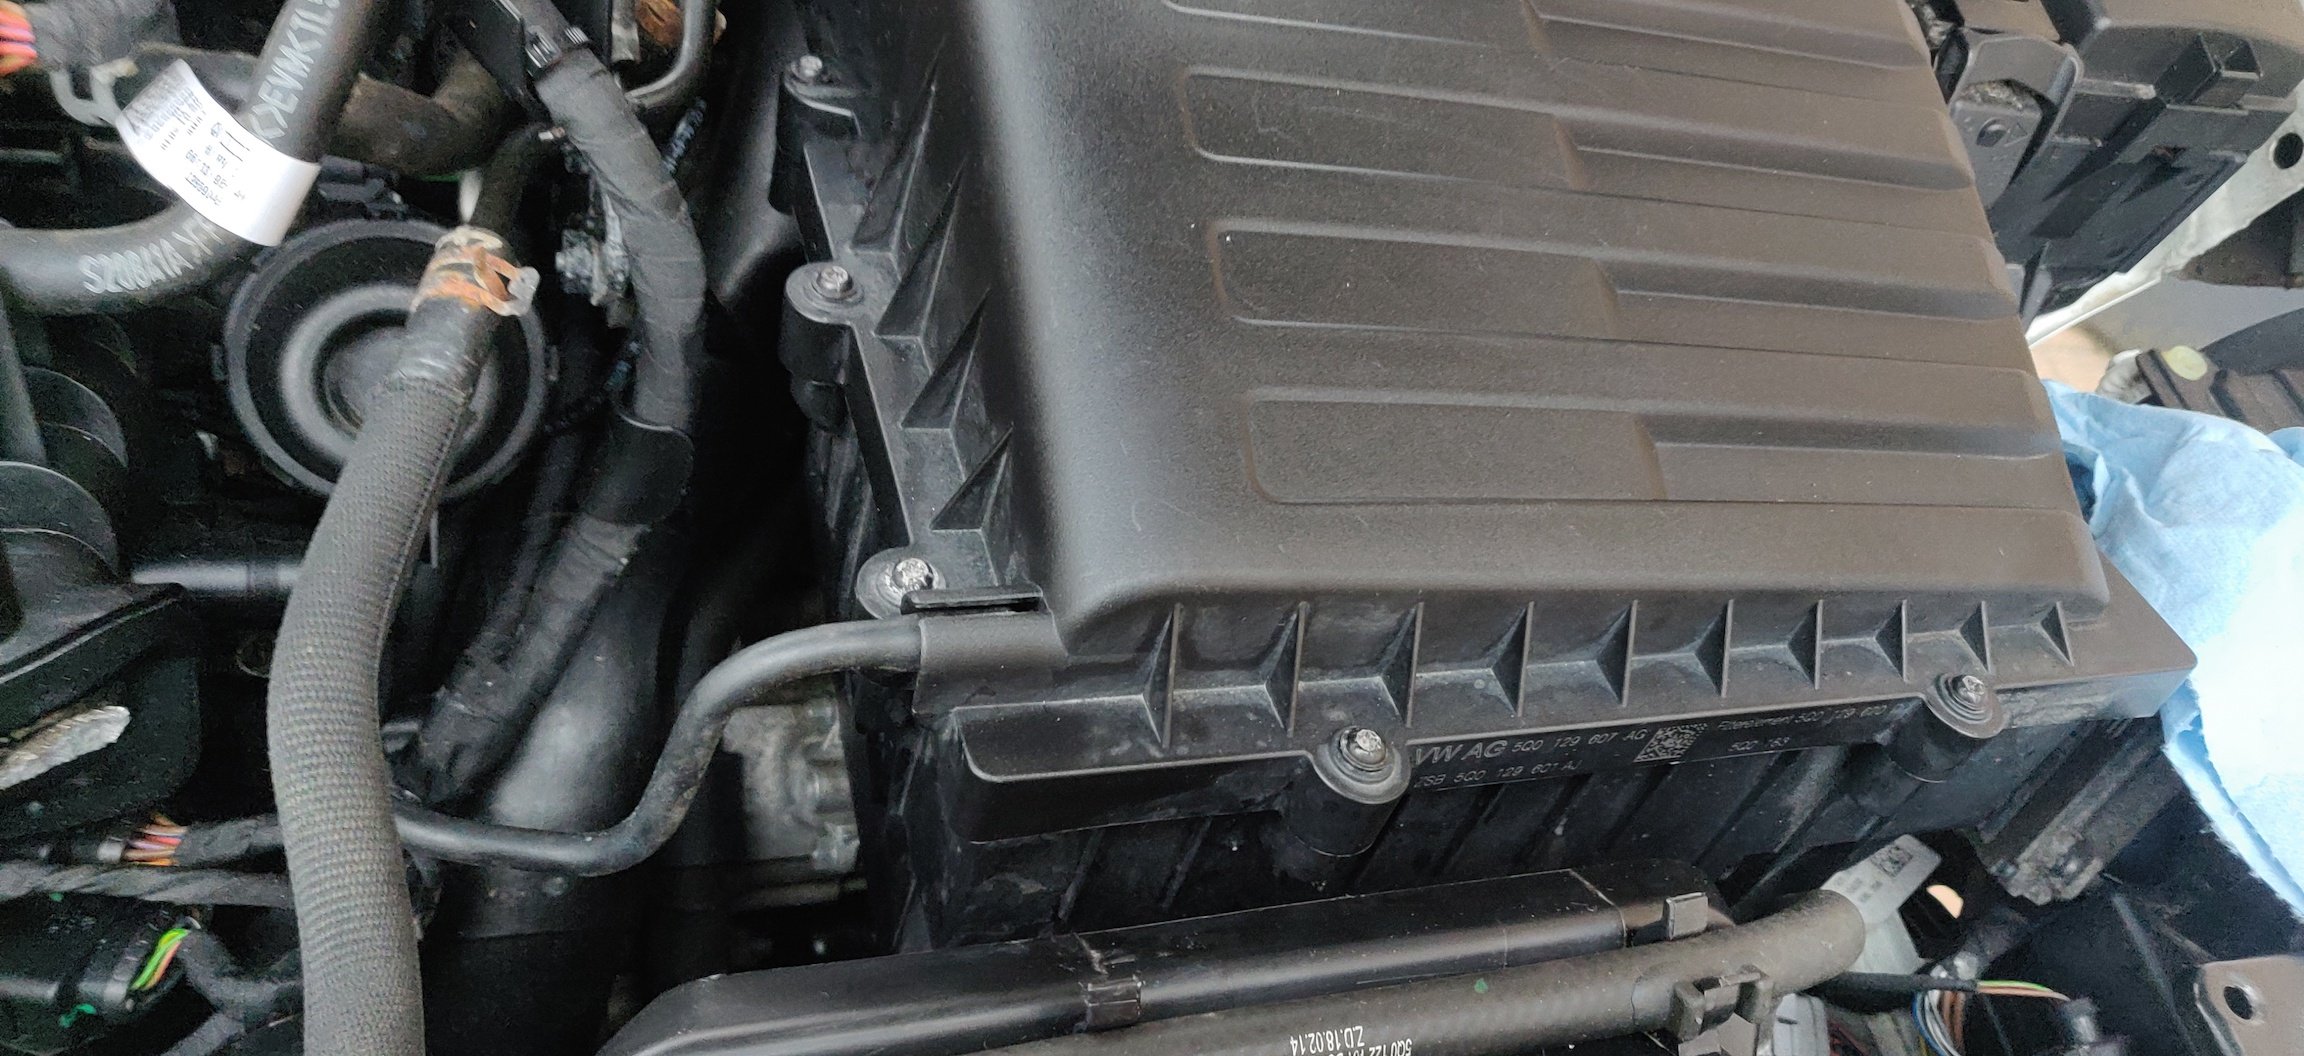
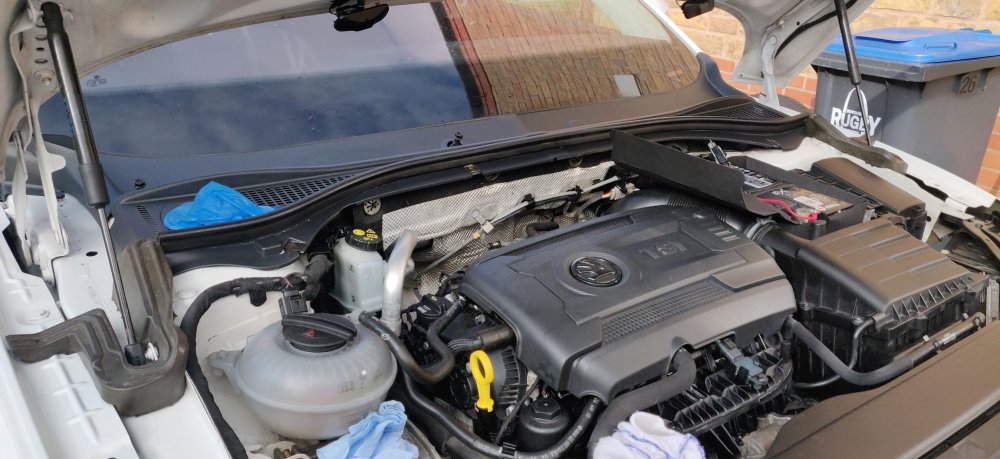
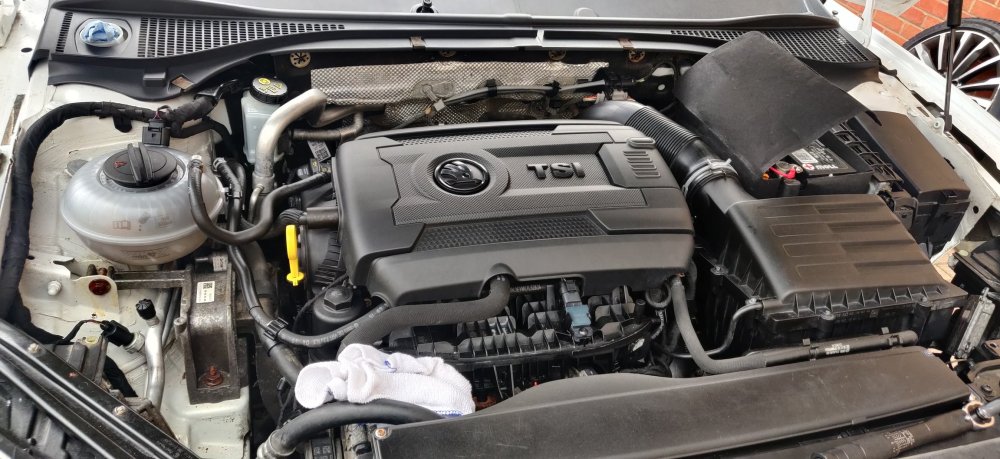
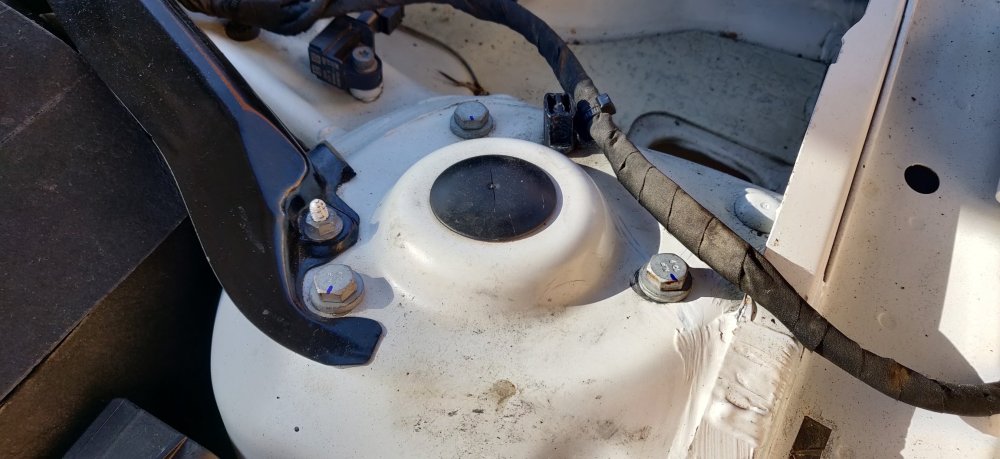
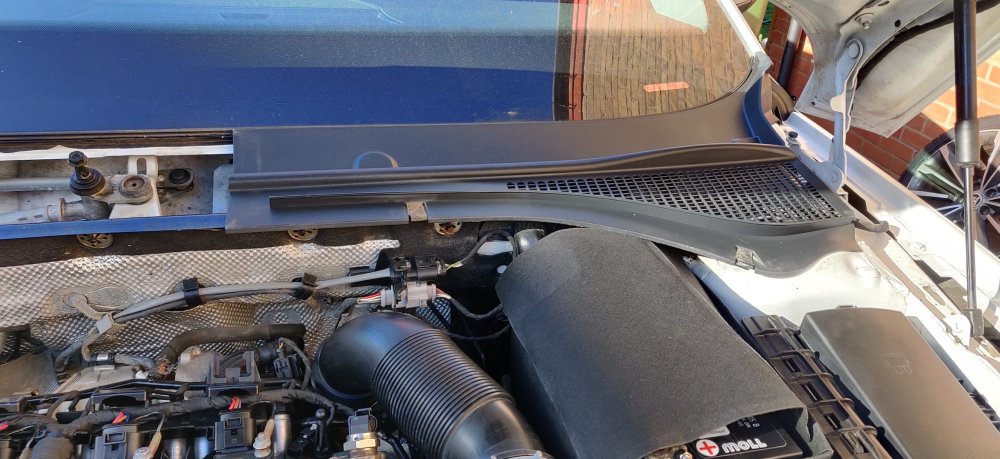
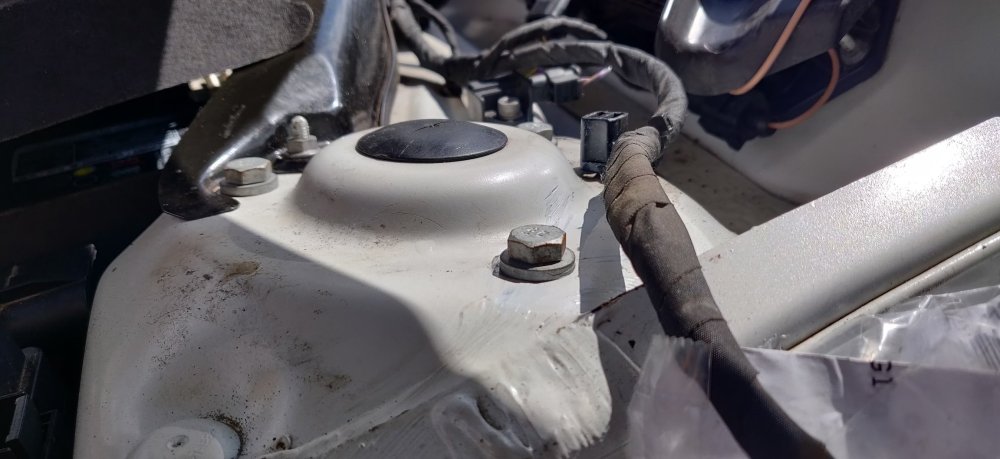
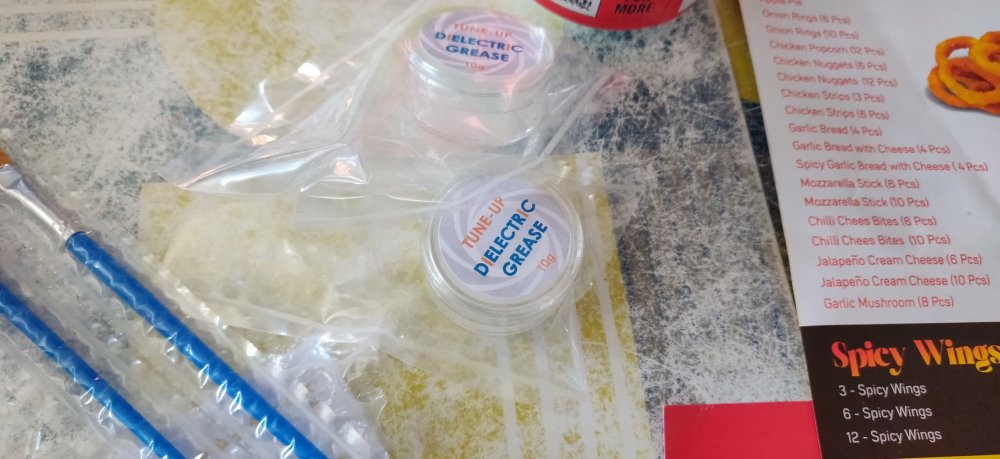
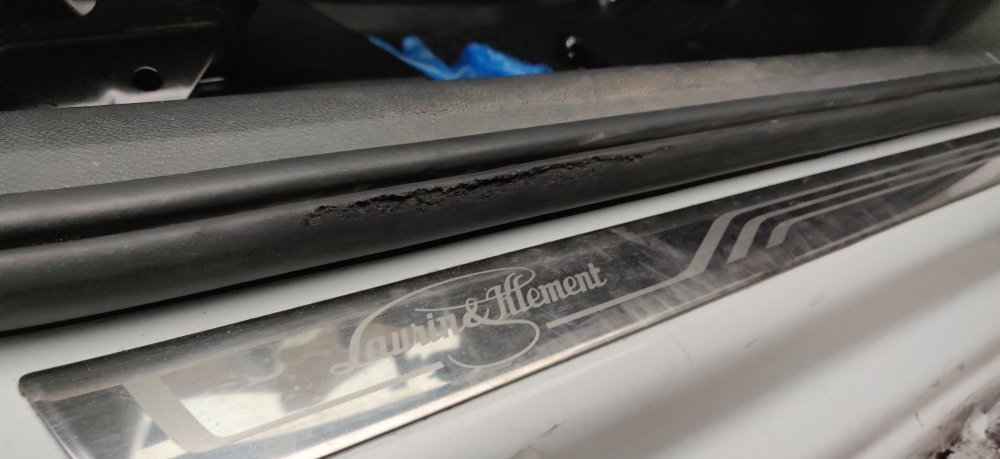
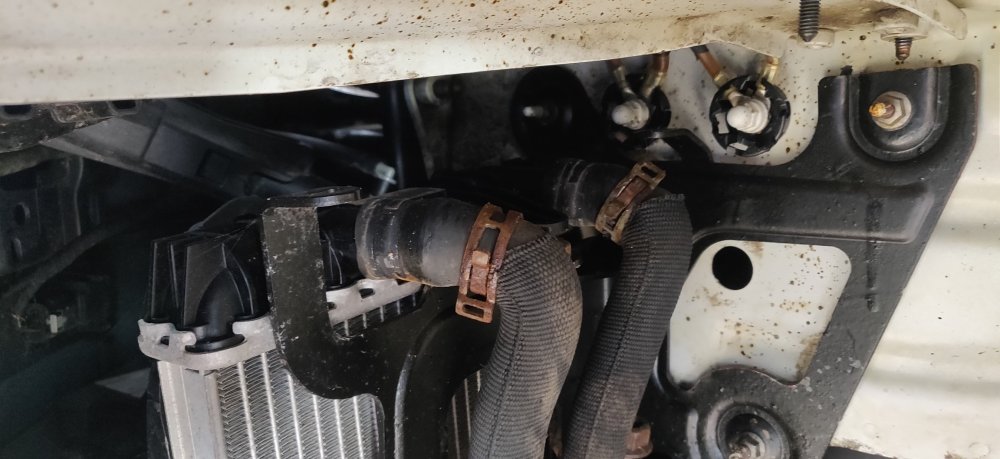
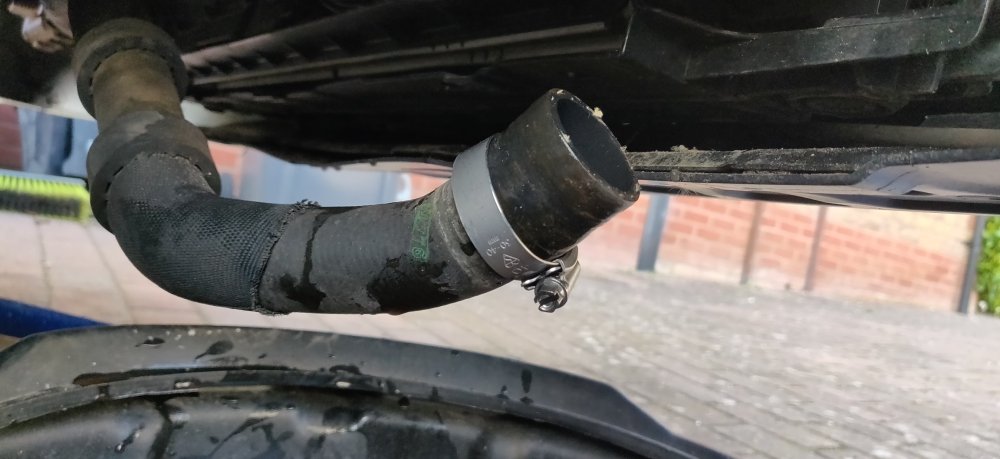
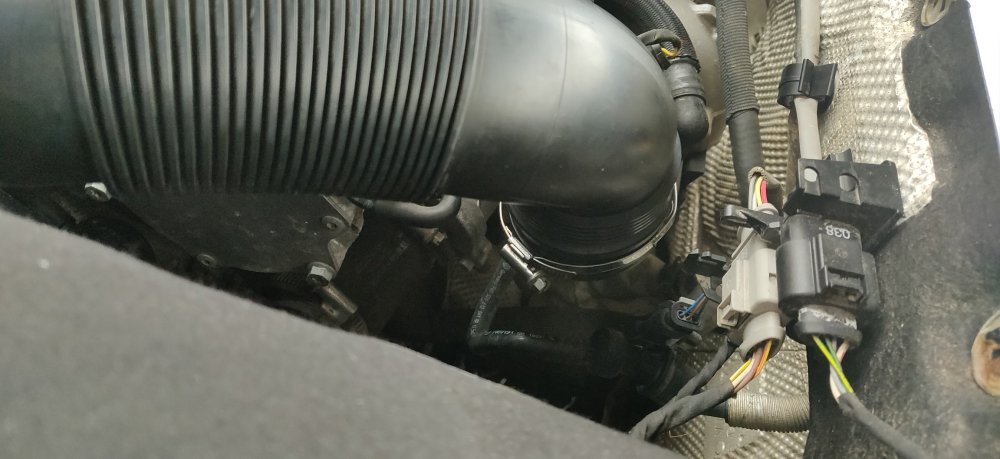
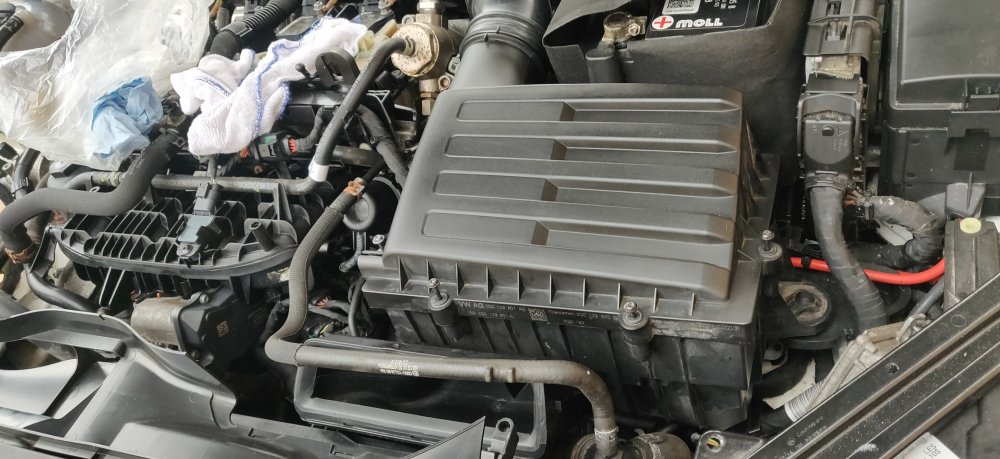
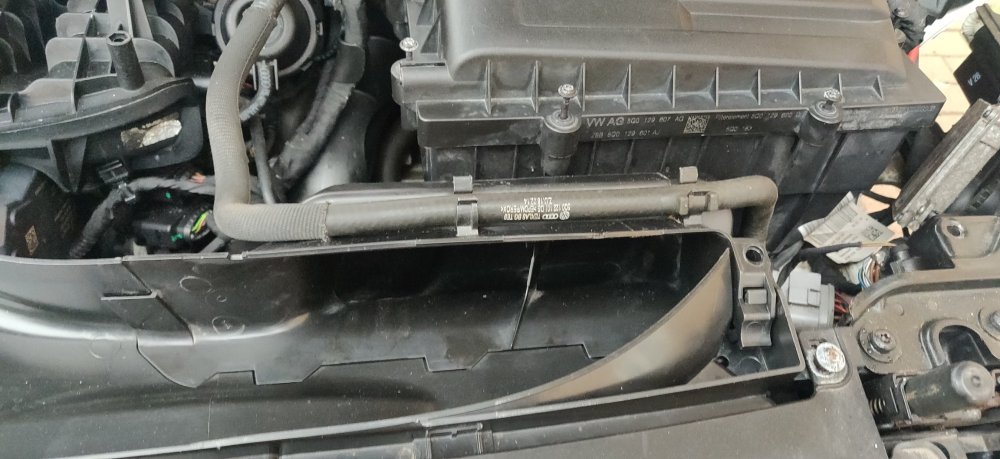
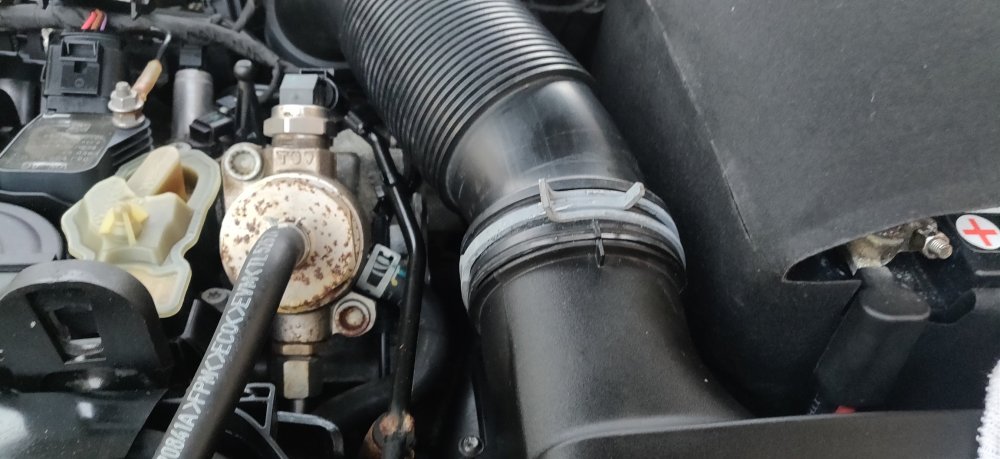
Some more stuff: Some dielectric grease. Not sure, usually silicone grease is my go to but decided to get some stuff specifically for the connectors for the car. This'll be aimed at the Haldex connector, the level sensor for the rear and the coil packs. This was £11.62, so I'll chalk up £5.81 to the tally as I'll probably use one for this car solely. Also got these: There was a pair of stainless speed bleeders on eBay which I jumped on, only to find that I wasn't able to source another pair of stainless ones. Previously, I've always been able to get them from the US, but upon ordering from their website, I got a refund due to them not having sorted out UK VAT stuff apparently. Most interesting. So got some normal ones from eBay instead. So the stainless ones were £14.50 and the other pair were £25.04. The former being cheaper was probably due to being something lying around and the seller just wanted rid. Don't think it matters at this stage, one day the calipers will probably get refurbed and then I'll revisit whether I go fancy or consistent with these bleeders or whatever. These have been hanging around a while but I'll note them here: A pair of door seals. These were £94.05 for the pair from eBay, which to be honest, probably could have been cheaper via Skoda Parts or lllparts, so don't know why I thought to get them at this price. This is mainly to address this: Just some weird chewing of the door seal on the drivers side, so figured swap both out as a pair. Pedantics really. Anyways, after work, decided to tackle the coolant hoses which have been disconnected for a while. This is mainly so I can actually start filling it up and also hopefully allows me to start assembling the undertray and wheel arches (sort of). So on the left: Got some pliers to take the spring clips off: Then I used the pliers around the hose and very gently wiggled the hose and rotated to try and loosen it. If it starts squeaking, that's usually when it's starting to separate. Then continued to wiggle and pull them free. Once out, put the new clamps on and put the hoses back into place: According to the JCS Hi Grip brochure https://www.jcshi-torque.co.uk/wp-content/uploads/2022/03/JCS_Hi-Grip_brochure-1.pdf it suggests that these sized hoses are tightened to 5Nm, so went and did that. You can see from the pic above that the 25-35 sized hoses, whilst tightened fine, does seem to have quite a large bit of excess, so it may well be possible that a size or even two lower could be possible. Something for the future to be honest (all things going well, it'll be 4 years before these are revisited). So the two above were only changed because they're easily accessed, rather than the main ones, which are on the other end of those hoses: So the other side is shown here. I've tried my best to position the hose clamps so they're easy to get to in the future. The pic amusingly shows the other side of this quick connector with the OEM and rusty spring clamps, but would it start being overkill to fit clamps there as well? Anyways, went to the other side for the radiator hose: So detached the hose, put the clamp on, and then put it back to the quick release part near the radiator: Hopefully positioned so it's much less stressful to undo in the future. Didn't take pics of me adding coolant in, but basically poured stuff into the tank, then just pretty much massaged the hoses around the engine bay. There is an easy to get at one near the air filter housing (presumably the top radiator one) and the one above. This helped in getting the tank level down so presumably filled up the system a bit more. Normally, I expect an engine to have a bleed screw to undo which would be at the top of the coolant circuit to help bleed and sort out air locks. But this car doesn't have one (par for the course in terms of VW being annoying), so I'll have to hope that when the engine fires up it'll help push coolant around and so on. Technically, I don't think there's anything stopping the passenger side wheel arch from going back on the car. I think for now though I'll wait until the engine is fired up in order to just be sure the coolant isn't leaking around these newly clamped hoses. Not much to do for the coolant now, I'll leave it until tomorrow, so went back to the top of the engine: Fitted the air hose from the housing to the rear of the engine, and tightened up the hose clamp, this time facing the opposite way so I can actually do it up without it being a pain. I then pushed the air filter housing in: I then immediately lifted it back out again, because: This part of the front air guide kinda needs to go in at the same time as the air filter housing, it'll clip into the bottom part of the air guide after some faff. Once done though, the upper part can then go in, starting with the two tabs at the front: Then pushing the rear tab into the bottom latch: That should be it: So then it's a case of tightening up all the bolts. They are all T20 torx screws. The workshop manual specifies 2Nm, which is to be honest, feels less than hand tight. So a delicate torque wrench is needed and care so as to not inadvertently overtighten, although it doesn't really matter for the air filter housing I imagine. You'd have to be tightening it up something special to break the air filter housing. I then had to figure this: This particular spring clamp was quite awkward. I had to eventually involve two Knipex pliers, one set with a wider jaw, to essentially start compressing, then with some faffing around, transfer that to other plier to compress it further in order to get it large enough to get back onto the hose. Not safe in the slightest. It'll be much more easier to just get a normal hose clamp in the future I reckon, so that'll be on the back burner. So other than fitting the vacuum hose back into the housing: That was that. Most of the servicing is pretty much done now! So tomorrow, the front suspension will be looked at, and from there, just the few more odd jobs I believe. Maintenance: £2190.67 (+£94.05) Upgrades: £1322.97 (+£39.54) Miscellaneous: £671.37 (+£5.81)


-
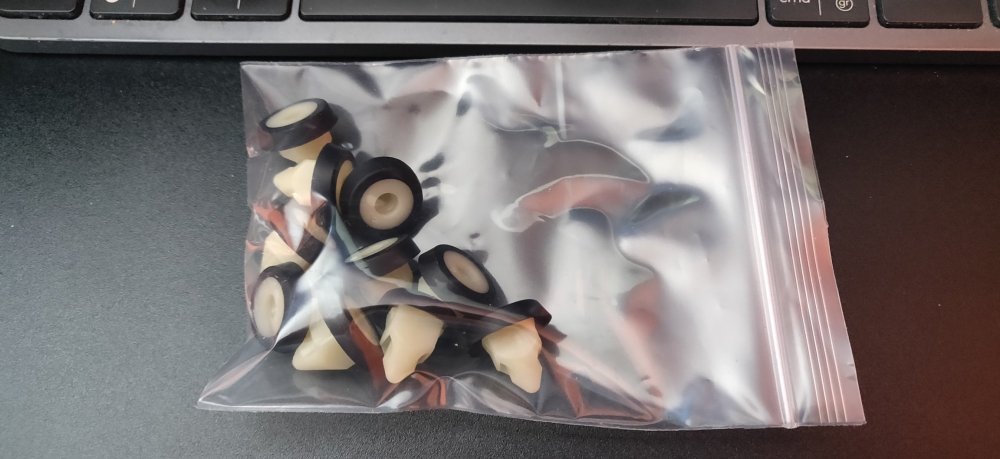
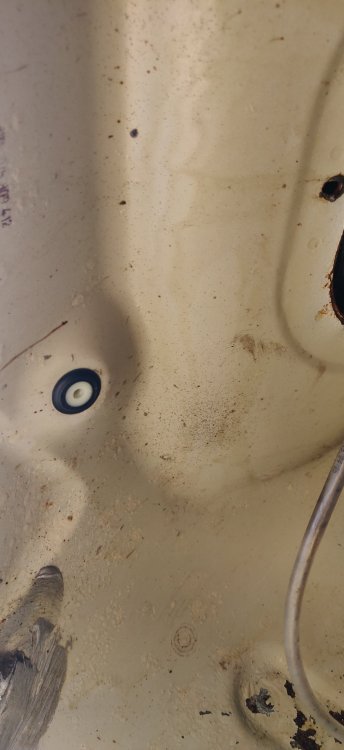
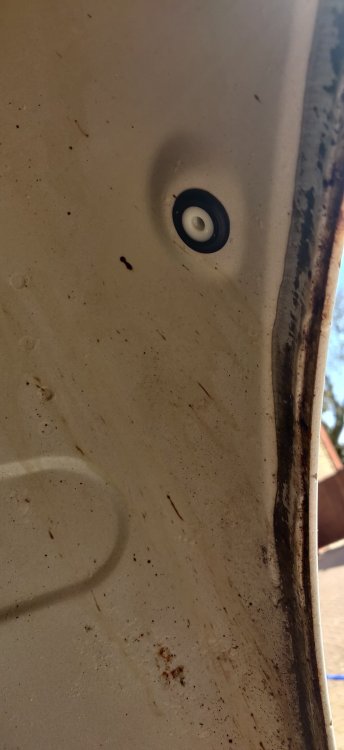
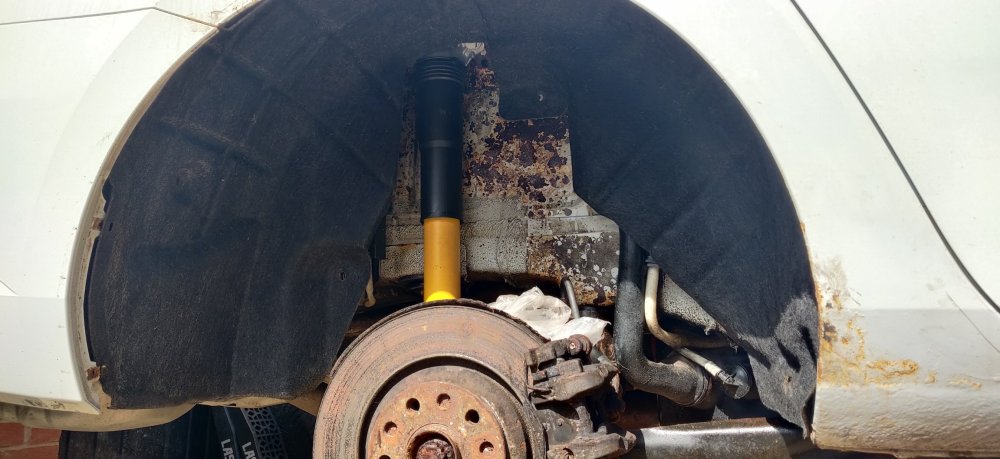
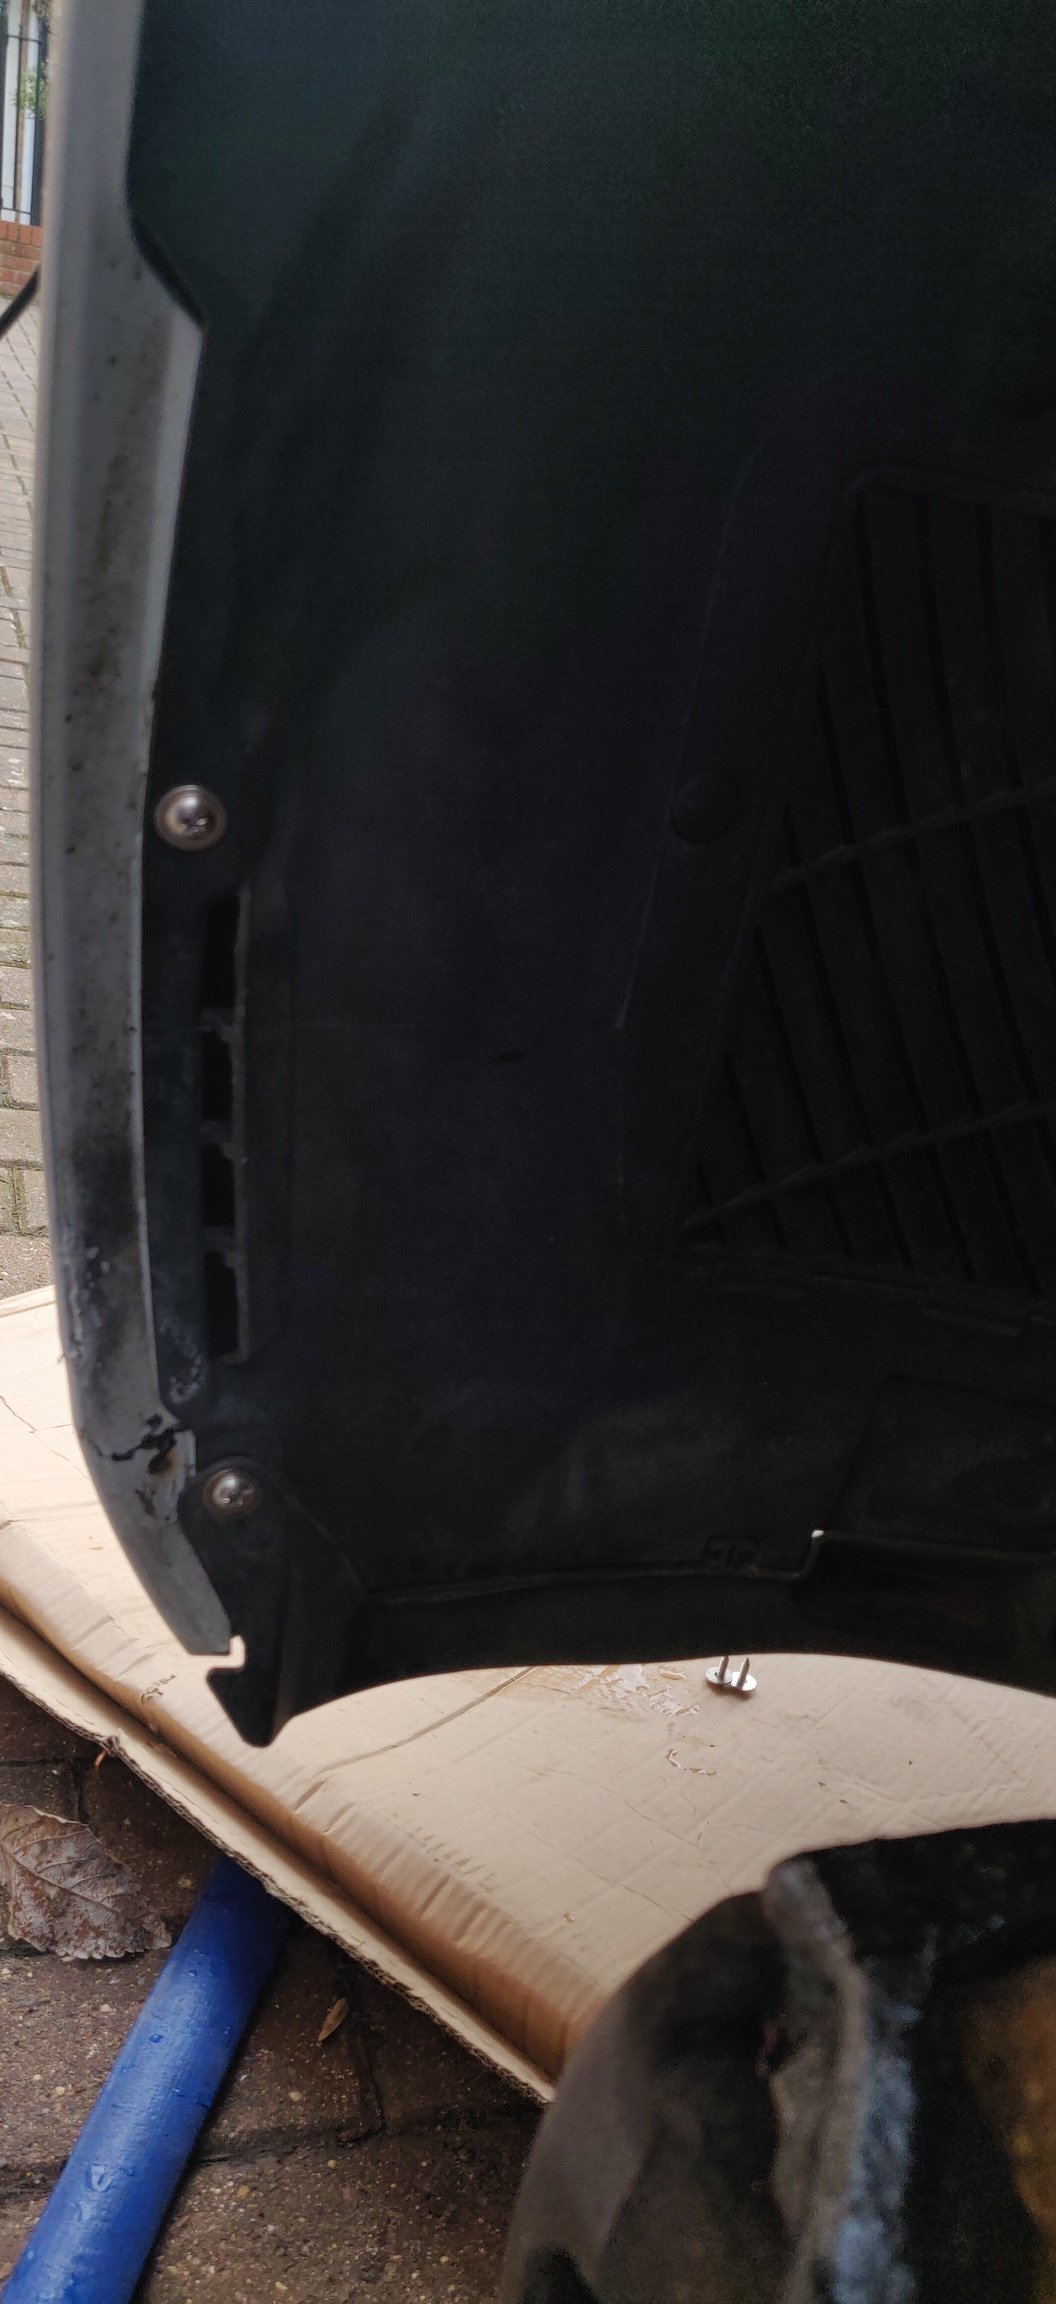
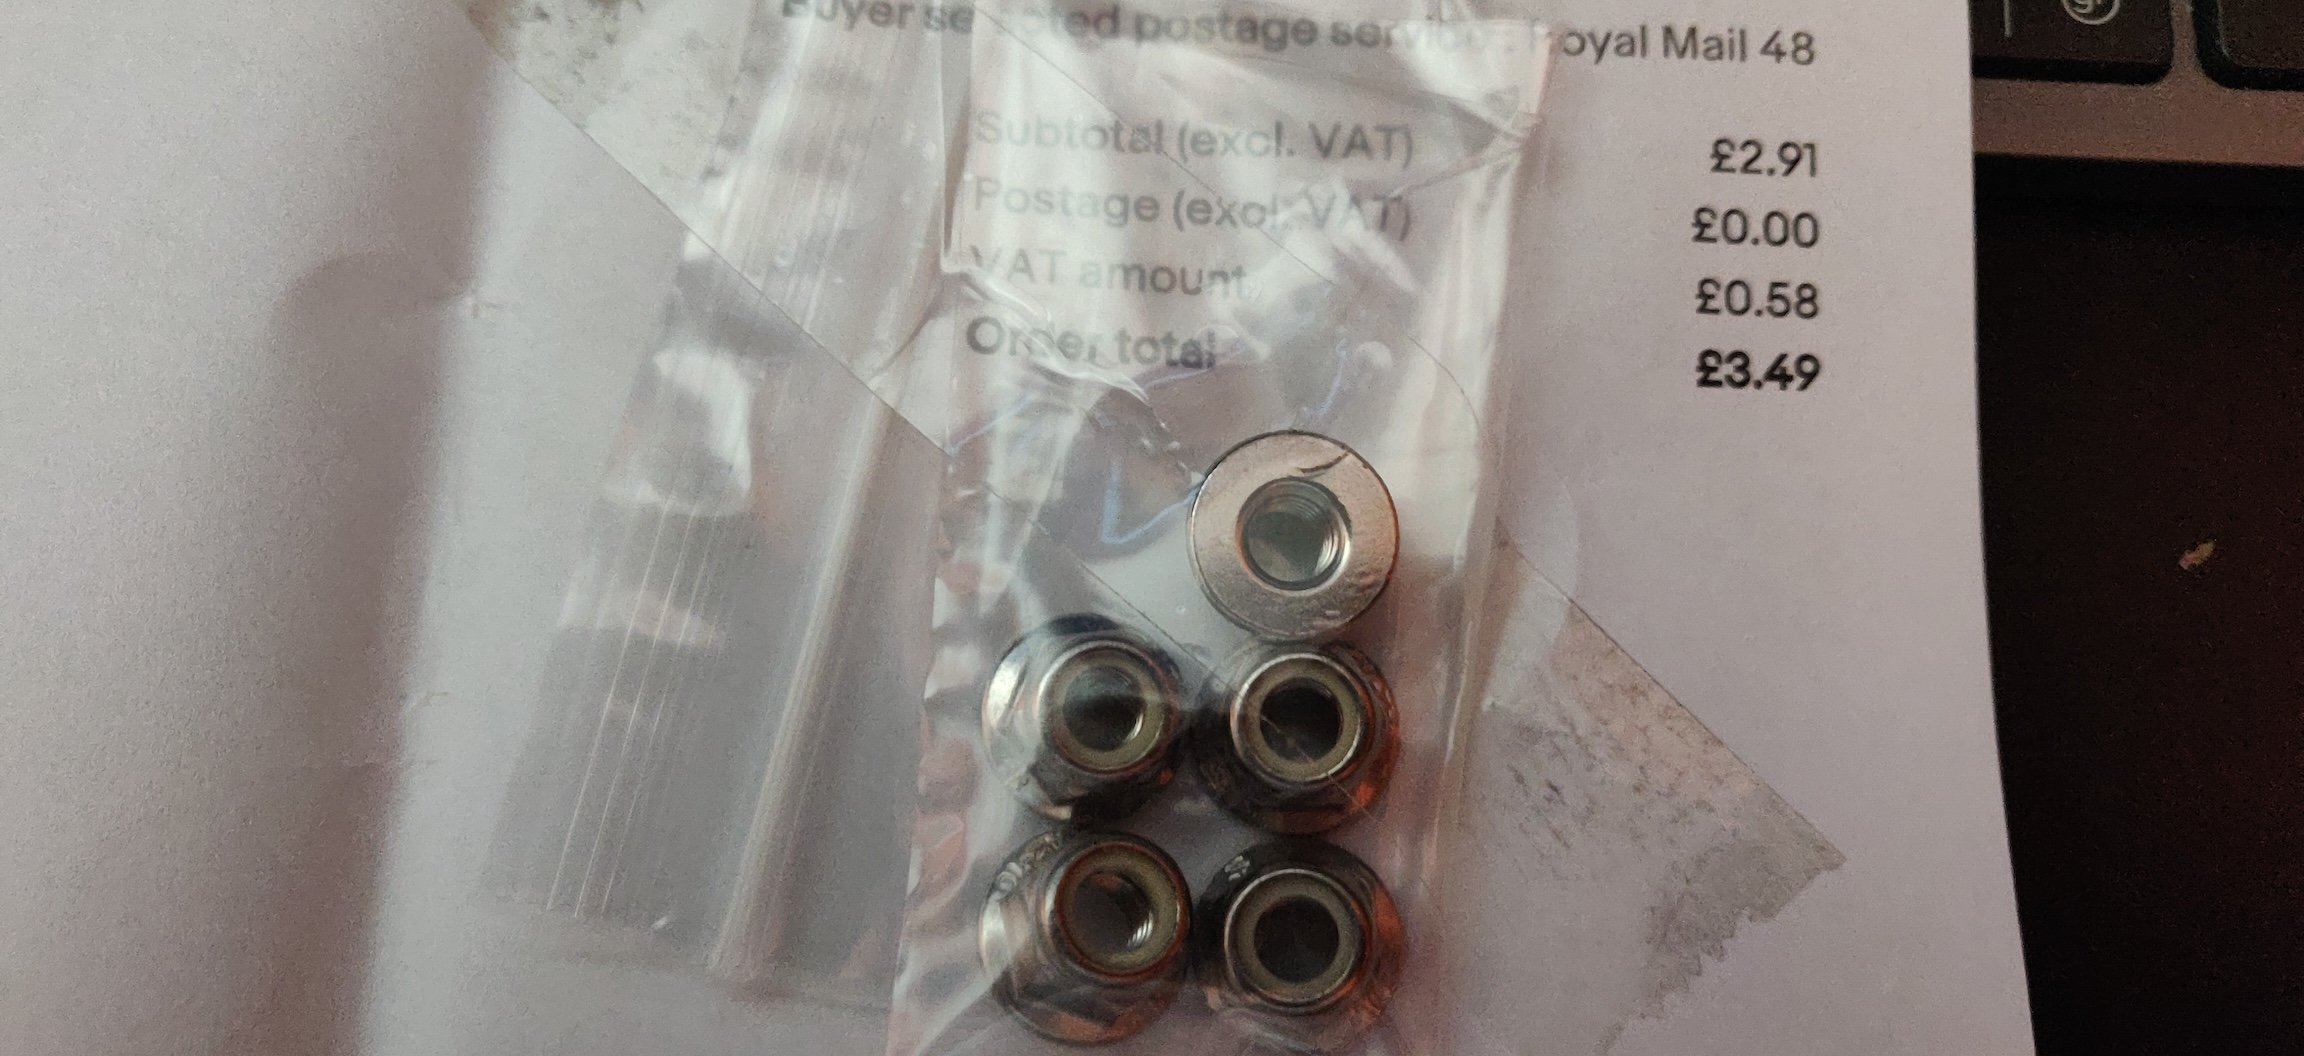
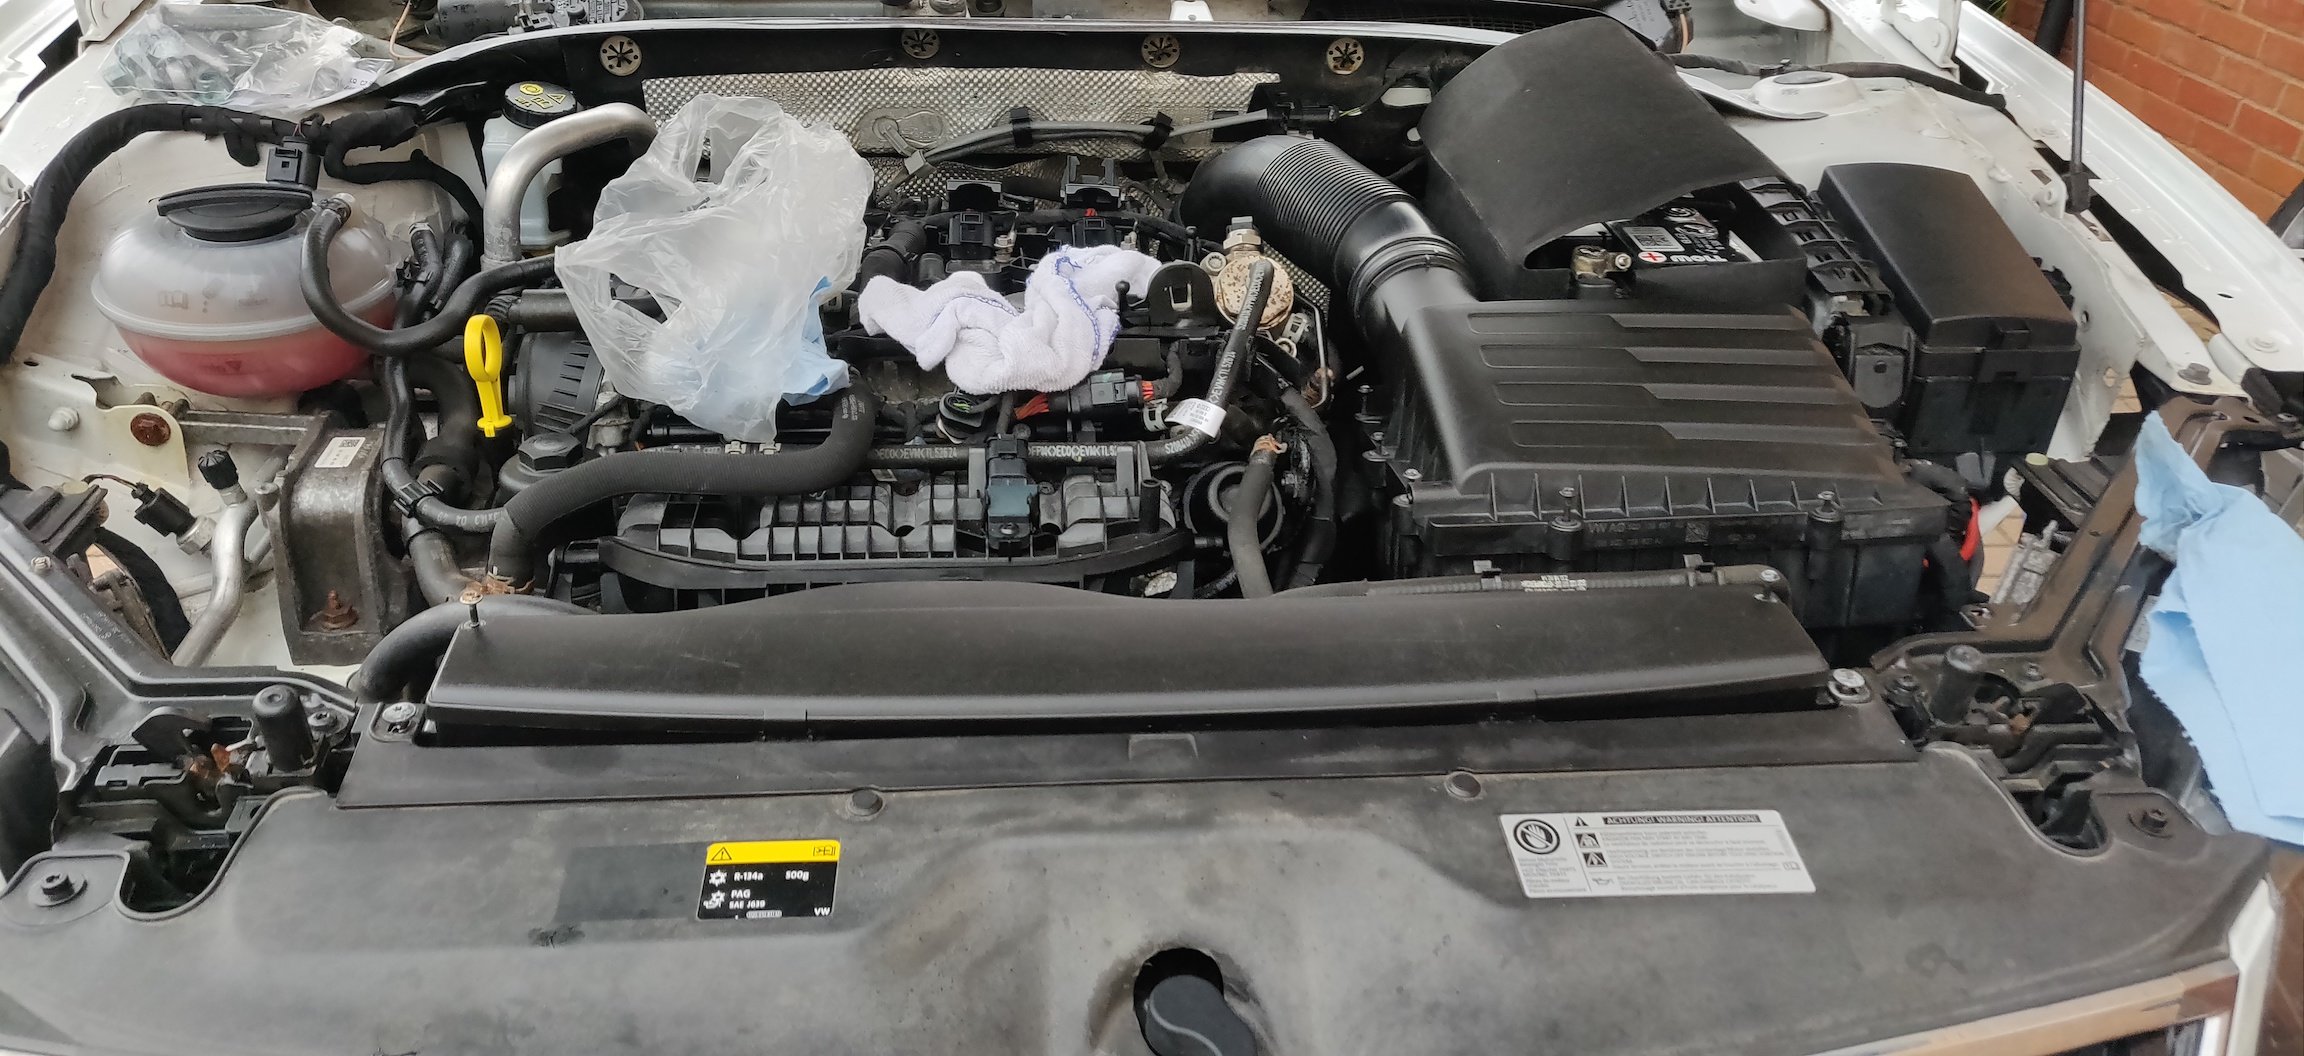
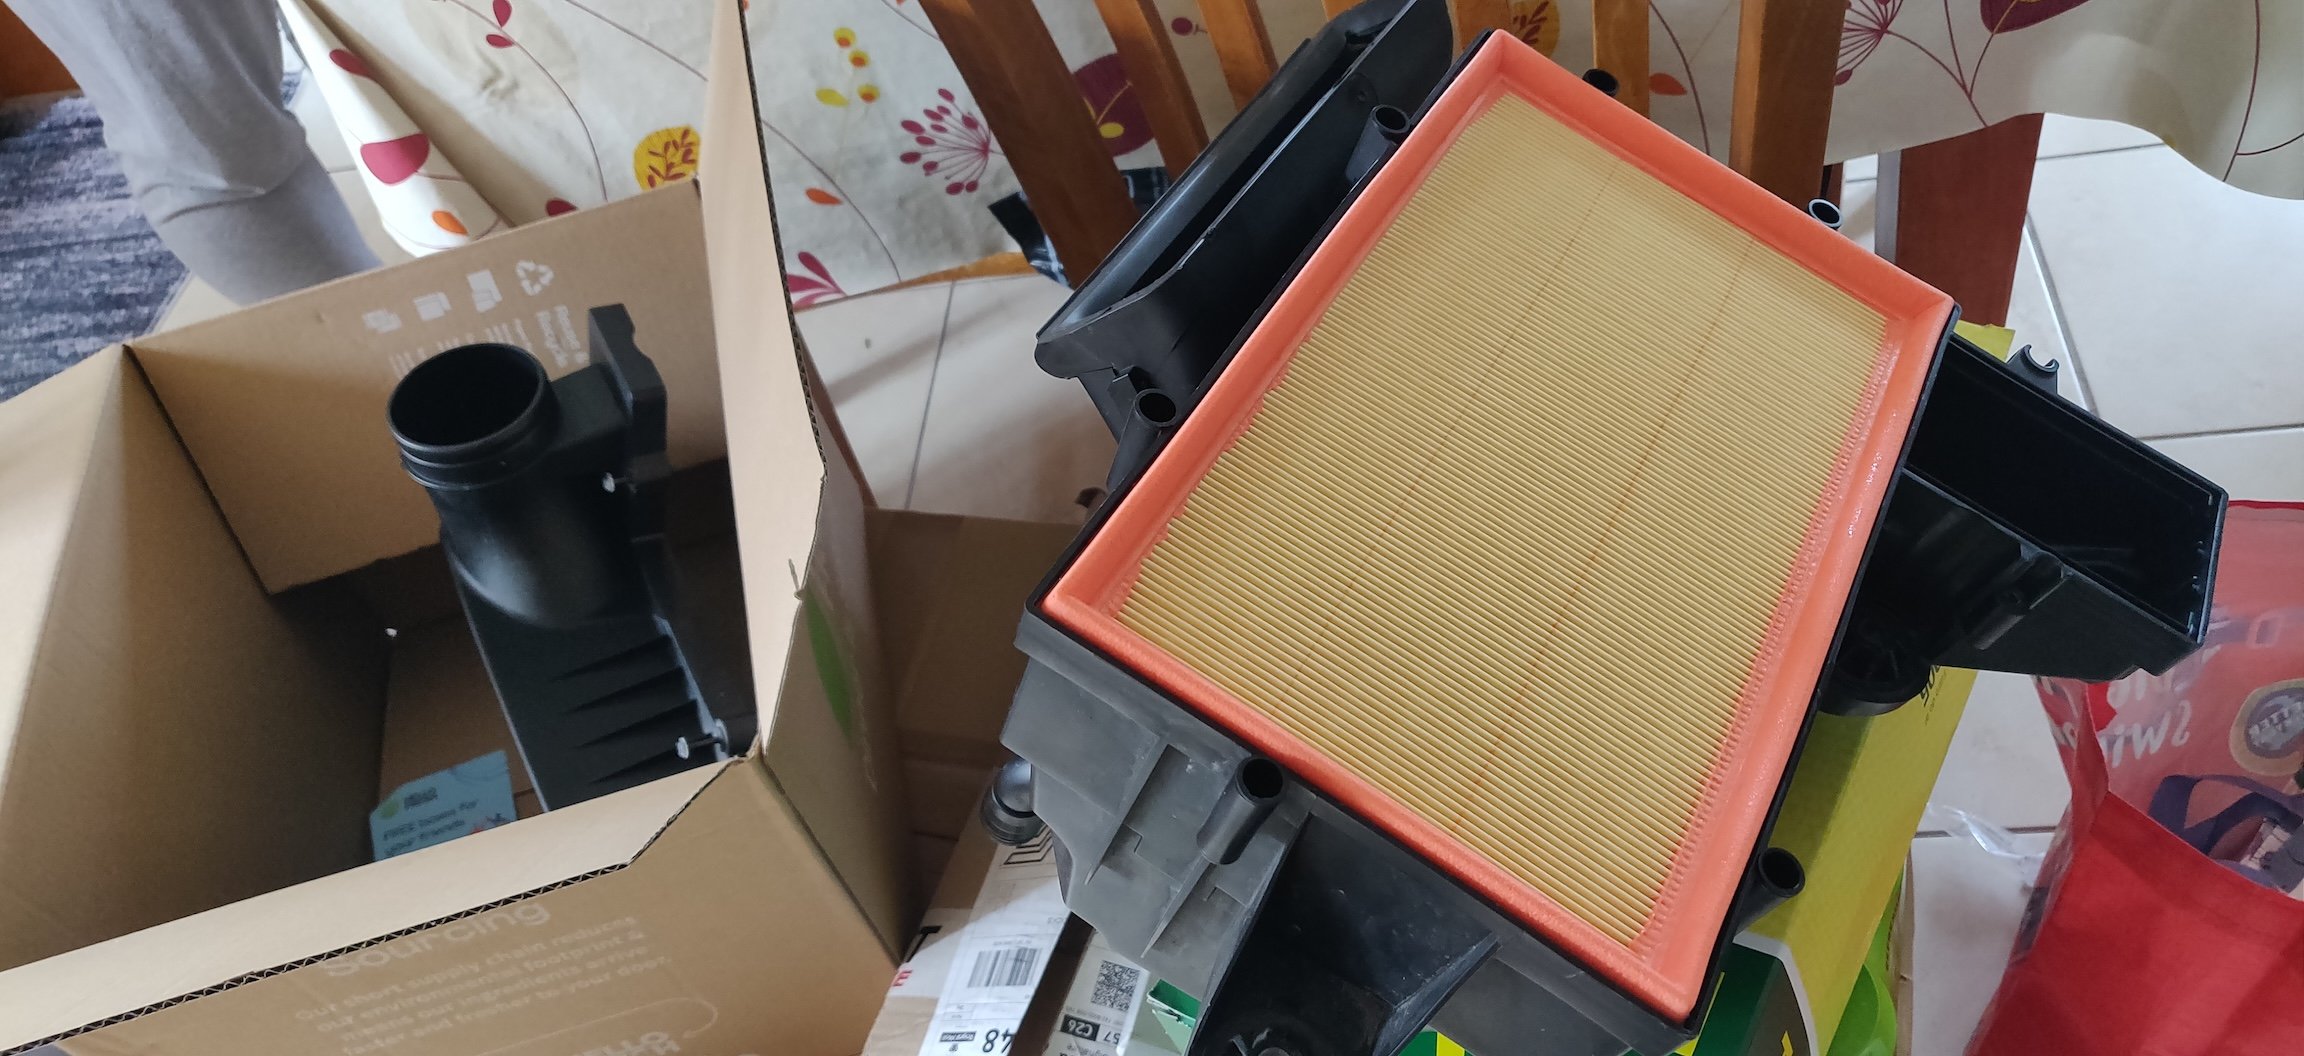
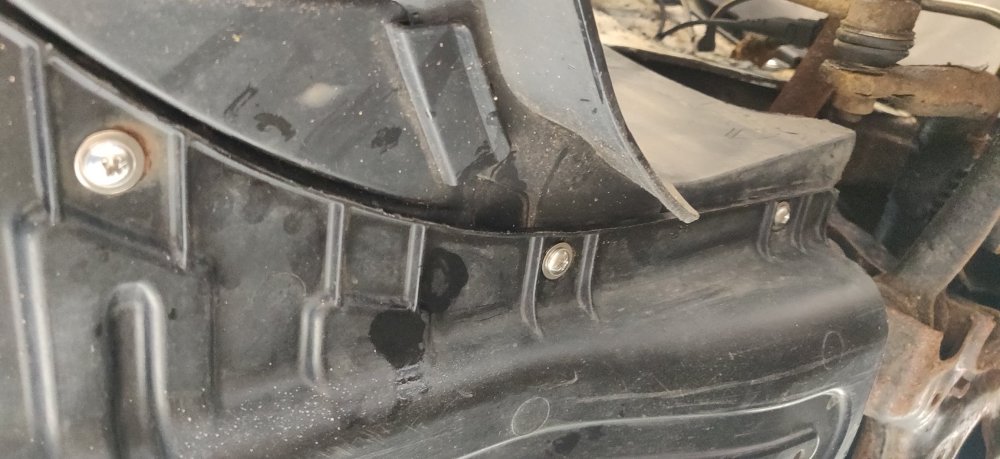
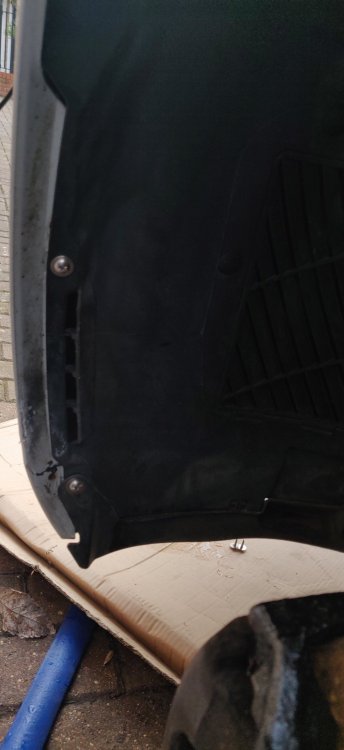
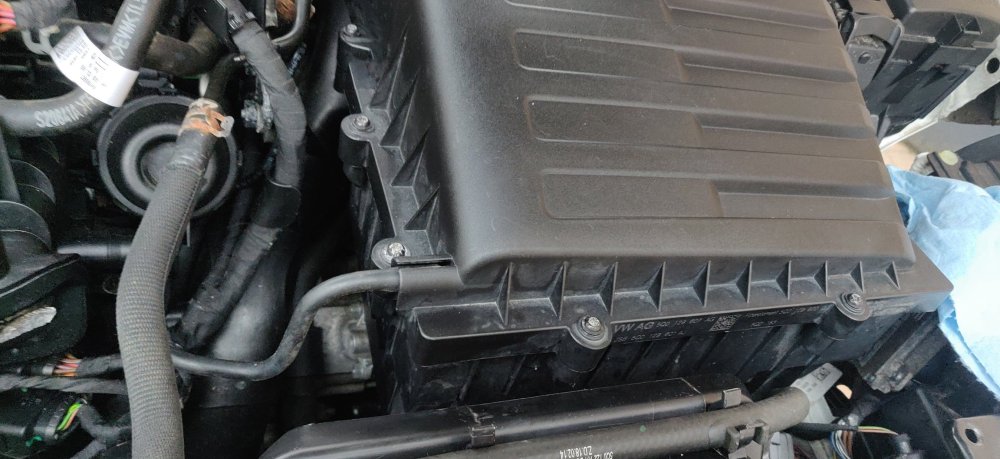
Other side arrived today: So labelled that up and tucked it together with the right side sensor. £28.49 from eBay, so on the back burner. Decided to get these ready: Got these again from eBay for £3.49 a while ago, ready to replace the ones that were mangled. Just a case of pushing them in really: So it was two on the right side: Then one on the left. Assuming I reach the point where the underside of this is genuinely sorted out, I'll probably end up replacing all the clips as a matter of course. The wheel arch lip though... So try and keep some of that stuff out of sight: Dry fitted the wheel arch just mainly to check if it was ok to attach it: It sorta gets in the way of the suspension here, so I guess this should be tightened up appropriately before attaching the wheel arch. This should be ok, the rest along the bottom are the ones with the bushes. Then took the wheel arch, and took them into the house and gave them a hoover to grab up a bit more of the loose grass and crud as it was dry now. Then took the air filter and inserted it: Then dry fitted that to the engine bay: Will need to get the plastic front air intake bit in alongside the filter housing as I'm sure there's a specific order for it all. That's probably it until the weekend for now unless there's some other small easy wins I can do in the meantime. Maintenance: £2096.62 (+£31.98) Upgrades: £1283.43 Miscellaneous: £665.56