commievid
Members
-
Joined
-
Last visited
Everything posted by commievid
-
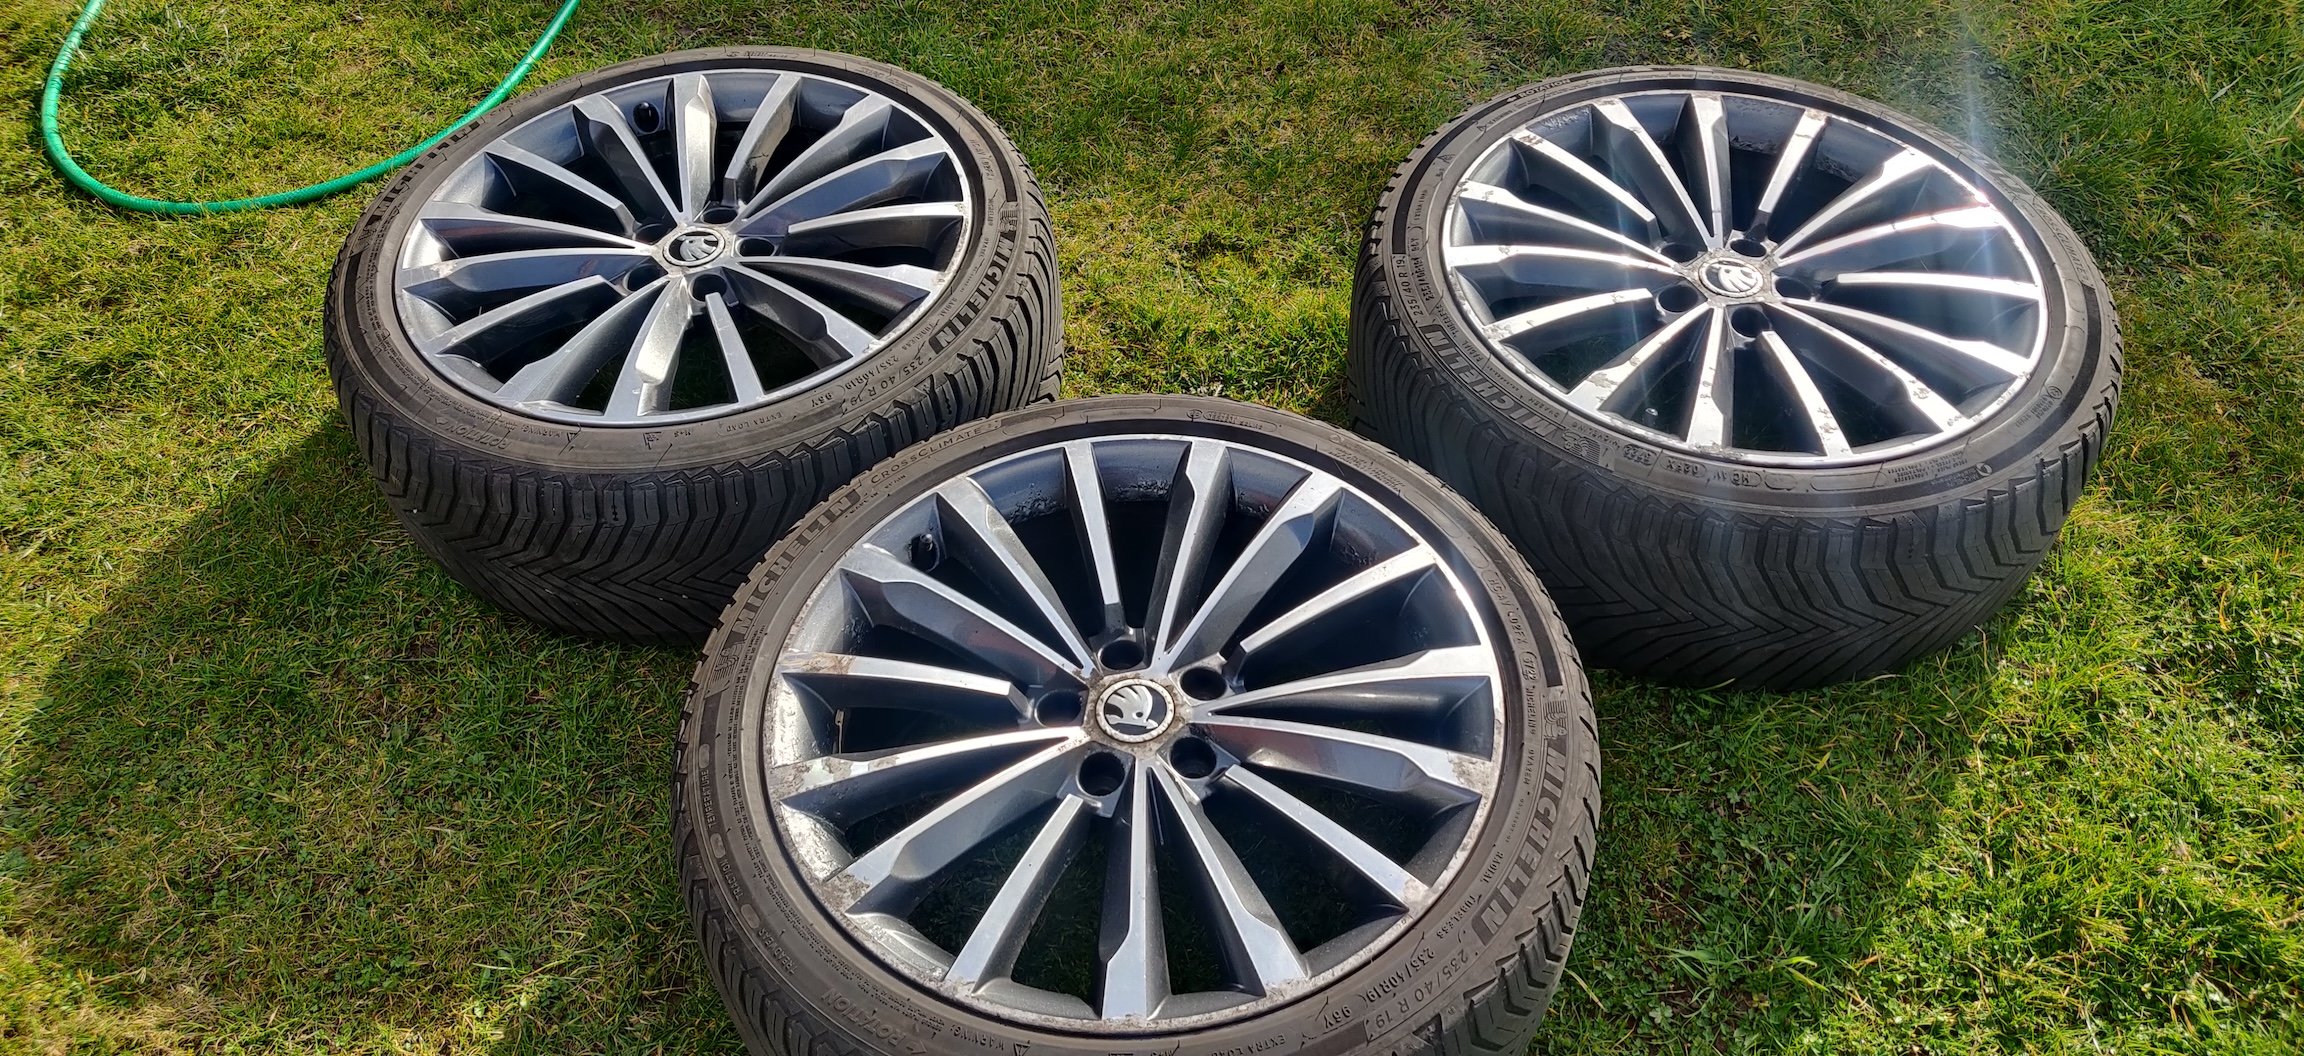
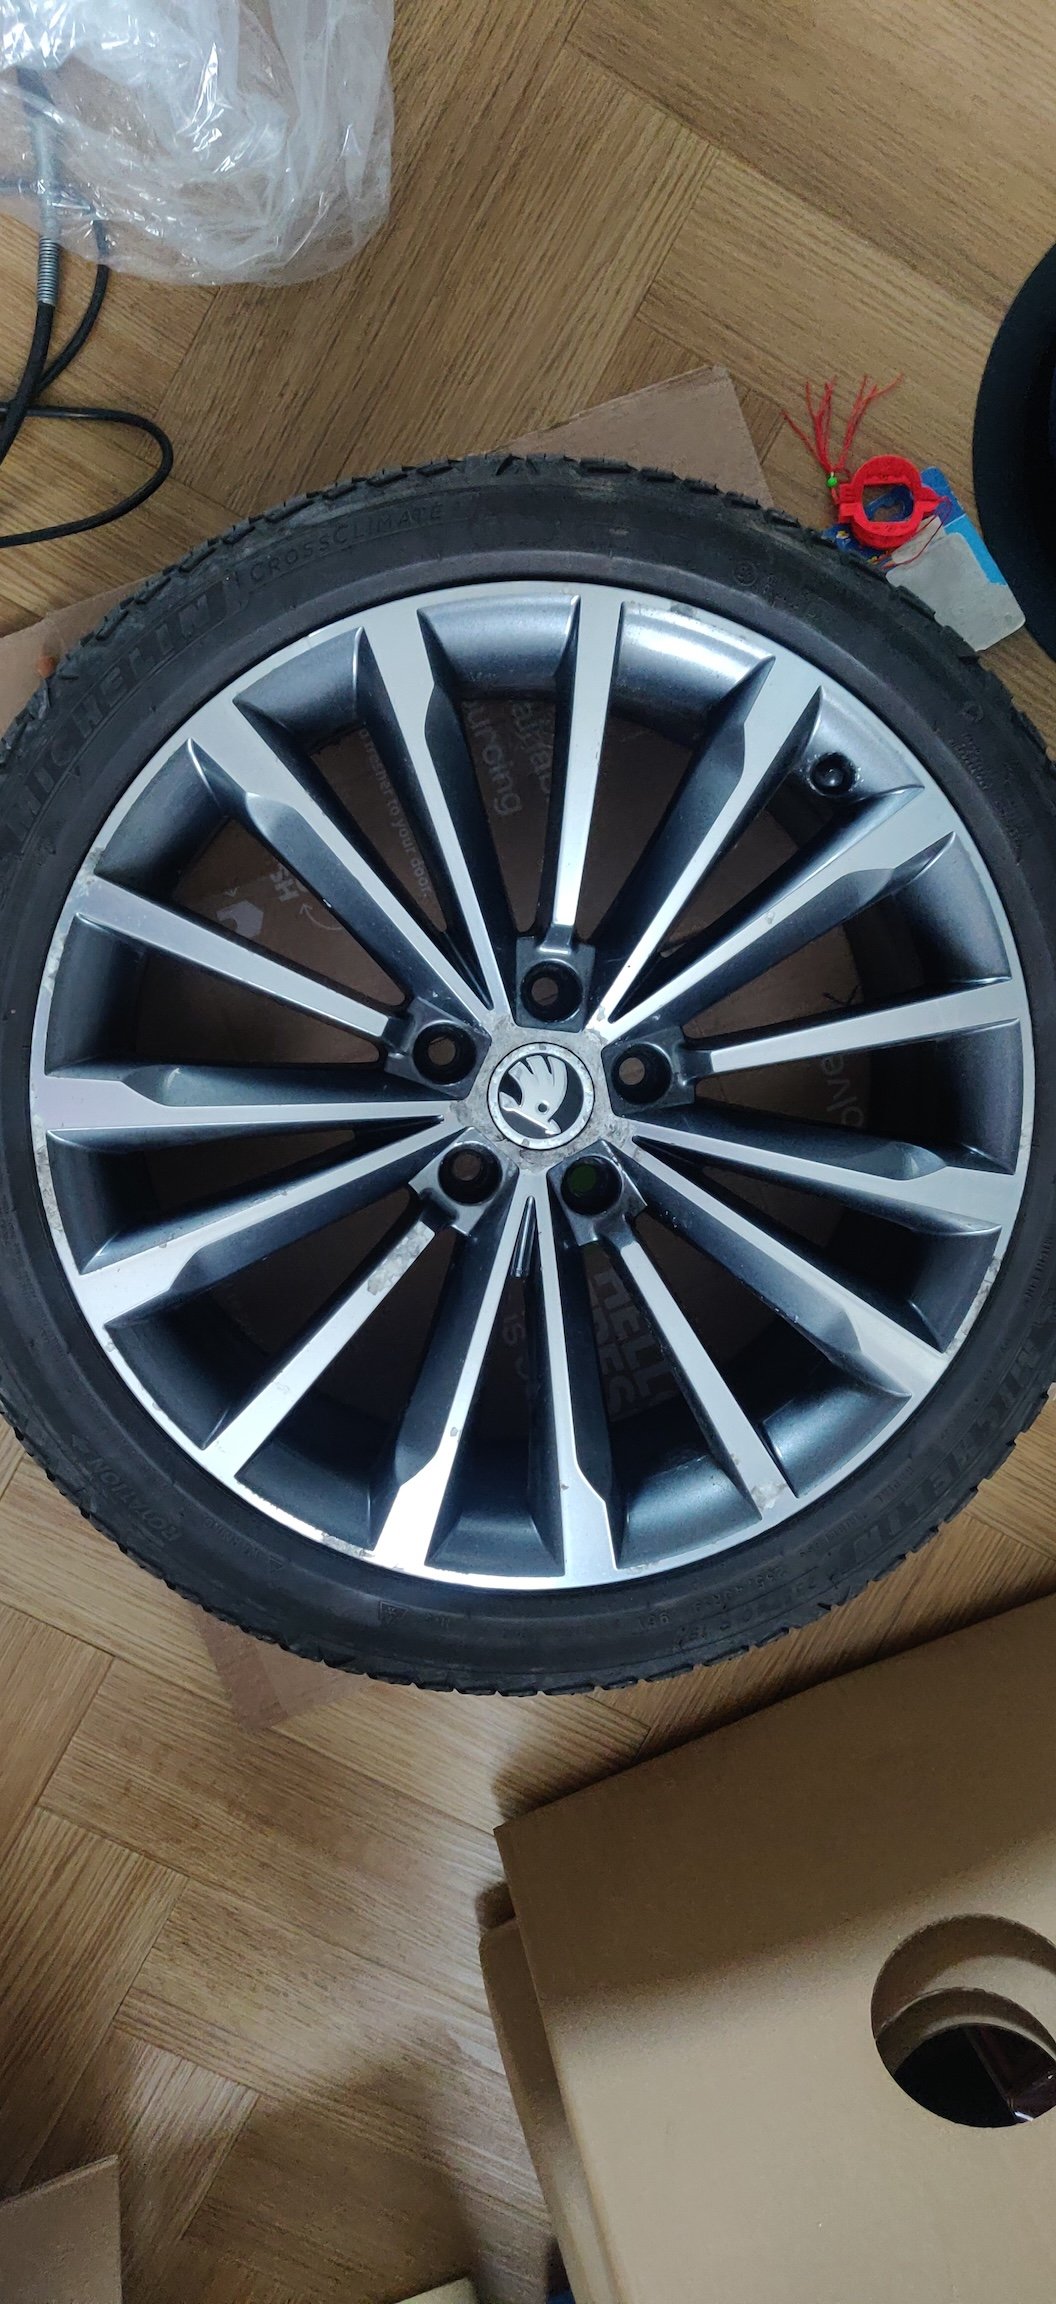
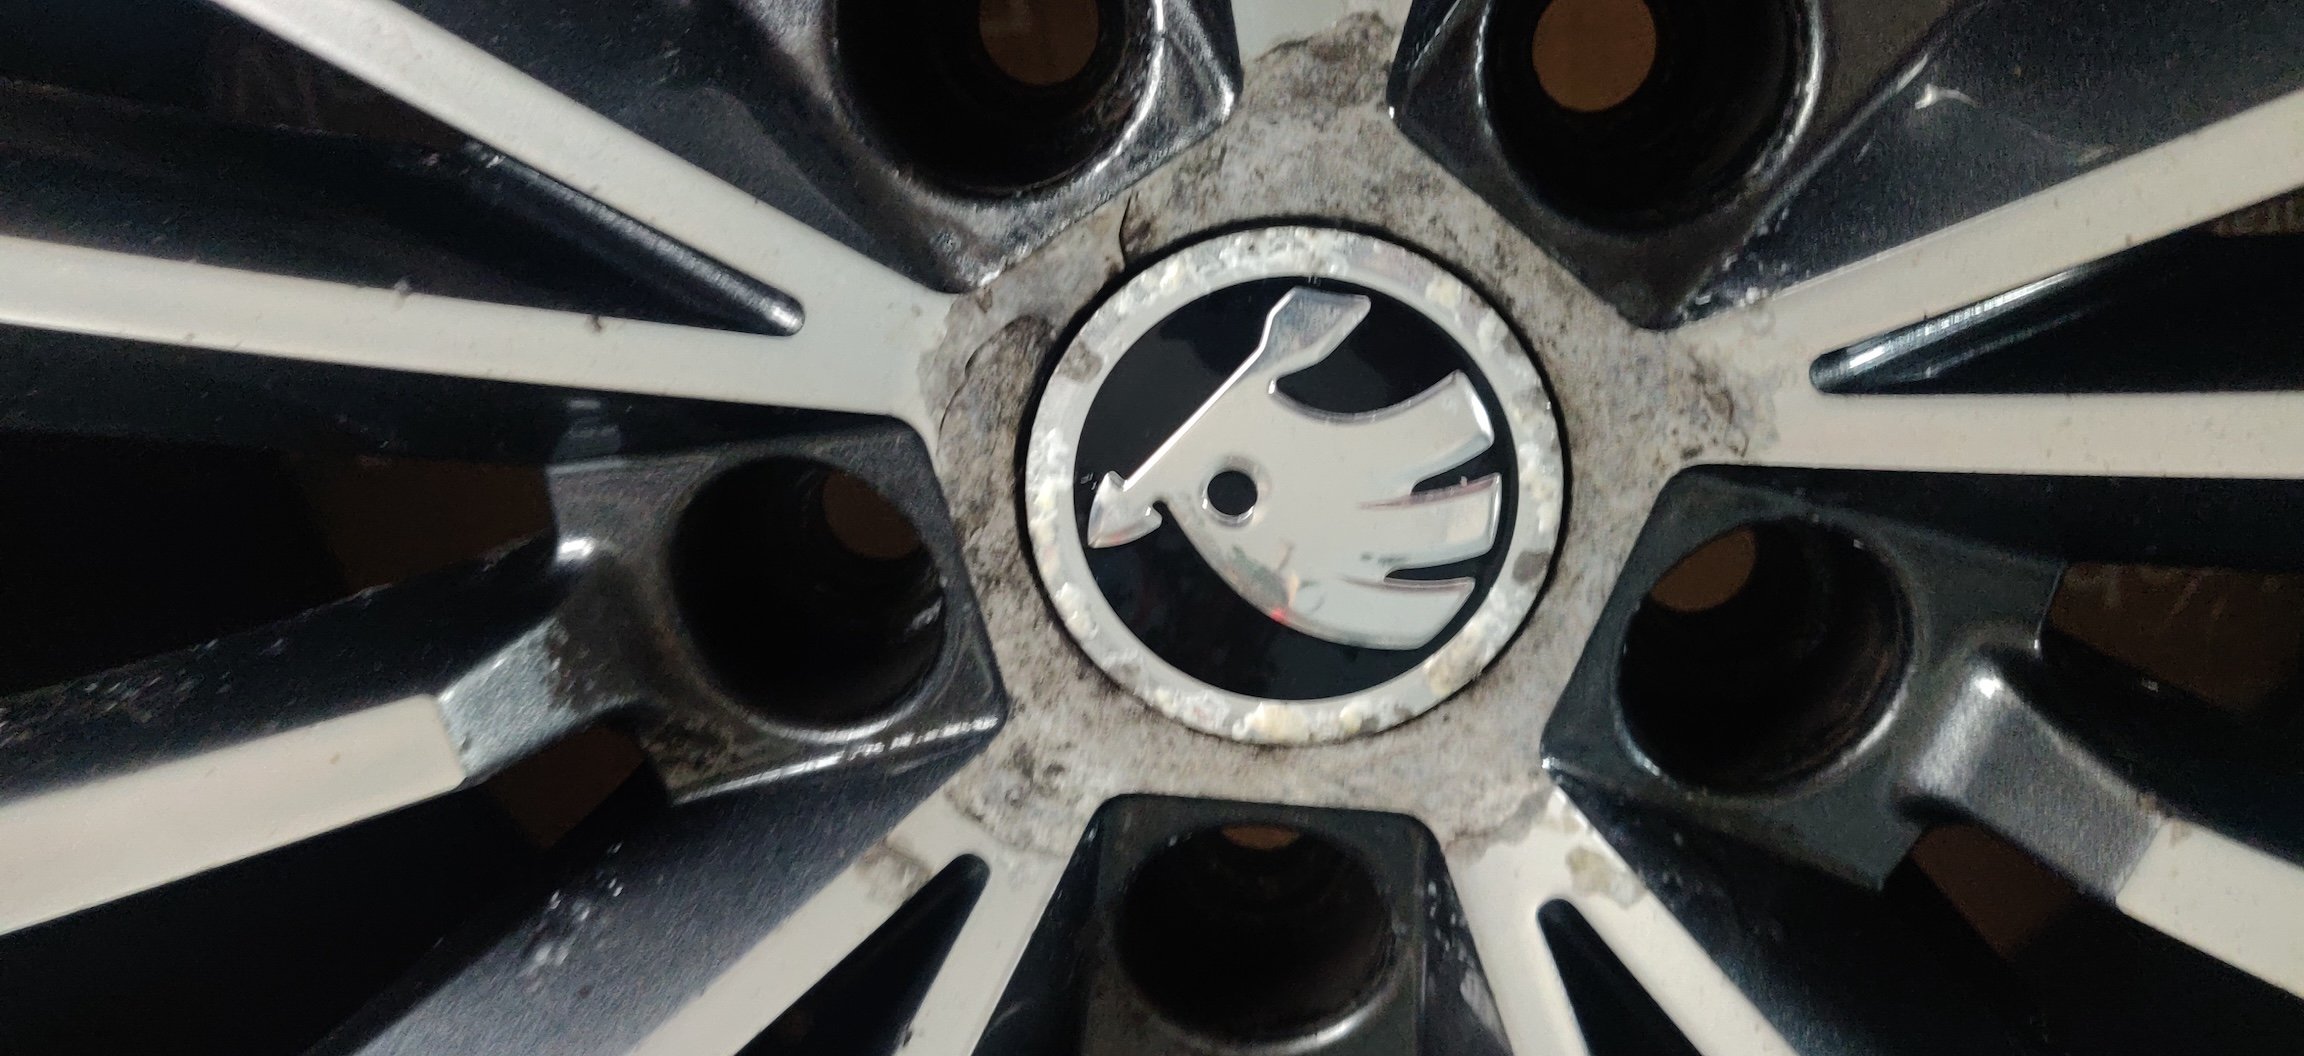
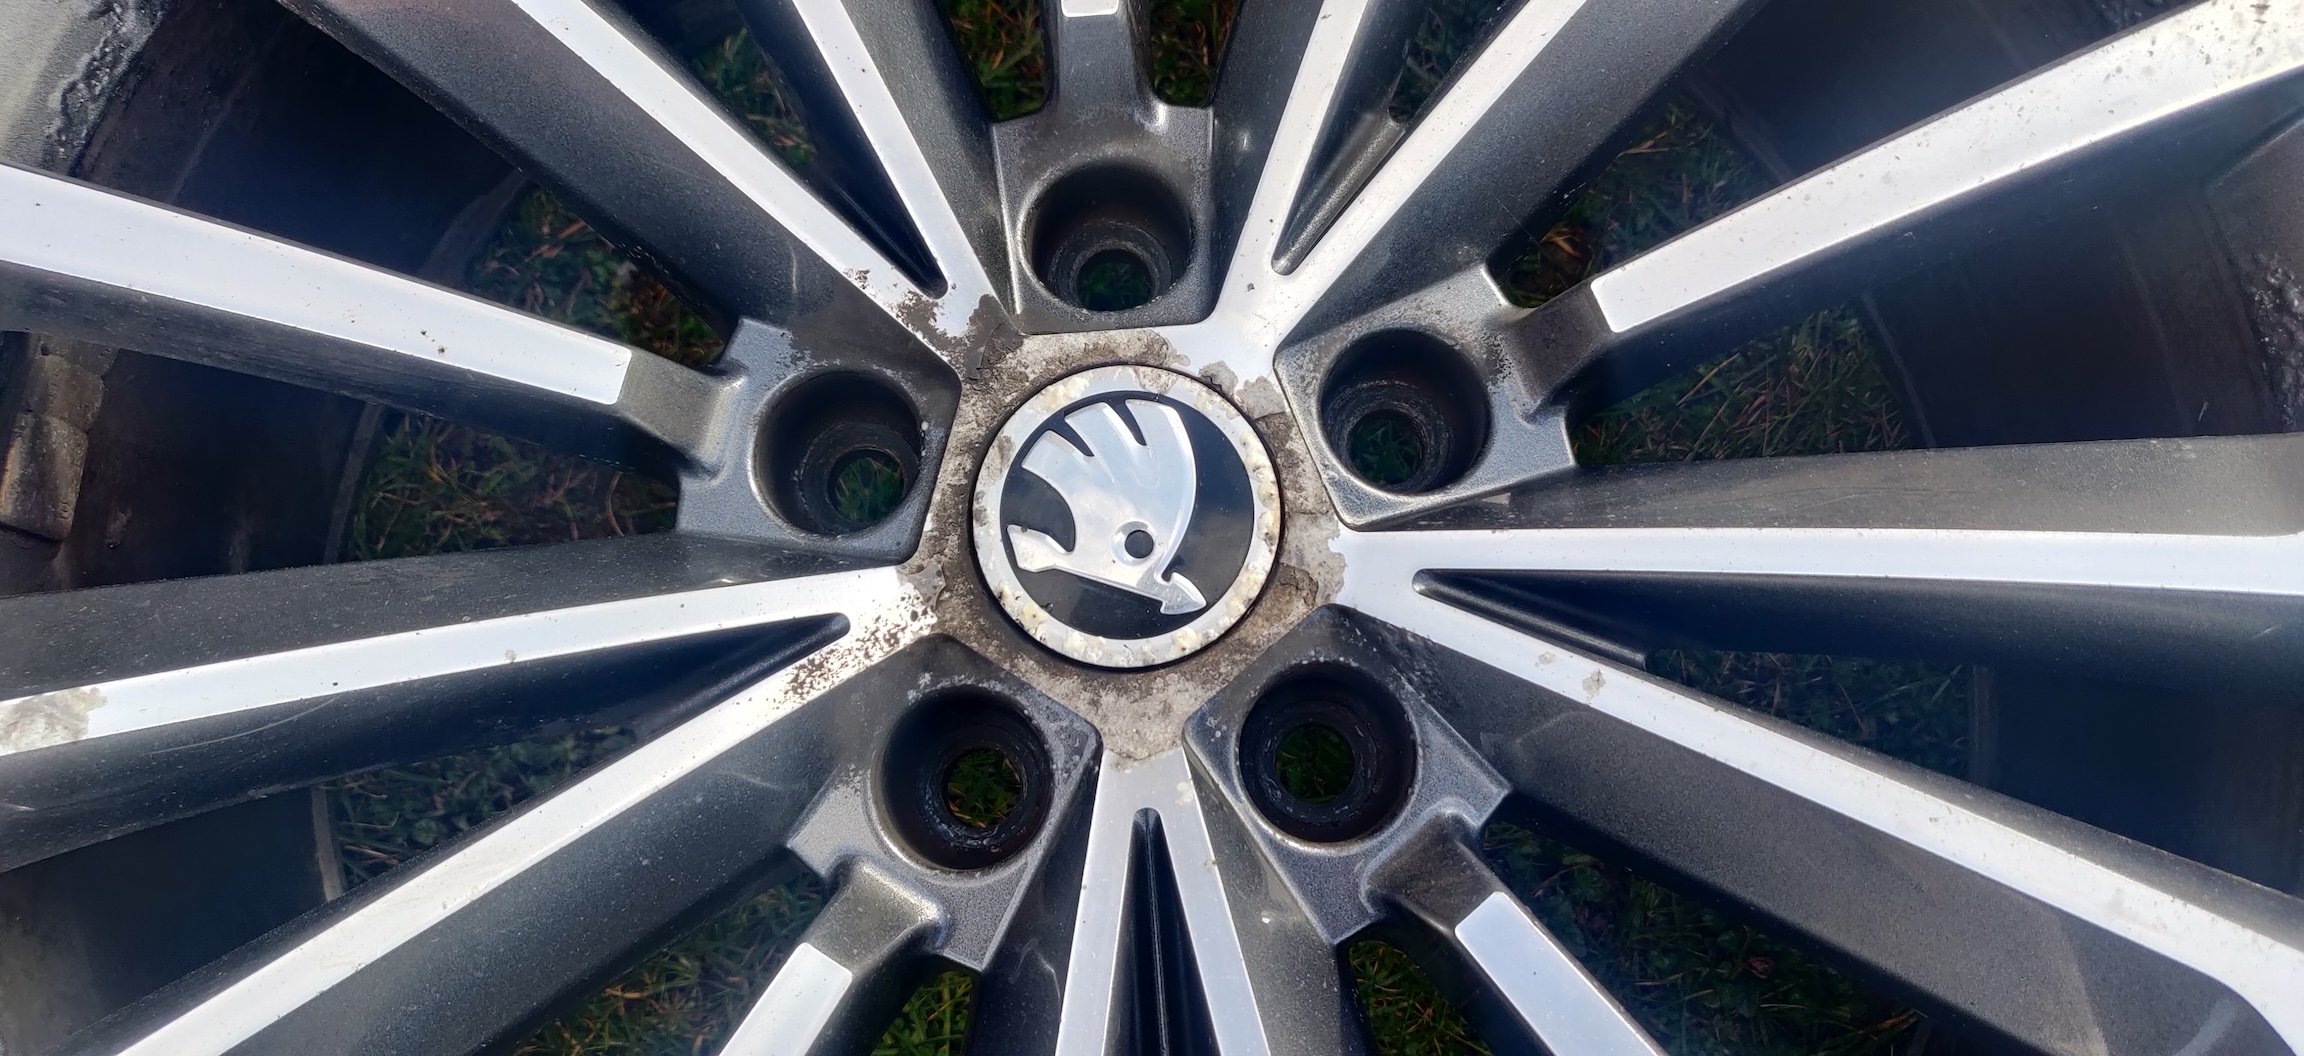
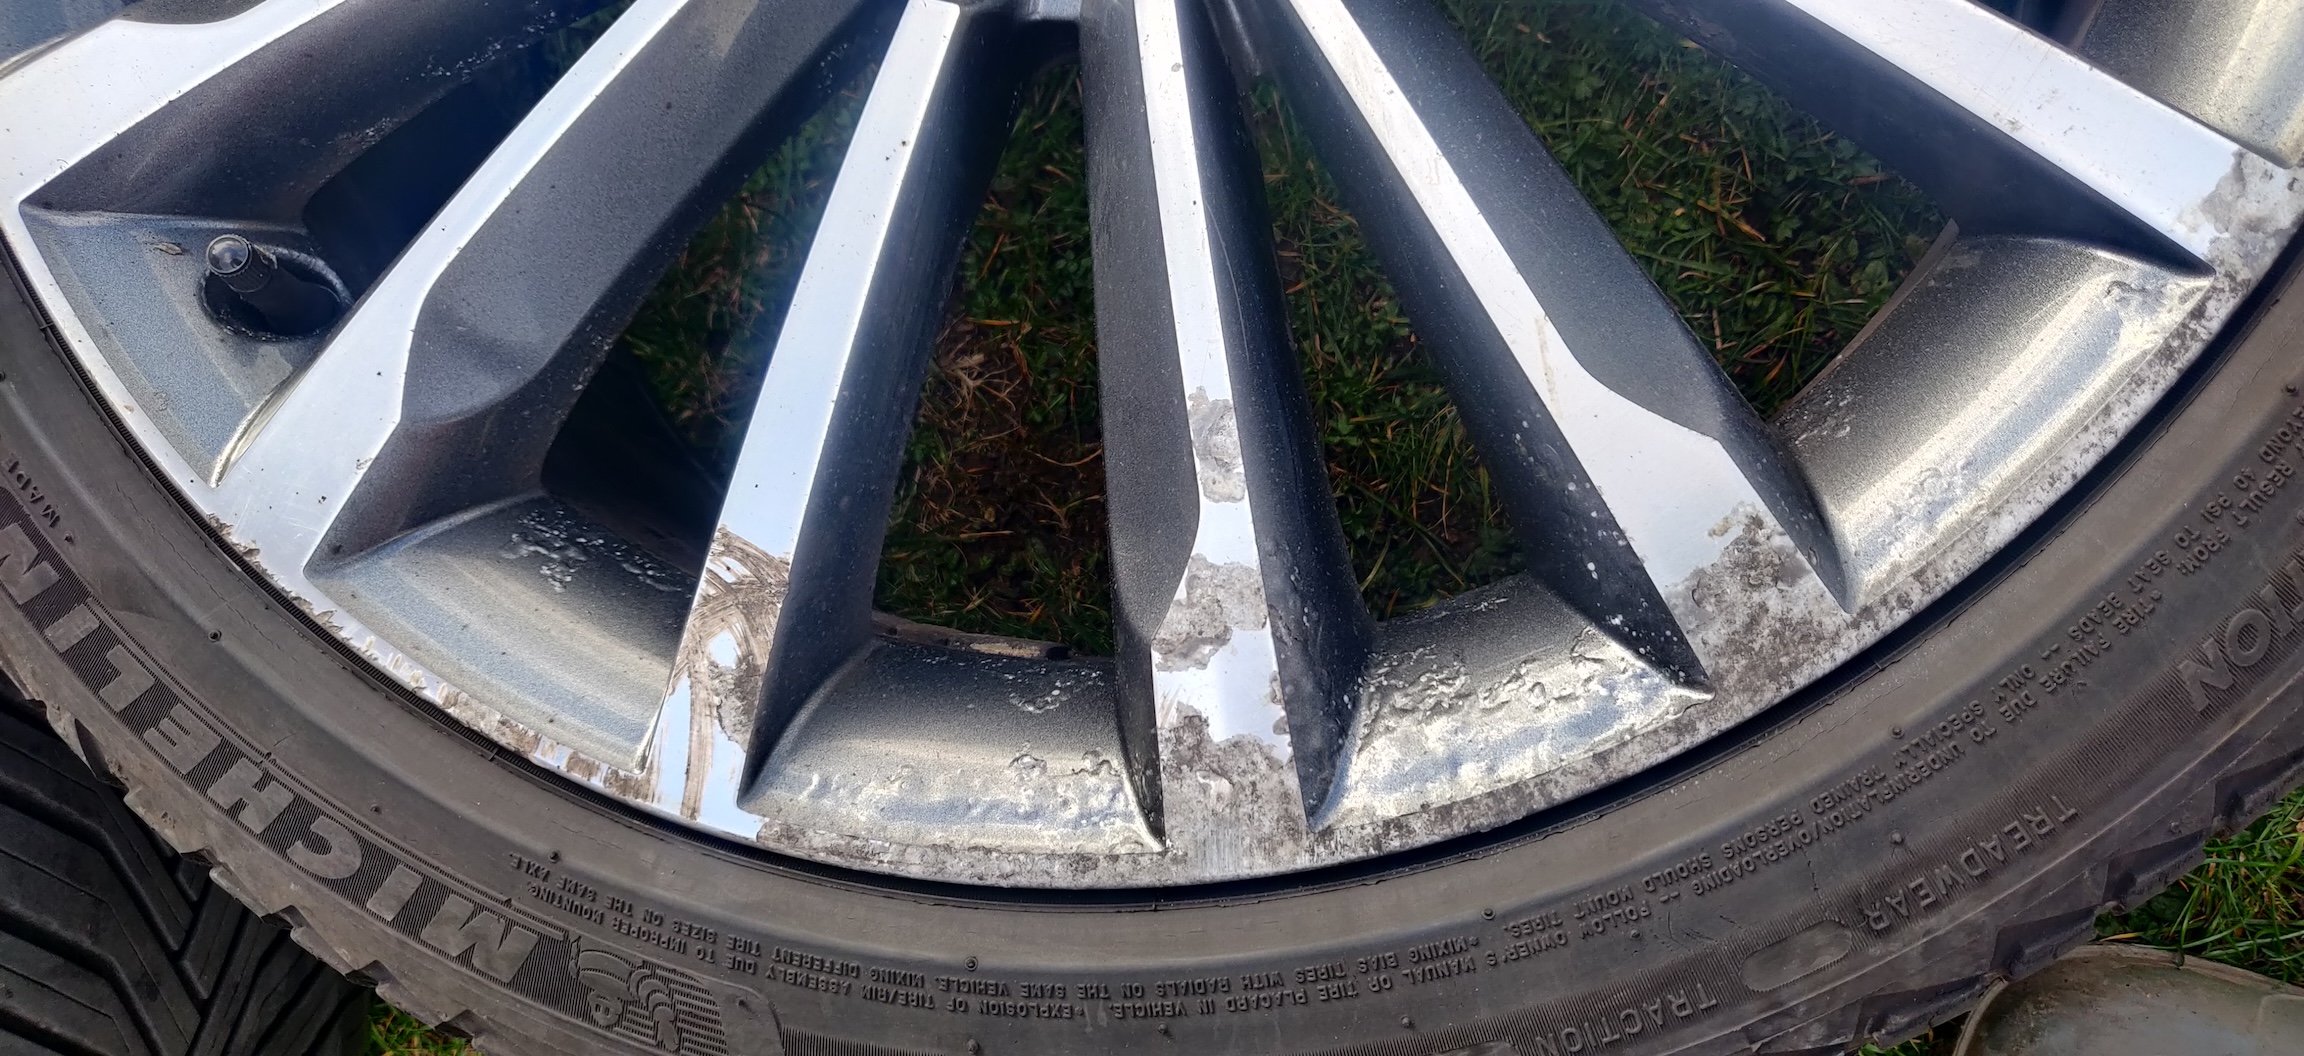
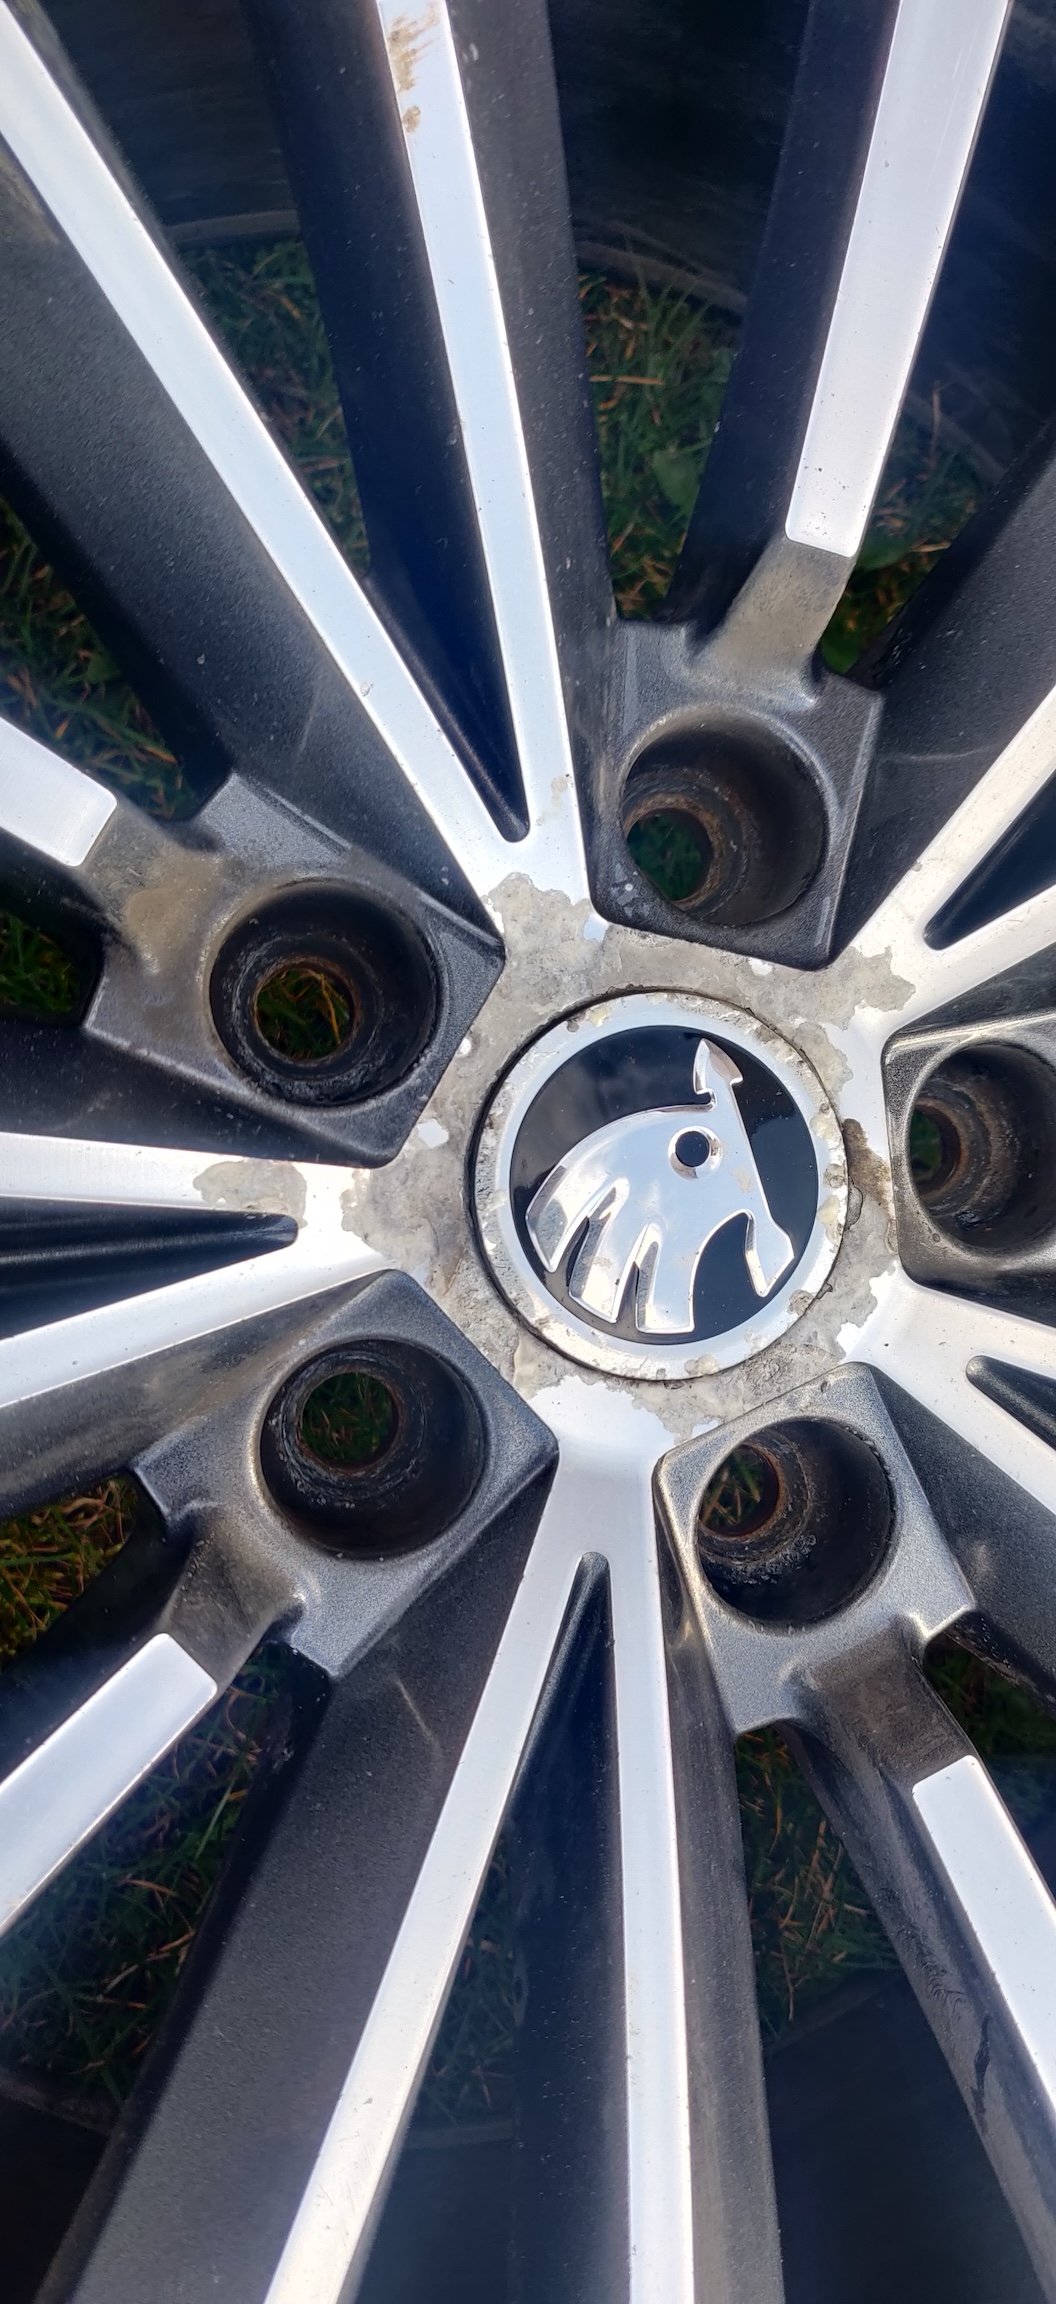
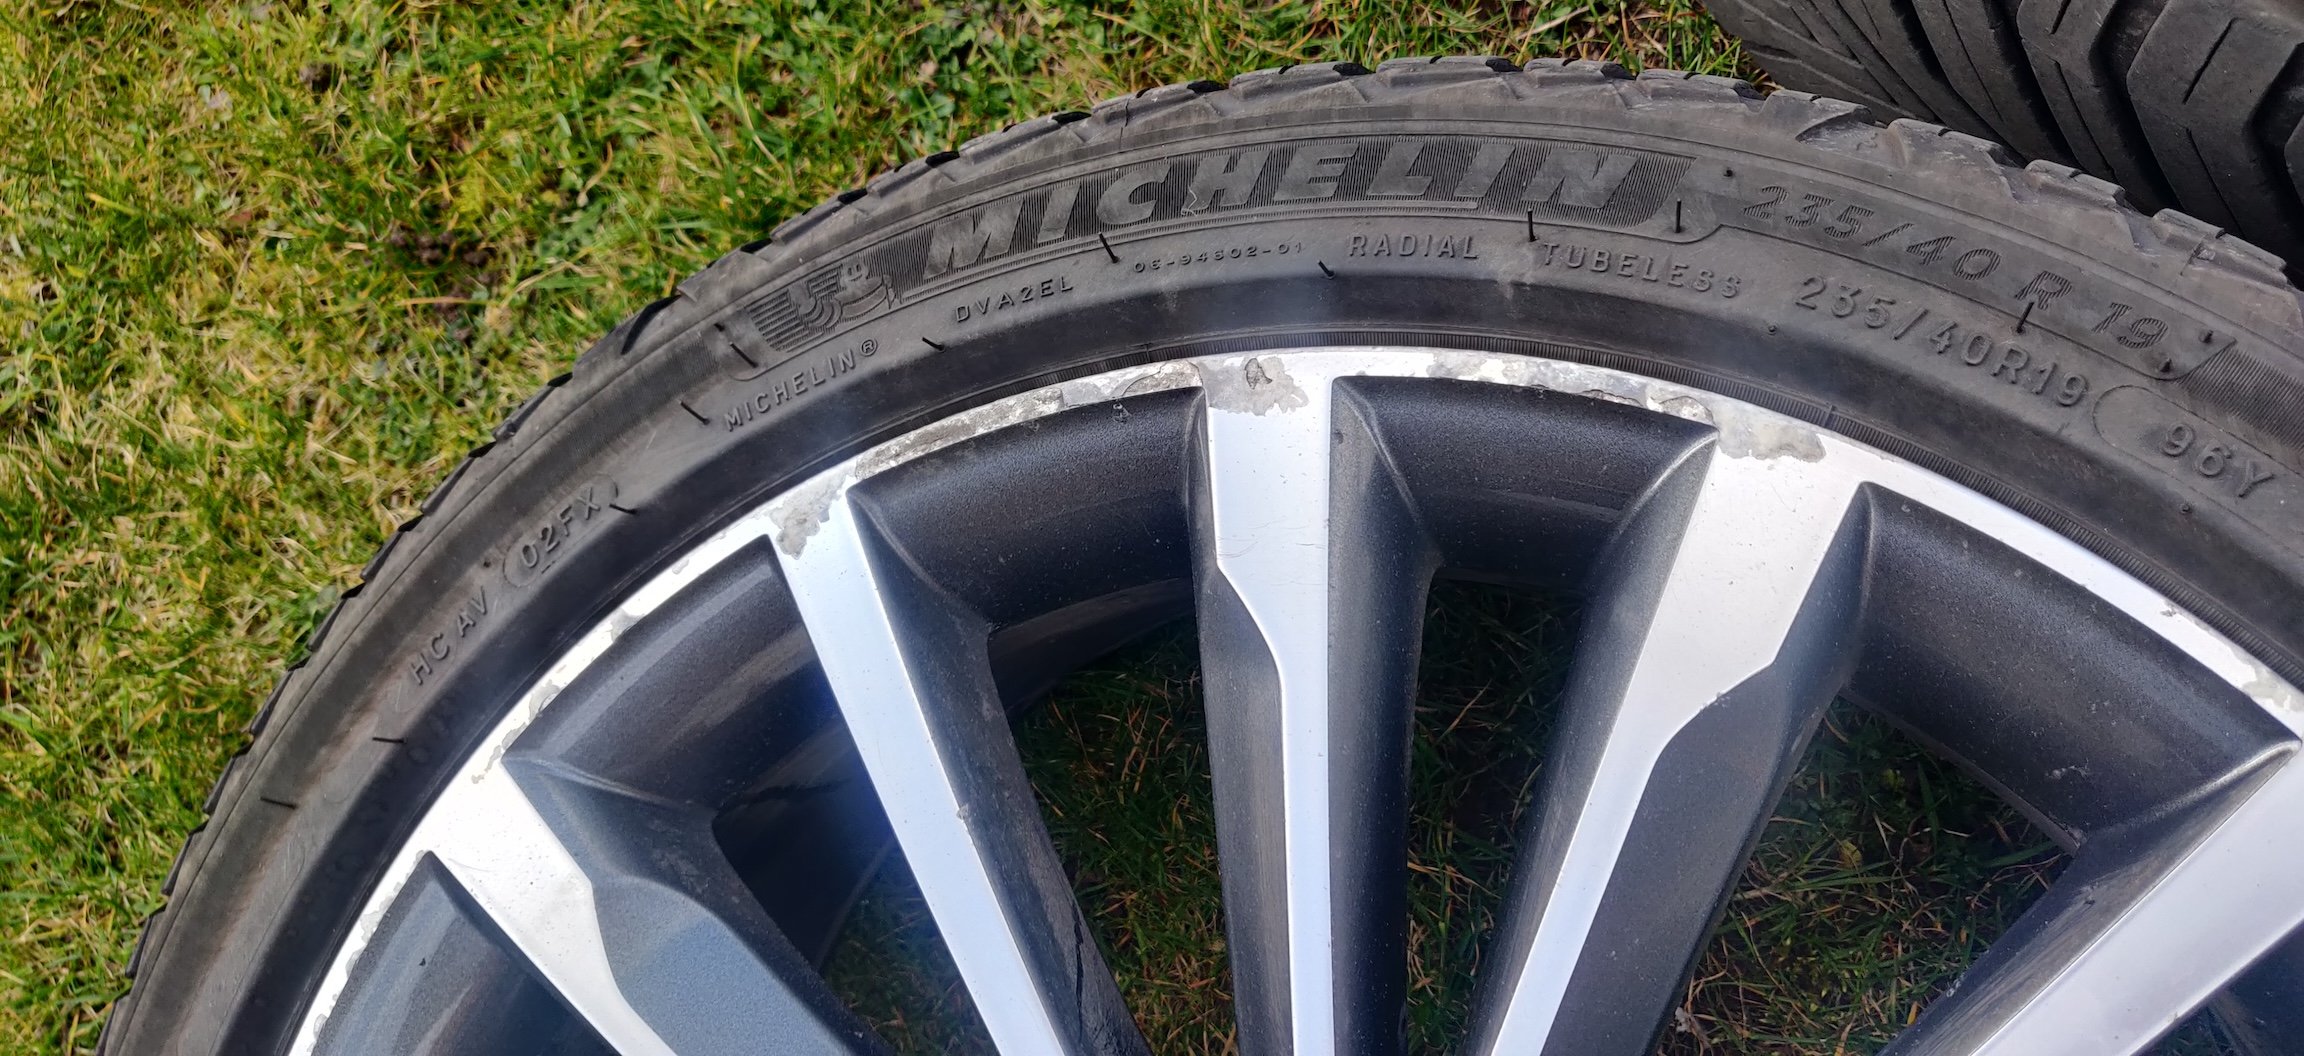
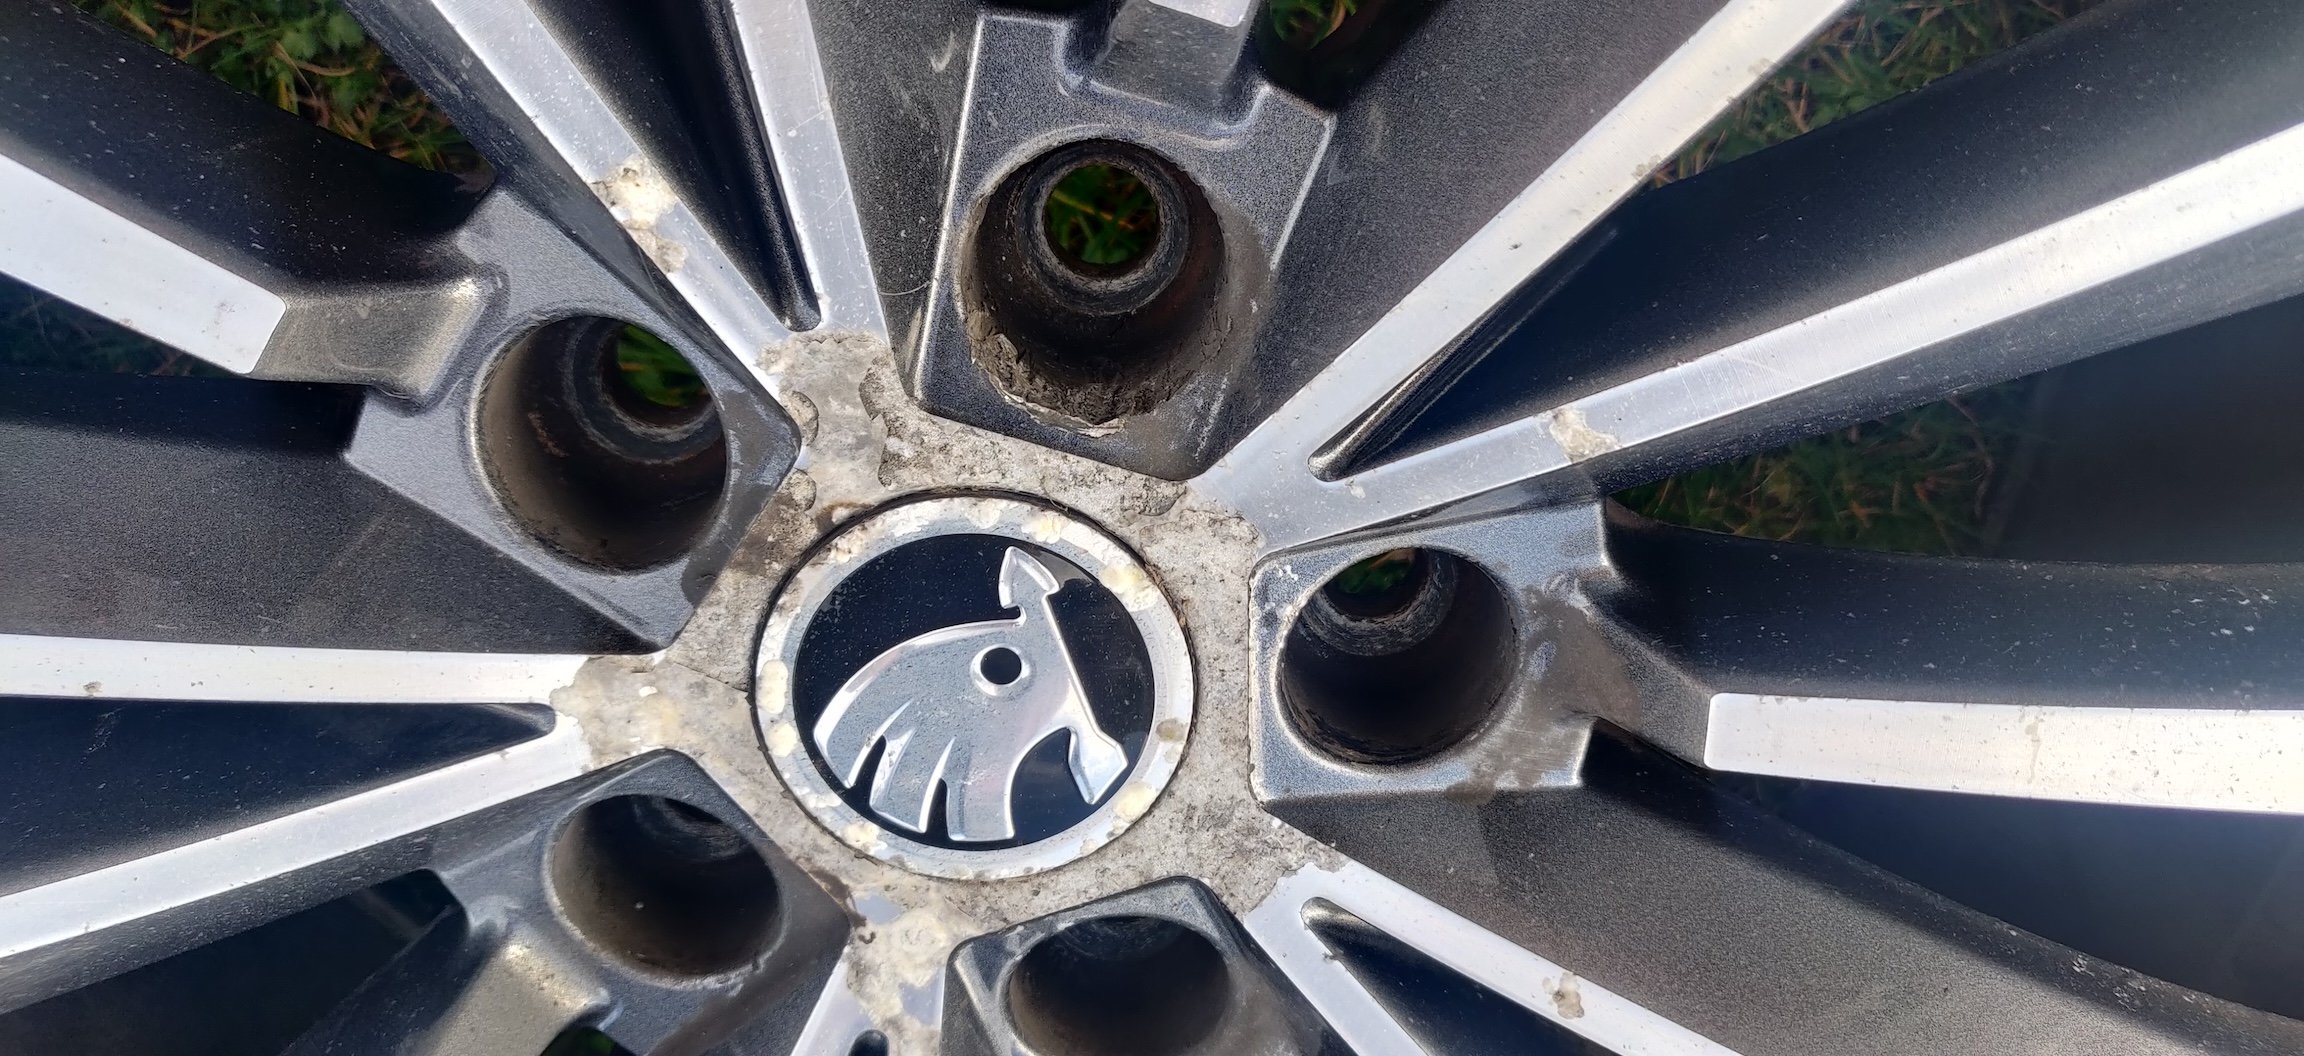
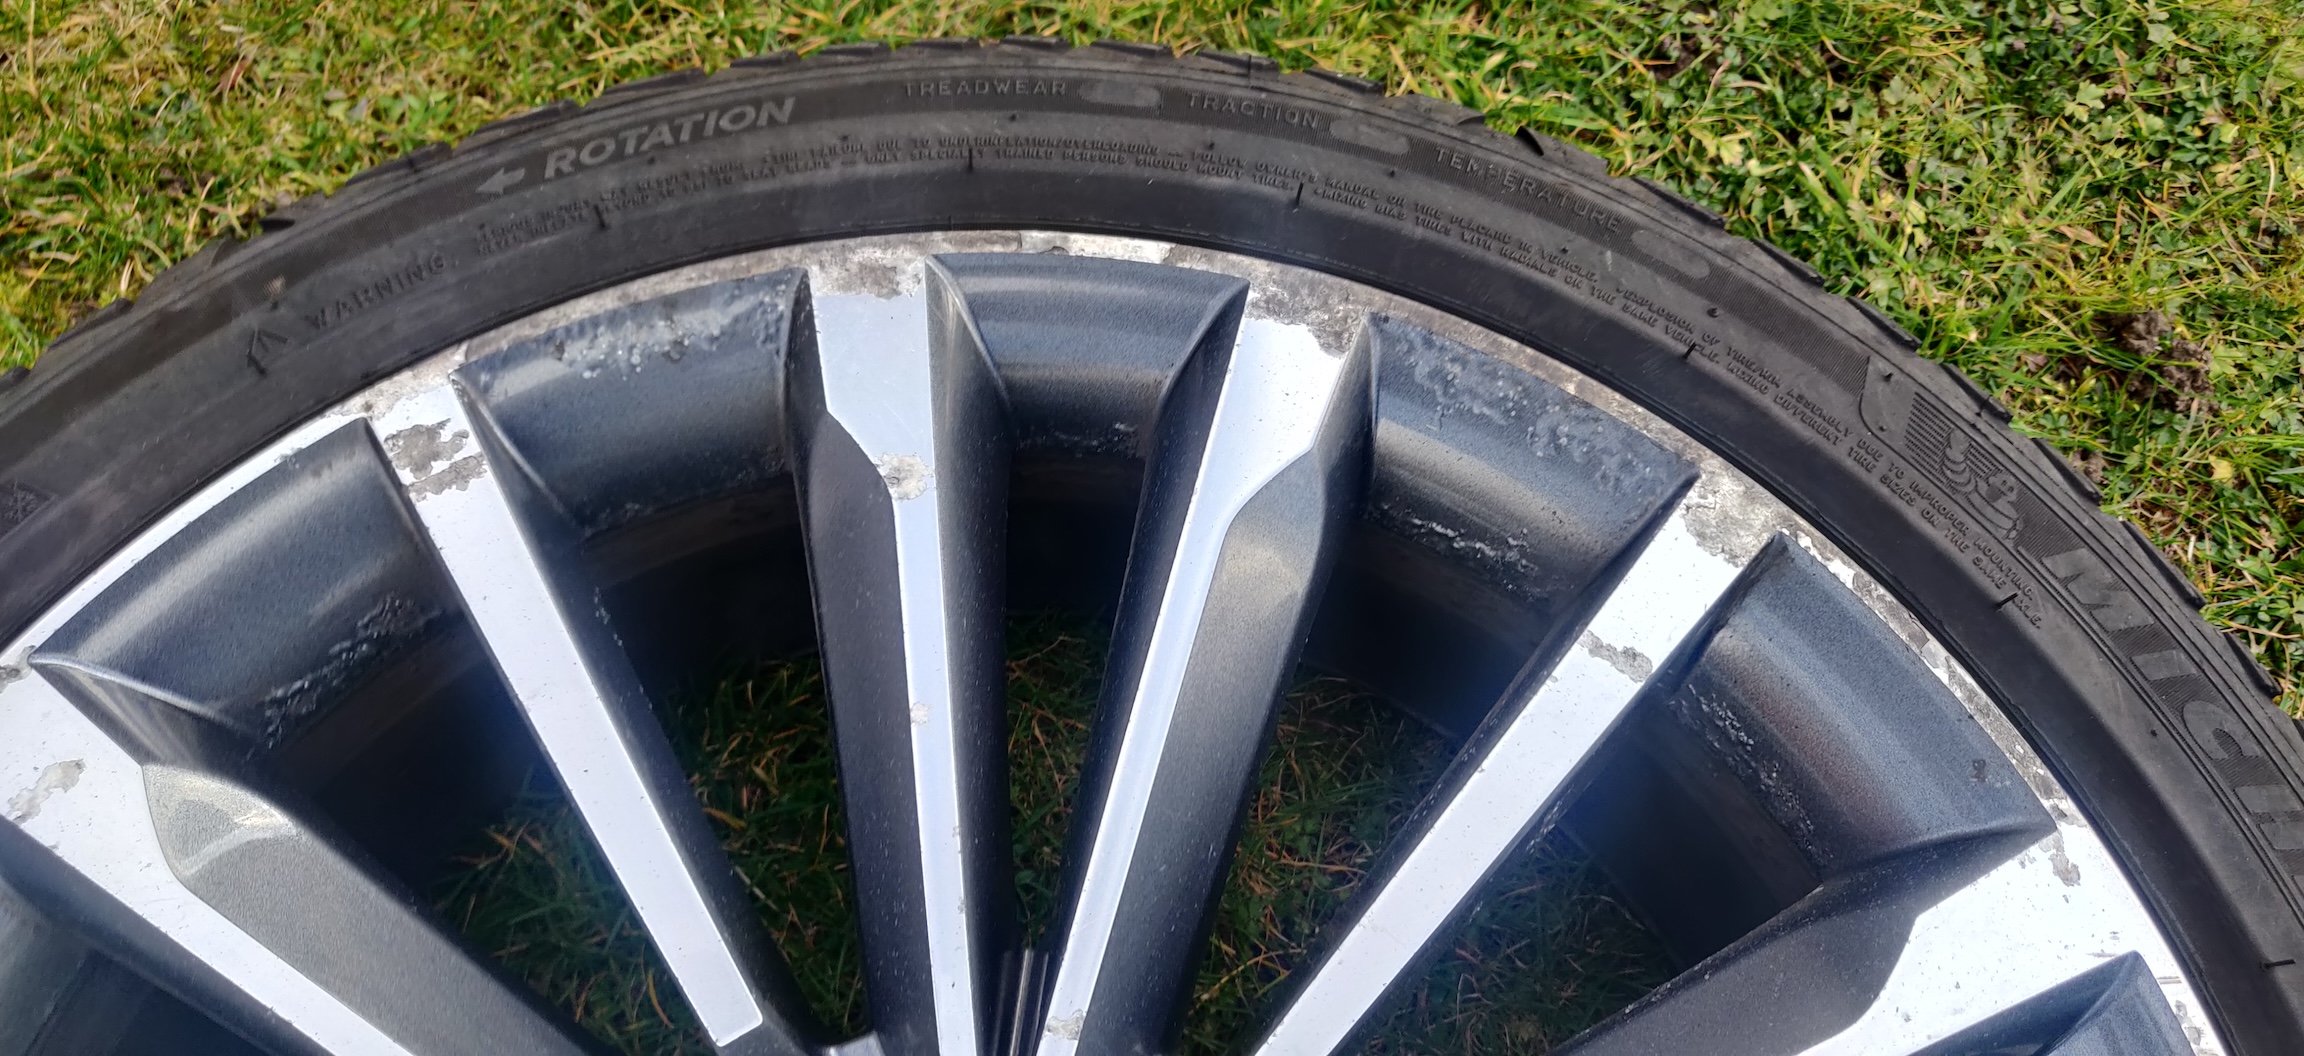
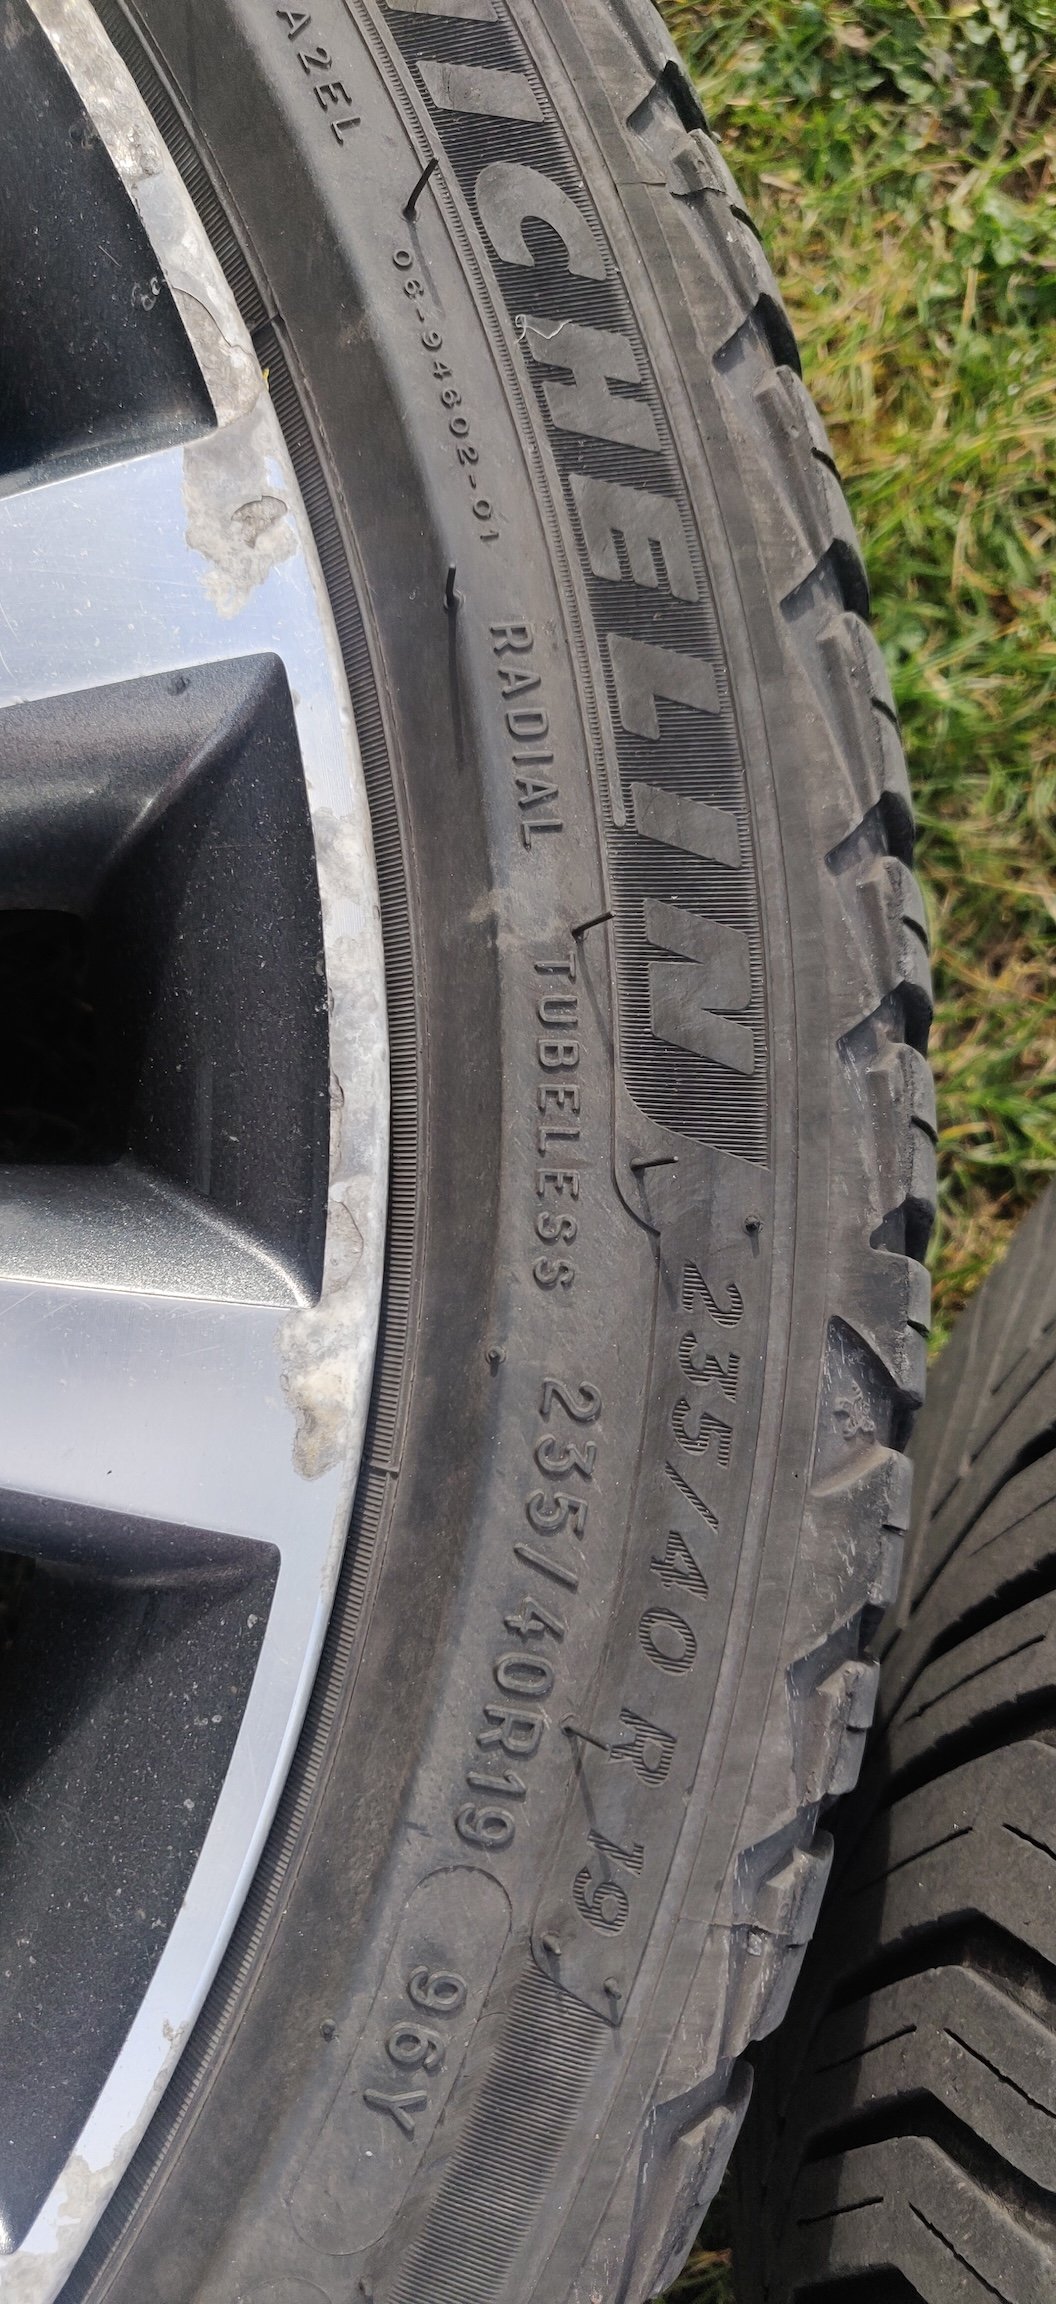
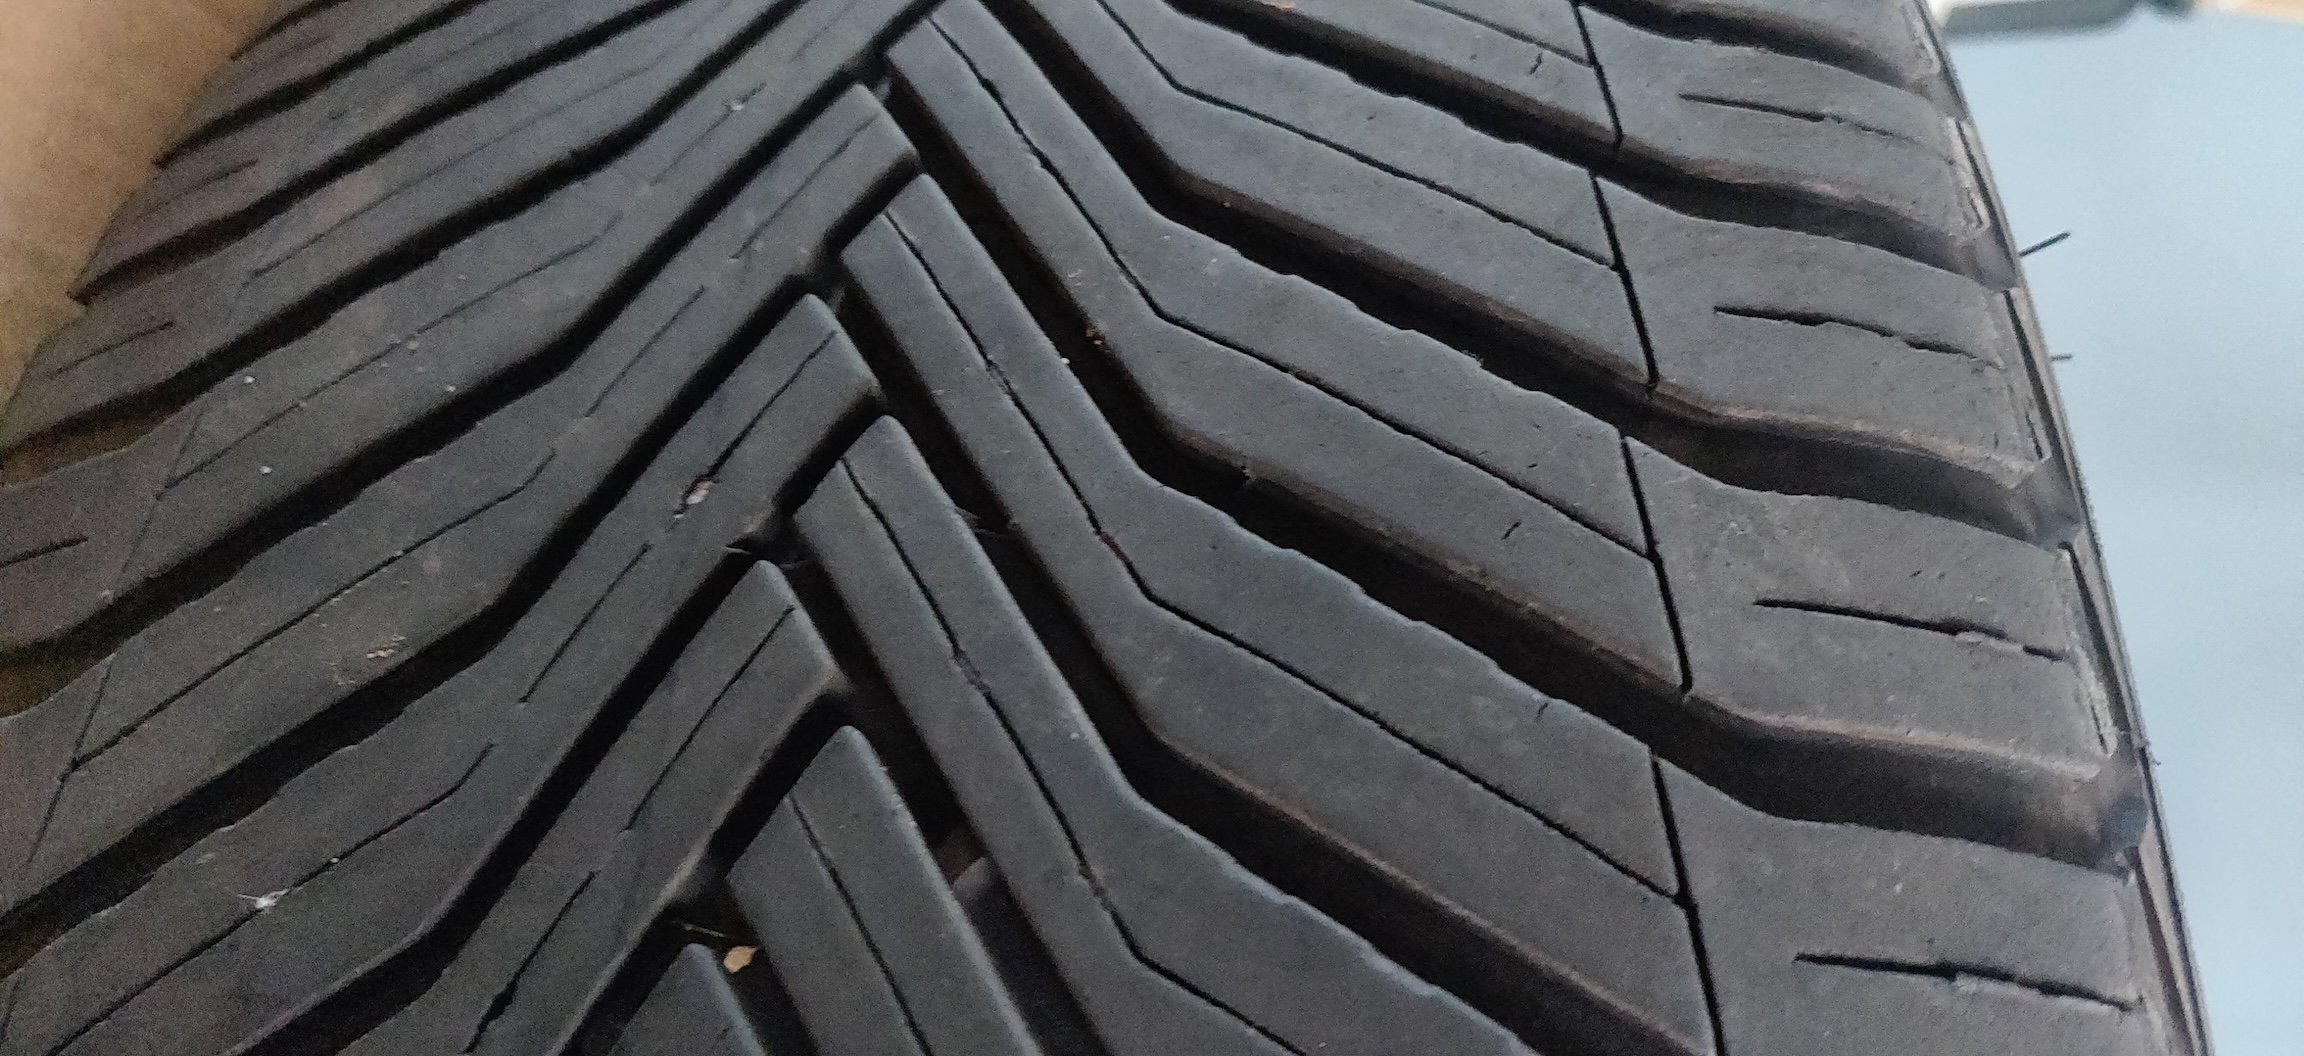
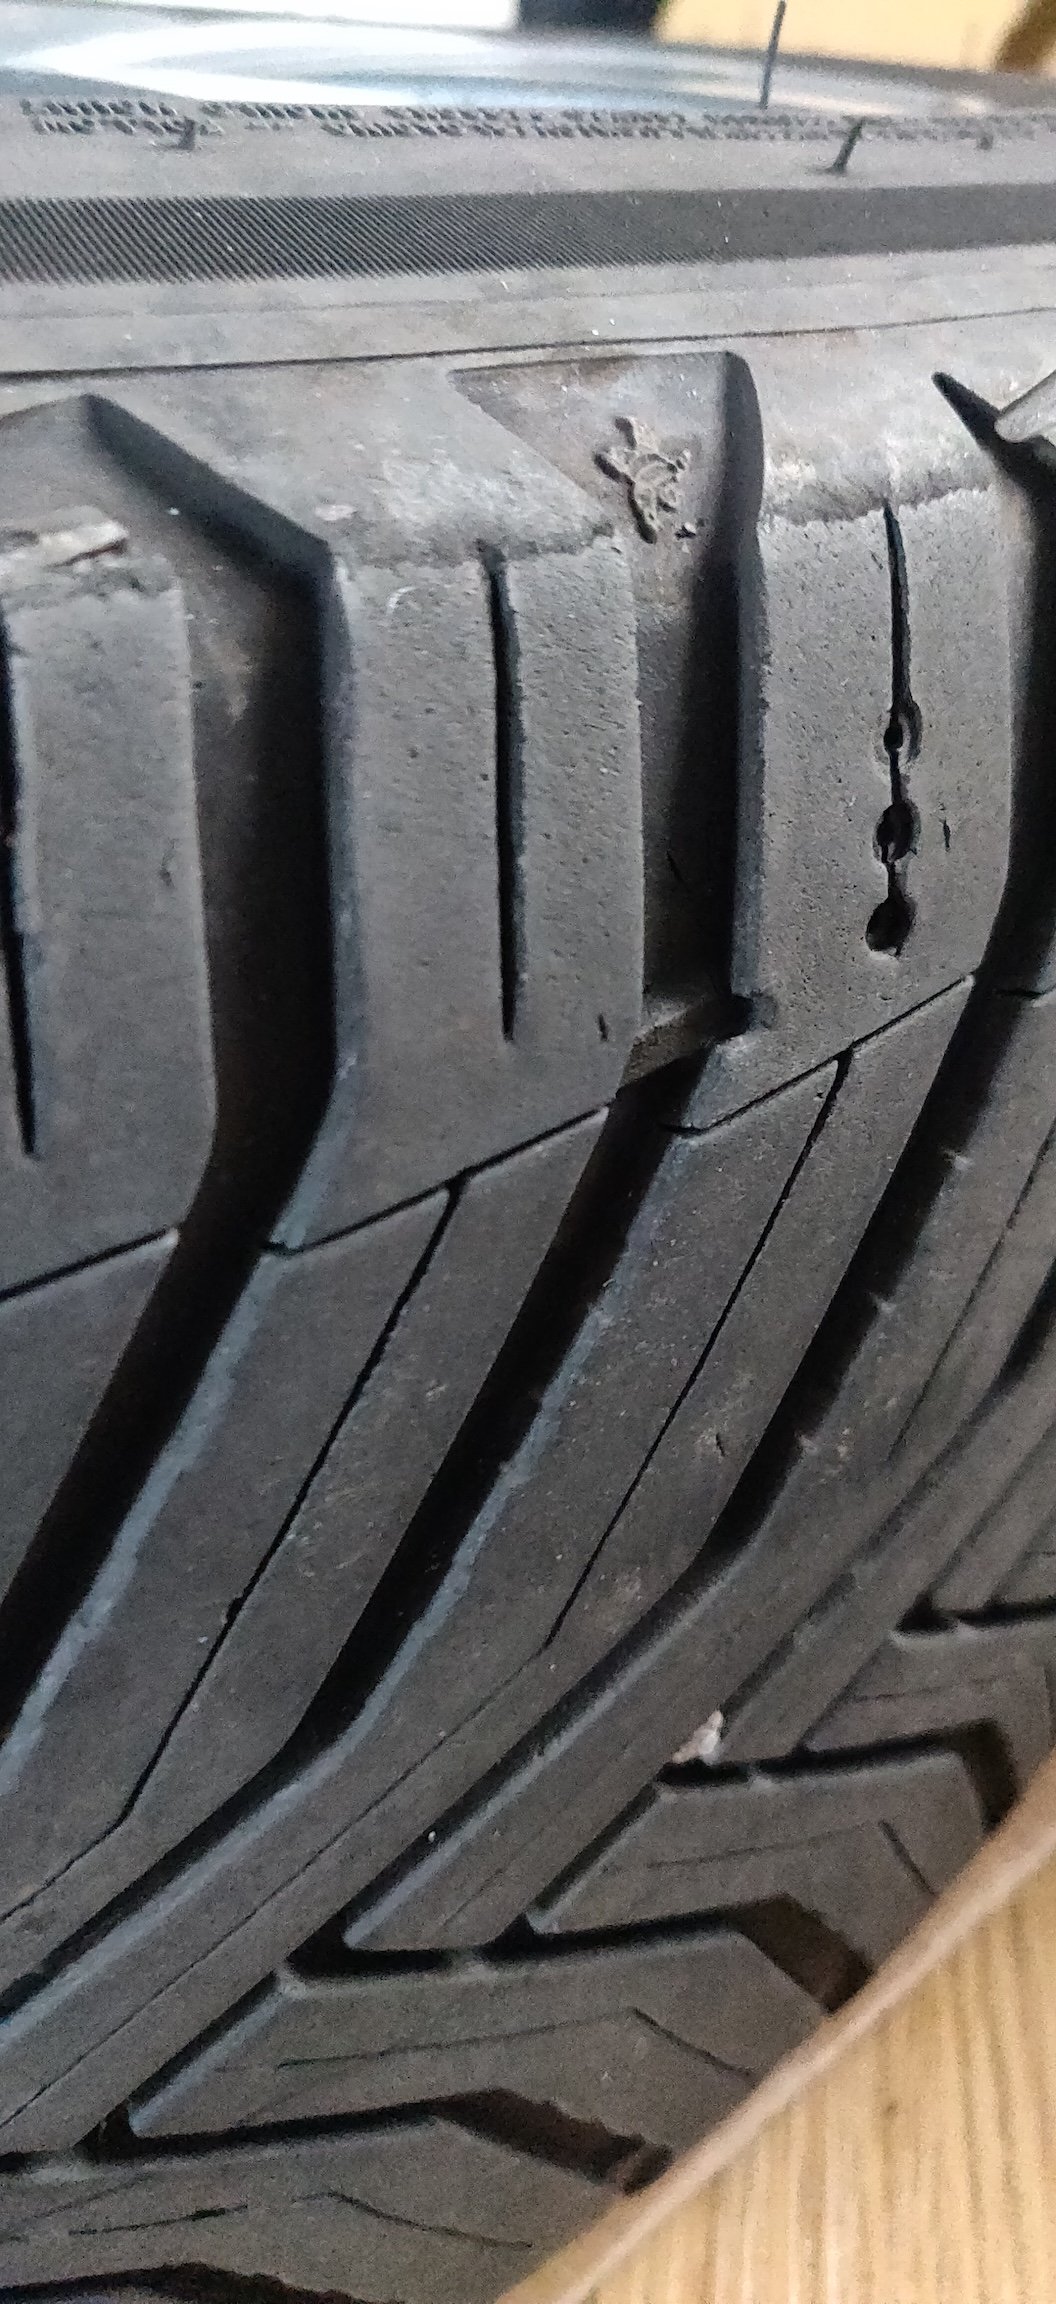
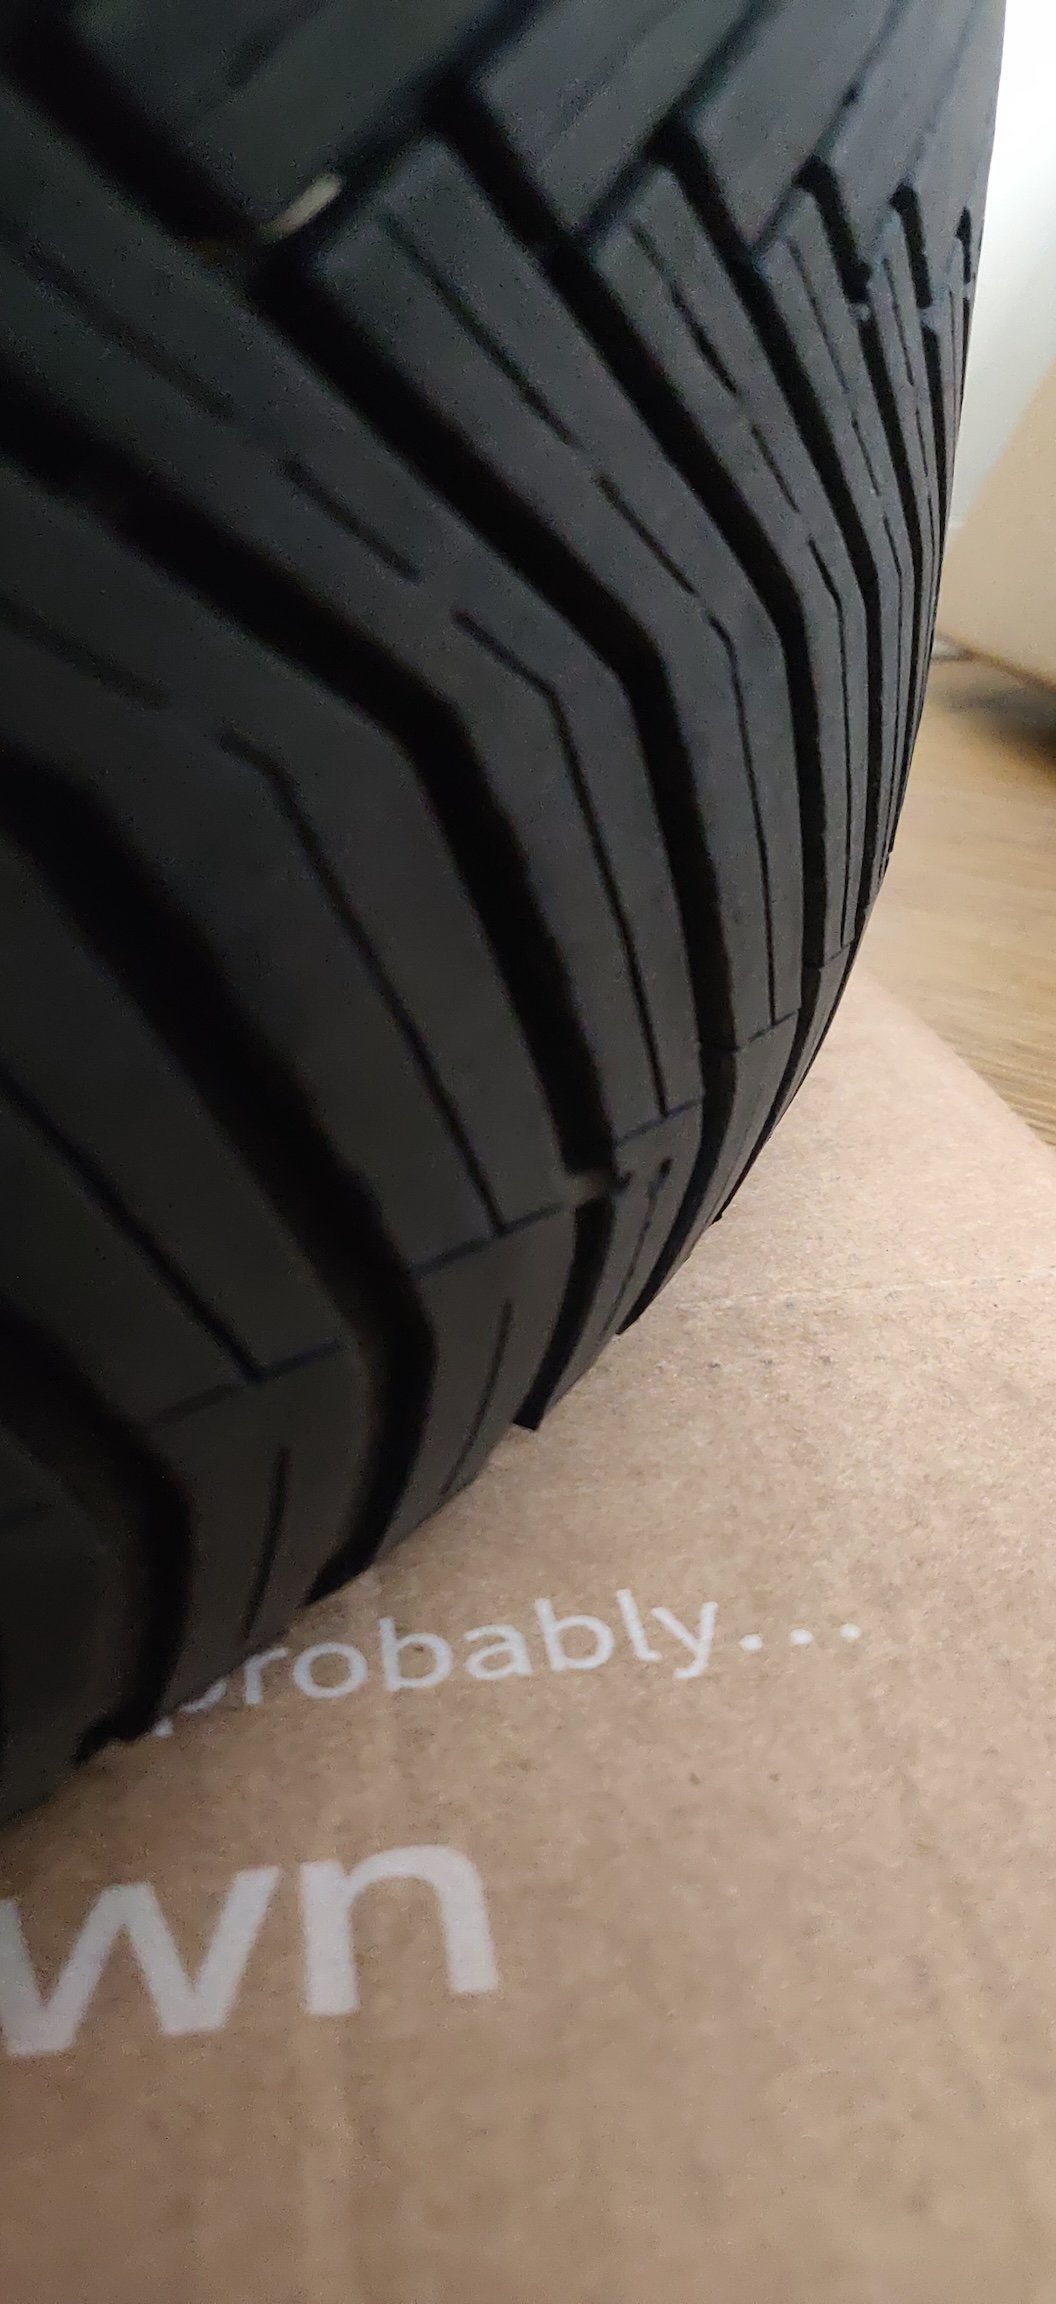
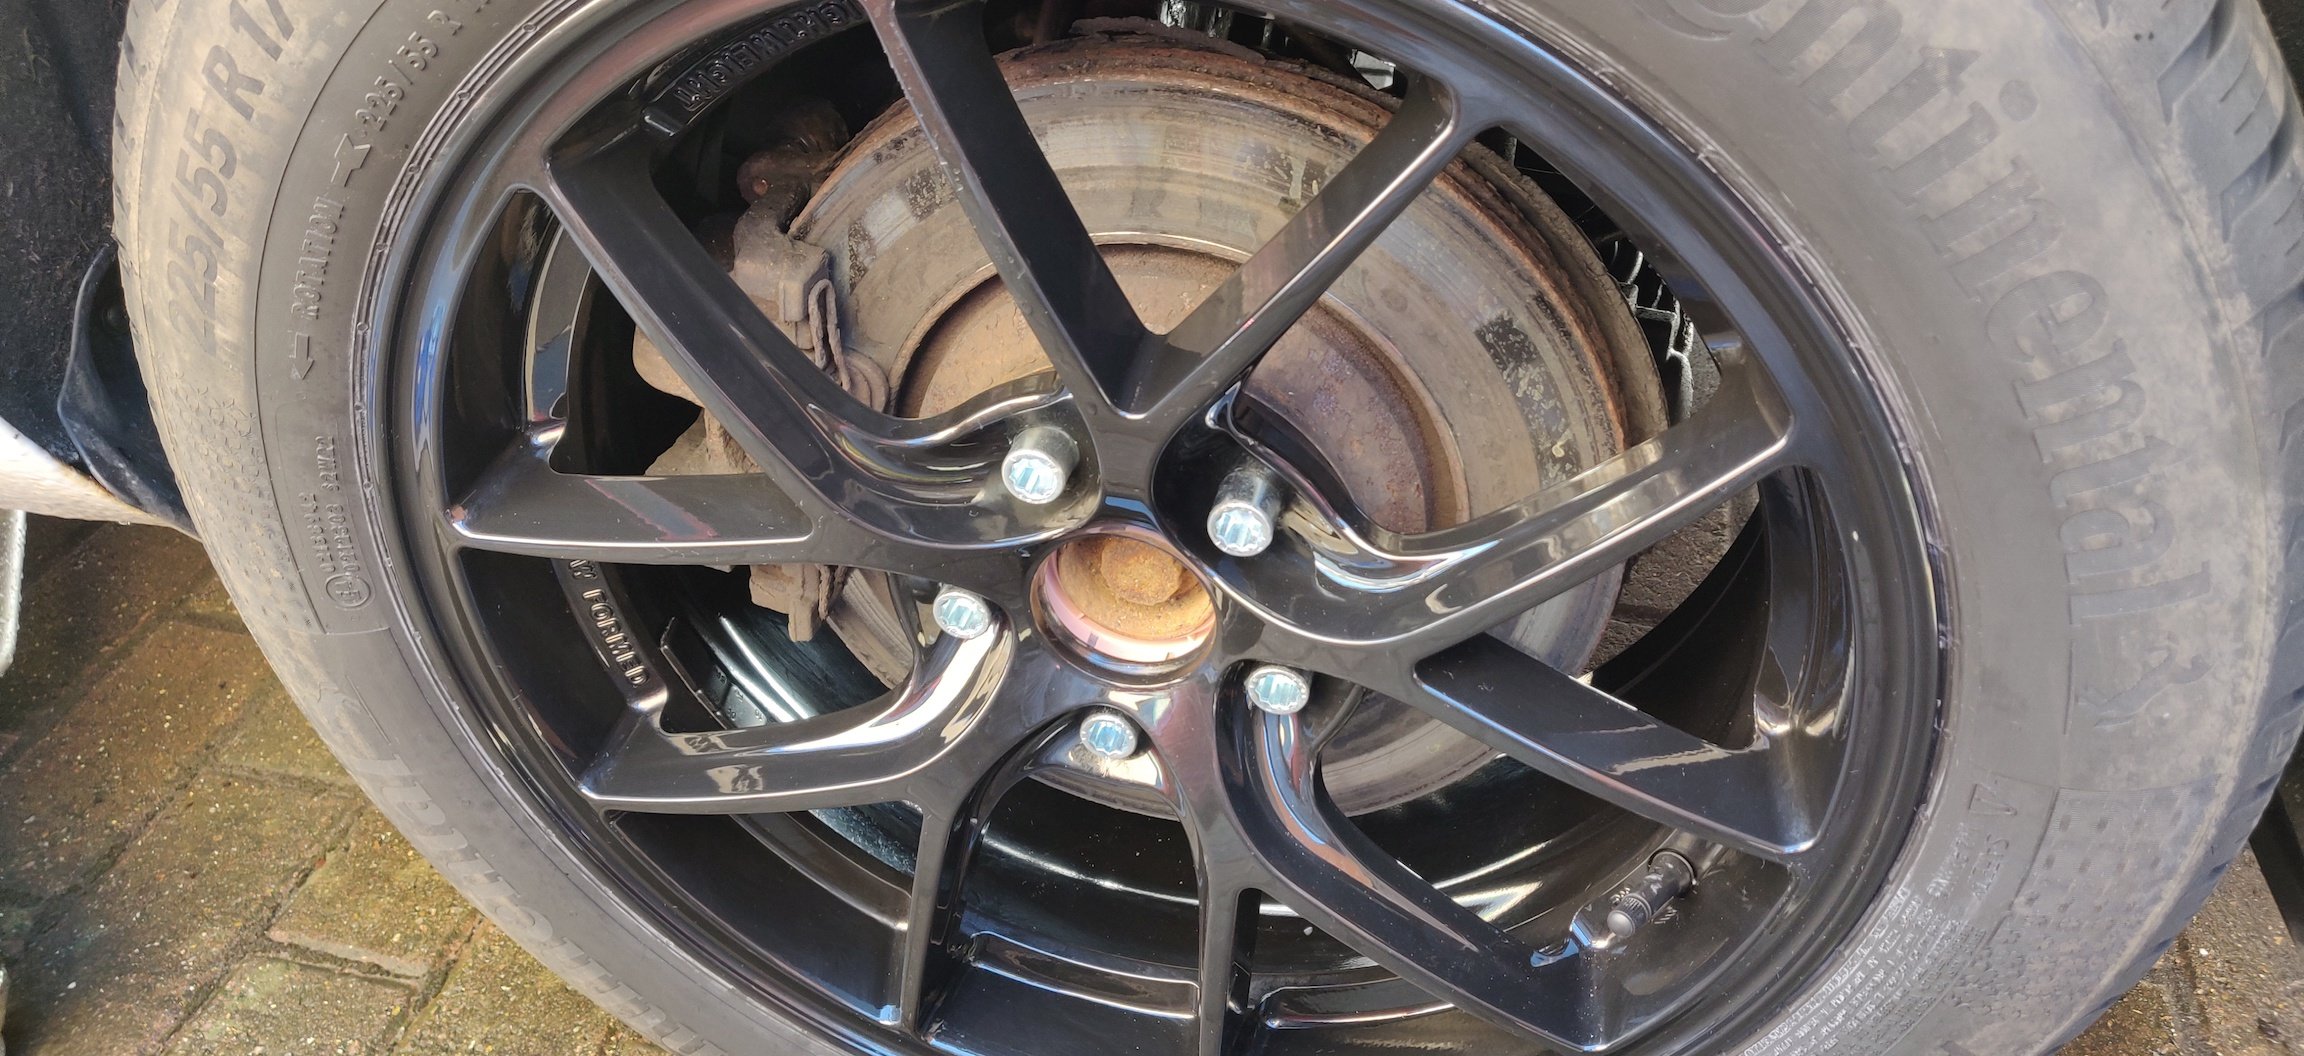
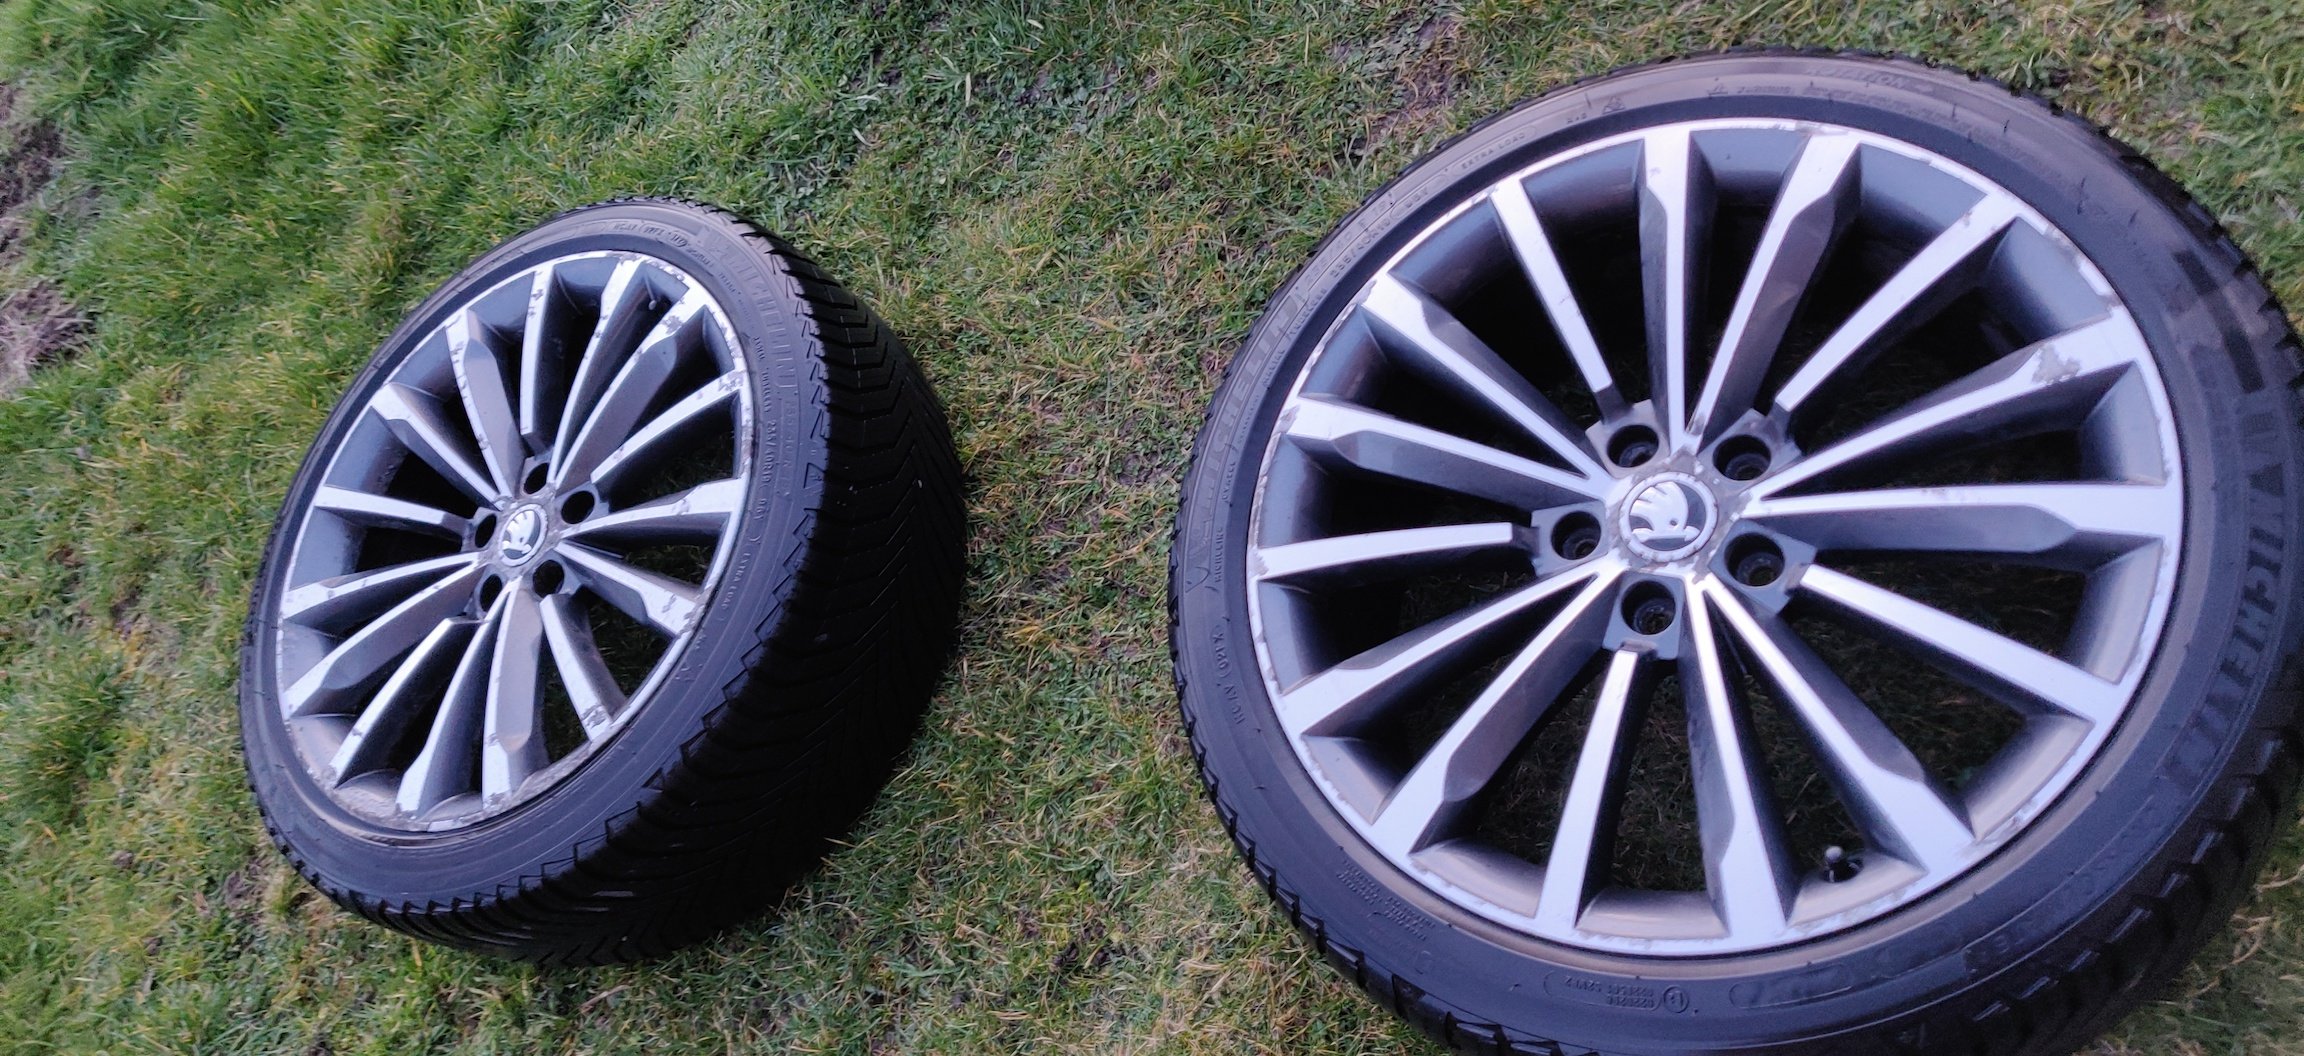
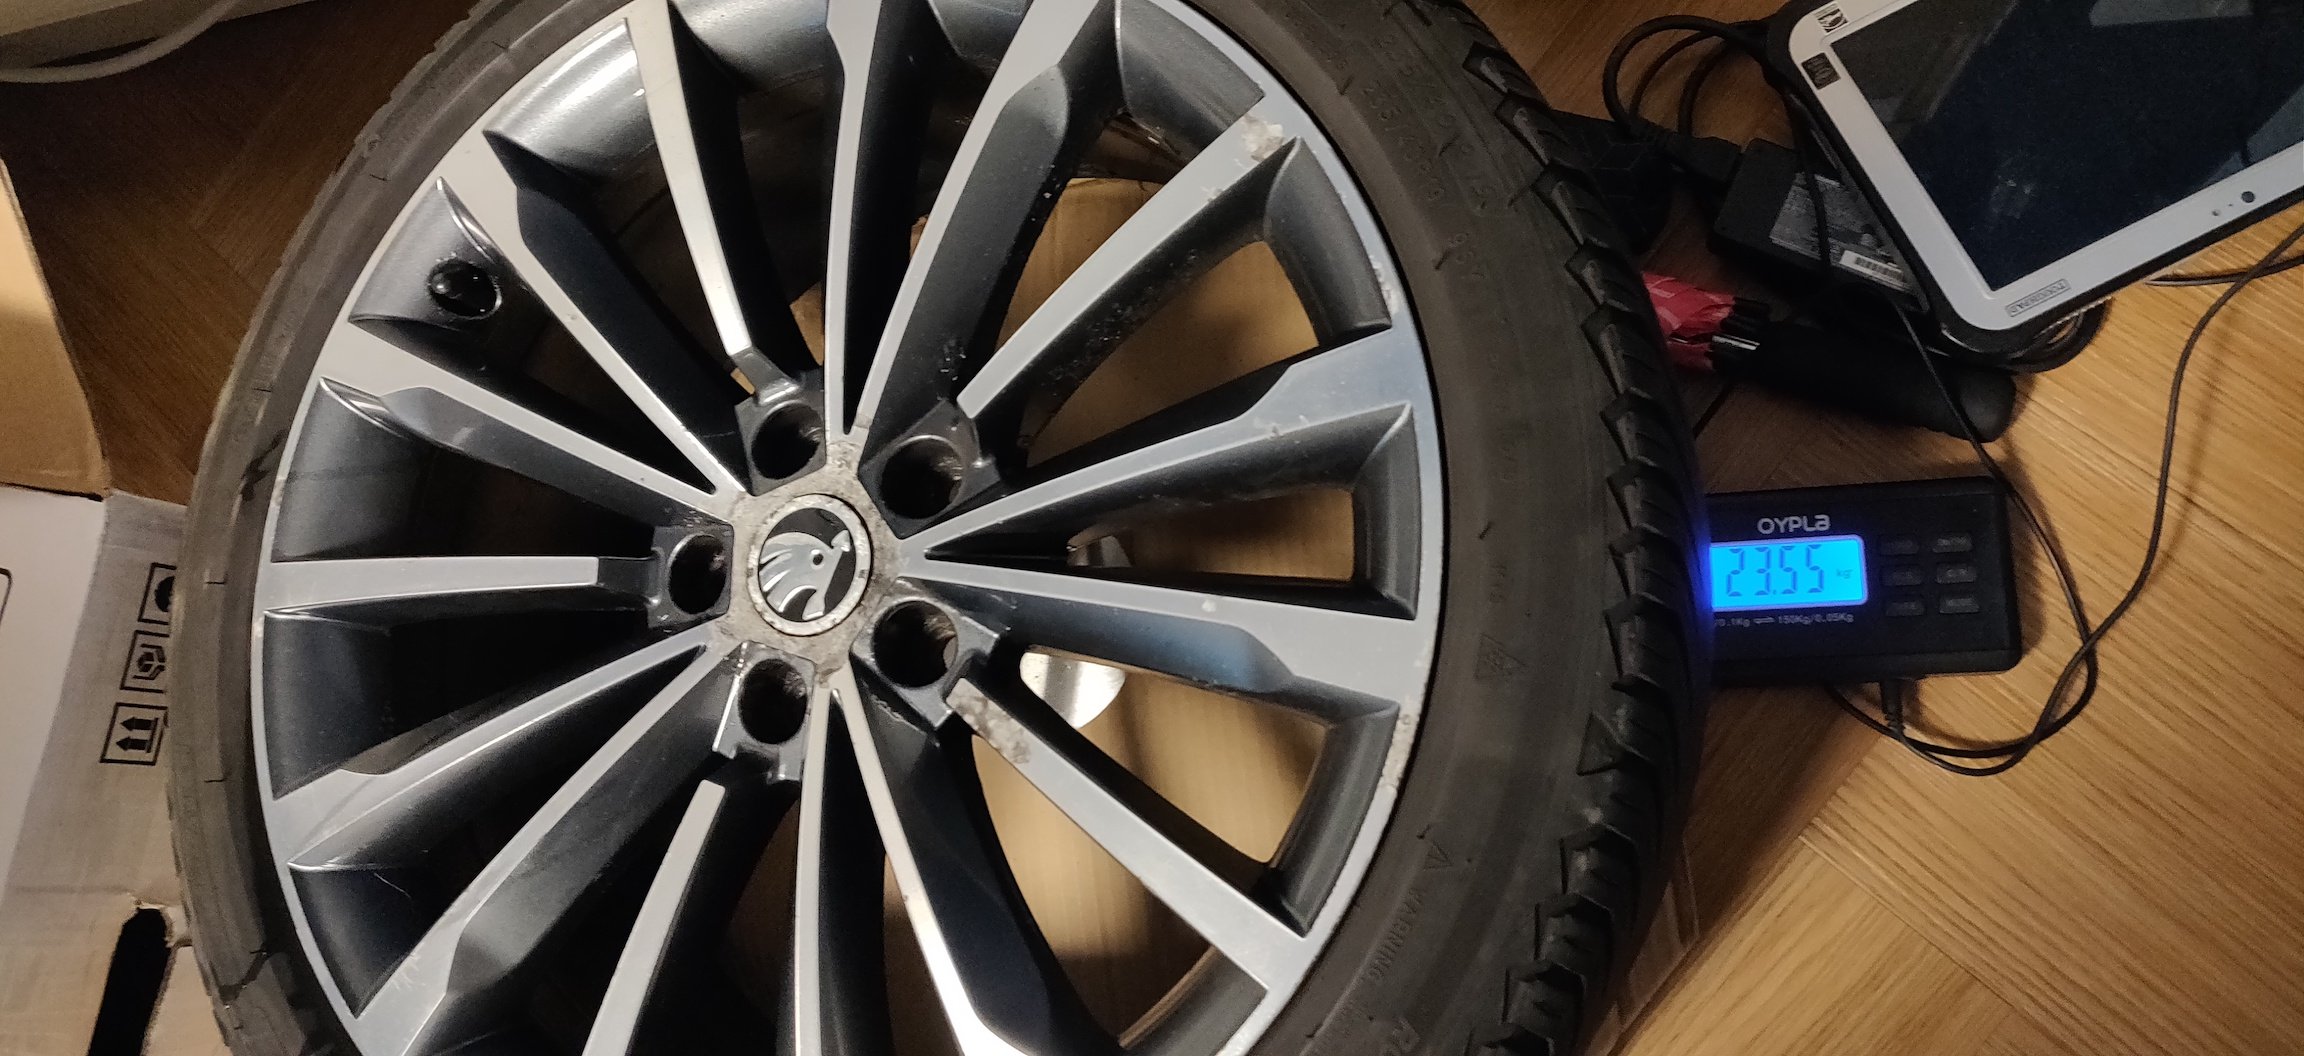
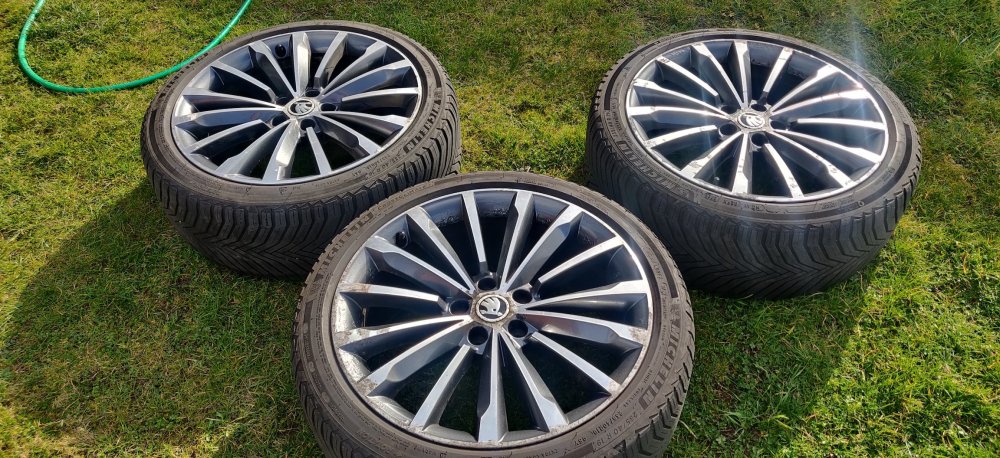
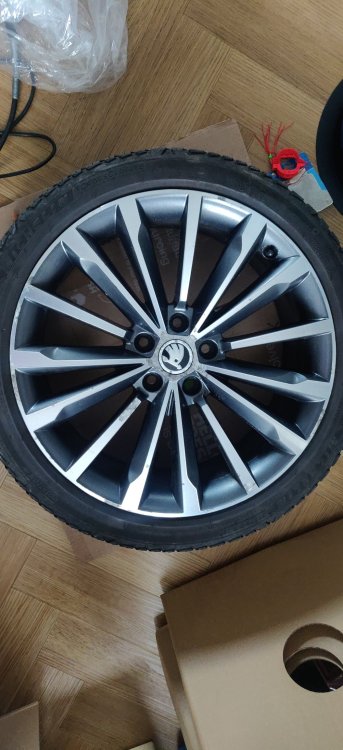
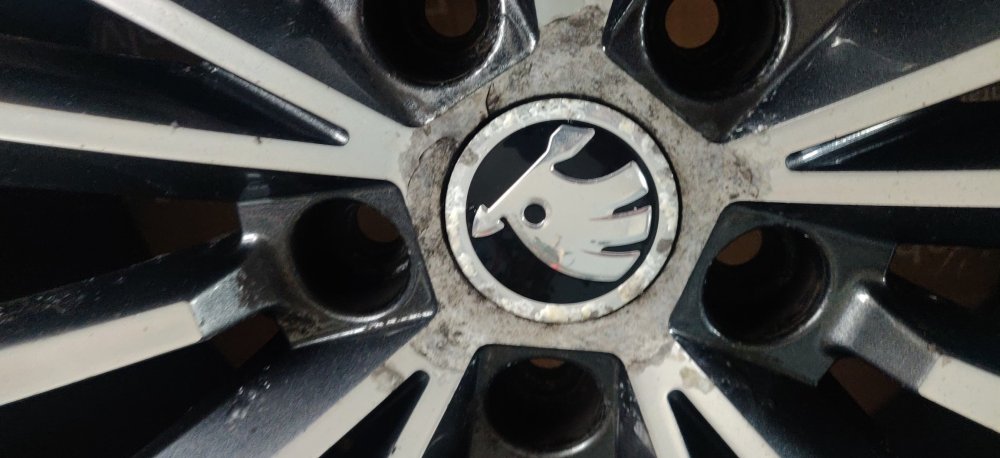
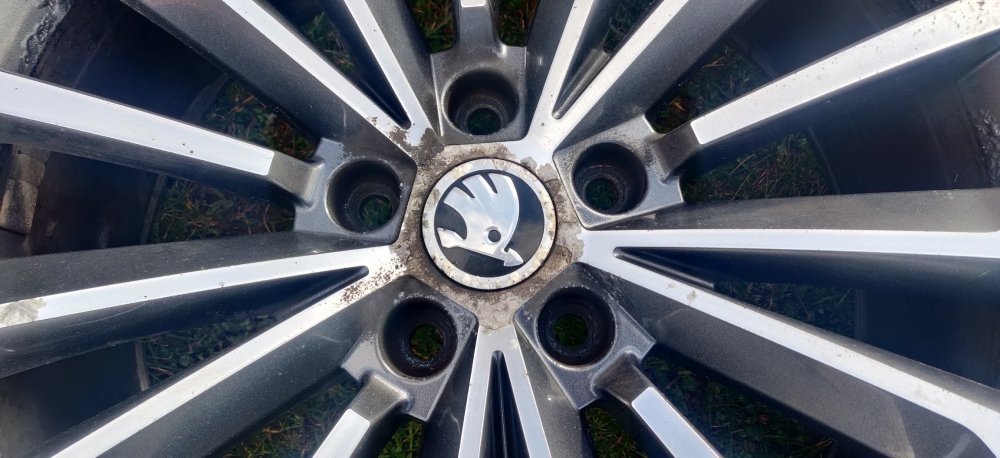
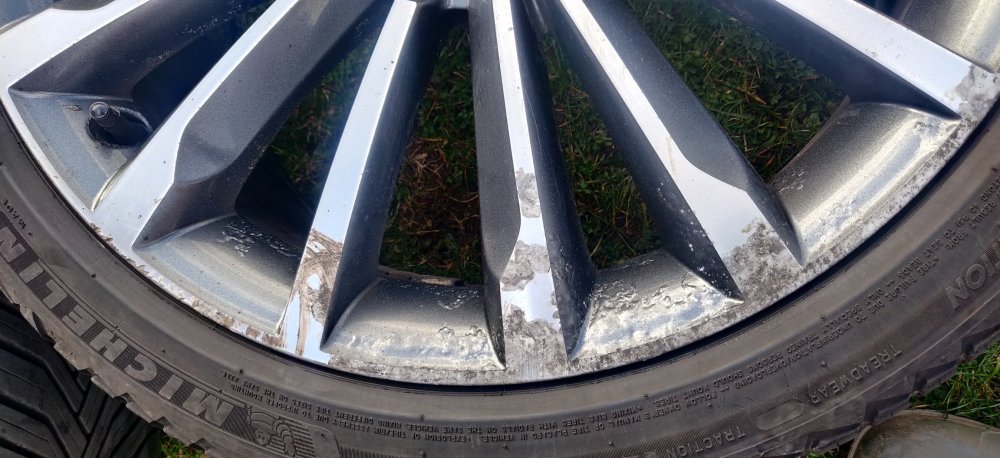
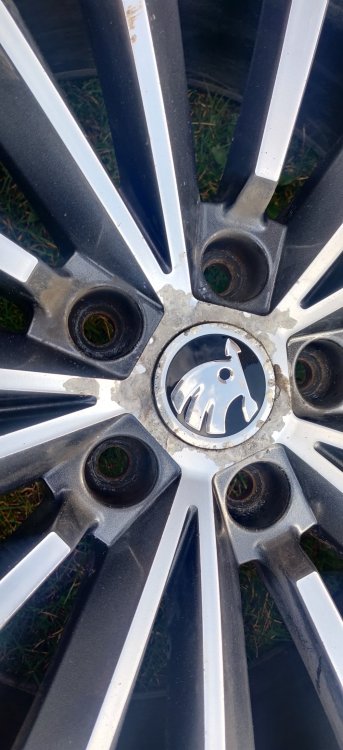
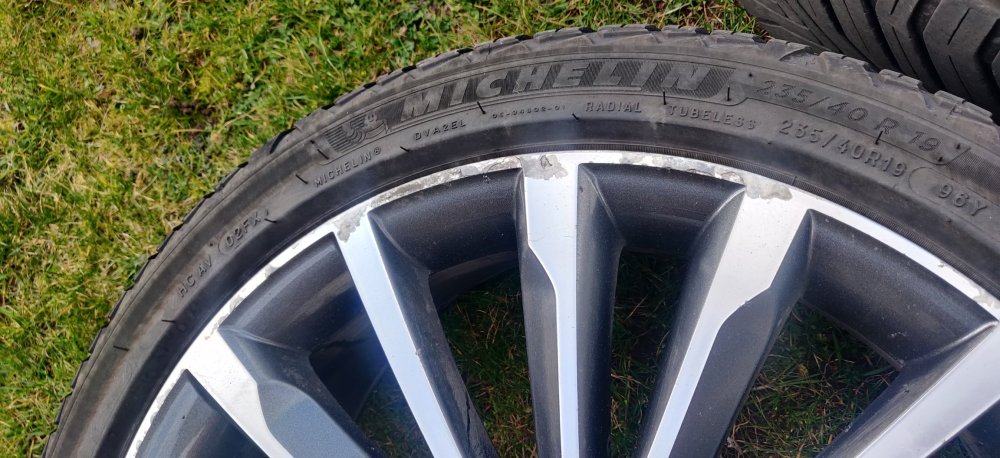
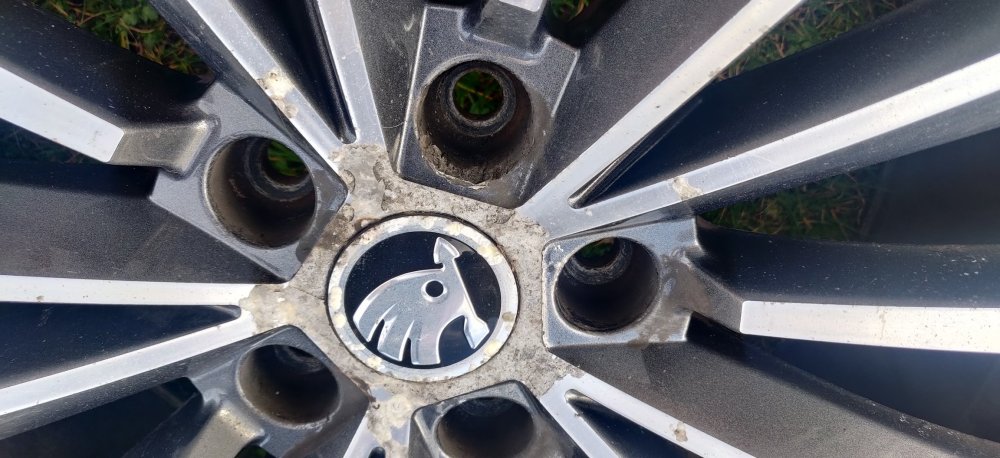
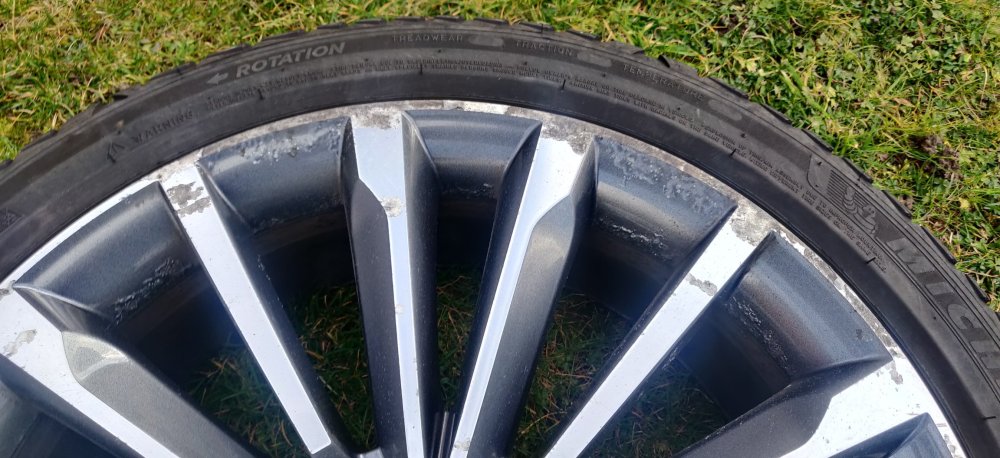
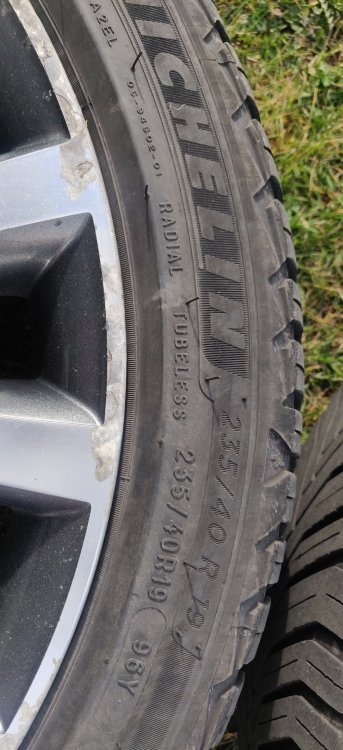
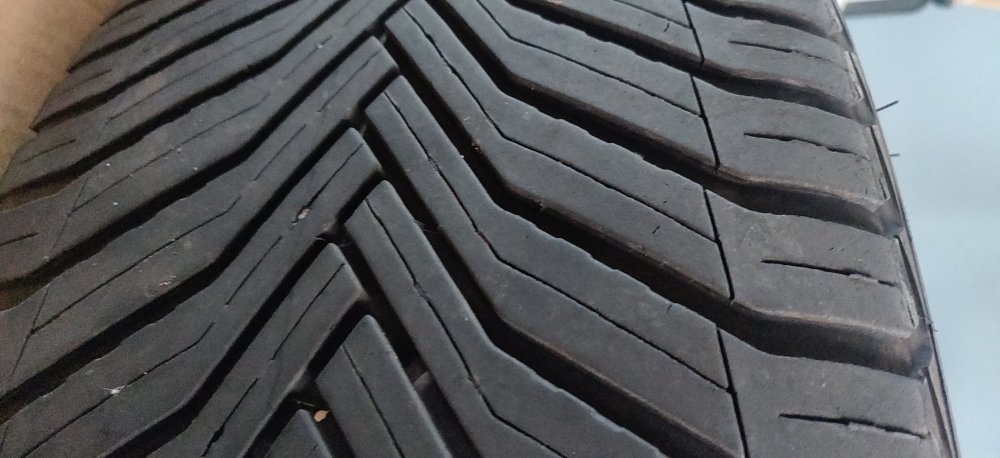
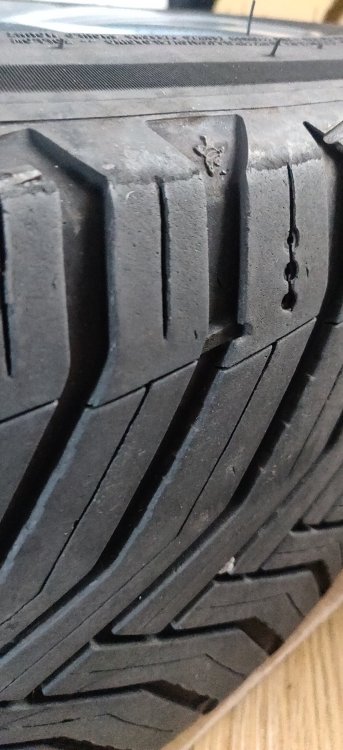
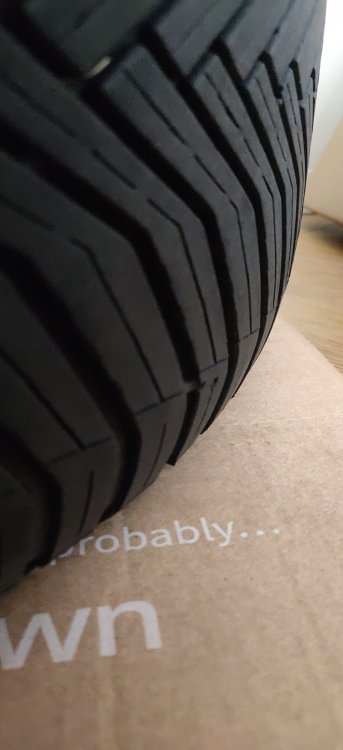
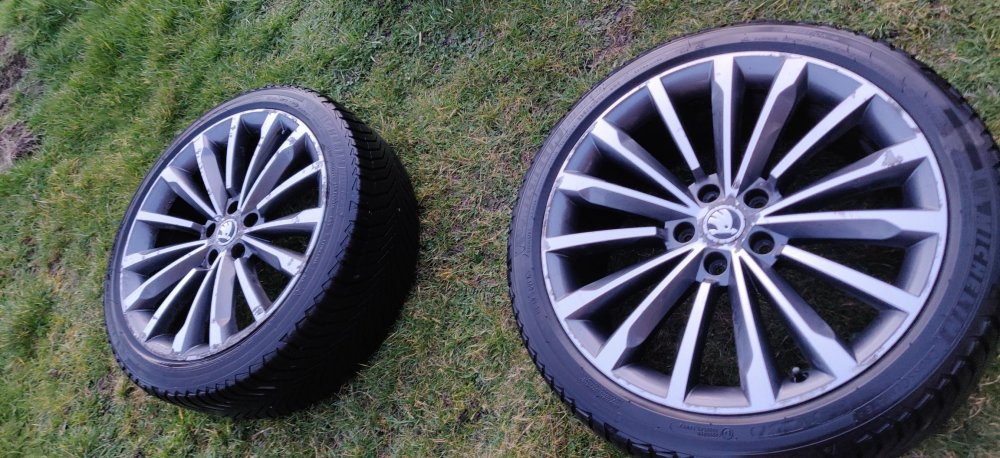
19" Trinity wheels with Michelin CrossClimate 2's Price: £200 Description: If anyone has been following my diary thread, these are the original wheels that have been replaced with 17" aftermarket ones. A set of 19" Trinity alloys from a Skoda Superb 2016 that has done 110k miles, with Michelin CrossClimate 2's that are over half worn. Condition: They almost certainly are original given the state of them. If I was to attempt to sell these up, the wheels don't seem out of round, and the tyres seem ok. The two biggest issues are that one wheel has a slow air leak, needing to be pumped up again every week or two. A tyre place attempted to find a leak in the tyre but couldn't, so remounted it which worked for a few months. This probably means its due to the corrosion around the rim of the wheel. The second is one of the bolt holes has damage marks. I genuinely can't remember if this was me, as it could be, I distinctly remember being in a situation where I needed two breaker bars and fire to get one of the wheel bolts loose. All the wheels have kerbing and corrosion around the rim, with some having bubbling deeper within the wheel. There's corrosion all around the centre caps, and general mankiness rear side and behind the cap. I've tried my best to clean them up, but there's only so much I can do. Tyres are Michelin CrossClimates, at the OEM 235/40/19 size. In general, it looks like most have inner wear, which probably tells me I should get the car's geometry looked at long term. Perhaps a couple more worn in the inner side than others, but I reckon they're good for 9-12 months. So the wheels could be used as is, but that would be a bit mad, they should be refurbished, hence what I think is a low asking price. The wheels are anthracite with a diamond cut finish, so I reckon that would probably be expensive if refurbed to original finish (assuming it can, depends how deep the cutting would be). This site https://fawheels.co.uk/prices suggests diamond cut set of 19" wheels would be £480, so that would be the ball park I guess. Collection from Rugby (CV23) massively preferred. I could probably deliver them if the distance is reasonable. I'm extremely loathed to want to ship almost 100kg of wheels with tyres!
-
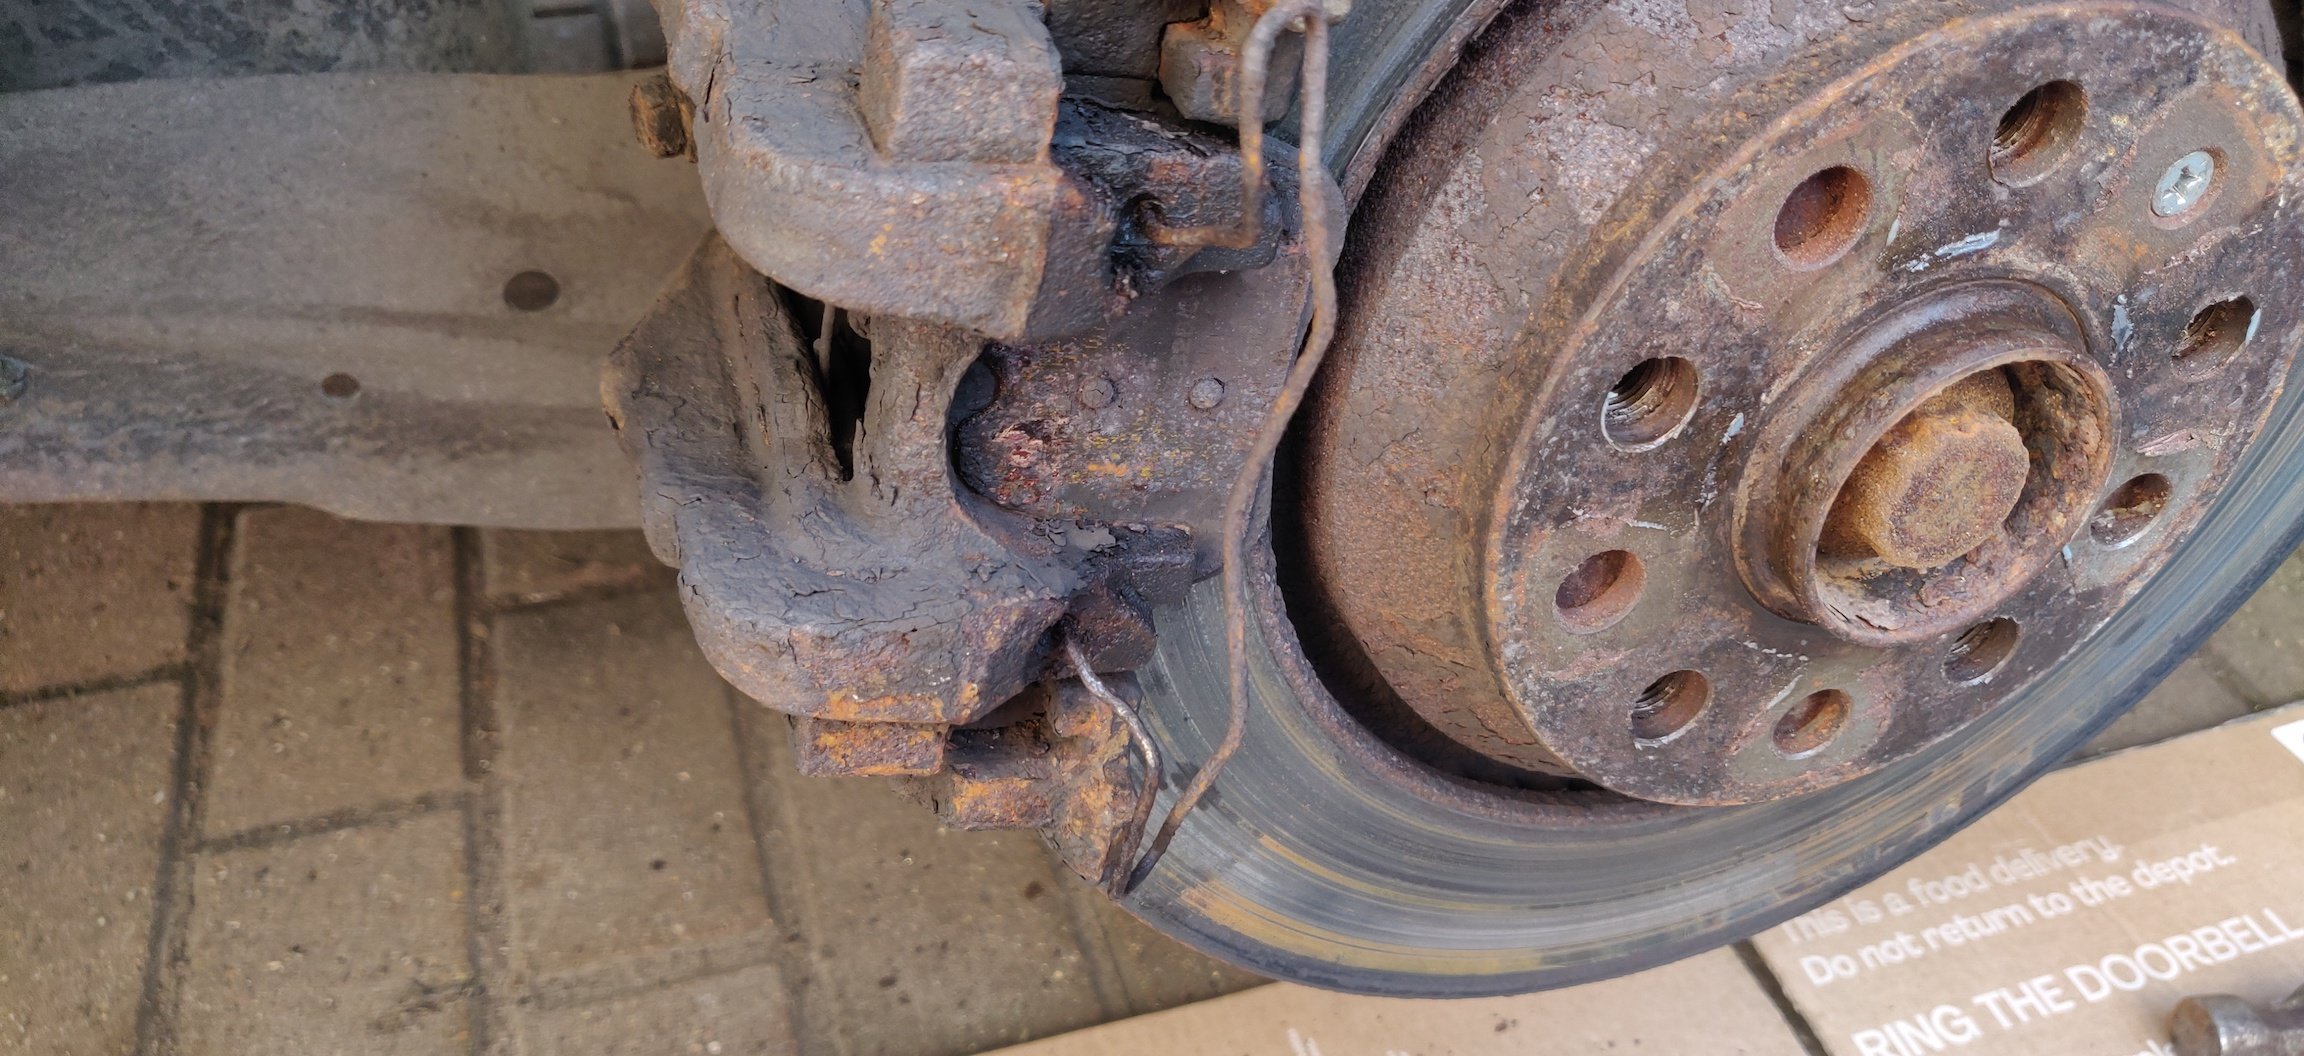
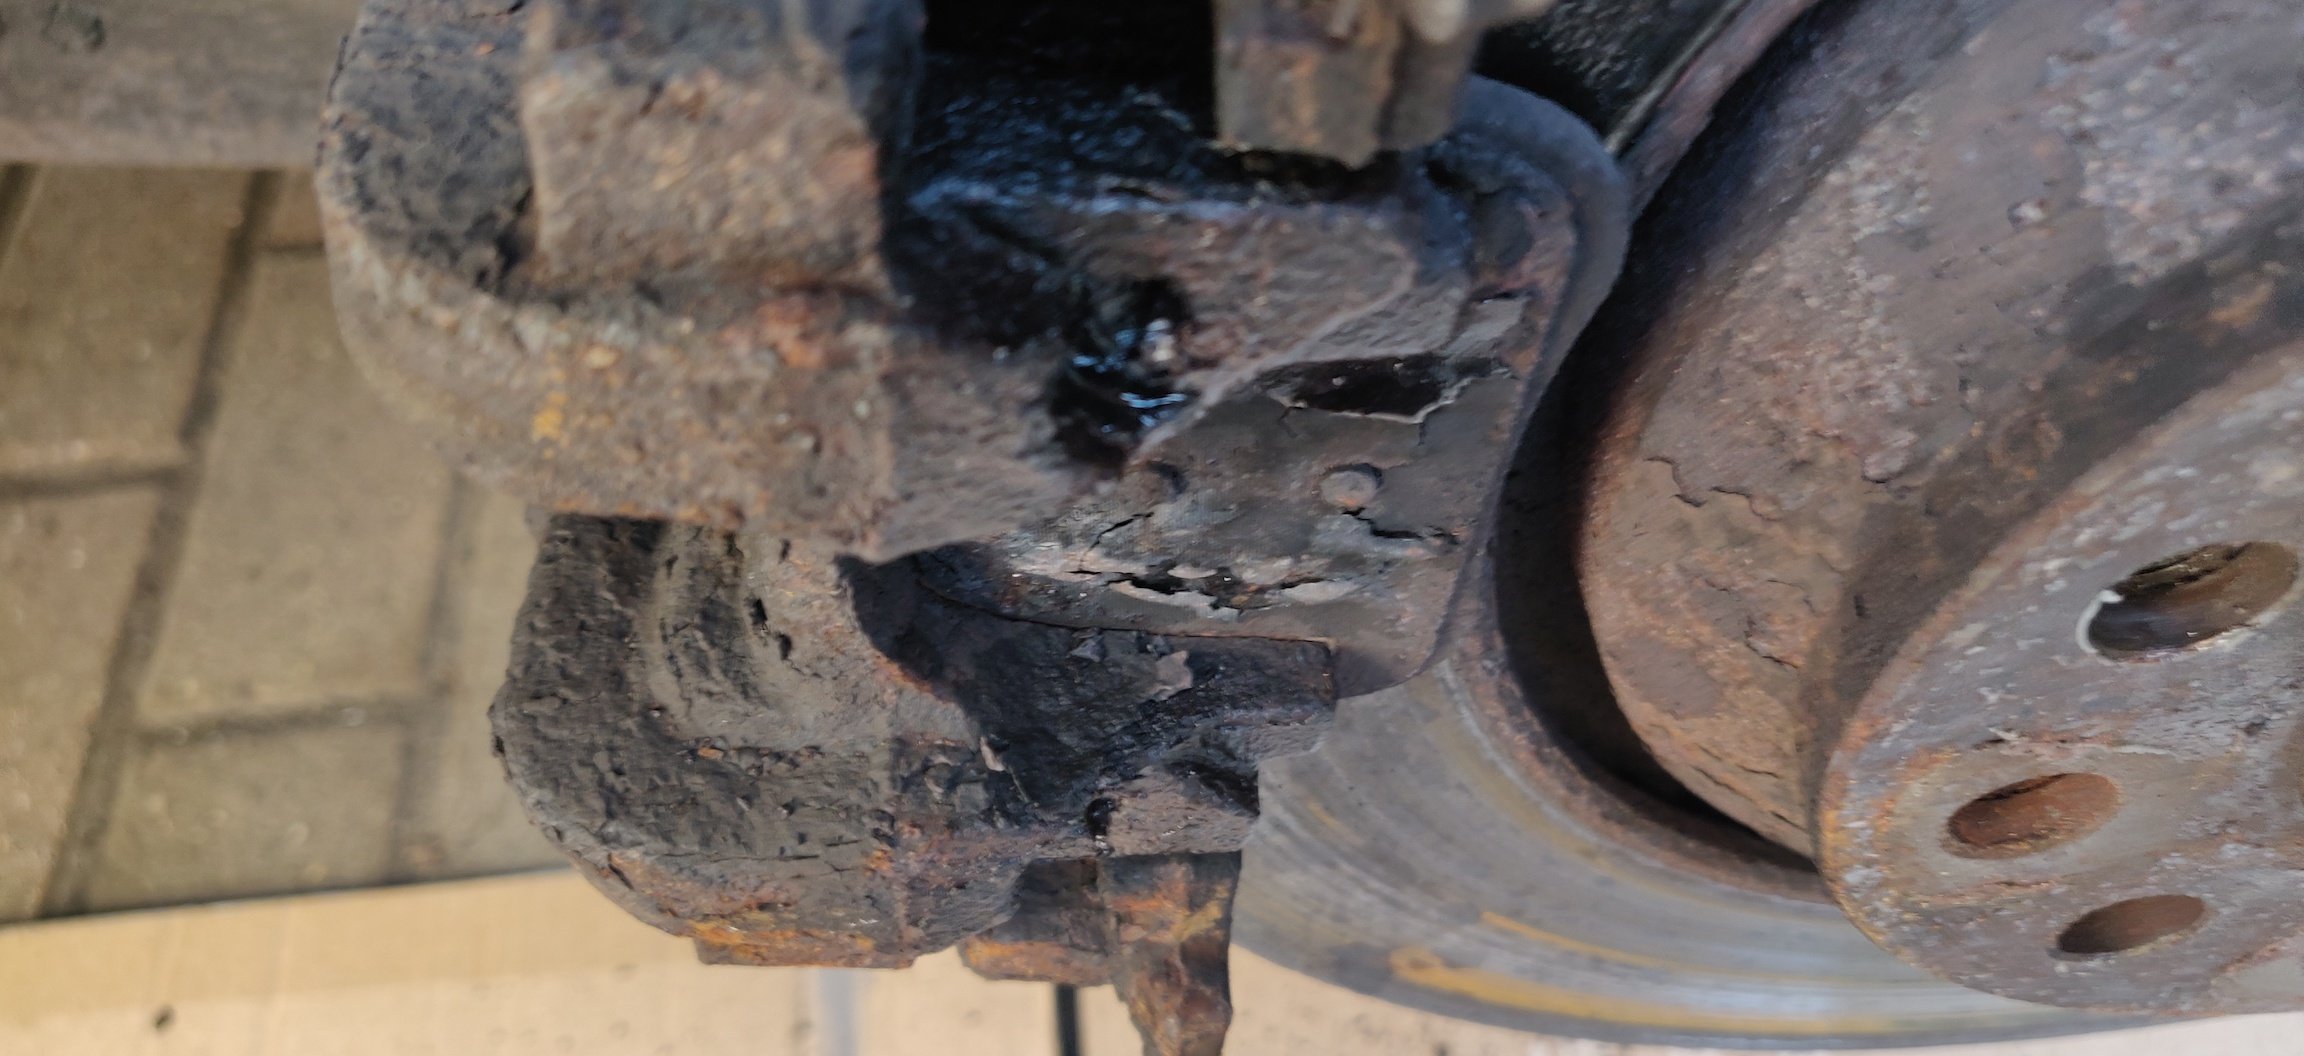
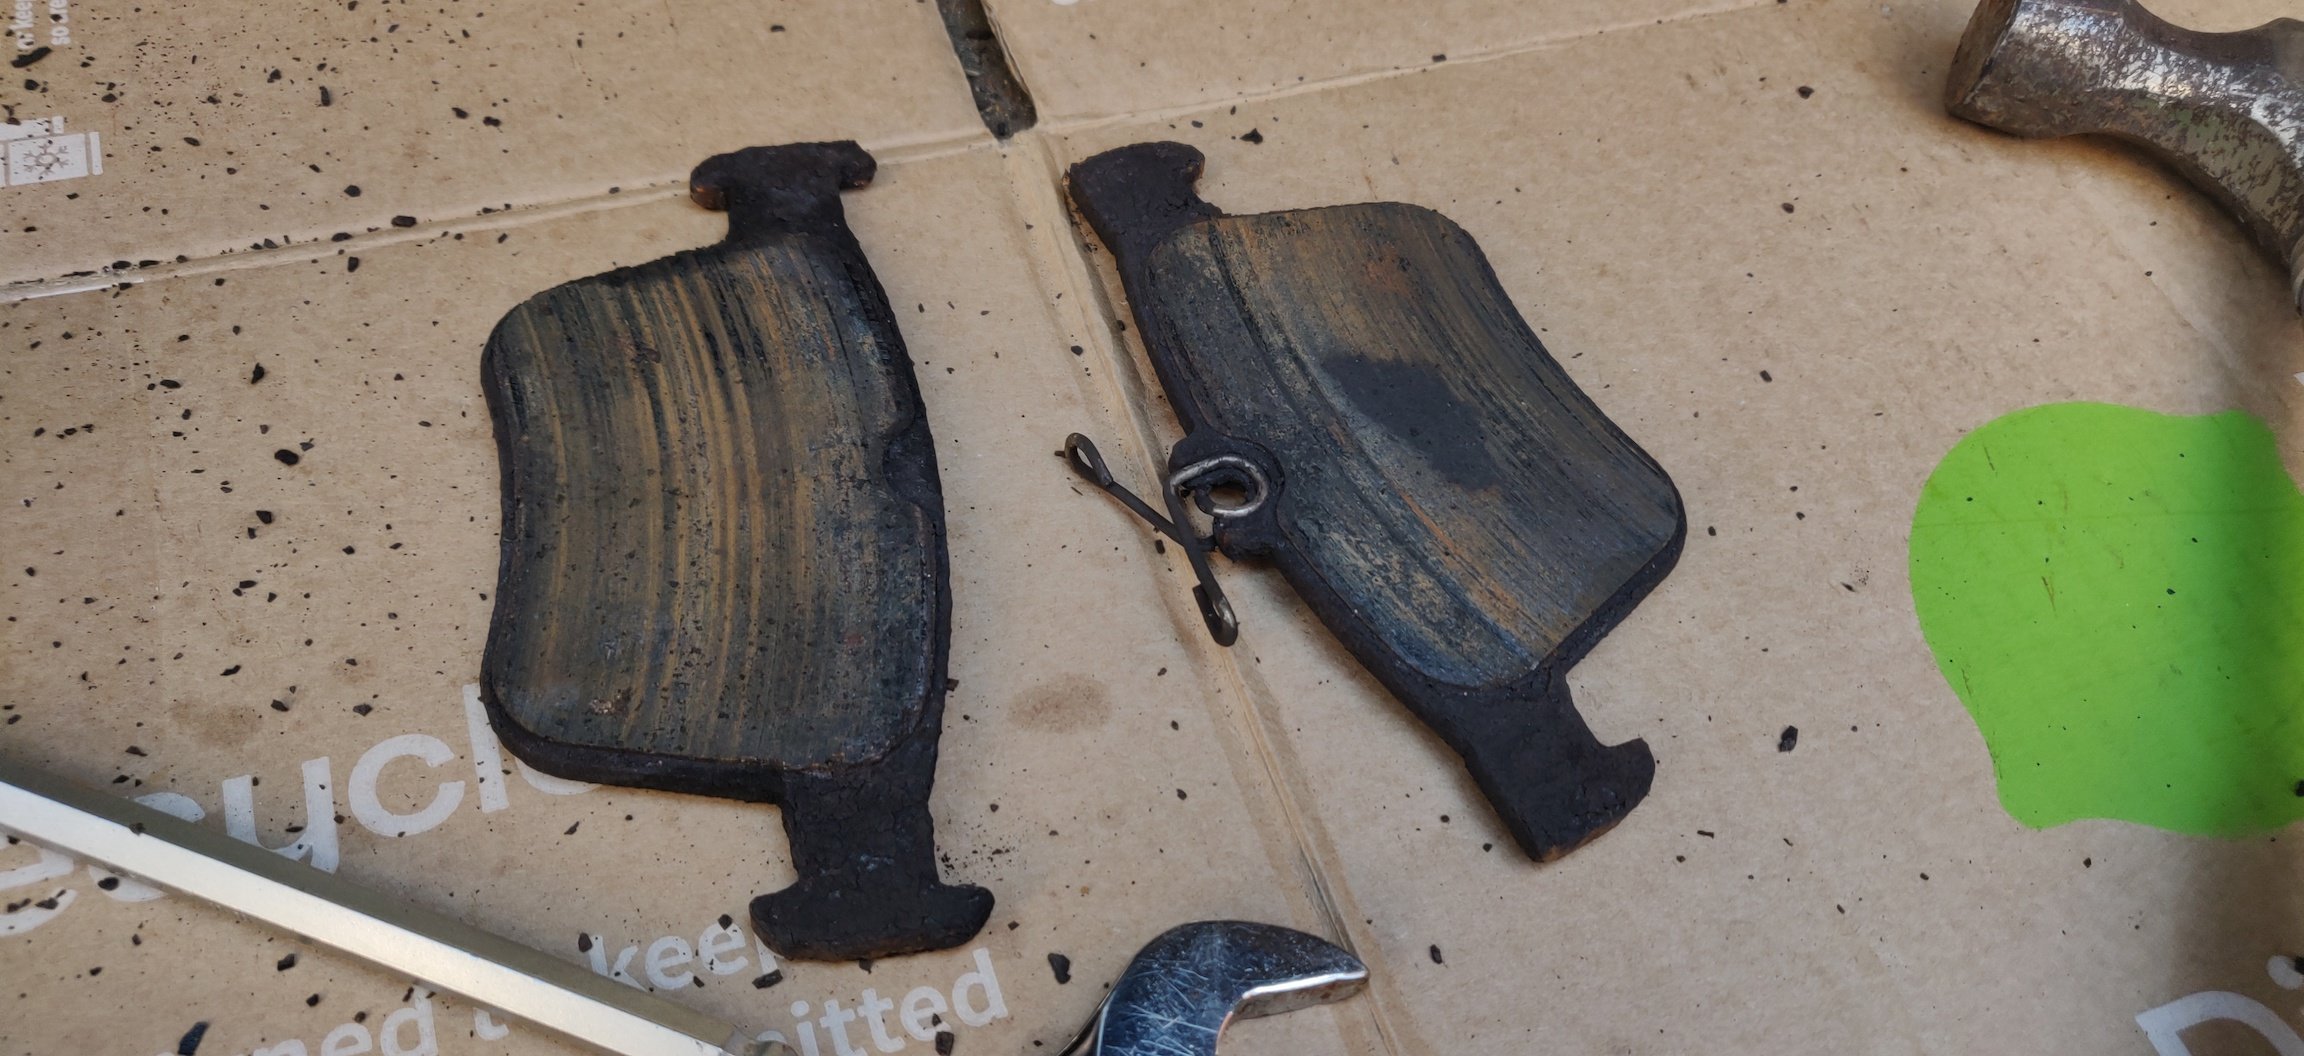
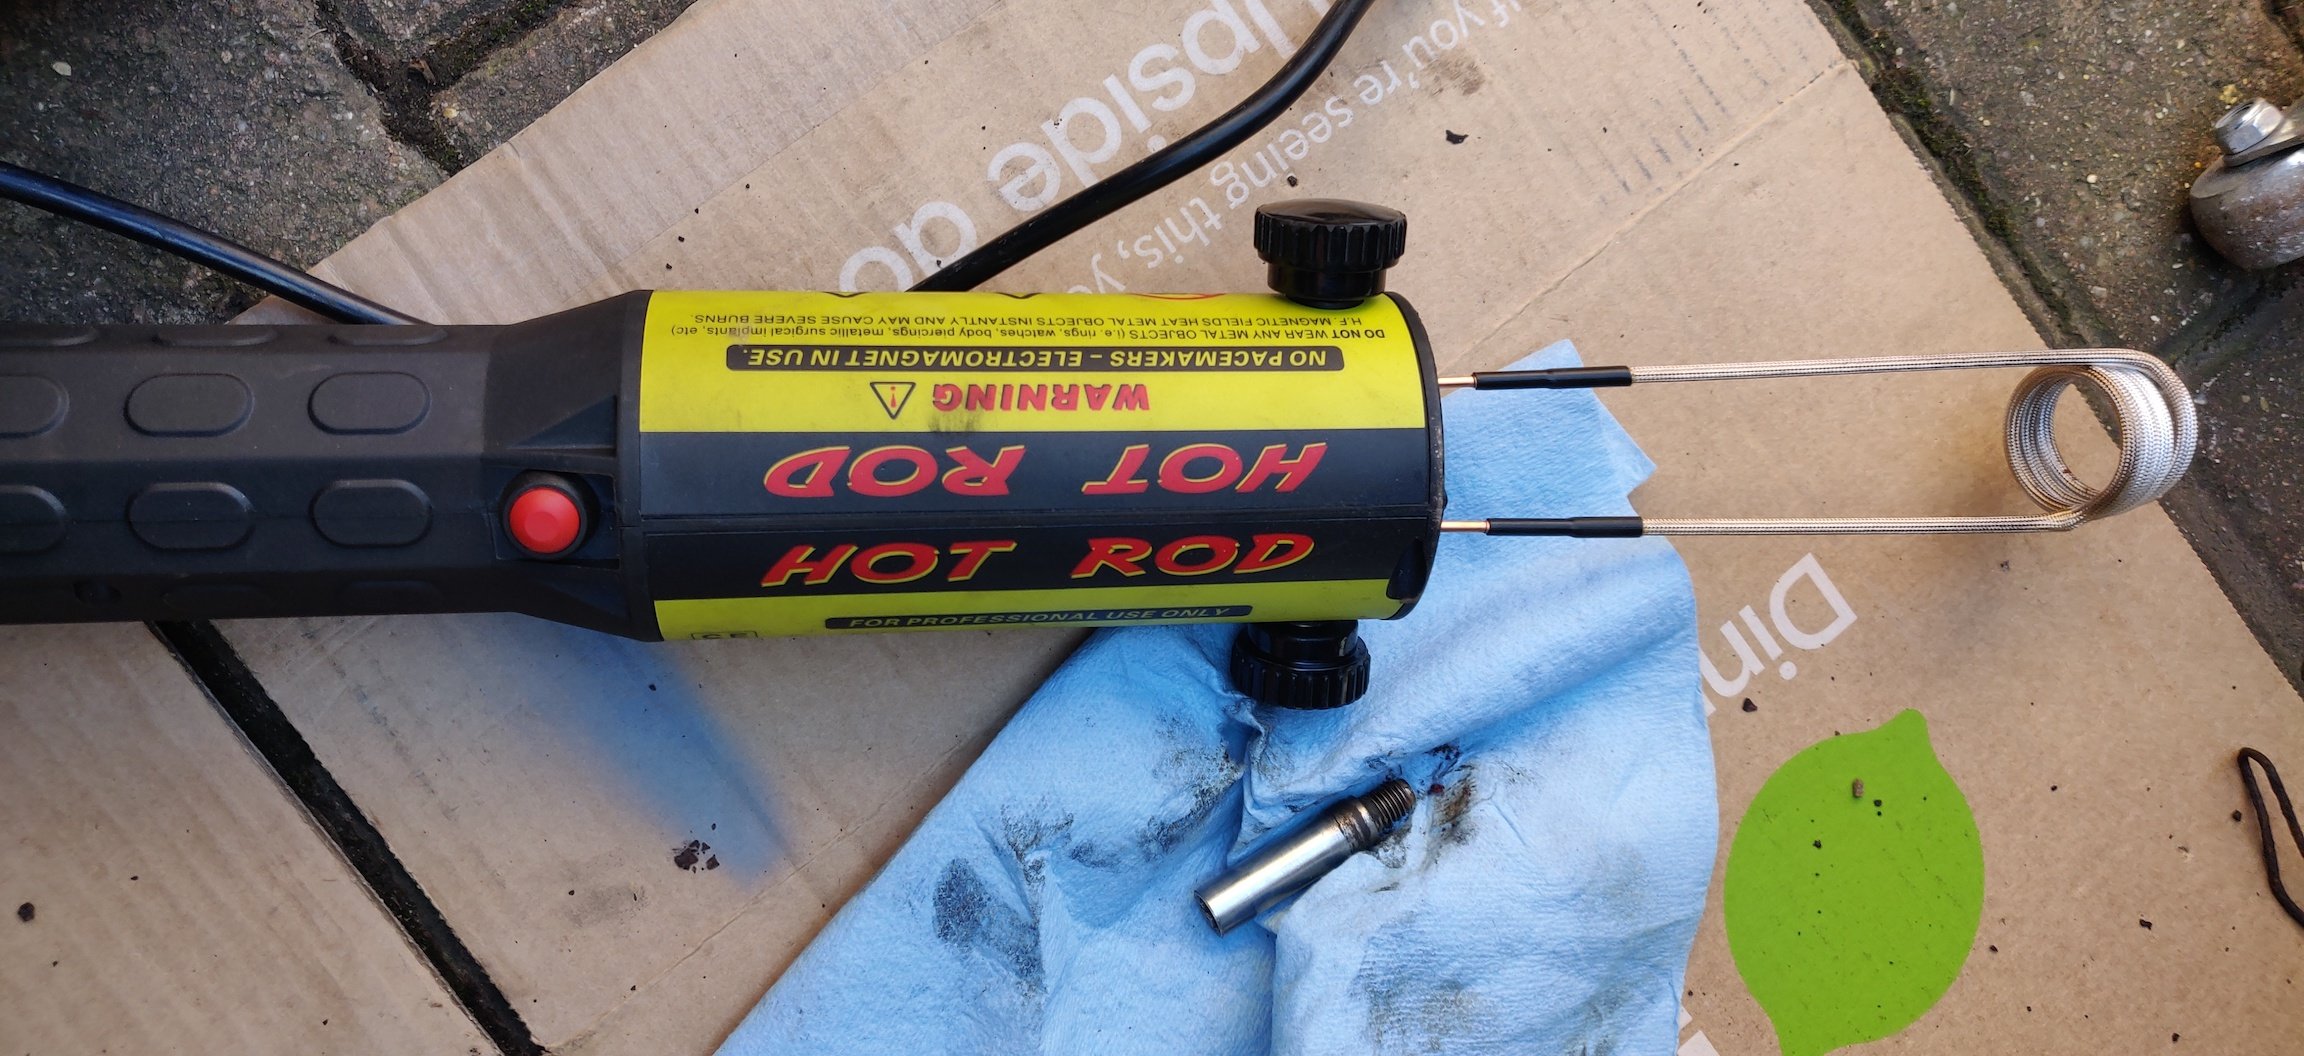
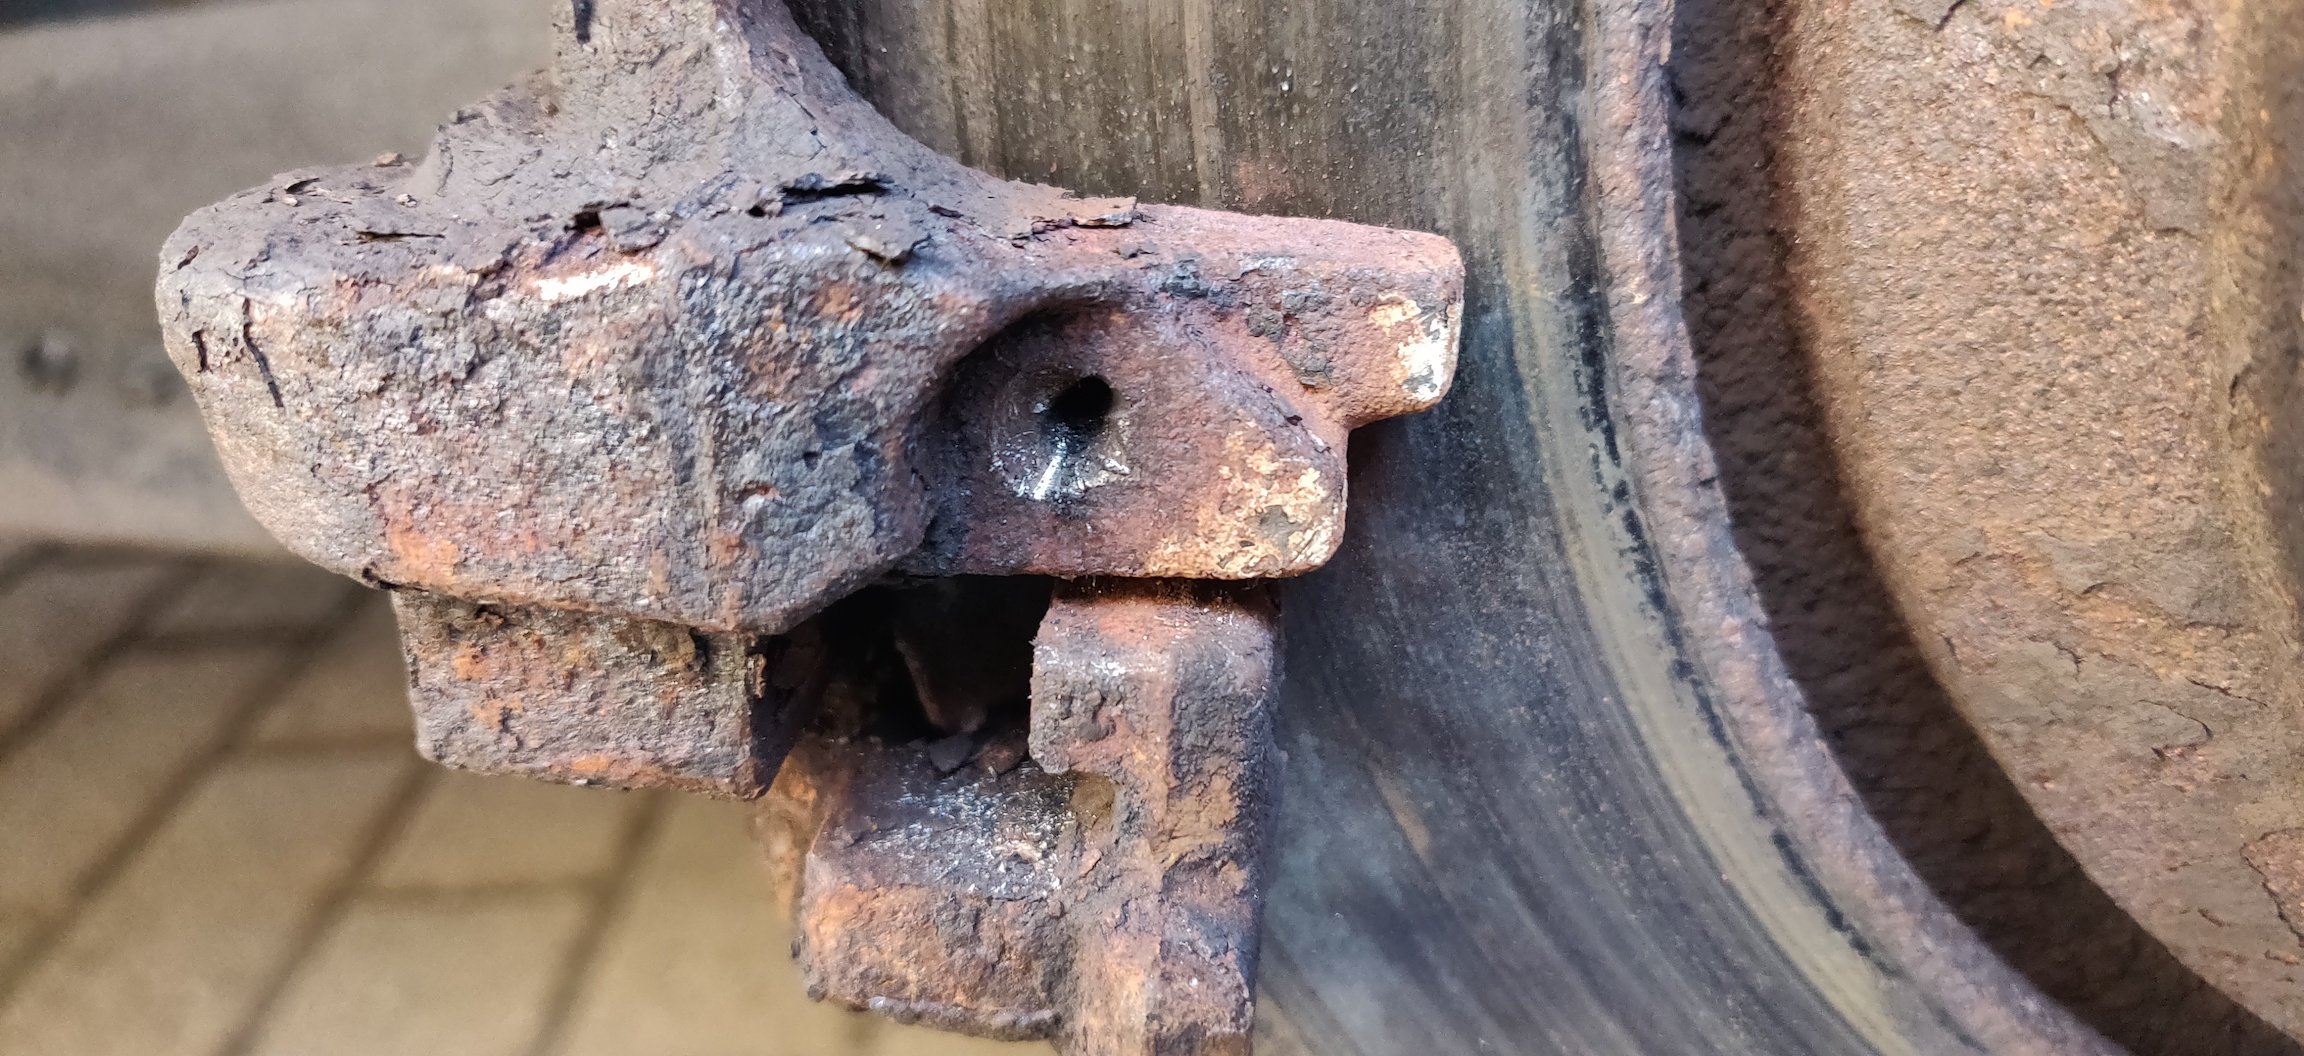
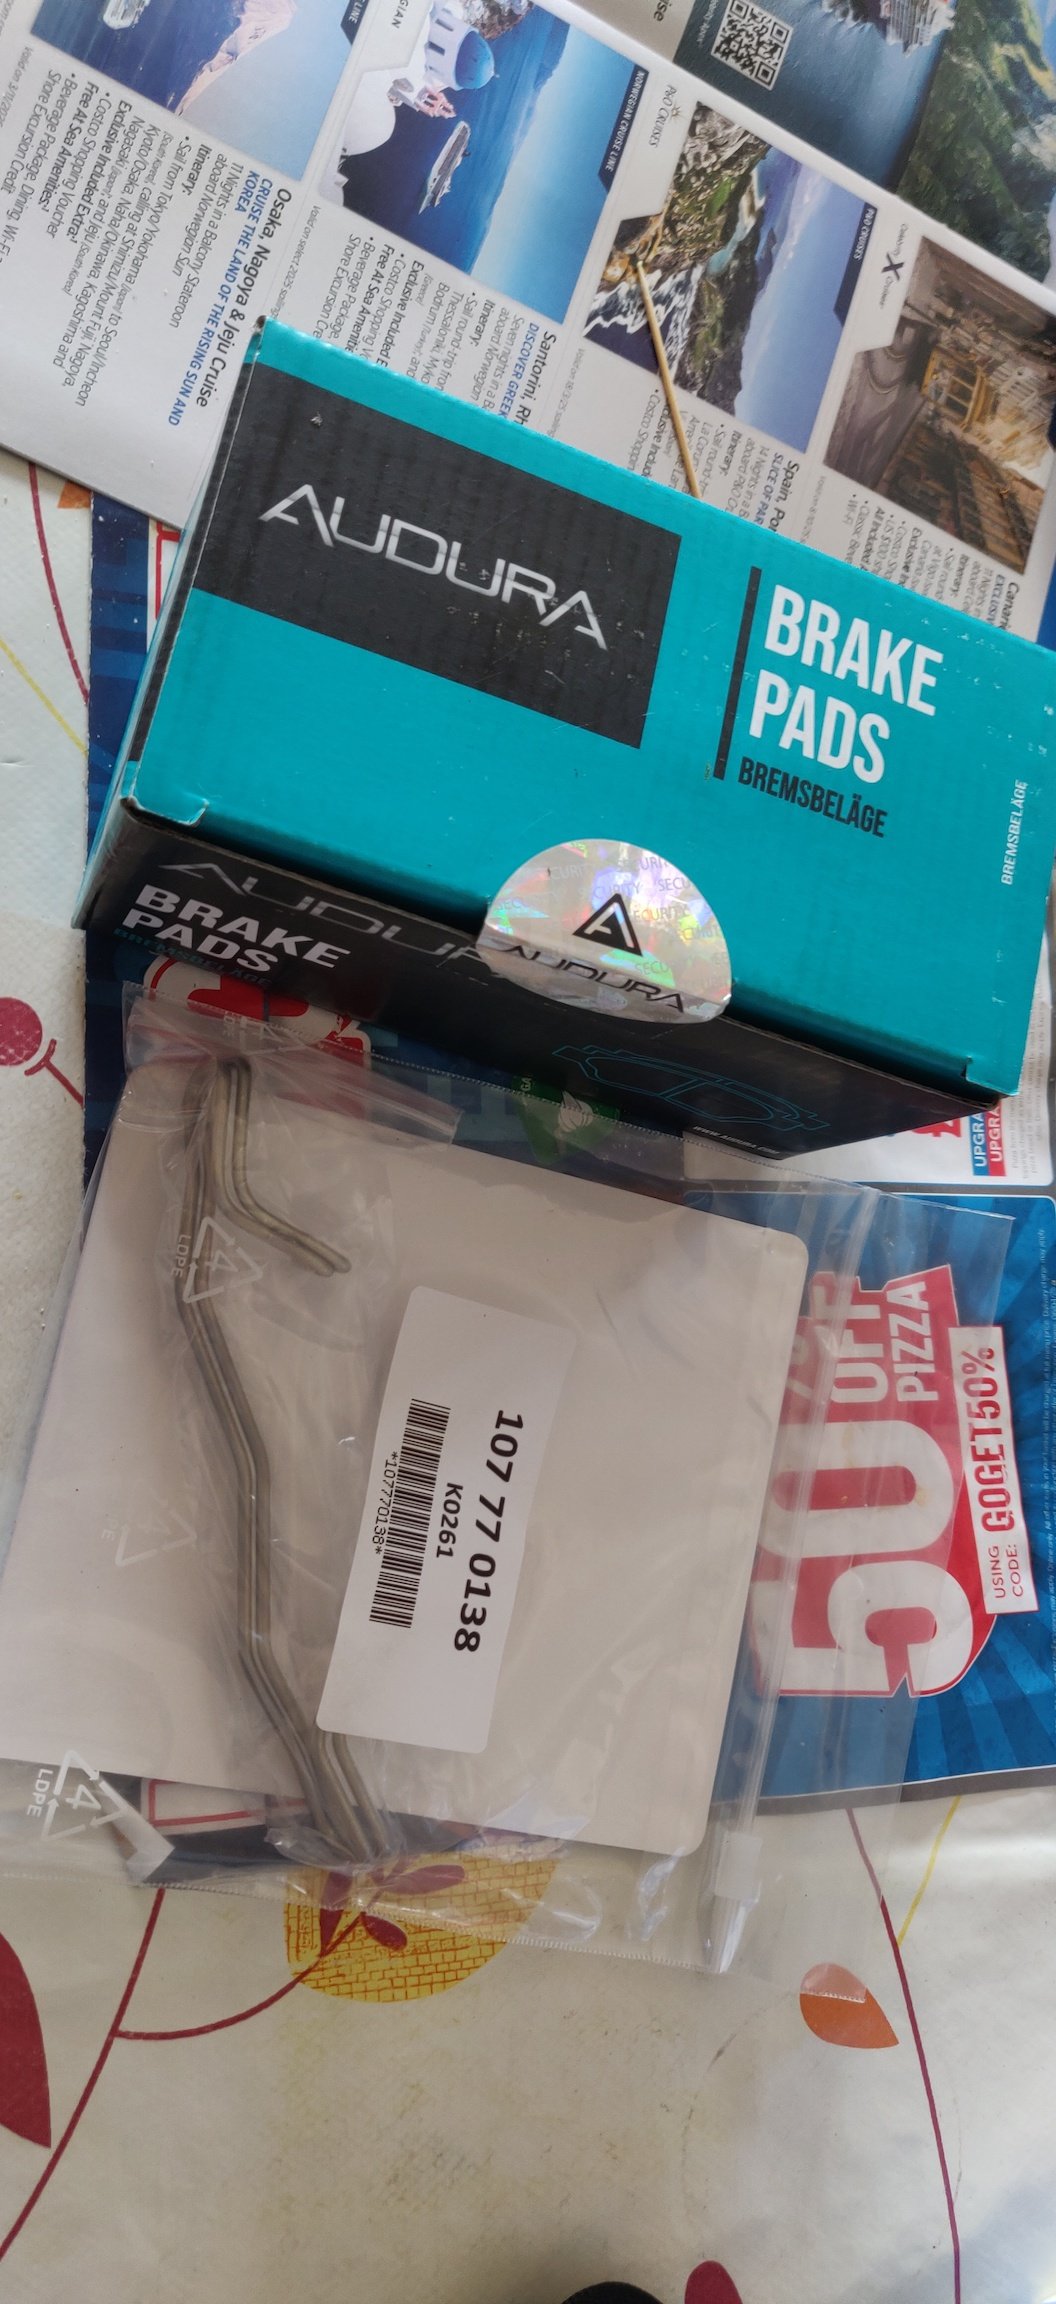
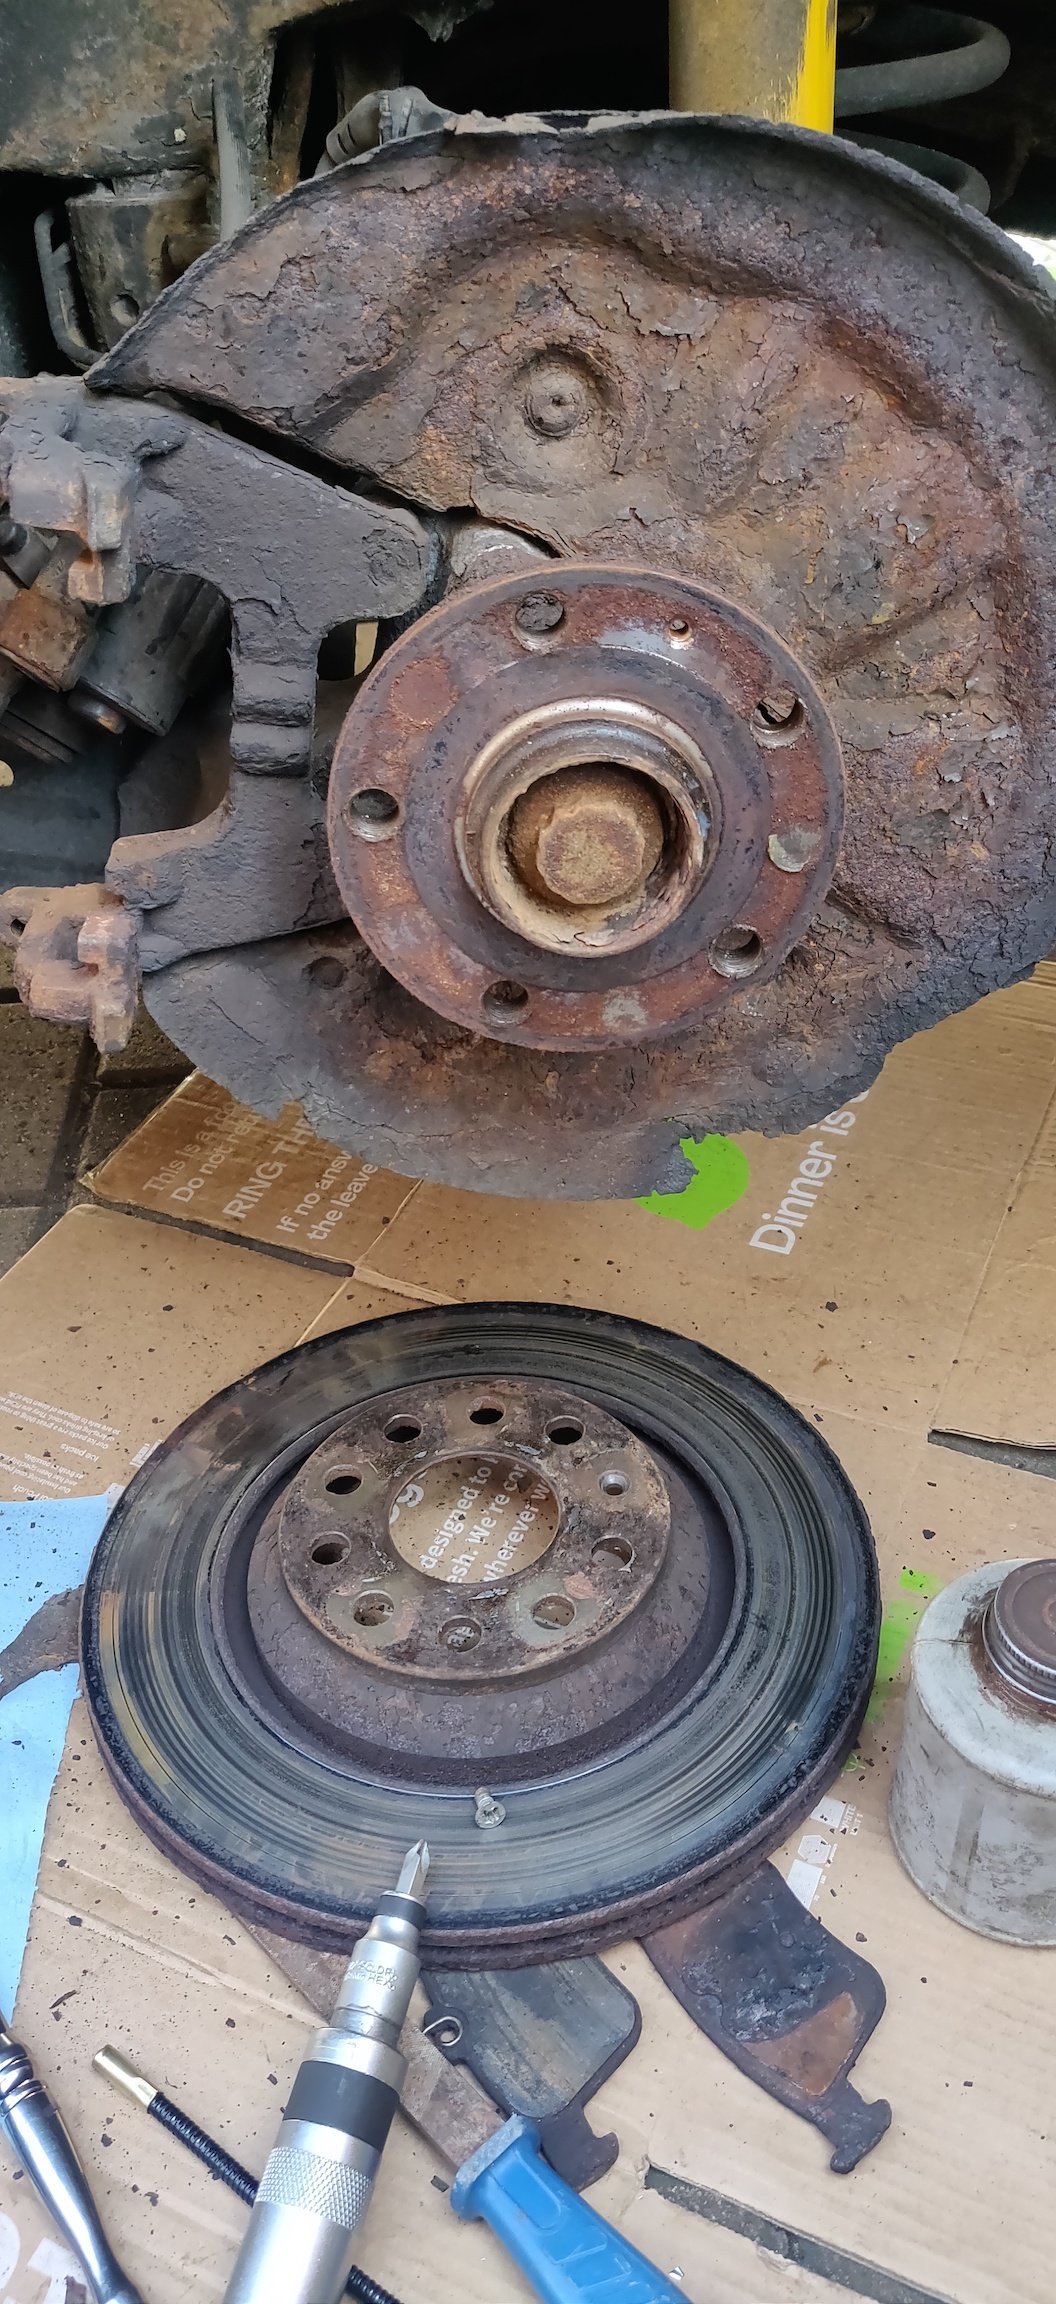
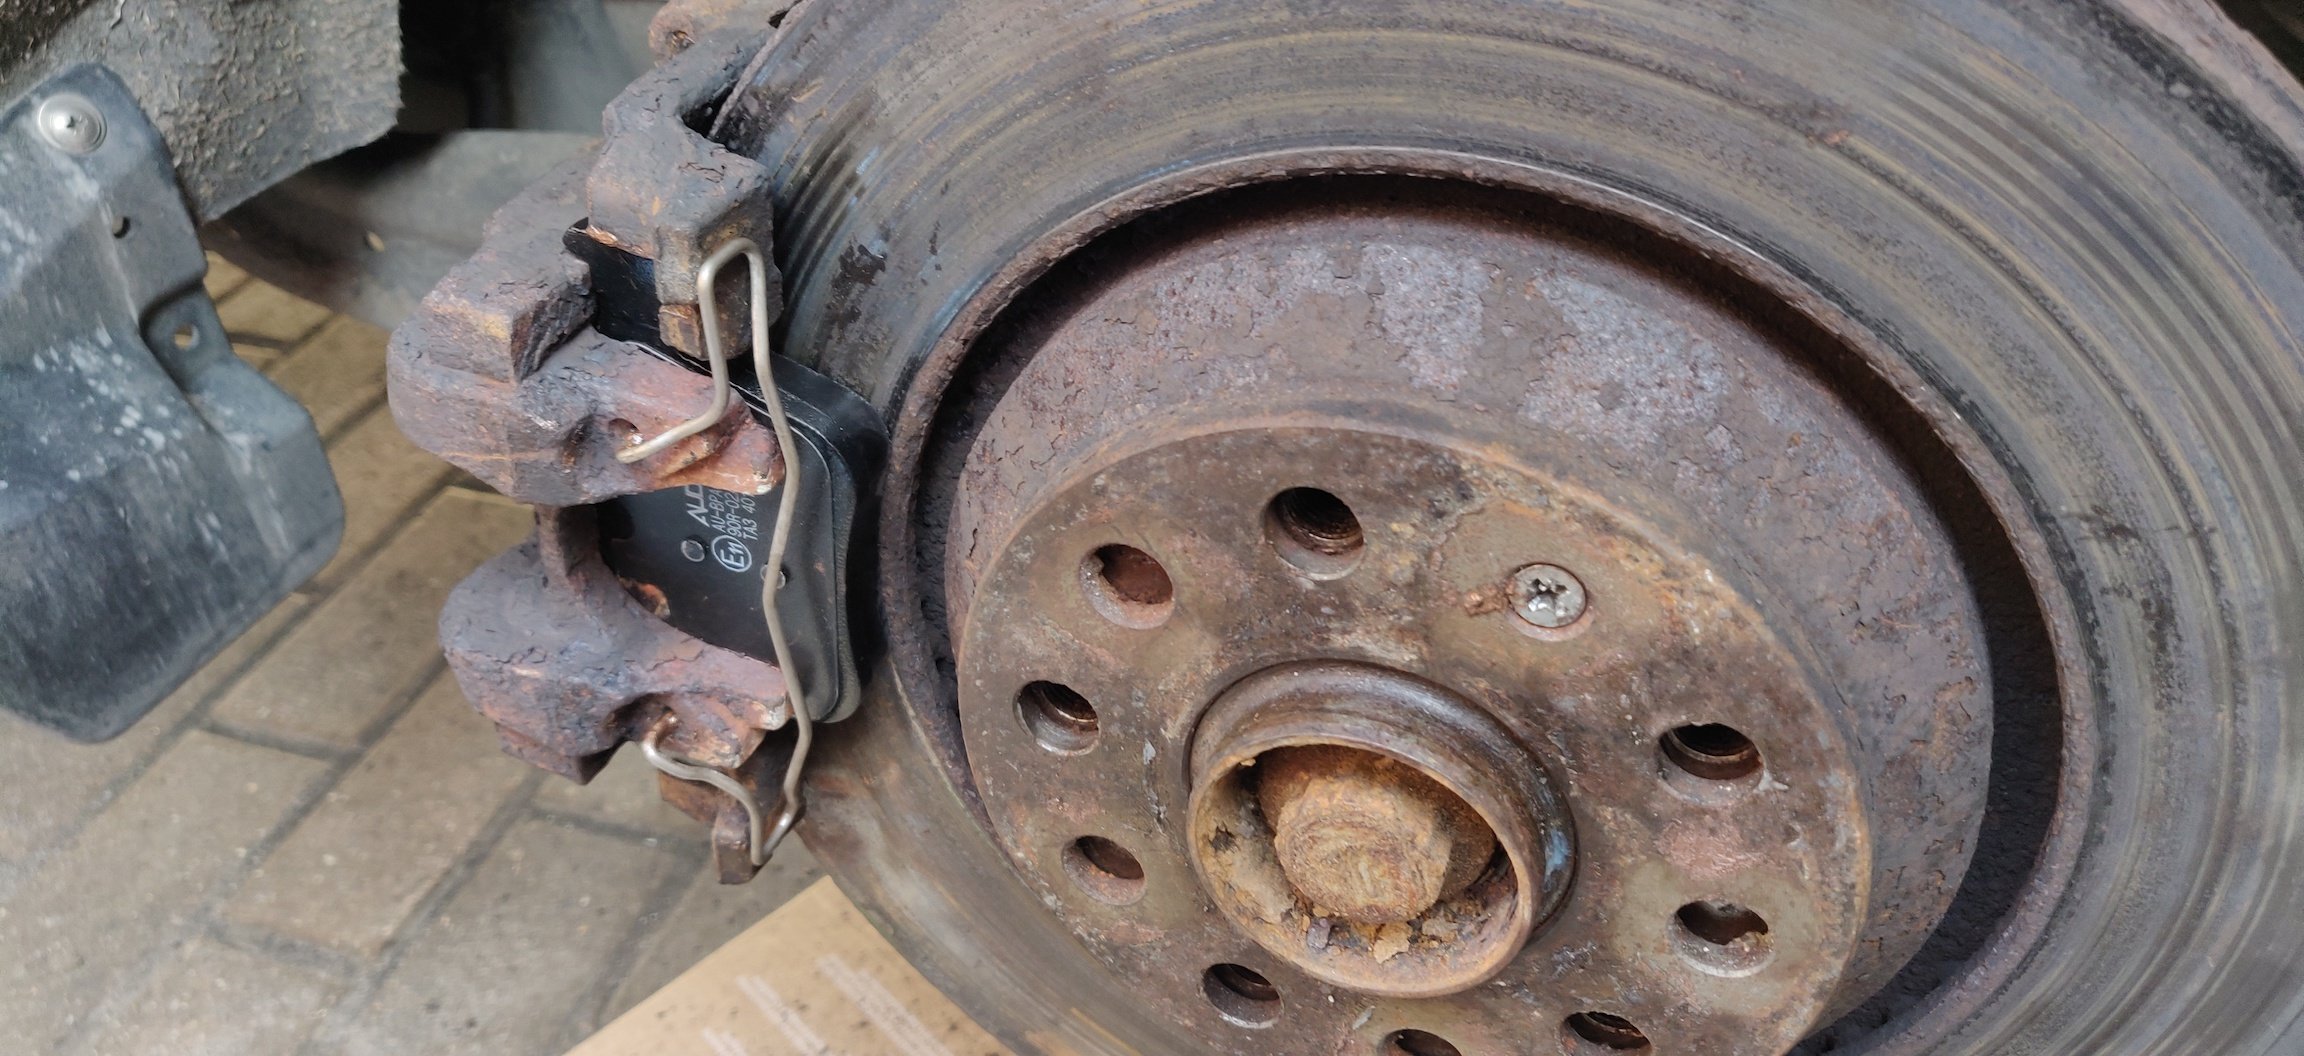
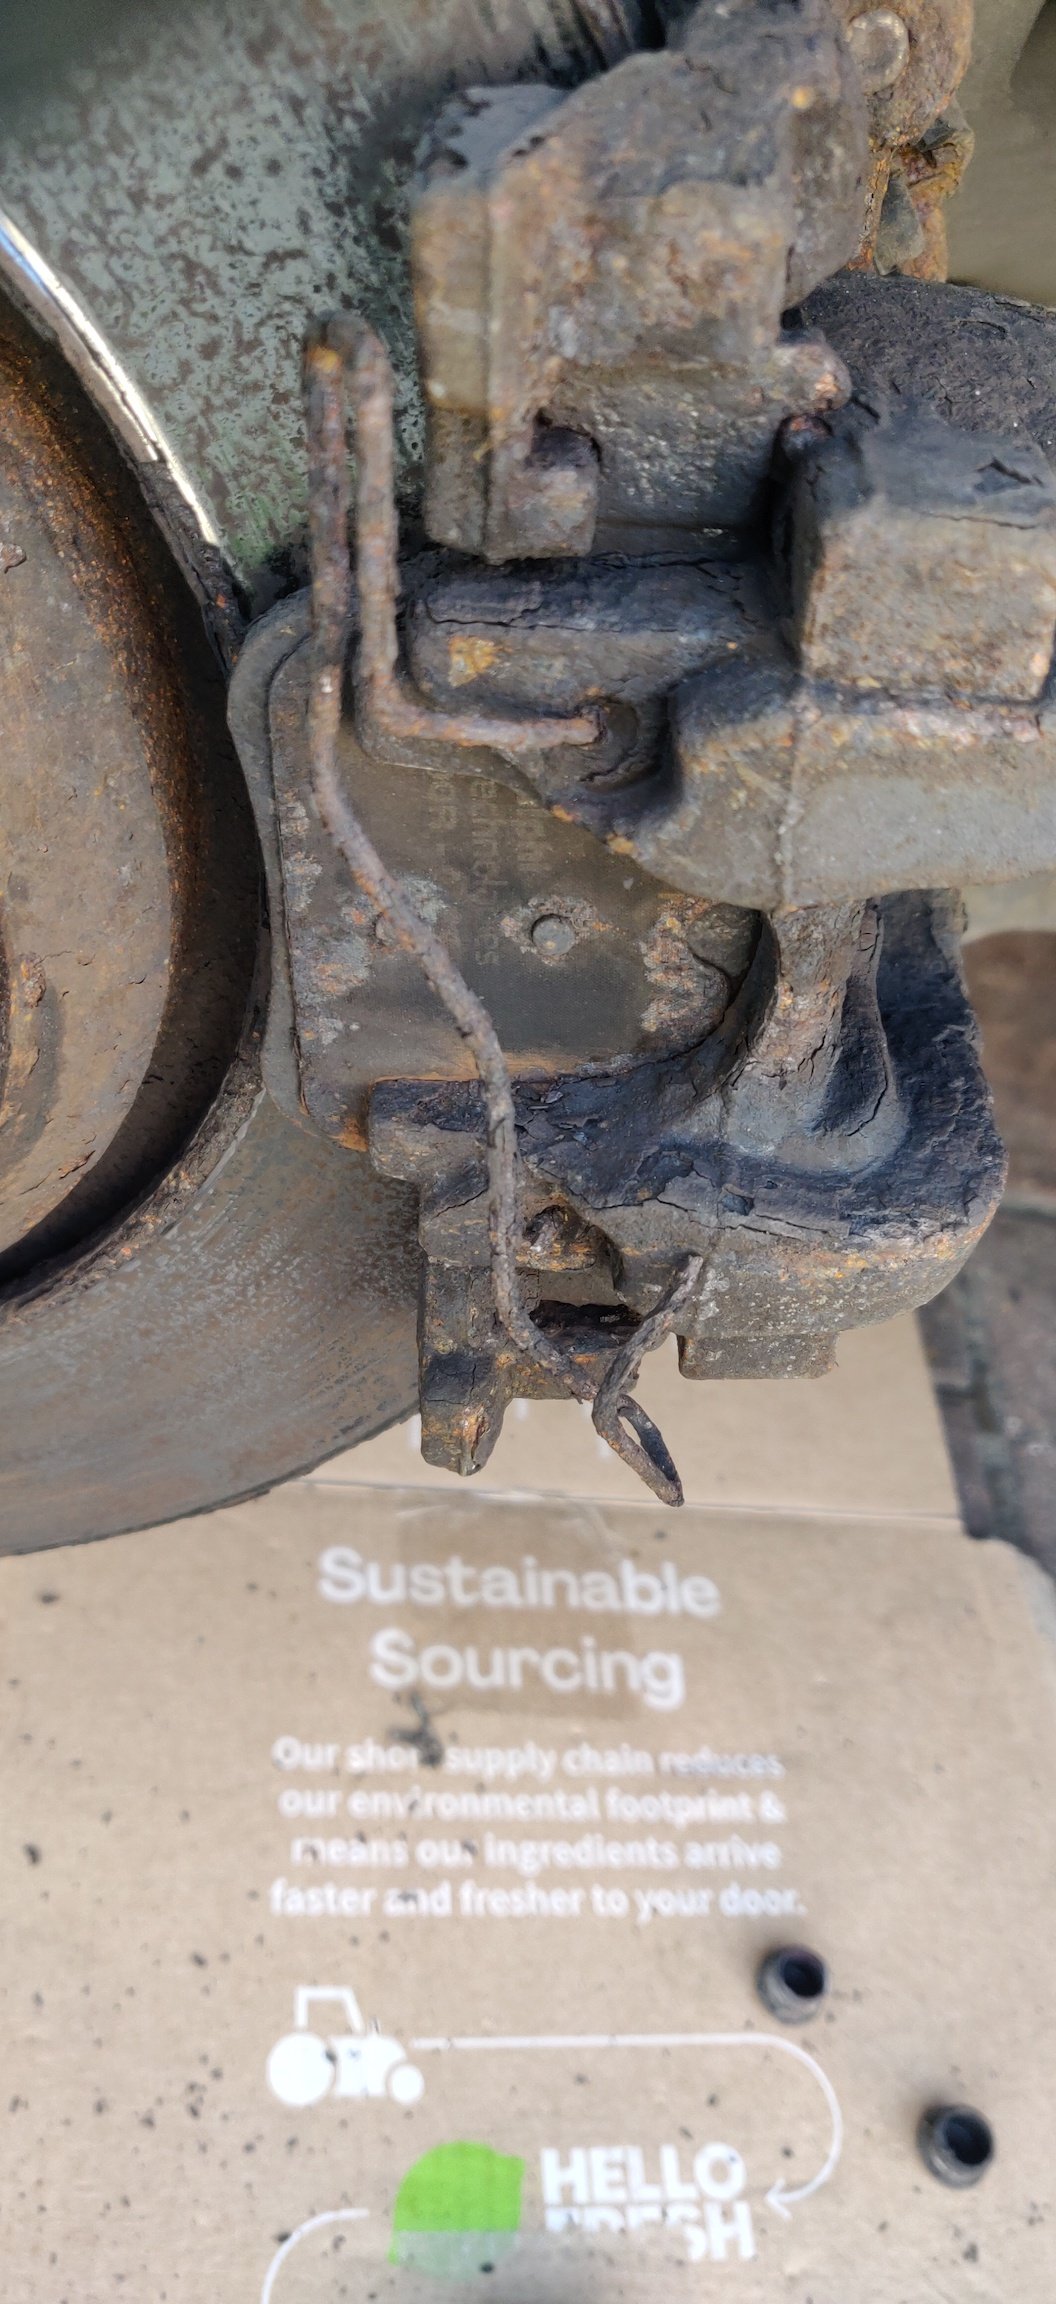
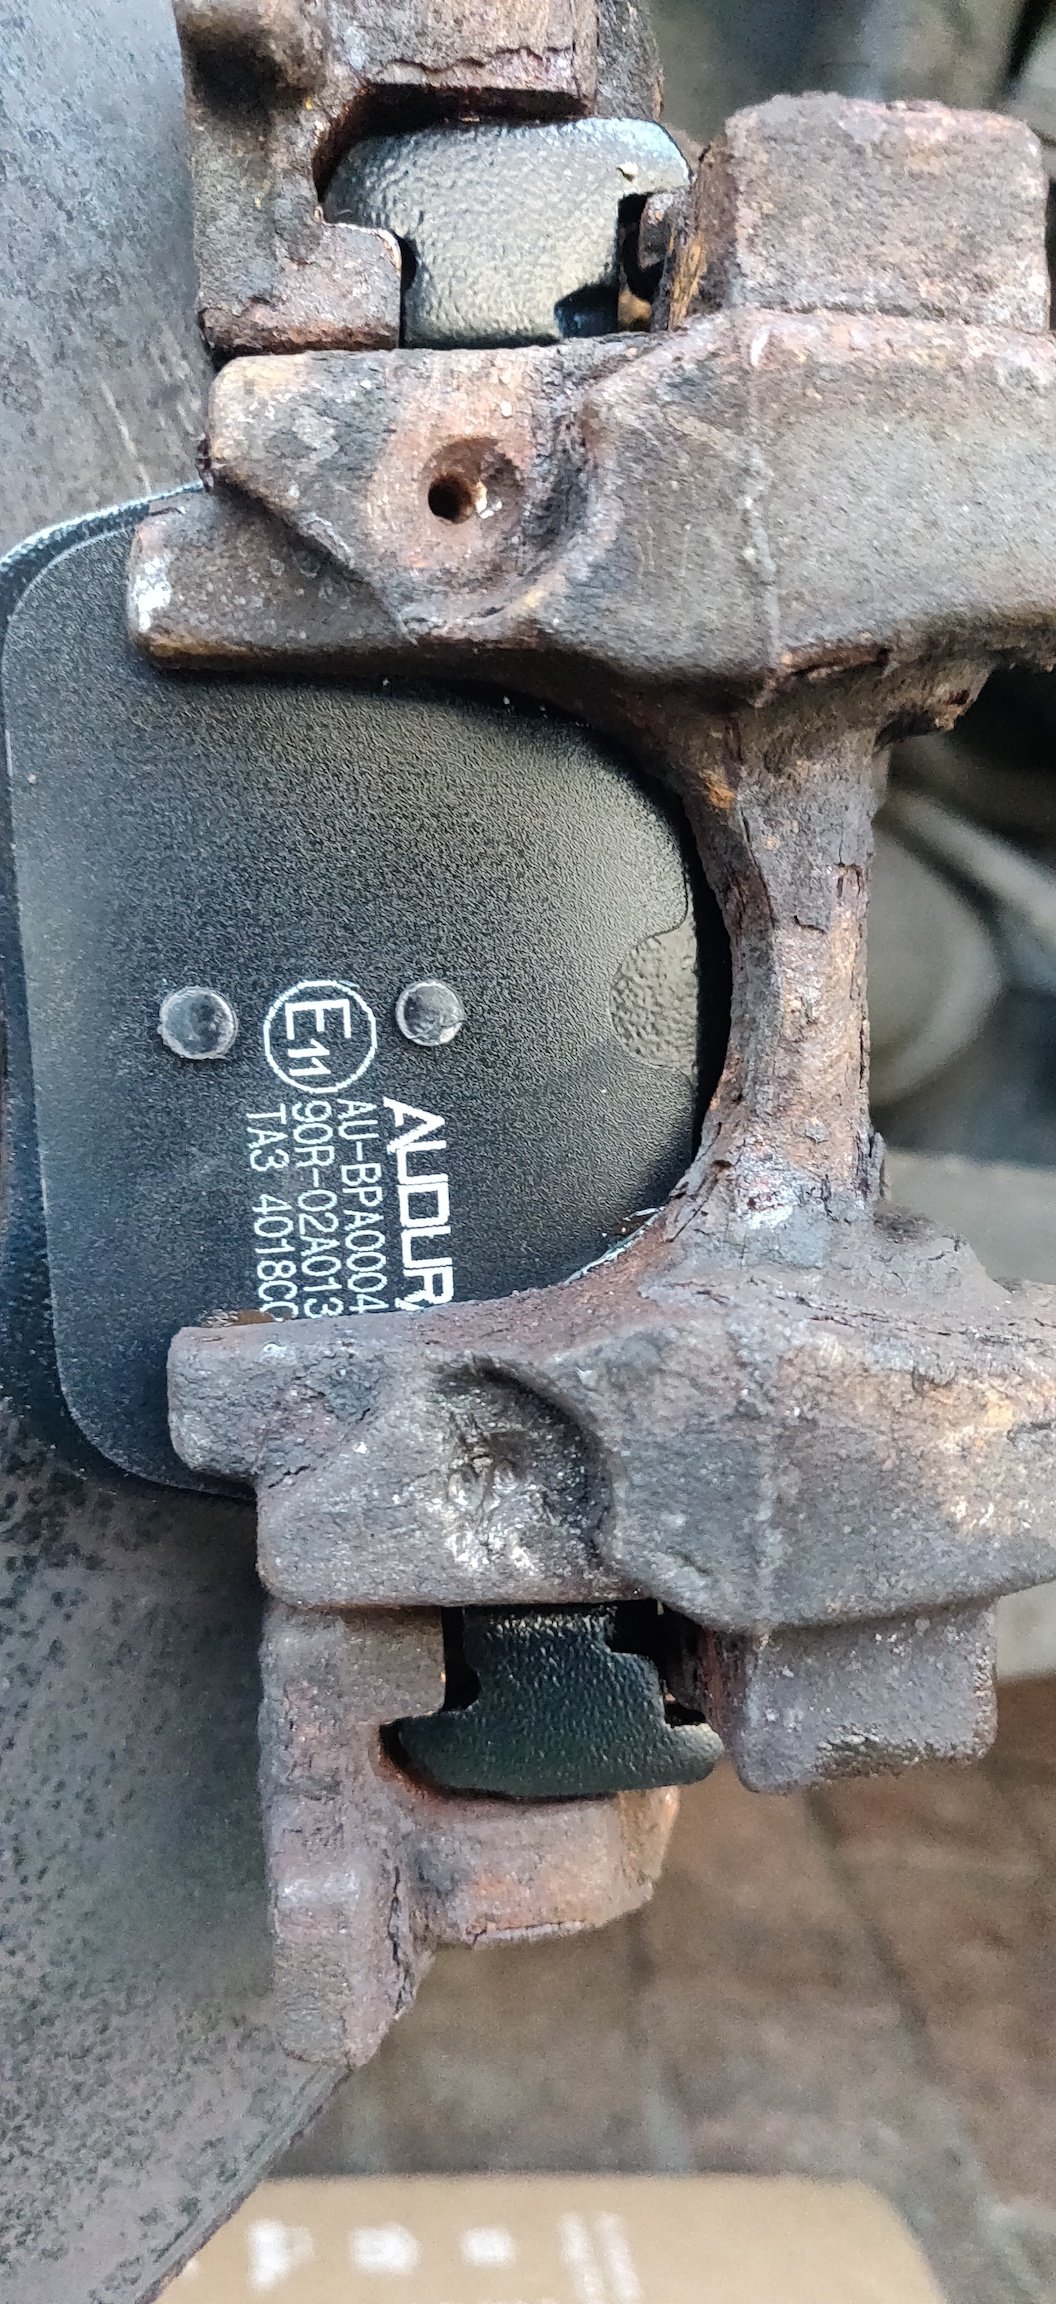
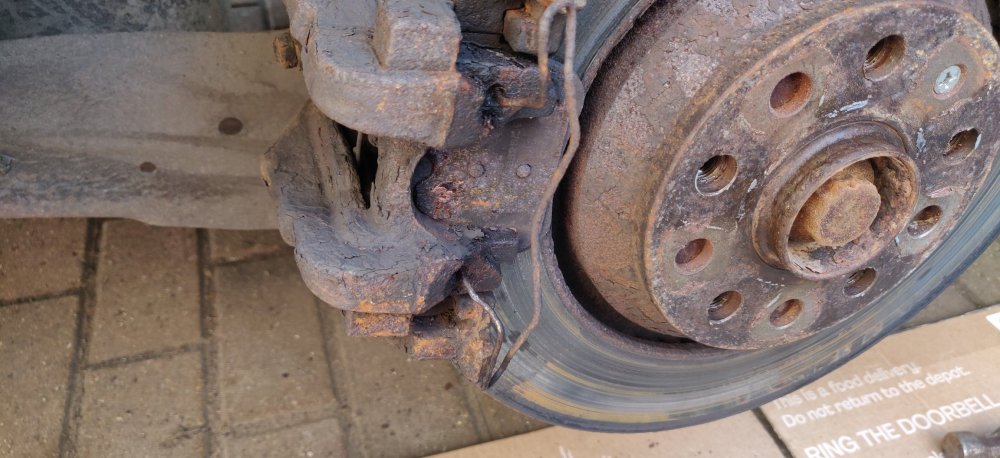
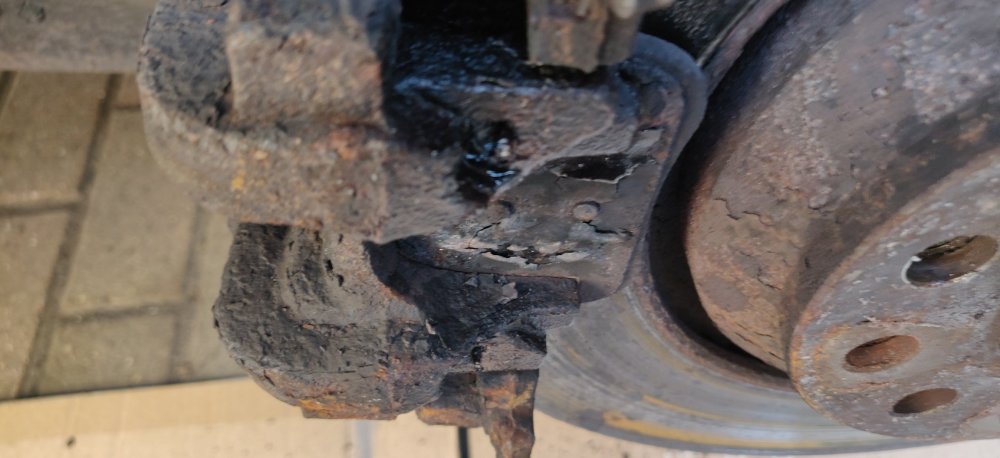
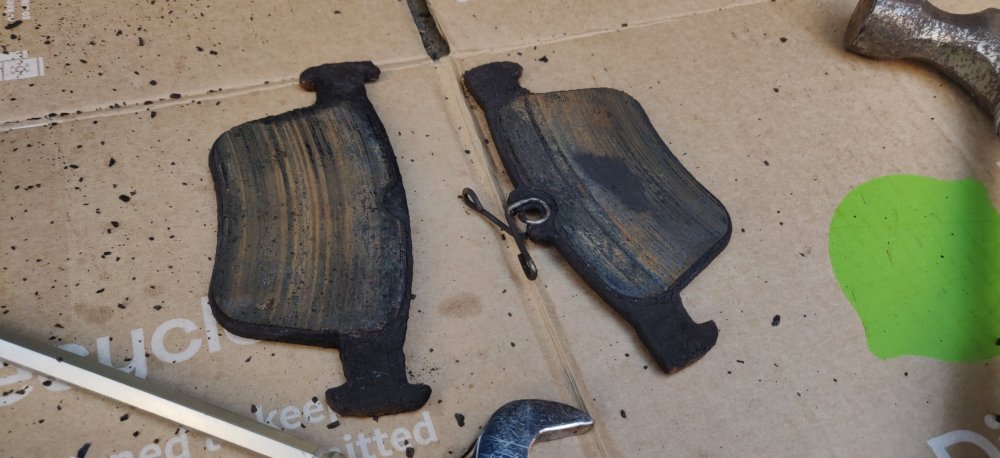
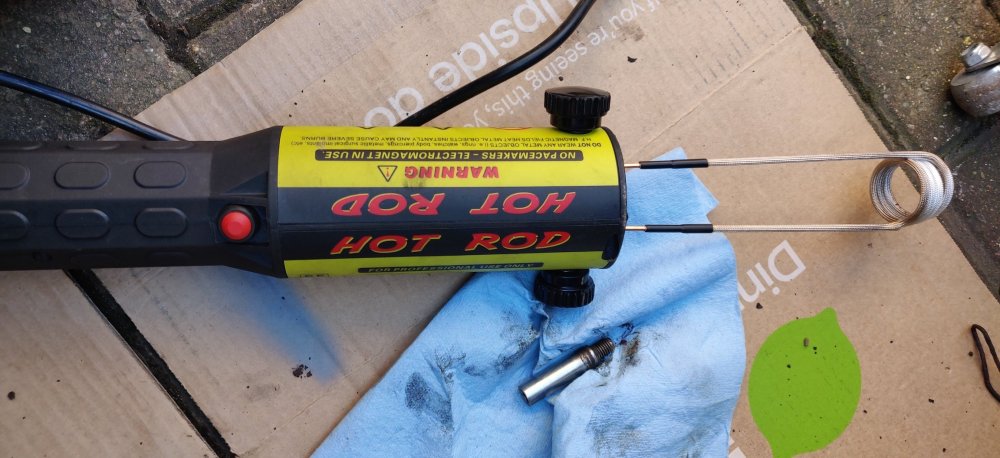
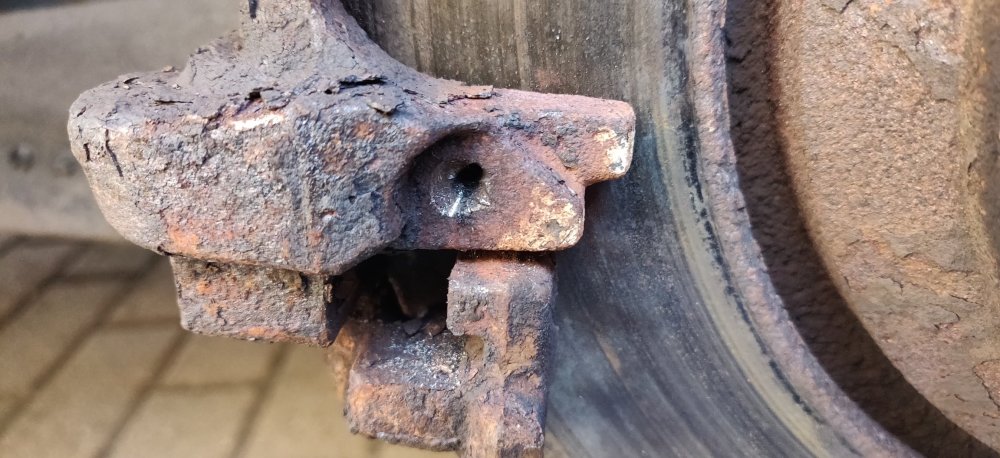
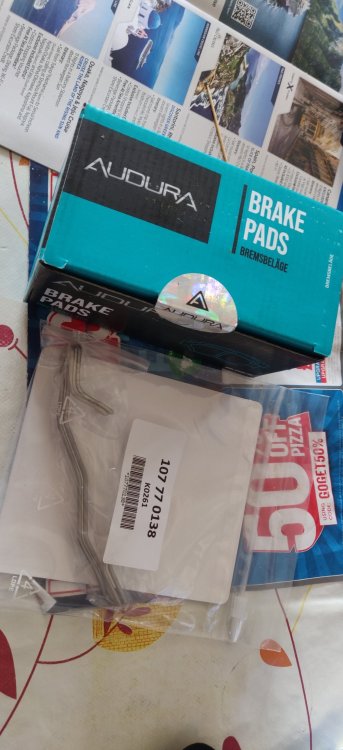
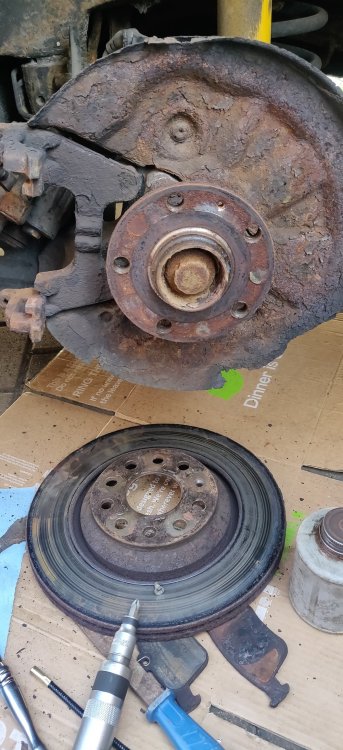
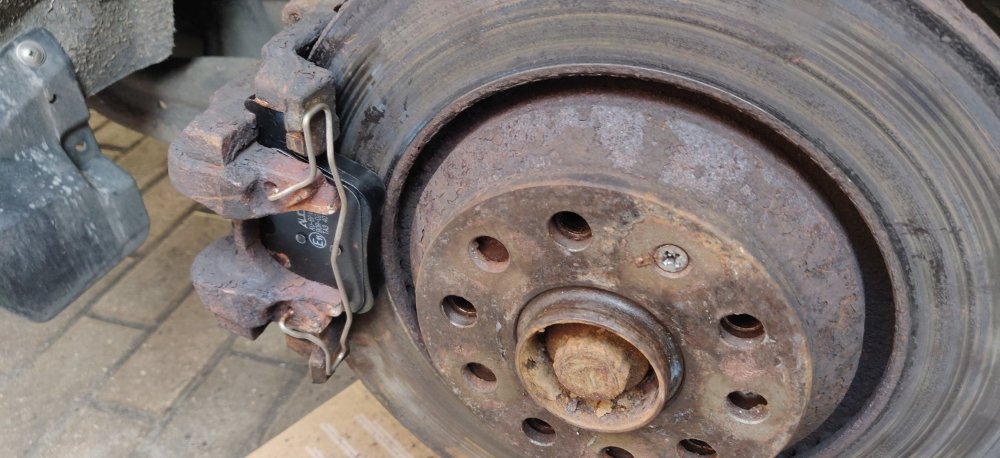
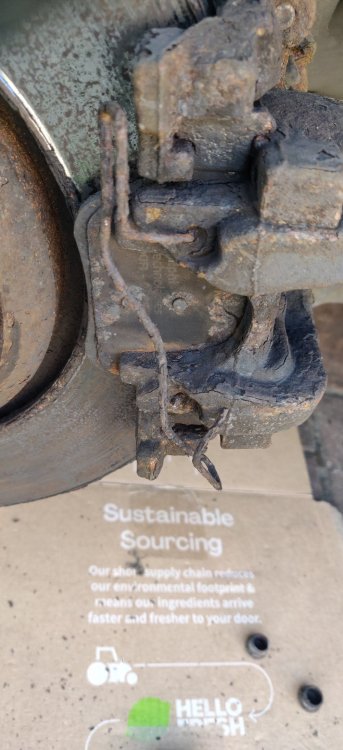
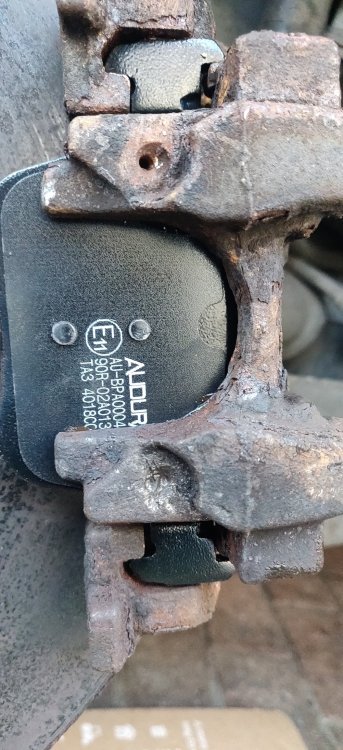
Hope everyone enjoyed the weekend sunny weather! My Sunday did not go as smoothly sadly... As mentioned in the previous post, the rear left caliper was sticking, so the task today was to disassemble bits to clean up and regrease, with the hope that would be sufficient. Of course, with this car, it was anything but. So after reminding myself how to use VCDS, got some wheel chocks on the front and disengaged the parking brakes. I think it was in the ABS module, and something like "start brake lining replacement" or somesuch. Then some whirring of the handbrake mechanisms and ready to start. After jacking the car up and removing the wheel, the first step involves removing the retaining clip holding the outer pads: So of course, something I've never seen before happens, where the clip is seized into the caliper: Thus snaps off leaving some remains in the caliper after attempts to persuade it out with pry bars and pliers and whatnot. This was probably the sign to stop and just leave it. Tackle them a bit later. For now, just remove the slide pins (a 7mm hex behind the plastic covers), then a pry bar and light hammner taps to free the caliper. Set the caliper aside hanging off the suspension arm, then removed pads: Or rather, what remains of it. I suppose there's about 0.5mm of friction material left, so no big surprise that the caliper was probably at its end and years of crud keeping things stuck. At this stage I put the caliper back on with the pins, to try and tackle the remains of the clips in the caliper. Wife was in China a few weeks back, and I asked her very nicely to procure me one of these: It's essentially some funky induction heater which allows a concentrated heat to be applied to whatever is within the coils. The particular coil attachment was large enough to slide on the end of the caliper, where the clip remains are. So got them glowing red, then some plus gas, then some Knipex pliers on the remains with some twisting, swearing and praying. The top came free, but the bottom needed some additional convicing with a hammer and chisel, and then eventually just went at it with a drill: Not ideal, but I was starting to get extremely miffed. This did mean that at the least, if I wanted to replace the pads, I could do so. It being a Sunday, the only local source for car bits I was aware of was Euro Car Parts, which fortunately had a cheap enough set of pads plus the retaining clips, so spent the 25 minutes drive there and back to get them: Did not want any fancy pads for reasons I will explain in a later post! Parts came to £27.58, I guess via eBay might have squeezed a fiver saving, but wanted to get this done today. At this stage, didn't take any more detailed pics, because there must be loads of pad replacement guides online. The new pads were stiff along the pad carriers, so attacked the carrier with a file. However, with the brake disc in the way, made tackling the inside a bit of a faff. So decided to attempt to tackle removal of the brake disc: Which amusingly decided to not be anywhere near the drama I anticipated. I have an impact driver tool from Halfords from years ago which was specifically for those retaining screws for the brake disc. The rear left had a cross head, so firstly, got some fire on the screw for about 30 seconds, then hammered at it with the impact driver. A relief once I saw the screw rotate slightly. The brake disc itself can be wiggled to free it from the pad carrier, which is a huge relief. This allowed for easy access to the carrier to continue filing away the years of crud. So once cleaned up, copper grease on the contact areas and then checks to ensure the pads slide nice and smoothly. Then the caliper guide pins were given a quick clean and dabs of silicone grease, sliding them through the caliper with grease a few times to loosen them. The caliper piston can then be retracted. I suppose one benefit of the electronic handbrake is that the piston can be wound back with a standard retracting tool. The tool itself pushed the caliper back in nice and smoothly, so the caliper itself doesn't seem seized. Then some anti squeal paste on the piston and the contact points on the outer pad: Then just finish it up. The new clip needed some persuasion to get fitted, and to be honest, the bottom appears to not be snugly in, which I can't help but feel it means it's going to fly off. Anyways, I'll revisit it later. So decided with that done, to do the other side, which is generally good practice: So of course, the clip on this side suffers the same seizing as the other. Unfortunately, whilst the top seized part was removed without drama, the bottom was resolute, and this time, bits came off the remains in such a way that there was no more leverage. Attempted at this point to drill out the remains, which basically left 3 drill bits in pieces. Fuming, I decided to just carry on with the pad replacement: So there's the new pads and the shot of the bottom supposed hole where the clip would go. Genuinely amazing. So at this stage, I either: a) Leave it, don't care, it should be an anti rattle clip, so this just means rattles. b) Persist with drilling somewhere around there with new bits. I'll order some new bits as I have other cars which need broken bolt remains drilling out. Went back into the car, pressed the brake pedal a few times to push out the caliper pistons, then used VCDS to reinstate the hand brake mechanism. Frustrating for what should have been a simple task, but I guess the car at least is usable for now. It's actually really frustrating for other reasons, which I'll reveal at a later date. Trying to look at the positives, at least the calipers themselves weren't seized, and hopefully, now with dollops of copper grease on the brake disc retaining screw, means future rear brake disc replacements won't be a drama. Maintenance: £2397.80 (+£27.58) Upgrades: £2994.25 Miscellaneous: £820.07
-
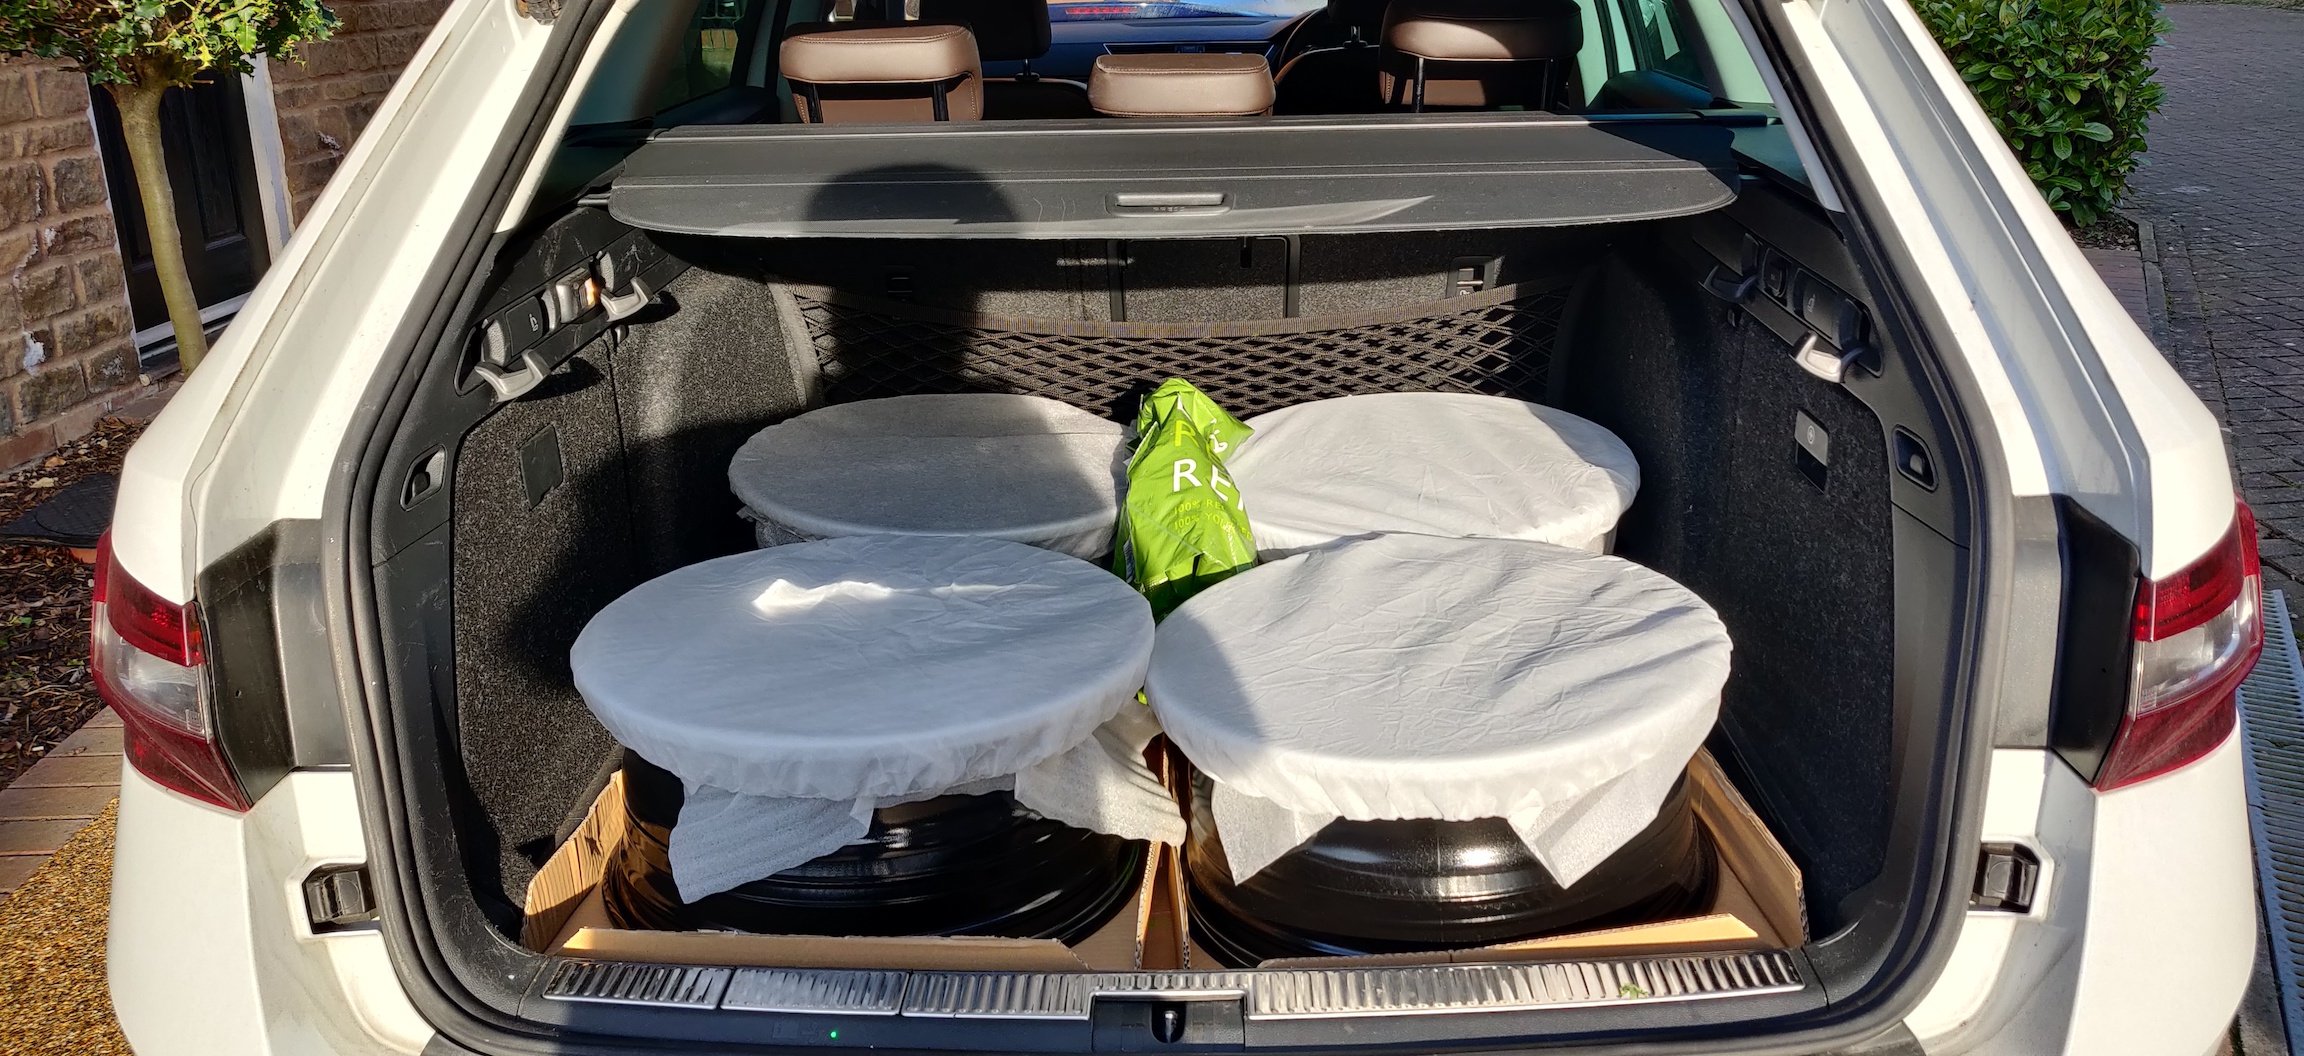
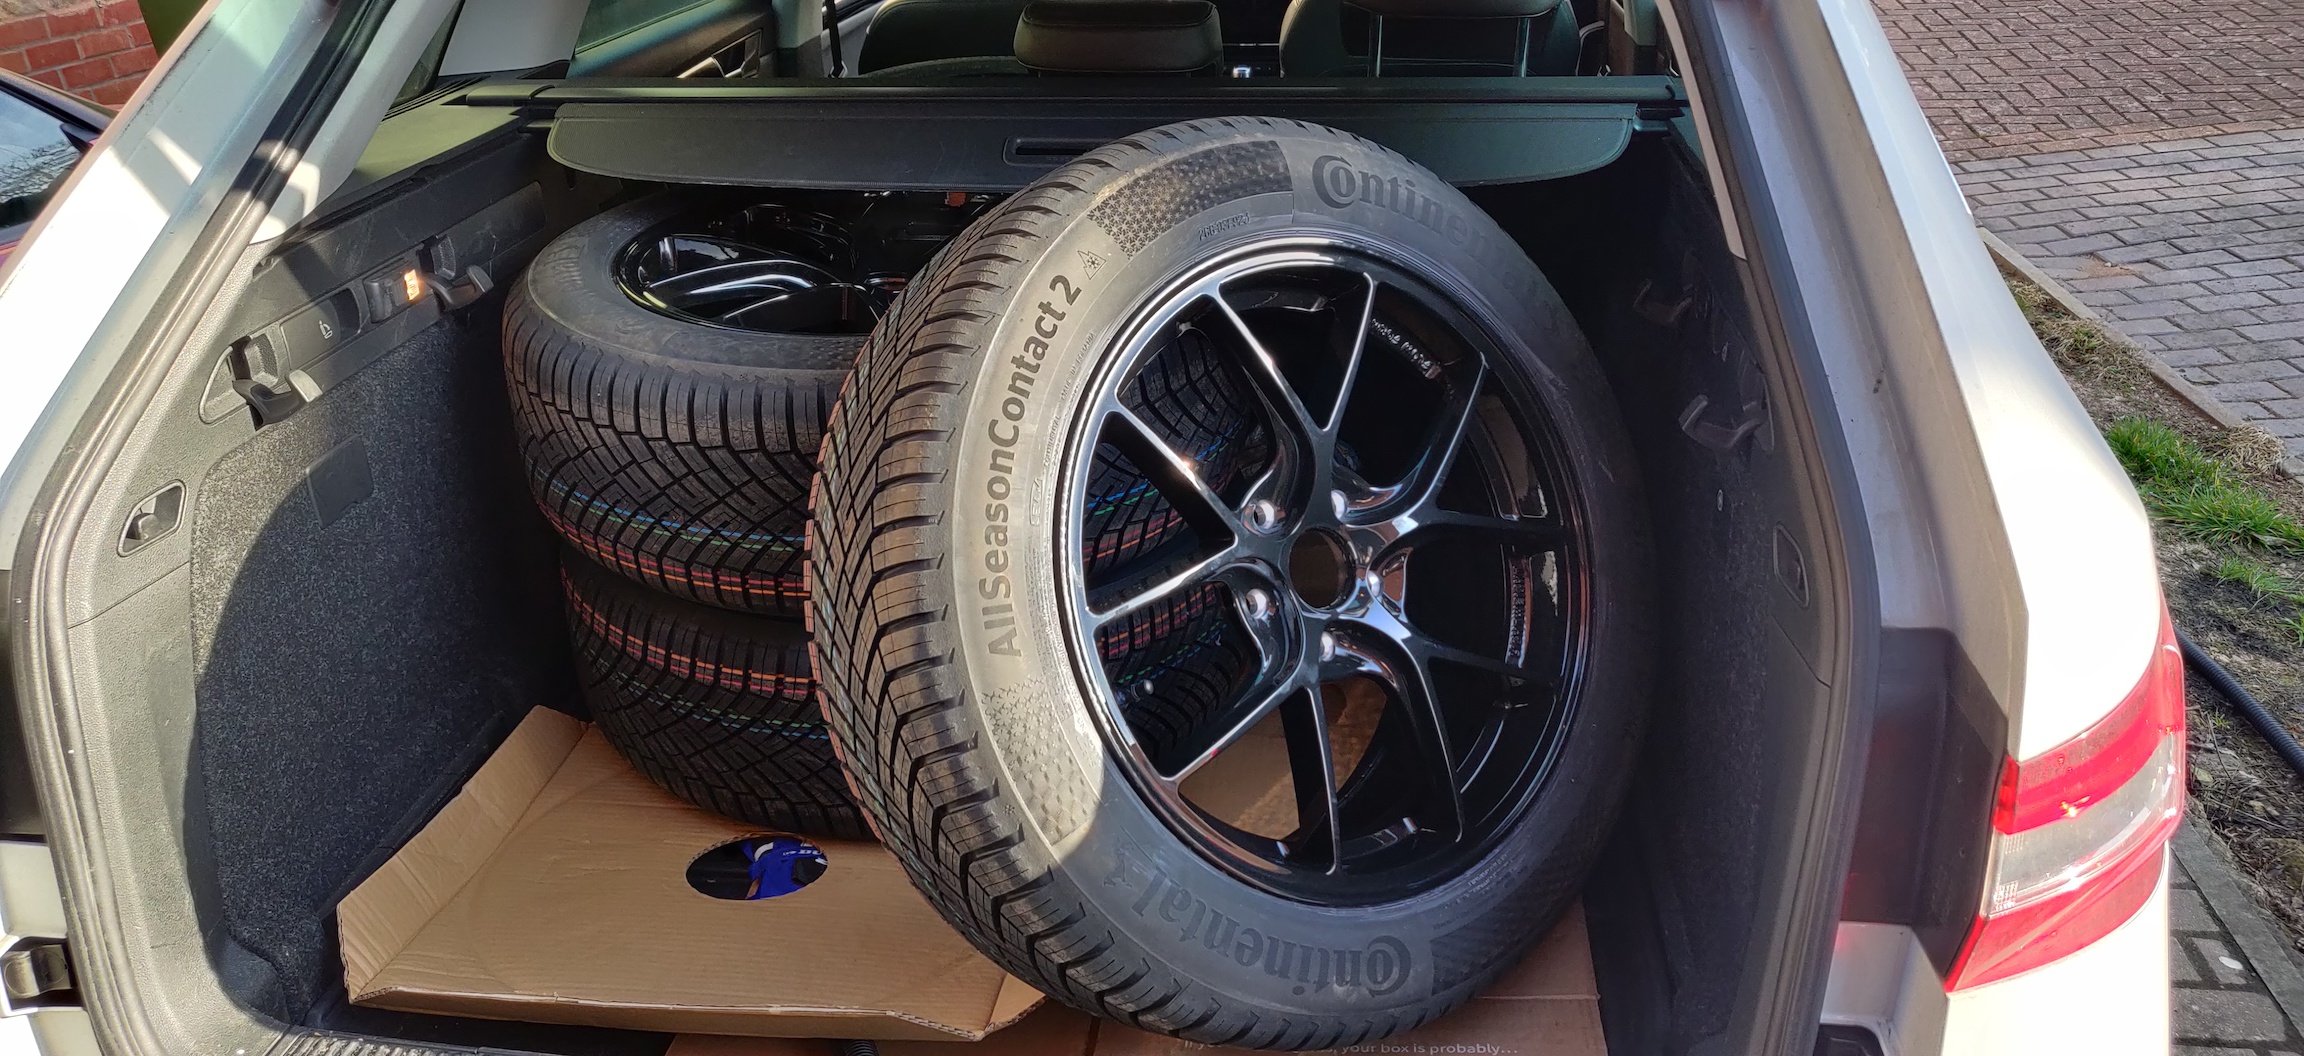
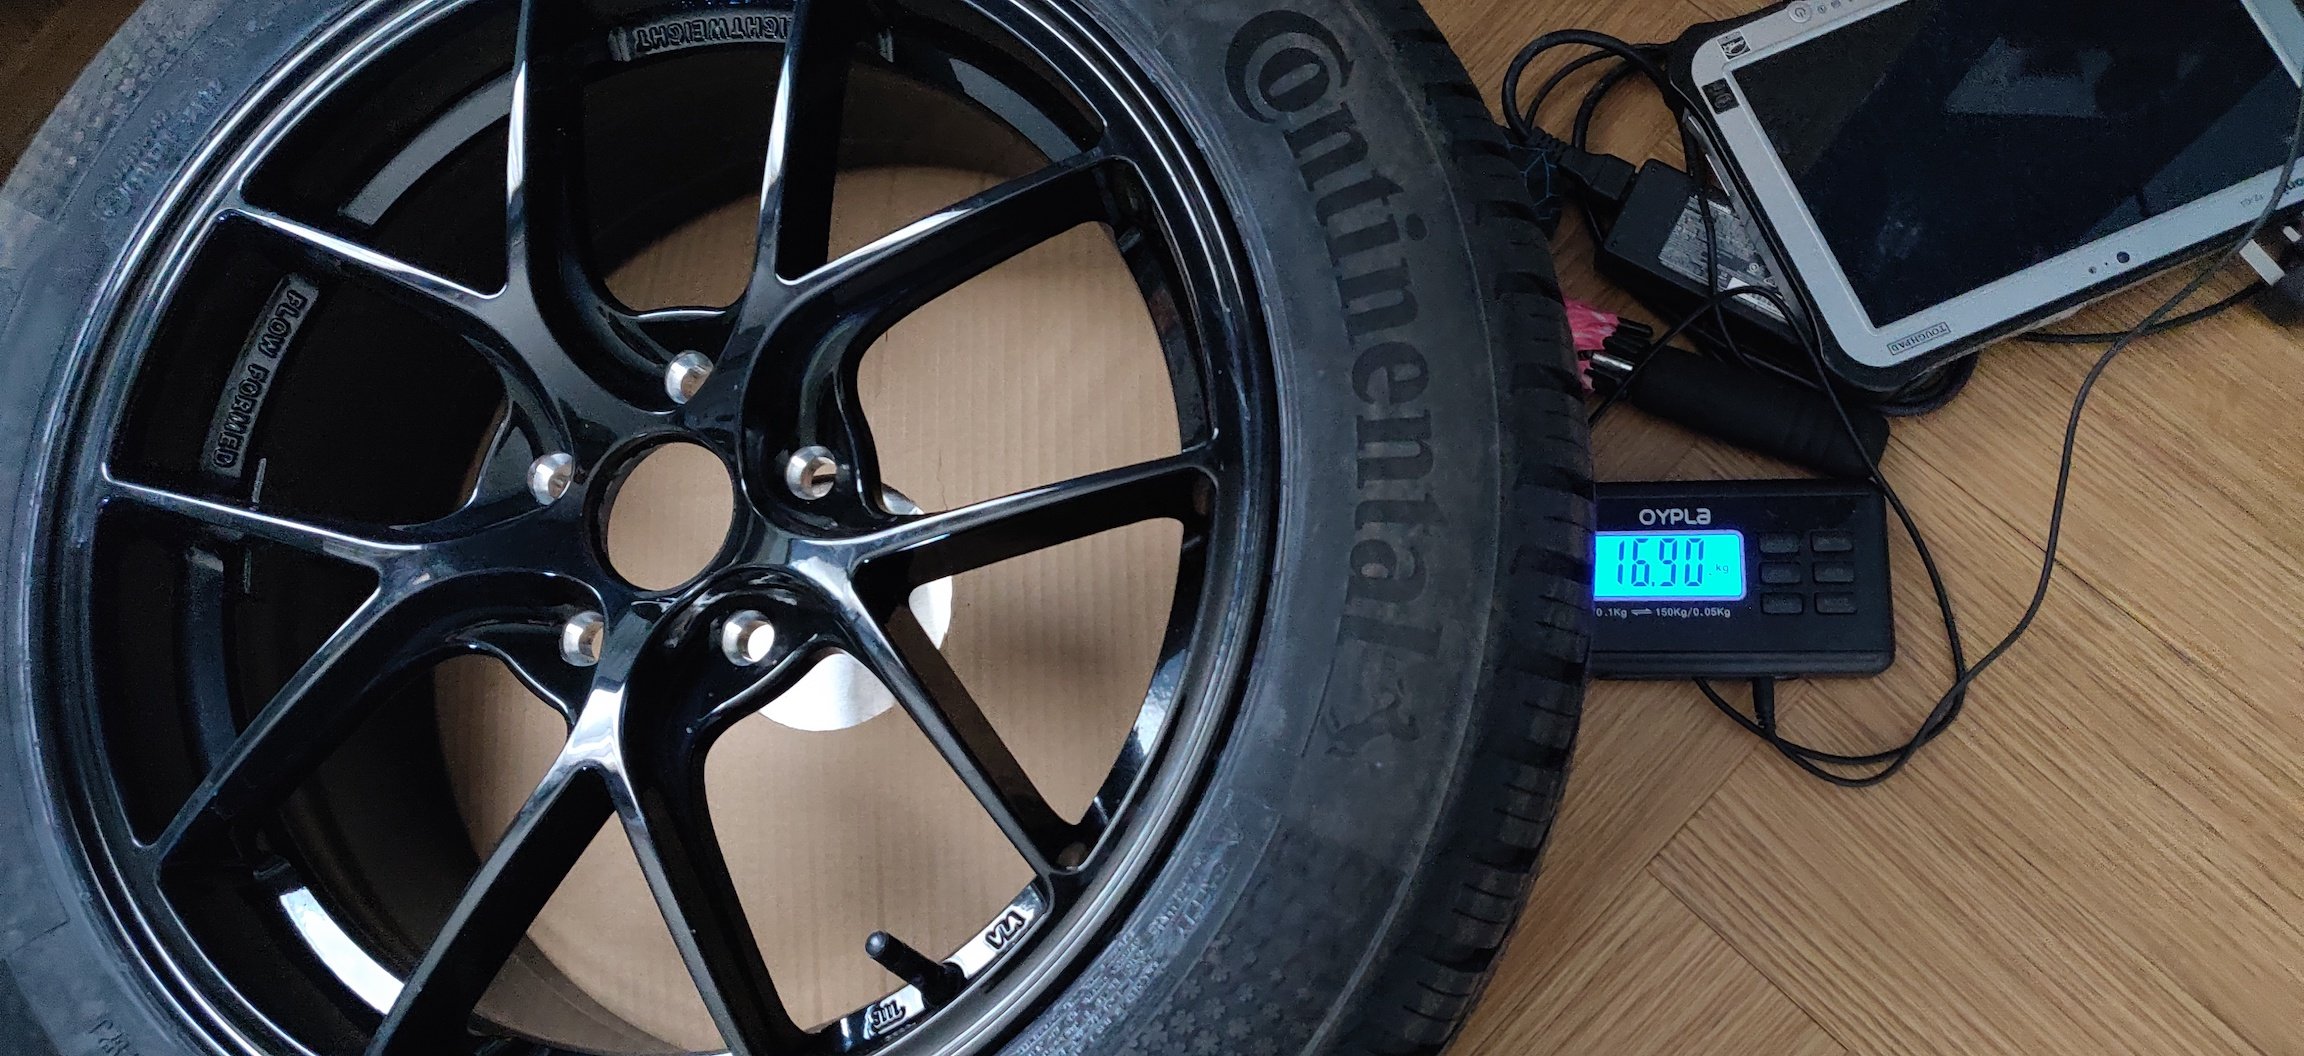
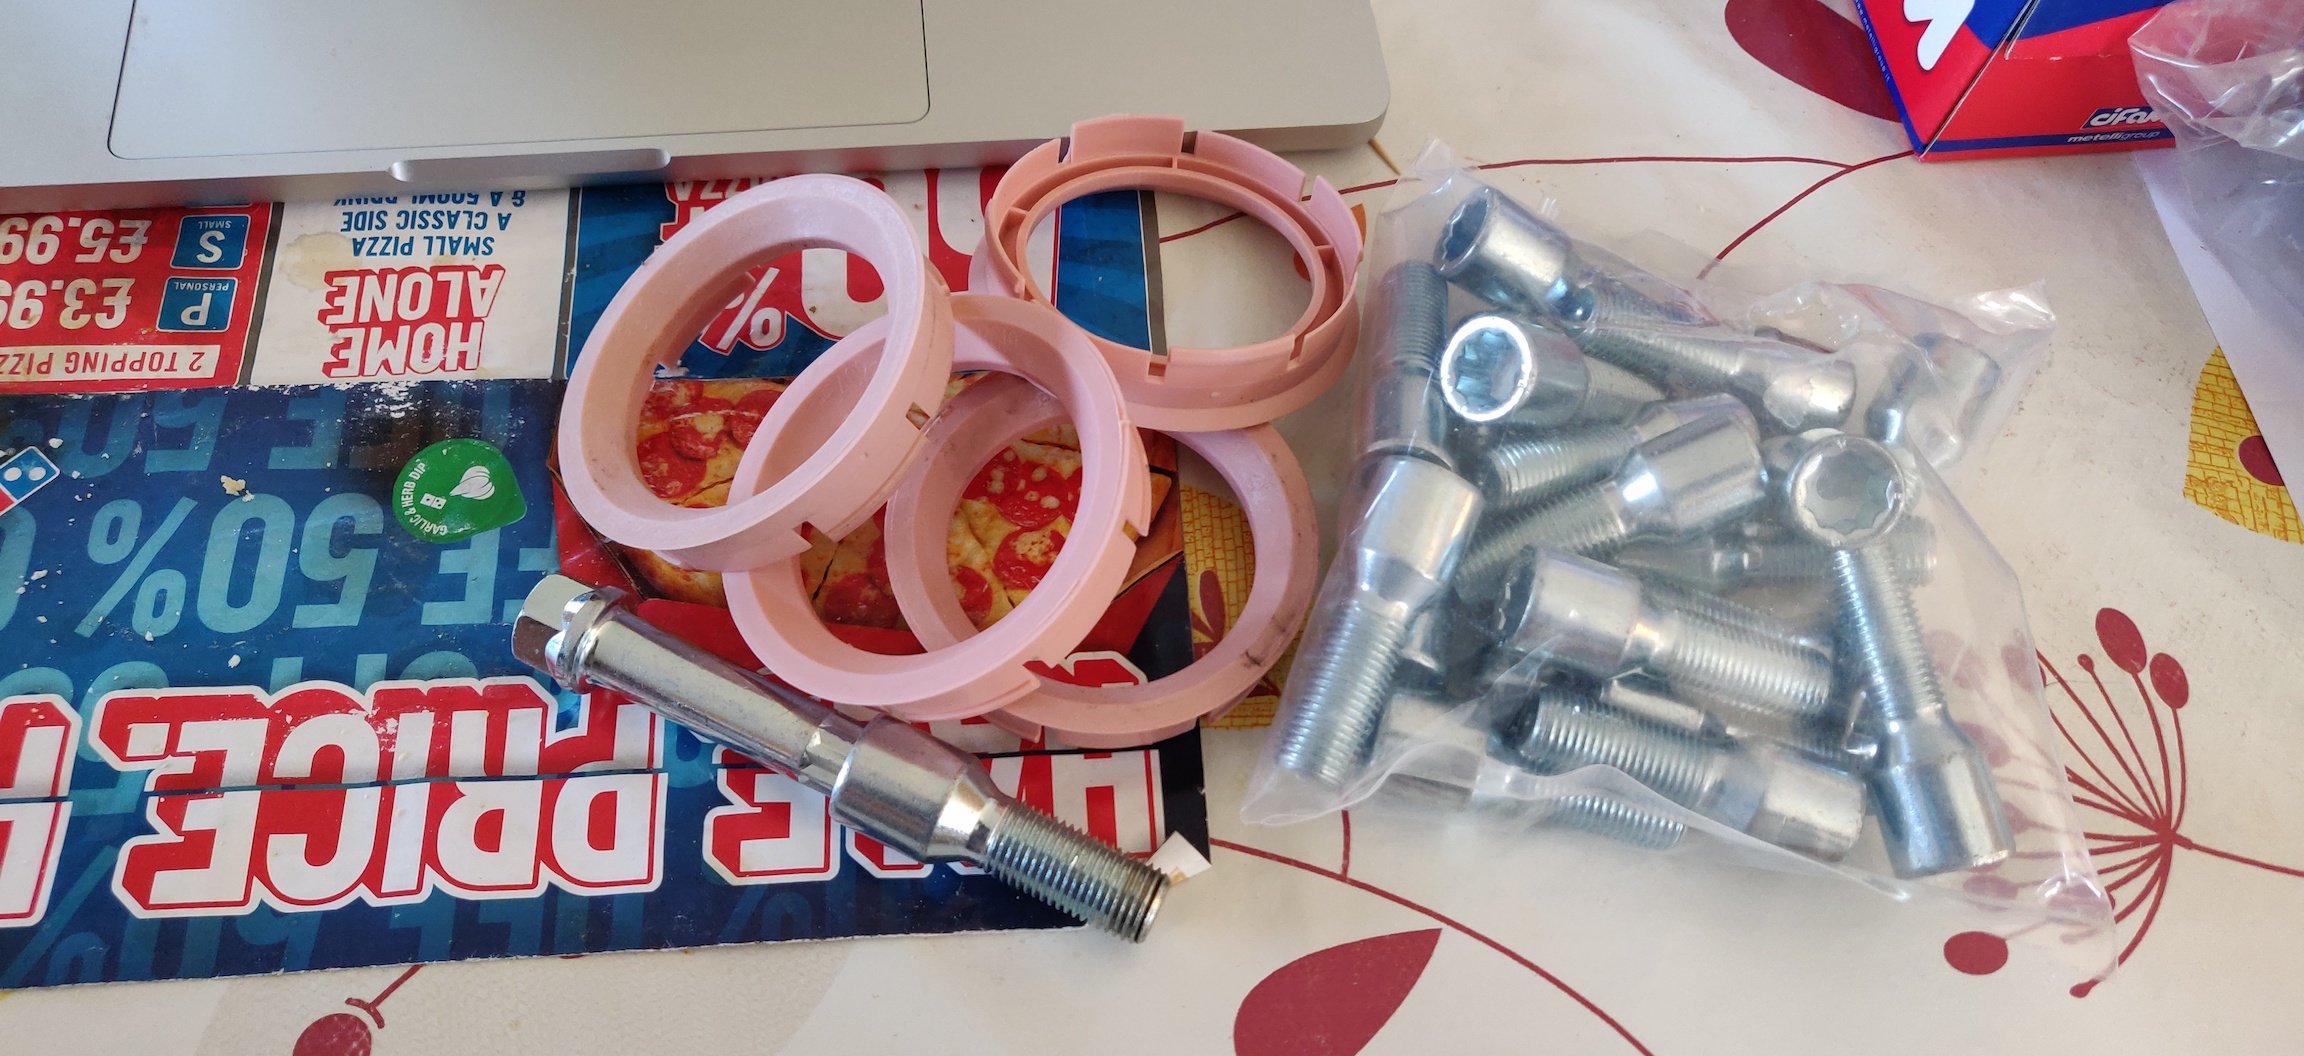
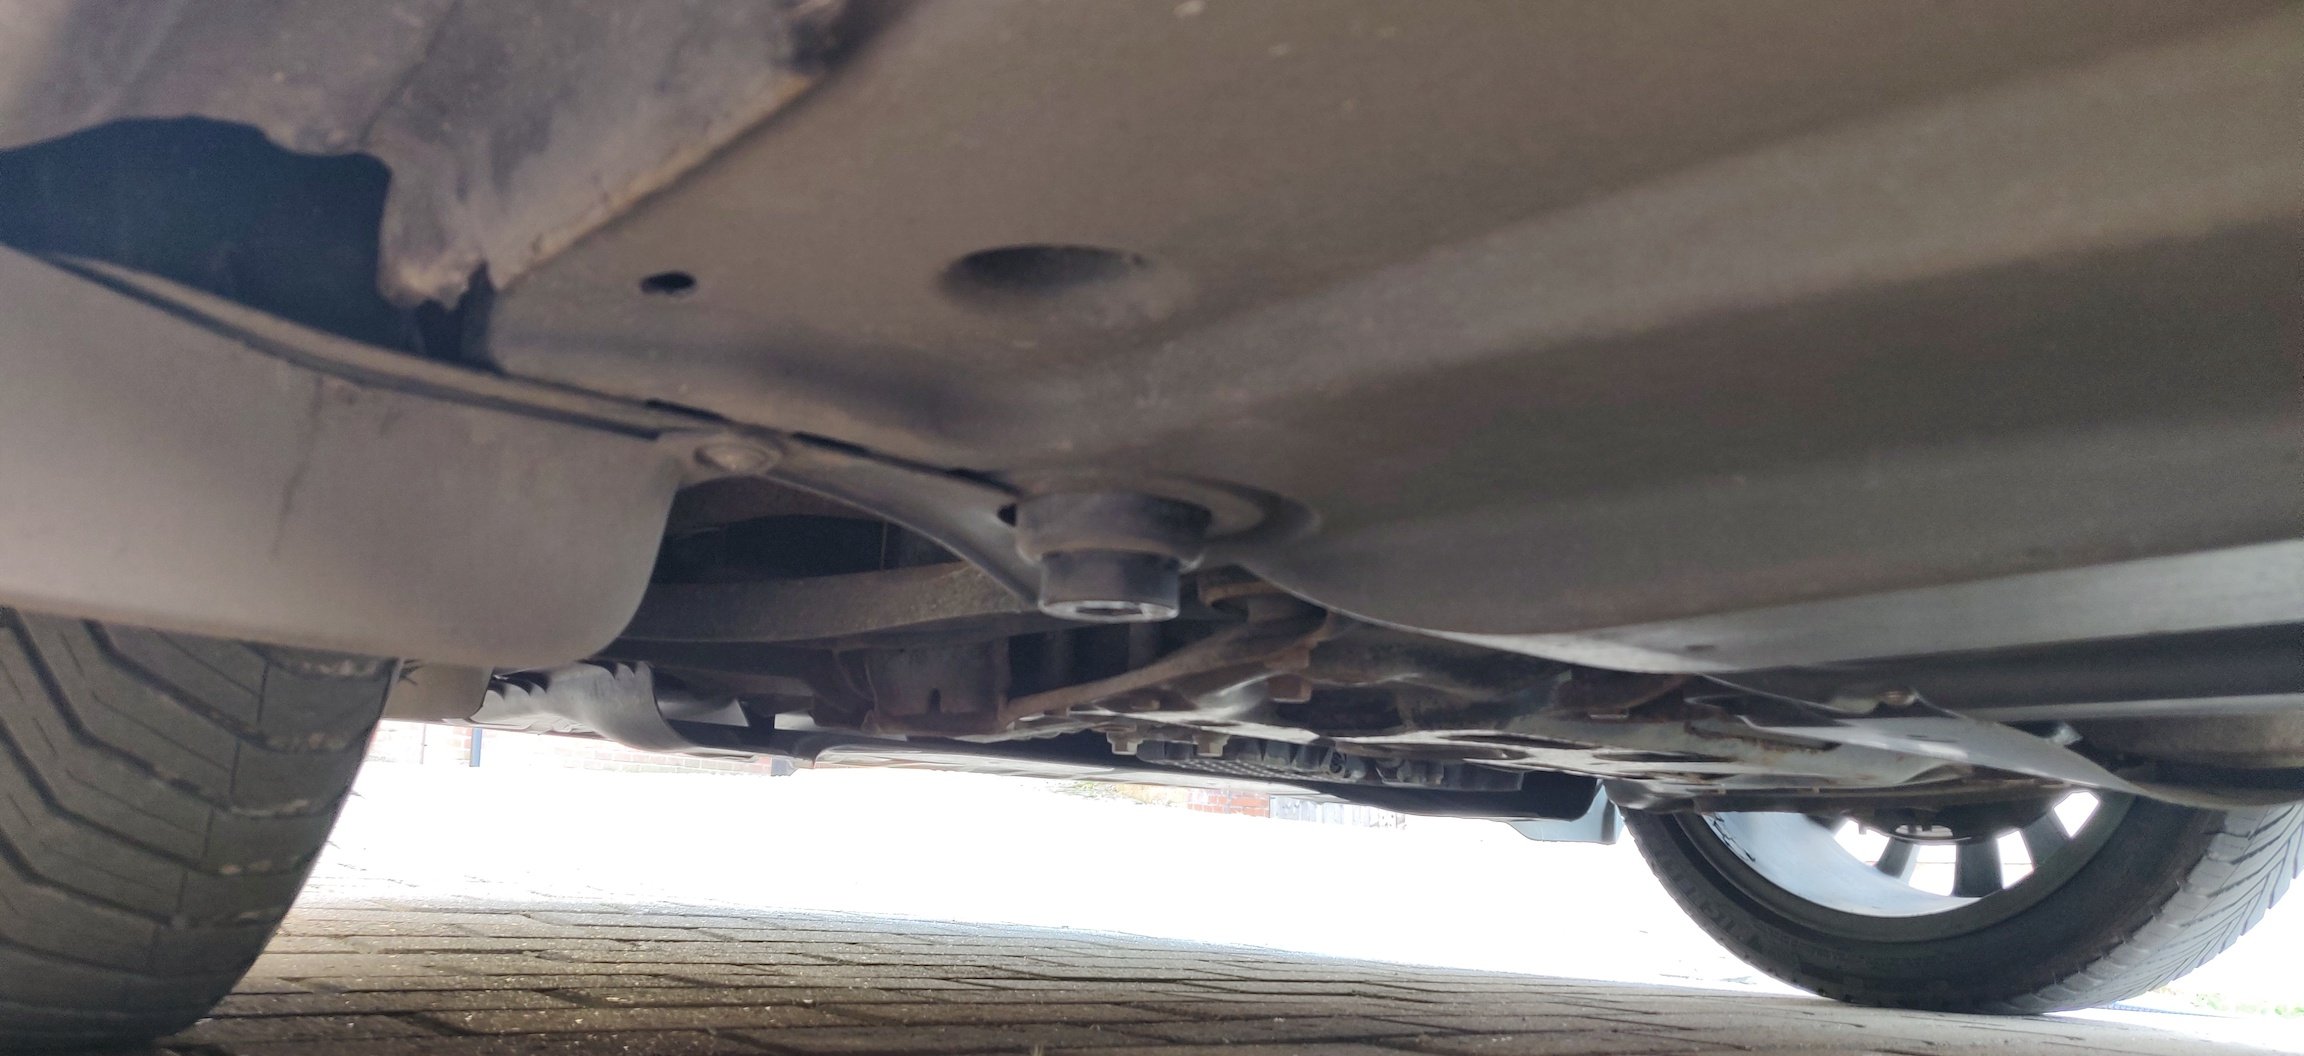
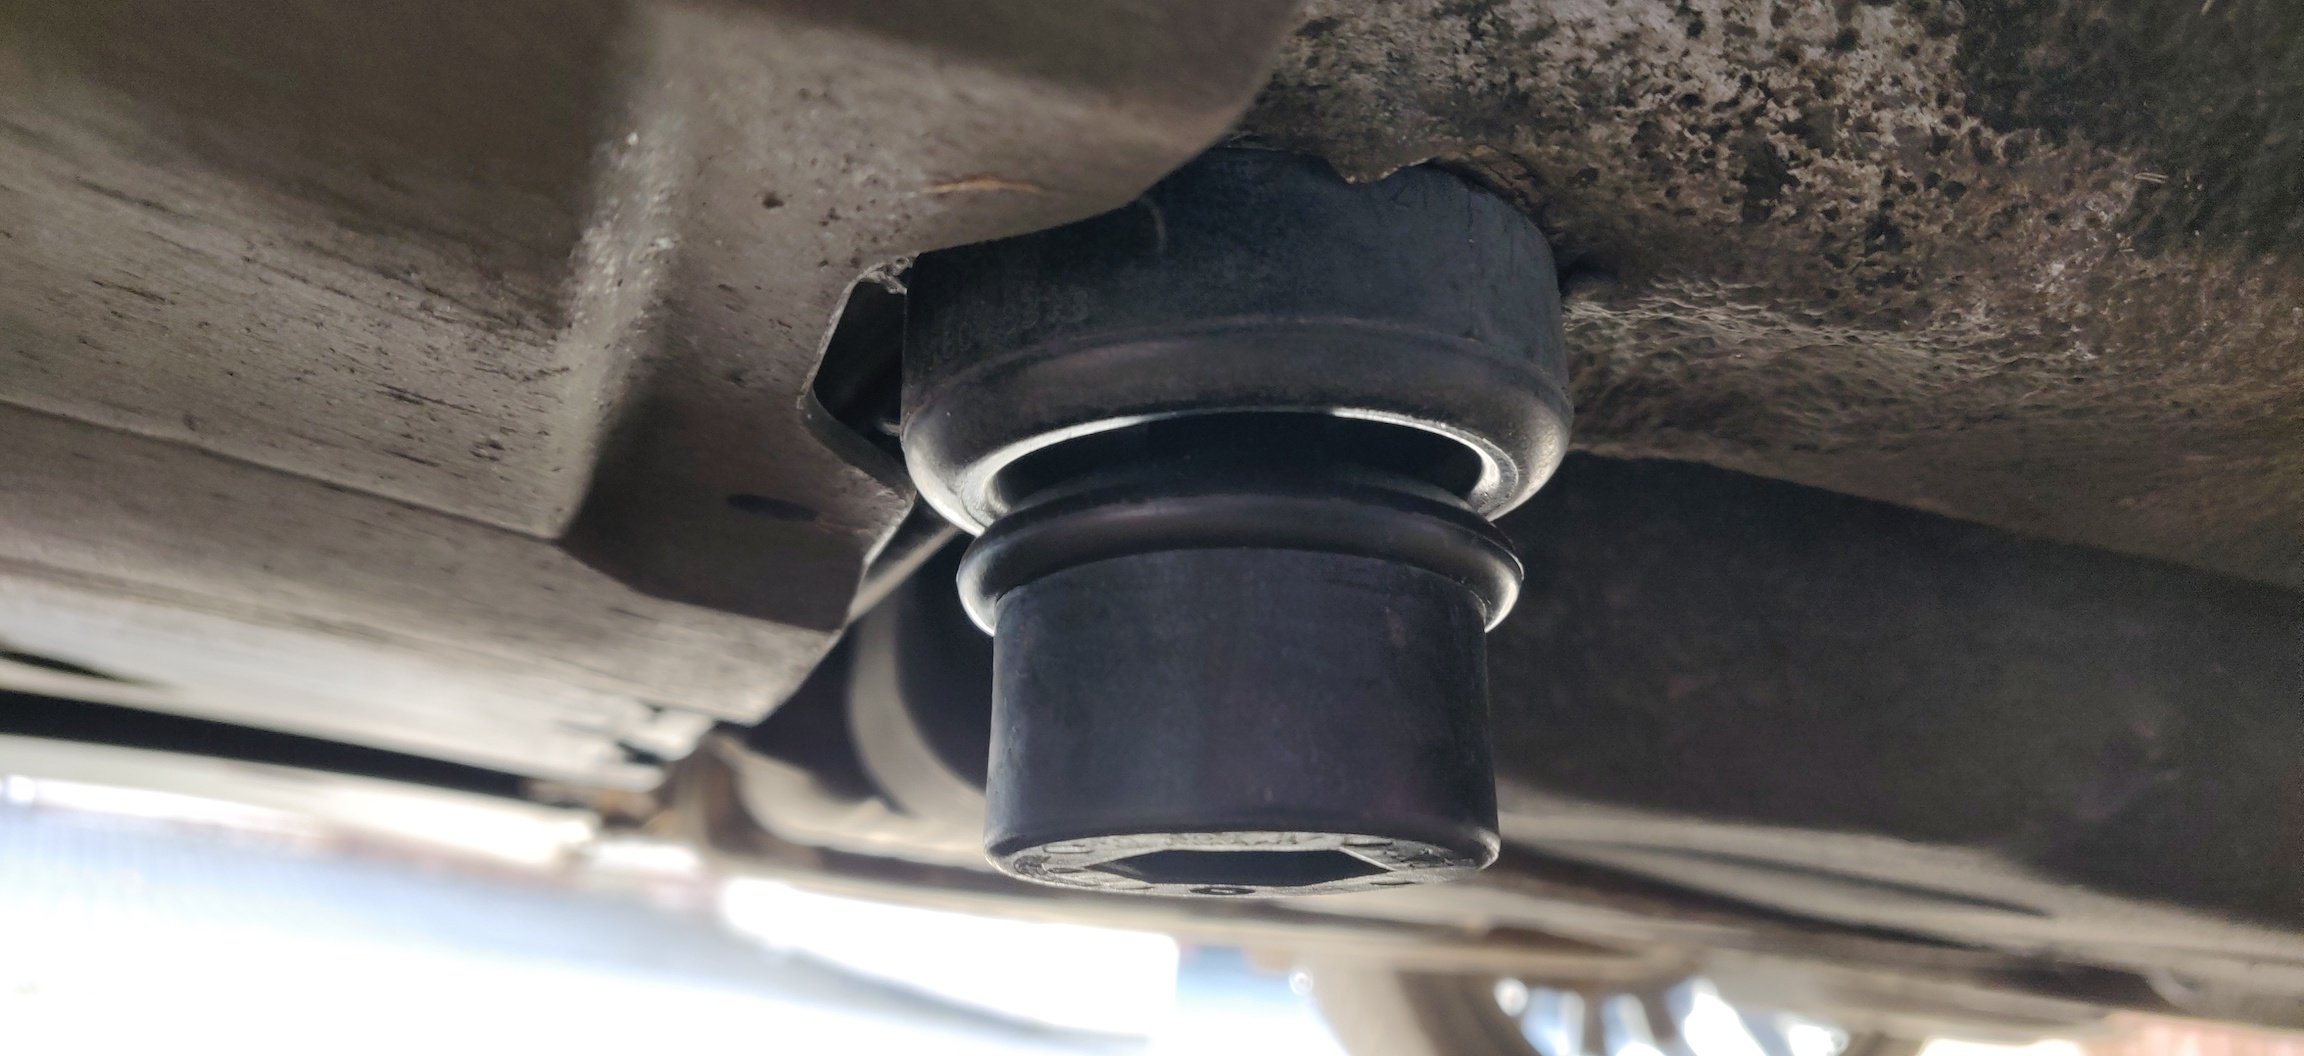
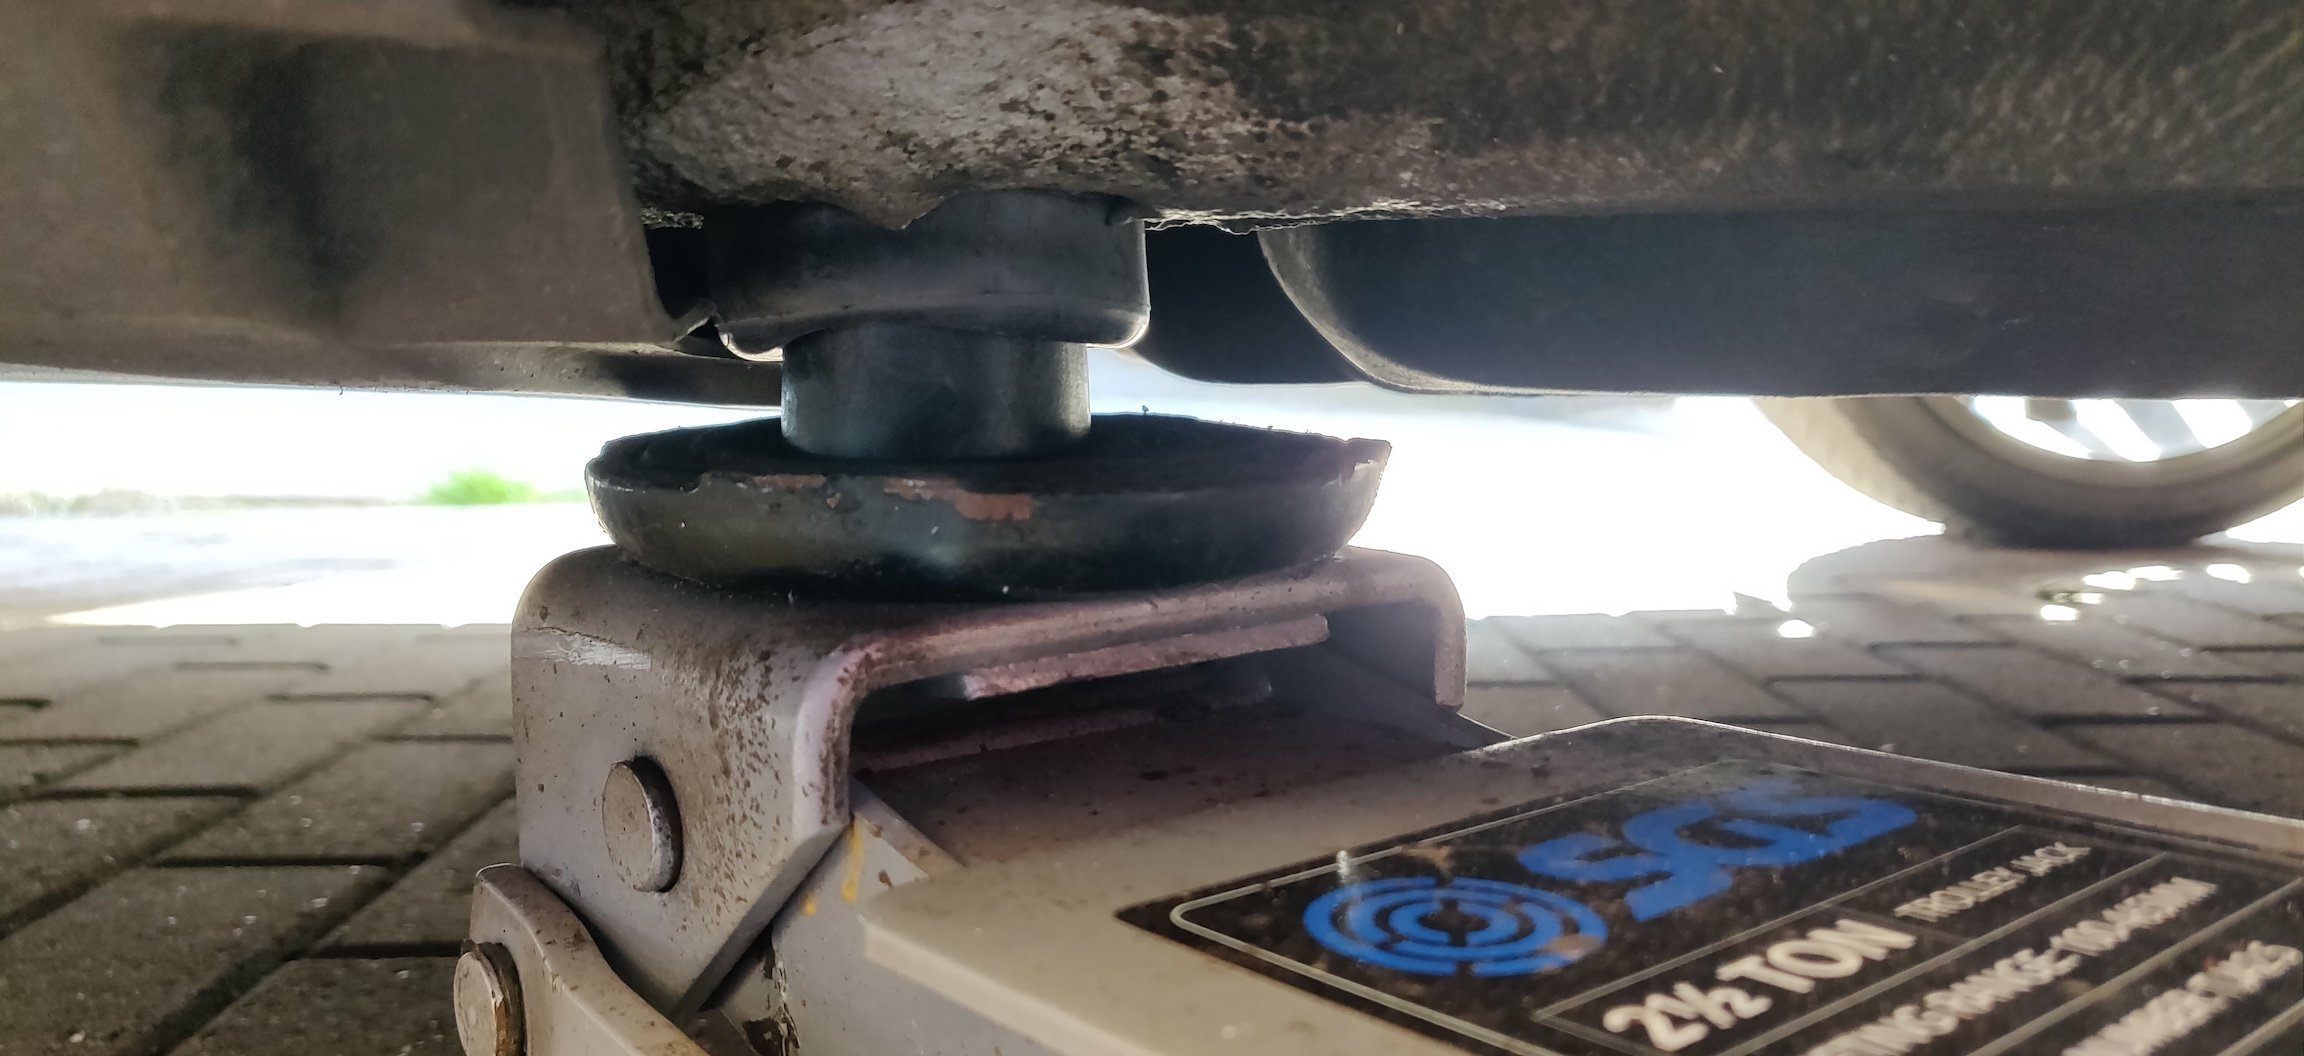
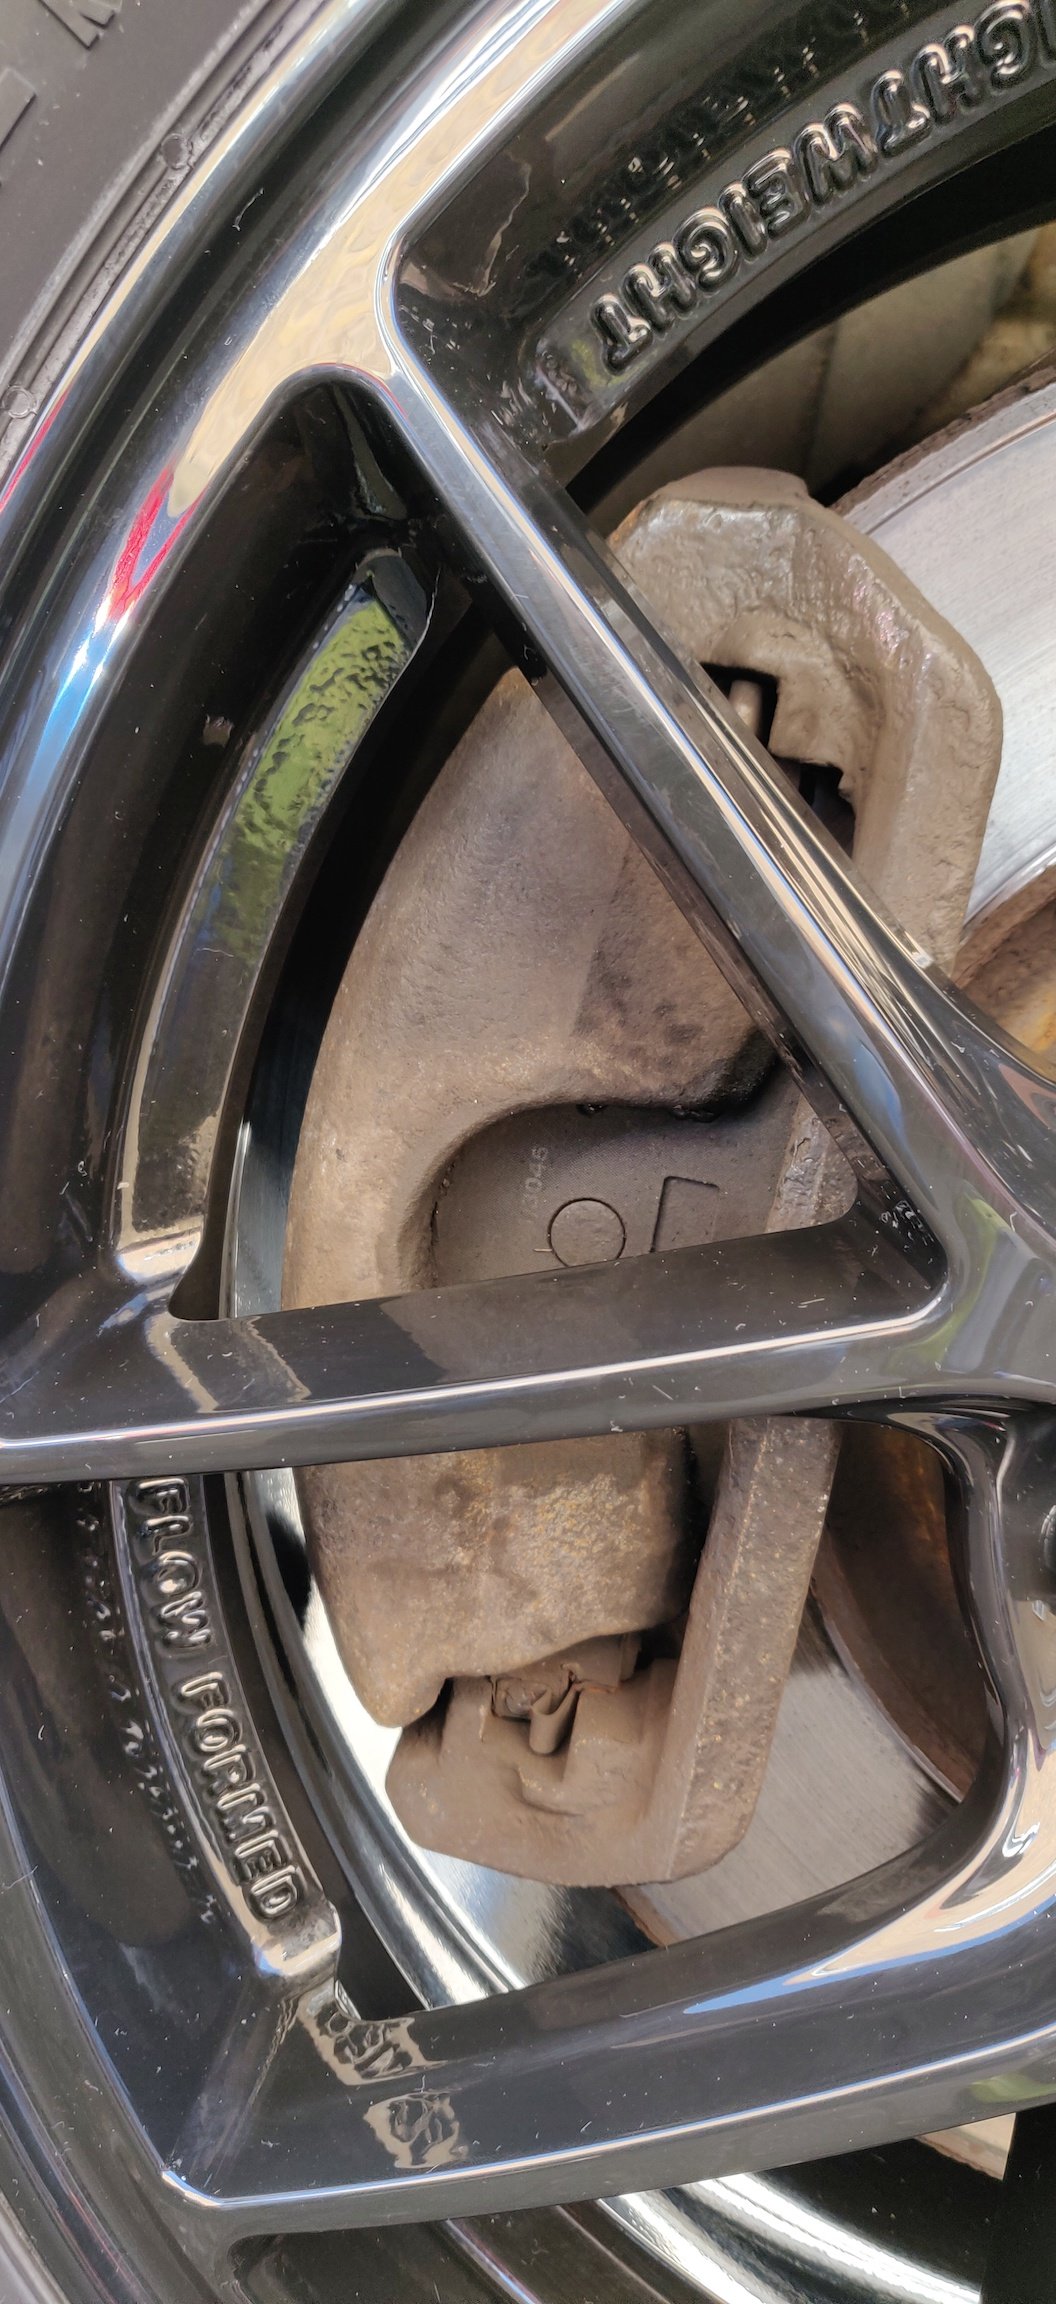
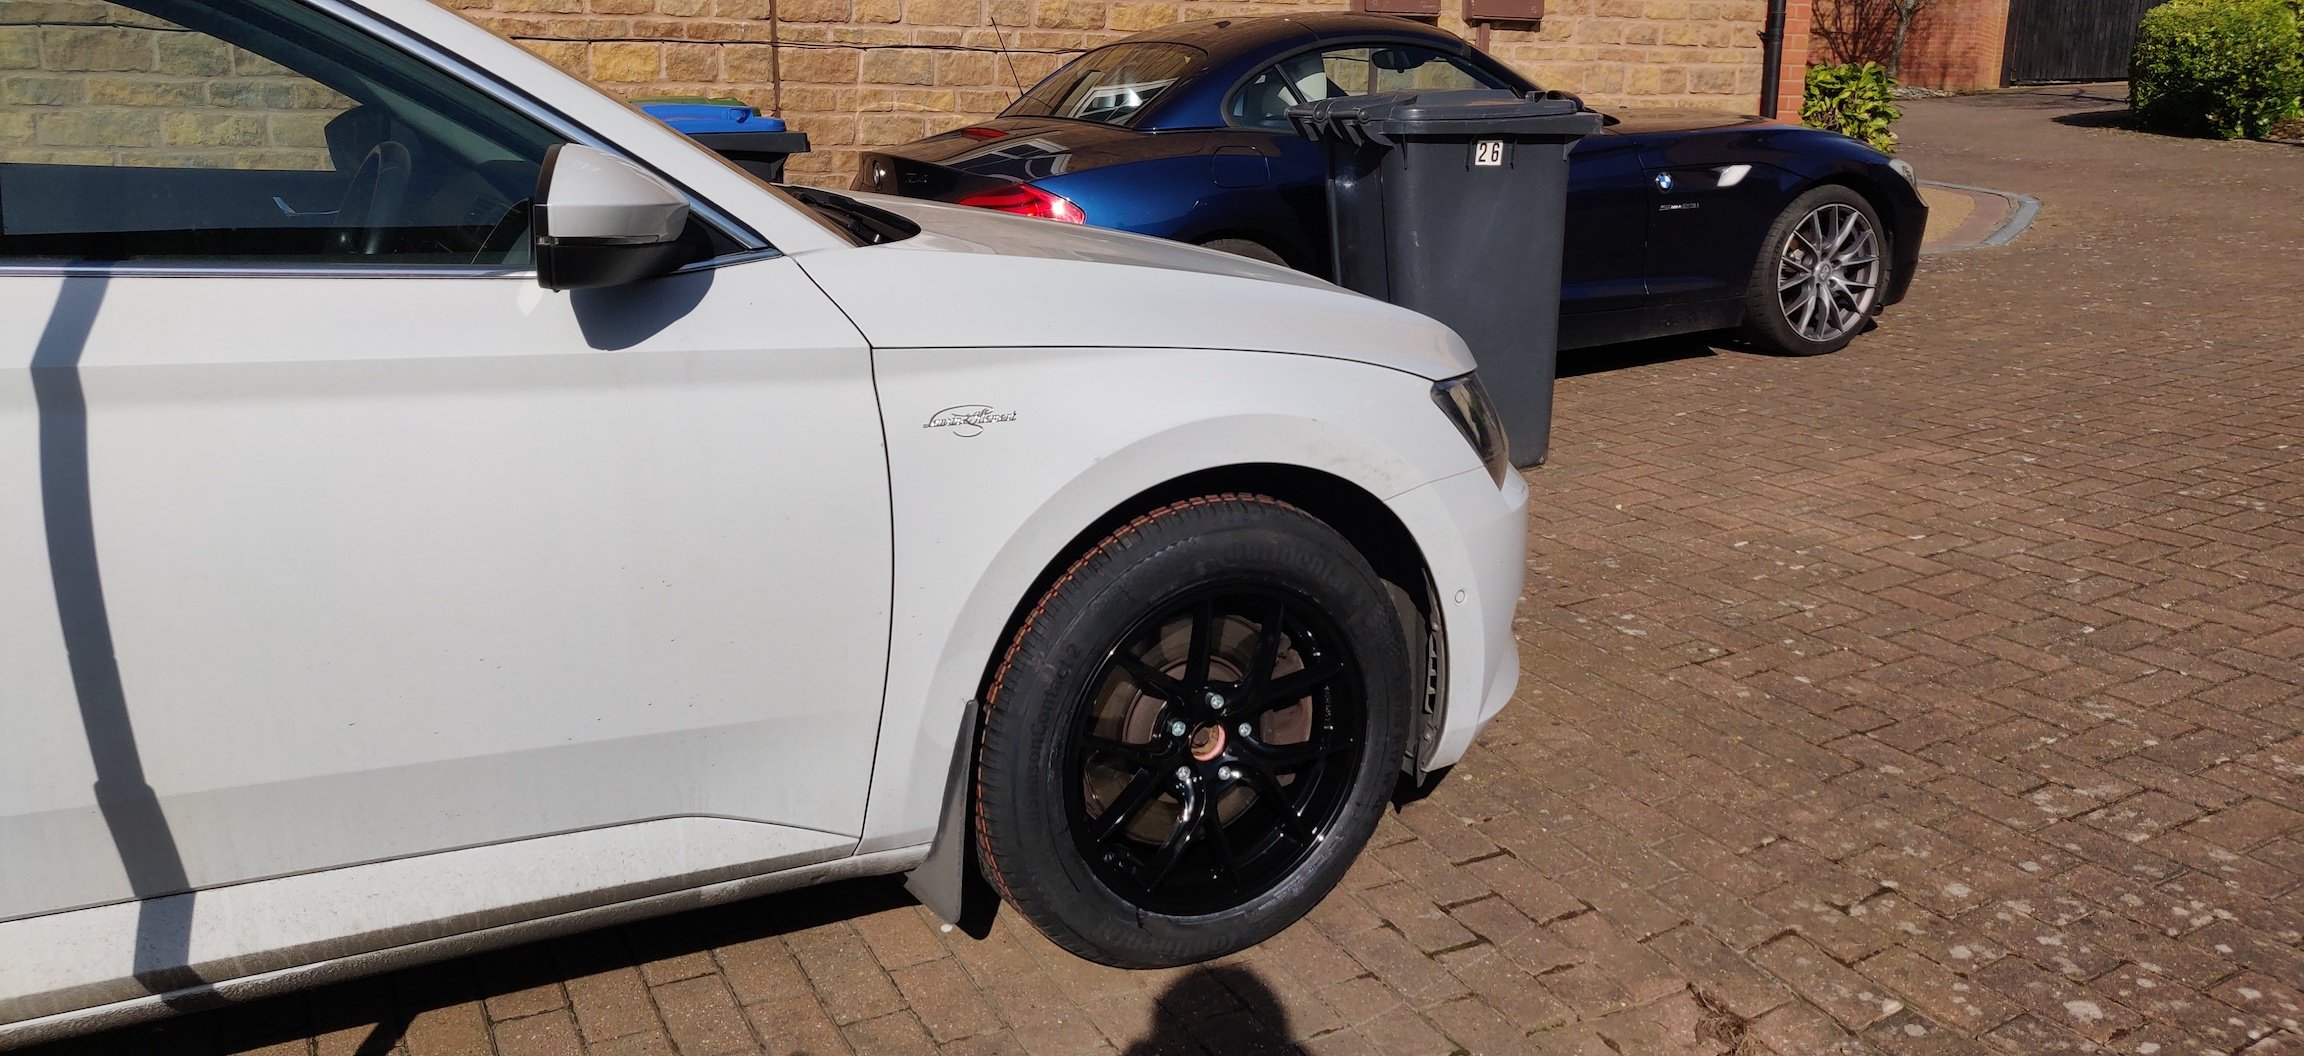
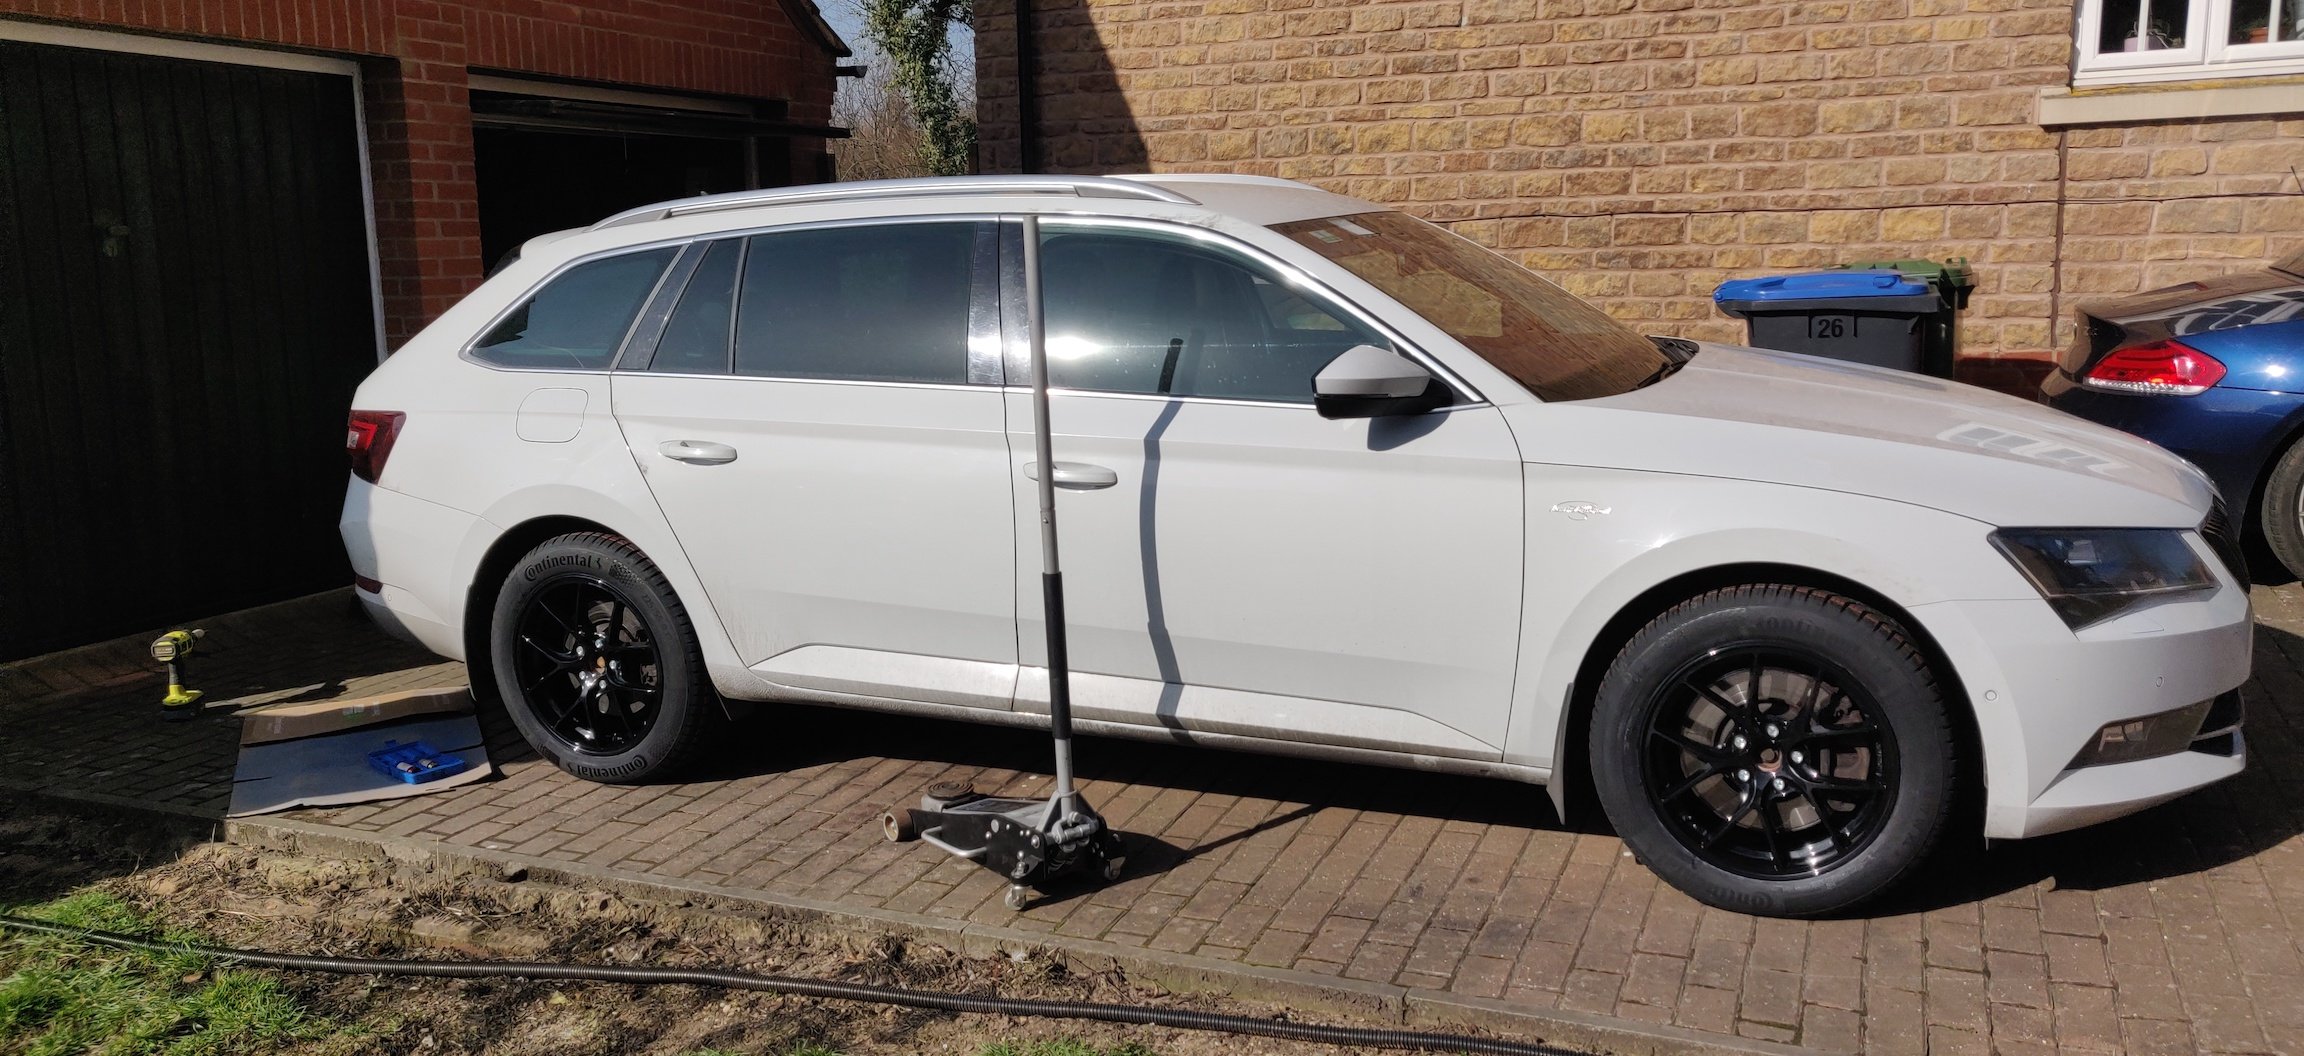
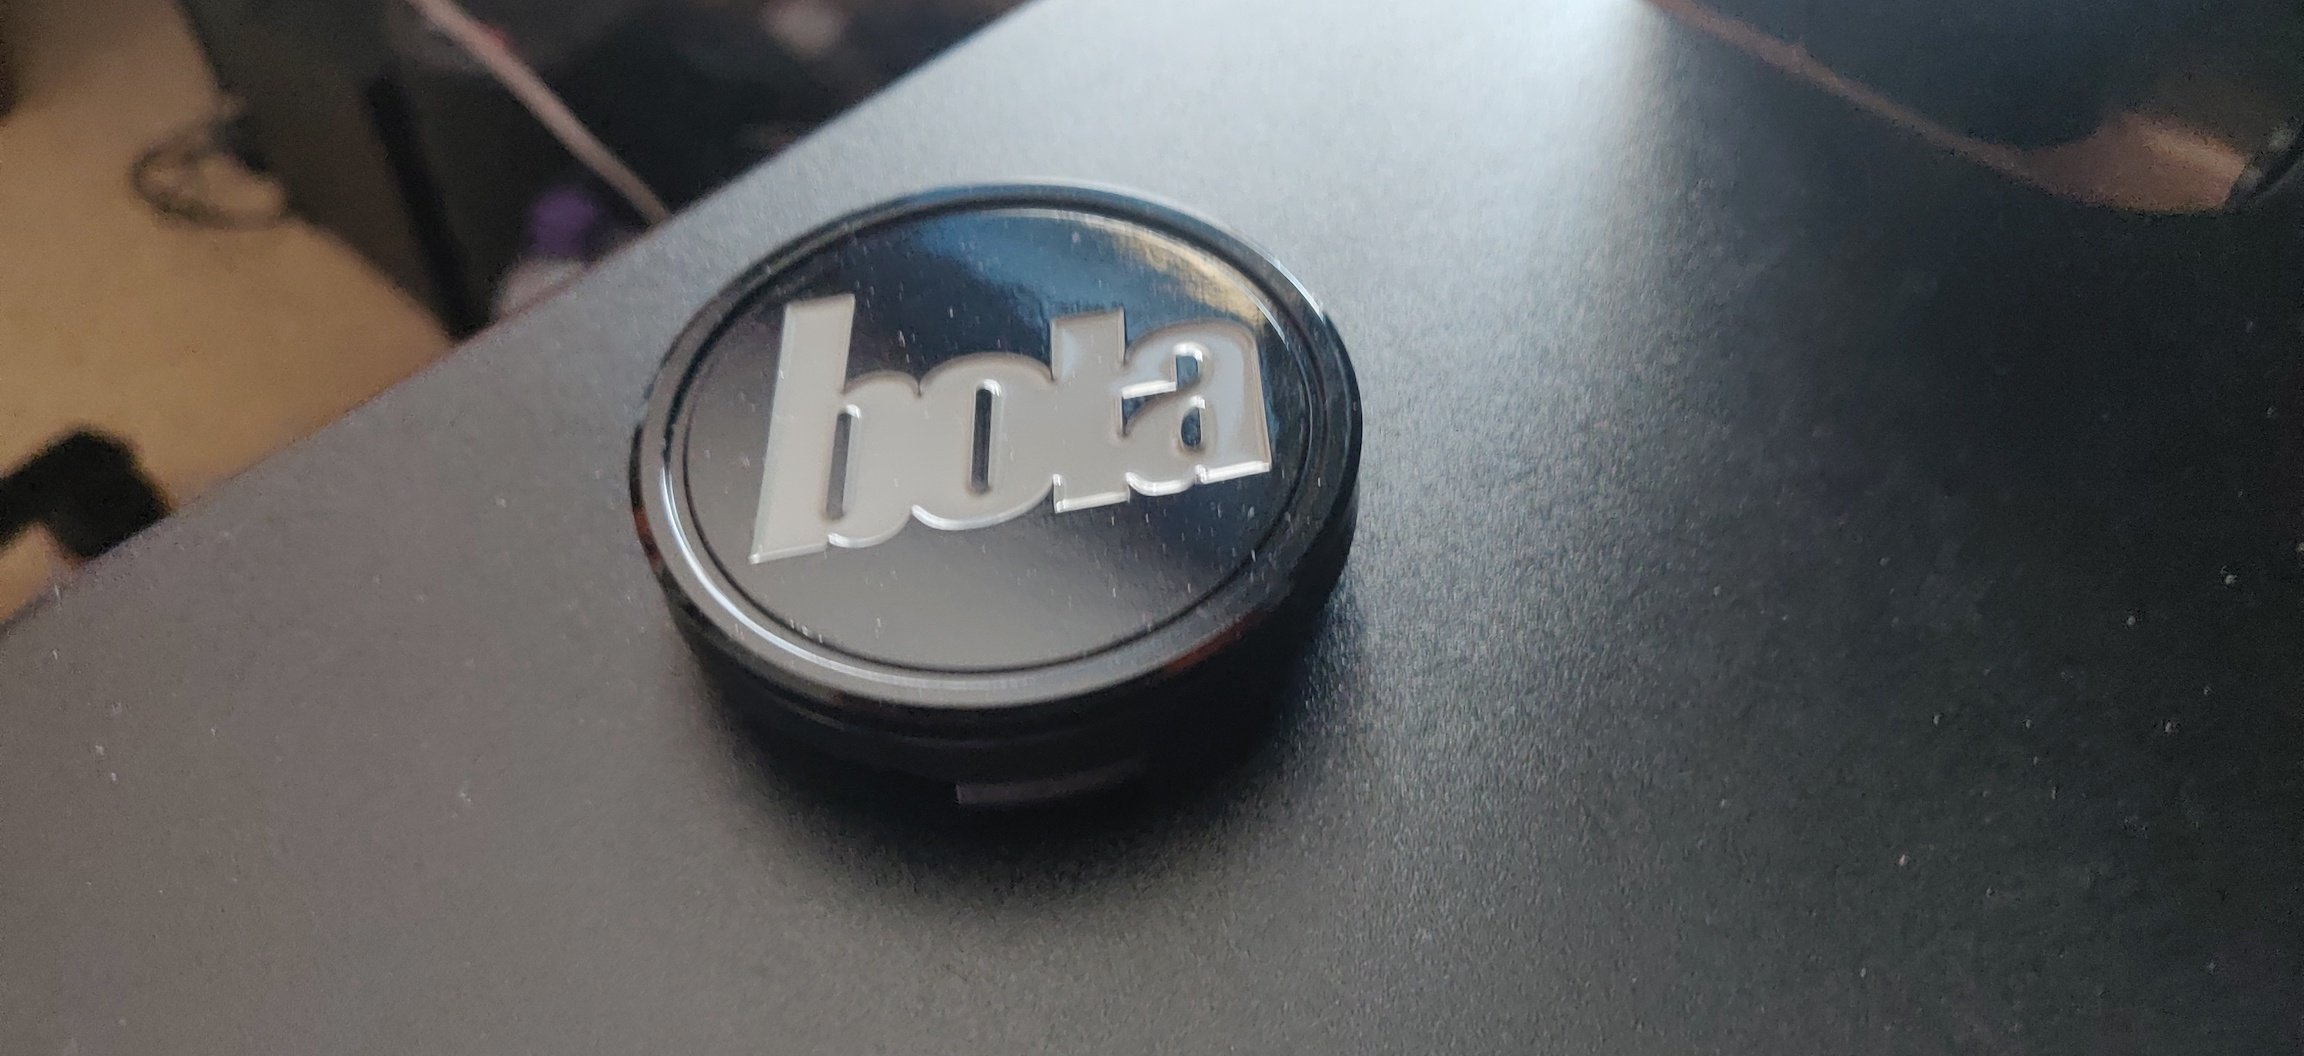
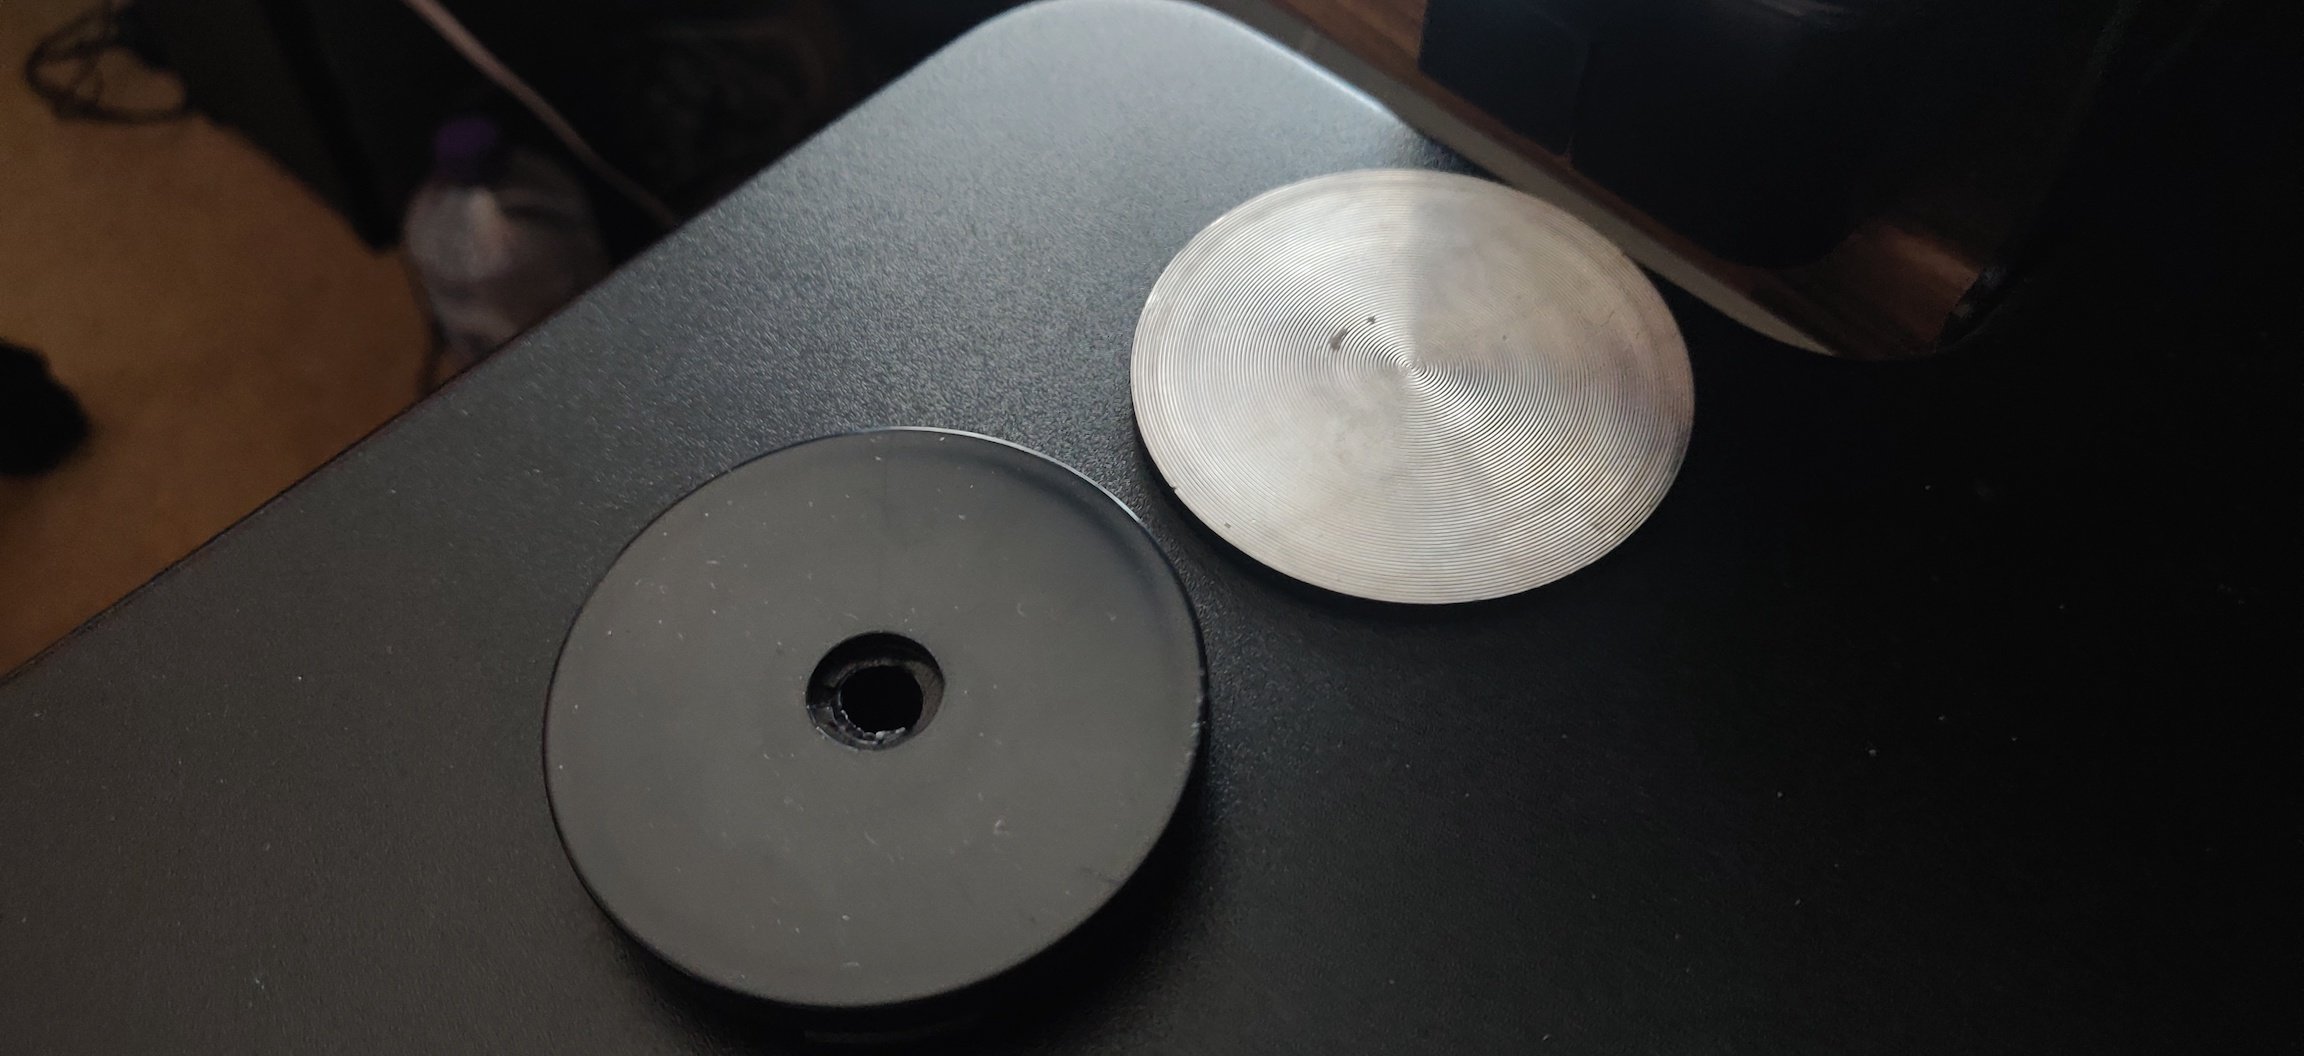
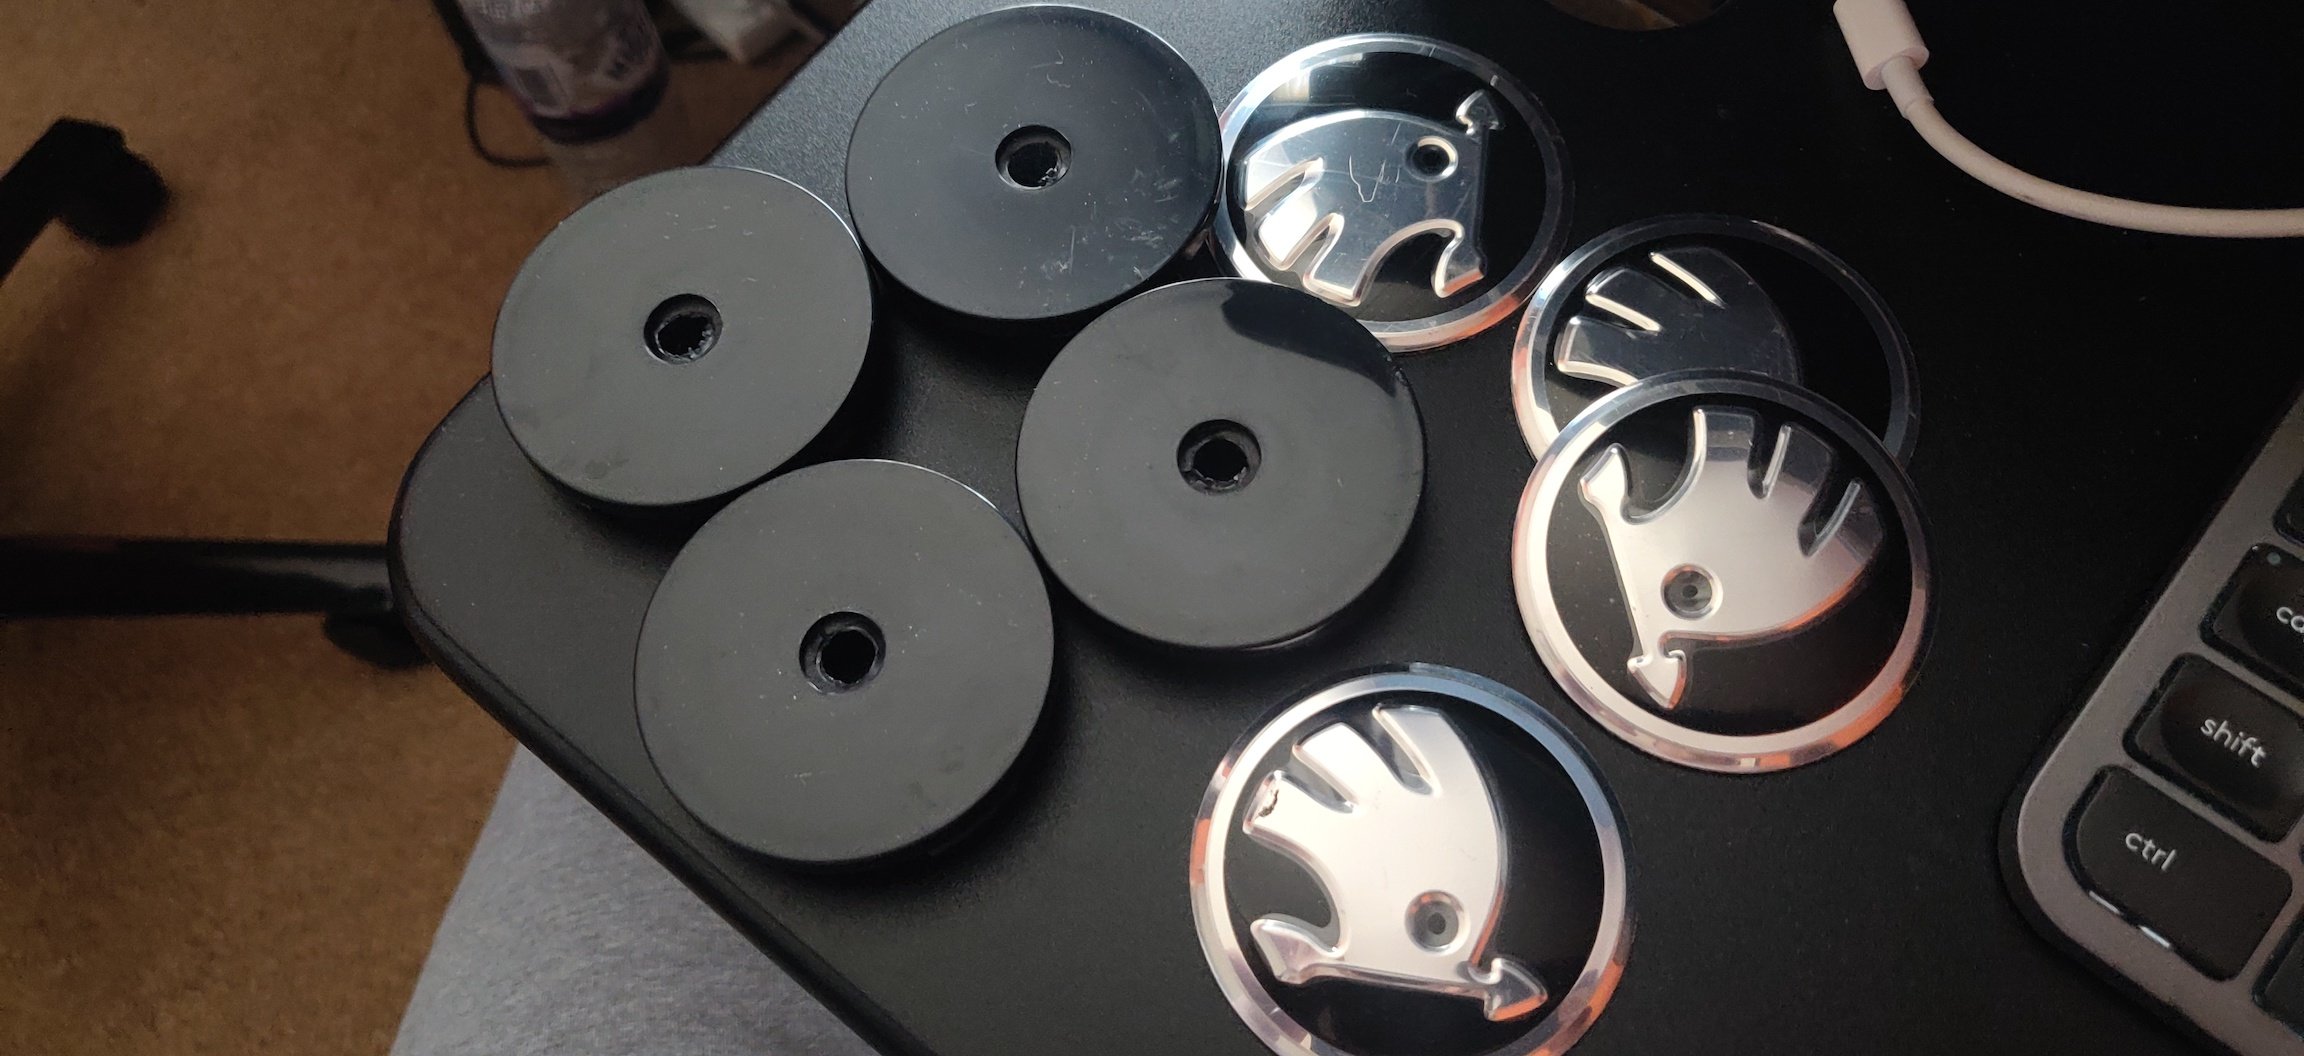
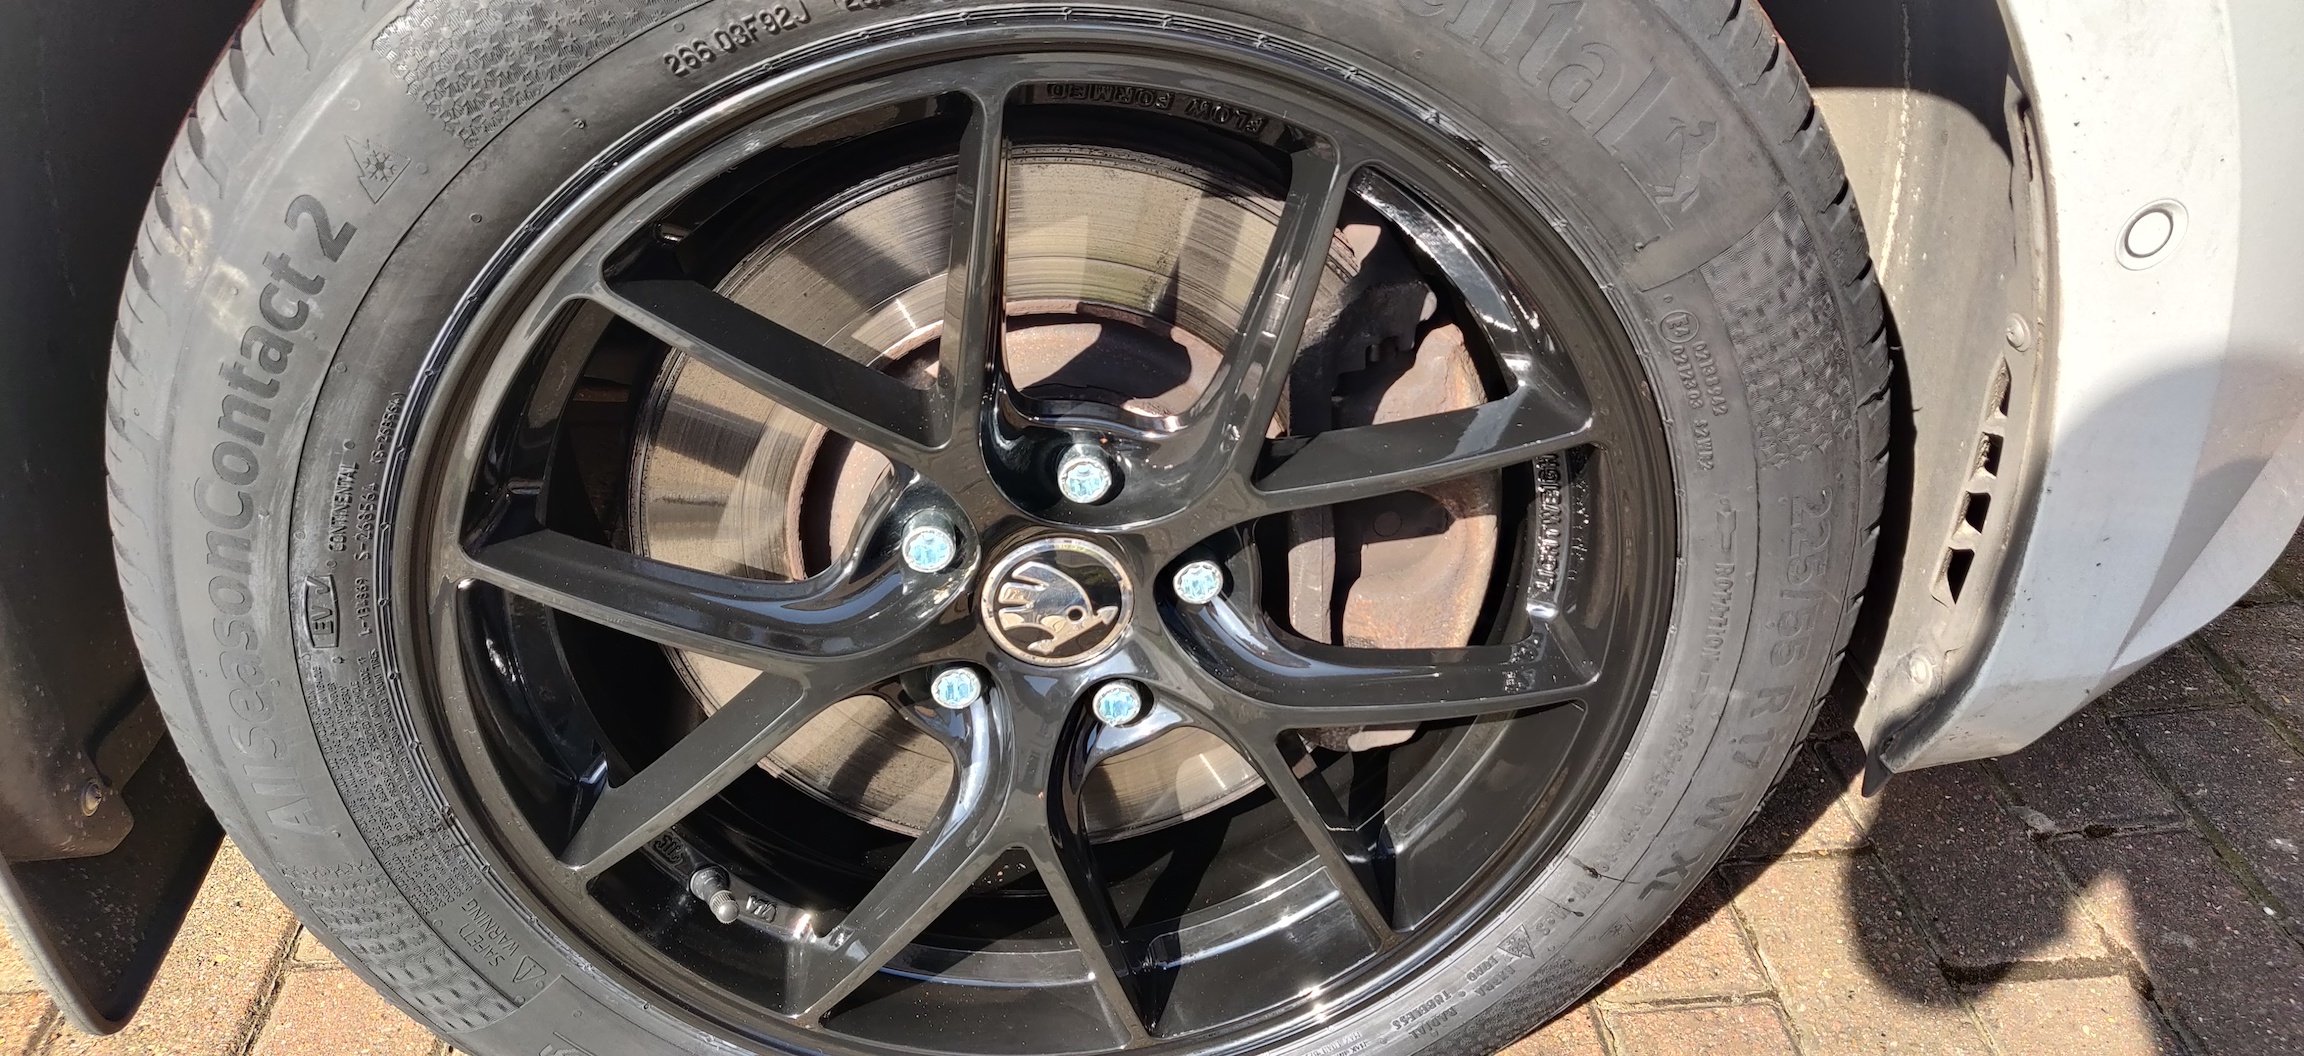
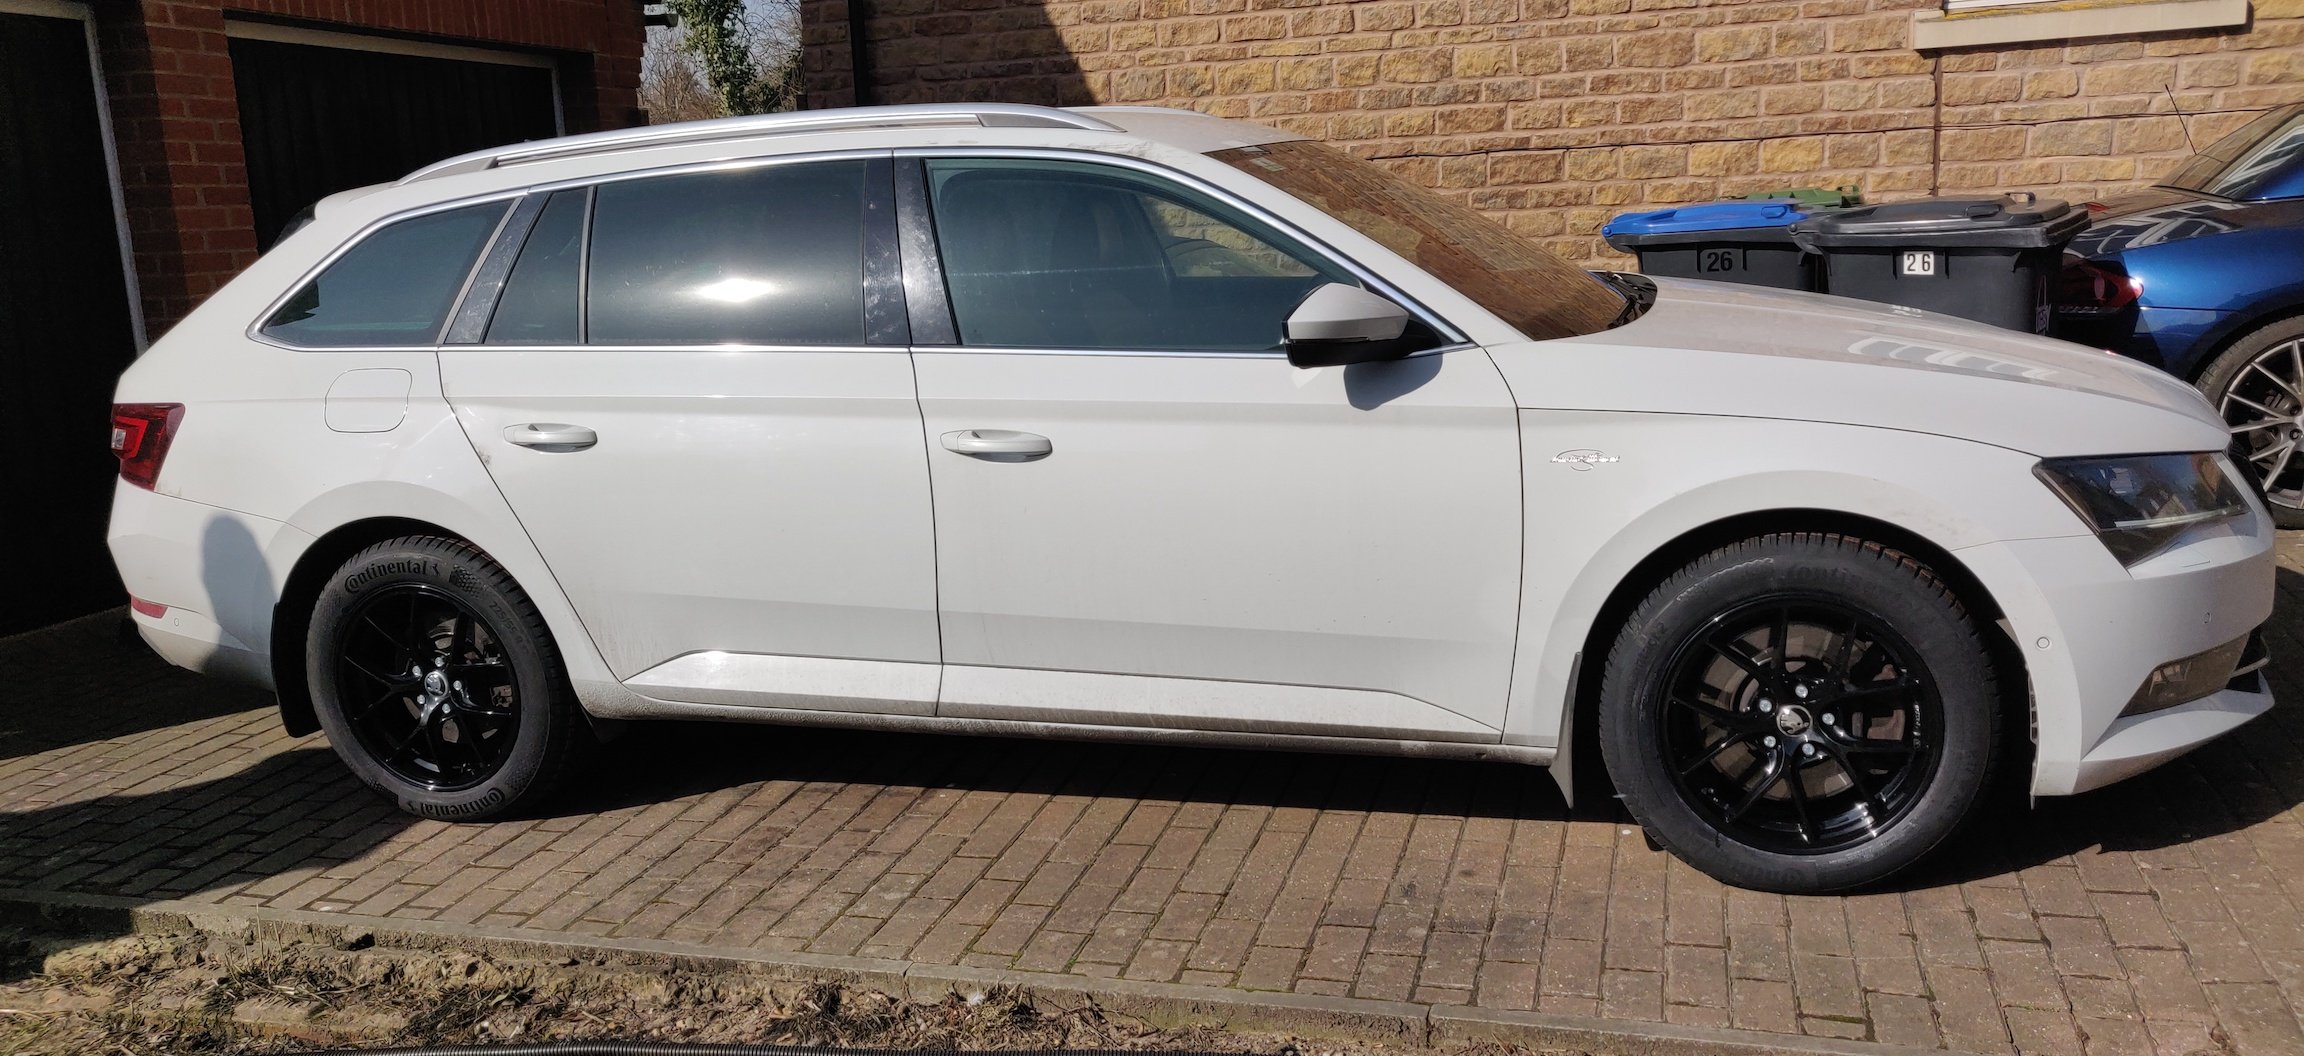
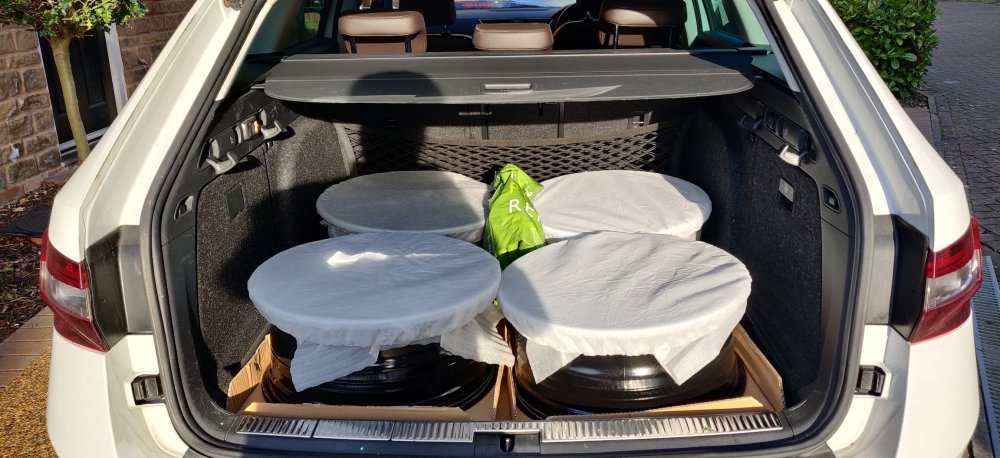
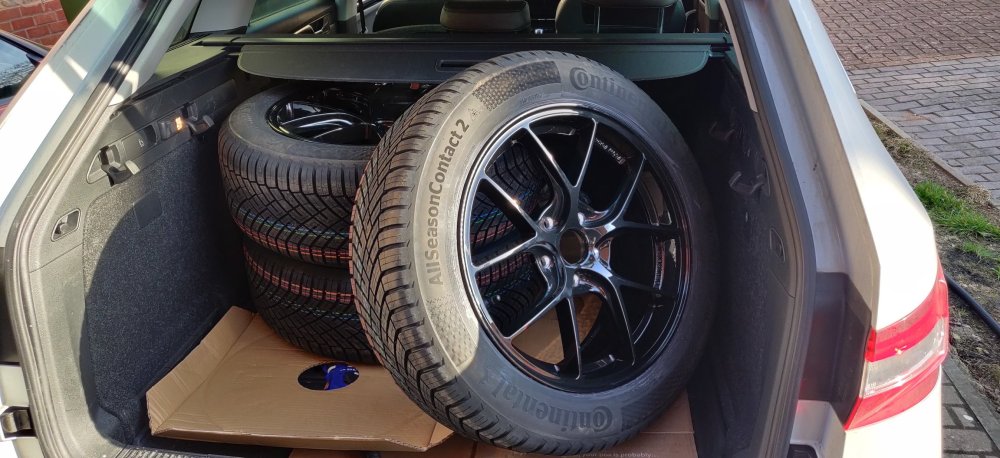
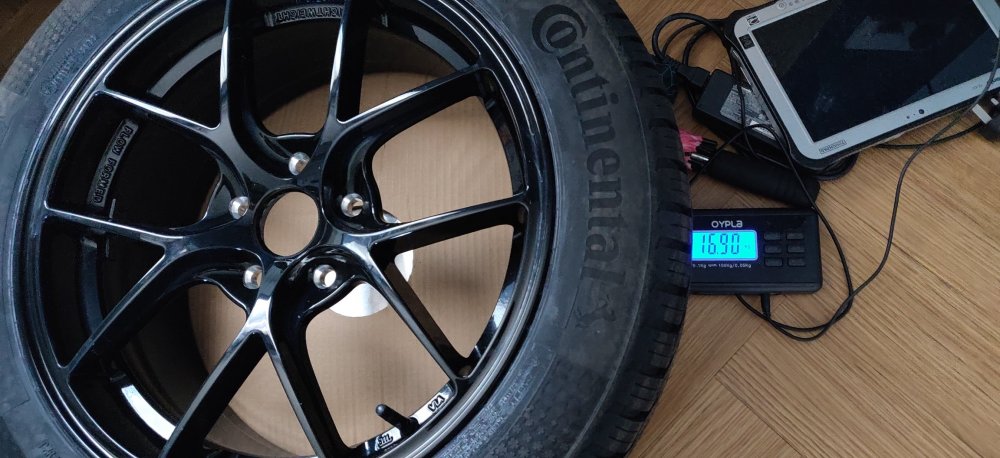
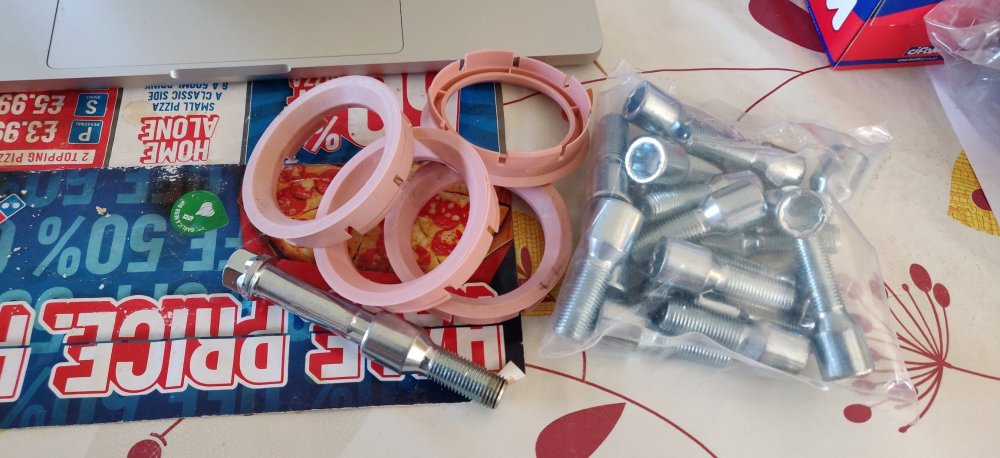
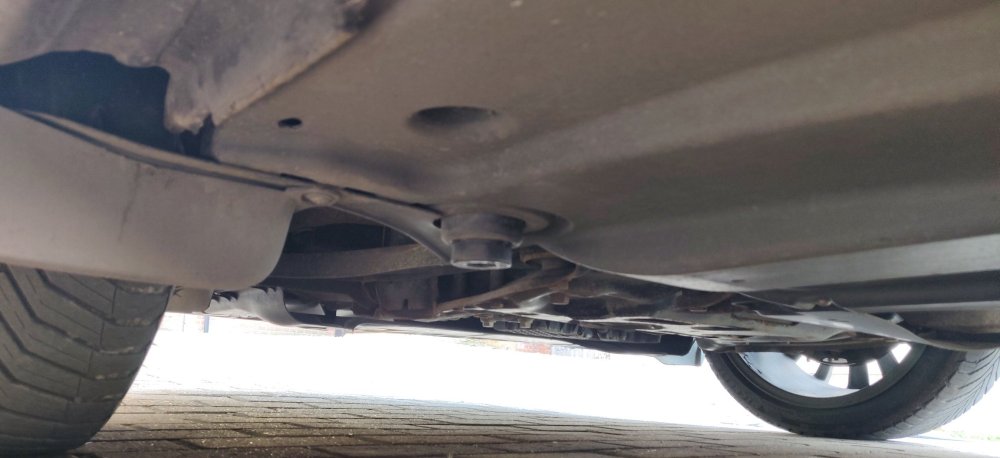
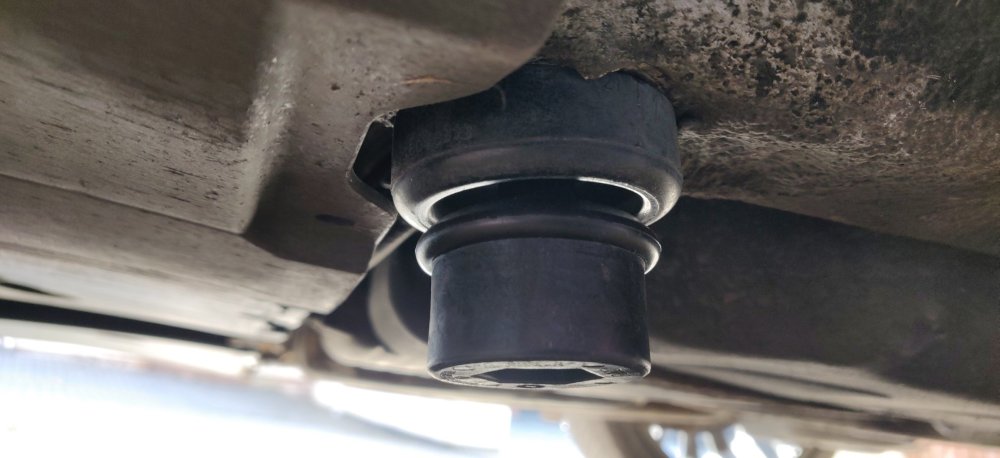
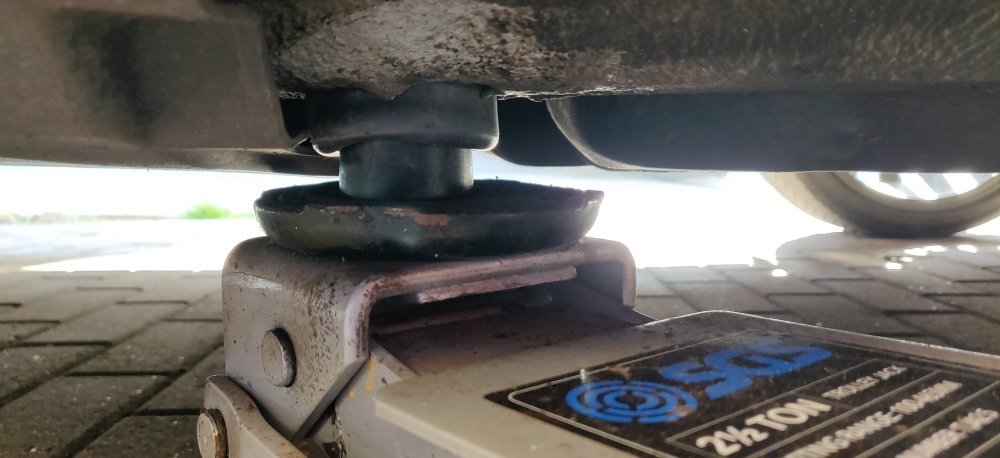
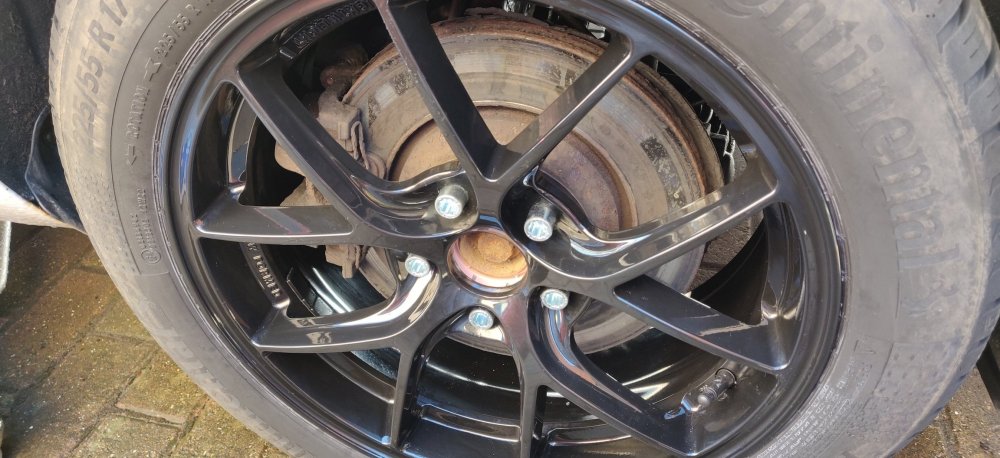
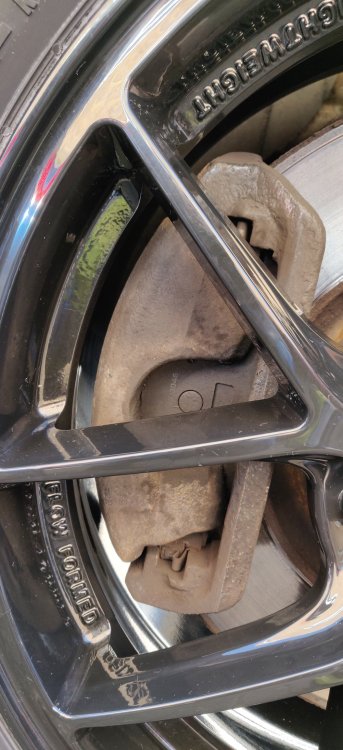
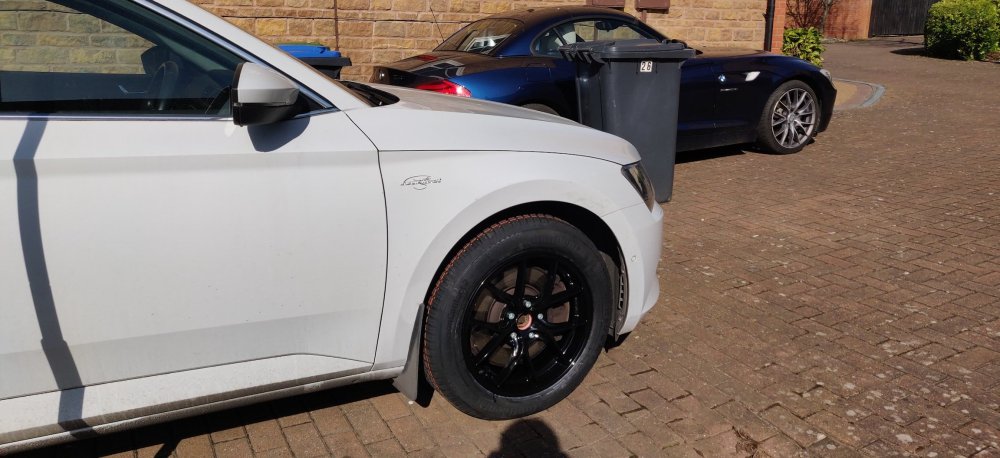
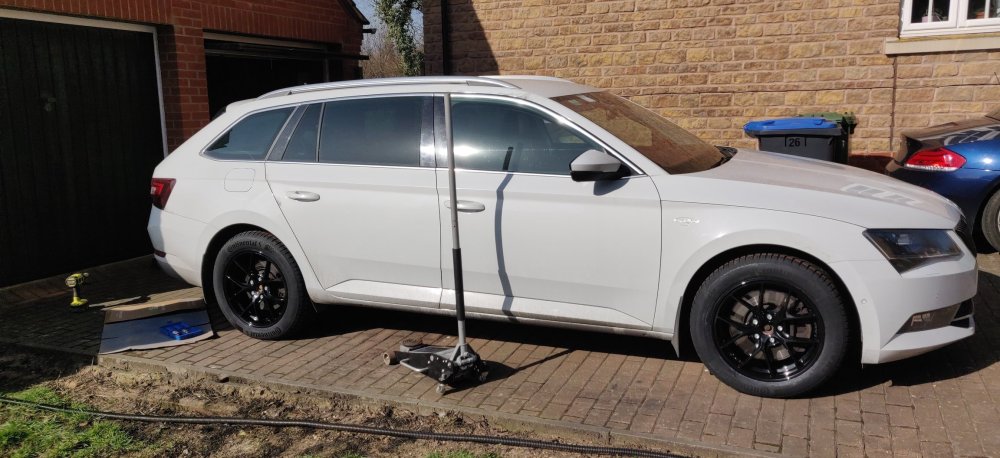
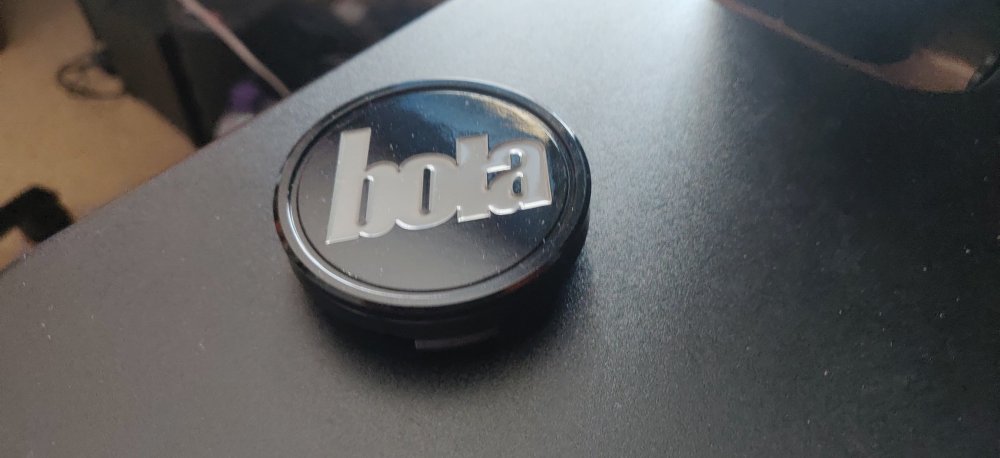
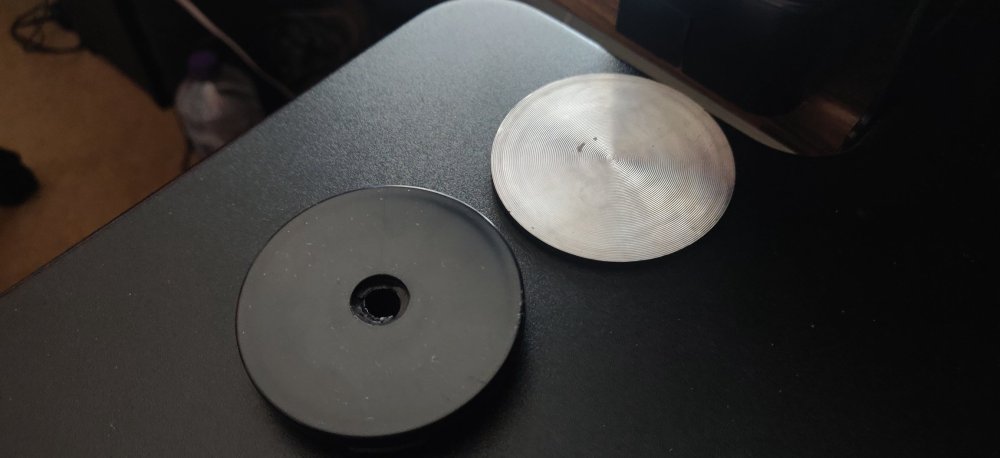
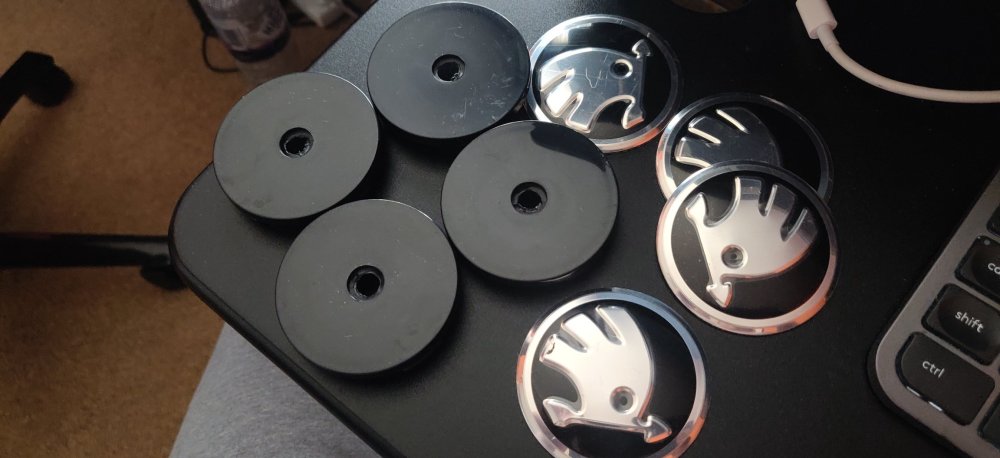
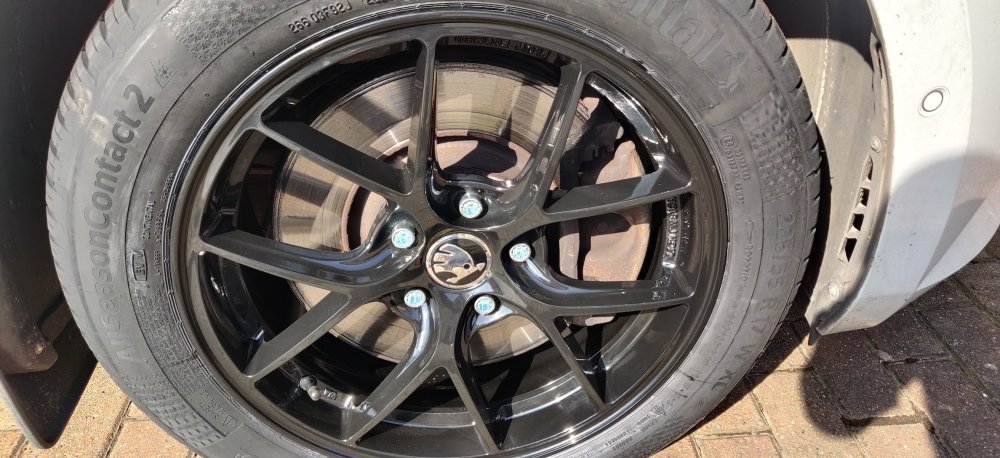
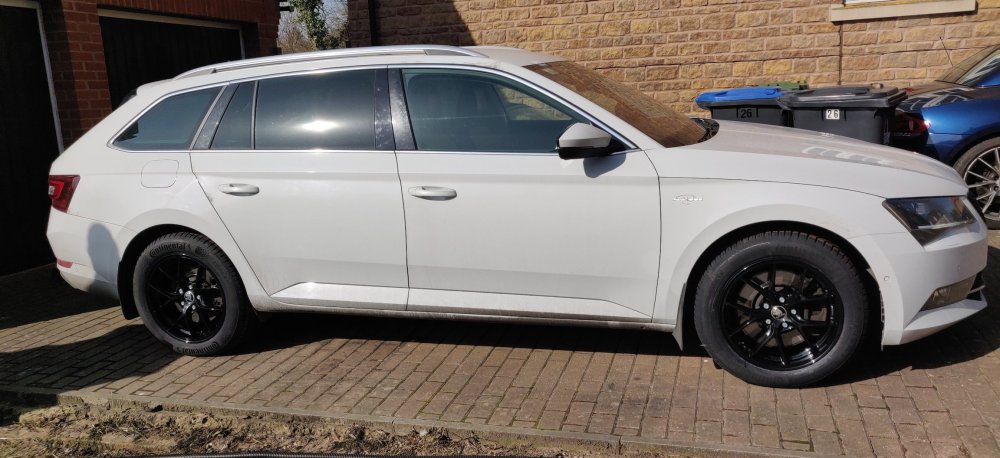
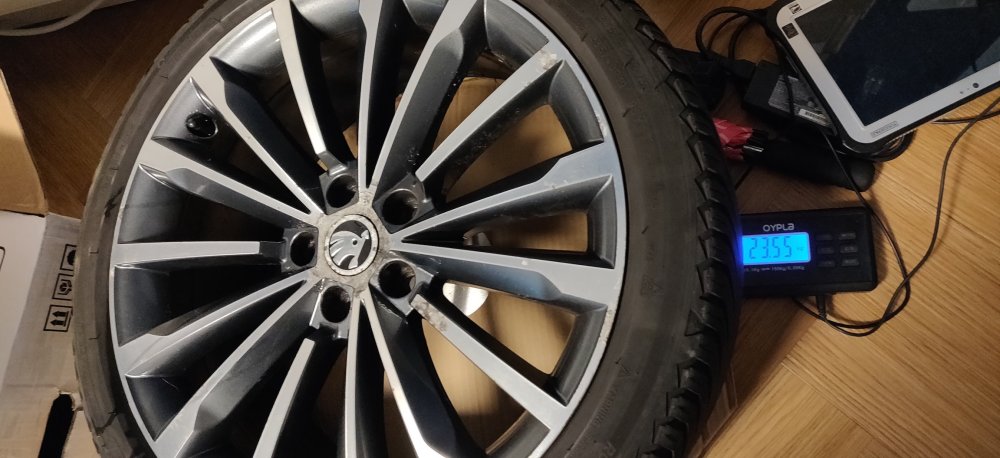
Early this Saturday morning: Packed the wheels into the boot ready to head to a local tyre place. Booked an early slot to attempt to beat the rabble of traffic that wakes up and slows things down mid morning on weekends. 15 minutes later and a quick drive home: Tyres all fitted! Decided on a set of Continentals, AllSeasonContact 2 specifically, 225/55/17 for those interested, W speed 101 XL for the boffins. Normally, I would have got some Michelin CrossClimates (the same as currently on the 19s), but for all intents an purposes, the internet pretty much stated "they're newer, so they're better" and I pretty much just went for them based on that. Presumably, once Michelin release a CrossClimate 3, they'll be immediately top dog again. WIth a 15% discount from BlackCircles, the tyres came to £546.44. Whilst offloading, took the opportunity to weigh one up: So 16.9kg, so the tyre is a smidge over 10kg, I suppose as light as they're gonna get. Weights of actual tyres are actually never ever mentioned or considered in the scheme of things, which does seem amiss, I would be curious about whether there's a correlation between performance, profiles and other factors. Originally, the plan was to fit these at a later time, as I would need to source different wheel bolts, to transition from the ball seat to taper seat that aftermarket wheels would have. Fortunately though, the kind people at Driftworks where I purchased the wheels from threw in these alongside spigot rings: A set of tuner wheel bolts, which pretty much mean there's no obstacles. It's pretty much a standard wheel swap. I took the opportunity whilst jacking up the car to also fit these: These were purchased from lllparts ages ago, I think they're meant for things like Audi's or whatnot, and were mentioned in a few previous posts. Specifically that the intended part doesn't exist anymore, and previous posts suggest to trim these down, given they stick out a bit as per the pic above. I'm probably just going to leave them as is for now, as they actually help highlight where to jack at a glance. I believe I've tallied the rubber parts in an earlier post, so the other bits here came to £77.34 with shipping, so a bit on the expensive side. Just a case of pushing the rubber part into the holes on the underside, then slide the other part into the rubber: Then a jack is used to push the other part until it clicks into place in the rubber: So pretty much jack up a corner, take existing wheel off, set up the new wheel with the spigot ring, grease and whatnot and fit the new ones on. So new wheel on (much easier as much lighter!): Clearance of the caliper for the front: Then the other side: Torqued the bolts up to 140Nm, and then off to look at the wheel caps. The Bola wheel centre caps supplied with the wheels have a metal Bola branded disc of sorts attached to the cap with a sort of adhesive: So with some hacking with a craft knife, allowed some leverage to get the discs off: Then, stuck some random Skoda wheel stickers. These were 56mm stickers from AliExpress, £4.37: The stickers are a tiny bit larger than the caps, so 54mm would be the more appropriate size, but I reckon they'll be fine as is. If they don't and fly off, well, I'll just source smaller ones. Those just push fit: Done: Day trip out showed enough differences over bumps and ramps, and effectively Sport mode being as comfy as Comfort was with the 19s. Wife also found it much easier to keep going too fast on the motorway, so maybe the weight reduction has done something. Time will tell in regards MPG, hopeful of an improvement. Once home though, noticed a grinding when slowing down, and a whine when reversing. The rear left wheel was warm, and sure enough, some water over the brakes and they were steaming. So looks like the caliper is stuck, so I'll see if I can address that tomorrow. I'm loathed to spend any more money on the existing brakes as some other things are on the cards... Gave the old wheels a quick clean: Then lugged one of them into the house to weigh: So 23.55kg on the scales, so over 6.5kg a corner! So more than 26kg of unsprung weight saved, which I'm sure will mean all sorts of benefits. The 19s are in a horrid state, and with one slowly leaking air, all would need refurbishing, which would be a tiny bit more cost wise if there was a desire to keep them diamond cut. The tyres are probably usable for a few more months, though some have more wear on the inside of the tyres, which does suggest I should probably get the geometry checked. I'll stick them up for sale, hopefully for what is considered a bargain price... For now, the rear left caliper would be the current urgent thing to look at. Maintenance: £2370.22 Upgrades: £2994.25 (+£628.15) Miscellaneous: £820.07
-
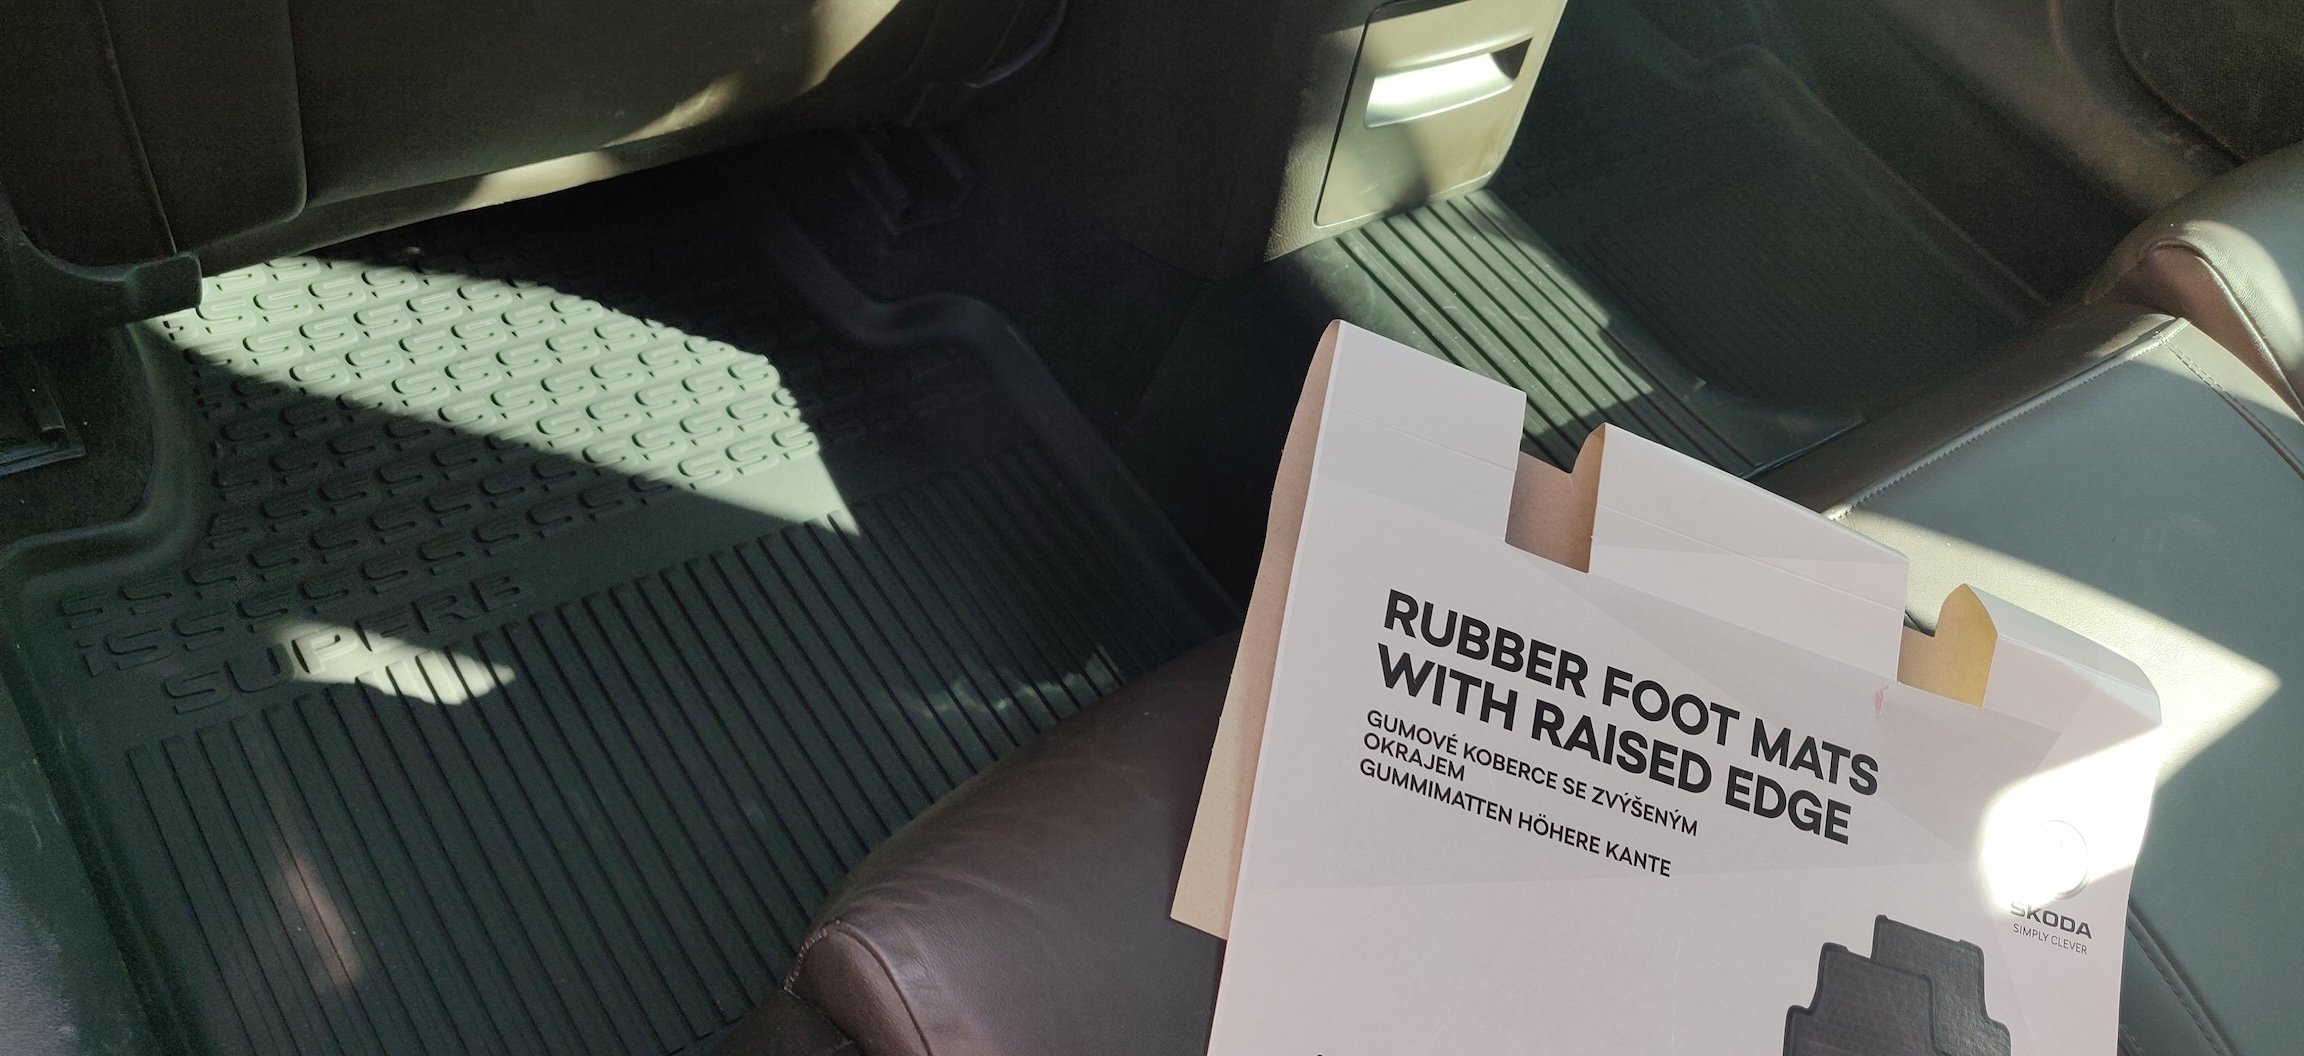
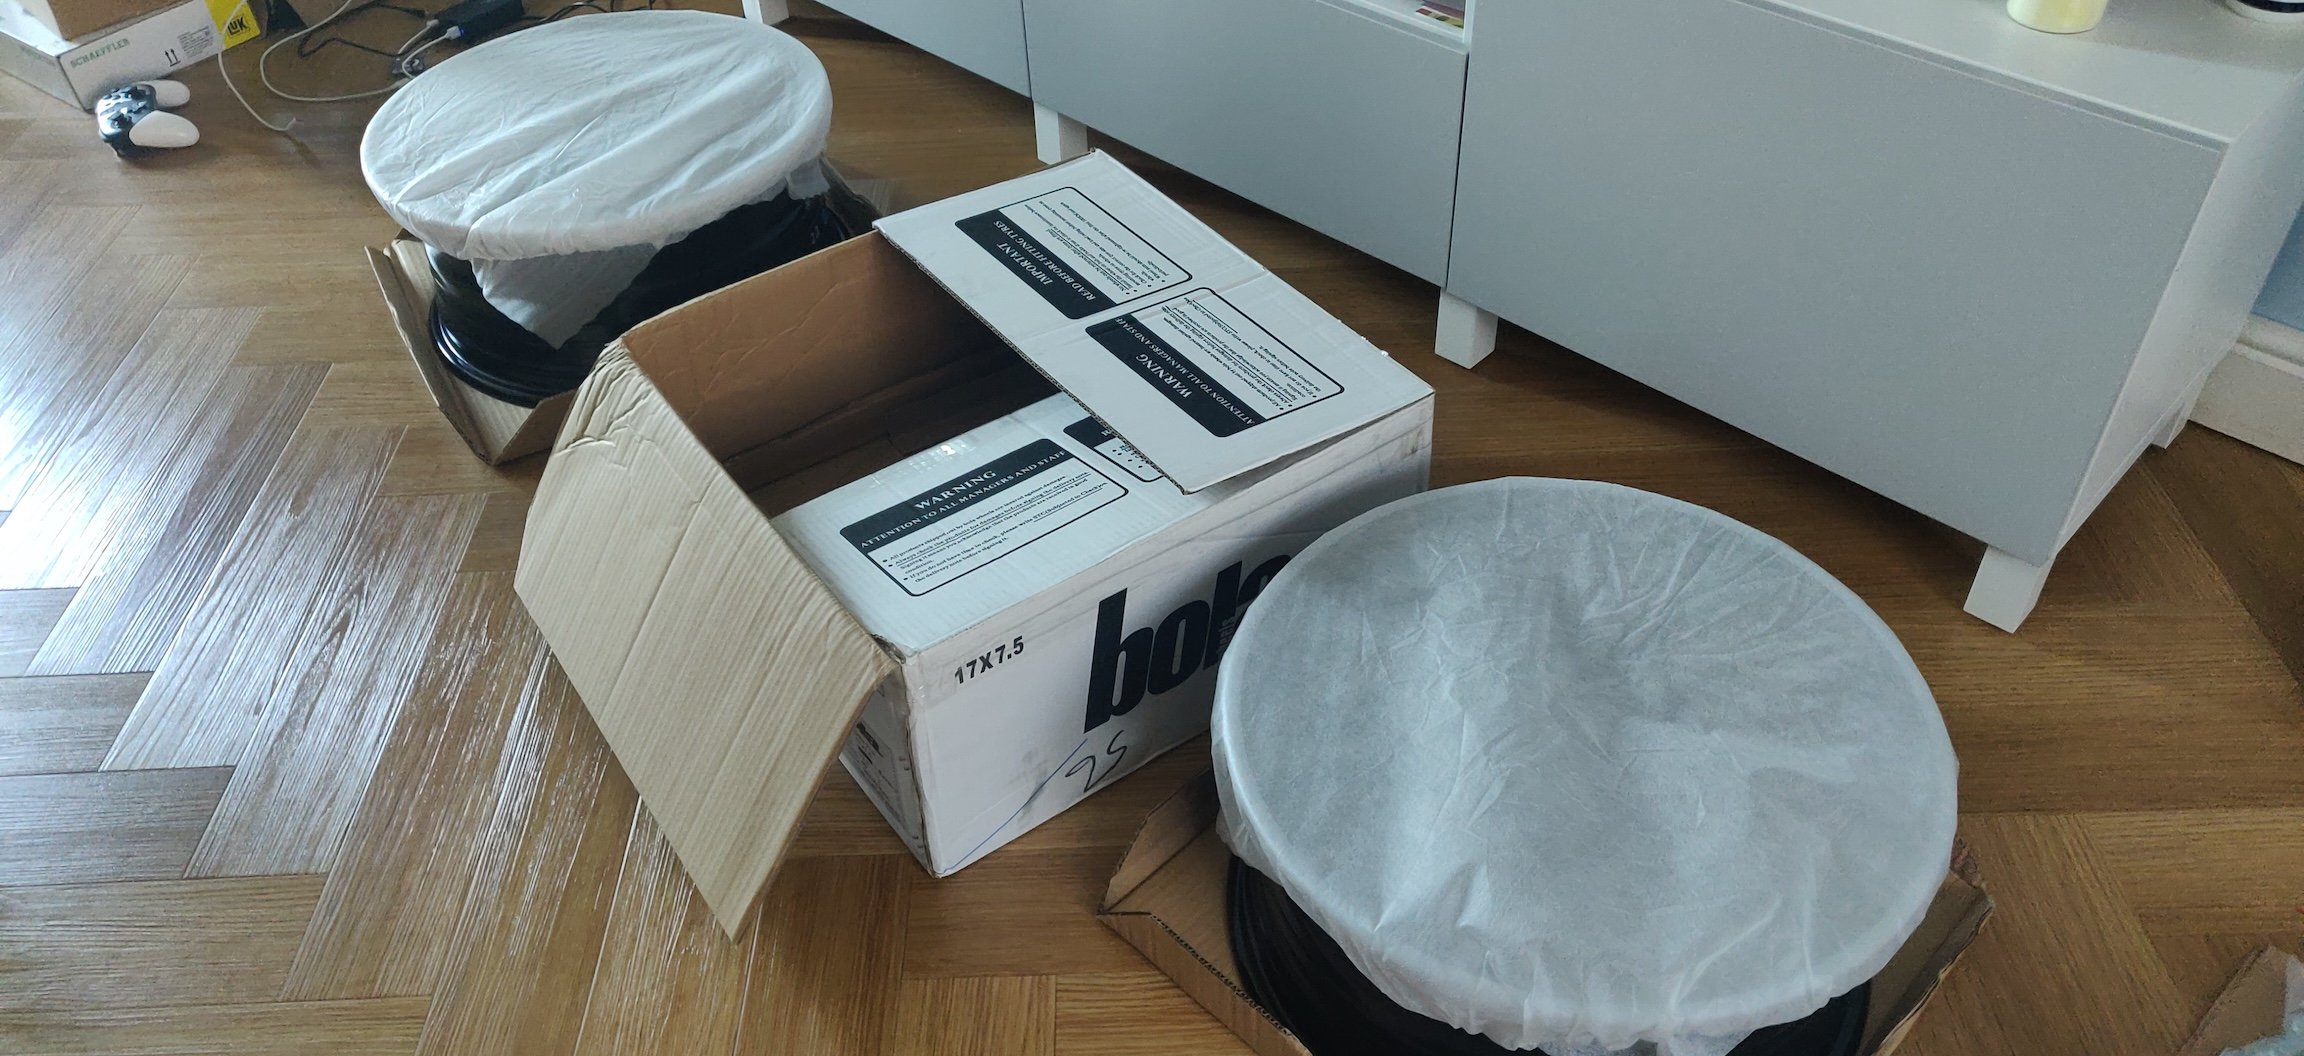
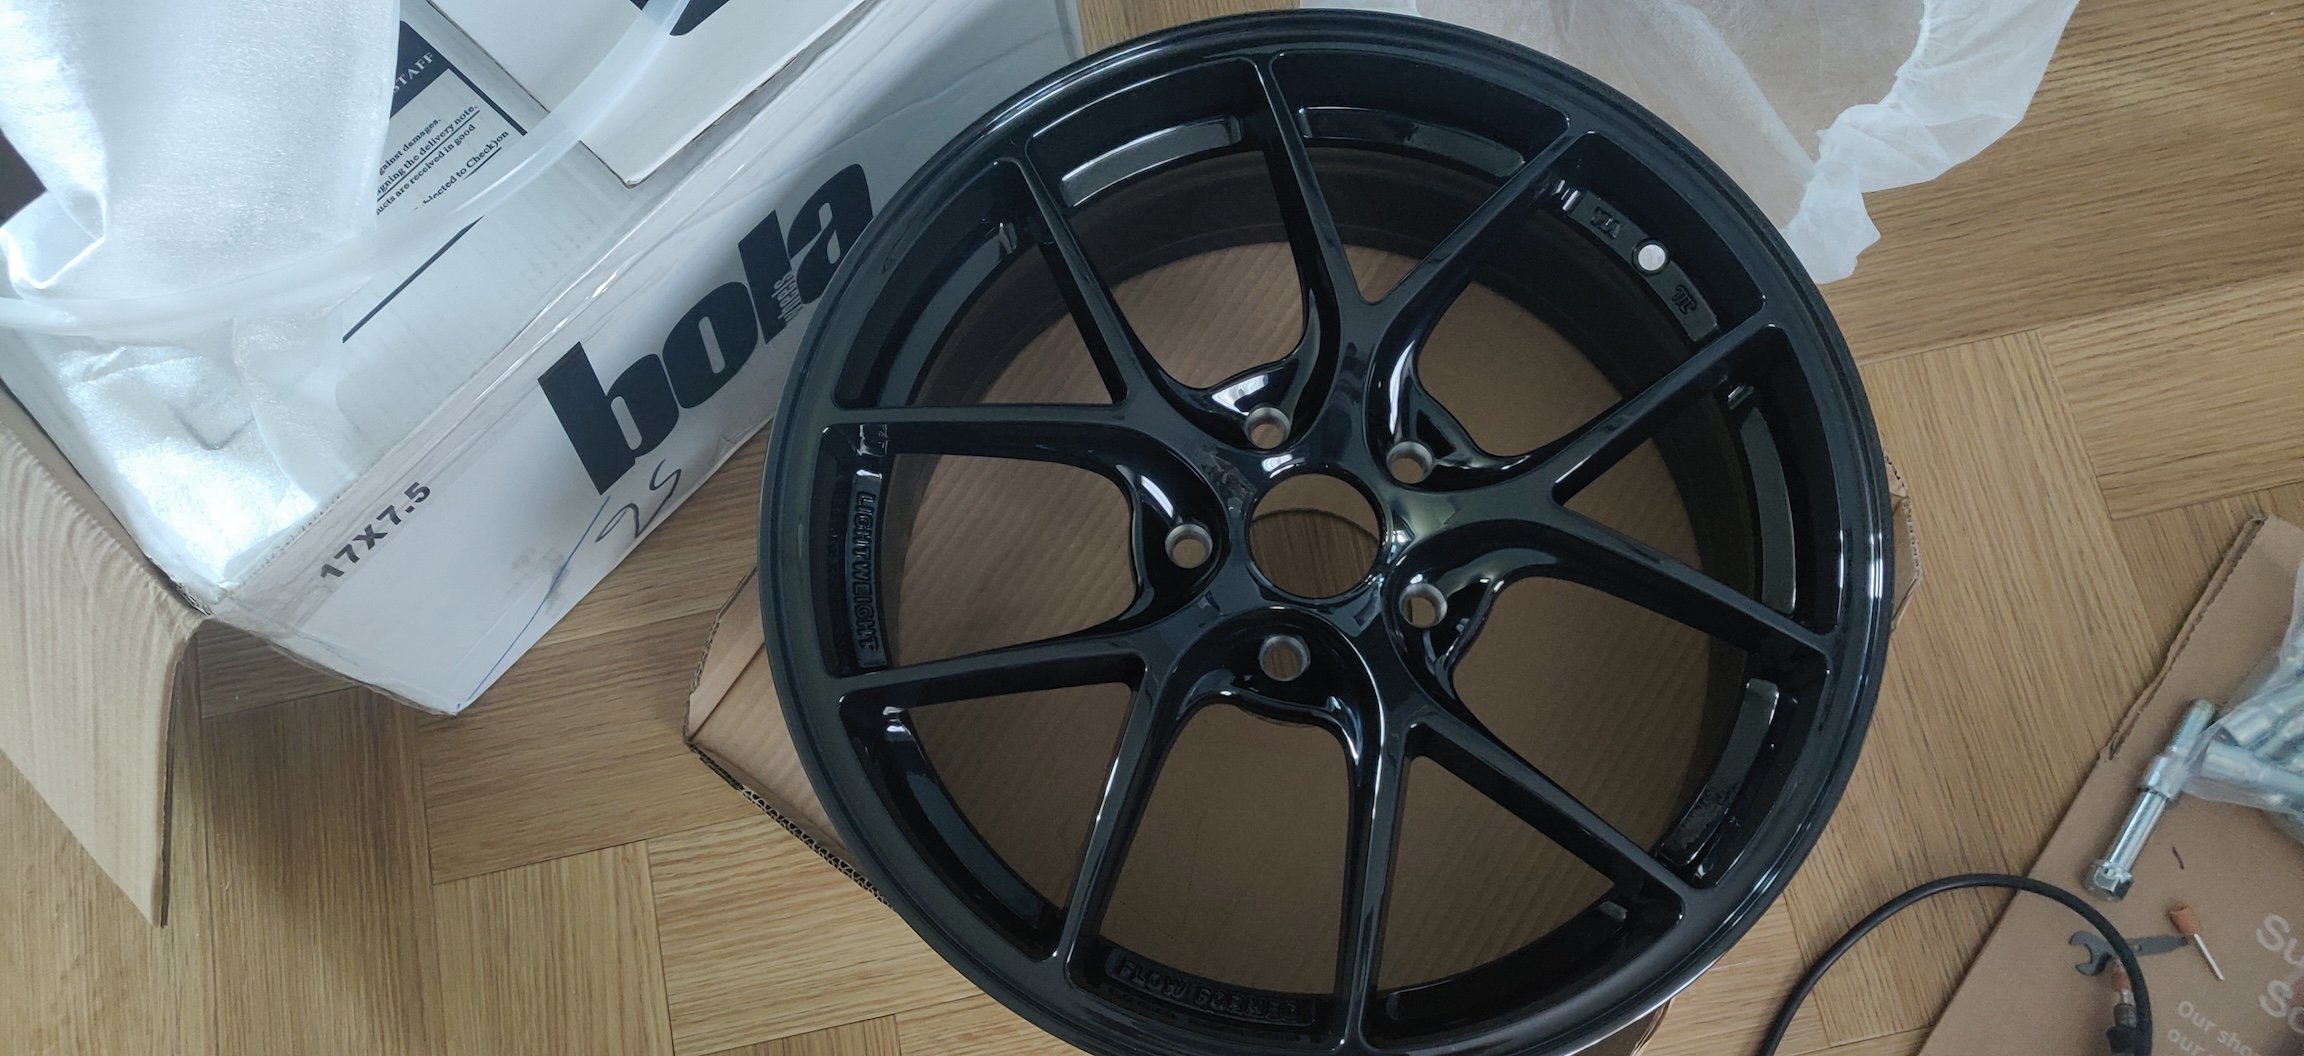
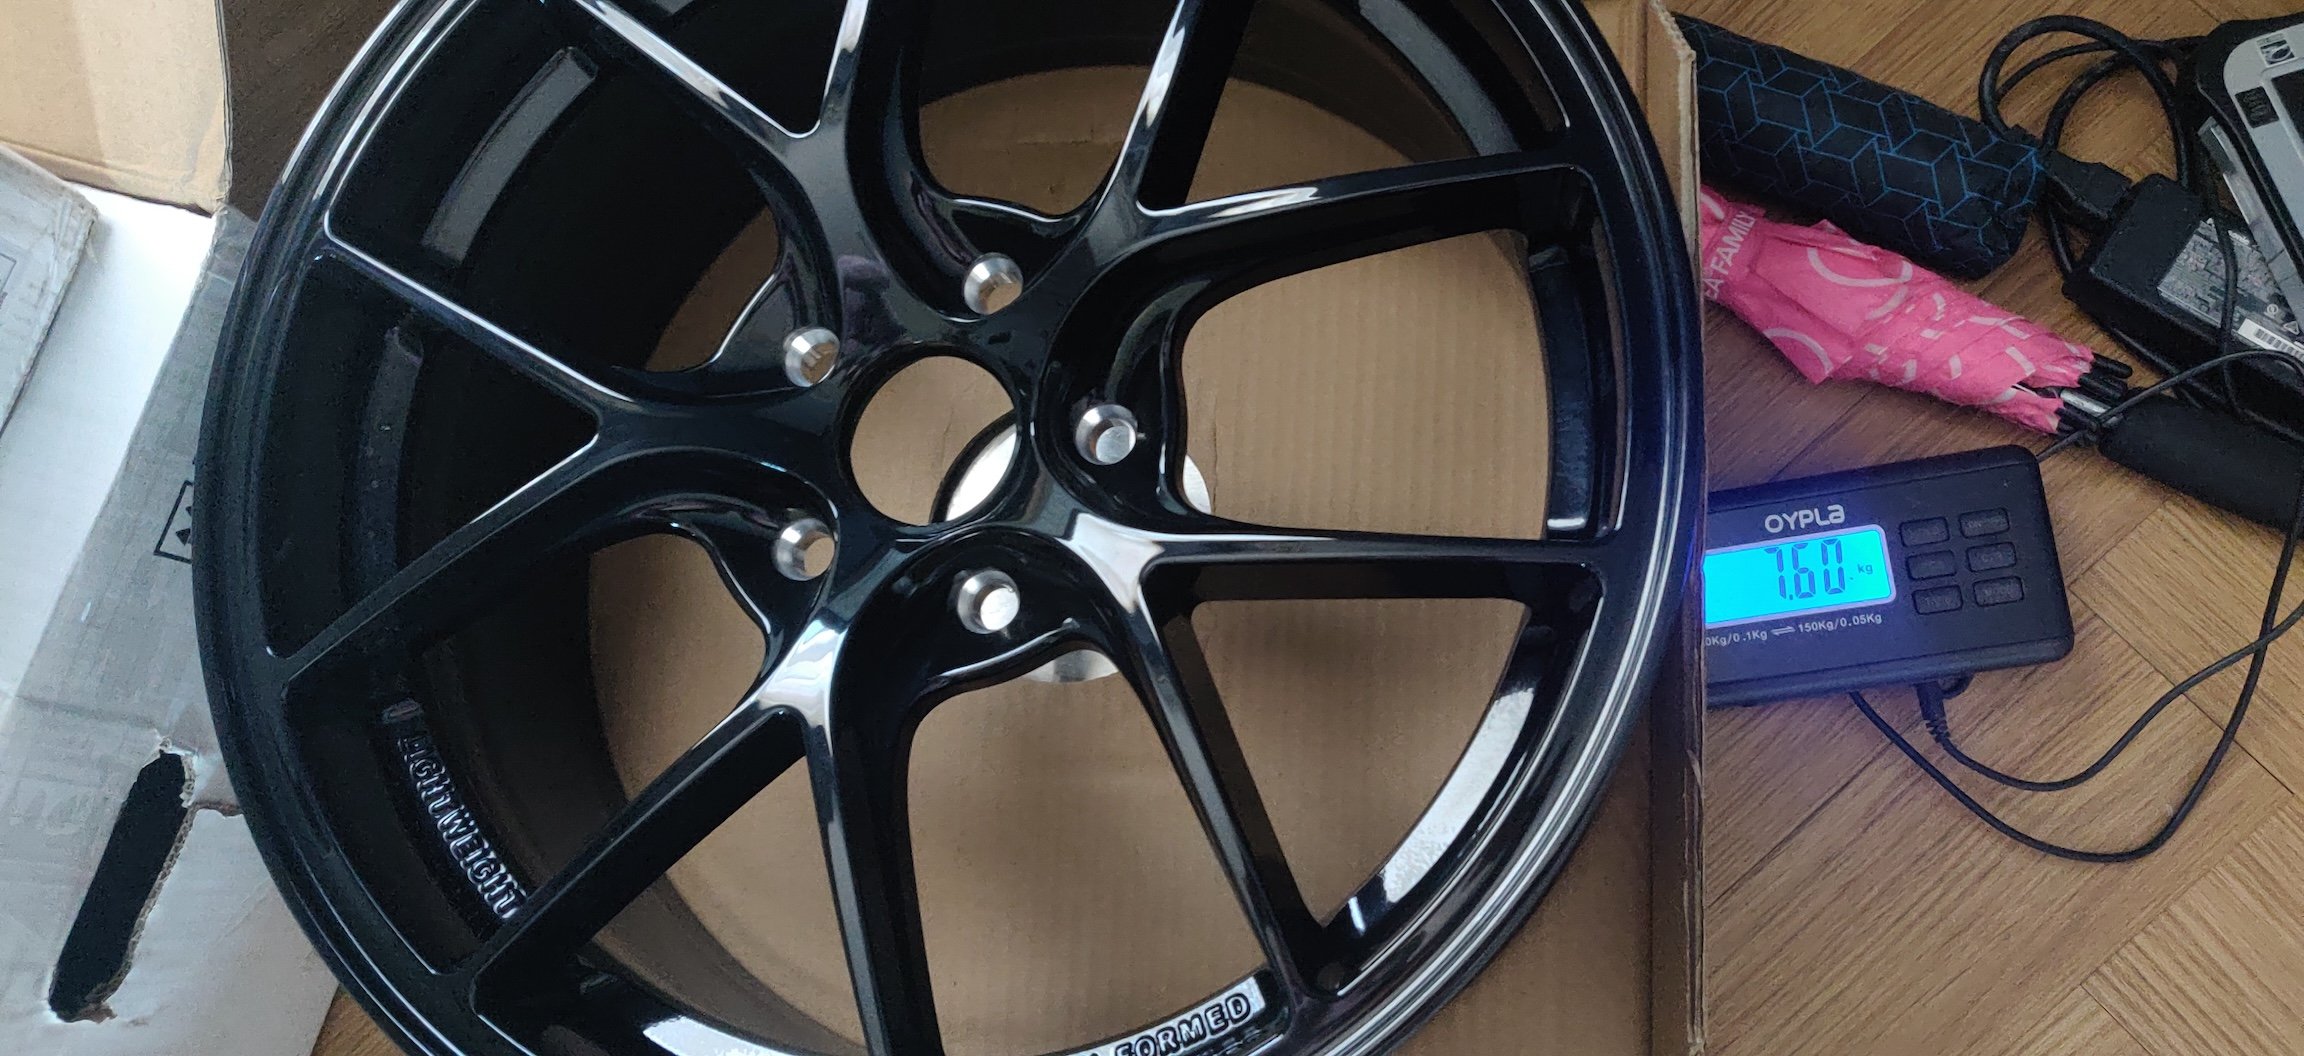
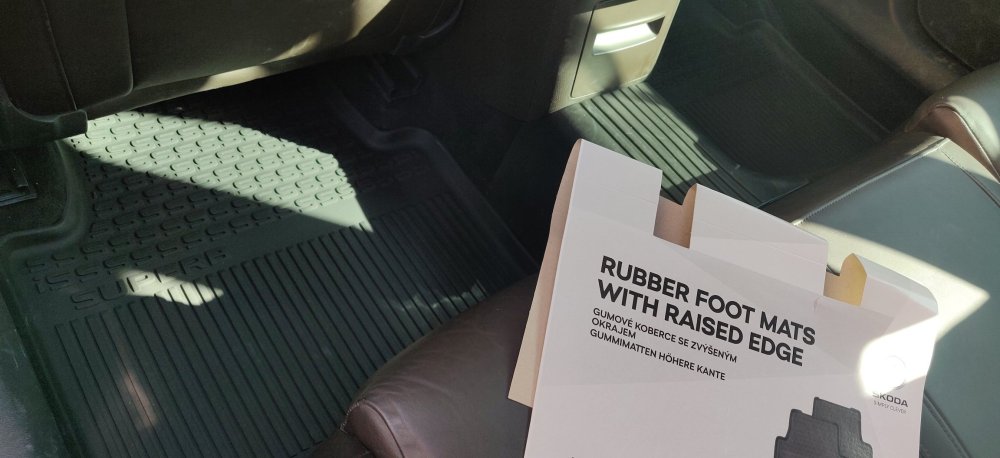
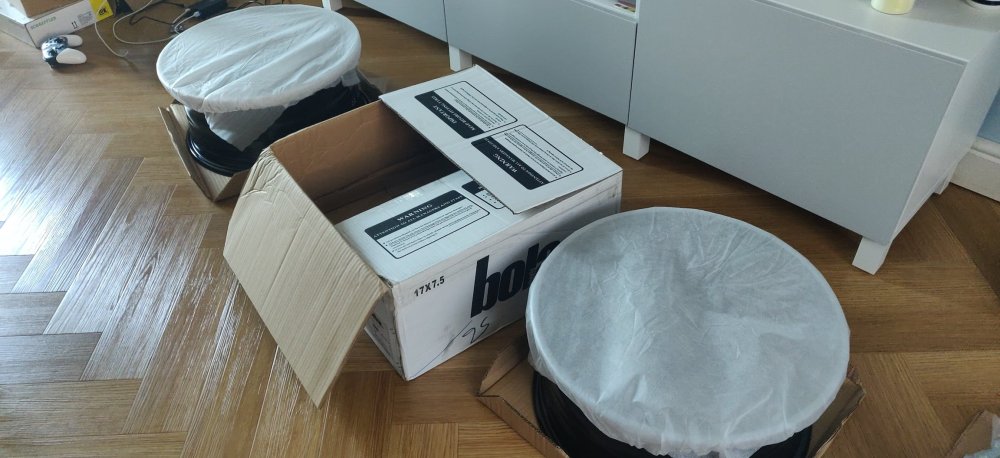
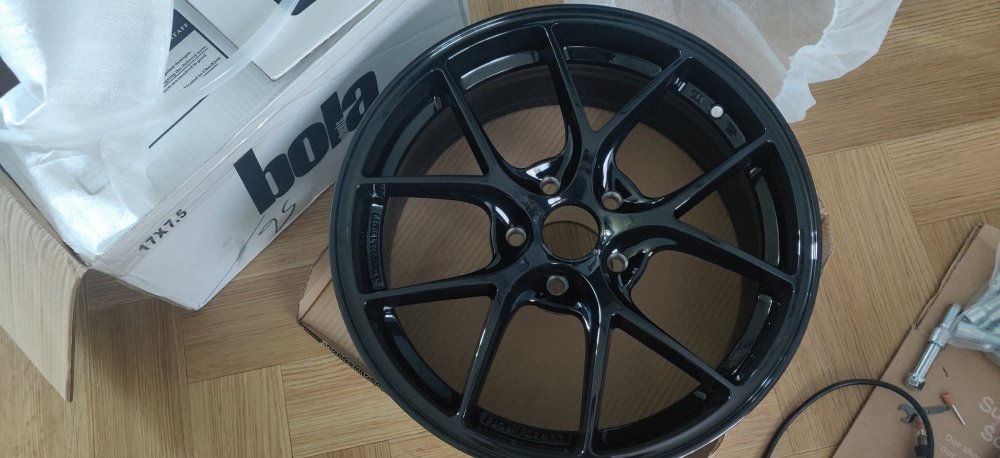
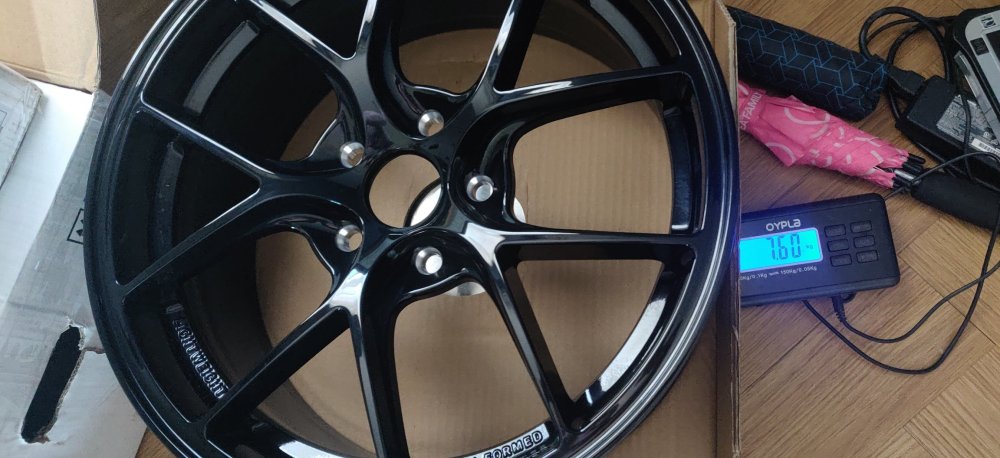
Hi all, Apologies for the thread revival, didn't think a new thread for the same car made sense. It's been a little over a year since we got the Superb down to England and started this whole odyssey. So here's a (not) wild thing: Rear rubber mats! This has been on the back burner for ages, and decided time to order them along with other stuff from Skoda Parts. This was 3V0 061 551 in particular. I also ordered a seal for the oil pan, 06K 103 649 J and an o-ring for the oil level sensor, 038 103 196 B. This is for the future, as part of additional moments of madness. That came up to €74.60 which at the time of ordering came to £62.34. I miss pre-Brexit... To complete the madness: Wheels. The original plan this year was to just do a stage 1 and leave the wheels and other bits for later, but with the front left wheel looking like it's losing air slowly, and a tyre place not identifying the tyre as the cause, leaves me to believe the corrosion on the wheels is probably the cause. So decided why not, just splurge and deal with the consequences later. Came to a total of £660.24, taking two weeks to arrive. These are Bola FLE's in 17x7.5 with ET40. I think if my homework is correct, this will leave the wheels a 2 couple of millimetres inward, so ideally ET38 would have been bang on, but these wheels only go as far as ET40. I guess I could get spacers, but the point of these wheels and this size was weight. The original wheels will be offloaded, so I'll probably put them up for sale once removed to save some space. With no tyres on: They weigh 7.6kg, so roughly as per website statements (I saw 7.4kg mentioned, presumably with different offsets and so less metal). Any lighter and it'll start becoming really exotic and thus really expensive (Magnesium? Carbon Fibre?). There will be more updates over the next few months, how far I go though depends whether the credit card burns out. I mean, tyres are the next thing right? Maintenance: £2370.22 Upgrades: £2366.10 (+£722.58) Miscellaneous: £820.07
-
I've used them over the past year and haven't encountered any problems, I've found it's between them or lllparts, and I've not been stung with any unexpected duty invoices. Last time was with skoda-acc I think. Not sure what part you're after but have you tried eBay? They might be some around second hand I would have thought, as it's just a bit of plastic end of the day?
-
"...remove the bolts..." is three words but I guarantee would have been days of fury. I'll be replacing those bottom arms and cutting things out if I ever want to do anything with the rear springs without the compressors.
-
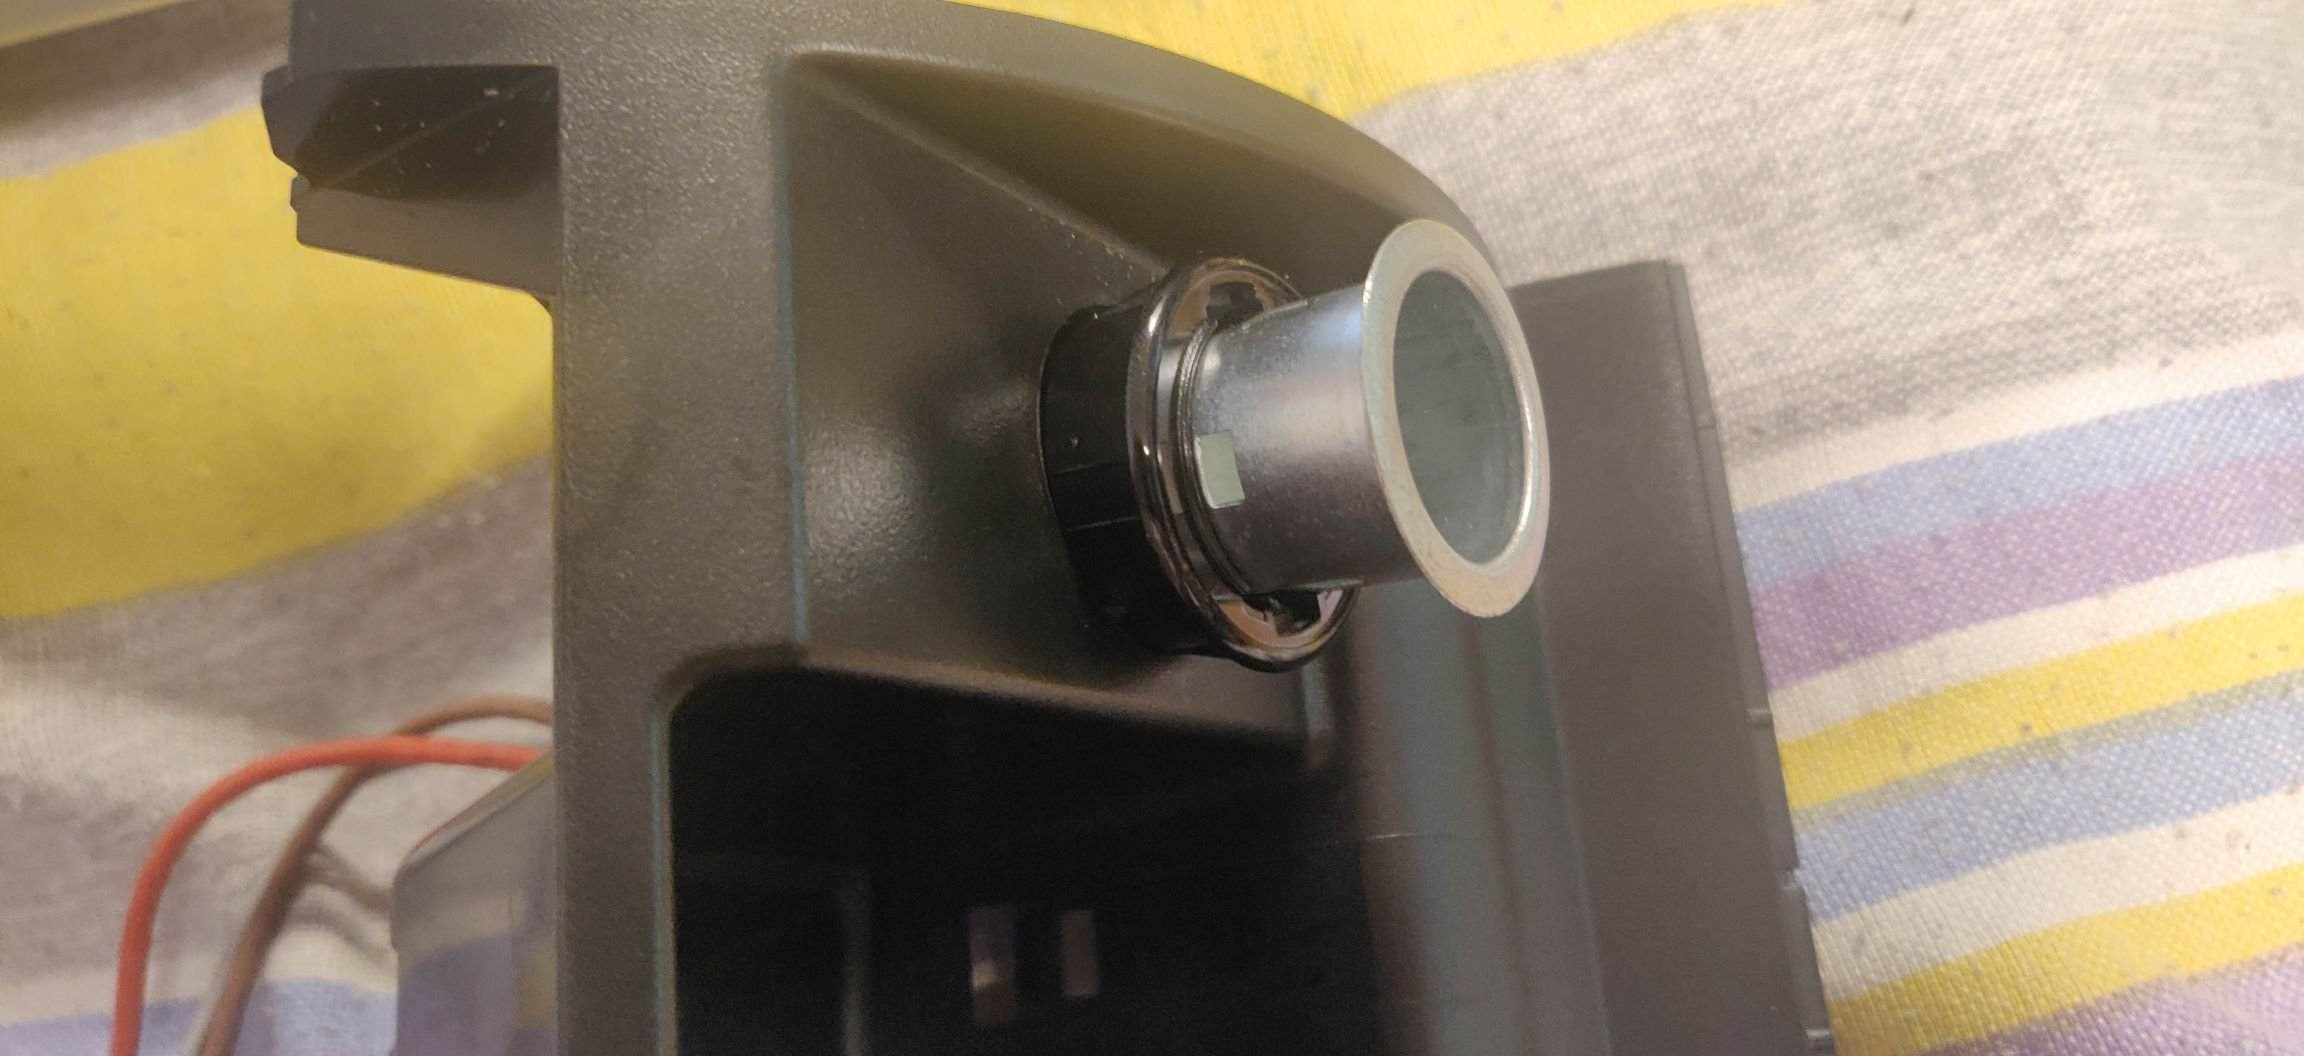
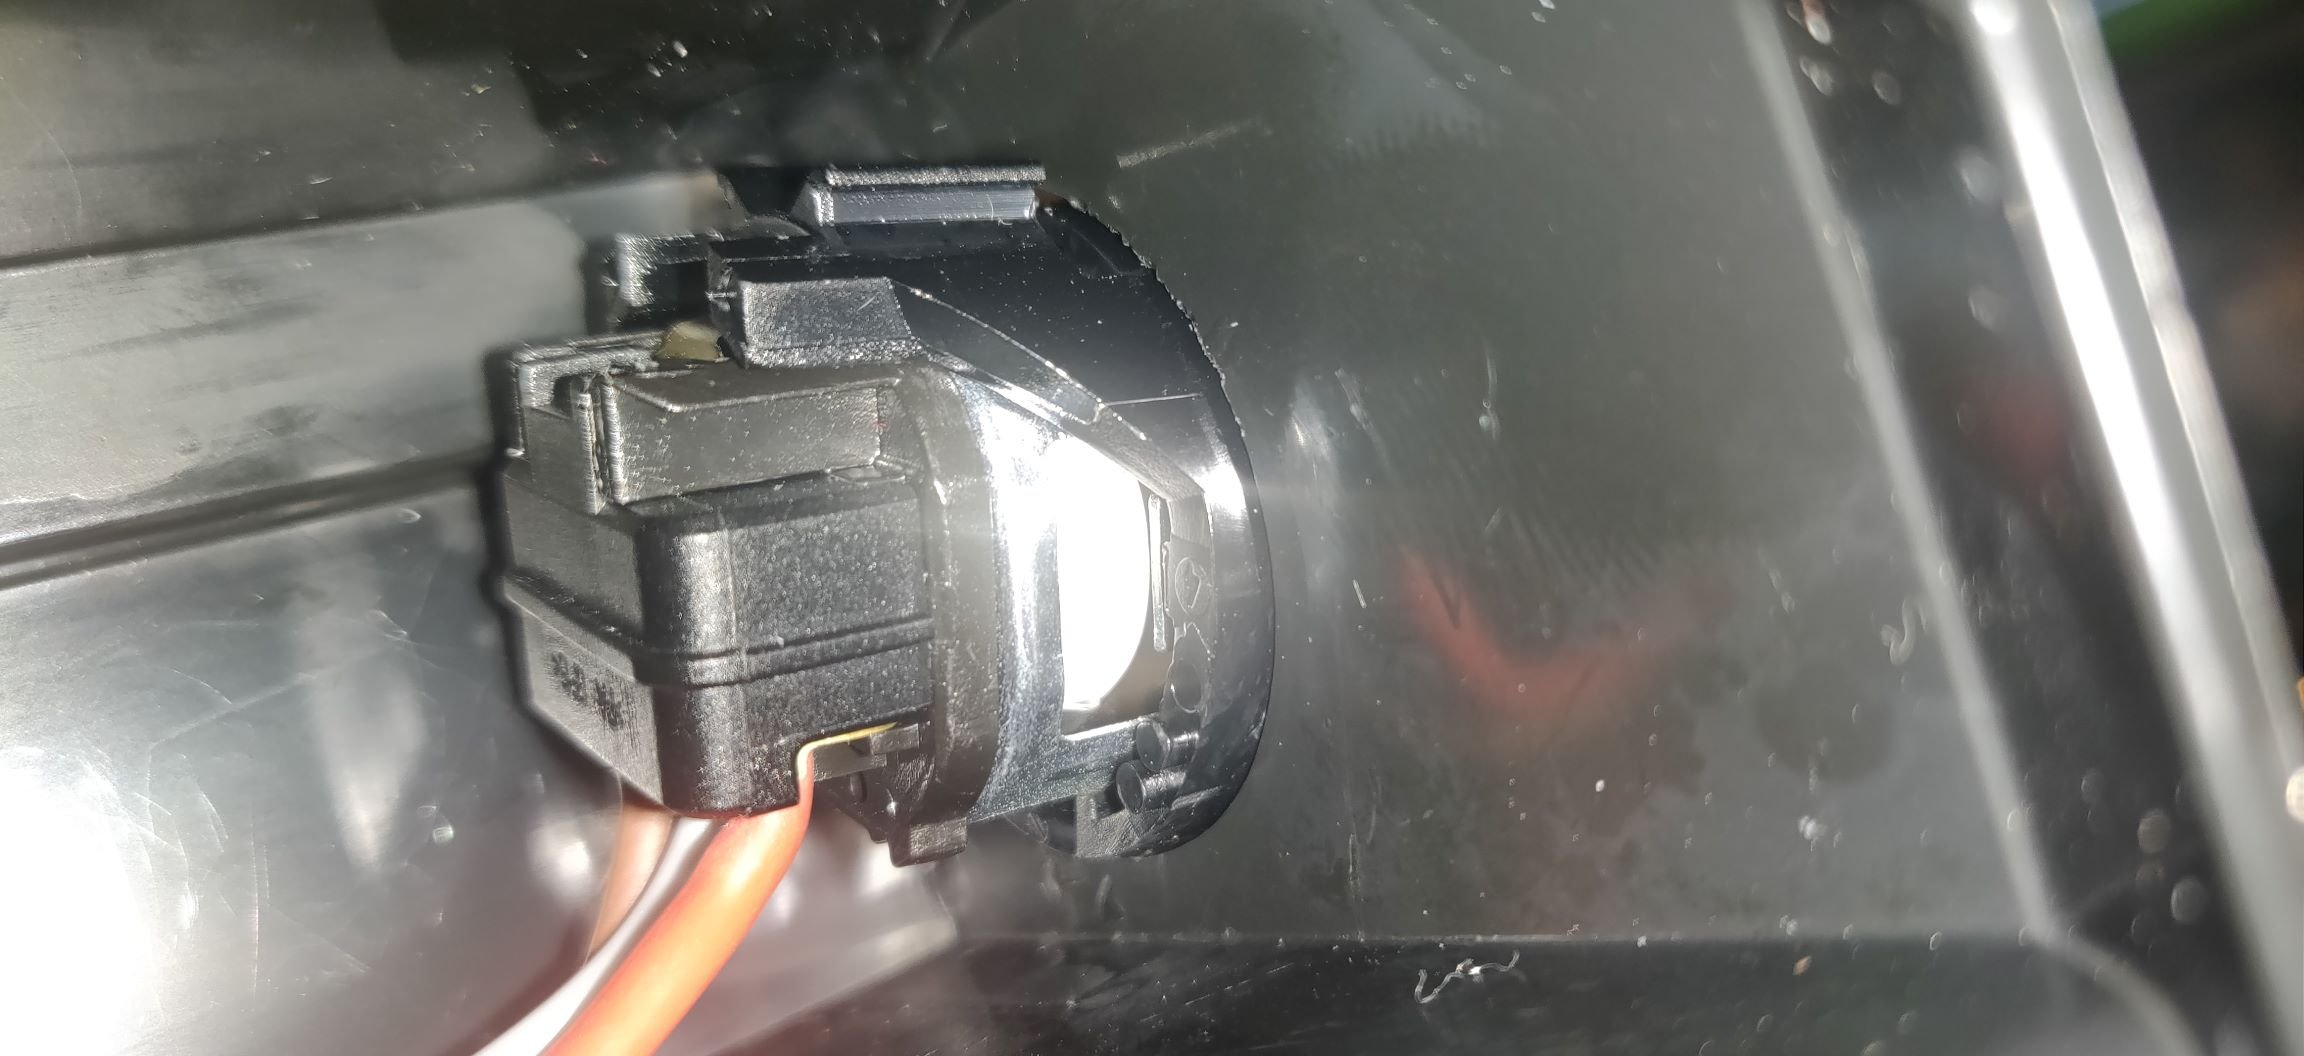
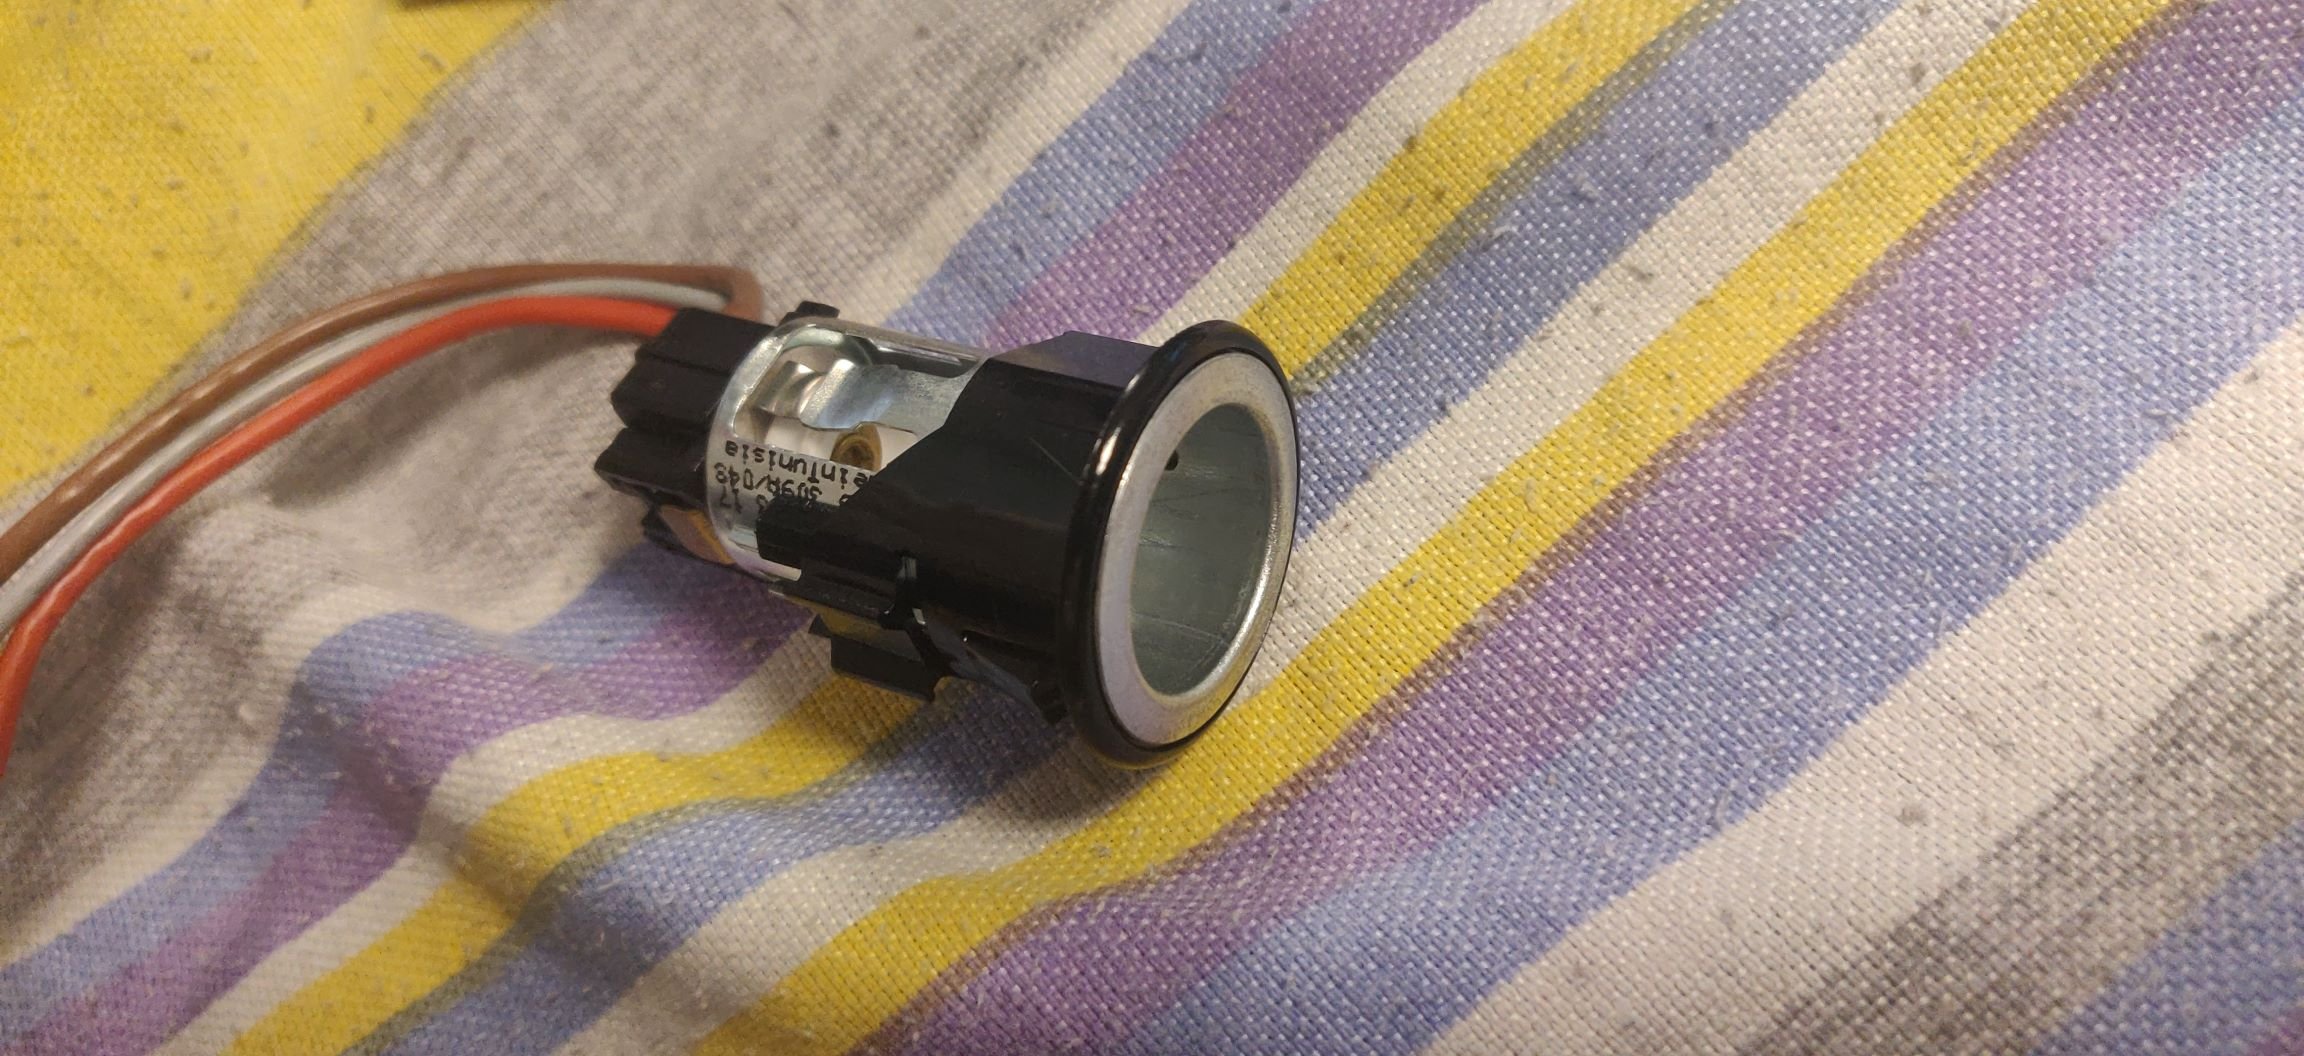
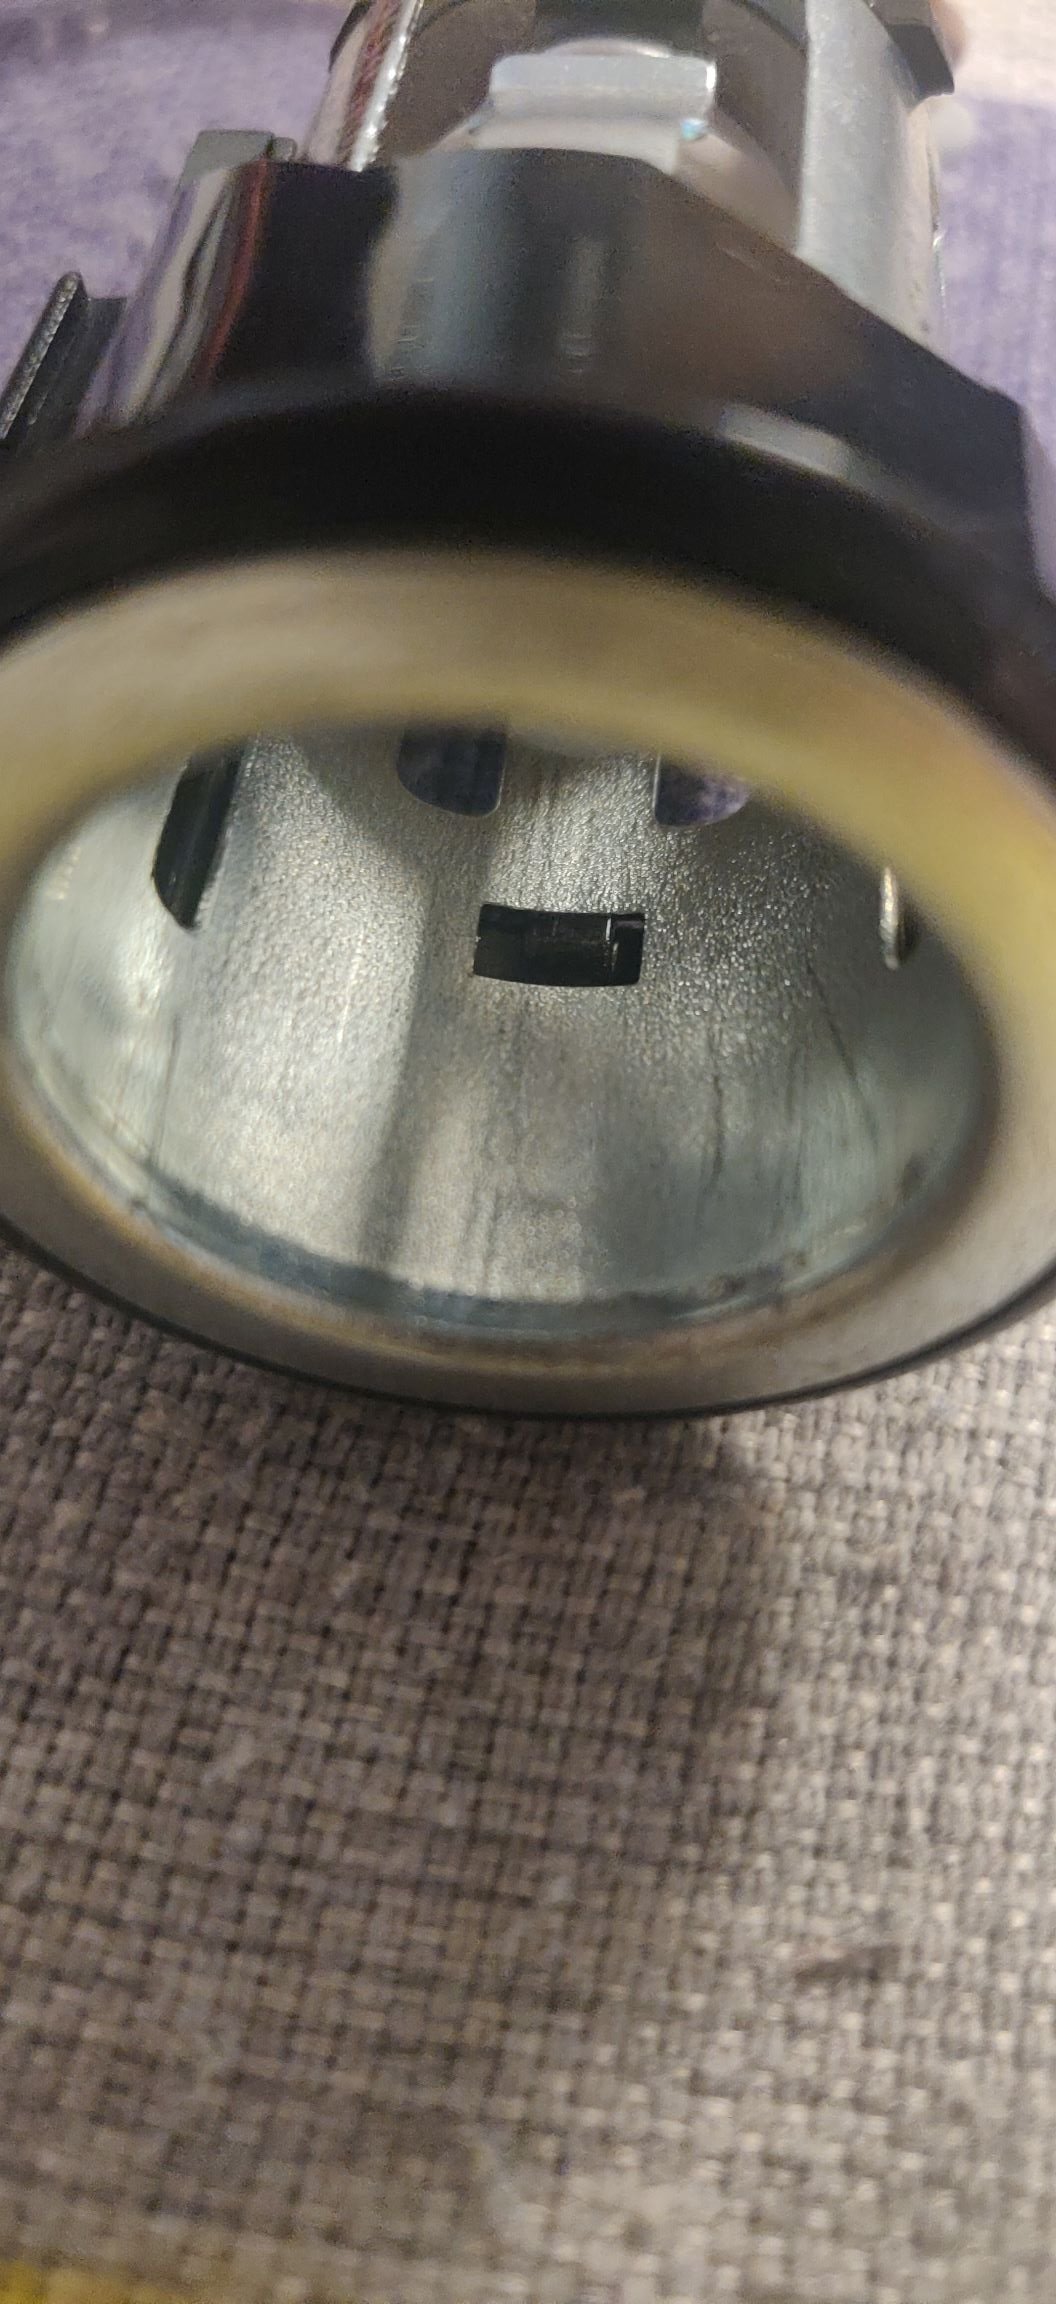
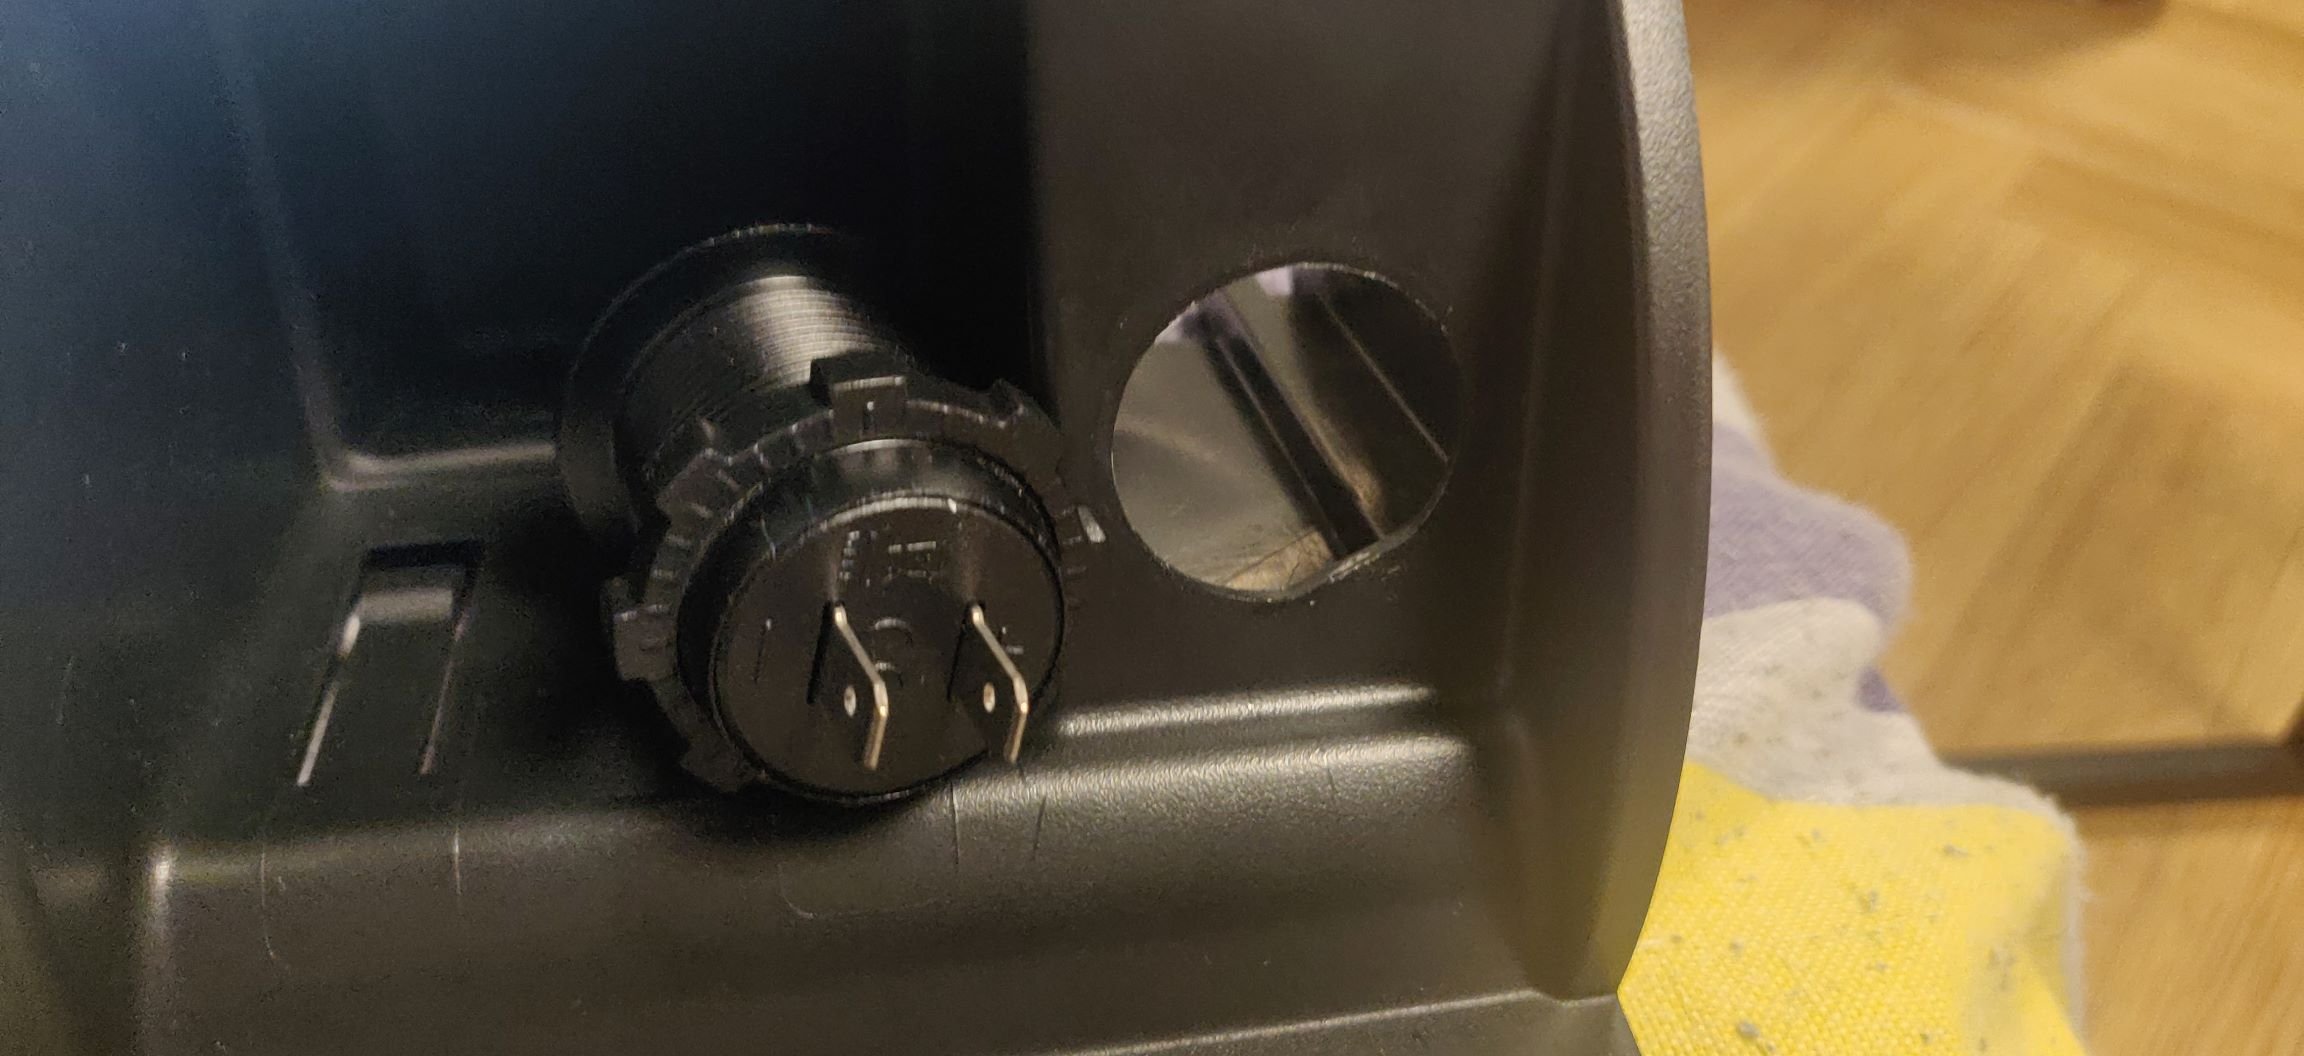
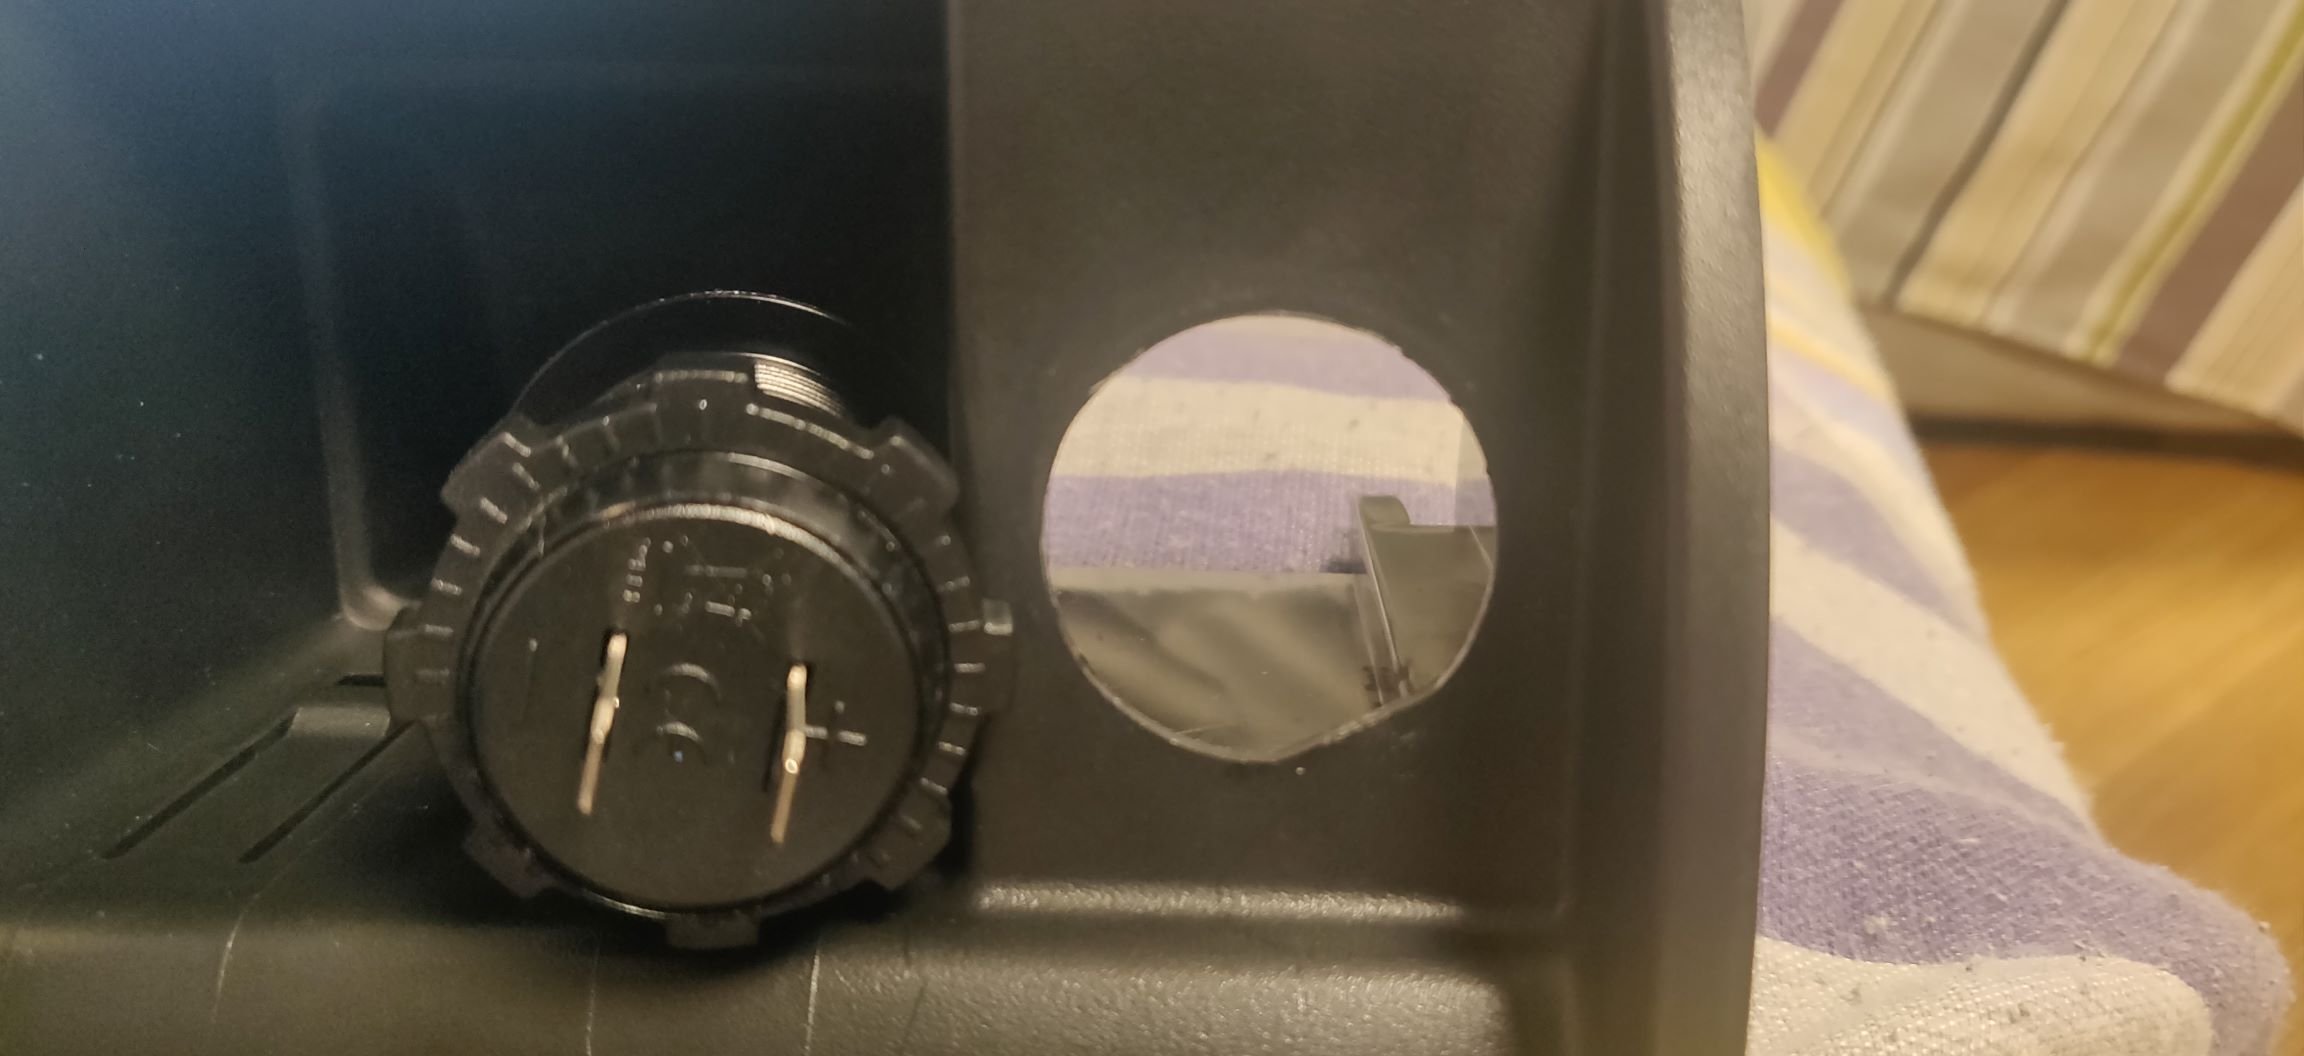
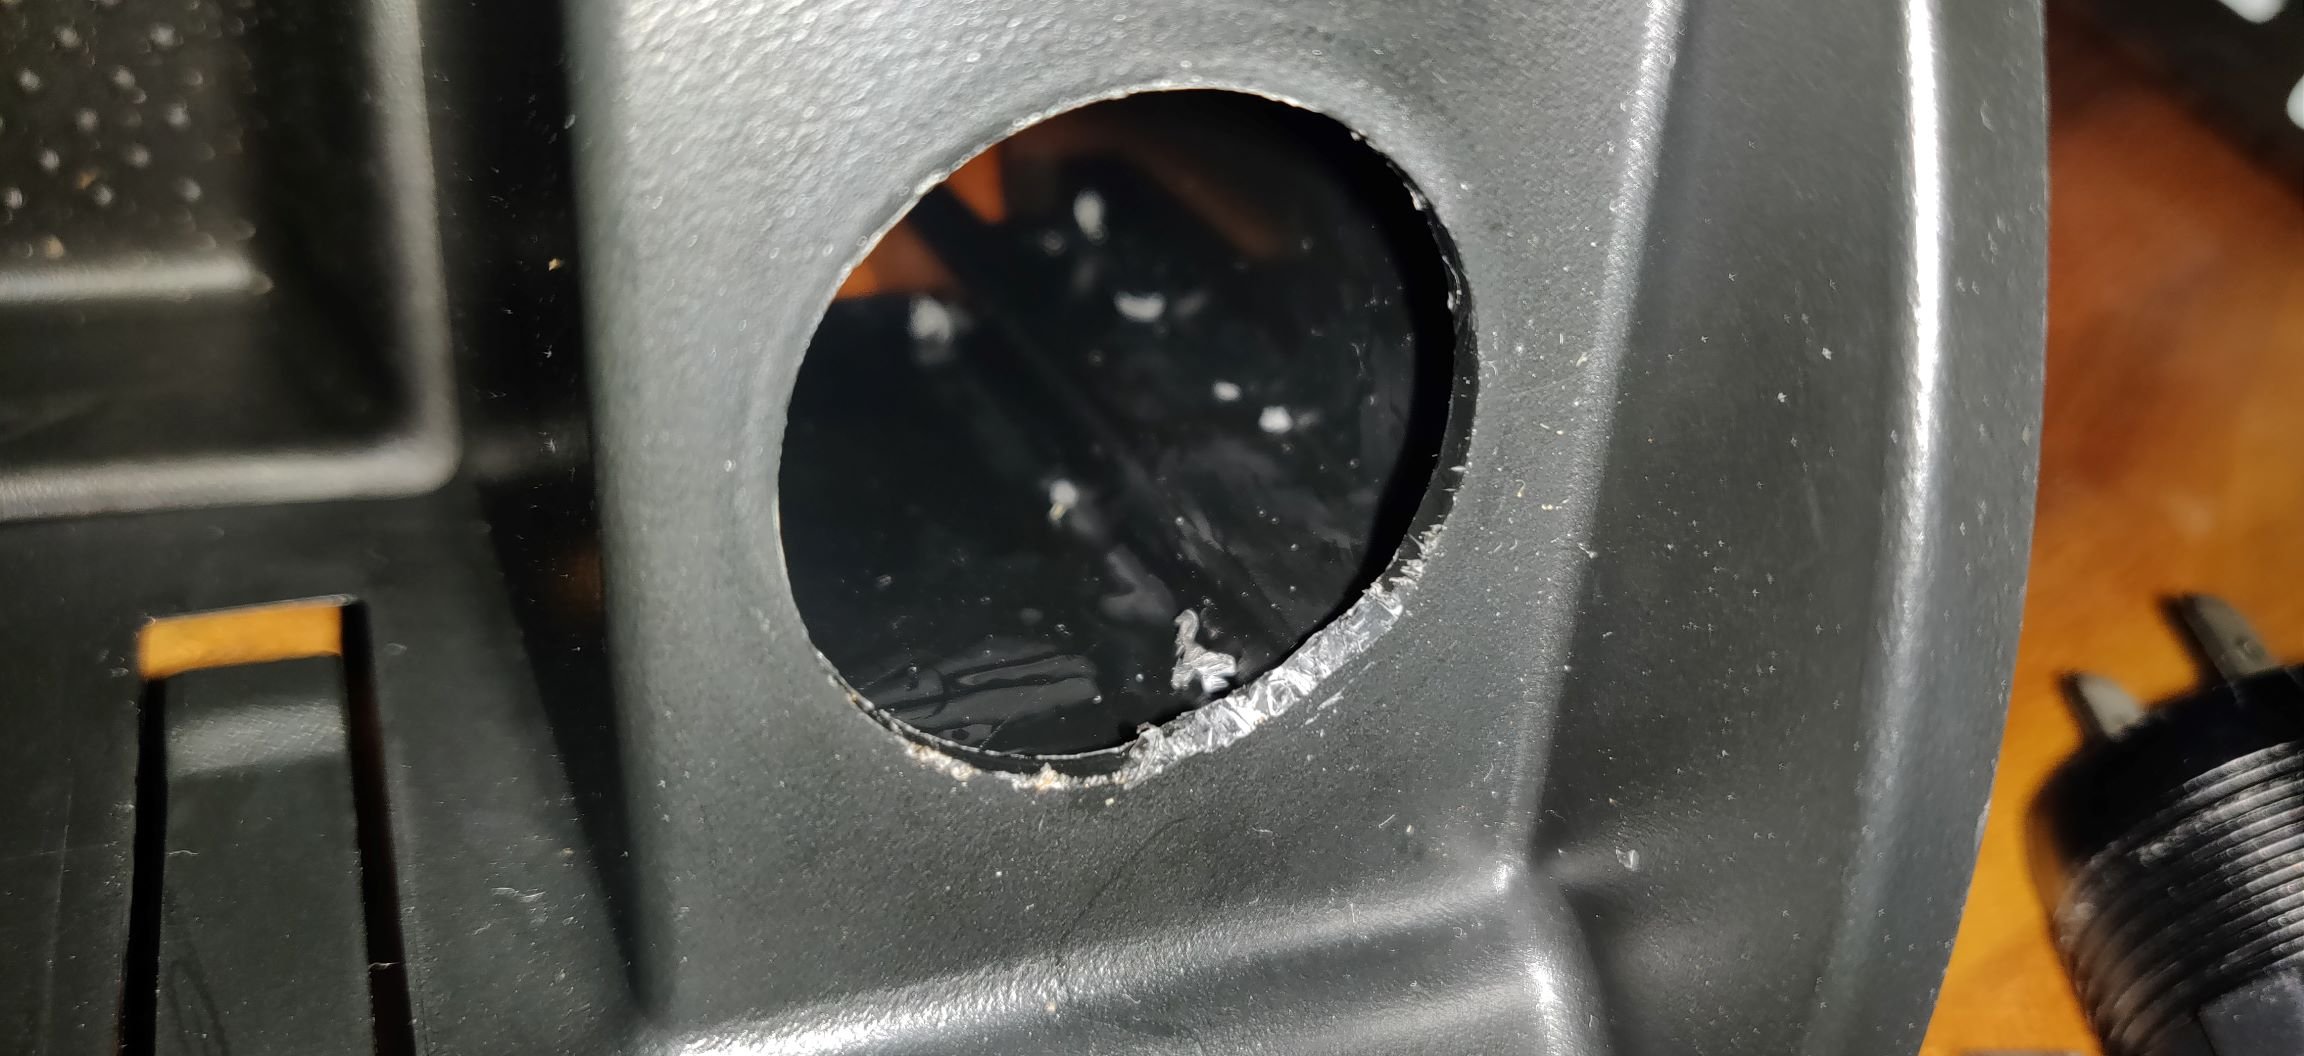
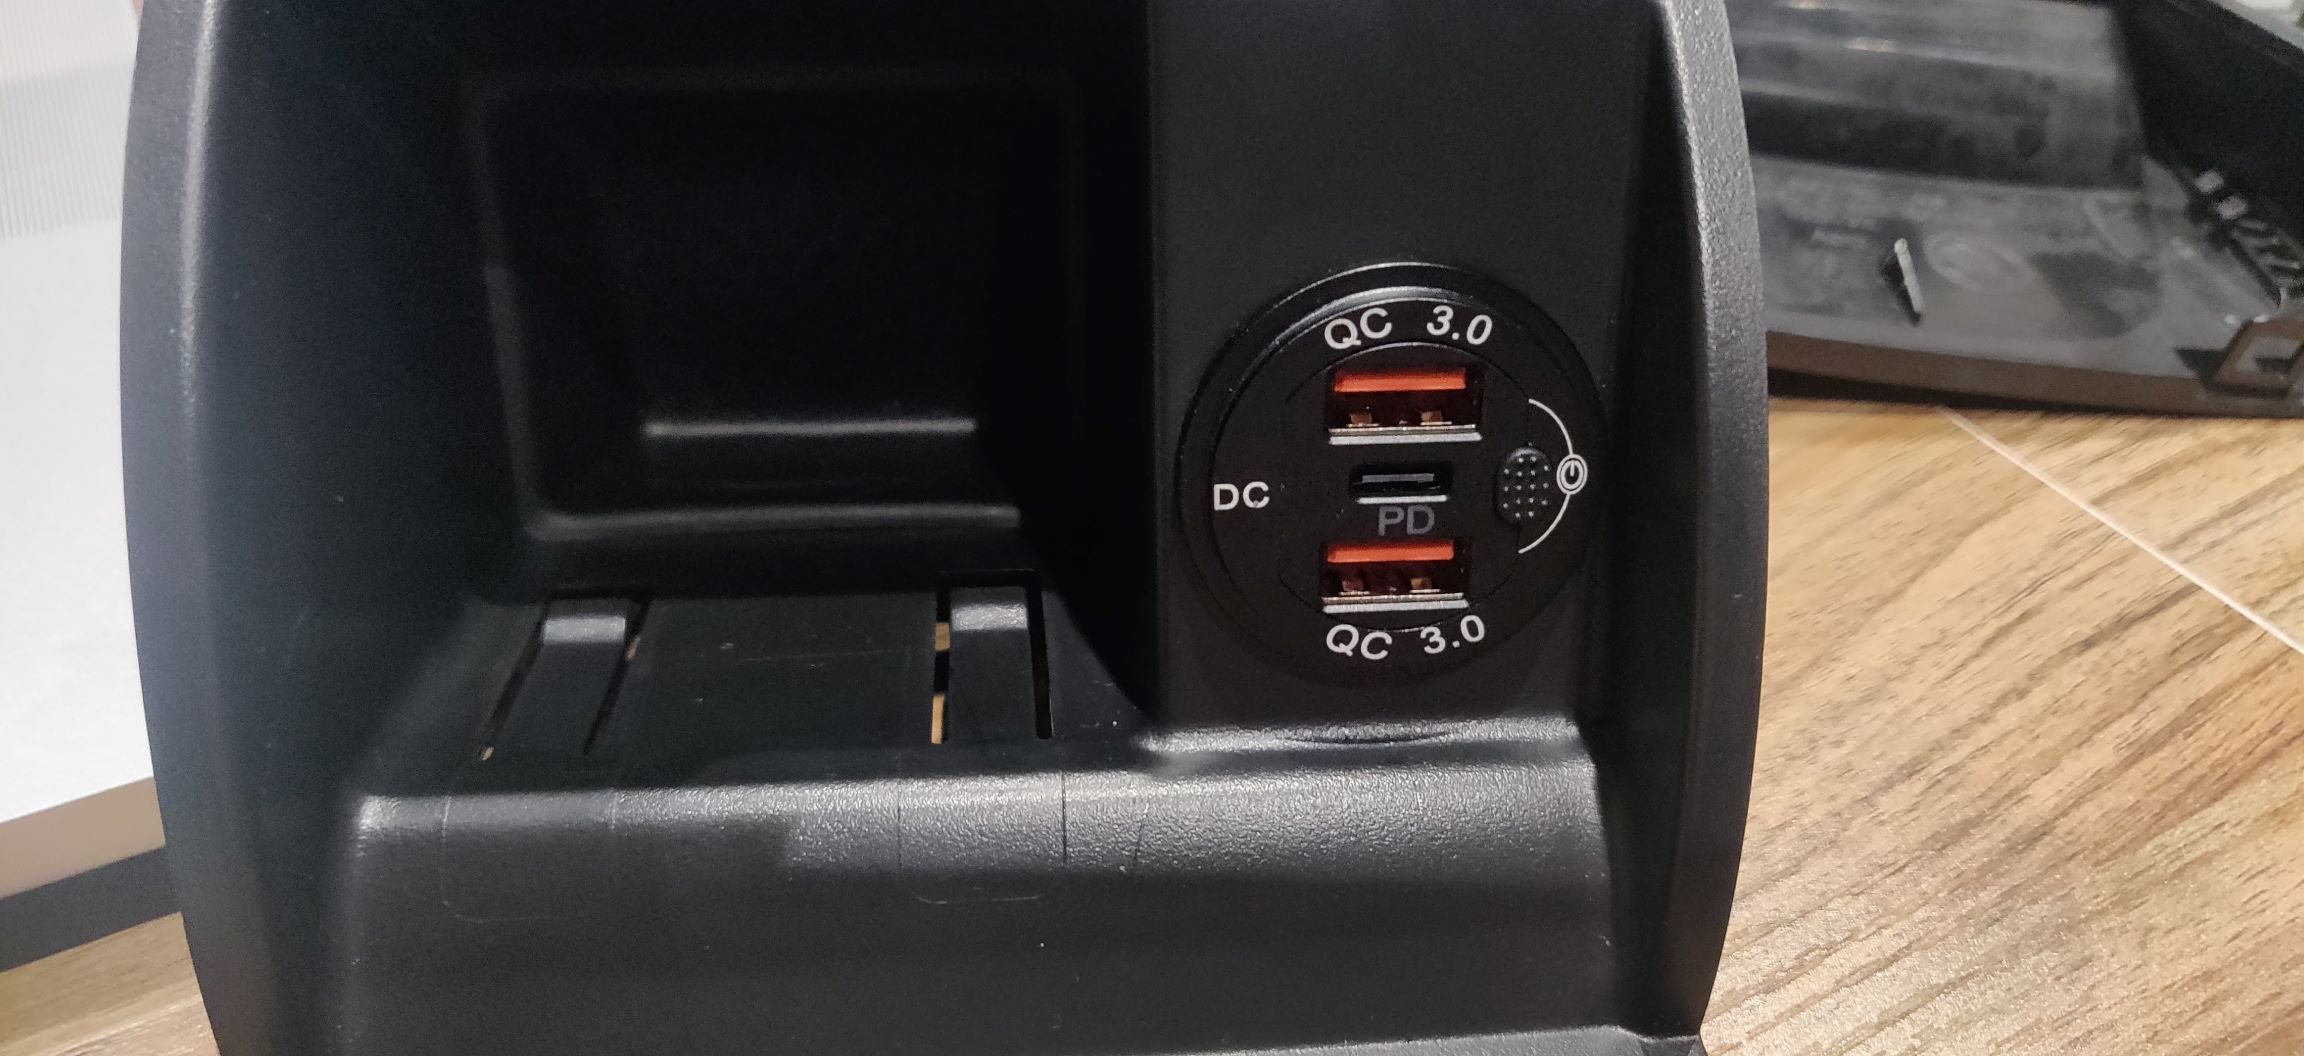
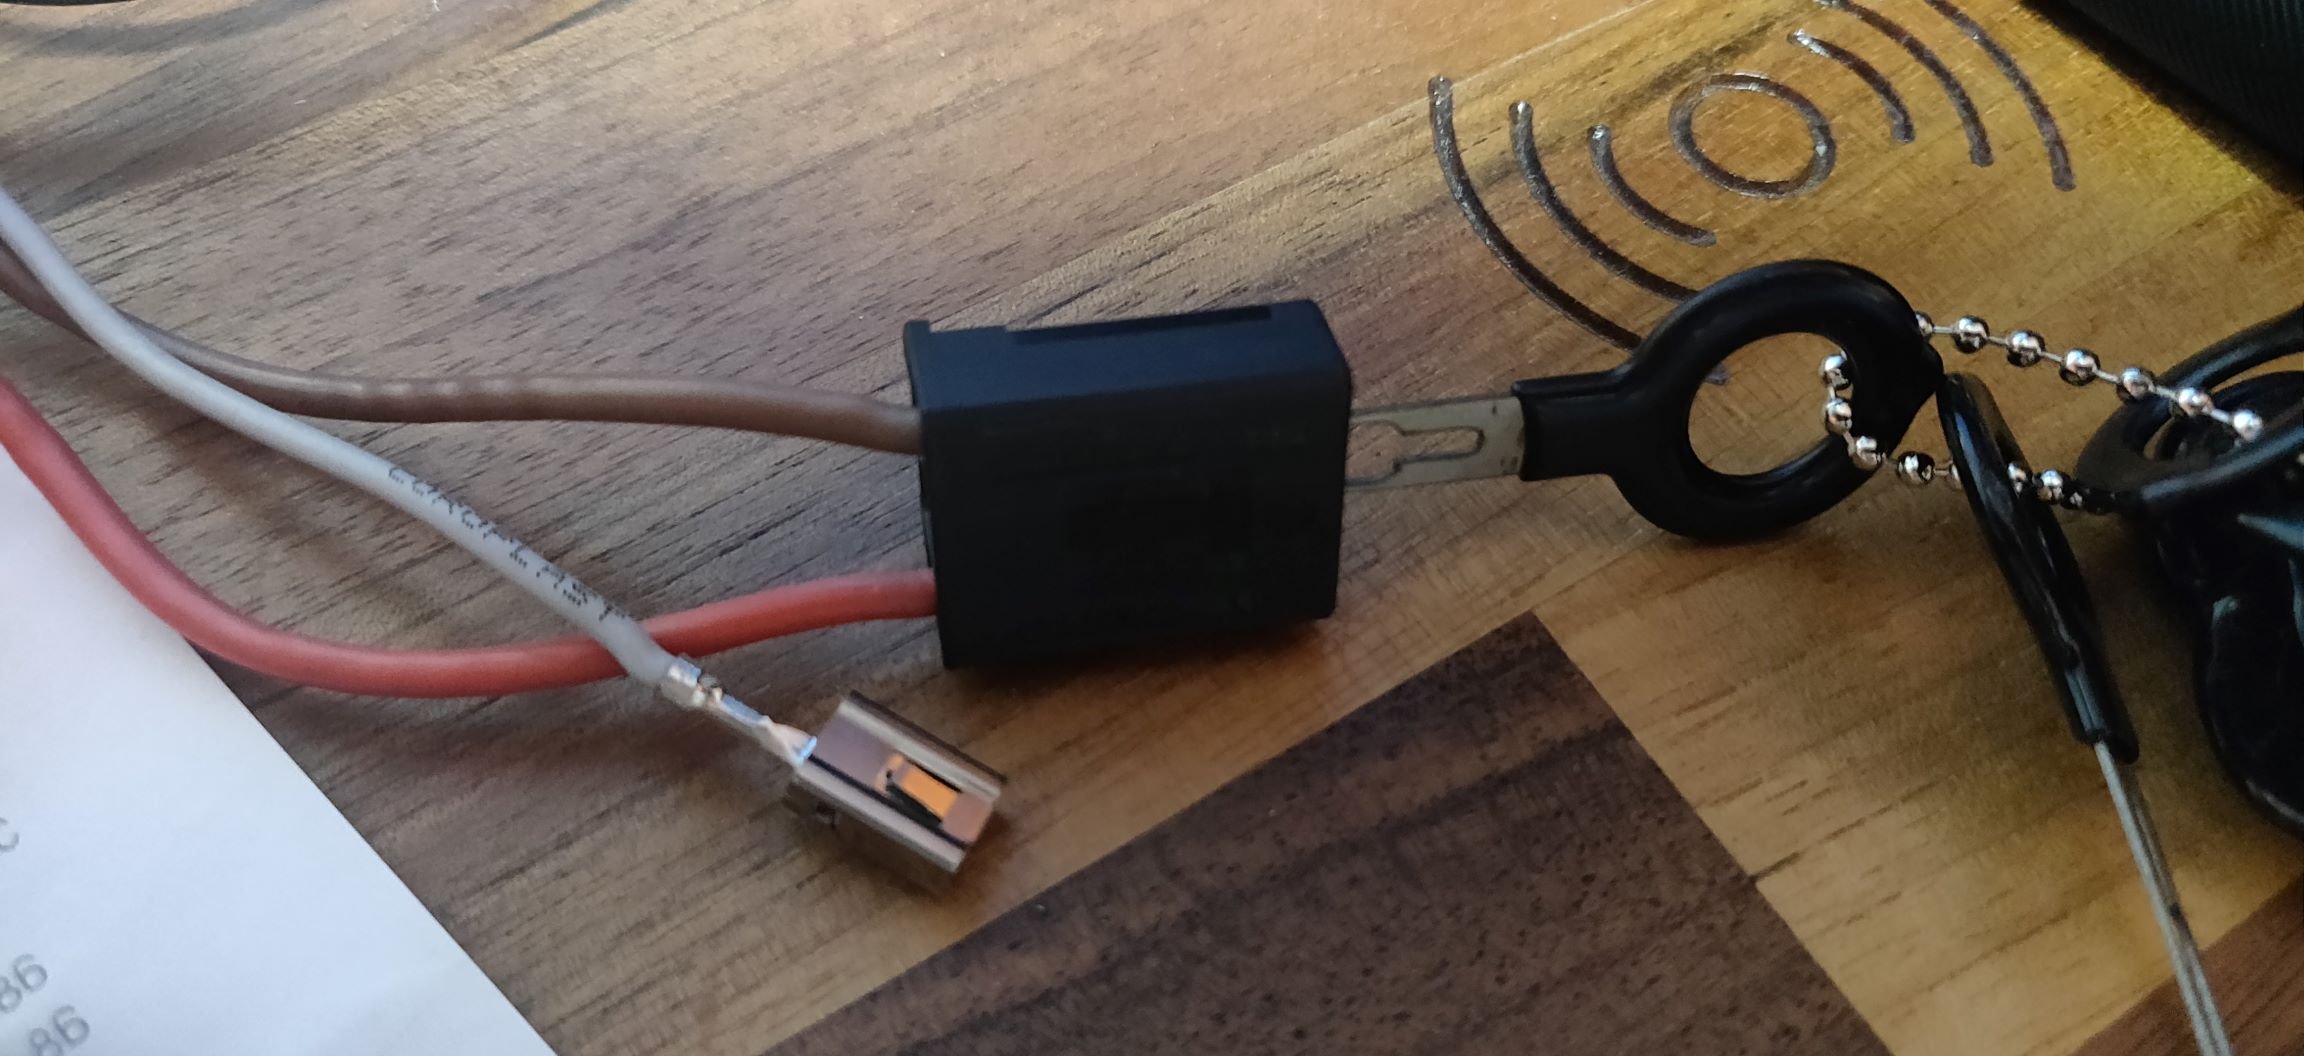
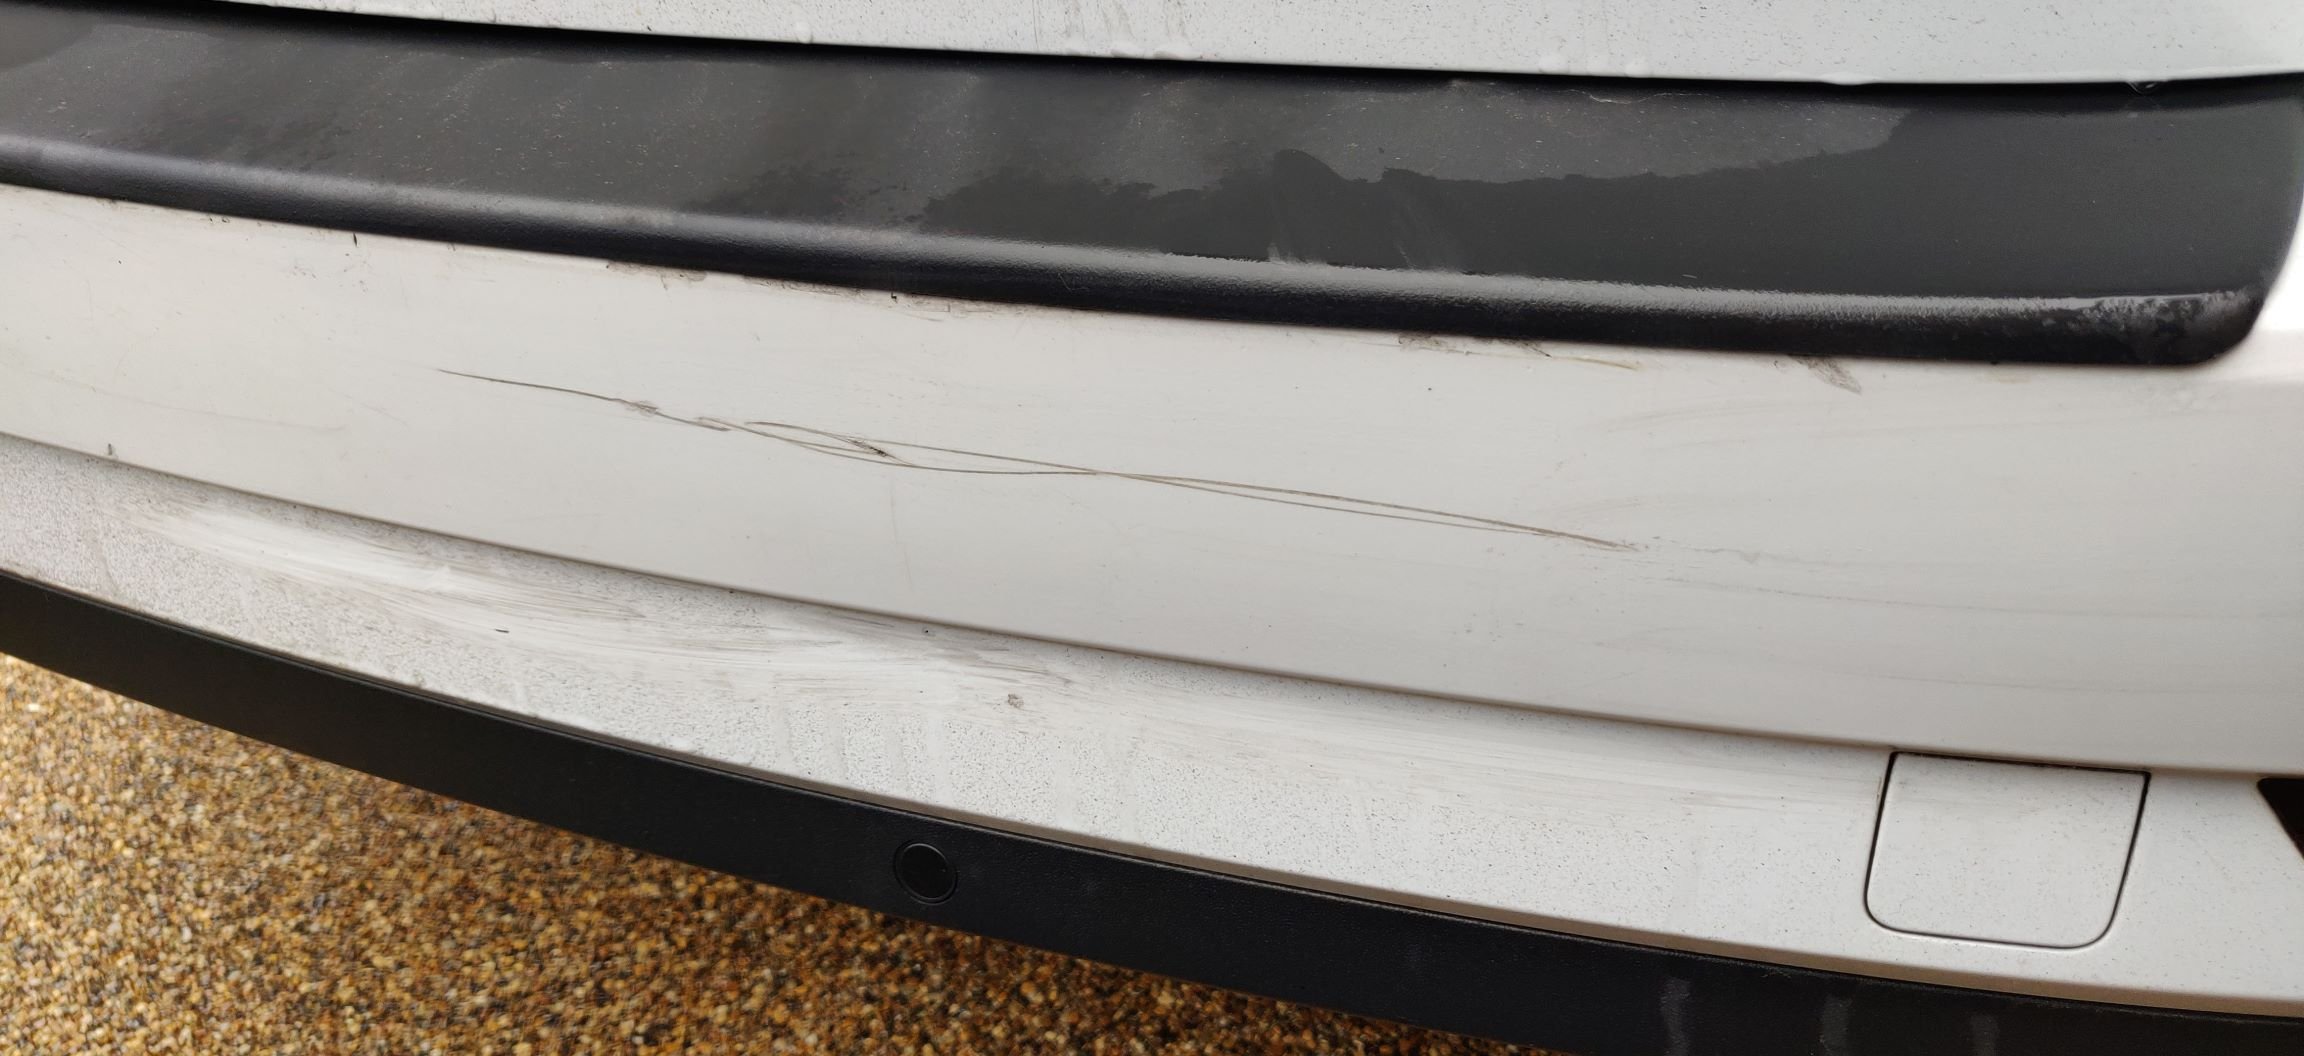
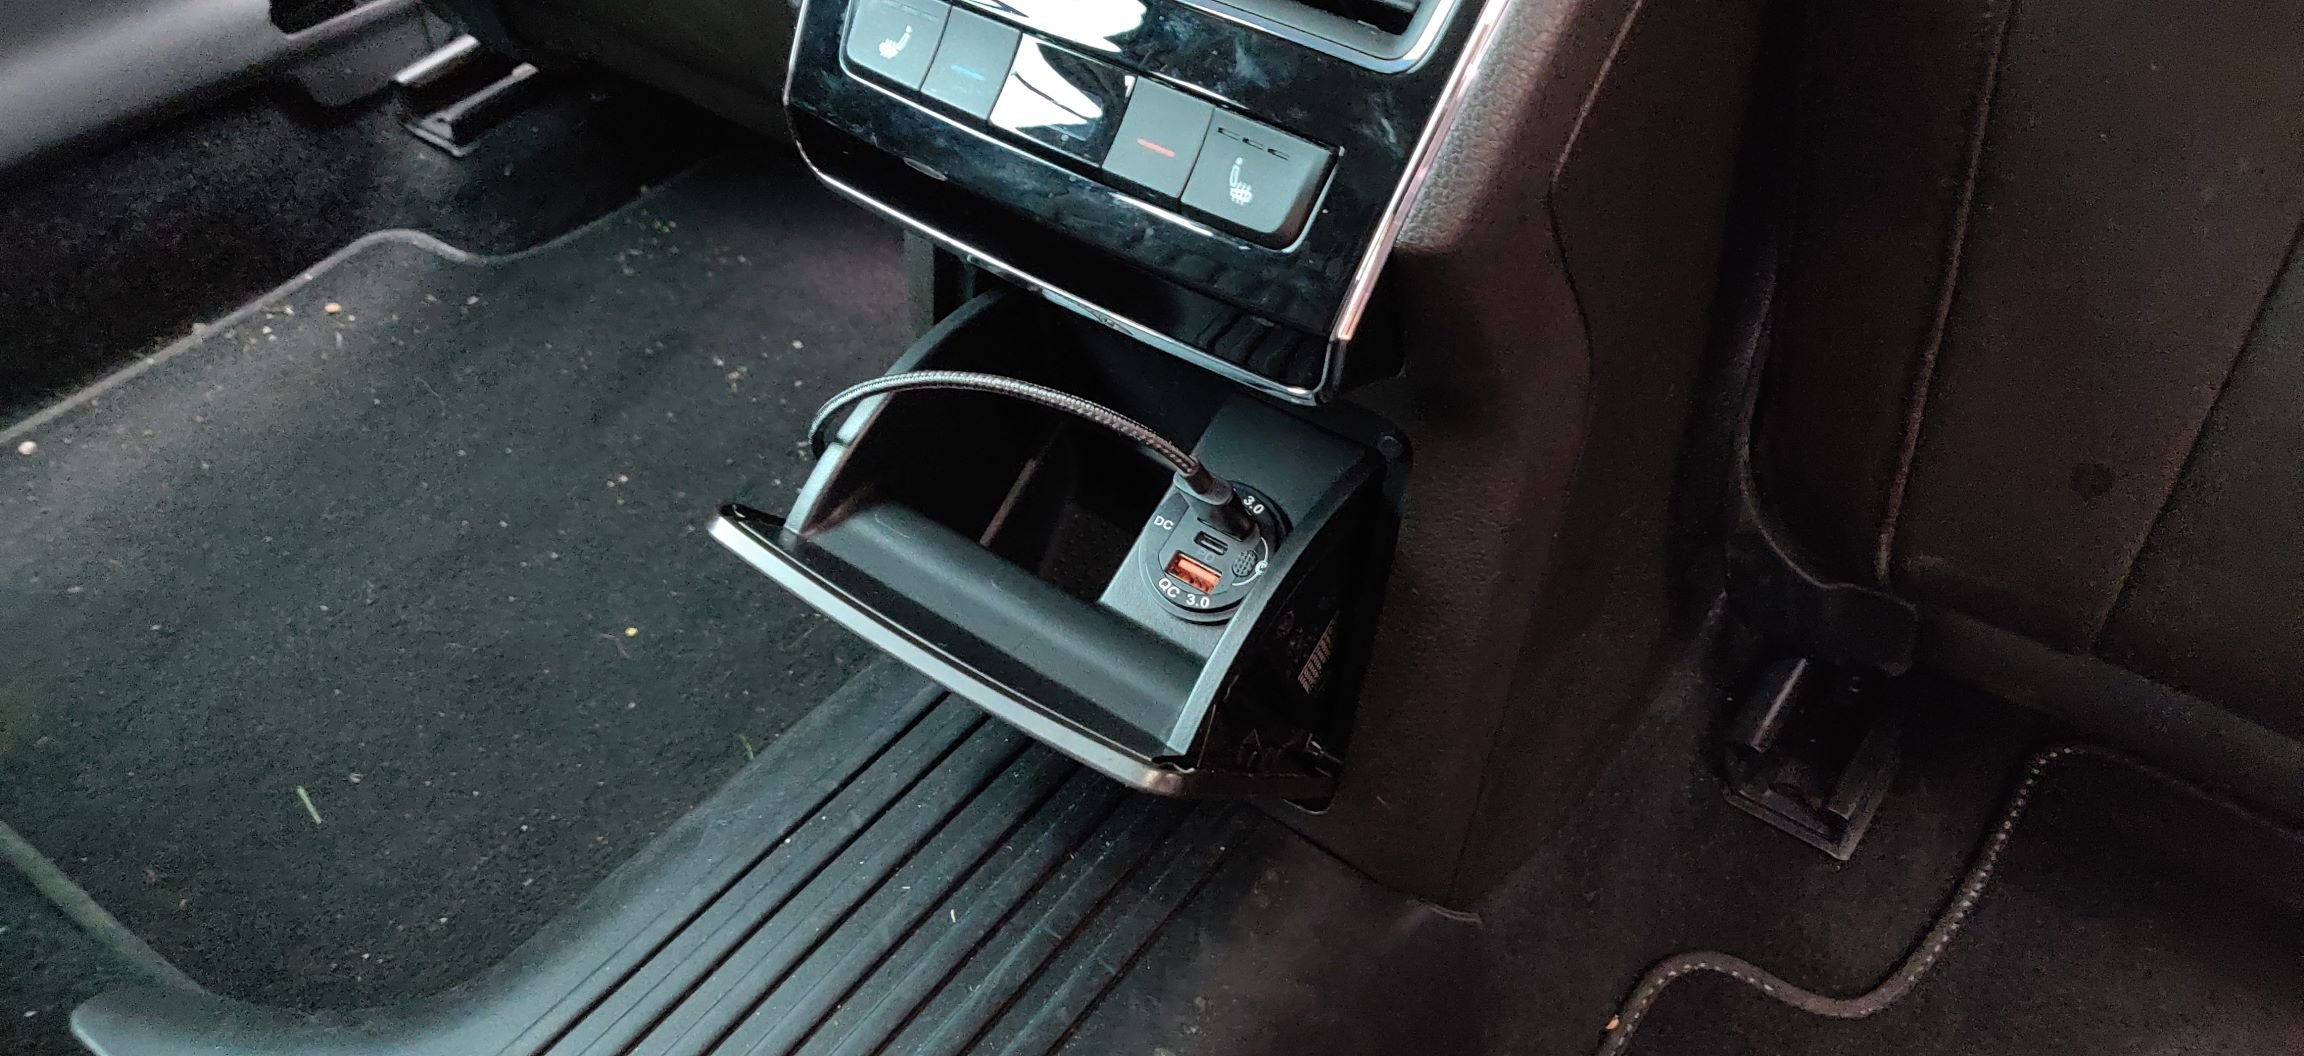
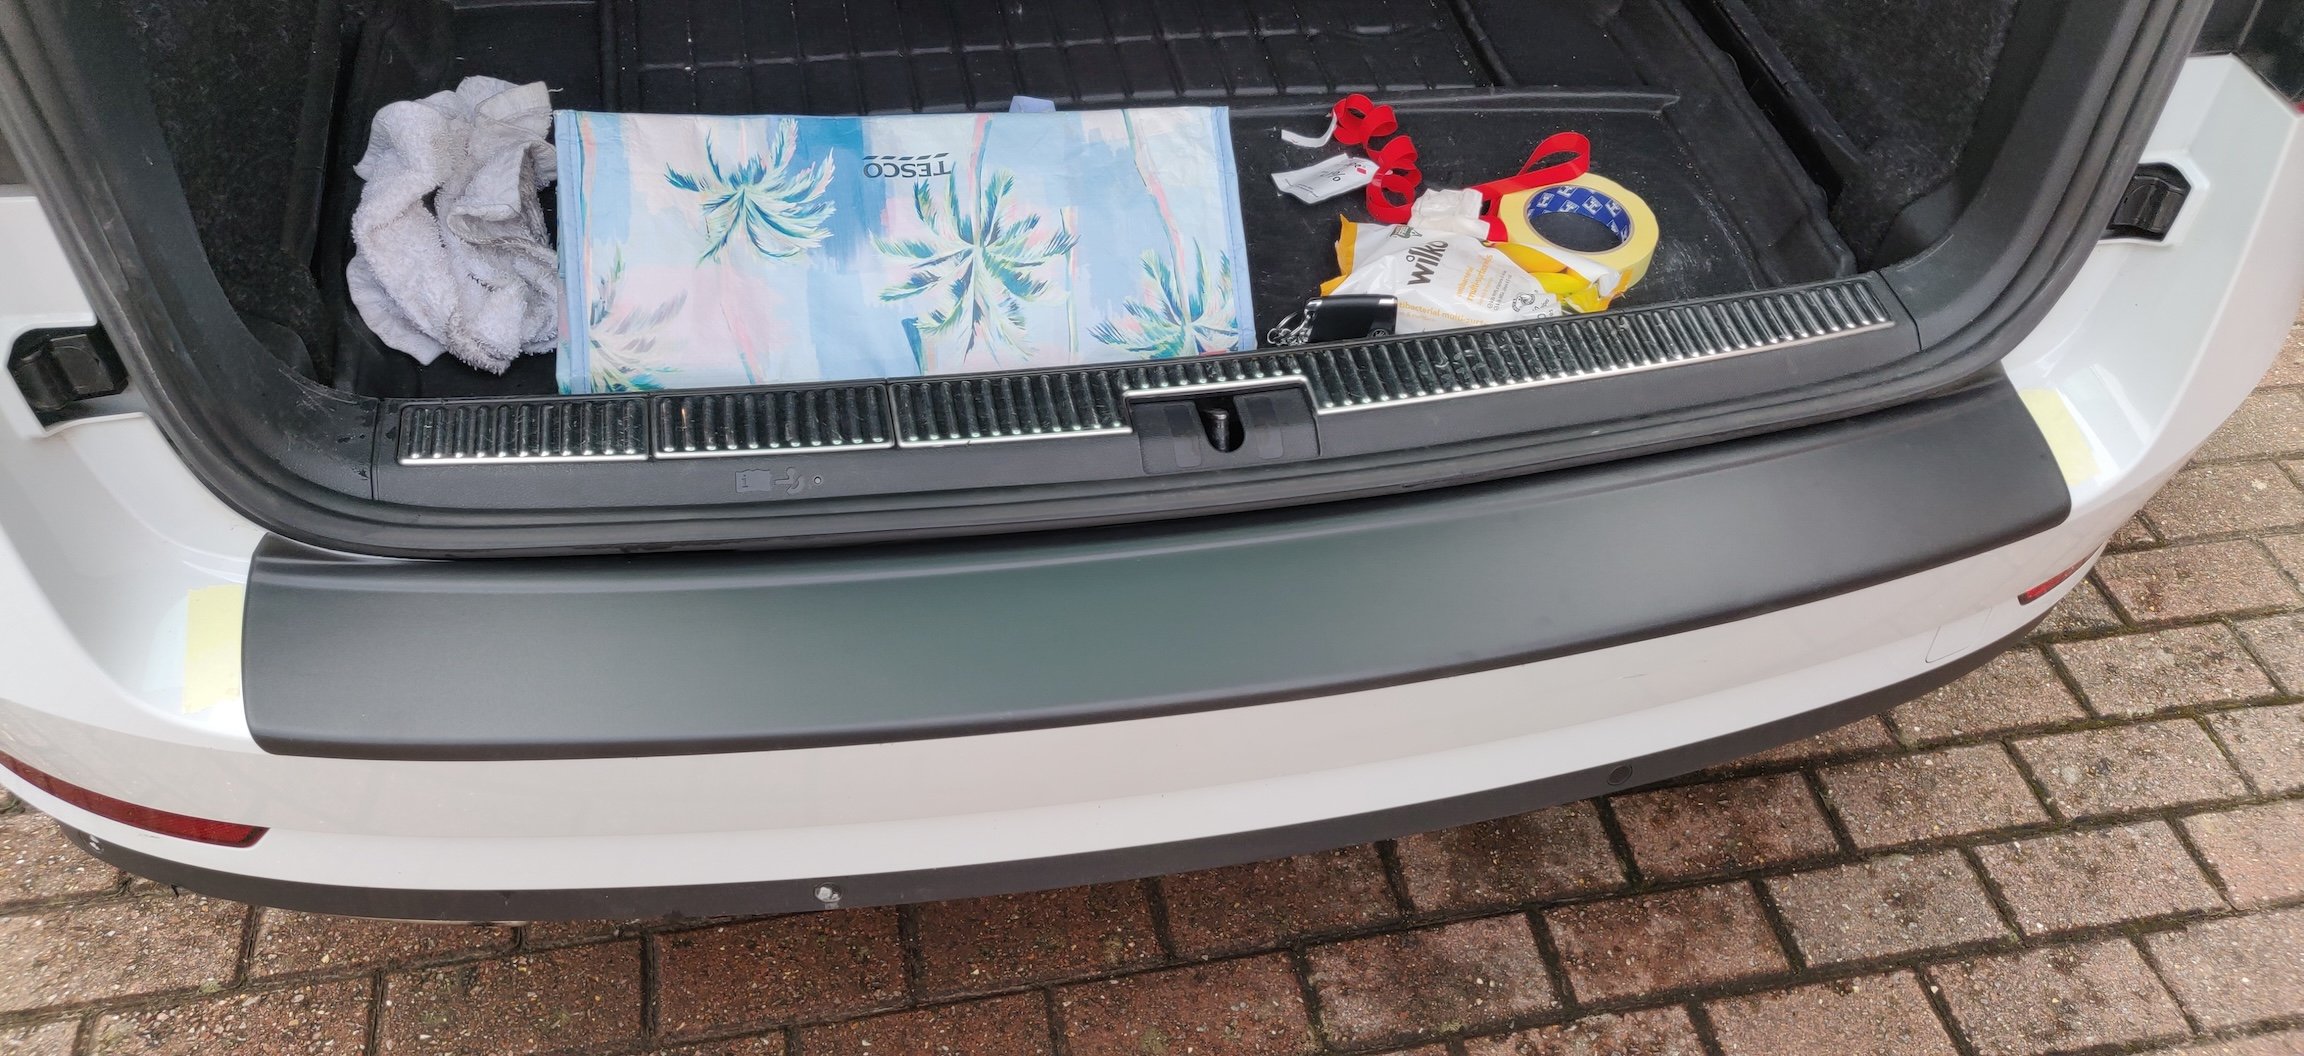
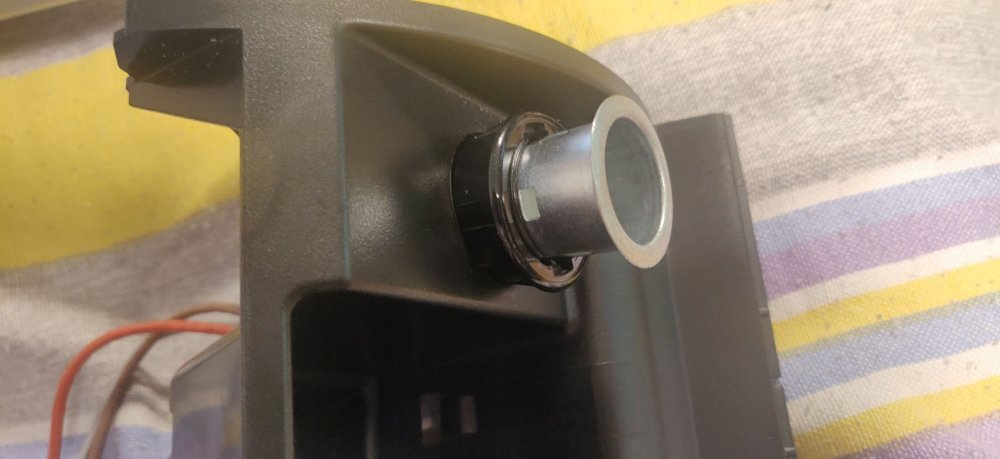
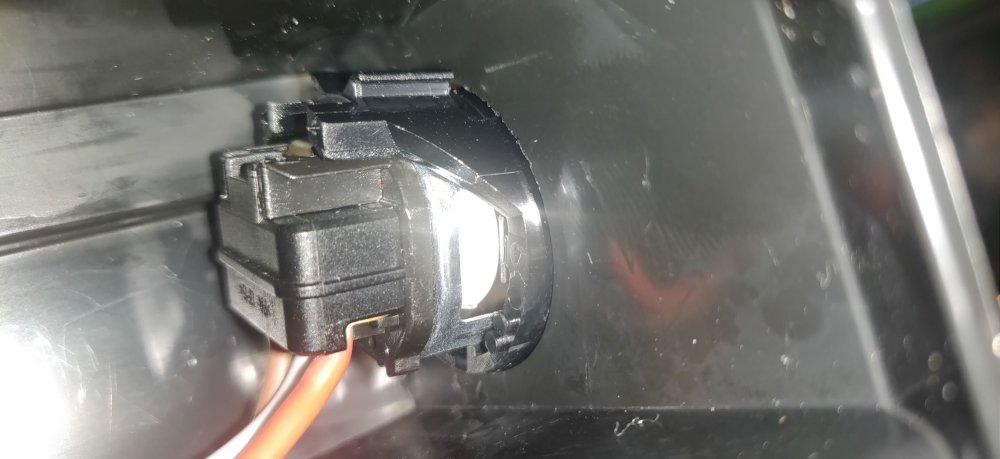
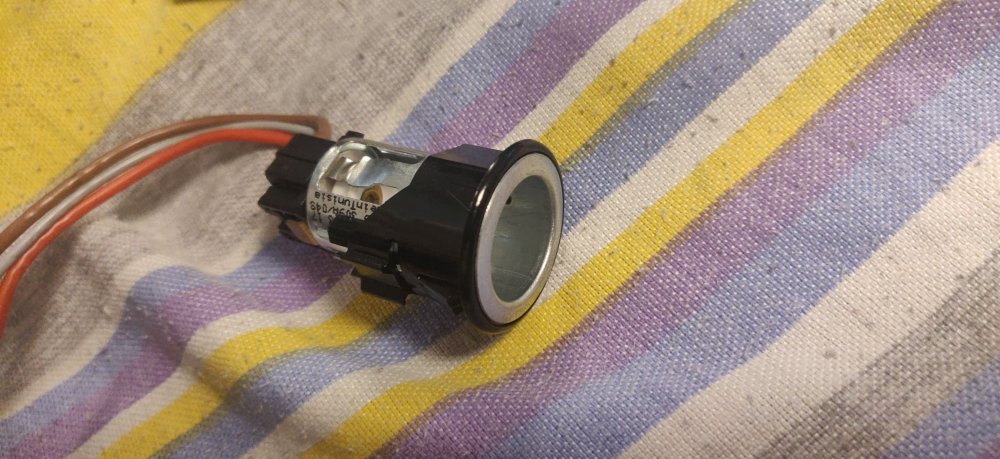
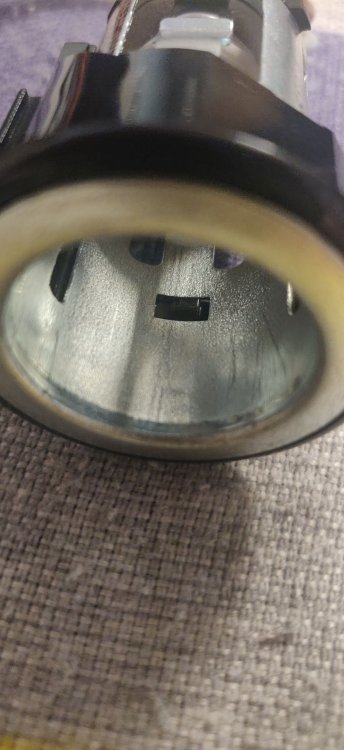
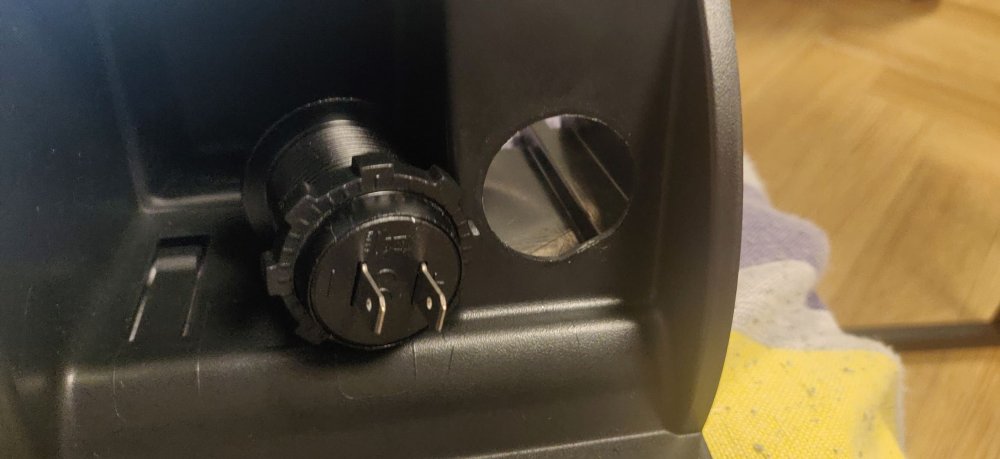
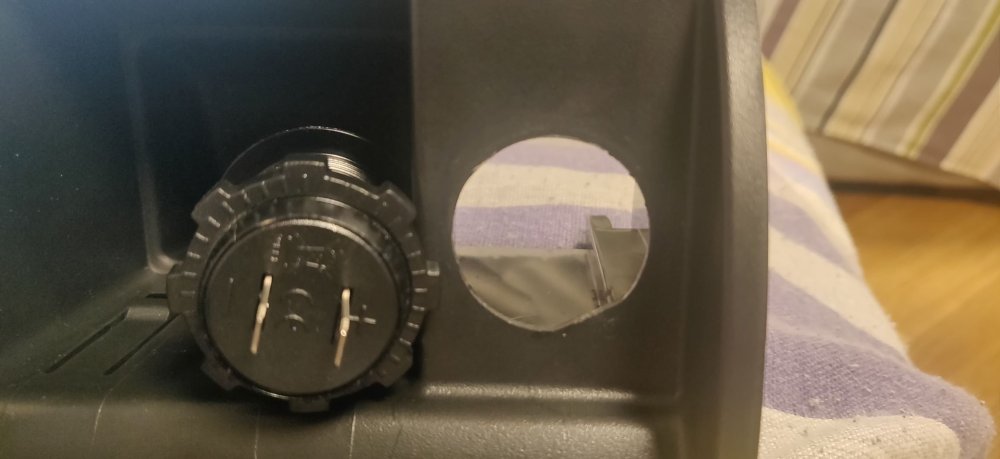
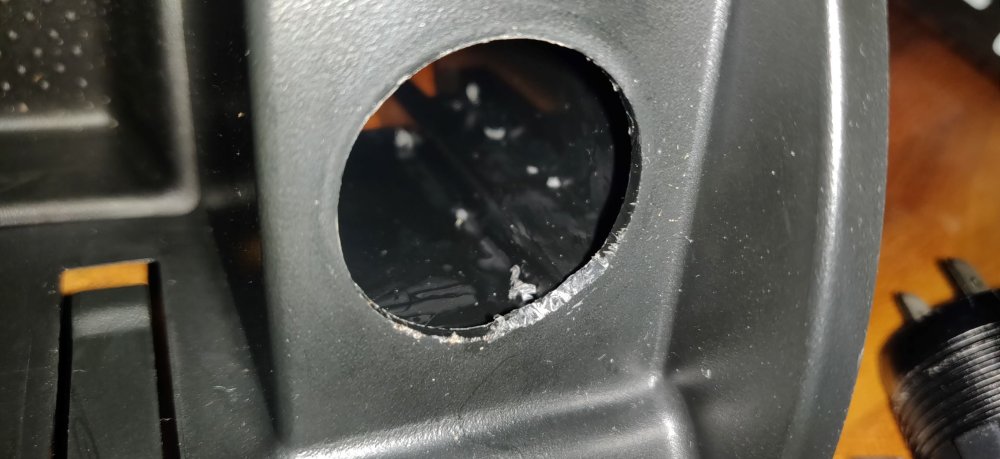
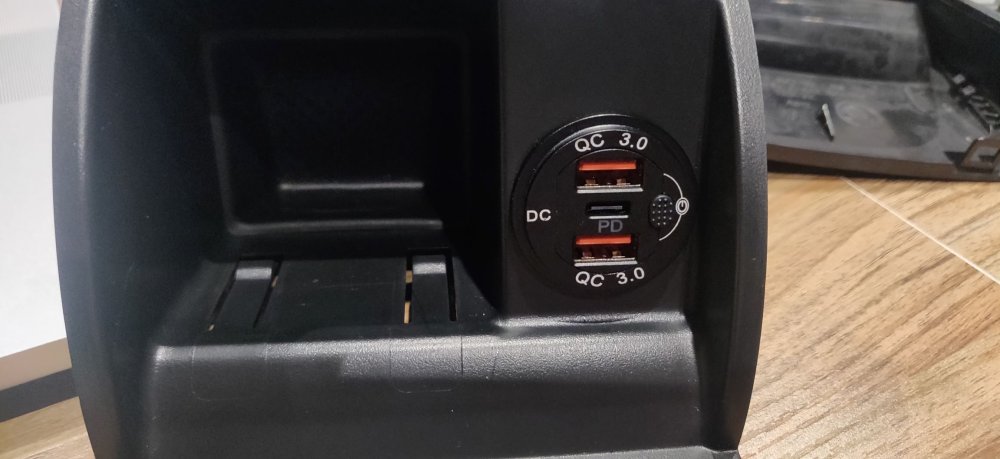
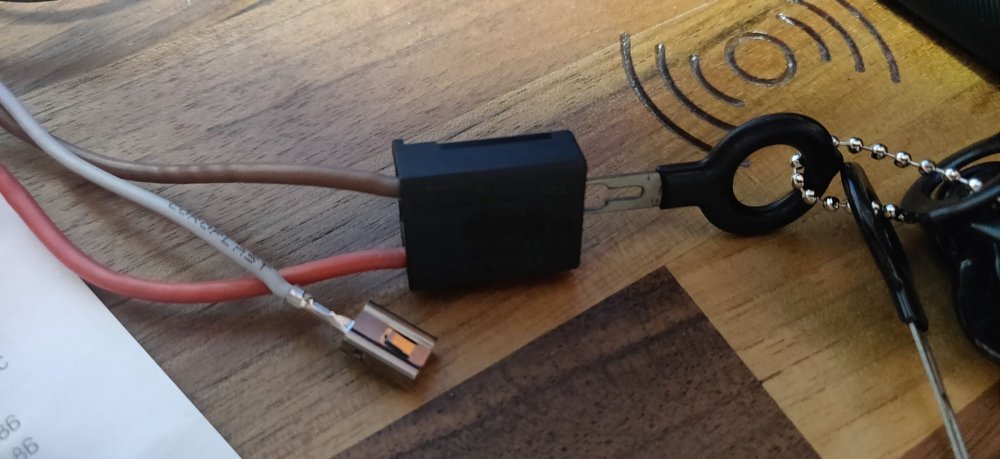
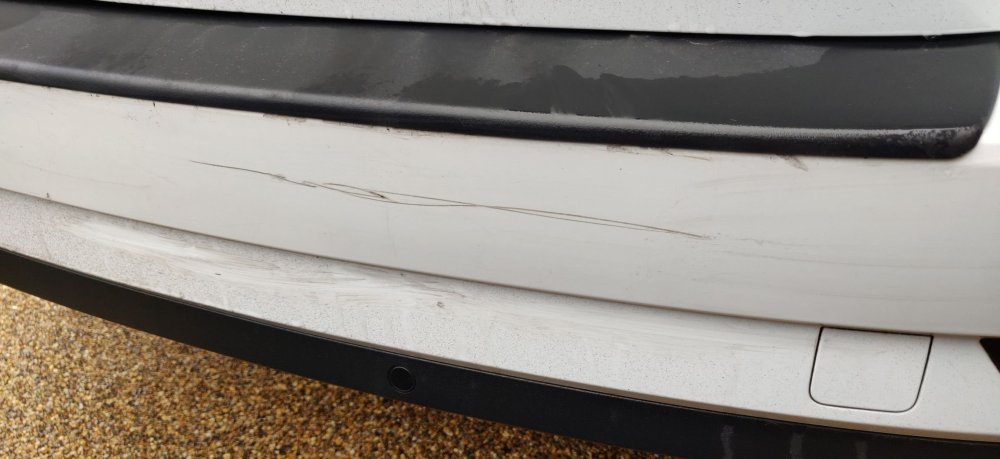
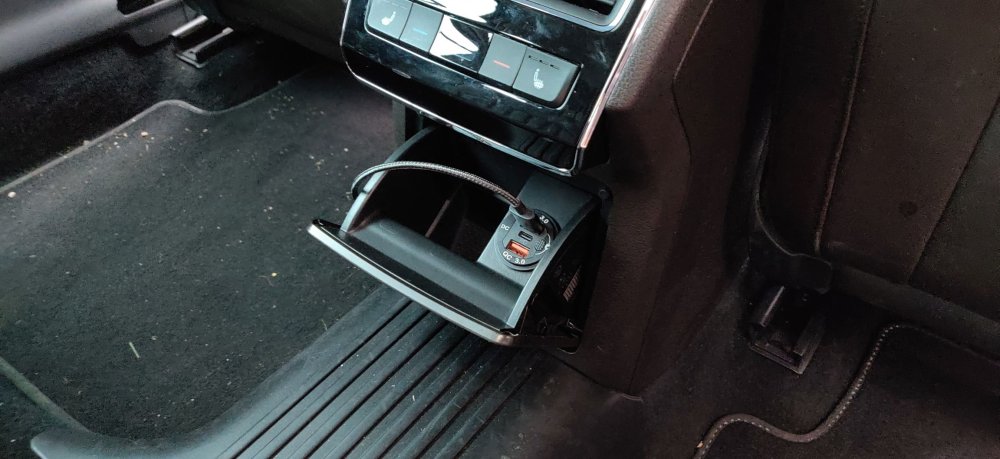
Hi all, Hope Christmas has gone along swimmingly for all! I've not had any updates for ages so apologies for this and the thread revival, but it's mainly because nothing dramatic has really happened. Over the year, the car has shown two low oil level lights, so both occasions popped in a little over half a litre a time, so it's probably roughly using a litre every 4-5000 miles, which I think the VW group have covered themselves enough with them saying a litre every 1000 is considered acceptable? The tyre pressure warning light was also coming on, in regards the front left. Looks like something happened so its been slowly leaking air, necessitating a pump up every 2 weeks, it looked like about 10 psi a week. Took it to a tyre place who couldn't find anything untoward, so just removed the tyre, resealed and reinstalled, which came to £30. I also spent £40 on a replacement rear ashtray, primarily so I could replace the socket with some USB ones: So first mission was to remove the existing socket. To be honest, I still don't 100% remember how I did it: But essentially, the silver metal barrel bit can be separated from the black plastic rear part, and once done, some twisting and swearing and the thing can be removed: I think for anyone wanting to attempt this: There are these black plastic tabs which keep the metal barrel in place, so I think attacking those is probably the way to go. The replacement sockets are some AliExpress generic kind: Which was £8.27 shipped, which doesn't immediately go in: As the original socket is keyed, with the bottom right having a slight notch. There's probably fancier ways to sort this out, but I ended just having at it with a sharp craft knife: Few careful slices until the socket goes in. The replacement socket has a threaded plastic nut or ring to keep in place, however, the ashtray doesn't allow the ring to actually rotate, so the socket has to. This actually meant a few attempts before I got it to a position where it was tightened up and aligned: This took way too much time than I'd like, about 4 goes with the constant winding in and out. I took the original wiring socket and then poked out the grey wire: My guess is that wire was for illumination or something...? Then it was a case of cutting off the remaining wires from the socket and crimping on replacement spades for the new socket. I went with typical car wiring convention of the positive being red, leaving brown as the negative (which I double checked given British house wiring has brown as live). Then it was a case of just swapping out the old ashtray with the new one: I will assume previous posts must have pics of the process given the rear console has been disassembled before. It looks like the positive is permanently on, as the socket appears to illuminate even after the car is off, unless it turns off after a period of time and I haven't waited long enough. Regardless the replacement socket has its own on/off switch so it shouldn't be an issue. No other dramas to report really, although there's been signs of carelessness: A new rear bumper scrape, which I suppose is less annoying that if it was the fairly recently resprayed wings I guess. It's been up and down the country, so could have happened anywhere, I am assuming it'll be the wife or in laws somewhere. Assuming all's well over the new year, it'll be the beginnings of some slightly bigger modifications. The front left tyre still needs observing, but I reckon ultimately I'll be swapping to 17" wheels. I think that could well be the first major thing, but money's a bit tight for the next few months, so we'll have to wait and see! Maintenance: £2370.22 (+£30.00) Upgrades: £1643.52 (+£48.27) Miscellaneous: £820.07
-
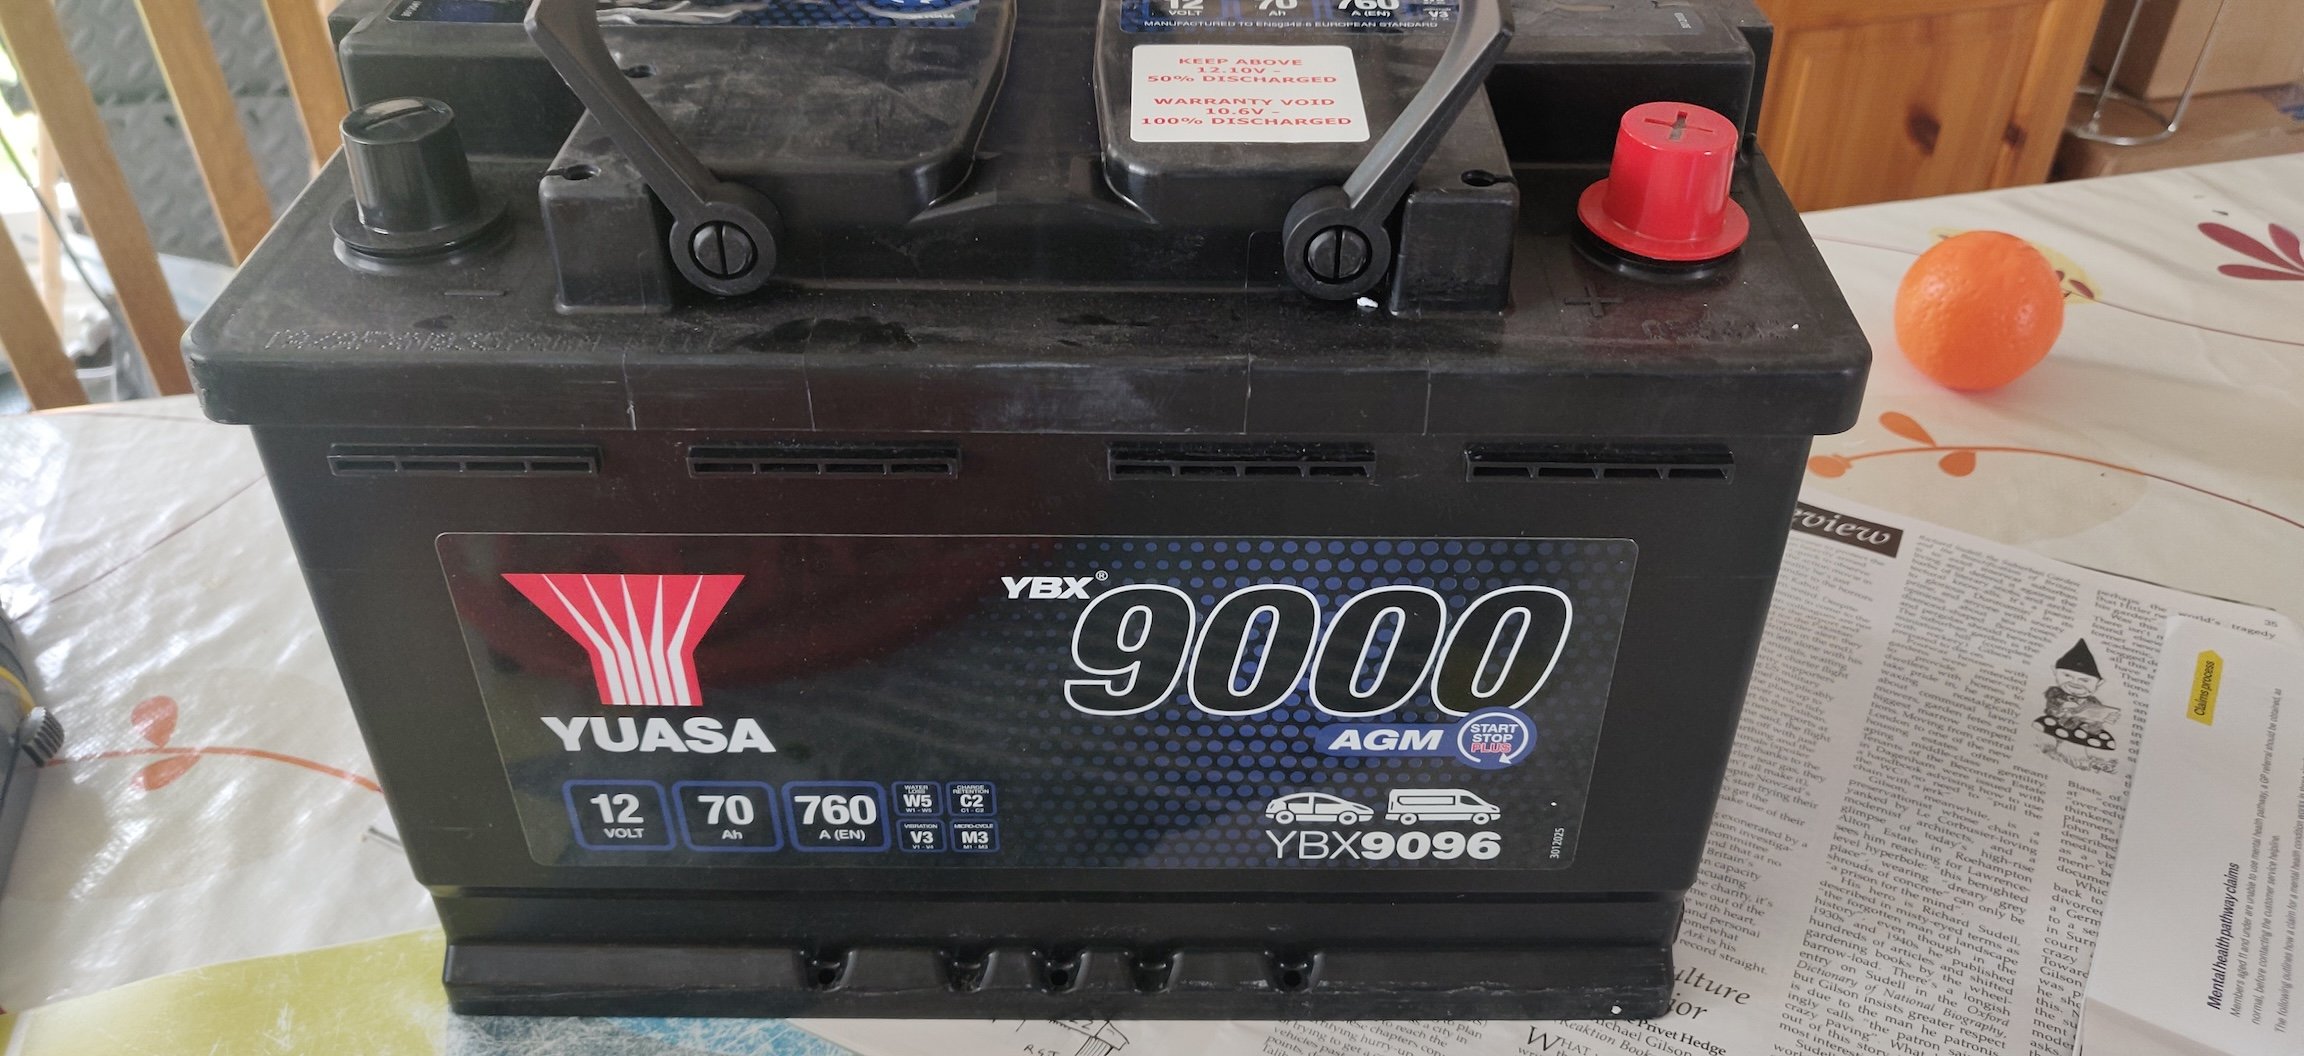
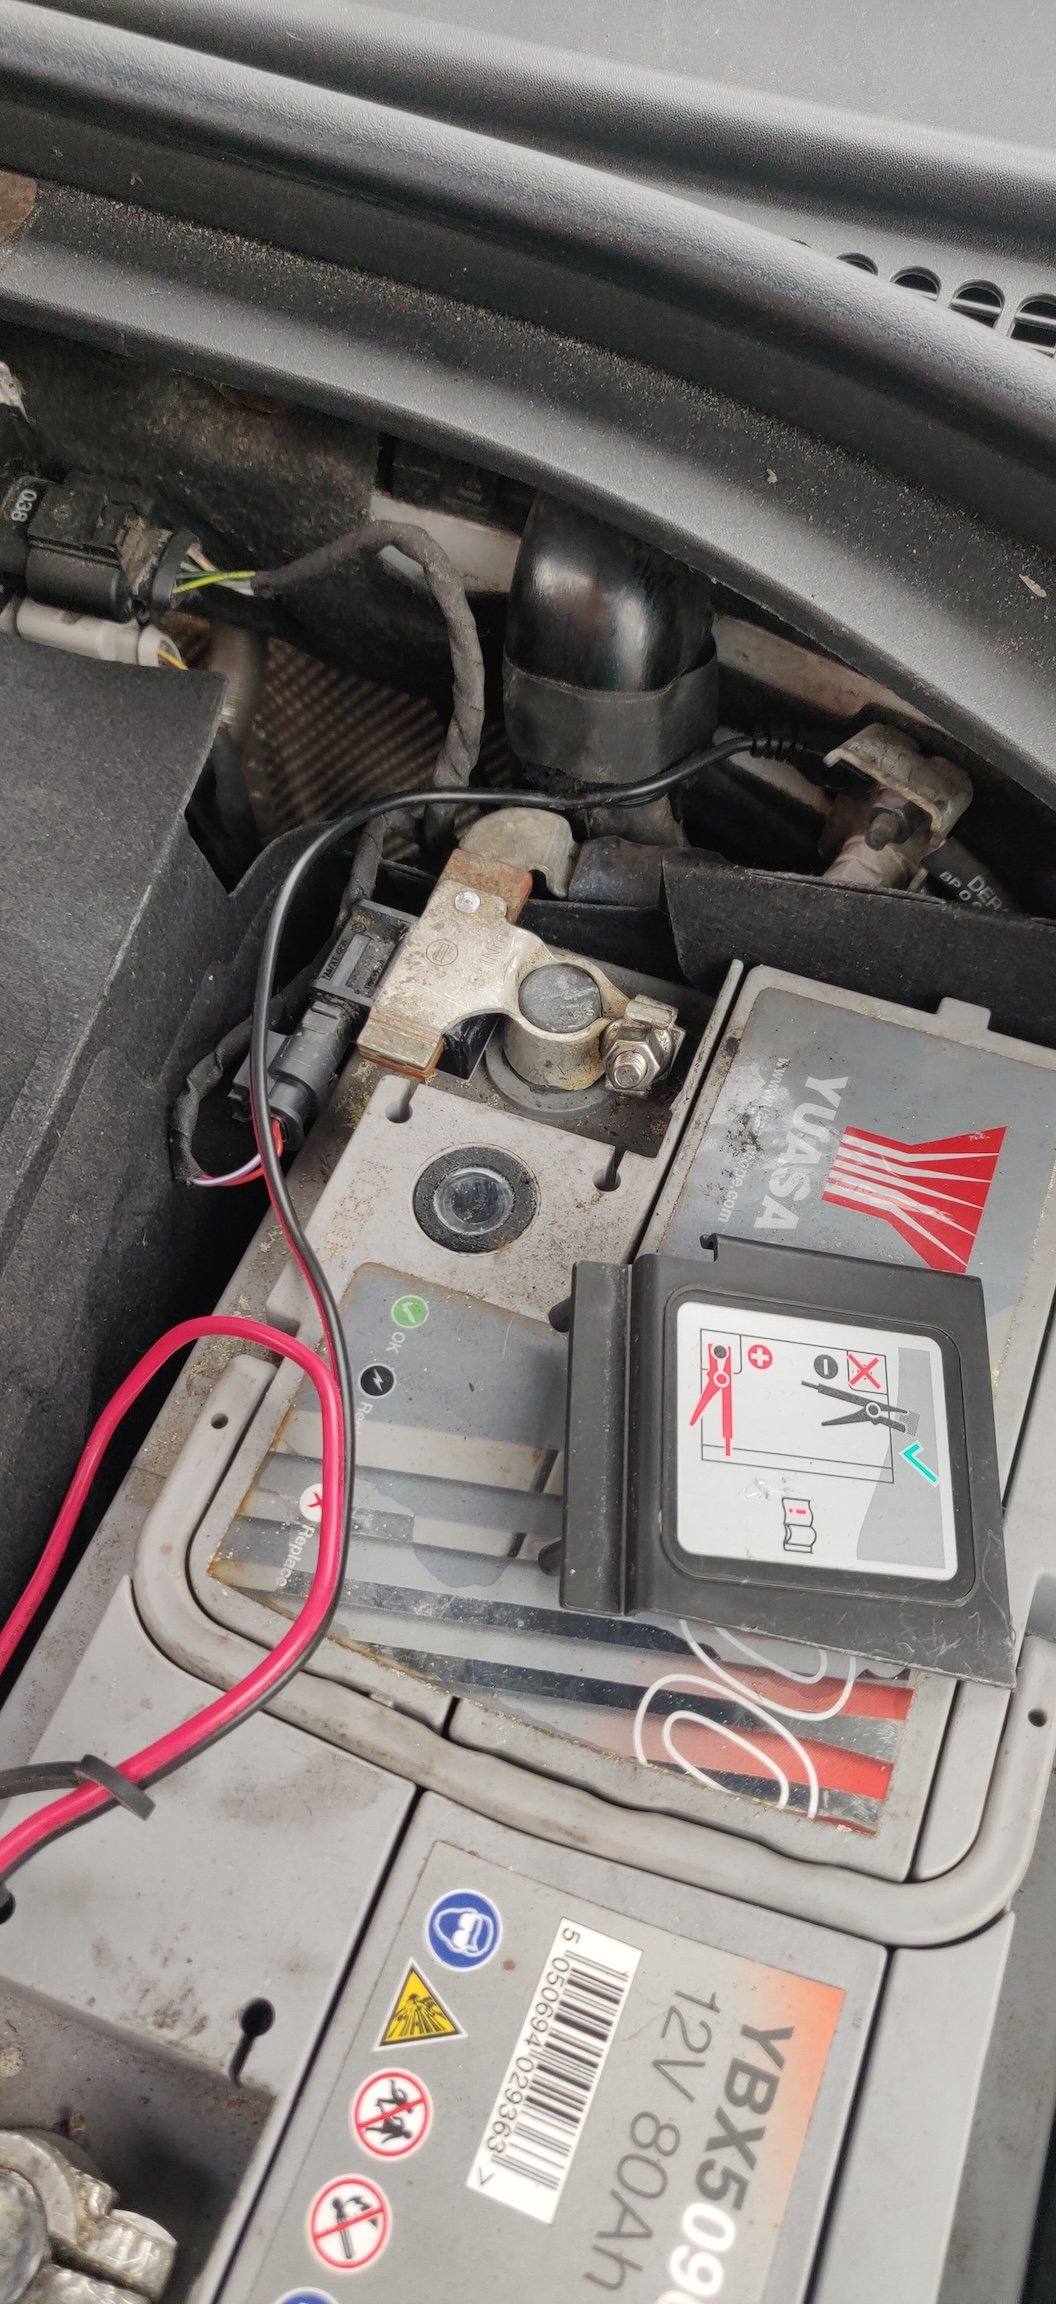
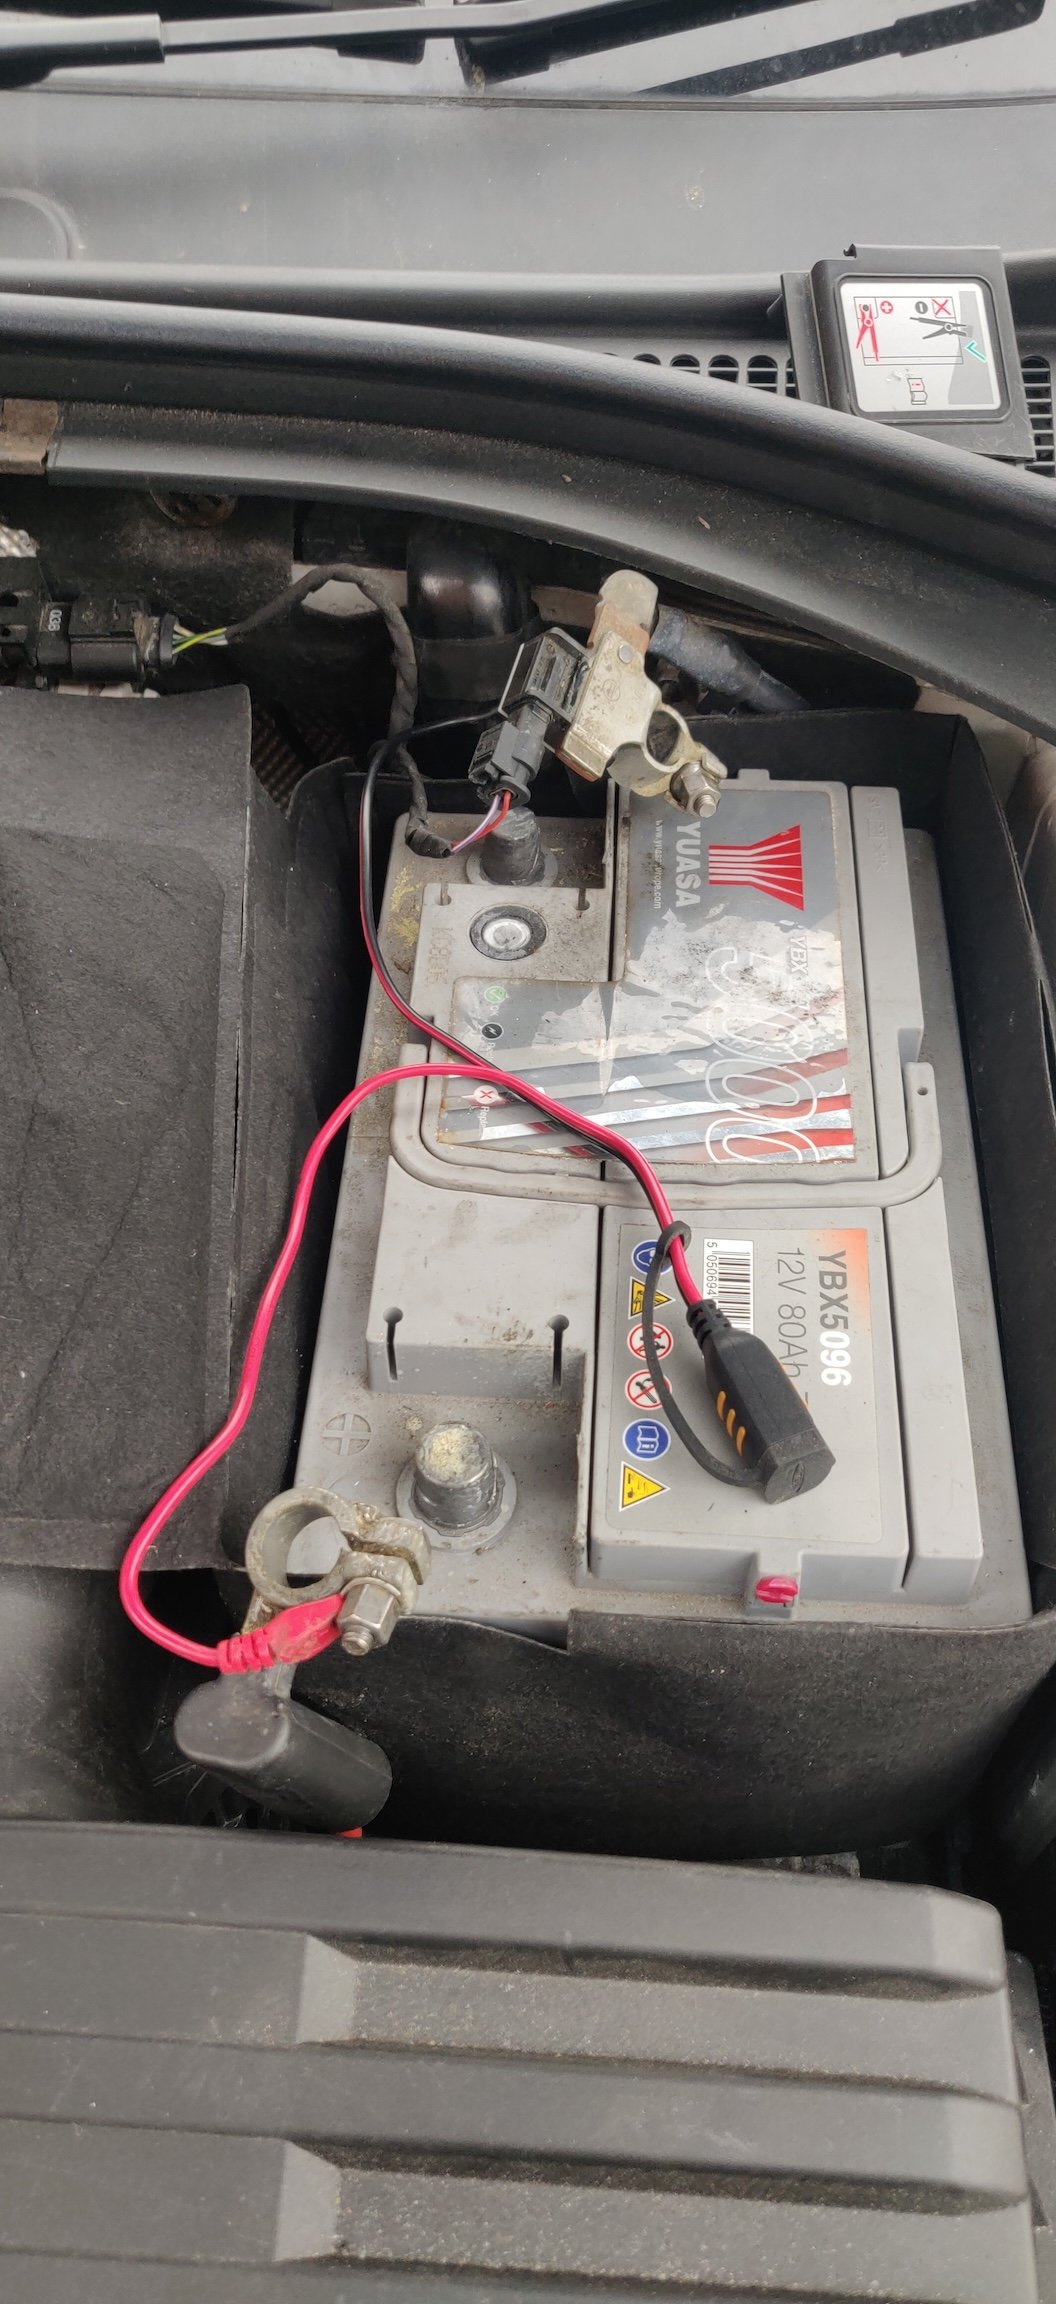
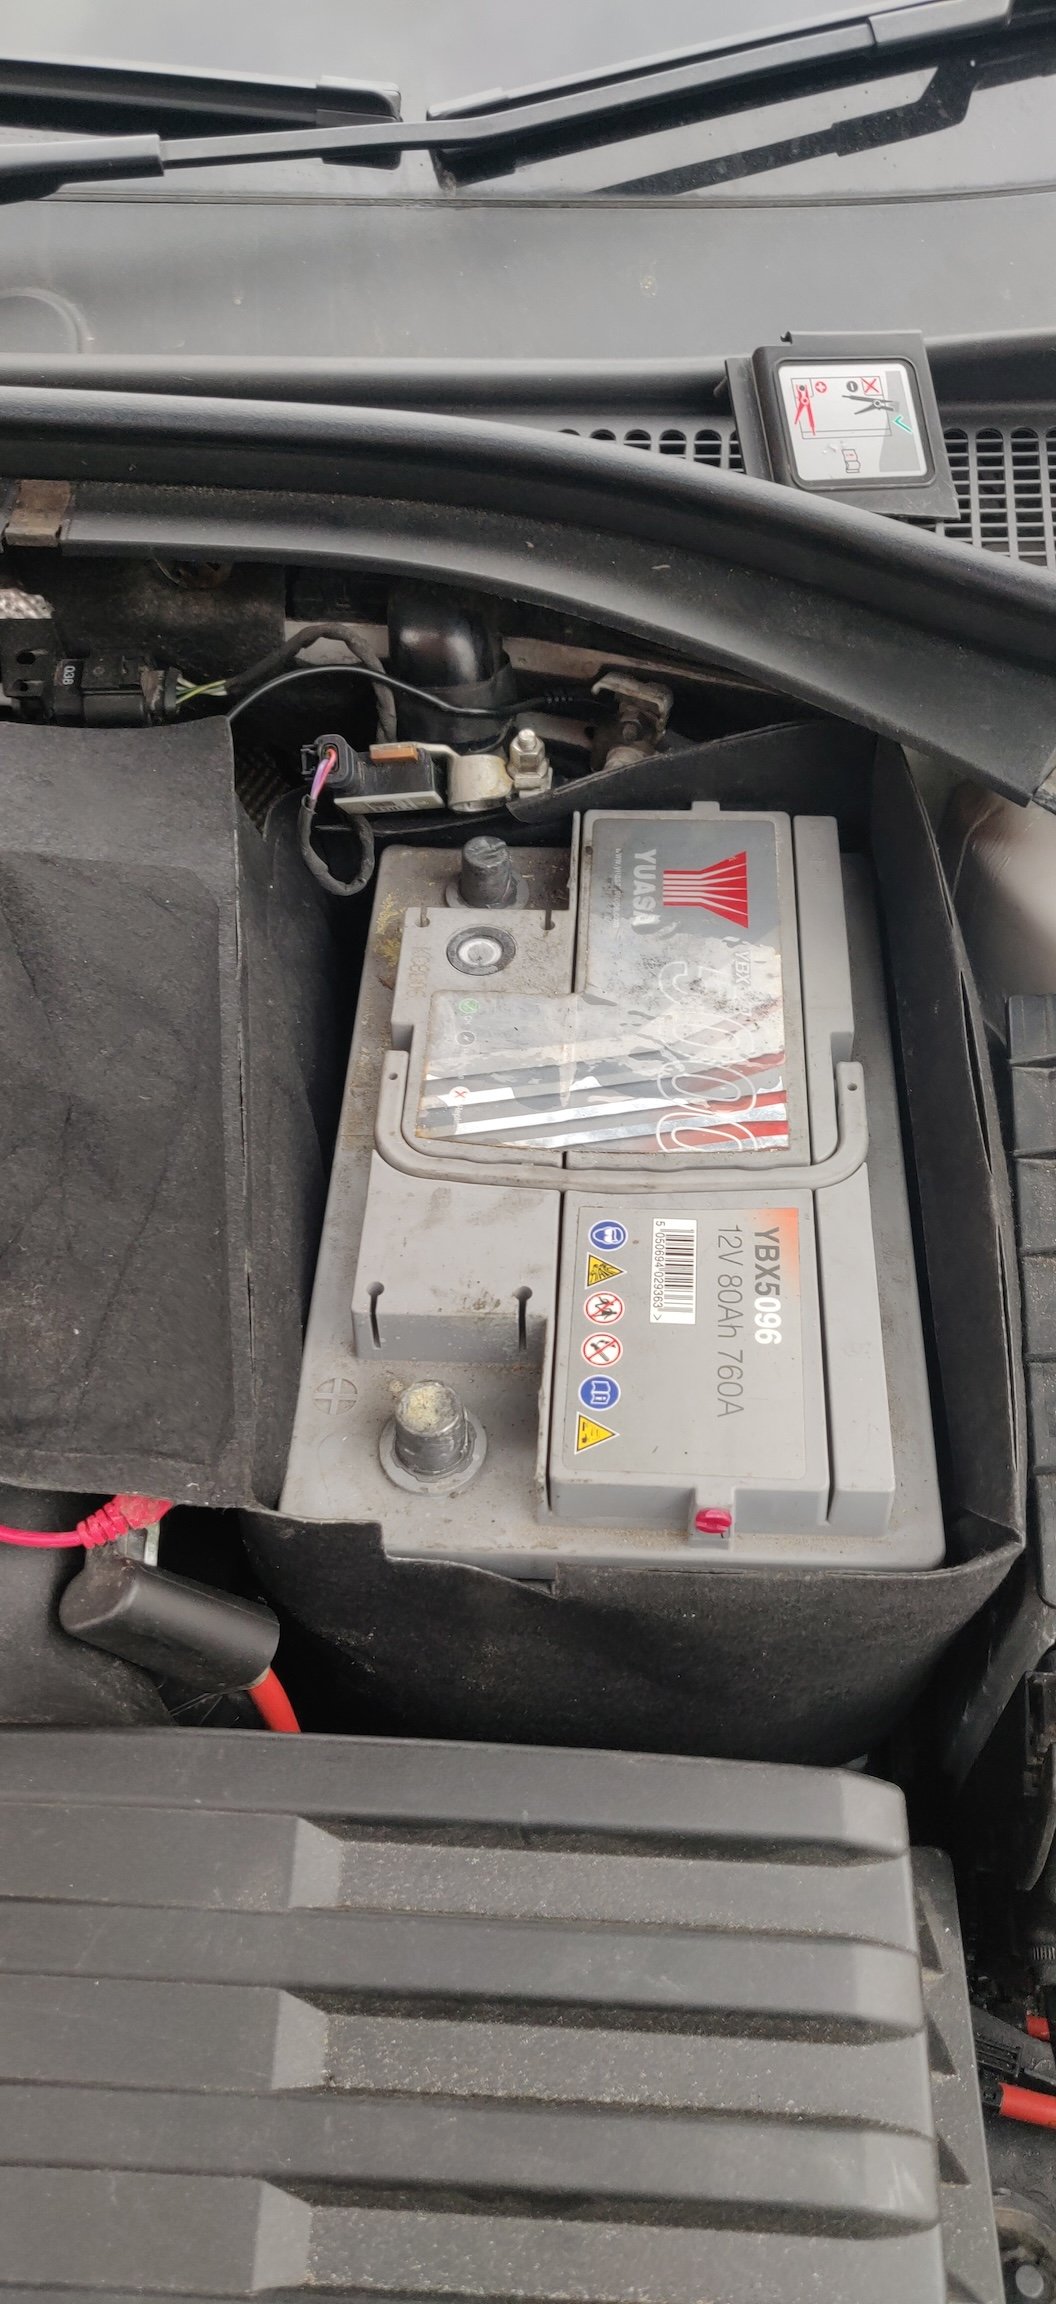
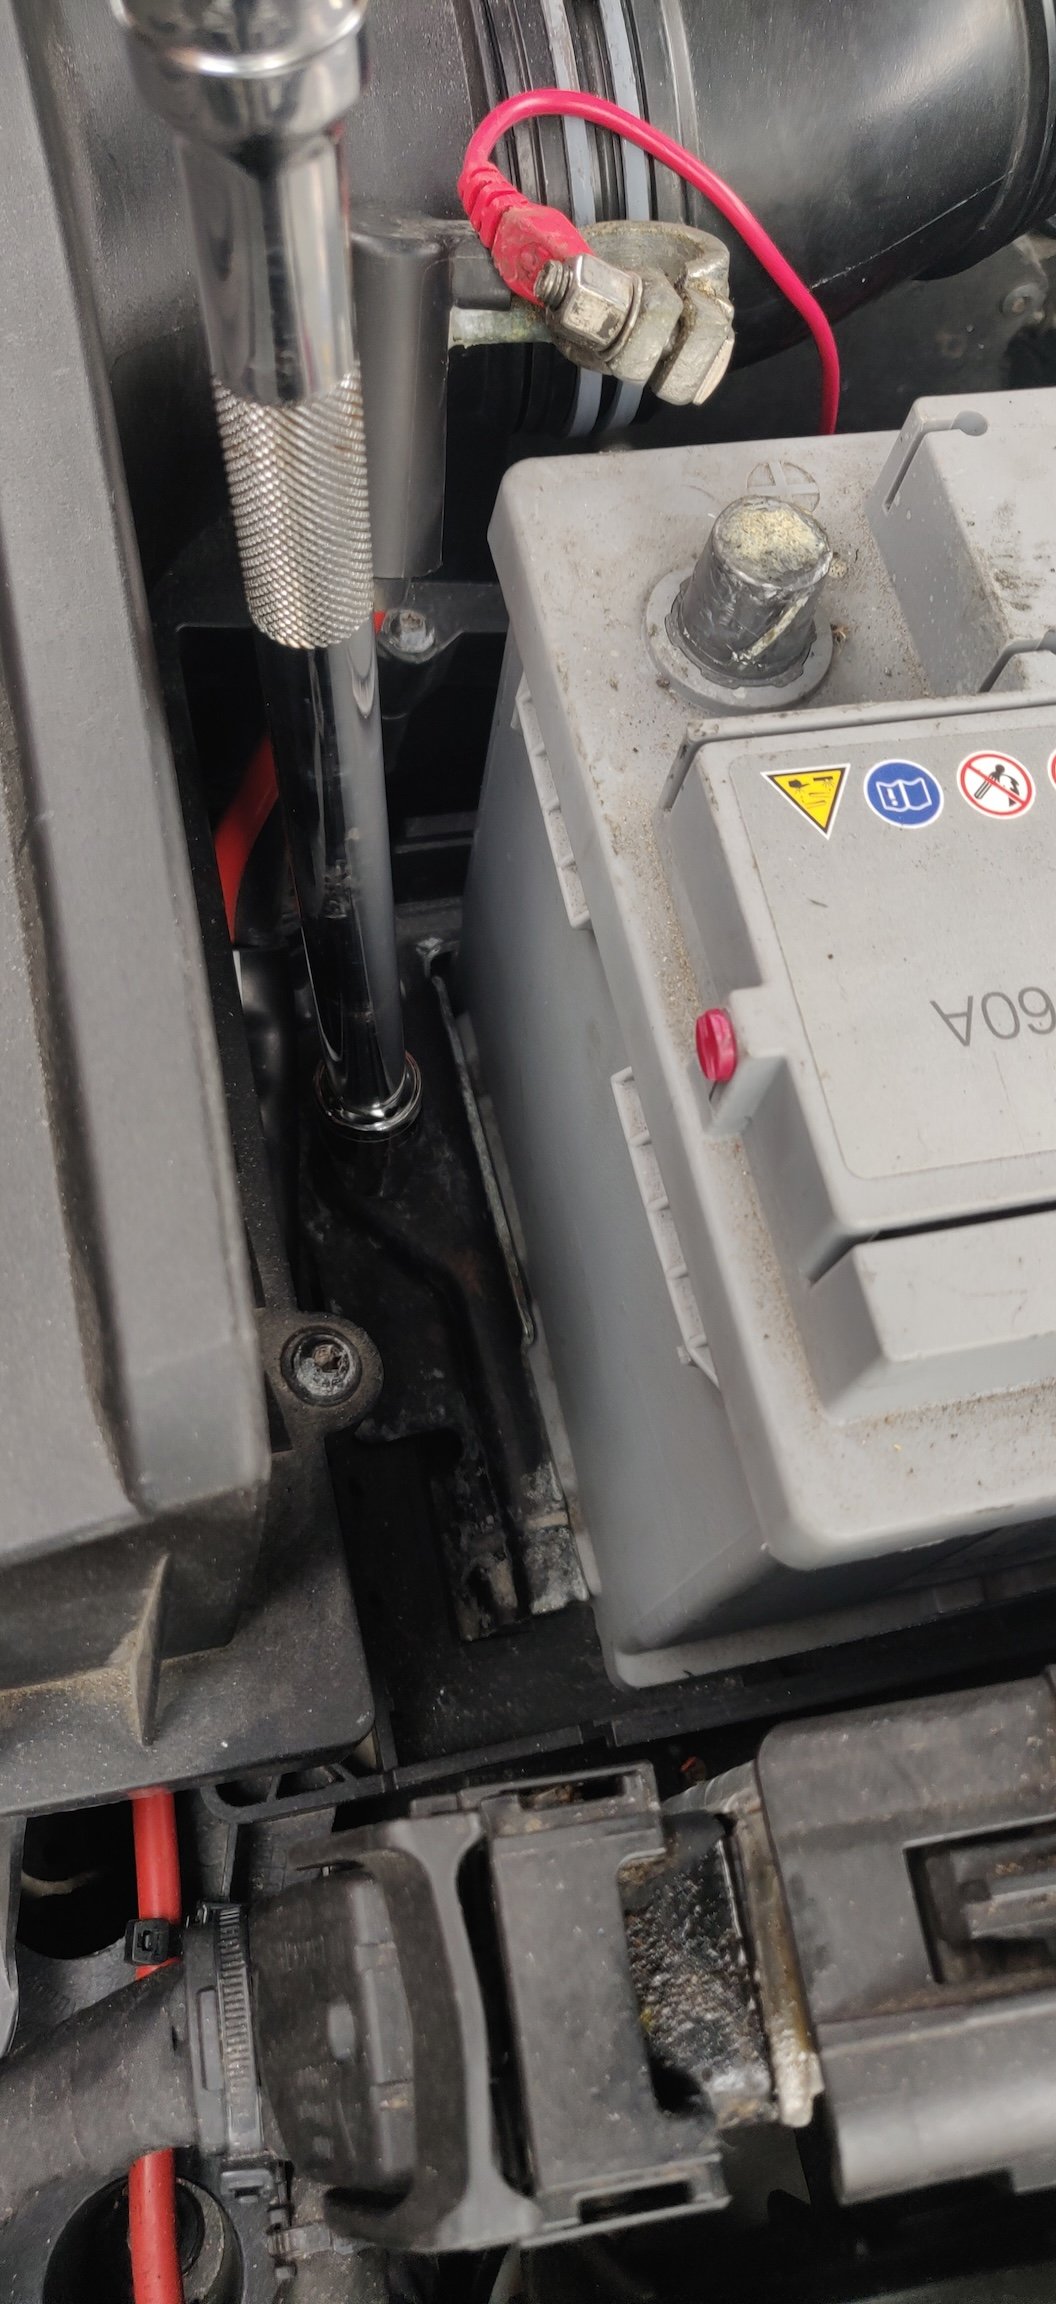
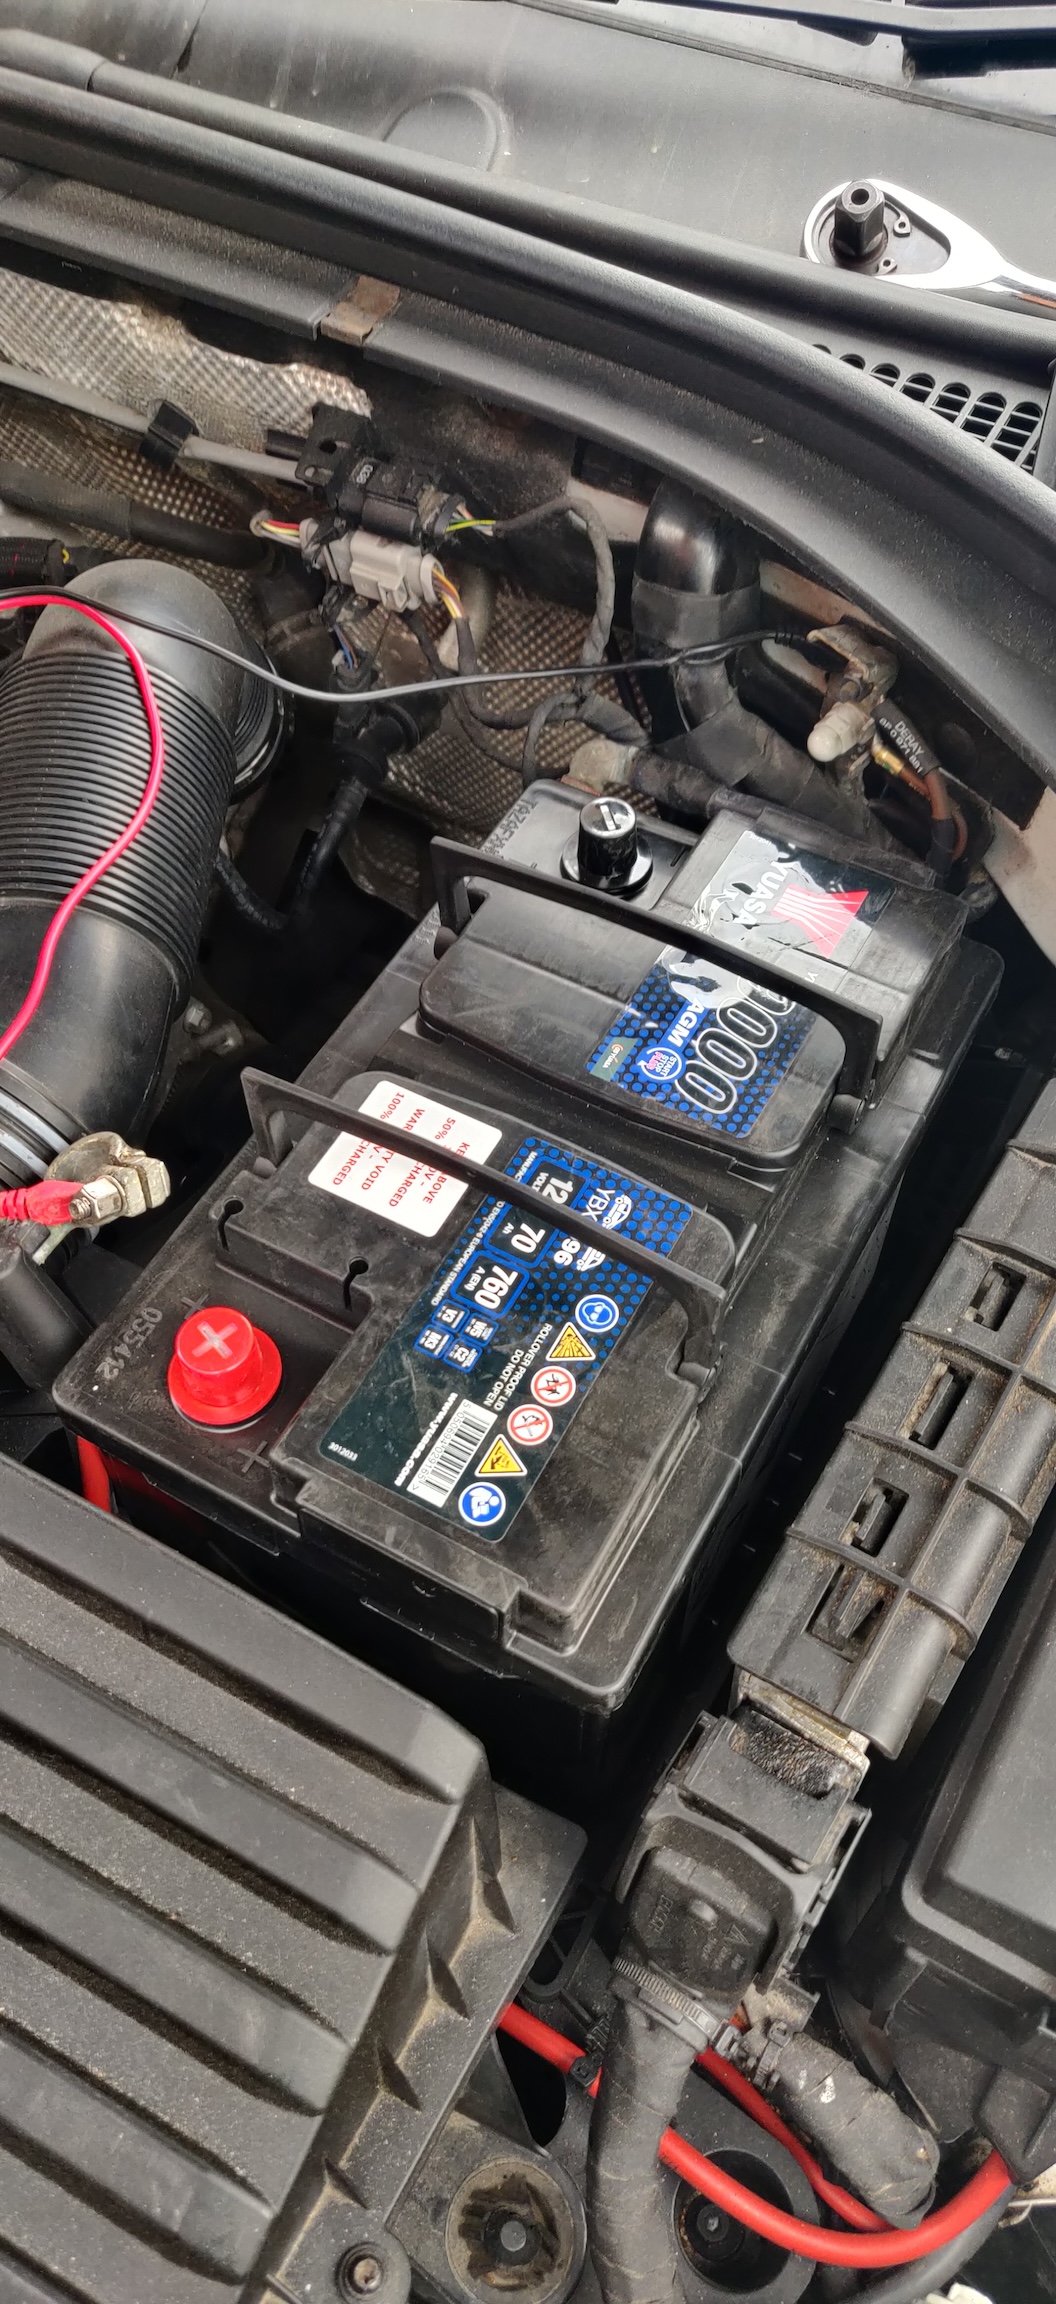
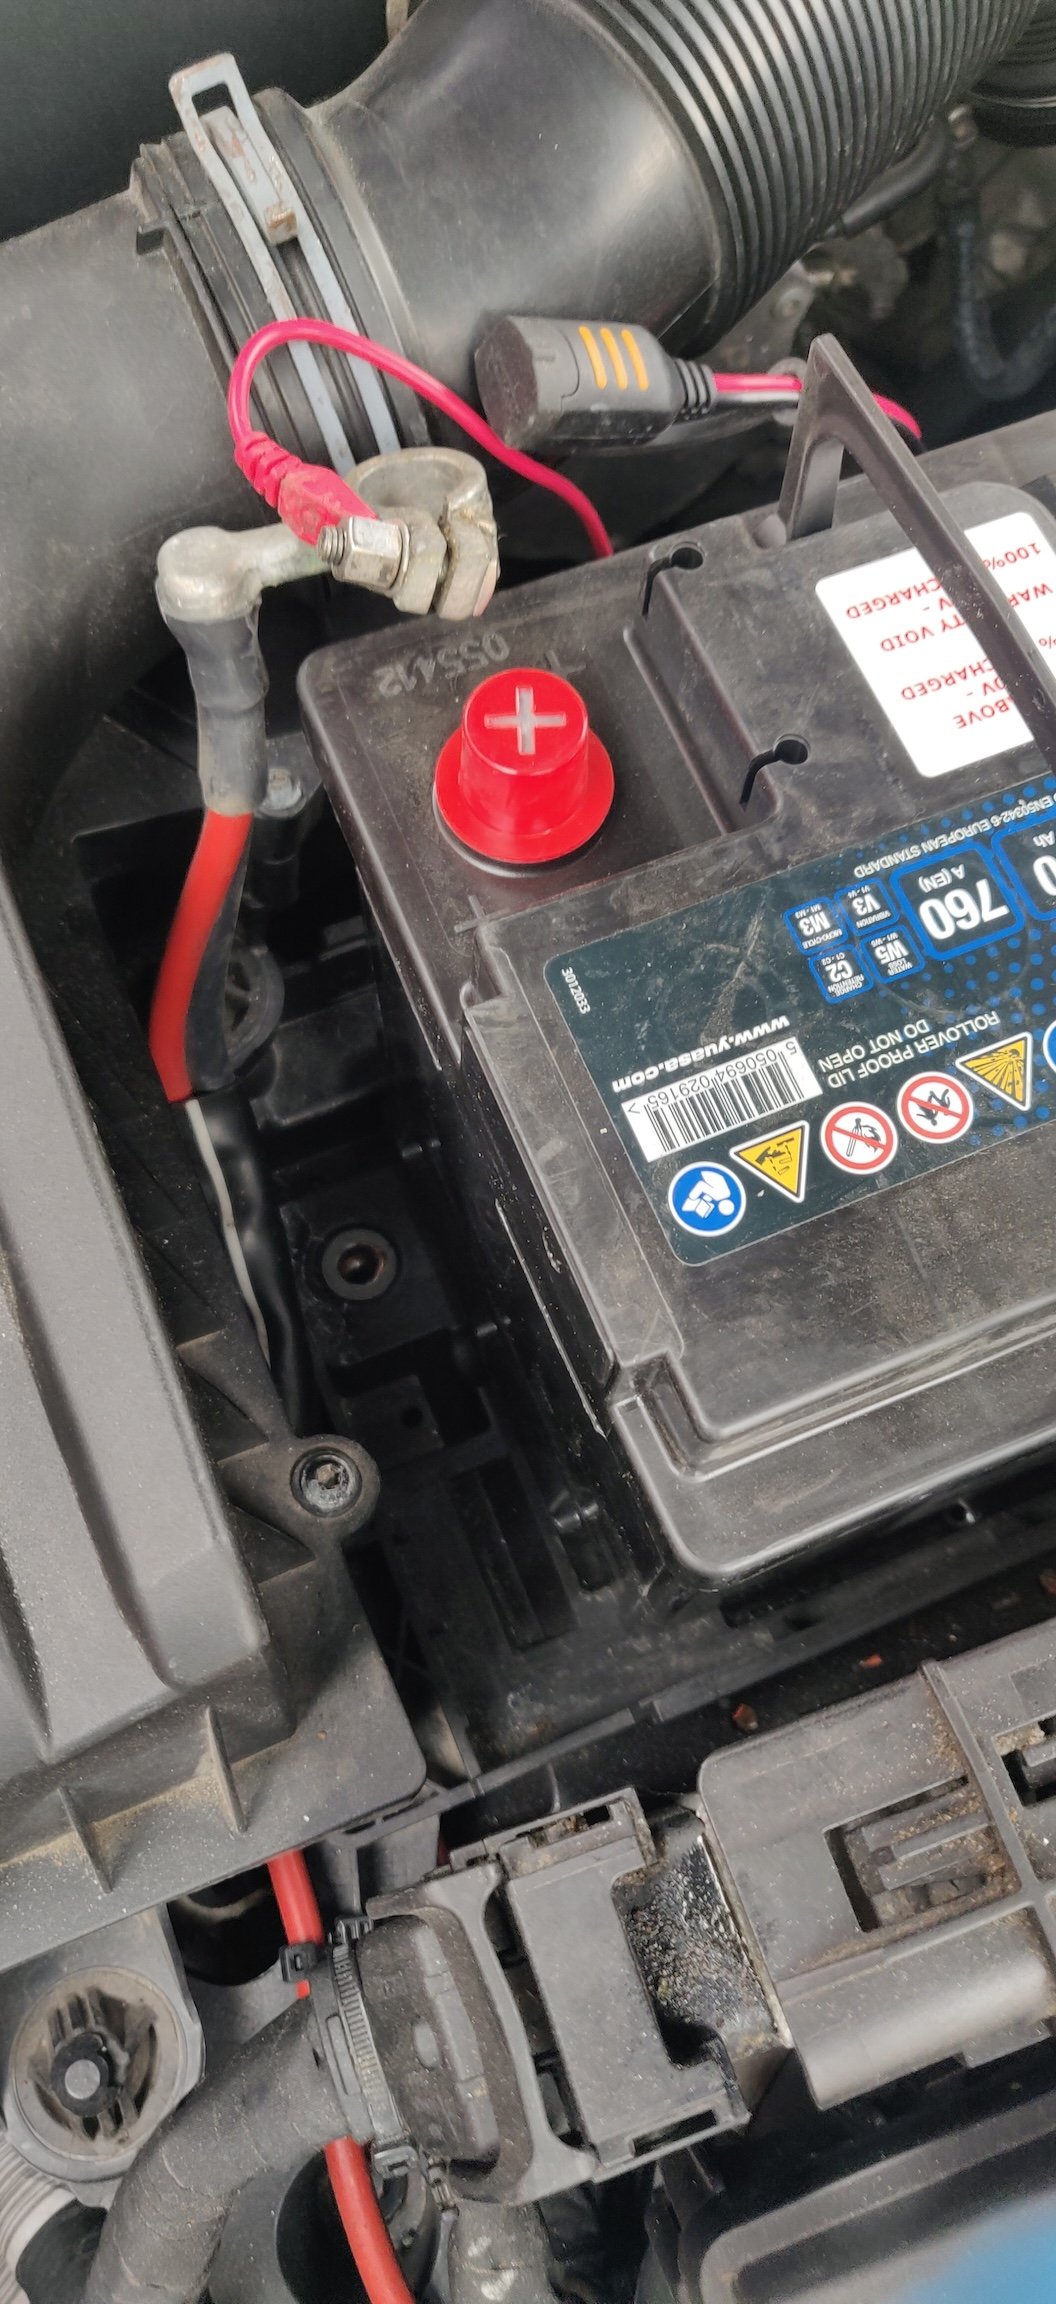
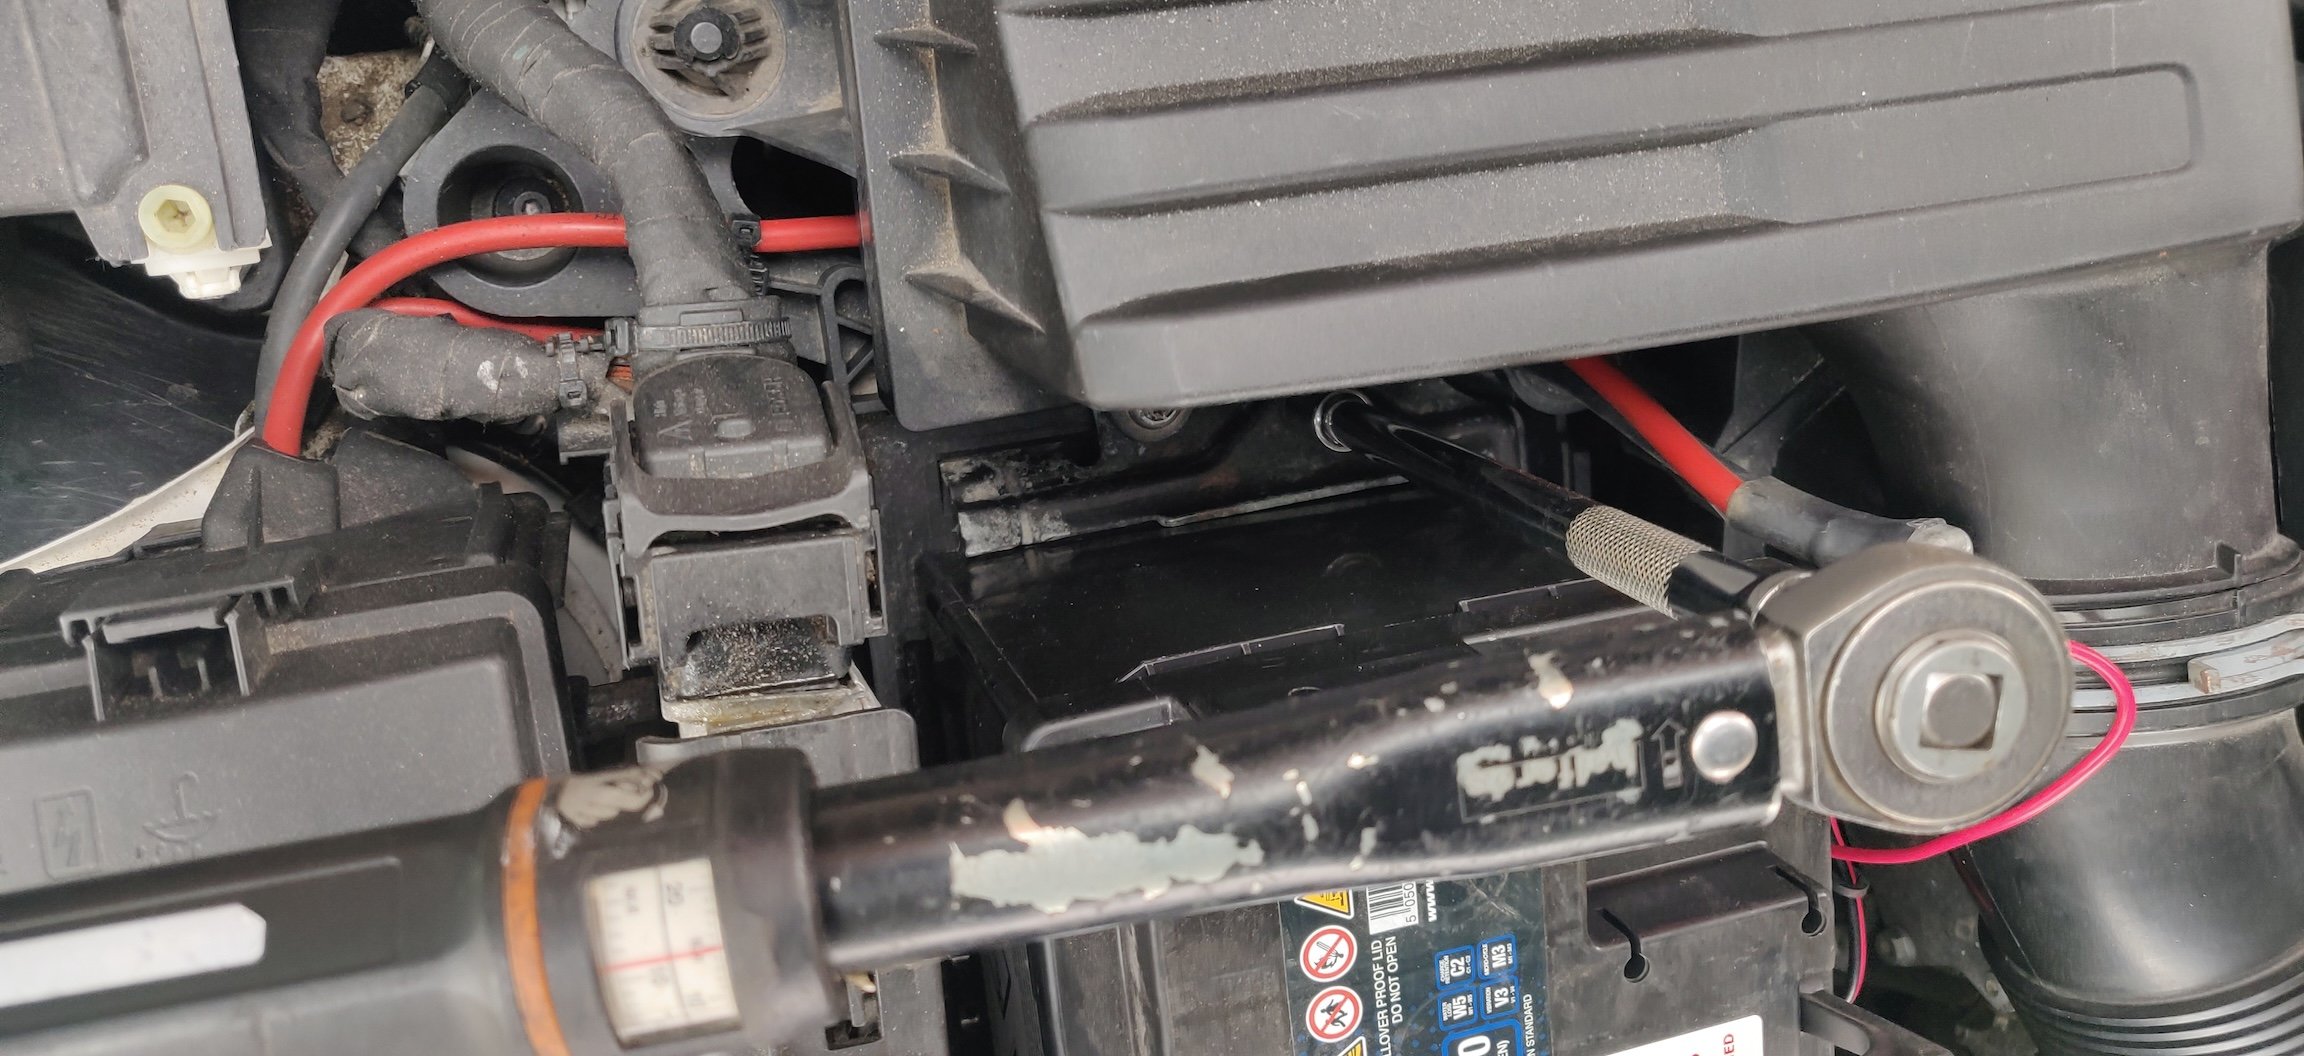
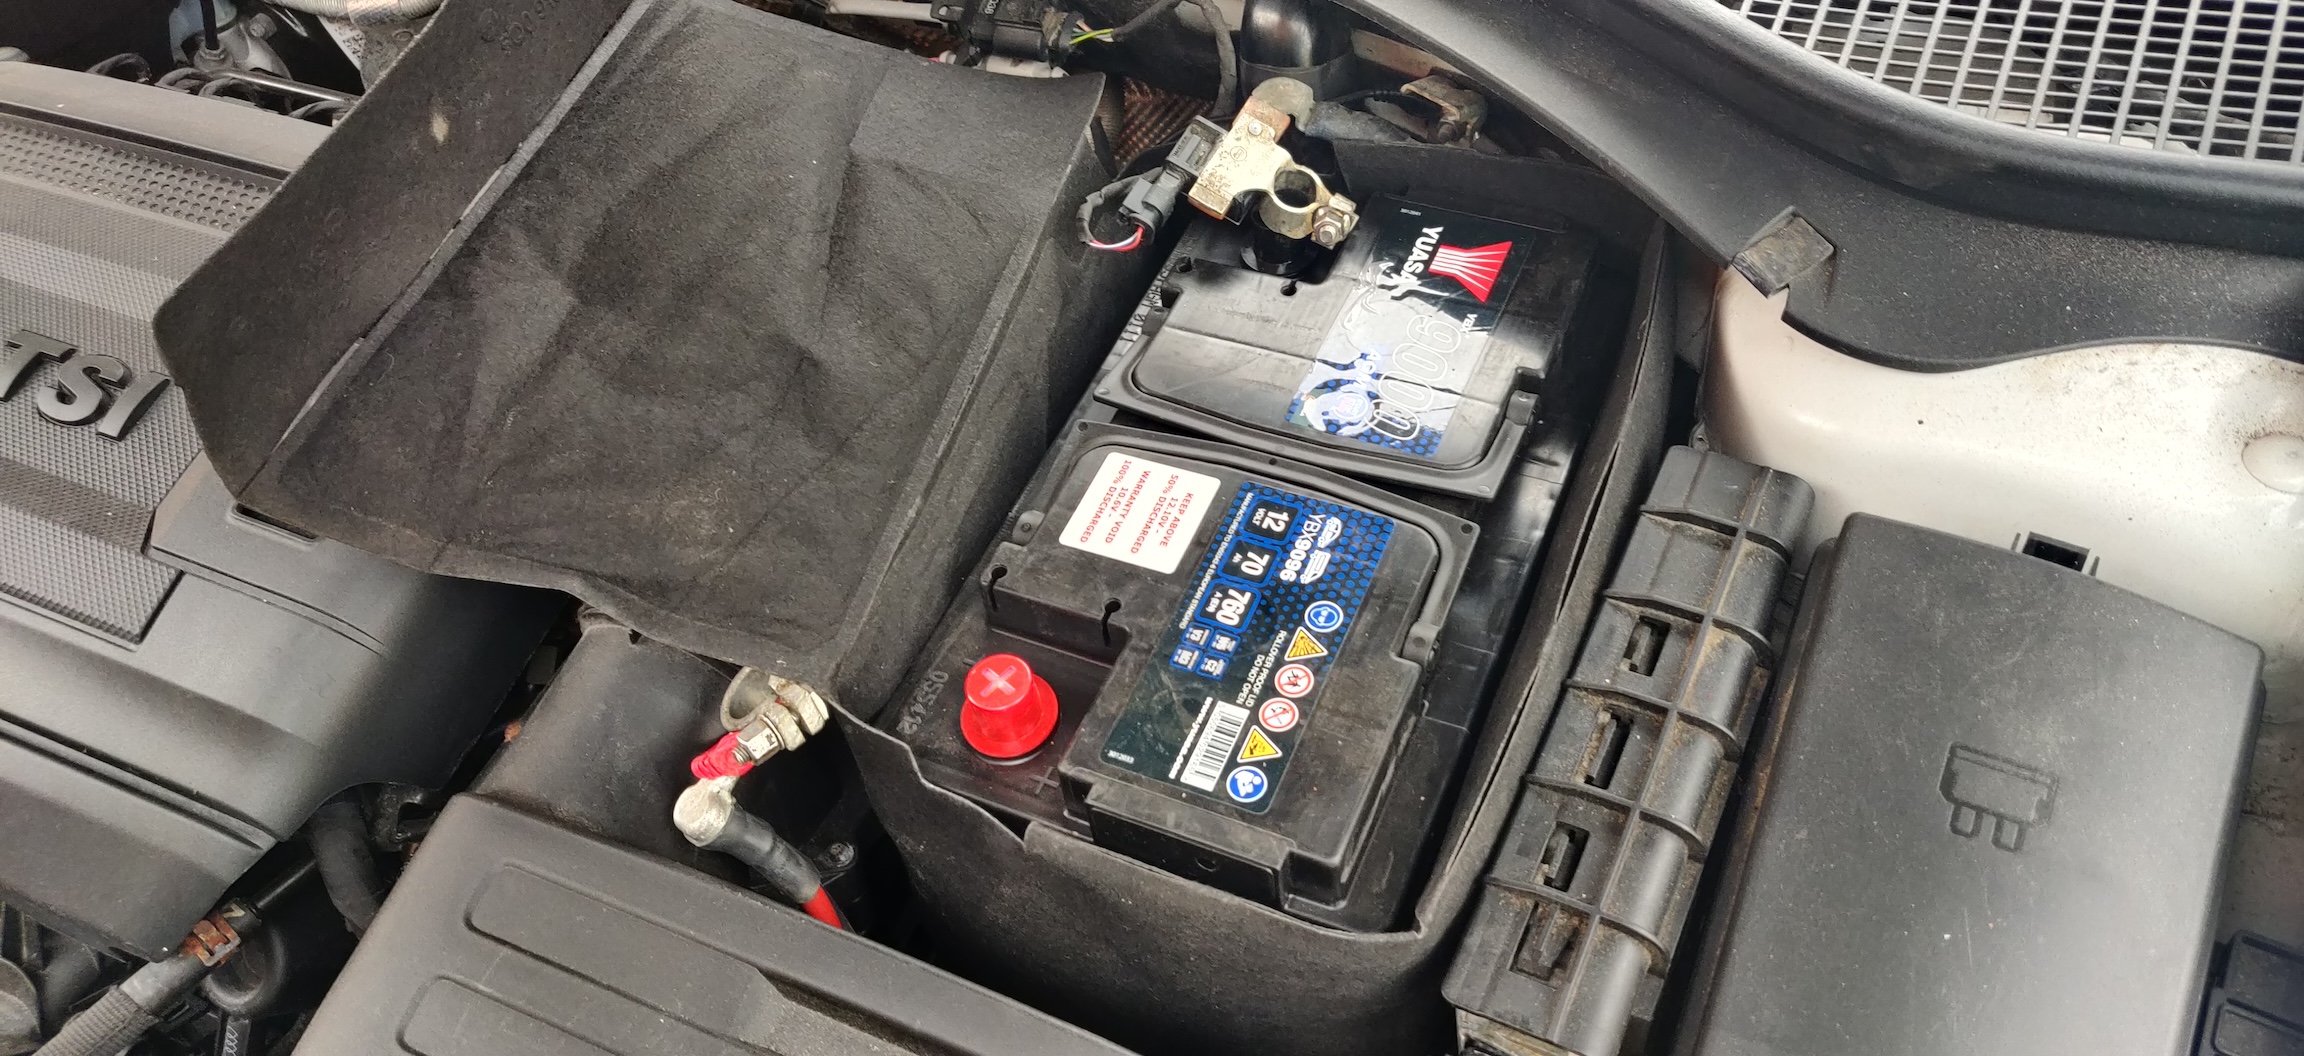
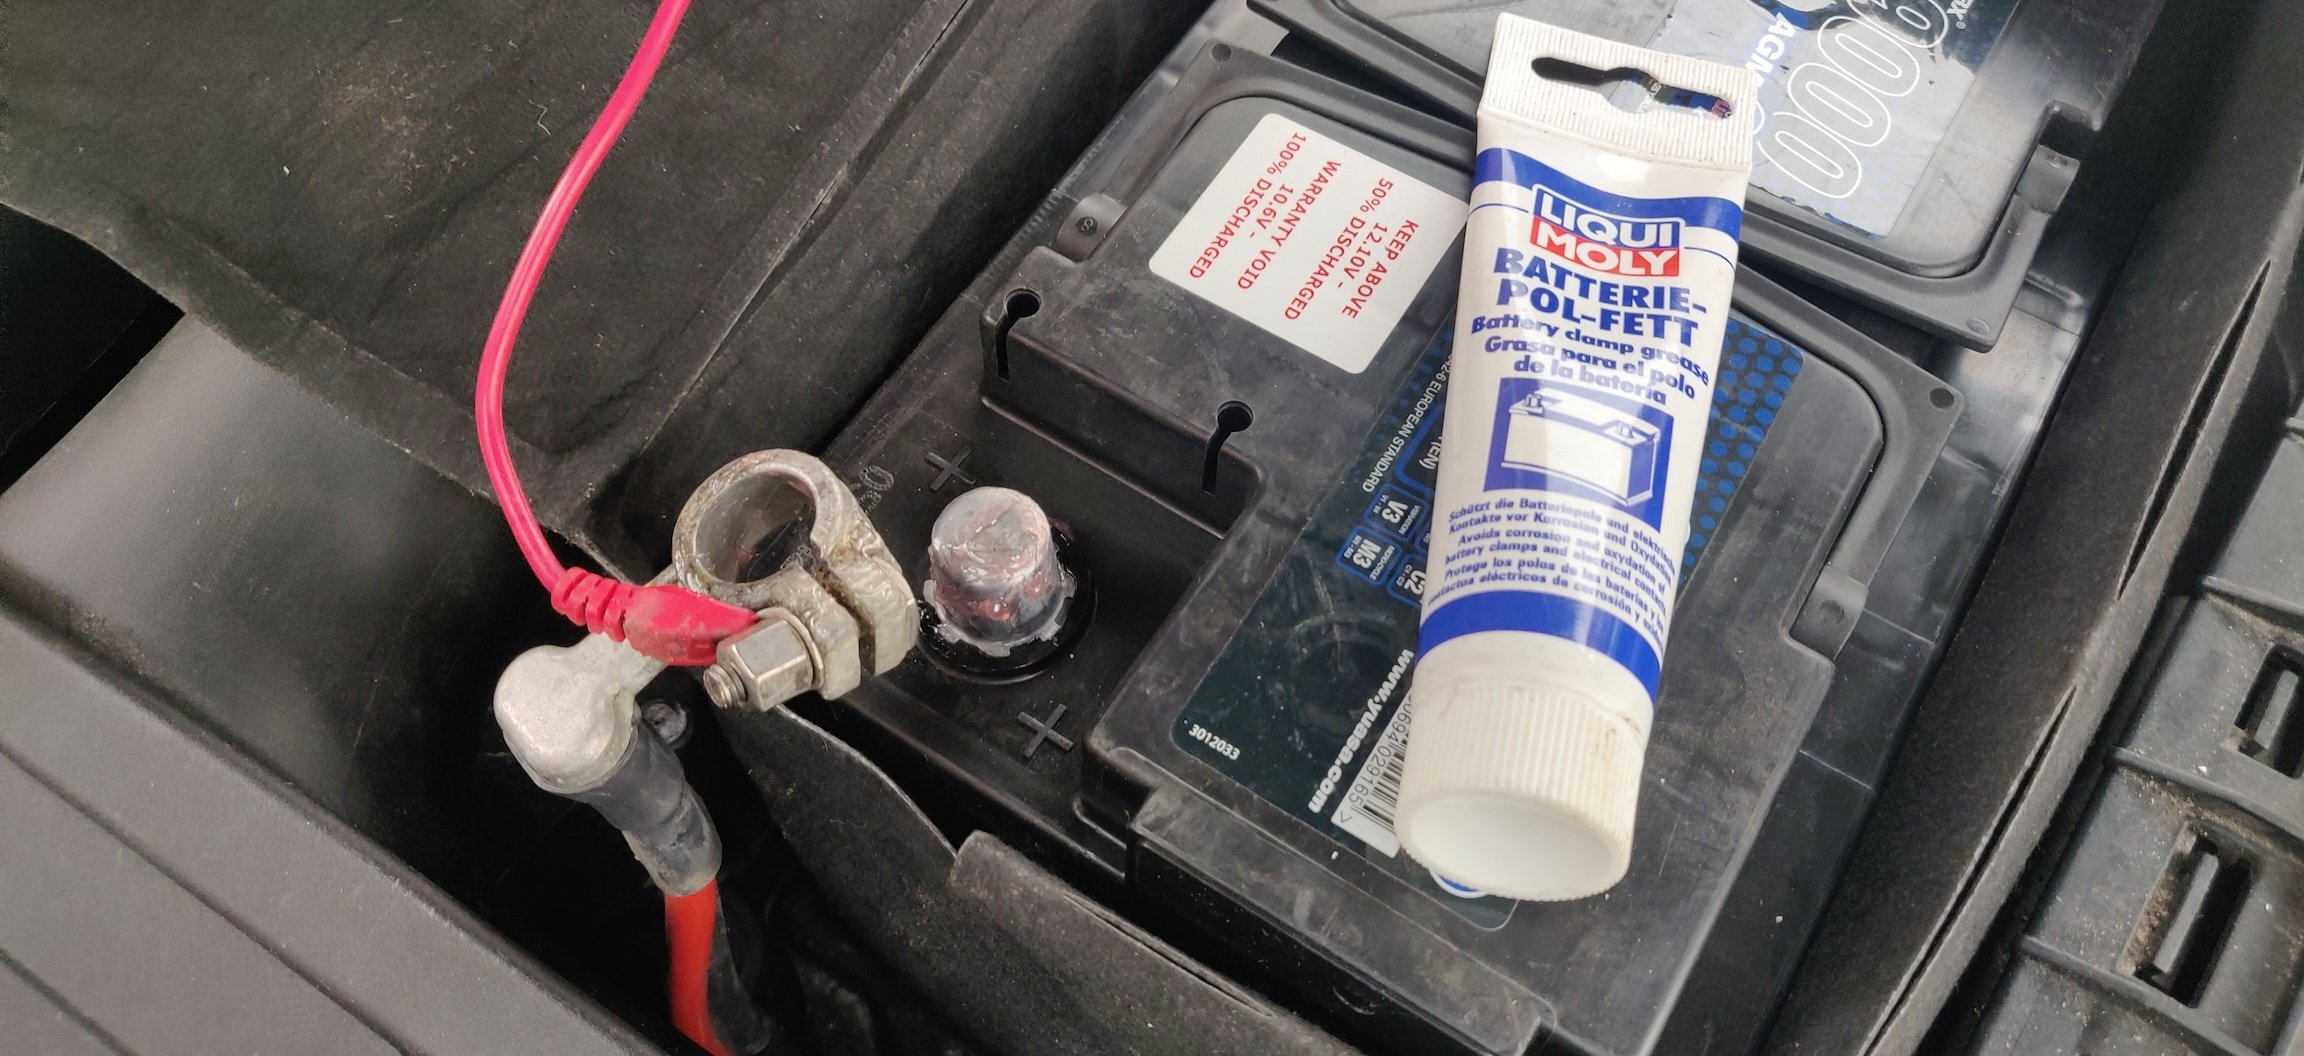
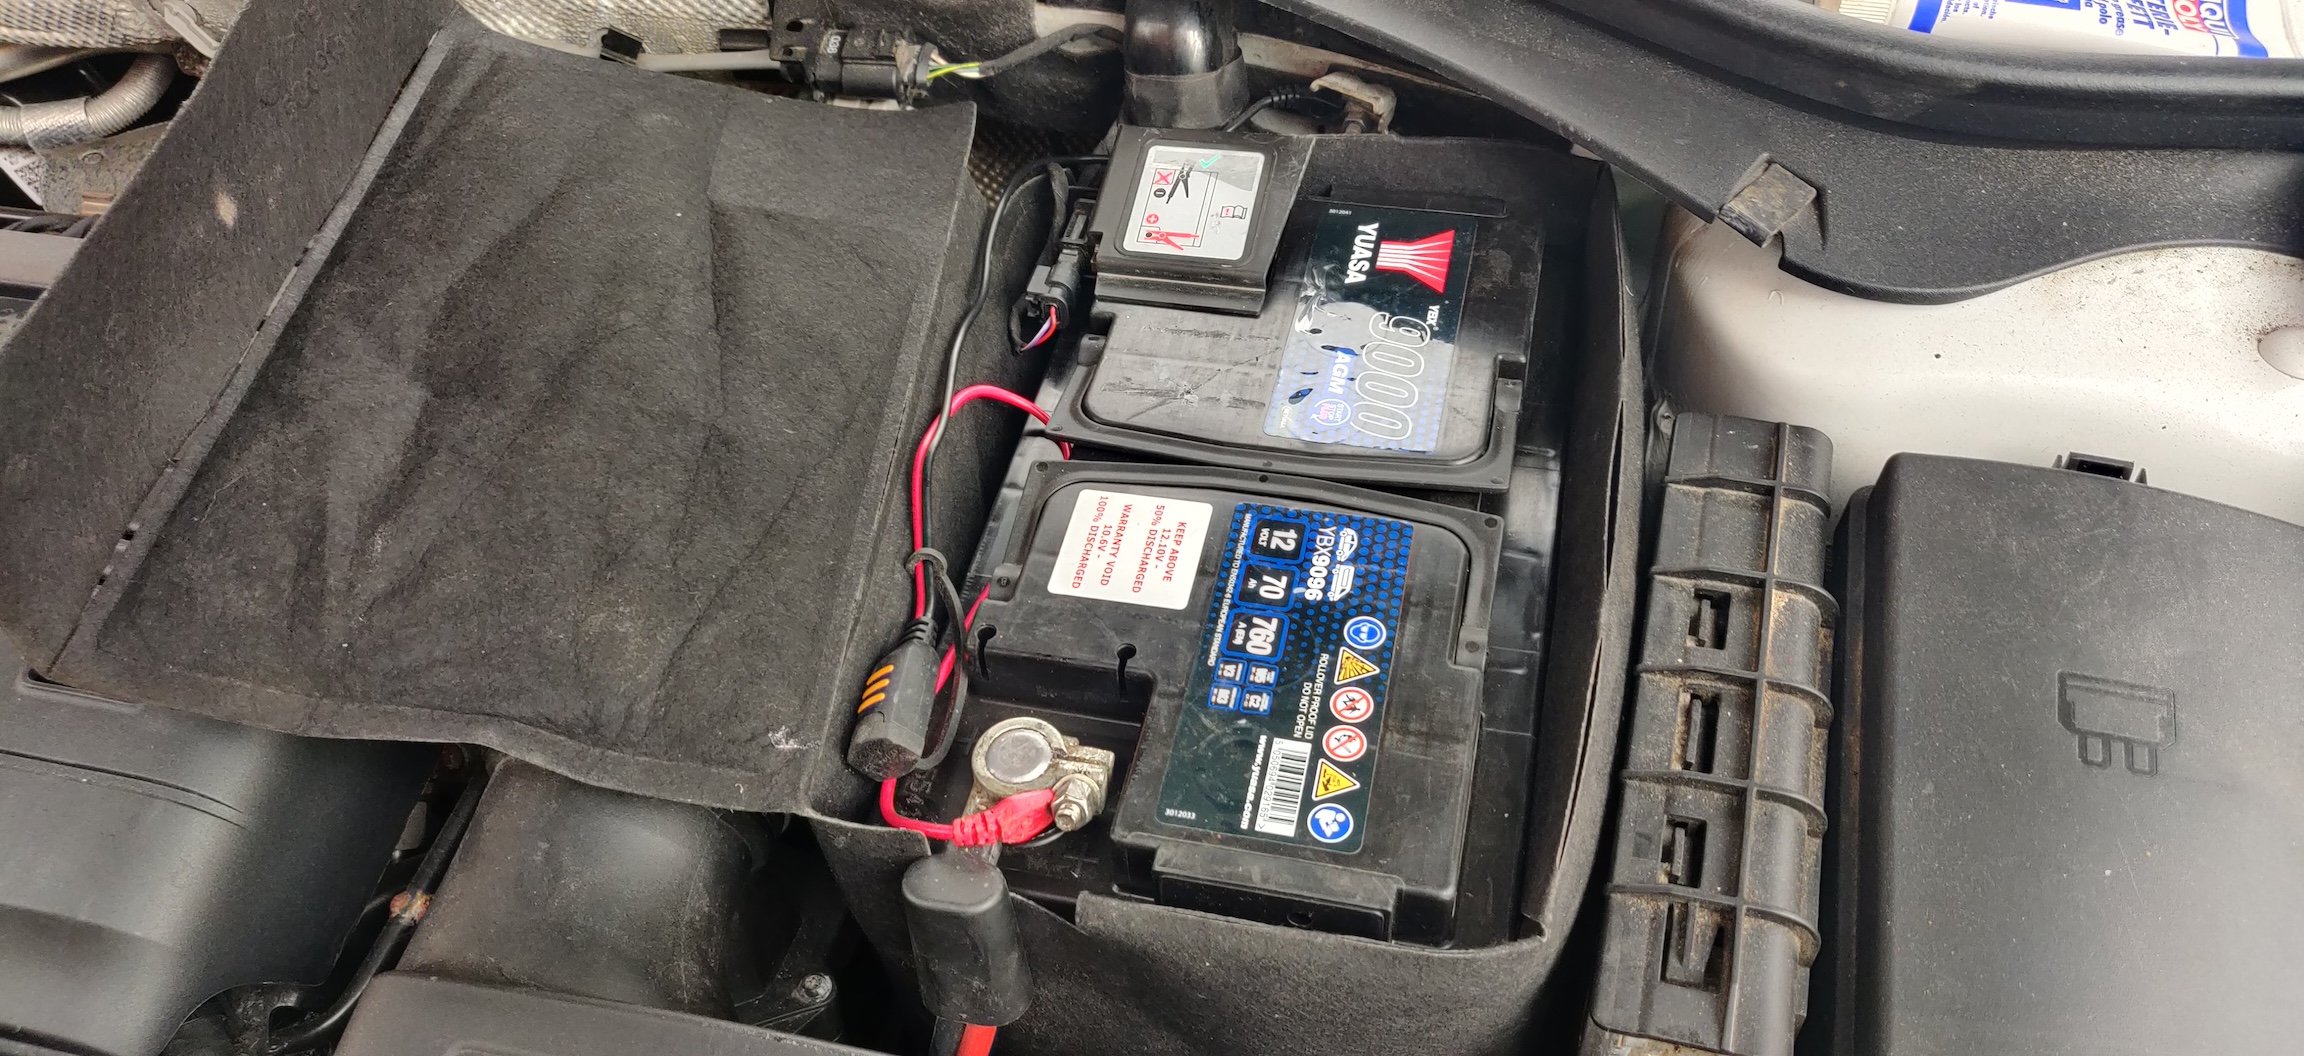
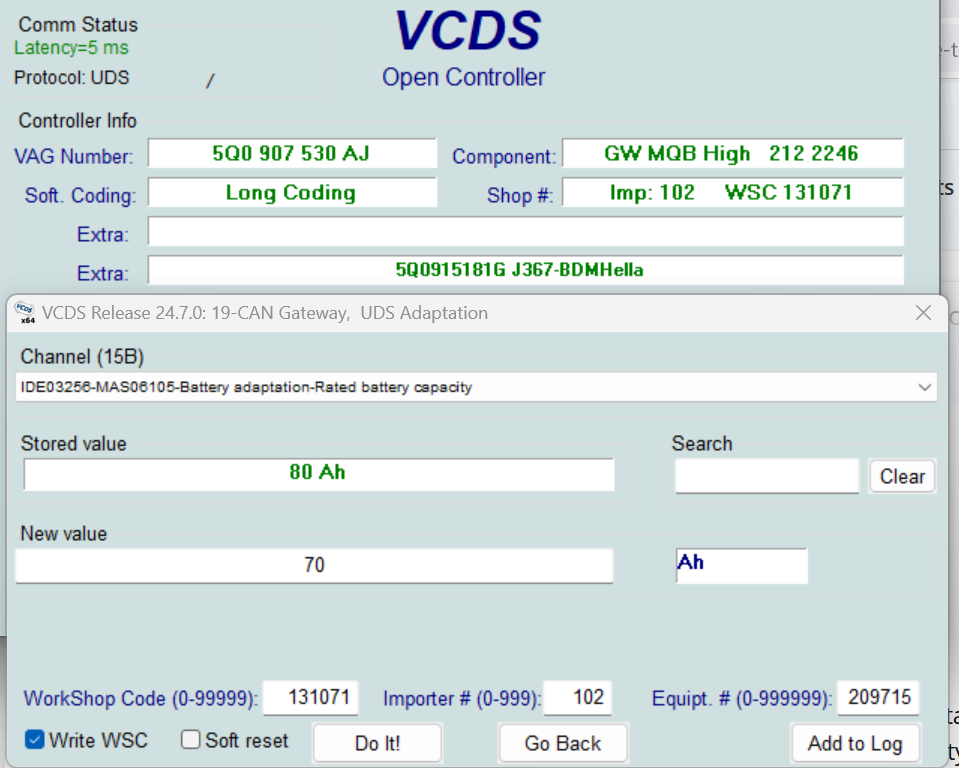
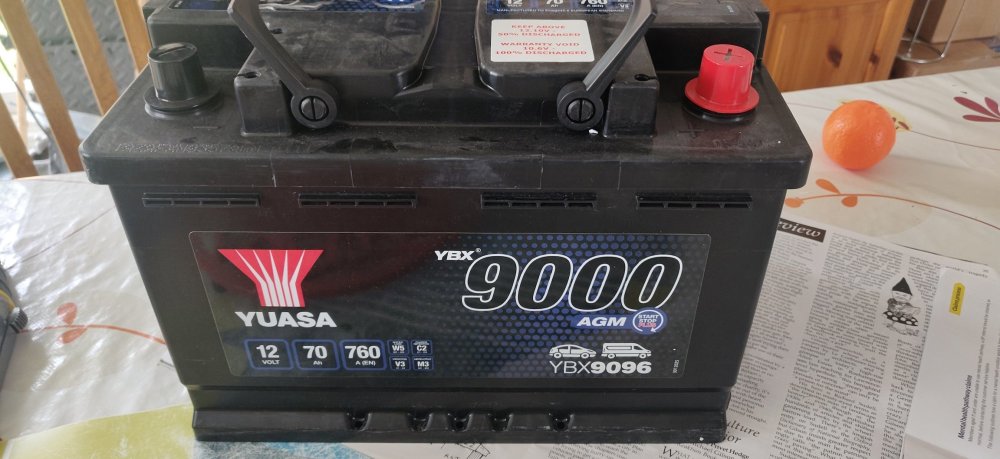
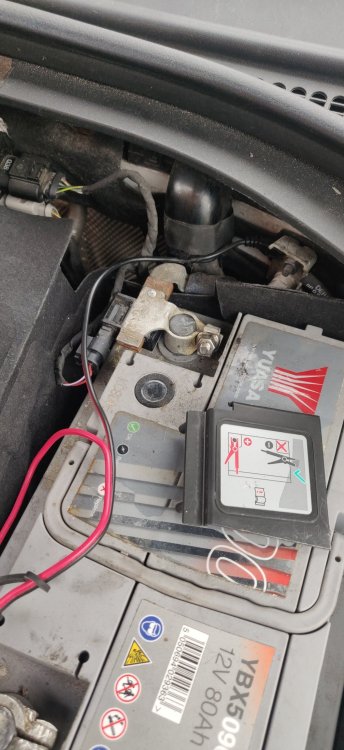
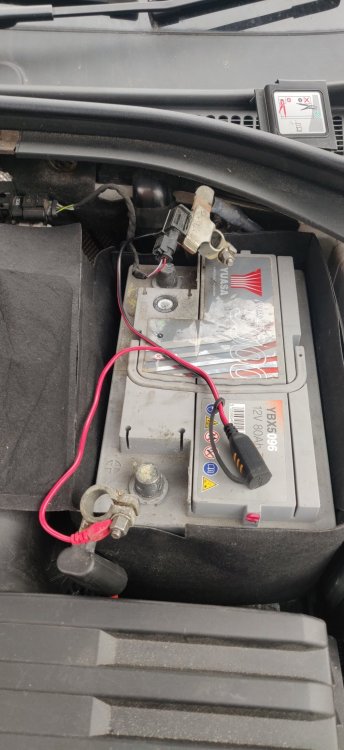
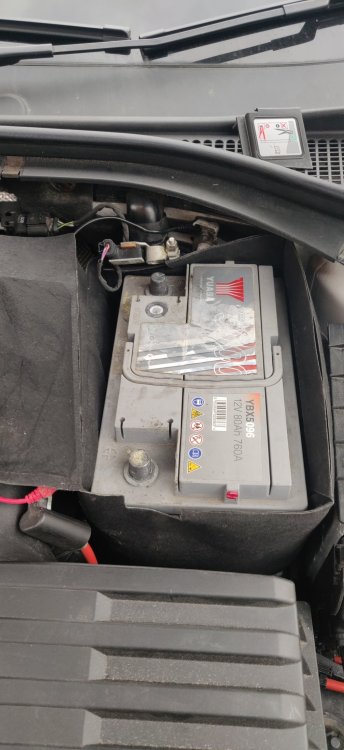
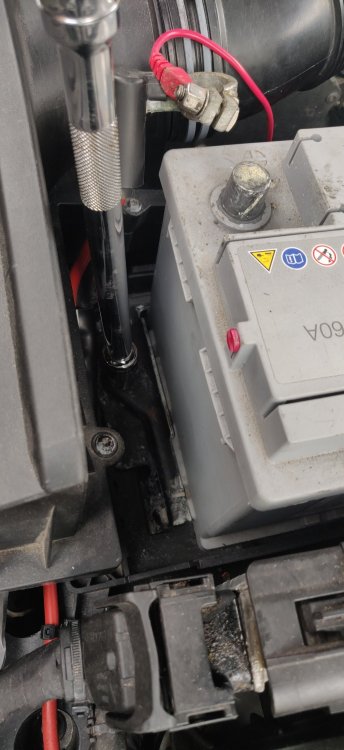
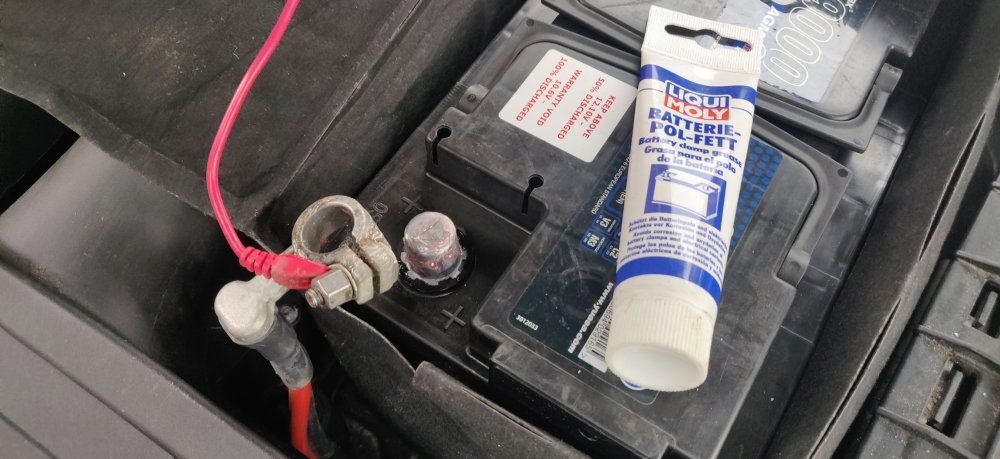
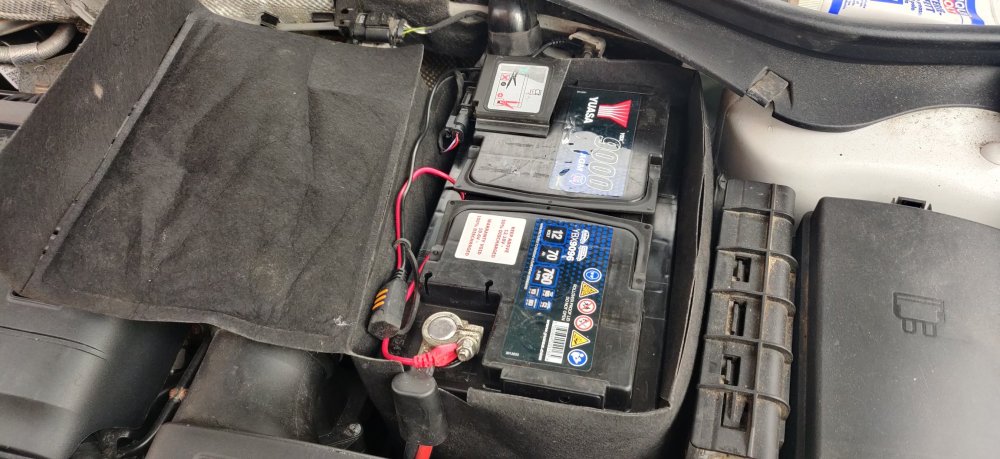
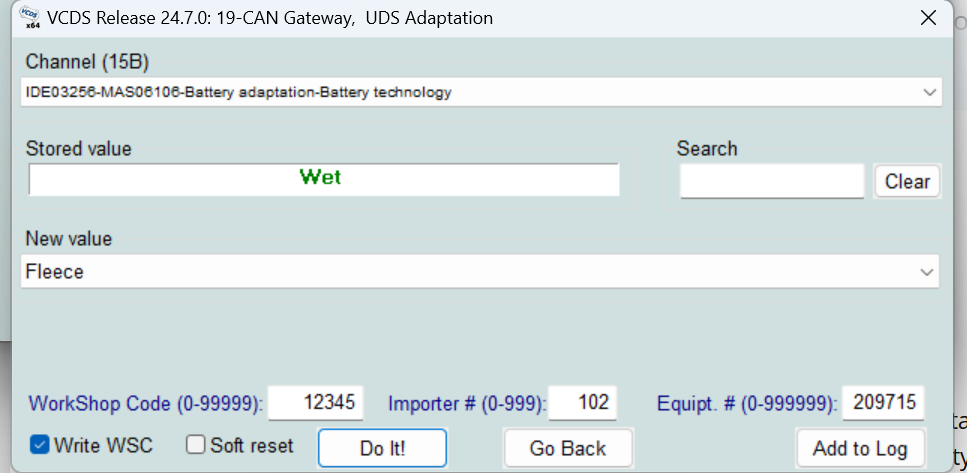
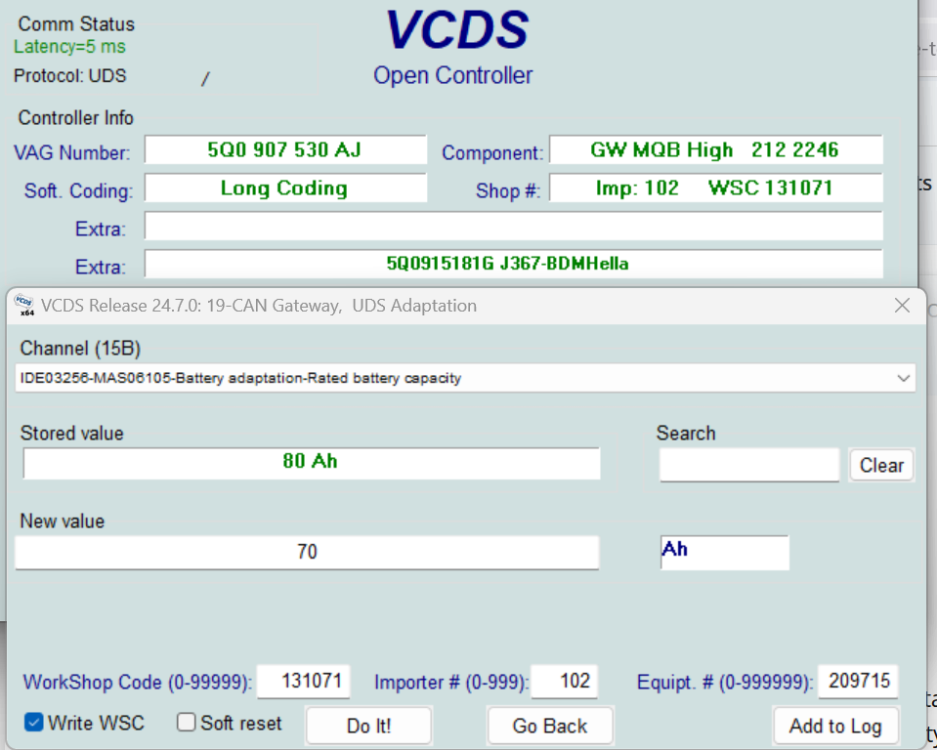
This is a sucking eggs moment: New battery arrived, a Yuasa YBX9096. I've found most batteries to be much of a muchness, and I guess I chose Yuasa as I've had a habit of getting either those or Bosch whenever I do. Could have also got a 7000 which I think is the EFB type, but decided to feel a bit fancy. It was also £116.83 from eBay with a 5% discount, which I felt was too good to ignore. So here's some pics of me swapping out a battery, in maximum patronising mode: Lifted the cover and took off the plastic cover for the negative terminal. I don't have a corresponding one for the positive, but it's completely unimportant. It's a 10mm bolt for the terminals. Disconnected the negative terminal, moved it out of the way, then the positive: You'll notice I've got a CTEK trickle charger connecting thingummy on the positive terminal, so that gets slightly in the way: So the battery cover needs to sorta slide under it to allow it to then be wiggled free. To be honest though, you could probably leave it on the battery, as the clamp bolt is visible and accessible: It's a 13mm bolt for this, which then becomes one of those fiddly moments to get it and the clamp up and away. The battery sorta then slides forward before it can be lifted clear: It's a reverse to get the new one in place. Might need a wiggle to get it to slide back into place: Basically, if you can see the bolt hole for the clamp, then it's fiddly stuff to get it back in place: It's 15Nm for the clamp bolt. The next fiddly bits involve the battery cover, and sliding that in between the terminals and battery and then pushing it into place: The rest then just falls into place, so positive terminal first: I have some battery terminal grease which I got the first time I ever picked up a spanner, so its been going on for some 14 years now! Just put a dab on the battery poles and the inside of the terminals, then bolted up to 6Nm: So yeah, err, battery replaced. Only other thing is to tell the car its been changed. So basically just followed this: To code in the new battery parameters. So it's 19 - CAN Gateway -> Adaptations - 10 and then the appropriate channels: So IDE03256-MAS06106-Battery adaptation-Battery technology which is now set to "Fleece". With IDE03256-MAS06105-Battery adaptation-Rated battery capacity changed to 70(Ah) to match what it said on the outside of the battery. The other two, for manufacturer and serial number aren't as important, one could do it for completeness really. So that's that. I'll probably give it a short drive over the evening to see how the start stop feels, and I guess to get all those warning lights reset which will pop up with a replacement battery. Maintenance: £3726.61 (+£116.83) Upgrades: £1595.25 Miscellaneous: £820.07
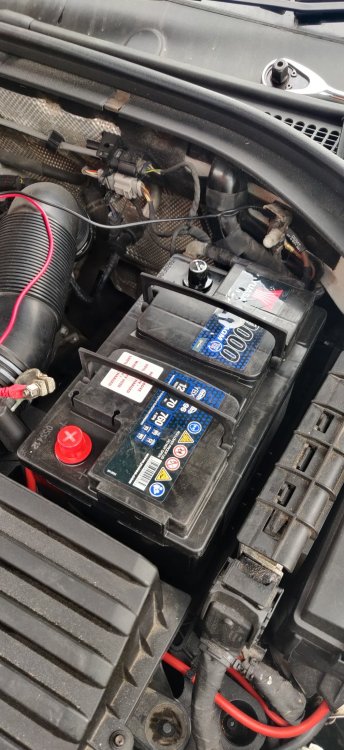
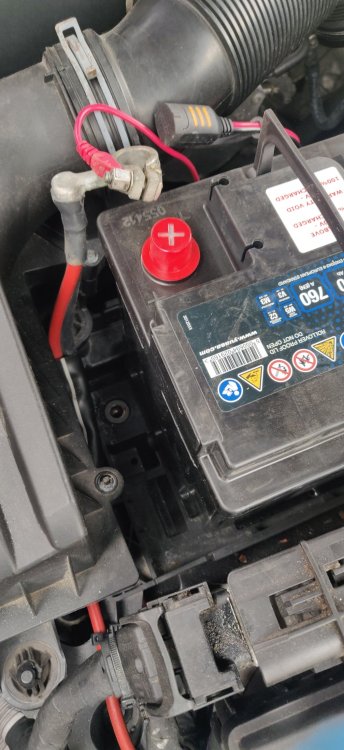
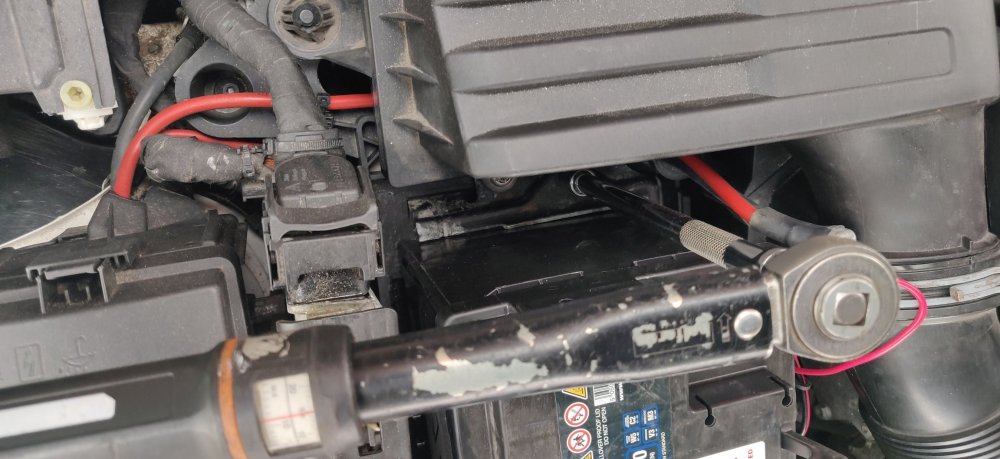
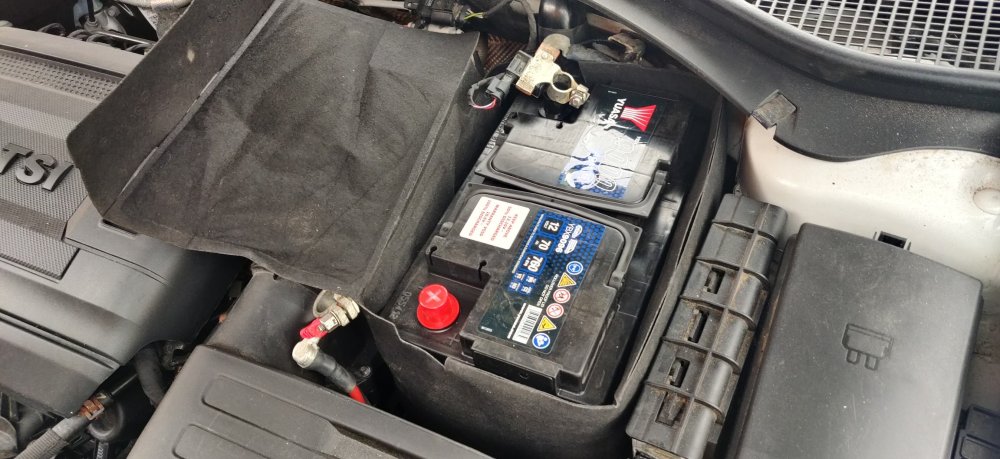
-
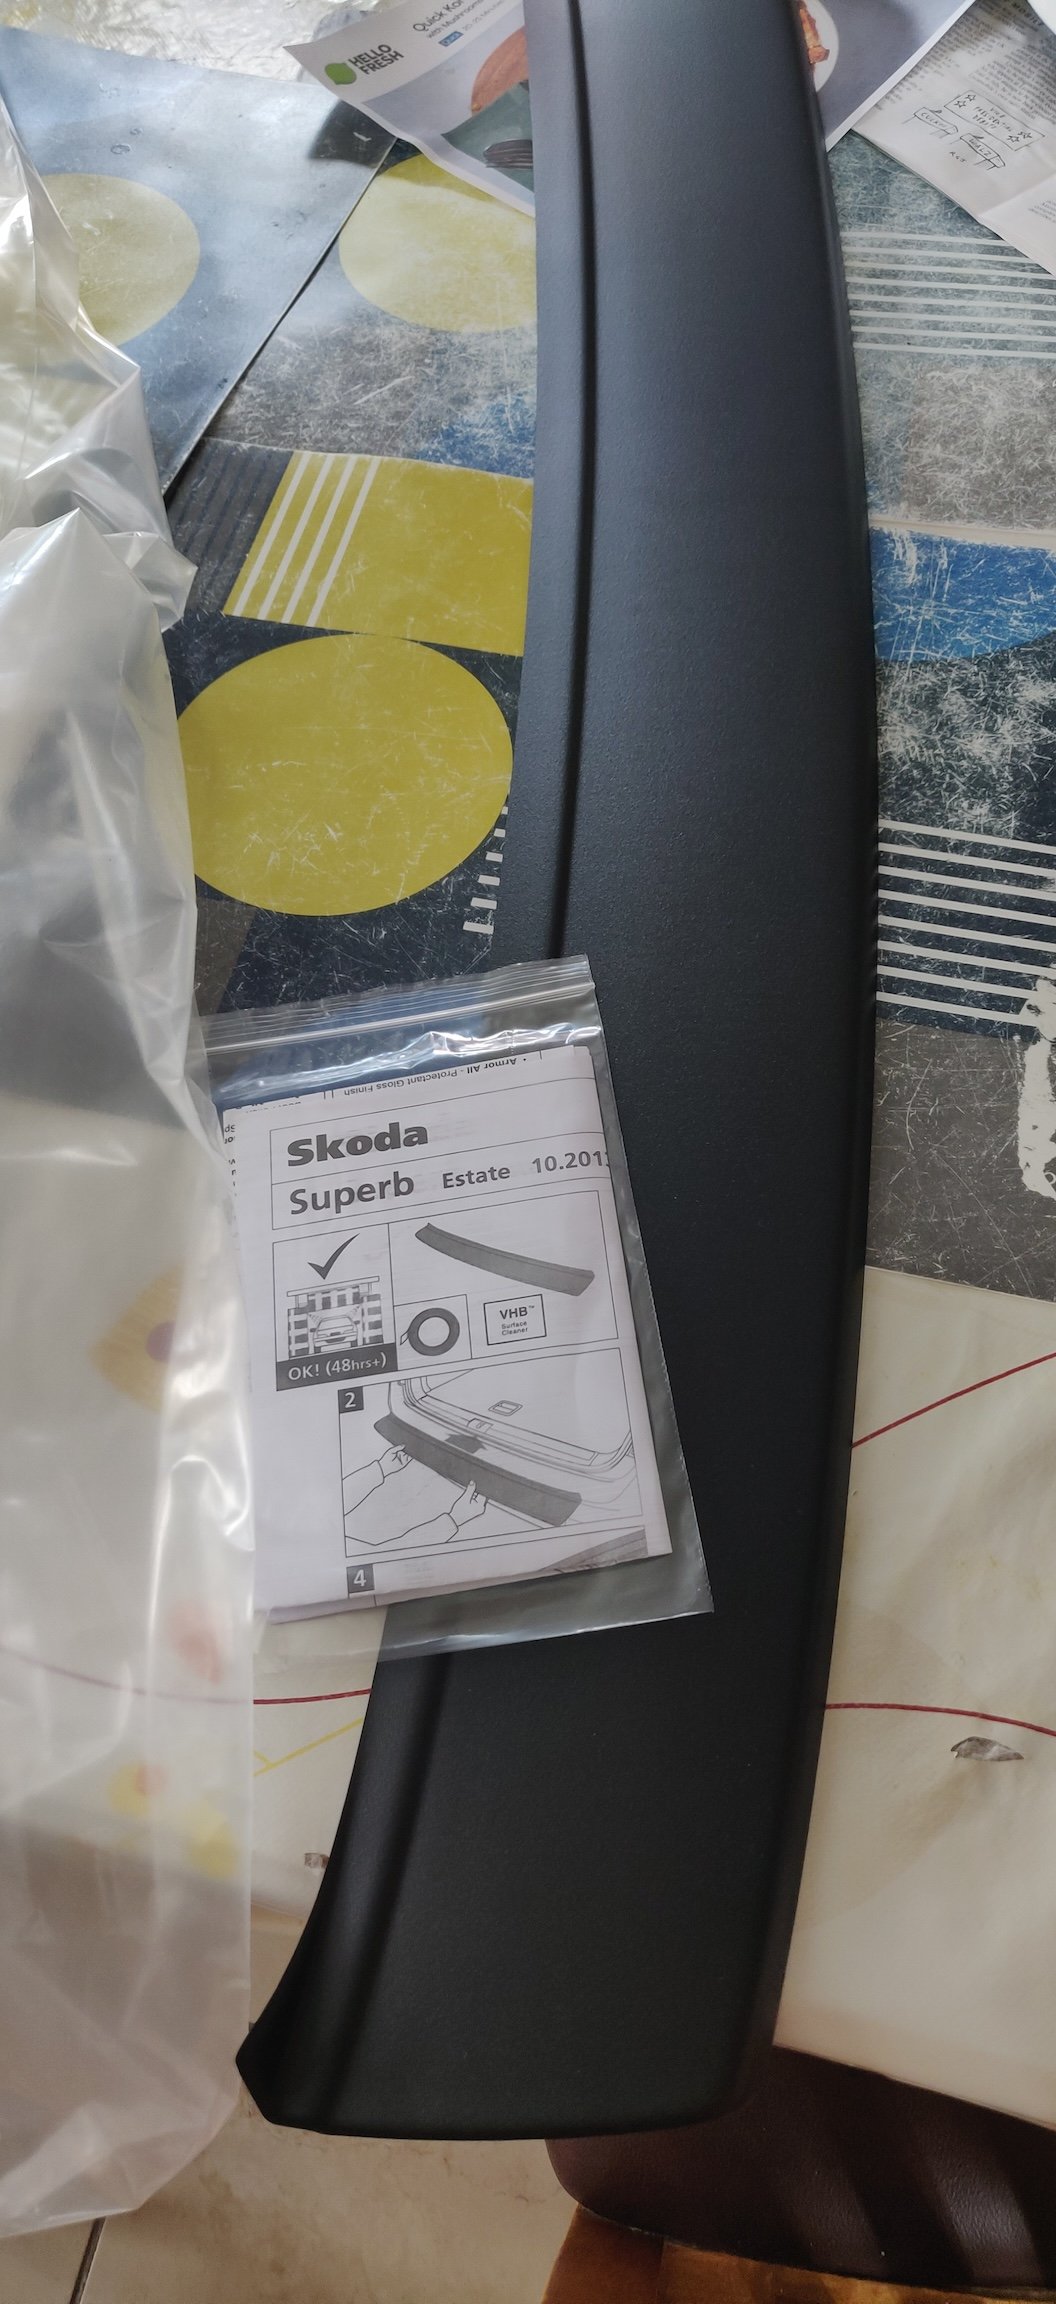
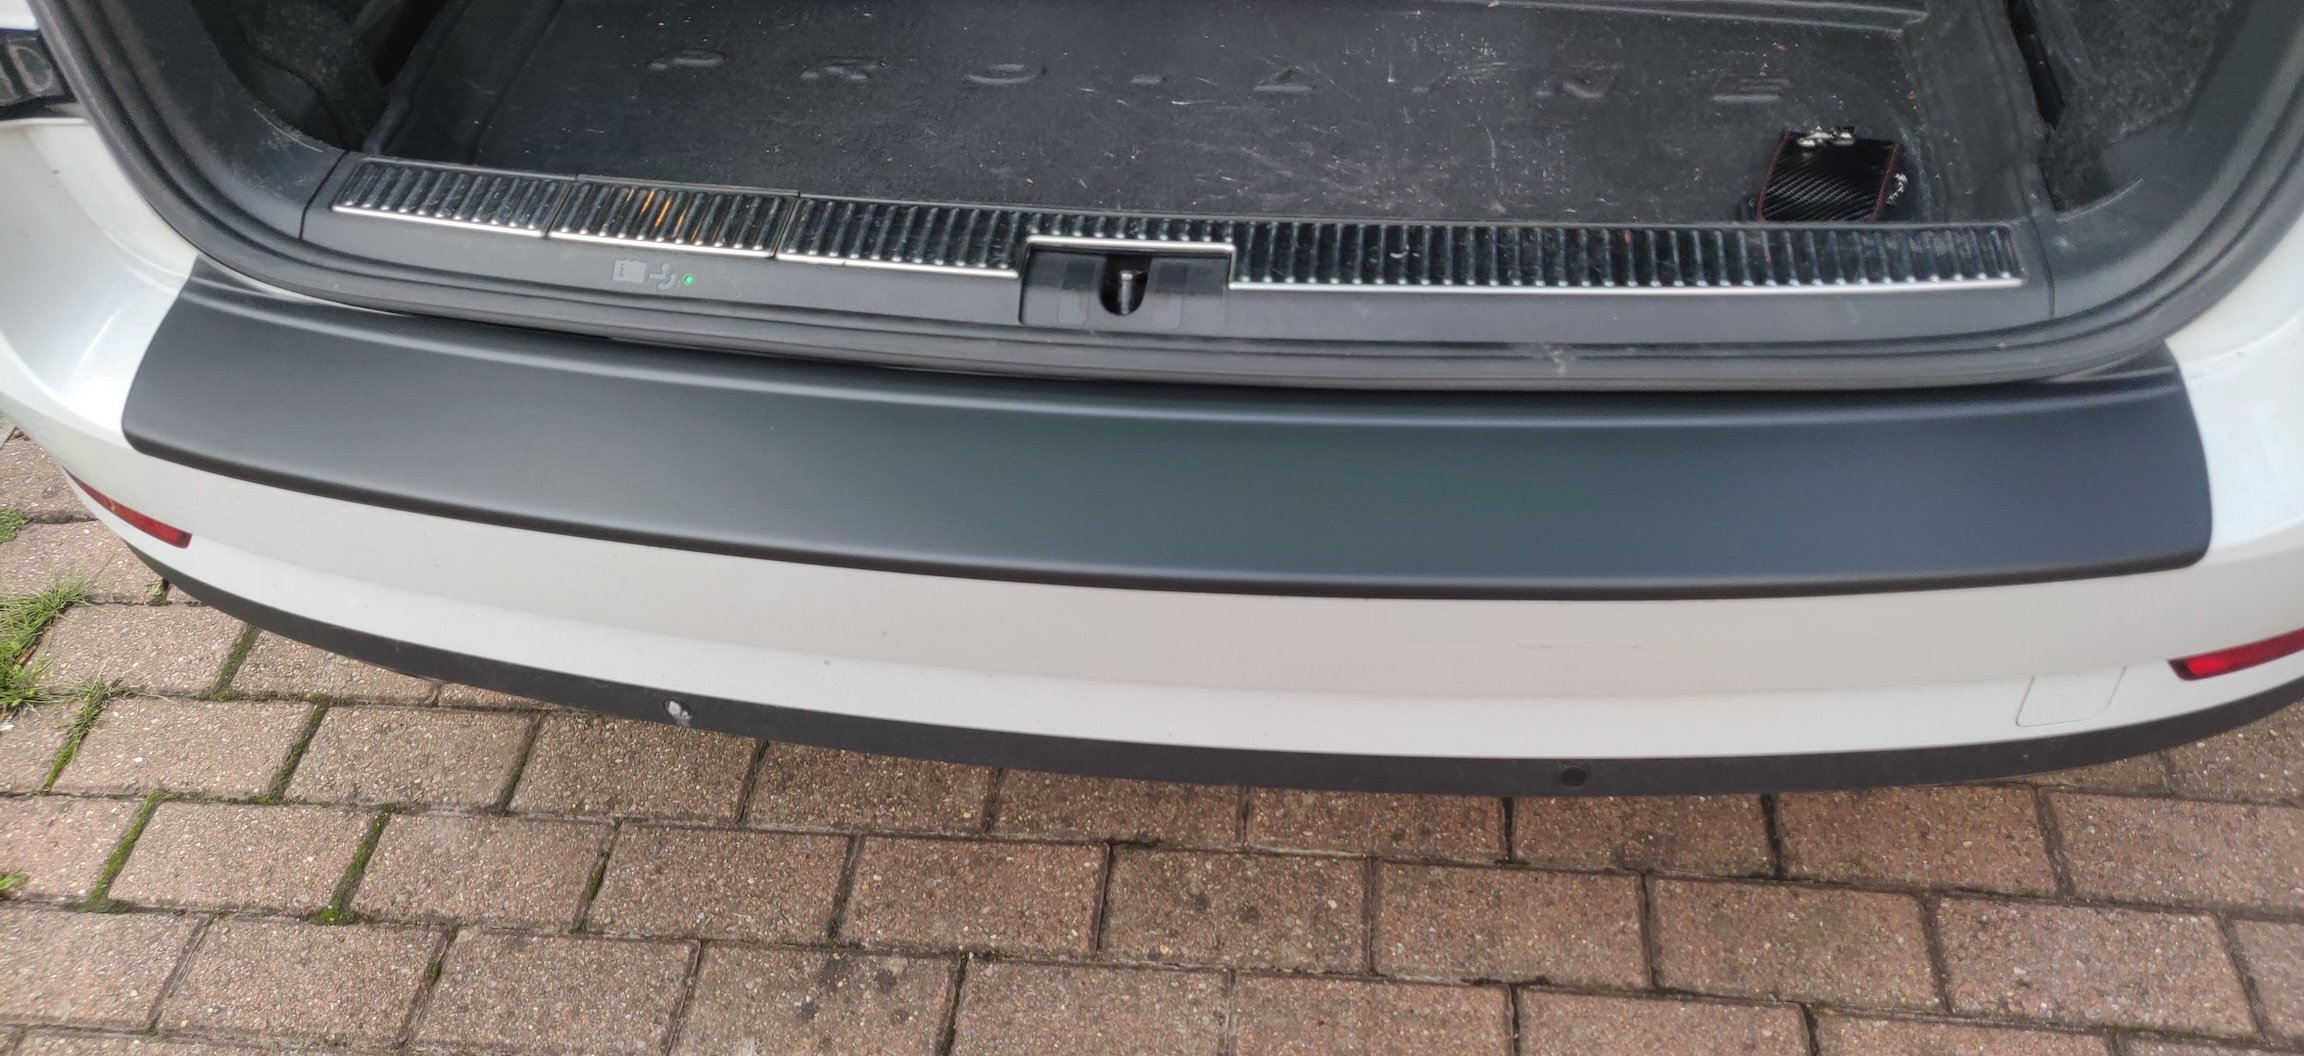
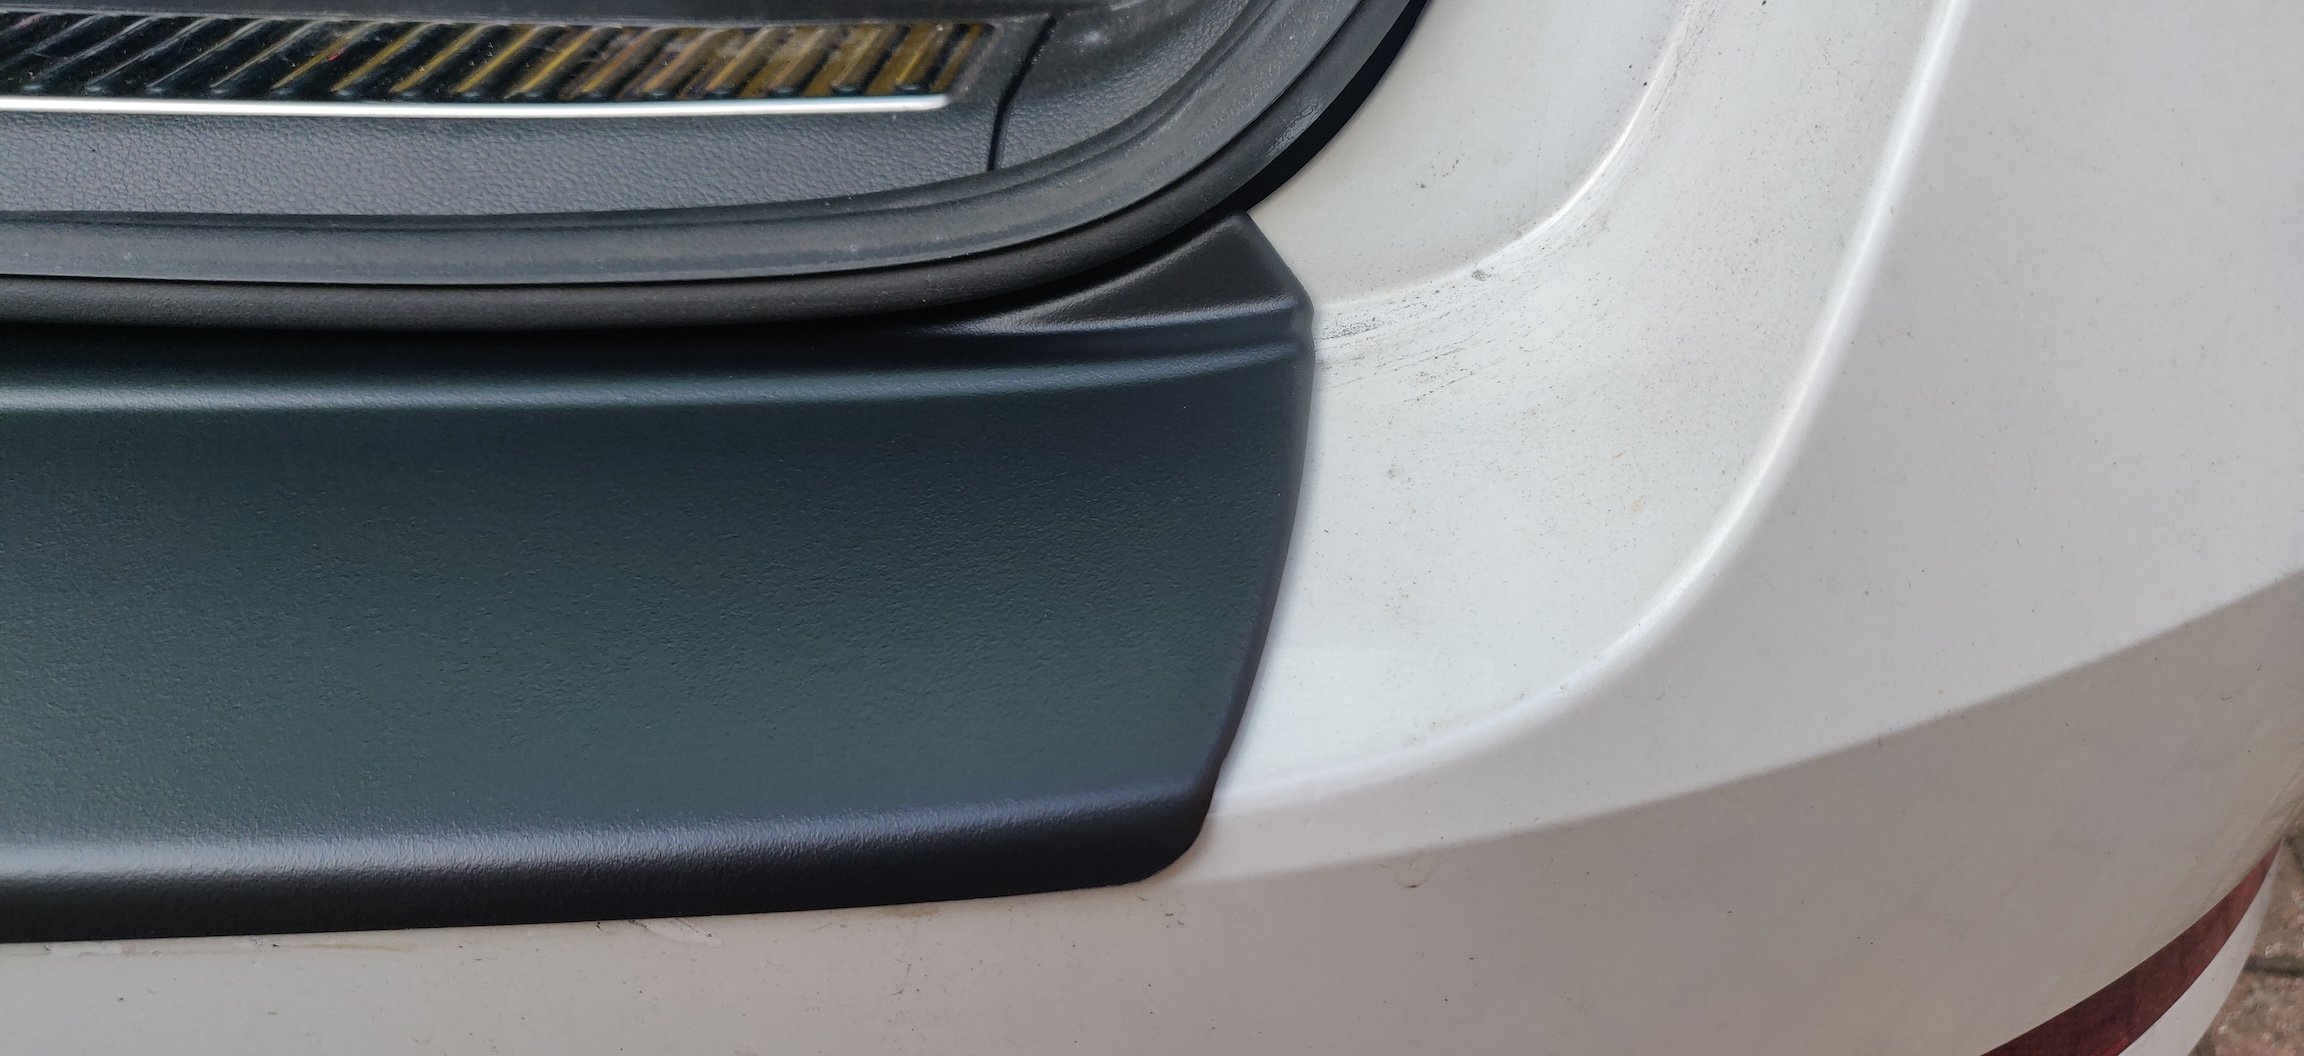
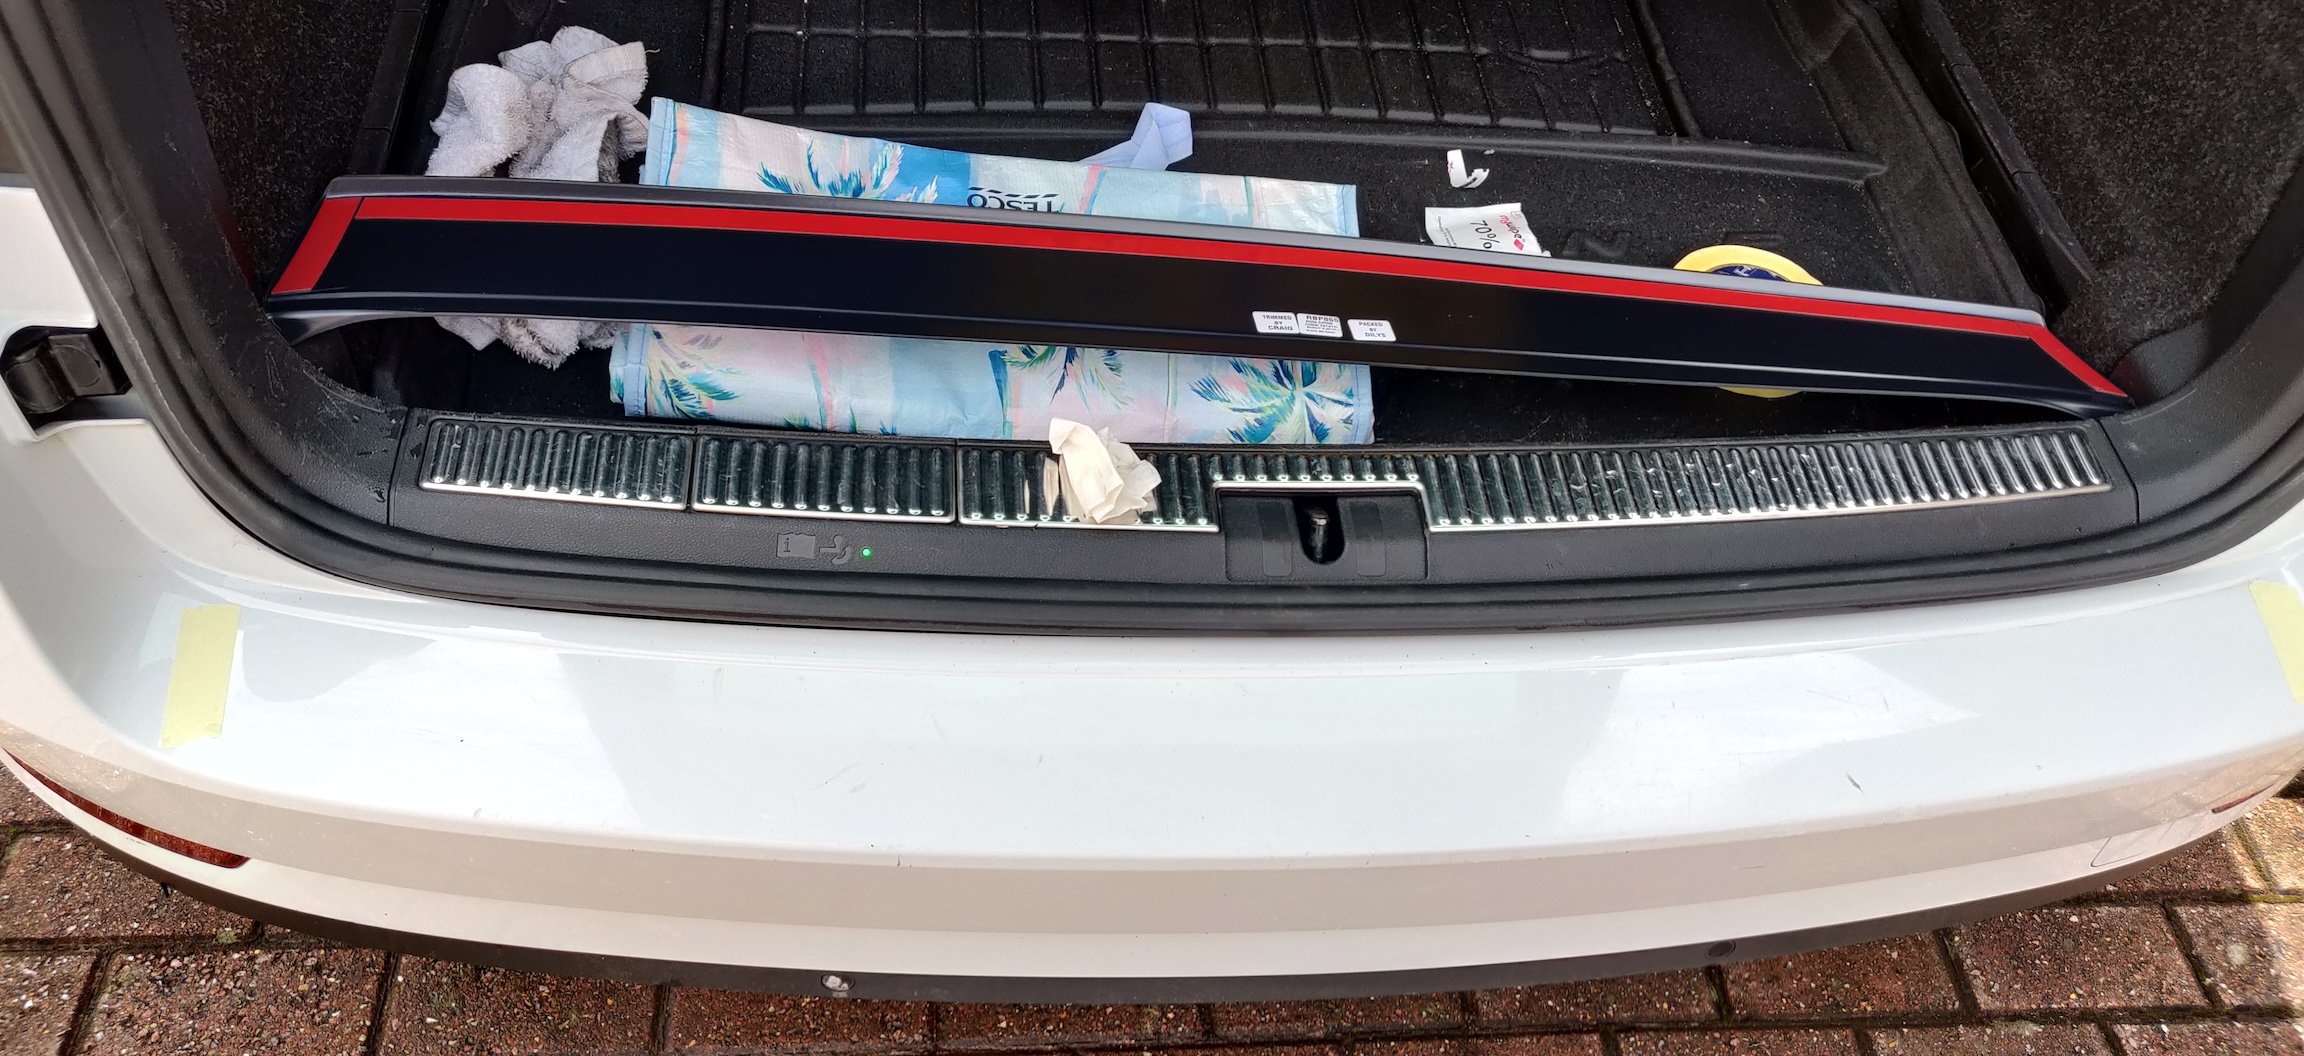
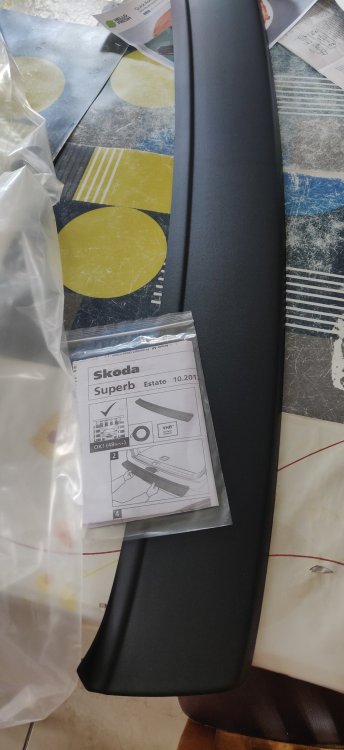
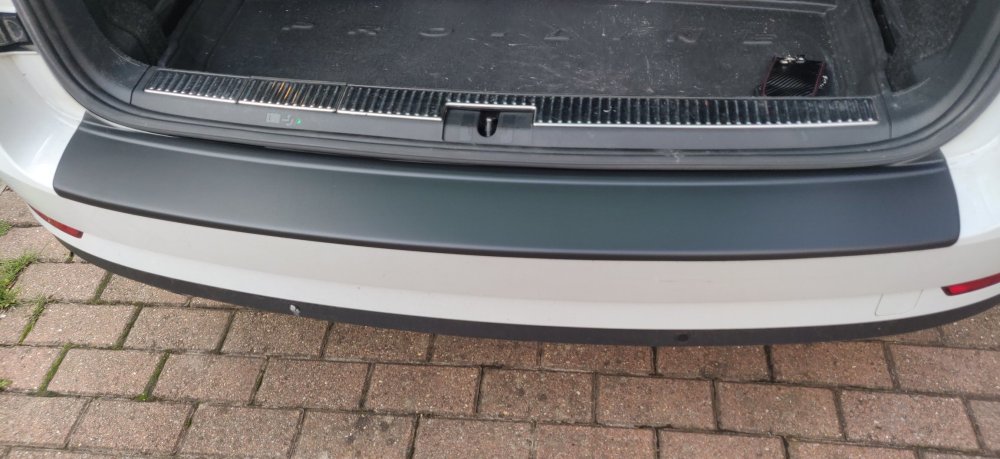
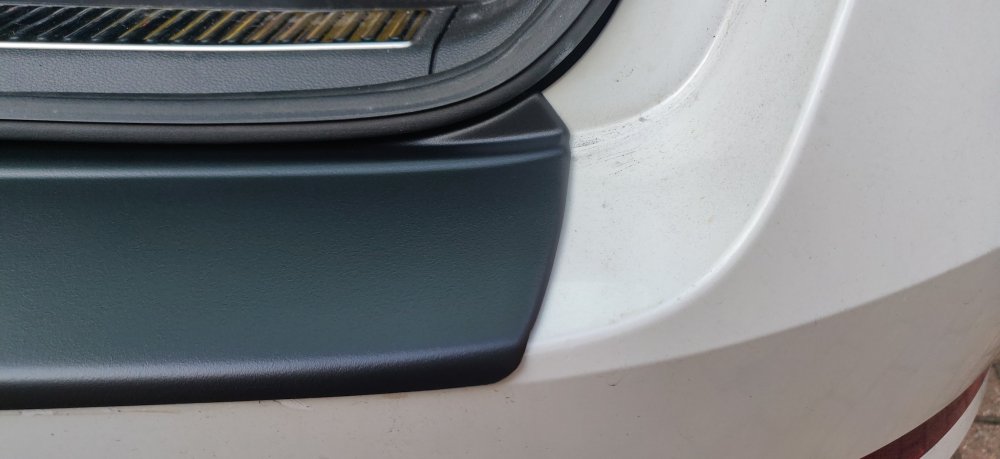
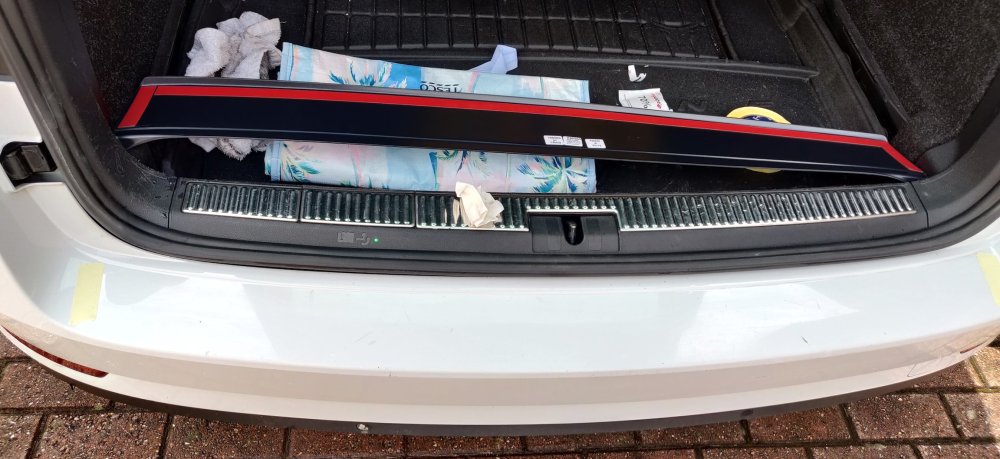
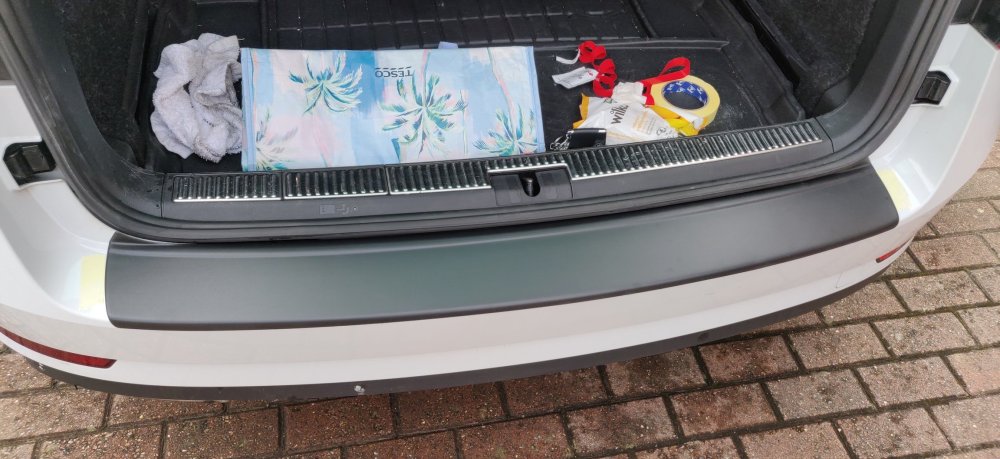
So something in the backlog over the bank holiday weekend: A boot lip protector thingummy. Bit too late for this particular bumper in all honesty, but I'm hoping this covers what's already there. So a quick dry fit: With some wiggling to try and get it aligned: Then a case of using some masking tape to mark where it goes, and give it a few wipes with the alcohol wipe provided: Took a few breathes and: Didn't succeed perfectly in all honestly, the right side is a little off by a few millimetres, but it's there now! Got this particular thing from RGM, and was £69.56 with delivery for the standard black. To be honest, I think the gloss black would have matched up better with the trim pillar finishes, but it'll do for now! Tow hitch is still bothering me, I'll need to get the back on ramps to get a proper look underneath I think. I've ordered a replacement battery, using the 5% discount currently available on eBay. I'll take some pics of that whenever it arrives and goes in. Maintenance: £3609.78 (+£69.56) Upgrades: £1595.25 Miscellaneous: £820.07
-
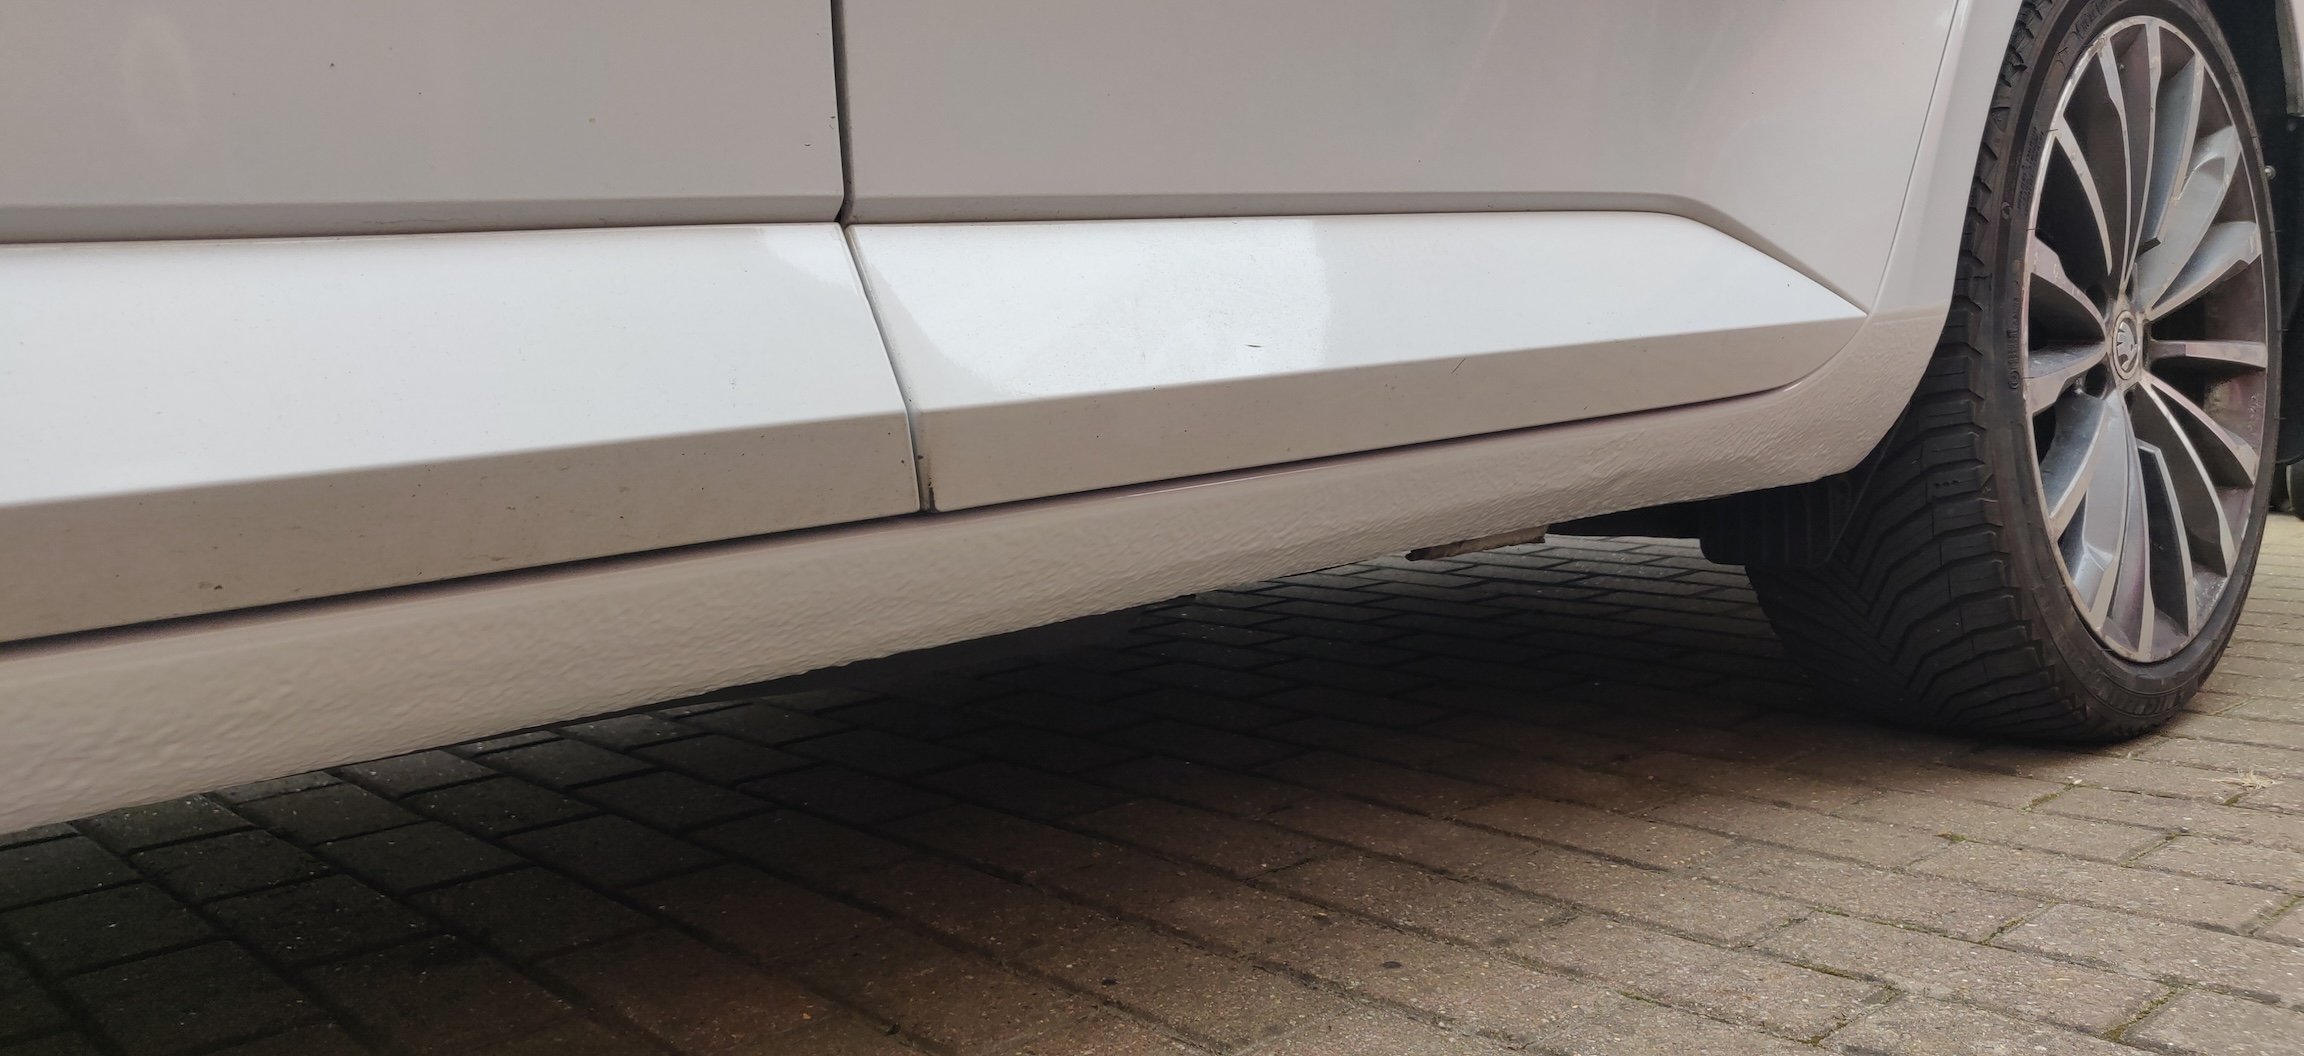
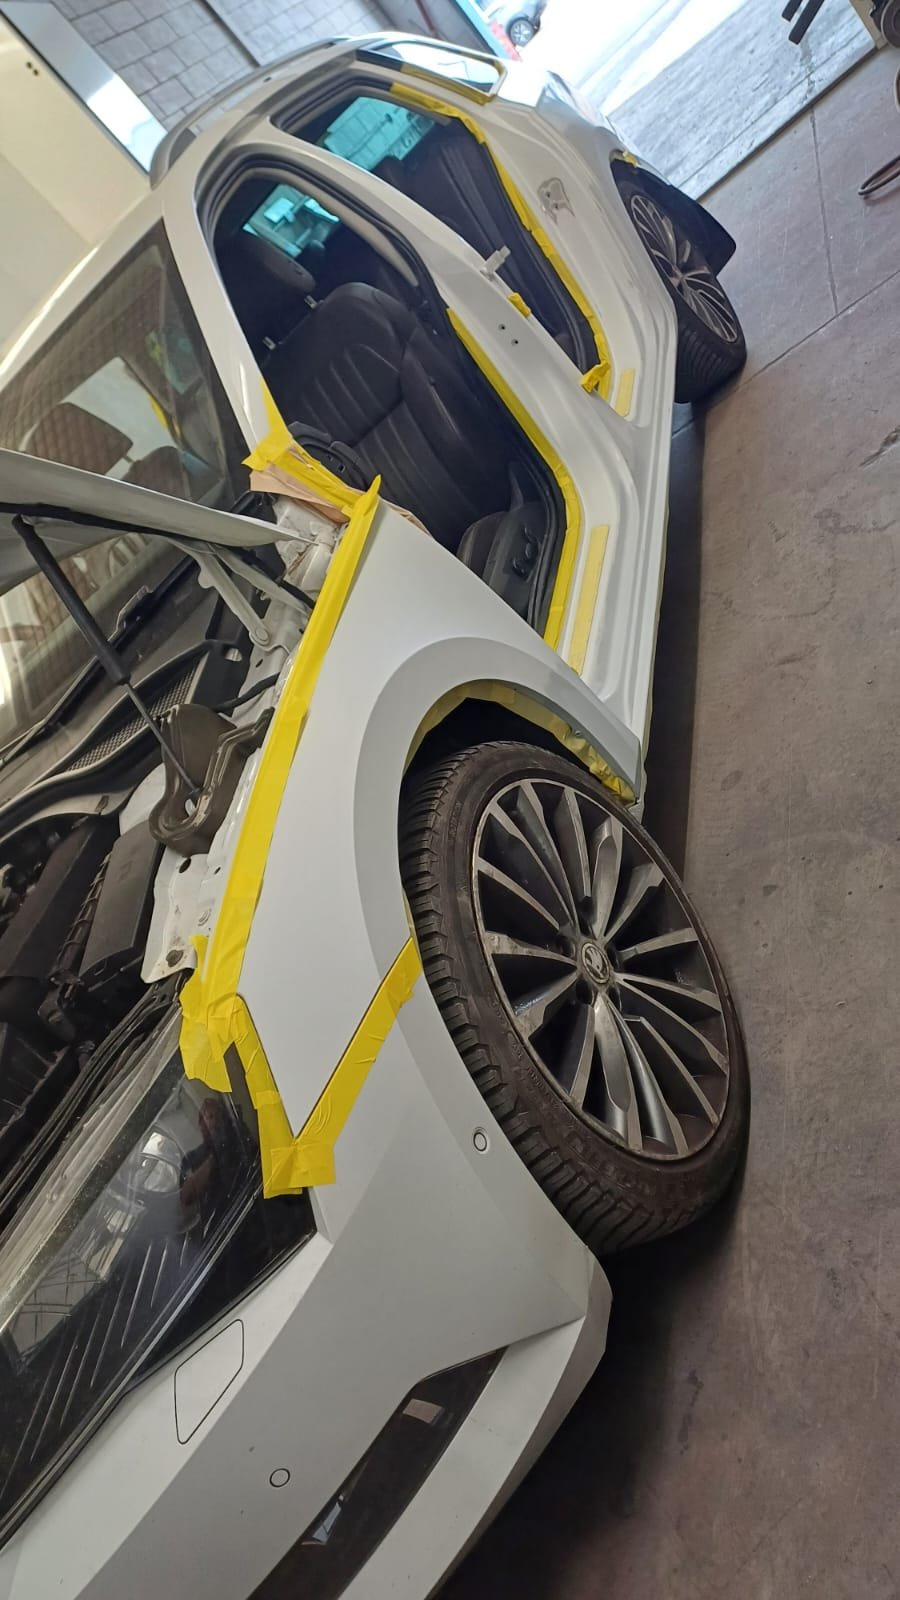
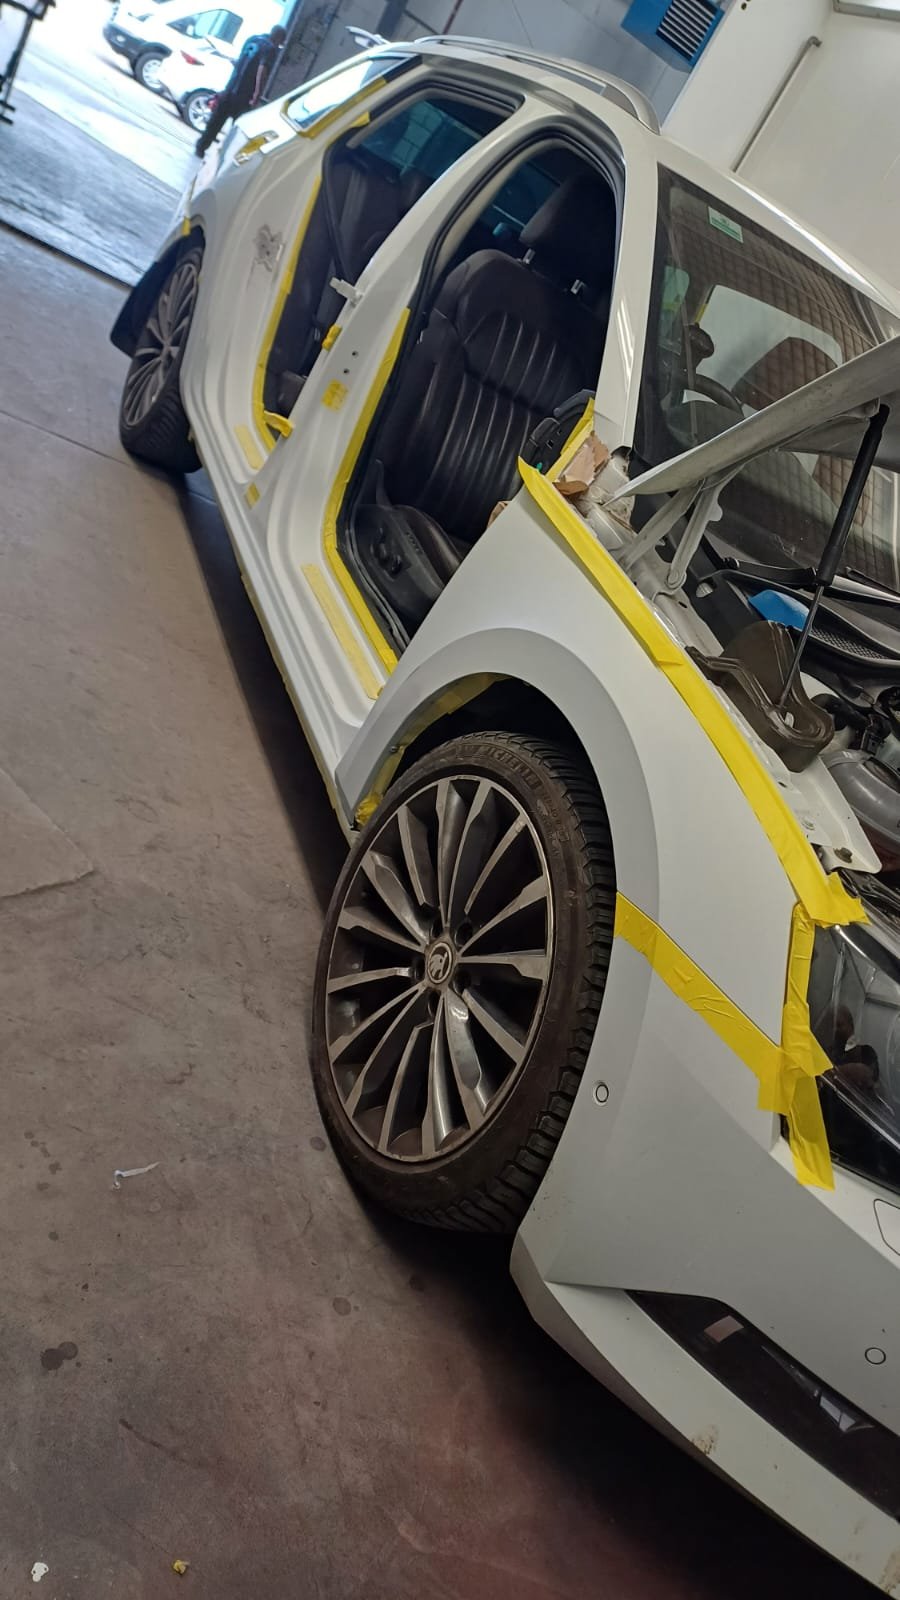
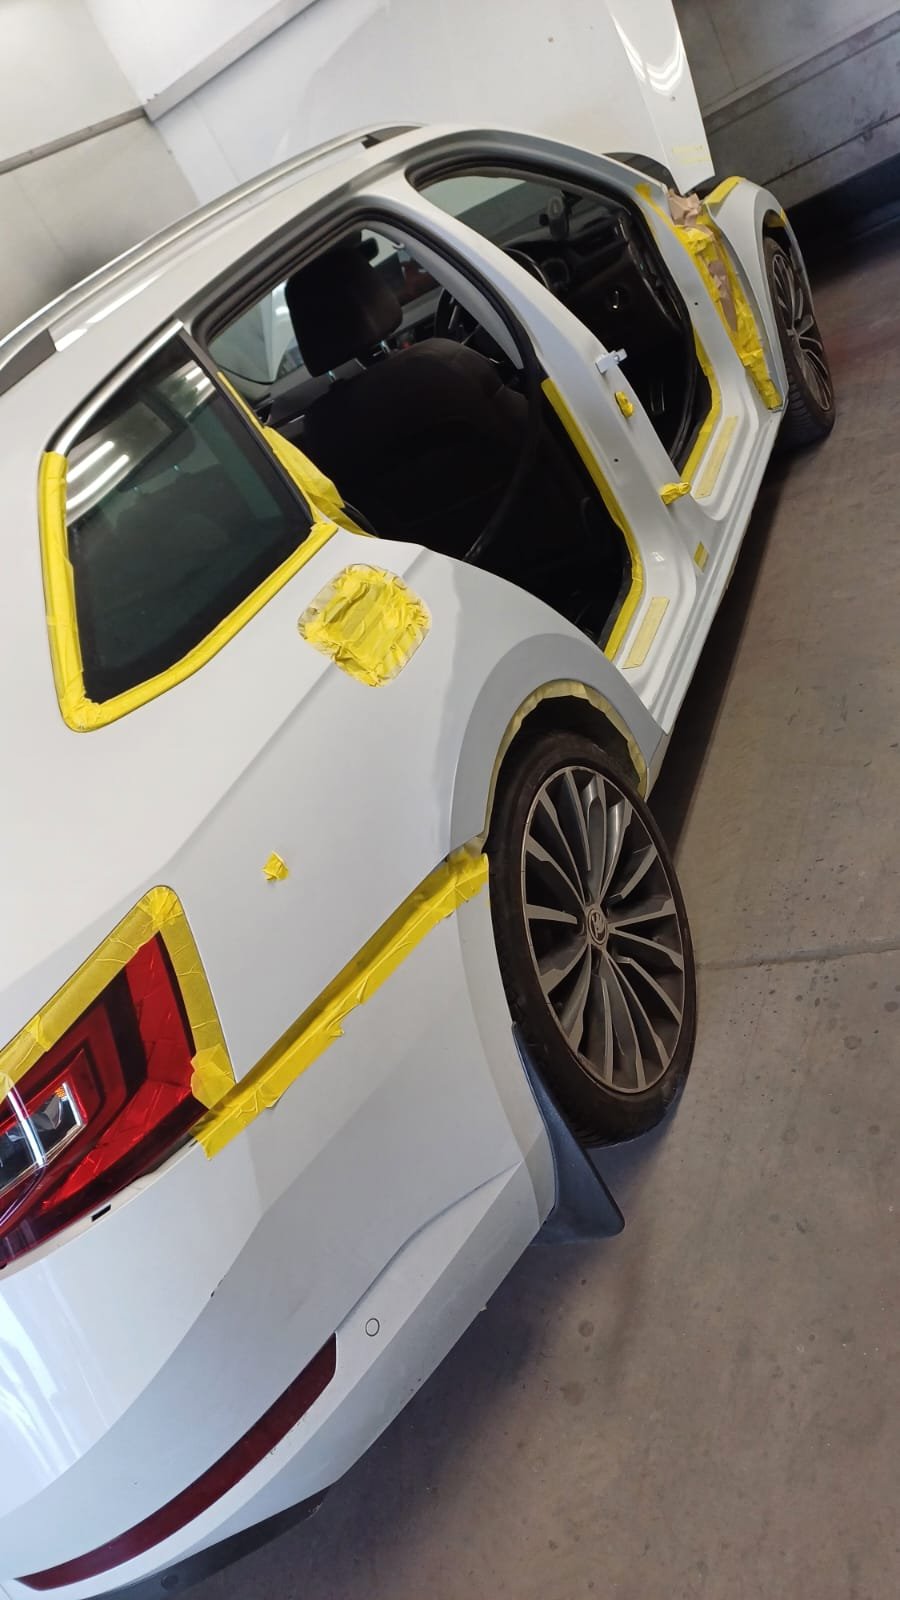
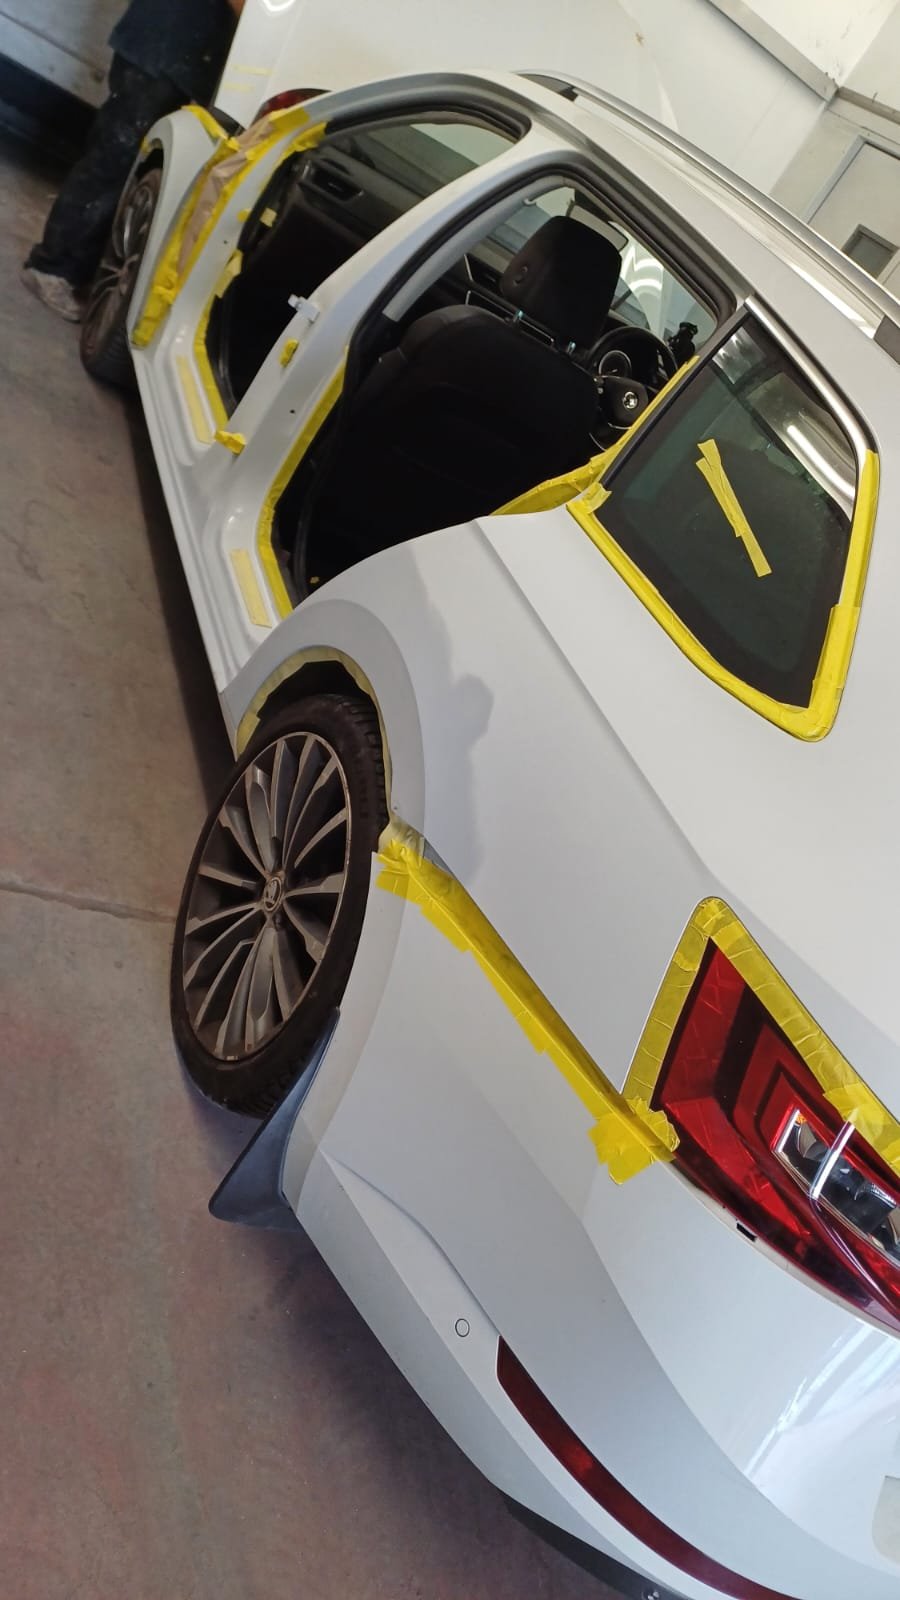
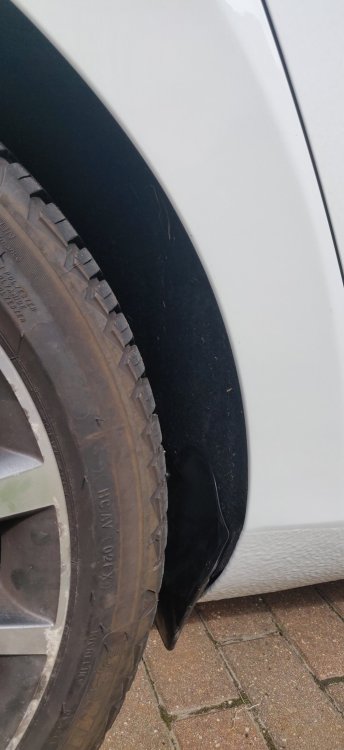
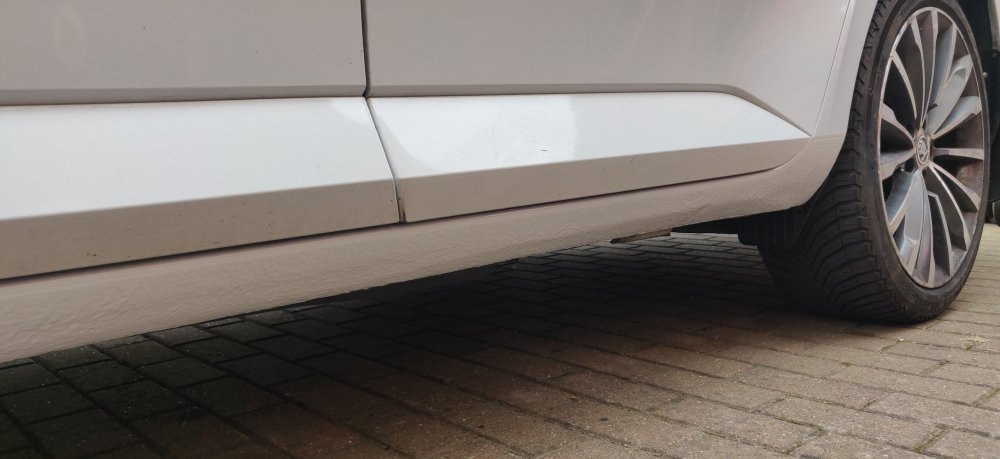
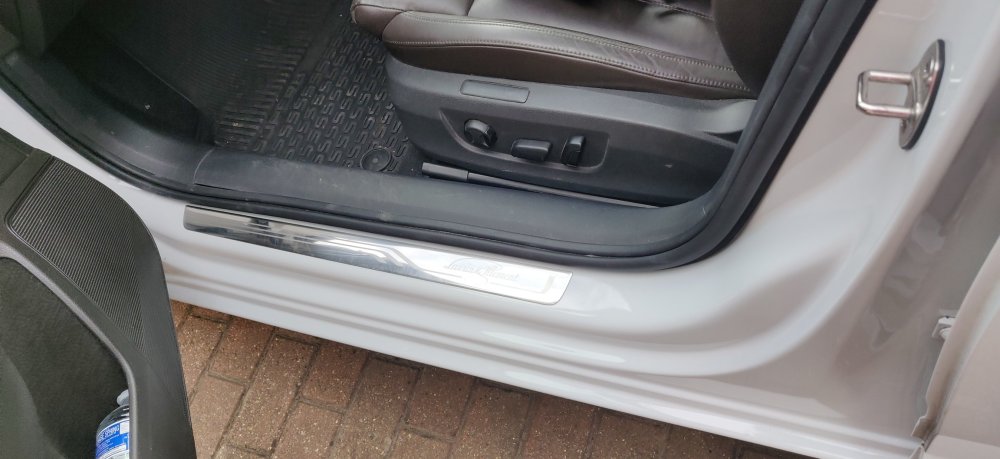
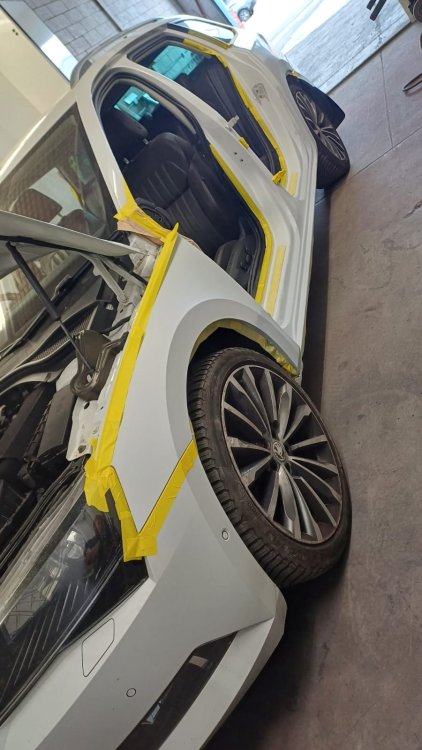
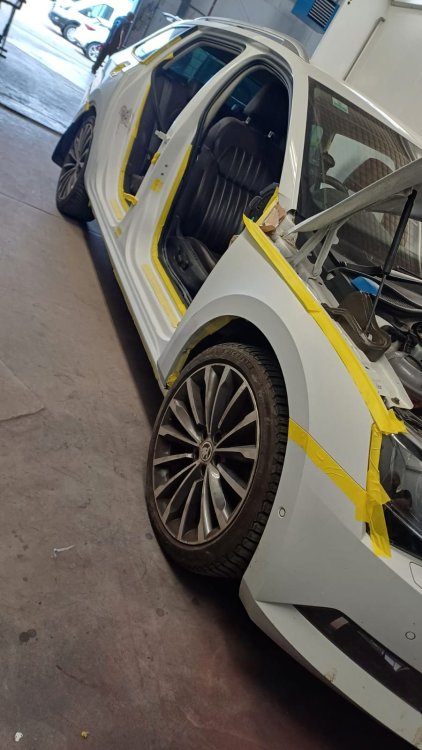
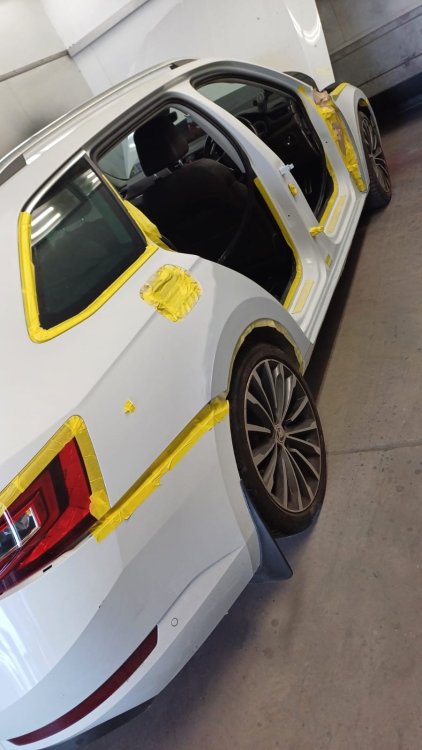
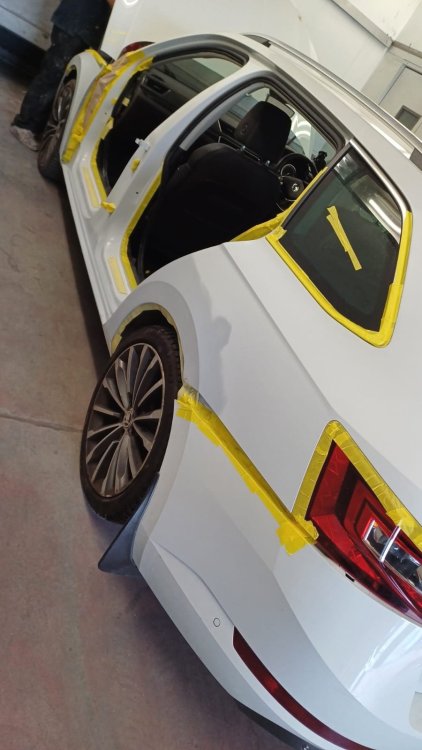
Hi all, so last weekend got the car back, here's some random pics: I think they technically missed a spot on the B-Pillar, where there's a bit of primer that wasn't covered with white, but it's nice and lacquered, so not going to worry. The rest is not too bad, and the use of the stone chip for the sill underside hopefully helps. The benefit of having relatives in this industry is that from their overall quote of £2800, I was asked for less, and paid £1200 for the job. Given the amount of effort, I'm very happy with the result. Most of the rust they encountered and ground down appears to have been surface rust somehow rather than my fear of coming from the inside out. I'll give the car 3-4 years before I go further with it, and hopefully by then there'll be more power and whatnot assuming all's well. Assuming none of this comes back again... Only niggles were that the doors were off which triggered the airbag light, but nothing the VCDS couldn't clear (missing sensors, which makes sense as the doors were missing). The other niggle was that the car was left standing for long periods of time, which took its final toll on the battery. Despite leaving it overnight on a trickle charger, a trip to the petrol station to fill up left me stranded and standing like a lemon when my backup jump starter couldn't give it enough juice to tick over. I was at the mercy of a kind white van man who drove over and lobbed over his jump leads. Was super lucky he was around and it was early enough in the morning to have not caused a massive queue at the forecourt. That poor original Moll battery was ditched, and amusingly, lying around in the garage was a 096 battery. Specifically a Yuasa YBX5096, so technically not compatible with this car due to not really being suited to start-stop. However, that's been on the trickle charger for years, and it starts up the car without issue, so will suffice whilst I recover from the bodyshop bill and swap it with a proper one. Wife doesn't like the start-stop so disabling it is usually the first thing she does, so the battery will tide me over for a while. Would make sense that a YBX9096 is the target. I think that's that for a while though. Maybe I'll take pics of a battery change if really required, but other than planning for the future and maybe some tiny bits, the car's ready to be used! Maintenance: £3540.22 (+£1200.00) Upgrades: £1595.25 Miscellaneous: £820.07
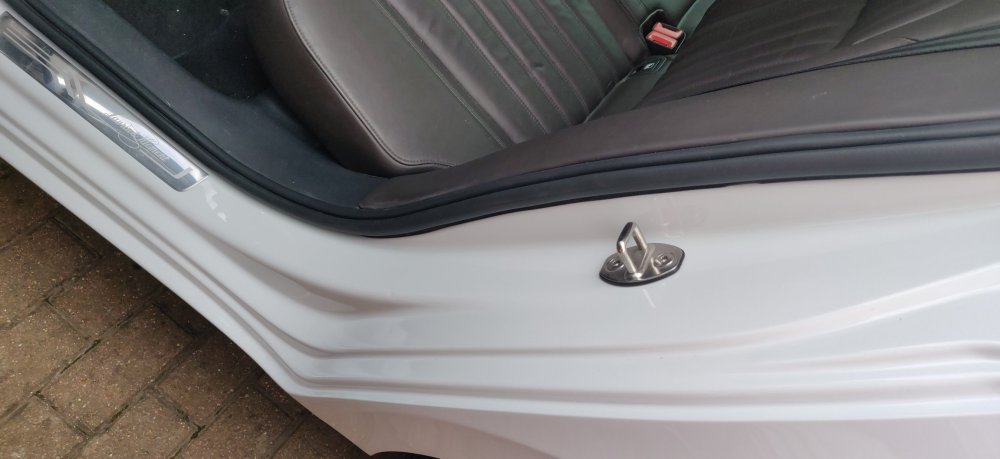
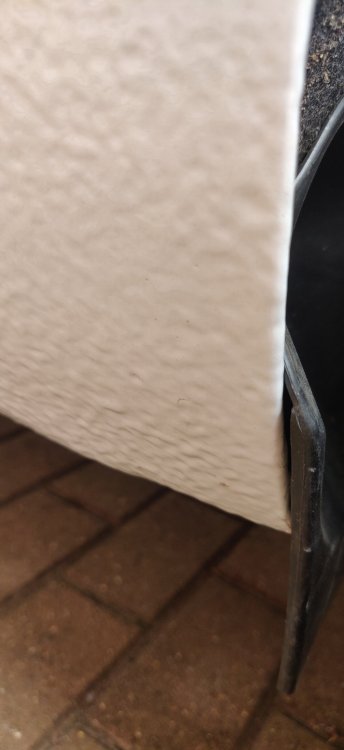
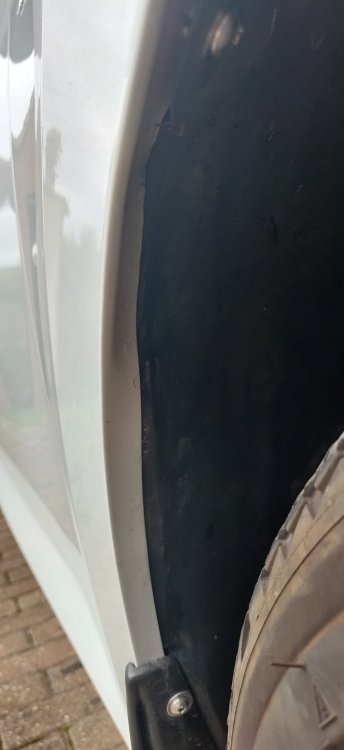
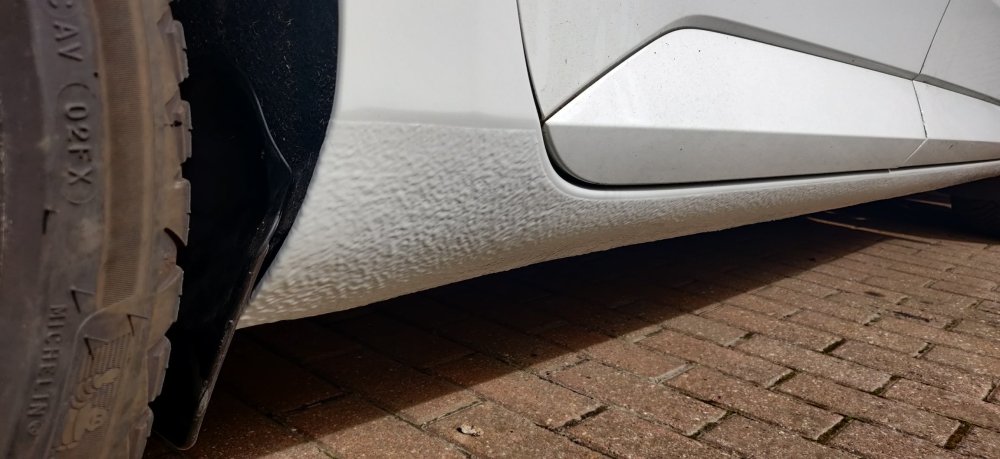
-
Hey all, apologies for the pseudo thread revival! It's been a while because the car has been dropped off to a body shop, specifically my nephew's in-law's bodyshop to have a crack at the sills. Then went on holiday for a couple weeks. Not sure when they started, but they've been cracking on: I was presuming it would be a quick removal of rust and blowover, but instead looks a bit more thorough, wasn't expecting doors to be removed as part of the process! From the pics I've been sent, they're still at the rear arches from looking at the primer there. I've asked to not bother with the front bumper because I honestly reckon a complete replacement would be better value and I'll get there when I get there. Guys involved are just as shocked as everyone else regarding the amount of rust, but hopefully, this'll help some. No ETA but I'll assume it'll be another week or two, then I can find out whether the cost has genuinely meant this car was worth all that effort! Maintenance: £2340.22 Upgrades: £1595.25 Miscellaneous: £820.07
-
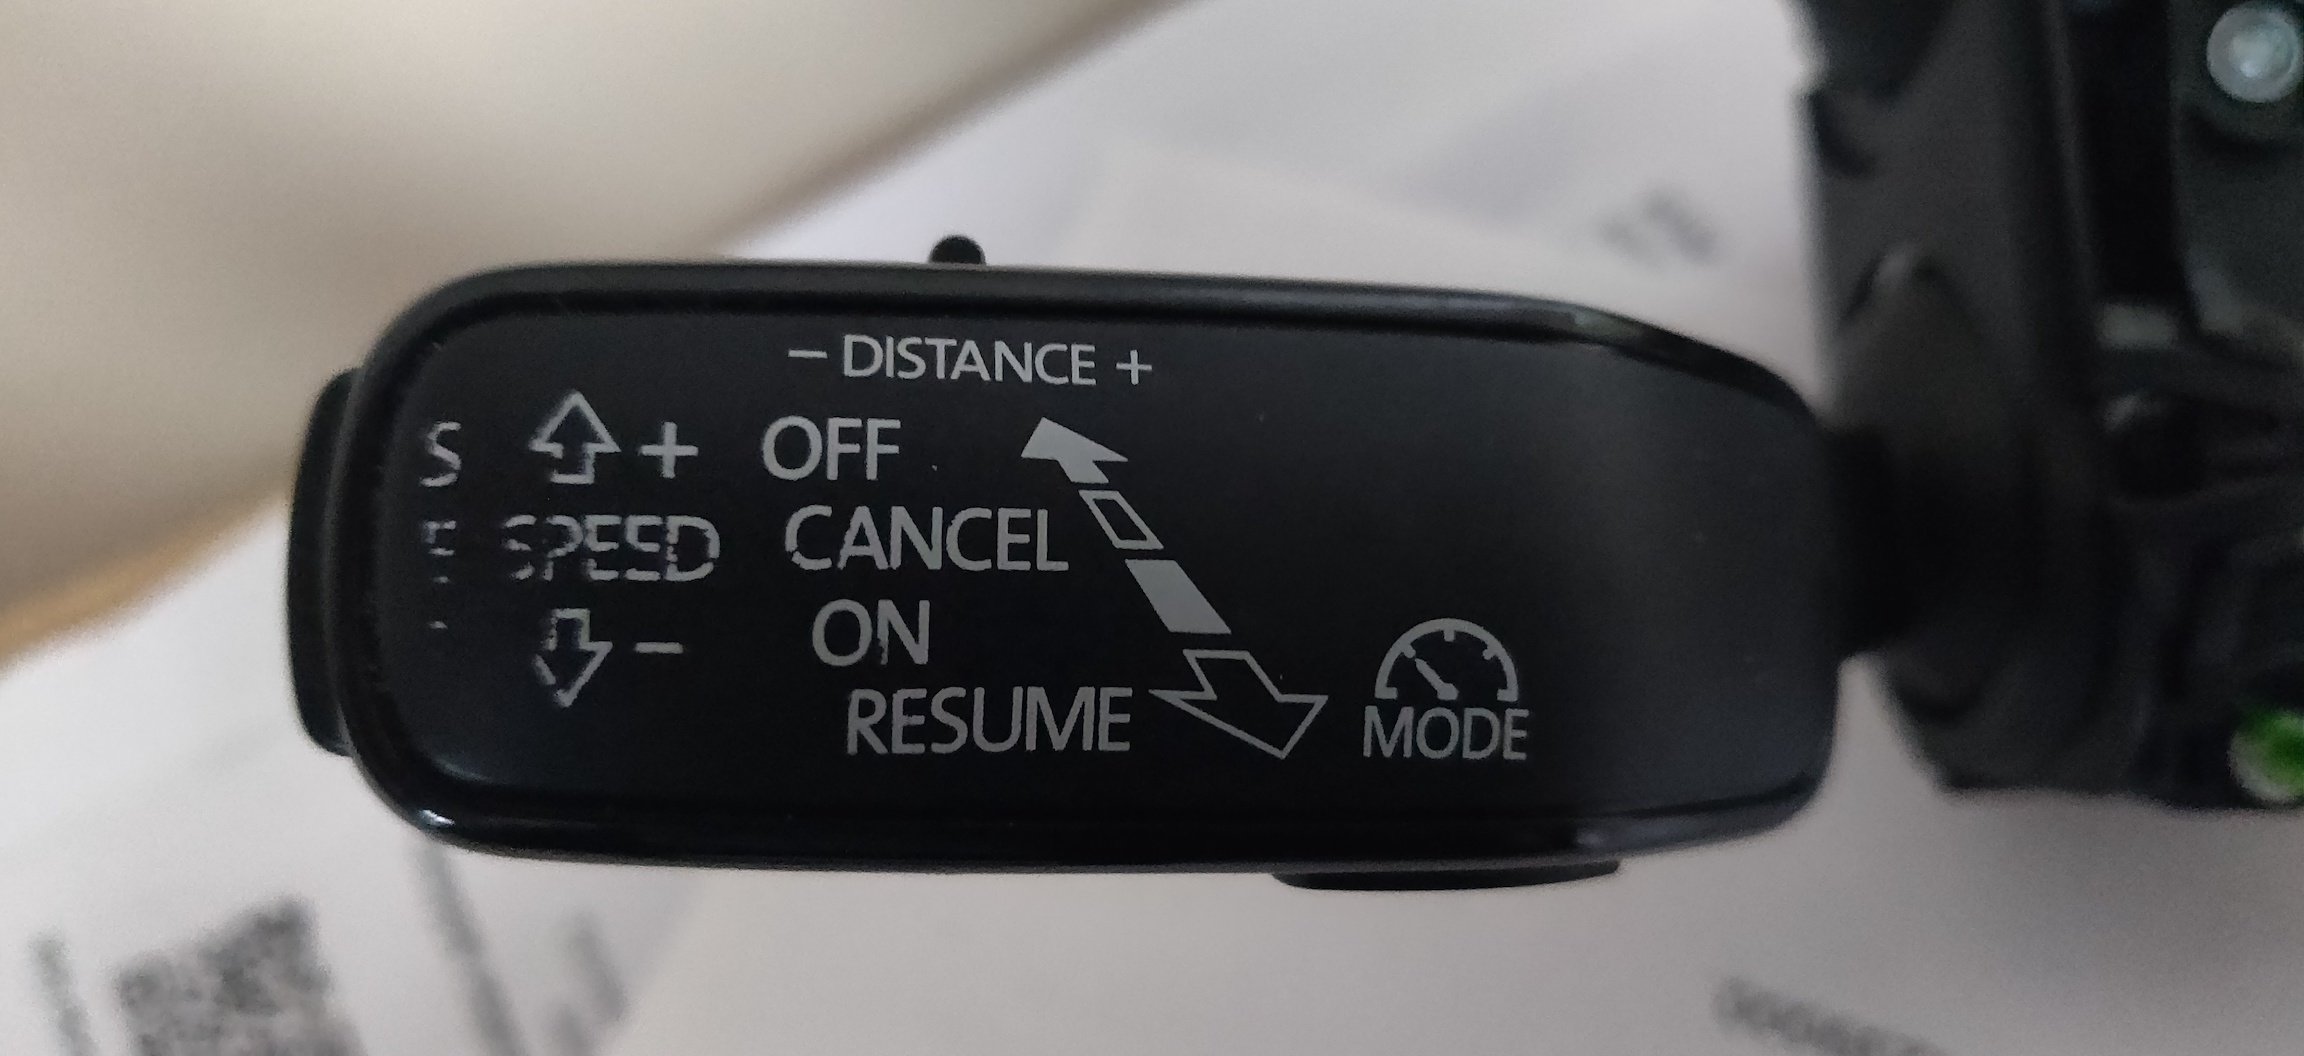
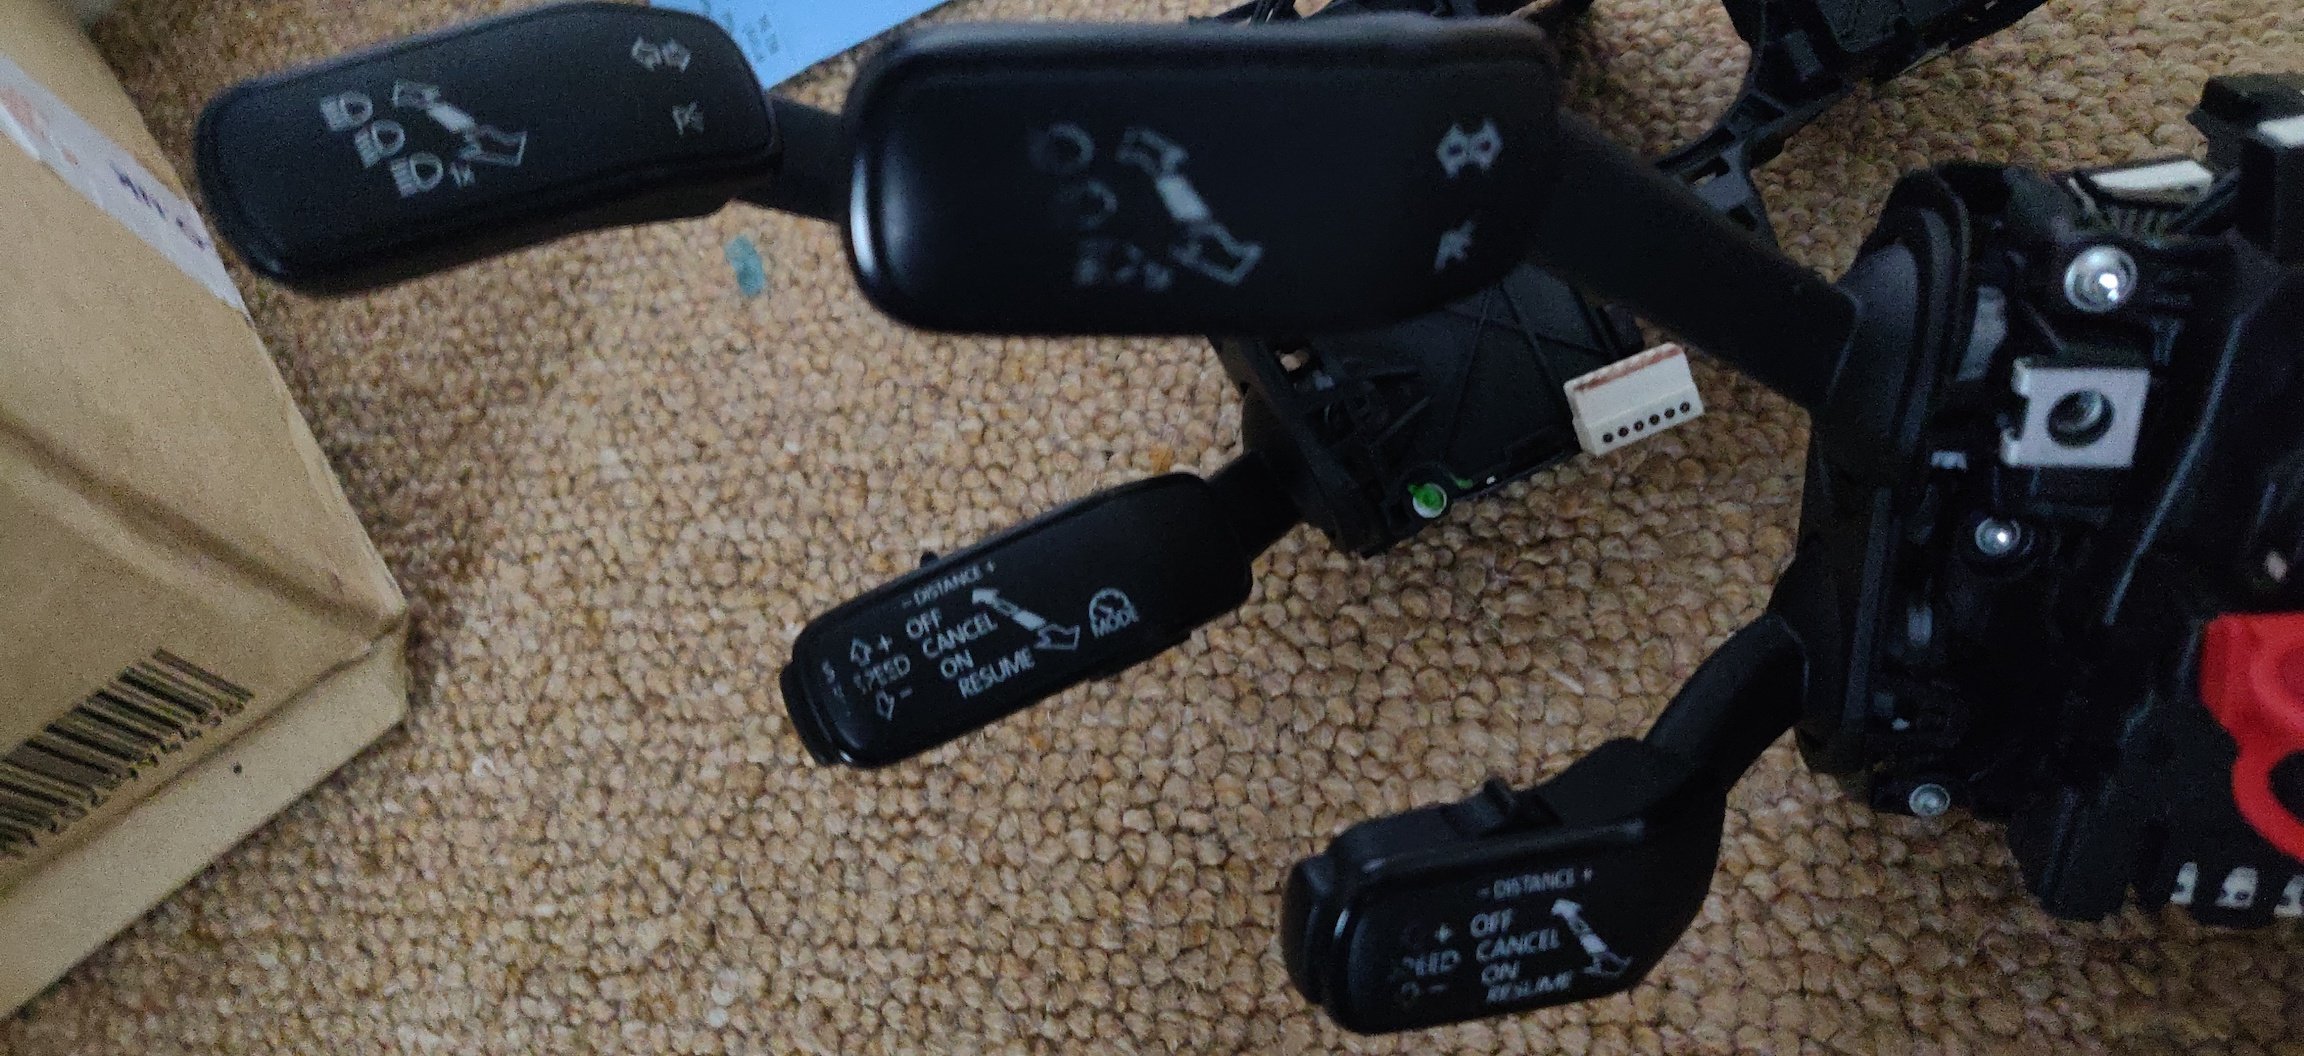
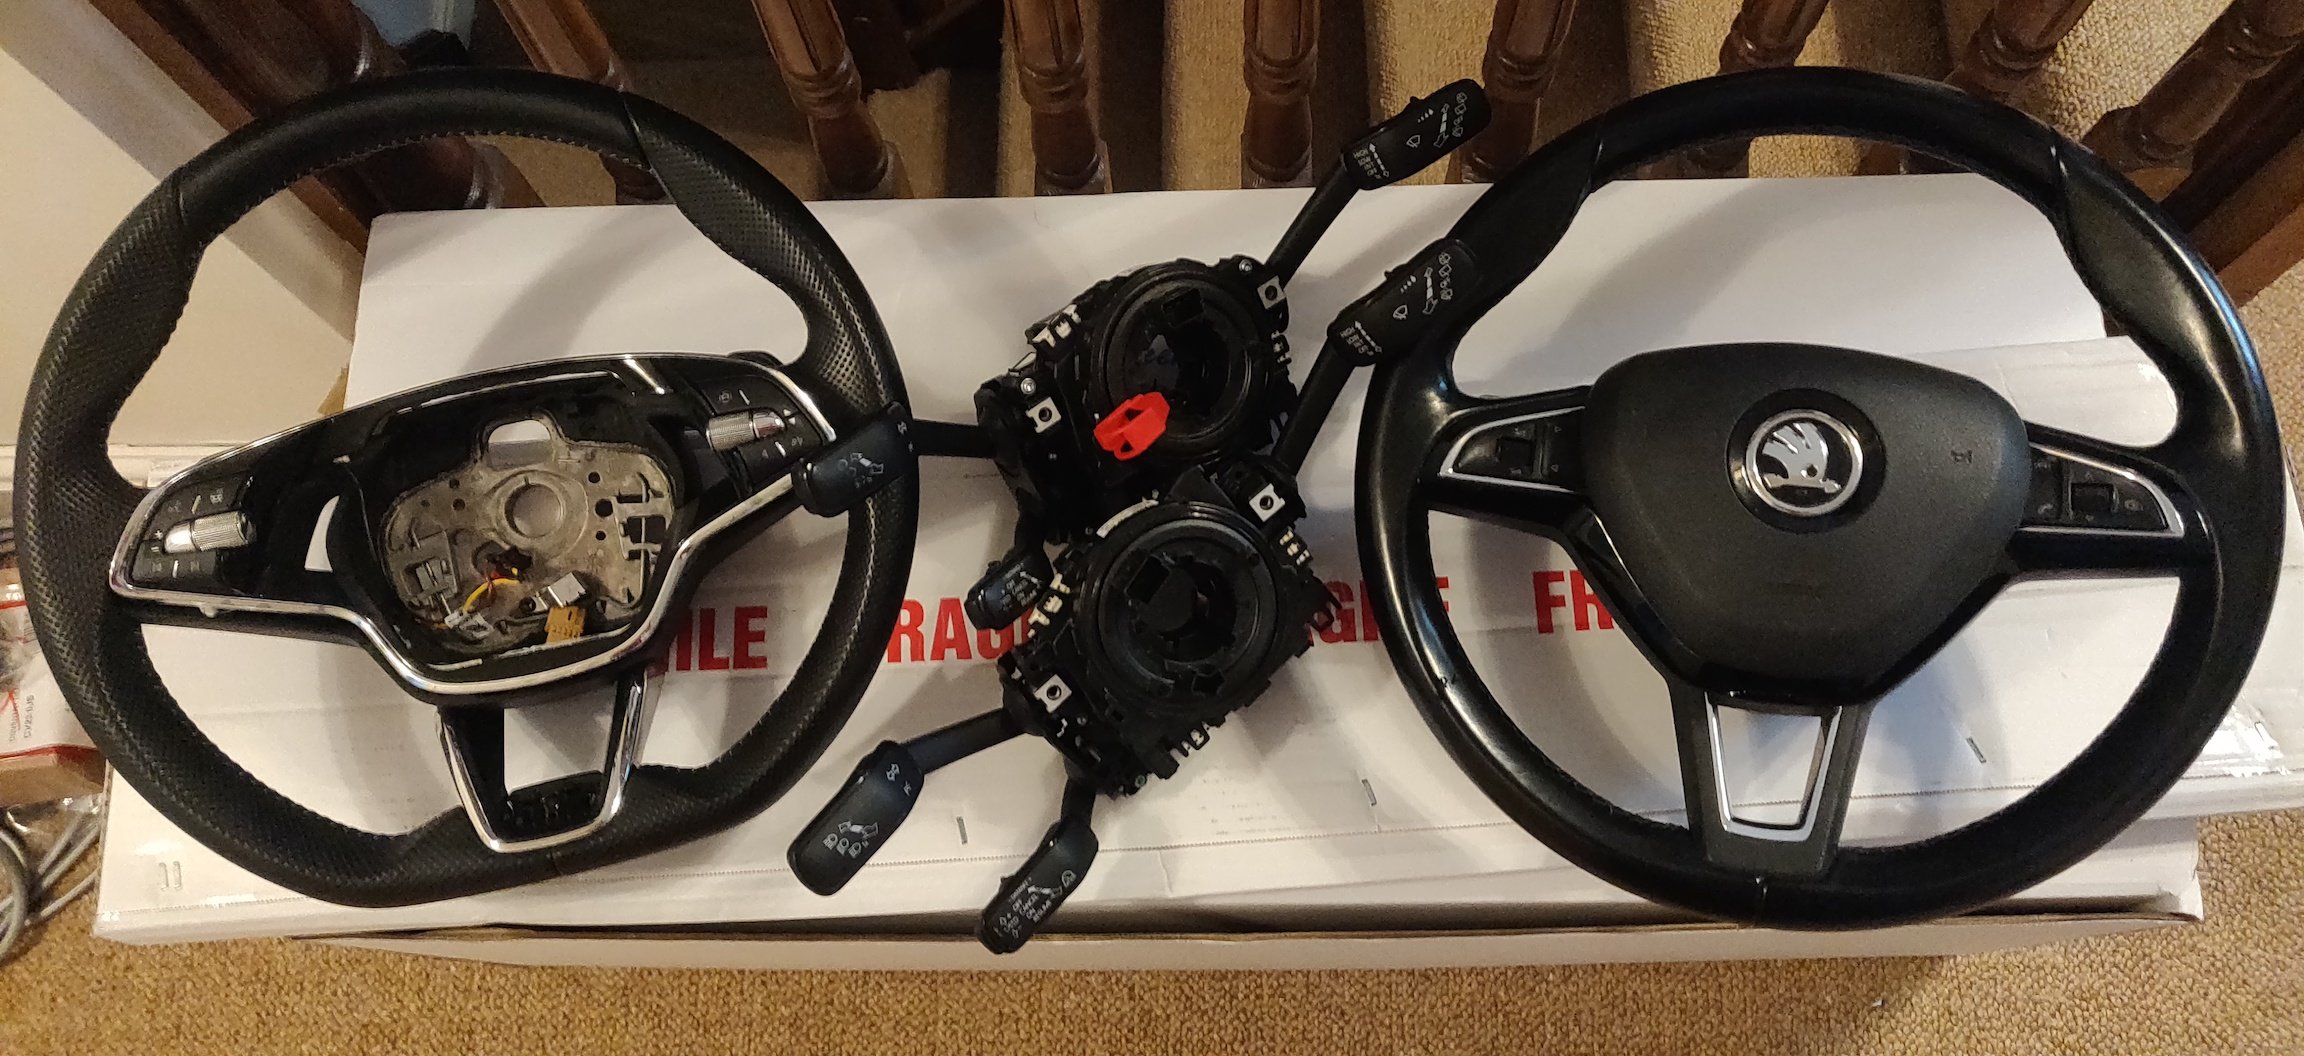
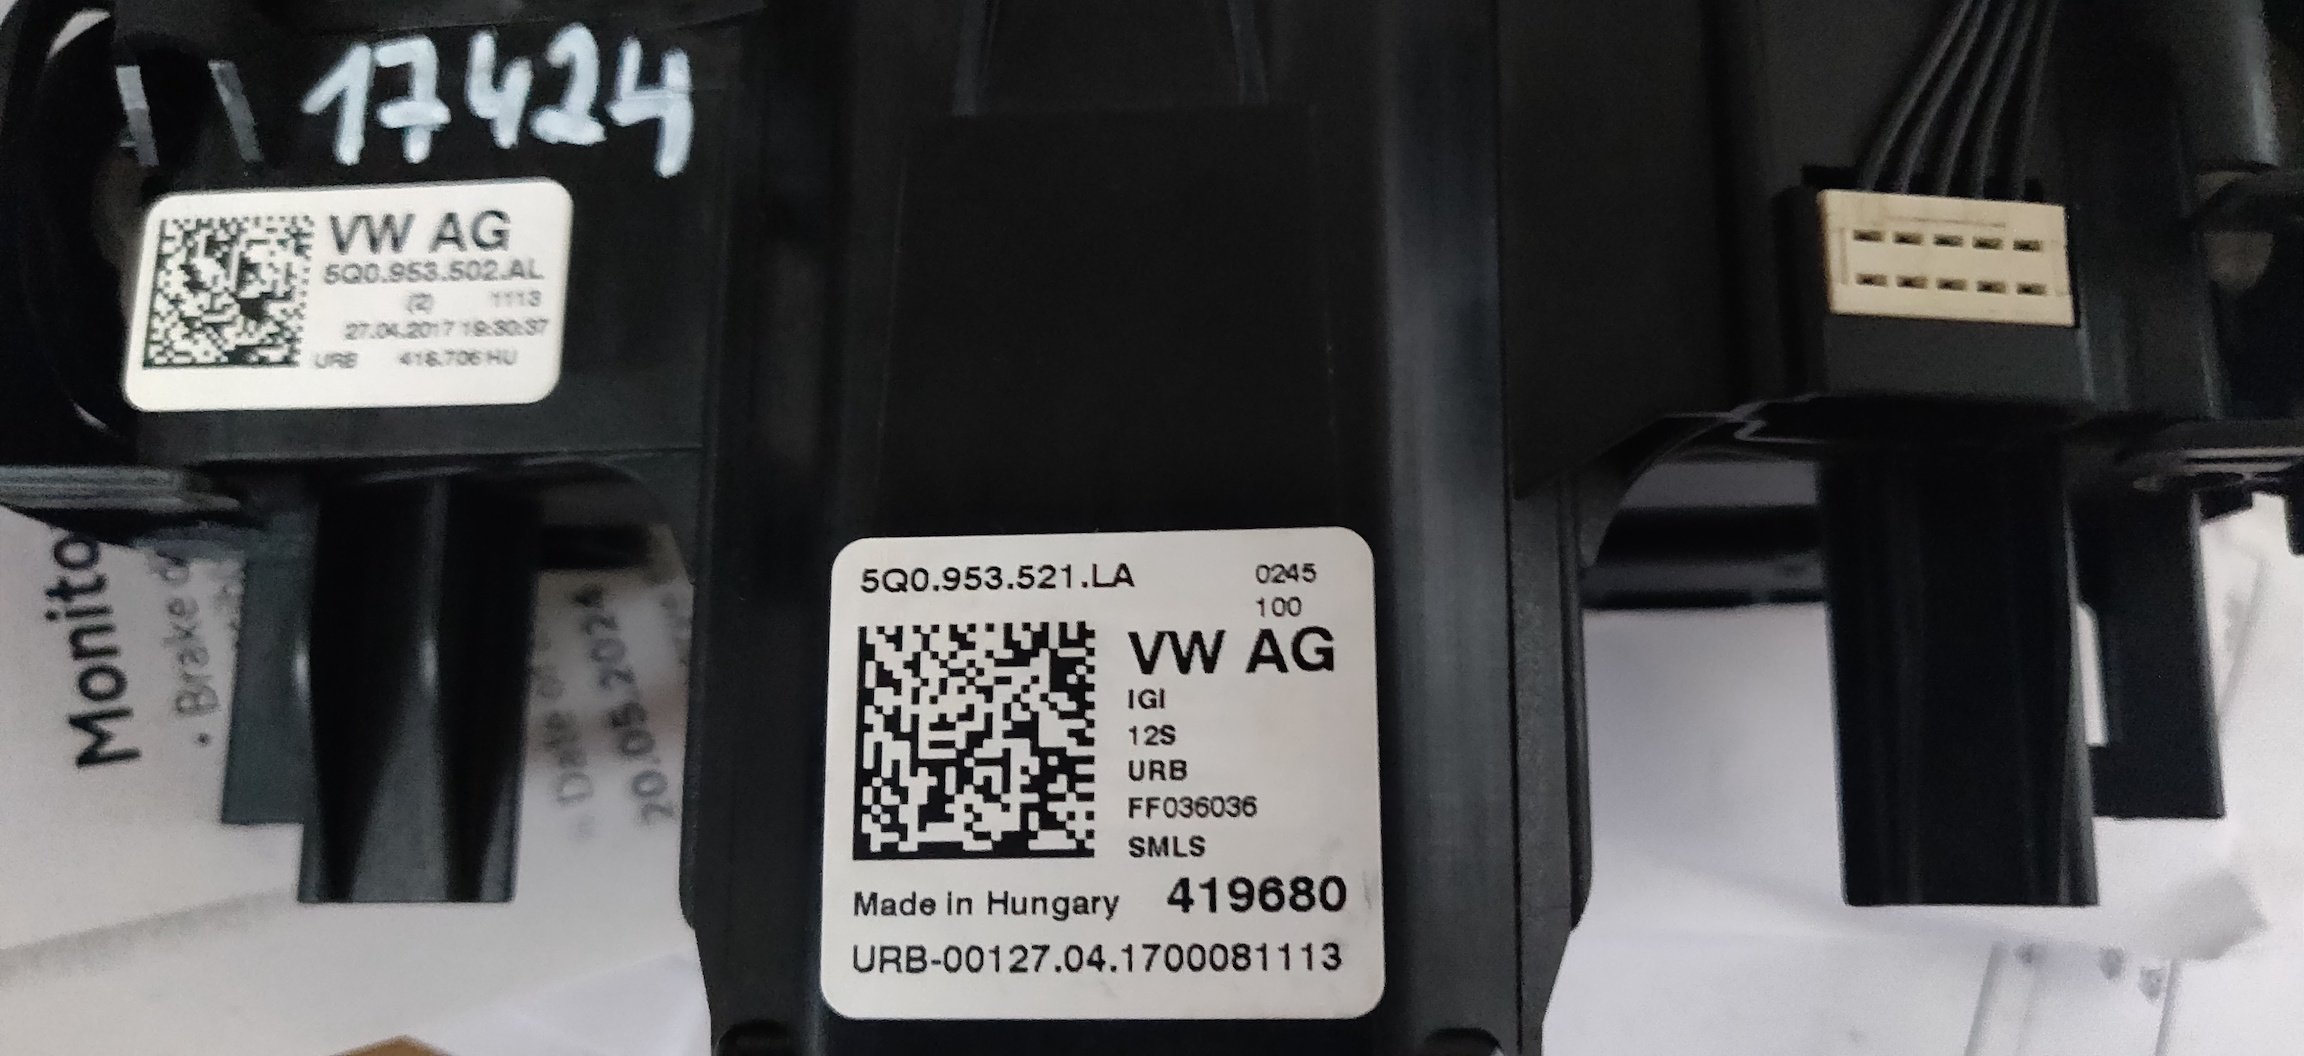
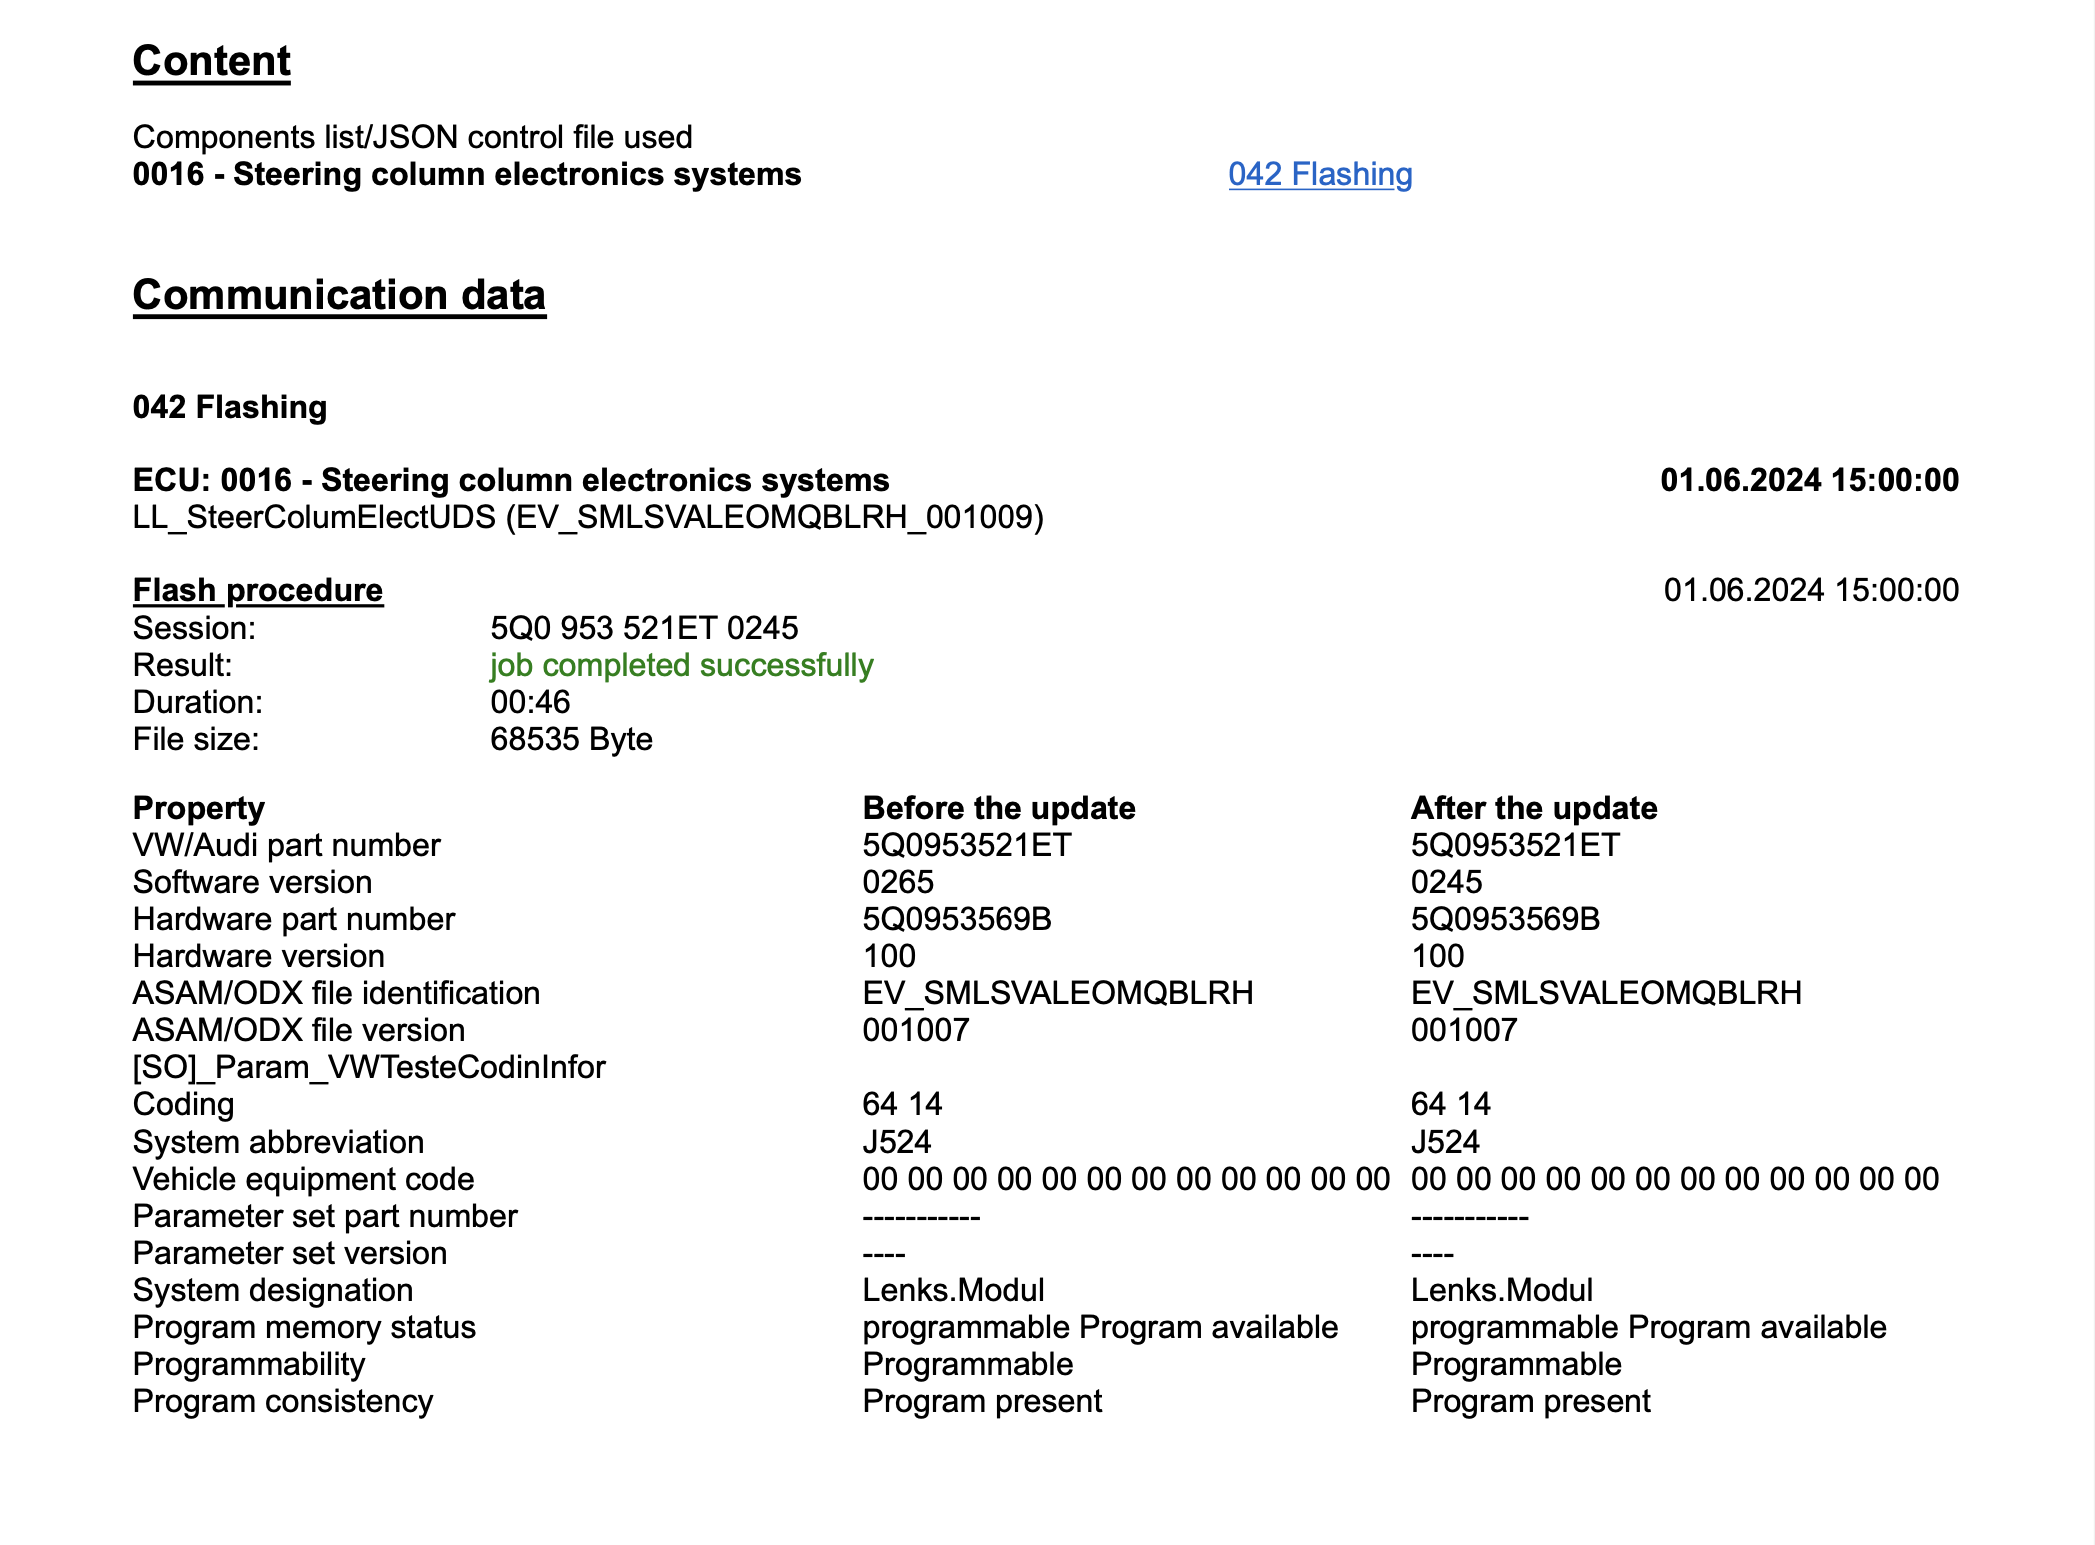
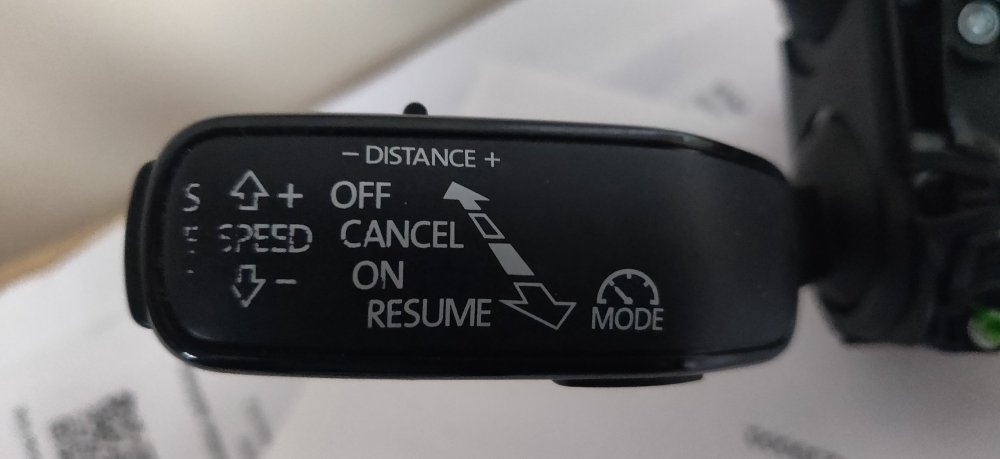
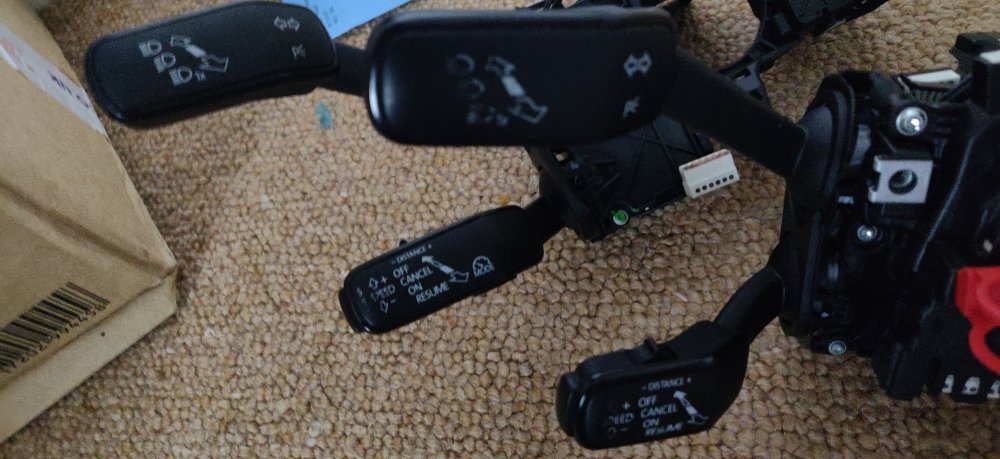
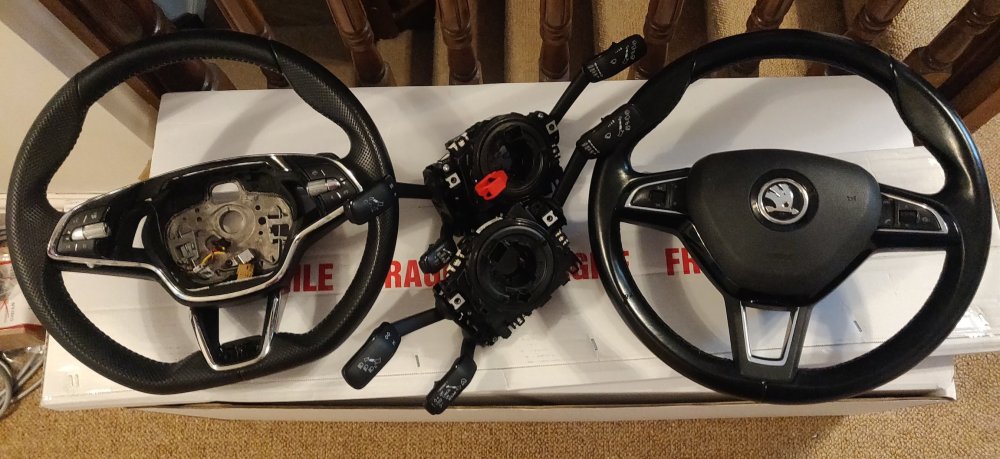
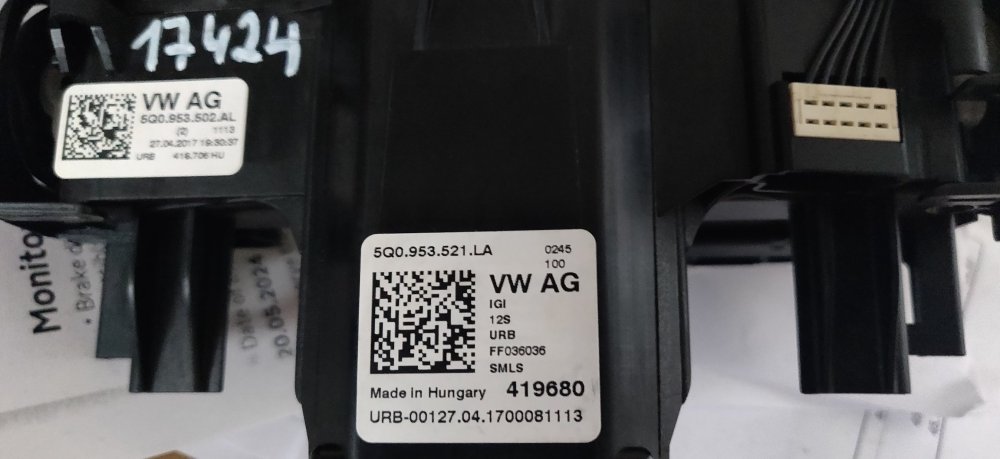
So another set of clock springs and indicators arrived today, ordered last Monday, so took a week to arrive from Lithuania, bought for £180.79 from eBay. The part number on this particular stalk is 5Q0 953 521 LA: Costly yes, but to be honest I don't see it second hand for any cheaper and its a bit more brand new from most other sources. The item also appears to be from a 2017 Skoda Superb and also has the speed limiter button on the stalks: Alas, like the original stalks, the cruise control is a bit worn. So decided to swap this clock spring onto the nicer looking stalks and did the entire rigmarole again. Battery disconnected, wait about 15 minutes, airbag disconnected and out, bottom steering cowl disconnected, unbolt steering wheel, steering wheel out, indicators and clockspring removed, then reverse of all the previous. Once the power was back on can immediately see the cruise control icon appear with the stalks, and plugging in the VCDS and checking the buttons, everything is absolutely fine! So the VCDS scan for the Steering Module: Address 16: Steering wheel (J524) Labels:| 5Q0-953-549.clb Part No SW: 5Q0 953 521 LA HW: 5Q0 953 569 B Component: Lenks.Modul 100 0245 Revision: FF036036 Serial number: 20170427500937 Dataset Number: V03935250QX 0001 Coding: 6414 Shop #: WSC 33361 790 00141 ASAM Dataset: EV_SMLSVALEOMQBLRH 001007 ROD: EV_SMLSVALEOMQBLRH.rod VCID: 7CAA98F75669845A0BB-8028 No fault code found. So compared to the one that didn't work: Address 16: Steering wheel (J524) Labels:| 5Q0-953-549.clb Part No SW: 5Q0 953 521 ET HW: 5Q0 953 569 B Component: Lenks.Modul 100 0245 Revision: FF035035 Serial number: 20220218501004 Coding: 6410 Shop #: WSC 66564 385 16448 ASAM Dataset: EV_SMLSVALEOMQBLRH 001007 ROD: EV_SMLSVALEOMQBLRH.rod VCID: 8842742792B158FA9F3-80DC Part number differences of ET vs LA suffix, with the working one also having a dataset number field with the non-working one being blank. Is that the main difference? So yeah: Two wornish indicator stalks, two steering wheels, and two clock springs, with one either broken or just not compatible with the Skoda Superb: Not sure what to do with the spoils. The flat bottom wheel could be used for a change of look. Not my cup of tea, the Superb is hardly an F1 car with restricted leg room or 270 degrees of steering lock to lock. I guess I could sell the clock springs on as spares or repairs or something I suppose. I'll need to check things over with a quick drive some time. For now, the heated wheel button doesn't work, and still only kicks in via the touch screen panel. Can only guess some coding somewhere is missing. For now, I'll leave it and take the very expensive victory. Next thing I think I will swot up on is this: Address 57: TV Tuner (R78) Labels:| 8V0-919-DTV-V1.clb Part No SW: 8V0 919 191 G HW: 8V0 919 191 B Component: DVB-DTV H09 2660 Coding: 0304030000000101000000 Shop #: WSC 73430 790 00063 ASAM Dataset: EV_TVMELC 001039 ROD: EV_TVMELC_VW37.rod VCID: 43D8230B6B173BA20A1-8016 1 Fault Found: 8211 - Antenna 1 for TV; Tuner Antenna Module; Antenna B124F 13 [00001001] - Open Circuit Confirmed - Tested Since Memory Clear Freeze Frame: Fault Priority: 4 Fault Frequency: 1 Reset counter: 39 Mileage: 165771 km Date: 2024.06.10 Time: 15:38:12 Voltage terminal 30: 11.5 V Connection status antenna 1-Antenna current: 0 mA Connection status antenna 1-TV tuner to impedance converter: electrically OK Connection status antenna 1-Impedance converter to antenna: Open circuit Connection status antenna 1-Phantom voltage: 5.1 V Connection status antenna 1-level: 19 This has only popped up with the full scan today, no idea what it's about. Guess is one of the antennas needs replacing or a look, so I'll need to figure out which one is "Antenna 1". I did have some drama with the tailgate trim, and I can't help but feel some of the antennas are tucked behind said trim. Maintenance: £2340.22 Upgrades: £1595.25 (+£180.79) Miscellaneous: £820.07
-
So putting back the original indicators with the new clock spring still produced the same issues. Putting back the original clock spring and original indicators and we're back to square one again. The errors from VCDS: Address 16: Steering wheel (J524) Labels:| 5Q0-953-549.clb Part No SW: 5Q0 953 521 ET HW: 5Q0 953 569 B Component: Lenks.Modul 100 0245 Revision: FF035035 Serial number: 20220218501004 Coding: 6410 Shop #: WSC 66564 385 16448 ASAM Dataset: EV_SMLSVALEOMQBLRH 001007 ROD: EV_SMLSVALEOMQBLRH.rod VCID: 8842742792B158FA9F3-80DC 4 Faults Found: 229127 - Cruise Control Switch B1154 11 [00001001] - Short to Ground Confirmed - Tested Since Memory Clear Freeze Frame: Fault Priority: 3 Fault Frequency: 1 Reset counter: 4 Mileage: 164940 km Date: 2024.05.02 Time: 13:36:41 Ubat 30 Voltage: 12.40 V Ignition State: On Terminal 15: 11.60 V A/D #1: 0.00 % A/D #2: 0.00 % A/D #3: 0.00 % 229143 - Cruise Control Switch B1154 11 [00001001] - Short to Ground Confirmed - Tested Since Memory Clear Freeze Frame: Fault Priority: 3 Fault Frequency: 1 Reset counter: 4 Mileage: 164940 km Date: 2024.05.02 Time: 13:36:41 Ubat 30 Voltage: 12.40 V Ignition State: On Terminal 15: 11.60 V A/D #1: 0.00 % A/D #2: 0.00 % A/D #3: 0.00 % 229145 - Cruise Control Switch B1154 12 [00001001] - Short to Plus Confirmed - Tested Since Memory Clear Freeze Frame: Fault Priority: 2 Fault Frequency: 1 Reset counter: 4 Mileage: 164940 km Date: 2024.05.02 Time: 13:36:41 Ubat 30 Voltage: 12.50 V Ignition State: On Terminal 15: 11.70 V 229160 - Cruise Control Switch B1154 29 [00001001] - Signal Implausible Confirmed - Tested Since Memory Clear Freeze Frame: Fault Priority: 3 Fault Frequency: 1 Reset counter: 4 Mileage: 164940 km Date: 2024.05.02 Time: 13:36:41 Ubat 30 Voltage: 12.40 V Ignition State: On Terminal 15: 11.60 V A/D #1: 0.00 % A/D #2: 0.00 % A/D #3: 0.00 % So right now, it's either: The replacement clock spring itself is broken There is something else, which is making the steering wheel module do things just differently for the cruise control switch to be handled differently With the original clock spring and newer indicator stalks, the cruise control switch almost works, with the buttons being a little bit rearranged, presumably as the coding to allow for the speed limiter can't be applied to the original clock spring. I'm not brave enough to flash the old clock spring with the same version as I tried with the newer clock spring, lest I mess that up with no way back. If I could source even a second hand example of 5Q0 953 569 B (or C I think) then I could at least confirm whether its the replacement clock spring. Maintenance: £2340.22 Upgrades: £1414.46 Miscellaneous: £820.07
-
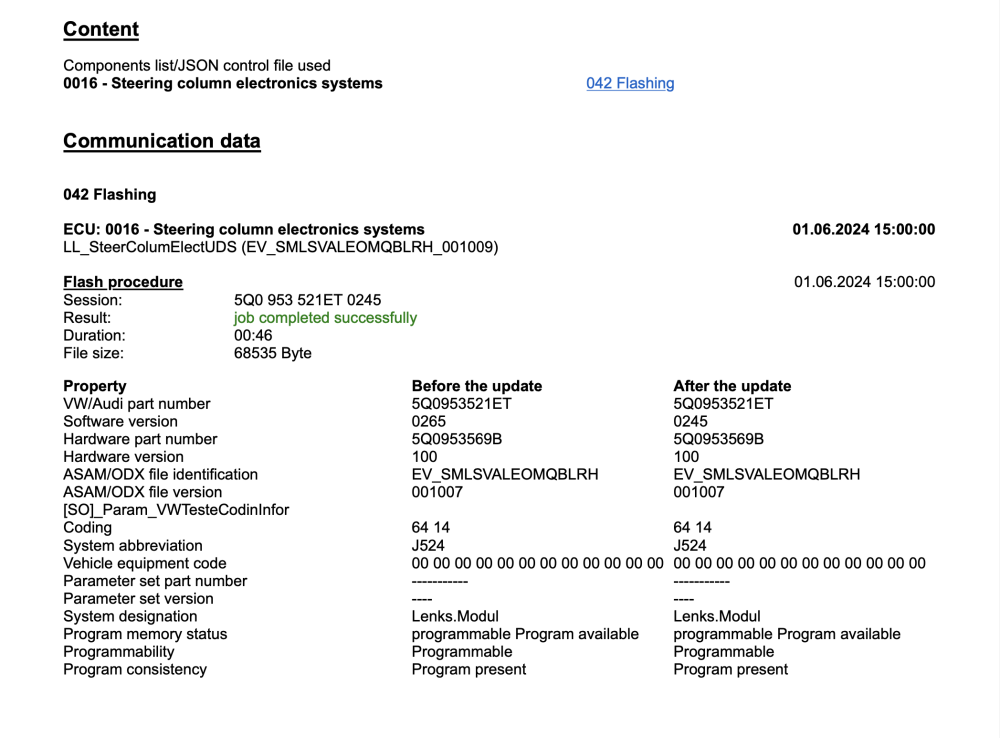
I mentioned going a bit mad. So went and bought a clone of the VW adapters and retrieved some versions of ODIS in some form or another. For the curious, it was a VNCI 6154A, which was €107 which resulted in £95.10, and a €5 "activation" of ODIS, which meant £4.11 I then took another deep breath and paid up for membership to MHH Auto, which was $30 which meant £23.66. This allowed me to get a bunch of "Flashdaten", specifically, one for the Steering Module, in the hopes that would help. After a good week of swotting up and mentally preparing, I reinstalled the 569 B version of the clock spring, with the newer indicator stalks, and went about attempting to flash the firmware for the steering module. This was specifically file FL_5Q0953521ET_0245.frf which ODIS-E highlighted automatically when selecting a local file. Here's a snippet of the results log: So essentially, I actually downgraded the version from 0265 to 0245, with the wild hope that it being the firmware for a Skoda (Brand C I think it was in all of that Flashdaten), that would help in some way. It didn't. No real effect from what I can tell, there's still a "Short to Ground" fault with the CCS, so either the stalks are broken, or there's still something else amiss. No idea if parameterisation is one of the factors, or if it does involve updating the CAN gateway as well. Not brave enough to do that, as I'll either need to acquire a just-as-dodgy online account, or get someone who has one for the component protection whatnot. At the very least, the VNCI thing did appear to work, so at least I think I have the ability to mess around with firmware flashing. For now though, disconnected the battery and waiting so I can take the airbag off the steering wheel and reinstall the original clock spring. Maybe I'll try the original indicator stalks first to see if that helps. Any ideas welcome! Maintenance: £2340.22 Upgrades: £1414.46 Miscellaneous: £820.07 (+£122.87)
-
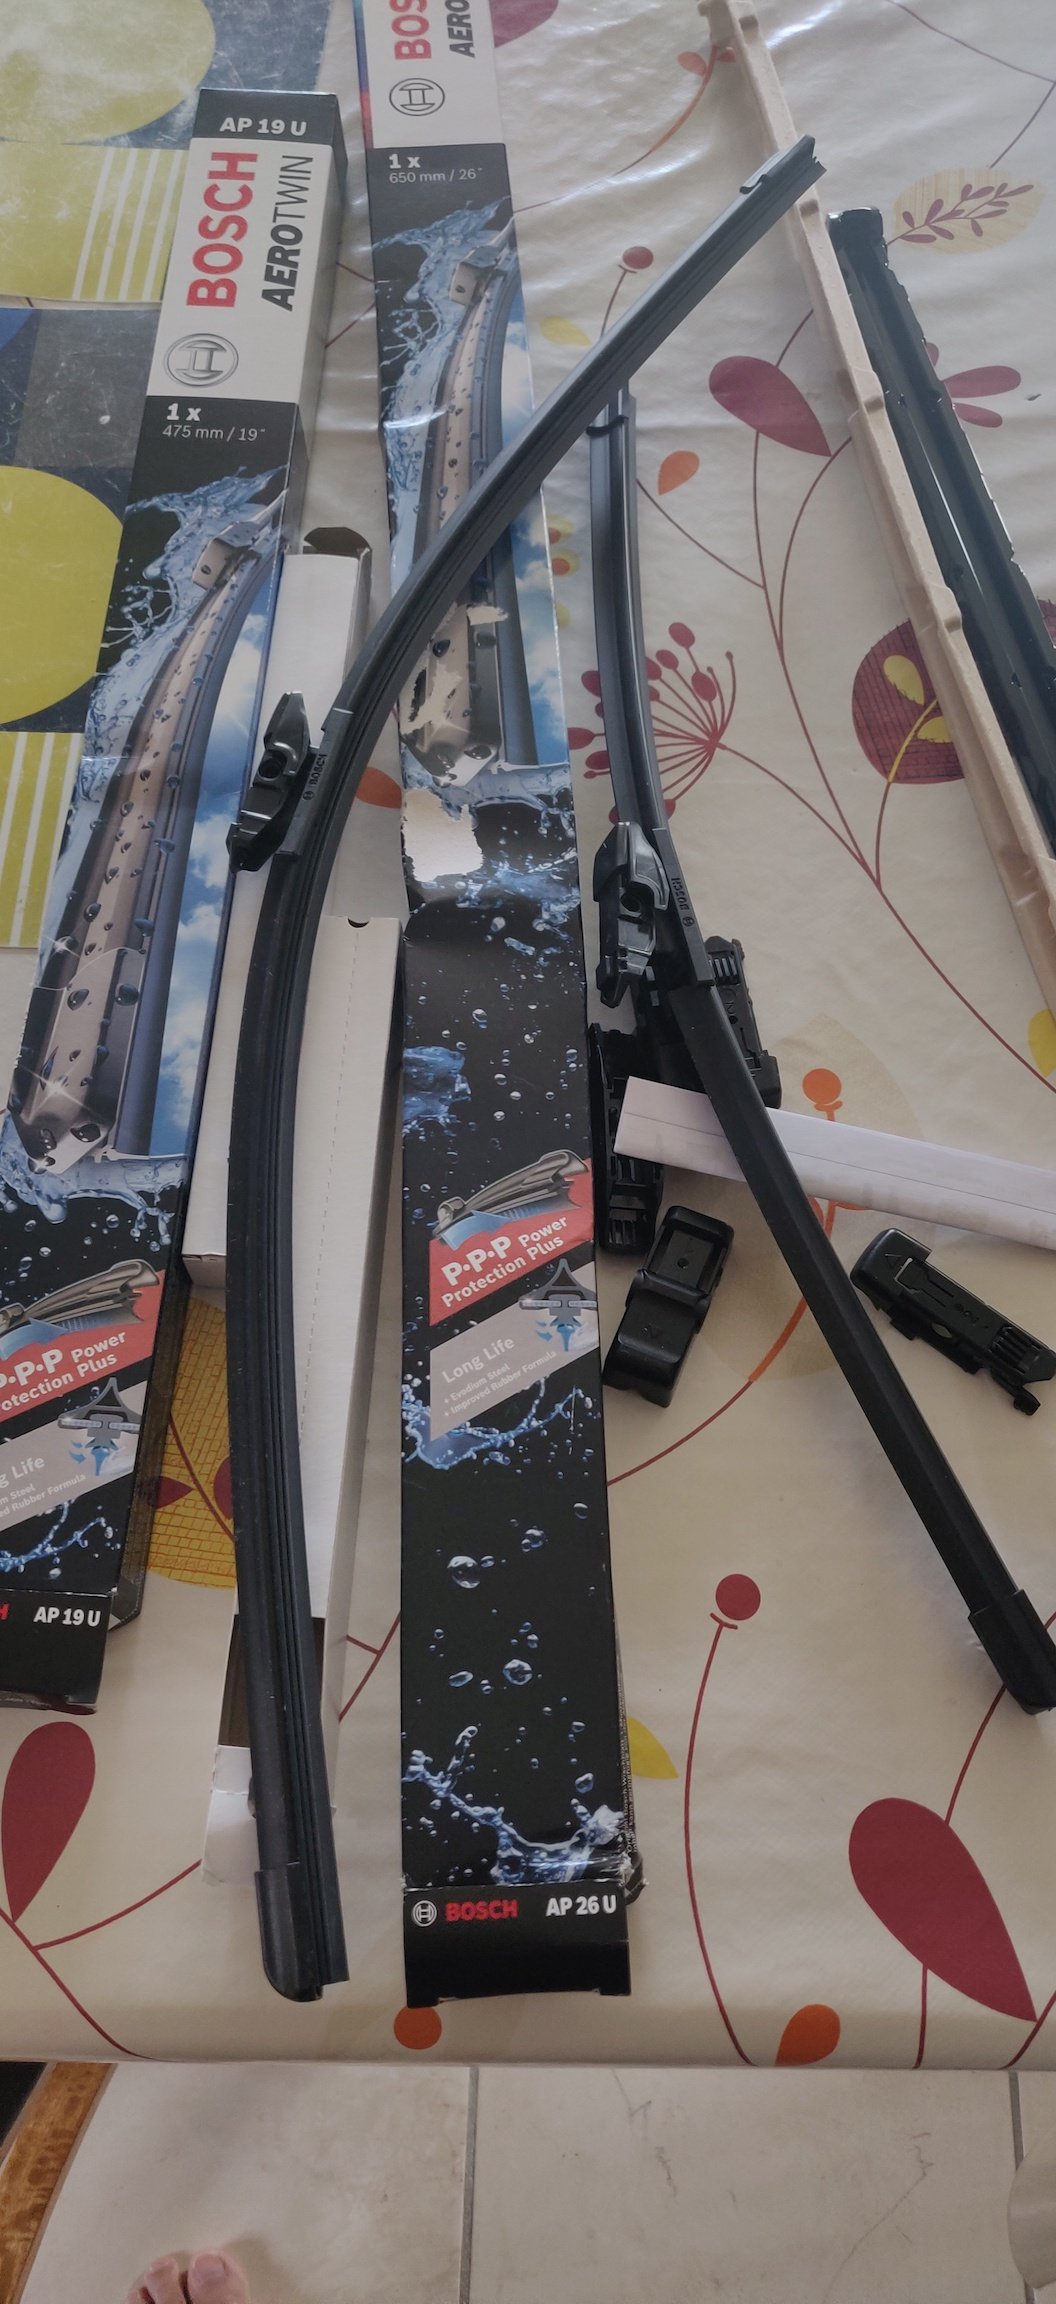
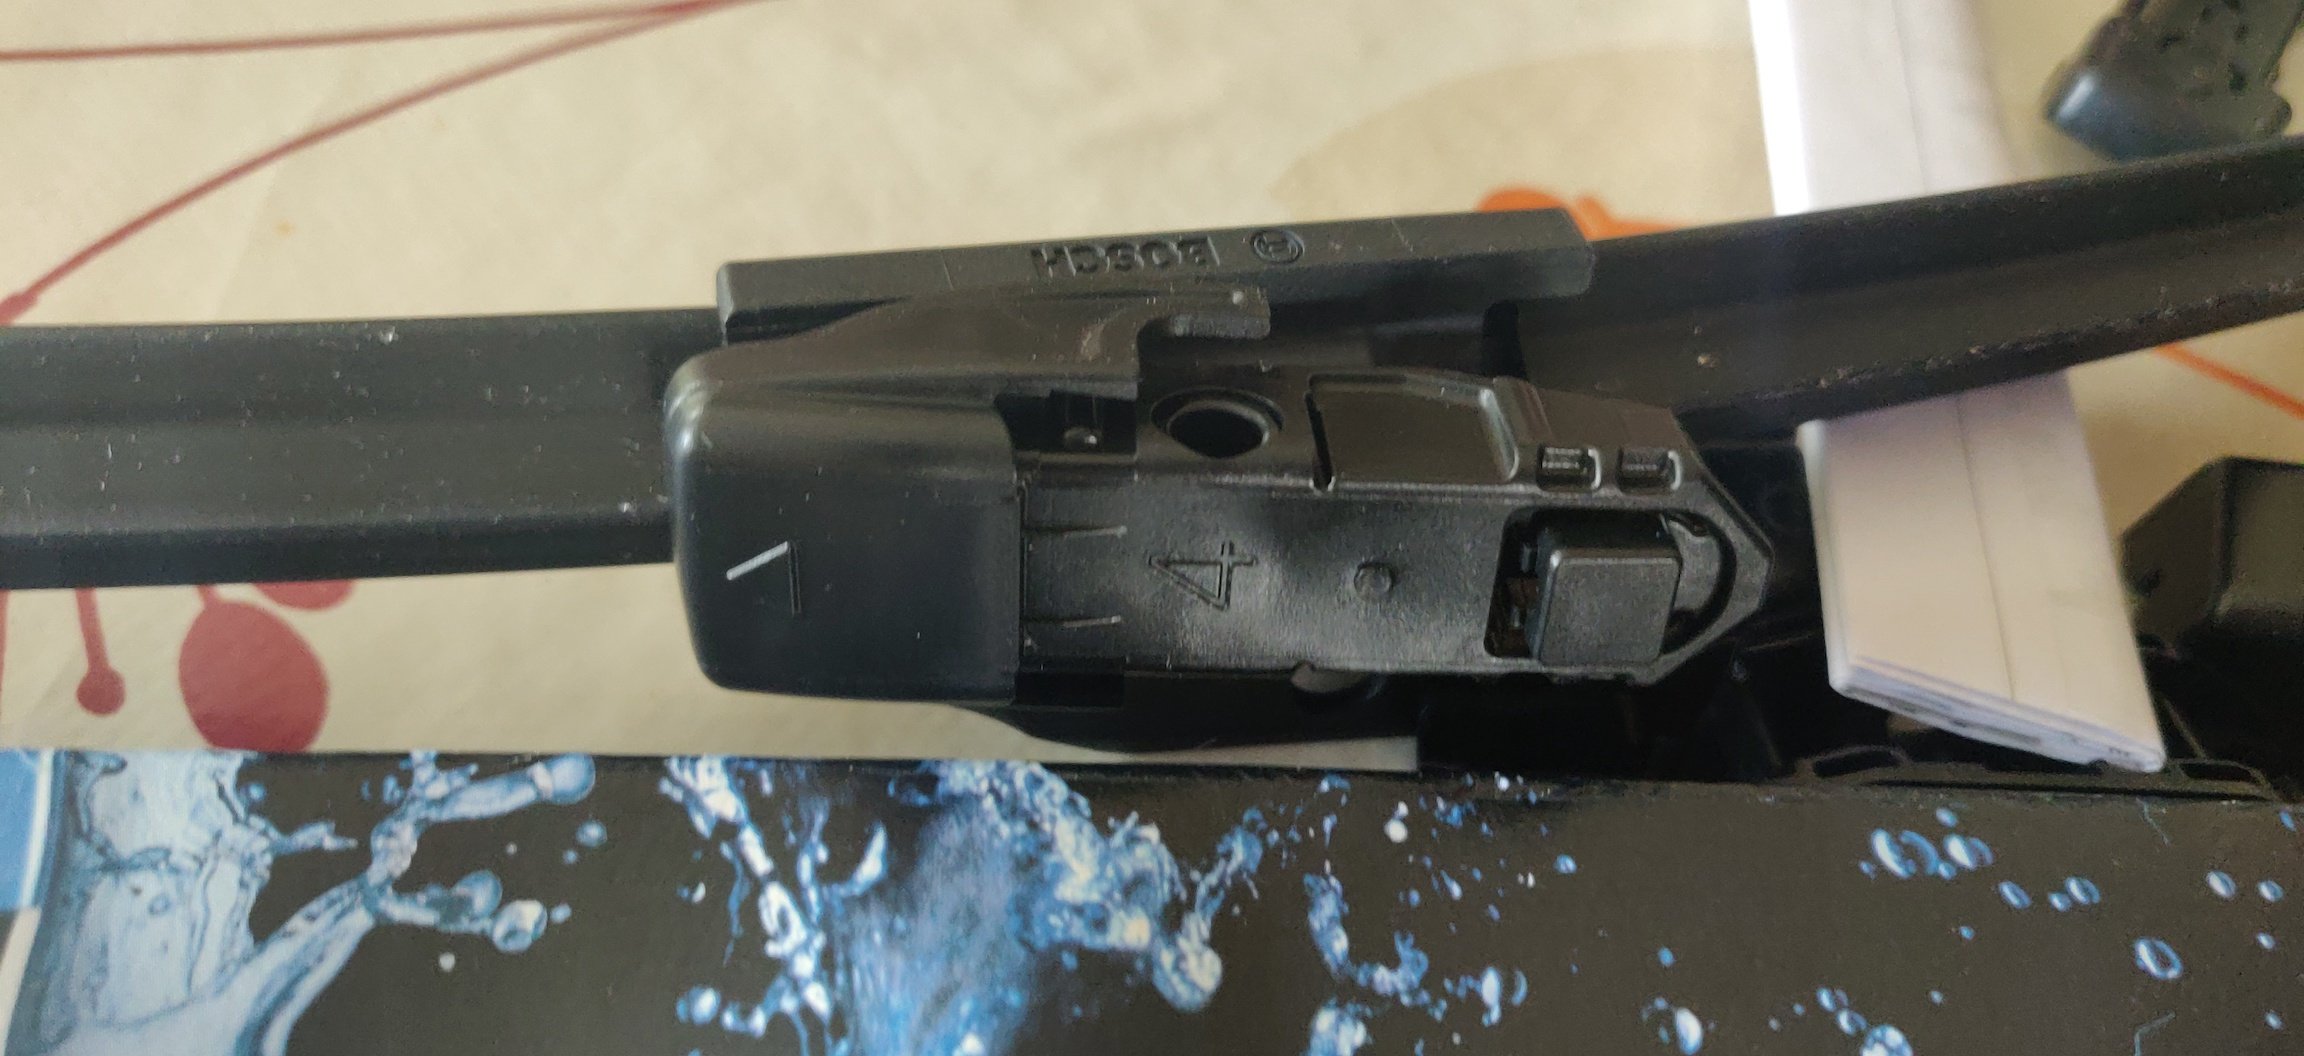
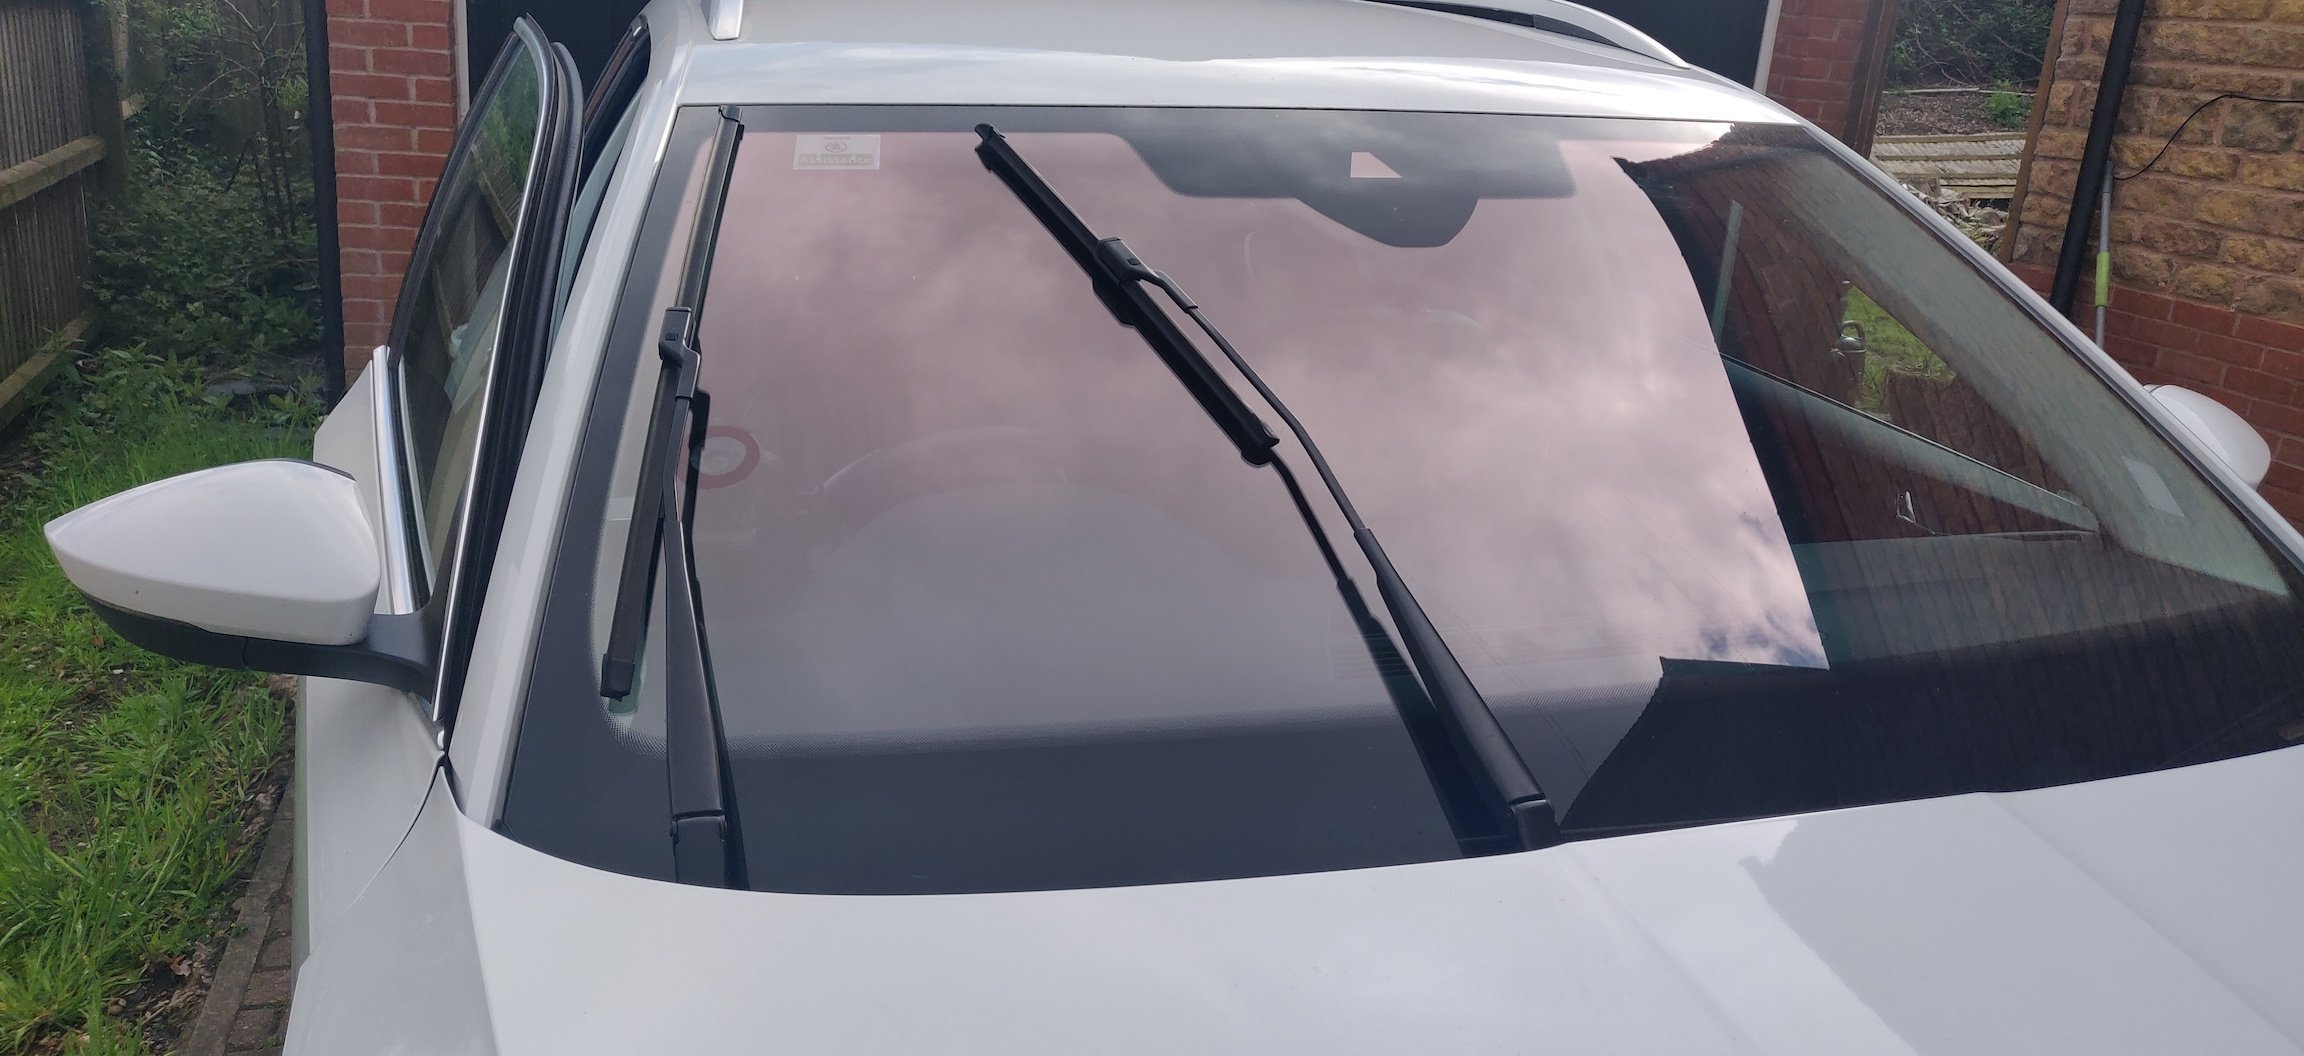
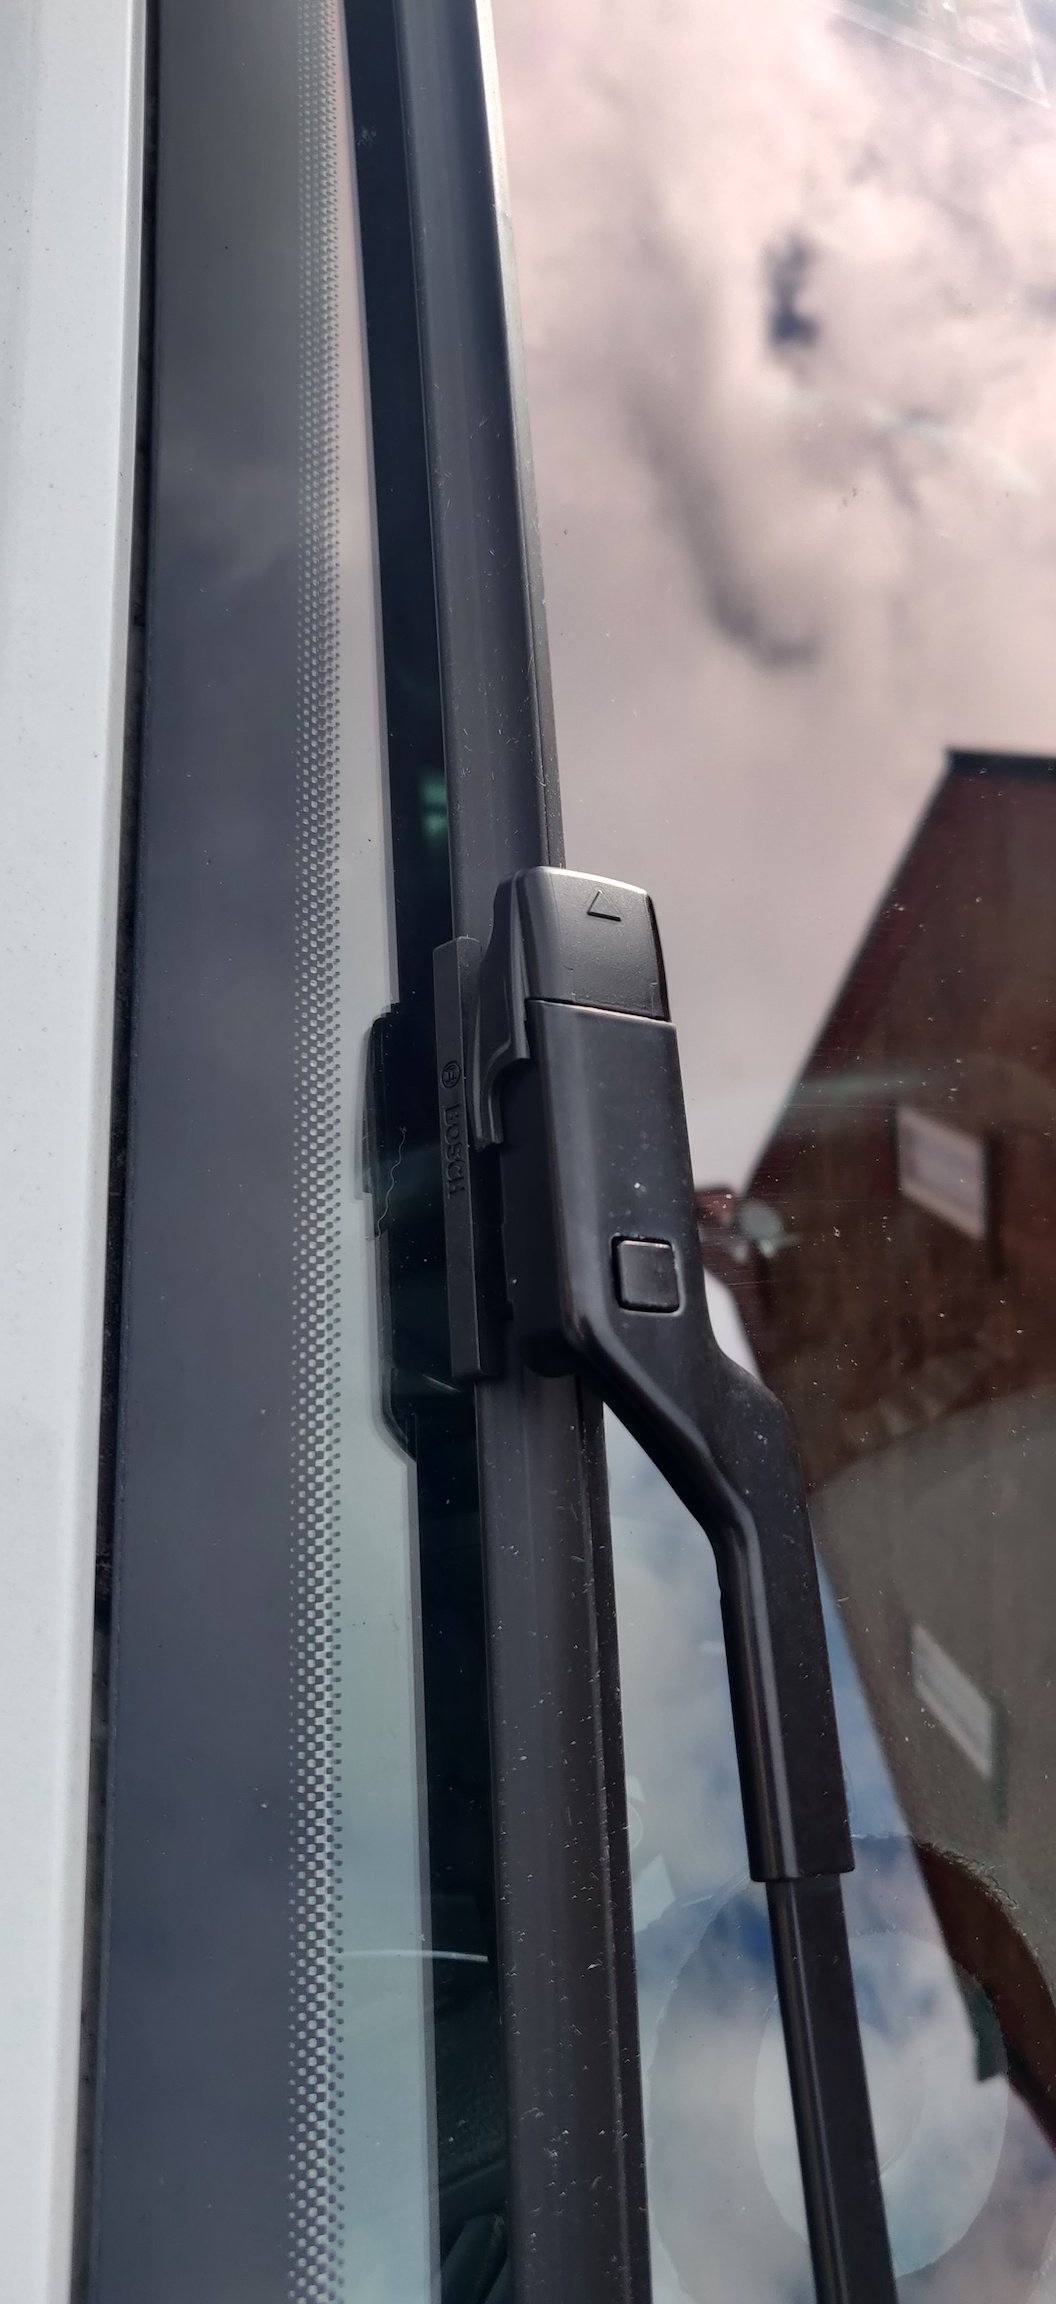
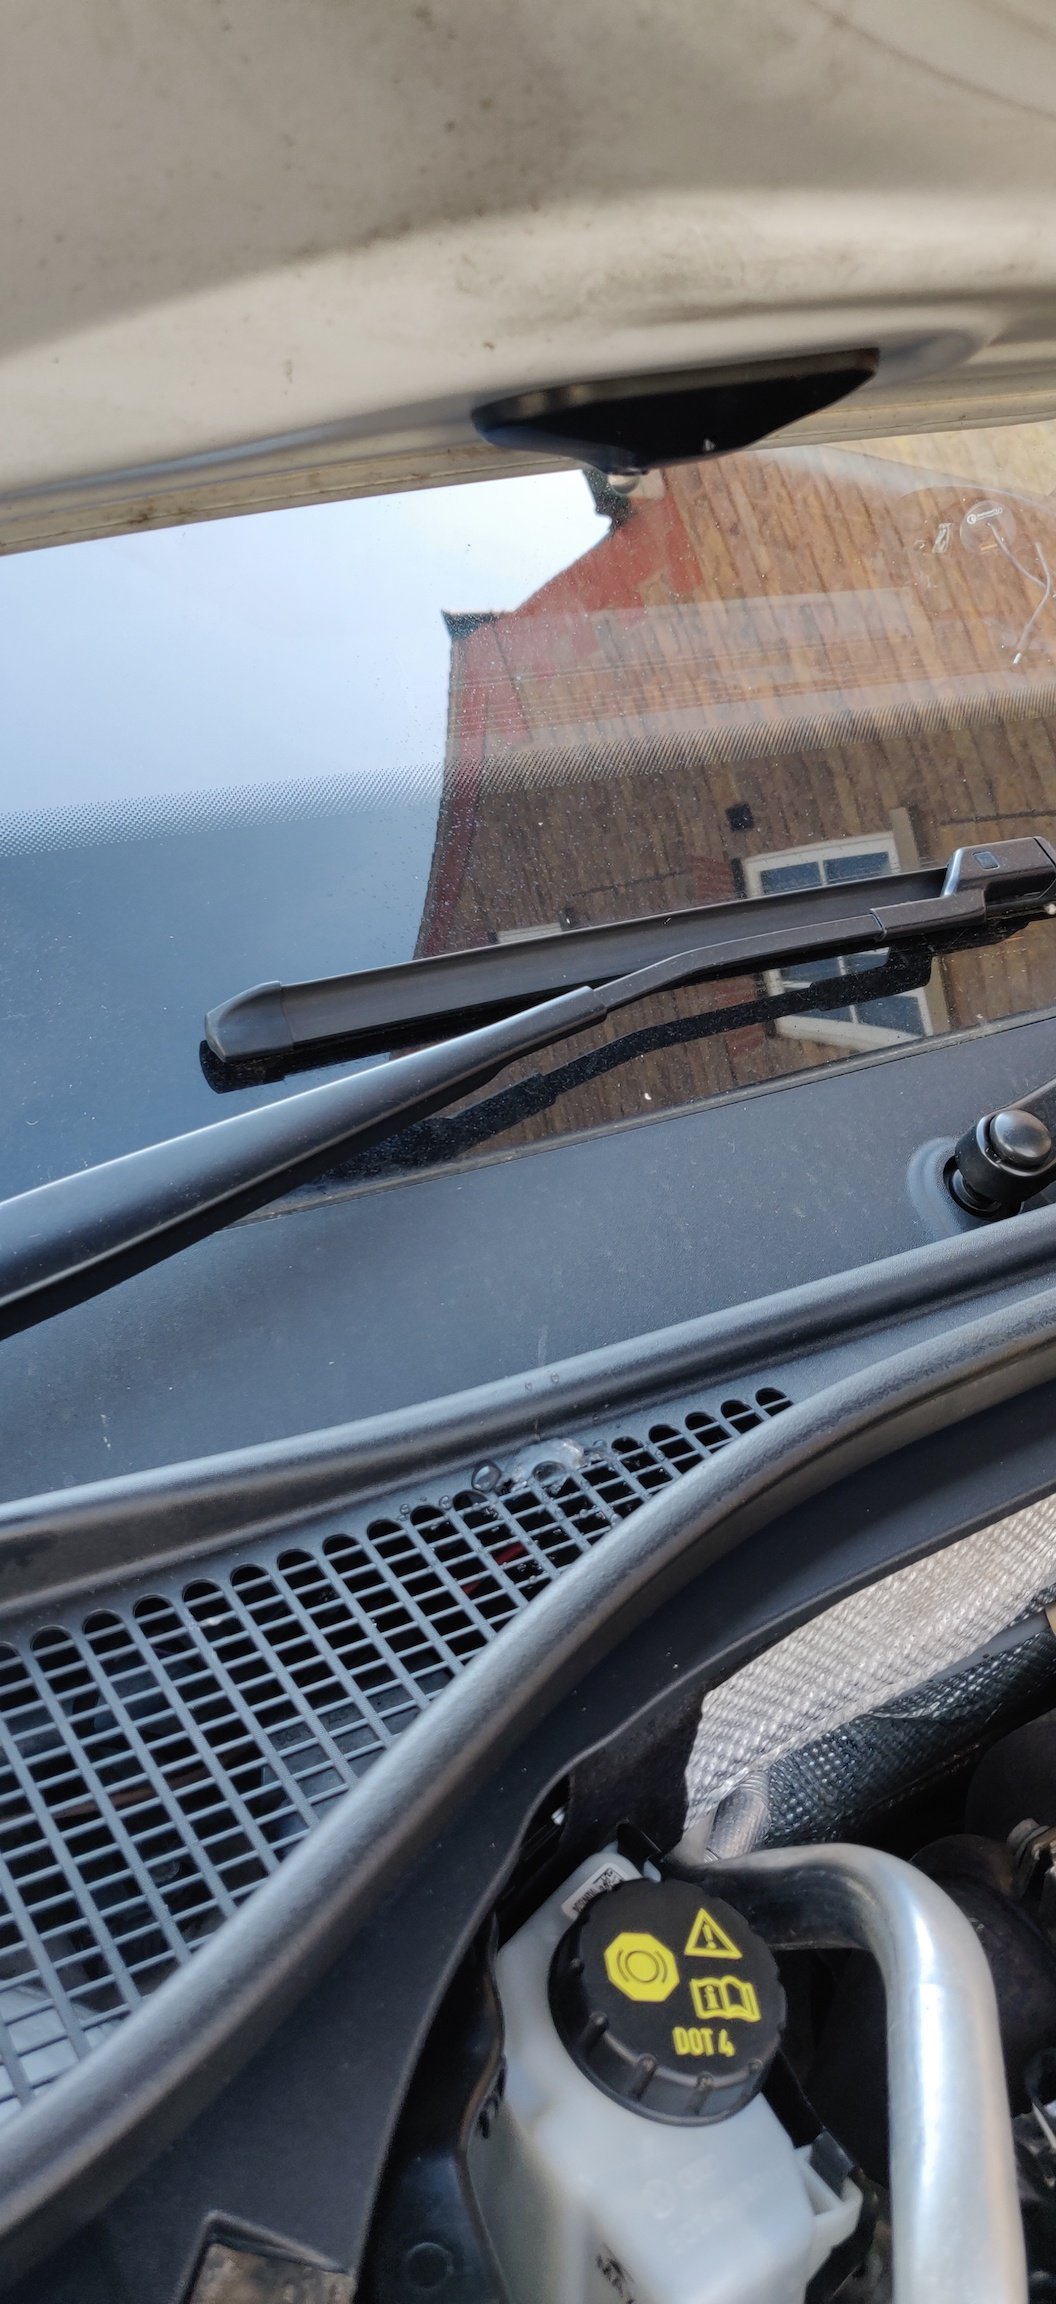
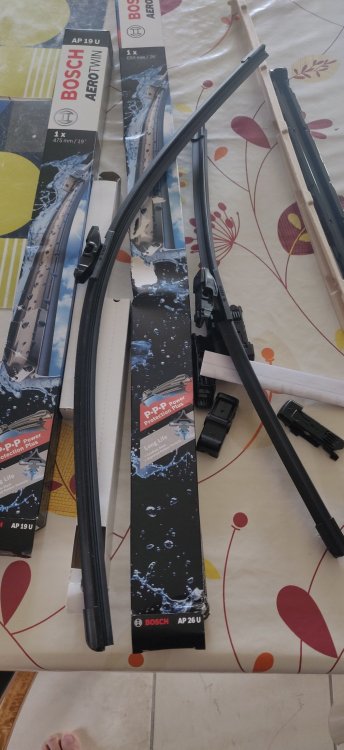
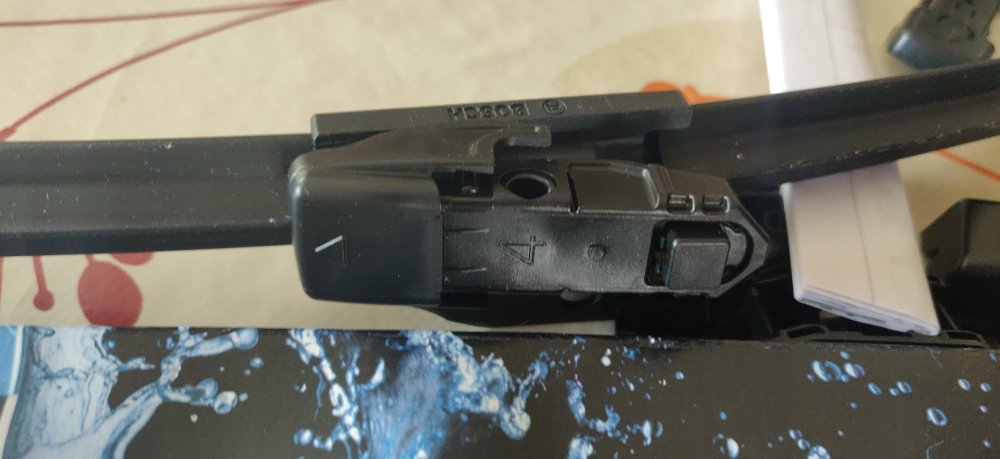
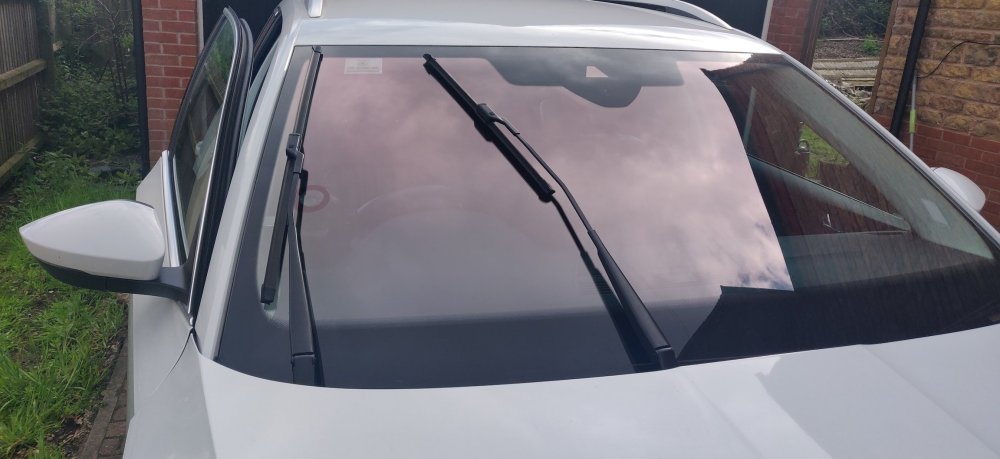
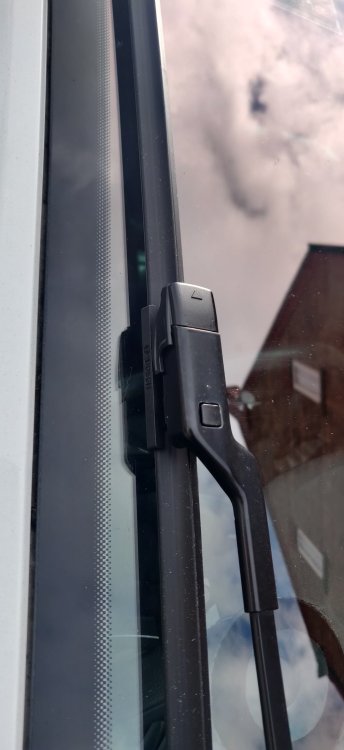
Something a little less exciting: A new pair of wipers for the front. A pair of Bosch Aerotwins, namely 26U for the driver side, and 19U for the passenger. The 19U was suggested elsewhere on this forum instead of 18U. Came to £22.99 on eBay, not too bad I thought. The wipers have a suffix U presumably for universal, as it comes with 4 different fittings to attach to the wiper. The box labels the Skoda as "4" (technically the 19U doesn't specify the Superb, but Octavia was on there, and well, it'll be 4 anyway). So got the clip labelled "4" and slotted it in: The manual was a little vague in orientation, but the wiper blade had an arrow as did the clips, so just aligned them to point the same way. I then initially went to try and lift the wiper arm before realising it fouls the bonnet, so consulted the manual, and it suggests to turn the ignition on then off, then hold the wiper stalk to position "4". This position being downwards, the single wipe option (some cars call it mist). After a couple of seconds: It goes and stays put, was expecting the position to be just slightly up, but this is fine. I recall seeing a chap outside Halfords attempting to replace the wiper blades on his car, and when attempting to do so, removed the wiper blade and let go of the arm without the arm being opened up fully. The spring tension on the wiper arm then smacked back onto the windscreen, leaving him with an enormous crack on the windscreen. Hence I didn't stop to take pictures of me pushing the square button down, pulling the old wiper off and sliding the new wiper blade on until the square bit clicked into place: Repeat for the other side, then car ignition back and on and some wiggling of the wiper stalk. Quick test and it's streak free. I might have gone a bit mad over the Bank Holiday weekend, and have started to entertain the idea of a clone ODIS interface coder to see what it can do. Might be a further waste of time and money, but I suppose better for now that it's my own. Maintenance: £2340.22 (+£22.99) Upgrades: £1414.46 Miscellaneous: £697.20
-
Just noticed on another post that there is coding around the speed limiter button being installed or not. Double checked on VCDS this morning, and there it is. Interestingly, it's not obvious in the experimental features section, just in the normal coding section. Setting that changes the coding from 6410 to 6414. This doesn't work on the original stalks (out of range). Will need to check the new one to see if it accepts the coding and whether that might do the trick. So I'll do that when I spare moment, either this evening or Sunday by the looks of it. -UPDATE- So that was a bust. Once installed, tried to code it the same 6414 with speed limiter installed and the same out of range error. So am waiting for a few minutes before taking off the airbag and reinstalling the original stalks once again. With the measurements facility on VCDS, it looks like most of the on/off and speed changes work, but the "Mode" button is registering as the "Set" button, the actual "Set" button does nothing, and the top slider for the ACC distance does nothing, until you let go, after which it then stays on "Increase" distance according to VCDS. Based on that, my current guess is that software/firmware on the clock spring is a tad too old on the original clock spring and doesn't know the arrangement of the newer stalk, and that the replacement clock spring just has the wrong firmware for a Skoda. I will start asking around based on that as my only lead. However, I don't really see anything on the Internet about firmware for the clock springs, so this might be a massively incorrect guess. Maintenance: £2317.23 Upgrades: £1414.46 Miscellaneous: £697.20
-
So reinstalled the original stalks over lunch, and after a short drive, still not turning on, the car saying no ACC. Seen several post which suggest to just let the car have a rest, so after work, went to do some shopping, and the cruise control and ACC and all worked absolutely fine. So apart from the facelift steering wheel, it's pretty much reverted. So either the replacement stalks are dodgy, or there's some coding or firmware that is misaligned. It was from a SEAT I suppose, so just enough difference in some software somewhere. Not really sure how best to proceed, because it sounds like a load of stuff is in play: Stalks Clock spring CAN gateway BCM Probably need to continue asking around. I'm less confident with any future virtual cockpit retrofit based on this steering wheel fiasco, but I'm hoping sheer stubbornness will get me somewhere. Maintenance: £2317.23 Upgrades: £1414.46 Miscellaneous: £697.20
-
Took the car out for a drive last night and unfortunately the cruise control stalk is still being a bit funny. Had an orange light when coming on, then when turned off and on again, nothing. Suspect the replacement stalks might be dodgy now, so will put the original back on to try and ascertain if that's a reason. Probably not today though with the weather. Car appears to be fine, the Bilstein's aren't super firm, less squidgy than before but can't tell as we're comparing relatively knackered OEM dampers. Front wipers are really smudging the windscreen, could be due a replacement, but could the fact that the car has been laid up for a couple months and all sorts of rust proofing overspray and whatever is probably on the windscreen, so need to give it (and the entire in general) a proper exterior clean. Looks like the front headlight washer totally misses and shoots straight up, which is sorta amusing. Maintenance: £2317.23 Upgrades: £1414.46 Miscellaneous: £697.20
-
Ok, so found a tiny bit of spare time before work to disconnect the battery again, and this time take off the wheel again, and put in the old clock spring. This also means the Kufatec loom isn't in play, as they can't be isolated, with the old clock spring being 16 pin and the replacement being 14 pin. Dry fitted the steering wheel back on so the airbag is loose for now, and well, the cruise control now seems fine, VCDS coming up with no faults and the measuring values showing the stalk is receiving inputs. Continued on and replaced the original steering wheel with the new one, and it is still working. So I can only suspect the replacement heated steering capable clock spring is the culprit here. At this stage, can only guess it's the software being different? Original non heated clock spring: Address 16: Steering wheel (J524) Labels:| 5Q0-953-549.clb Part No SW: 3Q0 953 521 BD HW: 5Q0 953 569 A Component: Lenks.Modul 075 0195 Revision: FF033033 Serial number: 20160118401316 Coding: 6410 Shop #: WSC 73430 790 00063 ASAM Dataset: EV_SMLSVALEOMQB 001015 ROD: EV_SMLSVALEOMQB.rod VCID: F3B833CBFB374B22A21-80A6 Replacement heated clock spring: Address 16: Steering wheel (J524) Labels:| 5Q0-953-549.clb Part No SW: 5Q0 953 521 ET HW: 5Q0 953 569 B Component: Lenks.Modul 100 0265 Revision: FF035035 Serial number: 20220218501004 Coding: 6410 Shop #: WSC 66564 385 16448 ASAM Dataset: EV_SMLSVALEOMQBLRH 001007 ROD: EV_SMLSVALEOMQBLRH.rod VCID: 8842742792B158FA9F3-80DC So the HW bump from 5Q0 953 569 A to 5Q0 953 569 B makes sense as that's what the rest of the forums suggest (either that or 5Q0 953 569 C). But the software is probably the main difference, going from 3Q0 953 521 BD to 5Q0 953 521 ET, so not just a suffix change but prefix too. Wild guess is that the 5Q0 was for a different car in the group. So I guess the question is what next? Is it a case of finding someone with ODIS now to reset/reflash/update/rewrite the software on the clock spring? Is that a thing? If it's possible, then I can refit the new clock spring and just get it sorted, otherwise, for now the car will just have to have the heated steering wheel without it working. Any advice welcome! Maintenance: £2317.23 Upgrades: £1414.46 Miscellaneous: £697.20
-
Thanks for the heads up @Shuggyboatsuperb! Something for the near future! Went and took off the steering wheel and replaced it with the original one, I think maybe 2 or 3 splines to the right. A short drive and it now feels centre, so will do for now. In the future, I think I'll reinstall the wheel in the correct position based on the notches/guide marks, and then get the wheels aligned once the track rod ends are replaced, as that should be done as a matter of course. No idea if a 4 wheel alignment will be physically possible given the state of the rear suspension, but that's for the future. Car went and had a moan about only having 35 miles of range left after the drive and in various modes, the thing took 61 litres, so quite a hungry thing and I guess 65 litres is the tank size. Interestingly though, the cruise control still doesn't work with the original wheel back on. So the only two things remaining is the replacement stalks, the heated steering capable clock spring, and the Kufatec loom. I now suspect the Kufatec loom, but sod's law, it'll probably be the last of the three above that I check that might be the culprit. For now I'll swot up on the loom and the wiring between the two clock springs. Maintenance: £2317.23 Upgrades: £1414.46 Miscellaneous: £697.20
-
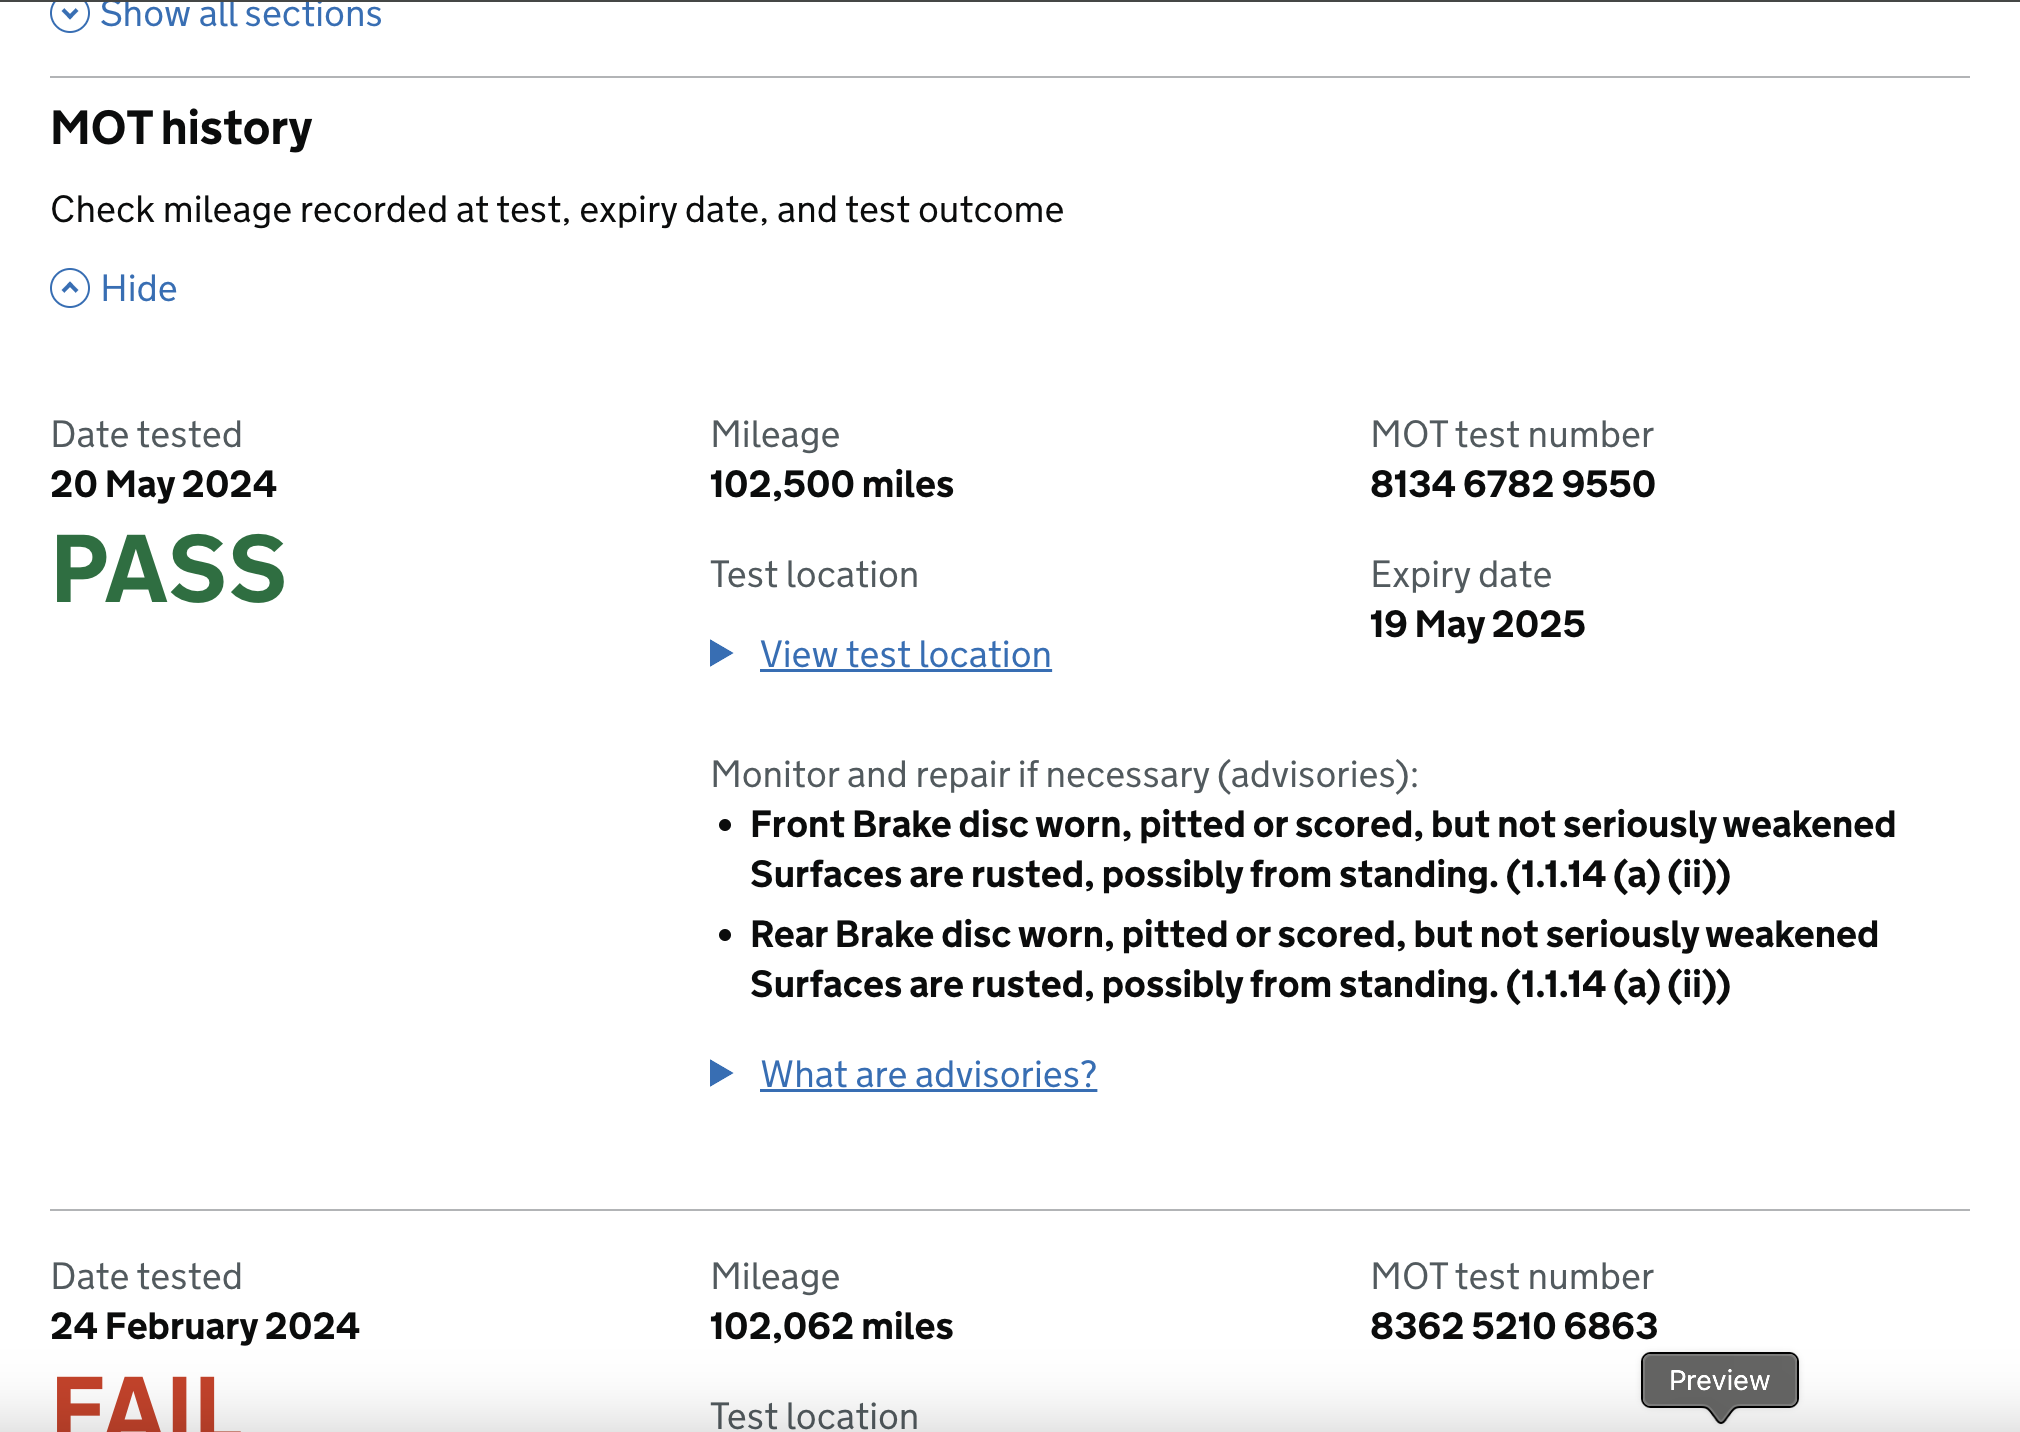
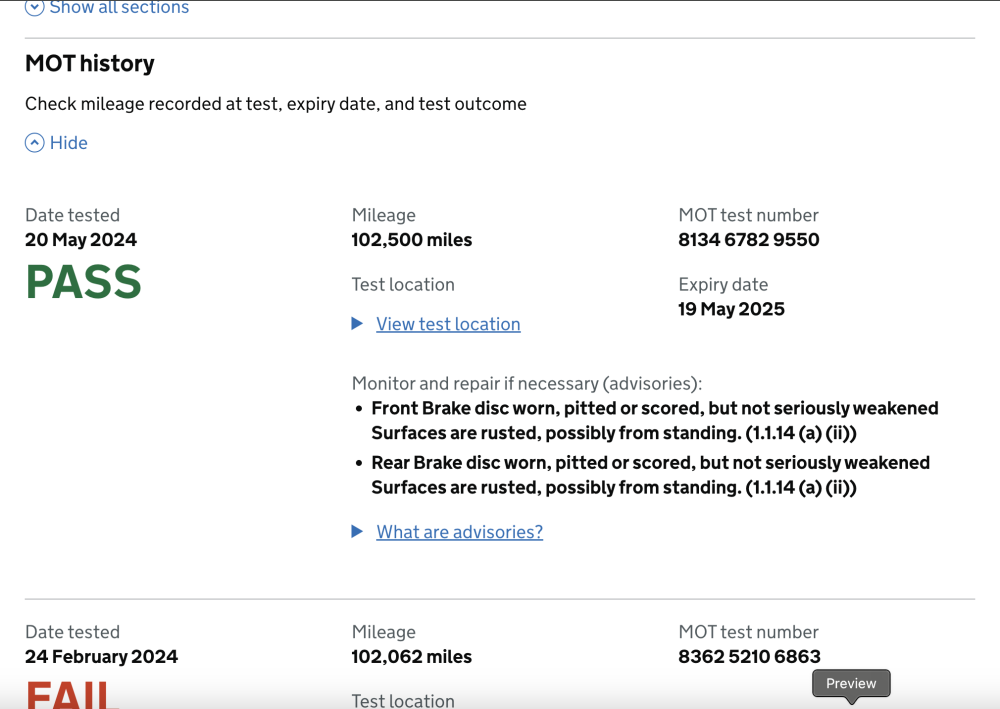
So there we are: Nice rounded up mileage getting the car to the MoT place as well. So straight onto the DVLA site to sort out the £255 VED. Not going to tally this or the MoT to the costs as it's the general unavoidable standing costs of any motor. Same with fuel, which is probably the first thing I oughtta do now! Gotten it home and just waiting until the evening to get it filled up and then well, guess I gotta sort out the rest! The steering wheel was a good few degrees off centre to the left. I'll probably for now take the wheel off and put it back on a few notches to the right for now, sounds like I will need to actually get it properly realigned, which probably also means new track rod ends. Maintenance: £2317.23 Upgrades: £1414.46 Miscellaneous: £697.20
-
Yeah, mine definitely had worse case scenarios! As long as you have a decent strut spreader tool (sounds like you do!), I reckon it's par for the course for MacPherson struts. Ditto an appropriately sized ball joint tool, mine was a tiny bit too small, so ended up attacking it with a hammer, if you're going down the route of separating the ball joint from the hub/knuckle The internet has lots of hacks such as using a bottle jack and bits of solid wood to compress the strut in order to not need to separate the hub/knuckle from the driveshaft and ball joint, which would save time and a bit on replacement bolts, but I didn't really have either on hand at the time. These were always done on shiny clean cars though.
-
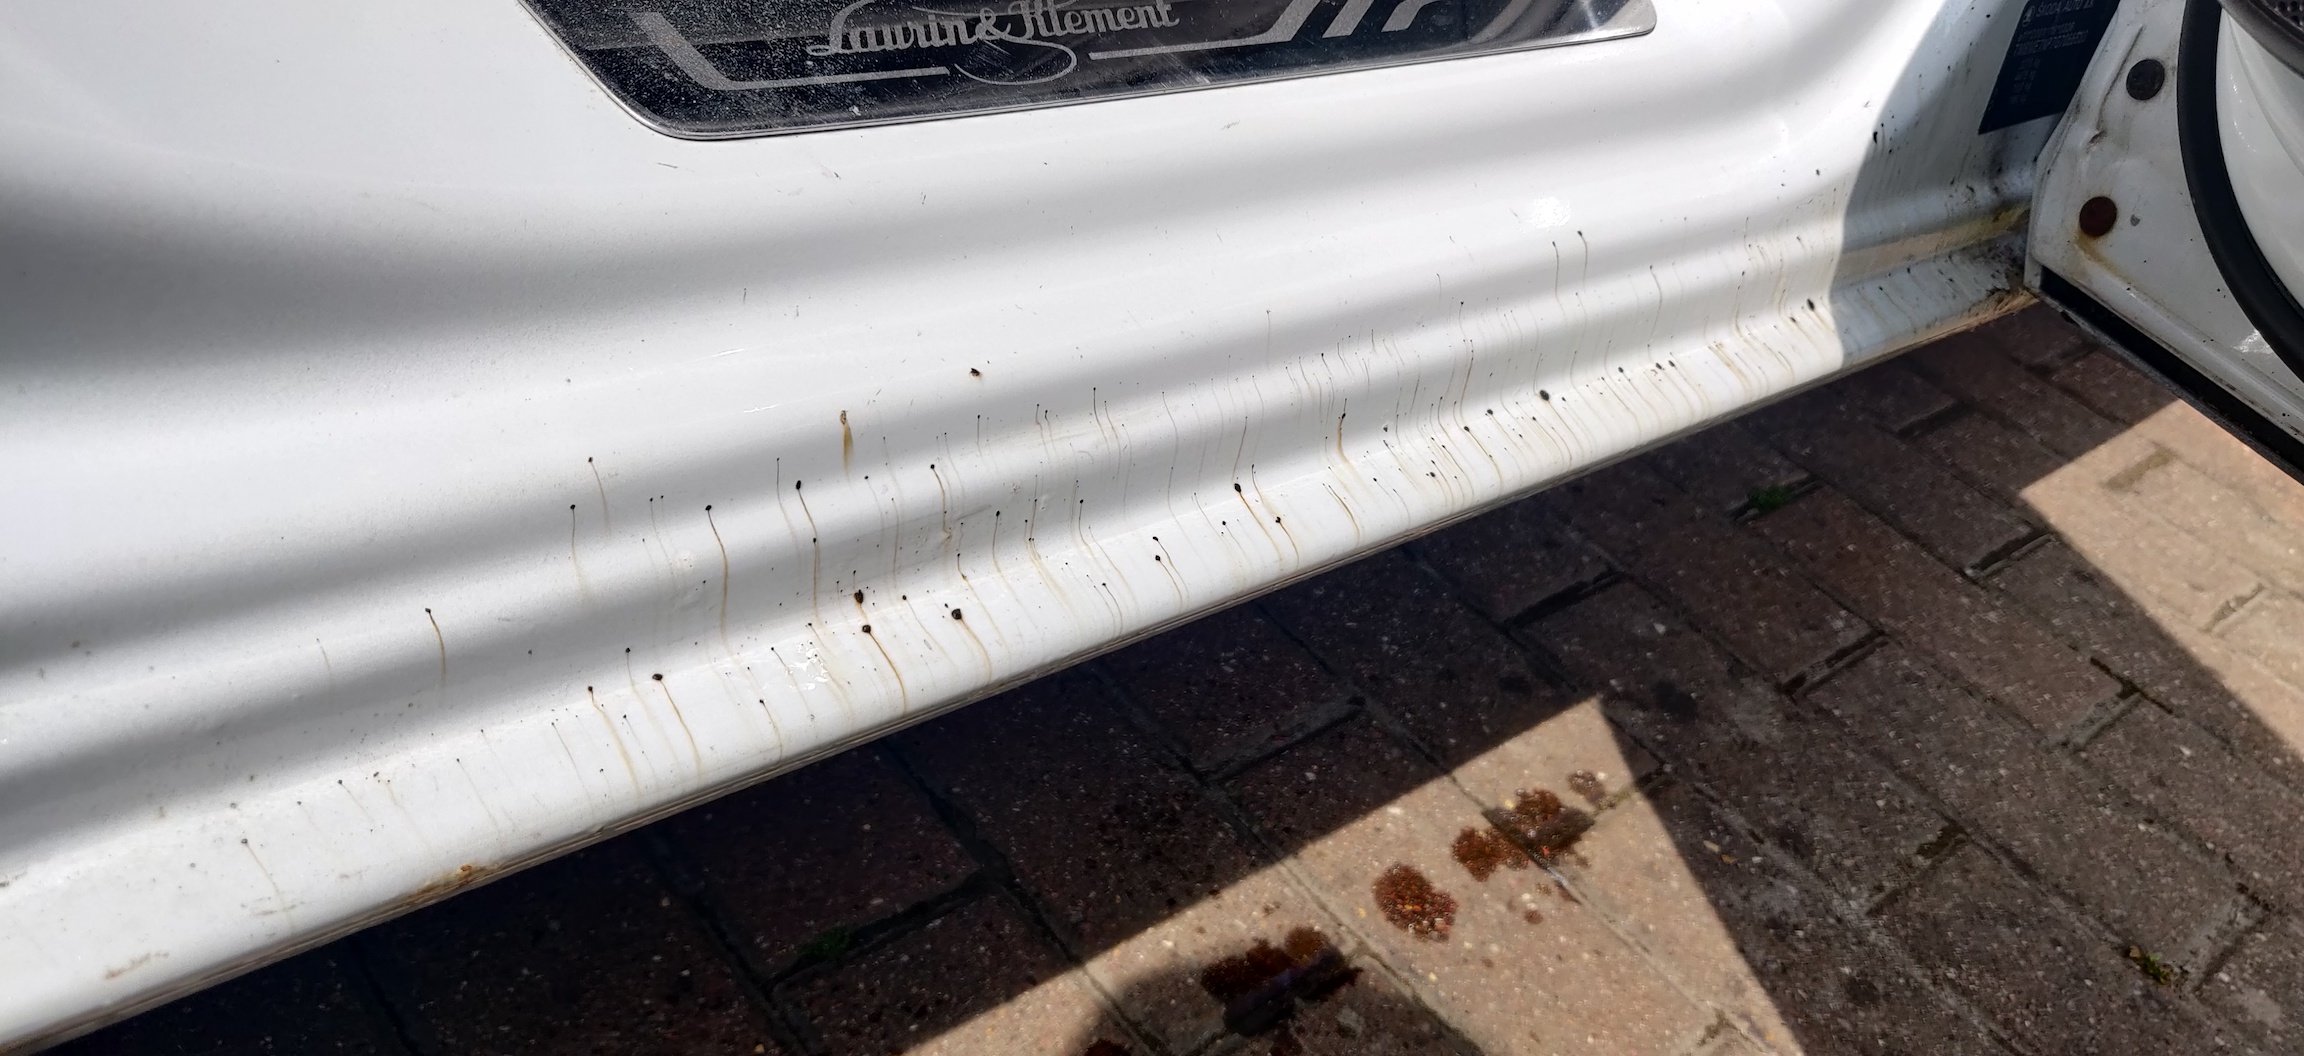
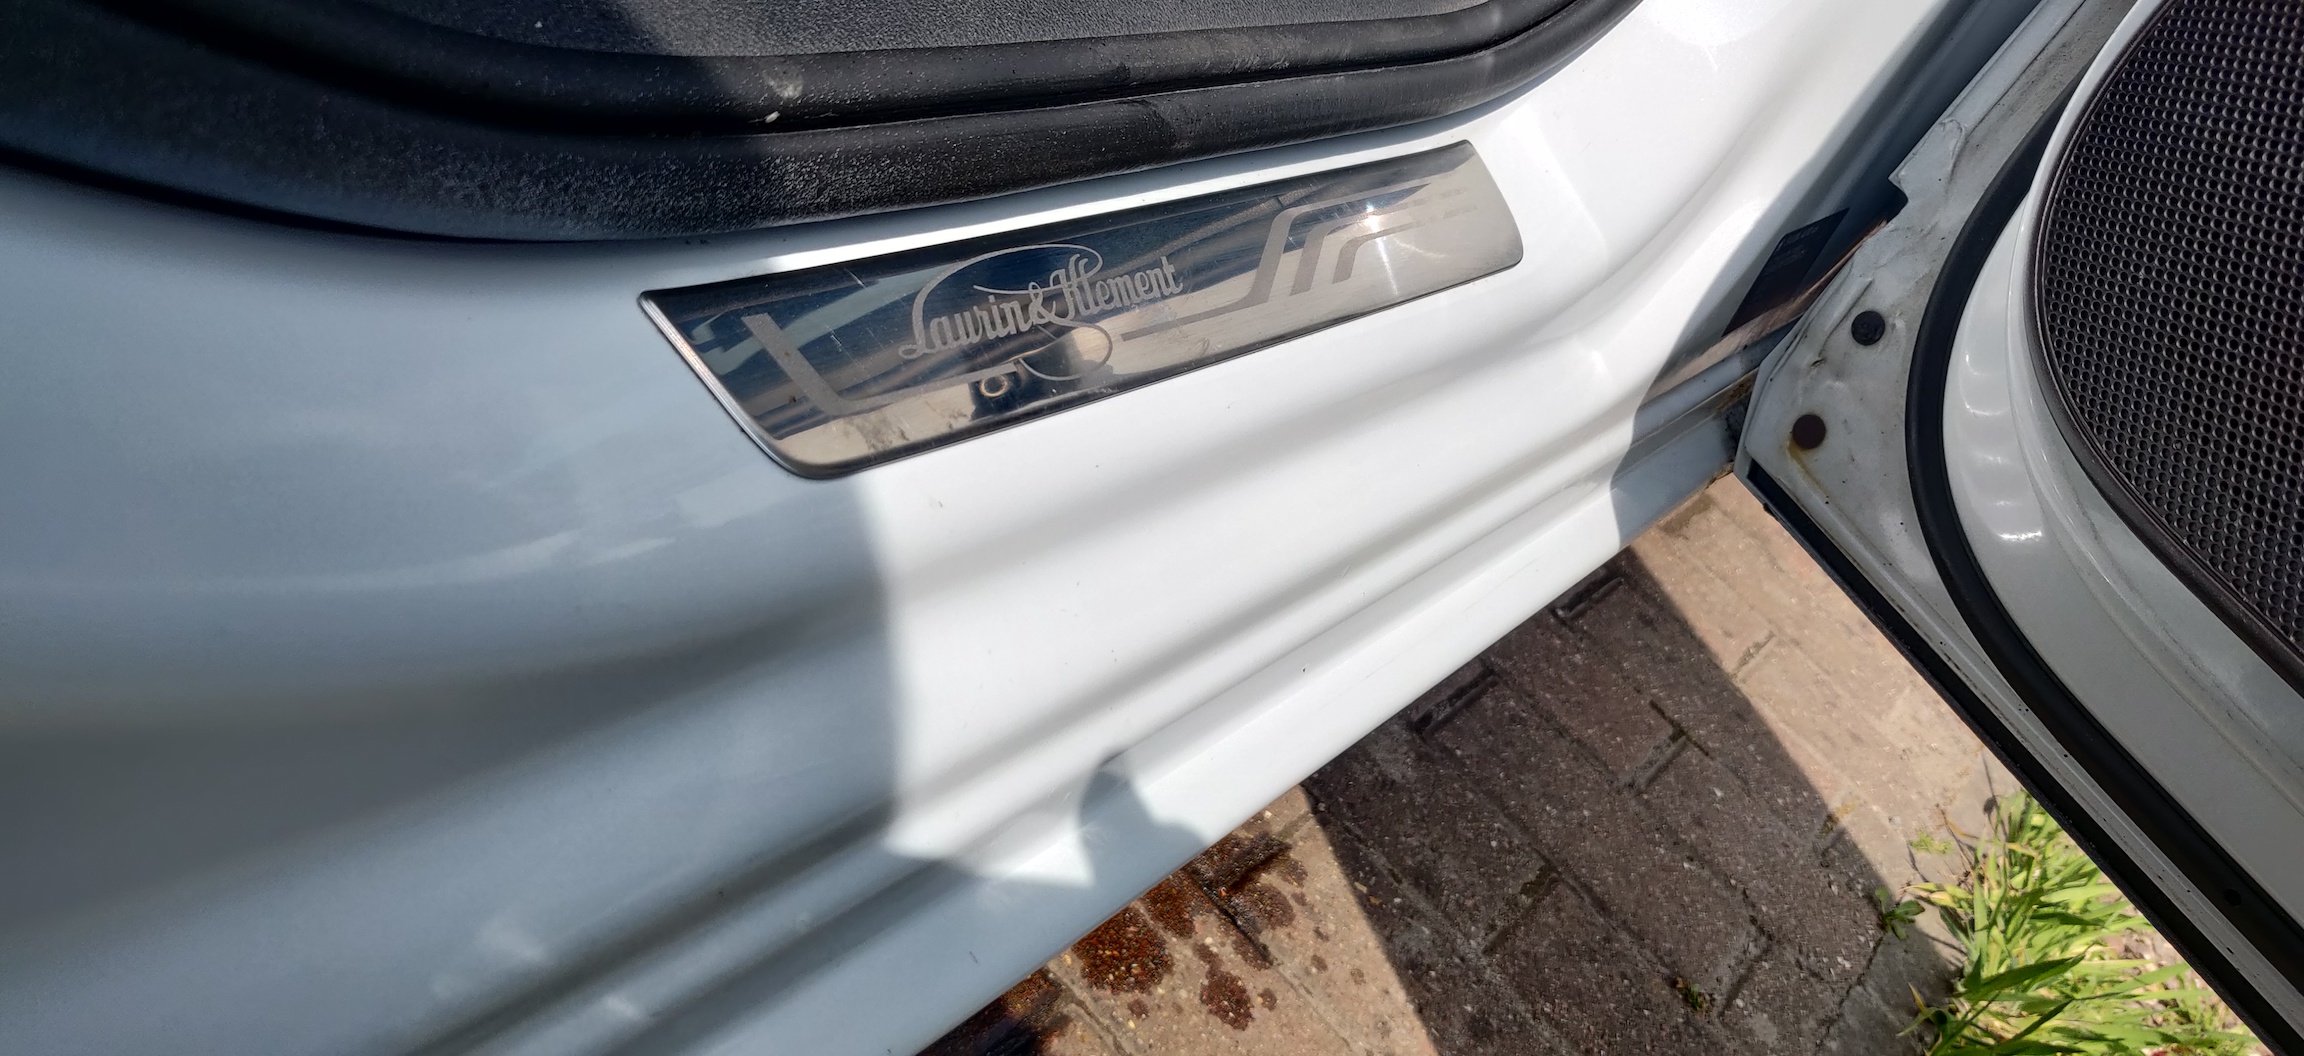
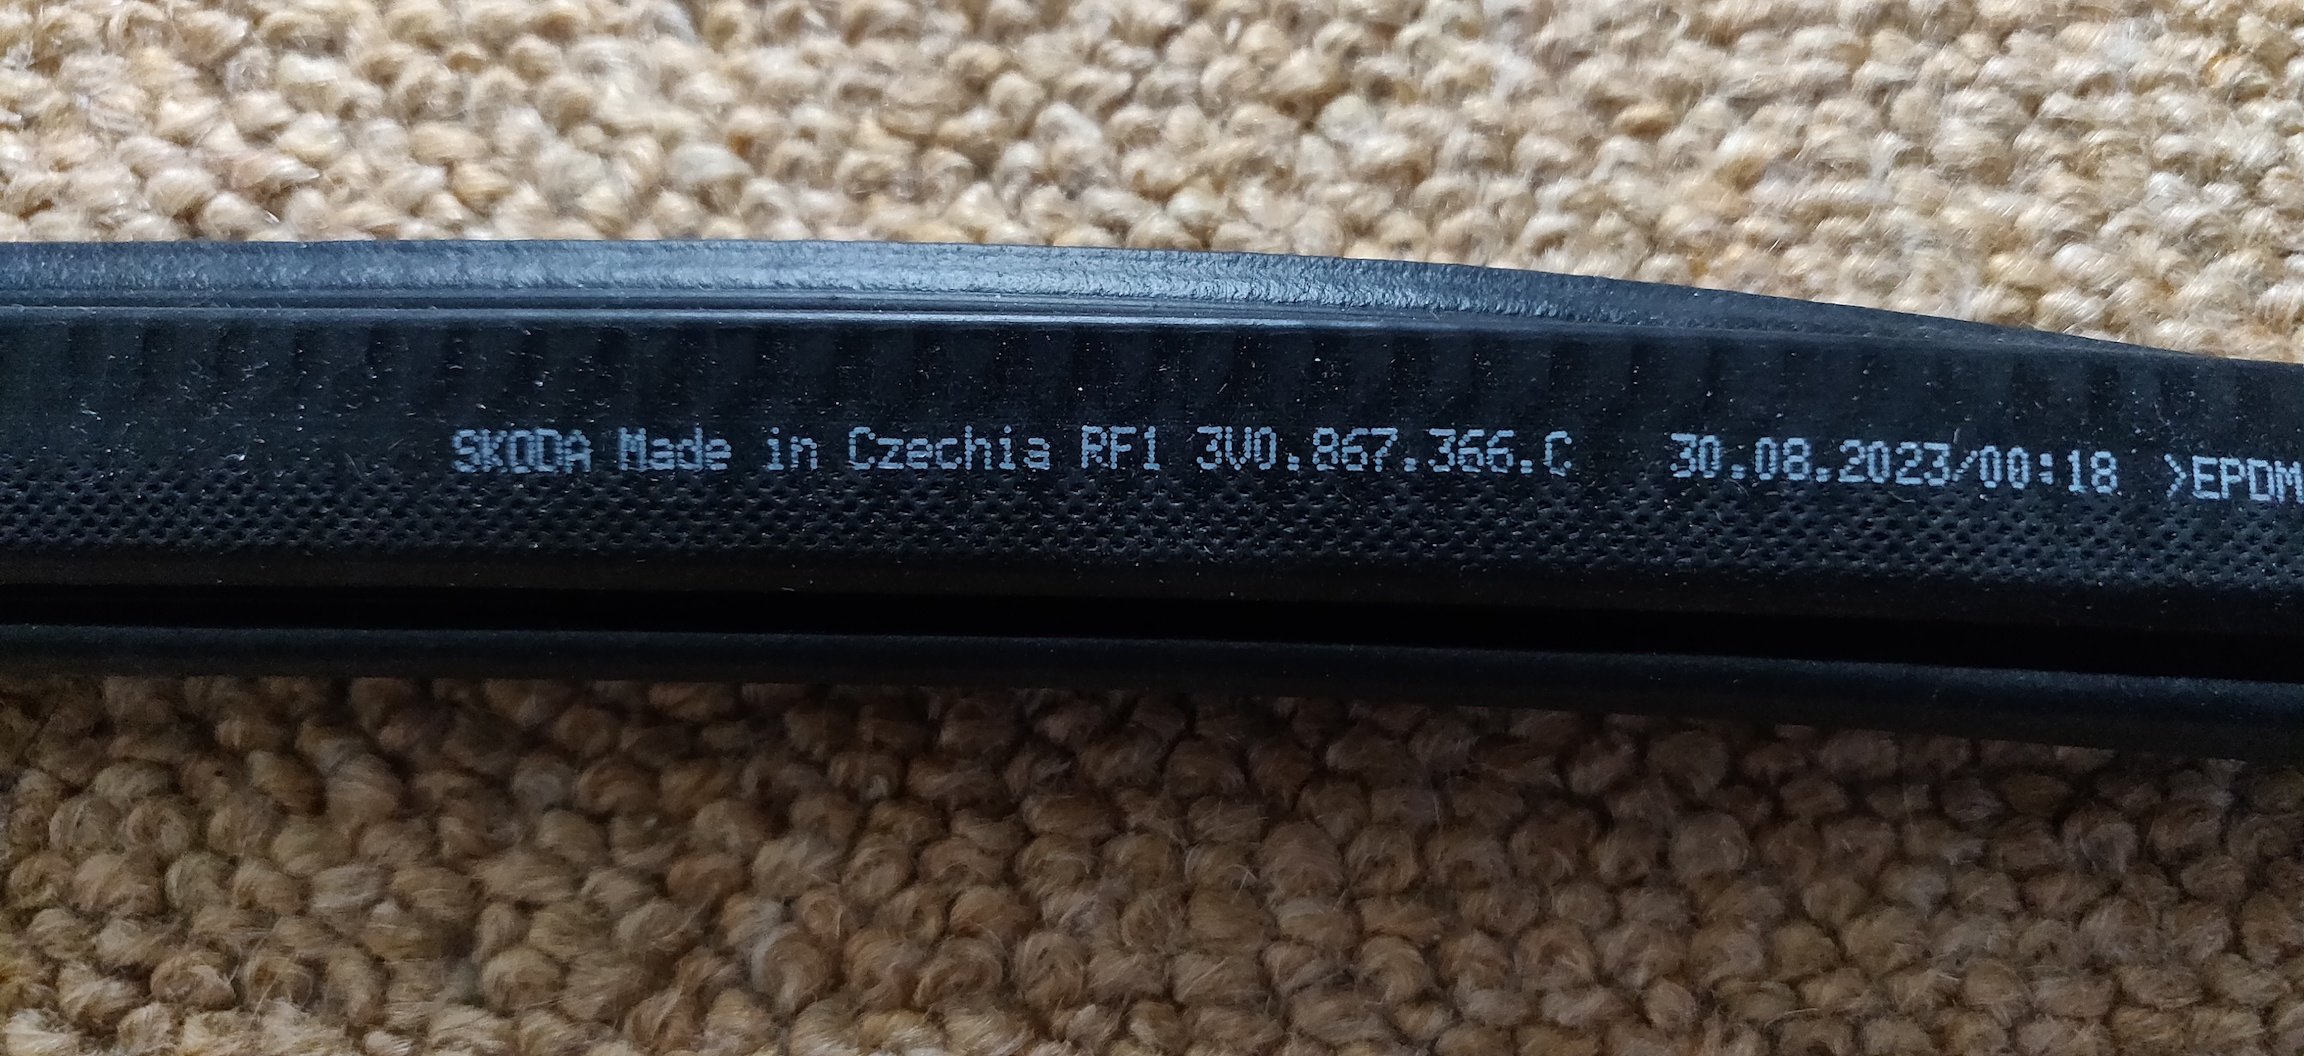
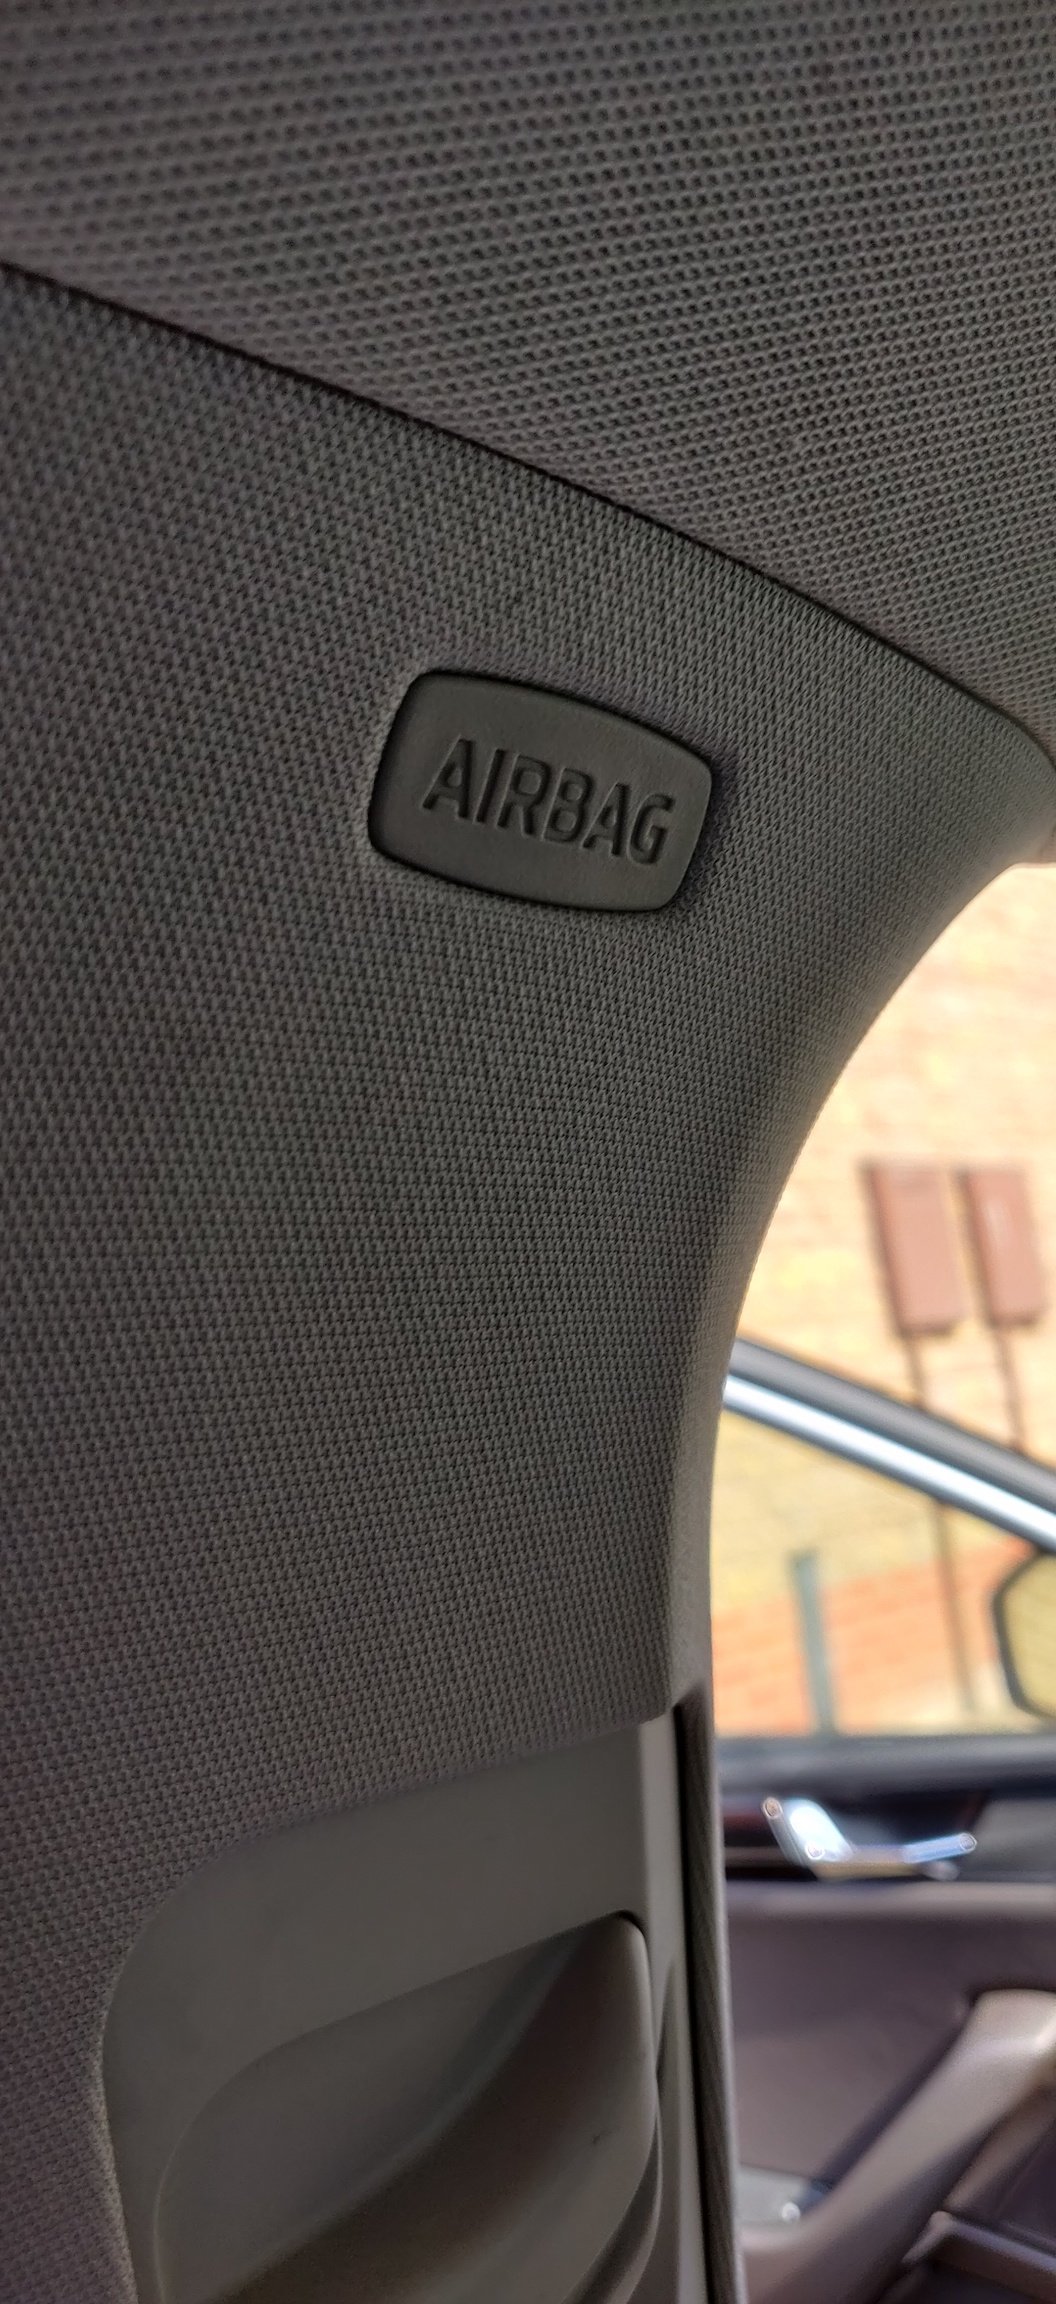
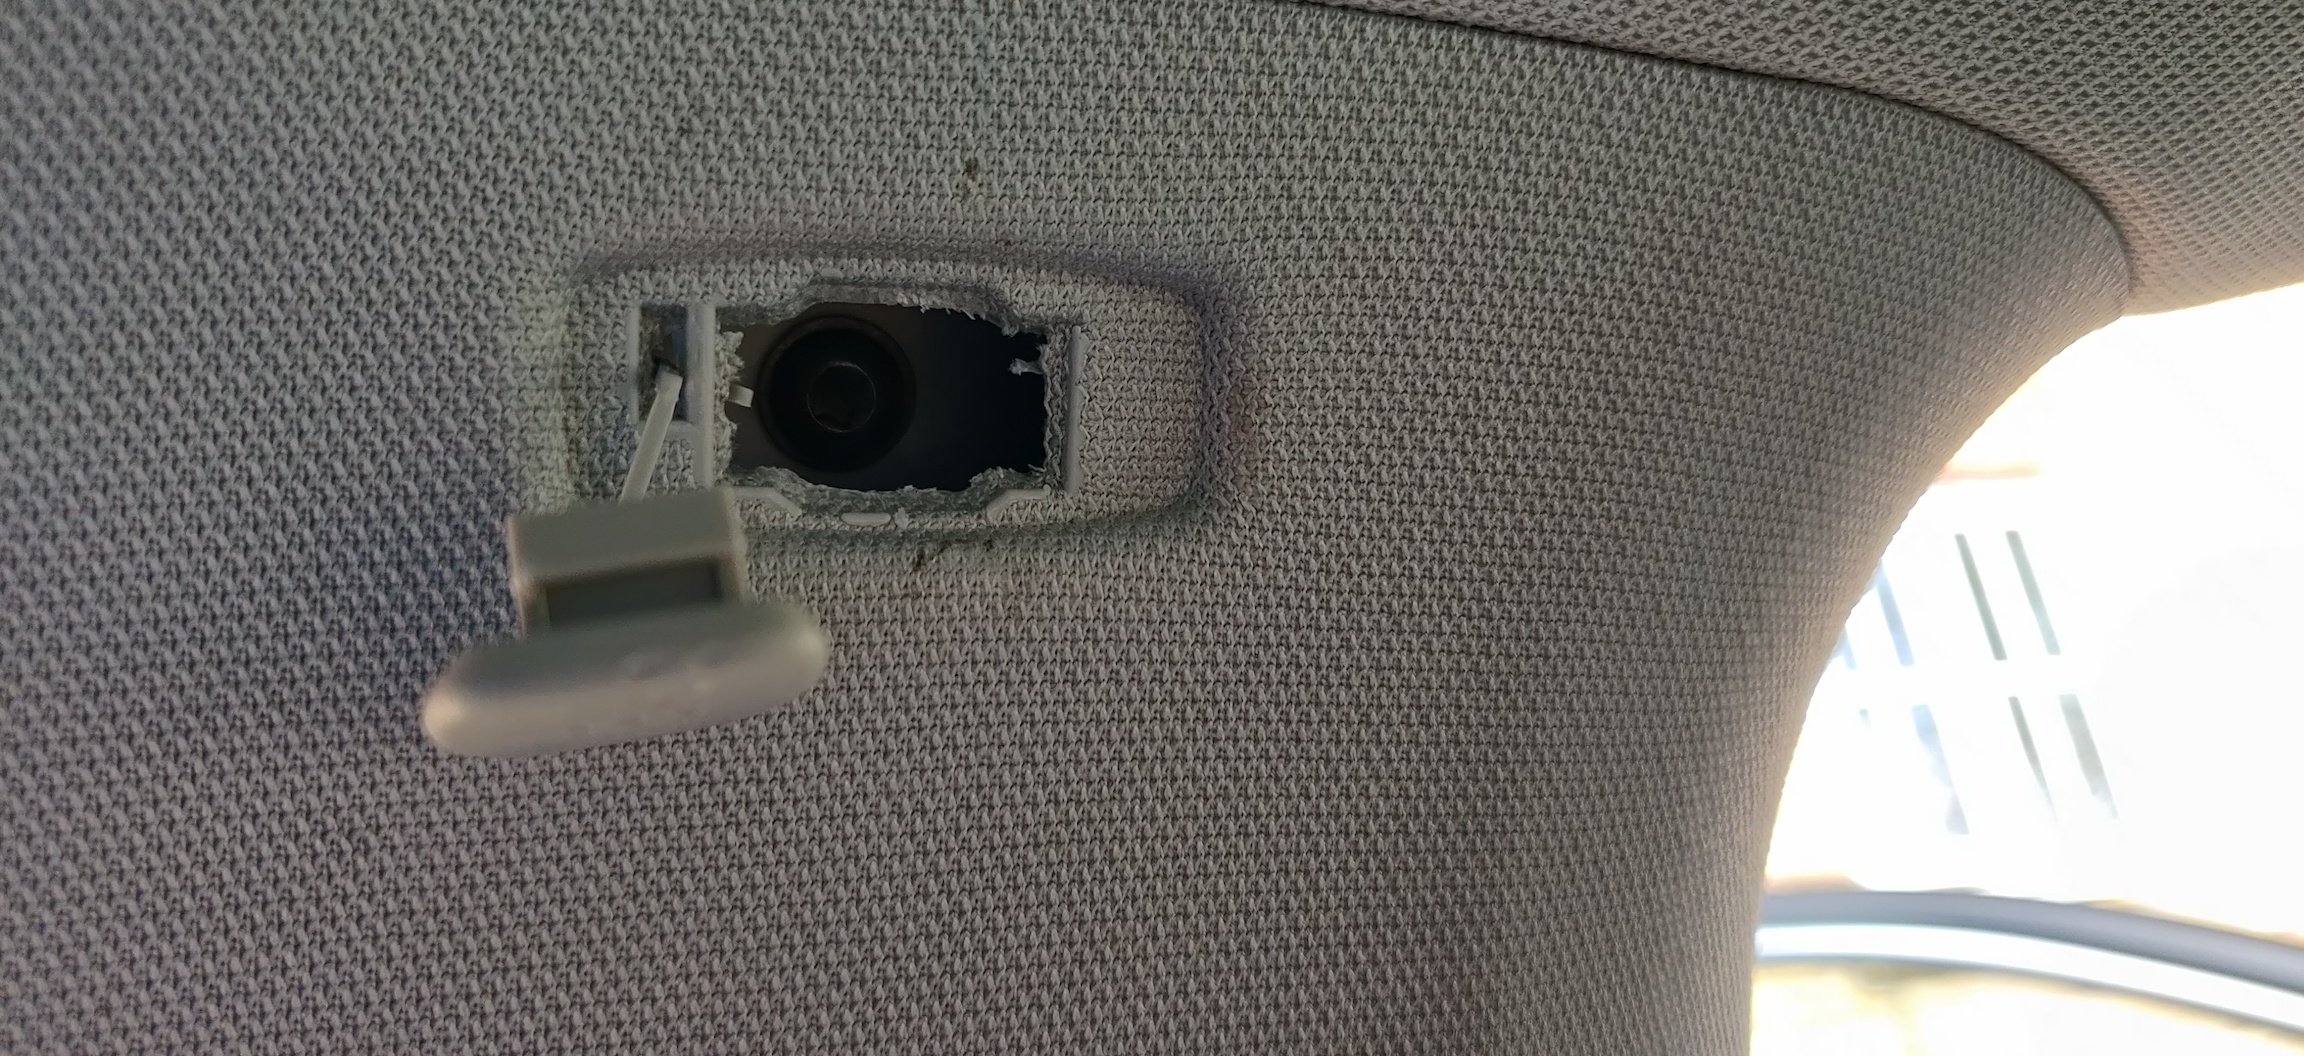
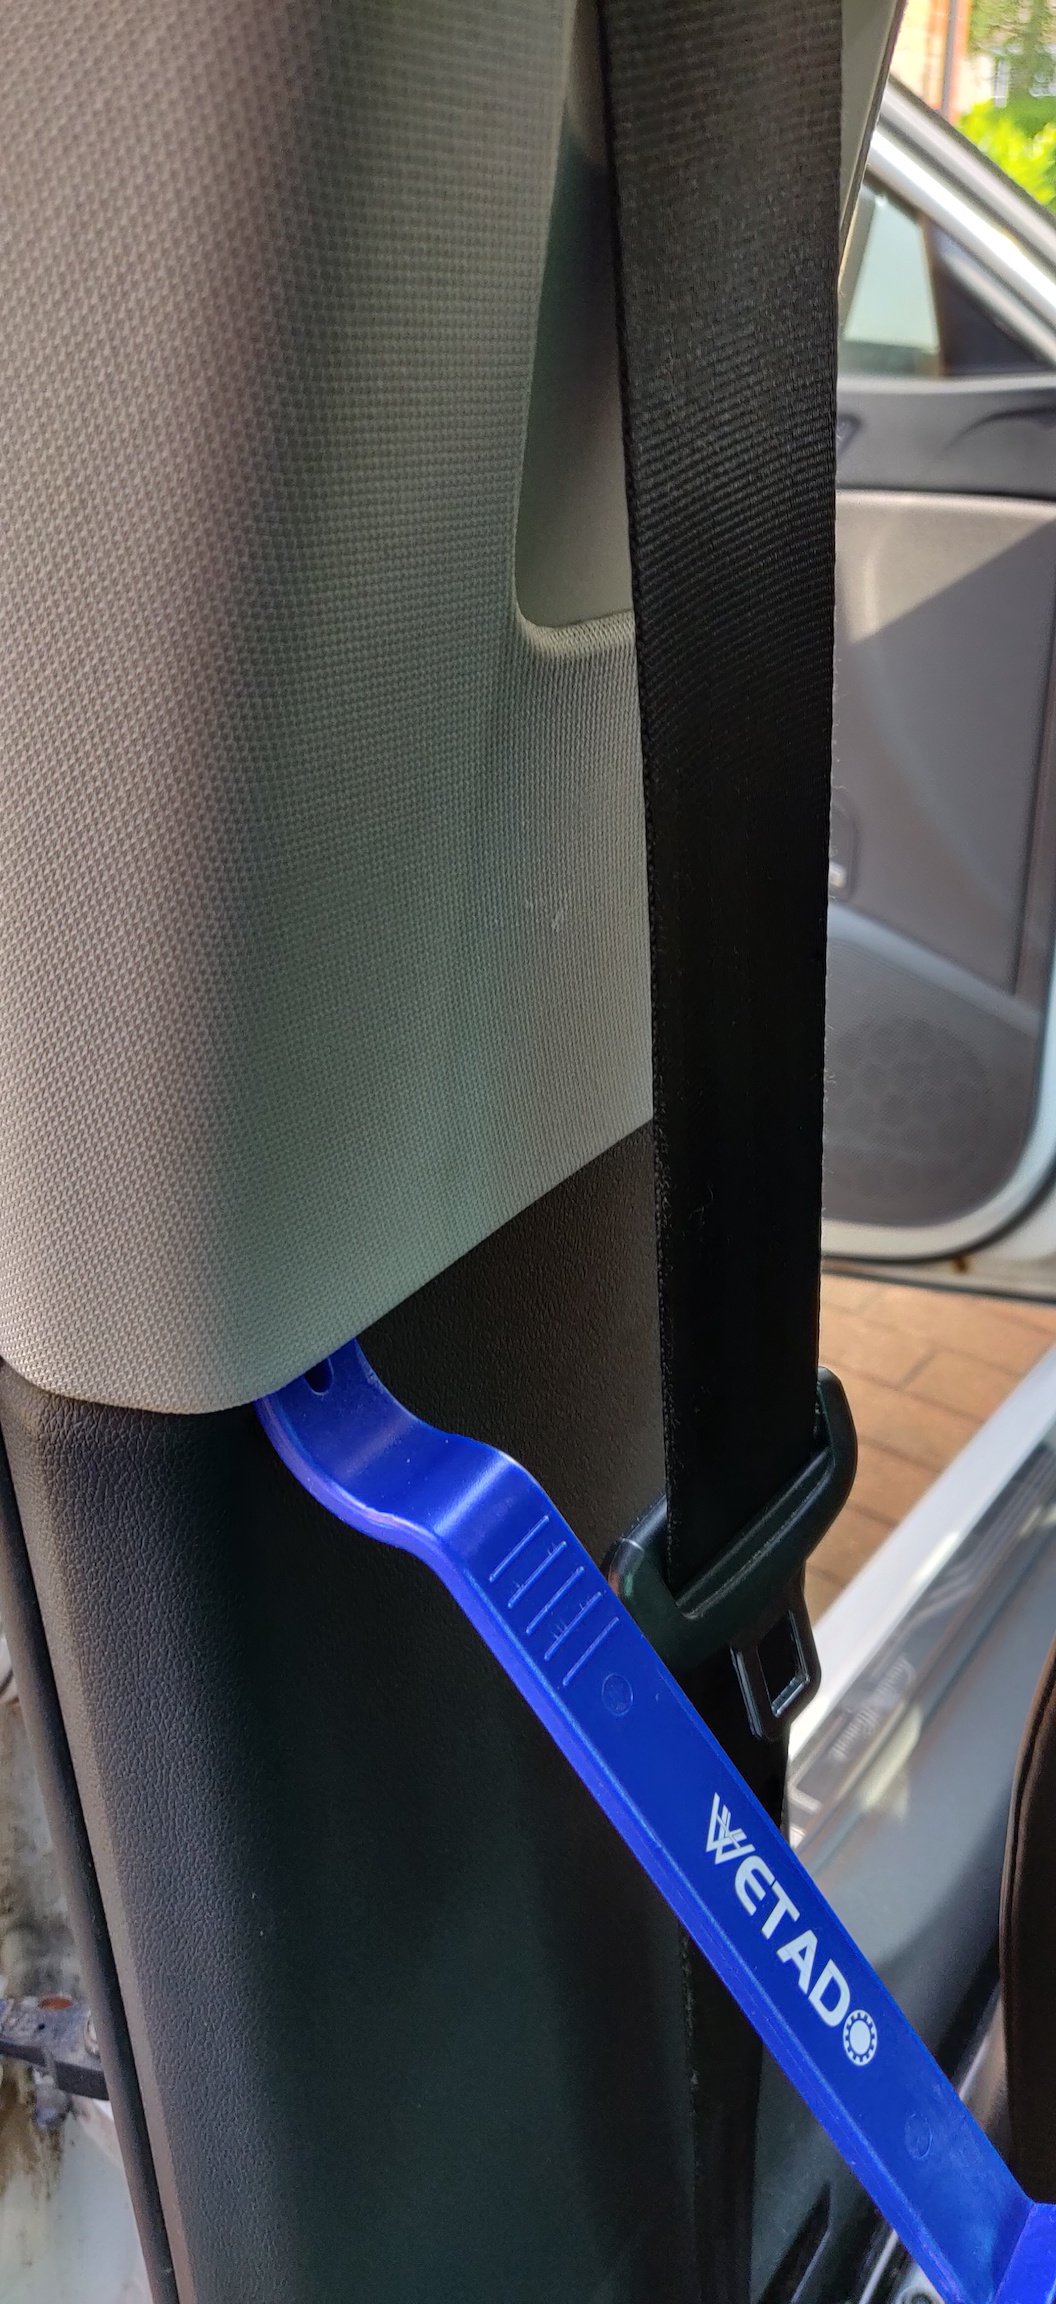
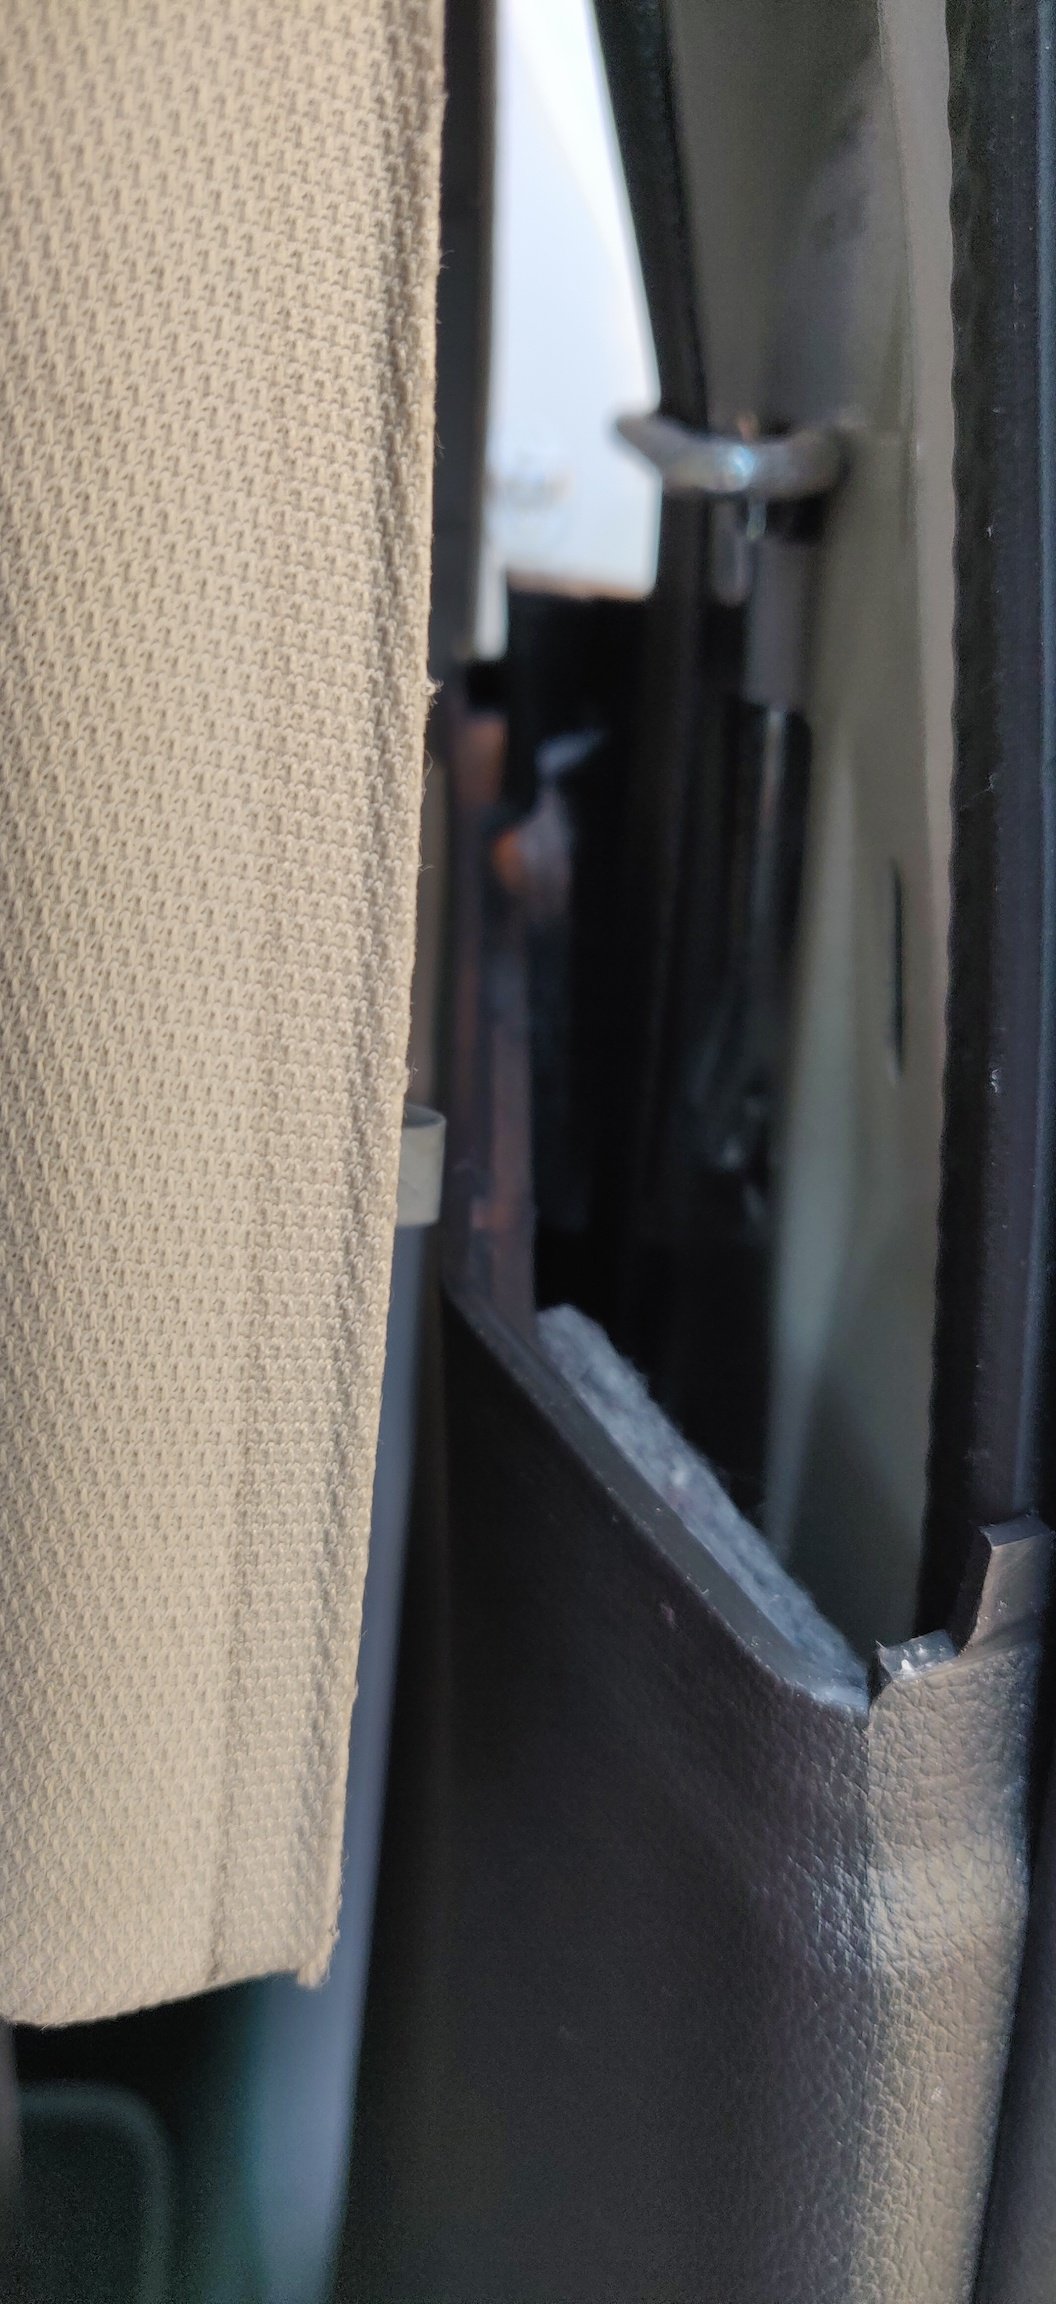
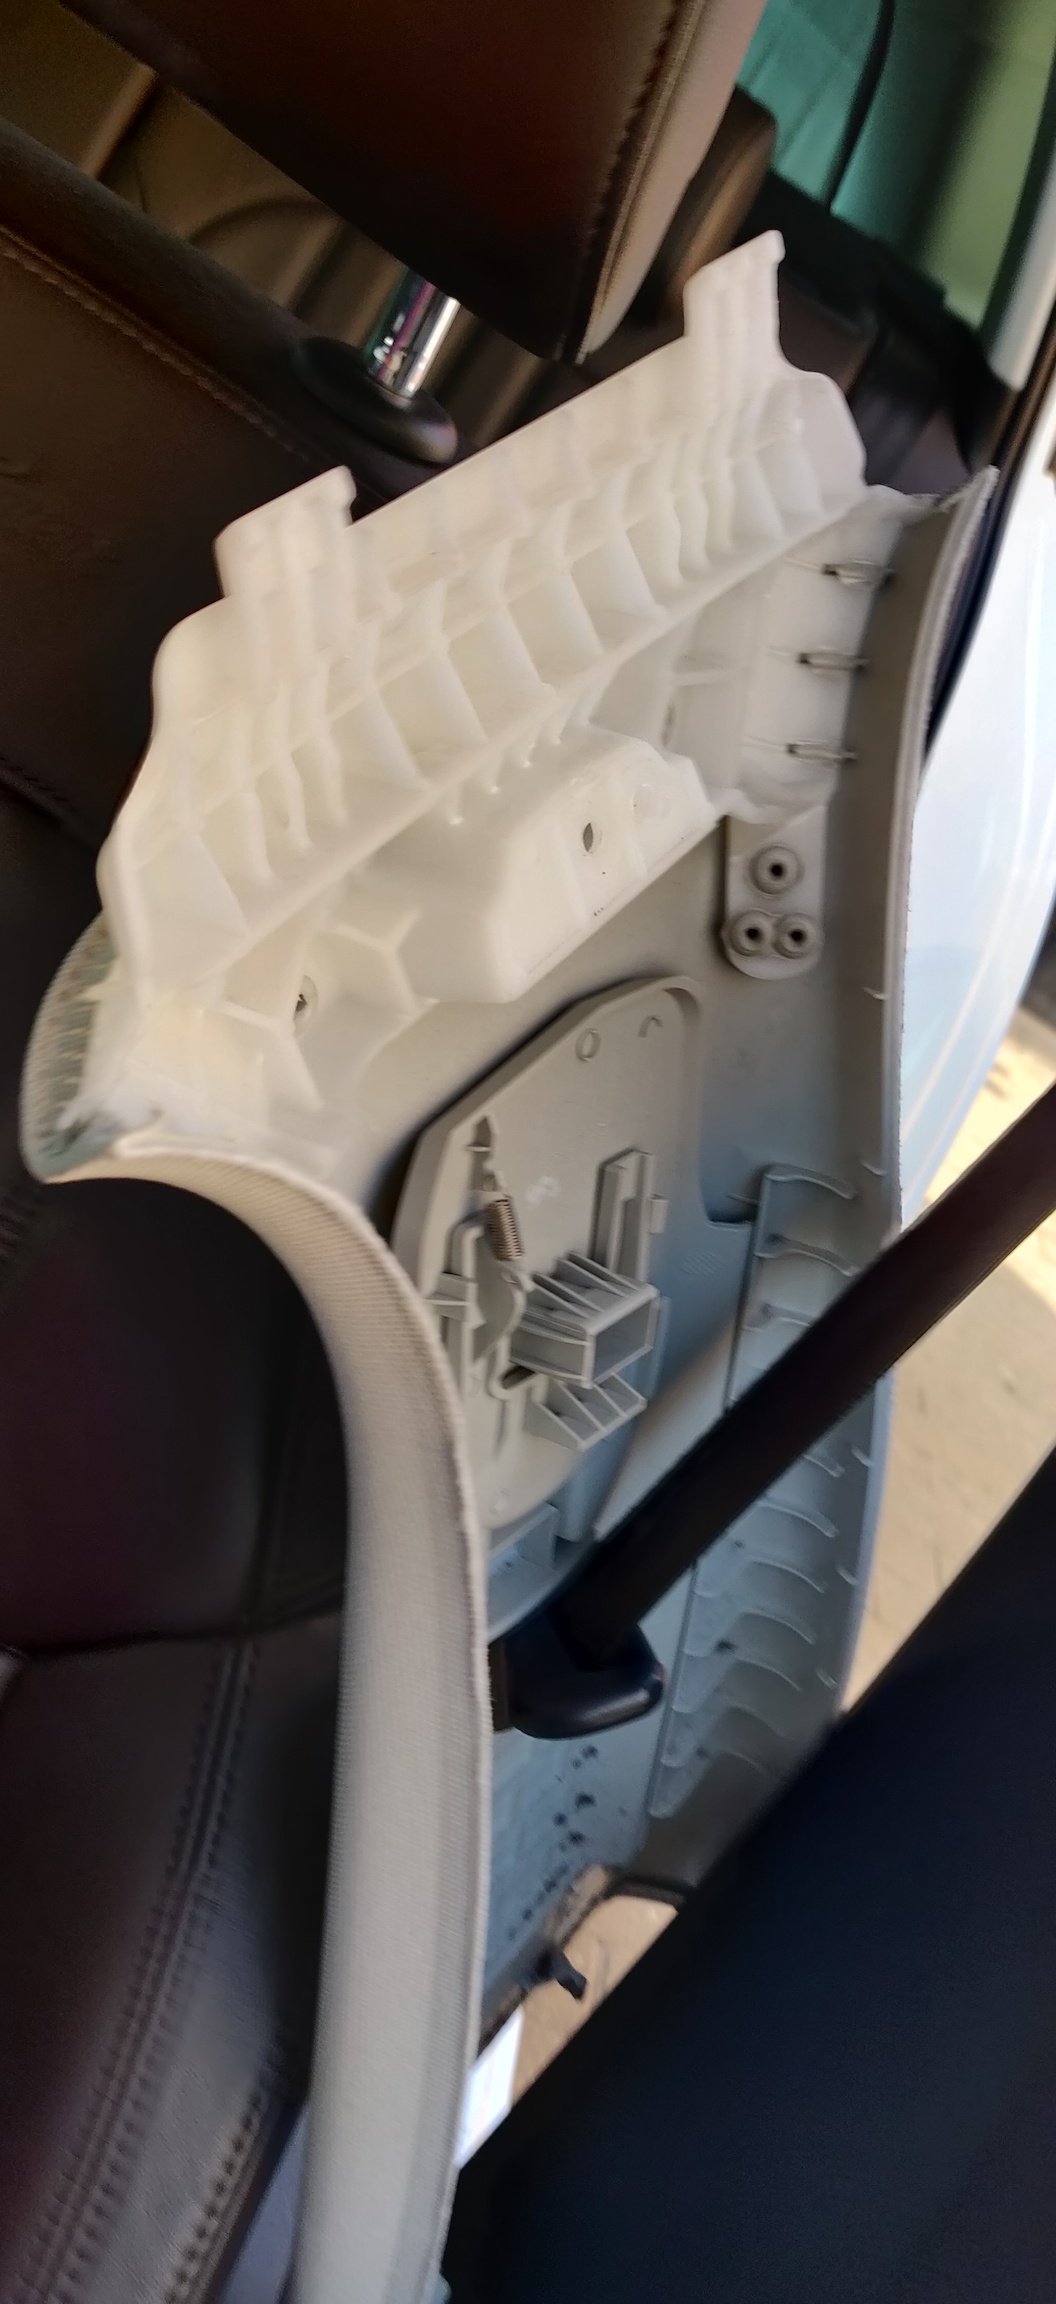
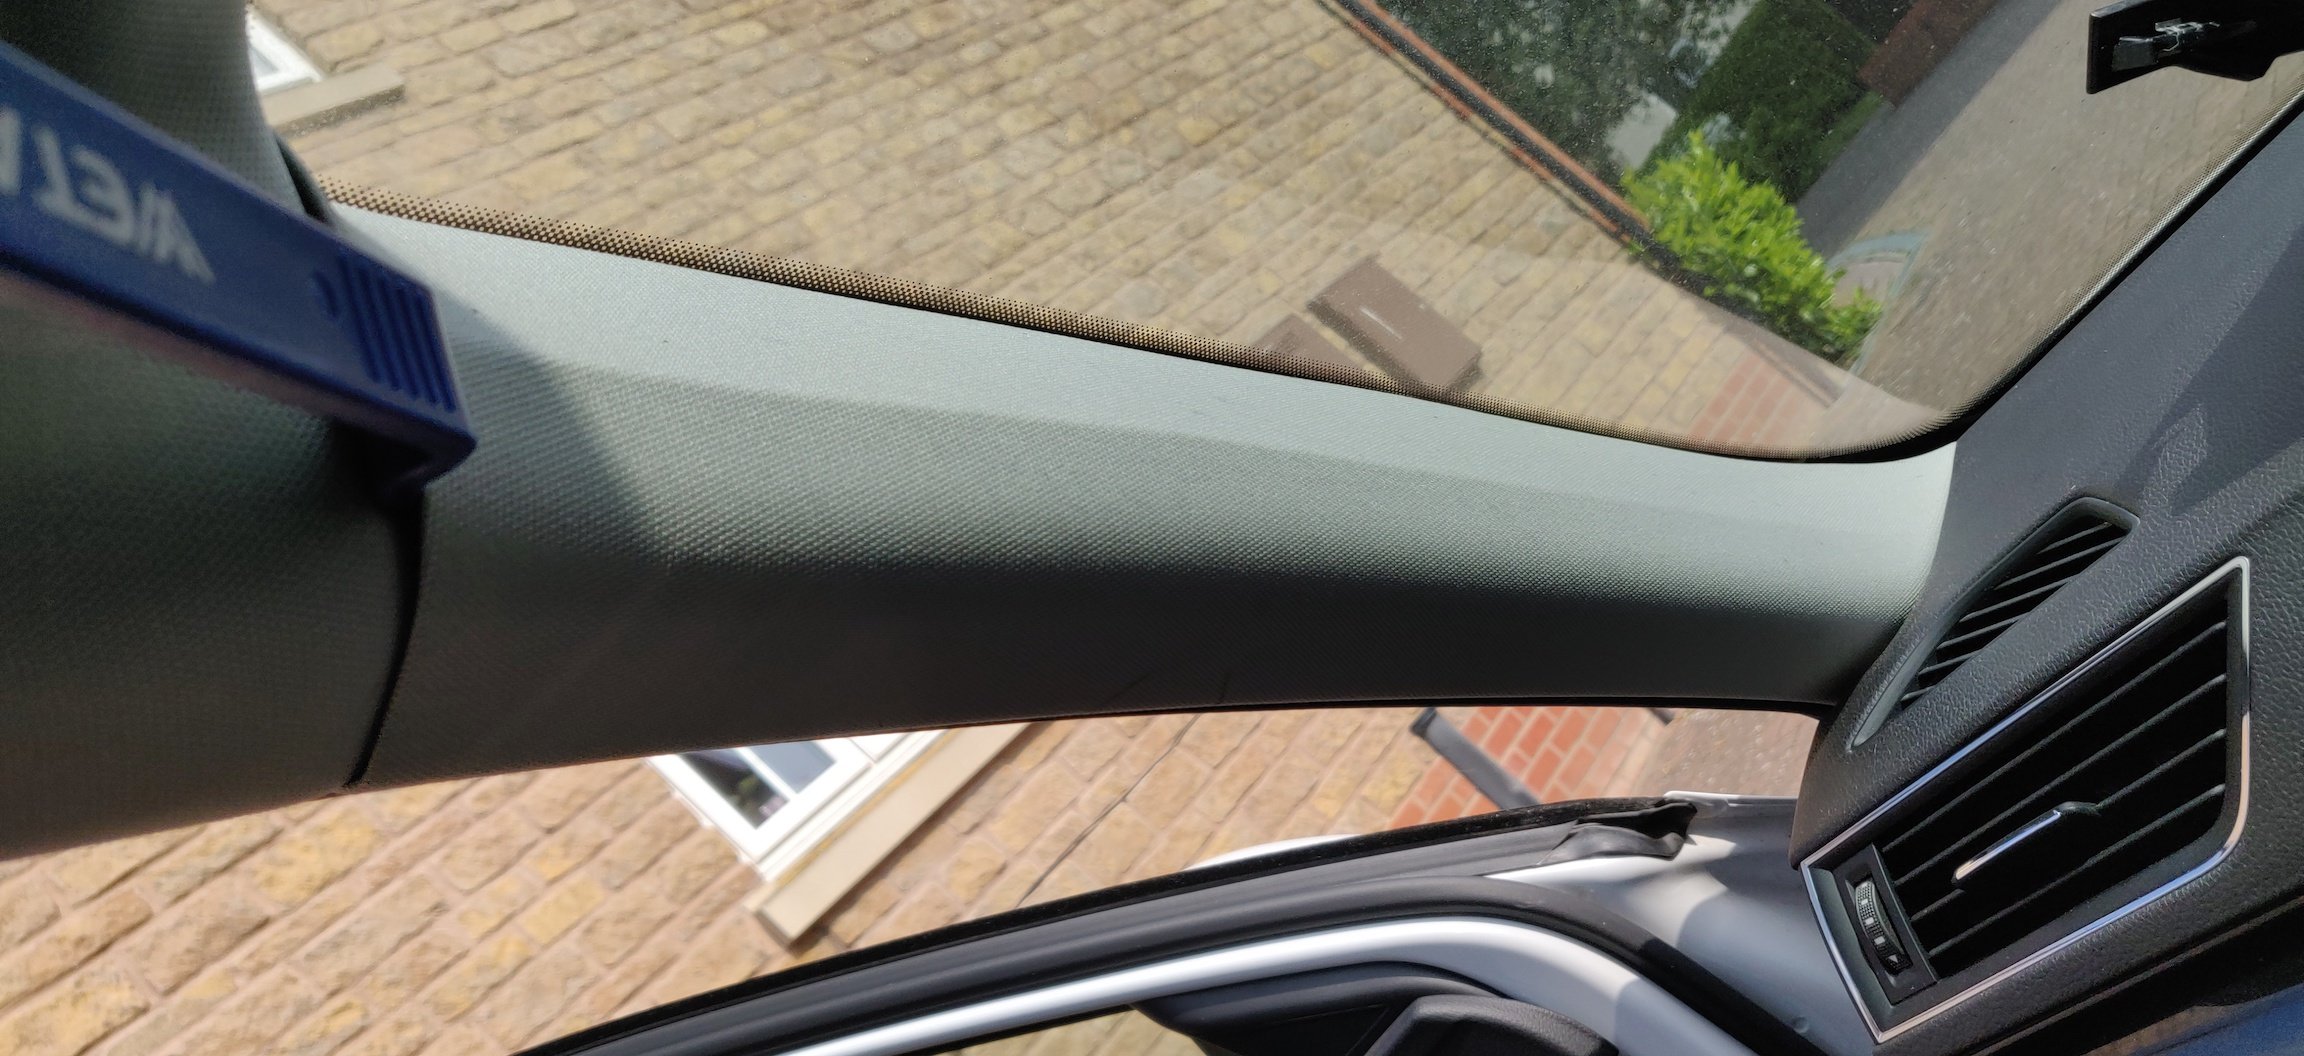
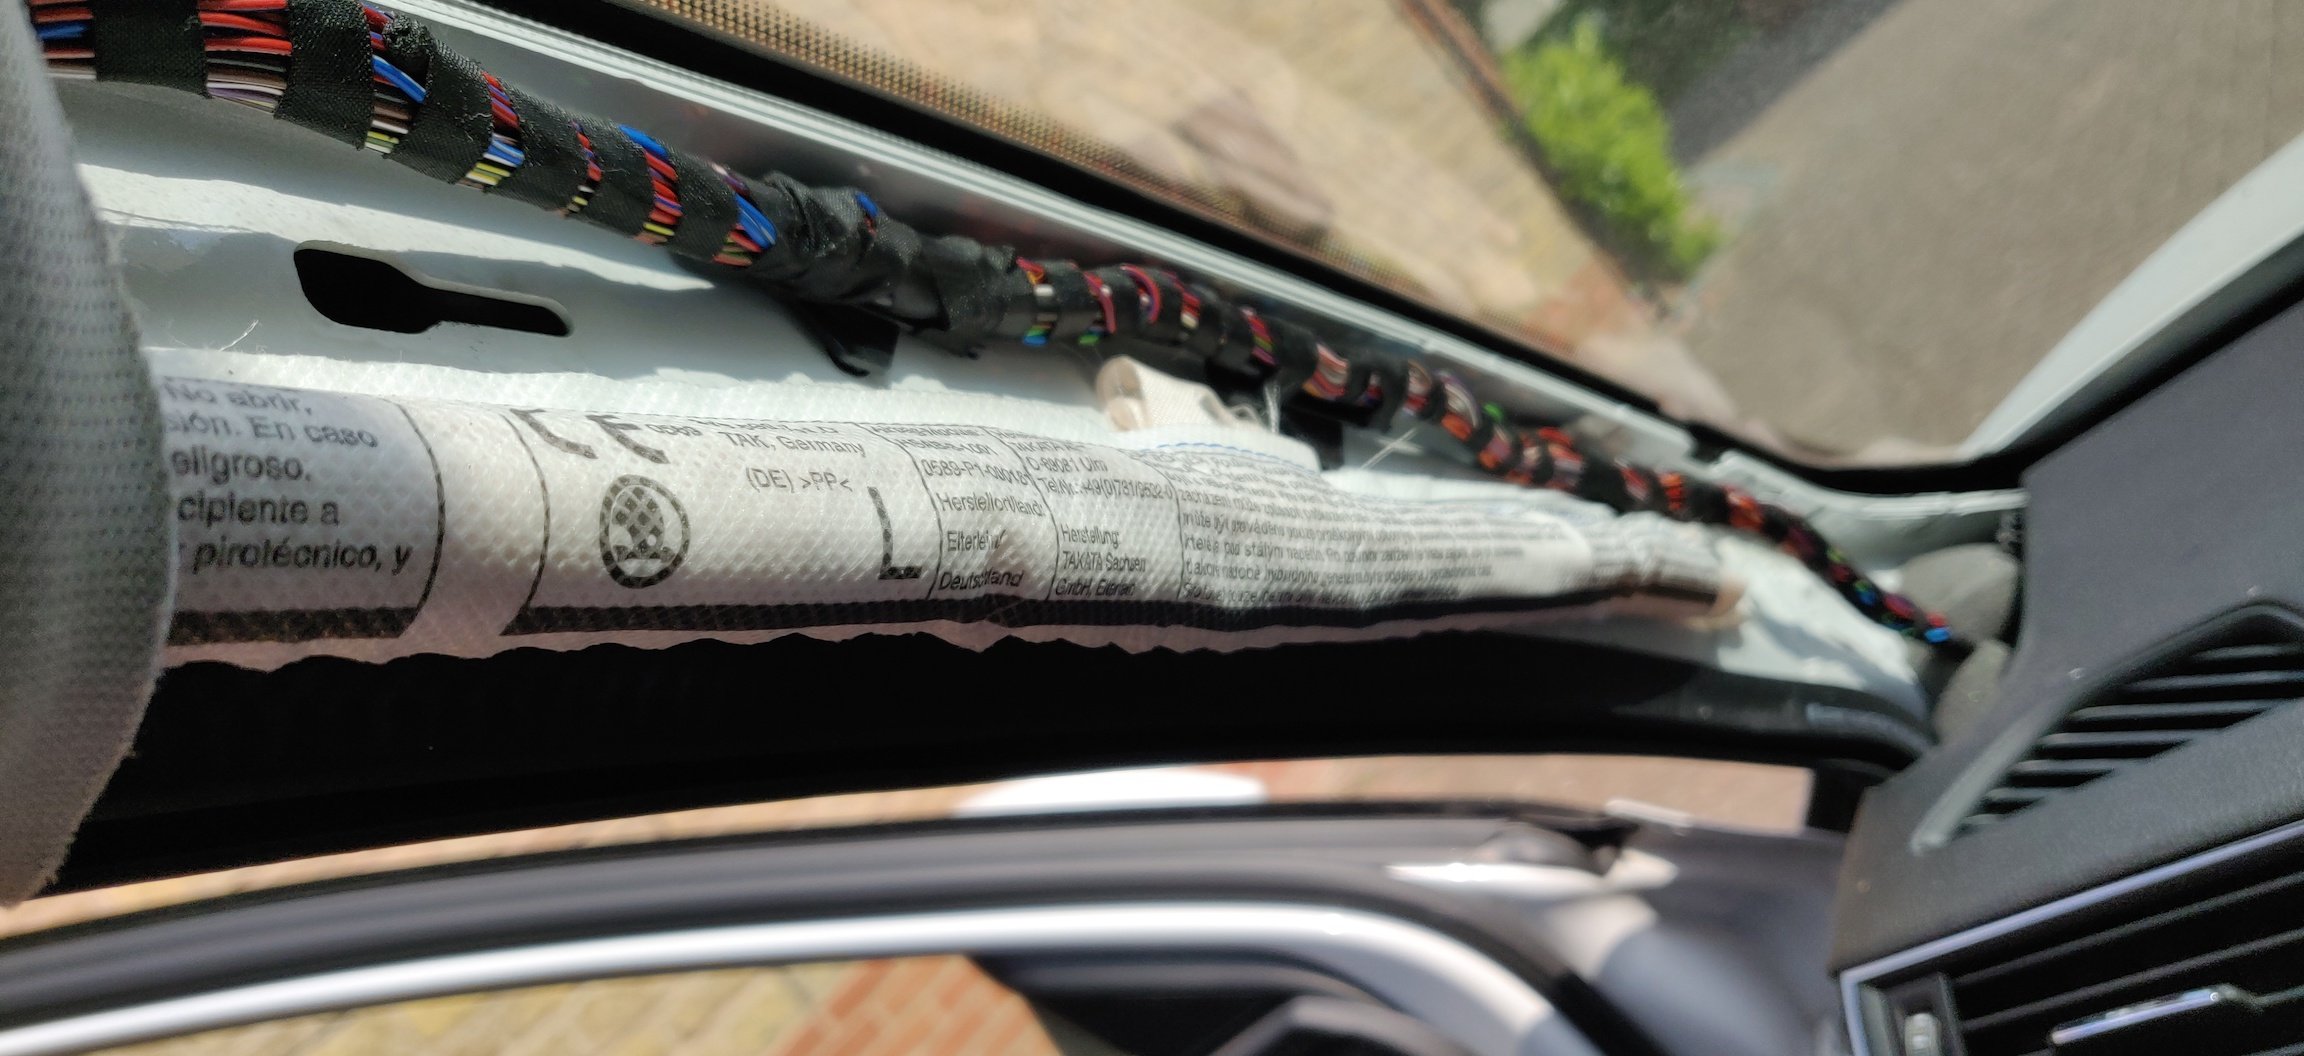
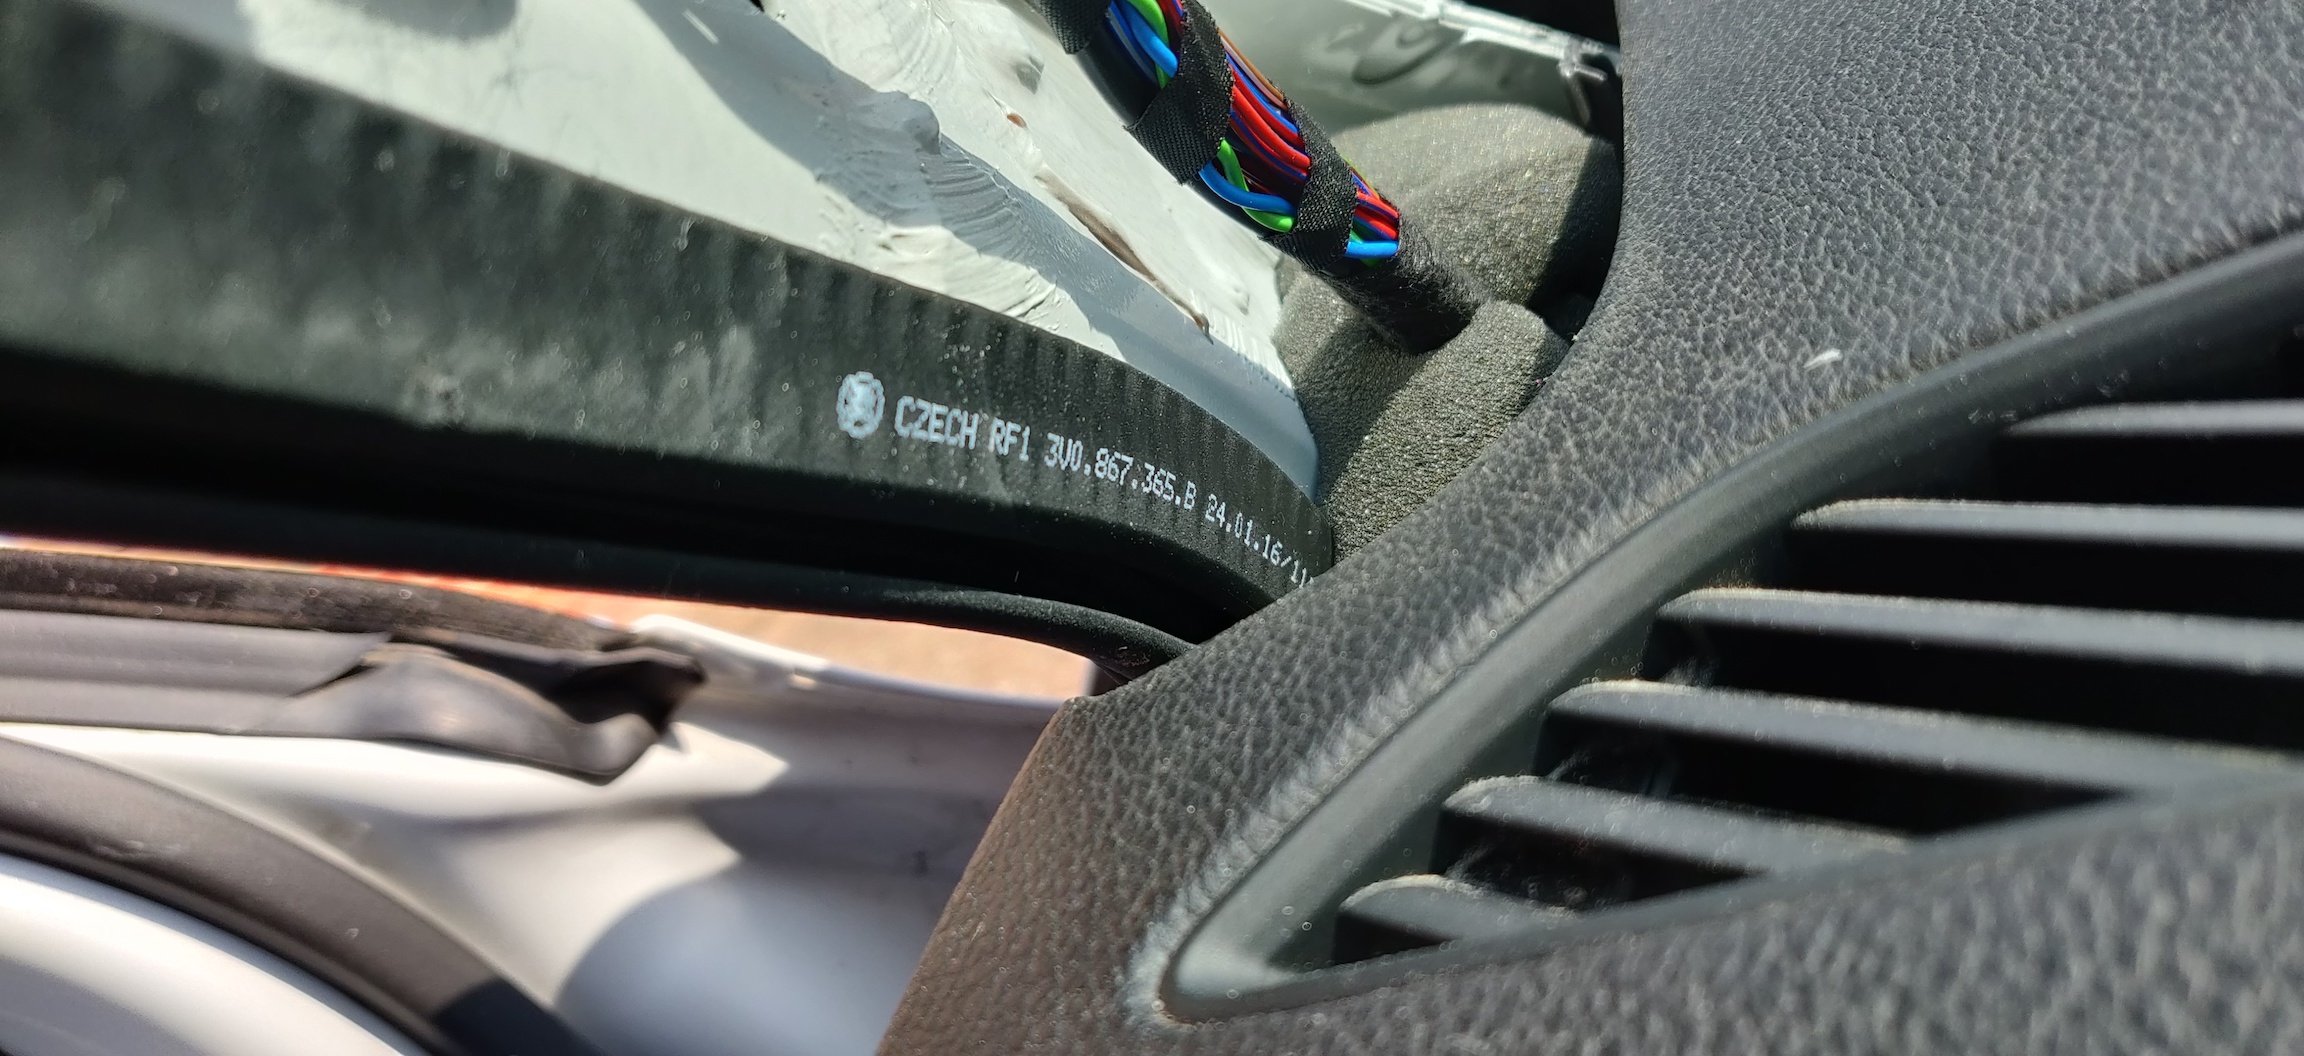
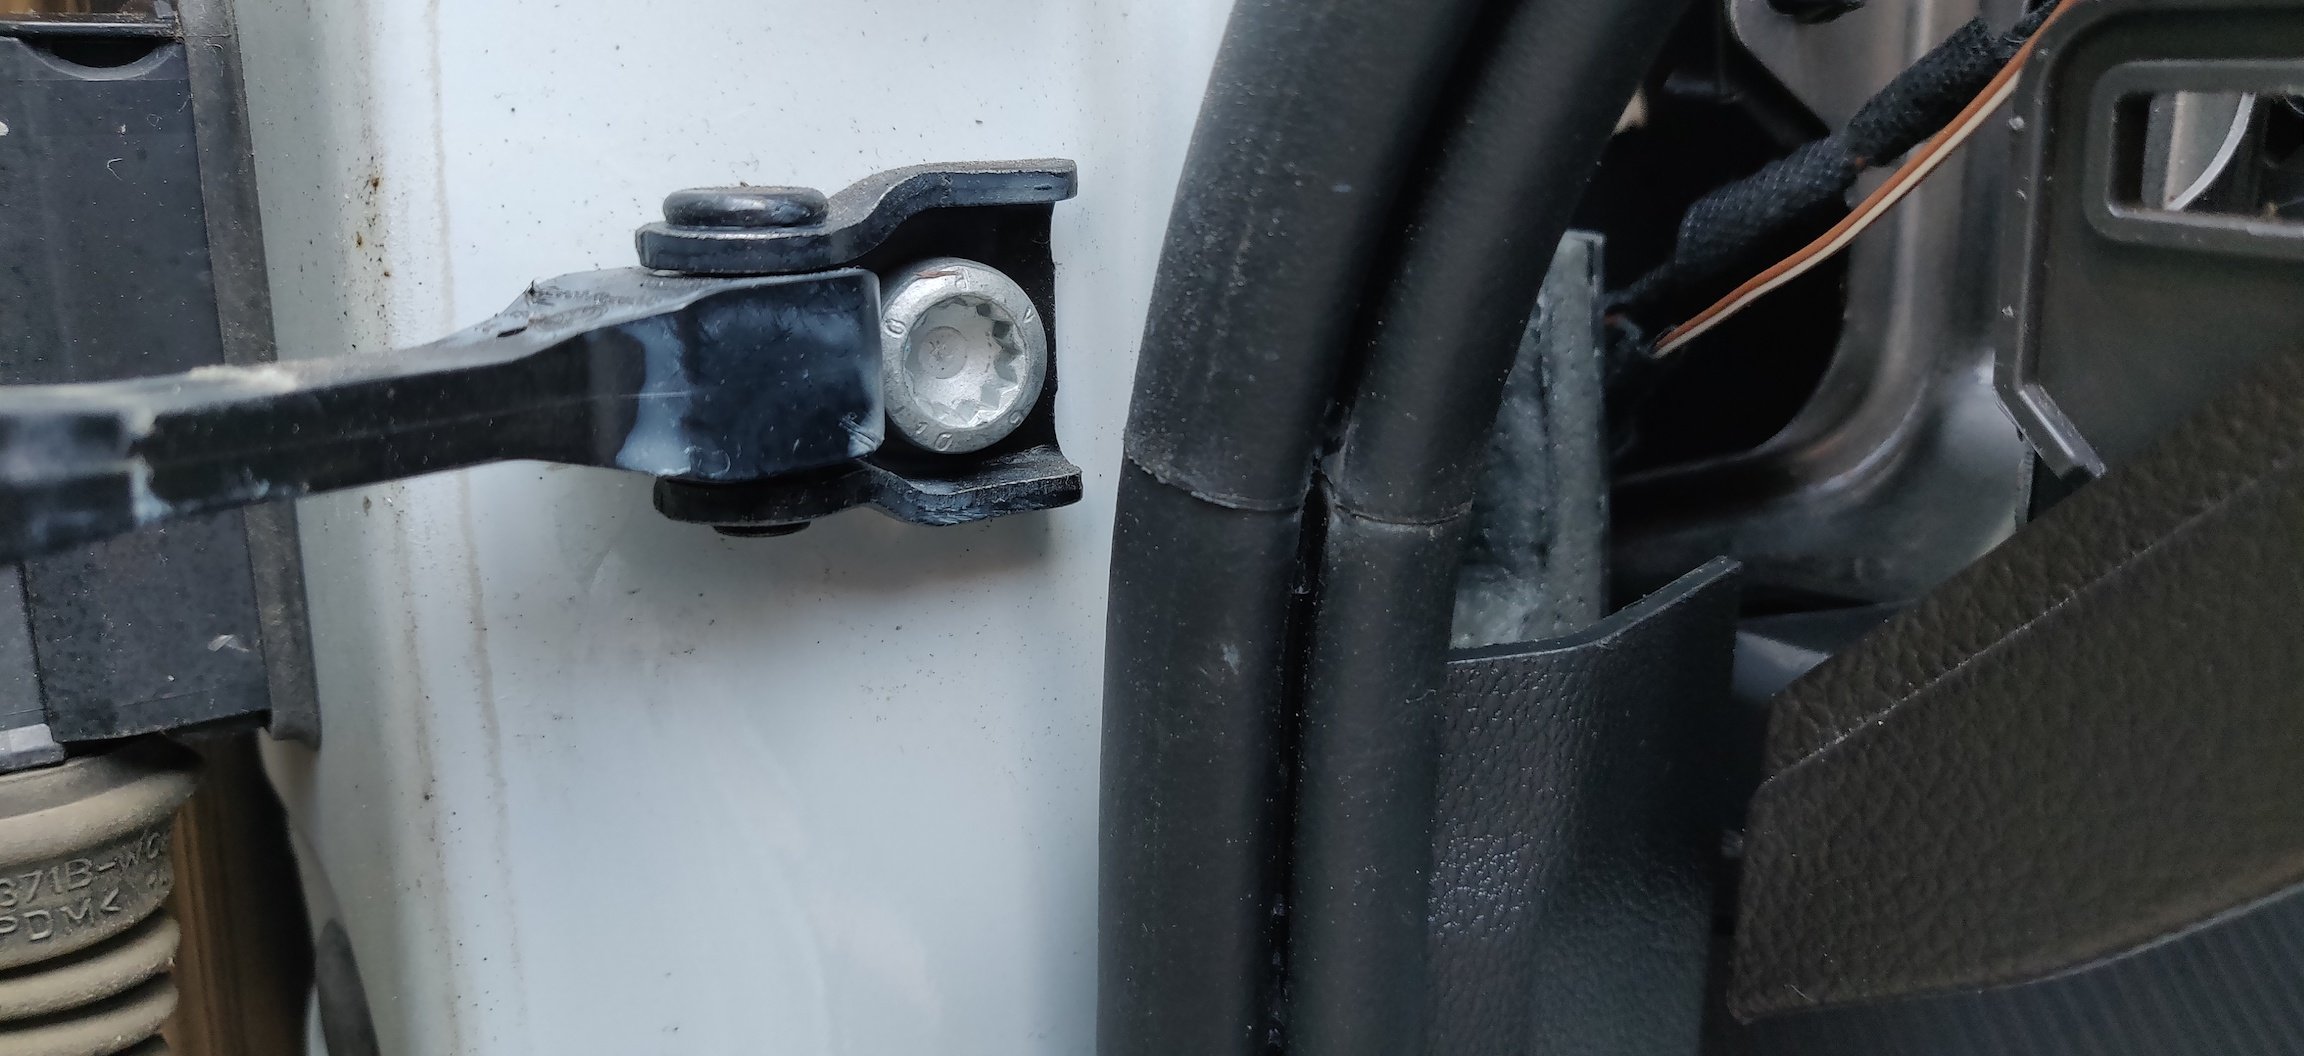
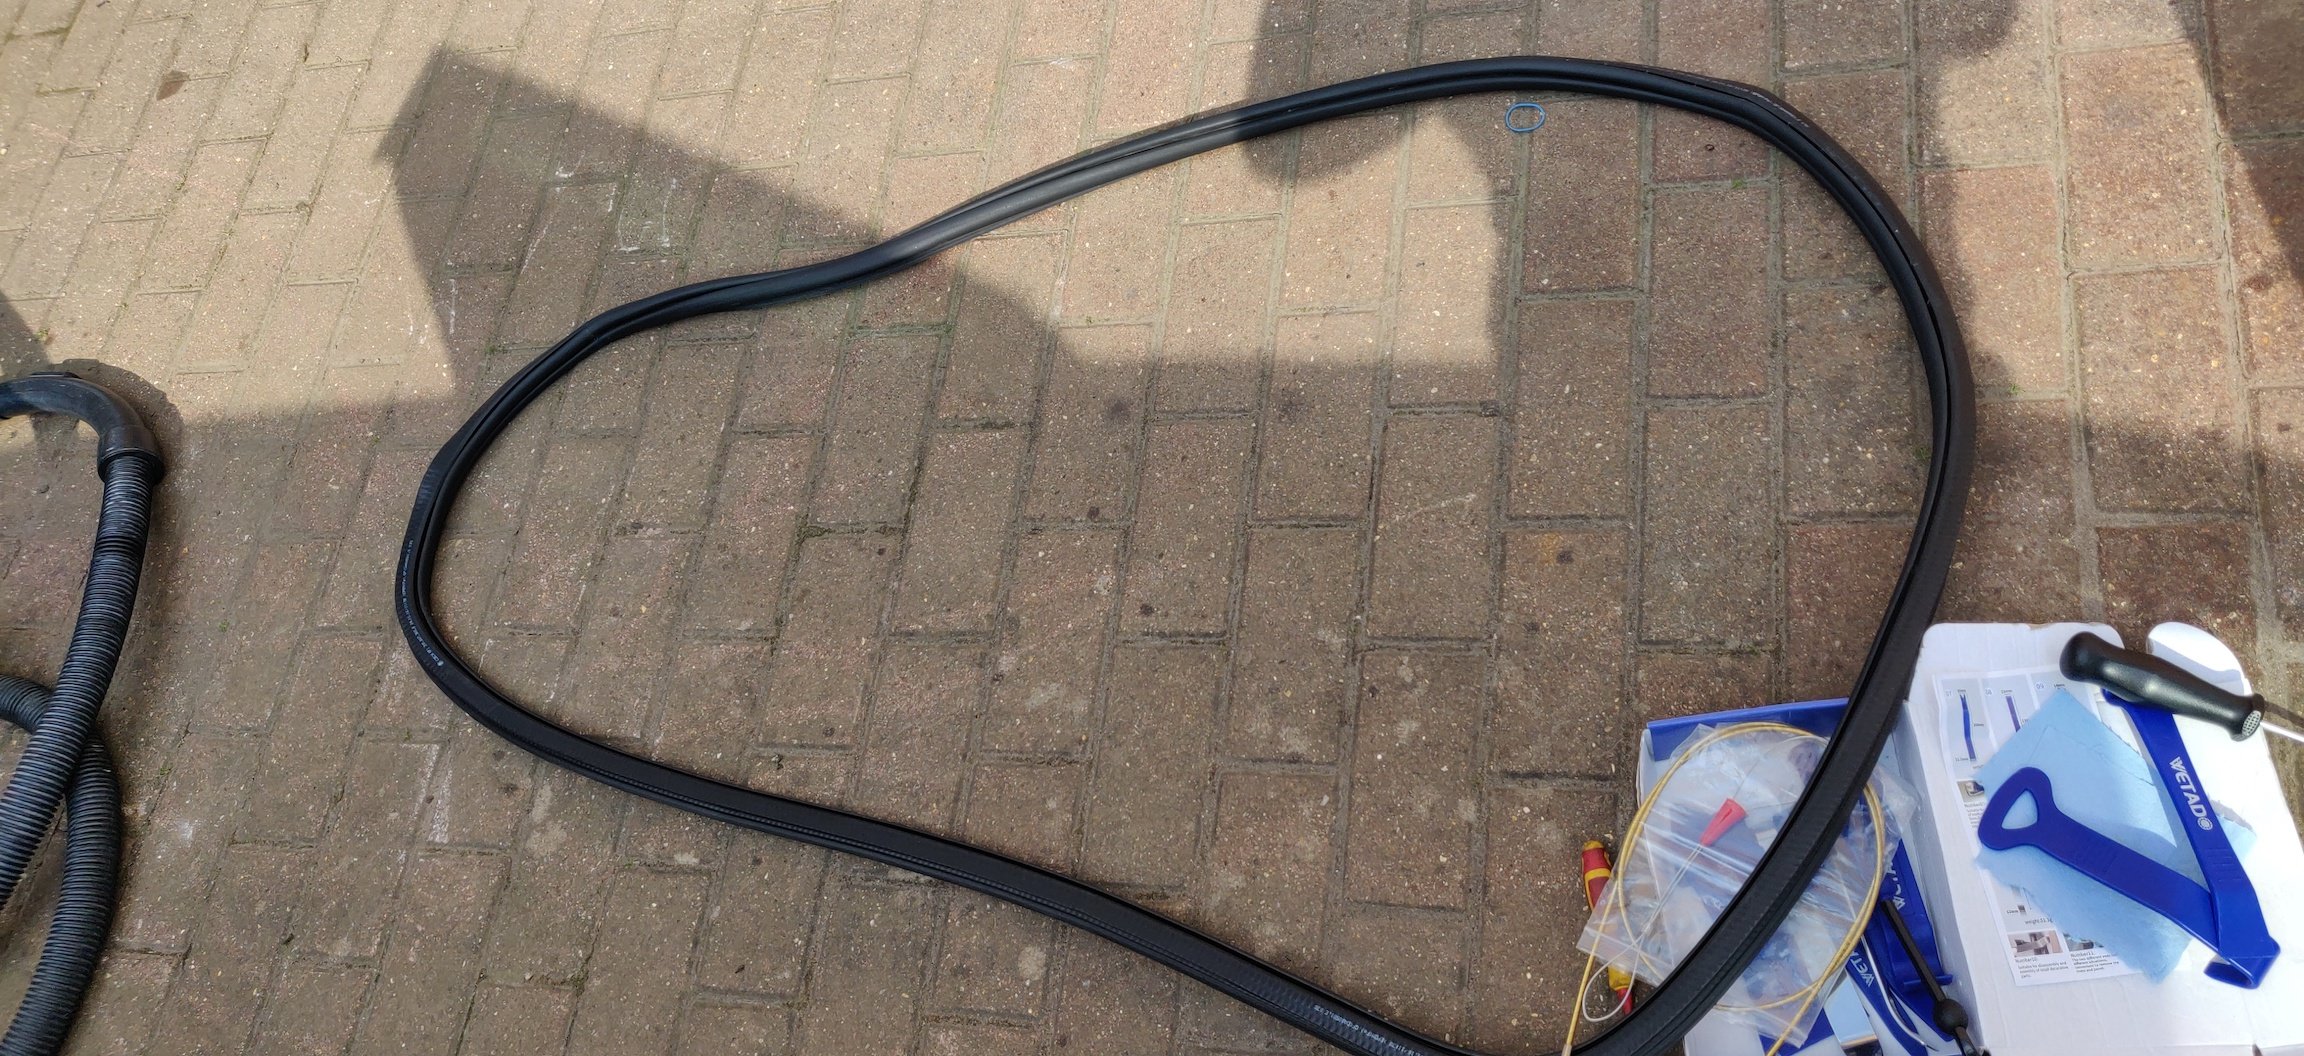
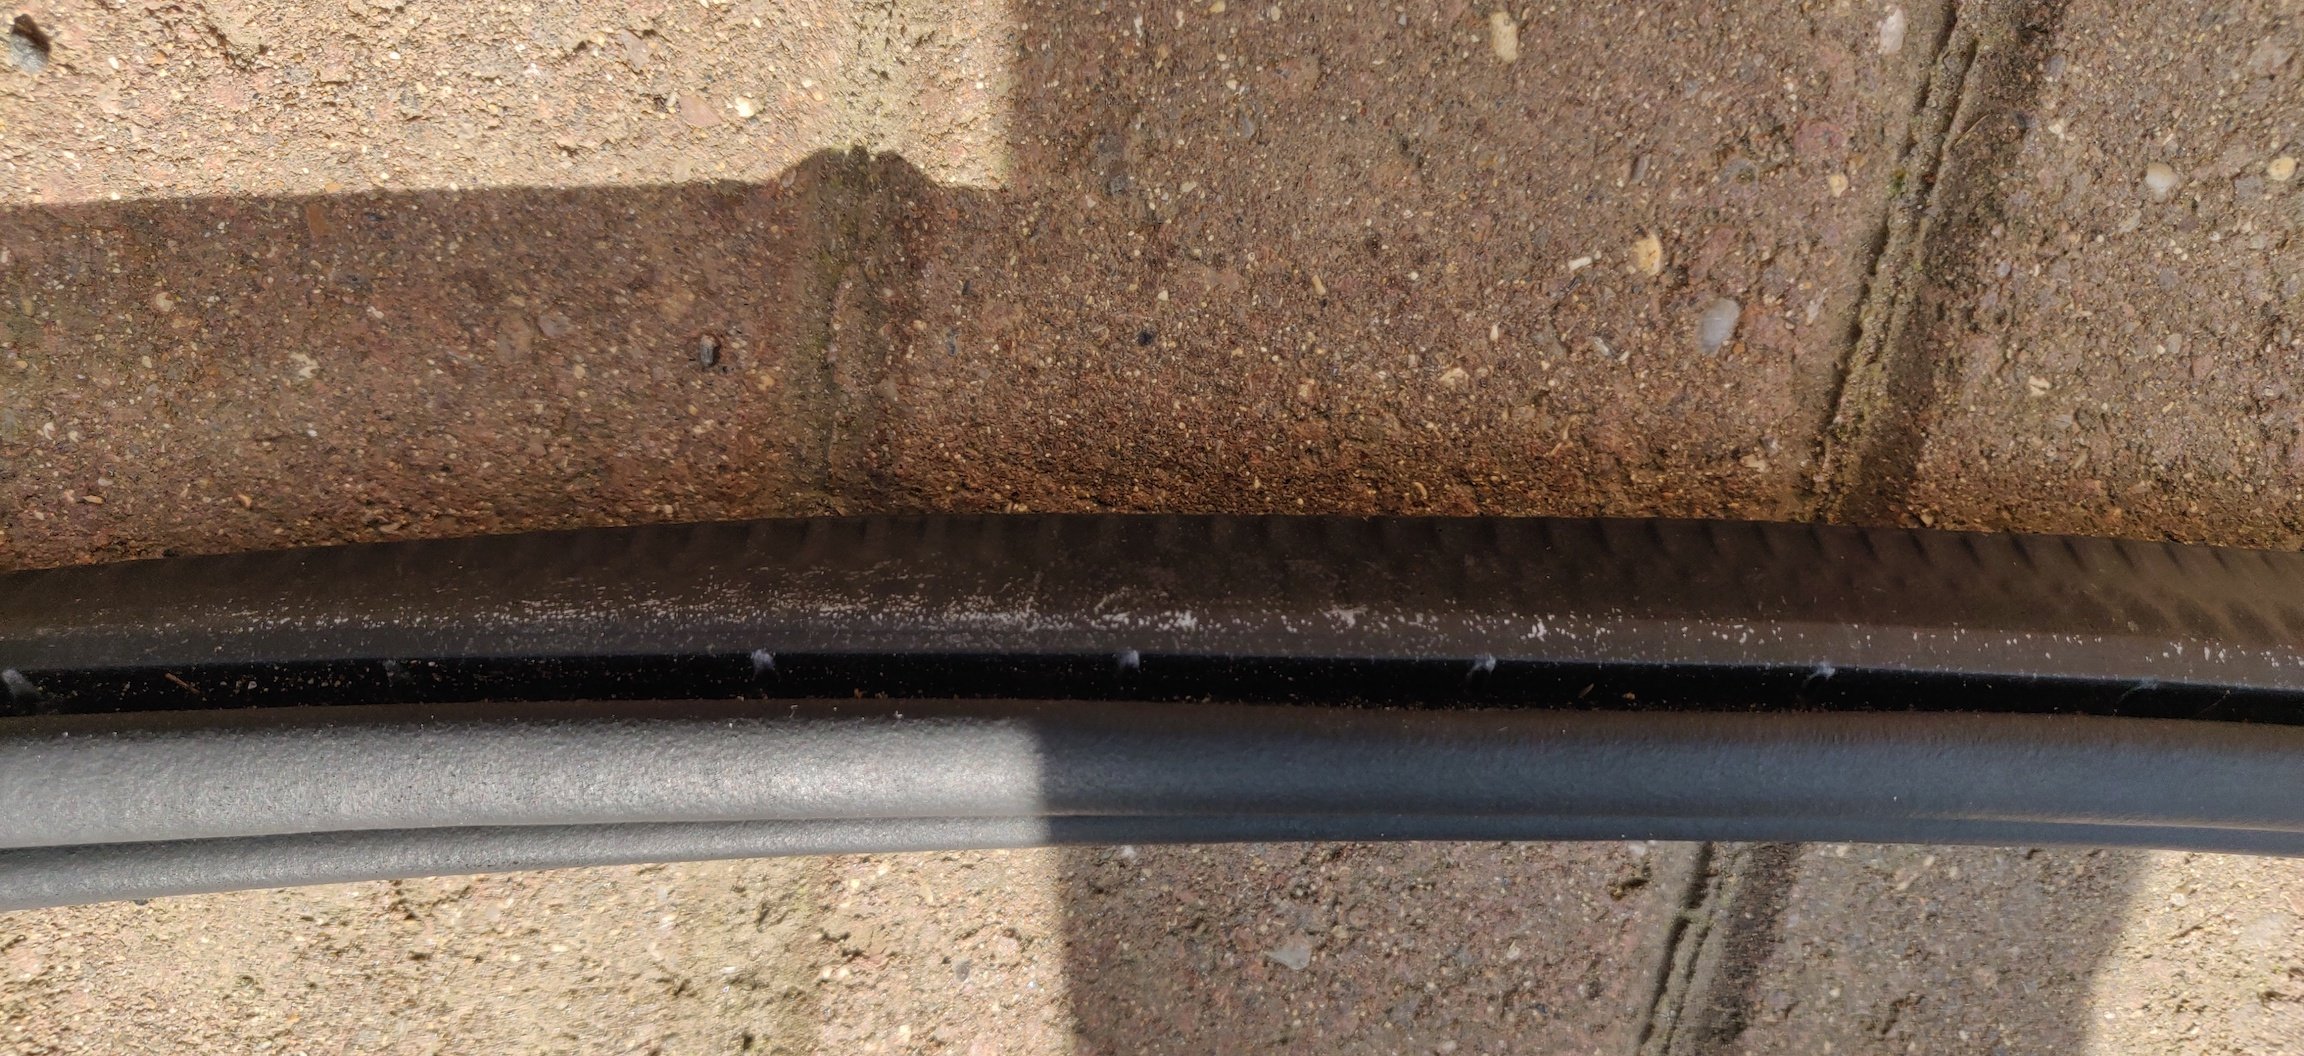
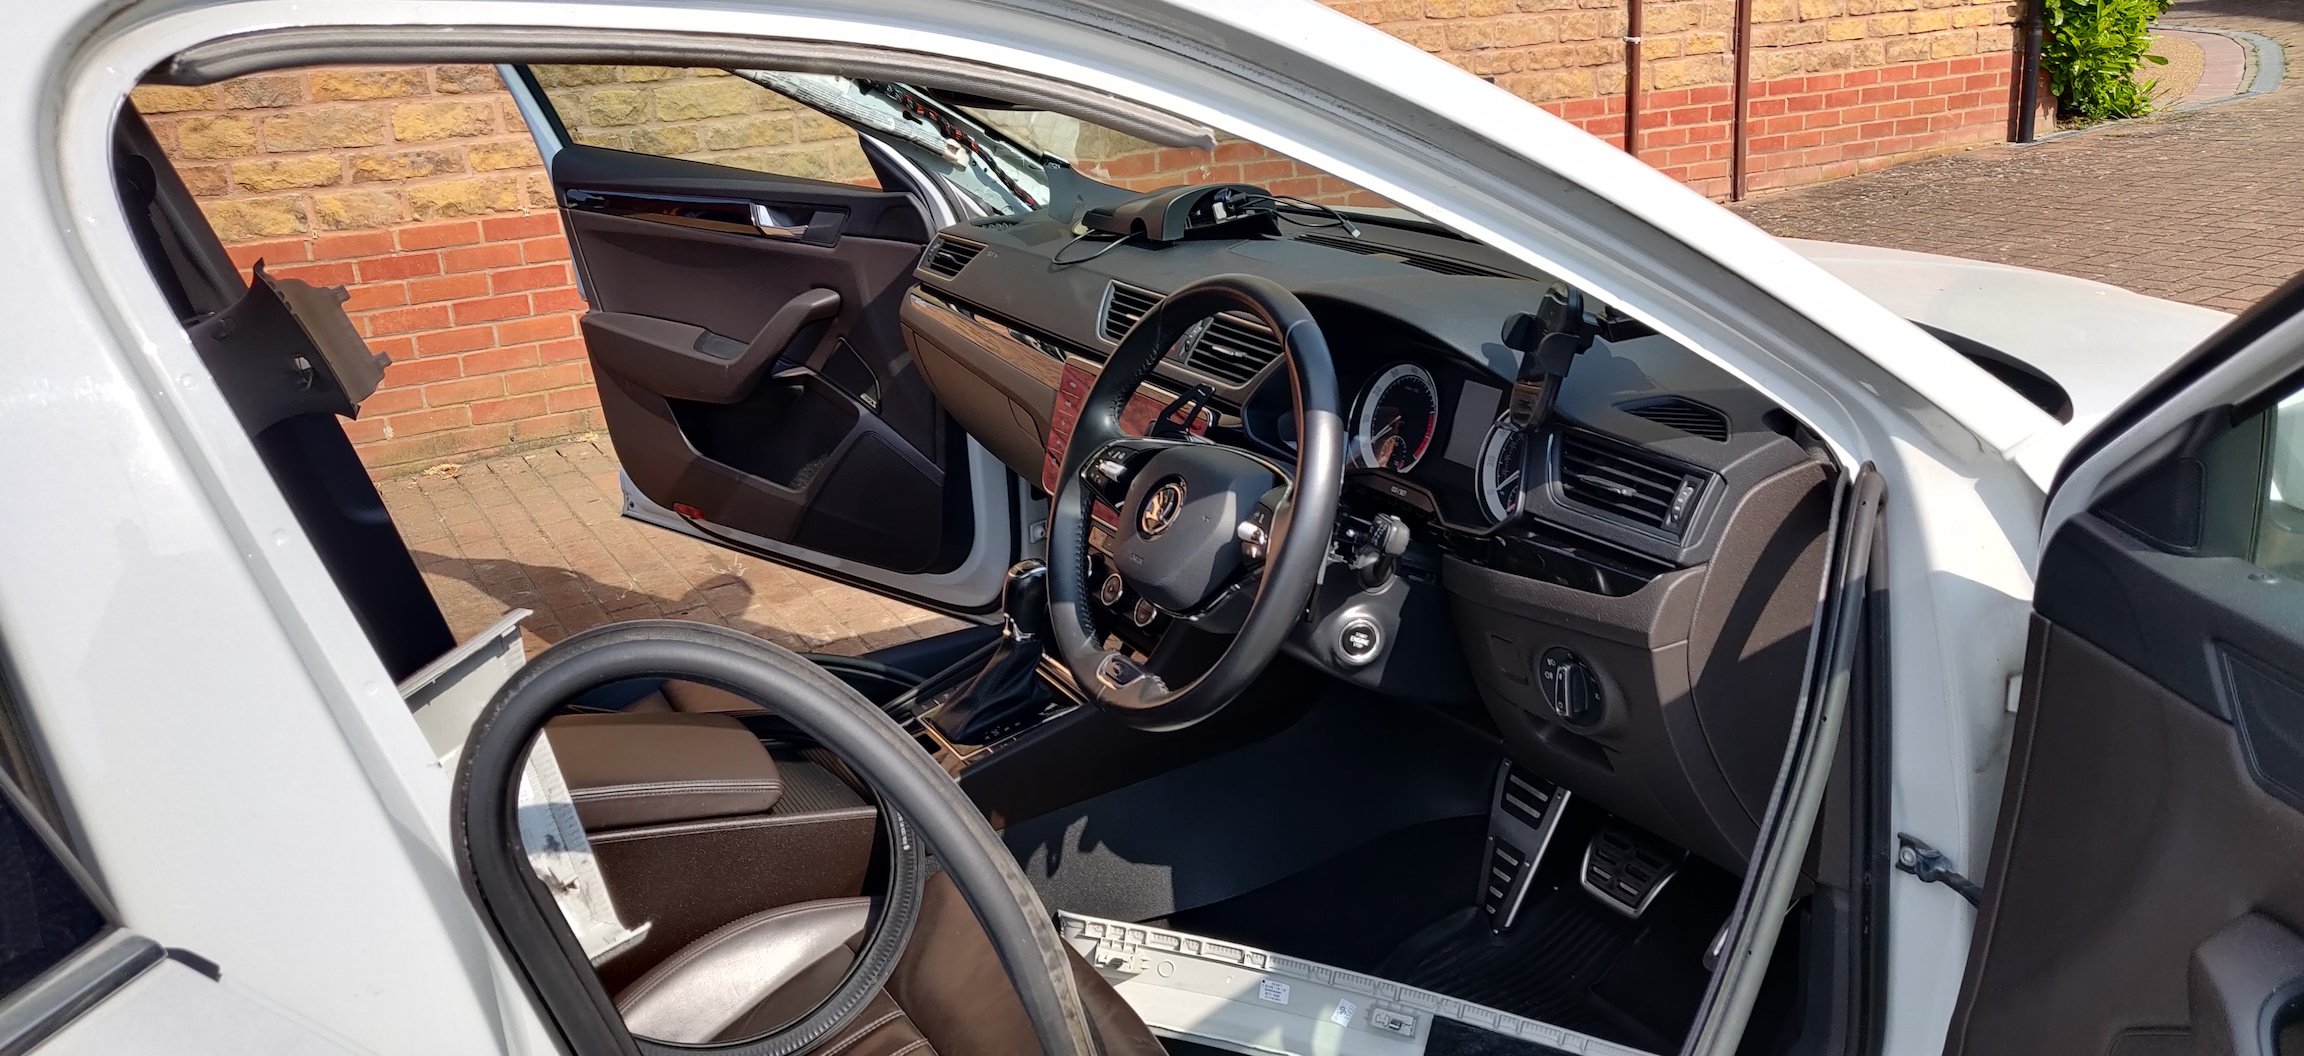
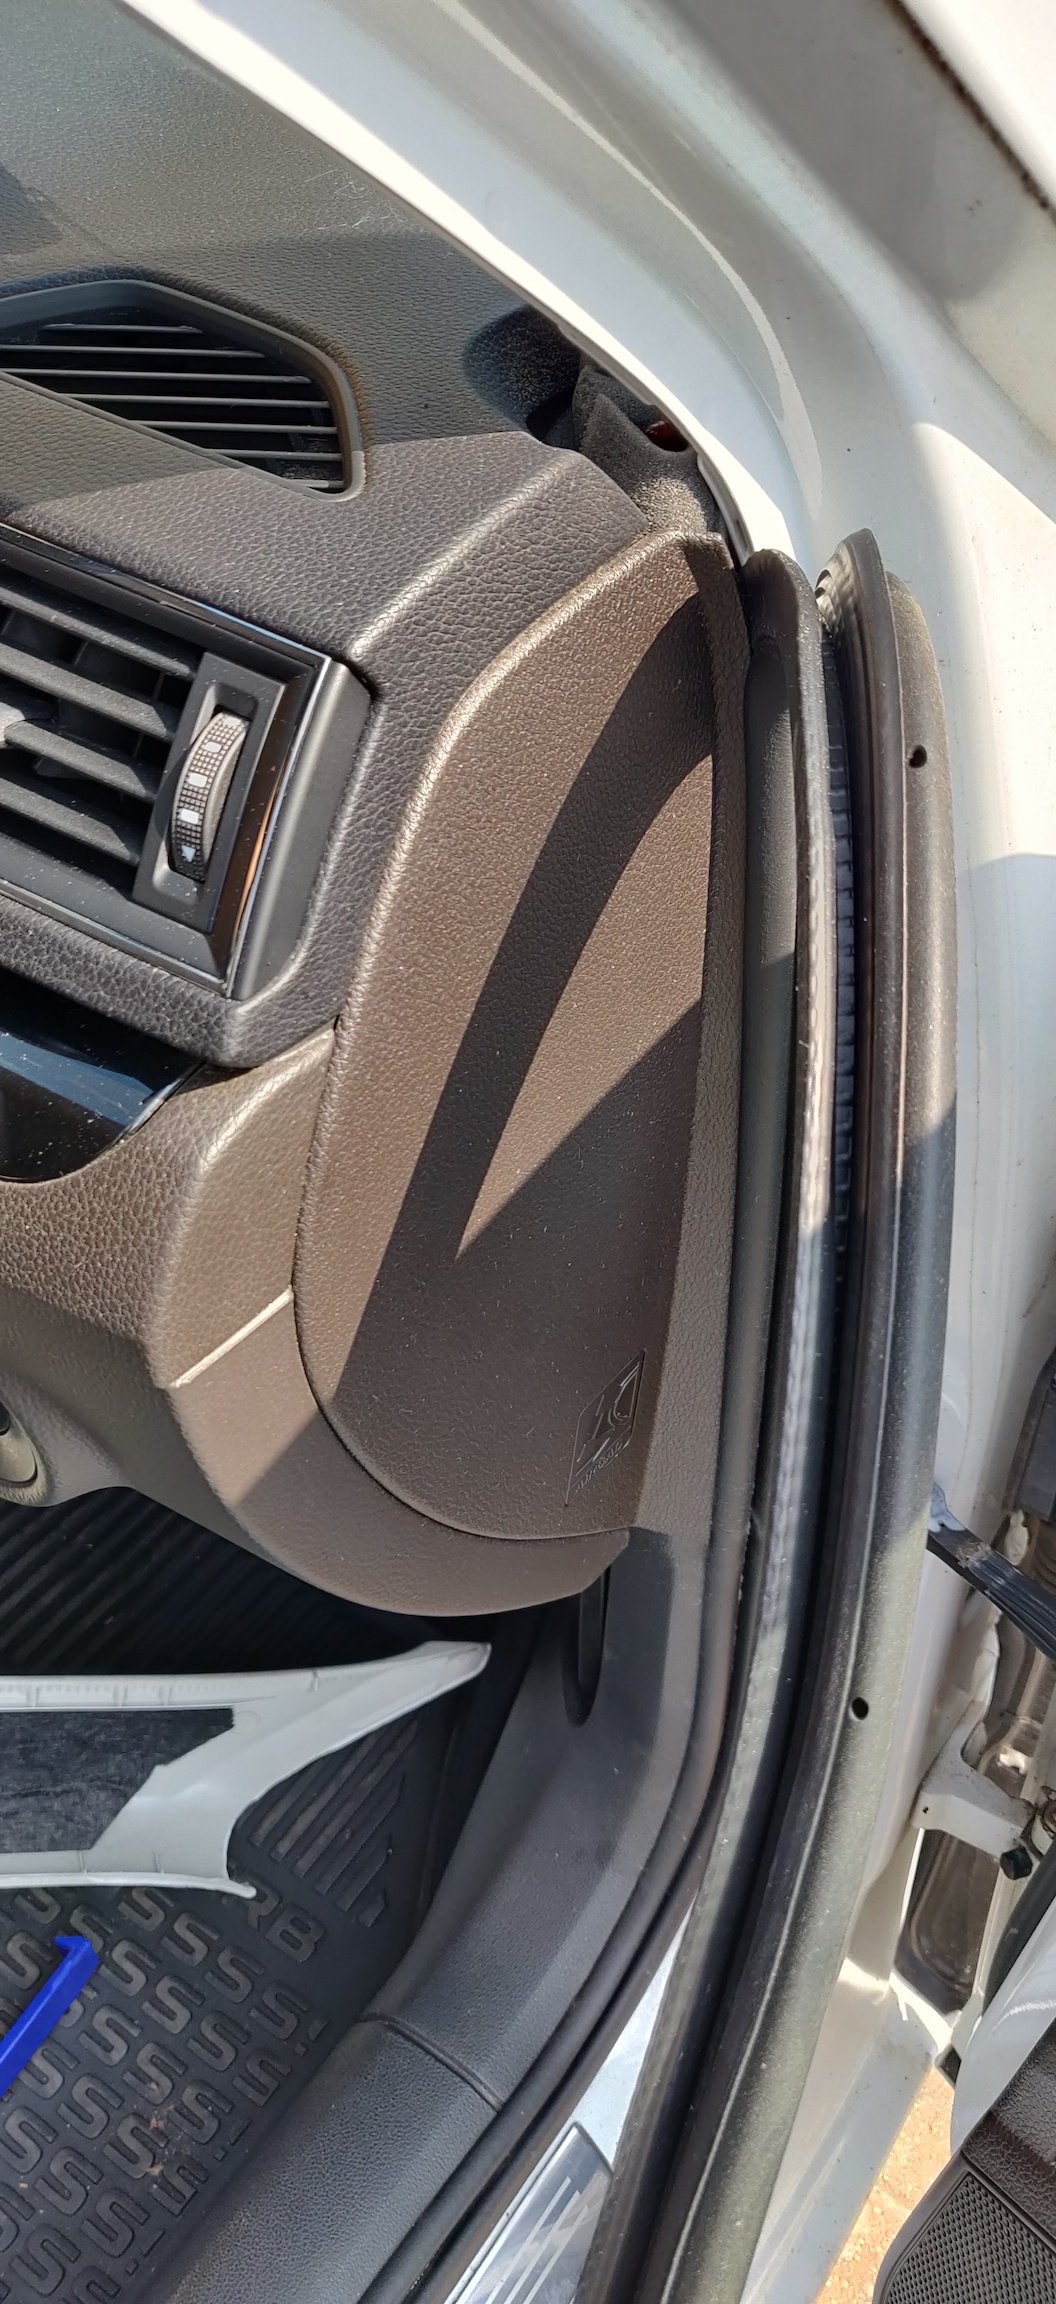
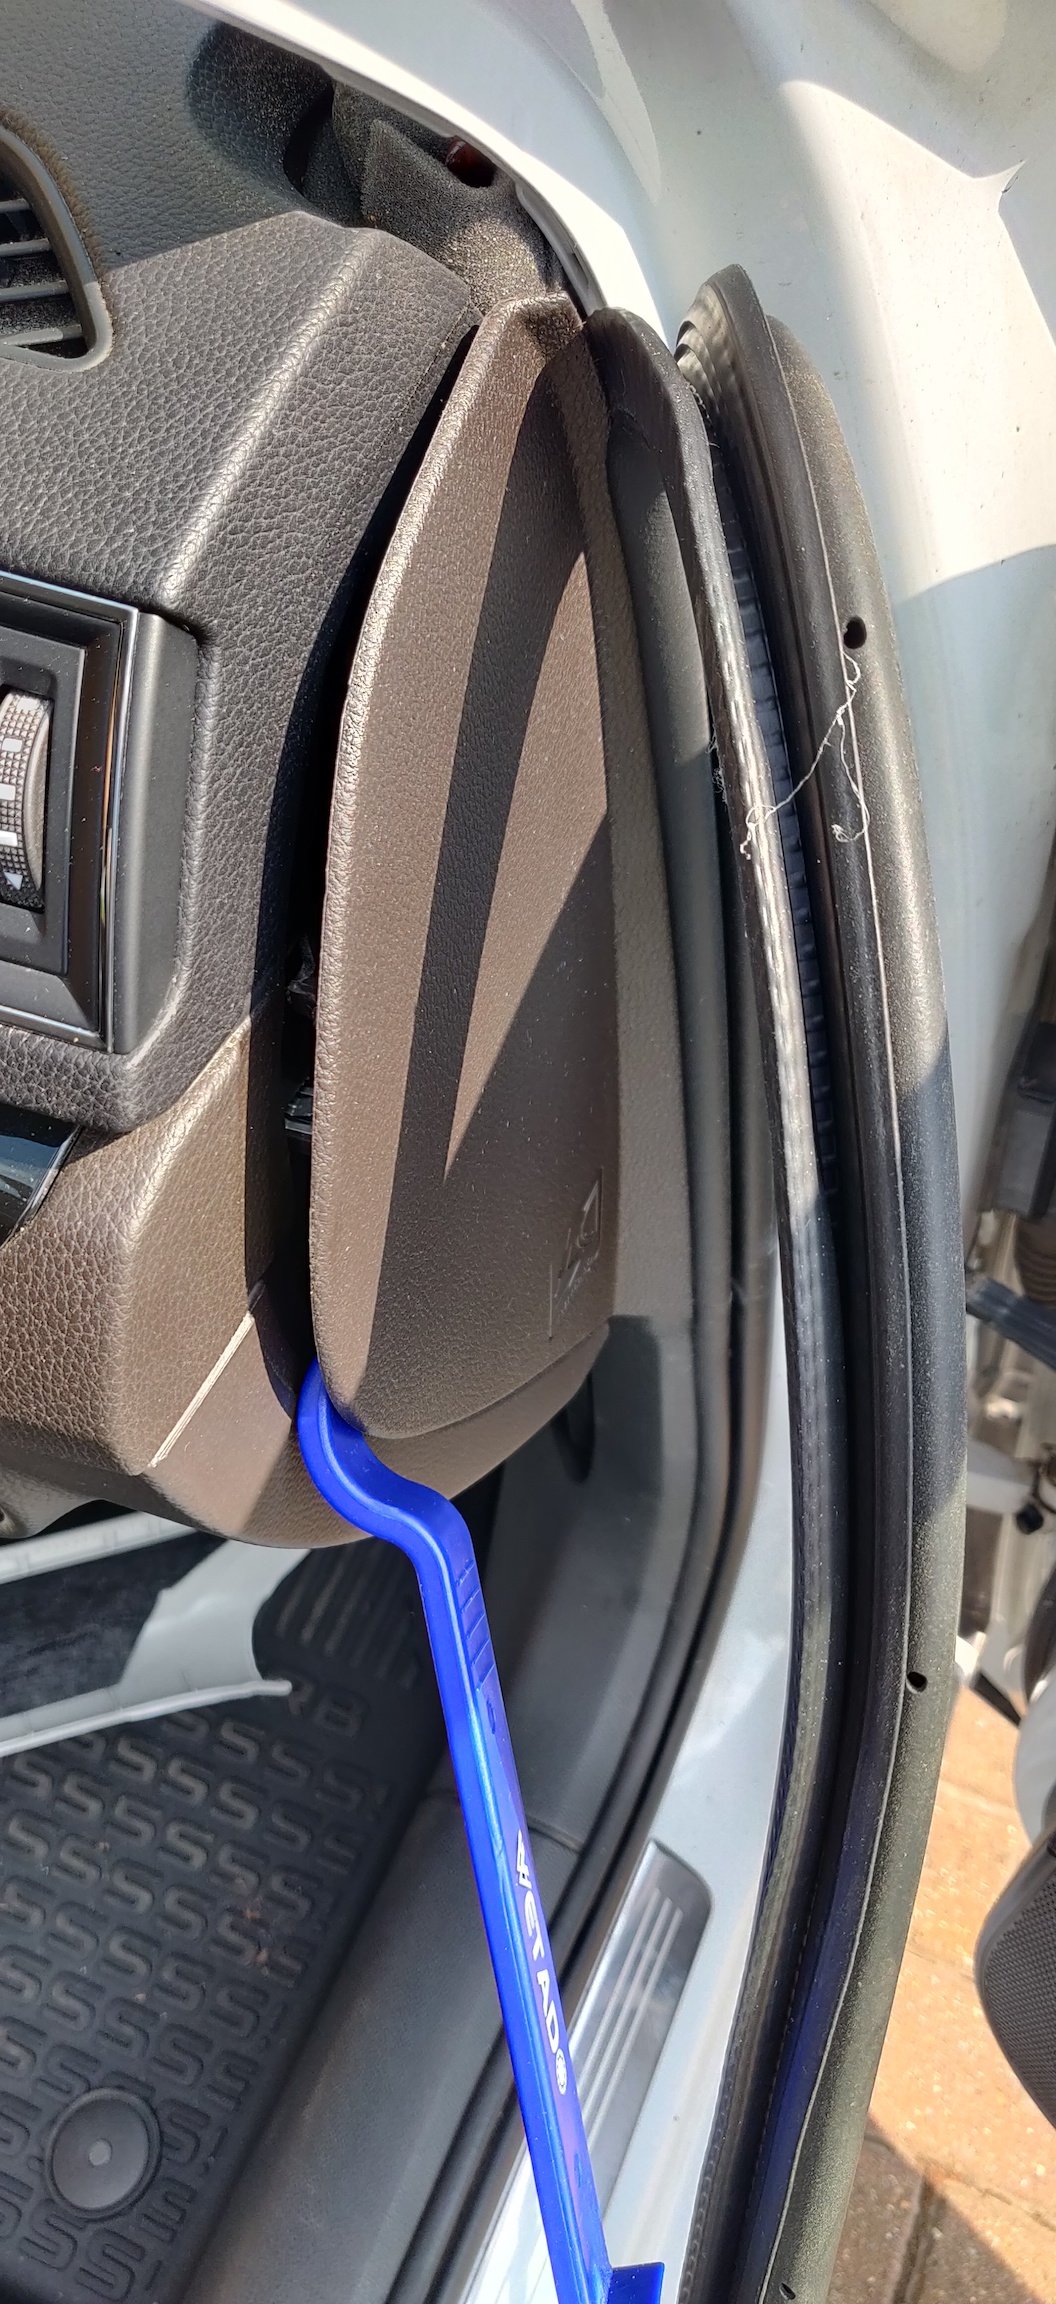
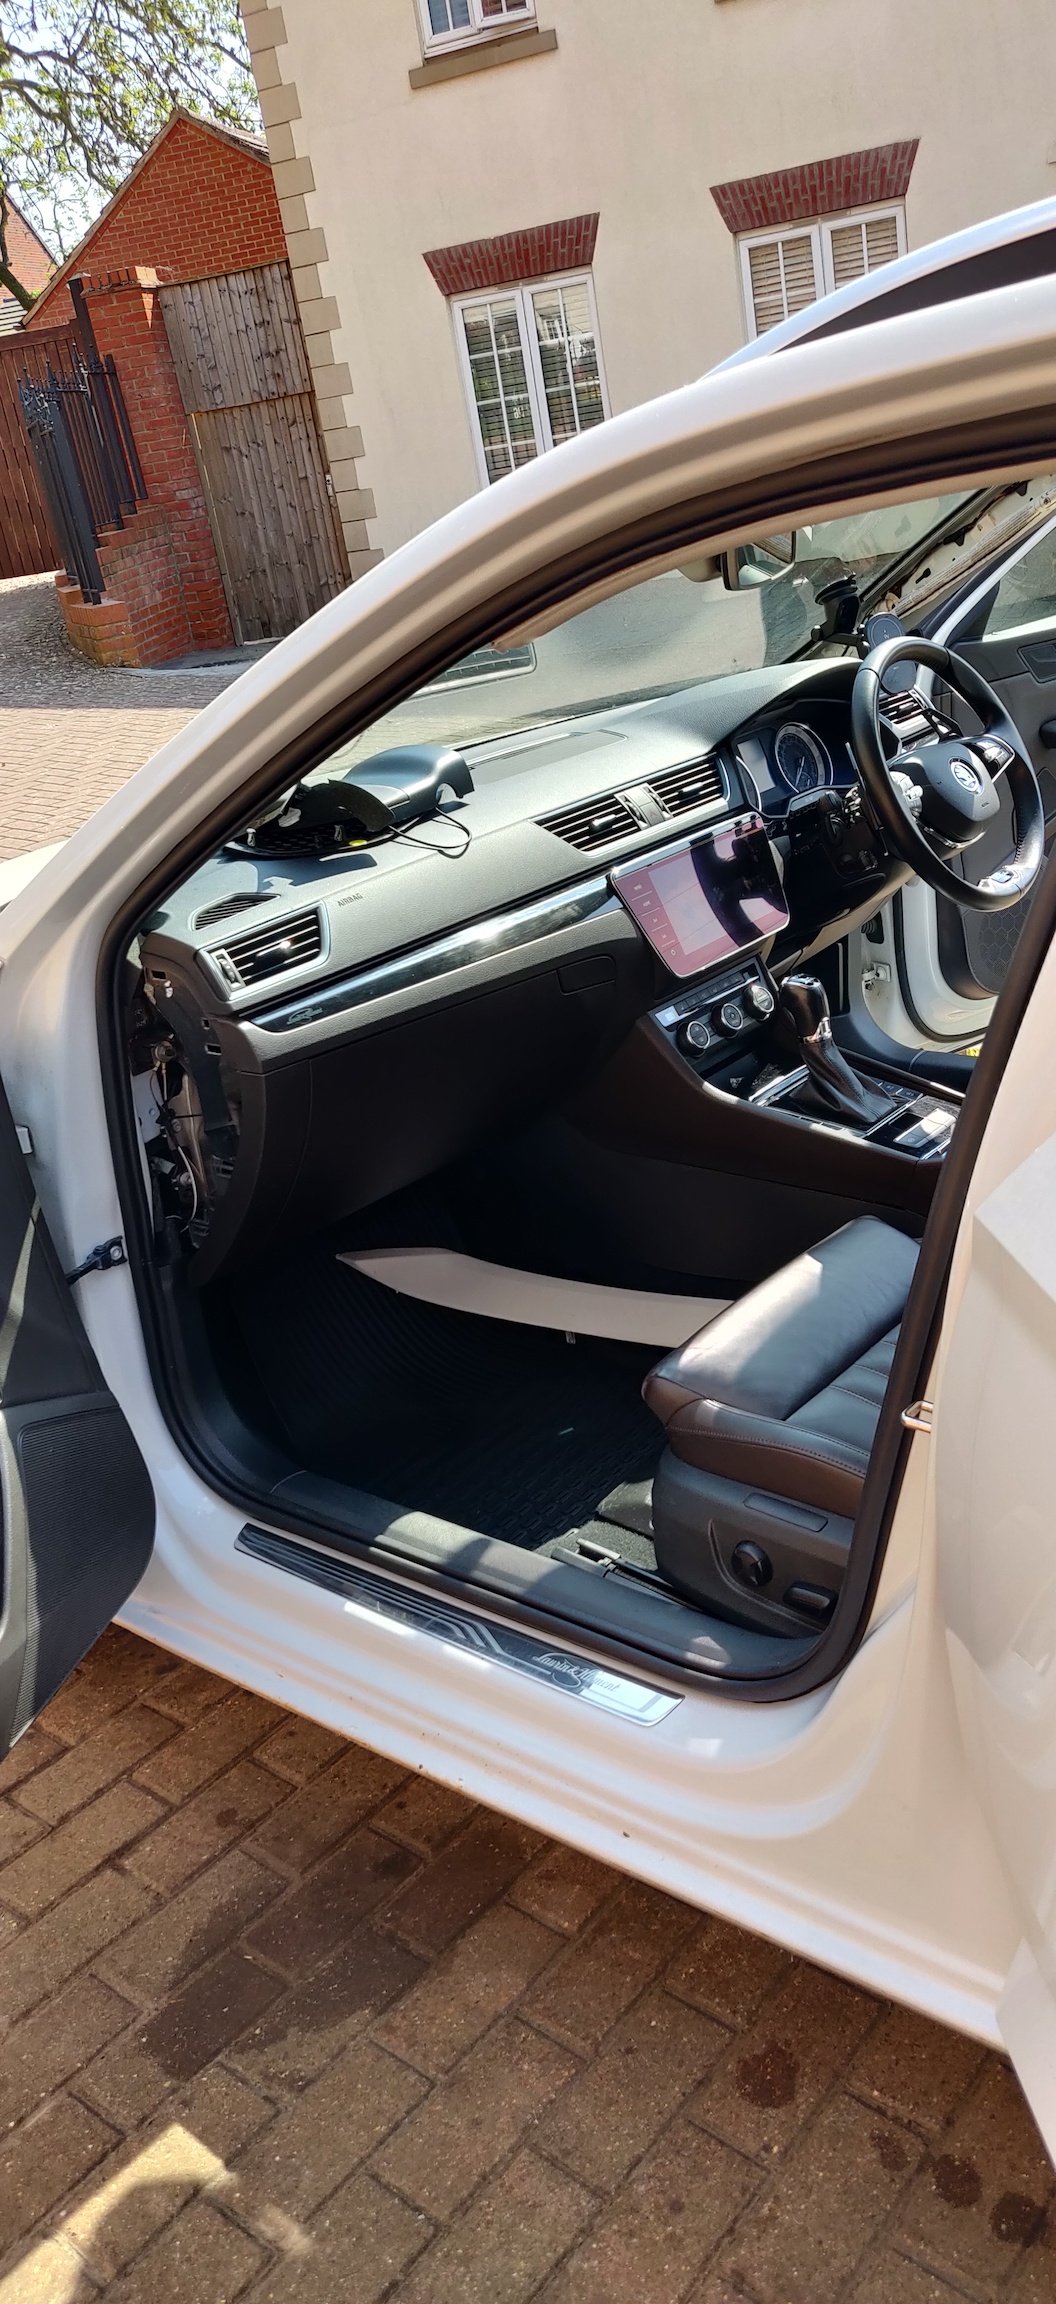
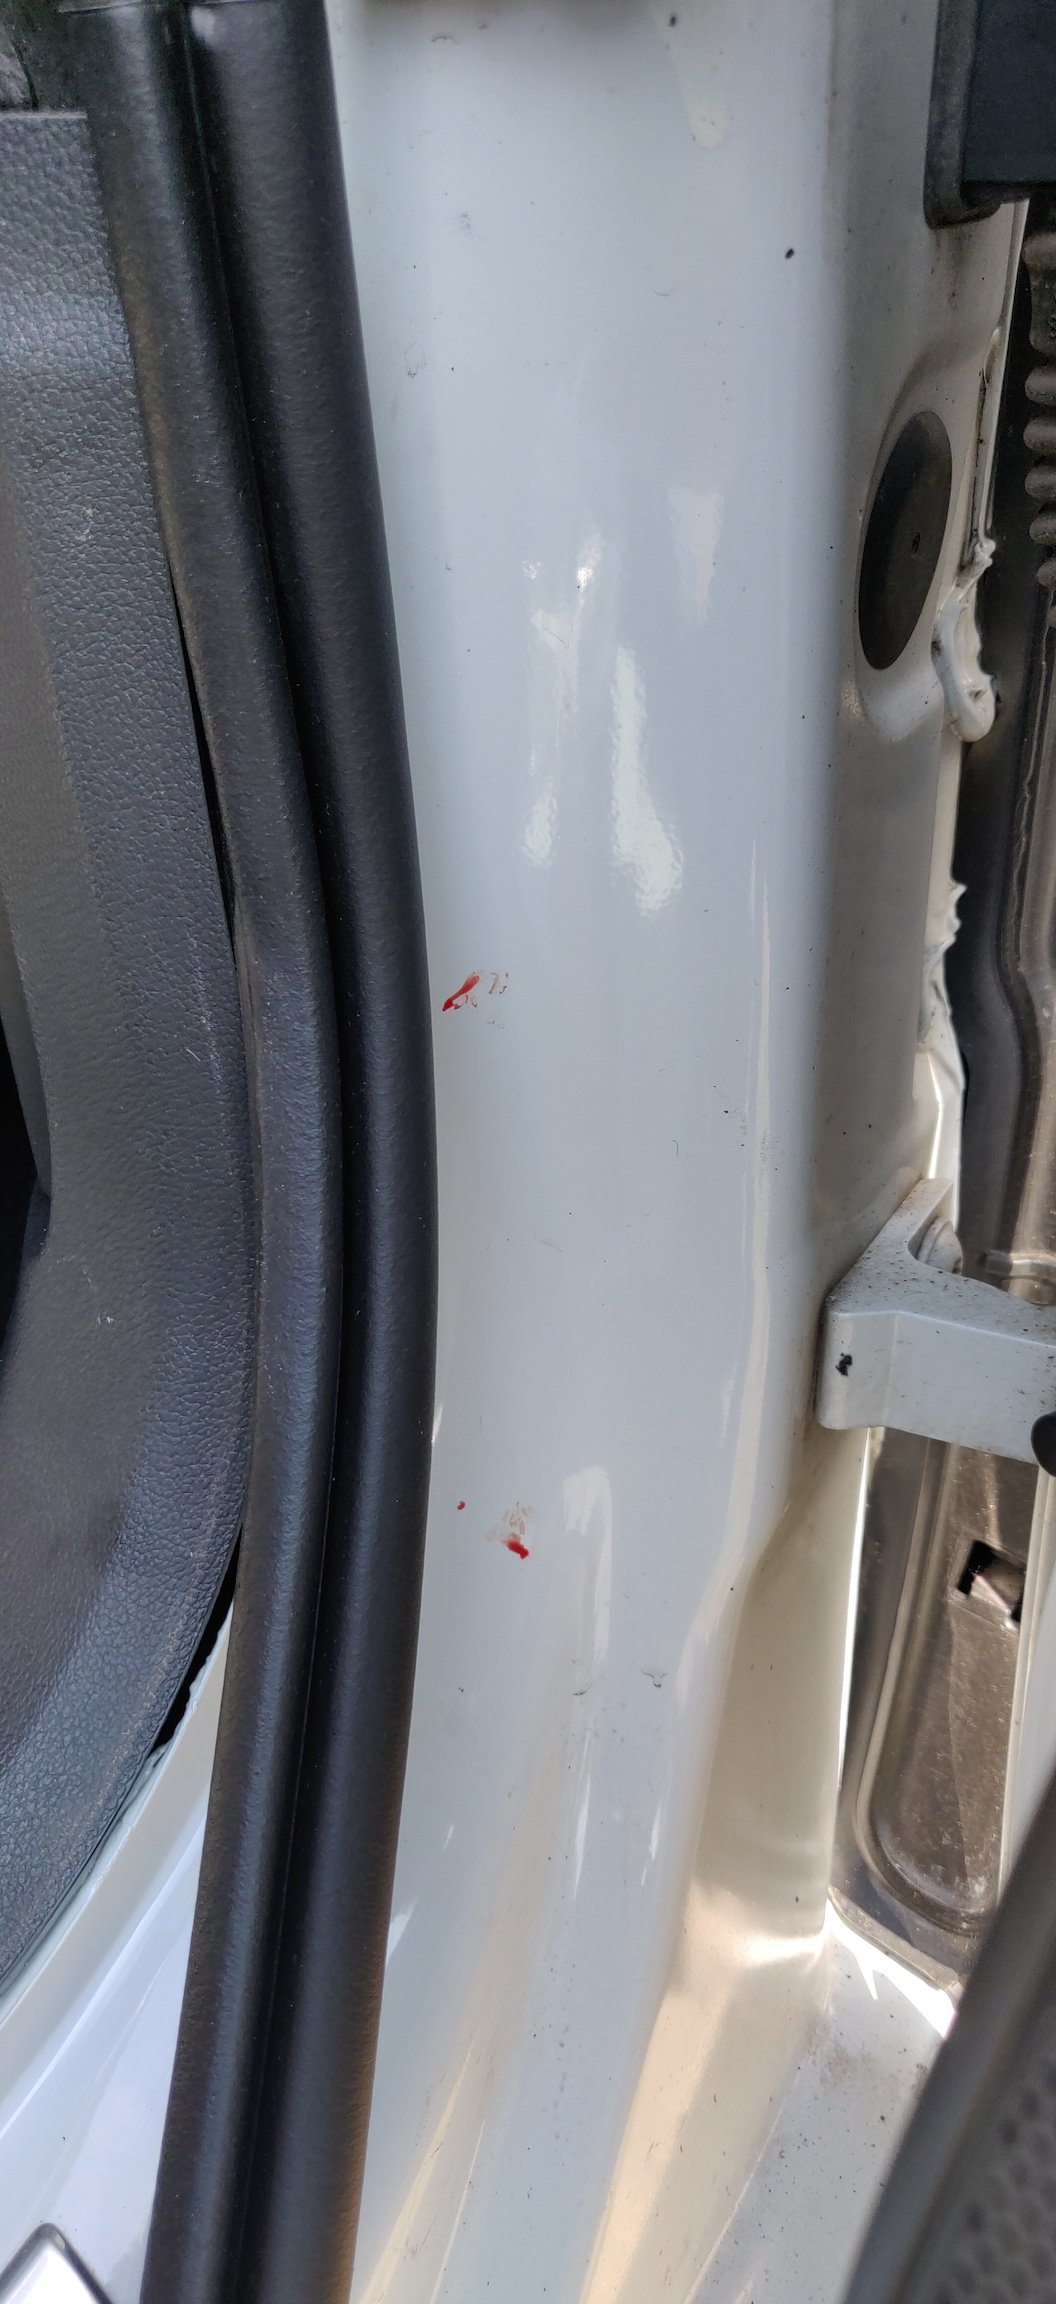
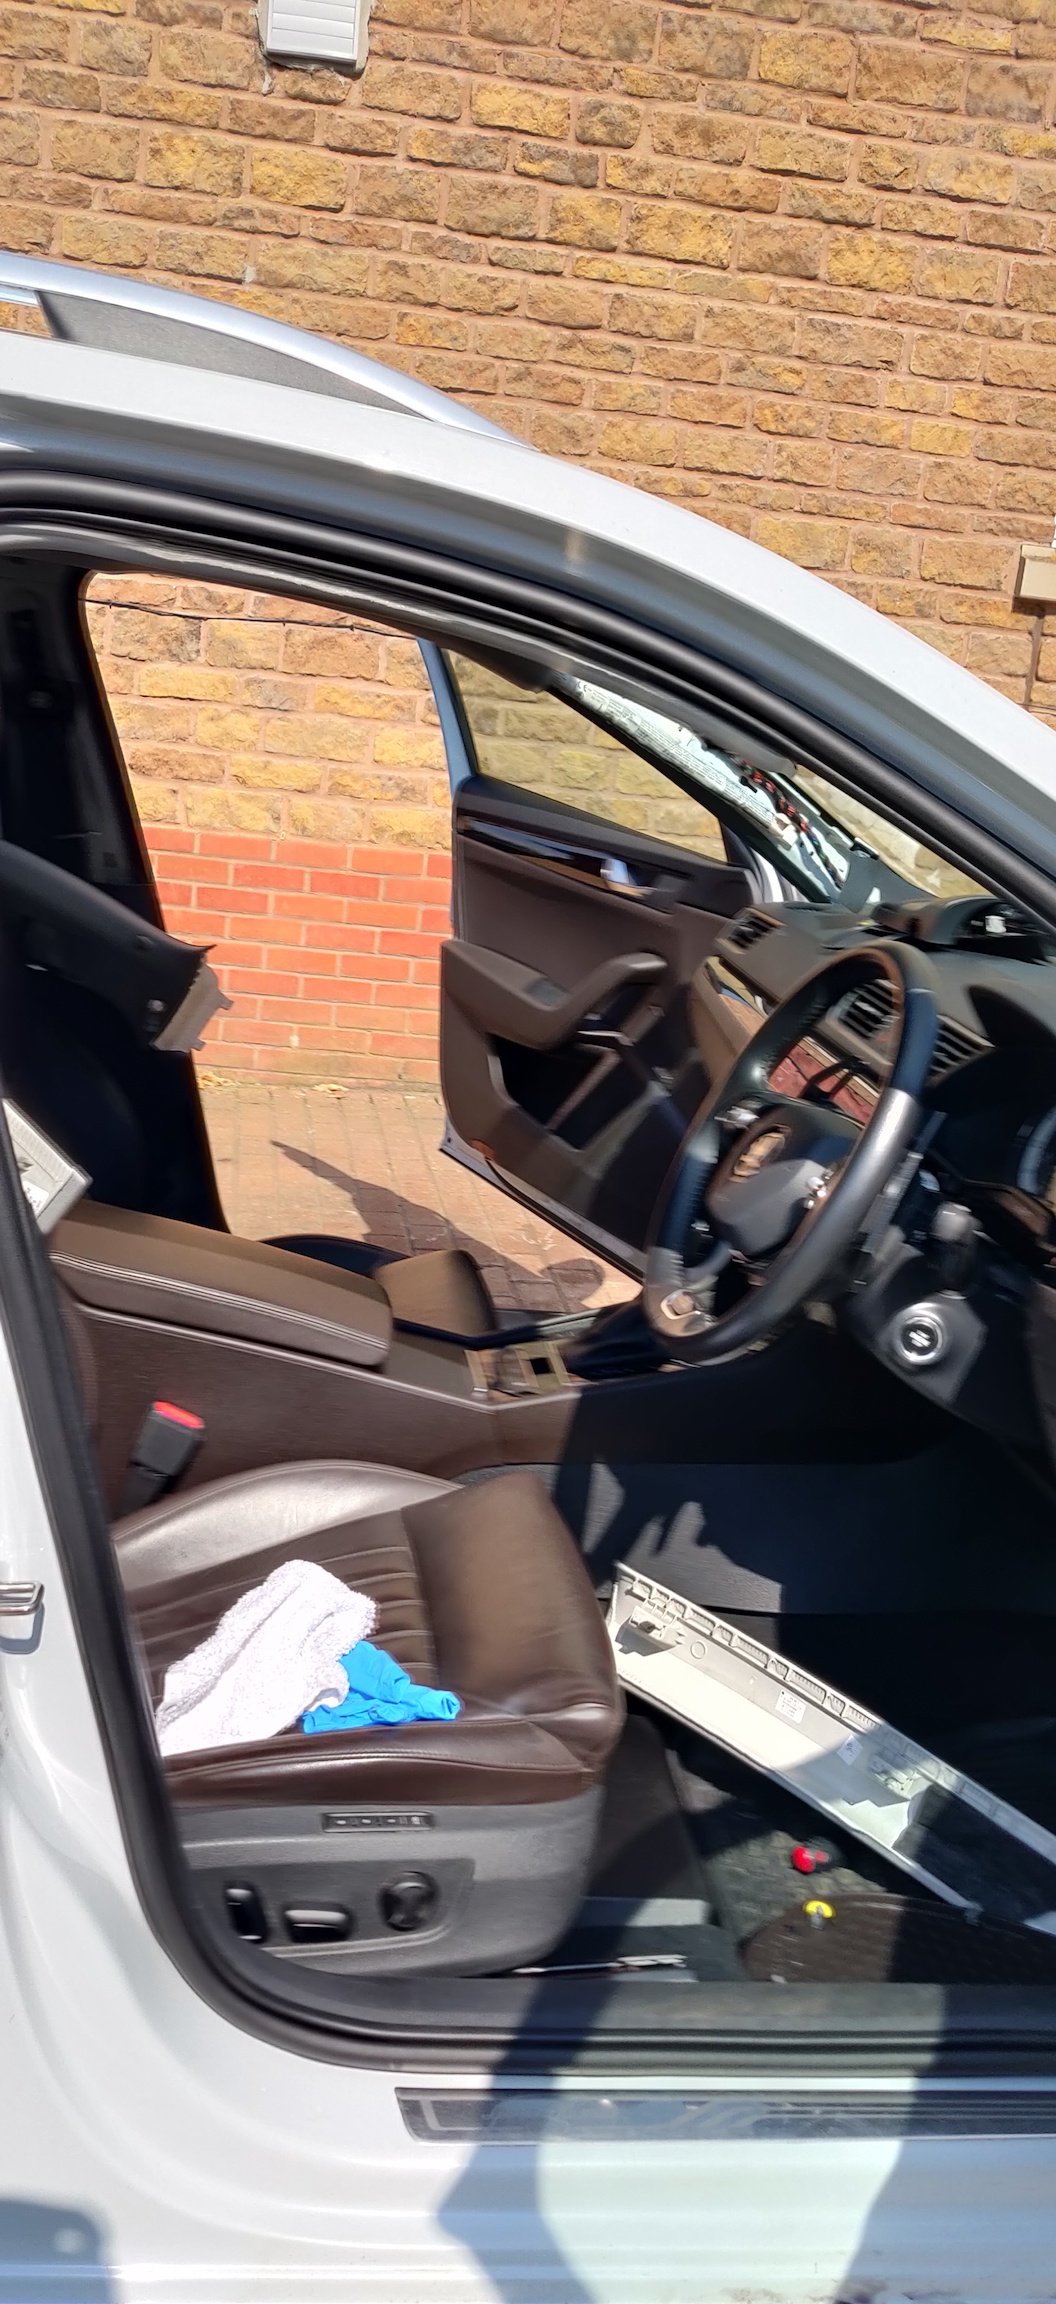
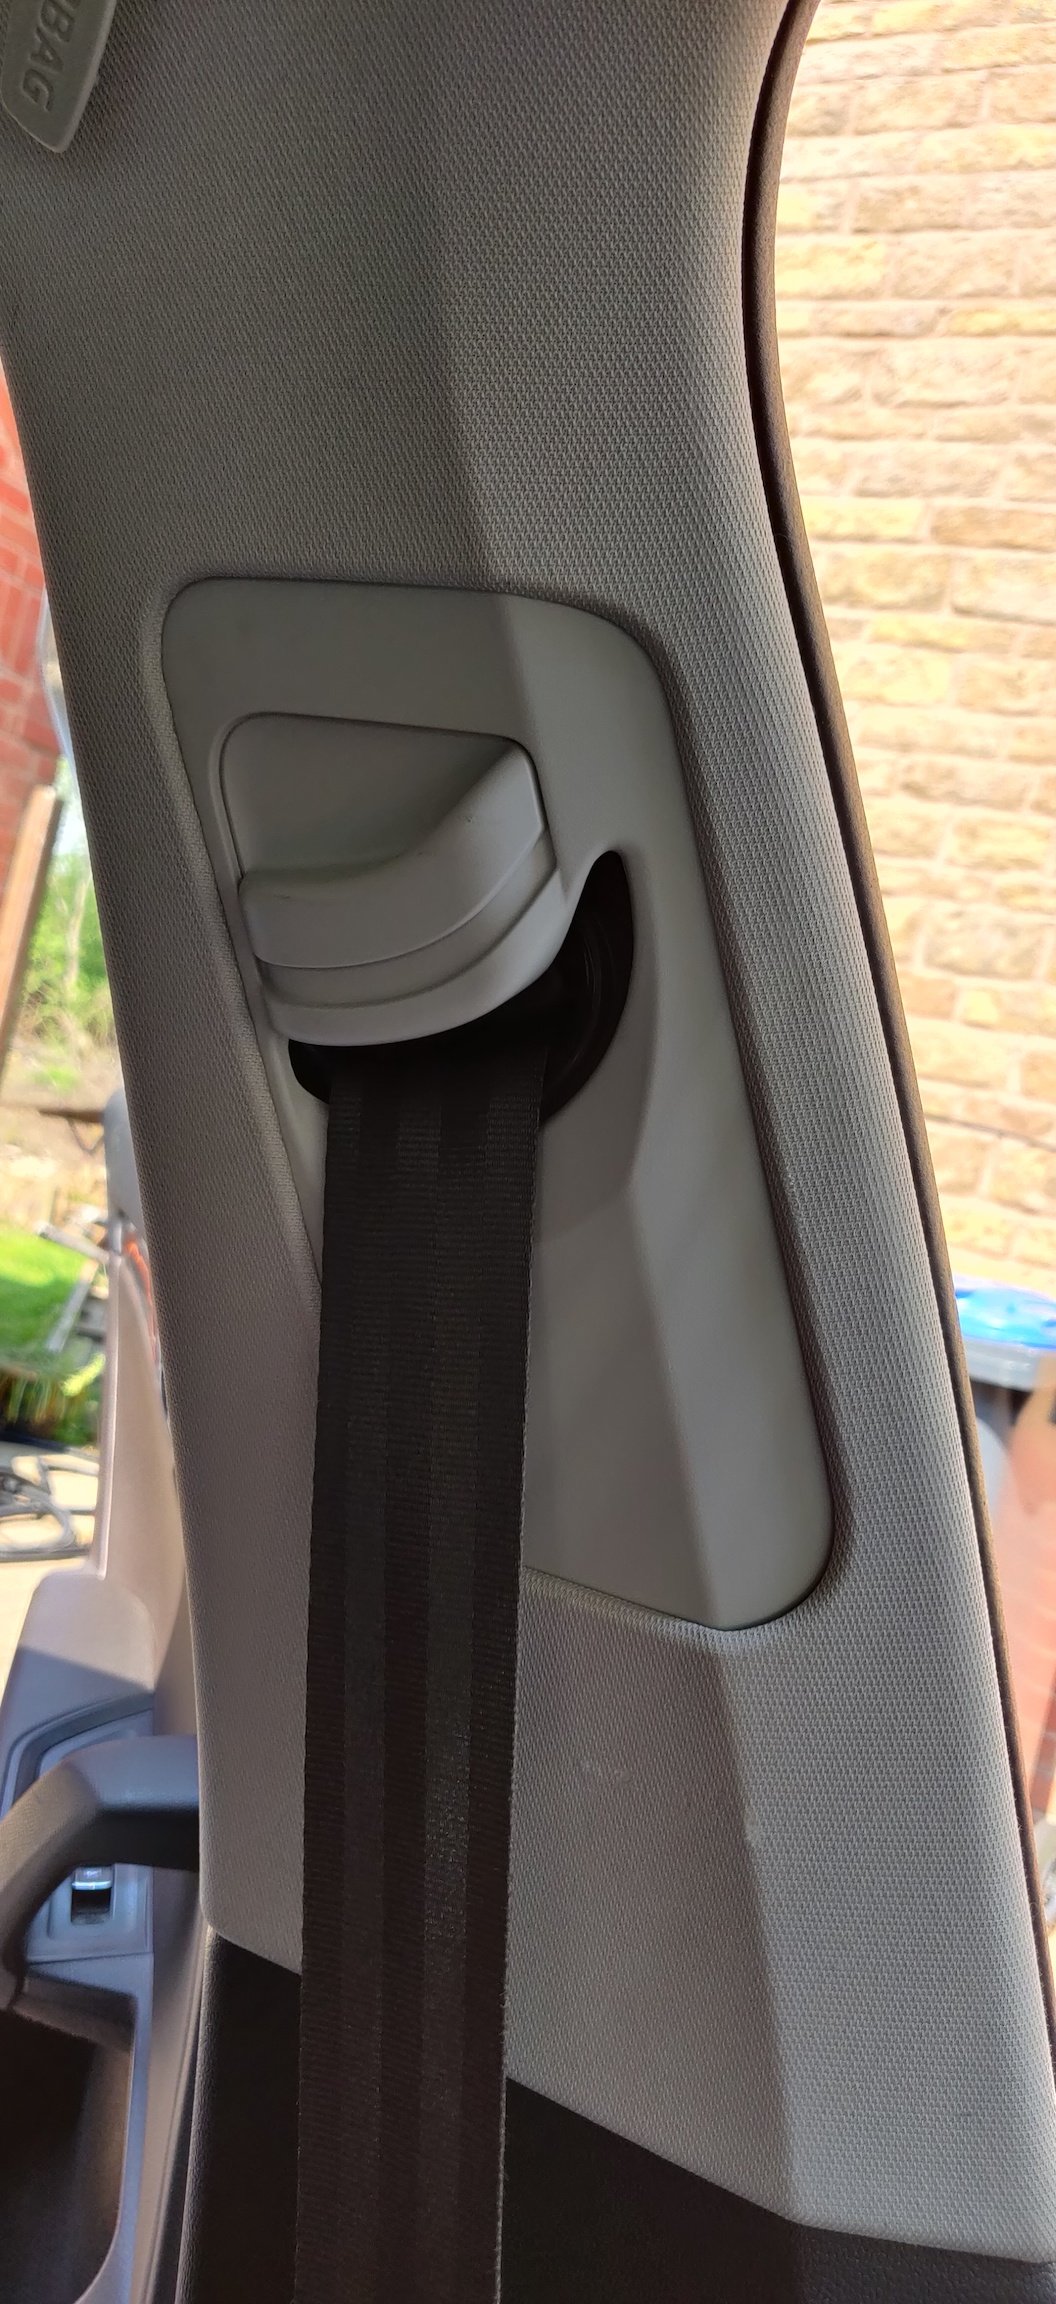
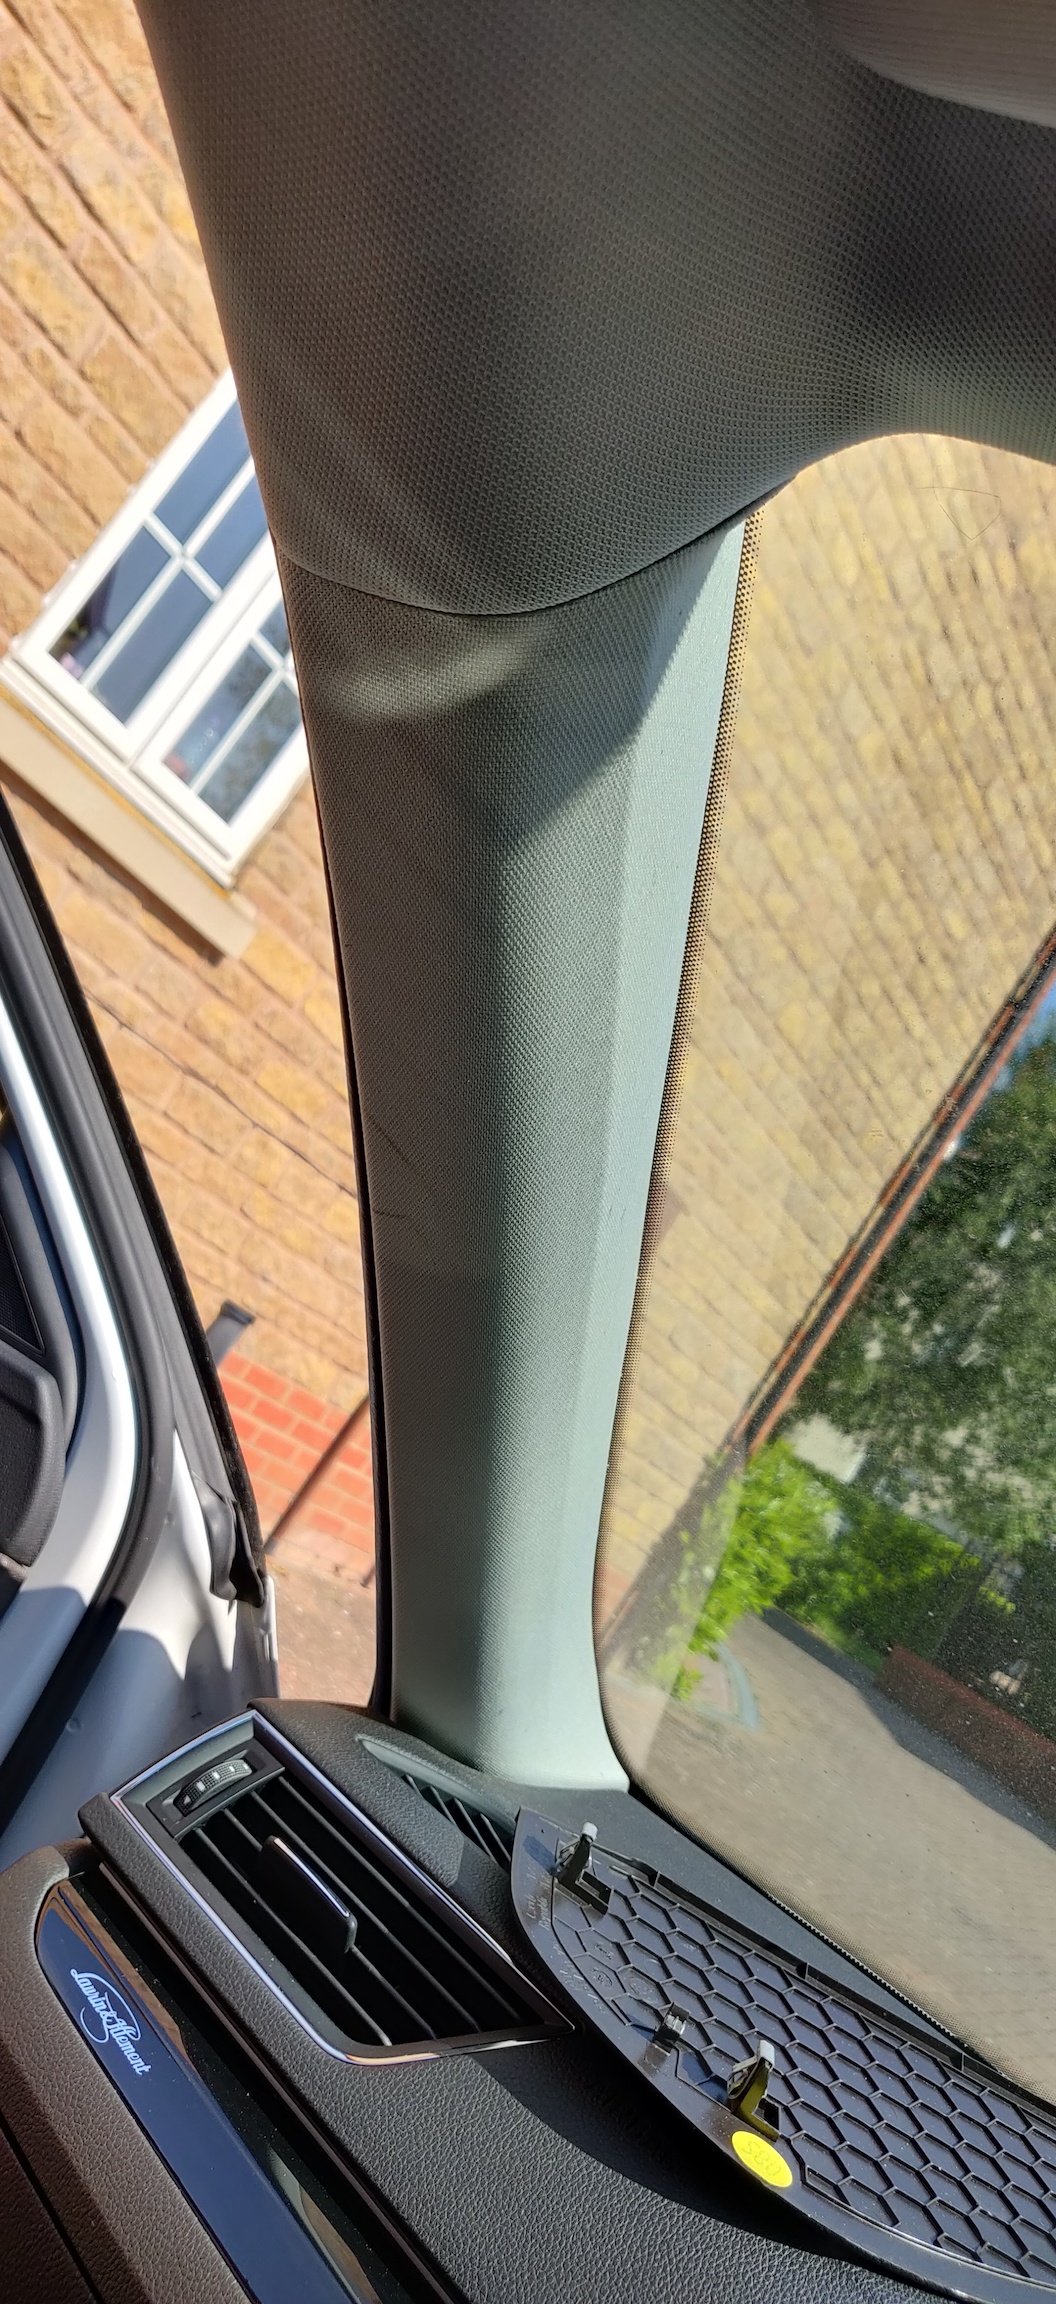
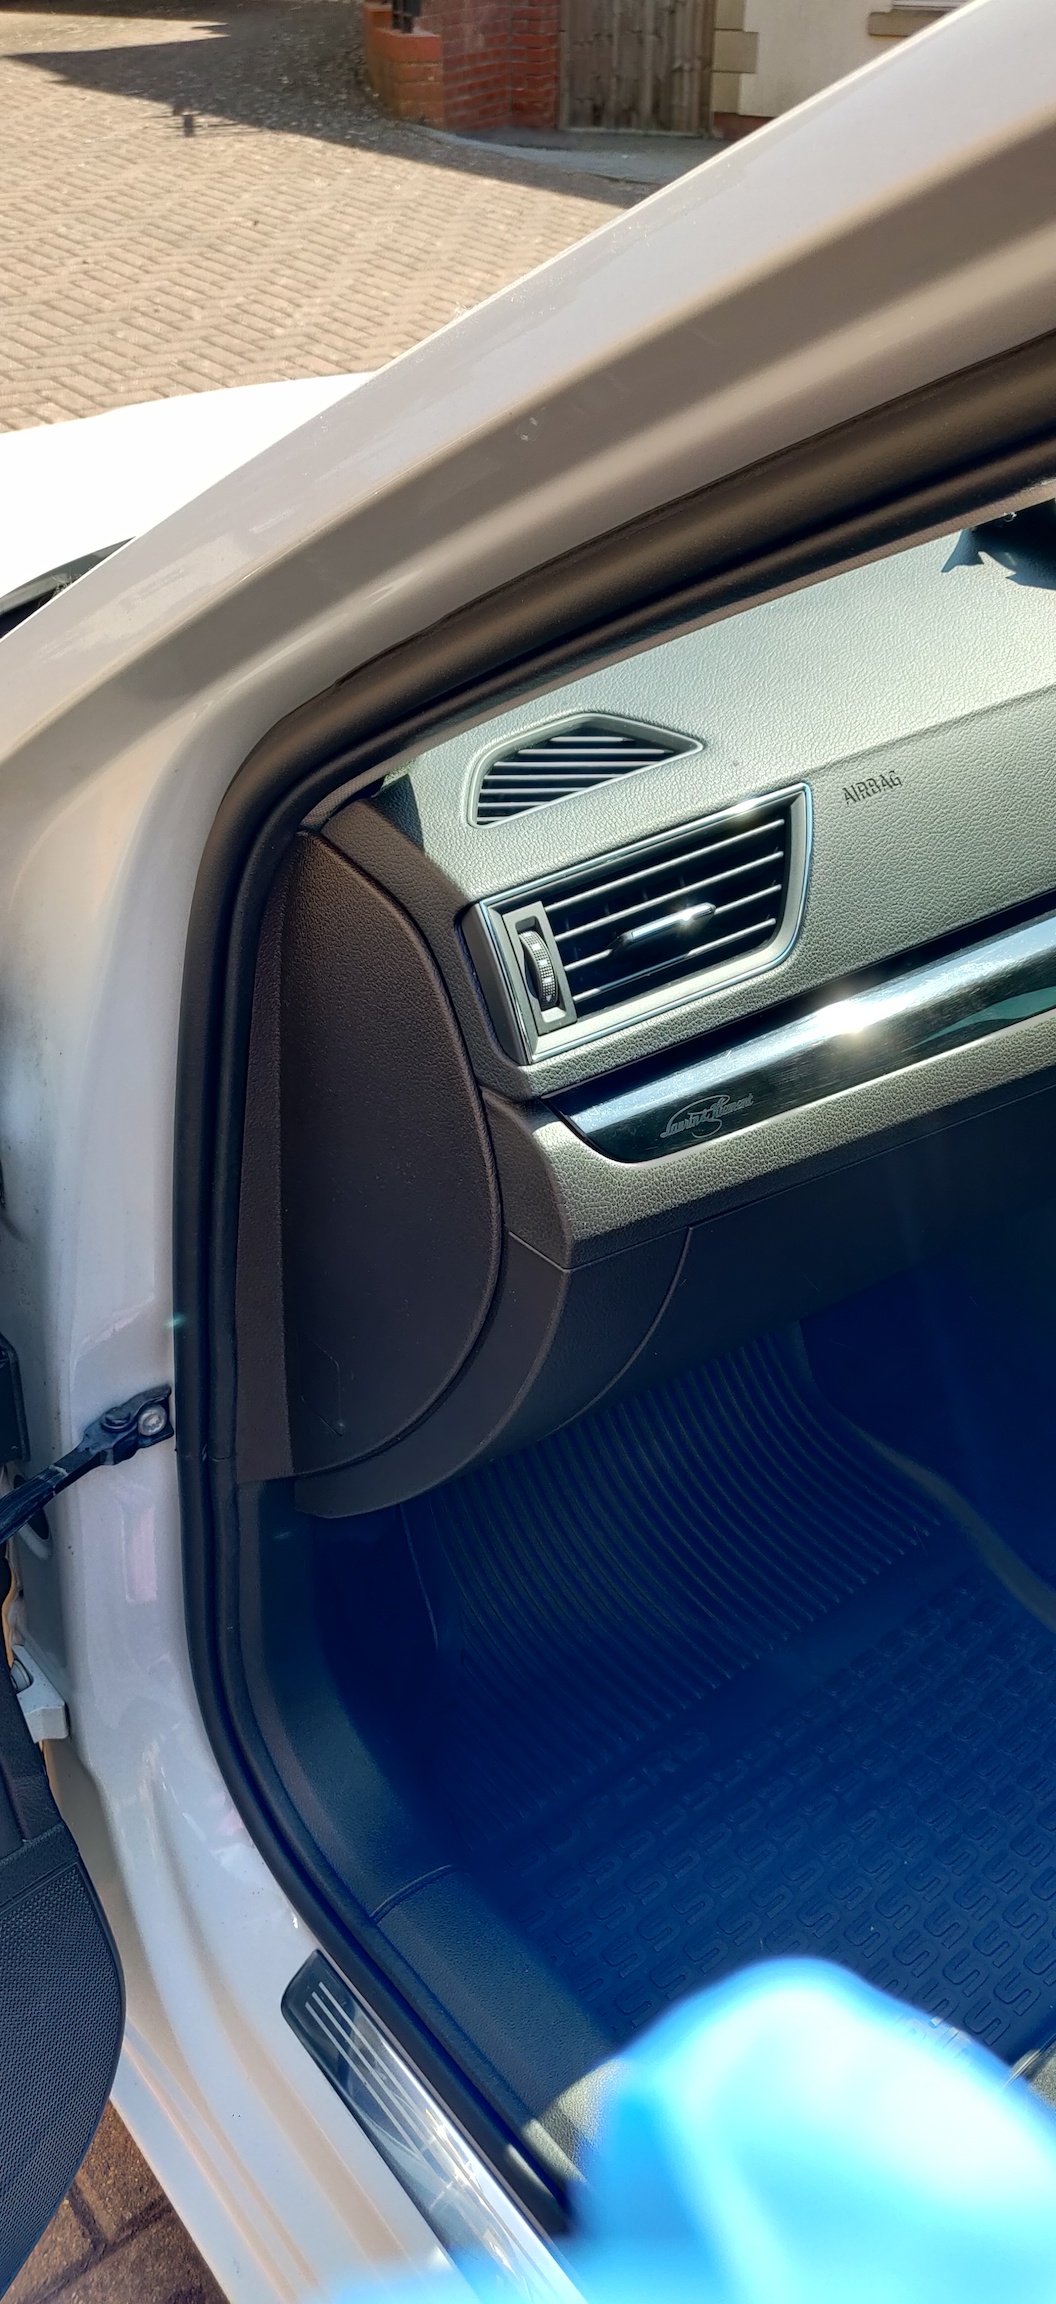
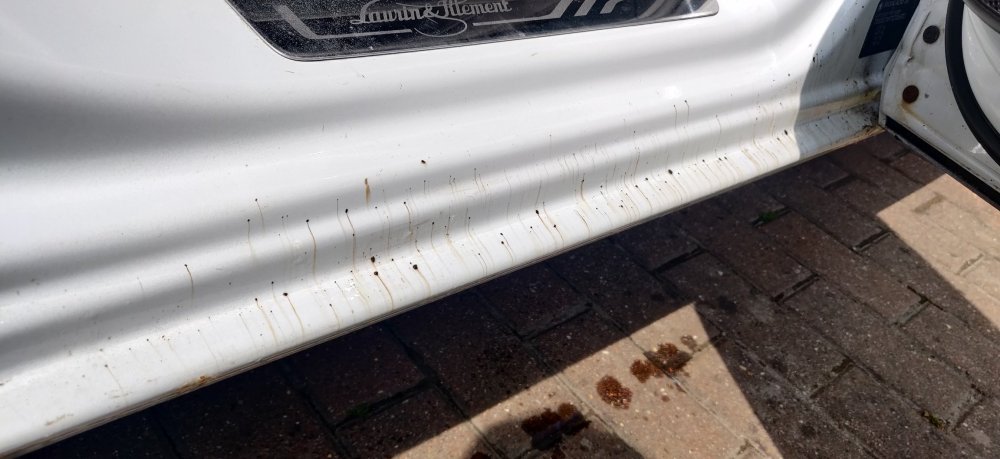
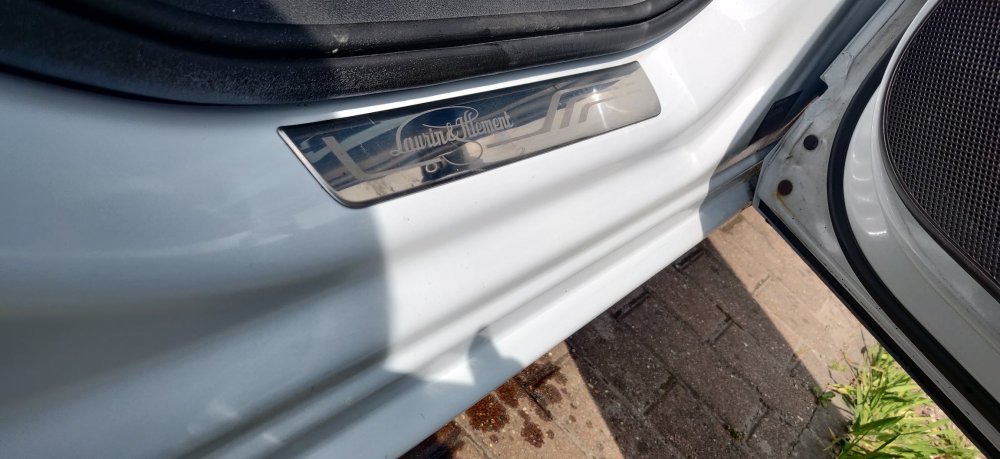
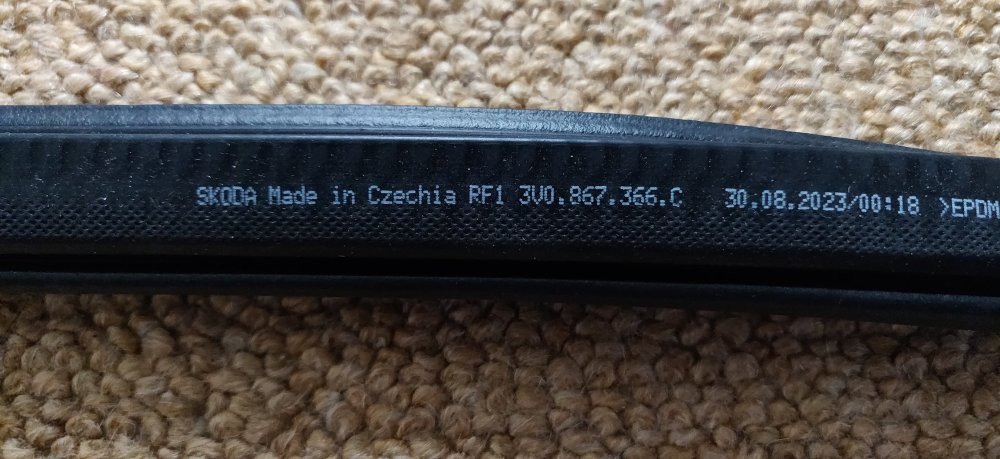
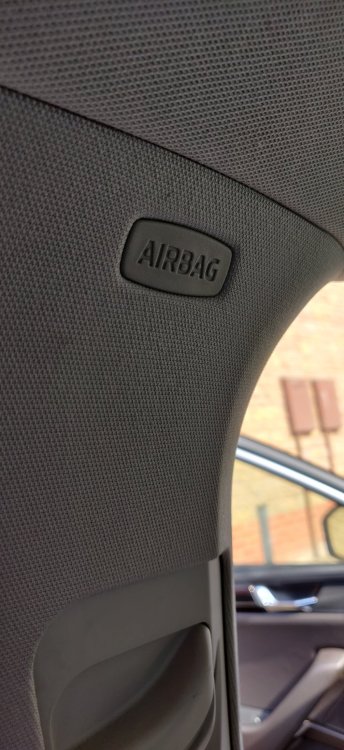
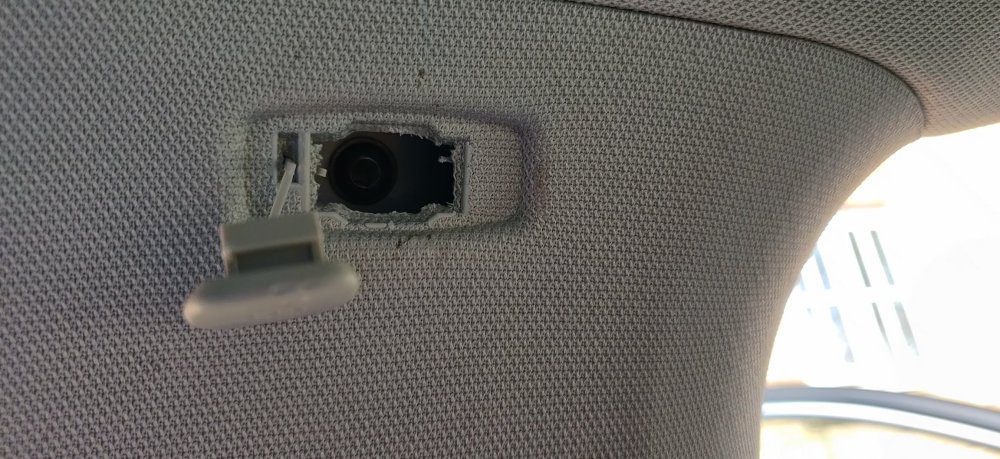
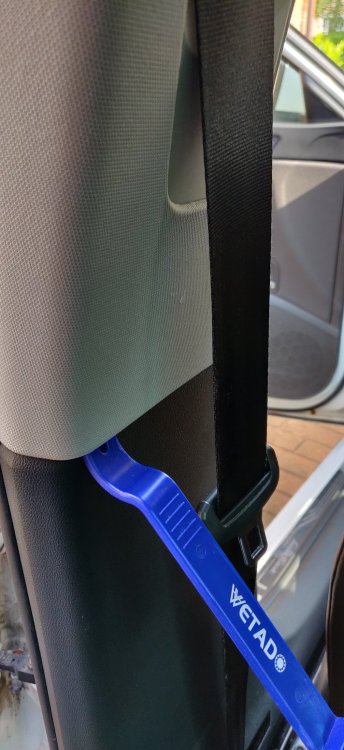
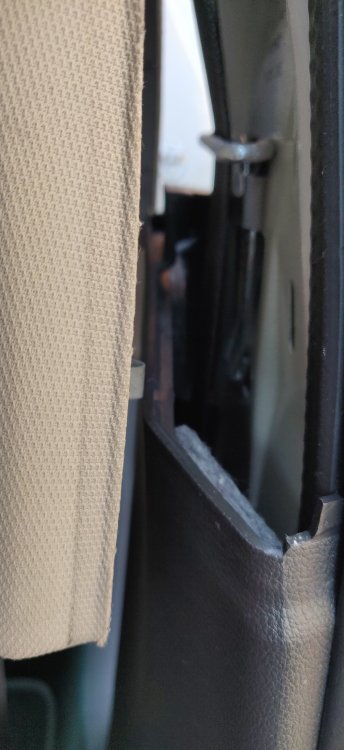
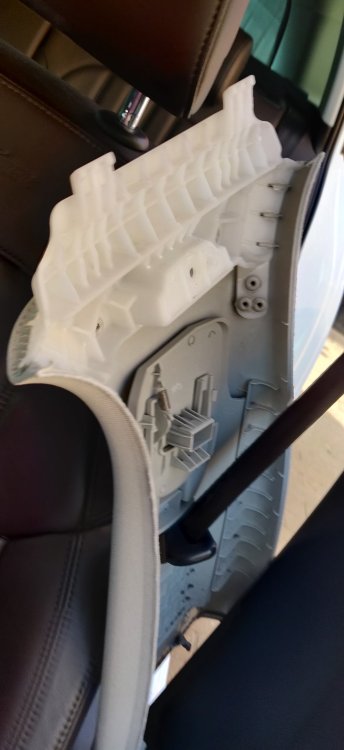
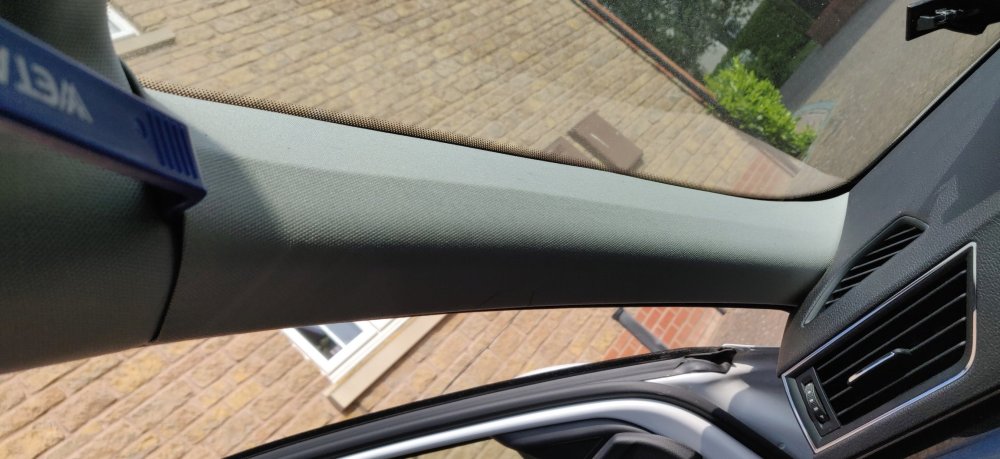
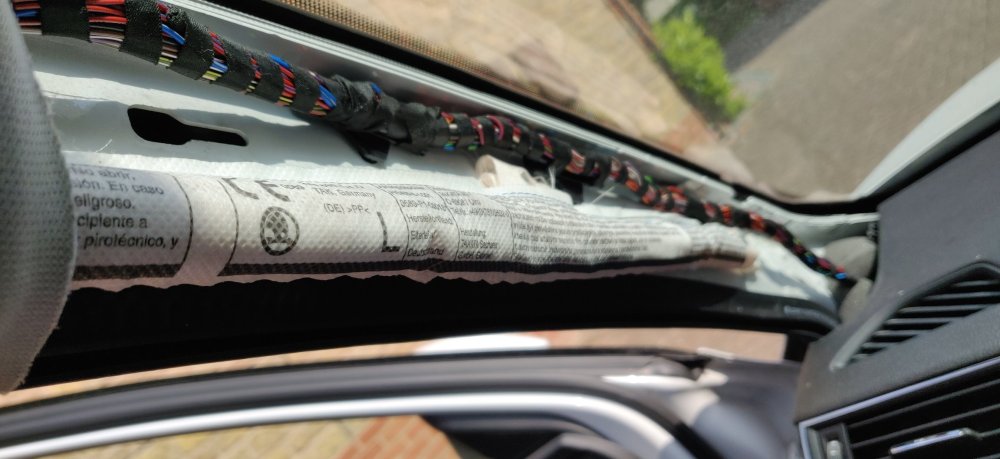
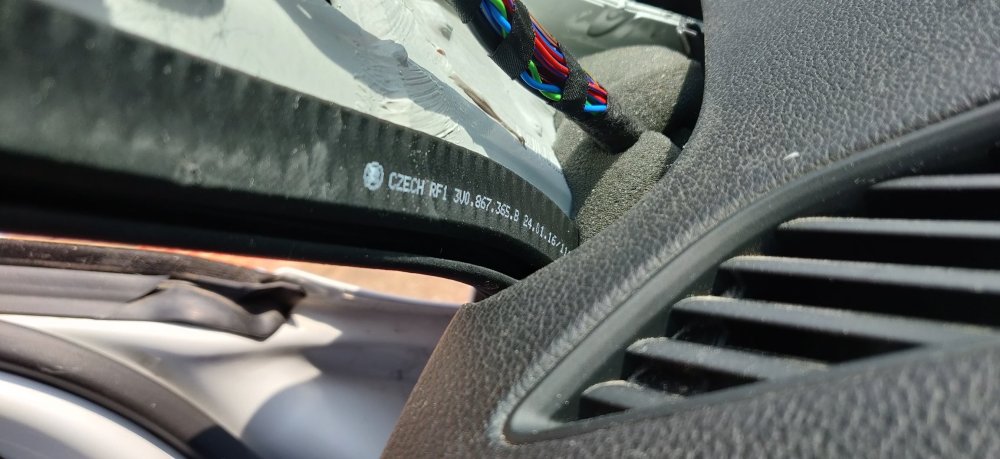
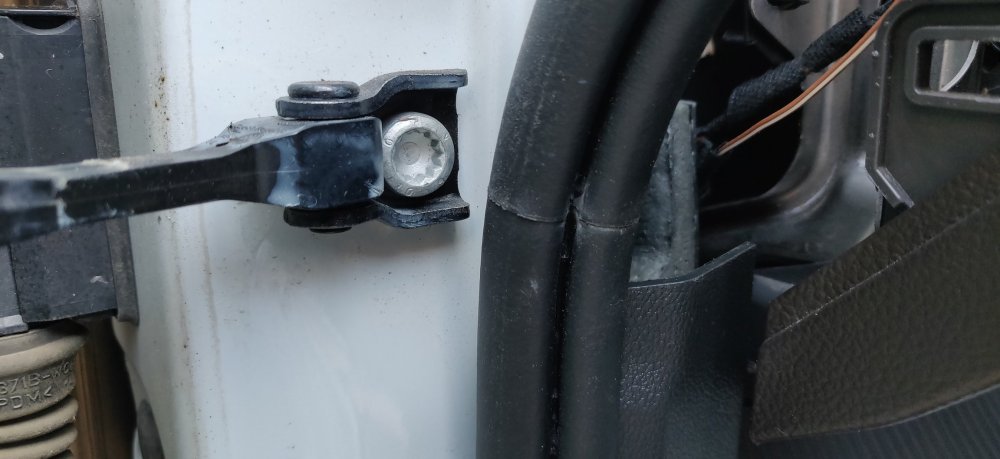
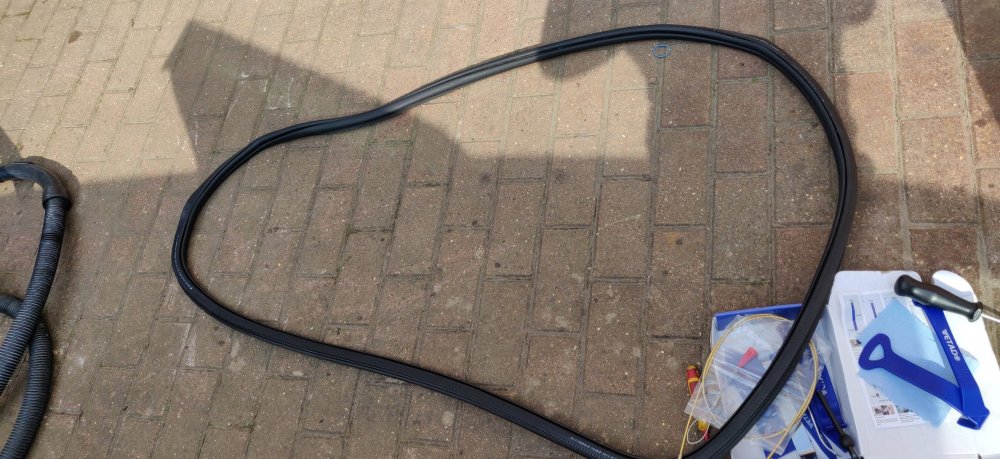
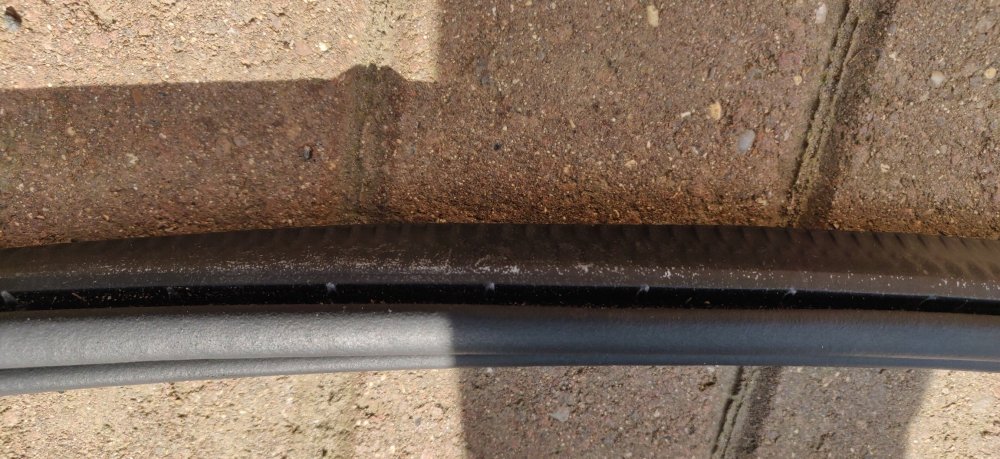
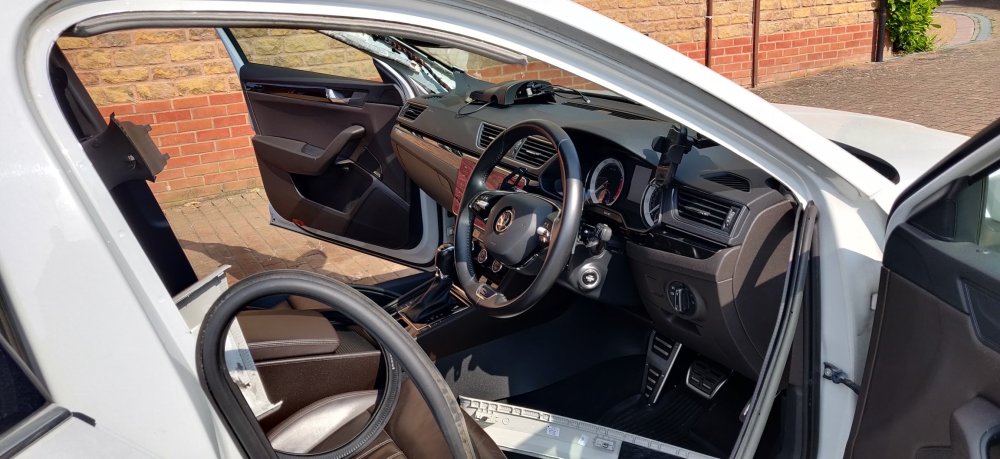
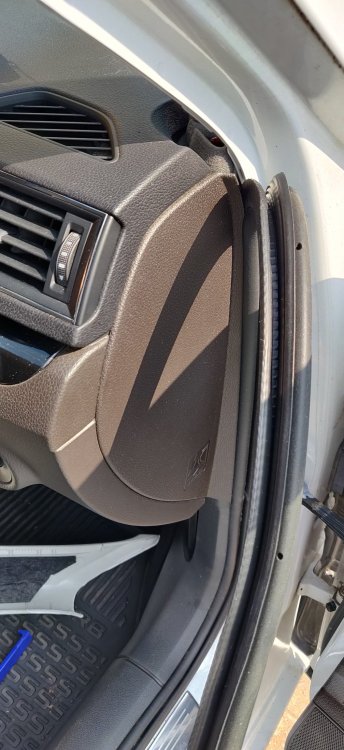
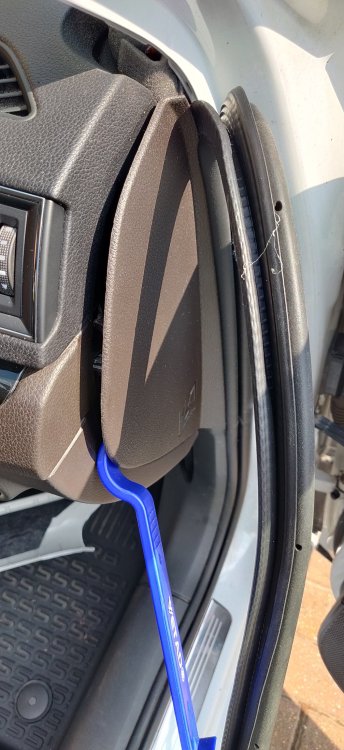
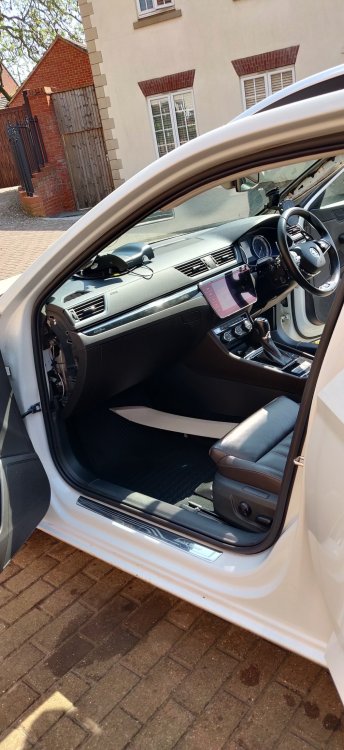
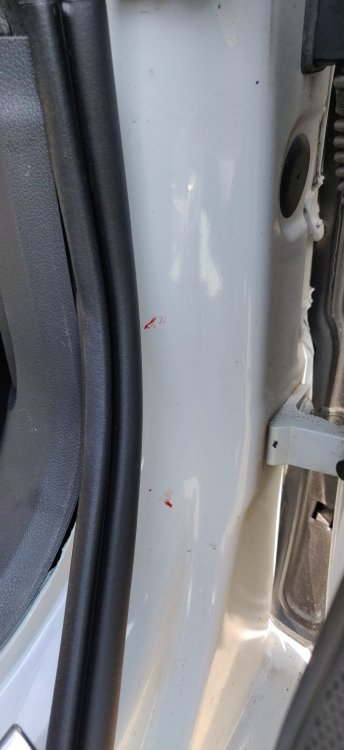
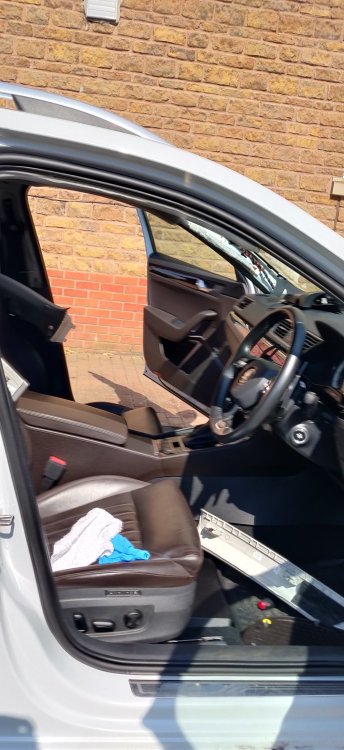
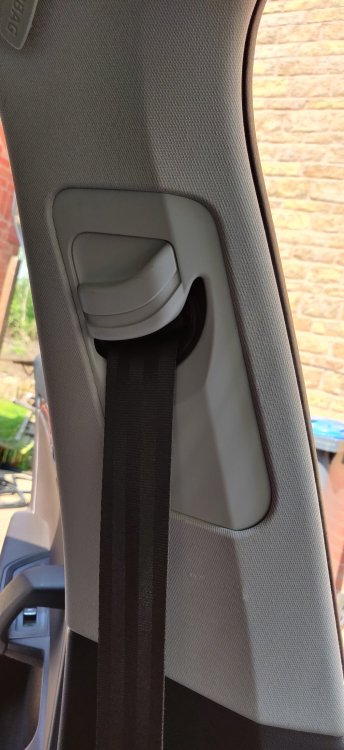
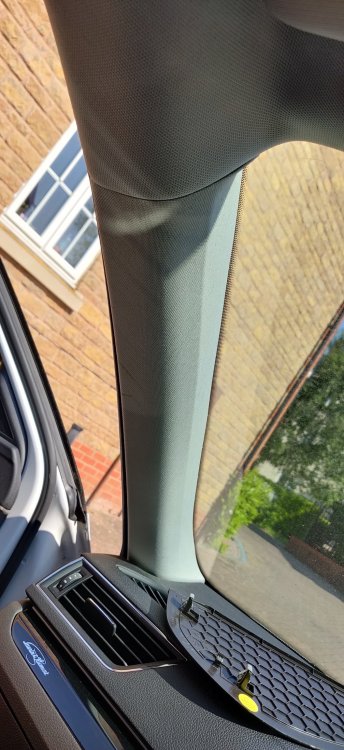
Very sunny weekend, but nothing particular planned. I'm one of those that don't mind the Eurovision so just happily sat and watched that in the evening, and otherwise catching up on telly for a weekend. Whilst cleaning up the garage, decided to see if some Tar Remover I bought a few months back can help with the sills: It had an orange hint to it, so I suspect it isn't really much different to Goo Gone, i.e. some petroleum based solution. As you can see, after a minute or so, it was certainly doing something to the tar spots, so got some shop cloths and started wiping away. Some of the bits were awkward and needed a few applications and wipes. Once clear, got some panel degreaser and cleaned the general areas: Pretty much repeated it for the other remaining areas. Still not sure how this is even possible, is there loads of tar in the air up there? I'll need to do the same for the engine bay area as there's bits there as well. It is forecast to rain this afternoon, ending a nice sunny few days, so before that: Went and revisited the replacement door seals that have been sitting in the house for ages. The pic above shows the part numbers. I believe the general rule is that odd numbers are left and vice versa, so this ending 366 C should be the right hand side. I'm not sure it even matters though, one could easily flip it over? Kudos to @ChrisCh via: for perfectly outlining the required steps. He's noted that the upper B pillar trim also needs removing, which the workshop manual doesn't mention, suggesting the A pillar area is sufficient. So went to have a look: Got a trim removal tool to loosen out the "Airbag" labelled cover, which eventually pops out, no rhyme or reason really. This is easier to do with the front seat moved all the way back I felt. This reveals the T25 torx screw behind: I suggest something magnetic when taking this out, as I've had past incidents with dropped bolts and washers into the abyss in the past! There are two trim clips along the bottom of this trim piece: So a gentle pry and a not-so-gentle pull: Freeing it from the bottom then separates the seat belt height bit. This is pretty much the usual for cars, where the trim bit connects to the actual seat belt anchor behind, so needs to be aligned when refitting. Anyways, the trim piece itself is loosely fitted along the top, so just pulling it straight down: Frees the piece and in this case, just move the trim piece away, no need to disconnect the seat belt anchor, etc. Next is the A pillar: So pried from the top, and eventually, with again, not-so-gentle pulling, the two clips keeping it in place come away: The chassis appears to be slotted, so presumably, the trim is located, before being pushed downwards and then presumably into the slot to secure it. With the piece removed, the part number for the left side trim is visible: Thus confirming the odd number part being the left side. I took a note of the location of the seal's joining point: The workshop manual mentions this needs aligning to a hinge, although the pic above suggests its to the door check strap, so I'll roughly align it there when installing the new one. It's then a case of just pulling the trim away: Then lobbing it onto the floor. Bits of dirt was escaping between the grooves of the seal: So out with the vacuum and a damp cloth to clean up the general area around the seal before fitting the new one. Whilst it was drying (not really that long with this lovely weather), went and repeated on the other side: I got about halfway through removal as you can see before realising: The dashboard side trim was still in place on the right side. The left side was removed ages back during the wiring of the wireless charger and heated steering wheel, so that was already removed. So simply prying with the trim tool: There's about 4 or so clips keeping it place, so nice and simple. Then once removed, went back to the other side: To fit the new seal. I started with the joining line bit, put that roughly along the door check strap location, and went clockwise, pushing the seal along the car frame as far it goes along the way. The workshop manual says to start at the top rear corner, but then also mentions that alignment, which felt a little impractical. I luckily didn't have much drama from this, as long as its fit without deliberate loose parts, it's a nice slightly snug fit. Then it's a case of tucking the trims and seals appropriately, where bits of the trim sit over and under parts of it. Whilst repeating for the other side: Noticed specks of red and somehow managed to cut my finger. This car is now taking pounds of flesh. So plastered up and mess wiped away, installed the other side: Bits on this side were more of a hassle for some reason, trim not wanting to move around, etc. Once all in, just a case of reversal for getting the trim bits back on: So for the B pillars, push them up into the grooves in the top of the car, then align the seat belt height adjuster, then push the two bottom clips into place. Screw the bolt back in (magnetic screwdriver lest it decides to be annoying and fly for freedom), then that cover back on. Workshop manual suggests 2.5Nm but I just did it to hand tight. The A pillars next: Left side felt straightforward, slot it roughly at the bottom, then align the bottom clip in that groove before pushing the trim downwards and into the car metal as much as possible. Then I guess just tap it into place with the back of my fist until it clicked. The other side was more awkward for some reason, and still doesn't feel like it's in place. This could be the sun beating down on my back on that side of the car though possibly. Then its clipping back the dashboard sides: That's it really. Another go through checking the seal is all aligned and neat with the trims, and that was that. Probably could have a preponed the MoT to earlier than the 20th to be honest, I think it'll be much easier with the car being road legal before exploring the CAN/BCM stuff in case I need to travel. In the grand scheme of things, it's only another week, so hardly the end of the world really. What I really need to do is carry on cleaning up the garage after all of this, and to really prep for a big bunch of jobs on the poor Honda Insight, which is seriously in need of some TLC. I technically need to prep the old suspension for disposal, but I think I'll do that in the distant future when I really have nothing else to do. Technically, the rear dampers seem to be ok, they slowly go back to position, but at least they do. They're just so rusty that I don't see how anyone would want it. One front damper is shot, not retracting at all; and its relative rust correlates, especially compared to the other, which does retract and has only slight rust. I guess to be honest, suspension should be done in pairs, so unless someone is in a bind and wants a spare front DCC damper, then I'll be disposing that as well. @nicknorman can probably suggest when that damper was replaced, else I peruse the old invoices. That's probably me for the week, unless I find something random to post about. Fingers crossed for the 20 May. Maintenance: £2317.23 Upgrades: £1414.46 Miscellaneous: £697.20
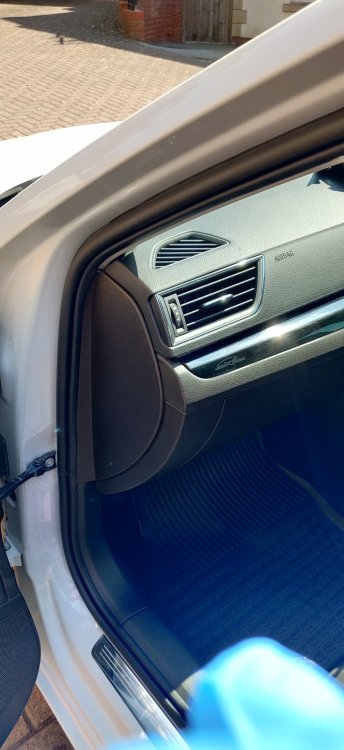
-
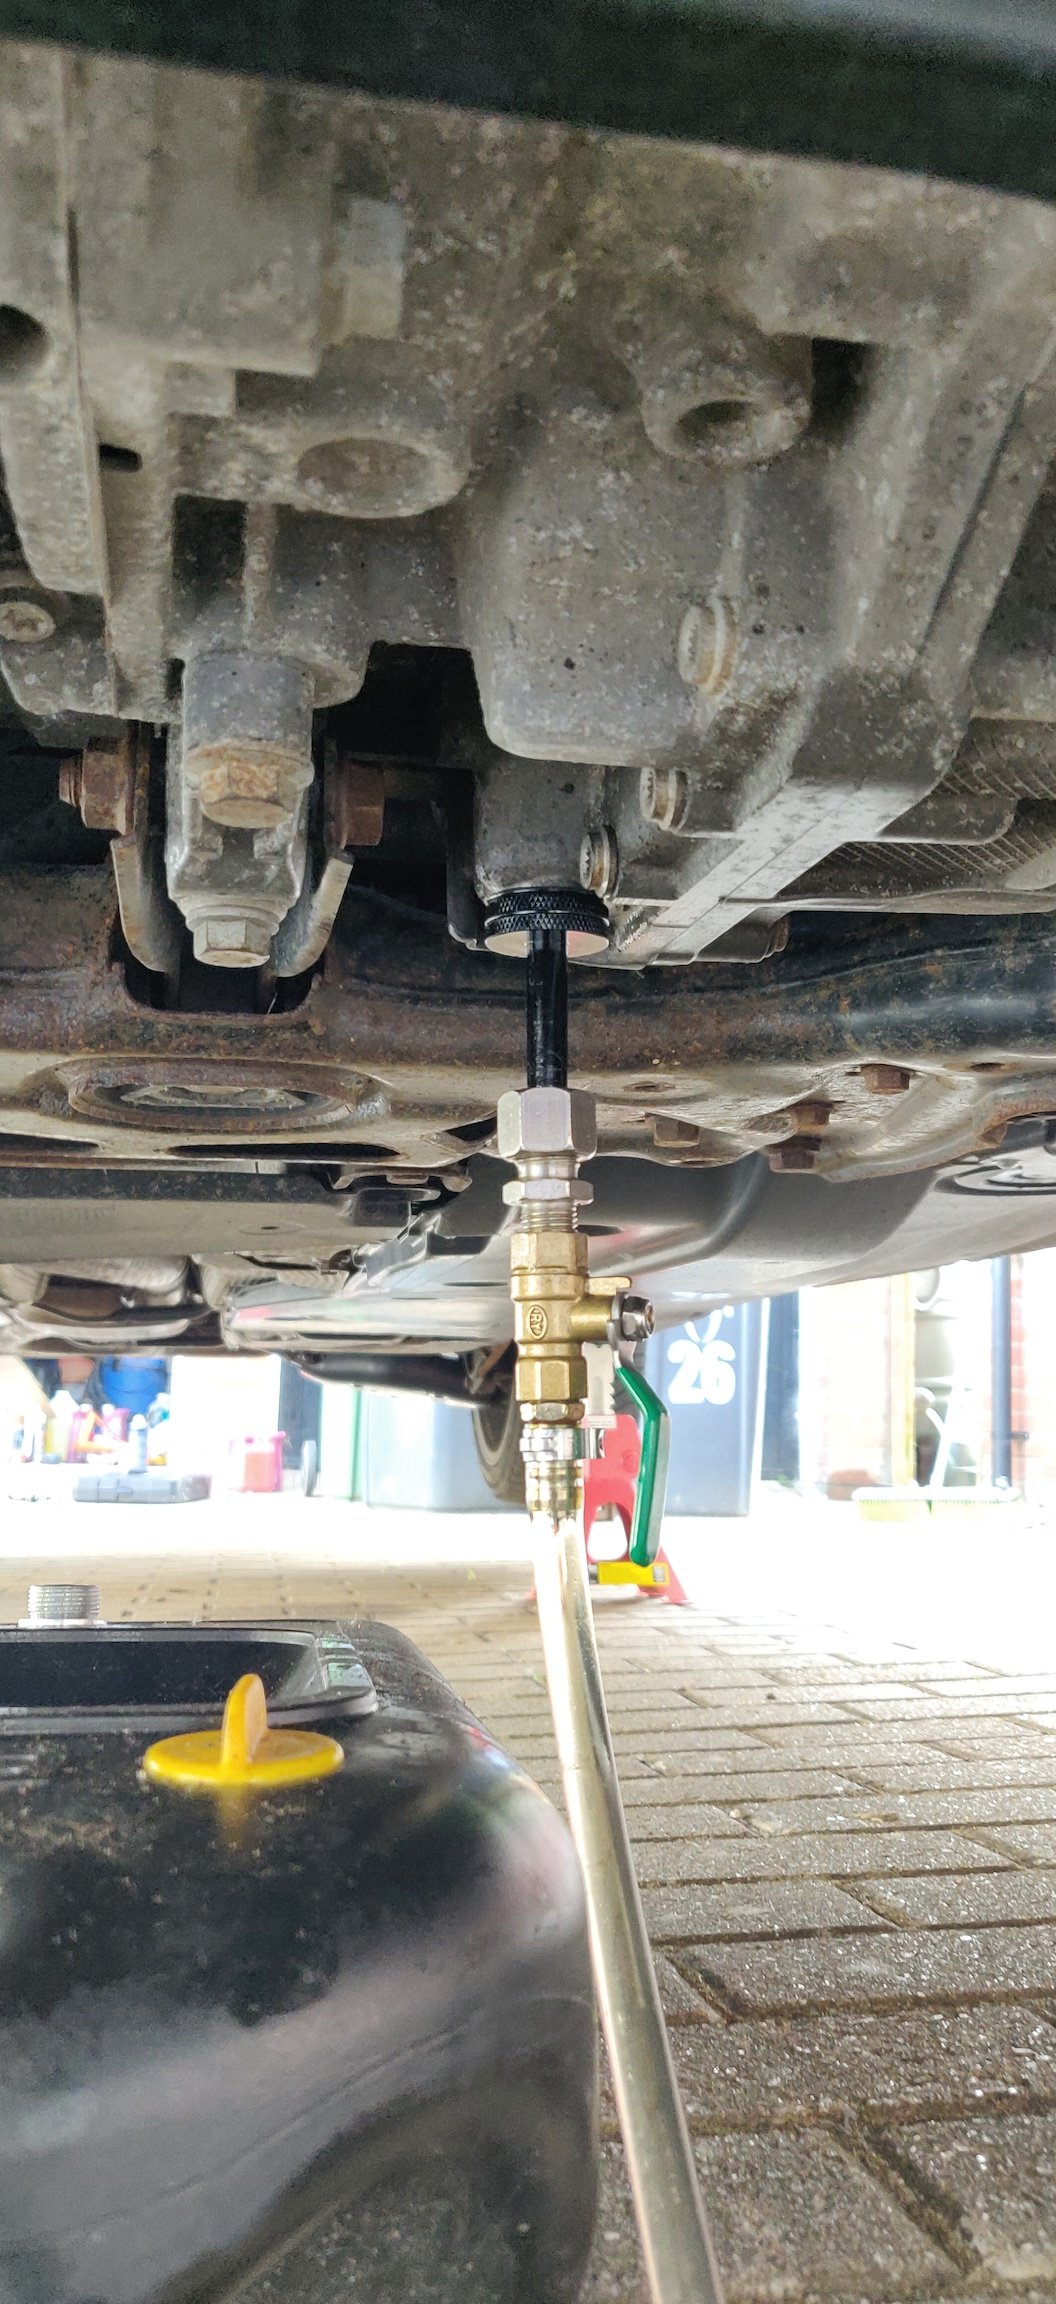
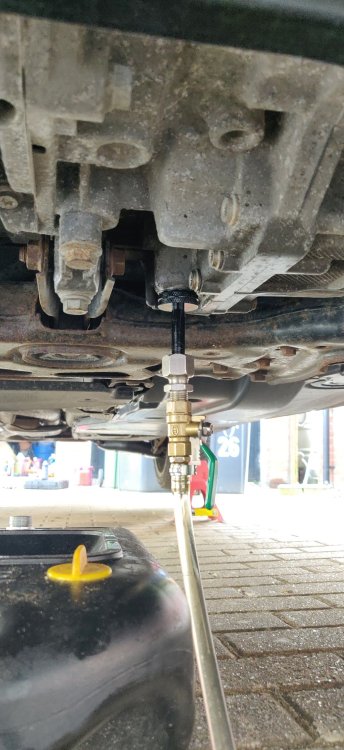
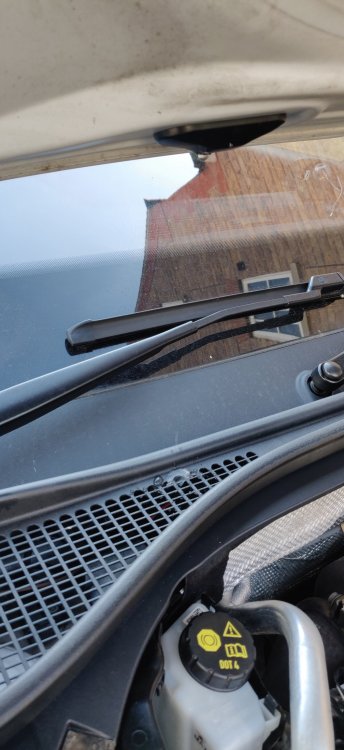
Couple more litres of DSG oil arrived, so cracked on with getting that topped back into the gearbox. This was more of the same stuff as last time, £17.35 for 2 litres. So two litres in: Then once warmed to 35 degrees, a bit more came out. The excess was drained into one of those containers with a pan area at the top as seen in the pic, and decanting the contents of that back into the DSG bottles left about 1.6l. So factoring in some remaining in the pump, and perhaps the oil container still having residue and all sorts of other factors, I'd guess about 500ml to 750ml could have been added. So yeah, not sure if all this was a little overkill, but certainly better to not need to worry about it I suppose. Hey, if it blew up, chance to source a 7 speed? Right side nozzle still dribbled when the bonnet was raised: Anyways. If I'm bored, I might put the old steering wheel back in, maybe leave the Kufatec loom in place for now, to confirm whether any of the error codes come back up and whether the cruise control stalk comes back. Not sure what that would confirm for me, other than something else beyond the facelift steering wheel is missing, pointing again to maybe the CAN gateway. Enquired about the CAN and BCM and one of the physically nearest guys in Coventry by the looks of it suggests that he couldn't sort out the BCM due to the keys and that it wouldn't work if he tried to connect to the servers because of mismatched part numbers. Not sure that's true to be honest, so I'll keep asking around. I imagine I'll be DMing a few people on these forums over the next few weeks, hopefully once the car has the MoT, there's nothing stopping the car from travelling to get whatever coding needs to be done. Maintenance: £2317.23 (+£17.35) Upgrades: £1414.46 Miscellaneous: £697.20
-
Was umming and ahhing about the practicalities of the ventilated seats, but I'm now putting that onto the to-do list! Well, apart from needing to perforate the leather I guess...