commievid
Members
-
Joined
-
Last visited
Everything posted by commievid
-
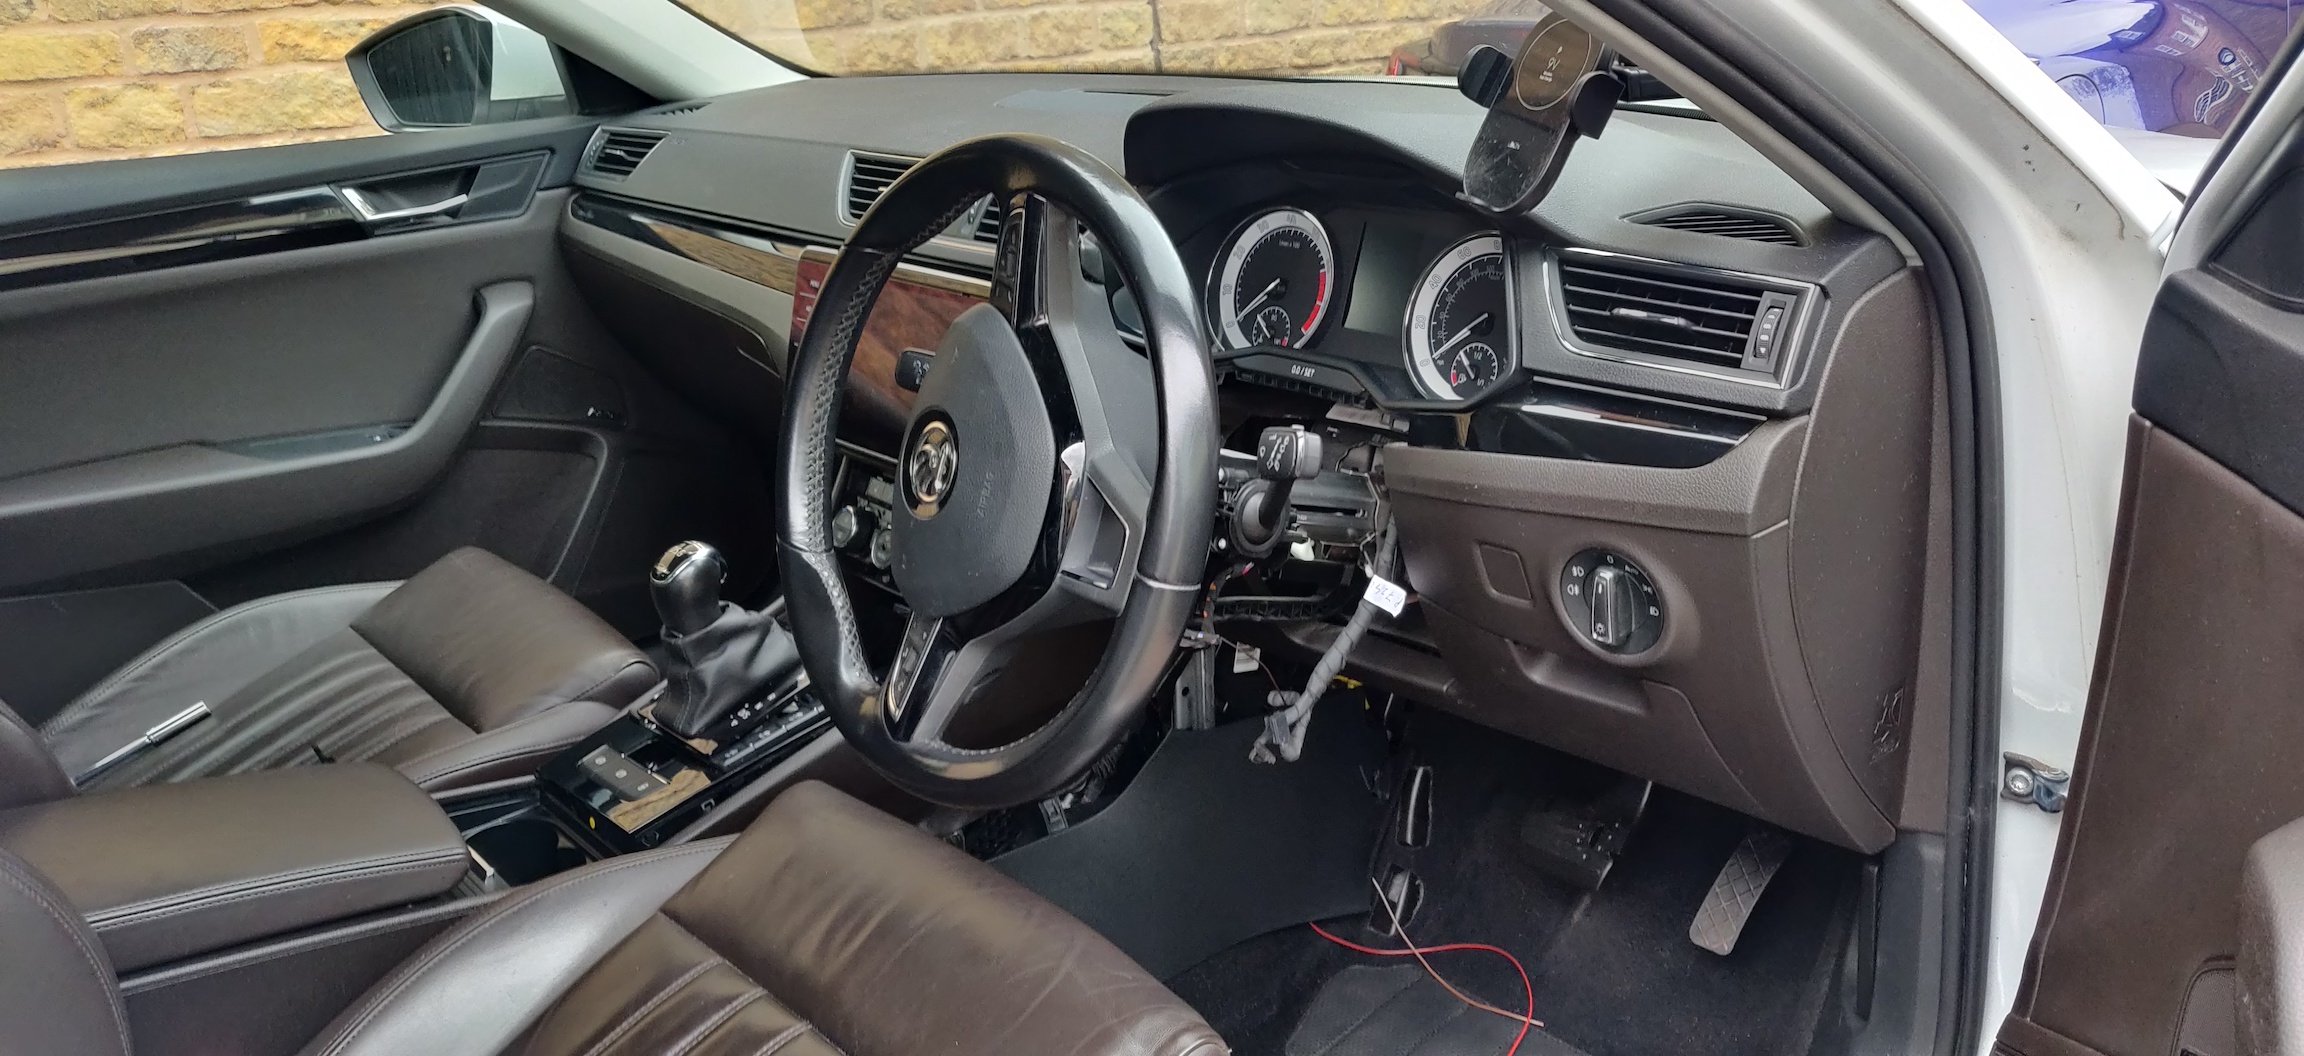
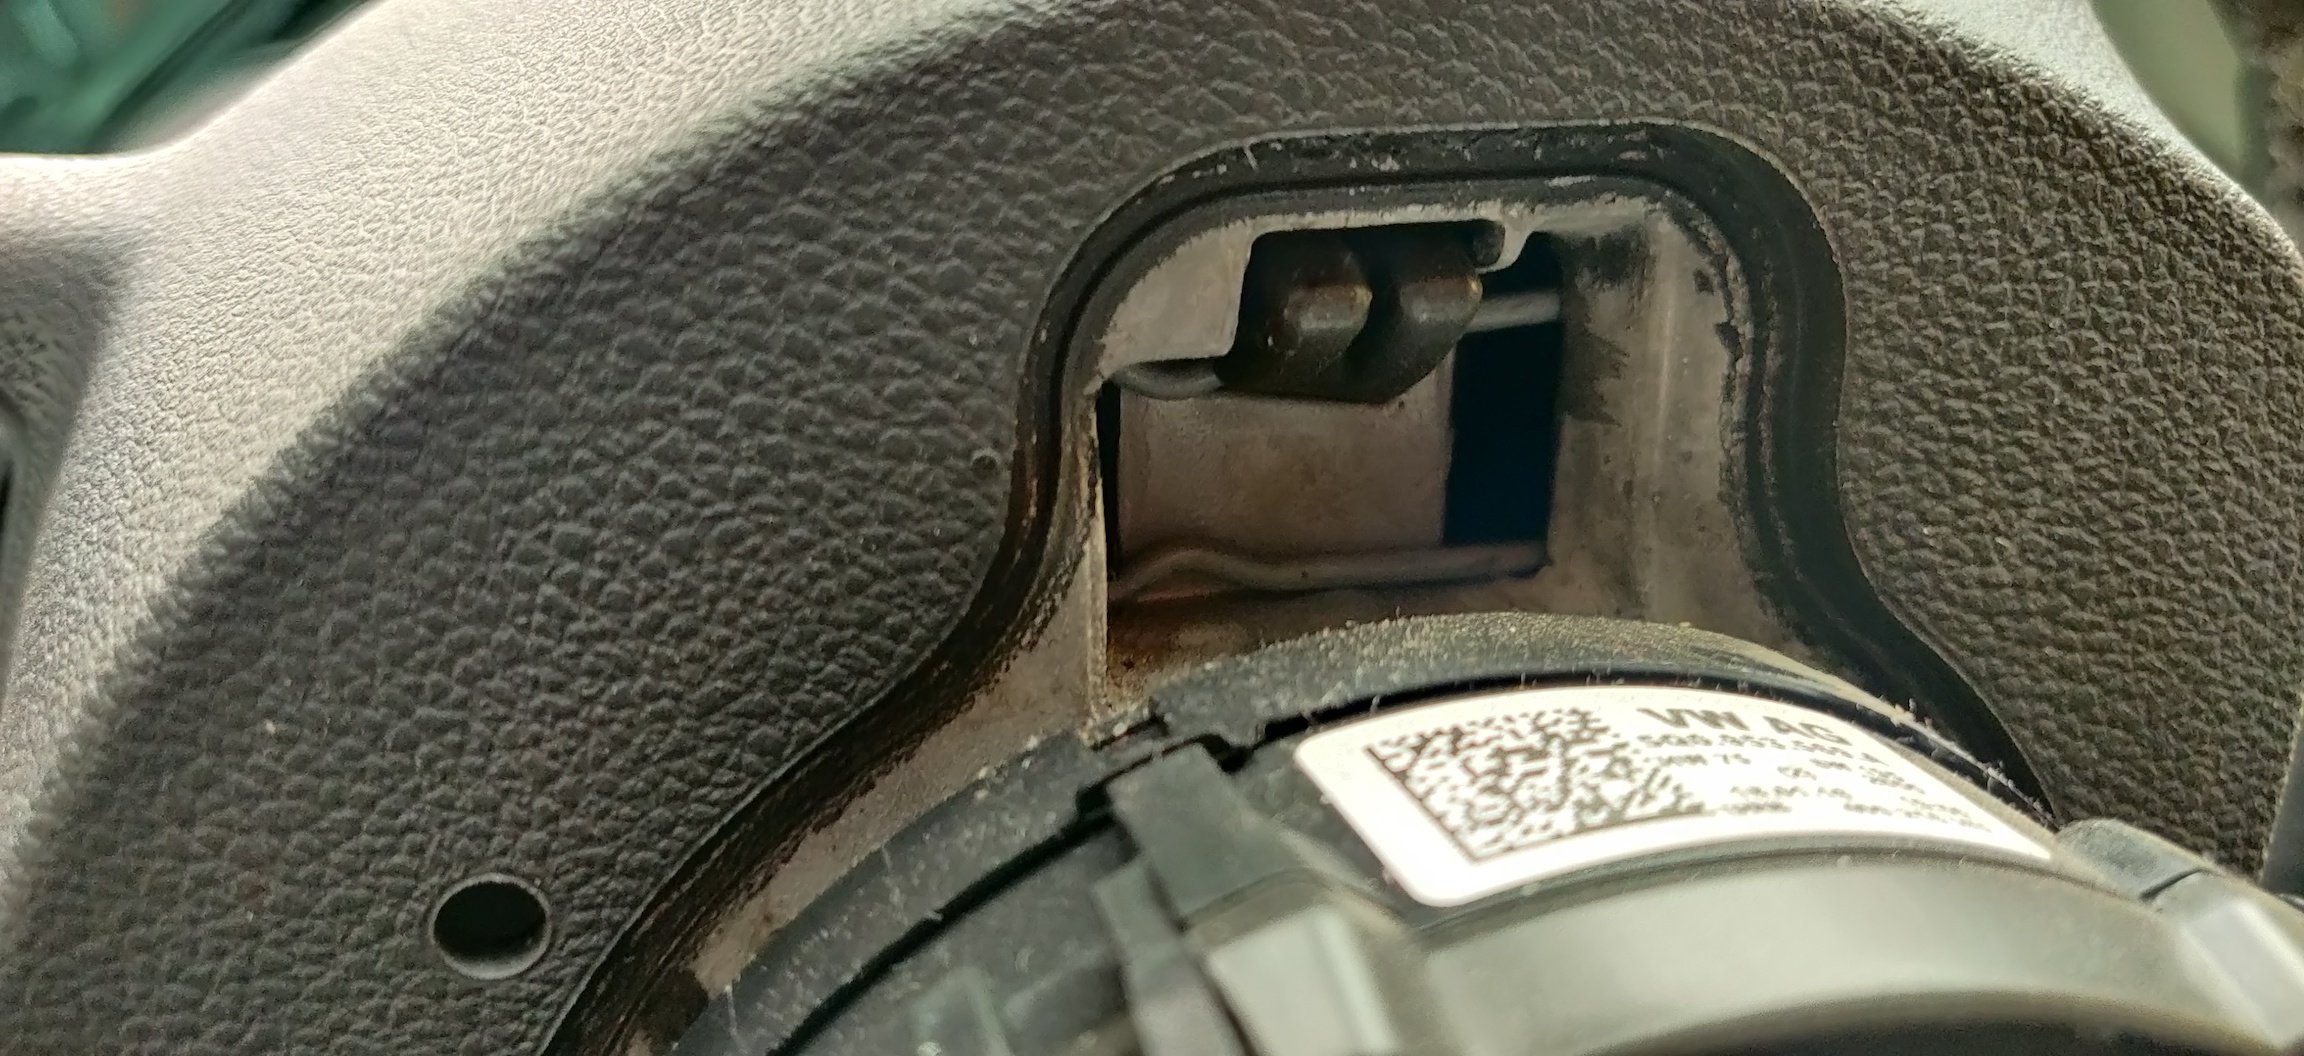
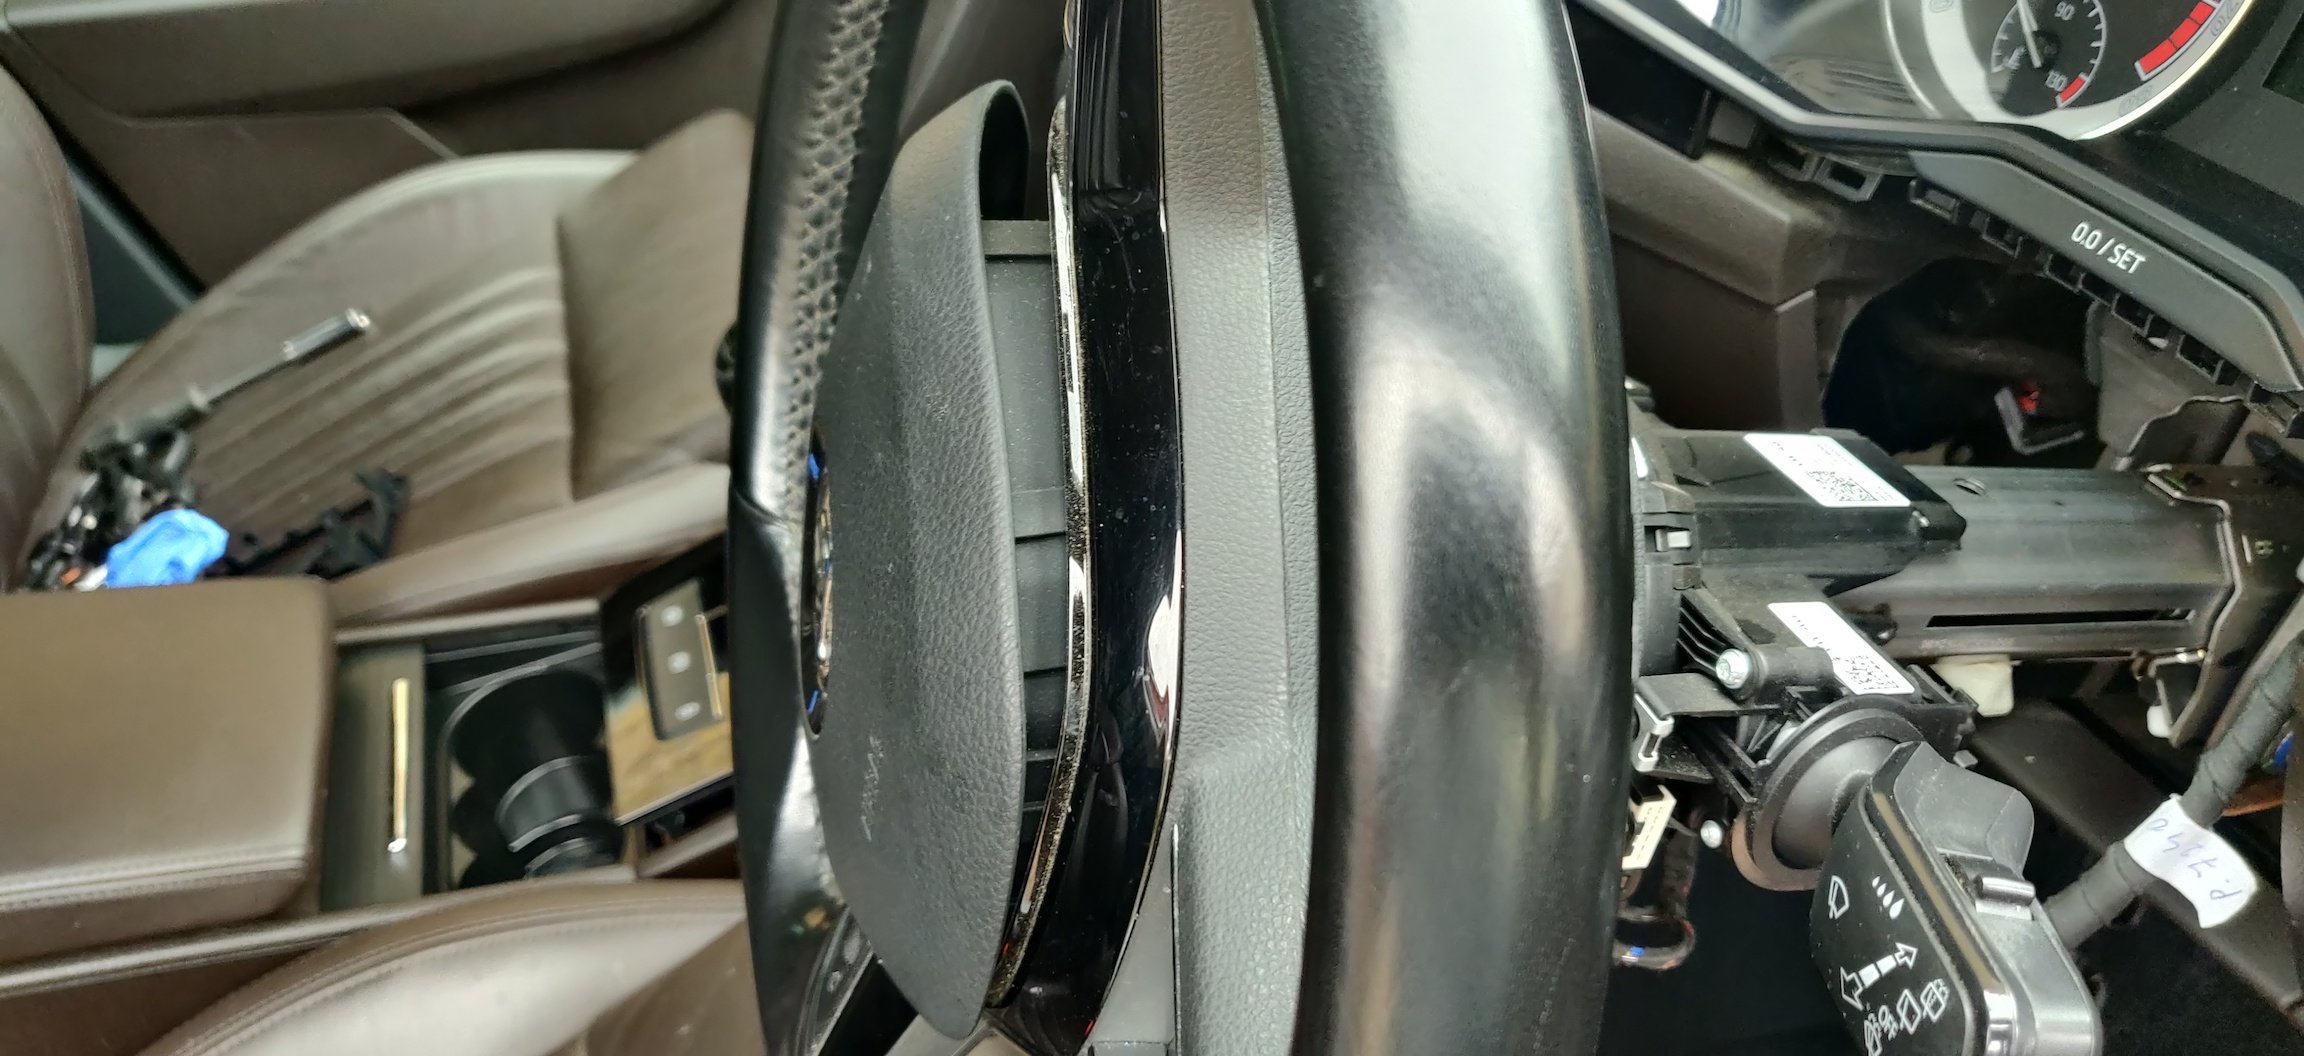
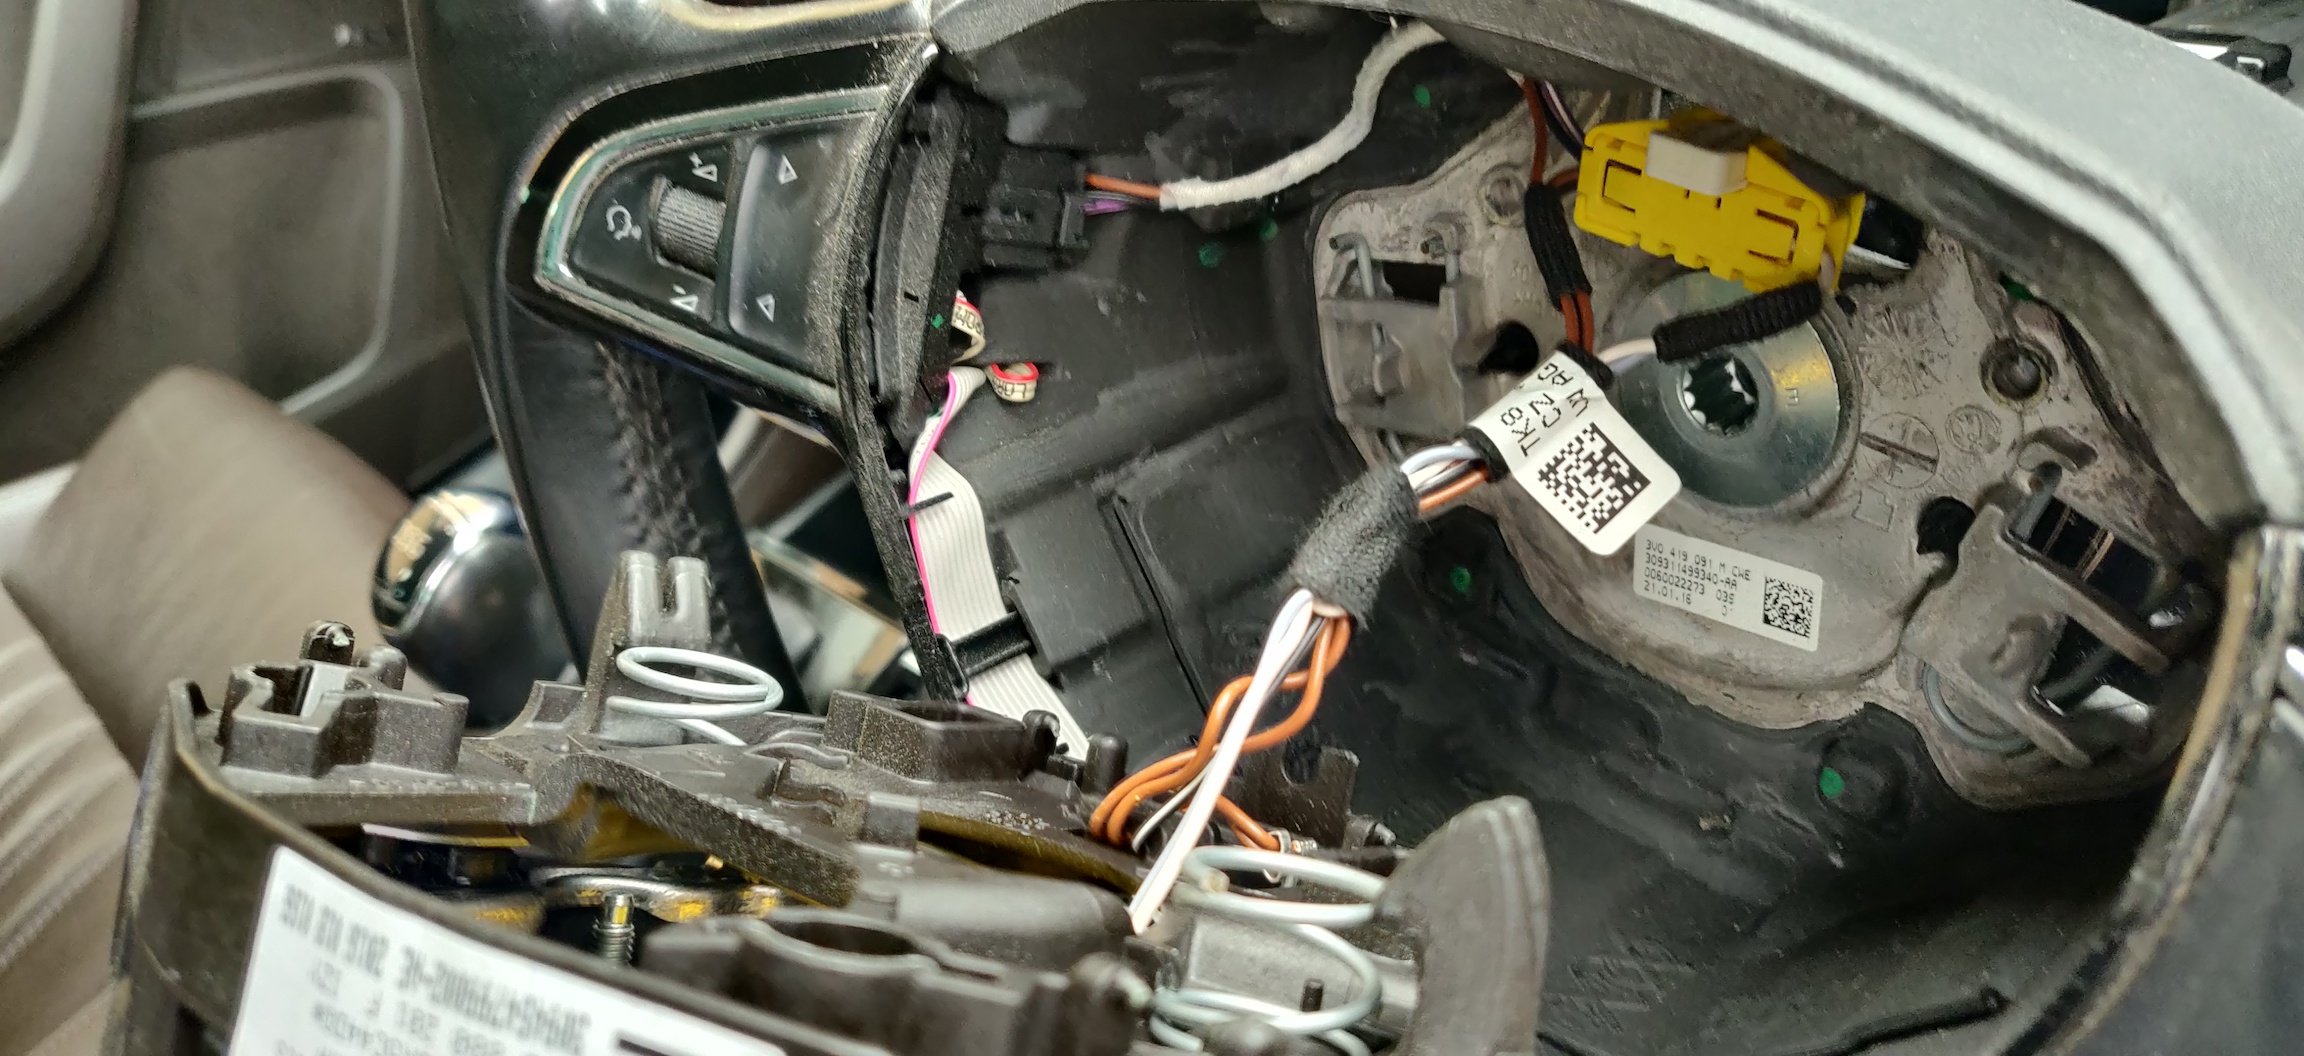
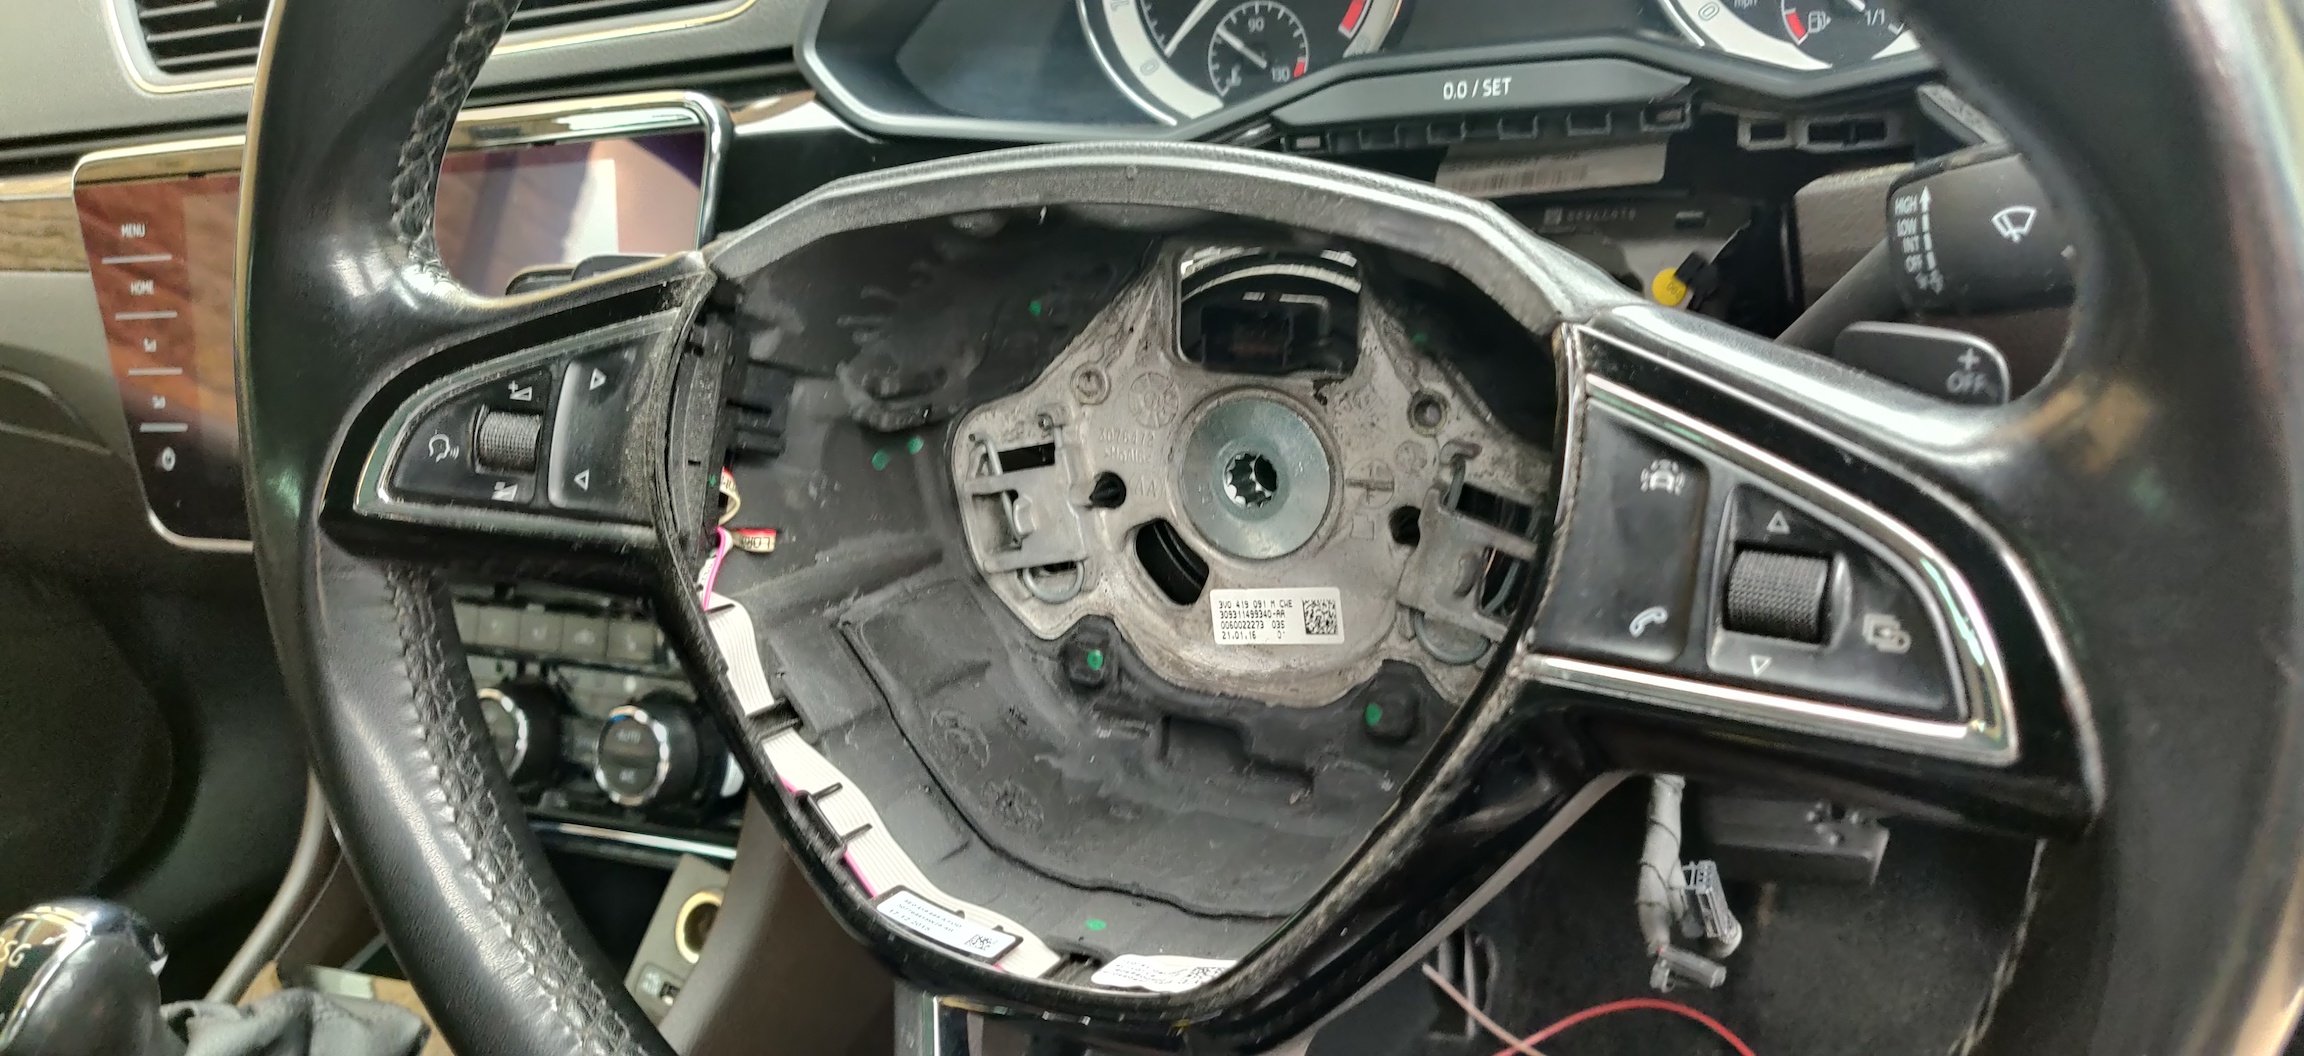
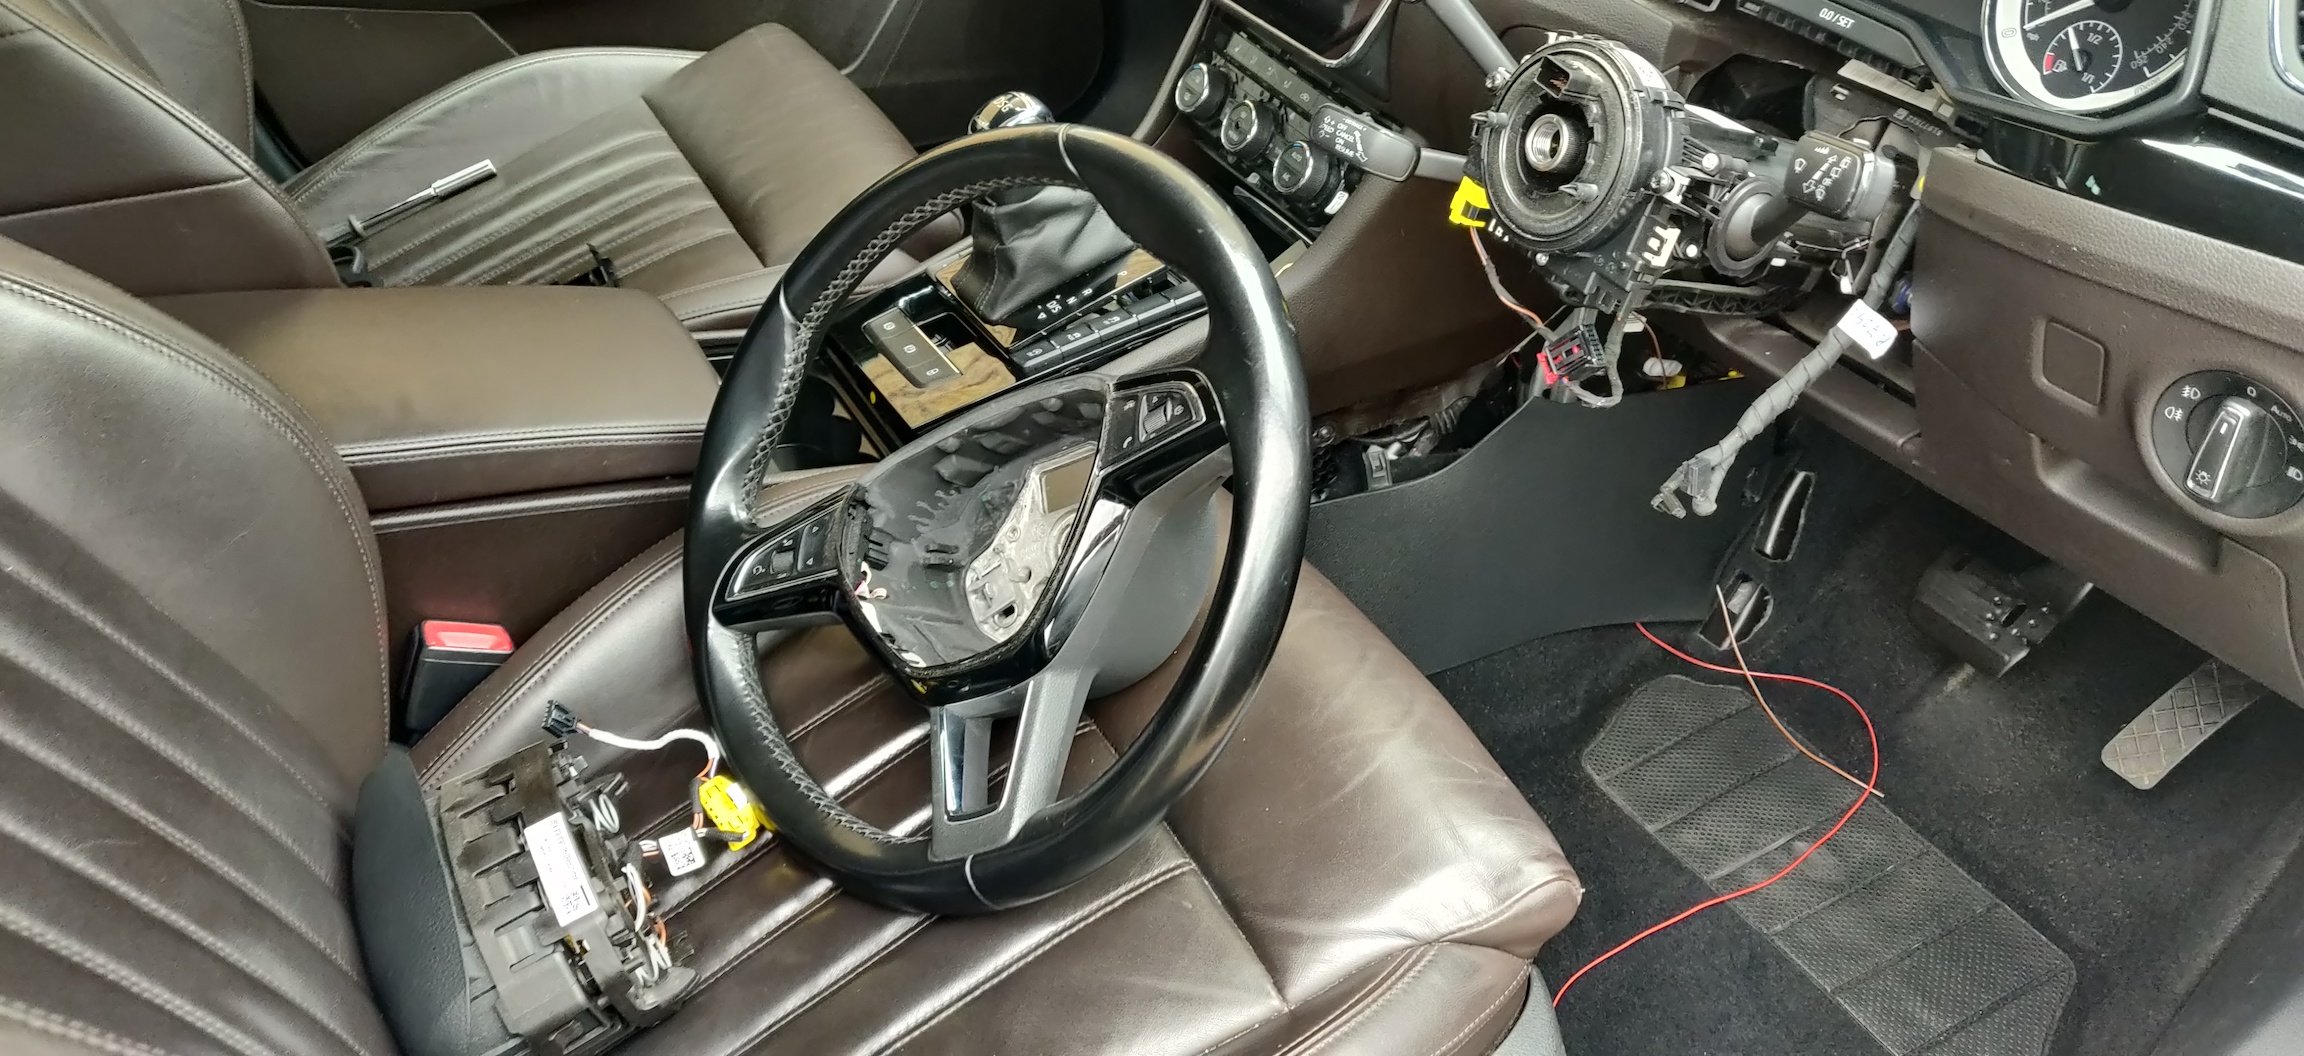
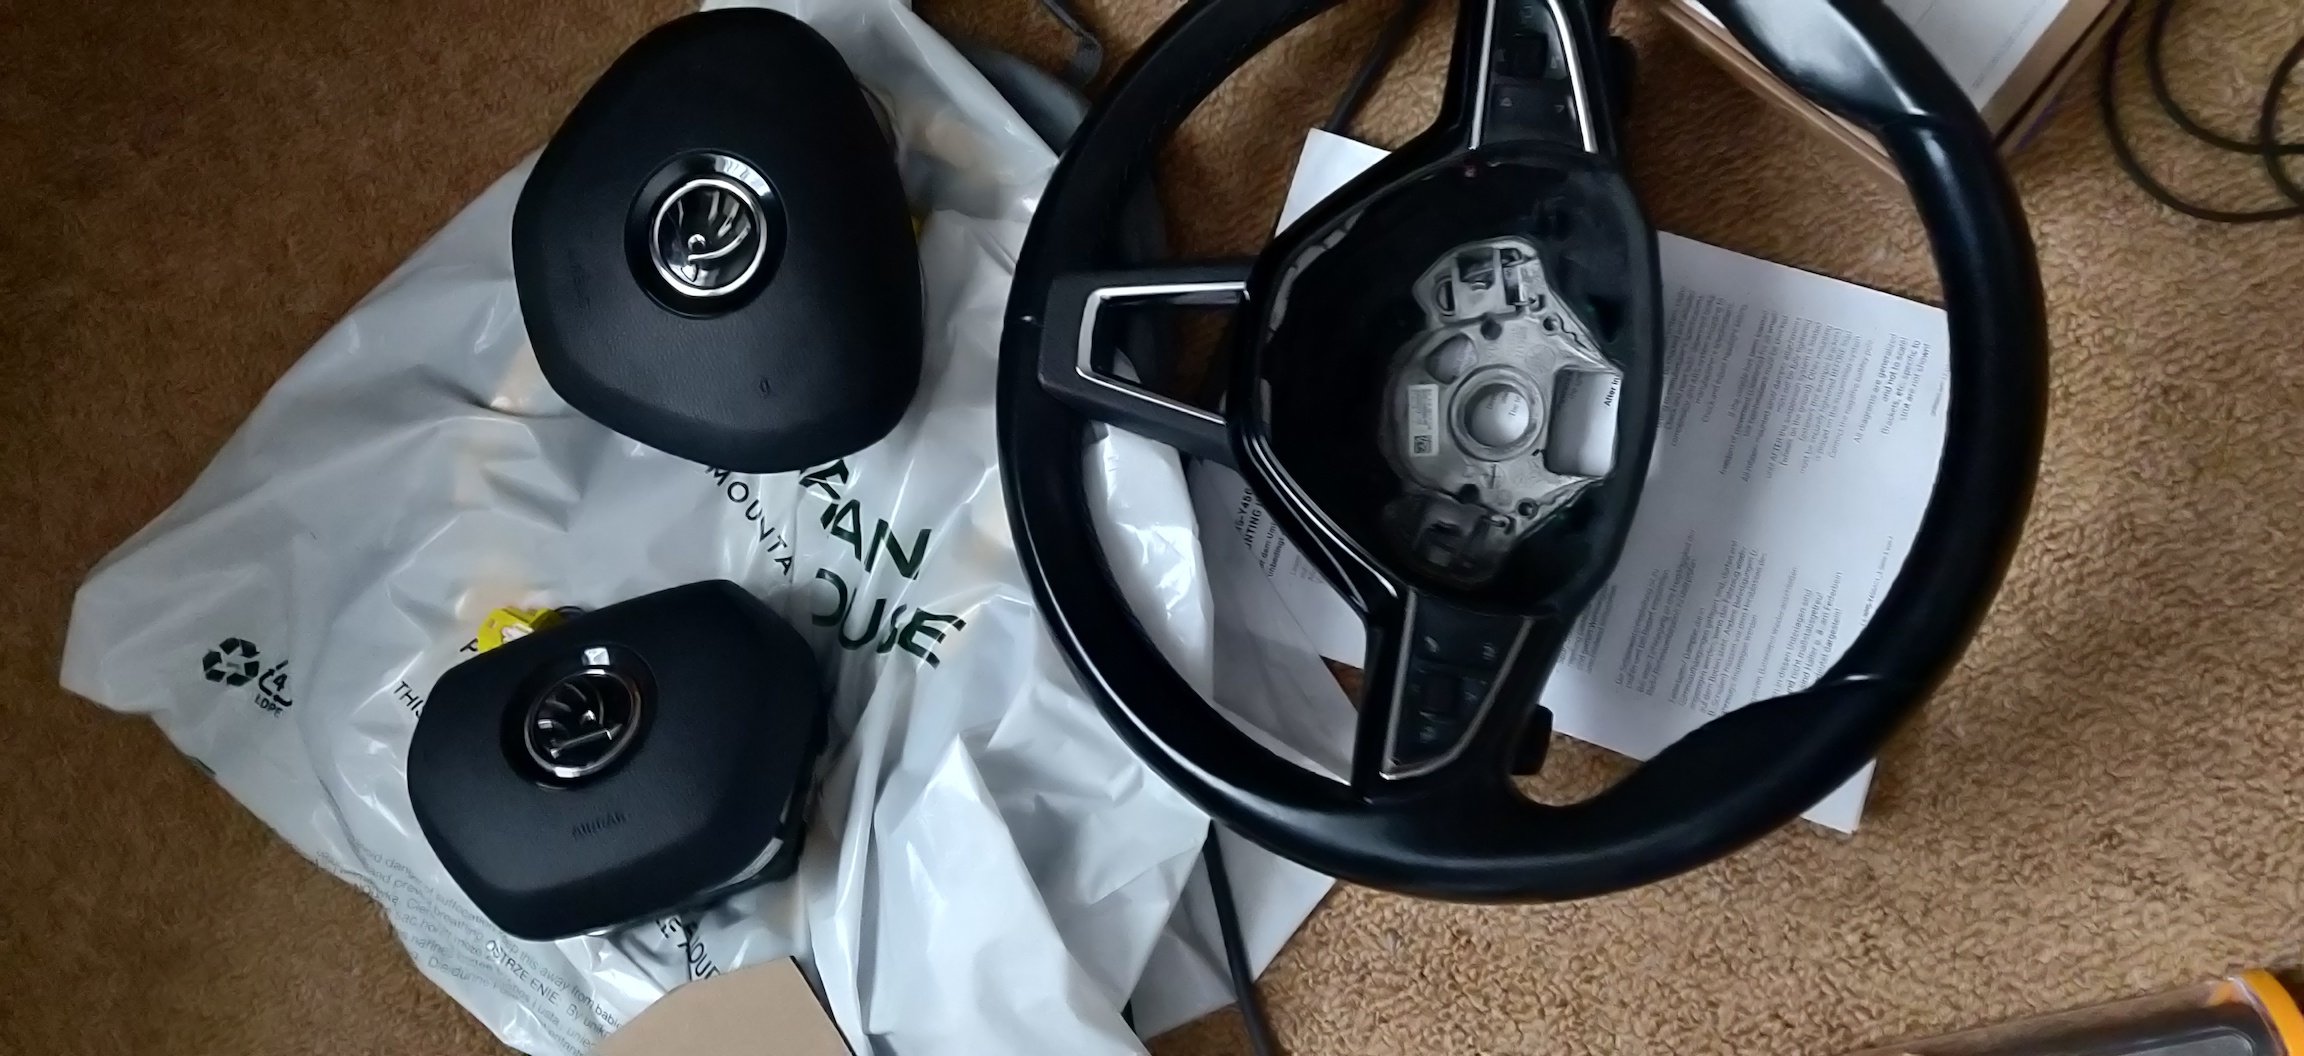
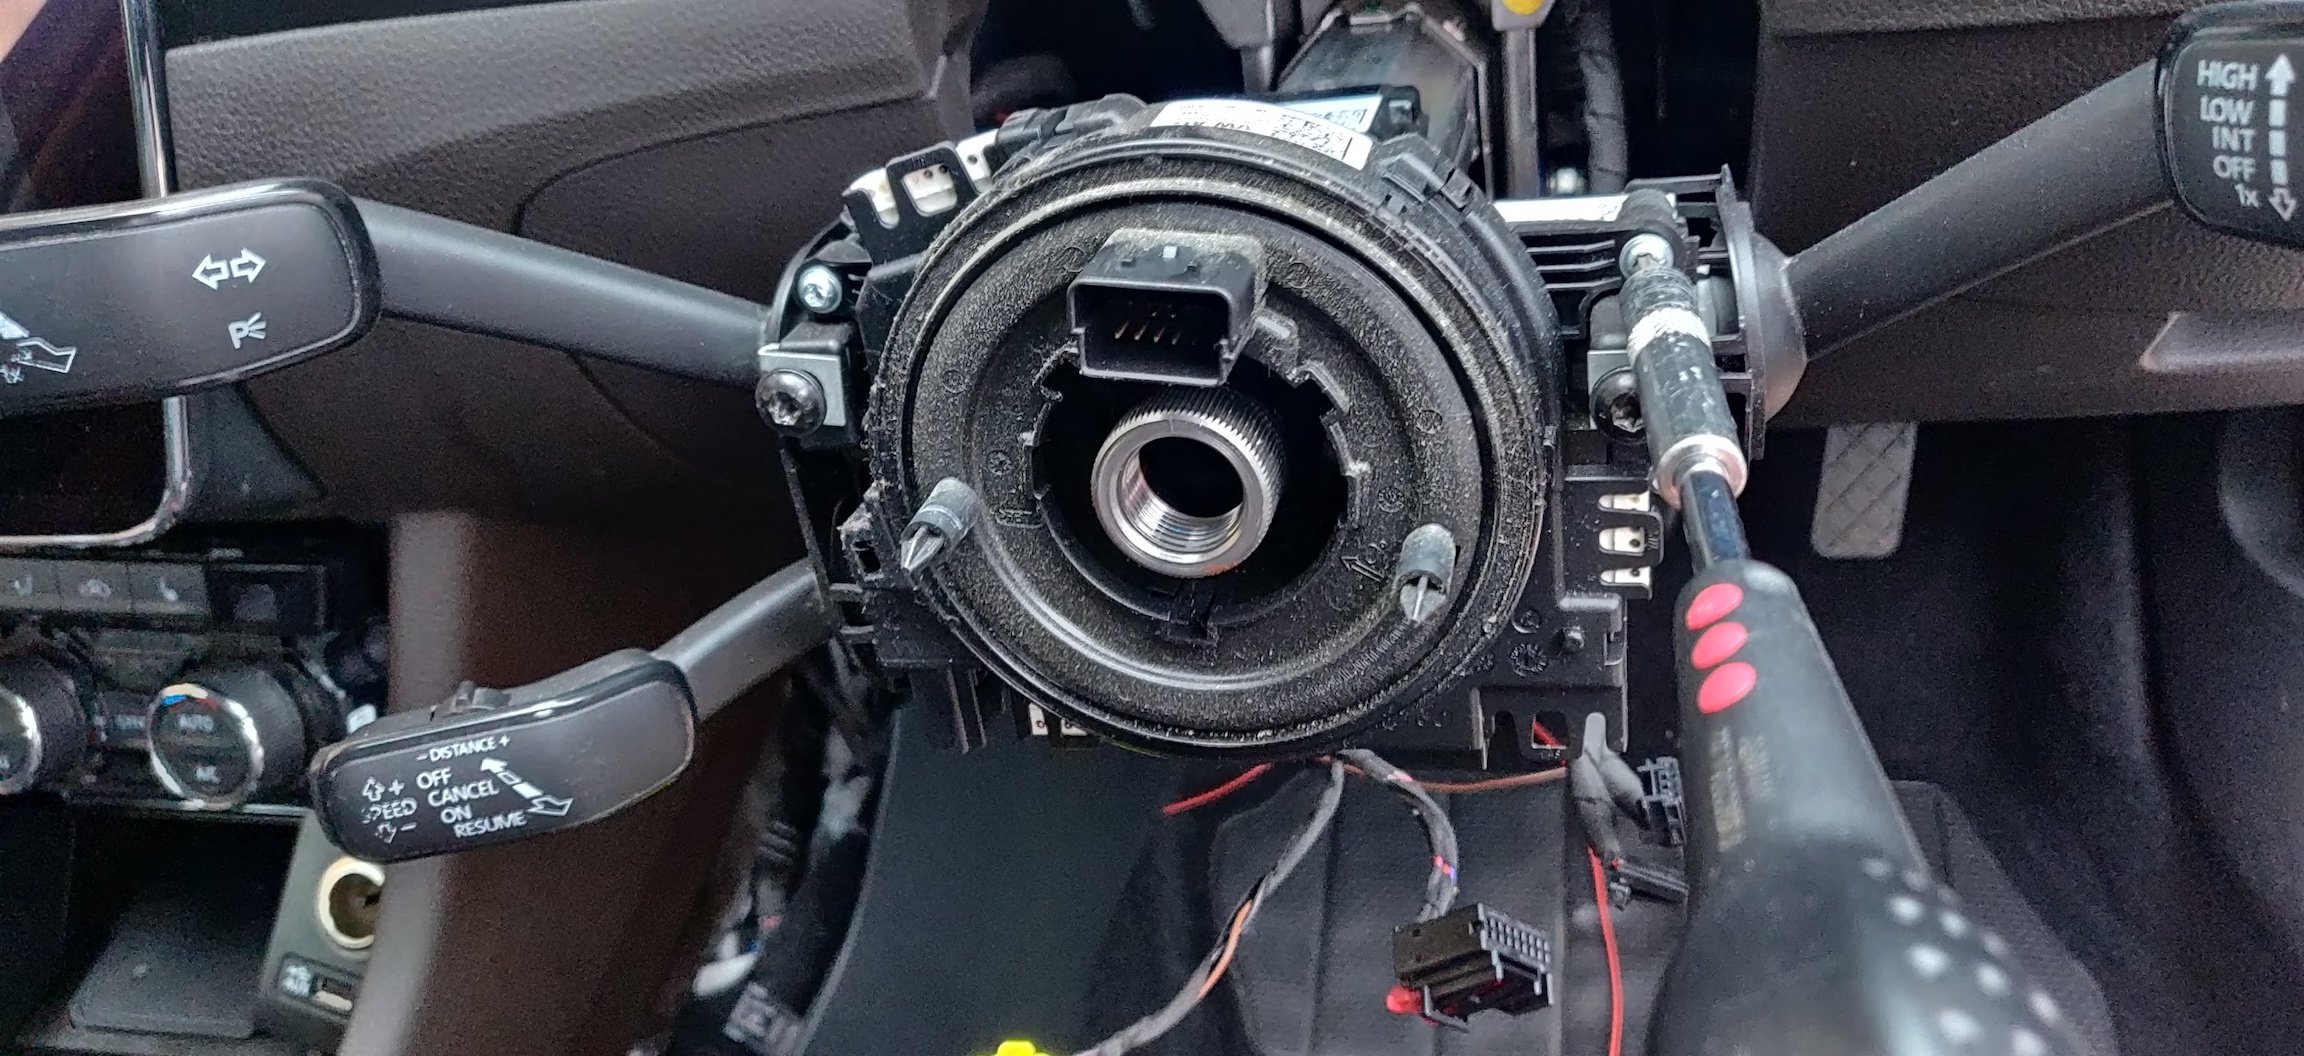
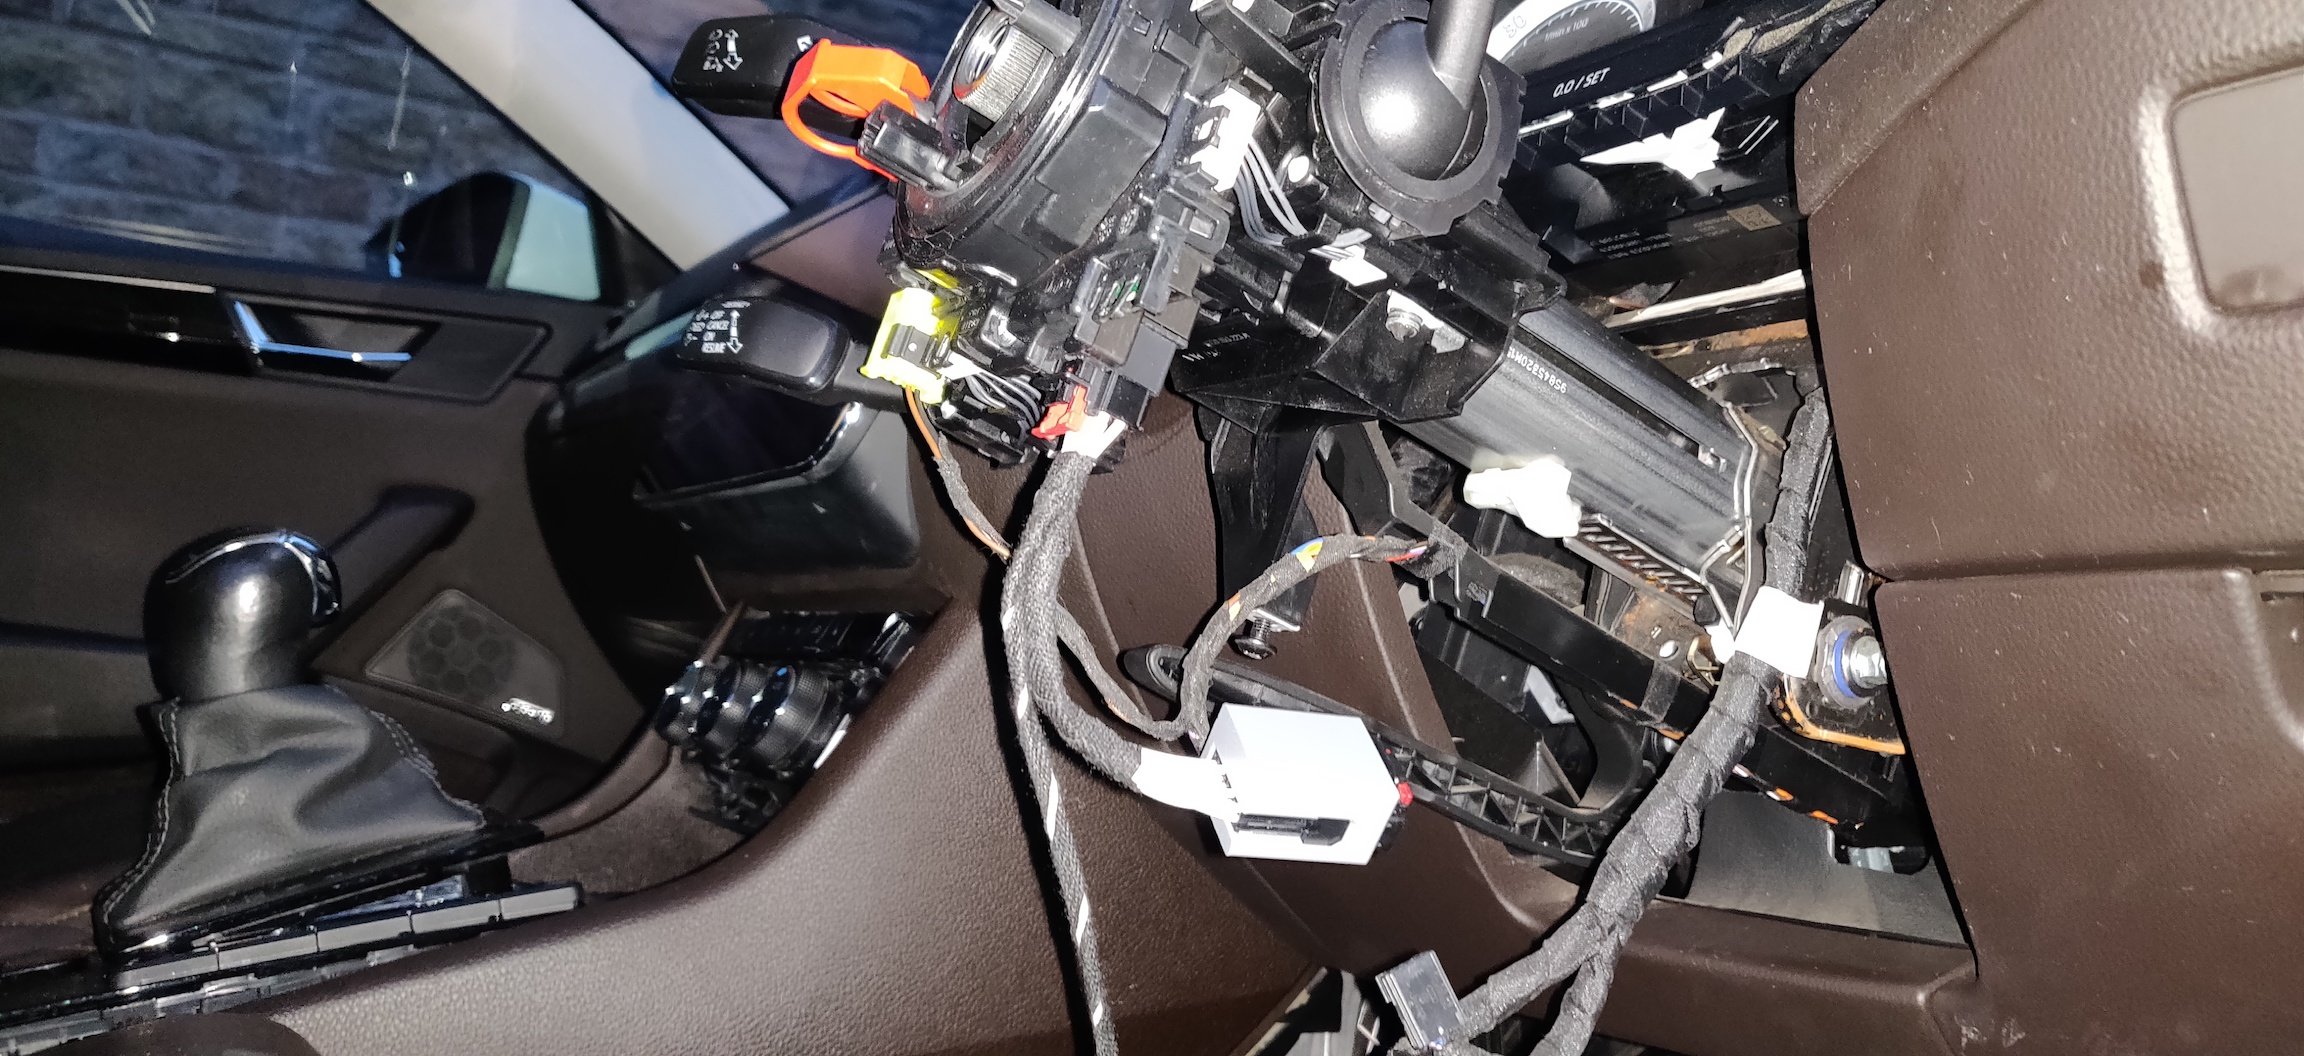
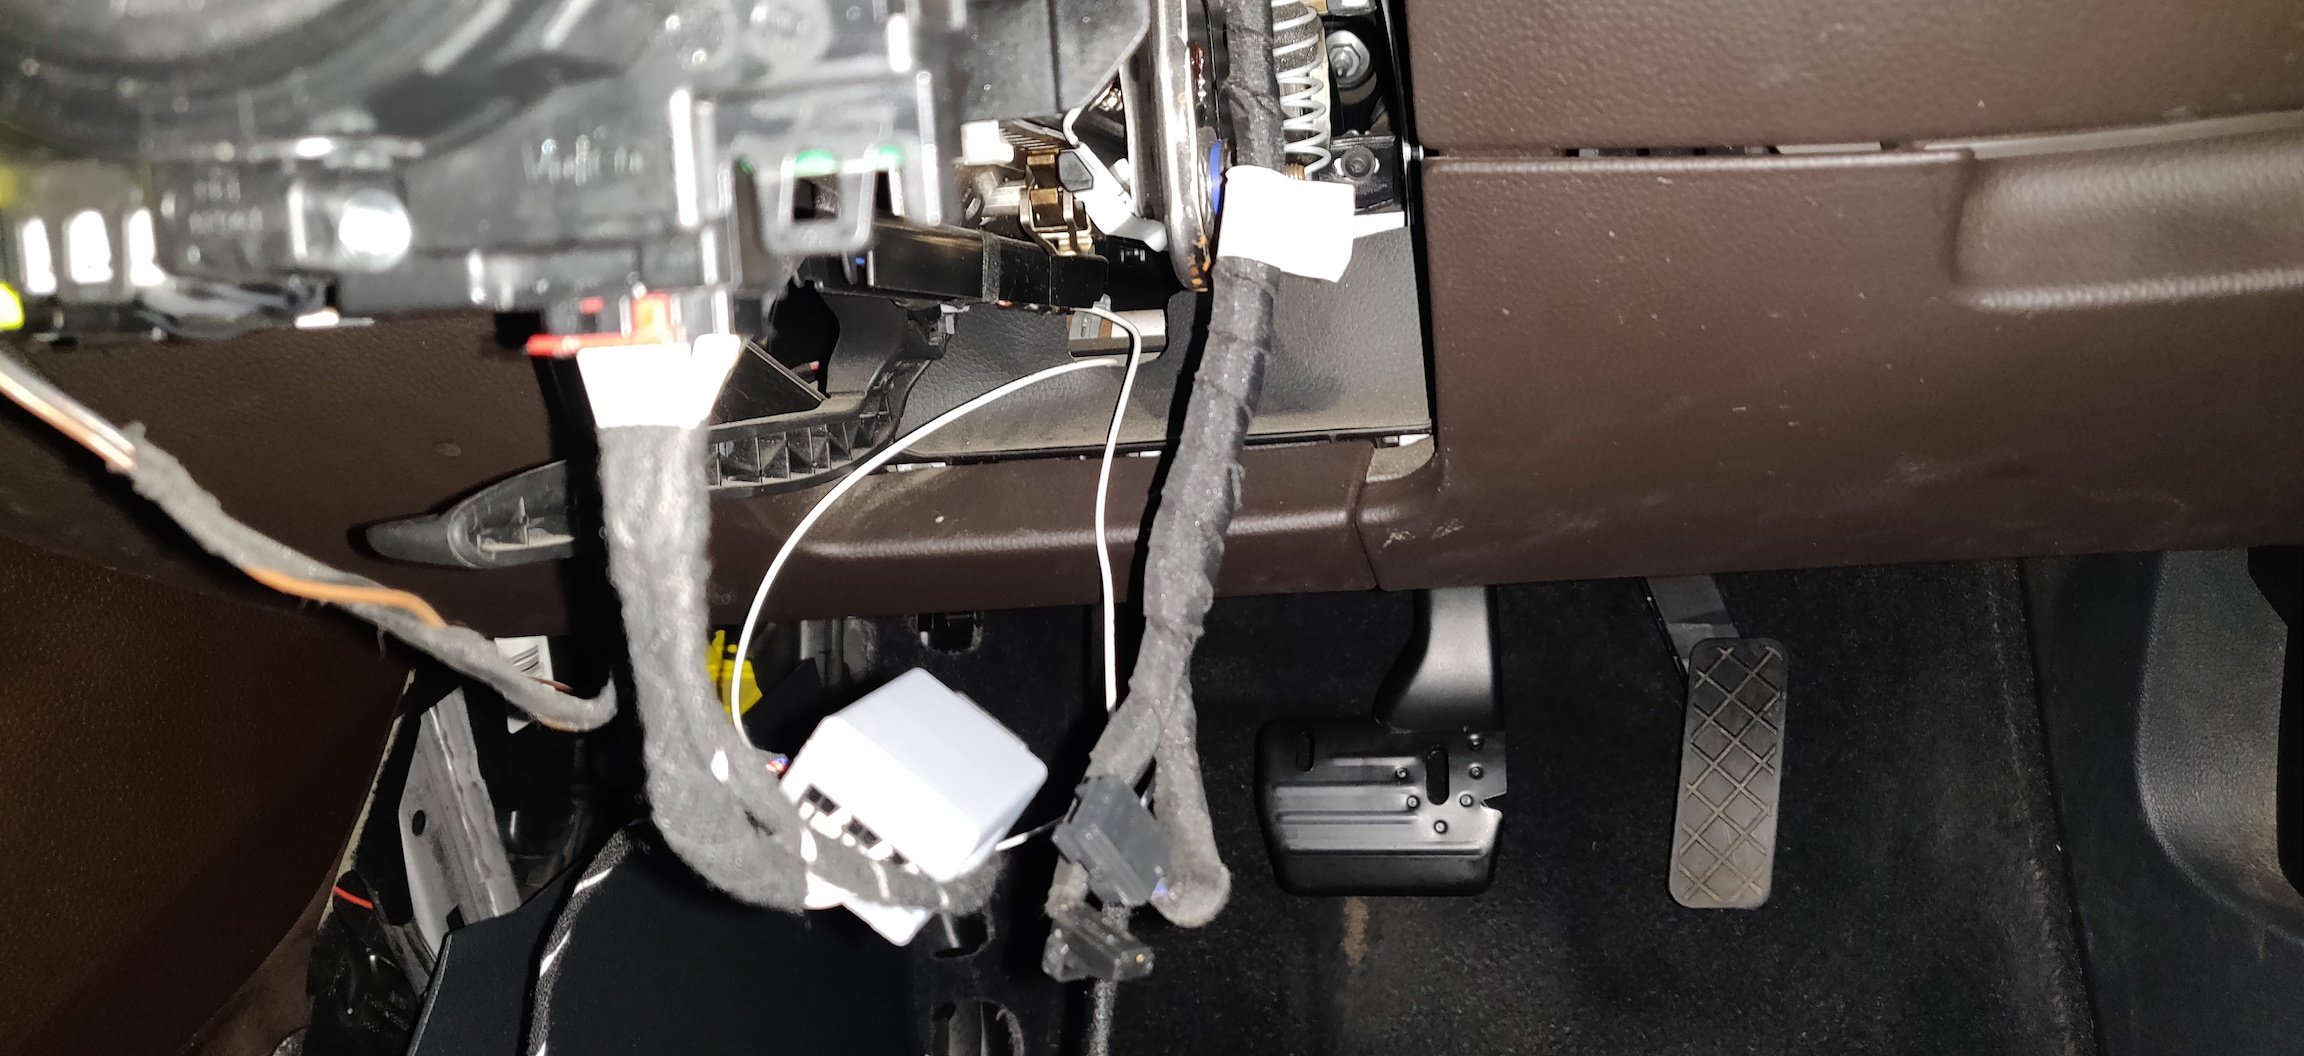
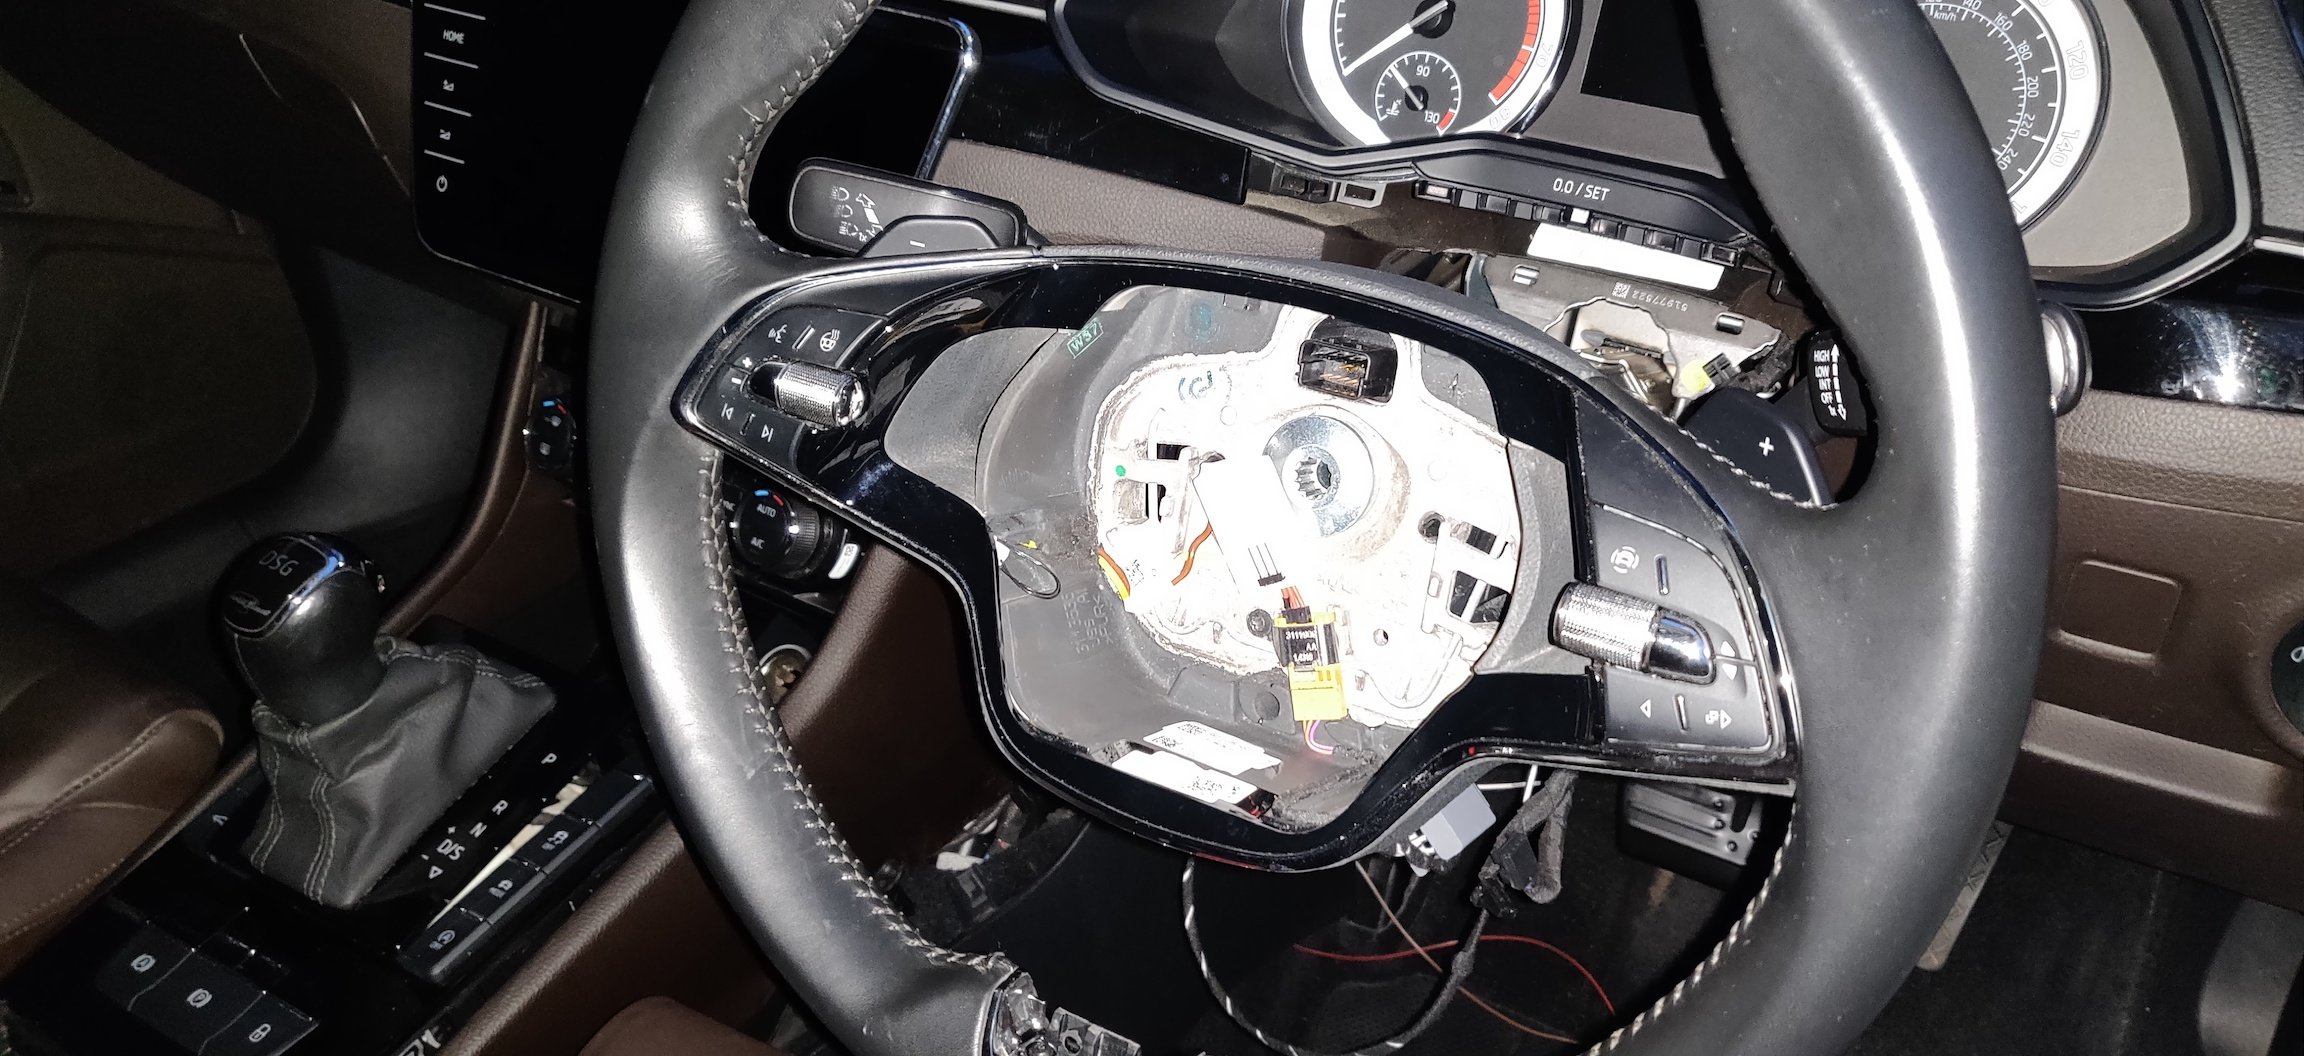
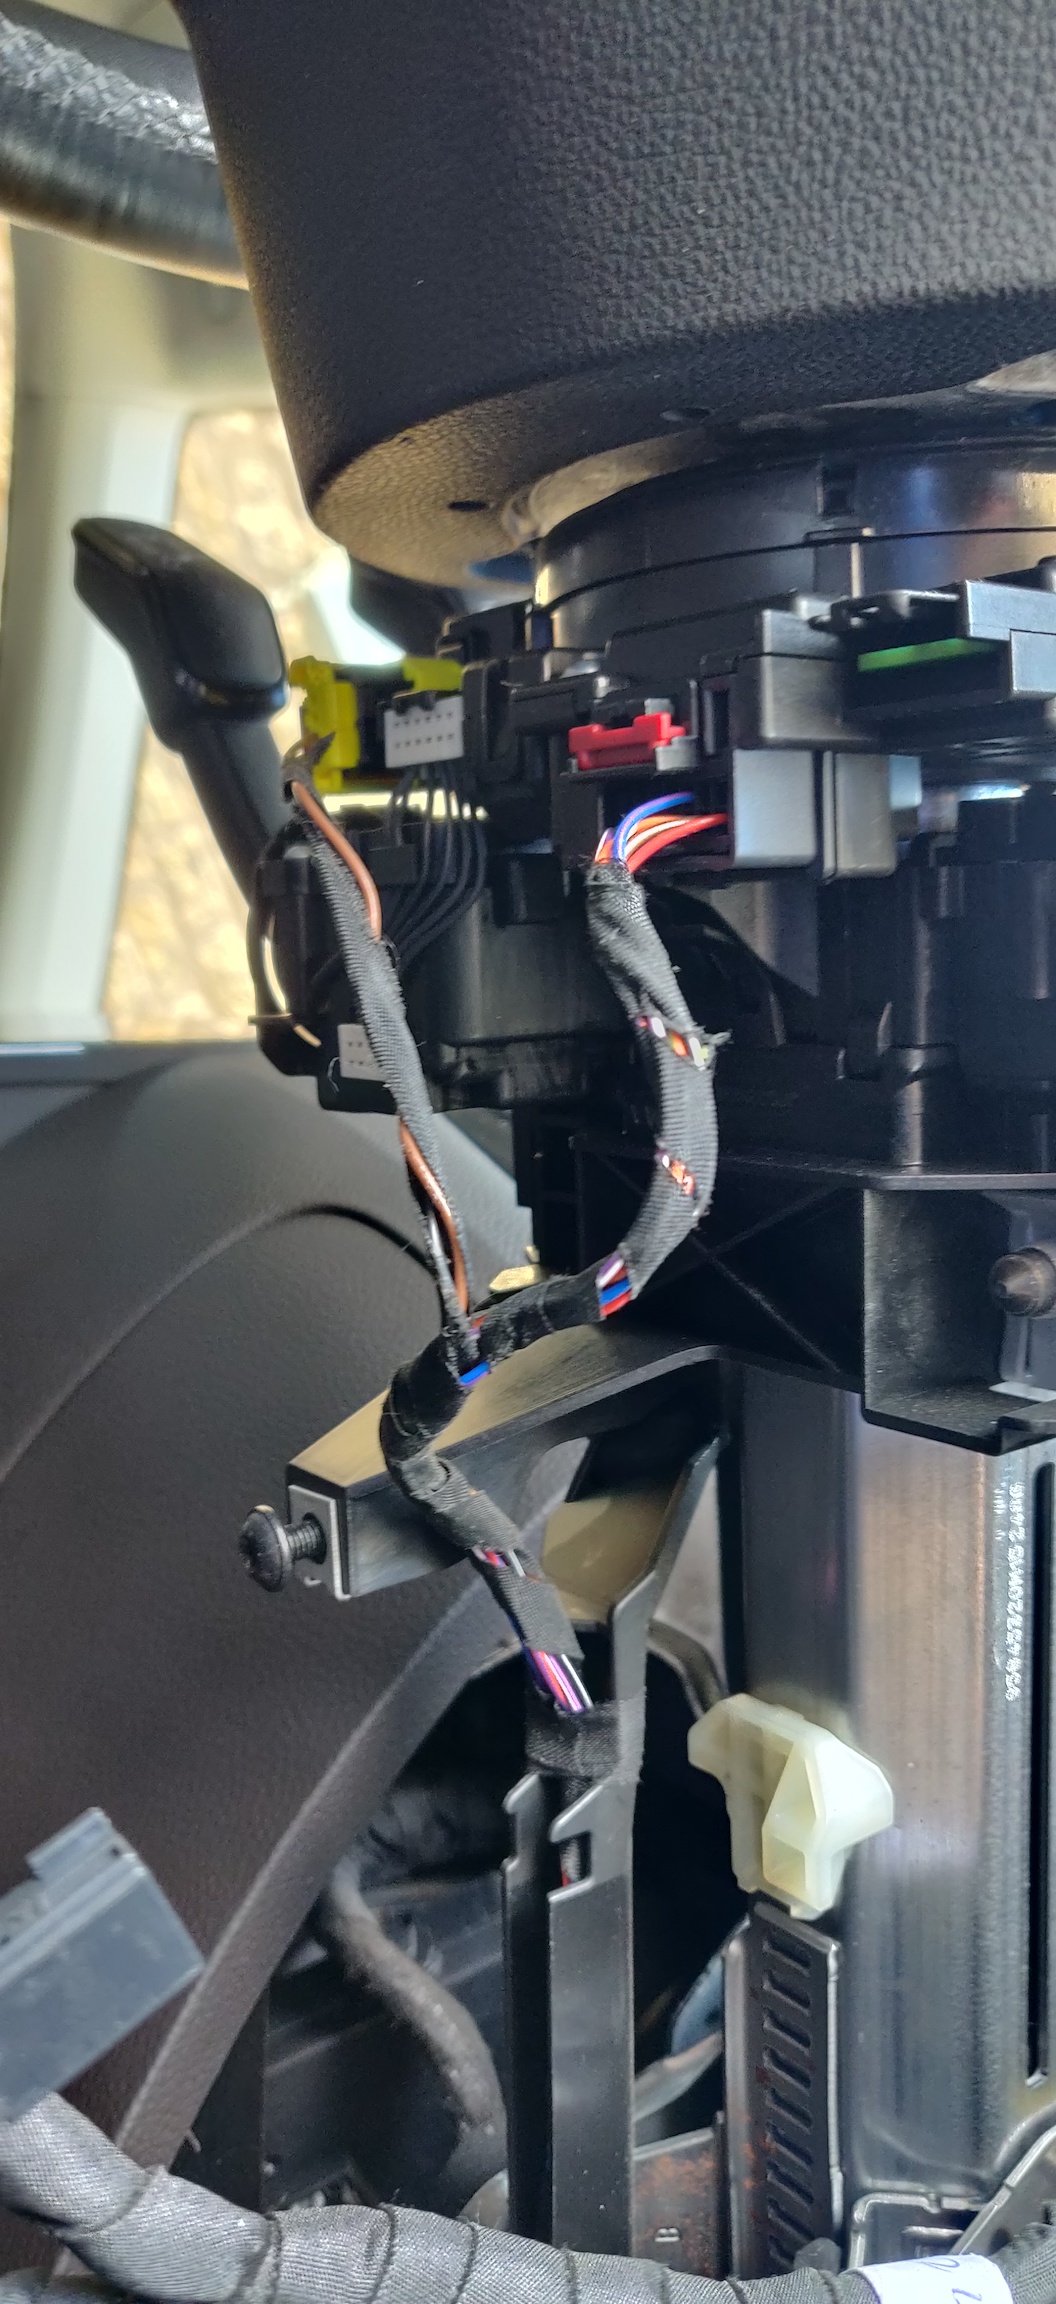
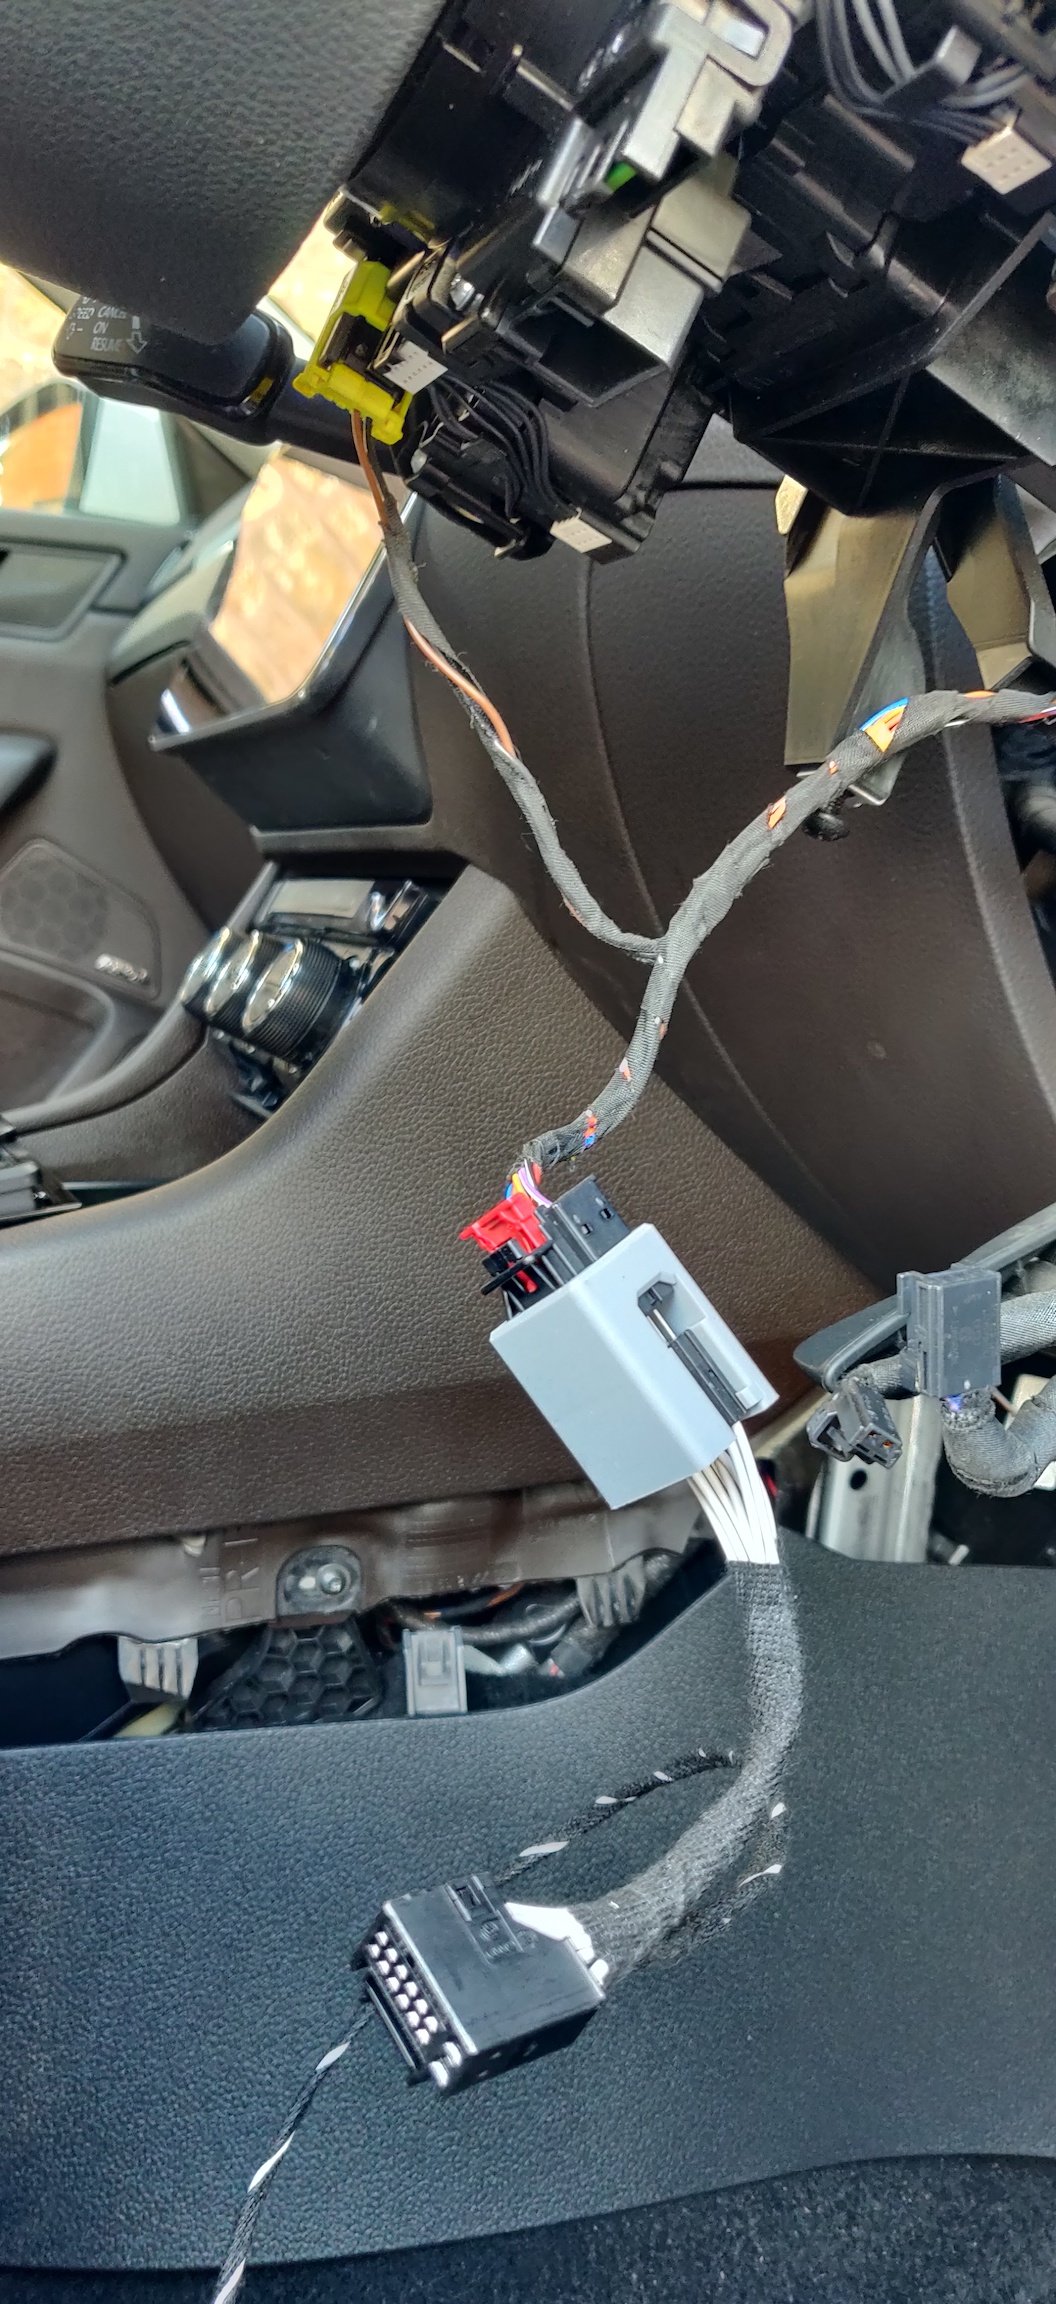
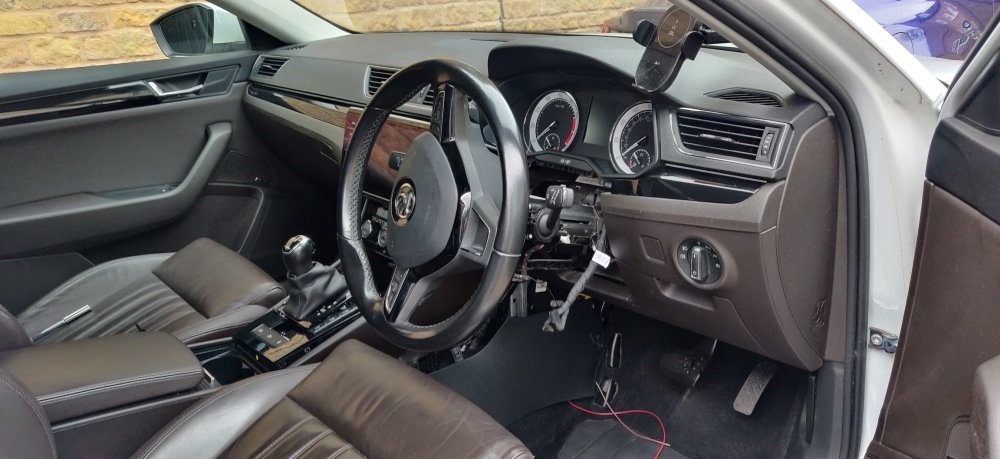
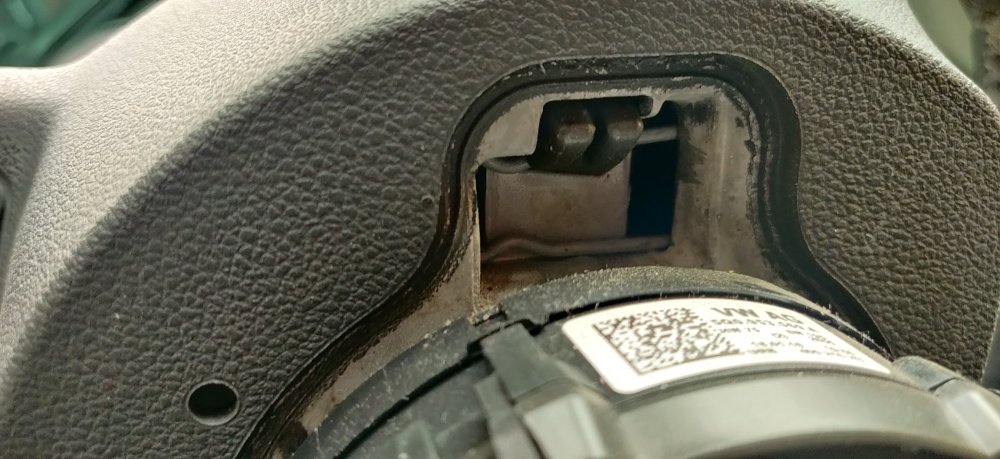
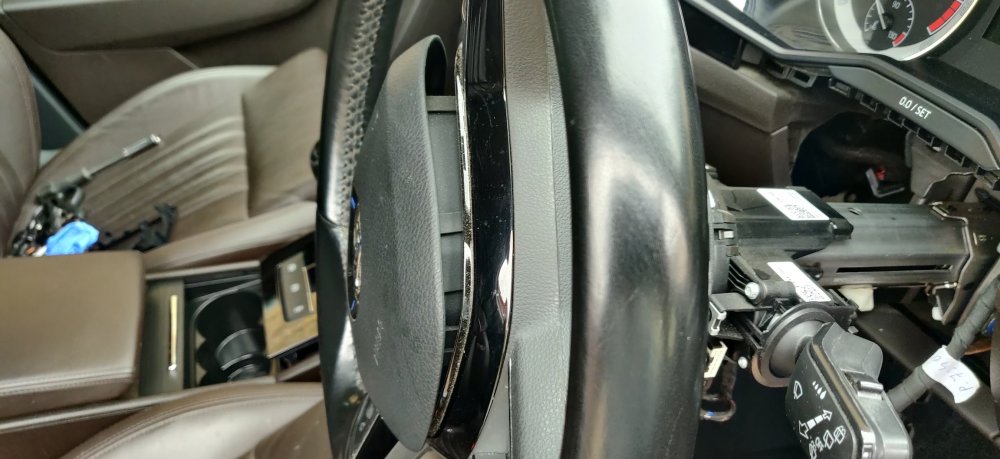
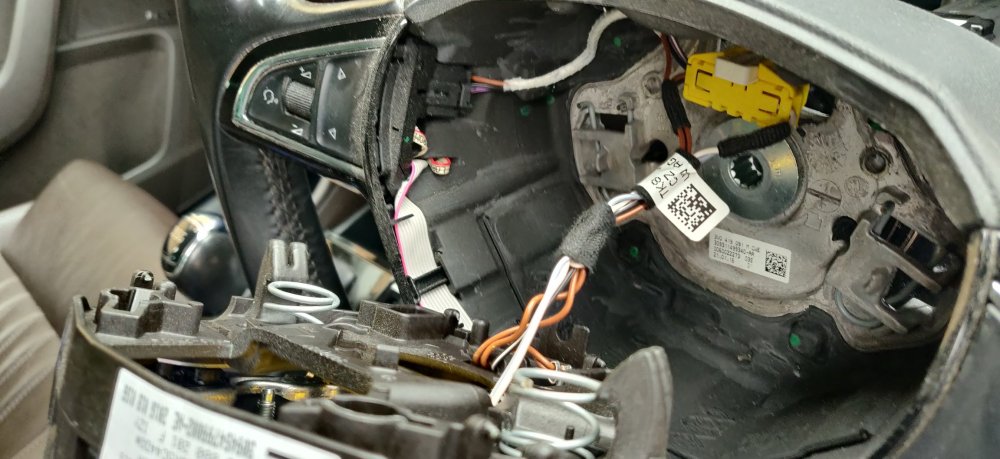
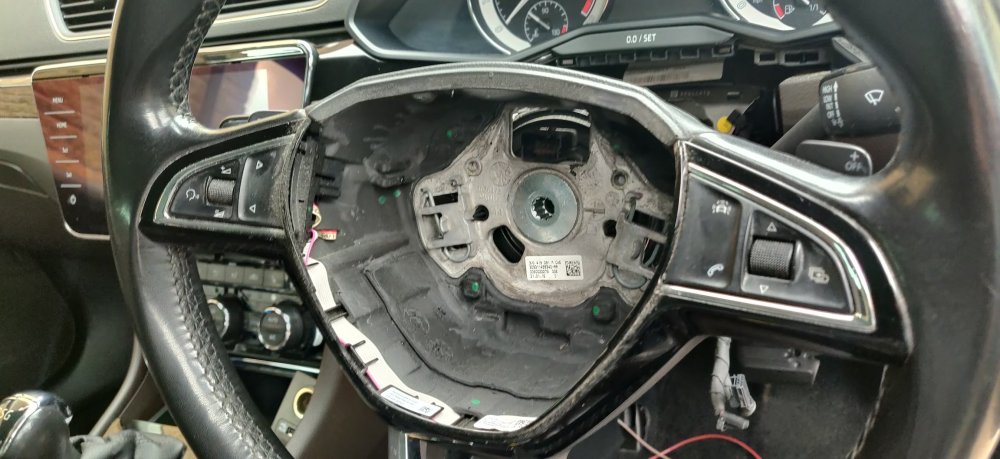
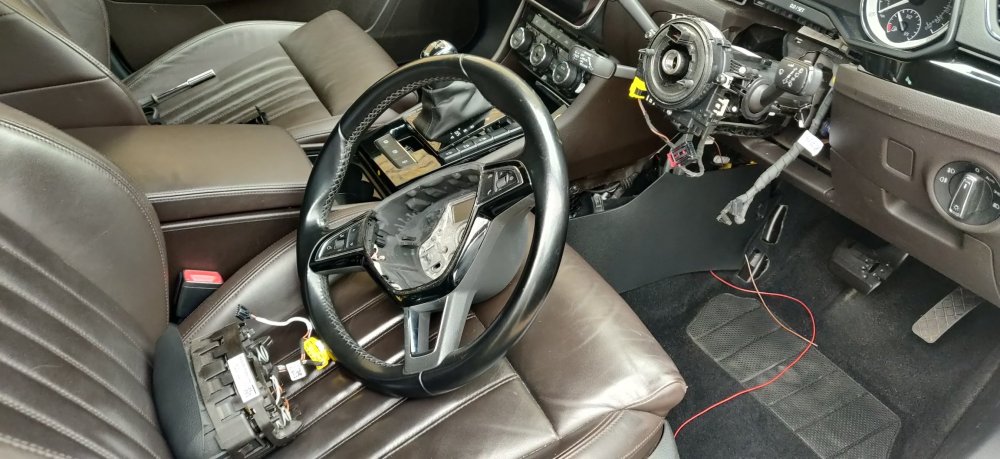
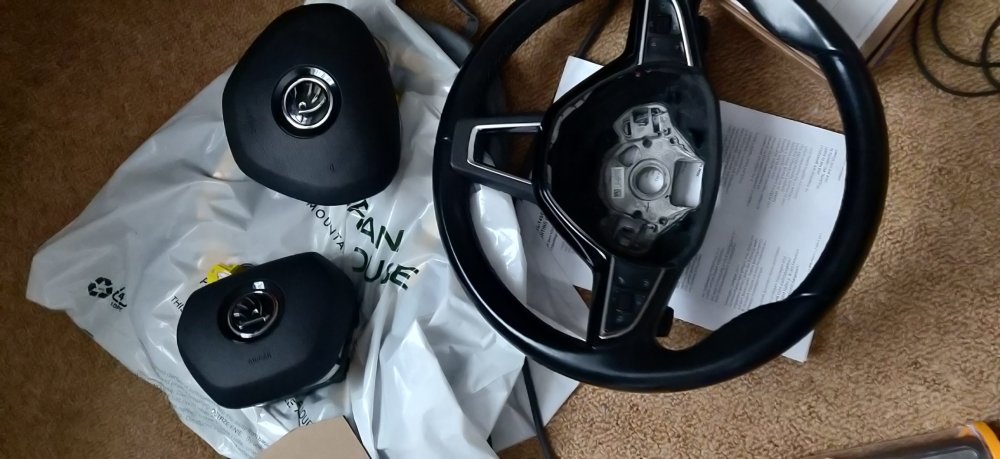
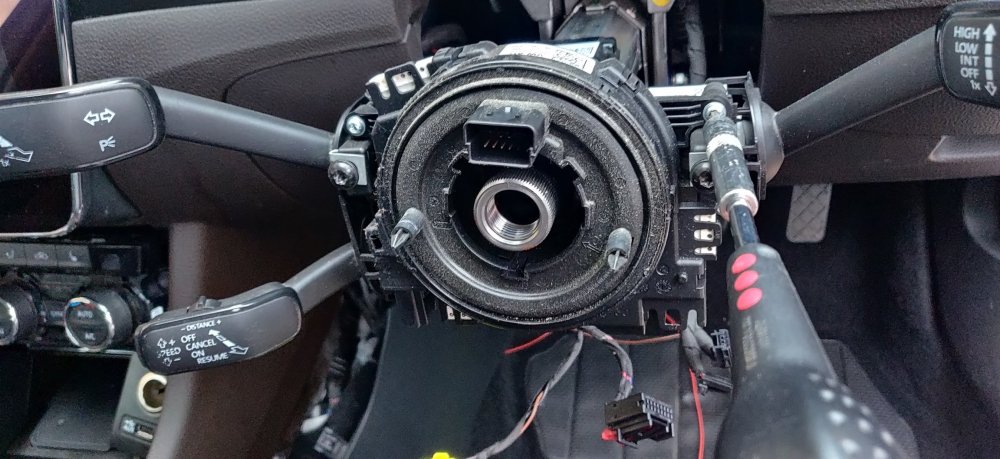
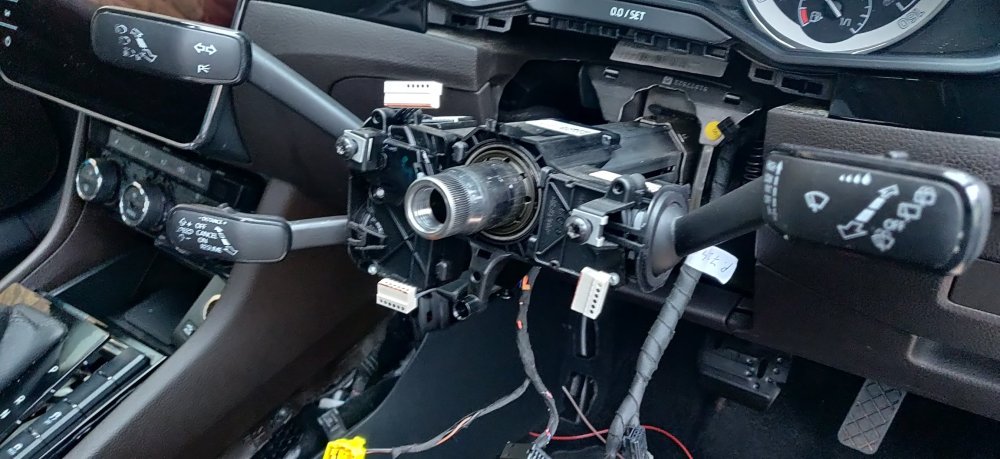
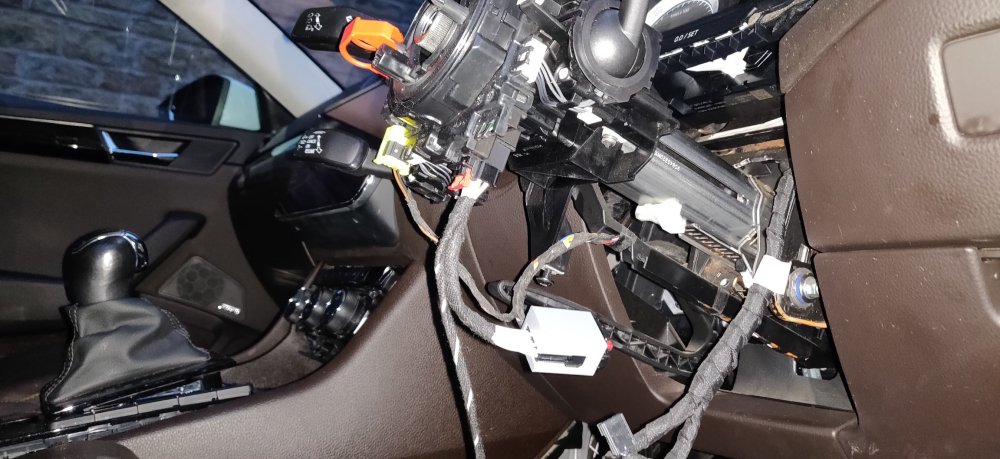
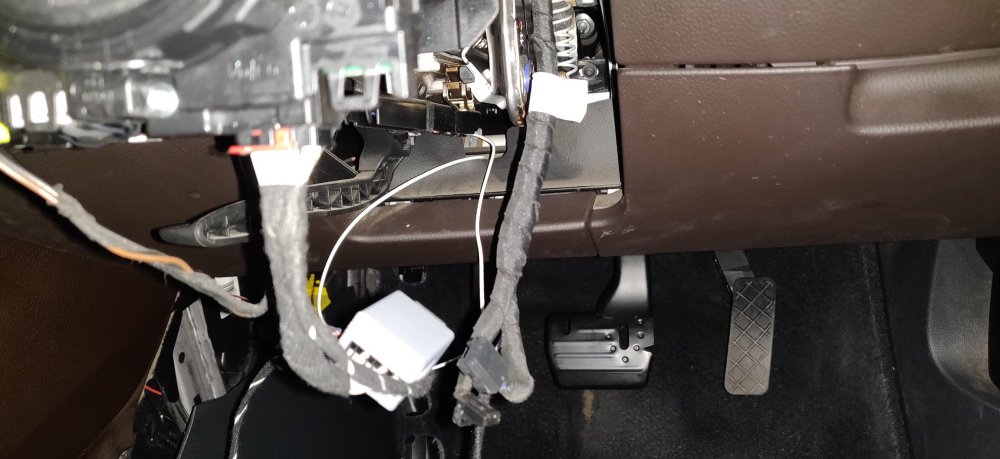
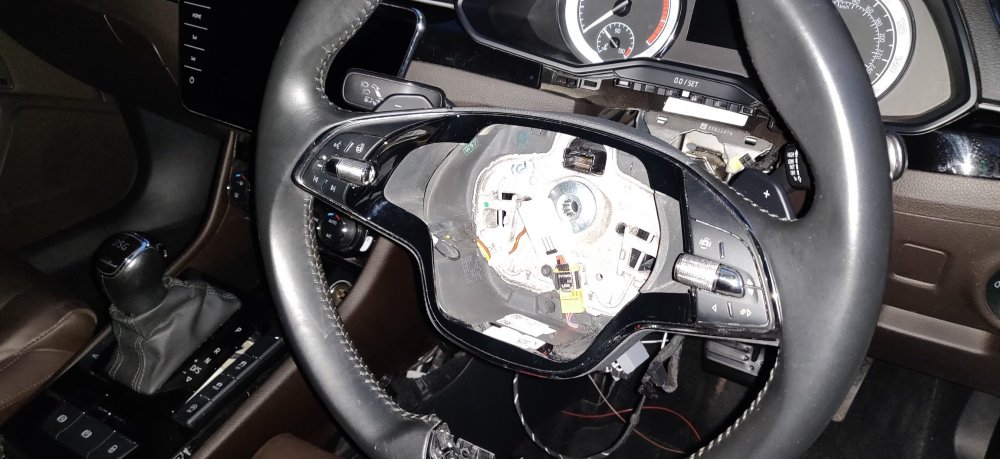
So now that the battery was disconnected with the ignition on, and the wheels are off the ground, I figured this is the best time to have a look at the steering wheel and removing it: So an earlier post had me doing this with a steering column off the car, and the steps are the same. So turning the wheel to the left and looking at the back: Reveals the hook for the airbag and the metal retaining clip thing. My stubby screwdriver was back to wedge itself around in the top right of the gap, and then wiggled to try and lever the metal clip to get it free of the airbag, and once done, it'll pop out: So turn the wheel to the opposing side and do the same thing, so the airbag pops out pretty much entirely: Then its the white tab on the yellow connector, pulling that out to allow the yellow connector to be disconnected, and the one on the left to the buttons. It's a tiny bit of a faff as it's pretty tight against the steering wheel, compared to the facelift wheels where this connector is at the bottom of the wheel. Once those connectors are sorted: It'll be the M12 spline bit to undo. Used my impact wrench whilst holding the wheel just in case it decided to spin freely: The wheel comes out without much drama. Compared to something like the Lotus Elise, where a puller is required, it's nice that it simply slides out. Brought the old wheel and airbag back into the house: Newer design is just a smidge smaller. So it's time to get the new clock spring that's been sitting there to be installed. The old one is removed first, three T15 torx screws: Then the three white connectors need disconnecting, just some wiggling with the black retaining tabs and so on: Which should allow the clock spring to slide out. With the new one in place, I connected up the yellow connector in addition to dry fitting the Kufatec loom: I'll need to do some rejigging of the loom to put that large white connector block somewhere without fouling anything. I took the main power and ground from the loom and followed it: Down along the other wiring into the abyss it seems. Hopefully I can remove the trim below to gain access, primarily to get the newer wiring into there and spliced into the loom. So that's really it, put the new steering wheel on, making sure the centre line notches on the column and wheel are aligned, and started dry fitting the bolt and connectors: It was getting dark, hence the camera flash over exposing the wheel and the connectors. You can just about see the adapter I bought from https://skoda-acc.com/Skoda-steering-wheel-buttons-adapter-Full-S0001F. I actually don't remember if I've tallied this into the cost. This was ordered on 1 March, and arrived on the 16 March. The order came to €268.37, primarily due to also order a set of all weather mats, and shipping of €27.42. It came to £239.44 according to the credit card statement. It's an expensive adapter, really hope it works. So once the Kufatec loom is spliced into the two wires I bodged in on the weekend, there isn't much stopping the power from being disconnected. We'll see how the week and Easter break goes! Maintenance: £1794.17 Upgrades: £1126.54 (+£239.44) Miscellaneous: £608.14
-
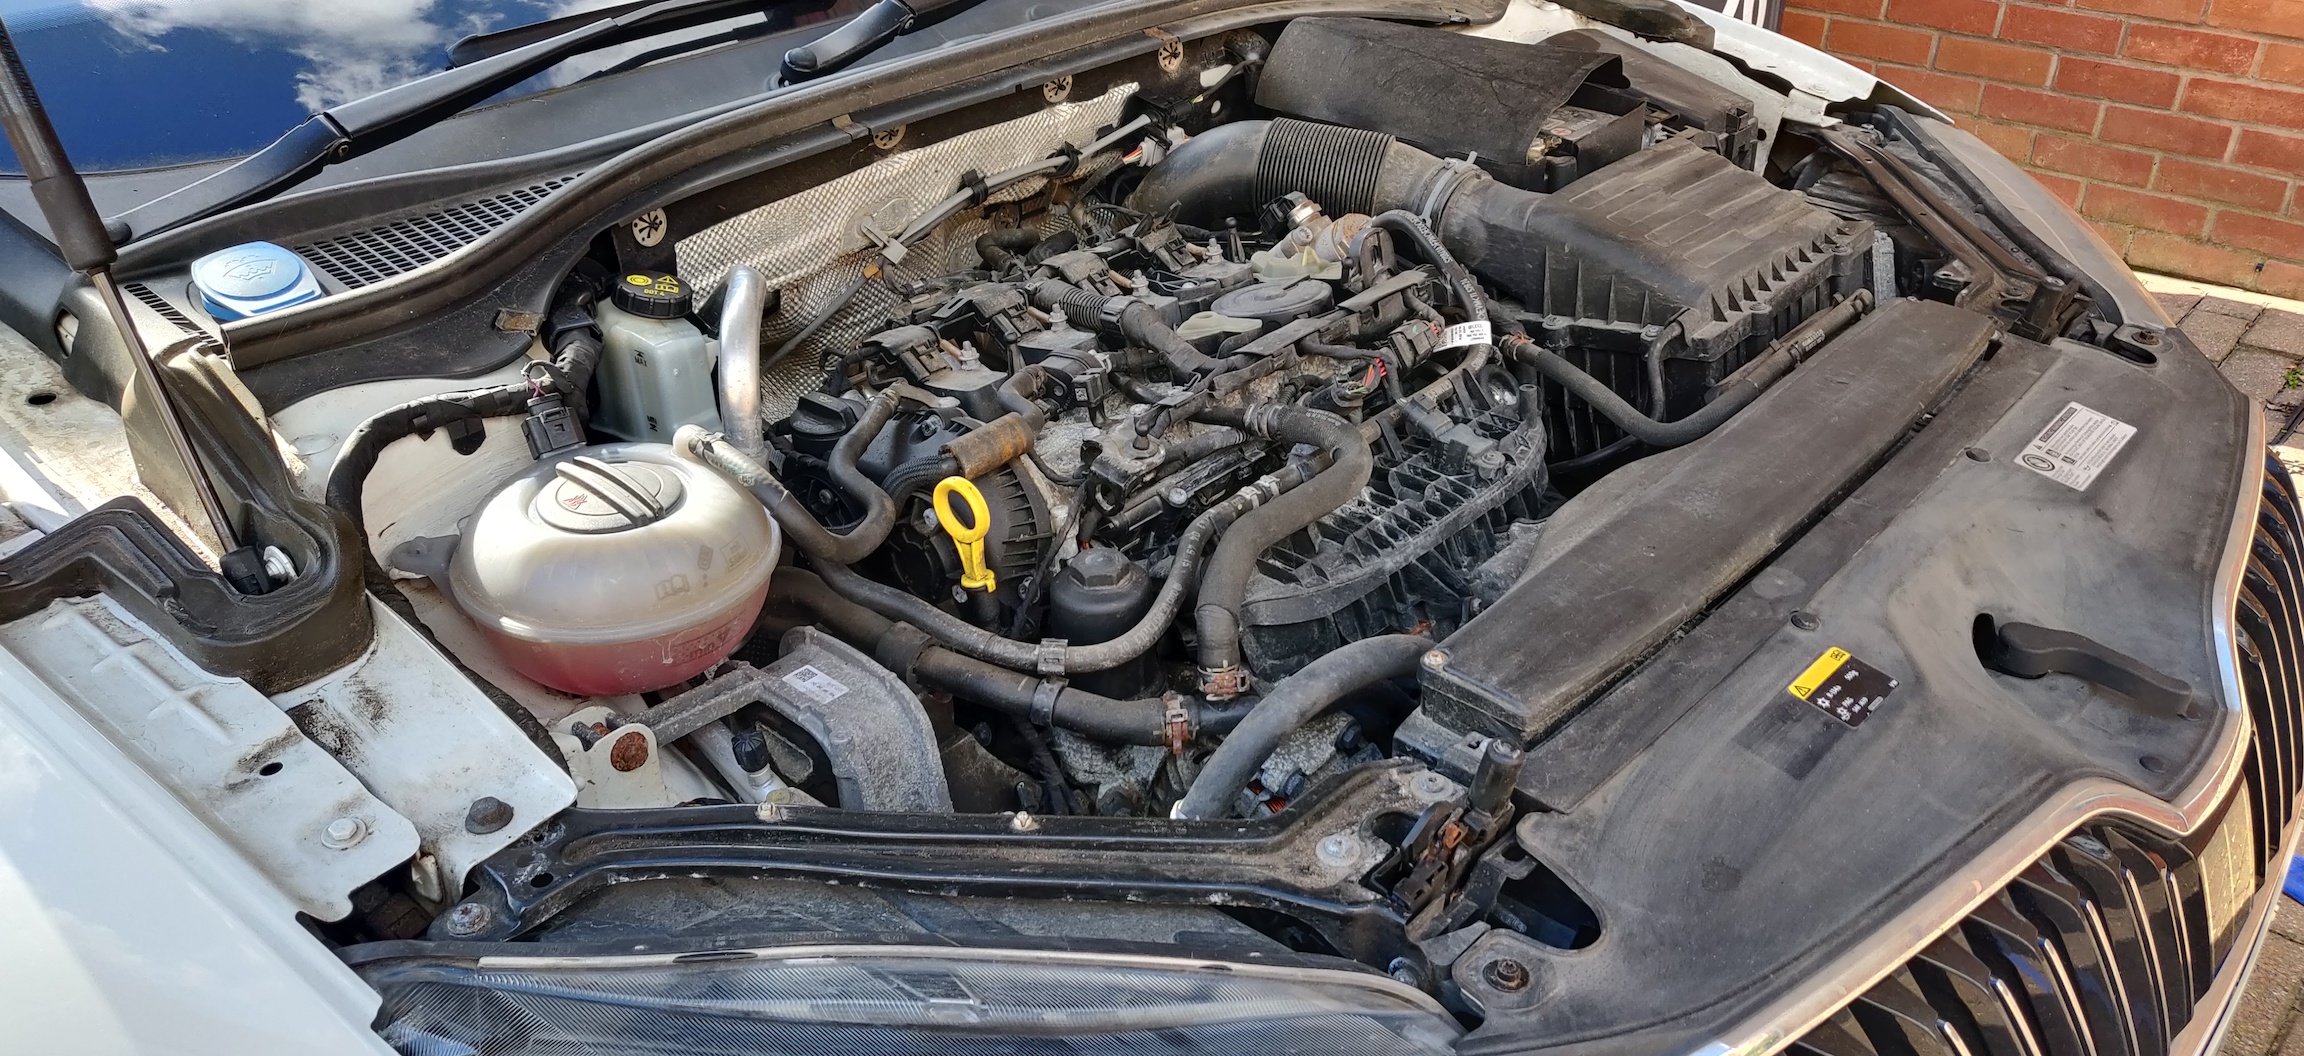
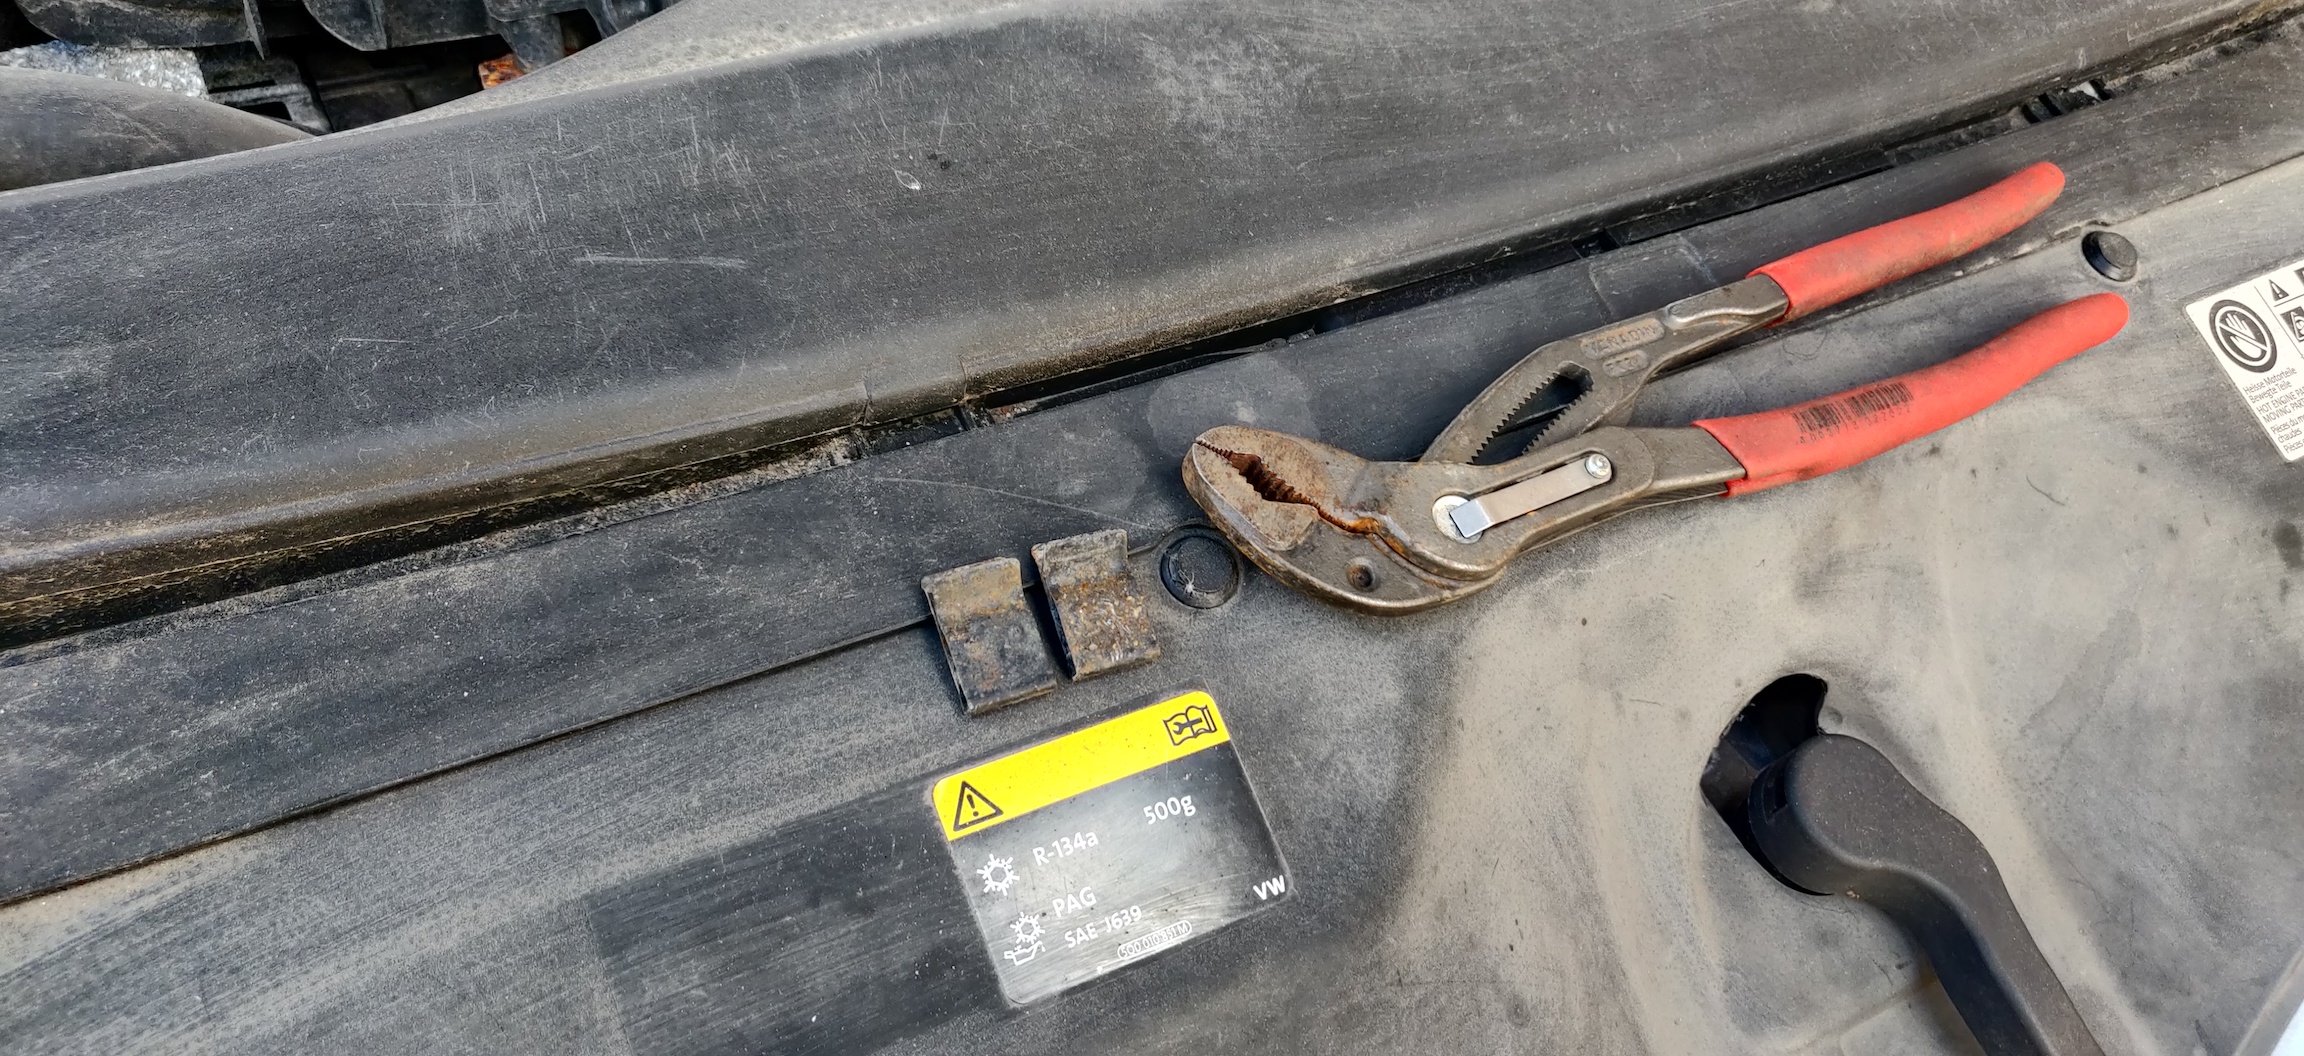
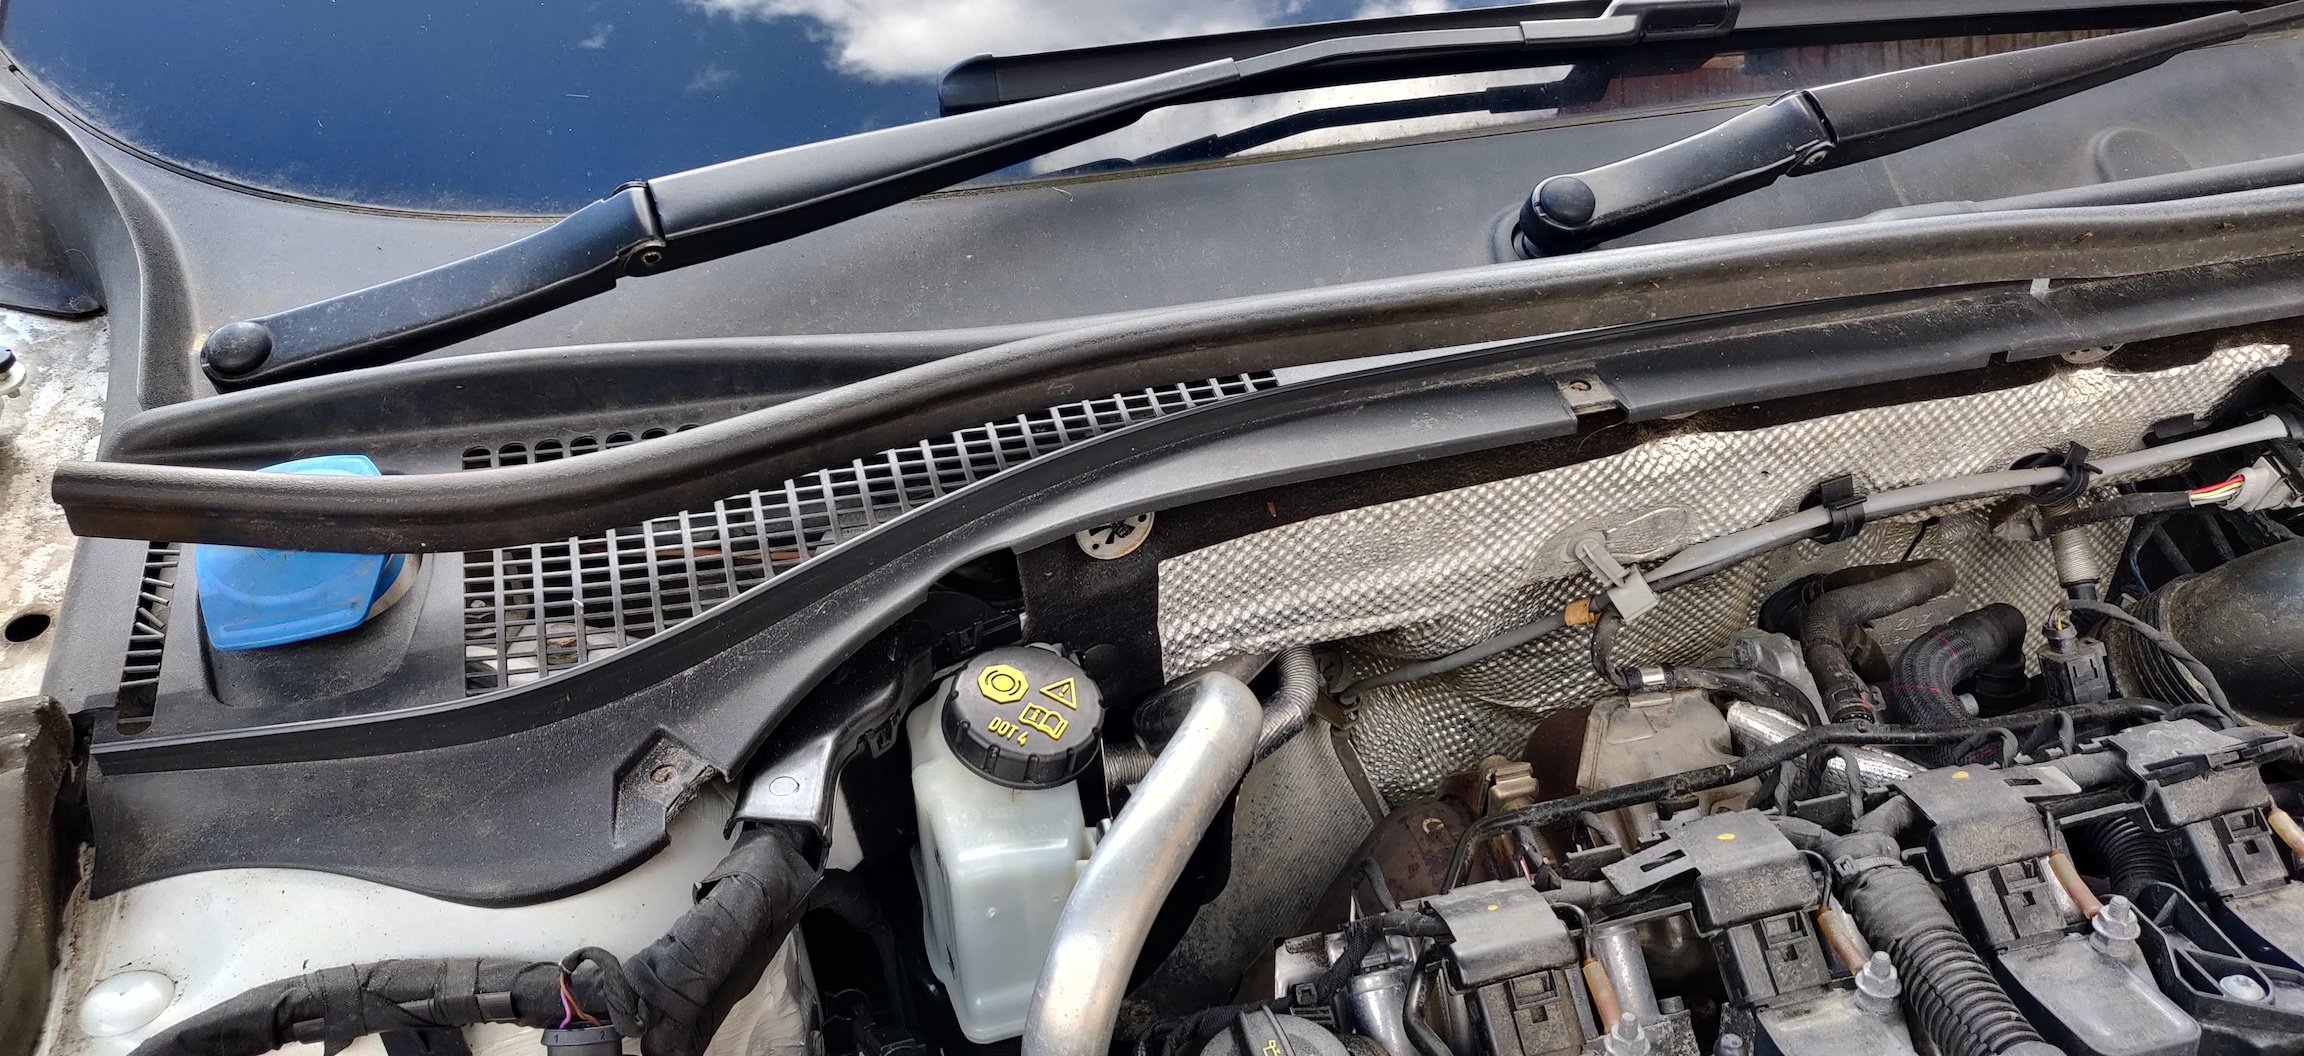
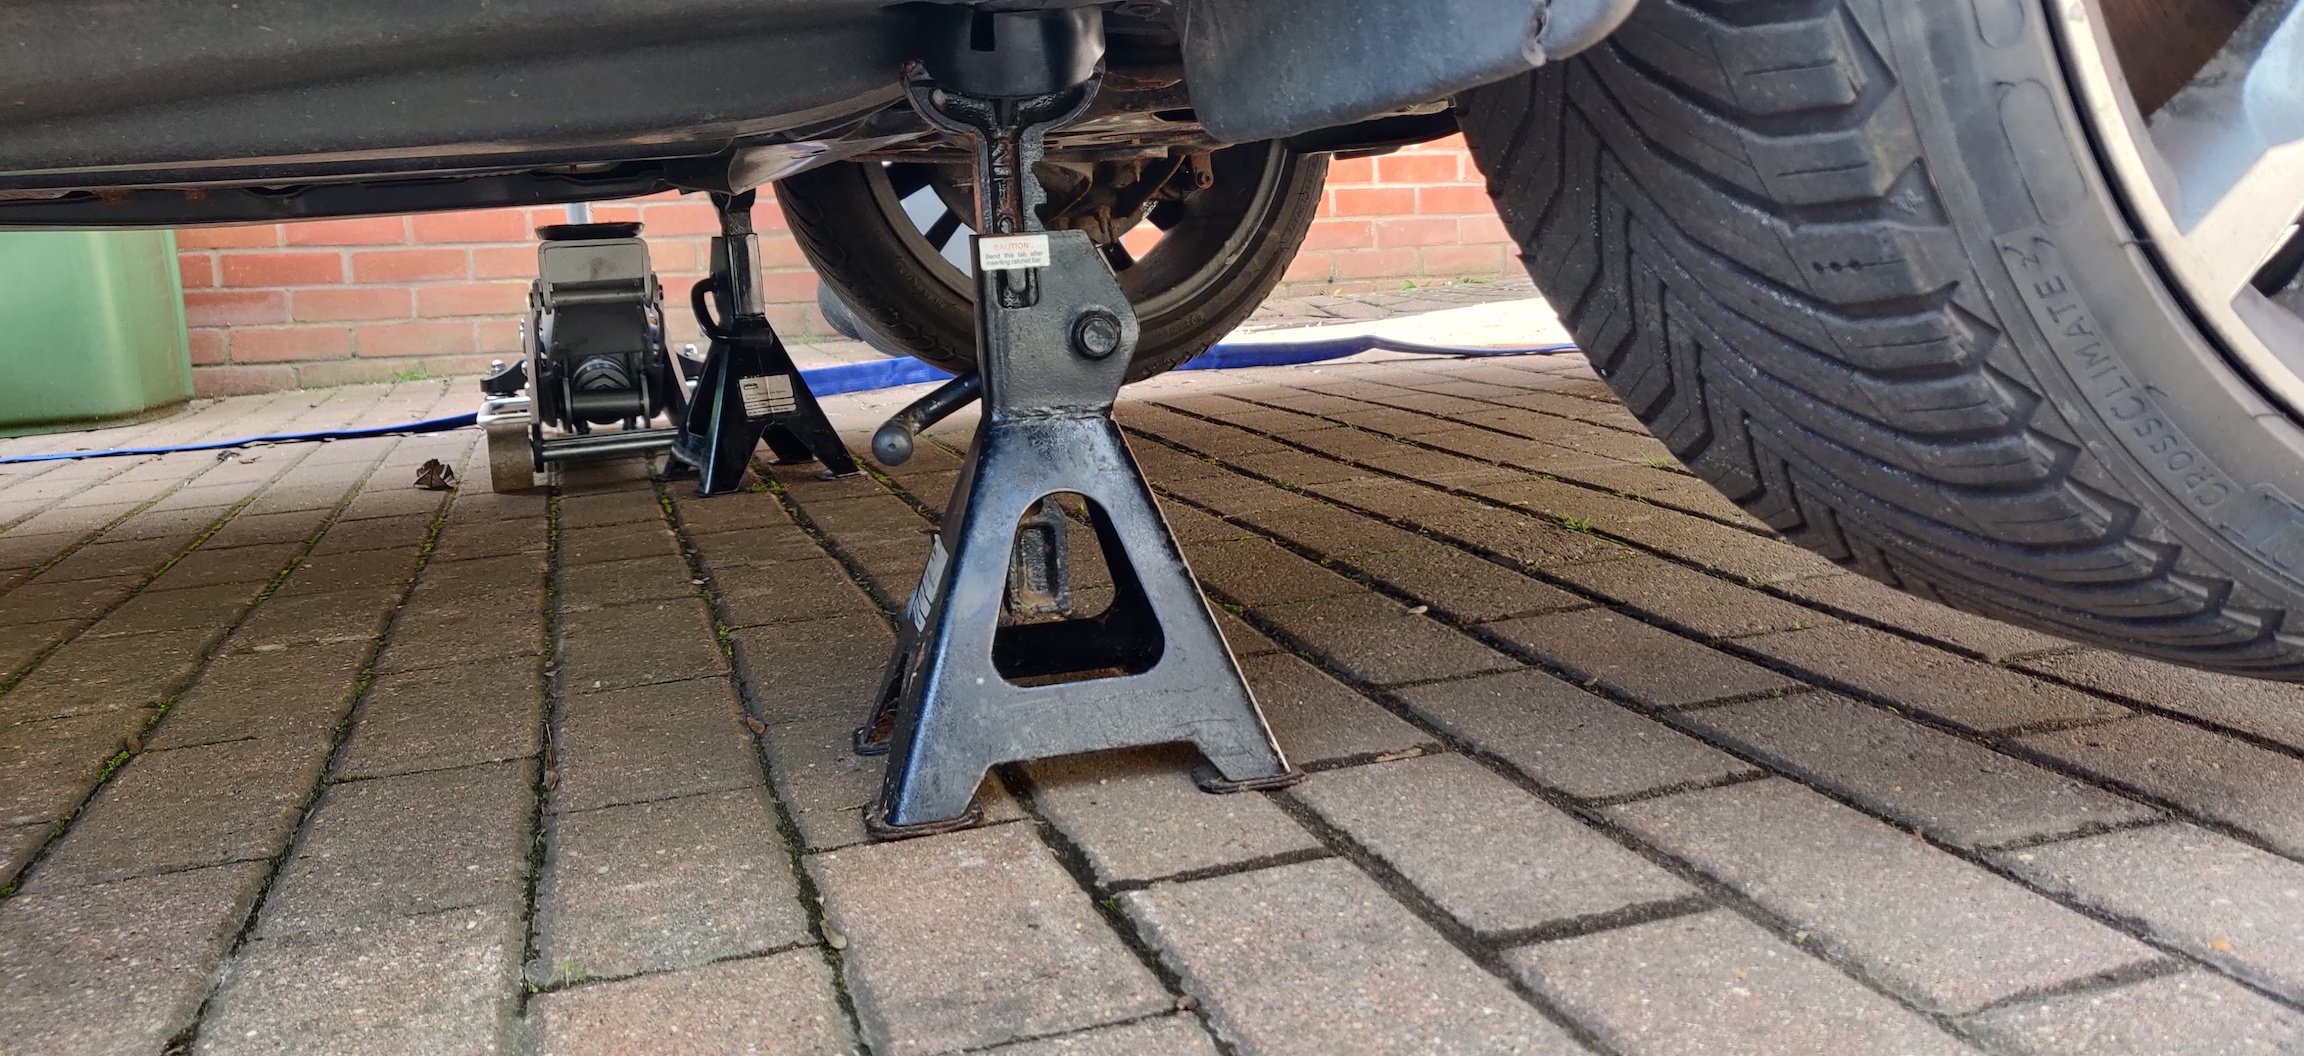
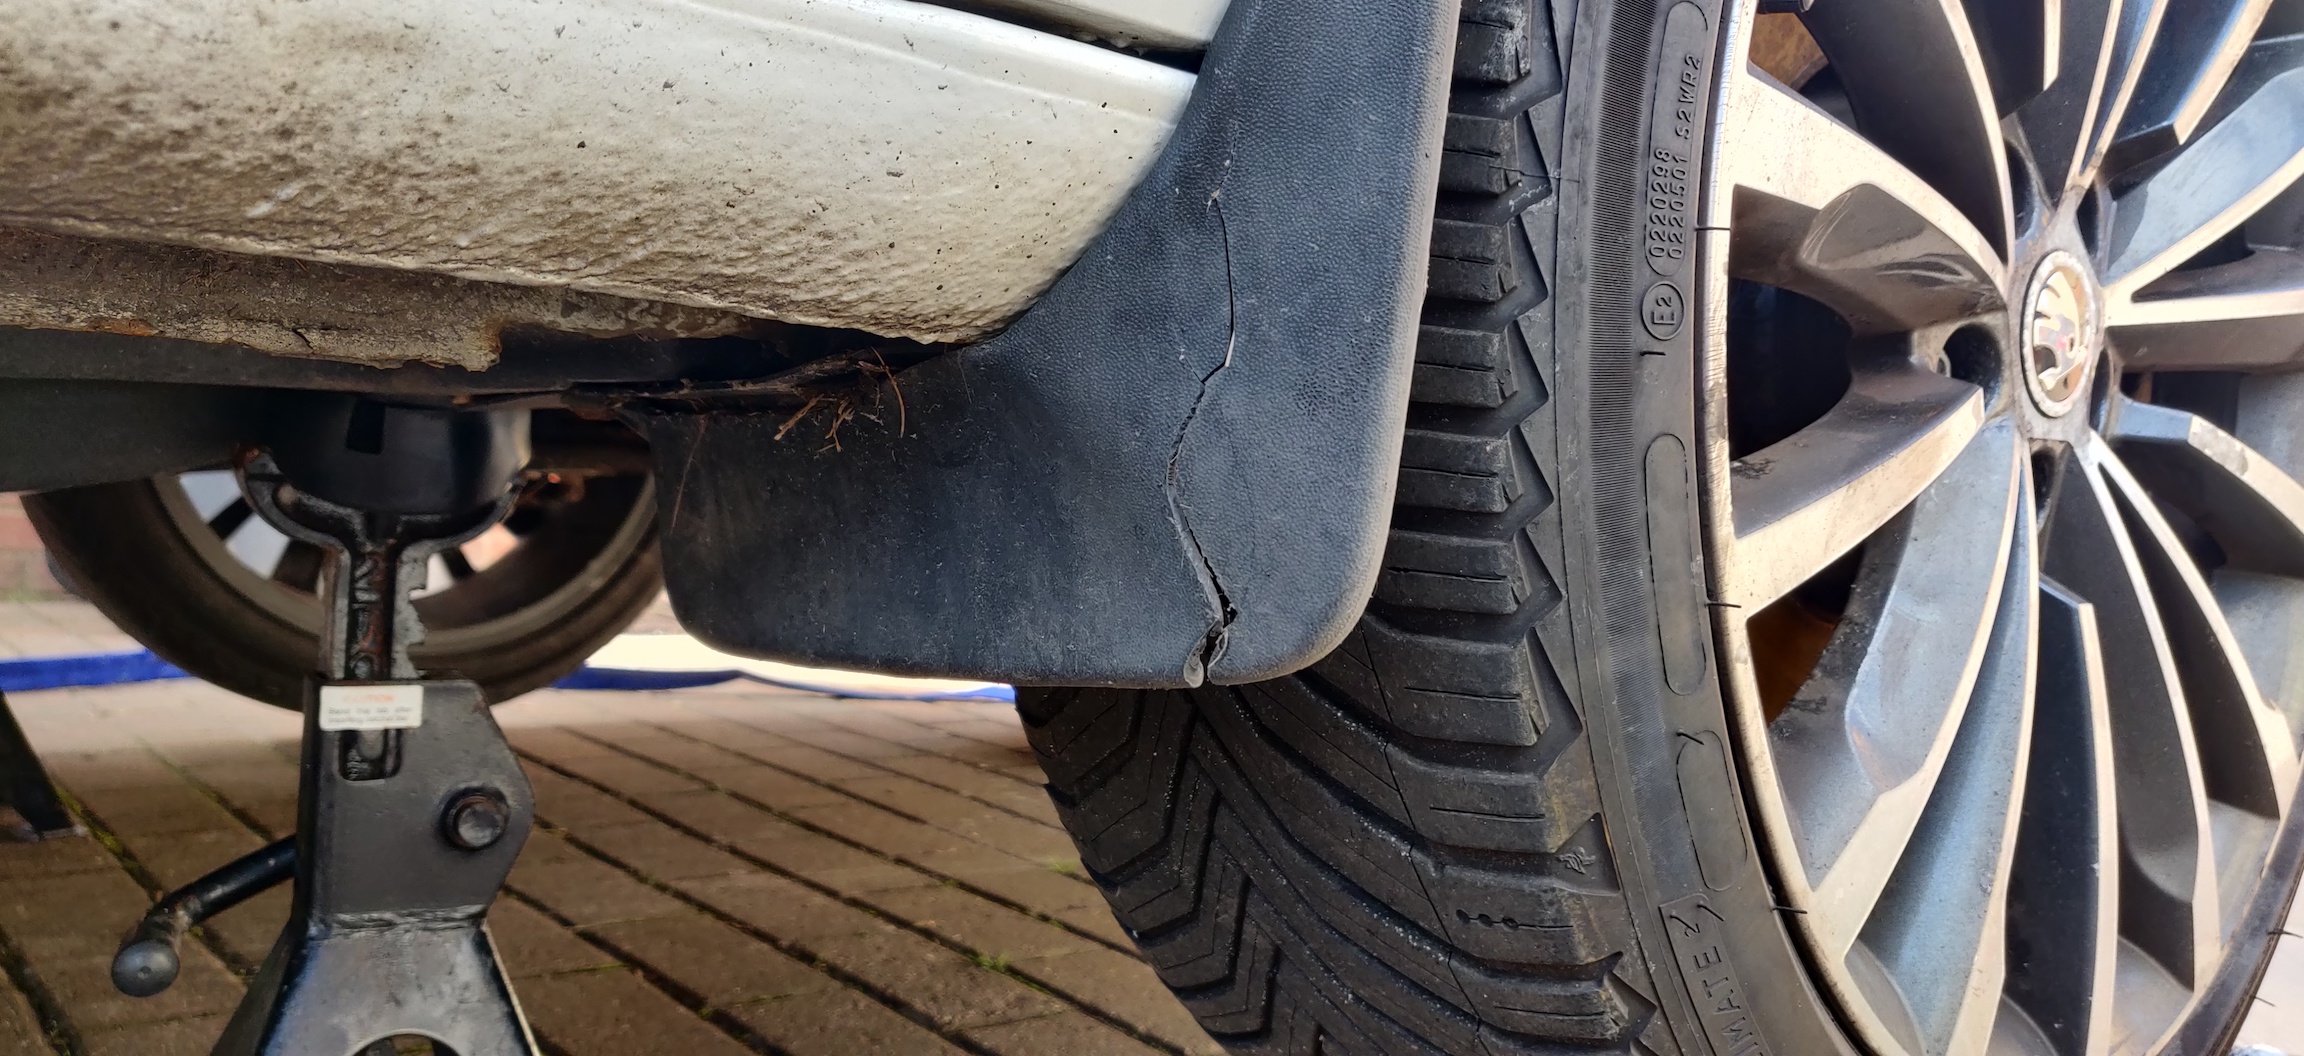
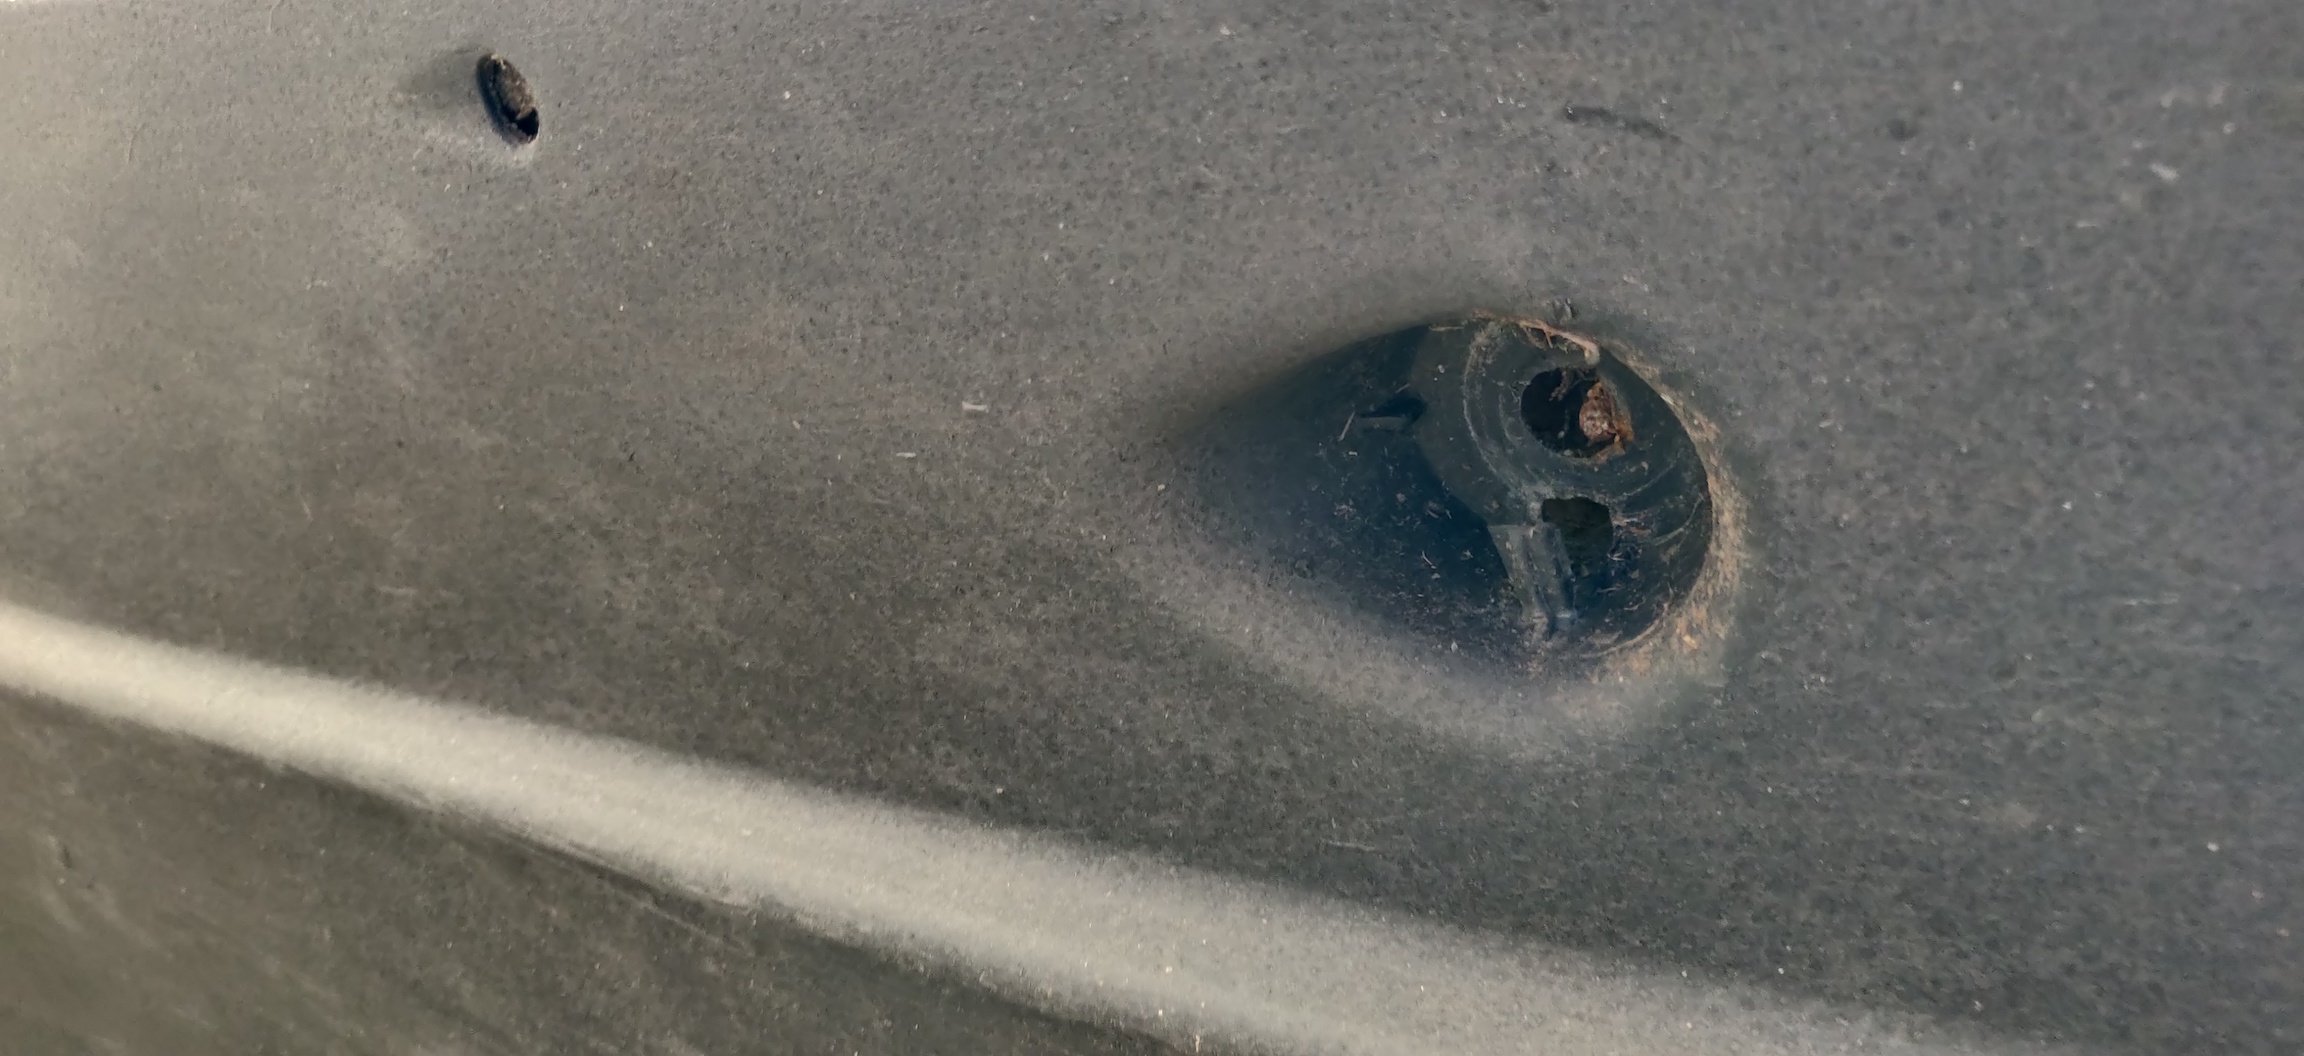
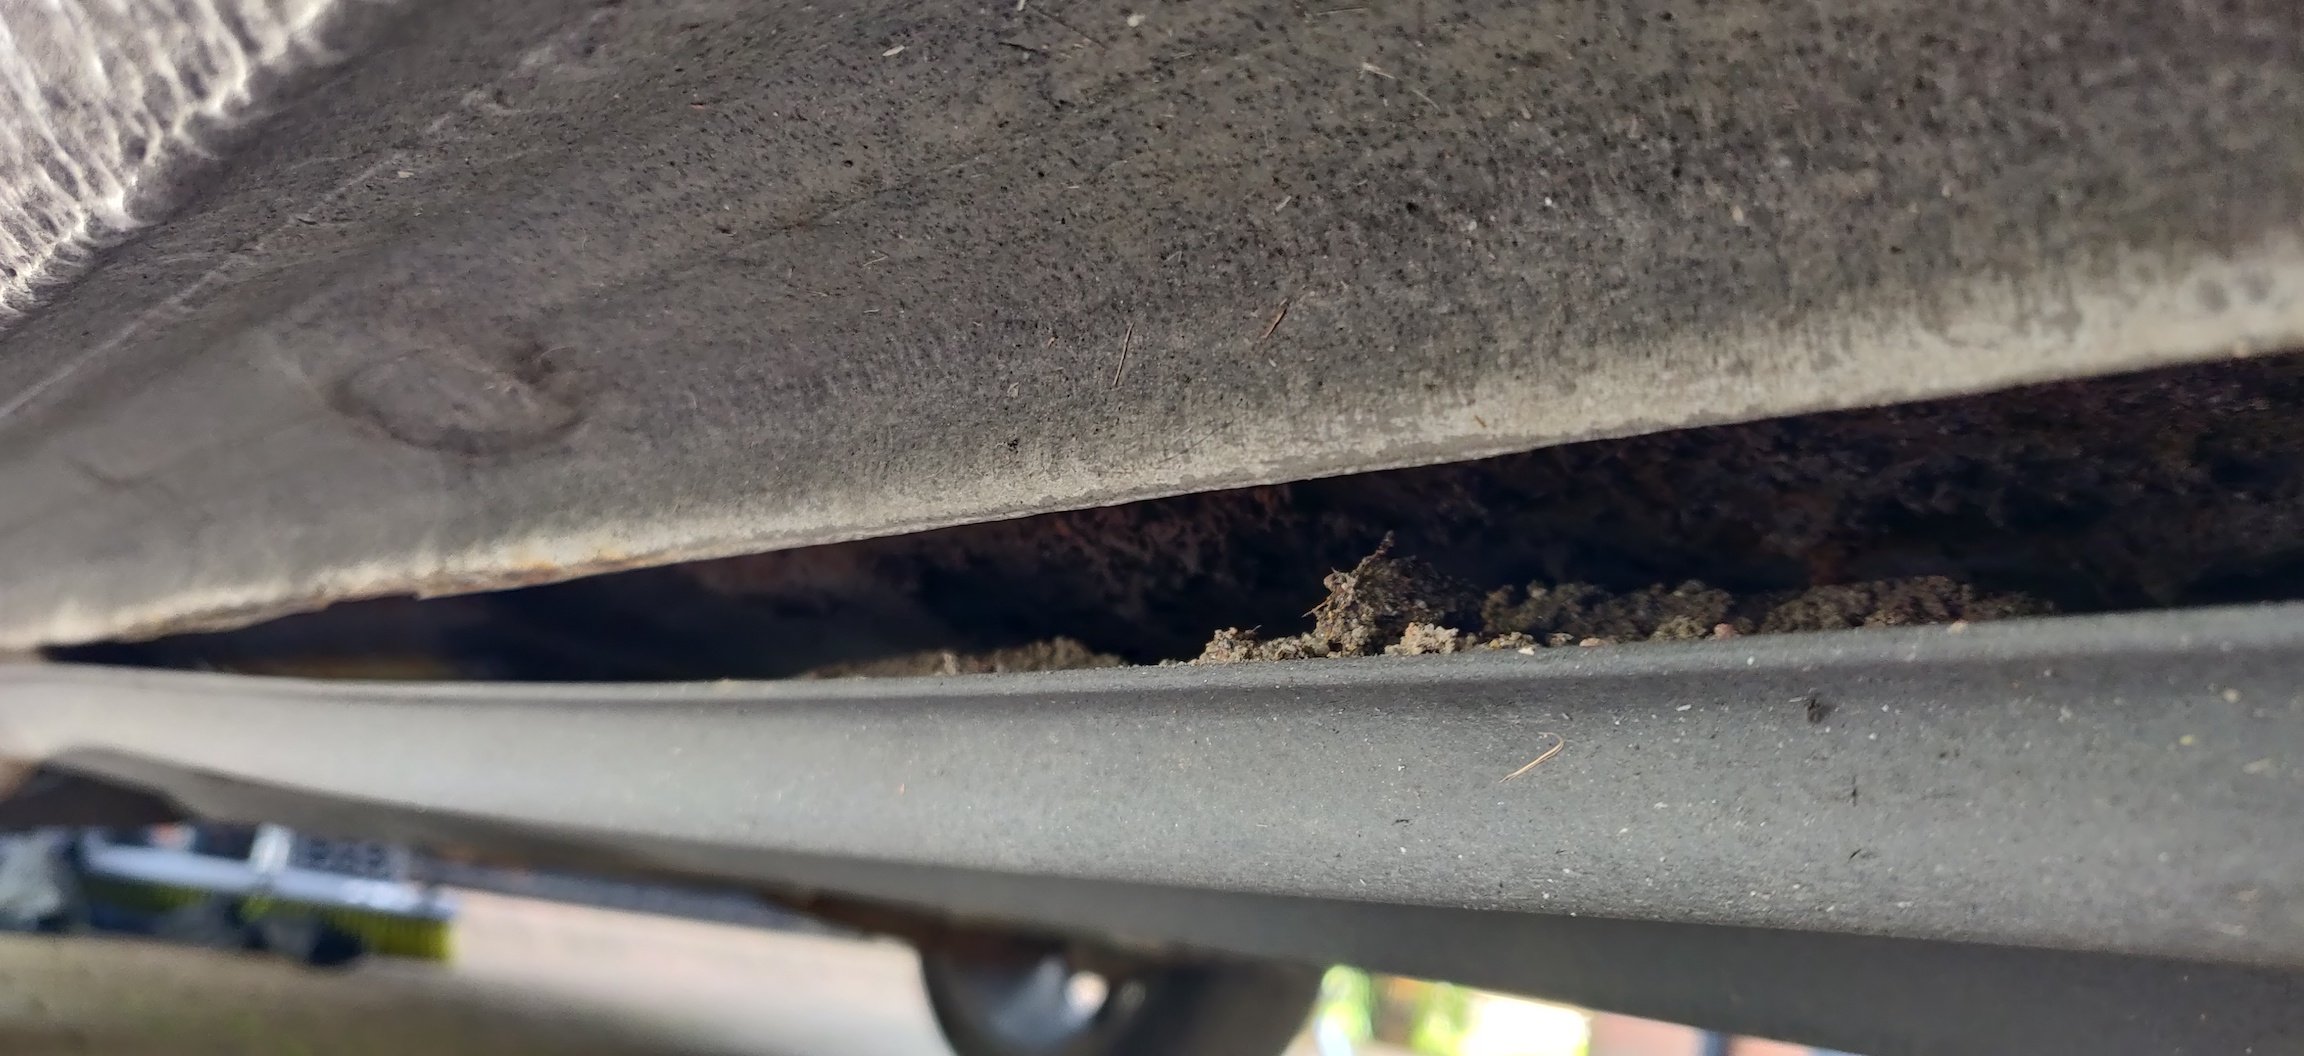
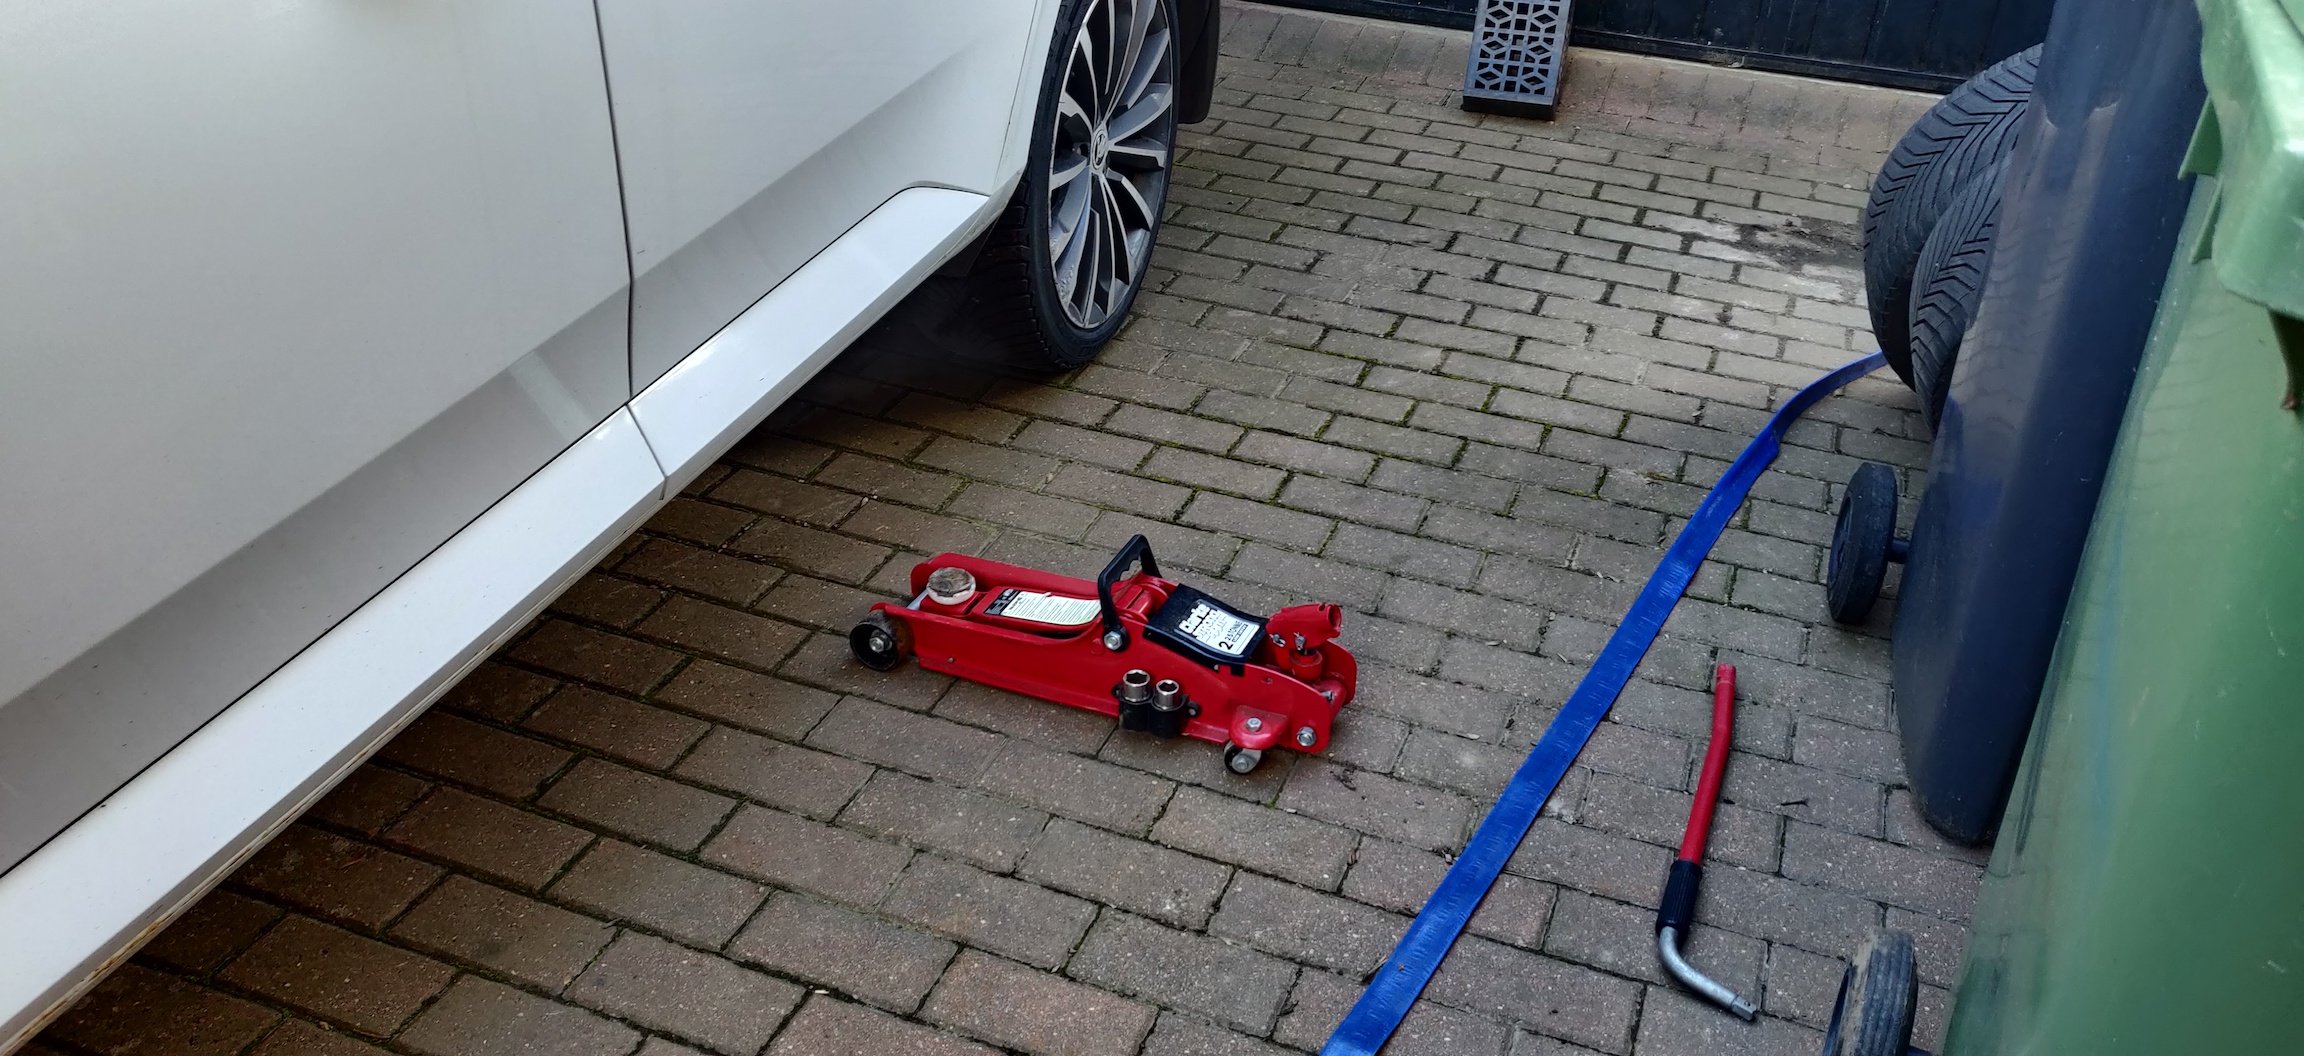
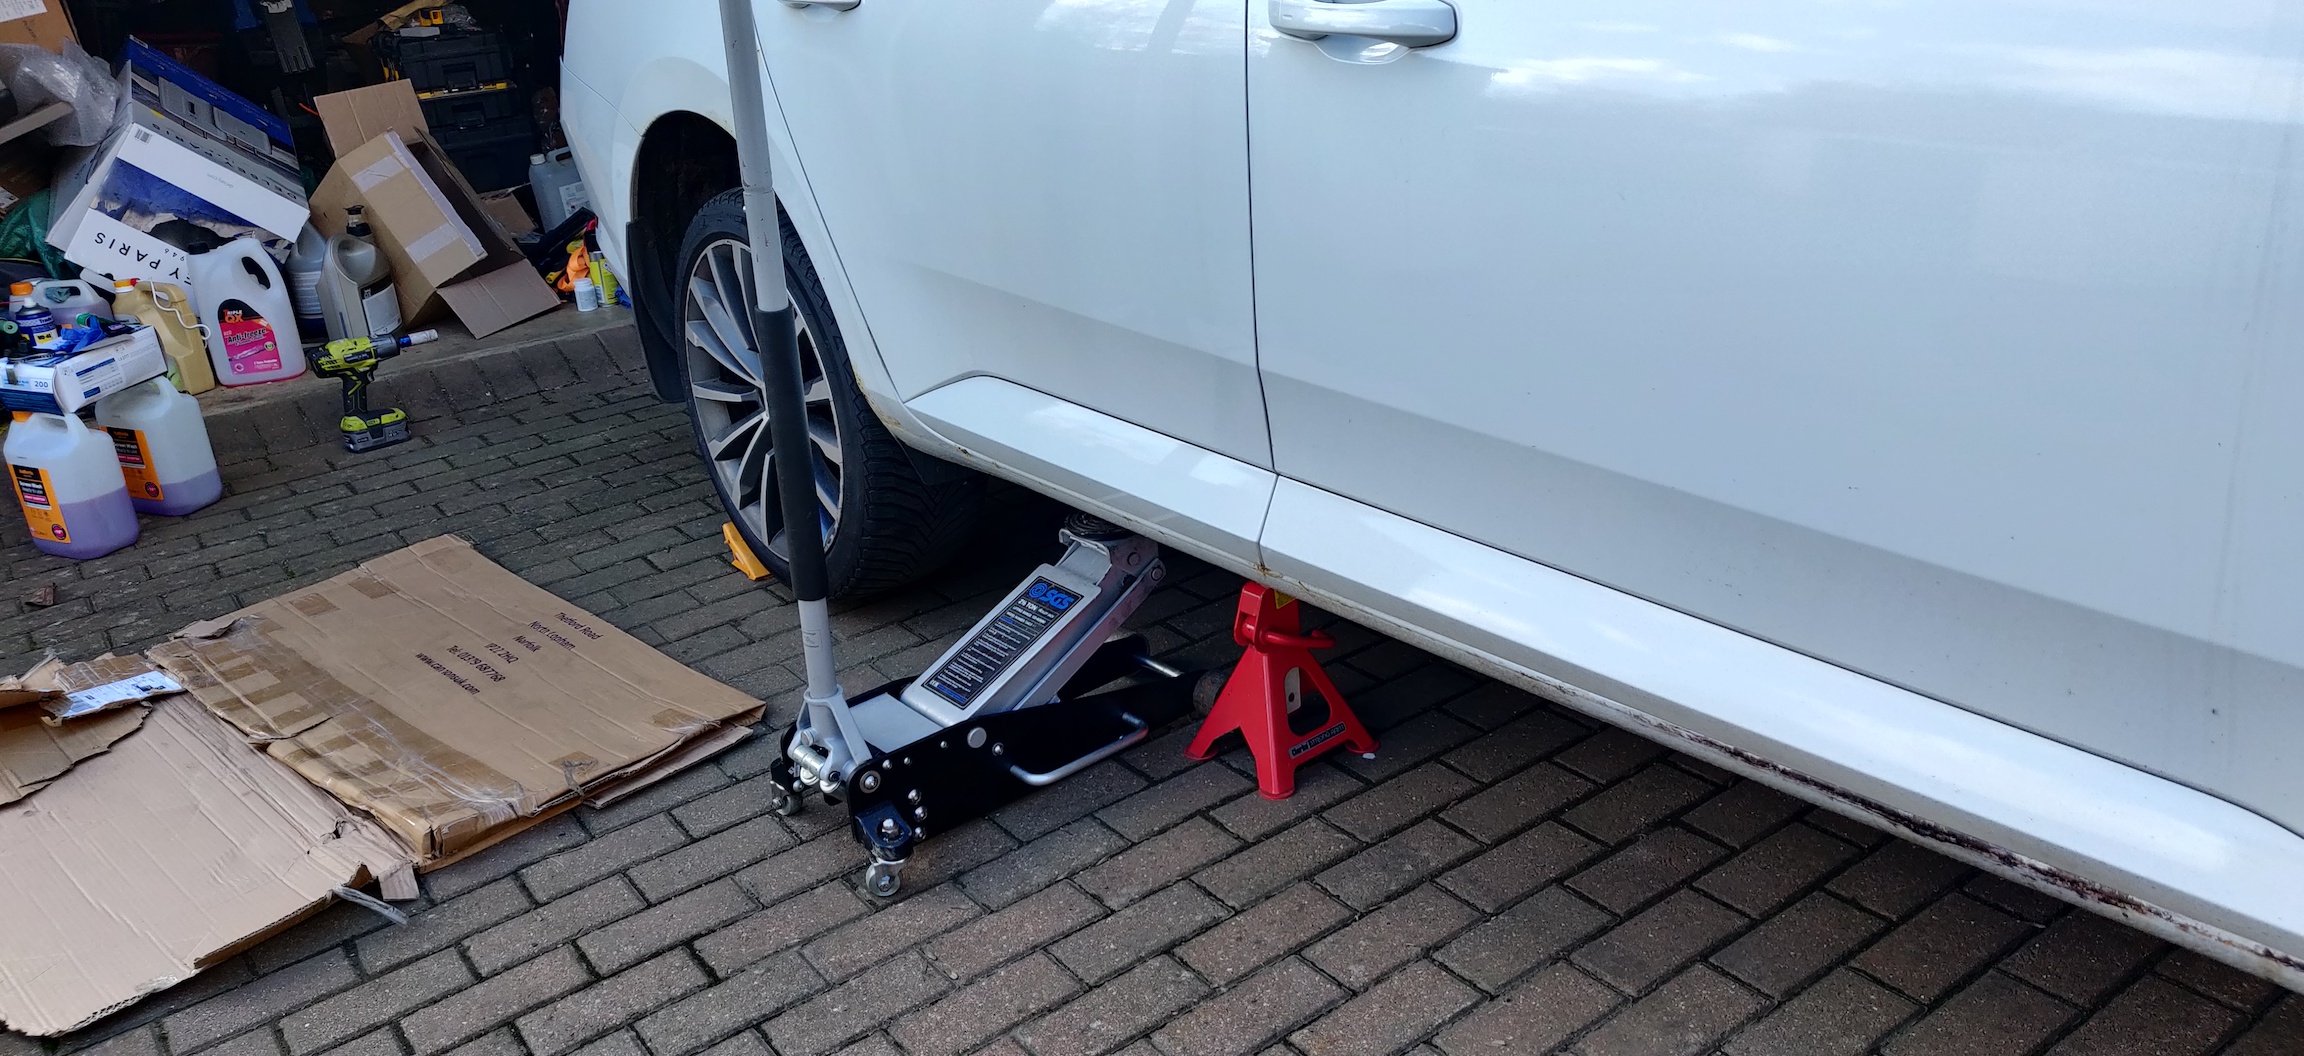
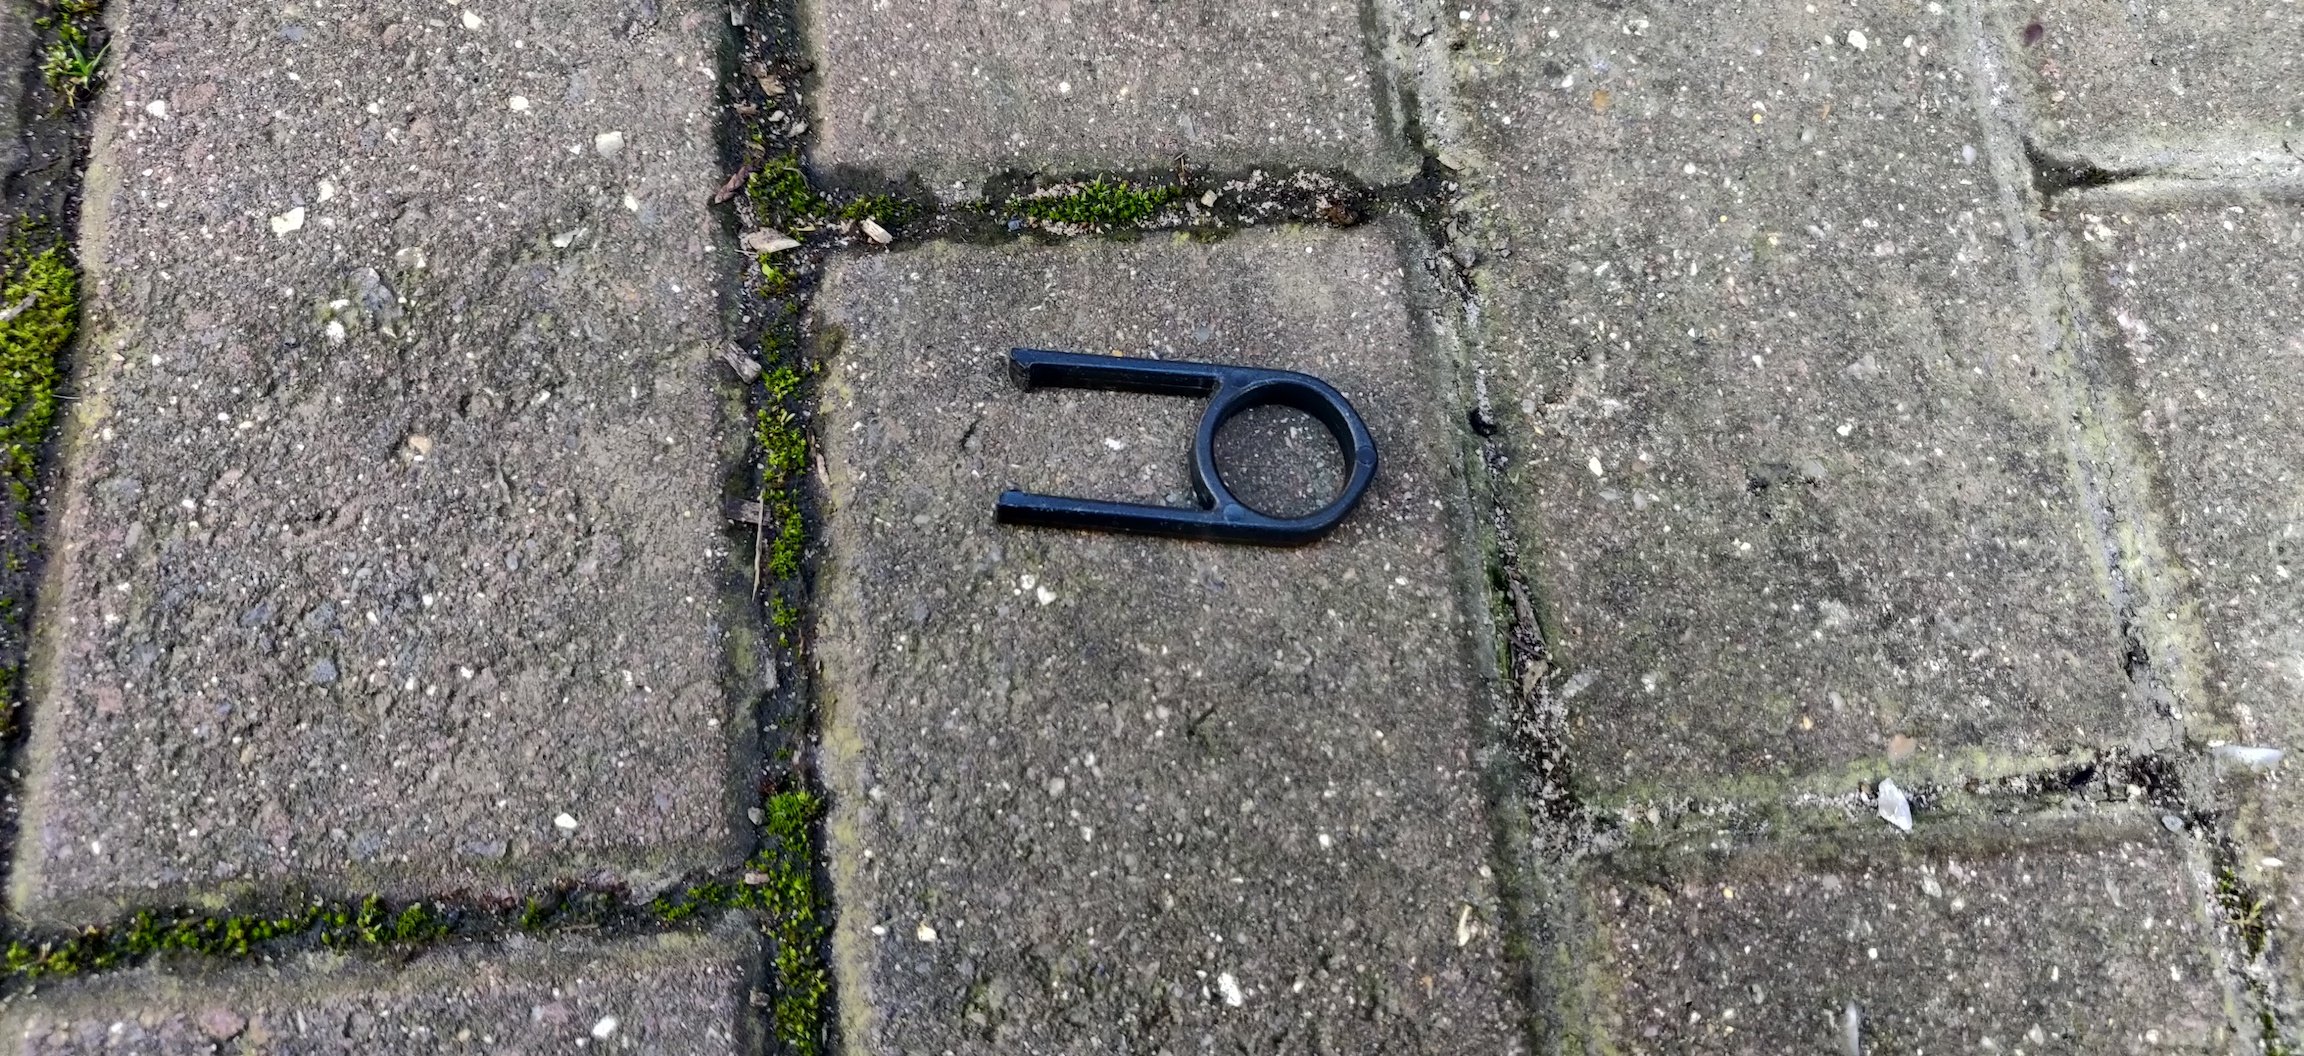
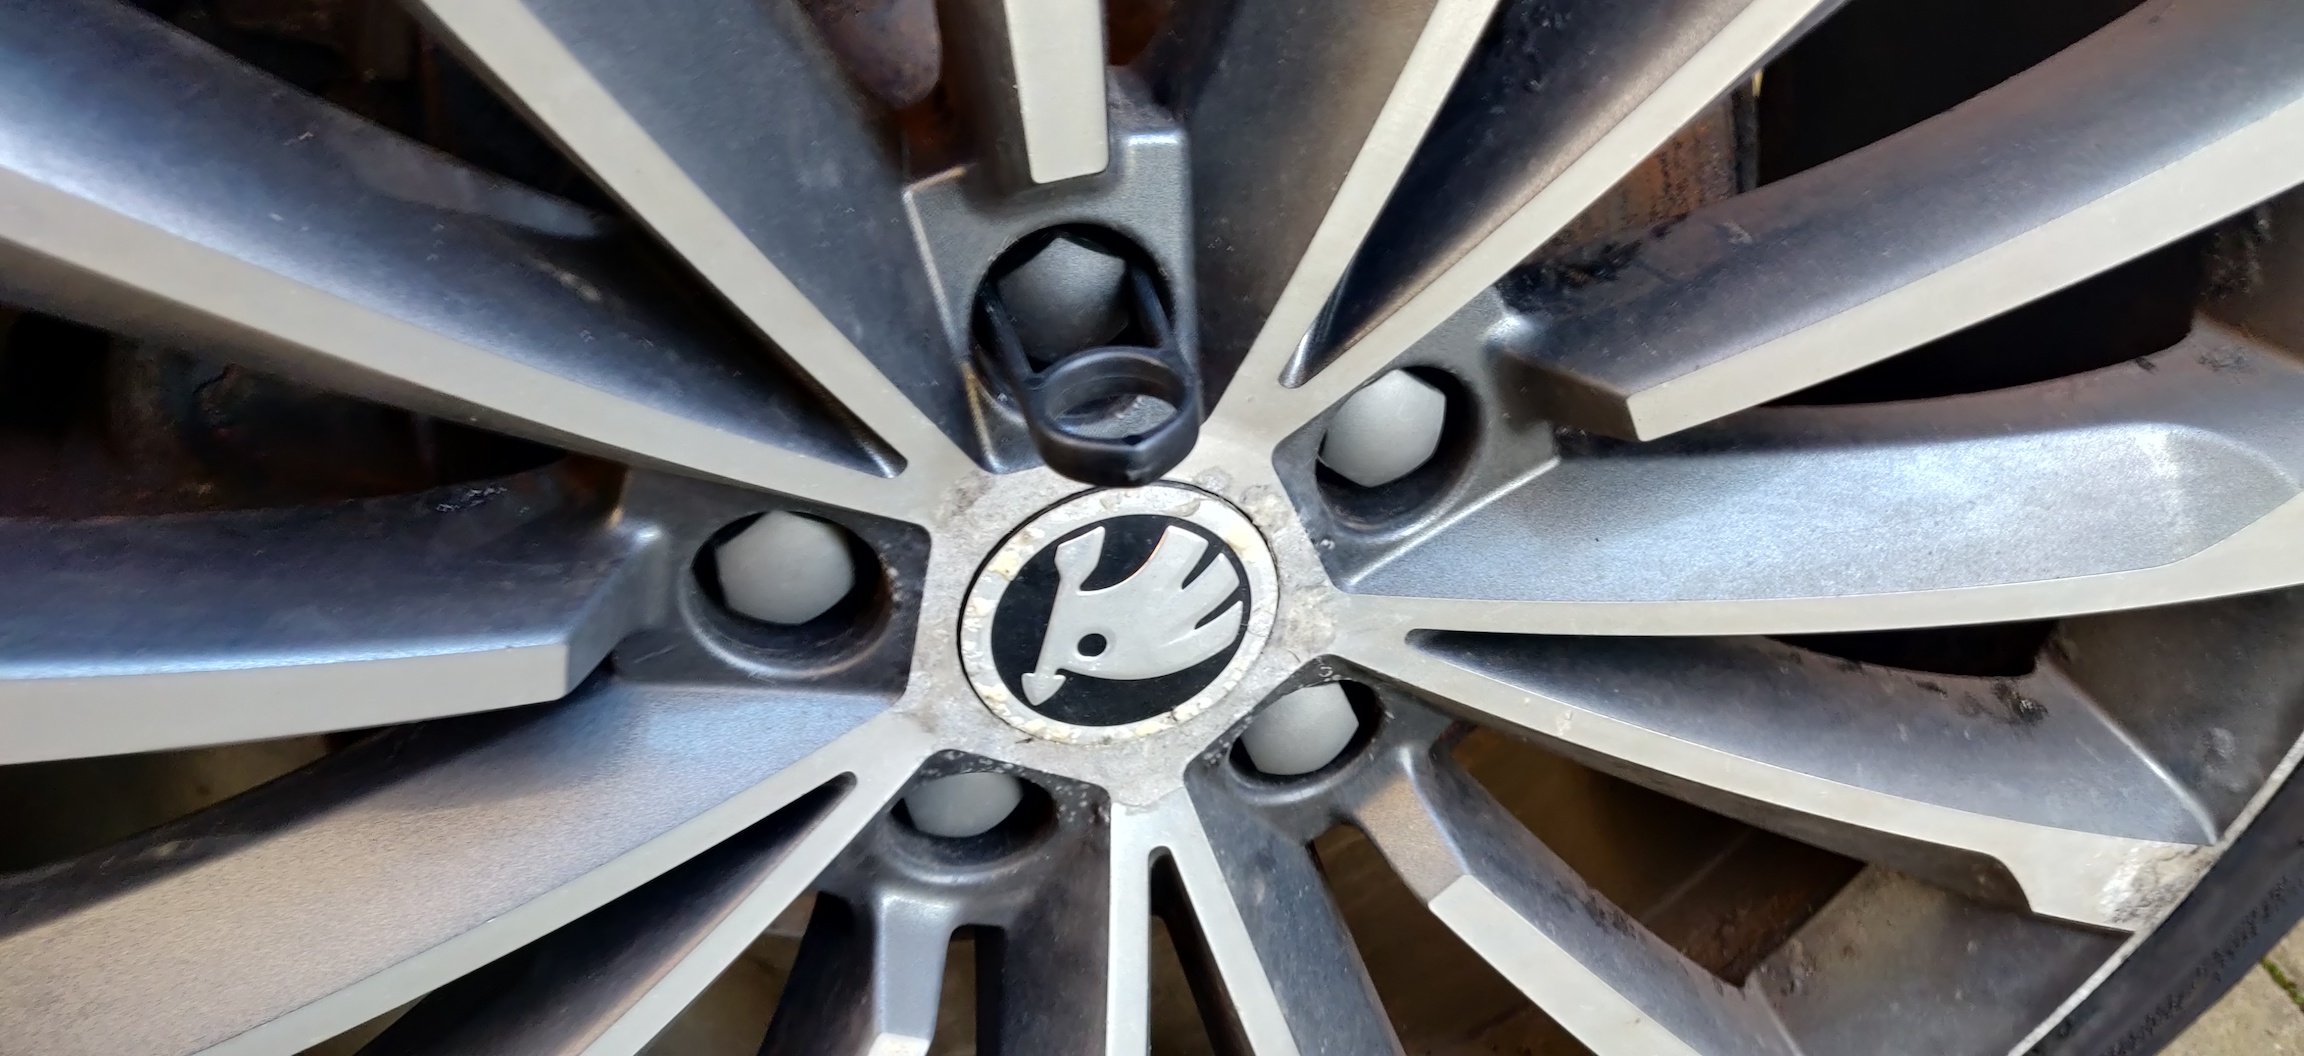
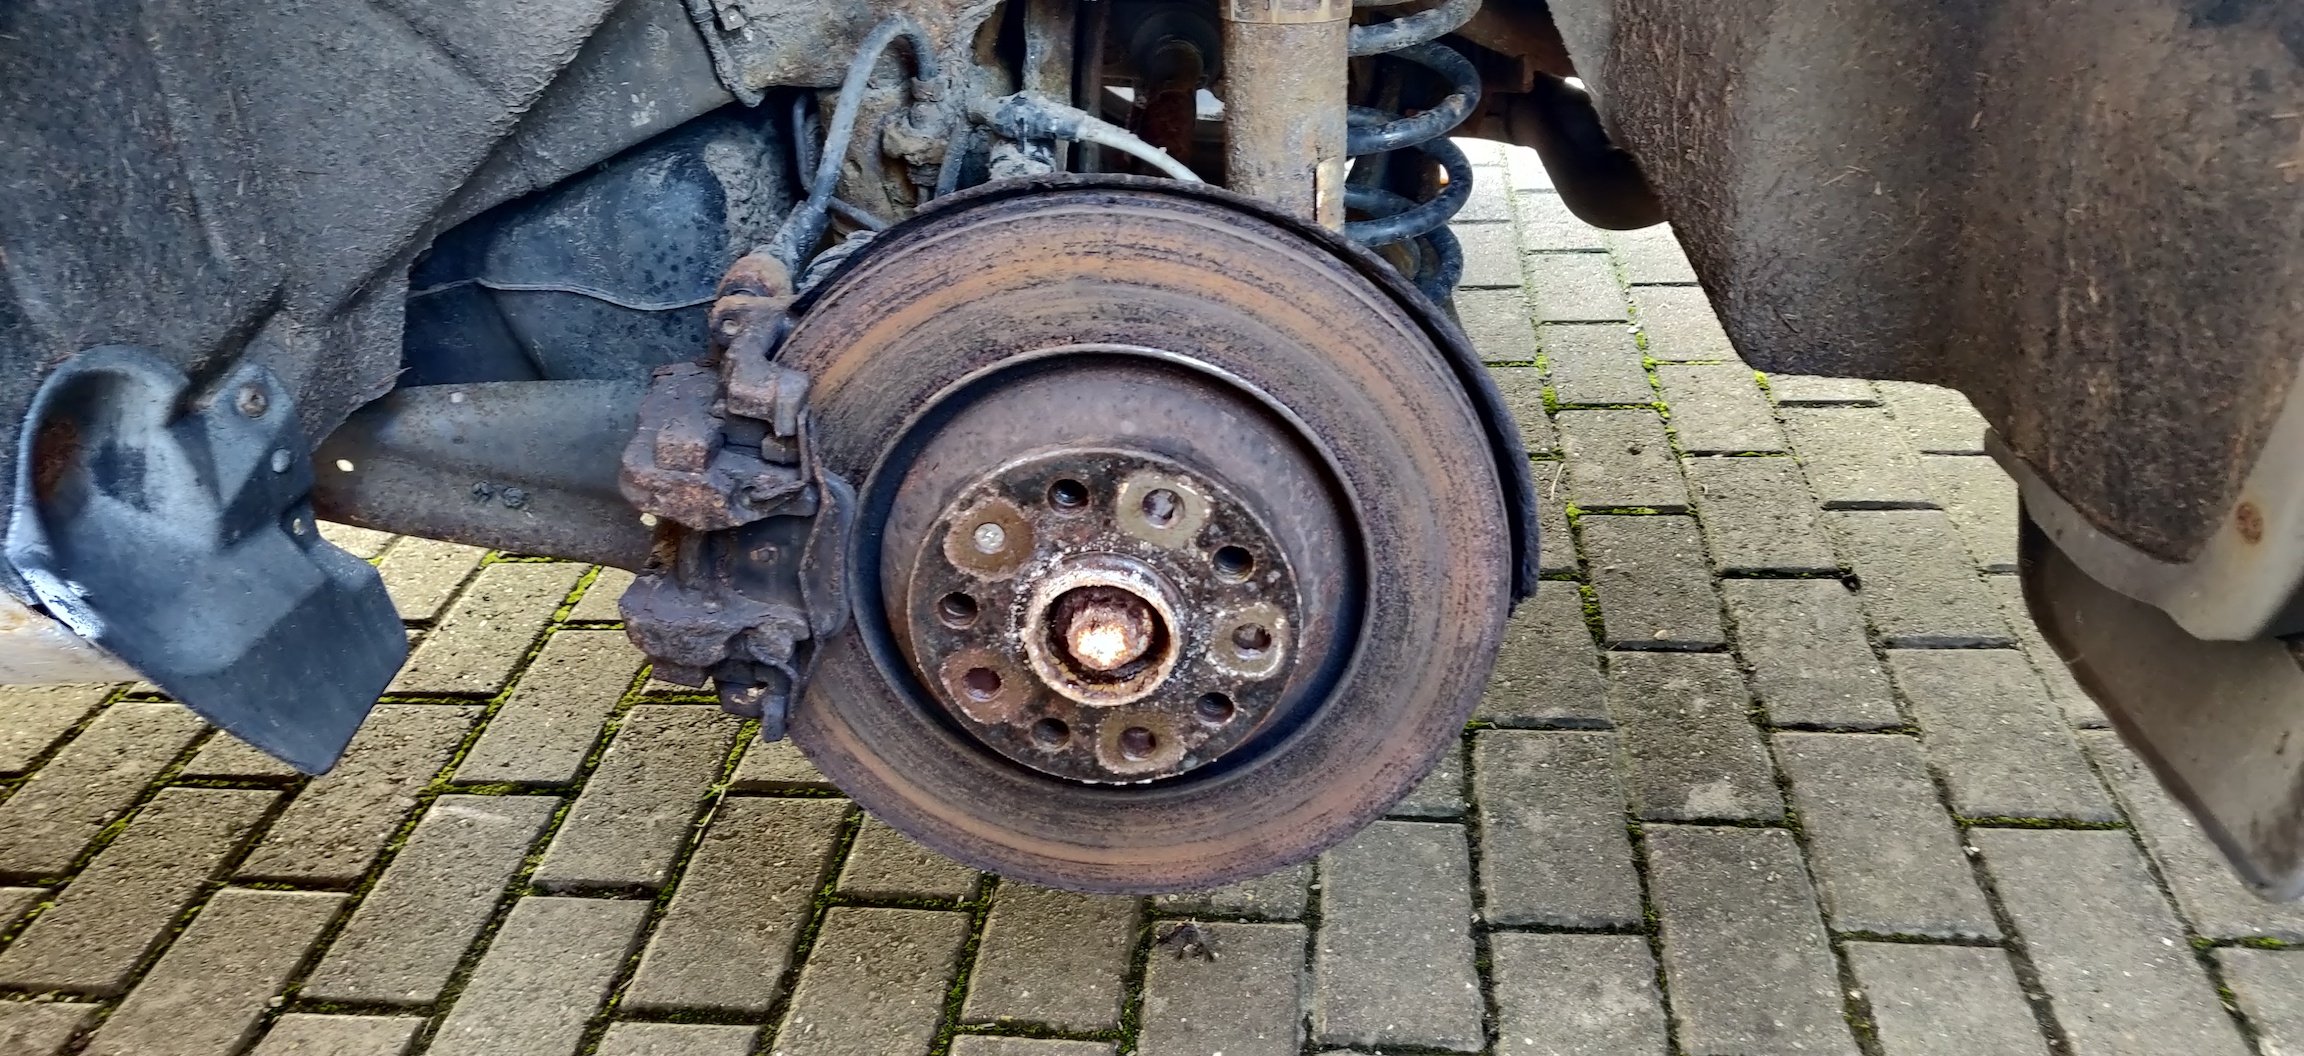
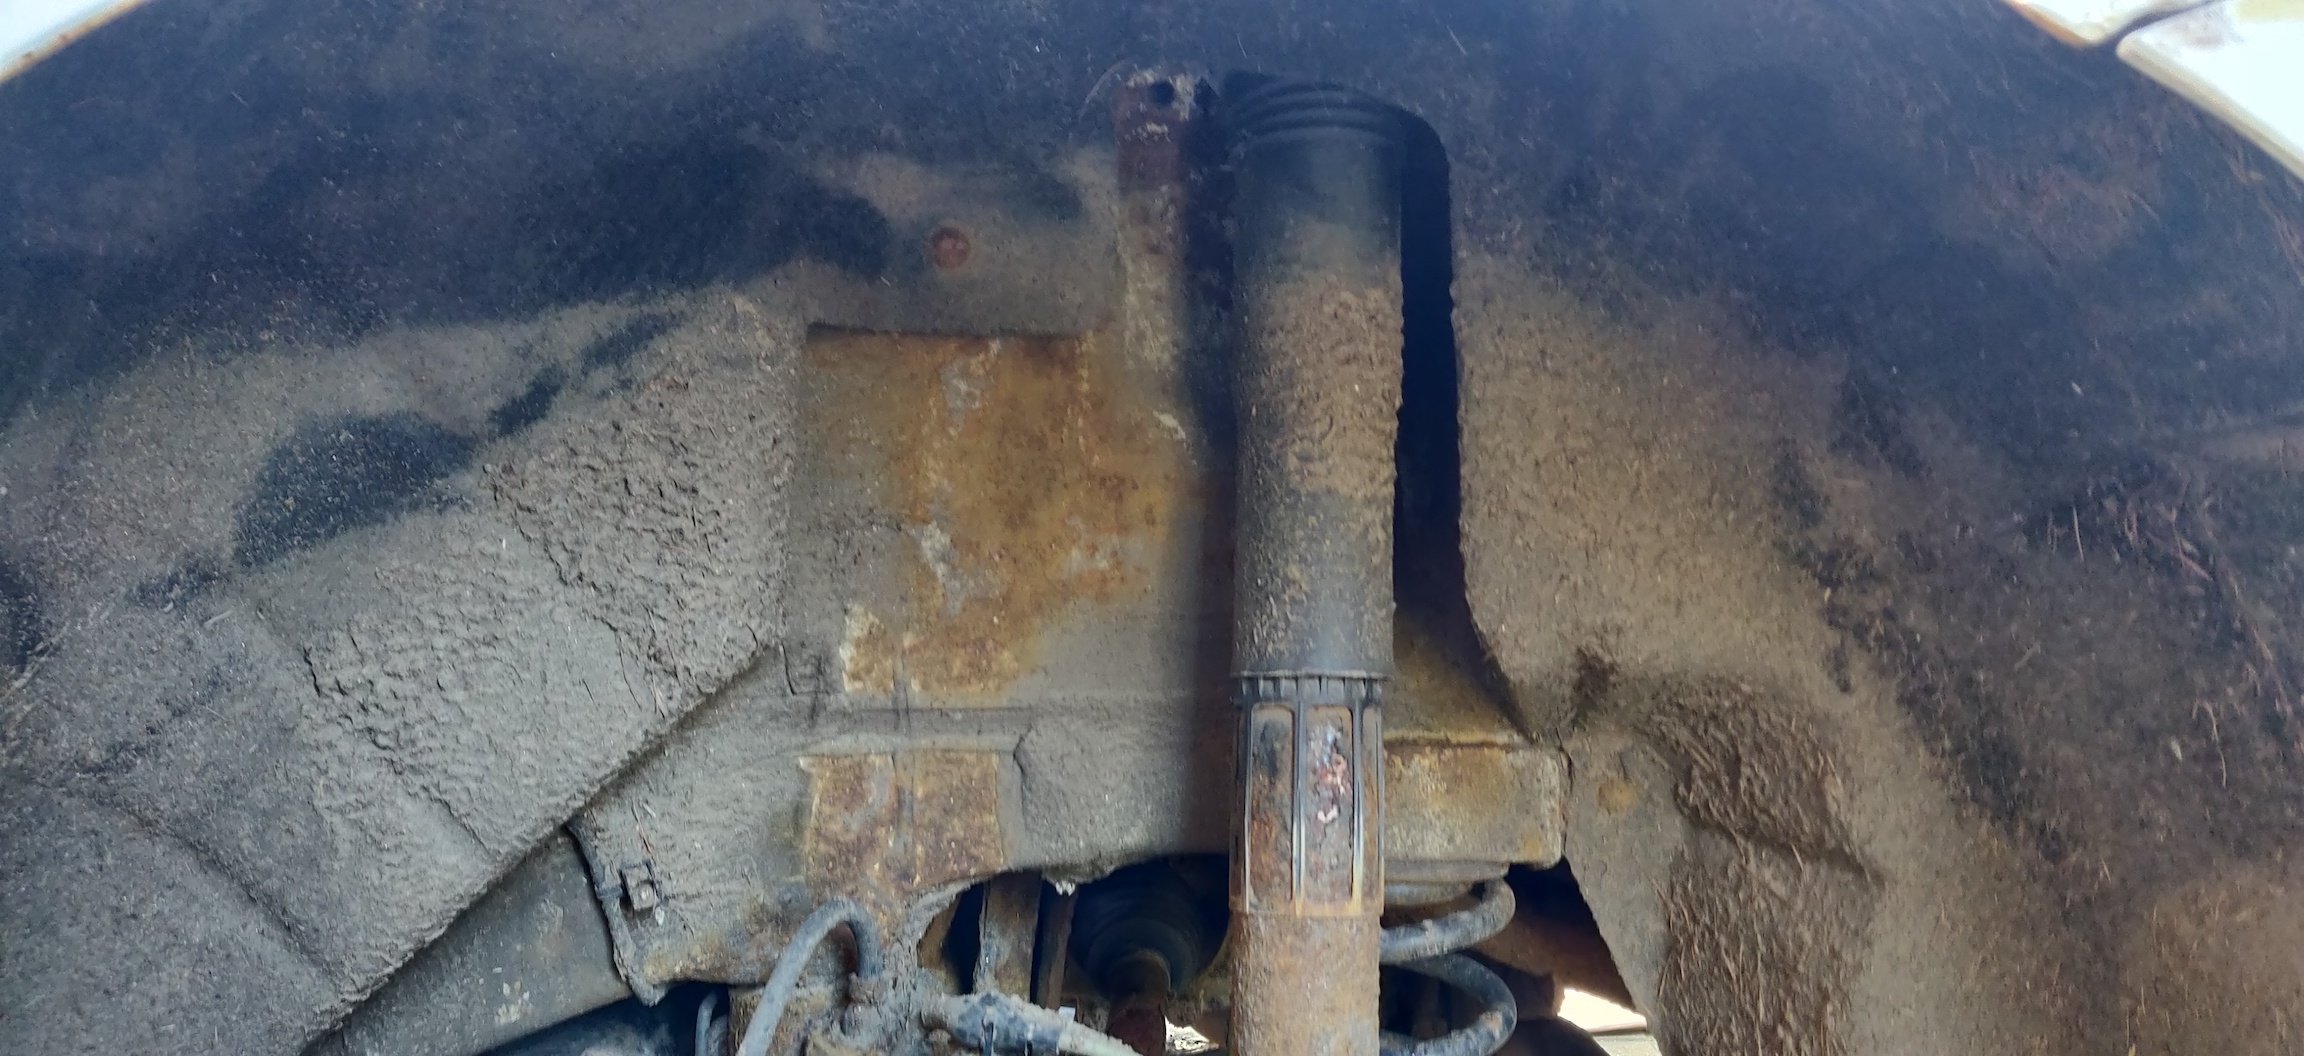
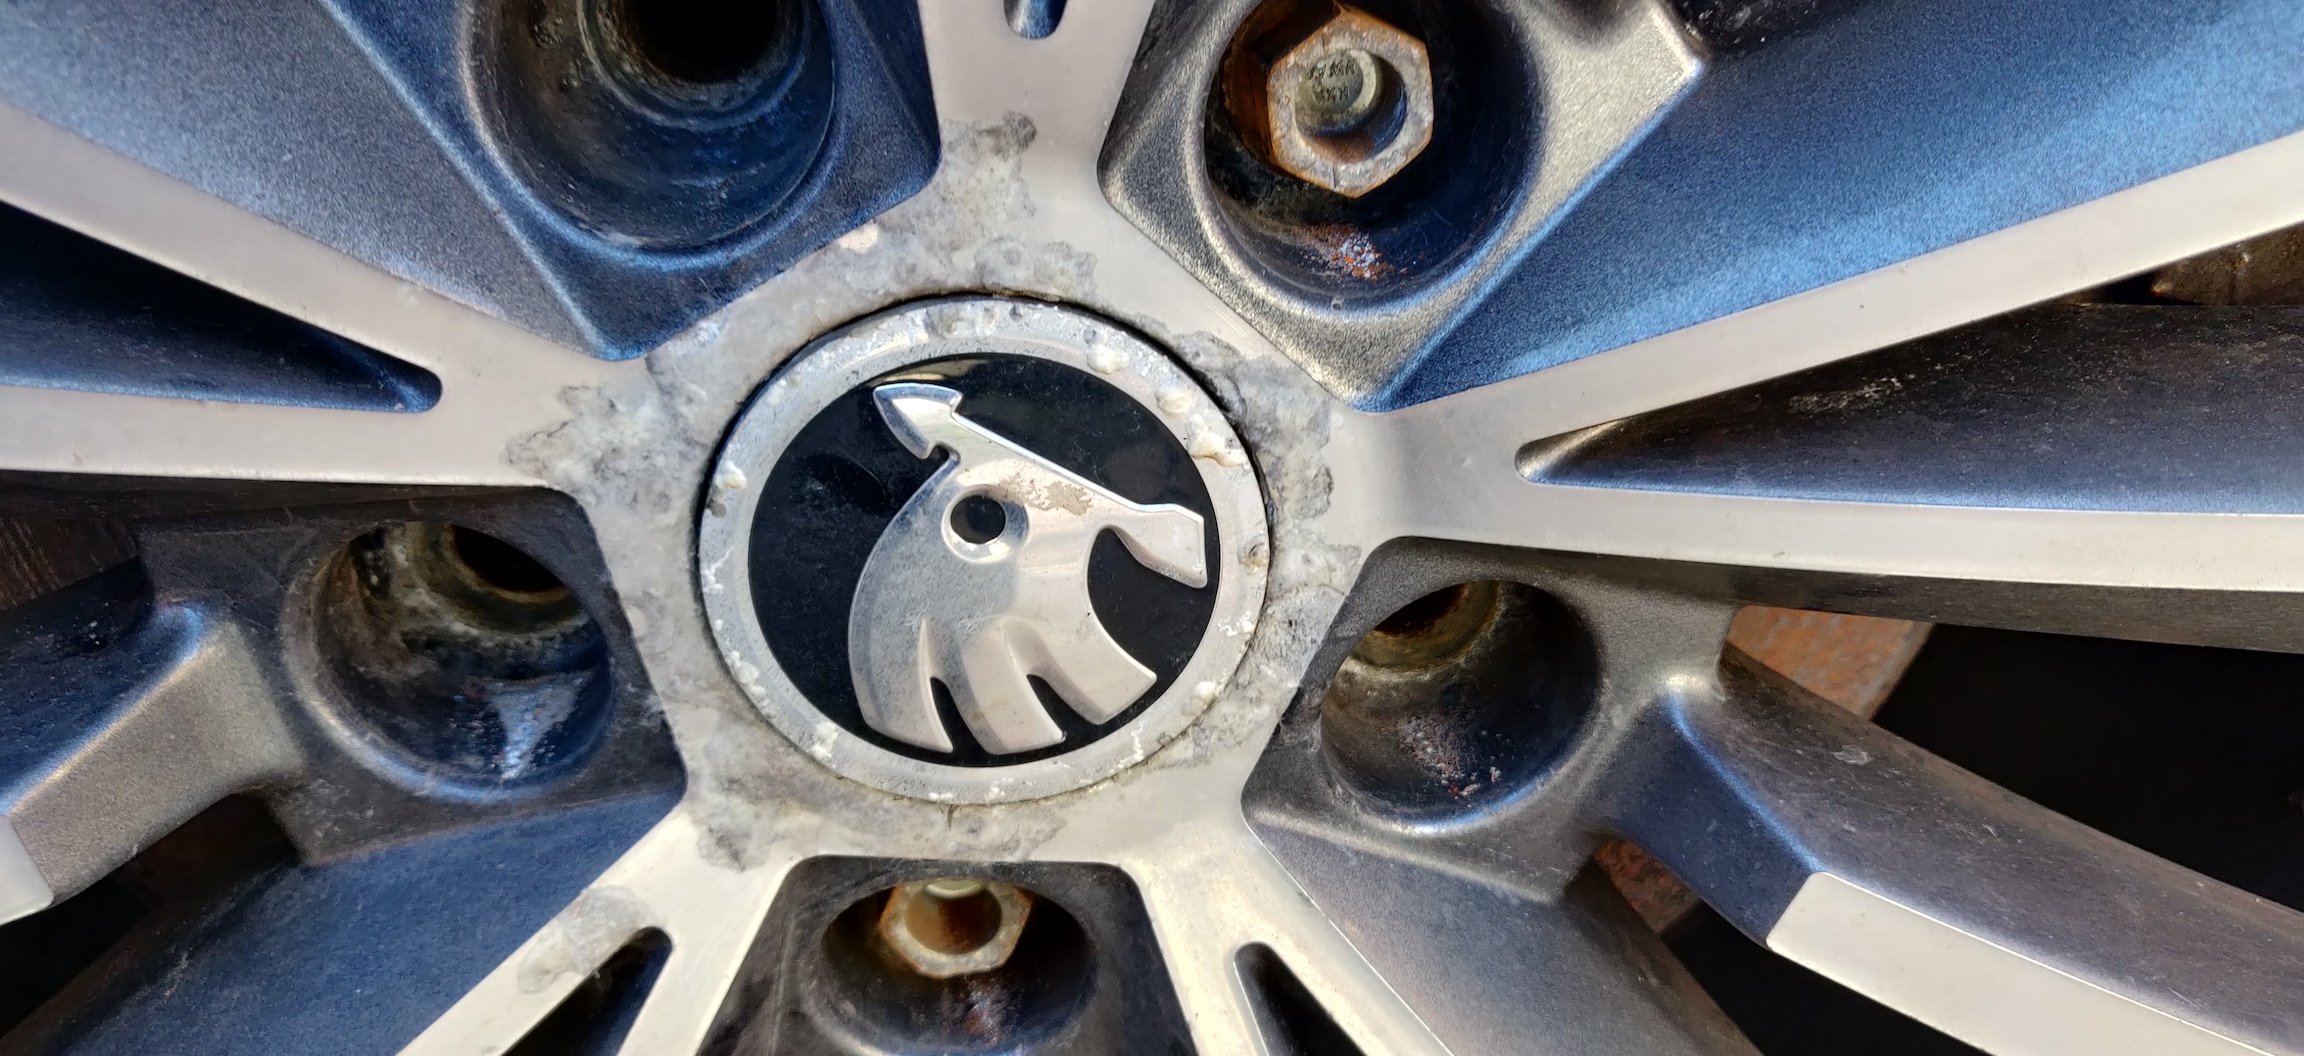
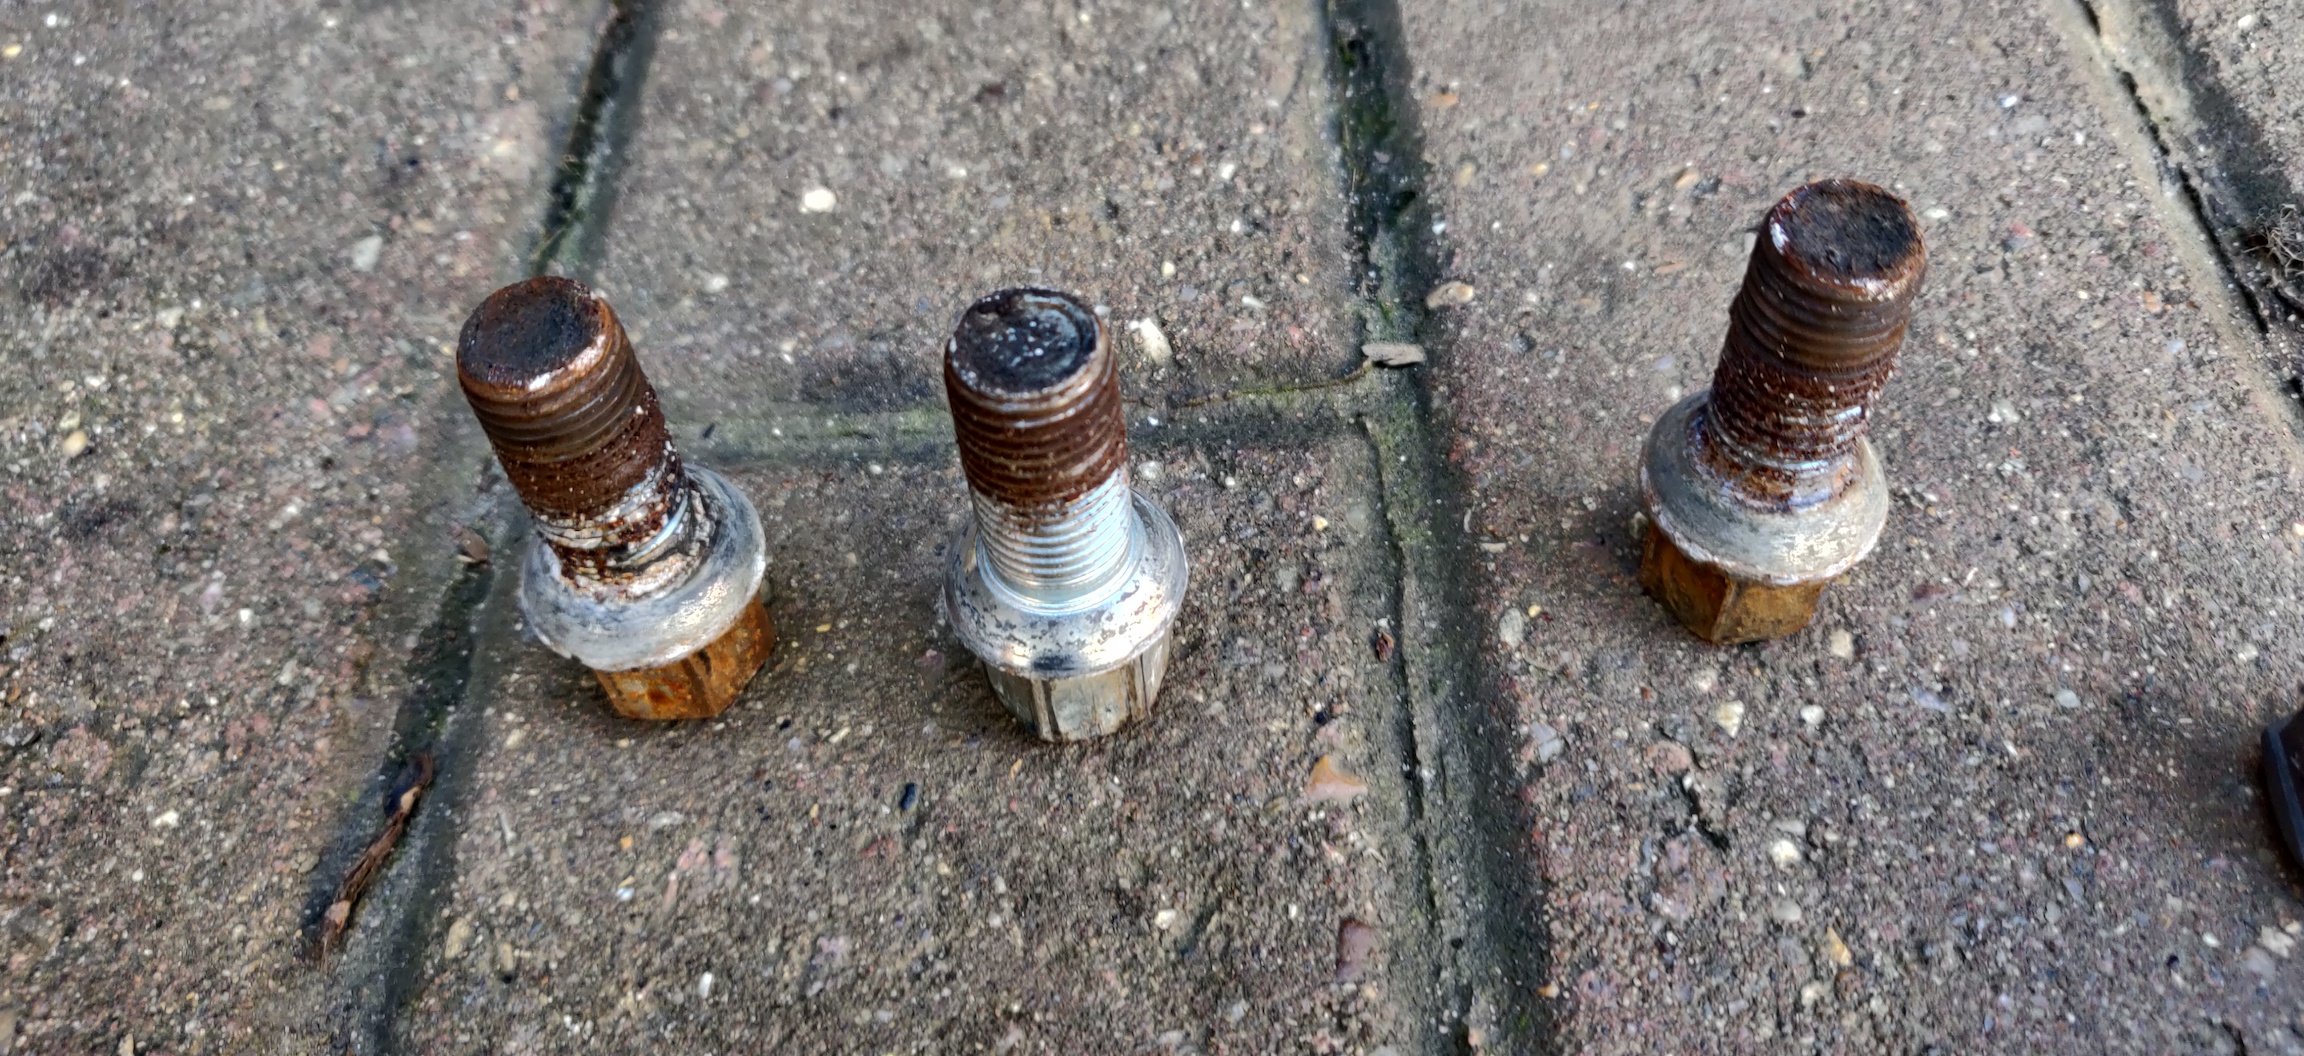
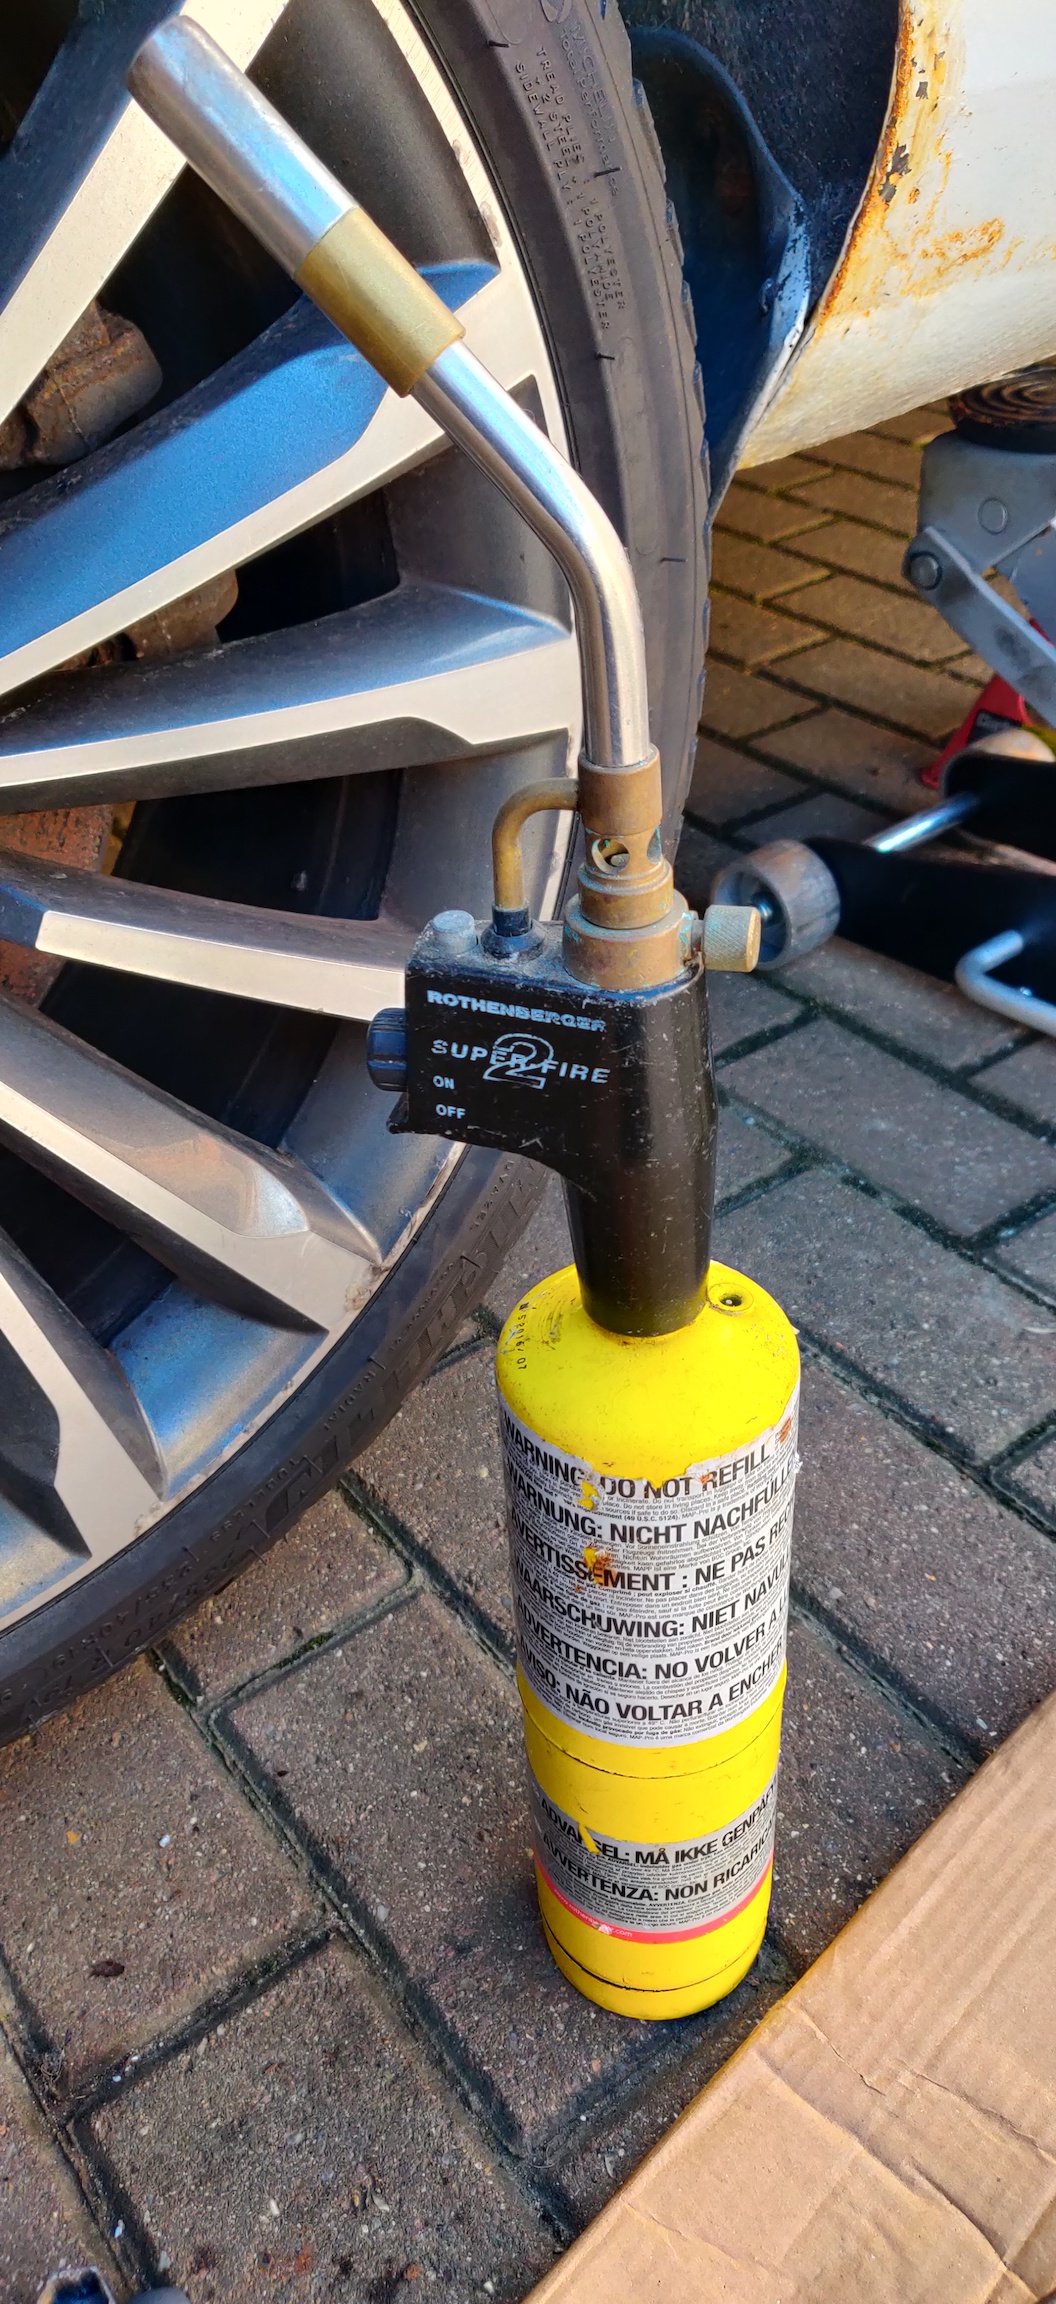
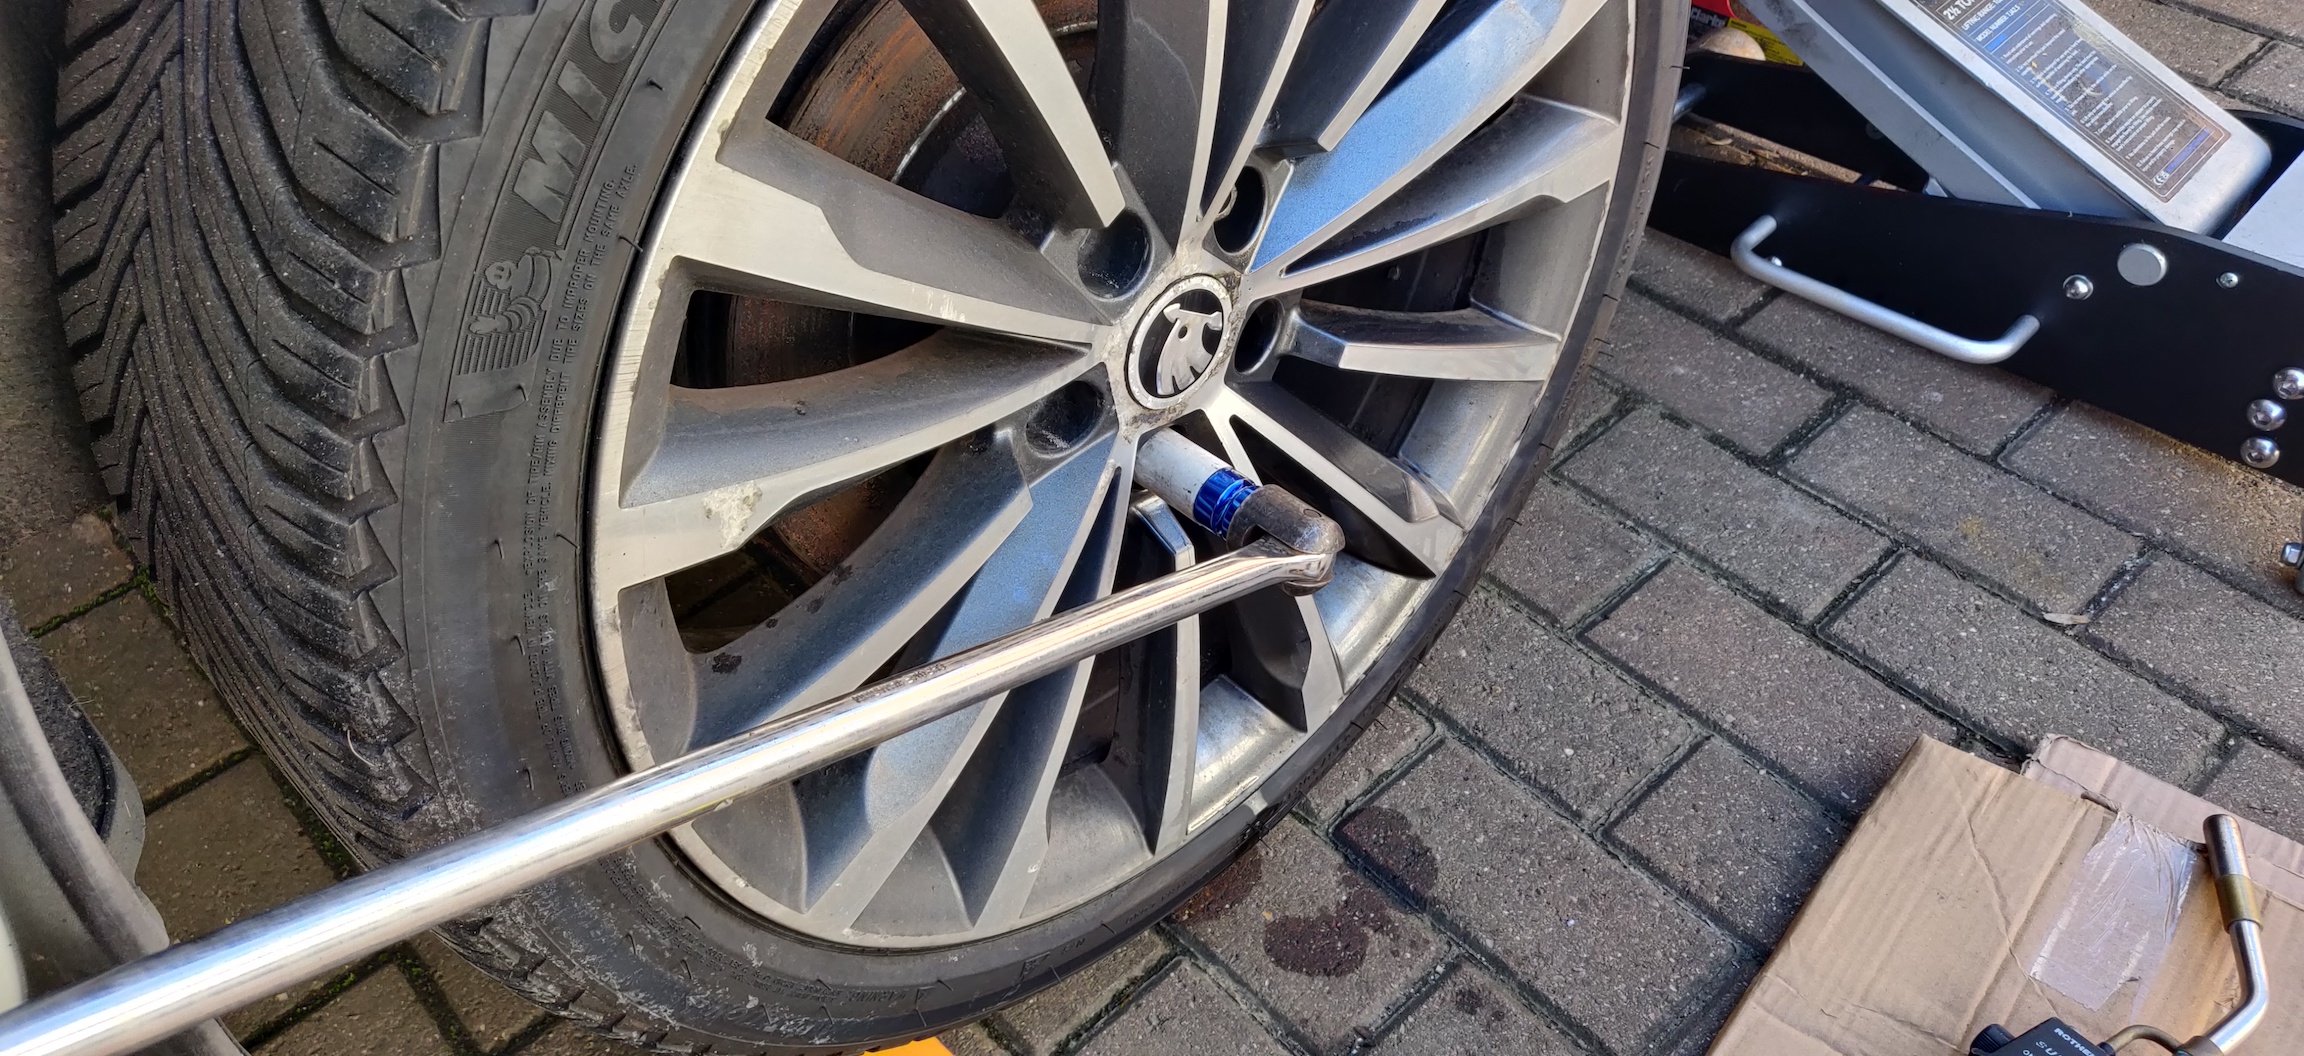
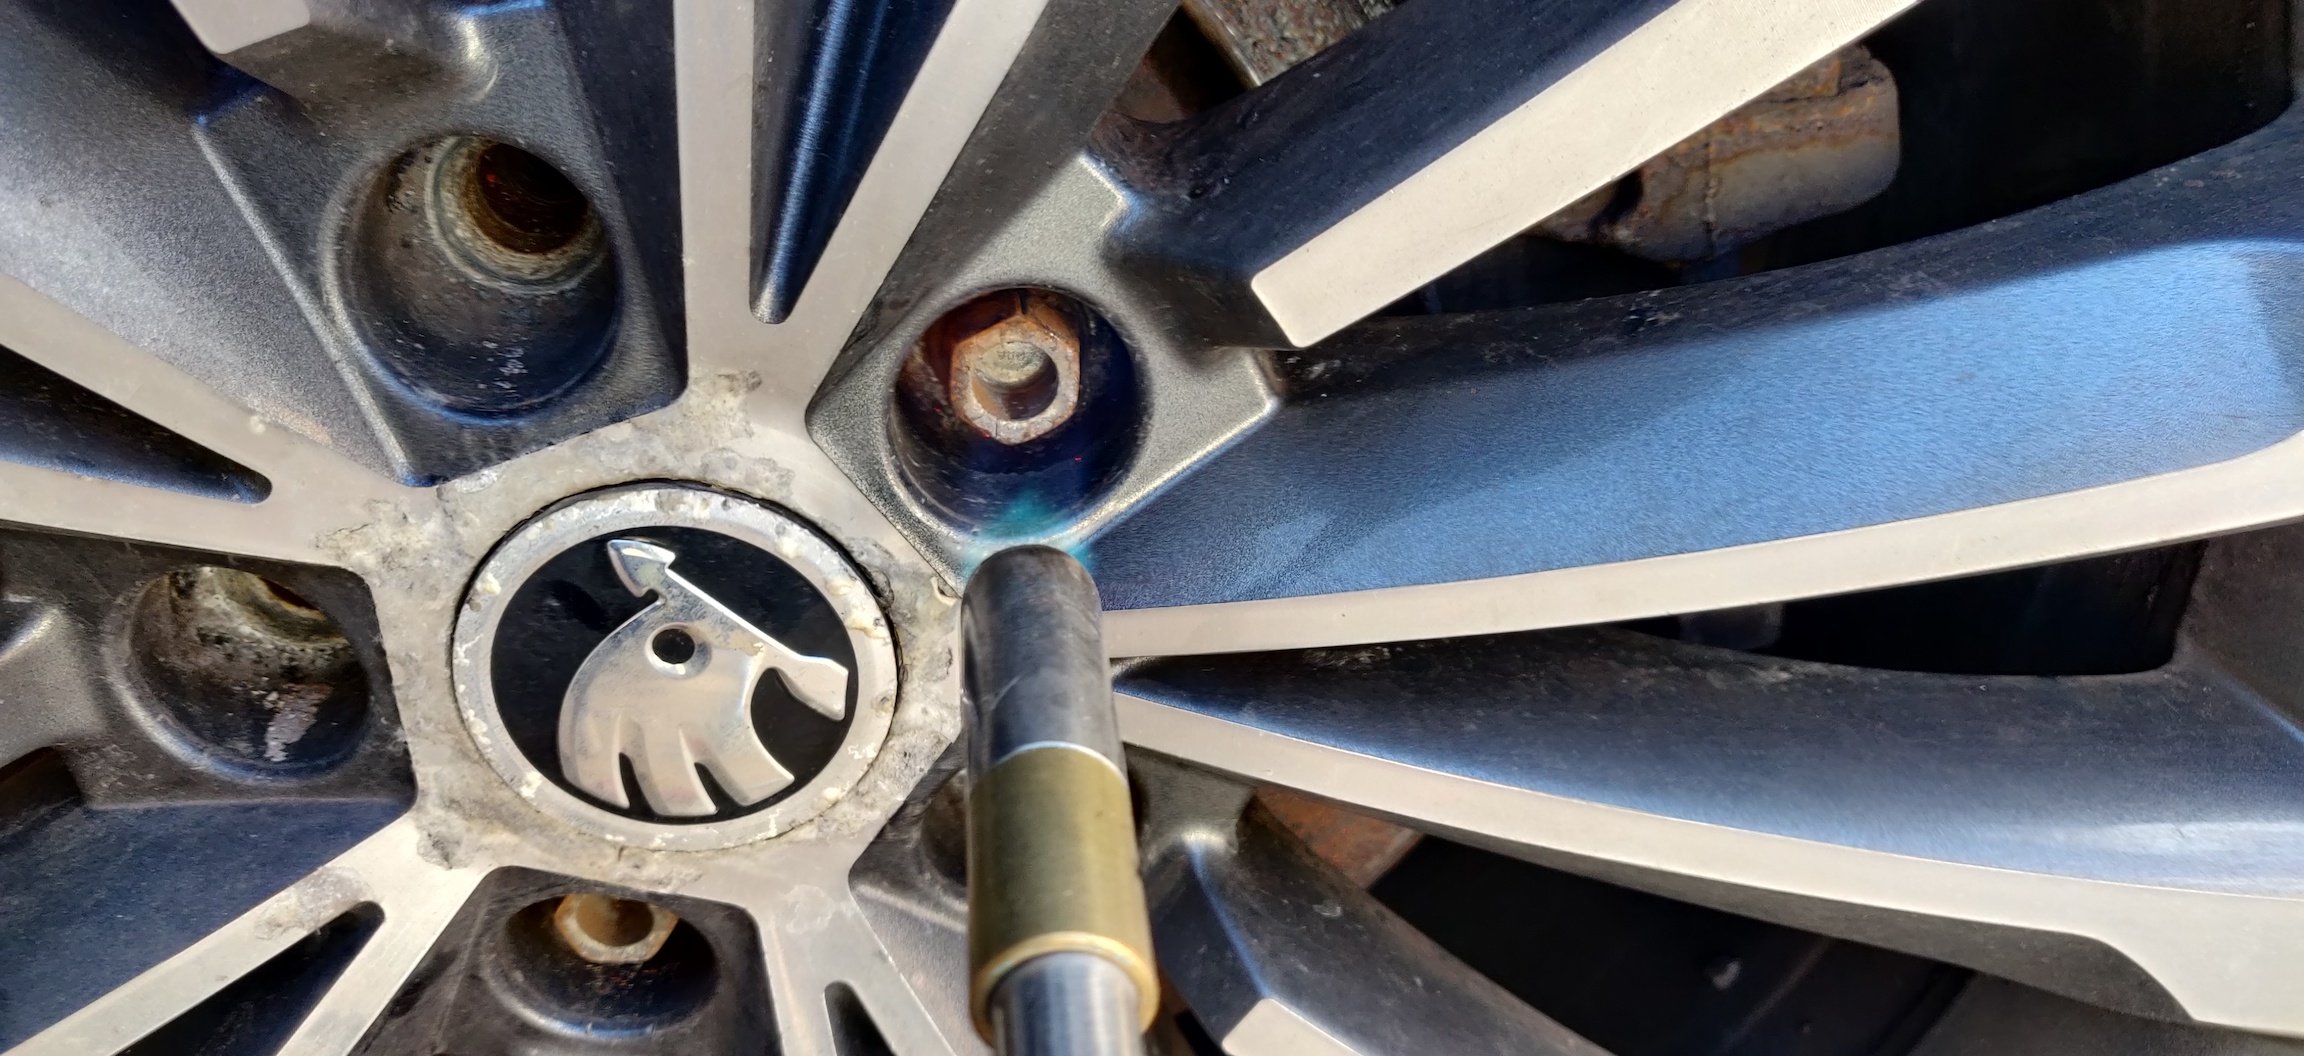
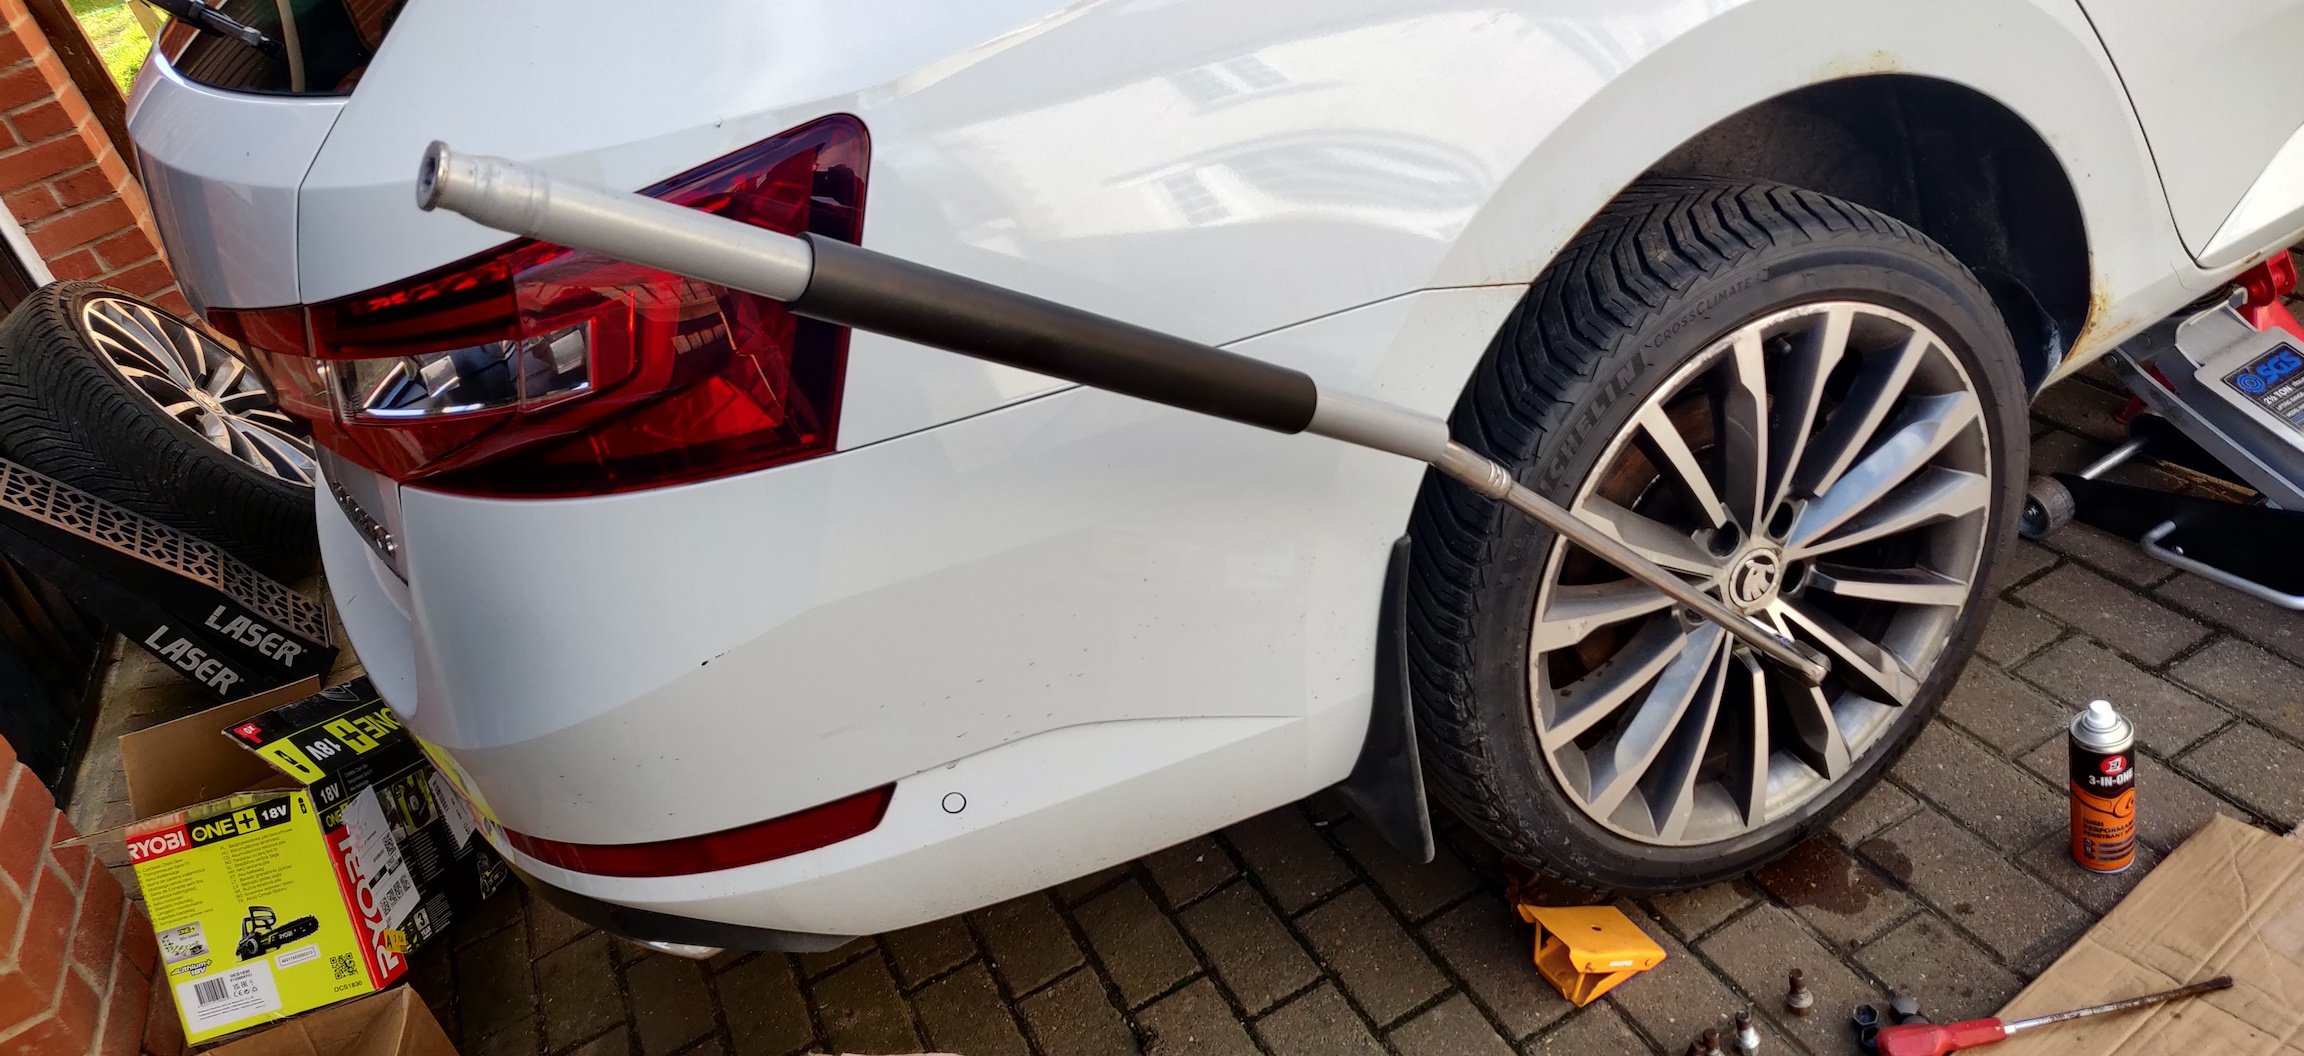
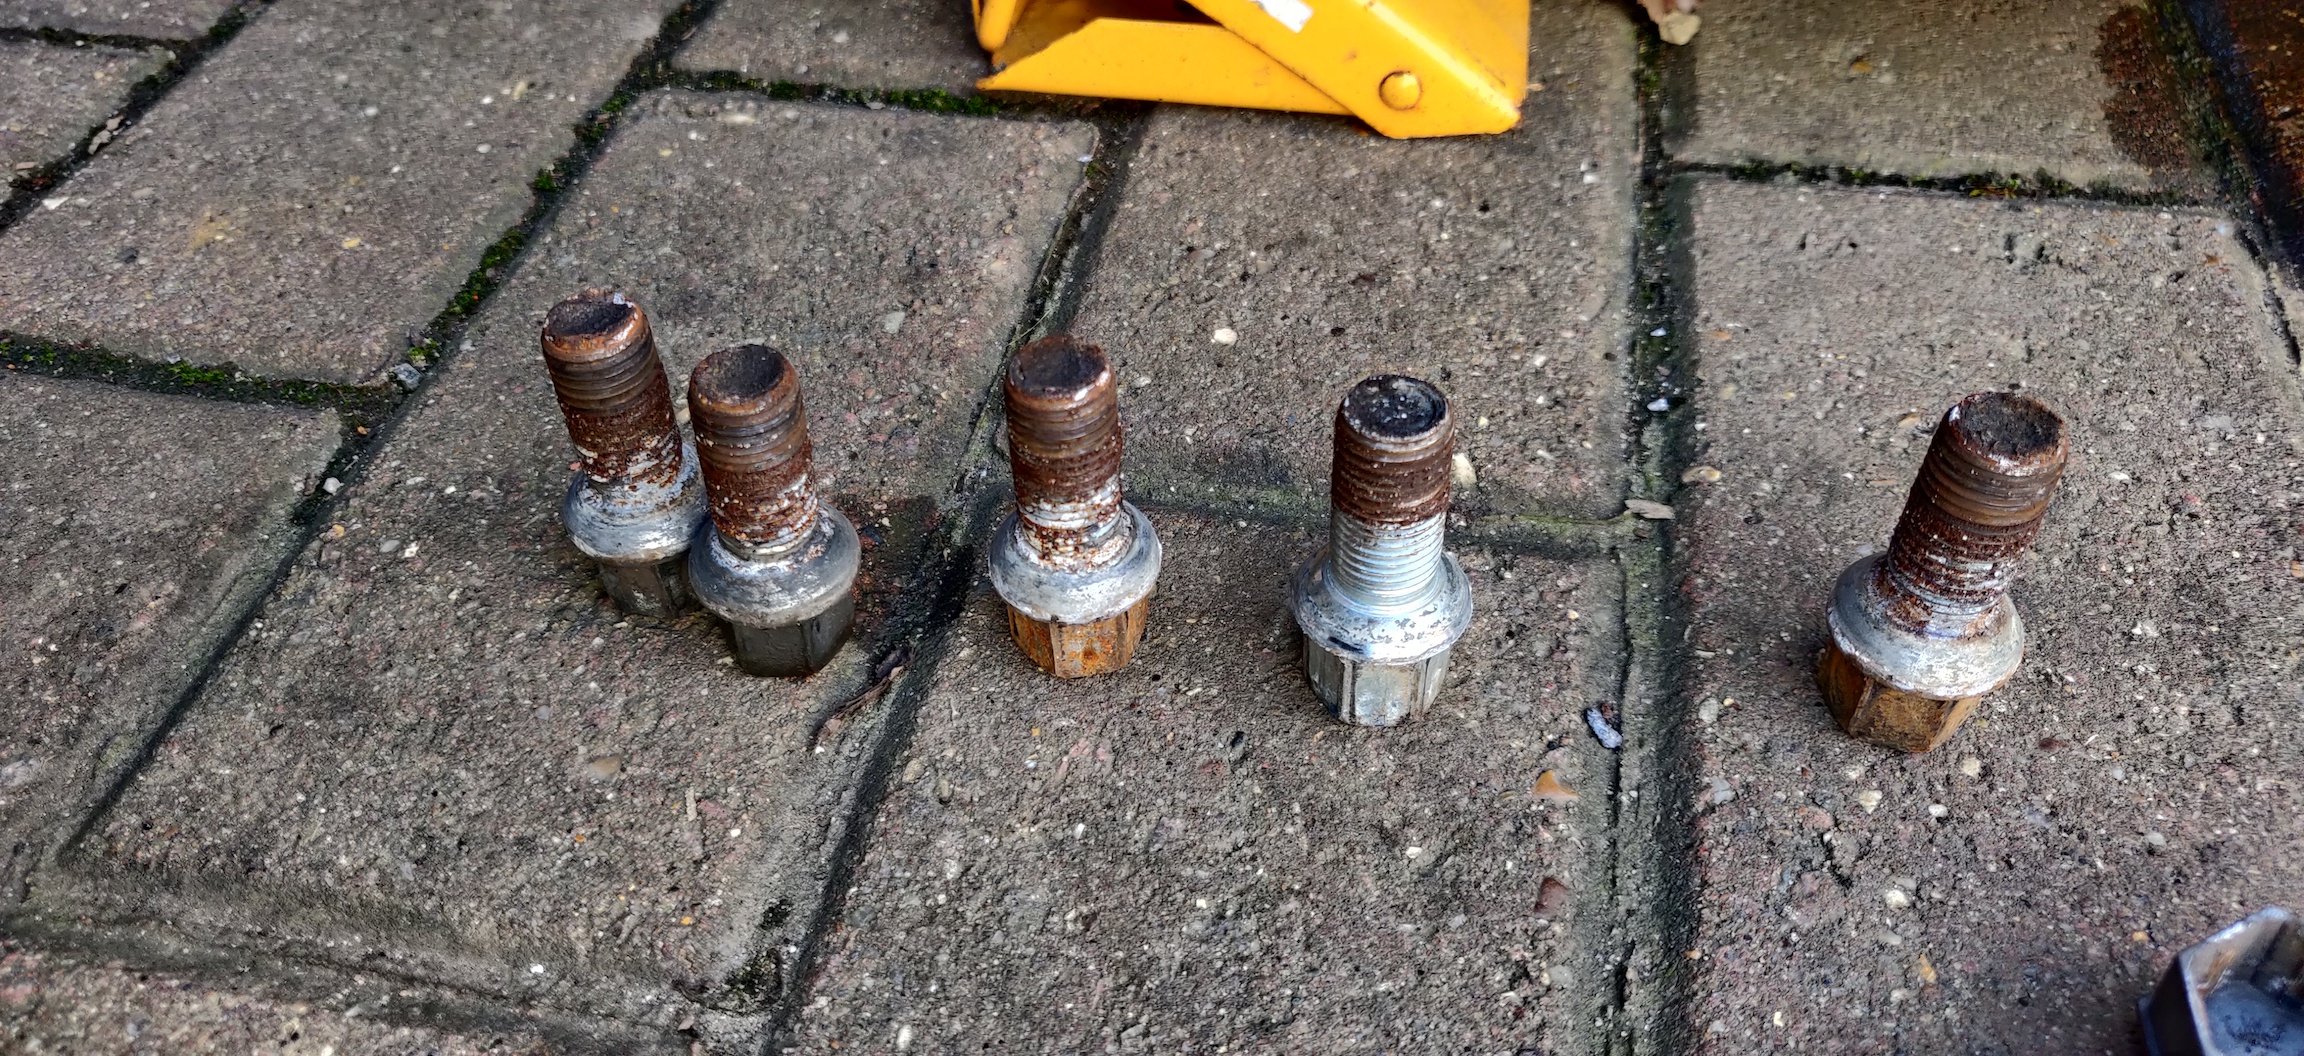
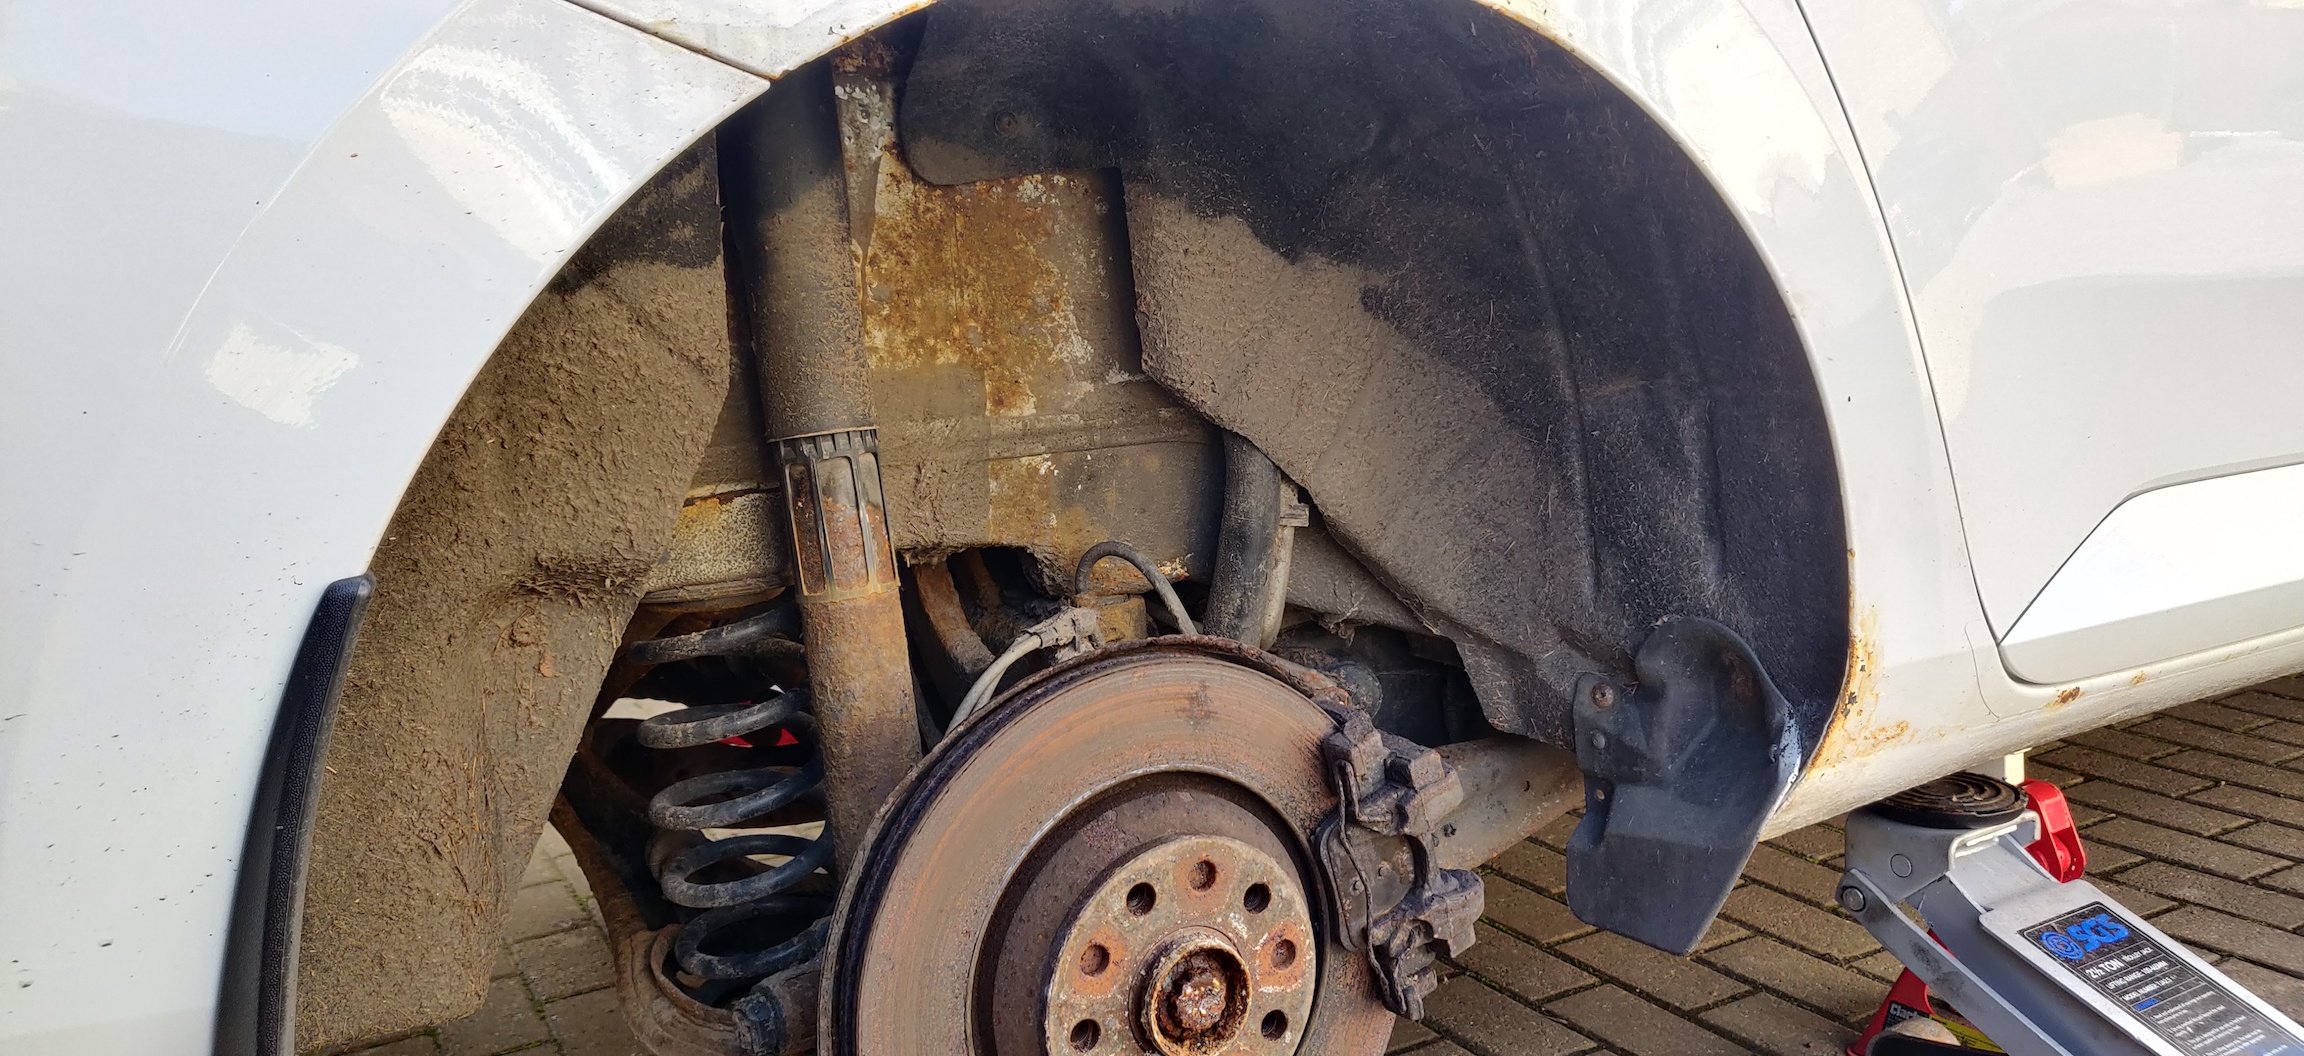
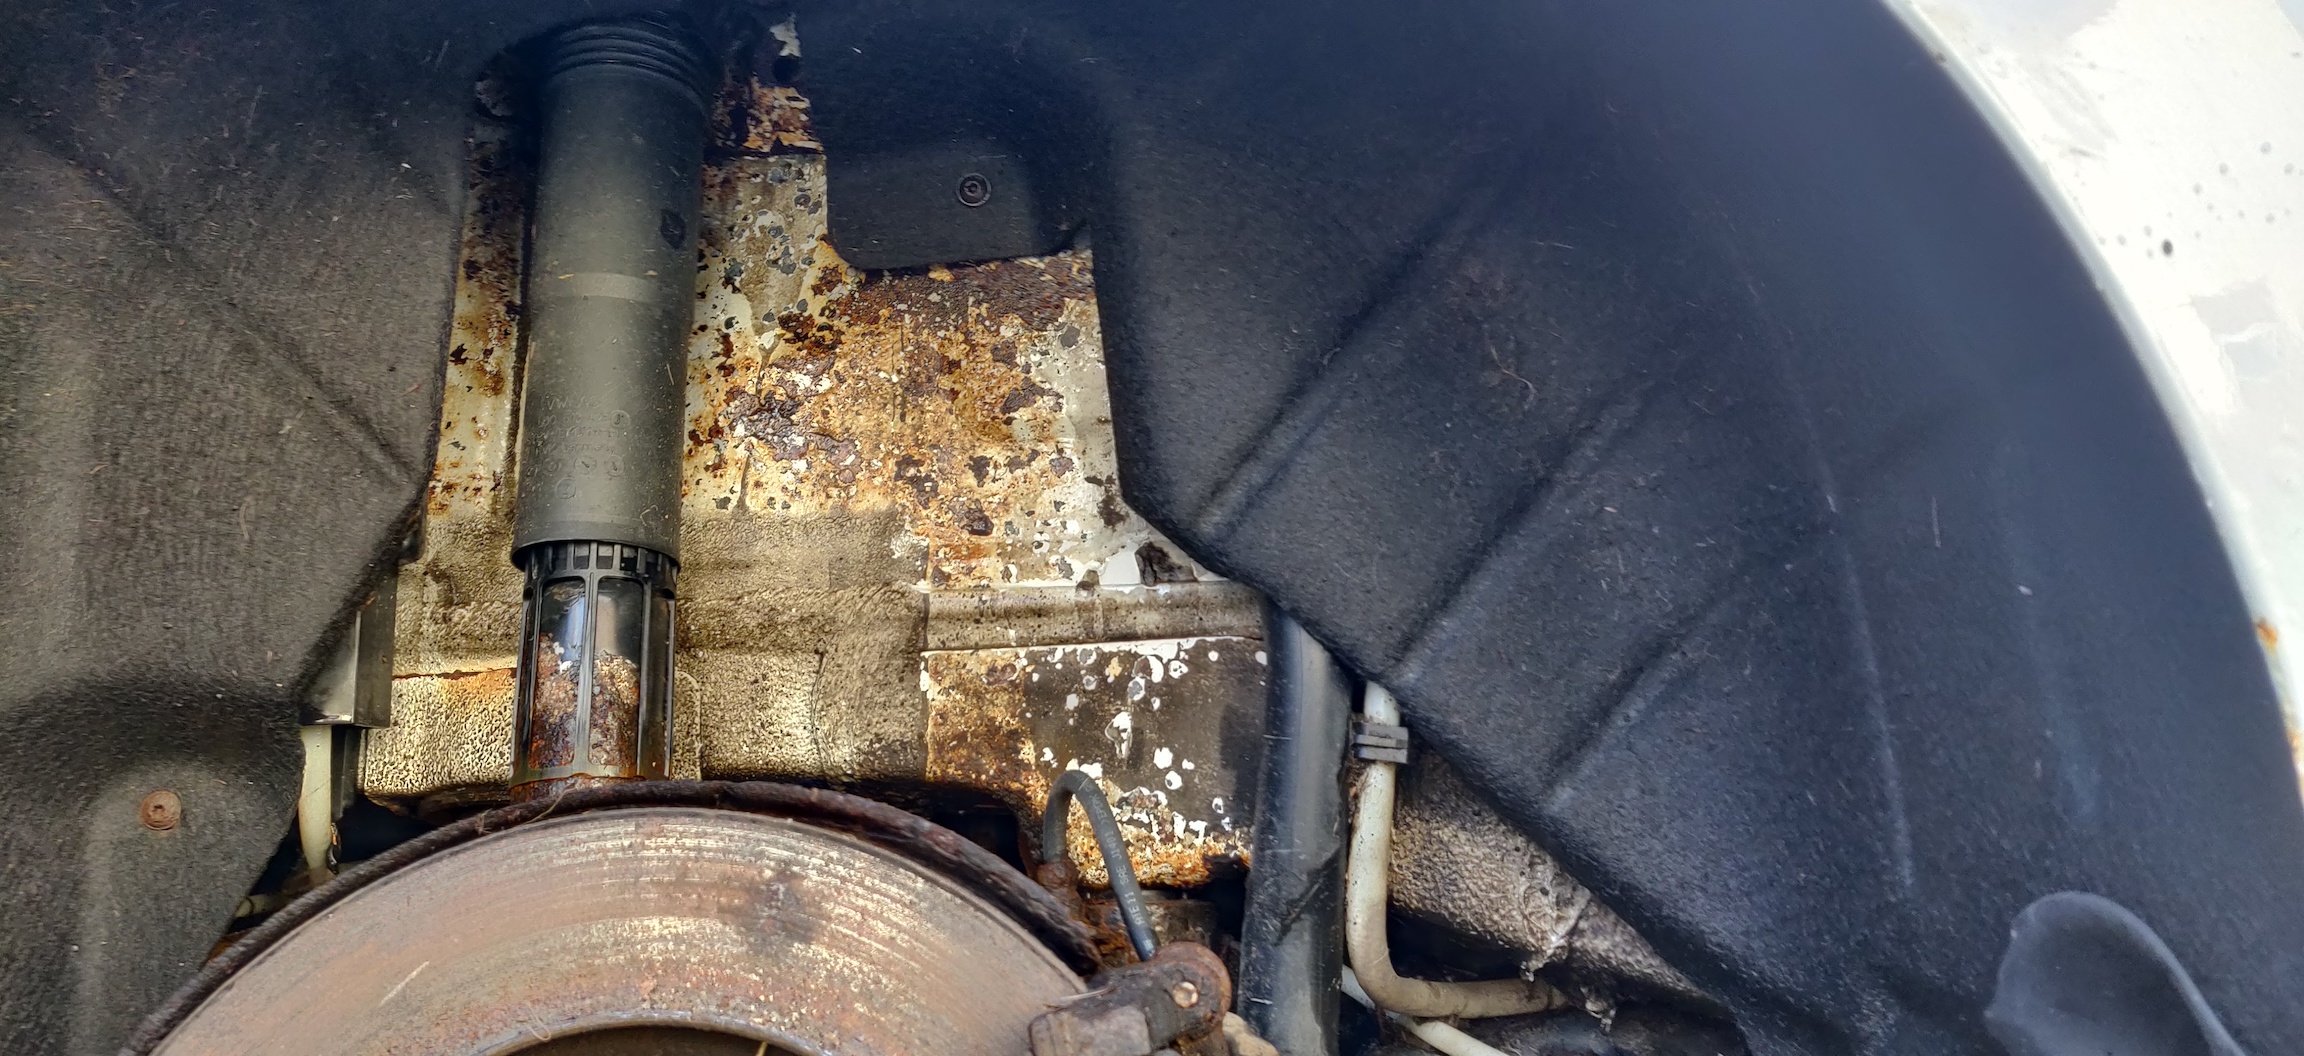
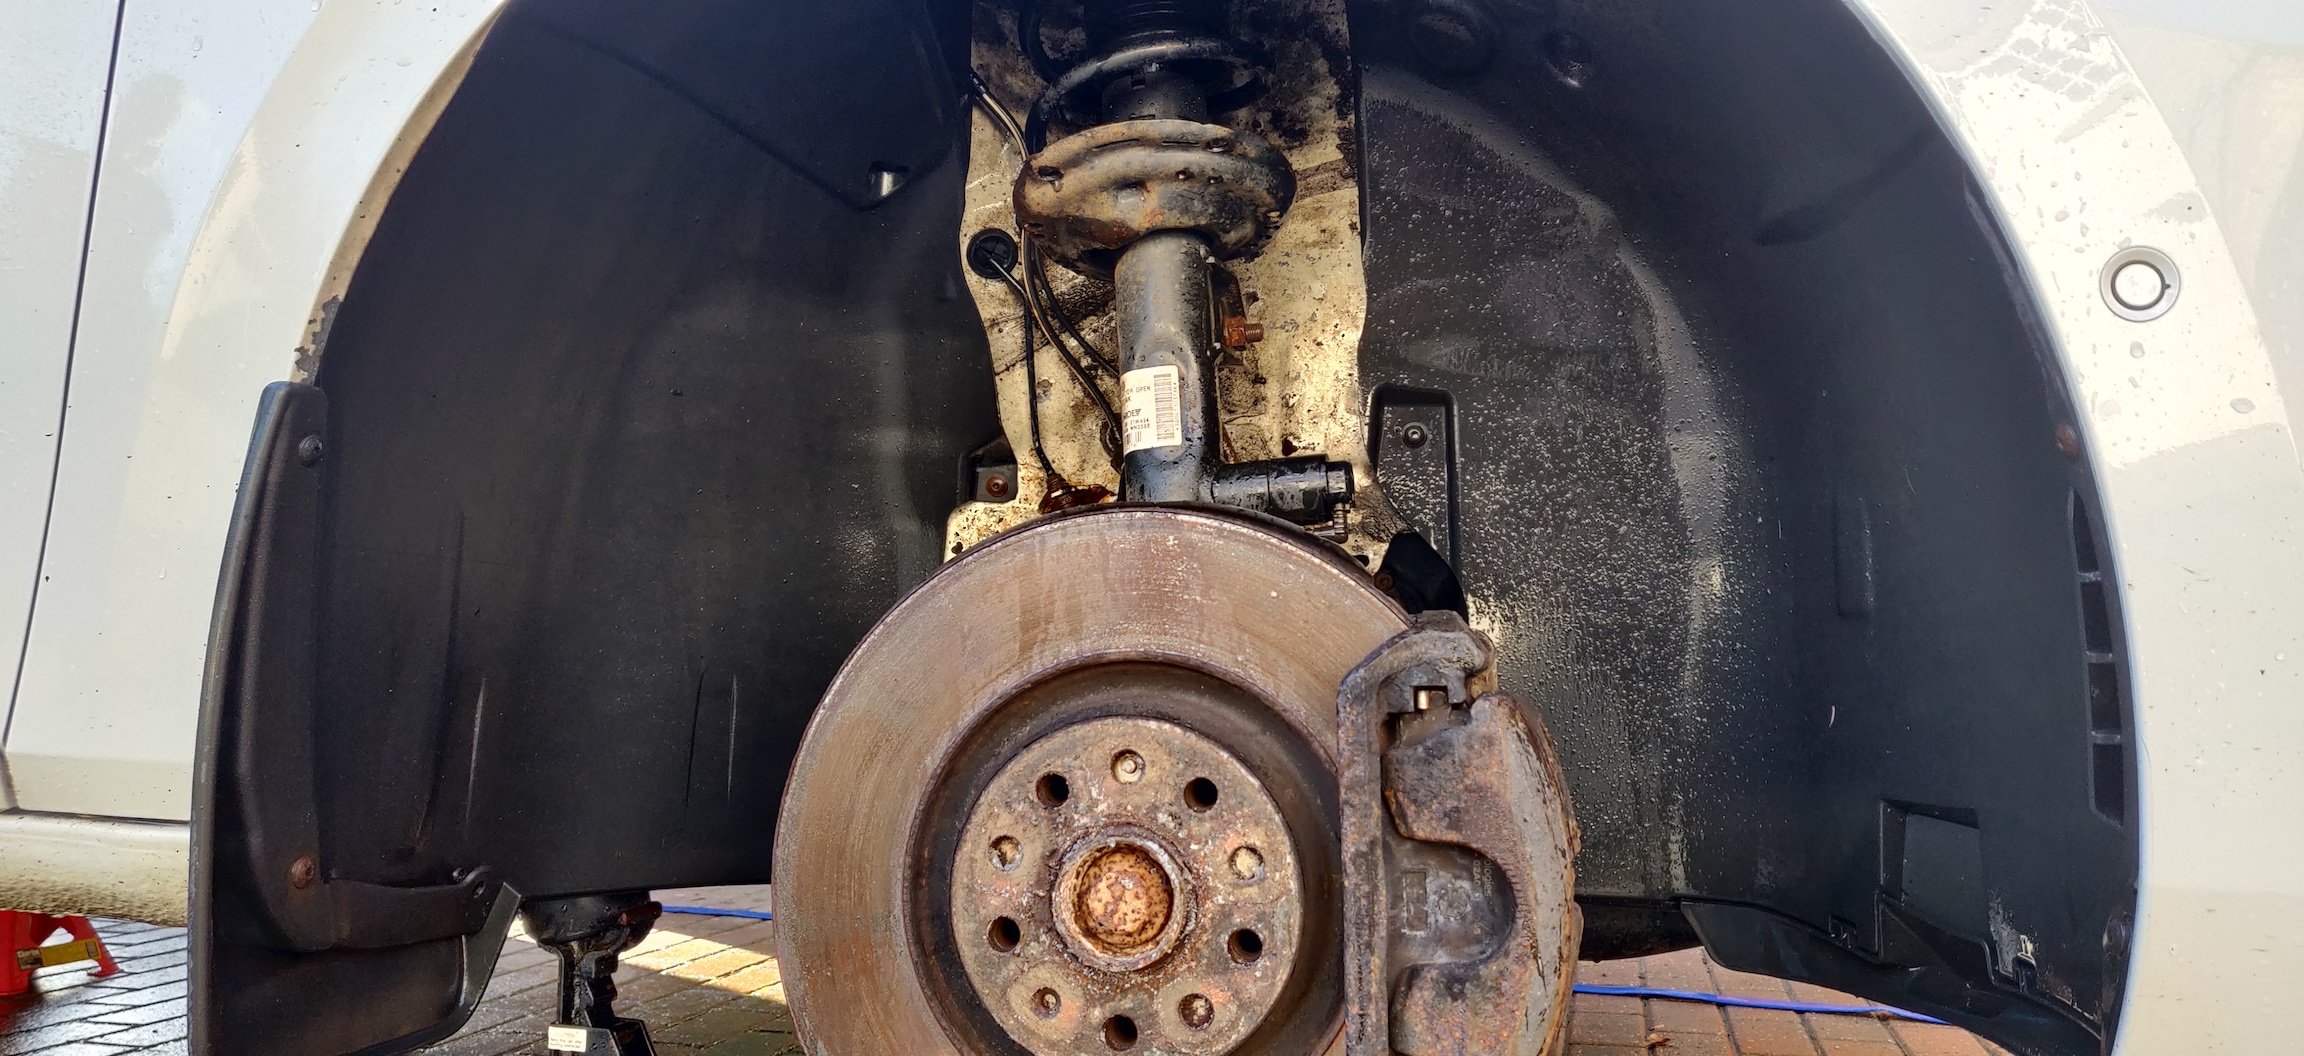
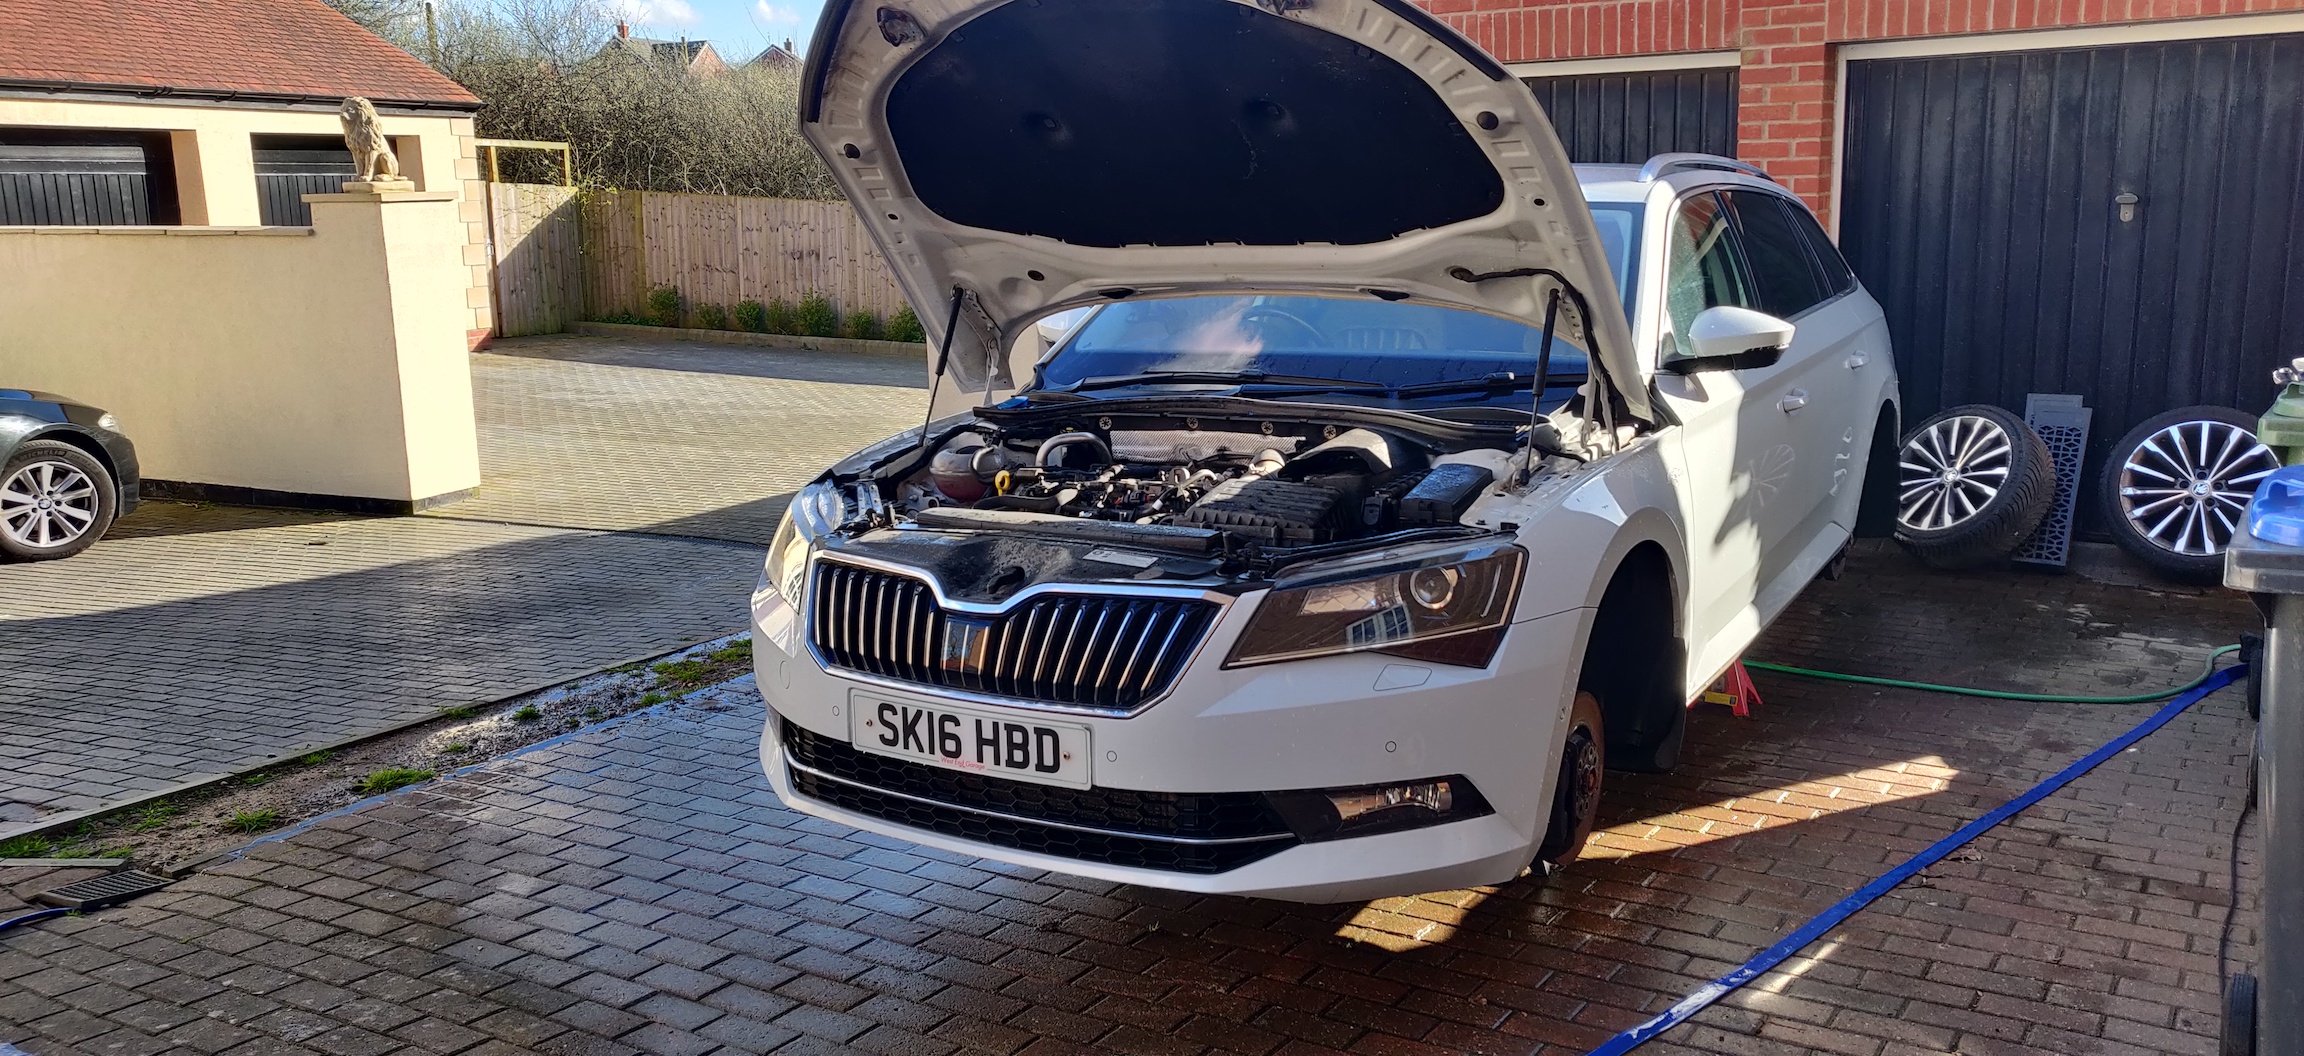
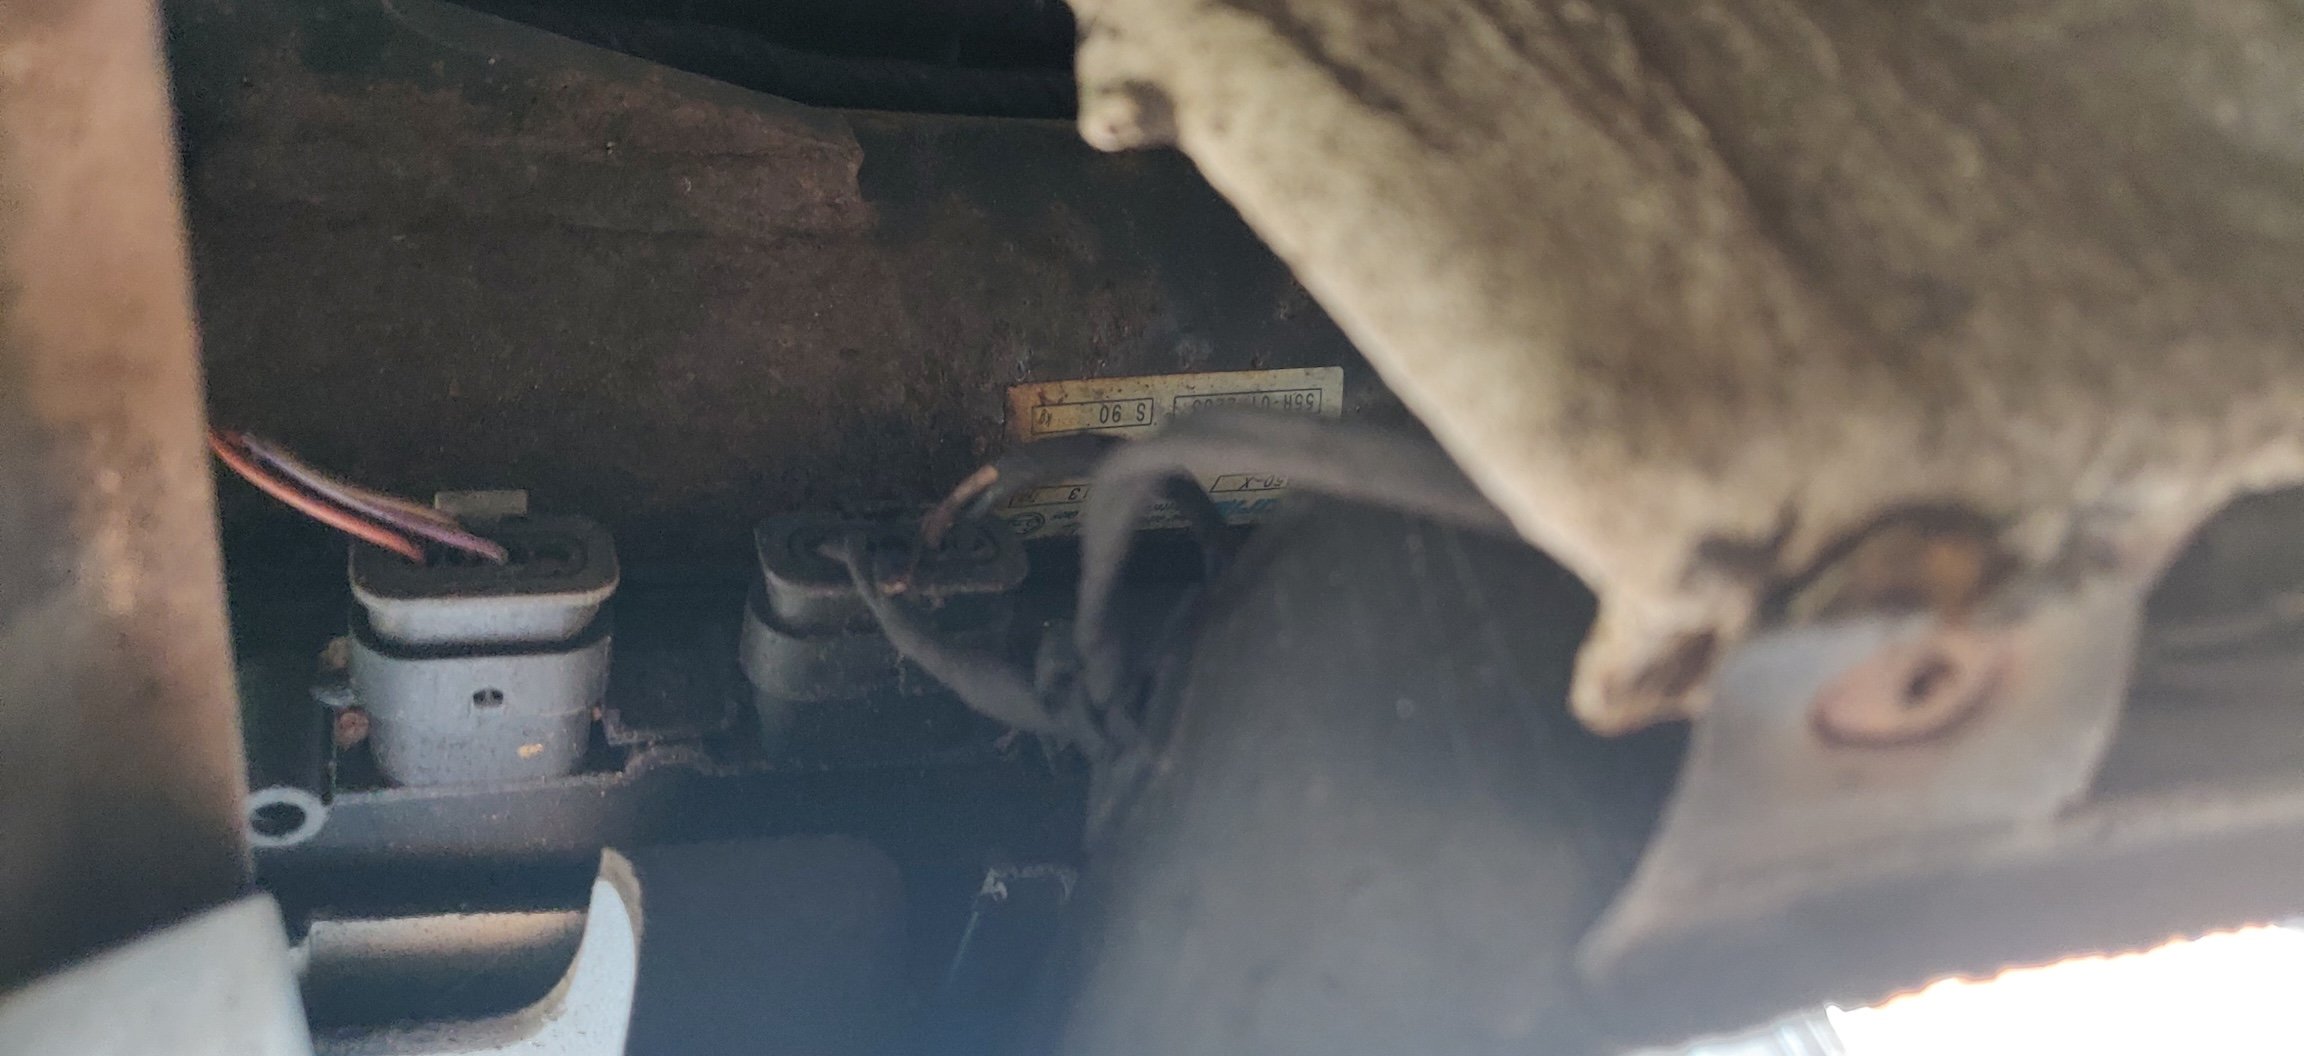
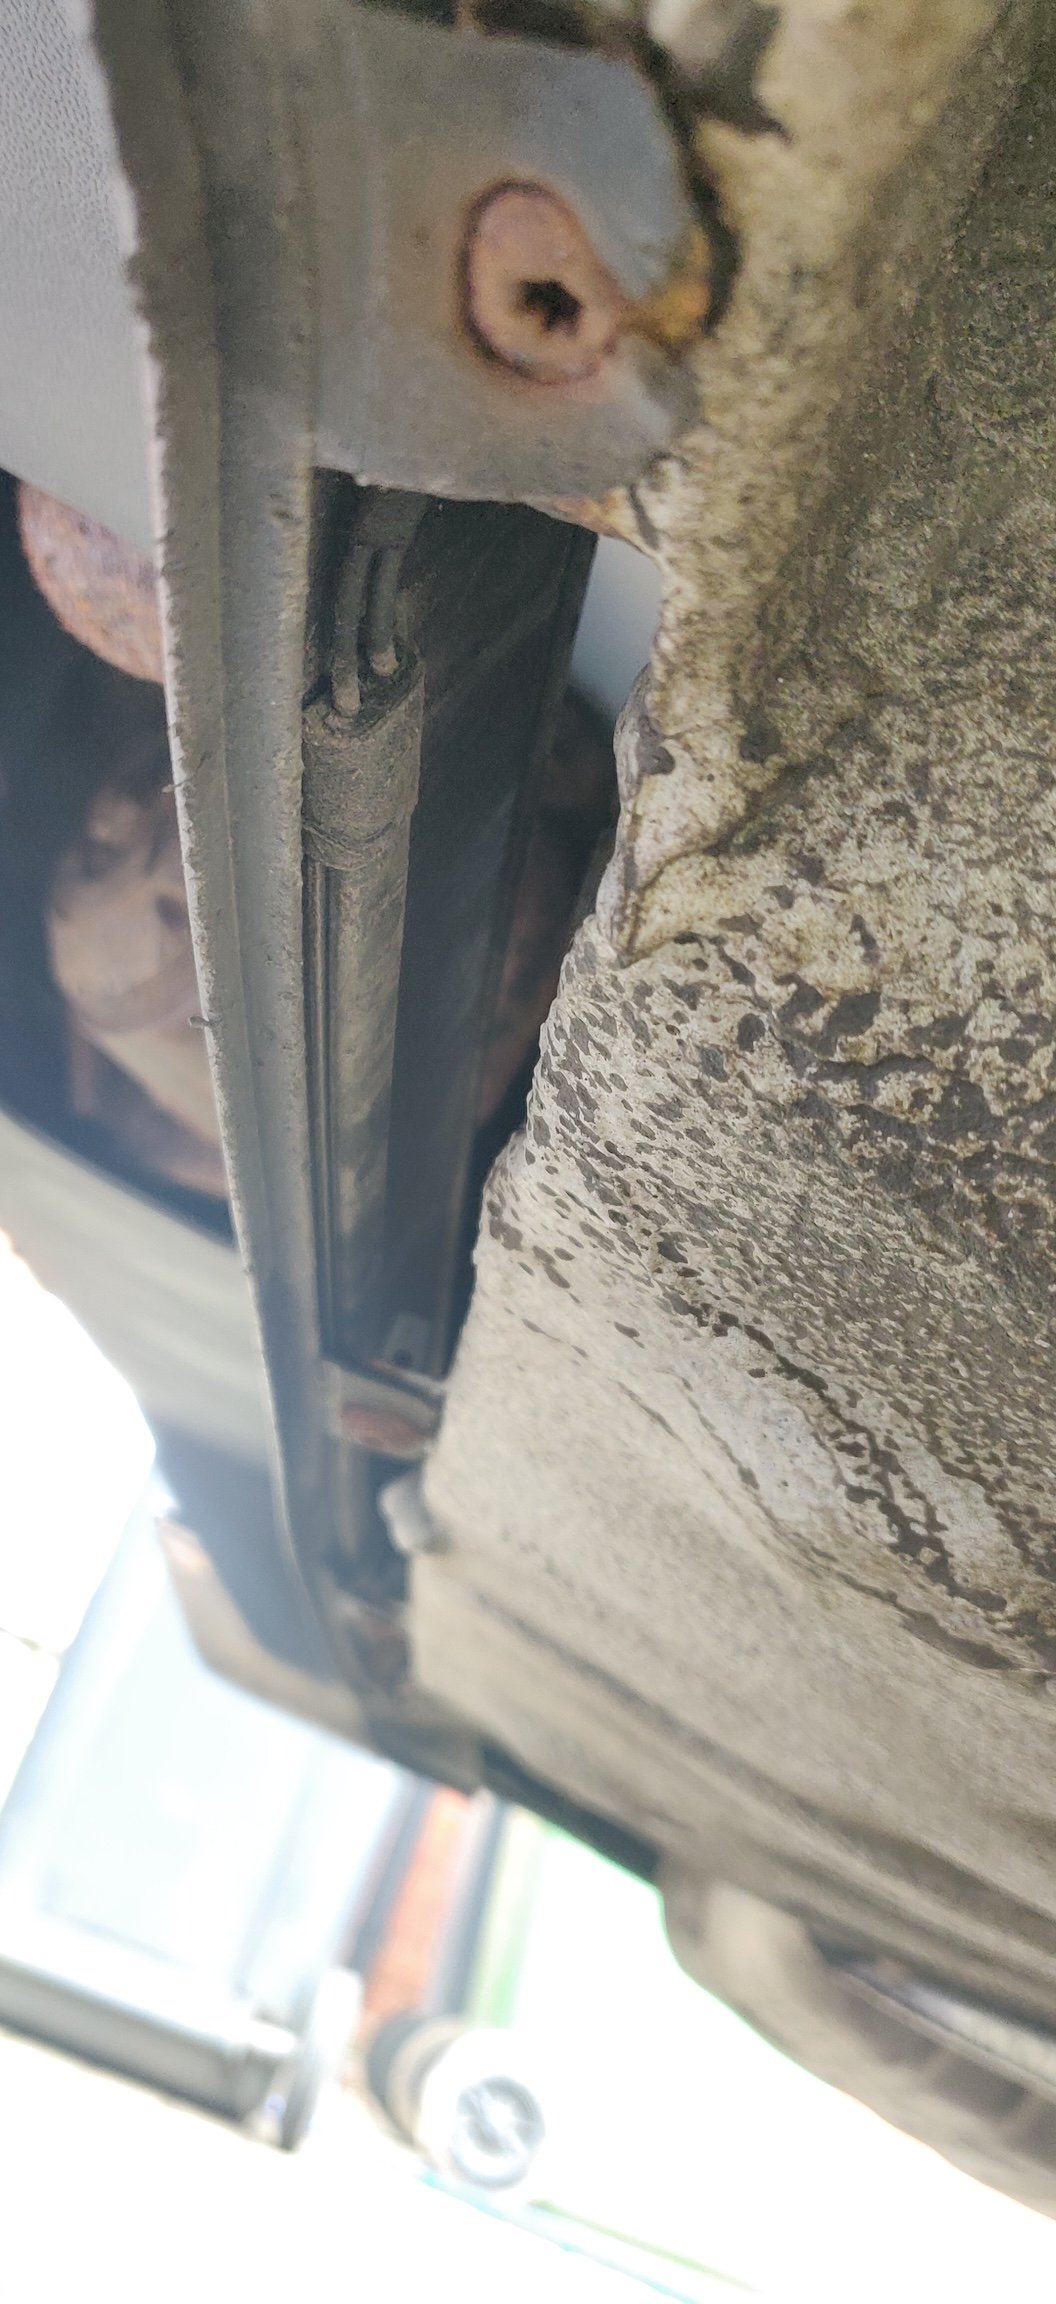
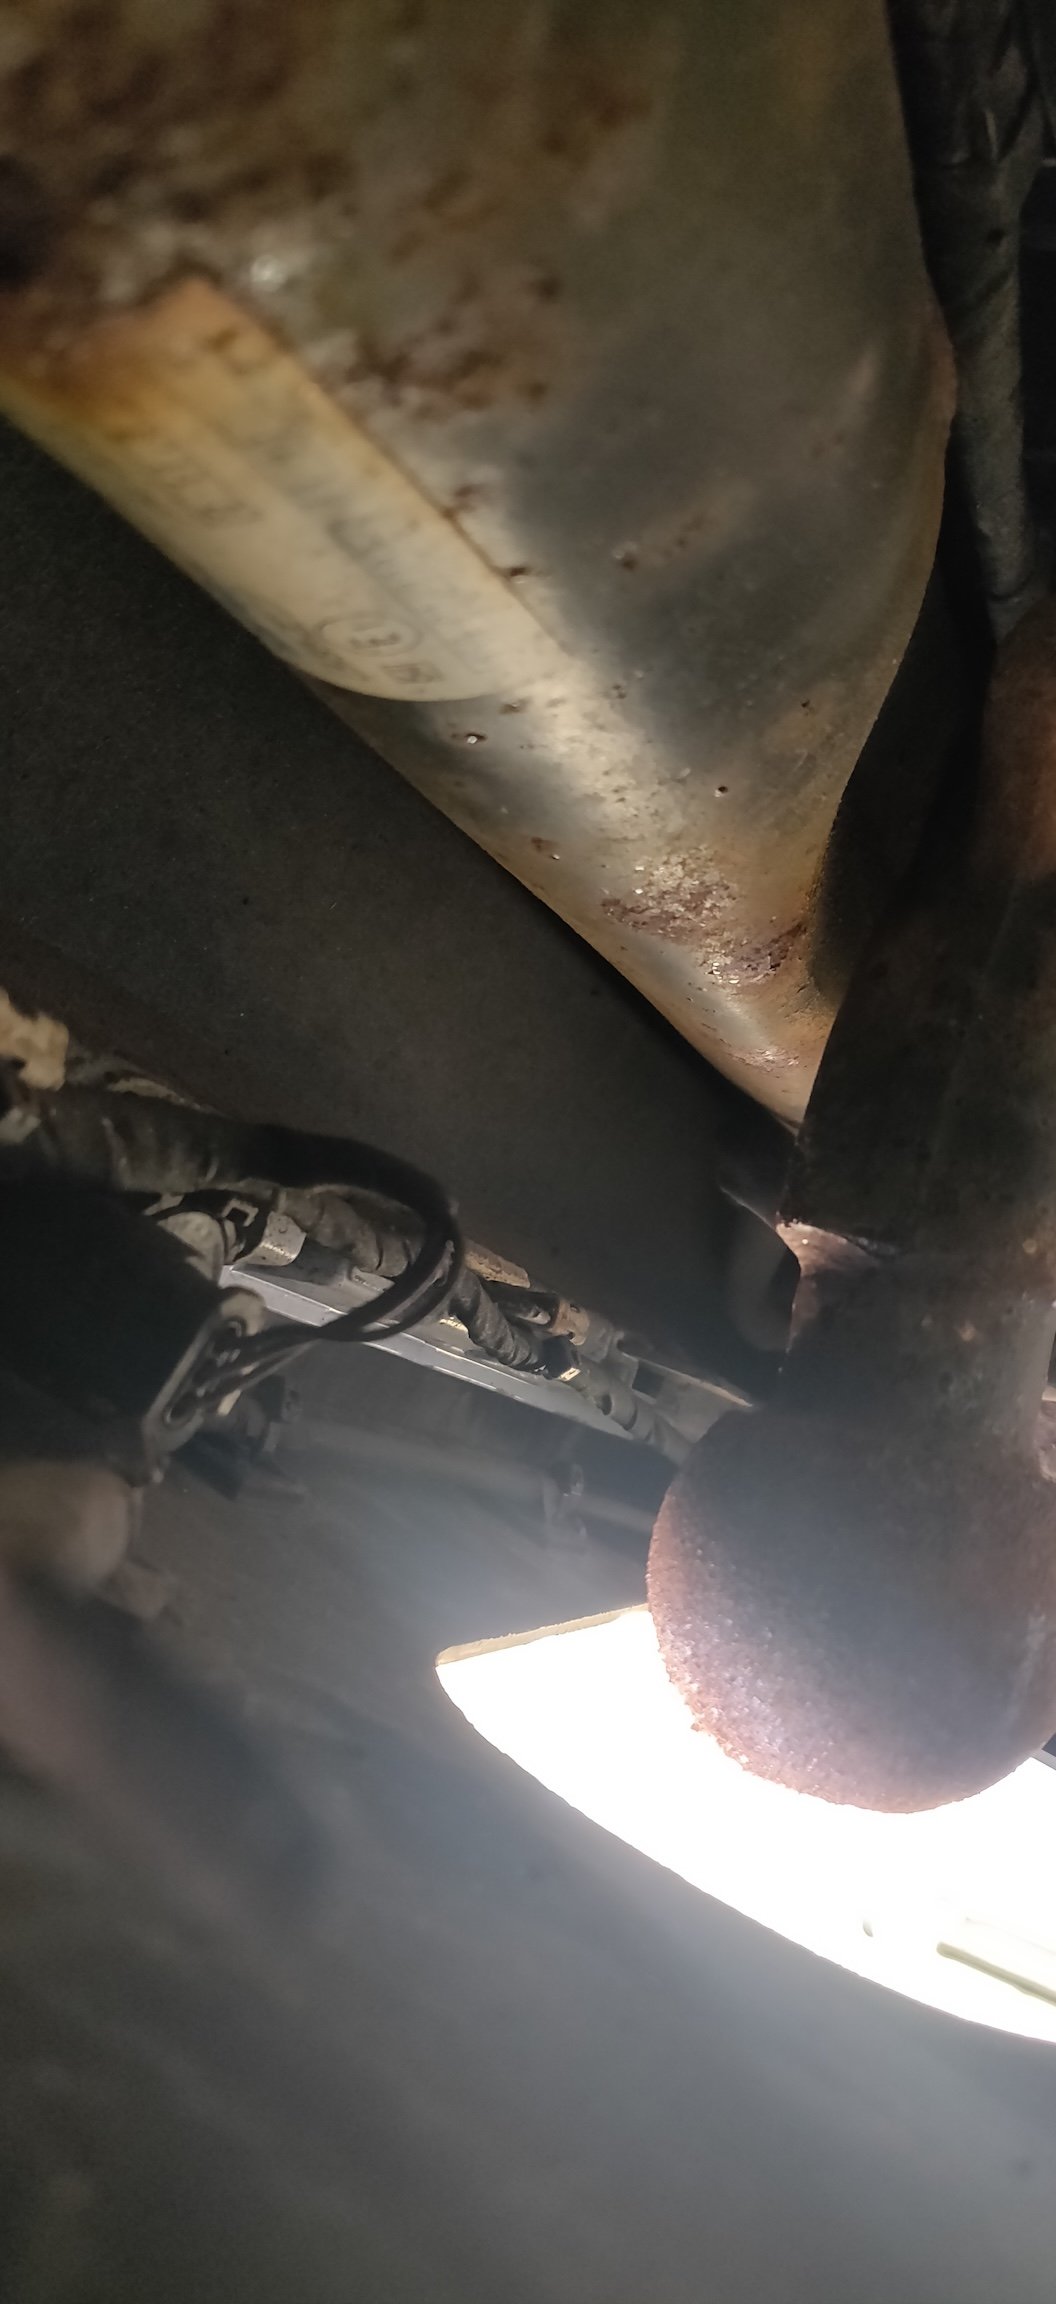
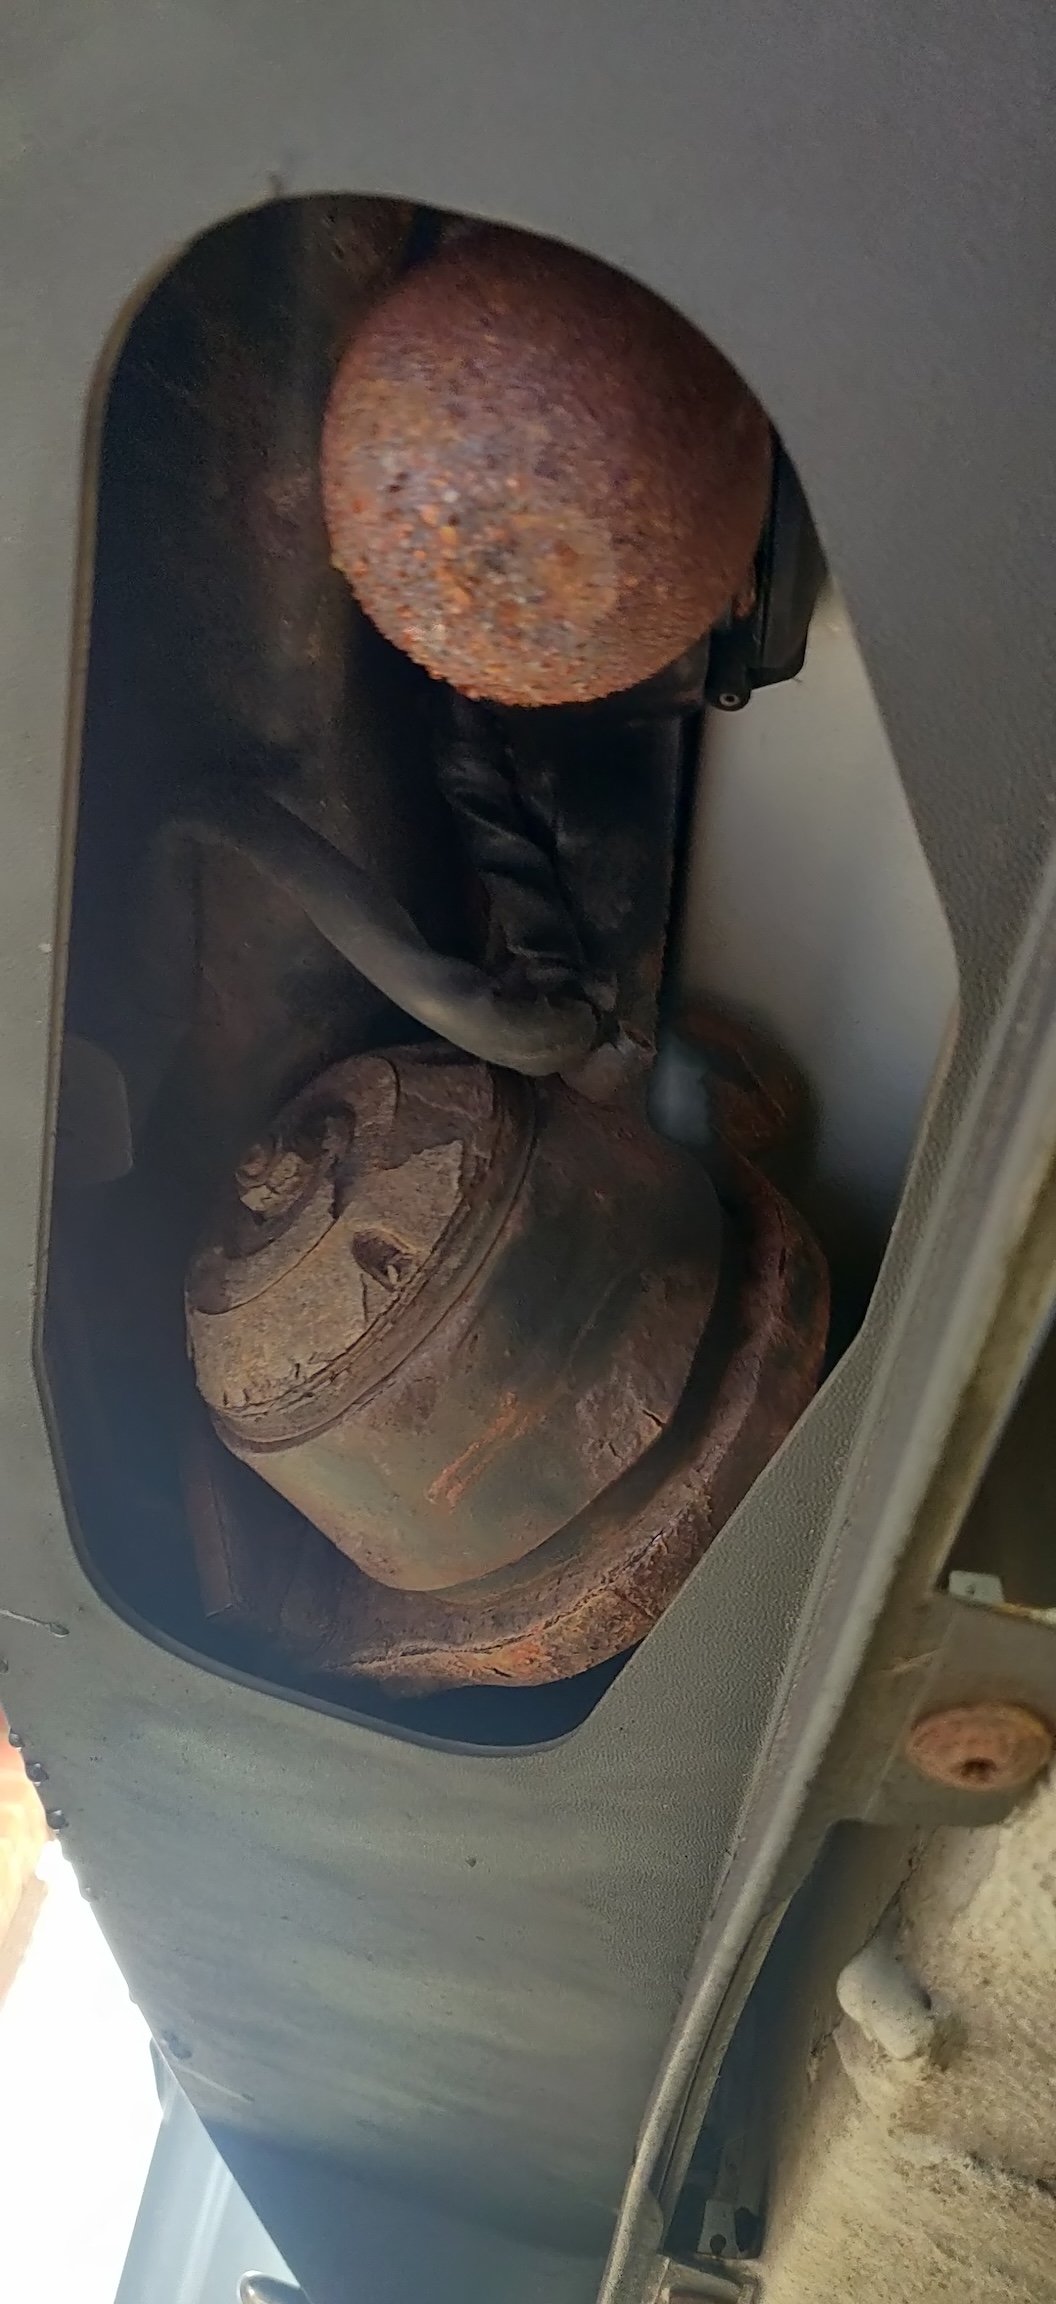
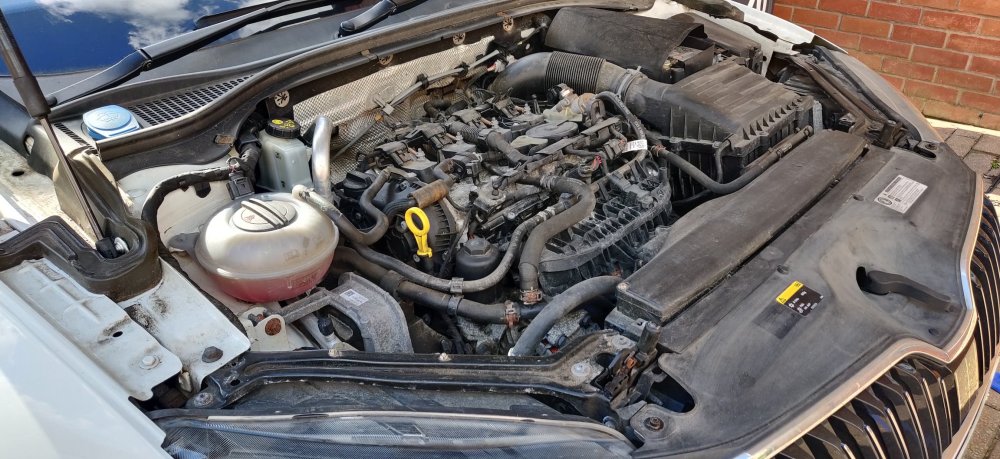
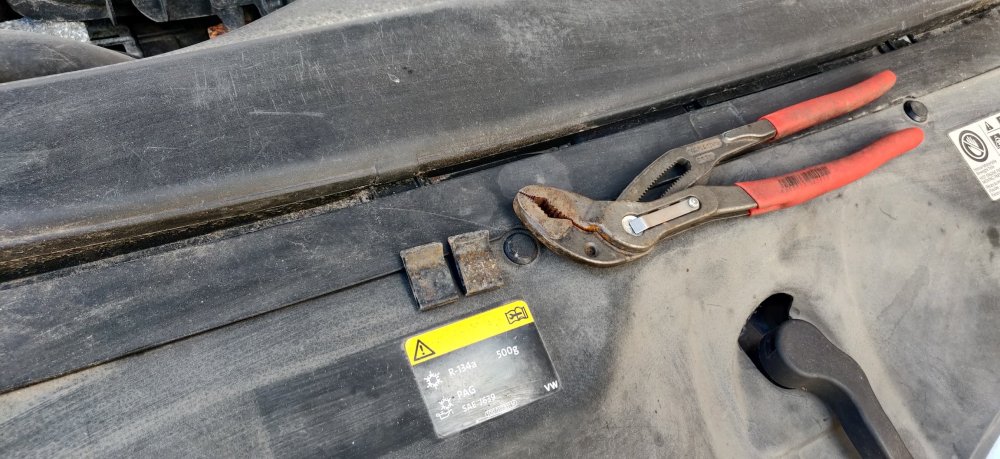
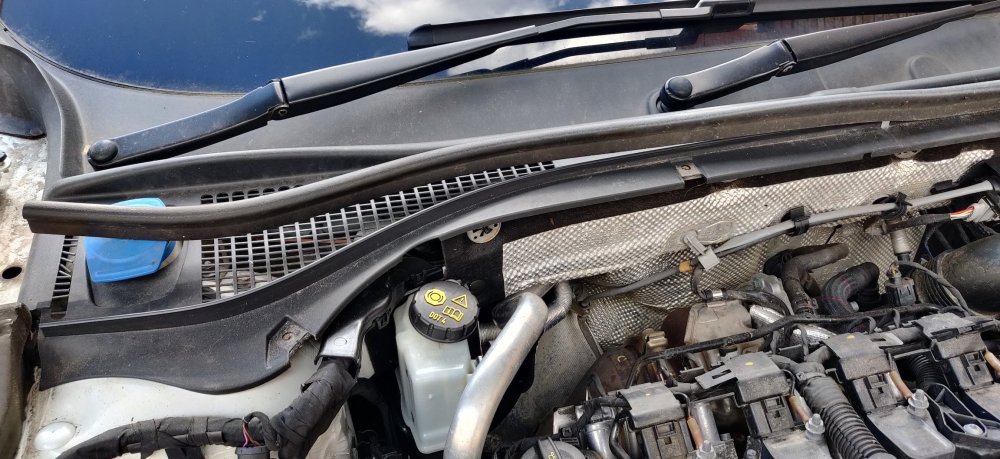
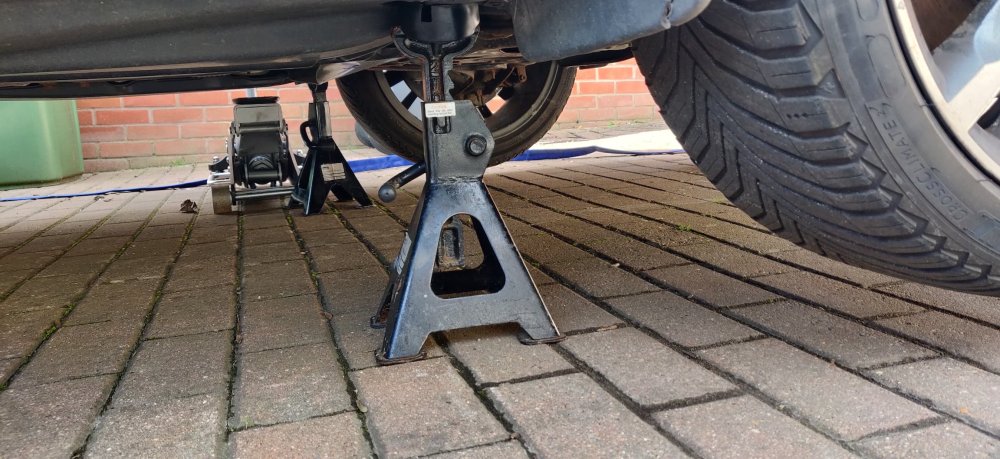
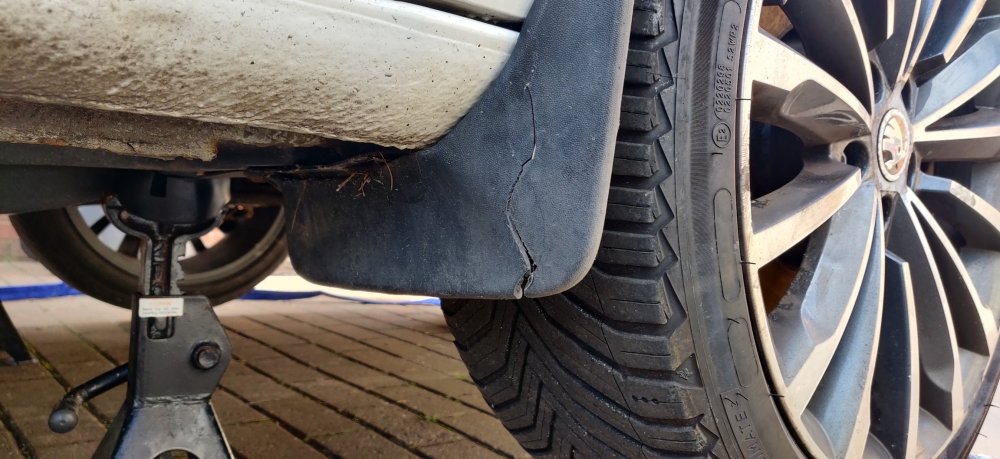
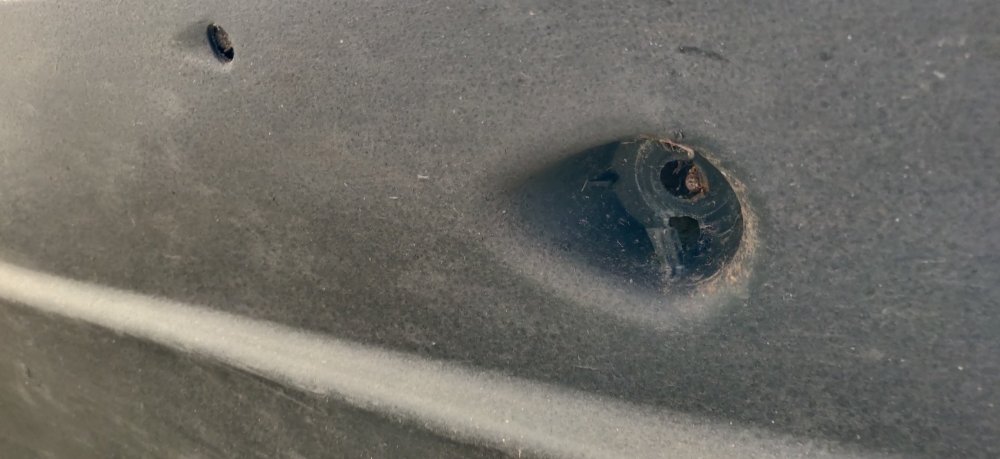
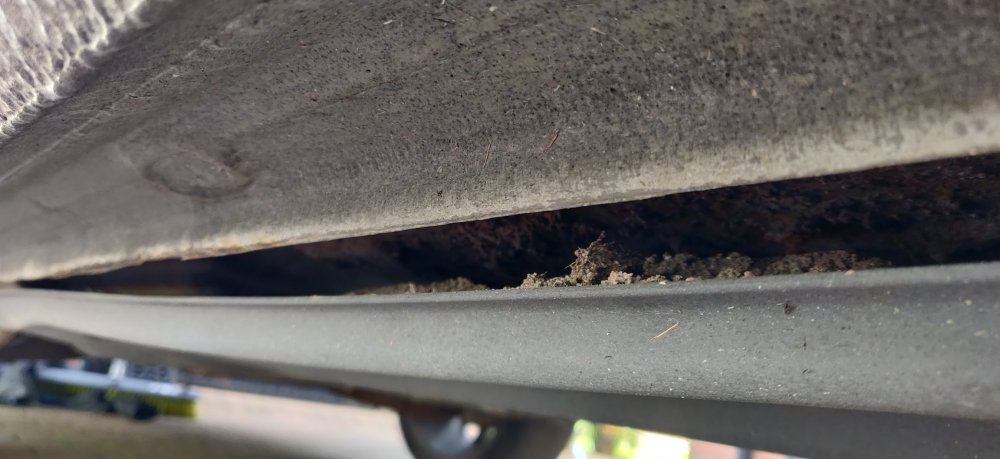
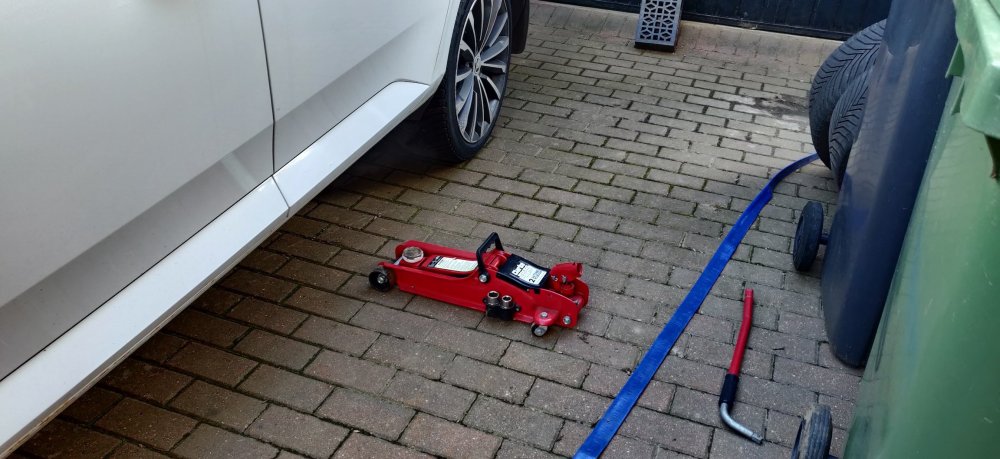
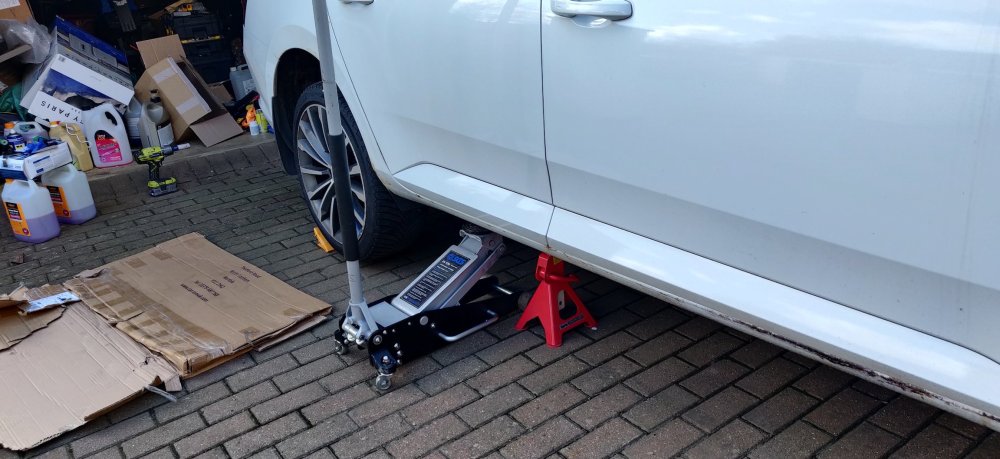
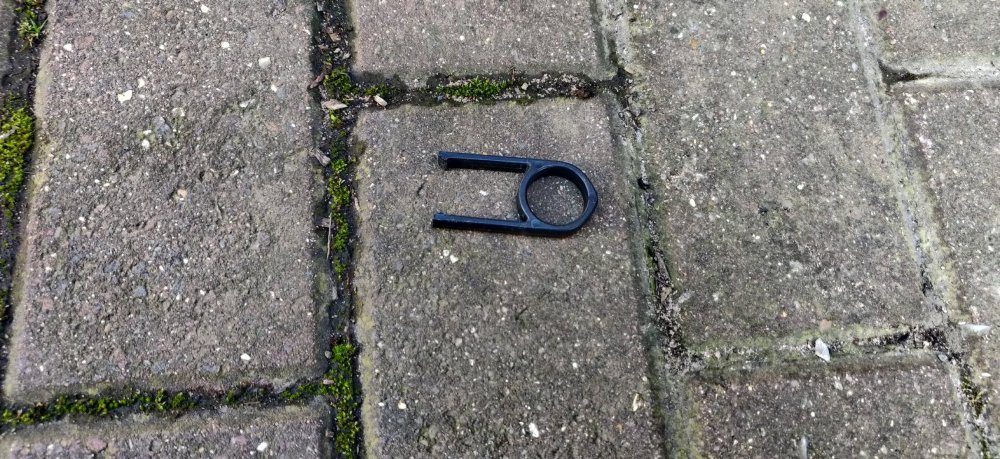
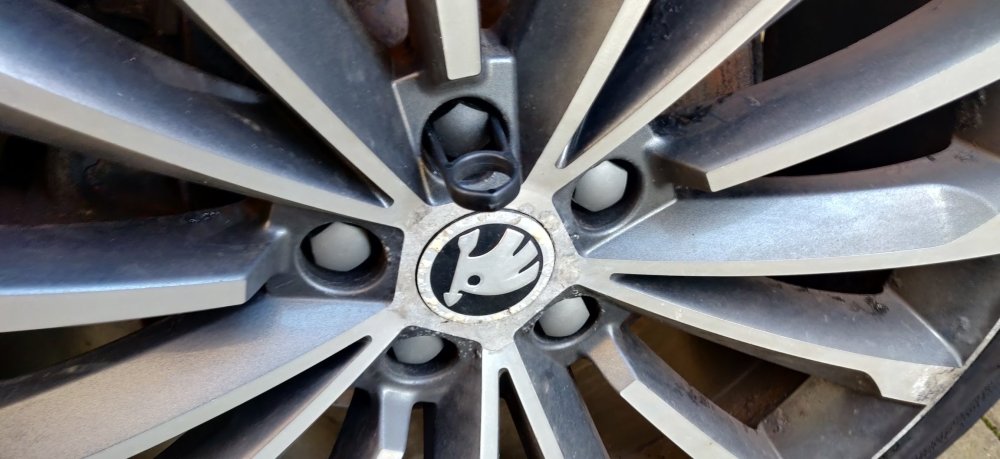
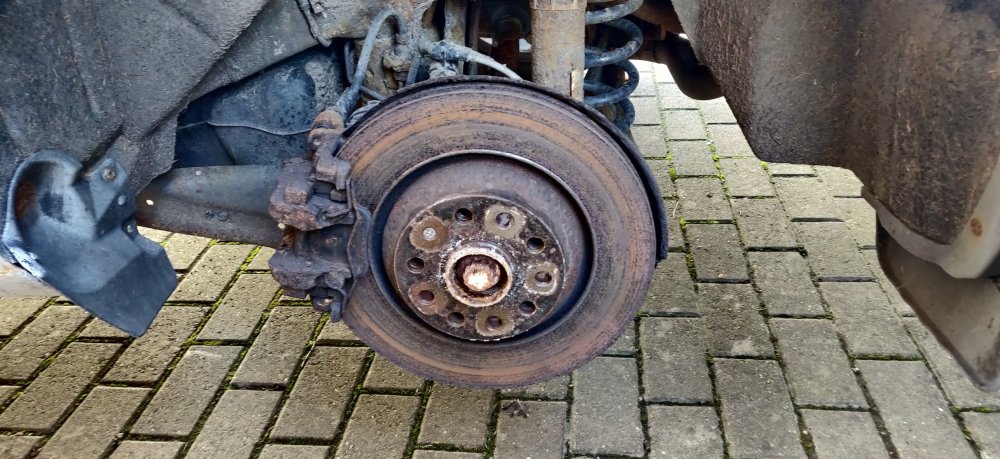
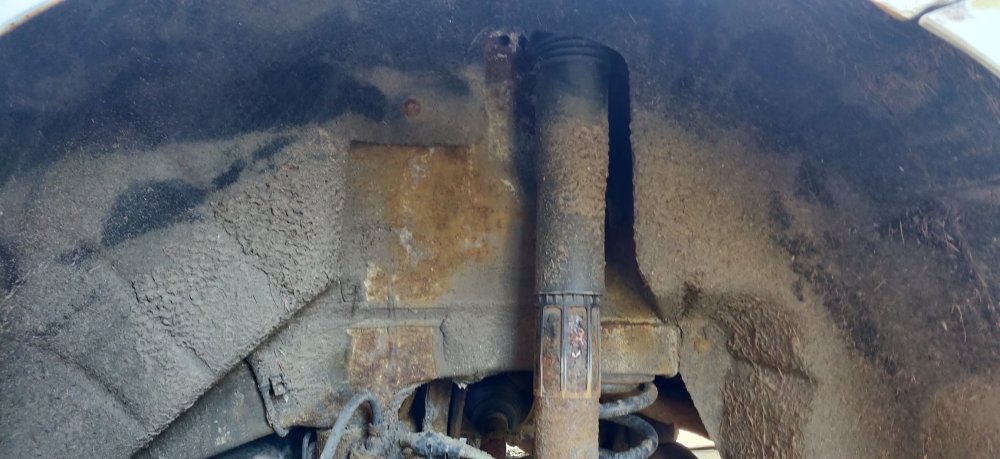
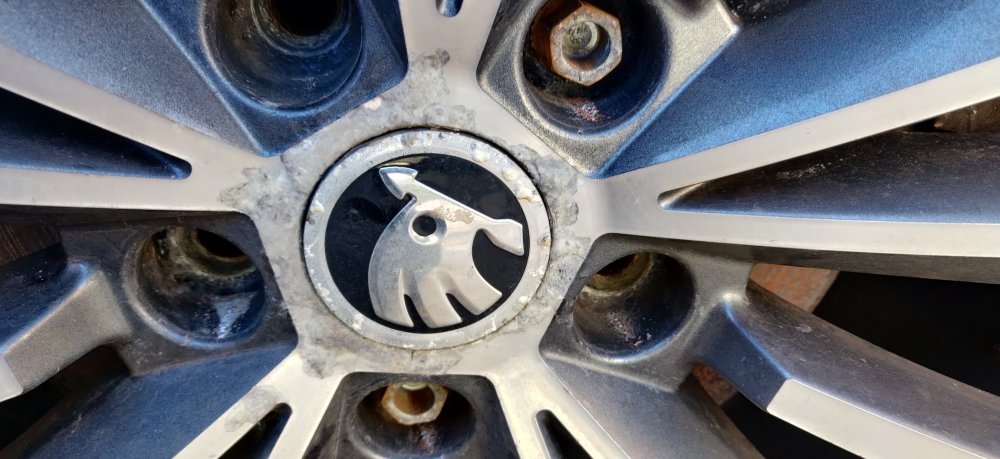
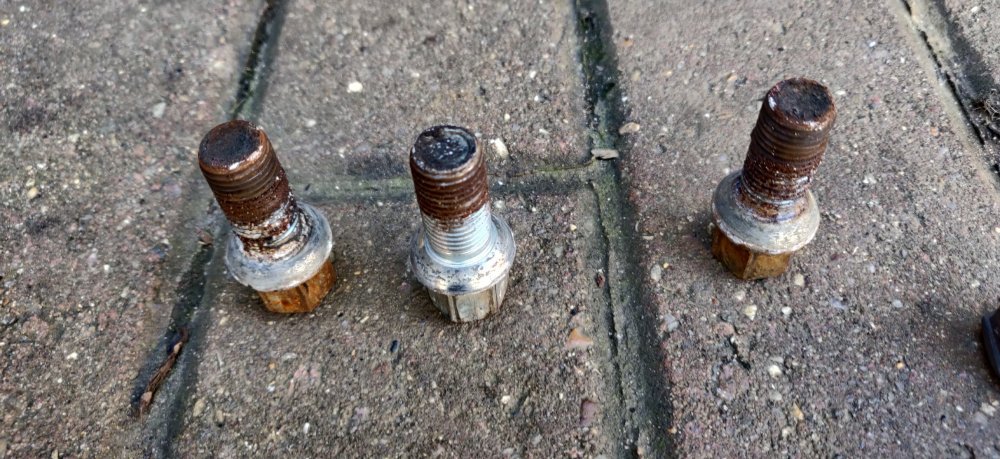
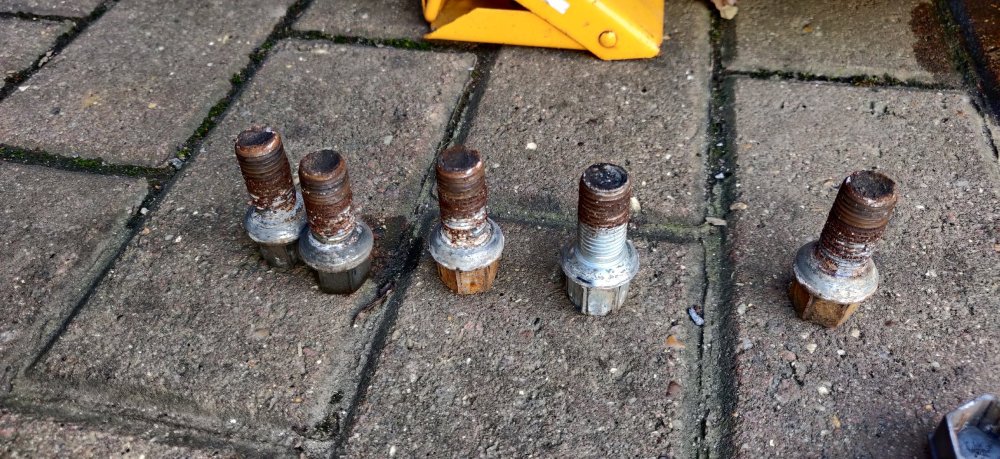
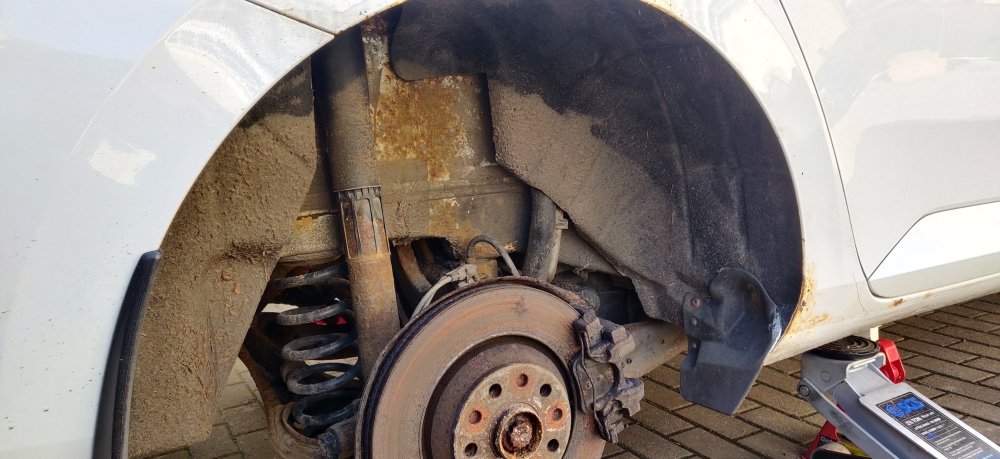
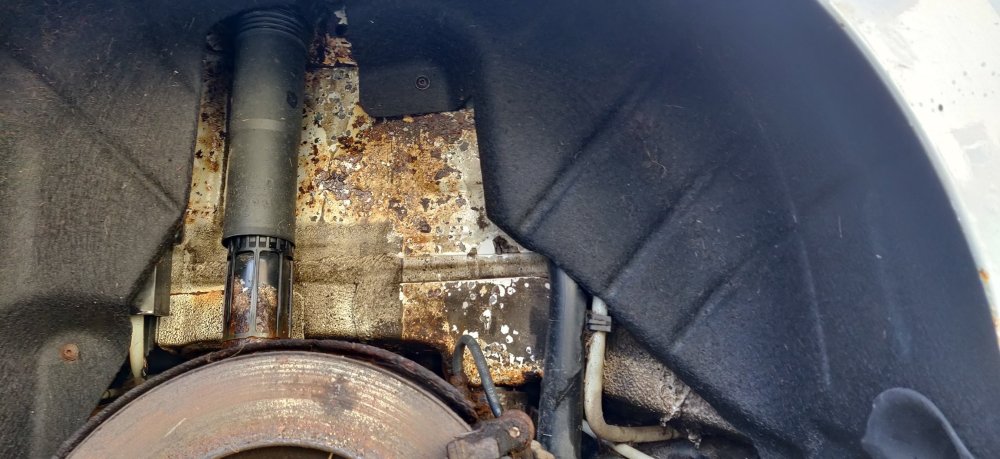
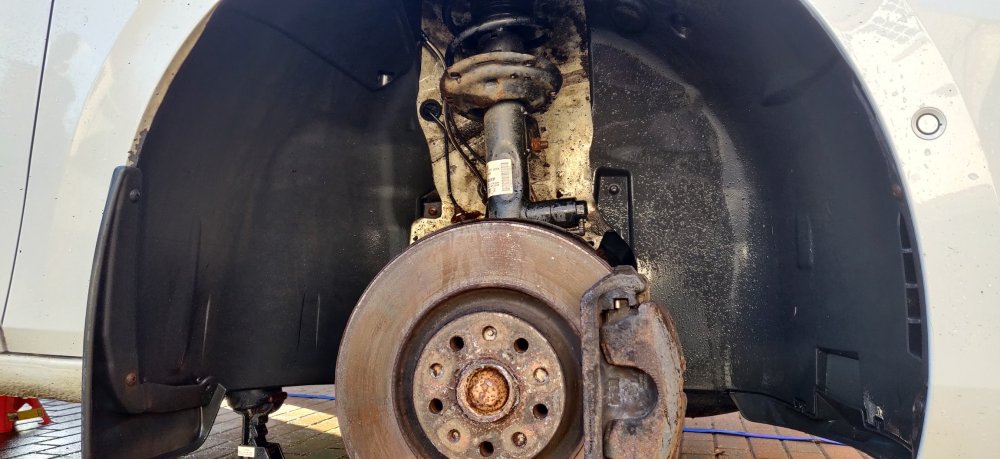
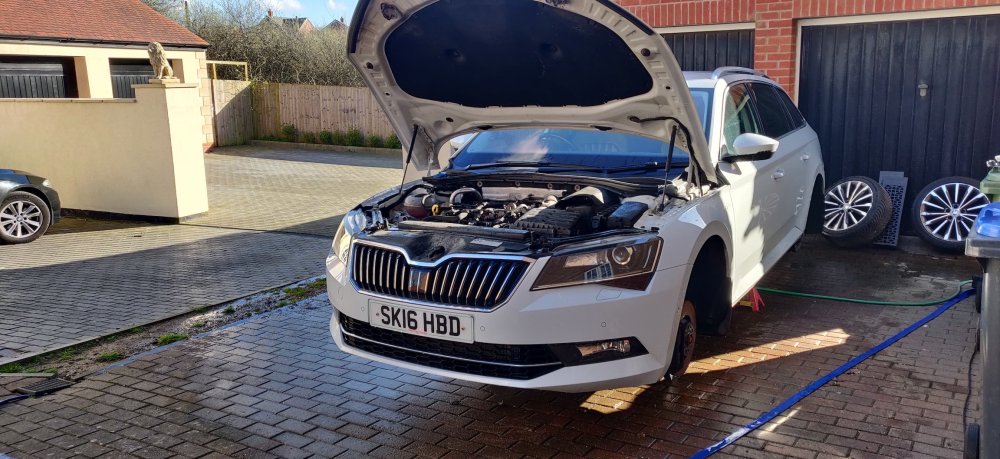
With the afternoon looking bright, I decided to finally do something not with the interior: First pic of the engine bay I guess? I've taken the engine cover off a while ago, giving it a clean. On my wife's old 1.2 Seat Ibiza, the cover also housed the filter, which is neat, but as far as I can tell, as per far too many modern (usually German) engines, its just a lump of pointless plastic. But anyways. I probably should have structured the day a bit better. I decided to randomly try and remove the windscreen cowl/plenum cover: So removed the two metal clips with some gentle persuasion with some Knipex pliers, which is definitely overkill. The seal is then next. It then occurred to me that I would need to remove the windscreen wipers. So decided I'll leave that for another day for now. I've ordered replacement windscreen cowls ages ago now, and you can't see on the pic above the damage to the left of the trim. Want to remove them primarily to gain access to the three bolts each side for the suspension, but also to inevitably give that whole area a clean. But yeah, decided at this point to jack up the front. Got a trolley jack onto the sill, and then axle stands roughly under the rubber bit slightly inwards. Well, the right side had a rubber cover, and the left had nothing: I noticed the jack was awful close to the stand, meaning I couldn't get the axle stand dead centre. Hopefully it's good enough. I'll probably need to source some jack adapters to aid locating them (and to fill that missing one on the front left. Wasn't jacked up super high, but potentially enough to get working on it. Ideally I want the car to be as level as possible ready for the Haldex and DSG oil fills, but that'll be something I'll sort out a little later. So noticed this: In addition to: So the mudflap needs replacing, and there's a missing retaining bit on the right side underside plastic panel. I lifted the panel down slightly: So that's an ominous amount of mud. I'll need to remove these bits and have a big clean out. At this stage, I remember I actually have two jacks, which would have made the process of jacking the front up a bit easier, so did the same process for the rears: Now, from other posts in the forum, there's apparently a plastic trim piece at the rear, but on this car, it wasn't present, so just went and slotted the axle stand in place: Whether I source replacement plastic panels or not, will depend if I can find the part numbers I suppose. So time to remove the wheels. The bolts on this car had those plastic covers on. Luckily I recall spotting this in the garage during my rummaging for other bits in the recent past: Basically then slots in and pulls out the cover: Amusingly, the grey ones on the wheel in the pic above came out without drama, but the black one was on tight. I had to resort to that thin screwdriver again, to wedge the edge of the cover, and once it decided to budge a millimetre, was loosened enough for the tool. The wheel bolts for the left rear came off without any drama, and the wheel came free with a slight pull: The wheel arch itself has probably what could be assumed to be 8 years of wear and rust: The wheel arch on the rear is the same sort of fabric like wheel arch cover that I saw on our old (now dead) Ford Focus, a moisture and dirt trap perfect for this sort of rusting. Don't really know how best to approach this. I'll probably just spray the wheel arches with something to buy a year or two before I think about something more (hopefully) permanent. The bolt for the brake disc on this side looks newer (cross head screw is a usual giveaway), but evidence of grease on bolts and the wheel face is good to see. I've had nightmares of cars simply not having any and being a pain. On that note: I struggled on these two wheel bolts. I've not had any wheel bolts where my Impact wrench has struggled with before, so this is quite novel. The ones that came free: Look like a sign of what happened, caked in rust and no grease! A breaker bar didn't help: Even with me actually standing on the damn thing! So I got a little desperate: I've never had to resort to a blowtorch on wheel bolts before: But this, with some penetrating spray on it, still didn't budge. I had to keep the heat on it a few times, and then resorted to further dramatics: I needed something to extend the breaker bar, and the trolley jack handle fitted the bill. One bolt gave a hell of a crack, and the other eventually loosened with some forceful belly flopping of the super long bar: Absolute ball ache. Amusingly, the wheel itself just came free with a pull akin to the other side, so either no grease, or someone just deciding to go as RFT as possible, or both. The arch is the same as the other side: I suspect I'll need to remove the wheel arch to gauge properly the state of the arch, but what is seen here is probably the same for the whole arch, just a bit tatty really. The fronts were nowhere near as bad as this. The bolts came free and the wheel fell off of the hub, so plenty of appropriate use of grease there. I was left a little miffed with that rear right wheel, so left it at that. I'll need to remove the front wheel arches anyway as part of addressing the rear washer jet pipe issue. So in advance of this, I pressure washed the arches: The rear arches will need to be taken out to truly get them sorted as they kept coming out dirty constantly, probably the years of dirt buildup. The front wasn't as bad: For the front right arch, the pressure washer stripped off a tiny bit more of the paint near the mudflap. Another thing for the poor body shop to sort out once I get to that stage. Slapped a bit of corrosion block grease on it for now. So here she is waiting to dry out a bit before I close the bonnet and the day: I feel like the rear axle stands are a little more to the front than I'd like, but I assume most of the weight of the car is at the front, so unless the engine is removed or something, I'm hoping its stable enough. There's technically nothing to stop the car being serviced now. Again, I probably should plan this, but I'll probably end up just doing things in an adhoc manner. Hopefully, I'm still able to reach the engine bay ok with the car raised, as I've said in previous post, I'm on the short side, so I'll probably have to rely on stools and what not for when the battery needs removing for the DSG bit. Once I've calmed down a bit, I'll probably clean up the trim I bought in the house, and that's that for the day. Maintenance: £1794.17 Upgrades: £887.10 Miscellaneous: £608.14
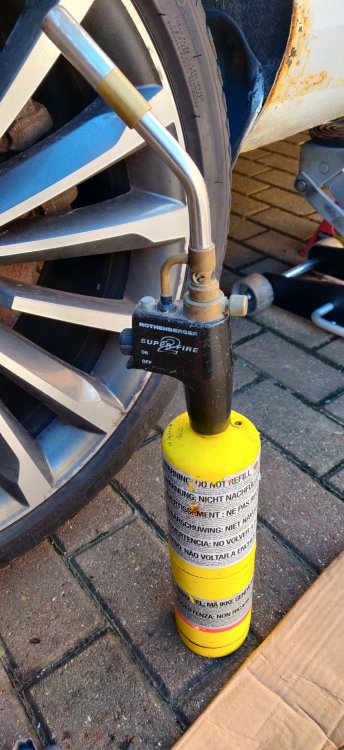
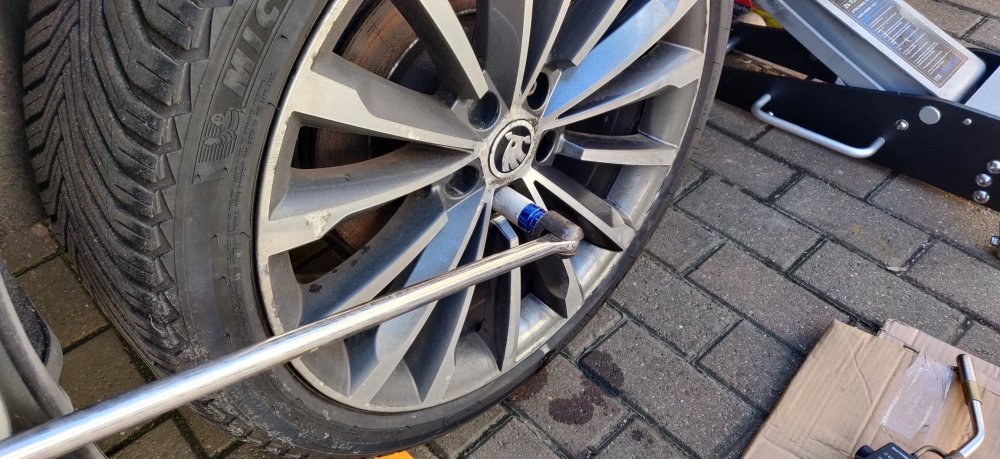
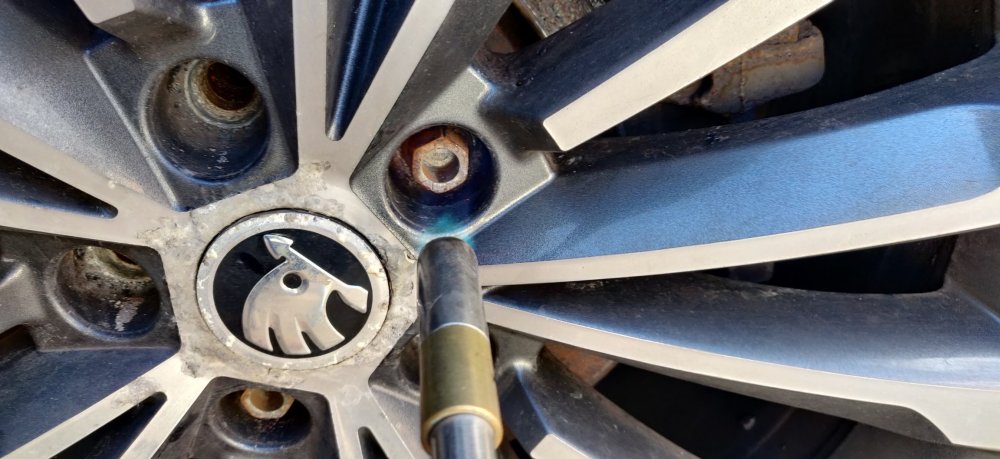
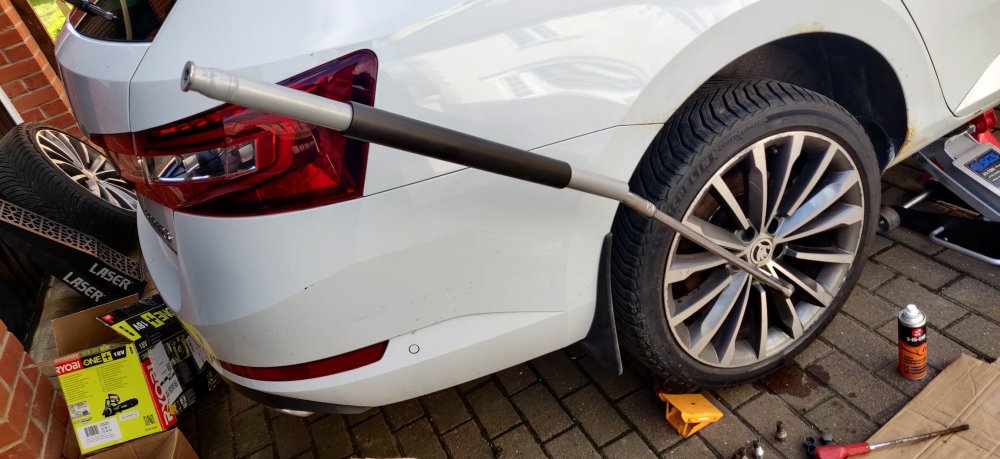
-
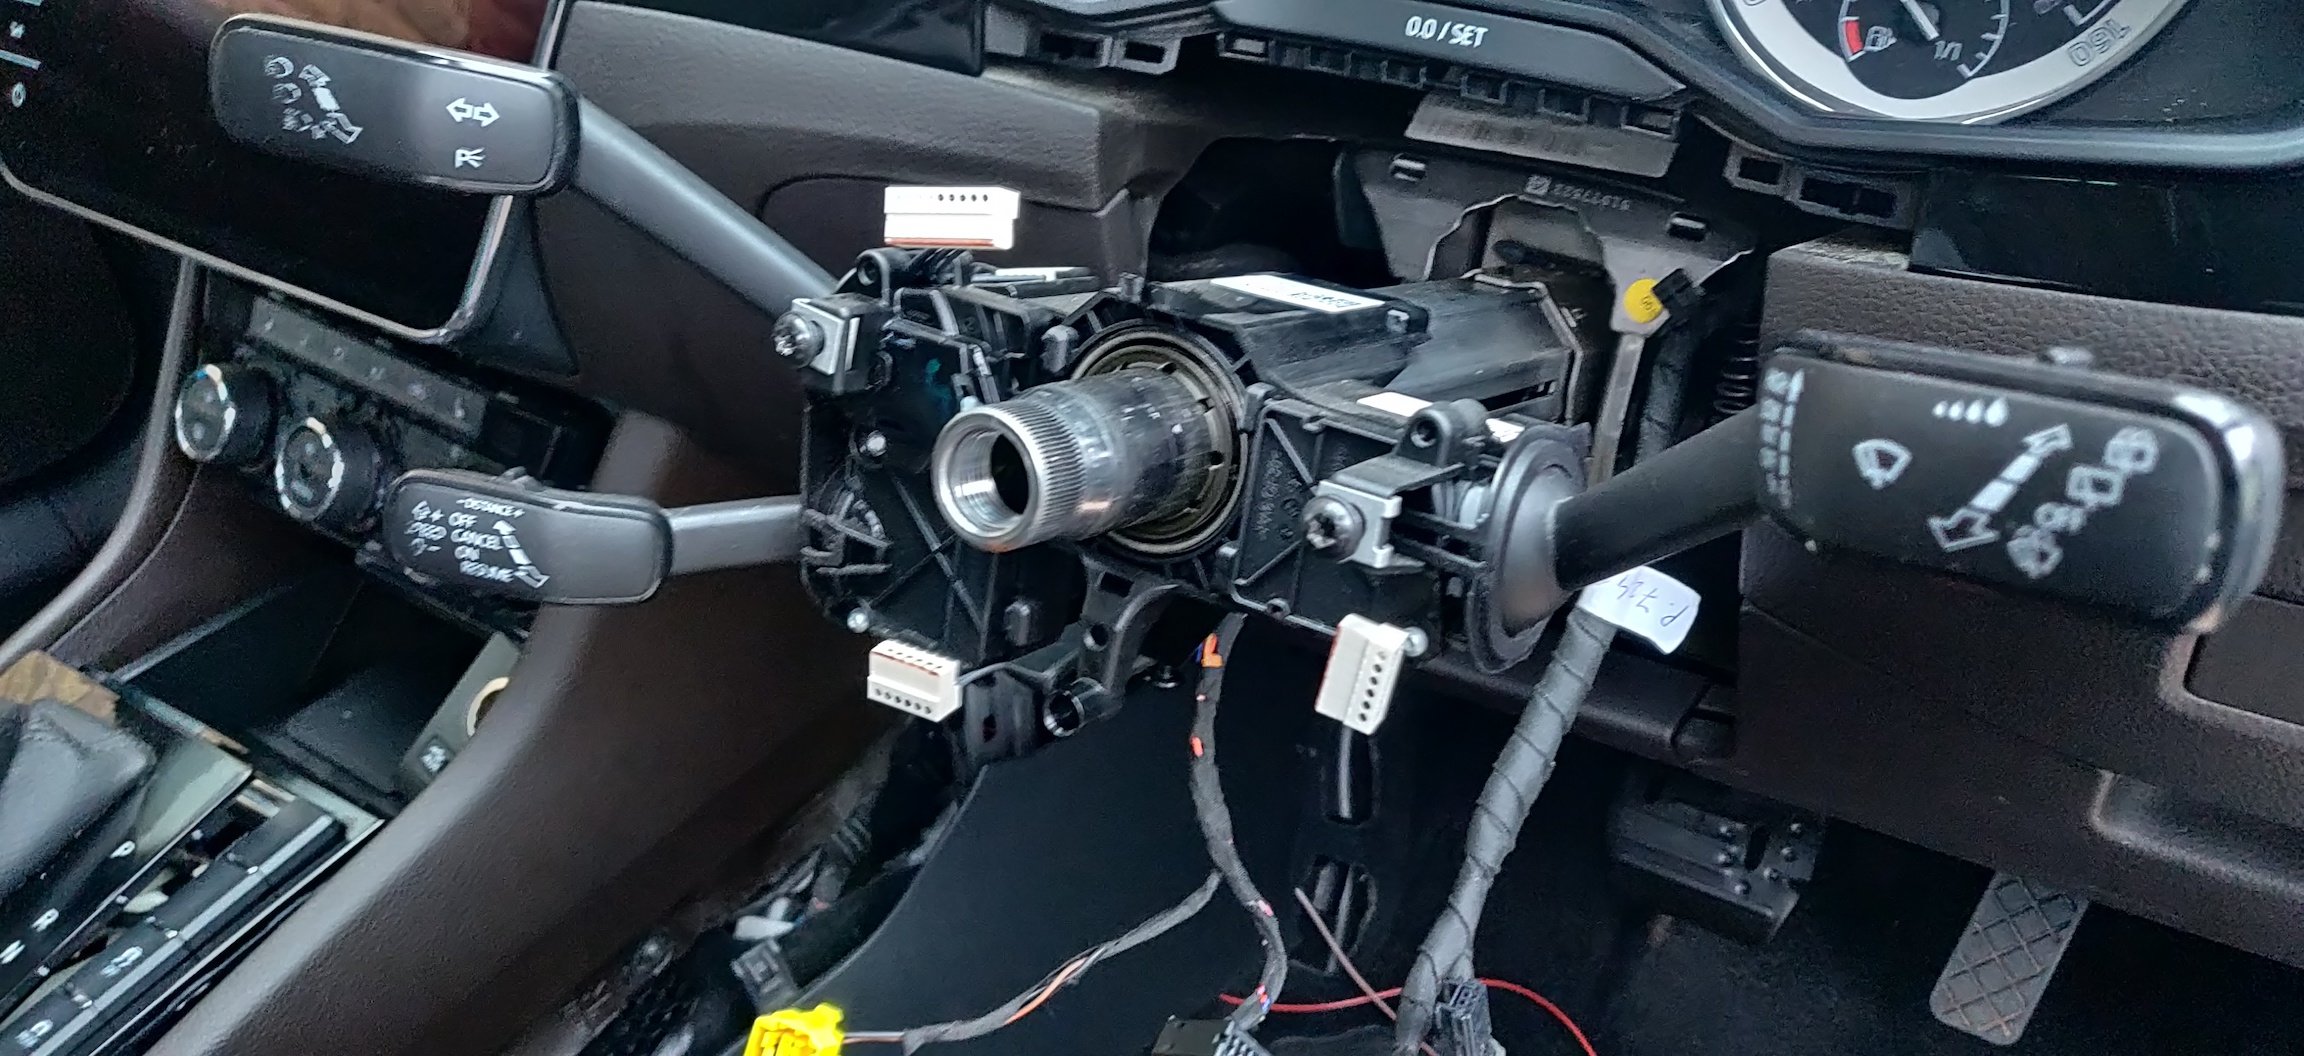
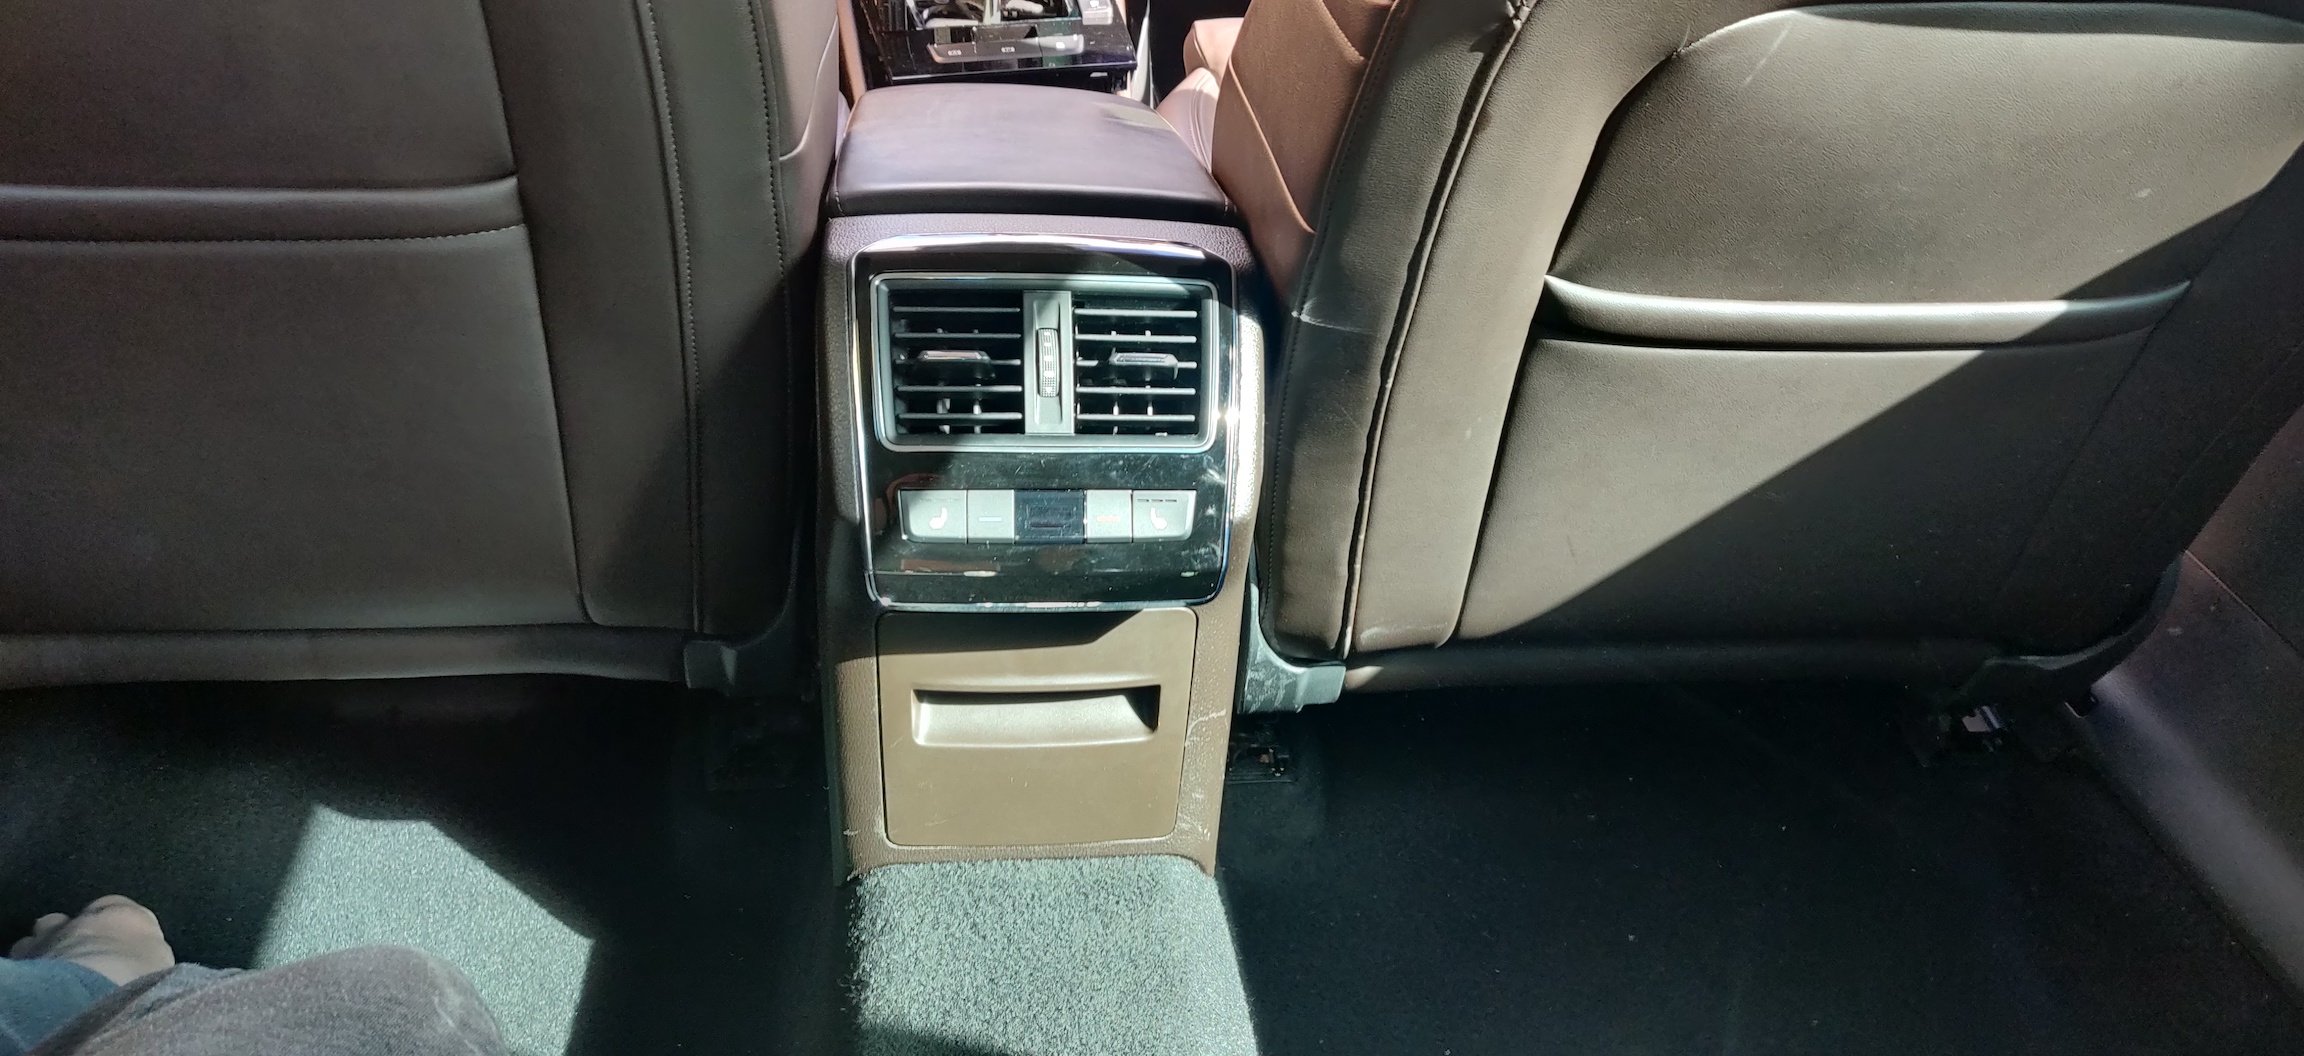
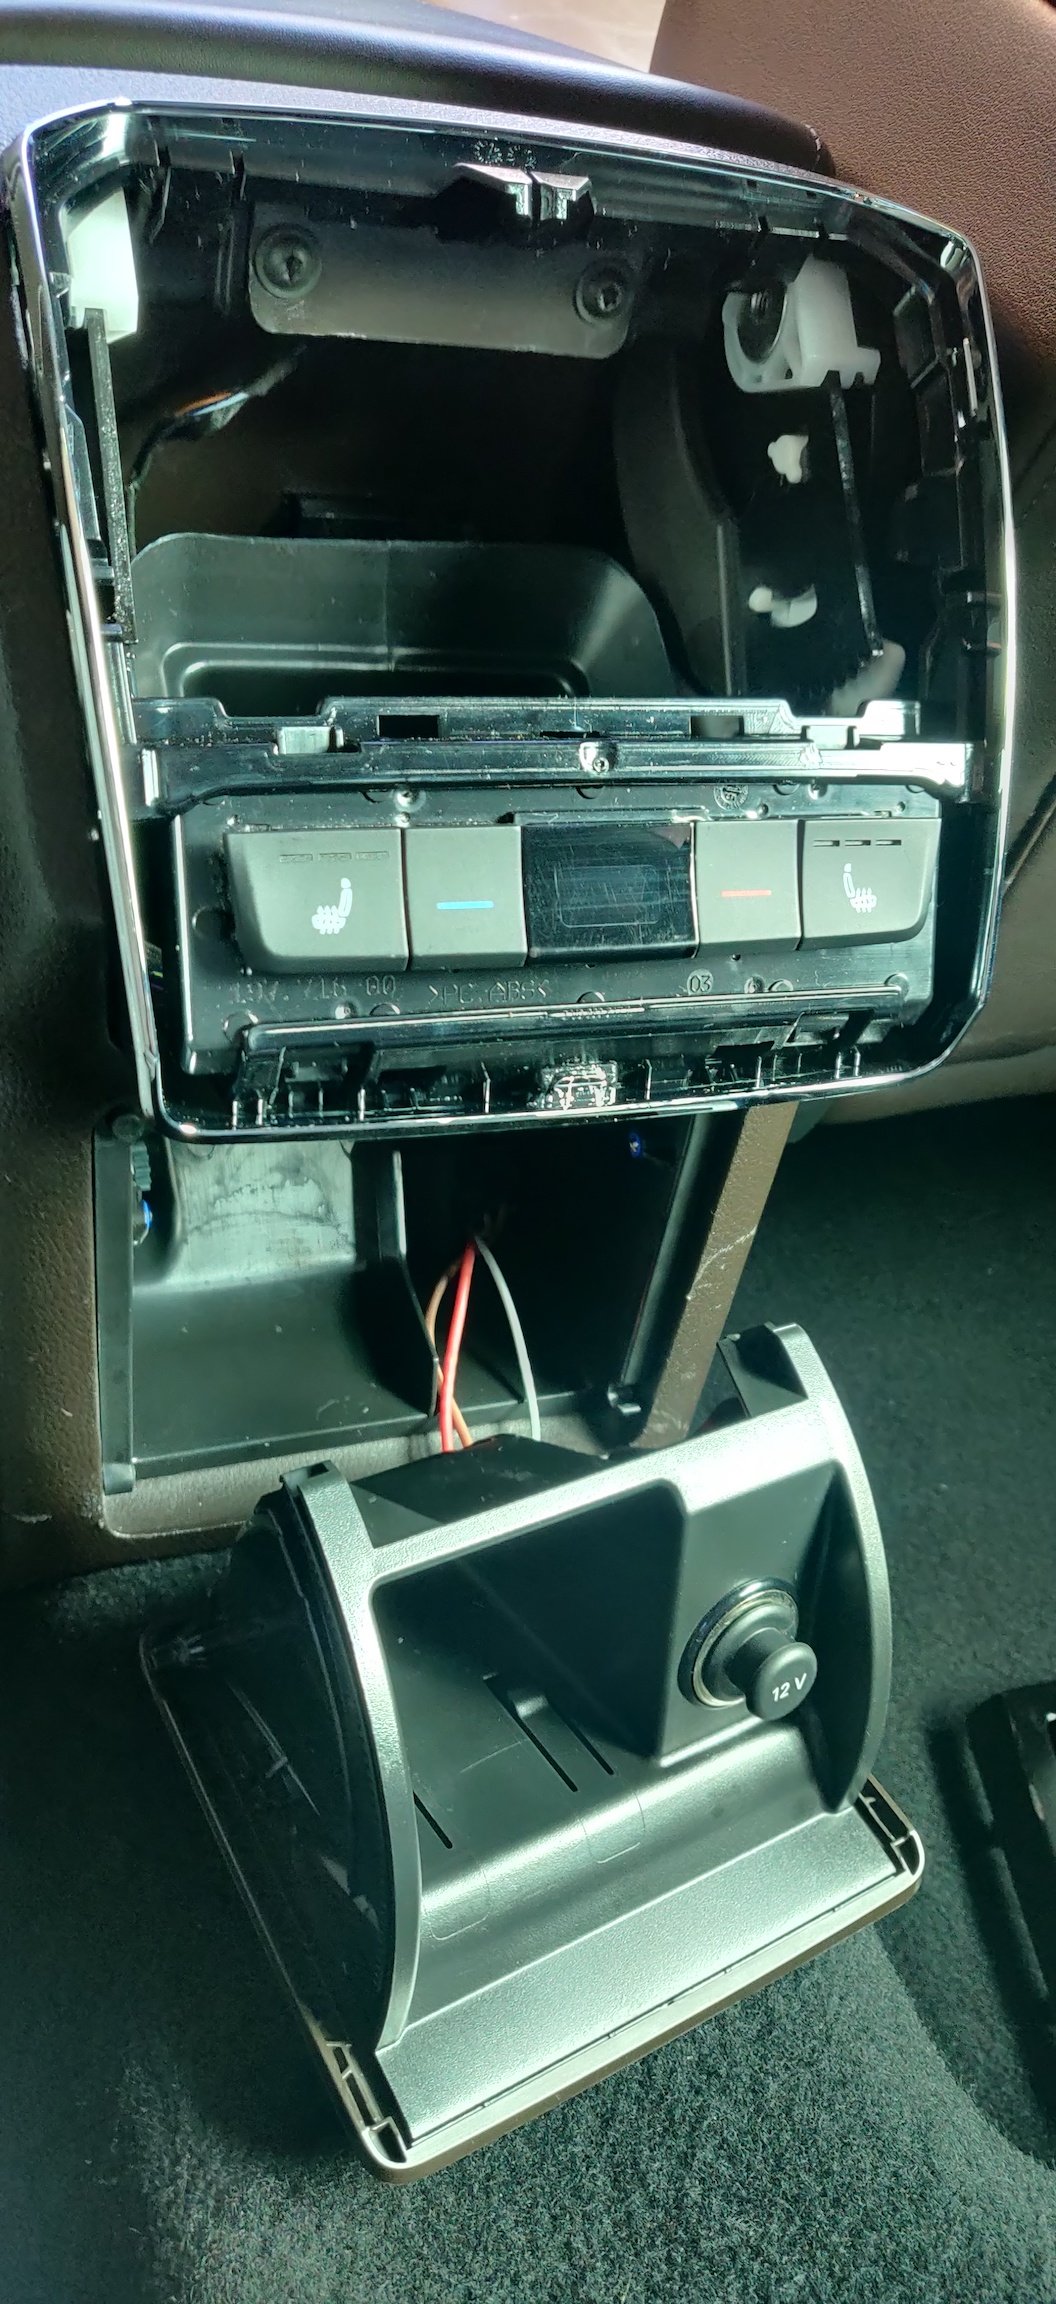
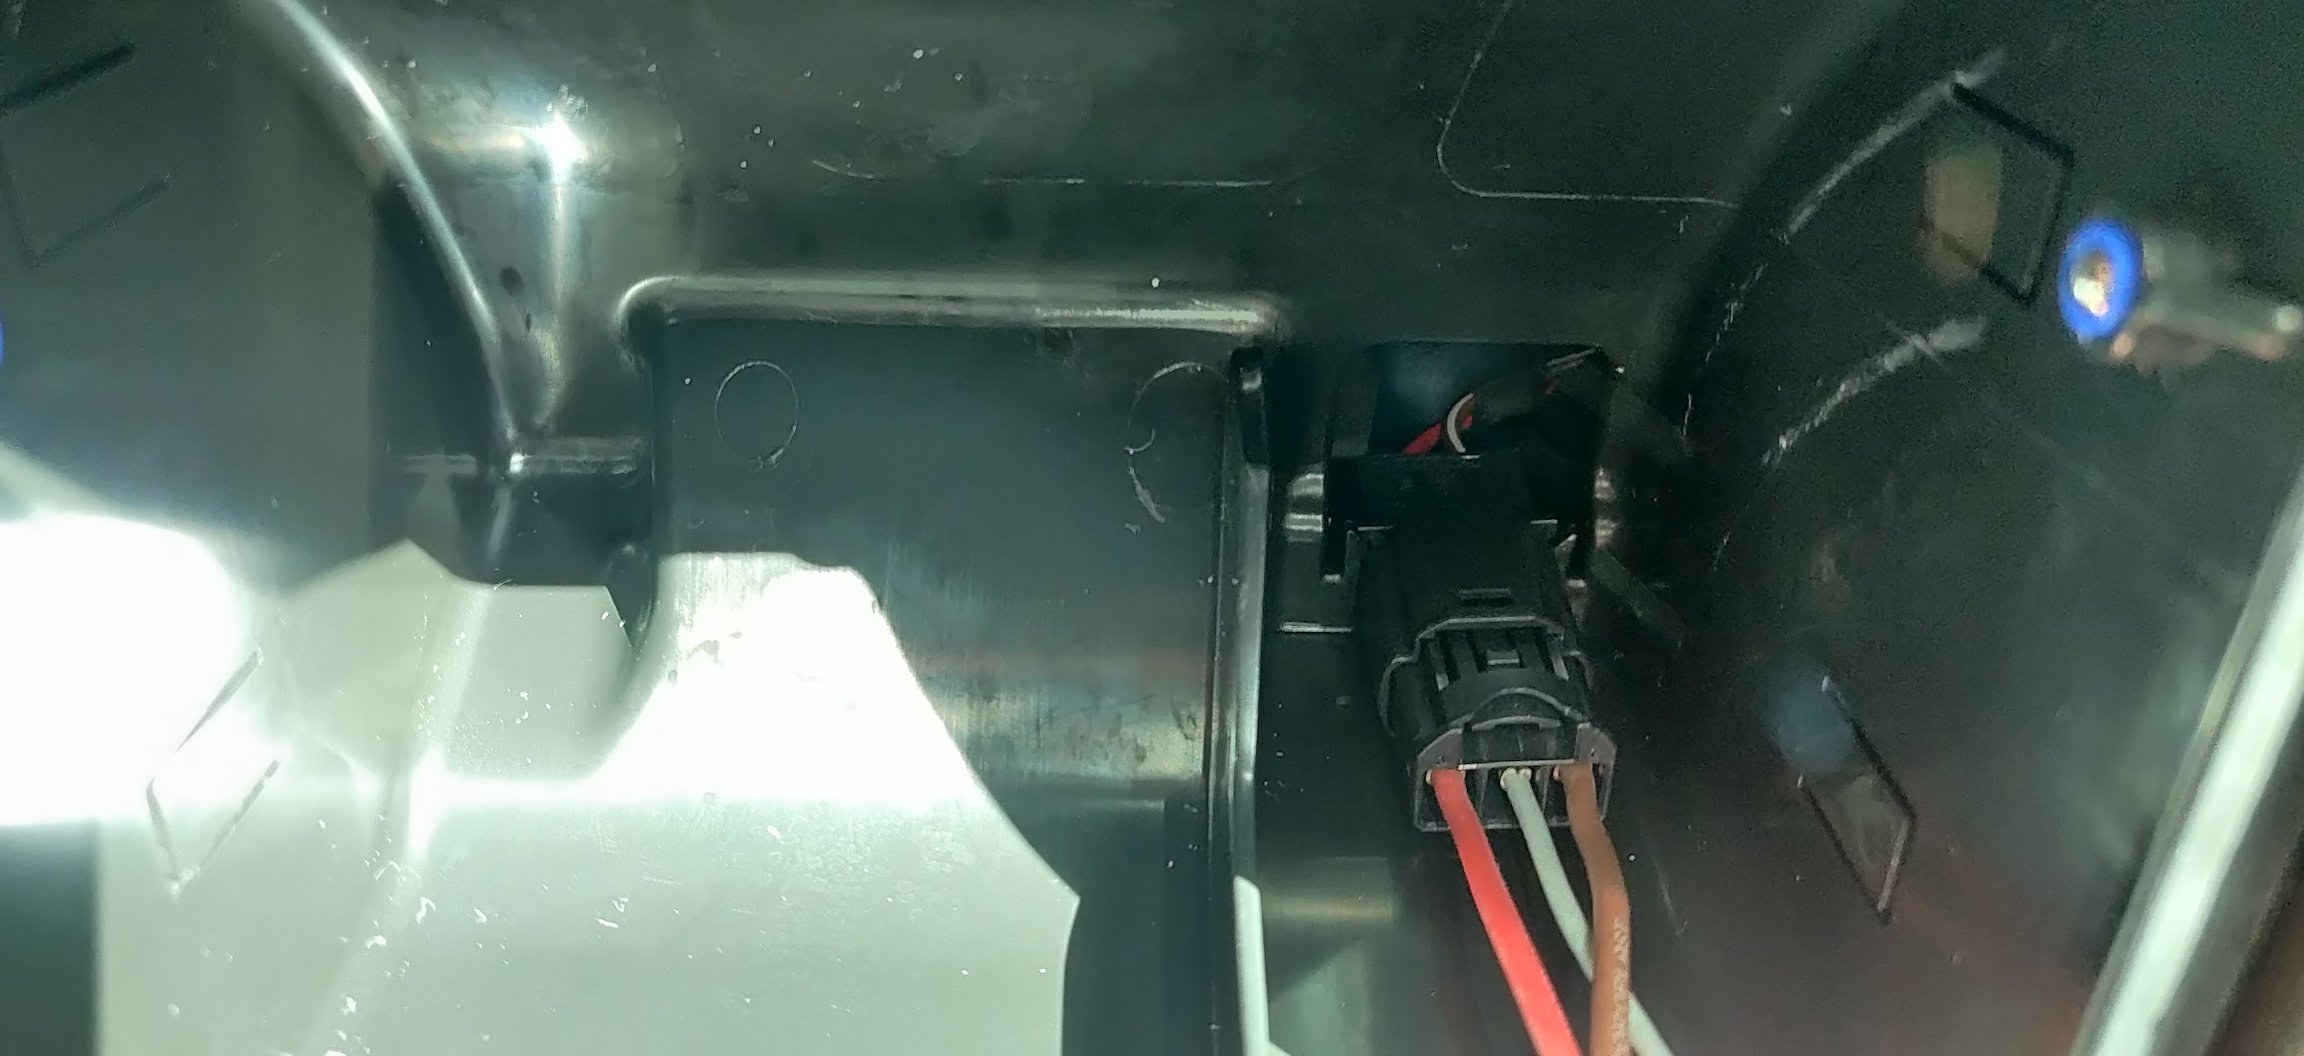
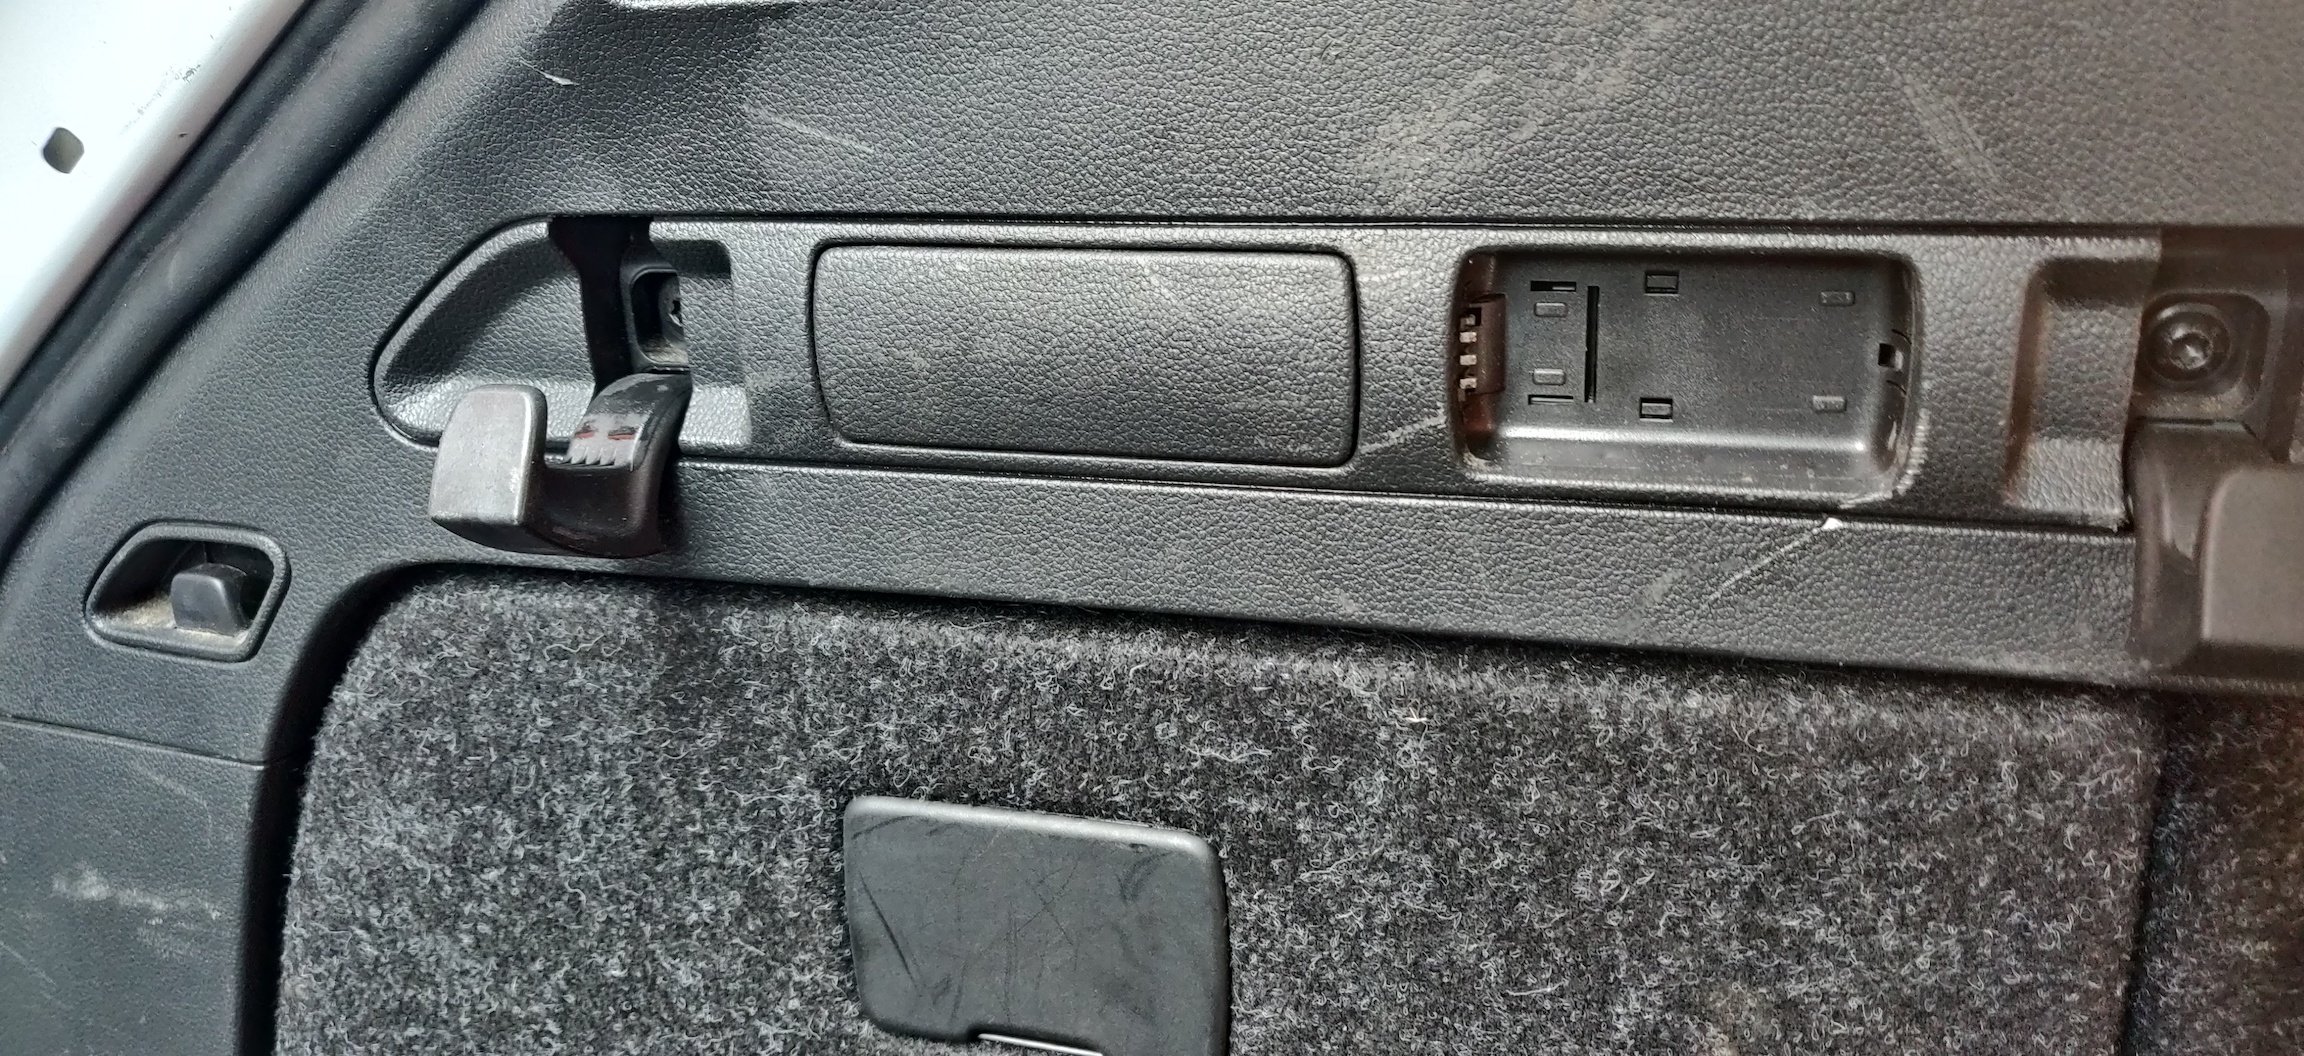
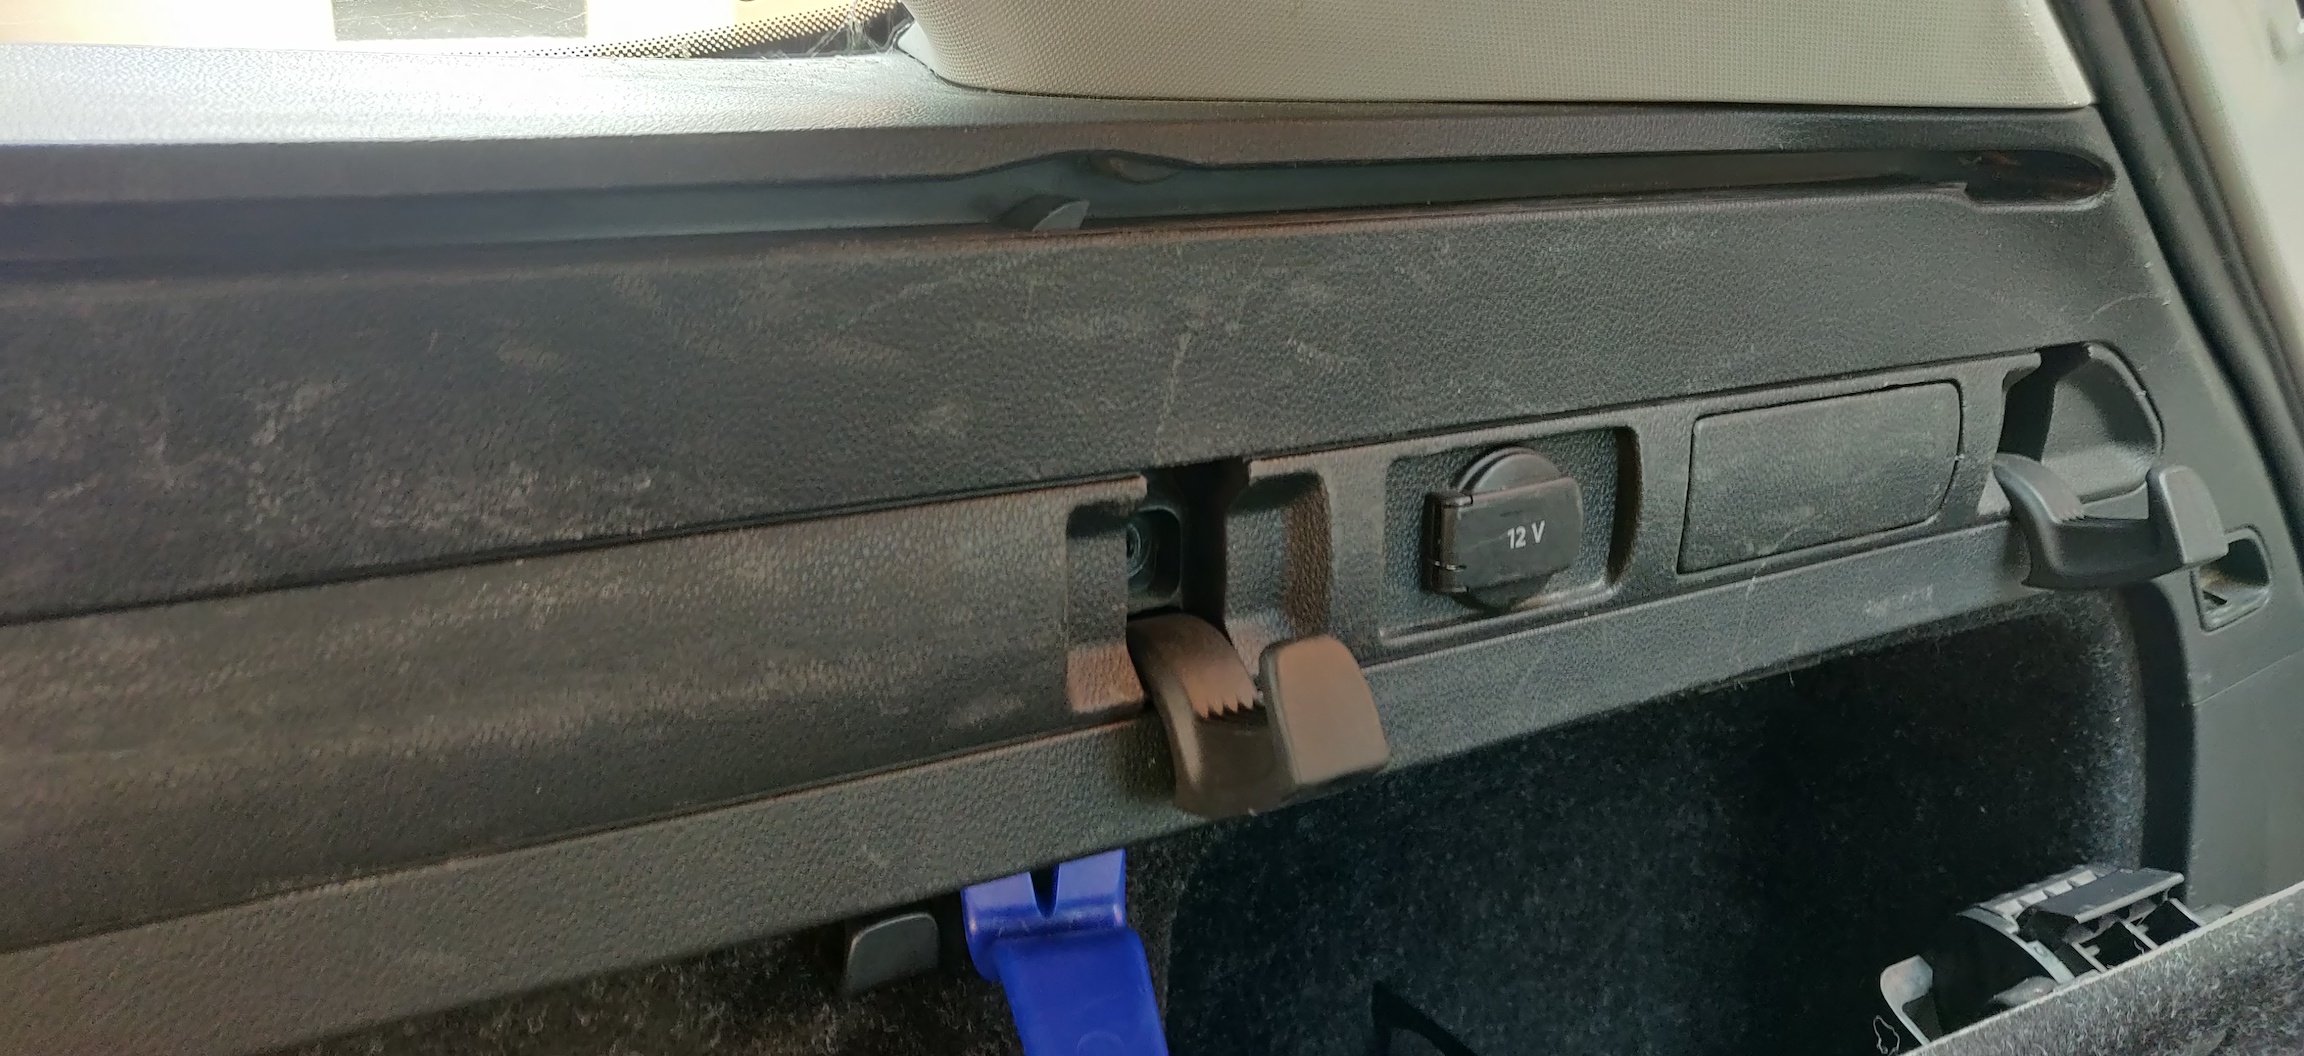
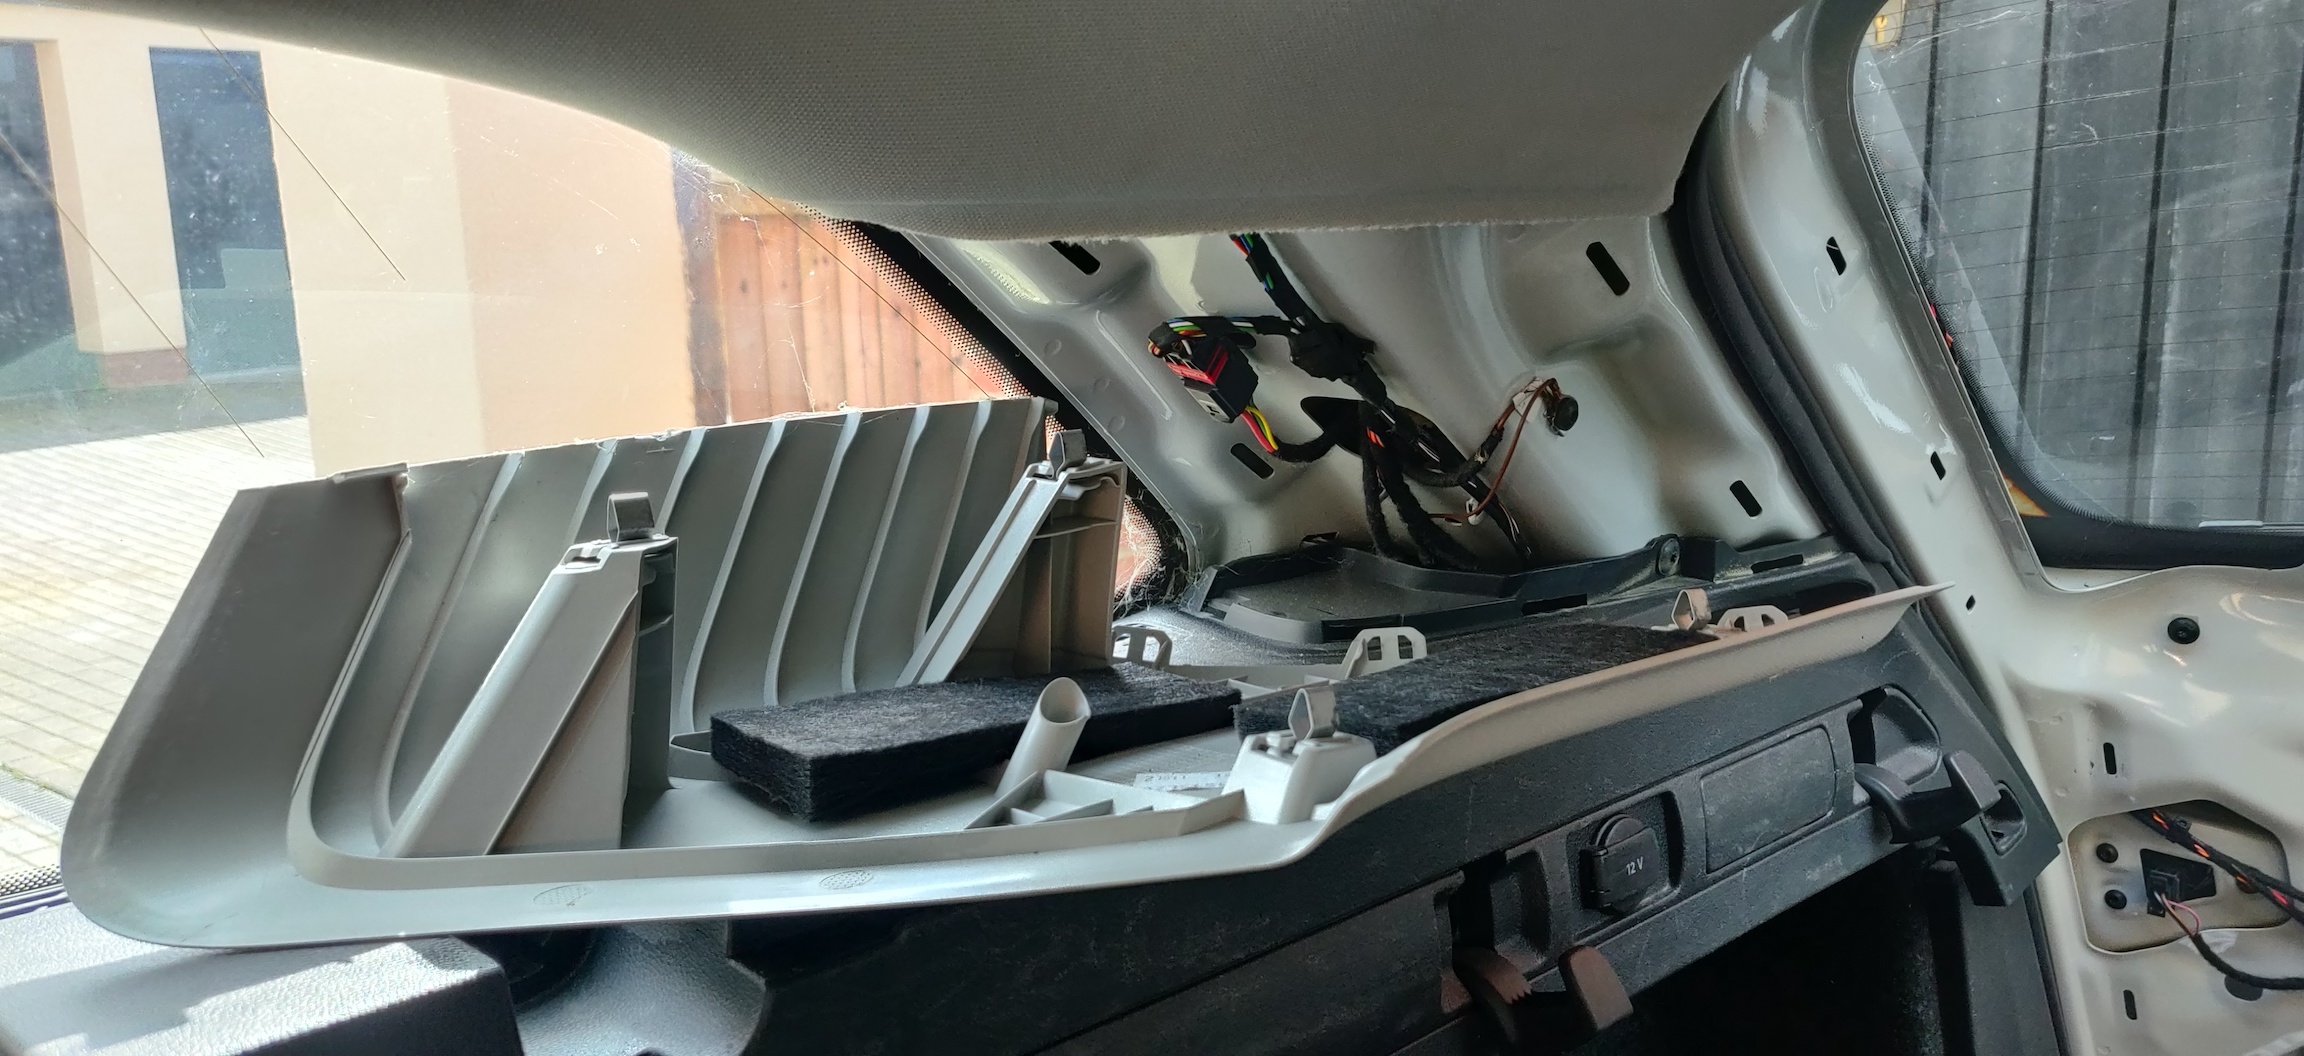
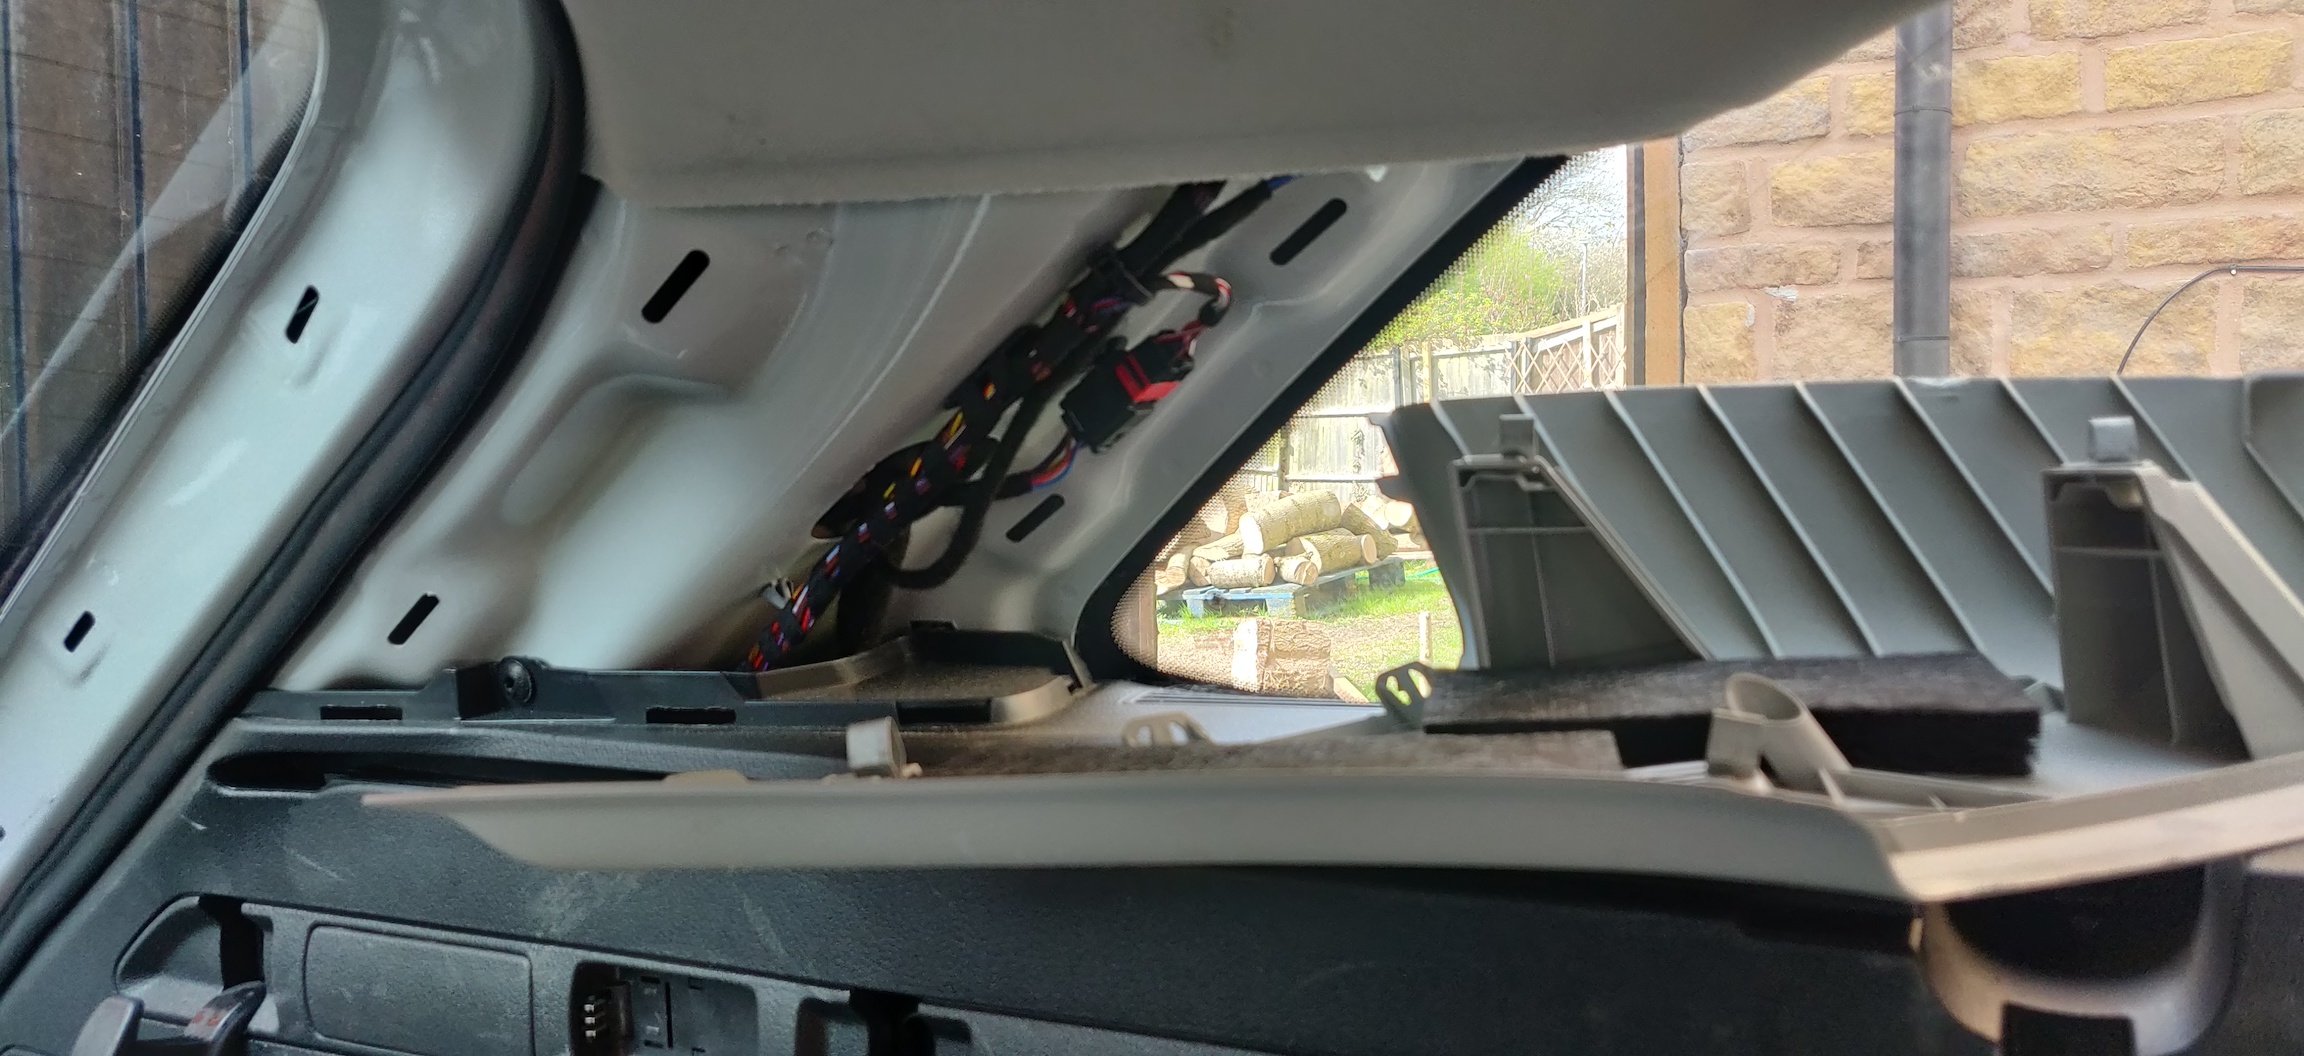
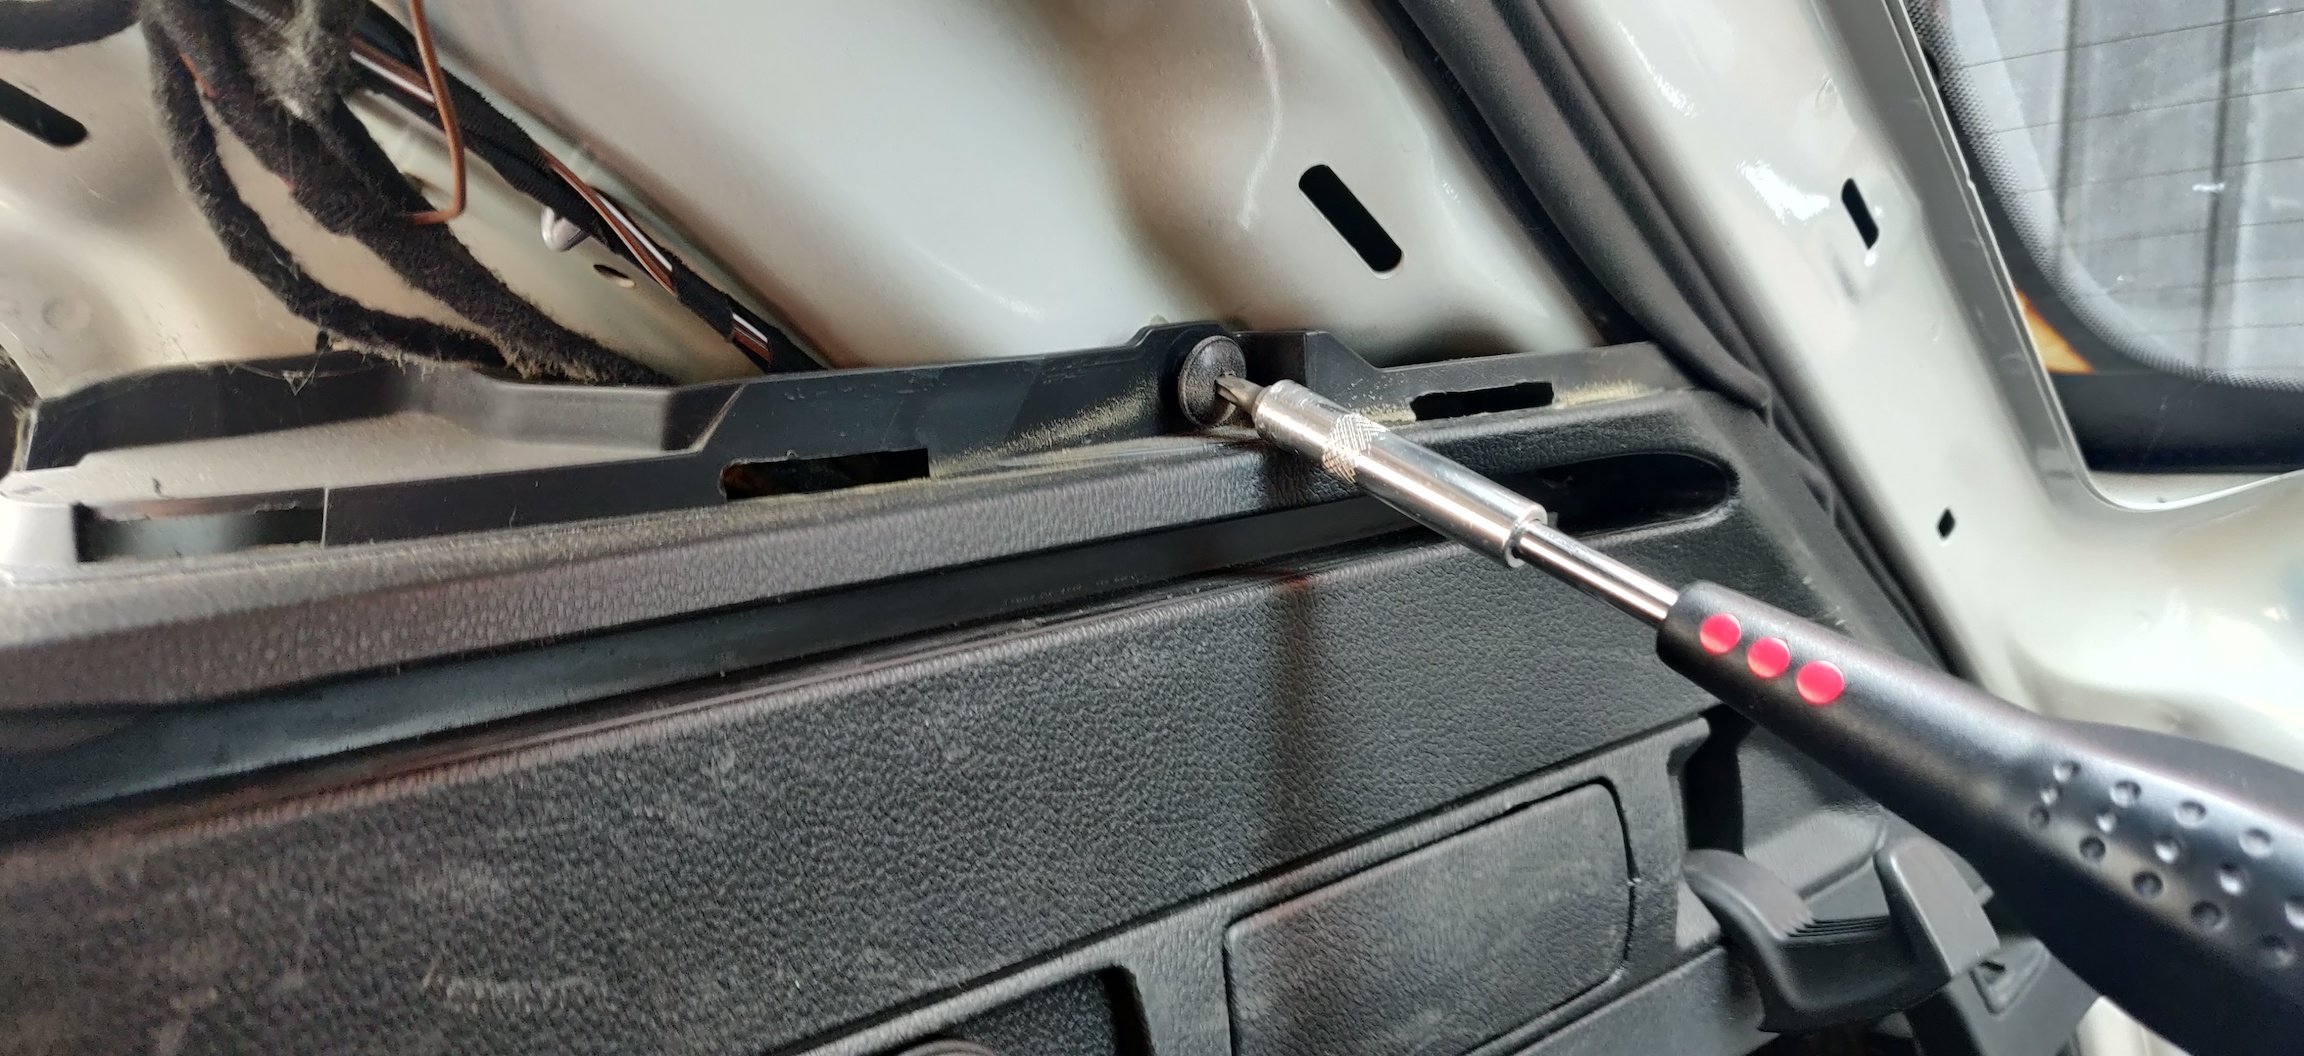
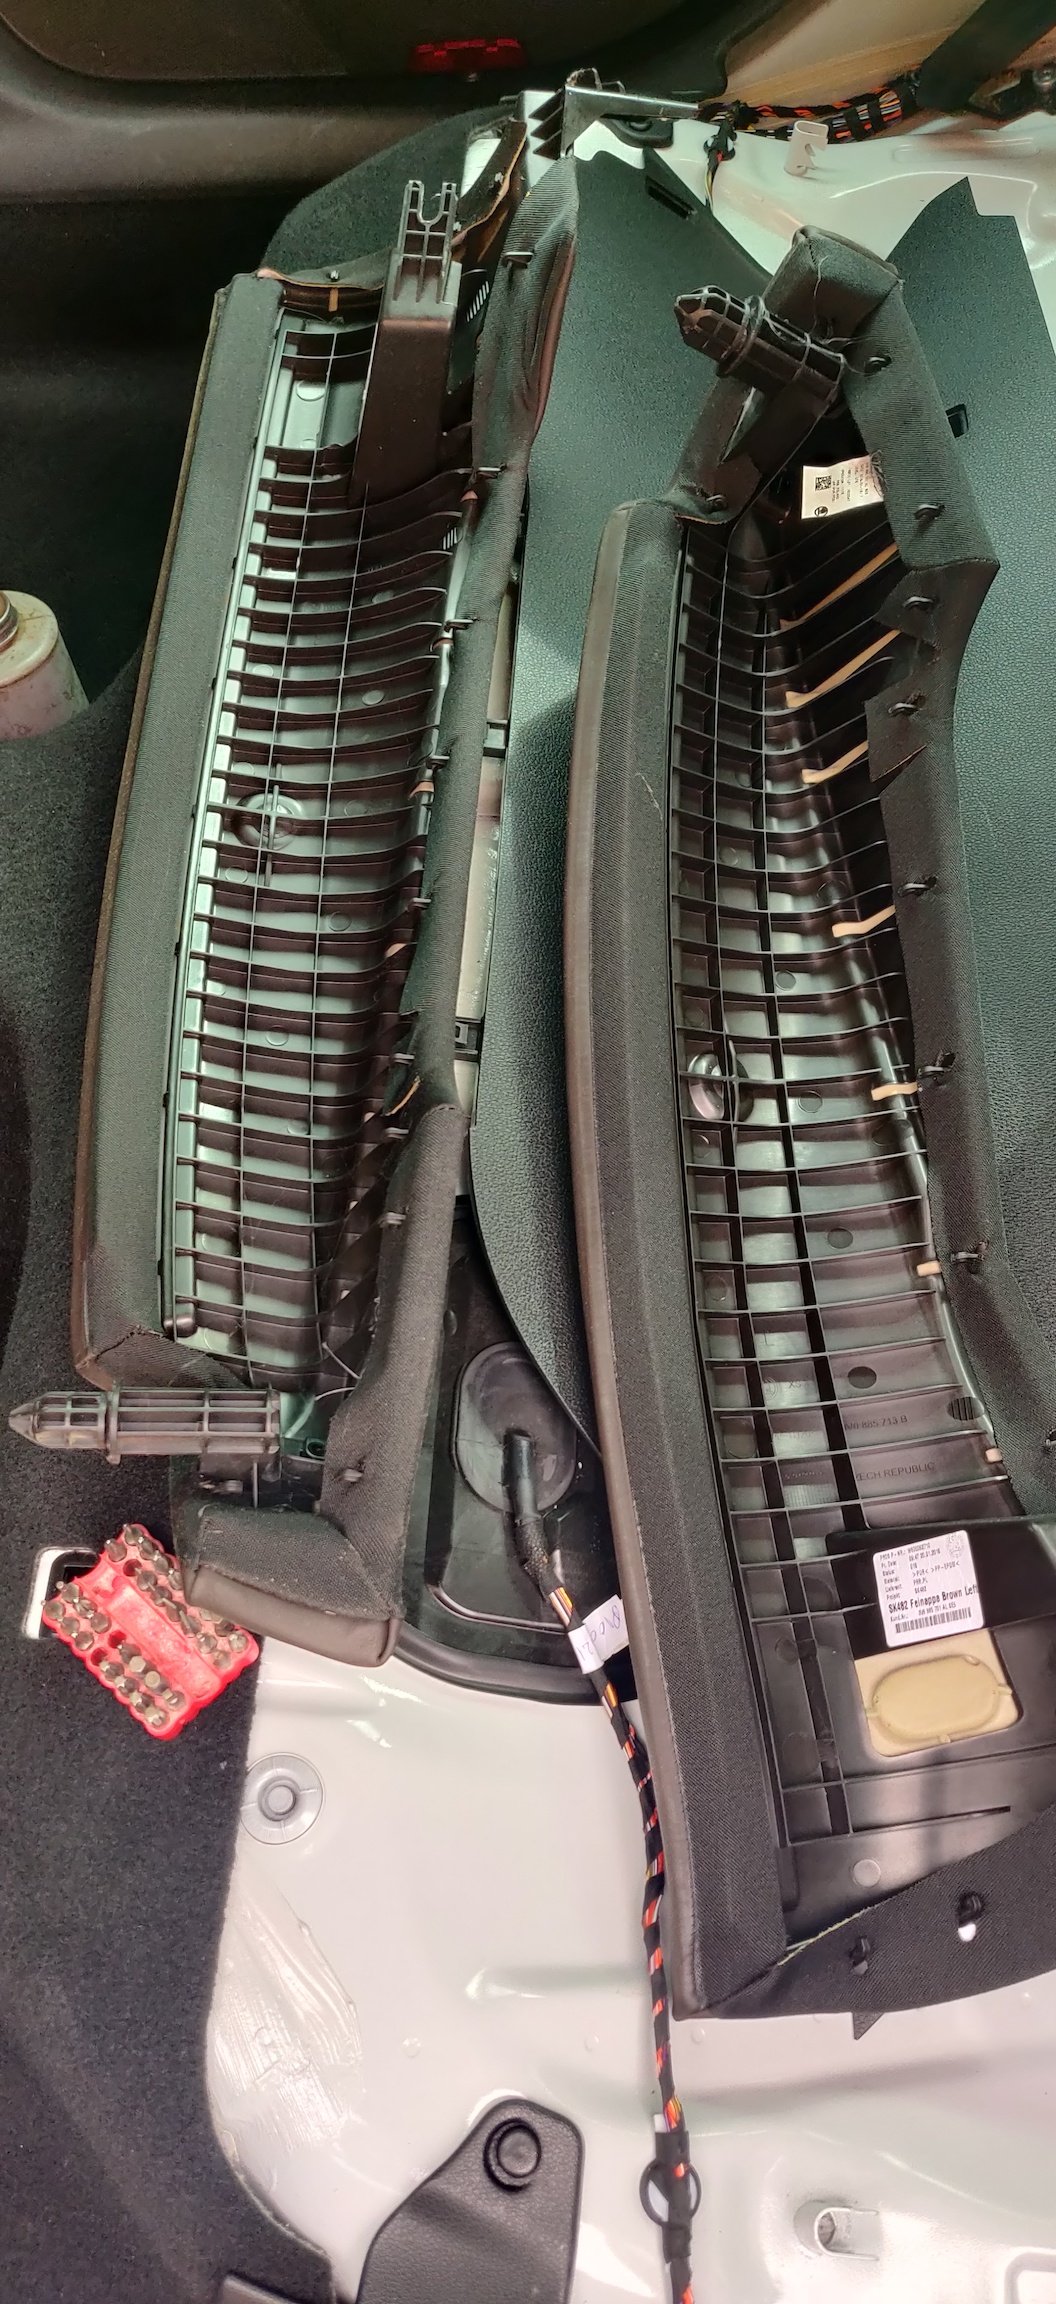
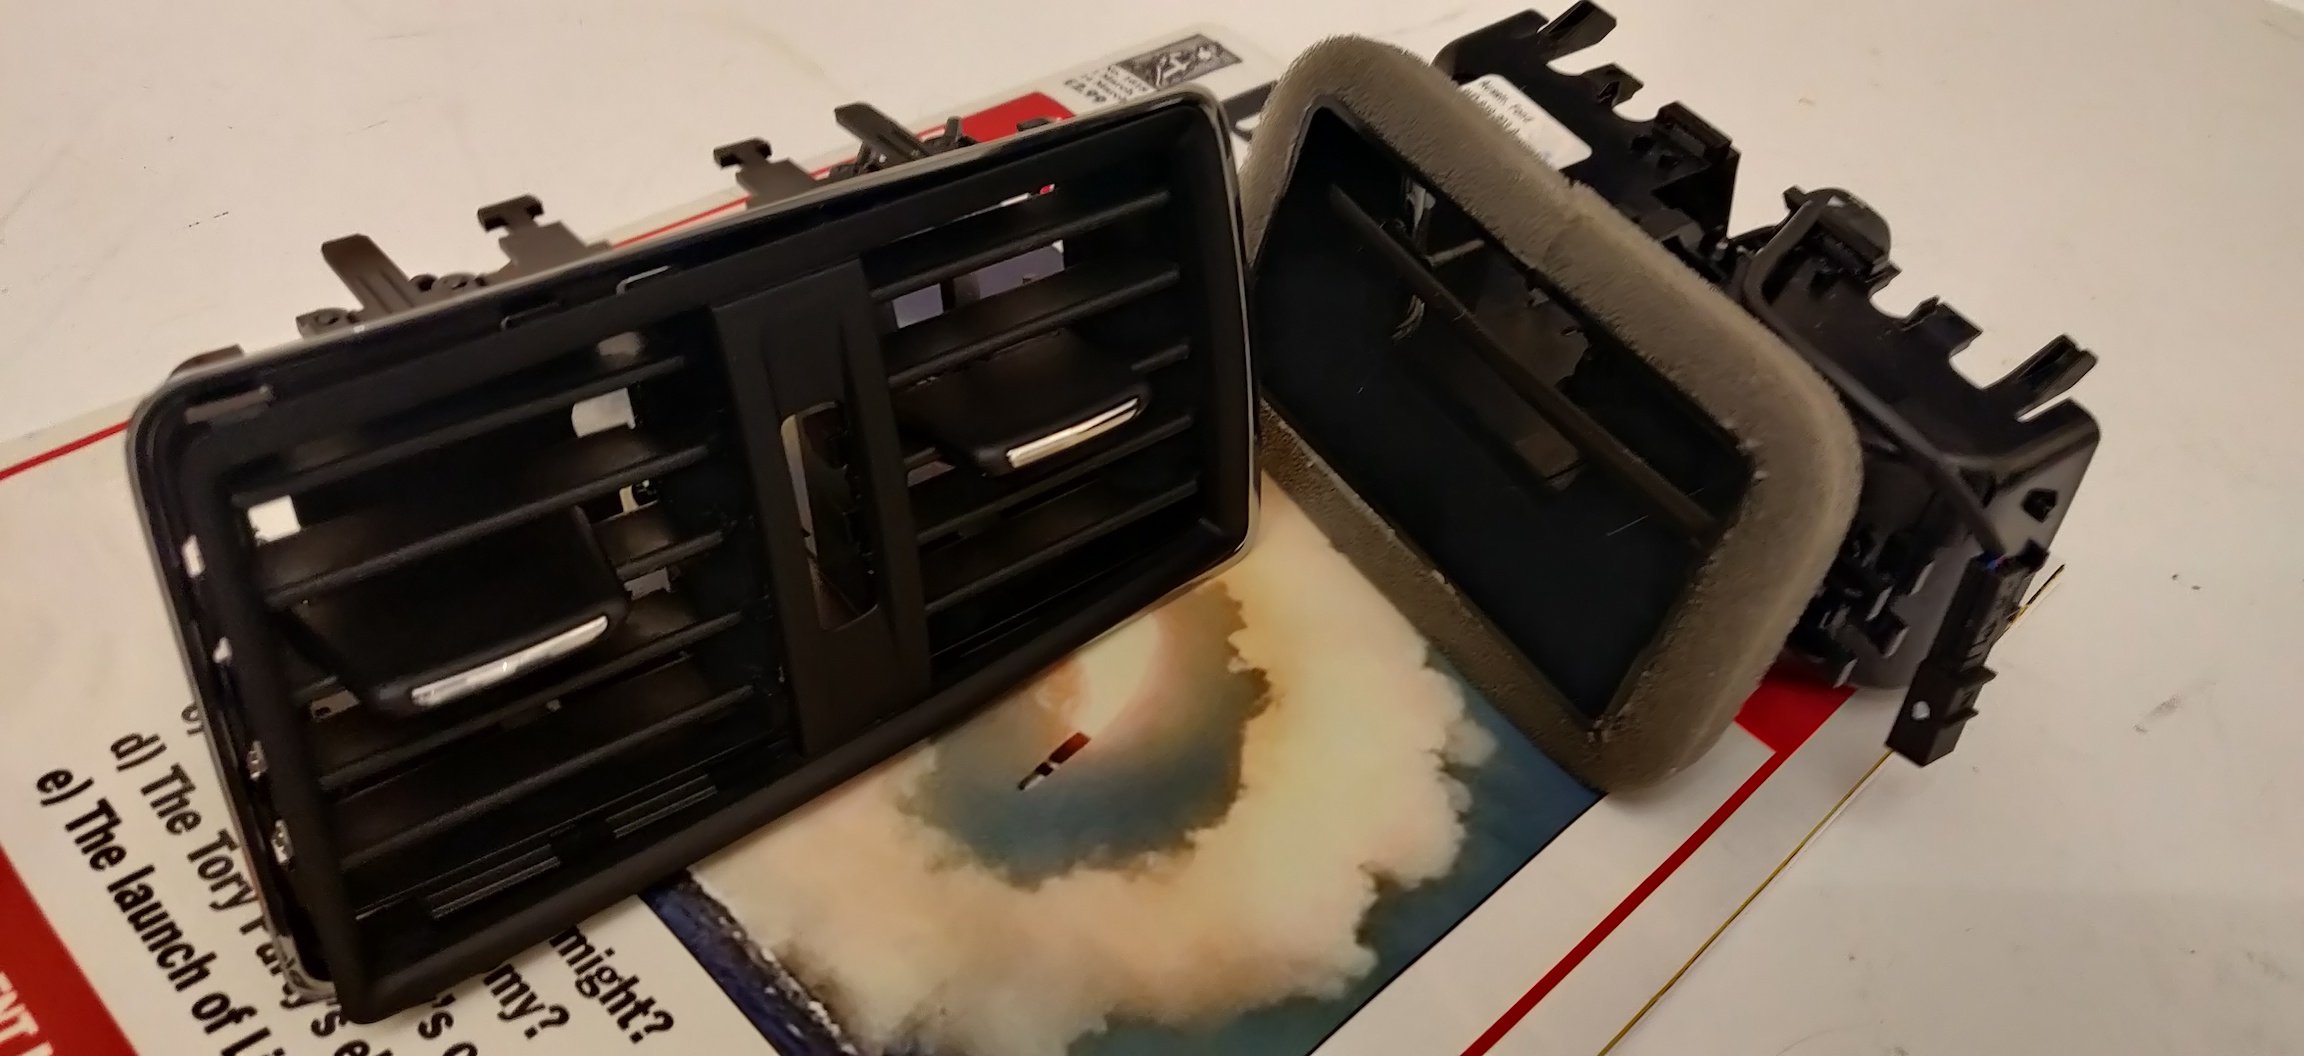
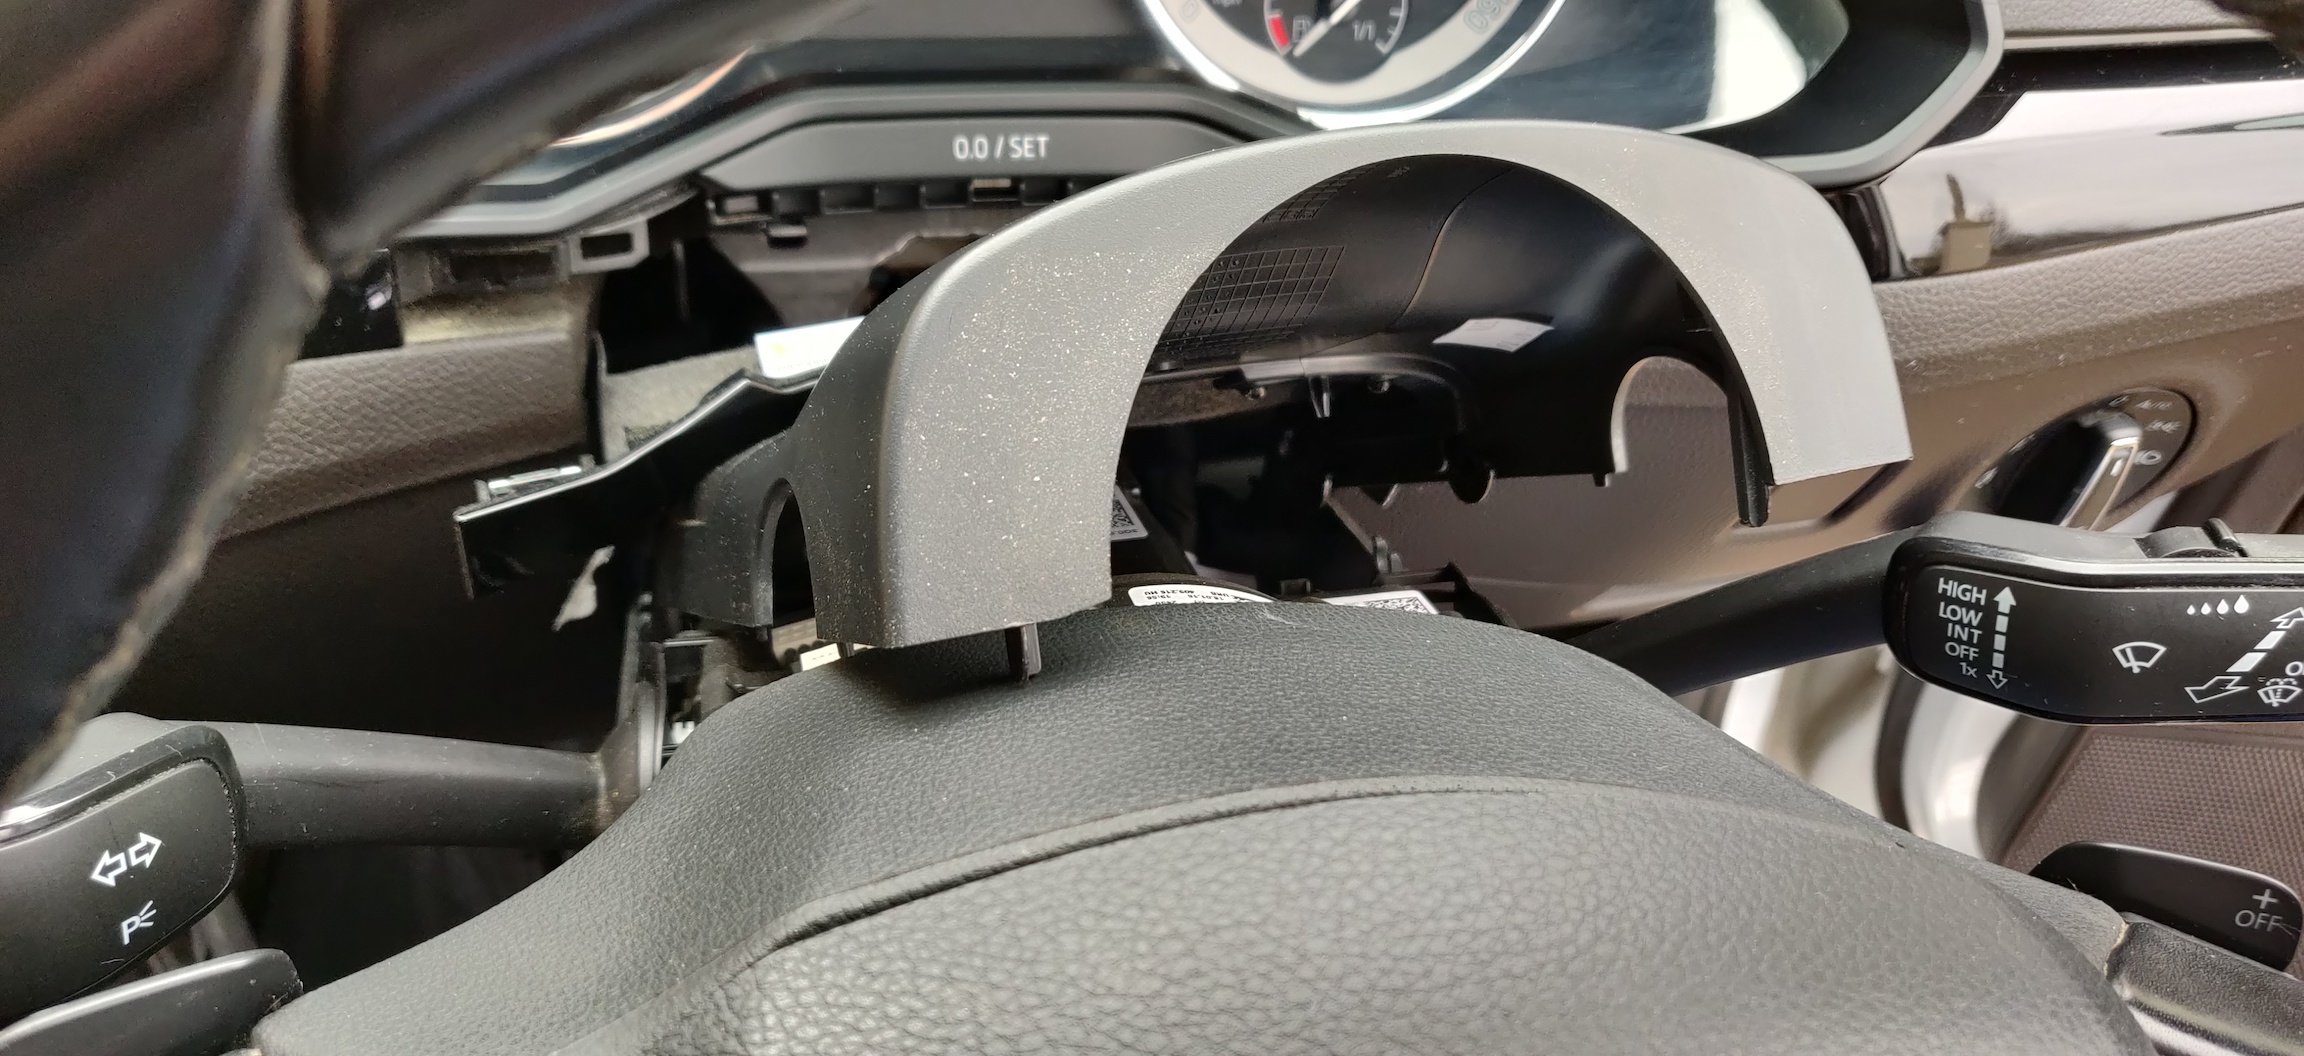
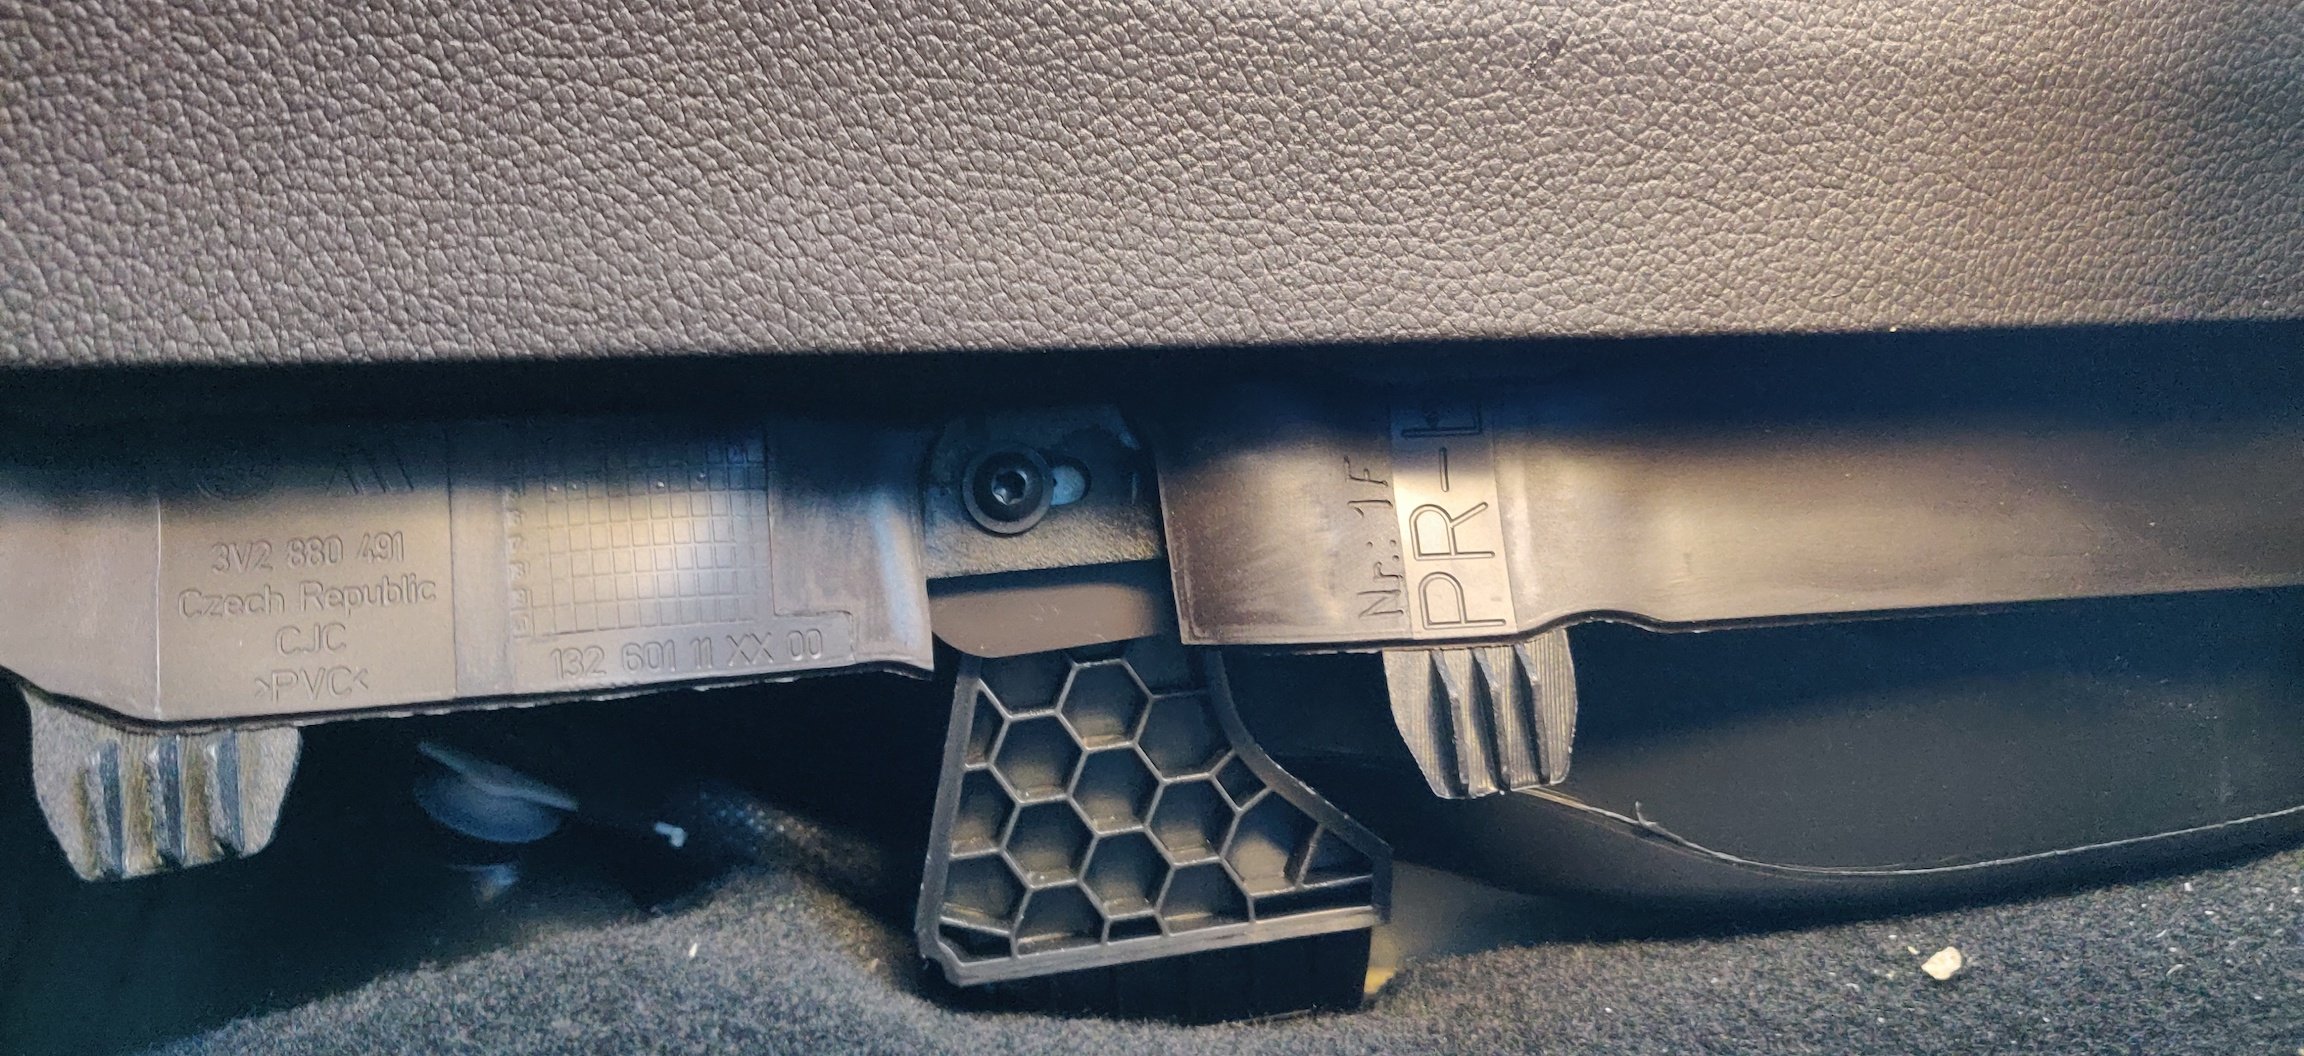
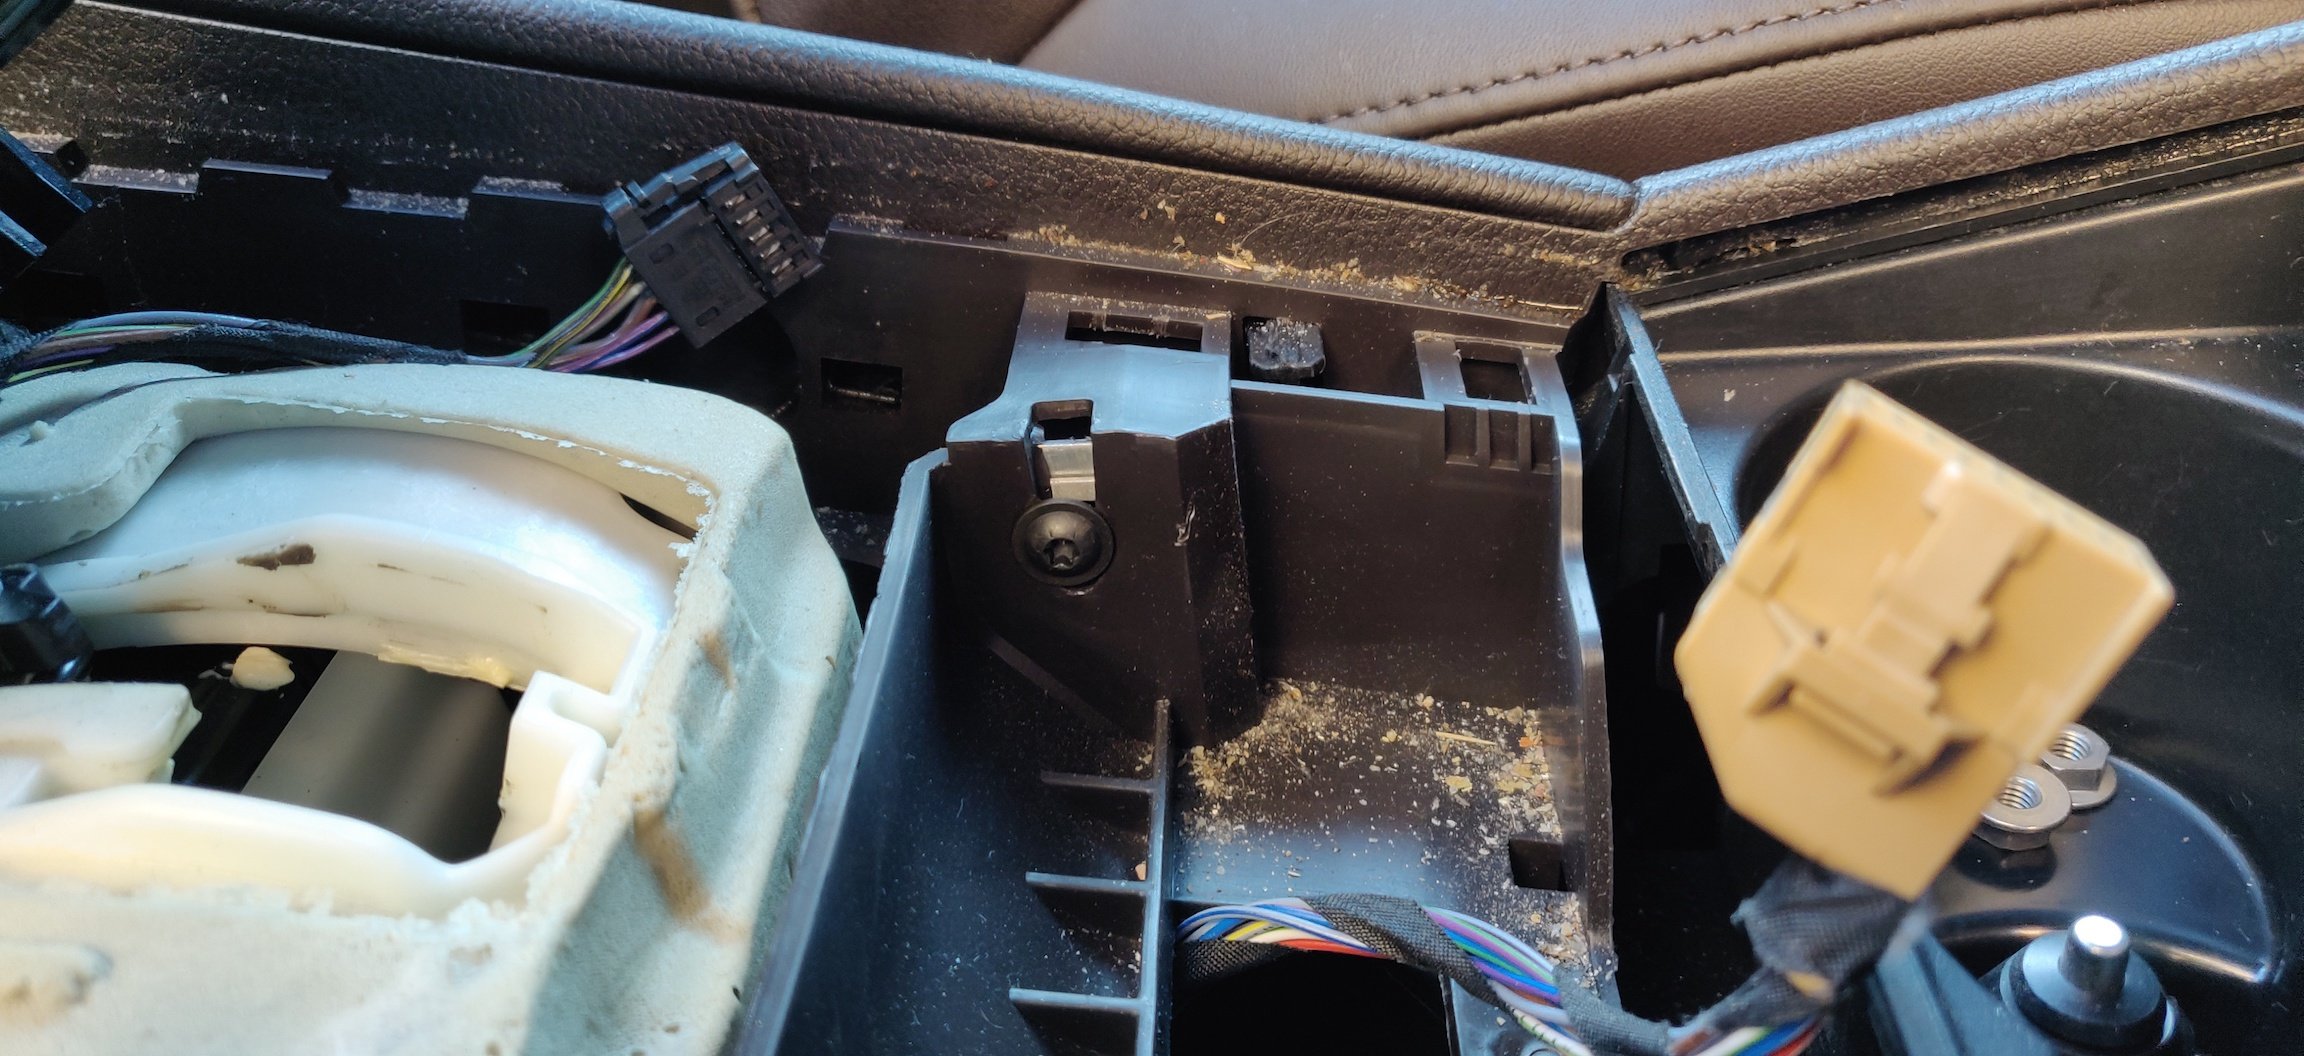
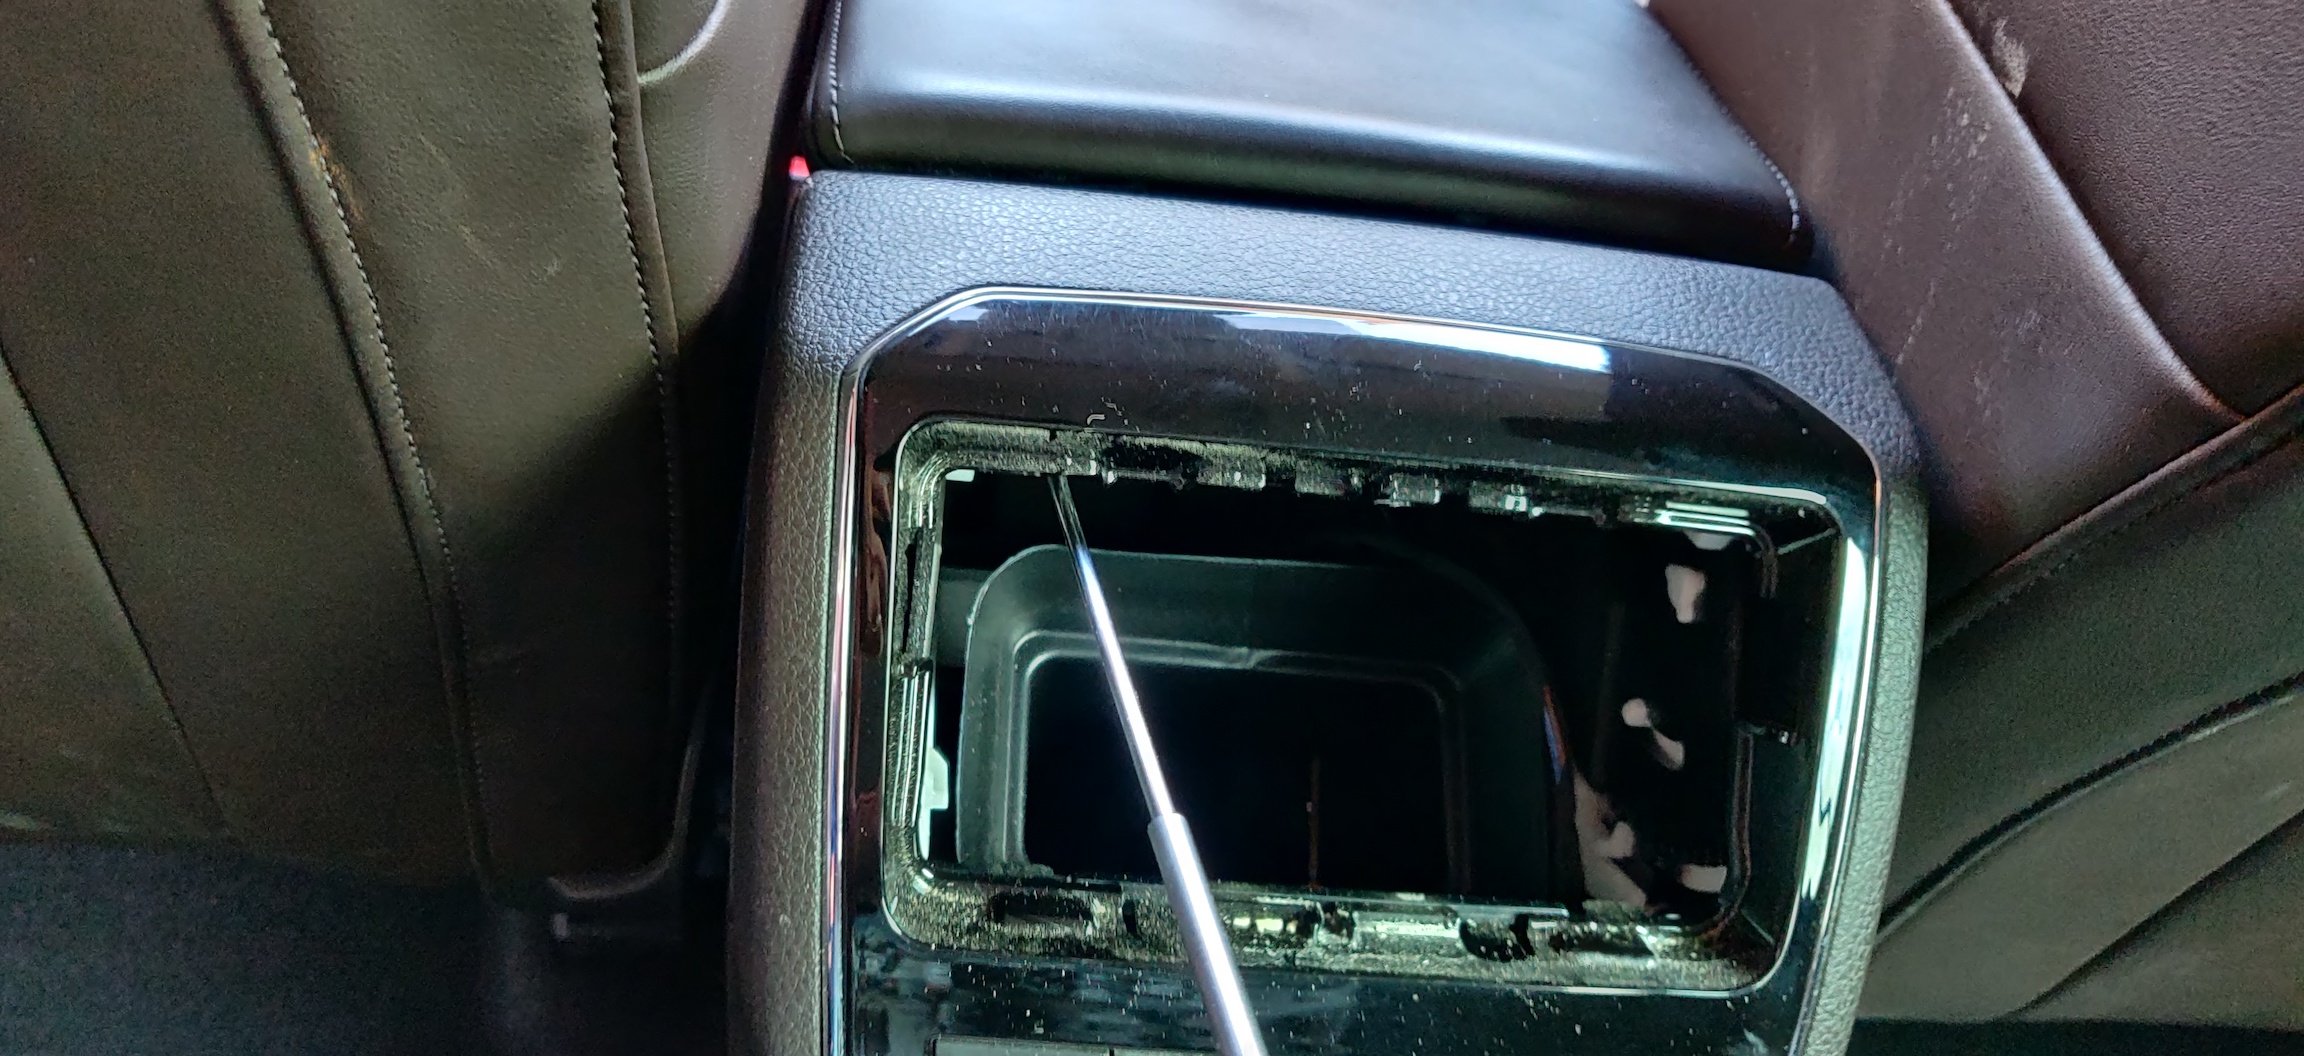
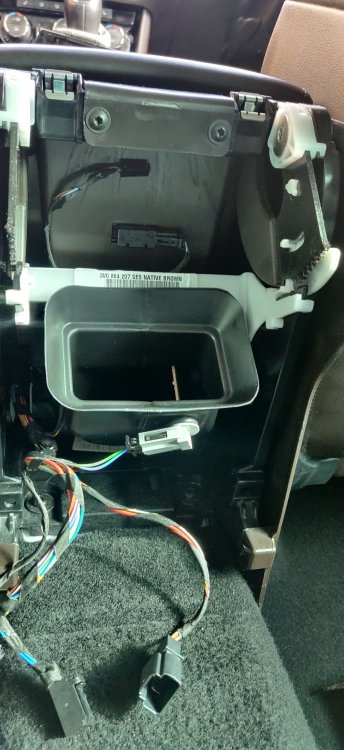
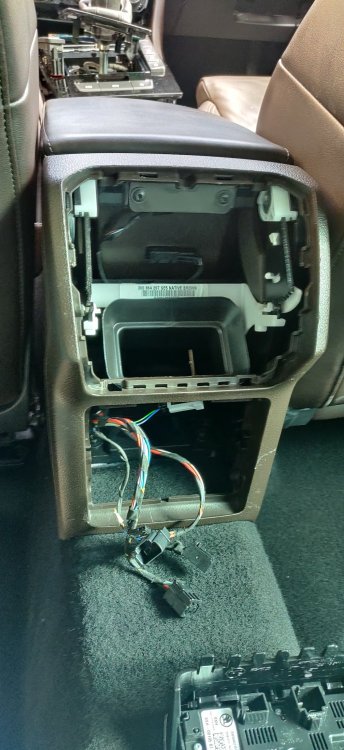
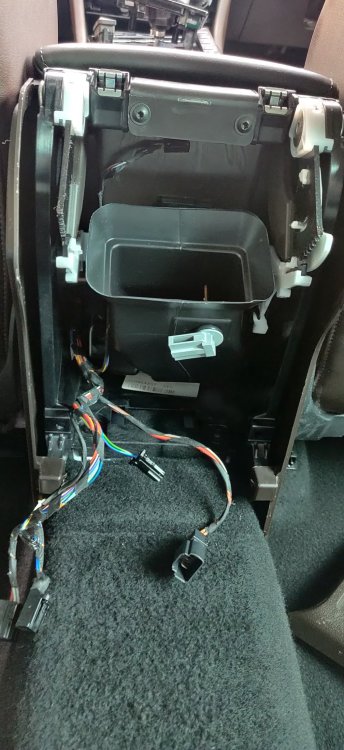
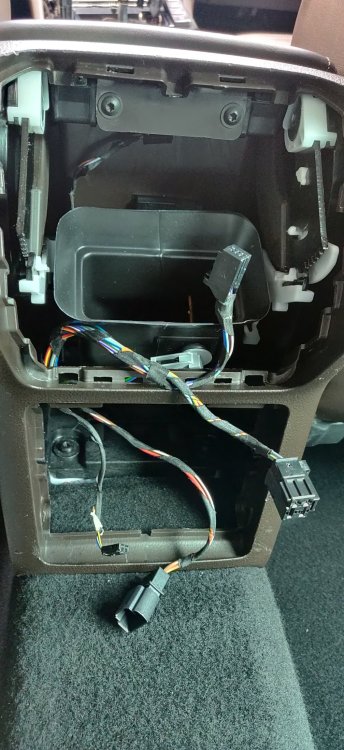
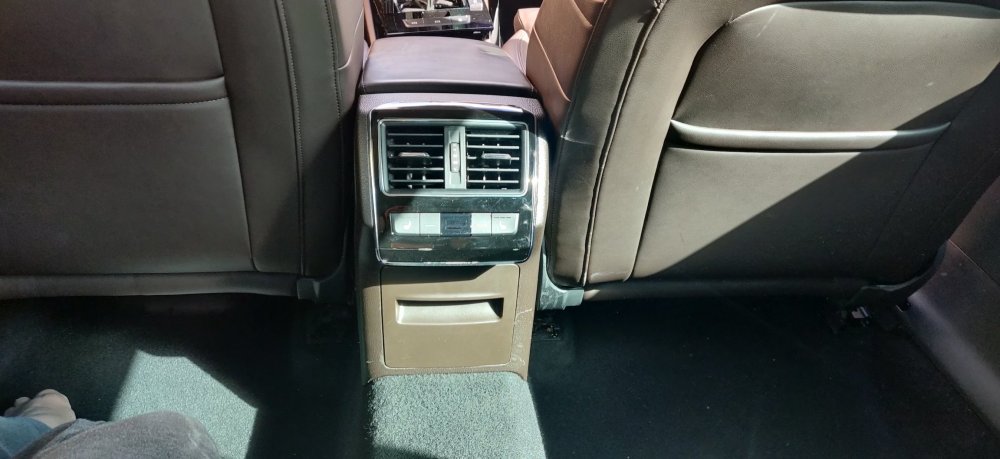
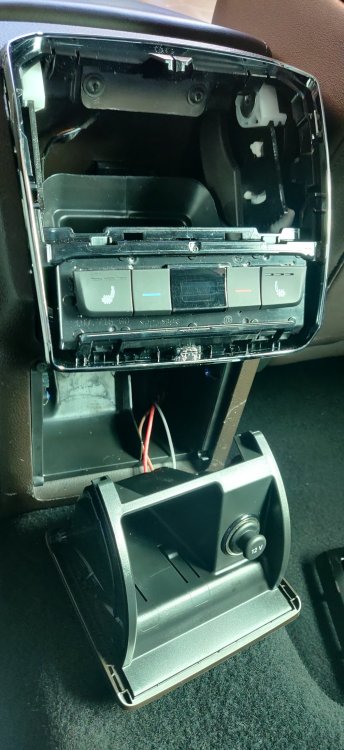
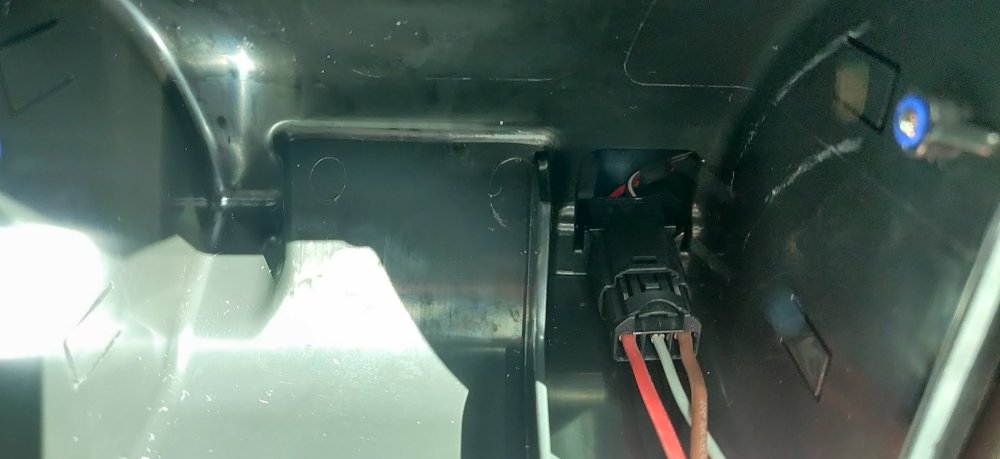
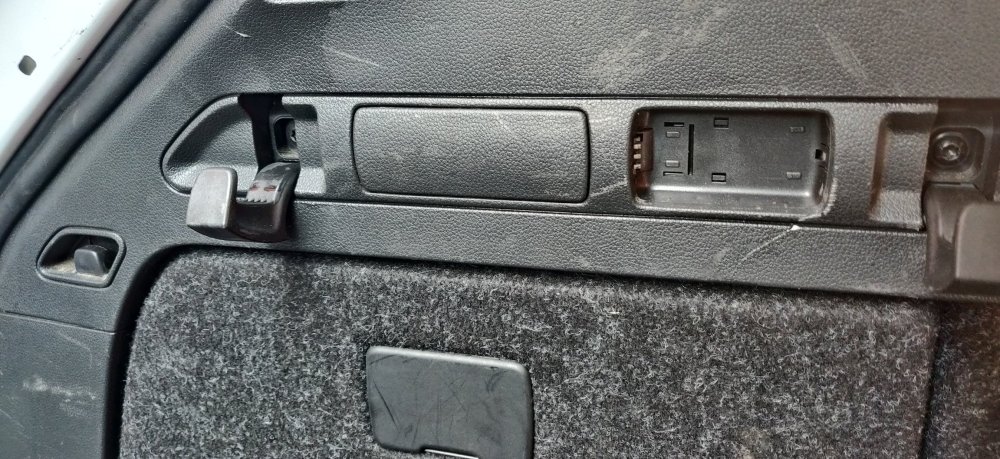
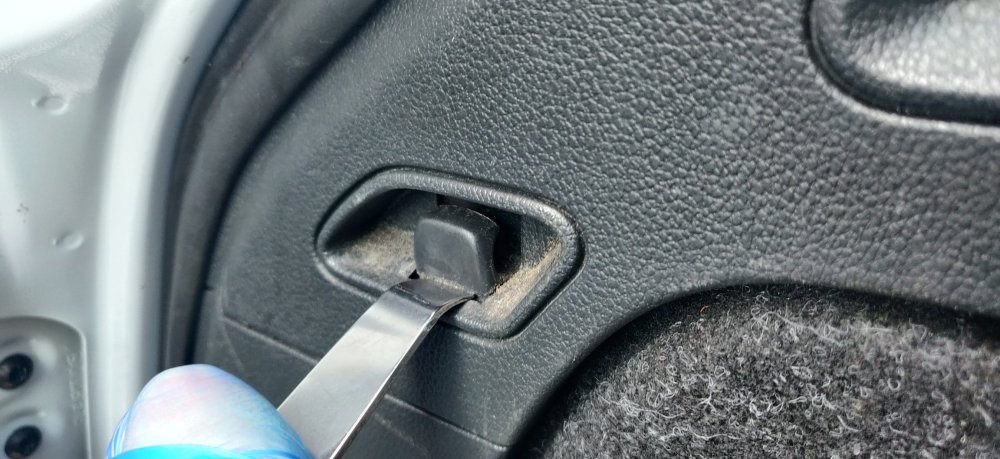
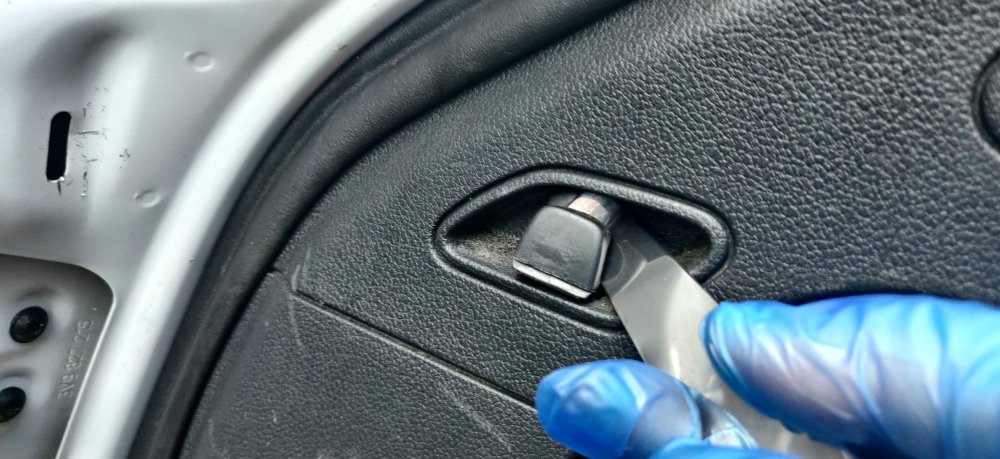
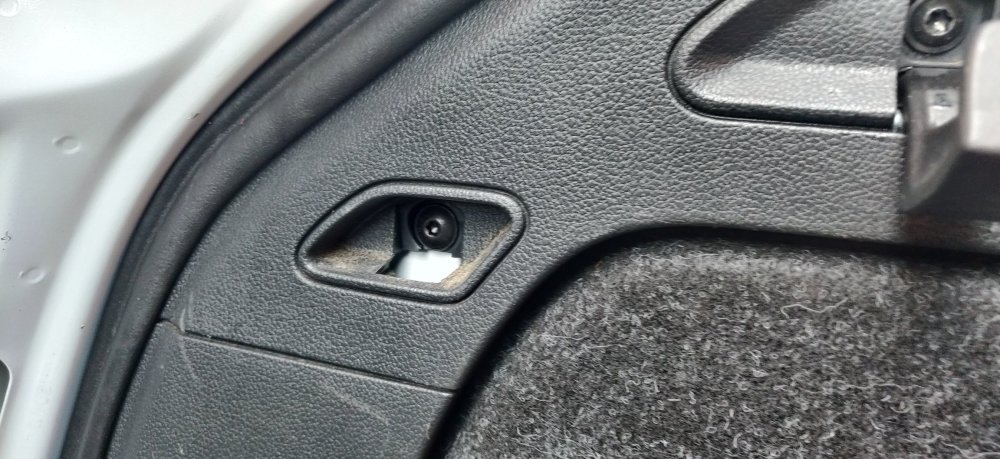
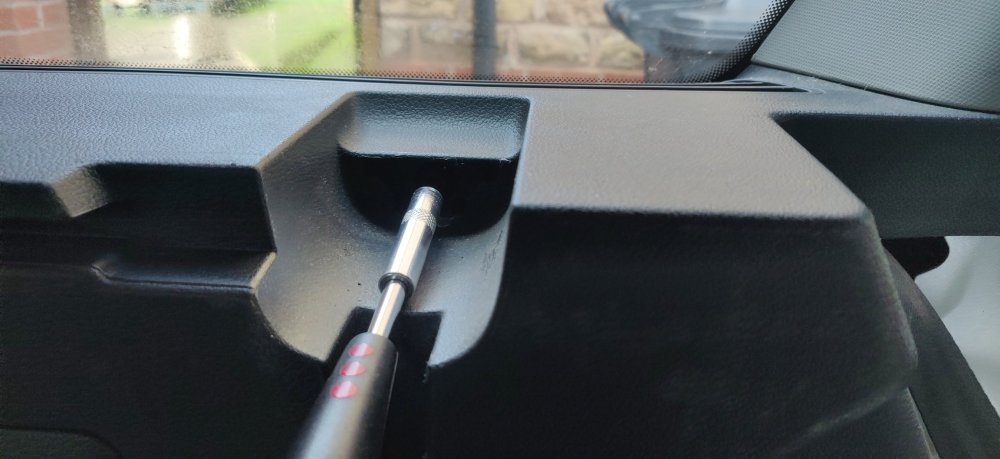
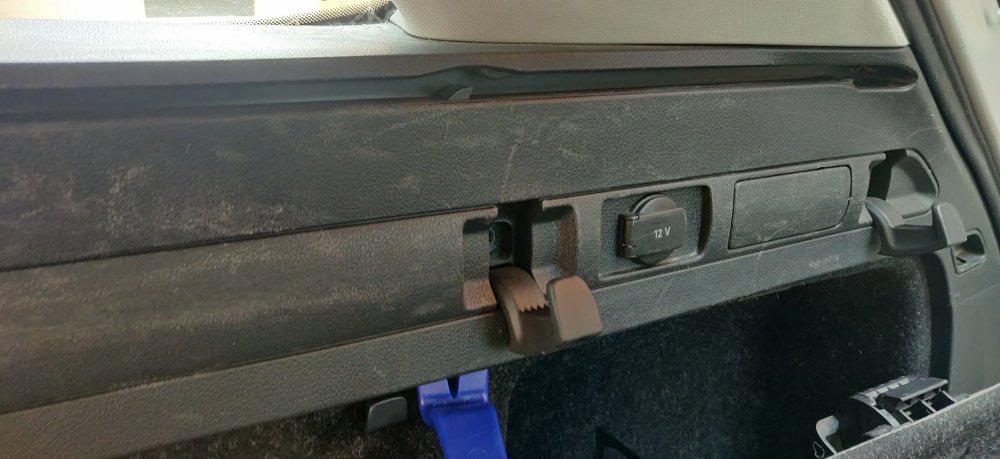
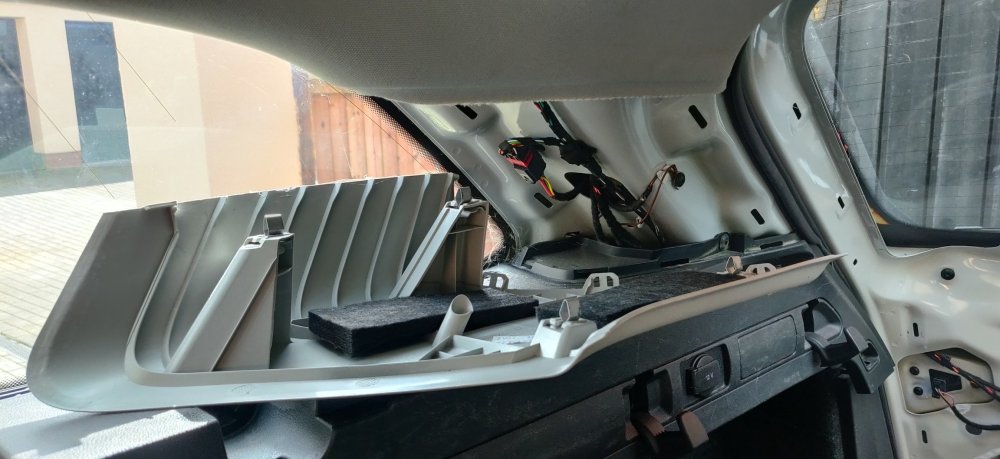
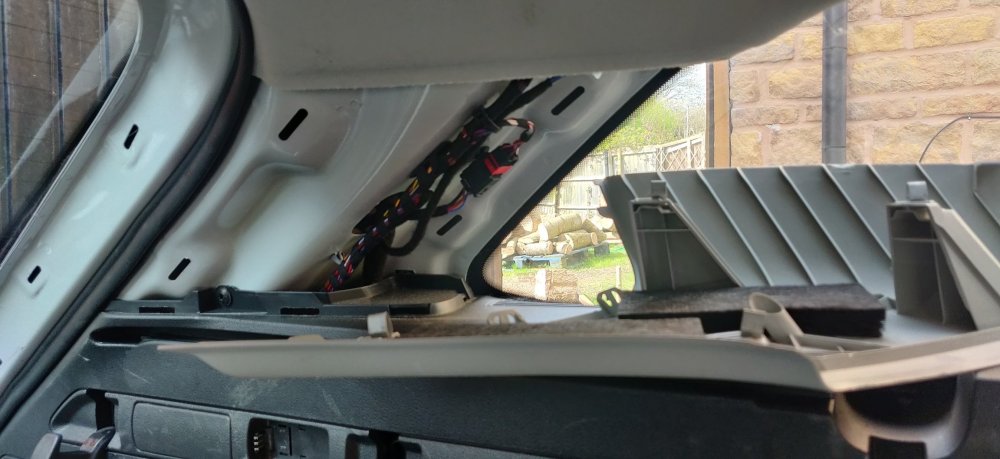
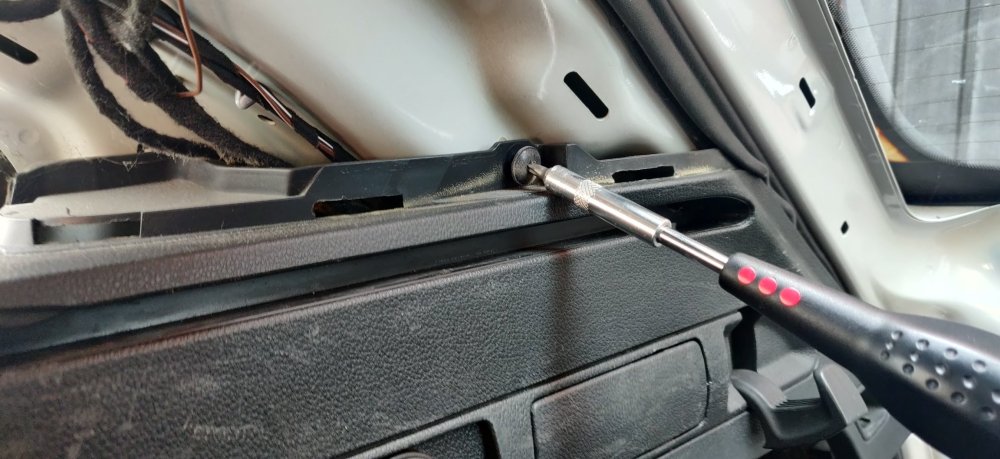
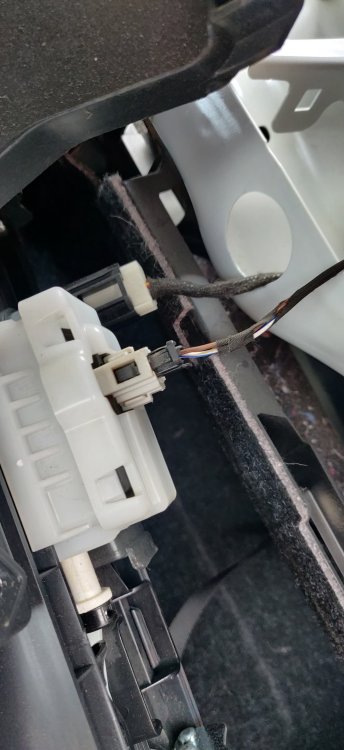
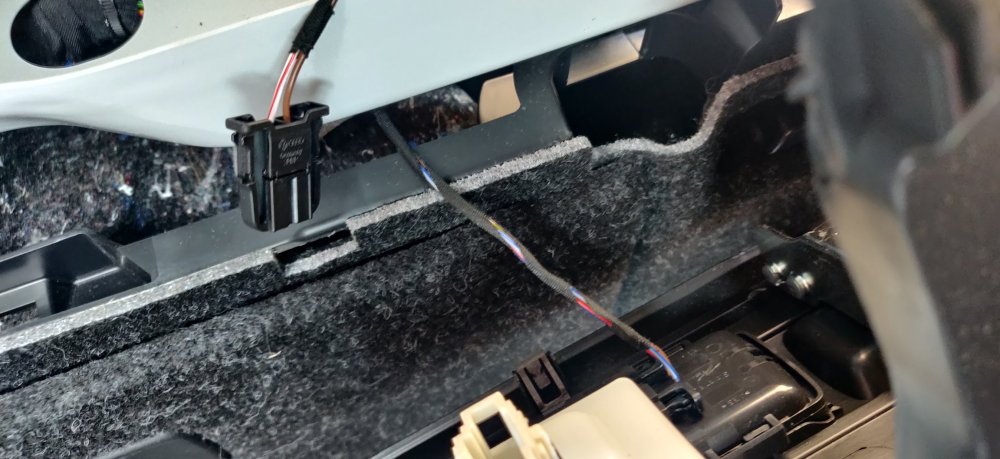
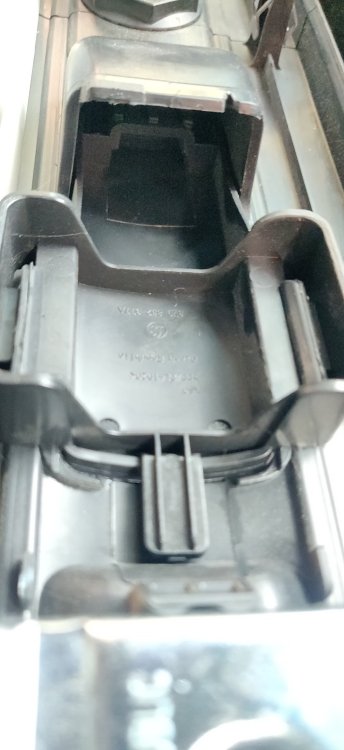
Another long day, easier because the sun was out especially in the afternoon. Was a bit windier in the morning, so spent that within the car. Started to reassemble the rear of the centre console. Don't make the same mistake I did and forget to put the air vent back in: I then realised an additional mistake: Luckily I got the rear vent and tried to roughly guess where it would end up, and the air vents were nowhere near one another. So I removed the rear trim (again) and rejigged the air vent: It finished up much higher, and more importantly, more in line with the rear vent where the foam was now seated as expected. Did some rejigging to make sure the wiring is in the correct place, two connectors for the rear climate controls, and the light and 12v socket connector at the bottom: The ashtray/storage/12v socket bits comprises of 3 bits; the outer trim, which clips into the tray, which together clip into an inner part. The inner part was a push fit into place: The pic also shows roughly locating the top part with the rear climiate controls already inserted into the replacement trim purchased a few days back. The pic also shows the actual tray connected up. Forgot to clip the connector into place: There's a couple of tabs that keep the connector in place, which I didn't sort out the first time, which led to what I assume is the tray fouling the wiring and not closing fully. Once that was sorted, the rear vent light connector was plugged in, and it attached to the piano black trim, and that all clipped into place: The rear is pretty much done, feels like a good milestone! With the back of the car actually pretty clear and empty, and me being rather short, I decided to crawl into the boot and start having a go at the trim, which I'll need to eventually remove in order to install the remaining Bowden cables that connect to the rear seats. So firstly, some of the easy bits: The rear hooks that fold down expose some Torx bolts (as opposed to screws). These are T30 in size, chunkier than others such as those in the centre console, but that's presumably due to them being part of the hook assembly. The blank where the rear seat lever goes is slap bang in the middle, which we'll get to later. The rear most hook needs a bit of contortion, where it needs to be pushed in a bit, then lifted up slightly: This will either then pop out and fly across the boot, or be in a position to be coaxed out: Revealing a T20 screw: In addition to the this one, and the two T30 bolts, there is also another T20 screw at the front most of the trim: At this point, I started to loosen the trim: It pops out from the bottom along a few places, and the front also clips out near the window. It didn't come free though, so started pulling additional trim, specifically, the D pillar trim: Did this on the other side as well, as it came out relatively straightforwardly: Eagle eyed readers may notice the remaining the T20 screw on the trim: So once removed, you can then pull the trim free, and separate the electrical connectors. For the right side, one for the 12v socket, and one for something I'm not actually sure about: The other side also has this unknown connector, in addition to the charger for the removable torch thingy: I didn't take anymore pics around this point. To free the trim completely, you also need to undo the M10 spline bit bolts attaching the rear seat belt anchor point to the chassis. This is then weaved through the trim opening. I bolted the anchors back in just in case. I didn't take pics primarily because of this: The blanks that need to be removed in order to install the seat release levers: These were a PAIN to remove. They are kept in place by essentially two tabs on the trim, but they were an absolute nightmare to get free. Some force with the trim removal tools and some perseverence seemed to be the only way to remove them. Anyways, with that done, I took the trims back into the house to give them a clean up. They're a little scratched up, the life of a fully utilised Estate I suppose. I took to then distracting myself by taking apart the lower steering column trim. Three T20 screws a la lots of the interior screws: A couple of electrical connectors, with the engine start button connector being a little more awkward (thin screwdriver as per usual). This leaves the clock springs as seen from below: I started to connect up the Kufatec loom: Before I realised it wasn't actually going to fit into the clock spring because it's the non heated steering wheel. I took that as a cue to take a break, coinciding with lunch. Maintenance: £1794.17 Upgrades: £887.10 Miscellaneous: £608.14
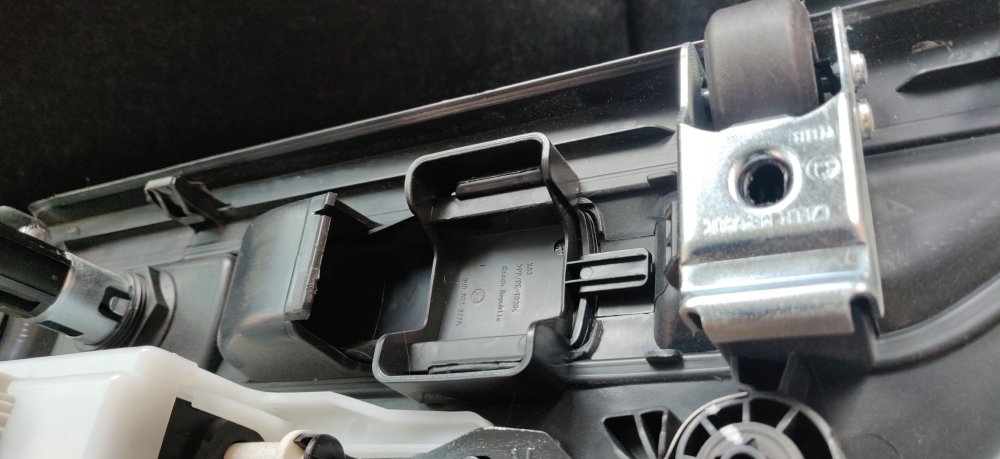
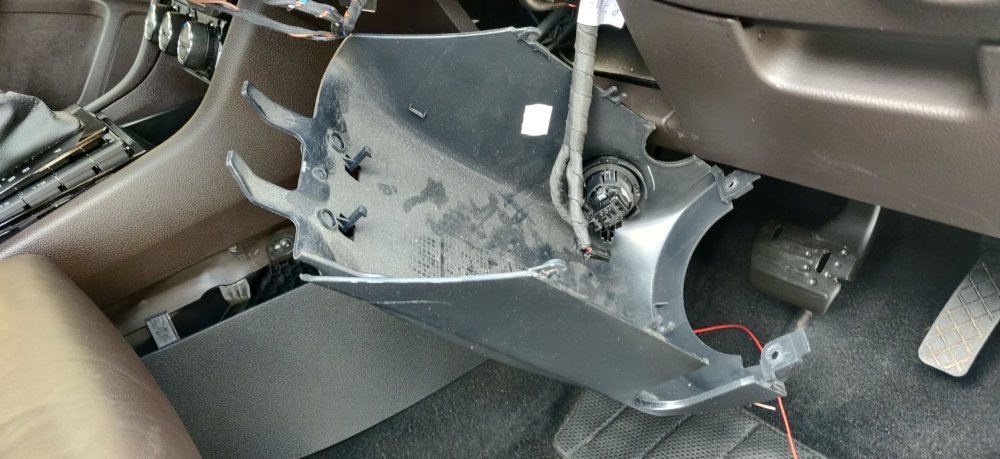
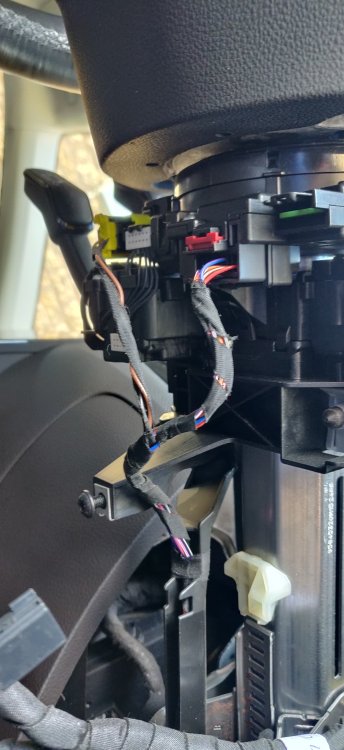
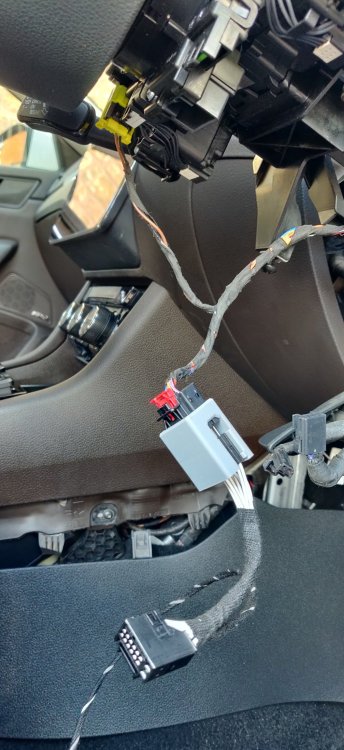
-
Happy to be the guinea pig regarding the o-rings. I'll probably source a few drain plugs, or entertain more drastic options if I find it all too much of a faff (read: replace sump).
-
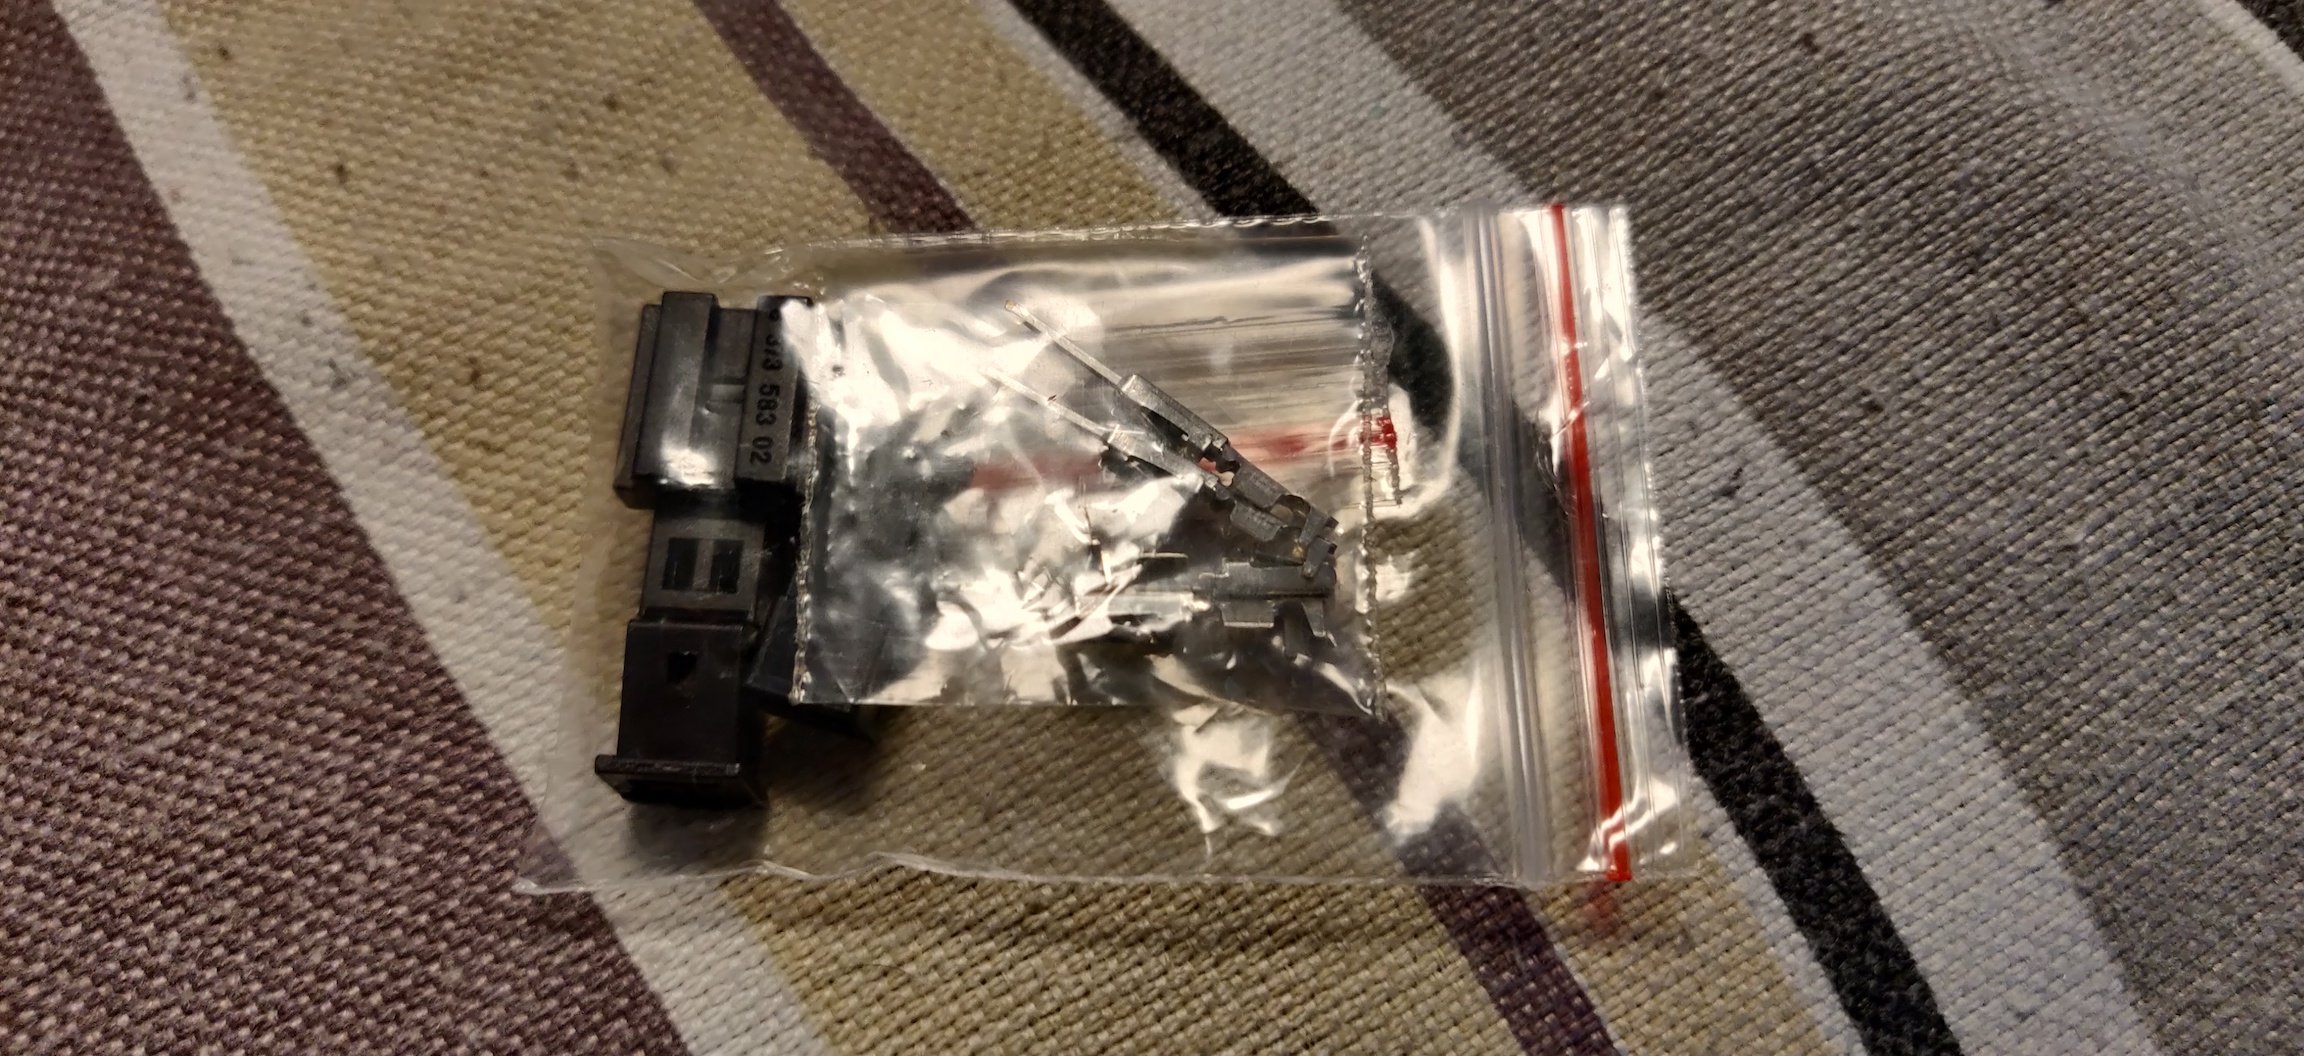
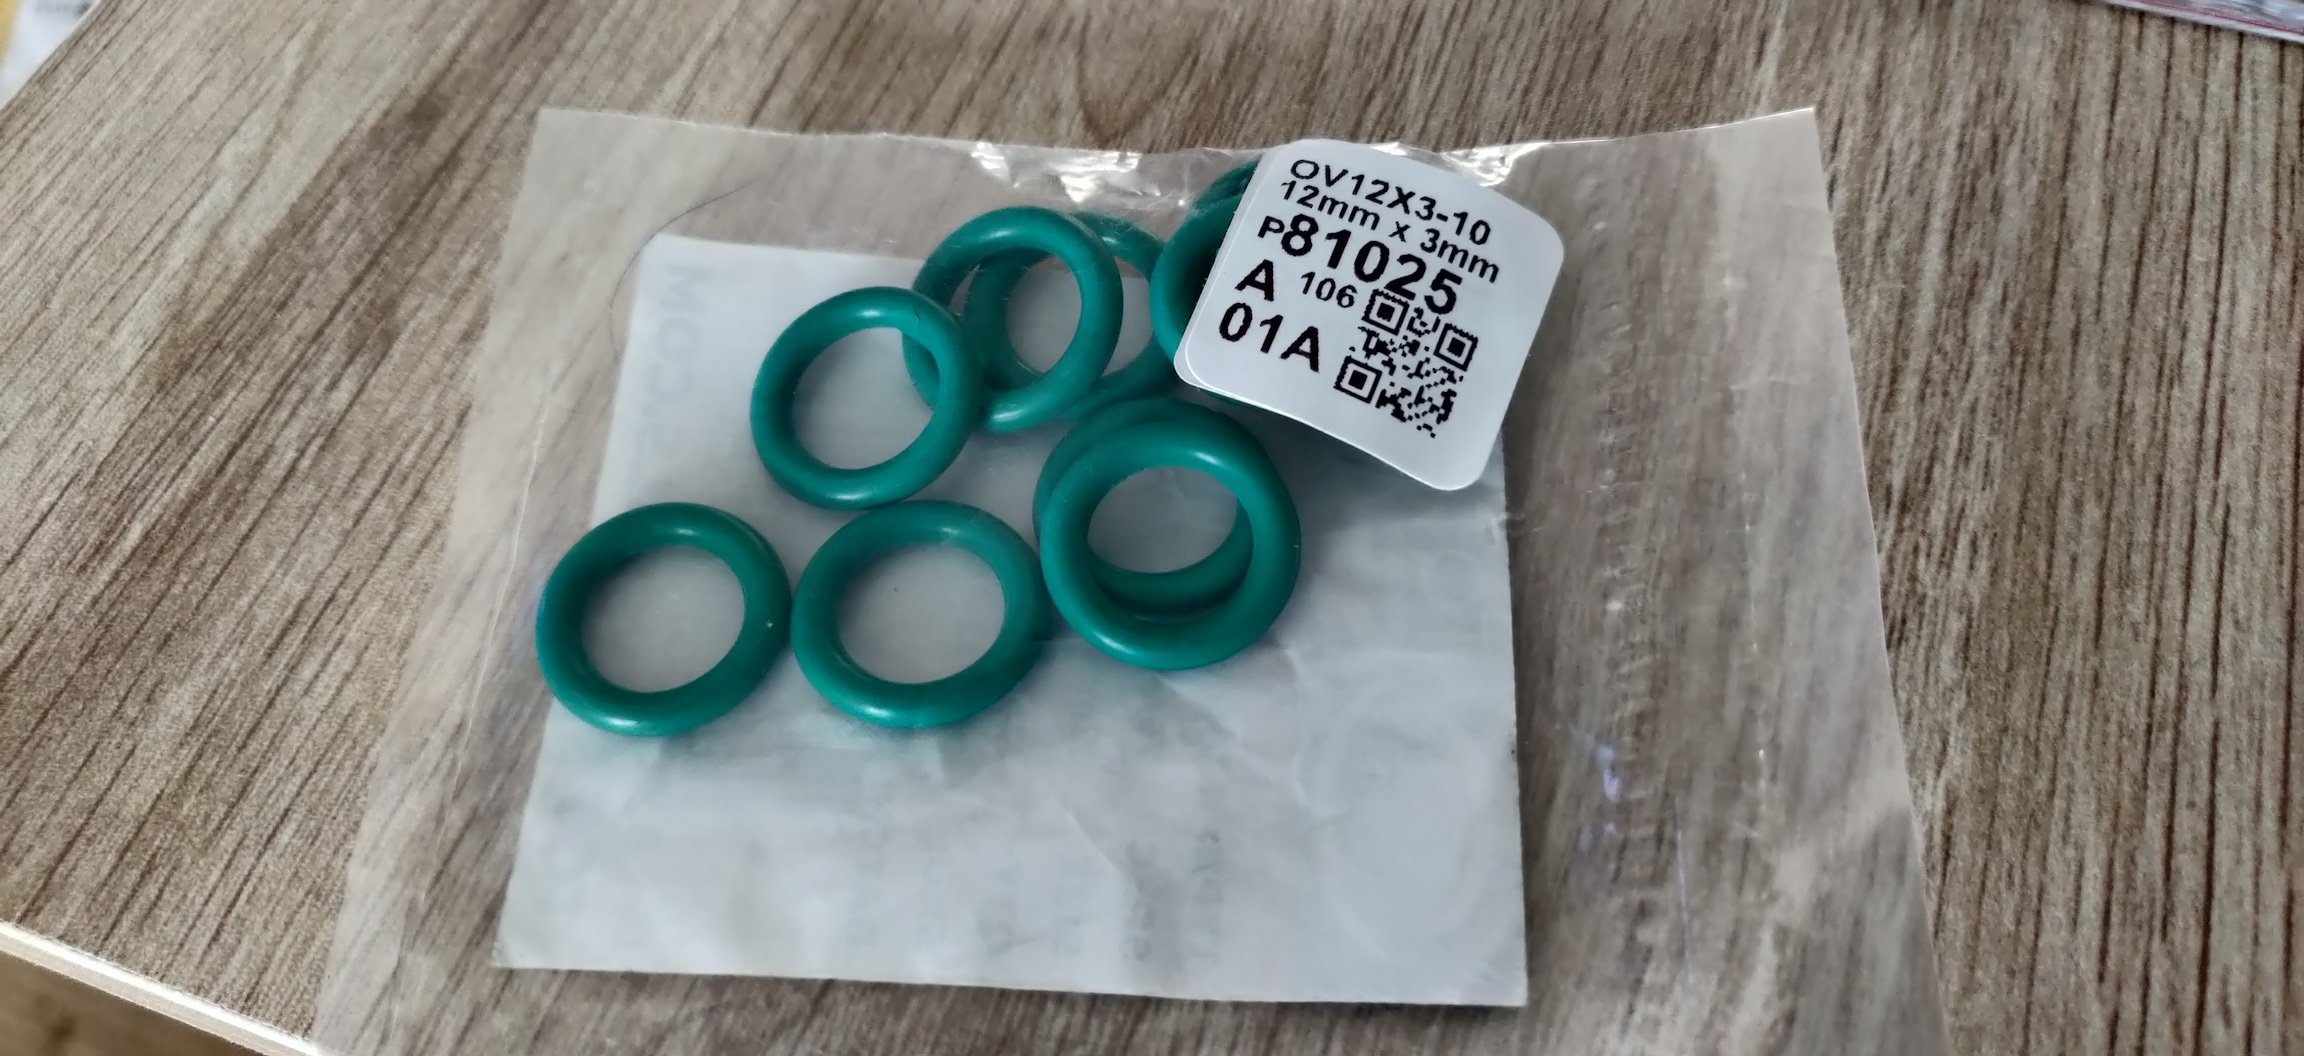
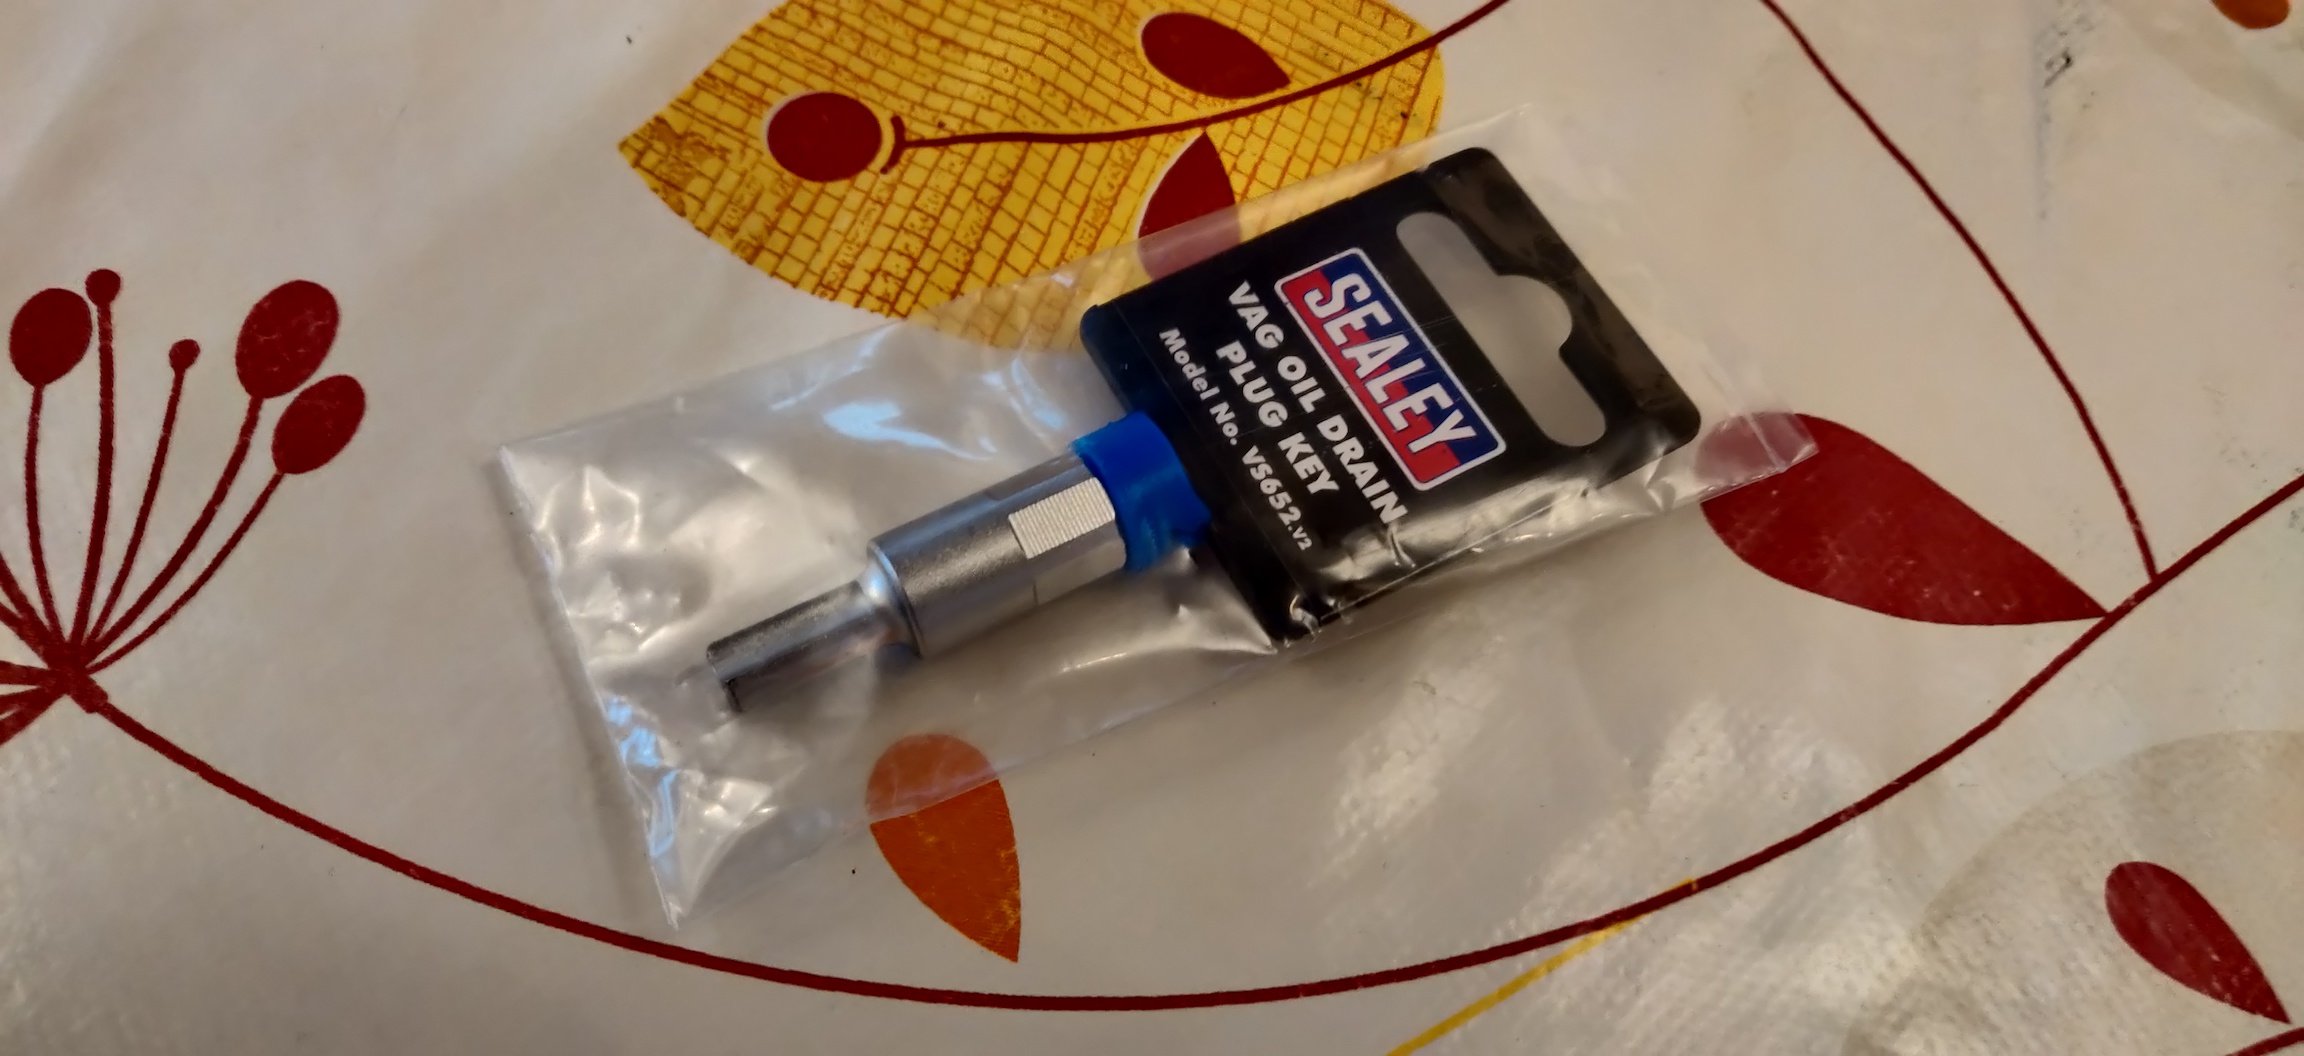
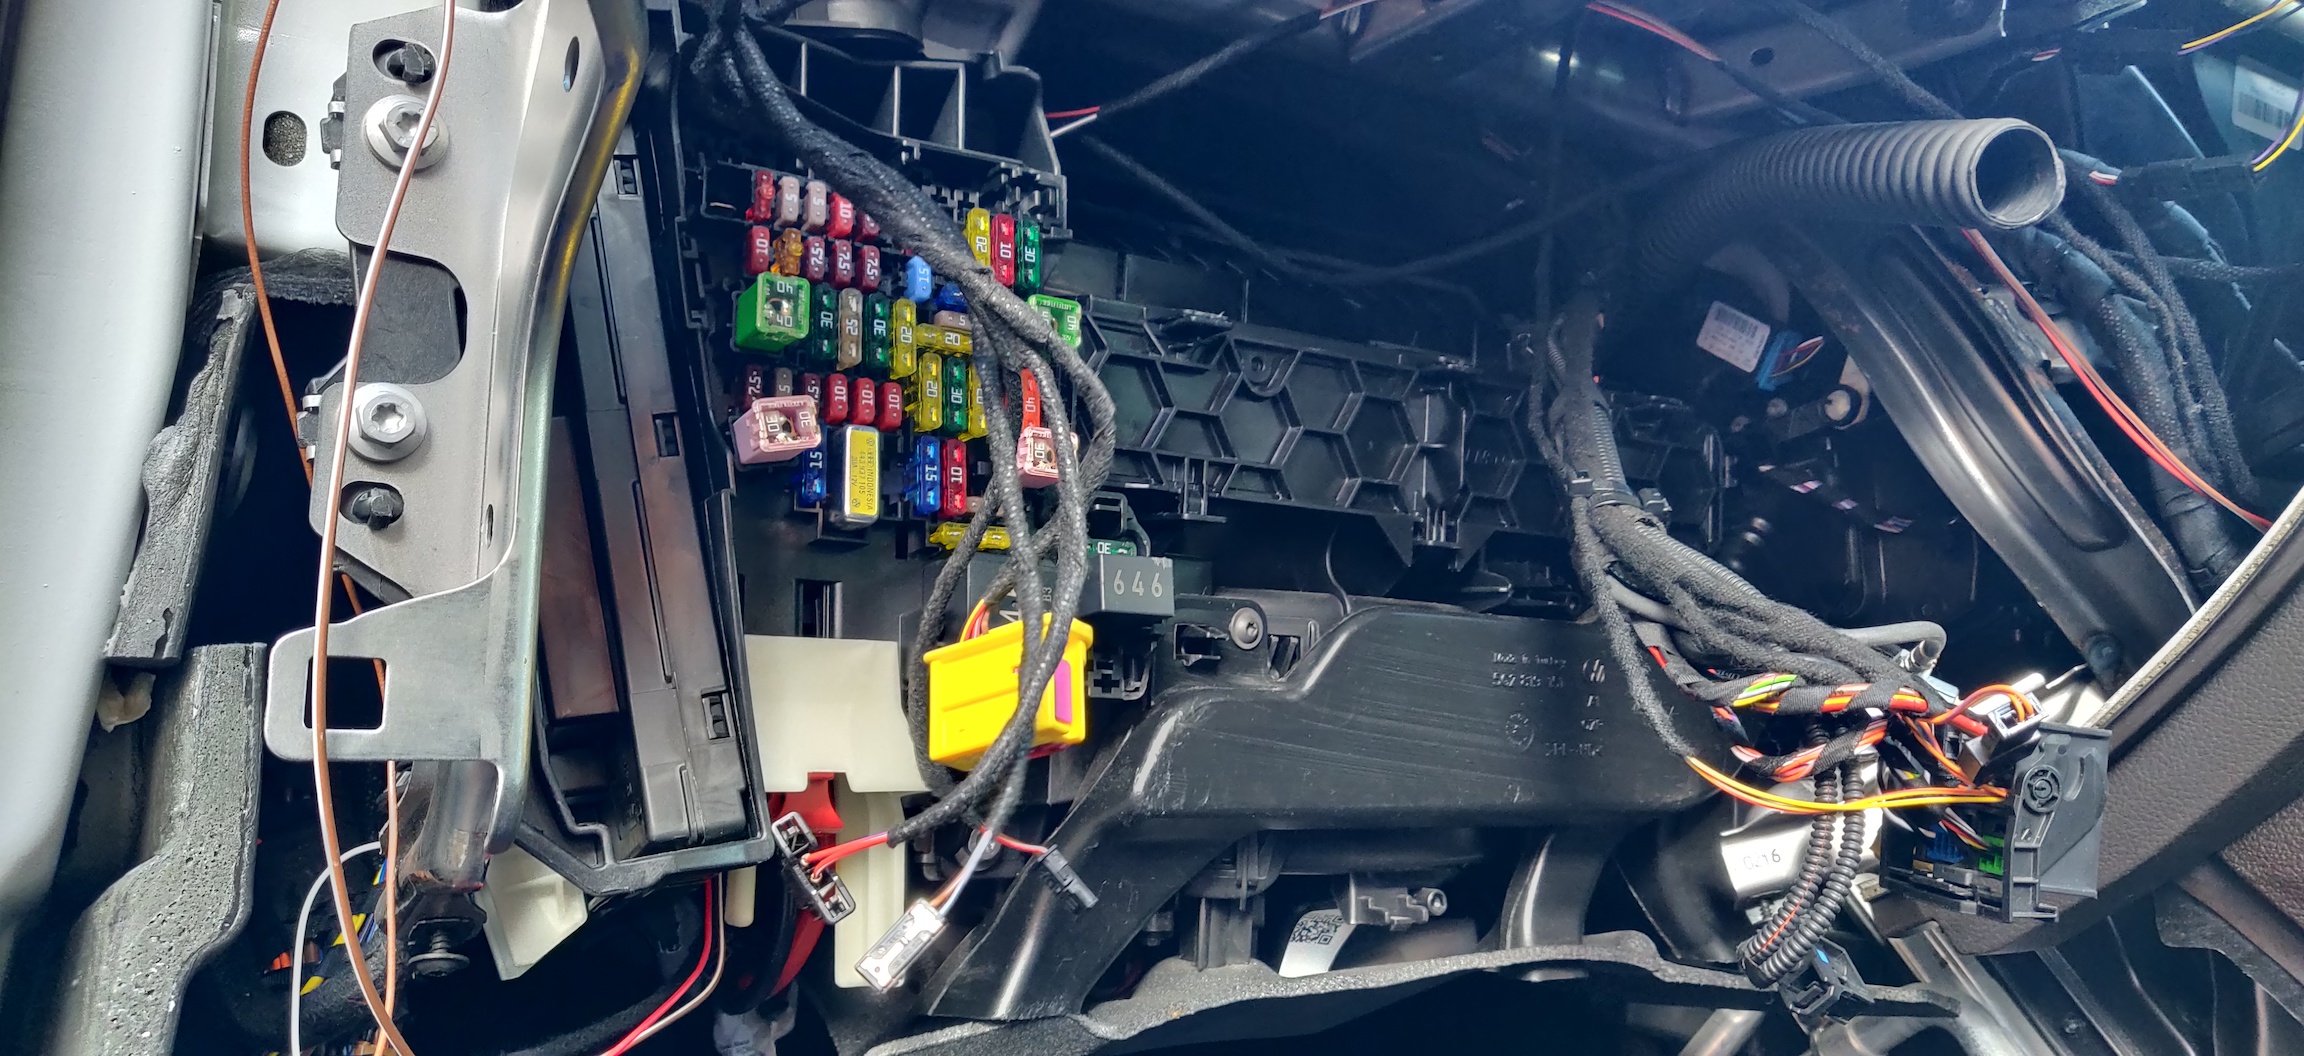
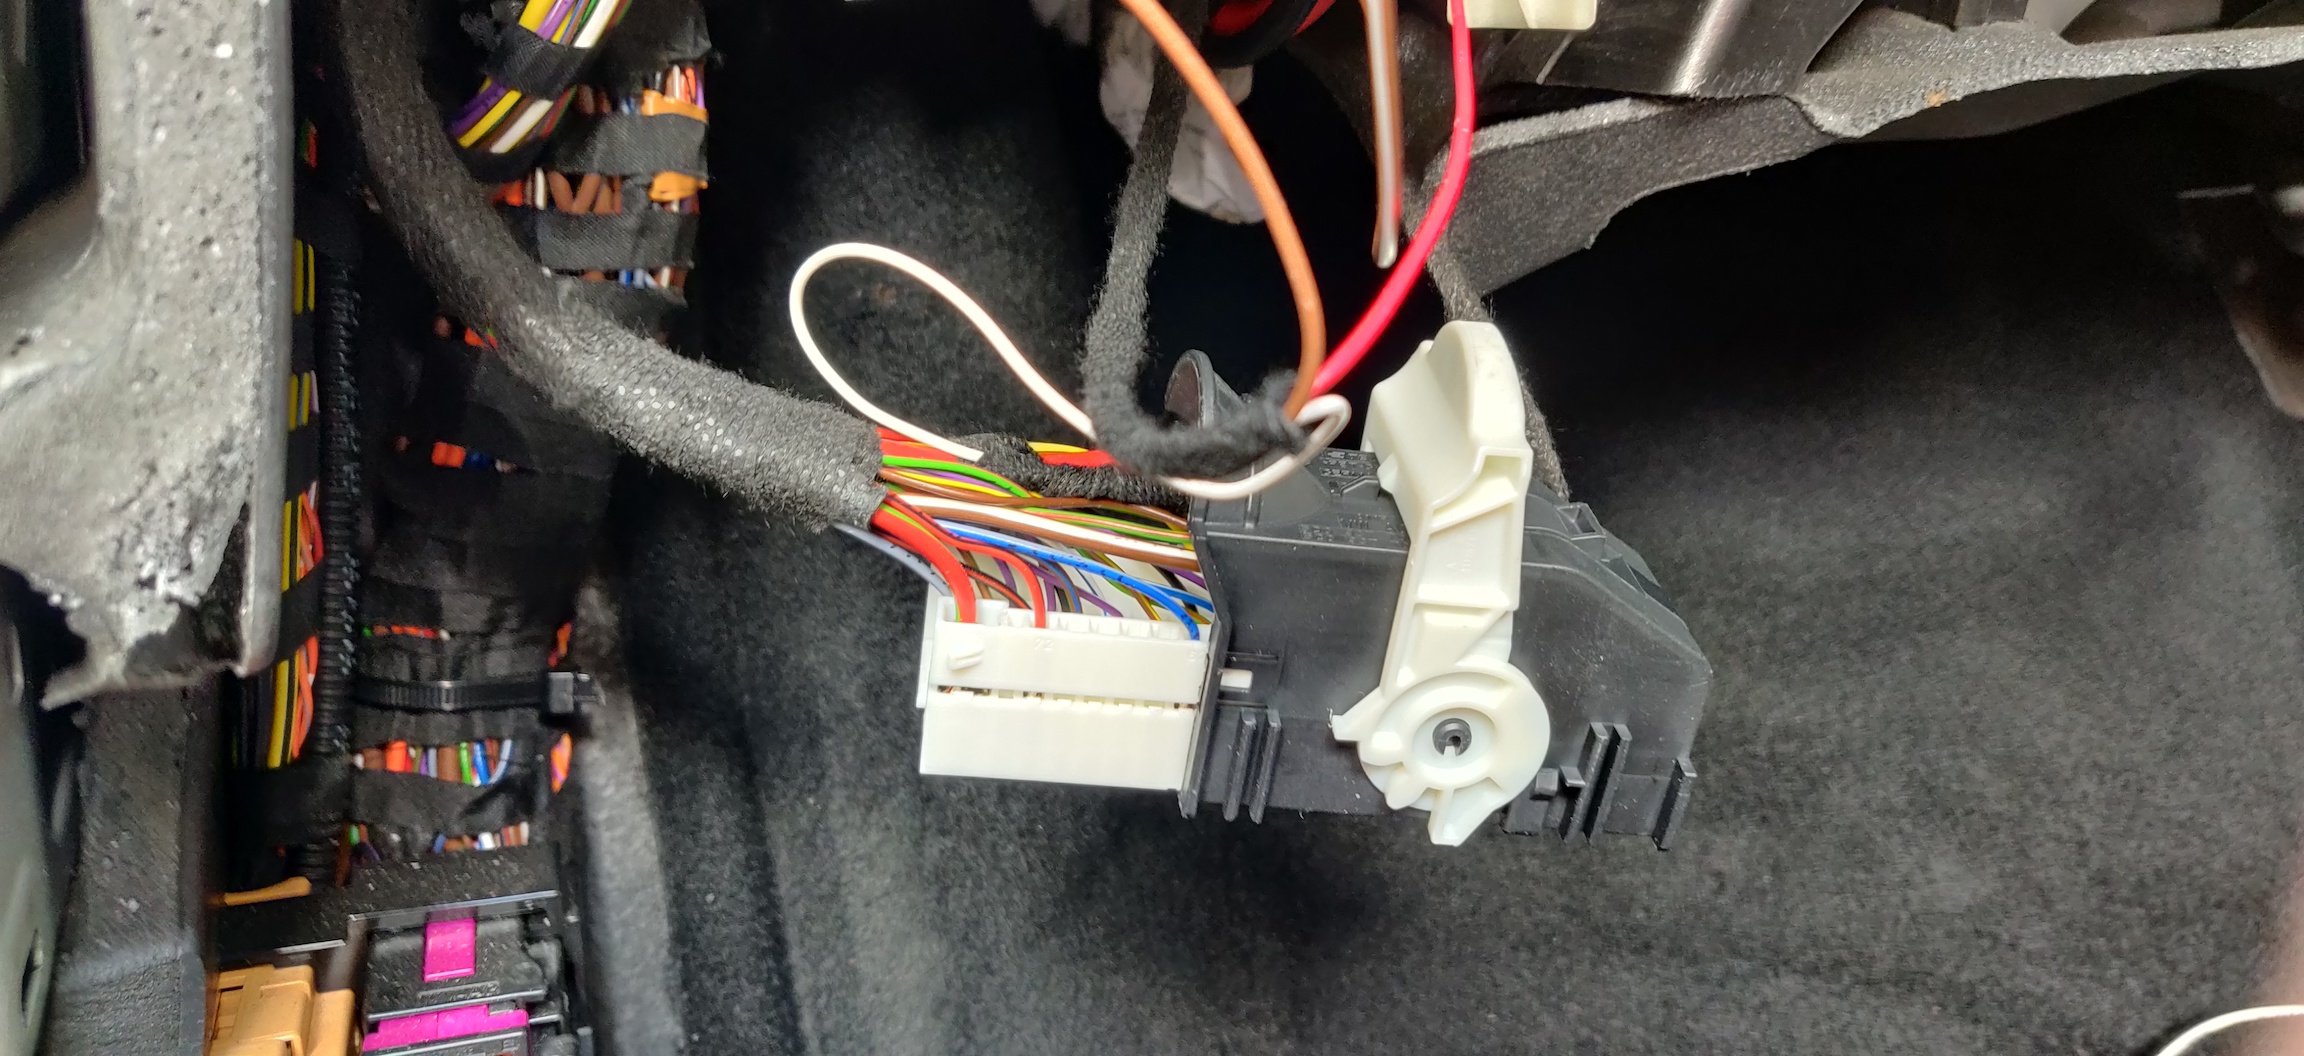
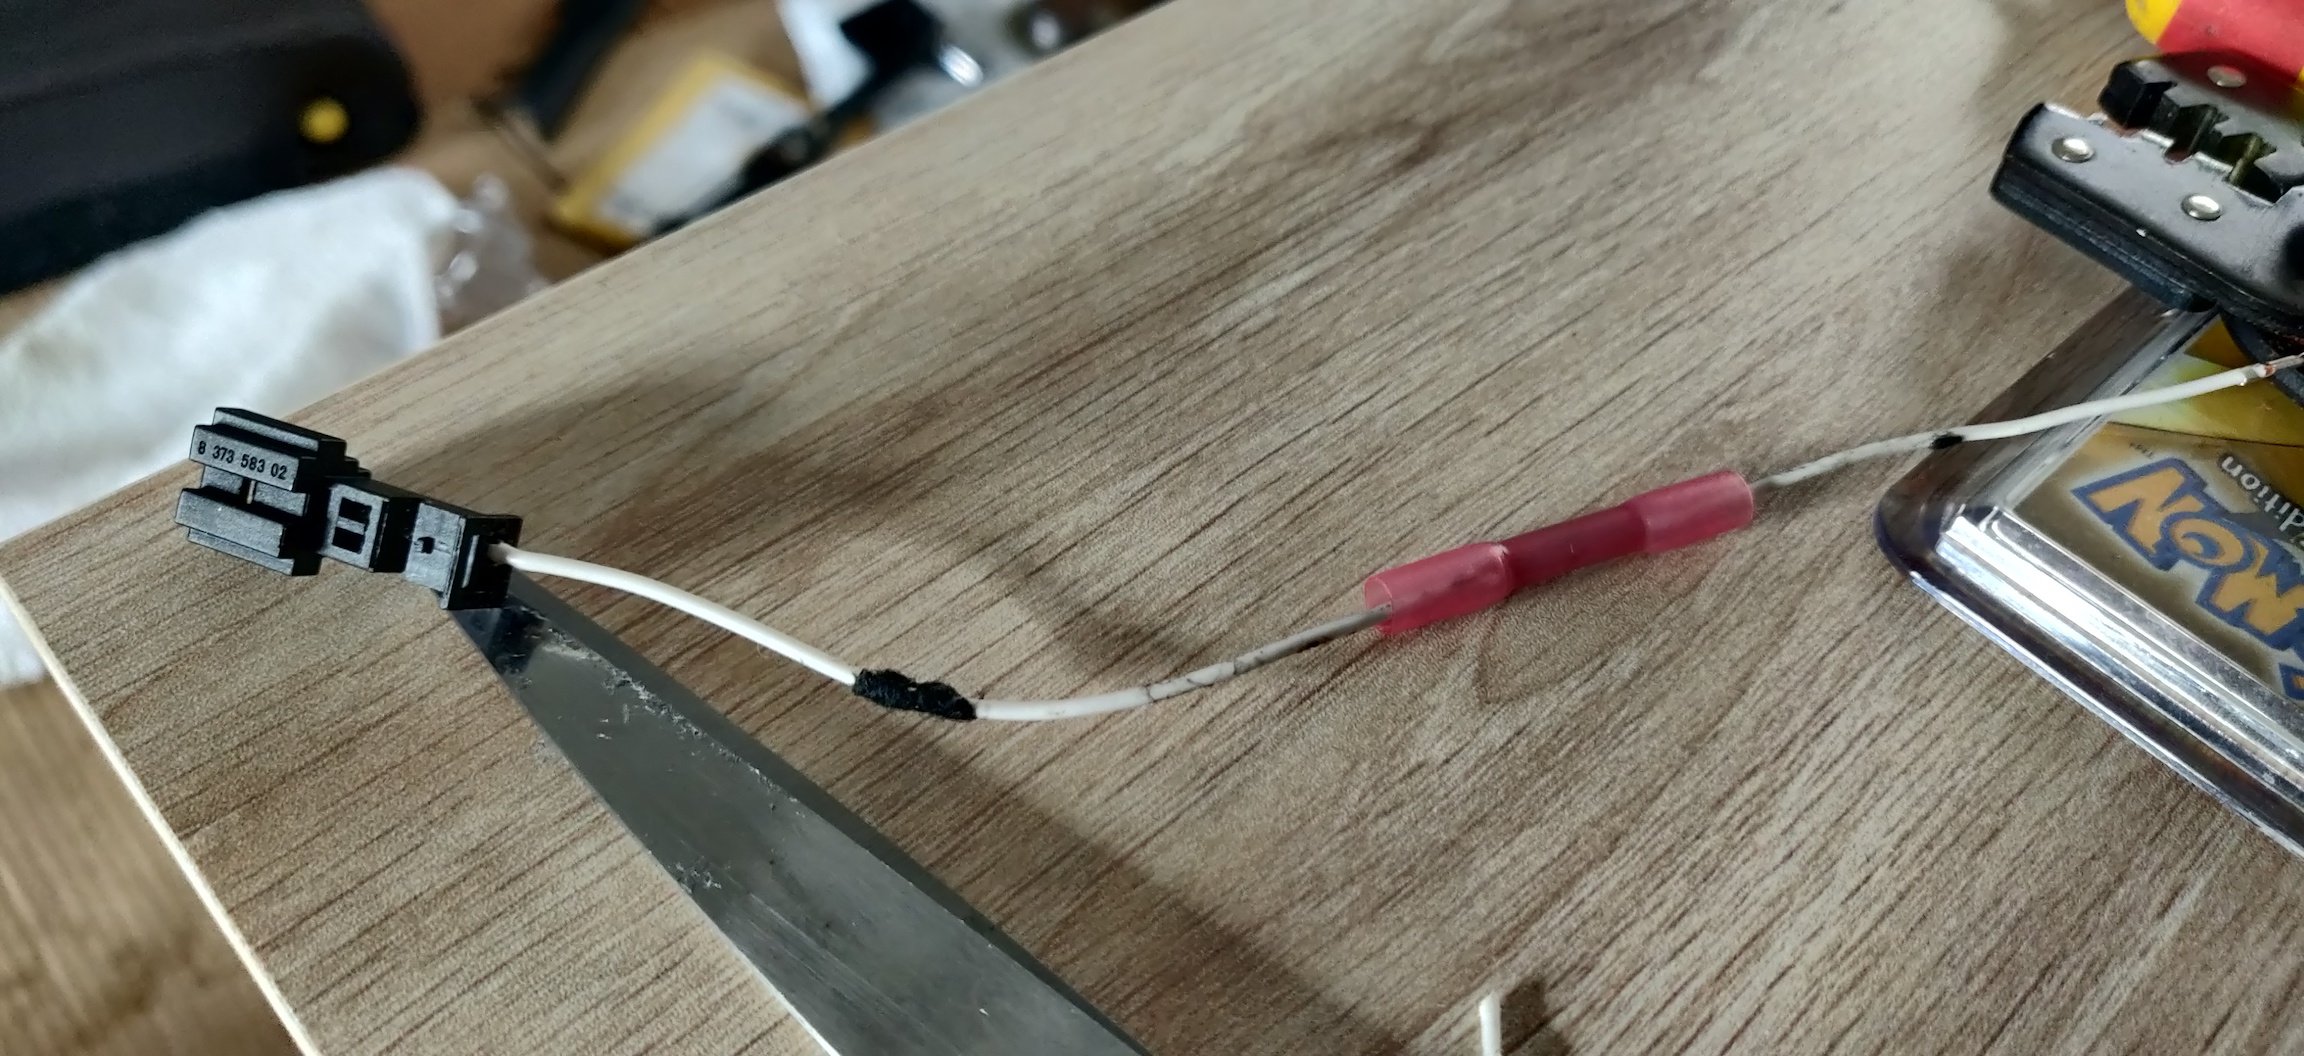
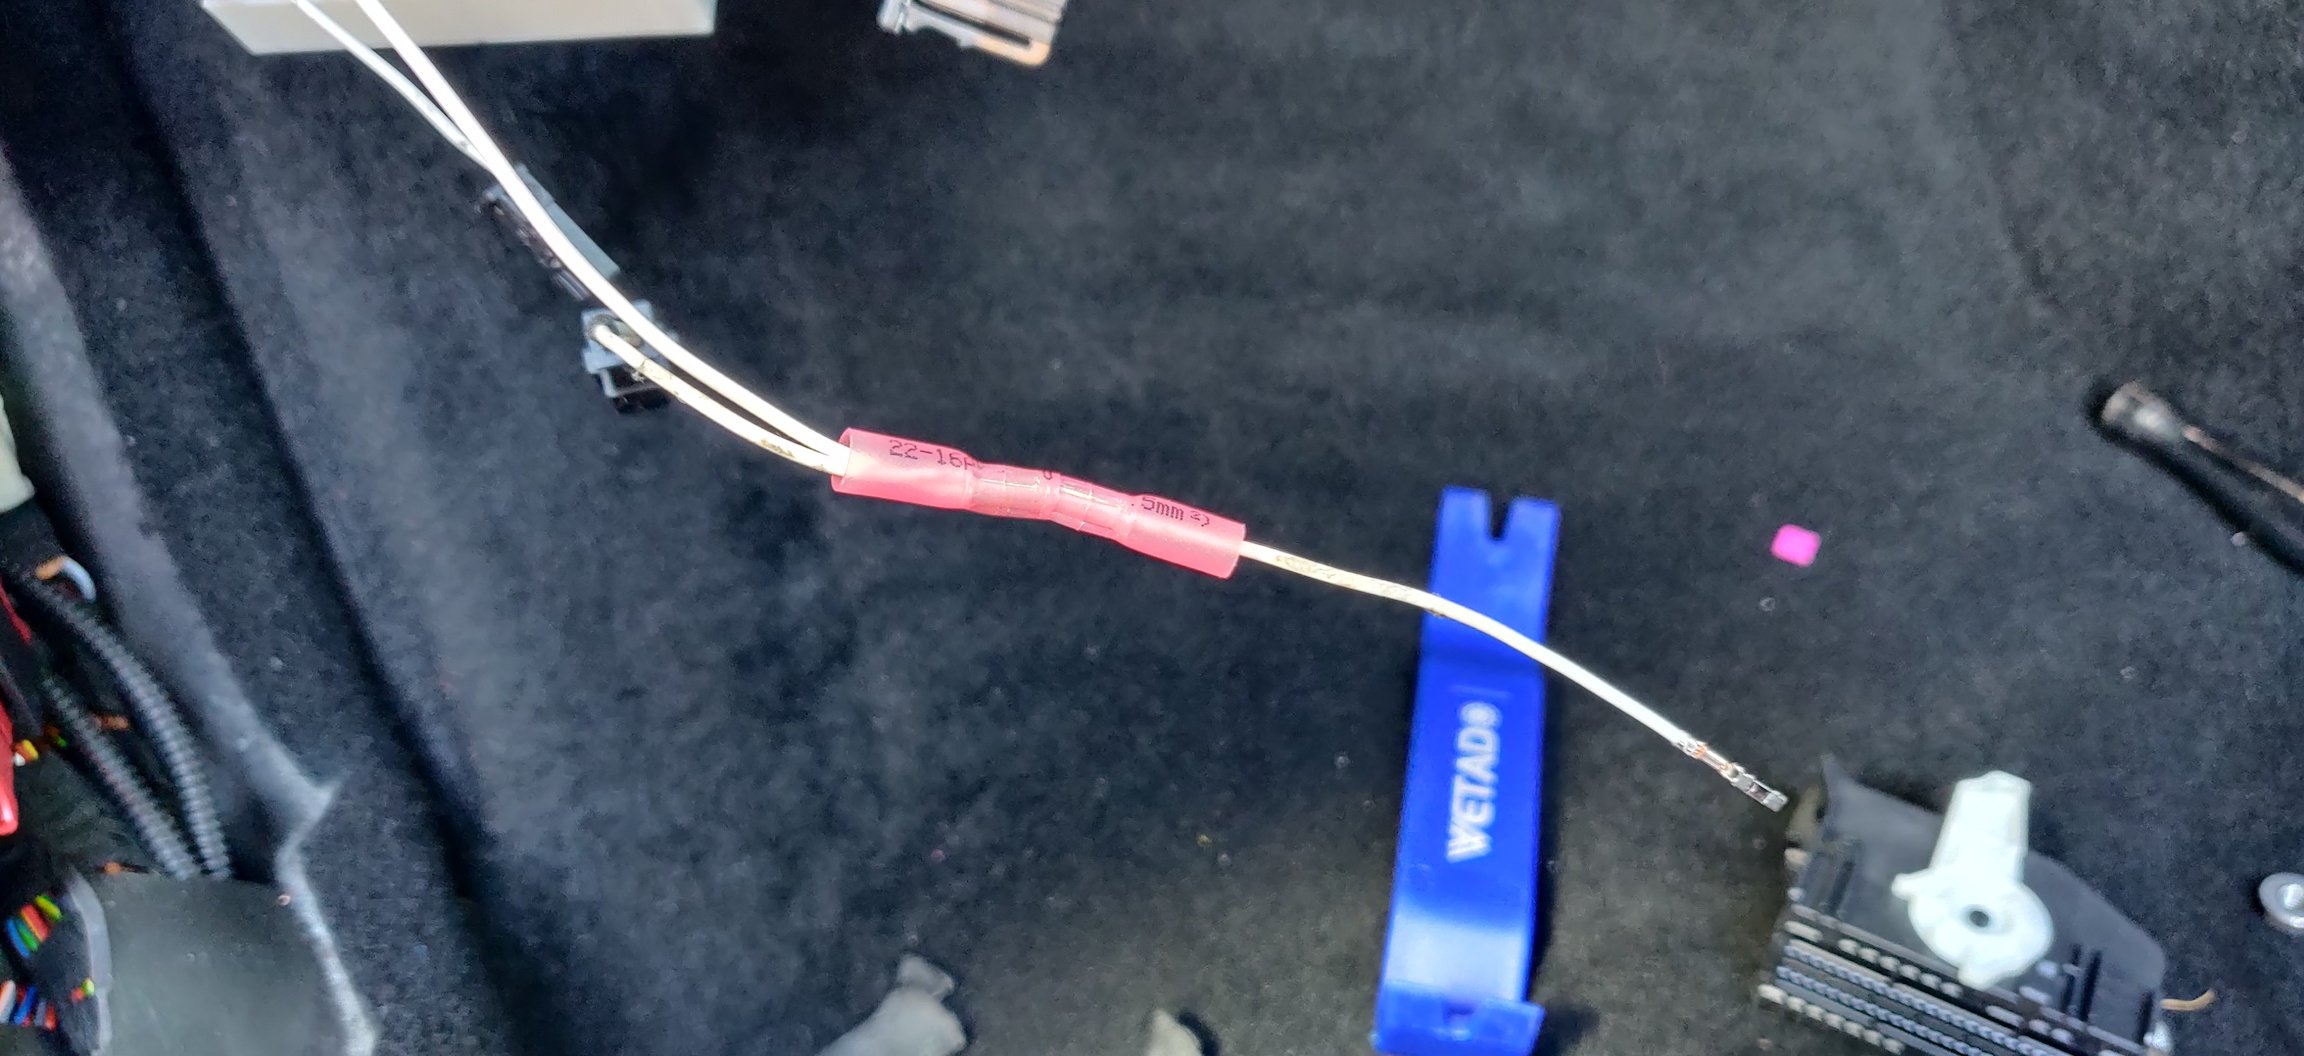
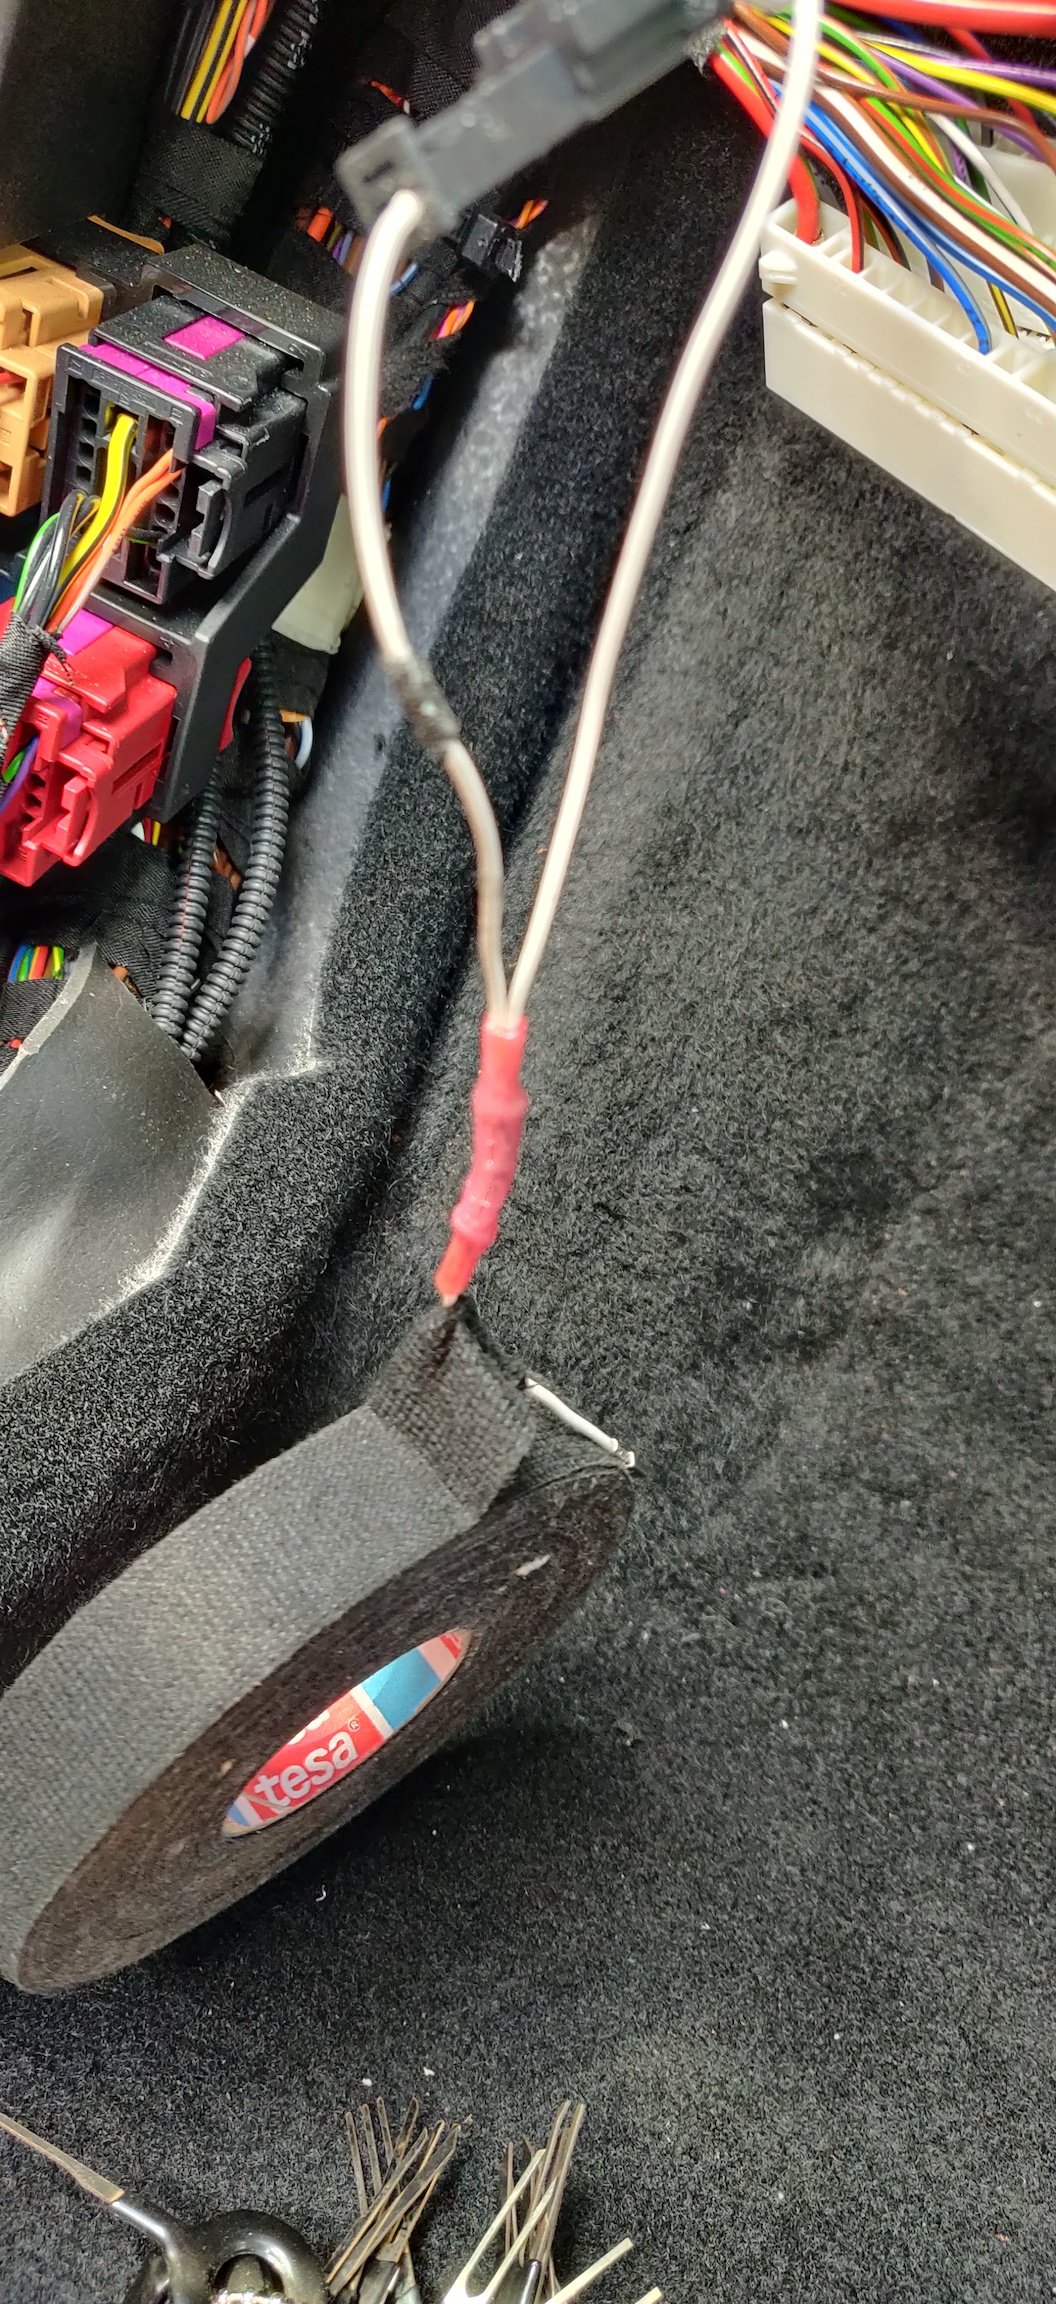
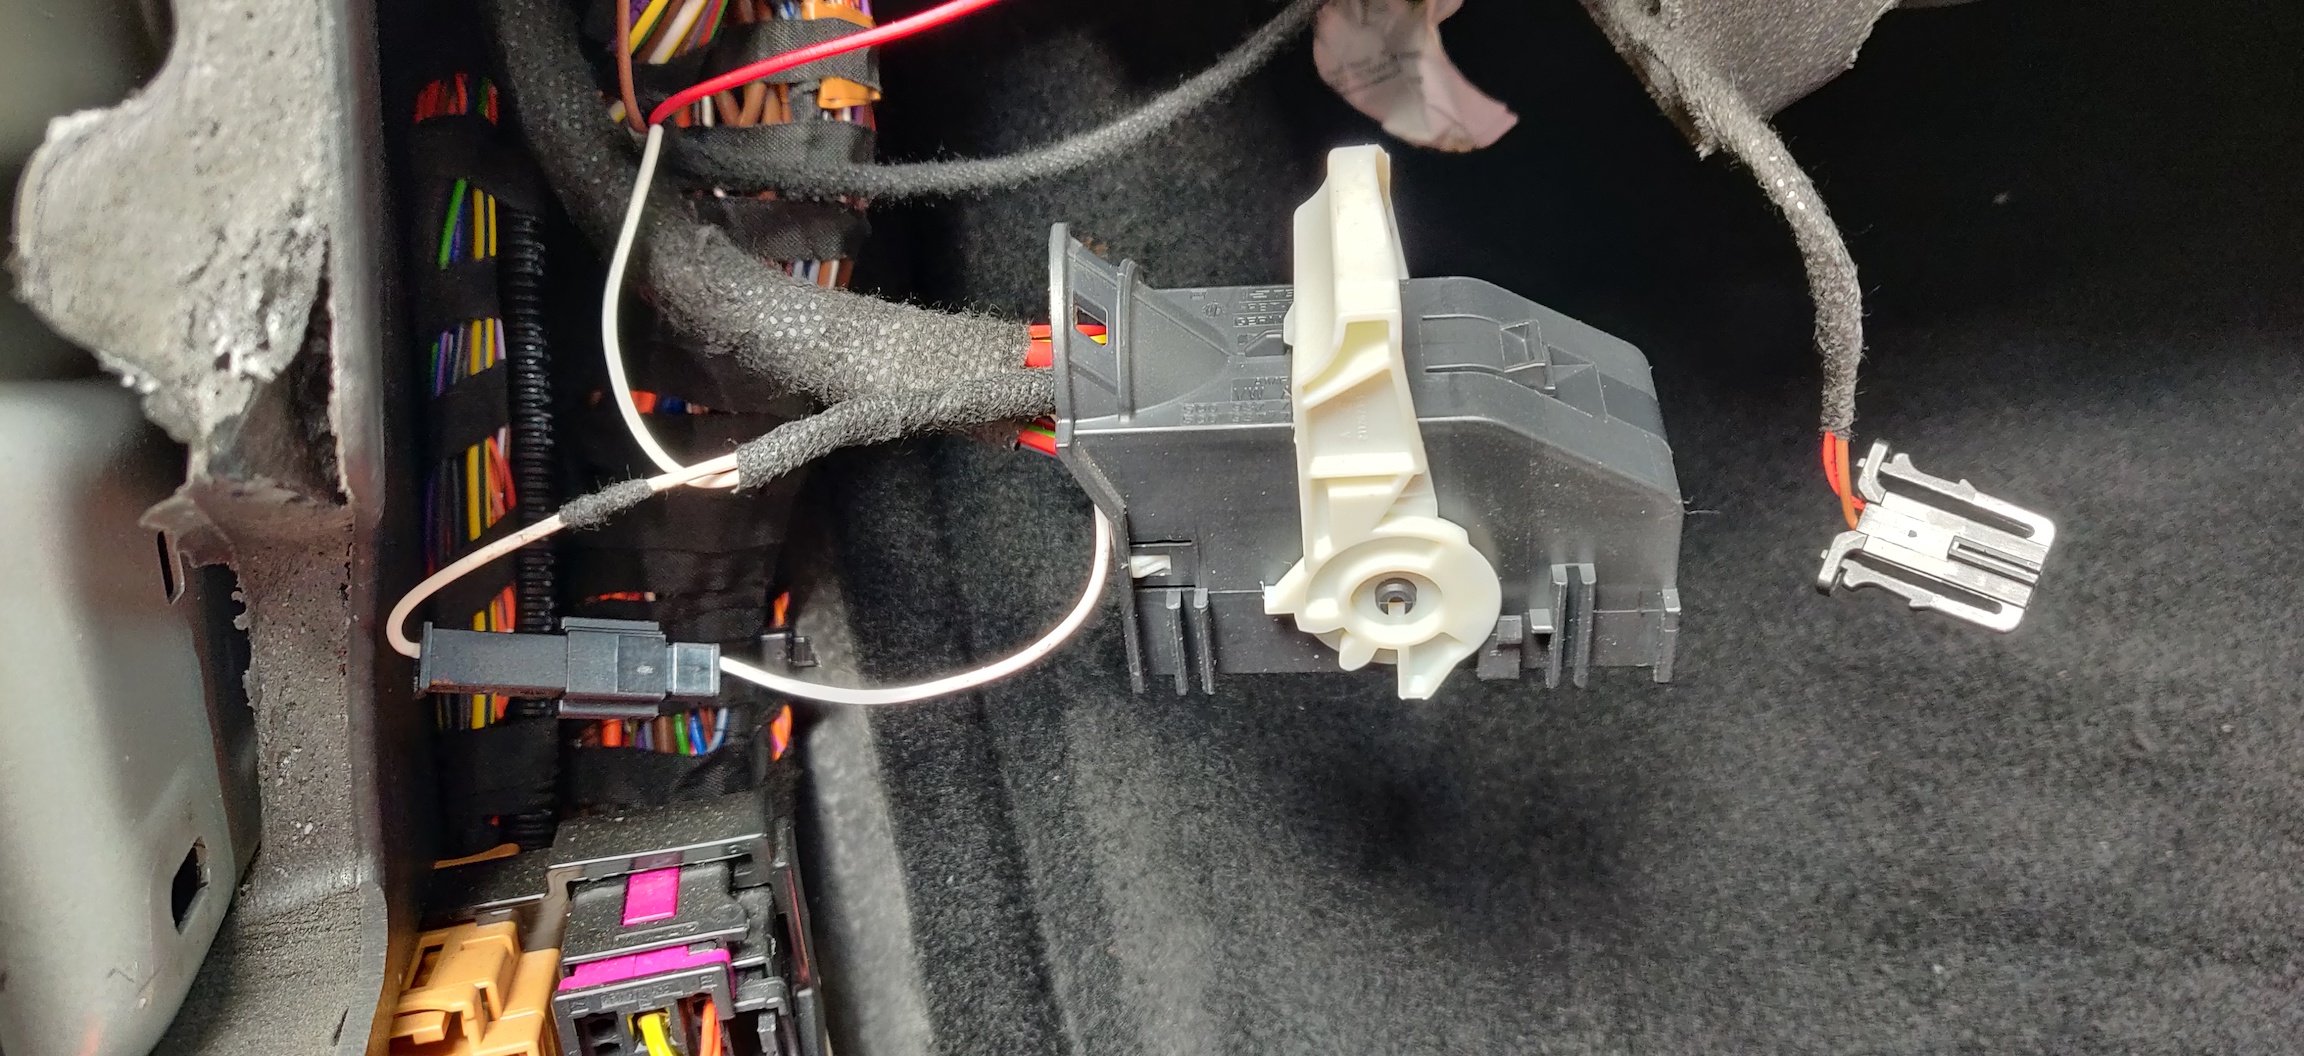
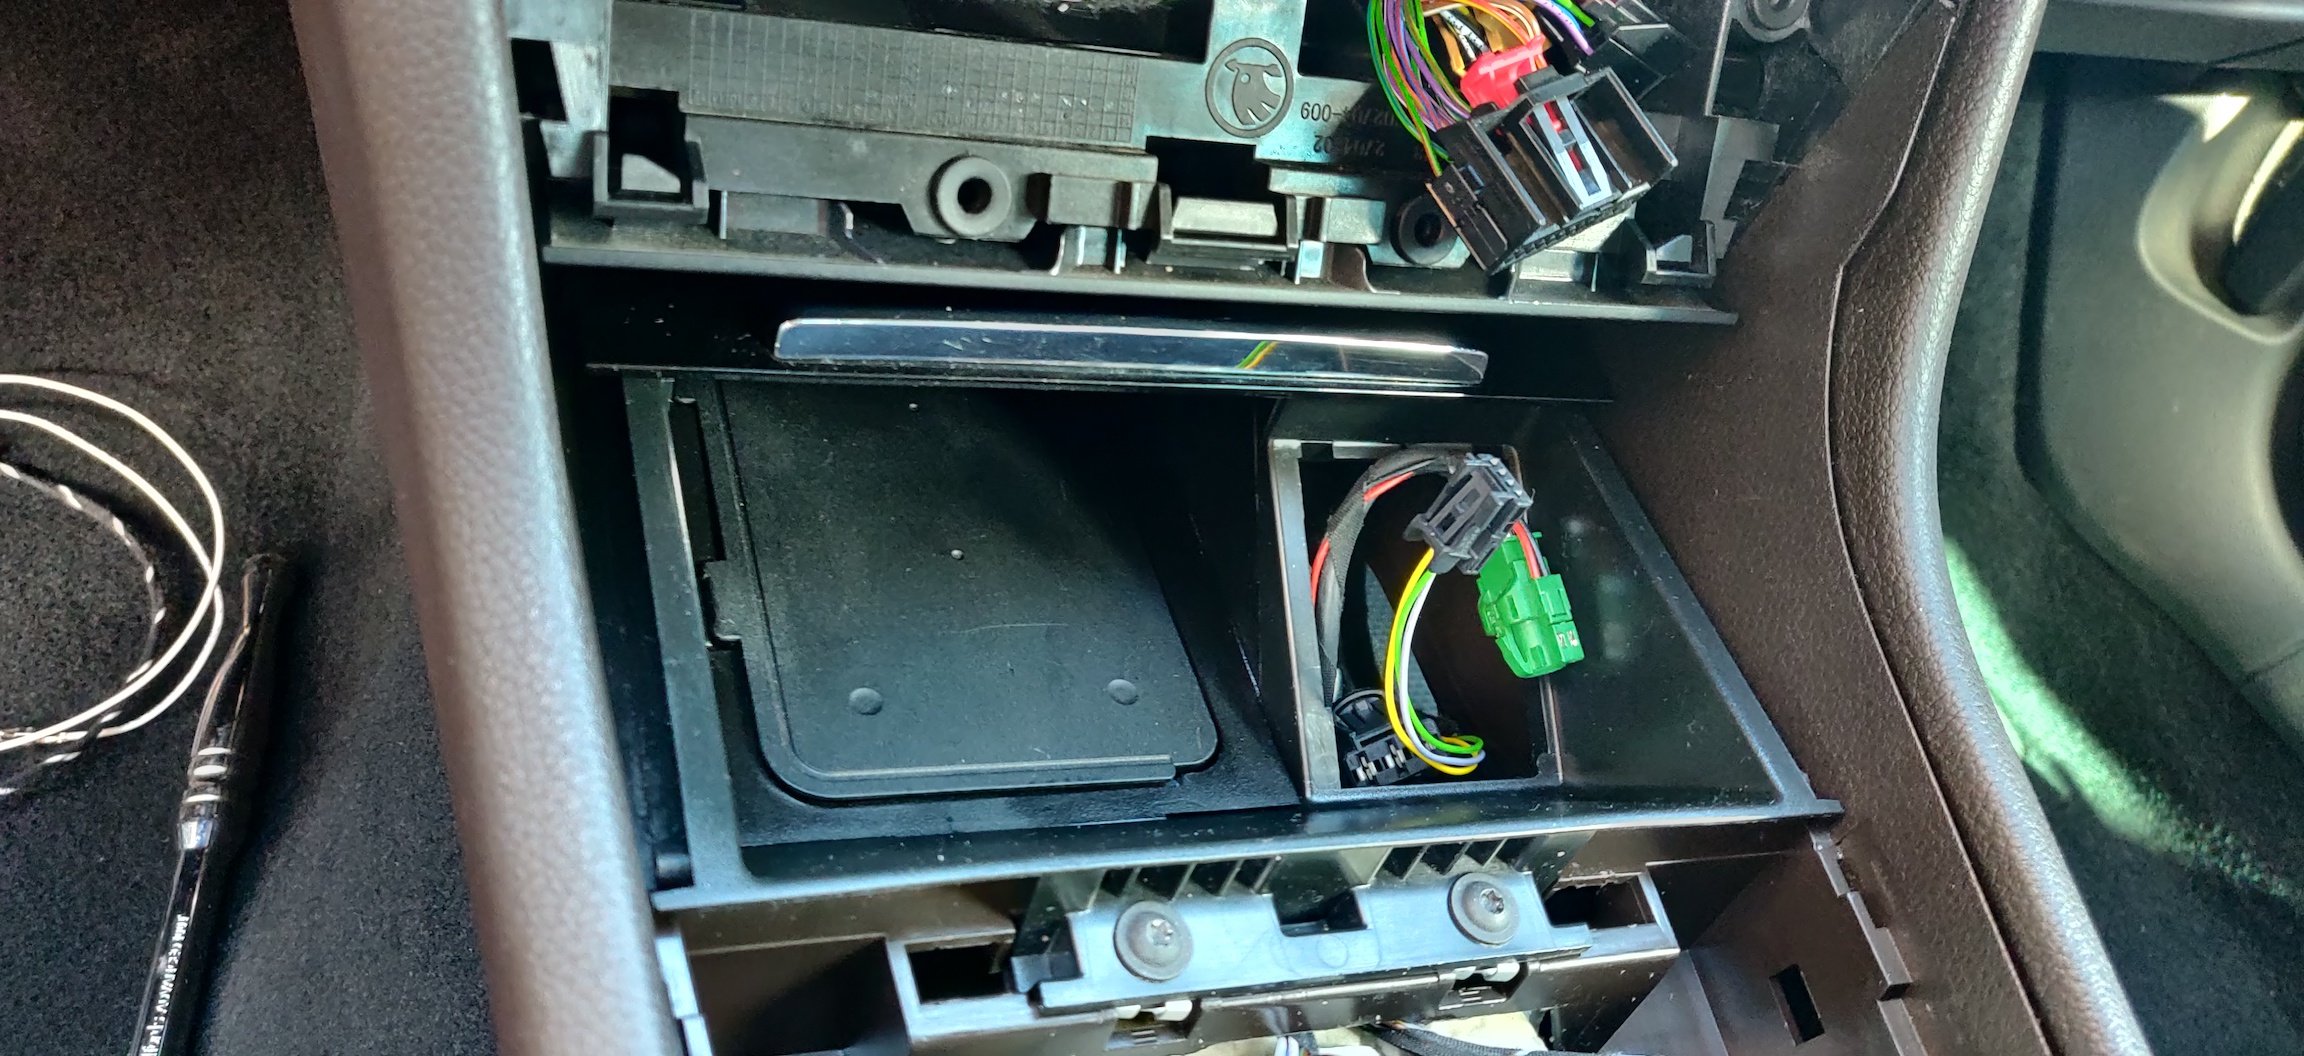
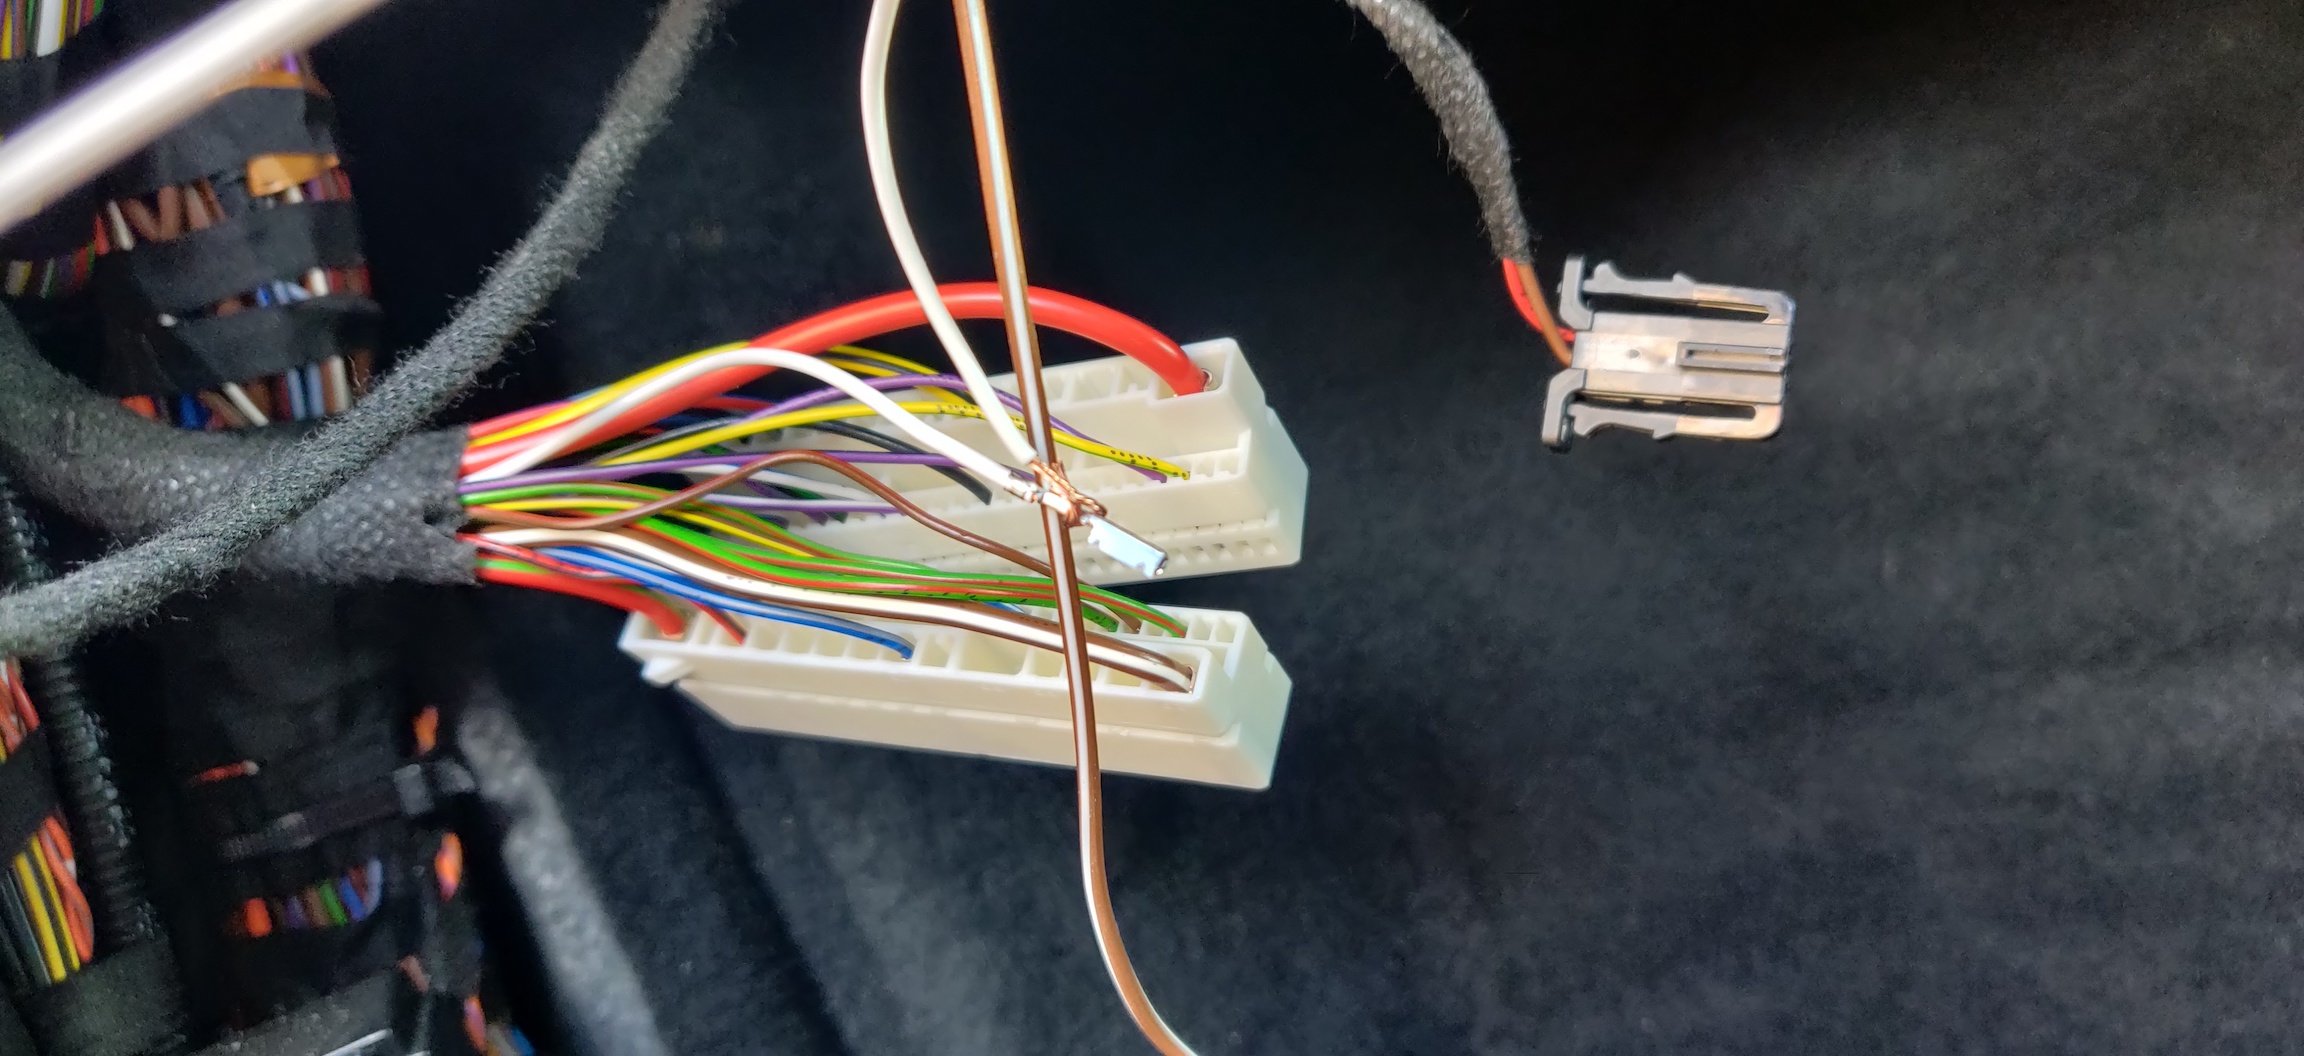
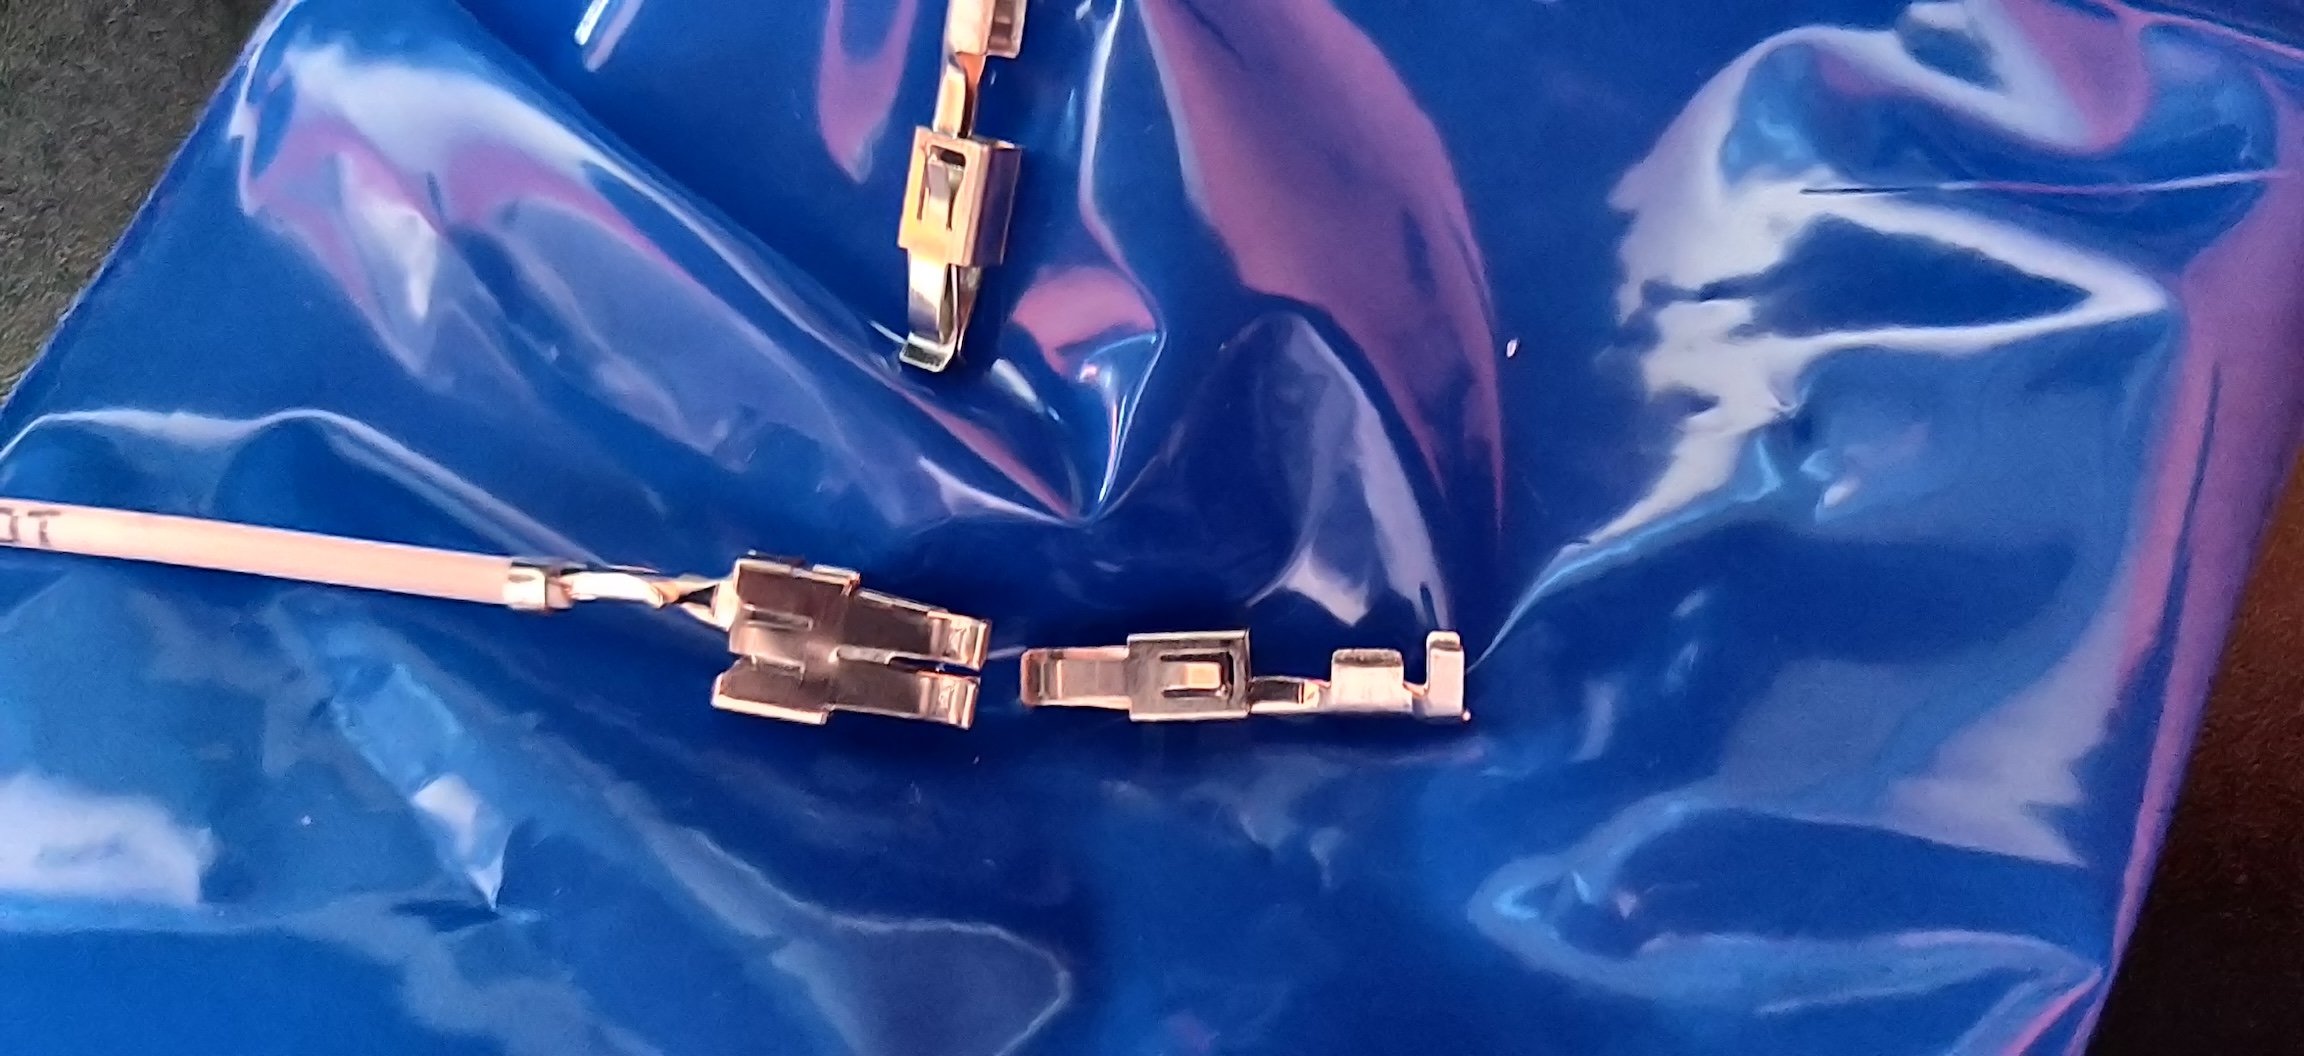
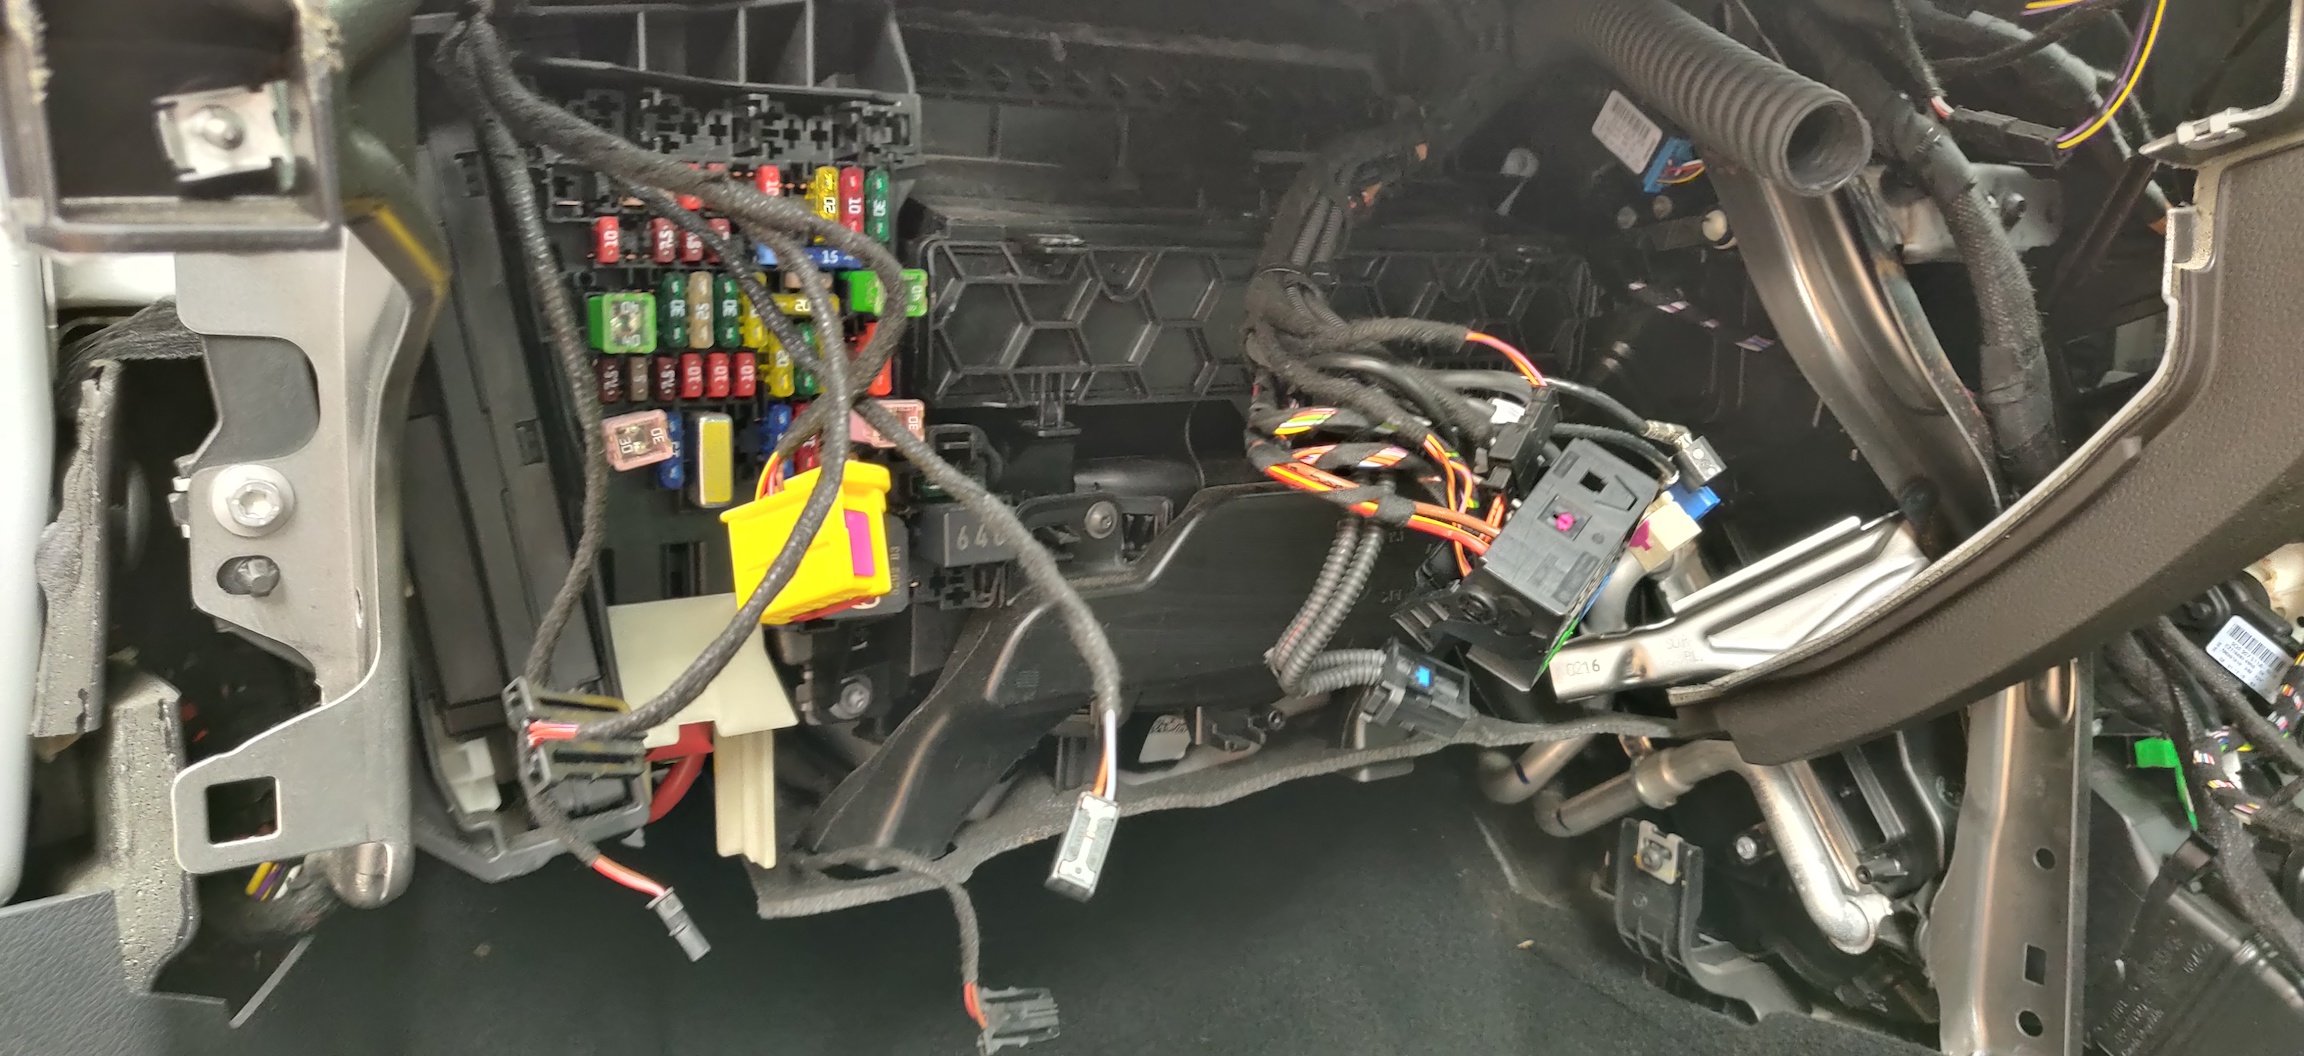
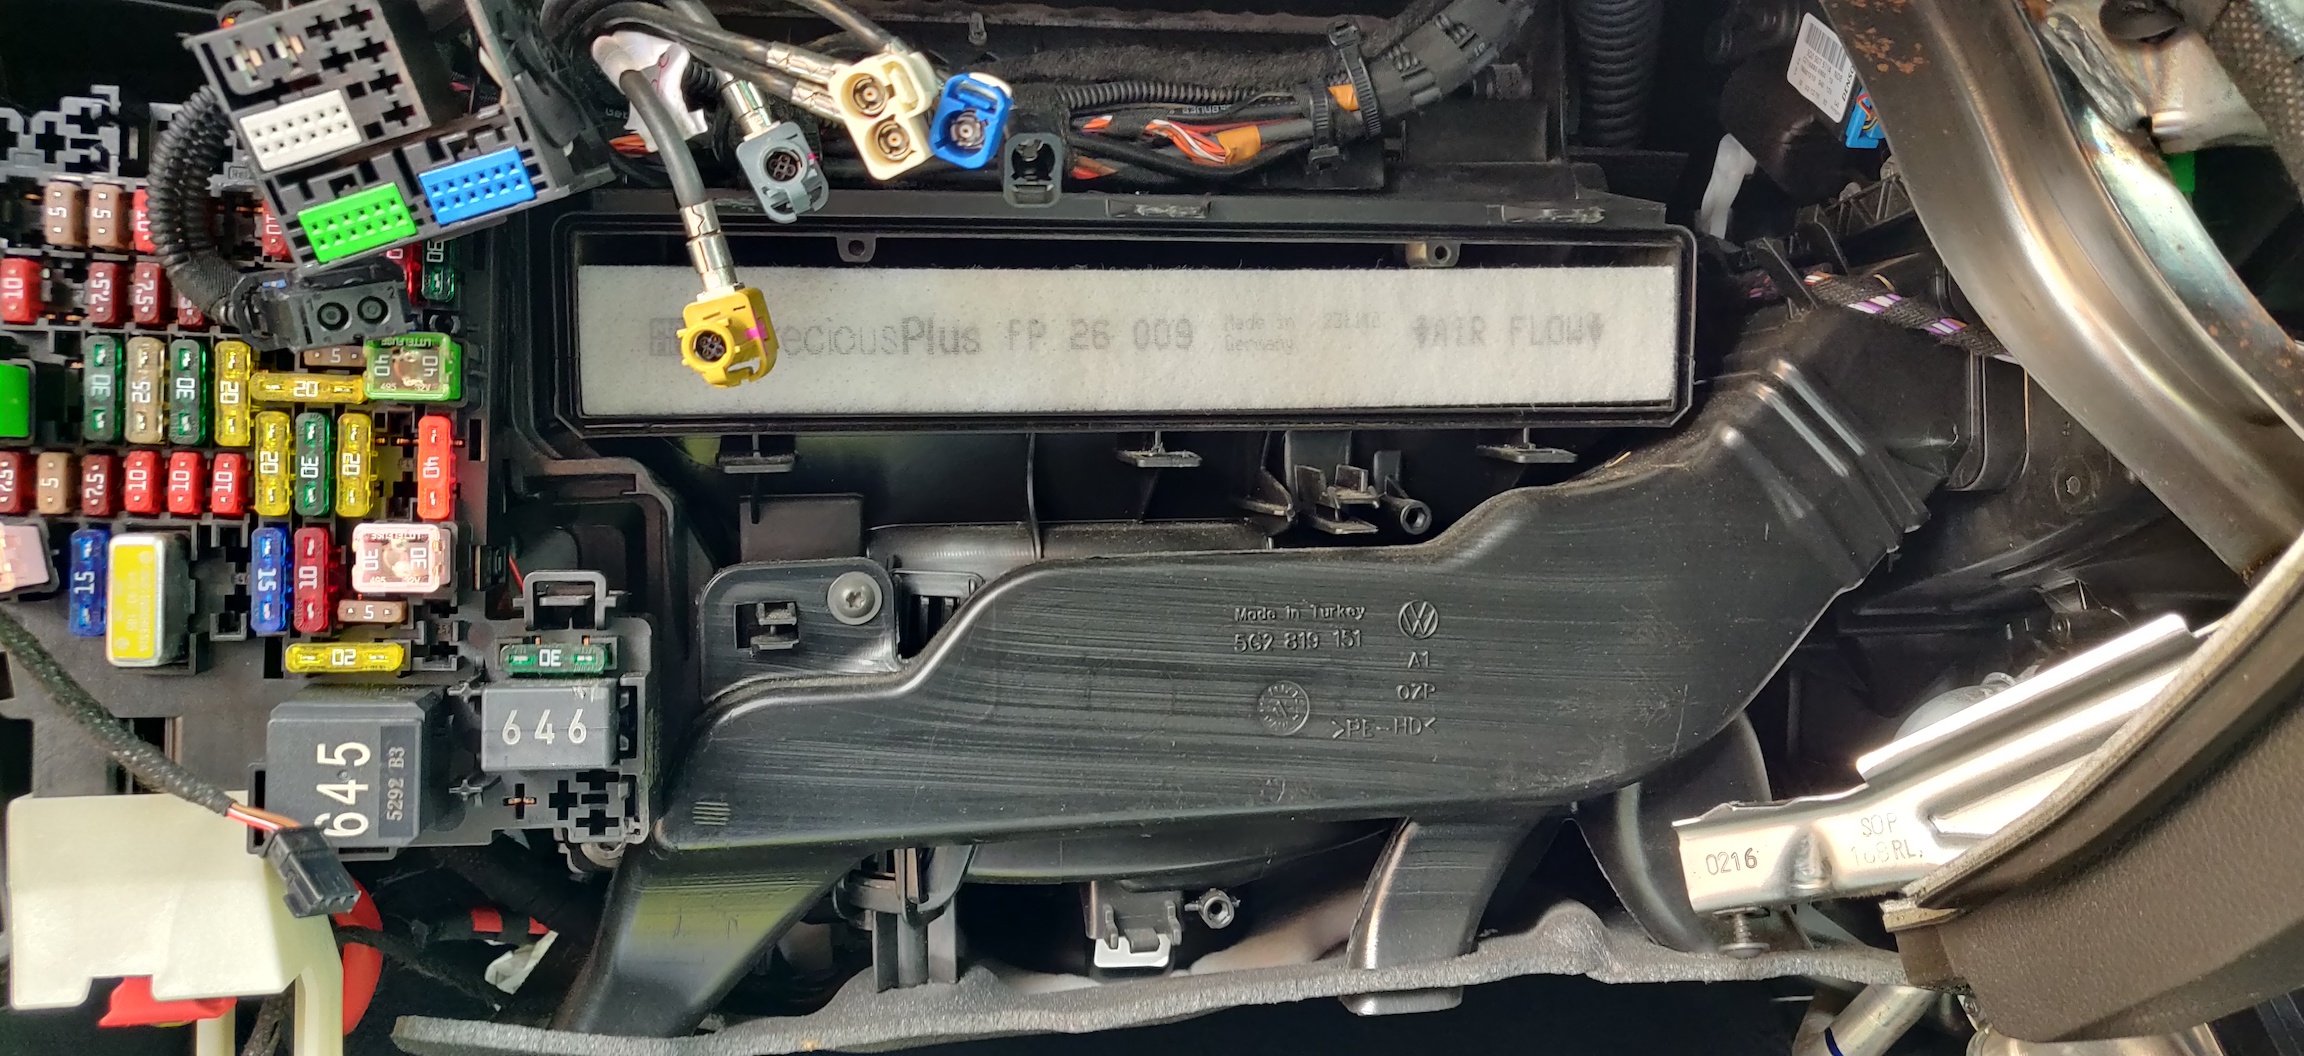
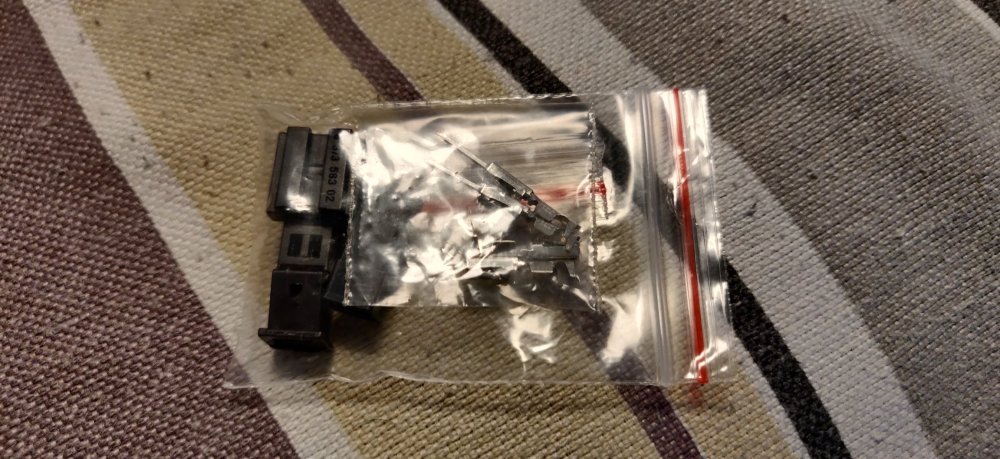
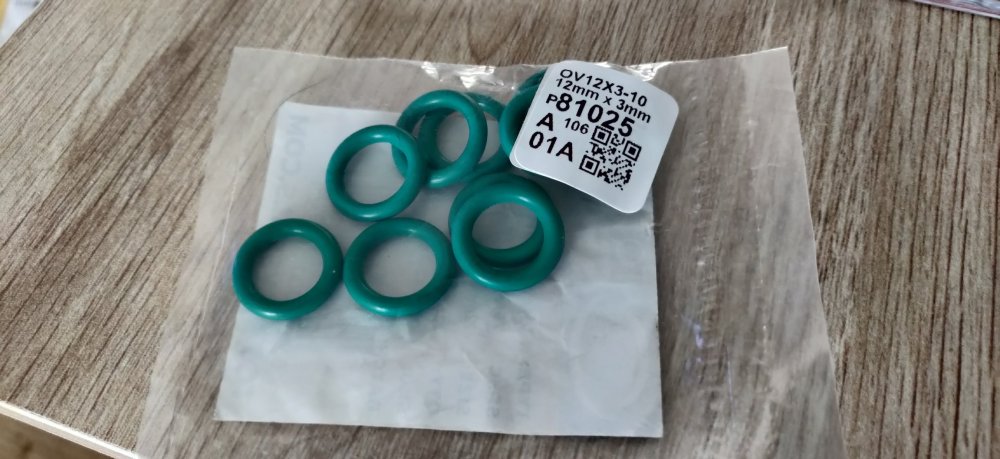
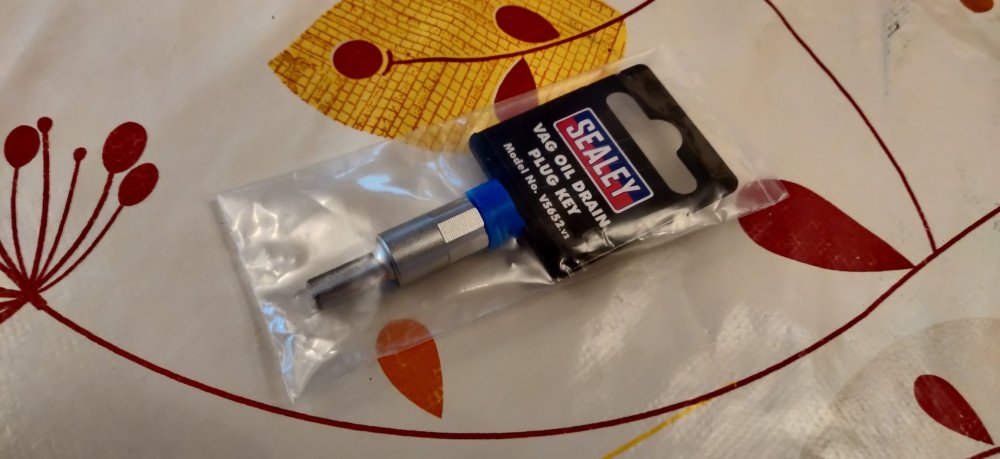
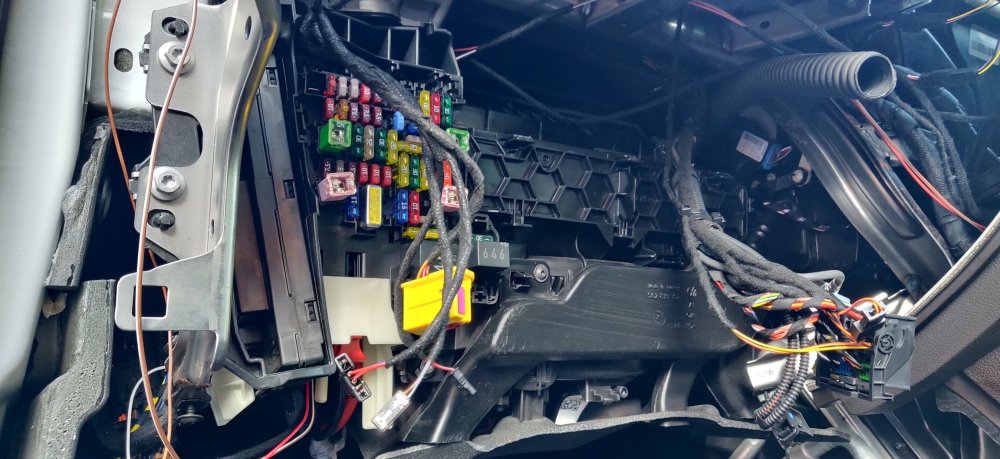
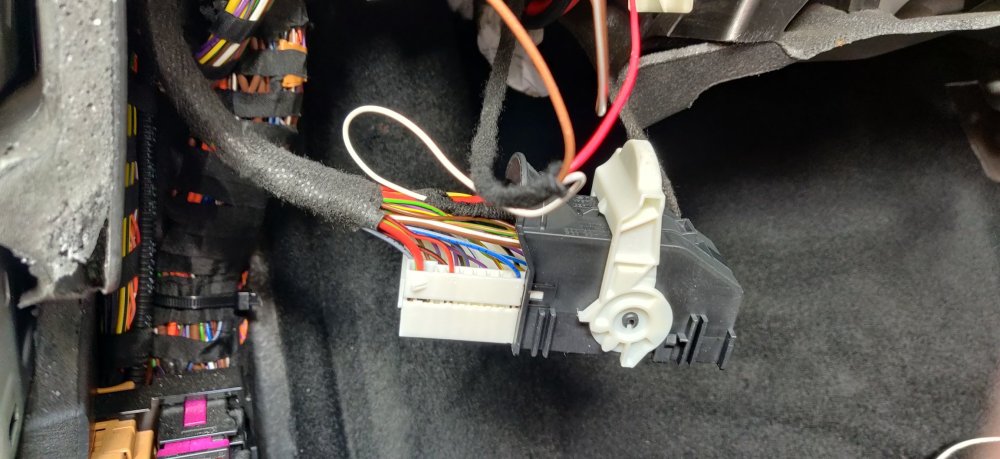
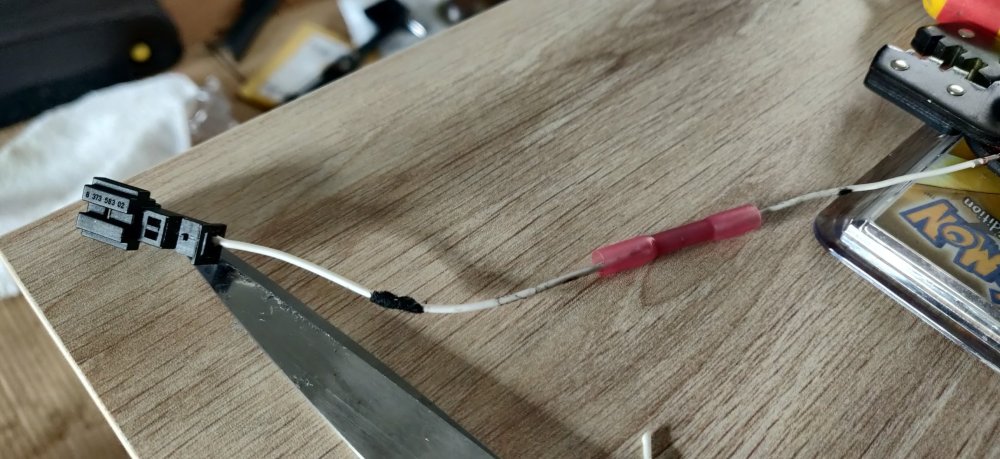
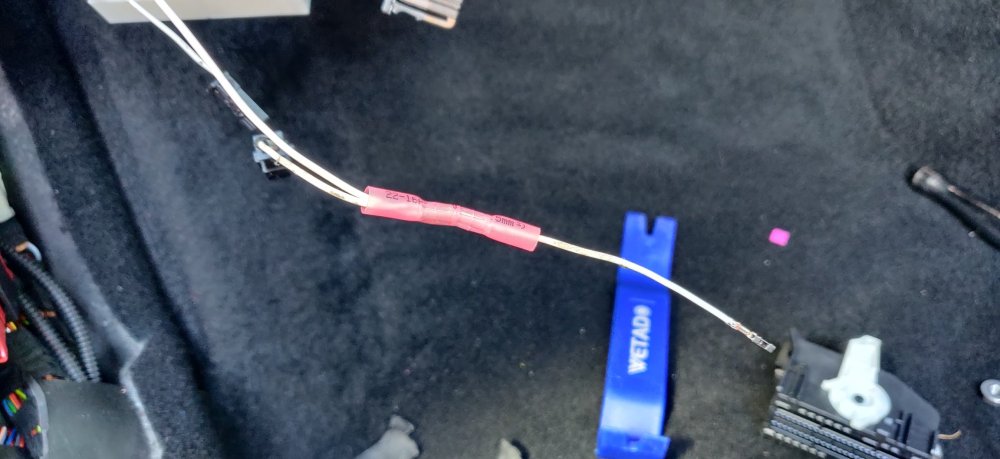
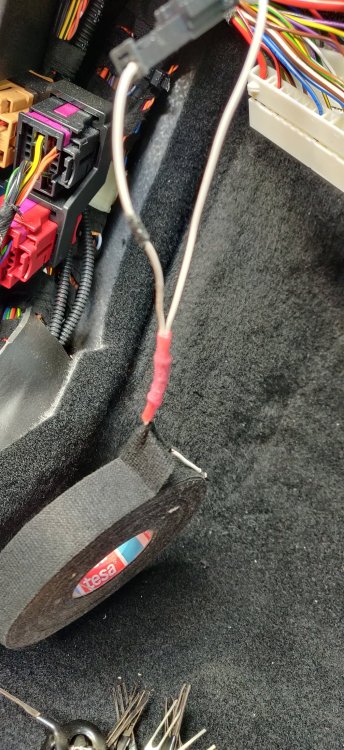
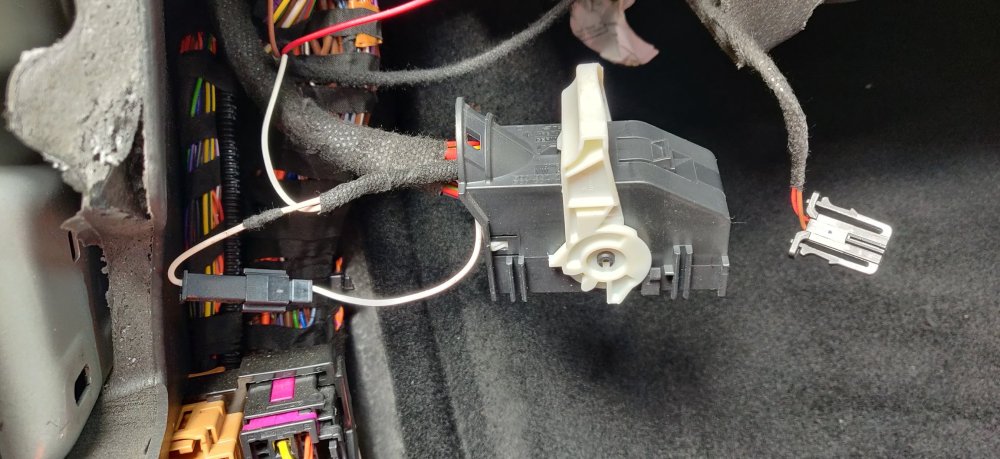
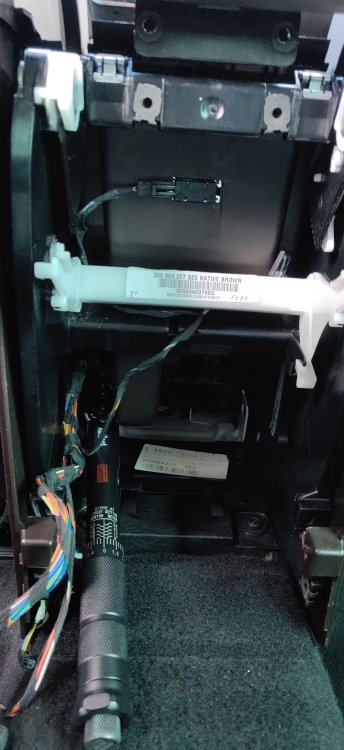
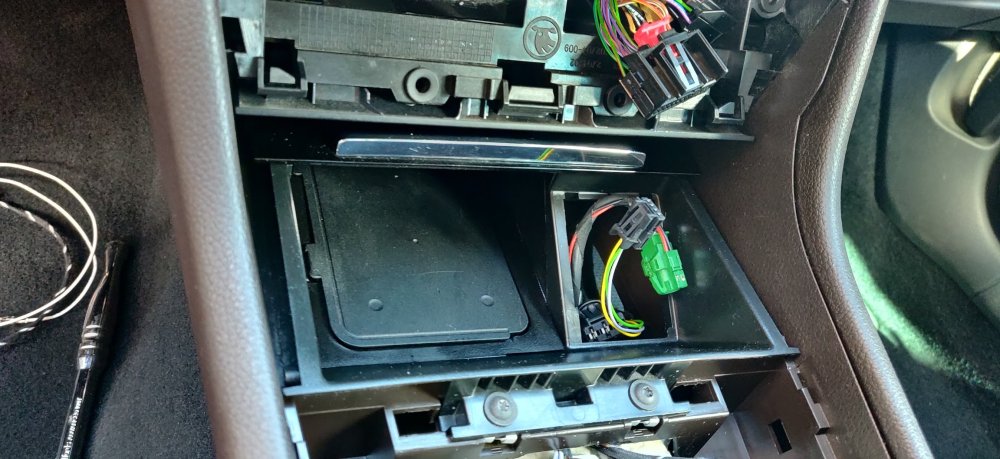
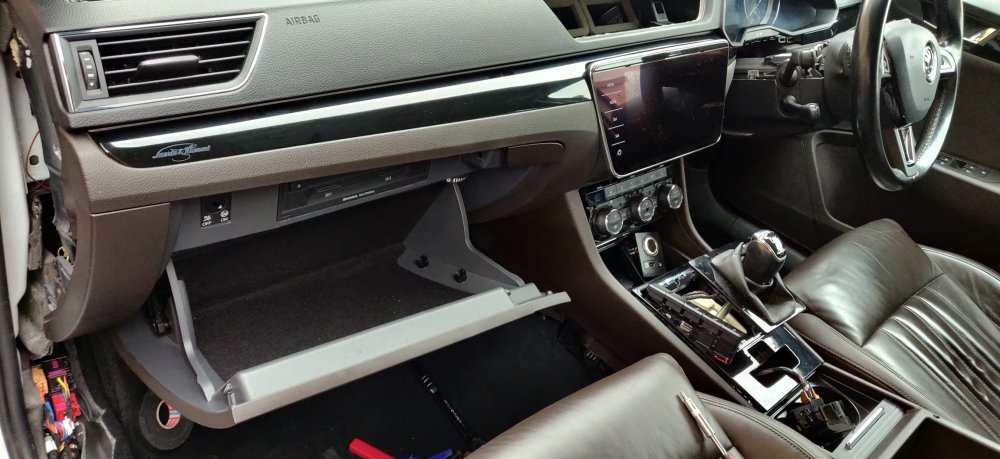
As noted in the last post, some deliveries: I can't remember where I found the information, but it eventually led me to take a punt on this https://www.ebay.co.uk/itm/204450772668 which is according to eBay a TE MQS connector. It was ordered 15 March and arrived today, so a week from China. Can't complain. Cost £3.90. The idea is that if the original pin 14 terminal is inserted into one end of the plug, then the other plug could have a pin that essentially has two wires, one for the wireless charger and one to go into the BCM. Probably harder to explain than to show. Took the now cut off terminal from the wireless charger loom and test fitted it into the black connector, which looked to be a perfect fit, so had enough confidence that the original pin 14 will also slot in the same. These also arrived: In anticipation of servicing the car, I got a Fumoto valve, based on searching on the Internet for its size, so F106N. I use them on all my cars as it saves on the effort around sump drain plugs and also of seals, such as the ones above. I've discovered however that the sump on these engines are plastic, so a bit of swotting around, and it looks like its probably just easier to replace the o-rings on the plastic drain plug when necessary. So here's what I'm hoping are the right size, a pack of 10 for £6.63, from https://www.totallyseals.com/products/12mm-x-3mm-viton-o-rings?variant=31167404048418. I'll have to price in the wasted Fumoto valve I guess, £42.70 from Amazon, exacerbated by there being no UK distributor for Fumoto valves anymore, hence the higher price. Such a shame. This then drives it home: I could have used a flat screwdriver to undo the sump plug, but decided to do it a bit more properly, so another thing from eBay, £4.56. Sod's law I'll still end up being cack handed and do some damage with these plastic bits, but fingers crossed. So as mentioned earlier, of course the weather picked up a bit, so I guess I had to redo the whole bit with that pin 14 wire: I put the fusebox back into place and clicked it into place as seen above. This hopefully confirms the general routing approach for the heated steering wheel and wireless charger. It goes behind the fusebox, up between part of the dashboard metal panel, and across, above the cabin filter, then down to the centre tunnel to where the wireless charger will be, with the heated steering wheel wiring then going further to end up somewhere roughly under the steering column, which I'll then sort out later (as it'll need splicing into the Kufatec loom). So a bit of deja vu: Now, the original plan was to cut an bit of the wire from the wireless charger loom, then take a male terminal and splice both that and the rest of the charger loom into the single terminal and insert it into the connector. The original pin 14 is inserted into the other connecter and thus hopefully creates the effect of splicing without touching the original loom. I didn't take pics because it was a bit delicate and then a disaster. Normally crimping two wires into a terminal is possible, but these terminals are a bit smaller, so the resulting terminal couldn't go into the housing, resulting in the terminal snapping whilst I was forcing it in! I basically only had one life left as there was no spare terminals. So had to chicken out and rely on the butt splice: So the above illustrates roughly the intention. The right wire has the female terminal intended for the actual BCM connector, and the newly spliced male terminal will be attached to the other end of the butt terminal in addition to the rest of the wireless charger loom. This is it back in the car and crimped: Unfortunately I wasn't able to find my heat gun, it's probably somewhere in the deepest darkest corners of my garage. So had to improvise, with a soldering iron that I found instead: Not ideal, so decided to wrap the result in some loom tape just to try and make it look a bit more OEM: So the 2 pin terminal is seen above alongside the plug that is now fully assembled. So you can sort of see that the original pin diverts away from the plug, into the black connector, and that goes into the splice, which then goes into the BCM plug, and the other wire going to the charger. Who knows if I've cocked it up. With that all plugged in, decided to utilise the nice weather and start putting back the rest of the interior. Started with the arm rest: The furthest left bolt is the most annoying as it fouls that little deep bit in the cubby hole, so the centre console needs to be lifted to get enough clearance. The bolts are tightened to 6Nm, which isn't much, but luckily I have a small range torque wrench for the purpose as seen above. It just about fits. Once done, the rest of the centre console can be tightened up, it should be 6 torx screws, T20 in size. These are all 1.5Nm, which I don't think warrants a torque wrench, just a nip with the wrist should do it. The wireless charger was then fiddled into place. The AliExpress cradle is naff and the charger keeps popping out, which is very annoying, but I suppose allowed for the wiring to be connected and any other bits pulled through: Then two T20 torx screws on the front of the storage compartment/wireless charger. Then it was the glovebox, which was two screws at the bottom, and four along the top, with a bunch of connectors, for two lights, one presumably as a switch for the light inside the glovebox, and also to wiggle the head unit wiring to make sure it doesn't foul anything. The glovebox surround has a plastic tab on the left that locates into the dashboard, presumably to help keep it in place whilst all of the other gubbins is installed. Then the head unit was connected. The connectors are all reasonably self explanatory, matching up the colours, etc. Decided at this point to connect up all the centre console switches, and connect the battery negative terminal, and fire up the car! Even after a couple of weeks, the car started up. Whole bunch of warning lights and messages though. No ACC, no ParkAssist, no ESC, and an airbag warning. Not sure why, but could be due to the rear of the car actually not connected up possibly. Either way, took the opportunity to get the car rolling on the driveway, and move it around to centre it ready for future work. I noticed at this point that the DAB radio wasn't working (no antenna signal showing on the screen), had a bit of a panic, so had to look at the head unit again. Quick check on the internet suggests the black connector is the DAB antenna, so looking at it, noticed that the centre connector was a little off centre, so got my trusty thin screwdriver (it's been doing a lot of heavy lifting that thing), and tried to wedge it towards the middle. Reconnected, got the car into ignition, and the radio was back on, so panic over. Was then happy to slot the head unit home: It's nearly looking like a car now! With the car in ignition, I then disconnected the negative terminal, hopefully meaning the steering column lock isn't engaged, so I can take off the lower steering column (I suppose I could install the Kufatec loom straight away whilst there). Not sure if I'm brave enough to actually go and swap the steering wheel now (one thing at a time, etc.) Hopefully most of the errors are just the car not being on for ages and a drive helps most of them, and that the VCDS can clear any of the airbag fault codes. We shall see I suppose. This whole day was from 8am to 5pm, not sure how it took the whole day. Tomorrow should be much more calmer weather wise, so I'll finish up the interior tomorrow, or maybe start on some of the mechanical bits finally! Maintenance: £1794.17 (+£6.63) Upgrades: £887.10 (+£46.60) Miscellaneous: £608.14 (+£4.56)
-
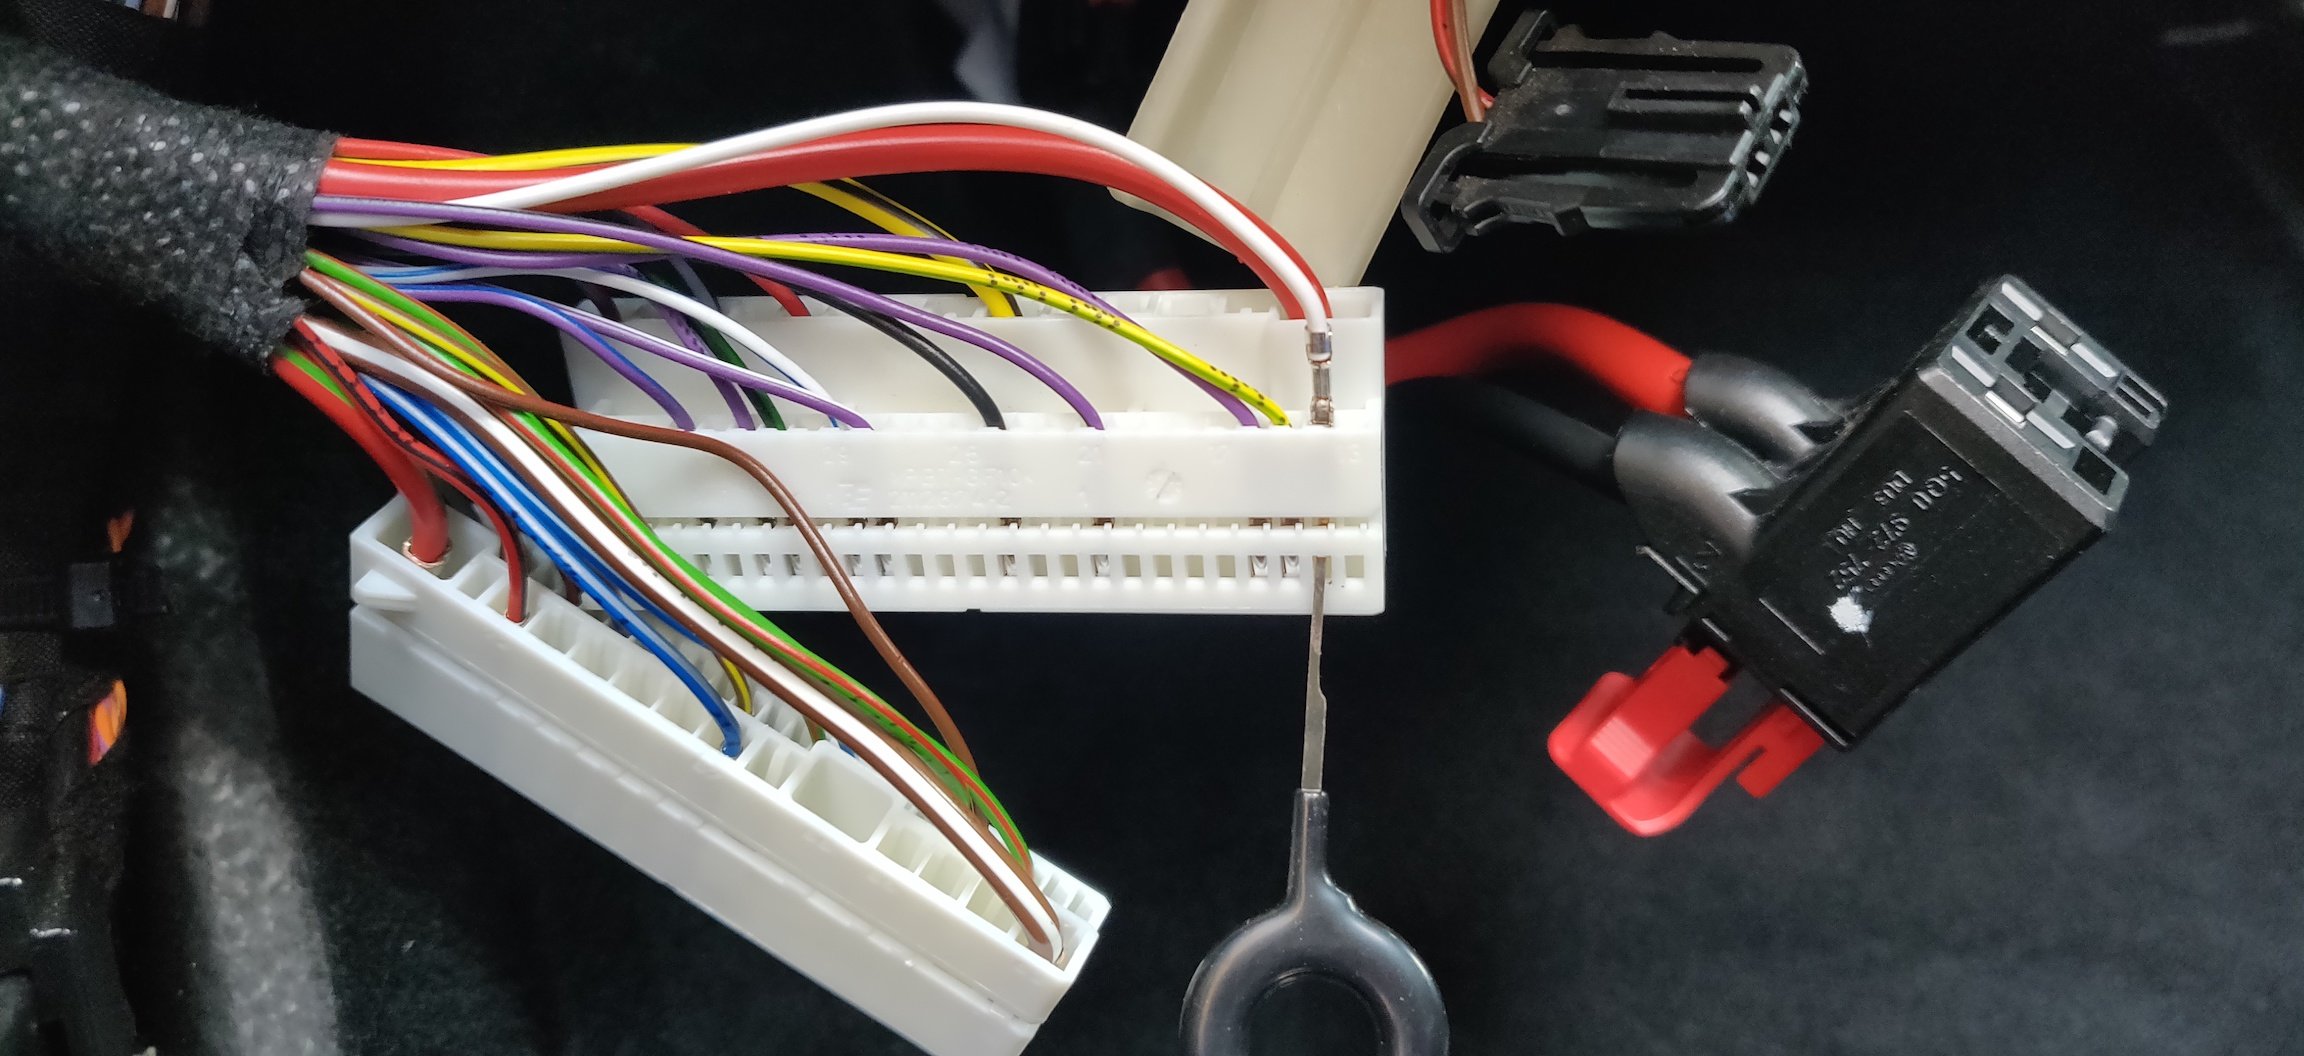
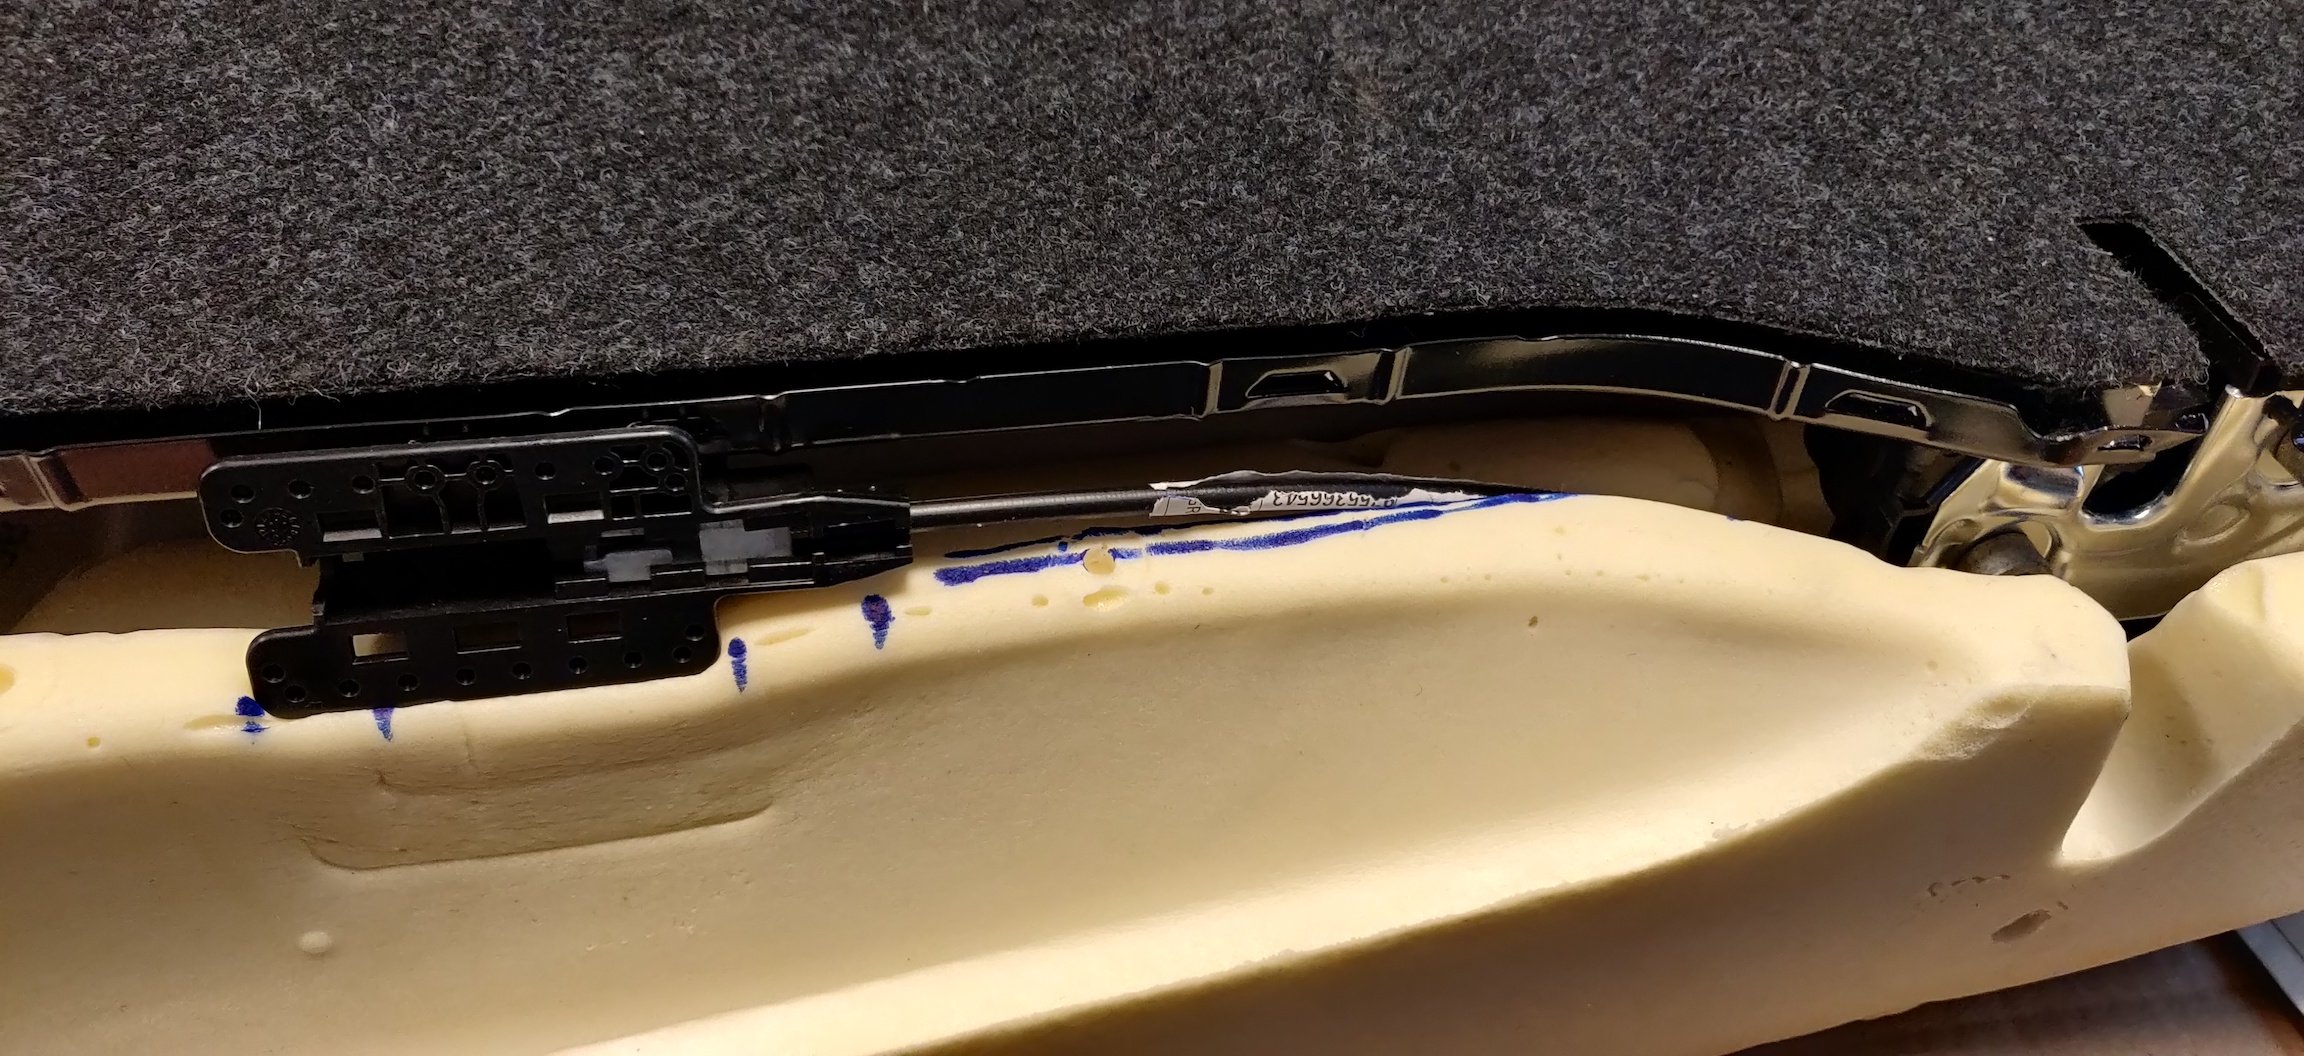
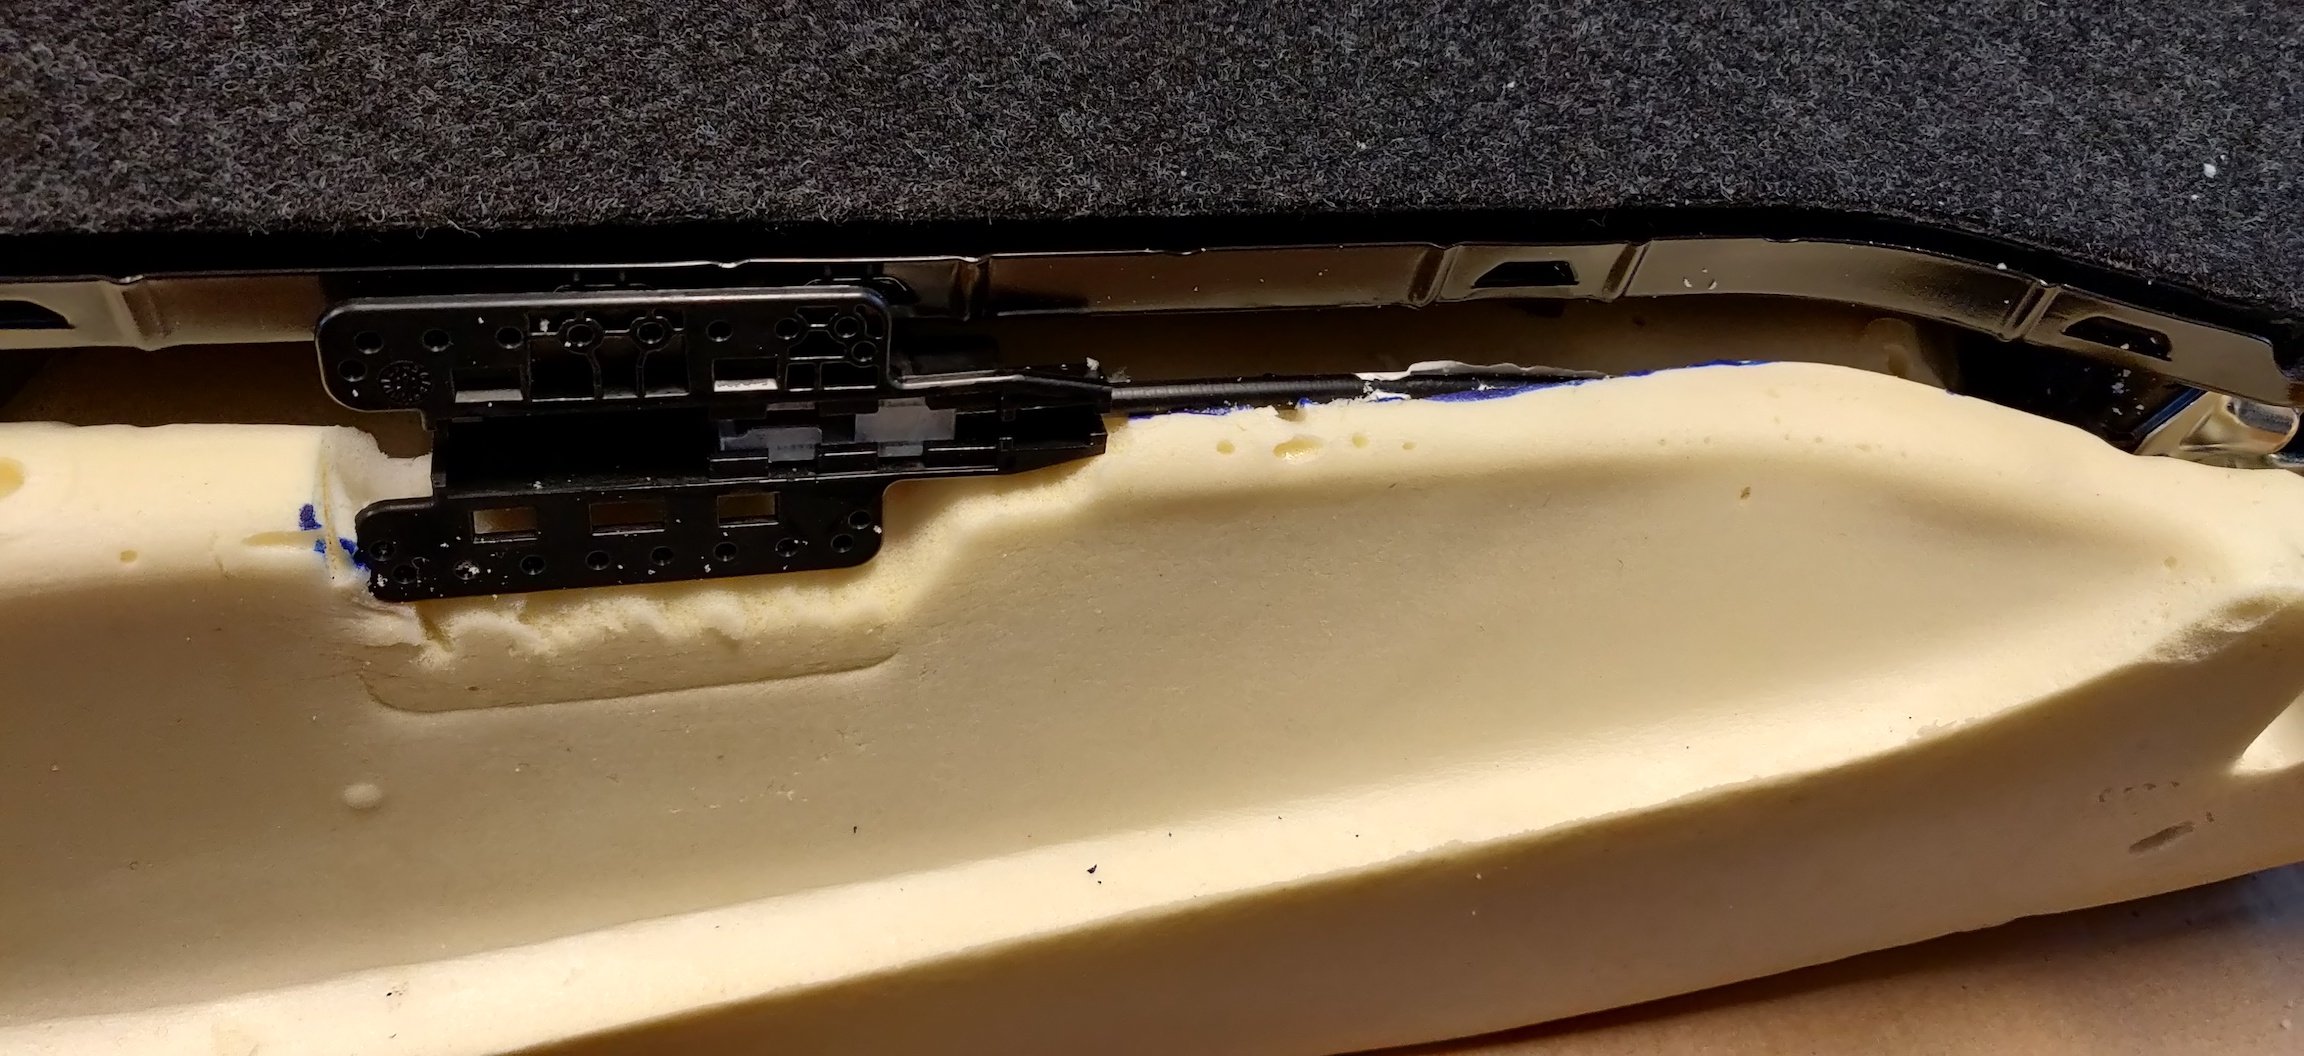
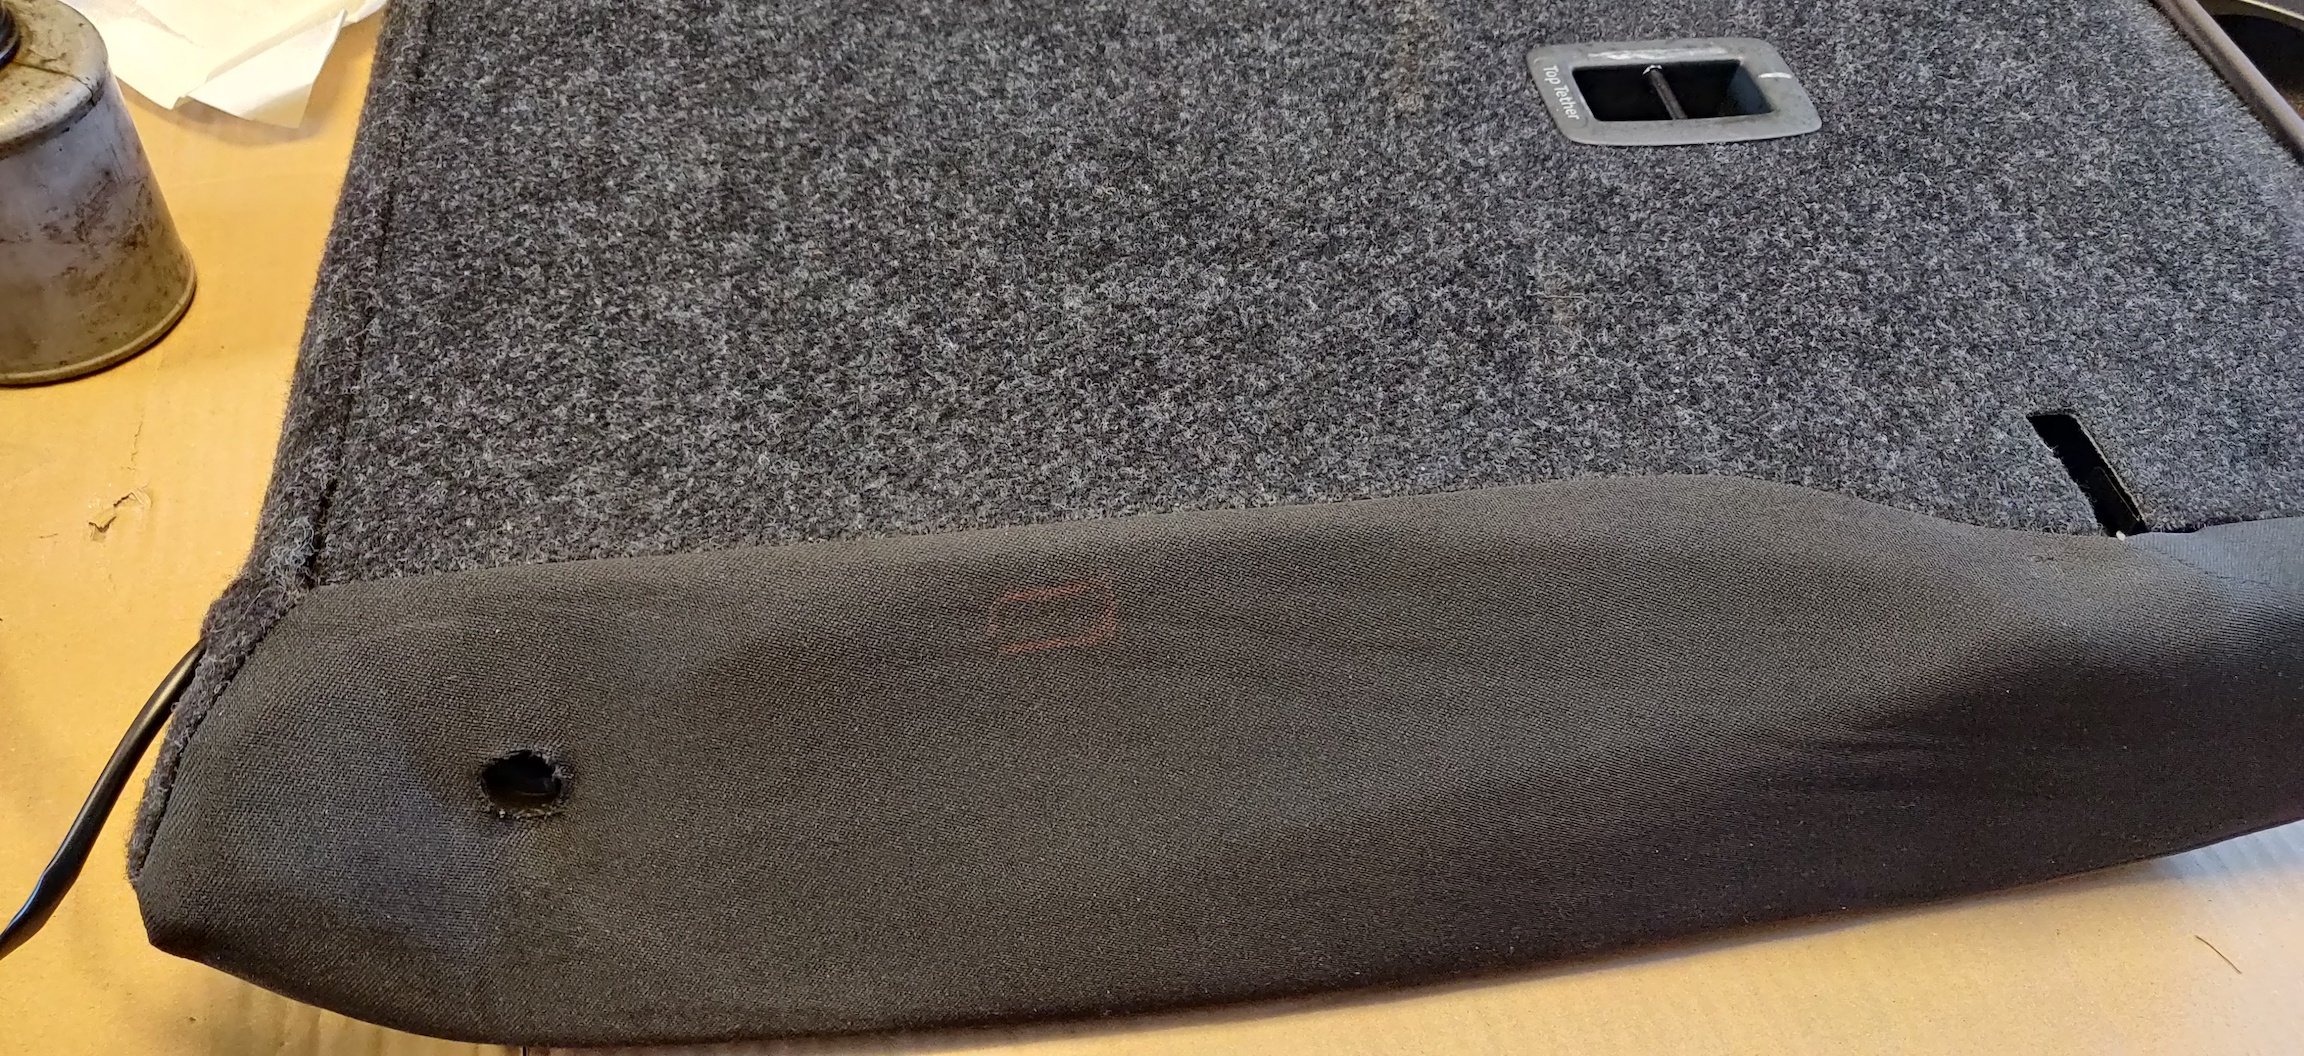
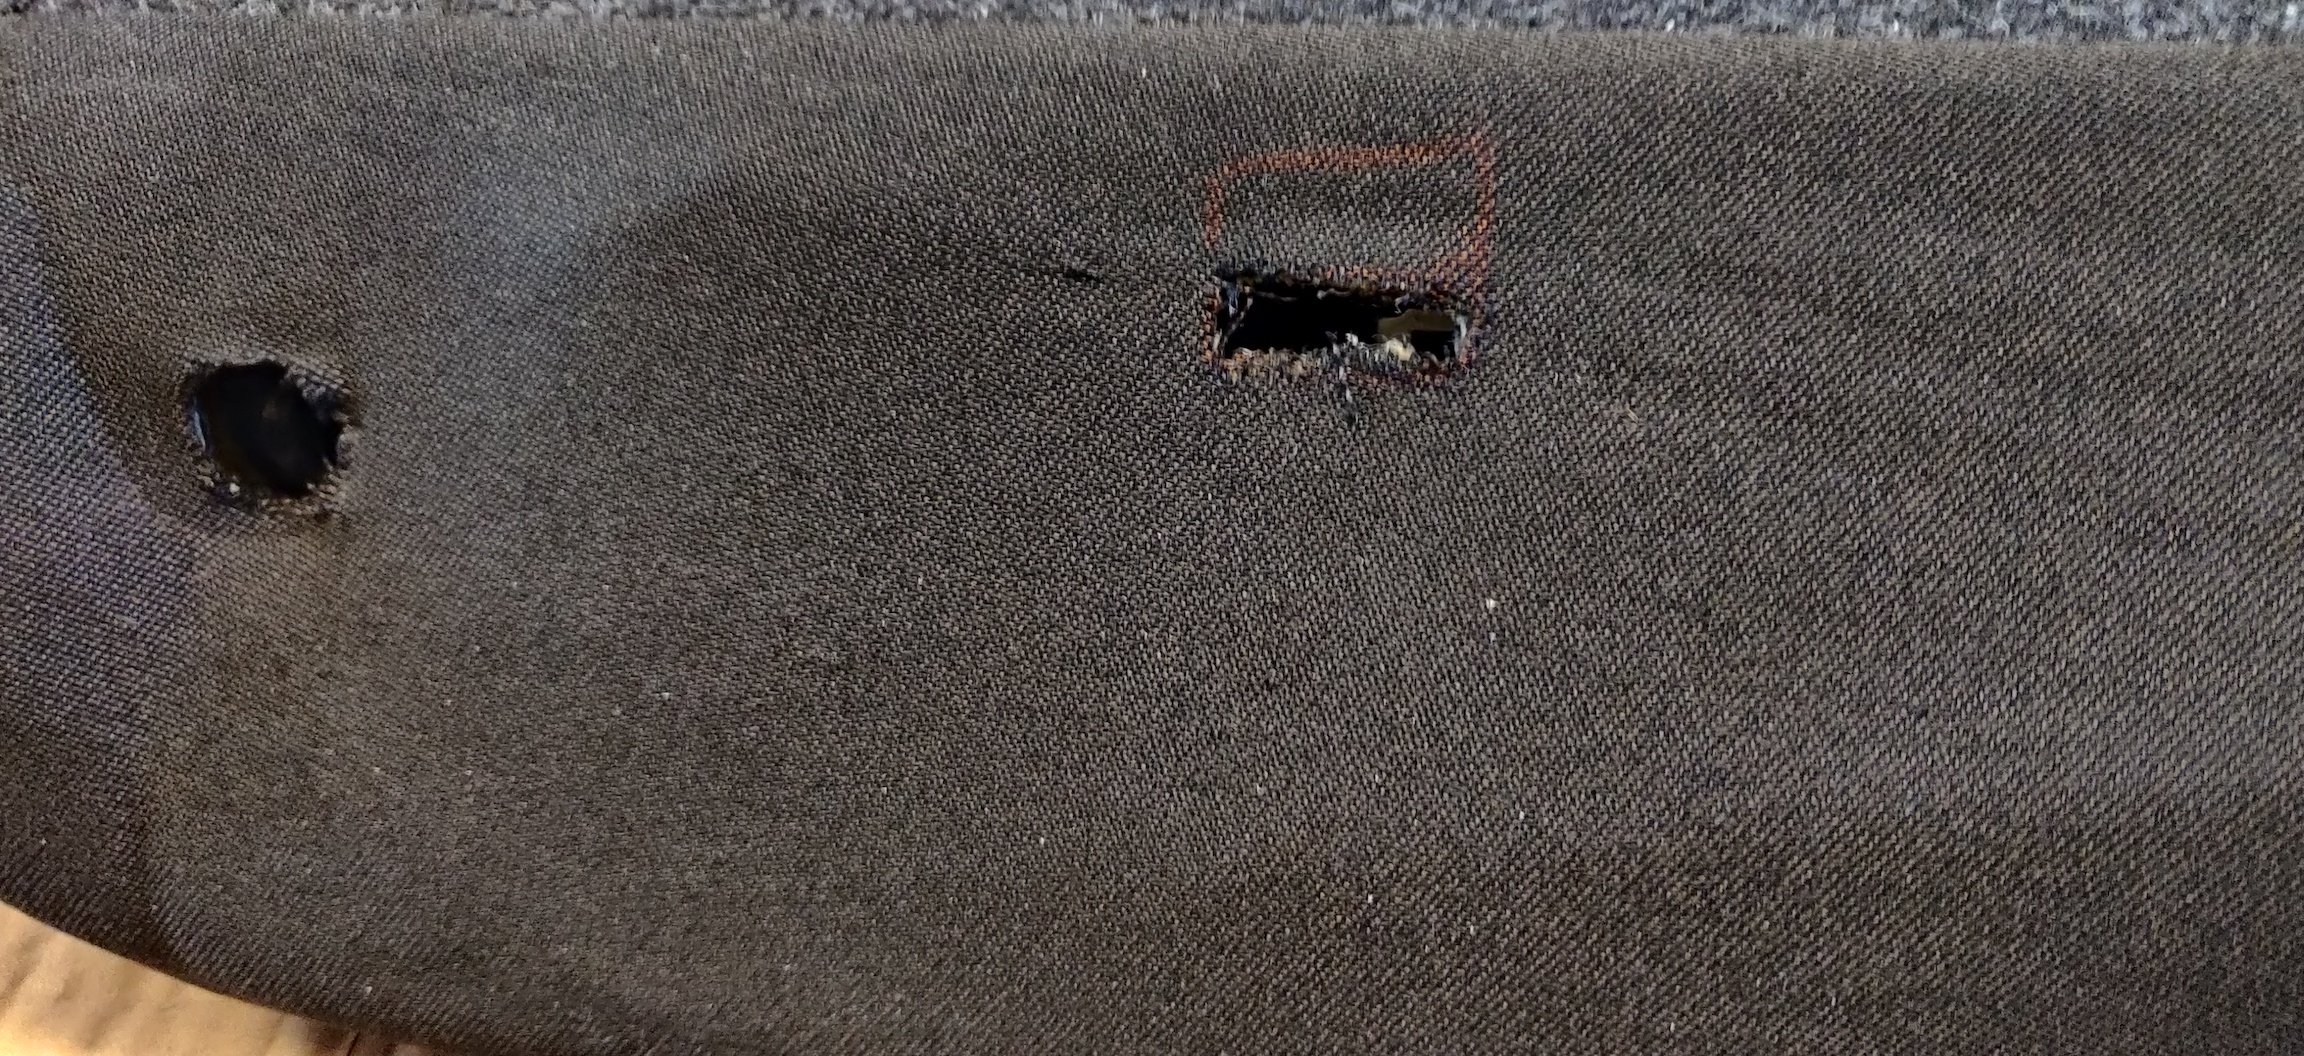
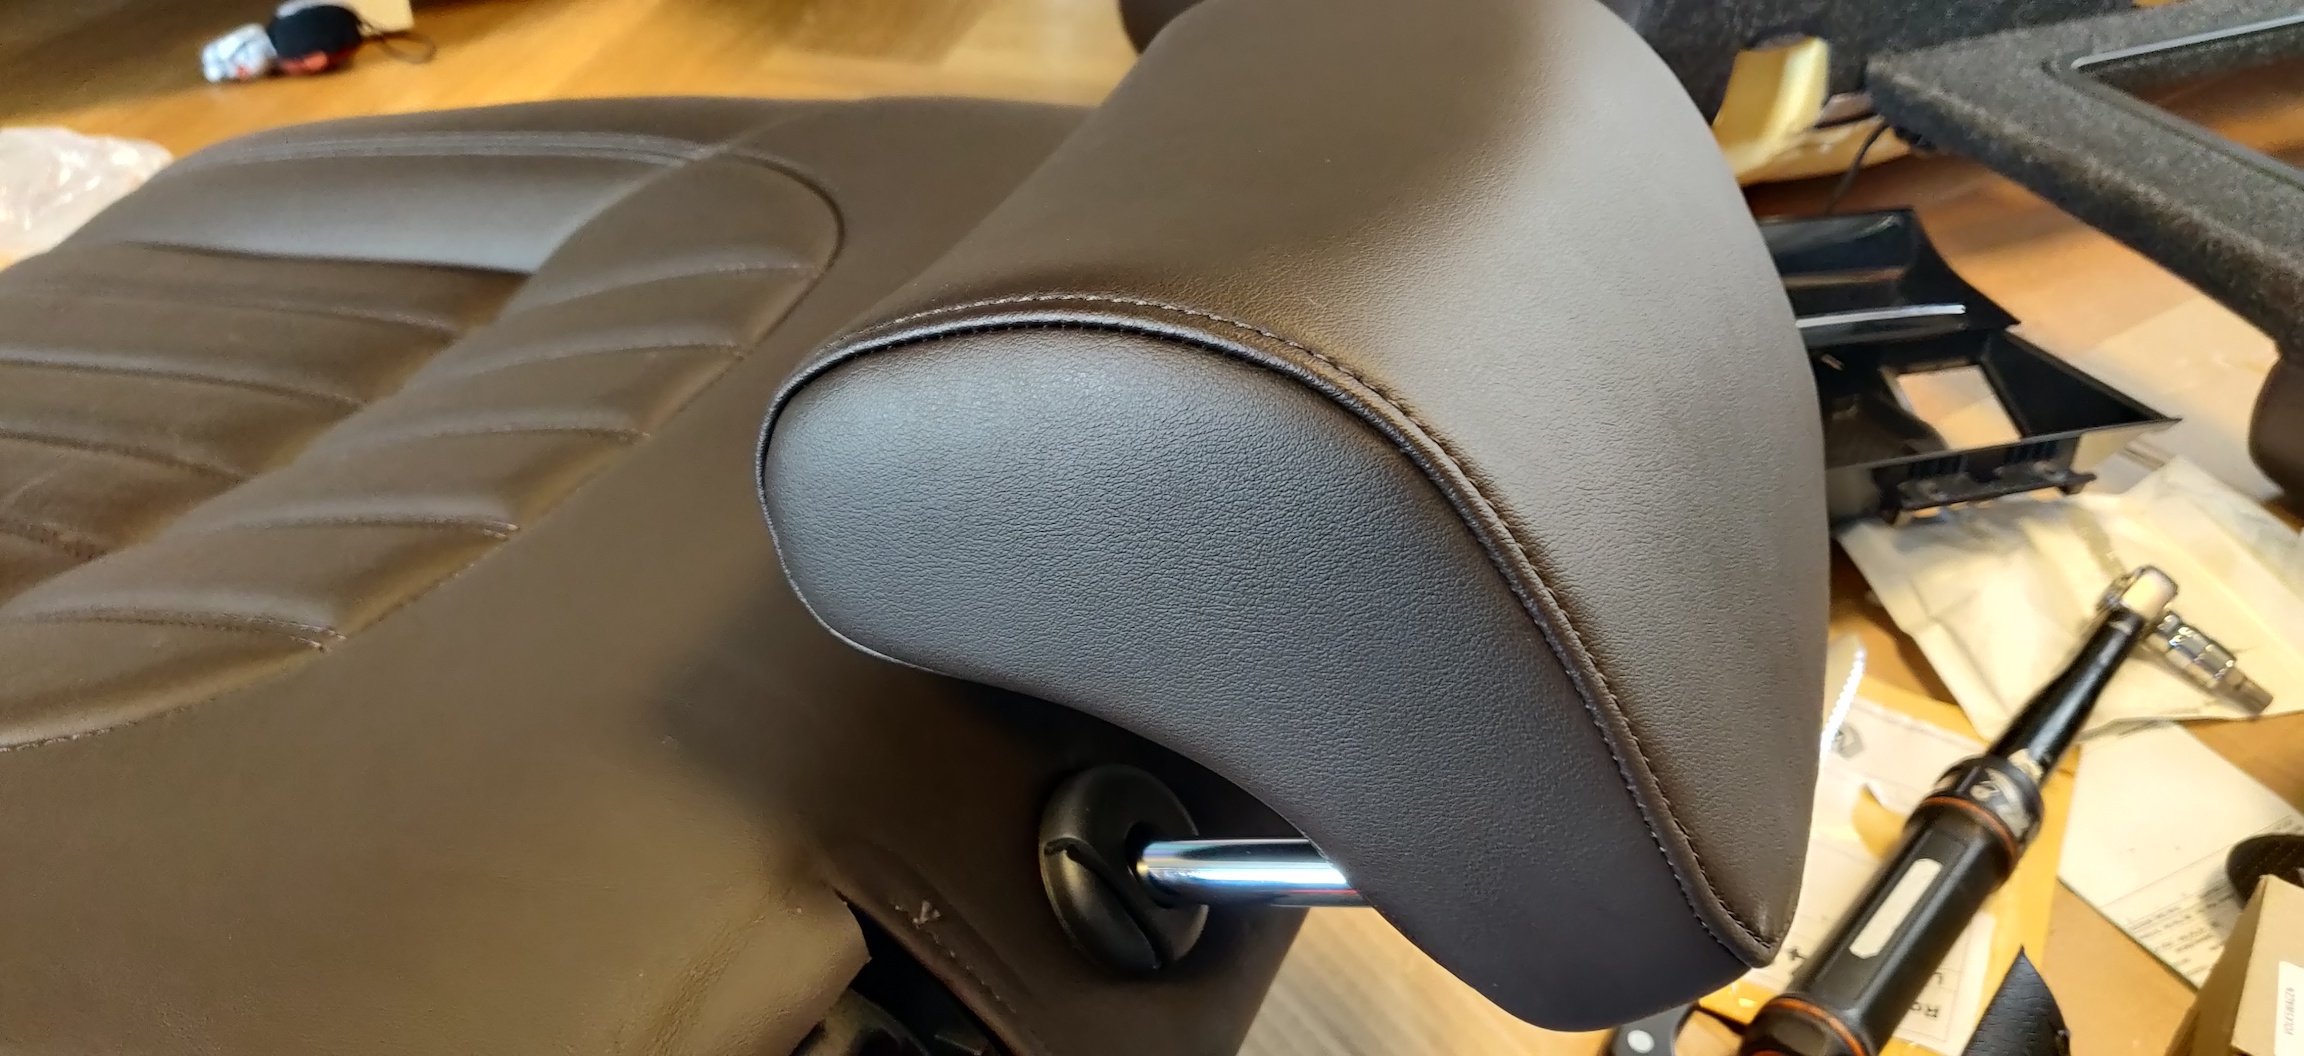
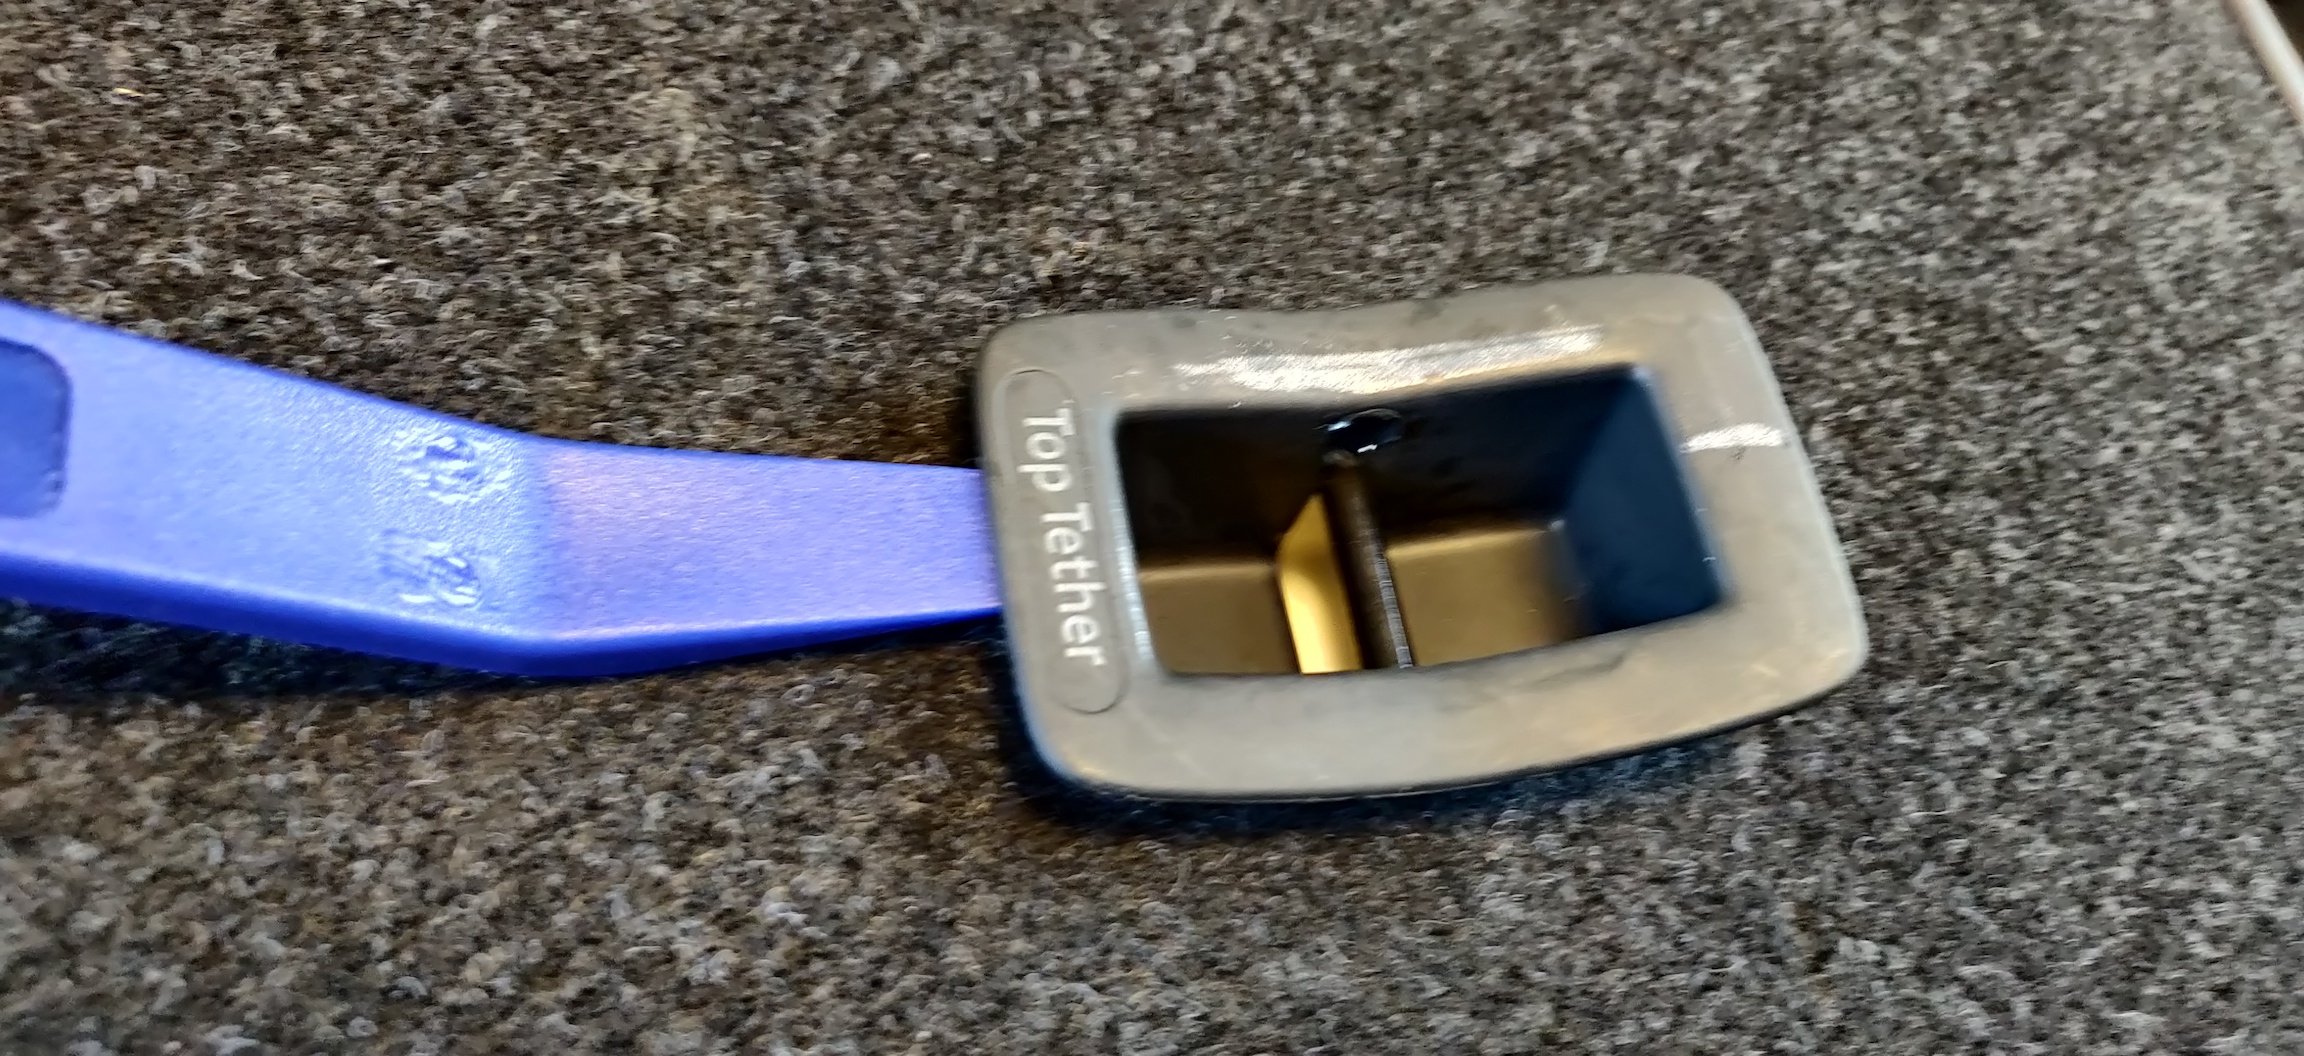
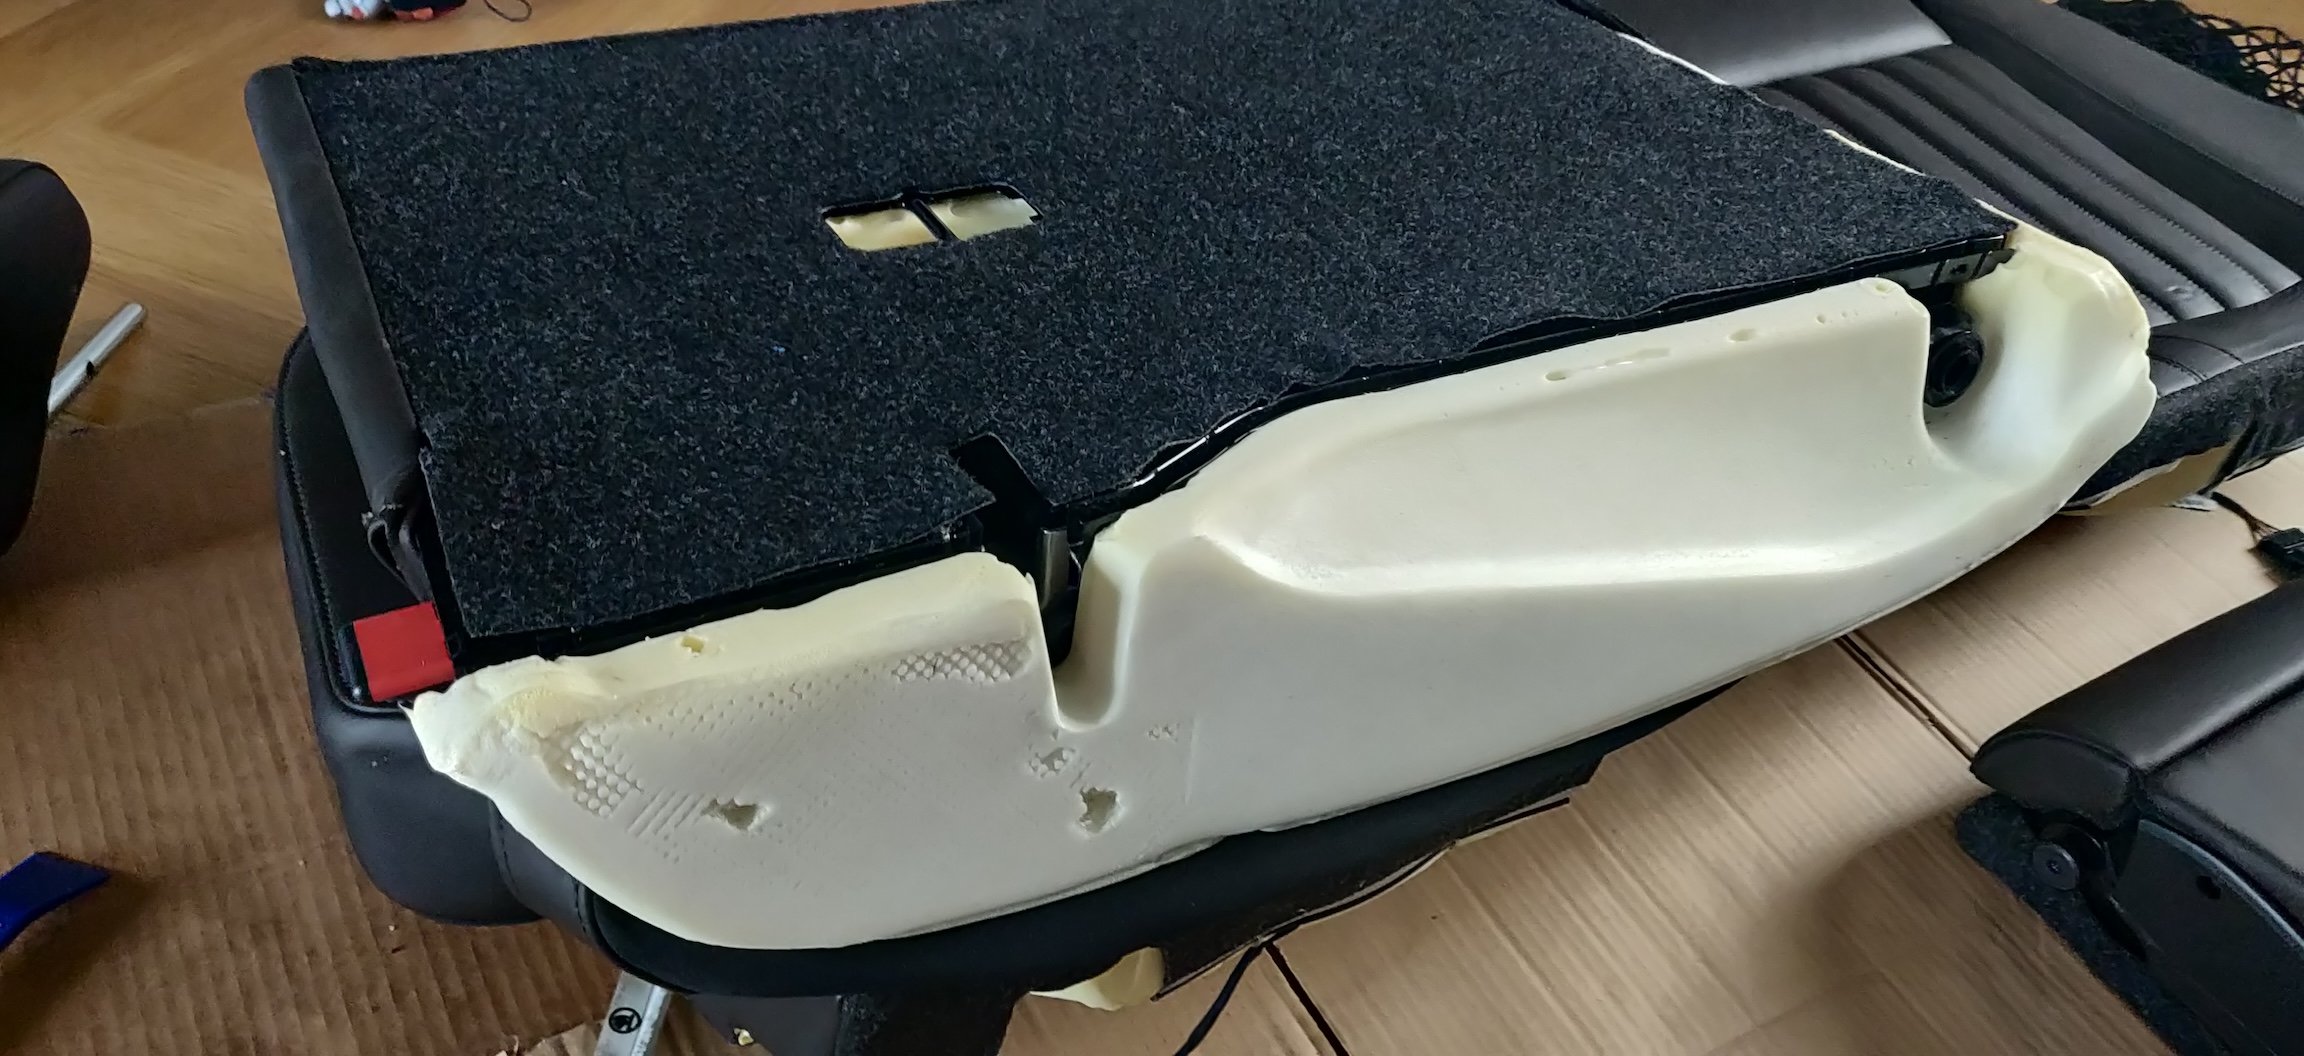
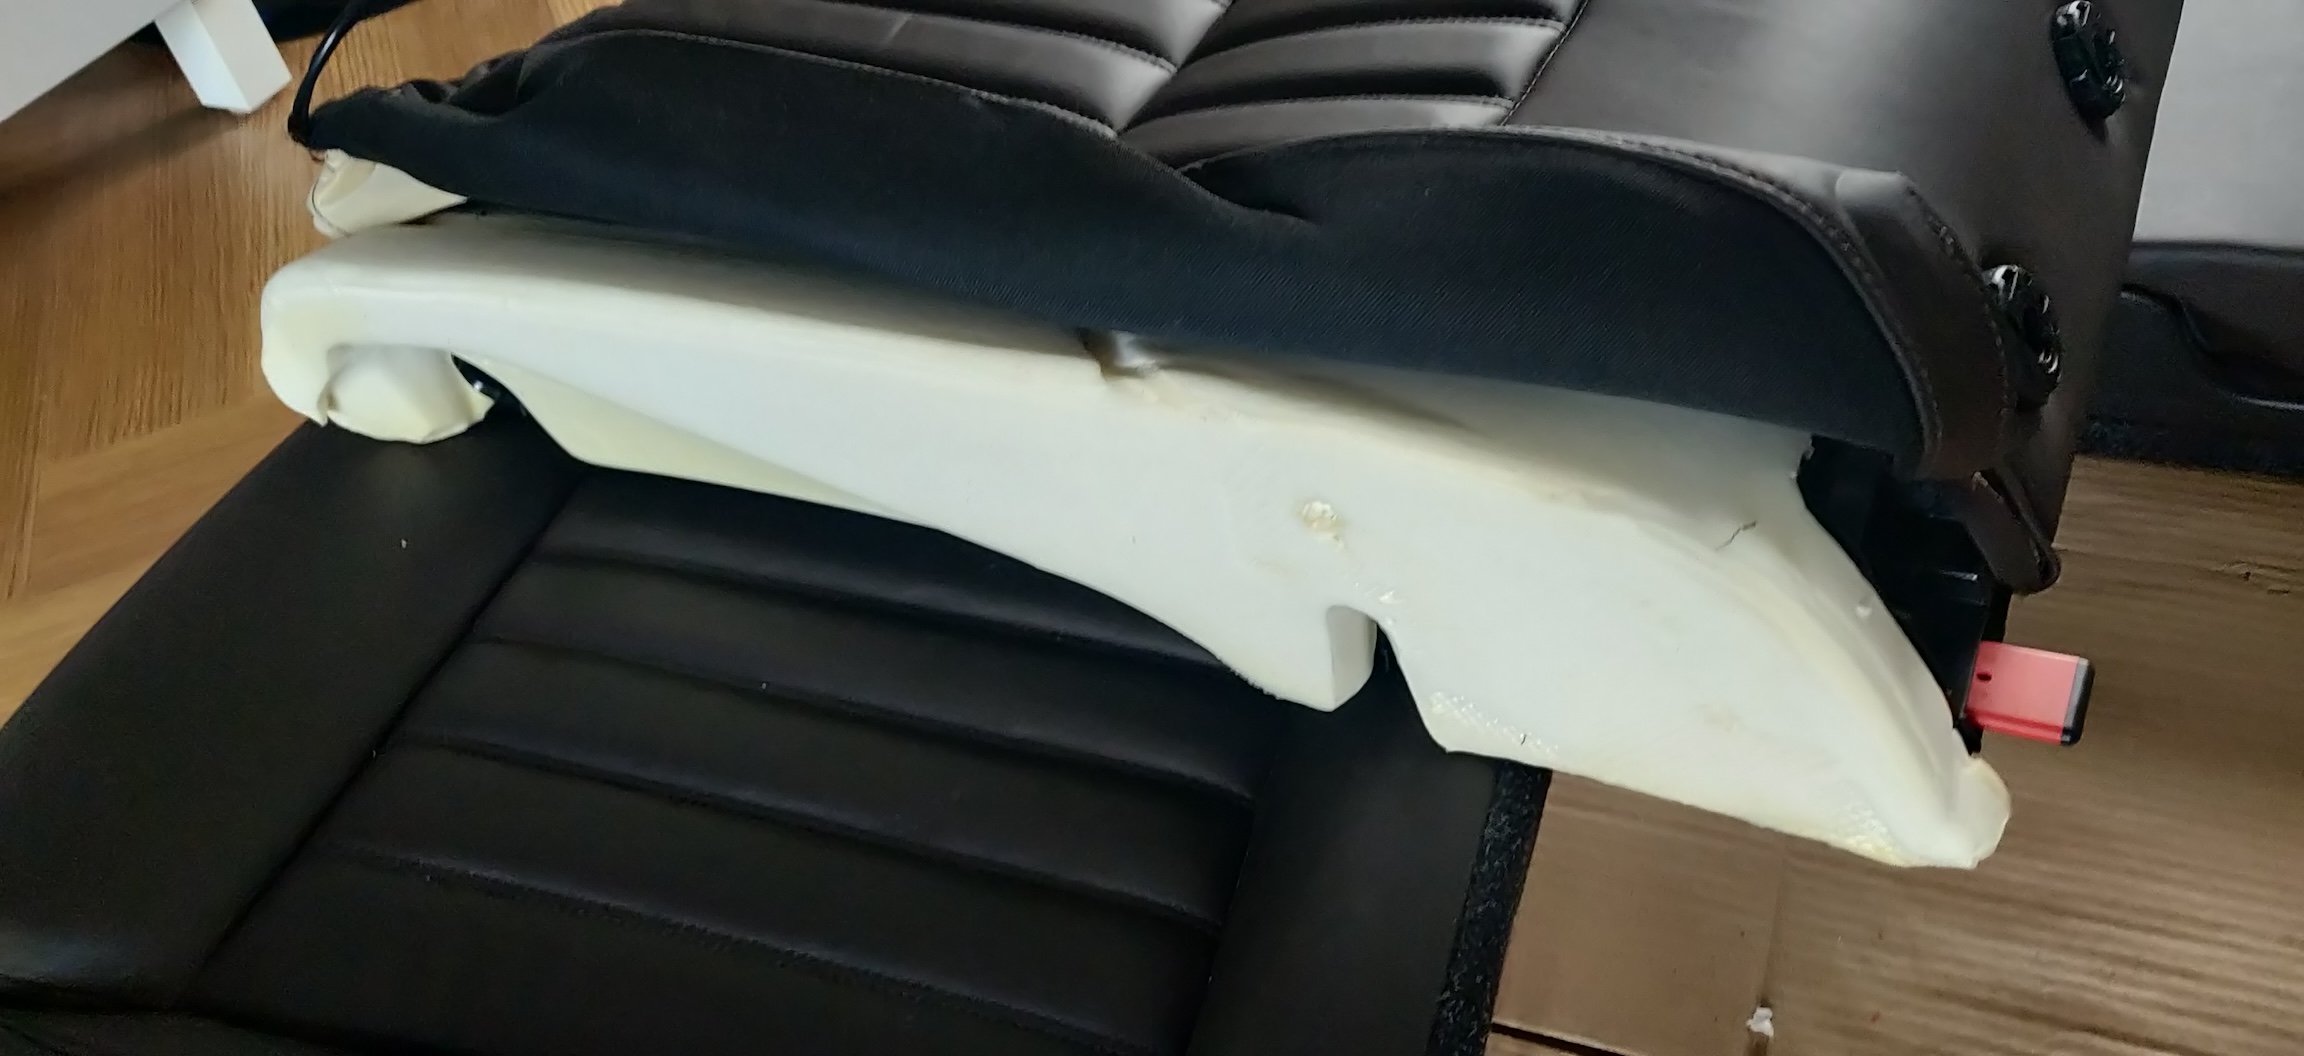
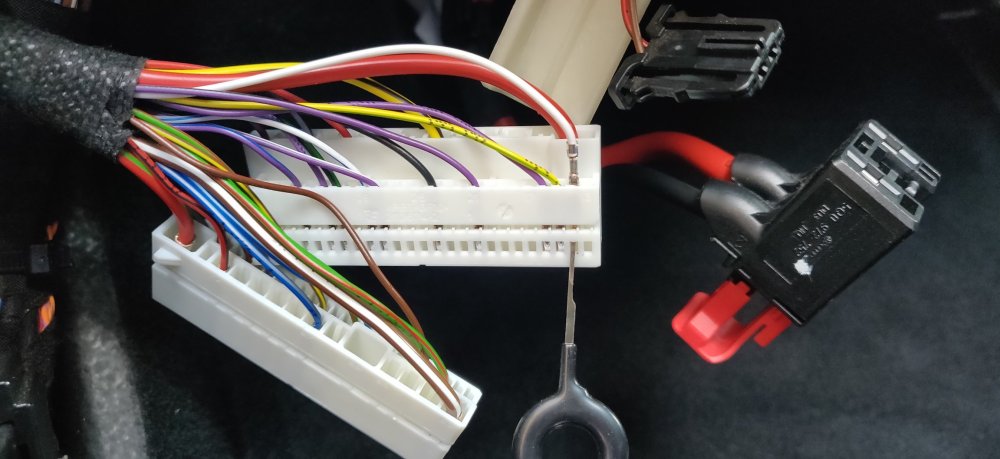
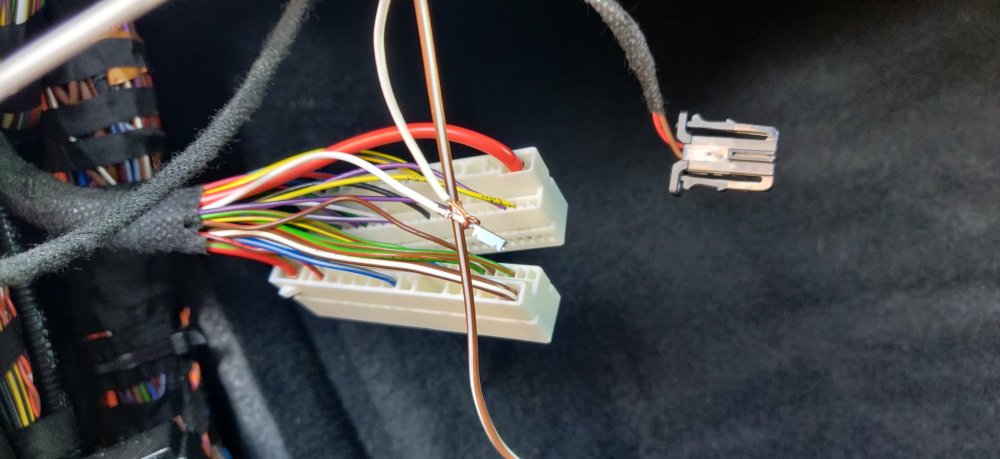
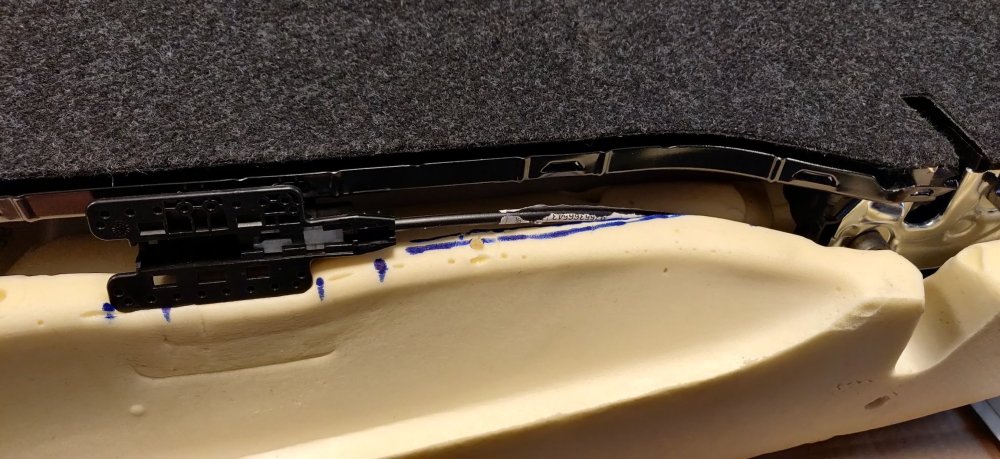
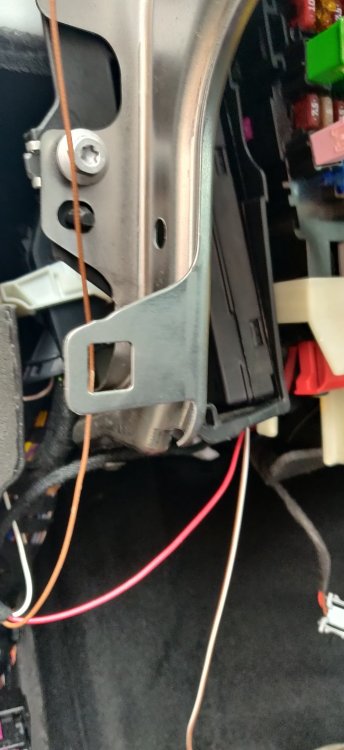
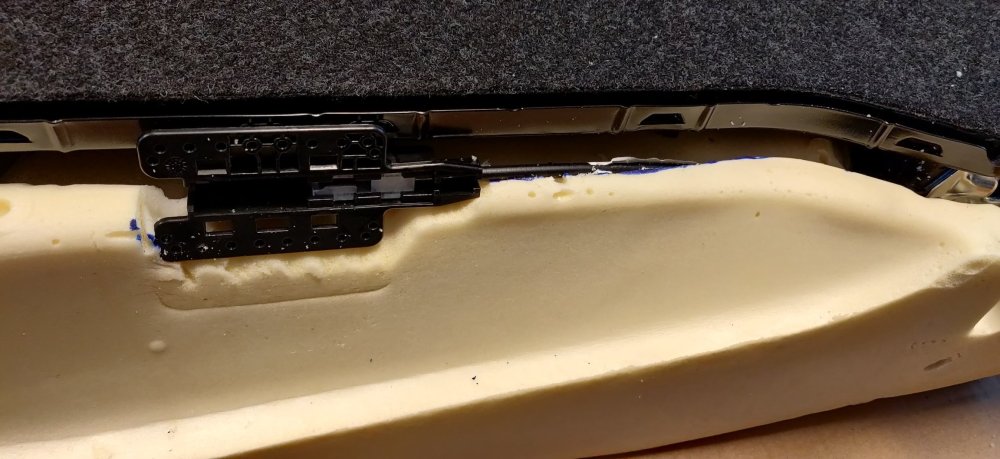
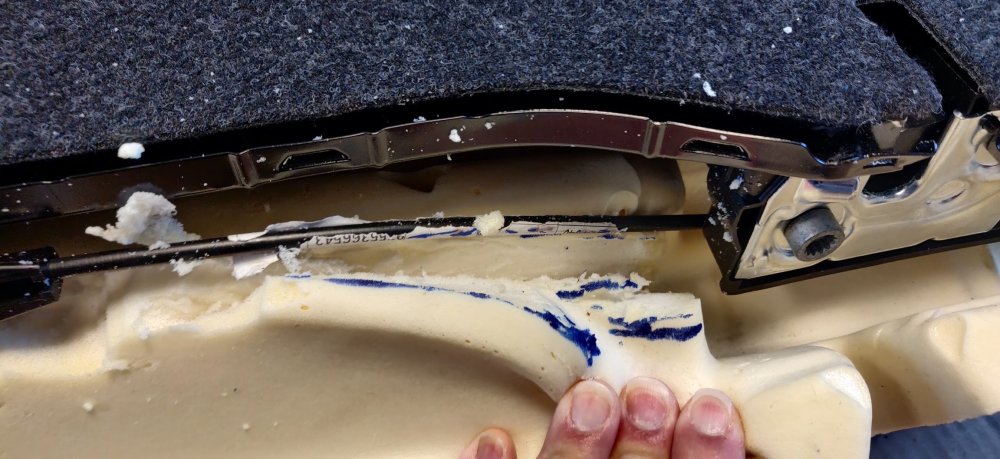
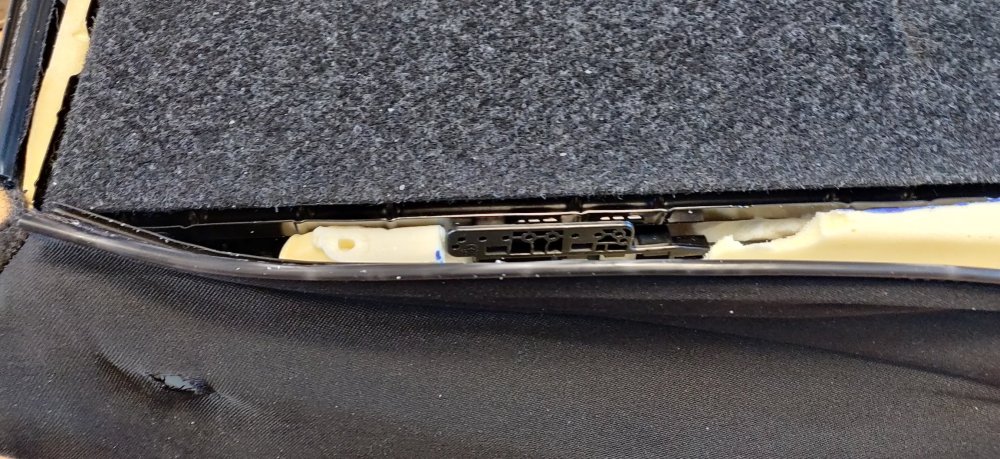
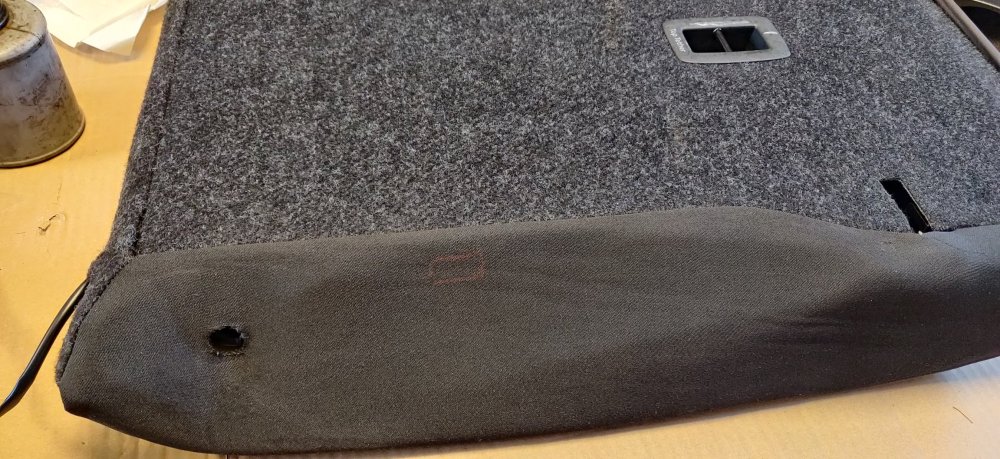
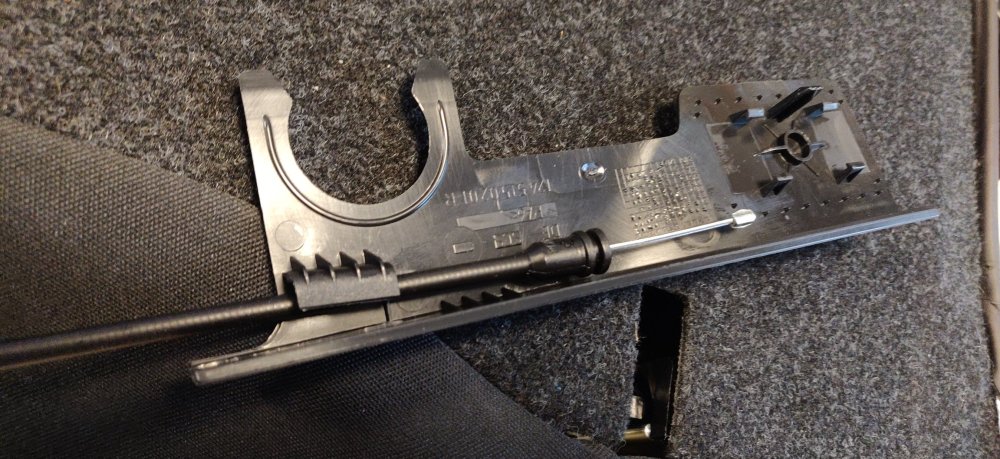
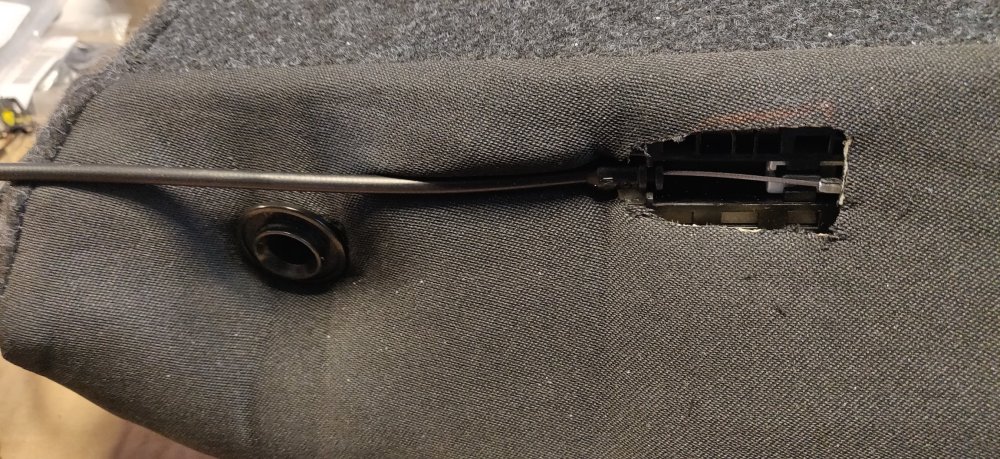
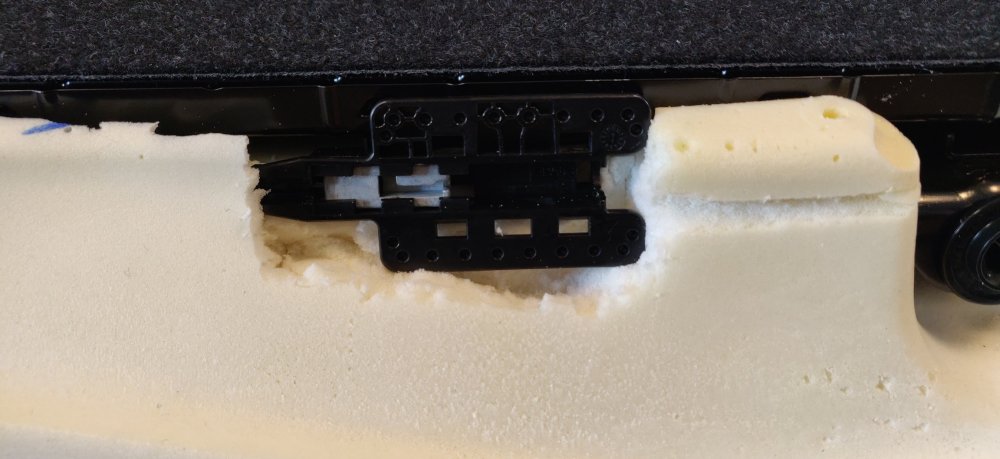
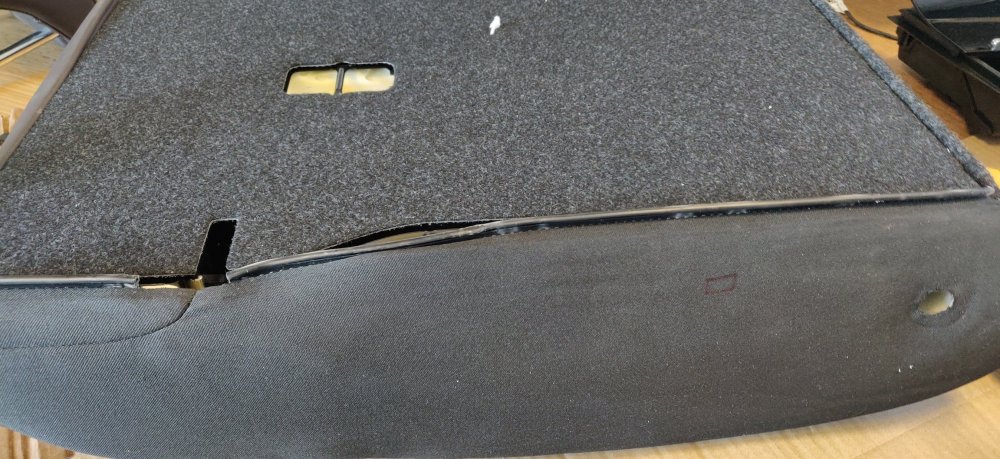
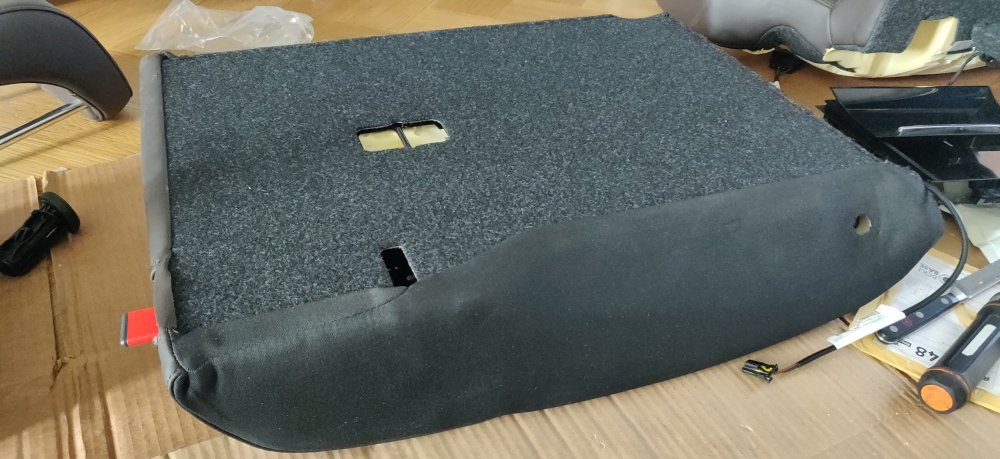
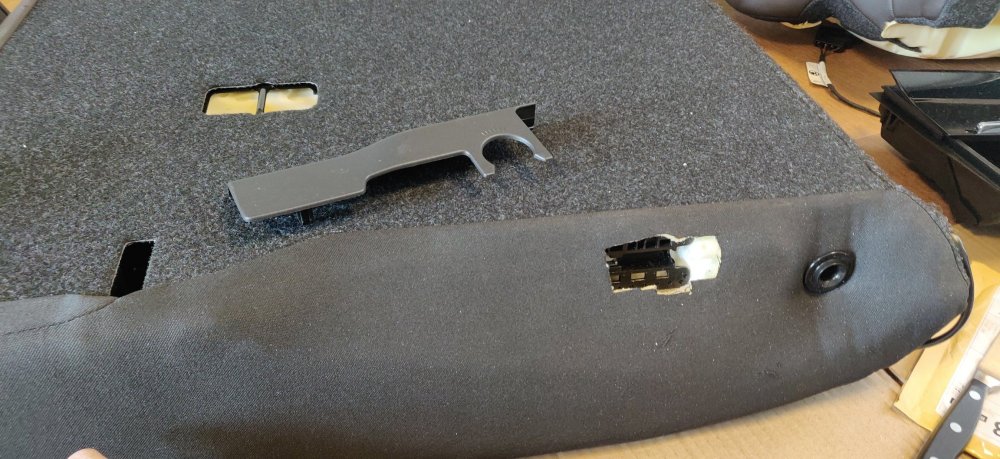
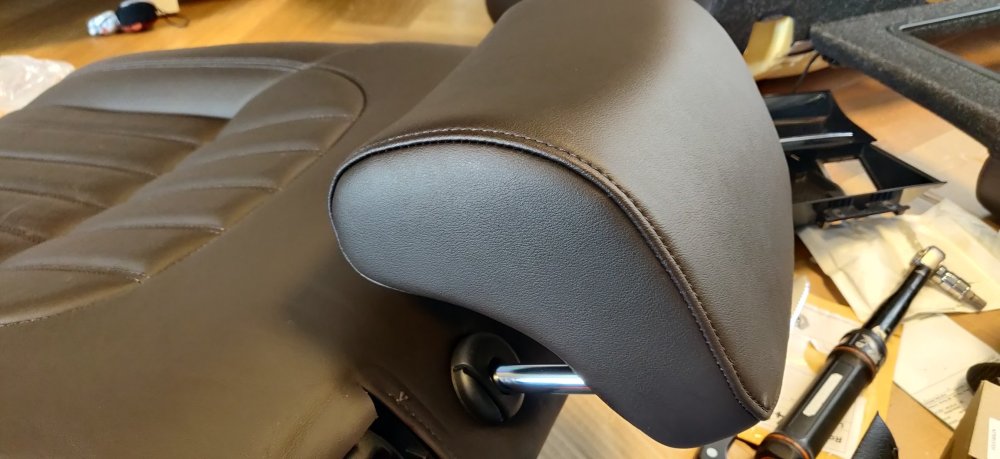
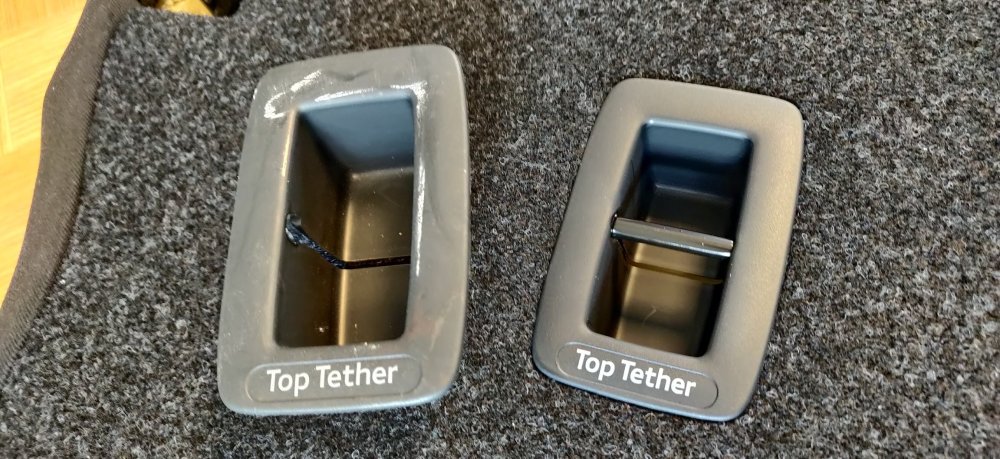
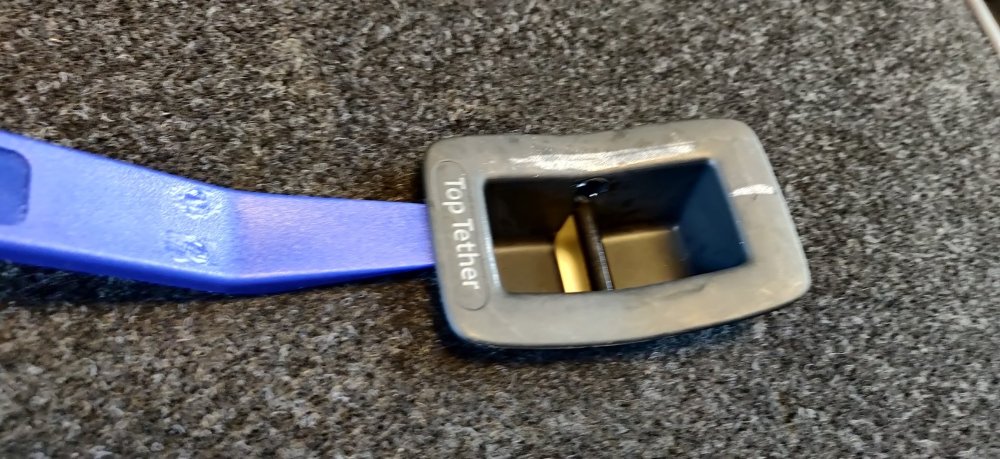
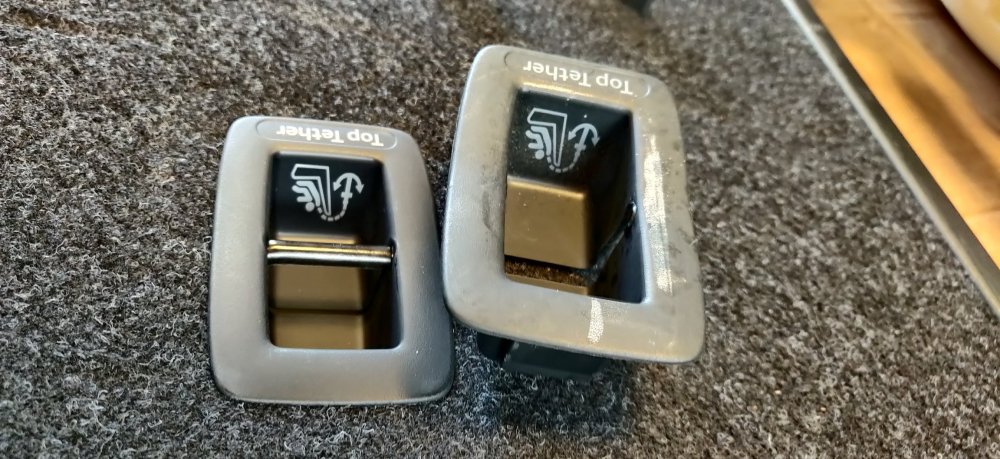
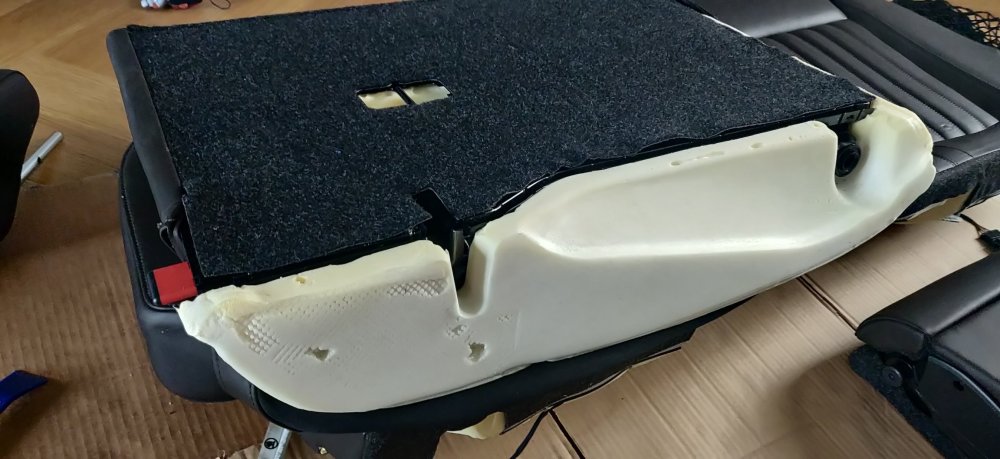
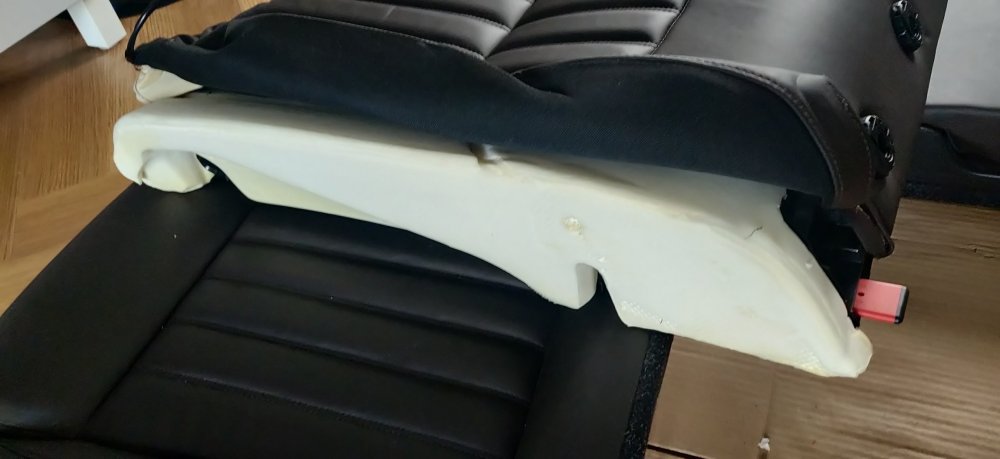
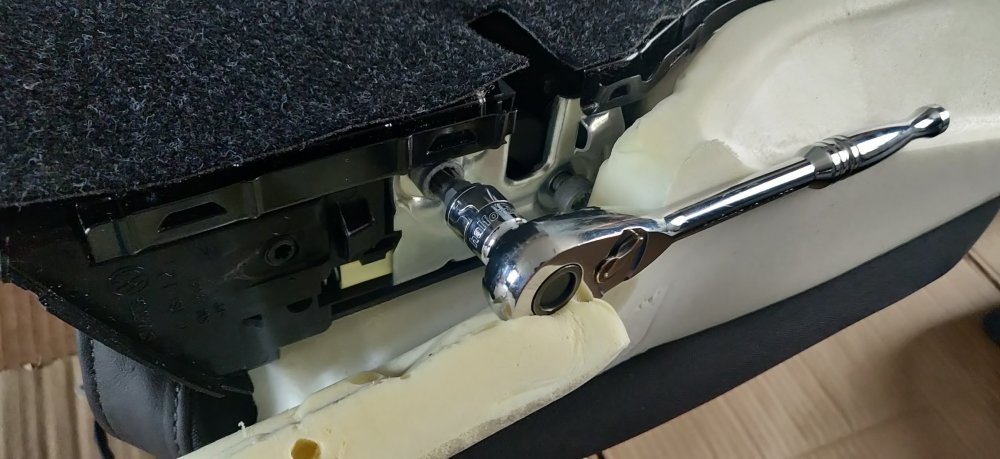
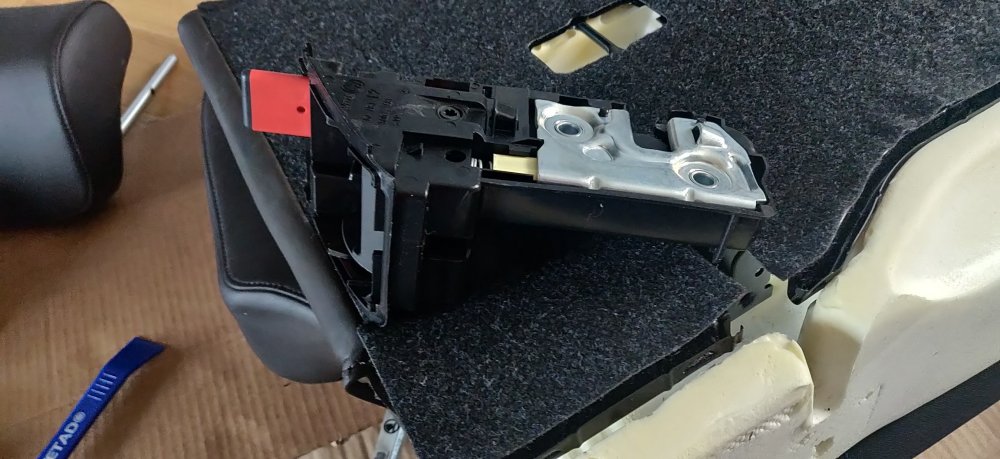
Today's weather was a bit wild, starting with lovely sunshine, then spots of heavy rain and hail. With the sun out early, decided to tackle that last wire for the wireless charger, to essentially splice into pin 14 of the 73 pin connector on the BCM, the nearest of the three. So with a terminal extractor kit, just found one that would slot into the tab in the connector: Then the connector should pop out. Decided at this stage to see if a bodge could work: Basically just cut the terminal off the wireless charger harness, stripped a bit of the insulation and wrapped it around the connector. Didn't take pics of getting the connector in, but basically eventually forced it in. I got as far as almost getting the connector in place, before the heavens opened: So had to run back into the house sharpish. Not knowing when/if the rain would clear, I guess I couldn't procrastinate any longer: Time to tackle the seats. Started with the right hand side one, from the previous post. So after bolting up the latch up to 23Nm, then clicking the Bowden cable bit onto the frame, I rested the frame onto the foam, and got a bread knife, and a craft knife and started hacking away: For the route of the cable itself, I used the bread knife to try and slice a narrow V channel for it, but I suspect that just a slice would be enough, with the foam being squishy enough to allow the cable to slot into the slice: Easier to see with regular pulling away of the side about how deep to slice the foam. It gets messy! For the rest of the mechanism, it was just a case of slowly hacking away bit by bit, trying to get the foam in place and so on: As more was cut away, the foam was then starting to fit back in place, so at that point, the cover was started to be rolled back on. It was then at an arbitrary point that the cover itself could be put back on. For the right hand seat, one side was left on, so it was a case of attaching the top, bottom, and remaining side. It involved some folding of the plastic channel, and then essentially pushing it into the metal guides of the seat frame until it clicks into place: I then used a sharpie to mark out where the Bowden cable mechanism is, as the next bit now involved cutting a hole in the cover: So started with the knife, then a pair of scissors to enlarge it bit by bit. I had a naff pair, the process here would have been smoother with fabric shears: With the Bowden cable mechanism starting to be revealed, just double checked the cover fitting location: The cover has 5 tabs, with a slightly larger centre one which all locate into the Bowden cable mechanism, so as long as those are seen in the cut cover, it should be sufficient. The other side of the cover has a hook: Started to scratch my head about this, but it appears it could be to keep the other Bowden cable in place: So presumably it'll help keep the Bowden cable to the boot relatively aligned. Without this cover, I would assume the cable would enter the seat in the same location as the wiring for the heater elements. With this, the cable appears to be remain outside: So one thing I had to do in addition is to the cut the foam where the cable runs along in order to sit it in place once it is installed (as seen above where I've attached it to the mechanism). So essentially, that's it for the right hand seat, the final step of attaching the above cable and the cover presumably can only be done once the cable is attached to the boot itself, which also means the removal of the boot trim, which is an entire thing for another day. So cracked on with the other seat: As you can see, I got a little more cack handed with this one, but nevertheless, the same approach as the other side. So the same procedure to get the cover back on and mark out where to cut the cover: For whatever reason, the cover on this left side backrest was a bit more awkward to click into place. Not sure why, but it was a case of persevering. Probably could have been due to attempting to get the plastic channel into the metal frame but having a squishy seat foam underneath. Got there in the end: With the cover cut as well: Less neater than the other side, but I was probably a bit more nonchalant due the cover eventually sorting that out. With that done, the bits of trim on the seats were ready to go back on. For the left side, I removed the headrest guides, so those were slotted back in, just with a push into the frame, then the headrest back on: The newly purchased rear isofix cover was inserted: For the left, I hadn't removed the old one, so here's a pic of removal: There are two hooks top and bottom of the trim, so the trim tool pushes them inwards to allow the trim to be lifted up, then the new one is pushed into place: So only really the release lever trims to install, which I'll leave until later. Hopefully, that means the seats are good to go. It was at this point that both the weather picked up, and also some deliveries arrived. That'll be for the next post. Maintenance: £1787.54 Upgrades: £840.50 Miscellaneous: £603.58
-
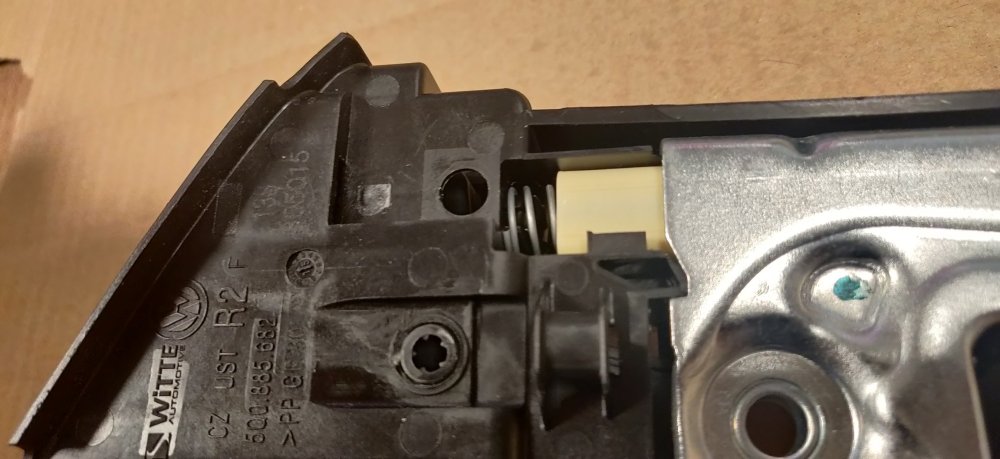
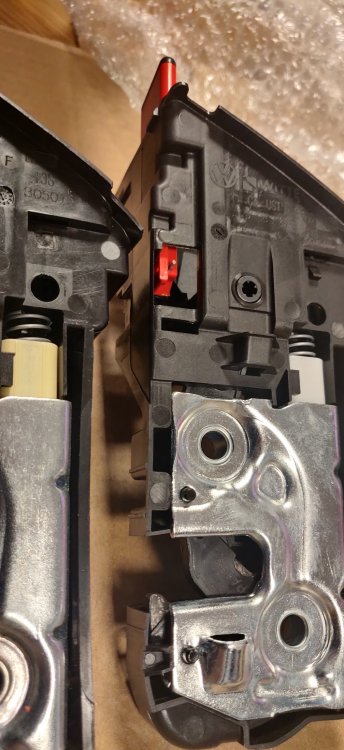
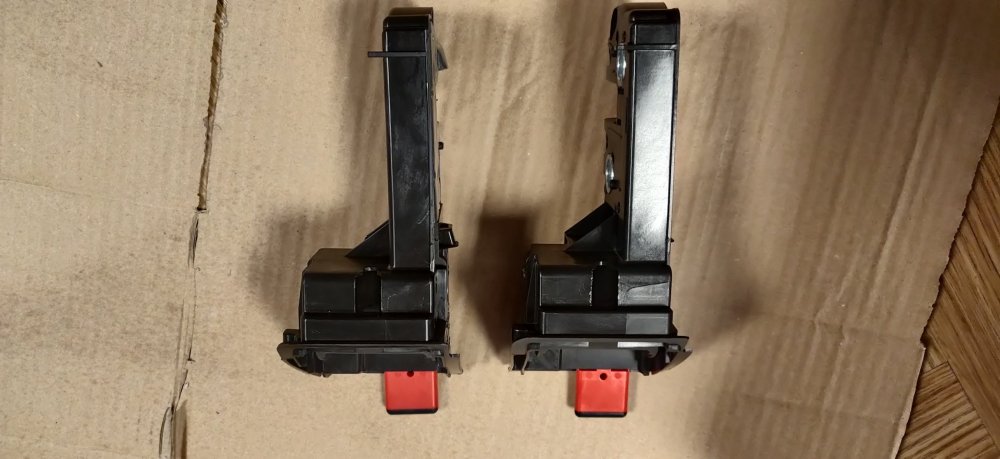
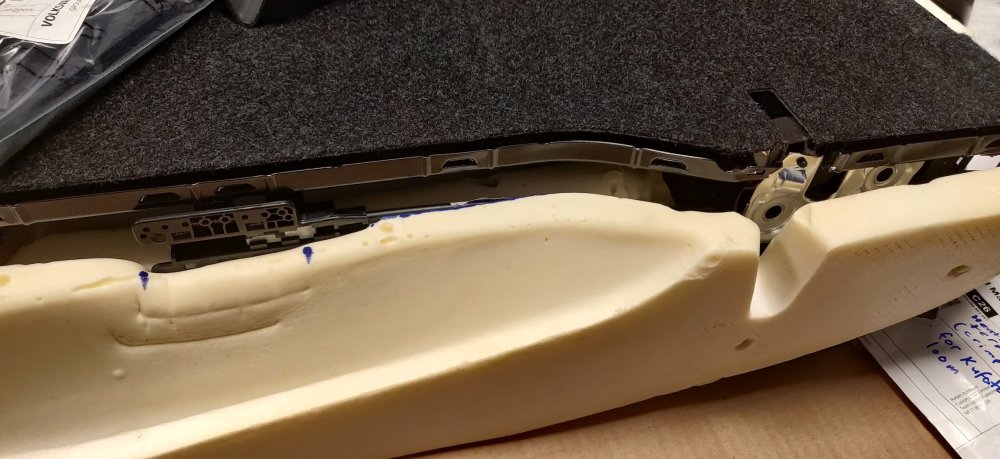
Forgot to mention that I noticed this on the right side rear seat back release latch: I was way too cack handed when removing the trim for the latch, in such a way that I also damaged the latch itself. Found a replacement on eBay. Brand new for £29.99, so decided why not: So you can see the tab on the right hand new one. It's also nice and shiny so saves a bit of wiping down. So here it is dry fitted to the right side seat frame. You can see some attempts at planning ahead by simply putting the frame onto the foam, leaving impressions on the foam allowing me to mark up with a sharpie pen. I'll leave this short post for now, because it's a prelude for what was a busy day. Maintenance: £1787.54 (+£29.99) Upgrades: £840.50 Miscellaneous: £603.58
-
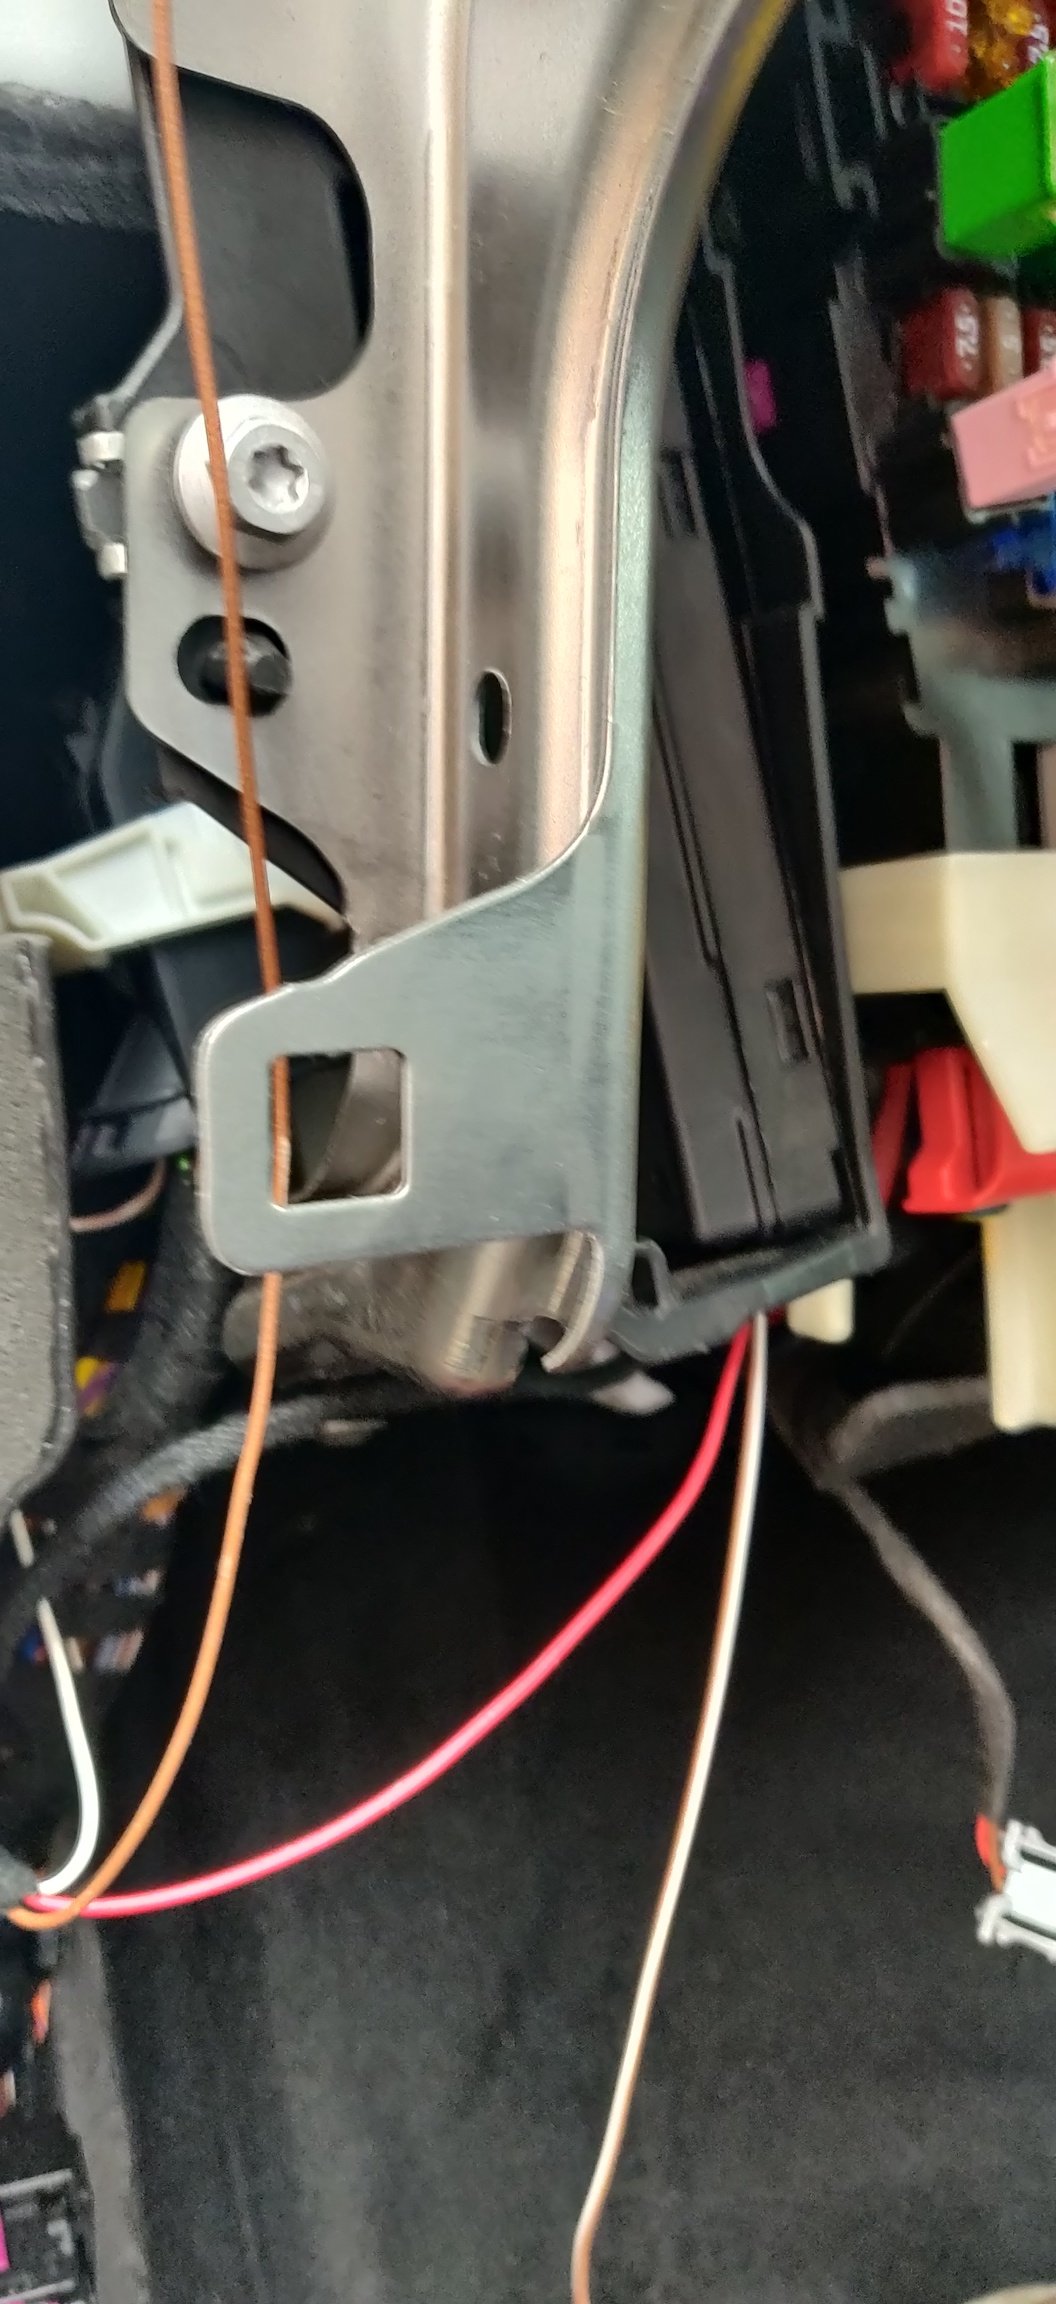
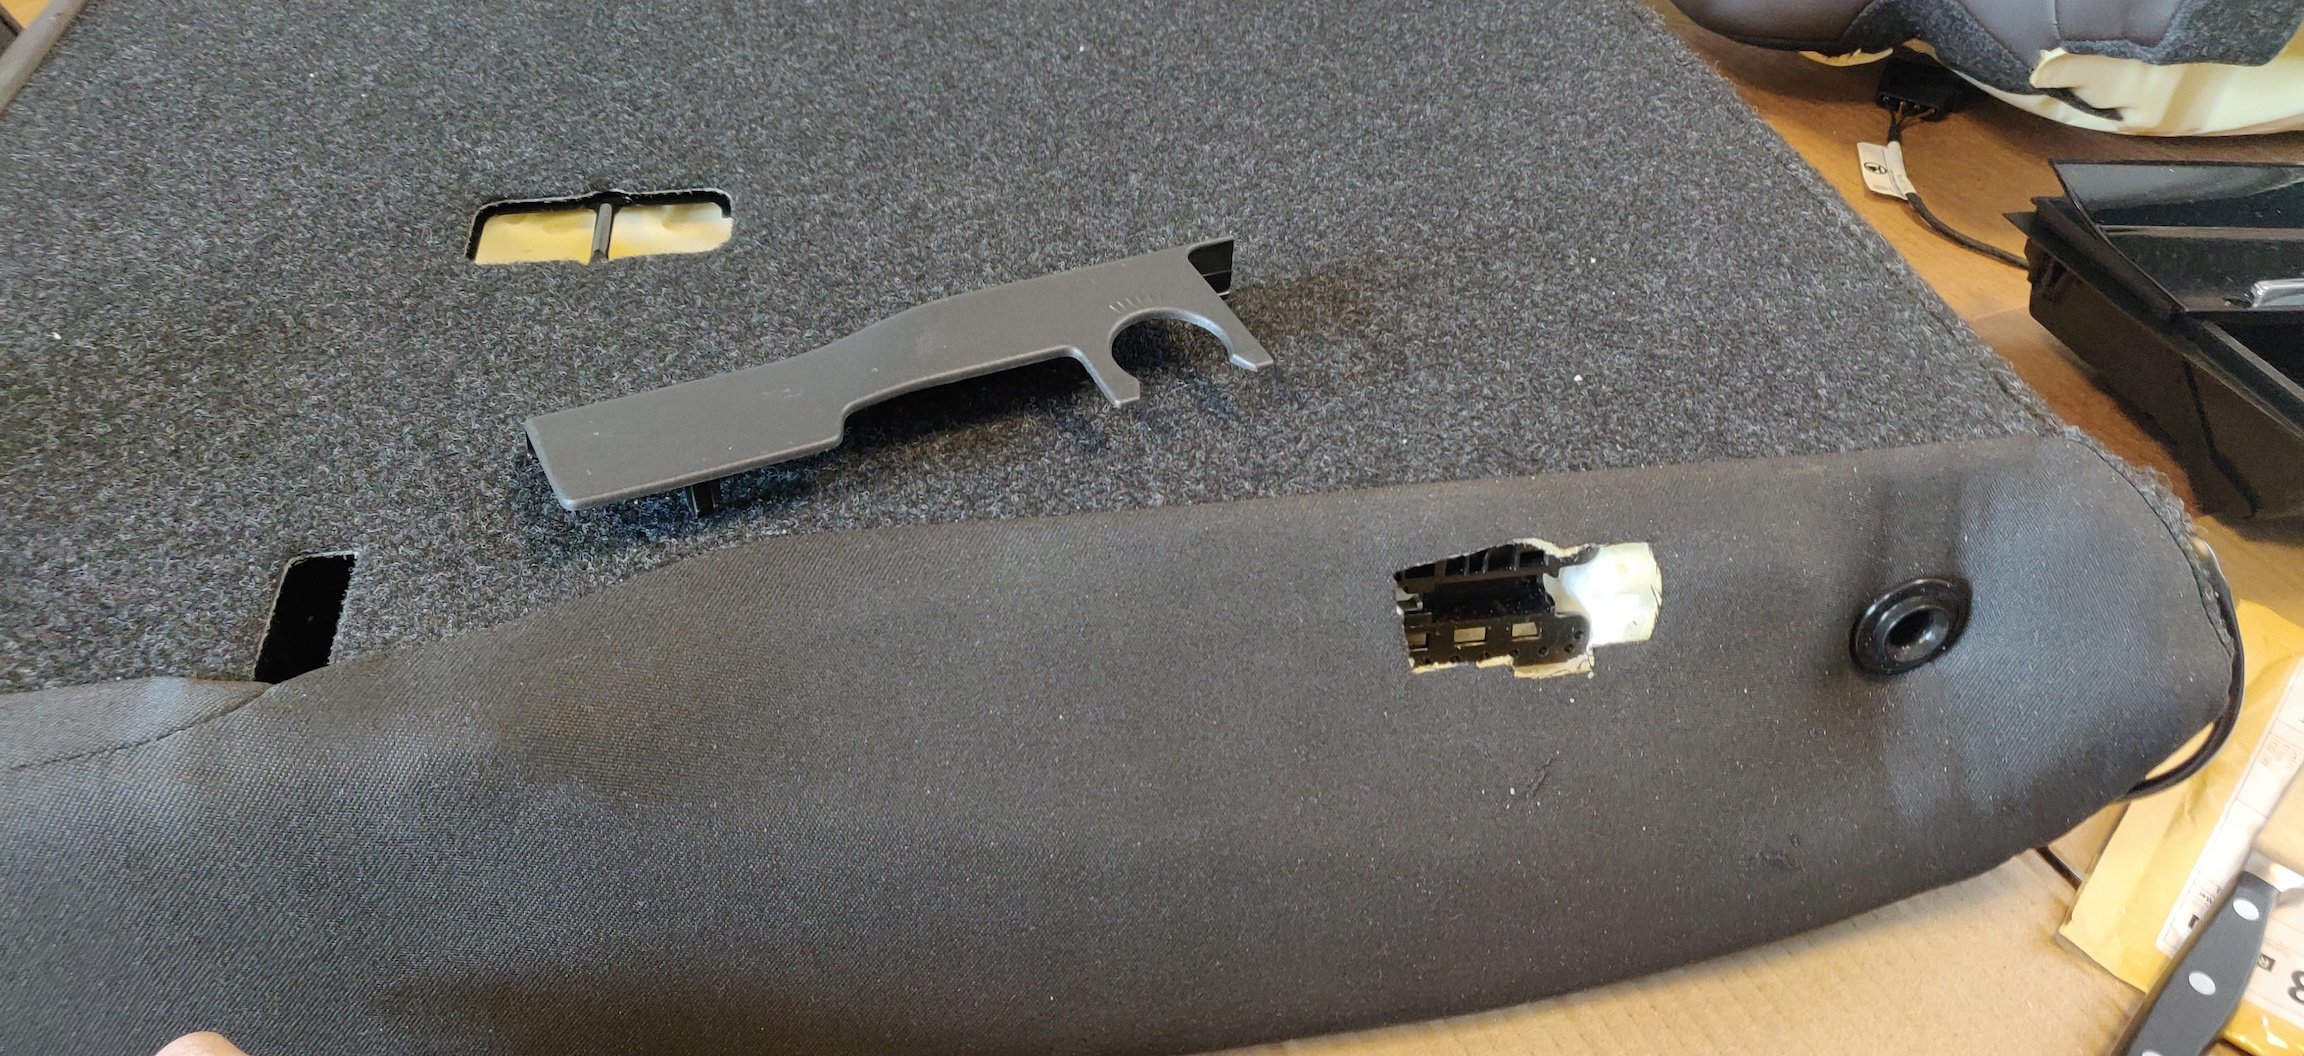
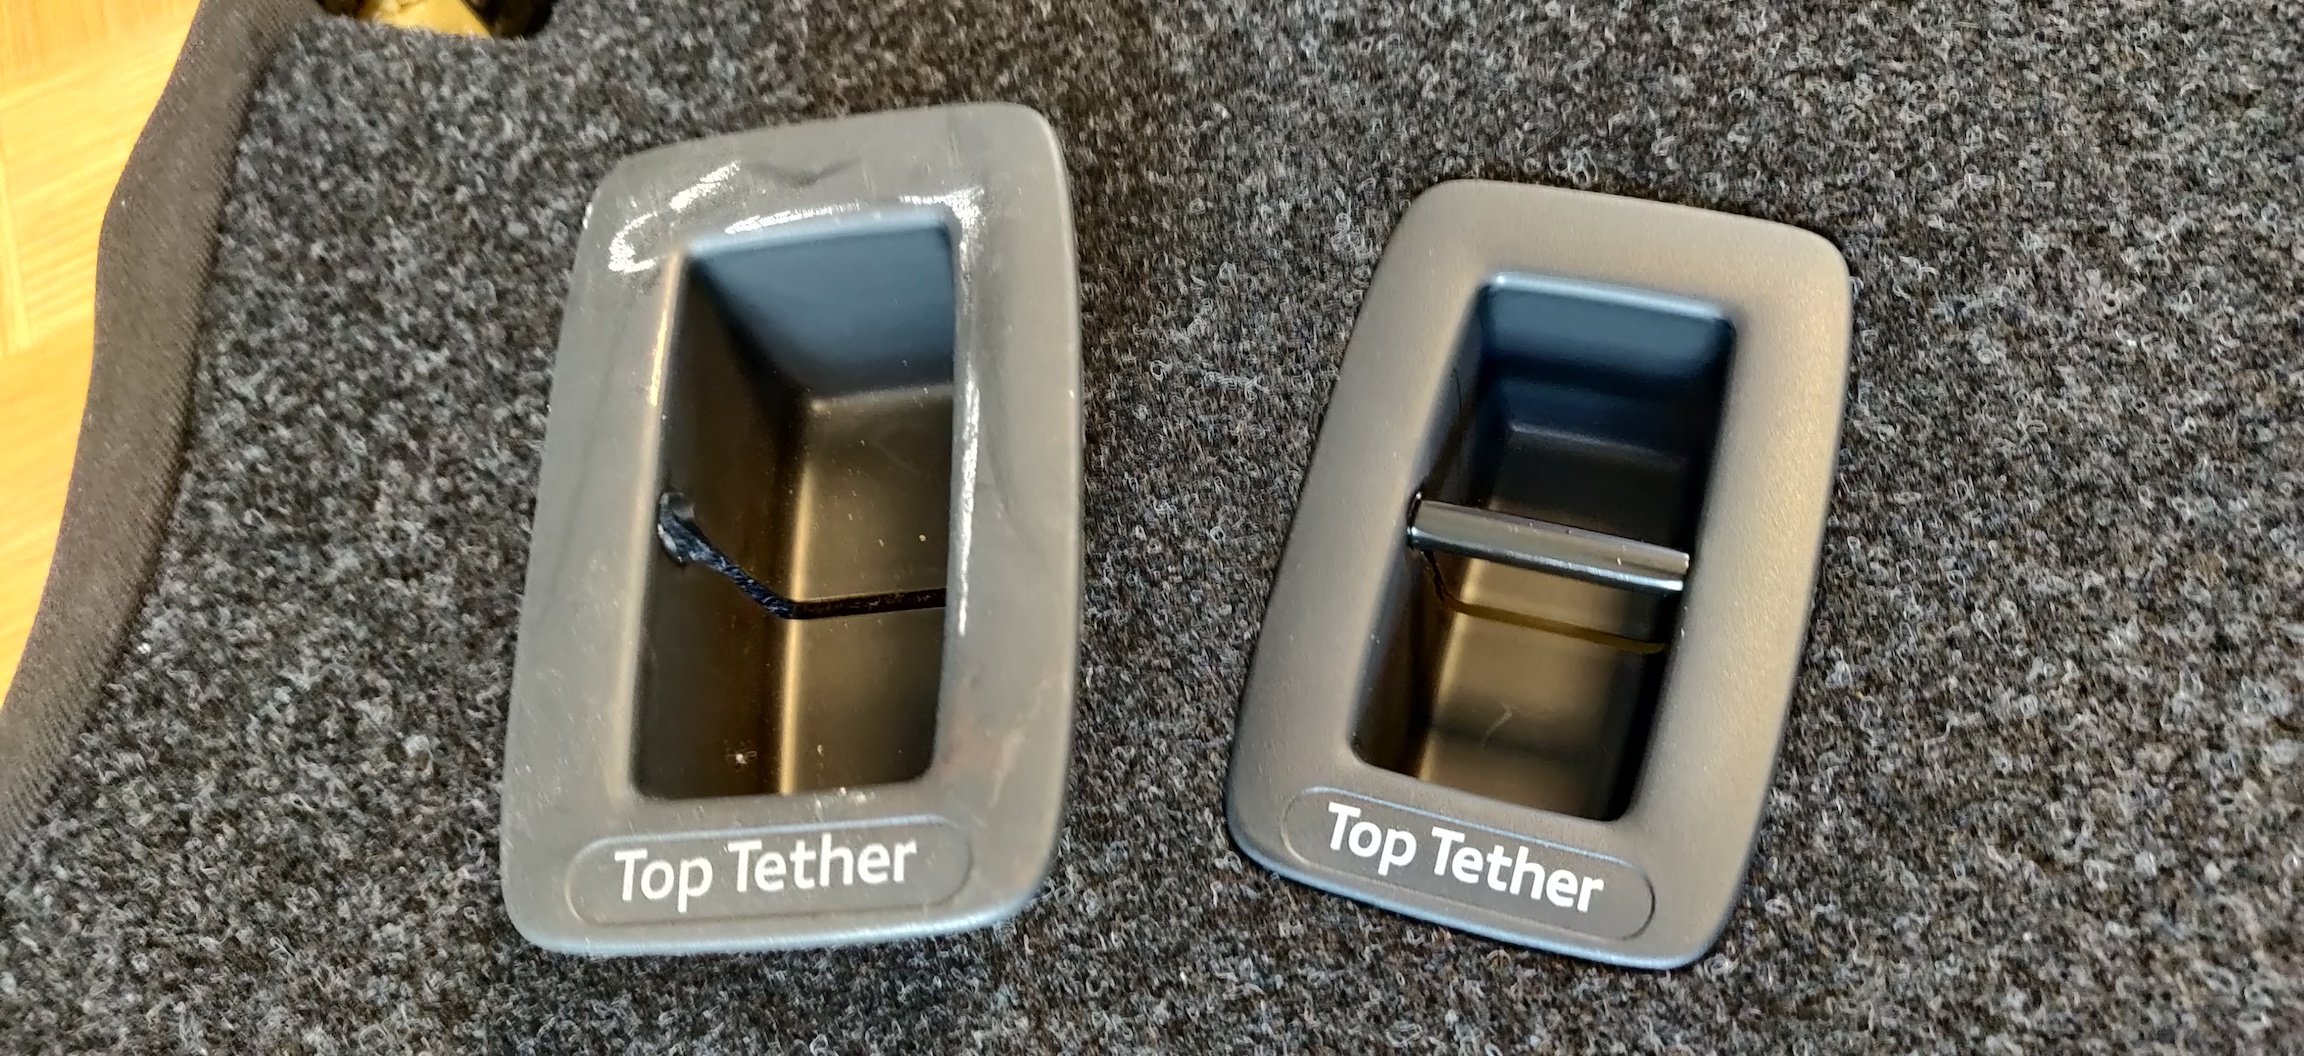
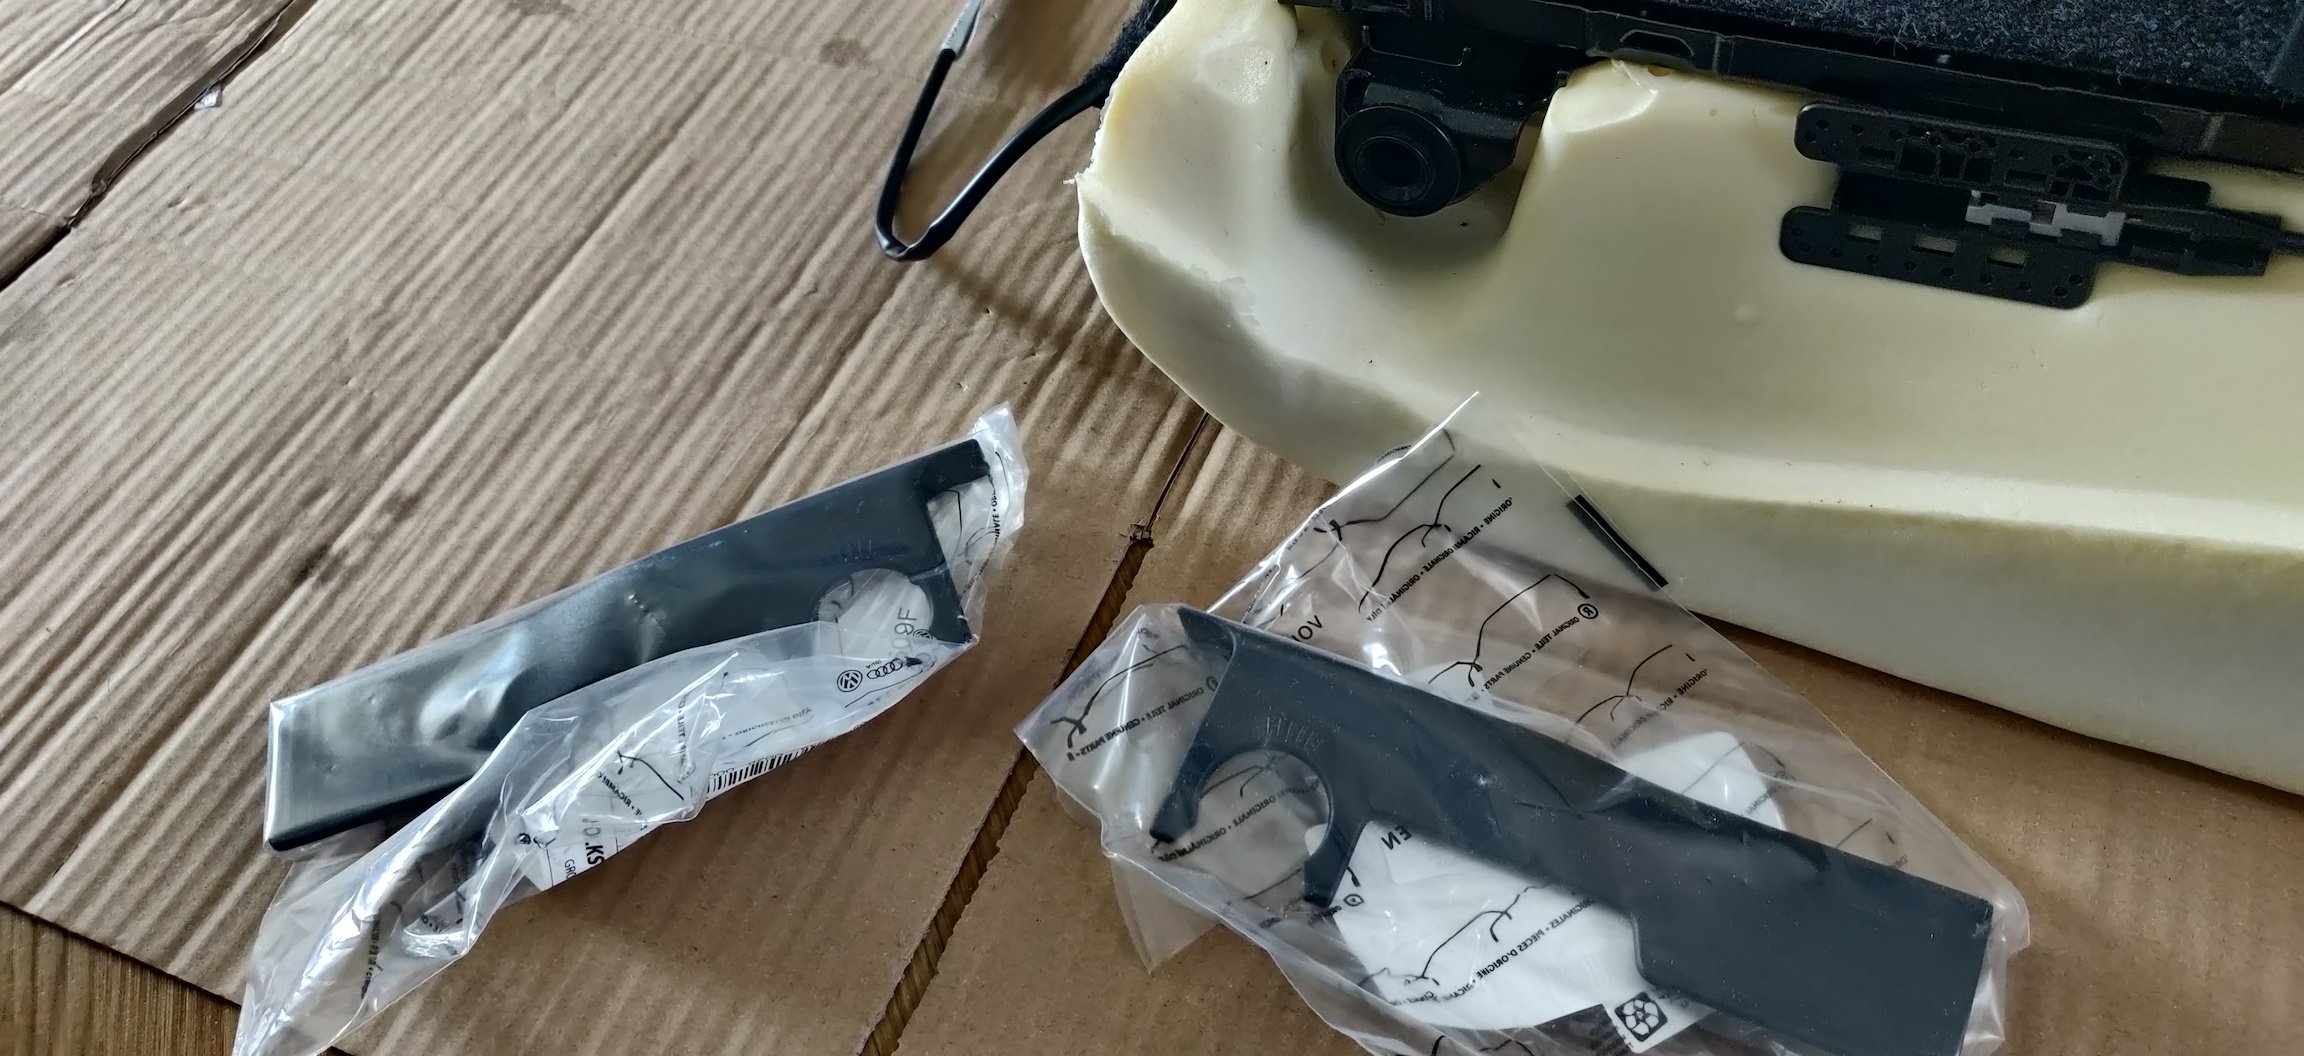
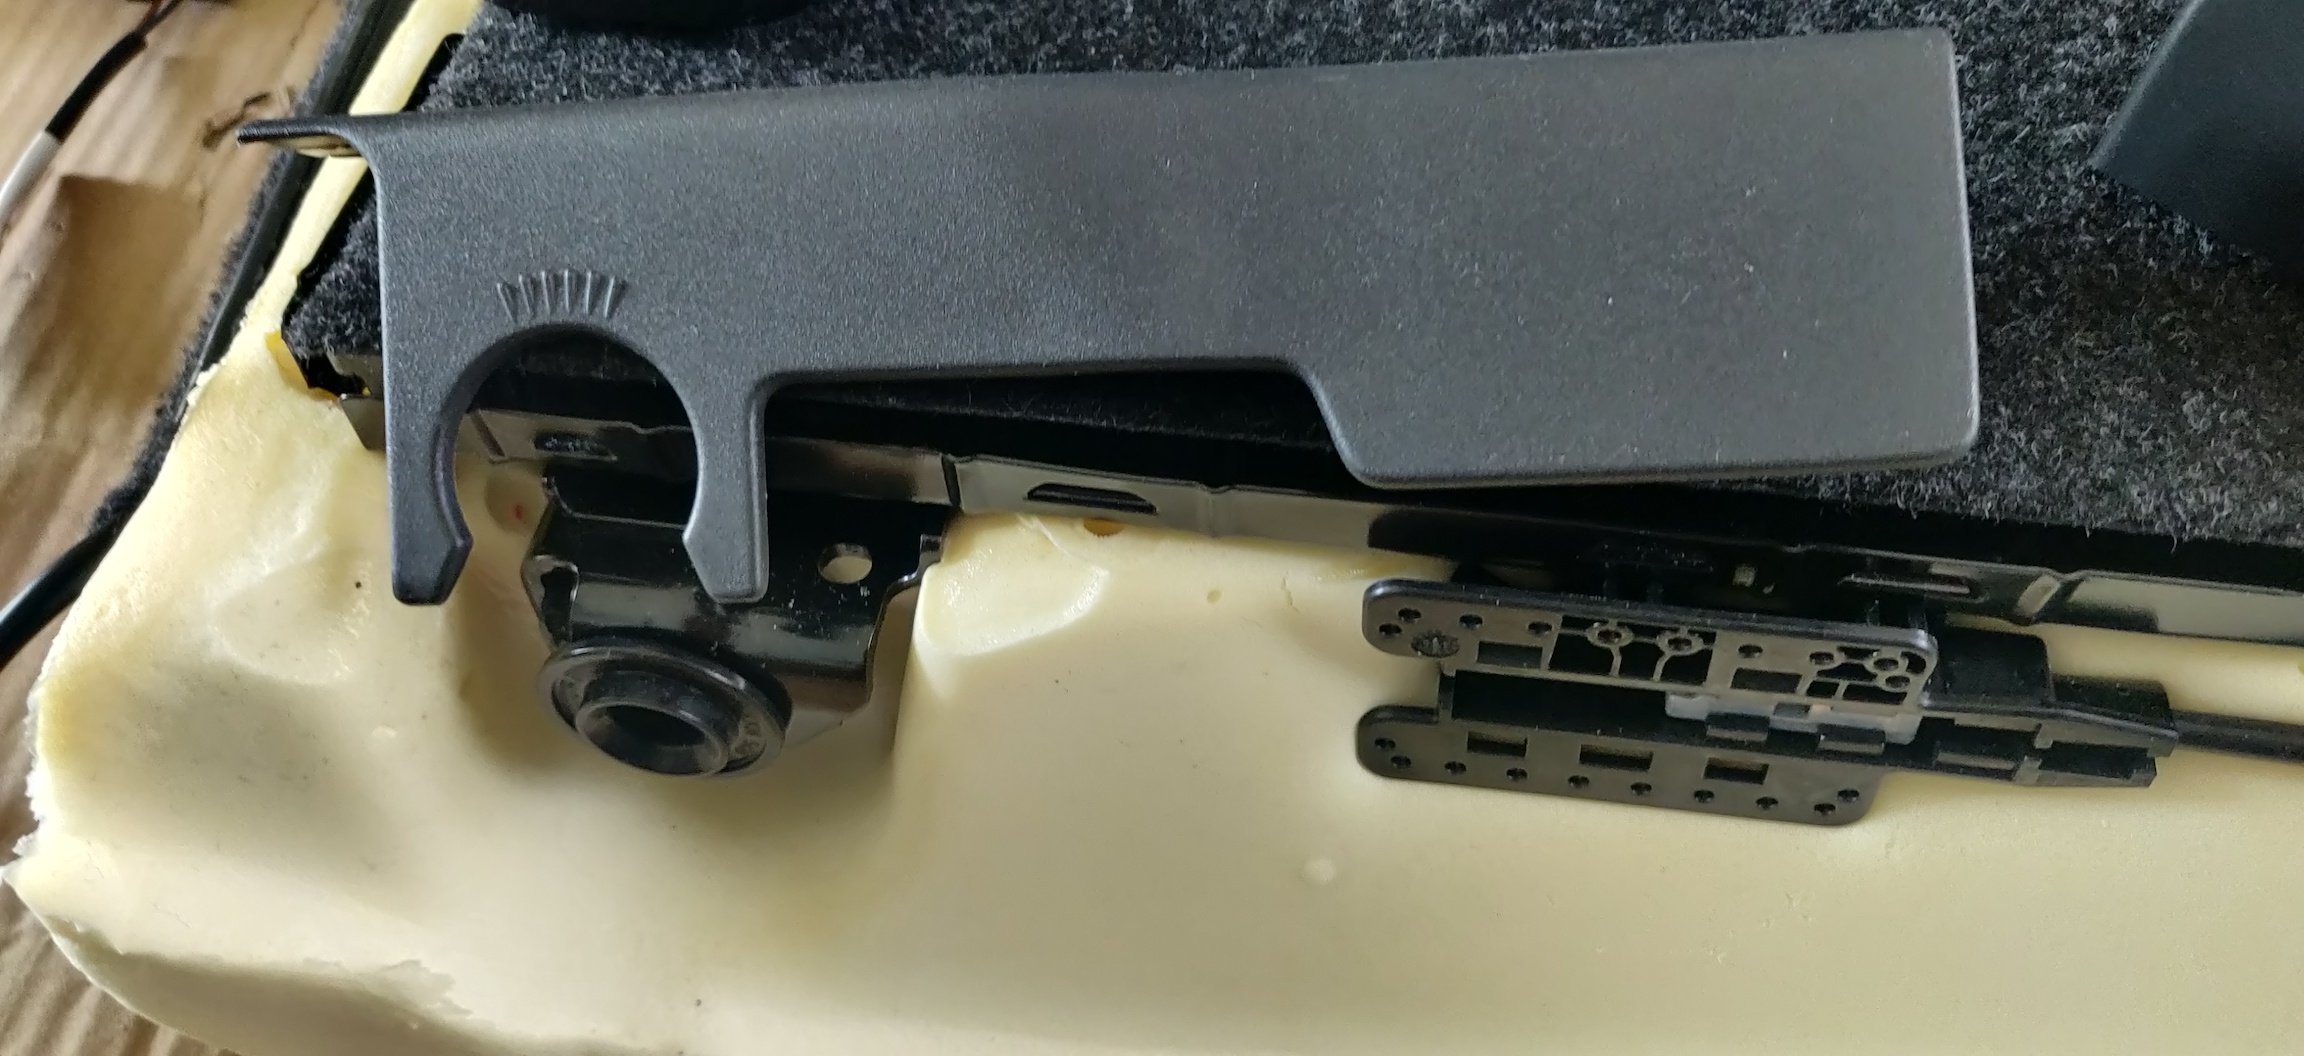
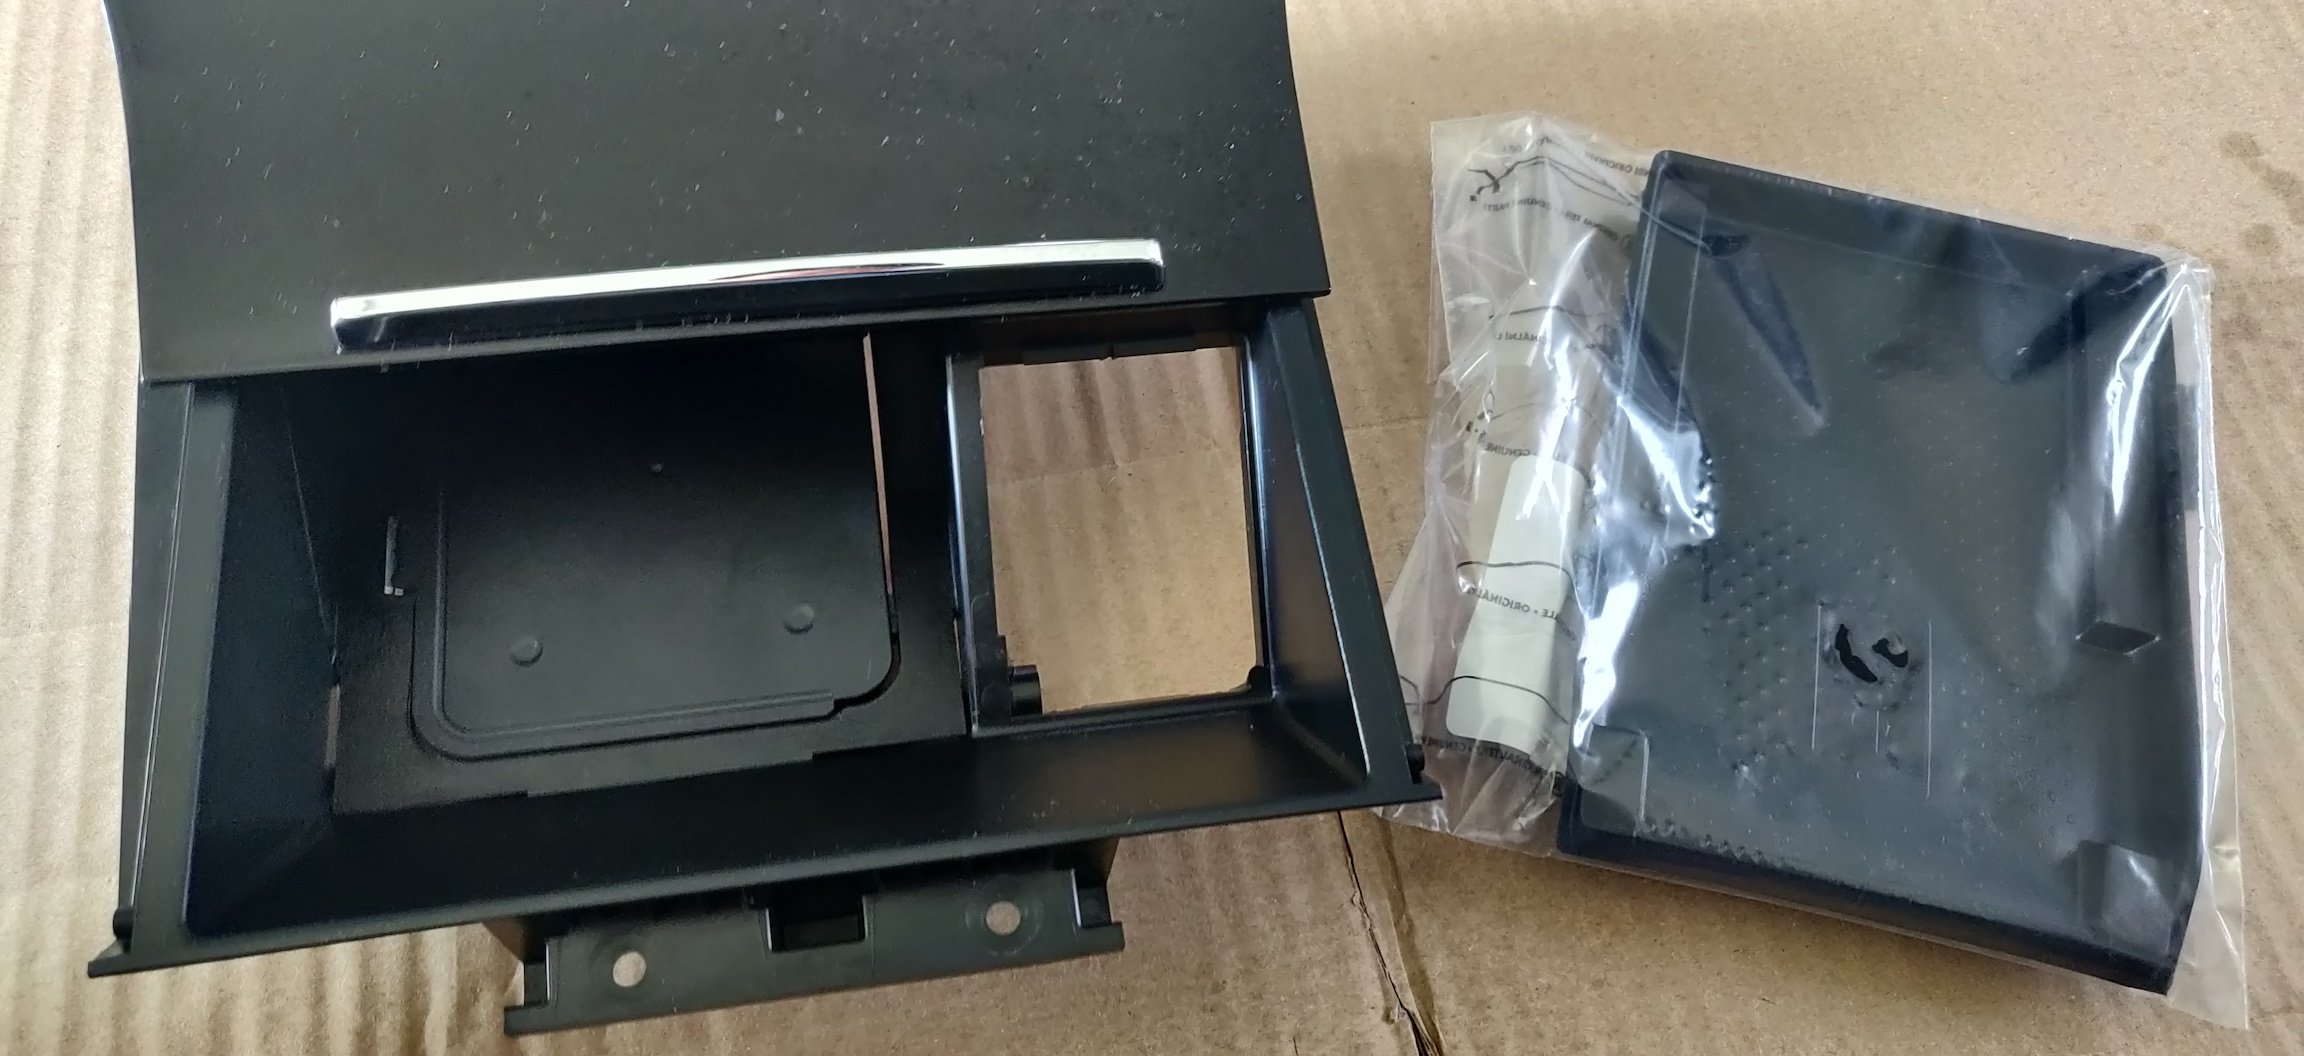
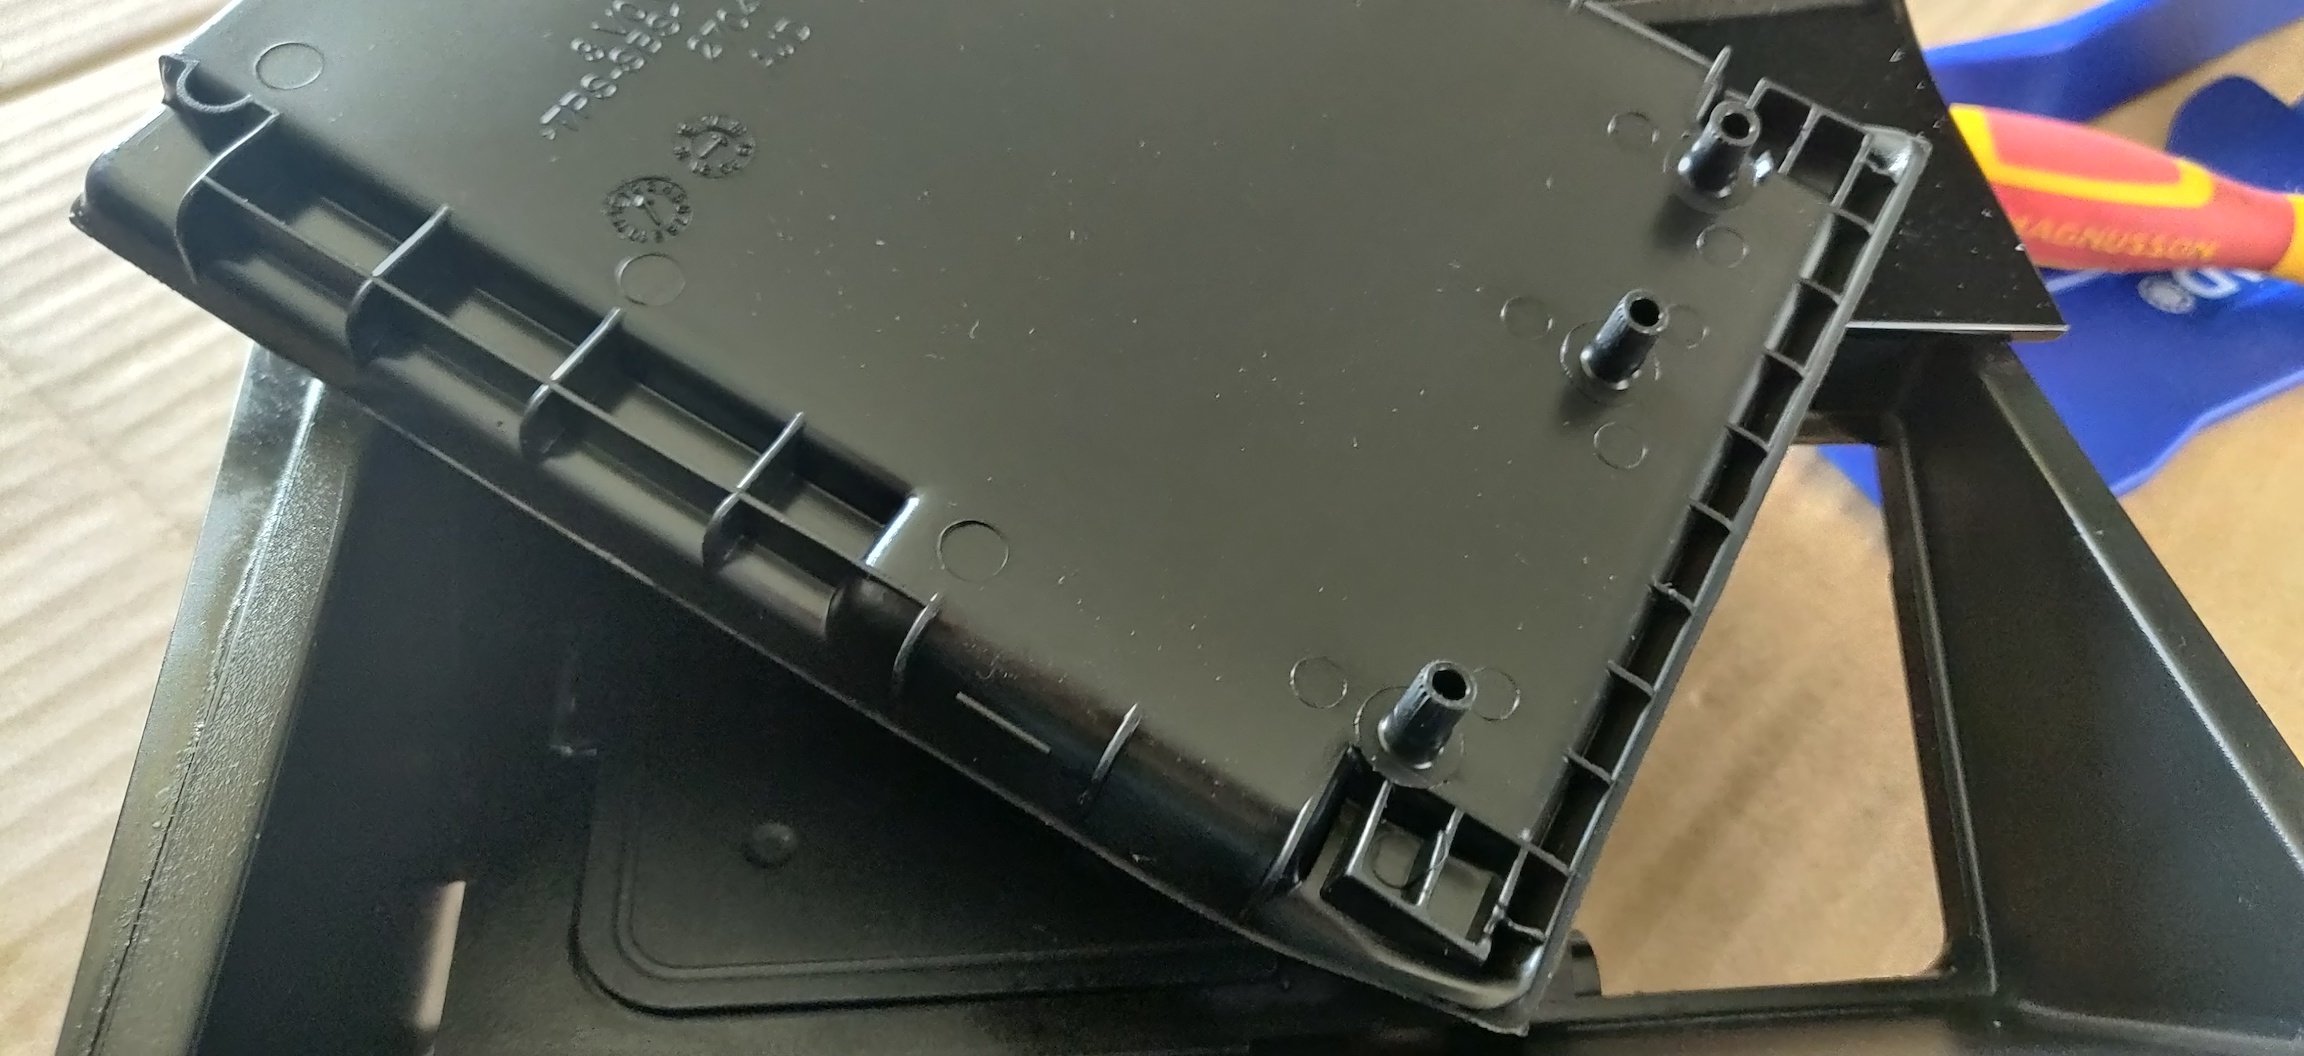
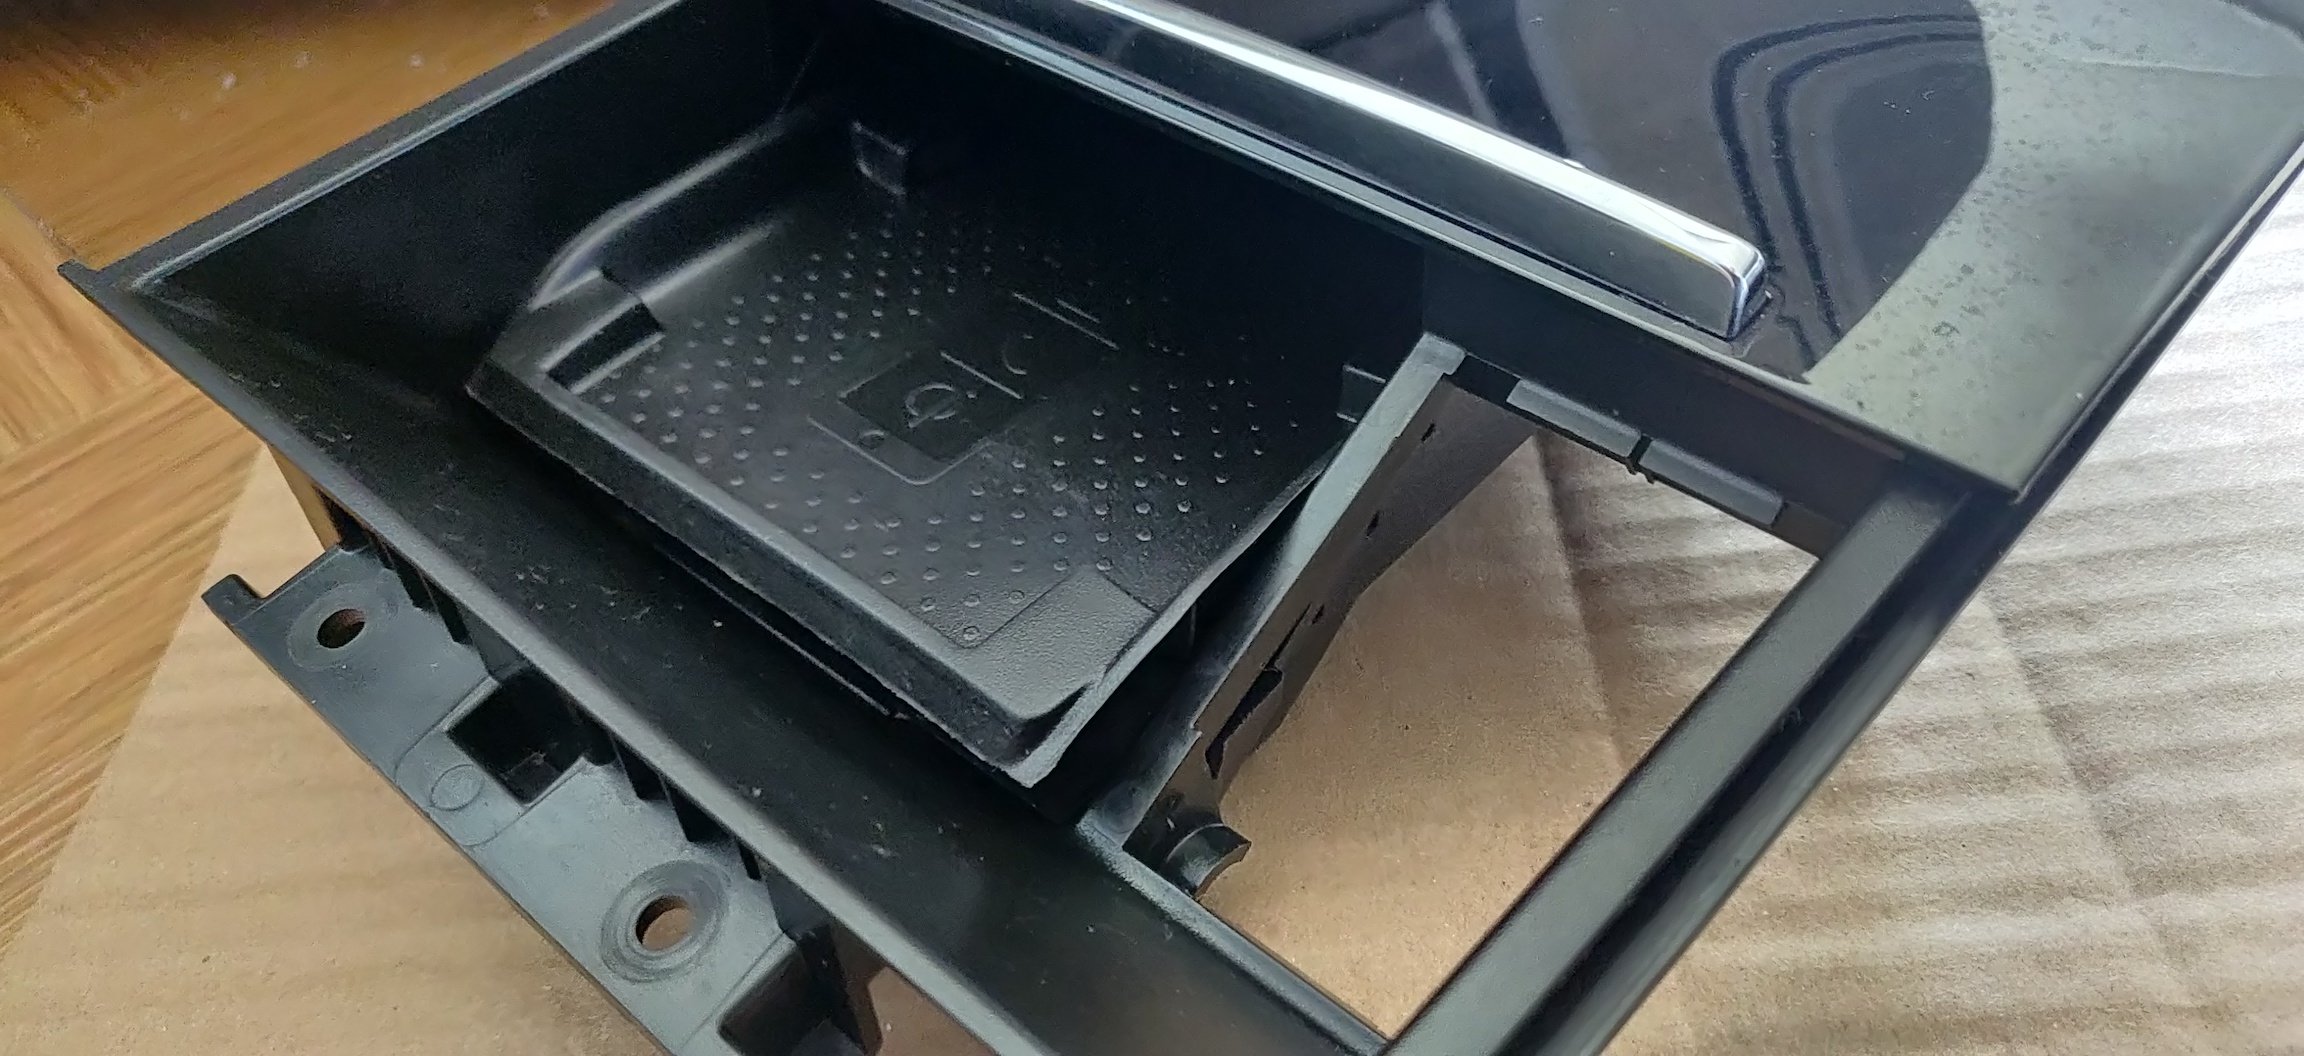
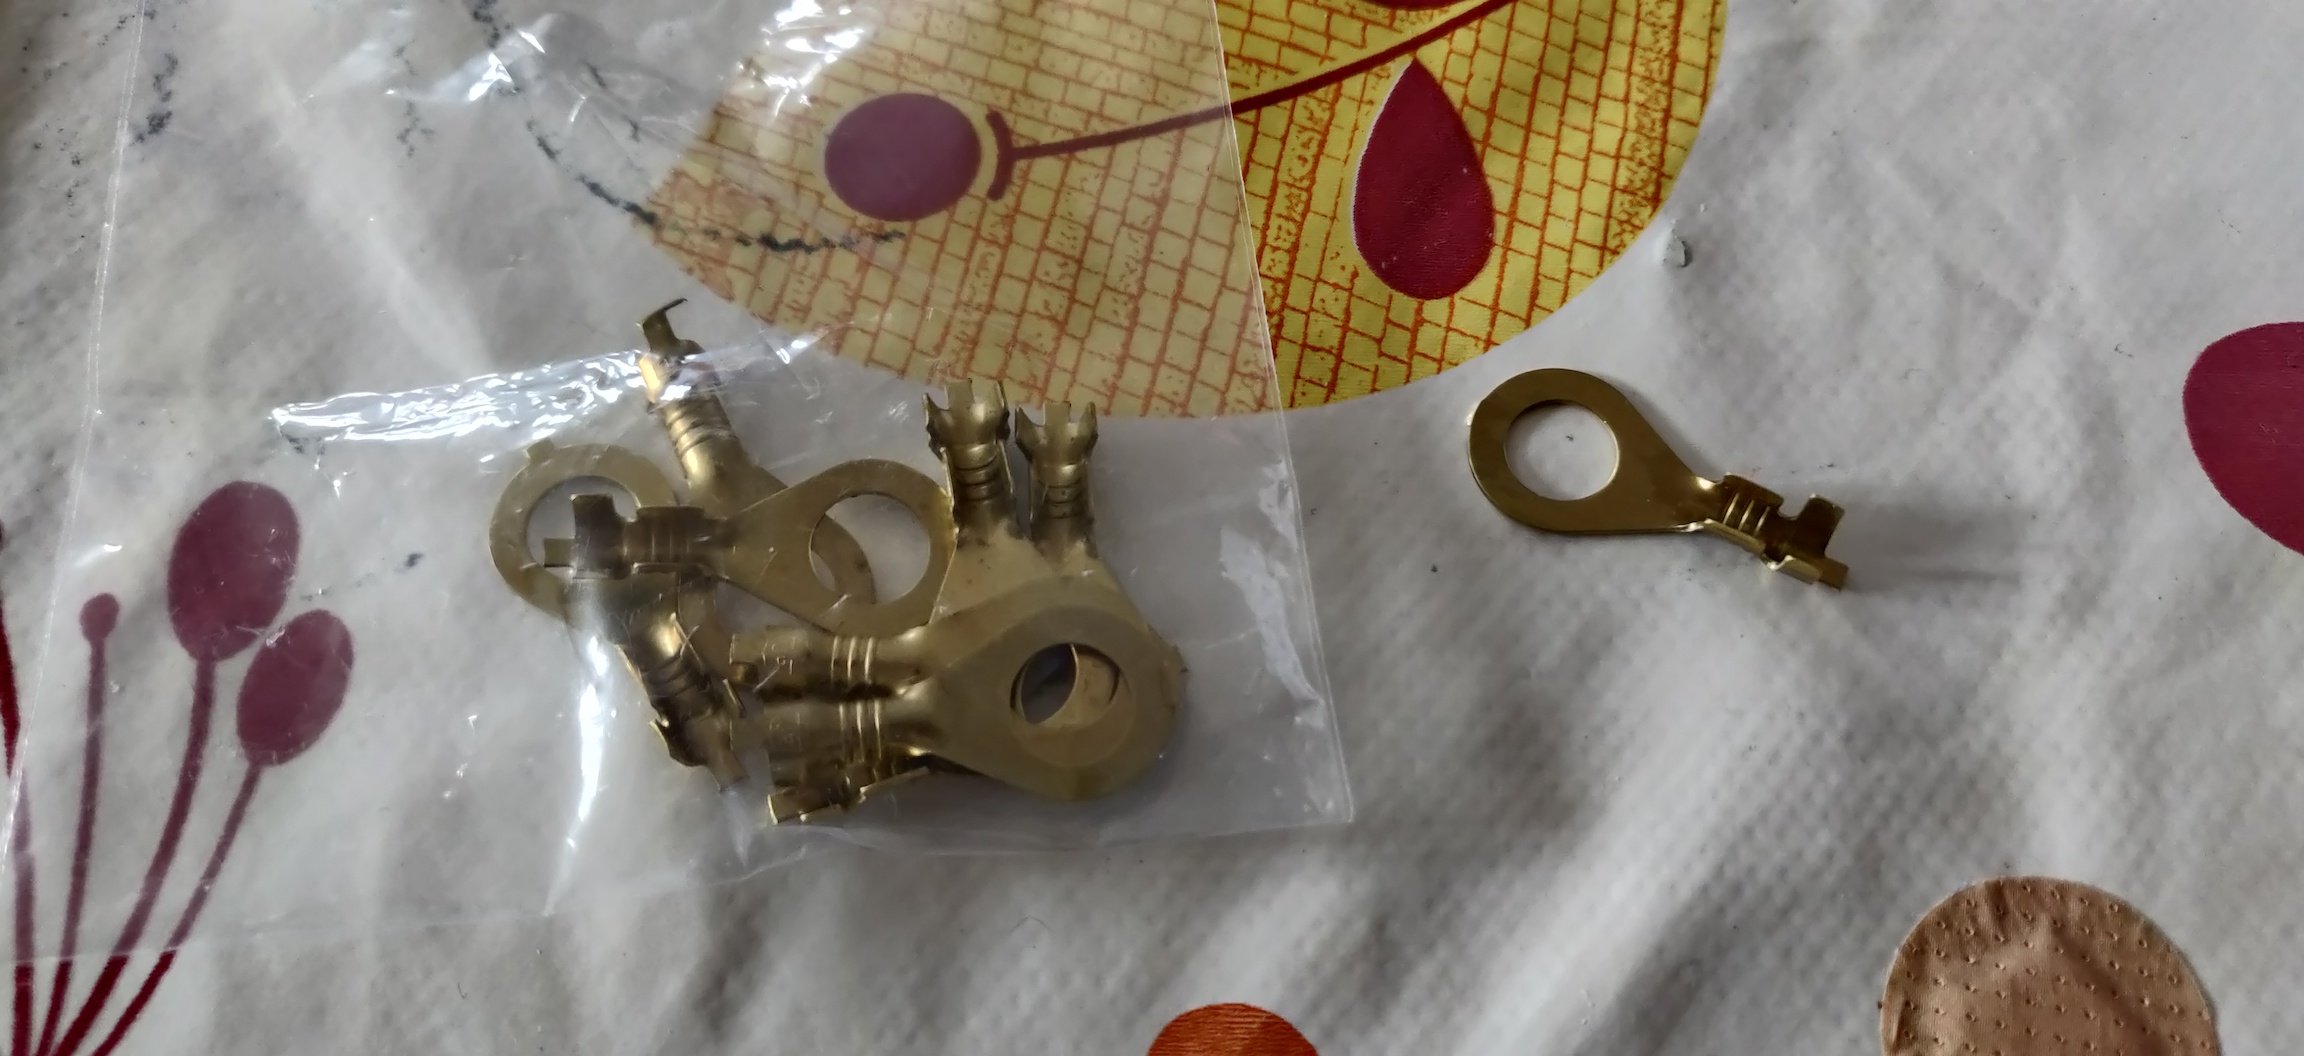
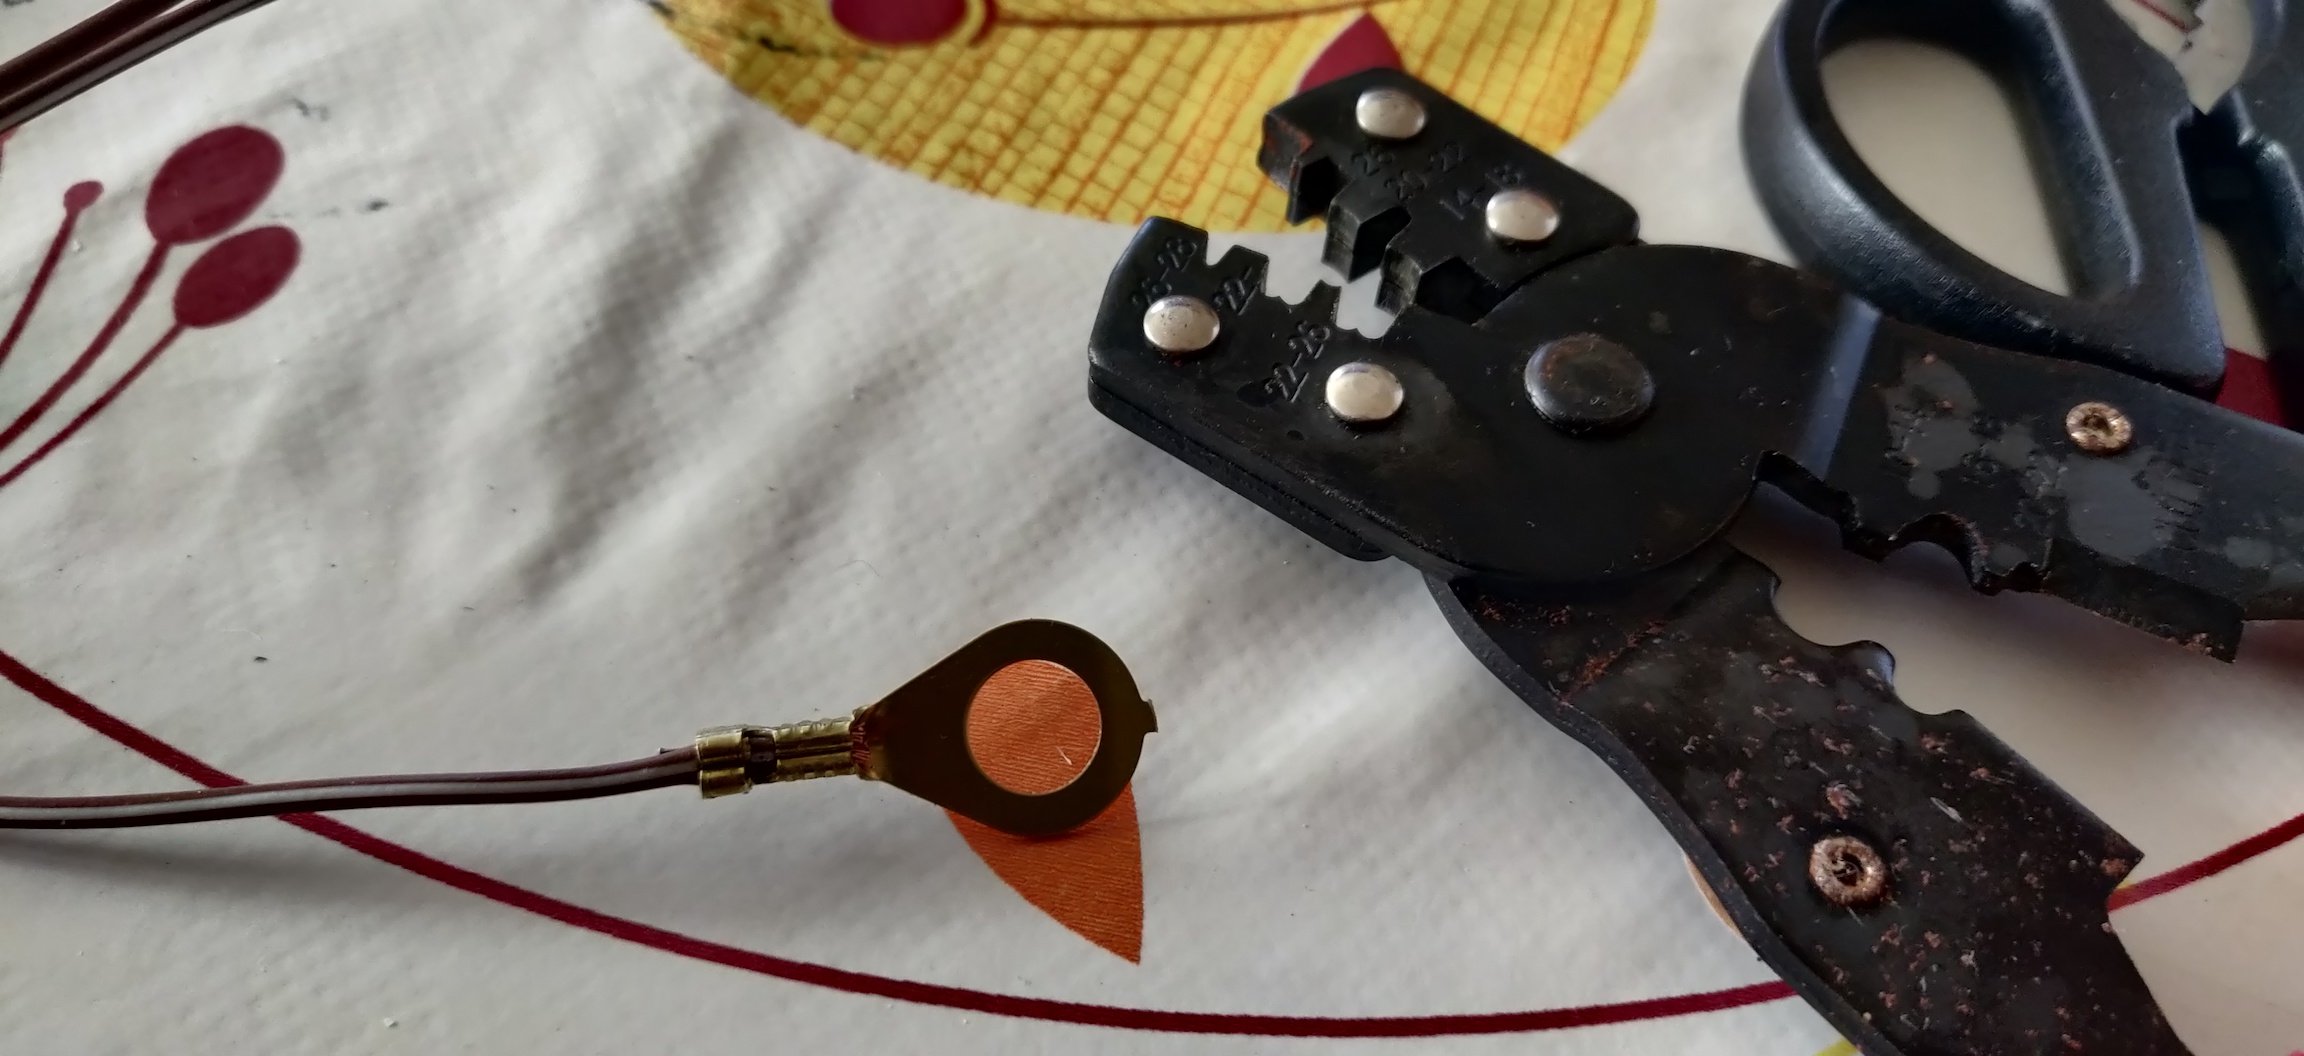
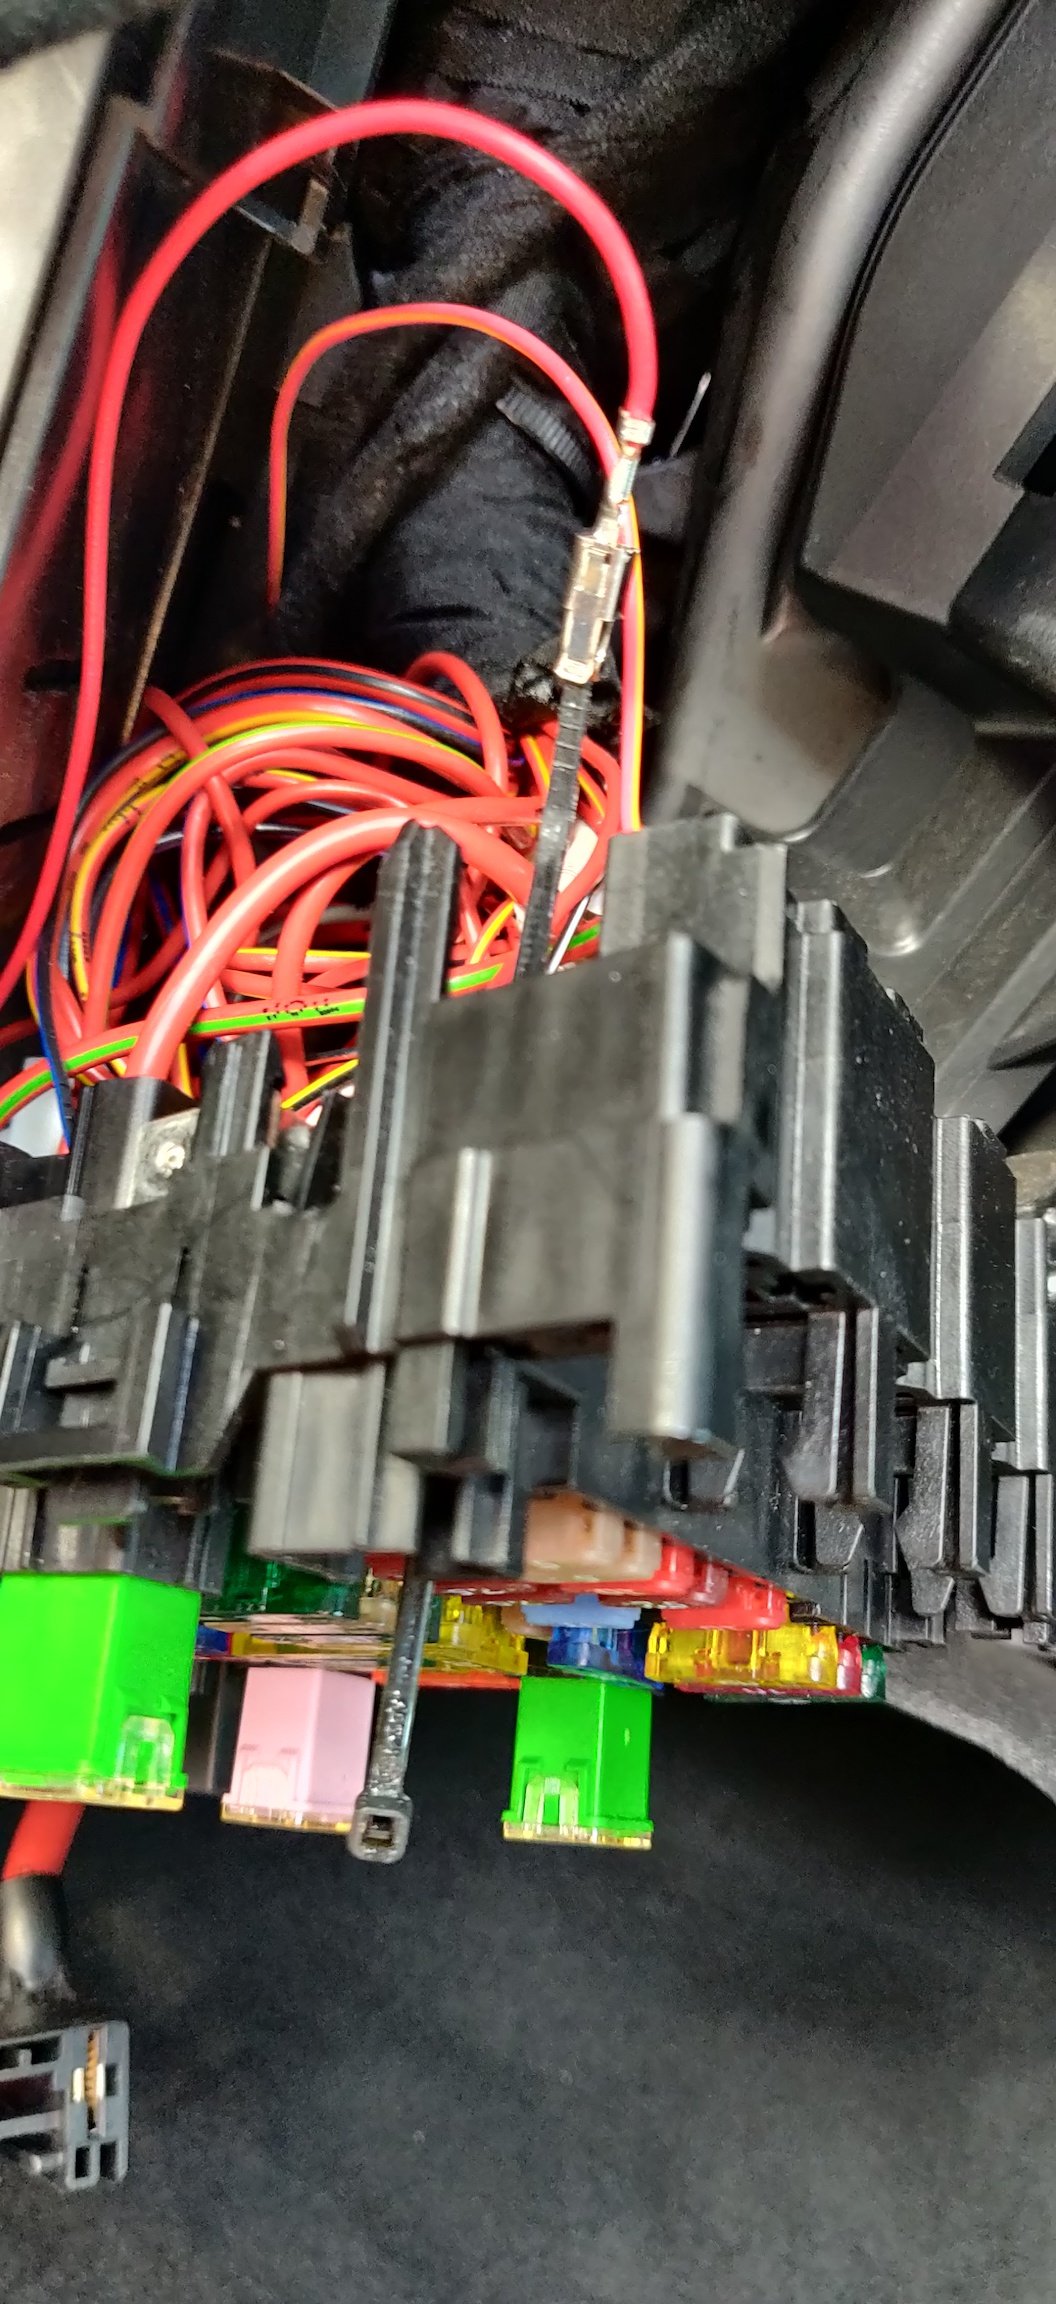
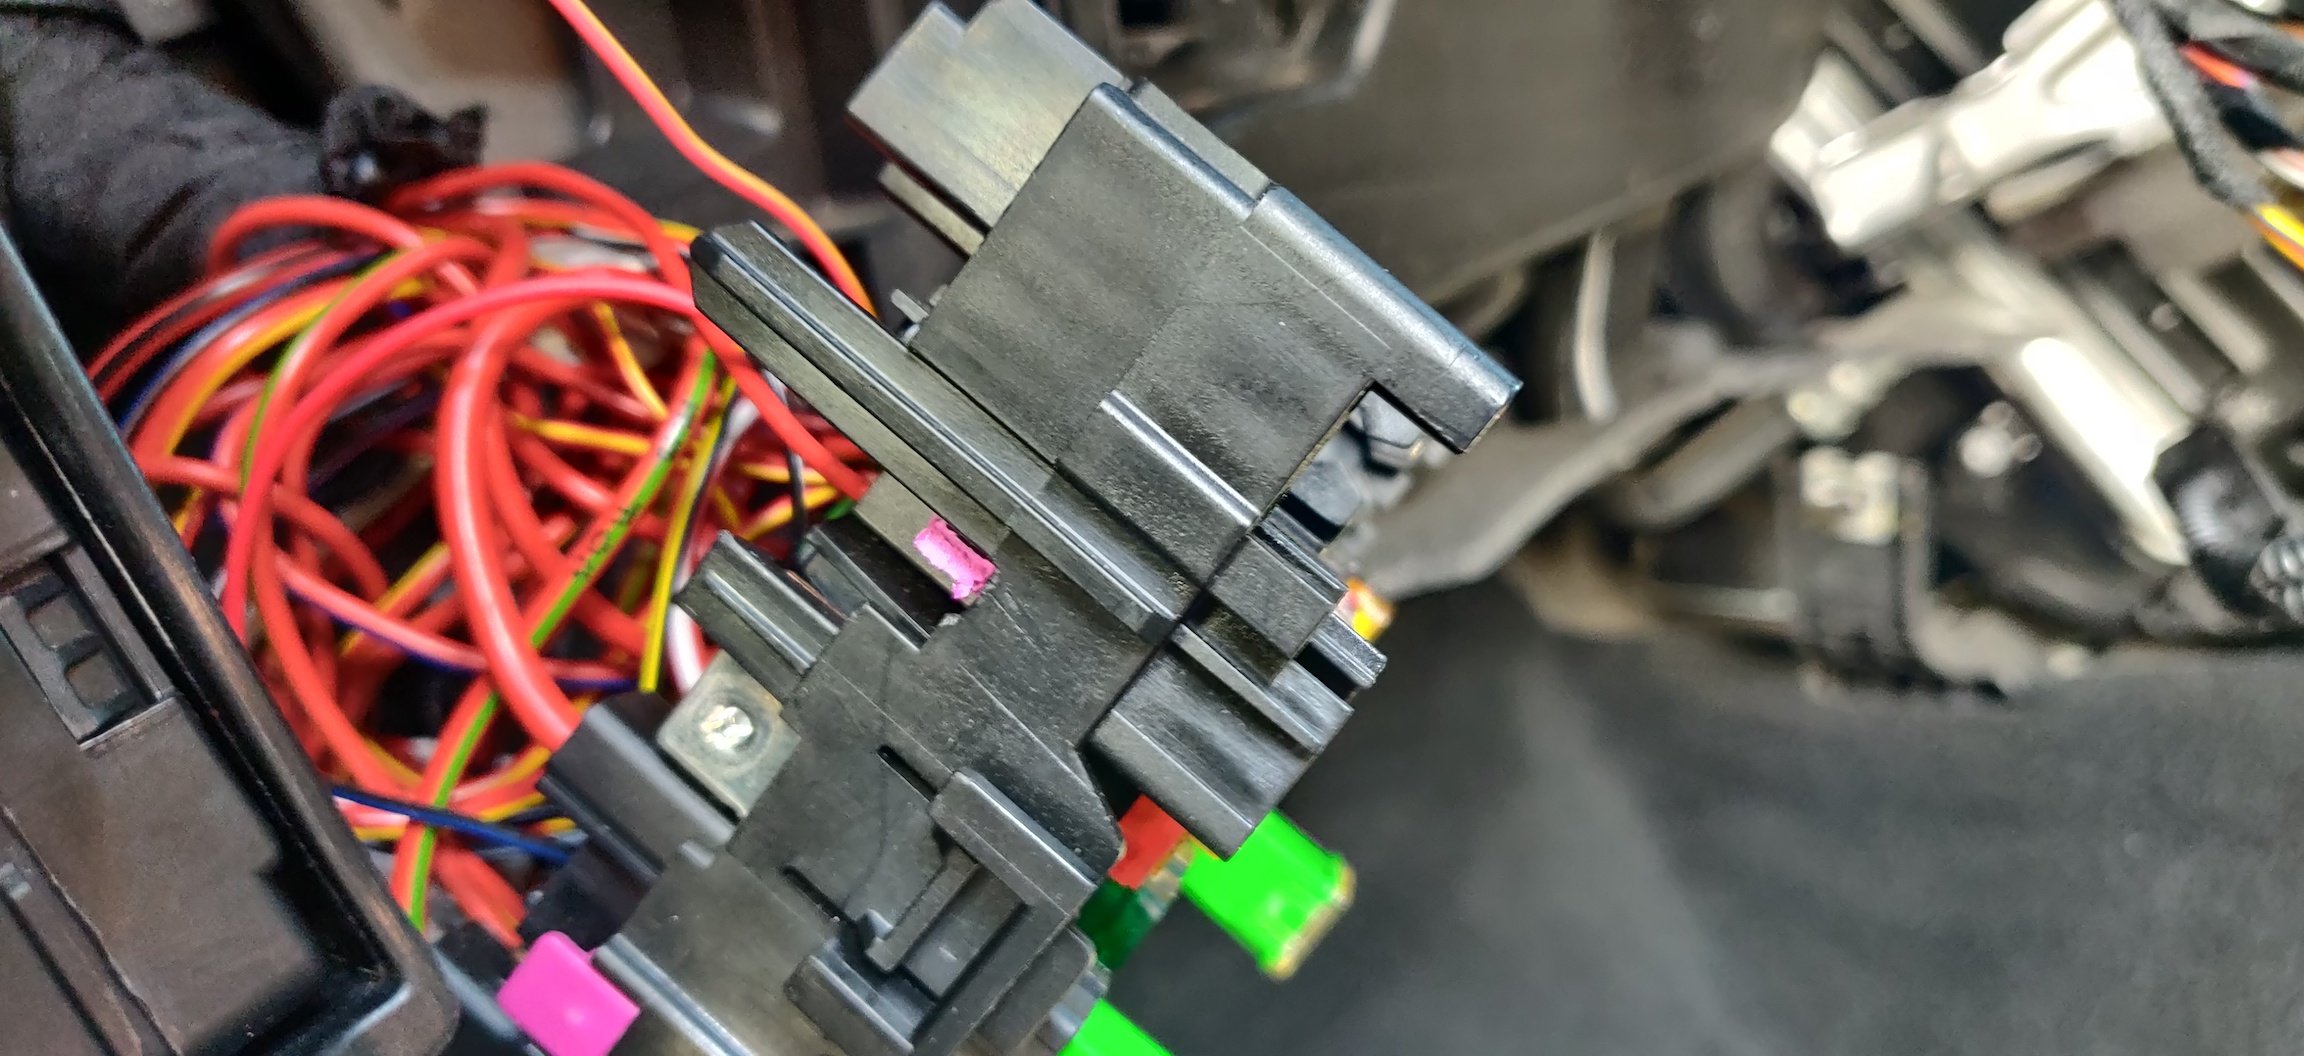
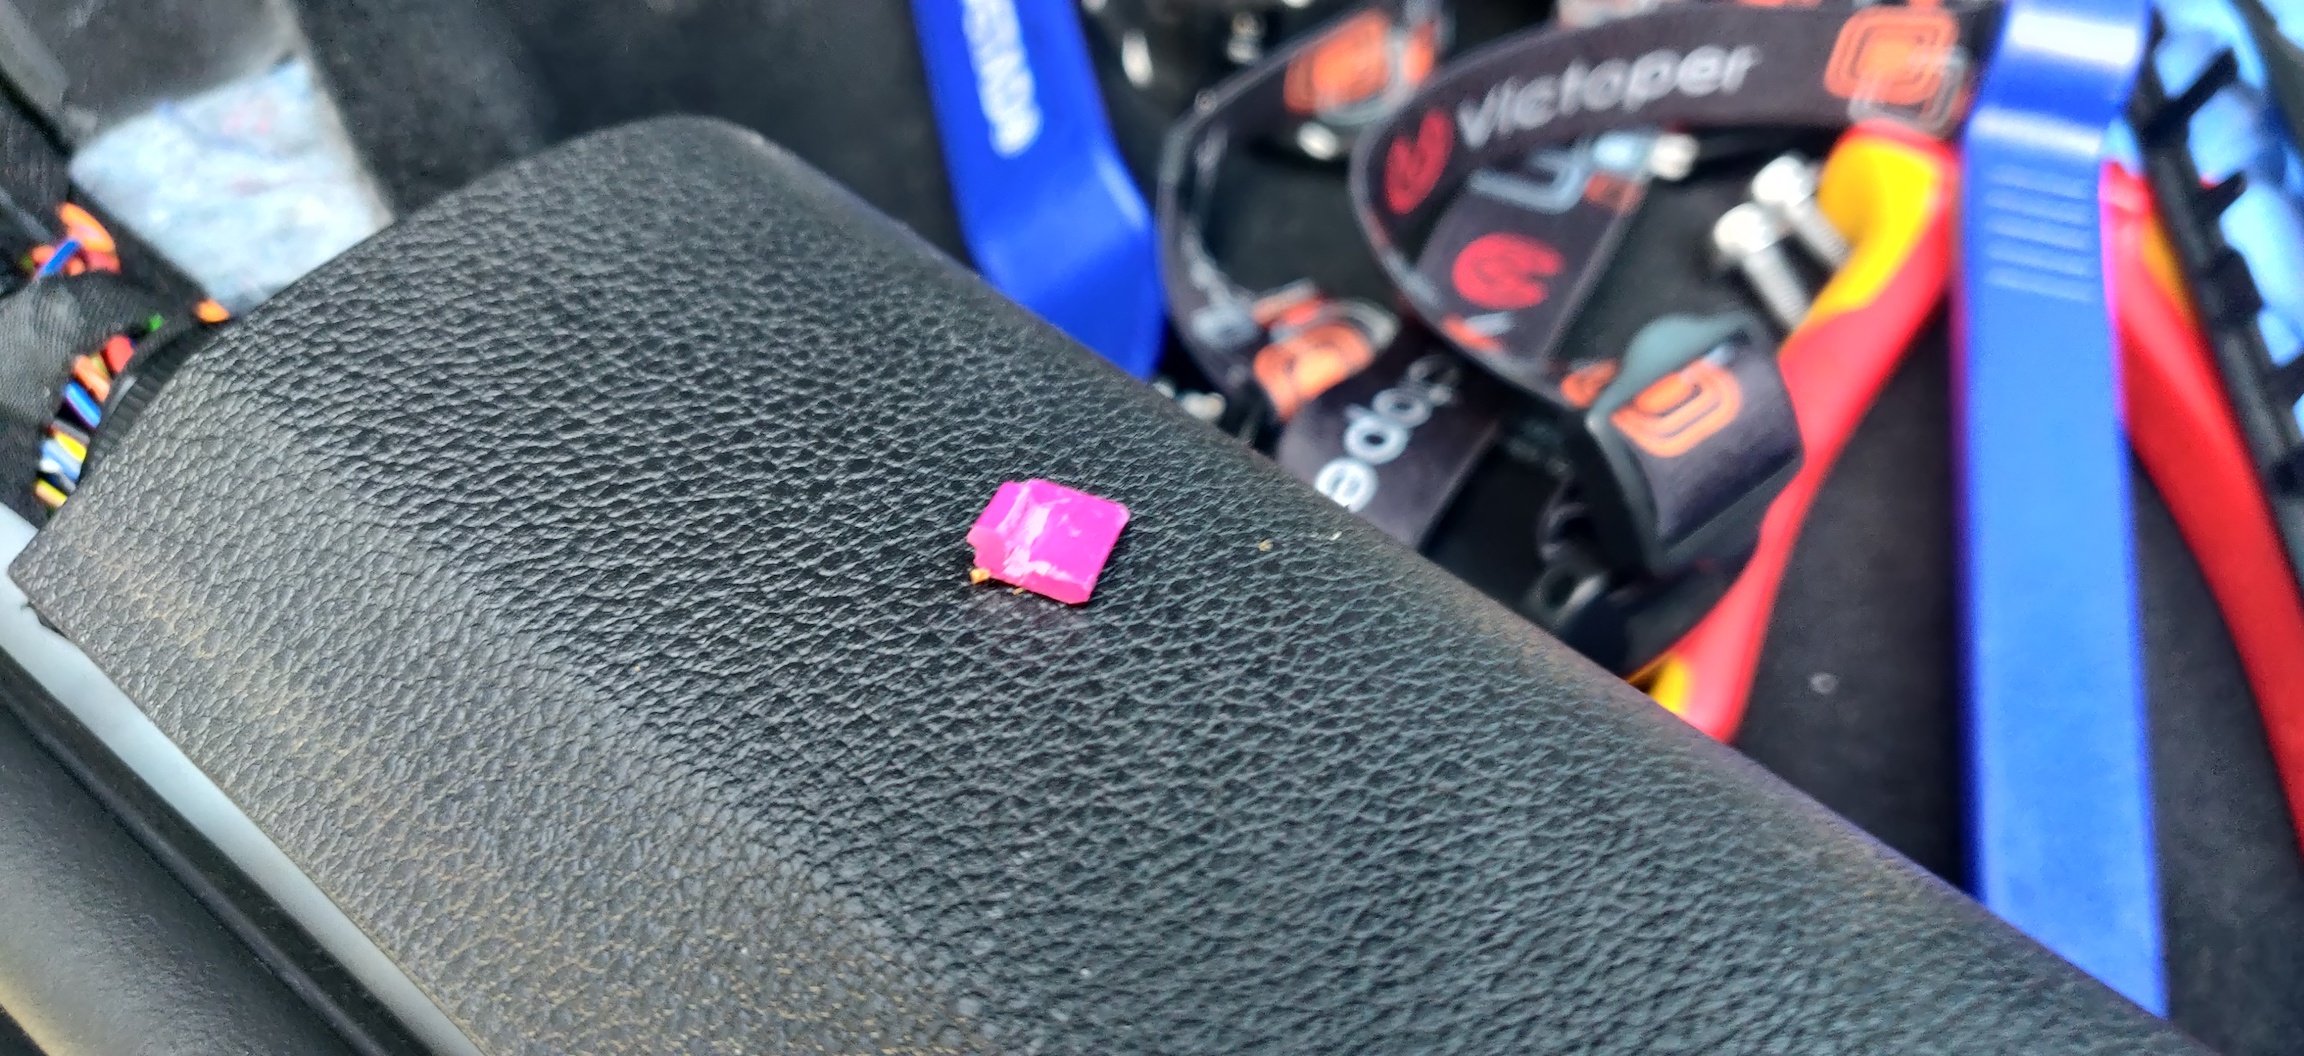
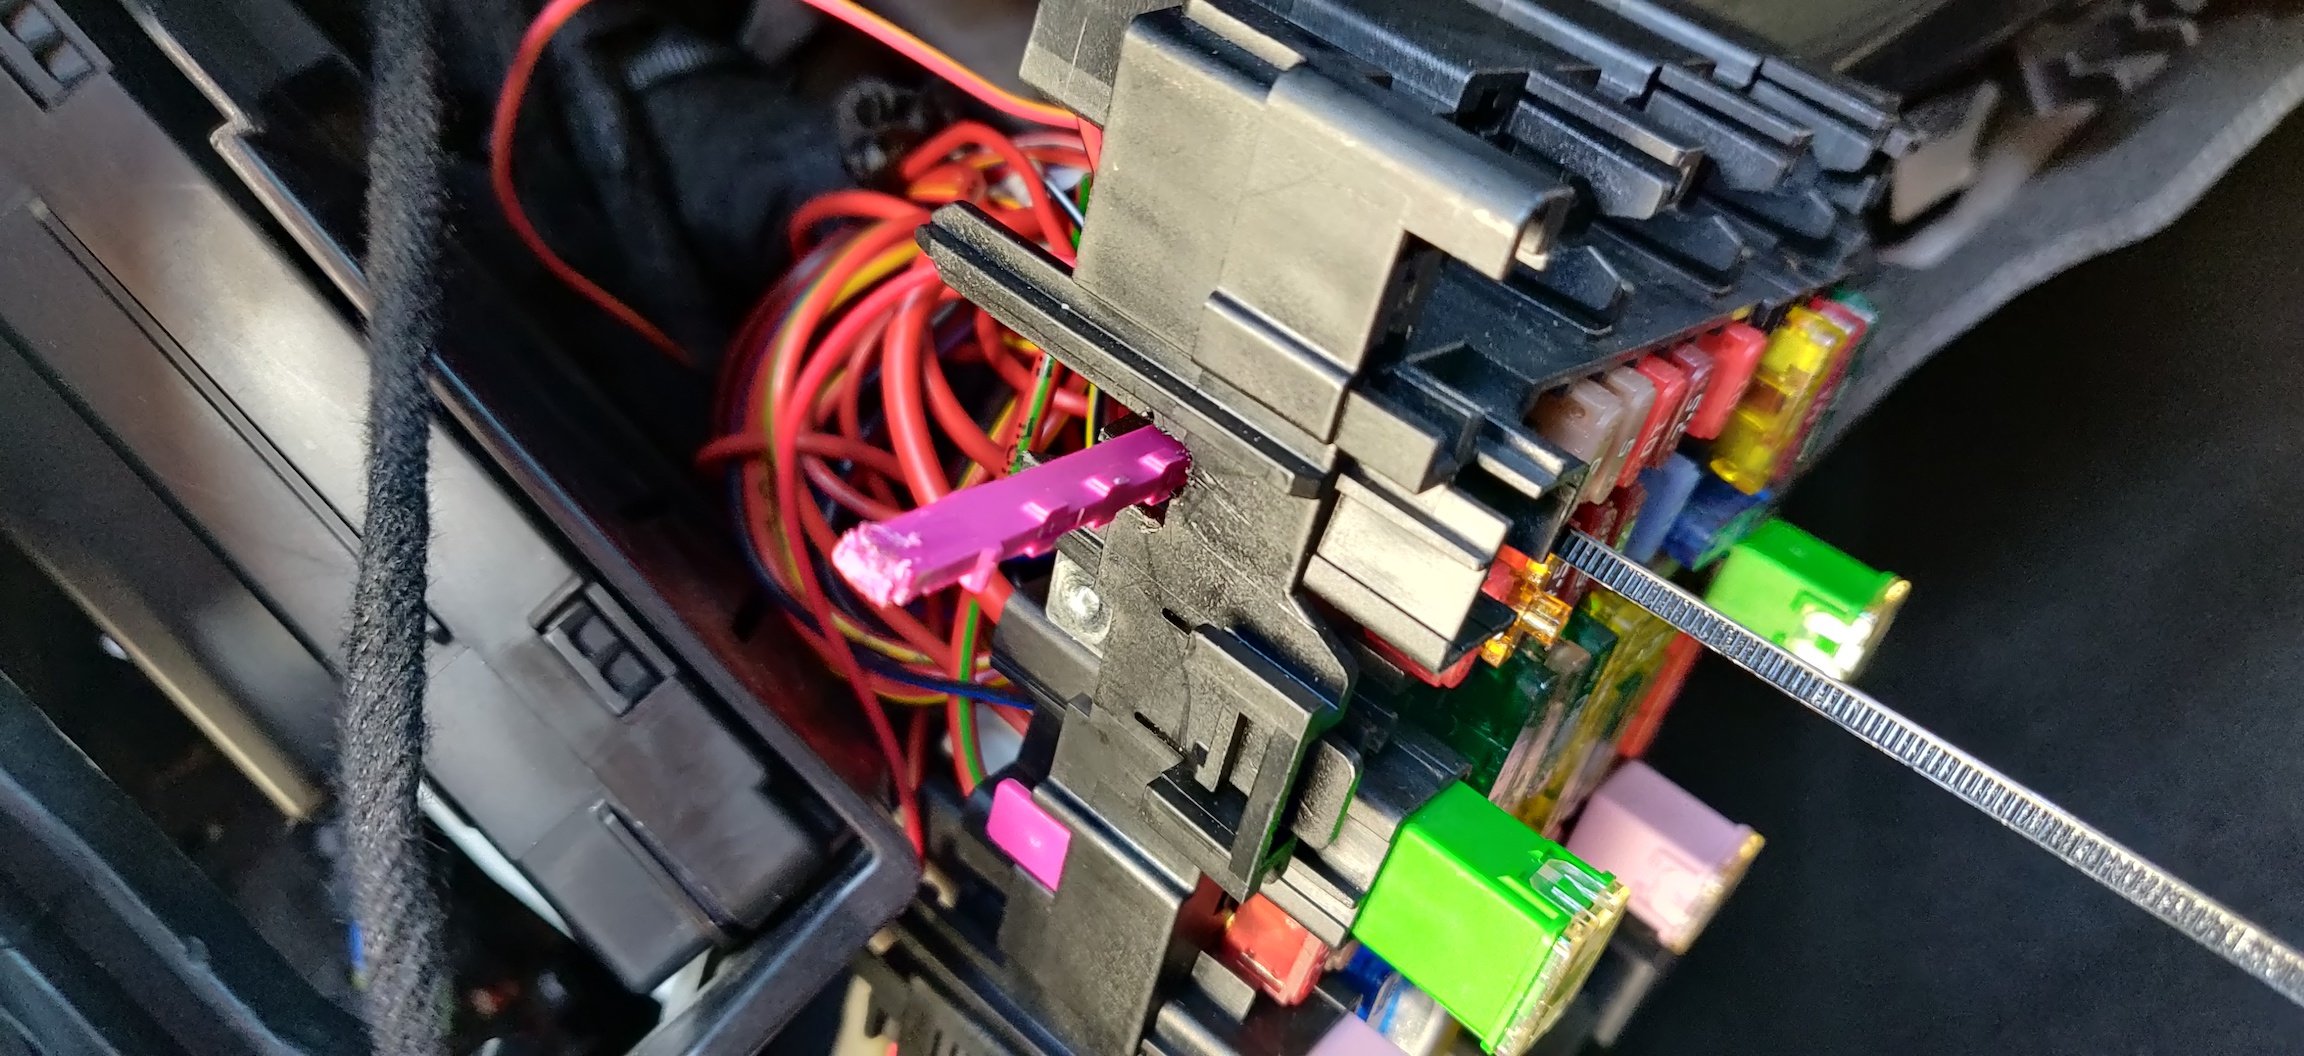
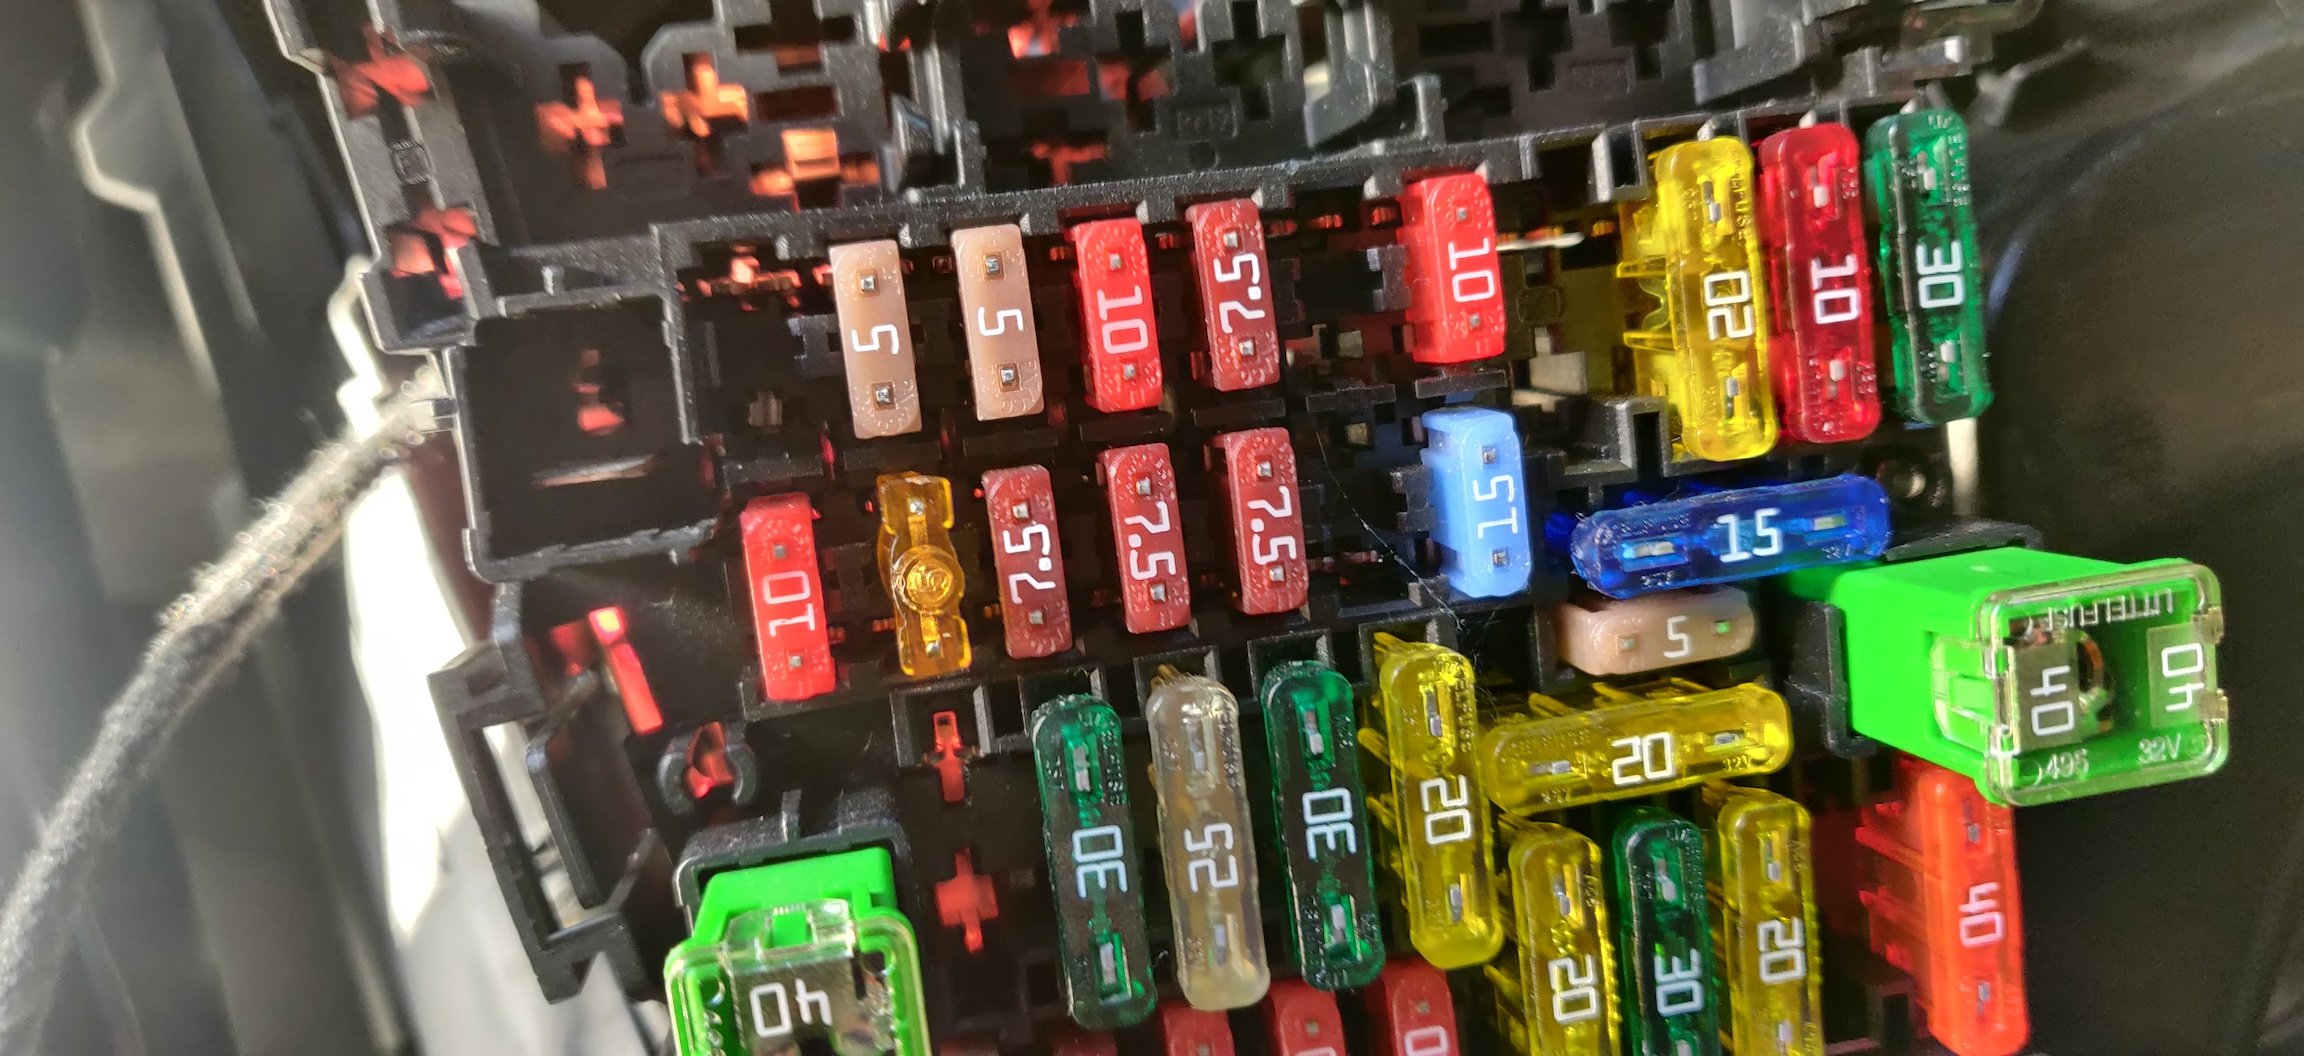
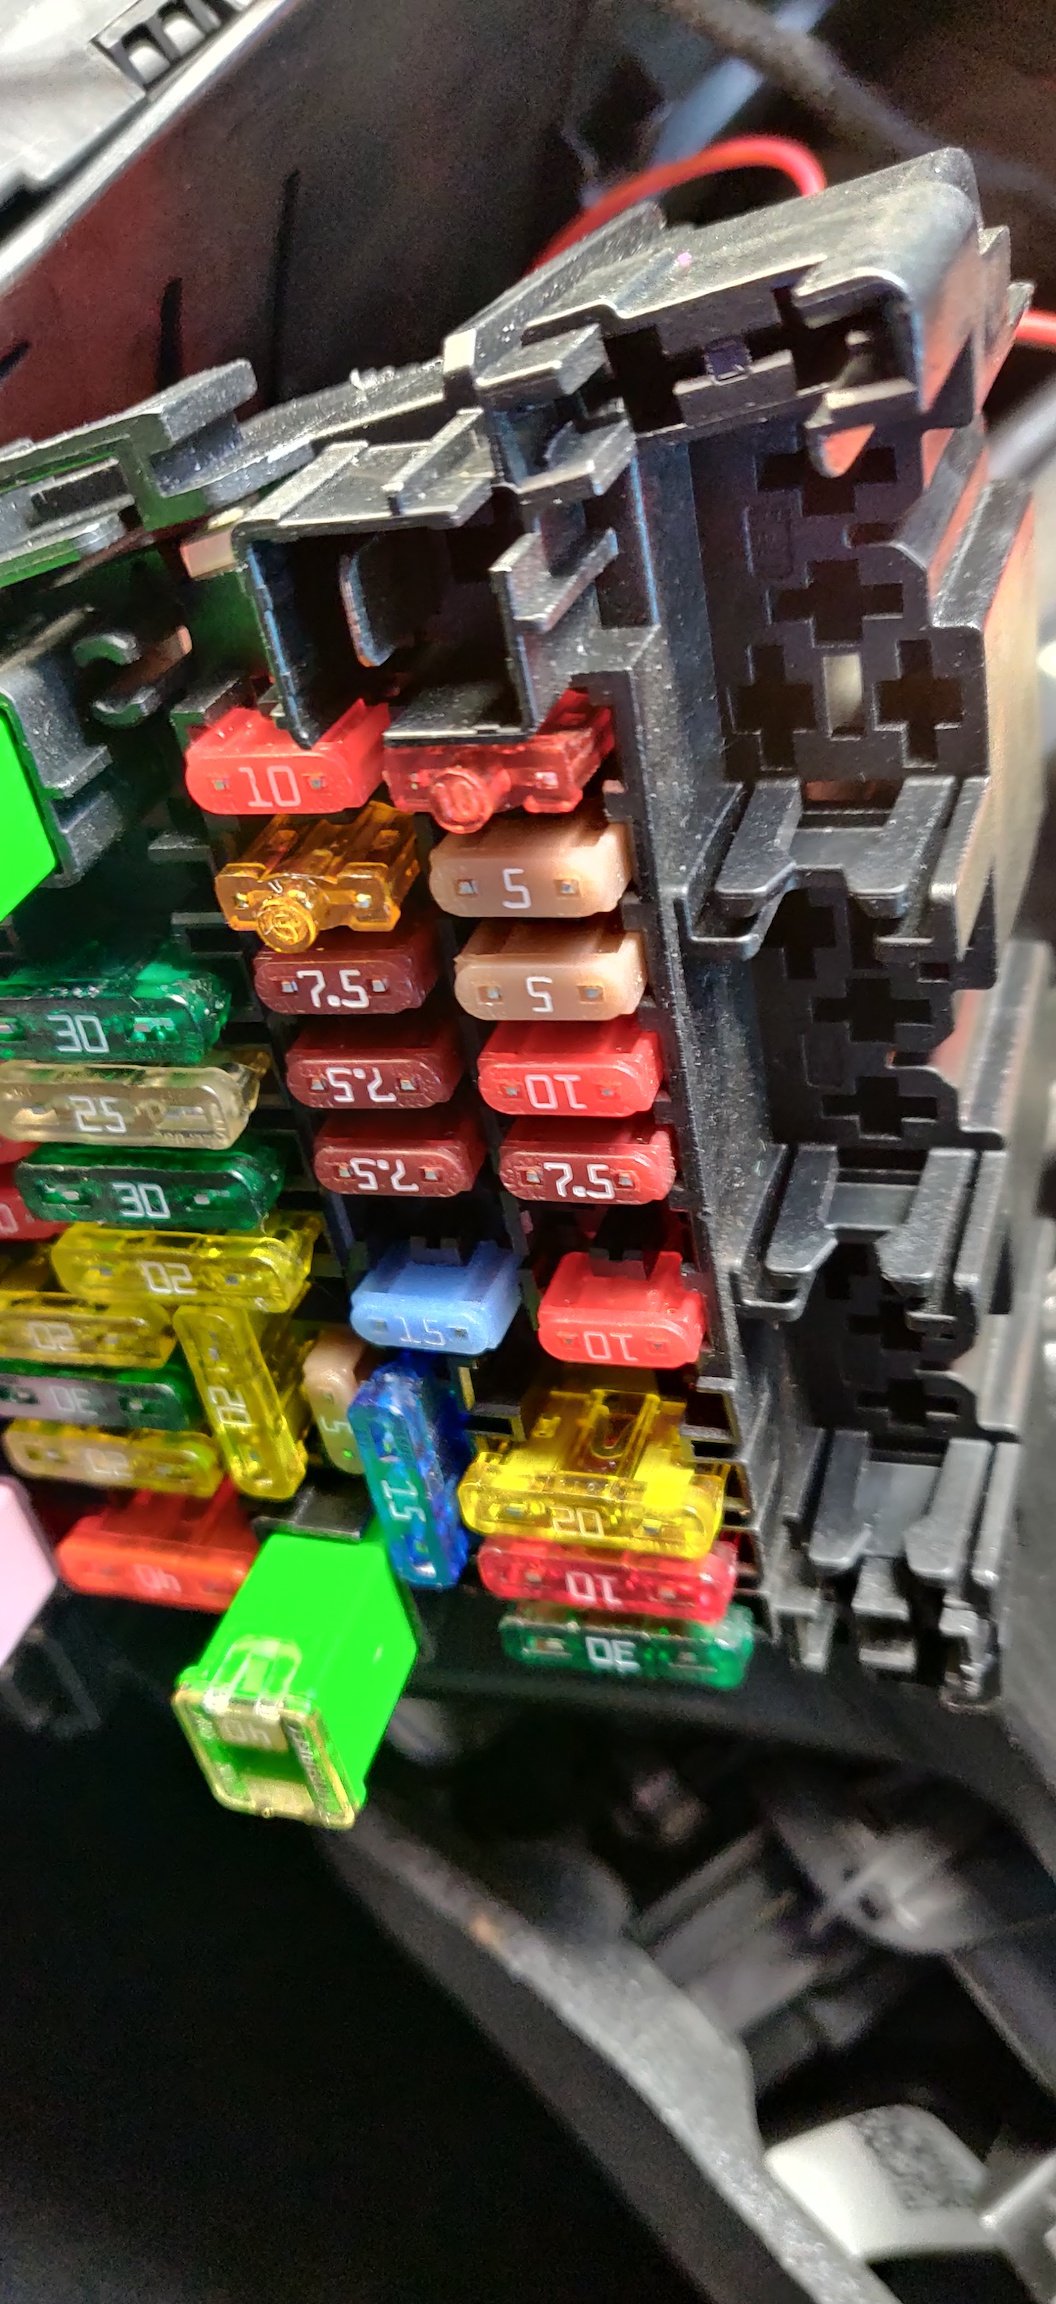
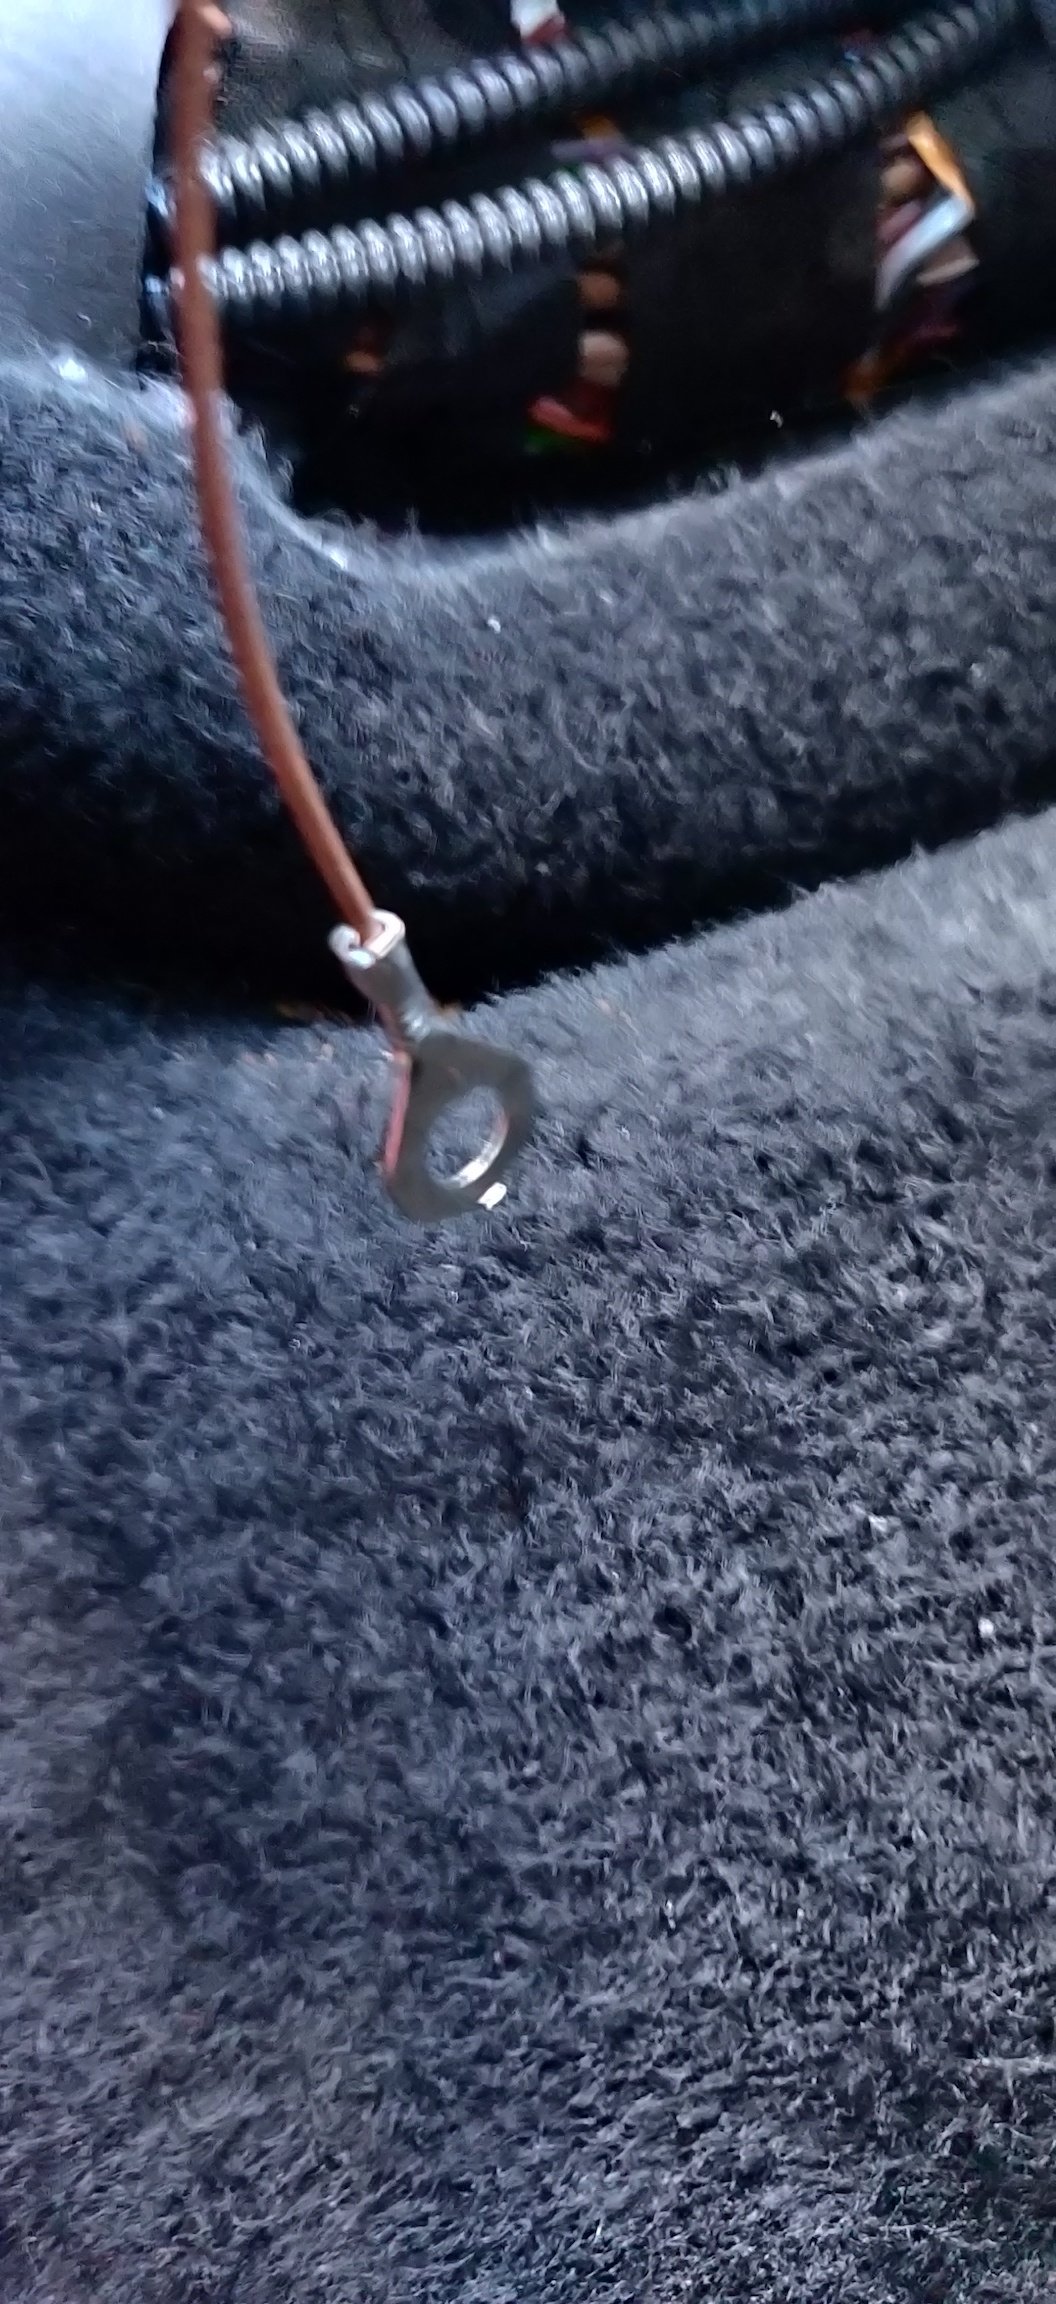
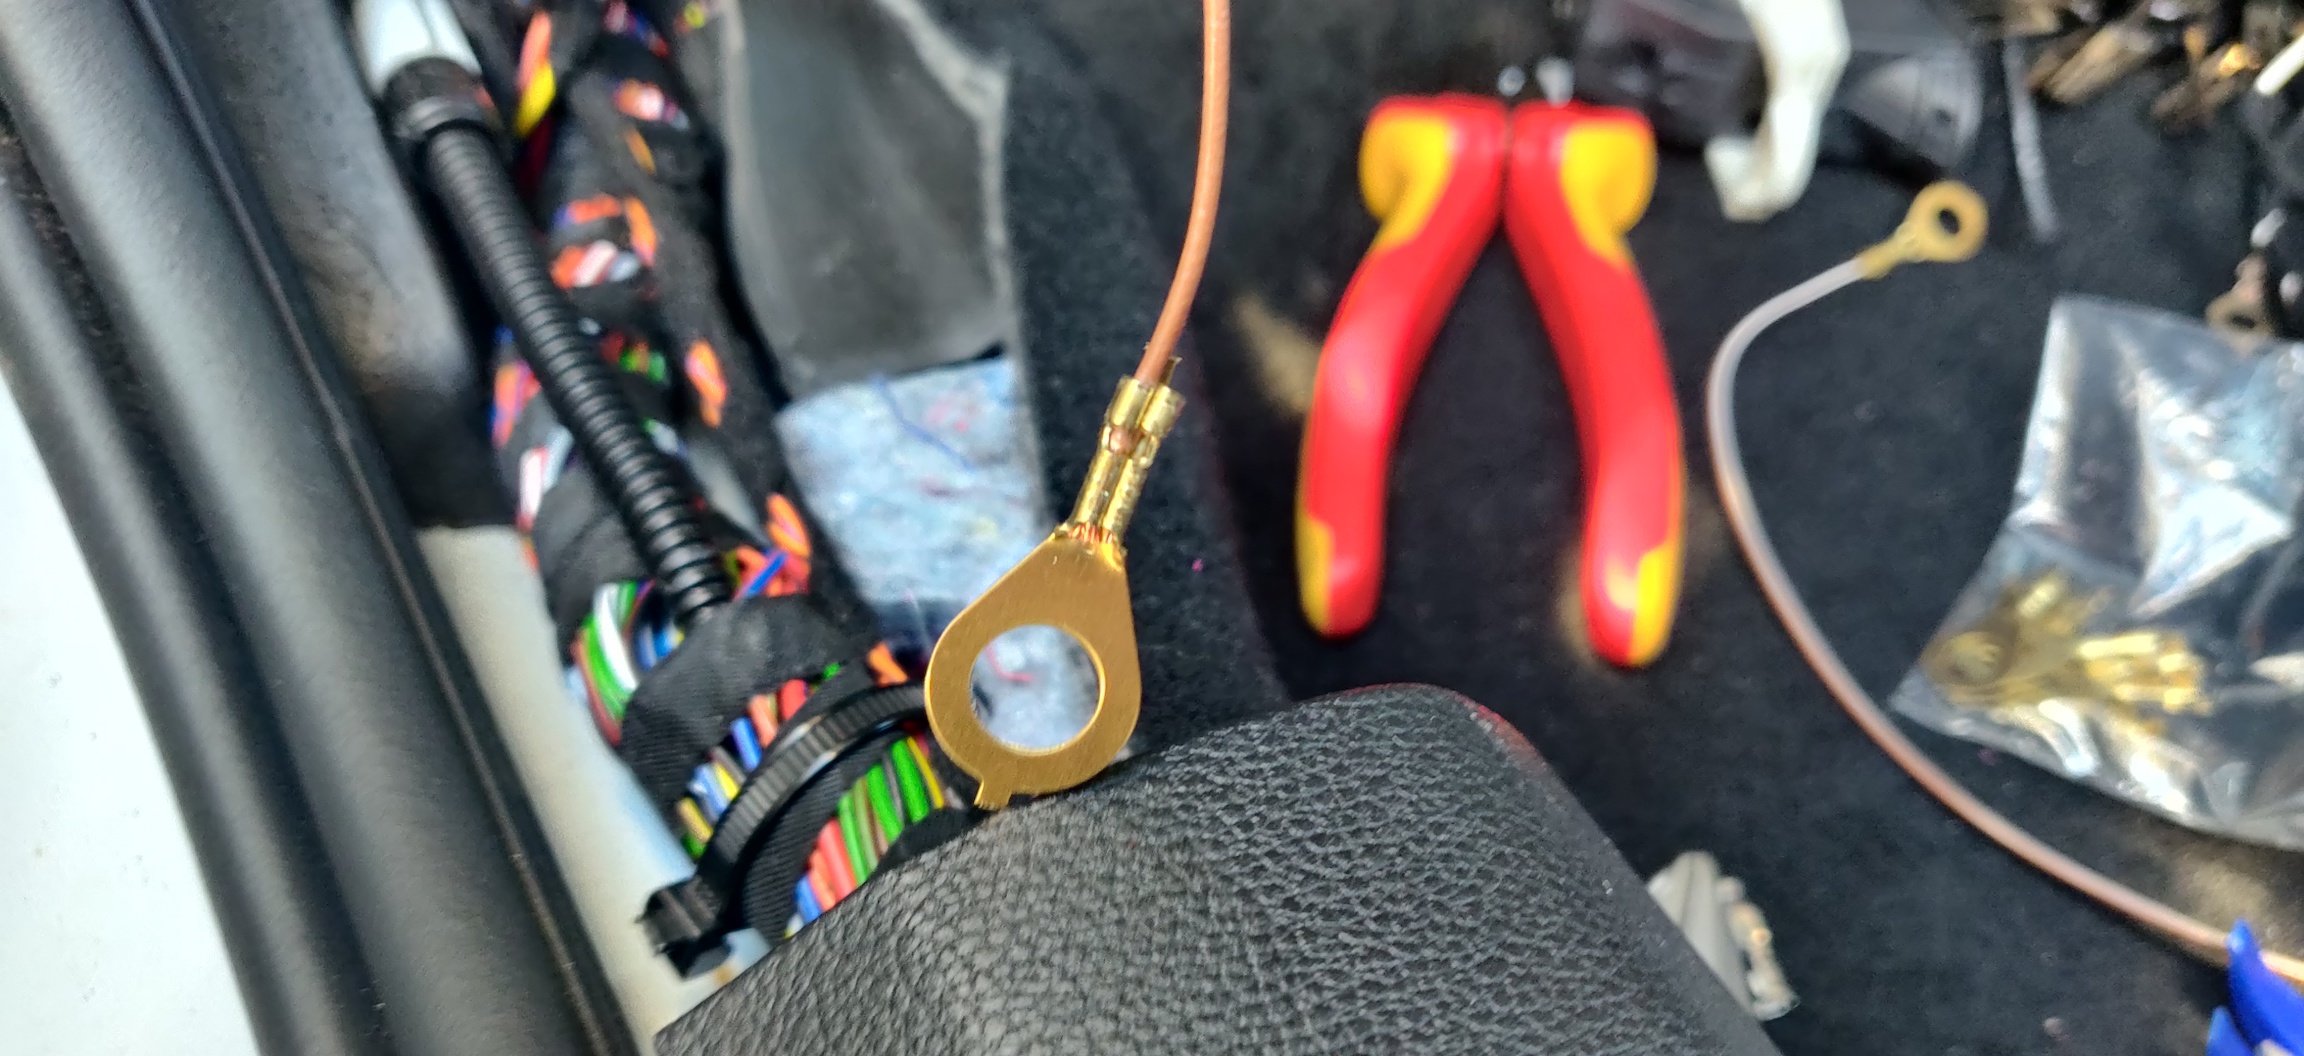
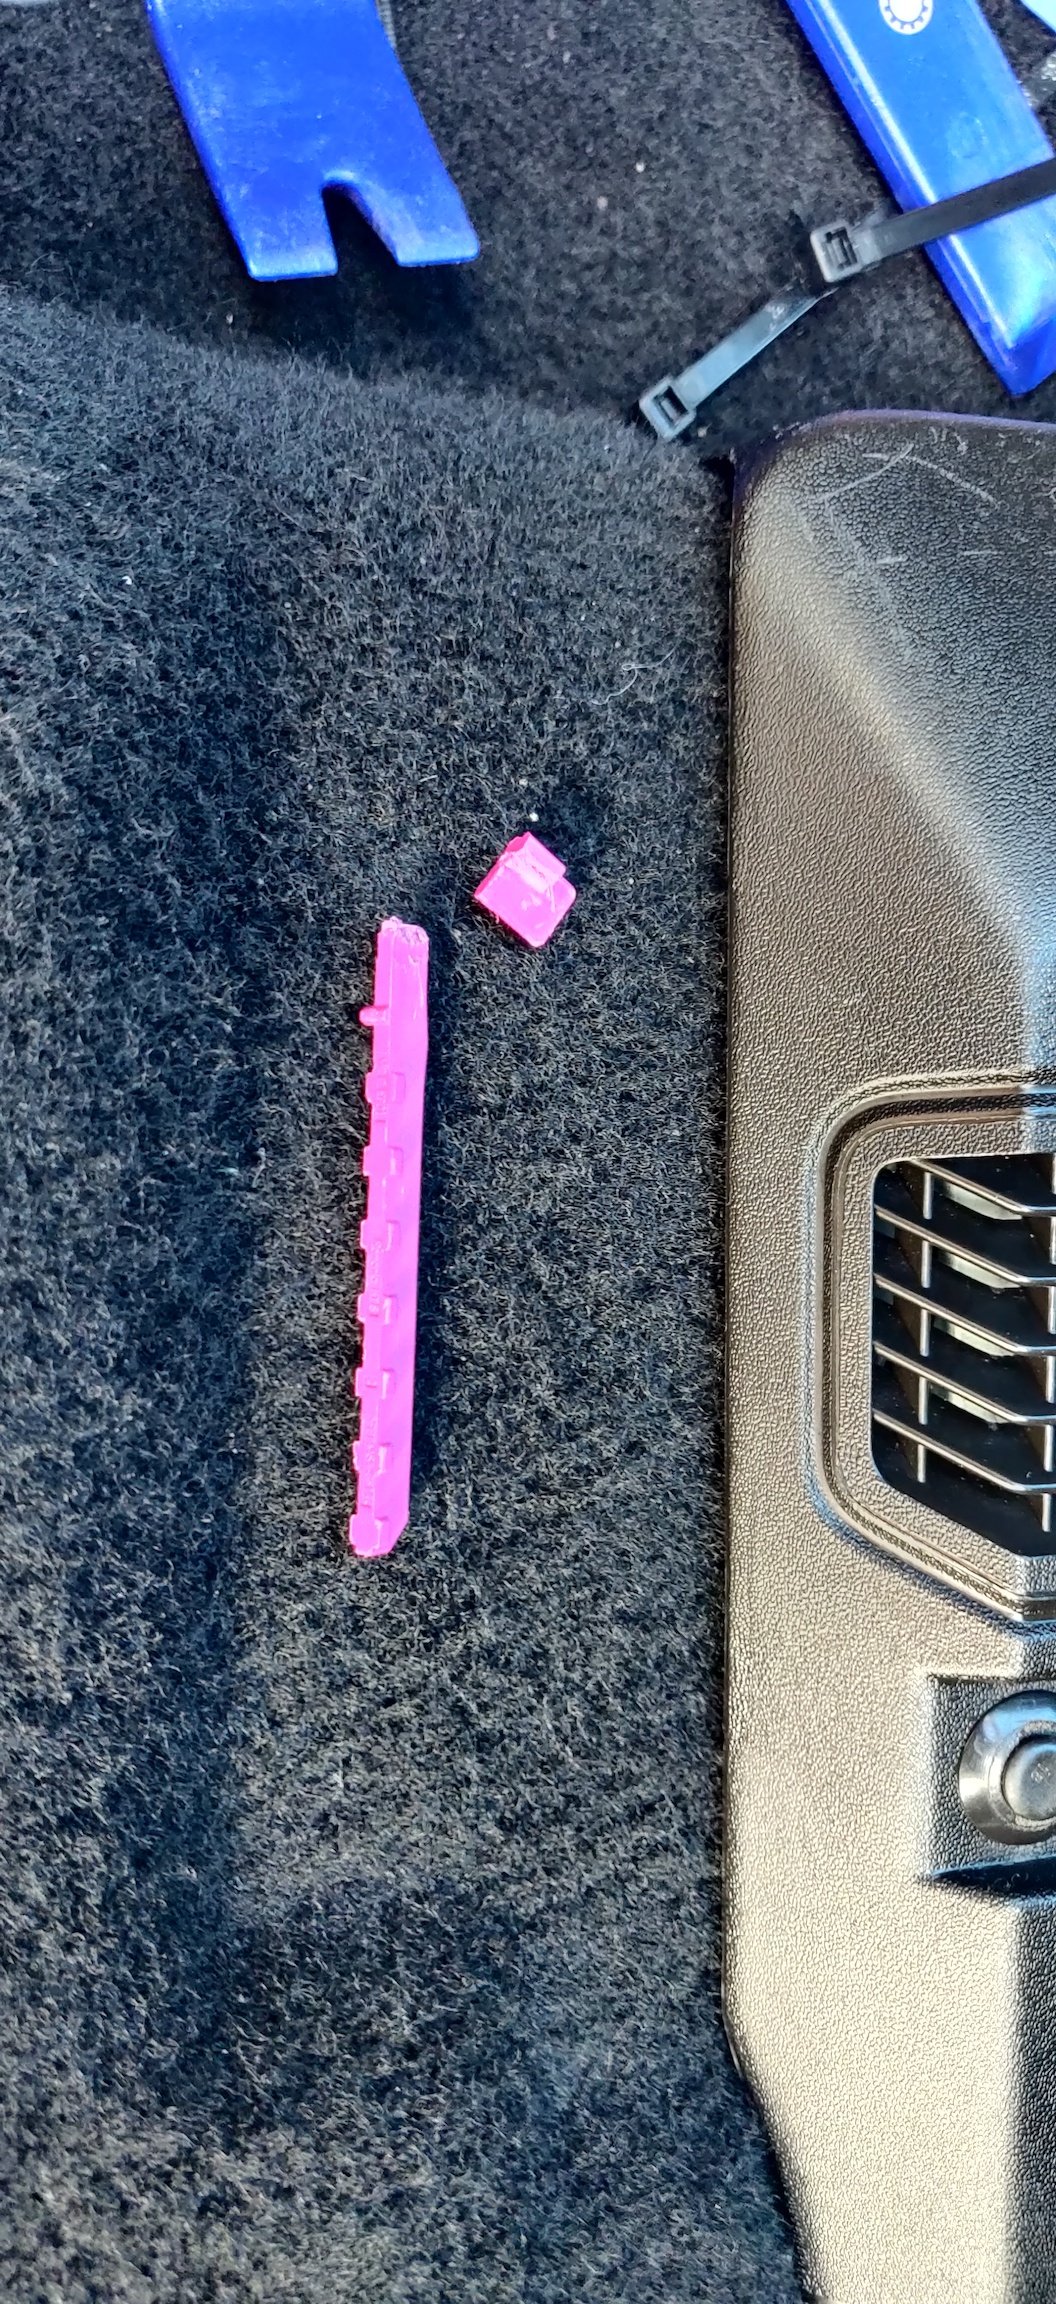
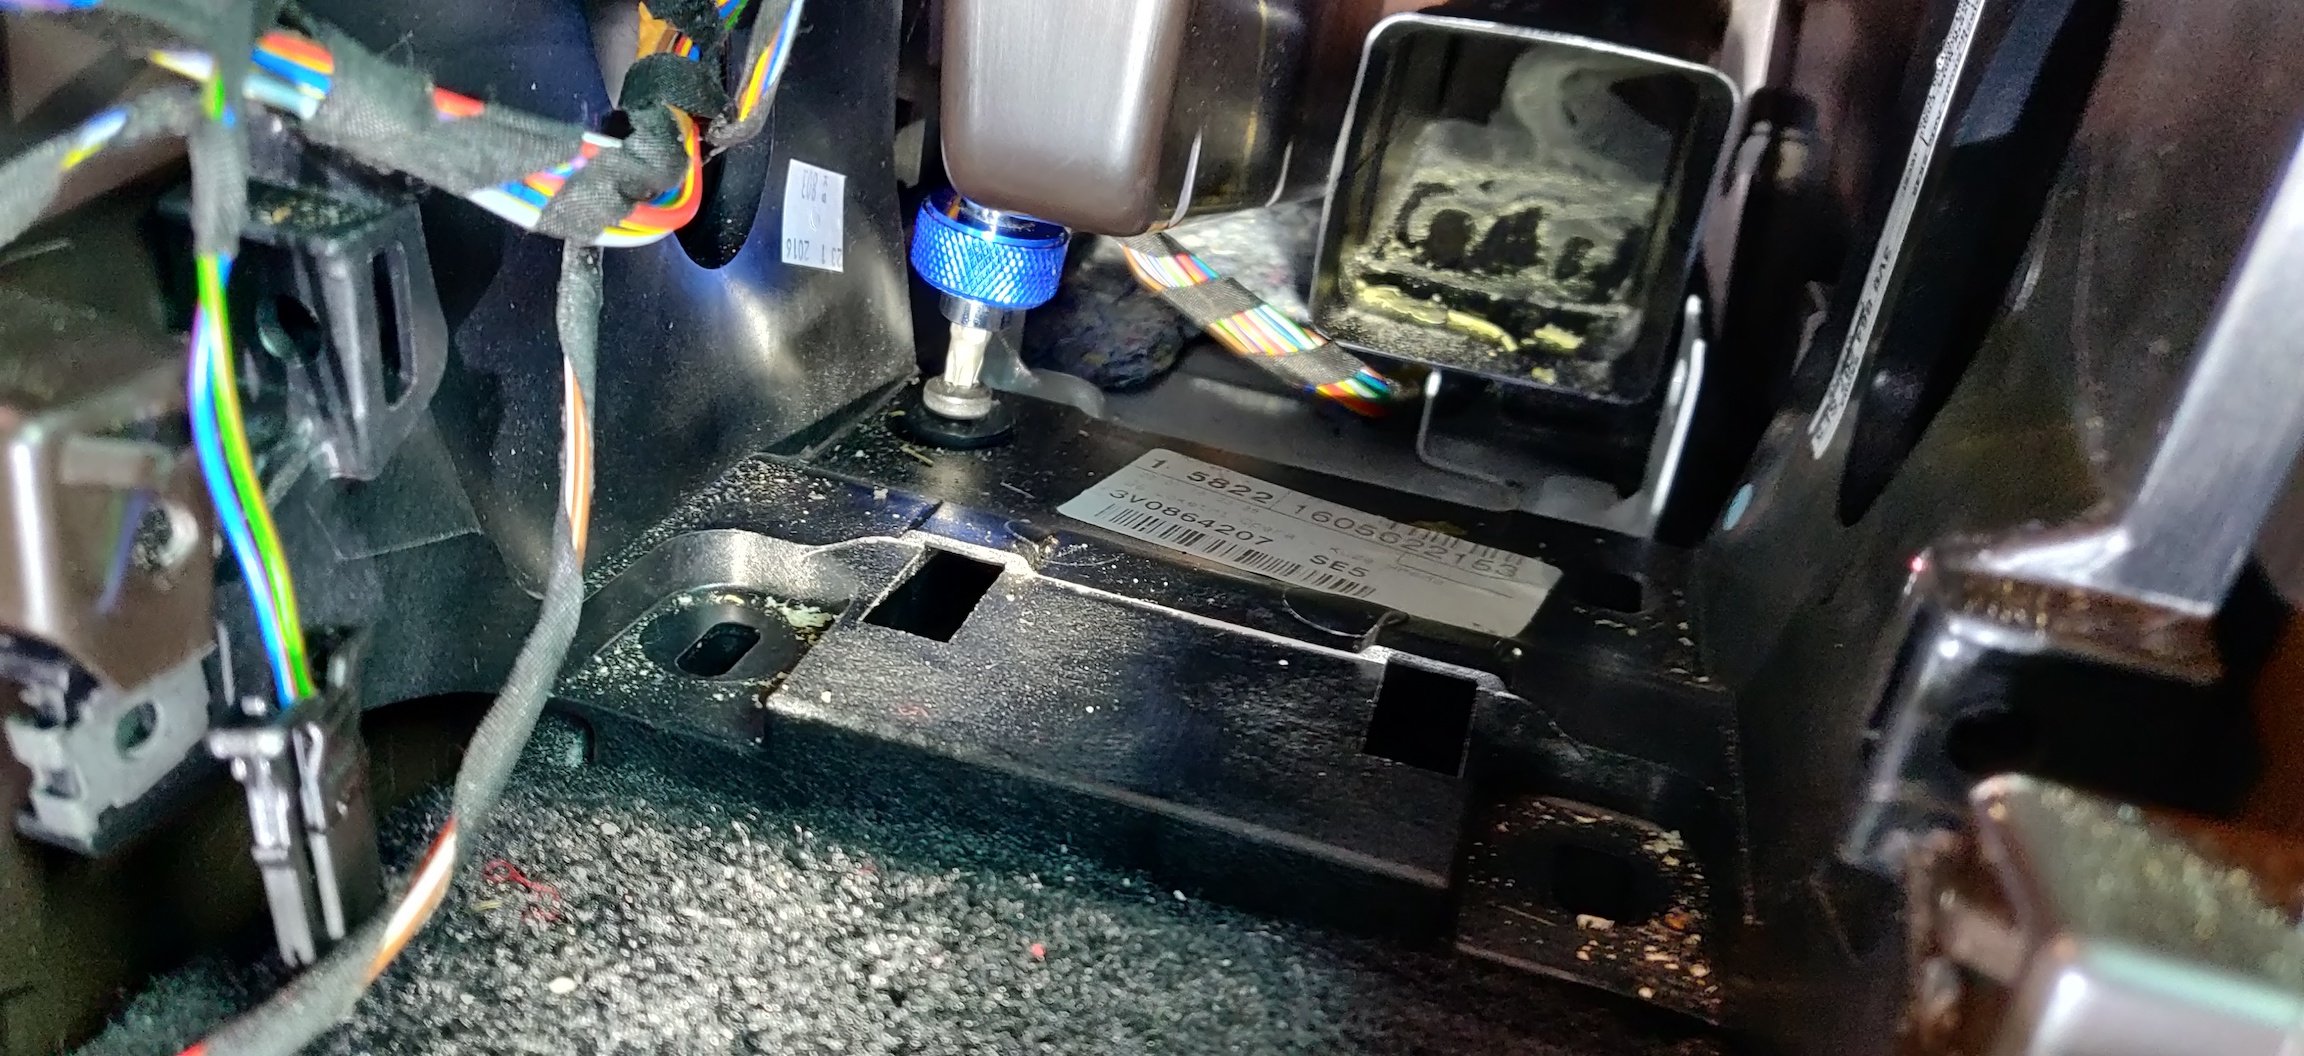
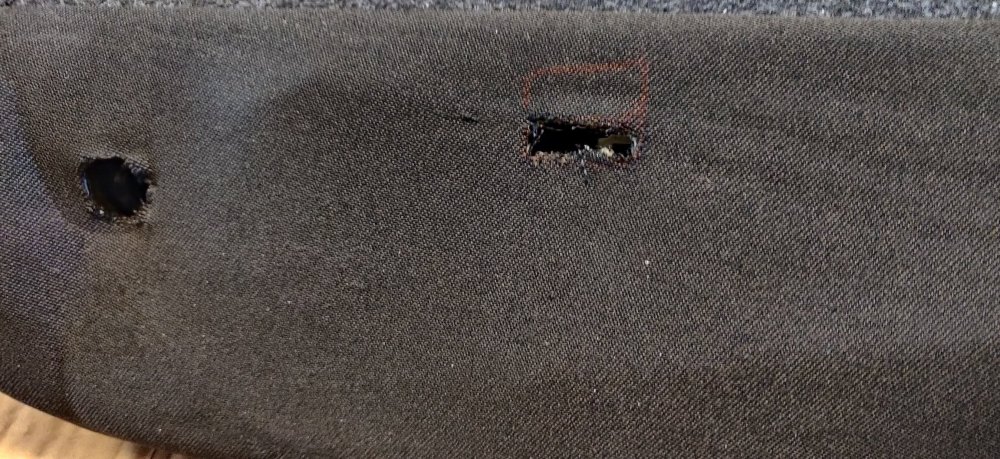
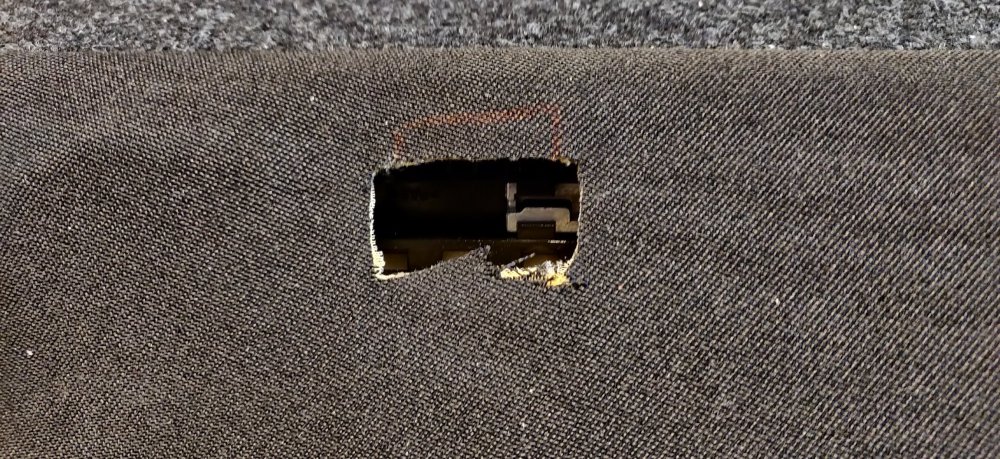
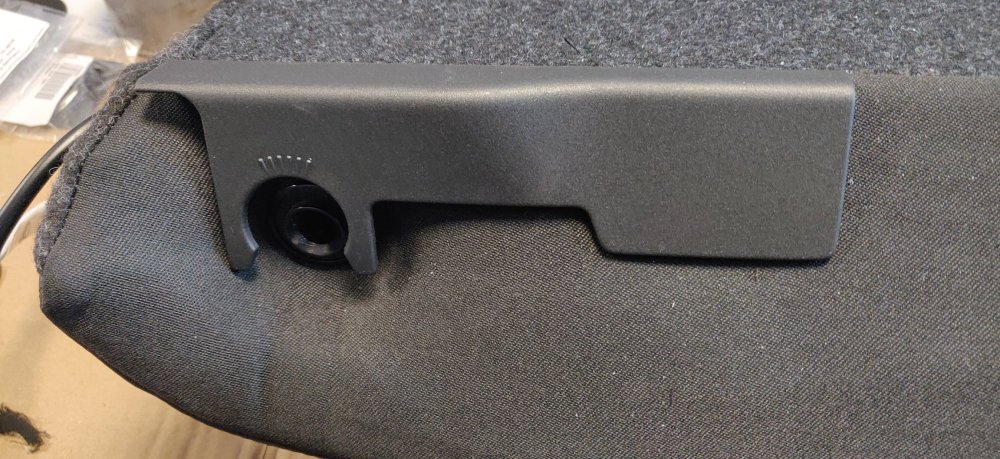
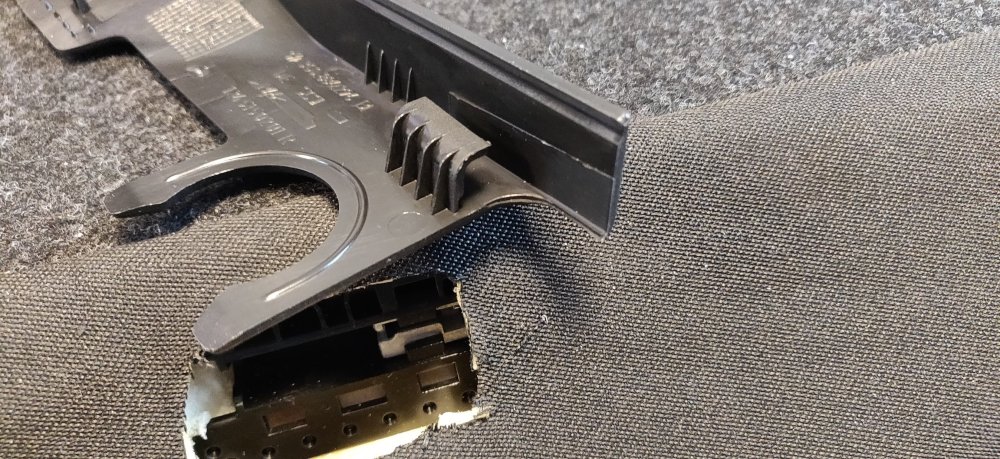
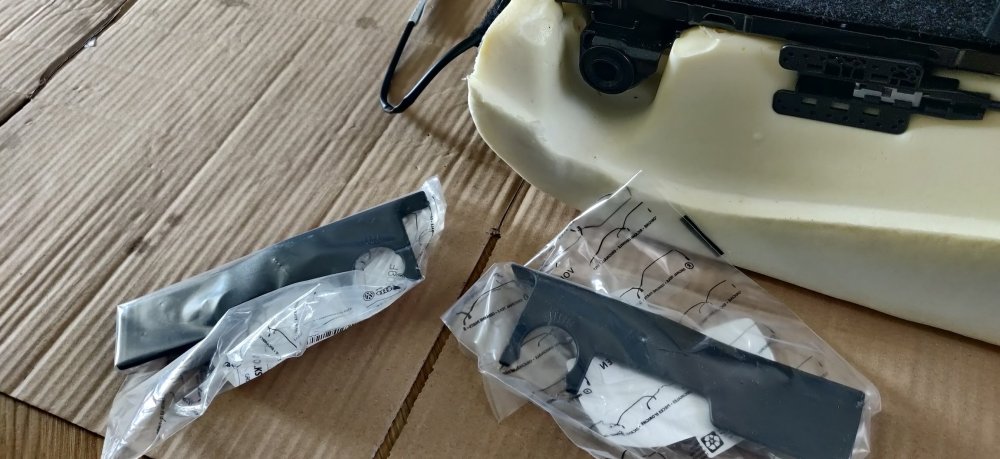
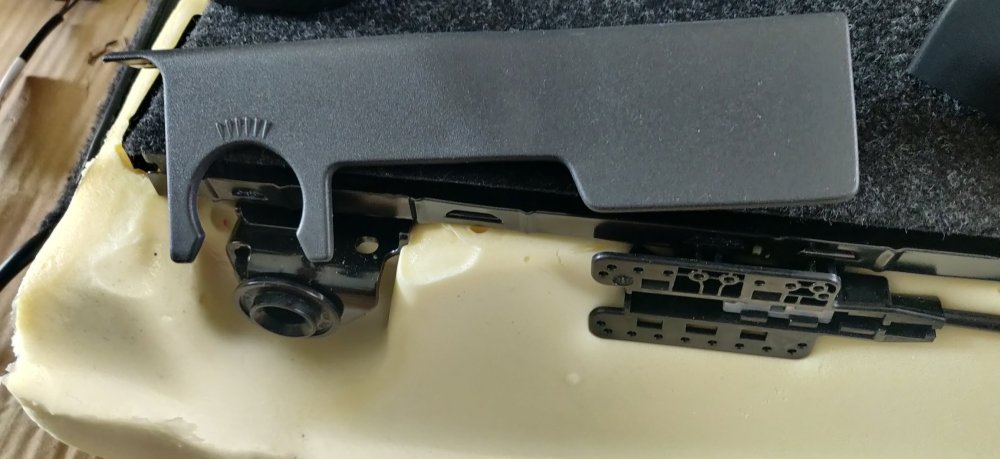
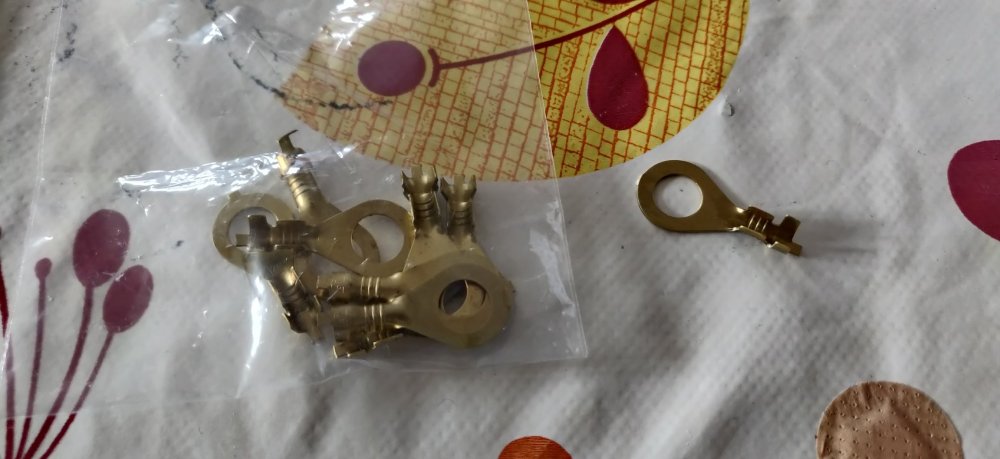
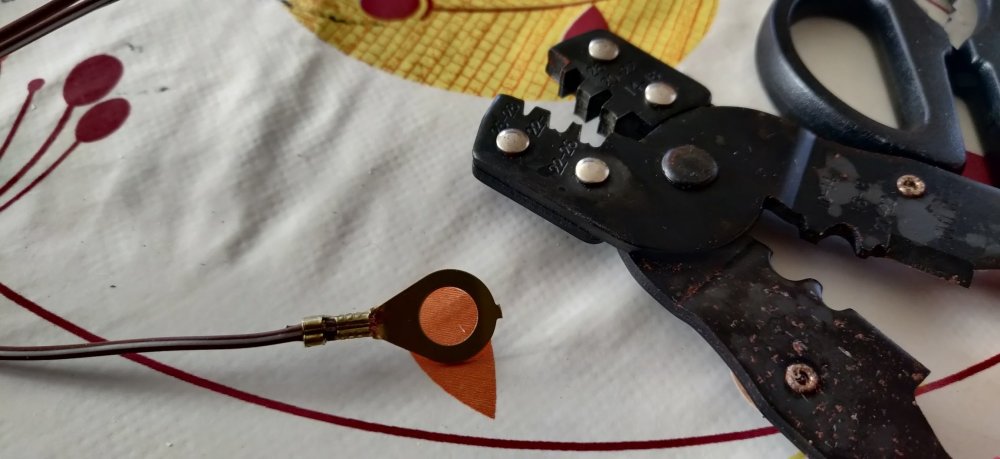
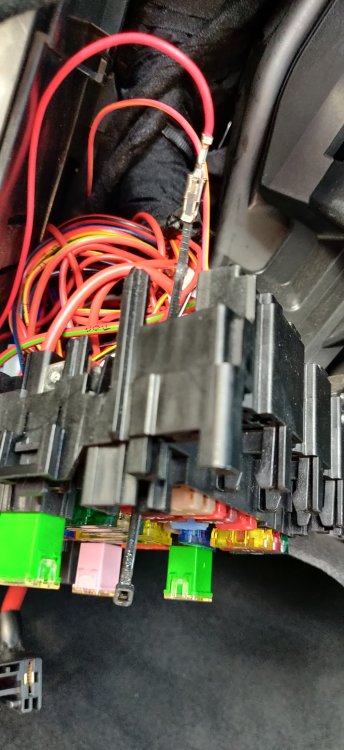
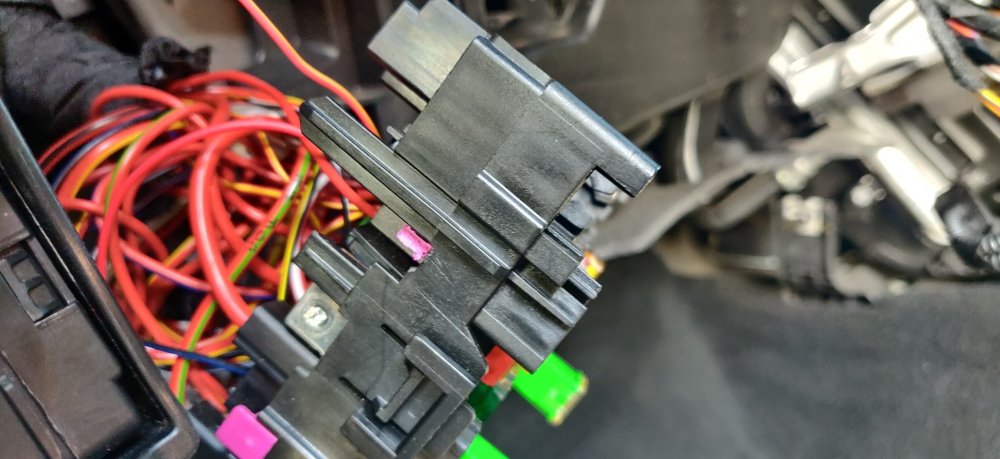
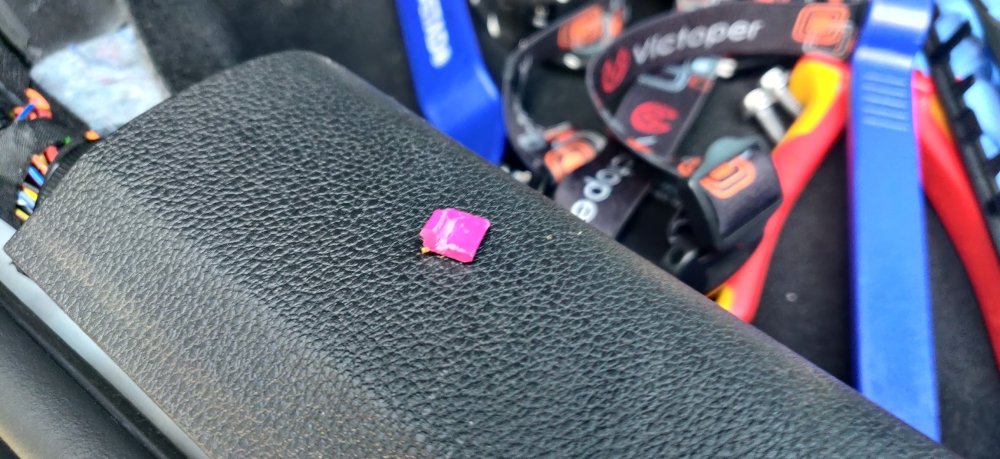
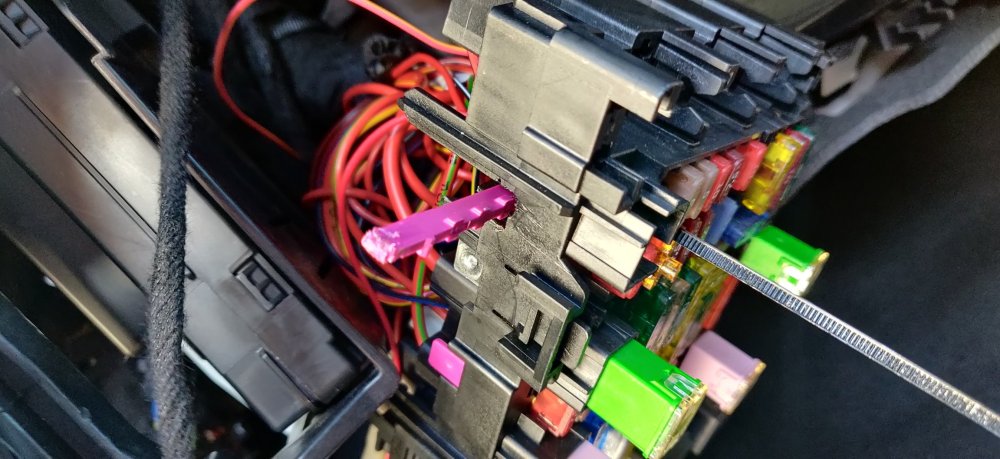
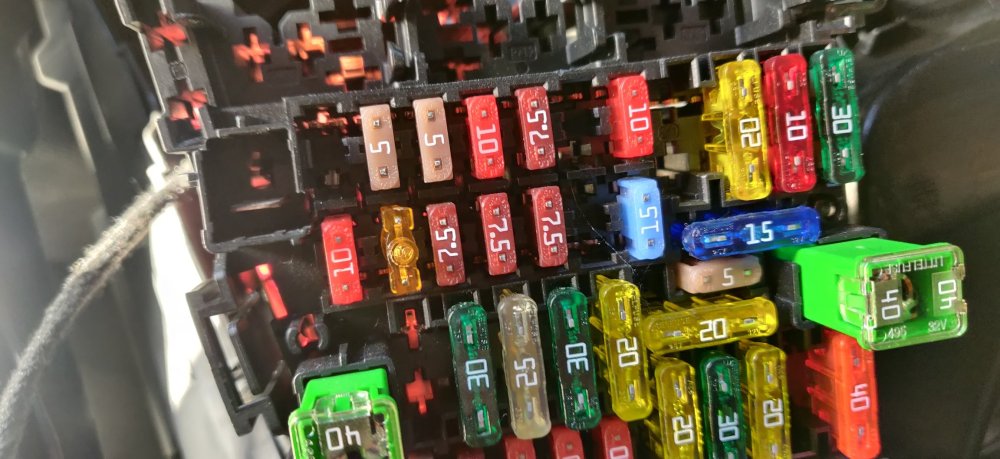
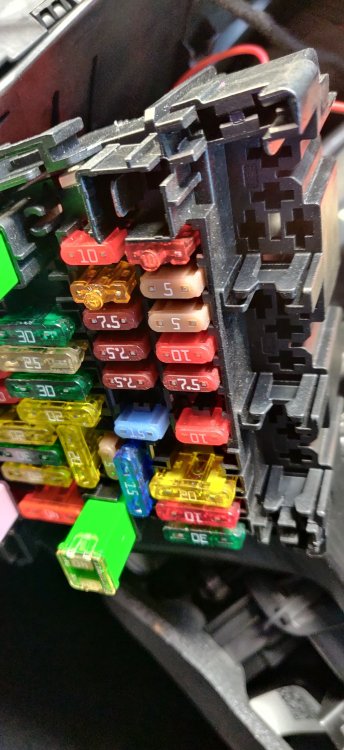
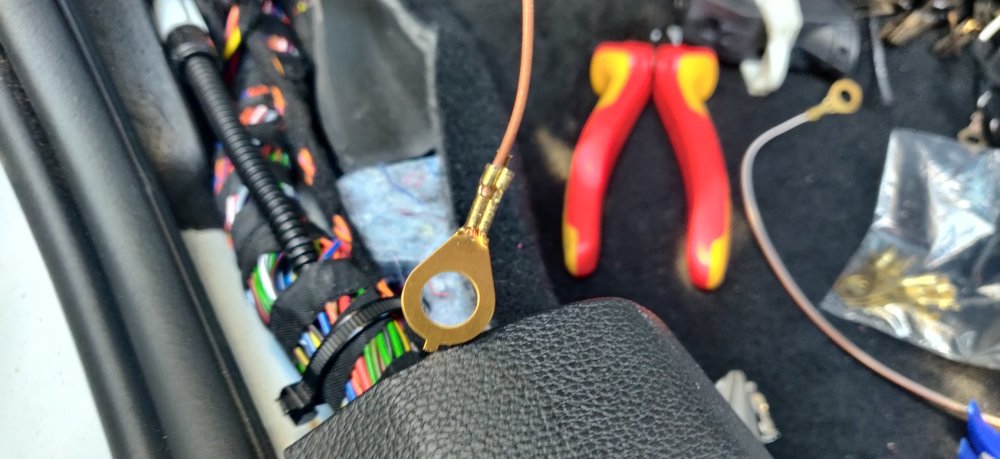
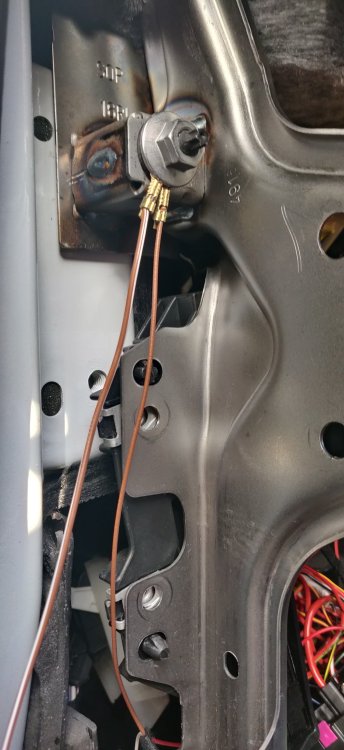
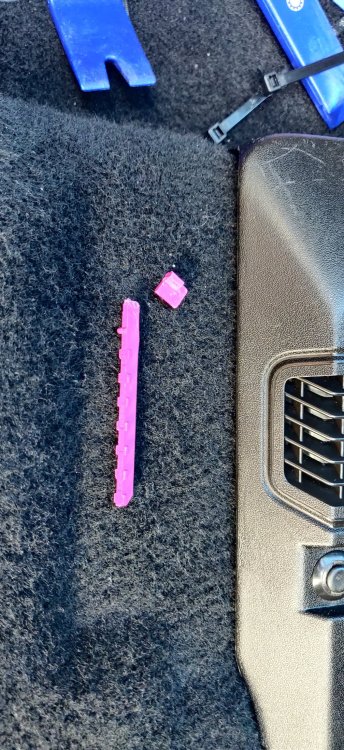
Skoda Parts stuff has arrived. Stuff was ordered on Monday, shipped on Tuesday and arrived Friday. Very impressive. This was borne from an earlier post where I noticed the cover for the rear seat backrest Bowden cable thingy looked different: So here they are. The part that will clip into the Bowden cable thingy looks as expected, but the bit around the bushing that slots into the car is a little less obvious: Maybe once the seat cover is in place, this will become a bit more obvious. Also got random bits of replacement trim, such as: Replacements for the rear of the seats, for the Isofix. More to spruce them up as they look a little tired. Also this: The mat for the wireless charger. Now, it looks like the mat has three pegs on the underside, presumably to keep it in place: Which don't marry up to anything on the charger mat I've installed, so it sits a bit proud: I suspect I'll either need to do some more homework, or frankly cut those pegs off, as it looks like it'll fit ok without them. The total cost was €56.26, which looks to be £48.13 on the credit card. The days of nearly €2 to the pound are long gone. I also got these in the mail: The ring terminals for the ground wires for the charger and heated steering wheel, due to wanting to use the M8 bolt on the dashboard frame. From 3 way components via eBay for £2.40 for 10. So loads spare. The size of the terminal crimp bits were just a bit wider than my crimper, so a bit of fiddling in advance was needed: But a bit of persistence got it all crimped up. The first attempt was a bust where the crimp was just too loose and the wire slipped off but not able to get back on. Anyways, time to get them into the car. I read somewhere random on the internet to use a zip tie through the fuse box terminal to help locate where it should go, so gave that a try: It works. With the terminal also latching onto the zip tie, just a bit of careful pushing and pulling and it sorta slots in place. I imagine it clicks into place, but they're tiny terminals so couldn't rely on hearing. The terminal gets into a point where it doesn't pull out, unless with a lot of force. Or, in typical fashion, when you try and insert a fuse into the slot, which then pushes the terminal out. So inserting the terminal again, I used the purple locking bar back in place, which then allowed the fuse to go in. I genuinely can't tell if the fuse is in place and connected to the terminals. Can only hope for the best. So with the wireless charger fuse in place, it was the heated steering wheel next into fuse 4. But attempting to remove the purple locking bar was met with disaster: Decided to snap off and fly somewhere. Luckily the seats aren't all bolted up yet, so lifted it up and found it launched down the centre tunnel: So, left with the remains in the fusebox, obviously one of the tools I know I don't have is needle nose pliers. Rummaging through the garage, the next best thing was a set of circlip pliers, with what looked the closest to needle nose pliers. Some faff but eventually got it free: So pulled it out and inserted the wire intended for the heated steering wheel: It's the silver bit sticking out in fuse 4, the top left, left of the 5A and above the 10A. You can see the new glow fuse at 5A for the wireless charger (I'm hoping that's fuse 16). I tried again to put the new fuse in and out the terminal popped again, so repeat install, and this time, get the remains of the purple locking bar and inserted in partway, with the hope it locks that first fuse terminal in place. I have no idea if that was successful, but the two fuses are now in place: I'll probably have to keep the glovebox disassembled when I power the car up, just in case I need to go back to the fusebox to double check stuff. So the only other thing left is to replace the old ring terminal on the wireless charger harness: With the new one: The wire on this is quite small as evidenced by the crimp probably not securing the wire as much as I'd like. Hopefully it's sufficient. So now they're the right size for that larger captive stud/nut: Hopefully I've routed enough slack in the wiring so that it tidies up ok. So yeah, spoils of war: If anyone knows where I can source a replacement, I'd greatly appreciate it! I've no idea where to start looking. I suppose I could still use the remains and insert it all the way in, and just reply on some pliers should I ever need to remove it again, so probably one of those things that will always bug me if not sorted. Worse case scenario, could source a fusebox from a scrapyard, and then essentially throw most of it away. Maintenance: £1757.55 Upgrades: £840.50 (+£50.53) Miscellaneous: £603.58
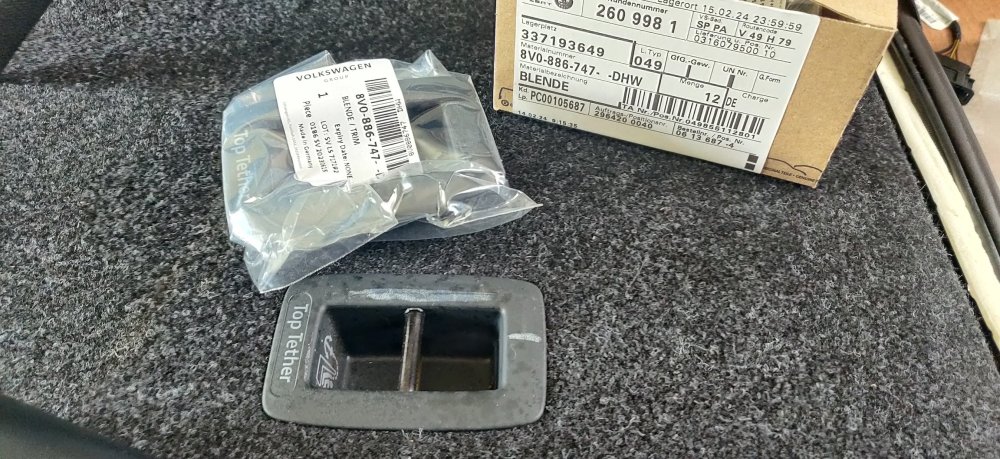
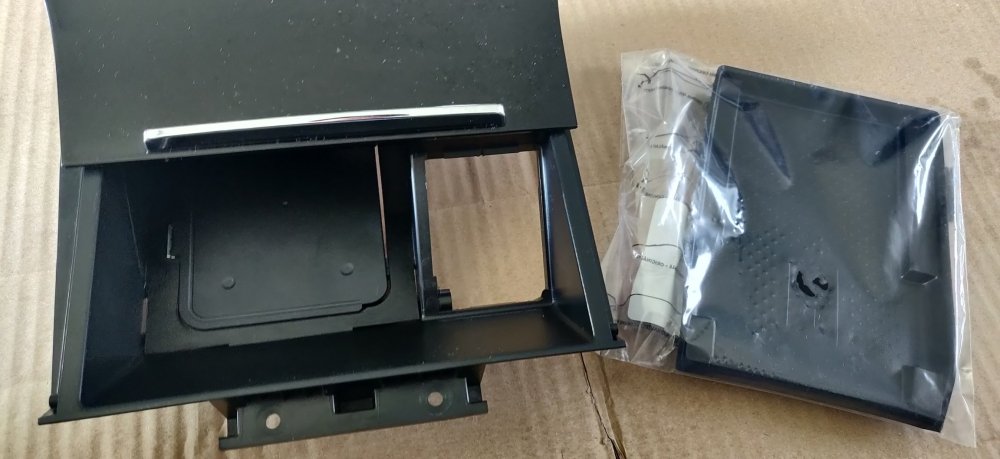
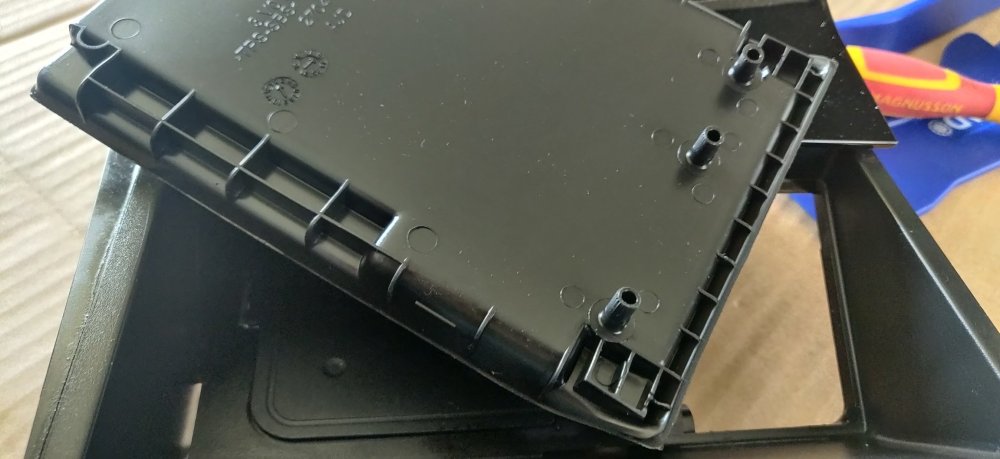
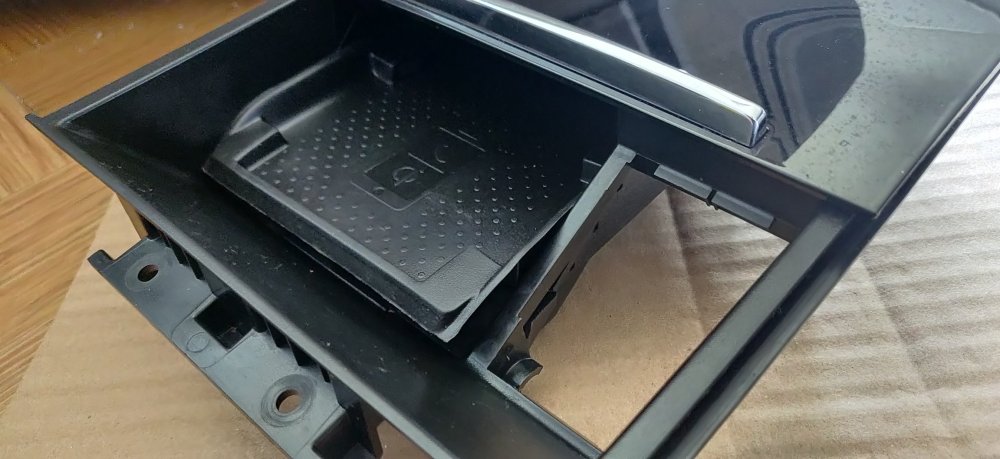
-
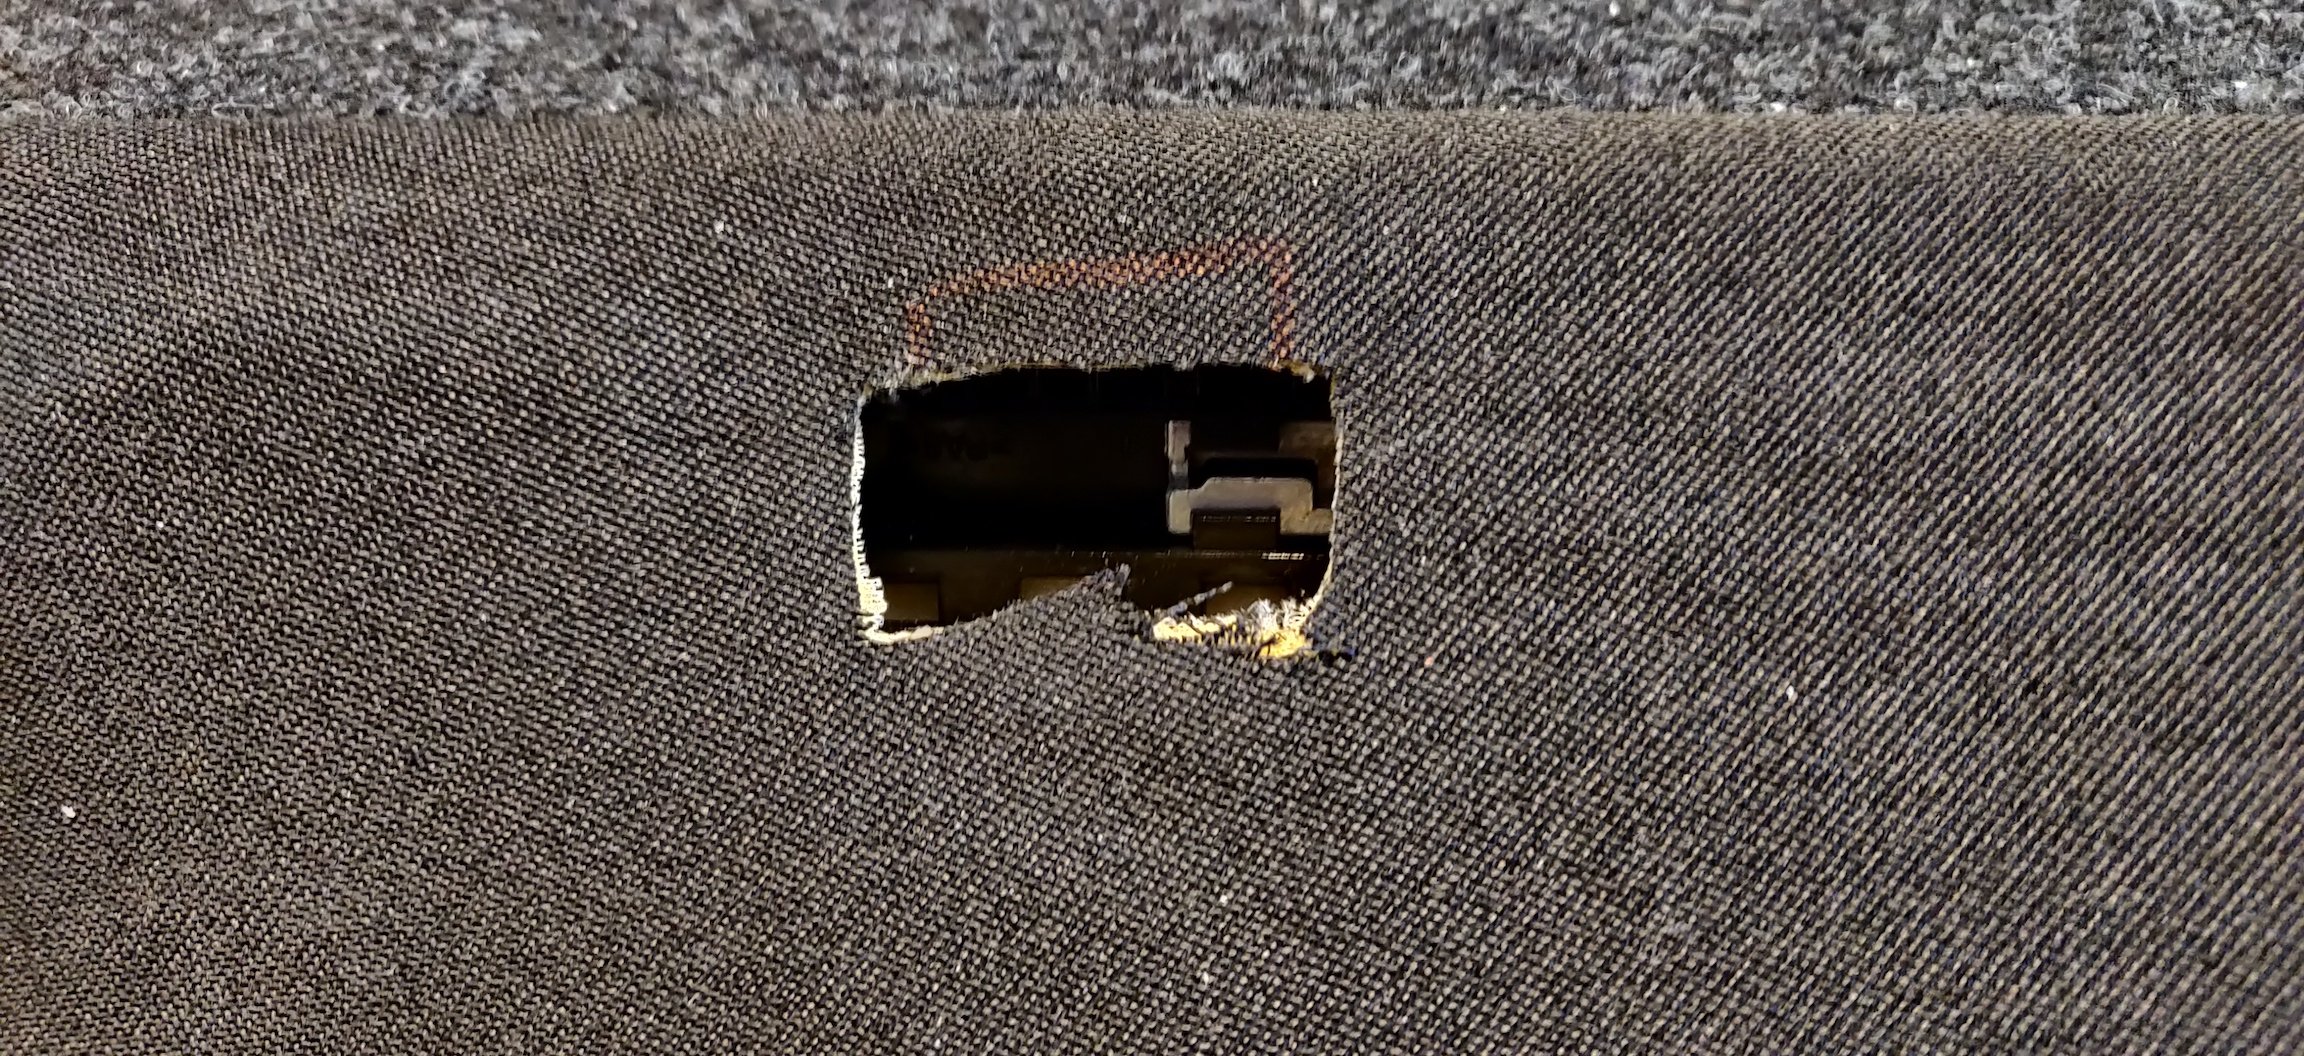
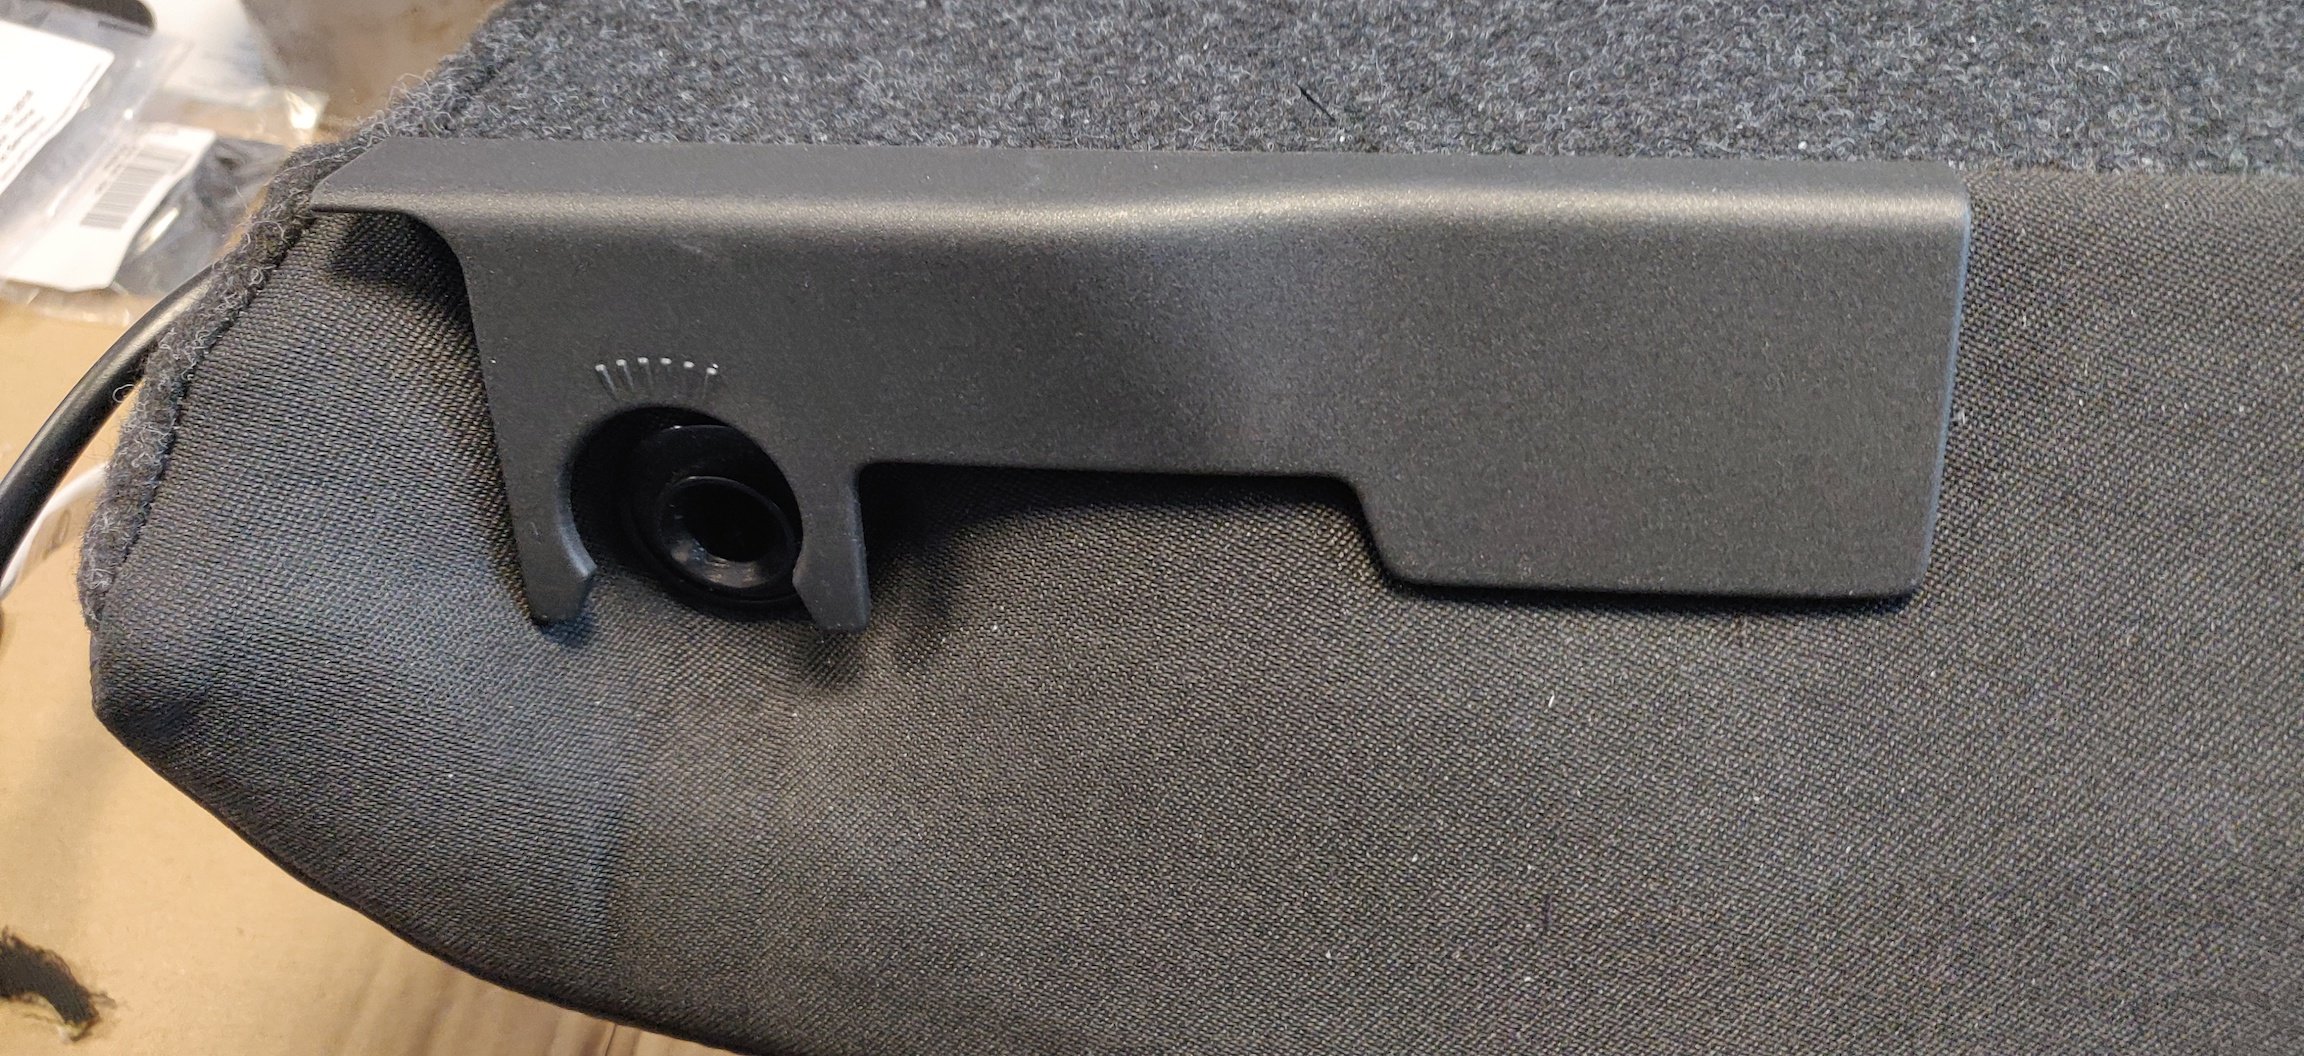
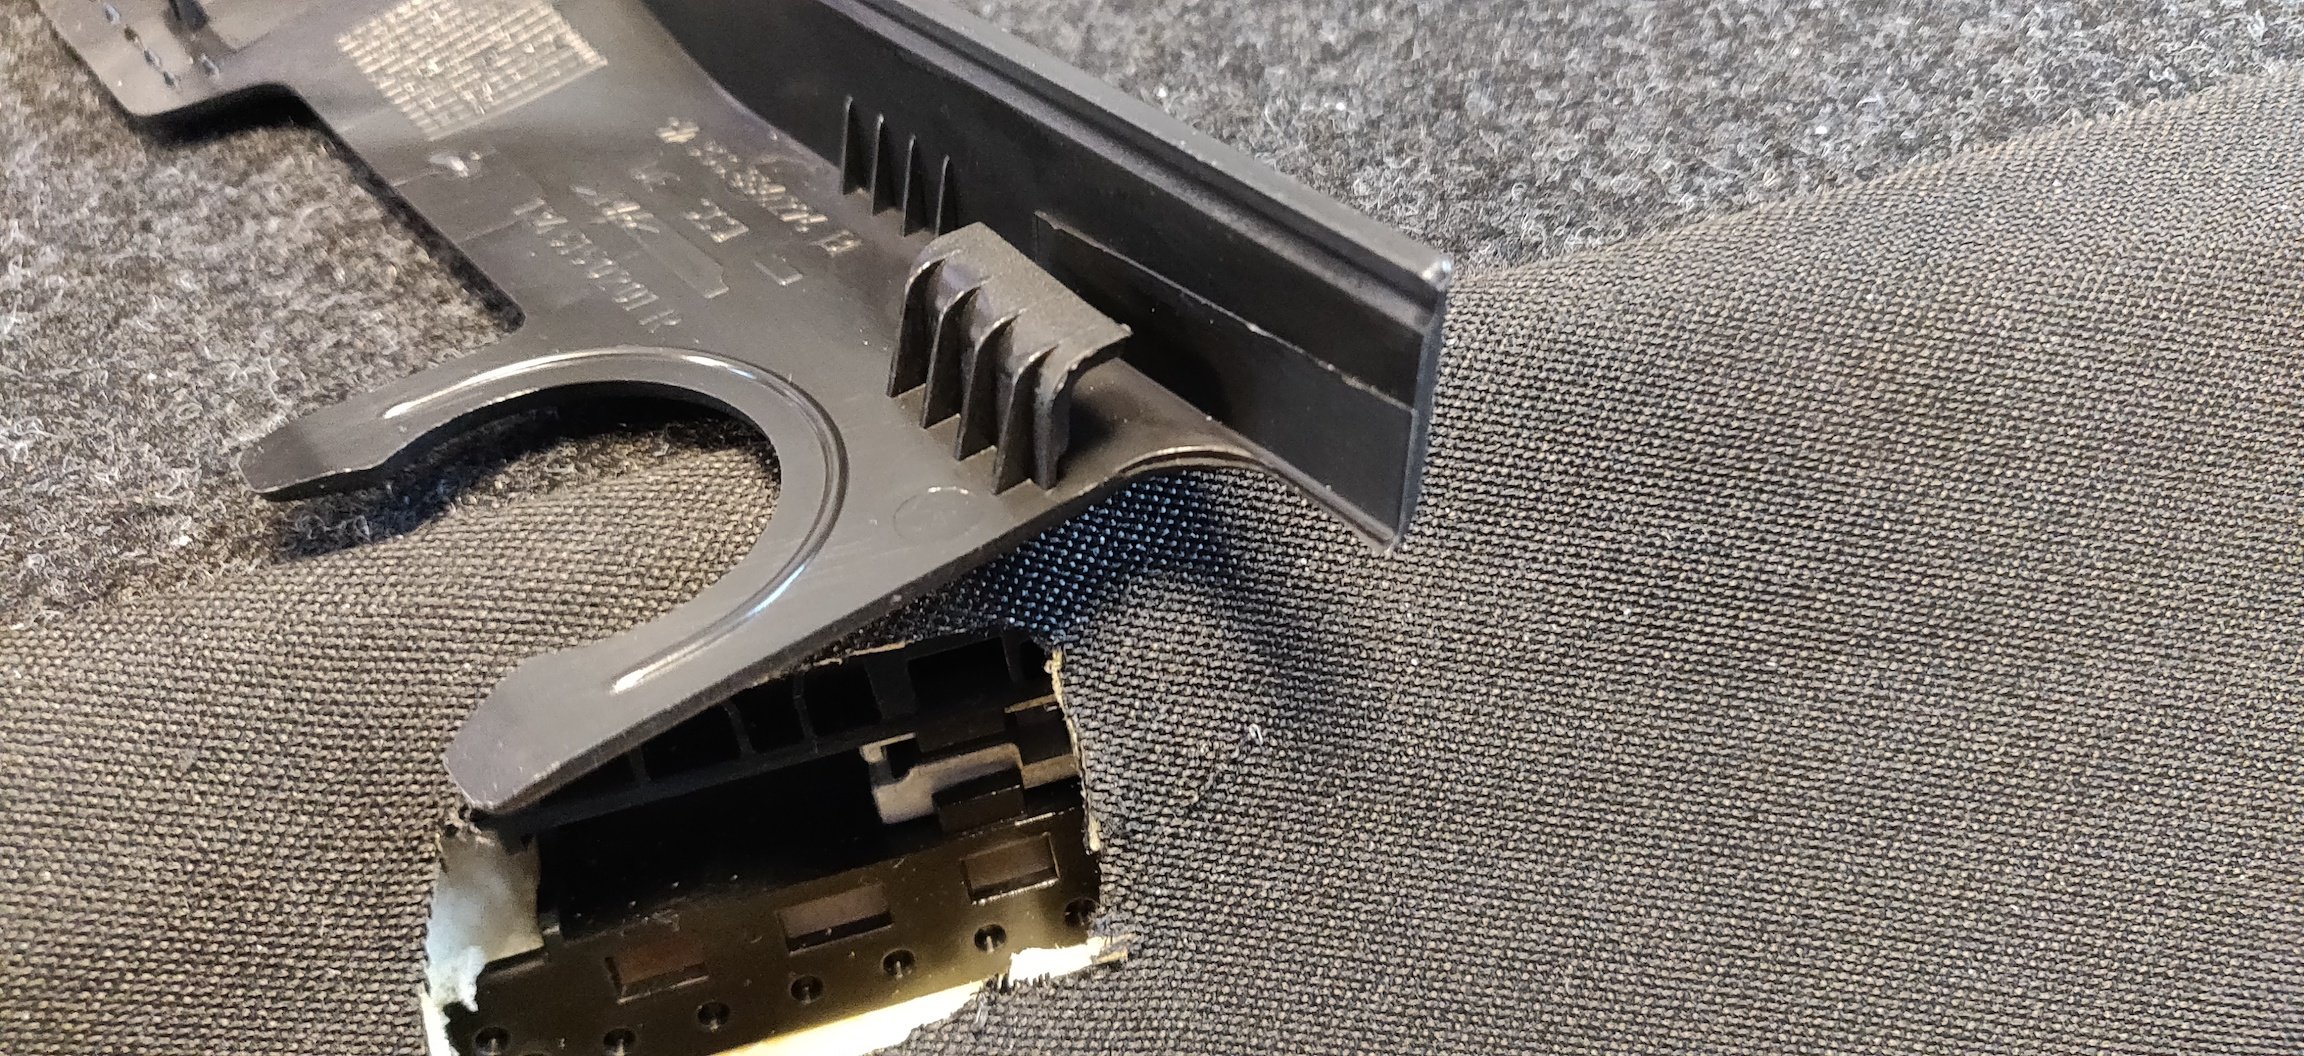
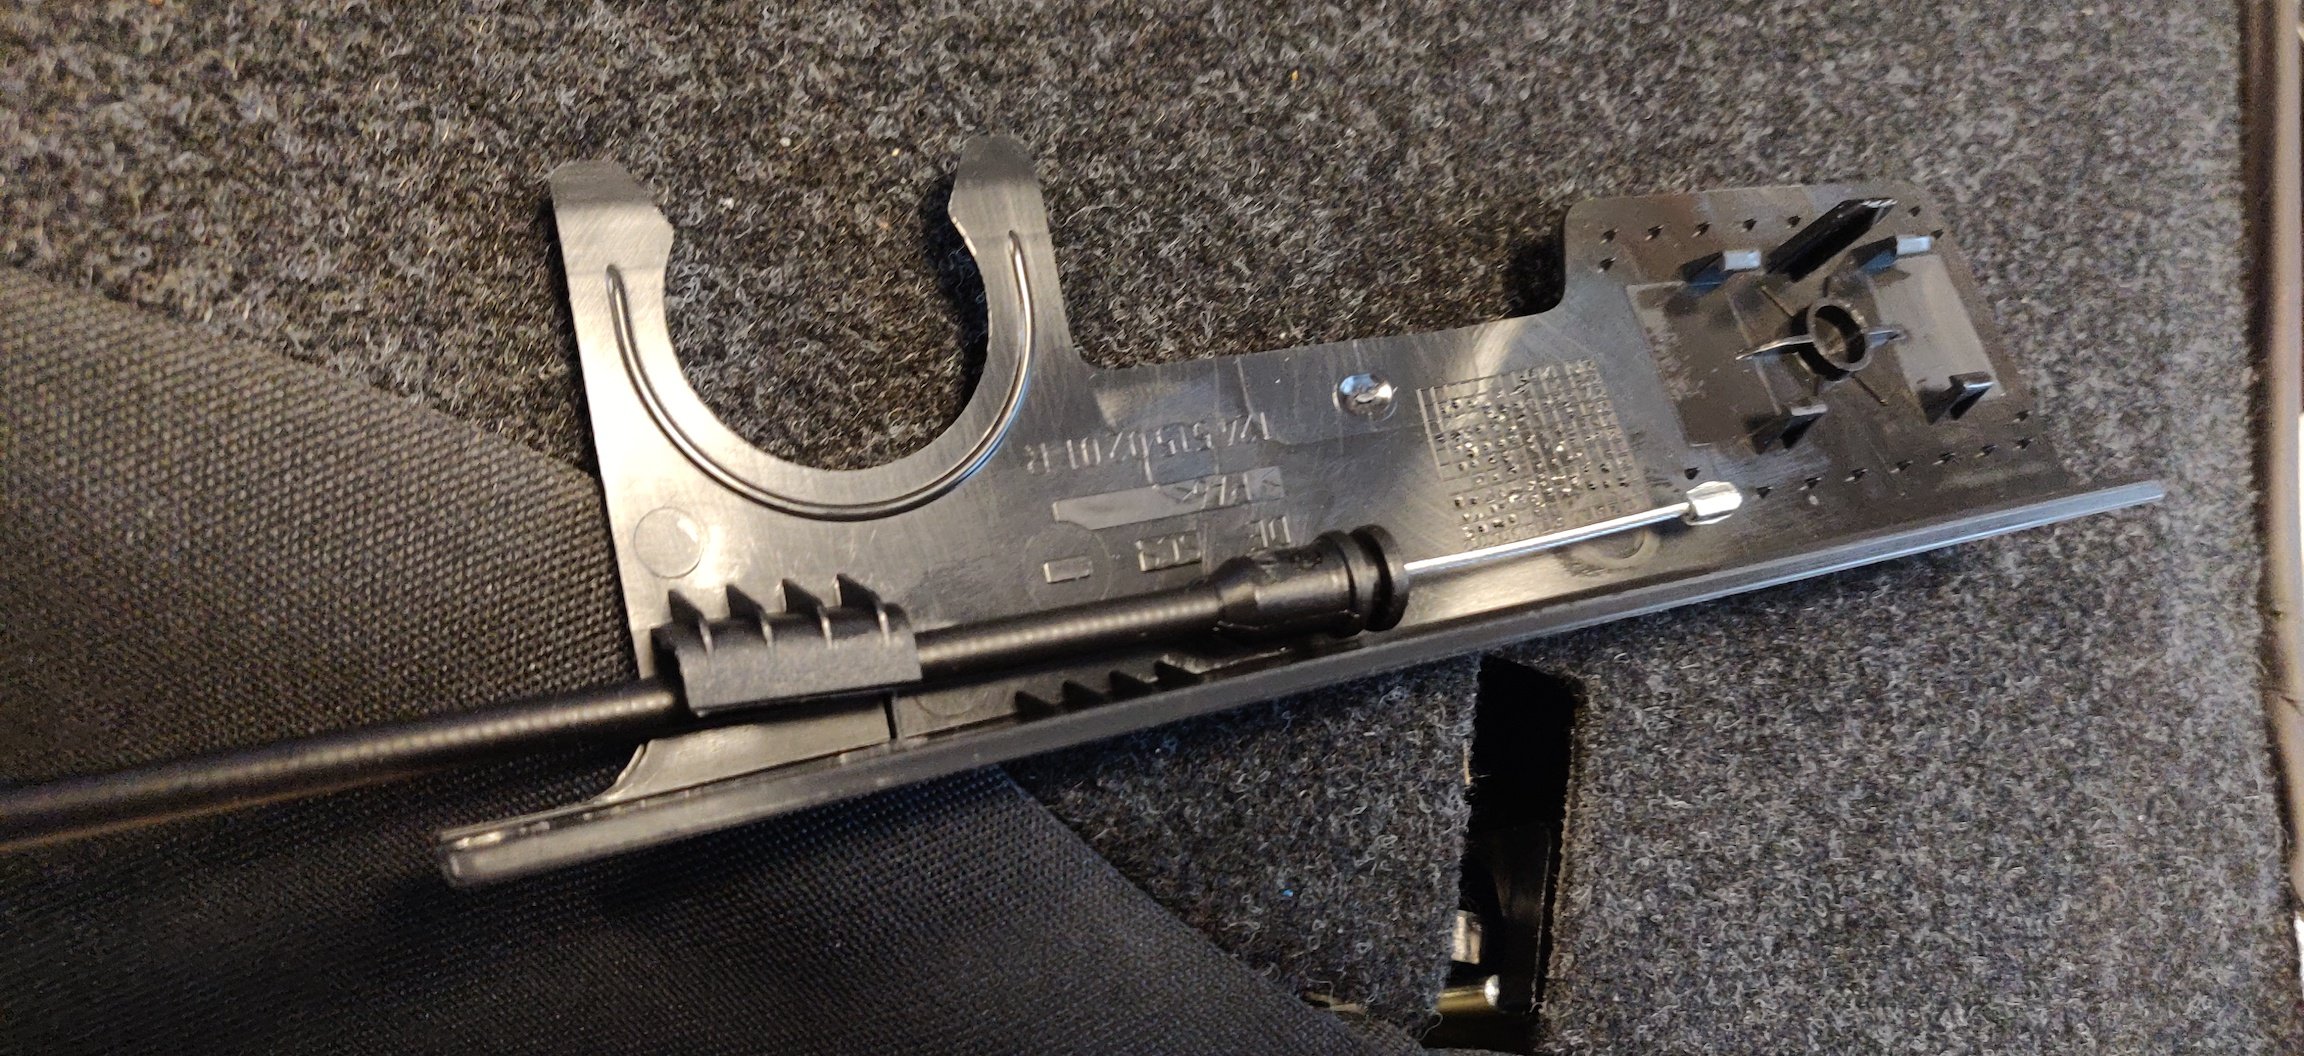
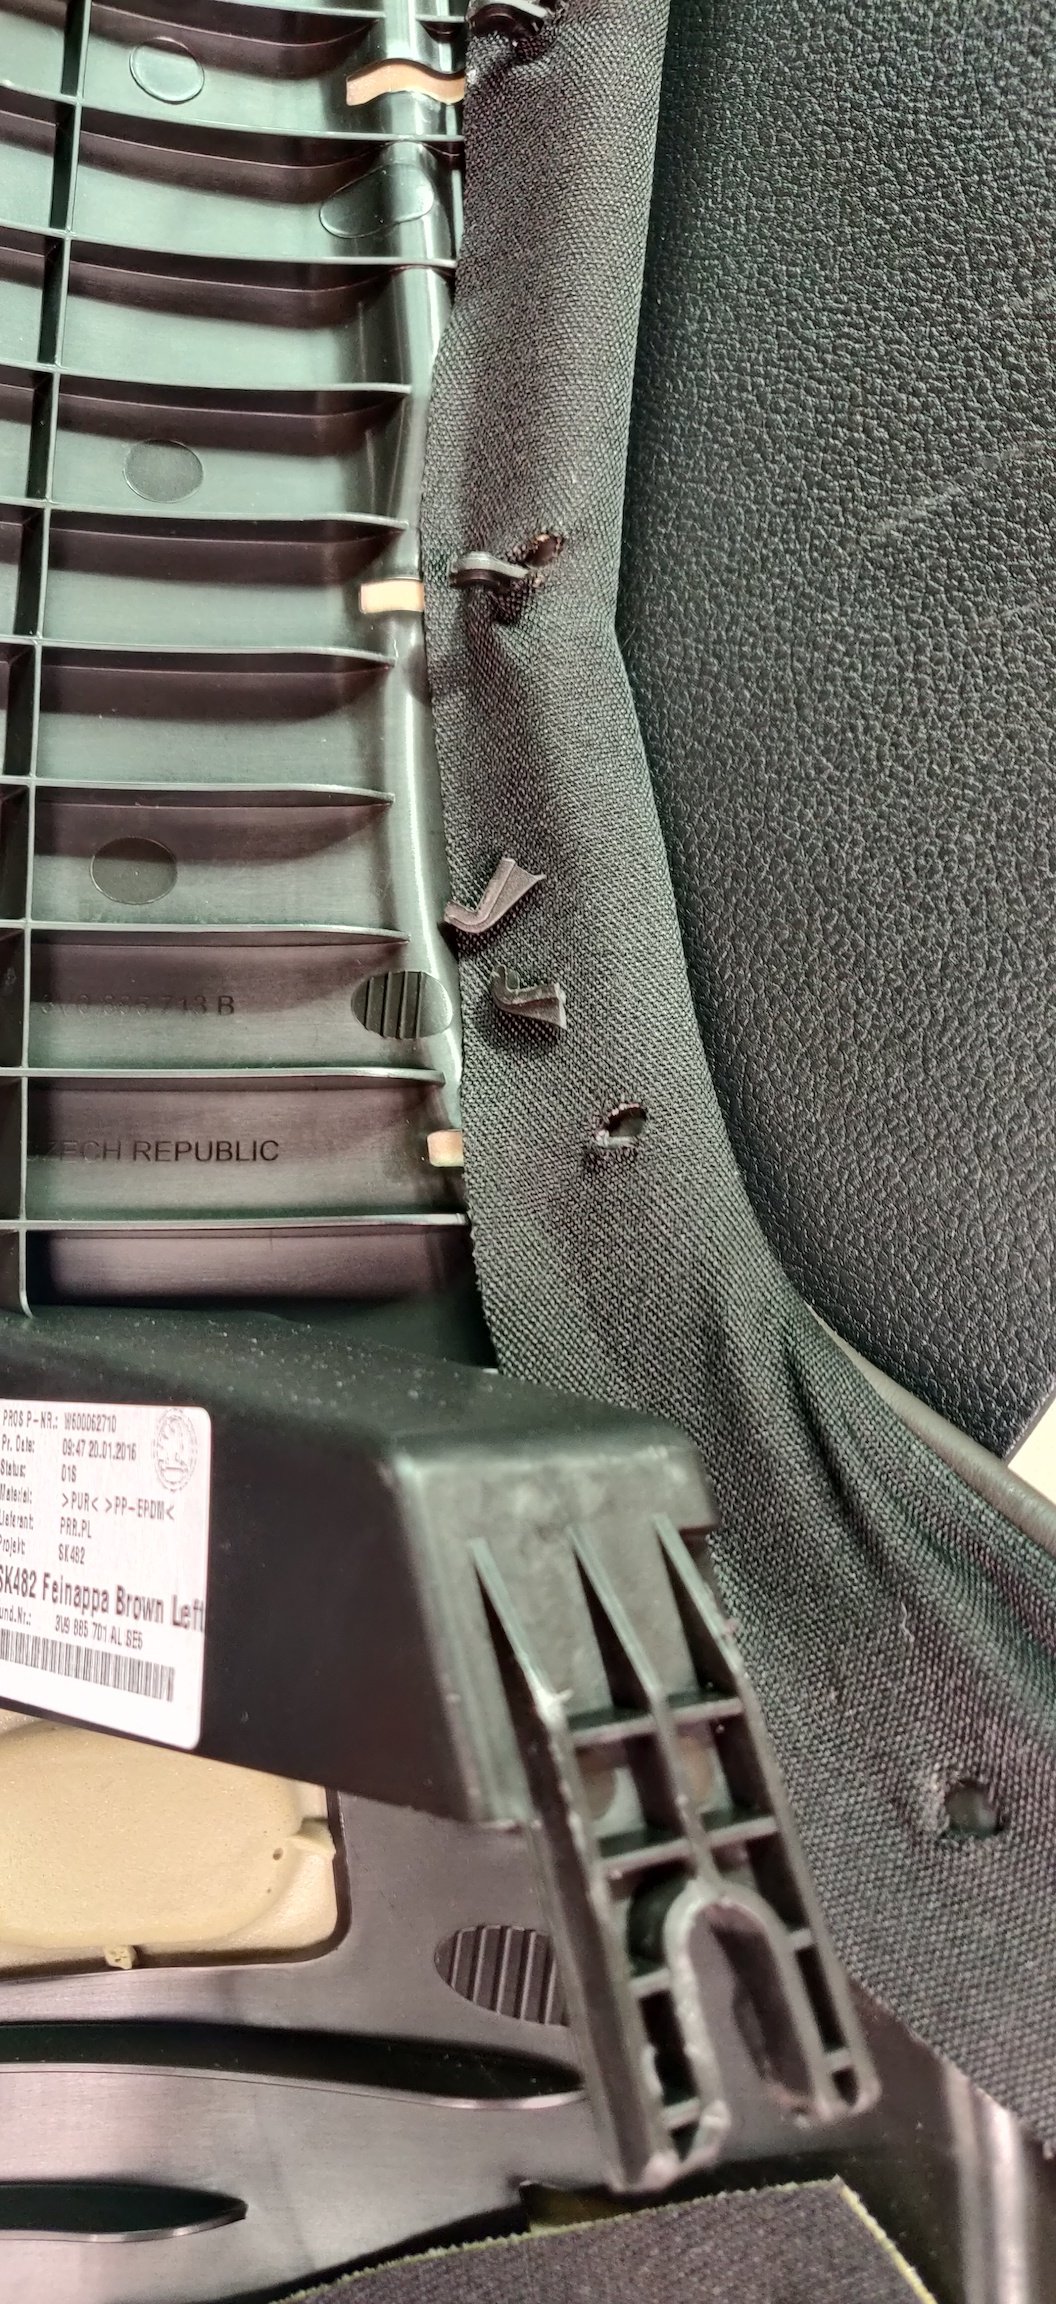
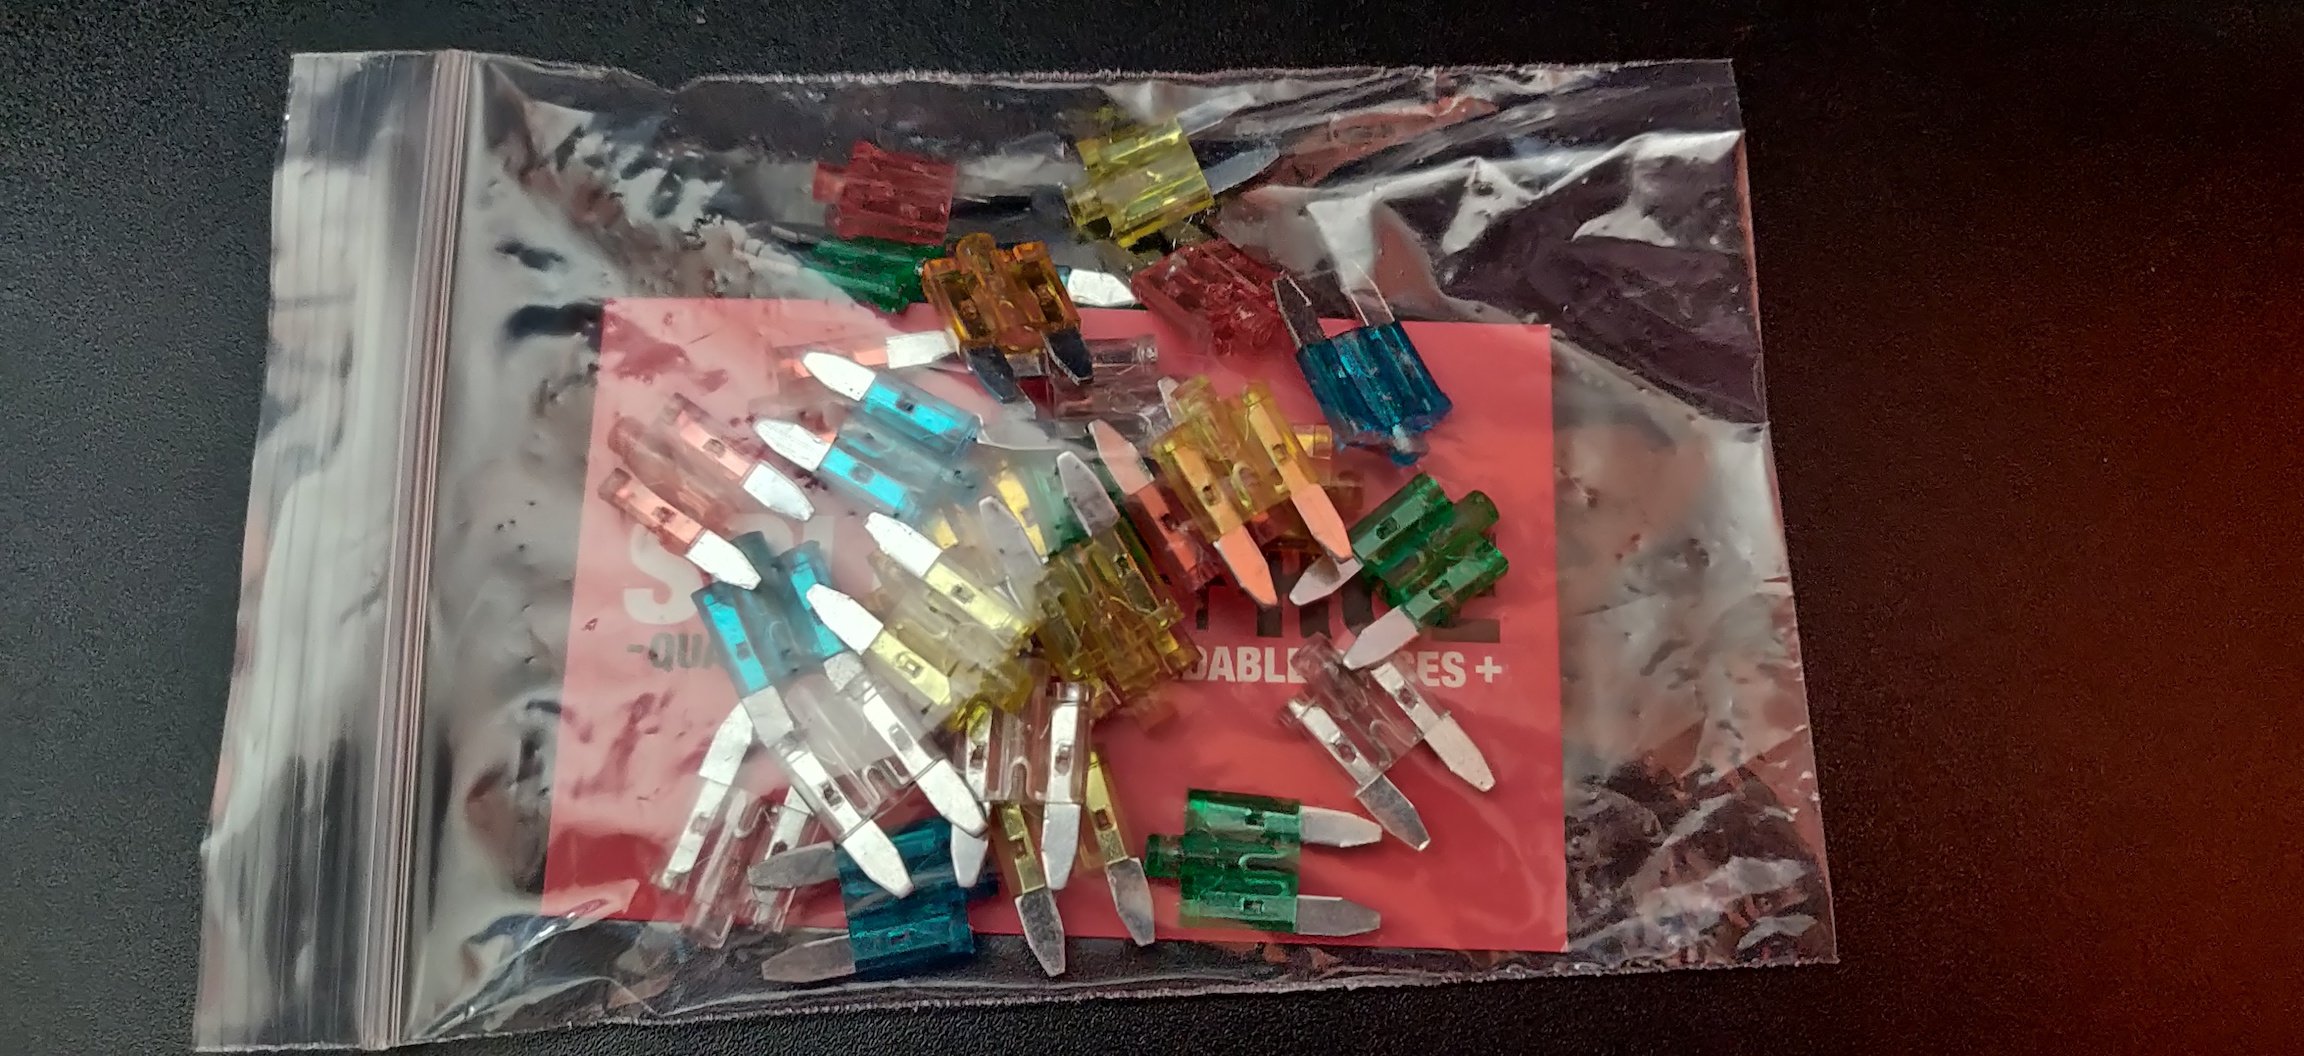
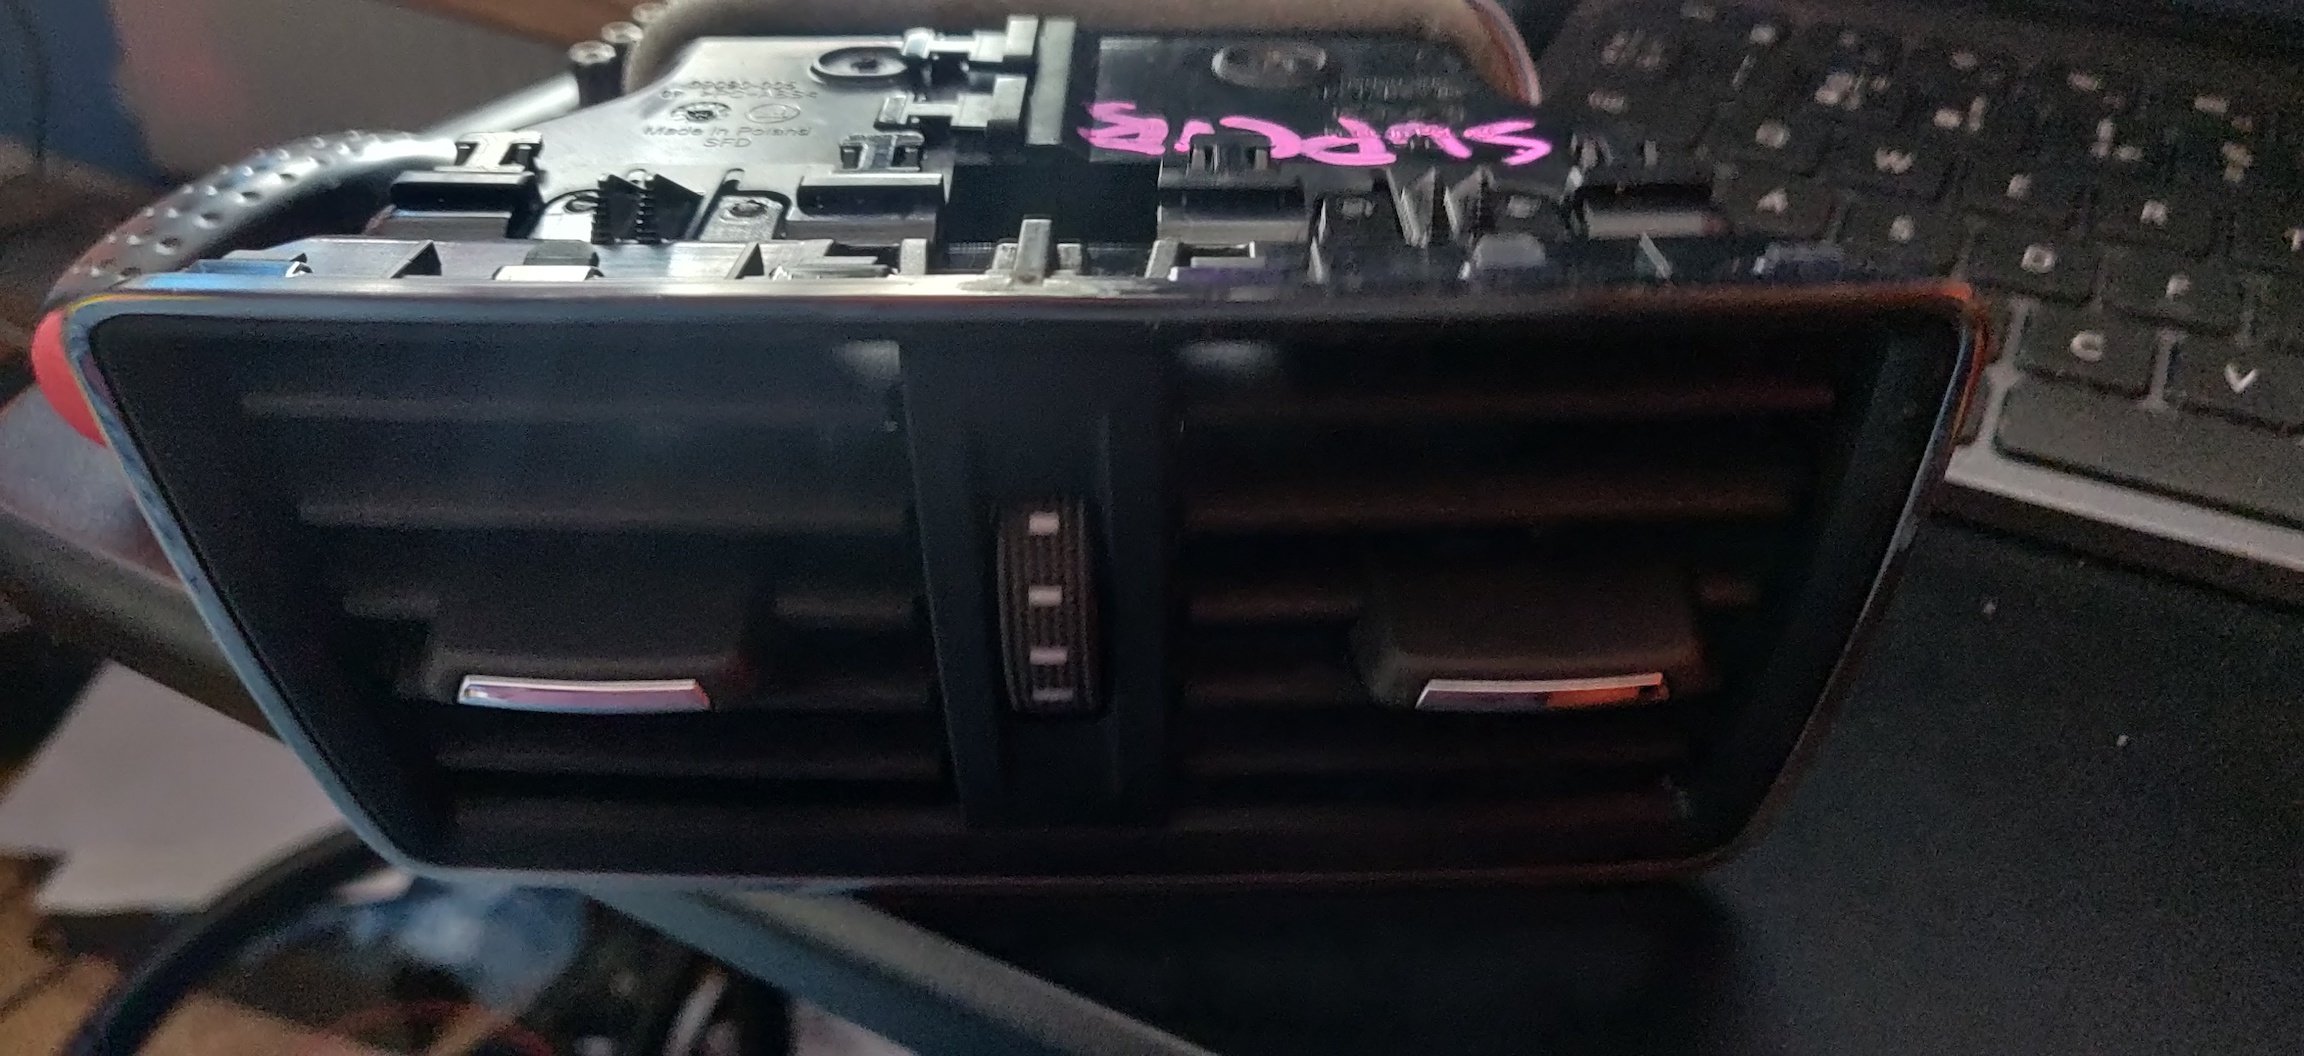
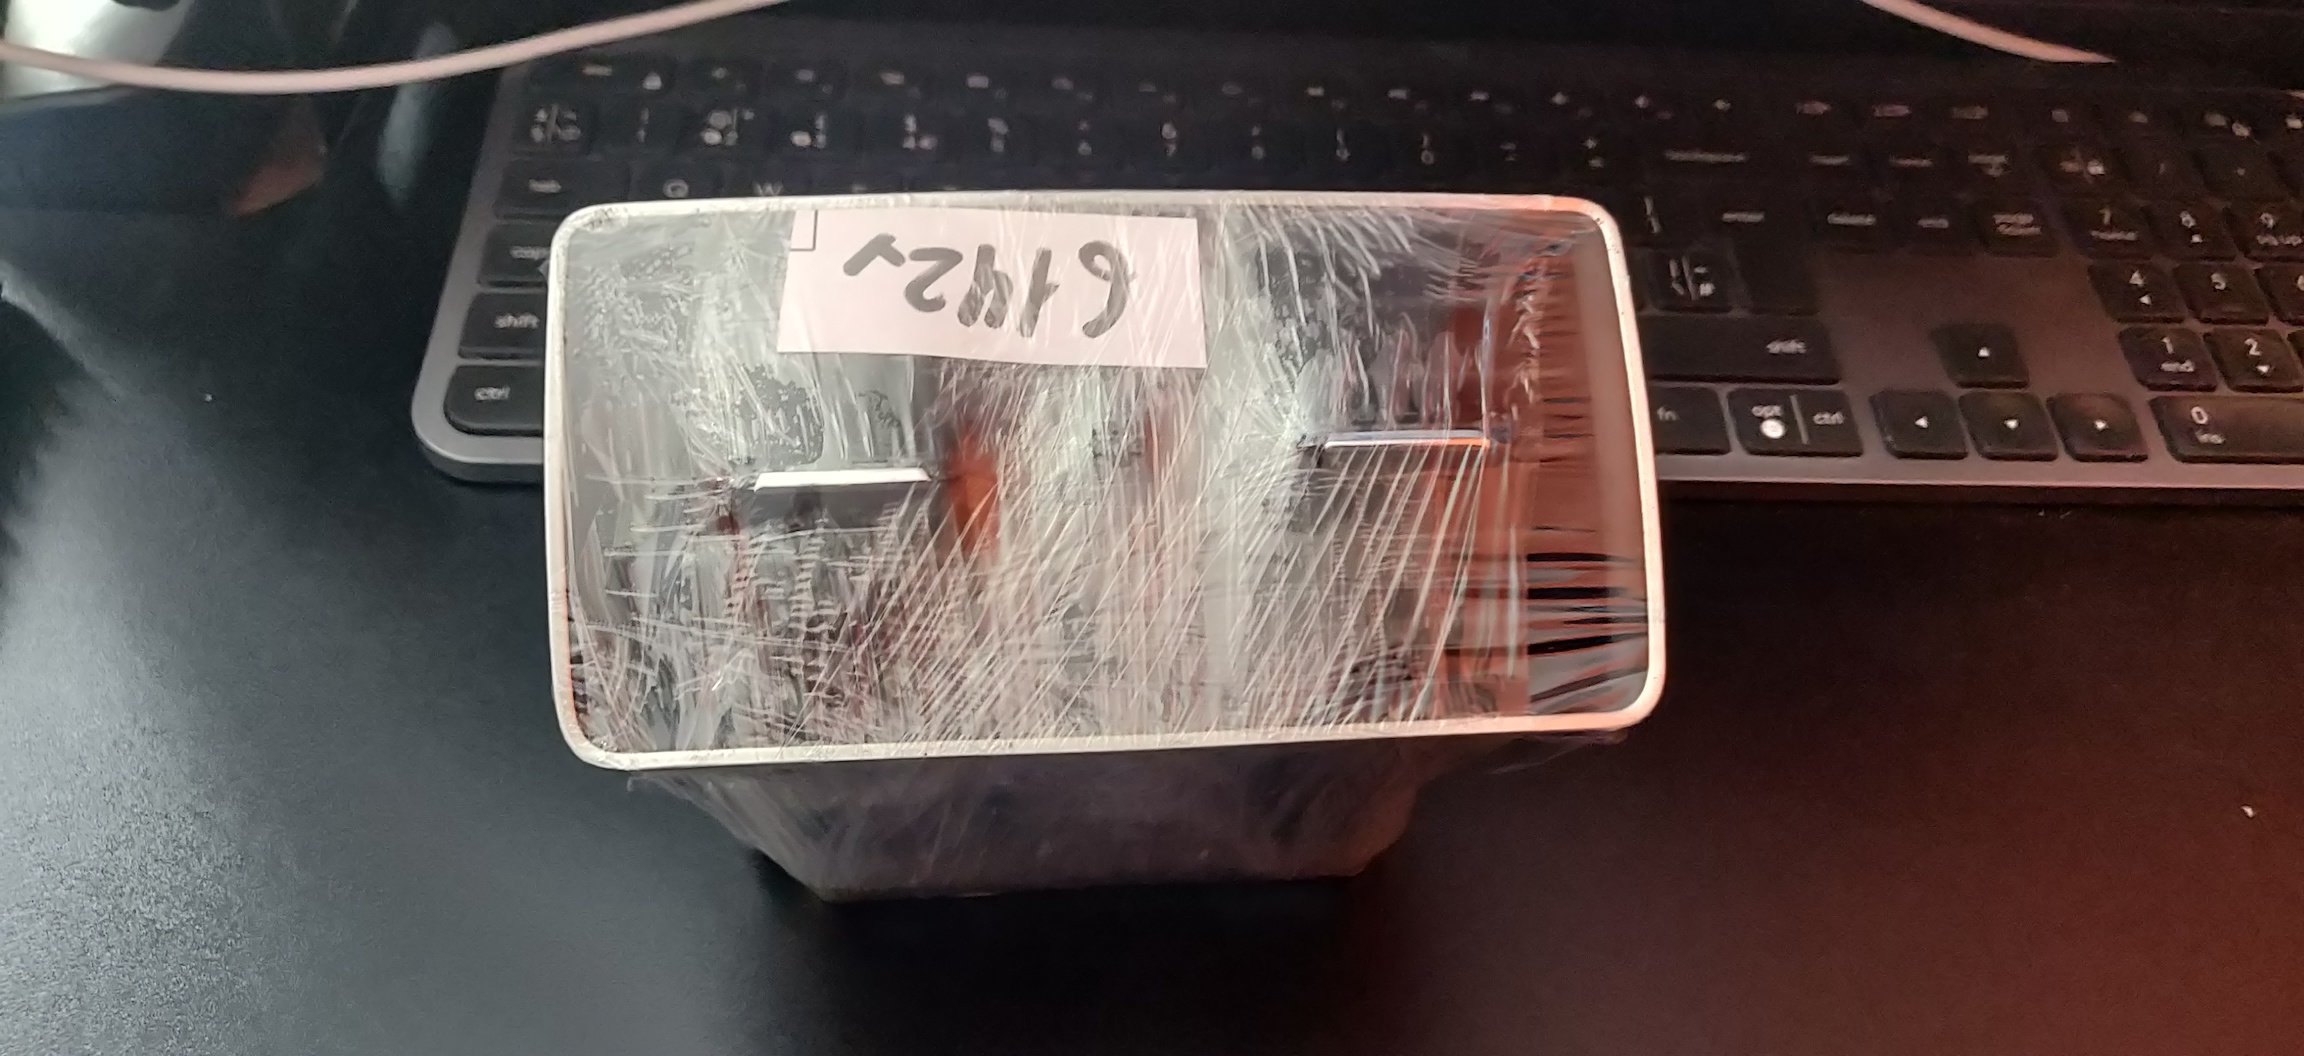
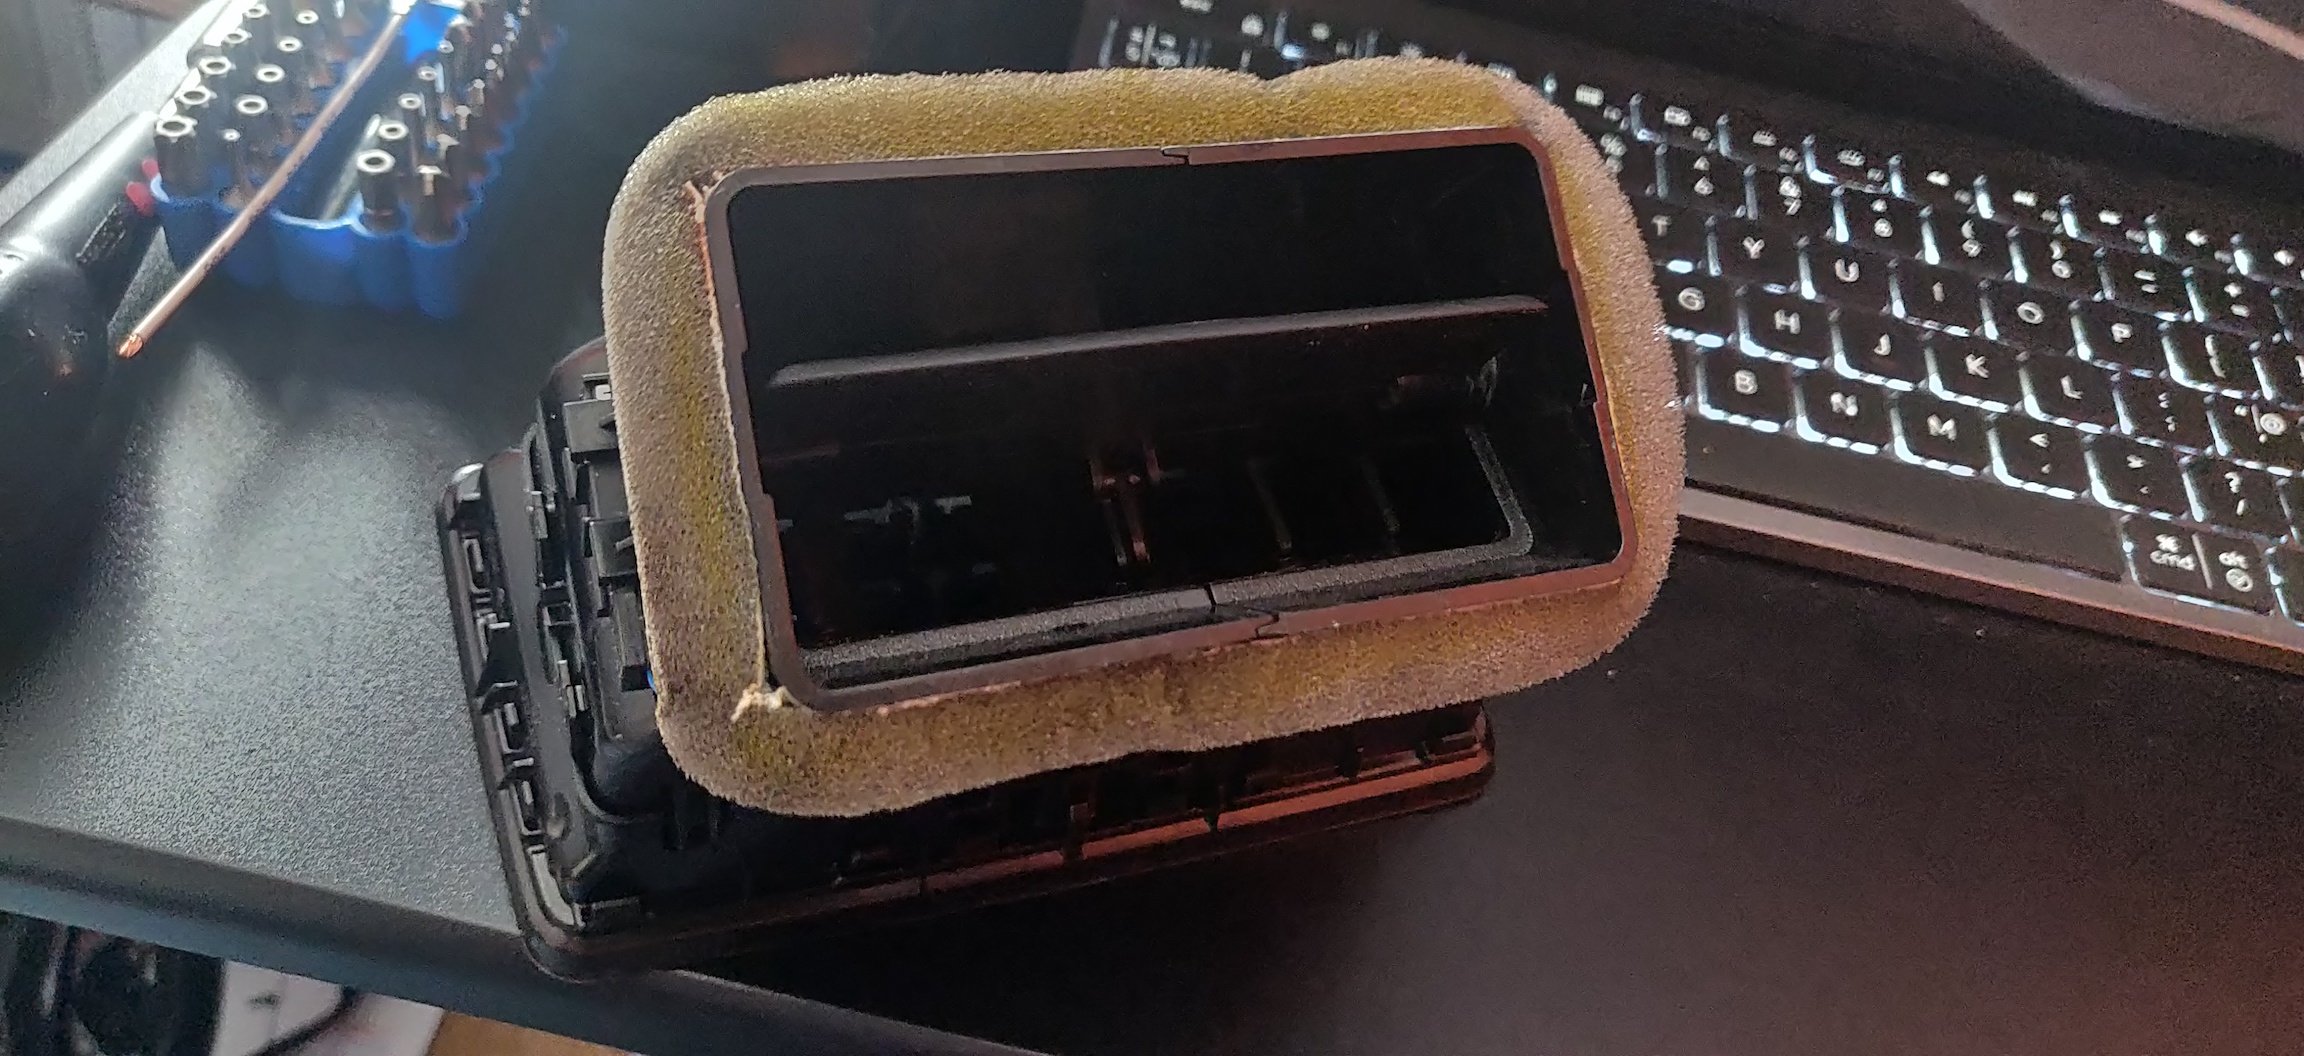
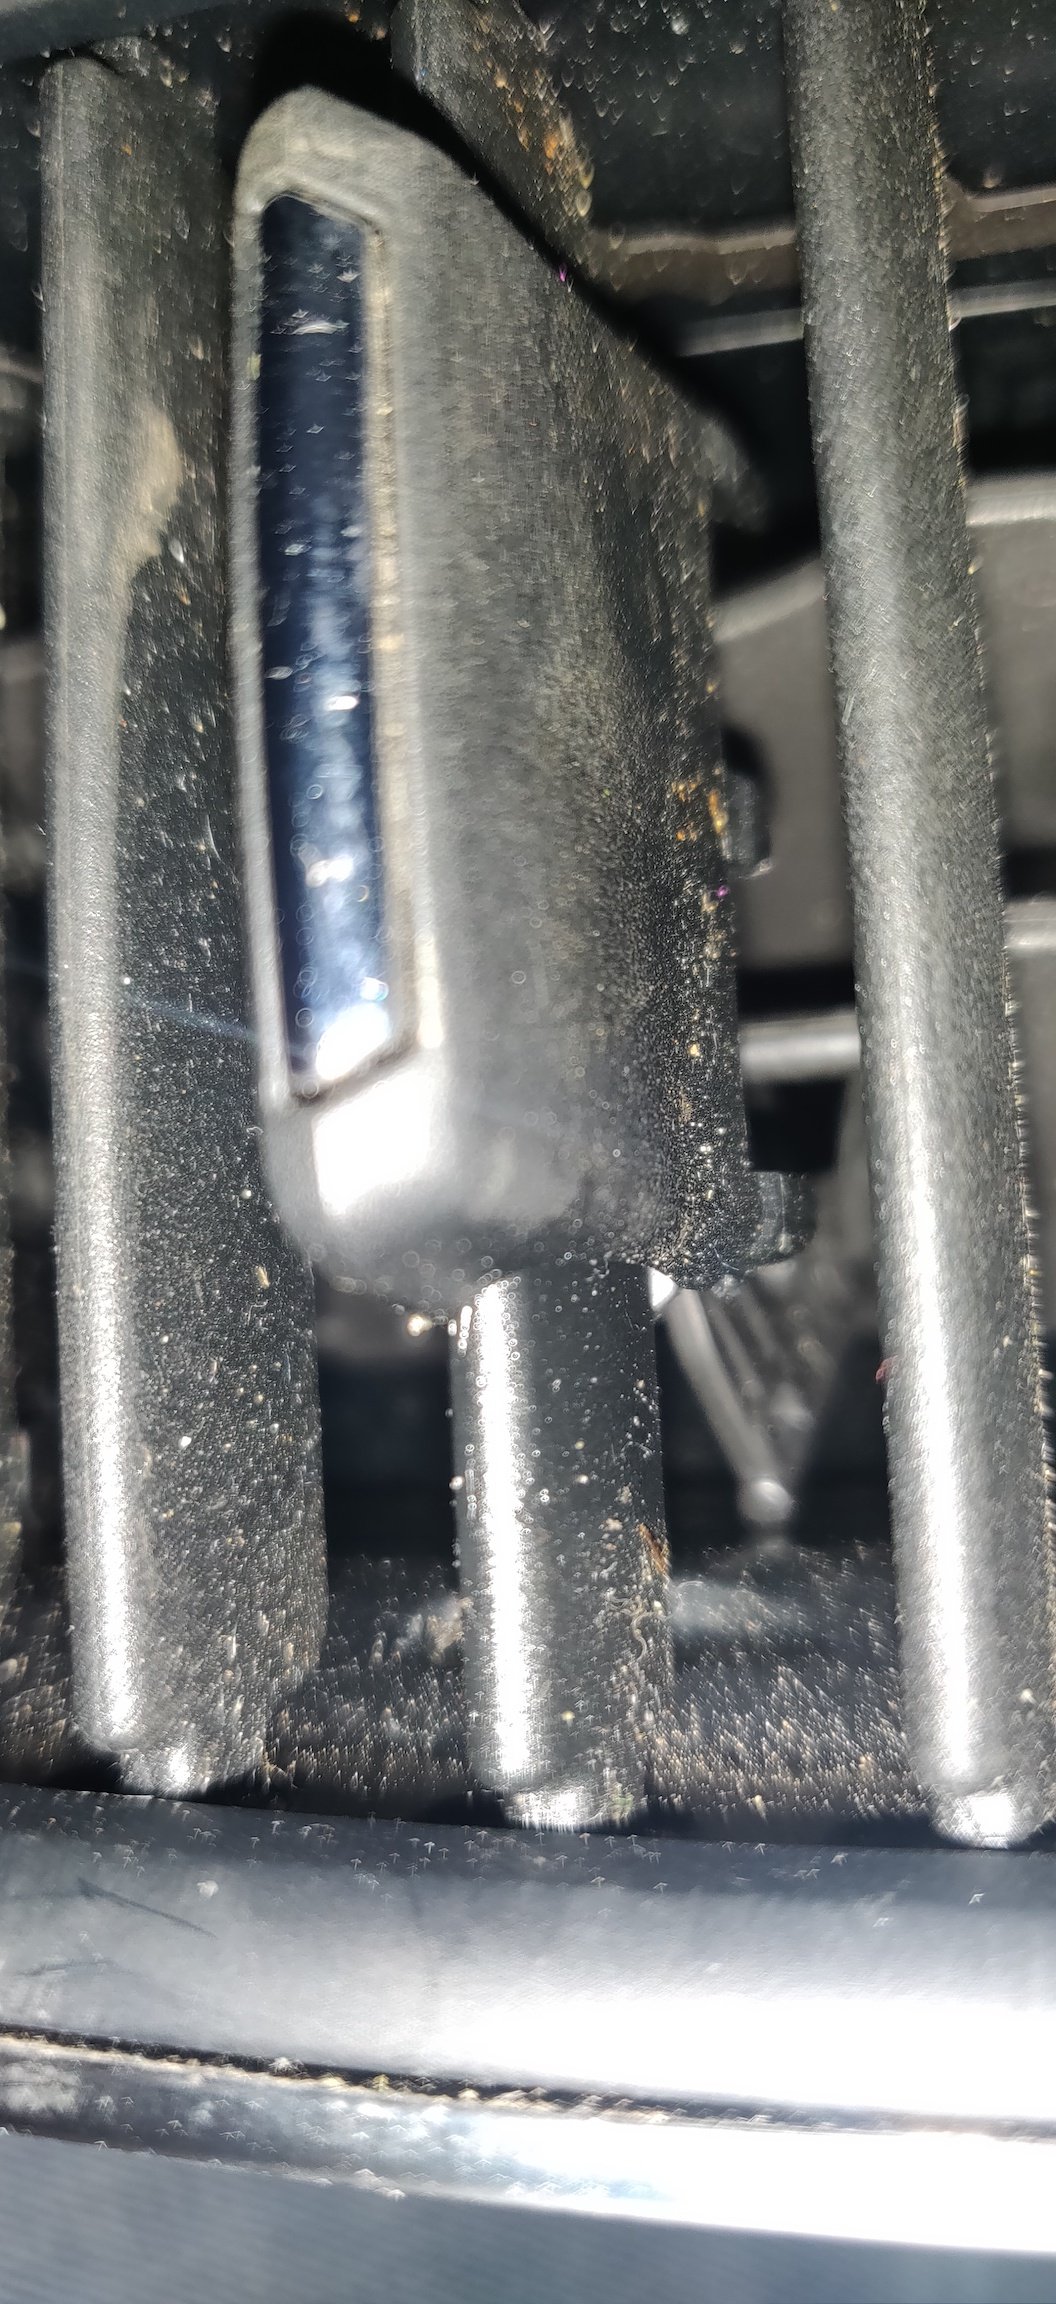
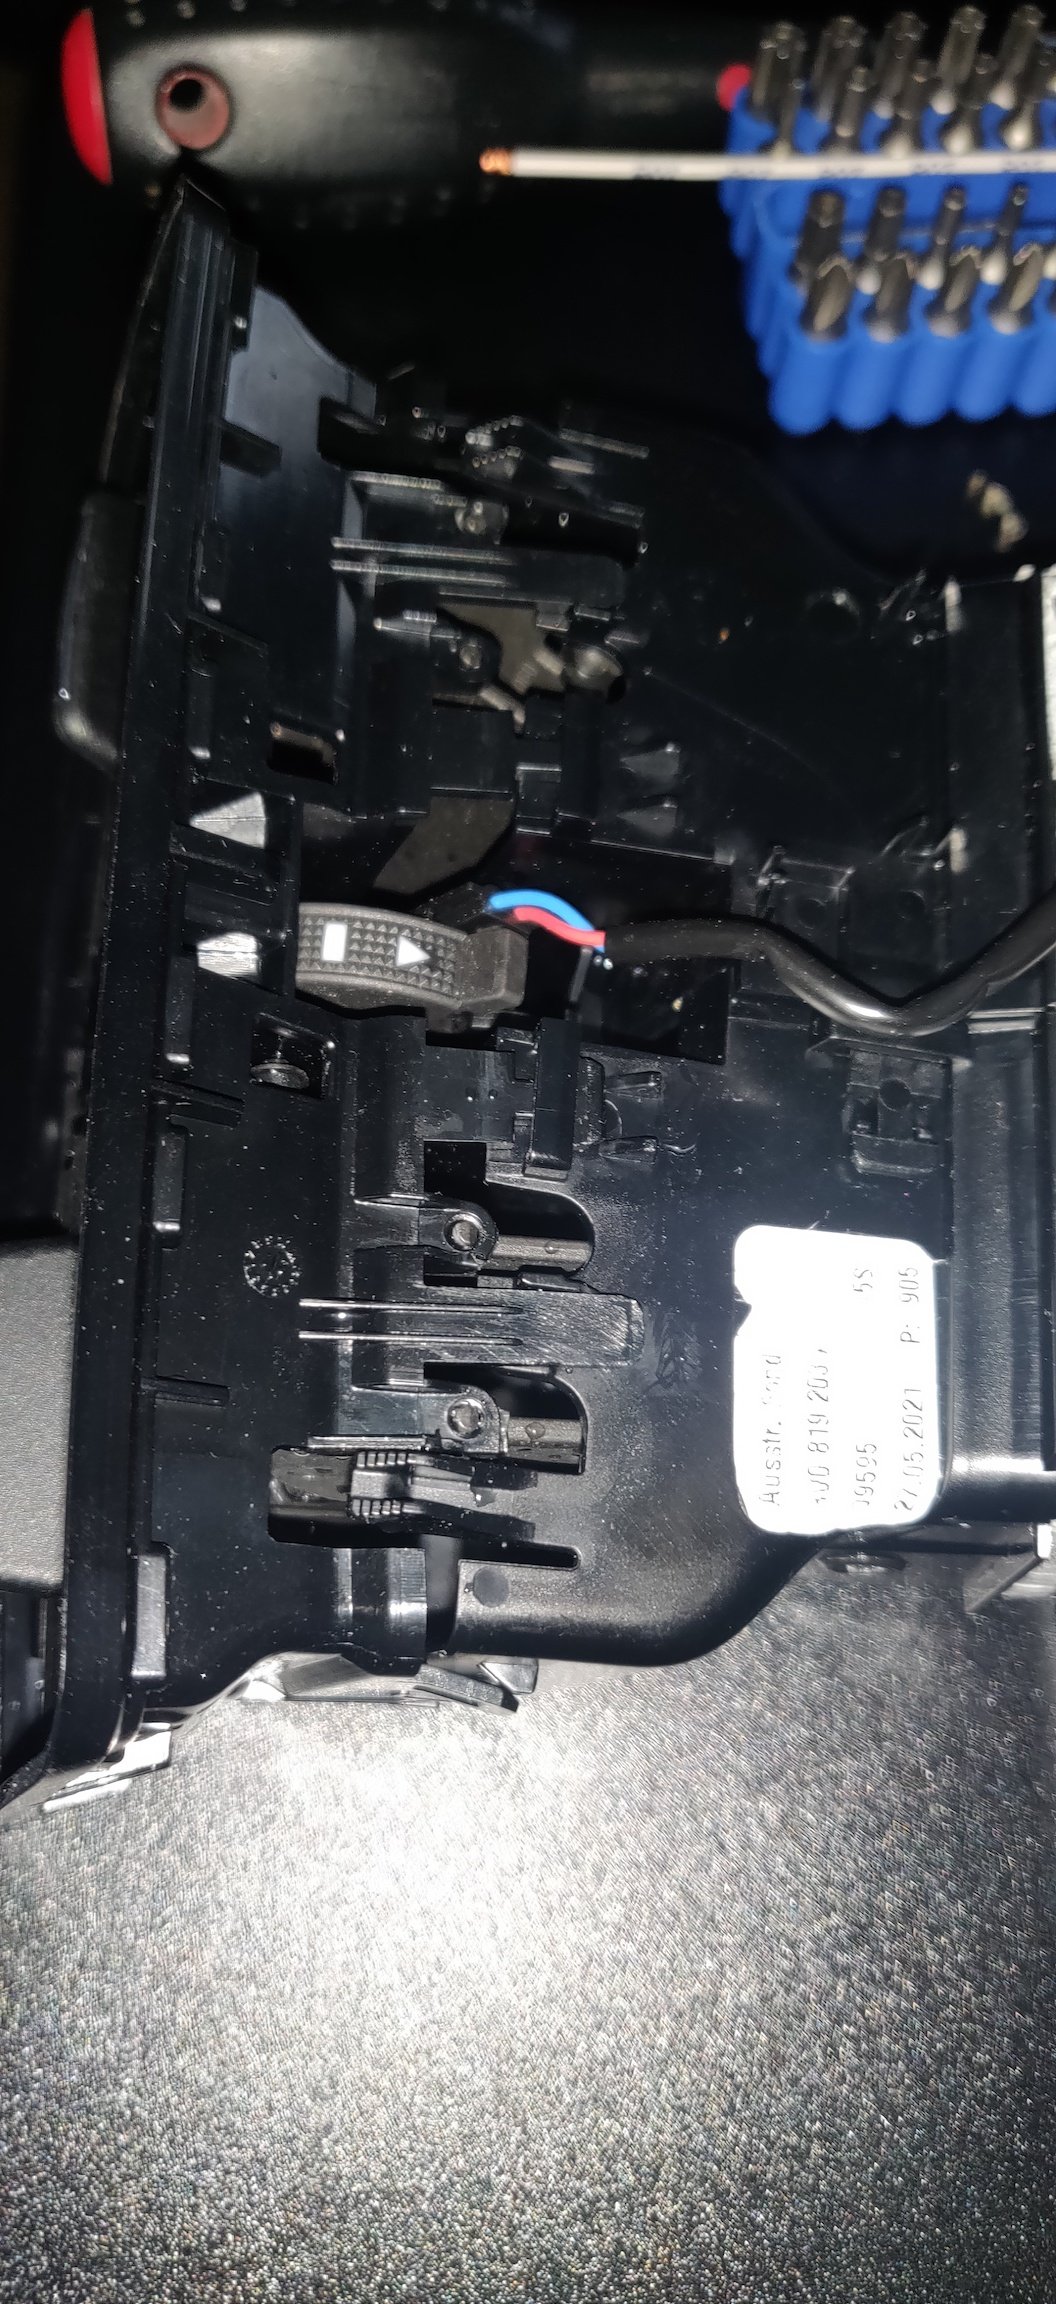
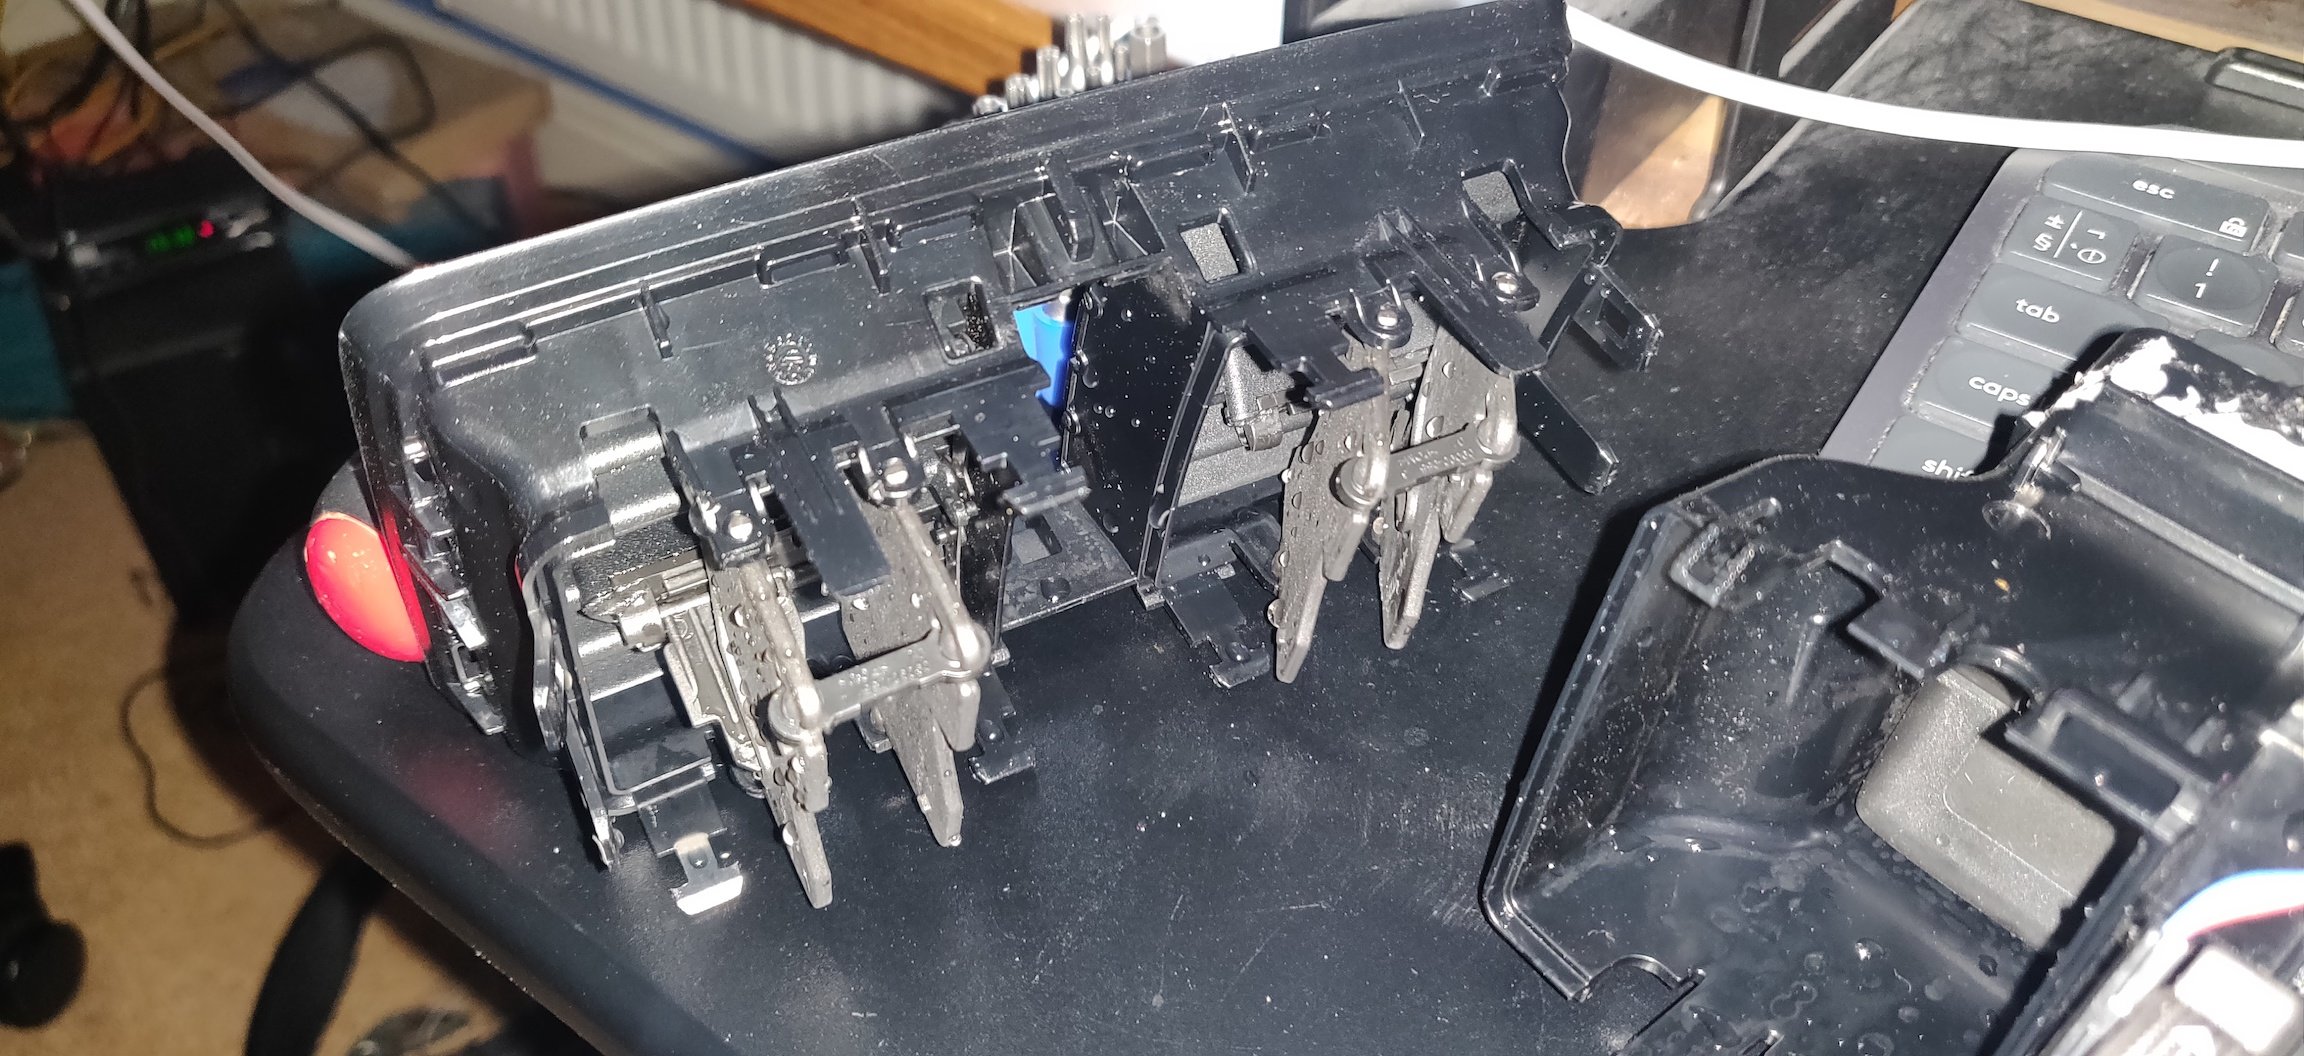
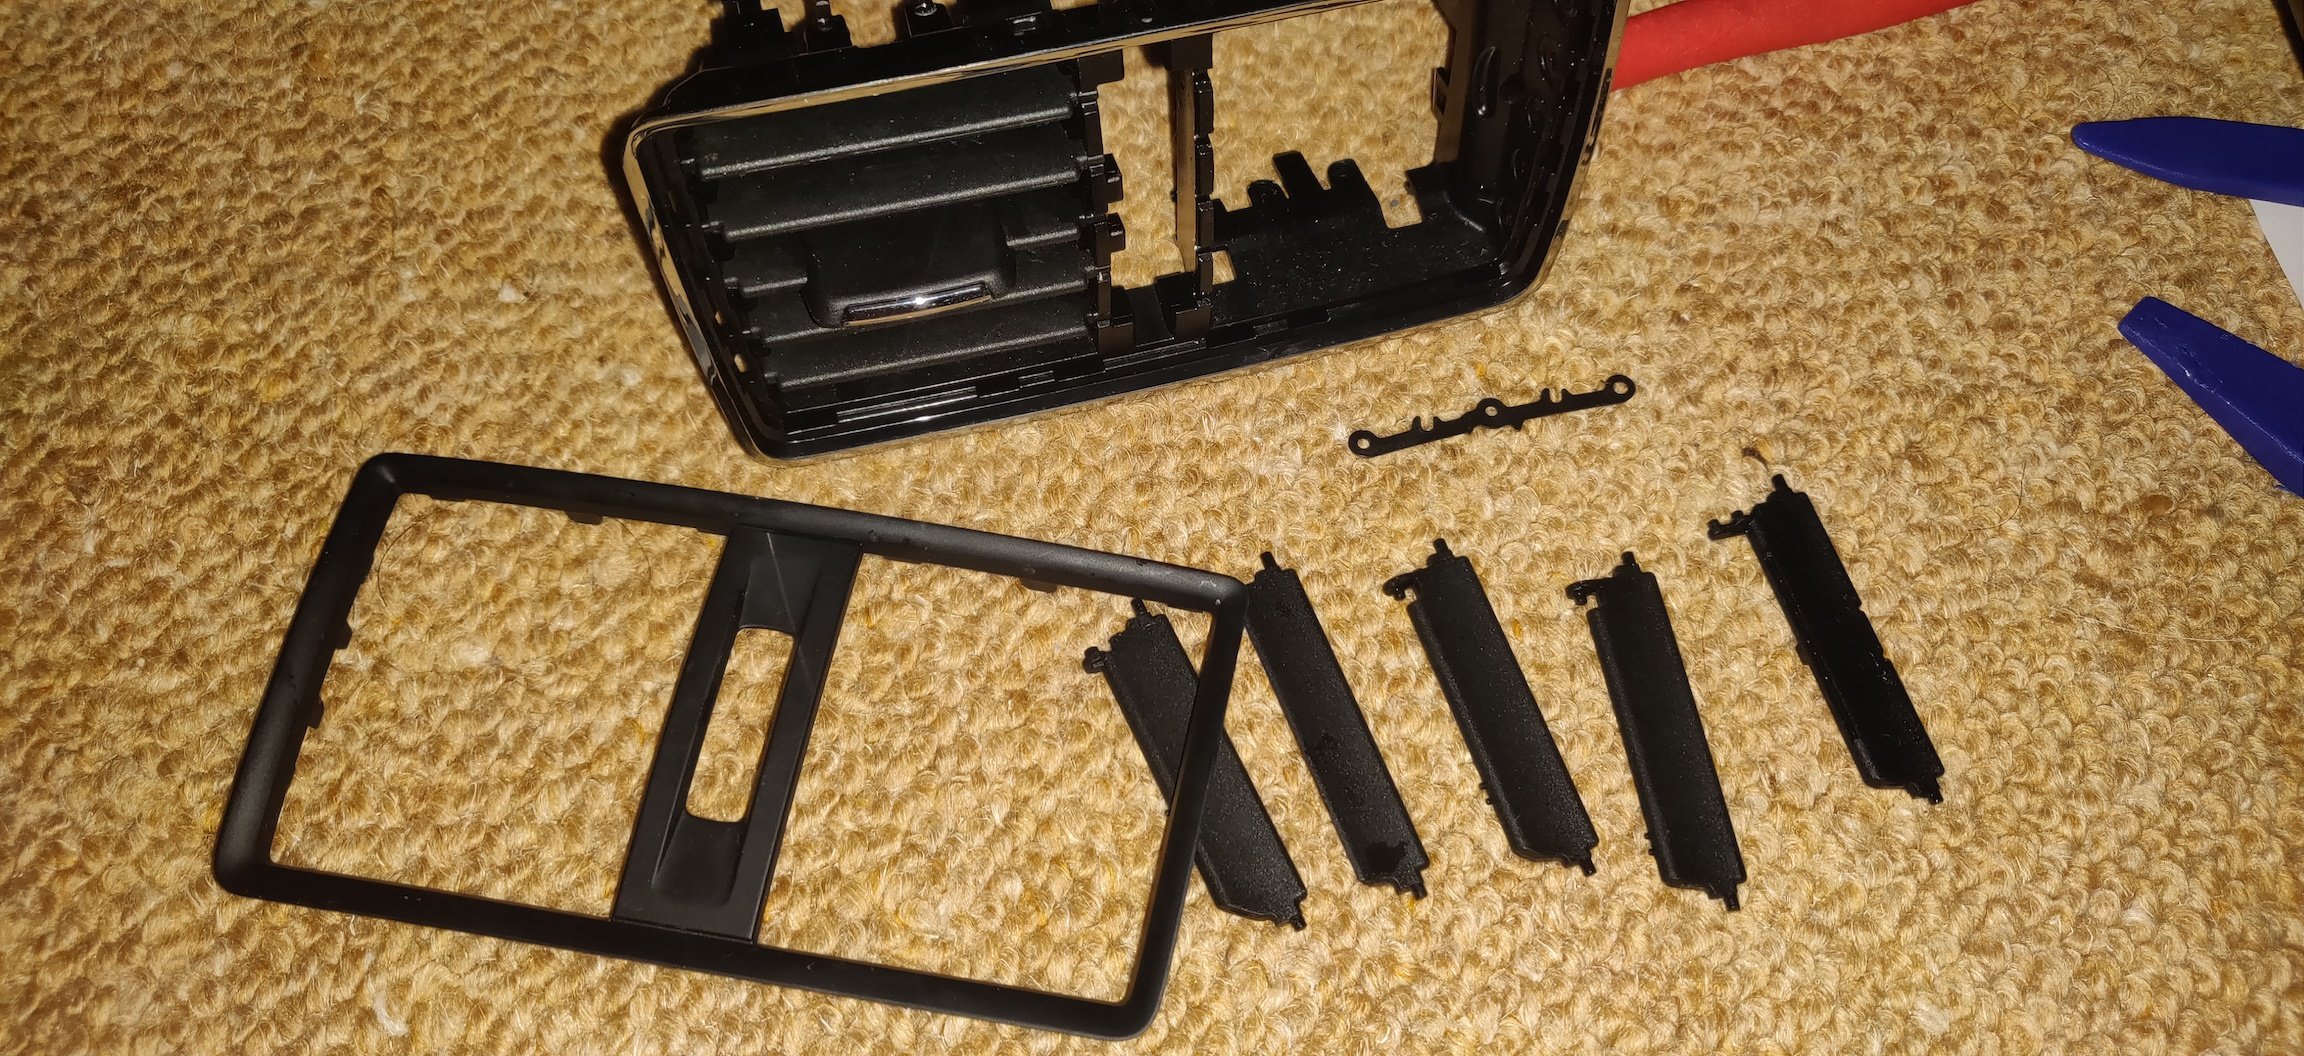
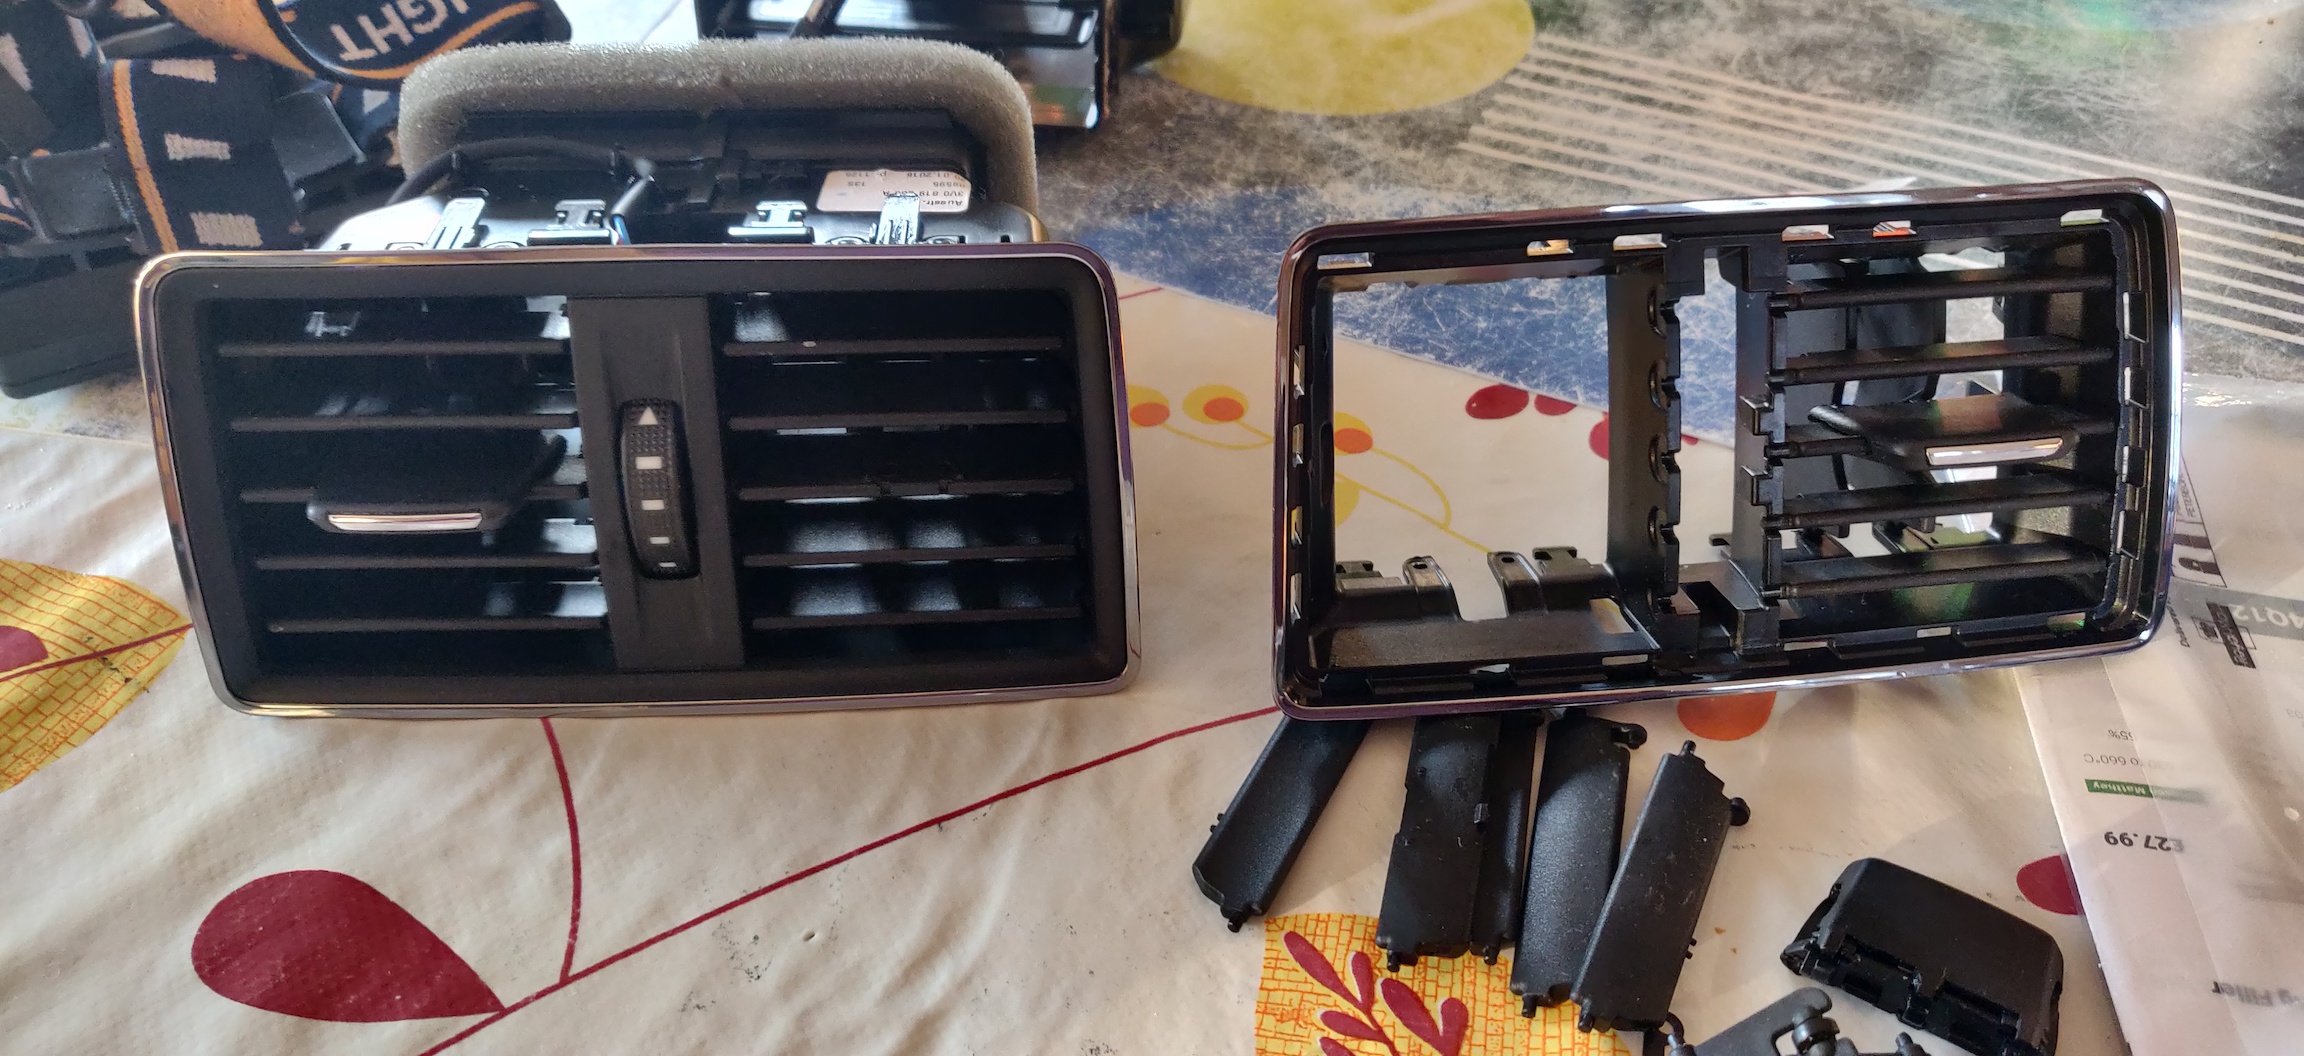
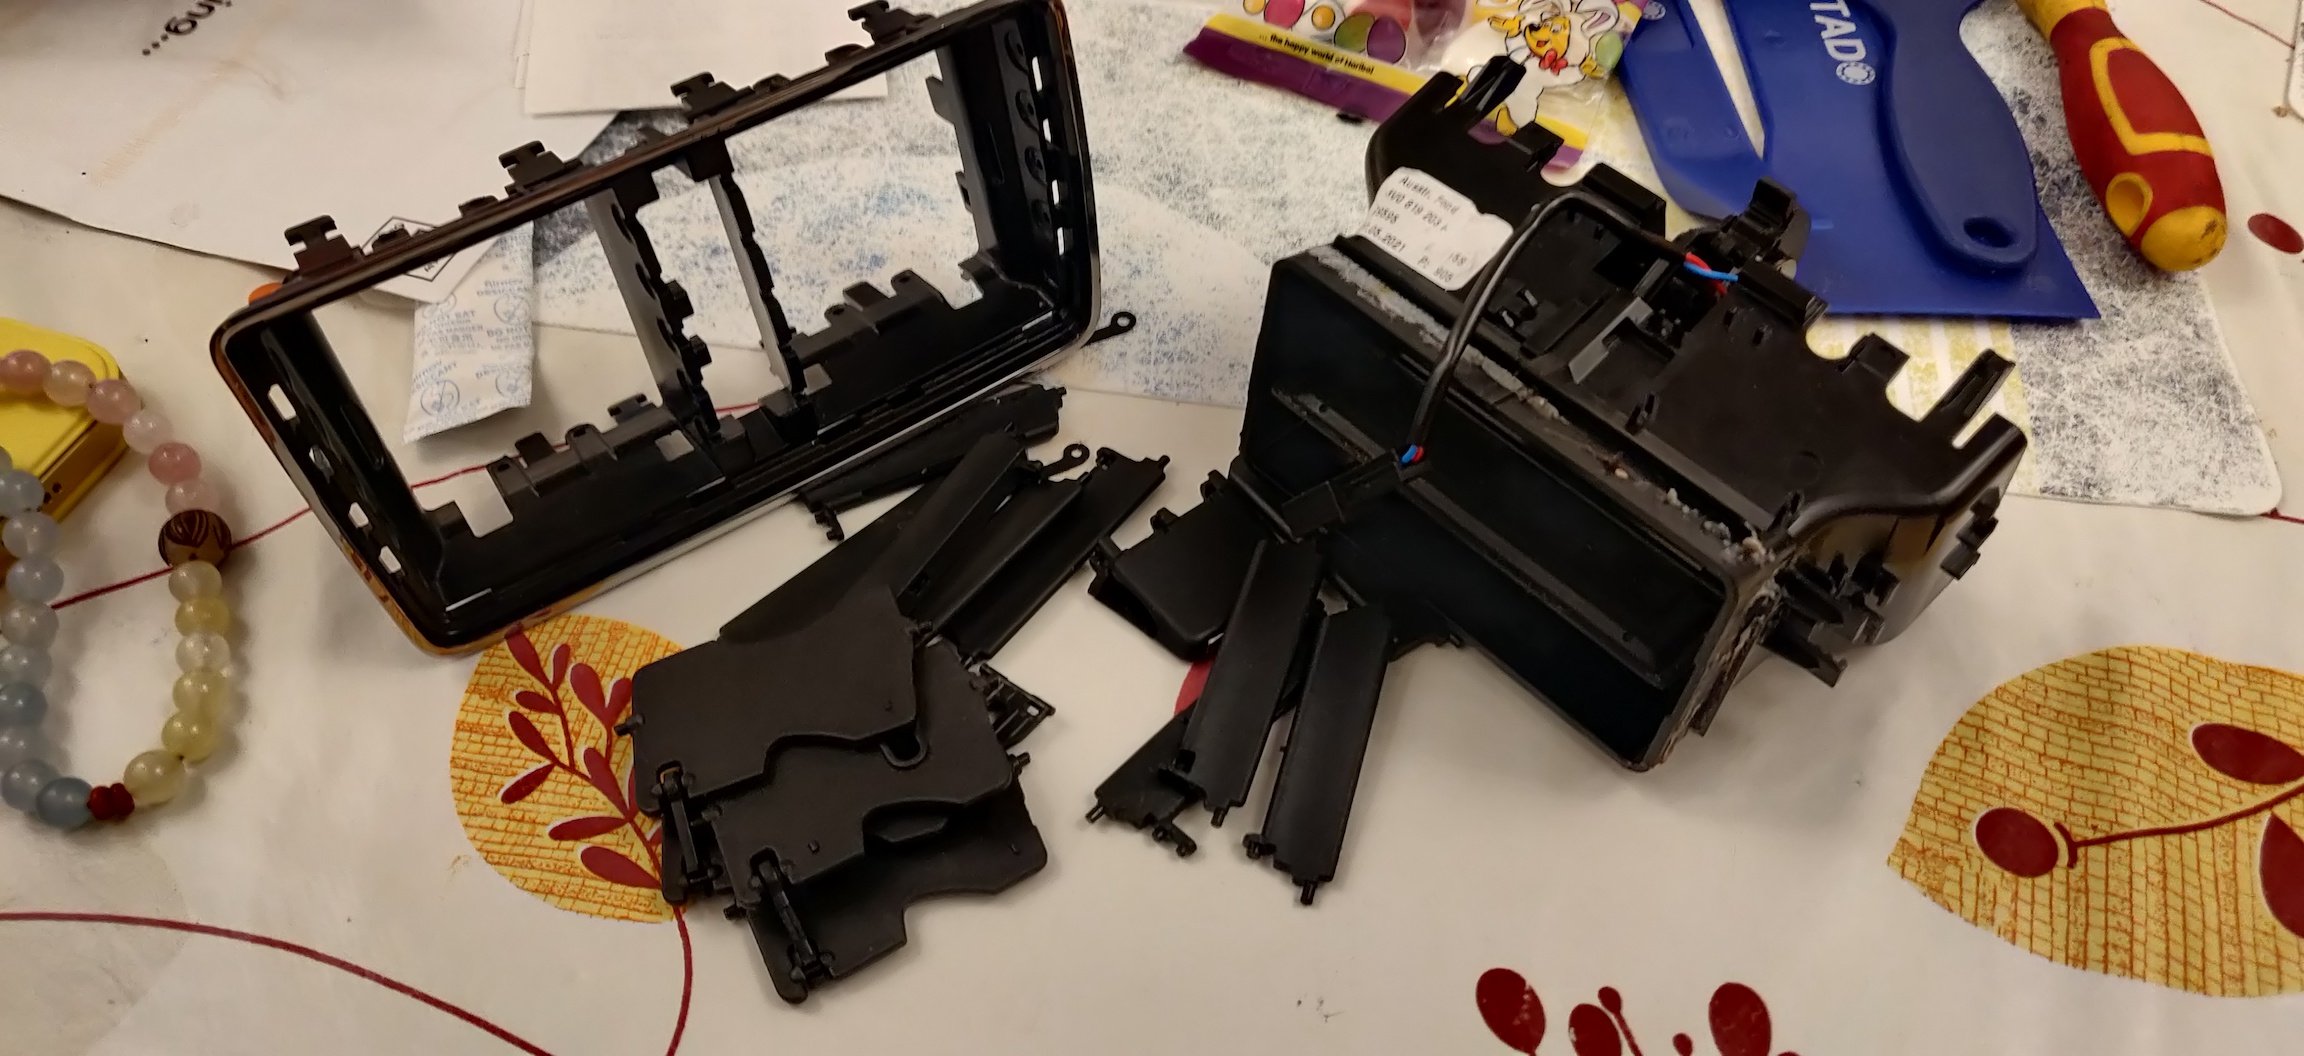
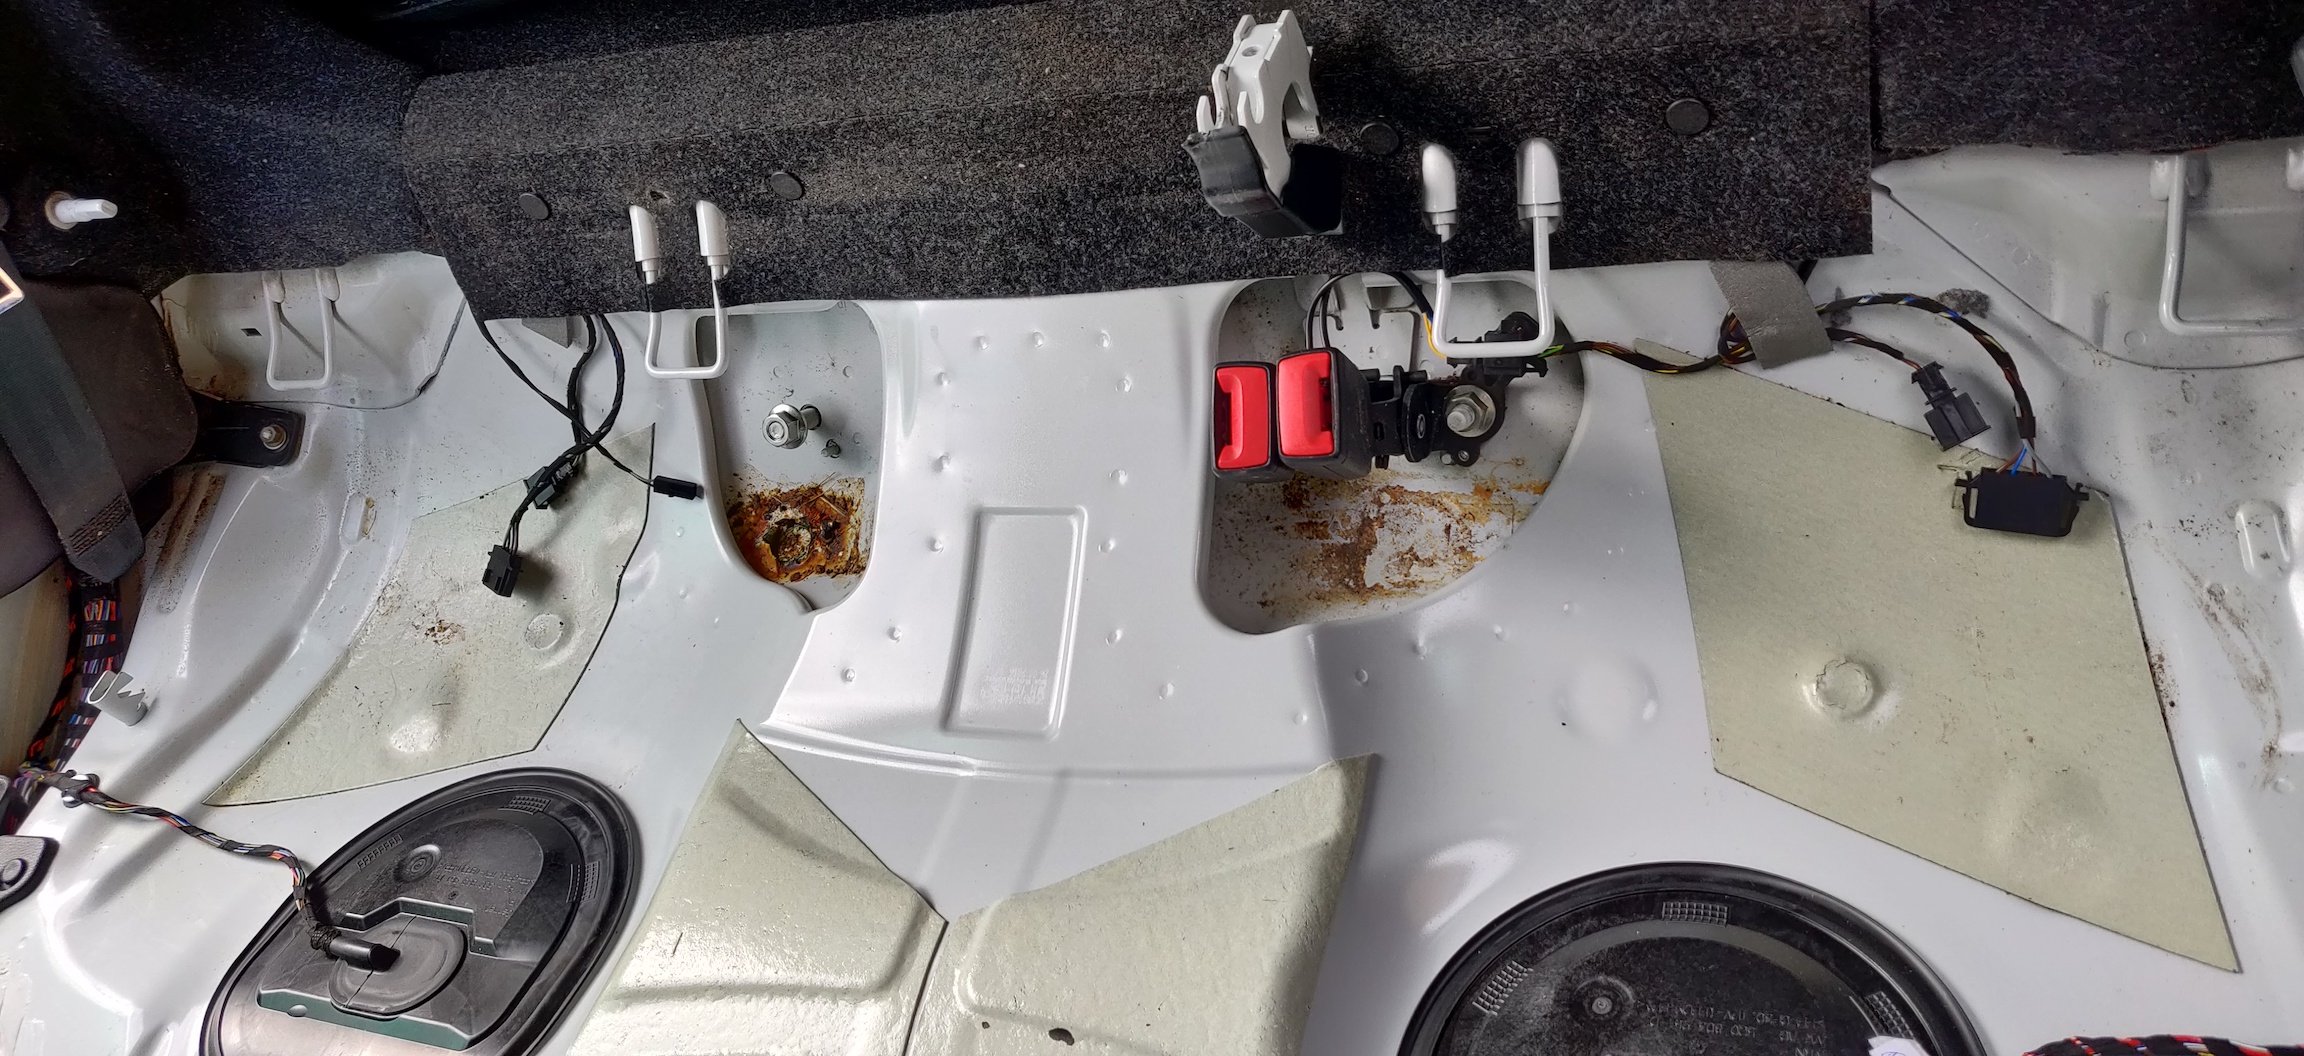
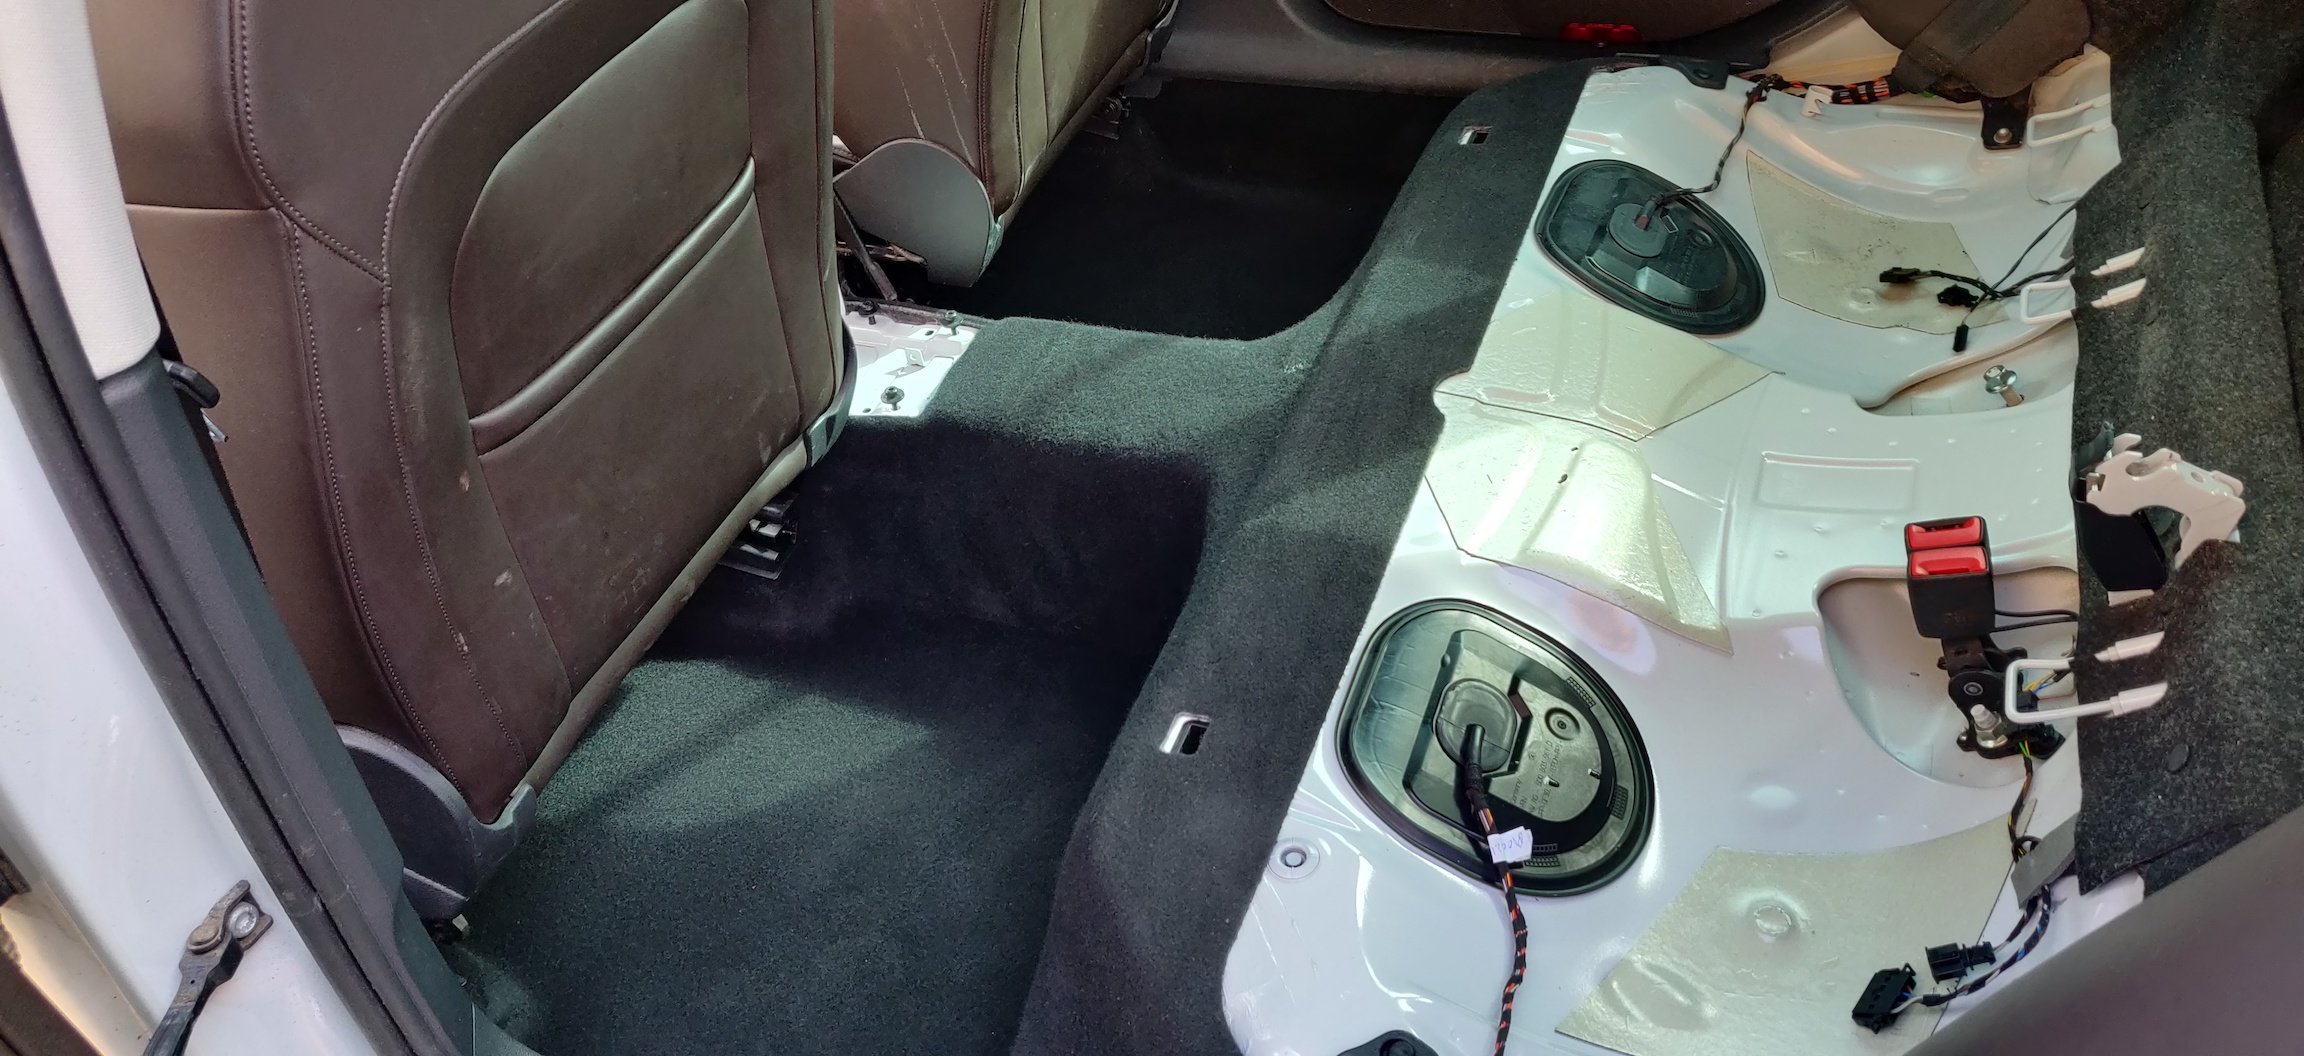
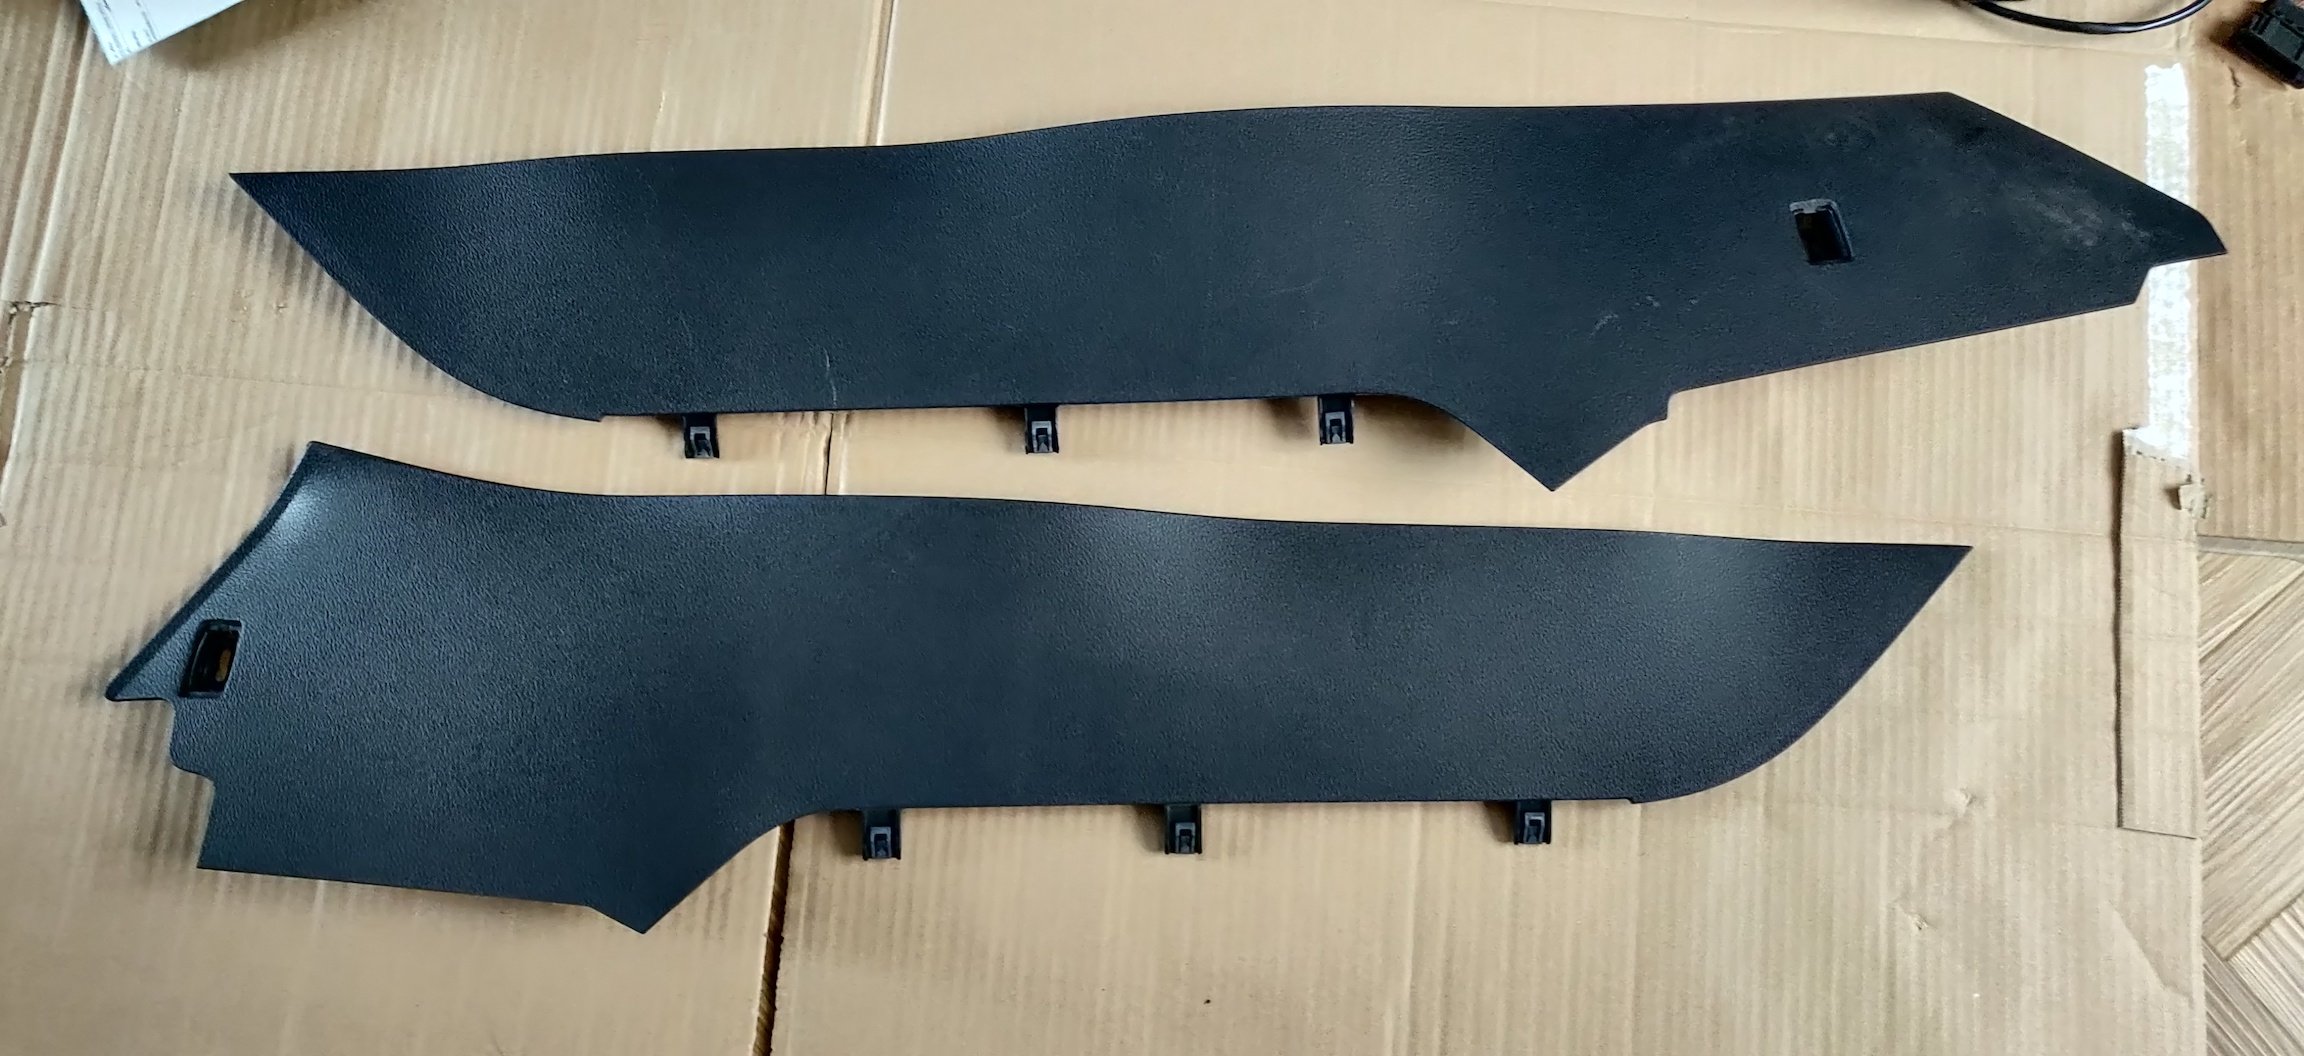
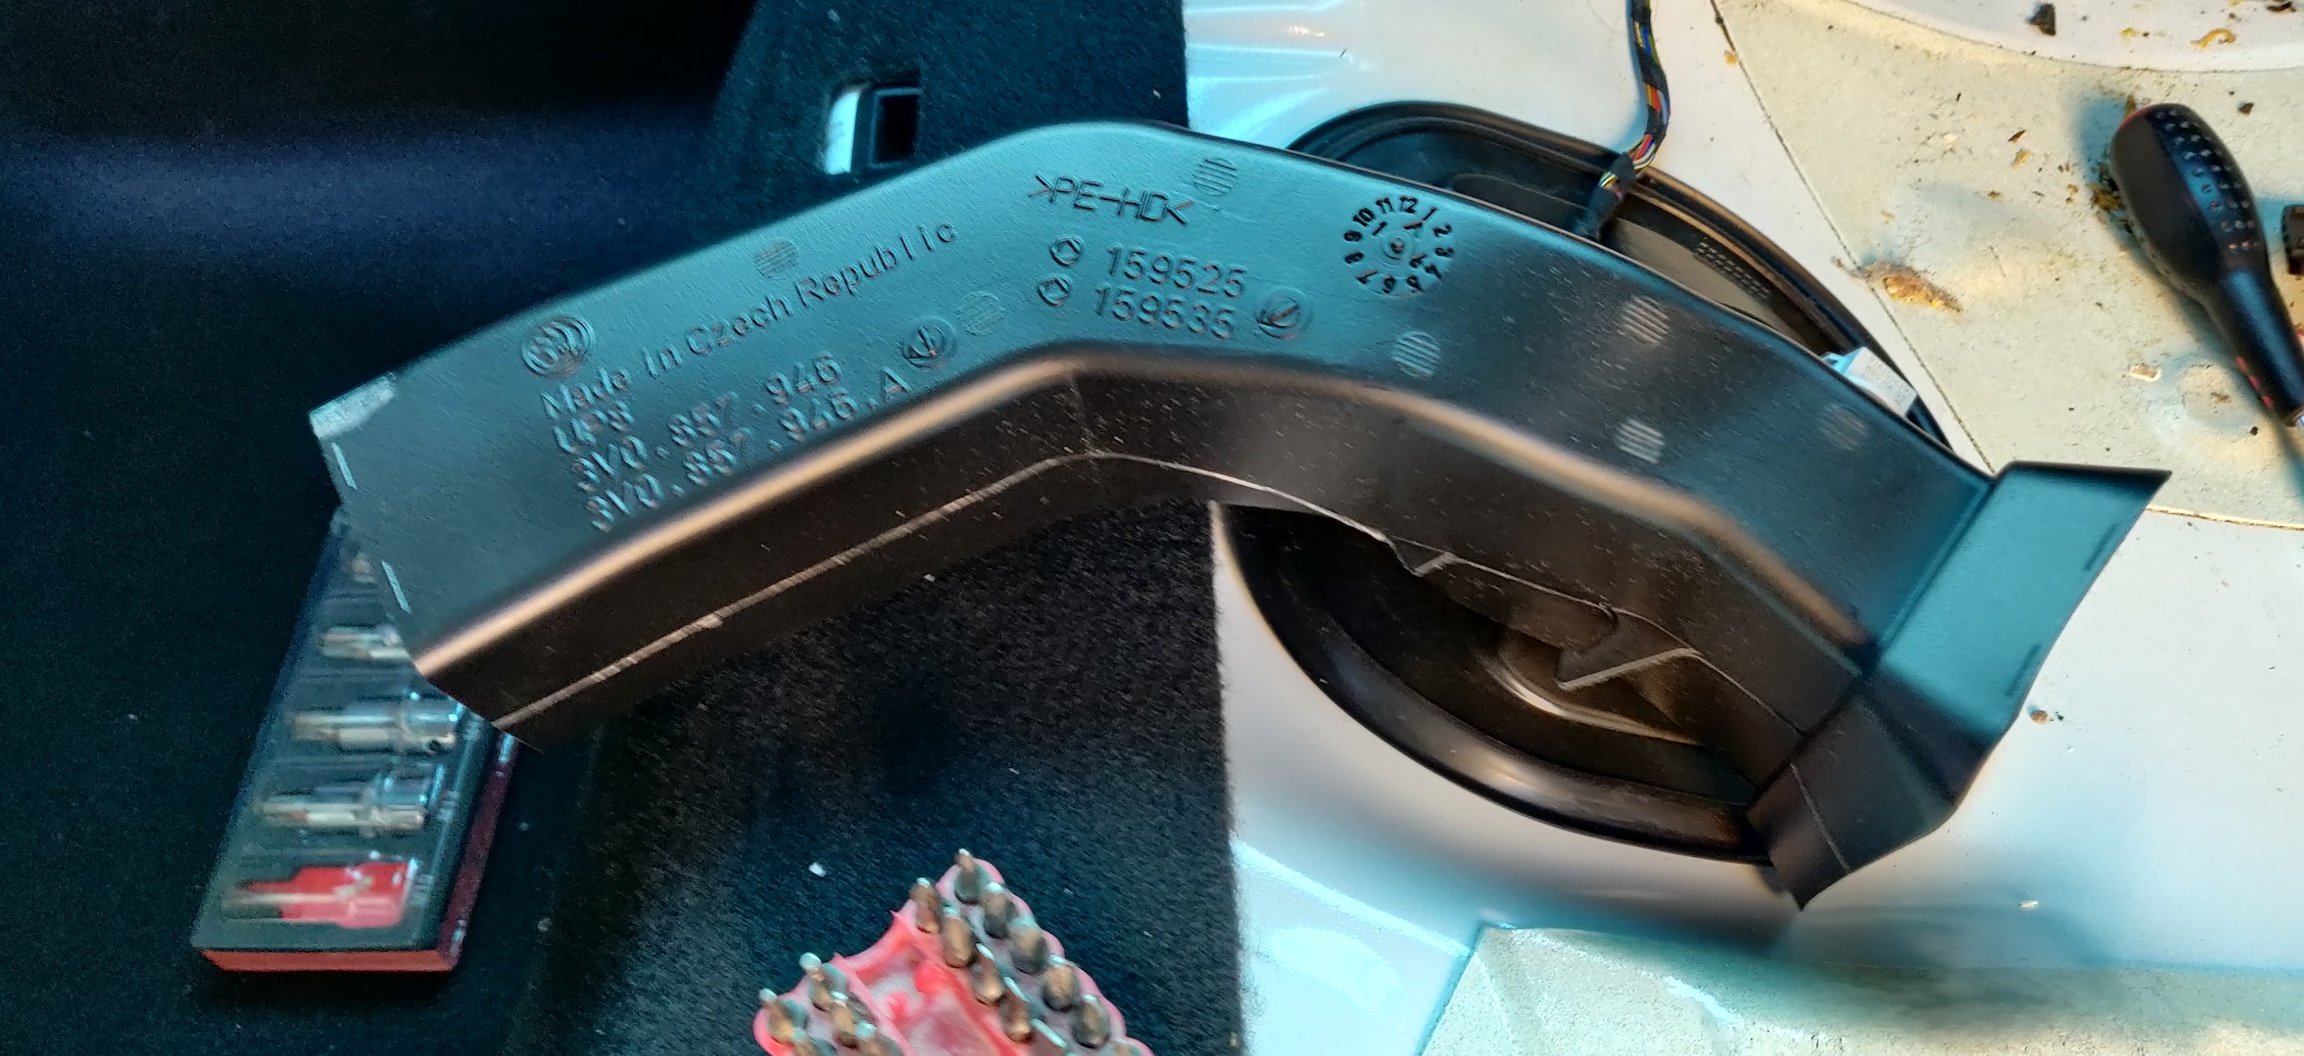
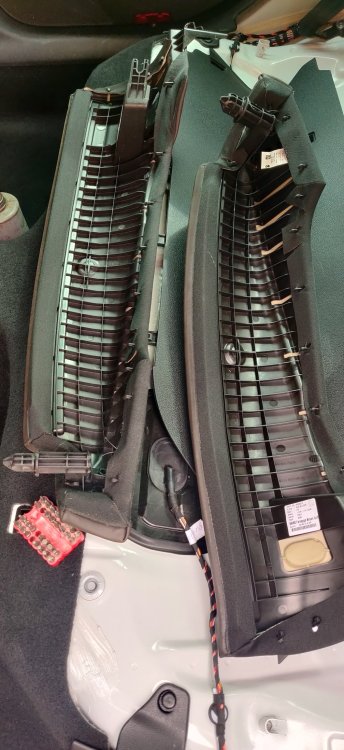
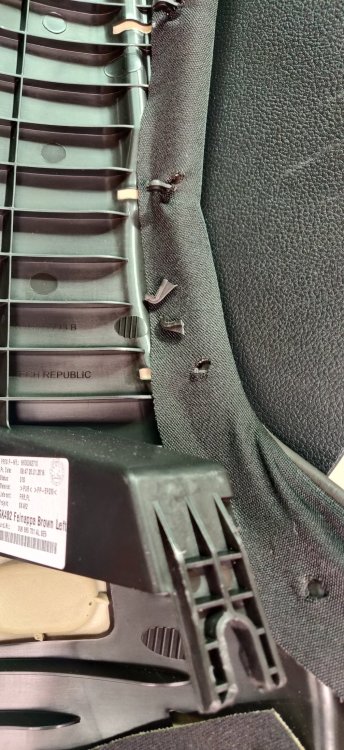
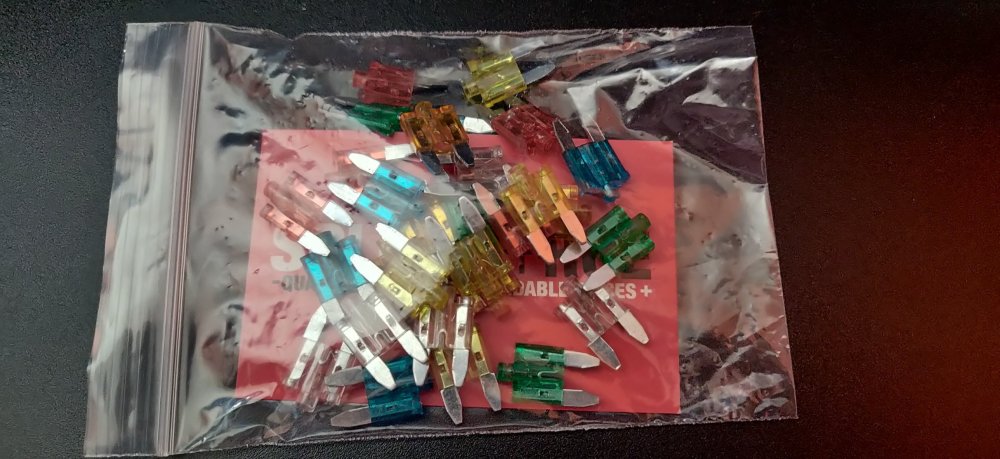
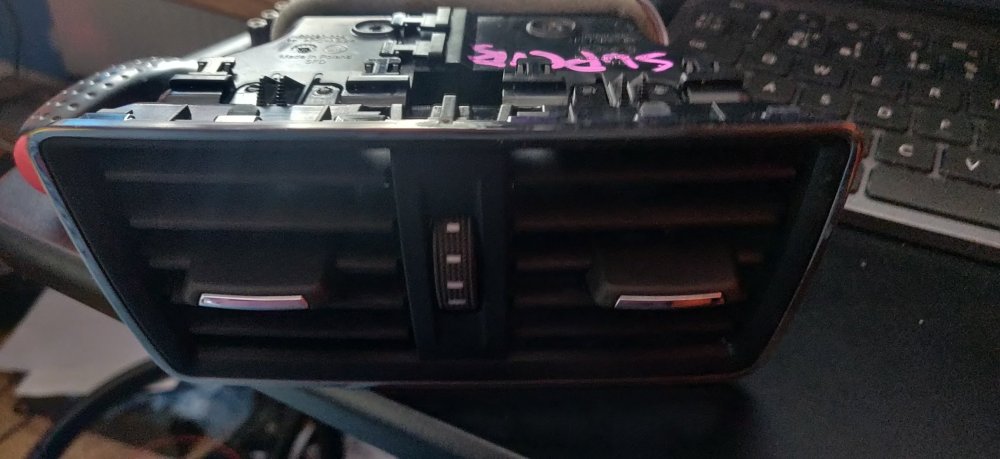
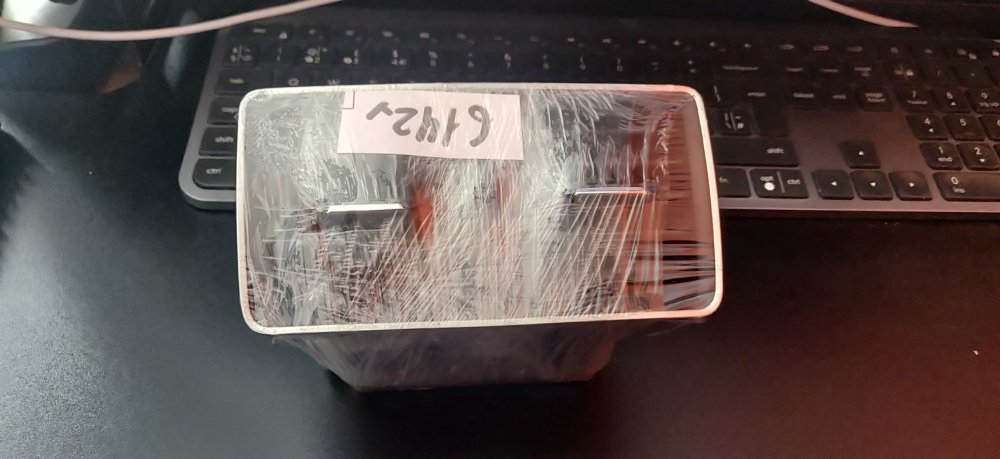
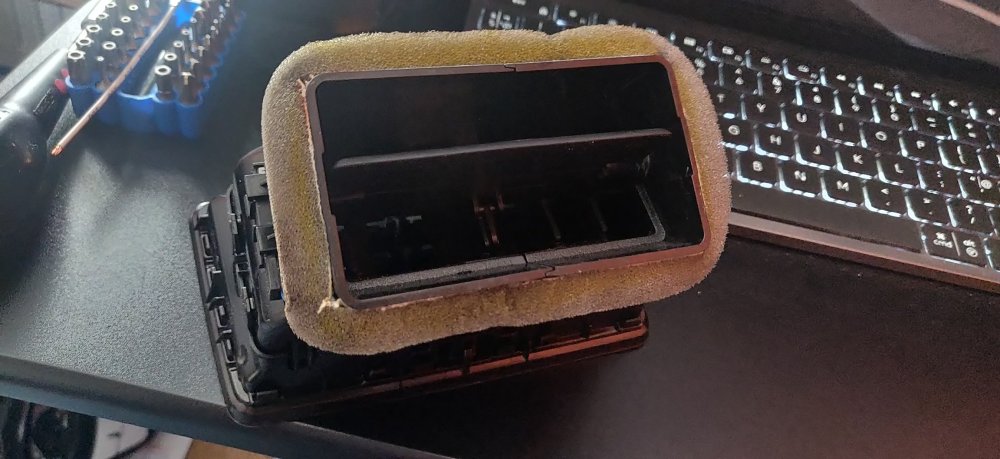
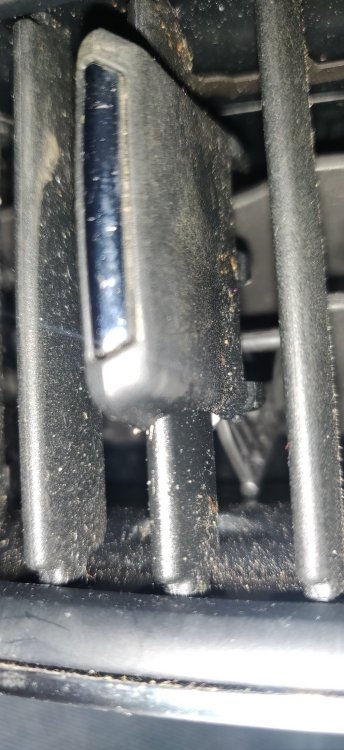
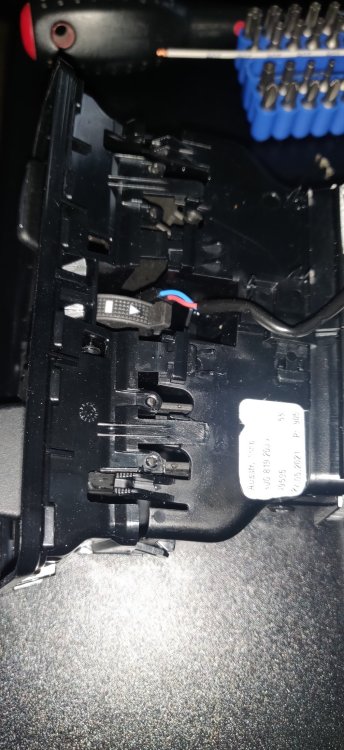
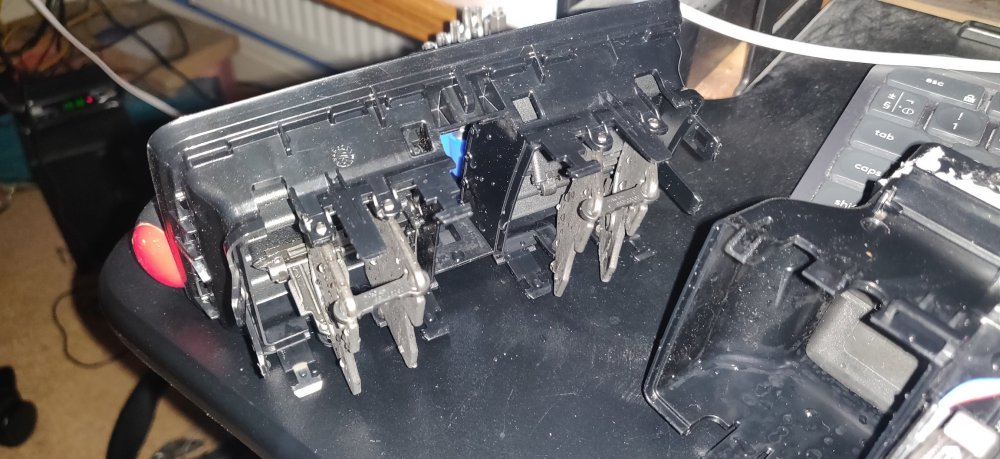
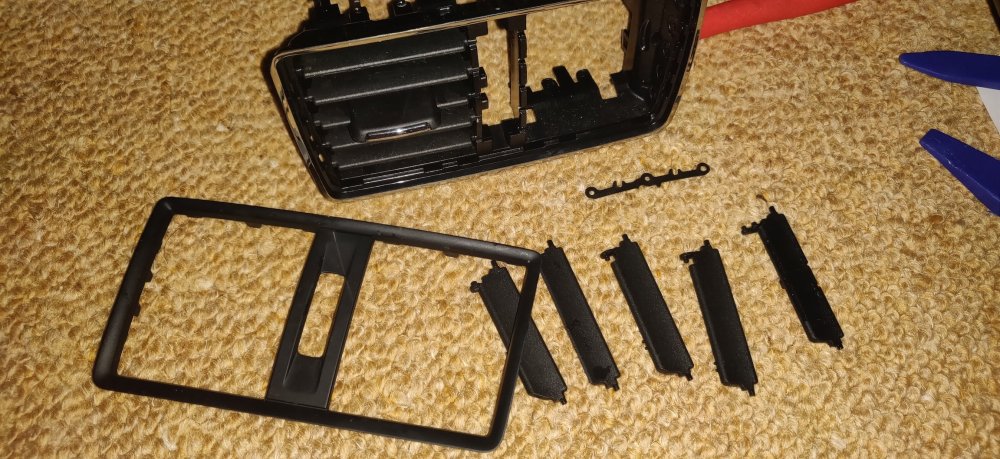
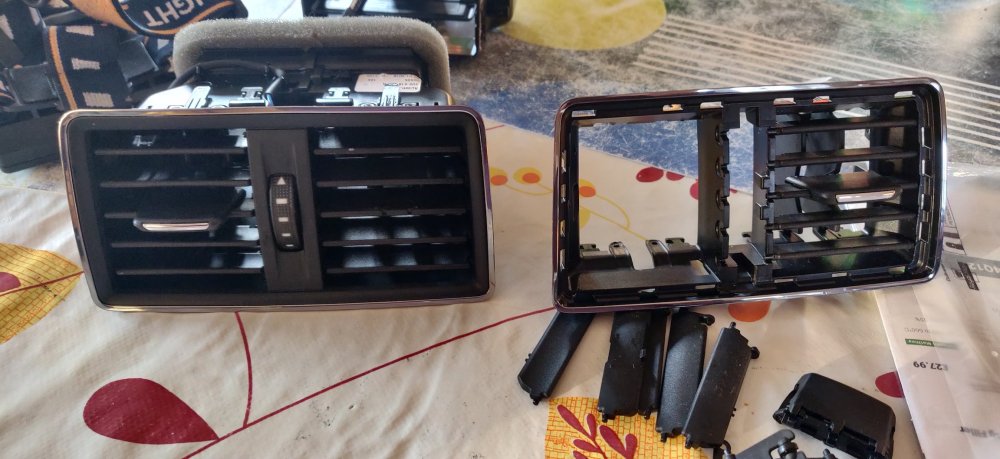
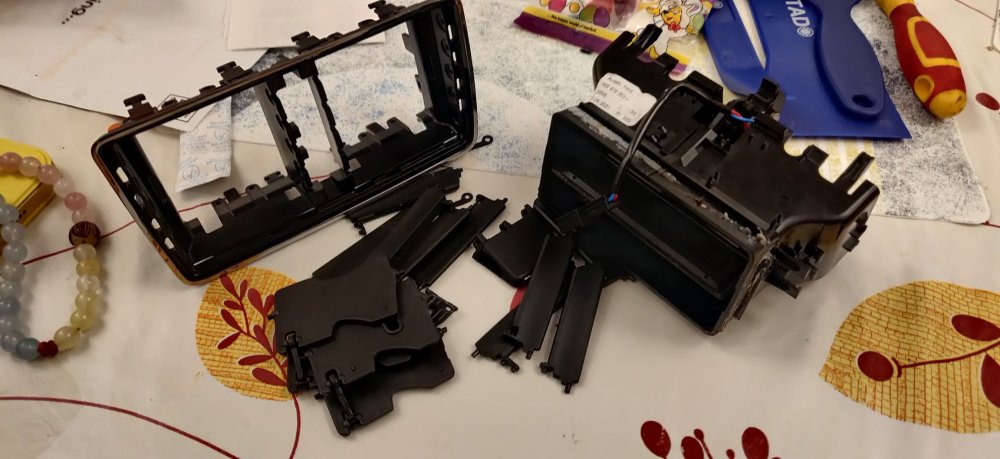
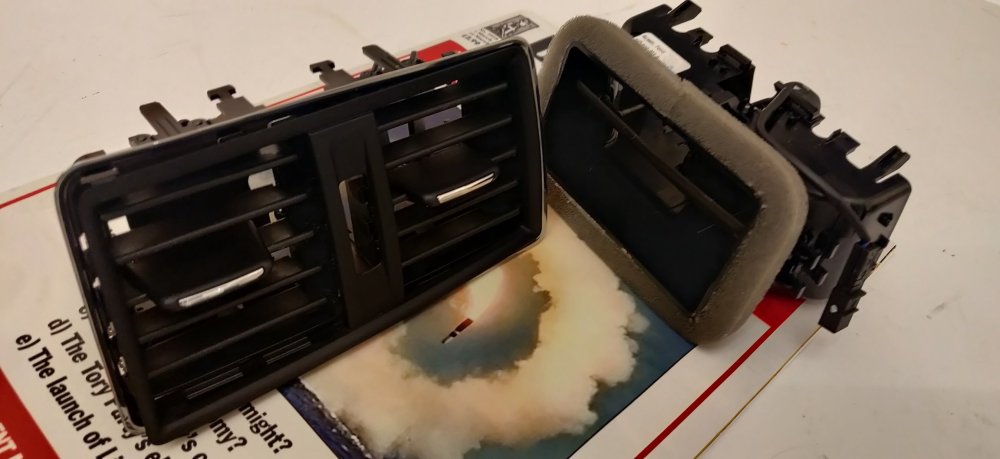
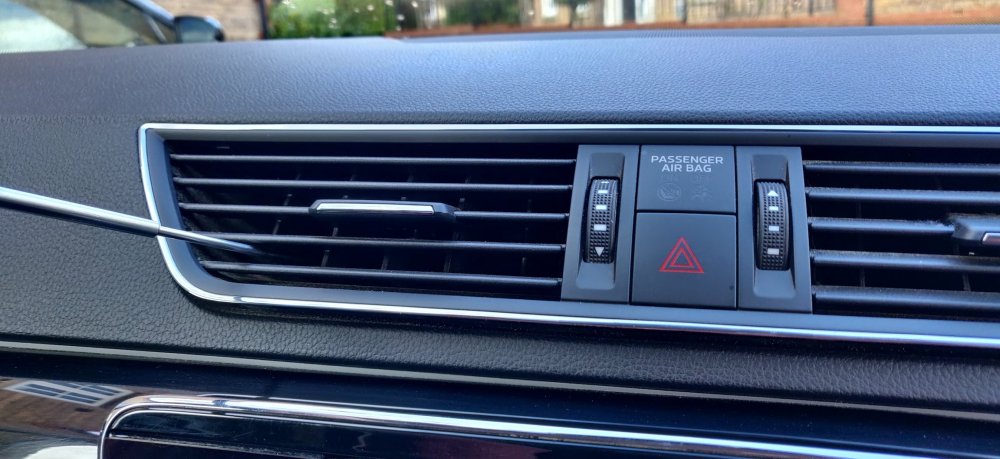
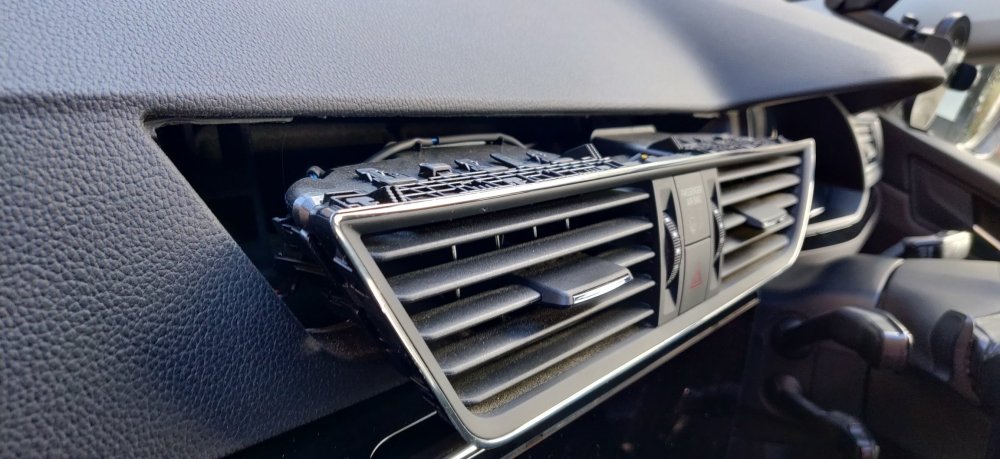
Some more mucking about, this time, removing the side bits next to the rear seats: They are fixed in place with a single nut at the bottom, undone with a 10mm socket. Now, the first one, I lifted straight out with a bit of a shove, leading to: The bottom two plastic tabs to hold in place snapped off. It's a bit frustrating, but I guess can happen. Was much more careful the second time, lifting just enough to clear the captive stud the nut was attached to, then pulled forwards. I think the two lost tabs won't matter in the grand scheme of things. We shall see of course. These arrived today: Some additional fuses. I got some "glow" ones which light up should the fuse be broken. I haven't had complete success with these, where sometimes if they had blown, they would sometimes be a little unpredictable, such as still working, or only lighting up when the circuit was on. Ironically, once individual fuses were involved, or other sets, then the price difference wasn't enough. This set of 30 came to £9.09, which given only two fuses are actually needed (10a for the heated steering wheel, 5a for the wireless charger), complete overkill. Could replace a few of the existing ones with these I suppose. This also arrived: A comprehensively wrapped: Replacement rear vent as the original is missing its left tab/handle thingy. Now, upon closer inspection, the foam was a bit soggy: So it gave off a mouldy smell, and worse: This pic doesn't really help show it, but essentially the right side is loose, so the rear part isn't connected to the tab, and I can just about see it being possible to put back in. This is impossible to do as it is, unless you really had the time and patience, so decided to see if I can take the vent apart. The answer is yes: But not without a great deal of patience. There's about 4 tabs on the top keeping it in place, 1 on each side and 2 at the bottom, and they're all very firm in keeping the front attached. Some forceful bending of the tabs is needed, almost to breaking point, but once a couple start coming loose, it can be convinced to be separated: From there, the individual slats can be removed. The rear vertical ones can be coaxed out with a bit of bending, leaving the horizontal ones. There is an additional front bit of trim, which is easier to remove, just some tabs that can be pushed forward to remove the trim, which exposes where the horizontal slats click in place along the centre: Once a few are undone, it just falls apart. Now, once I pulled the tab from the centre slat, a metal bit flew out. After some attempts at trying to guess how this was meant to go back into the tab, I made a decision. With the original right side working fine, and this new one having a working left side, it made sense to transplant the working sides into one frame: This did mean disassembling the original one, so the annoying front assembly, and then having another set of slats all apart. I do not recommend you try this at home, unless you have a great deal of patience. The horizontal slats have a metal guide which is used to keep all the slats in parallel when rotated. This is pretty much an interference fit, with some of the slats hooked in from the outside, and others from the inside. There was no way I was able to take pictures of this, as its extremely fiddly. I think I ended up putting the bottom horizontal slat in place, then the metal guide onto this slat. Then manoeuvred the centre slat so it slots onto that metal guide. Then the opposing middle slat (second from top), with a bit of thin screwdriver action to coax the slat onto the metal guide. Once in place, the metal guide is secure enough for the other two slats to go in without much drama. Then its a case of reassembling the vertical slats, making sure the tab's rear arm slides into the slot of the slat. Apologies for the wording. The vertical slats only really go in one way, as I discovered when I couldn't move the tab vertically if its on the wrong way around. So here's the remains of what was meant to be the replacement vent: With the original vent now having a working left side, left to dry, as I gave it a clean throughout: I'll reassemble it completely later in the evening. The replacement vent cost £24.30 from eBay, and no doubt in the near future an untoward foot will strike this thing and break it again! Maintenance: £1757.55 (+£24.30) Upgrades: £789.97 (+£9.09) Miscellaneous: £603.58
-
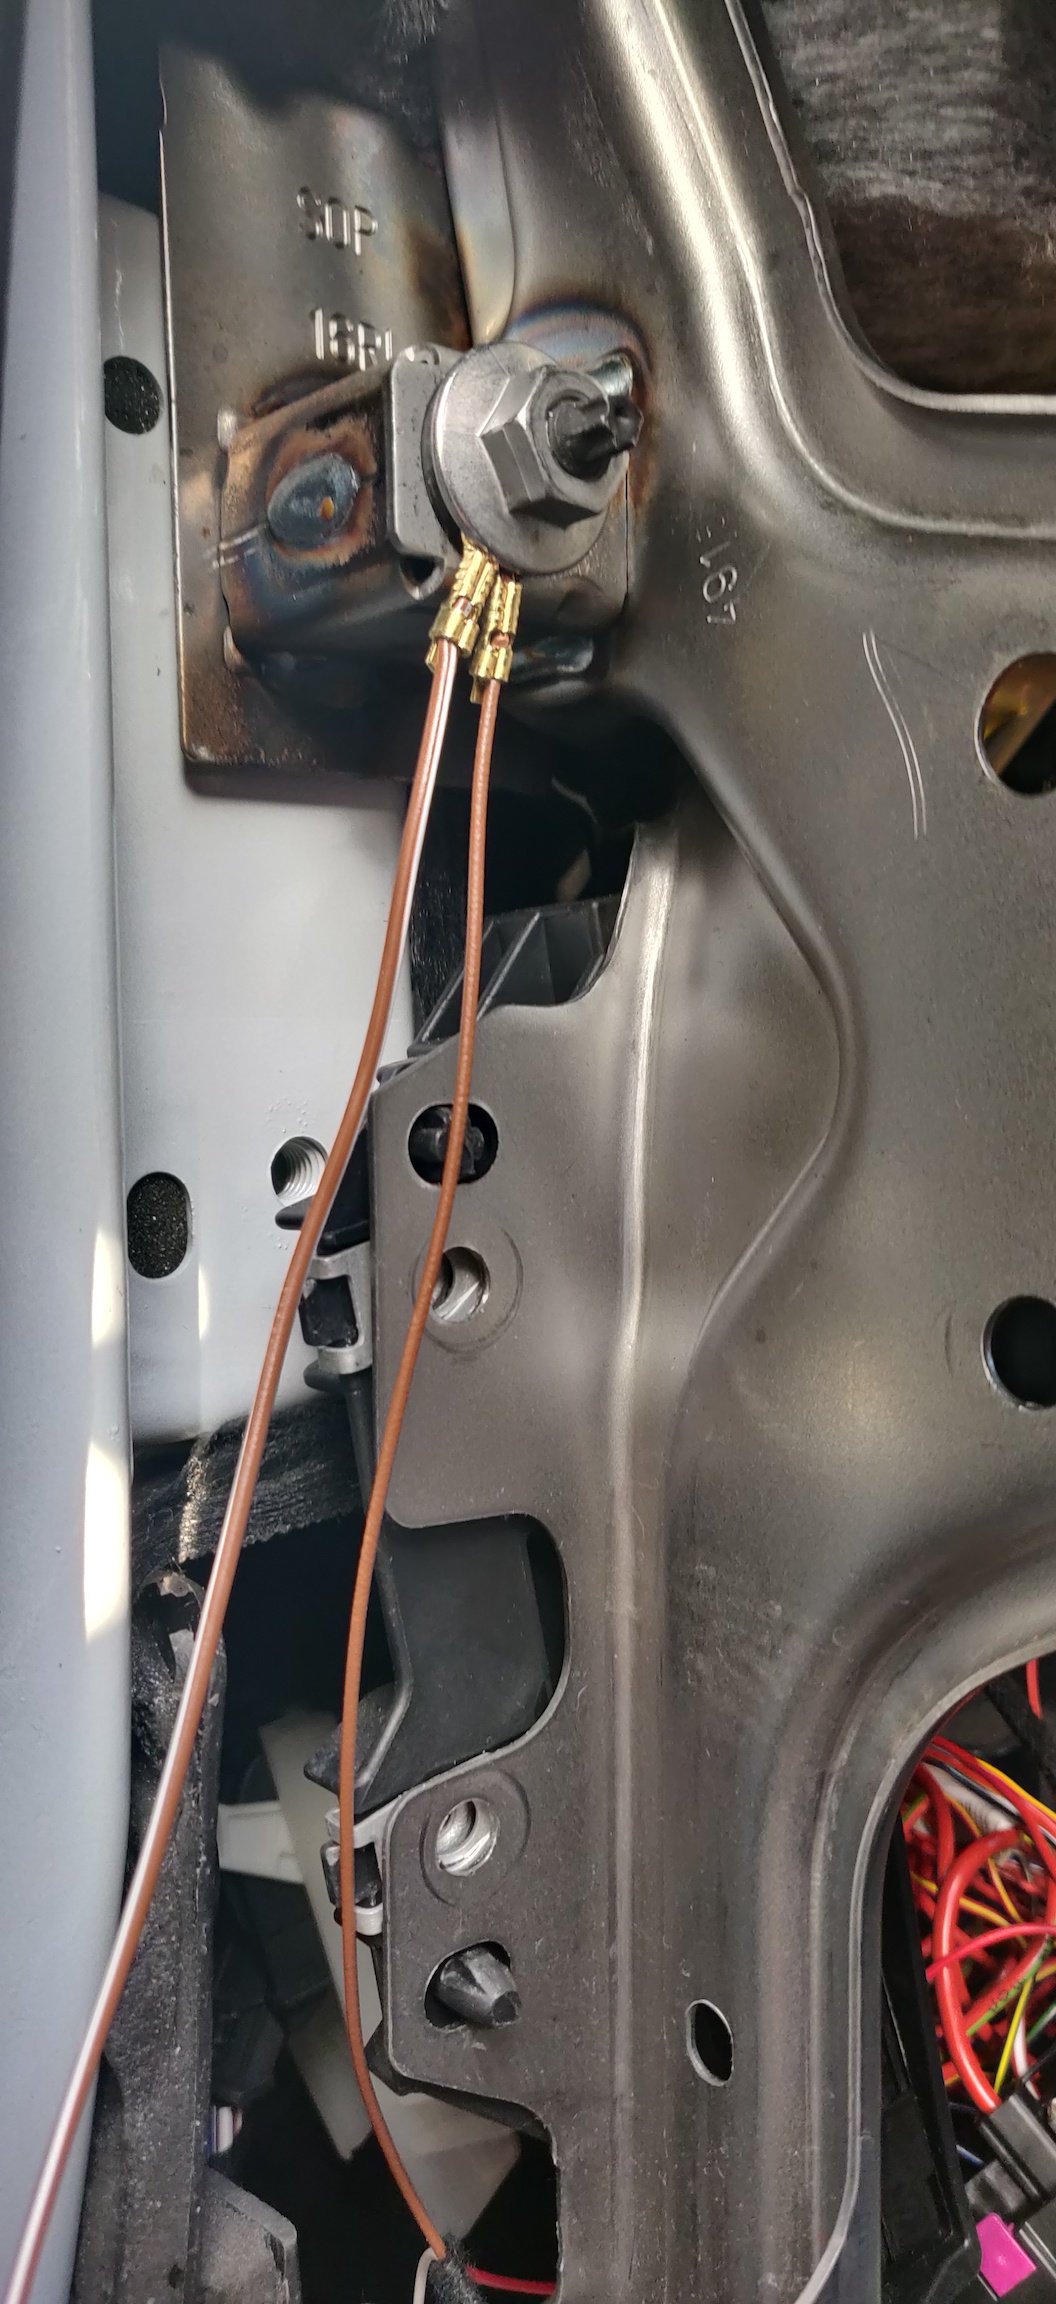
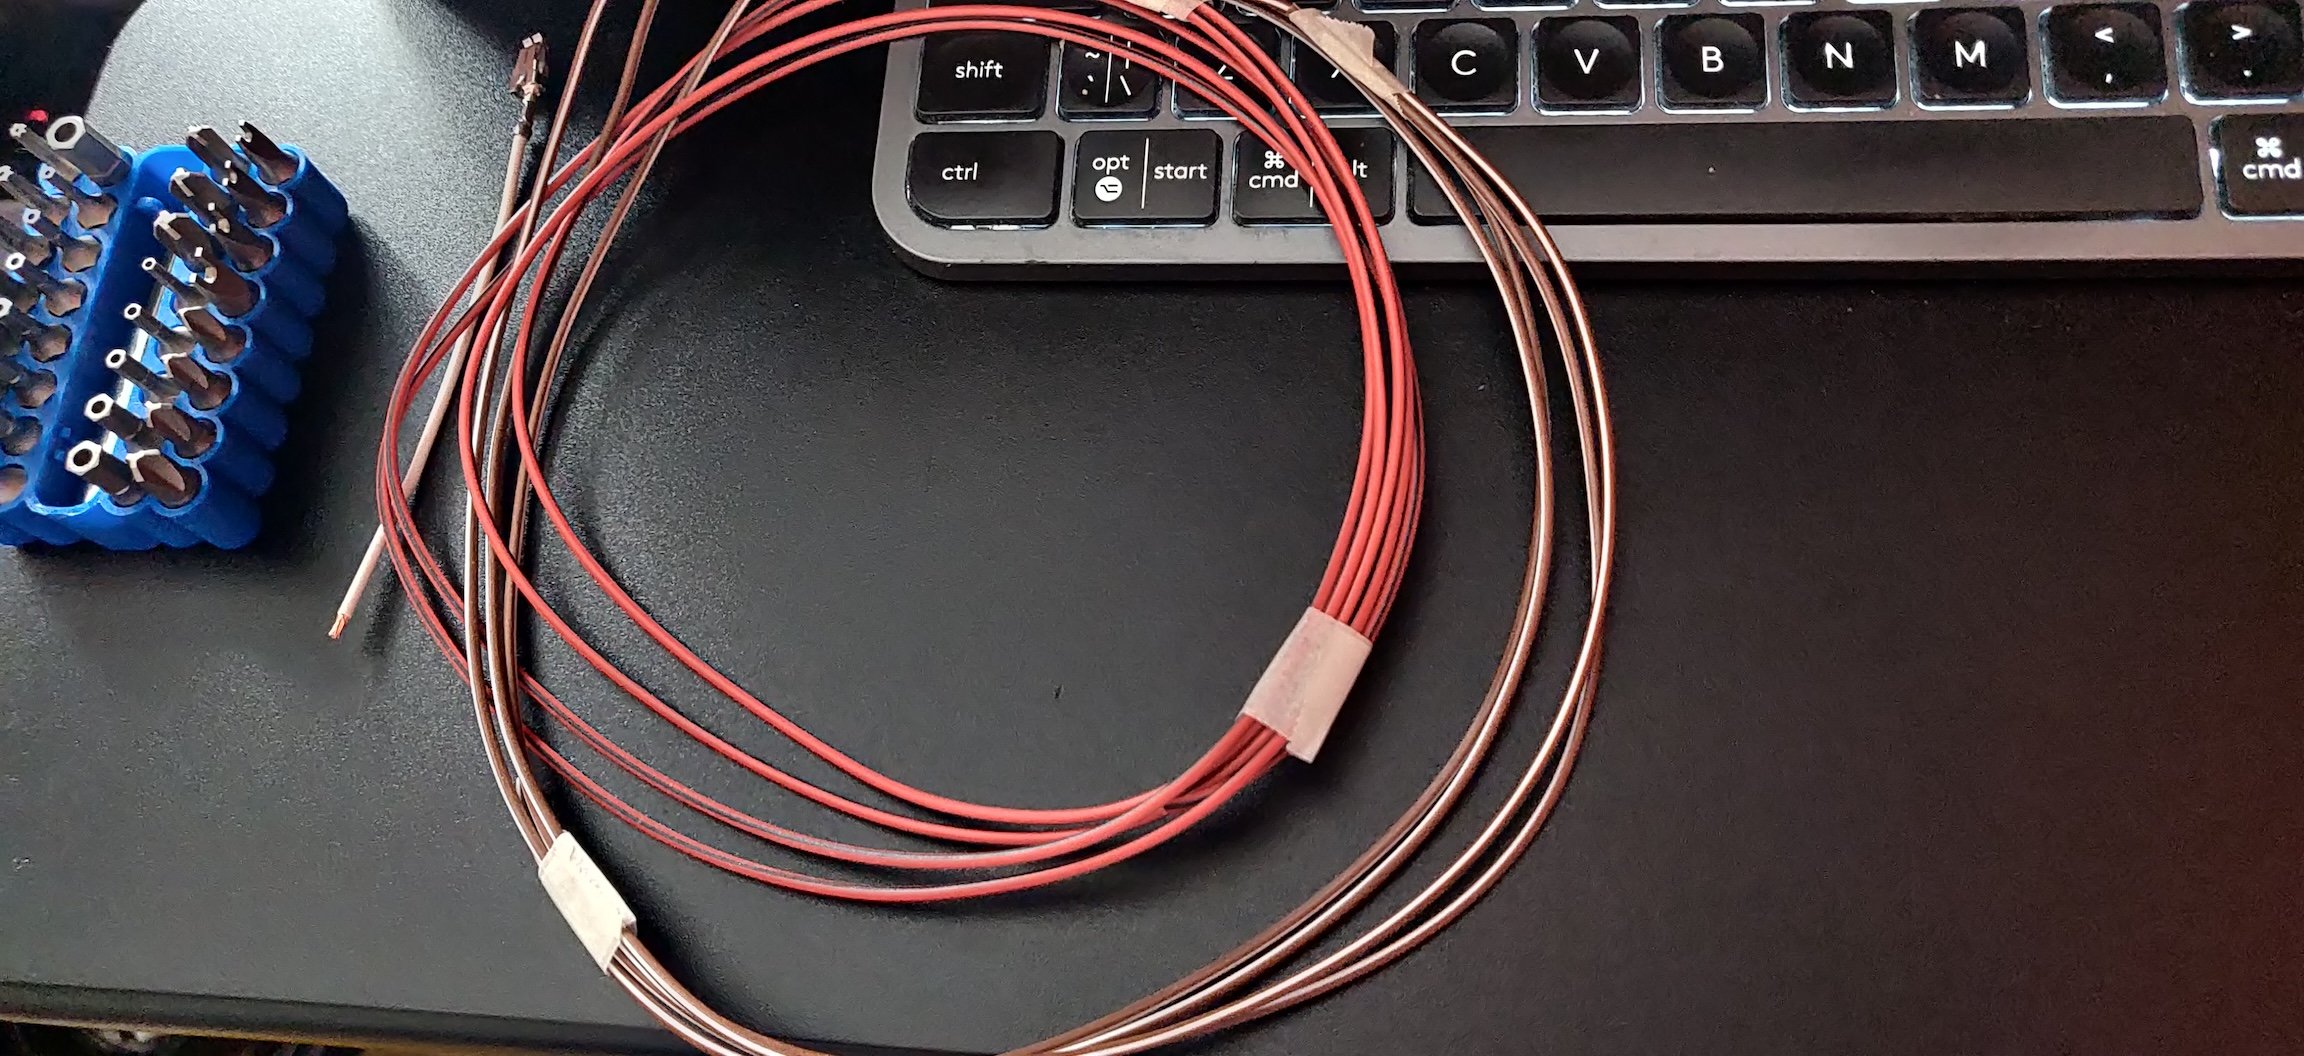
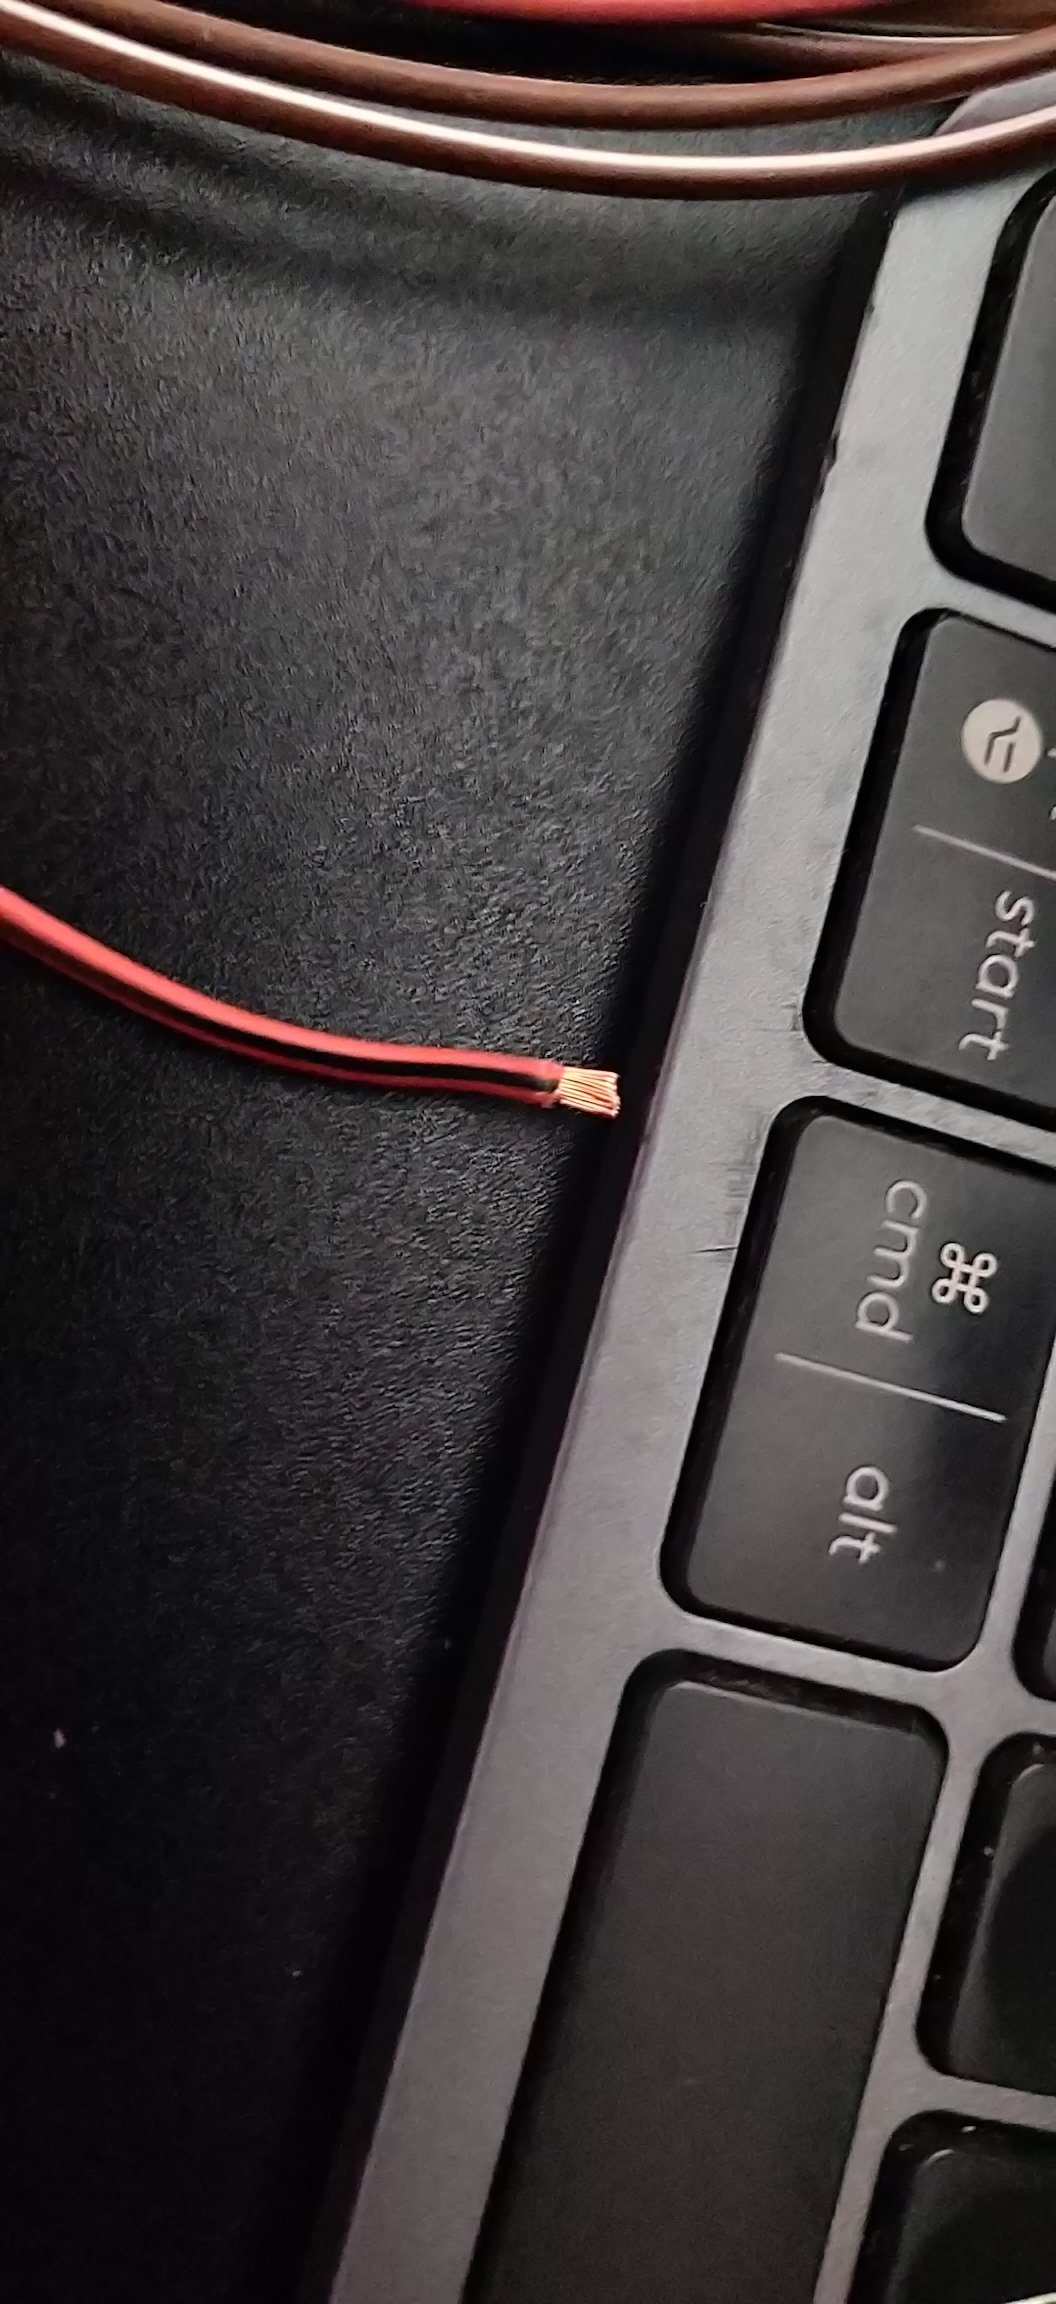
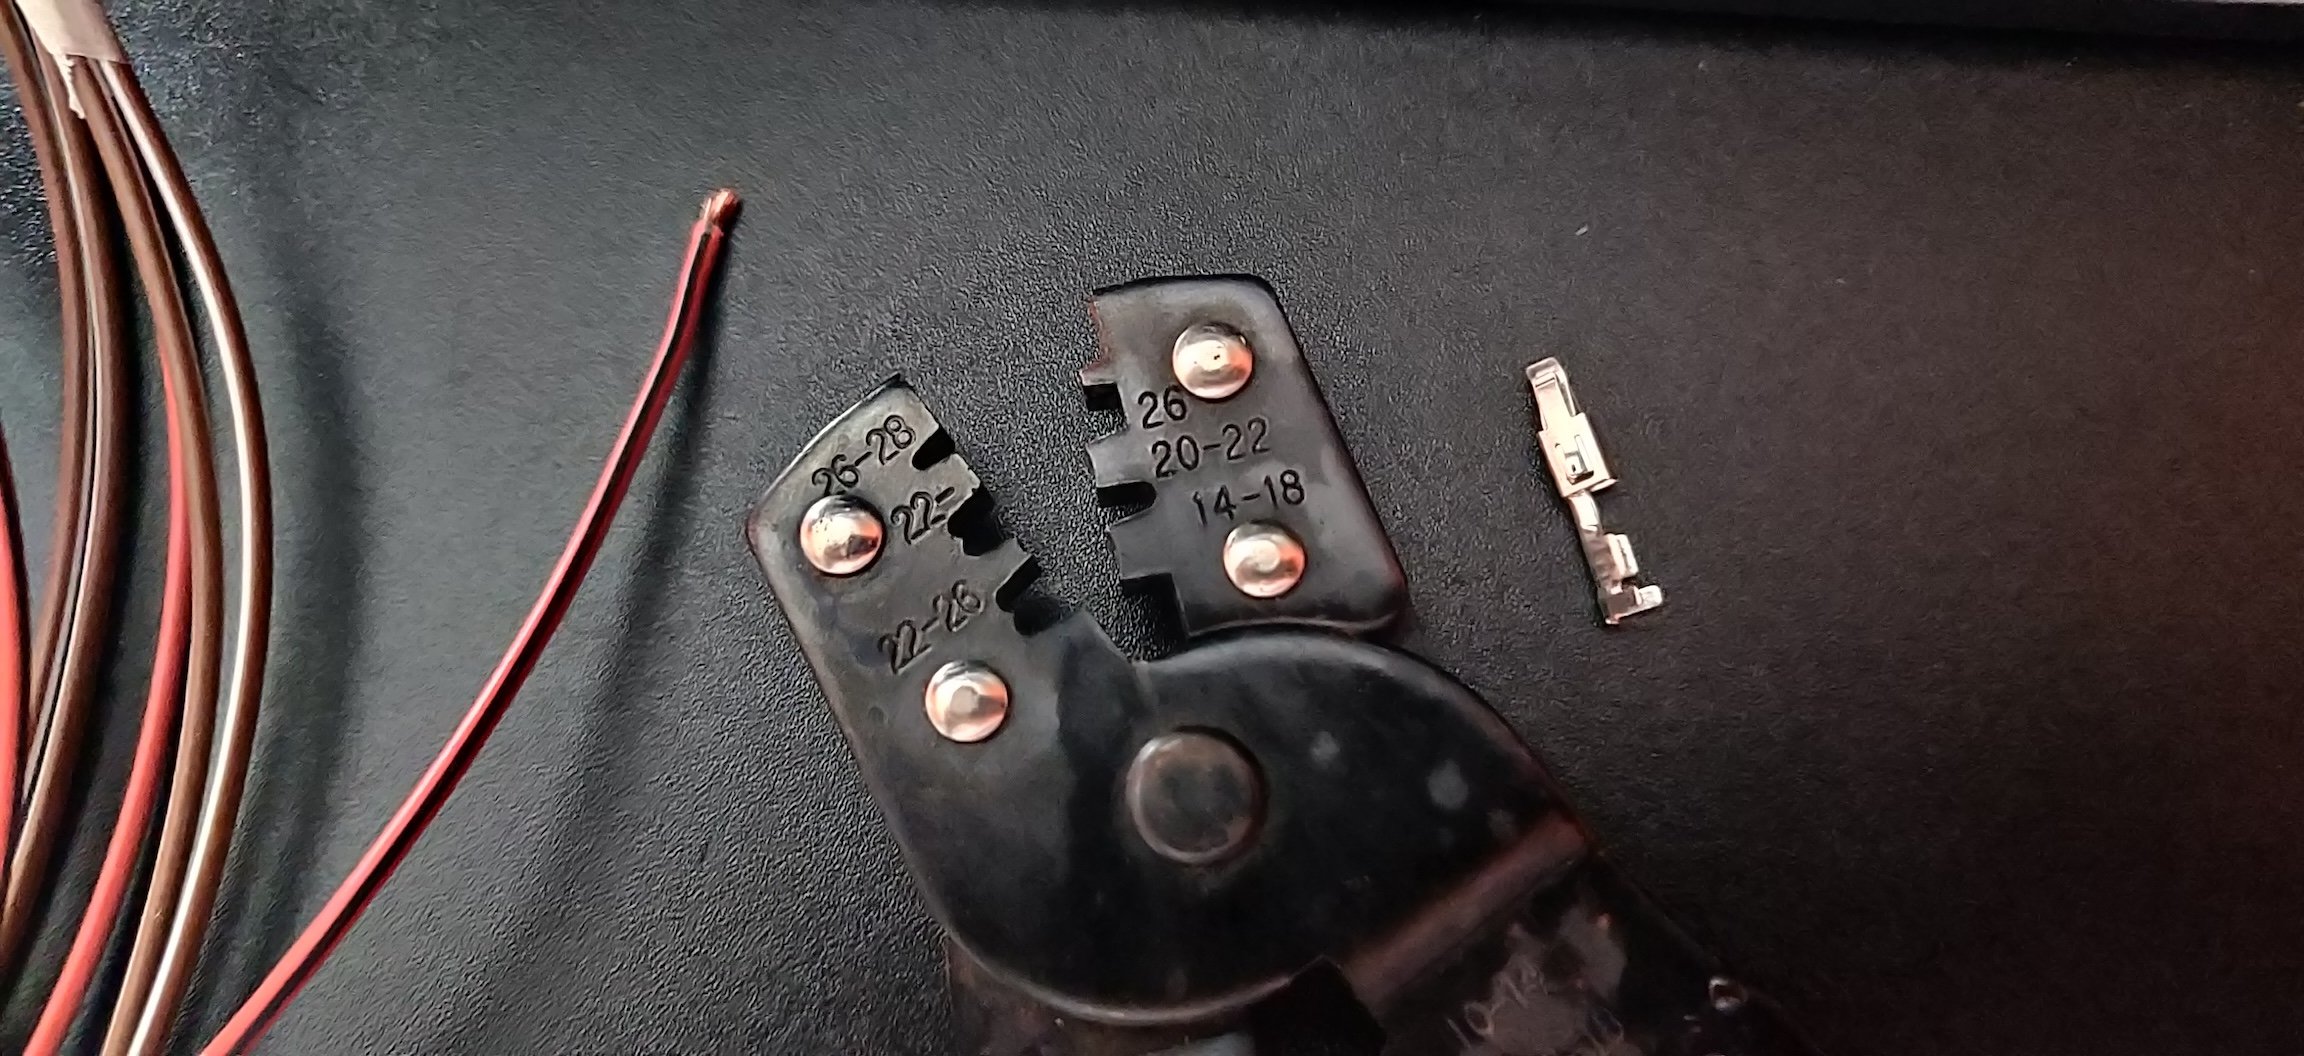
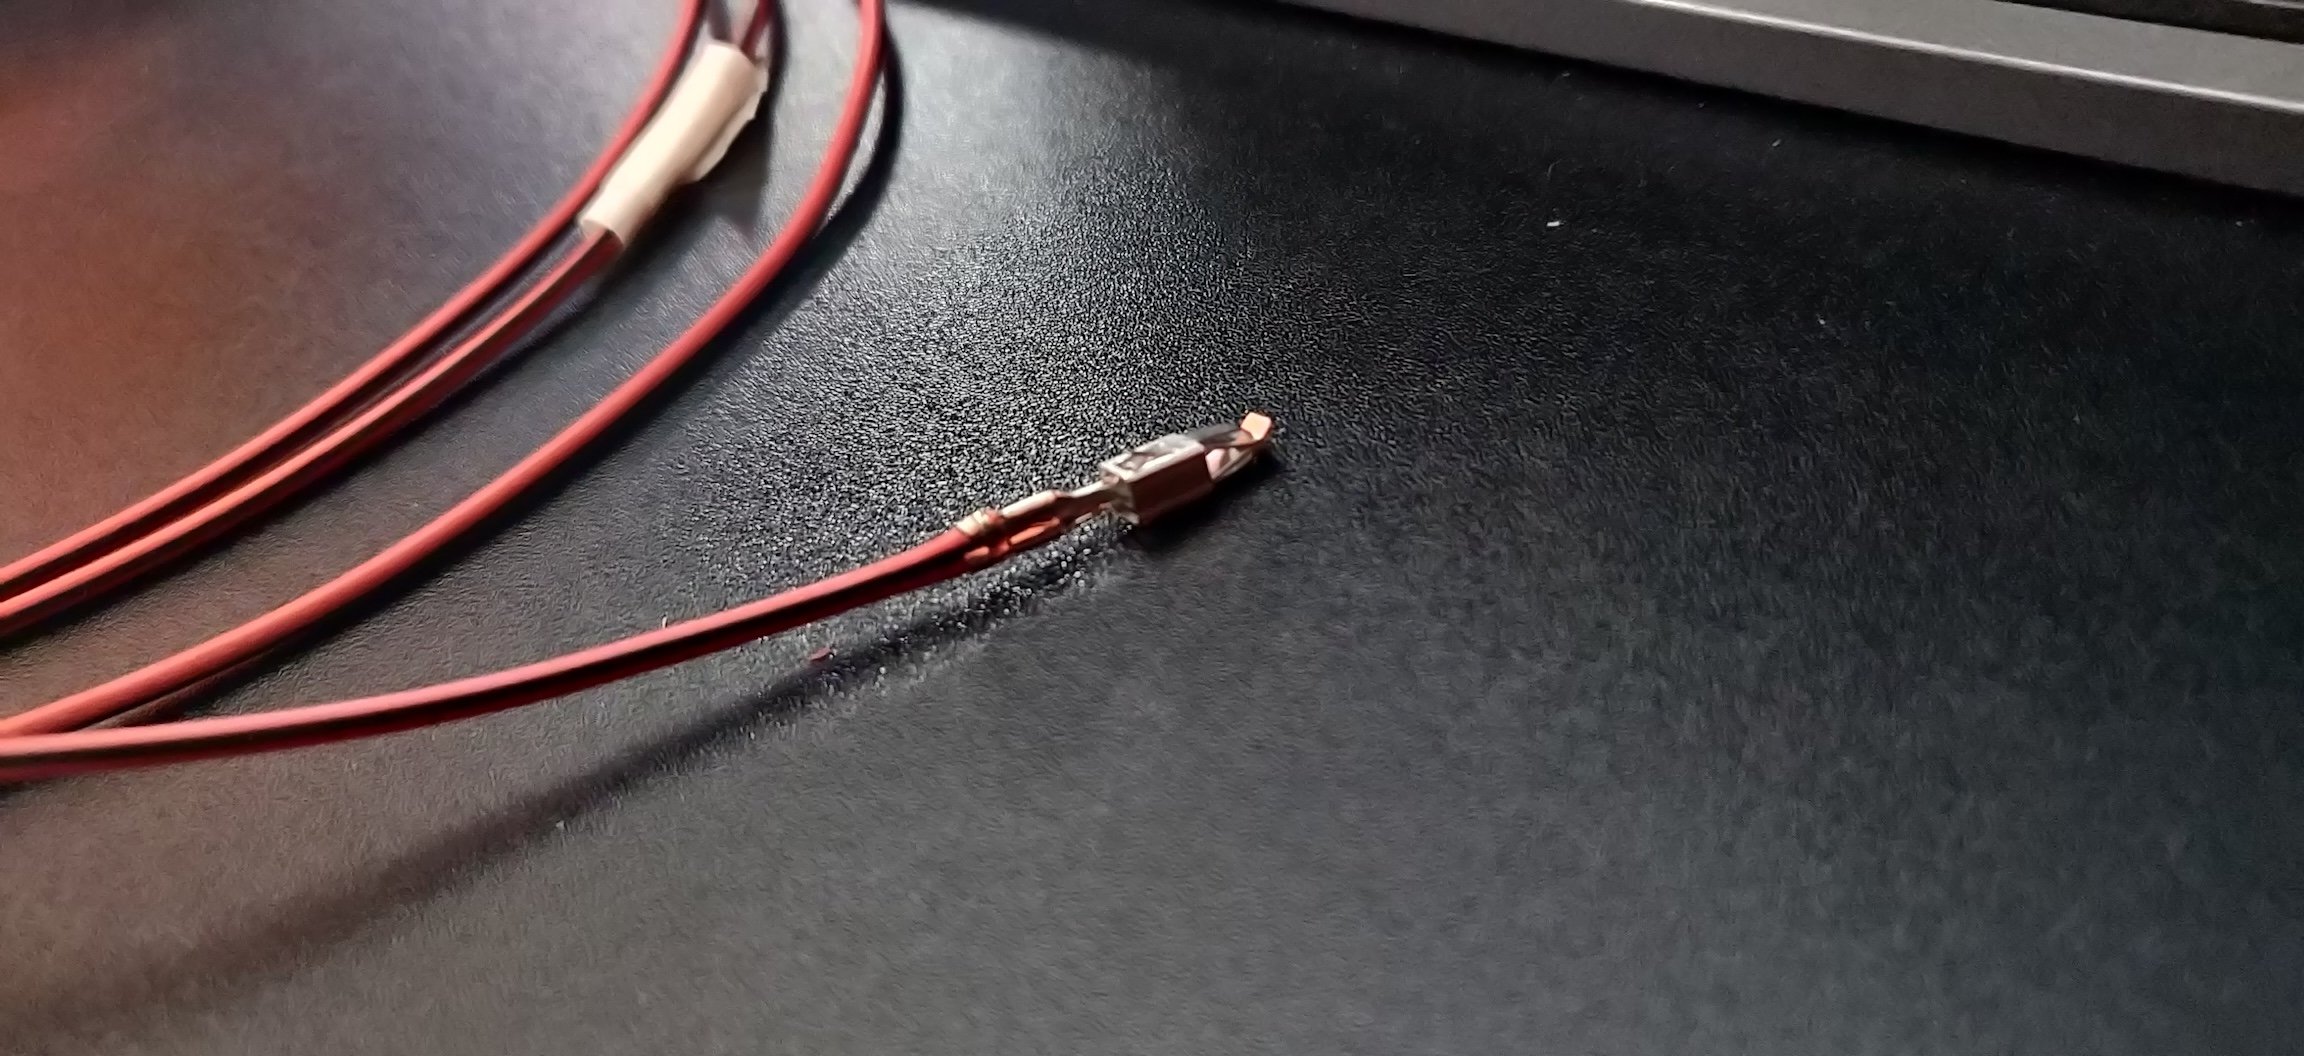
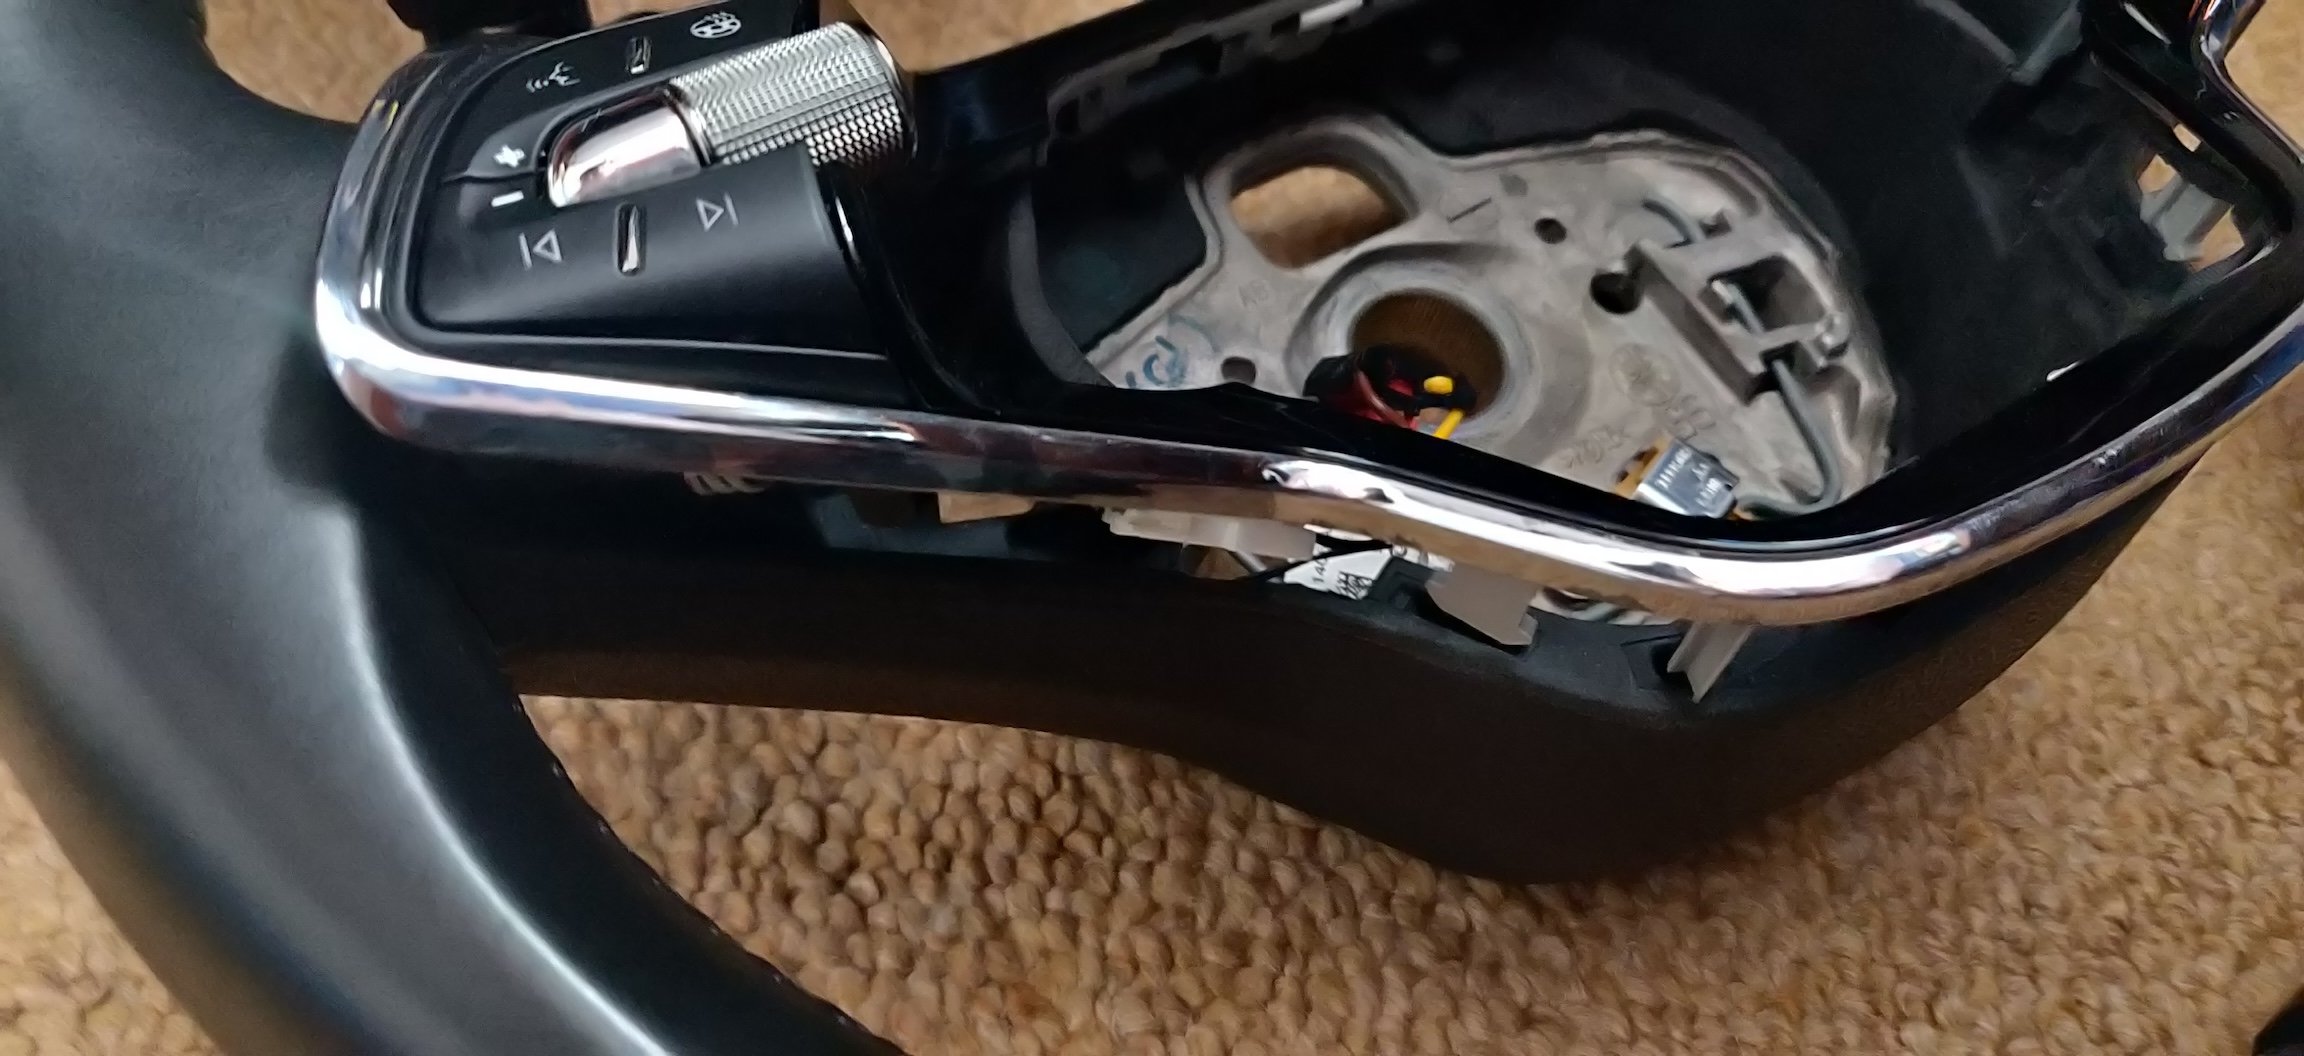
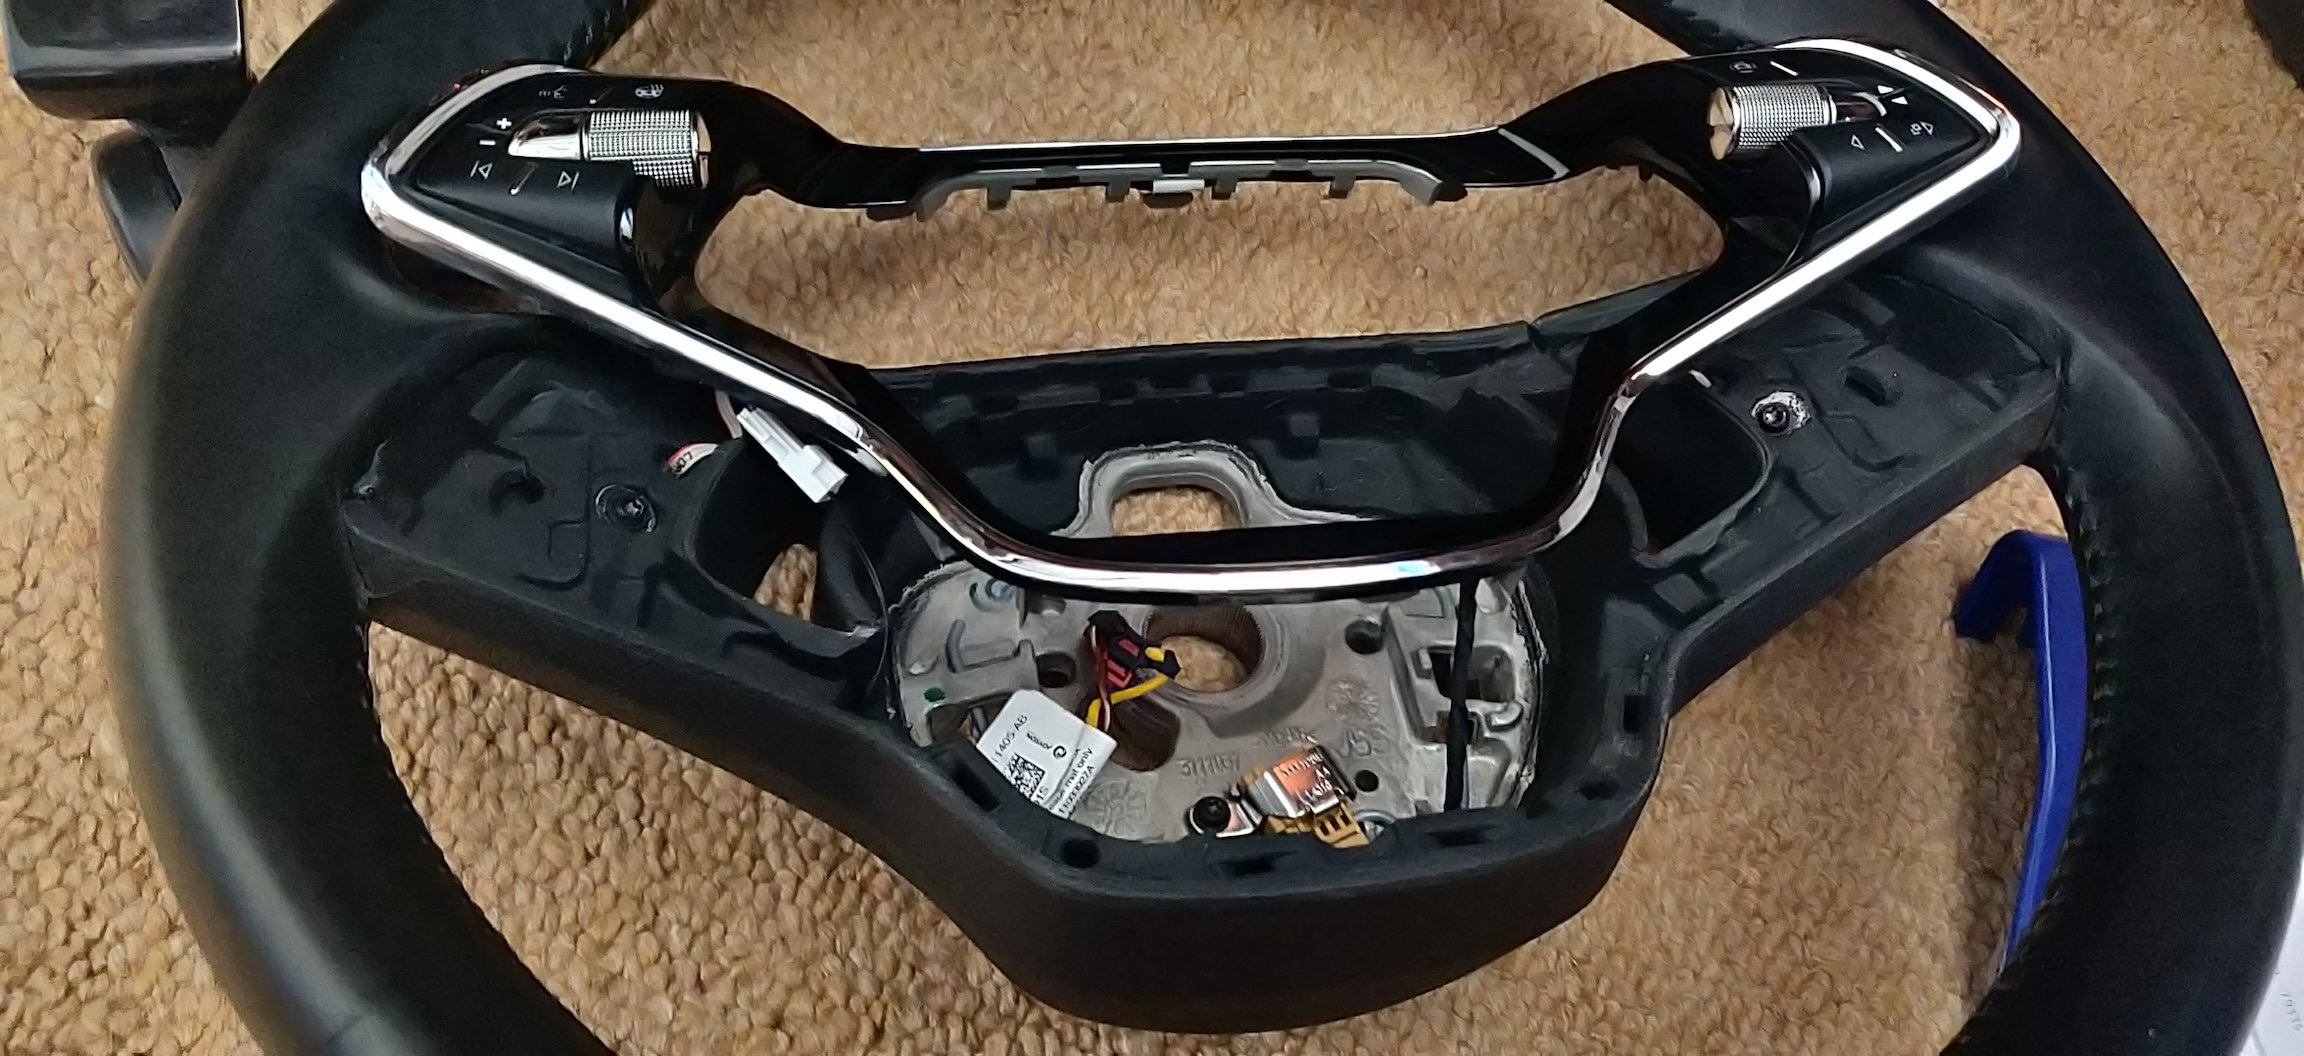
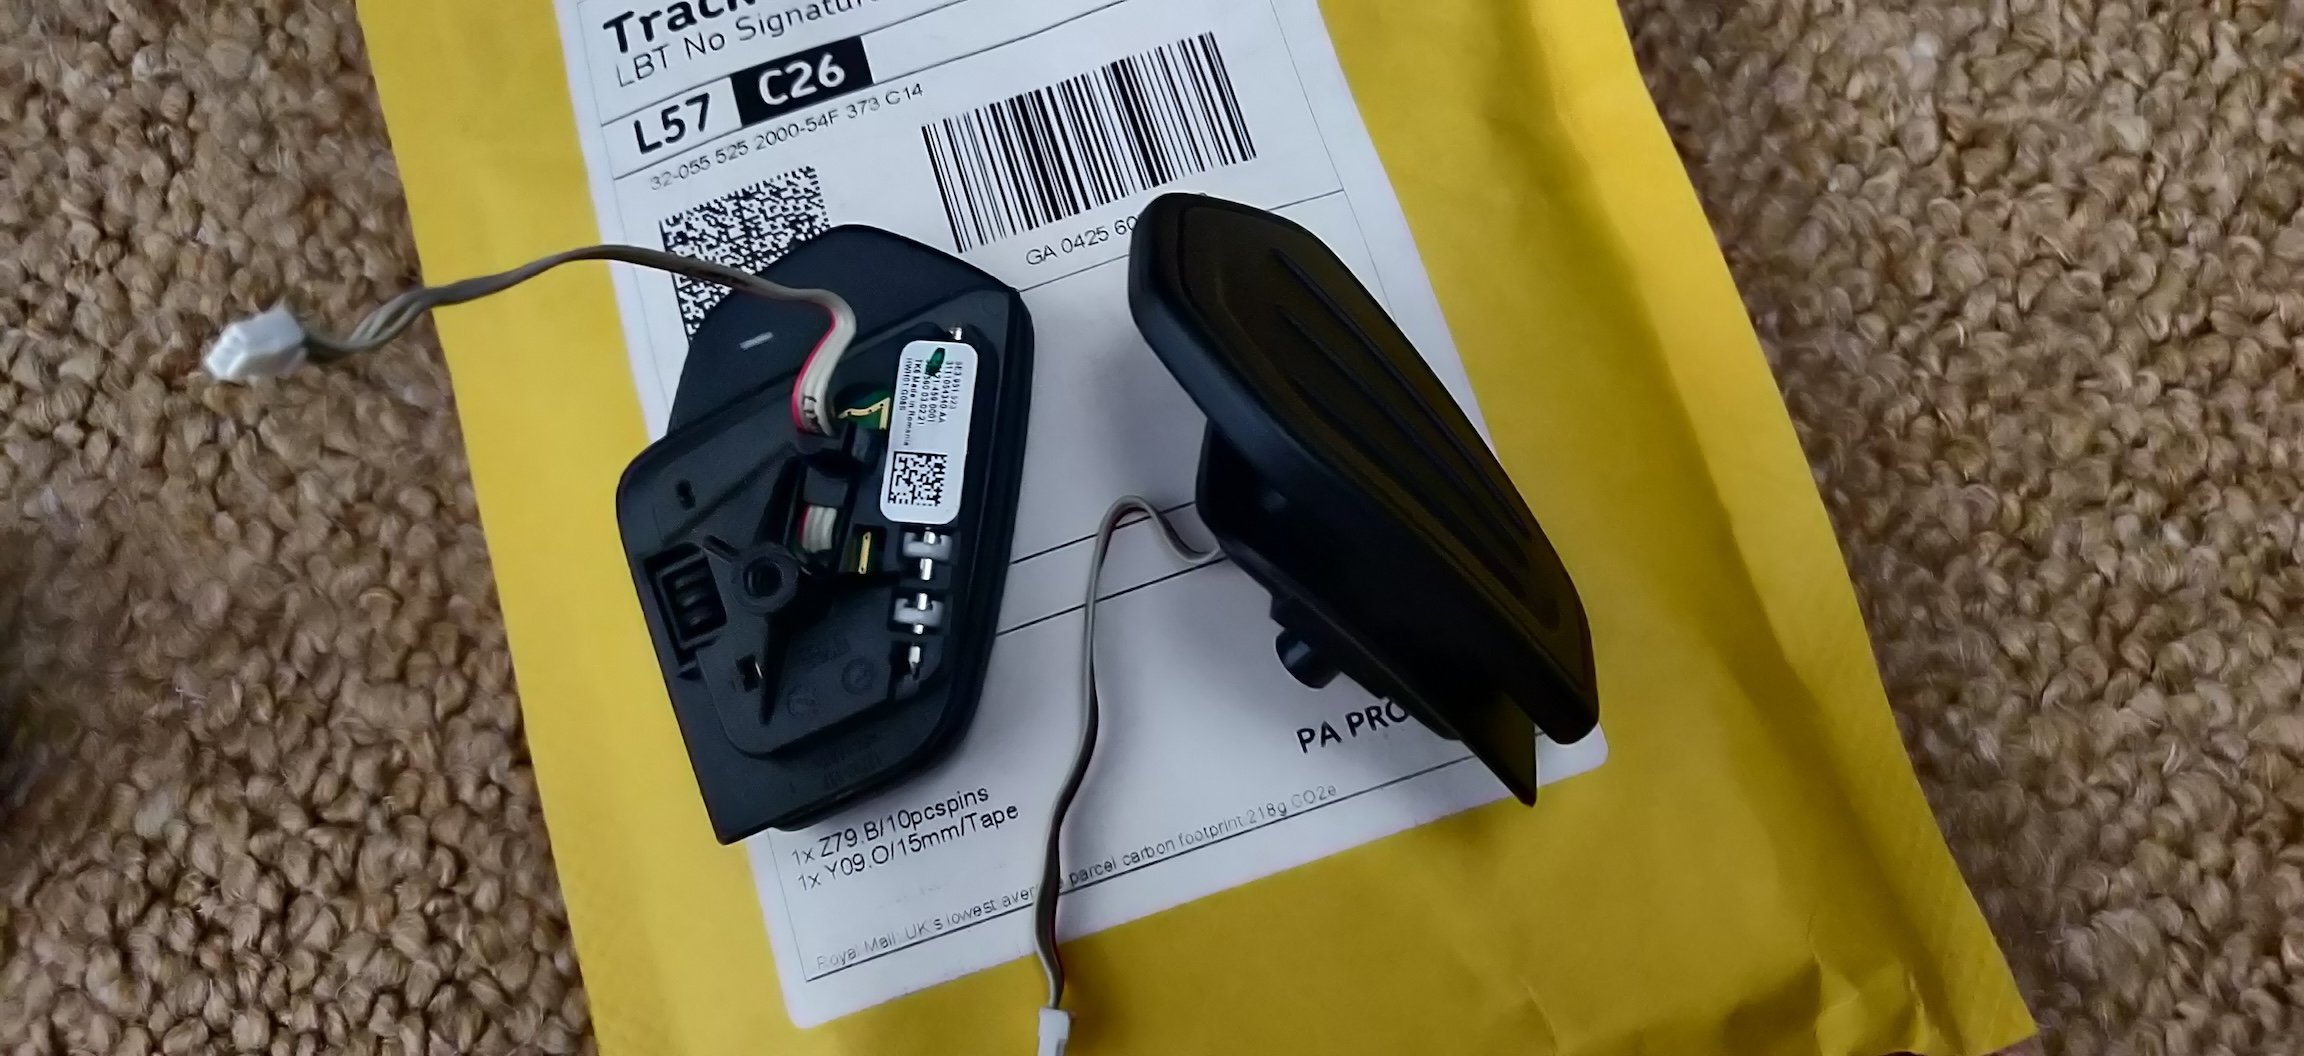
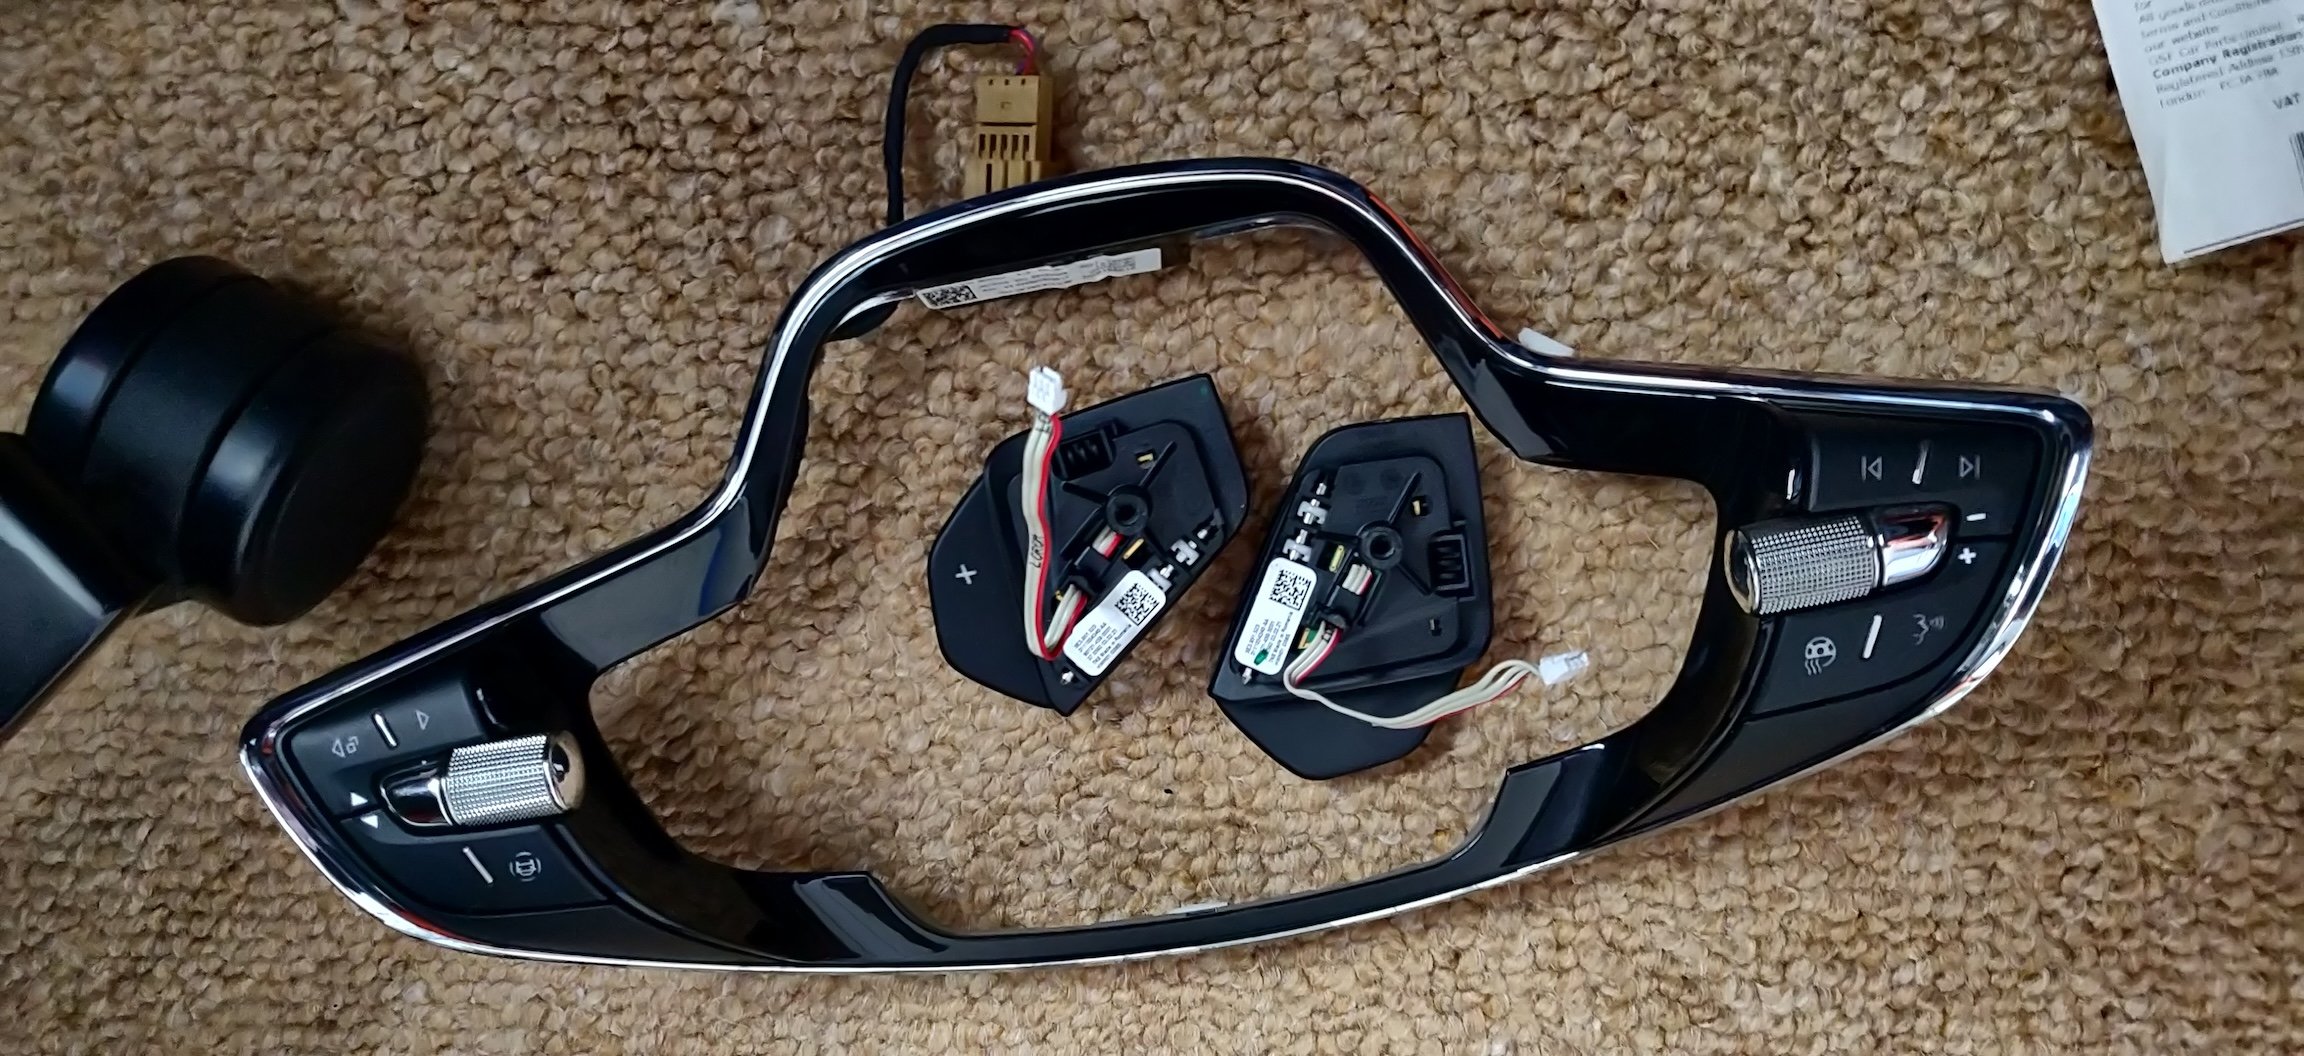
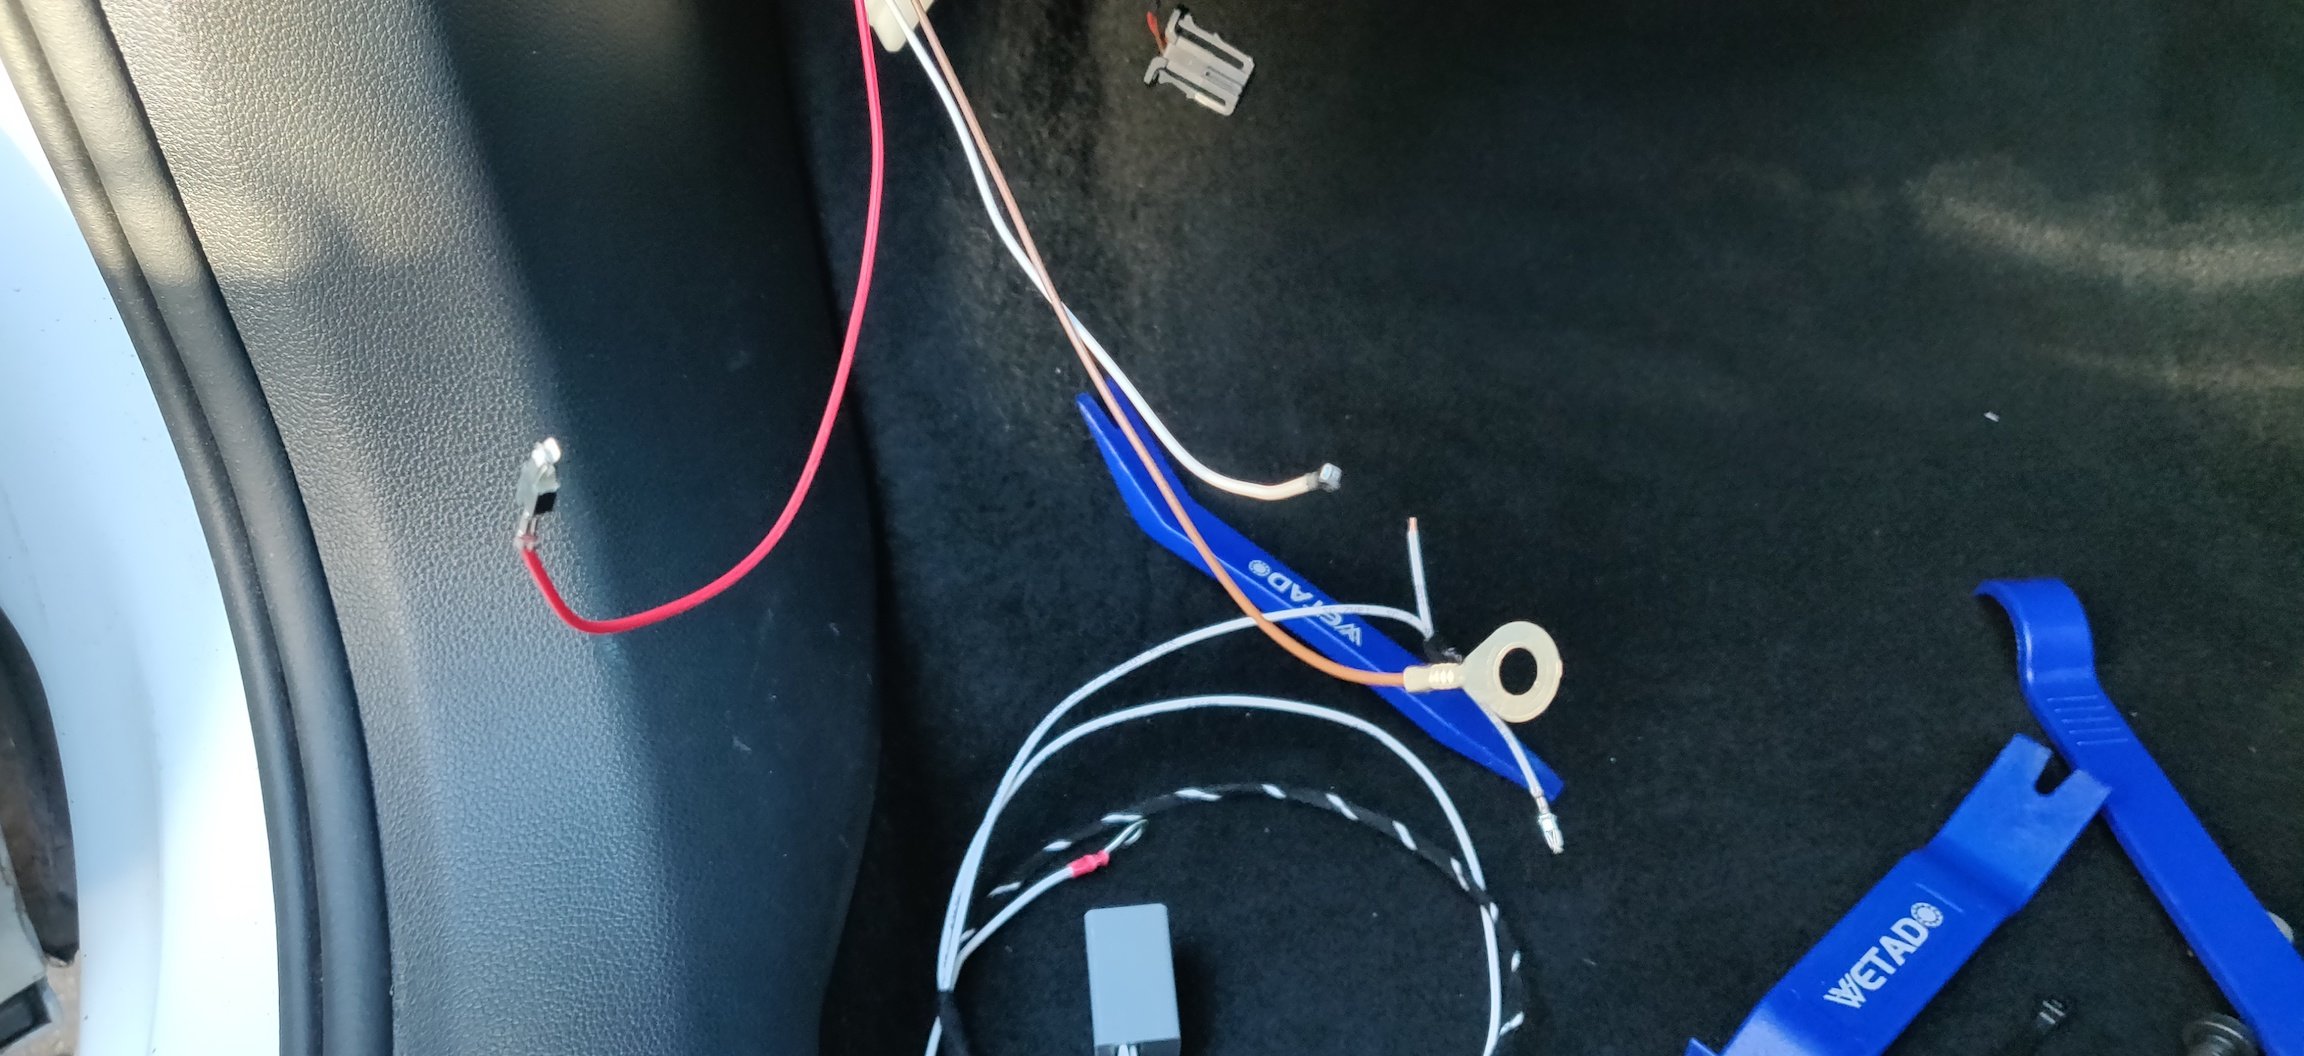
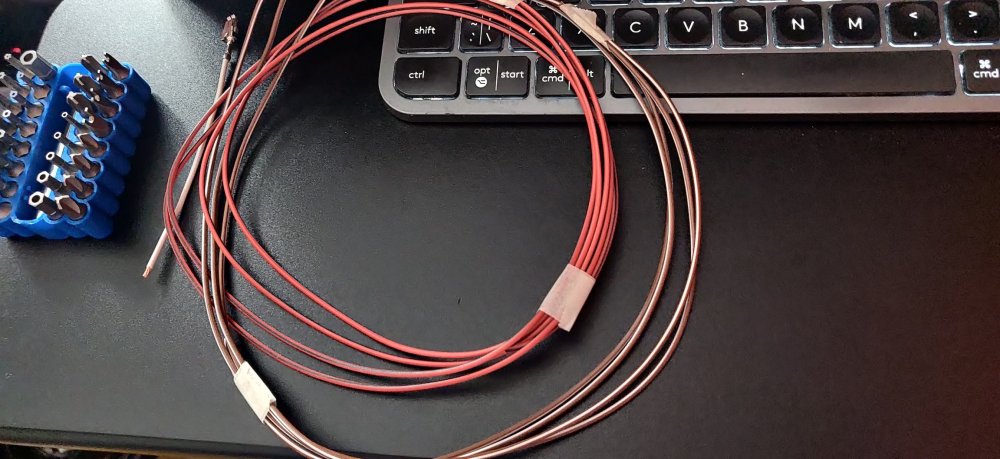
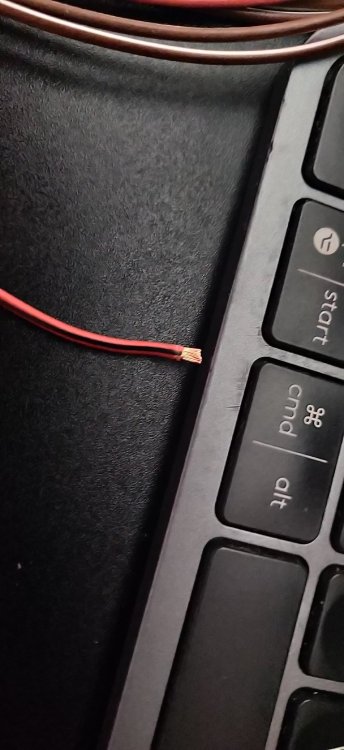
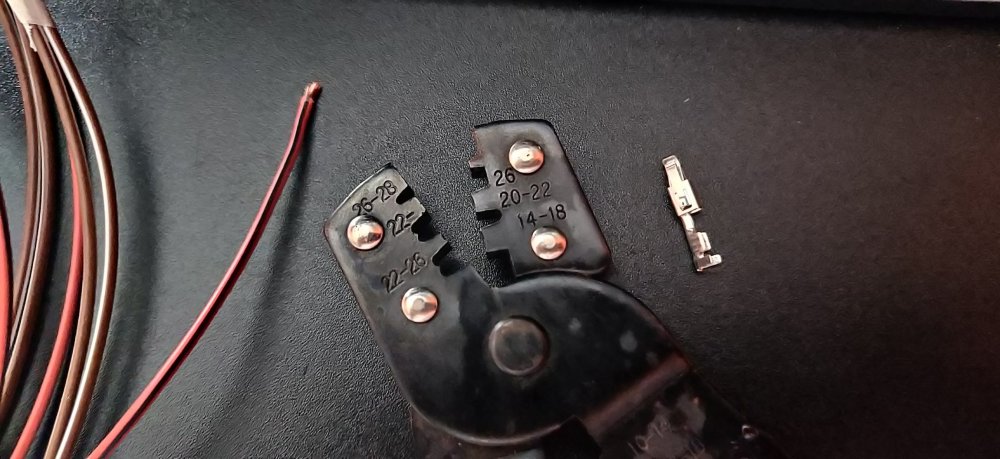
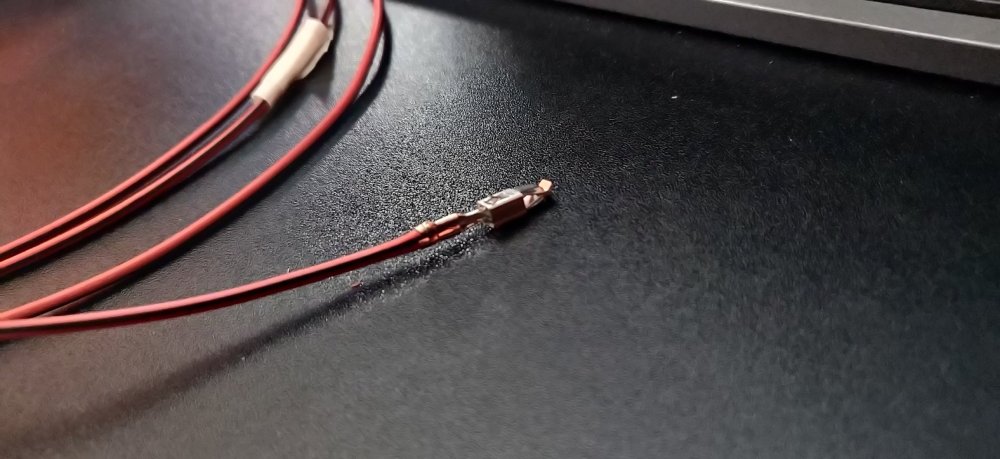
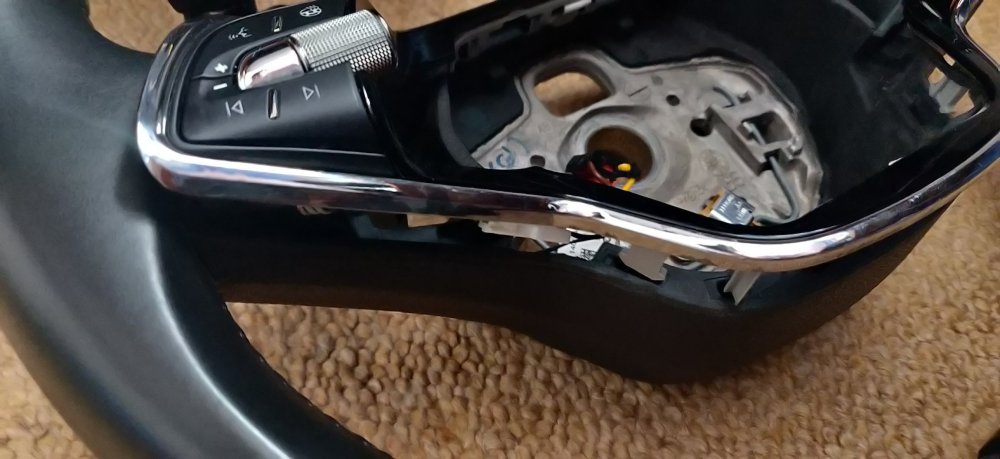
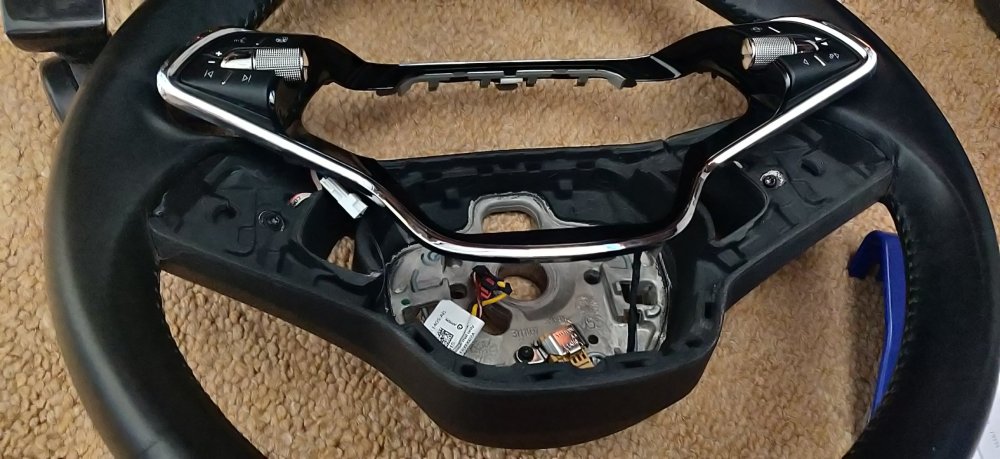
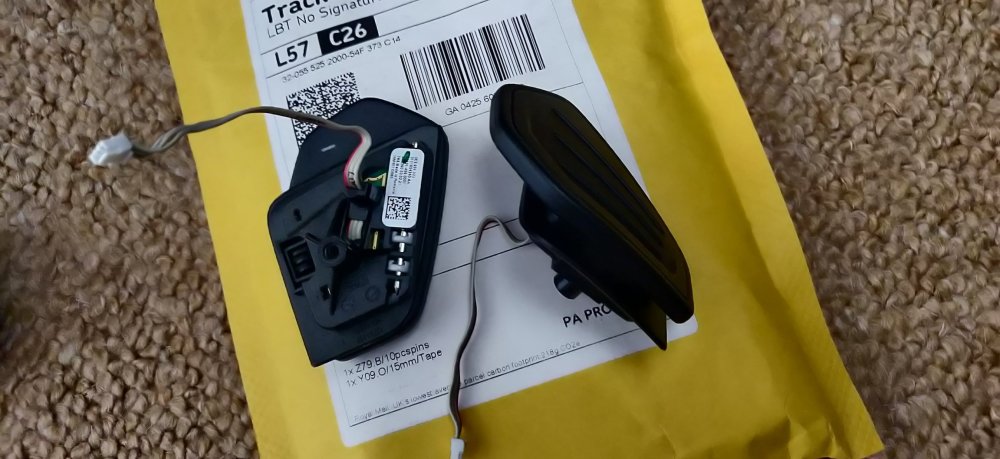
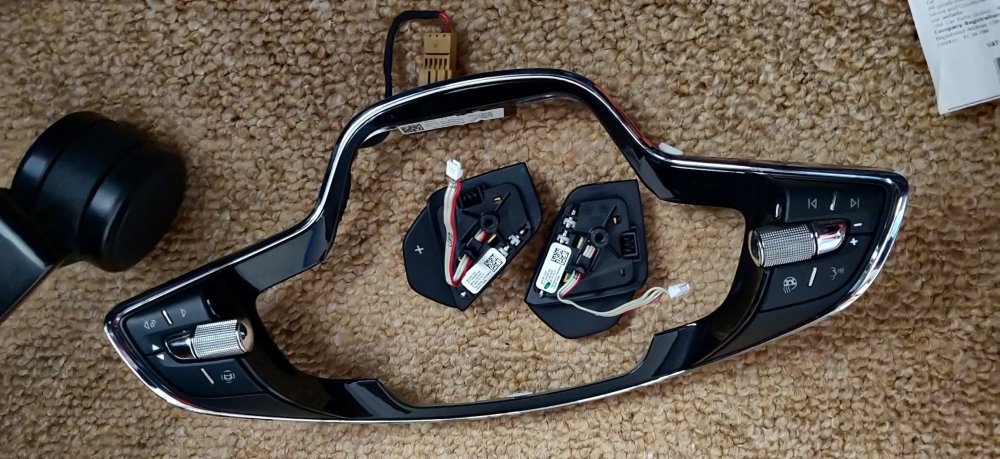
Wires came later in the day: Just a couple of strands of 1mm thinwall, tried to match the colours according to the wiring diagram, so red and black for power, and brown and white for the ground. Managed to find my crimping tool, but my wire strippers are in the attic, so couldn't be bothered to retrieve them. Stripped about 5mm of wire on the newly proposed power wire with scissors and fingernails: Then got the usual hand gymnastics to get it in place with the crimper: Then I usually crimp on in two stages, the outer tabs into the insulation, and the inner as tight as possible onto the exposed wire: It was at this point that I released I either needed to cut the existing ground wire, and splice the longer length in two places, or crimp a ring terminal onto the new ground wire. So I've gone and ordered some. The metal frame supporting the dashboard appears to have 3 bolts, with the upper one looking like an M8 bolt, so I've ordered some ring terminals to suit. The wires came to £5.76 from eBay. They should be 2m lengths each which looks to be more than enough. I got a little bored, so decided to look at the two steering wheels sitting there. The two spoke one is a little worse for wear, amazing what a pair of 2020 wheels can look like under different ownerships. The chrome trim around the centre especially looked chipped and worn, more befitting a much older car. So decided to see if it can be removed. Definitely recommend trim removal tools here. It lifts up fairly easily around the buttons on the left and right, but the thinner bit across the top and bottom do feel like a more careful touch is required: It does eventually start to pop out though: There are four connectors to the trim (and buttons), one at the bottom and is clamped in place with a T20 screw, and another tiny one on the left (I guess for the heated steering wheel to act as a thermostat?). The remaining two are connected to the DSG paddles. There are also T20 screws keeping those paddles in place, so once undone, all can be removed: So I guess I could do the same on the better condition wheel if I wanted to transplant it onto this one. I honestly don't know why I've done this, guess it's an easy thing to do whilst sitting at my desk. Maintenance: £1733.25 Upgrades: £780.88 (+£5.76) Miscellaneous: £603.58
-
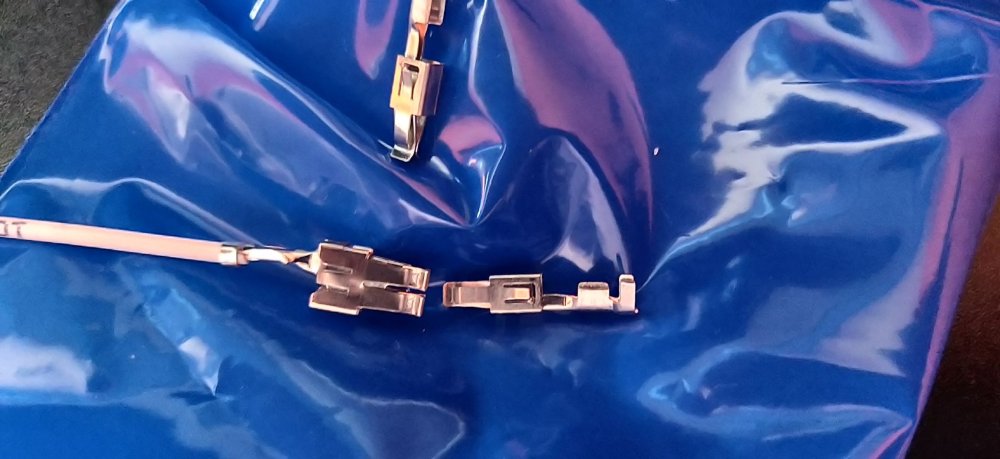
The stuff from auto connectors arrived today: So a side by side comparisons shows it's much smaller, so hopefully that means it'll slot right into the fuse box. Order came to £9.44, with £1.46 being a set of 10 of the actual connectors, but I also spent £4.99 on some fabric loom tape, for dressing up any wiring I put (bodge) together, and probably use throughout the car to see if helps against rattling and stuff. £2.99 to ship. I'll just need to find my crimping tool... Maintenance: £1733.25 Upgrades: £775.12 (+£9.44) Miscellaneous: £603.58
-
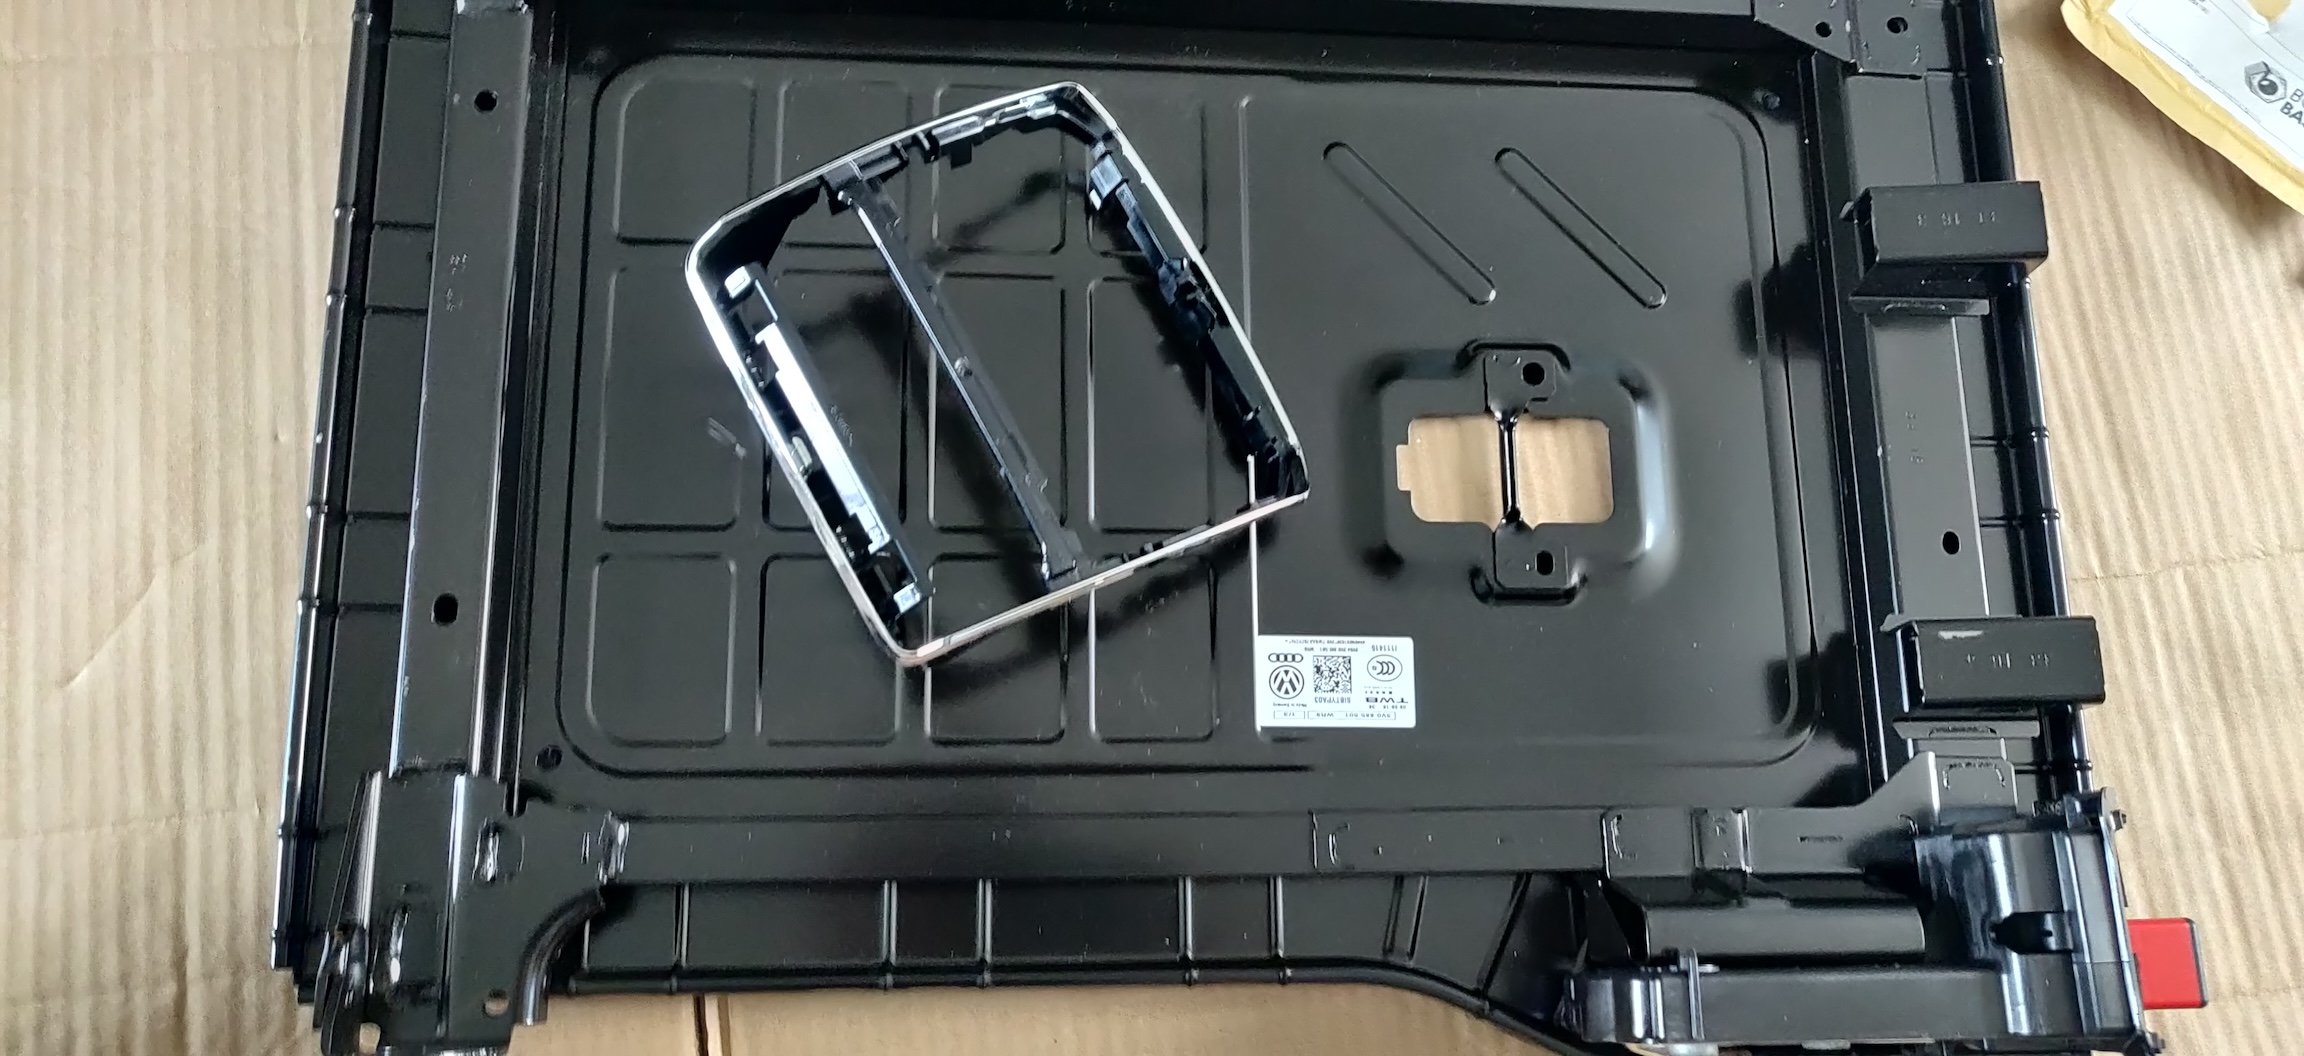
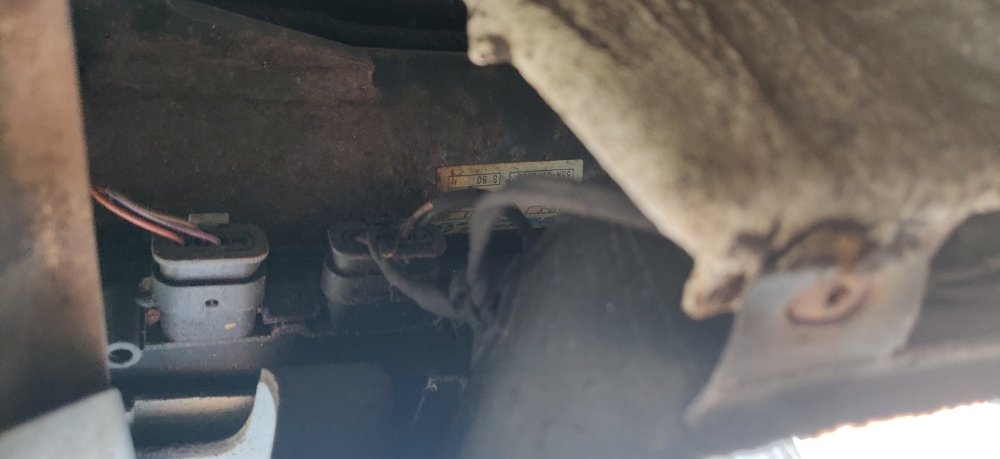
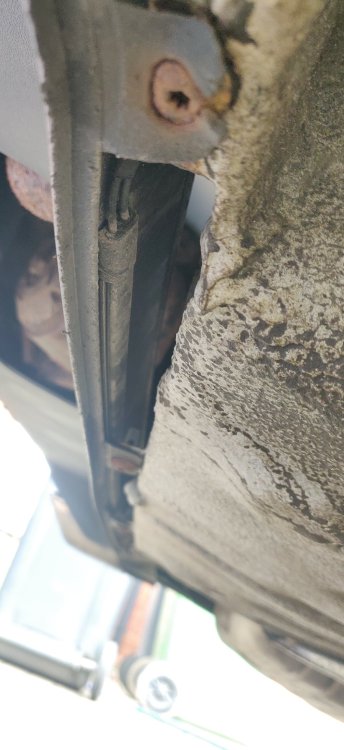
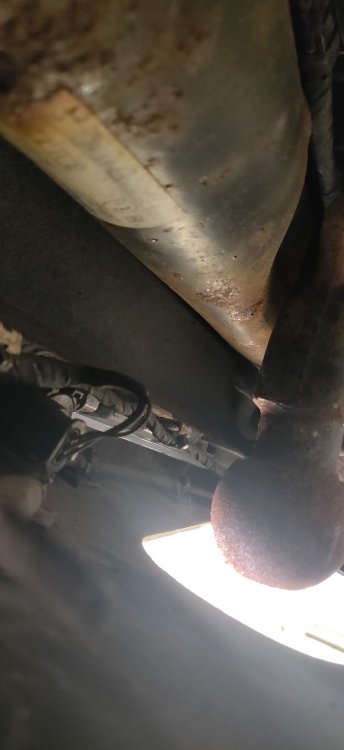
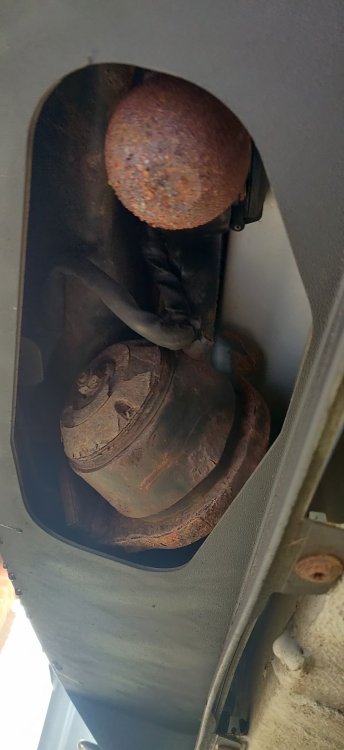
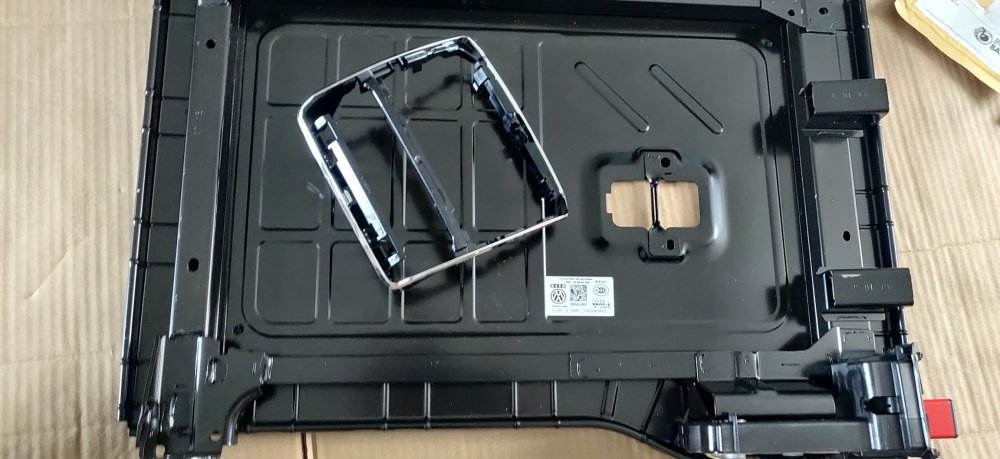
So this morning, got some cardboard, slid under the car to have a gander at the rear bumper: Indeedy, the connectors for the foot sensor/virtual pedal. Double checked just to be sure it's all present and correct: Above is the foremost line. With the rearmost: Tucked into the bumper a bit more, so yeah, need to learn how to use it now! I did notice the screw not actually doing its job on one of the pics, so I'll sort that out when I start the suspension stuff proper. As per the last pic, this trailer hitch also came as a surprise: I was debating whether I would need this to really hammer home this being the workhorse, but hey ho its already there and present. I mean, there is a lever sort of thing in the boot, but didn't realise what it was for! This stuff also arrived today: Now, whether I needed a replacement backrest frame is up for discussion (read: I did not). When I lifted the rear carpet bit off the frame as per the workshop manual instructions, I found it not going back flat and flush. I probably should have just used an iron and that would have probably sufficed, but this was £30 from eBay for a brand new one, so decided why not. The same seller also had the exact piece of trim that I snapped when removing the centre console, so added that as well. £25, so £55 all in. Had to transfer the Bowden cable over to this new one, which was more of a faff than it should have been, but hopefully that's done. I haven't been able to get the Kufatec loom's power terminal into the fusebox. I suspect it's a size too big, maybe for a normal fuse rather than the mini ones needed for fuse 4. I did some swotting up and found 000 979 133 E be mentioned for 0.5-1mm wiring. Ordered some from https://auto-connectors.co.uk/products/10x-for-audi-vw-skoda-seat-porsche-wiring-crimp-repair-terminals-pins-000979133e The above site also has 000 979 227 E which look a lot more like the ones on the Kufatec loom, and according to https://auto-connectors.co.uk/products/audi-vw-skoda-seat-porsche-10-x-wiring-crimp-repair-terminals-pins-000979227e is for wiring from 2.5-5.0, so am thinking it's a size up, hence it not fitting the fuse box. The wiring diagrams suggest it's a 10a circuit with 1mm wiring, so I'm hoping I've ordered the right stuff. I'll sort out appropriate wiring as well, probably try and match the colours in the wiring diagram. Going to see if I can come up with some sort of adapter for that pin 14 in the 73 pin connector, probably some splicing on the new harness to a small 1 or 2 pin connector, or something appropriately contrived. Maintenance: £1733.25 (+£55.00) Upgrades: £765.68 Miscellaneous: £603.58
-
Oh, well that's that sorted then Lemme rummage through the PR codes... Looks like PR-4E6 "Sensor-controlled luggage compartment opener" is the match. So guess I give that a go when I get the power back on.
-
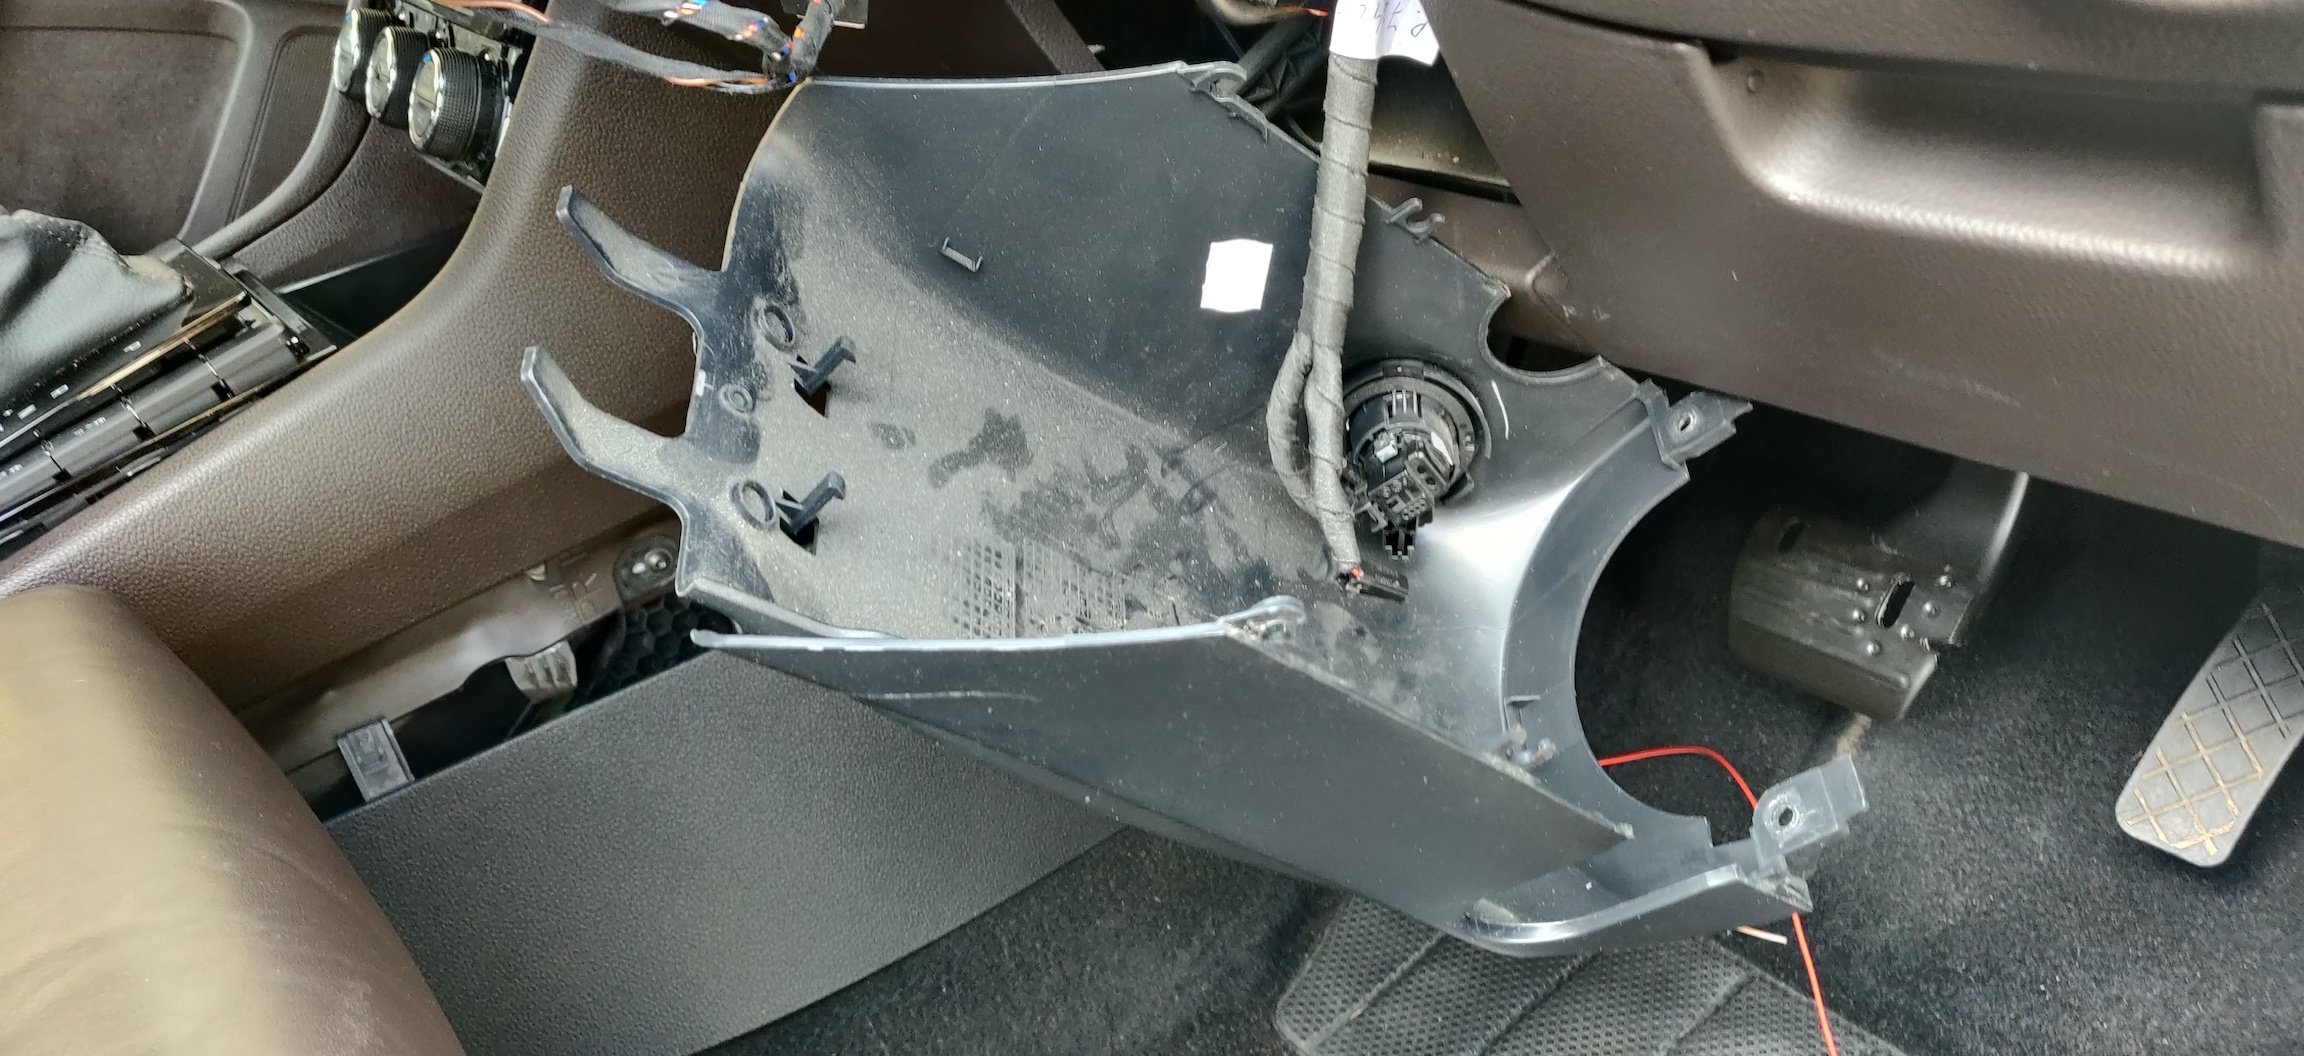
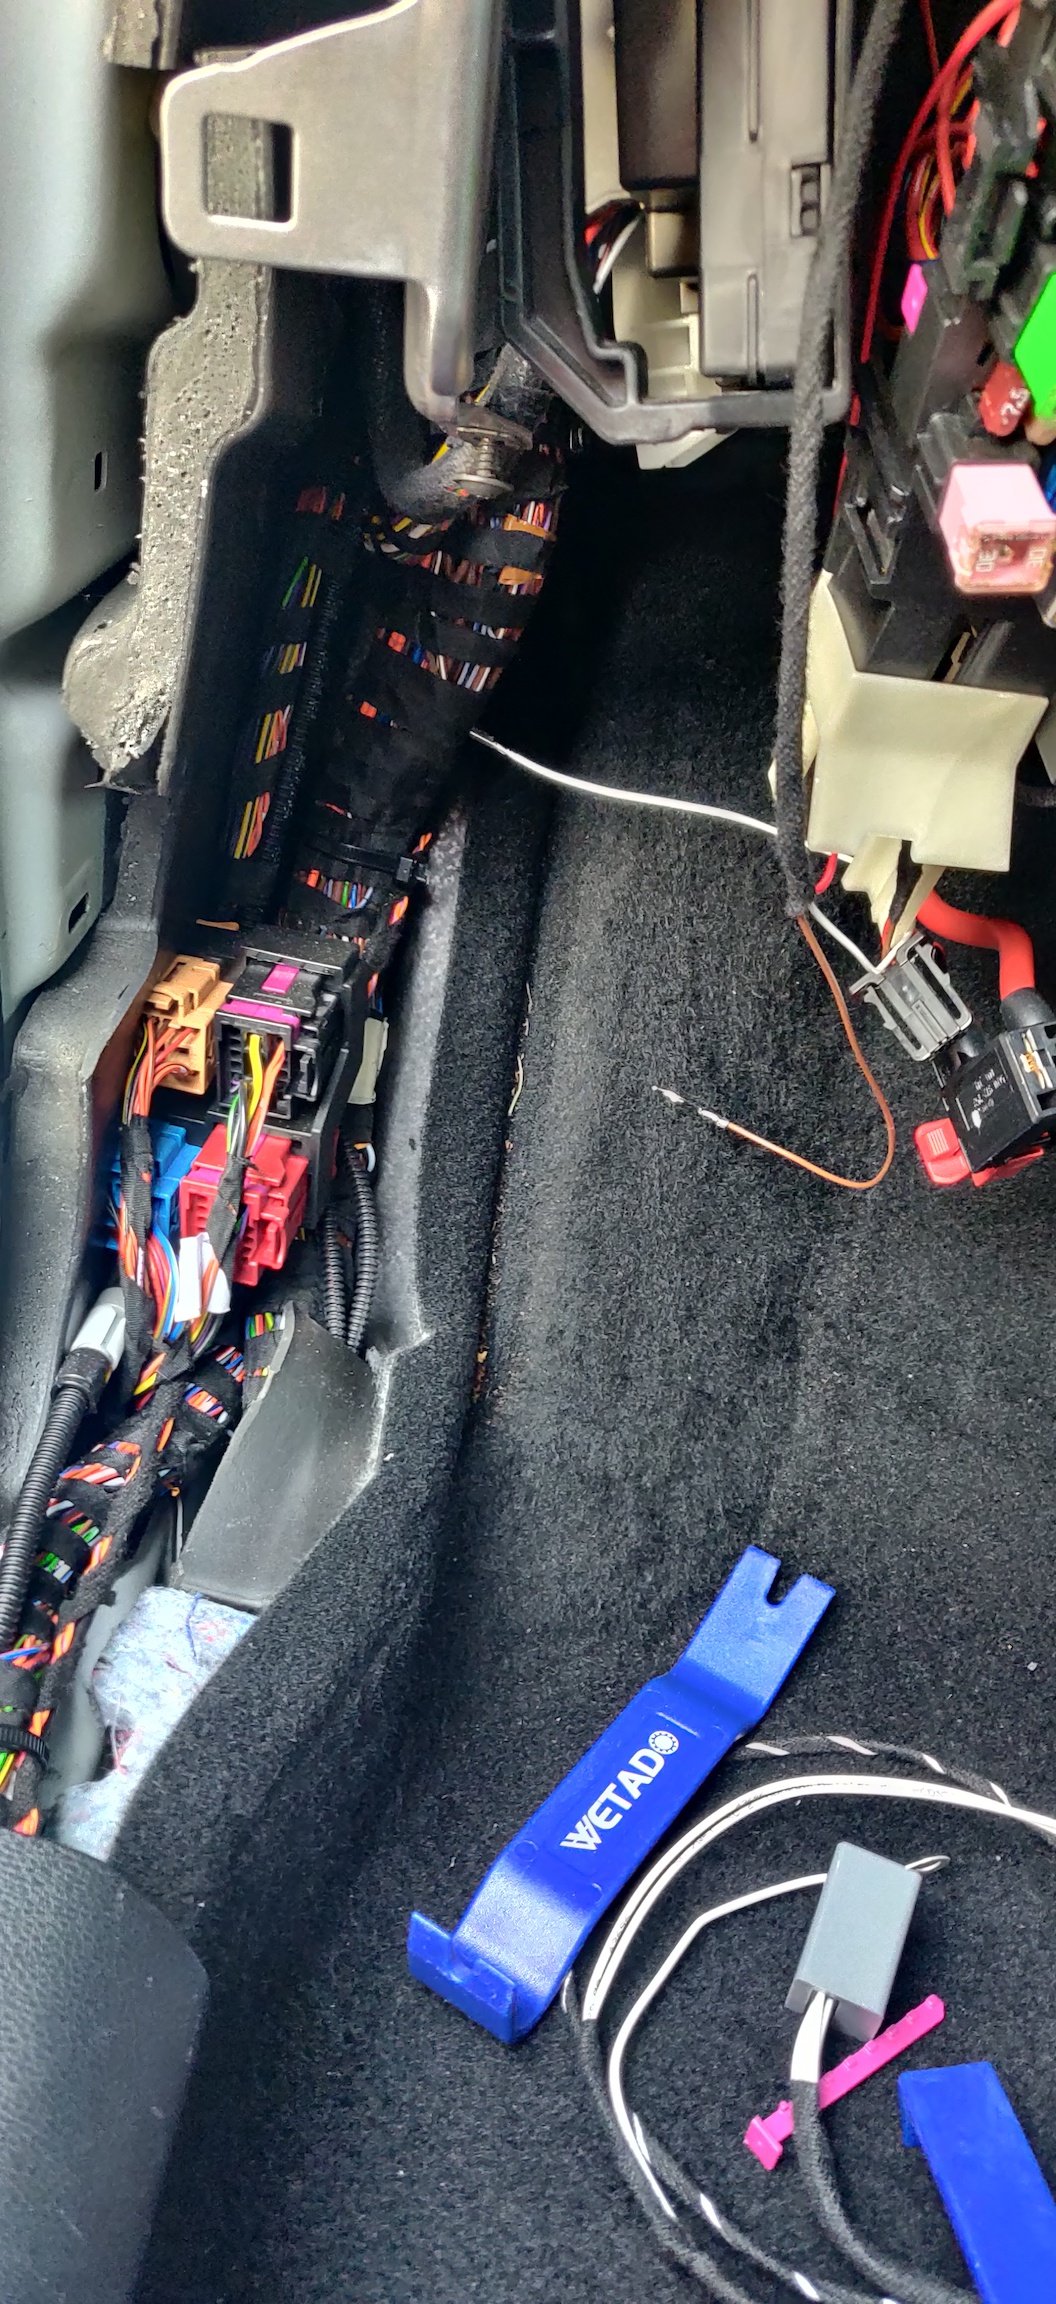
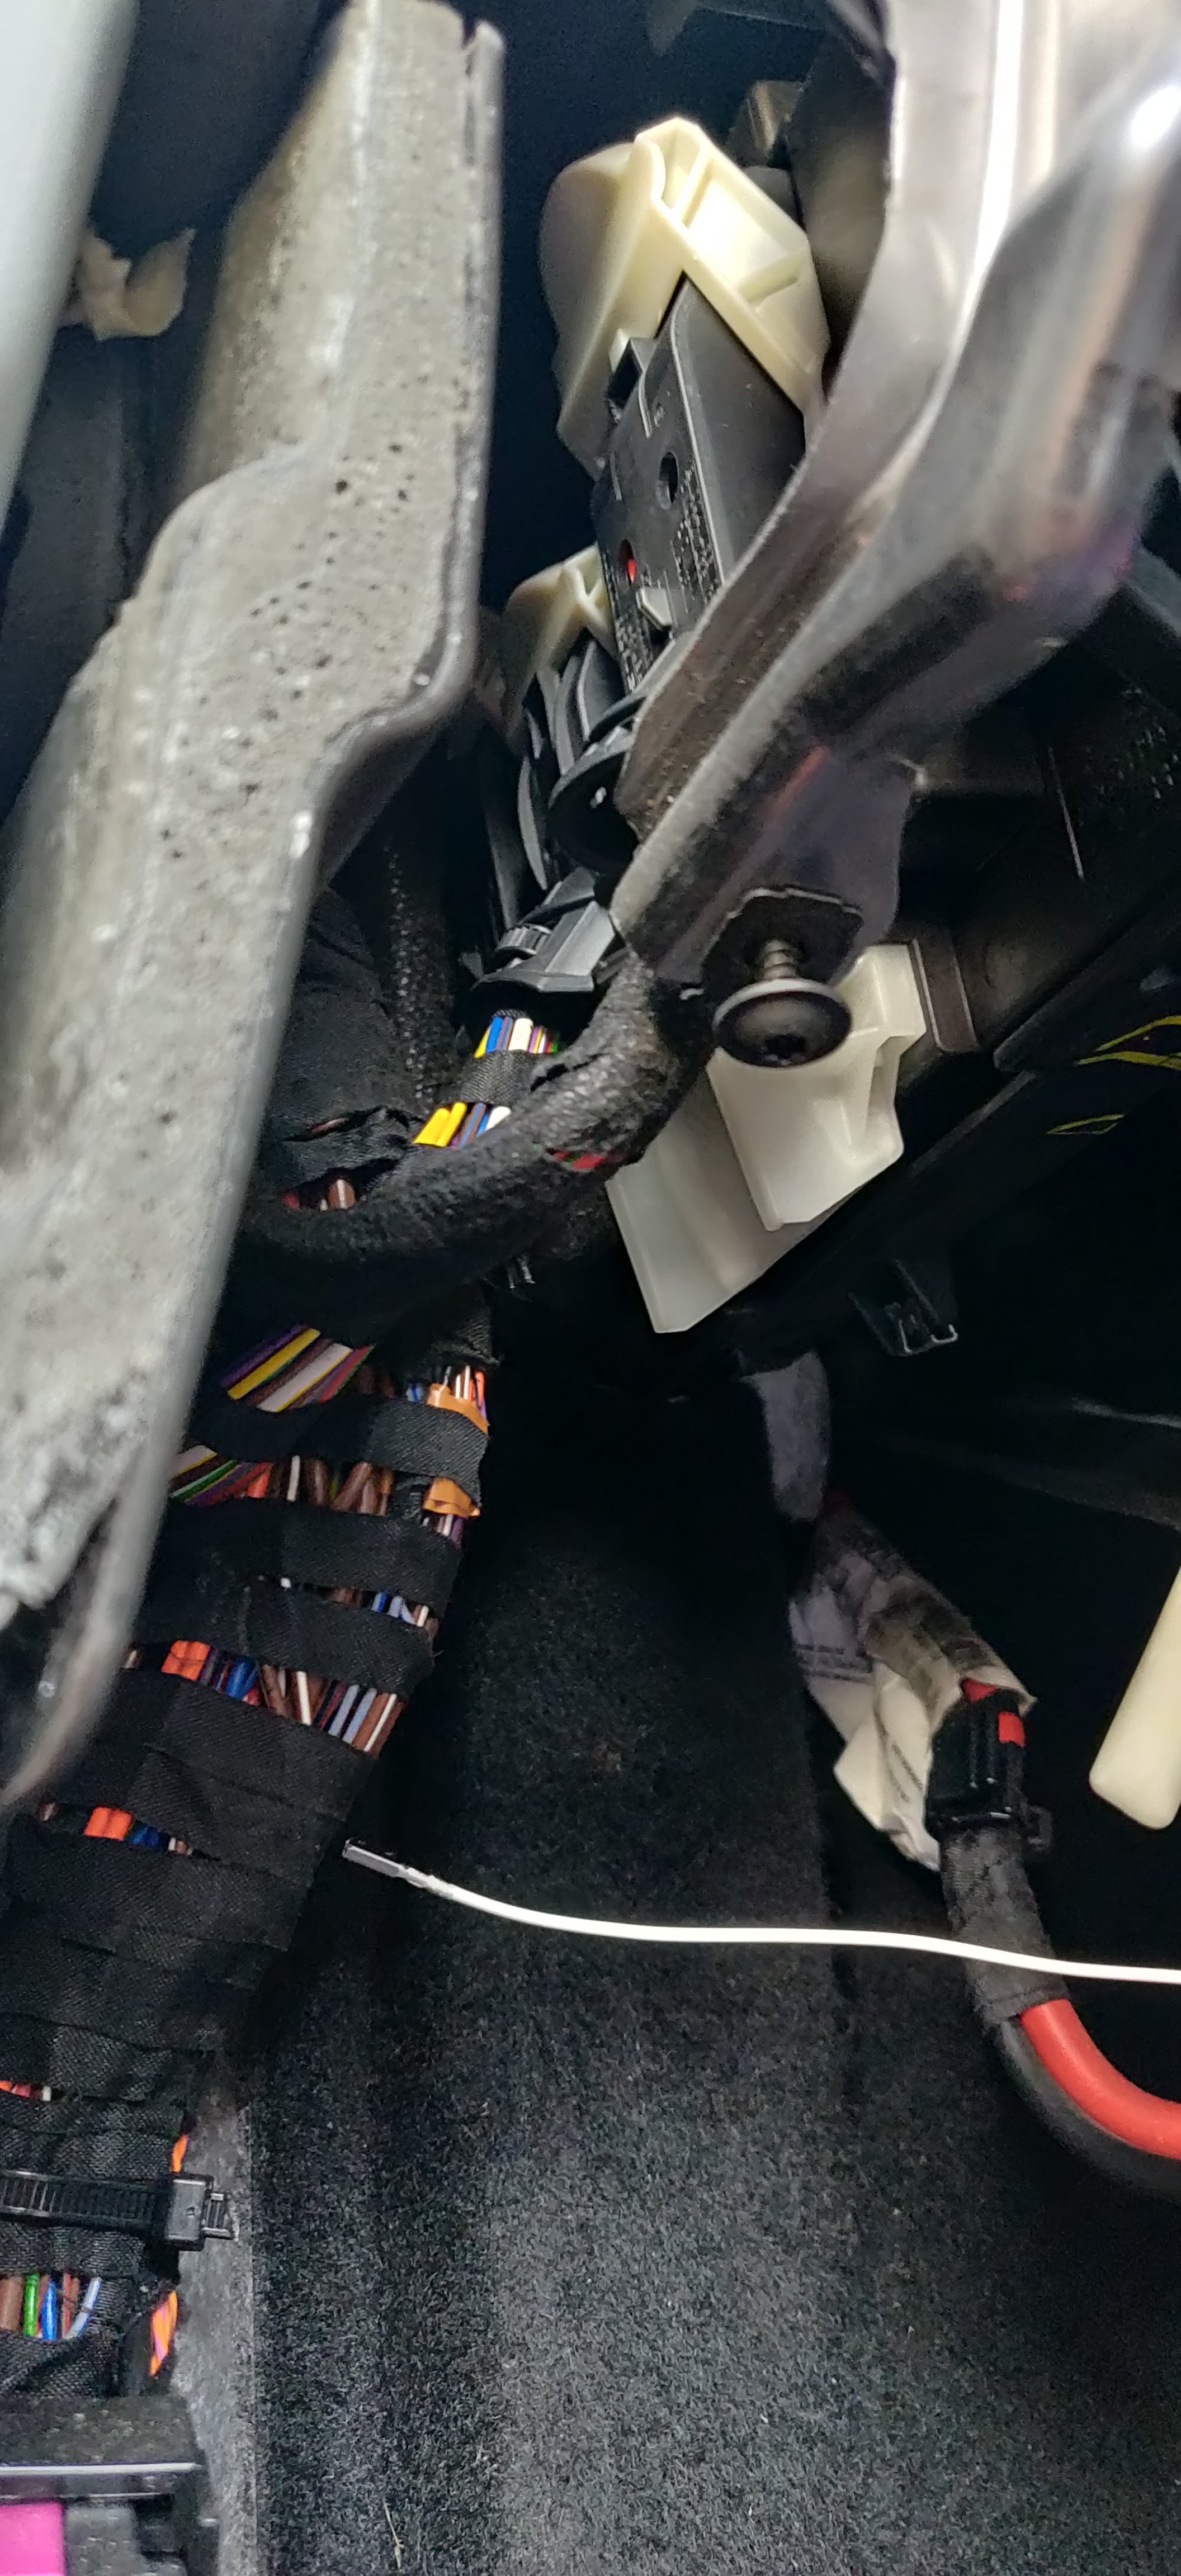
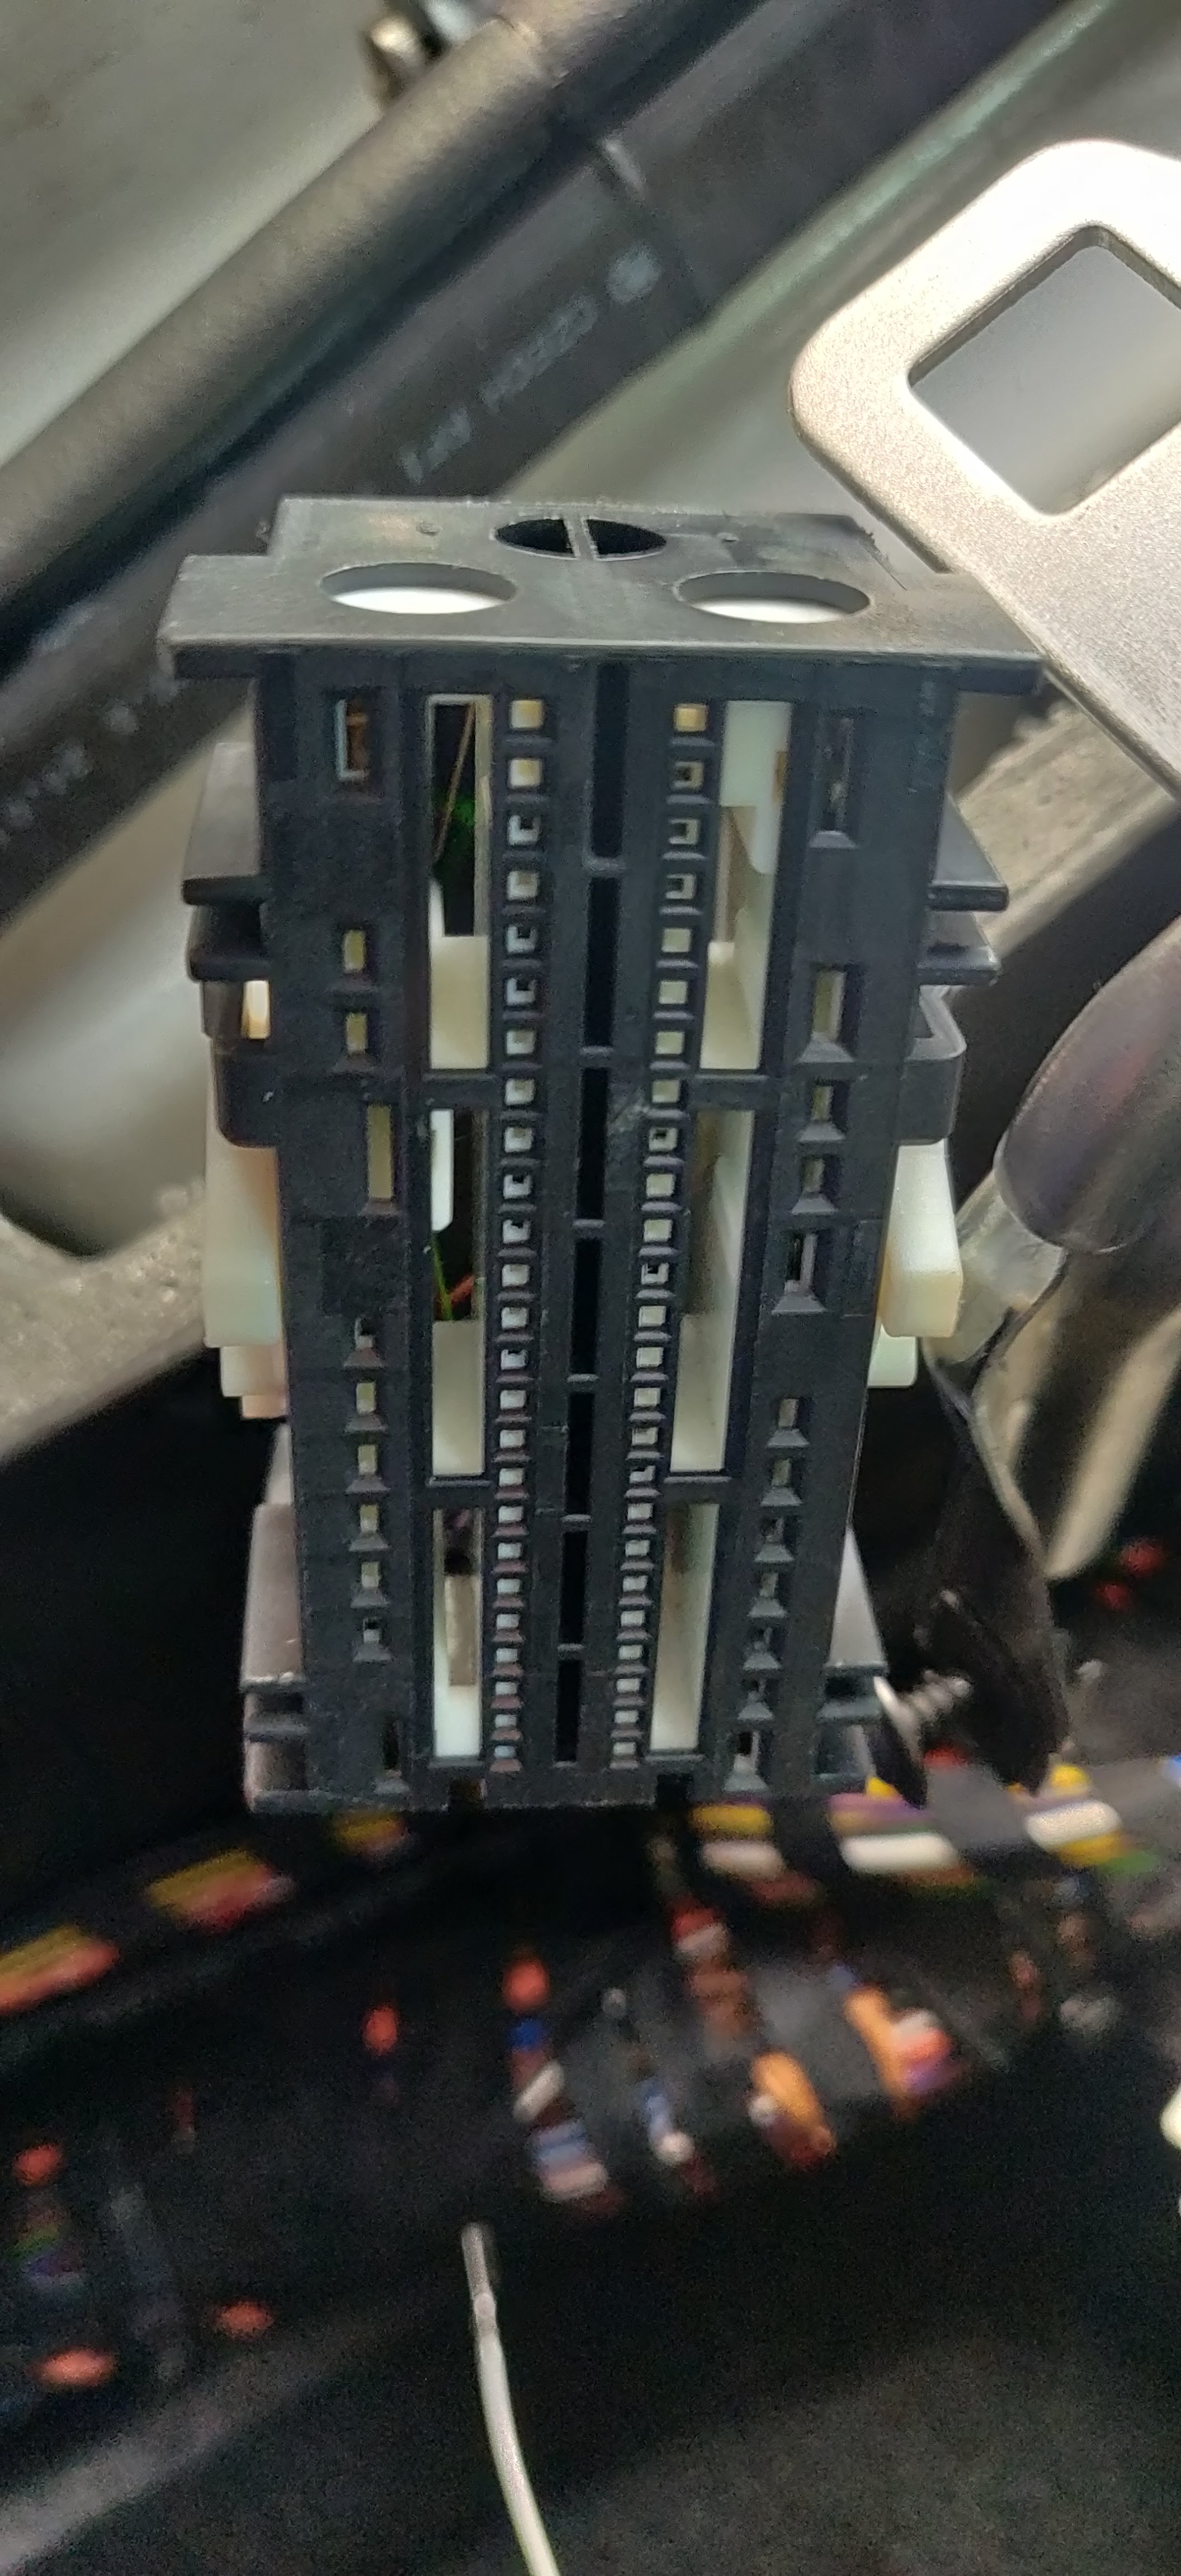
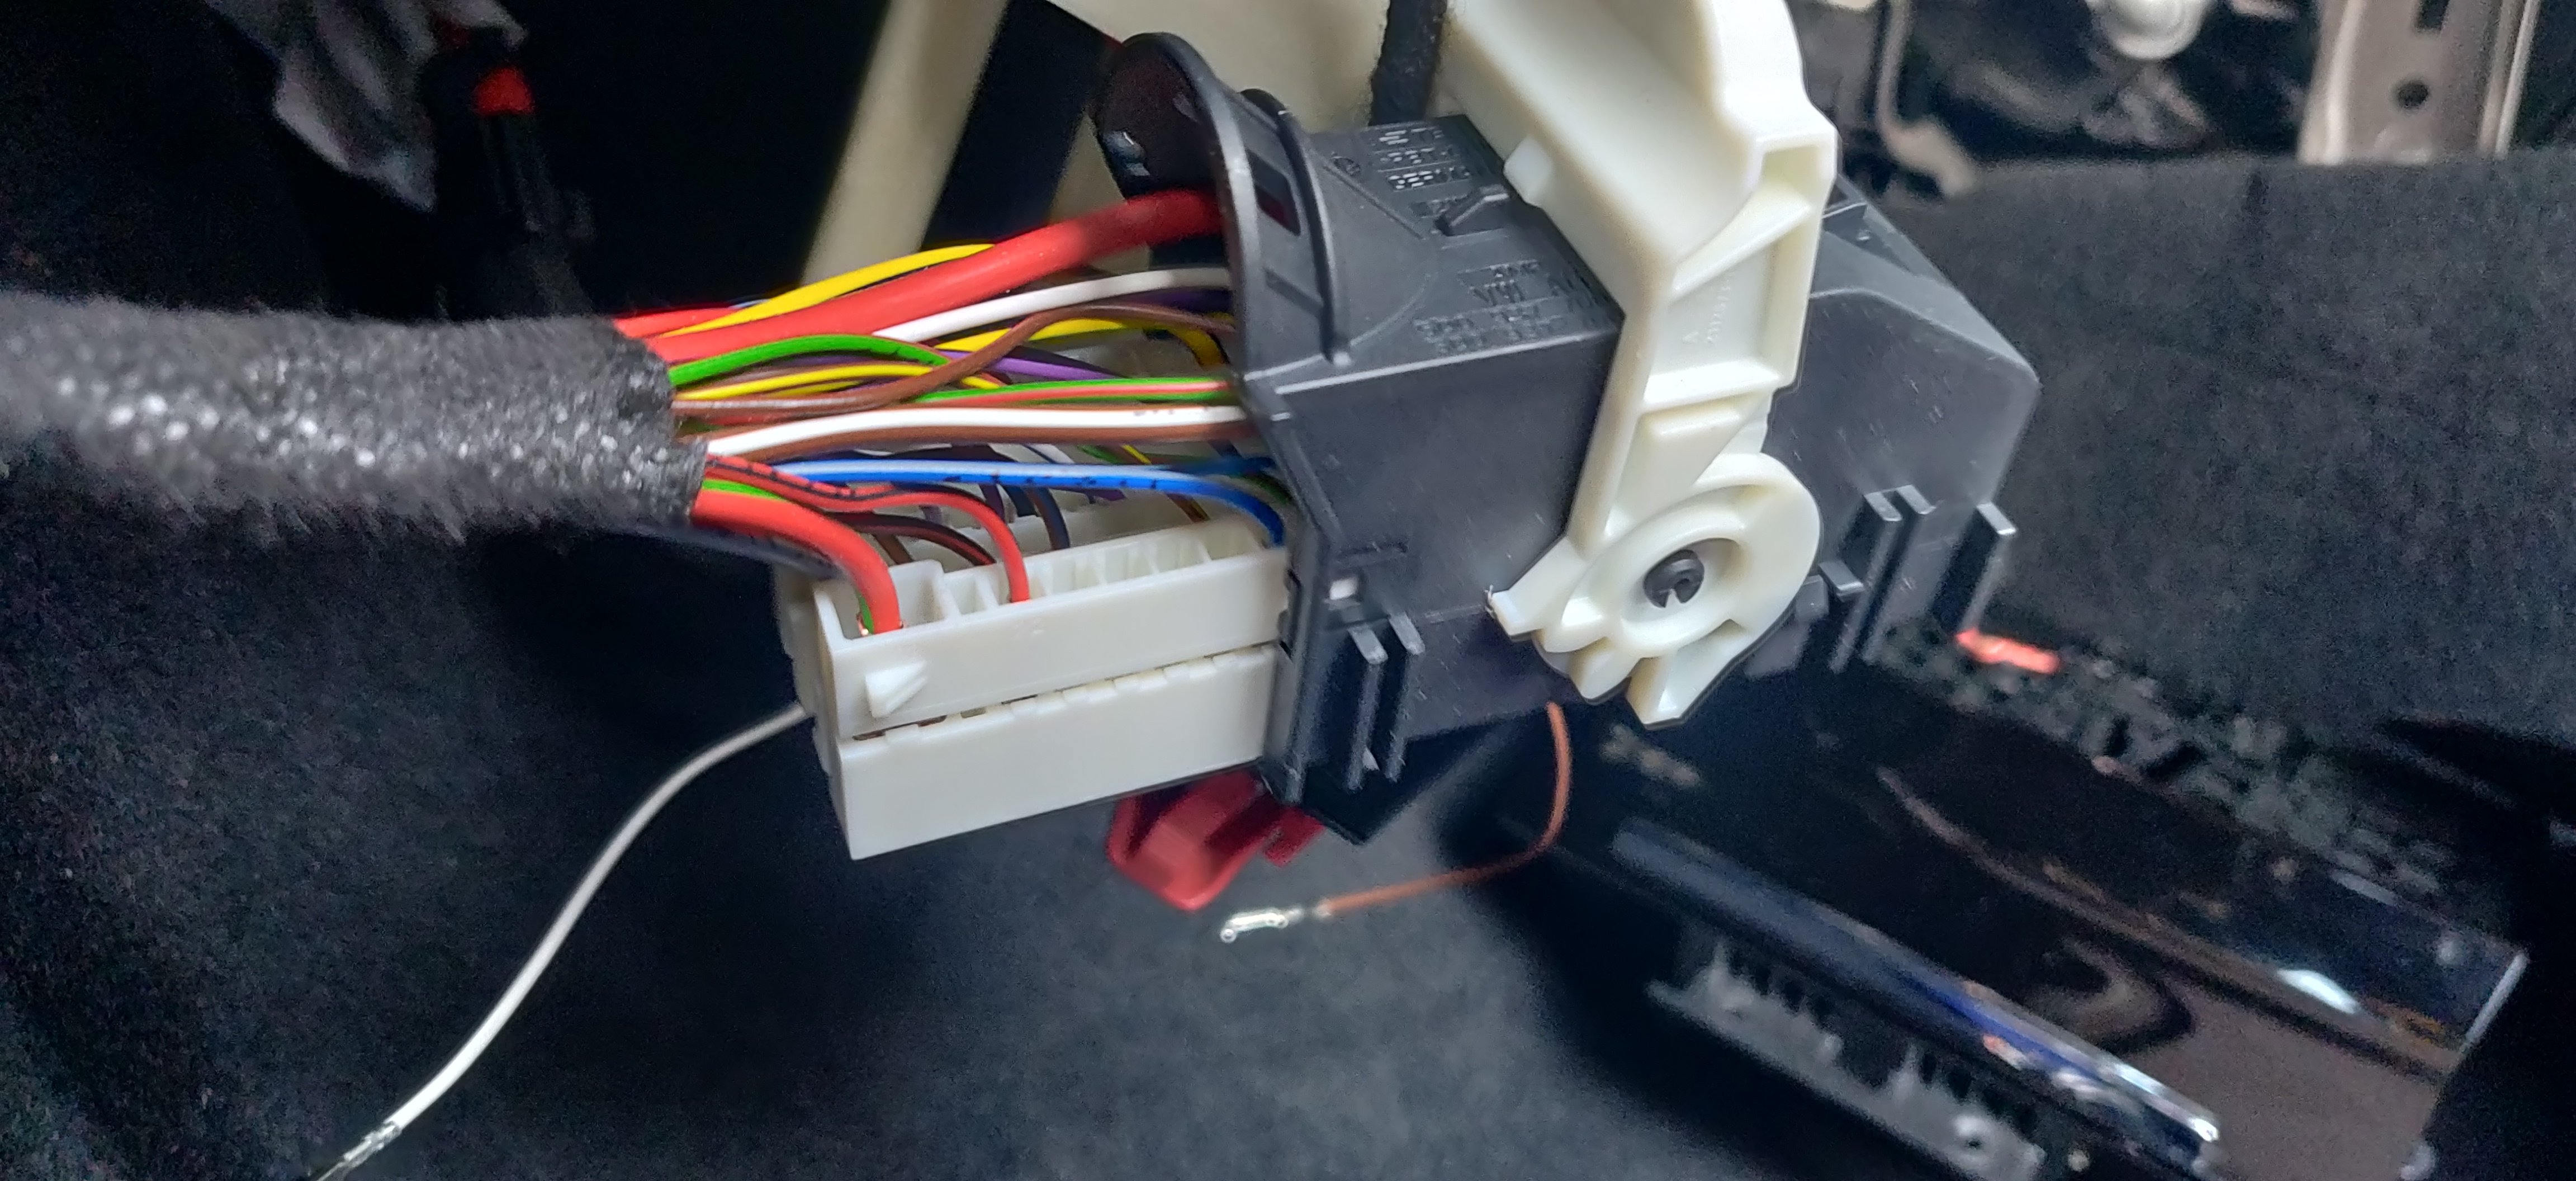
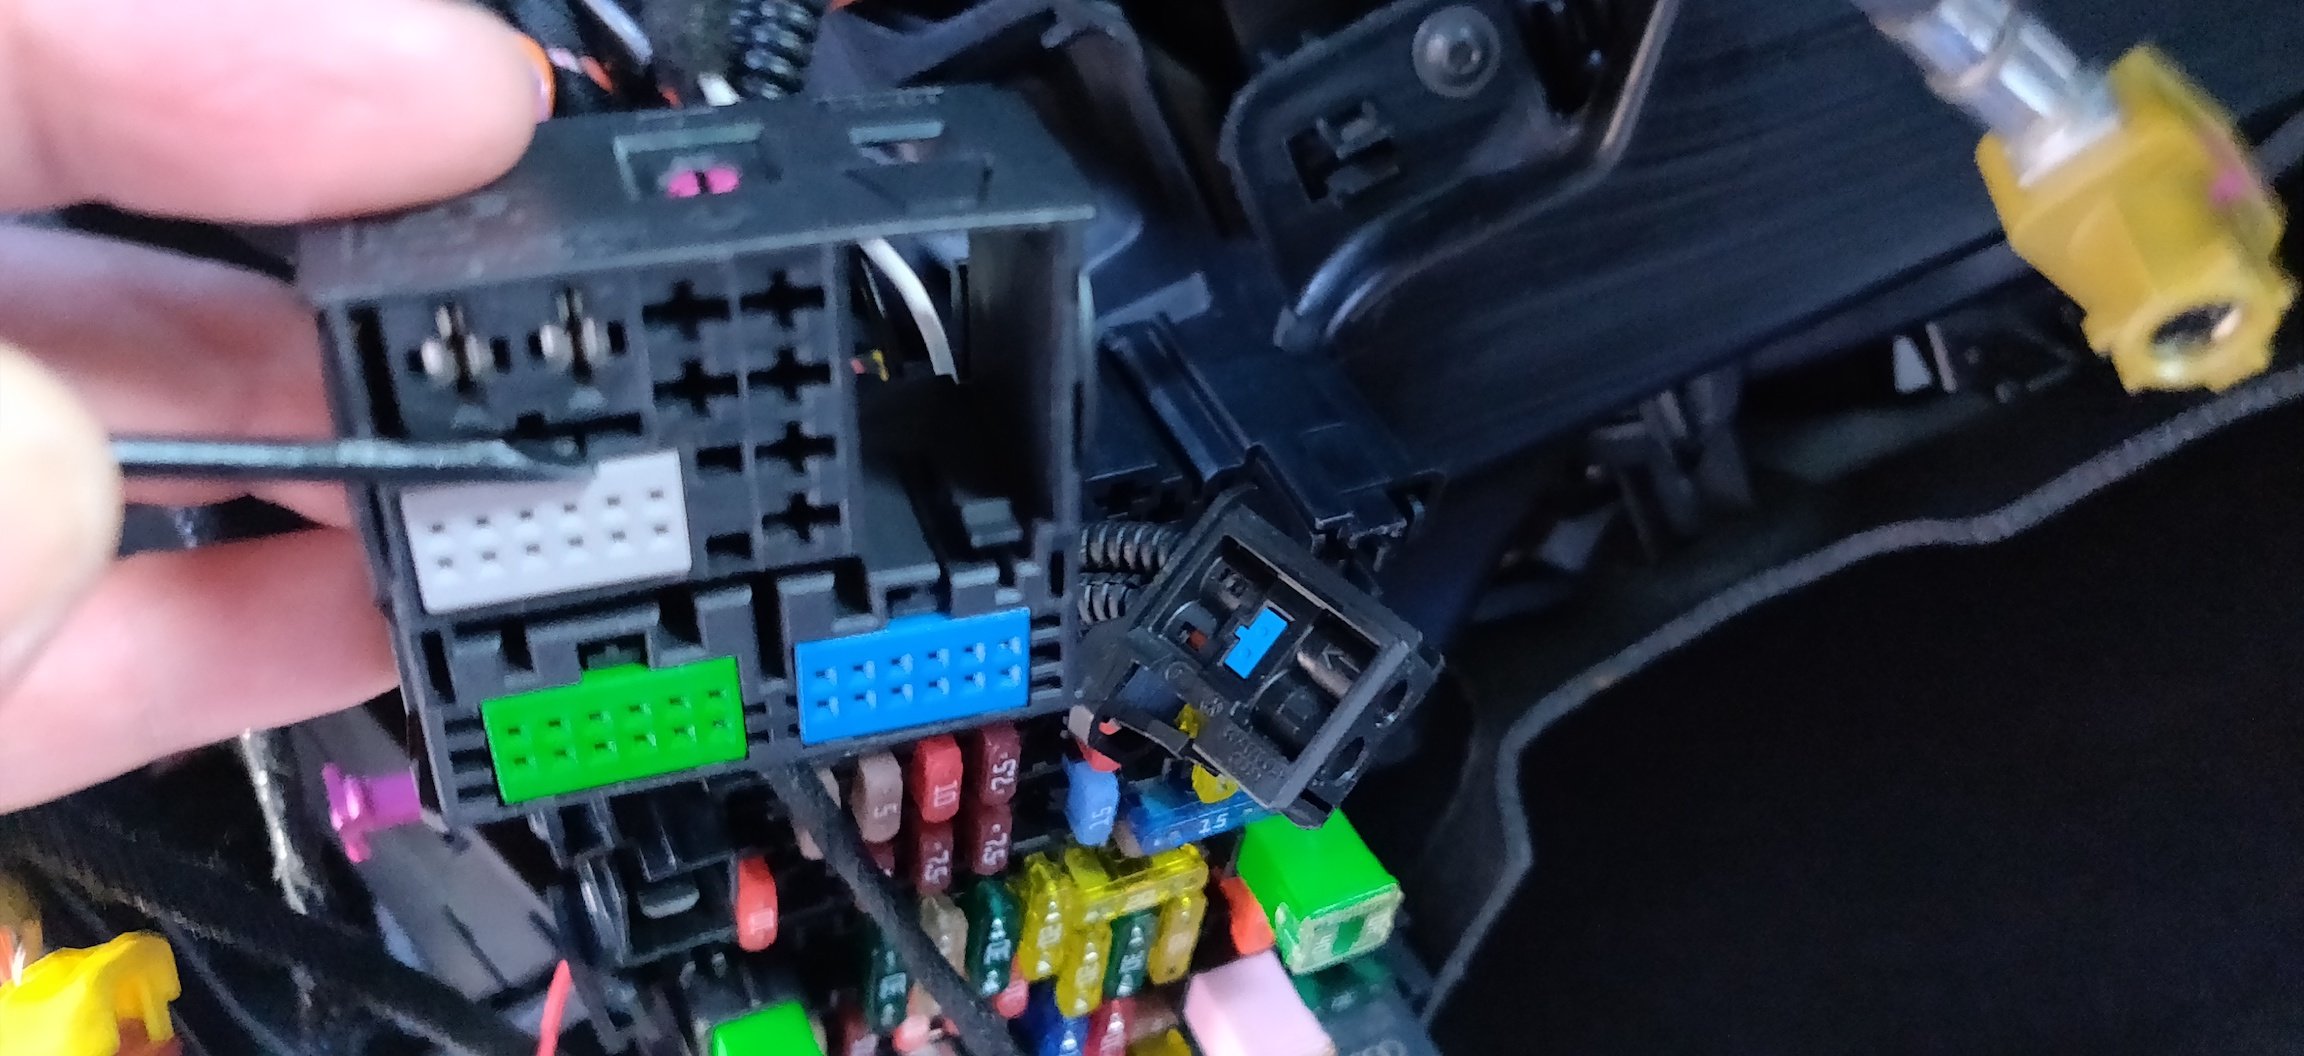
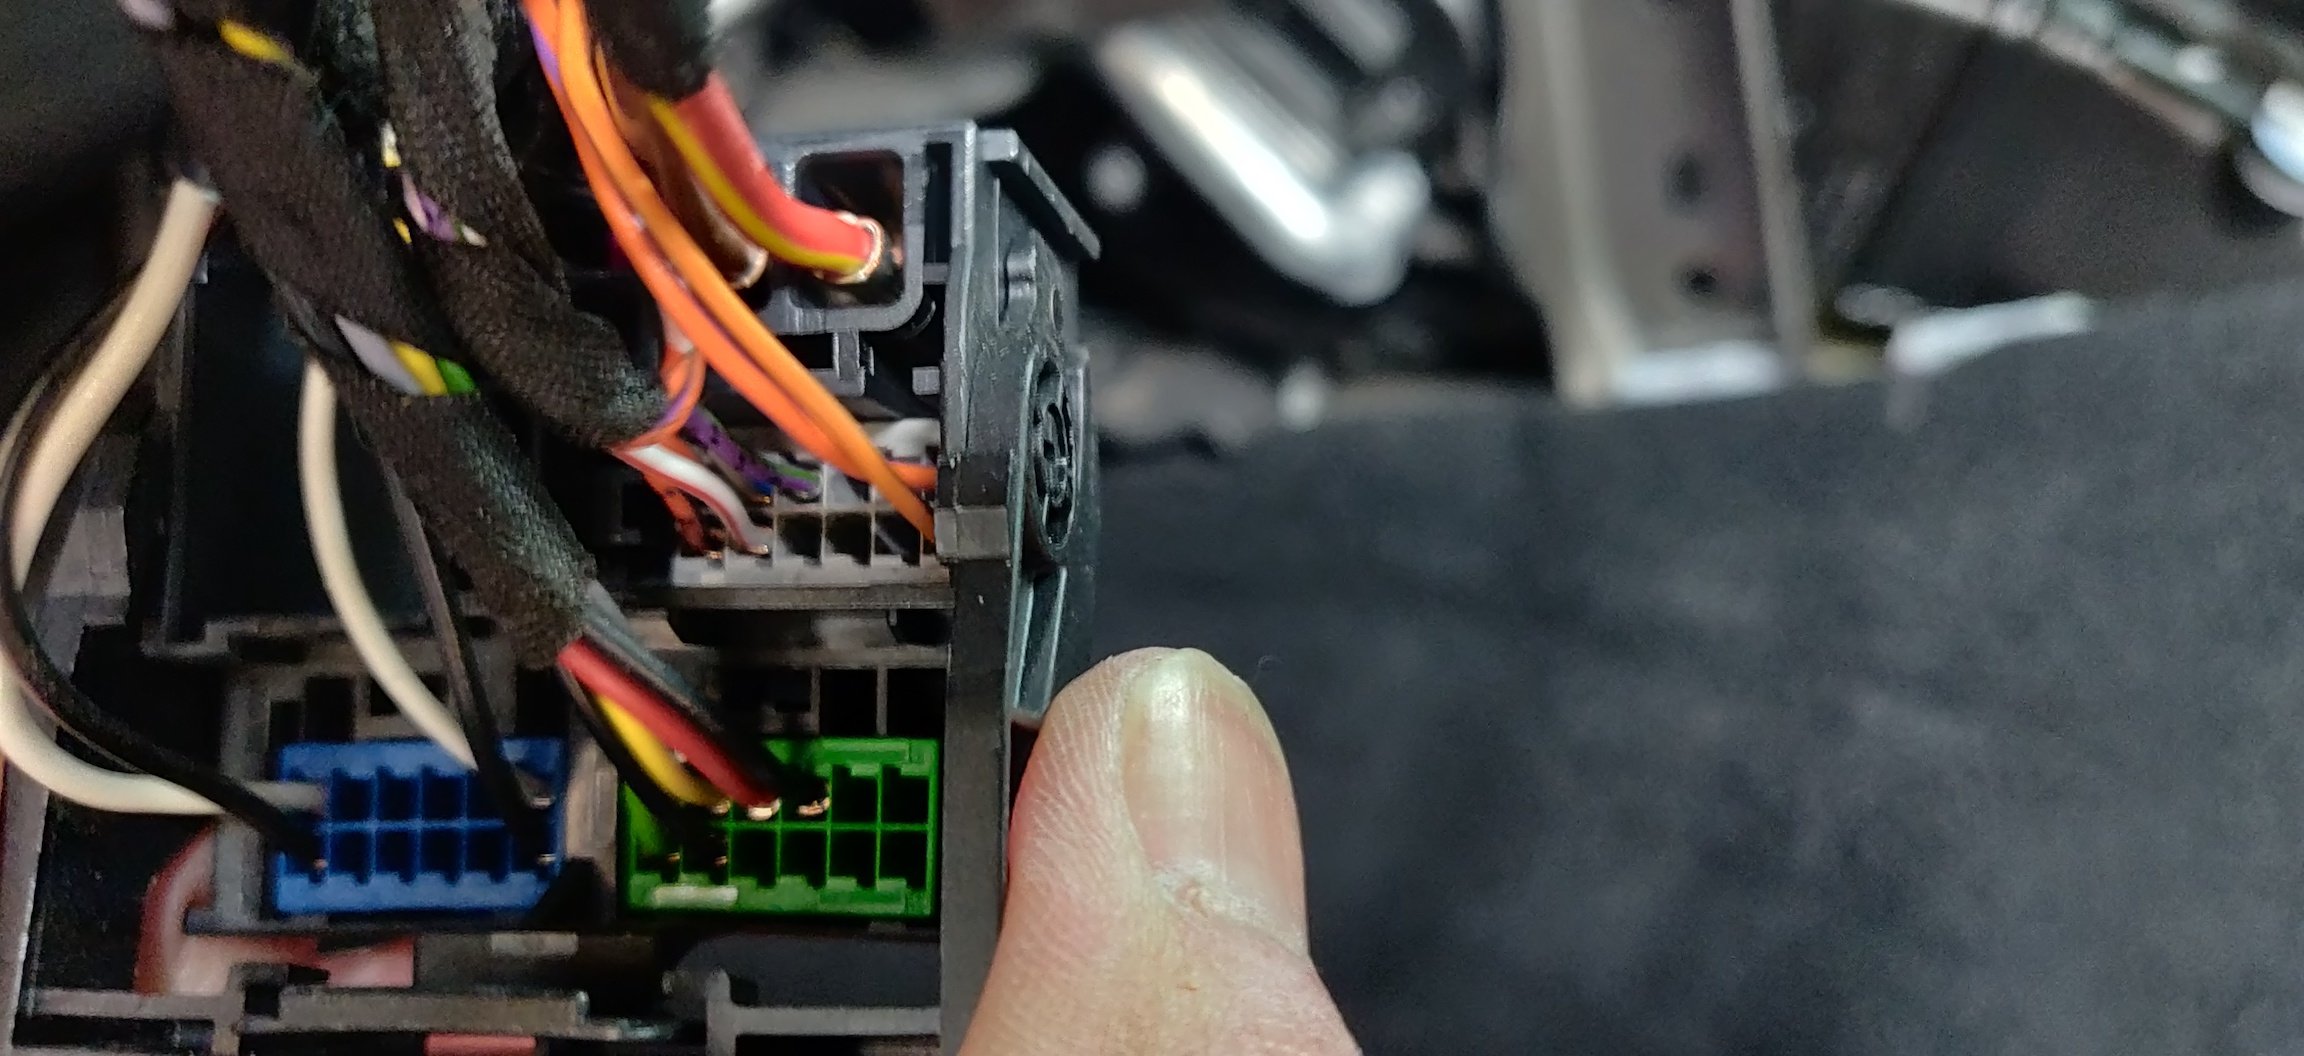
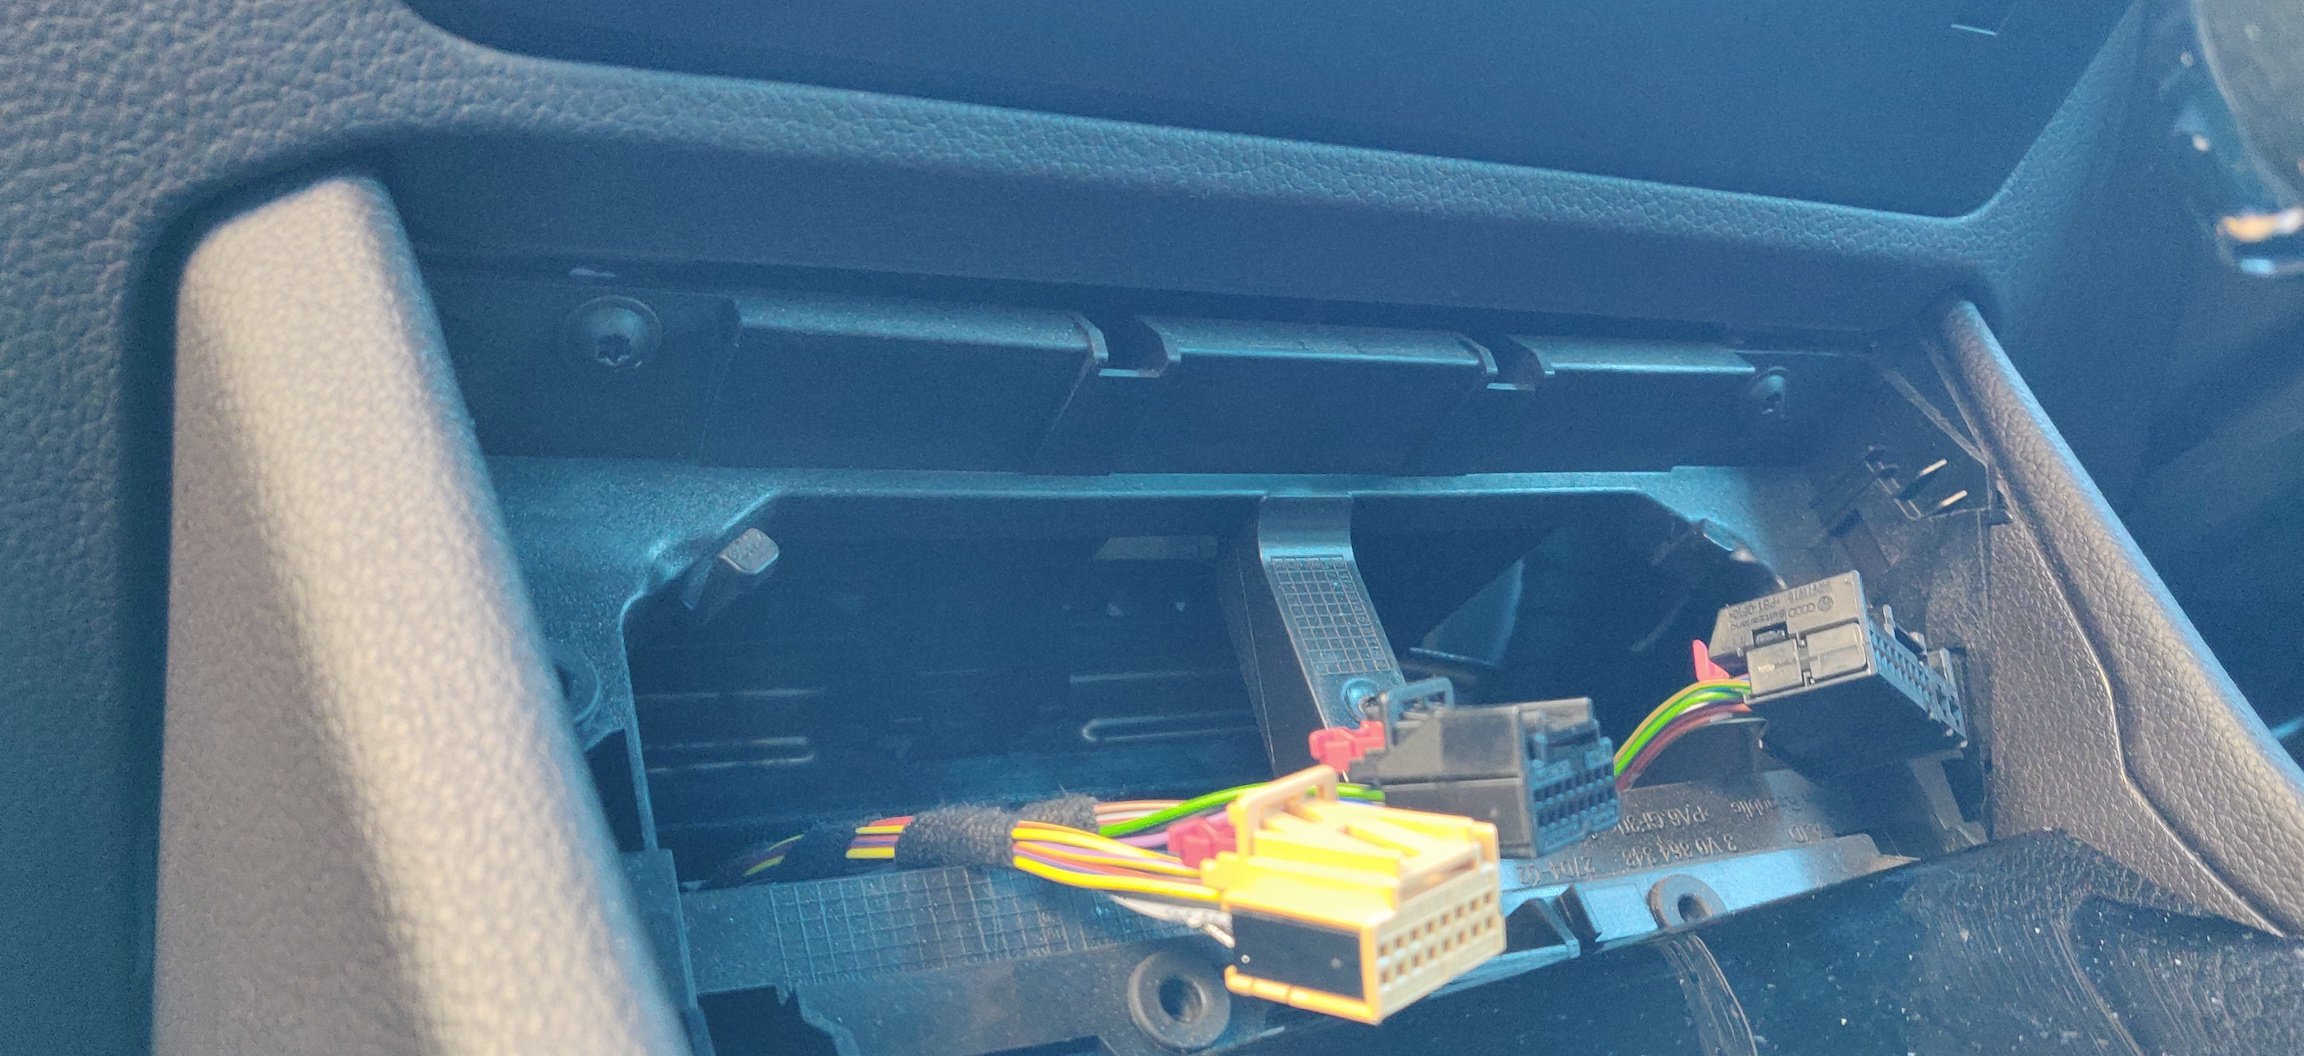
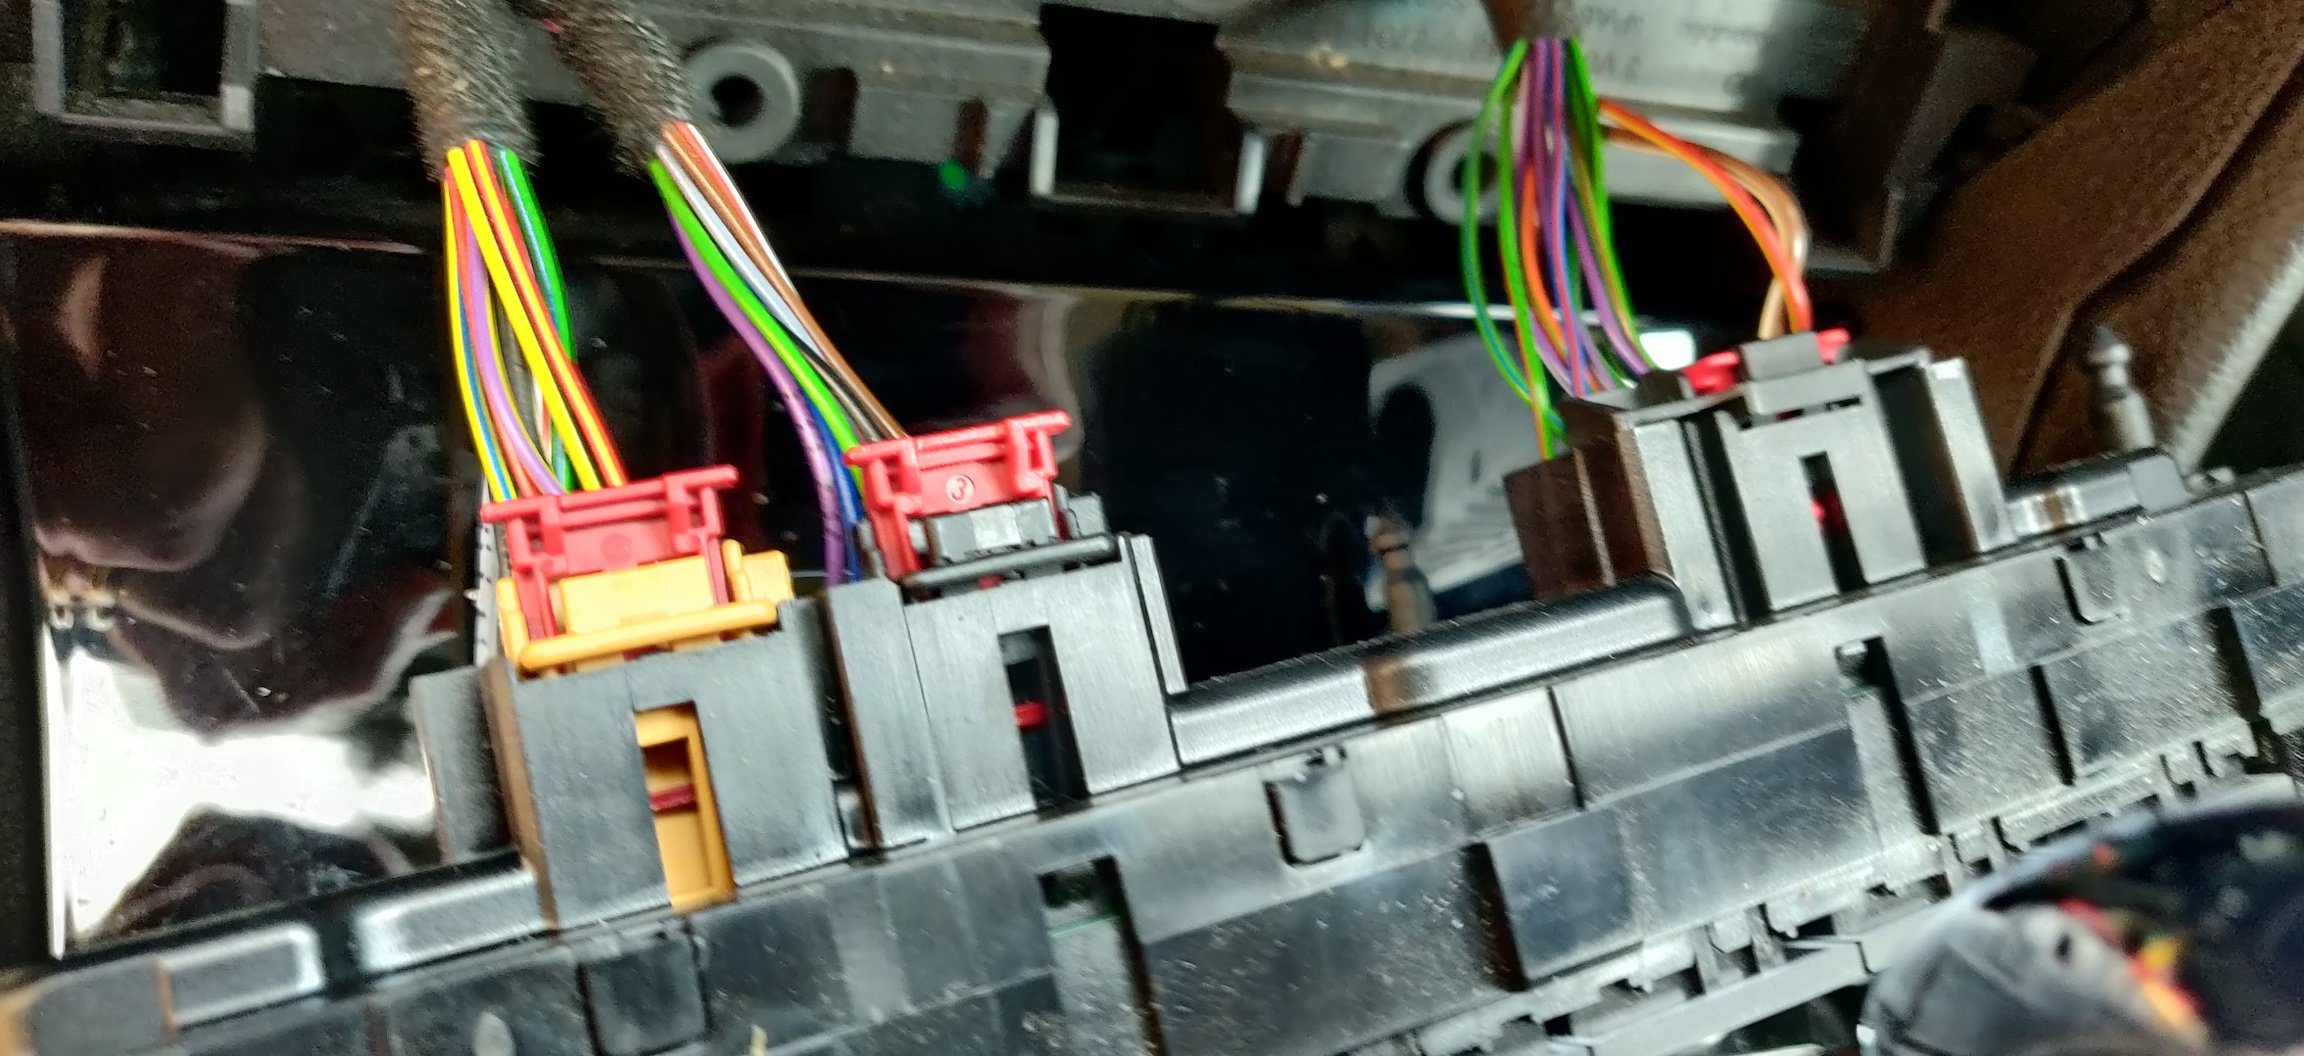
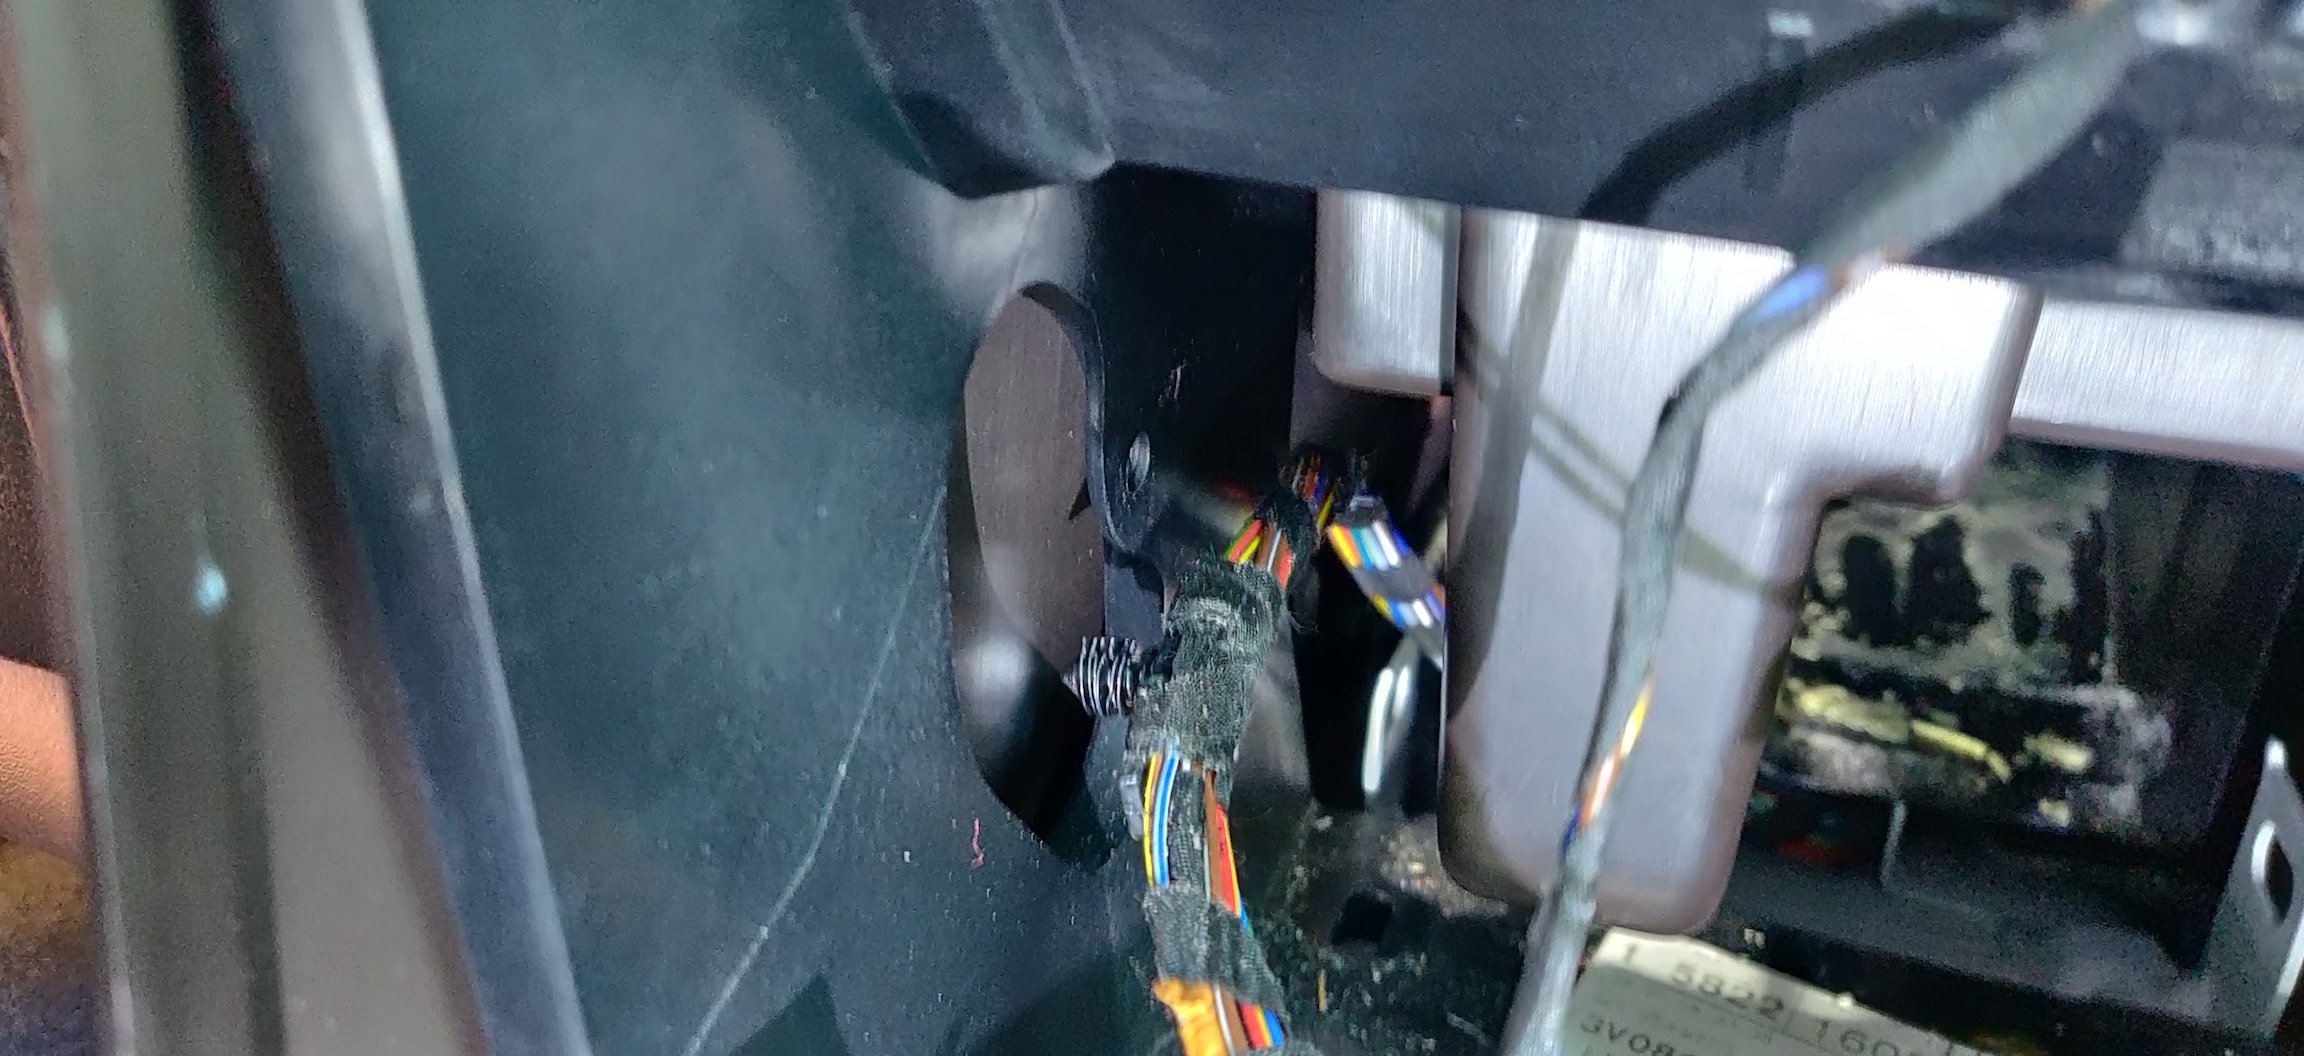
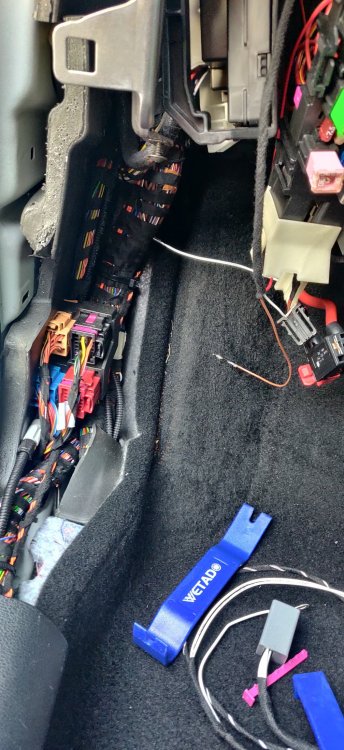
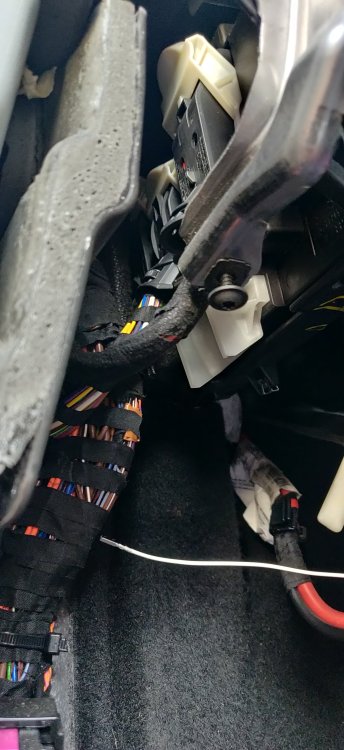
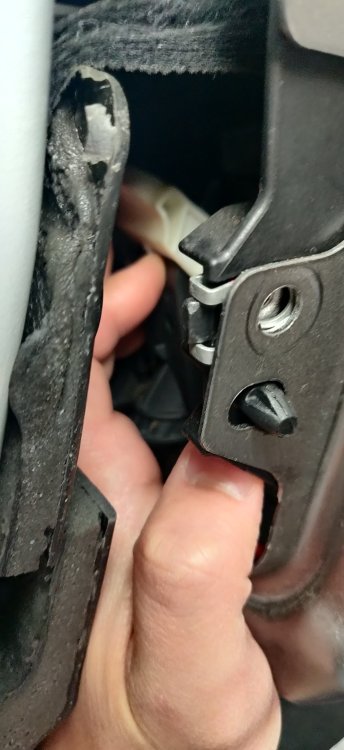
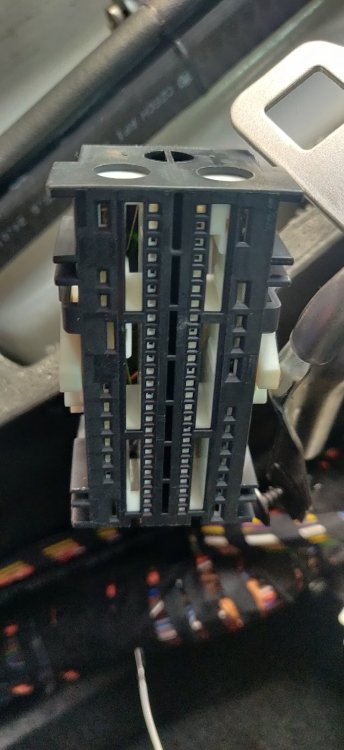
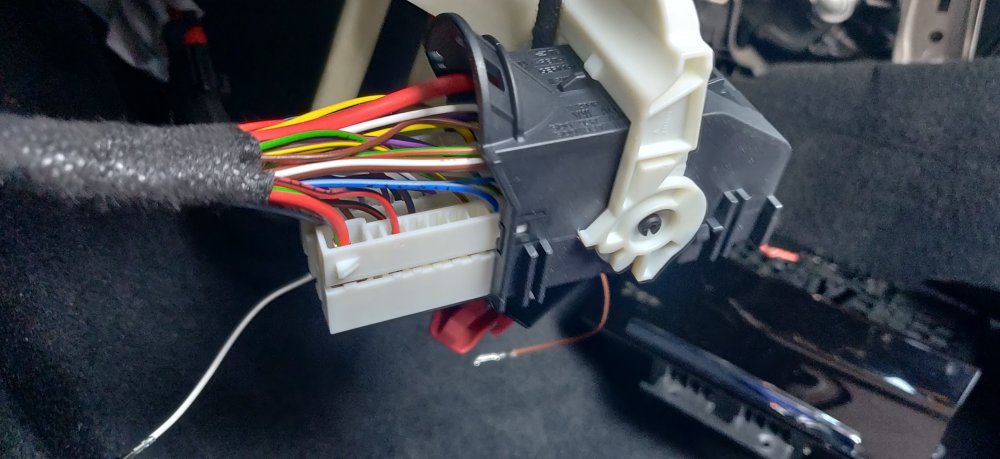
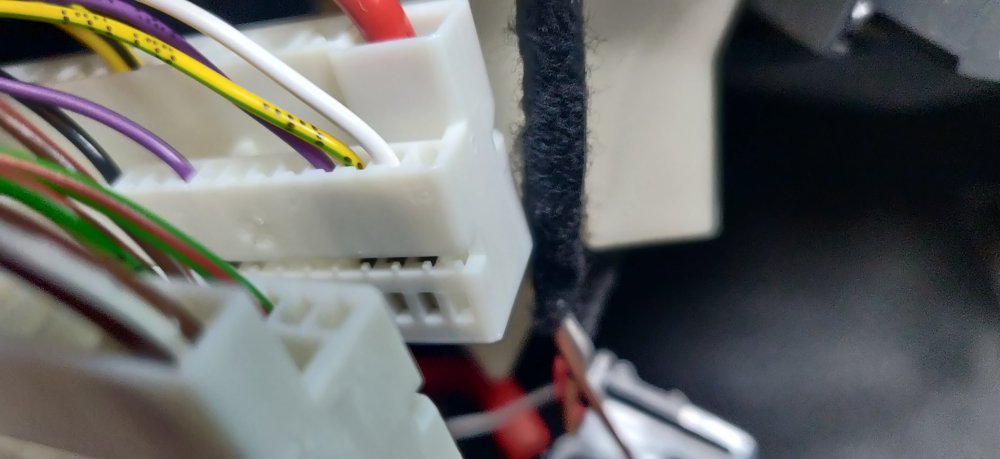
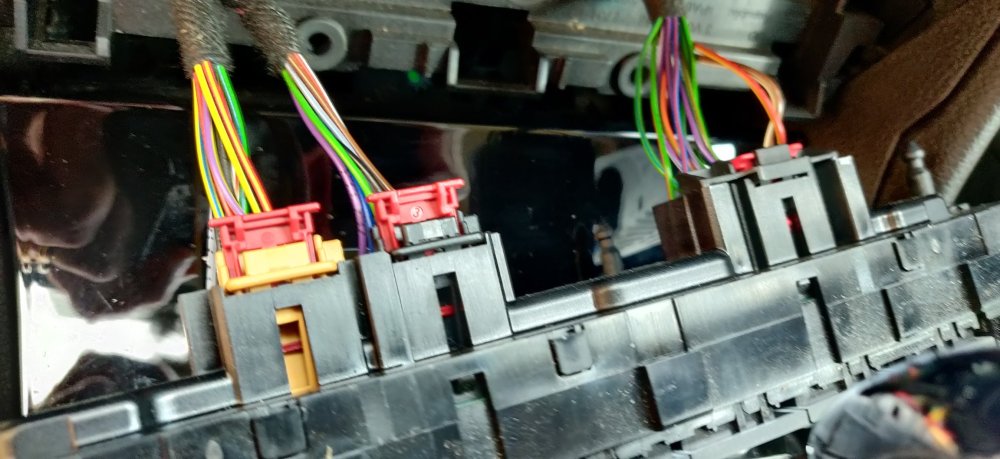
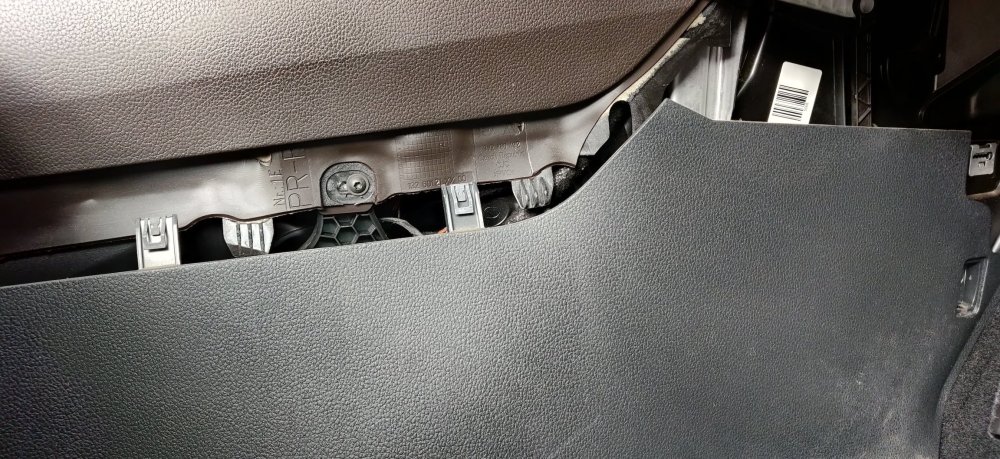
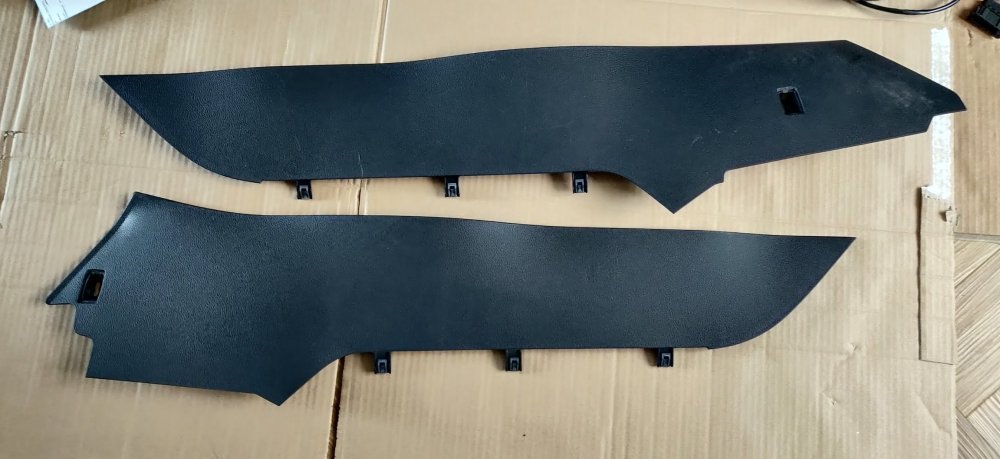
Some random mucking around whilst it's still light outside, and decided to remove the kick panel: So a tiny bit more vacuuming required! What this has done has given me an angle of attack: So the connectors for the BCM can just about be reached: So there's a tiny black tab which keeps the large white swinging bit of the connector in place, so push that in and then get another finger to swing that bit down, and away: Luckily, this is the 73 pin connector that's needed. If I do some more extreme retrofits in the future (read: ventilated seats), then I'll probably need access to the other 73 pin connector, which looks extremely tight in place, in fact, it looks like that connector is actually fouled by it's own wiring, so some brute (yet gentle!) force for moving of the wiring may be required if I need to delve deeper. For now, the connector has a couple of black locking tabs, which when lifted, allowed the two white connectors to be separated from the black housing: It's just about visible on the black connector, with the white part which is doing the locking much more obvious. So having a look at the connectors, they're labelled enough so that one connector containing pin 14 is pretty easy to spot: The photo makes the 13 label for the empty end pin difficult to see, but it implies 14 is next to it, and a white wire is present as per wiring diagrams. I will either need to splice in the wireless charger cable to this one, or do something fancy involving removing this pin from this connector block and some sort of fancy adapter and crimping in order to not butcher the original wiring. I'll have to plan accordingly. So the current retrofits in flight are the wireless charger and the heated steering wheel. At the moment, my other wish list retrofits are ventilated seats and the foot sensor to open the tailgate. Both look like they'd be fairly reasonable price wise if I stick to AliExpress, but both imply even more intricate/fiddly wiring (harness to seats, and harness from front to the rear bumper), but I suppose I'm getting enough experience and familiarity with this interior! I will need to splice extensions to the Kufatec loom, so will be doing that sometime this week, and probably just connect the ground and power to the fuse box whilst leaving the rest of that loom disconnected (even unwired), so that way the intricate fusebox stuff is done and the rest of the interior can actually be reassembled. That way, I can actually get the power up and running, get the car more centred on the driveway, and then presumably turn the car off, but then turn the ignition on and then disconnect the battery, in order to leave the steering column unlocked so I can have a think about changing the steering wheel (or at the very least, hook up the rest of the Kufatec loom). Maintenance: £1678.25 Upgrades: £765.68 Miscellaneous: £603.58
-
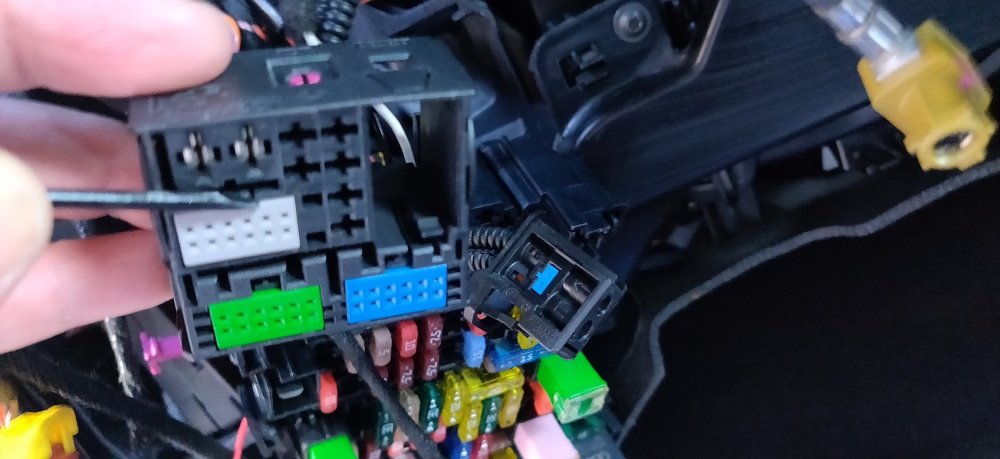
I've spotted this post: So the diagrams I've seen thus far have a rectangular cover which slots just over the Bowden cable mechanism that is installed in the seat, rather than this slightly larger version which appears to cover the hinge as well... Did some additional swotting on lllparts and found https://www.lllparts.co.uk/product/3G0886295B and https://www.lllparts.co.uk/product/3G0886296B which is different from what I ordered. Decided to order those from Skoda parts, as it looks like it covers the lower corner, which might be useful if I'm a bit more cack handed than I'd like when I start butchering the seat foam and upholstery of the seat cover. I think I've managed to get the red wire for the wireless charger into the requisite slot in the fuse box, so I'll need to actually procure some fuses! More luck than skill though as it's still relatively blind as it's at an awkward angle. The workshop manual suggests that the BCM is lowered down, but firstly the plugs themselves need removing. It's all quite tight down there, so not sure if it's just a case of persevering with my hopefully small enough fingers, or if there's a smarter way to get at them.
-
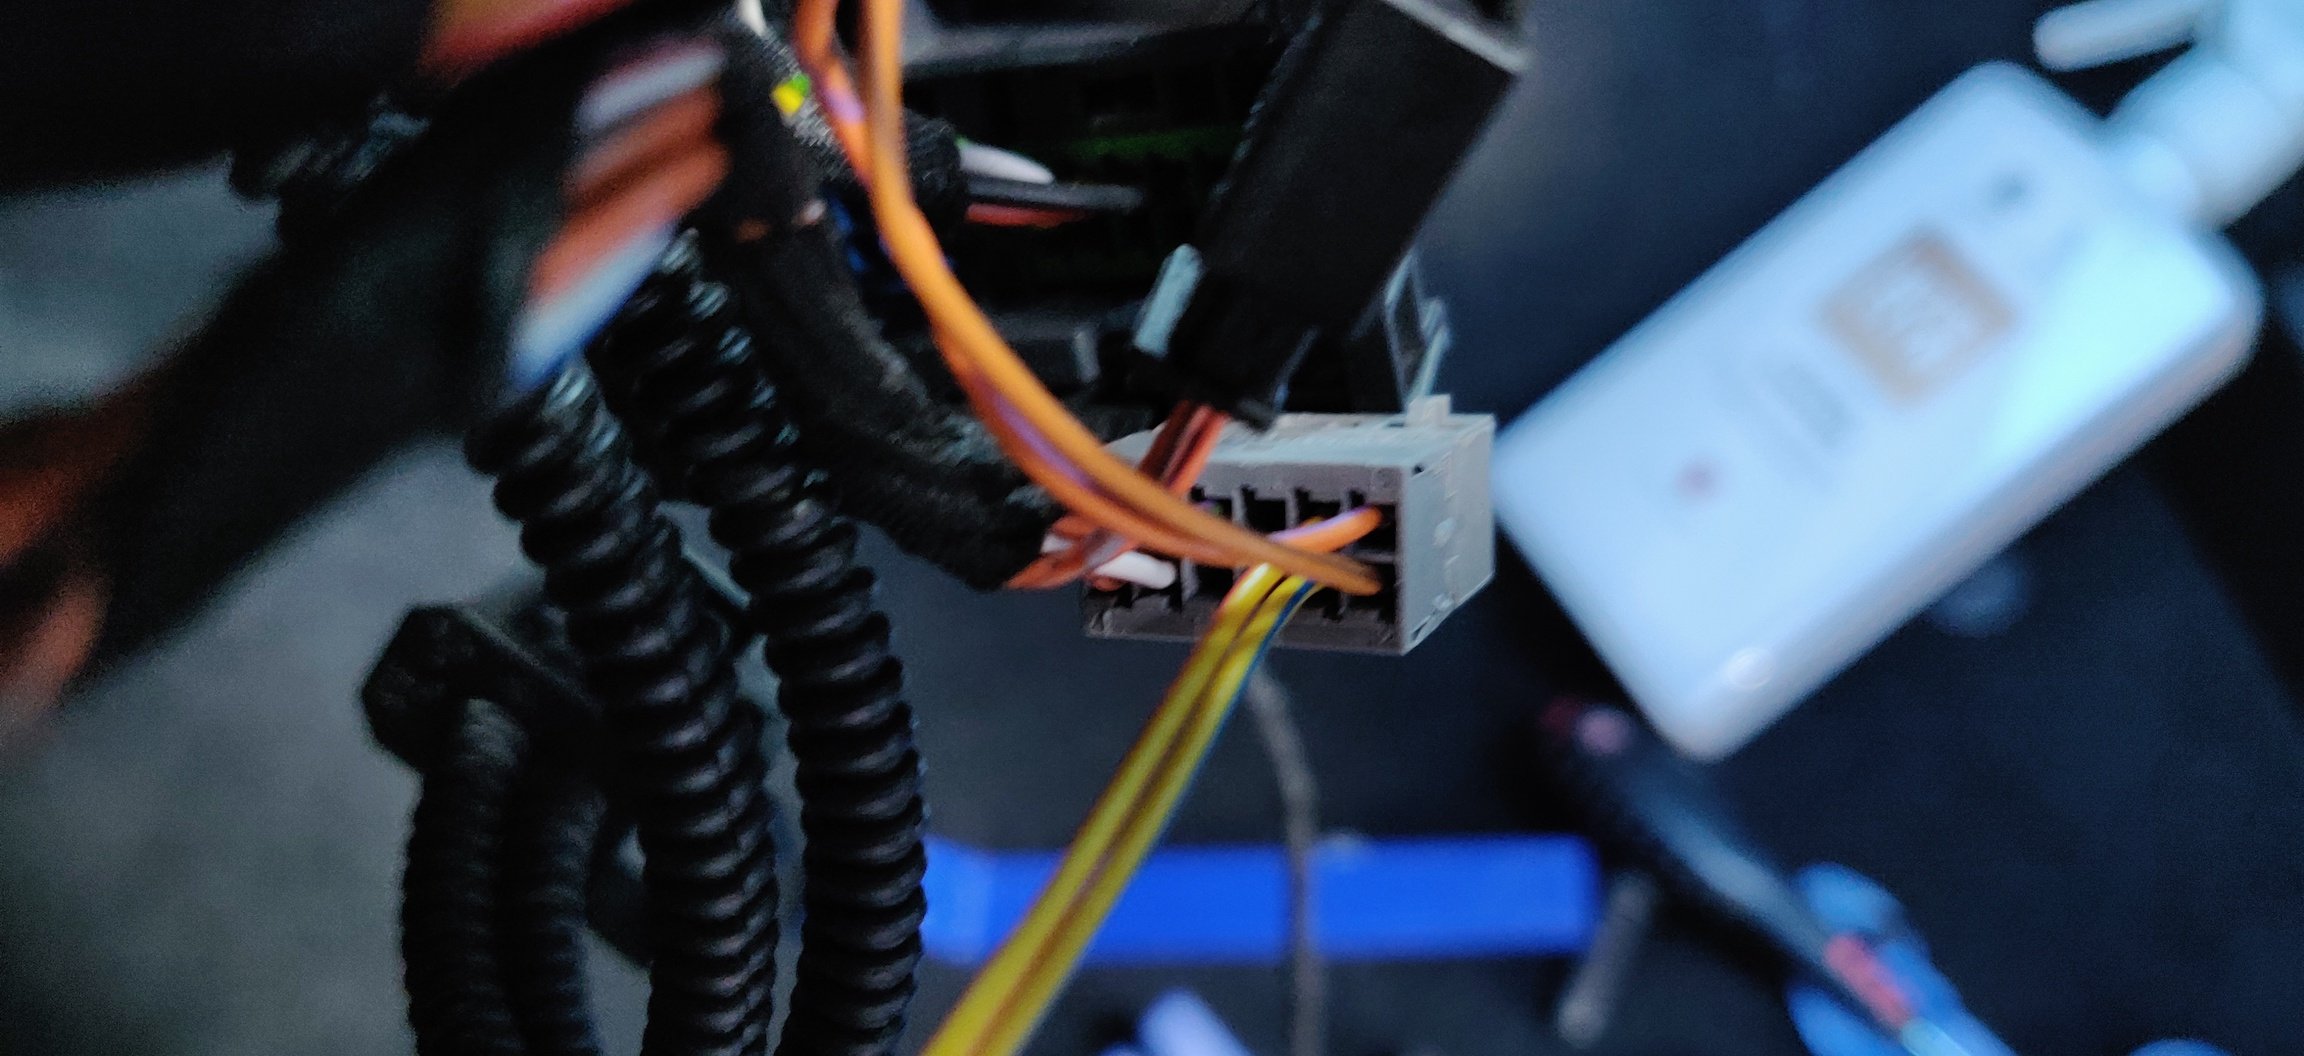
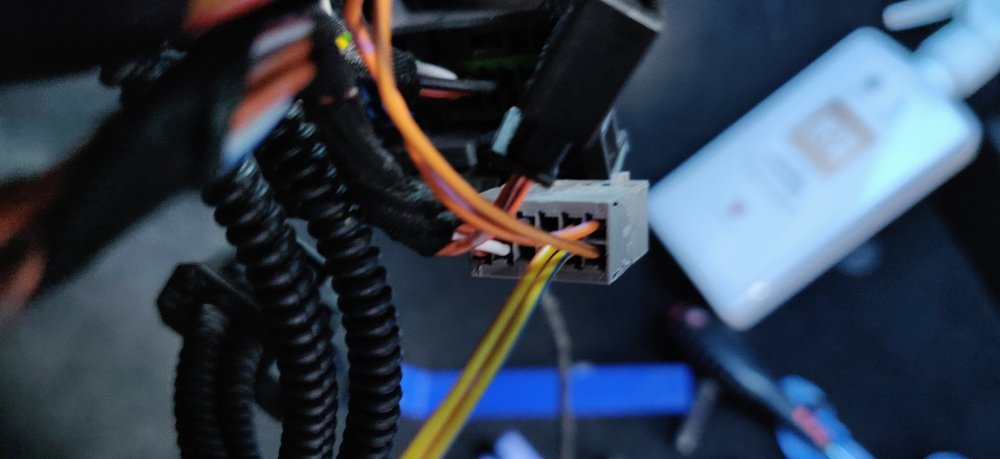
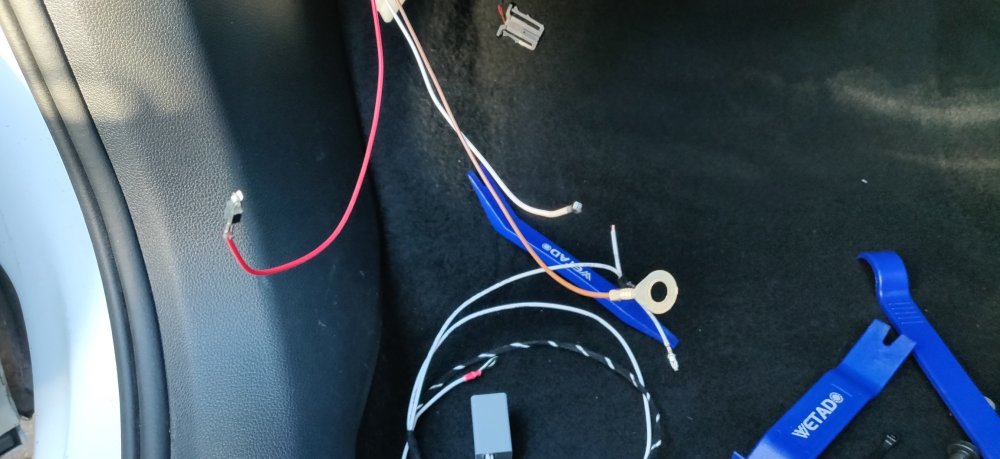
Not so many pics today, sunny day this afternoon so more time spent on the garden than anything, its been underwater for long spells over winter so there's a big cleanup task over the next few months. Anyways, with swathes of the interior in pieces, parts were cleaned up, some under a hot tap with Fairy liquid, before a once over with Autoglym Interior Shampoo, then another with Vinyl and Rubber Care when applicable. The centre console is probably as good as it will get, so is now dry fitted back into the car. Then decided to look at the grey connector I mentioned in the previous post, in order to wire up the wireless charger. Looks like it was actually just a simple latch that kept in place of what I think is called the quad lock connector: Lifting that latch is enough to immediately get the grey connector to come free, so once out, it was a case of adding the two wires to their respective terminals: Just stared at the connector, to identify pins 1-6 on the top row and 7-12 on the bottom, with the yellow and red wire onto pin 5 and the yellow and blue wire onto pin 11. Now, I believe the connector has locking bits that need lifting before the terminal can be inserted, but I ended up just pushing them in until I heard a click, which then lifted said locking bits slightly. Squeezed those back into place, and then returned the connector back to the quad lock block. It only leaves the main power bits I believe: With the Kufatec one for the heated steering wheel. I believe I have been sent the wrong one, as it looks like it won't be long enough. However, it looks to be just the power and ground. There is a random additional power wire which I don't think is needed, so I think it's just a case of extending power and ground as required. Back to the wireless charger, as per the previous post, Fuse 16 will be its intended connection, and I've noticed from other posts that there's purple plastic bits on the side which act as the locking tabs for the fuseboxes on a row by row basis. I still can't seem to twist the fusebox around enough to get access to the back, so either something else needs undoing, or I'll have to try and insert it relatively blindly. The ground will probably be attached to one of the bolts nearby on the metal dashboard frame, simply as its nearest. I'll need to plan how to do the last remaining white wire. From this part of the workshop manual: J519 RHD T37c.pdf It appears that the 73 pin connector, specifically pin 14, is the "Input of interface for entry and start authorisation -J965- (Wake up wire)" so related to the Kessy gubbins. I can see where this particular connector is, nearby the intended ground point really, but how I splice this wire into the existing wire, no idea. Will be extremely difficult to do in a way that isn't butchering the existing wiring (which I'm loathed to do). Maintenance: £1678.25 Upgrades: £765.68 Miscellaneous: £603.58
-
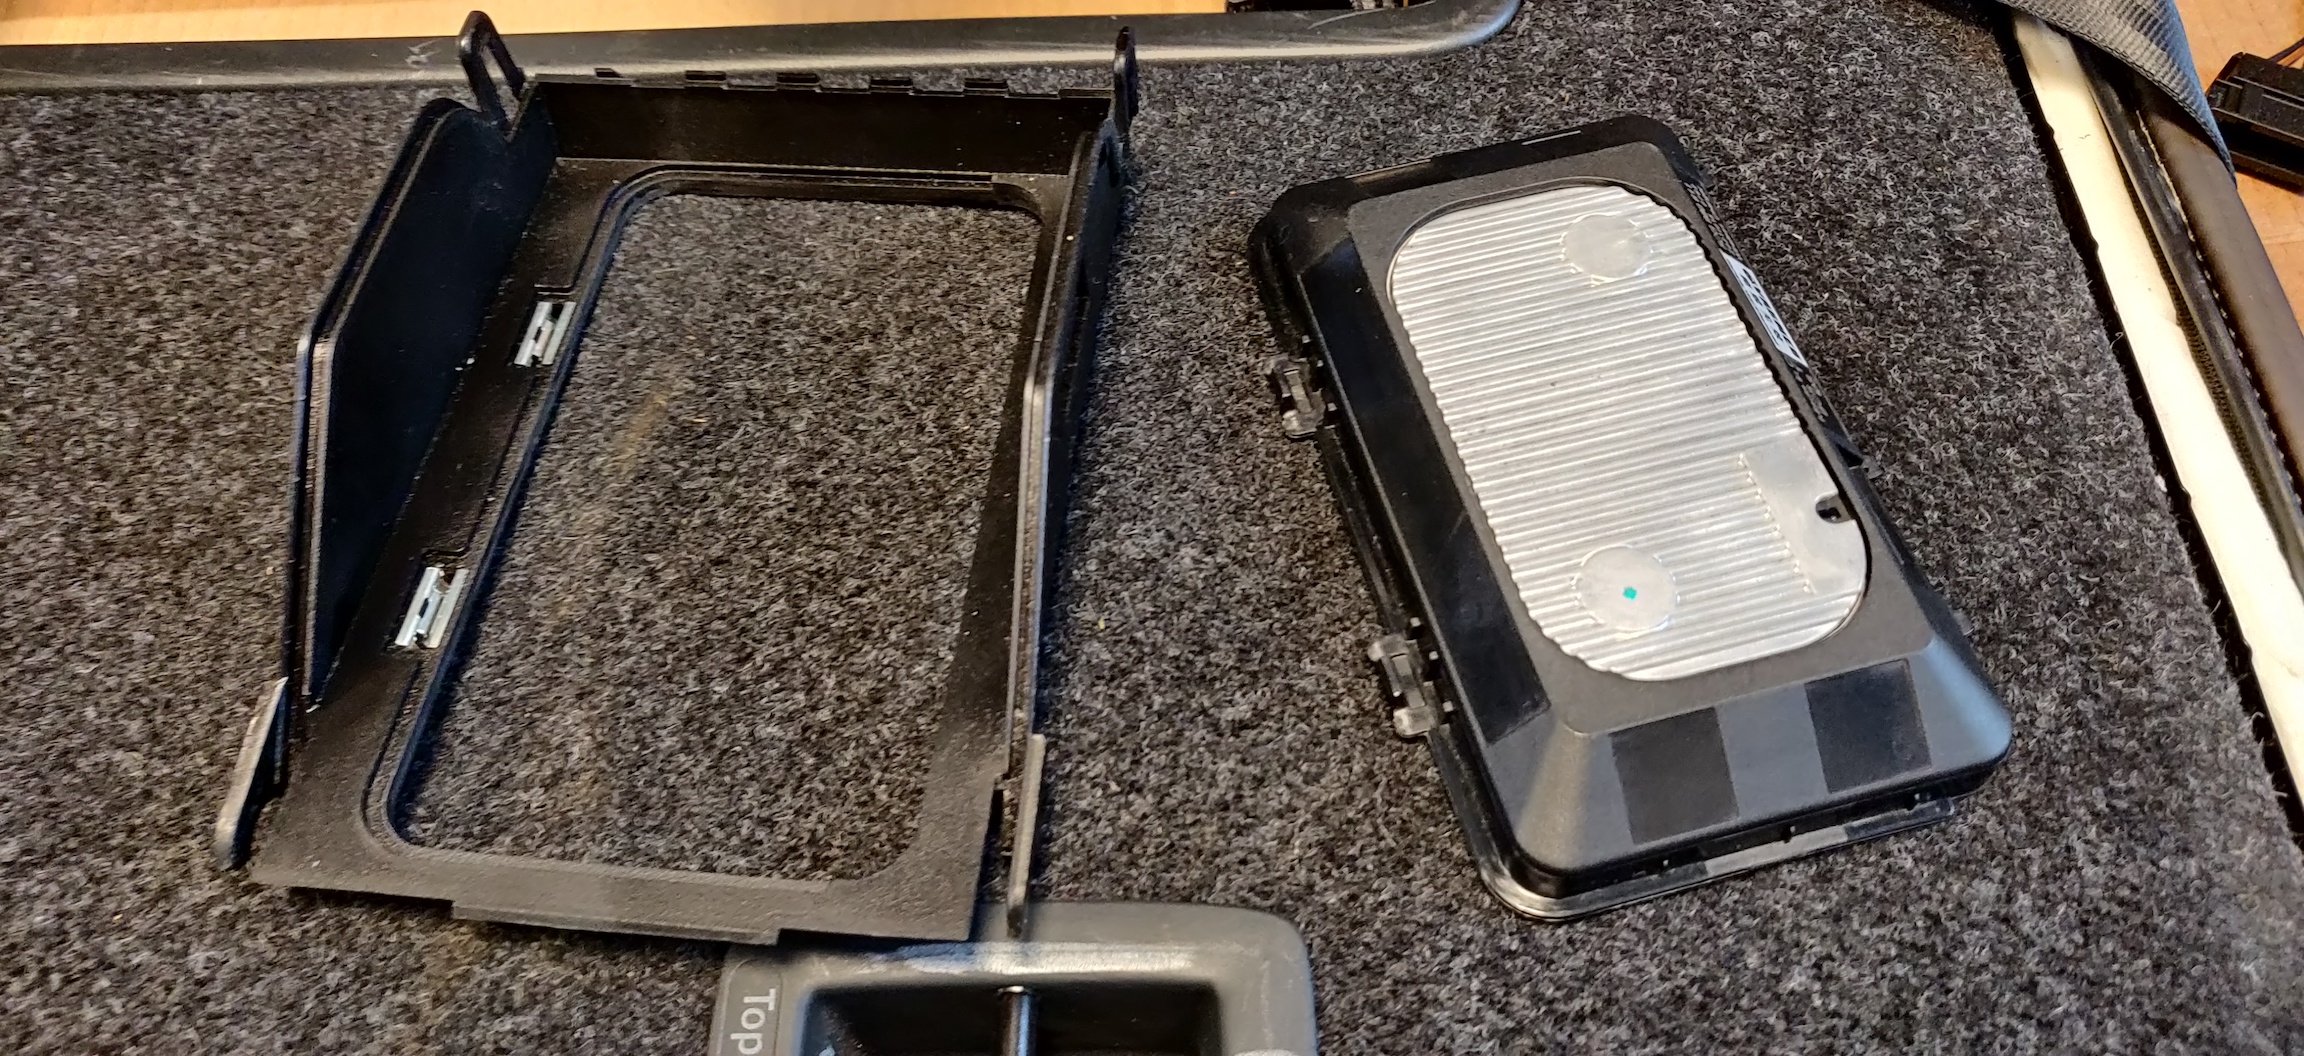
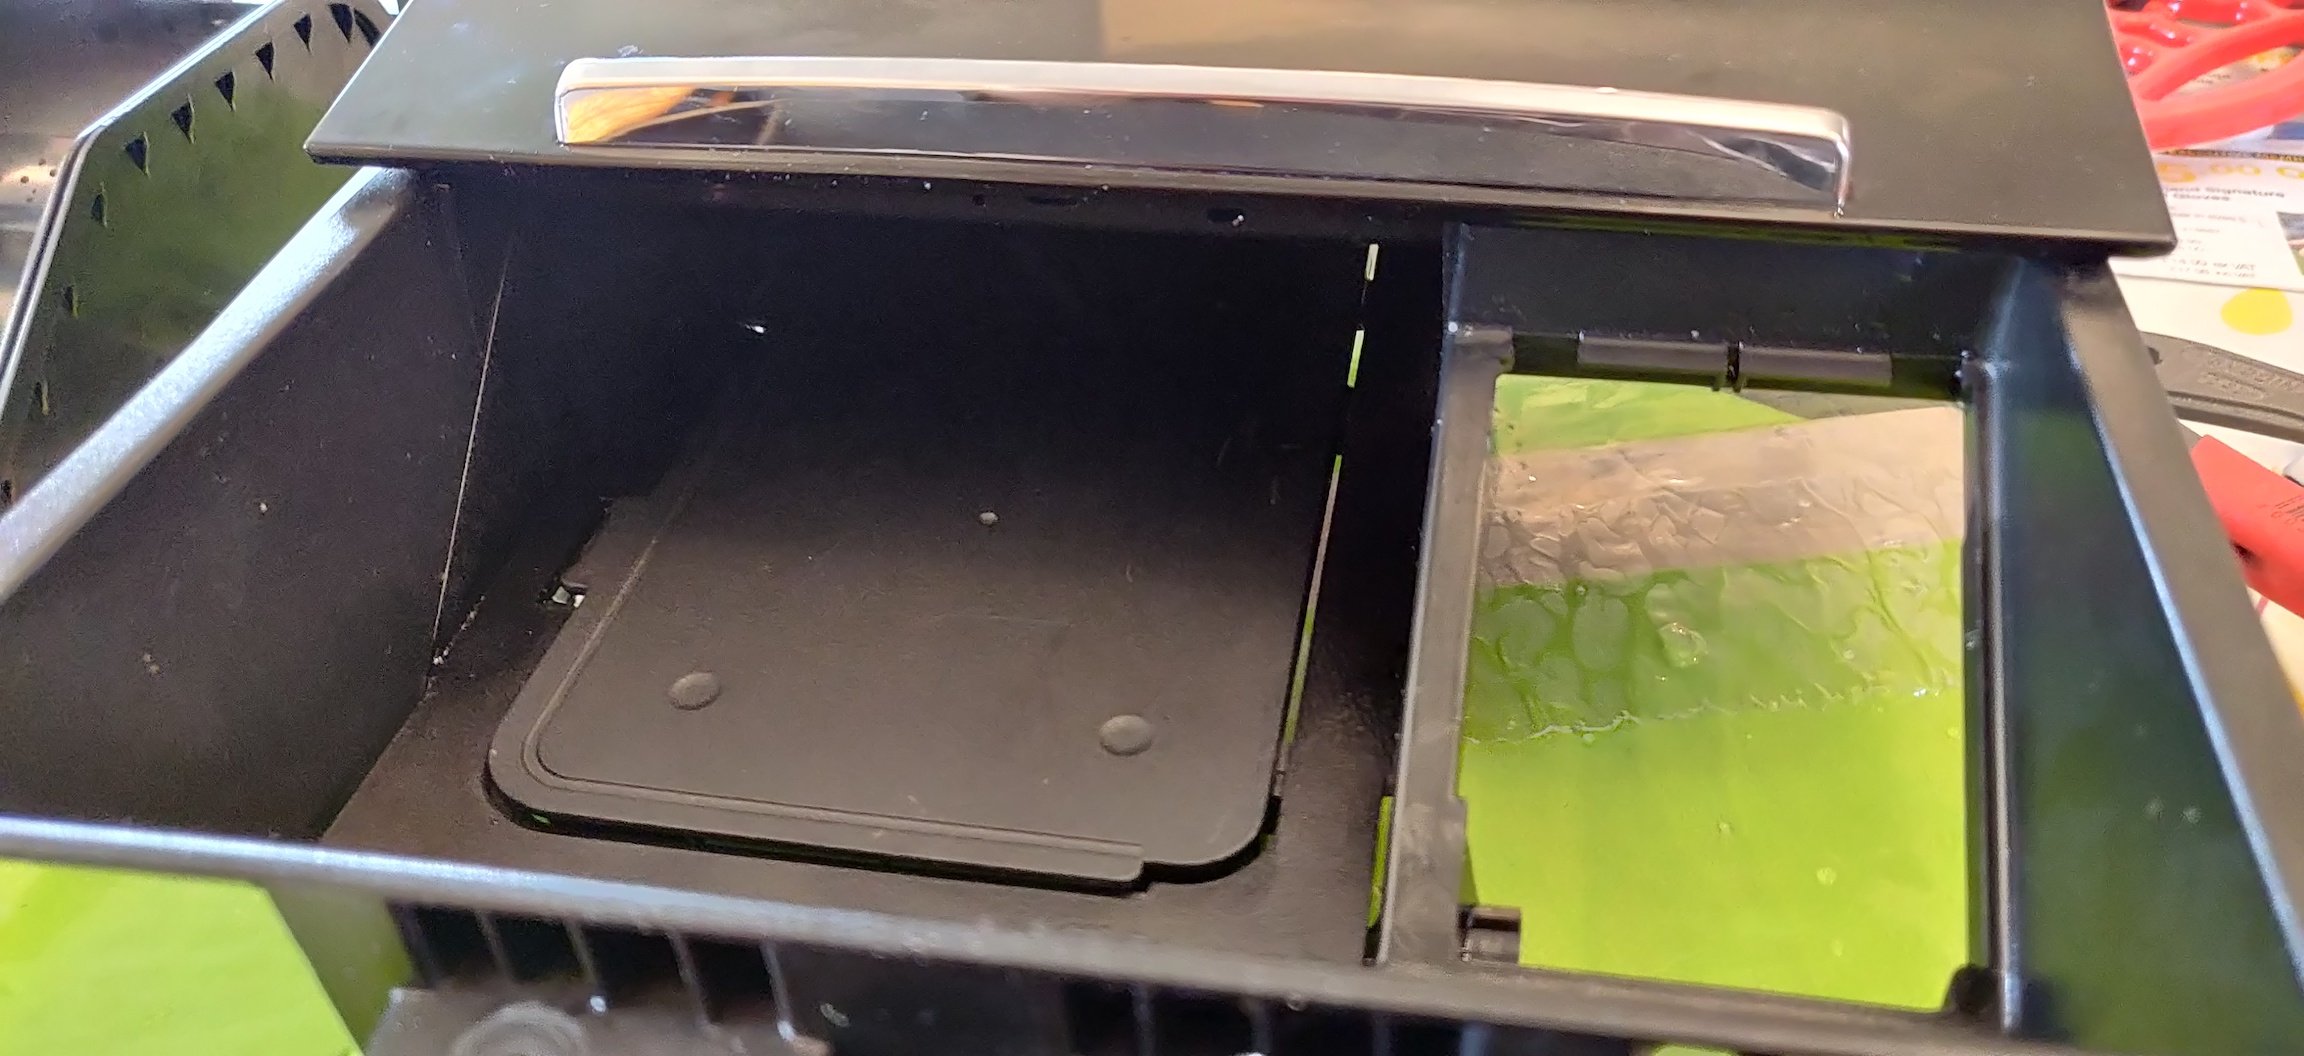
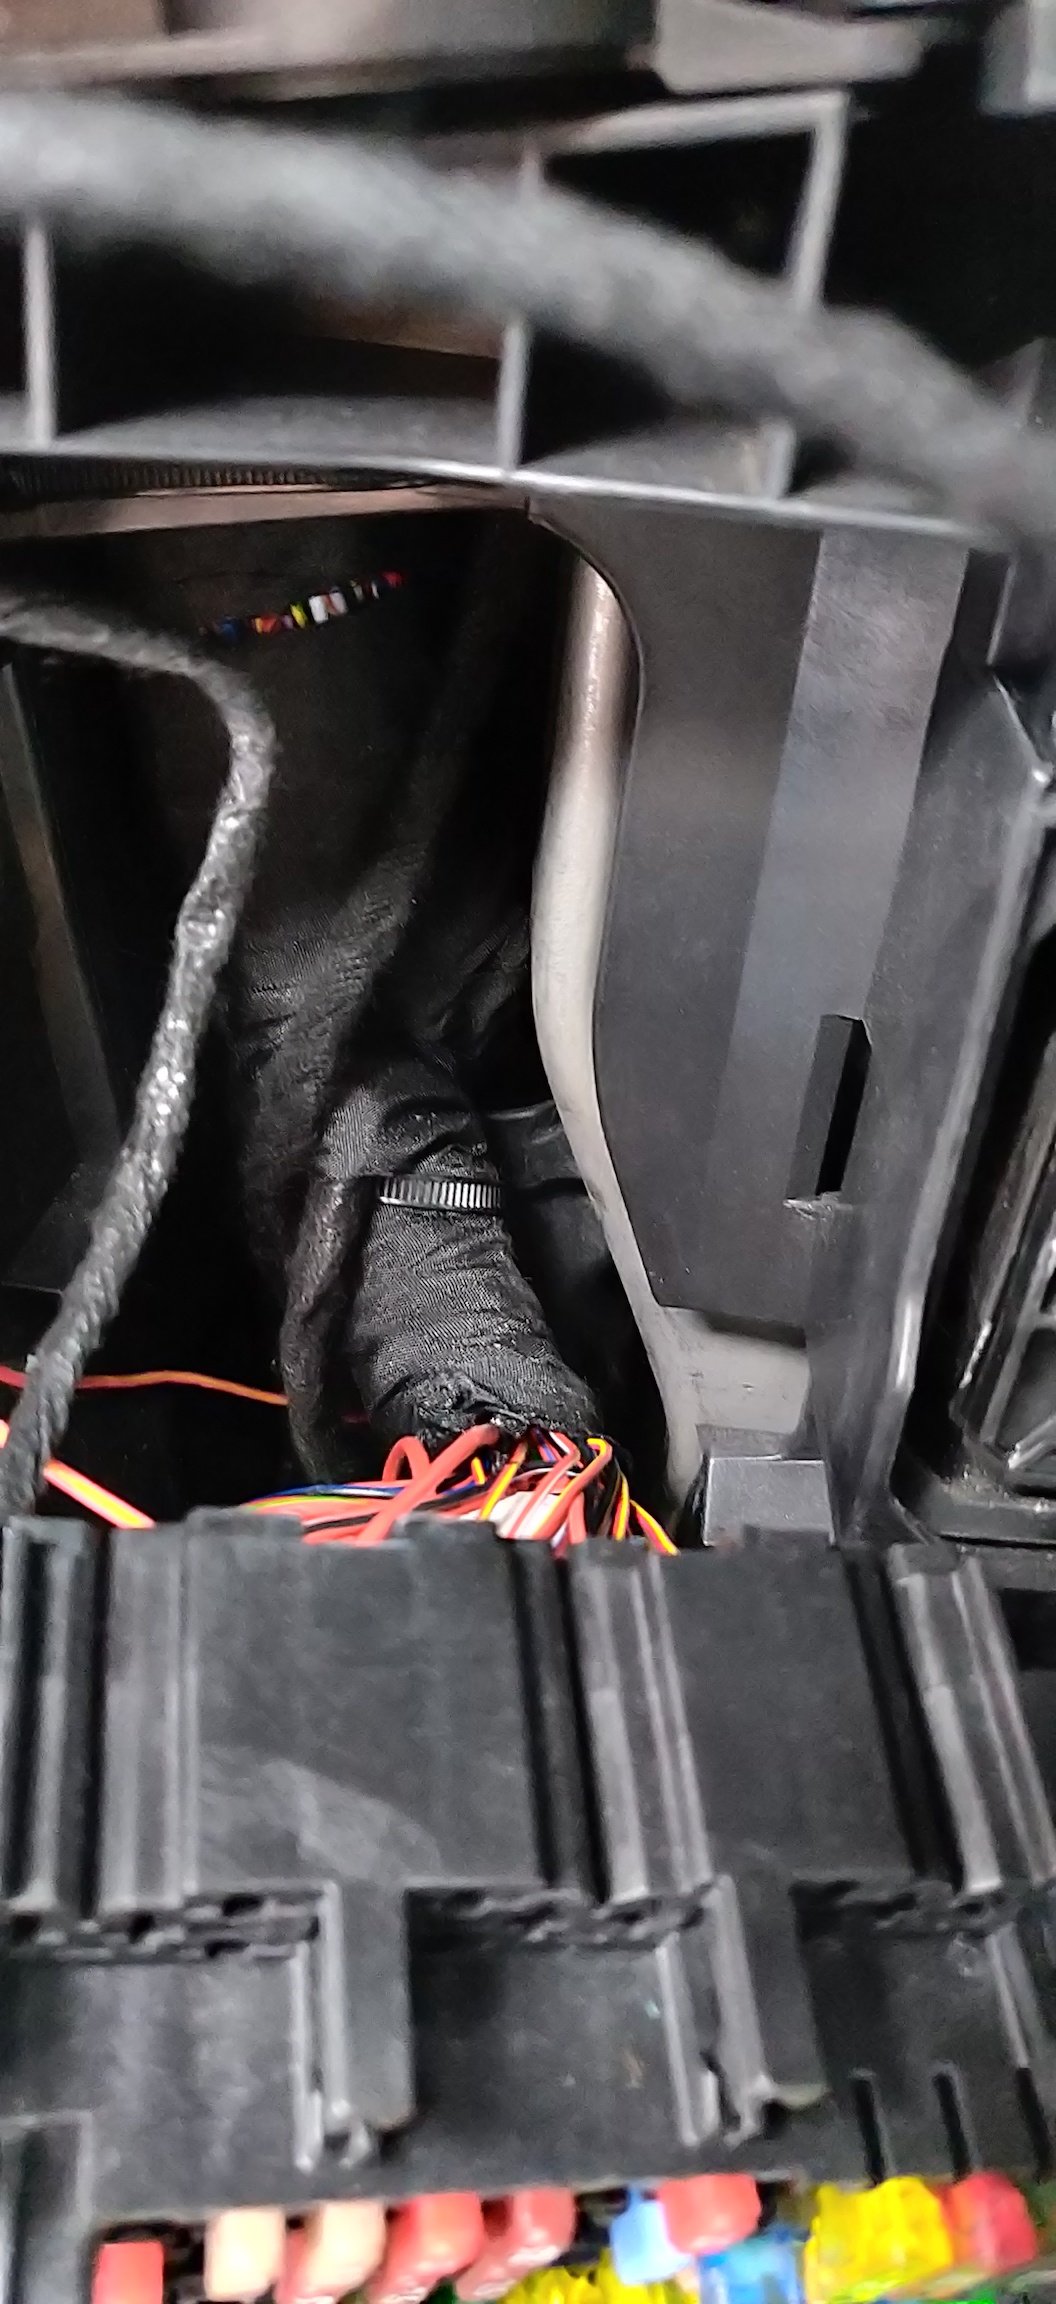
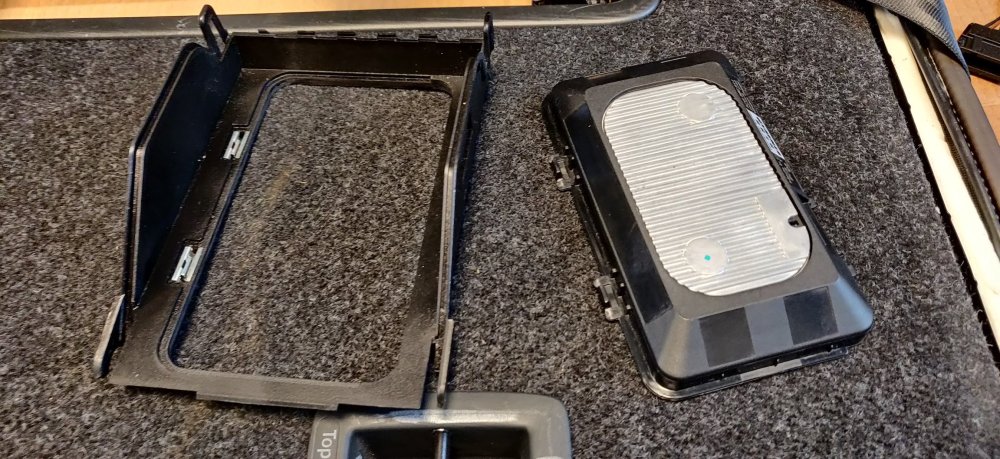
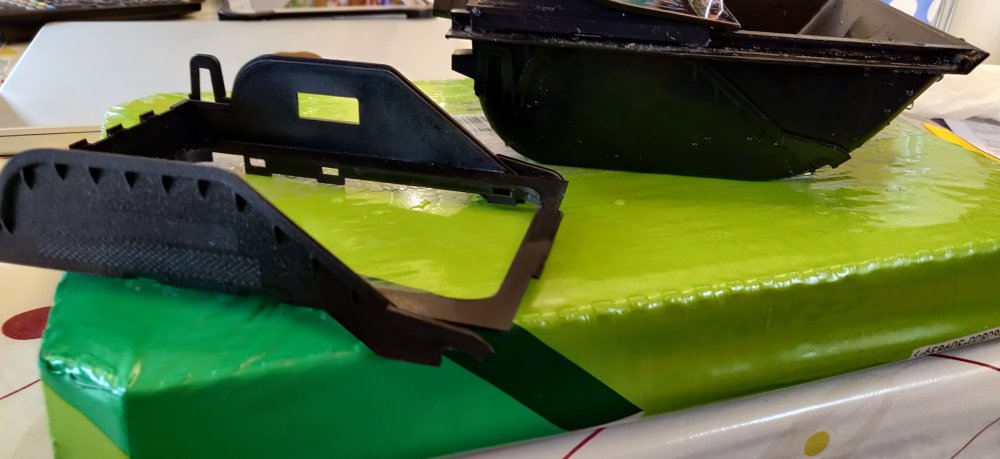
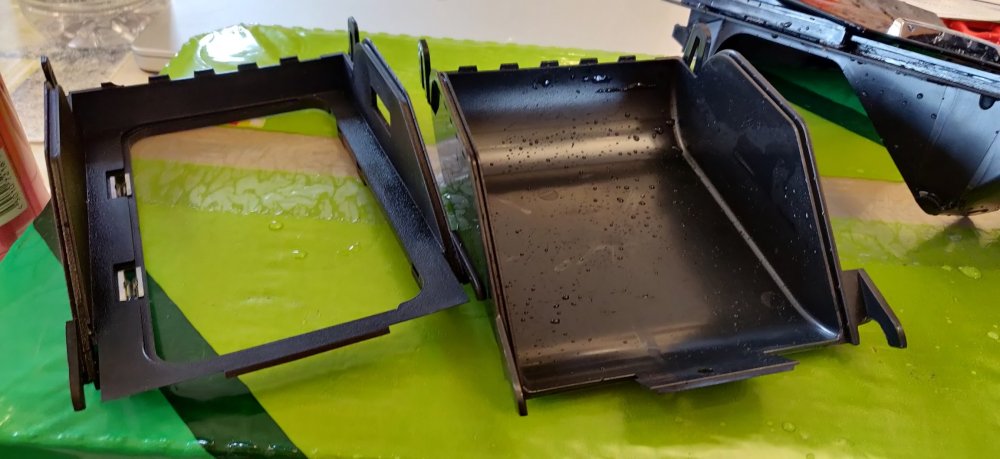
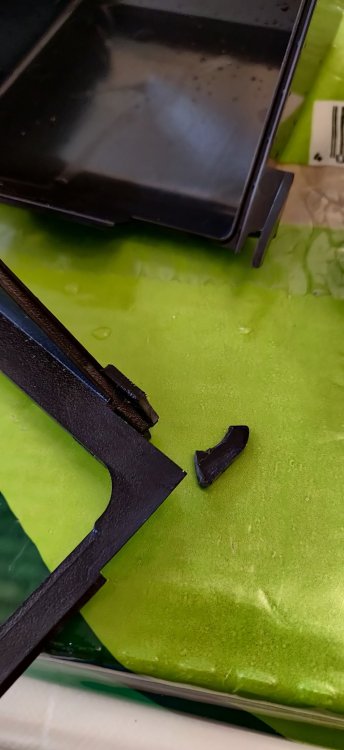
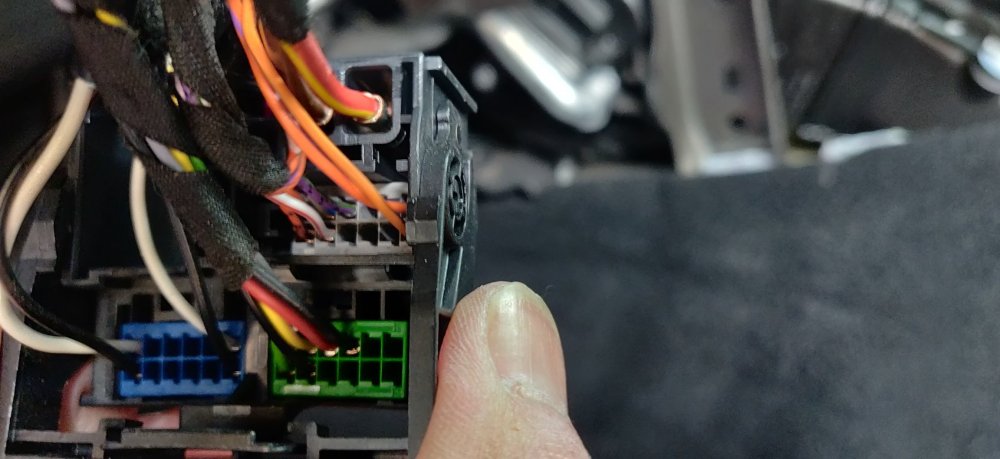
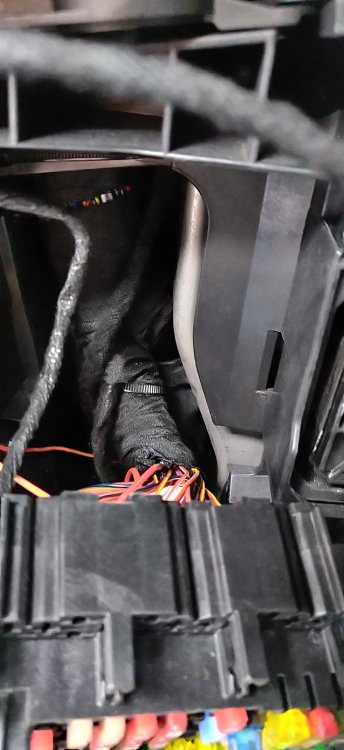
Now for something completely different: This is probably pointless, but heck, why not. A wireless charger that should fit in the storage compartment. AliExpress https://www.aliexpress.com/item/1005006105481992.html which I paid £54.58, it looks to be cheaper now. It also included a wiring harness, which isn't in these pics, as I've sneakily already dry fitted it into the car (given chunks of the interior is now removed, this is best time to do anything like this). This particular charger doesn't contain a connector for the aerial, like I've seen on others on AliExpress and genuine. I didn't actually see any connectors that look like it might serve that purpose when I removed the storage compartment from the car, so presume it isn't on this car anyway, which is more luck than intention. So it looks like the plastic frame on the left has slots and clips for the charging cradle to clip into, so it's a case of attaching this frame to the storage compartment: I took this opportunity to give the compartment a good run under the tap and a quick wipe down and clean. I cleaned out the slot and mechanical bits that the lid rides on, and sprayed some dry PTFE along those bits. Hopefully it's good for a while yet. The frame has a couple of hooks on the rear, which match whats on the compartment, so this was unlatched on the compartment, and then it comes away: Now, the frame doesn't go into the storage compartment straight away. It looks like whoever designed it obsessed over symmetry as opposed to actually fitting. The right front plastic tab bit is slightly further away on the original, but is the same length on this replacement frame. Decided the easiest path is to bodge it: Just got some pliers and came it some to break it free. This then allows it to slot in quite snugly: The charging cradle then goes in: Unfortunately, it doesn't look like a perfect fit, and doesn't click in place in a satisfactory manner. It'll either need more force or I just deal with it. No instructions came with this is regards how its wired up, so I've done some swotting. This seems to be the best summary from https://forum.obdeleven.com/thread/6451/help-installing-wireless-induction-charger: So cross referencing some of the workshop manual bits, the fusebox connection looks most apt at Fuse 16: 20240316 61 Fuse 16.pdf Which is meant to be 5A. So that's one. There are a pair which are yellow with different stripes, correlating to what should be the grey connector pins 5 and 11, which I suspect is this one: I haven't figured out if the grey connector comes free from the big block, but even if not, should be able to insert the pins in as appropriate. I suspect there are ground points behind the passenger side kick panel, so that's something I can remove from the car to have a look later. The connection to the BCM will be something that is kicked down the curb. It sounds easy enough to connect or splice in, but I doubt anything involving a 73 pin connector is going to be straightforward. So tried to gauge how access to that fusebox is. It came away easily enough with the clips around the side of the fusebox, but the fusebox only came out a certain distance: Annoyingly, can't seem to get enough clearance to easily access the rear to insert any terminals for the fusebox, which would include this wireless charger in addition to the heated steering loom from Kufatec. If anyone has any advice to easily reach the back, let me know! Maintenance: £1678.25 Upgrades: £765.68 (+£54.58) Miscellaneous: £603.58
-
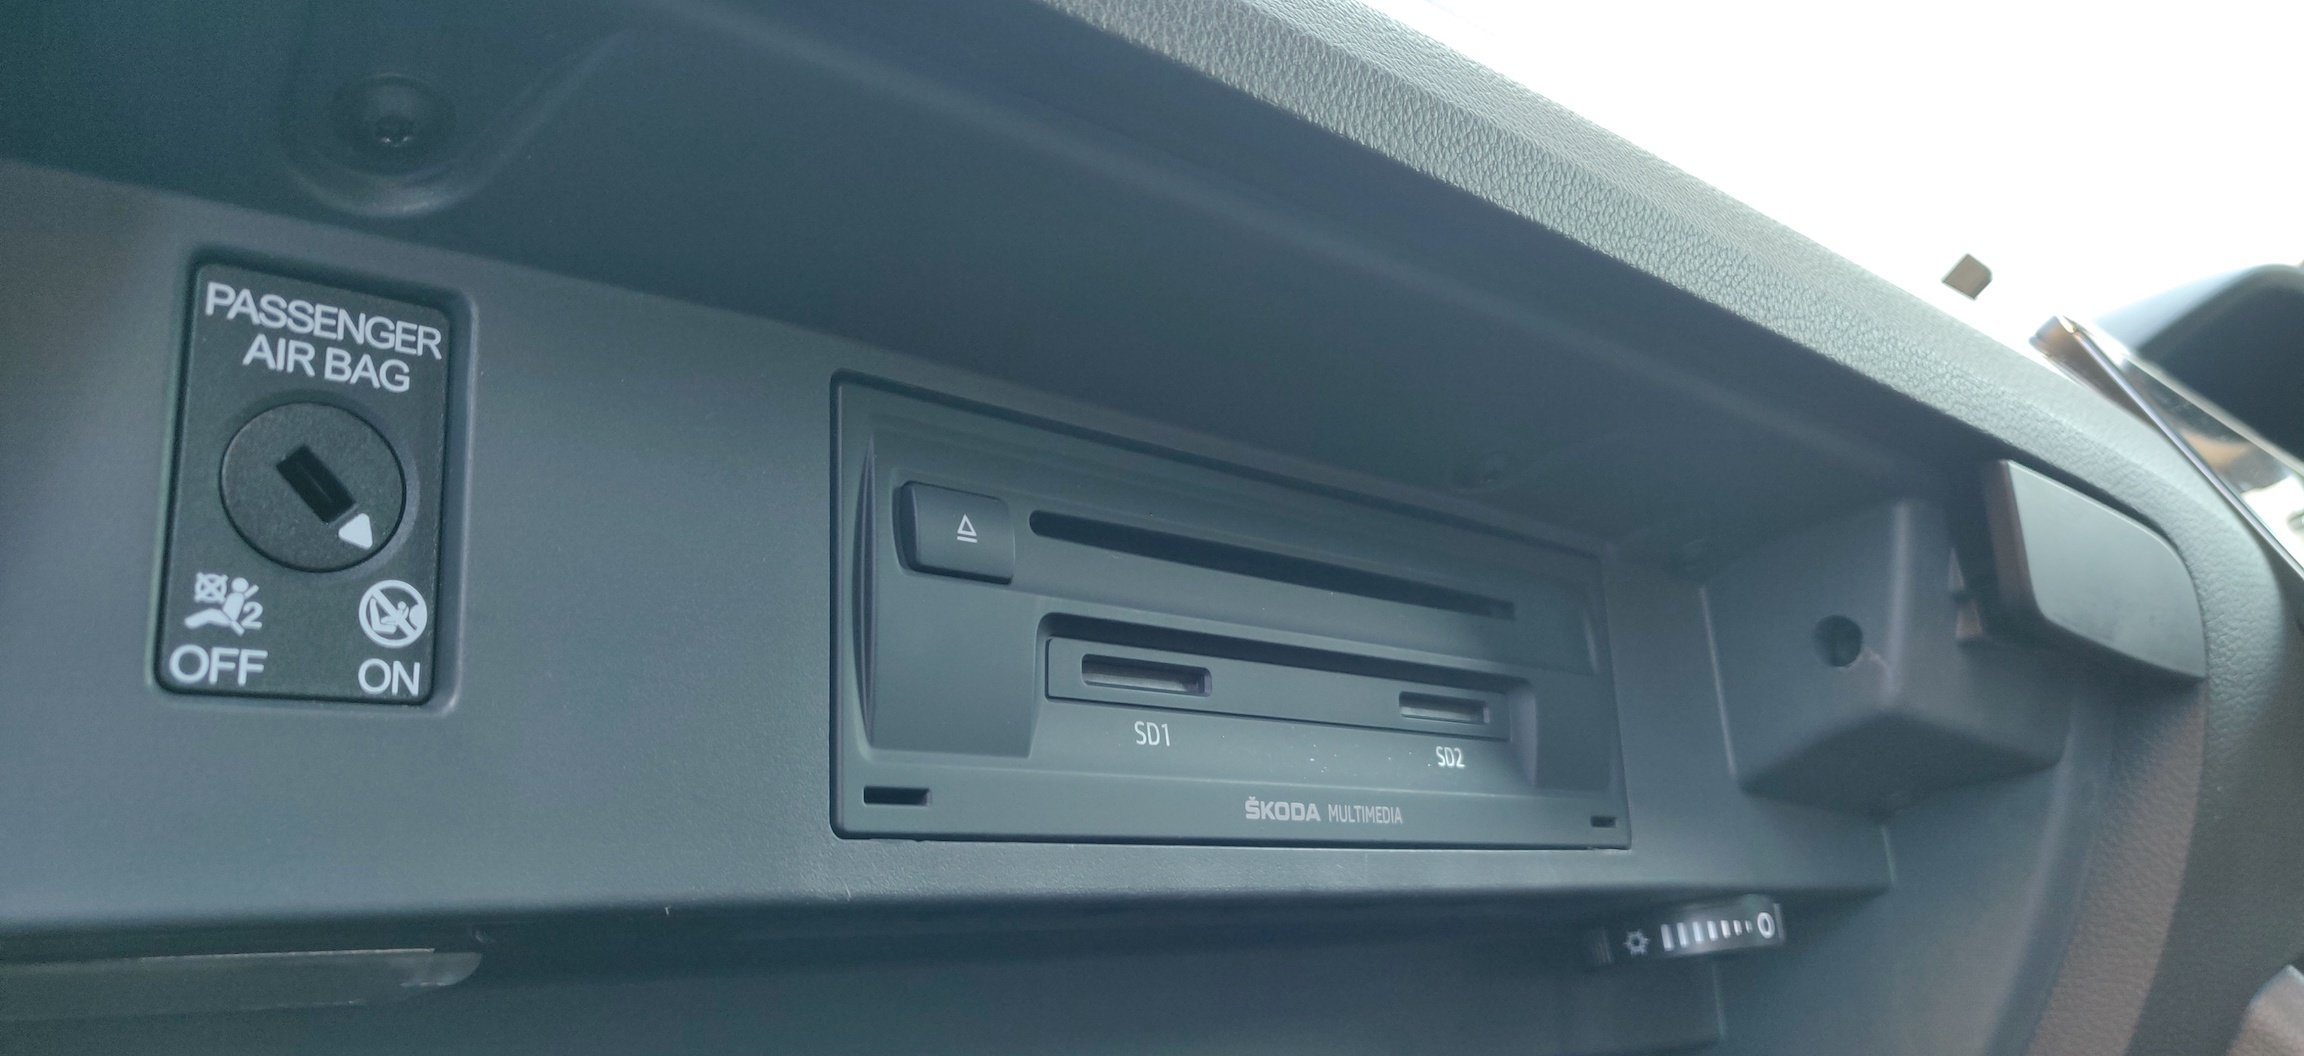
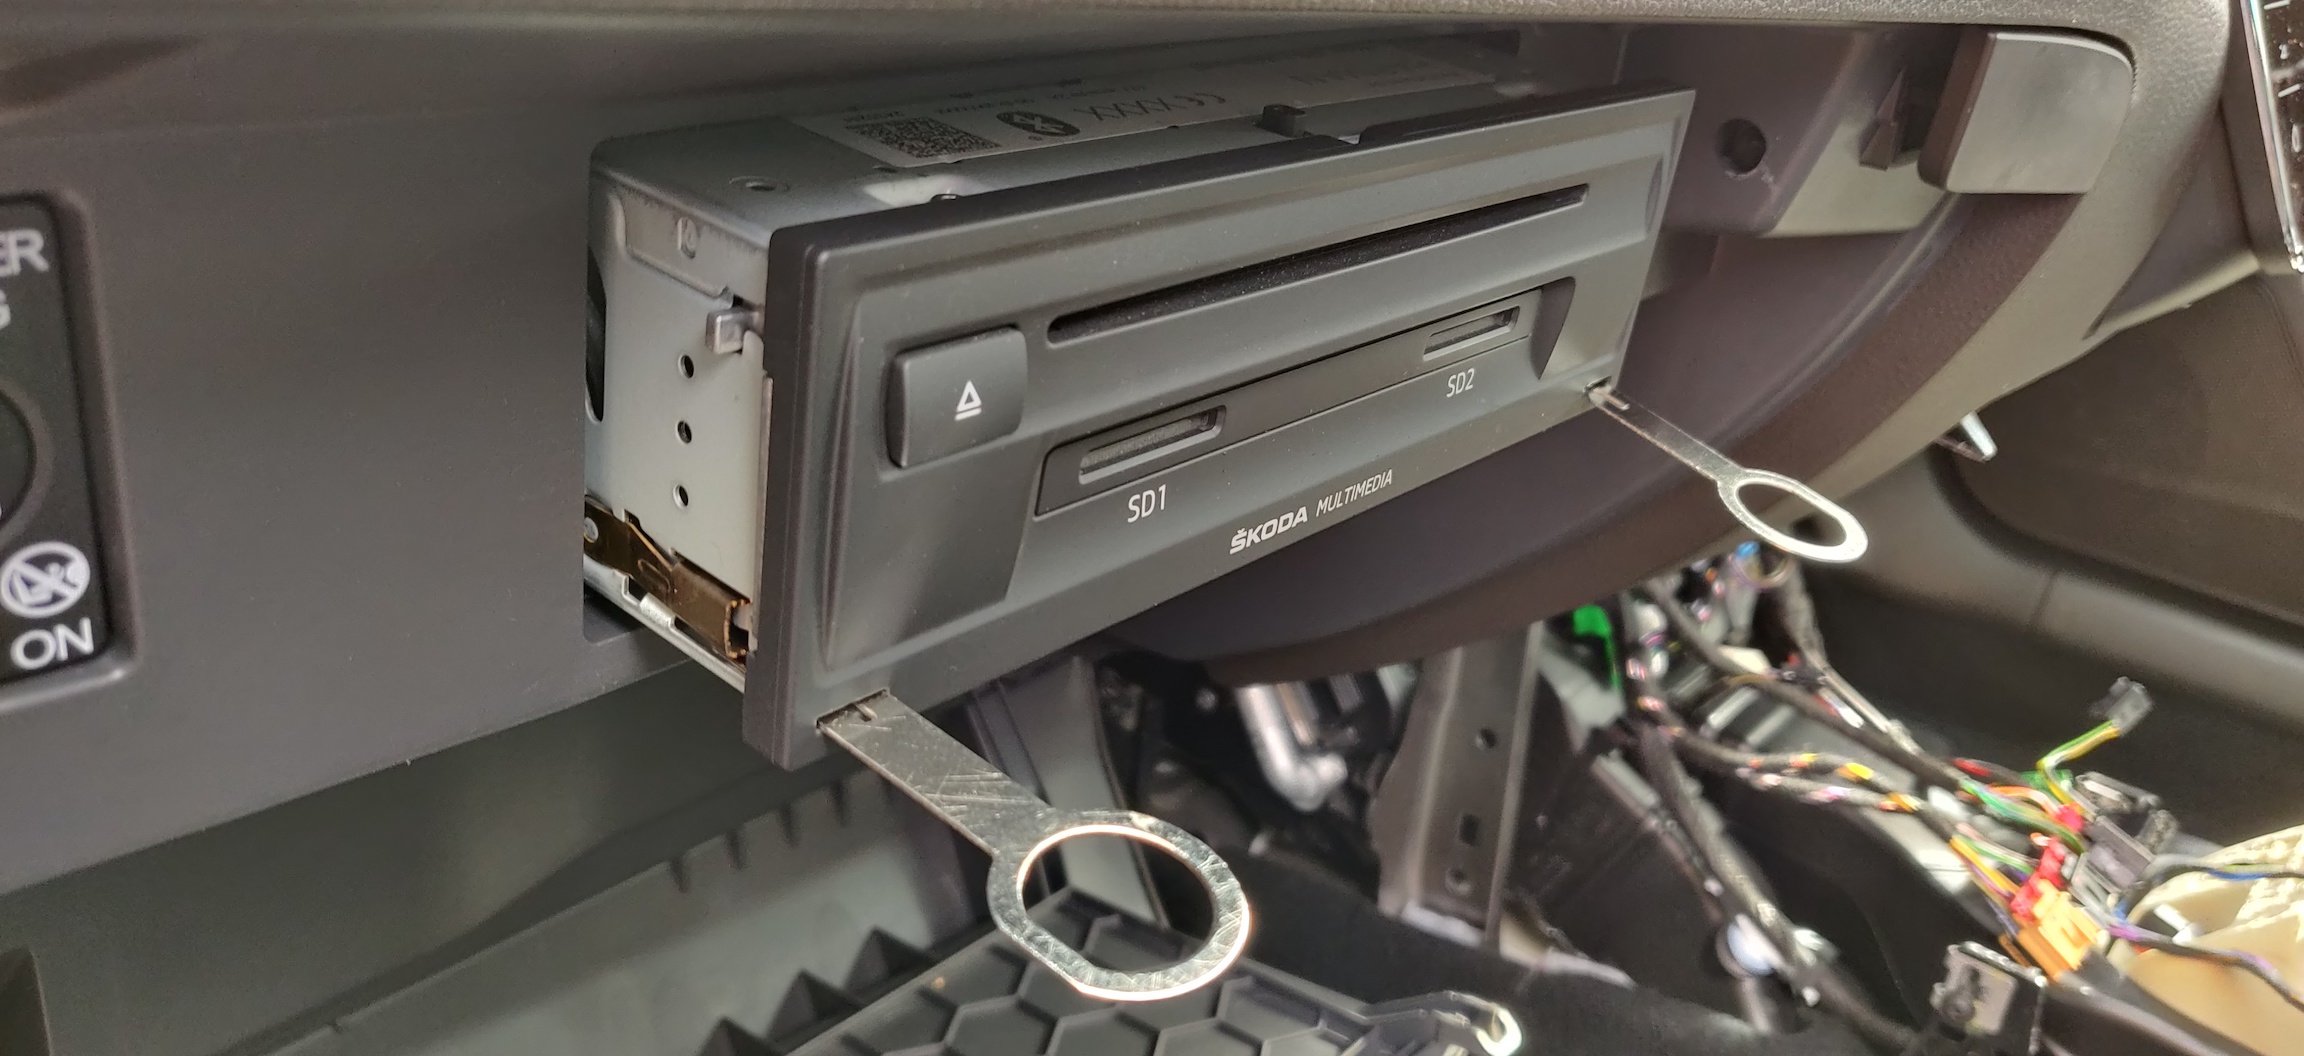
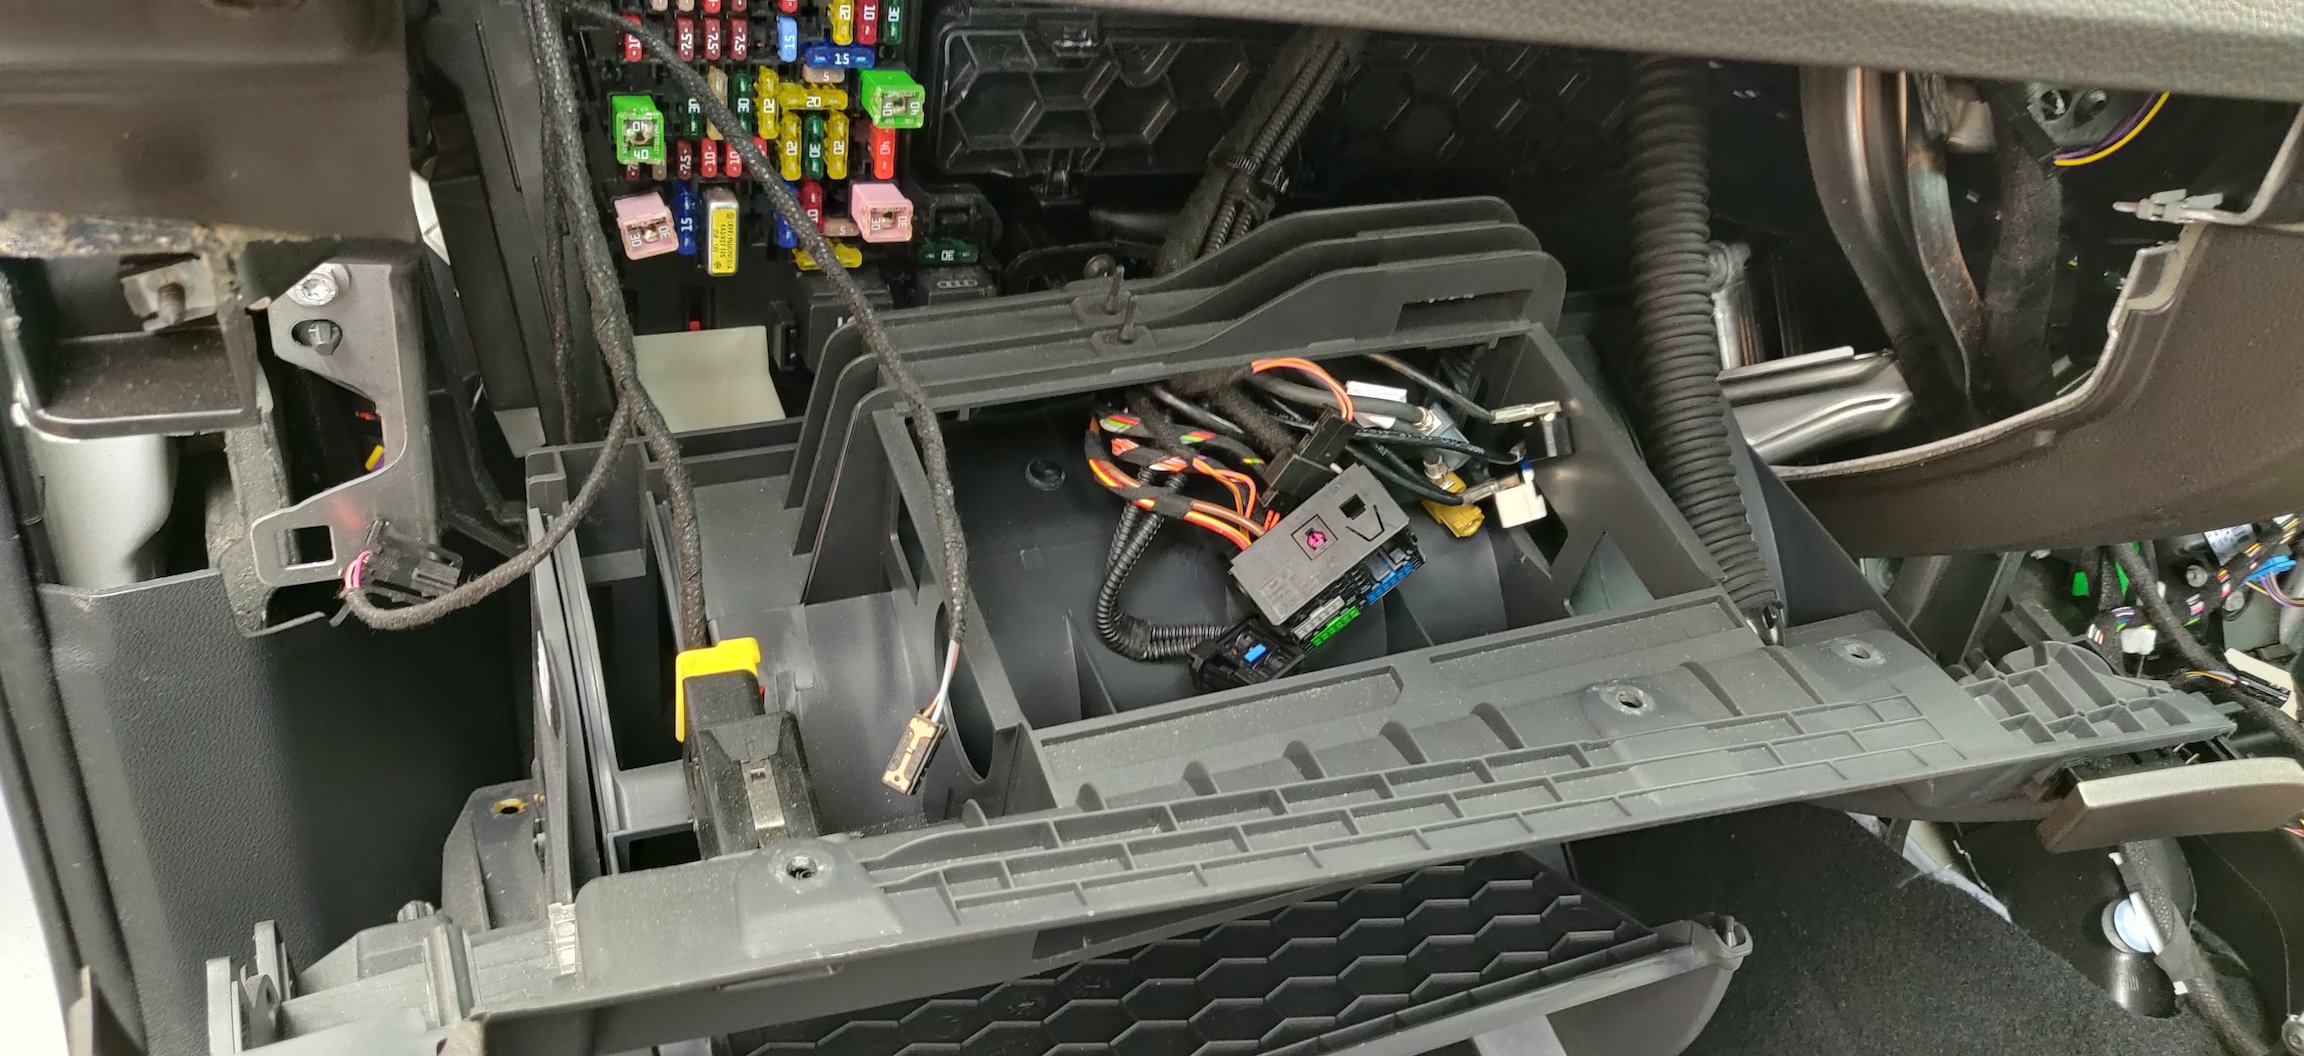
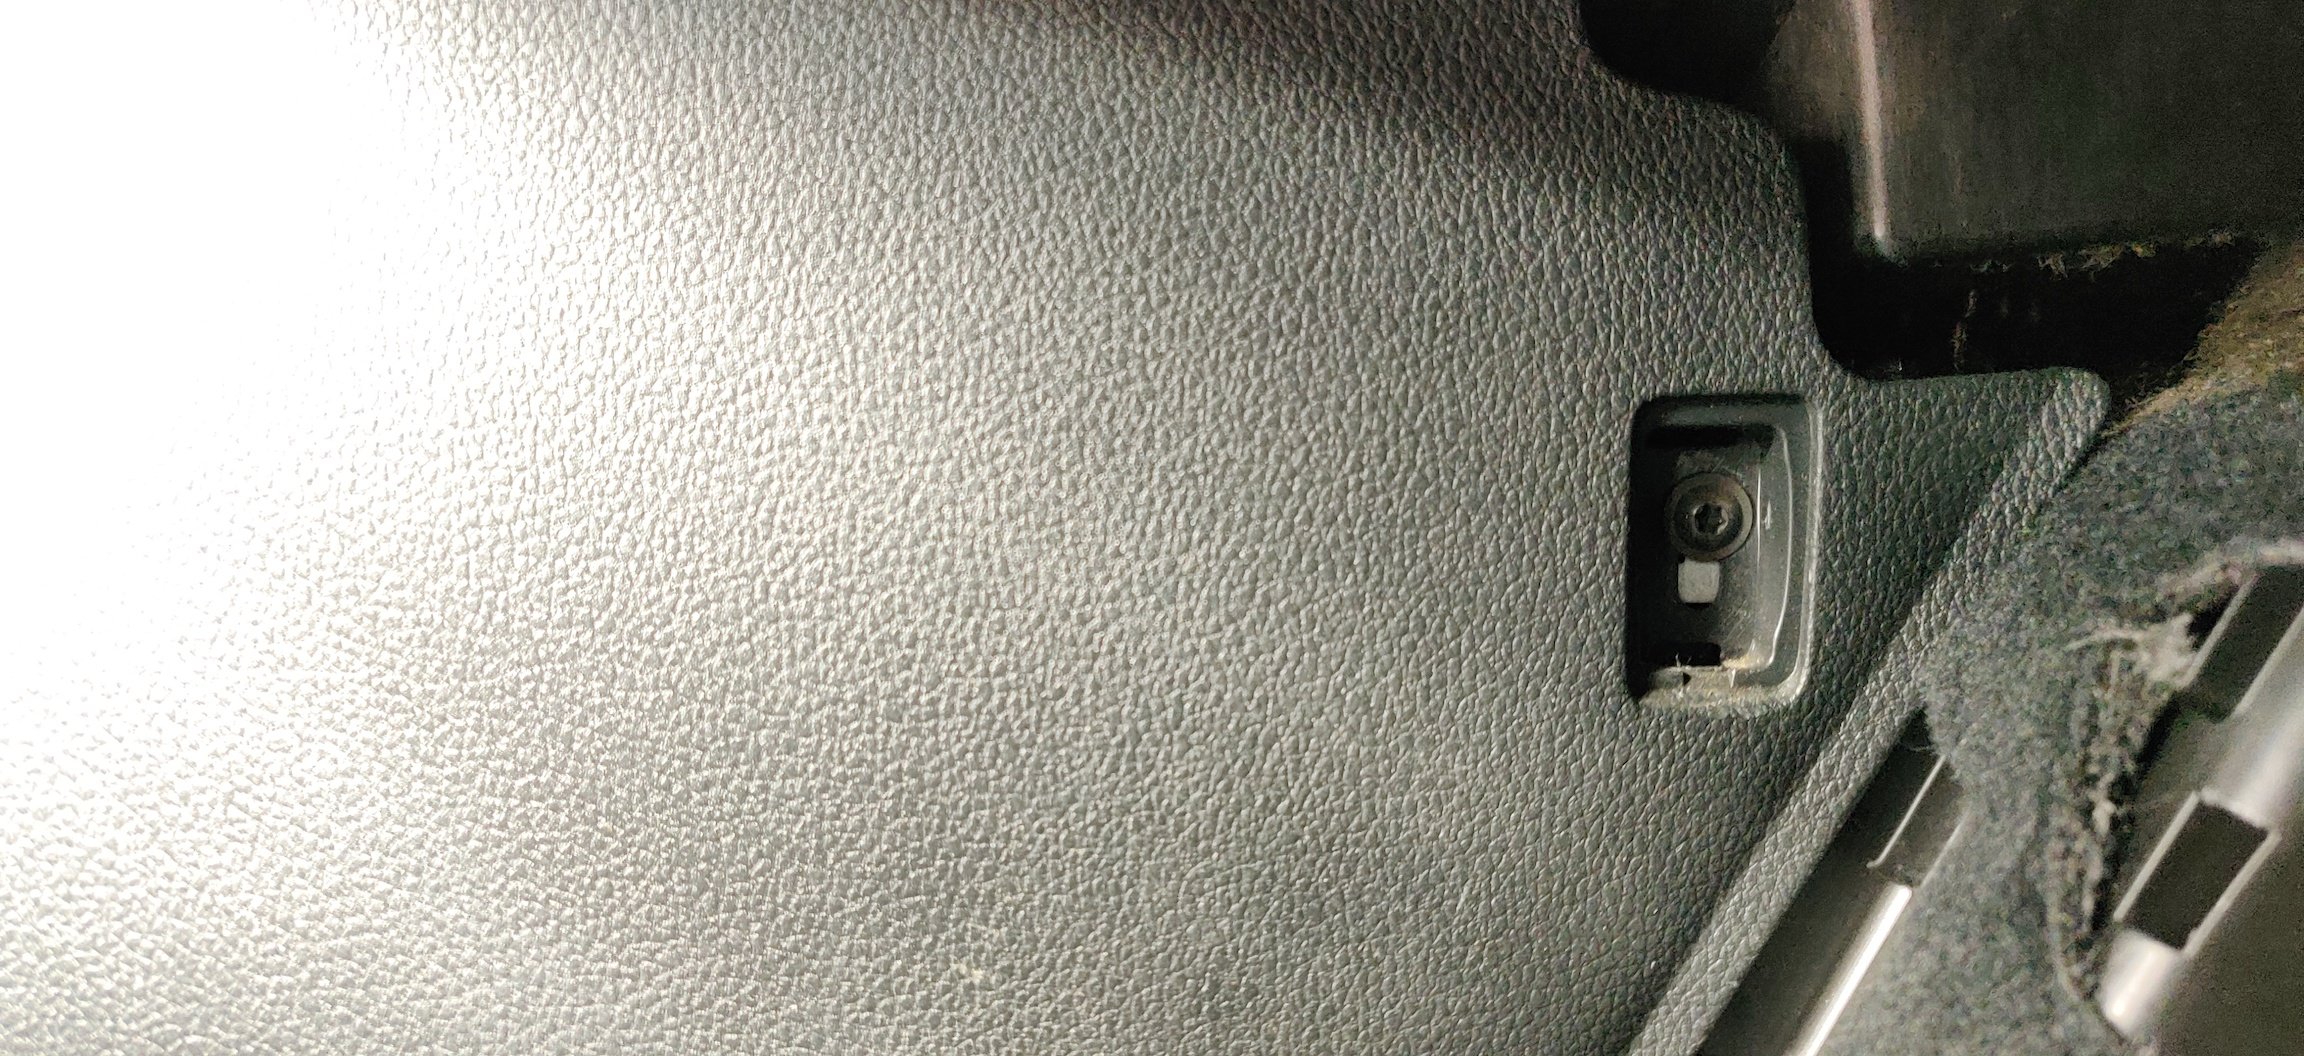
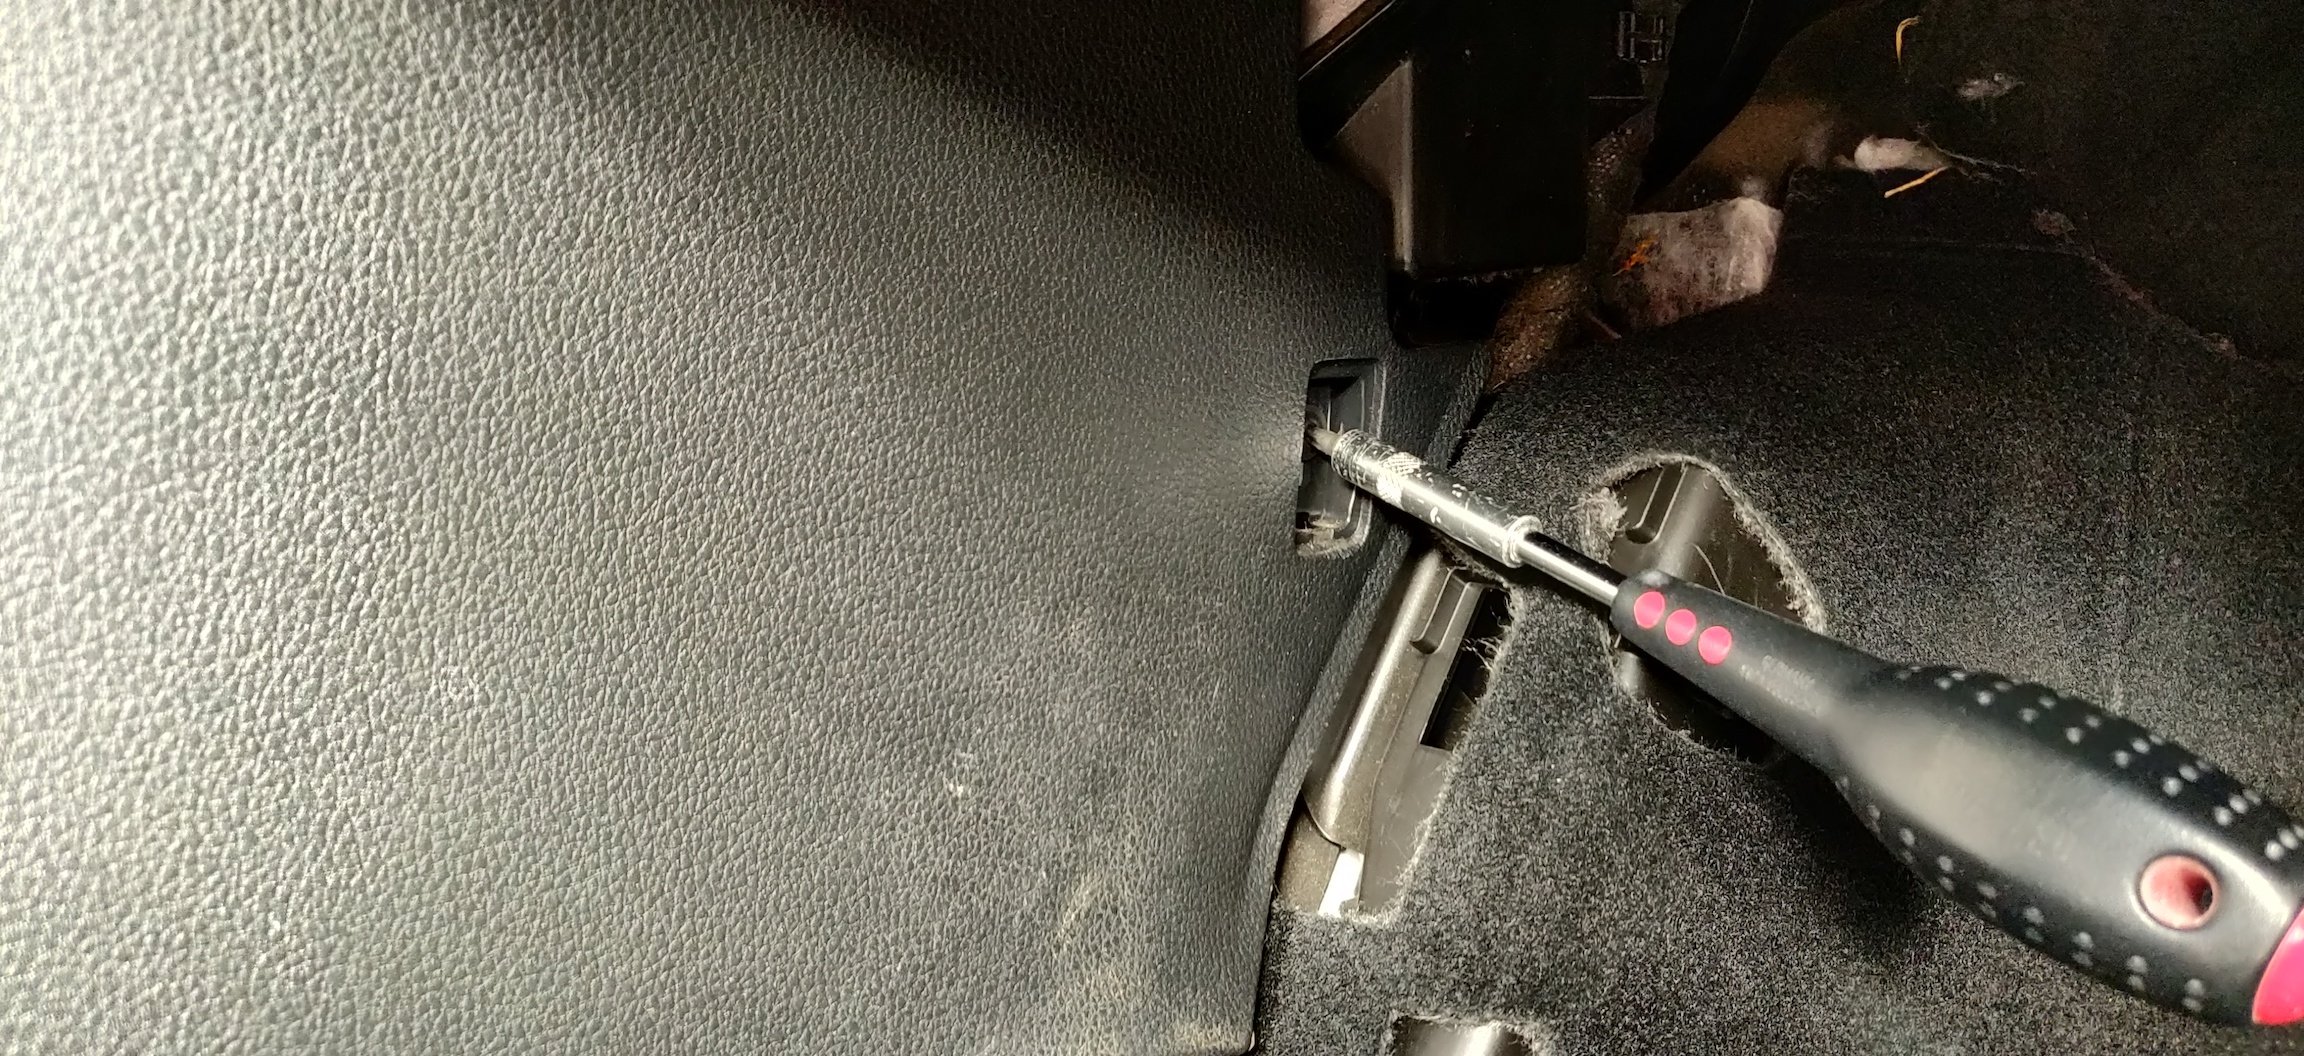
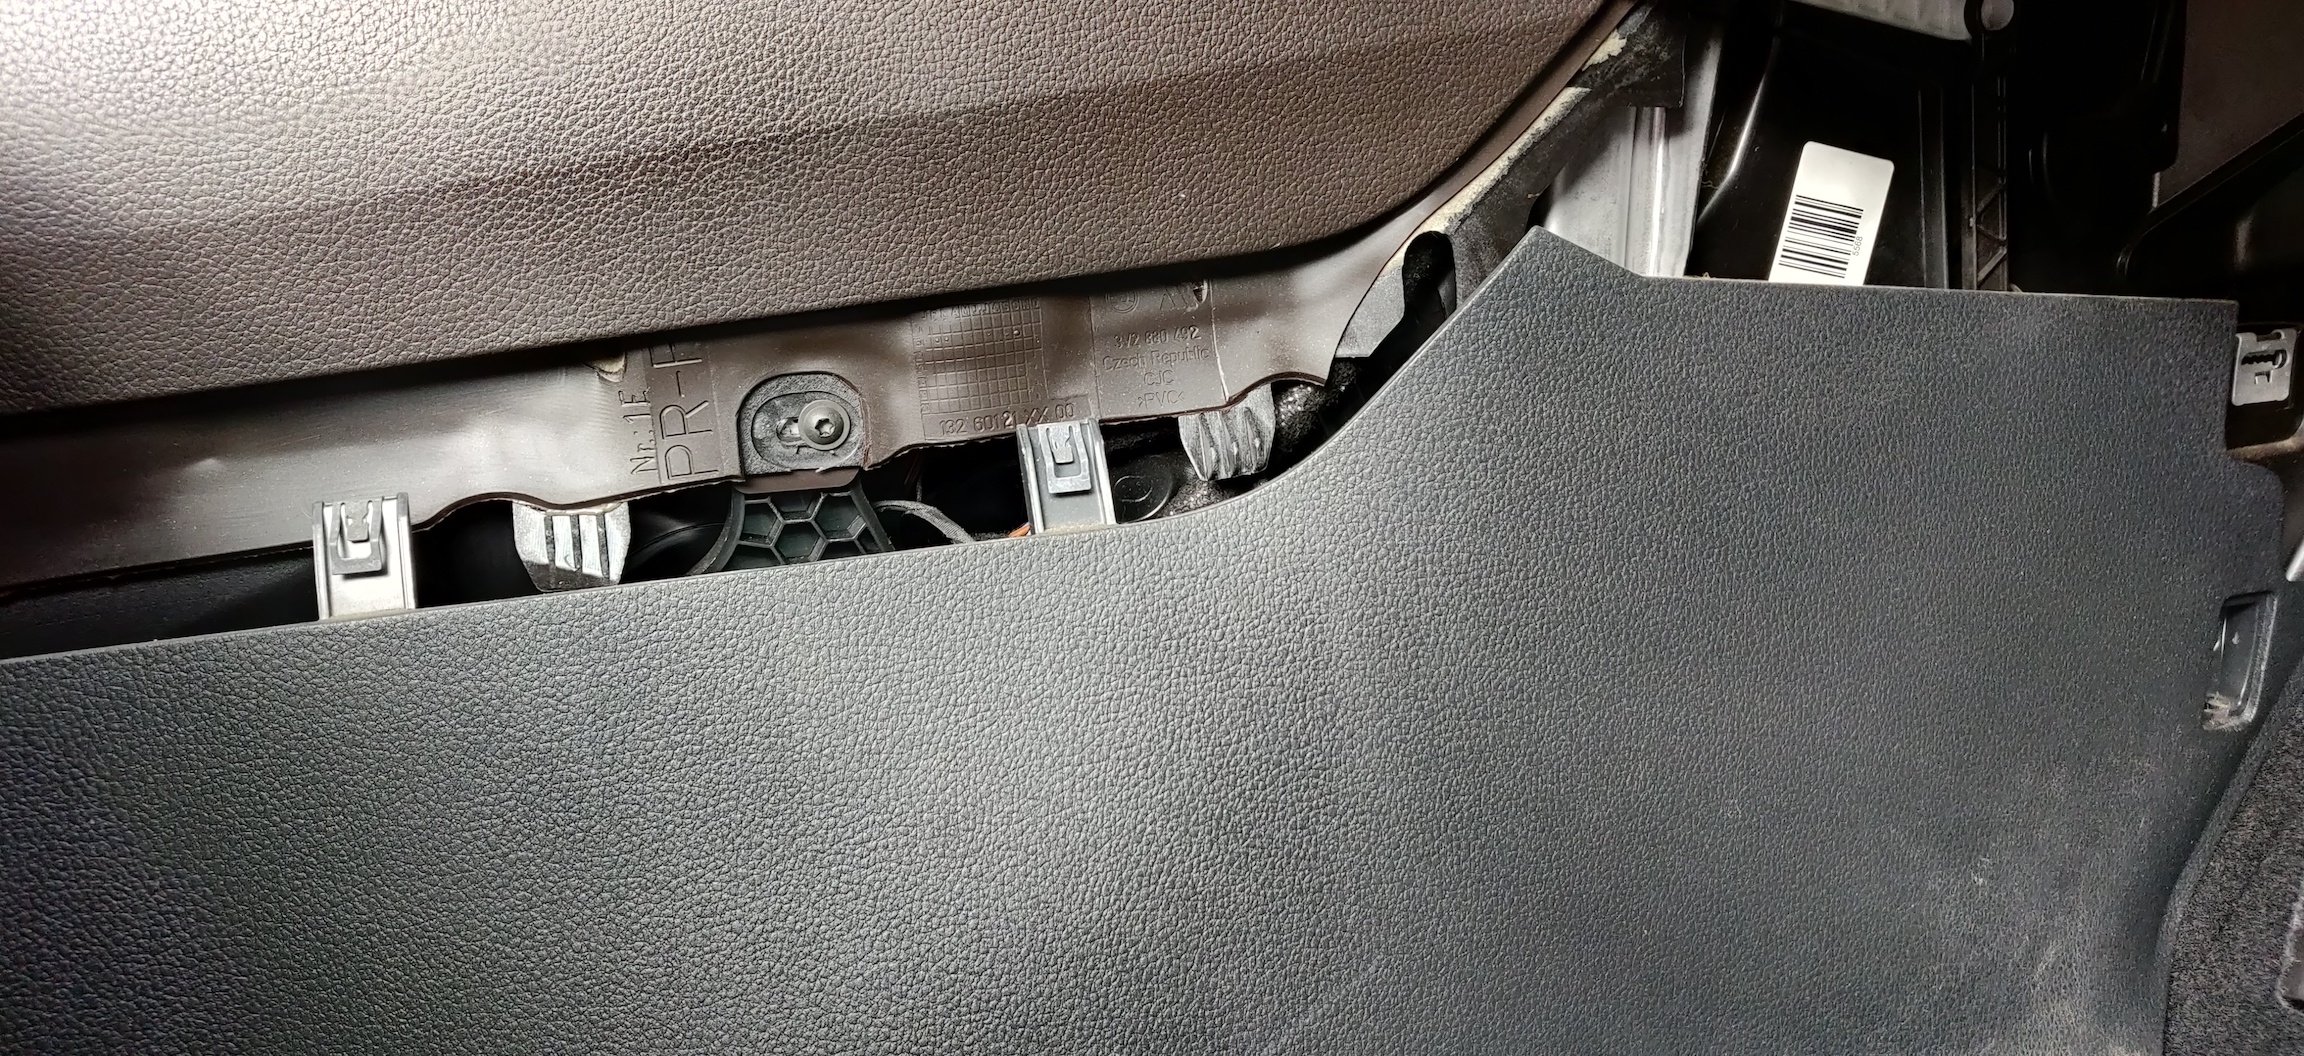
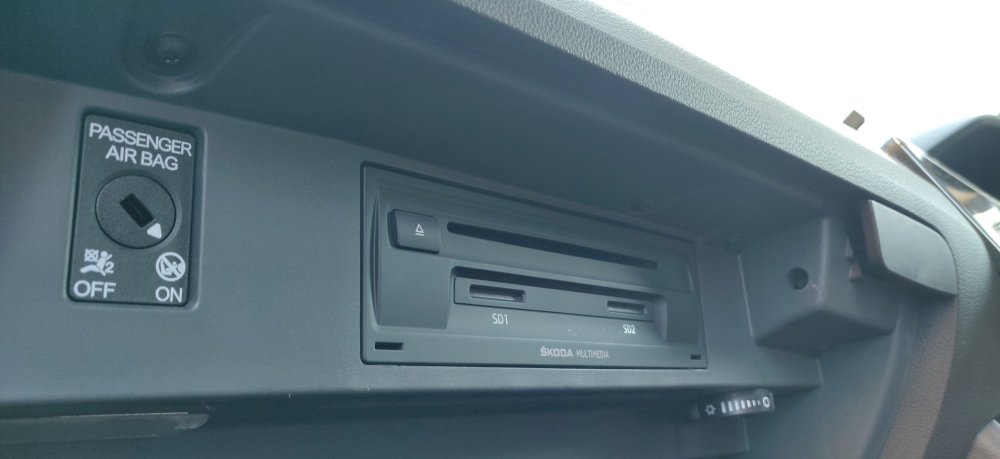
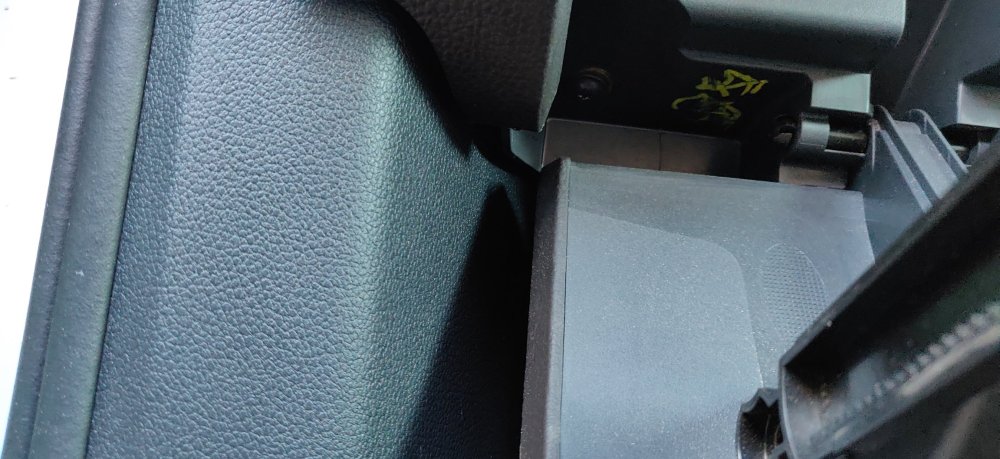
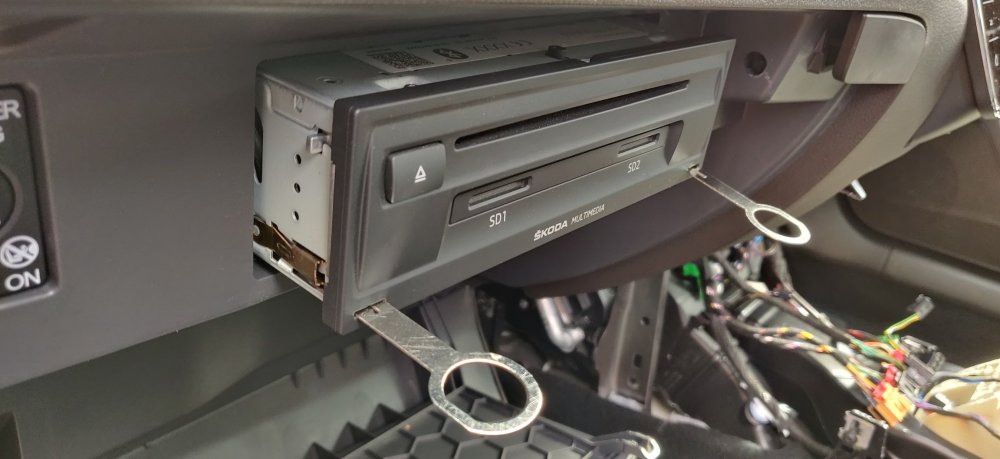
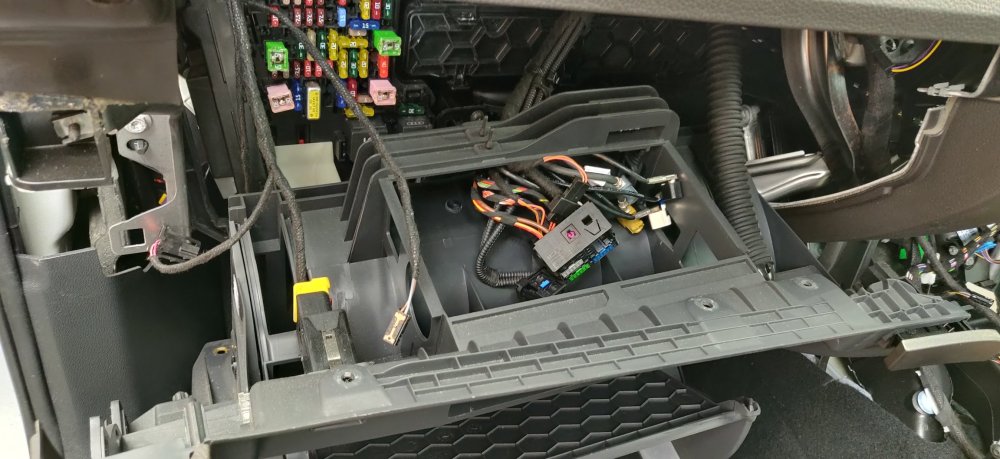
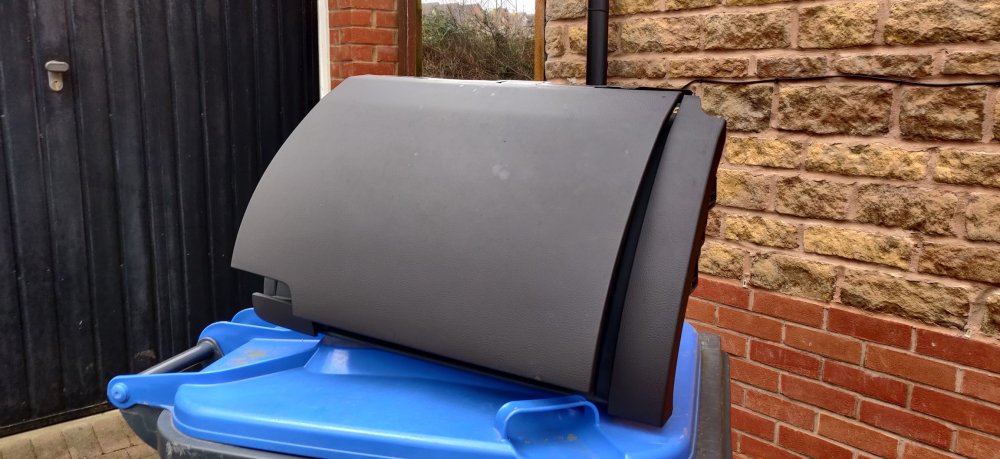
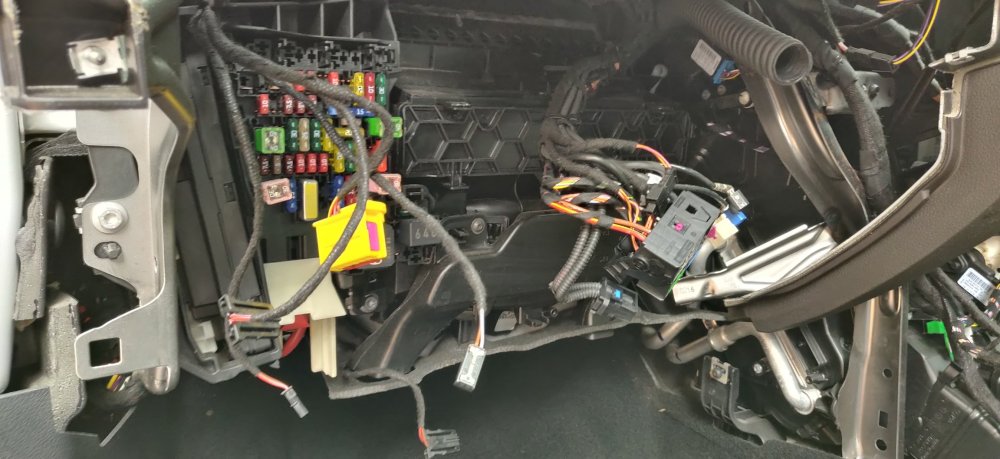
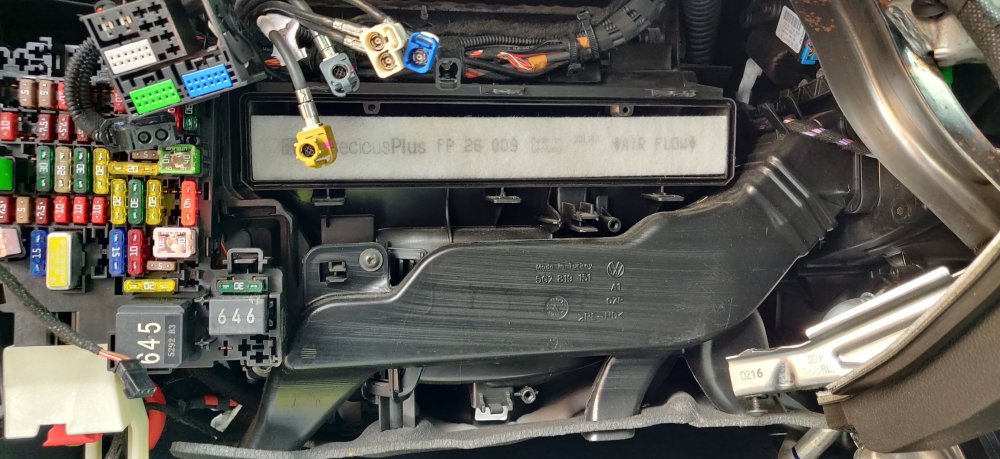
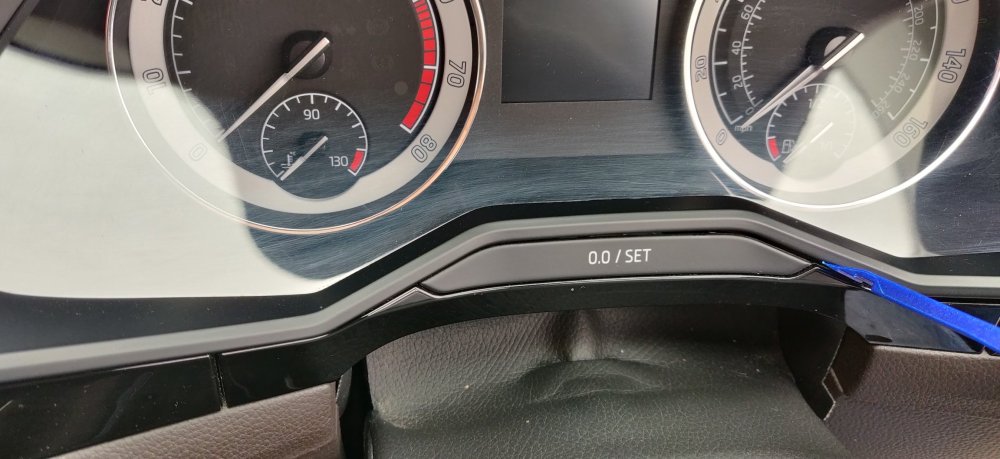
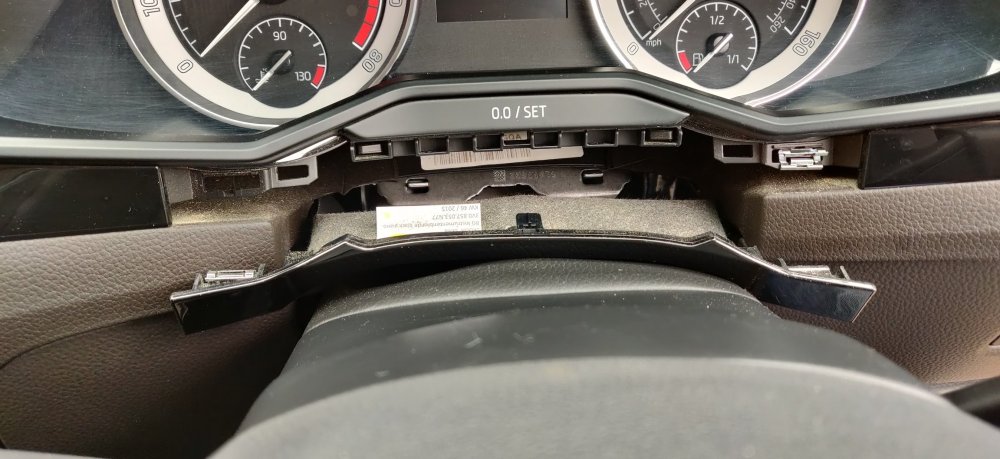
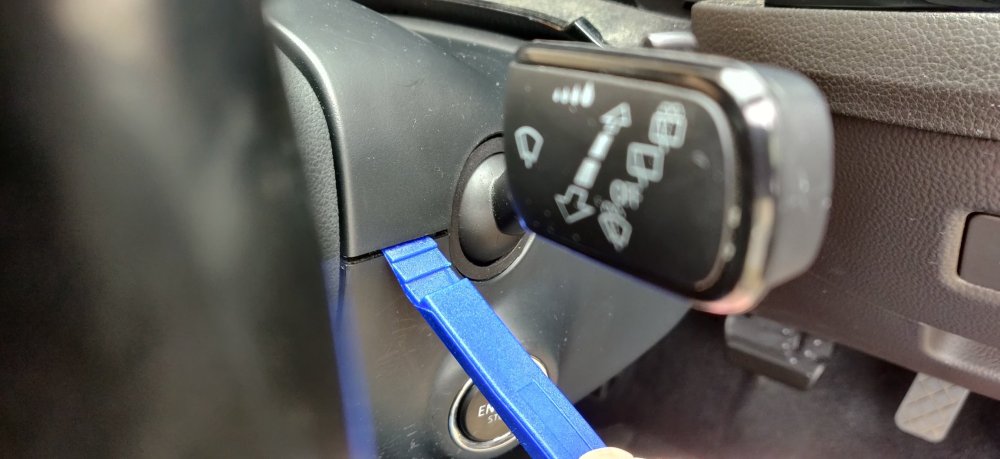
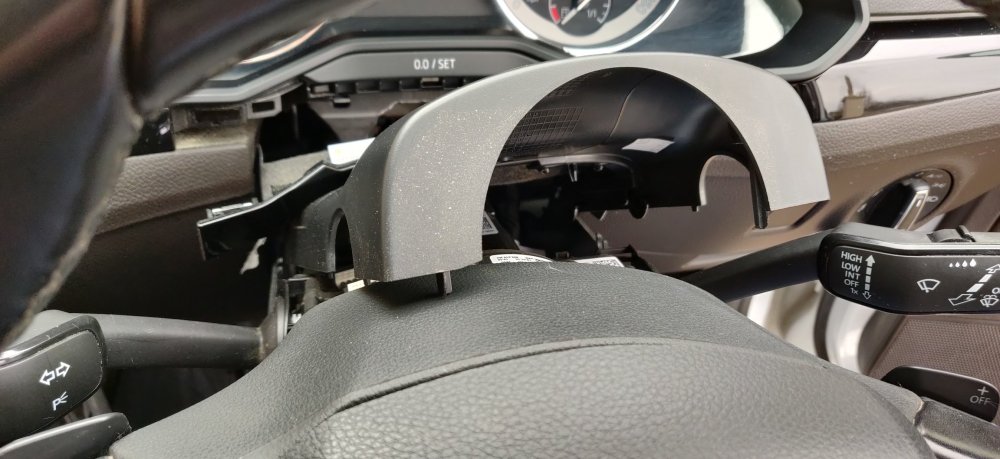
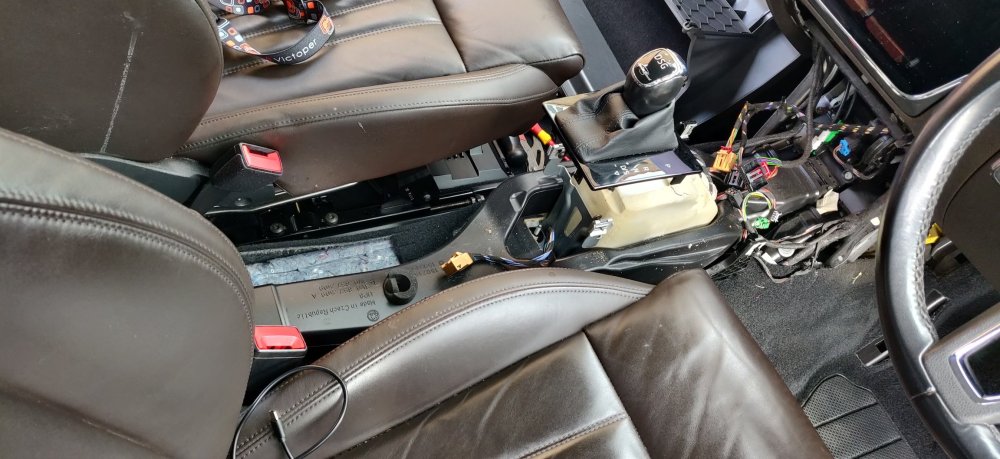
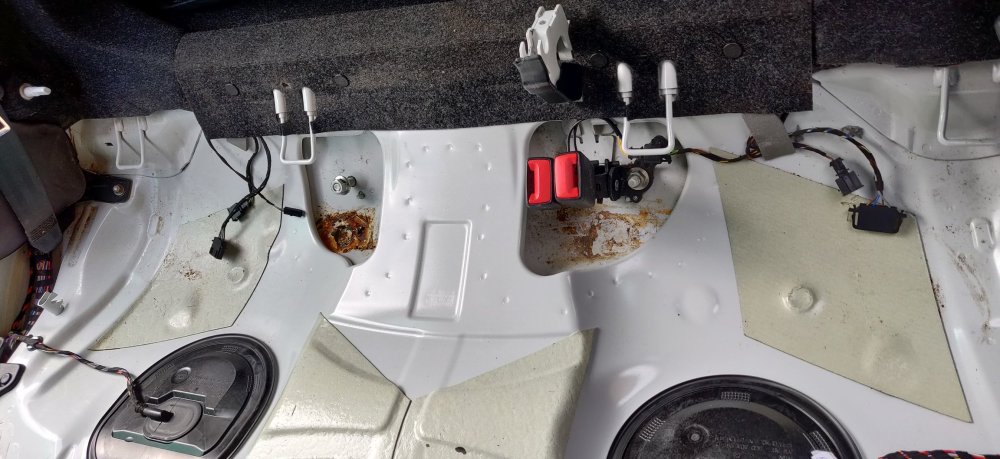
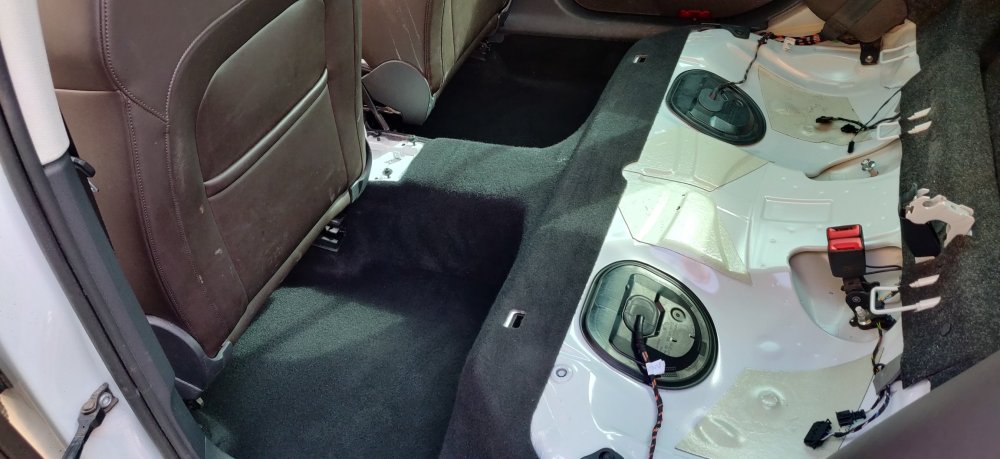
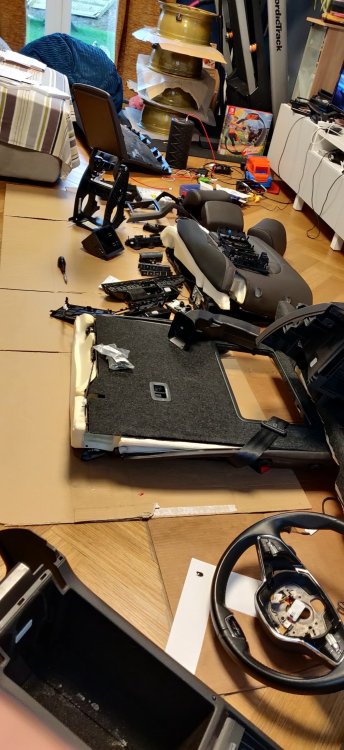
Riding high on that removal of the centre console (and to procrastinate), decided to tackle other parts to be removed. Started with the glovebox, which is attached to the car with a number of screws: Not a great pic, but there are three along the top above the head unit (MIB2, or is it 2.5 these days). There's also a couple that are quite difficult to see, and require the glovebox to be closed (or at least not wide open) to reach and undo: The above is the left side, the right is somewhere similar. One has to assume the "Lotus position" https://www.lotustalk.com/threads/the-lotus-position.485688/ to get at them. Whilst I was there, I removed the head unit: I spent far too long running around the house trying to find the removal keys, despite only using them fairly recently. Managed to find them though. The head unit then slides out, but appears to catch on something. I don't think I did what was needed correctly as I head an uncomfortable crack but it came free: There was a myriad of connectors which I didn't take pictures of. Some were pretty awkward, again requiring a thin screwdriver and being extra cautious in case I broke something. Tried to figure out how to disconnect the big one into separate connectors but failed. Regardless, and you might have noticed in the pic above, the glovebox comes down with a bit a shove after the screws are undone. The wiring is then wiggled free: So with the glovebox removed, this was certainly the best time to fit the new cabin filter: Like last time, I used a thin screwdriver to slightly undo the latches at the top, and the cover then flips away and out. Slide the new one in: I think the airflow is downwards... So, decided next step was the steering column surround. There is a reason for this which I will get to. Started with the top of the cowl, firstly, disconnected it from the front panel, underneath the dash. A thin removal trim tool was needed: Going around the trim (which is attached to the leather bit) and it'll pop out and free: Used the same trim tool to start lifting up the front of the upper cowl: It'll pop free, and repeat for the other side: Now, at this stage, I hit a block. The lower cowl appears to be attached with 3 screws, with two awkwardly placed requiring the steering to be turned 90 degrees left and right, akin to what's needed to remove the airbag. However, with the car not having any power, the steering wheel immediately locked. Normally I'd stick a key in the barrel and wiggle it to disengage the steering lock and carry on, but this isa keyless car...so if anyone has any suggestions or workarounds, I'd greatly appreciate it, as otherwise, I'll have to wait for the car to be powered back (and then I guess put the car into ignition and then disconnect the power?). So the original task of actually cleaning up the car cannot be avoided now: The carpet around where the centre console was given a quick carpet and the area given a general dusting: The weather was still holding up, so popped the gloves on for a first pass of the area where the rear seats were: The left looked like rust to my horror, but it wasn't. I'm still not sure what it is, but there was basically another pound coin, and some sticky green stuff. So got myself a bucket of hot soapy water to act as a first pass, to wipe away whatever the heck that all was. Several goes and some vacuuming: I'll probably give it another spruce once I've calmed down. I'm fortunate to not need to entertain anyone for a while: You can see that both rear seats have enough of their covers removed for the whole release mechanism retrofit. I'll do some pics of those a little later, in addition to some other random things. So yeah, any advice regarding the steering lock on a keyless car with no power, I'd greatly appreciate it. Maintenance: £1678.25 Upgrades: £711.10 Miscellaneous: £603.58
-
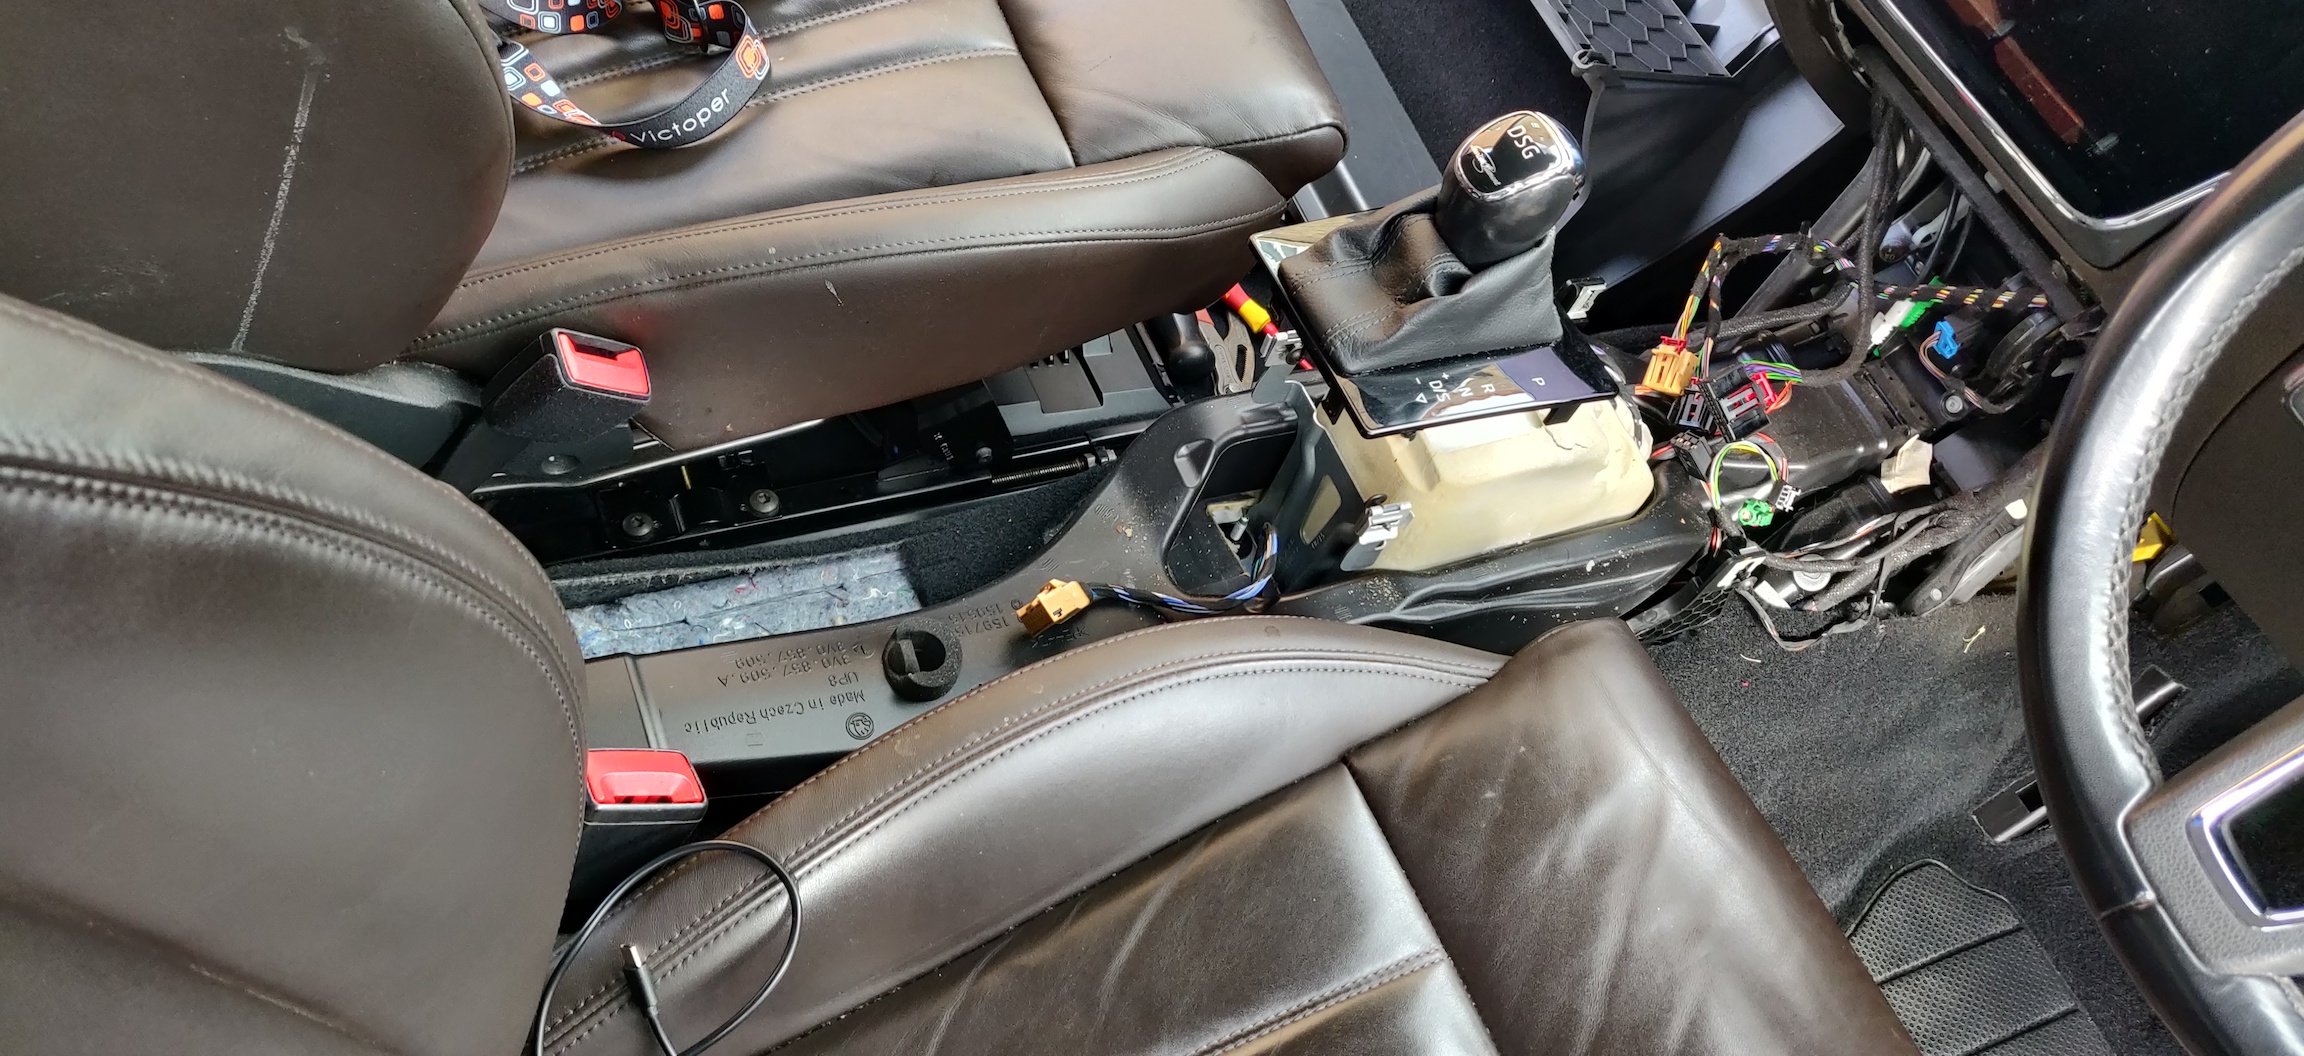
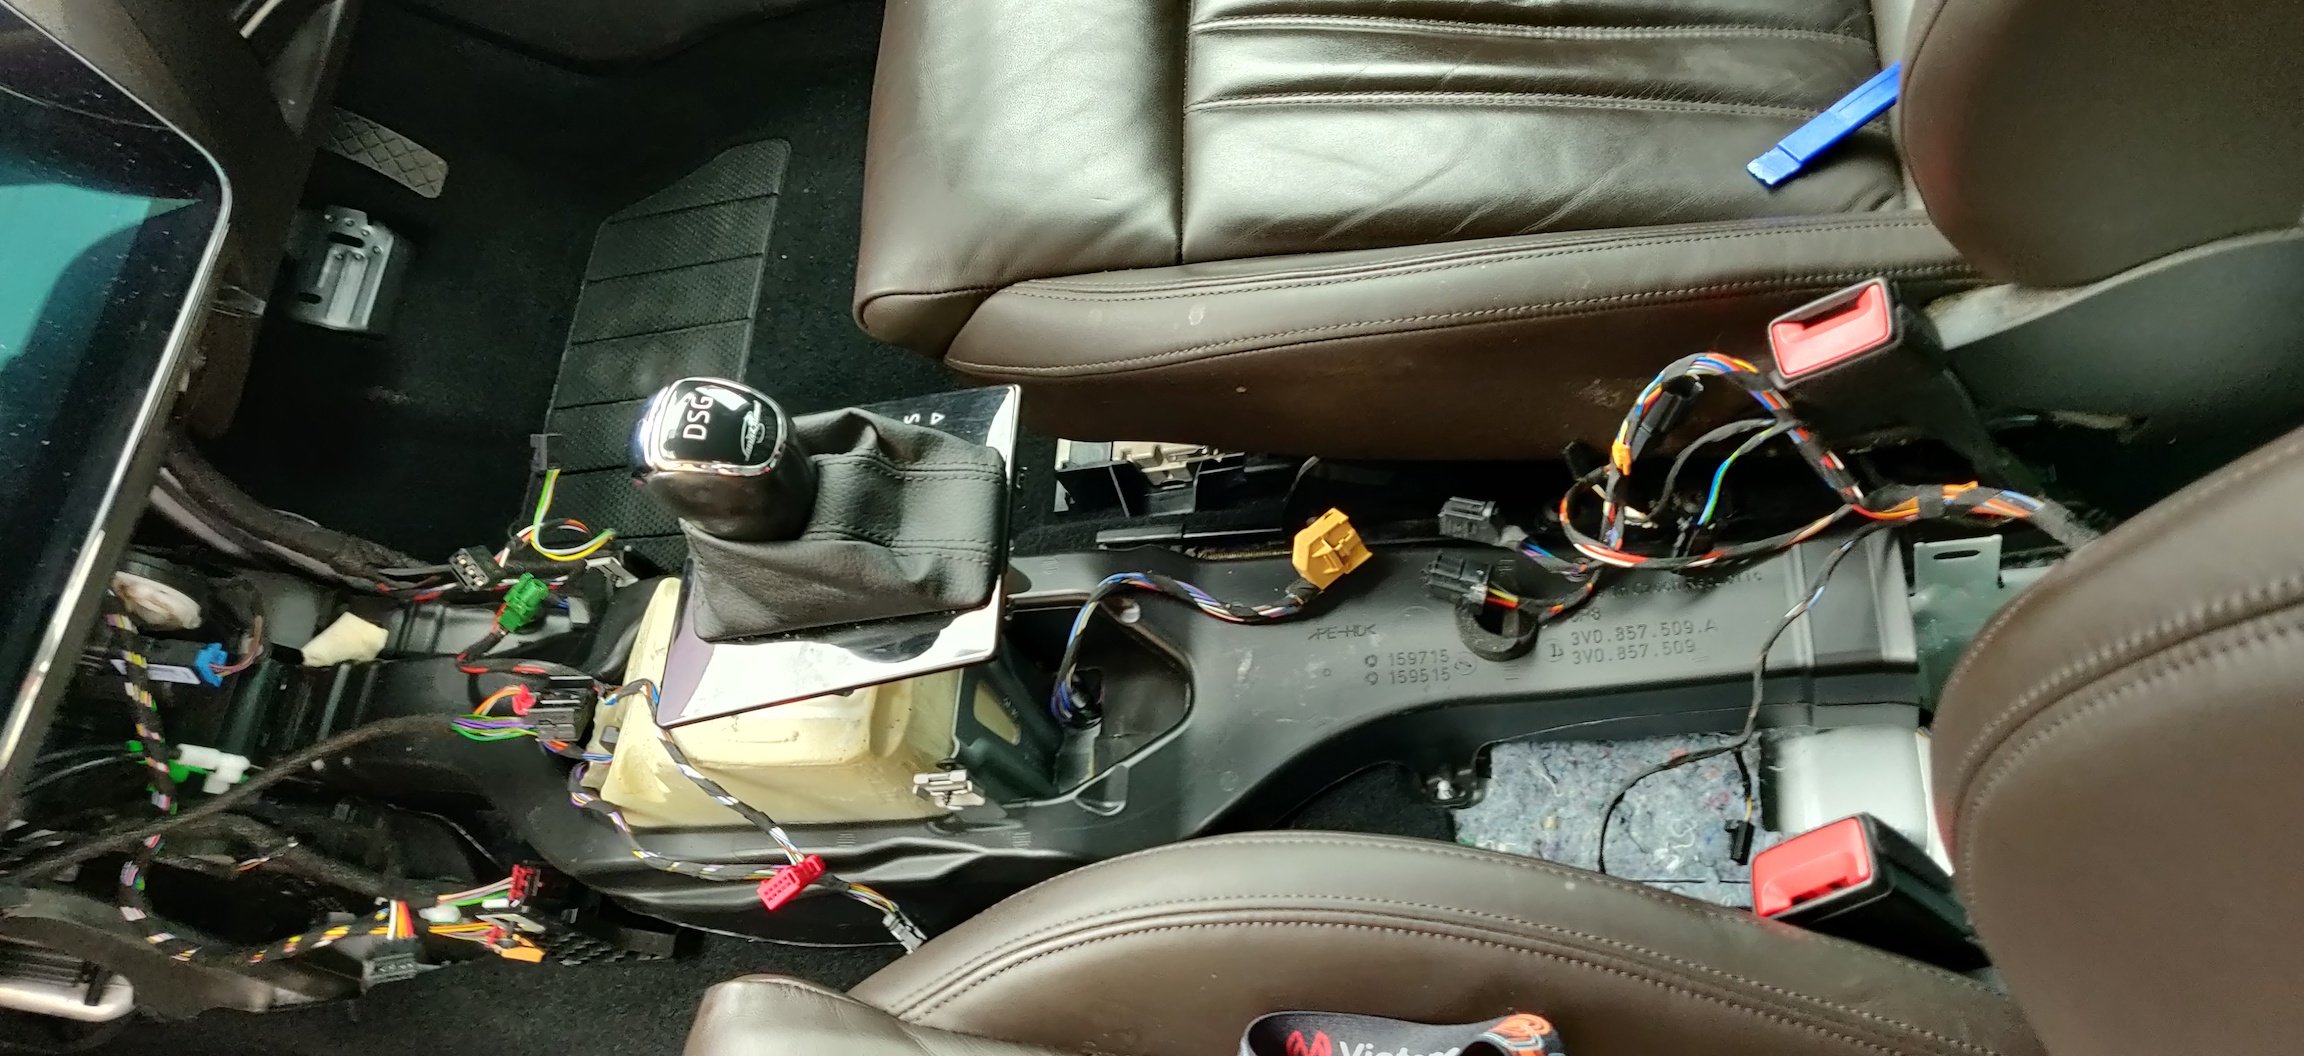
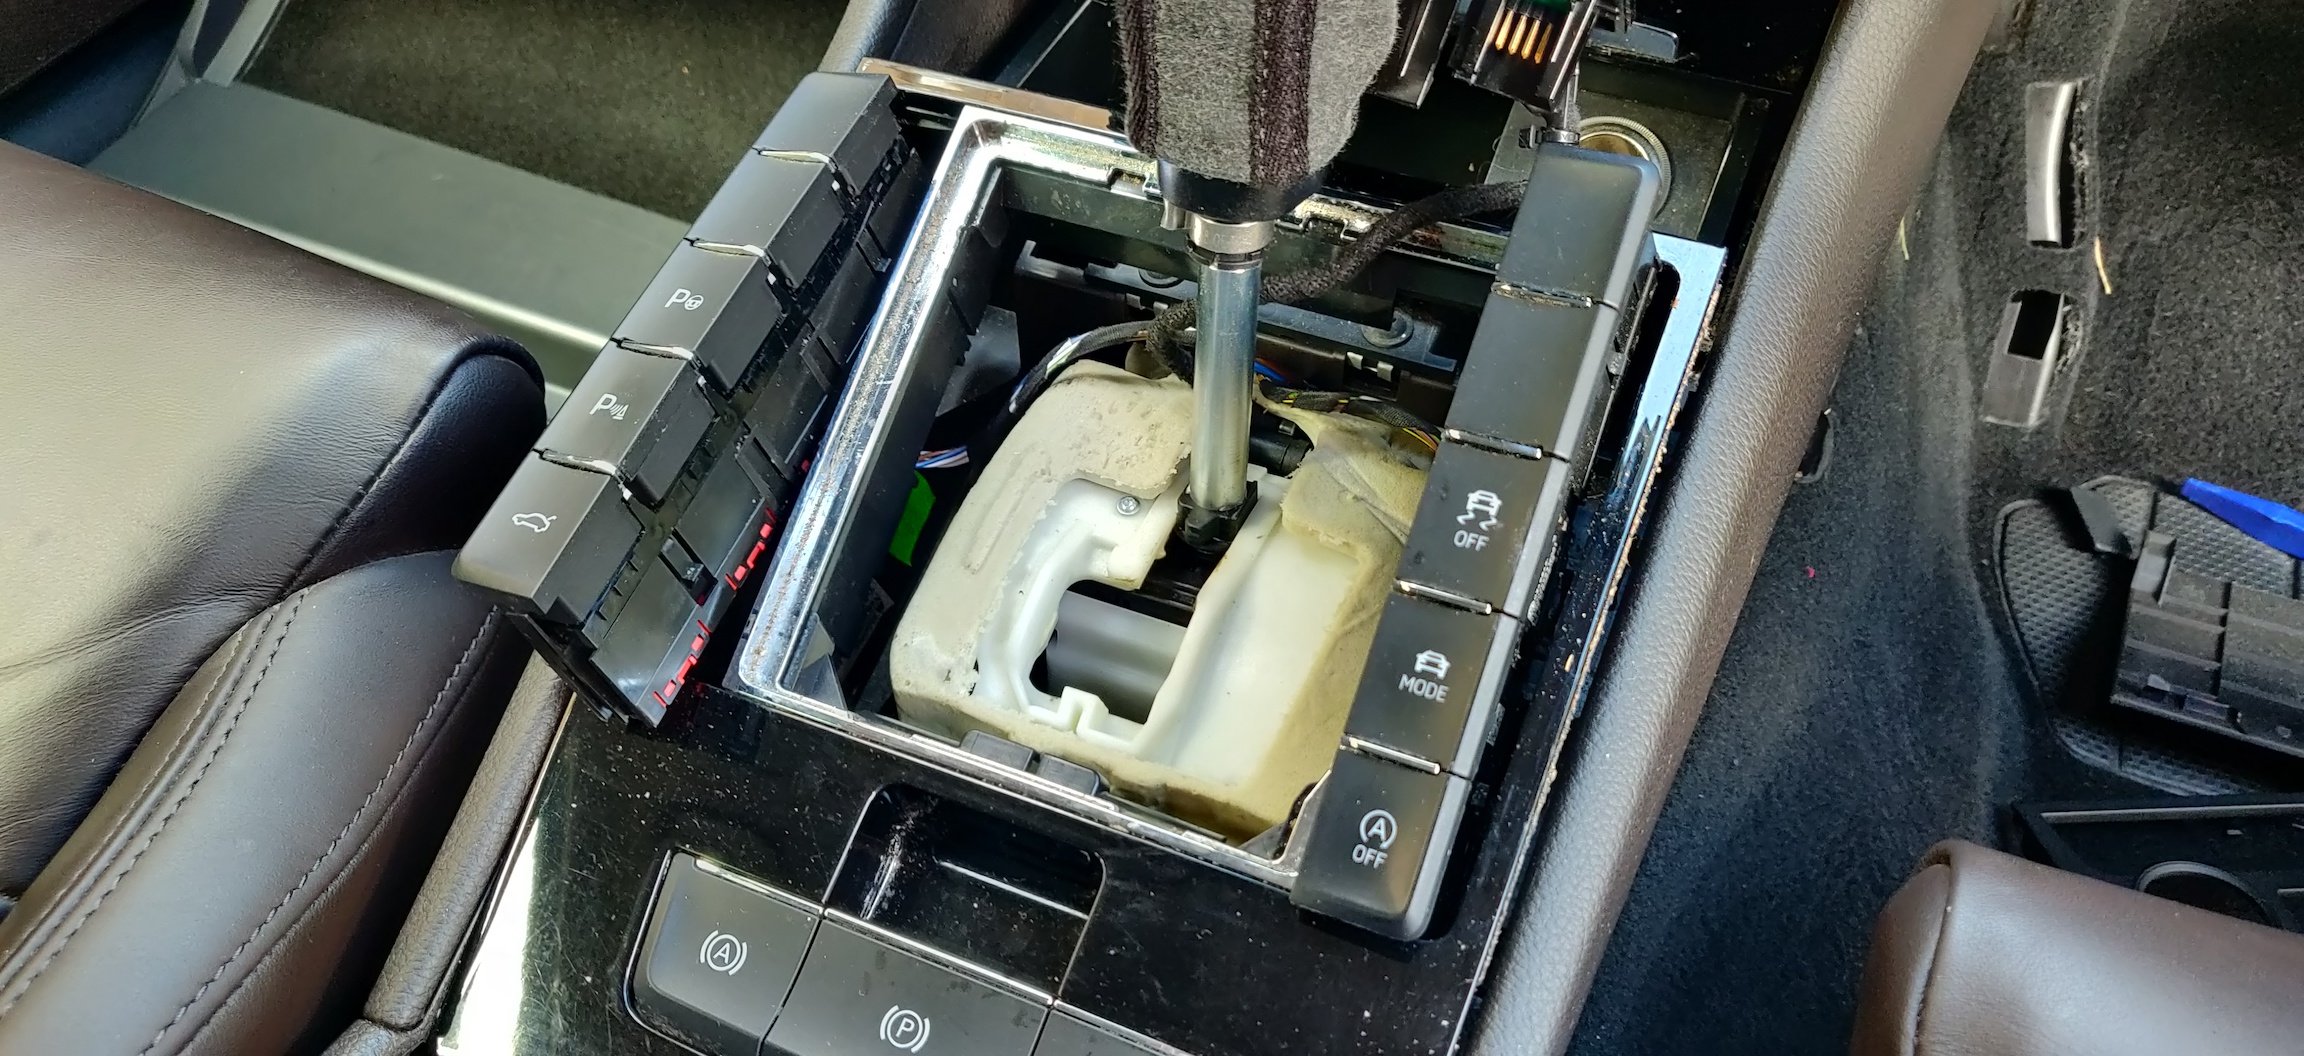
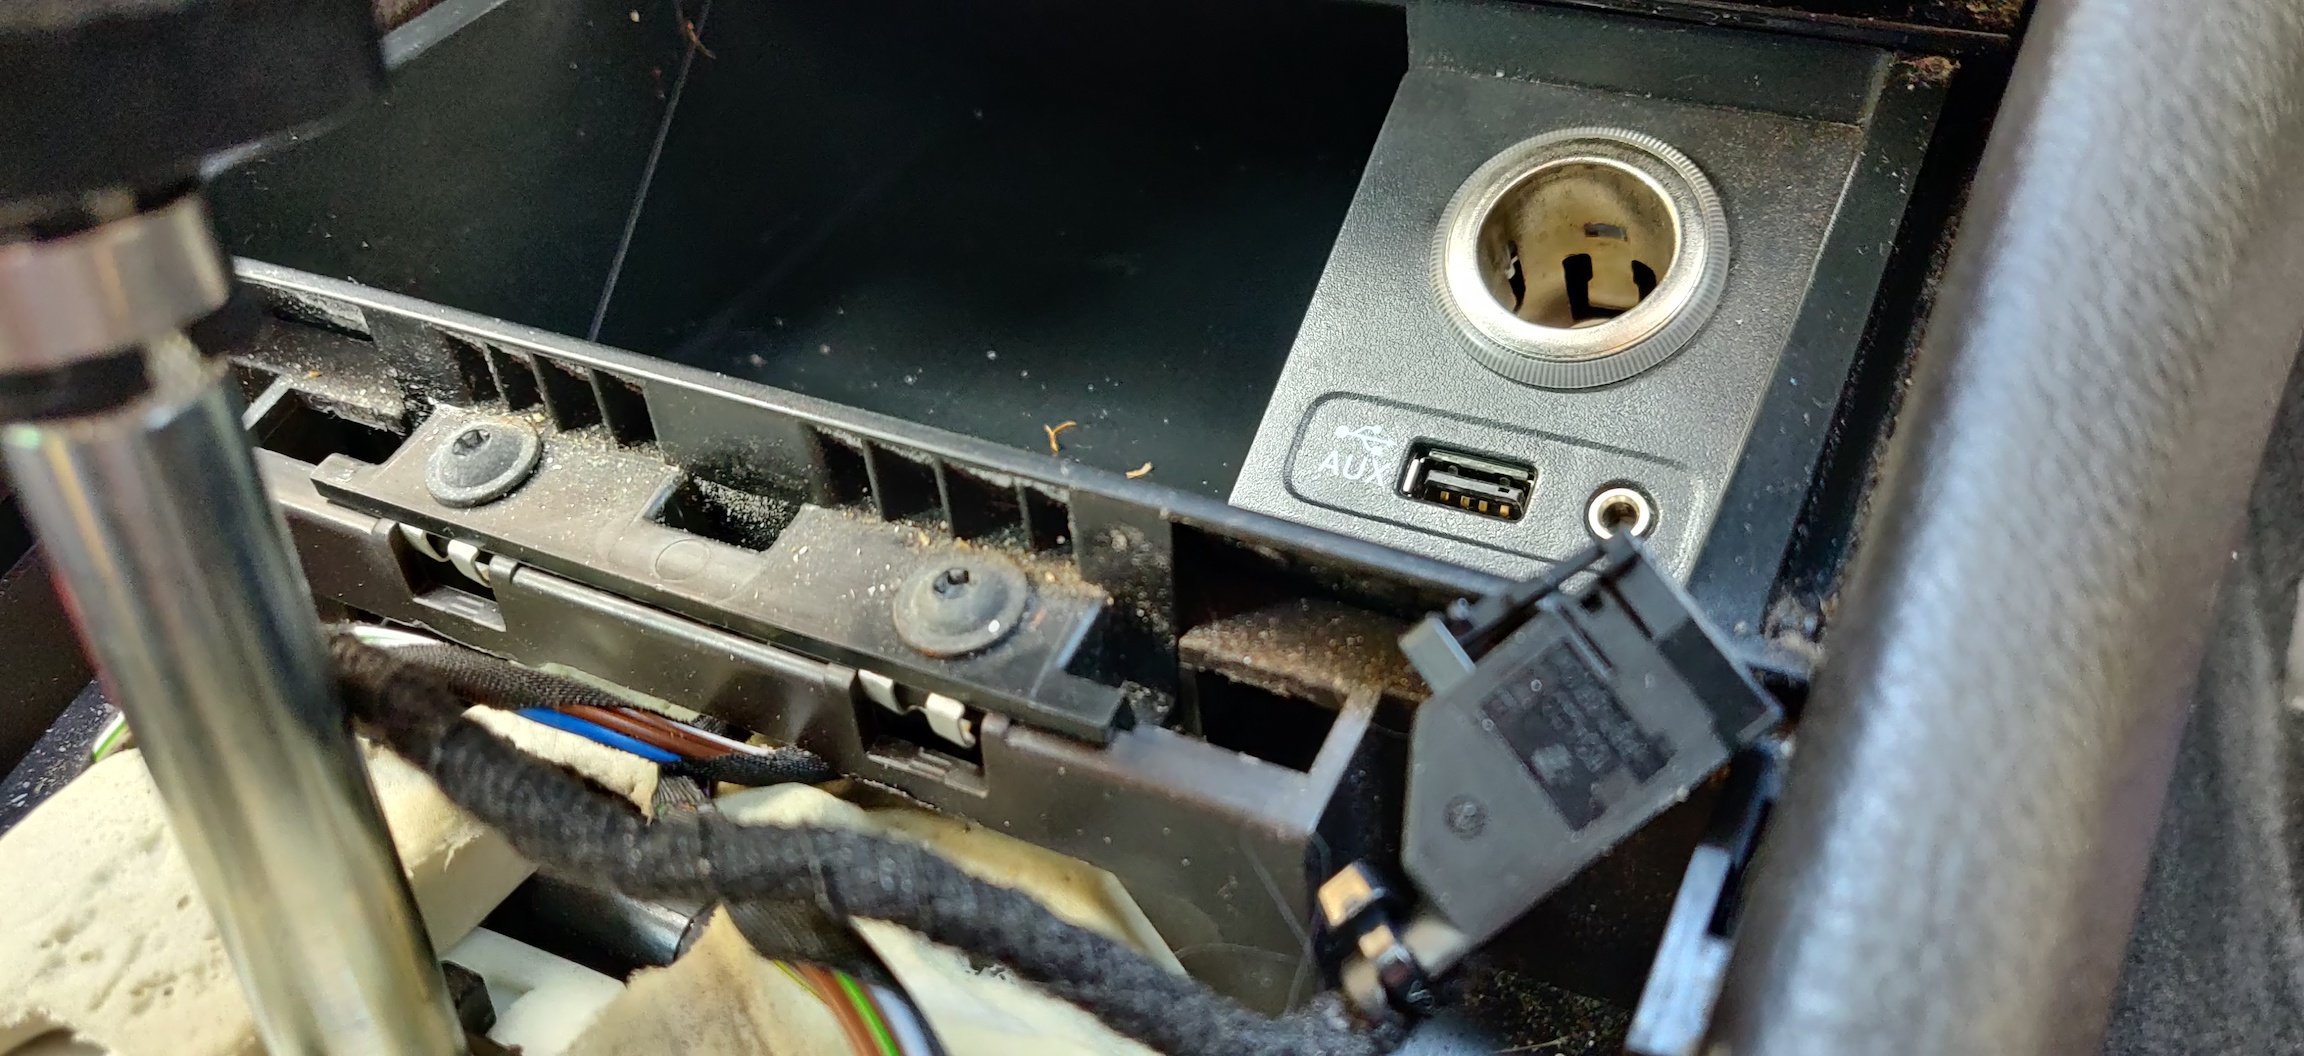
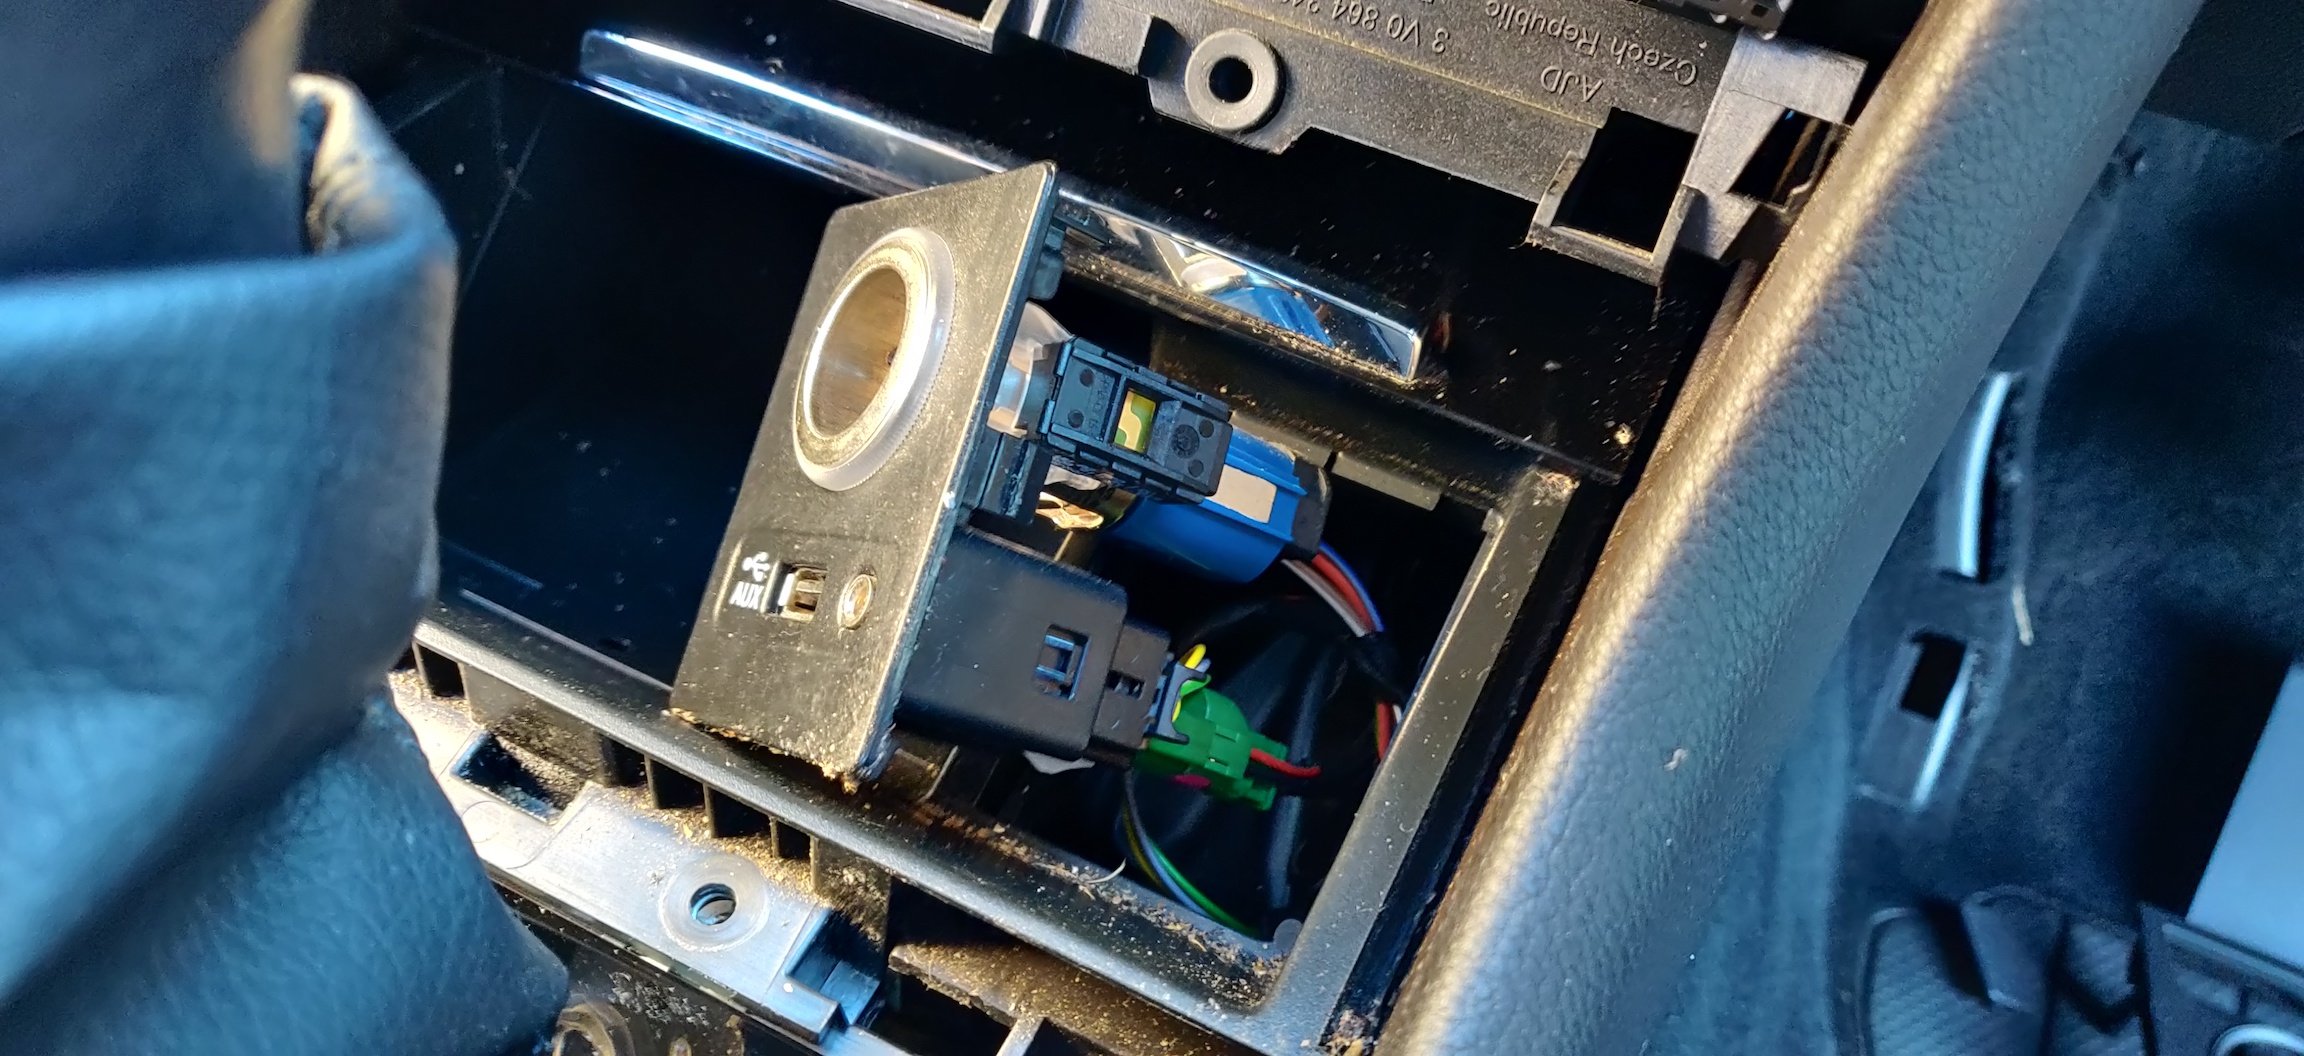
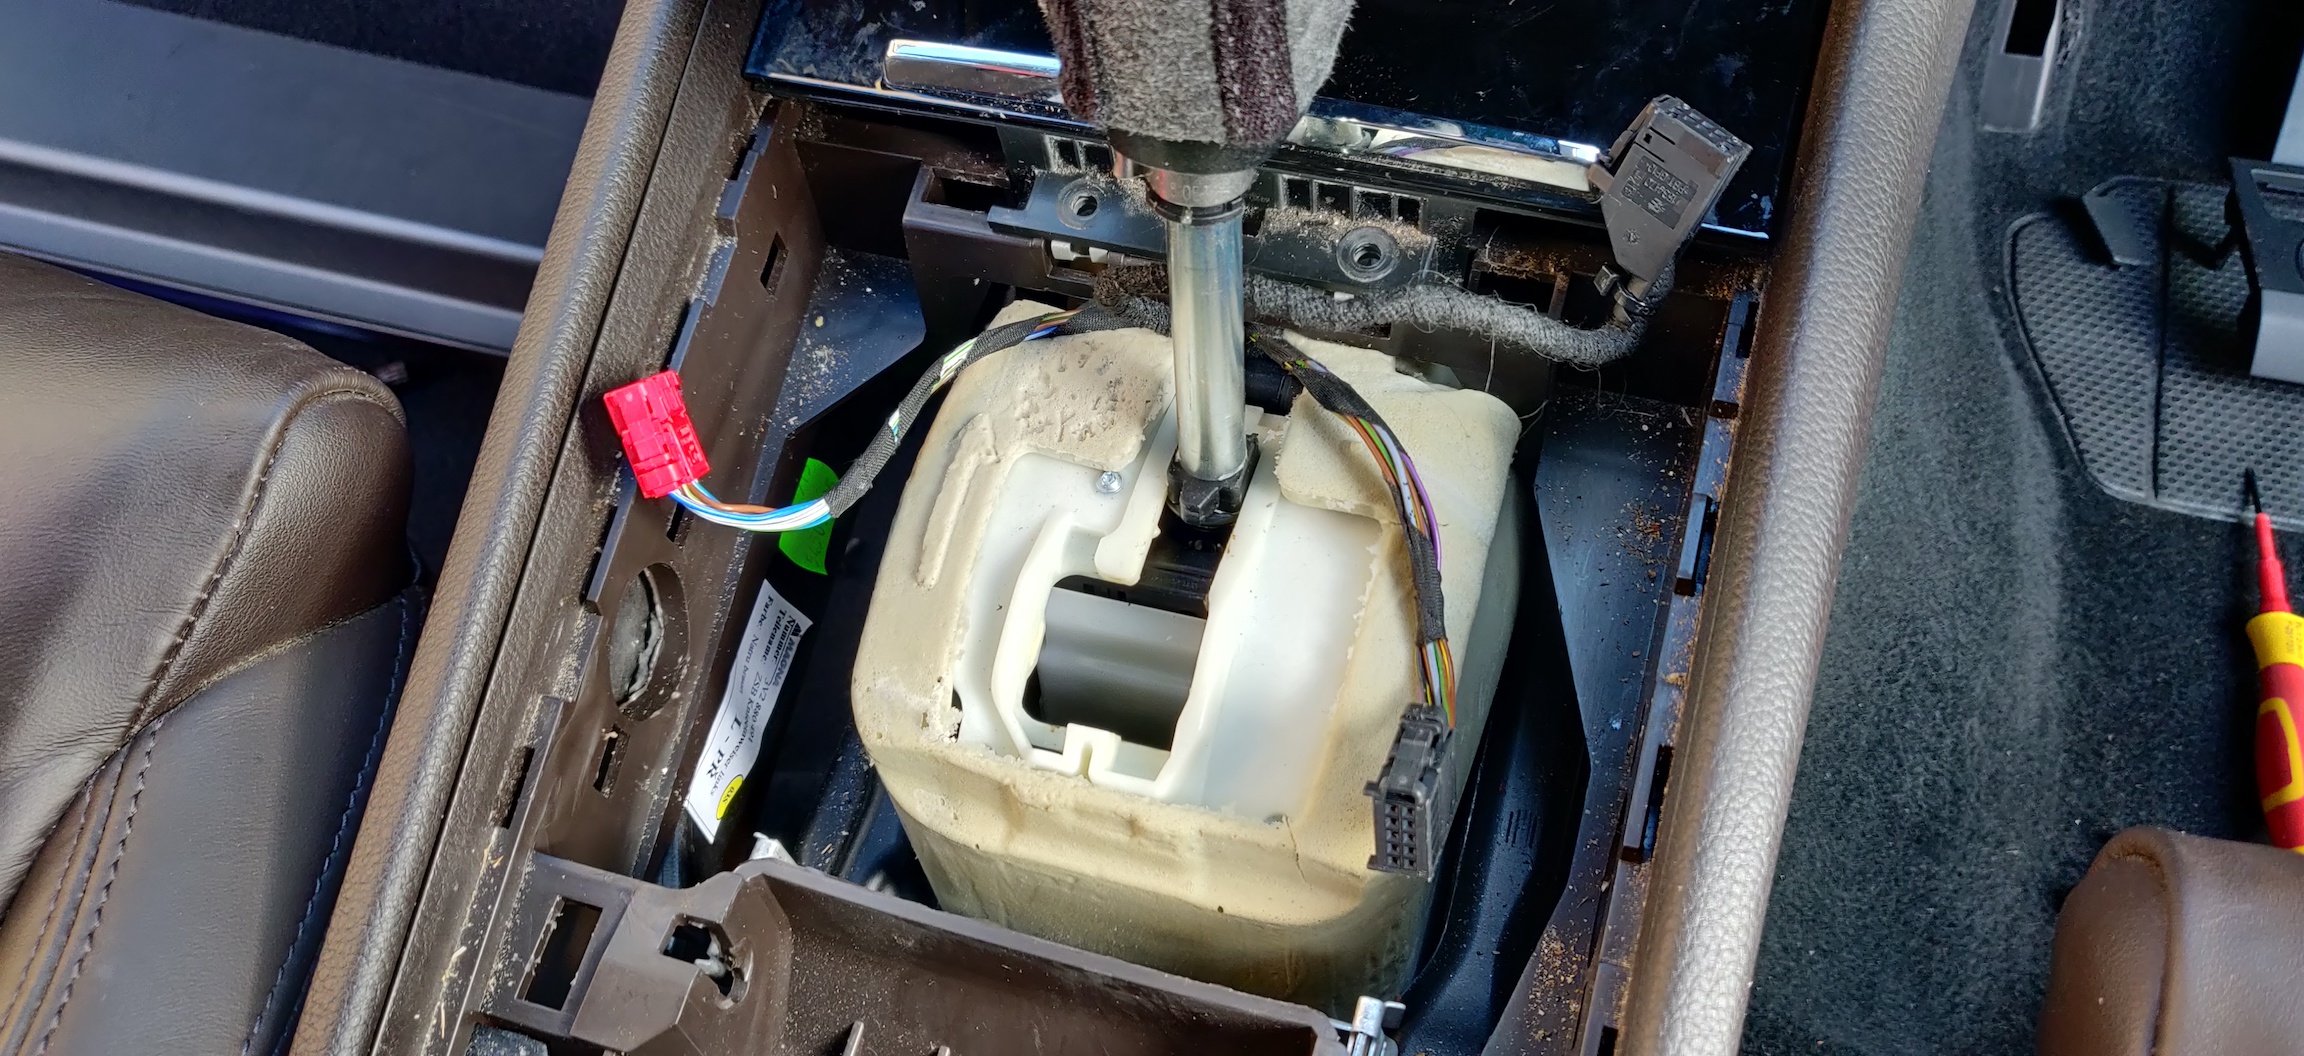
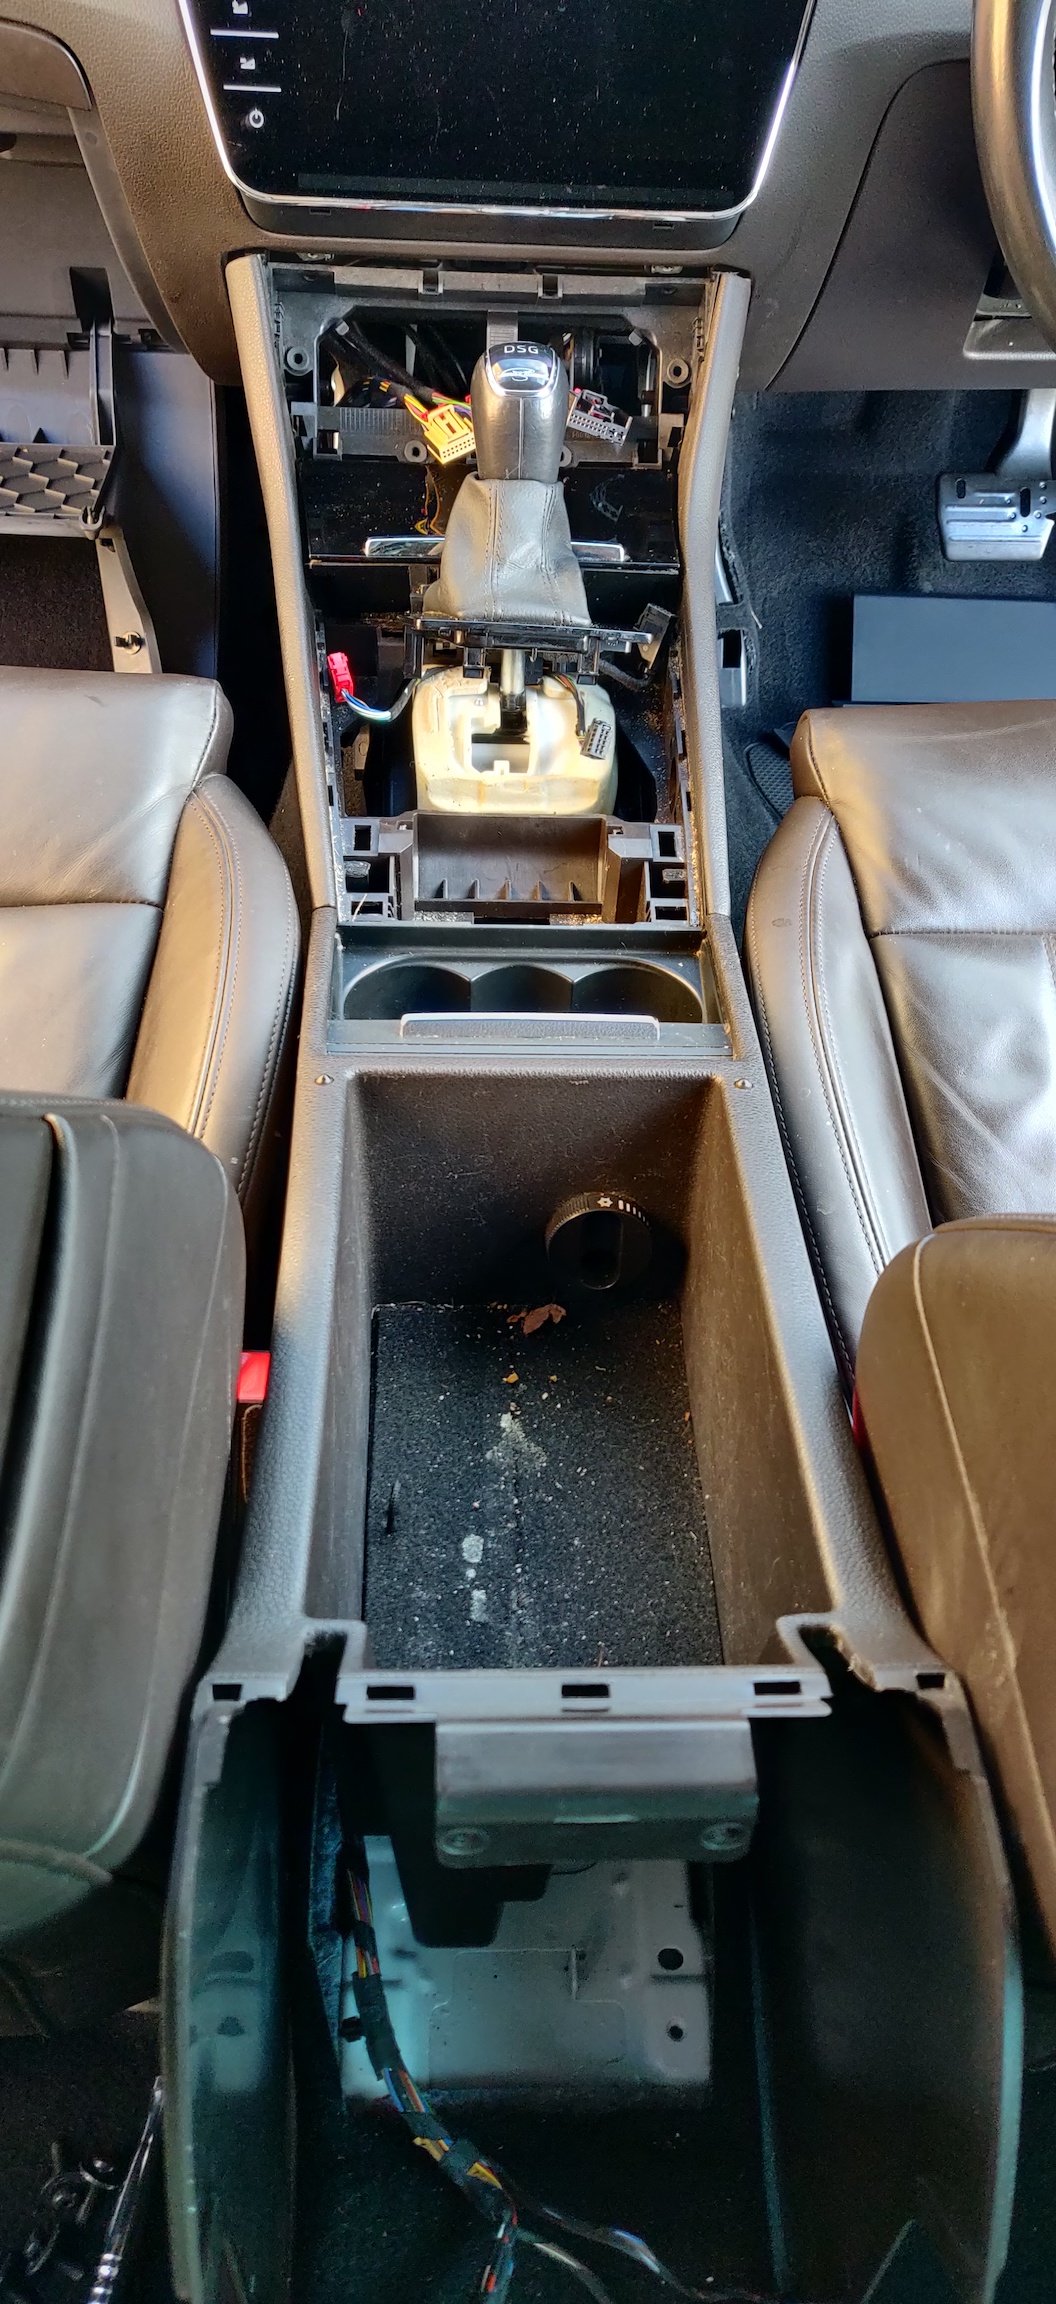
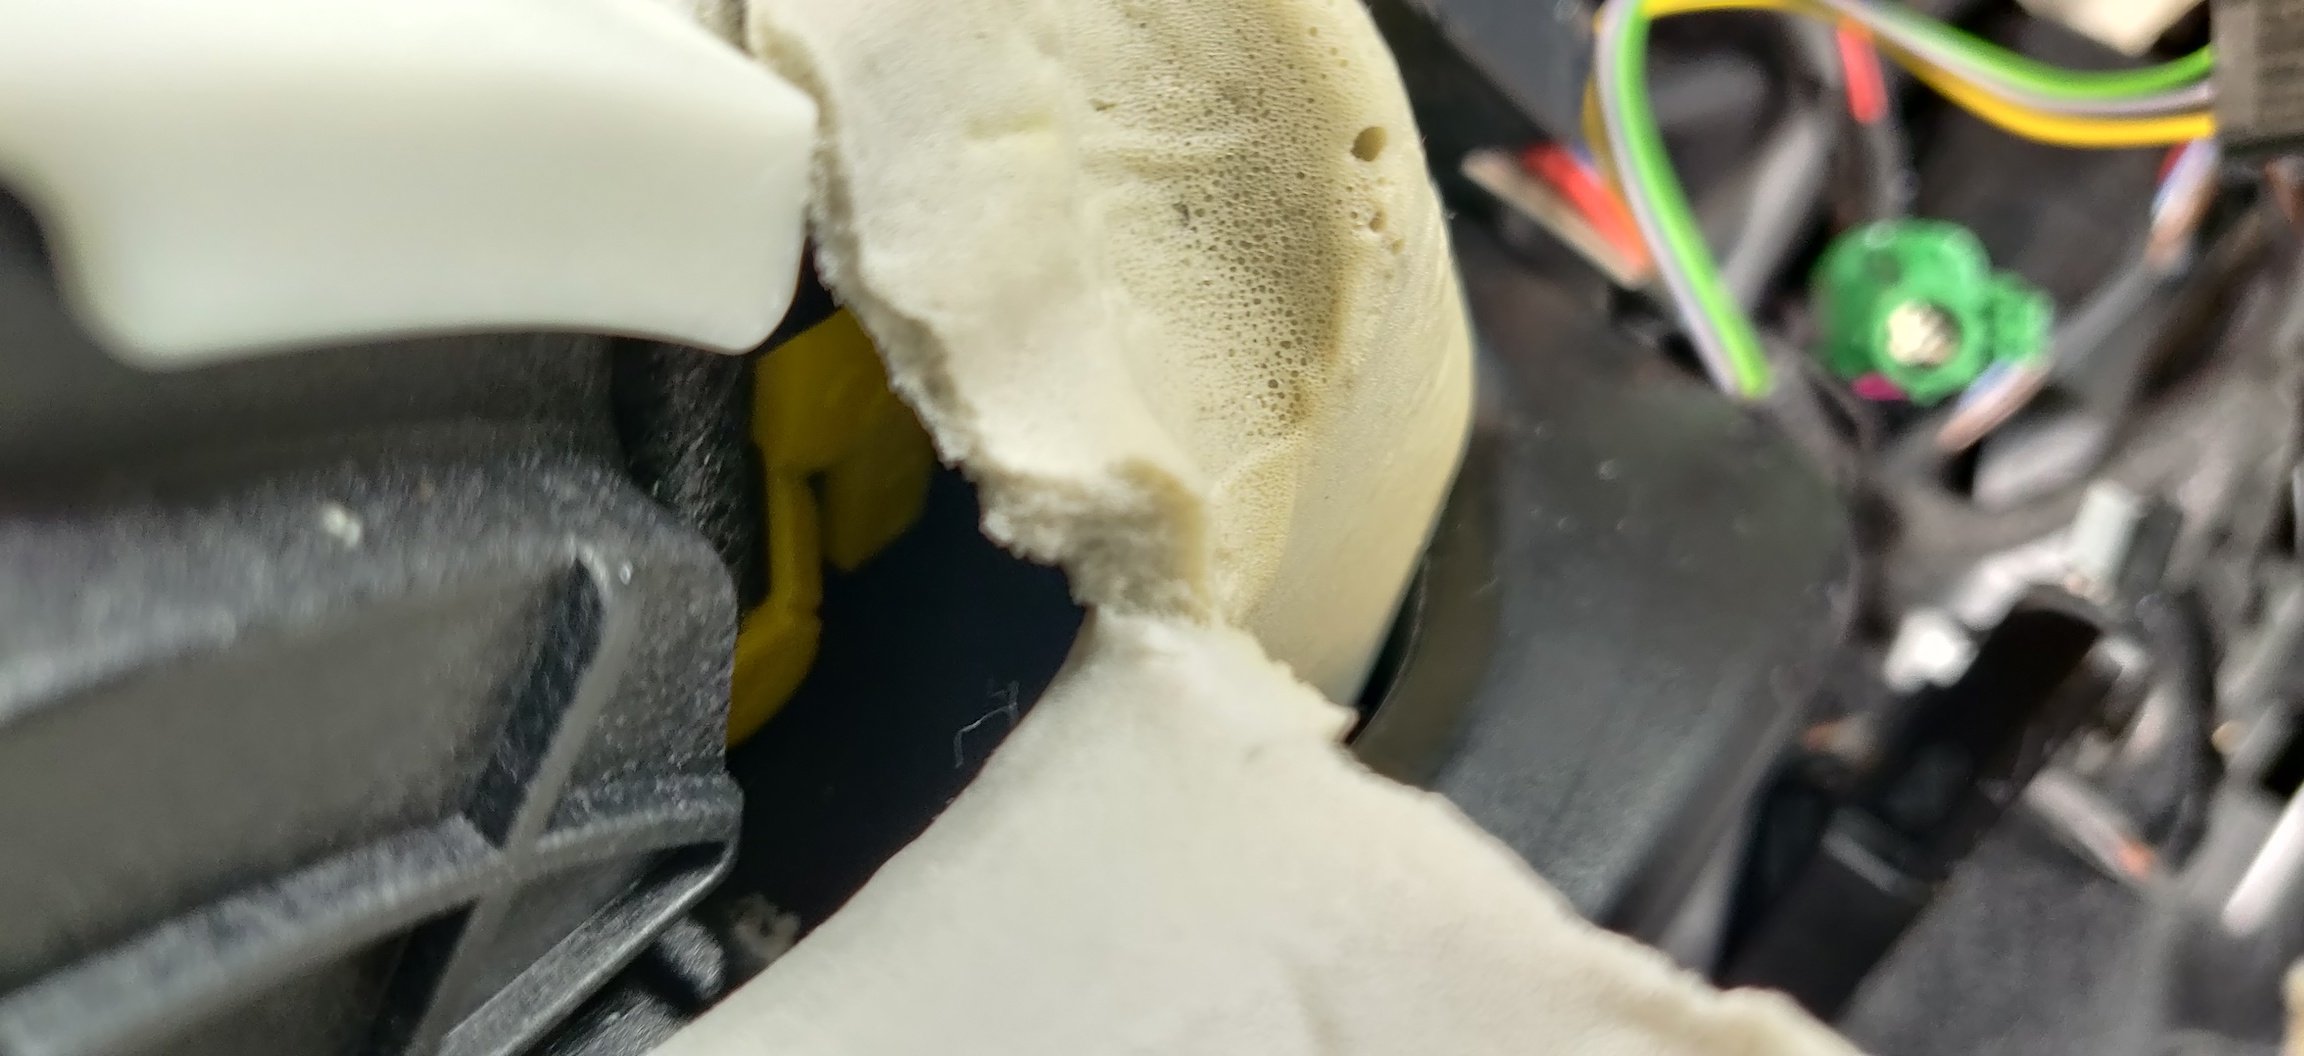
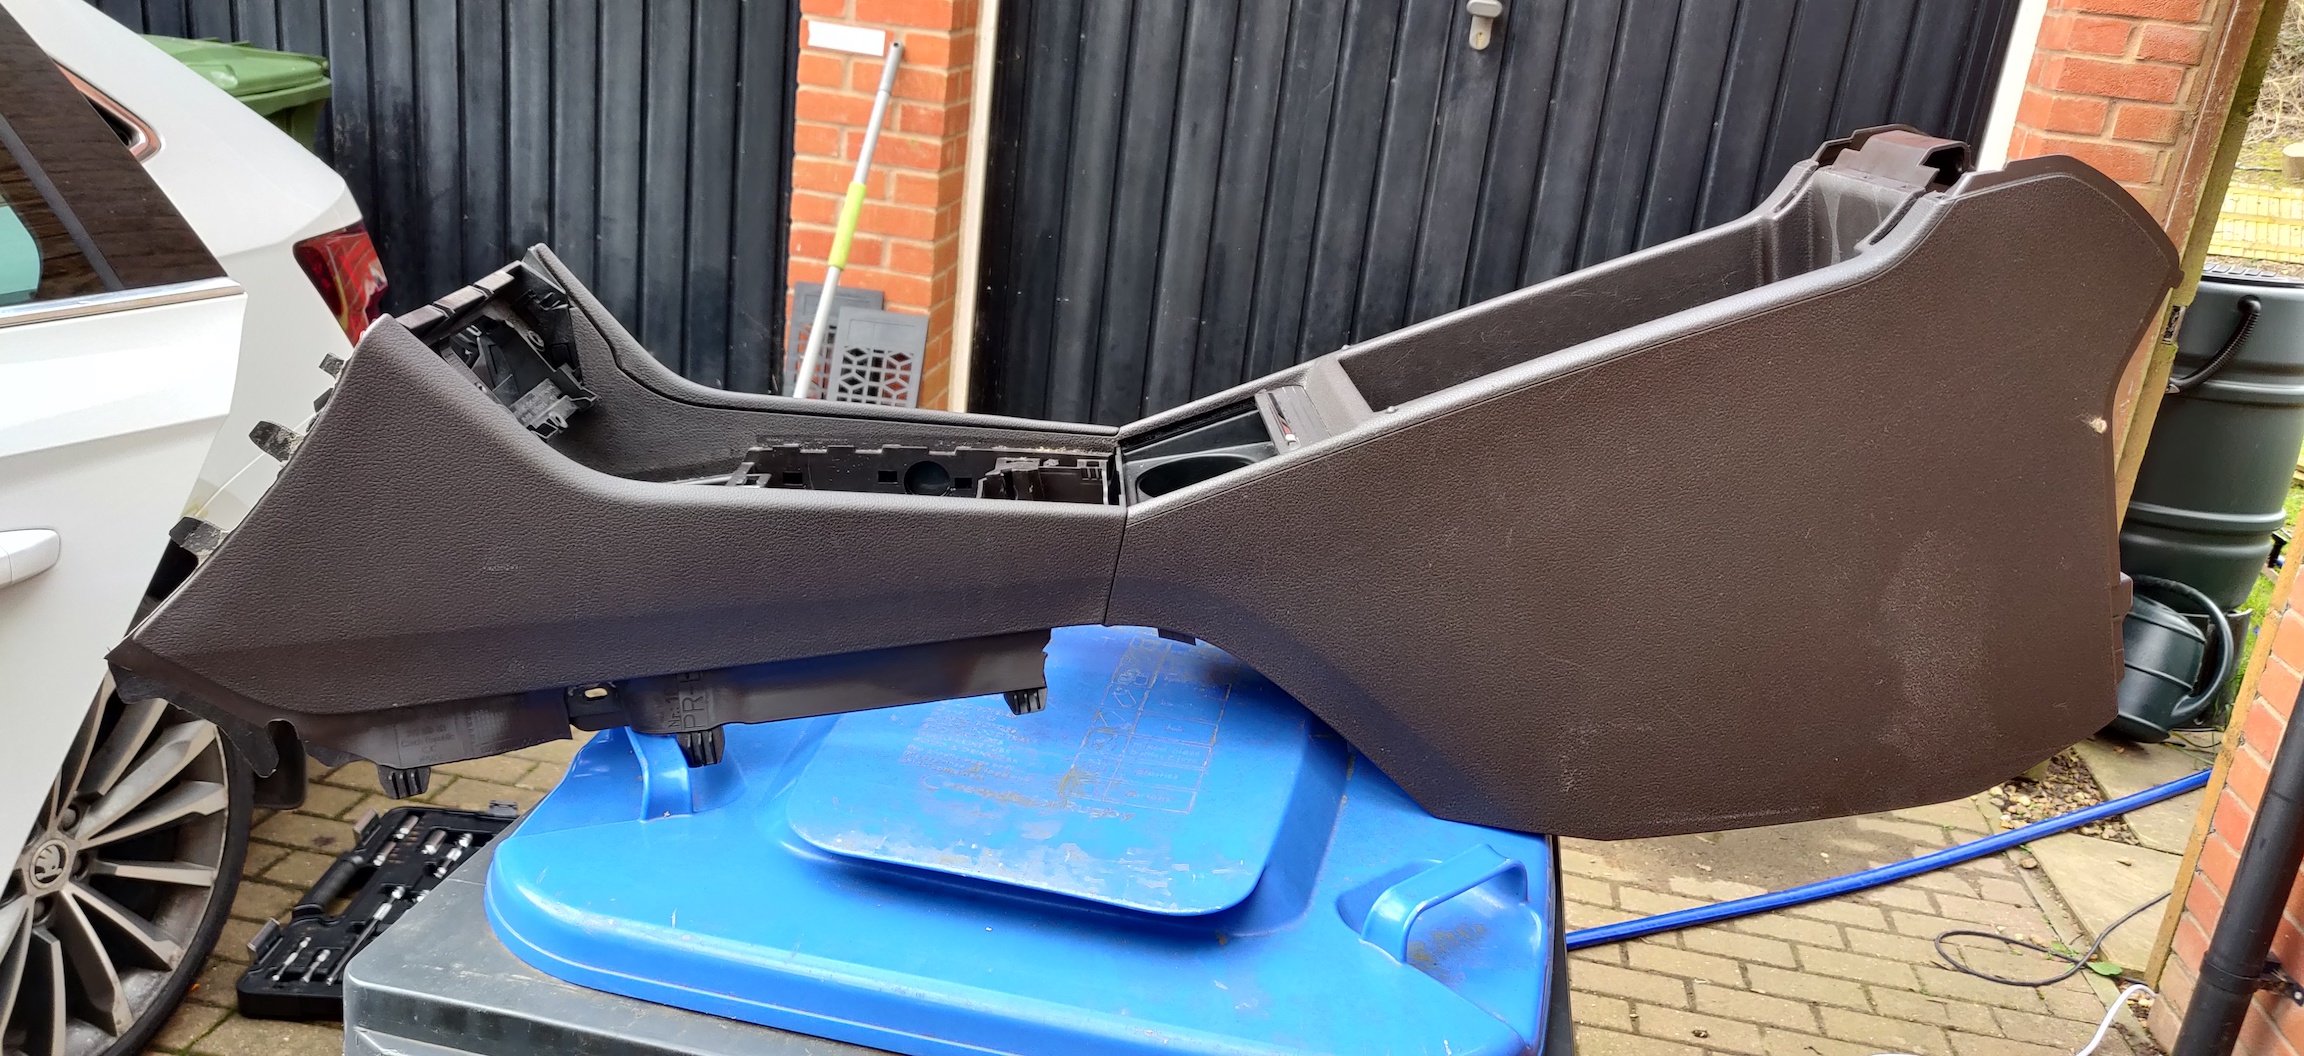
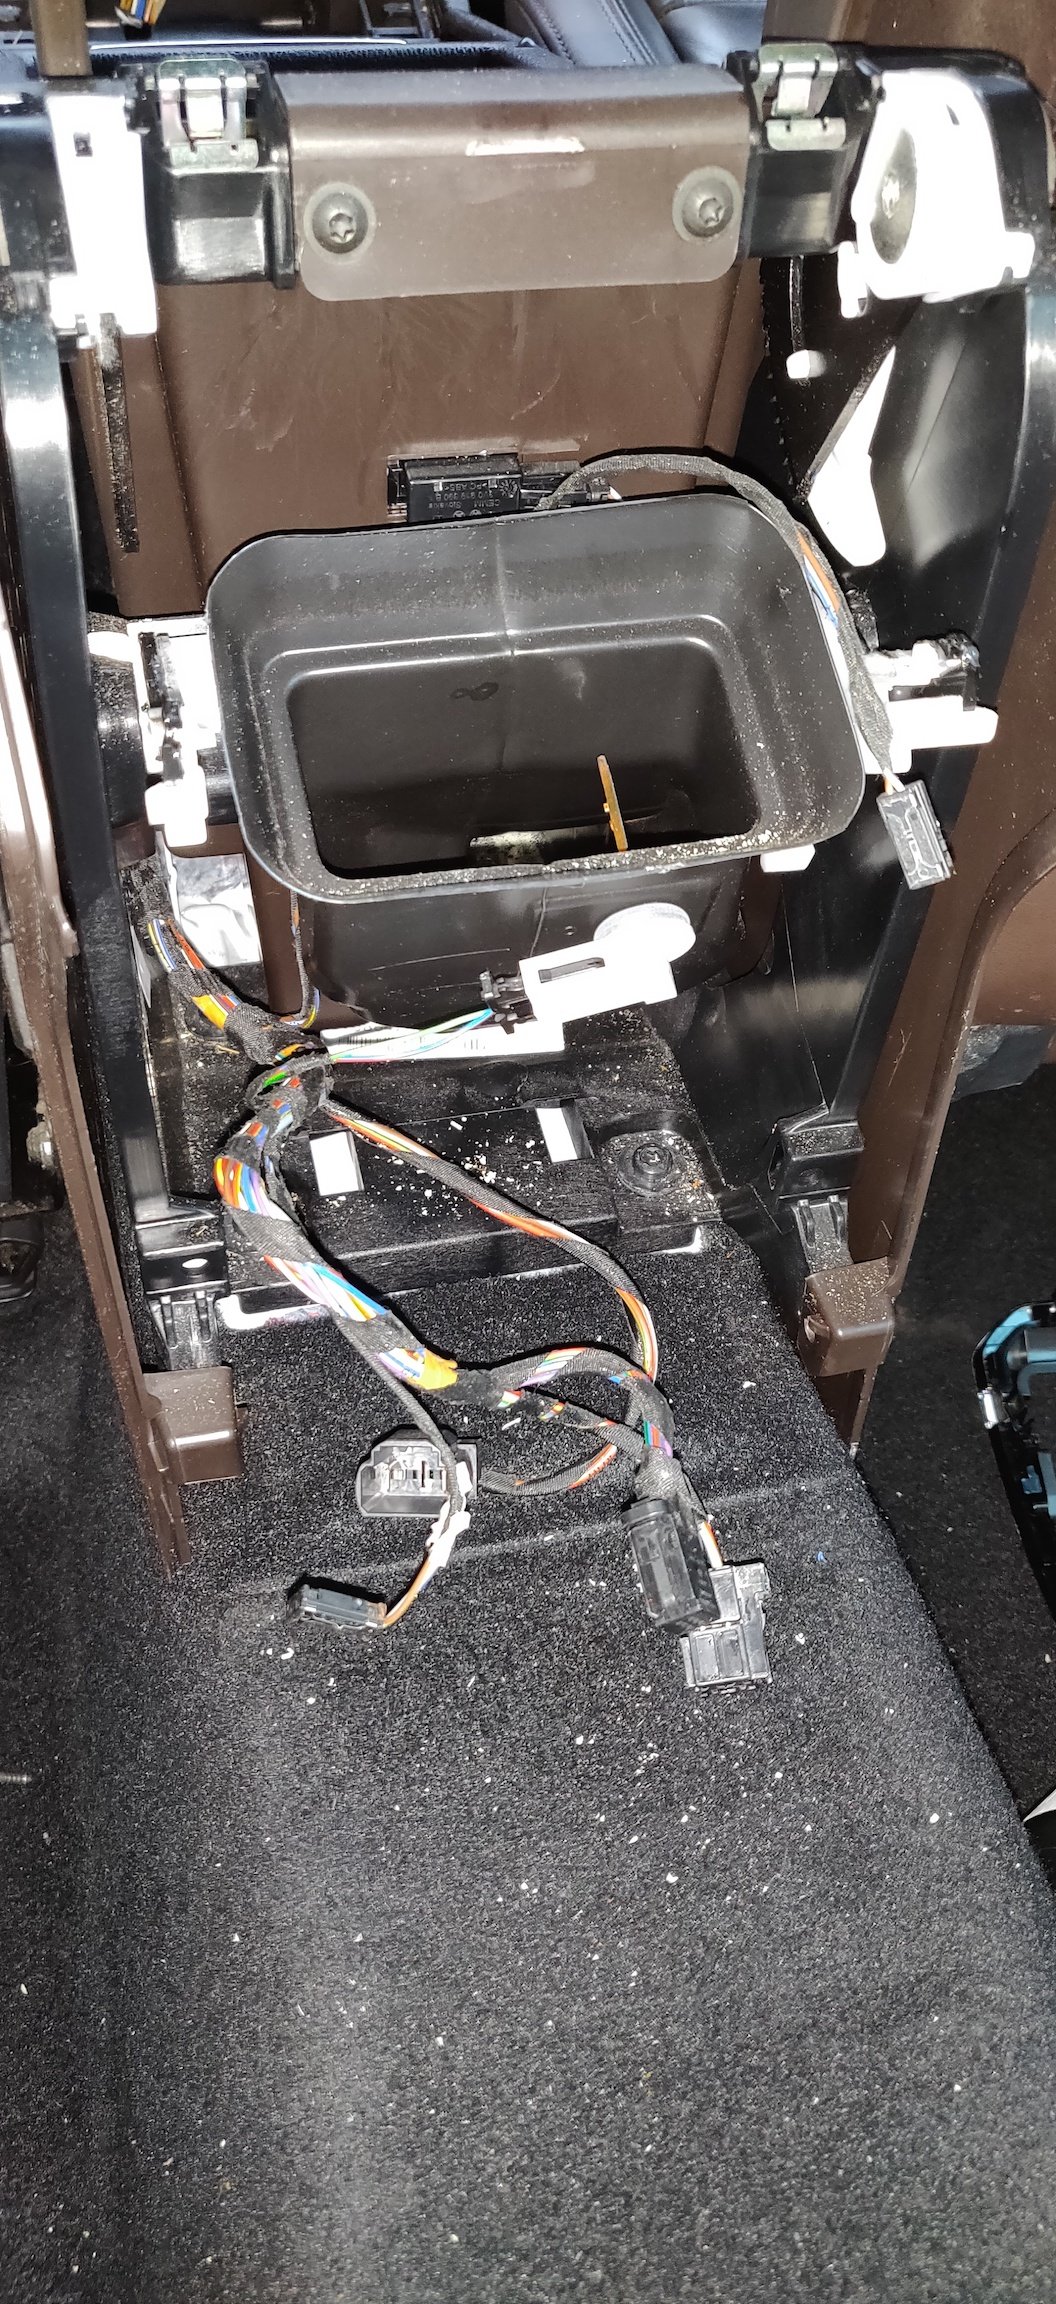
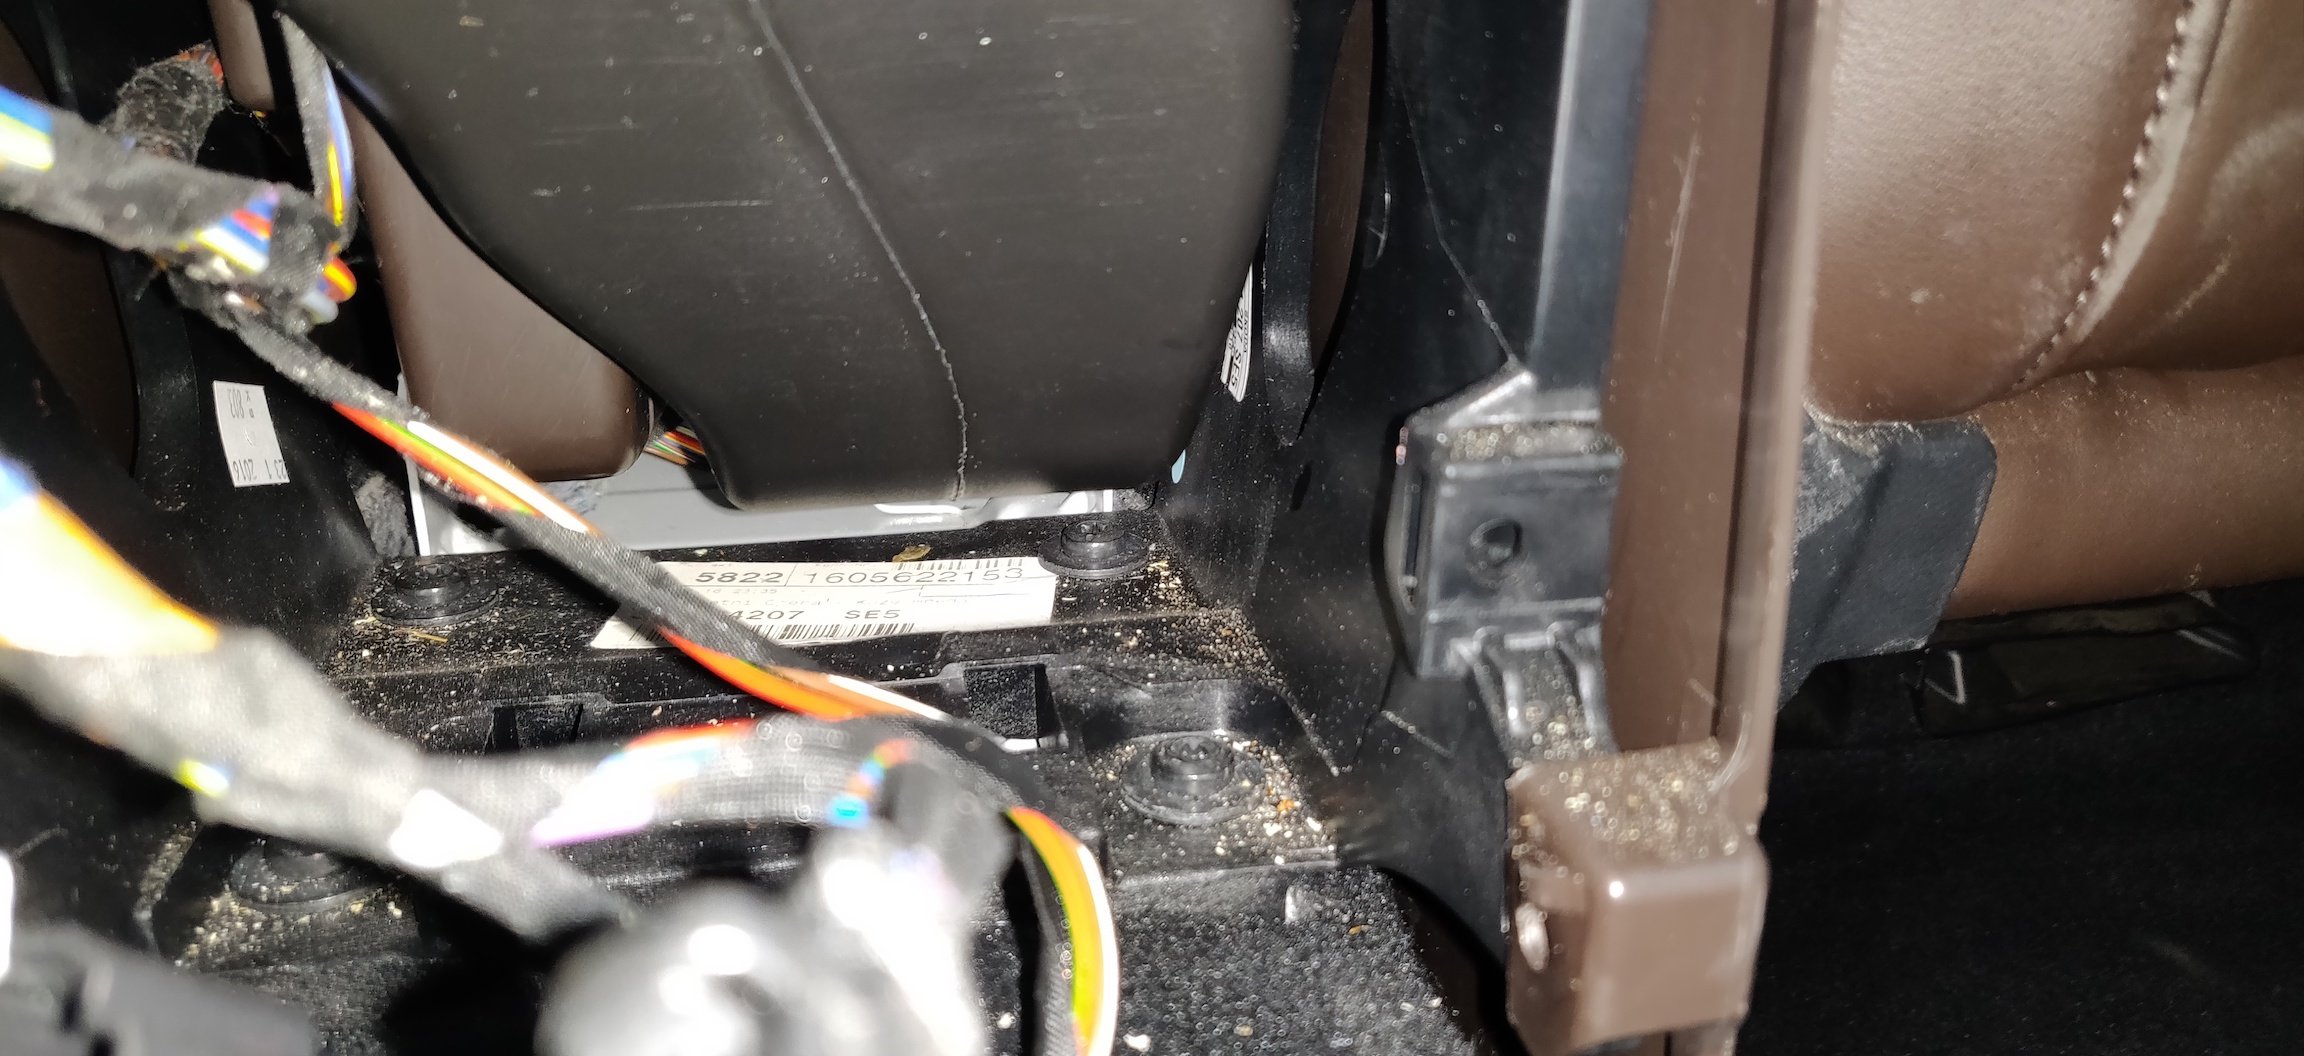
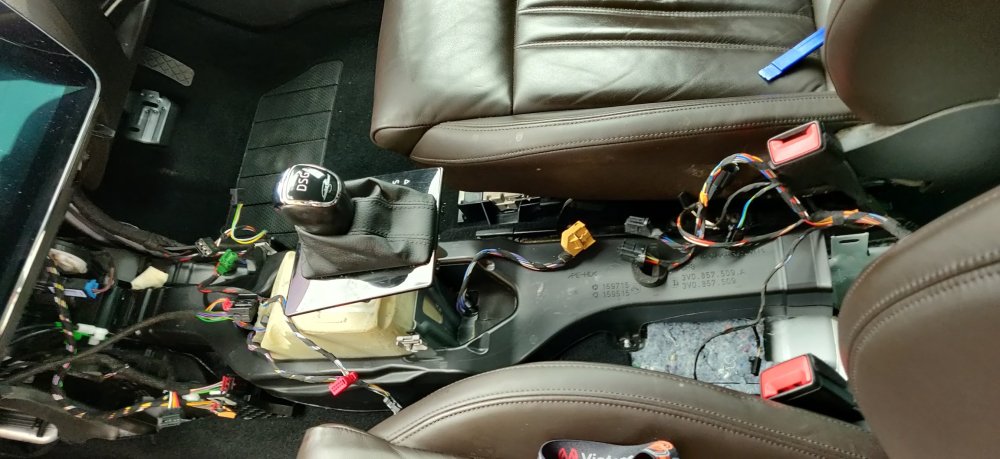
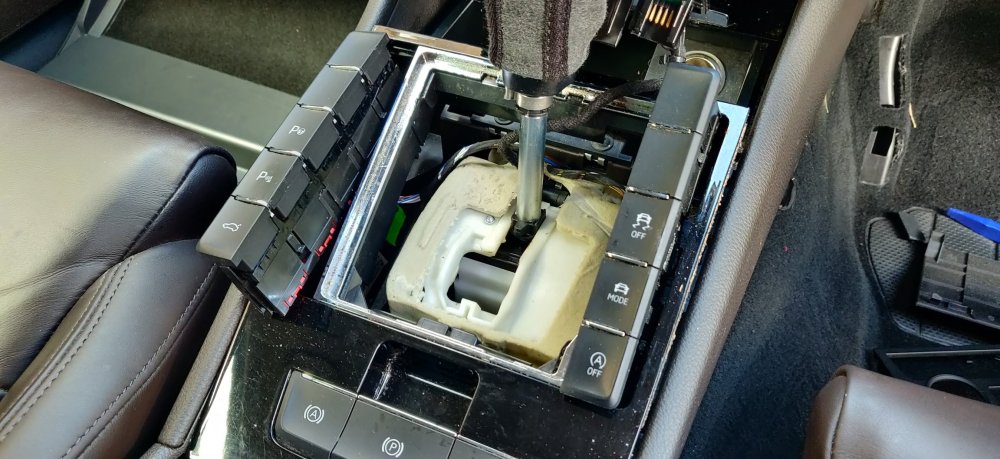
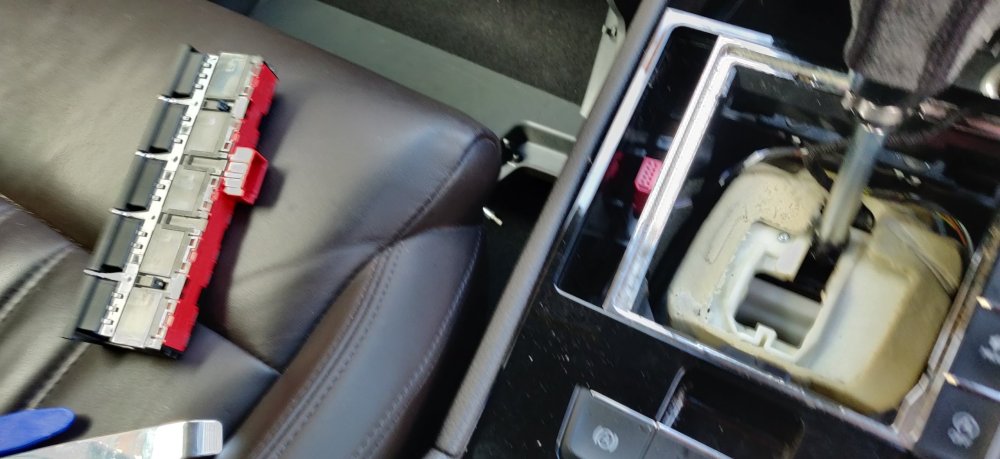
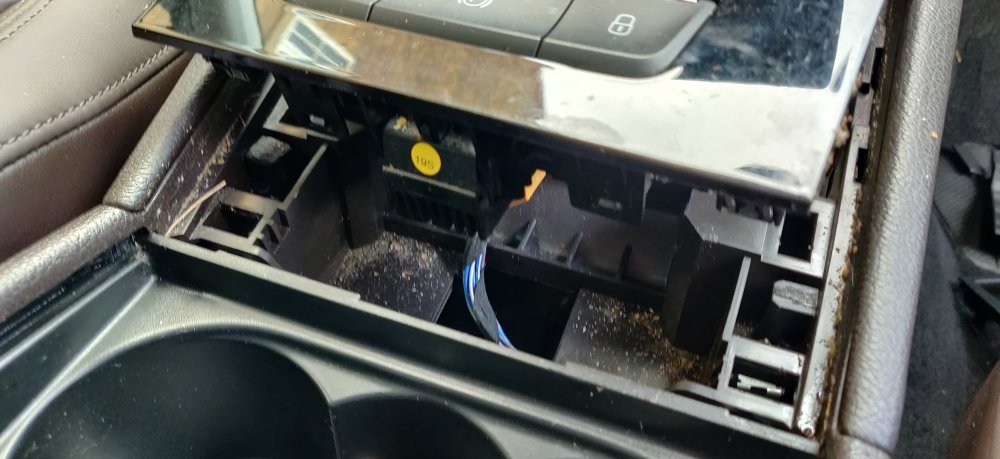
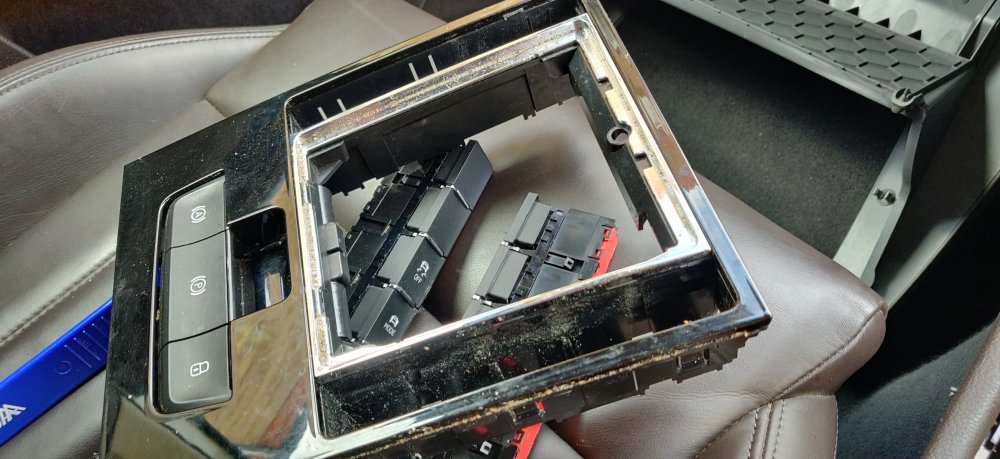
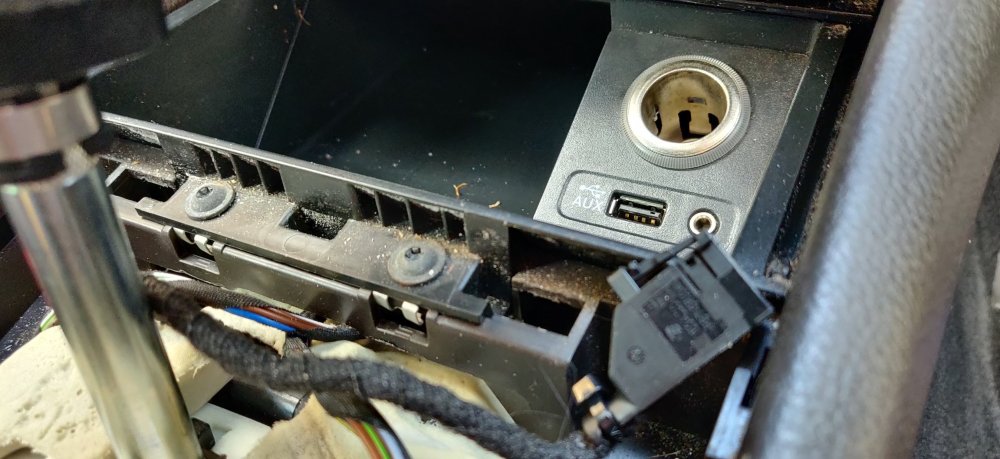
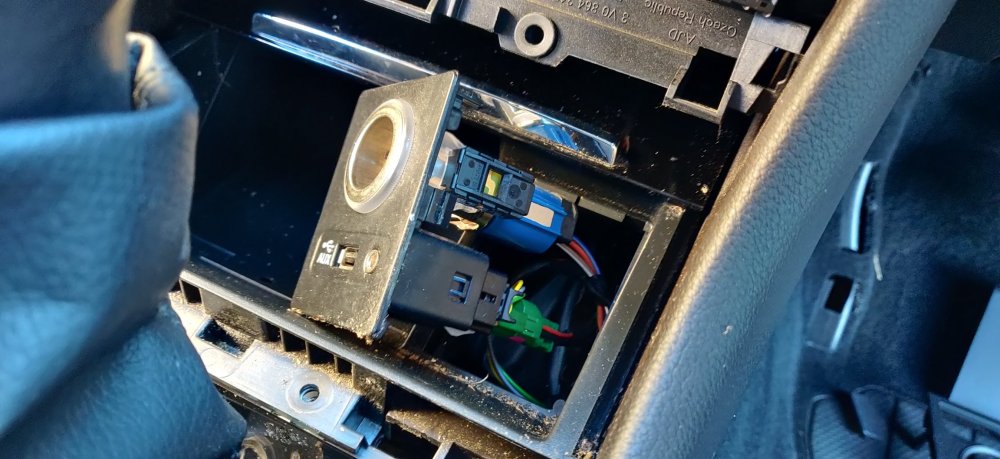
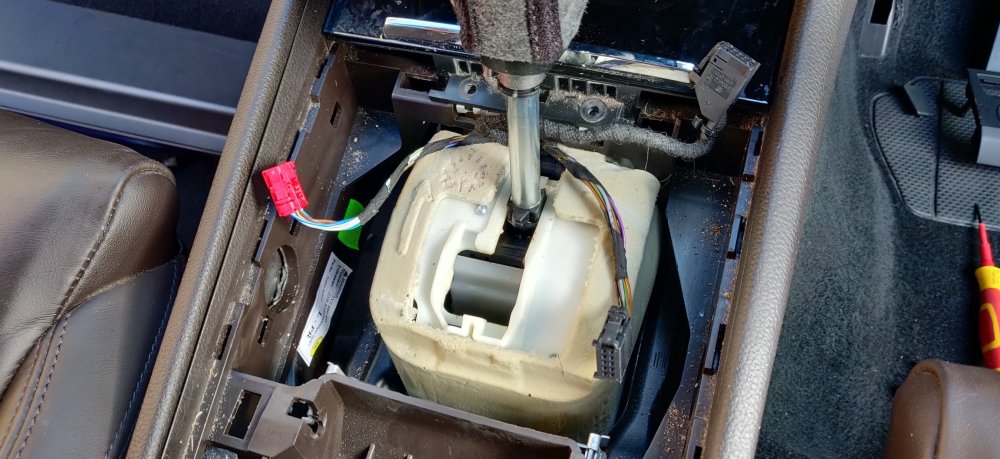
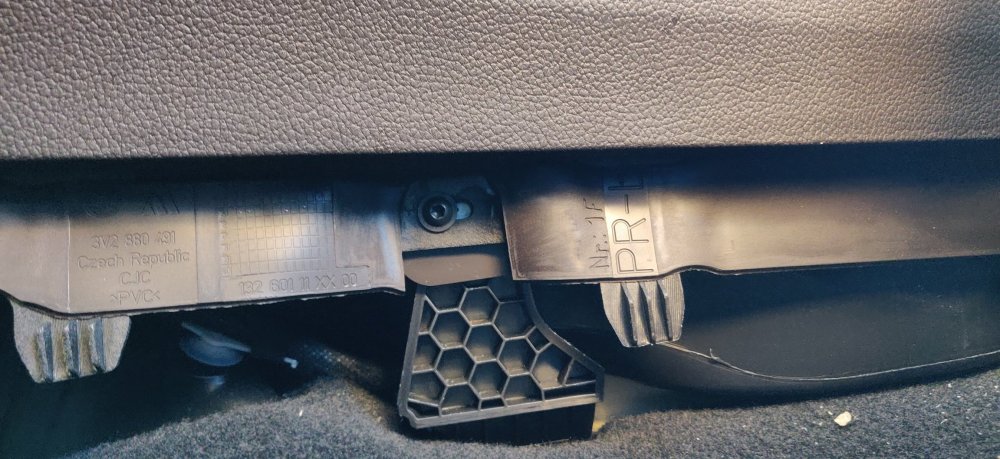
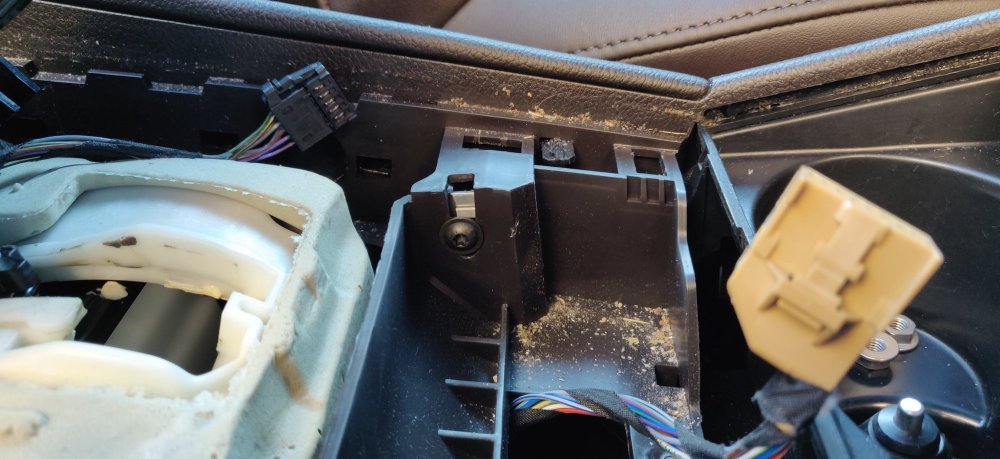
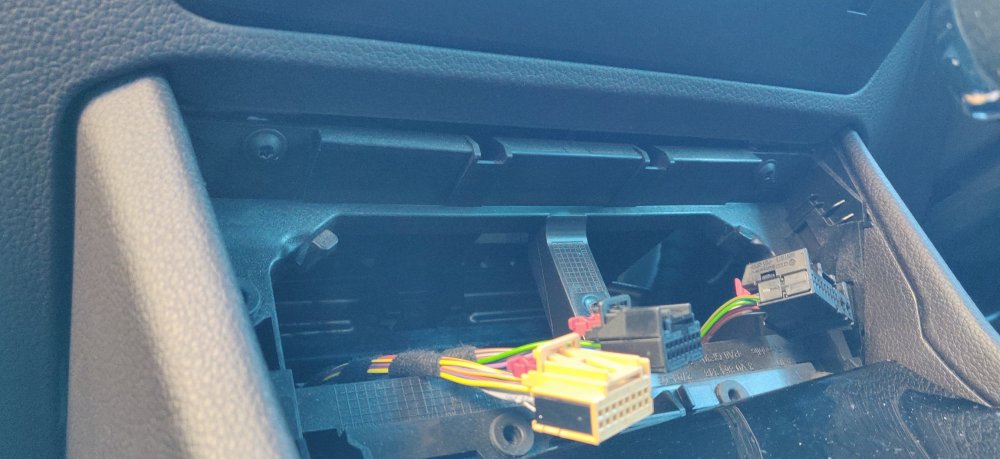
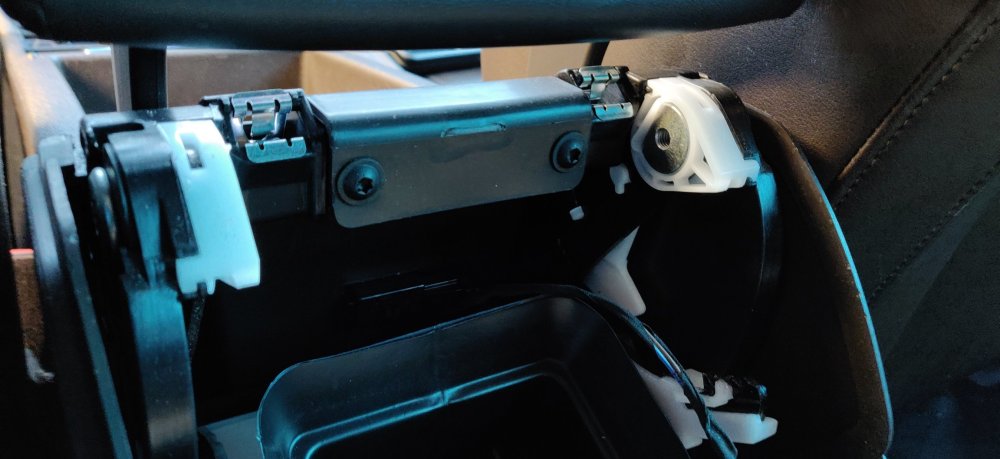
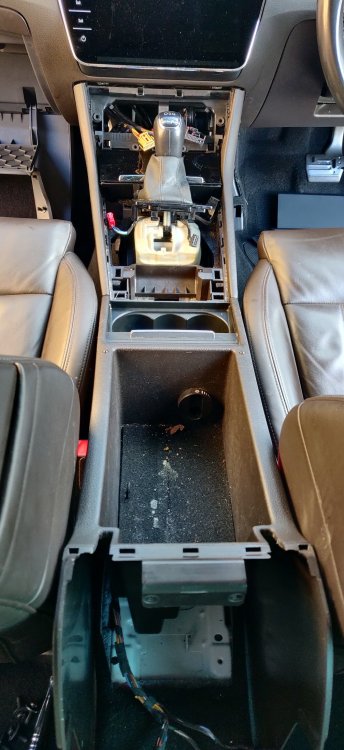
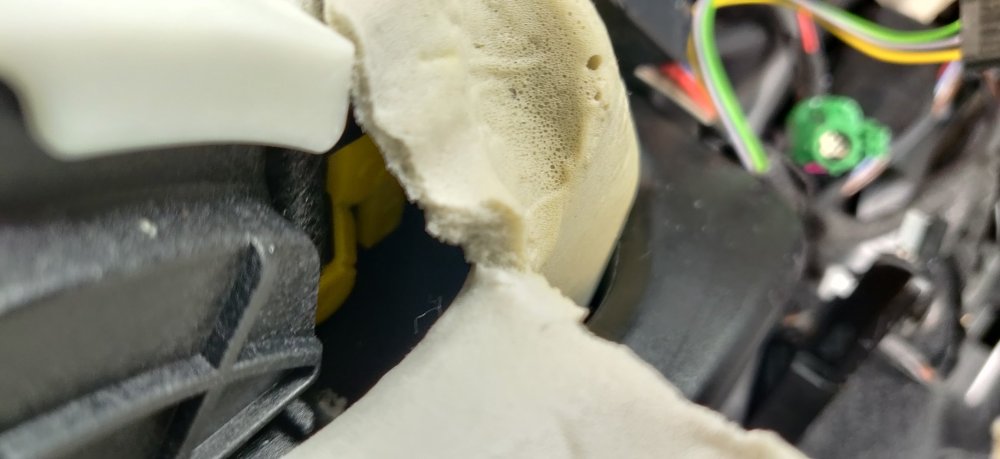
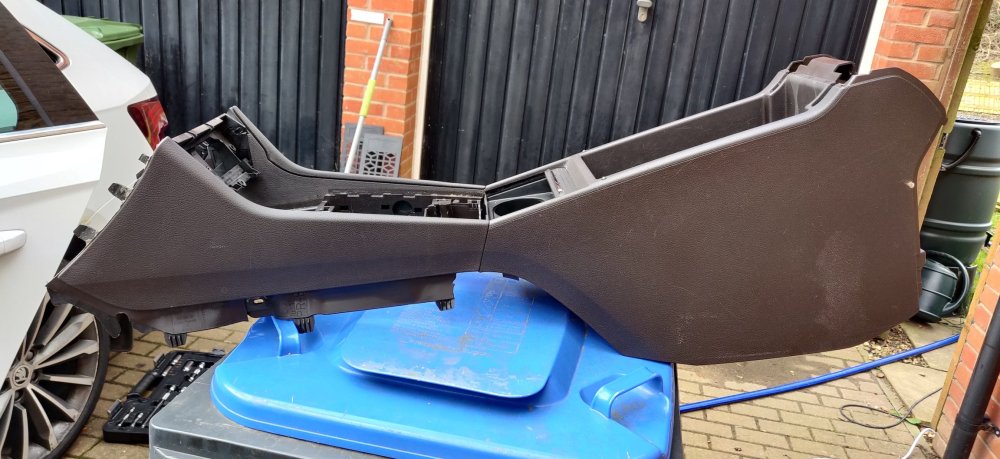
So to remove the centre console, the front trims and gubbins now needed to be freed. First is the gear selector trim, which was done with a thinner trim removal piece. This piece is attached to the gear gaiter, so its lifted a bit to gain access to the other bits. The same thin trim removal piece is then used at the bottom of the buttons on either side of the gear selector: The wiring to these buttons were a little difficult to access in situ. Not actually sure how, maybe the centre console itself was freed enough to allow it to move upwards and allow more room to disconnect it, didn't keep track of the sequence. However it happened, the buttons eventually come free: The remainder of the trim with the last three buttons can then be lifted. I think I have just grabbed it with my hands and pulled it straight upwards: Disconnect the last of those connectors and eventually: This exposes these two screws at the front of the centre console, used to keep the storage compartment in place: First snag here was that the compartment wasn't coming free. Obvious step to look at was the electrical connectors for the cigarette socket and USB/aux sockets: The connectors here were a little bit more awkward than others. I was forced to use a thin screwdriver and some praying nothing snapped. Even then, the storage compartment wasn't coming away. It was fouling the gear selector. So did some Googling and there's apparently a button of some sort that allows the gear selector to be moved. As it is, with no power connected, the gear selector is locked in P. The user manual itself also highlights this emergency override, which is a yellow thingy. Youtube videos corroborate this. What they don't show is: This lump of foam. Decided at this point to see if the centre console could be removed and see if that helps with the storage compartment. With the trim from the gearbox, the front and rear climate controls, the rear ashtray and armrest all removed, what should remain is a few screws: Two on the side at the bottom, which the side trims normally cover. There is also a pair on the inside of the centre console: Next to the gear selector. There are a couple at the front: These are hidden by the climate controls, hence it's removal being a requisite. The remaining two are at the rear: Now, the previous post has shown pics of these removed, as the armrest requires this, and the console being lifted to remove it. This pic is from earlier, as the armrest is still visible here, but I've put it here for the flow! Sadly, the storage compartment and the whole centre console is still fouled by the gear selector: So I was forced to find this yellow thing. Eventually was able to determine it by slipping a finger between the gear selector and the foam on the right side front and rummaged for something. I found said something, pressed it inwards to the left, and lo and behold, the gear selector could be changed. Two clicks down to N. I've taken a pic for future reference, which involved some destruction of the foam to do so: Not too fussed really. Could use some duct tape I suppose. With that, the centre console now has a clear path. It is lifted up from the rear, which then angles the front to release it, as it has clips at the front. Then the console is pulled back slightly then up. With some additional wiggling: No doubt I will completely forget the steps to install this, even if its just this post backwards. I think it took about 4 hours to get to this stage, with time delays mainly around scratching my head around this yellow emergency gear selector release. I think it could be done within an hour if it was a mad scramble. So one moral of this story is to ensure you've got the car in neutral if you're going to remove the centre console! Note, I also put wheel chocks before putting the car in neutral, just in case. I'm sure the parking brake was engaged before the power was disconnected, but just in case. Maintenance: £1678.25 Upgrades: £711.10 Miscellaneous: £603.58
-
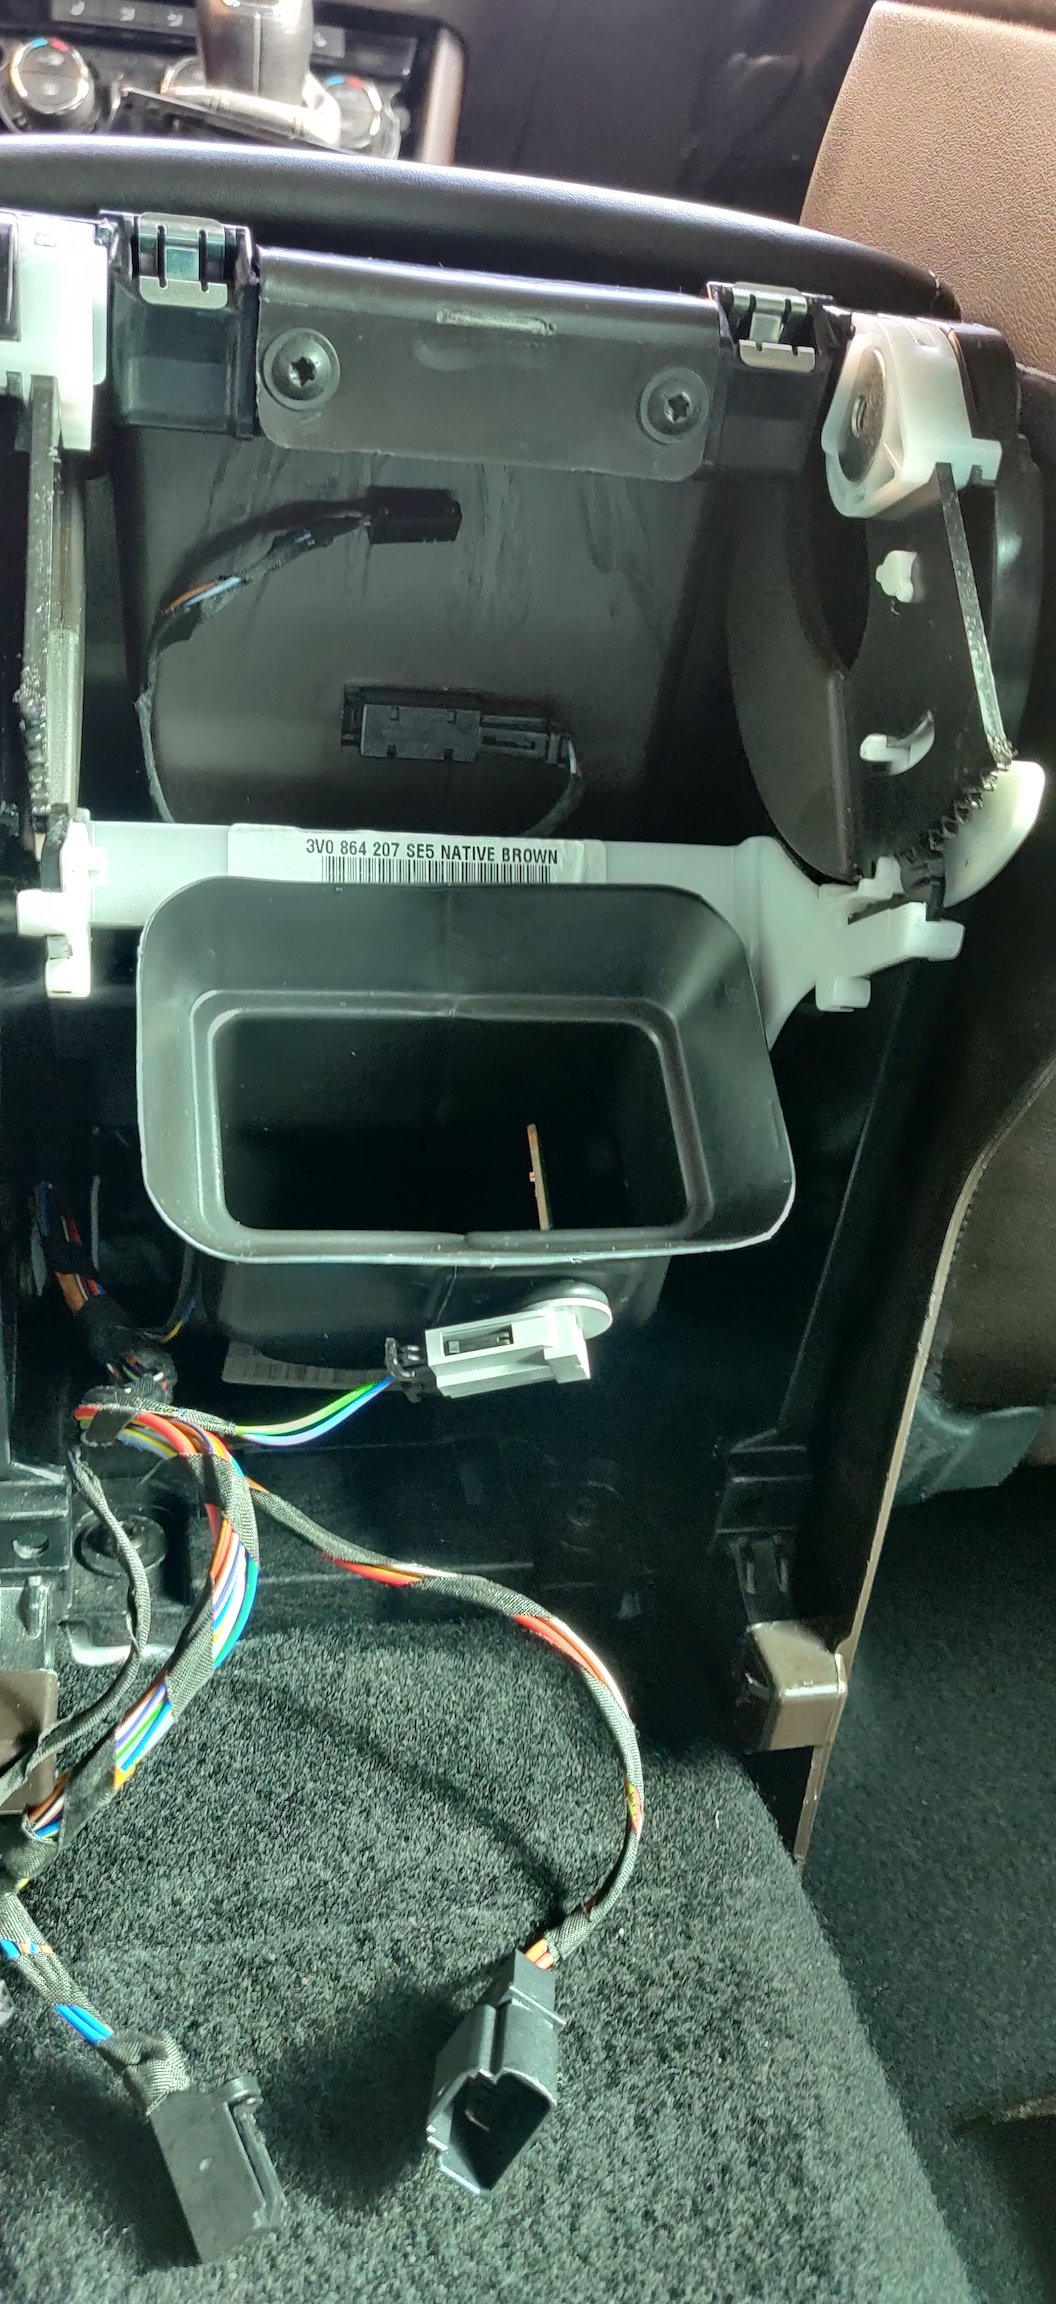
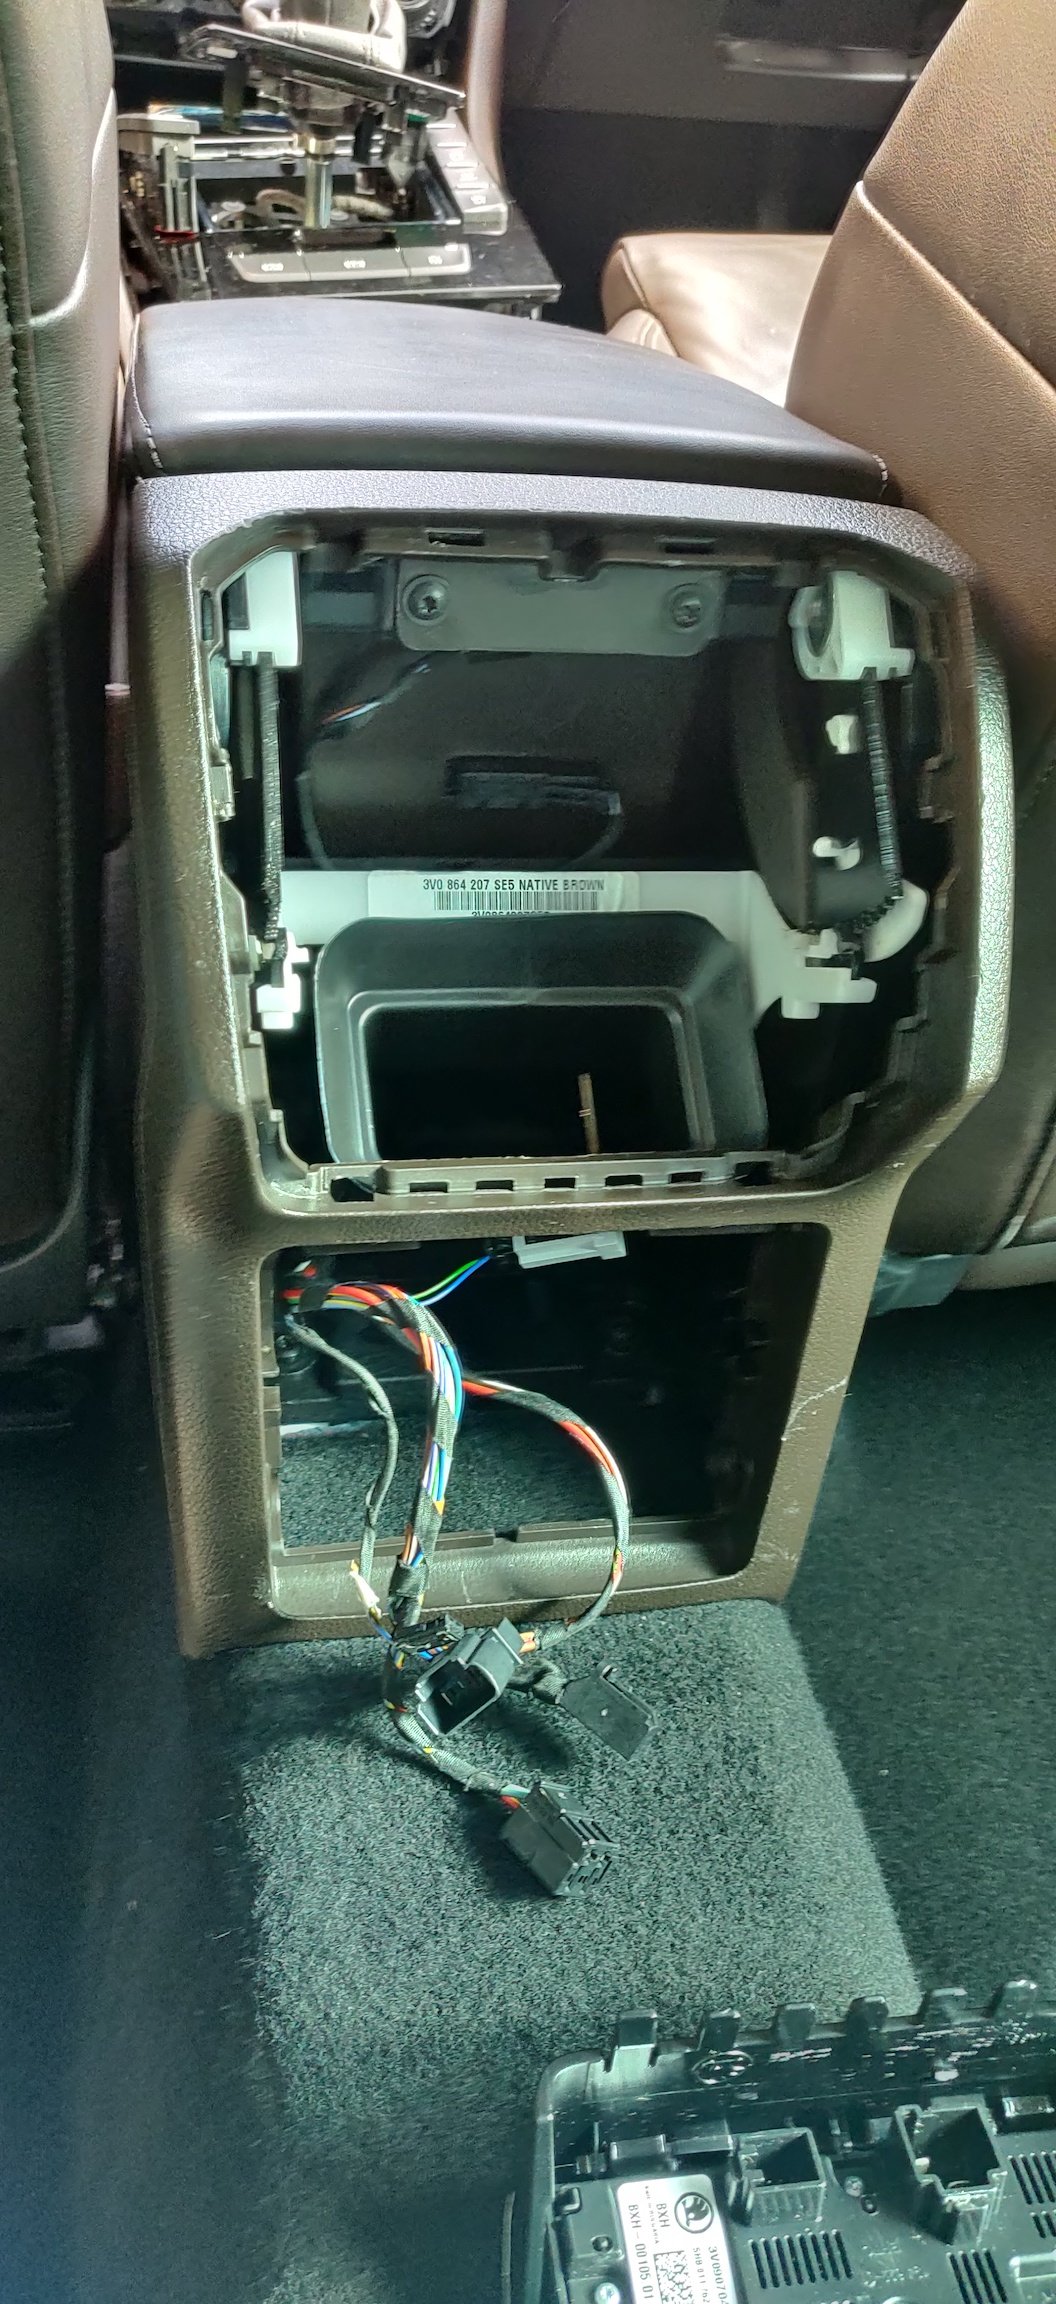
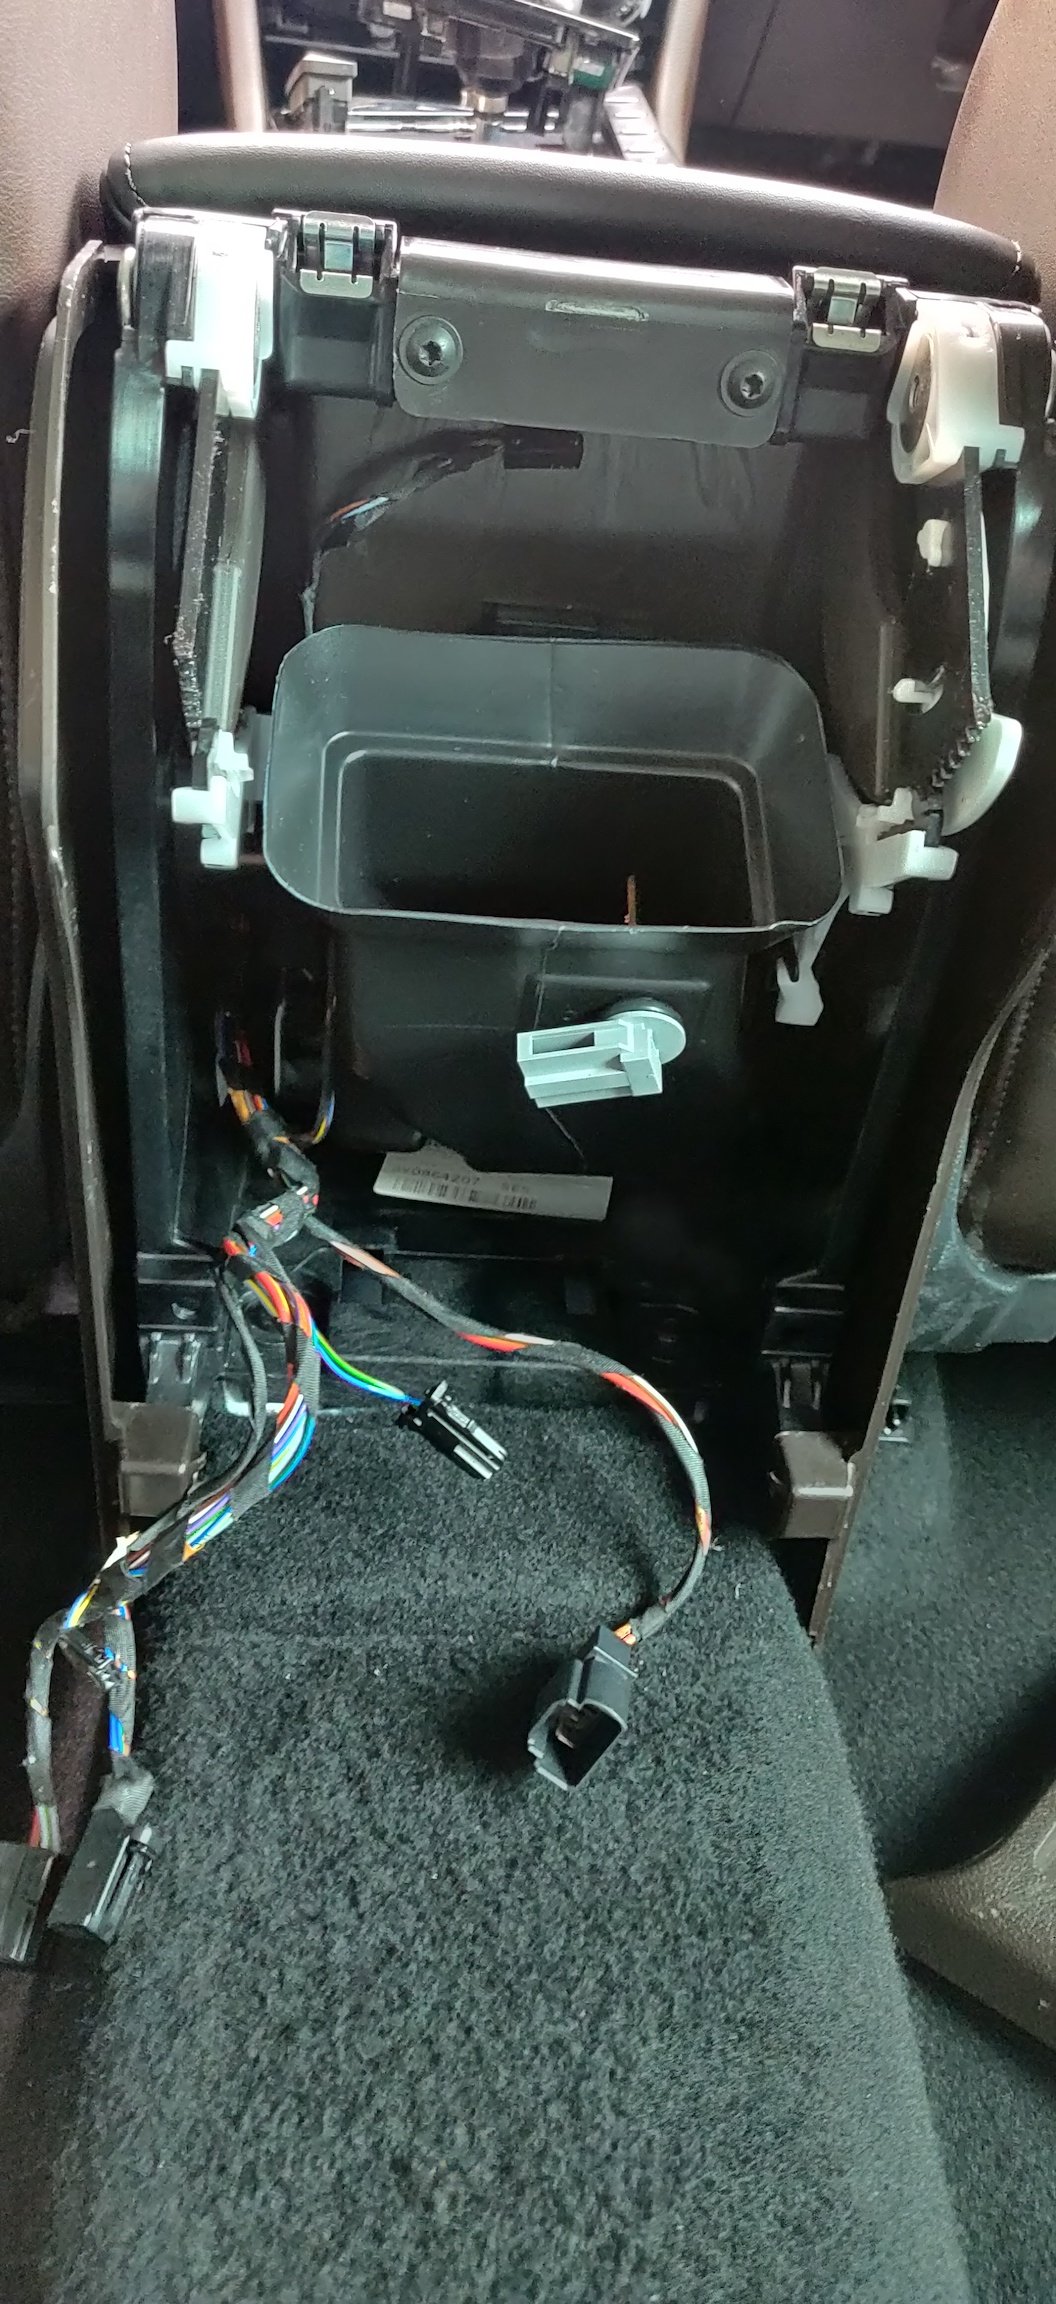
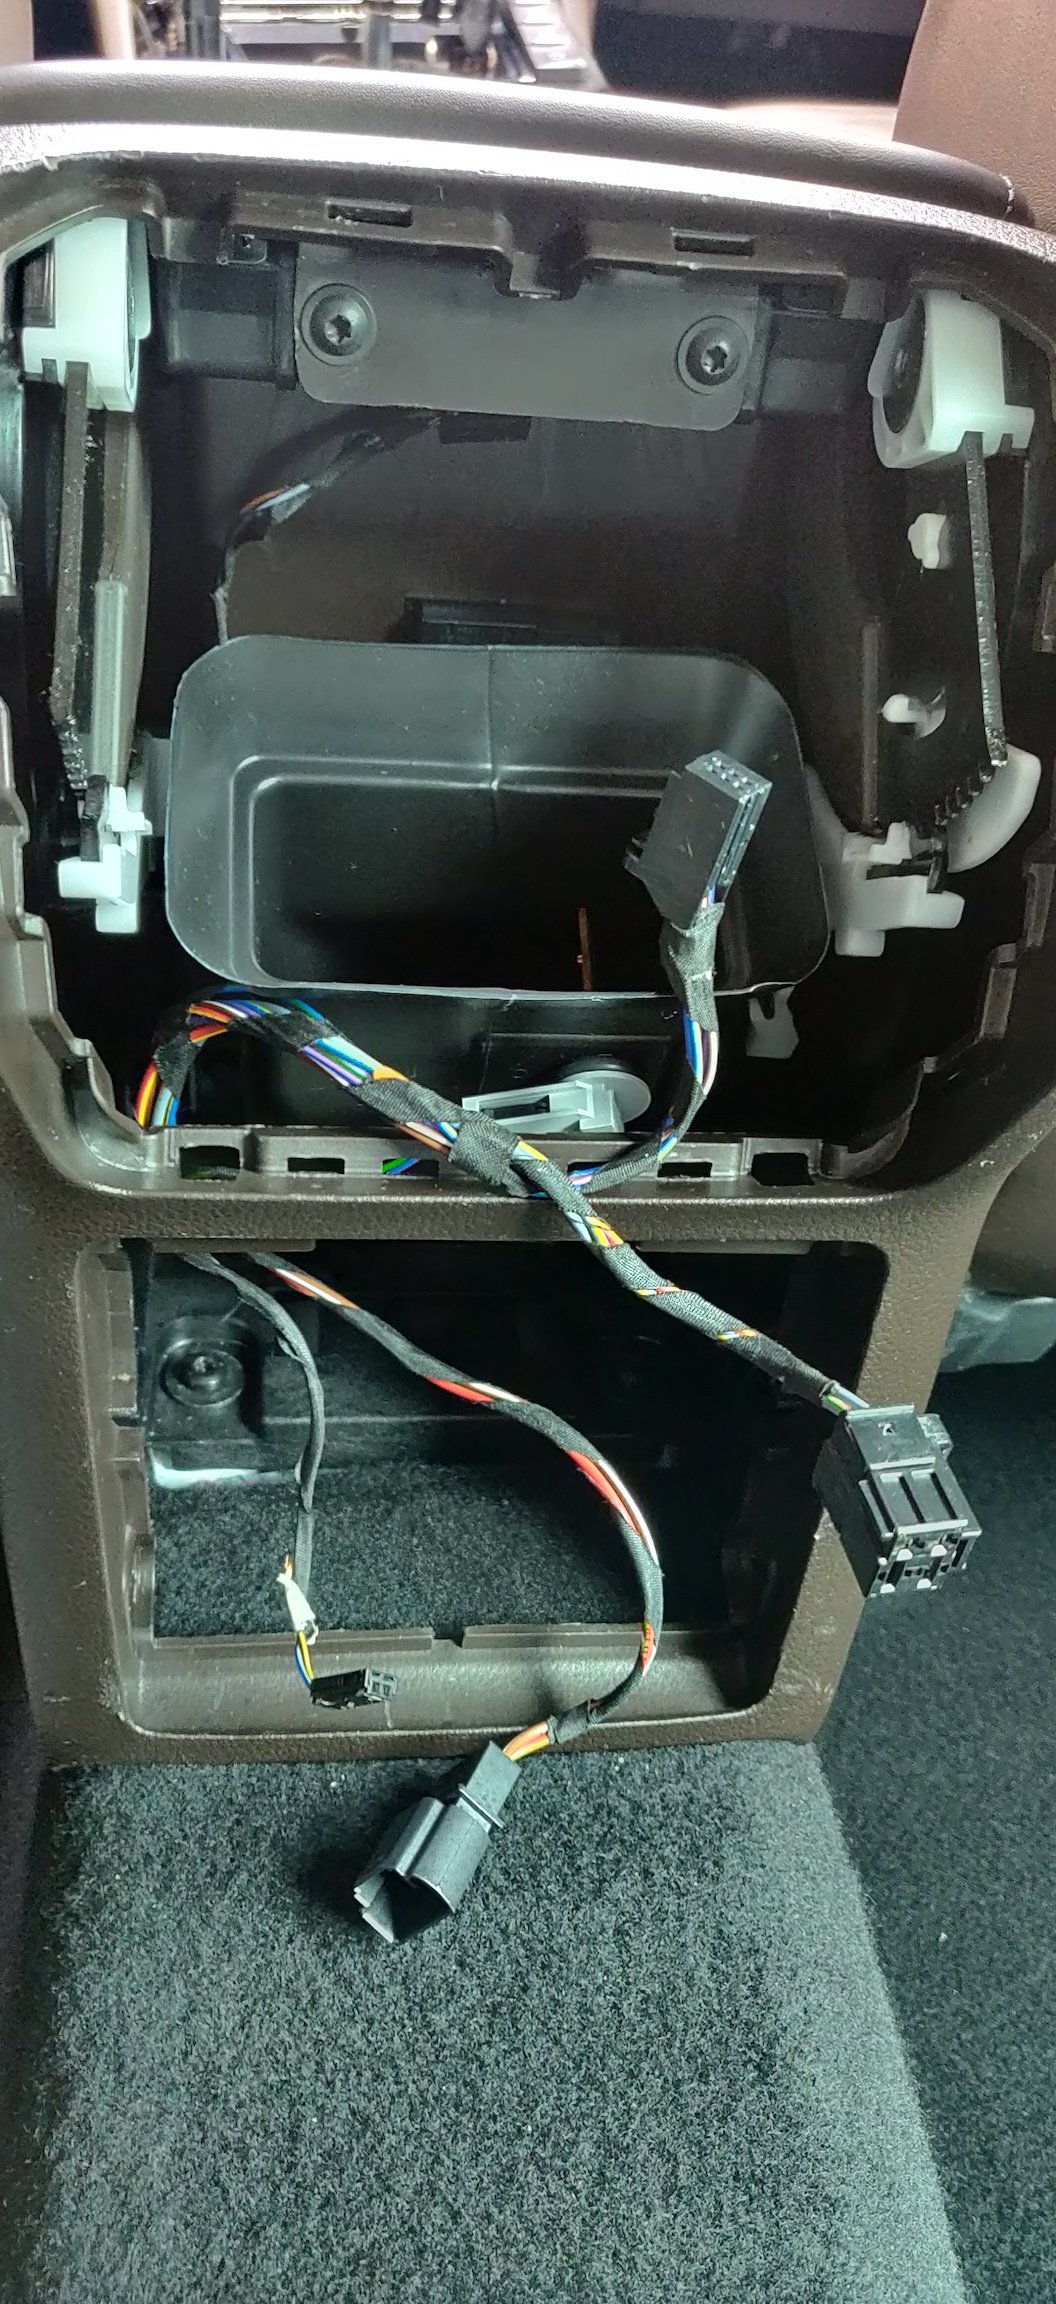
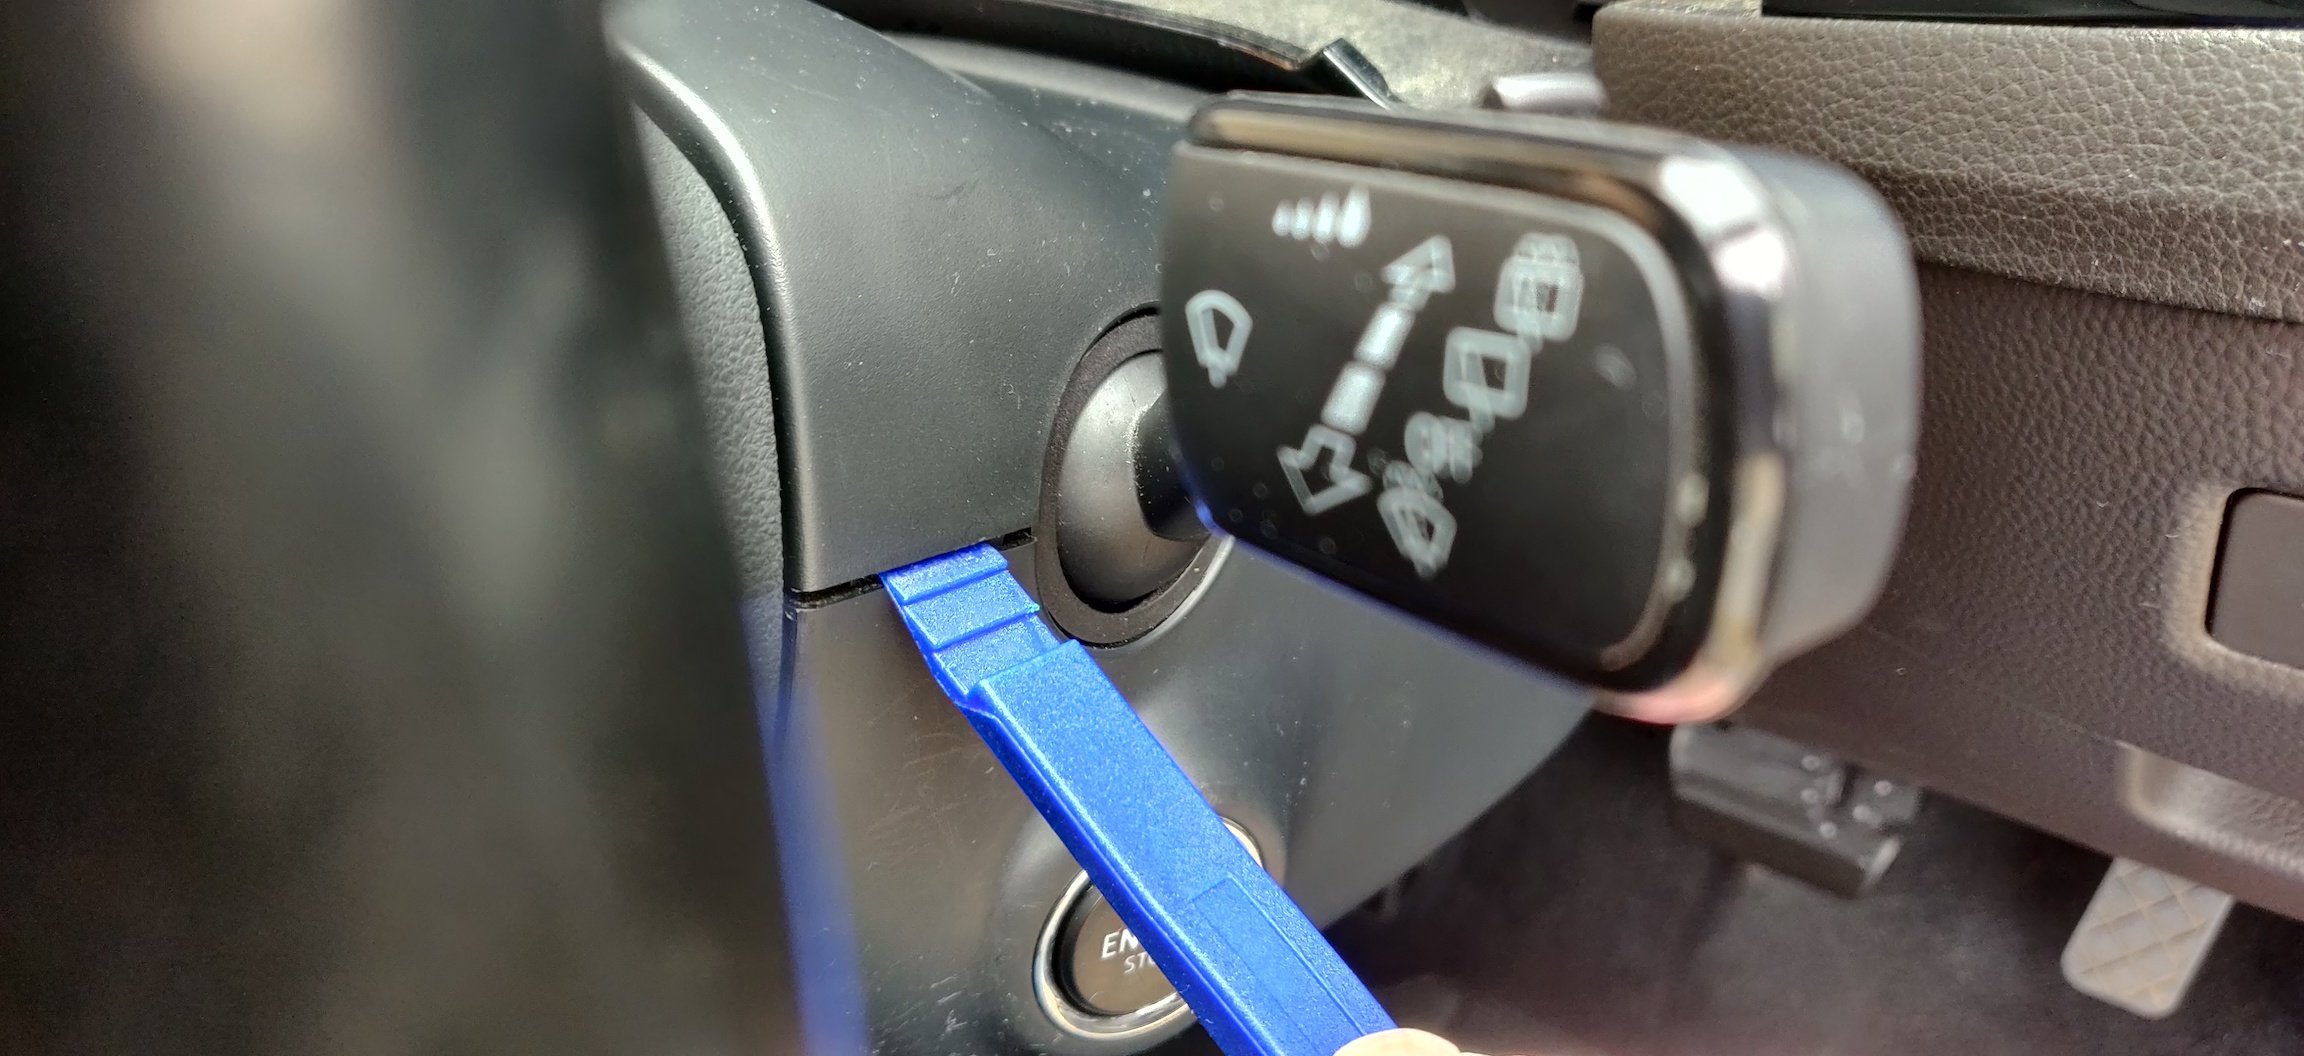
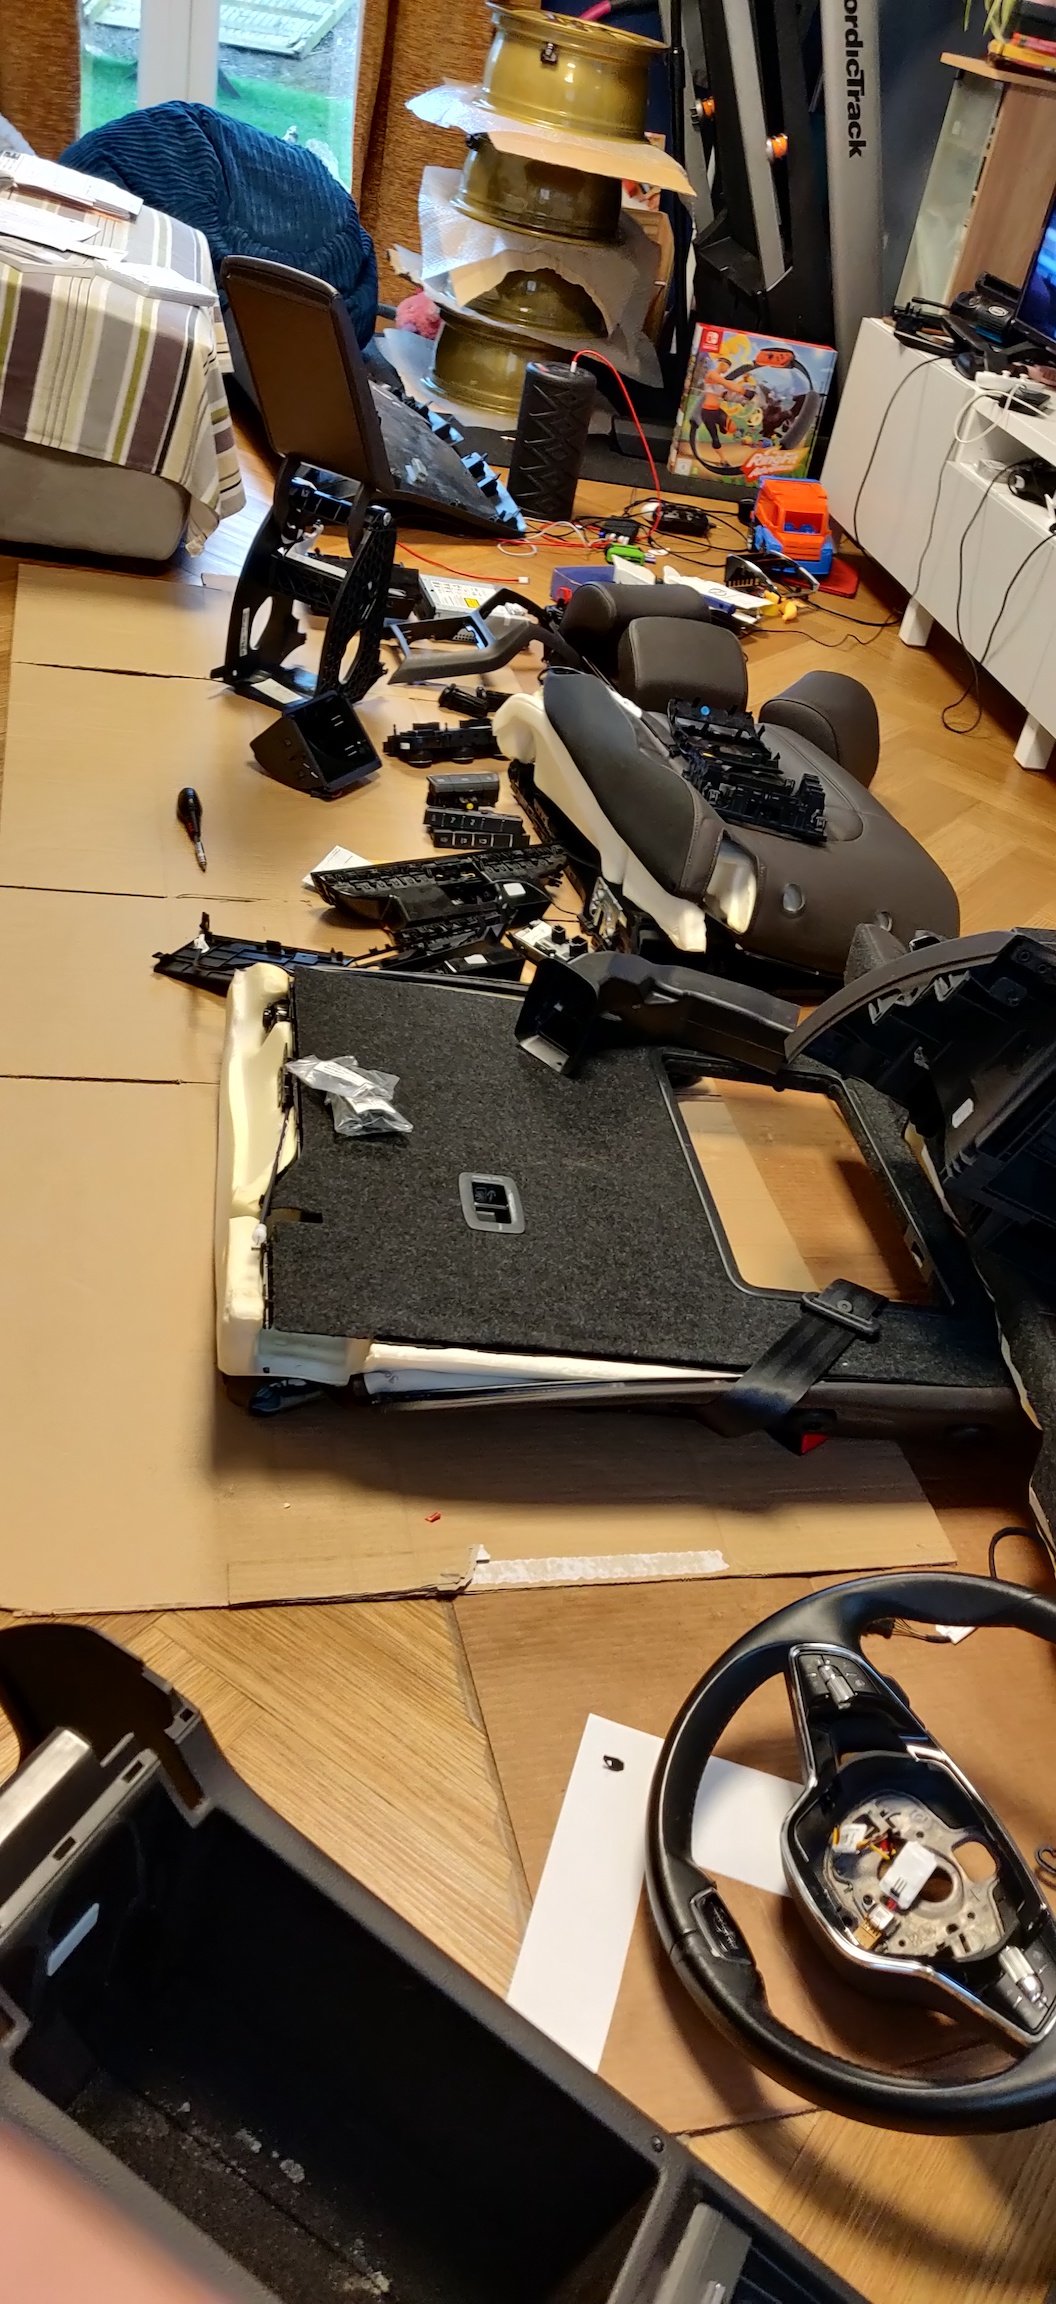
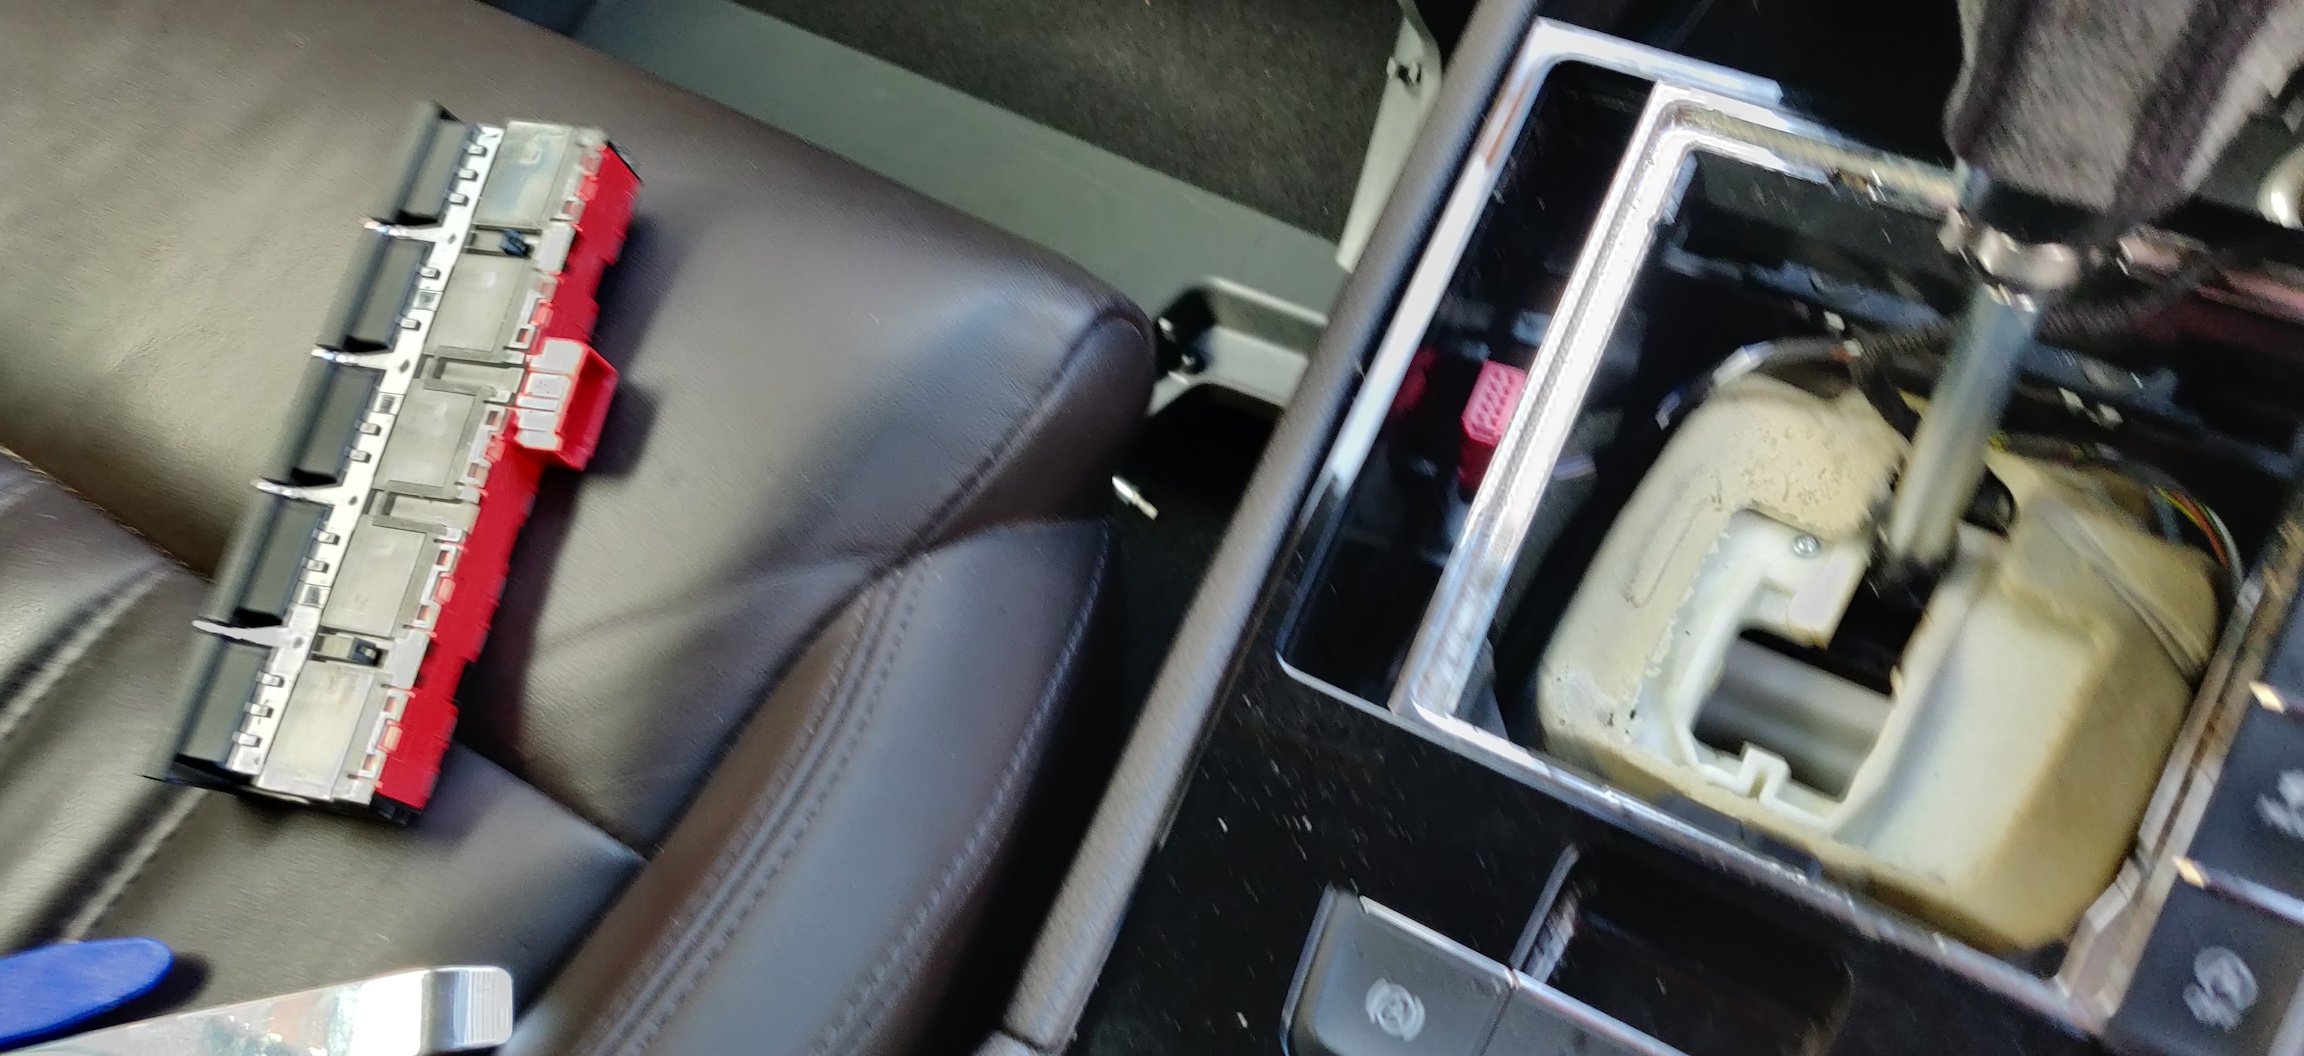
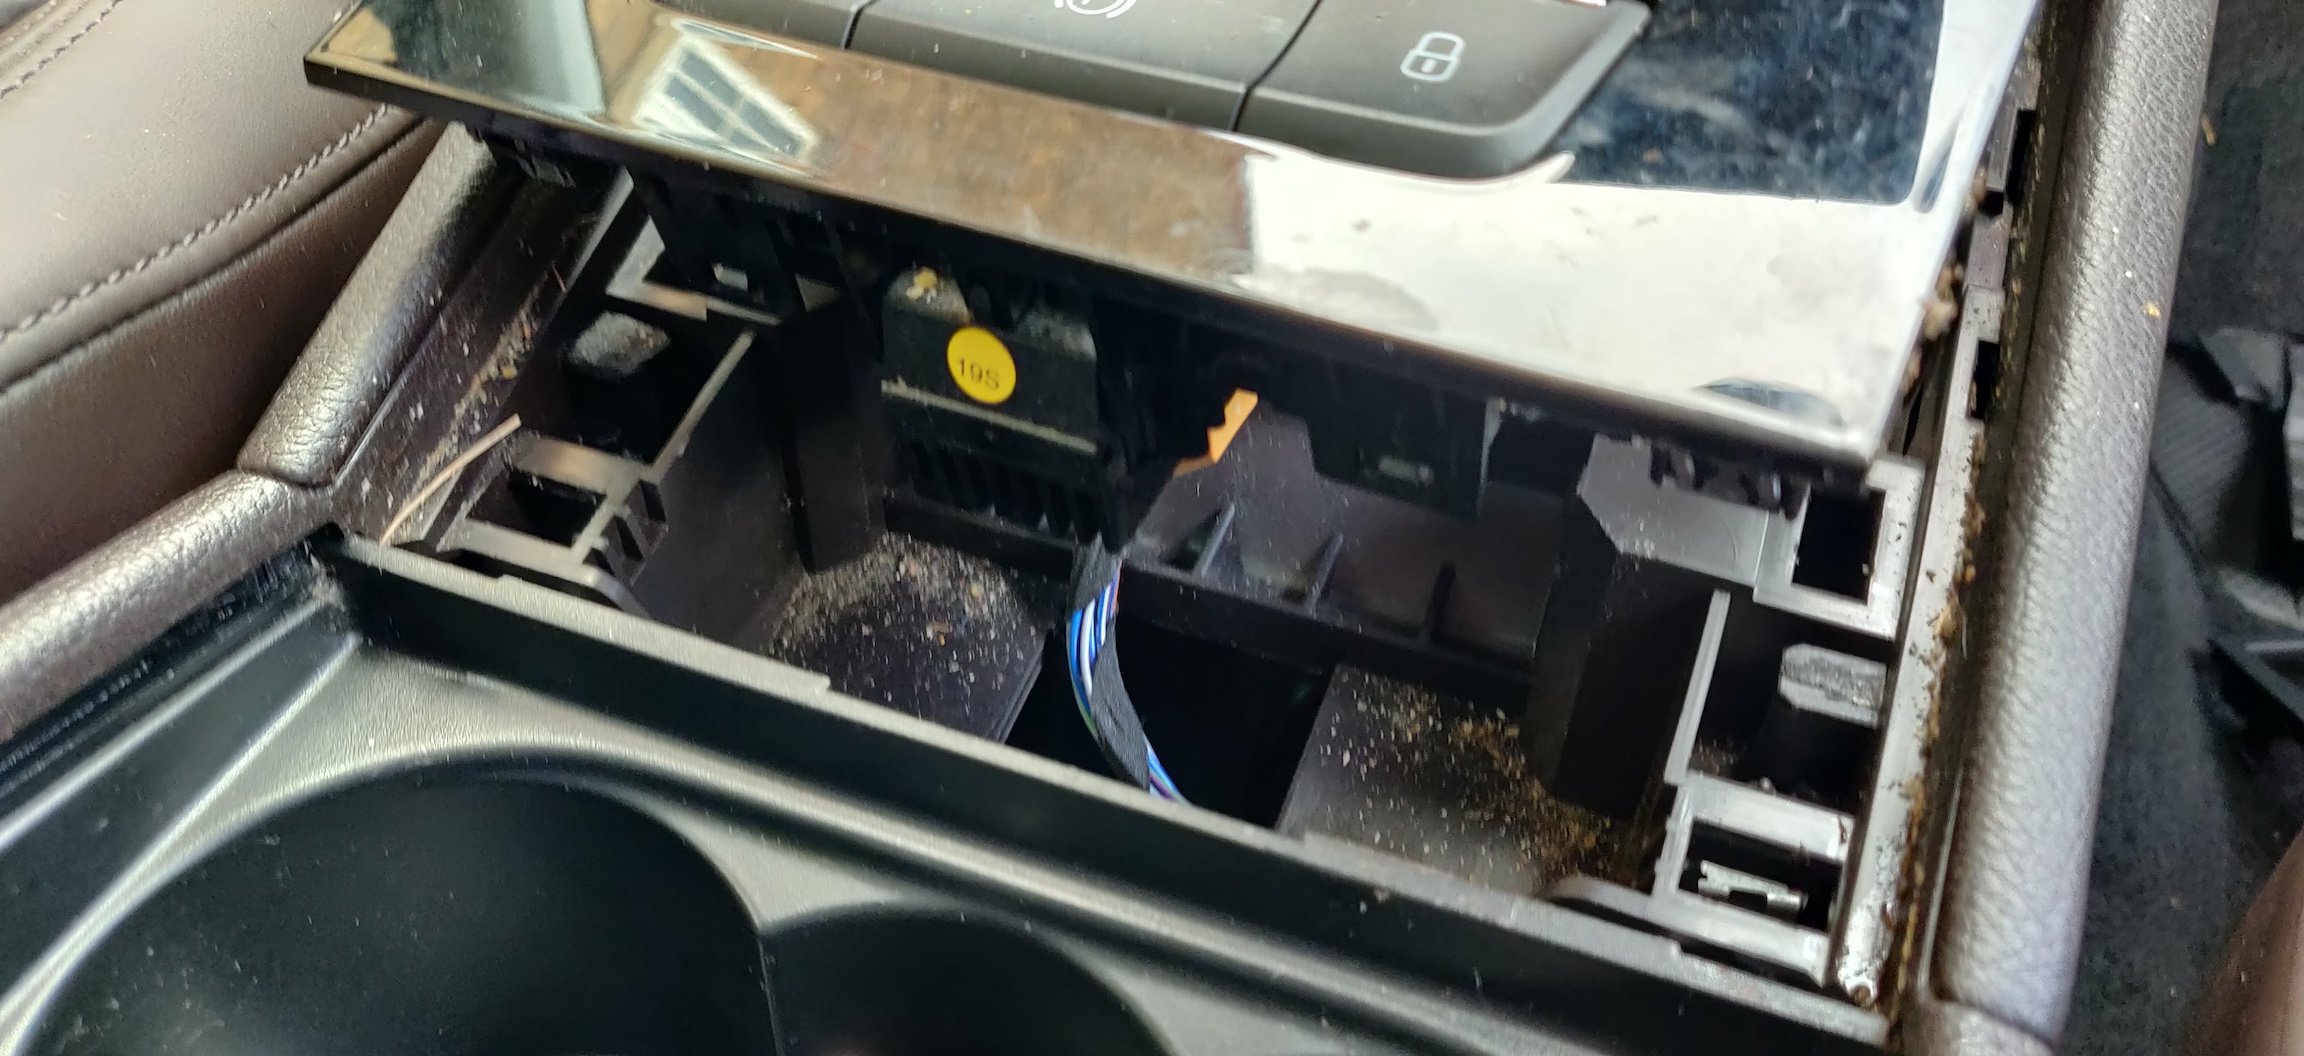
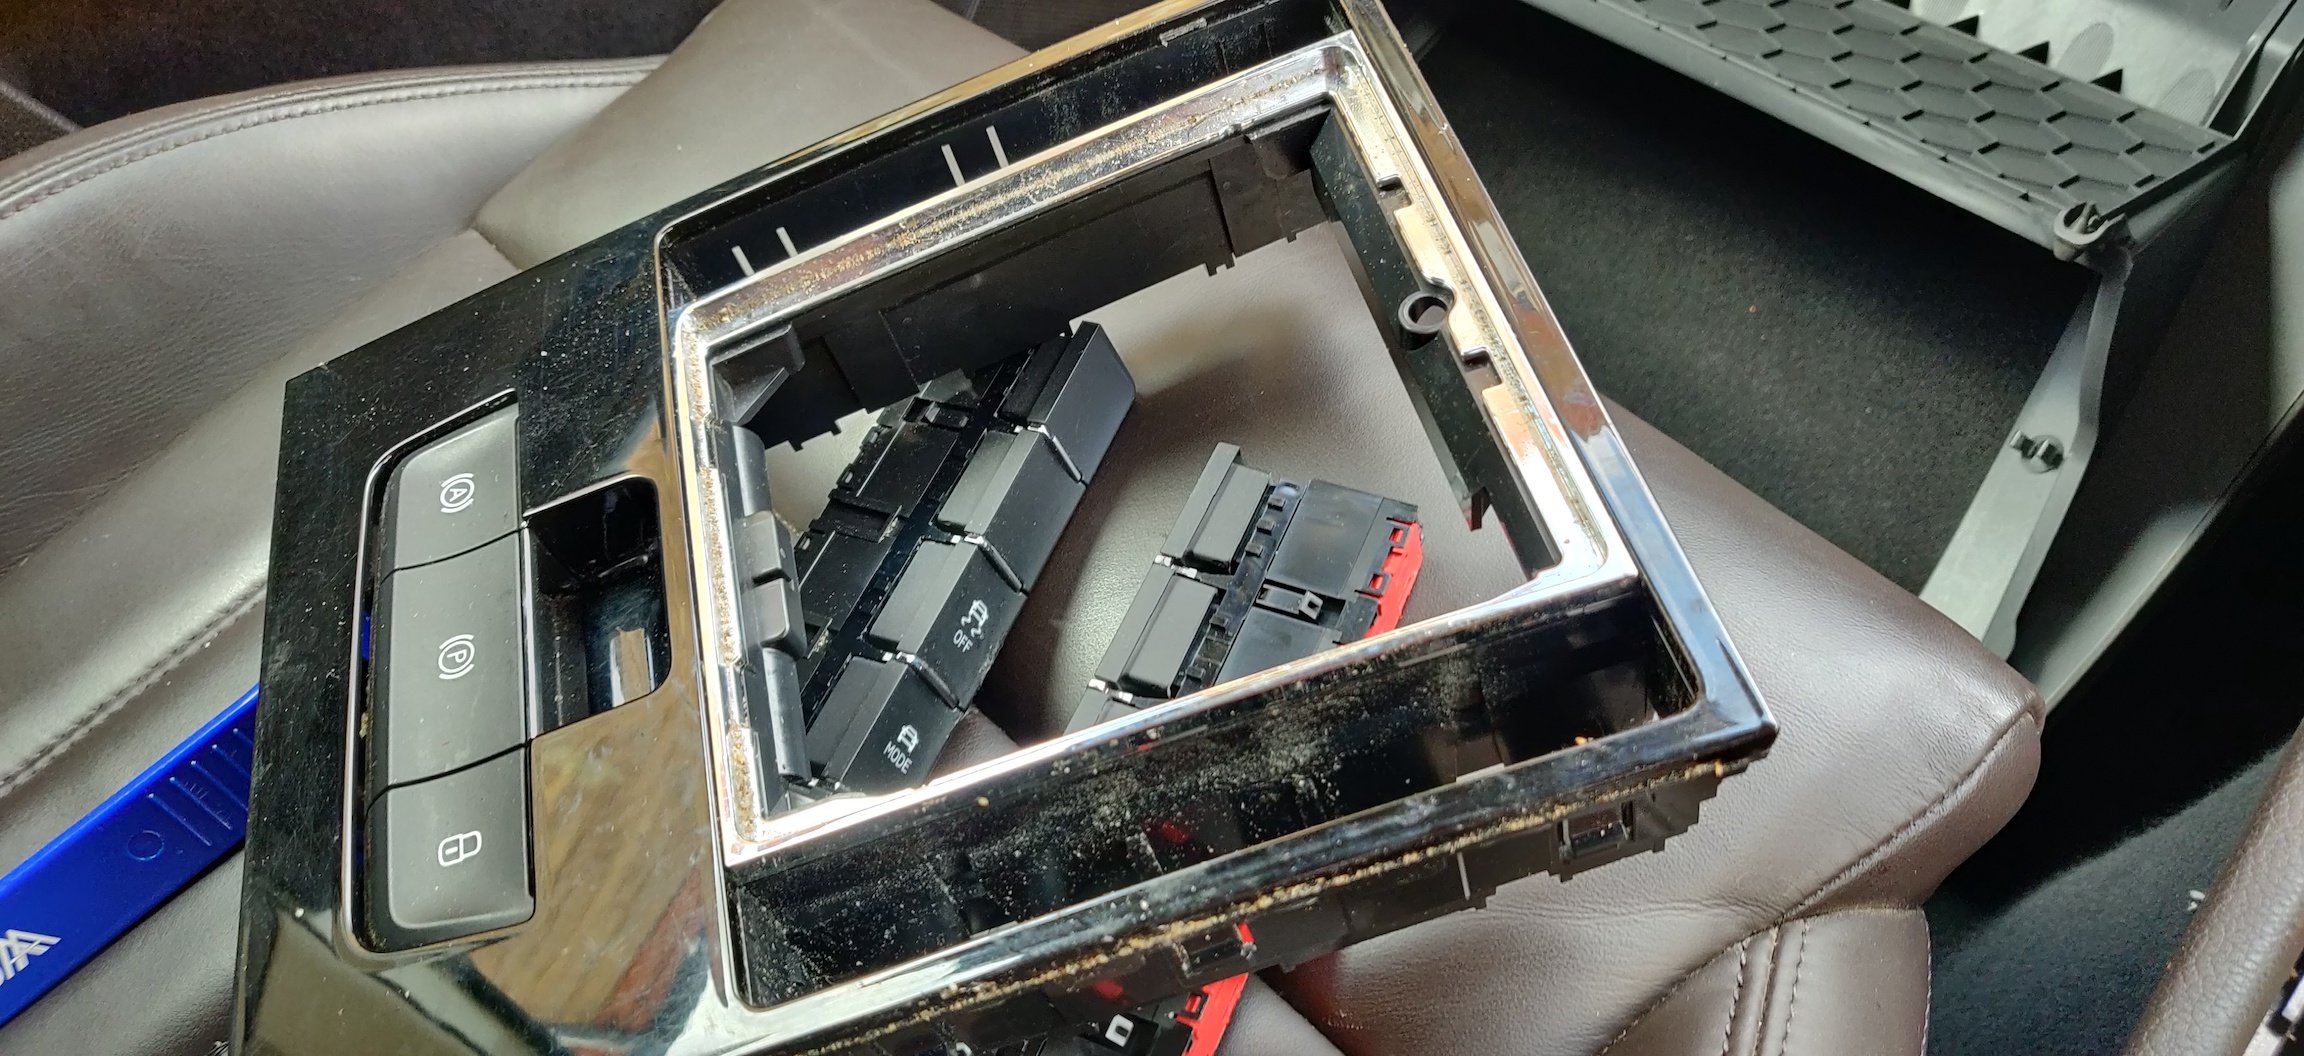
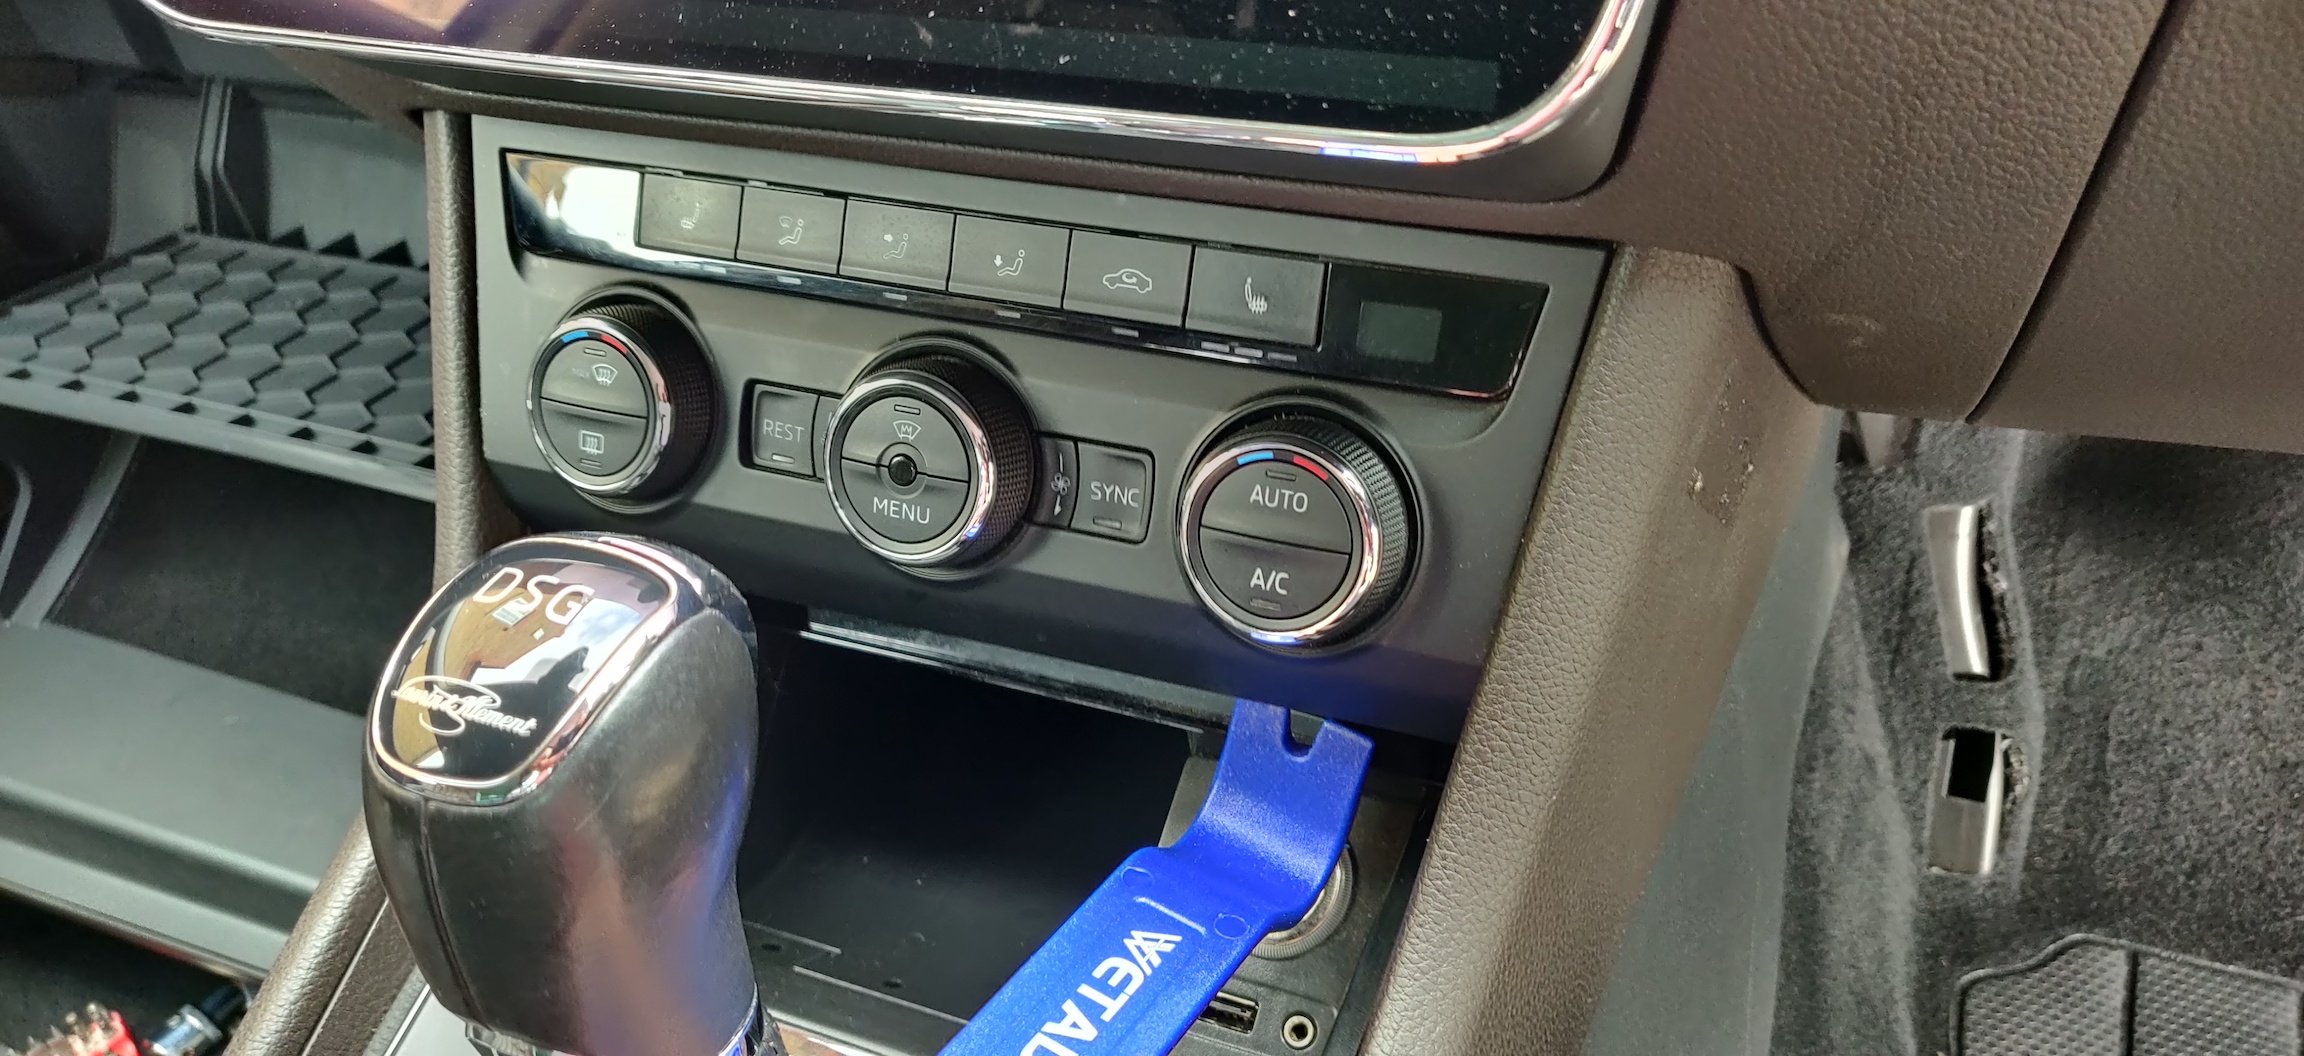
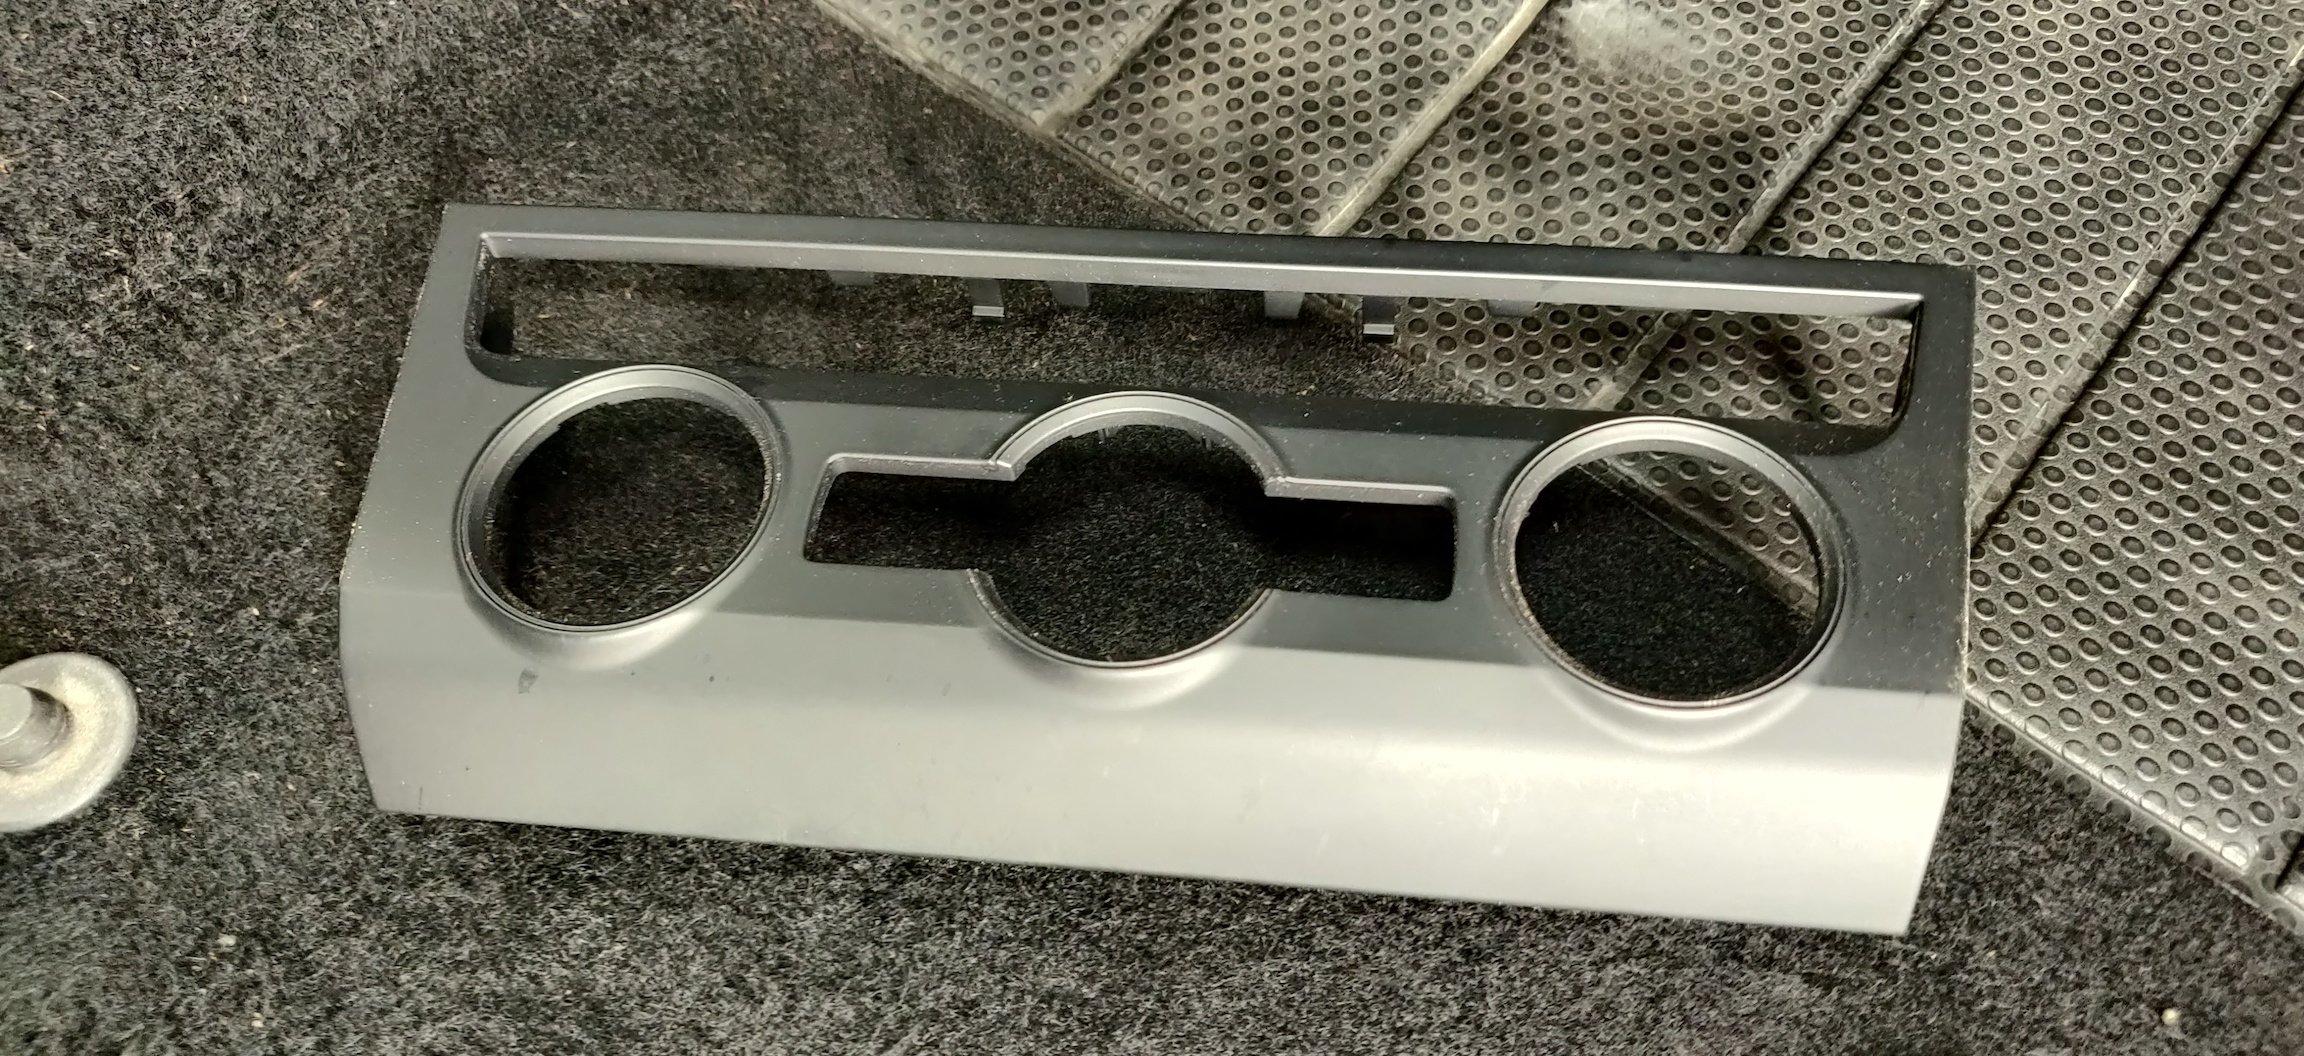
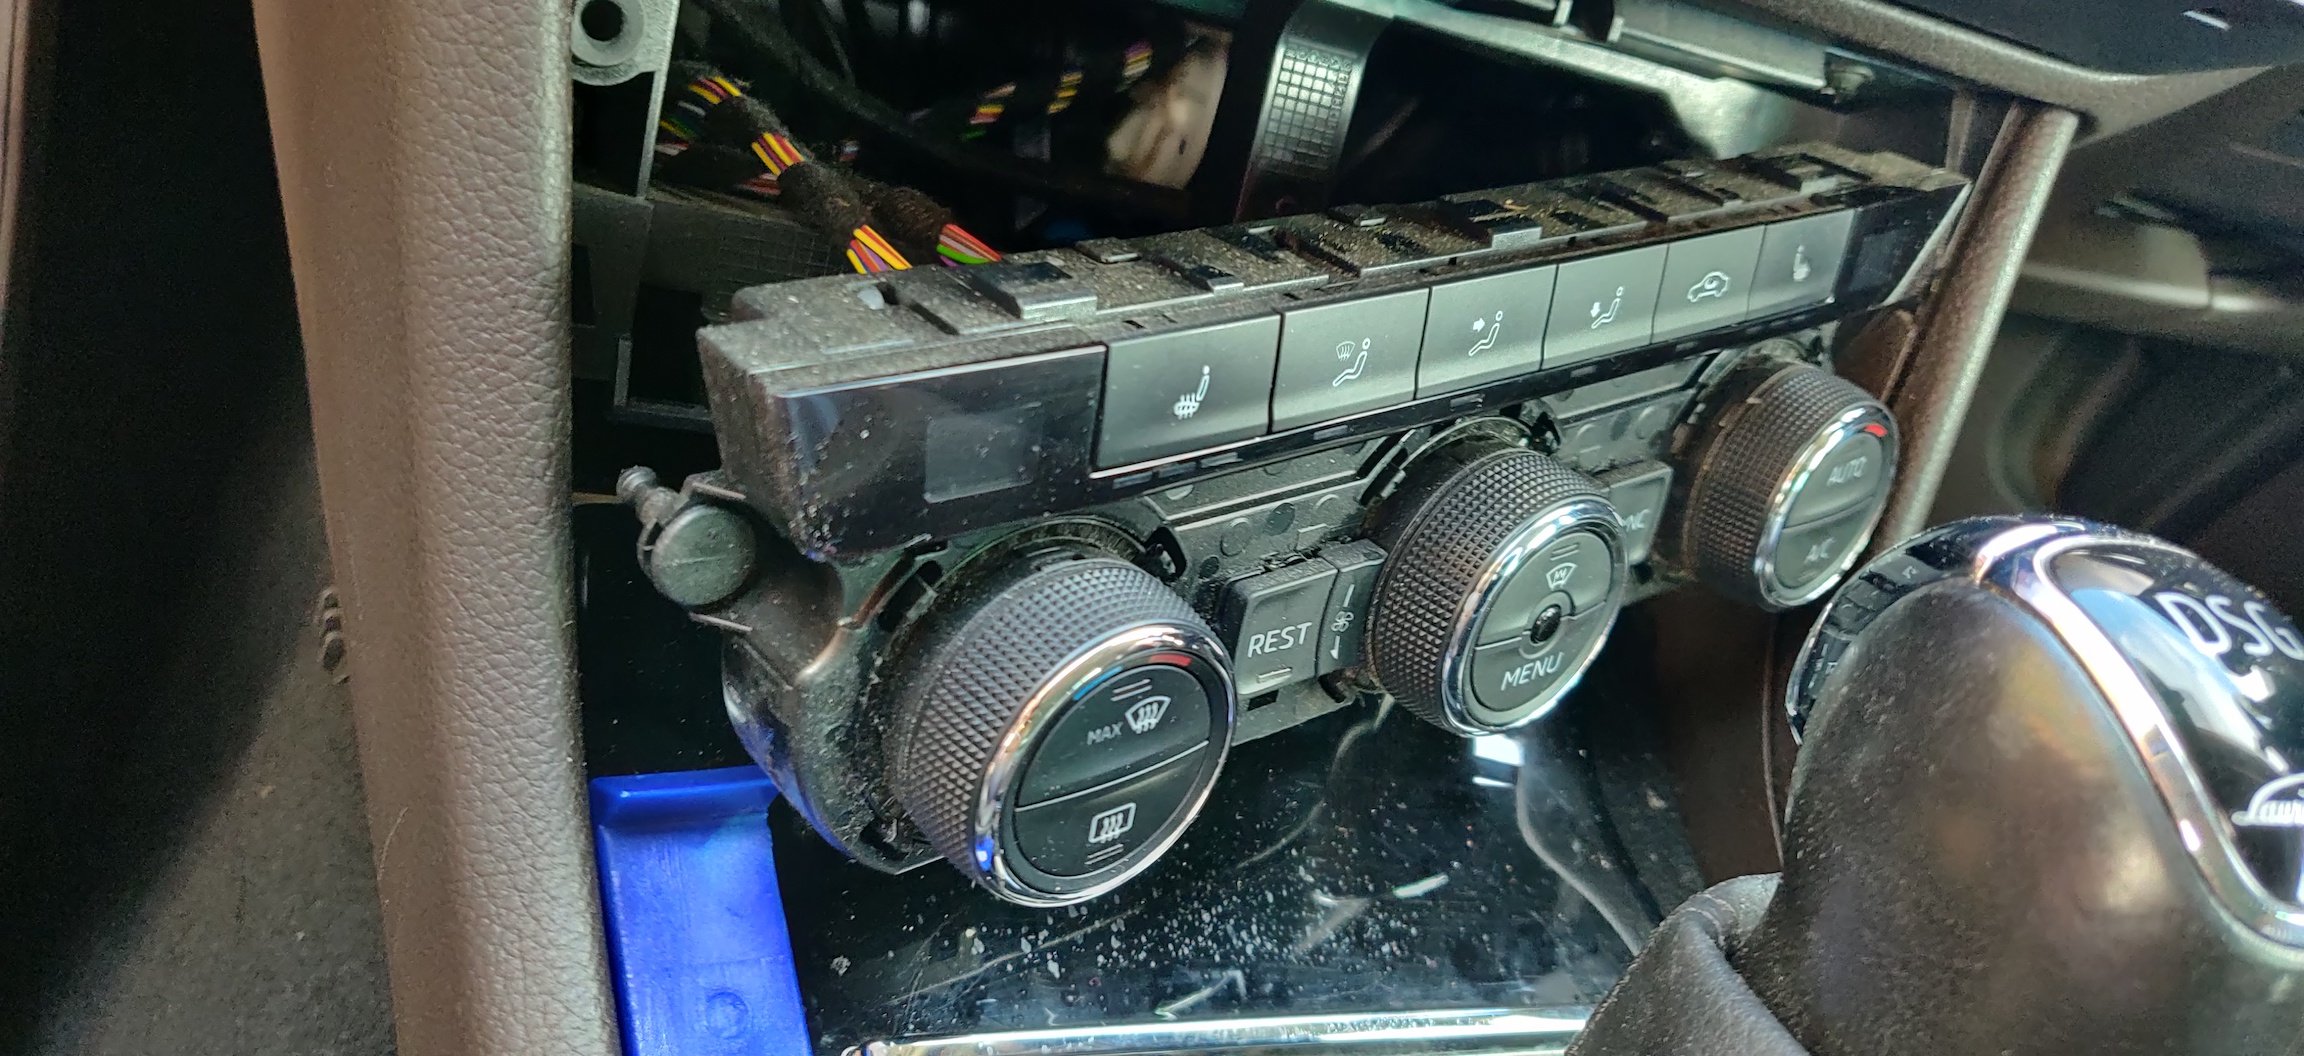
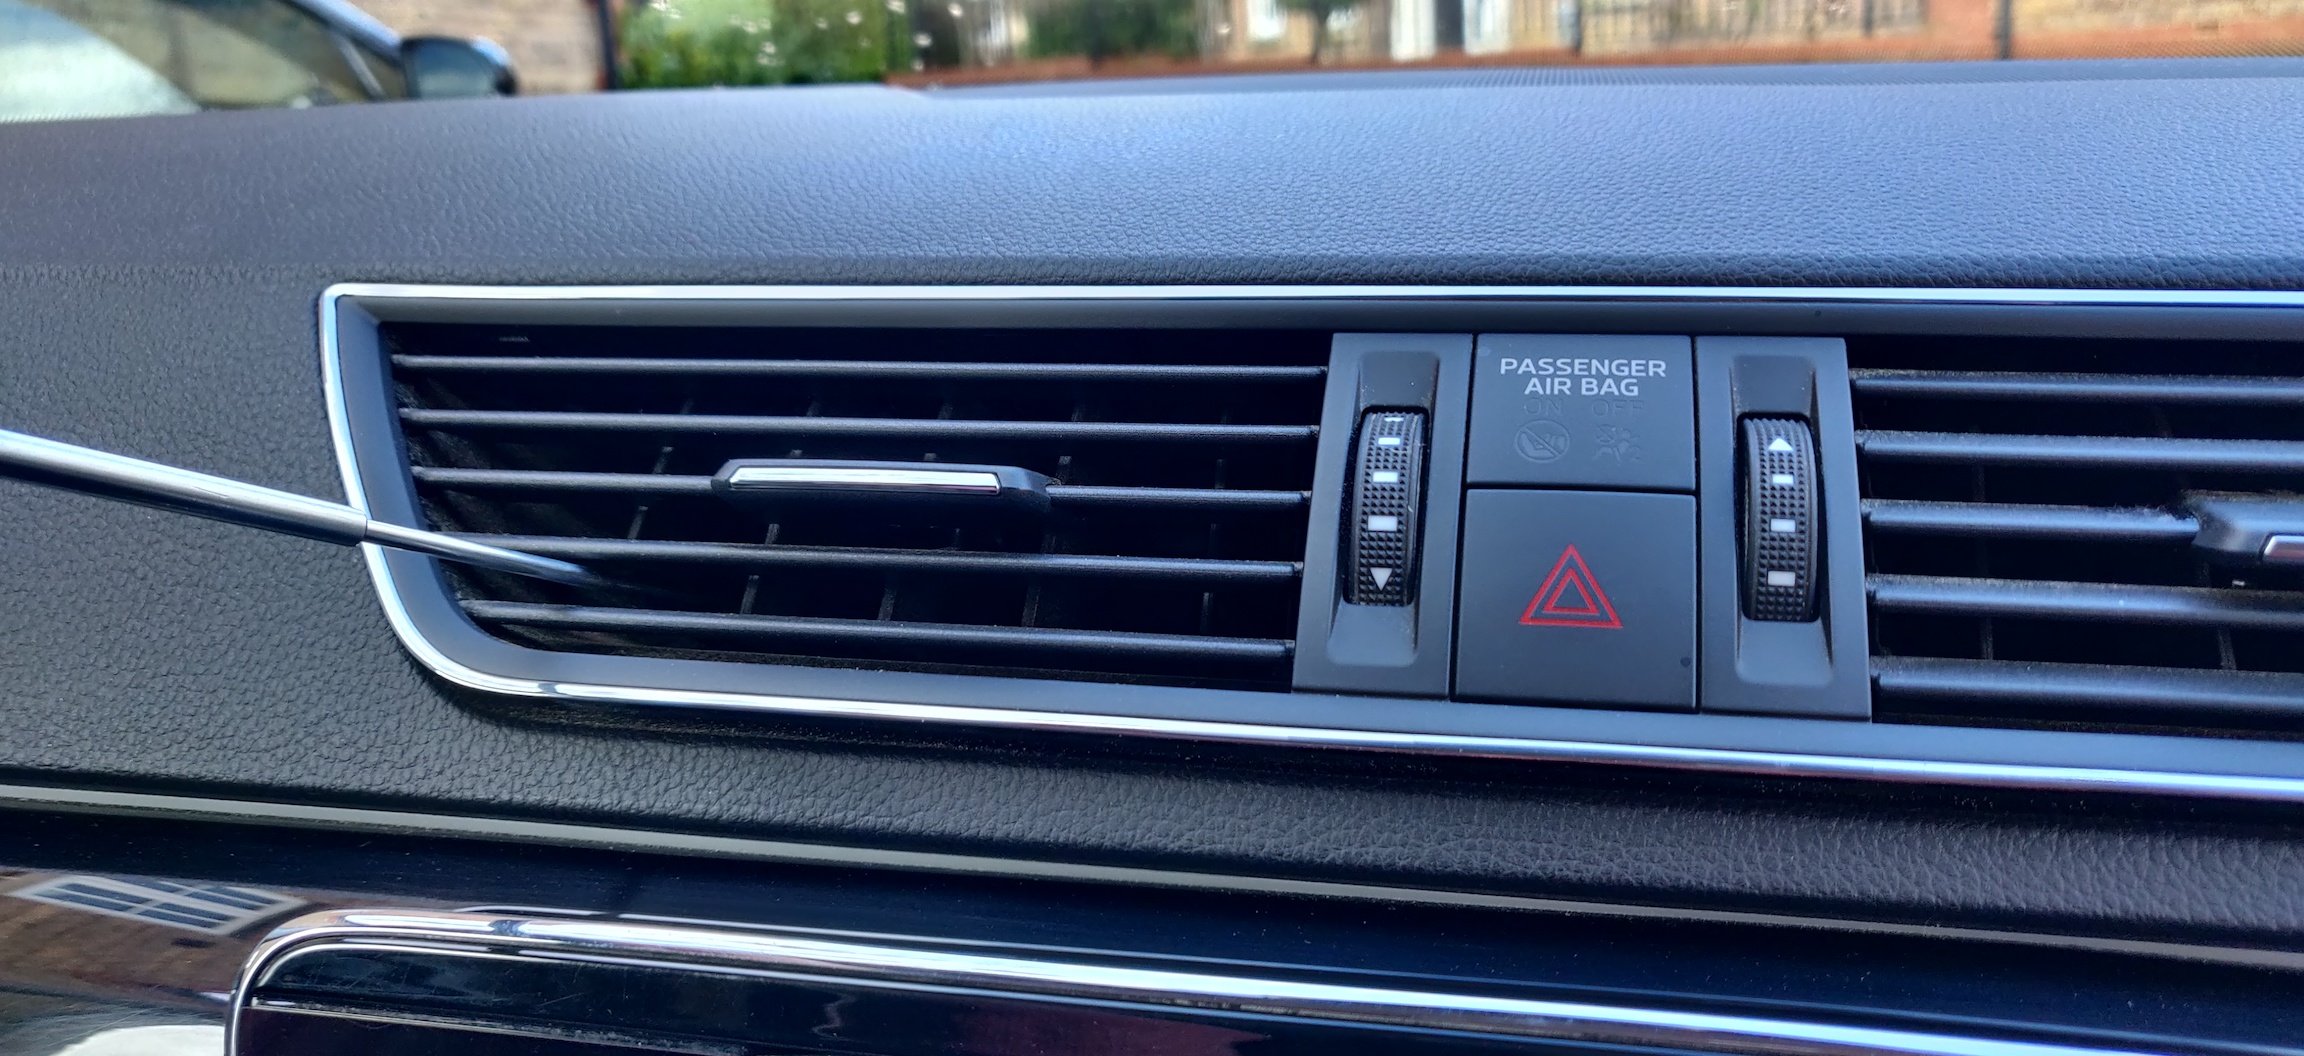
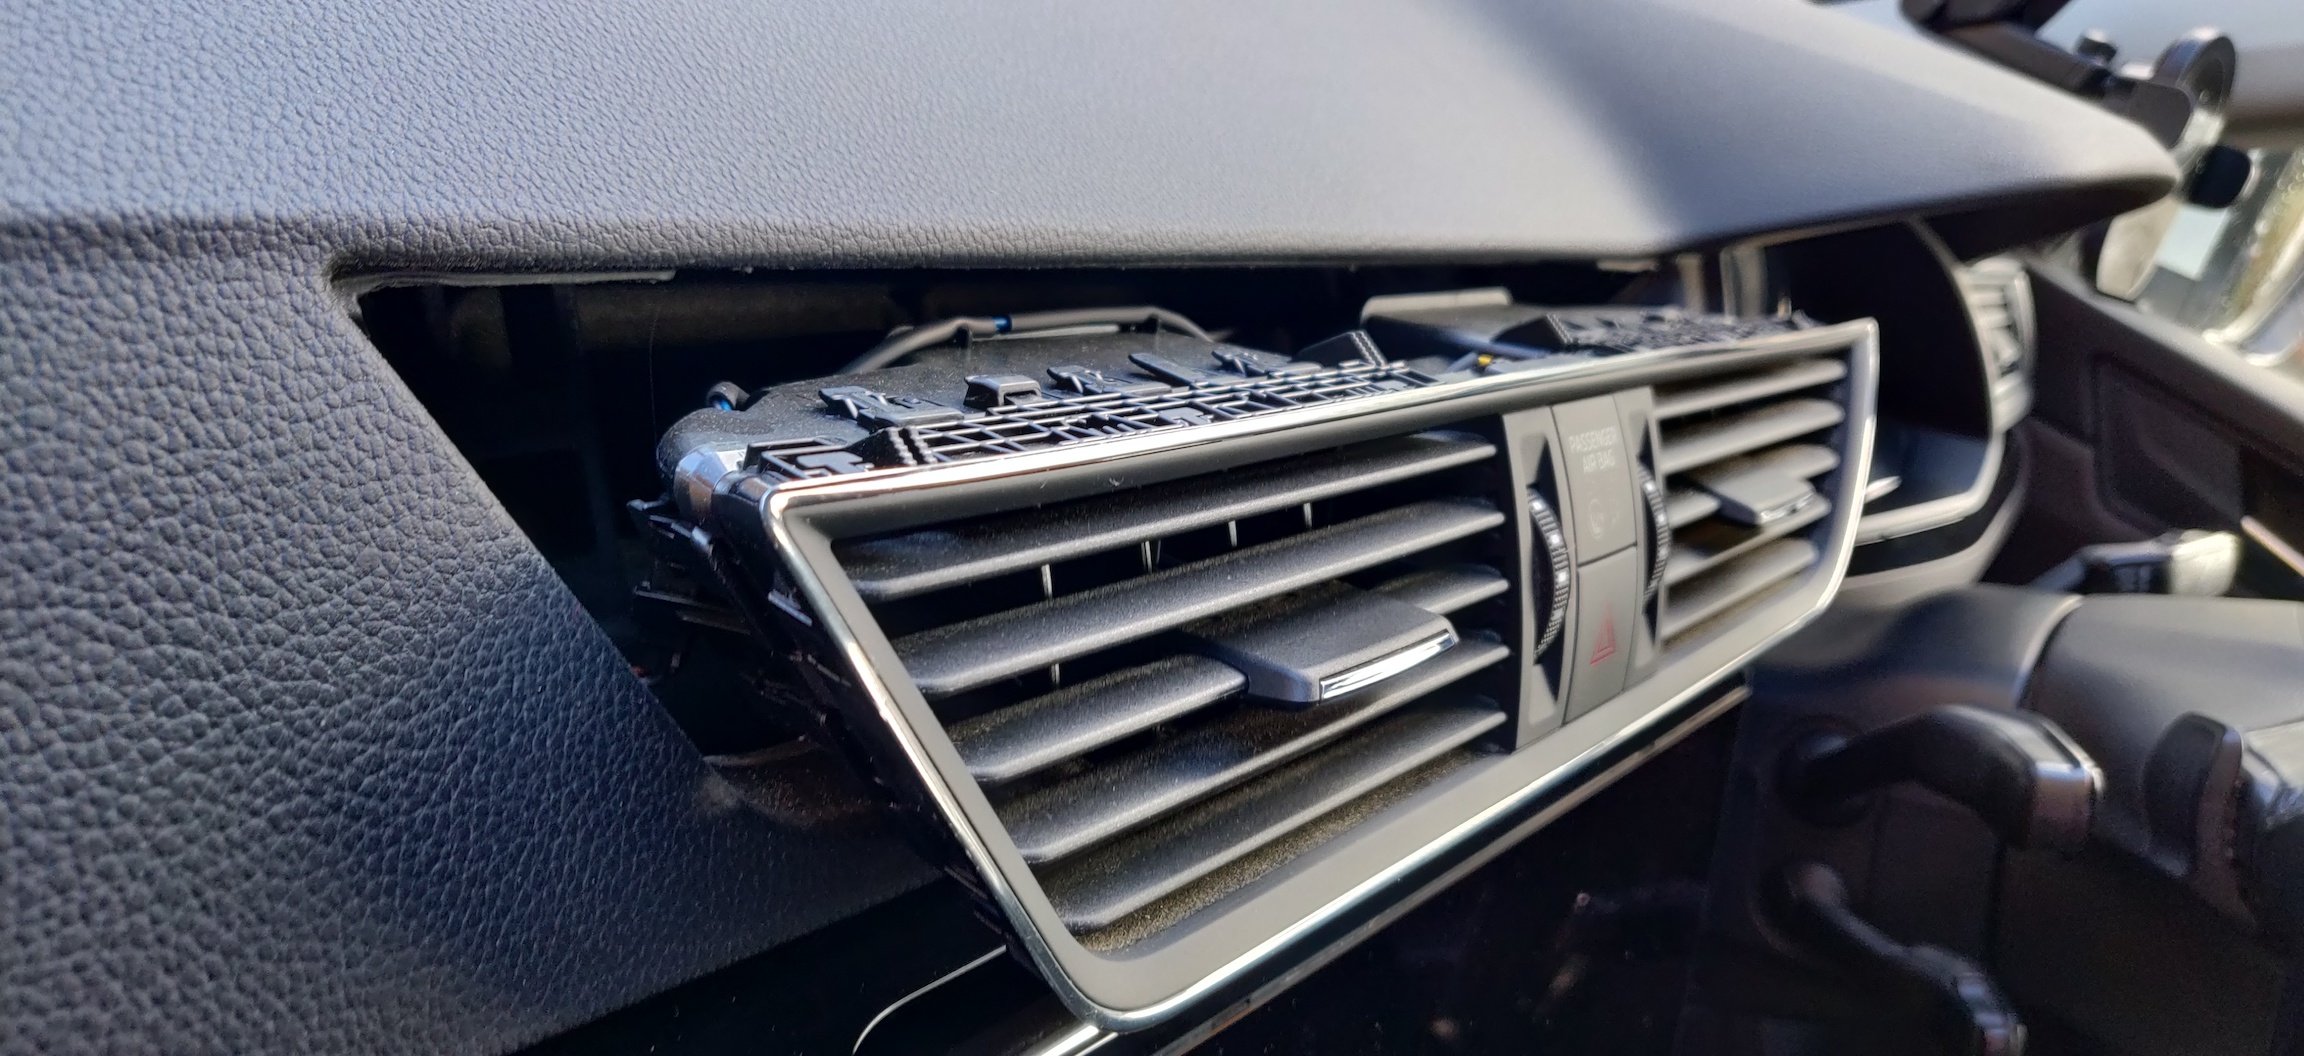
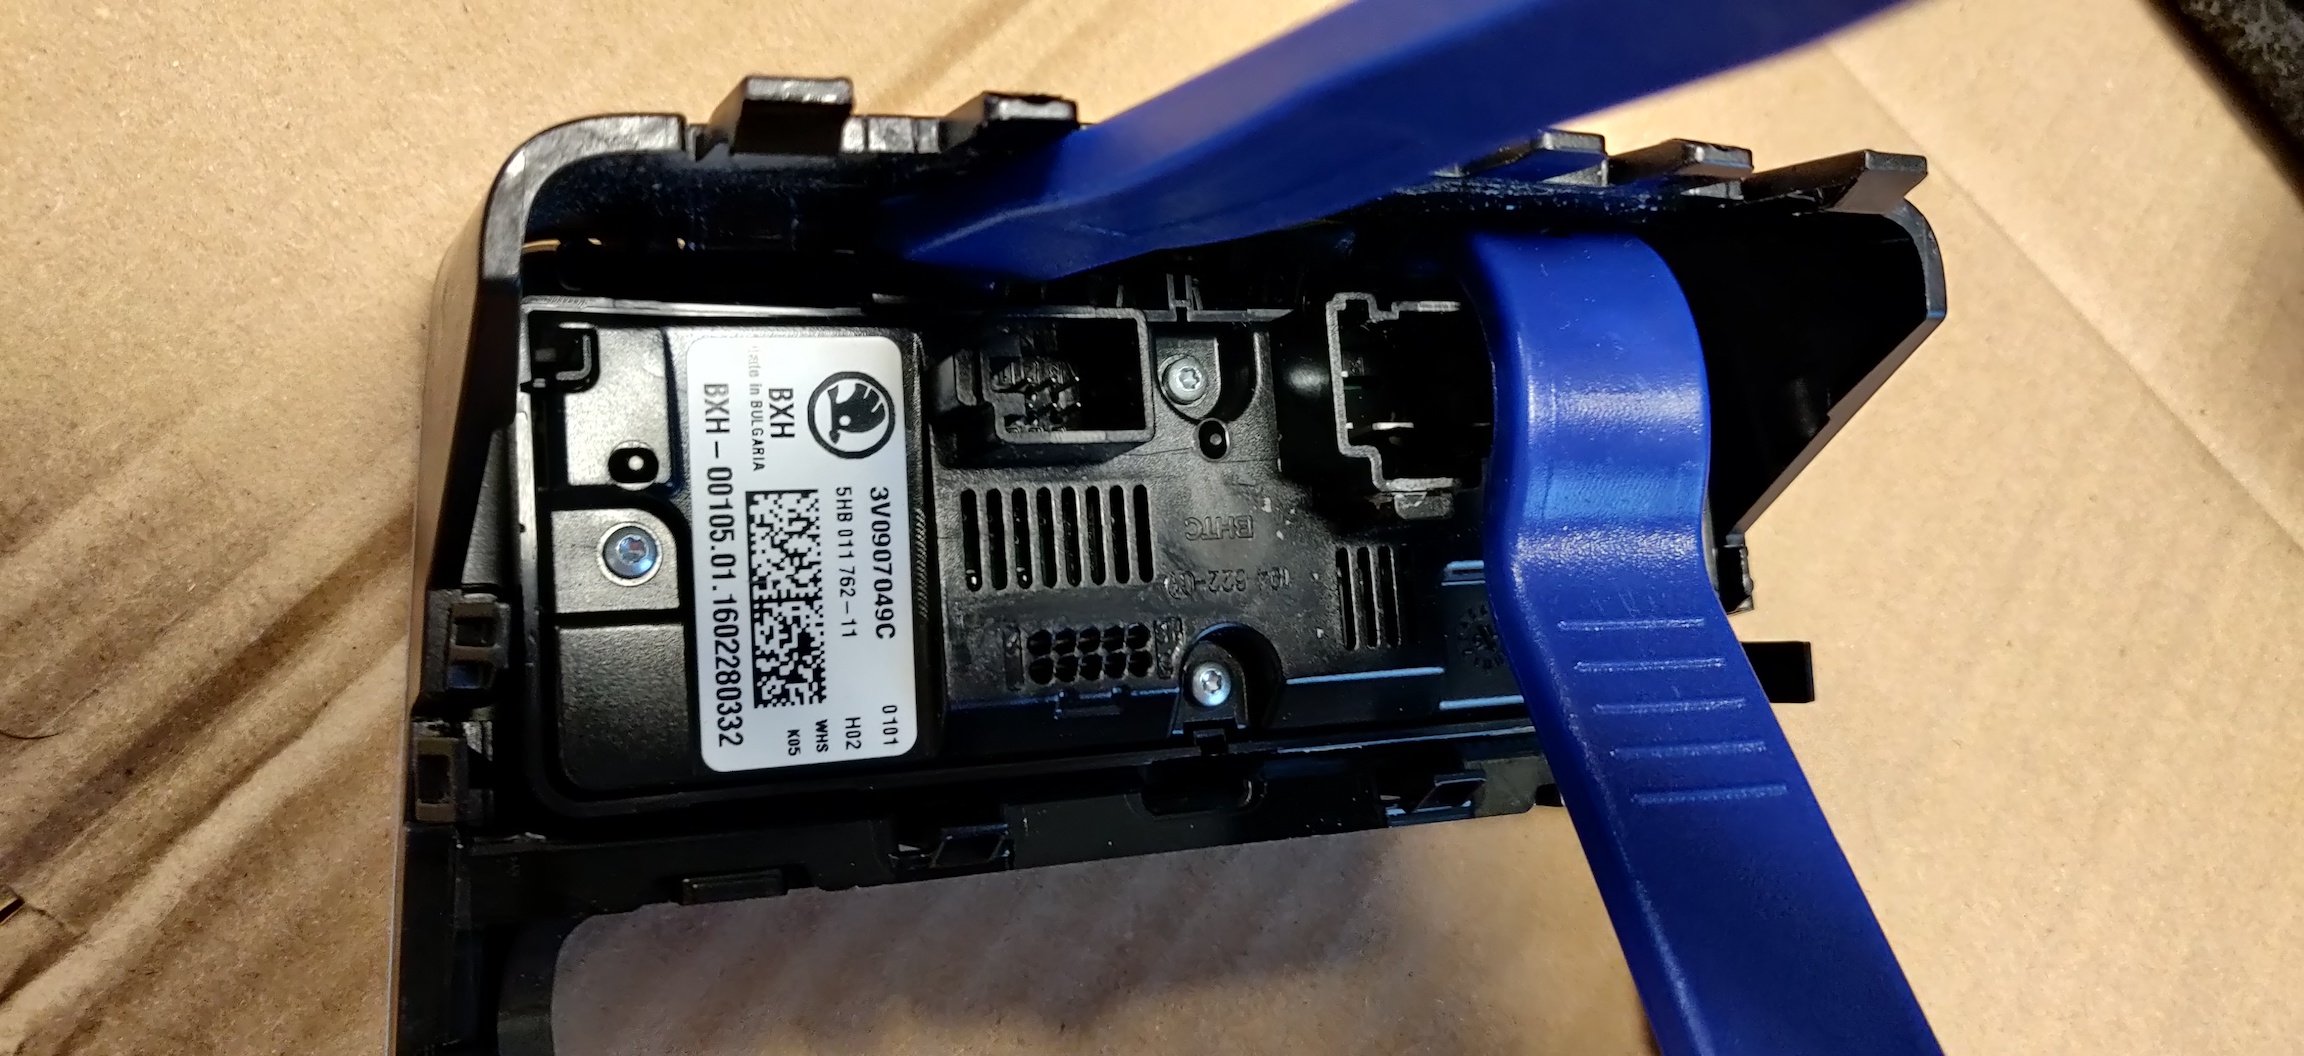
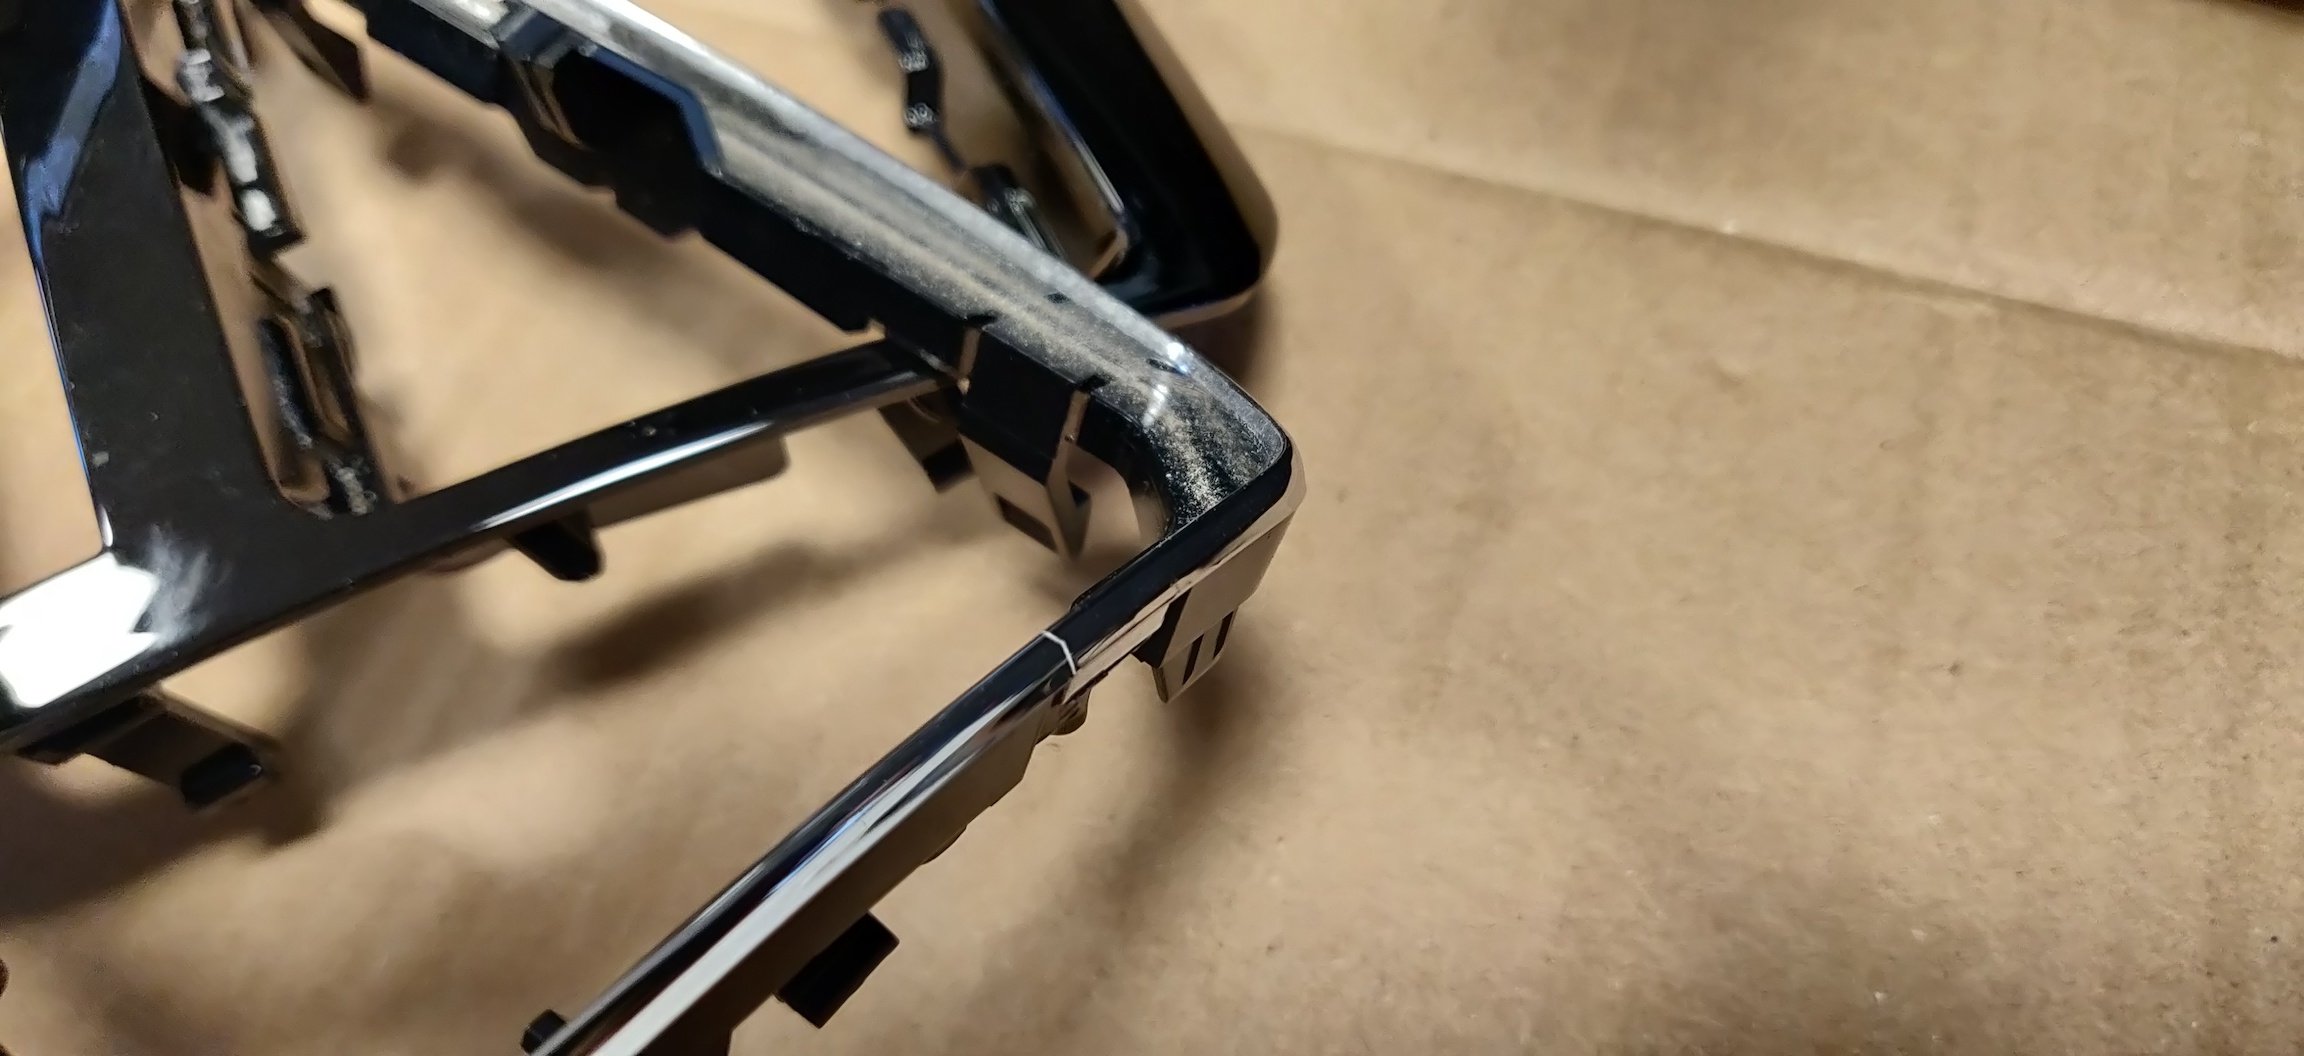
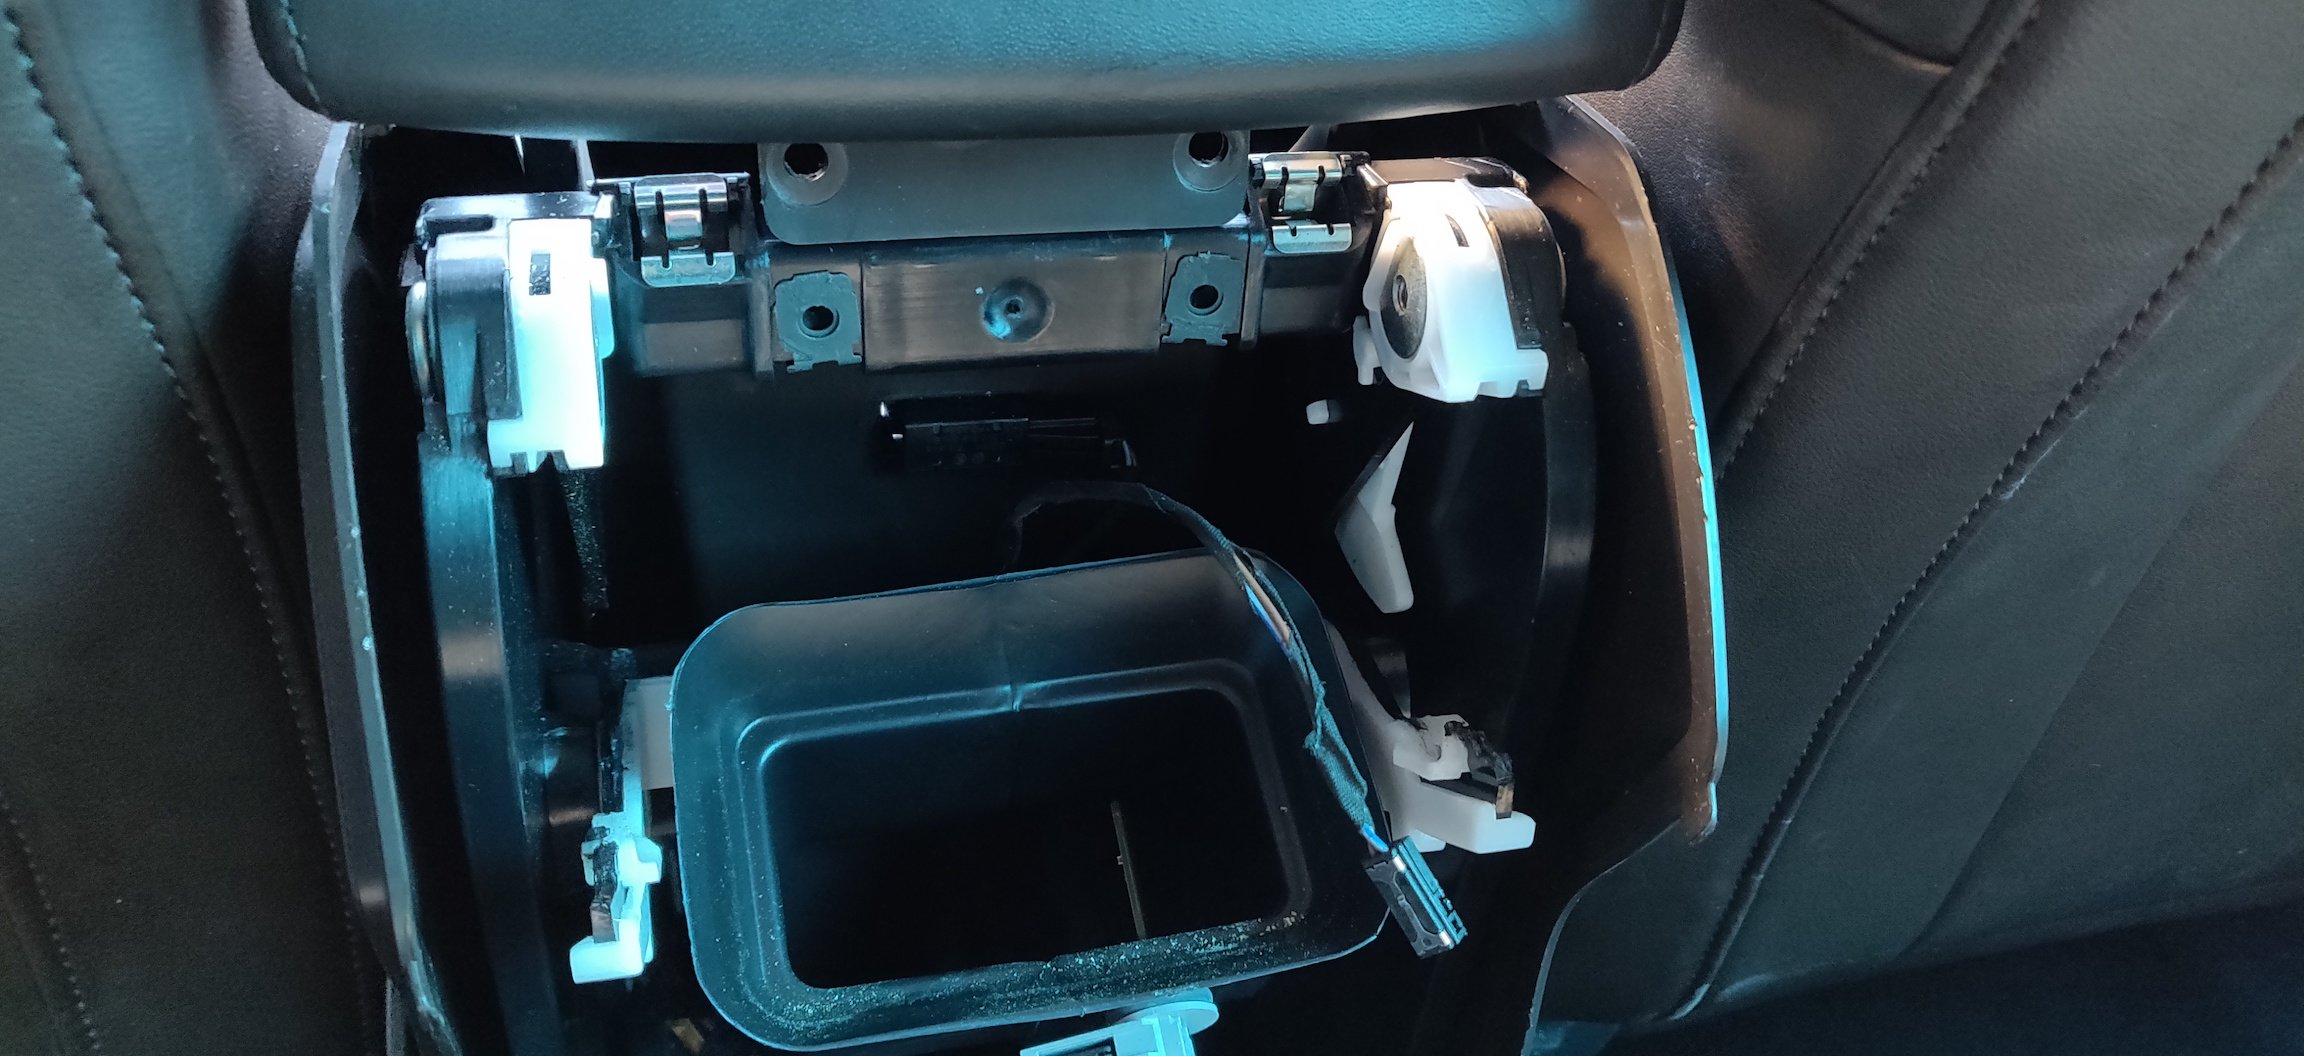
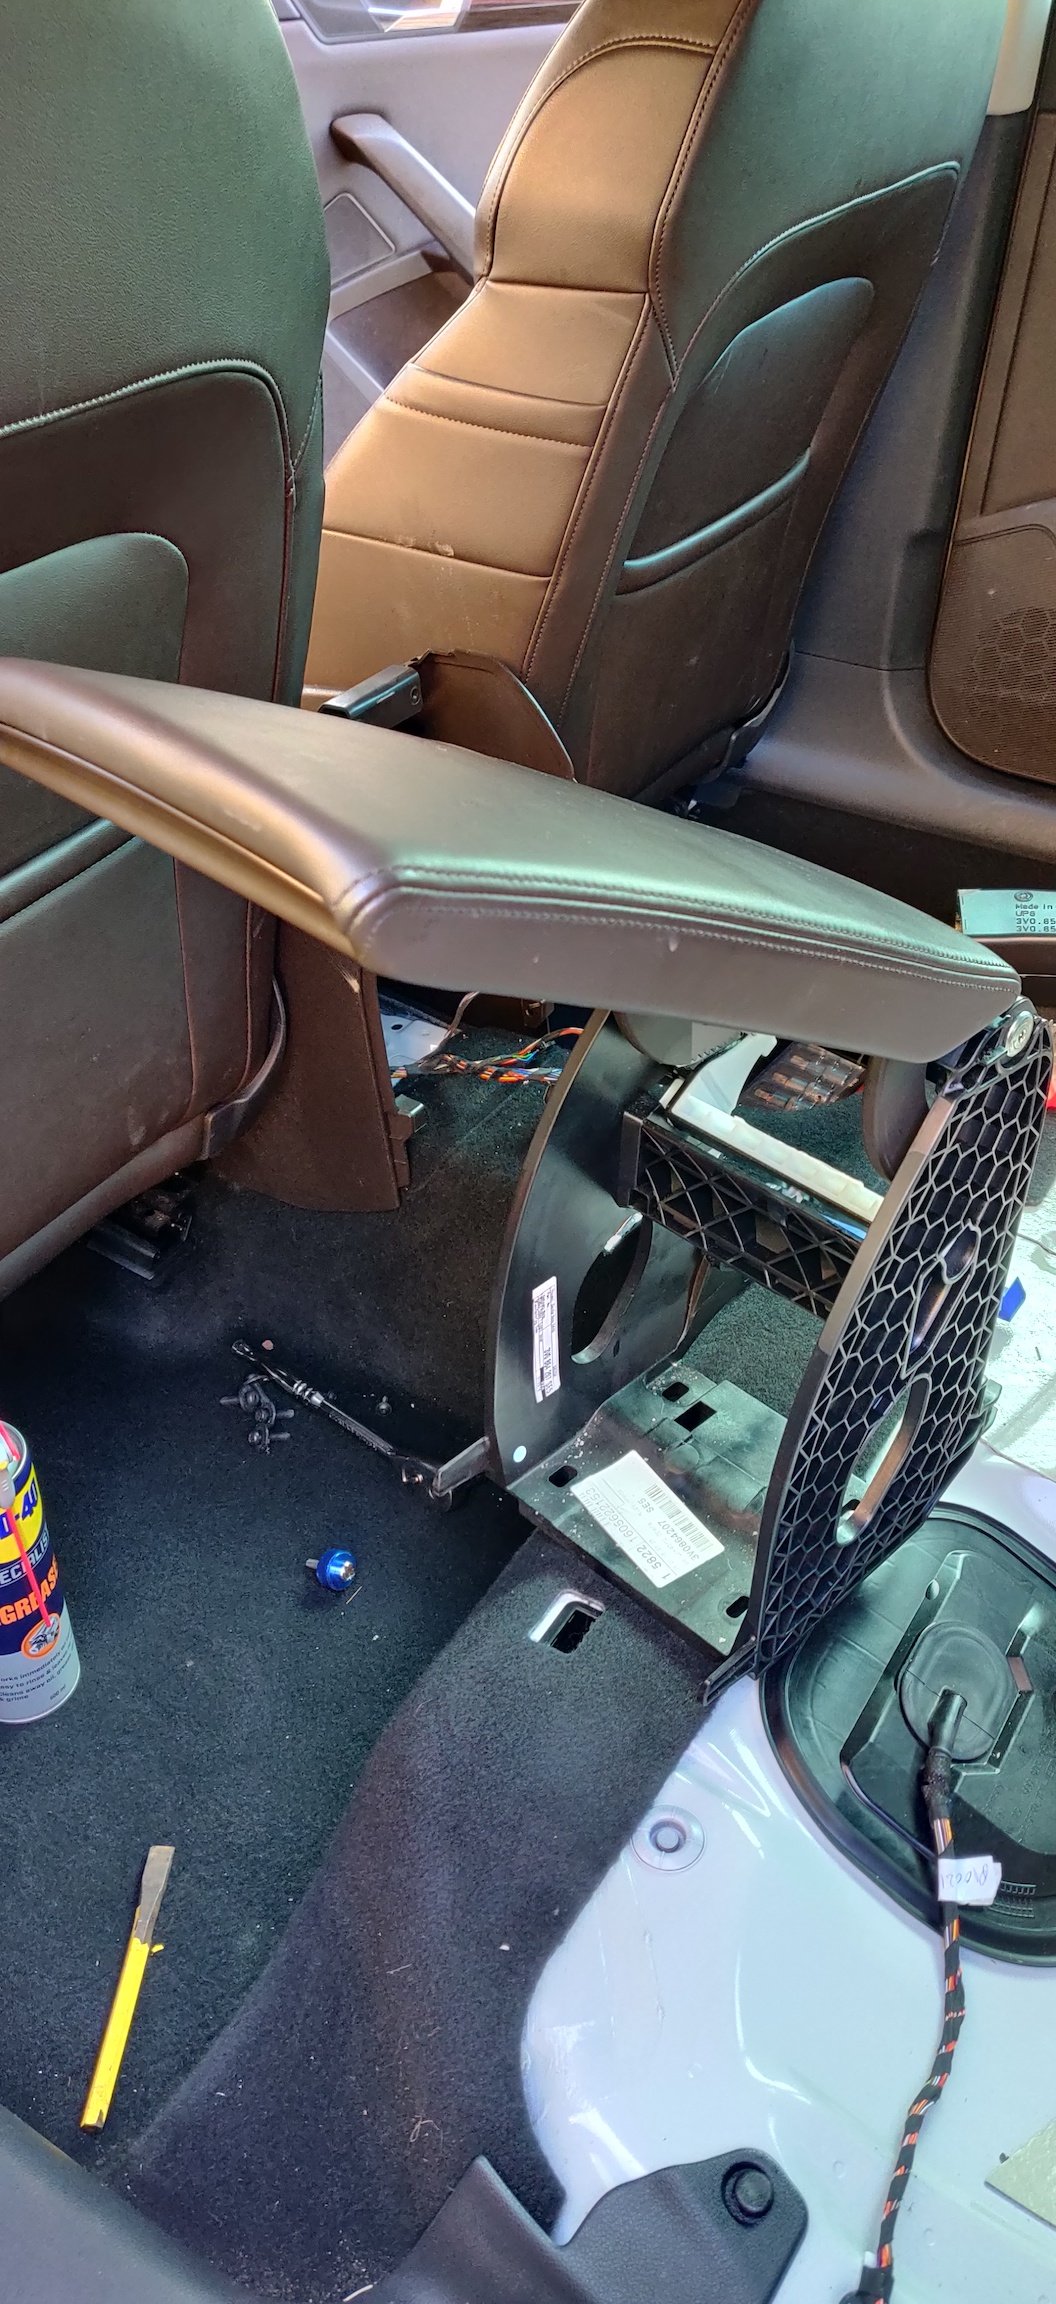
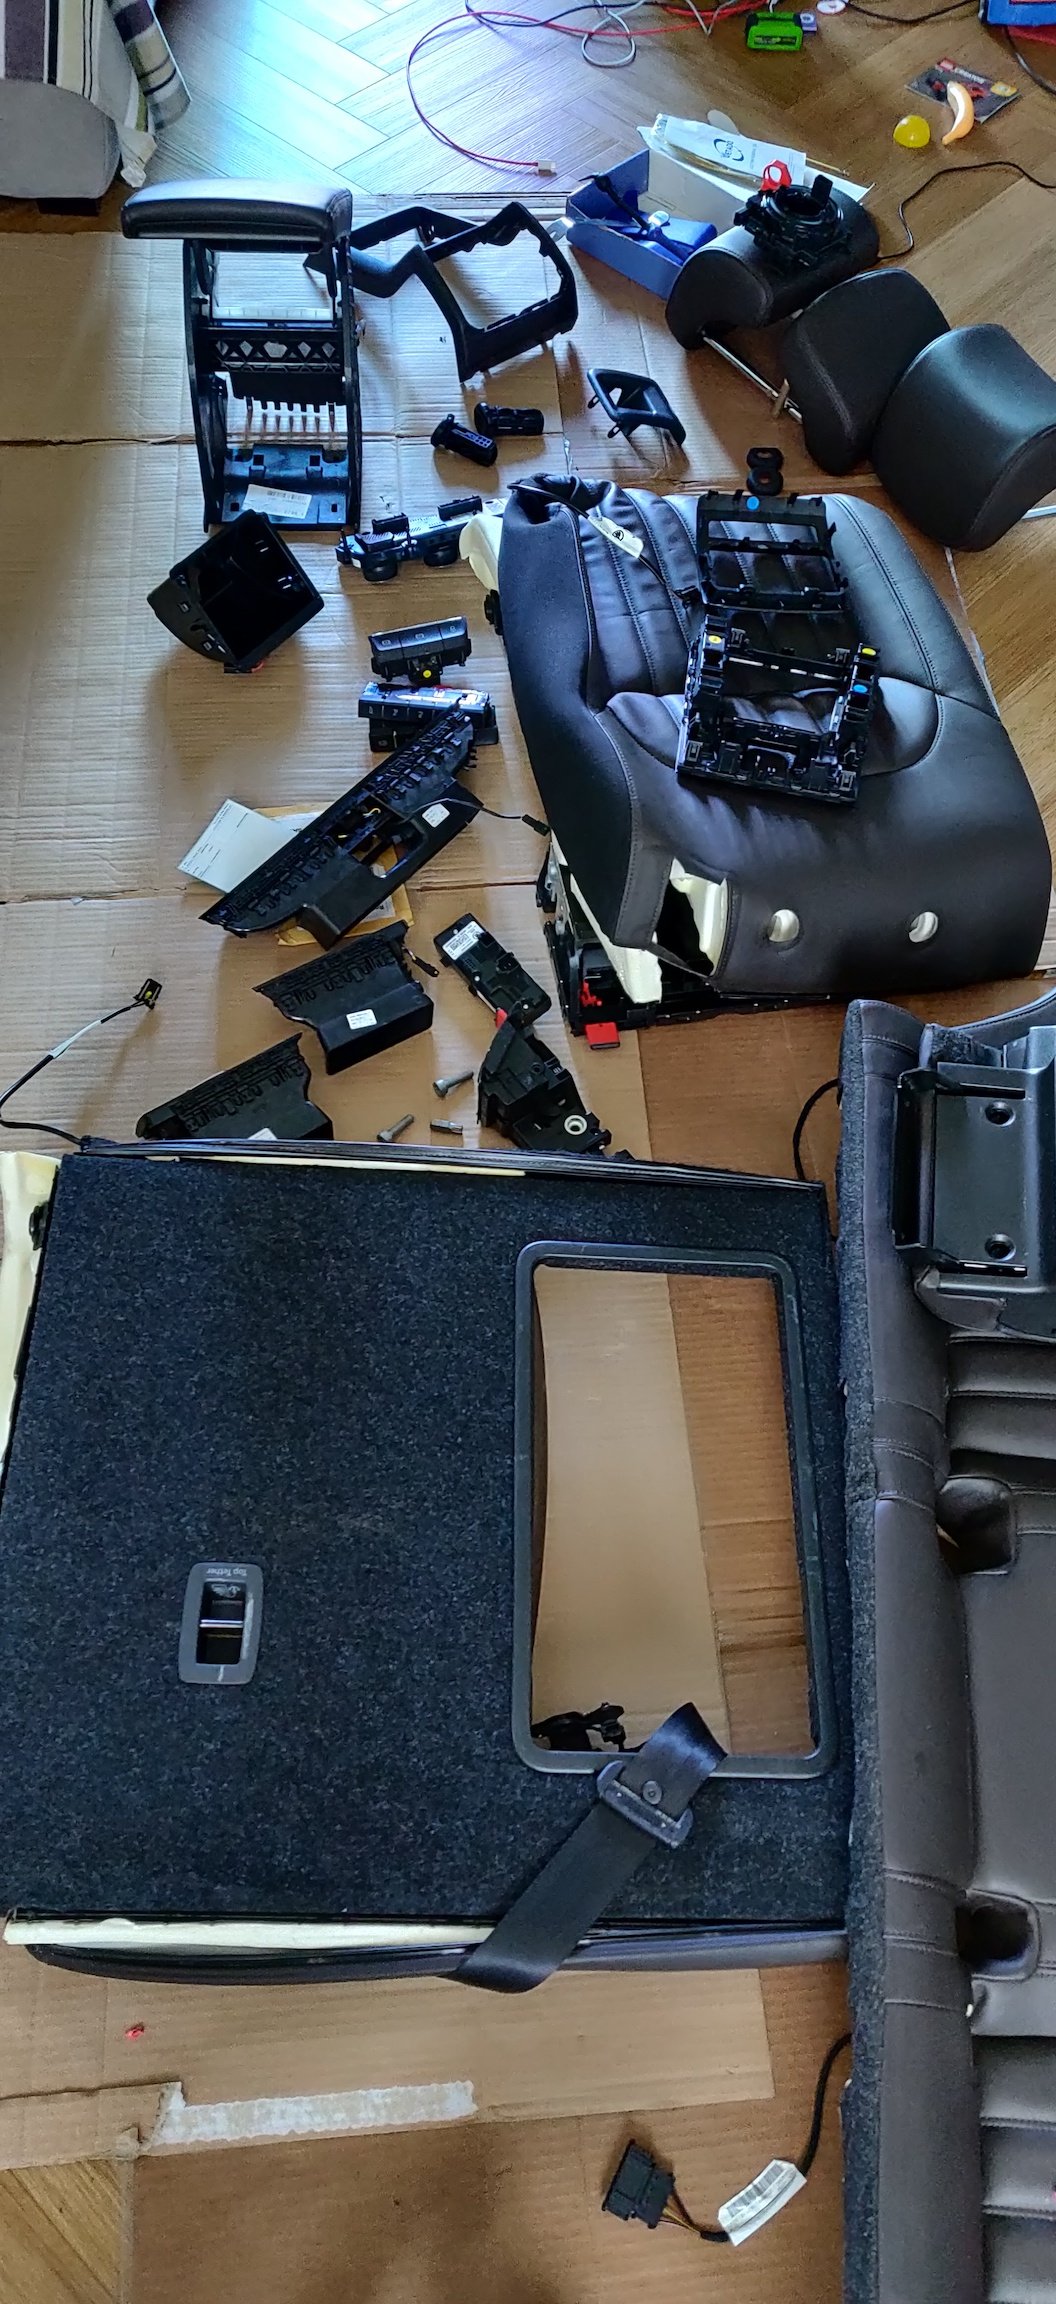
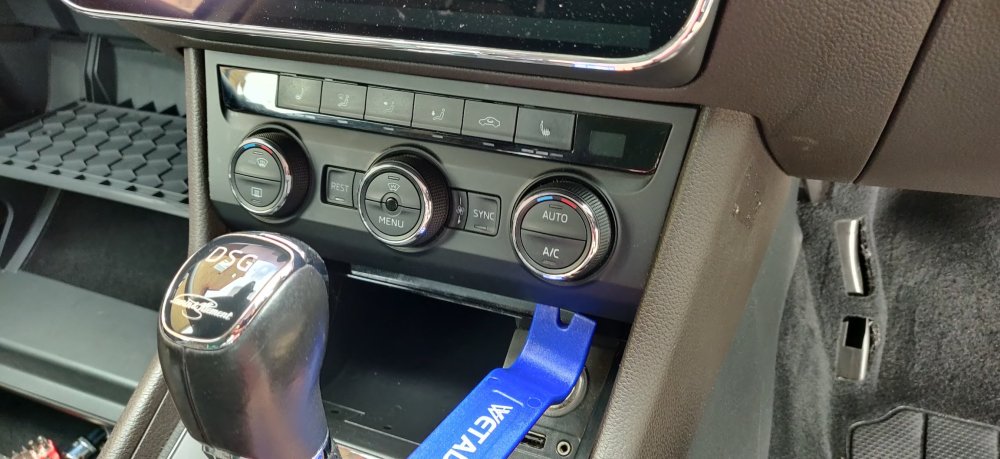
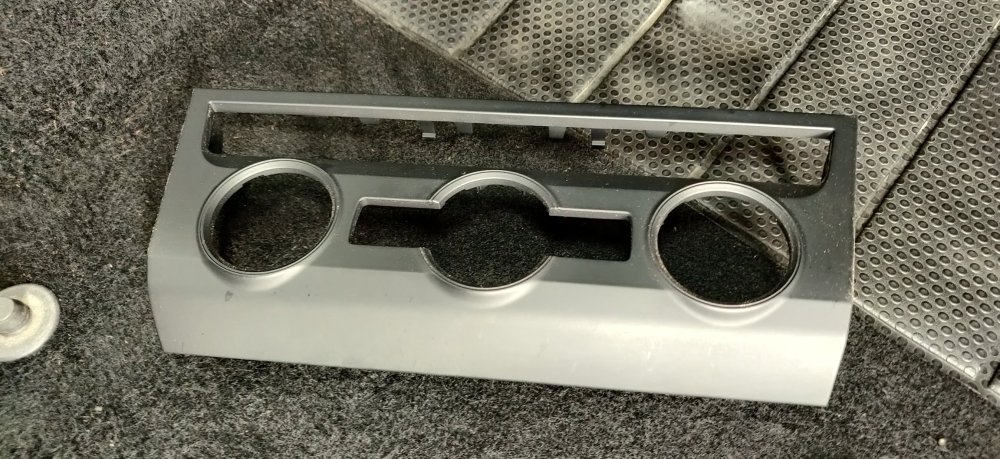
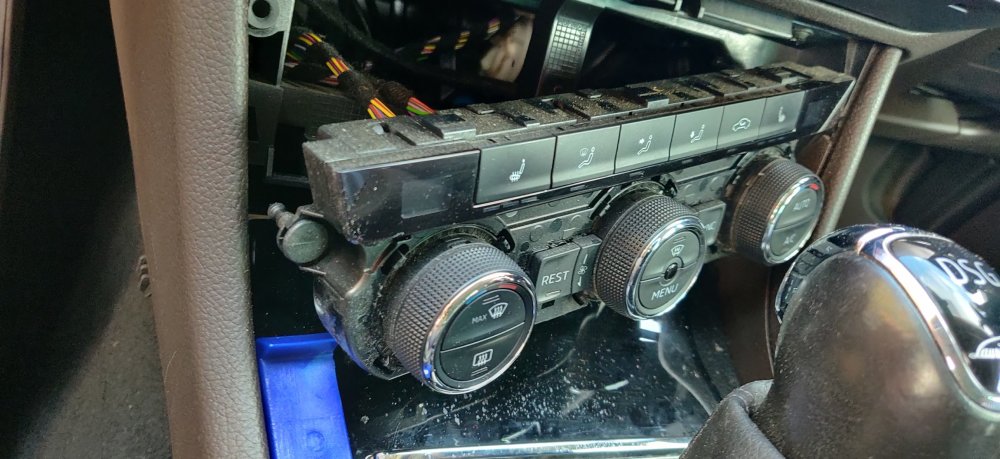
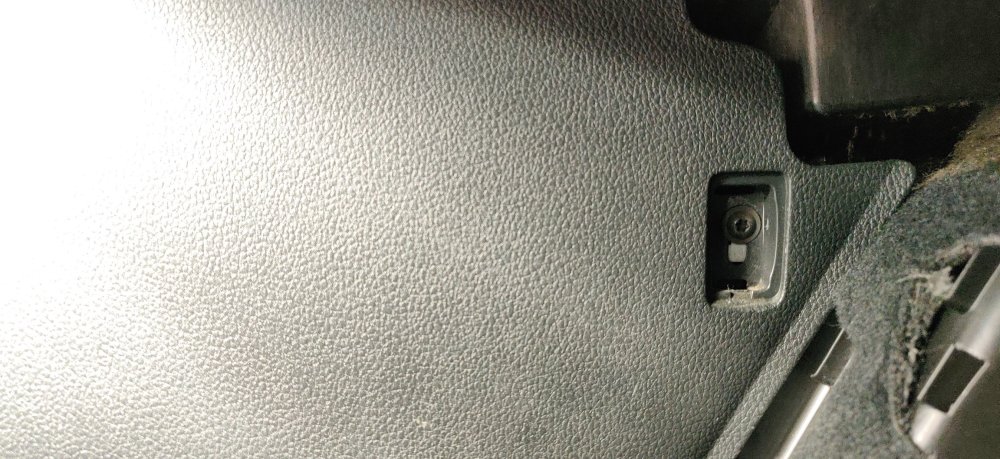
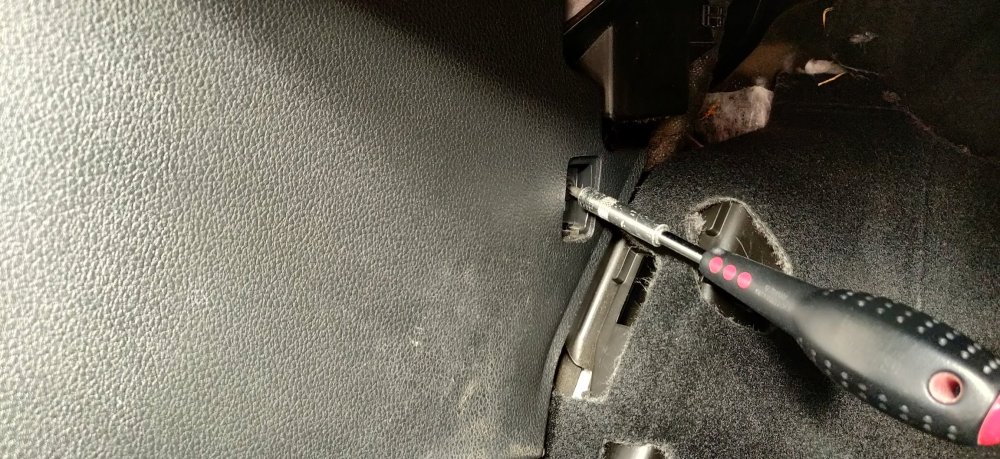
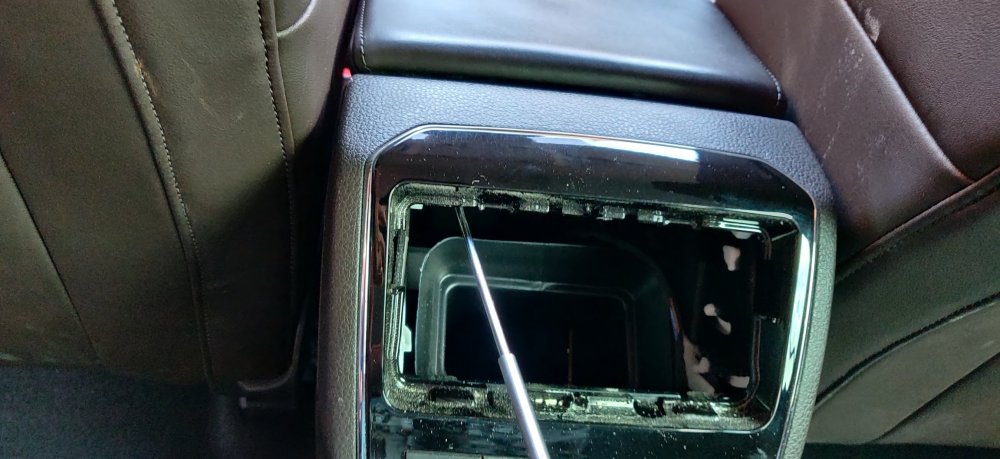
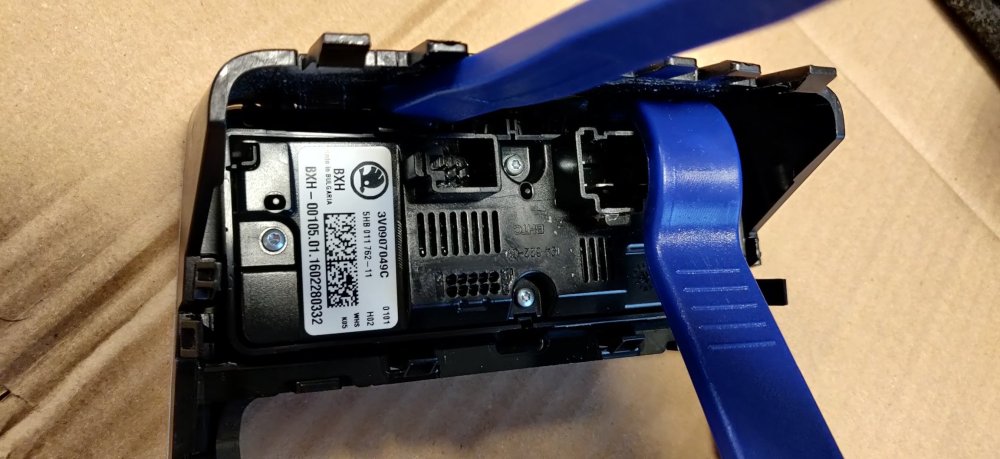
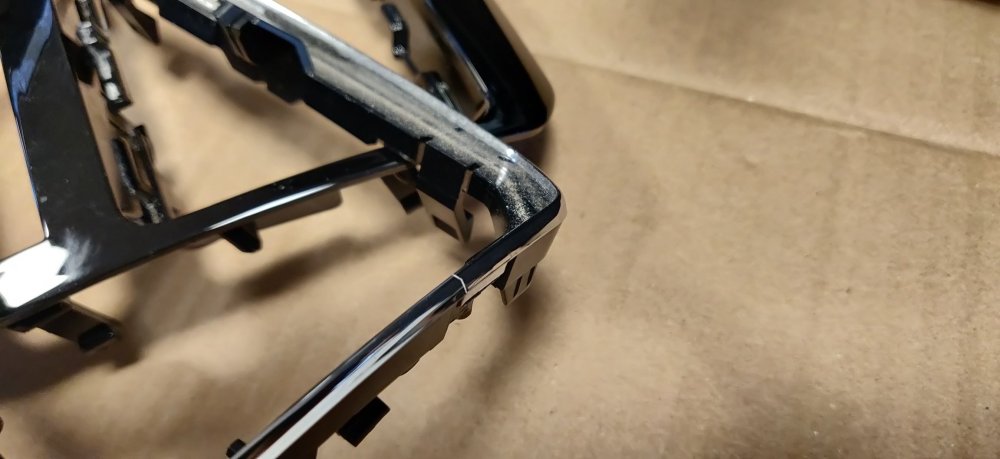
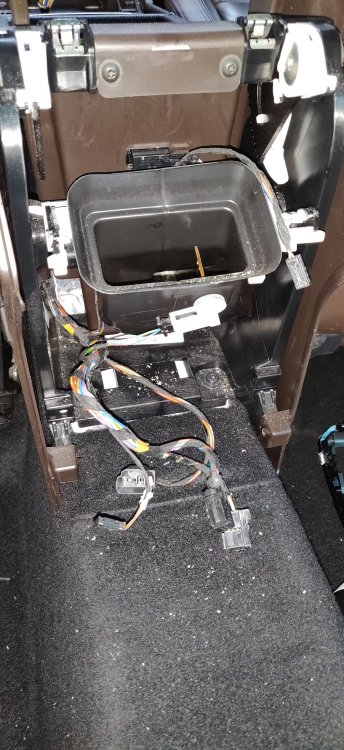
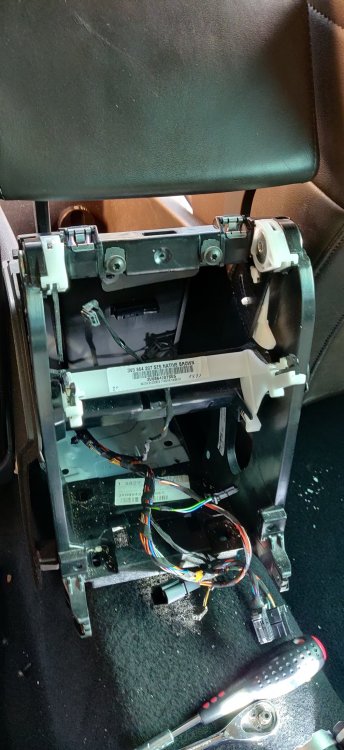
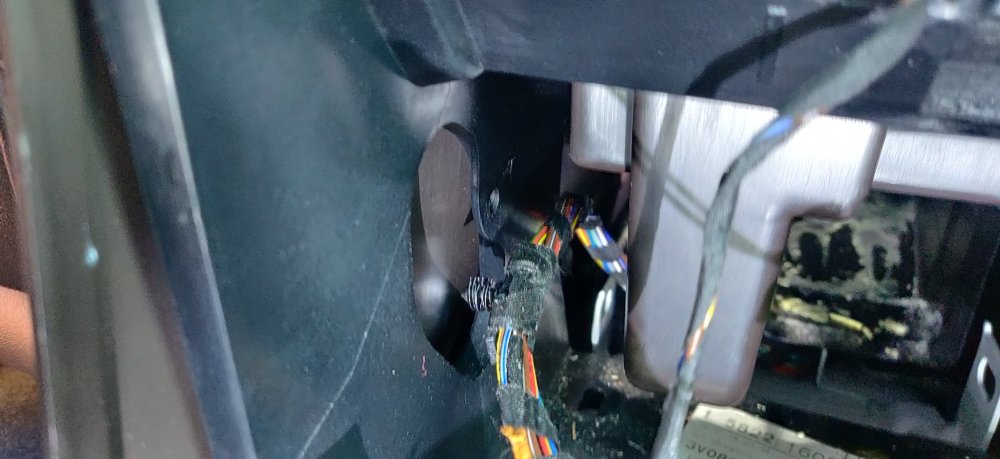
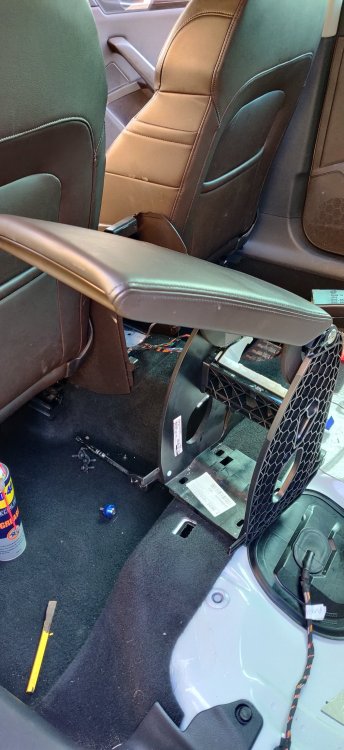
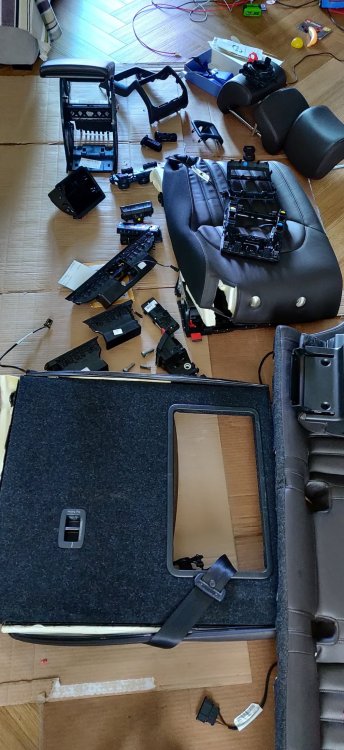
Quite a sunny morning, so decided to crack on with the interior. Want to remove the centre console, for additional cleaning as some of the storage containers have just enough nooks and crannies to make wiping it down in the car a bit too annoying. This will be a little unstructured, and also missed some pics here and there, as the whole process is a little long winded, so some bouts of impatience got the better of me. So some exploratory use of the trim removal, firstly at the climate controls: The trim should pop off without too much drama: You'll then be presented with the climate controls, and where they are attached to the car, which appears to be via some rubber grommets, akin to the engine cover on these VAG mobiles. This means a bit of brute force with the trim removal tools, but they eventually pop out: There's a bunch of connectors, which have red locking latches on them, so those need prying up before removal: The next relatively easy step is the side trims under and along the centre console, which have a single screw on each side, underneath a piece of removable trim: I think it was a T20 torx: Once removed, the trim can then be pulled downwards, as its held by about 3 metal spring clips: It's then a case of wiggling away between the seats and the centre console. Then repeat for the other side: I randomly decided to remove the front air vents: Used the trim pick tool I acquired earlier, where I followed the workshop manual to reach the rear of the vent and give it a tug outwards. Repeat that for the other side and there should be enough to get other tools in to free it: The side vents are easier as a trim tool can be used on the outside of them to lever outwards. I didn't take pics of how to disconnect them as they were a faff, some of the worse connectors I've ever had to endure. They are the connectors for any of the lighting, and it looks like theoretically, you push inwards a tiny dot in the middle of the connector to free them. What I ended up doing is getting a thin screwdriver and wedging it into the connector, in order to push the connector outwards instead of pushing the thing inwards. There was a big danger of breaking connectors doing this (I think one has been damaged as a consequence), but worse case scenario I'll just wrap the connector with duct tape or something. Genuine pain. Went back to the centre console, and this time at the rear: Now, I made a bit of a mess of this, as there's two trim pieces involved here, in my case the piano black part, and then the chrome outer part. I had to involve a great deal of force to free this, thinking it was one piece. No idea if undoing them in separate pieces might have made things easier. I then had to do some hand gymnastics to free the rear climate controls: They're sort of angled into the trim, then rotated into place, so the reverse is done, freeing the clips on one side and rotating it free. This was a bit of a faff. My force with this part of the rear trim produced a casualty: A clean crack on the chrome outer part. Something I'll have to replace if I care enough. Once that part is done, there are two T20 hex screws at the bottom, which when undone, allows for a part of the centre console to be removed: This then allows for the armrest bolts to be accessible: I believe these were T30 torx bolts, so the nearest pair were undone. However, the furthest pair had a bit of difficulty with access. After some um'ing and ah'ing, decided to just grab the air tunnel and just pull it: It was only push fitted into the larger air ducts in the centre console, so with disconnecting the connector on this air duct (presumably some sort of temperature sensor), the right bolt could then be undone. It was still a bit tight on the left, so decided to undo the two screws at the top of the centre console, near the top of the armrest itself, and then lifted up the centre console partially: This lifting gave enough clearance to undo that last bolt: I luckily have one of those knurled 1/4" spanner attachments so I could use my fingers to undo it. The rear of the centre console needs to be lifted slightly as a matter of course, because it's the only way to free the armrest: It then snags on some wiring that is attached to the armrest: It is then a case of some more wiggling but eventually: Moving more things into the house and it's starting to look a bit busy: I'll finish this post here, as it's nice interval. Next posts will be the rest of the centre console and anything else I remember! Maintenance: £1678.25 Upgrades: £711.10 Miscellaneous: £603.58
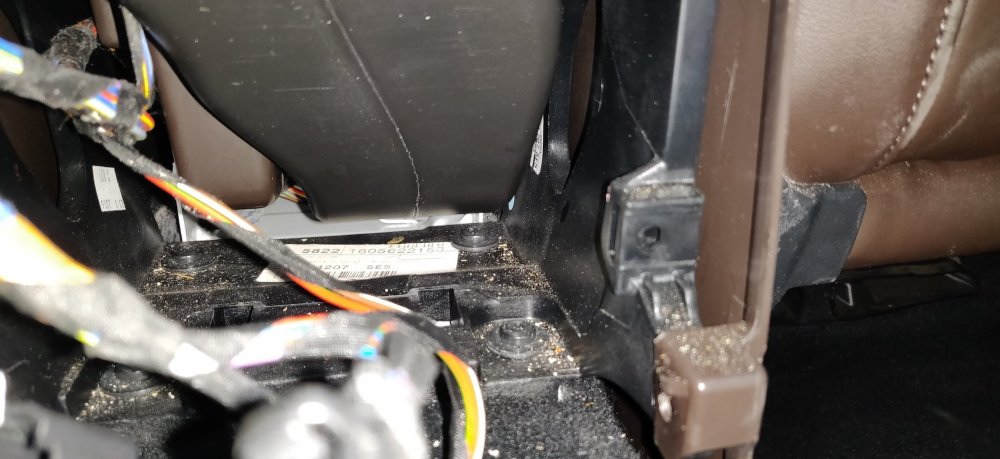
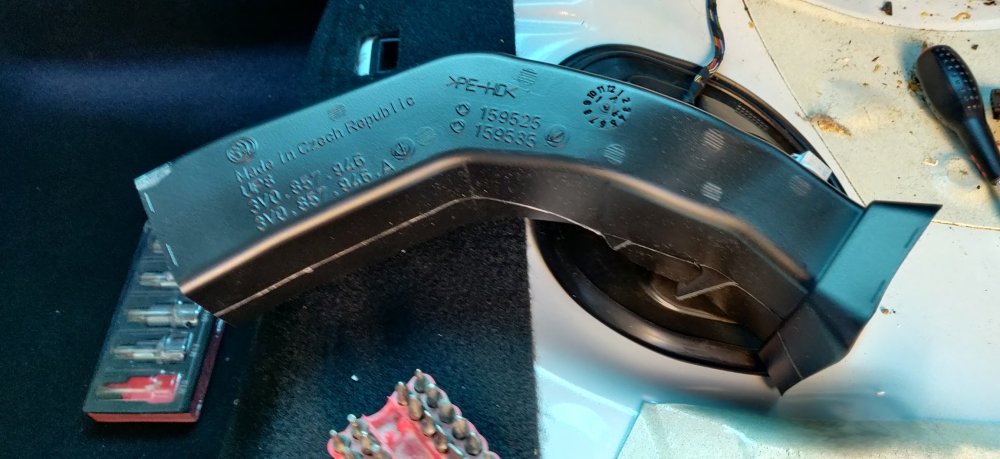
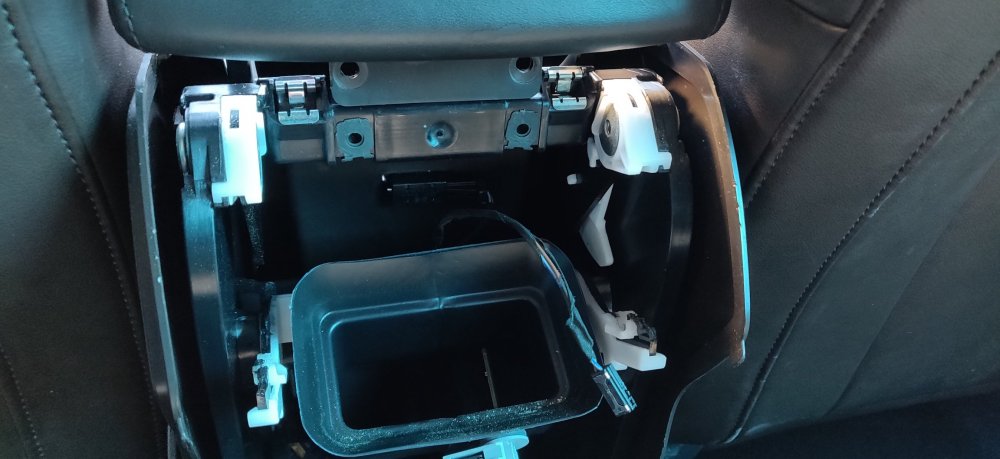
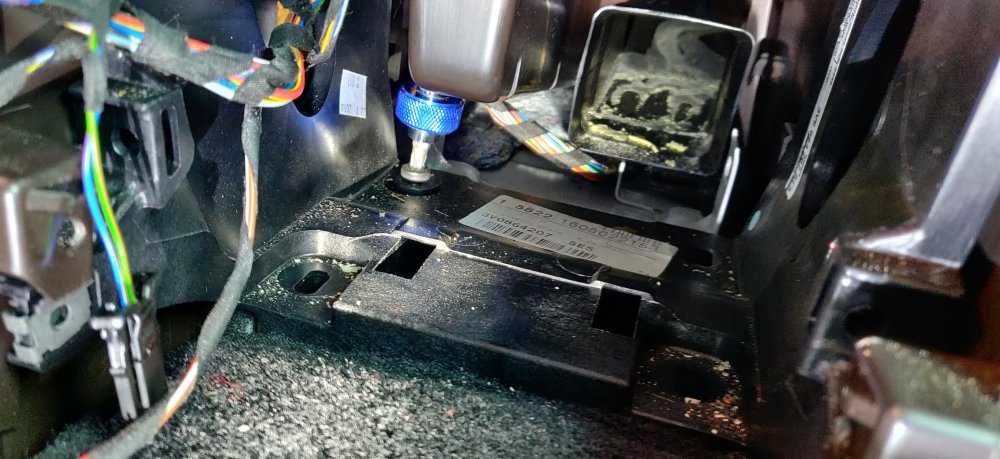
-
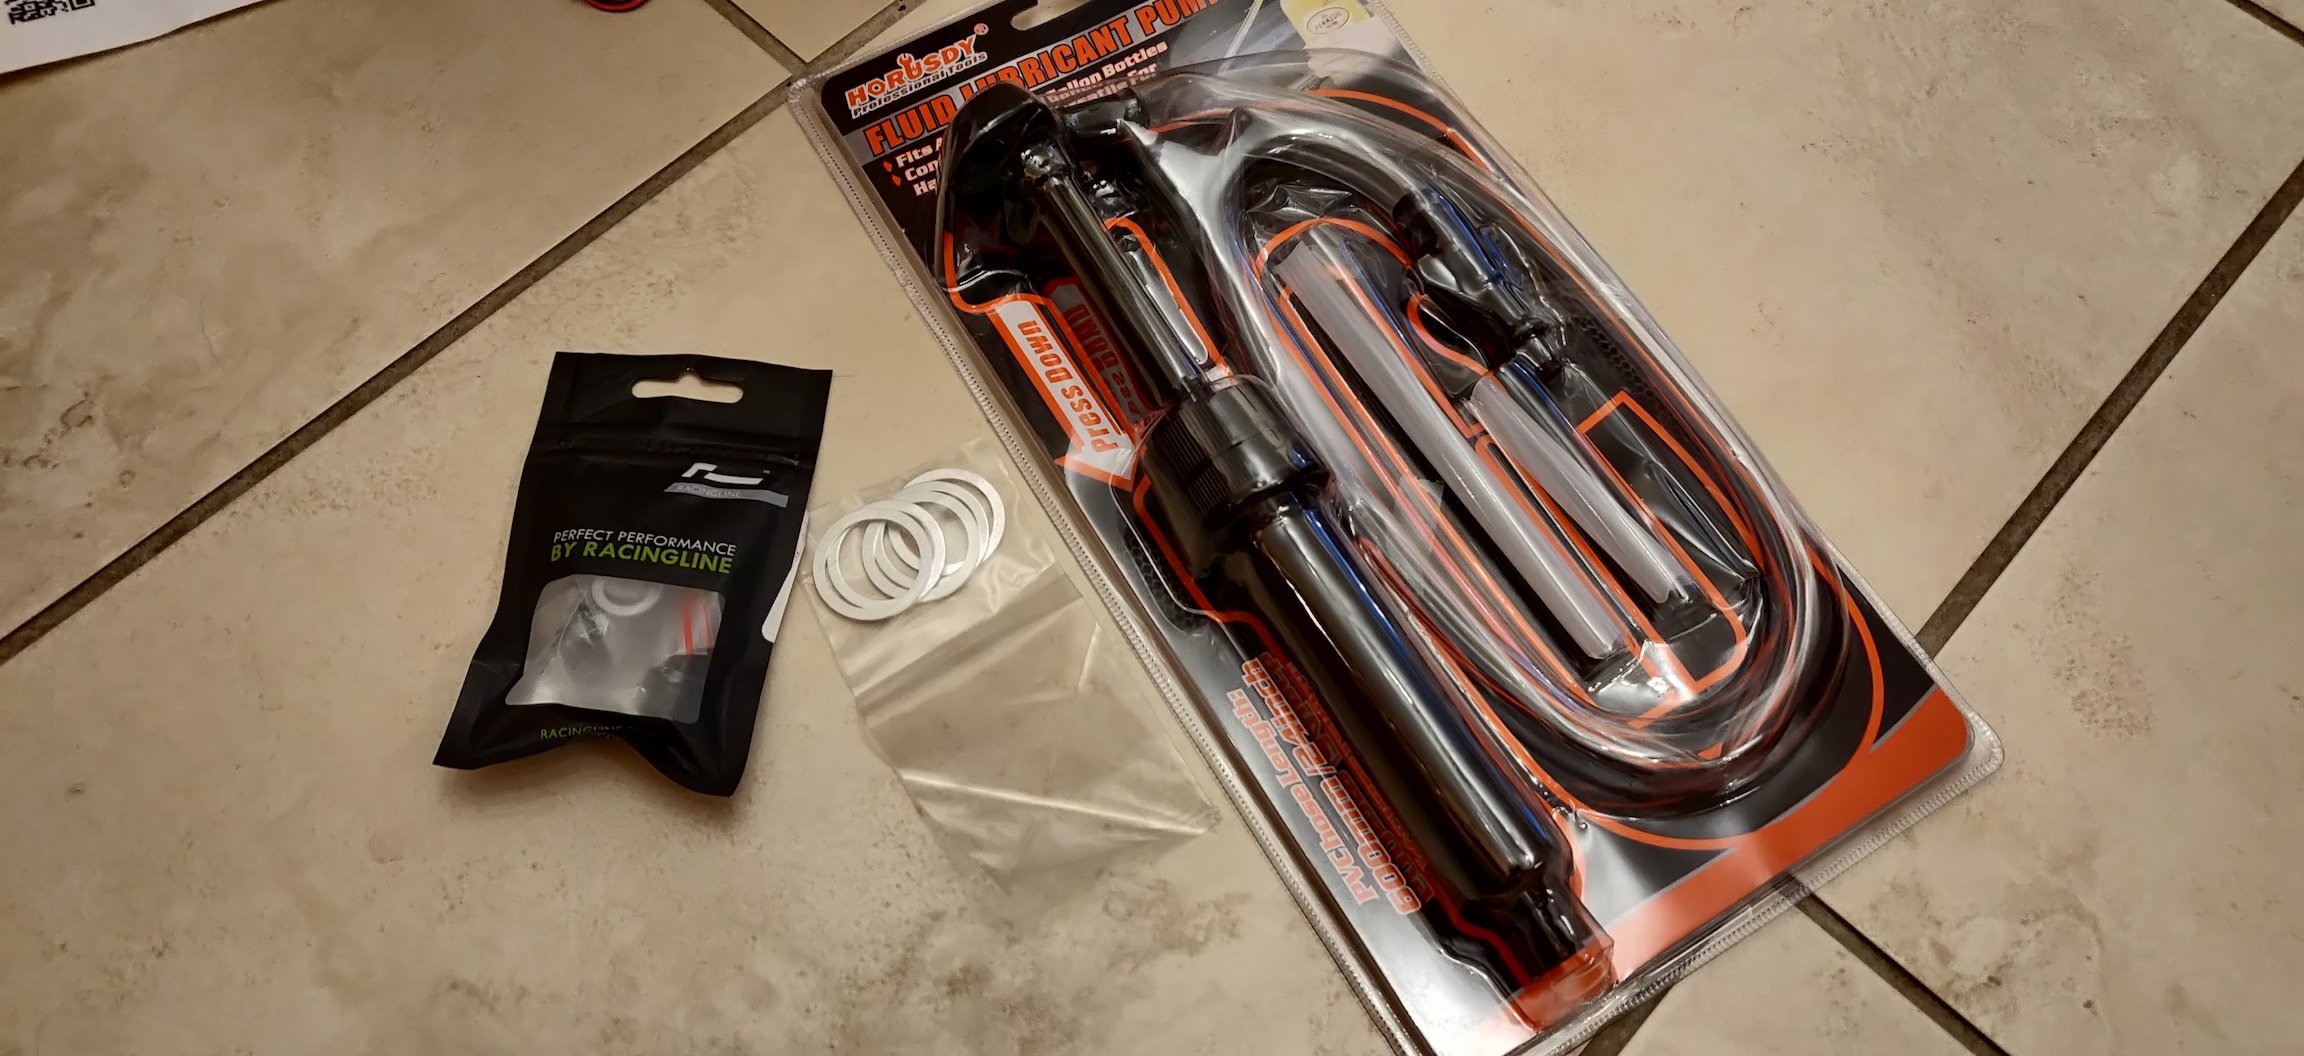
I had a feeling as they're a bit small and pretty exposed on the underside, hence ordering the Racingline replacements, which I can only presume are a bit more robust (otherwise, their magnetic bits for picking up crud are going to end up in the gubbins!). They came with 5 washers for each of the bolts, so technically enough for a decades worth of changes, so it must mean something!
-
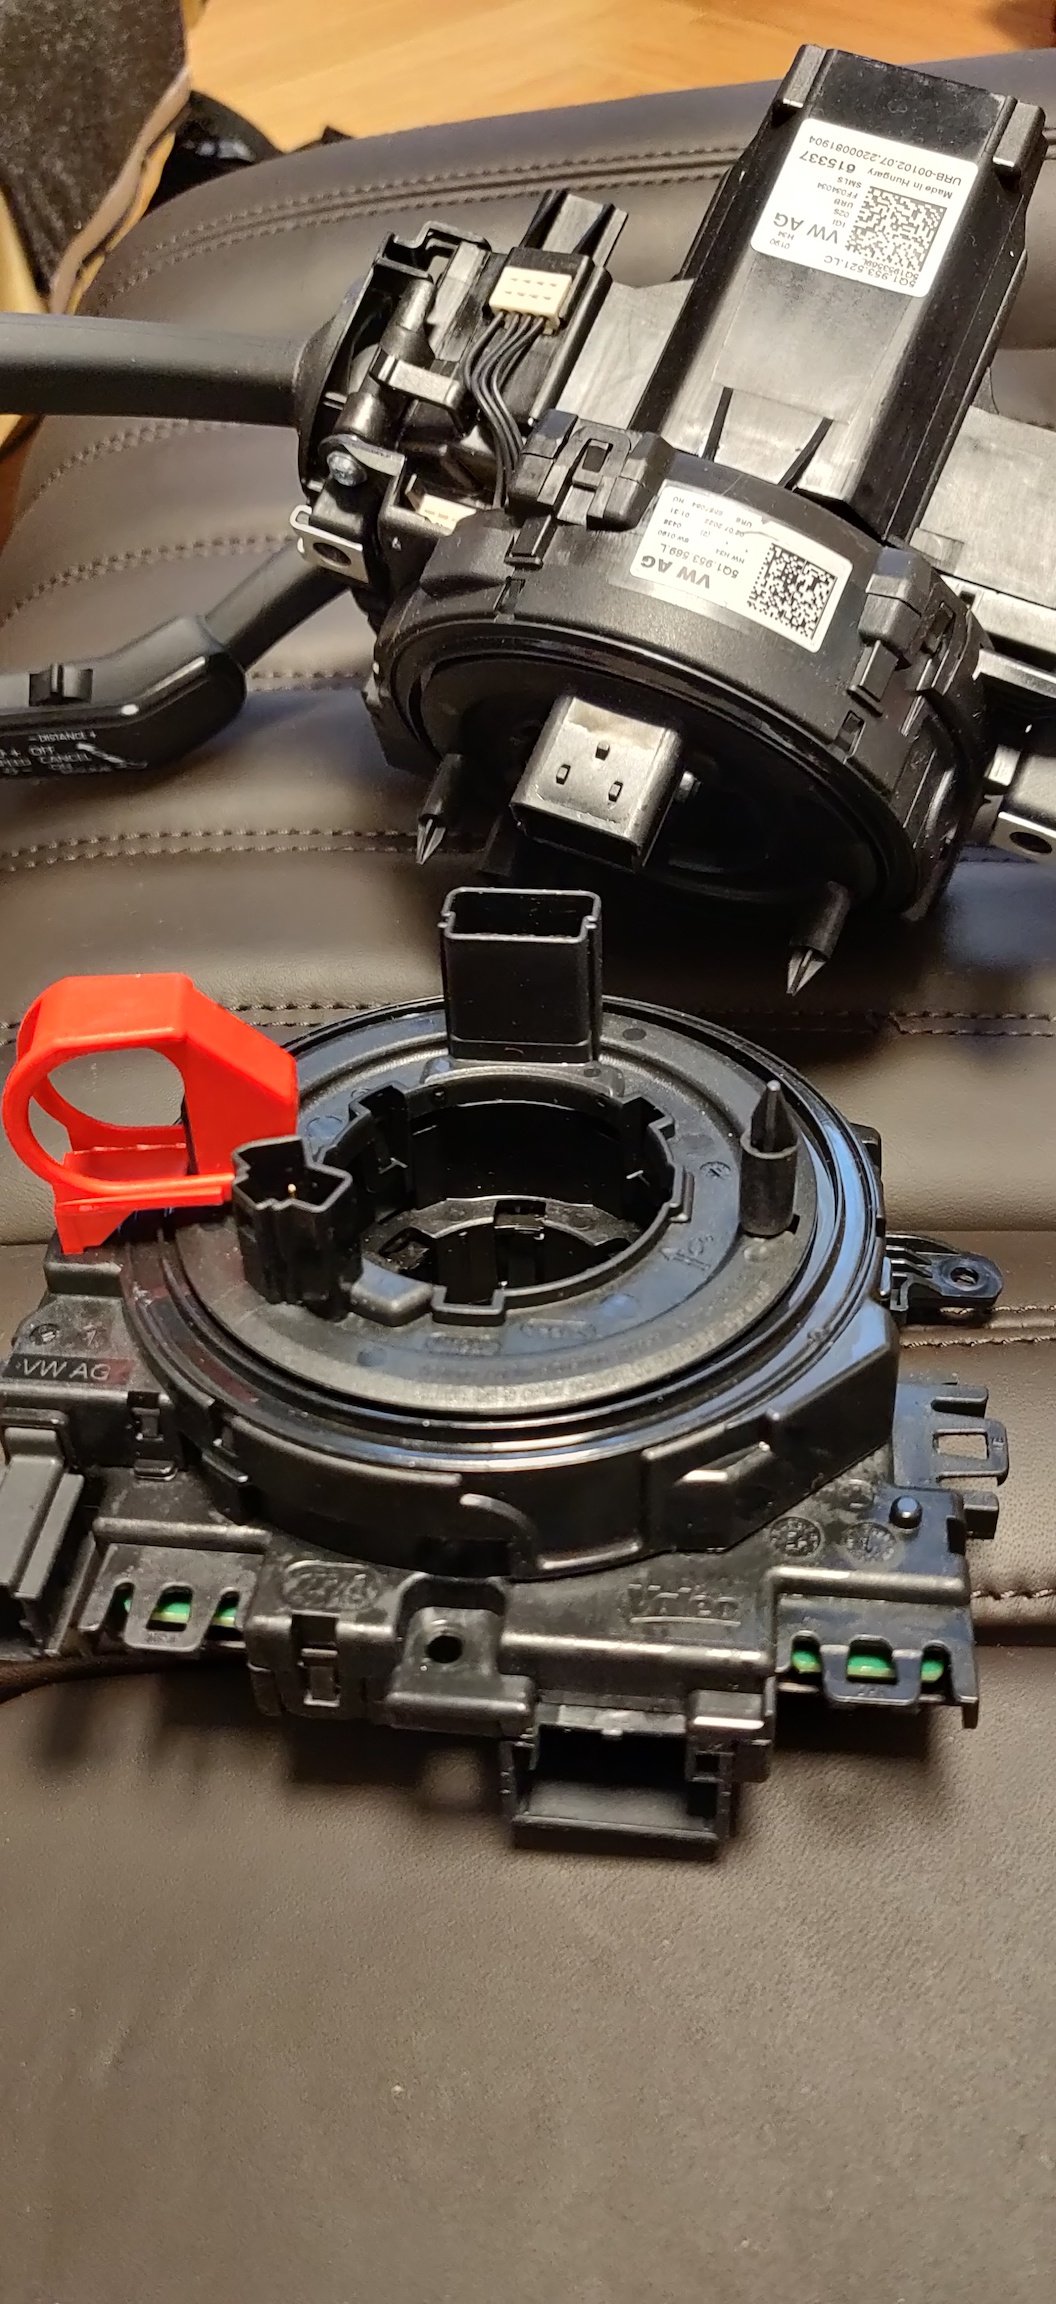
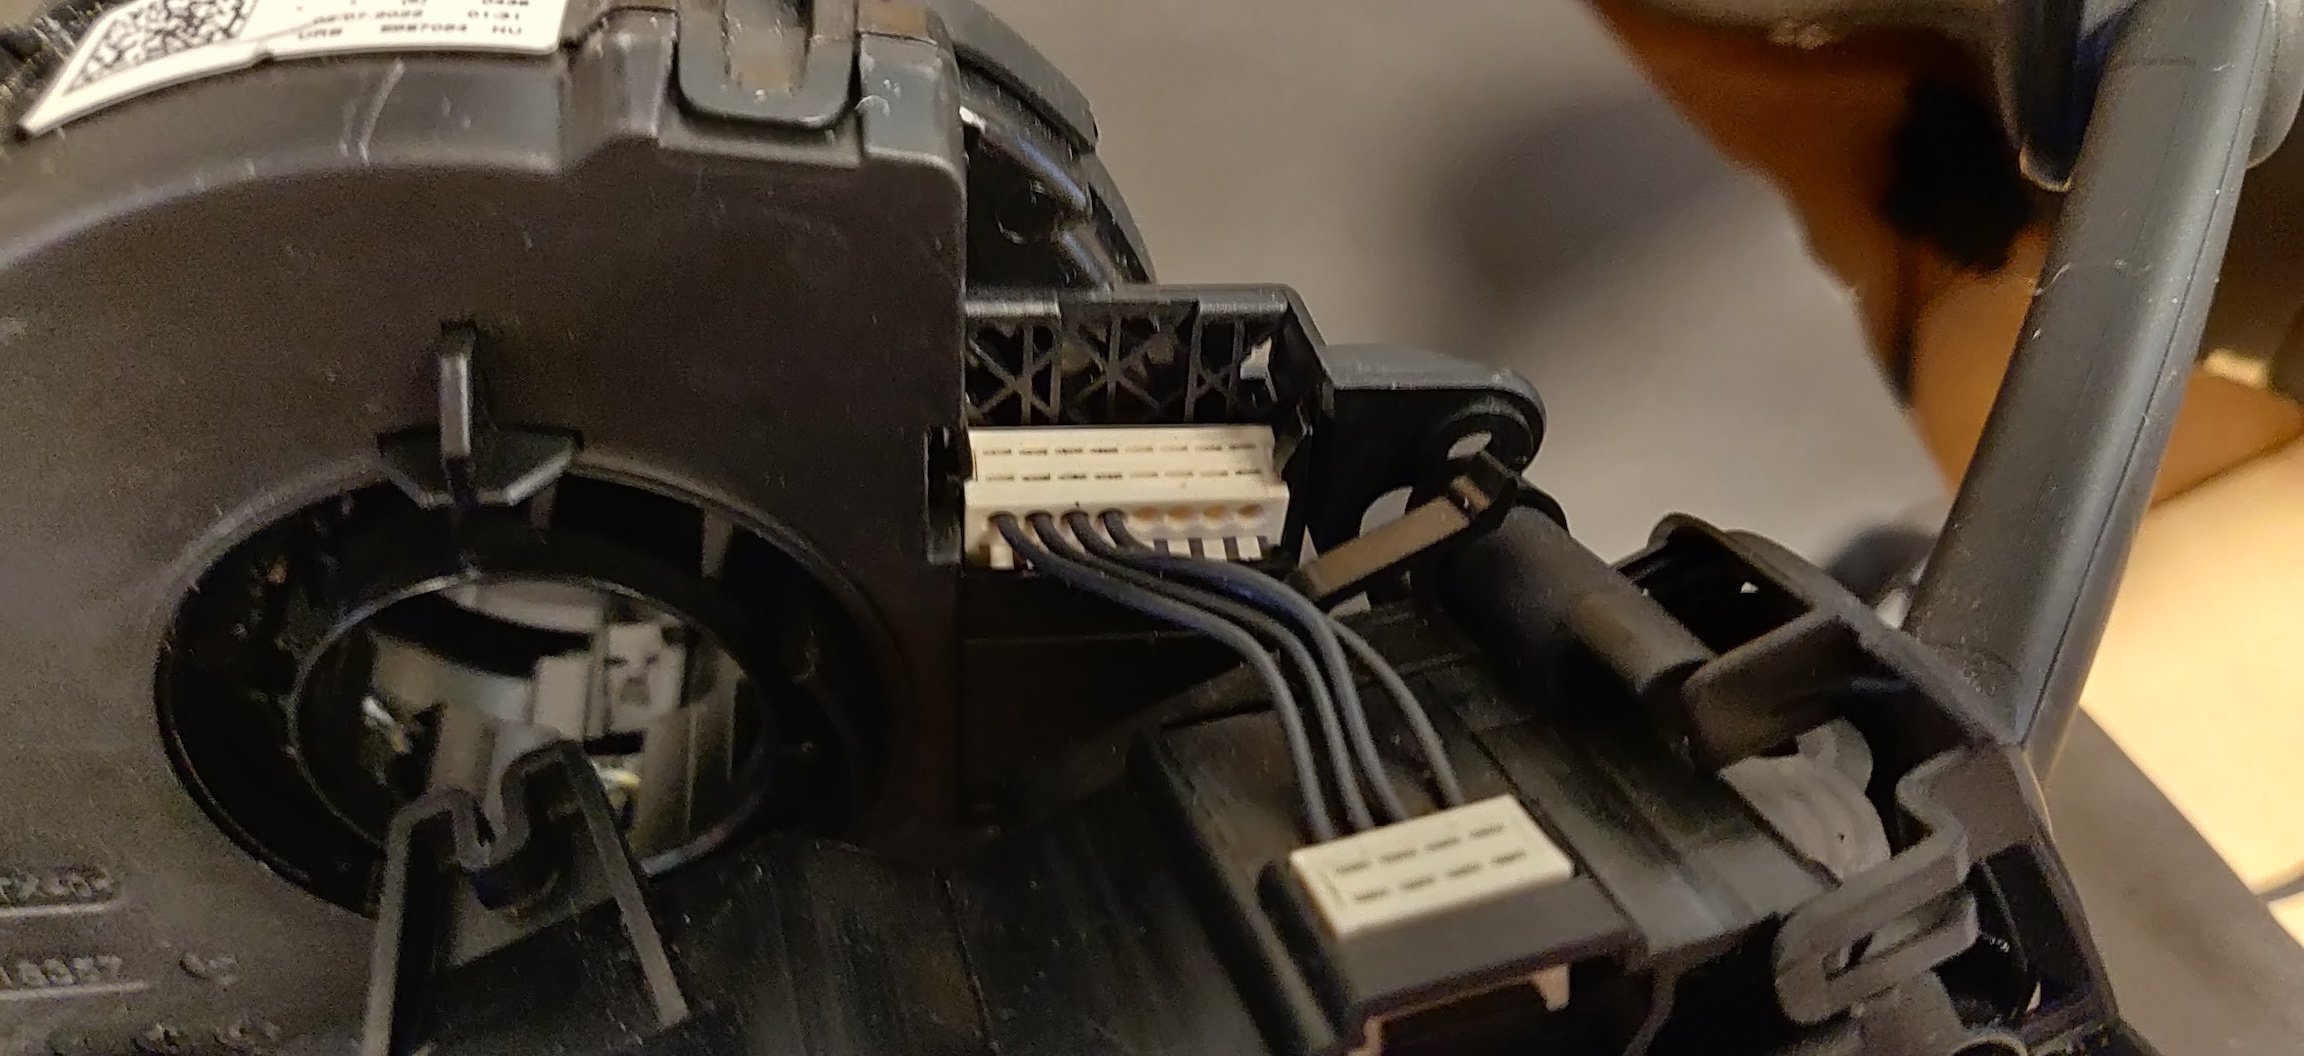
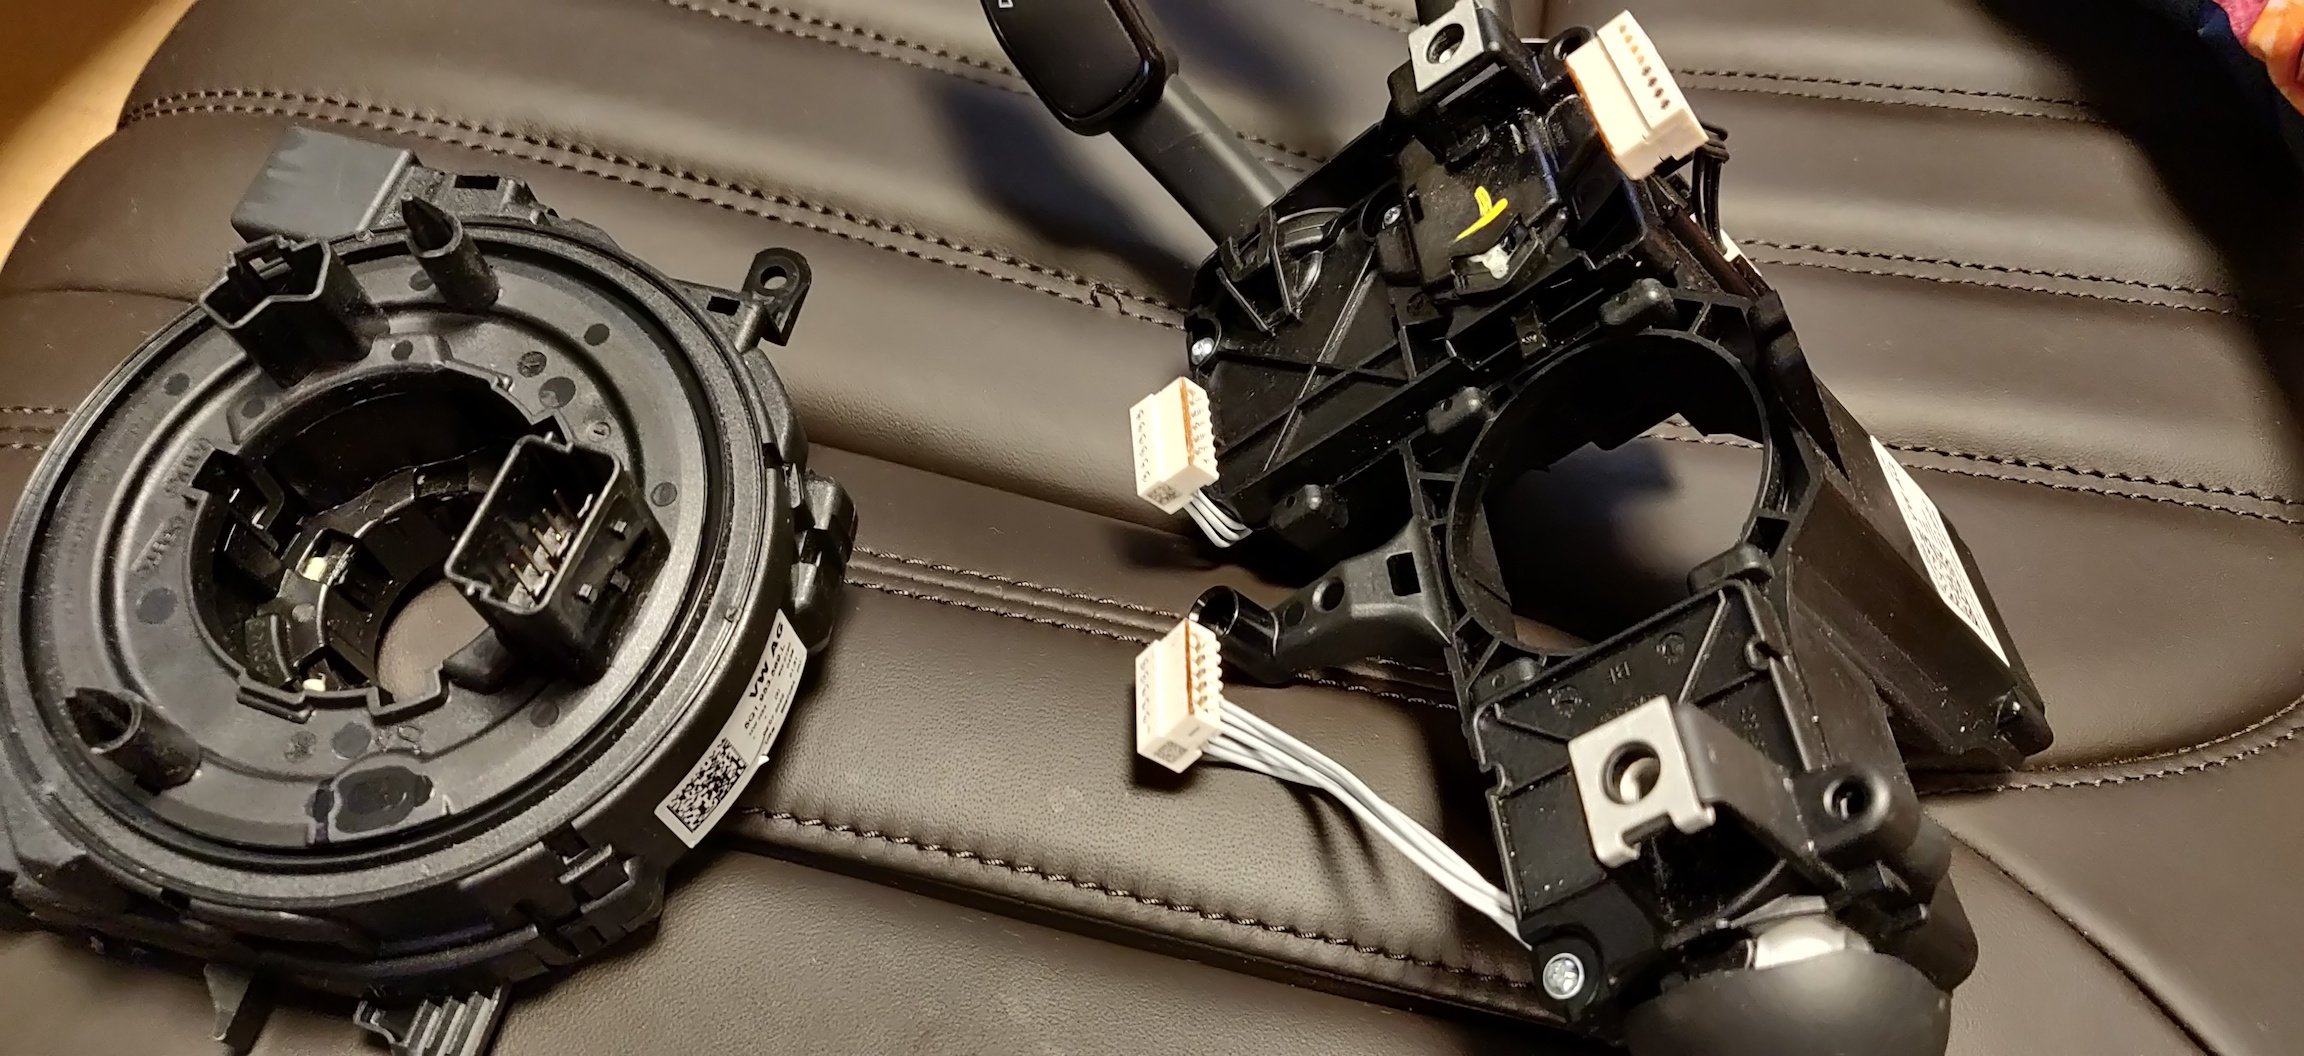
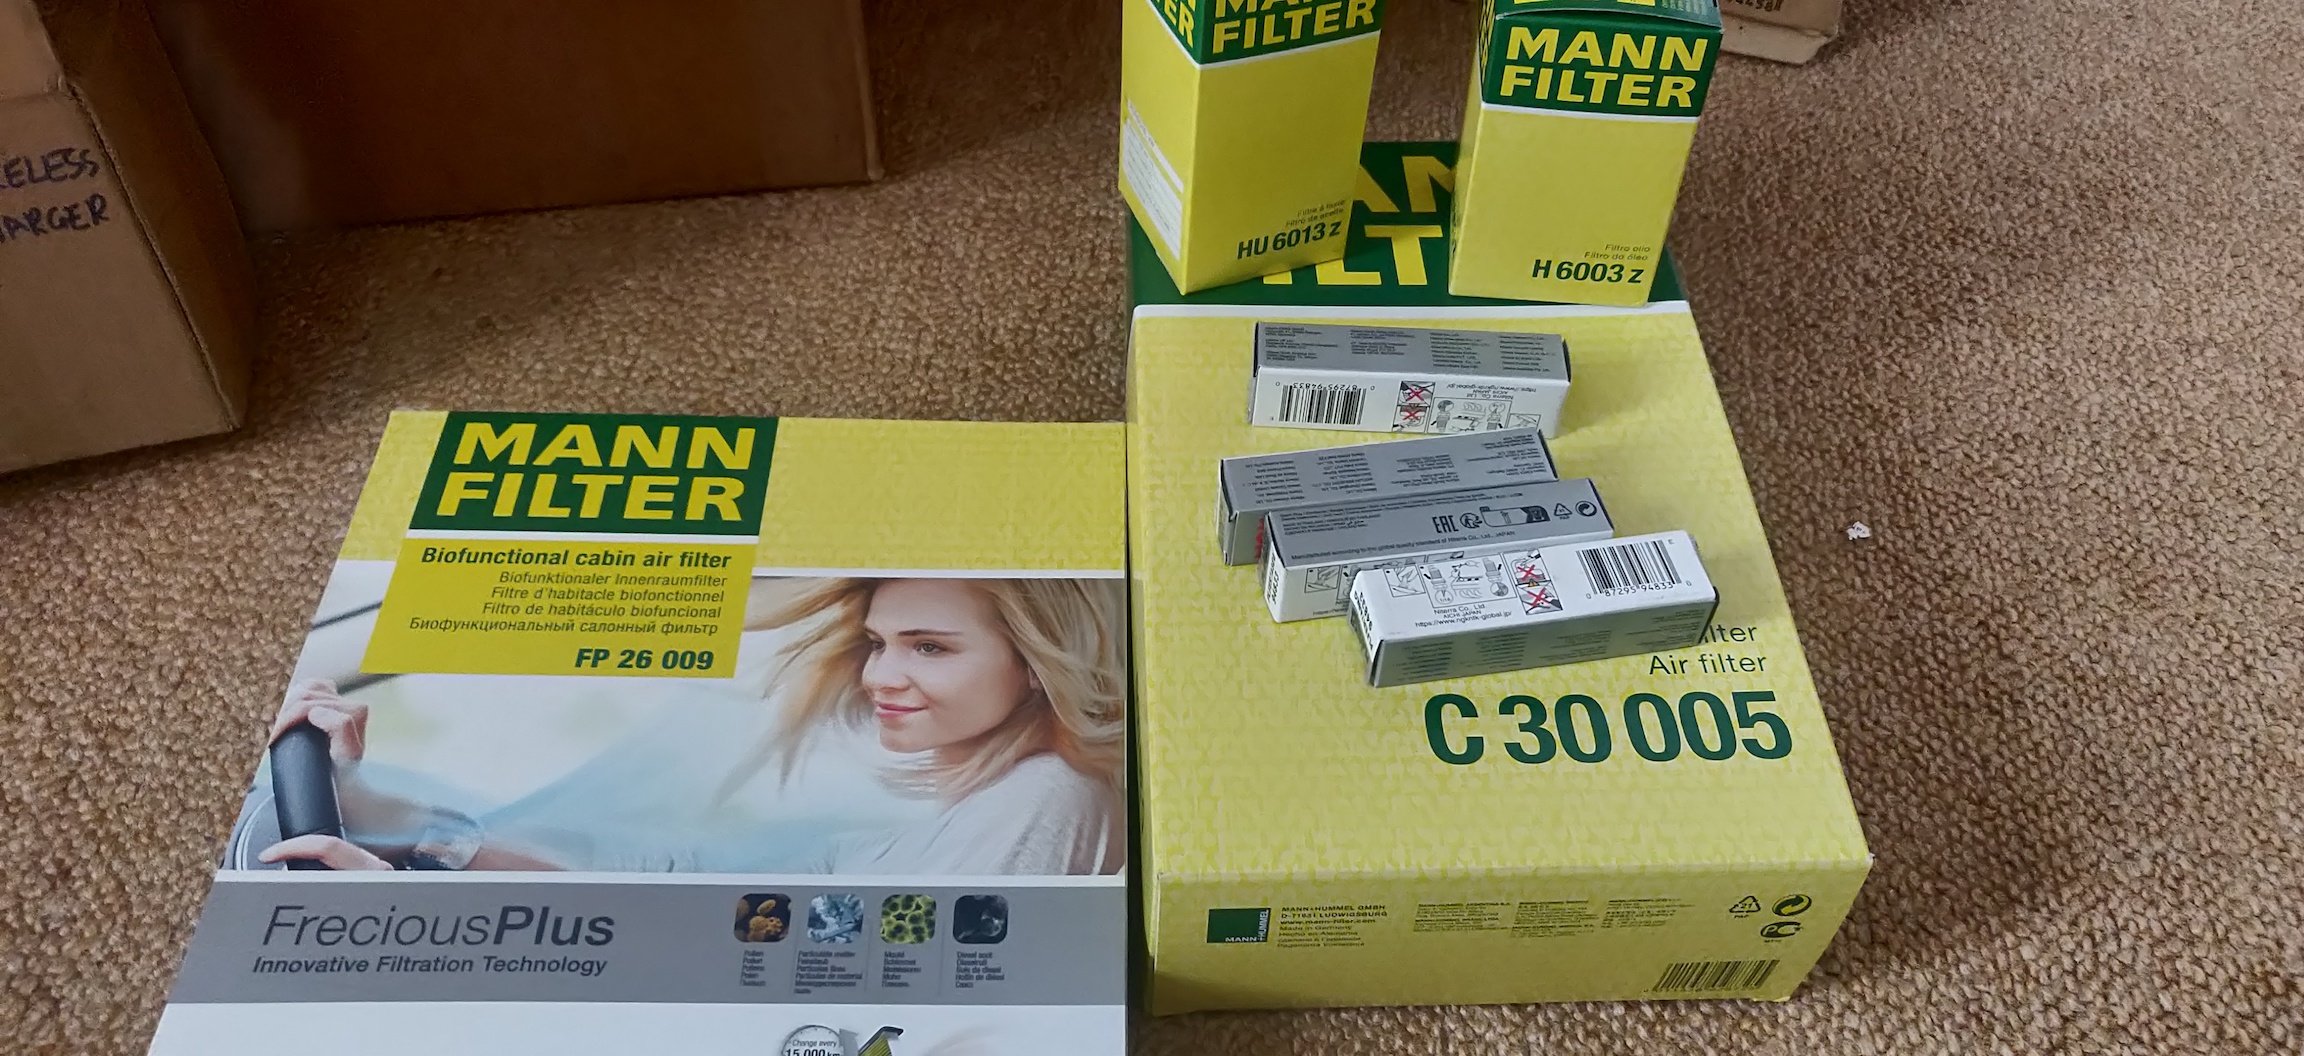
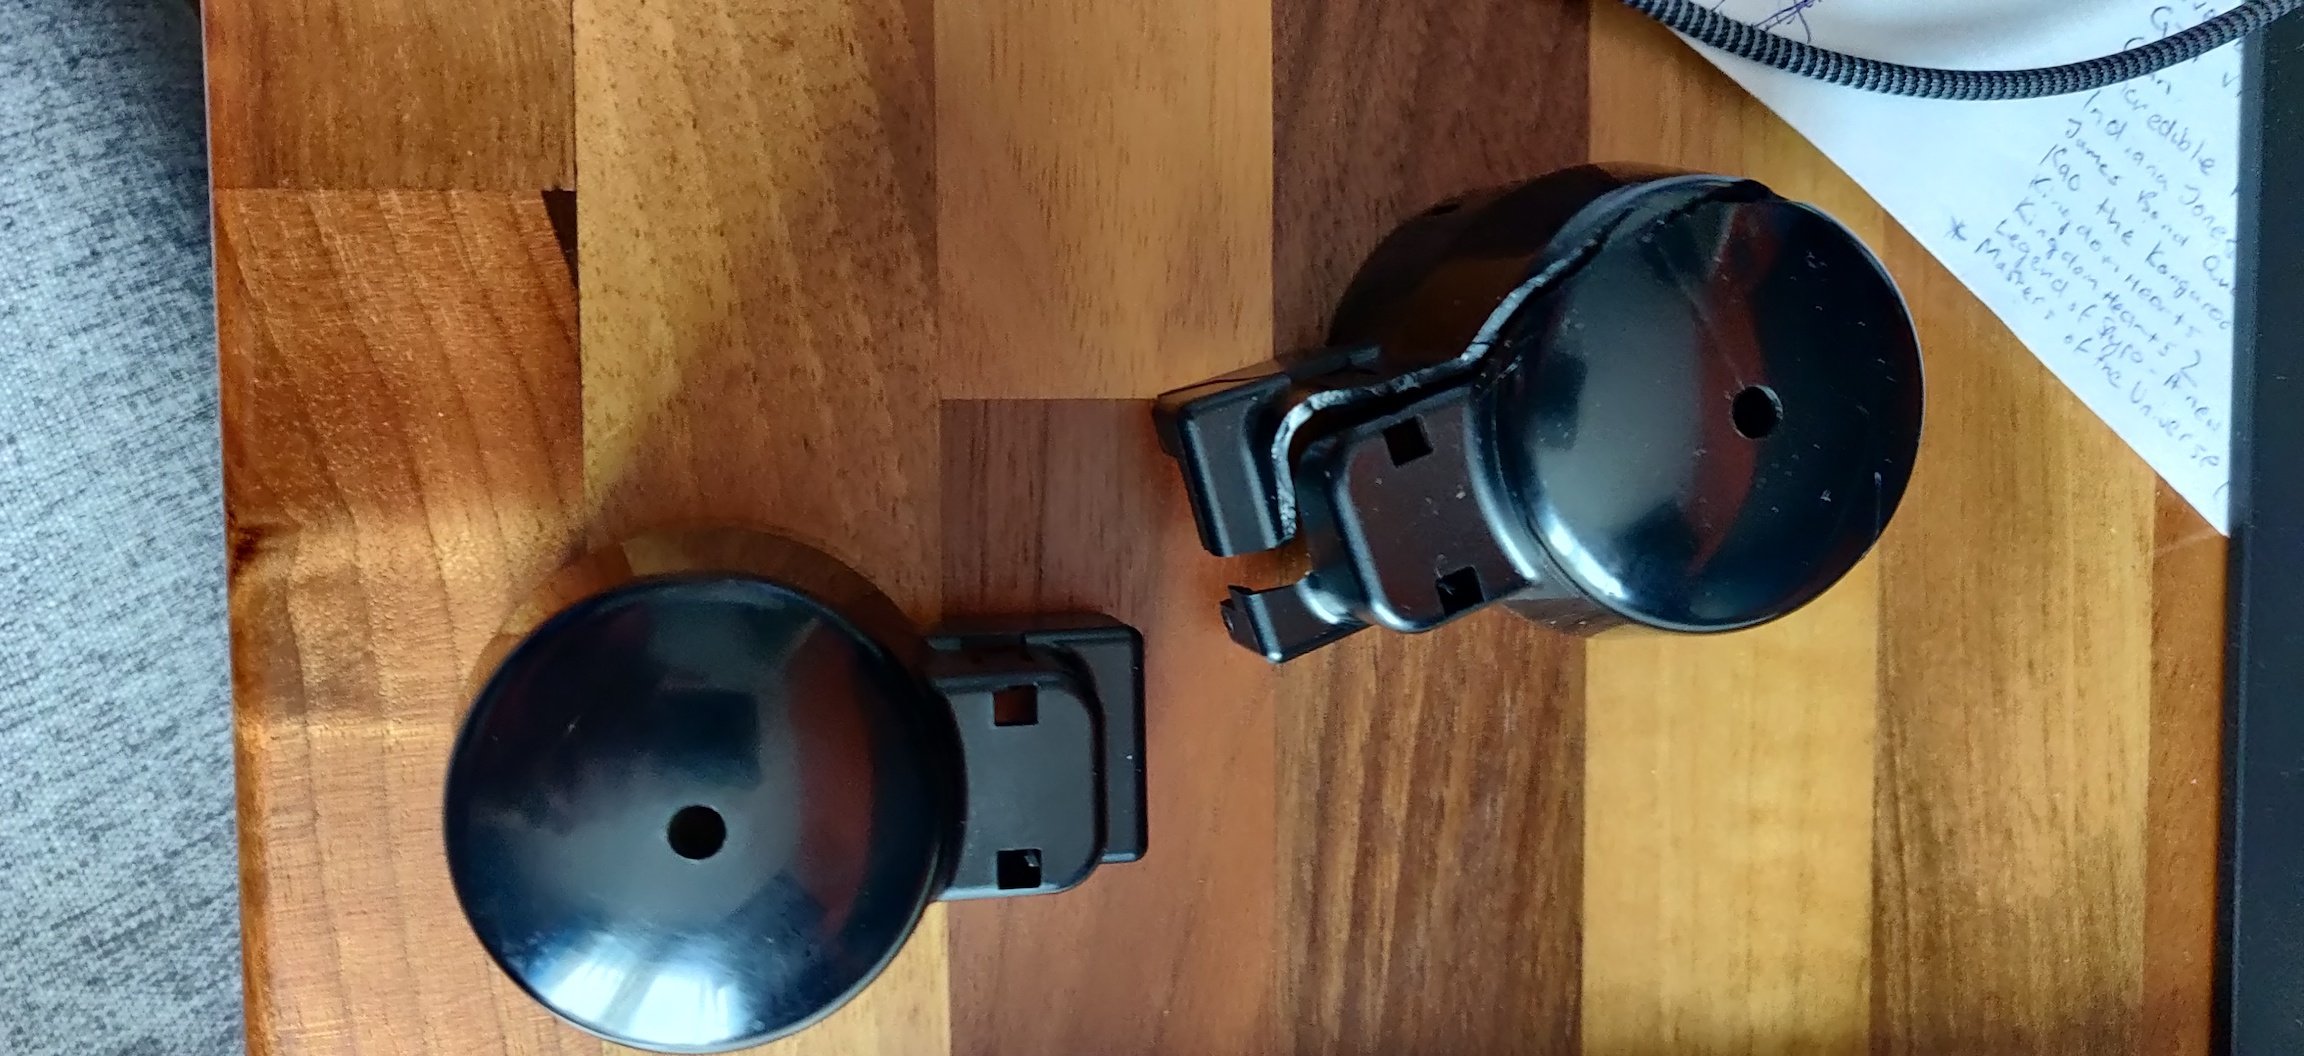
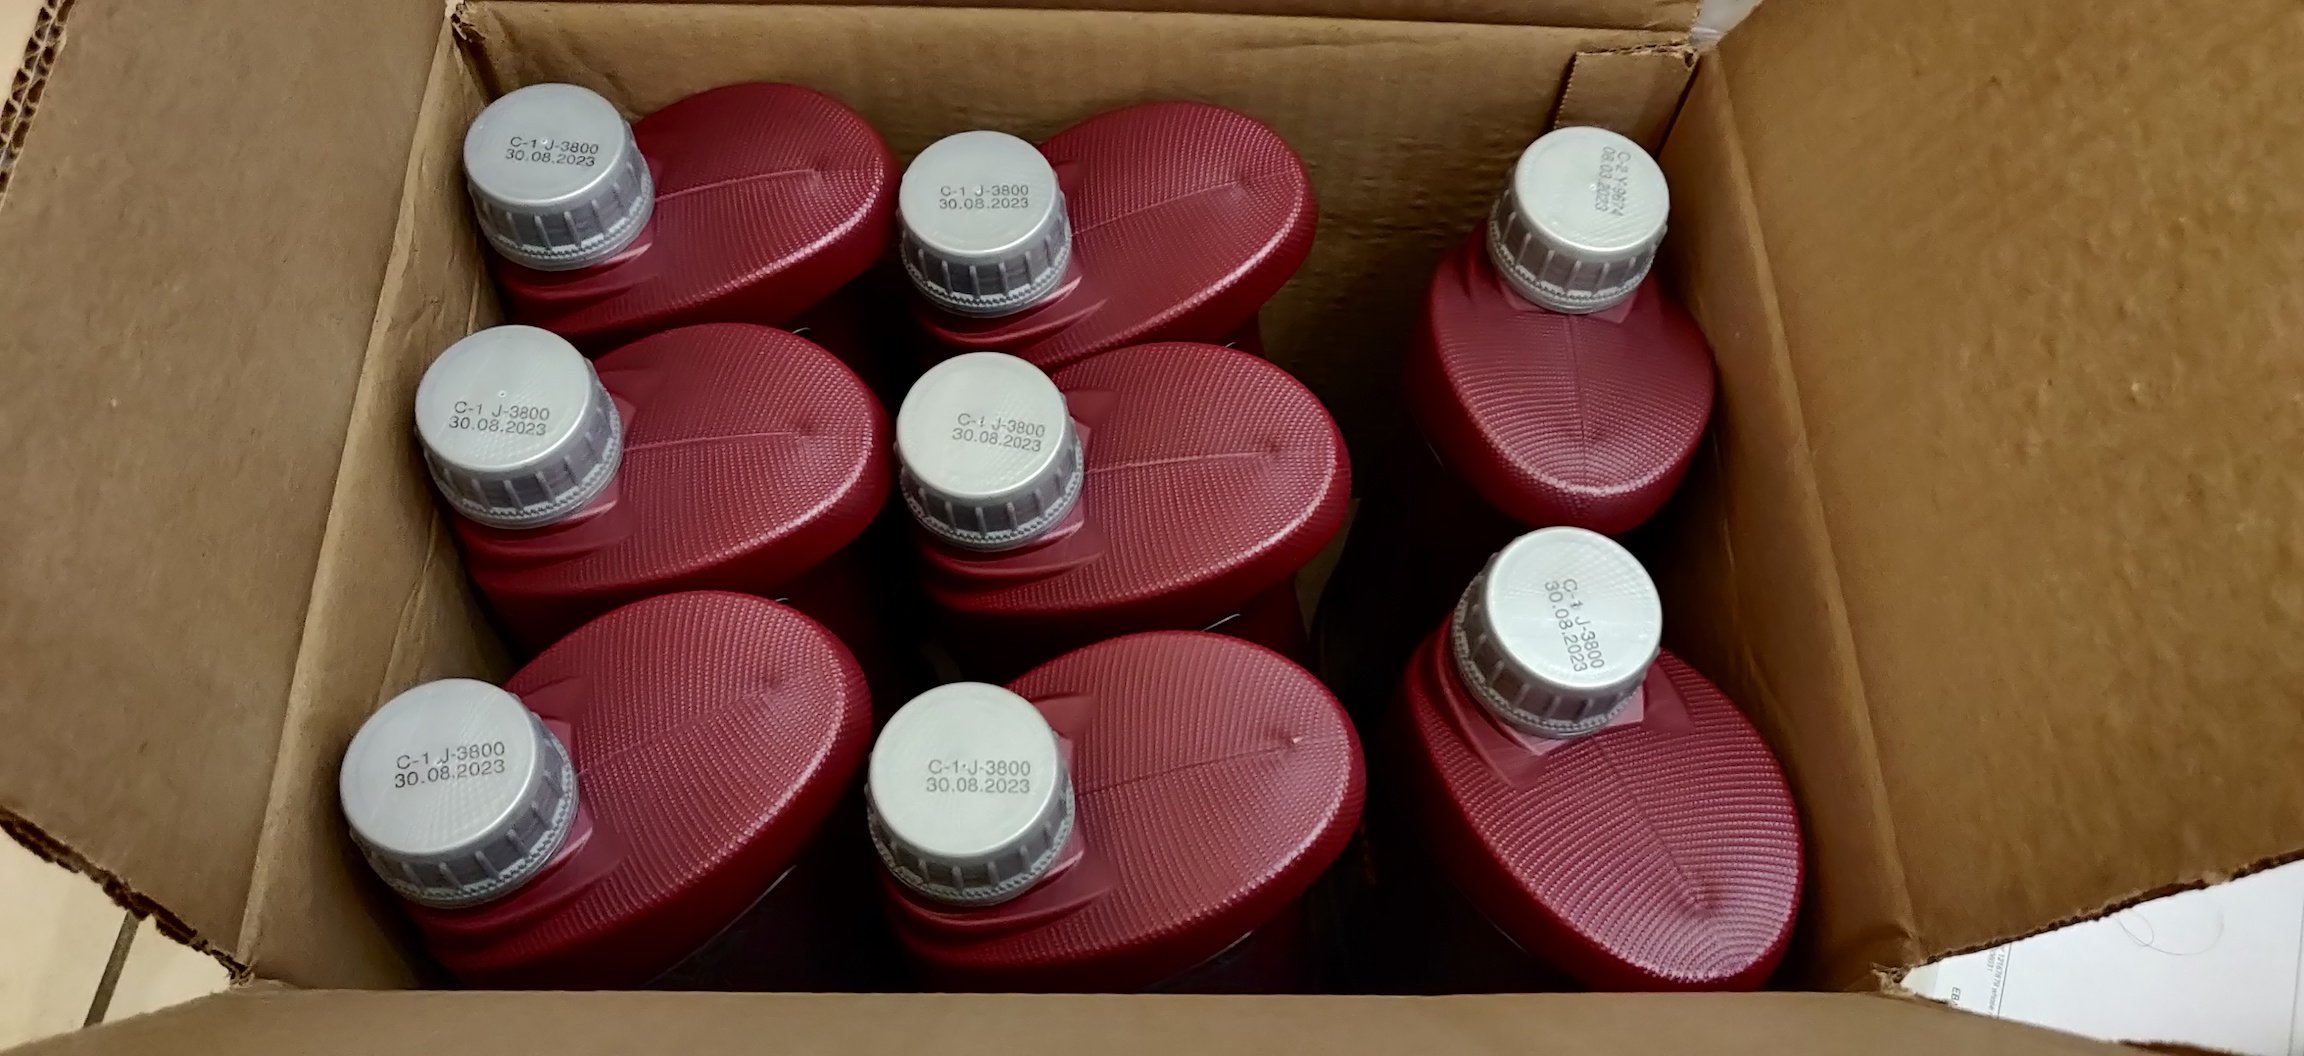
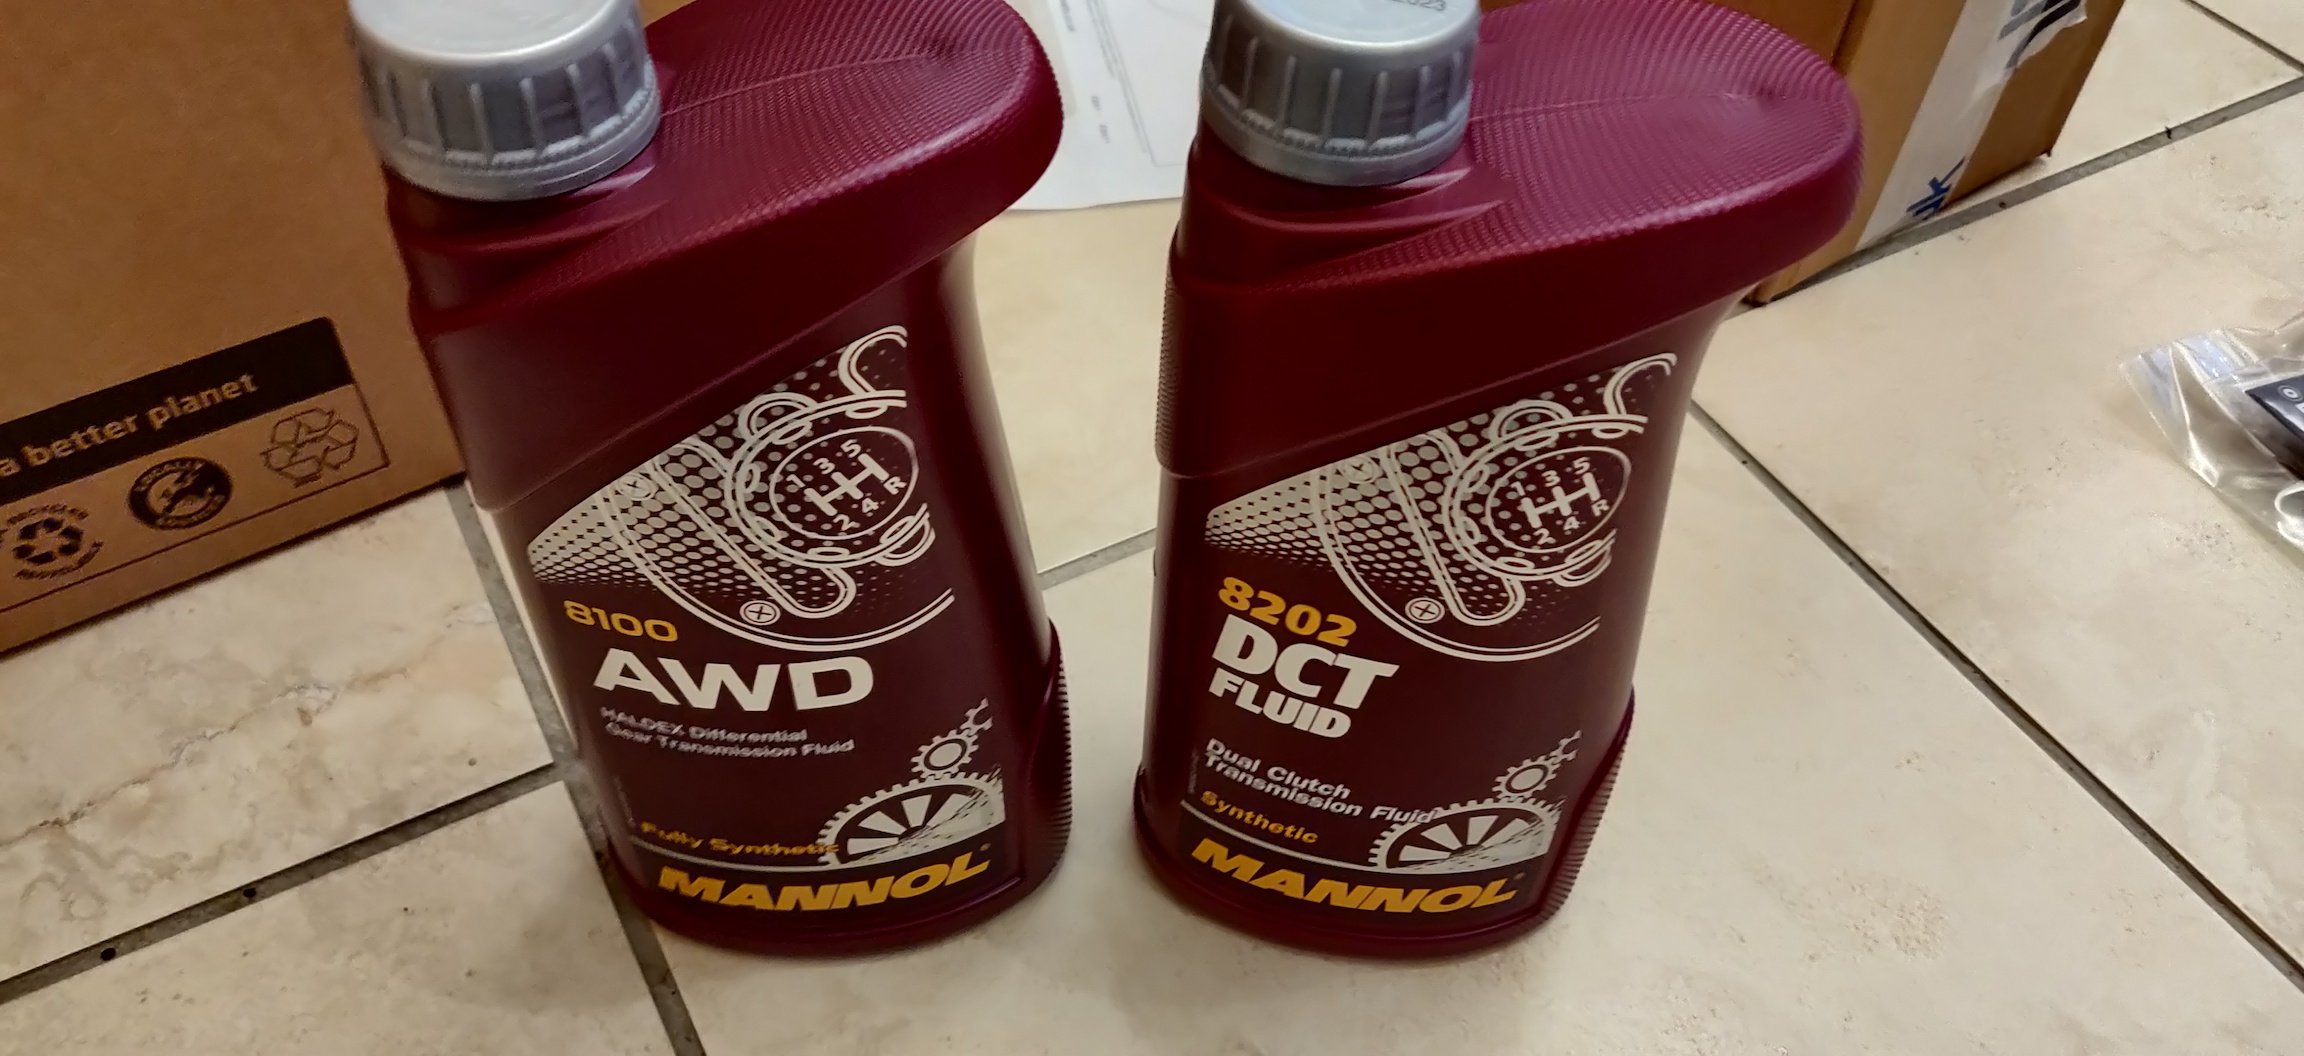
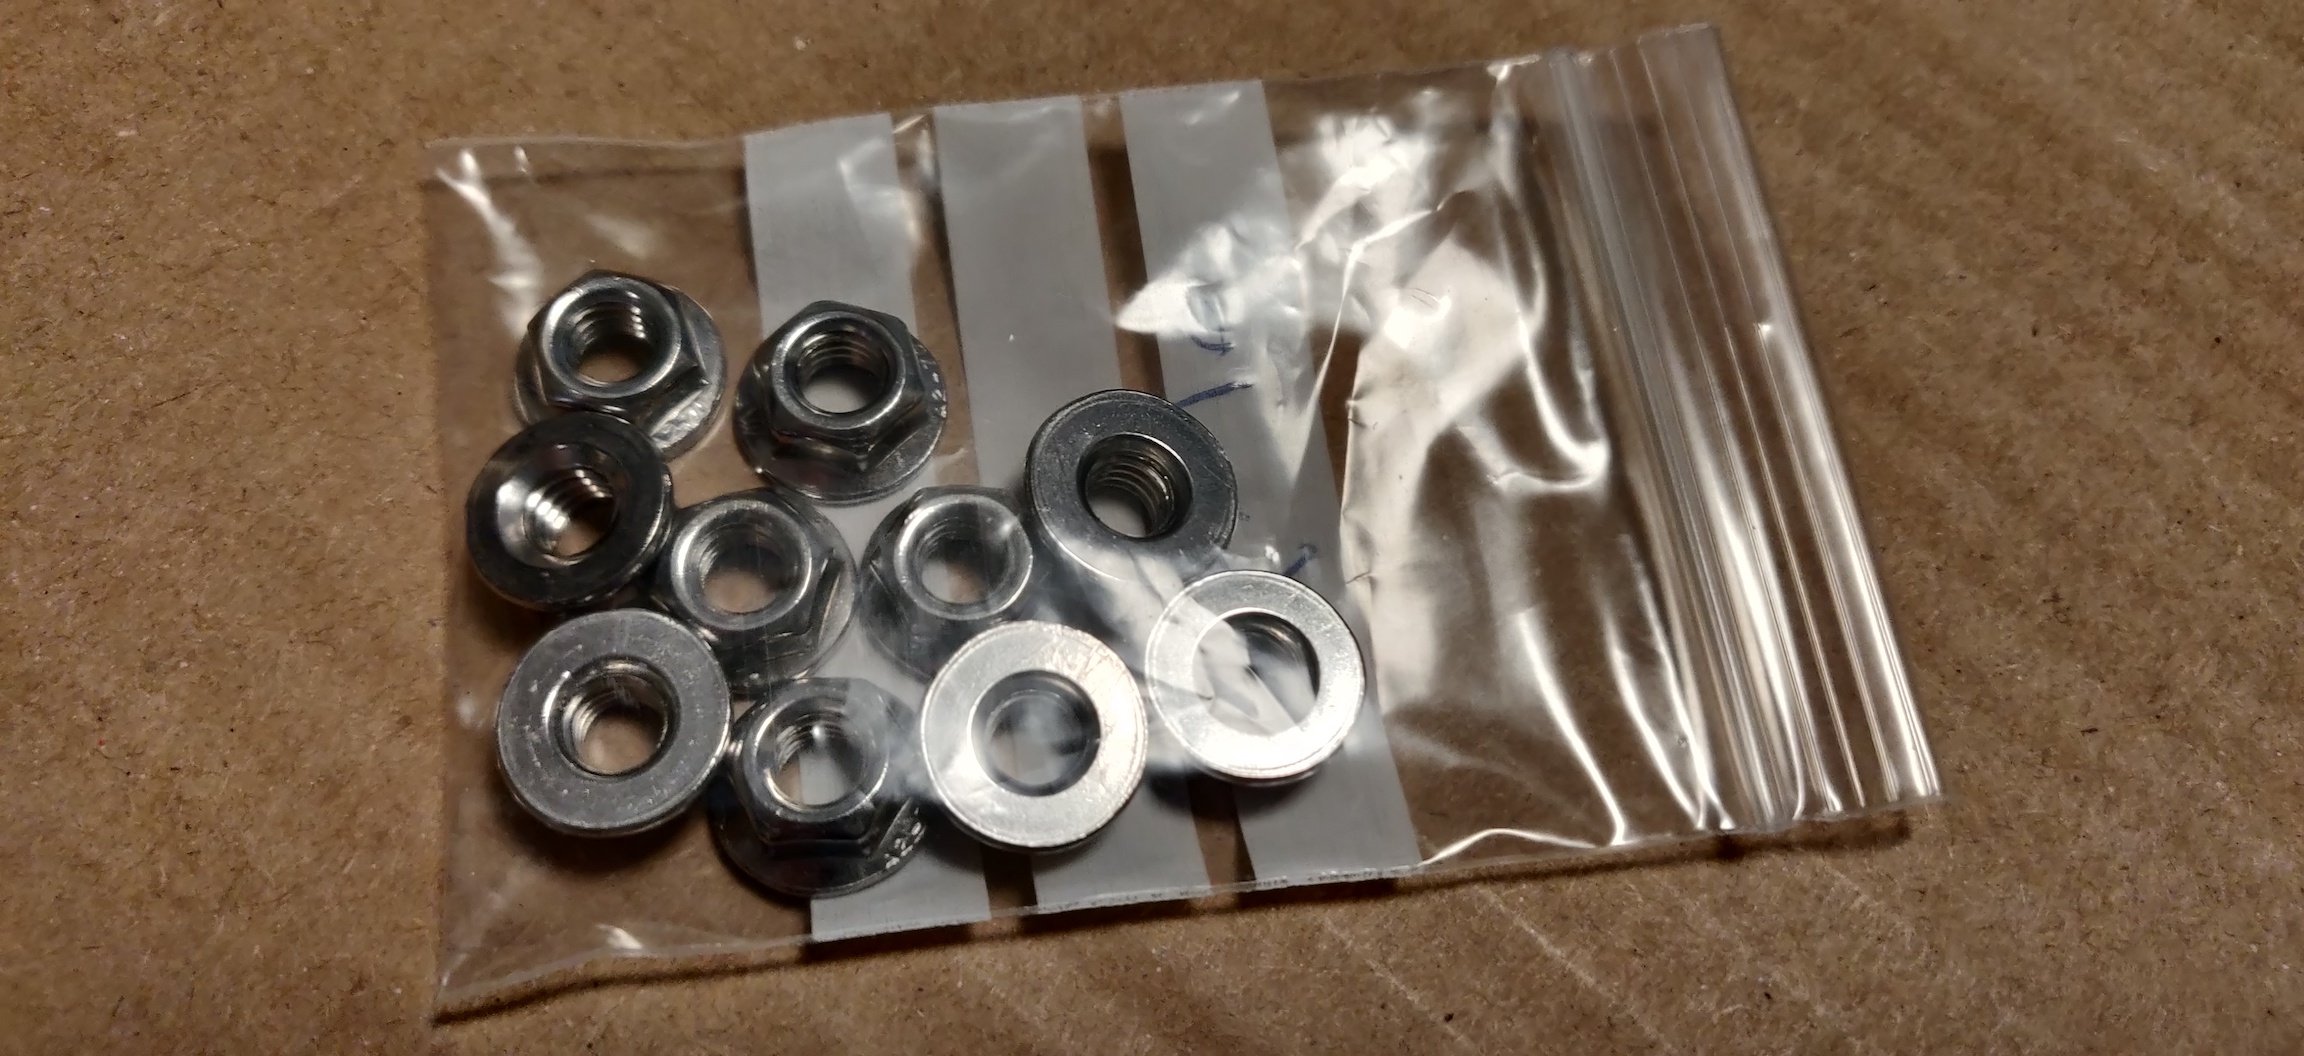
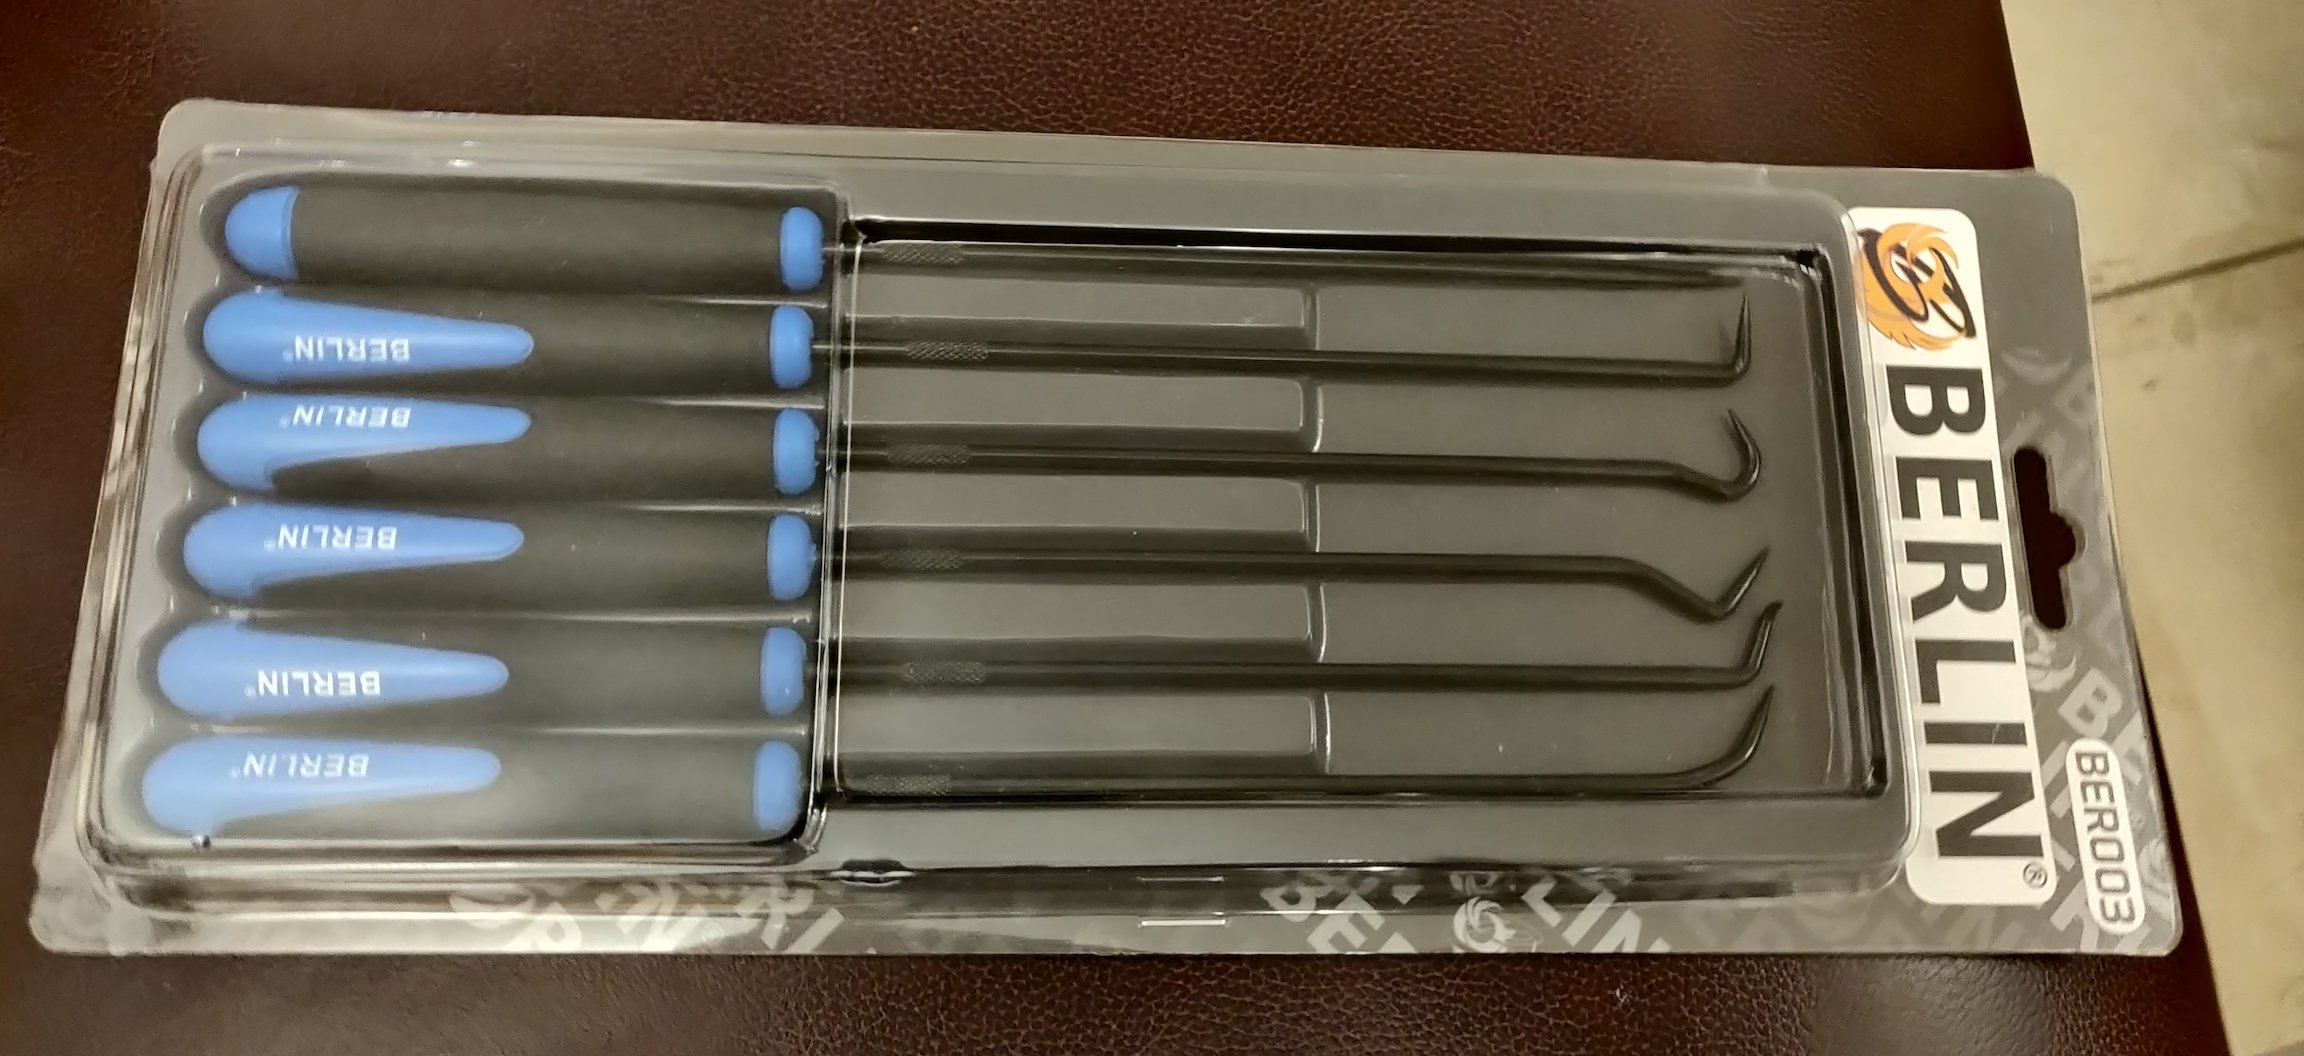
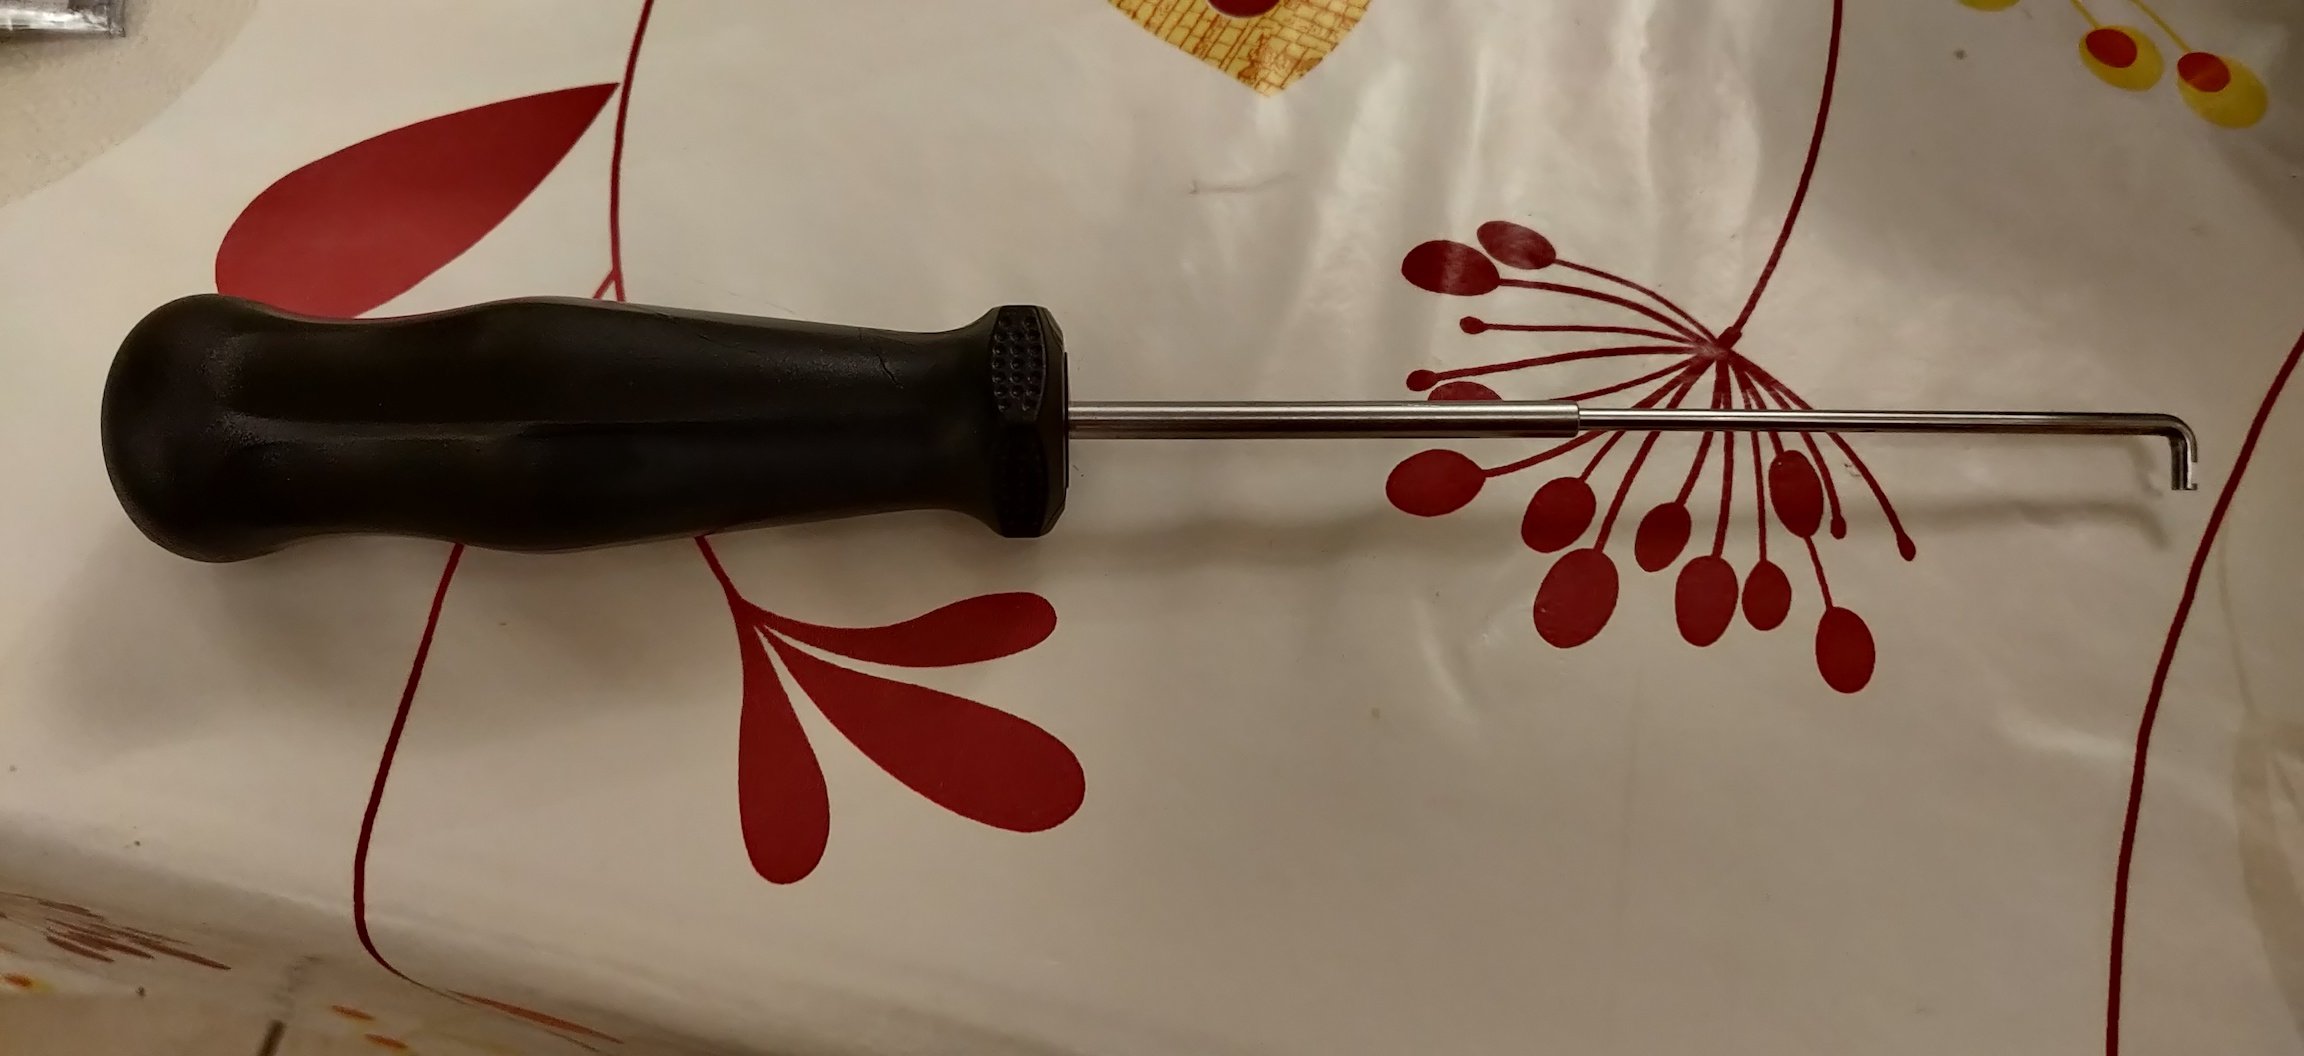
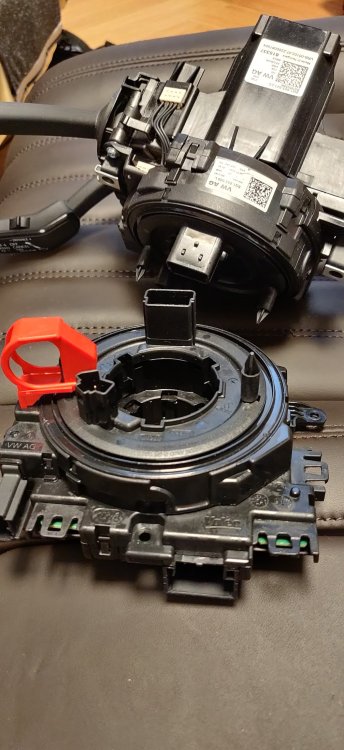
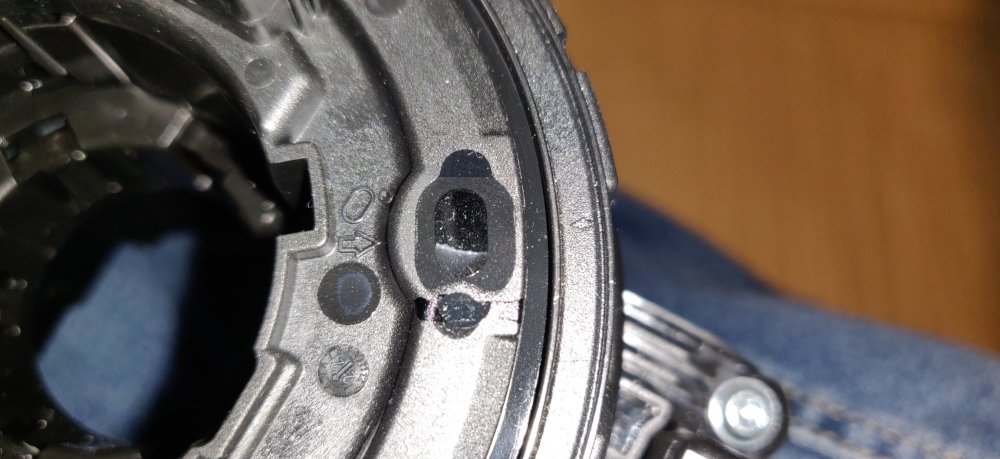
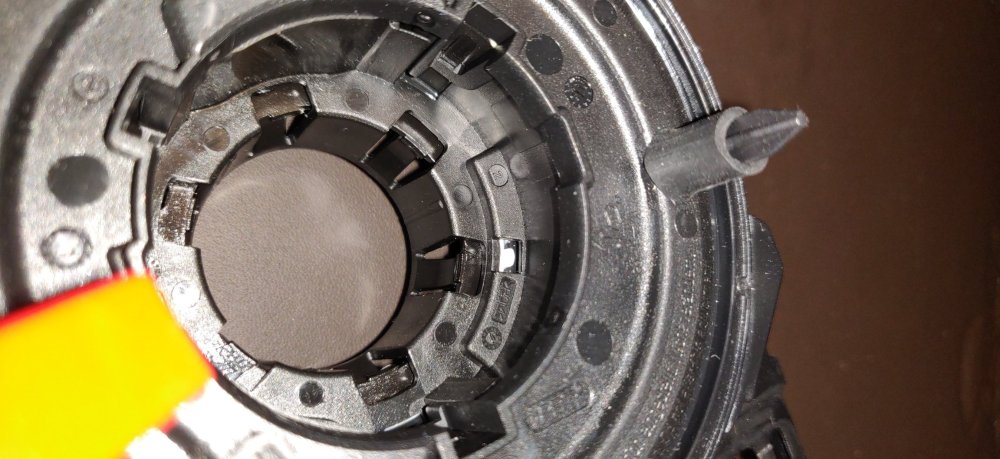
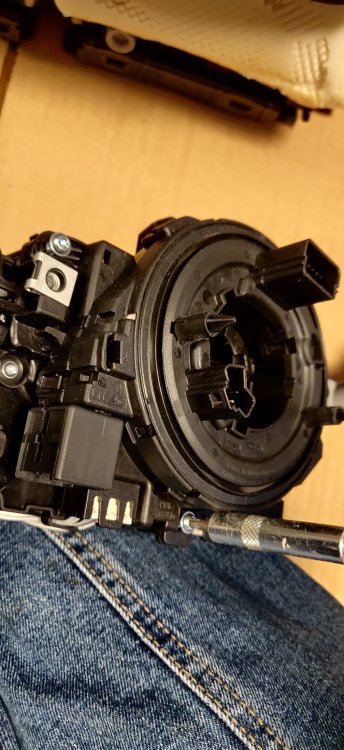
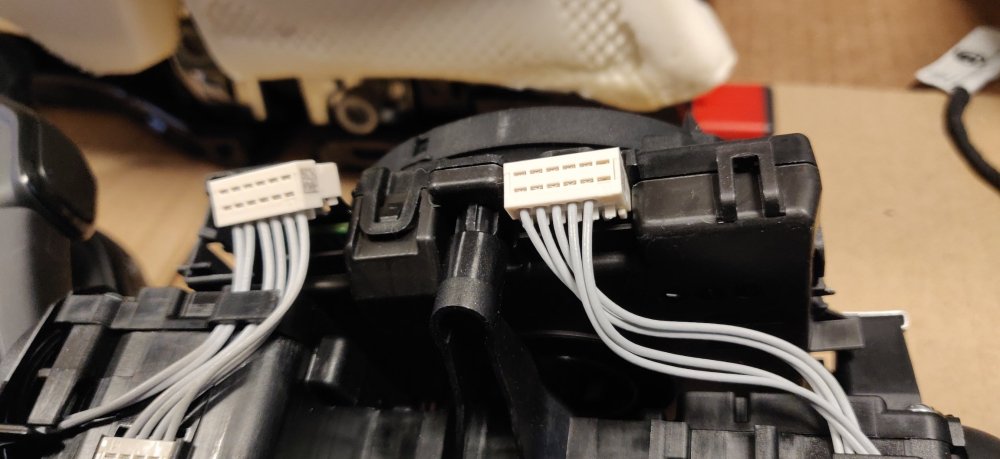
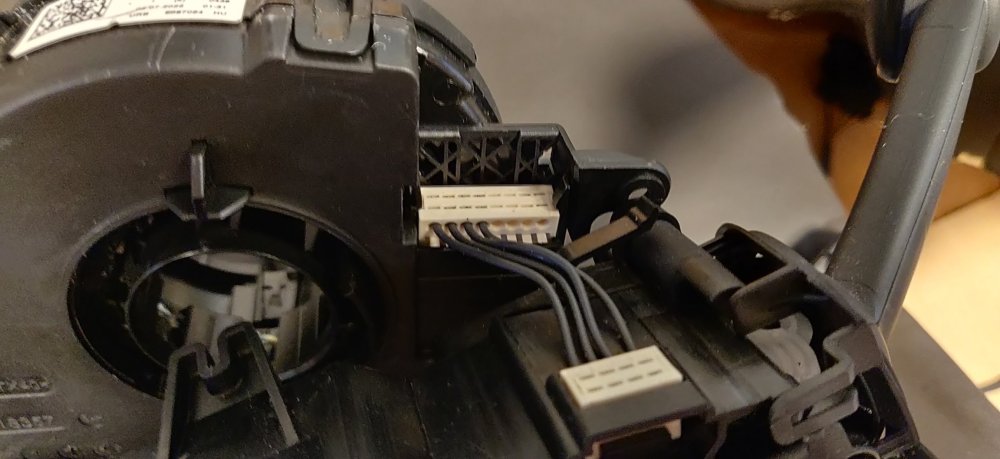
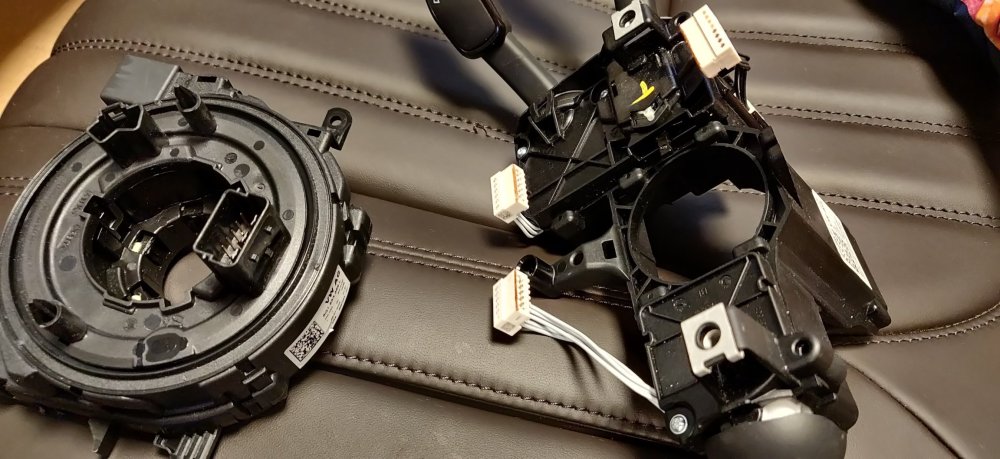
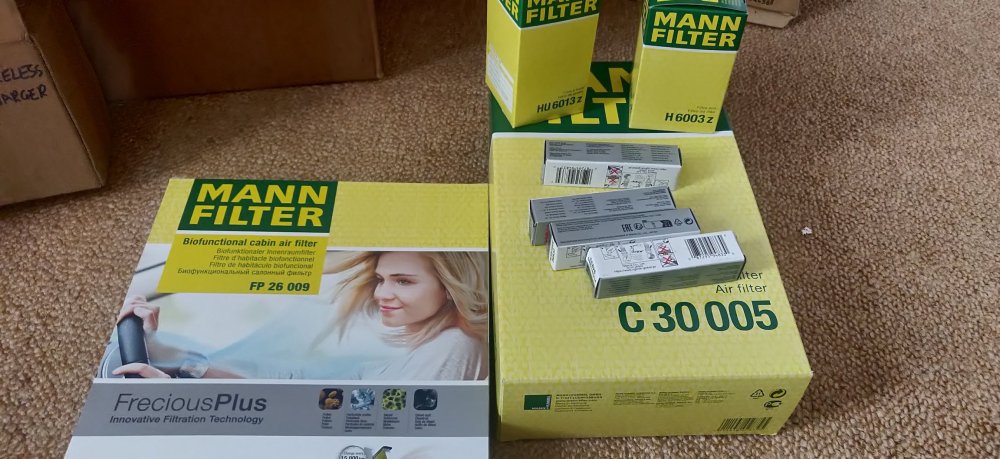
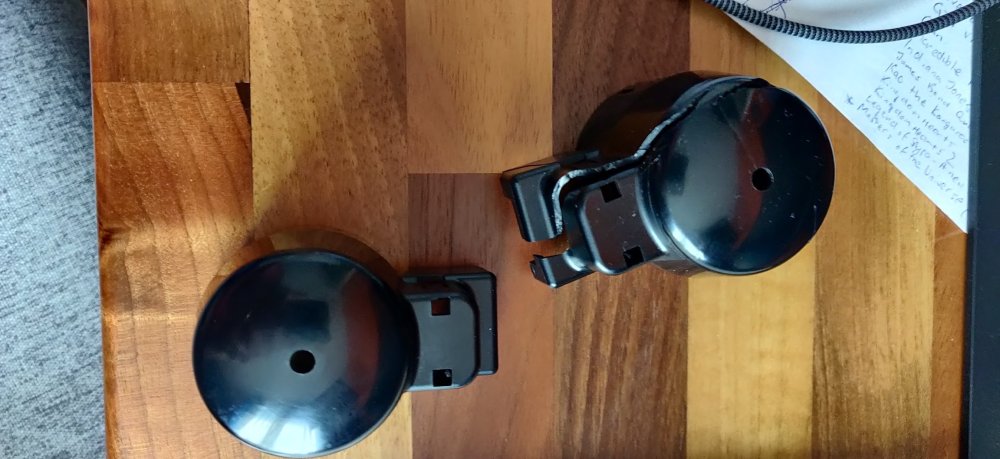
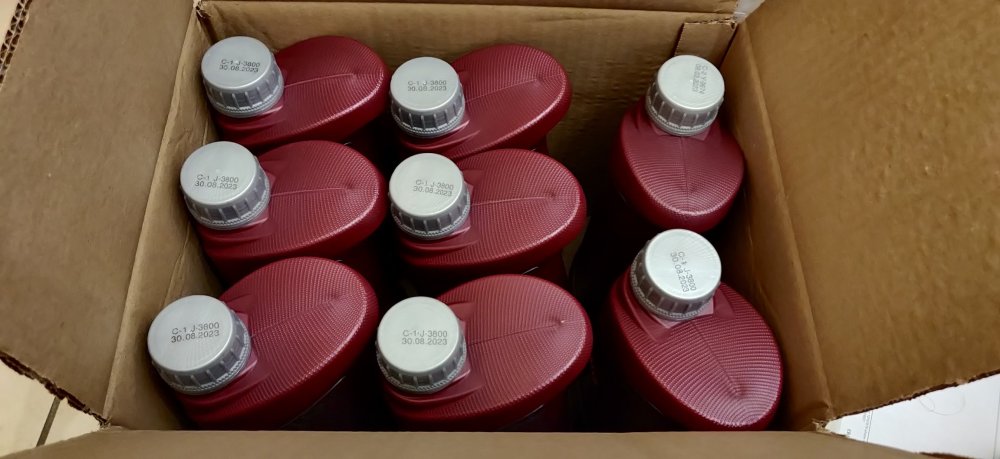
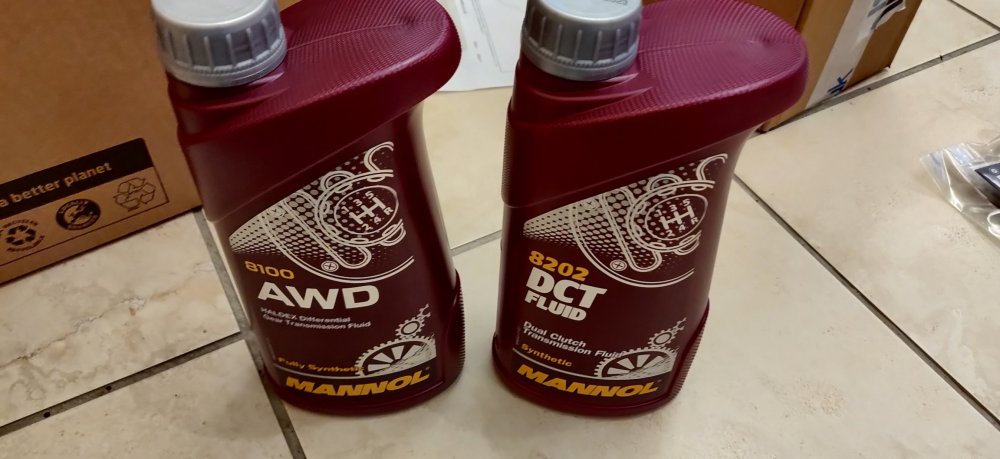
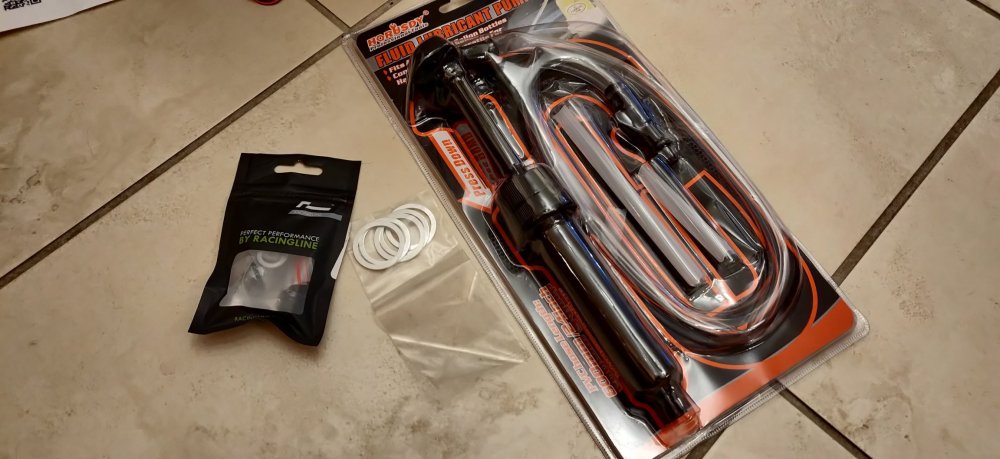
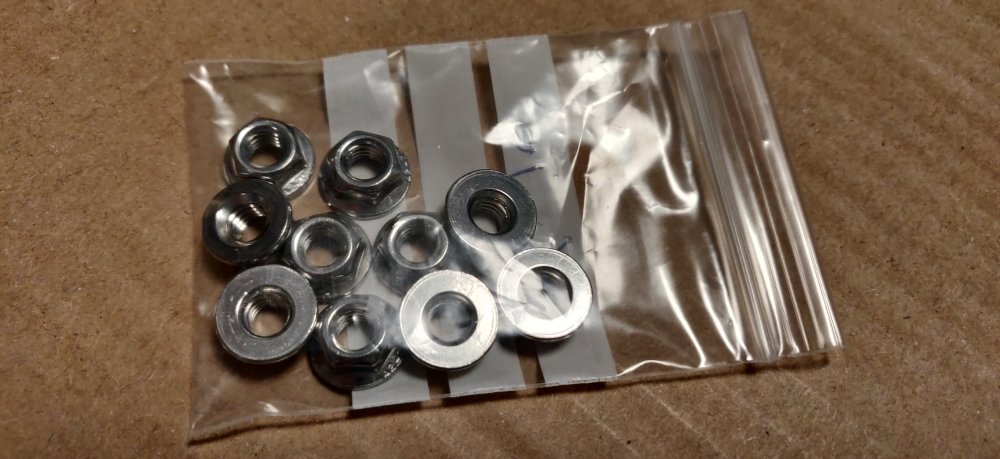
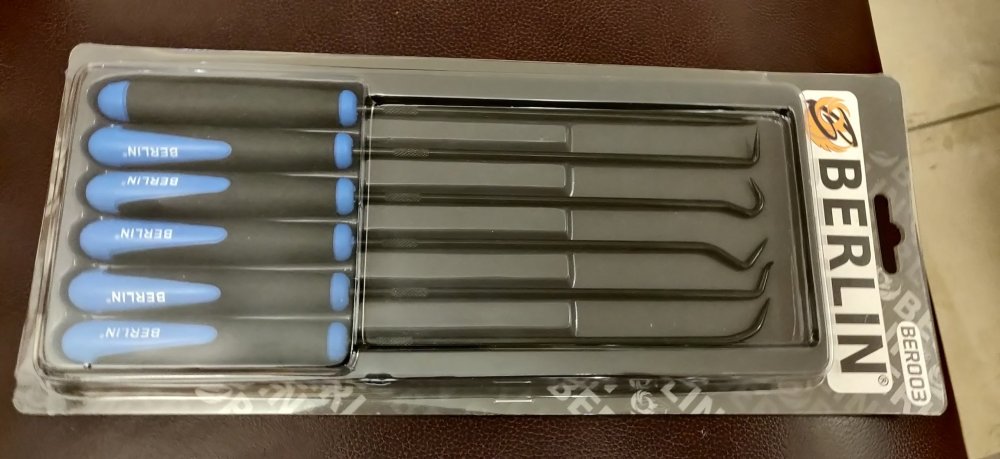
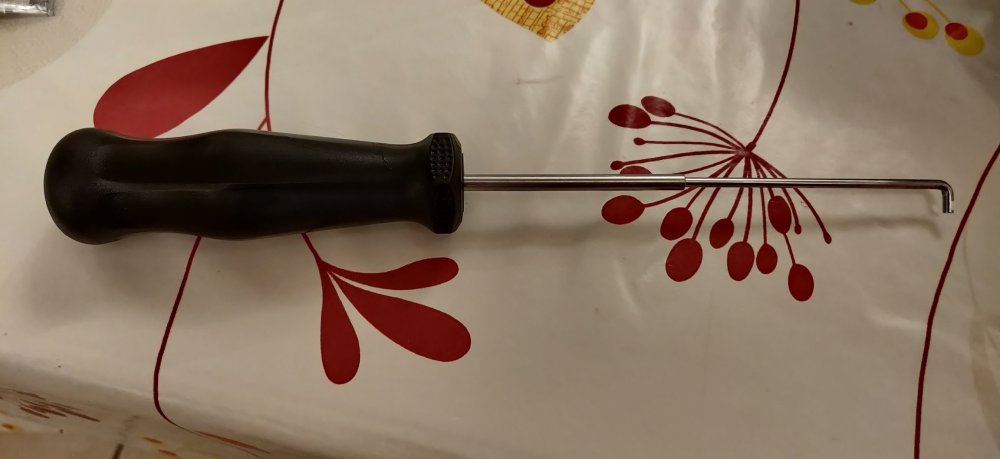
So with me procrastinating over the seat and the foams needing some potential slicing, decided to look at the clock spring and the indicators: The idea was to swap them over so it's ready to go straight in. I've noticed that these clock springs have a useful 0 degree indicator: For the facelift one above, the window inside the clock spring has a white ribbon which aligns with the 0 degree marker to the left of it. For the pre facelift clock spring, it looks like a notch that is within the inner part of the clock spring: The white notch is to the right, with the arrow pointing at it on the upper part. It isn't there if its any number of revolutions out. The clock spring is attached with 3 screws, T15 bits: Then it's two electrical connectors, sorta chunky style ones at the bottom: Then one at the top, which has a few awkward latches: It will then come free: This is where it dawned on me that this was all a waste of time. The connectors aren't all compatible with one another, the left and right indicators having different number of pins, and the connectors locations on the clock springs themselves slightly different here and there. I've decided to give up on these indicators, as it doesn't seem worth the effort. Shame really, need to come up with another way to spruce up the existing ones. With that laid to bed, I decided to take pics of the stuff for servicing: The main bits for most of a 'C' service. Oil filter, air filter, cabin filter, spark plugs, and the DSG filter. For reference, I use an A, B, A, C service schedule for all the guys I look after. It keeps things simple, and most of the time means overdoing things. Some cars will have an oil and filter change in between, but in general, it's annual. I'll be doing the C service for this car primarily to zero off the time line for this car, and because 8 years of age marries up to the C service perfectly. It'll also mean just a quick look and oil change next year. I don't have shares in Mann, but it does usually end up with me always using Mann stuff. The cabin filter above is apparently some fancy type, so cost a bit more than normal or activated charcoal ones. The above was all from Autodoc, and came to £104.36, a case of scraping a few pounds compared to EuroCarParts or GSF. Now, one disadvantage of the DSG gearbox is the sheer amount of expensive oil required: So I have 7l of the stuff, plus a litre of stuff for the Haldex differential: Again, I've found myself using Mannol stuff for the last 4-5 years and I haven't found any of the cars blowing up yet, so more than happy with using the same for the DSG and Haldex. I imagine the Haldex will end up being changed every 2 years (the B service) and 4 years appears to be the expectation for the DSG. It was £12.15 for the Haldex oil, and £48.86 for the DSG oil. Also some gubbins for the Haldex: First RacingLine mod! Even if it's just some replacement fill and drain bolts. They contain a bunch of washers which is probably the reason I went for those. The pic also has washers for the DSG drain bolt, and also a pump for the Haldex oil, just the usual pump for these situations (have a few in the garage for the manual gearboxes when needed). It was £4.55 for the washers, £6.69 for the pump and £29.99 for the RacingLine bolts. I forgot to take pictures of the Haldex o-rings as well. Specifically https://www.haldexrepairs.co.uk/shop/haldex-other-small-parts/o-ring-seals-for-gen-5-haldex-pumps/ and https://www.haldexrepairs.co.uk/shop/haldex-other-small-parts/large-rear-o-ring-for-vw-audi-seat-and-skoda-n90443301/ which came to £10.14 with delivery. Here's a bag of nuts: This is for the modules under the seats, as I vacuumed one by accident over the previous weekend being too earnest. Usually take the opportunity to replace things with stainless when appropriate, such as this. £3.32 from eBay. Some random tools as well: Some picks, as I don't have any, and when I used to service the wife's SEAT Ibiza, I usually always had to get out some sort of screwdrive for the o-rings for the filters and whatnot. £6.95 from eBay. Another pick: This one for trim pieces, which seems to be mentioned quite a bit in the workshop manuals, £4.99, again from eBay. These also arrived today: New connector cover to replace the broken one, with one spare just in case. So quite a bit, and I'll probably miscalculate the total knowing my luck. I haven't included engine oil, brake fluid, or coolant, primarily because I have that stuff already. Maintenance: £1678.25 (+£183.38) Upgrades: £711.10 (+£29.99) Miscellaneous: £603.58 (+£18.63)
-
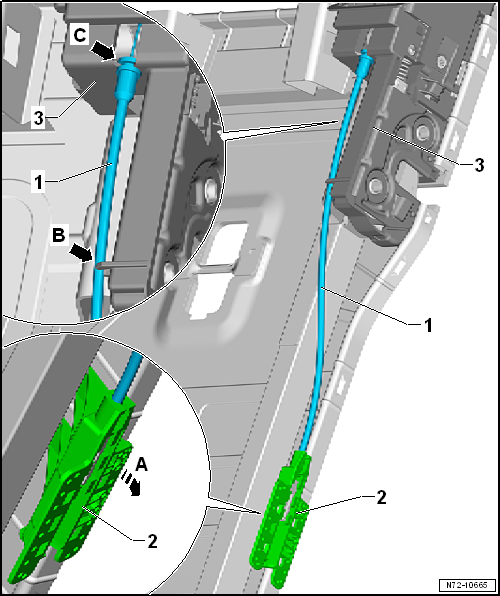
So some random Googling has led me to: https://www.vwgolf.org/removing_and_installing_rear_seat_backrest_cover_and_padding-1024.html and https://www.vwgolf.org/removing_and_installing_bowden_cable_for_remote_release_mechanism_for_seat_backrest-1007.html which look like the closest I will get to a reference image: It doesn't illustrate how the foam is going to be handled, but it at least implies the Bowden cable looks like it's clipped onto the frame...
-
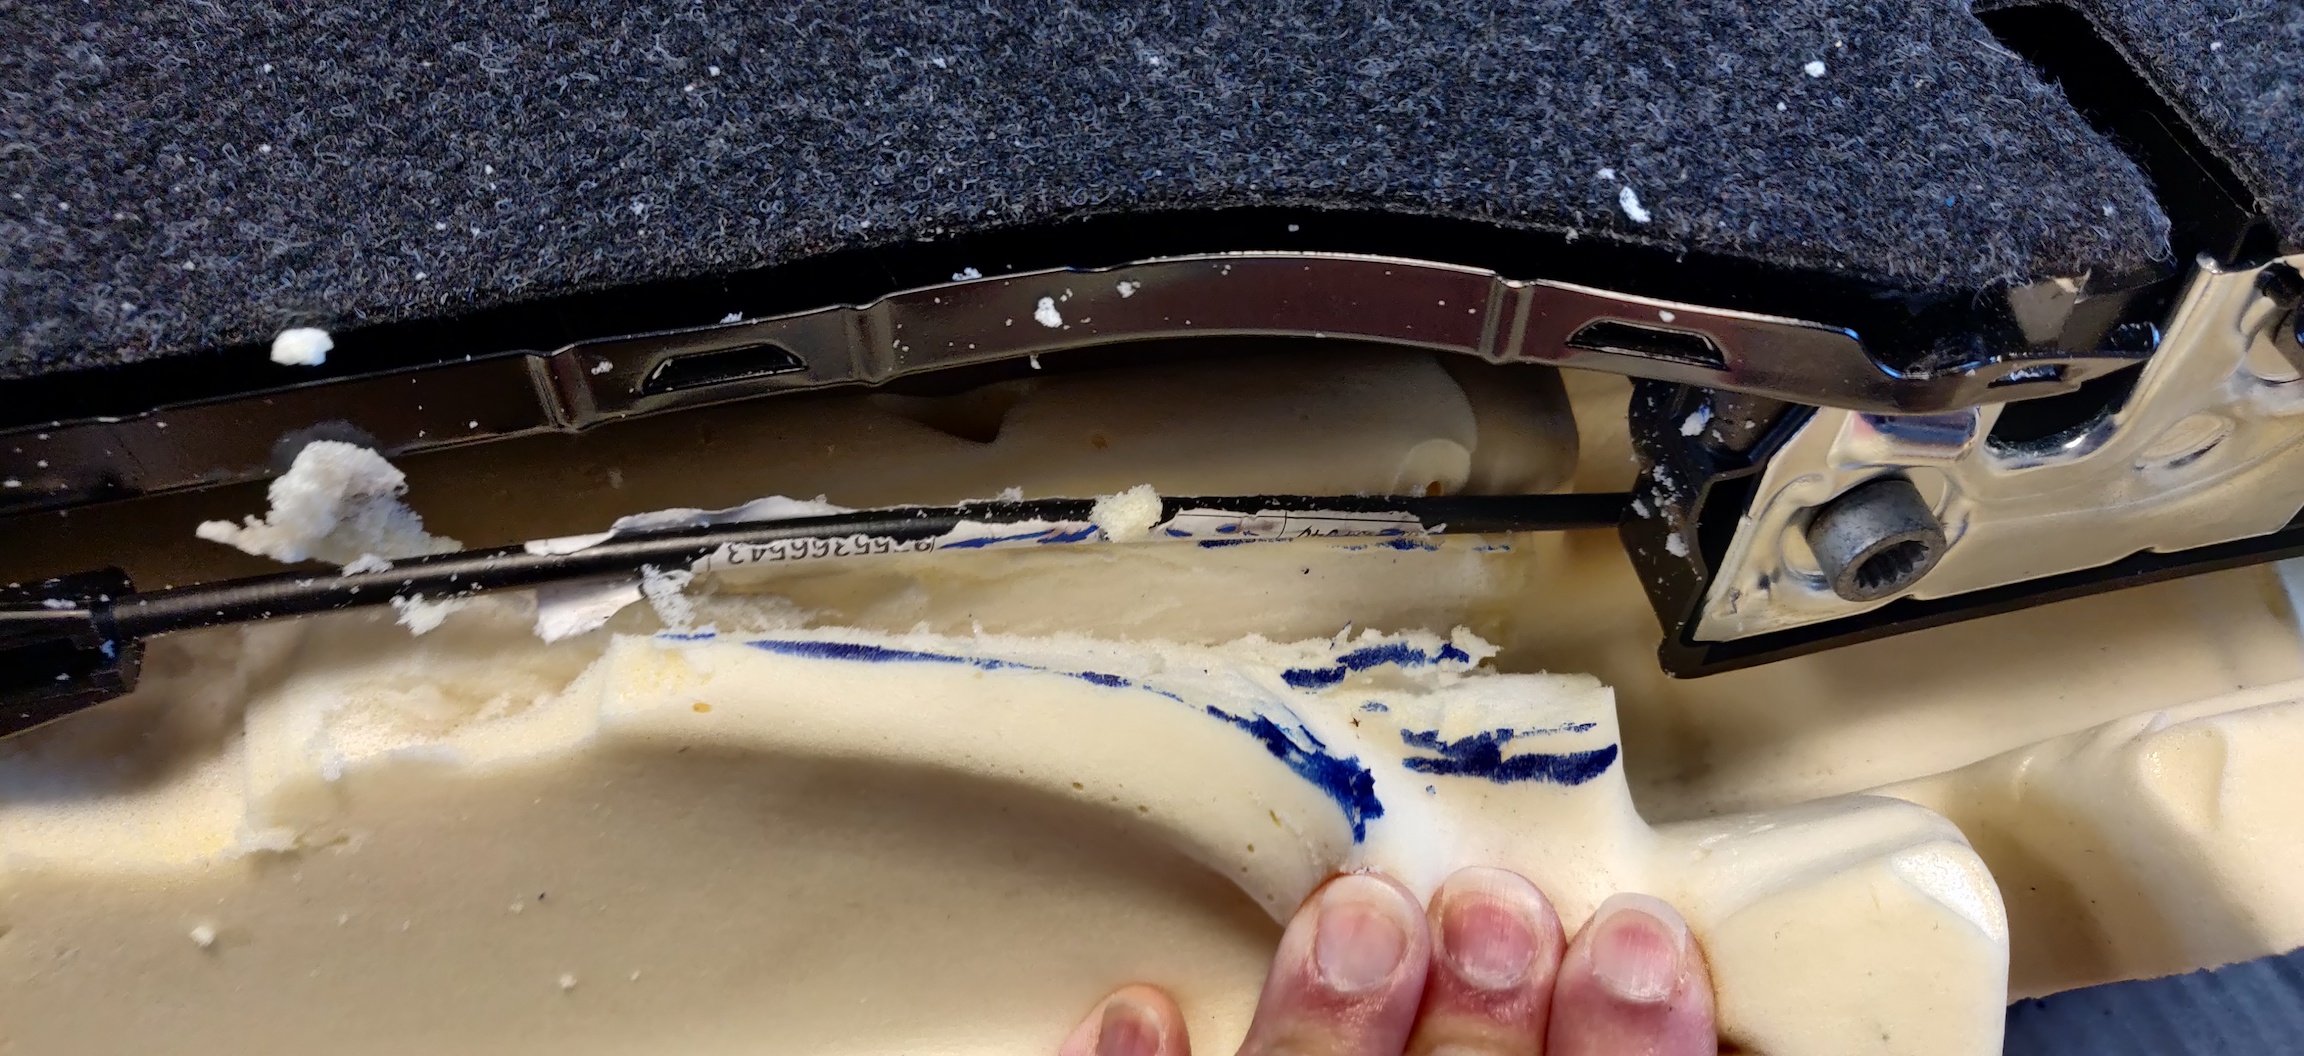
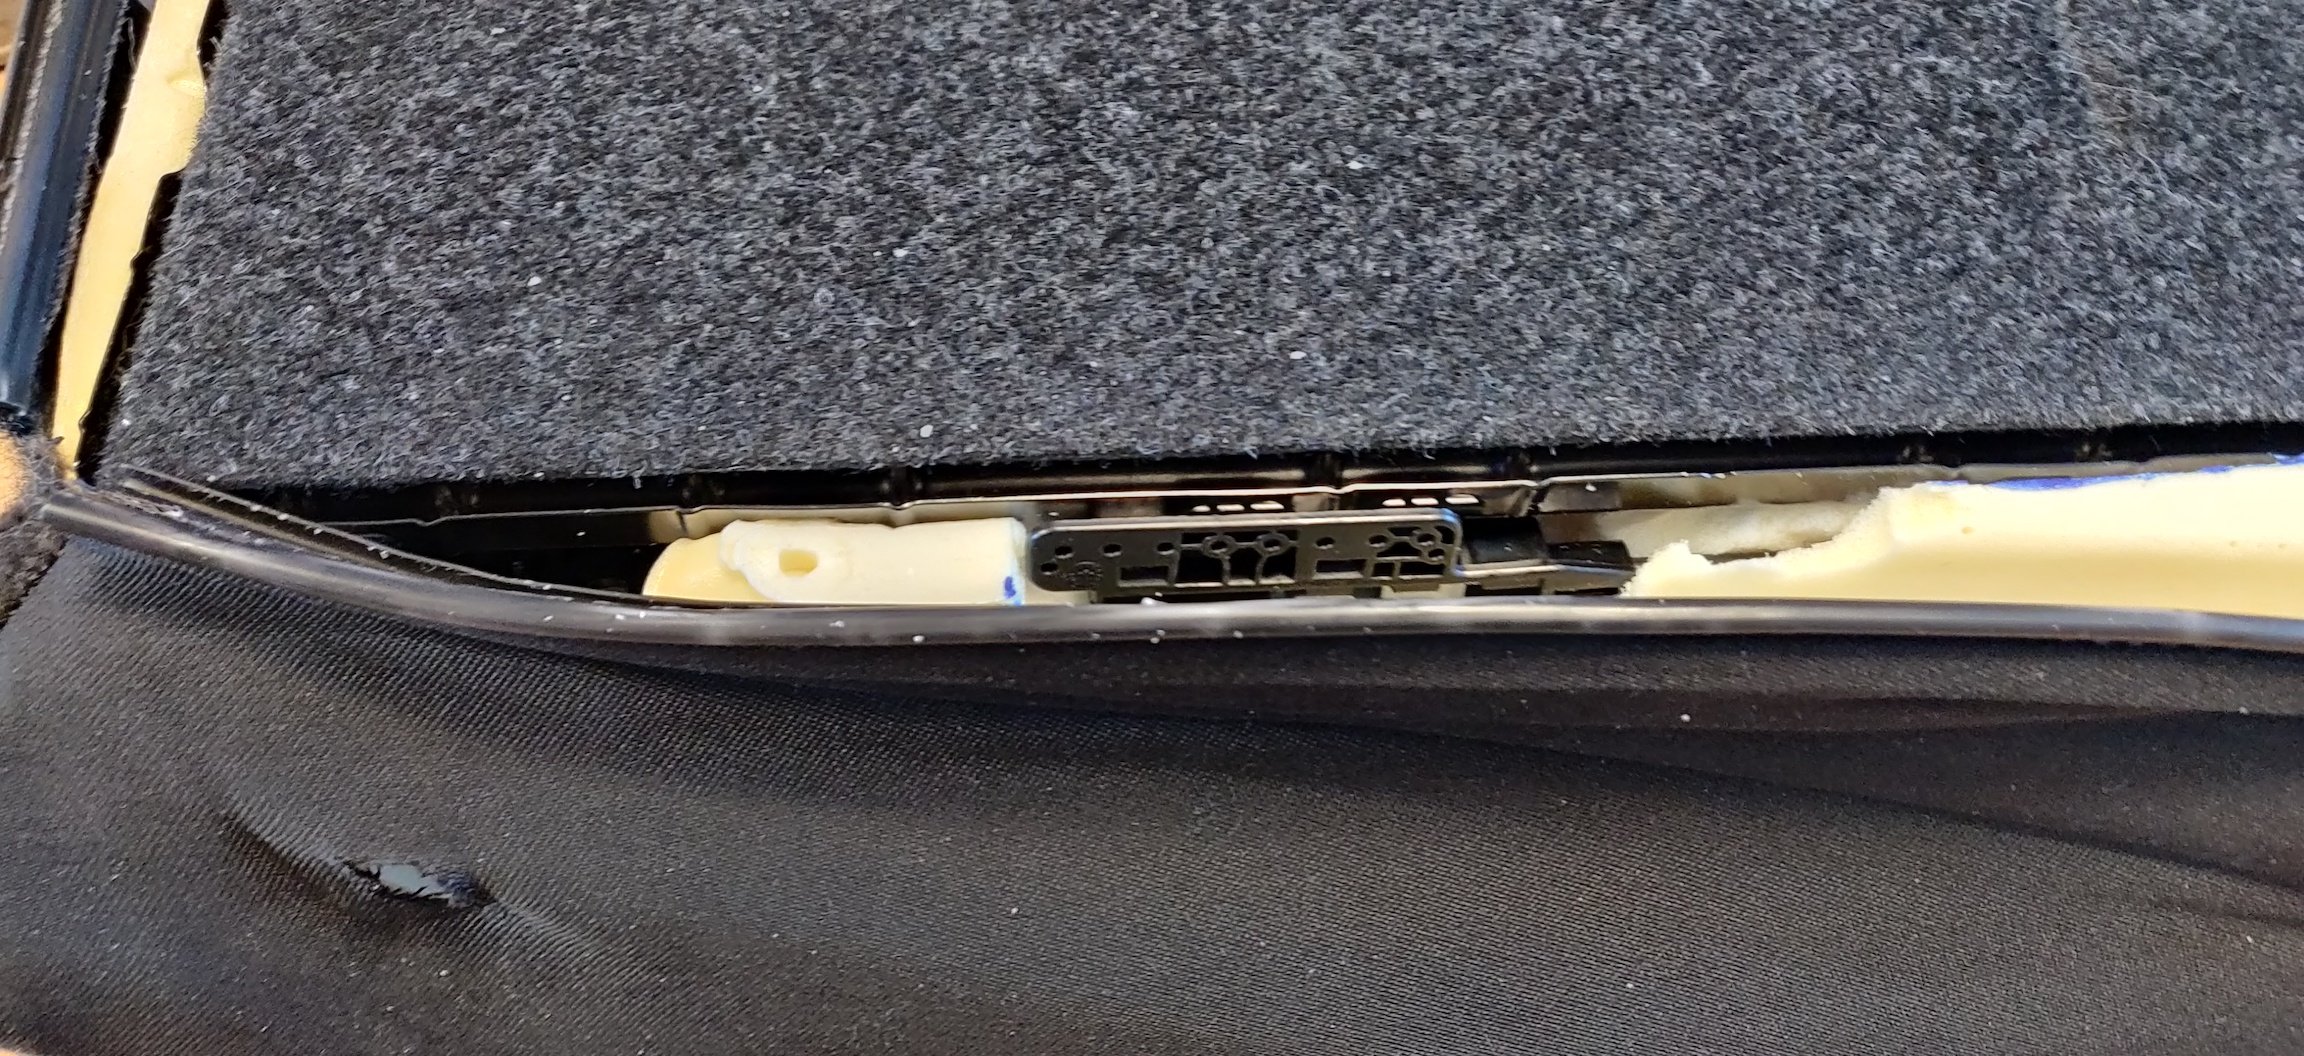
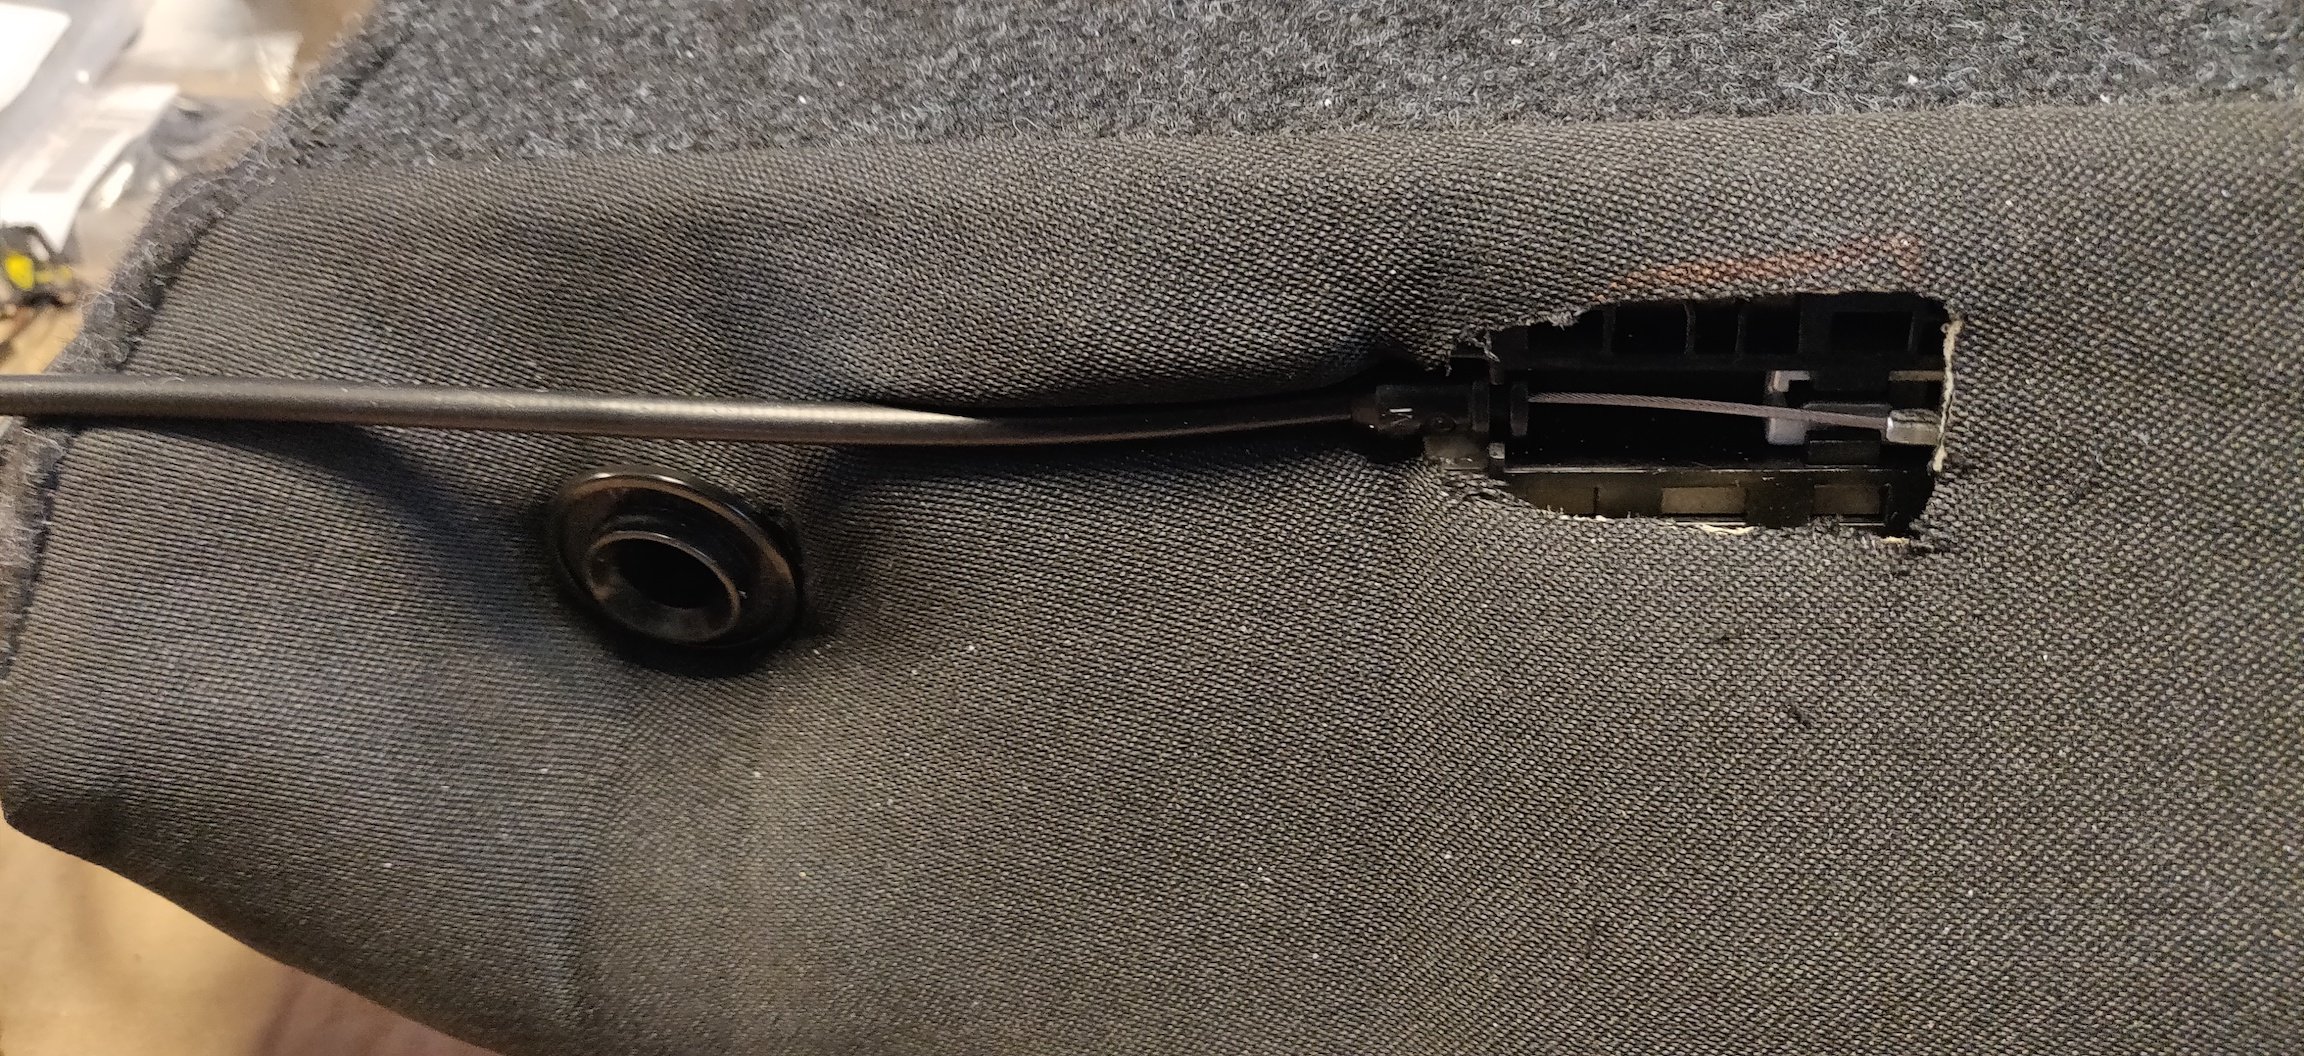
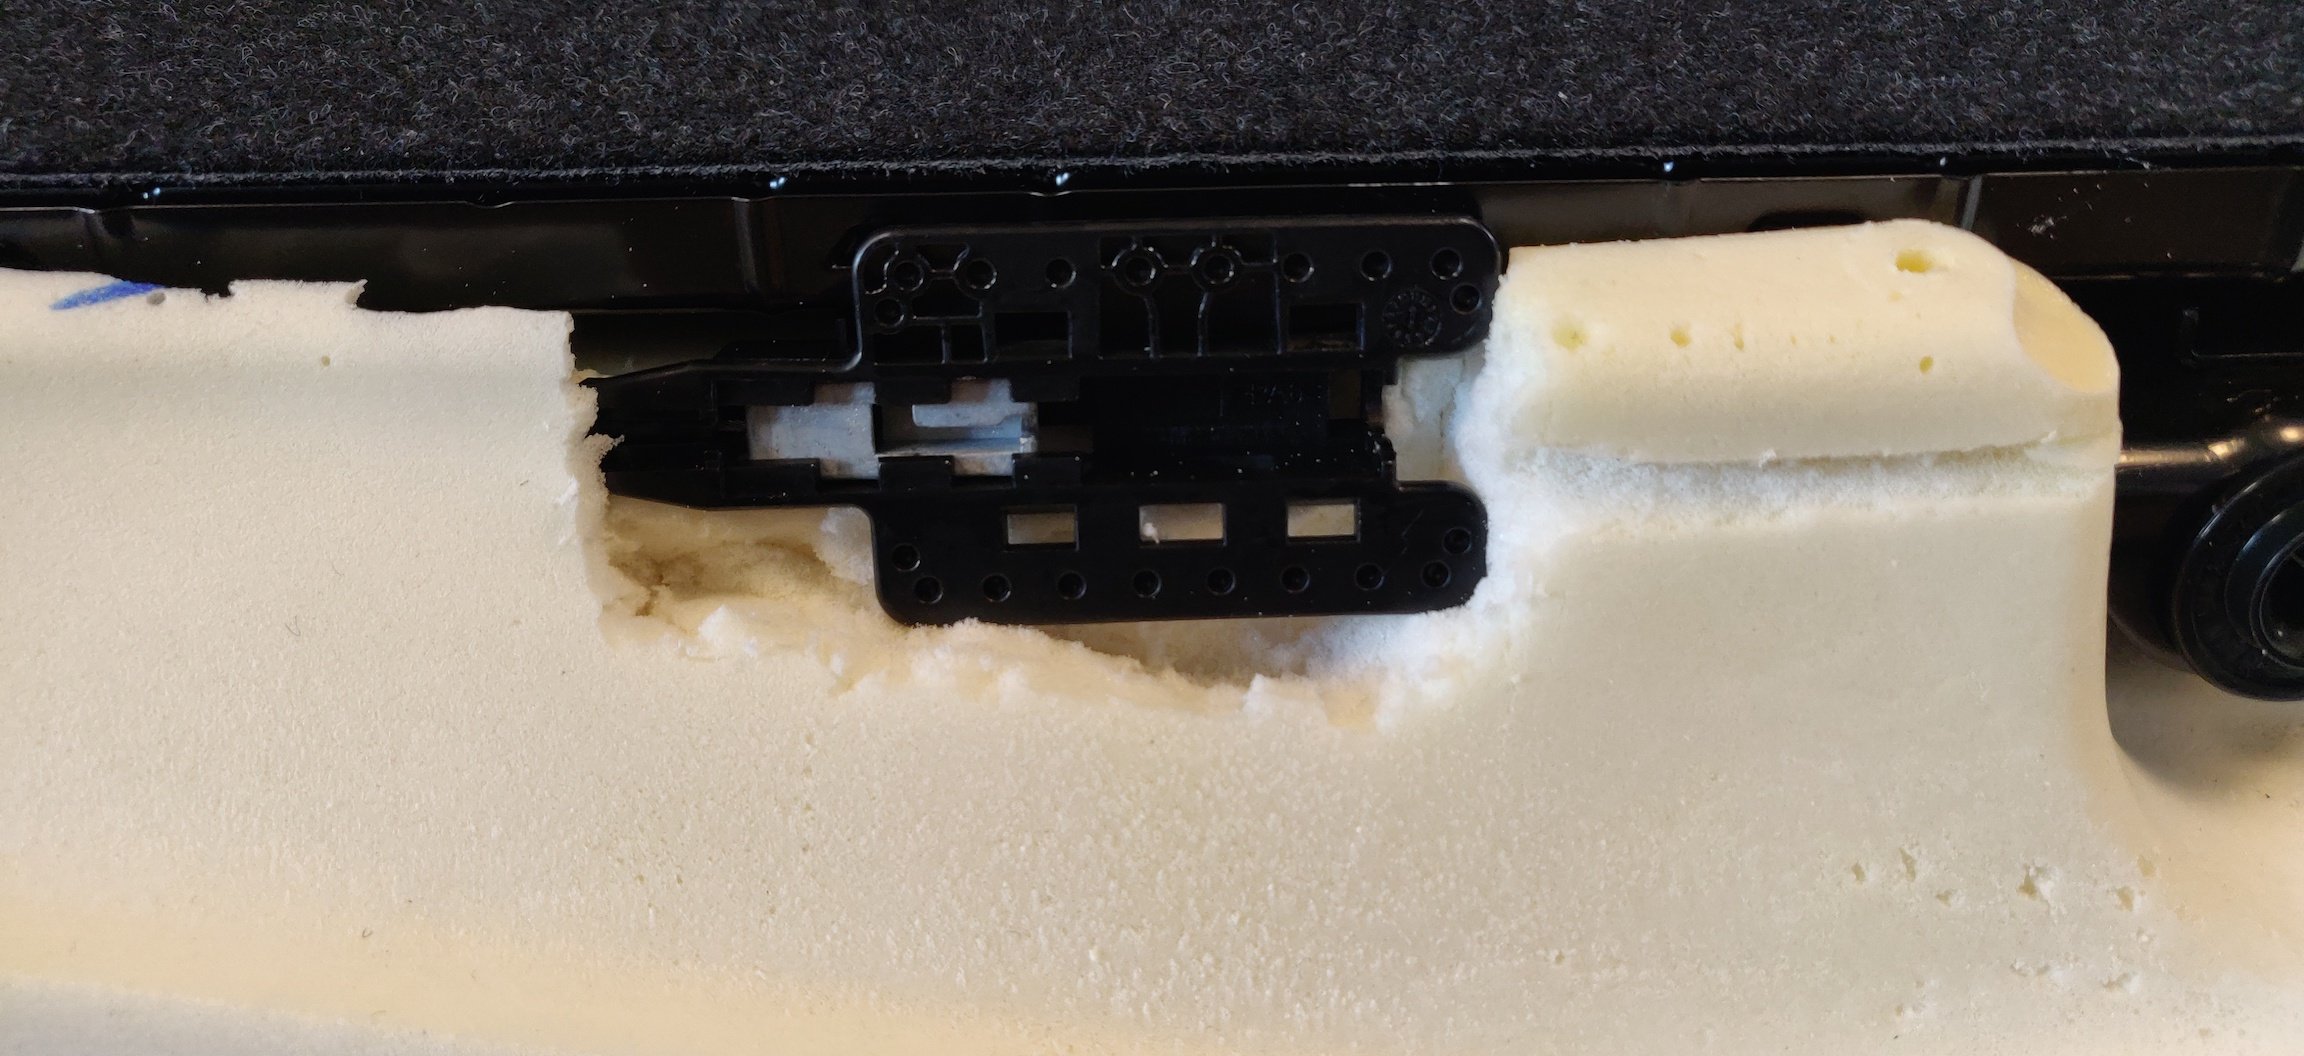
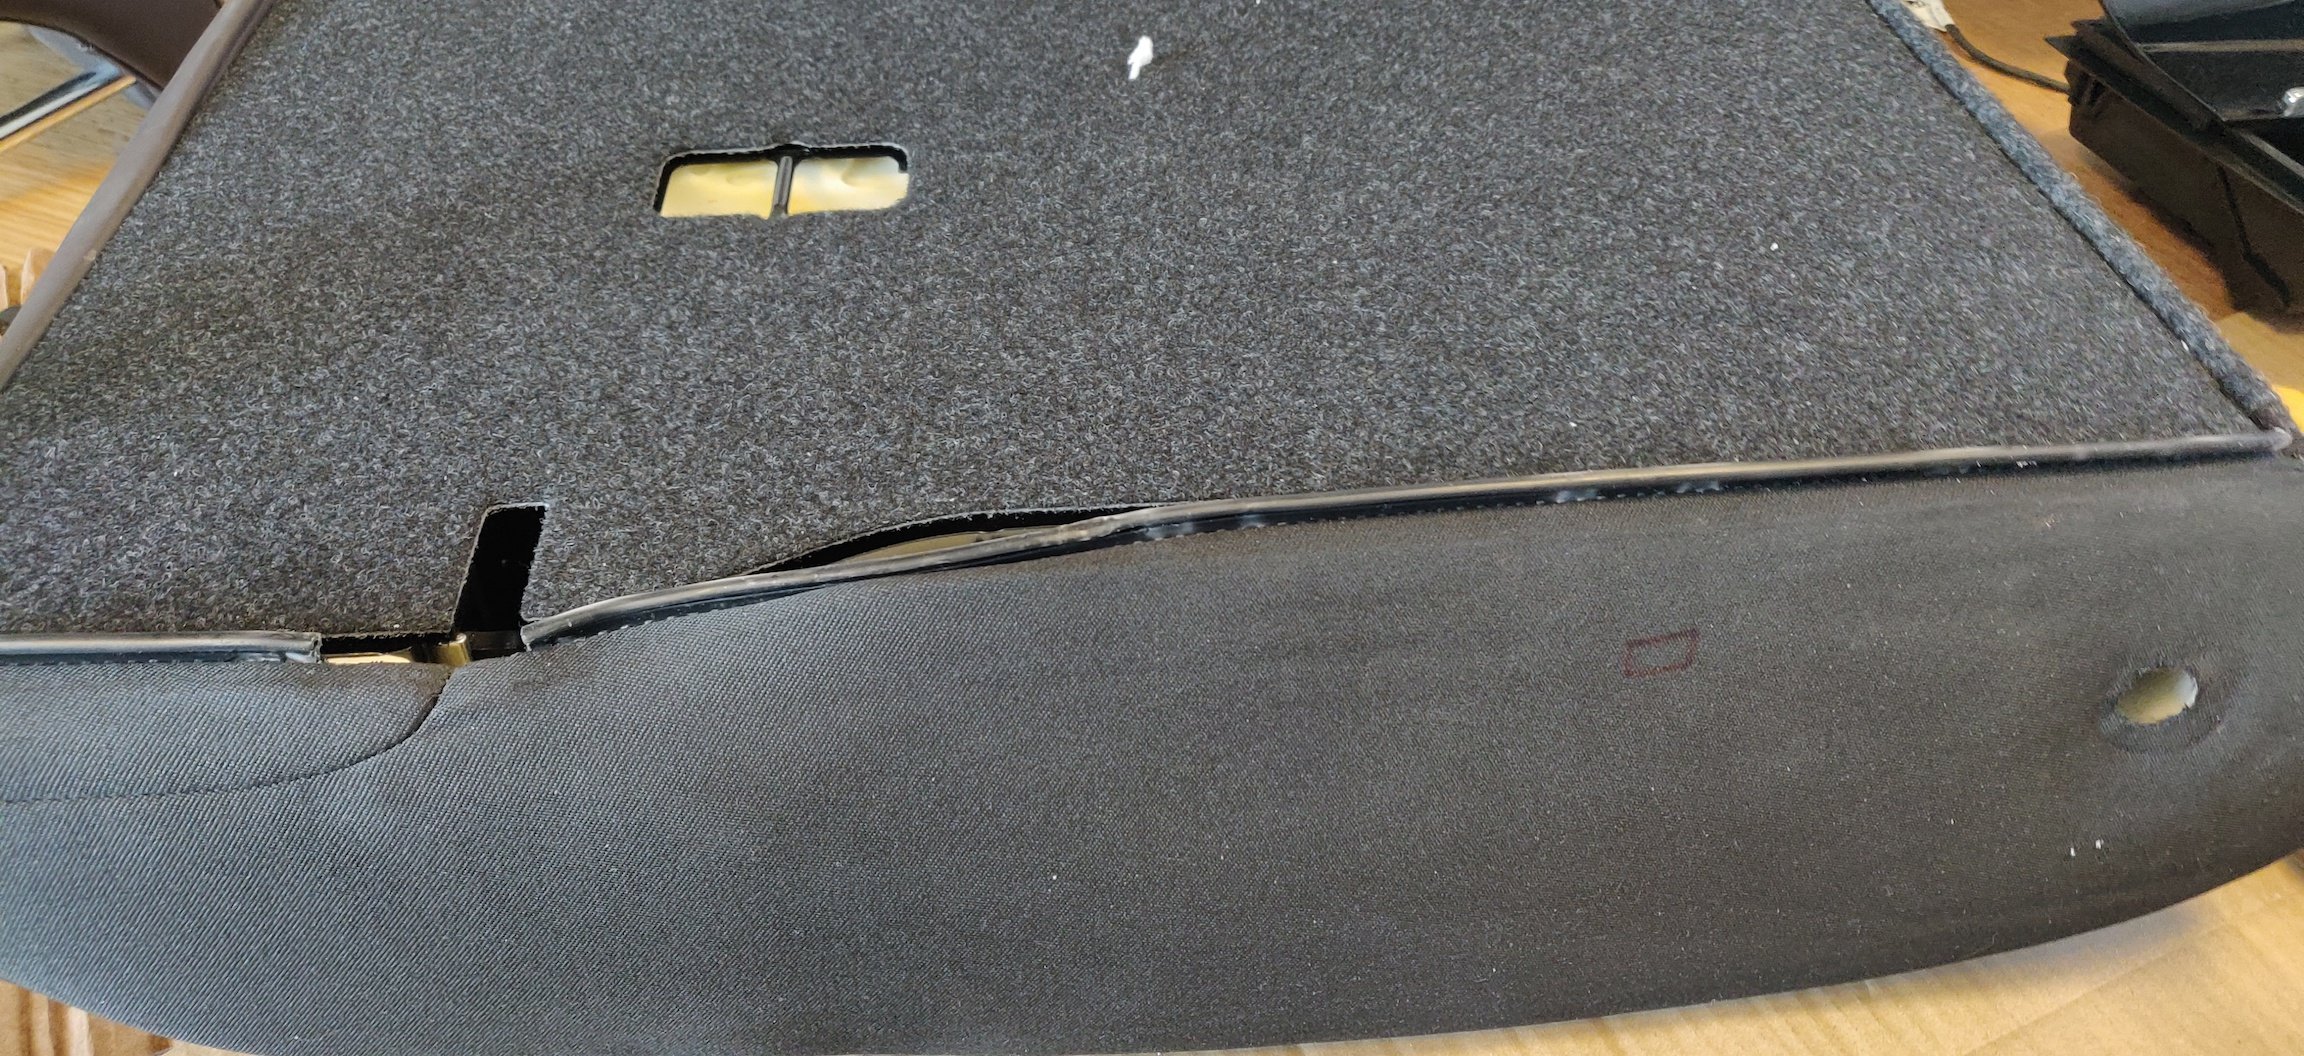
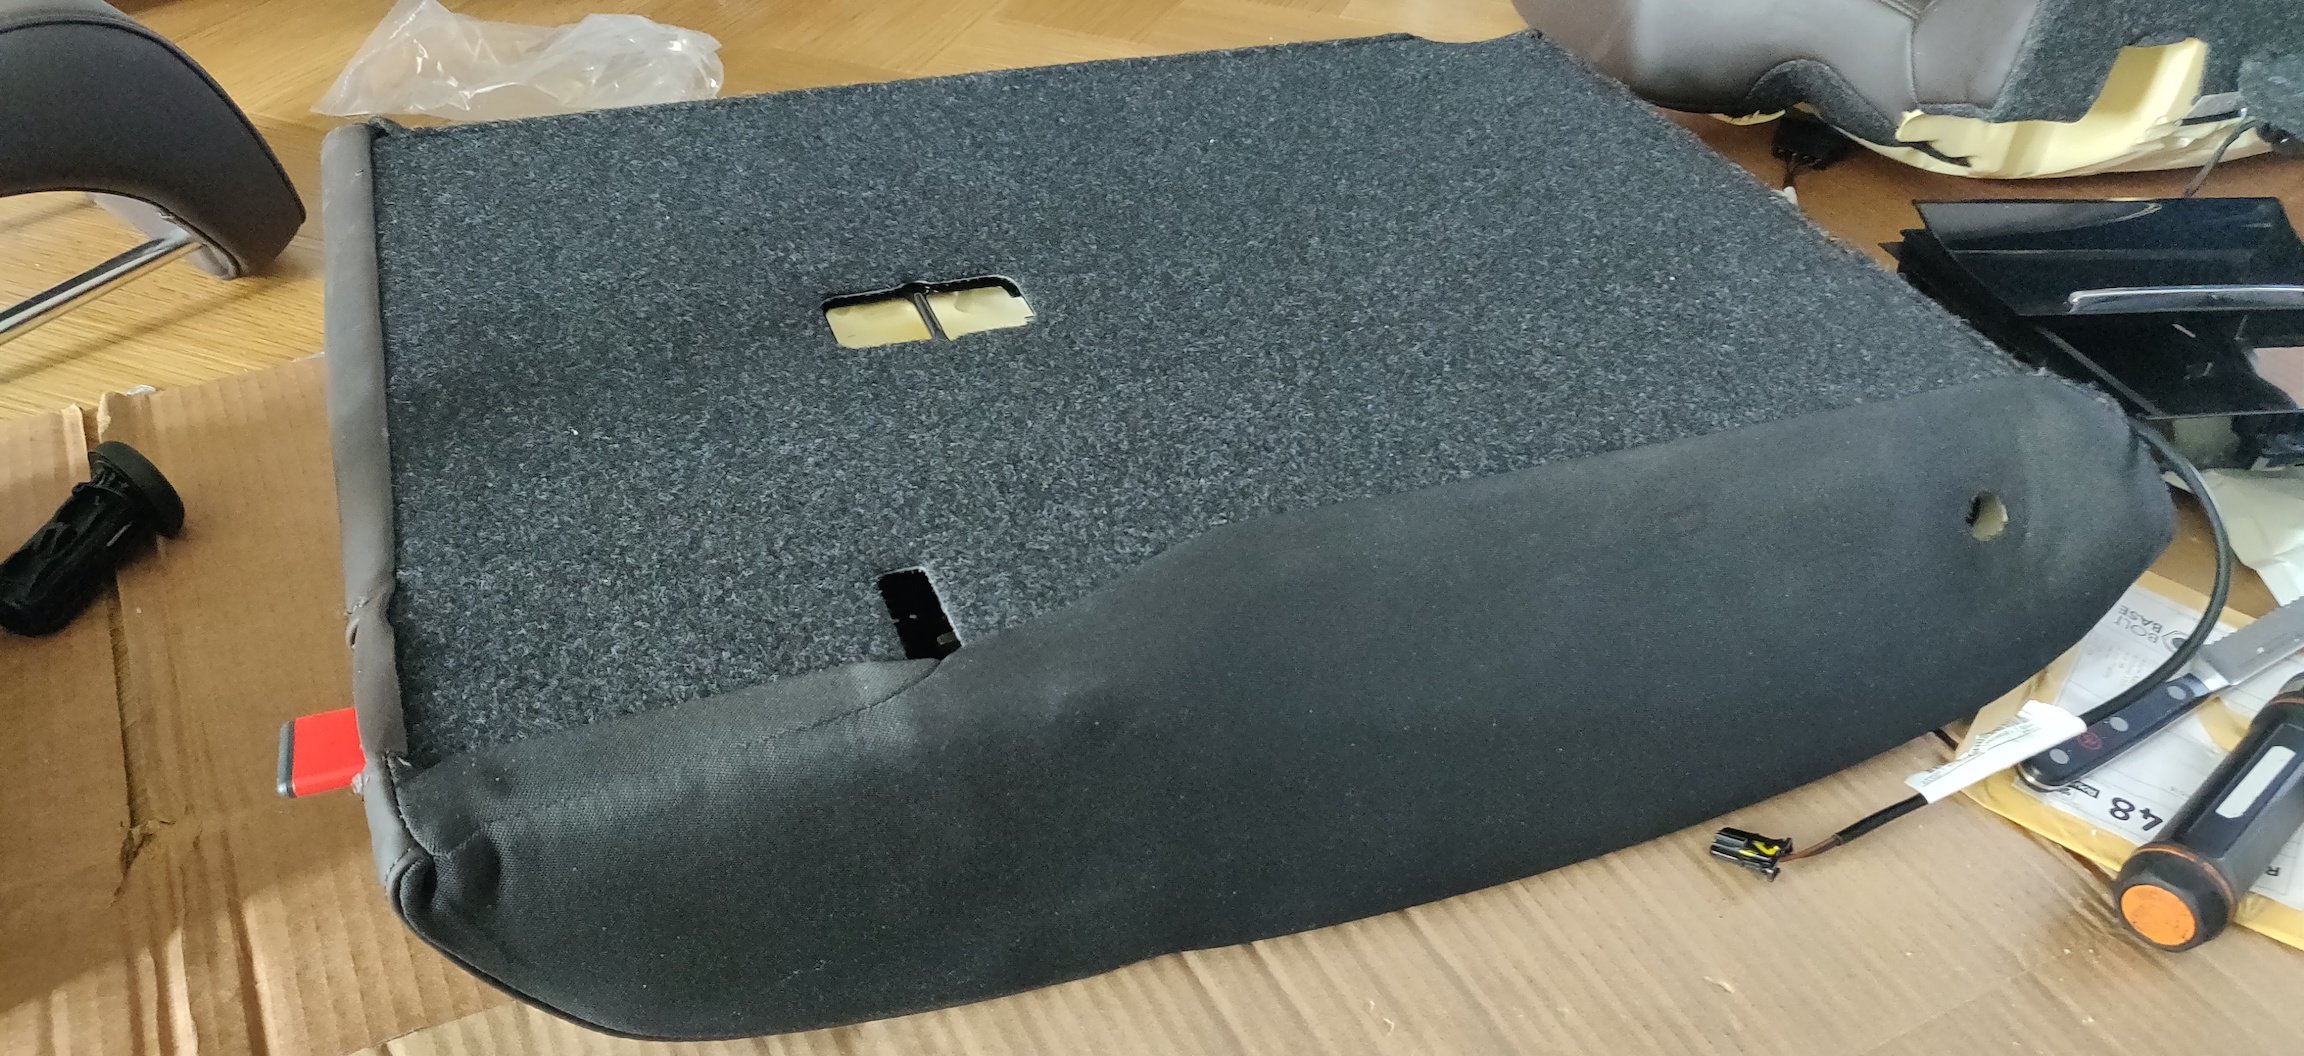
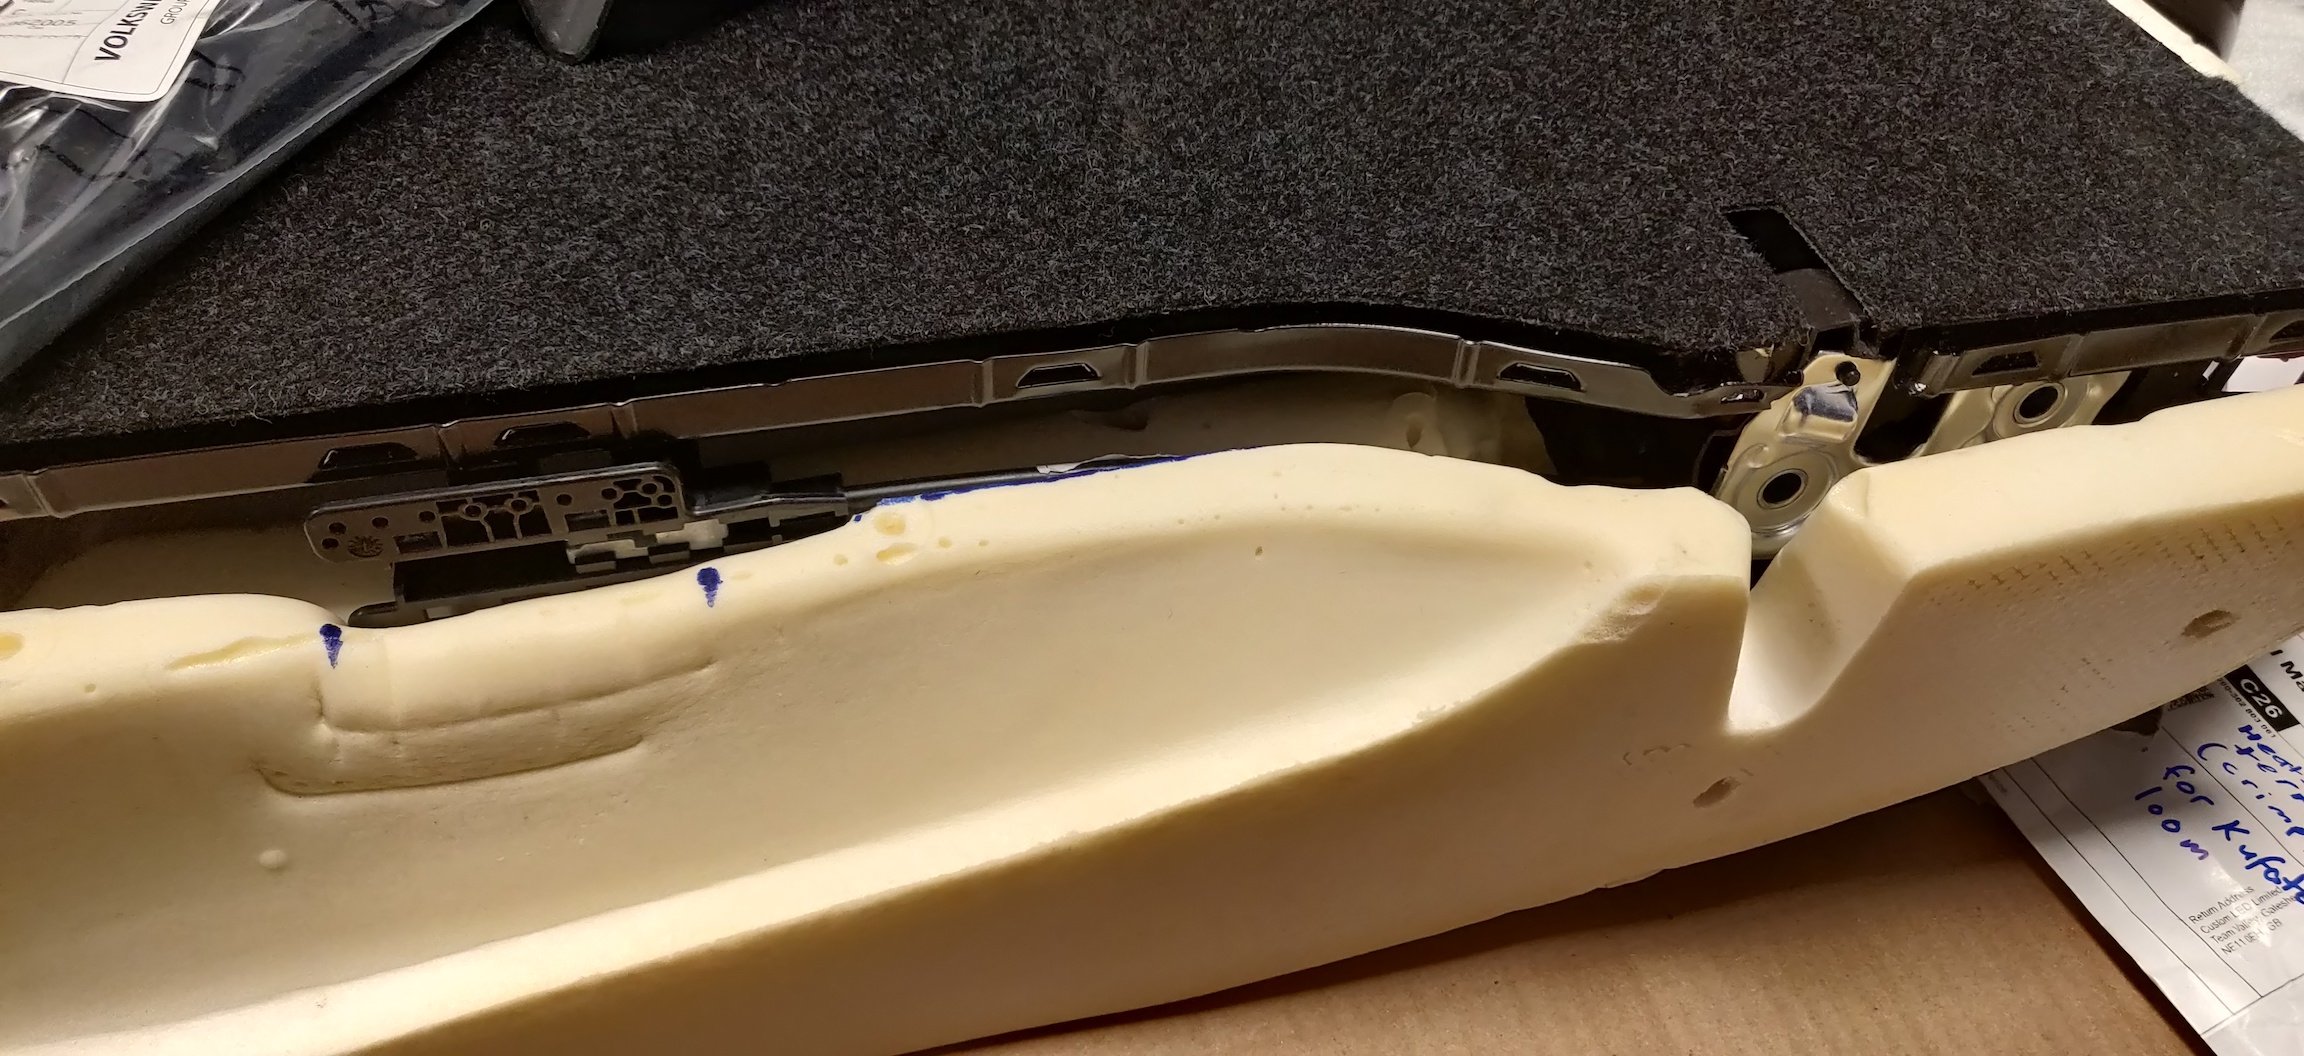
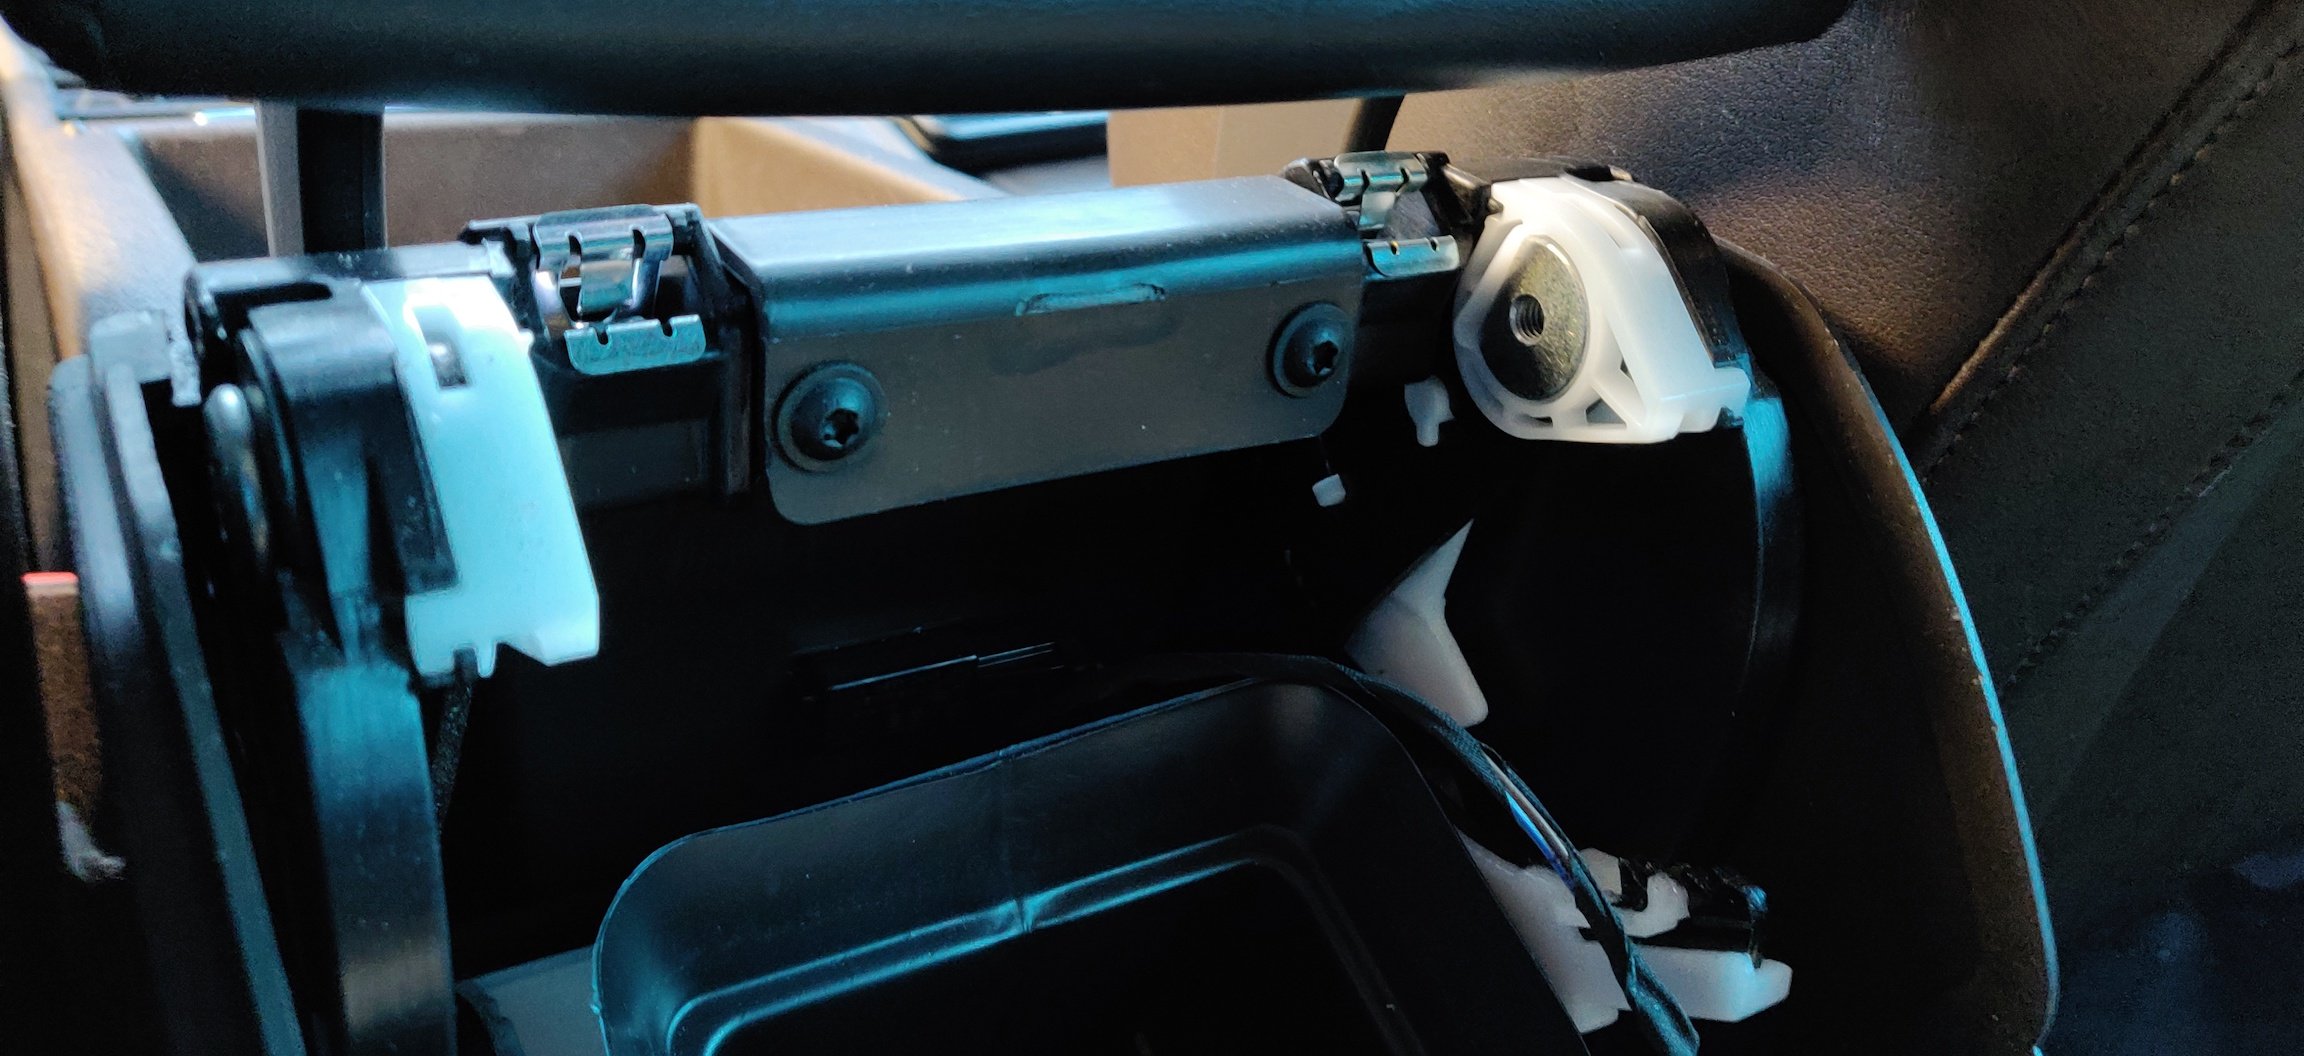
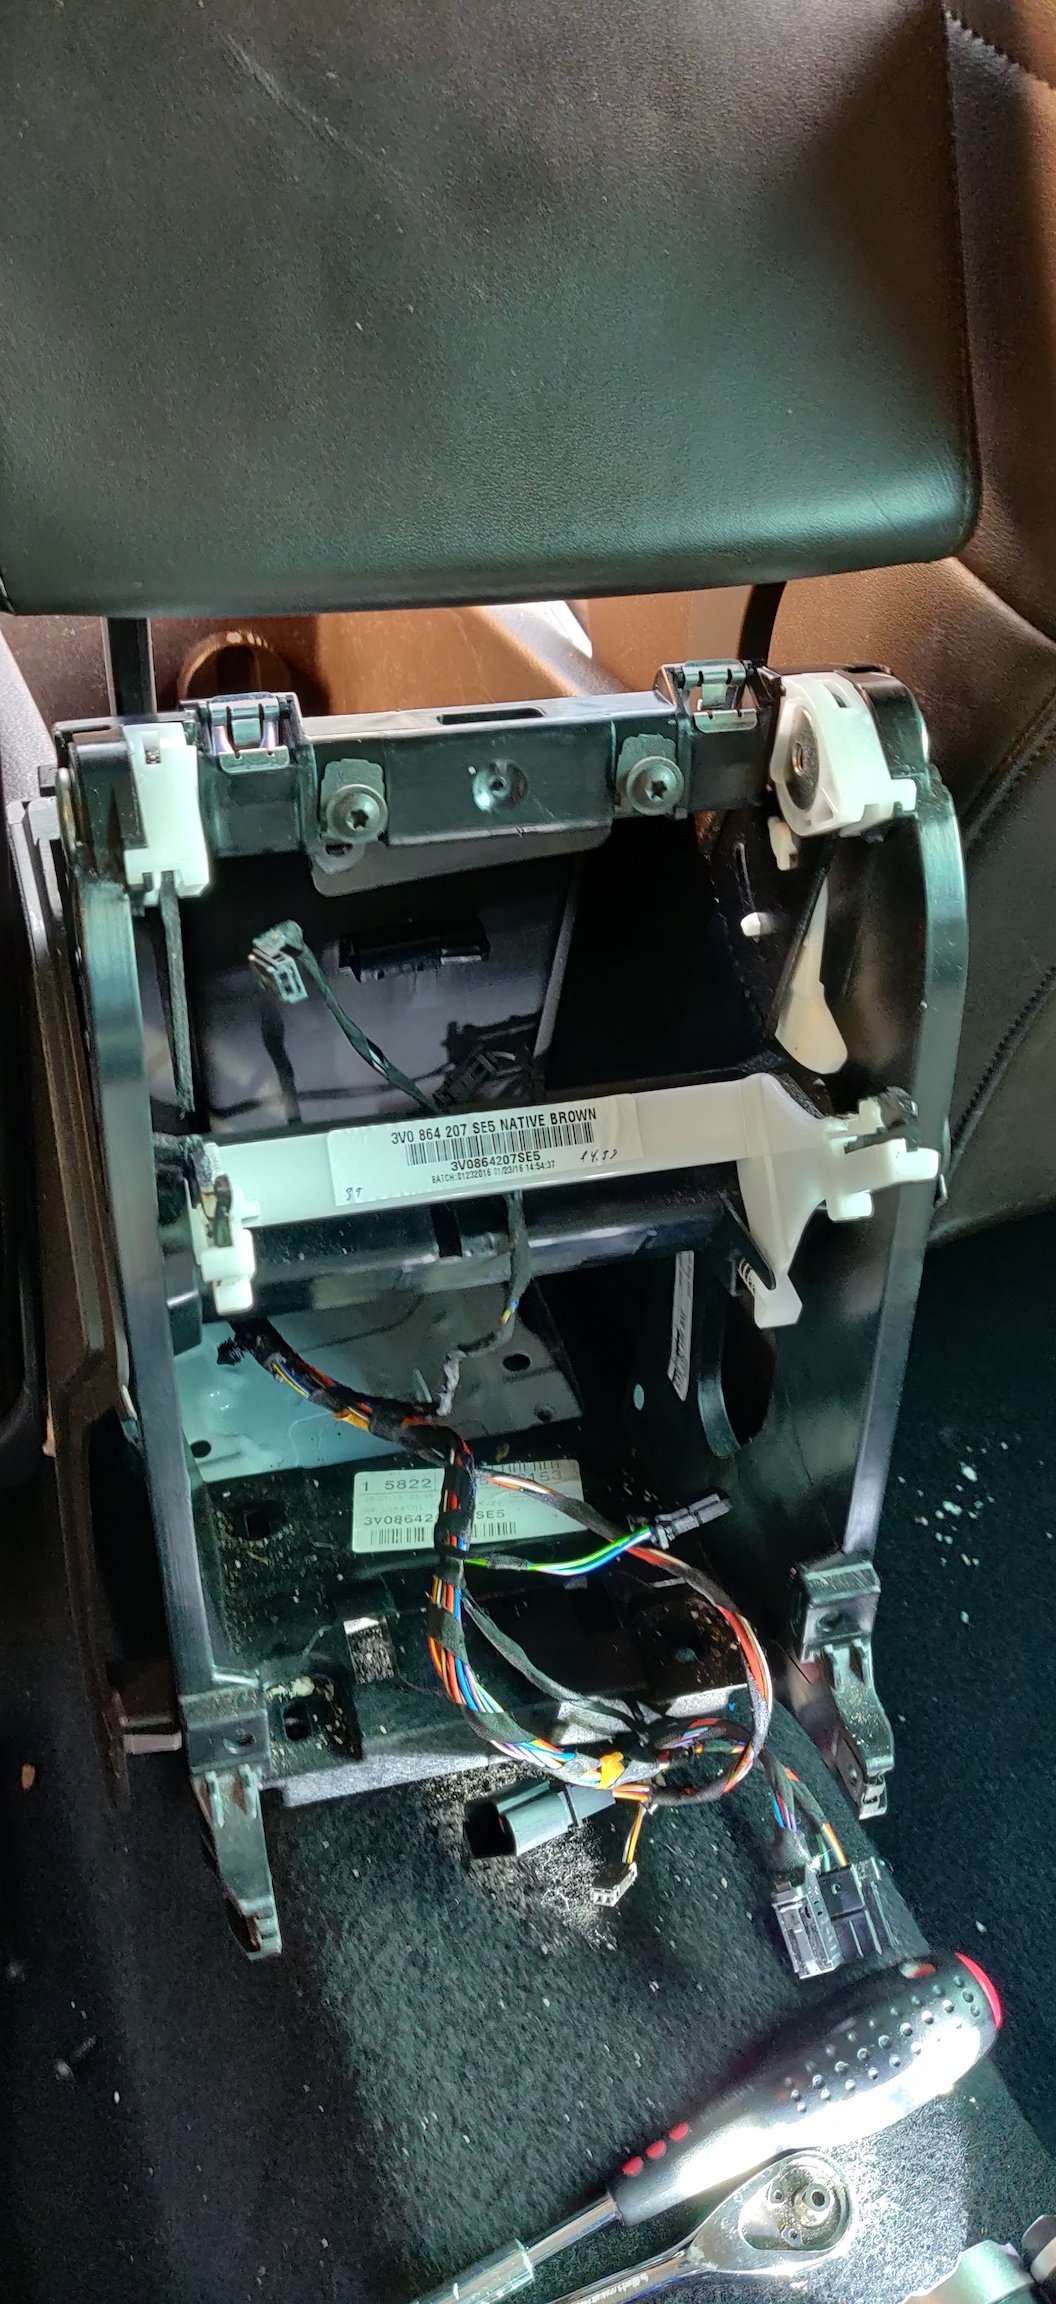
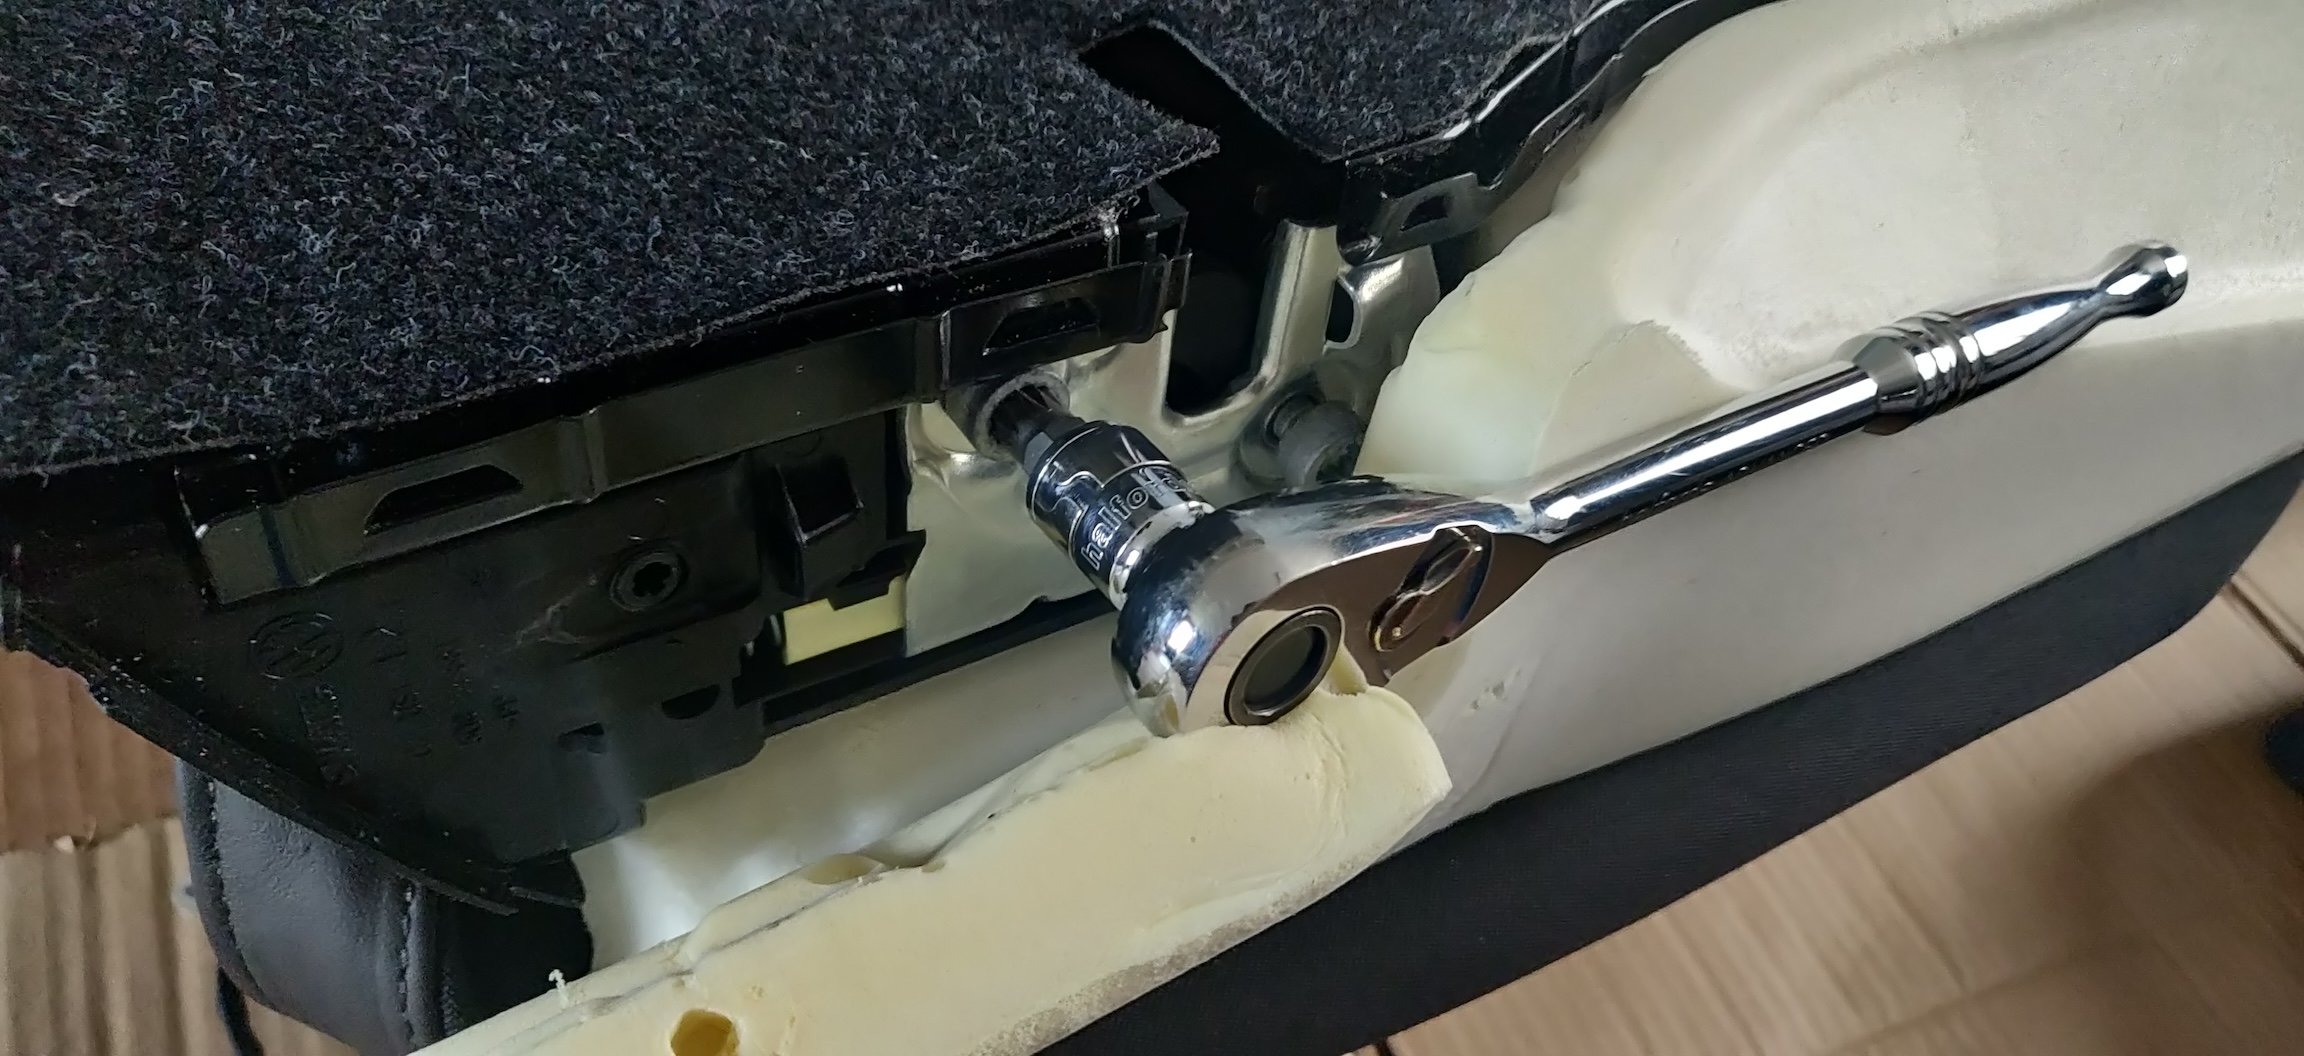
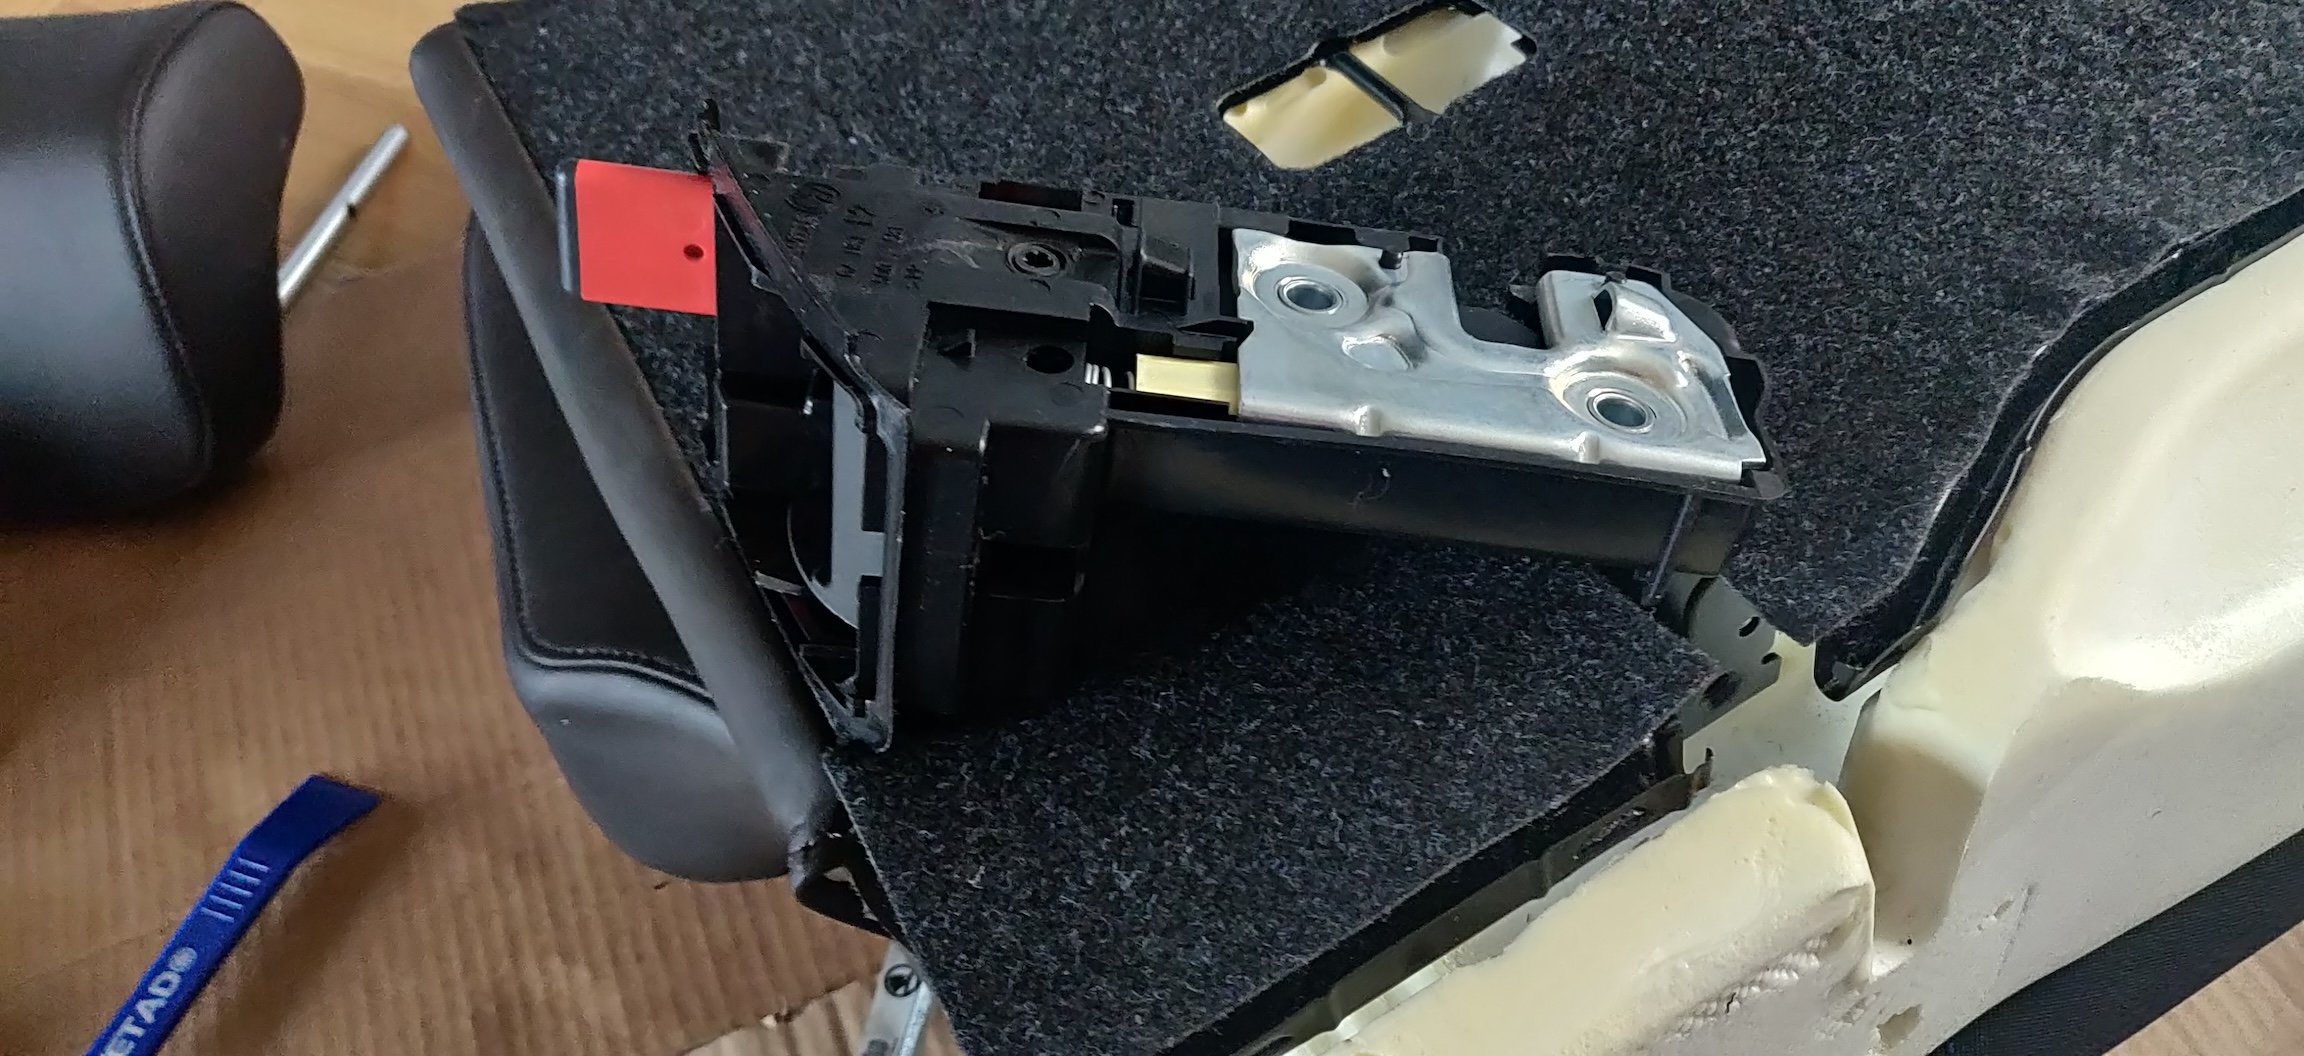
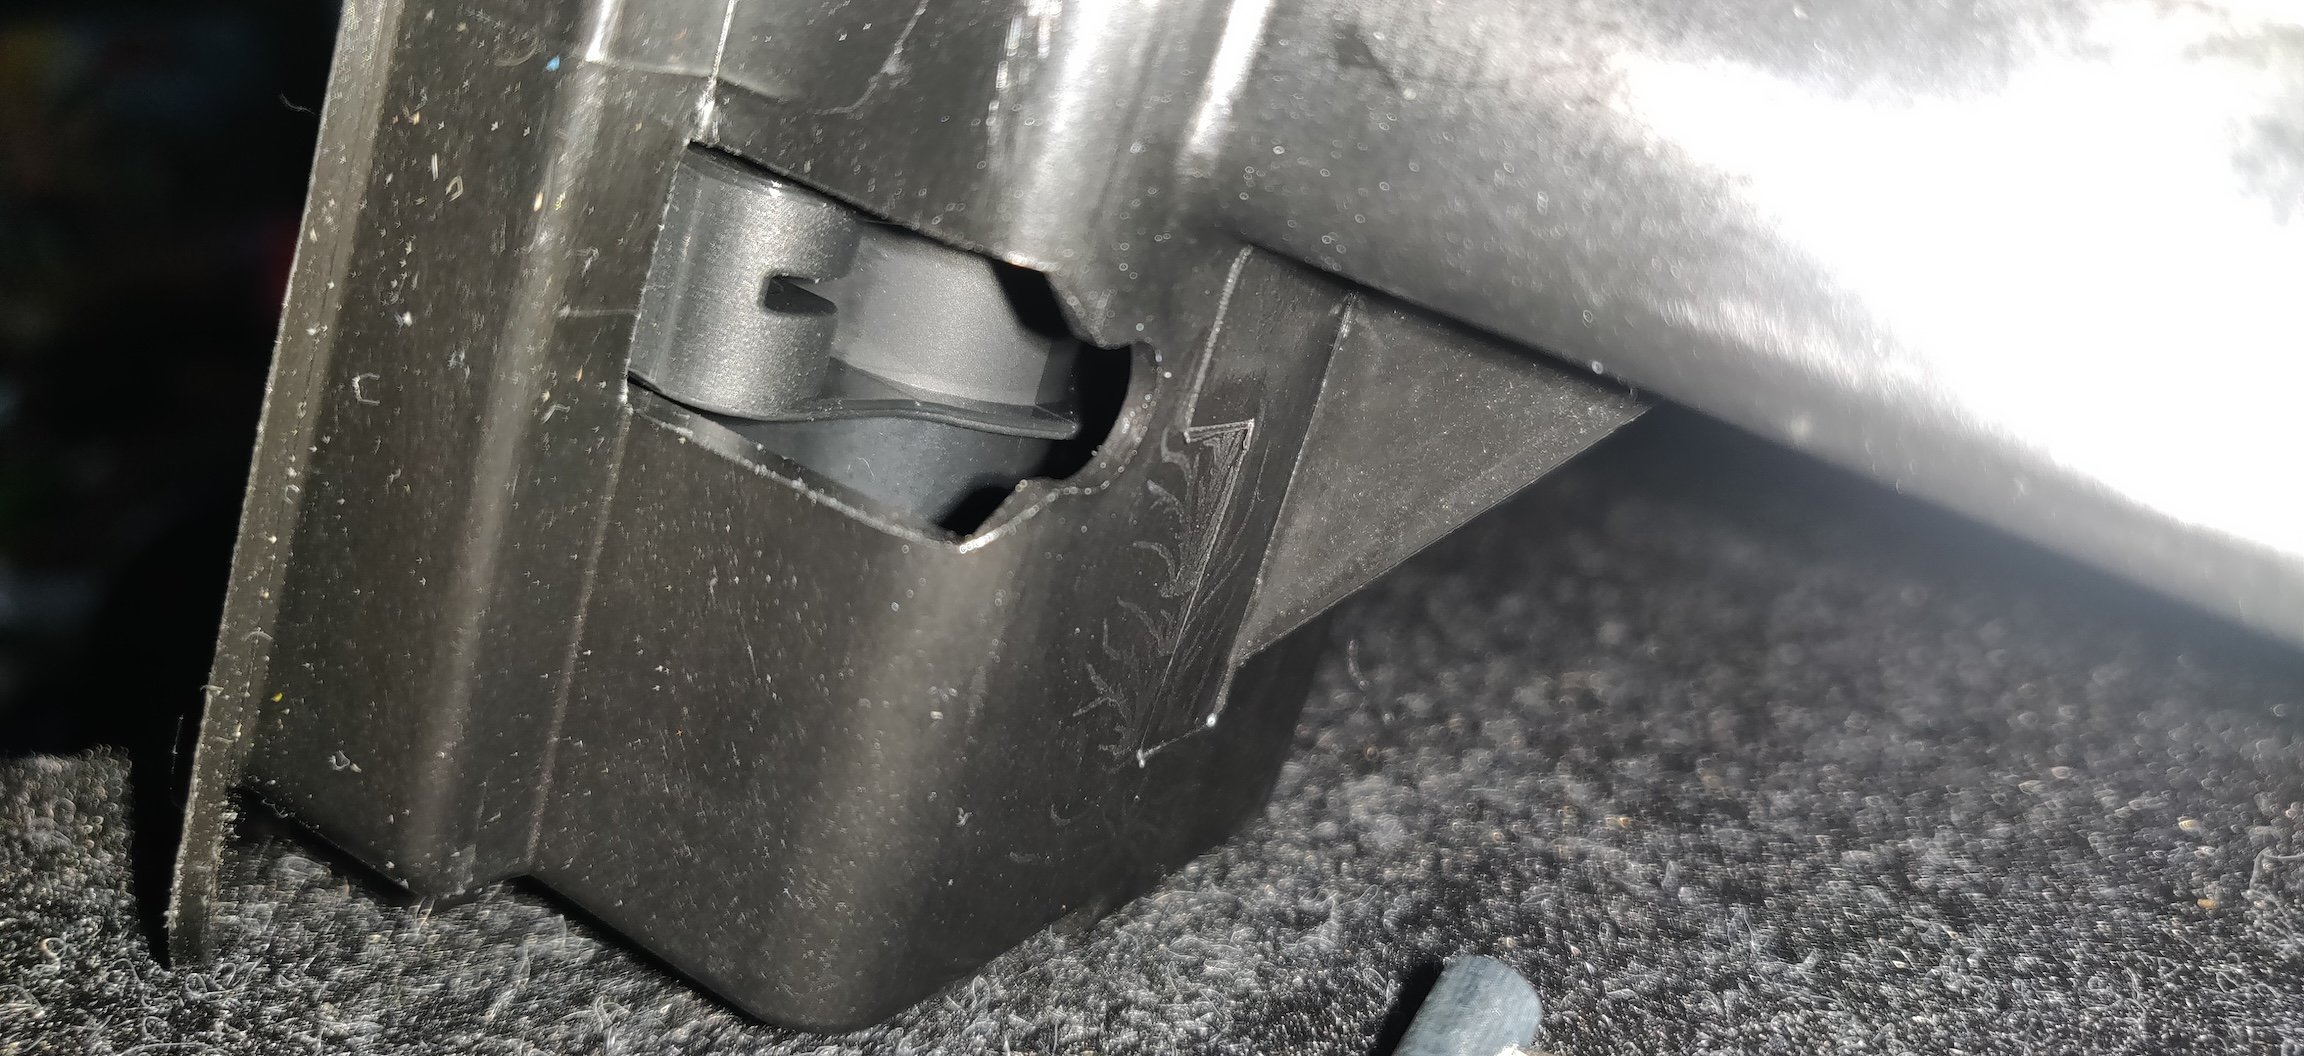
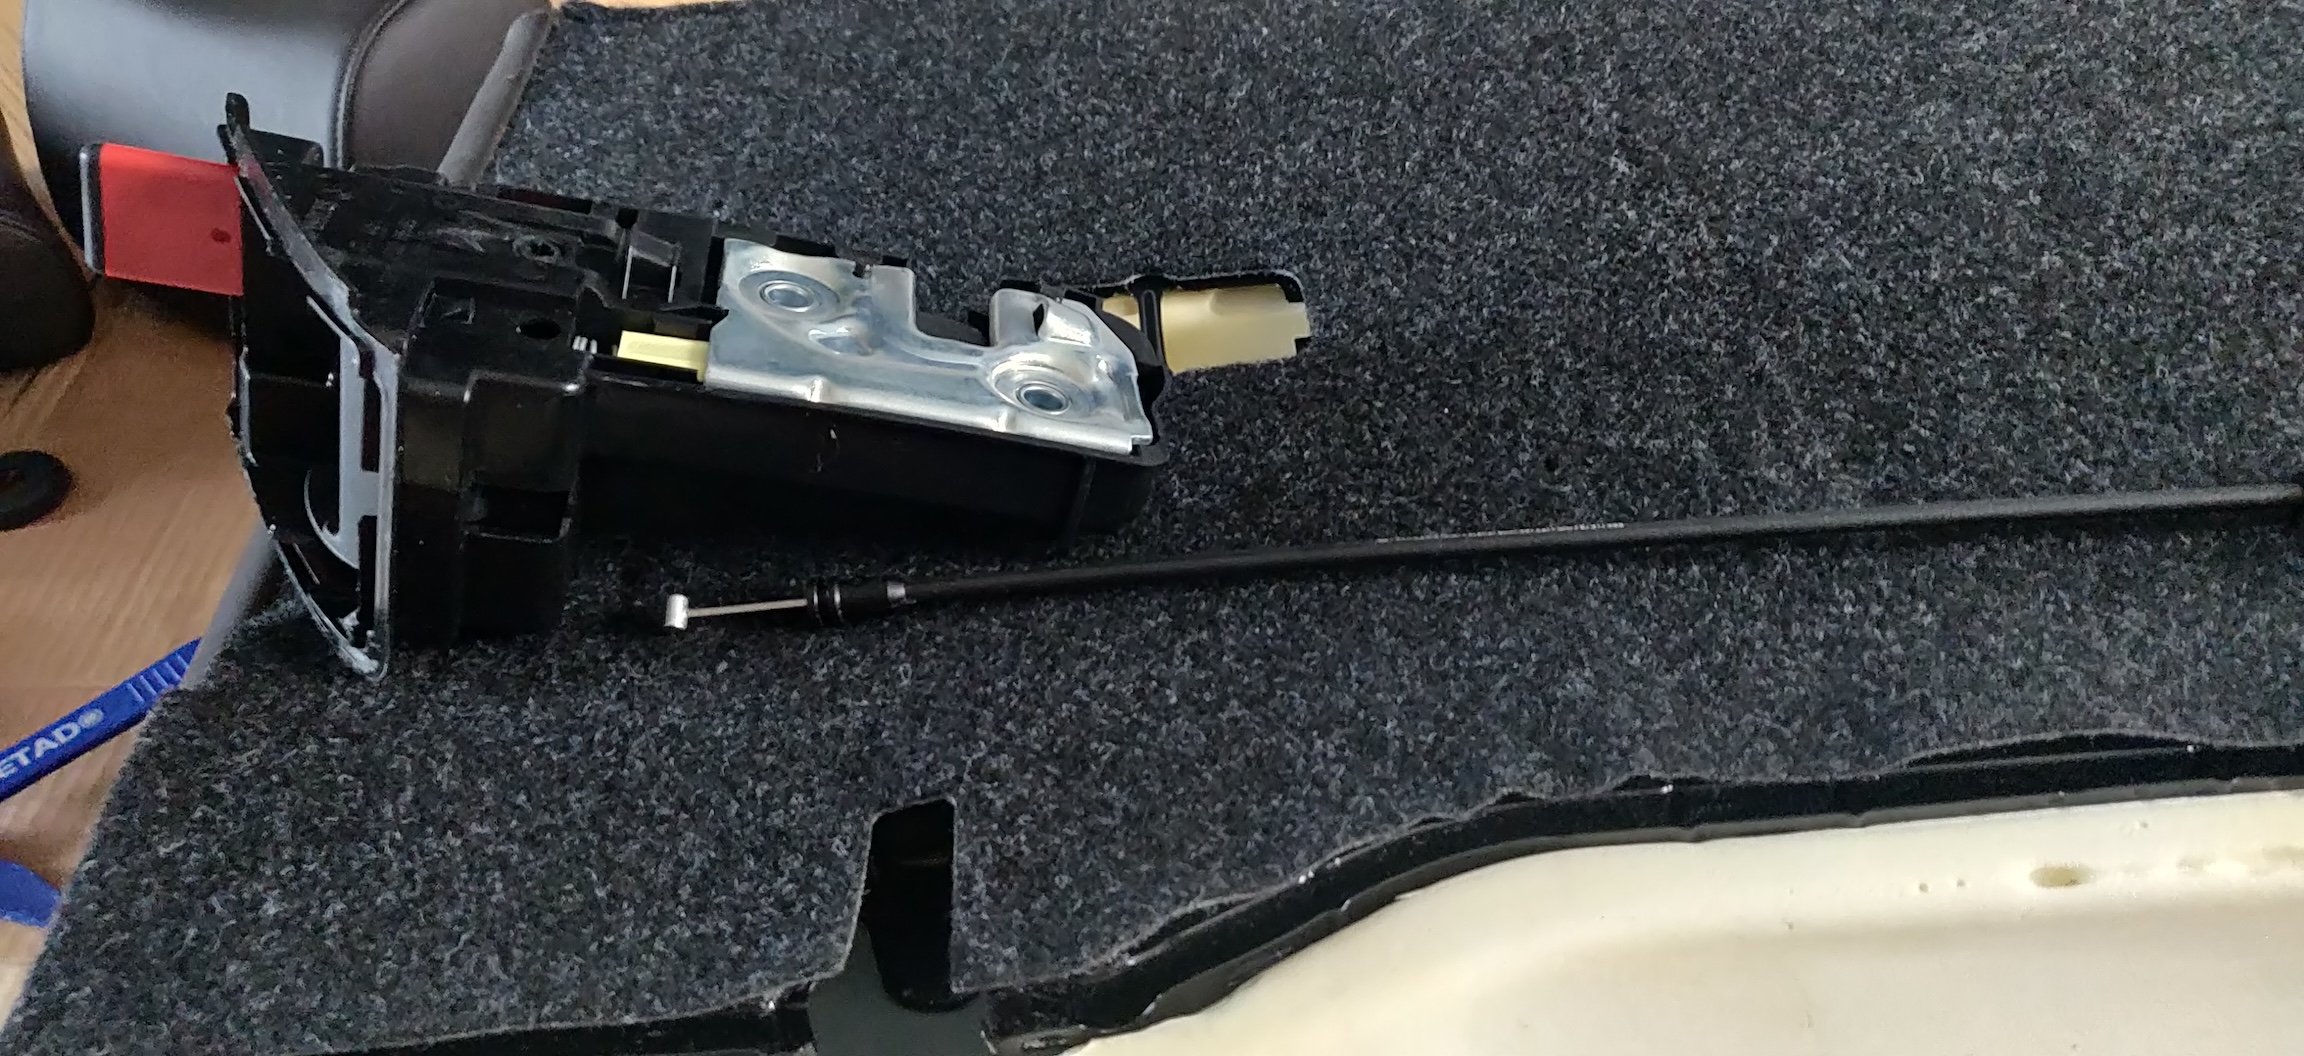
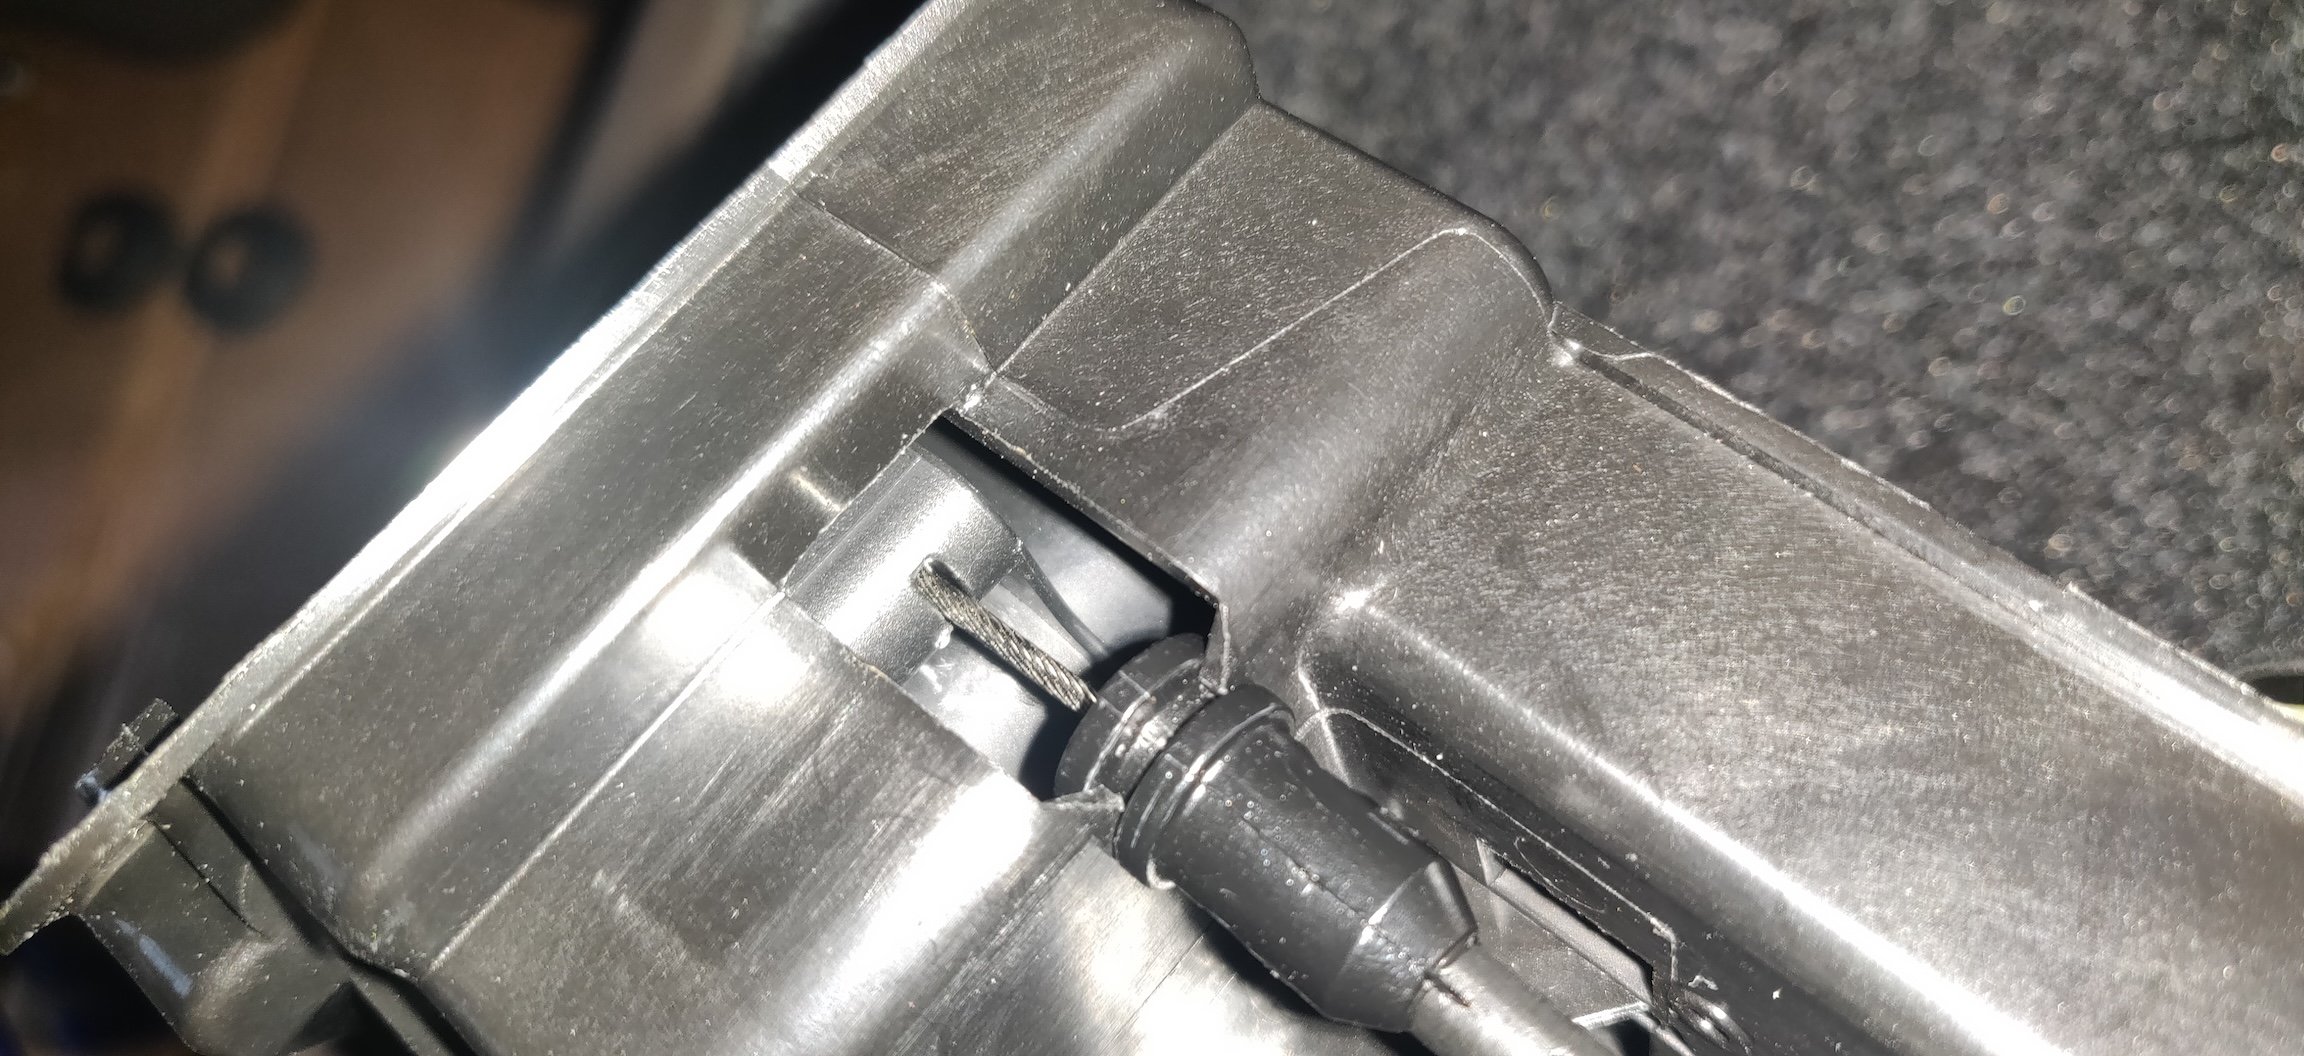
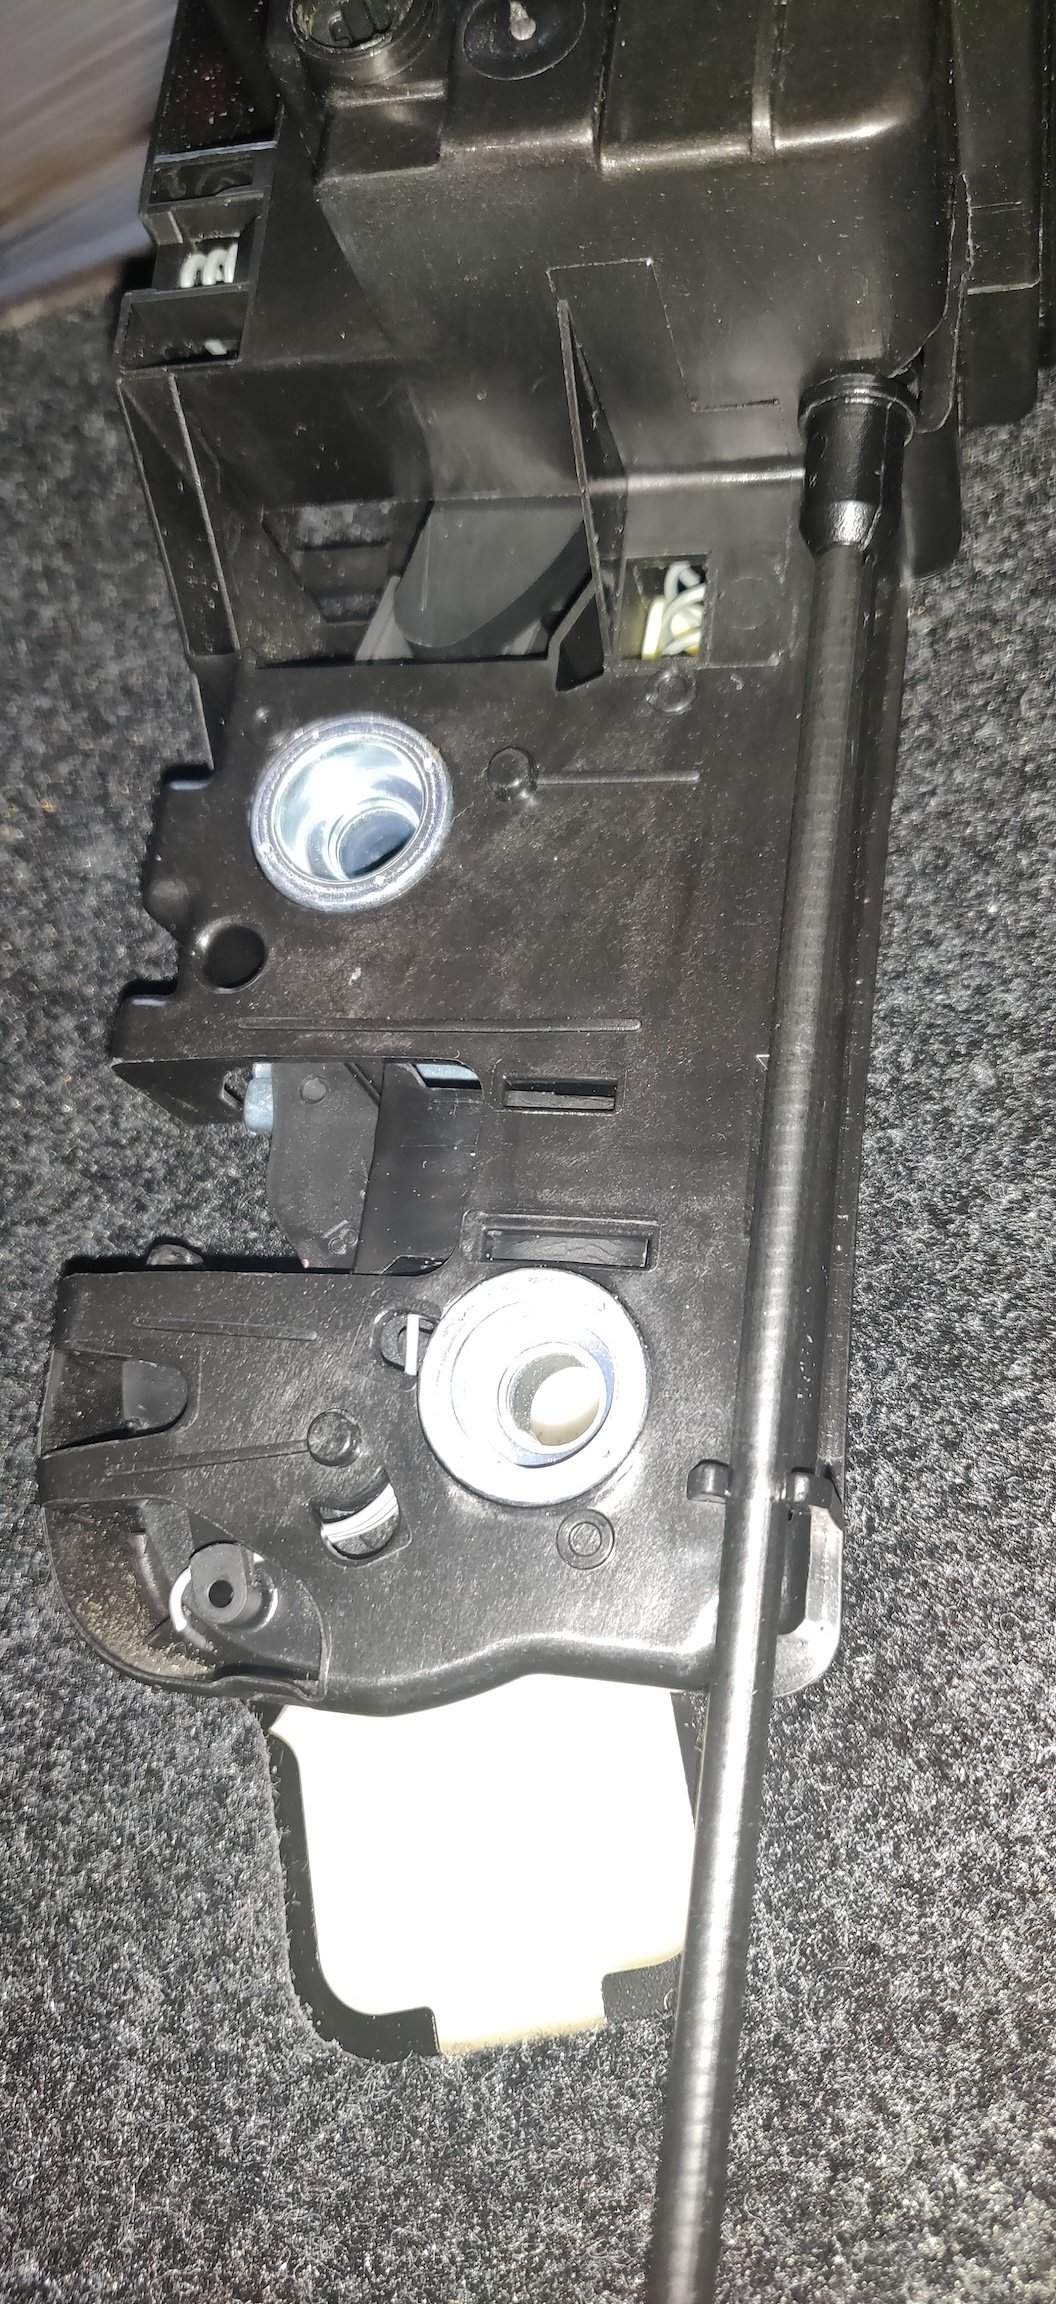
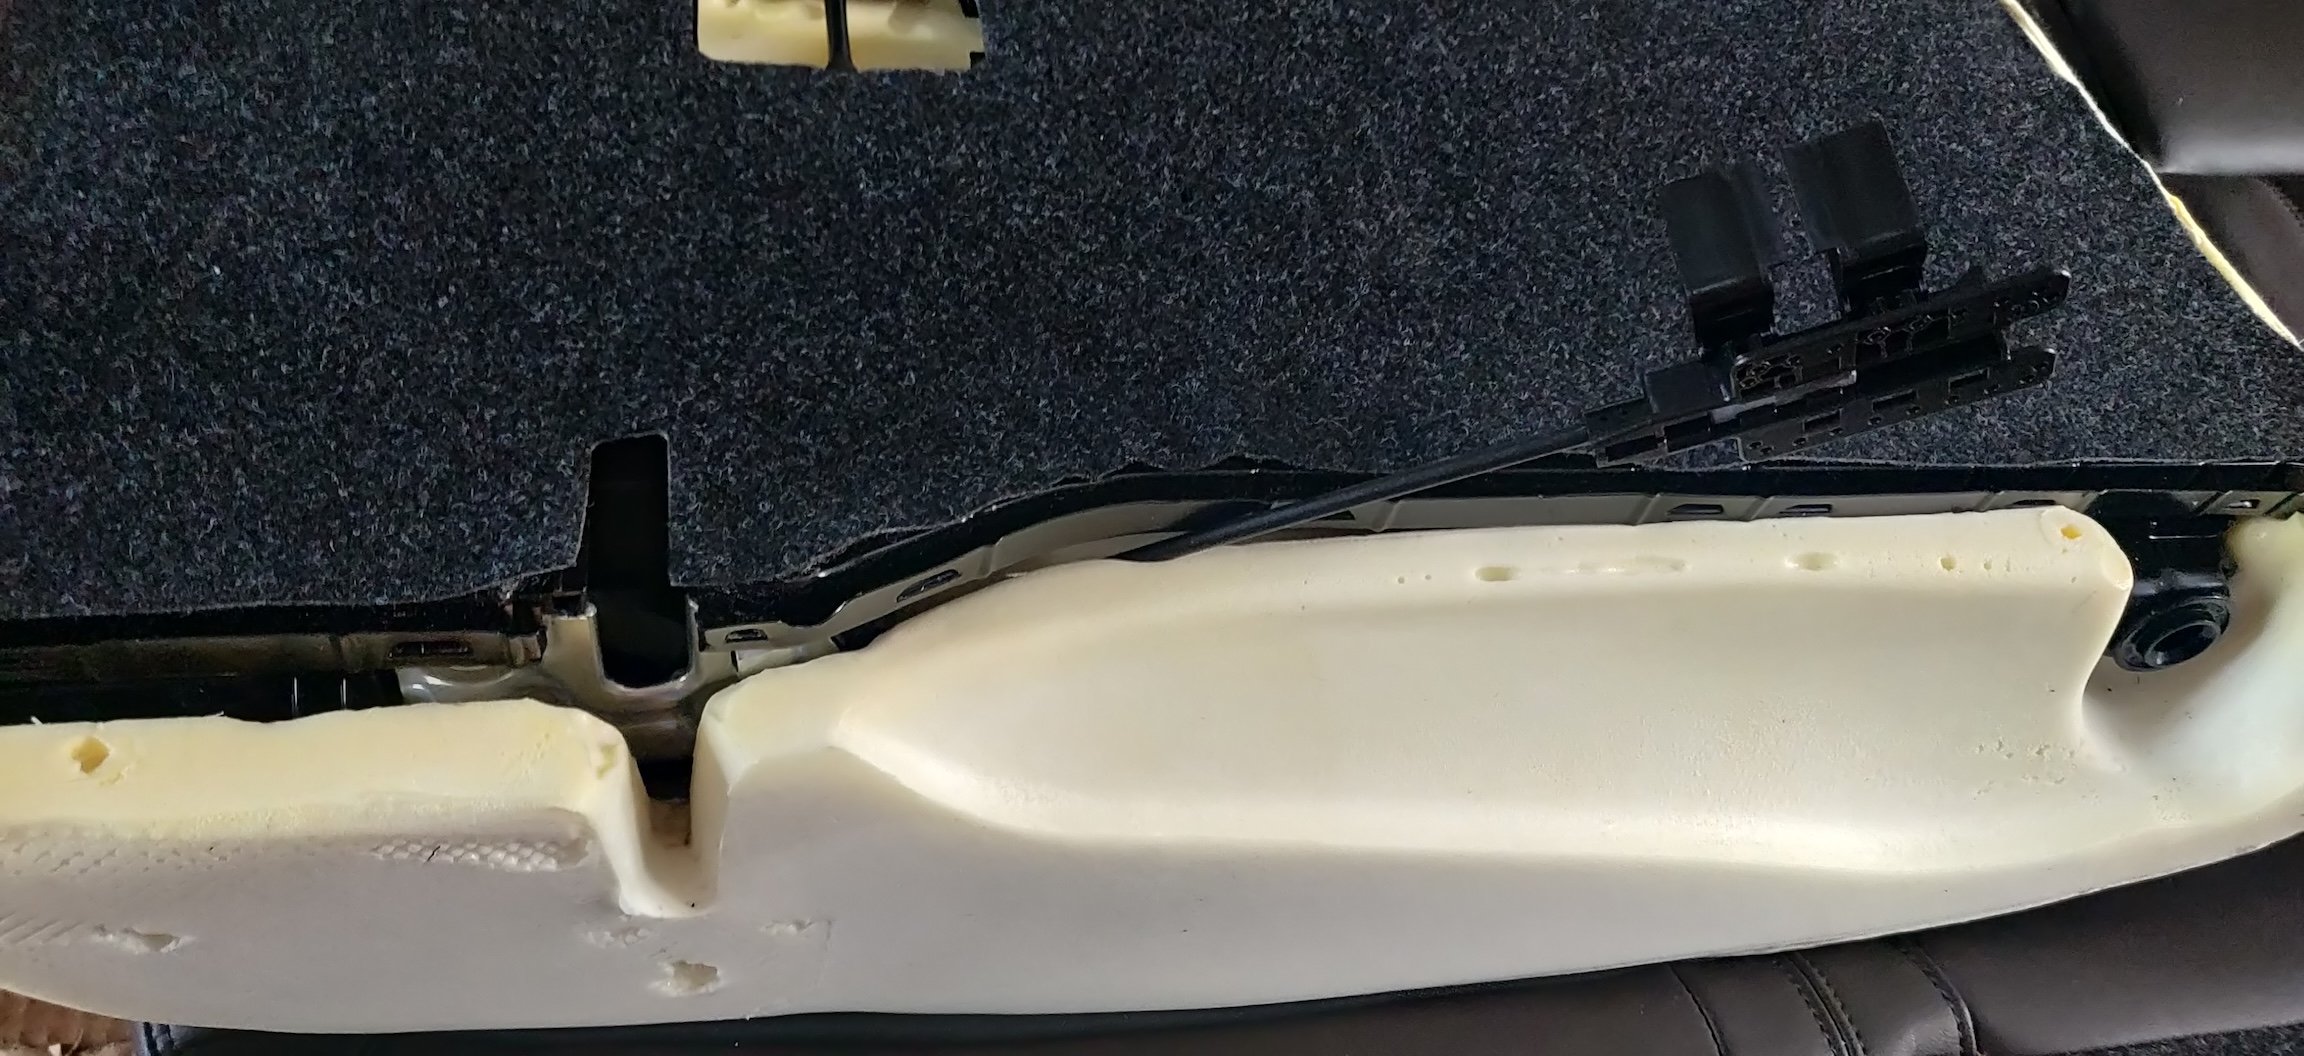
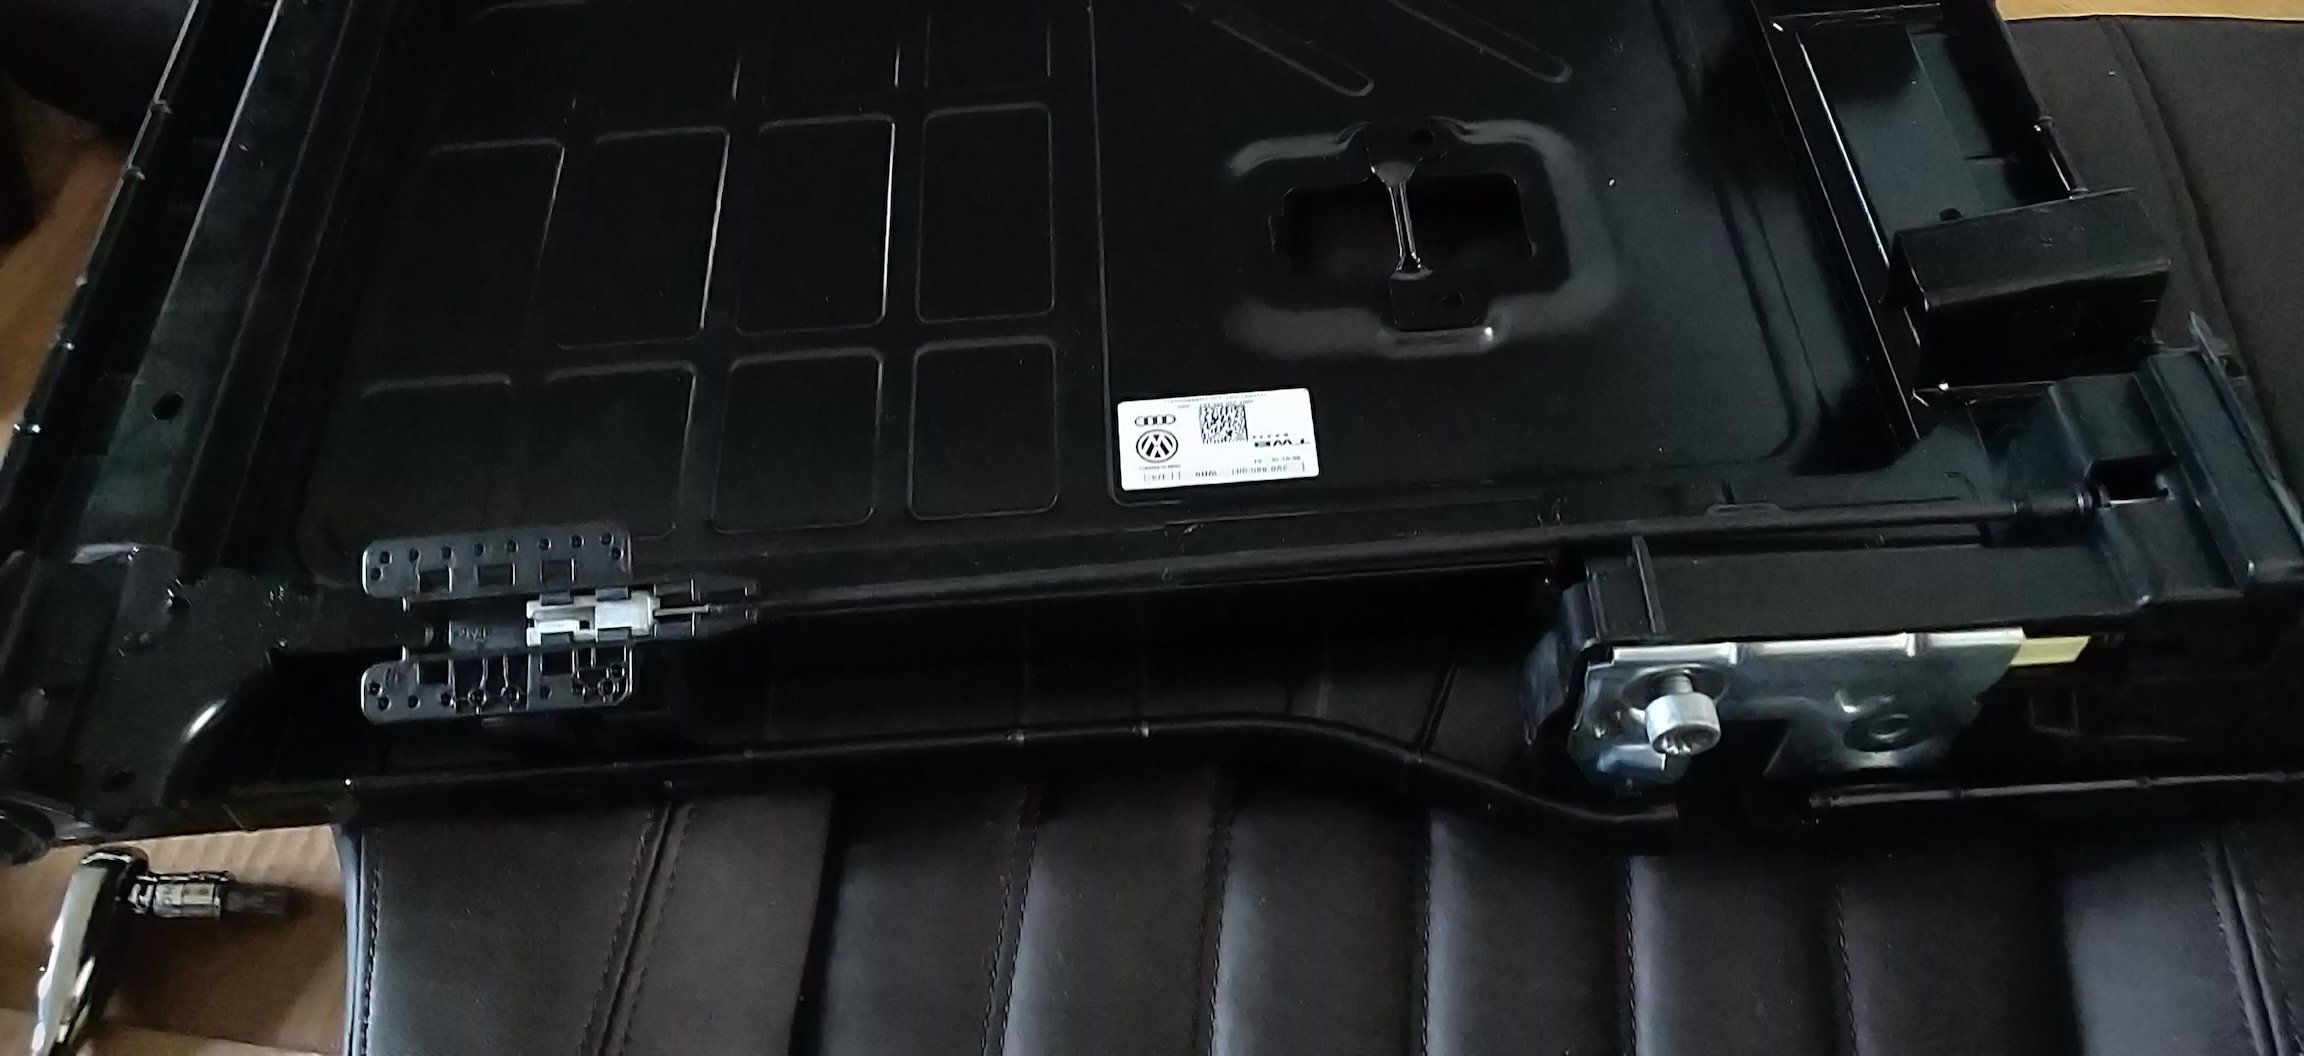
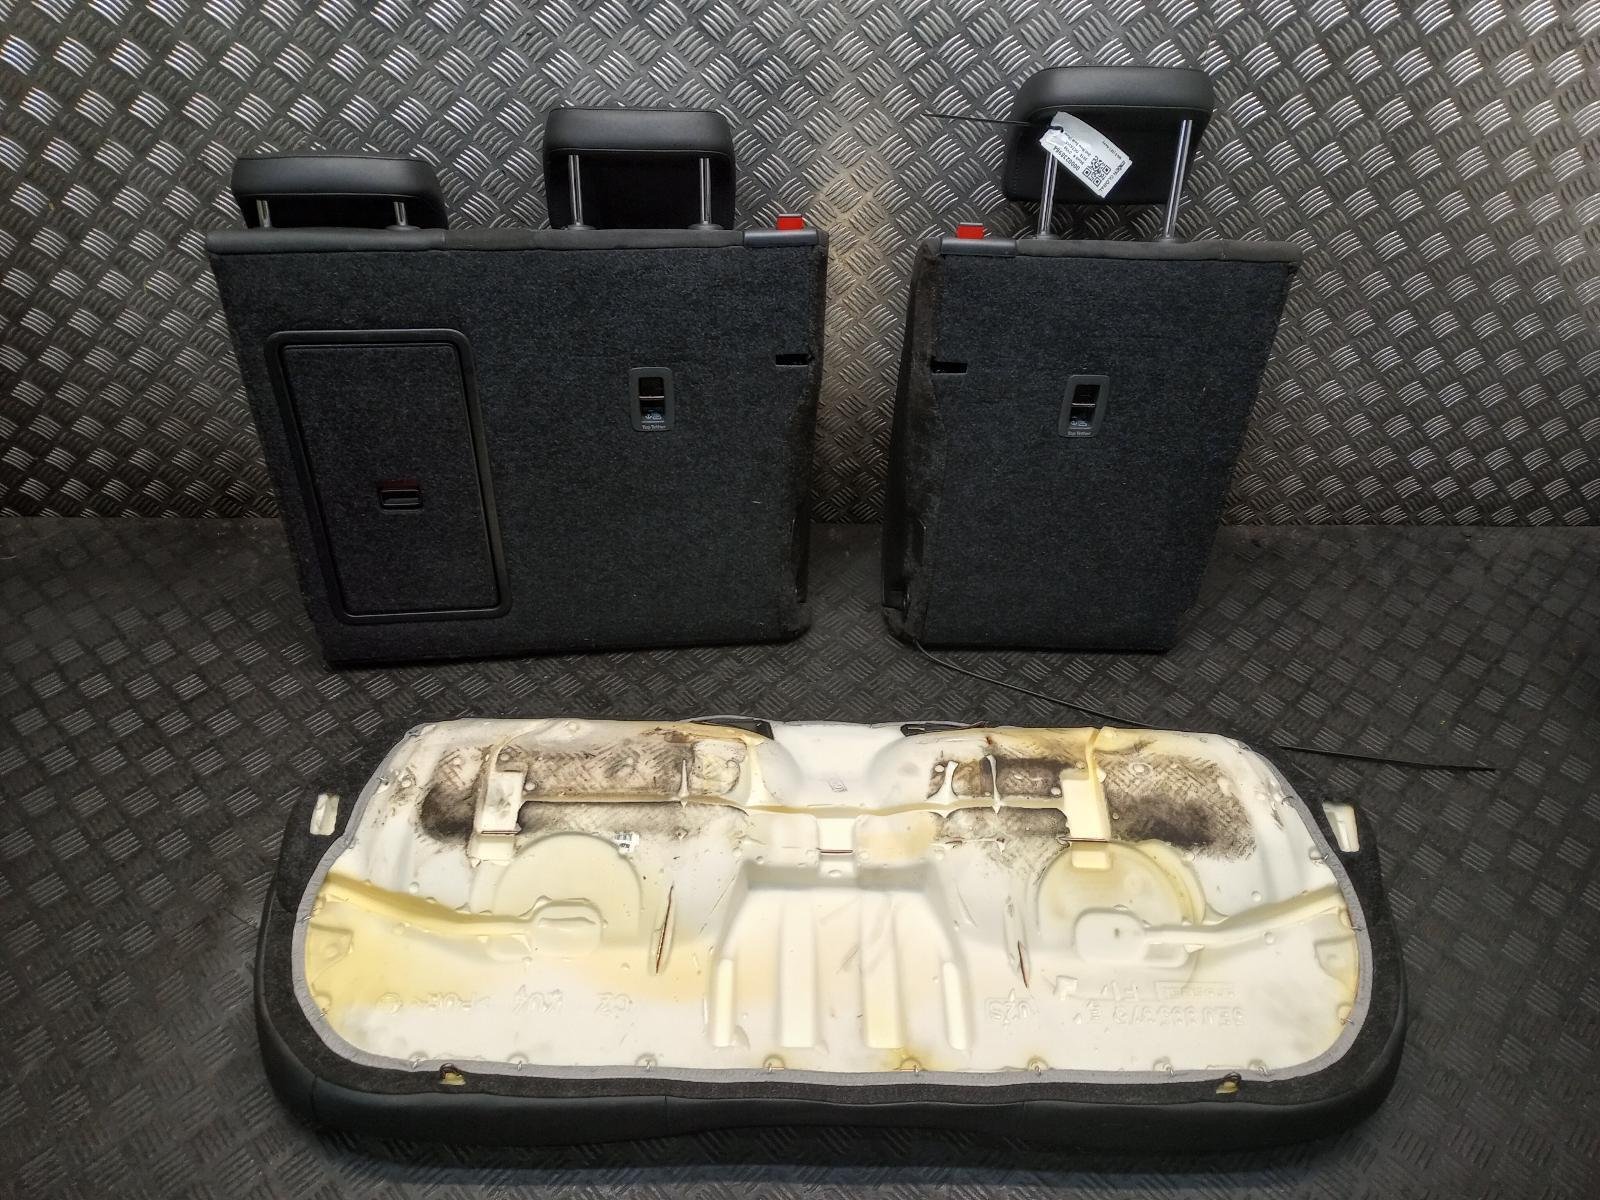
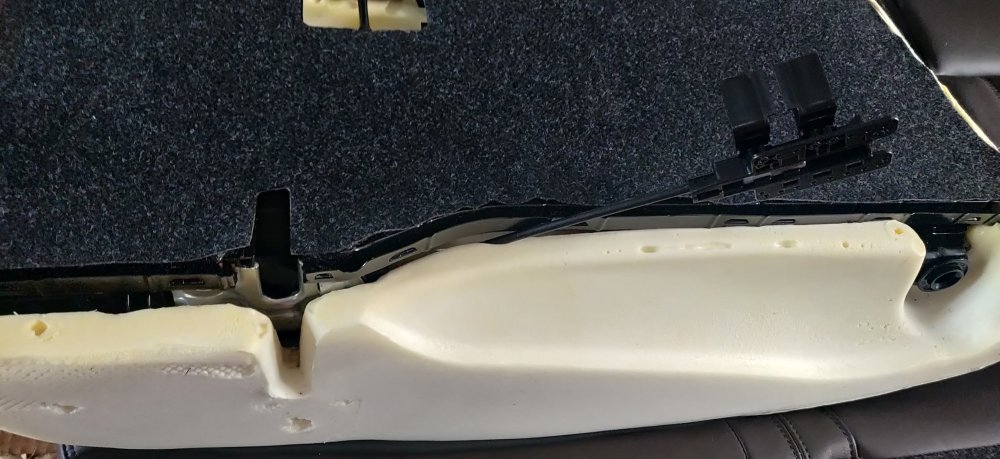
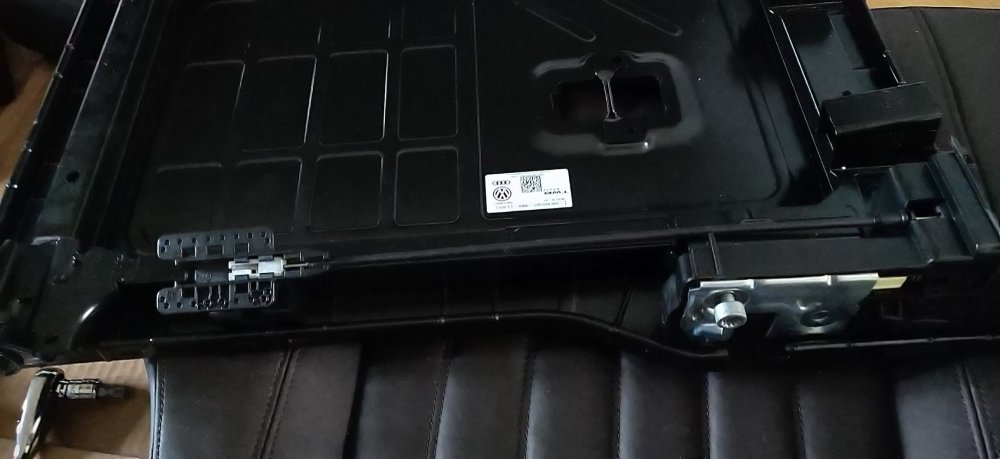
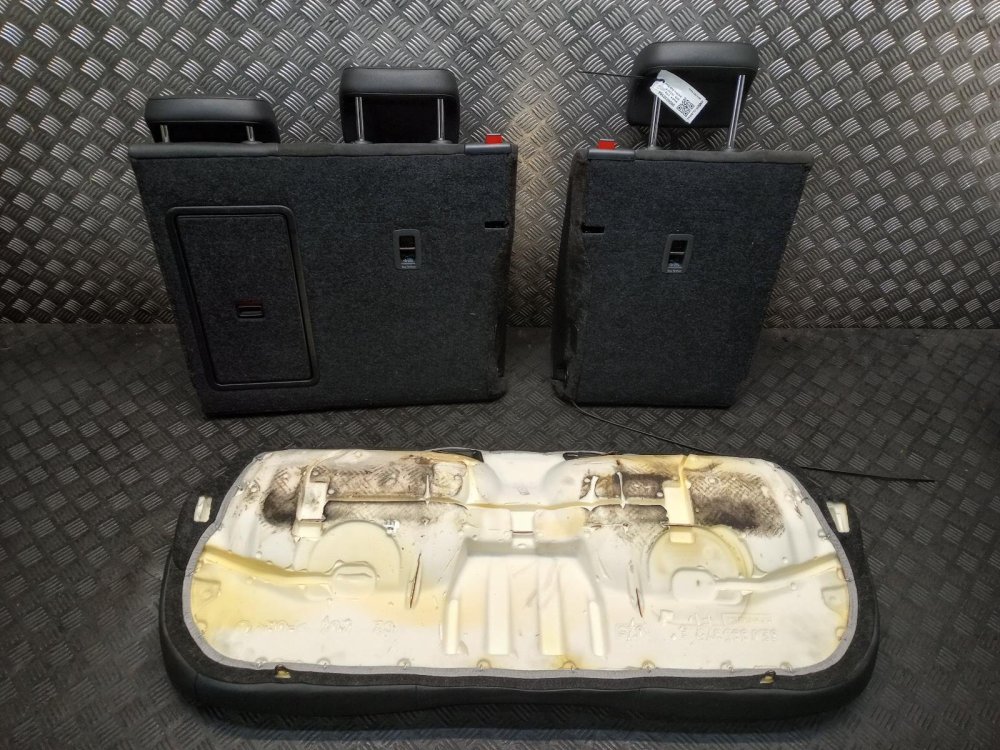
I've started down a road I'm beginning to be reluctant to proceed with: So the workshop manual has steps involving removing the felt cover from the back, which is incorrect. For this smaller of the back rests (and I suspect for the other), the leather cover appears to be clipped into this rear metal frame by means of really tight fitting plastic guides into metal channels in the frame. I've essentially sacrificed my thin screwdriver to wedge into that channel and forcibly lever the plastic out, and then using the trim tools to undo it the rest of the way: I have no idea if I'll be to reattach all this without it being "off". Regardless, this then gives enough purchase to lift the foam away to reveal the latch, held on by a pair of M10 spline bolts: The latch then slides up and away, with some fiddling of the still attached leather seat cover: Looking at the underside, you can then just about see where the Bowden cable will go to for the release: So I got the Bowden cable ordered earlier and offered it up: The actual process of getting it in place was a lot more fiddly than I liked, with use of anything thin to try and get the cable in place: It looks like there's also a bit to clip it further on the latch: This is roughly how it looks unfortunately once placed back: So I sense that there's probably a distinct difference between the foam bits and maybe even the frame depending on whether this option was specified or not. I then took the rest of the cover away from the frame, to separate out the parts, so the foam and leather is one part (hog rings keep those two together) and the frame as the second. The only other thing keeping the two parts together was the headrest guides, the plastic bits the headrest slots into. You essentially have to tilt the seat foam in order to see the sides of the guides, and some brute force squeezing of the tabs will eventually allow them to slide out and free. This is pretty much what I'm left with: So at the moment, I can only suspect that the foam needs some cutting, to essentially create a channel for the Bowden cable and that rectangular bit at the bottom to sit. This will probably also need to be combined with some cutting out of the side of the seat cover so this part is revealed, which will be needed in order to hook up the main Bowden cable to this internally fitted one. There will be no turning back if I do this, and I haven't been able to find any reference images or anything to try and gain some confidence. So this will be quite scary! The best I could muster is this from eBay of rear seats from an Octavia: Where the Bowden cable is still attached. It looks like it will take the same route as the wiring on my seat (there's wiring for the heating elements on mine), and the rectangular covers are see on the bottom sides of the seats. Just about. Some quick Googling on LLL parts suggests that the seat foam 3V0 885 775 A E is the one needed, as opposed to 3V0 885 775 R which is the code stamped on my particular seat foam. Some additional cross reference confirms UK1 in the PR codes meaning "Standard rear seat release" and UK3 meaning "Mechanical rear seat release". So if anyone has any images or anything of what that looks like, or whether the frame itself is different, would greatly appreciate it! Got some of the service bits today, so will catalog those later this evening I think. Maintenance: £1494.87 Upgrades: £681.11 Miscellaneous: £584.95
-
If you have 340mm front brake discs, 16" wheels won't fit unfortunately. There are 16" alloys from an older Audi A8 that looks like steelies but are extraordinarily light for an OEM wheel. Was gutted the caliper fouls it by about 5mm! I imagine the smaller (310mm? Can't remember) might fit. Quick Googled example: https://www.google.com/url?q=https://www.ebay.co.uk/itm/325799254740&sa=U&ved=2ahUKEwjv693f8fCEAxX5gP0HHdXJC3gQFnoECAgQAg&usg=AOvVaw1-ltw27H_bw9XuZ-u9kyrI