


davojuri
FREEDOM
-
Joined
-
Last visited
Everything posted by davojuri
-
-
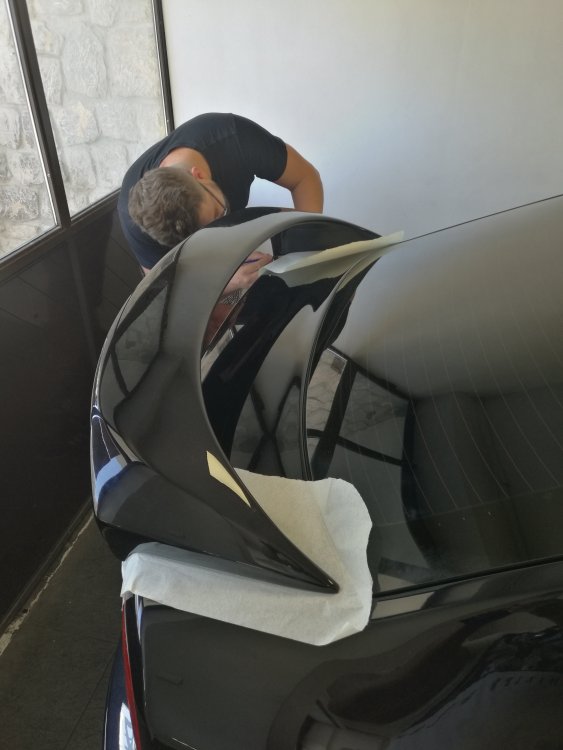
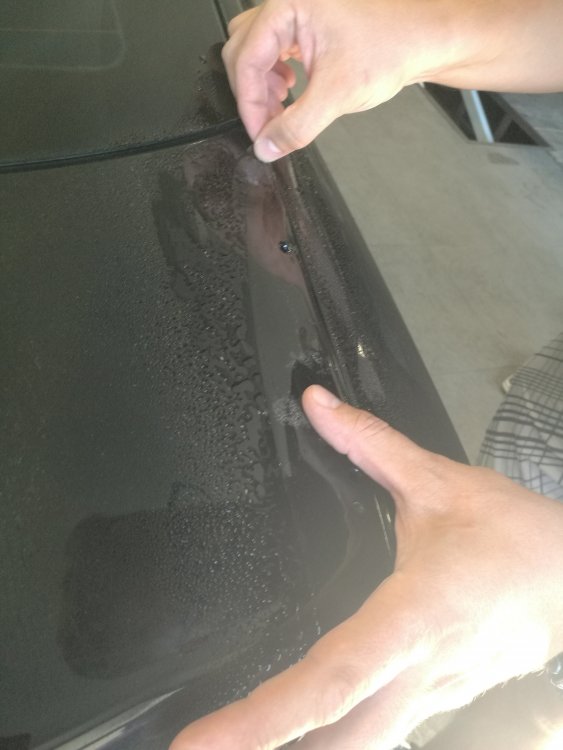
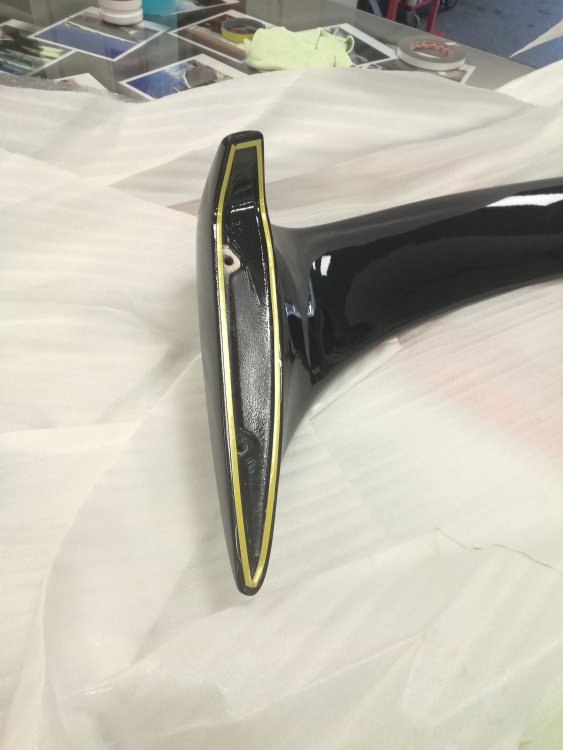
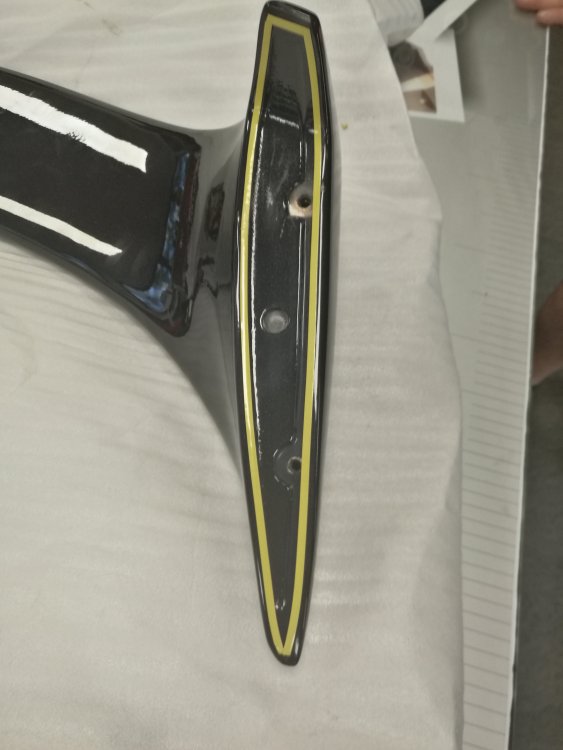
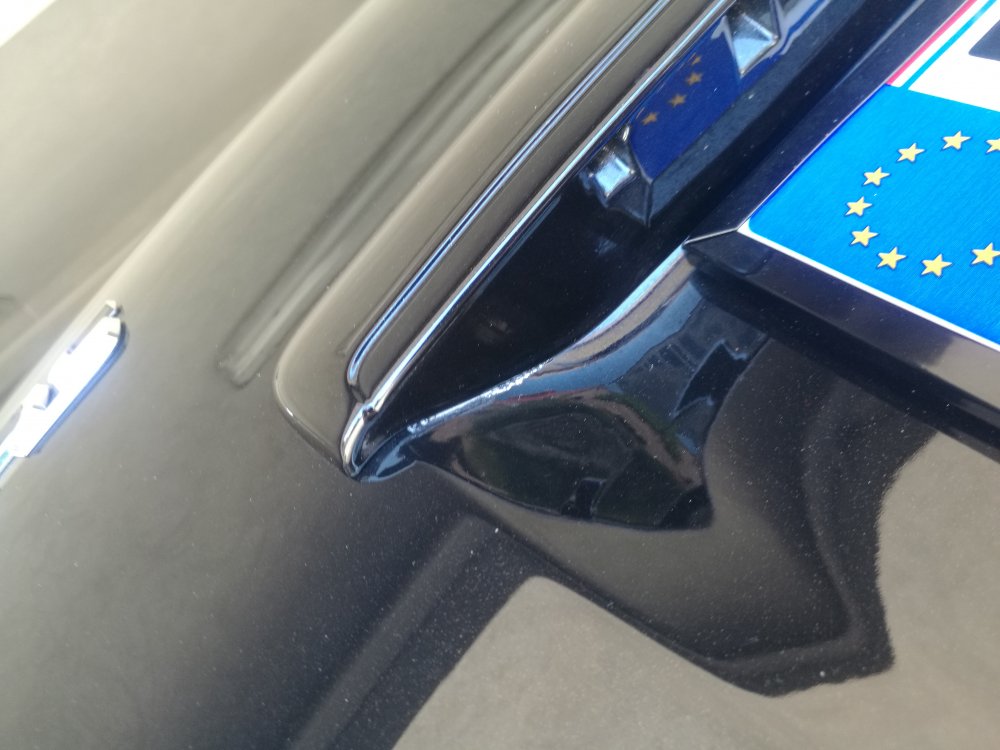
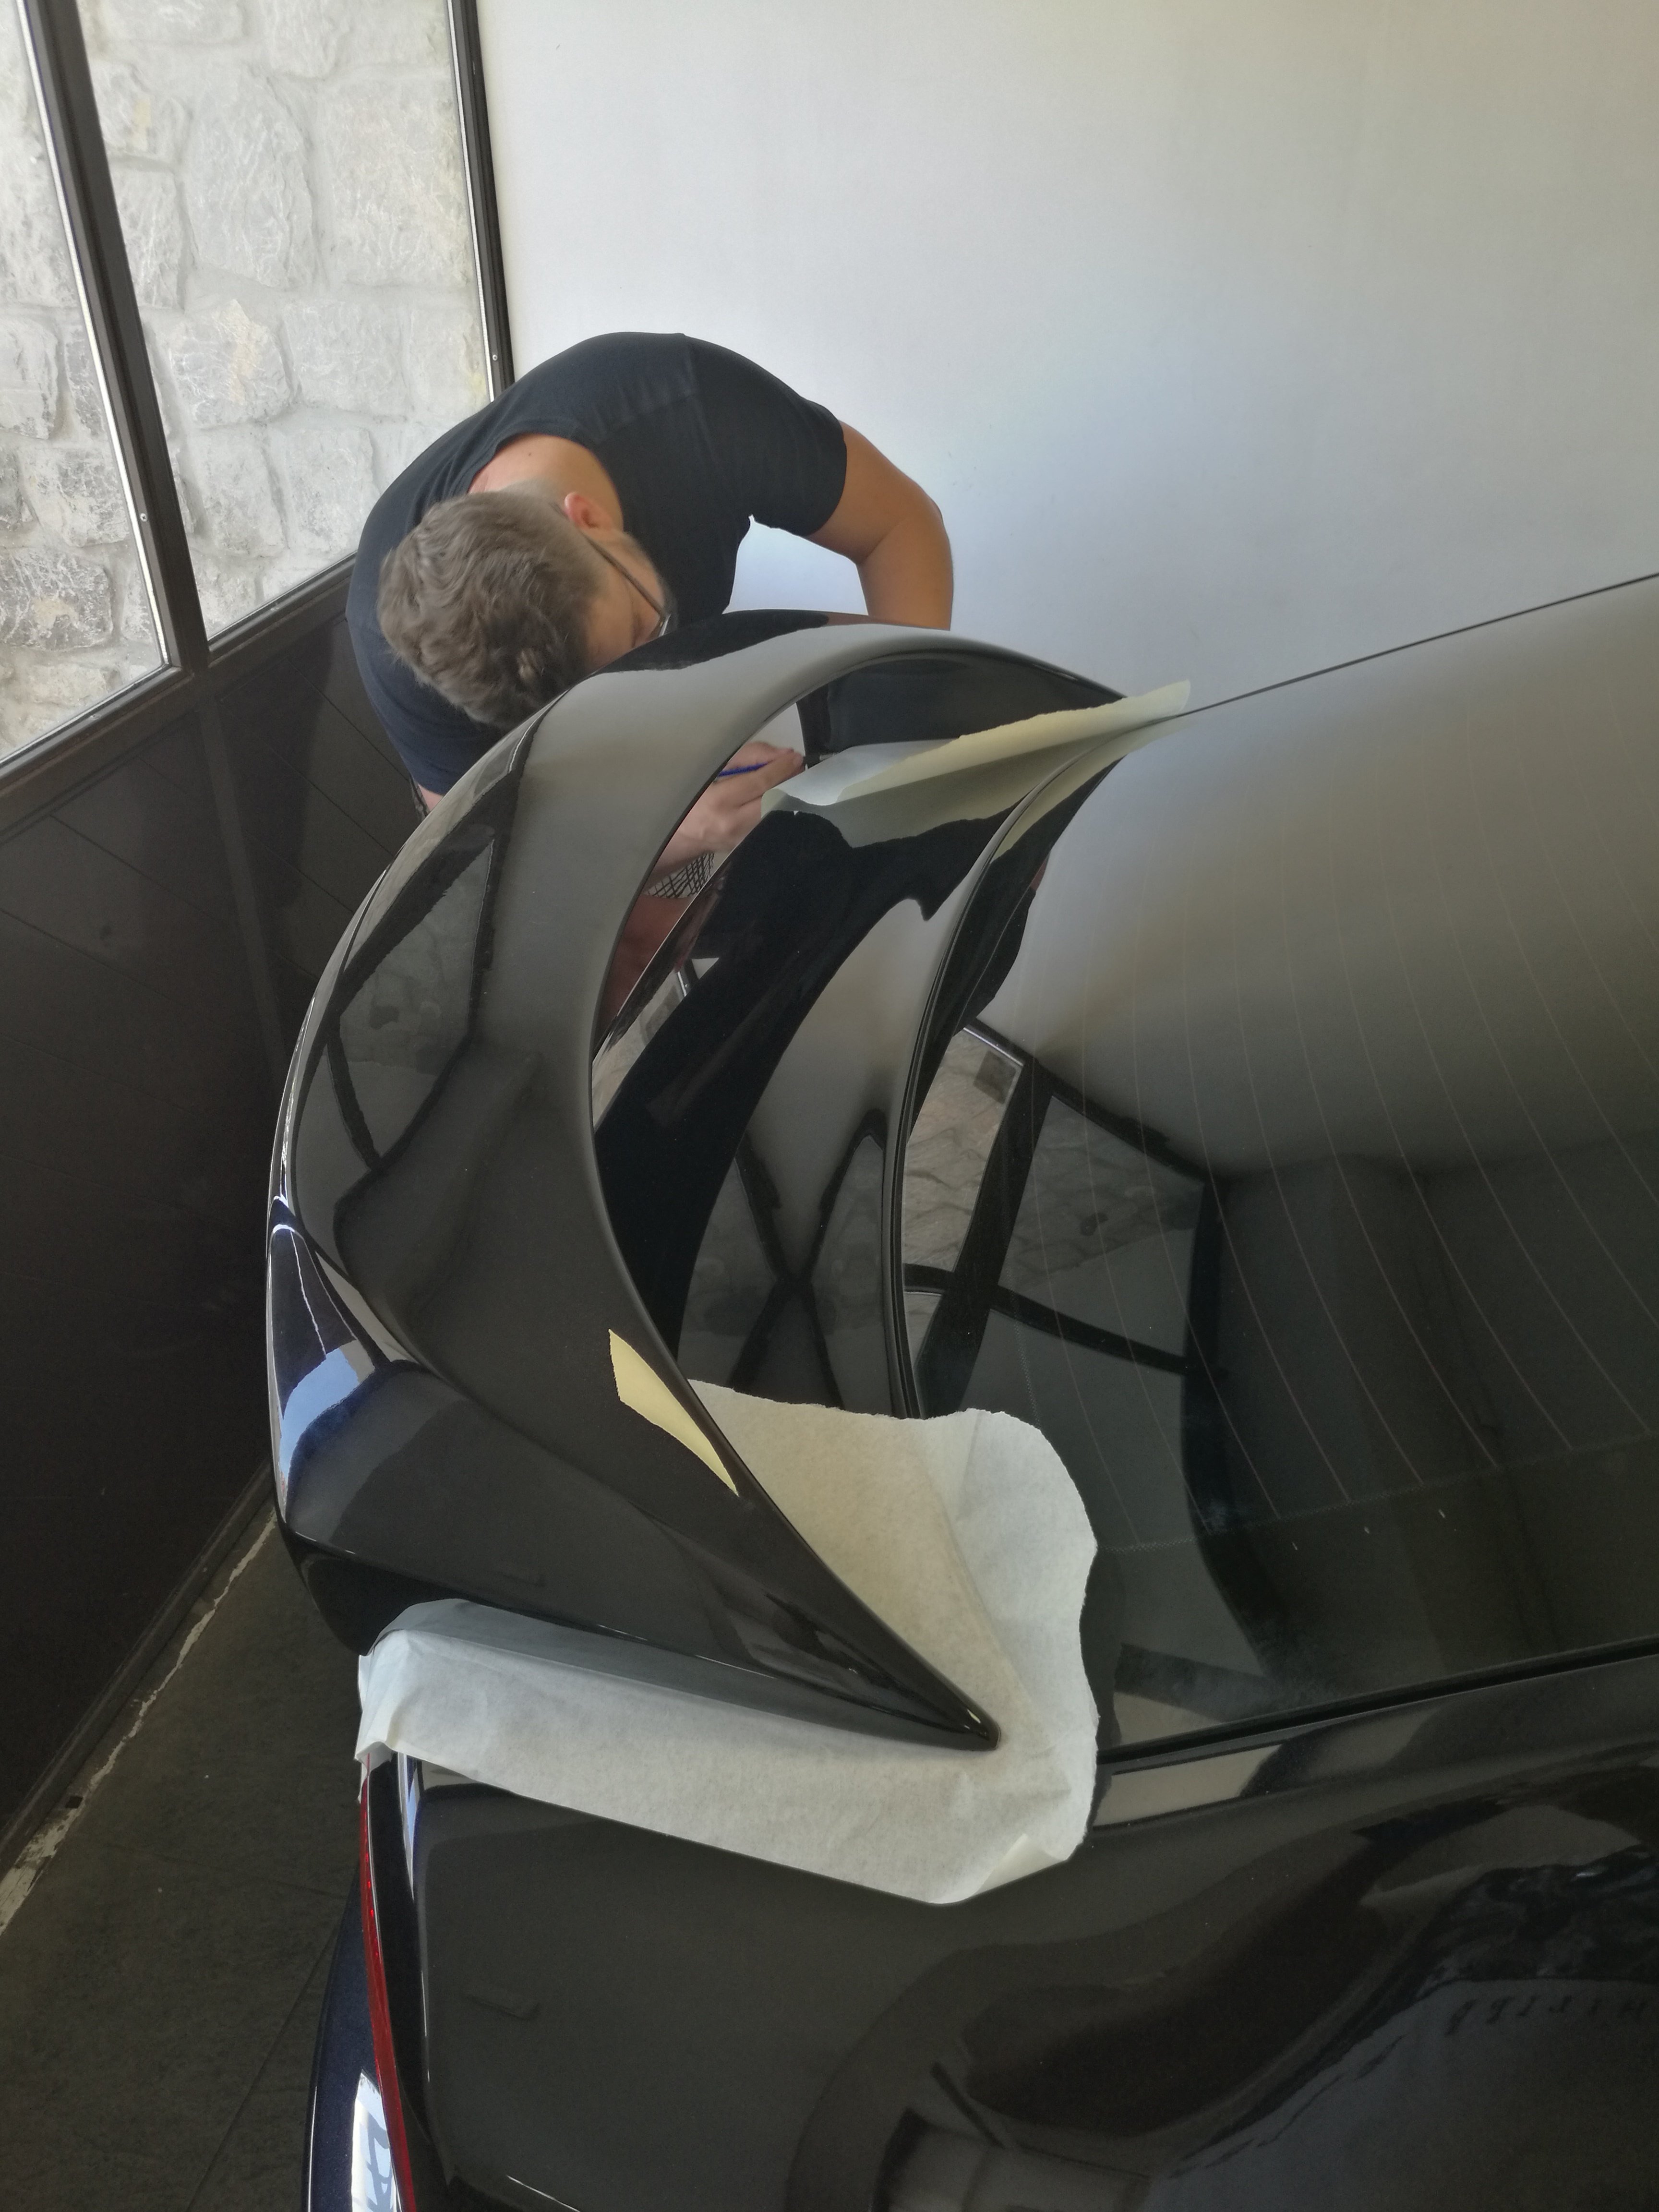
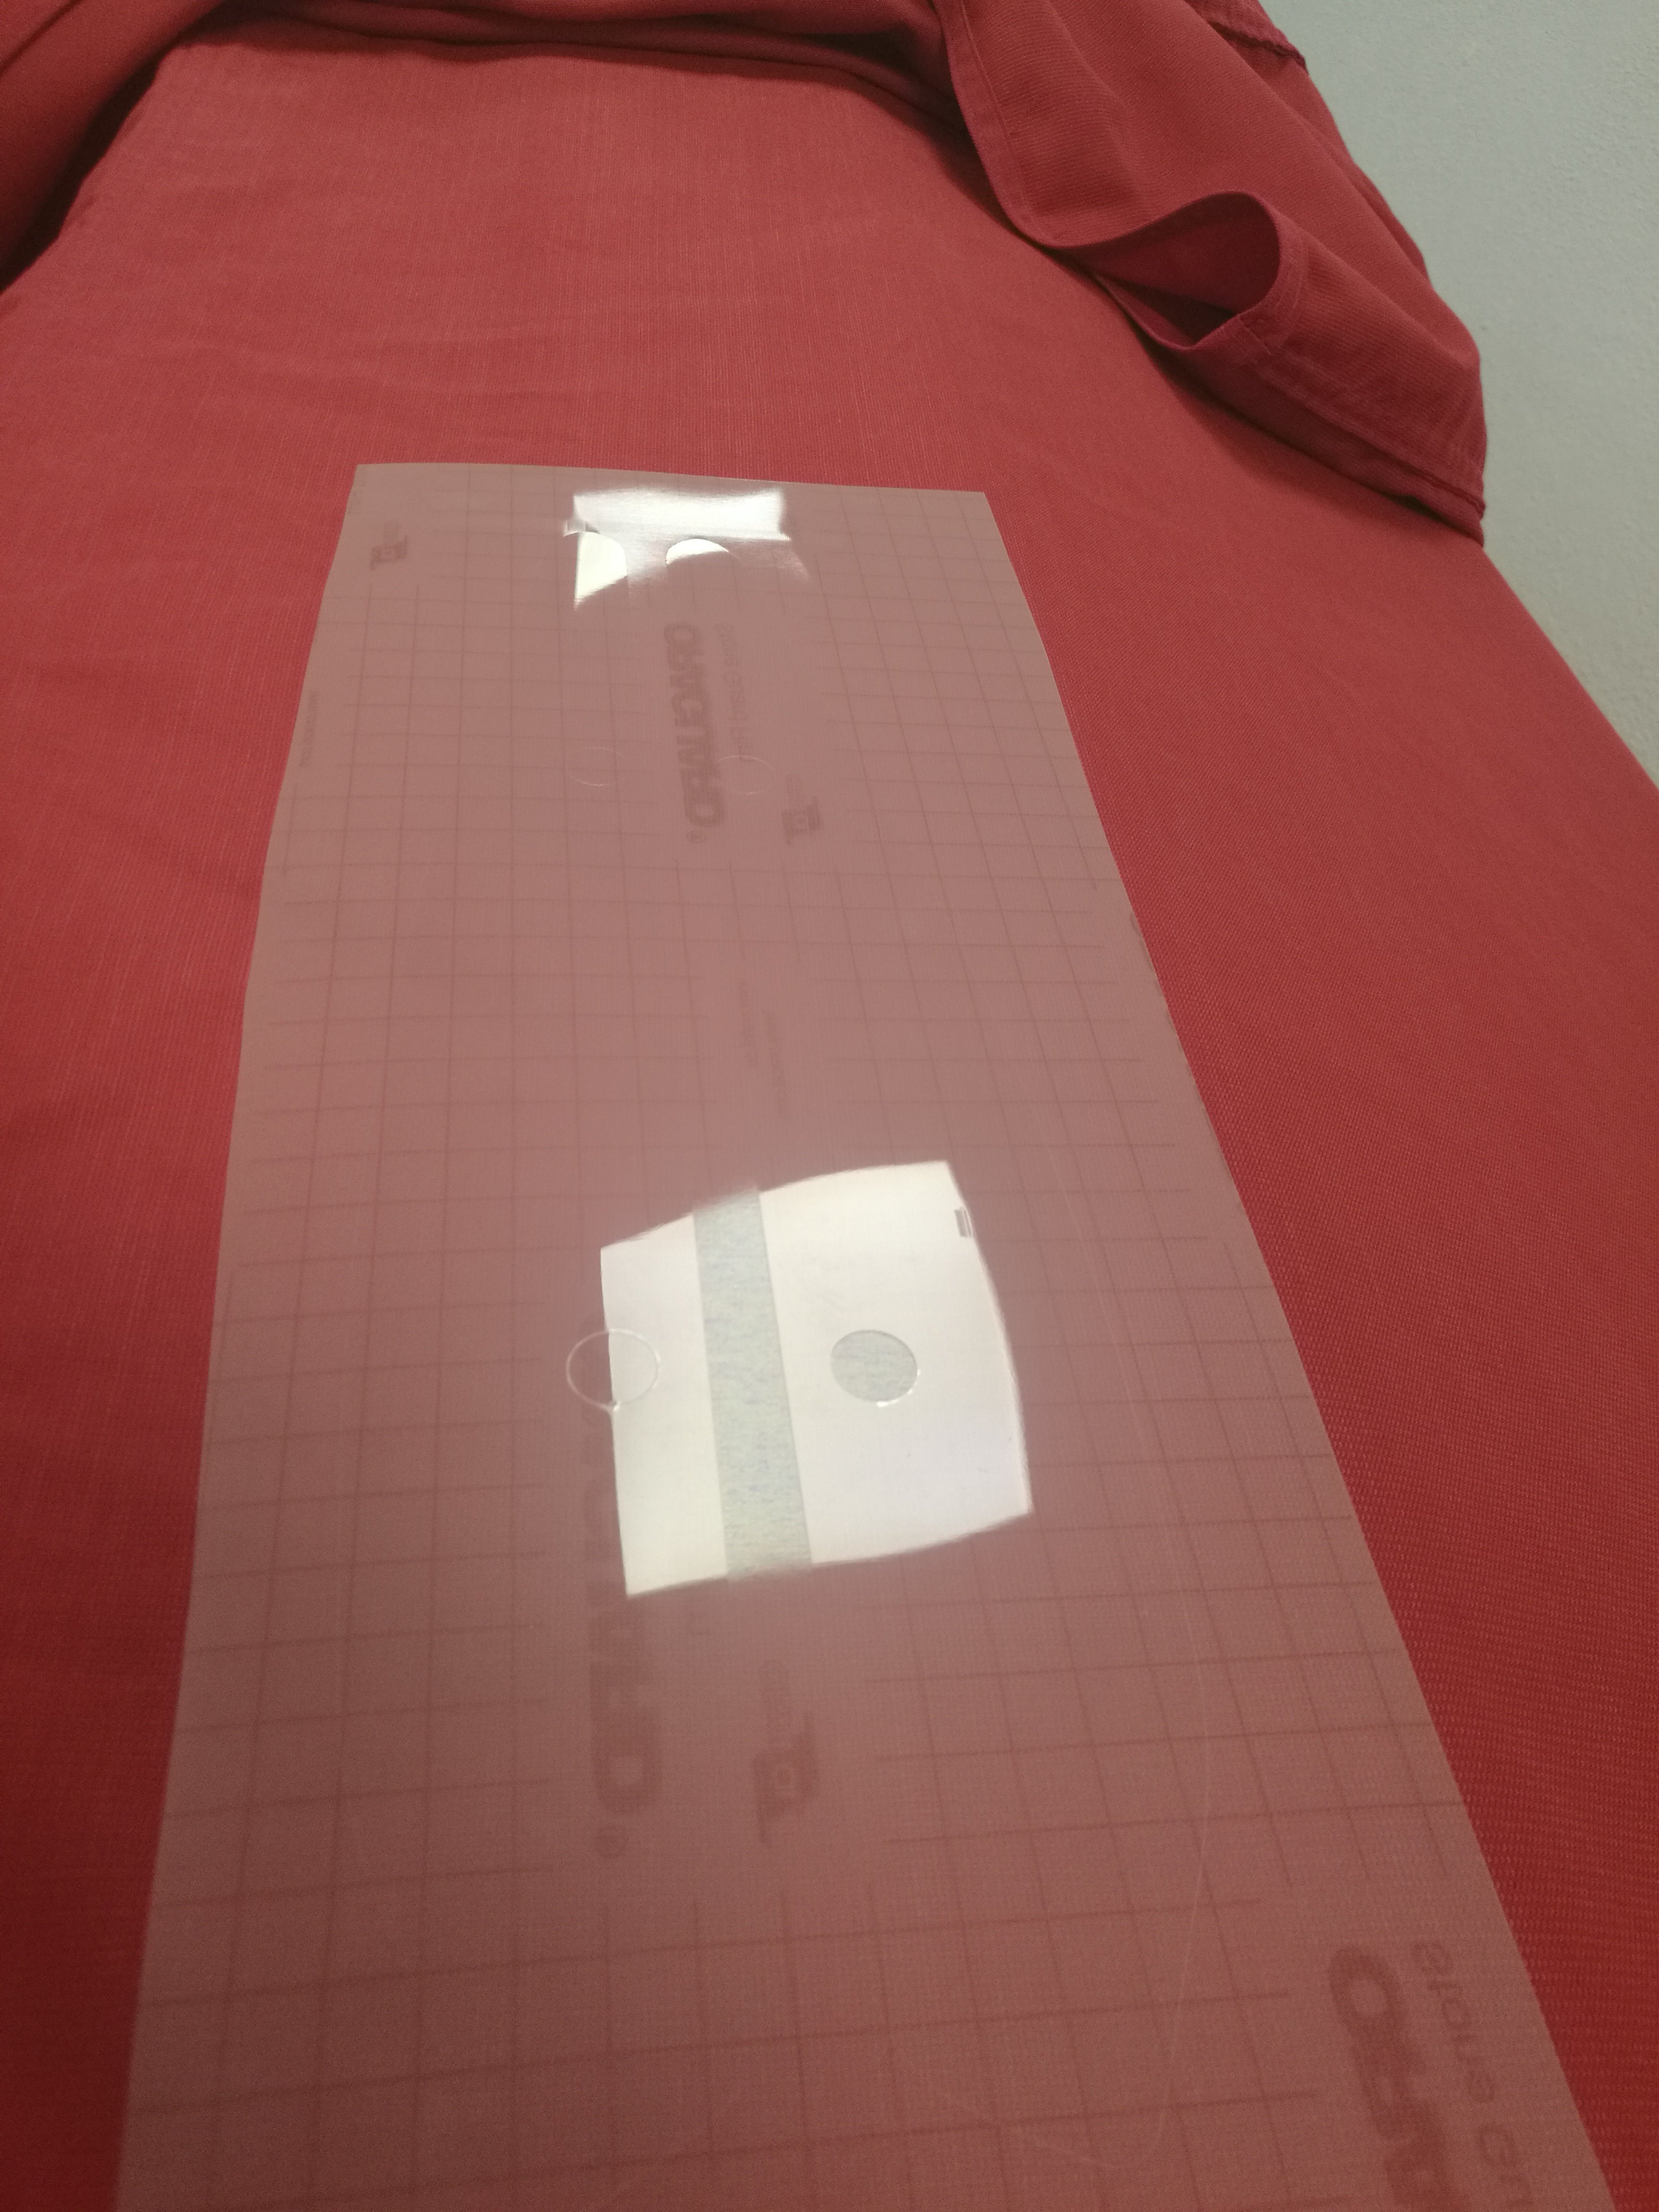
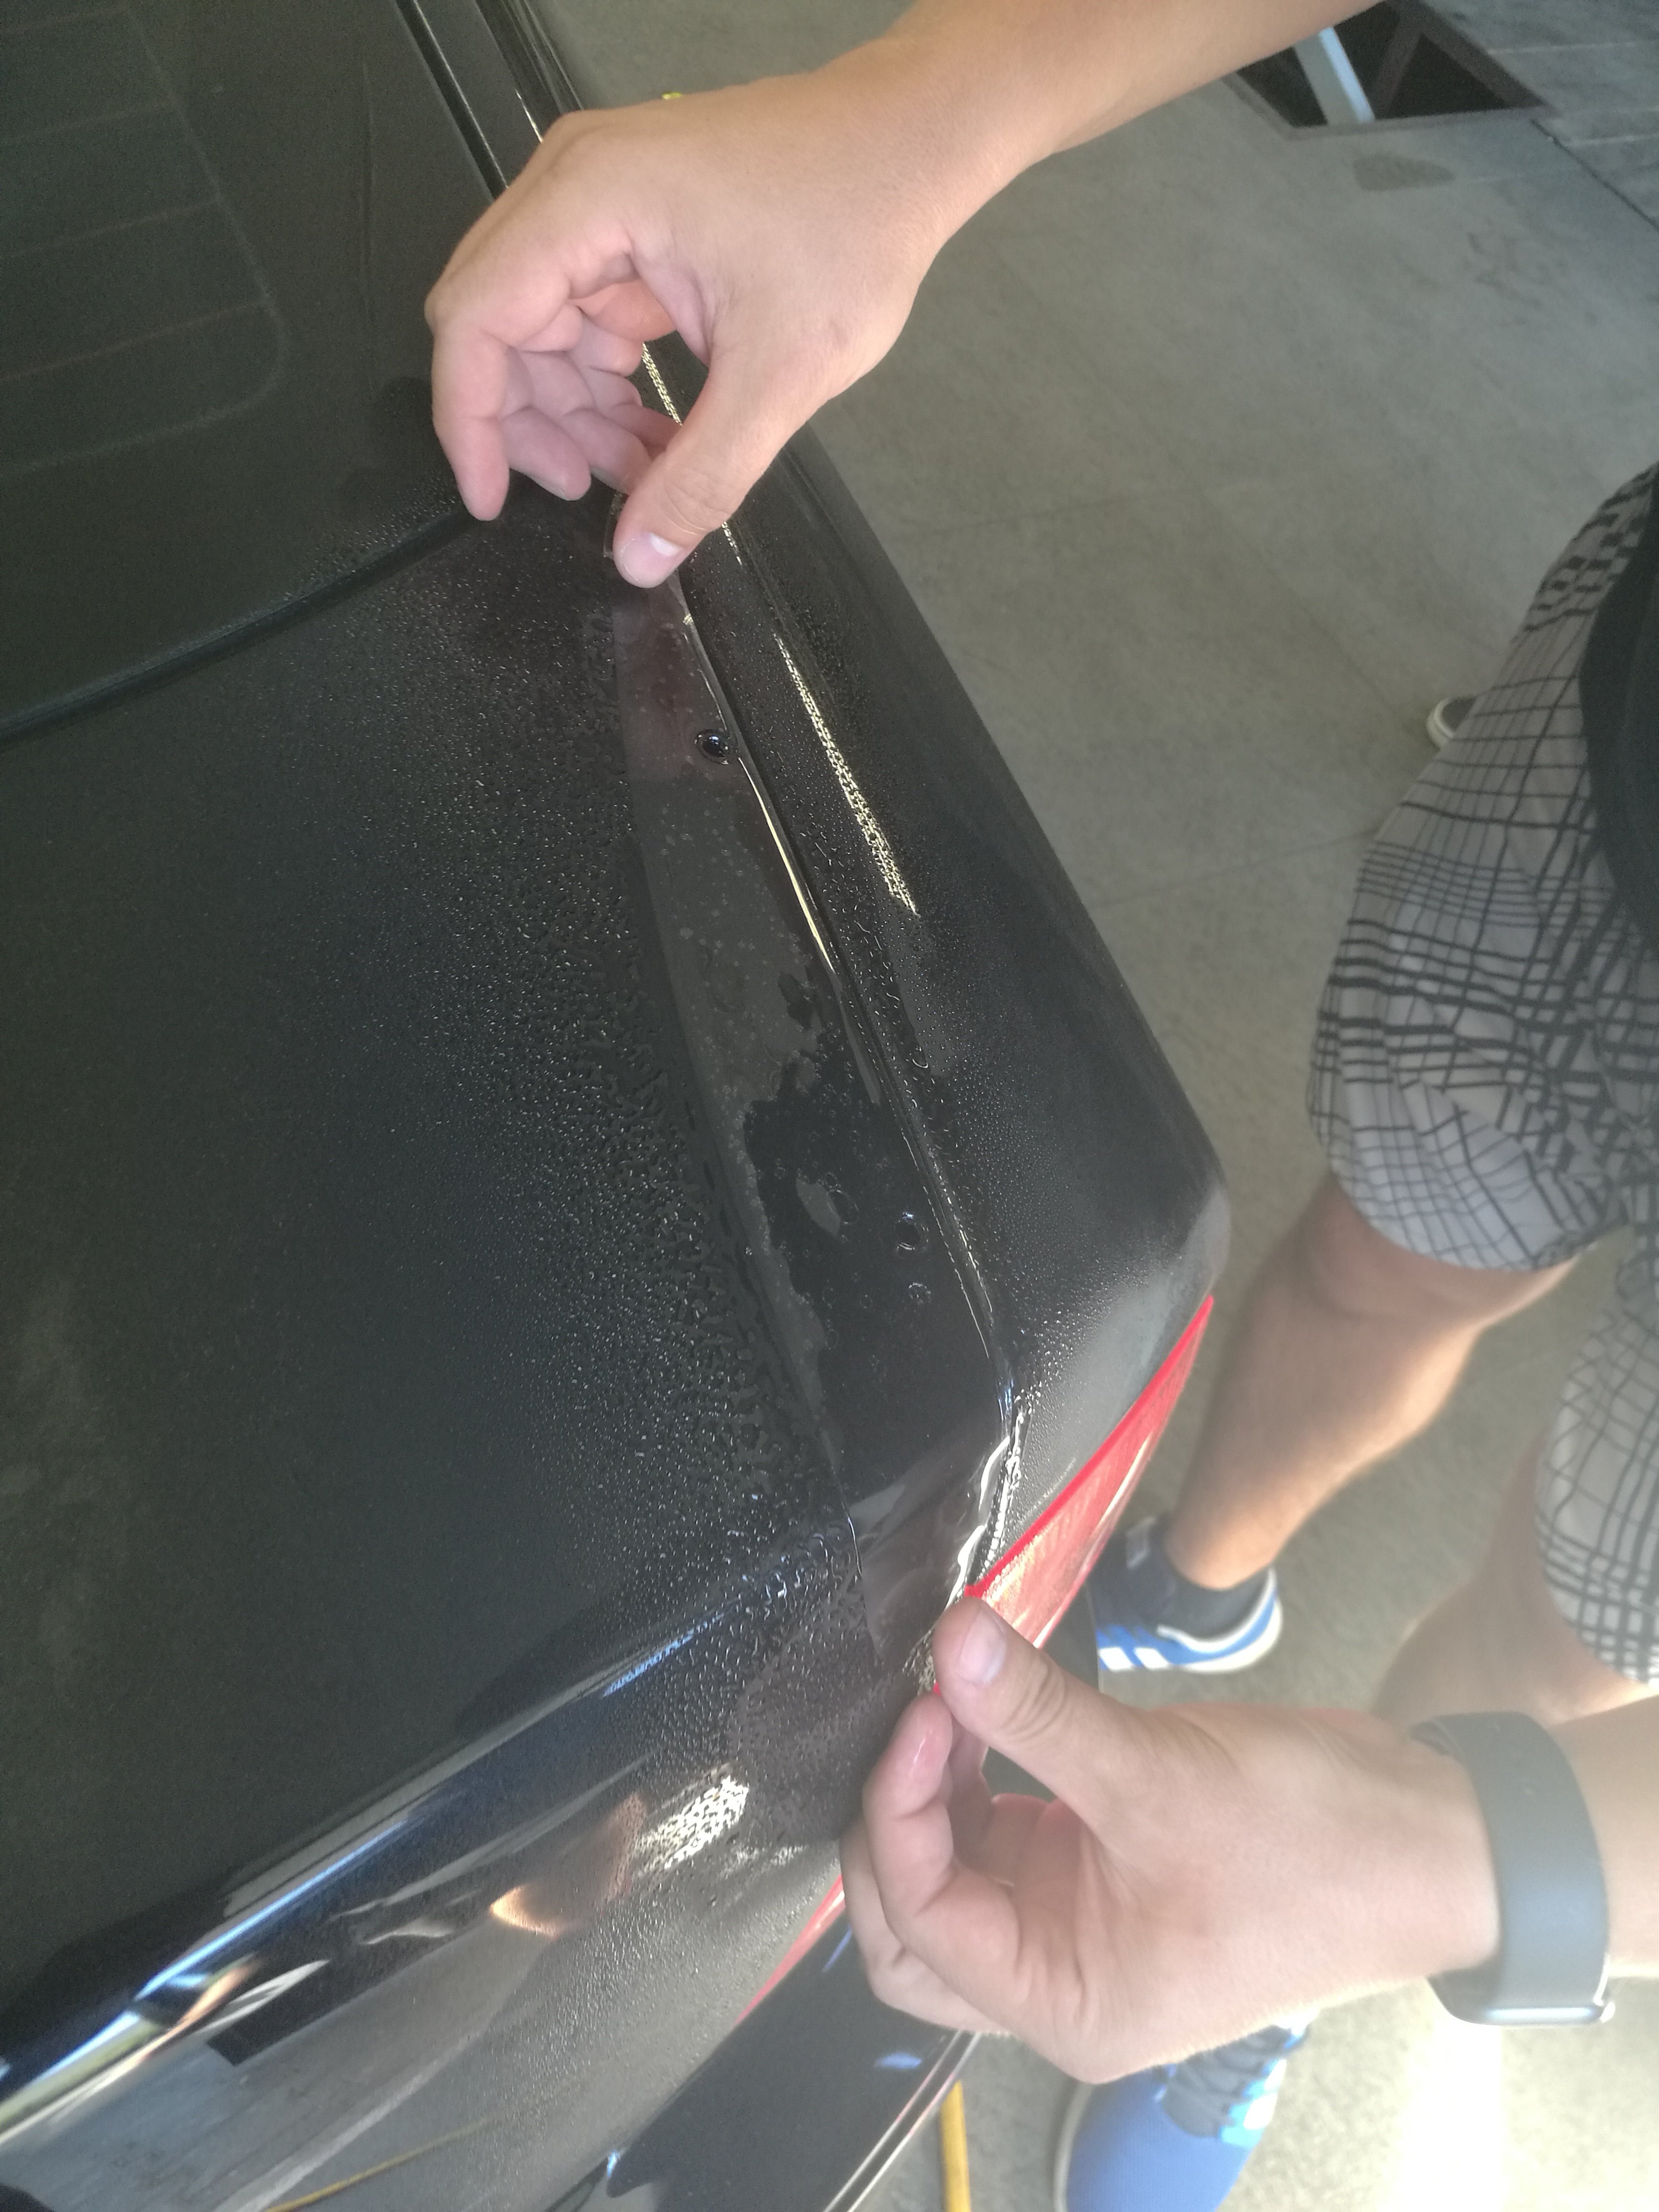
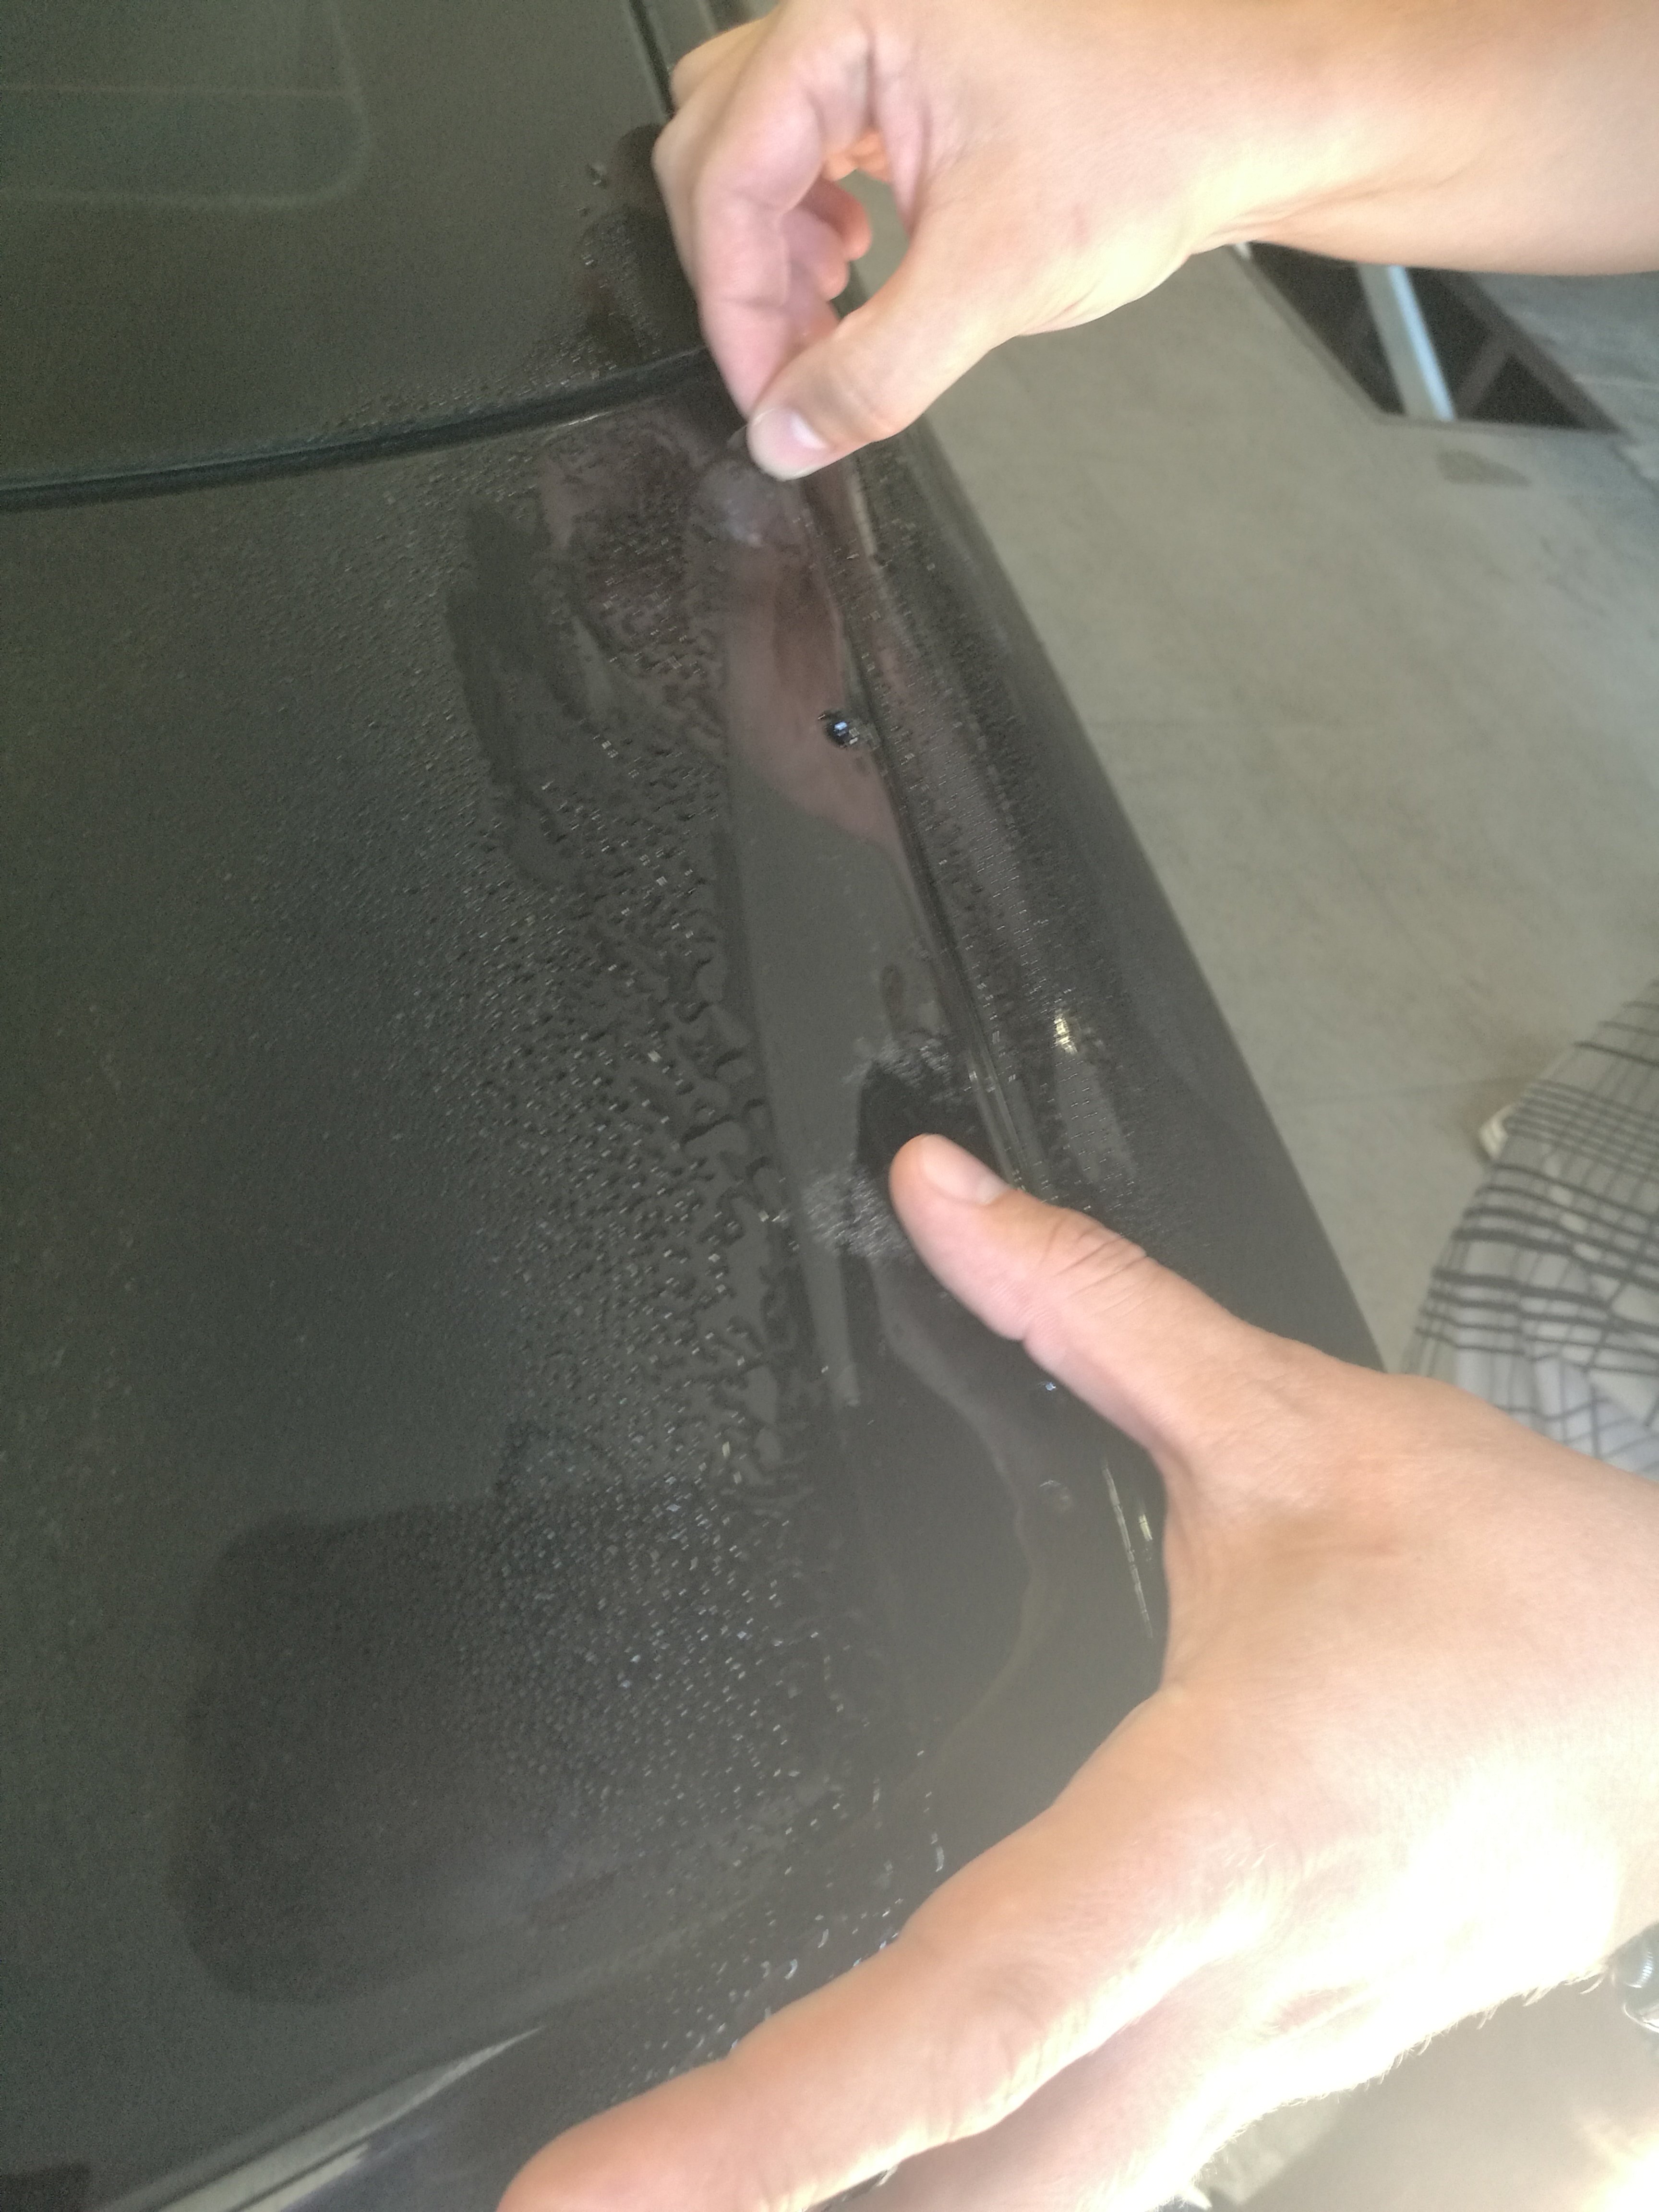
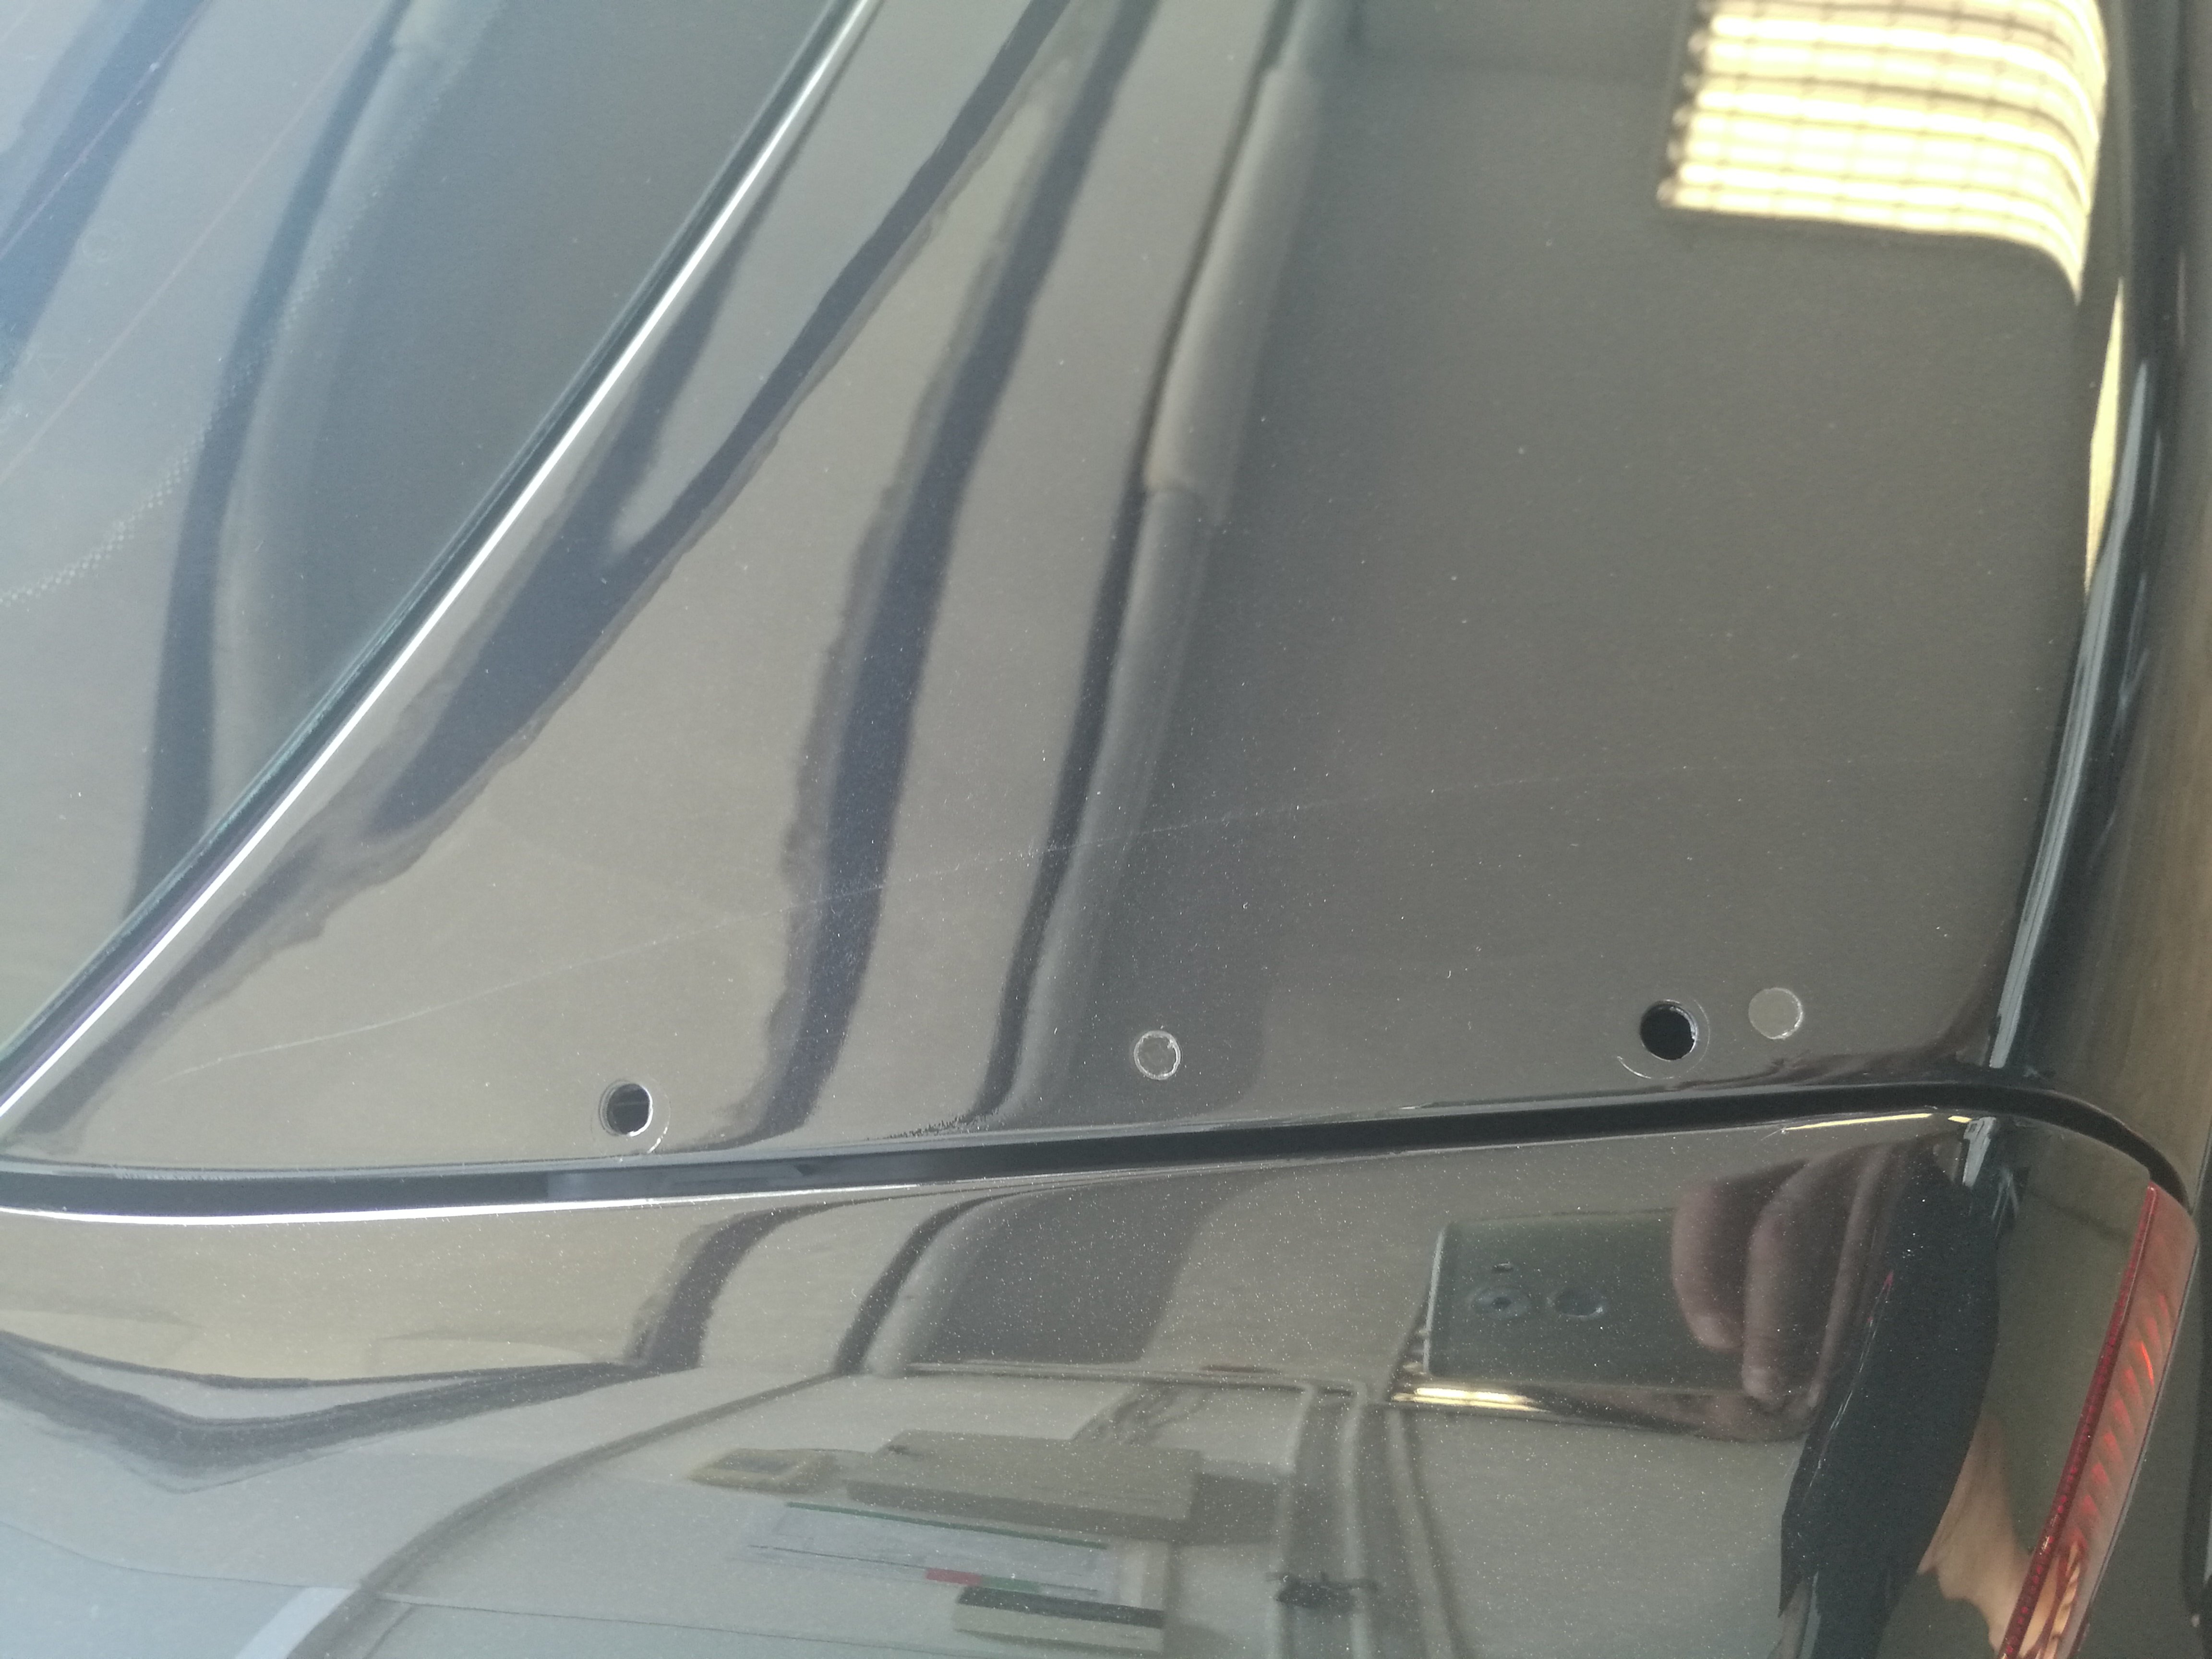
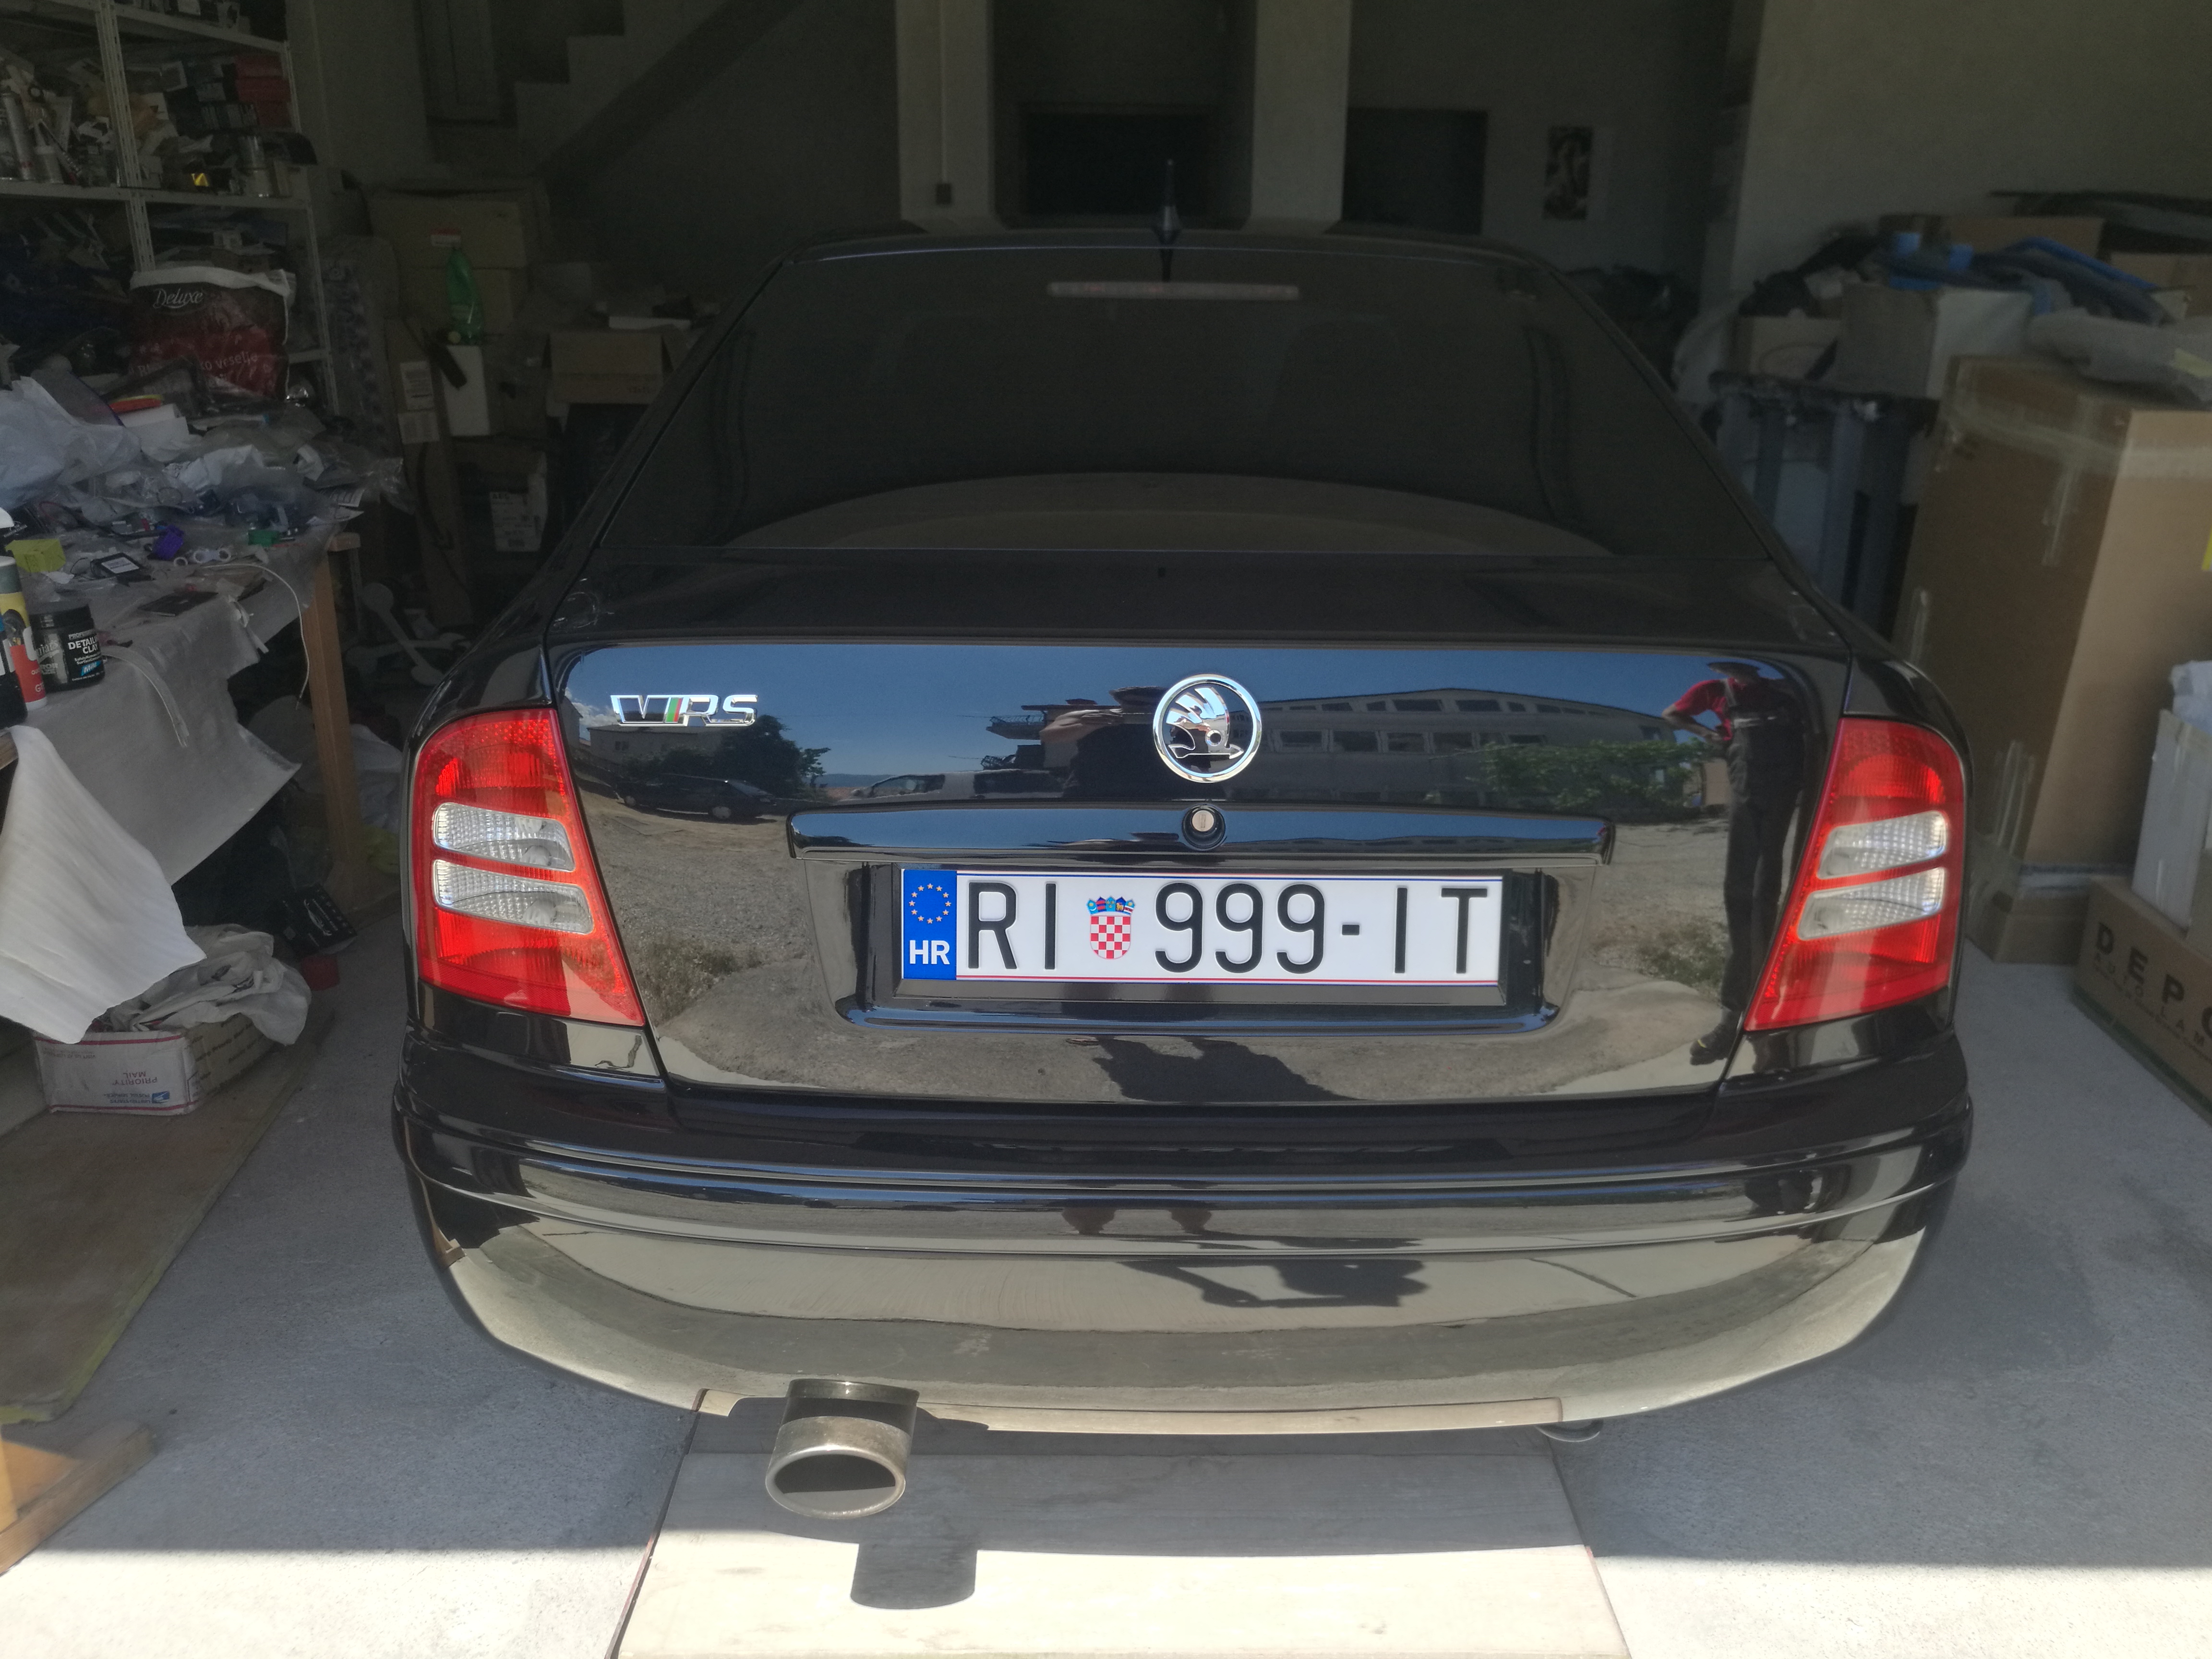
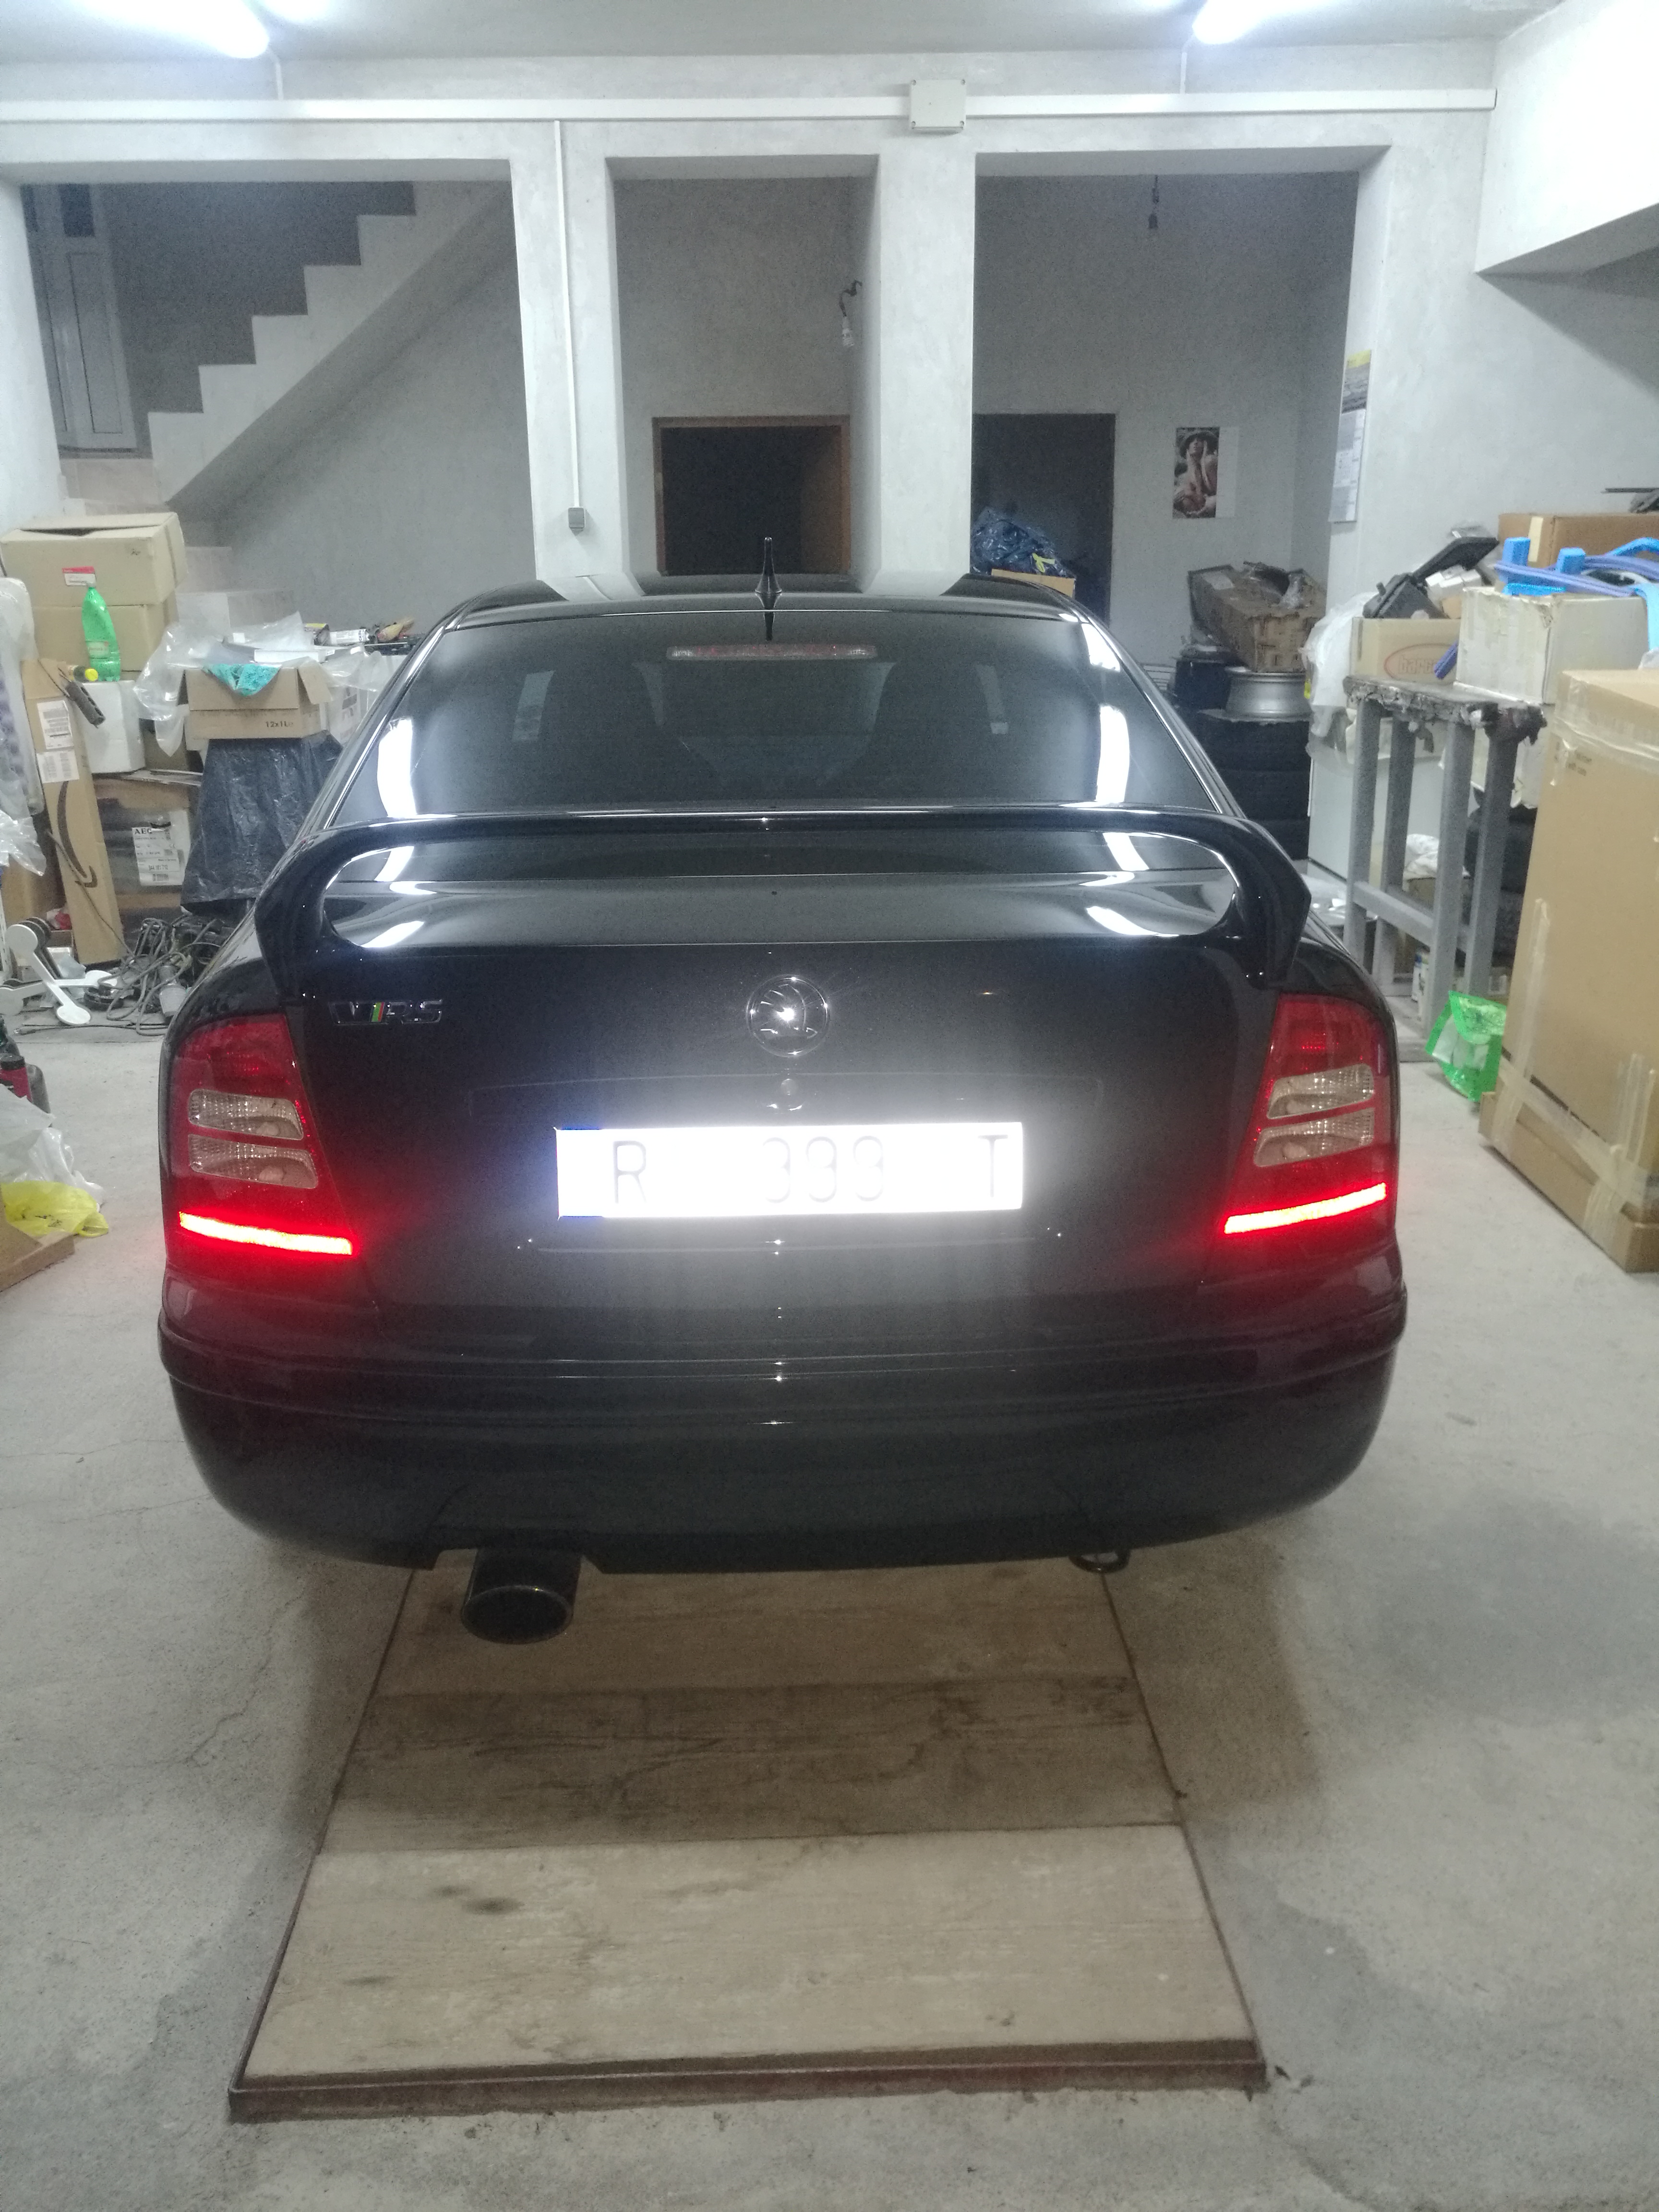
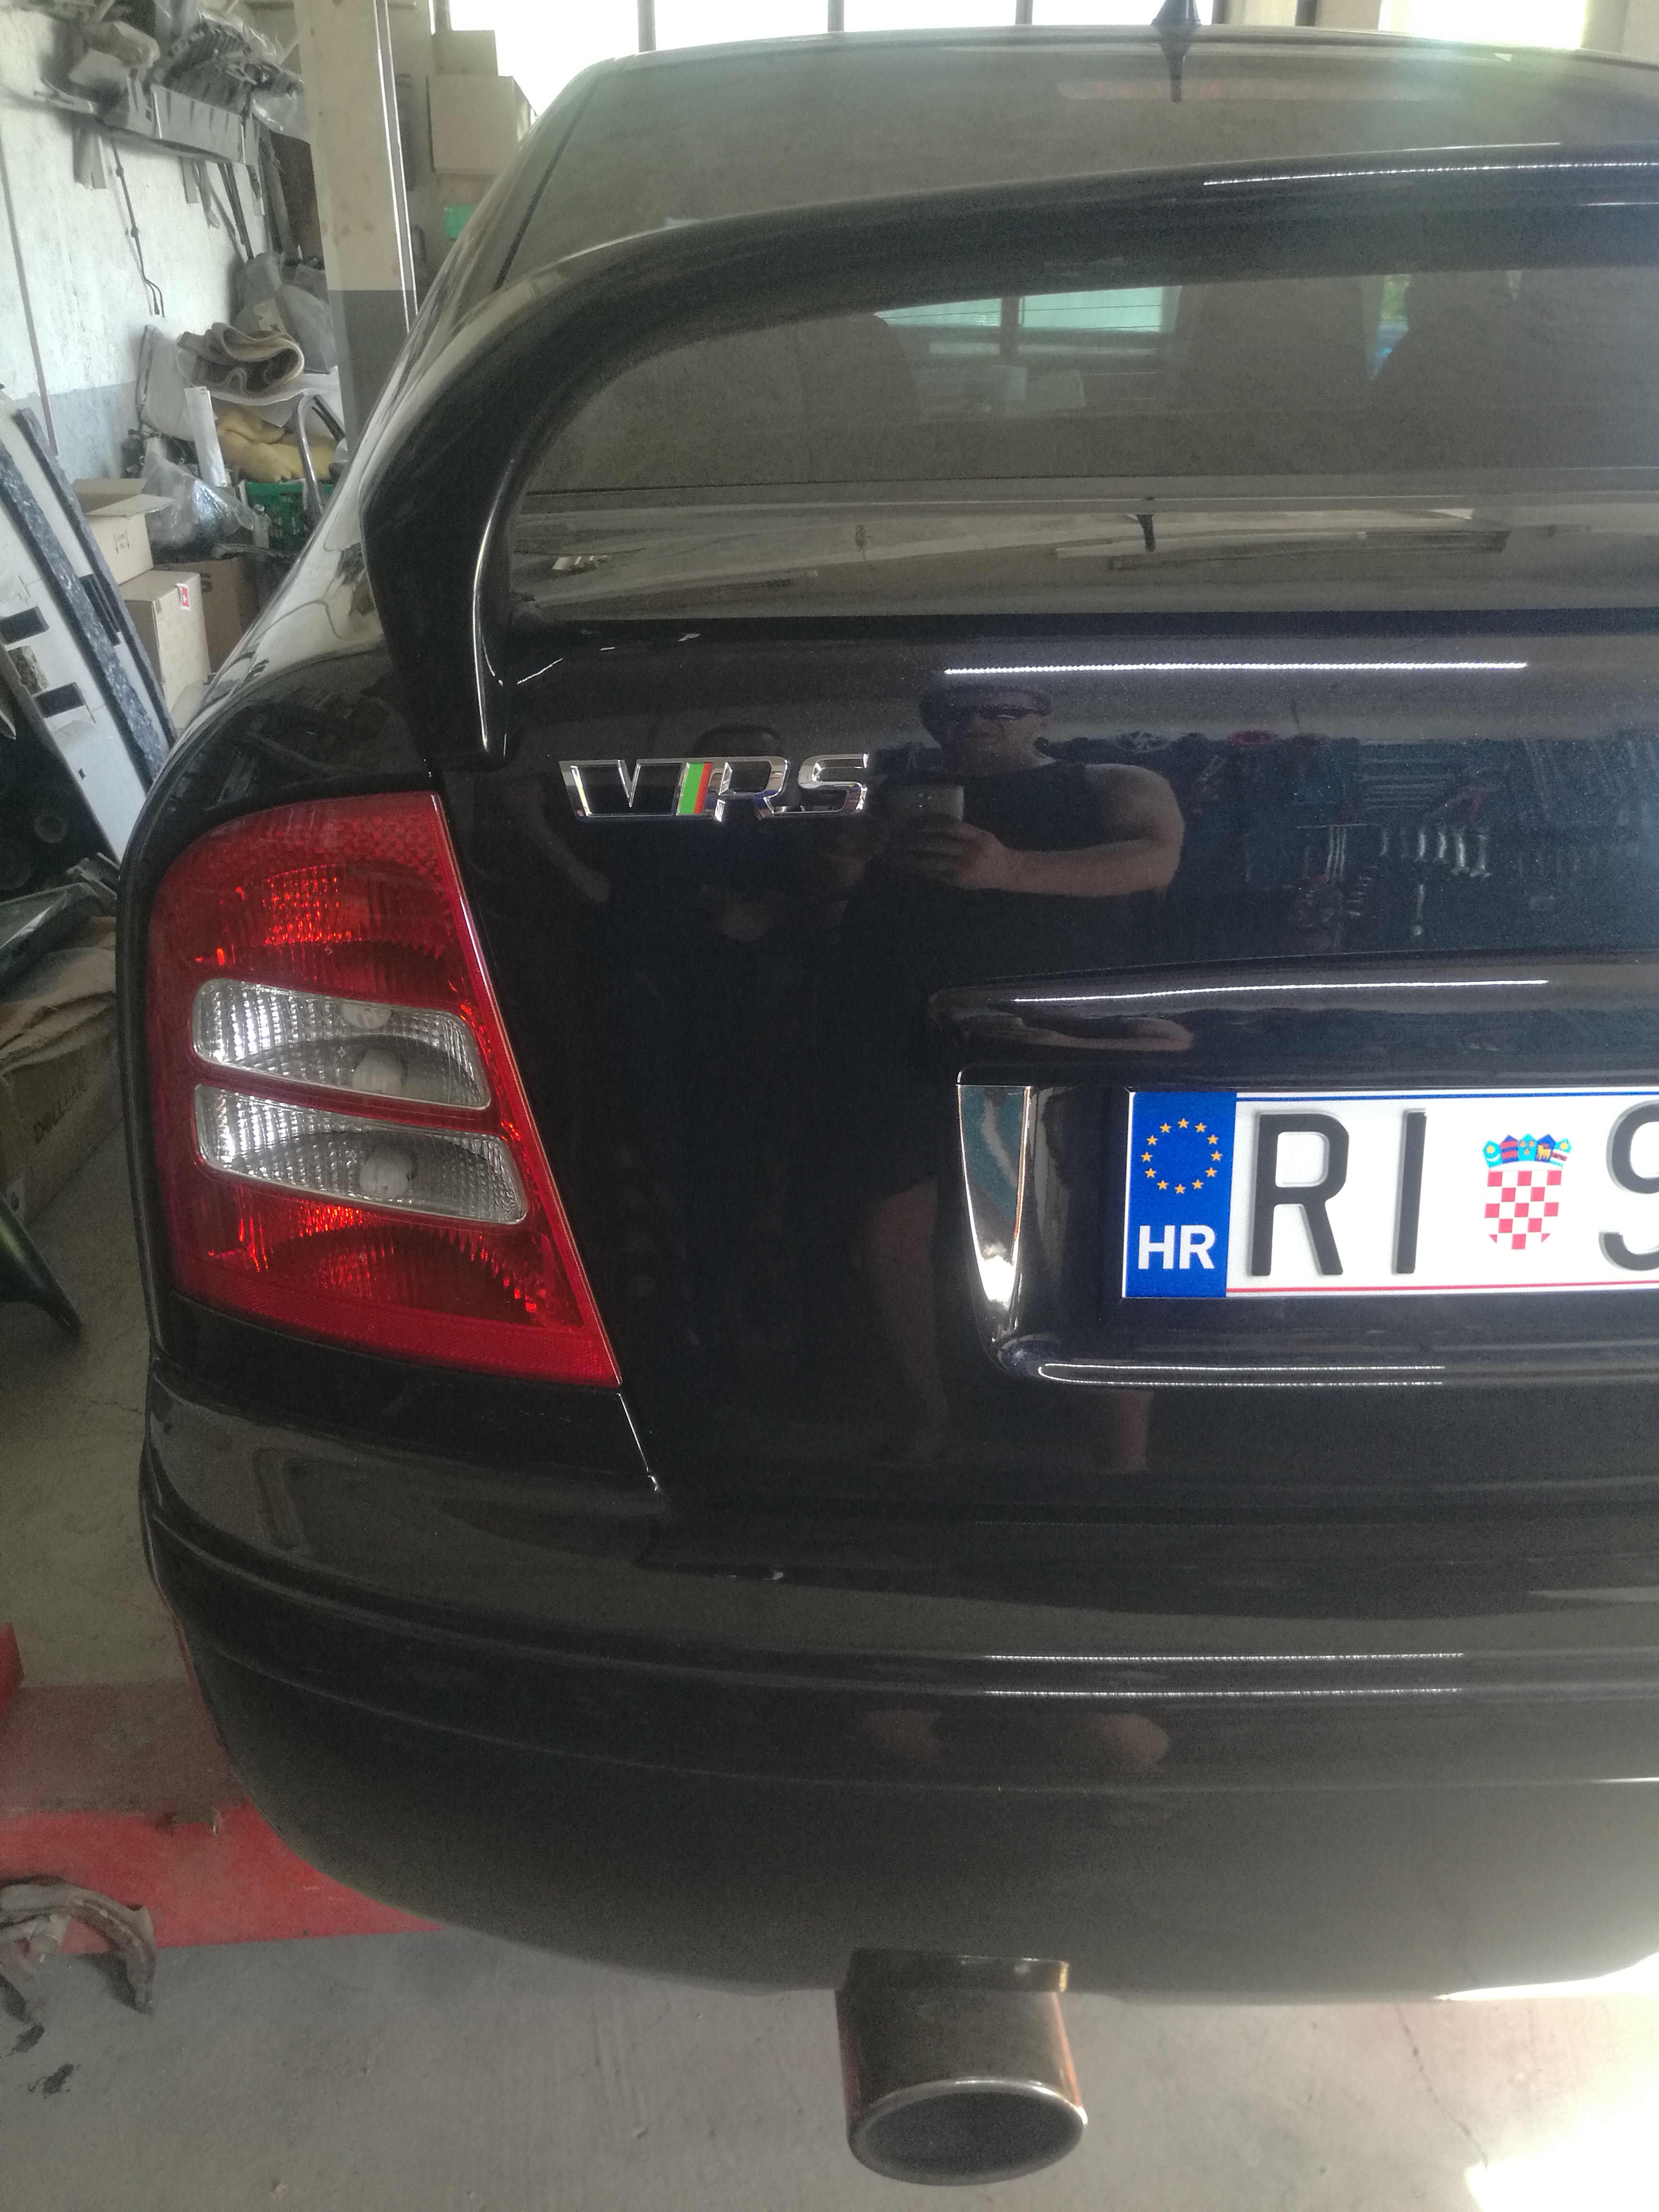
Let me explain in detsils process of rear Wings installation. I first removed heads of all 4 M6 bolts and made Spikes where there. I pressed the spoiler in place so the Spikes marked drilling points (Spikes where turned in minimally protruding). Drilled first 3mm,6mm and finally 7mm. Than we draw spoiler template on paper in place to get template for PPF. That drawing was scanned in A3 and than machine cut on 150micron PPF, it was placed in place and left to dry for several days. After that we did put double sided Wurth tape on the base of rear wing to gain amortisation,and sprayed With water mixed With baby shampoo to alow sliding od double sided Rape over PPF without distorsion of PPF before final Titanium bolt tighteming. Using PPF and double sided adhesive tape paint wont ne damaged after spoiler removal in future😇😇😇😇


-
-
-
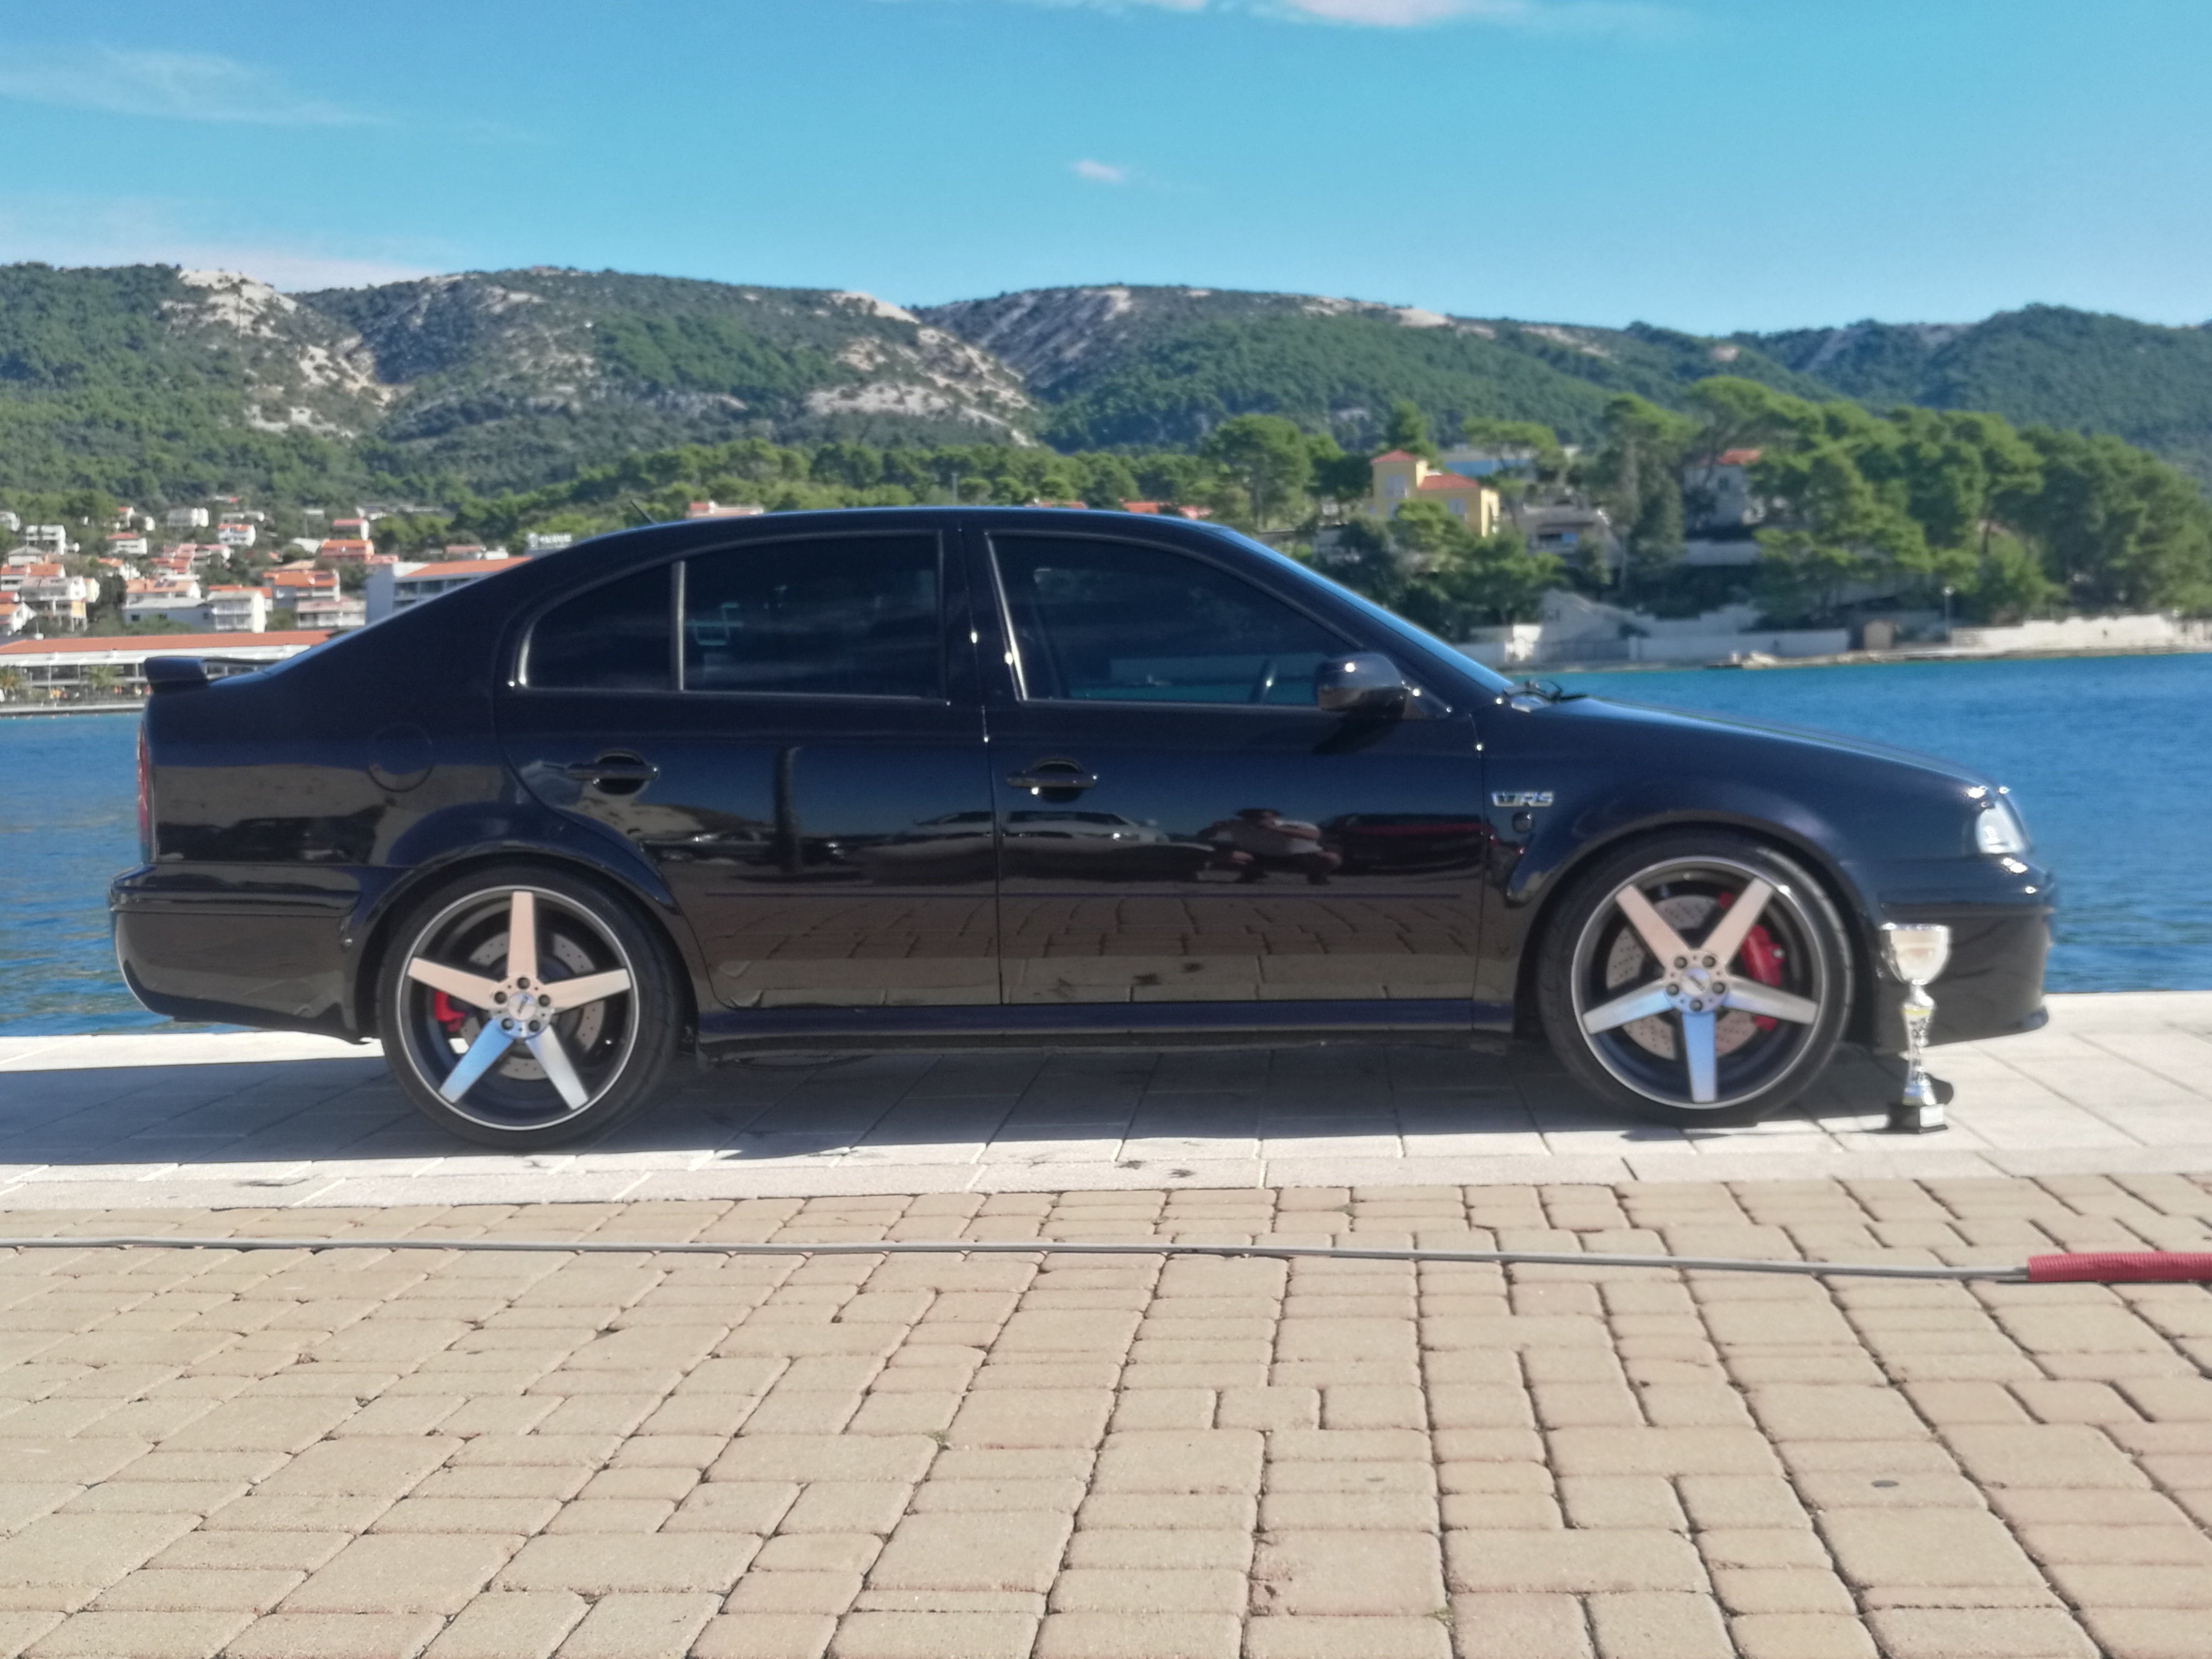
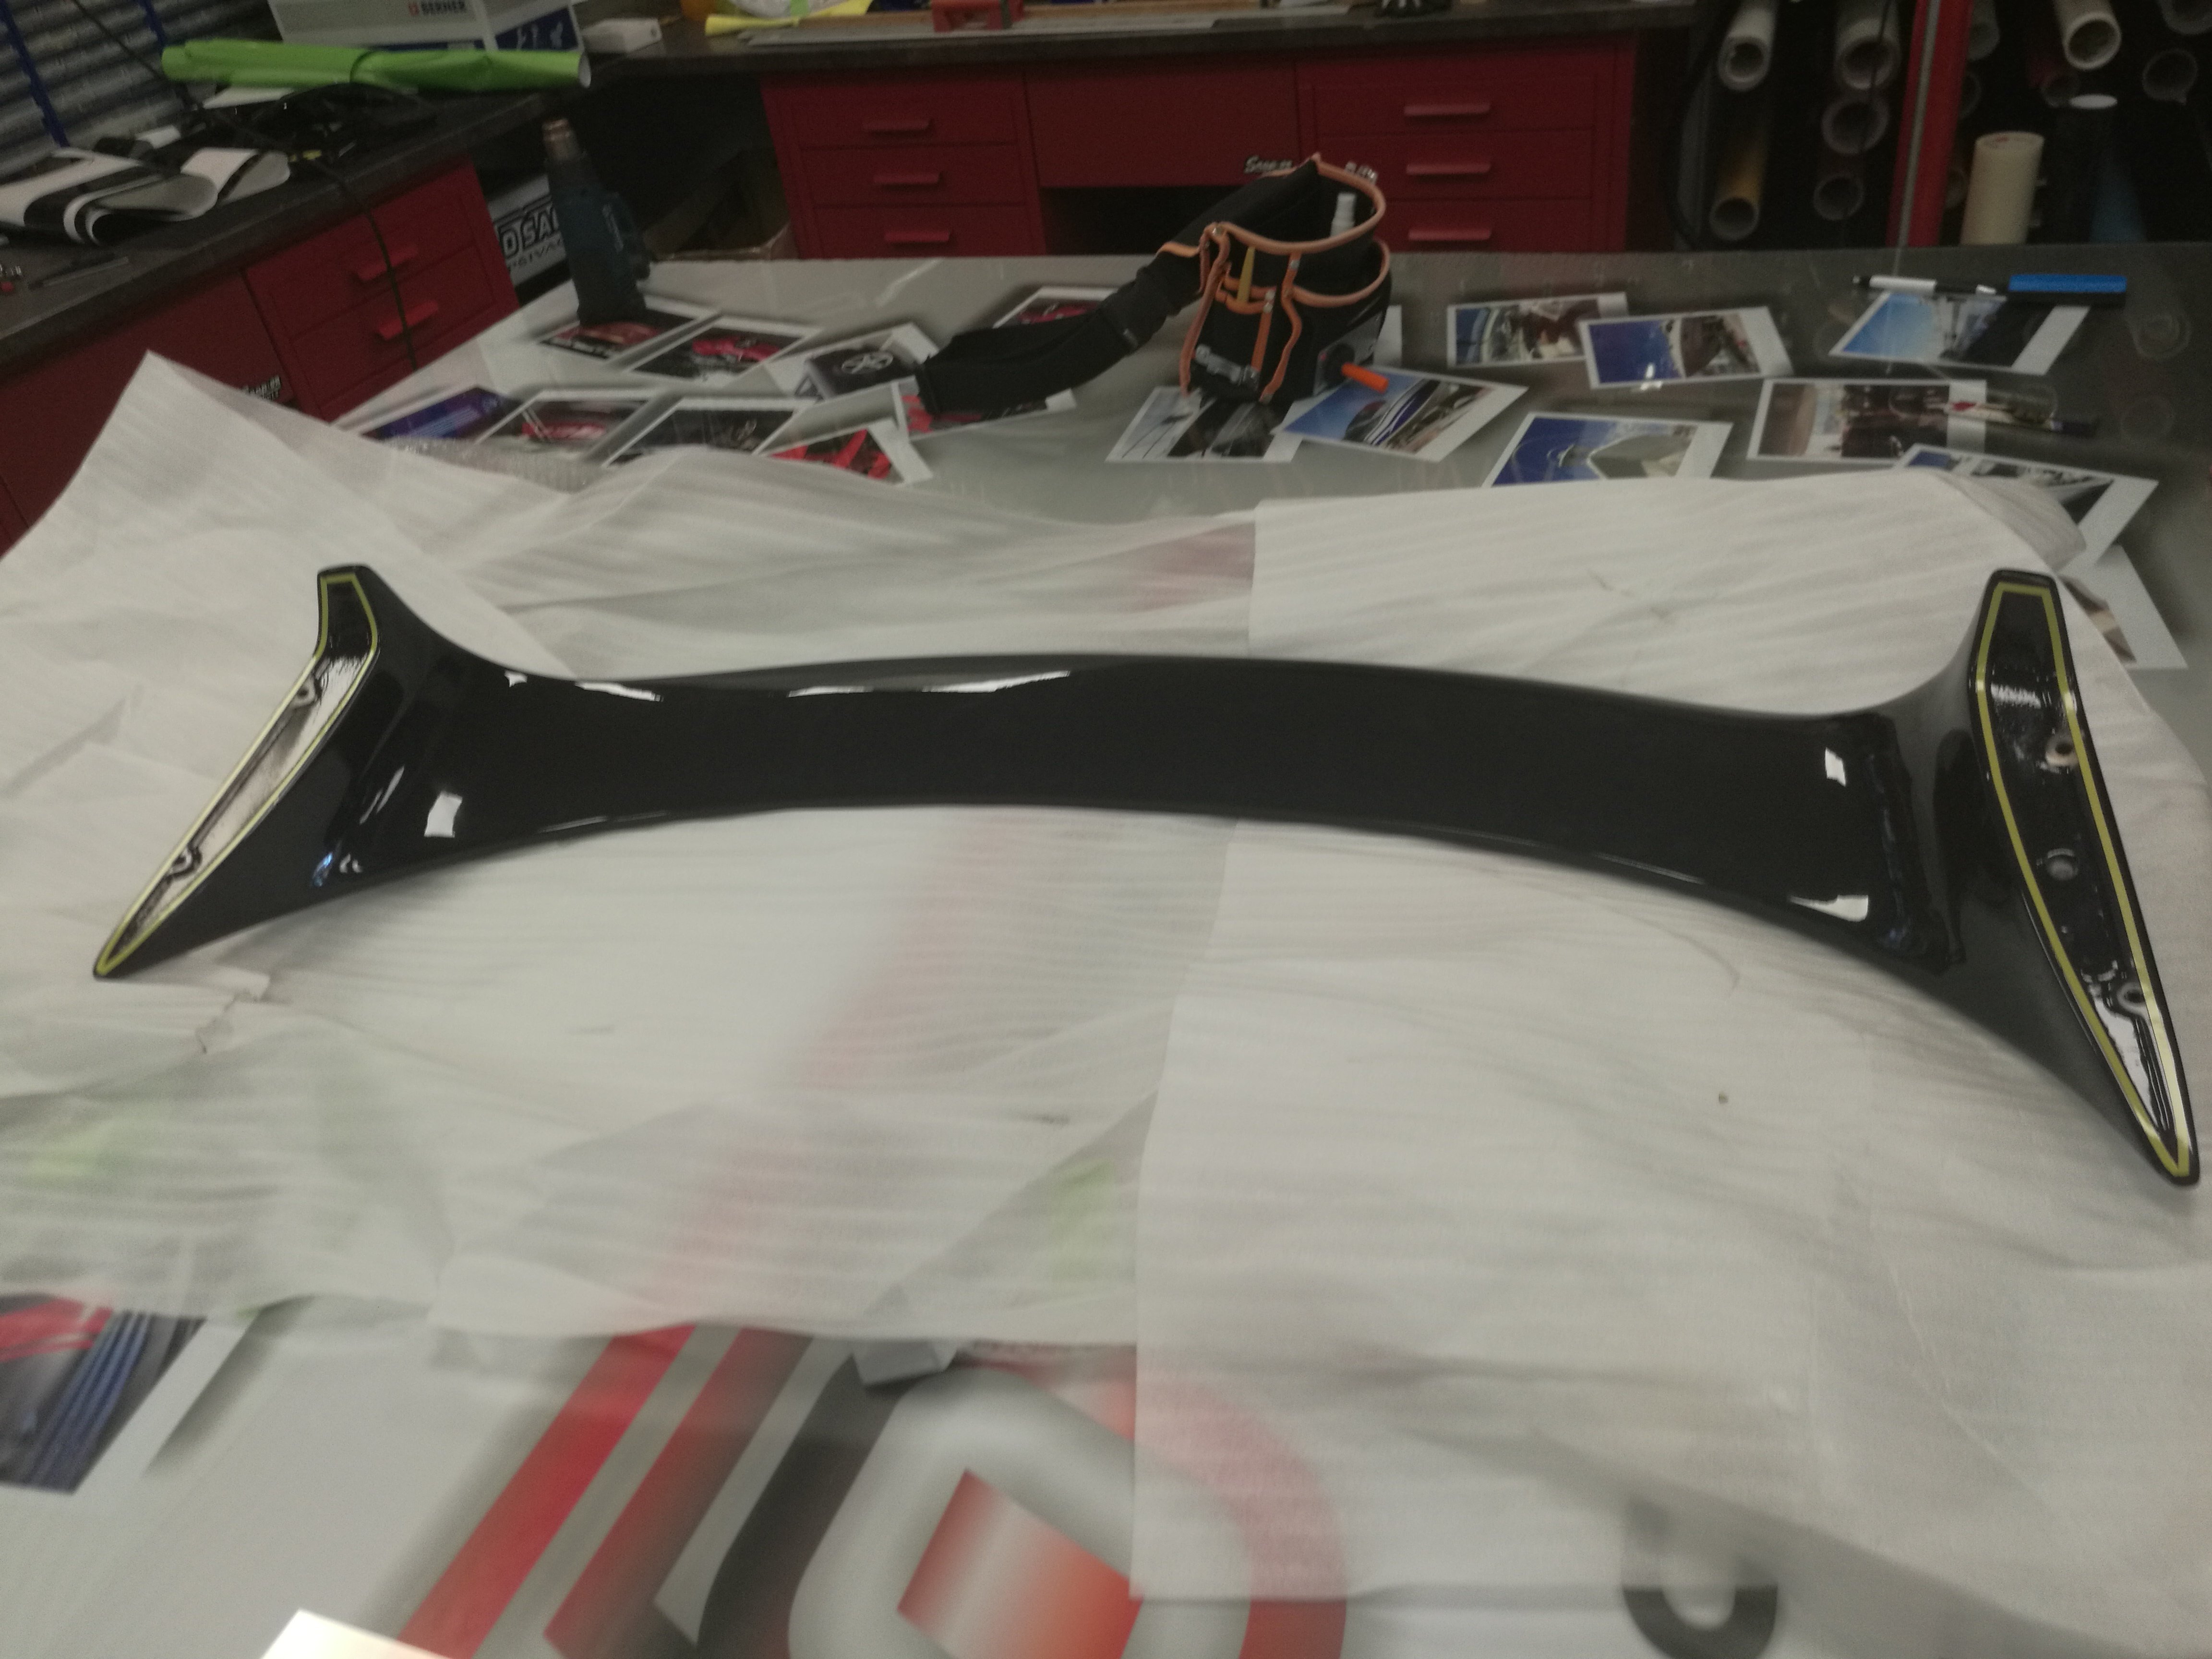
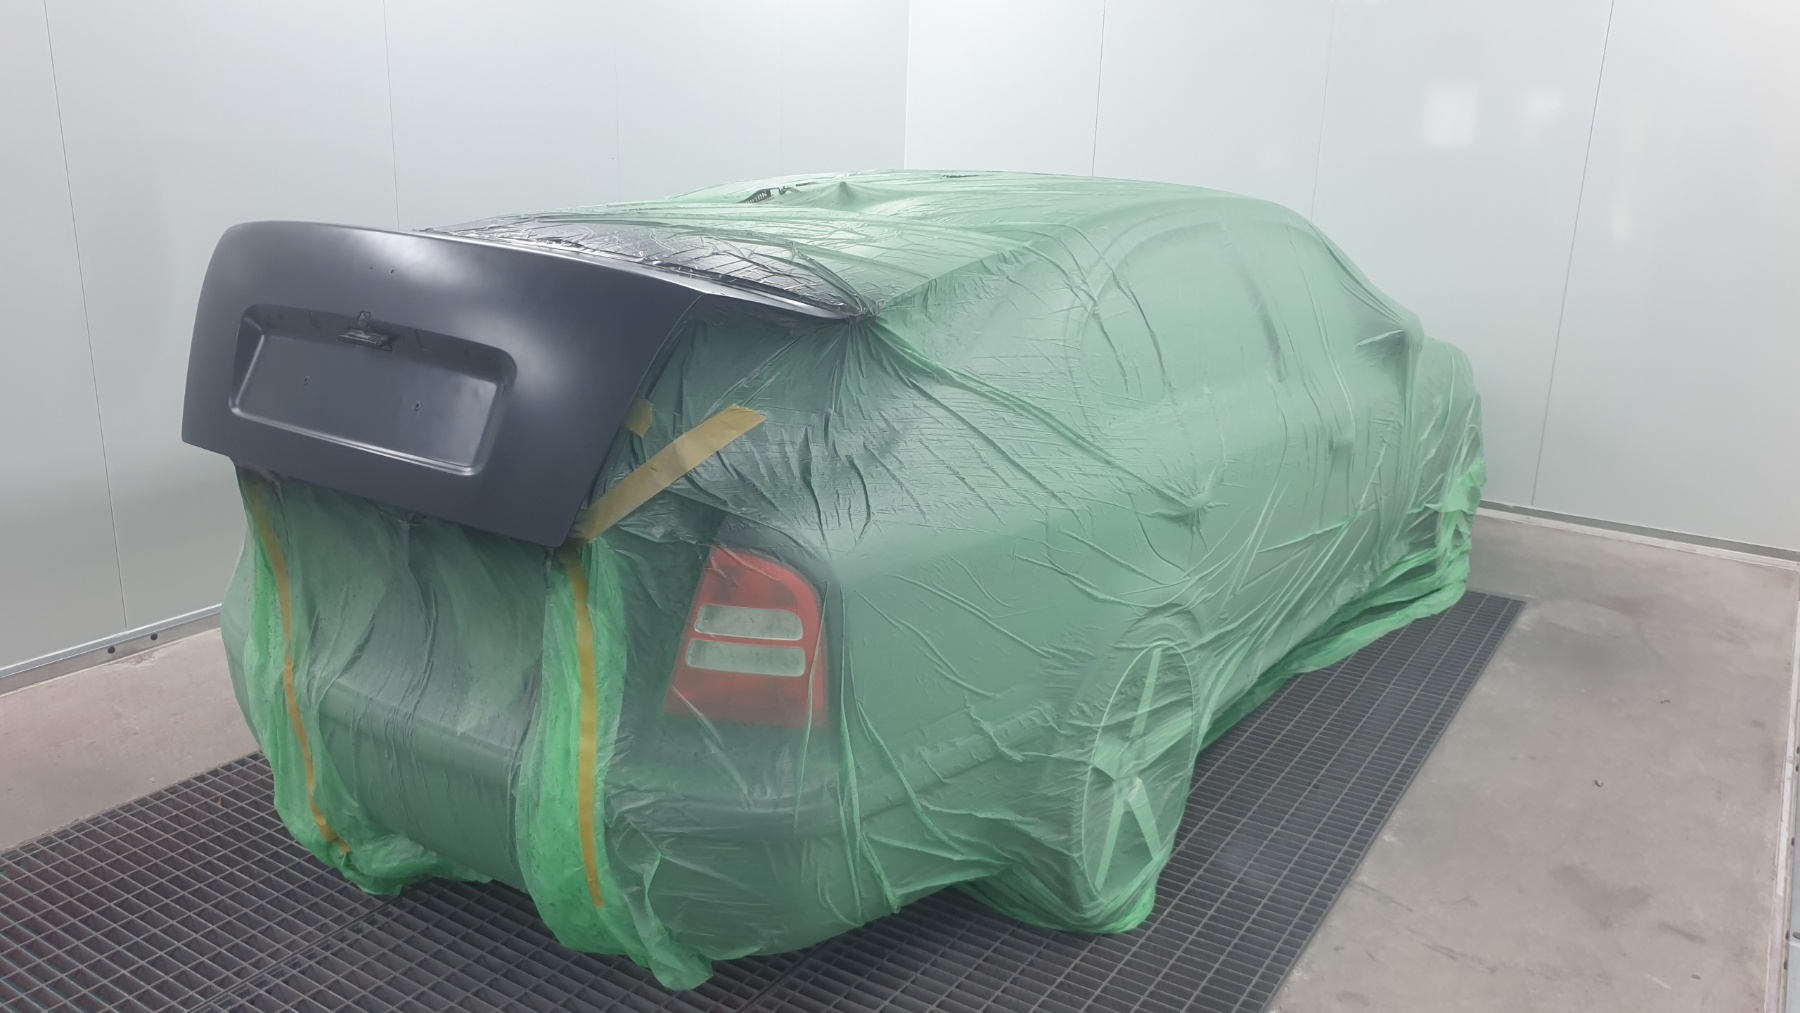
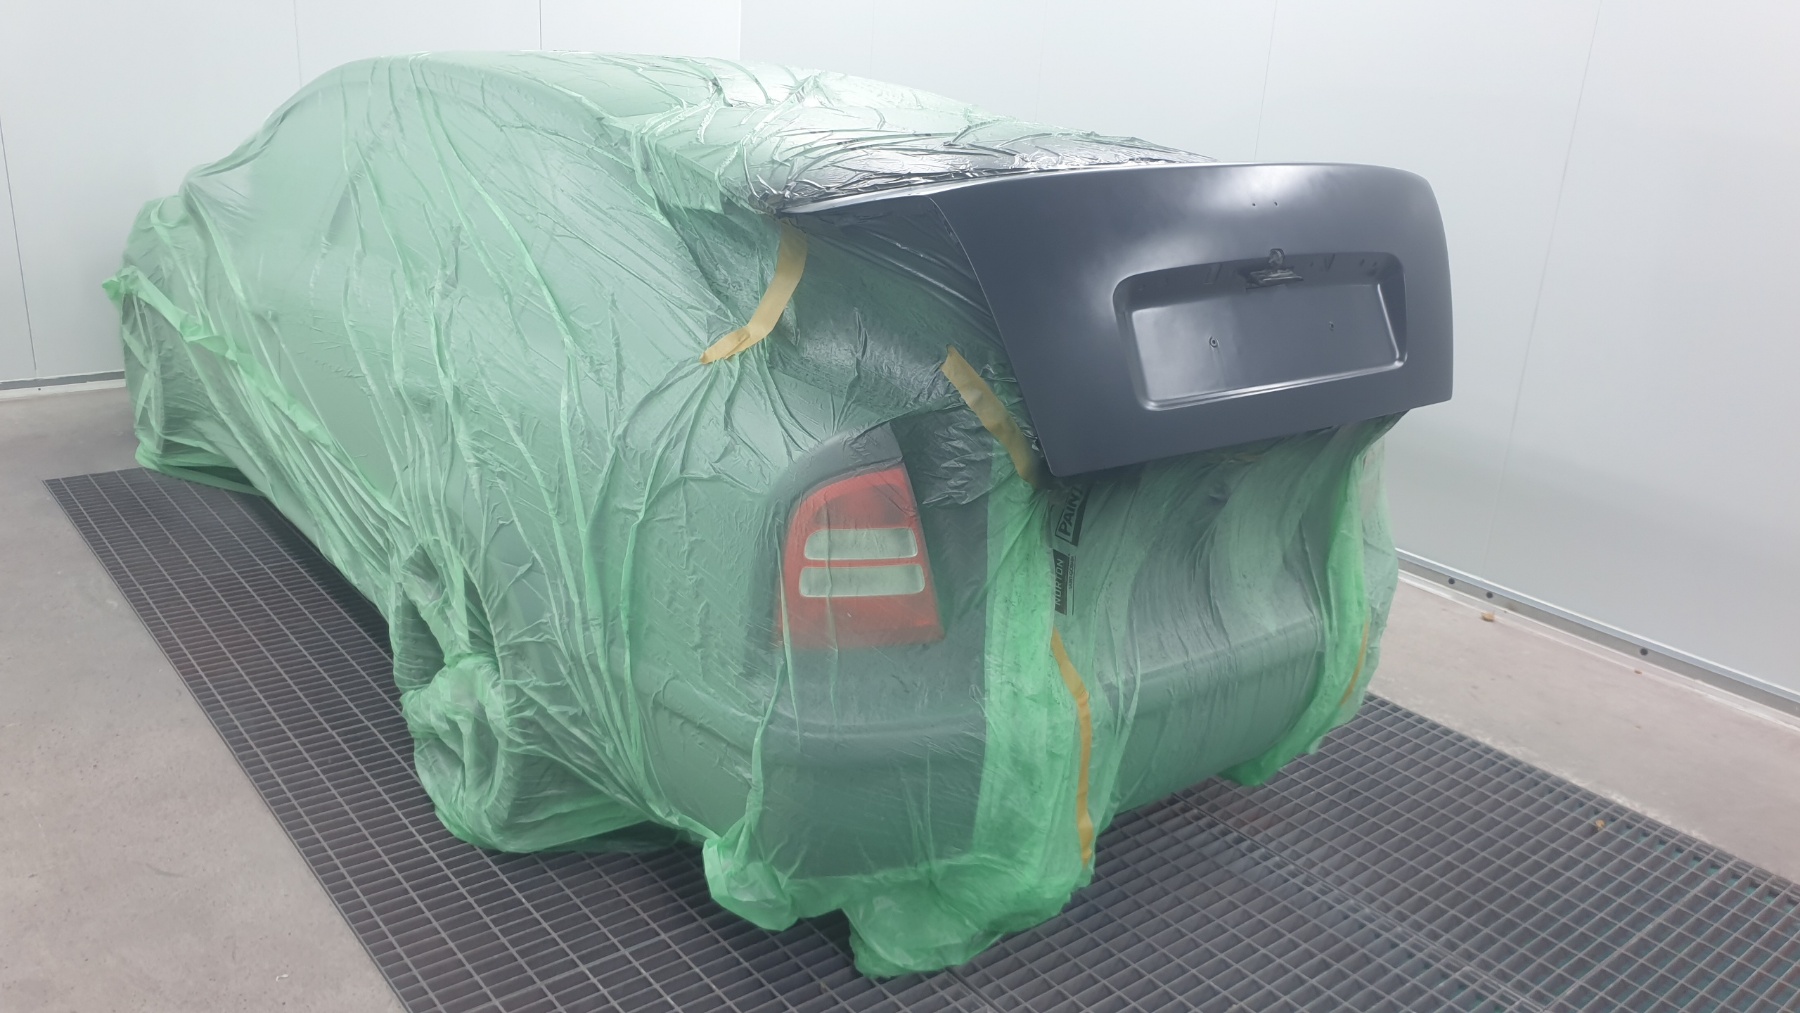
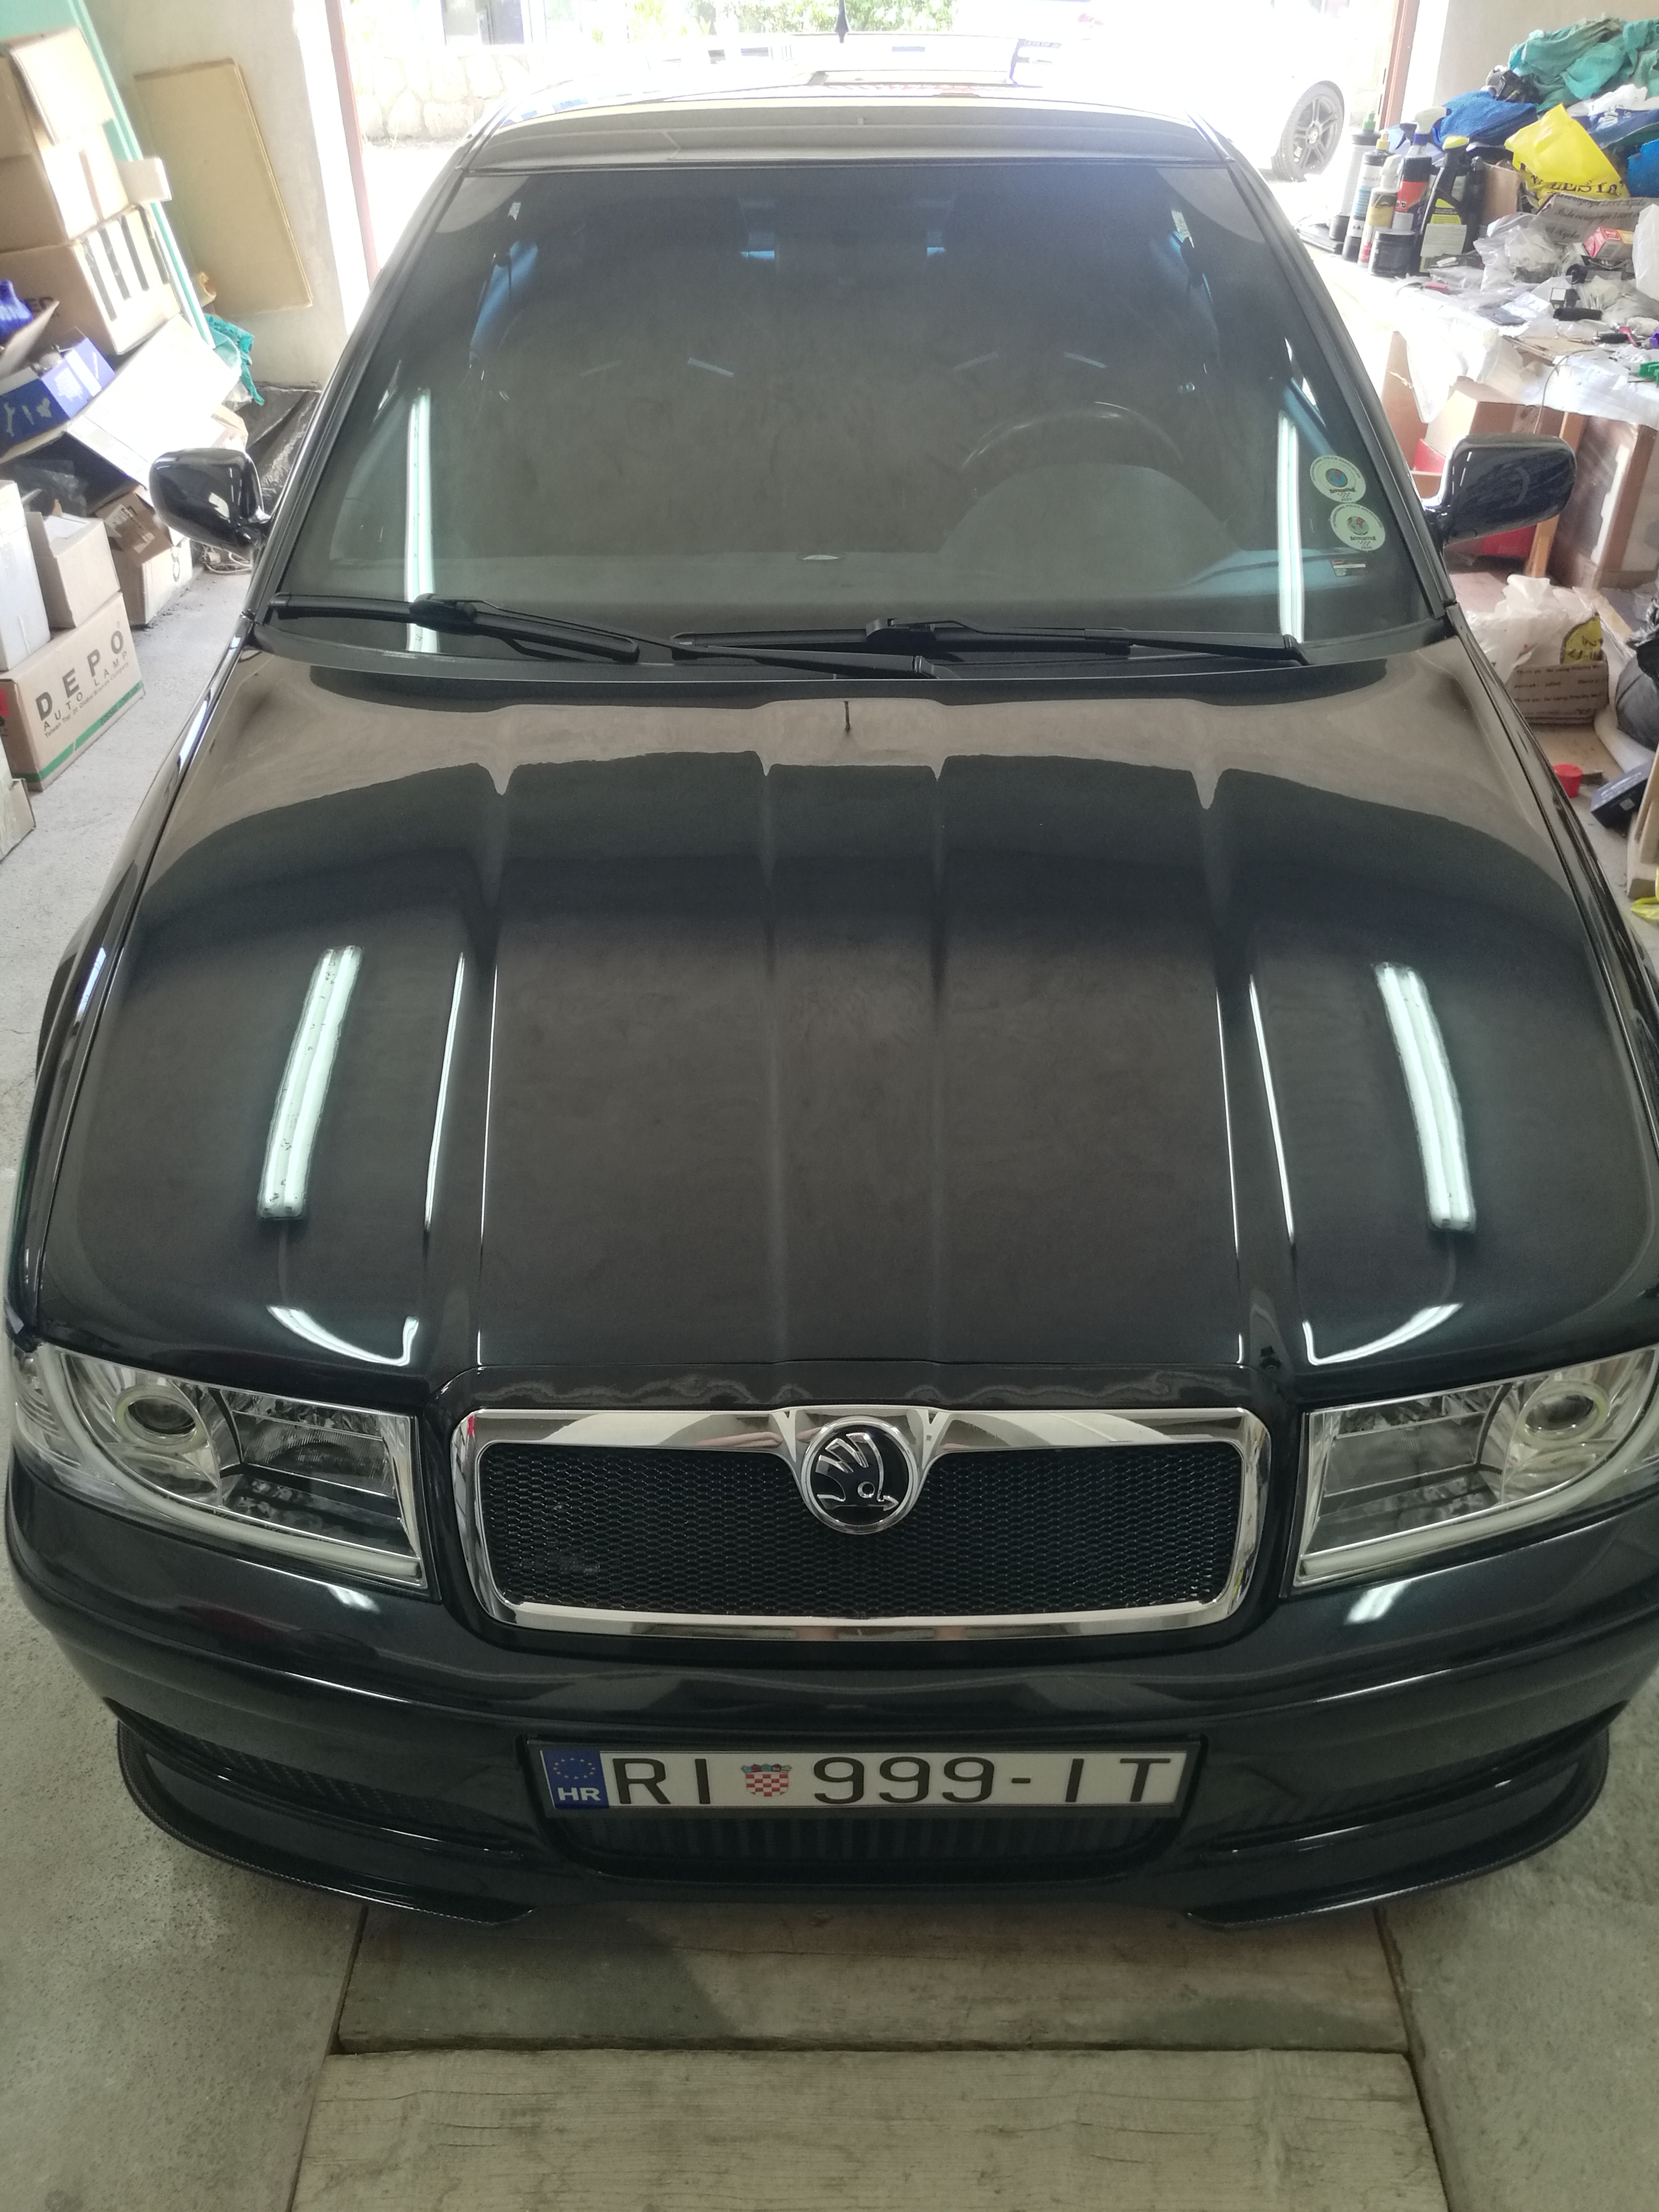
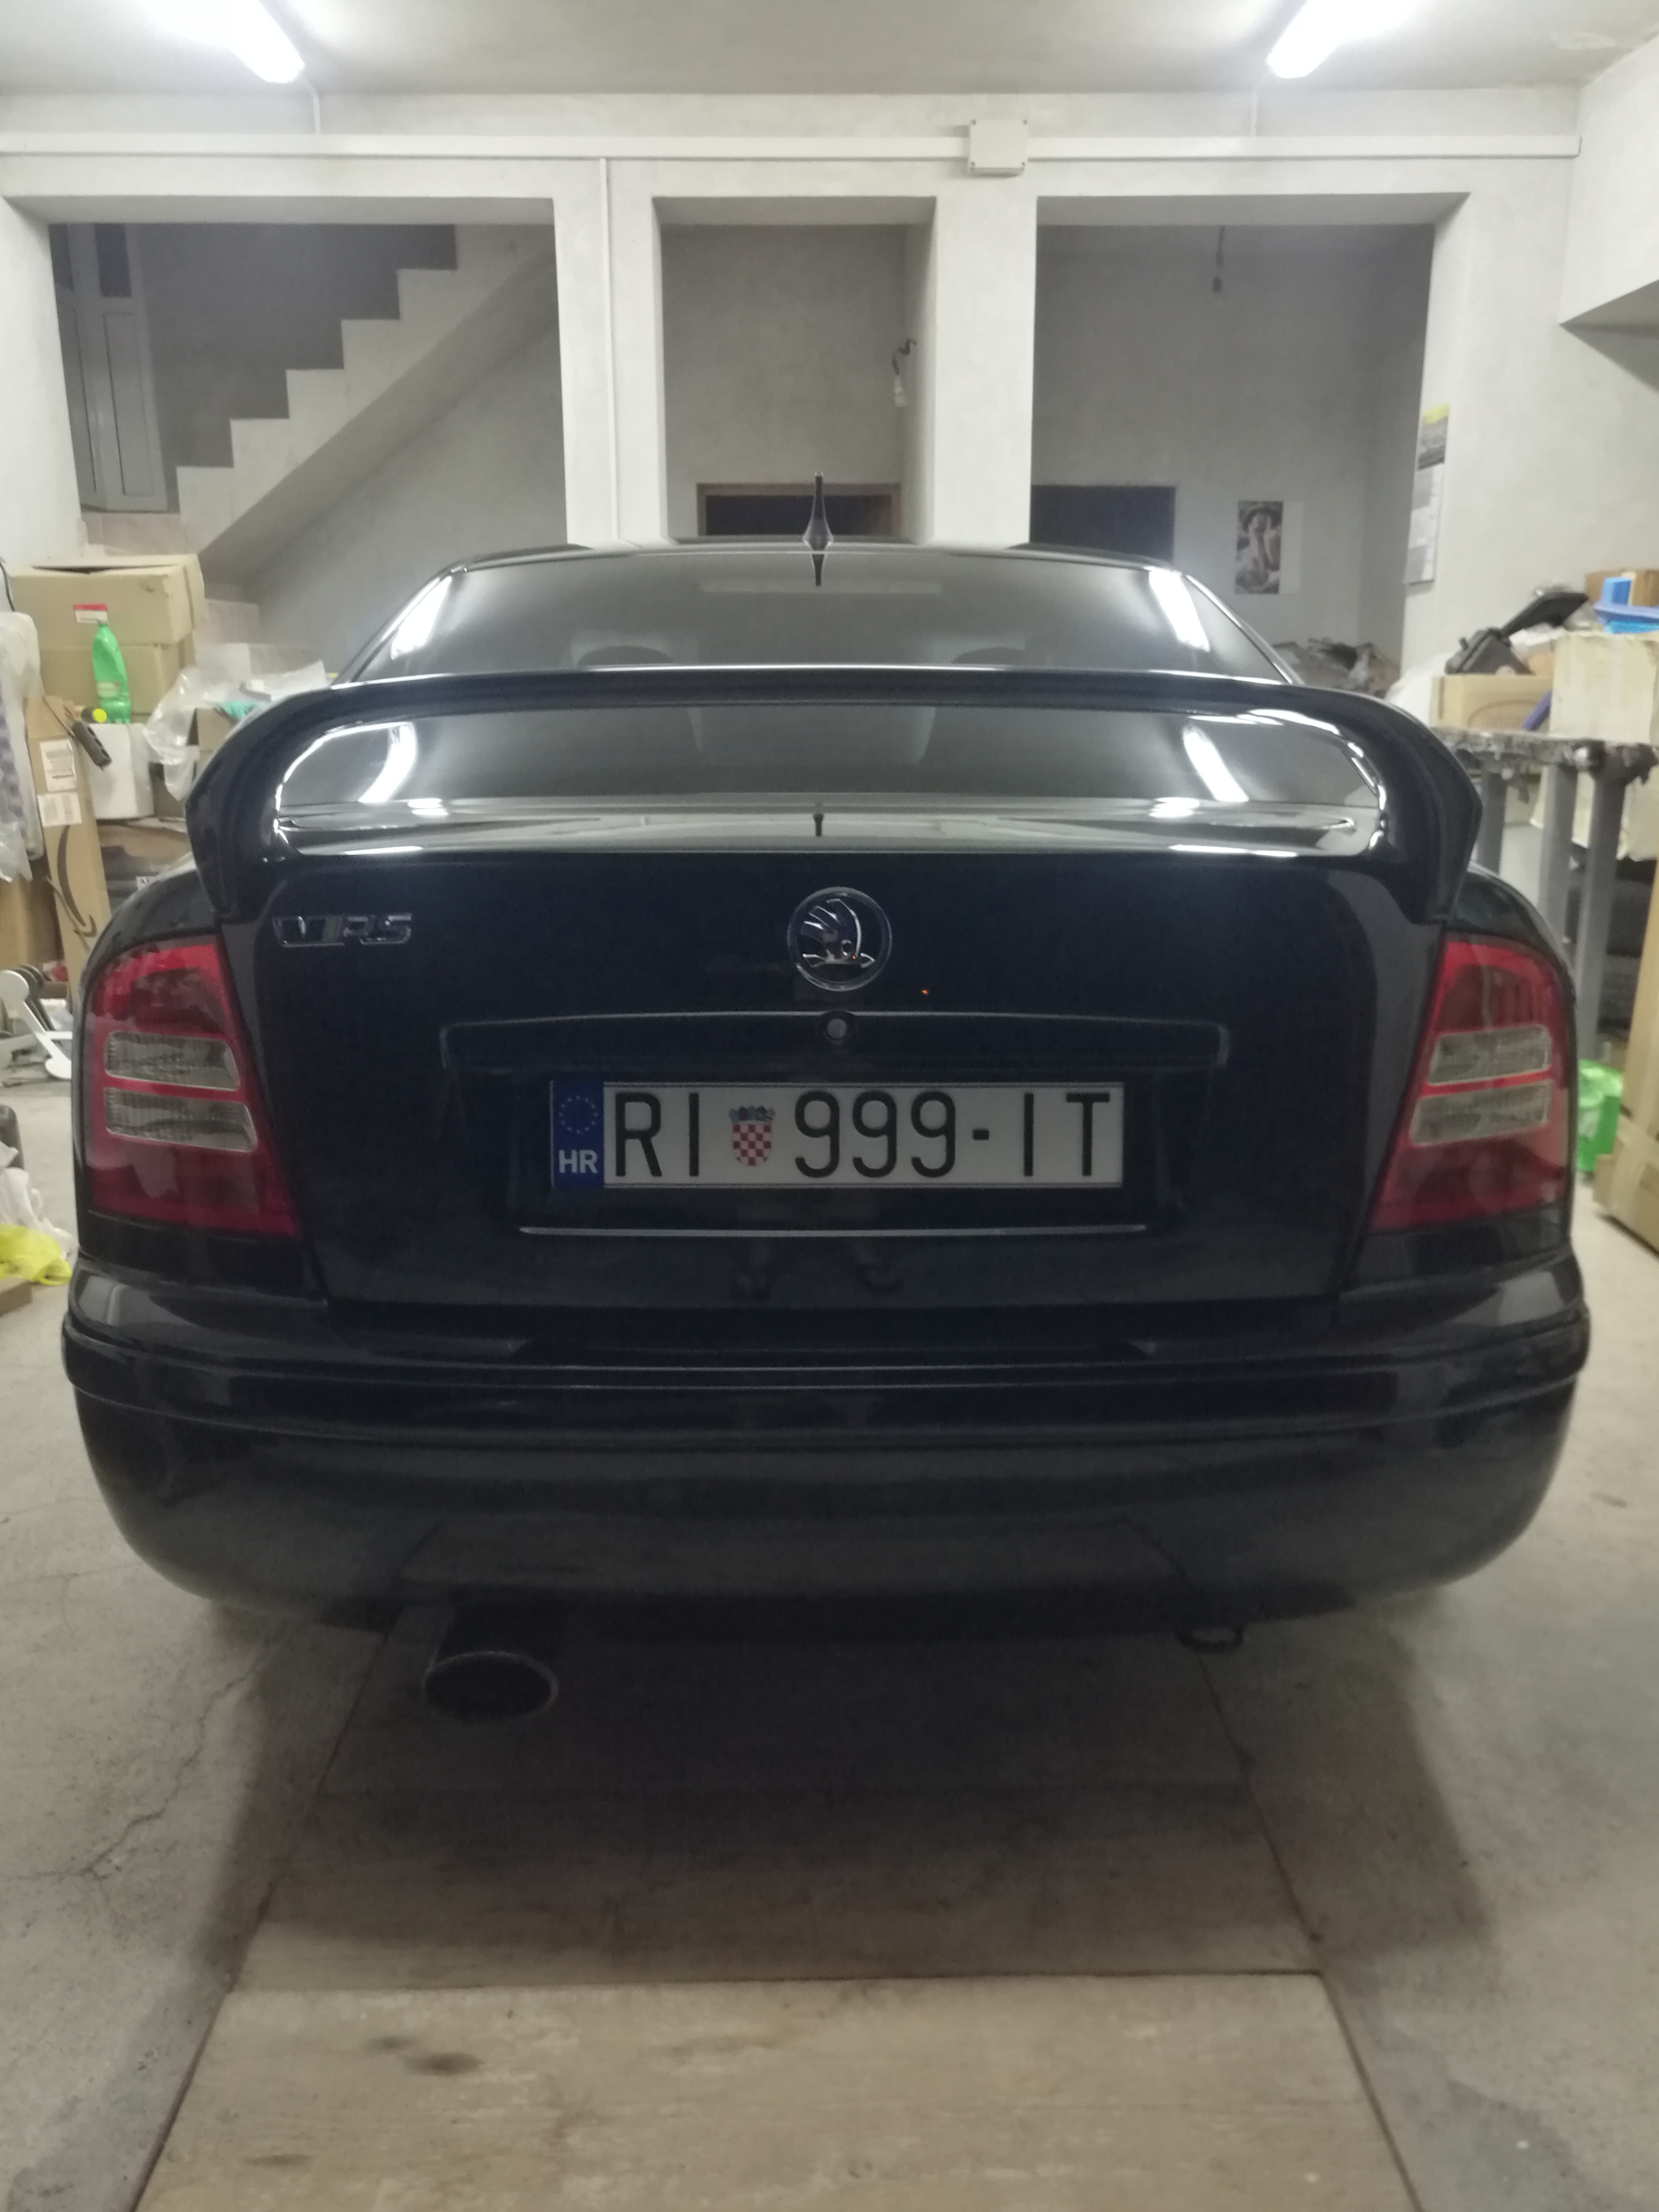
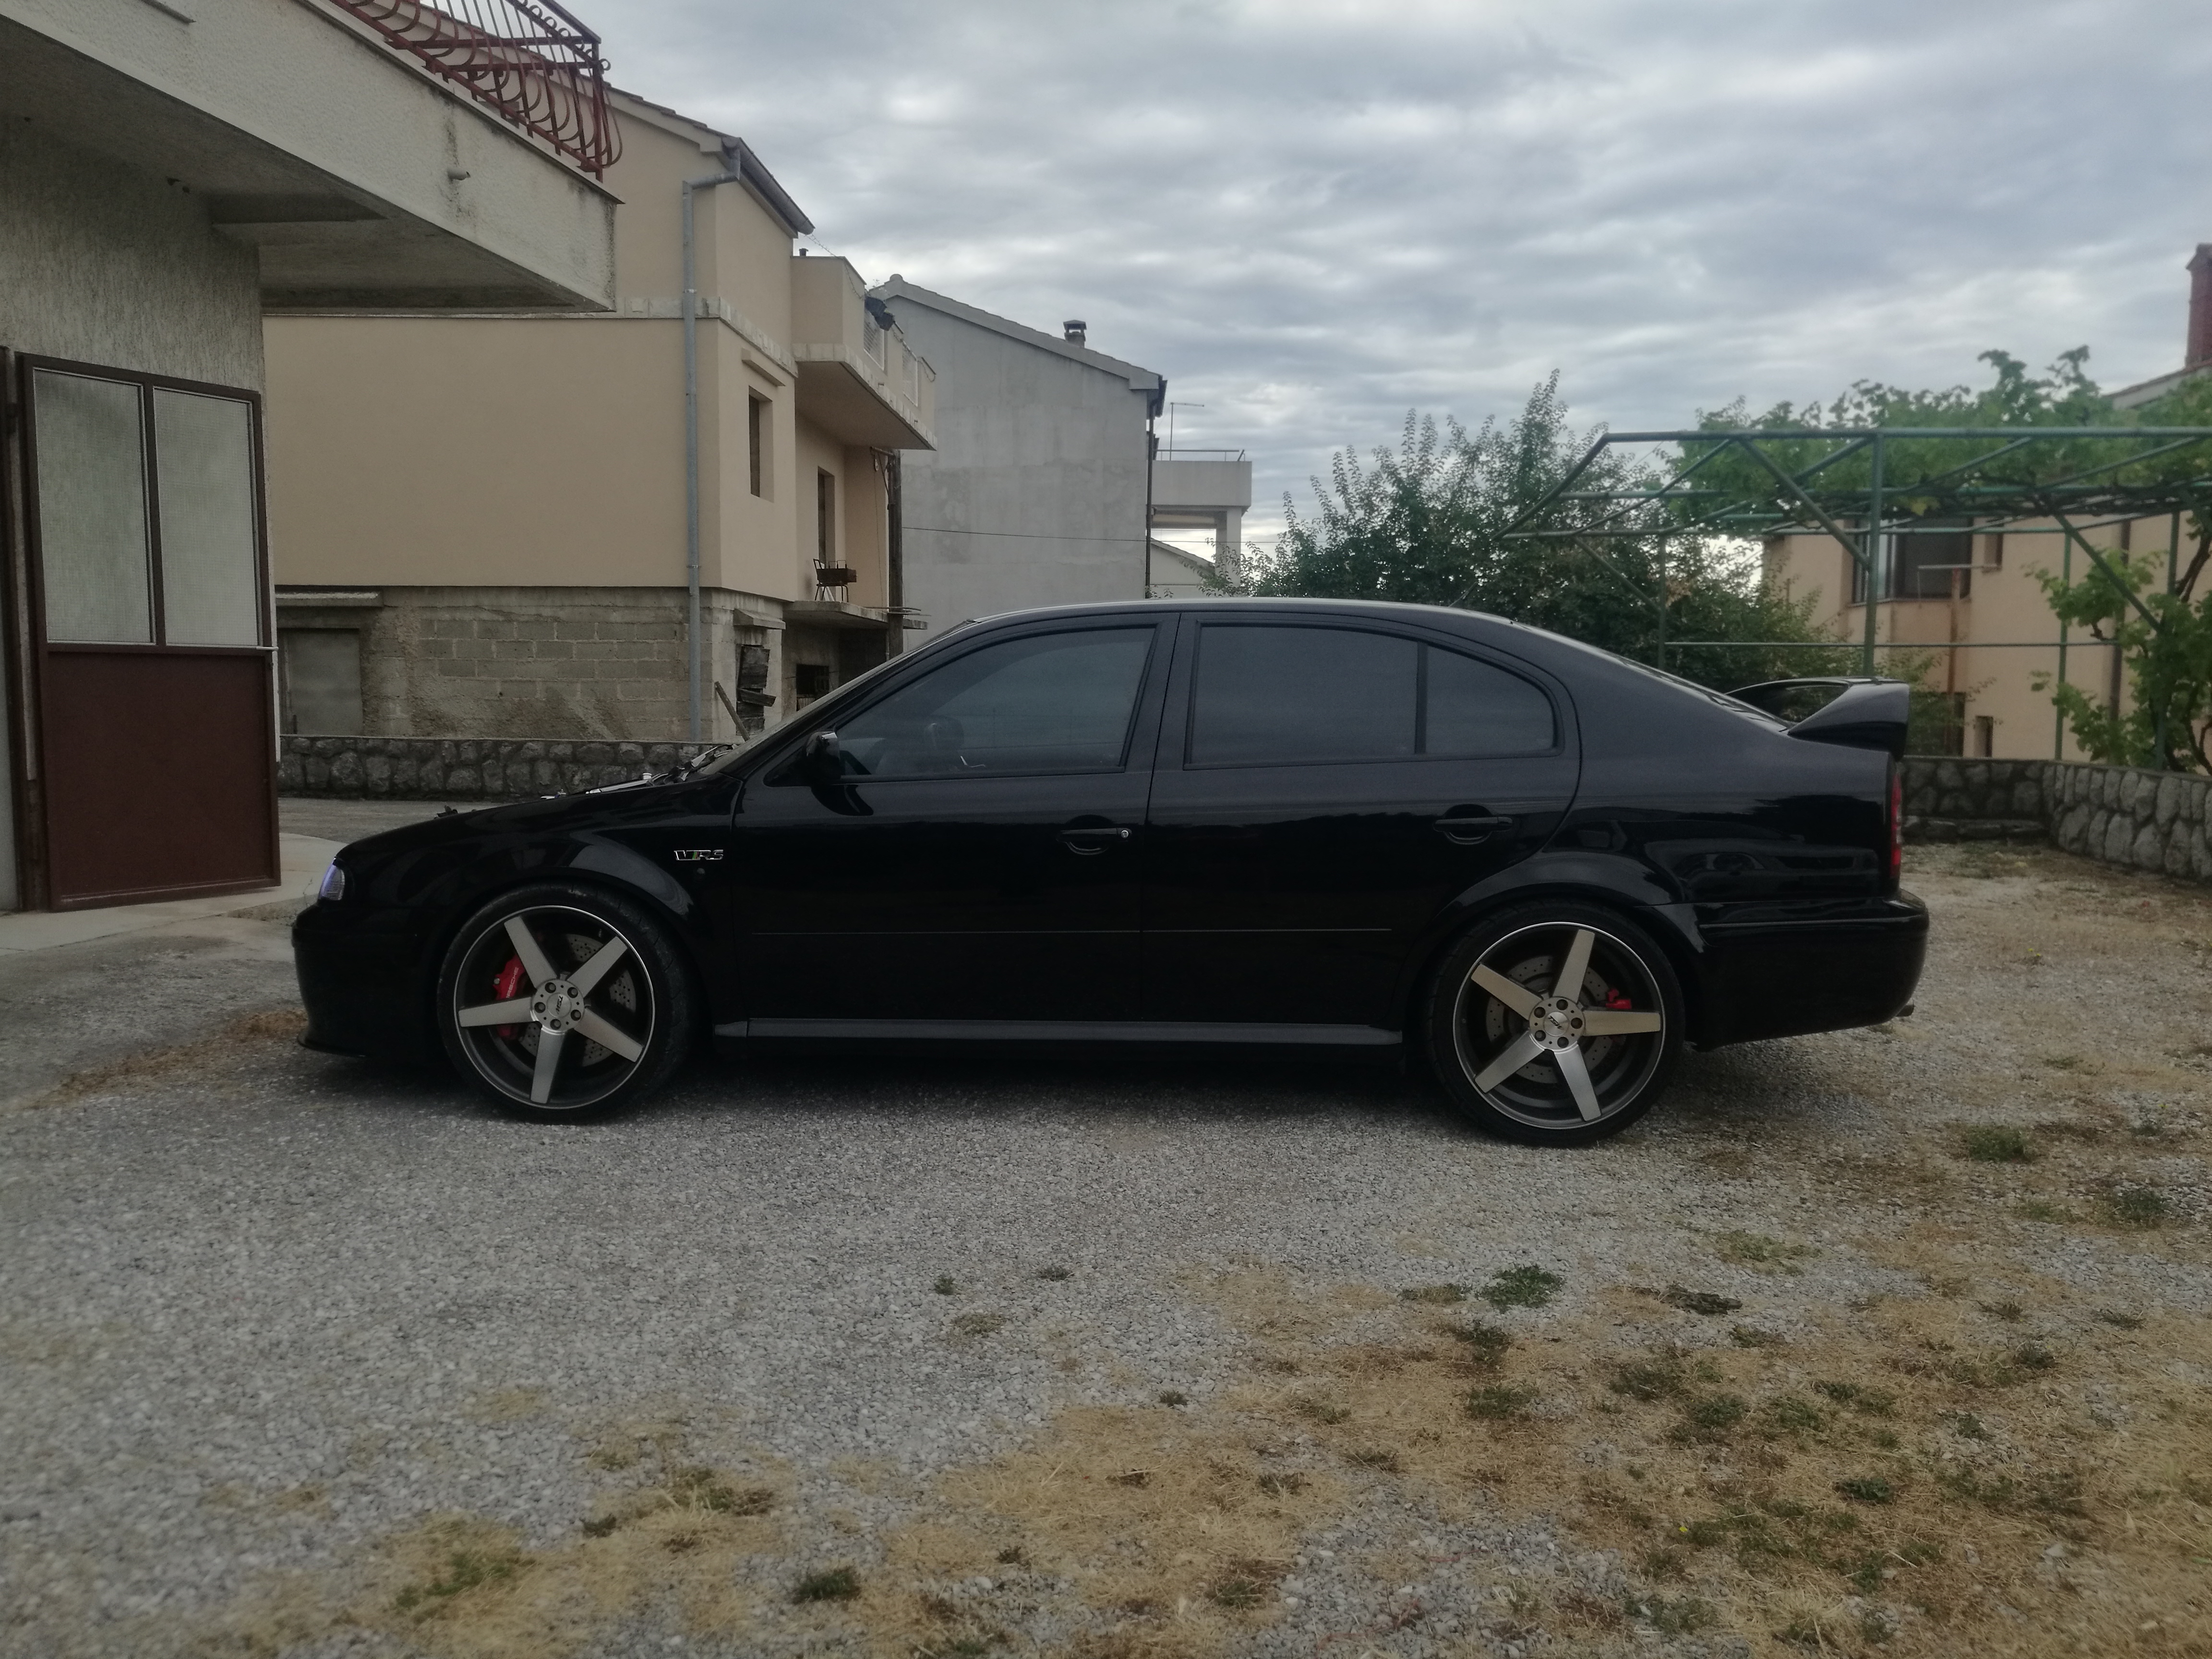
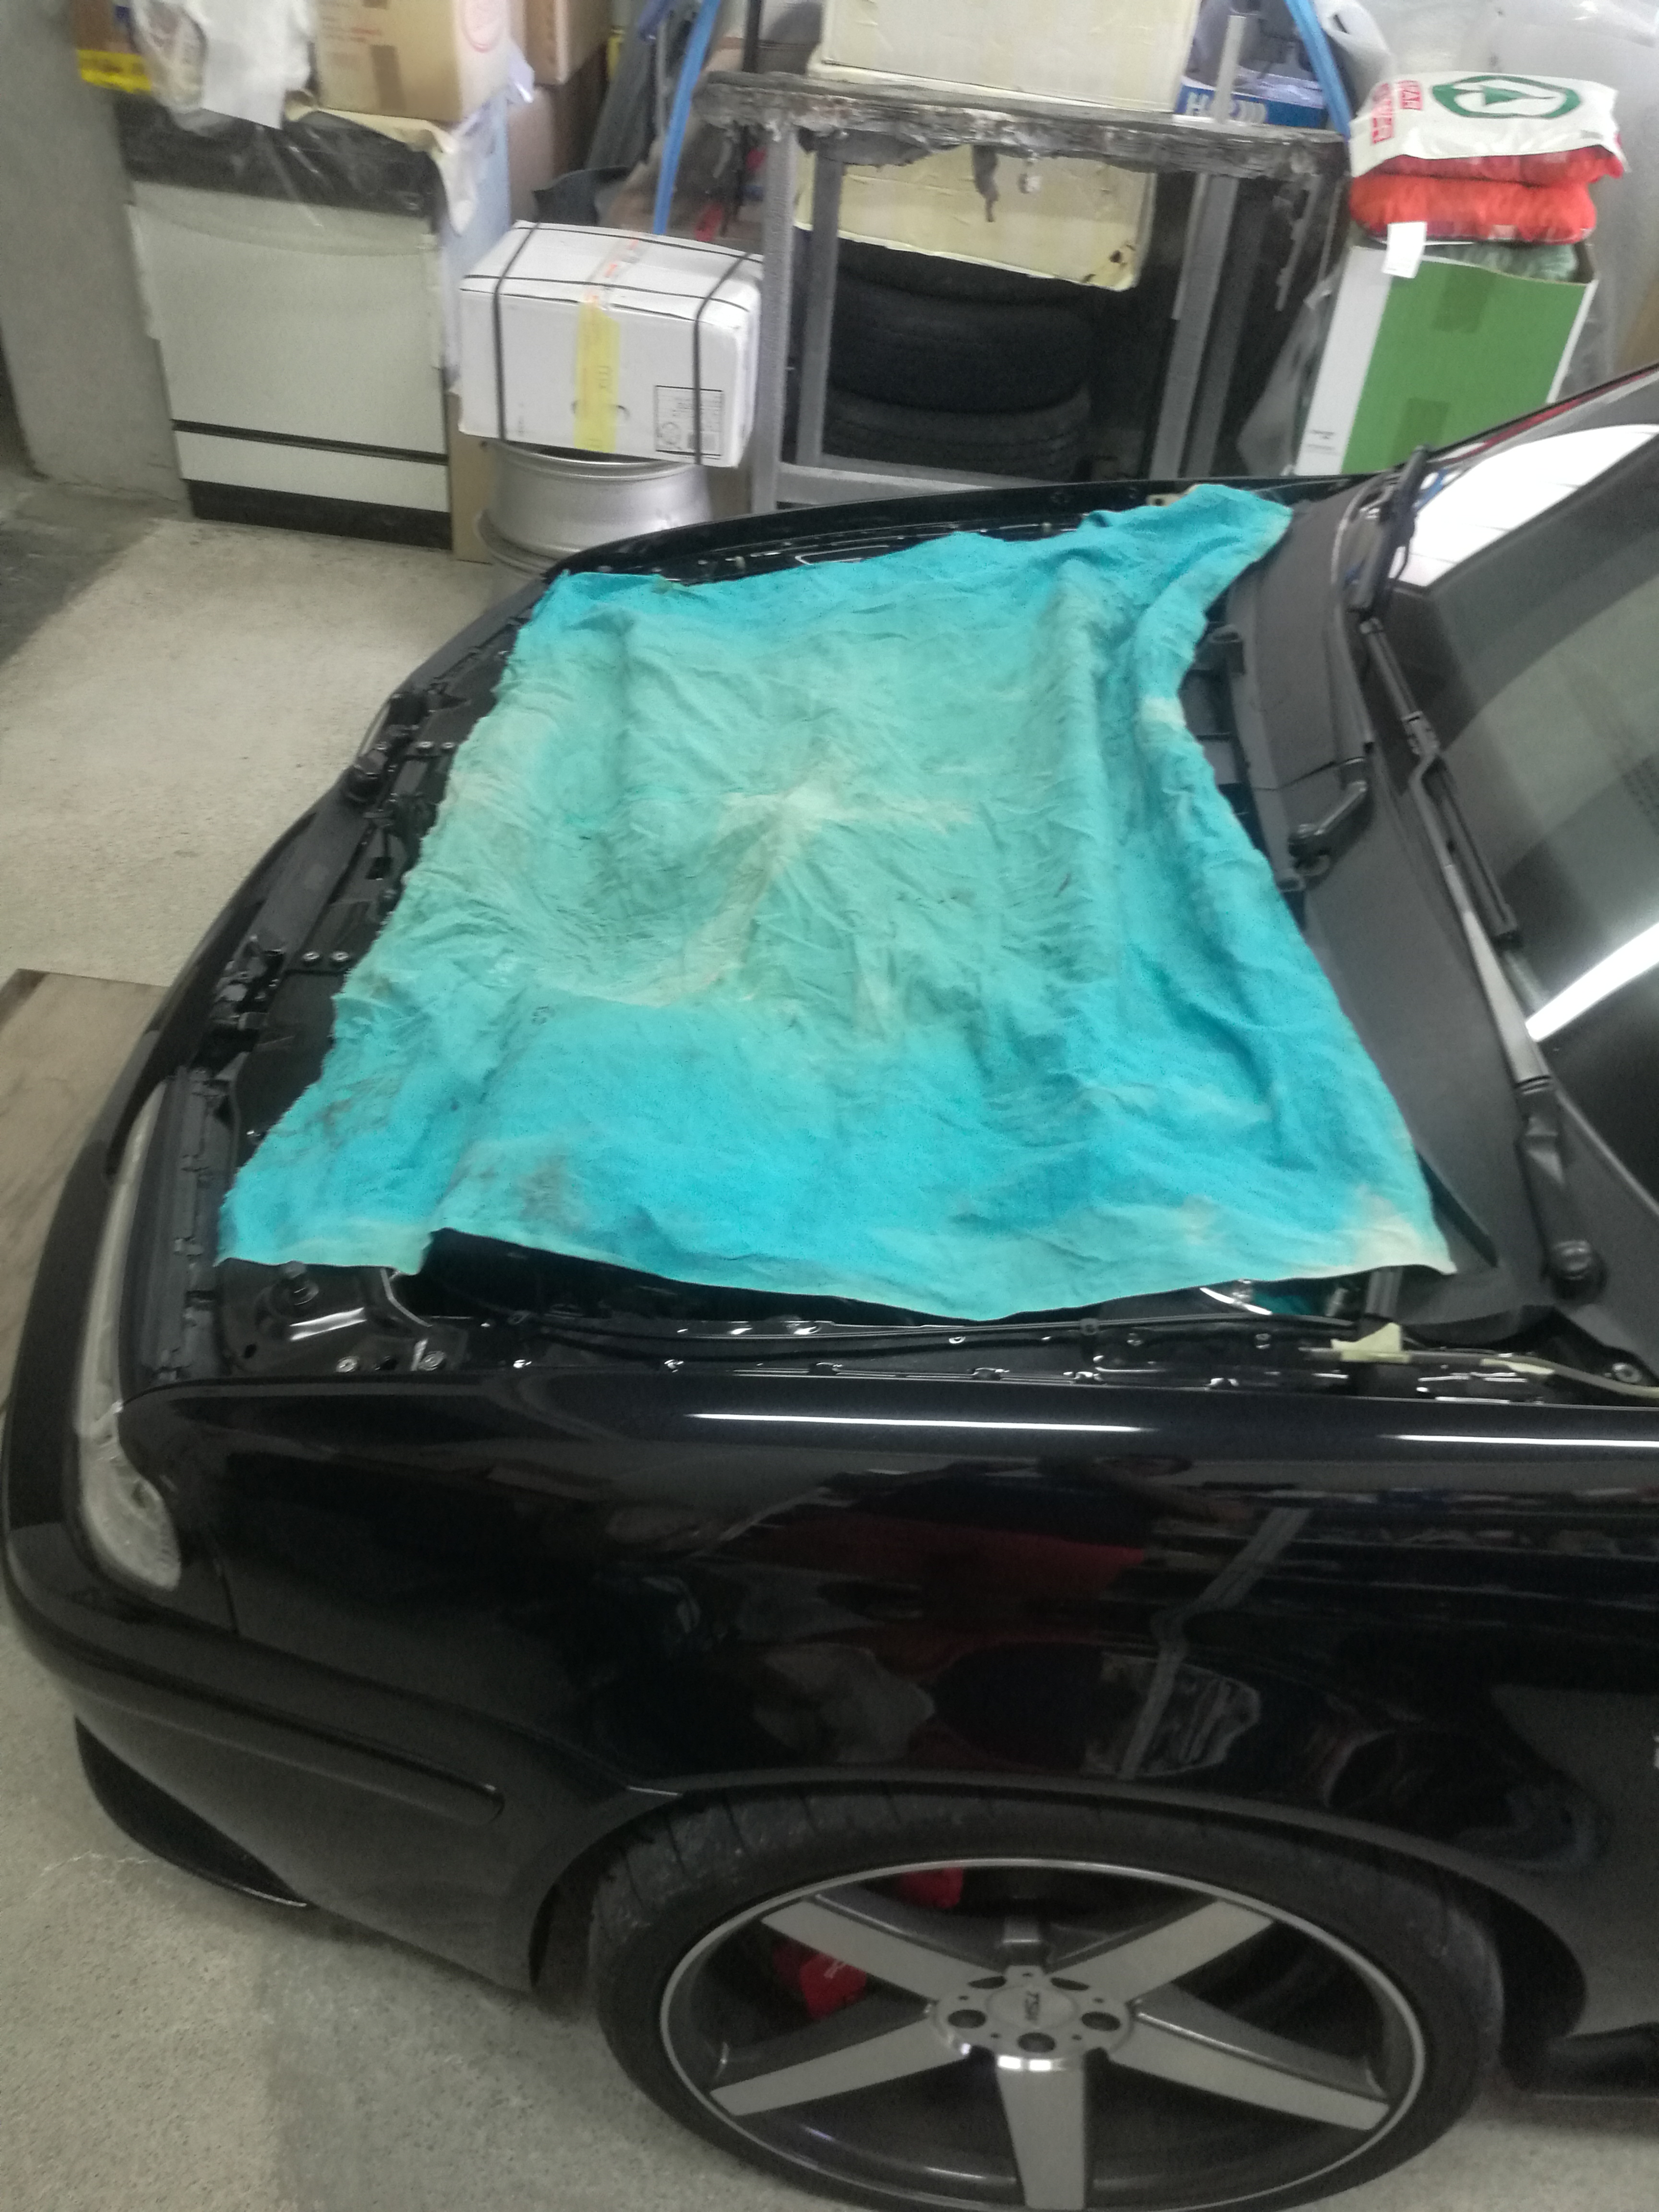
Now only trunk left for painting-tomorrow Will drove car to the paint shop-finally has hood so I can drive it. But we removed new rear wing and will let paint to settle and cure for at least one month before installation to avoid new laque compression and bubbles formation. Looks bald without any rear wing☹️☹️☹️☹️

-
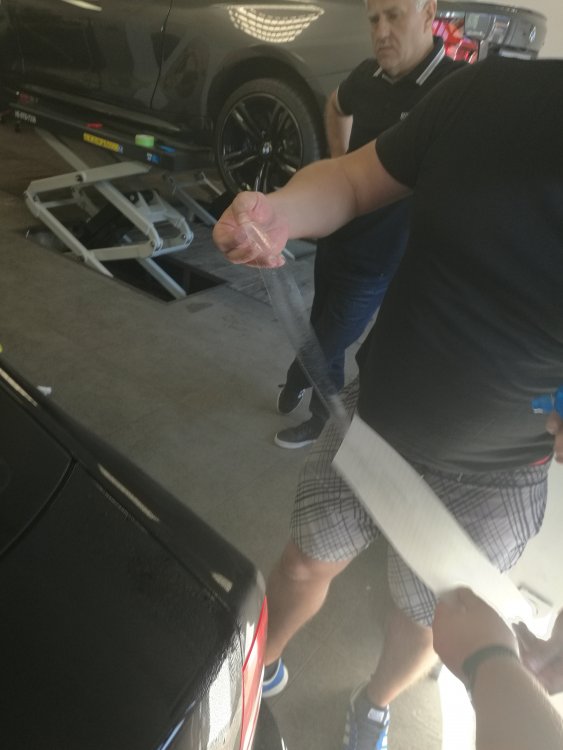
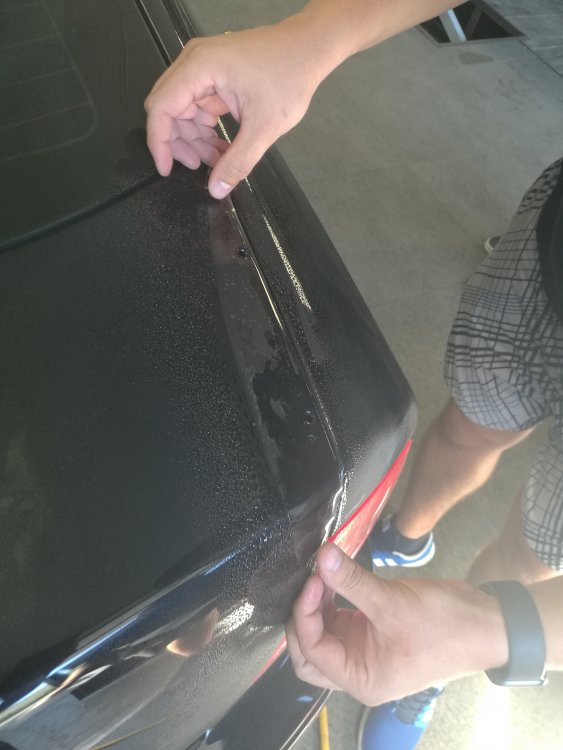
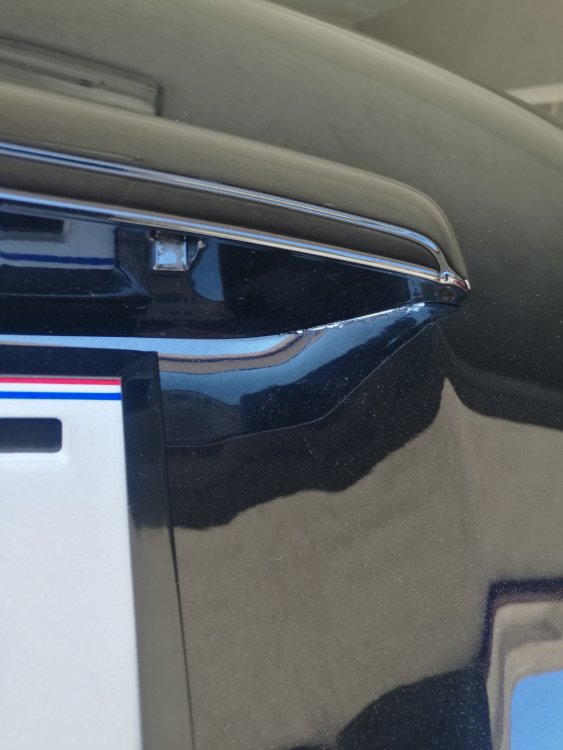
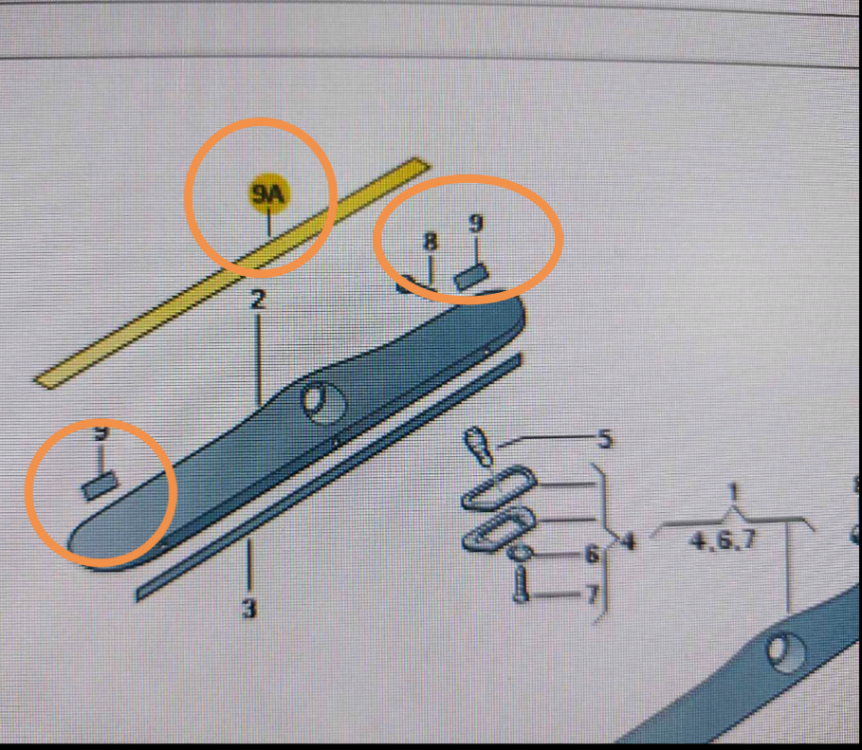
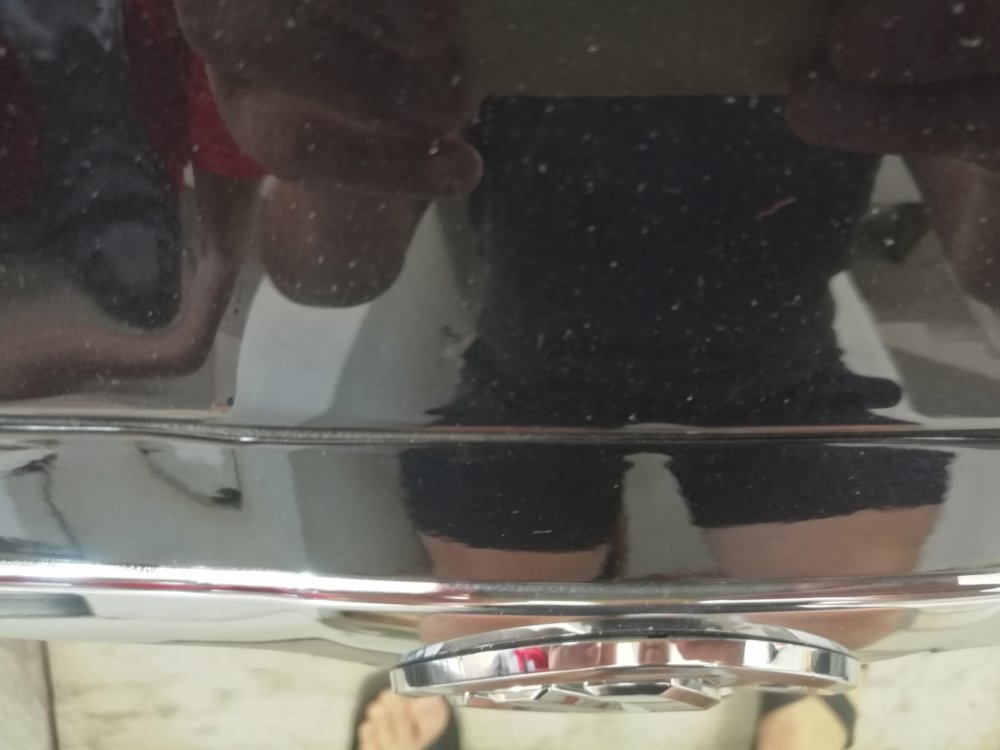
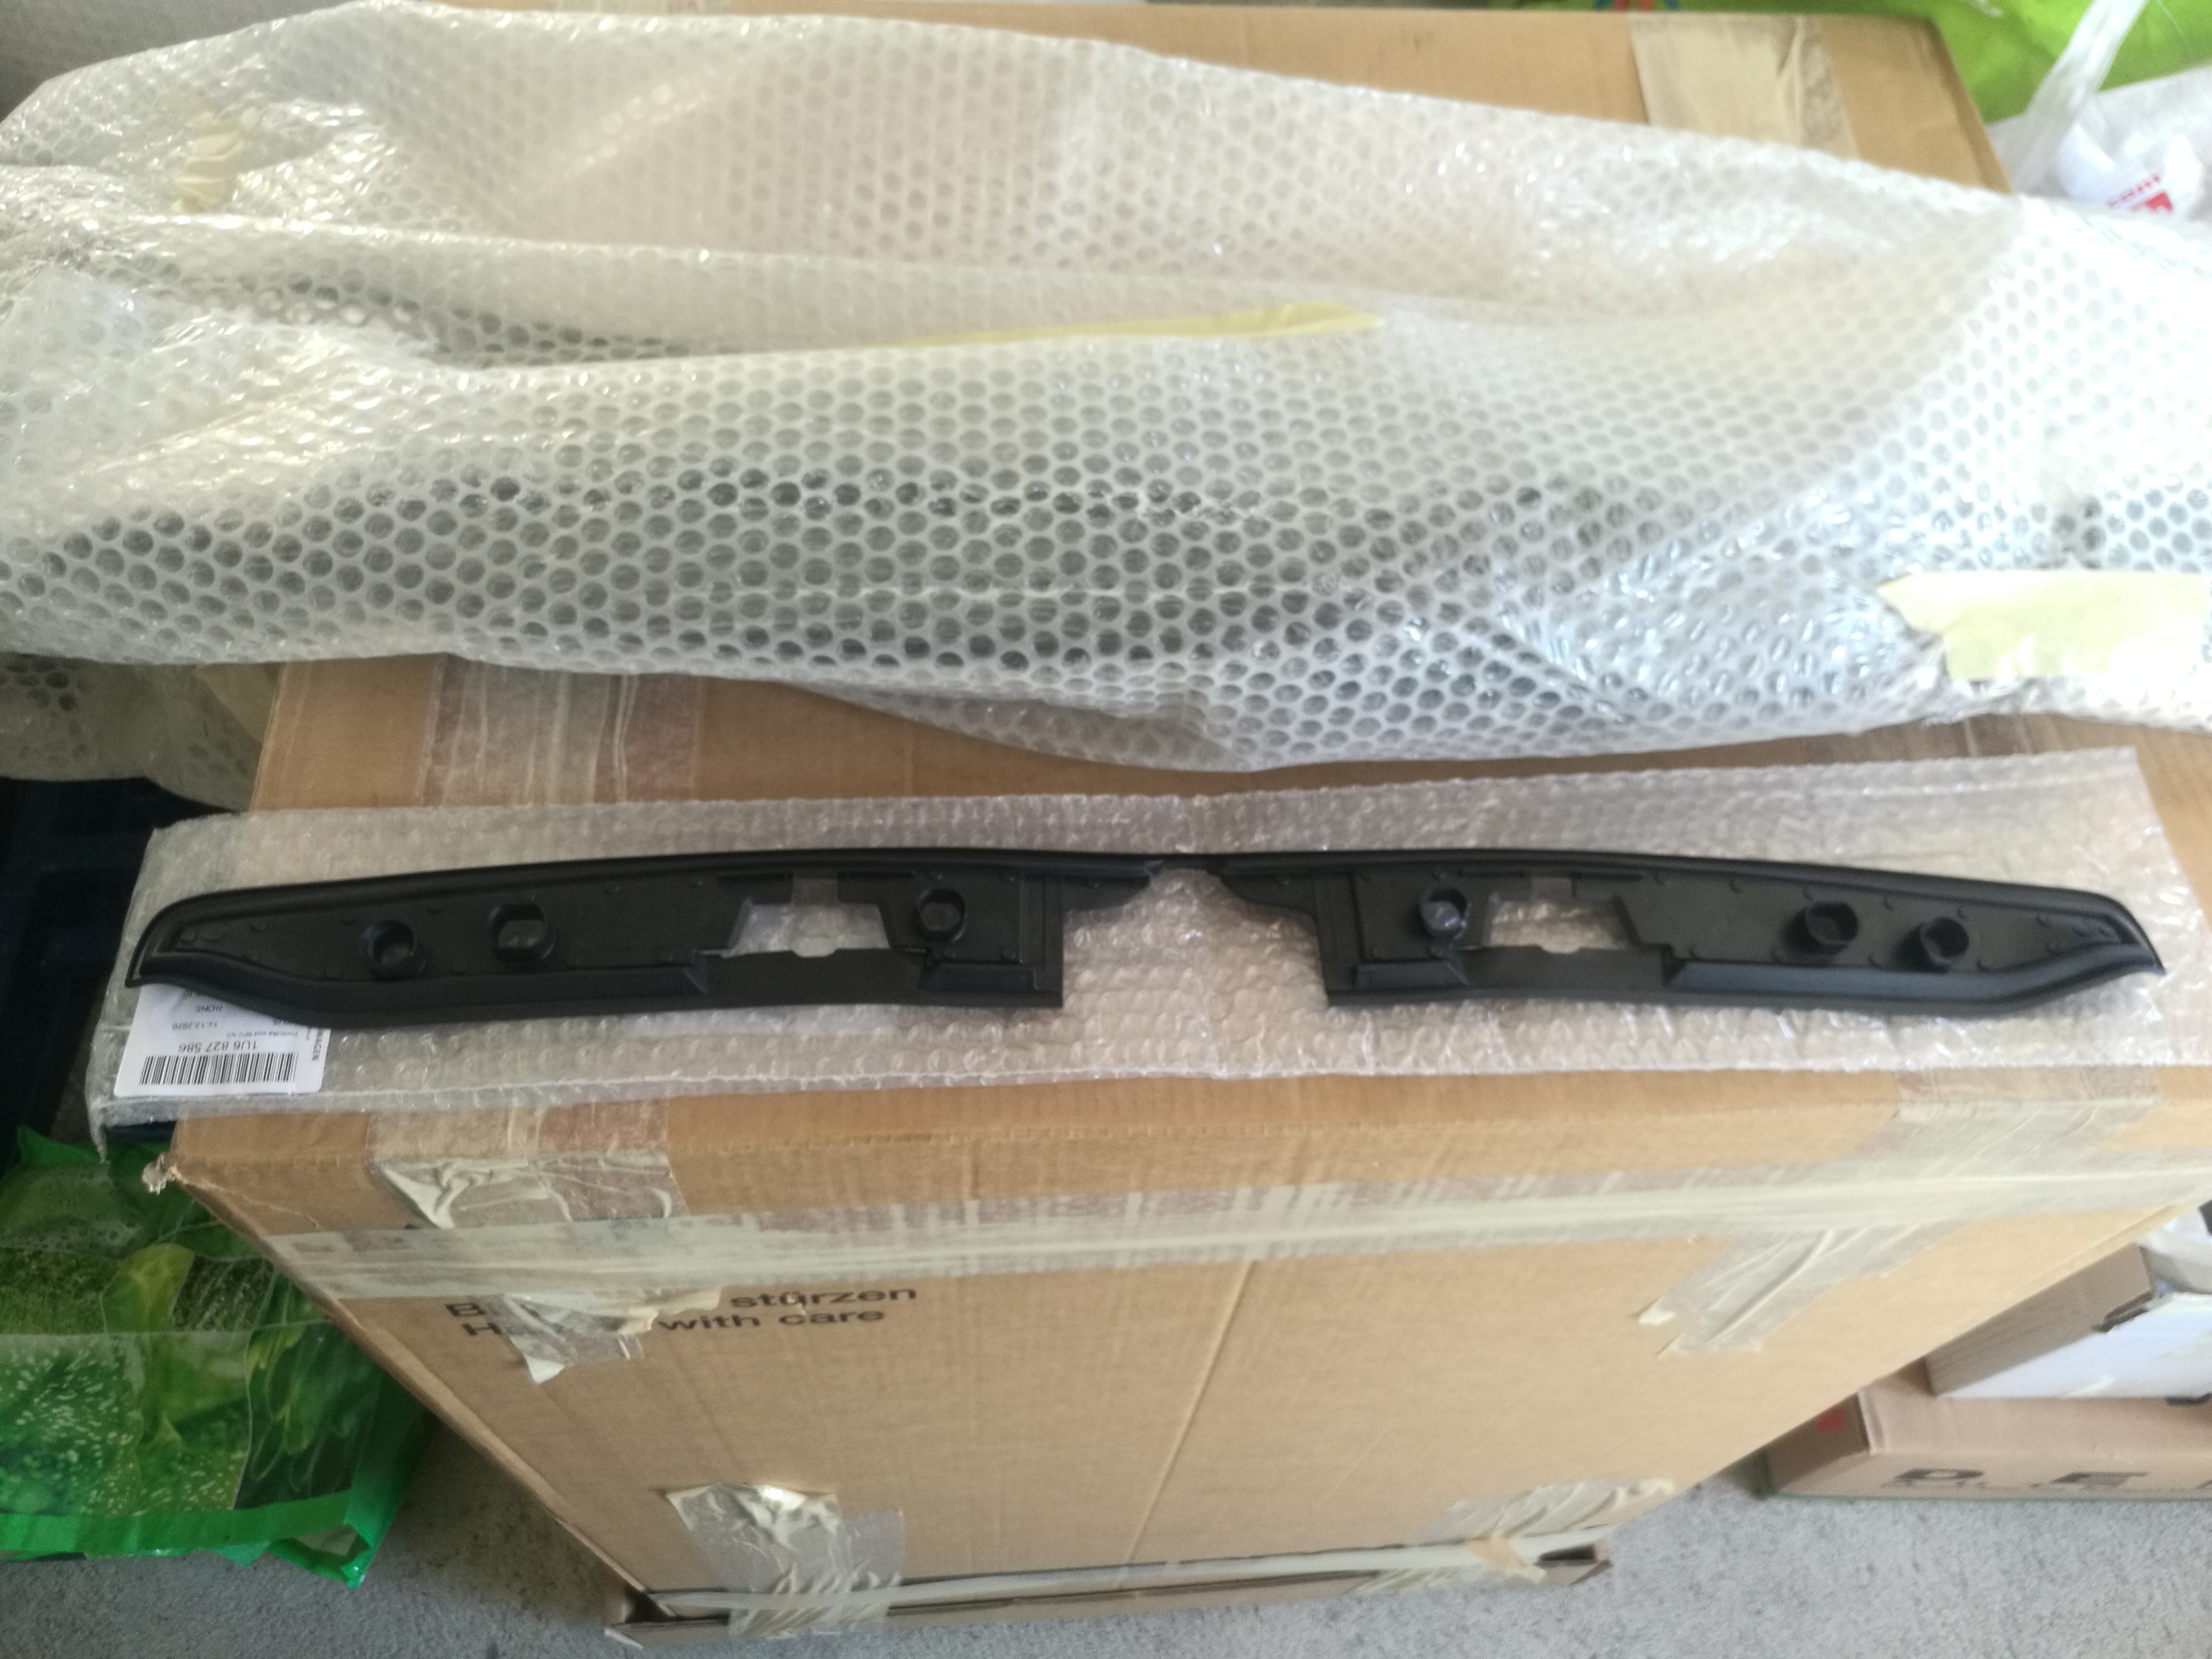
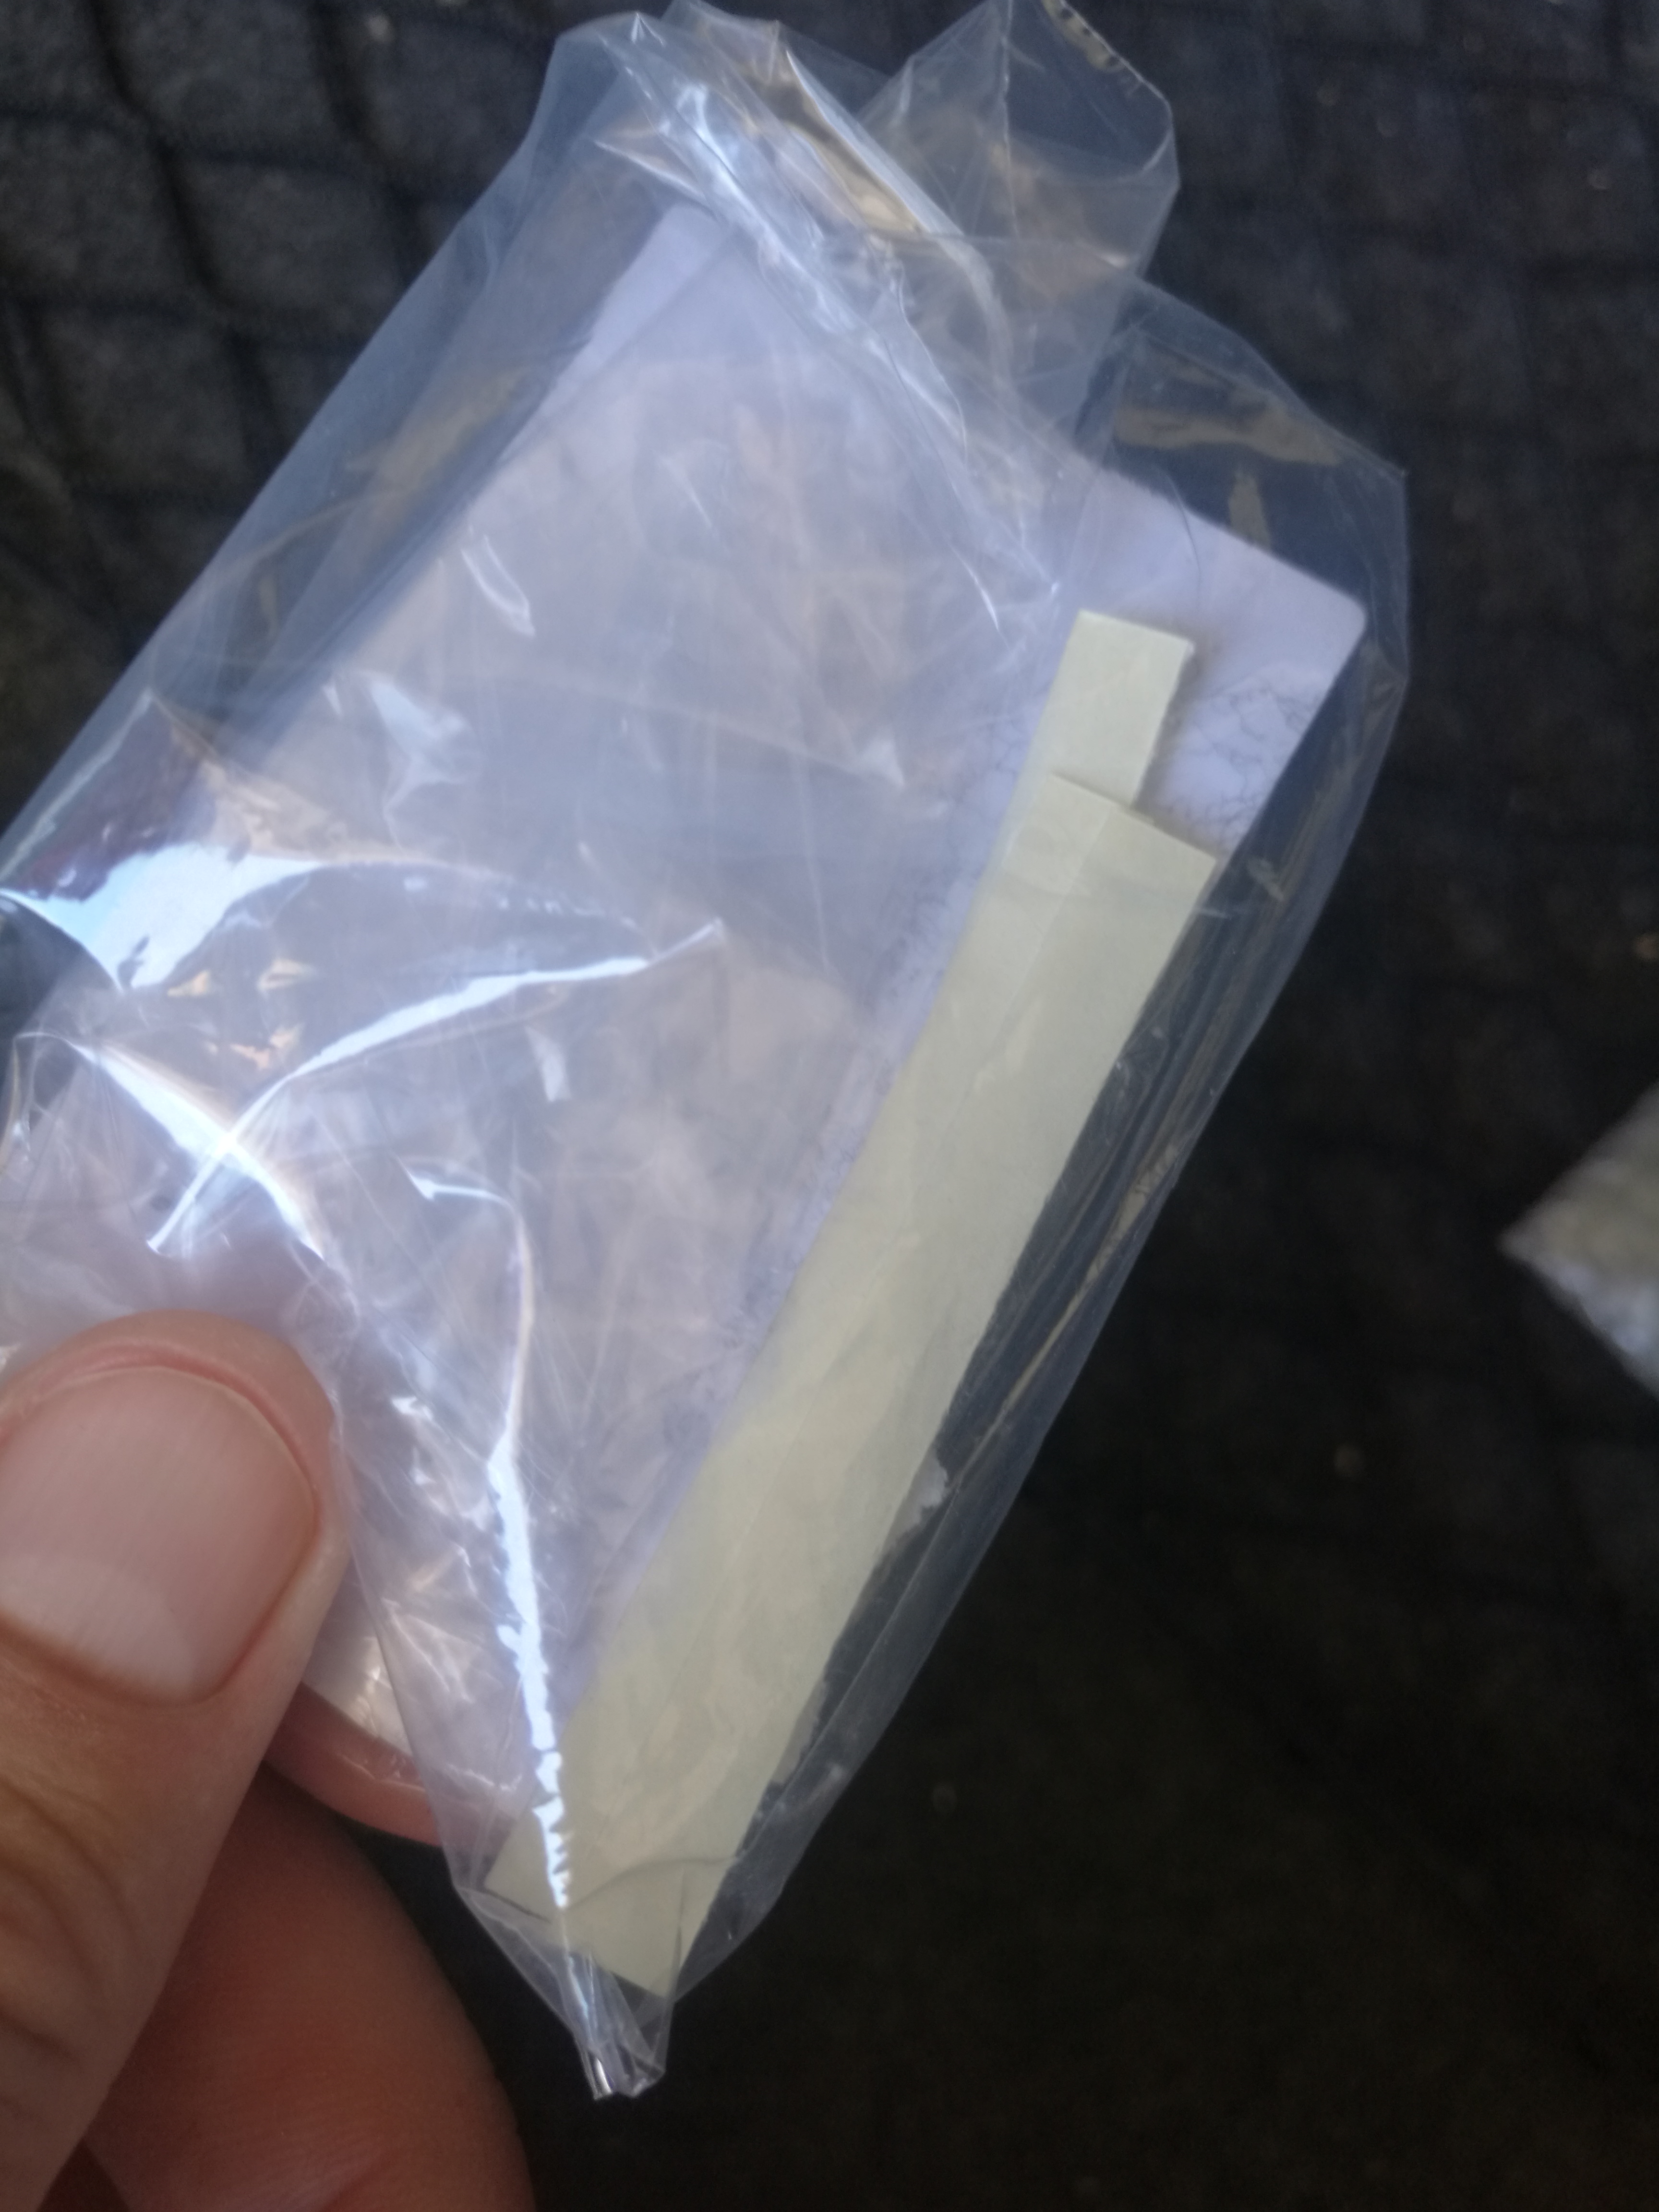
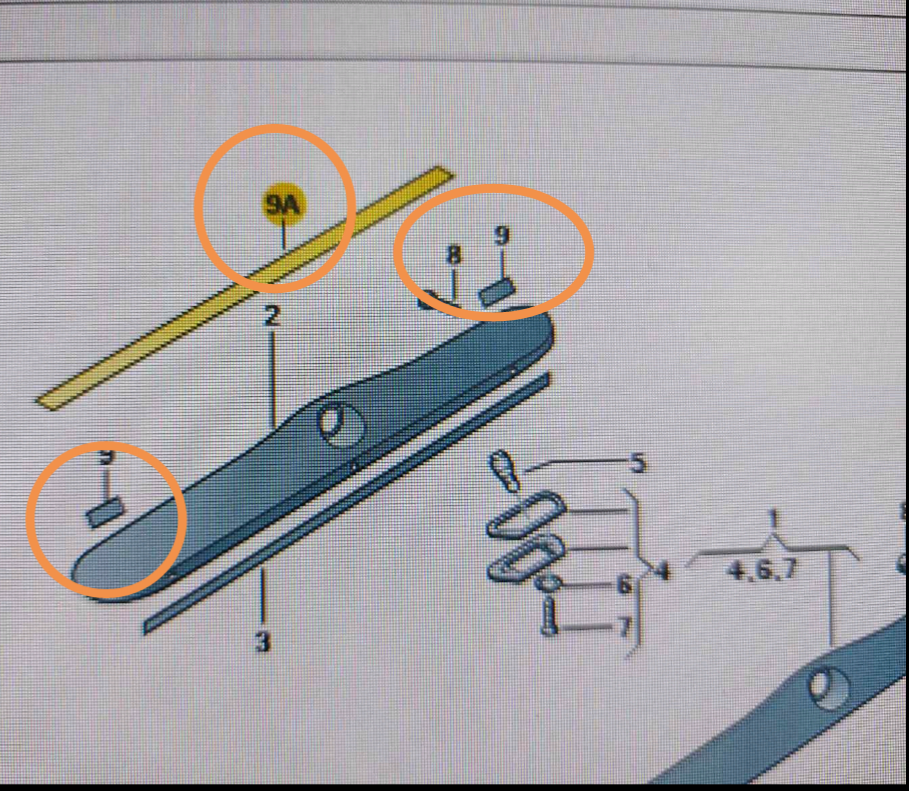
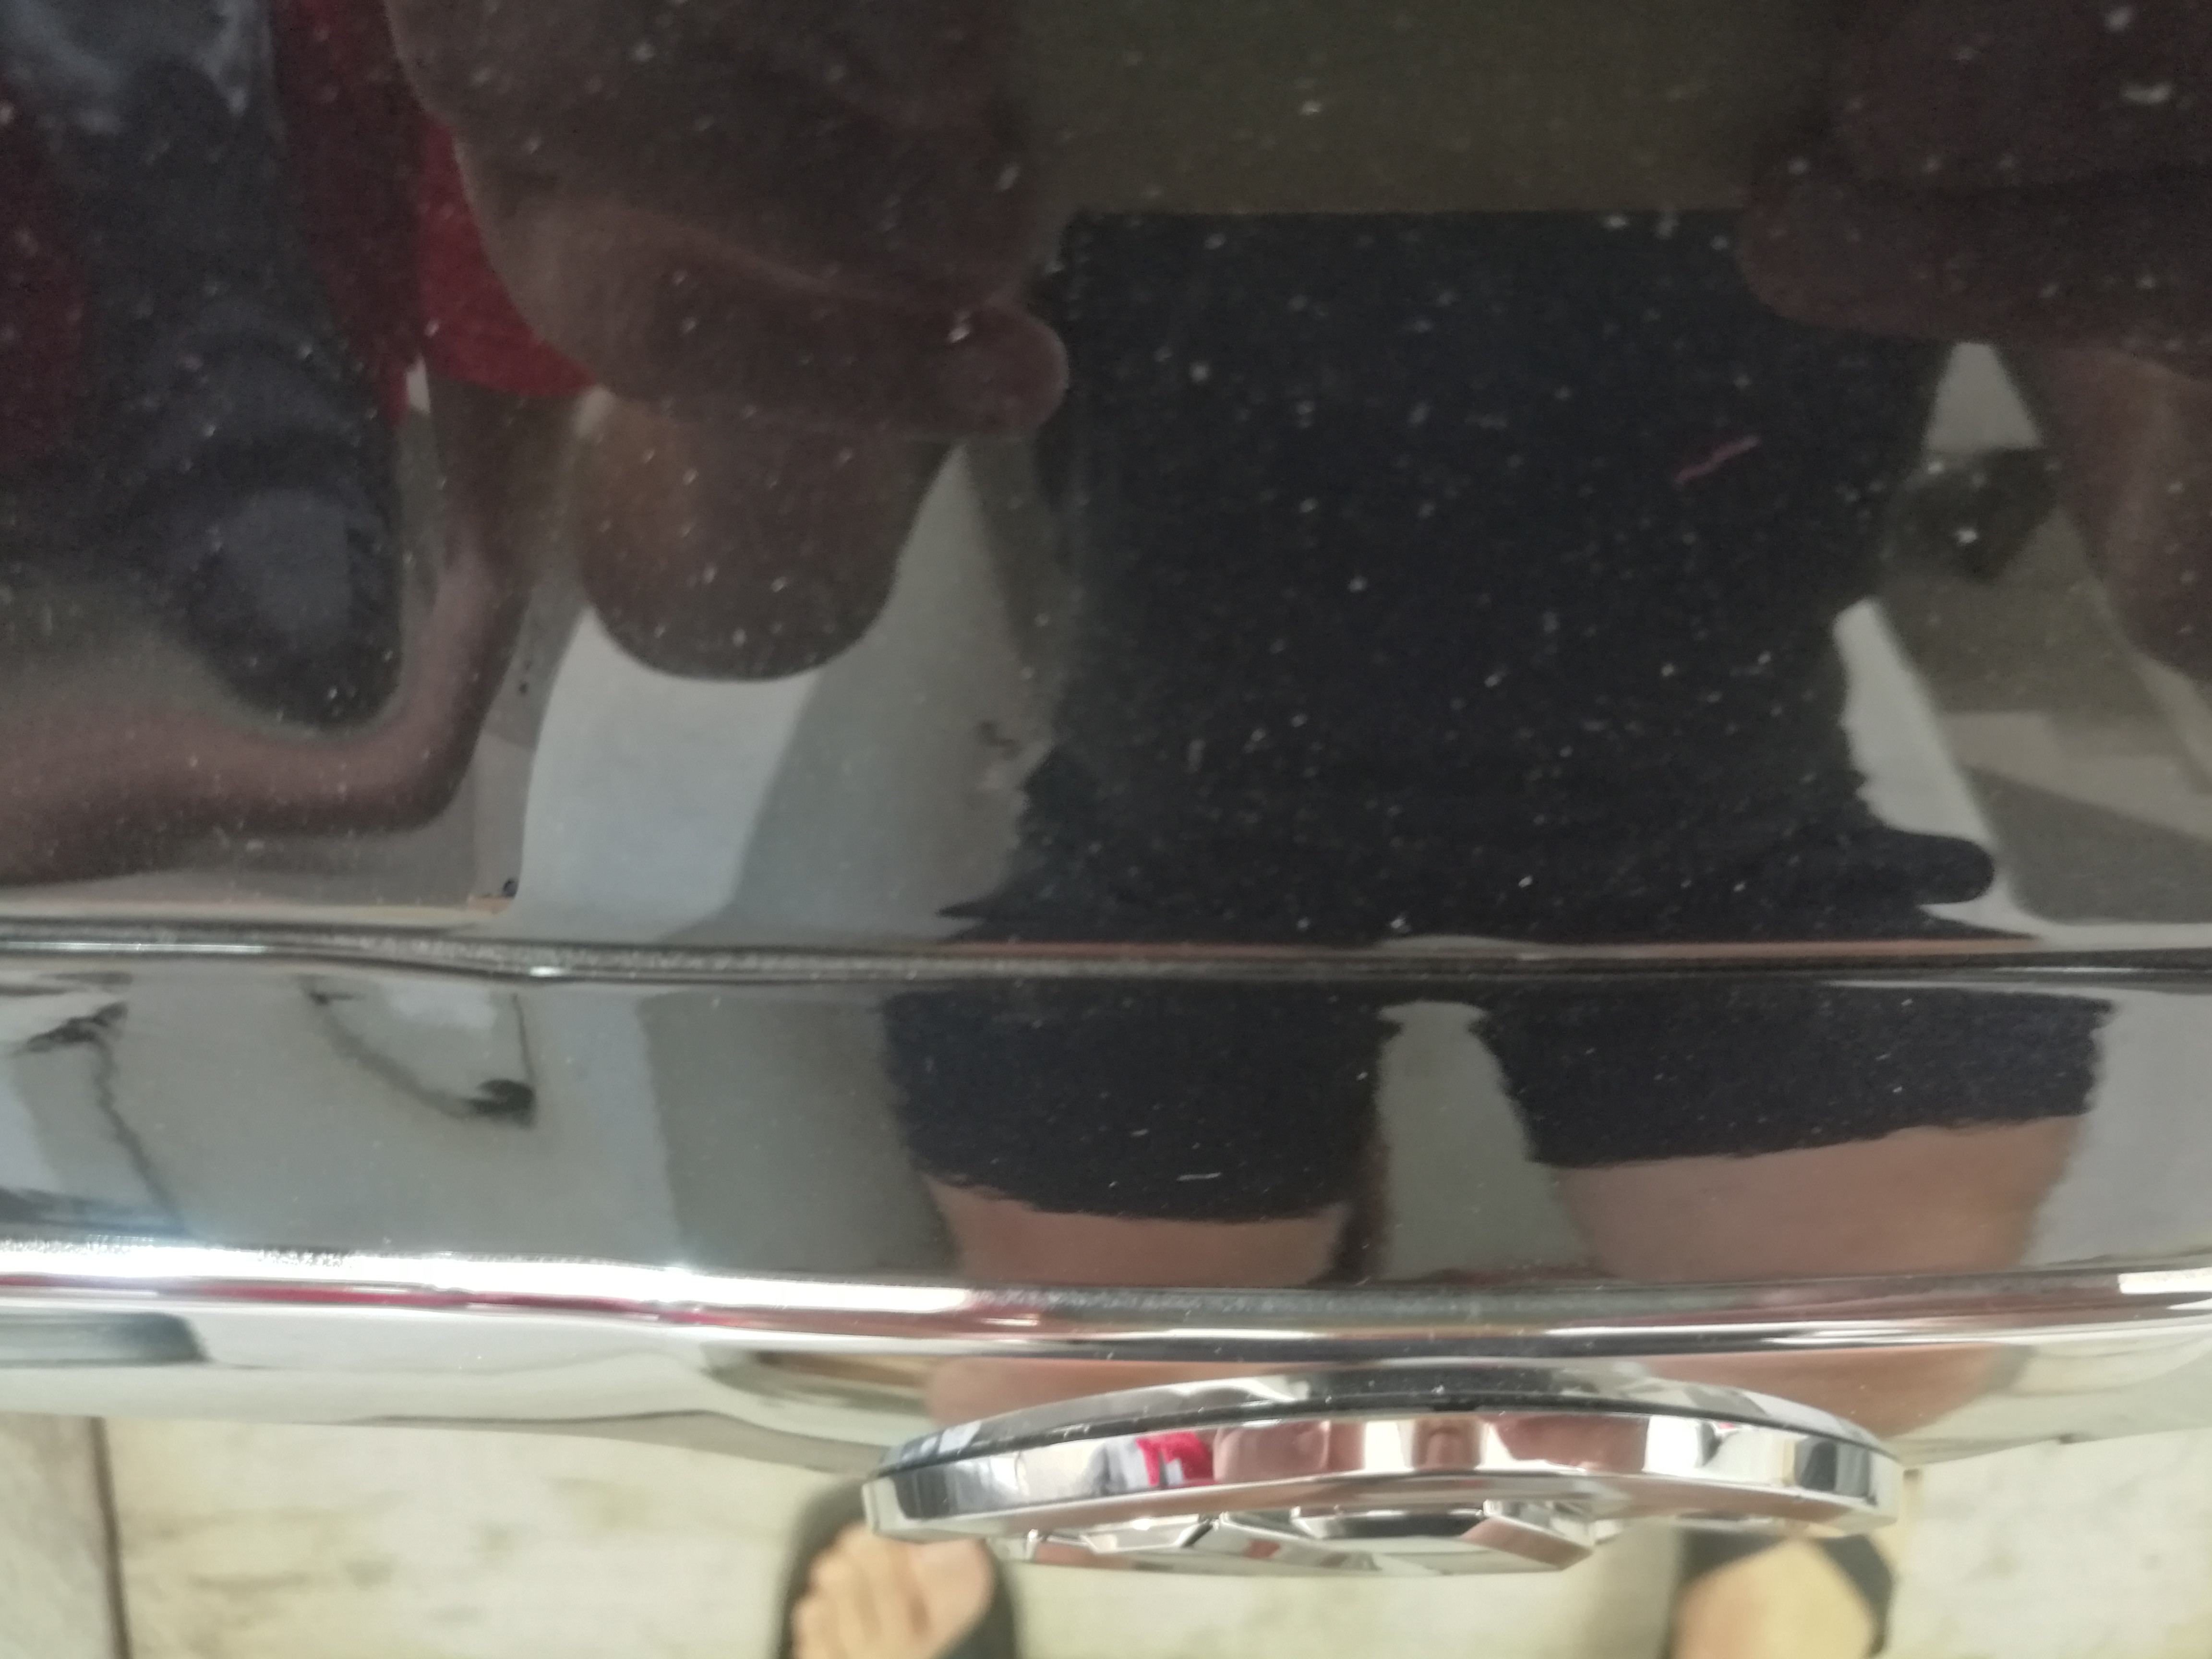
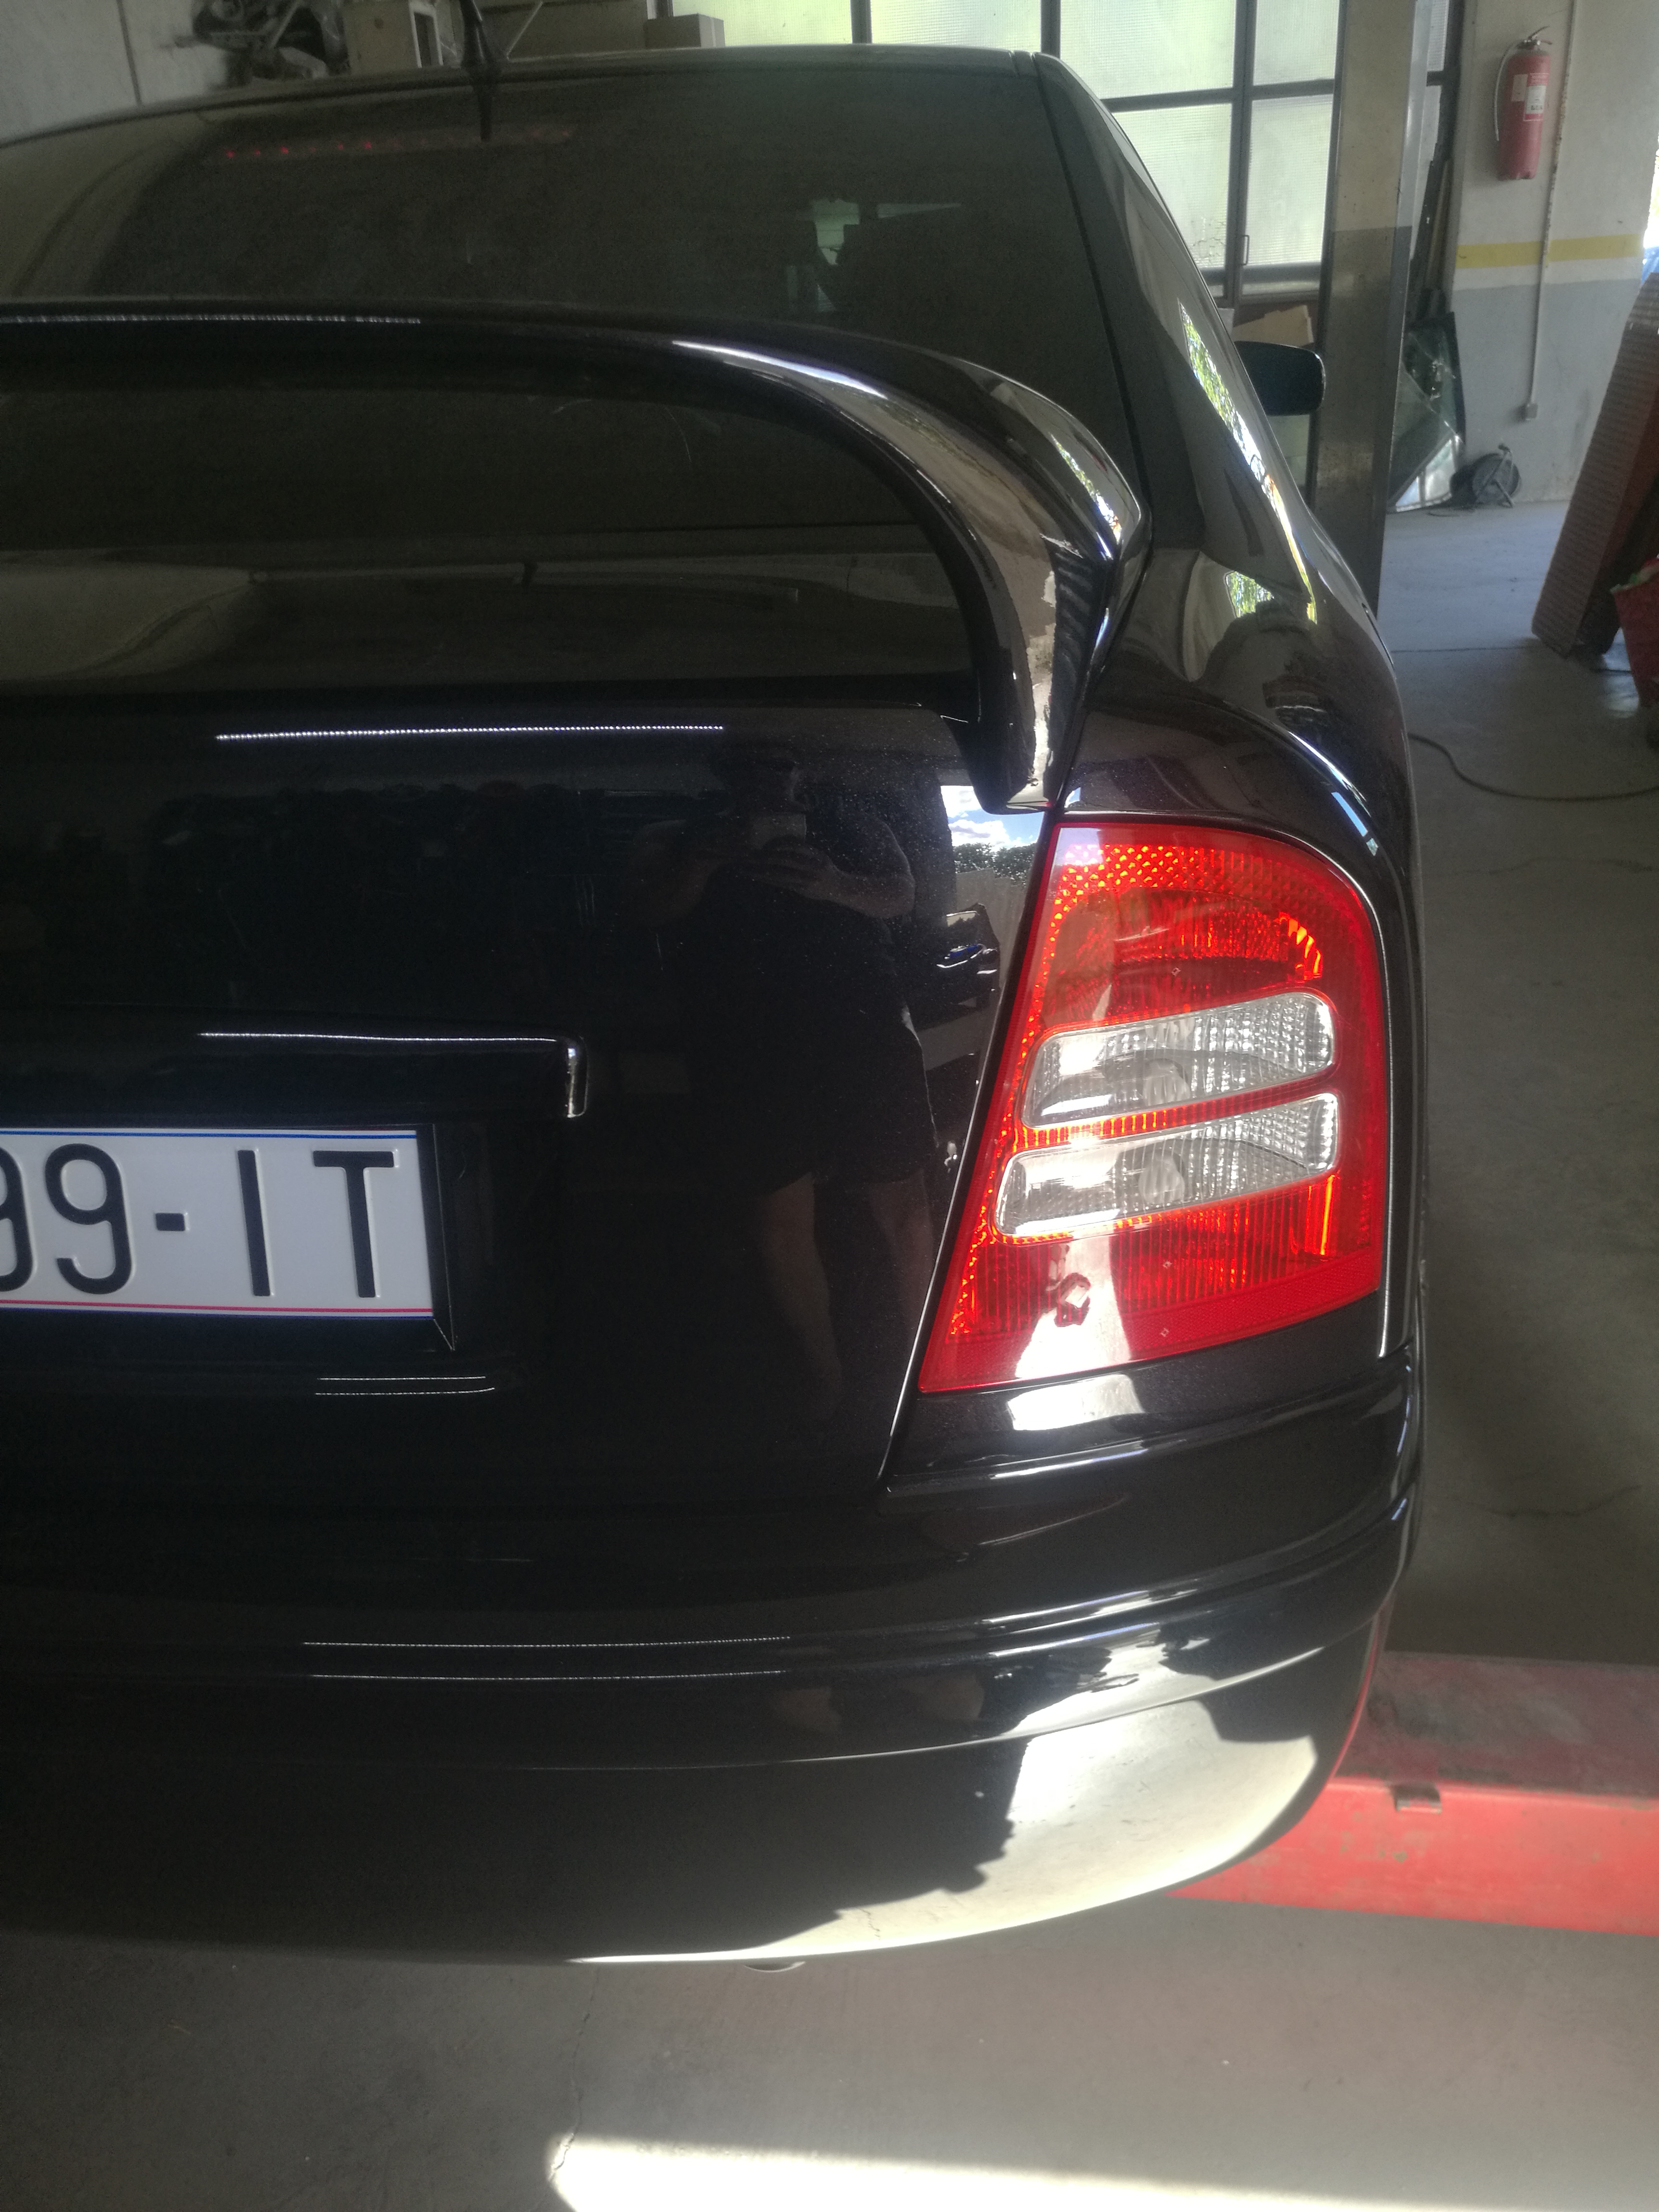
Same thing happens in the back-trunk. There is a bracket With hadle and lock for it. When You lift the trunk holding it it also scratches the paint. Look at the pictures. Old factory bracket had small strip of sponge at the upper border. I thought about that and wantet to put also double sided tape and paint protection film at the bottom pressure points. But as I went to Porsche dealer in ETKA they offer protective strip-looks like old sponge strip and two small strips od PPF. Today I picked it up and it is real upgrade -full ruber insulation and two small PPF strips to go where it had damaged paint. Great OEM upgrade. I reccommend it to everyone.


-
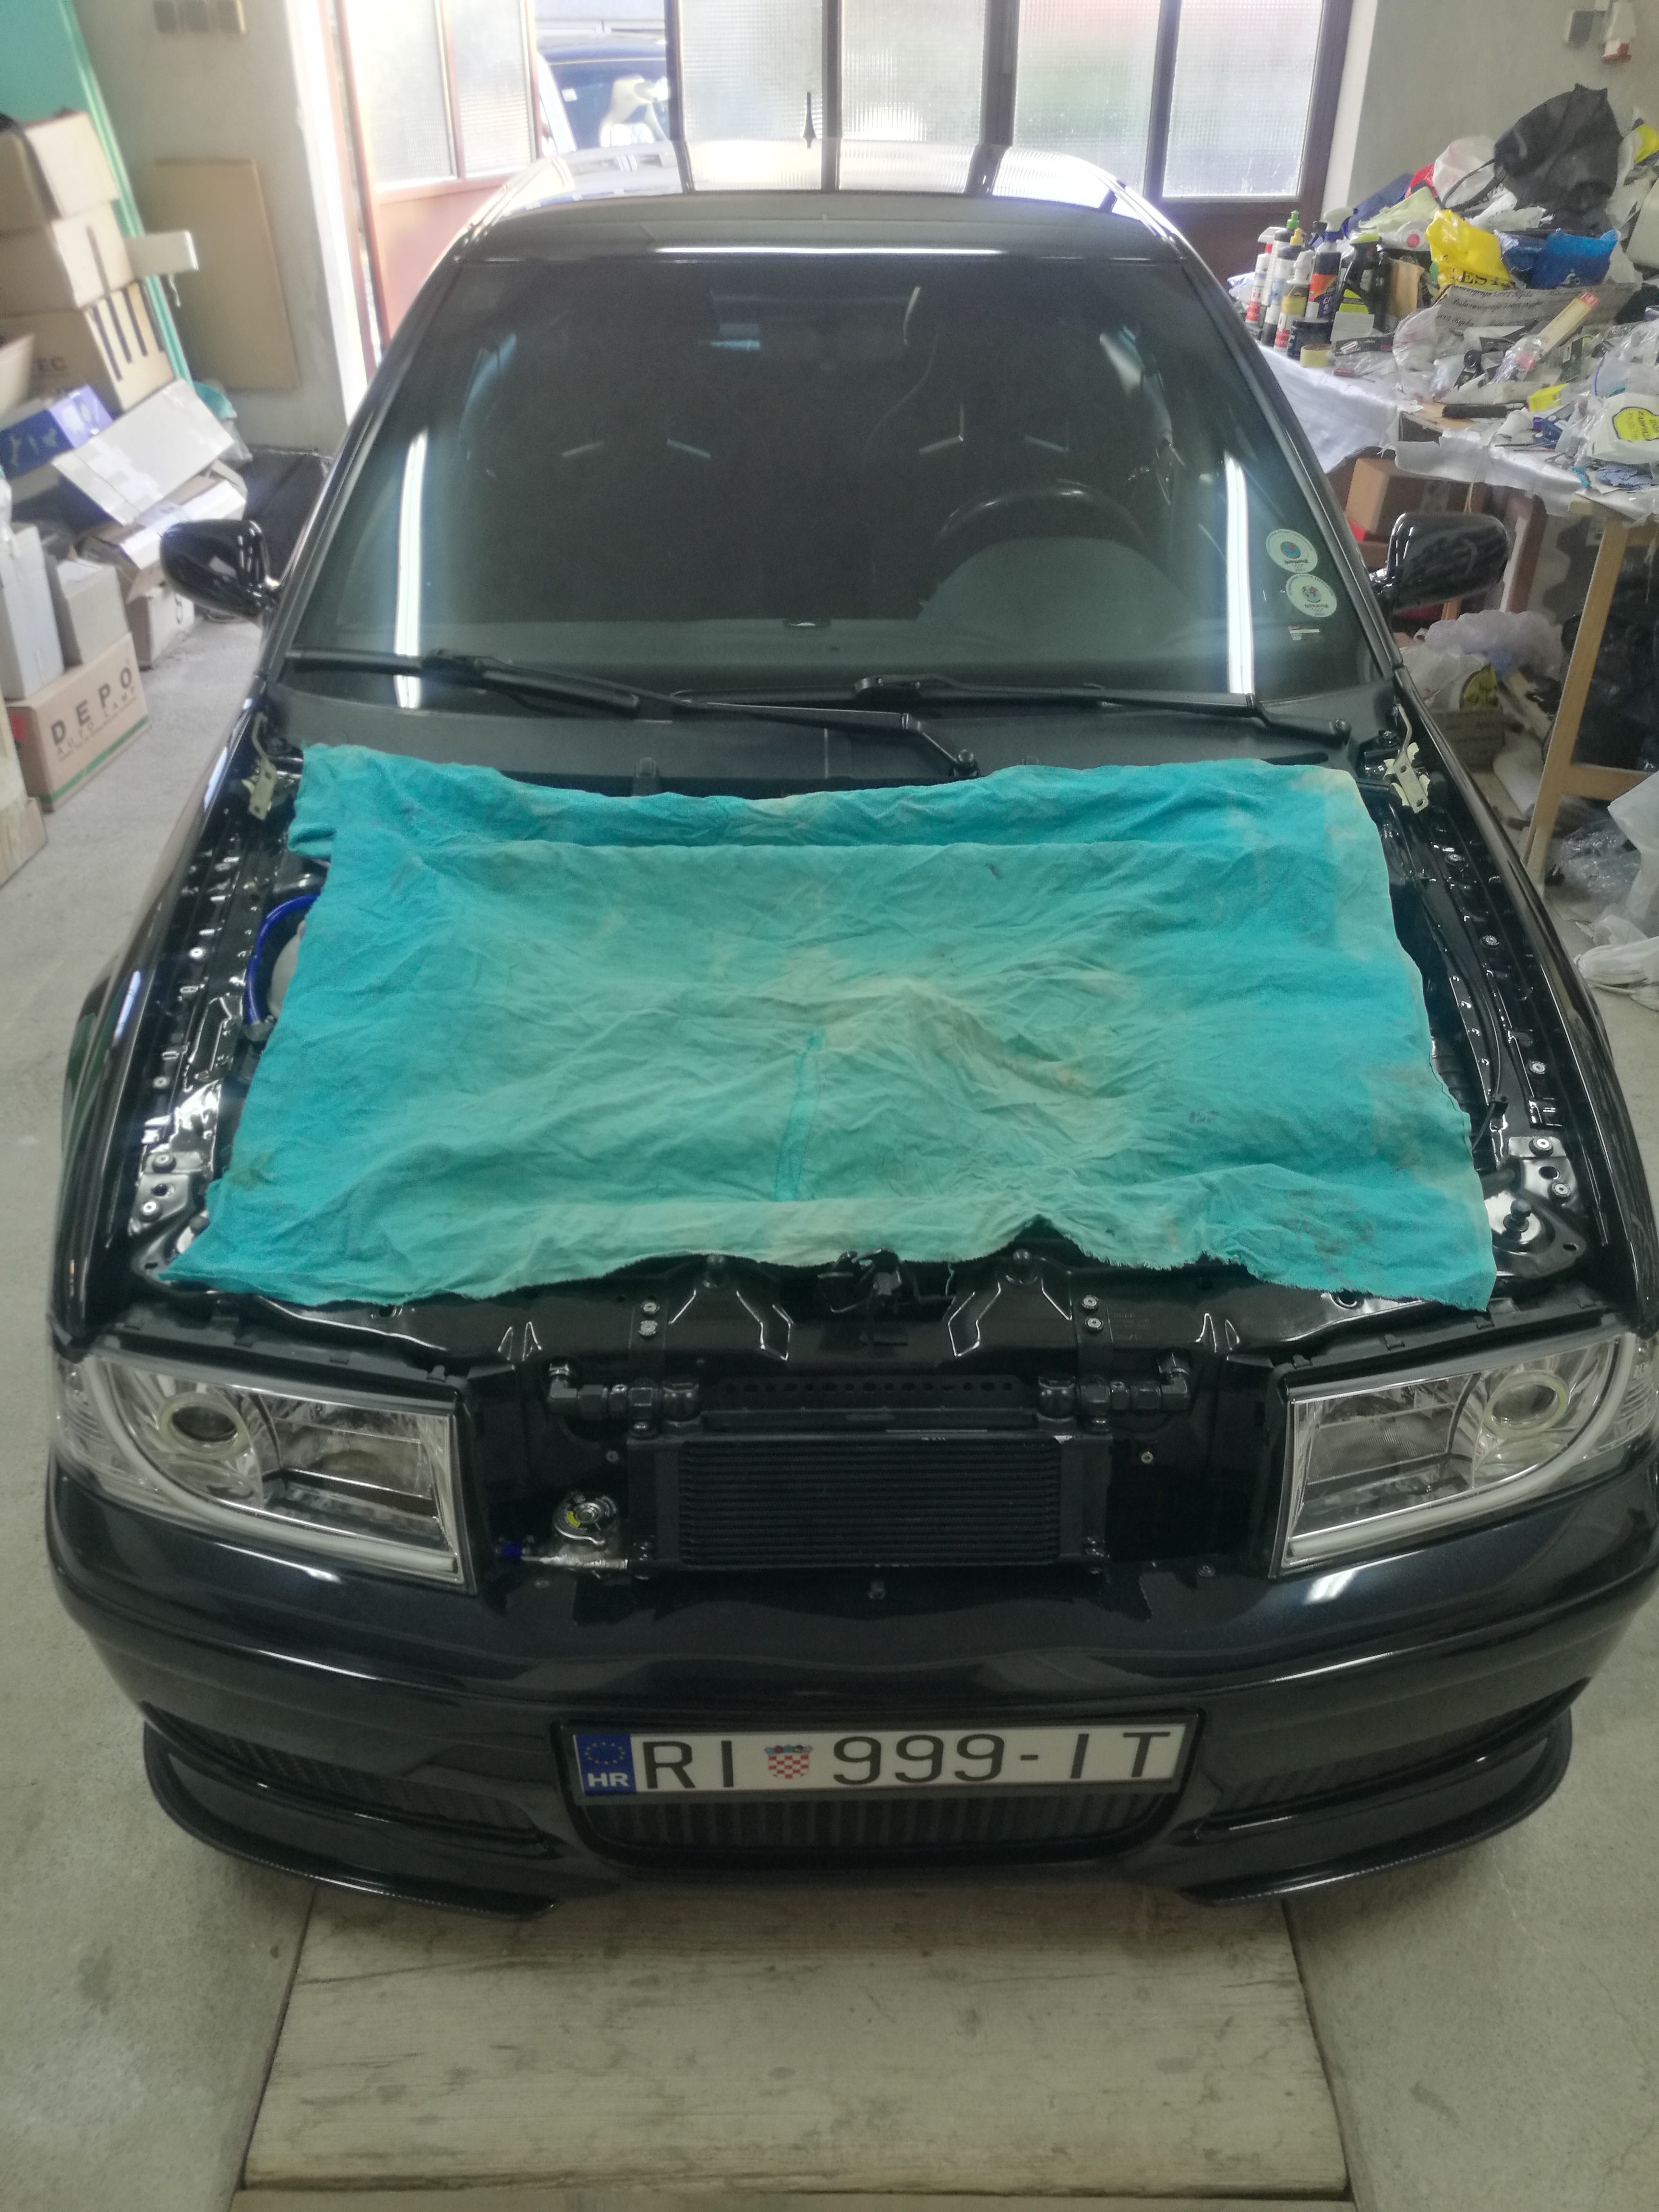
Small trick I used to avoid damage od newly painted hood from the grille which has mesh instead of rigid OEM insert meaning when You lift the hood over the grille You flex it and it scratches the painting on the hood so we did put double sided Wurth adhesive tape-narrow one 4mm apprpximatelly, to act as a damper, aside the fact that I don't lift hood over the grille but directly holding the hood lateraly from the grille
-
-
-
-
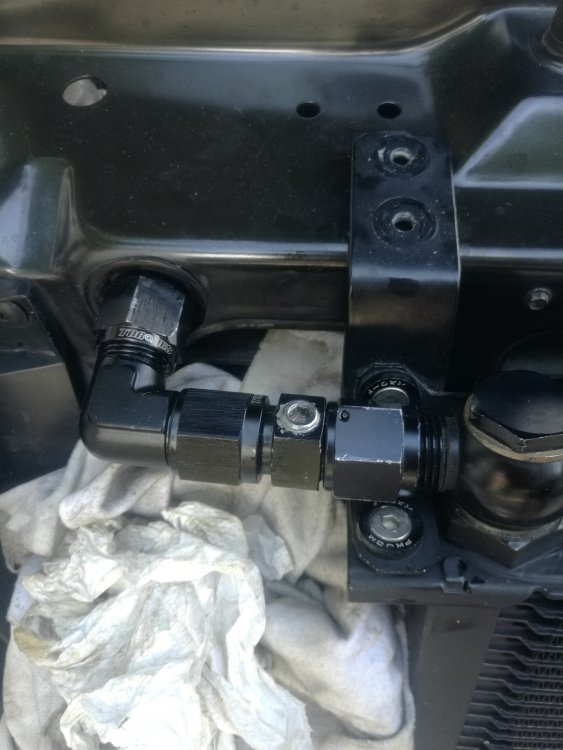
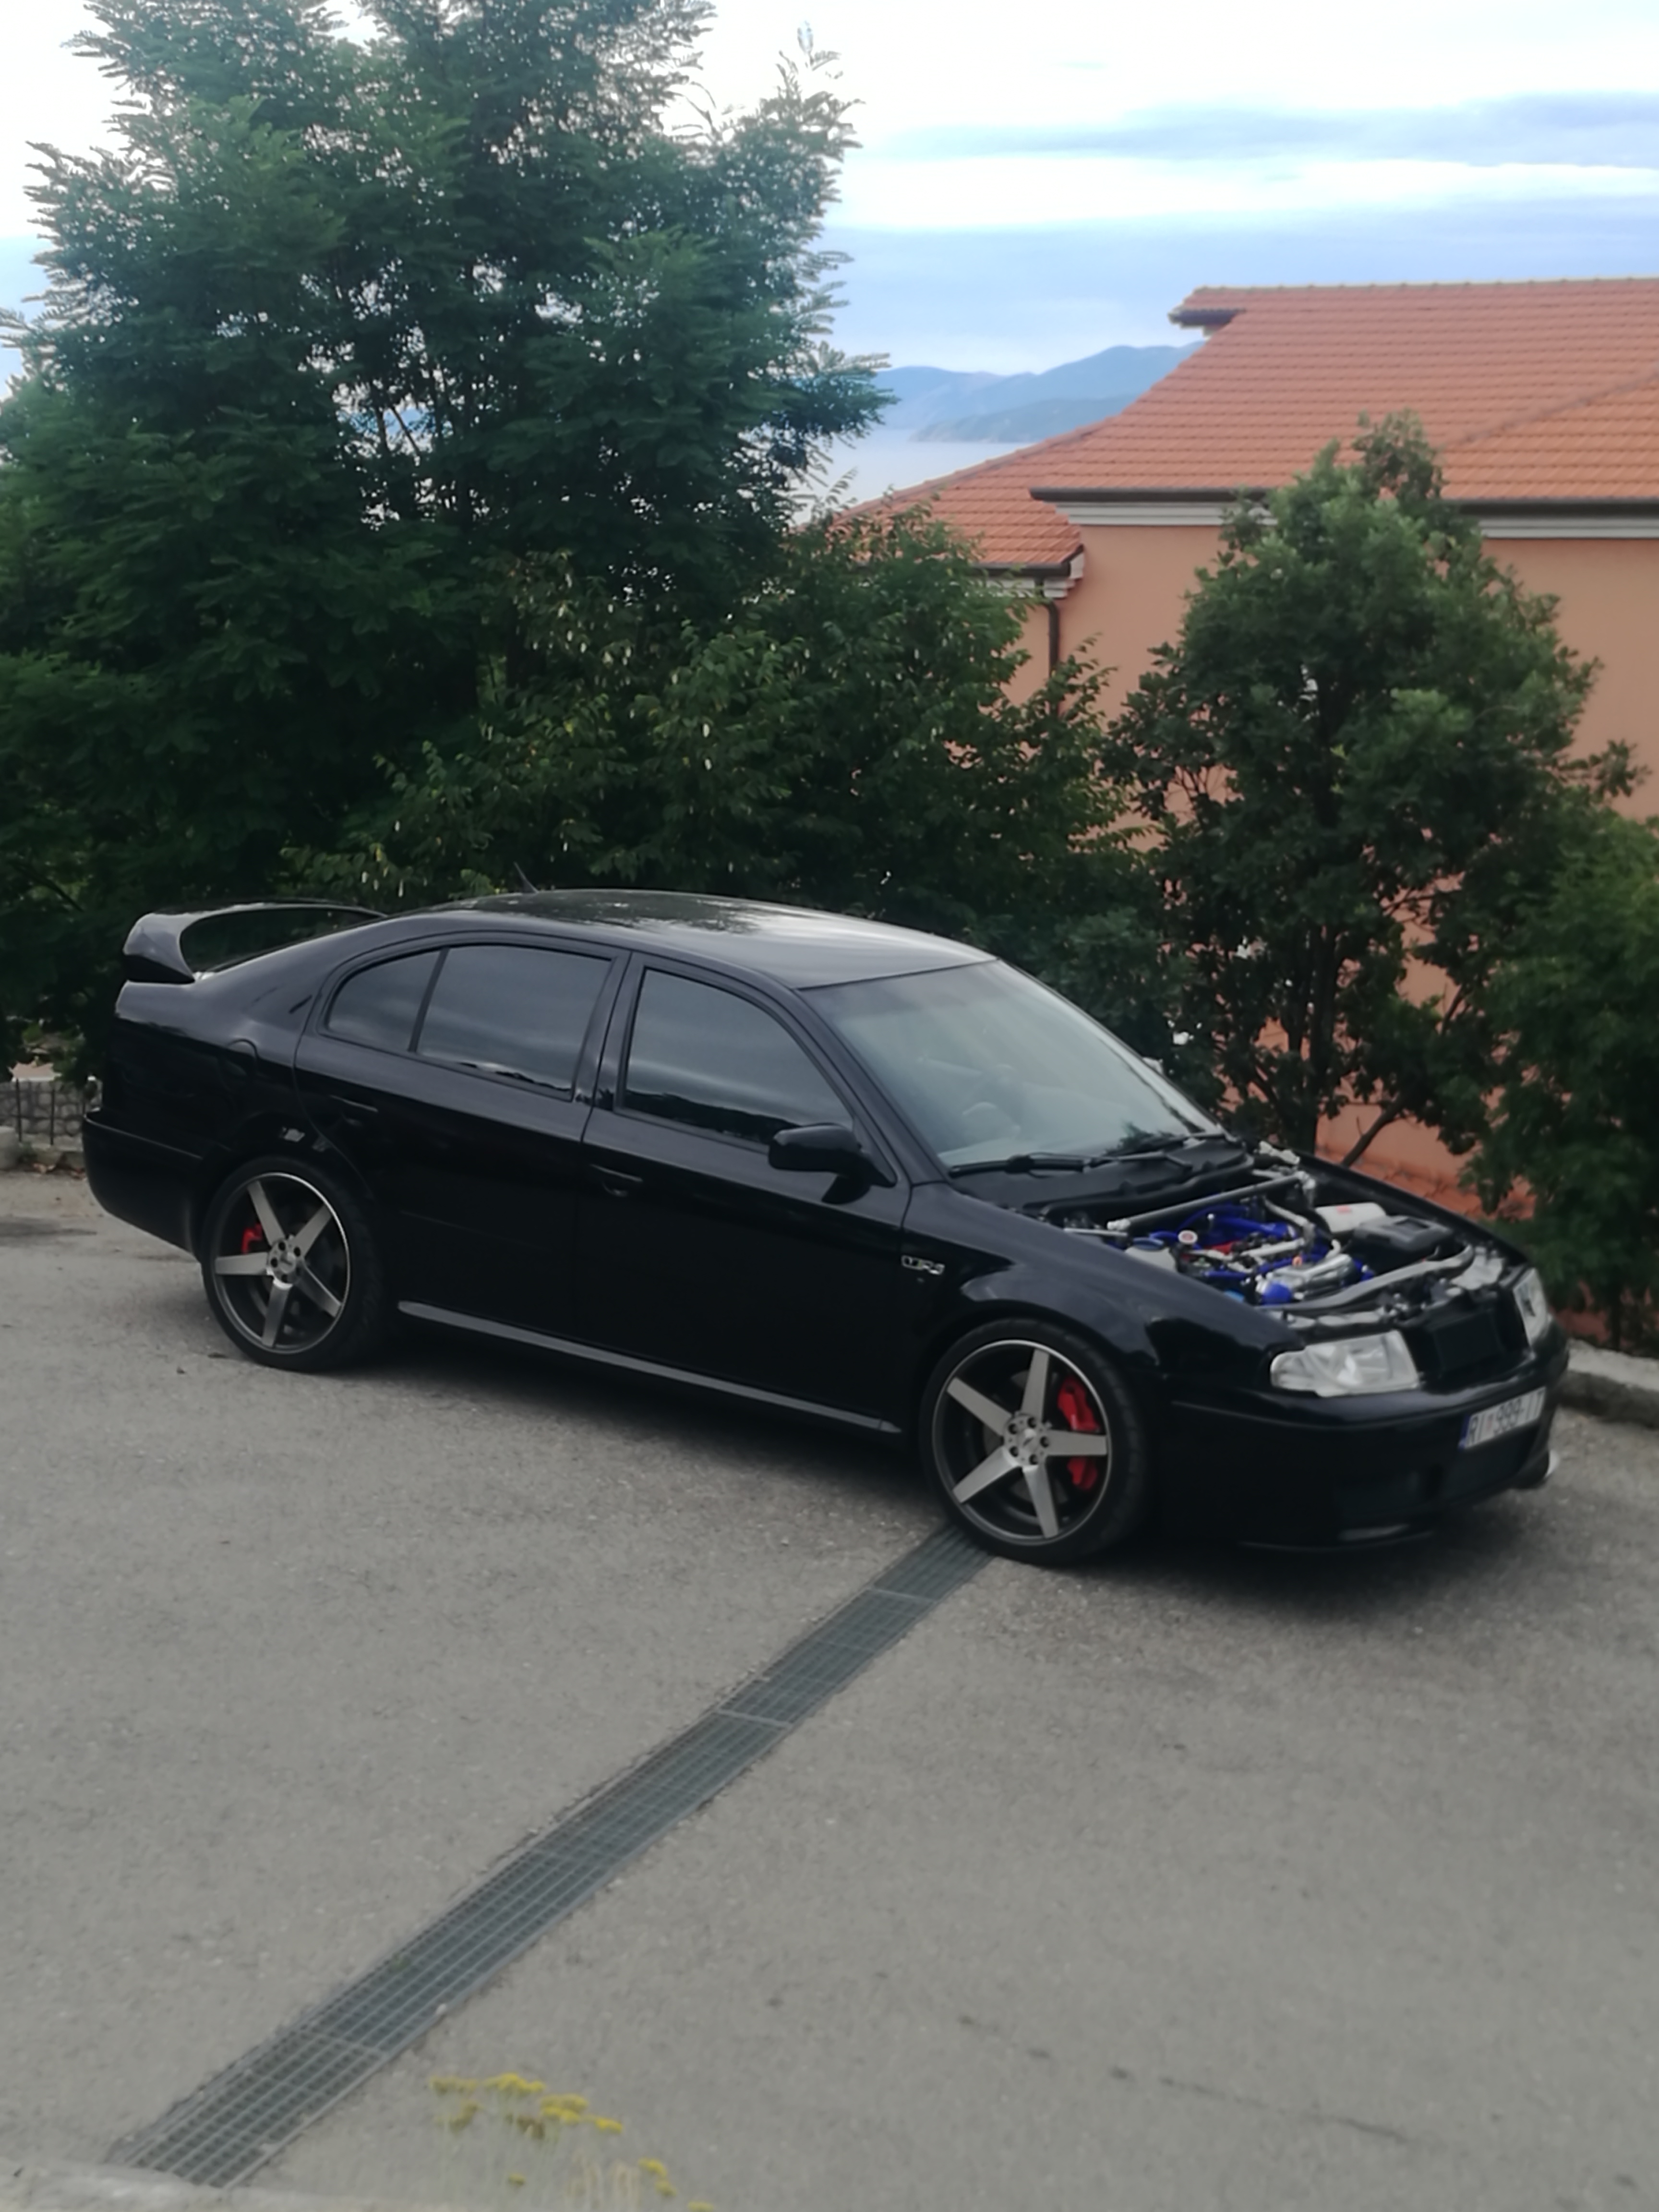
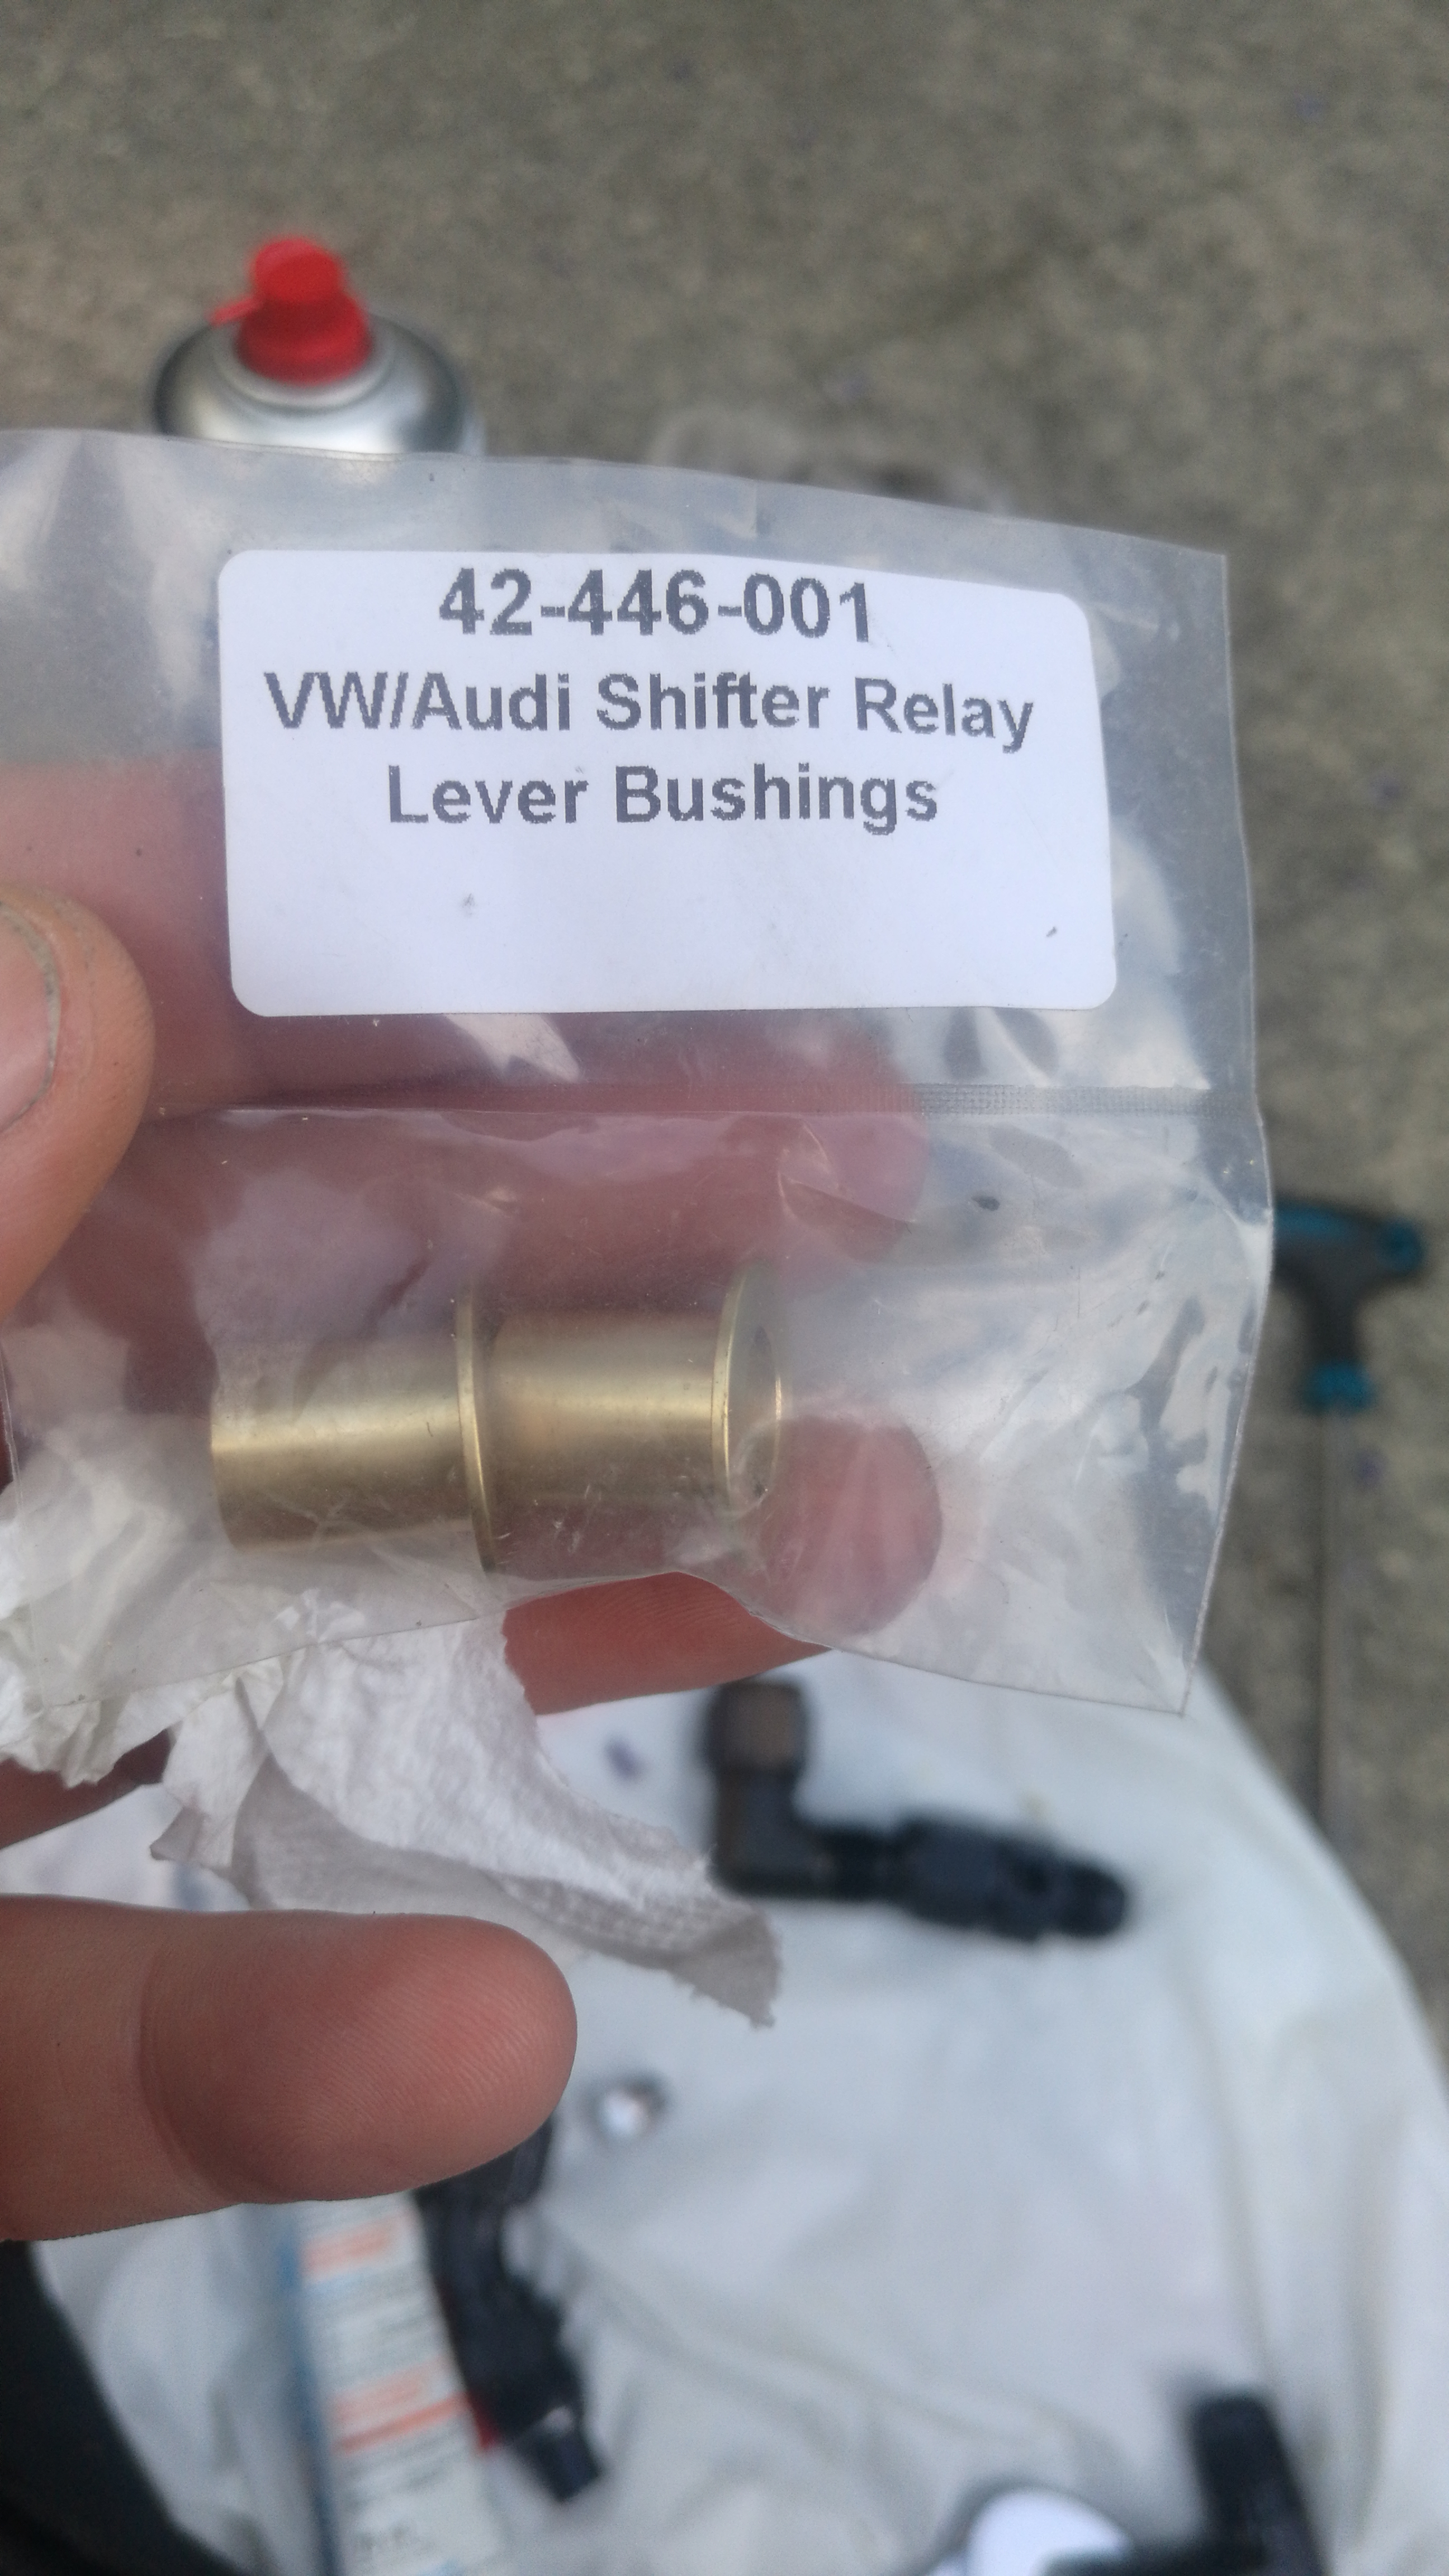
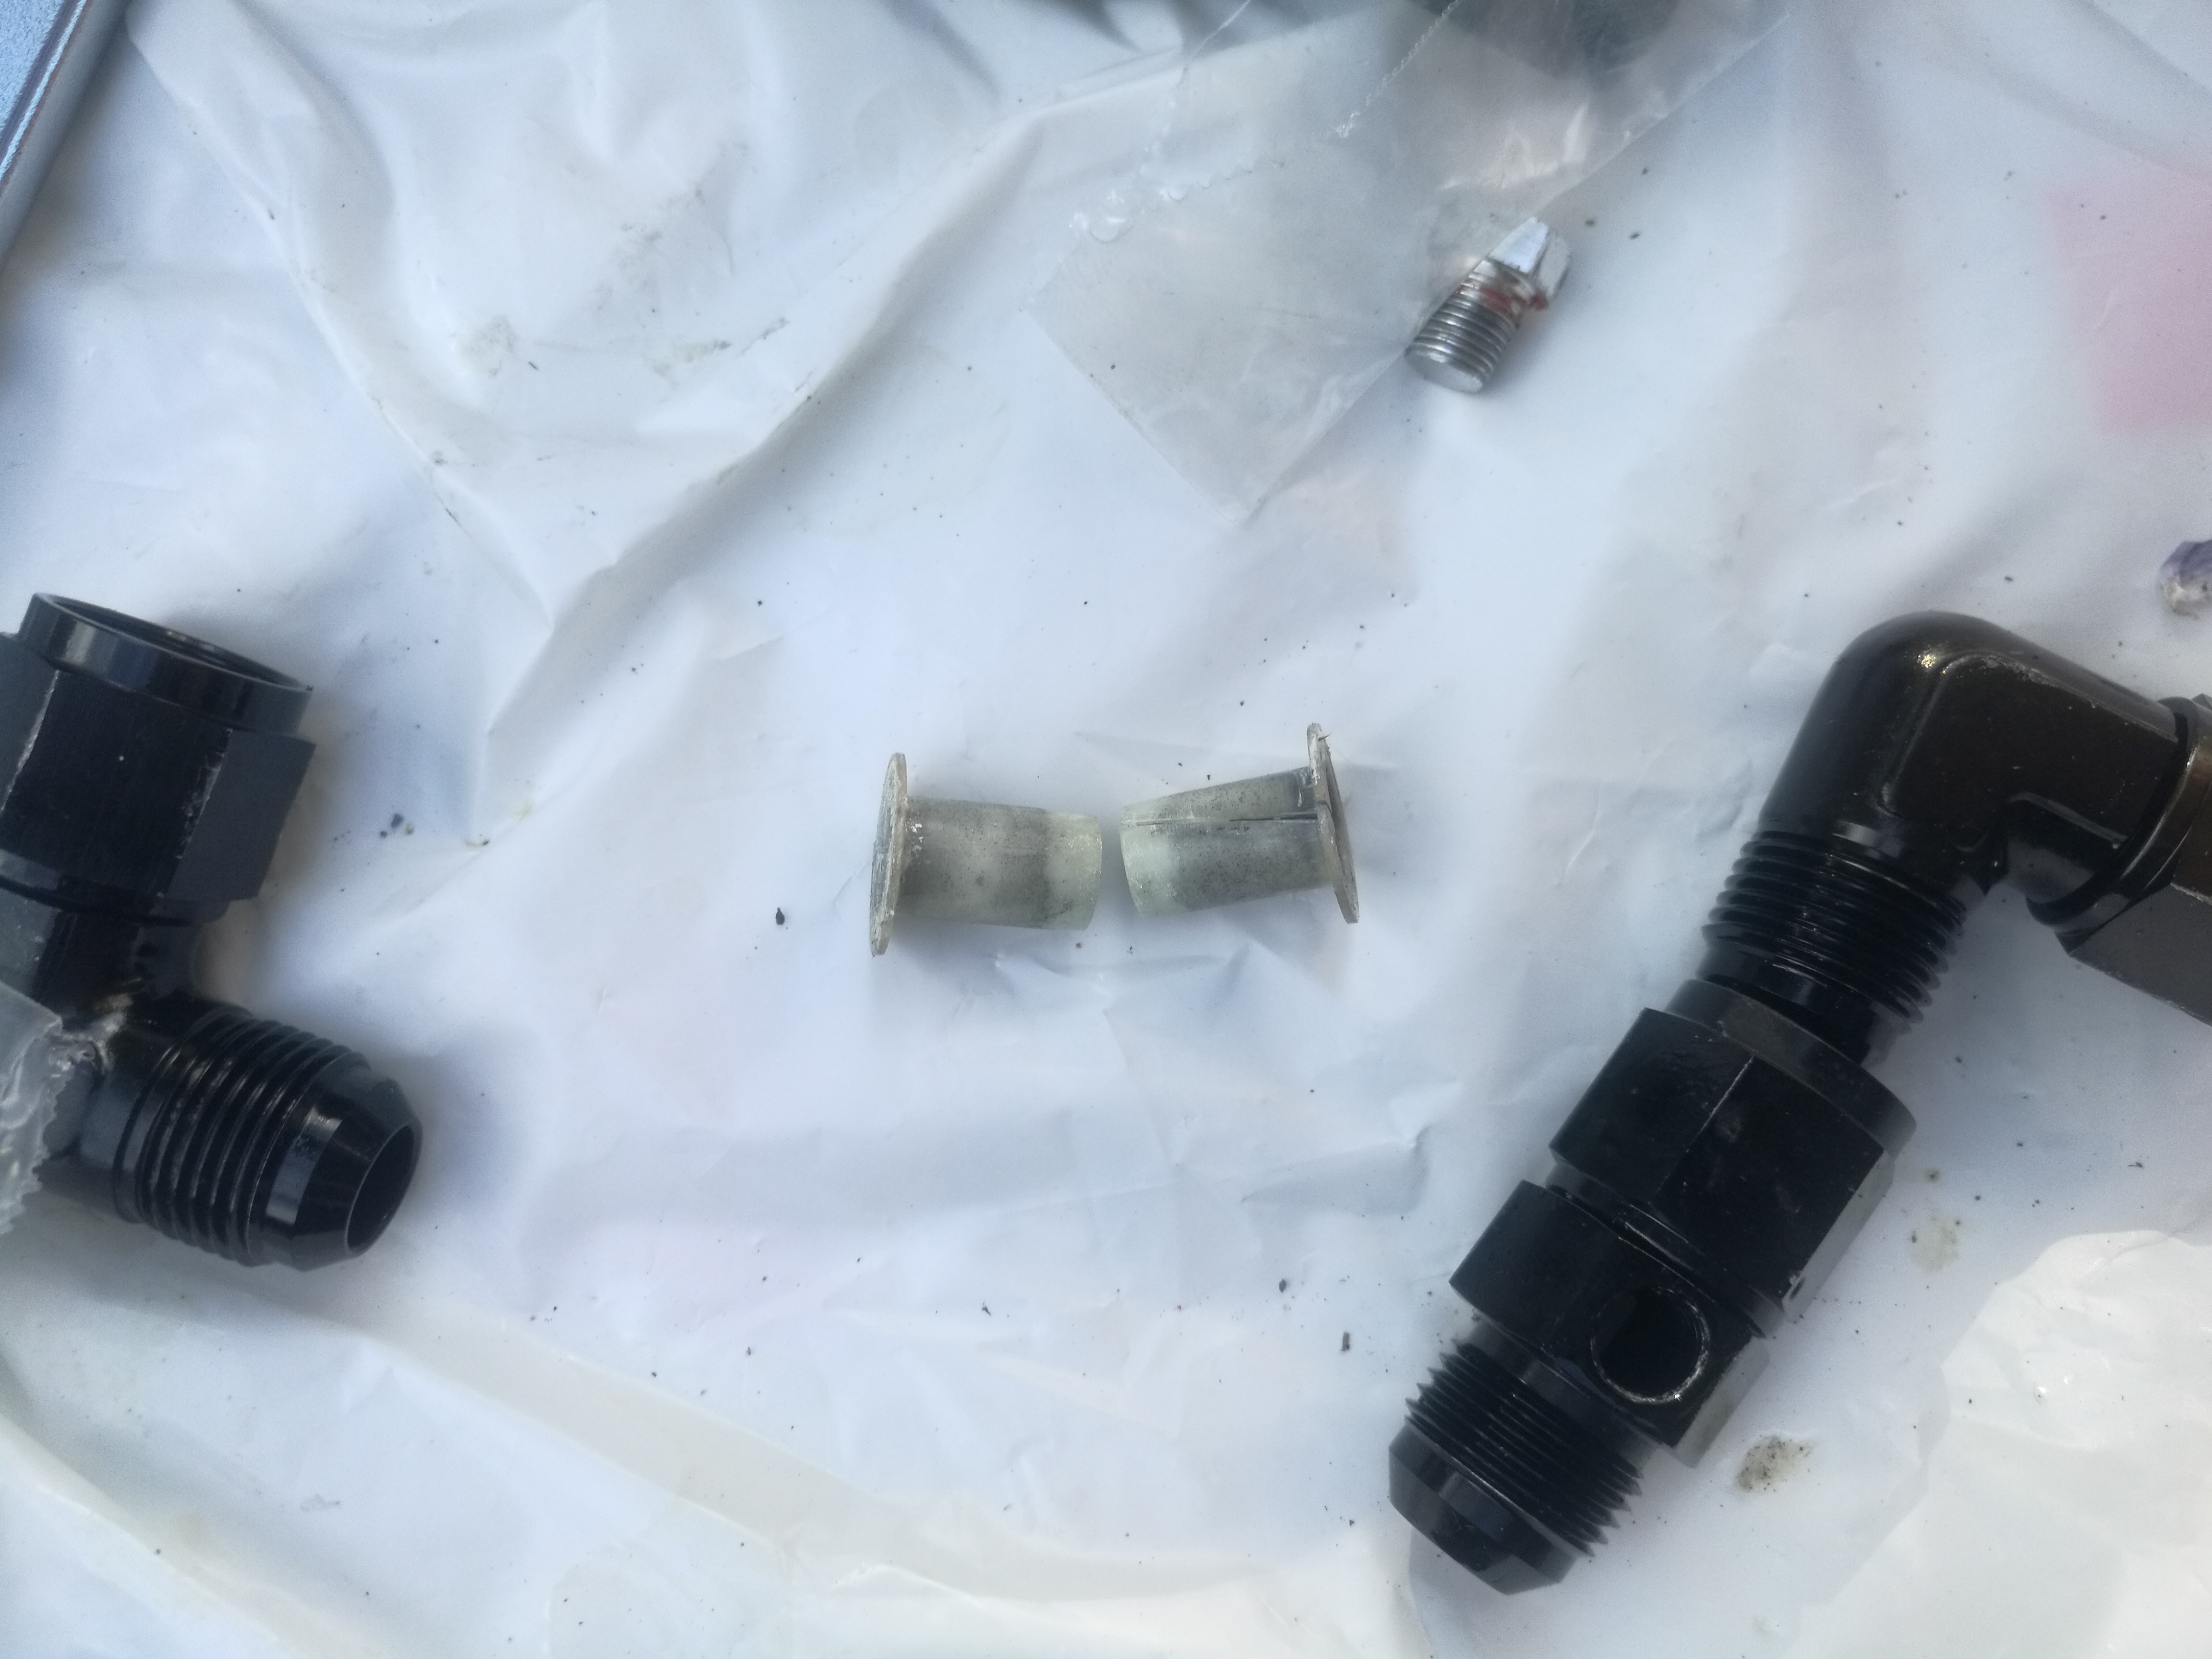
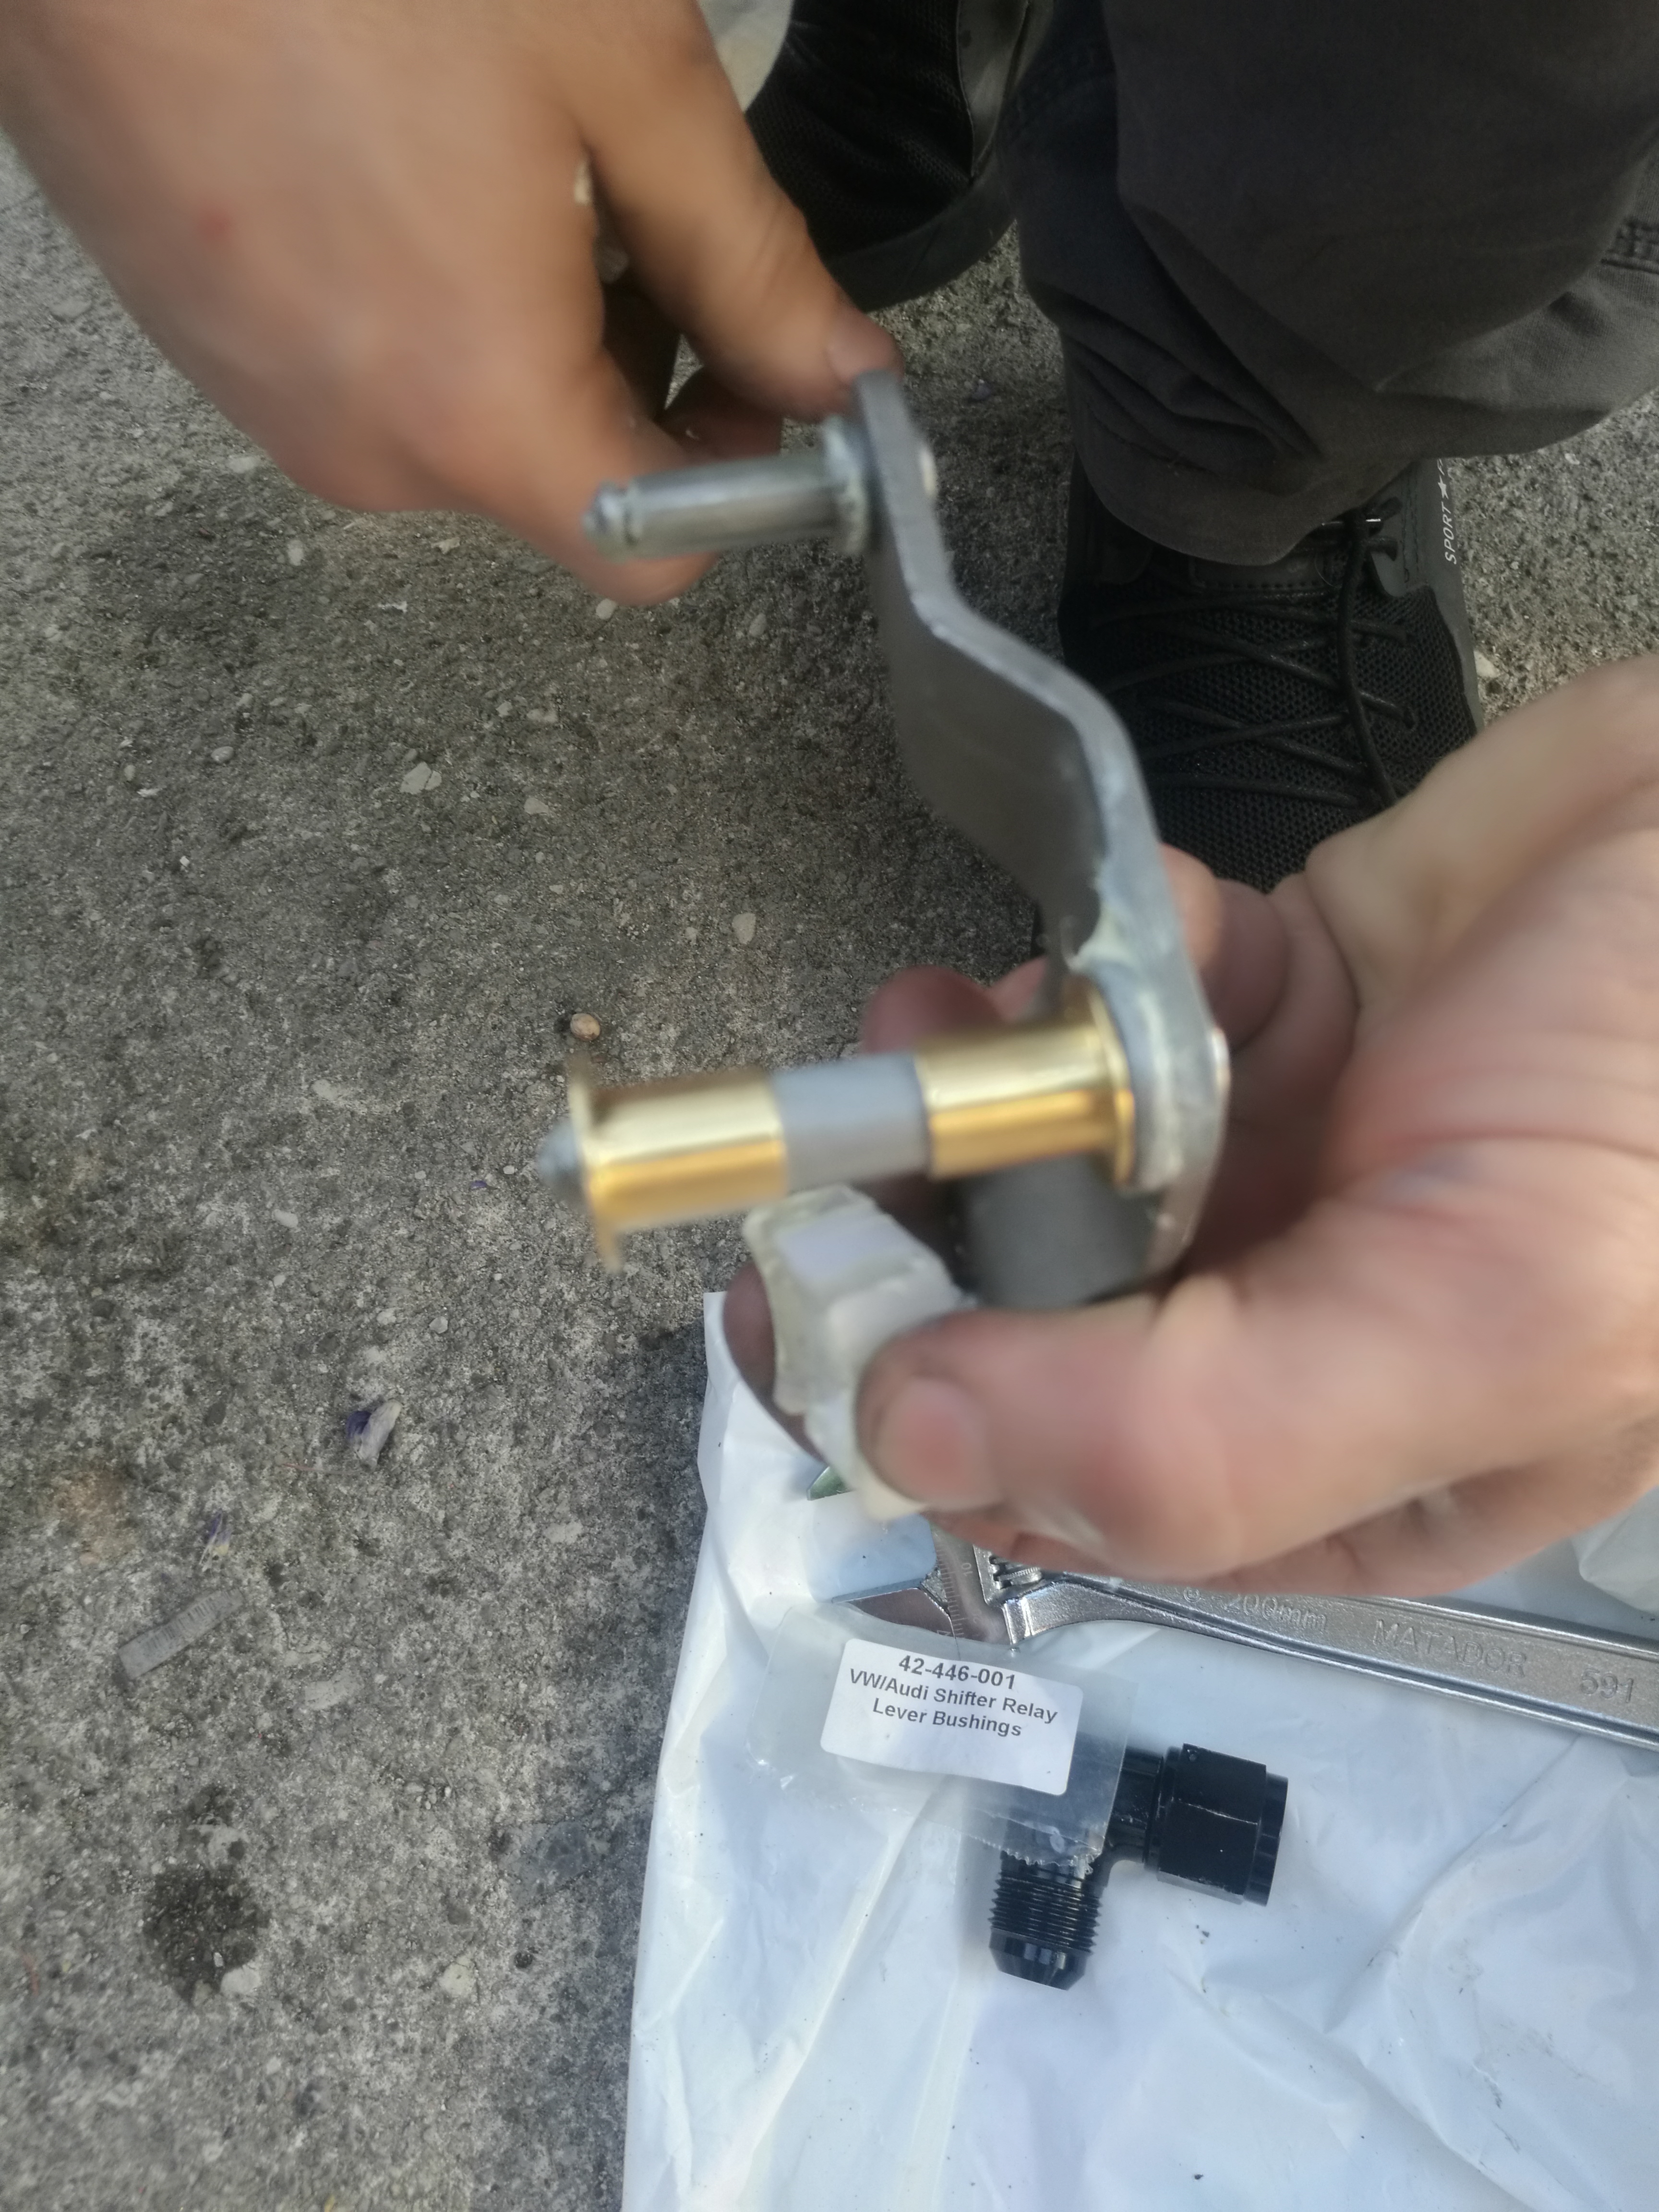
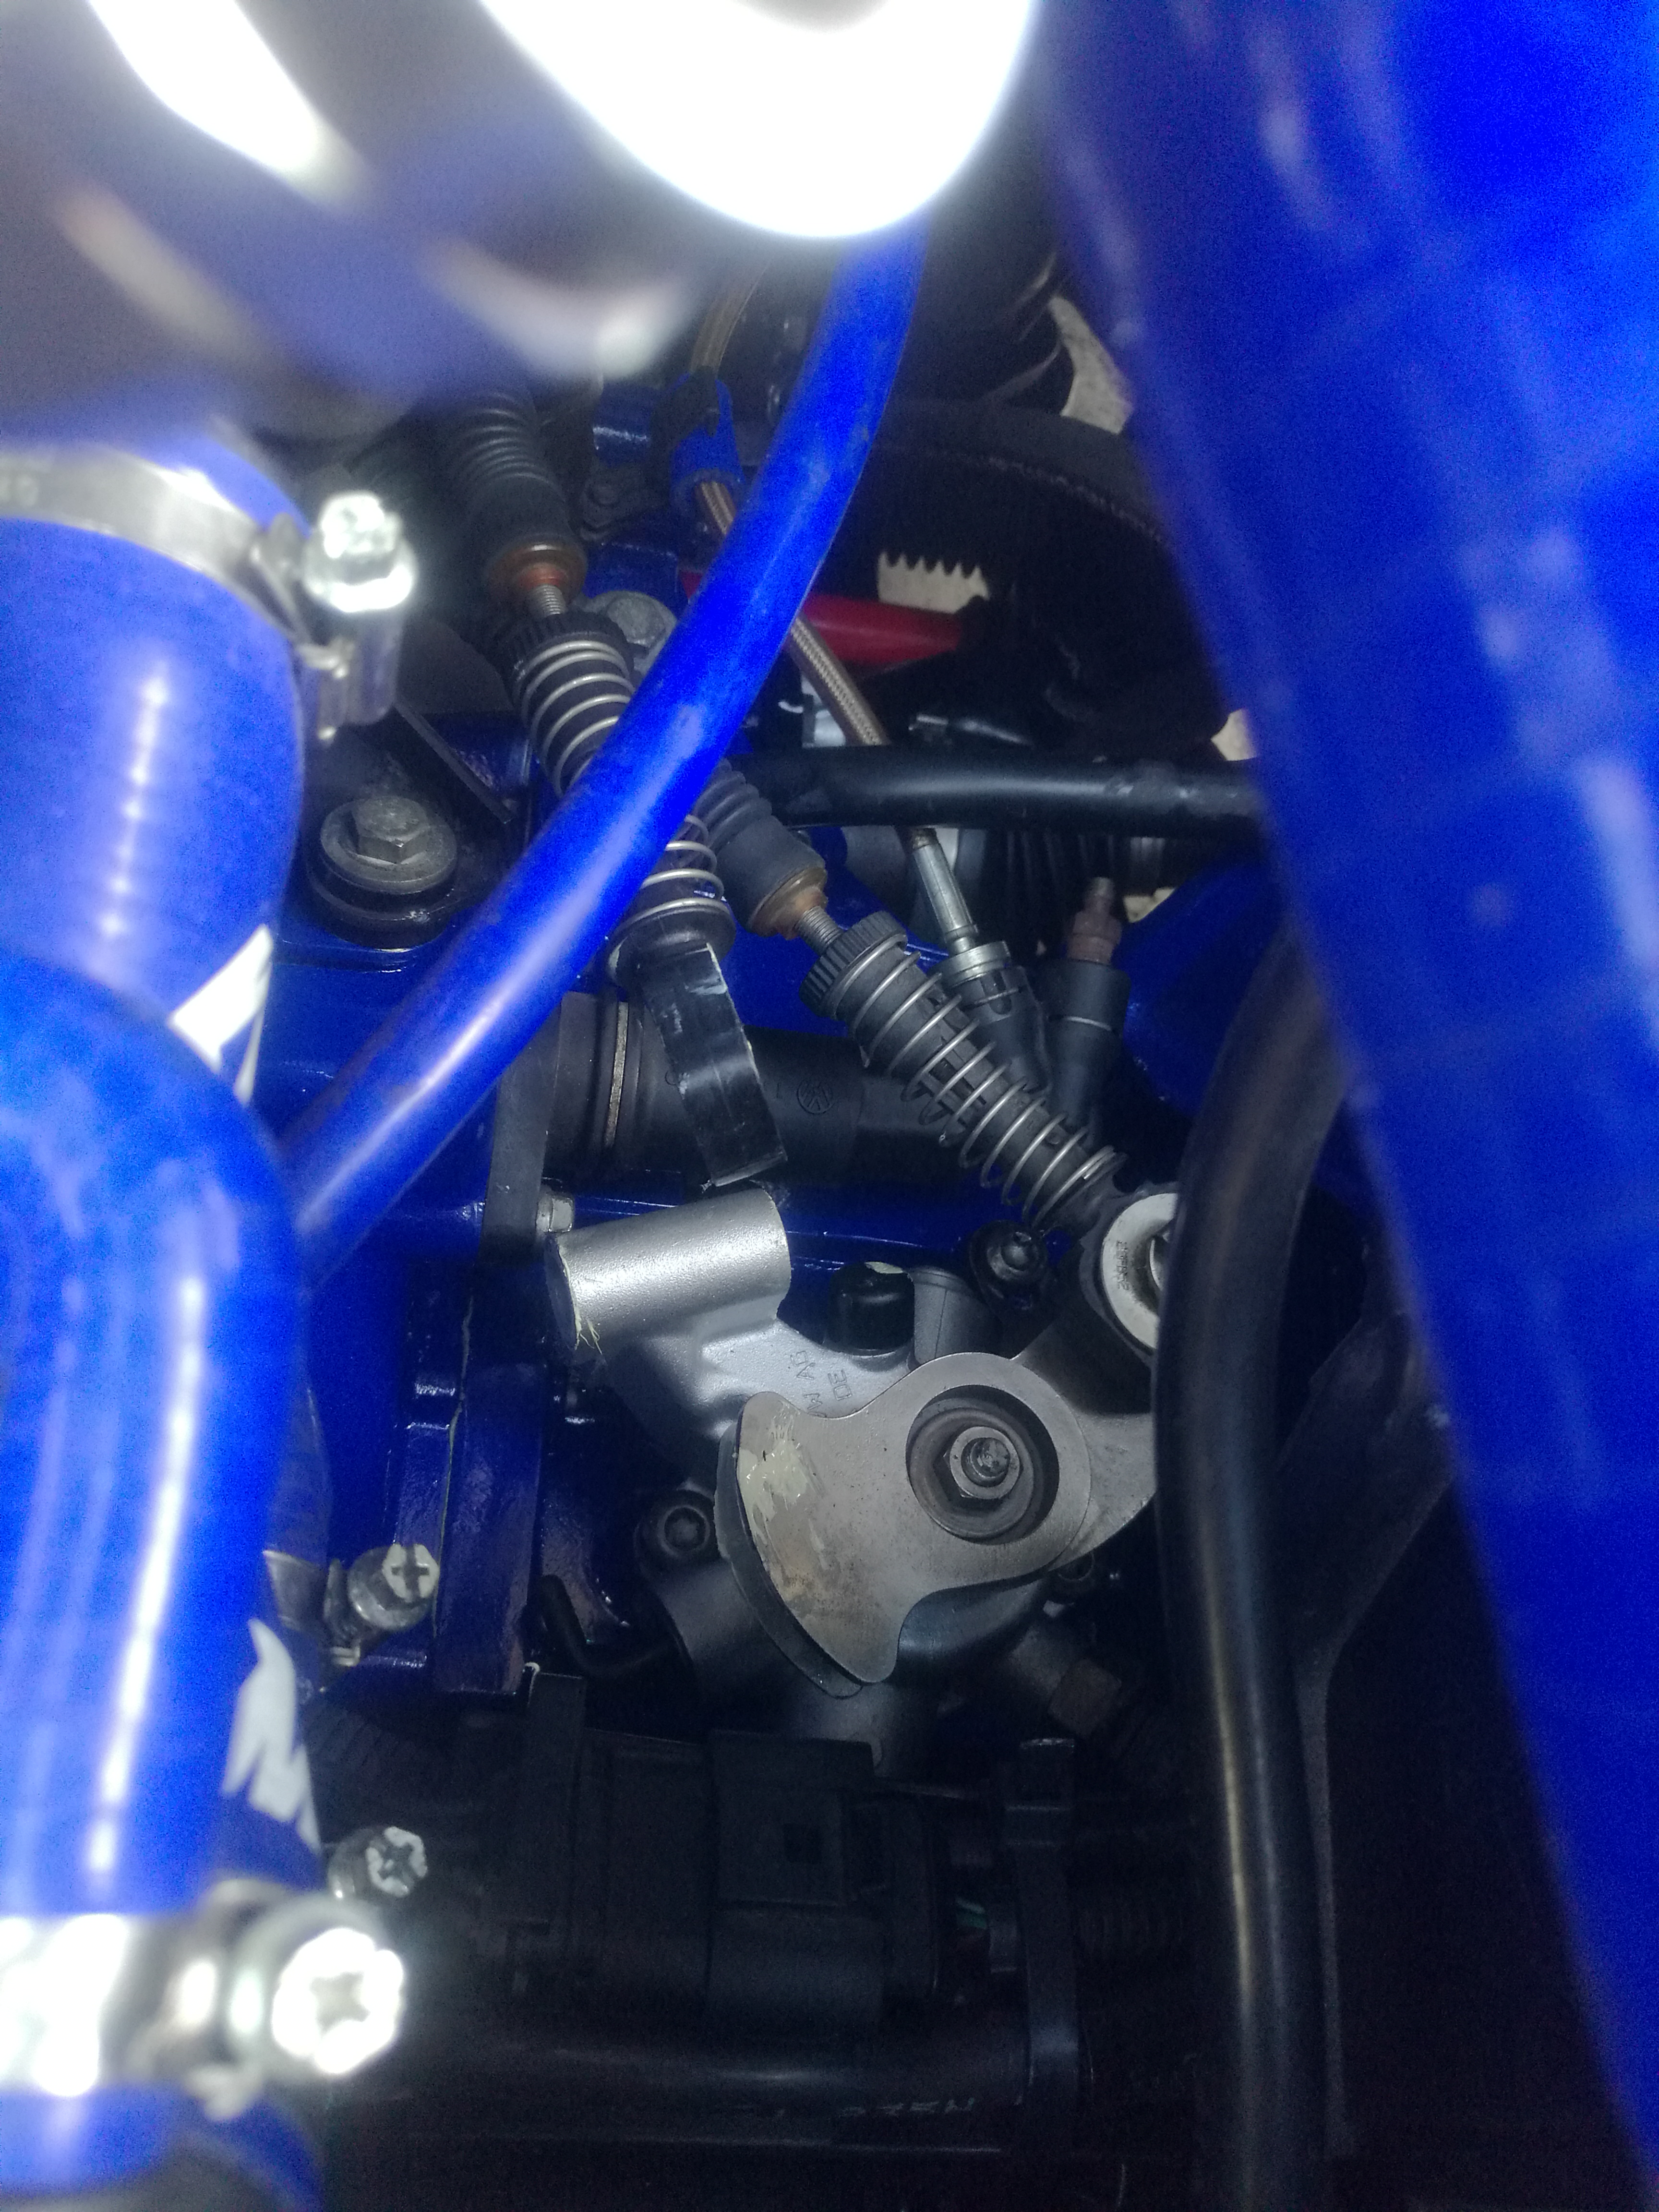
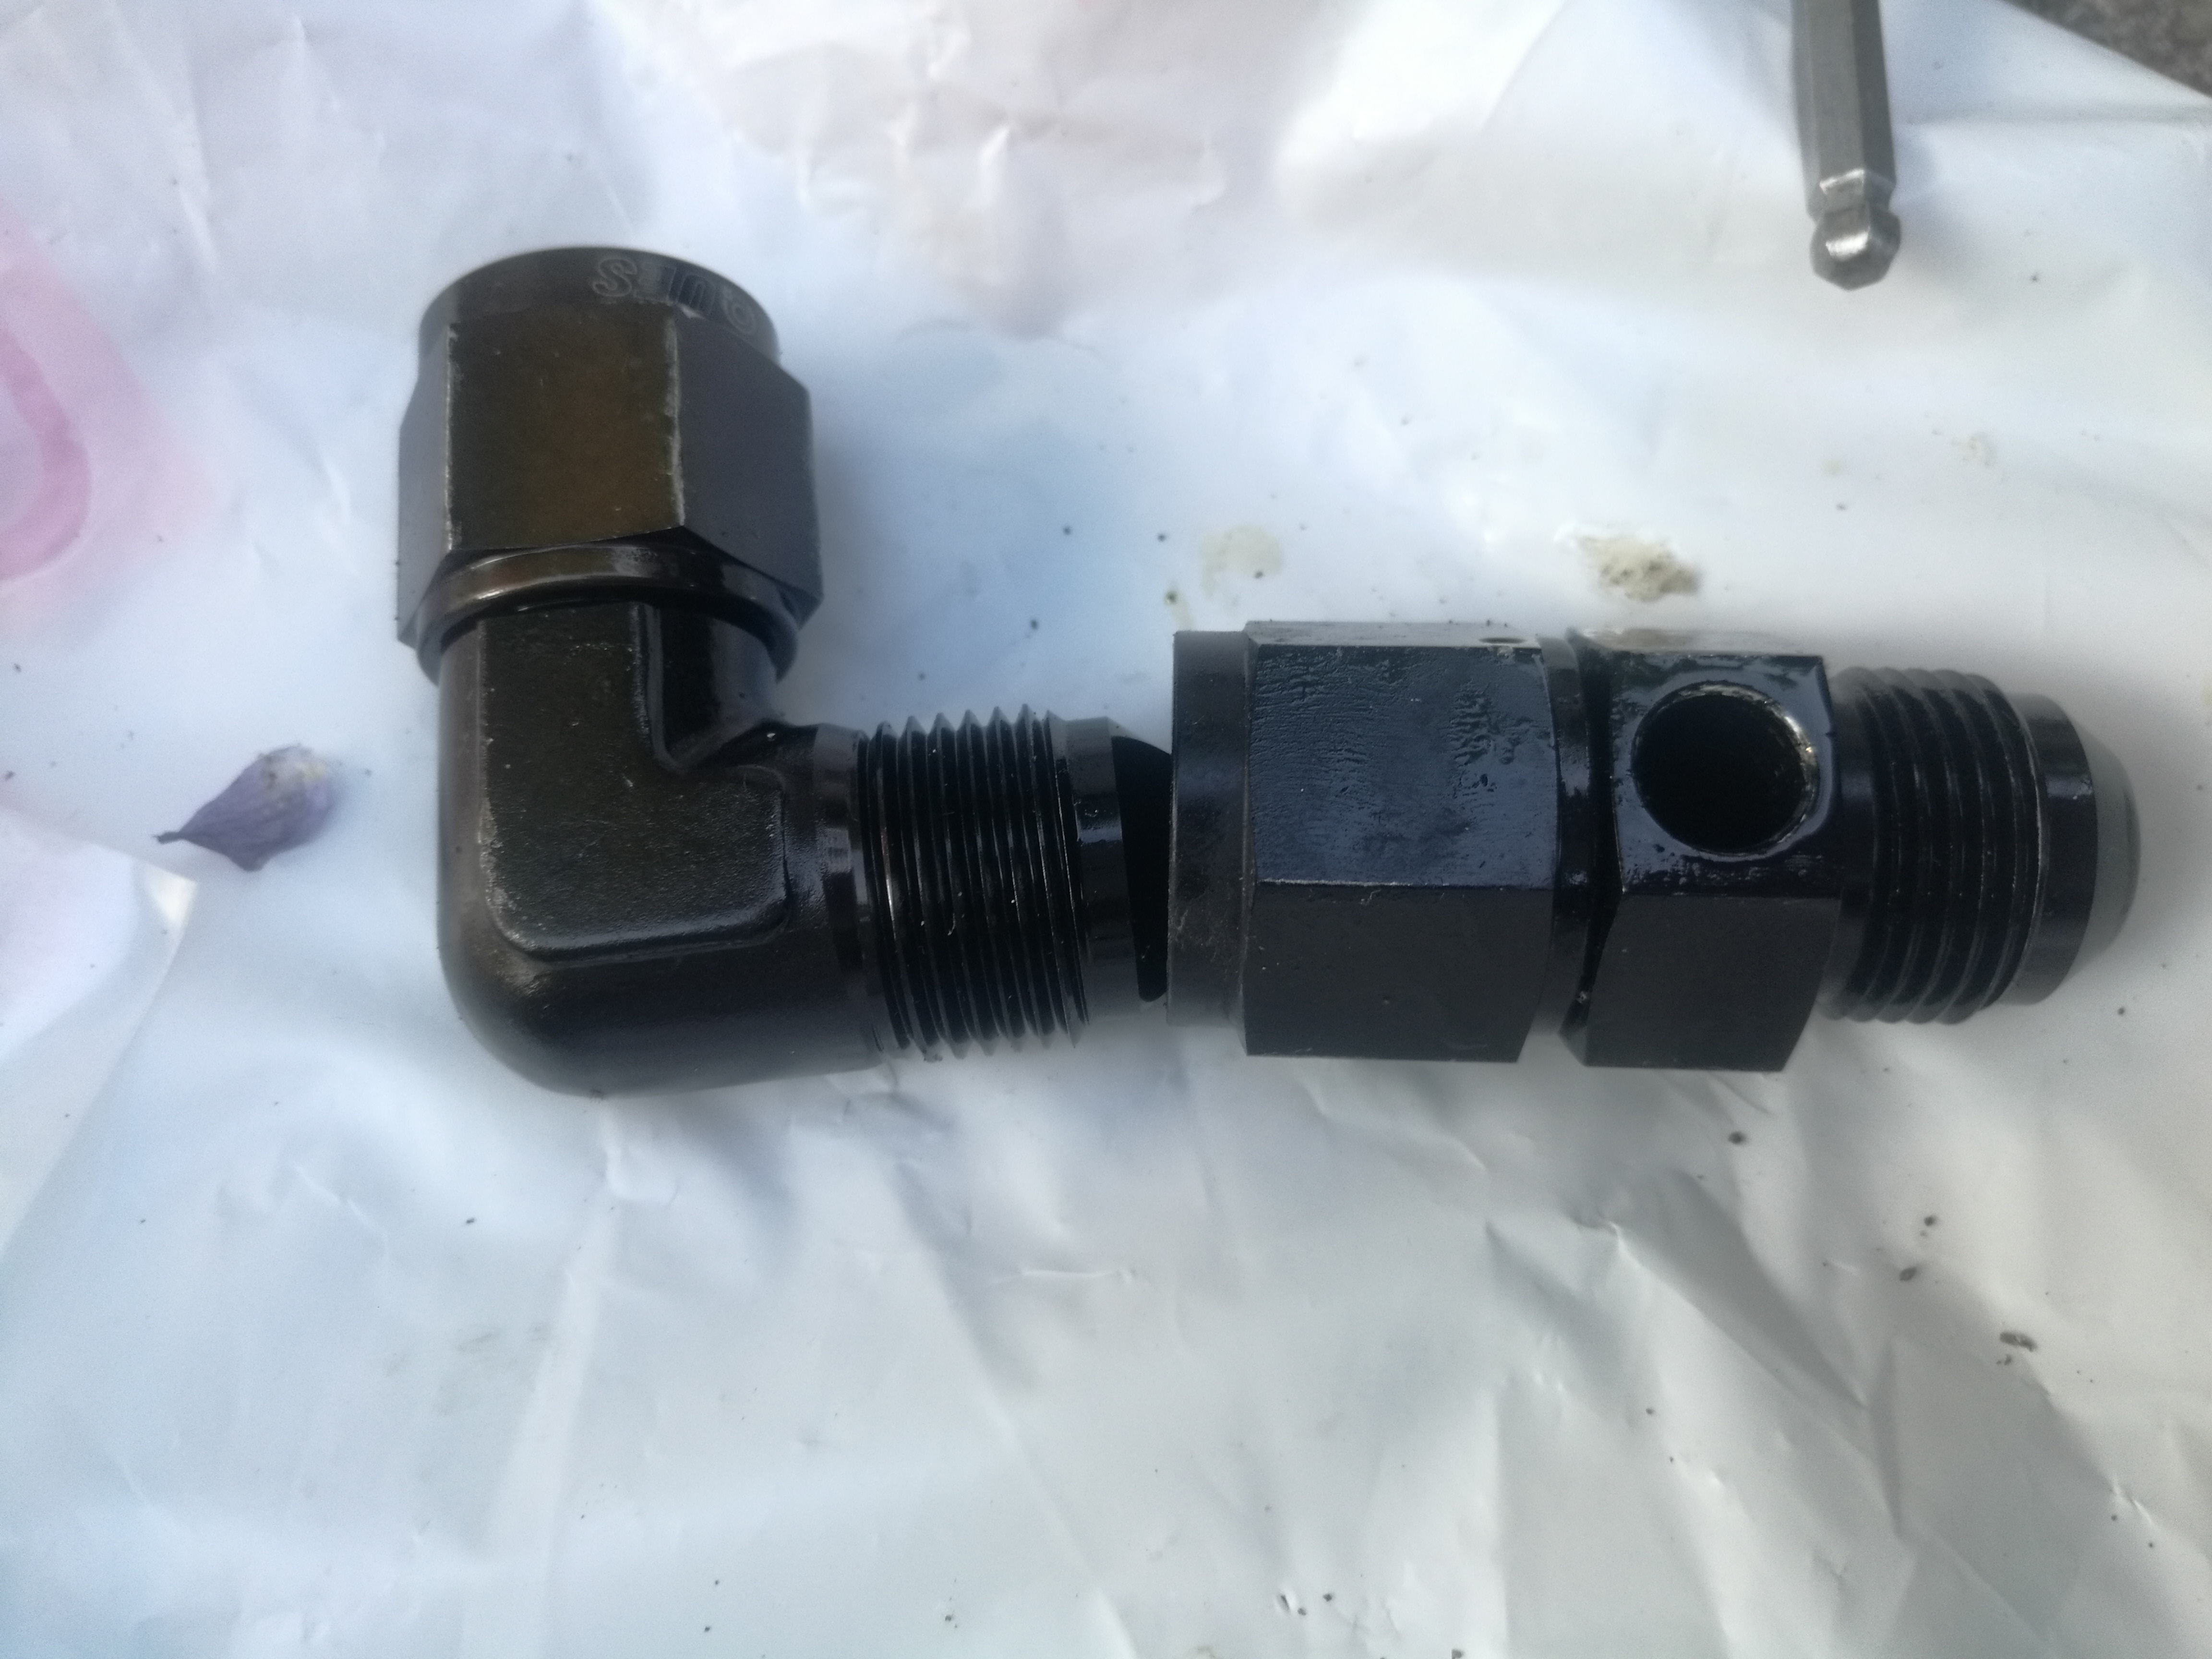
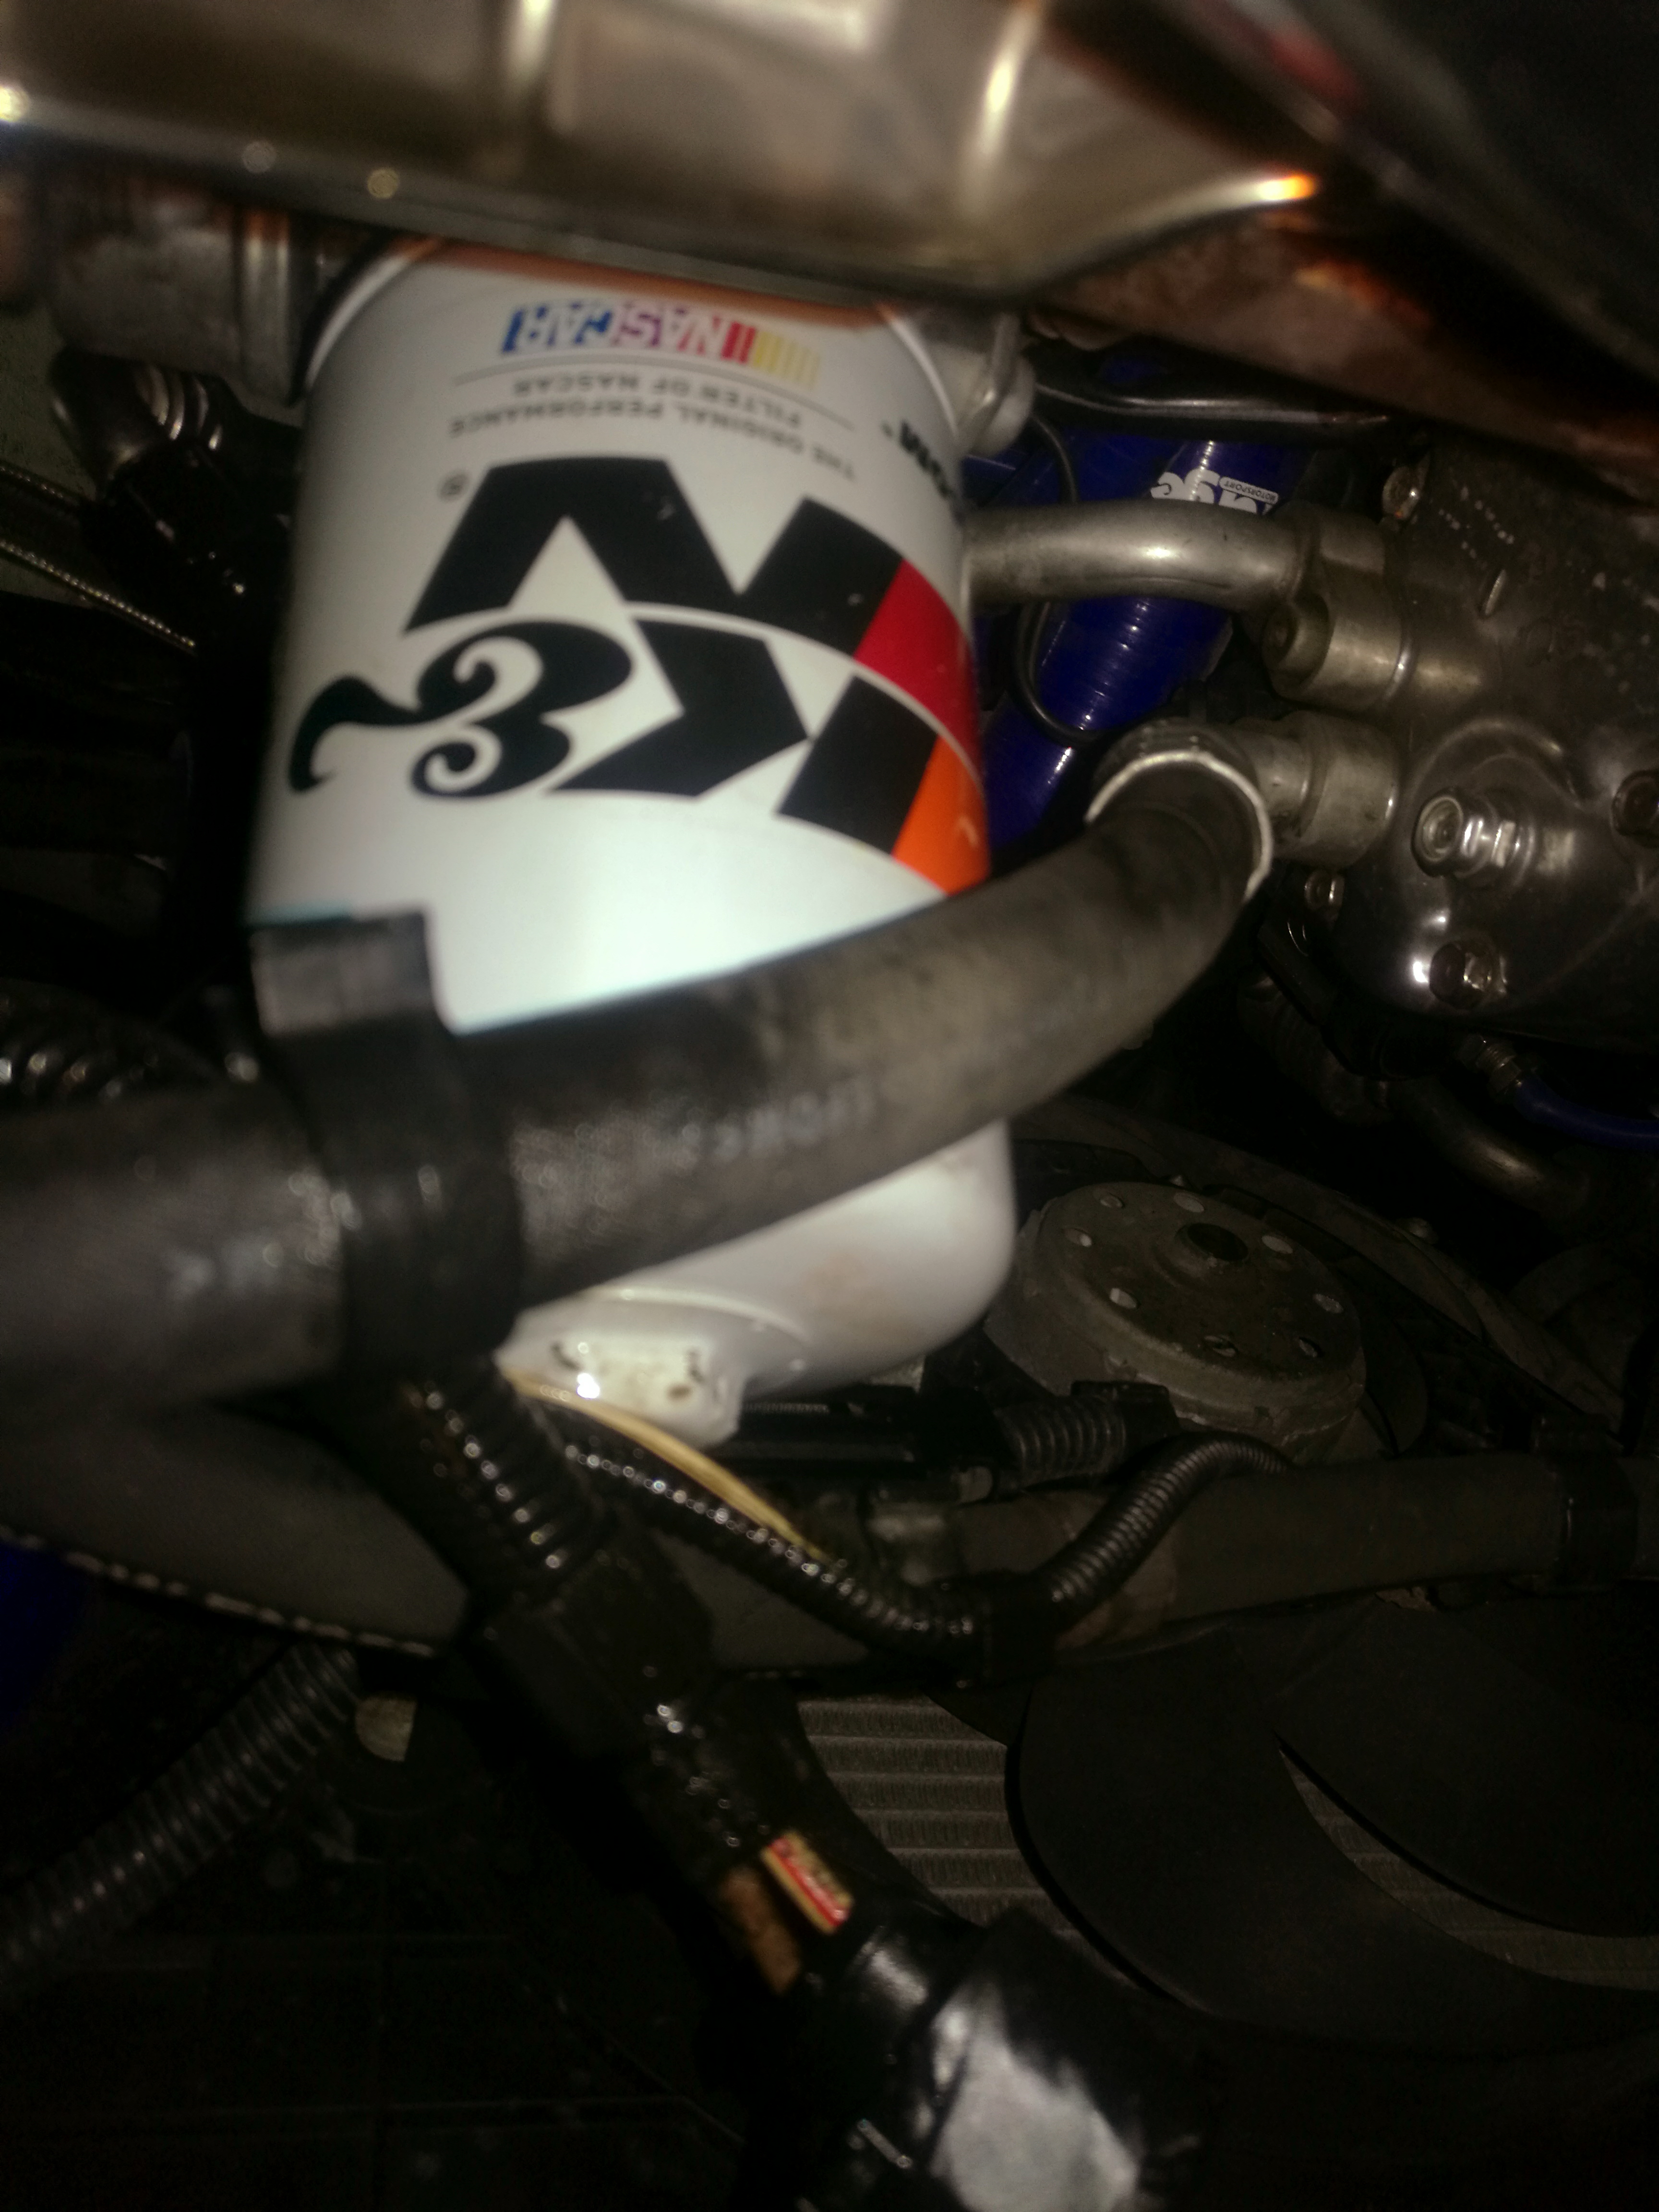
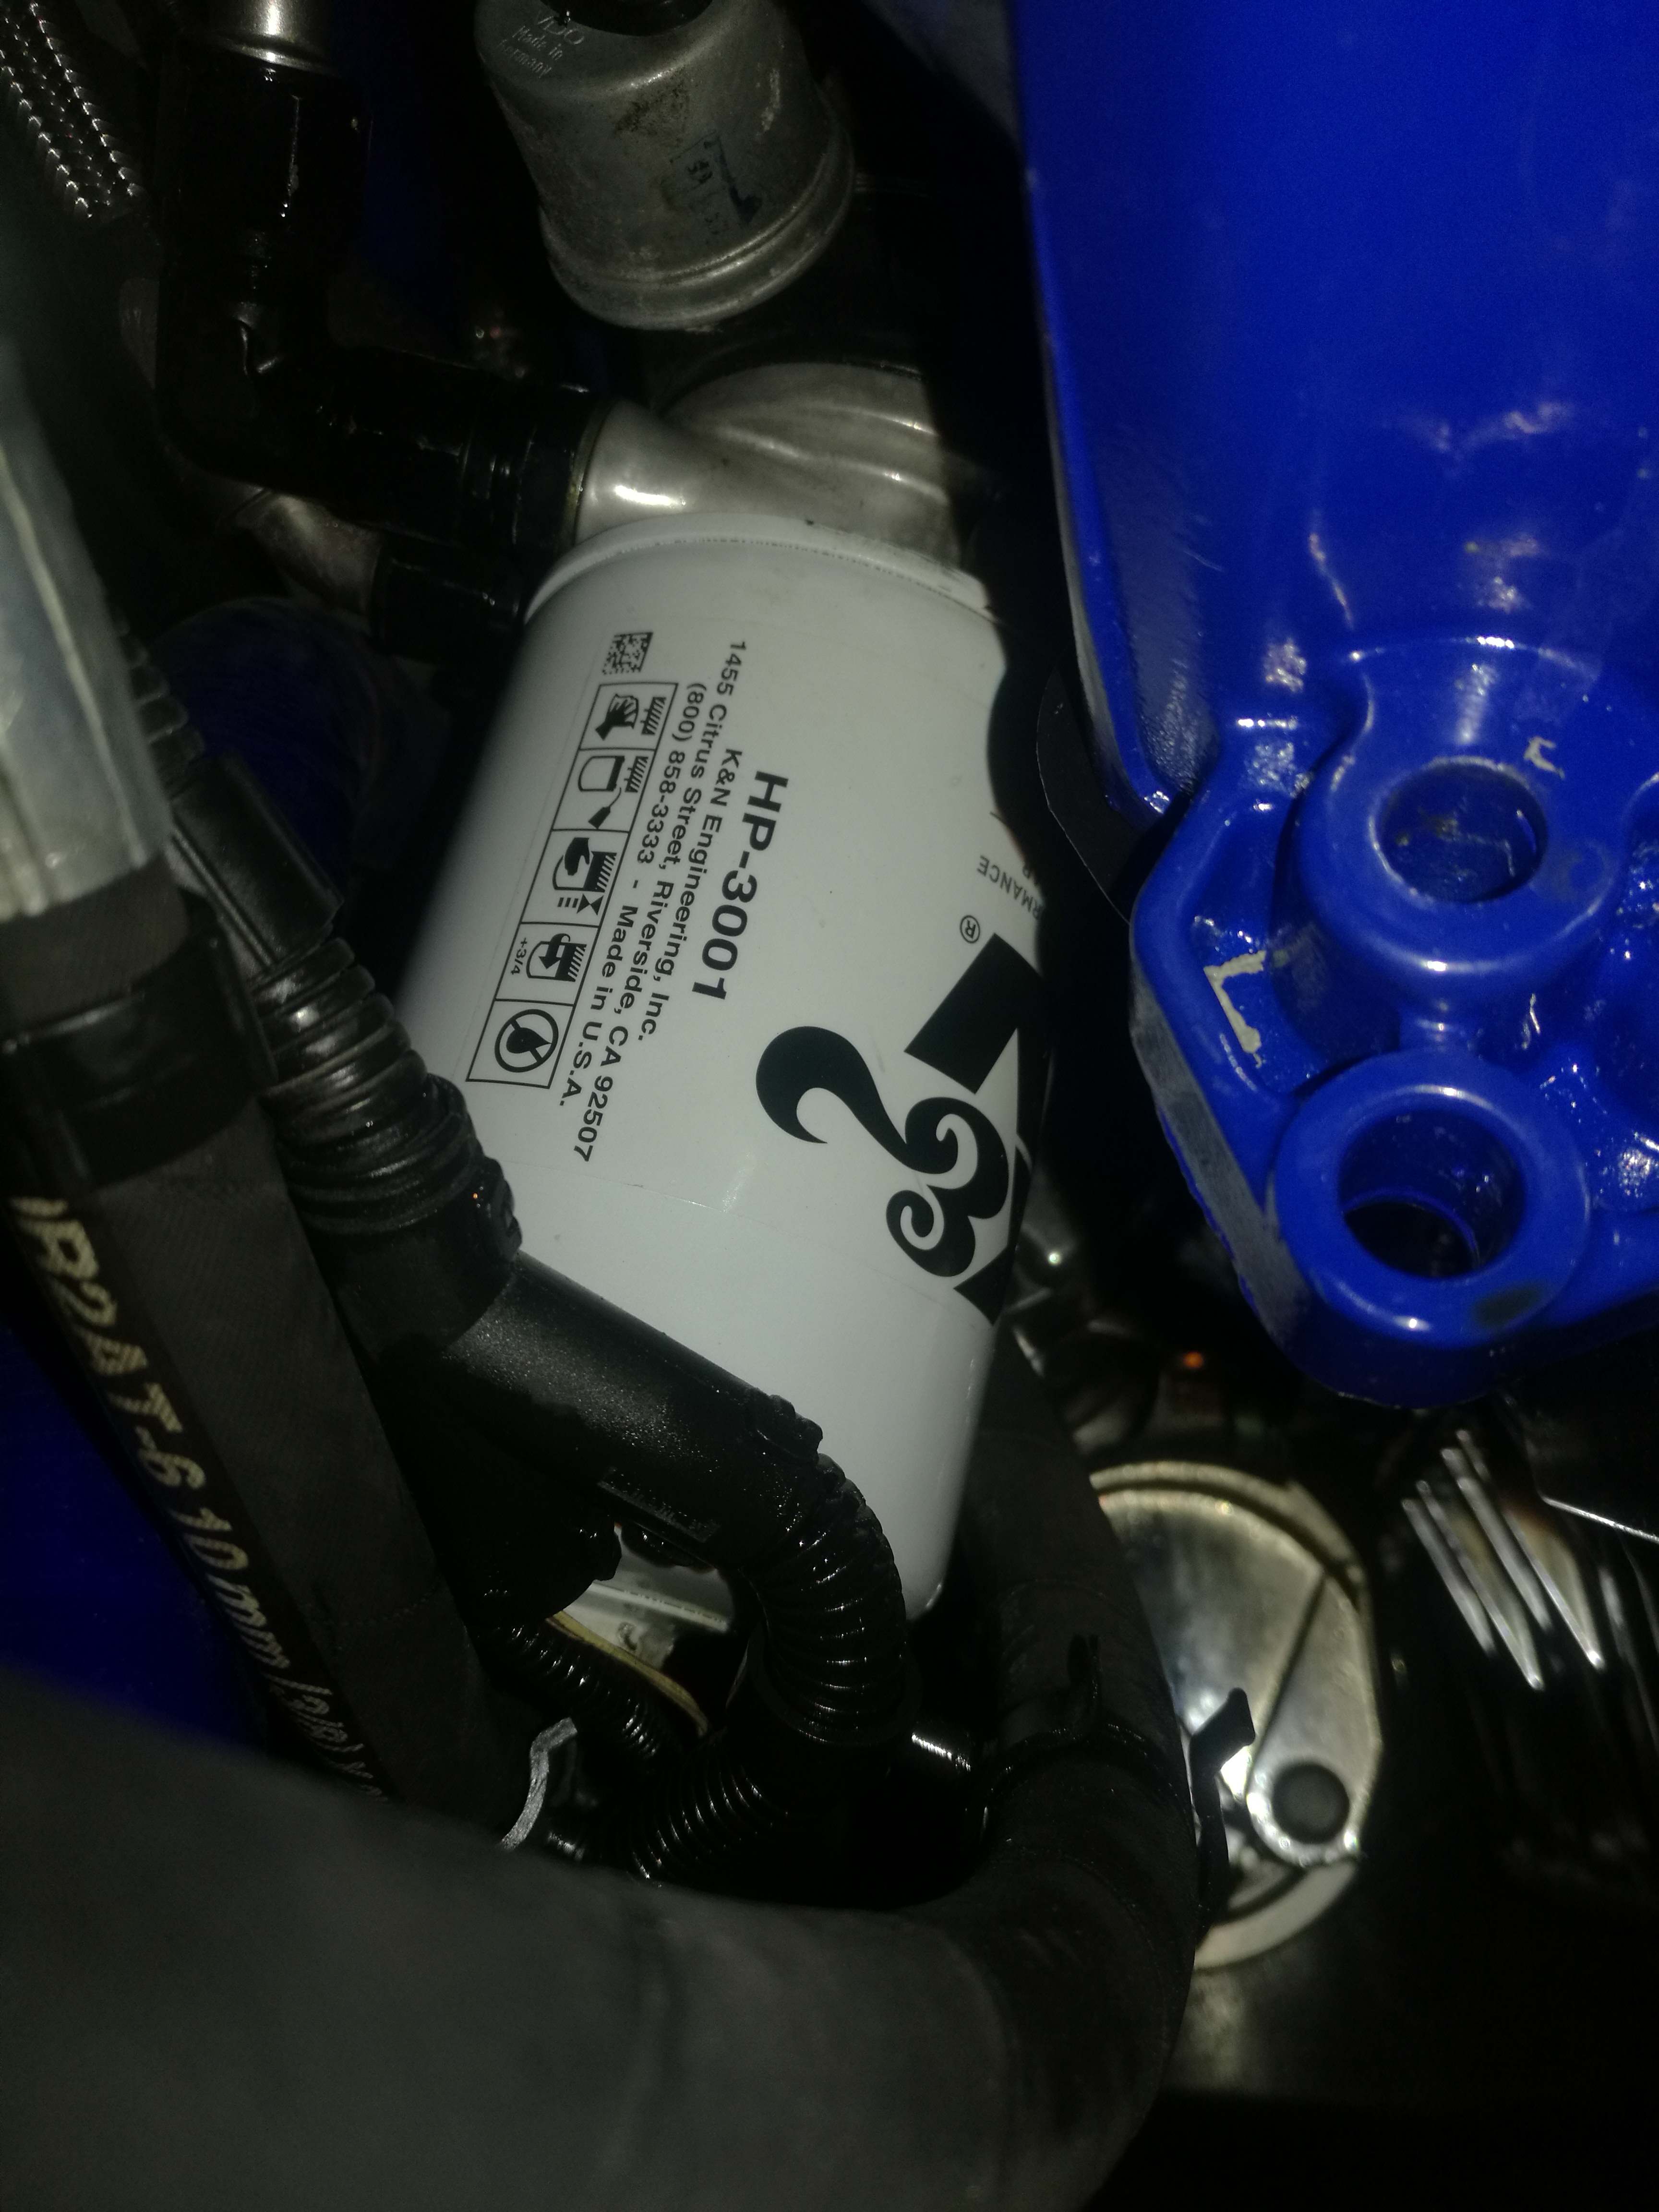
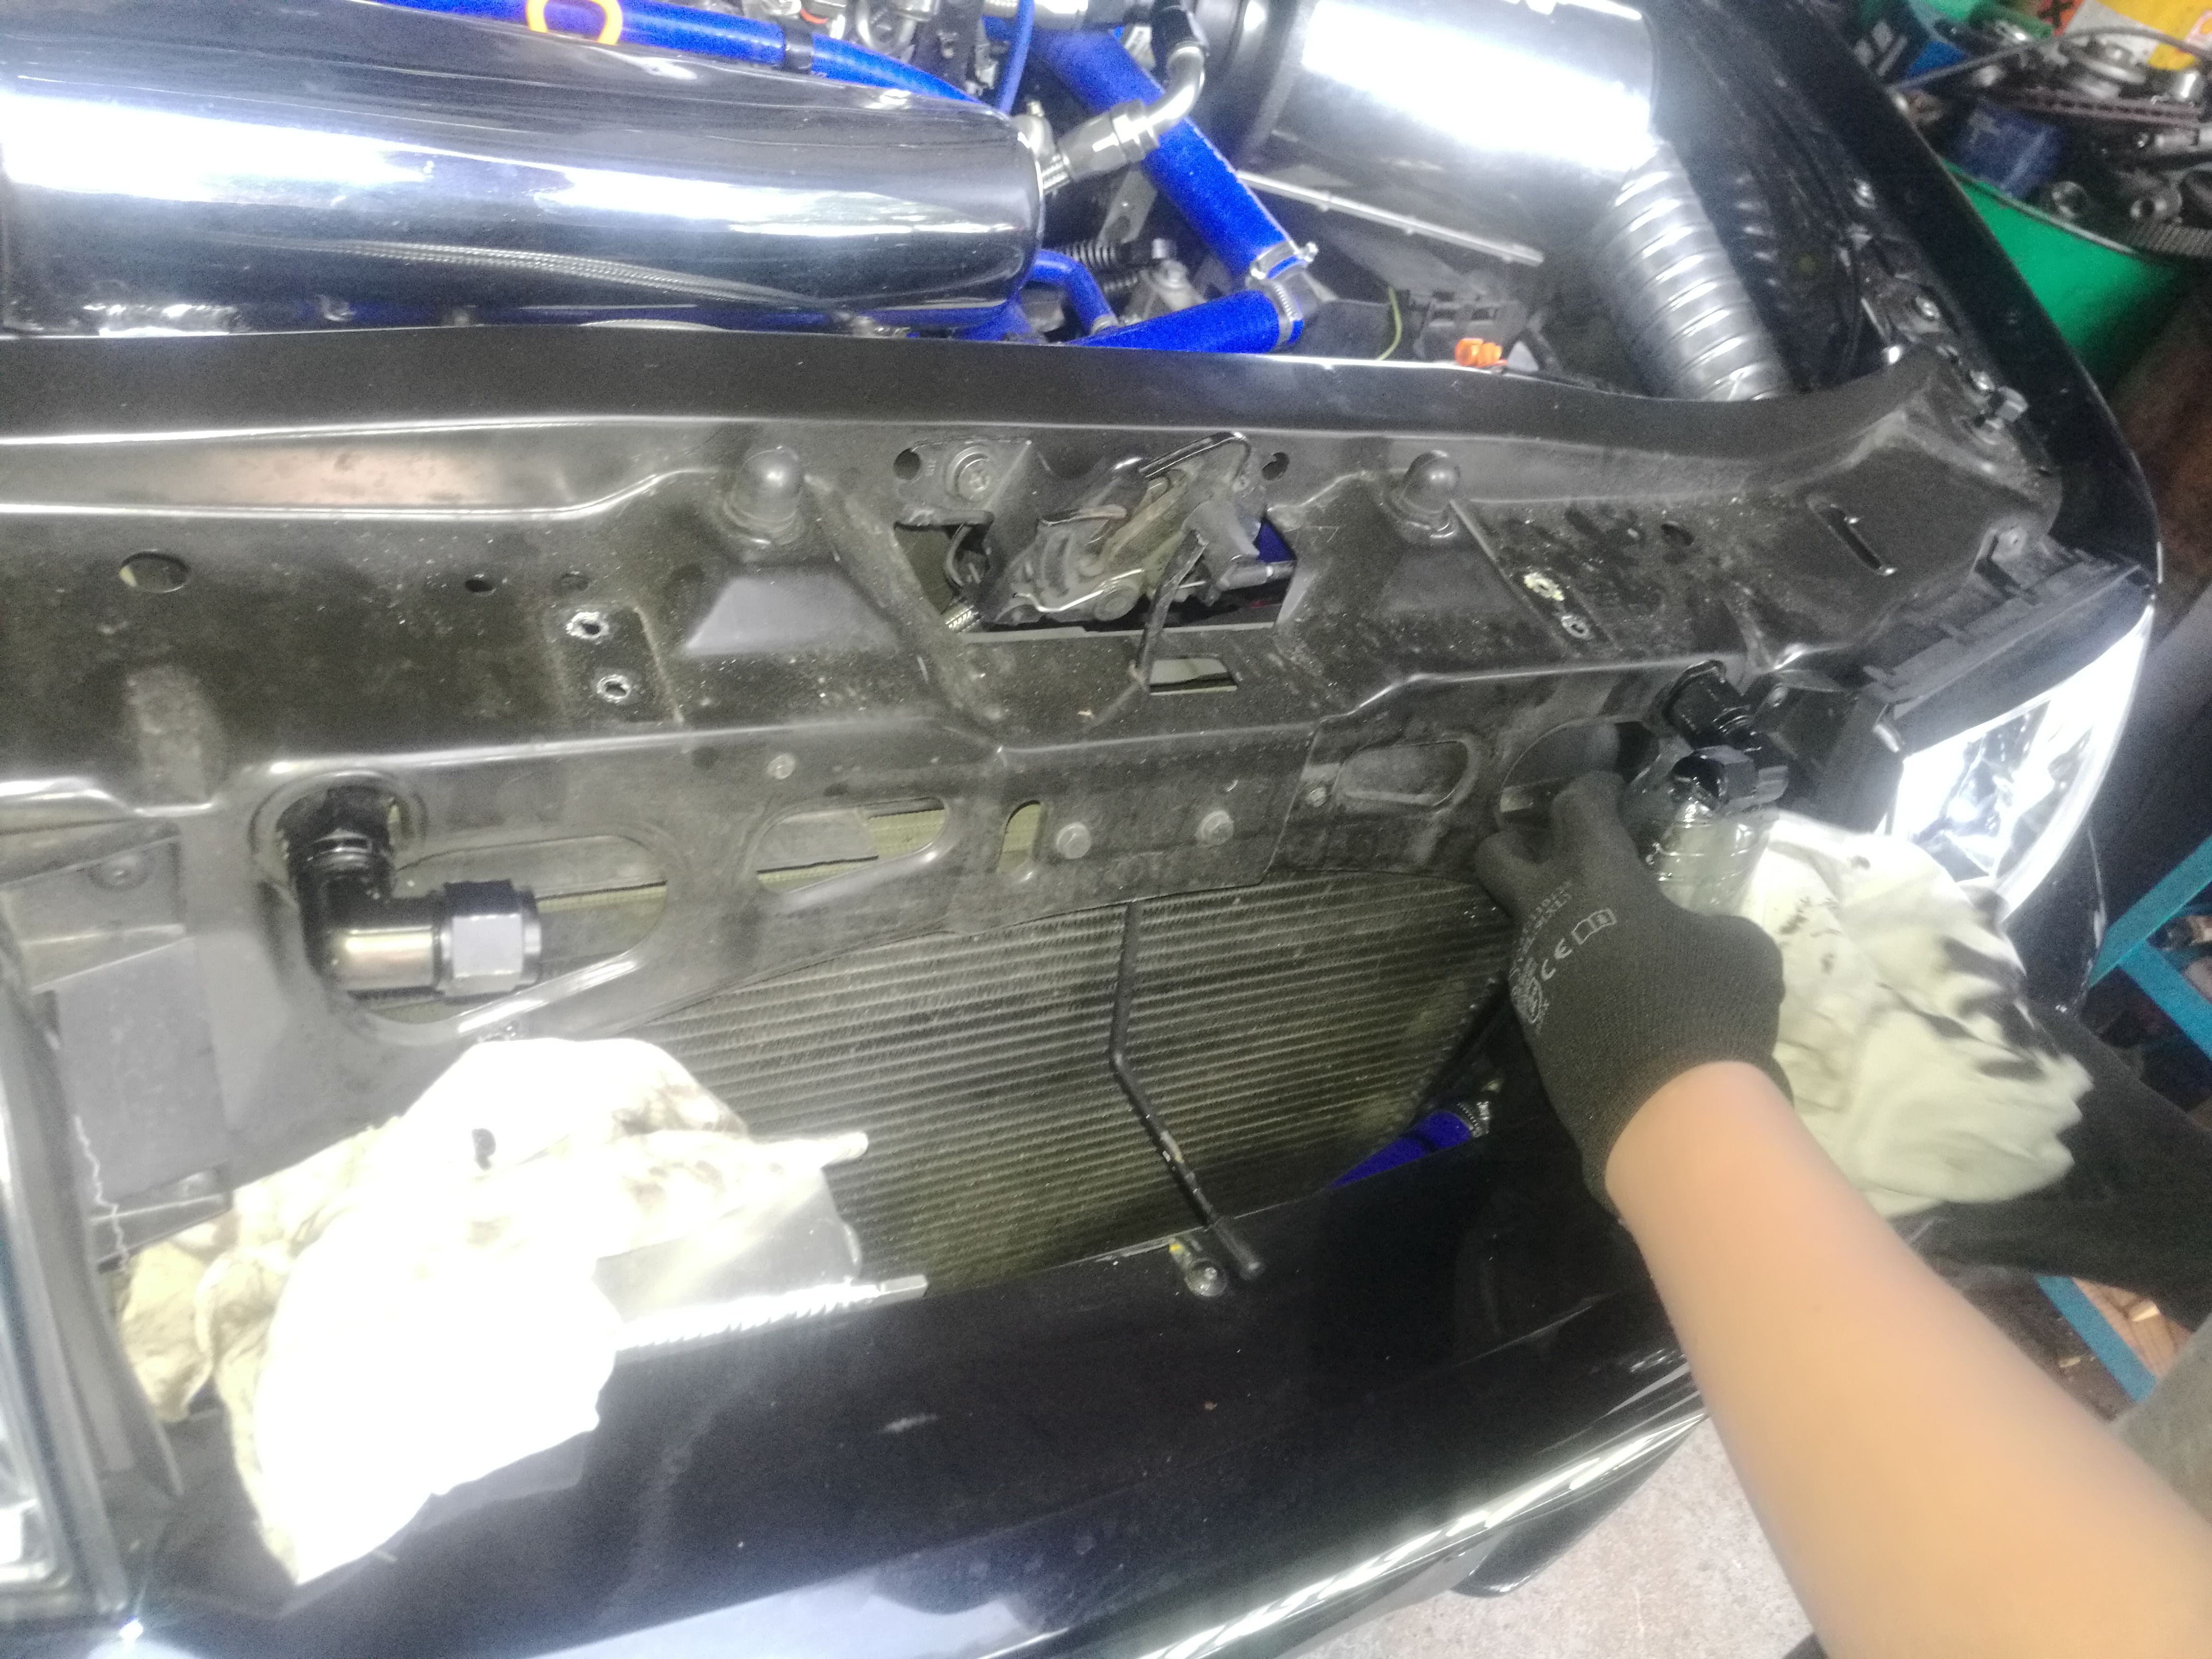
Due to the unexplained oil leak (after removal and cleaning od the Setrab oil cooler) from both 90⁰ AN10 adapters I replaced them With New ones and also on passenger side New male/genske straight adapter with 1/8npt plug (had only one straight adapter). First test rub and no leak for now. Hope it Will stay so🙂
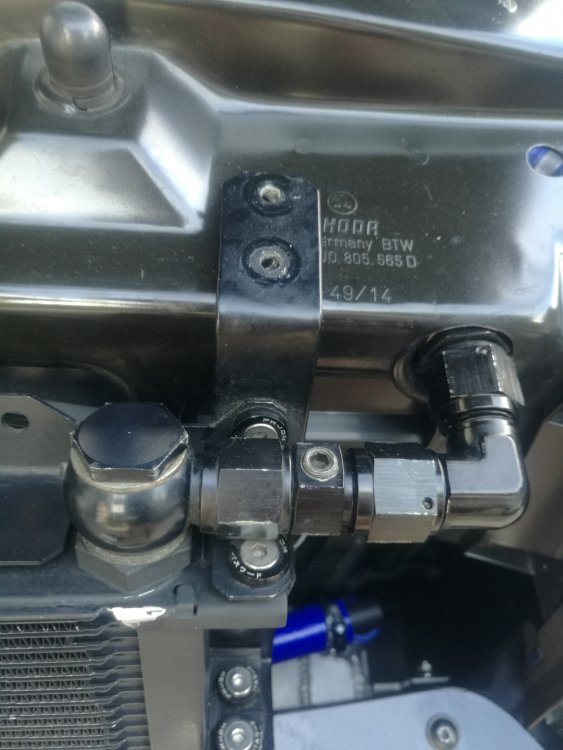
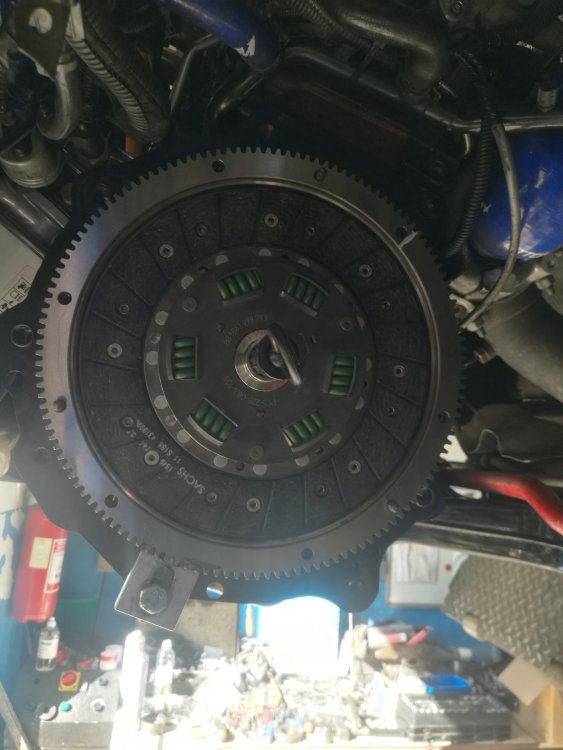
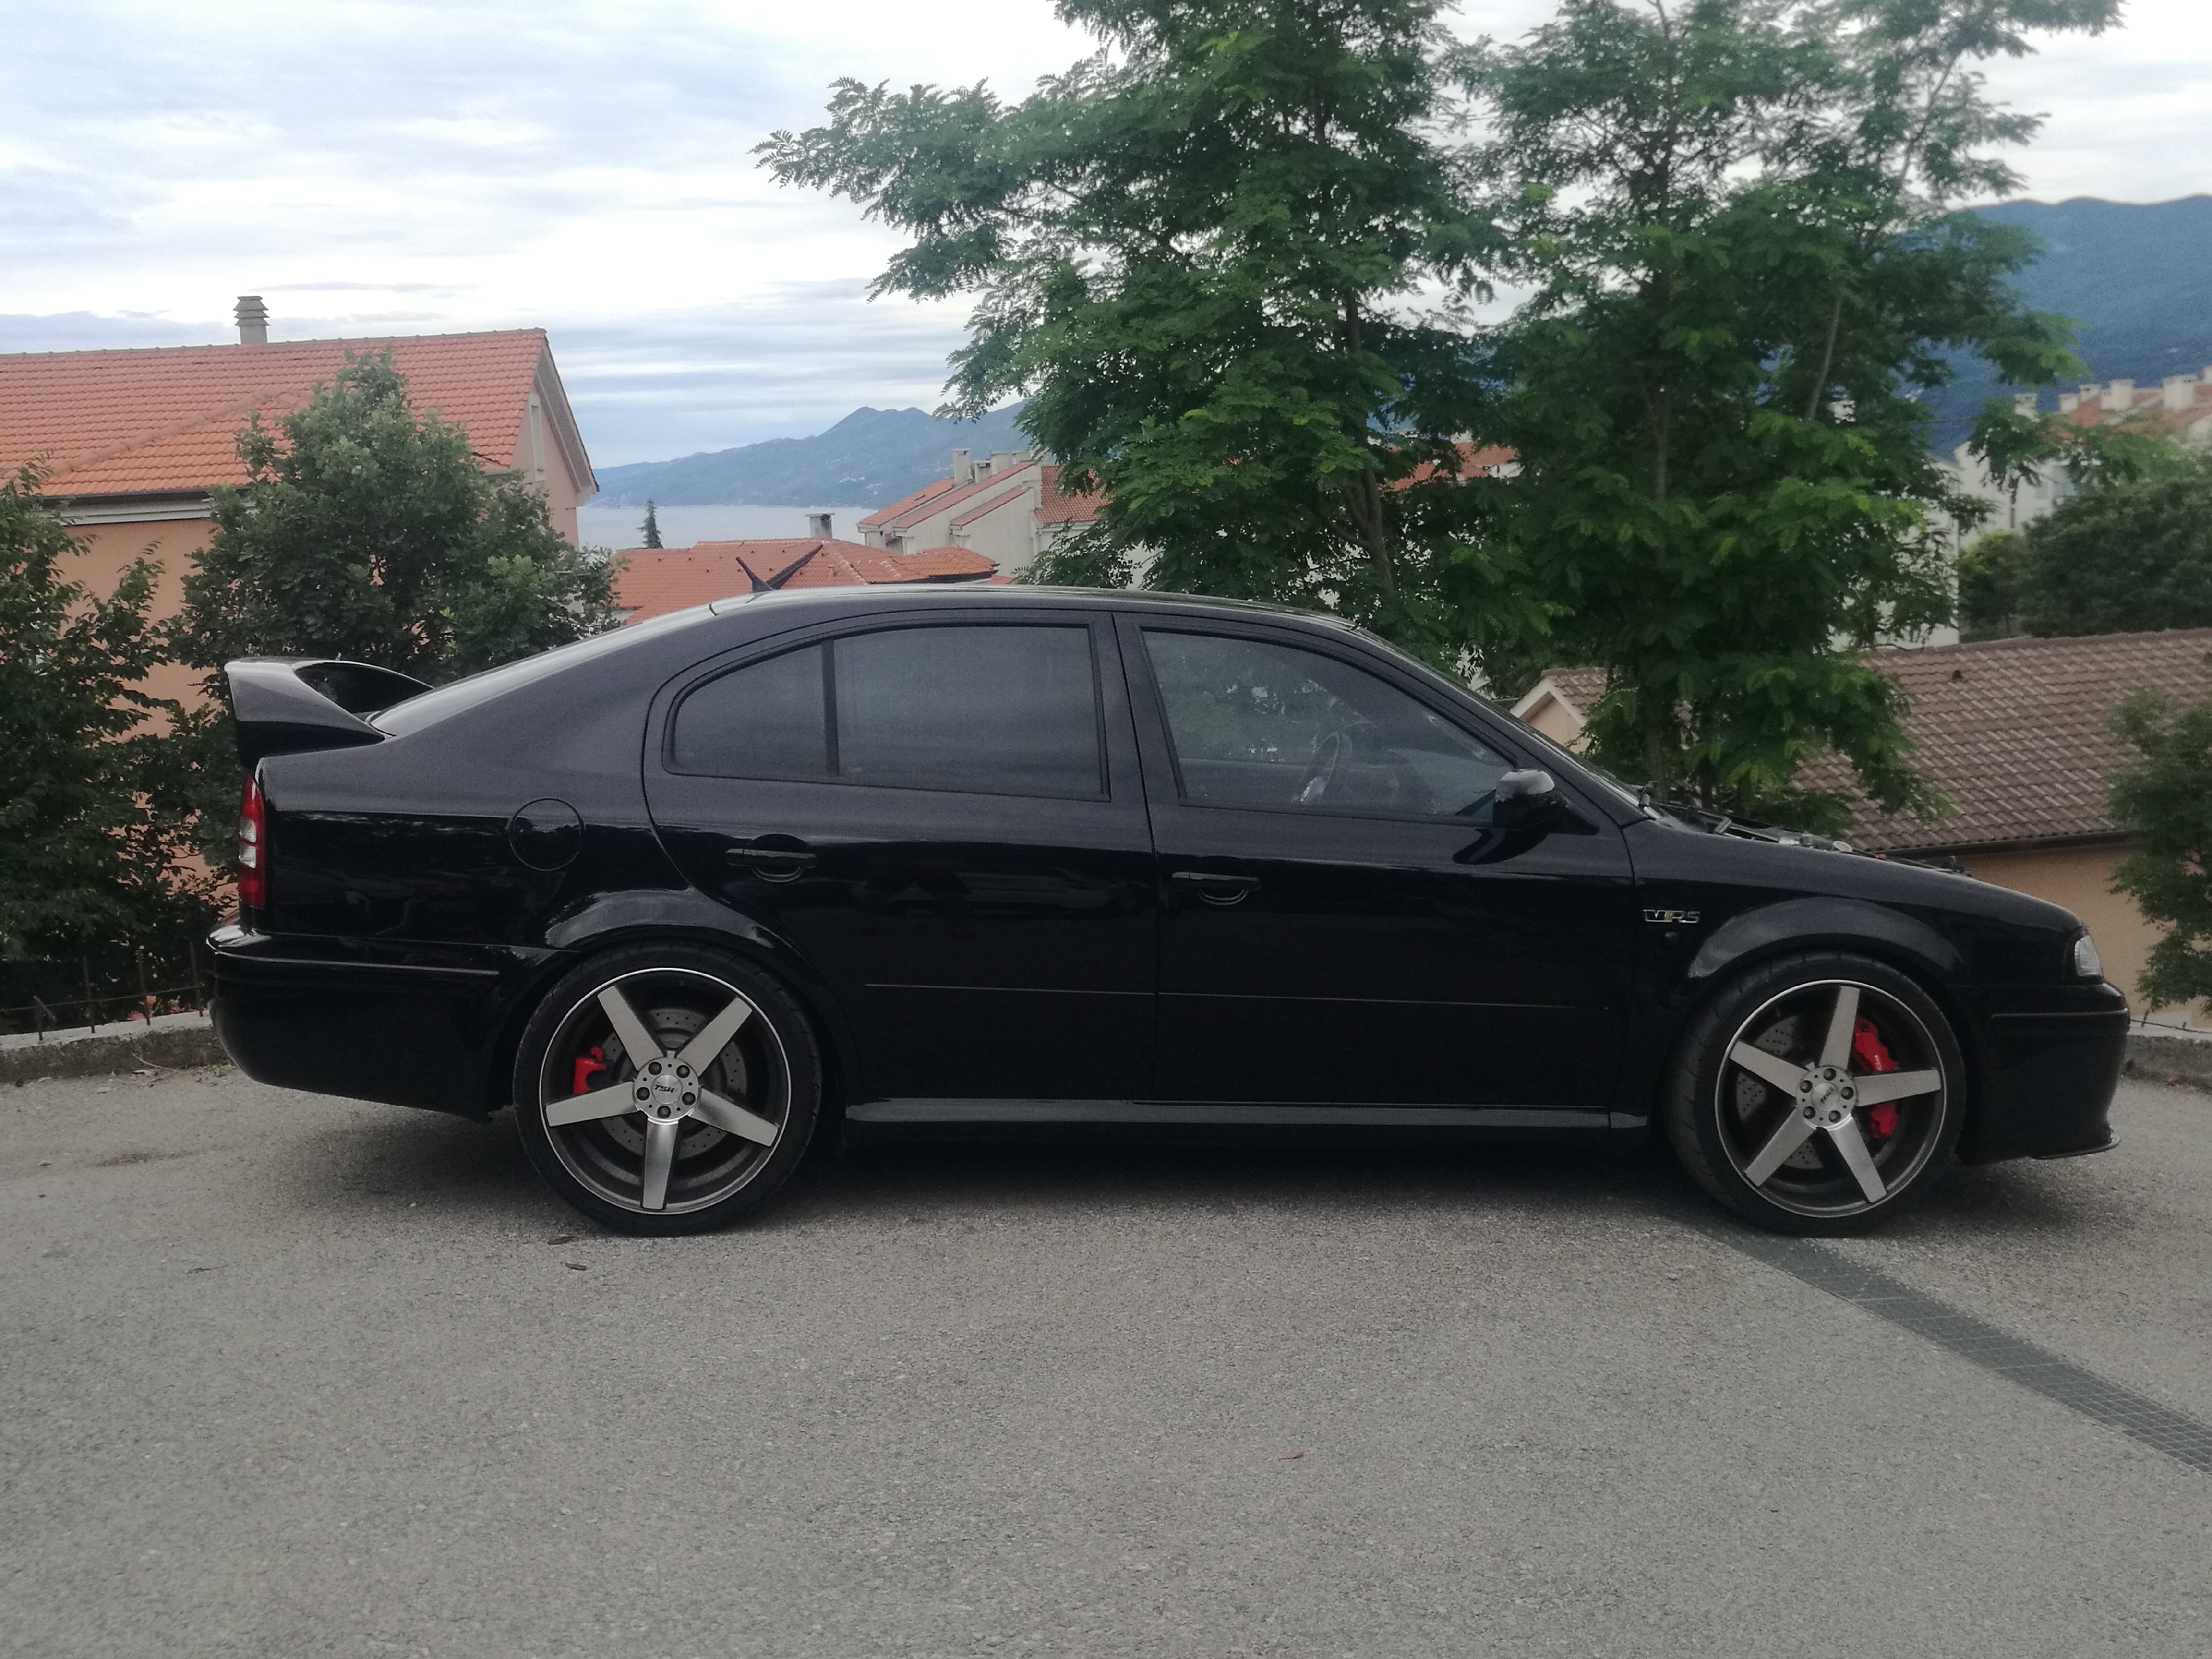
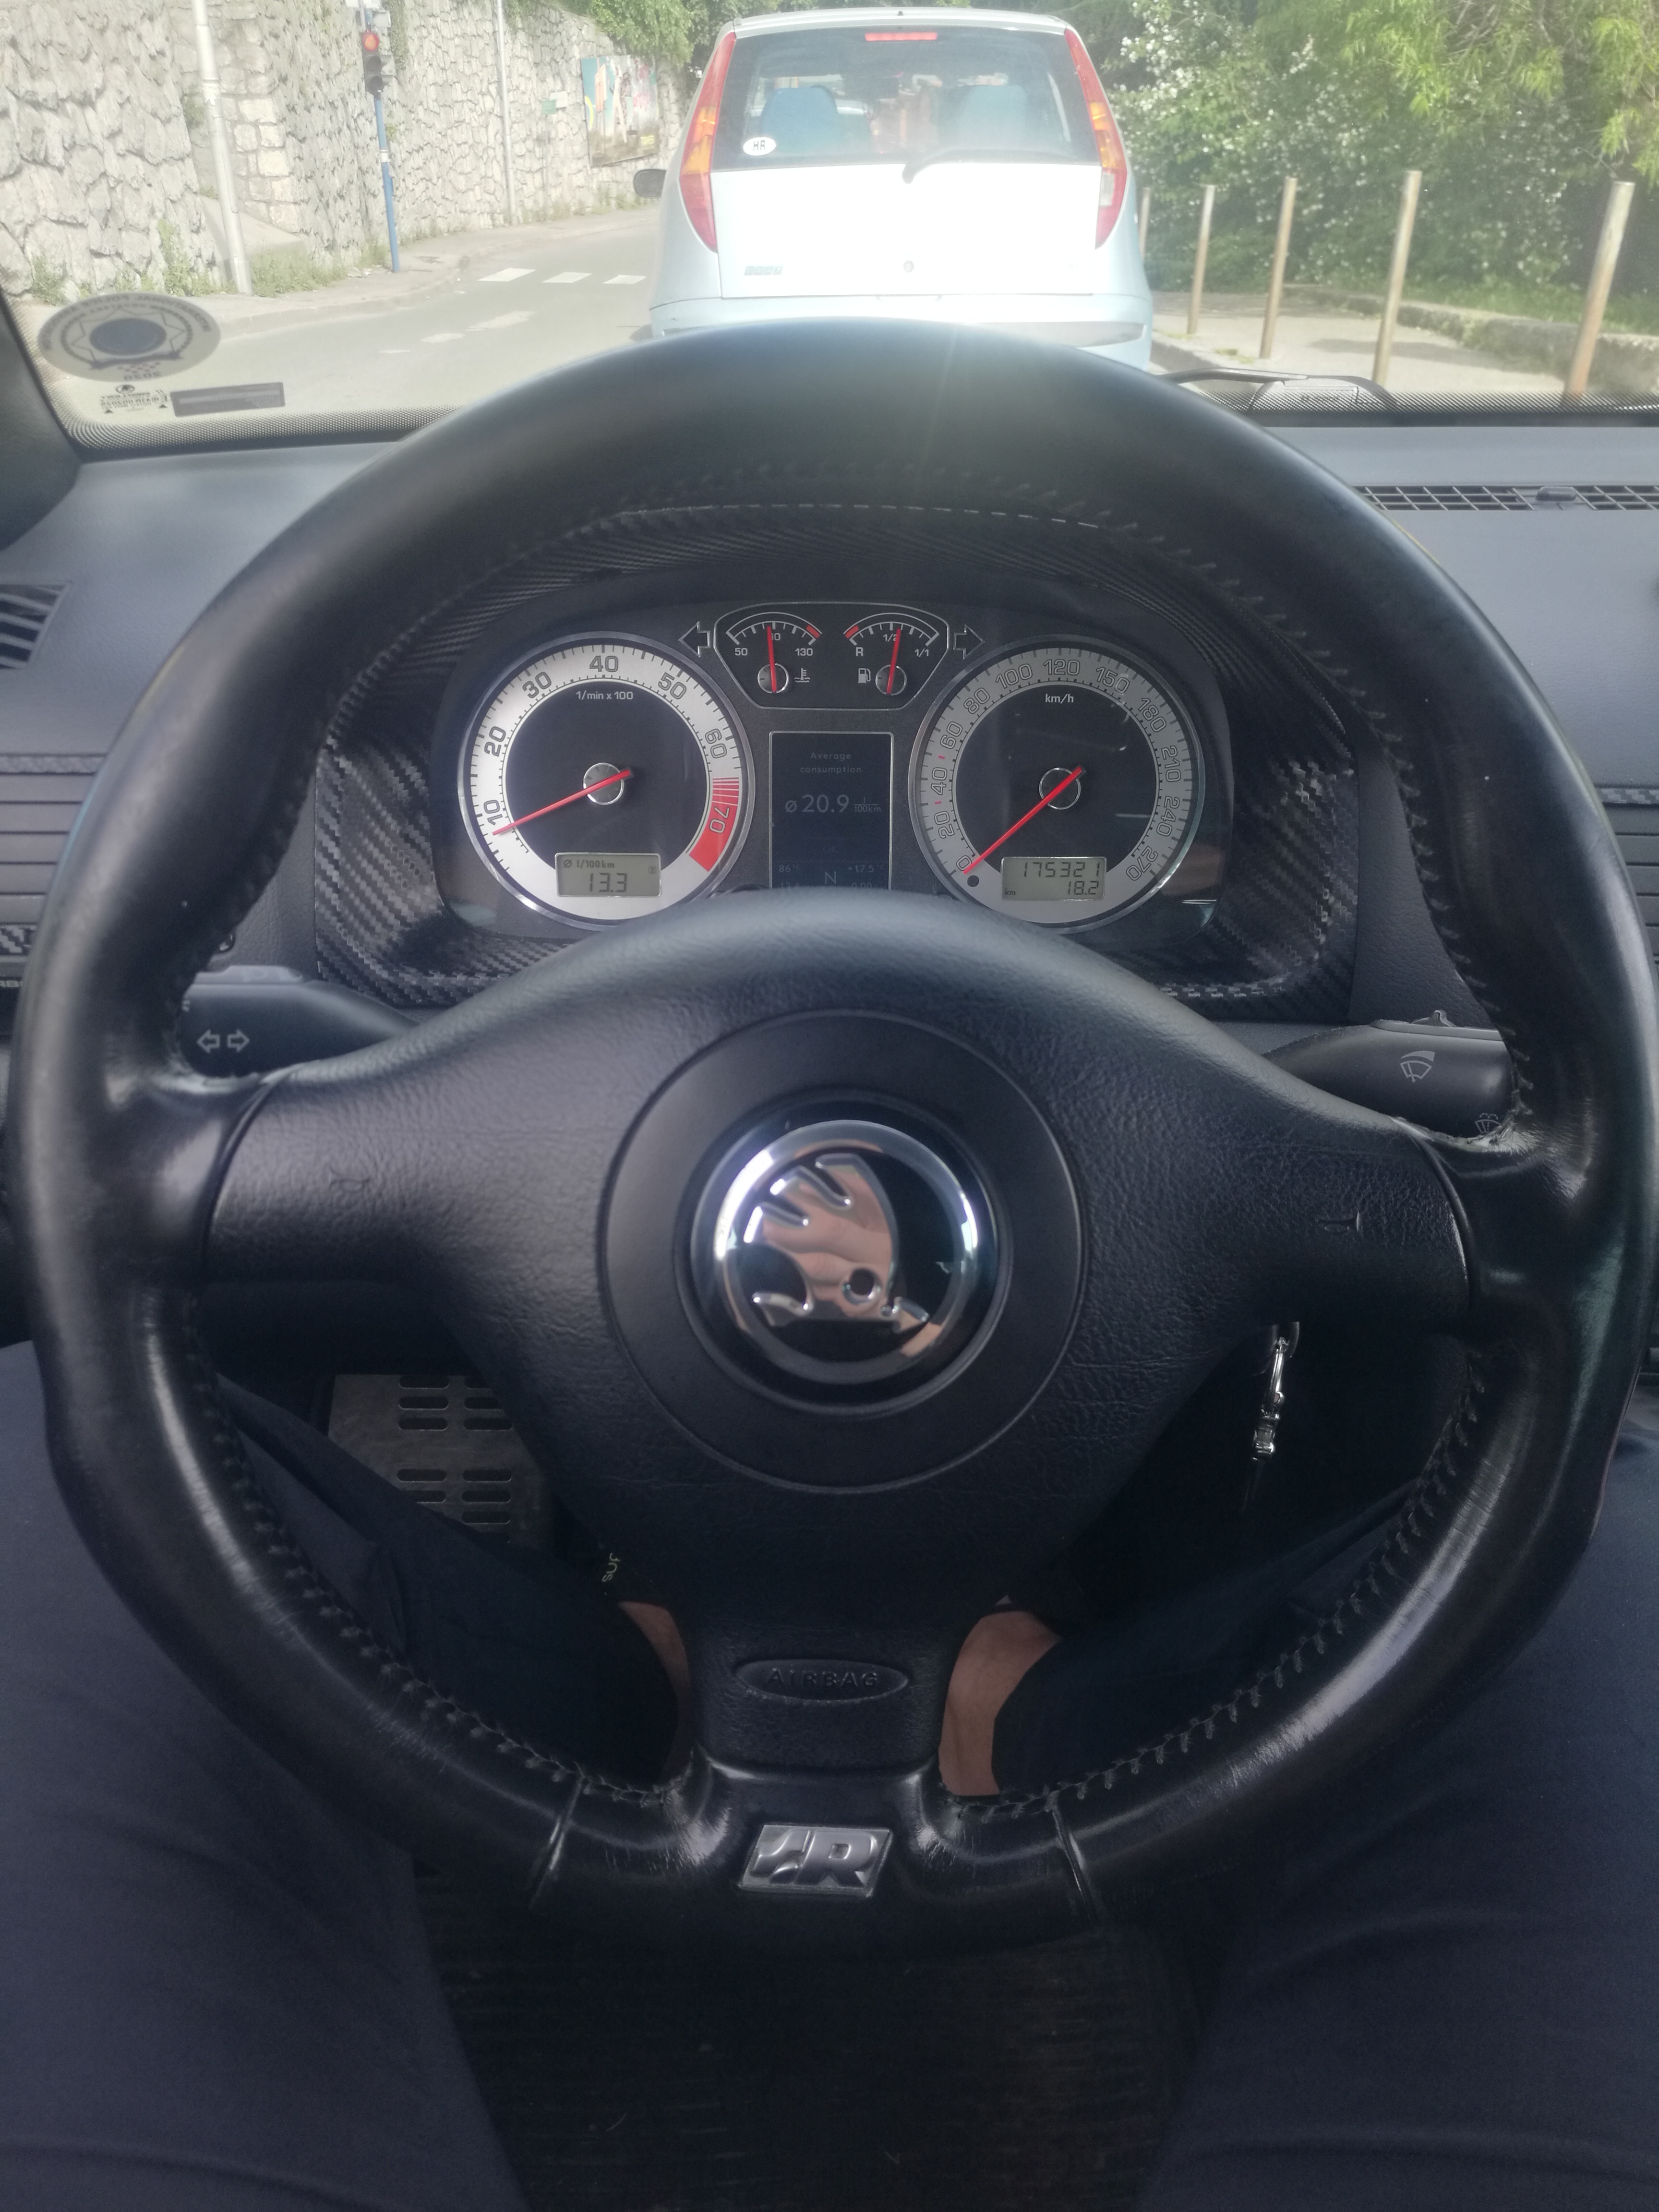
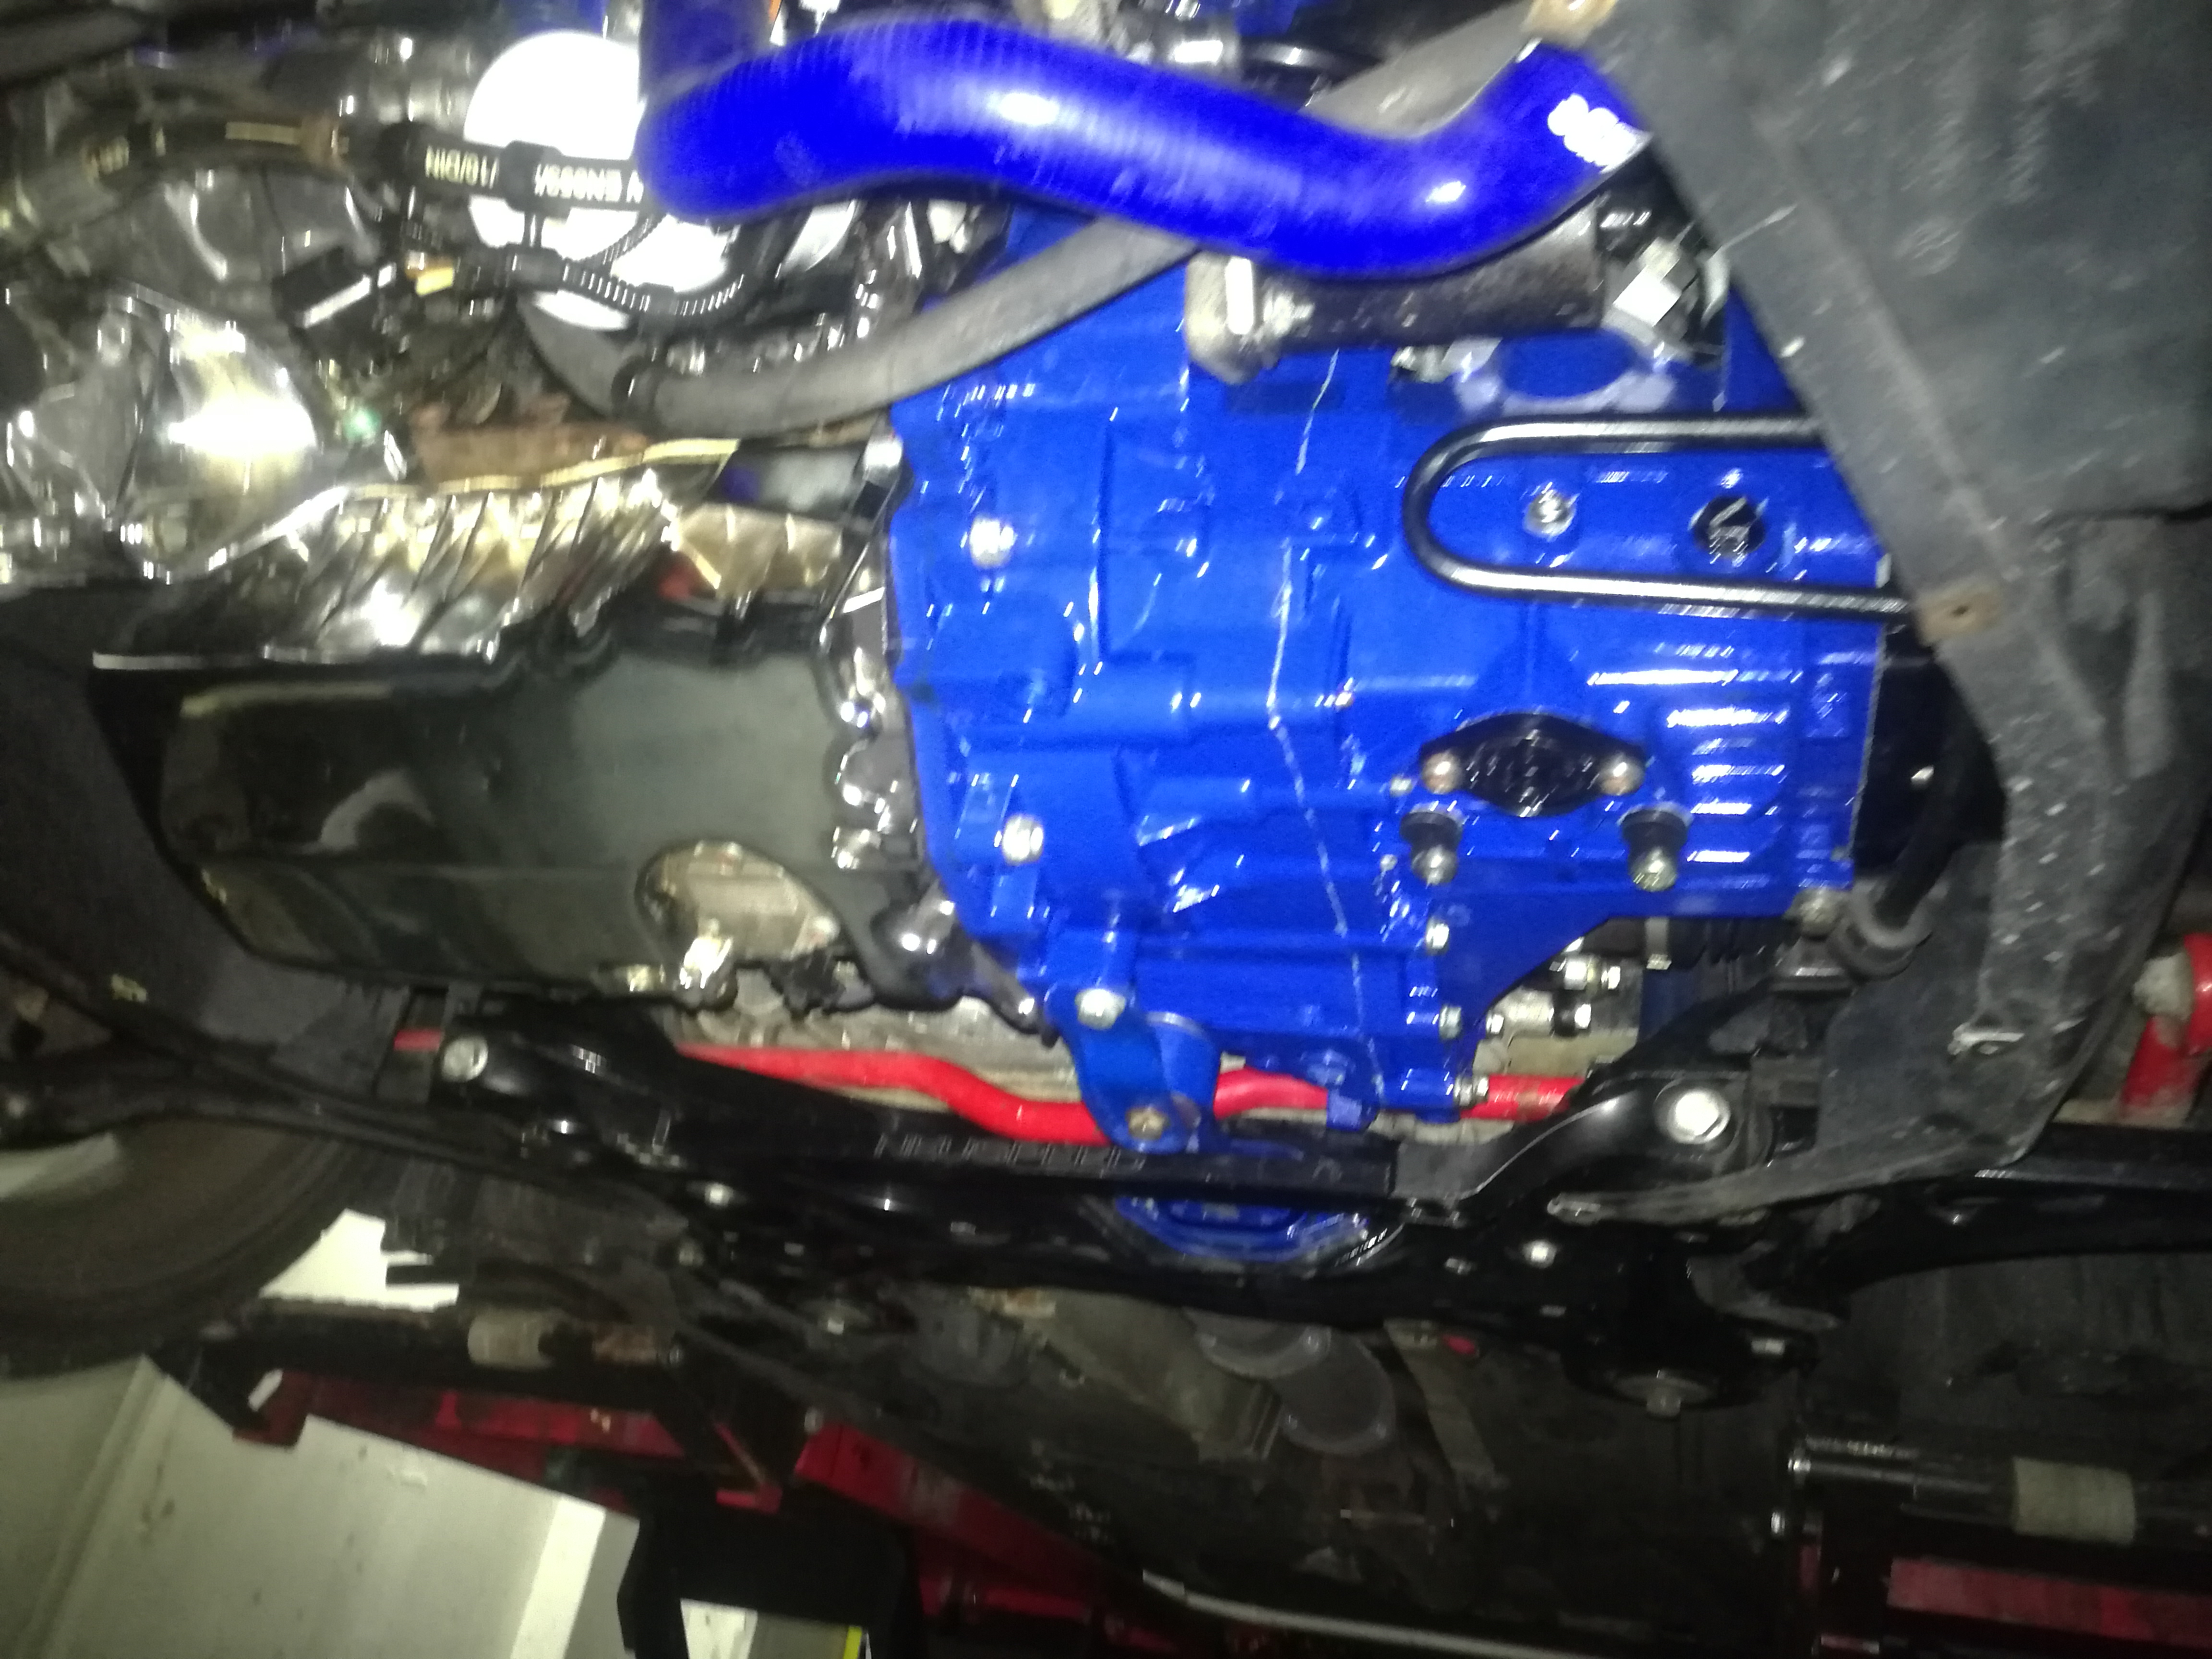
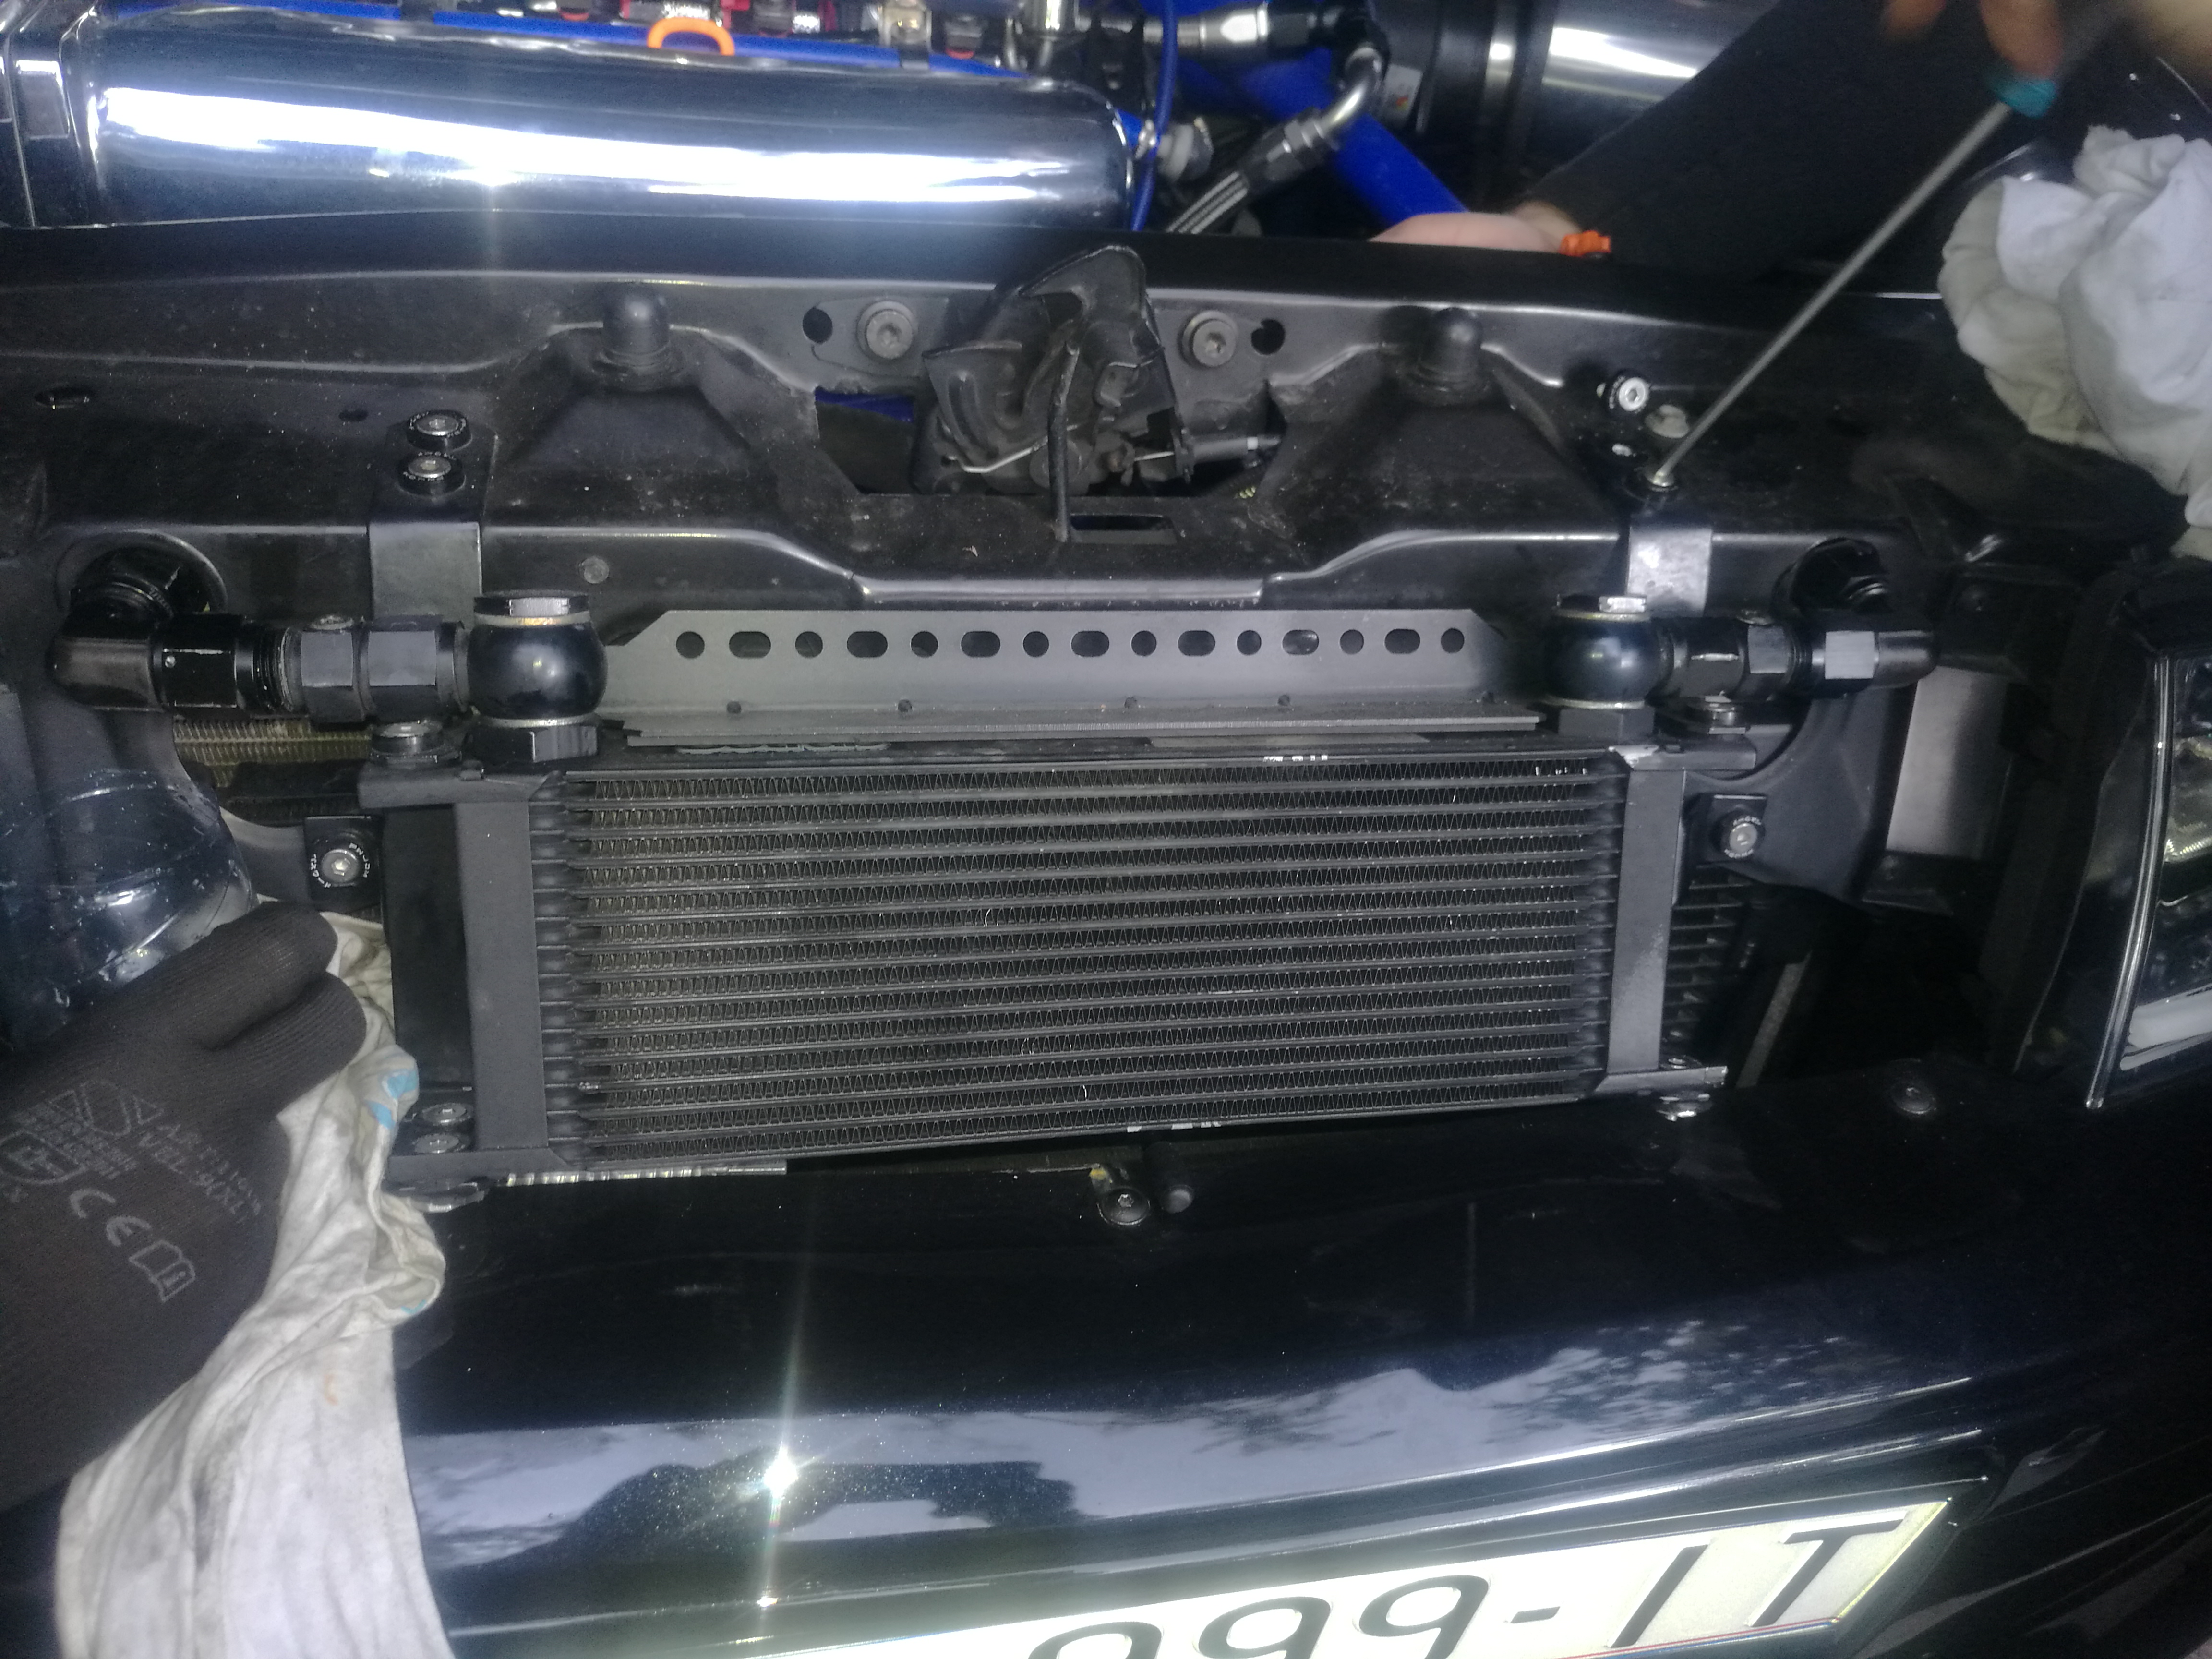
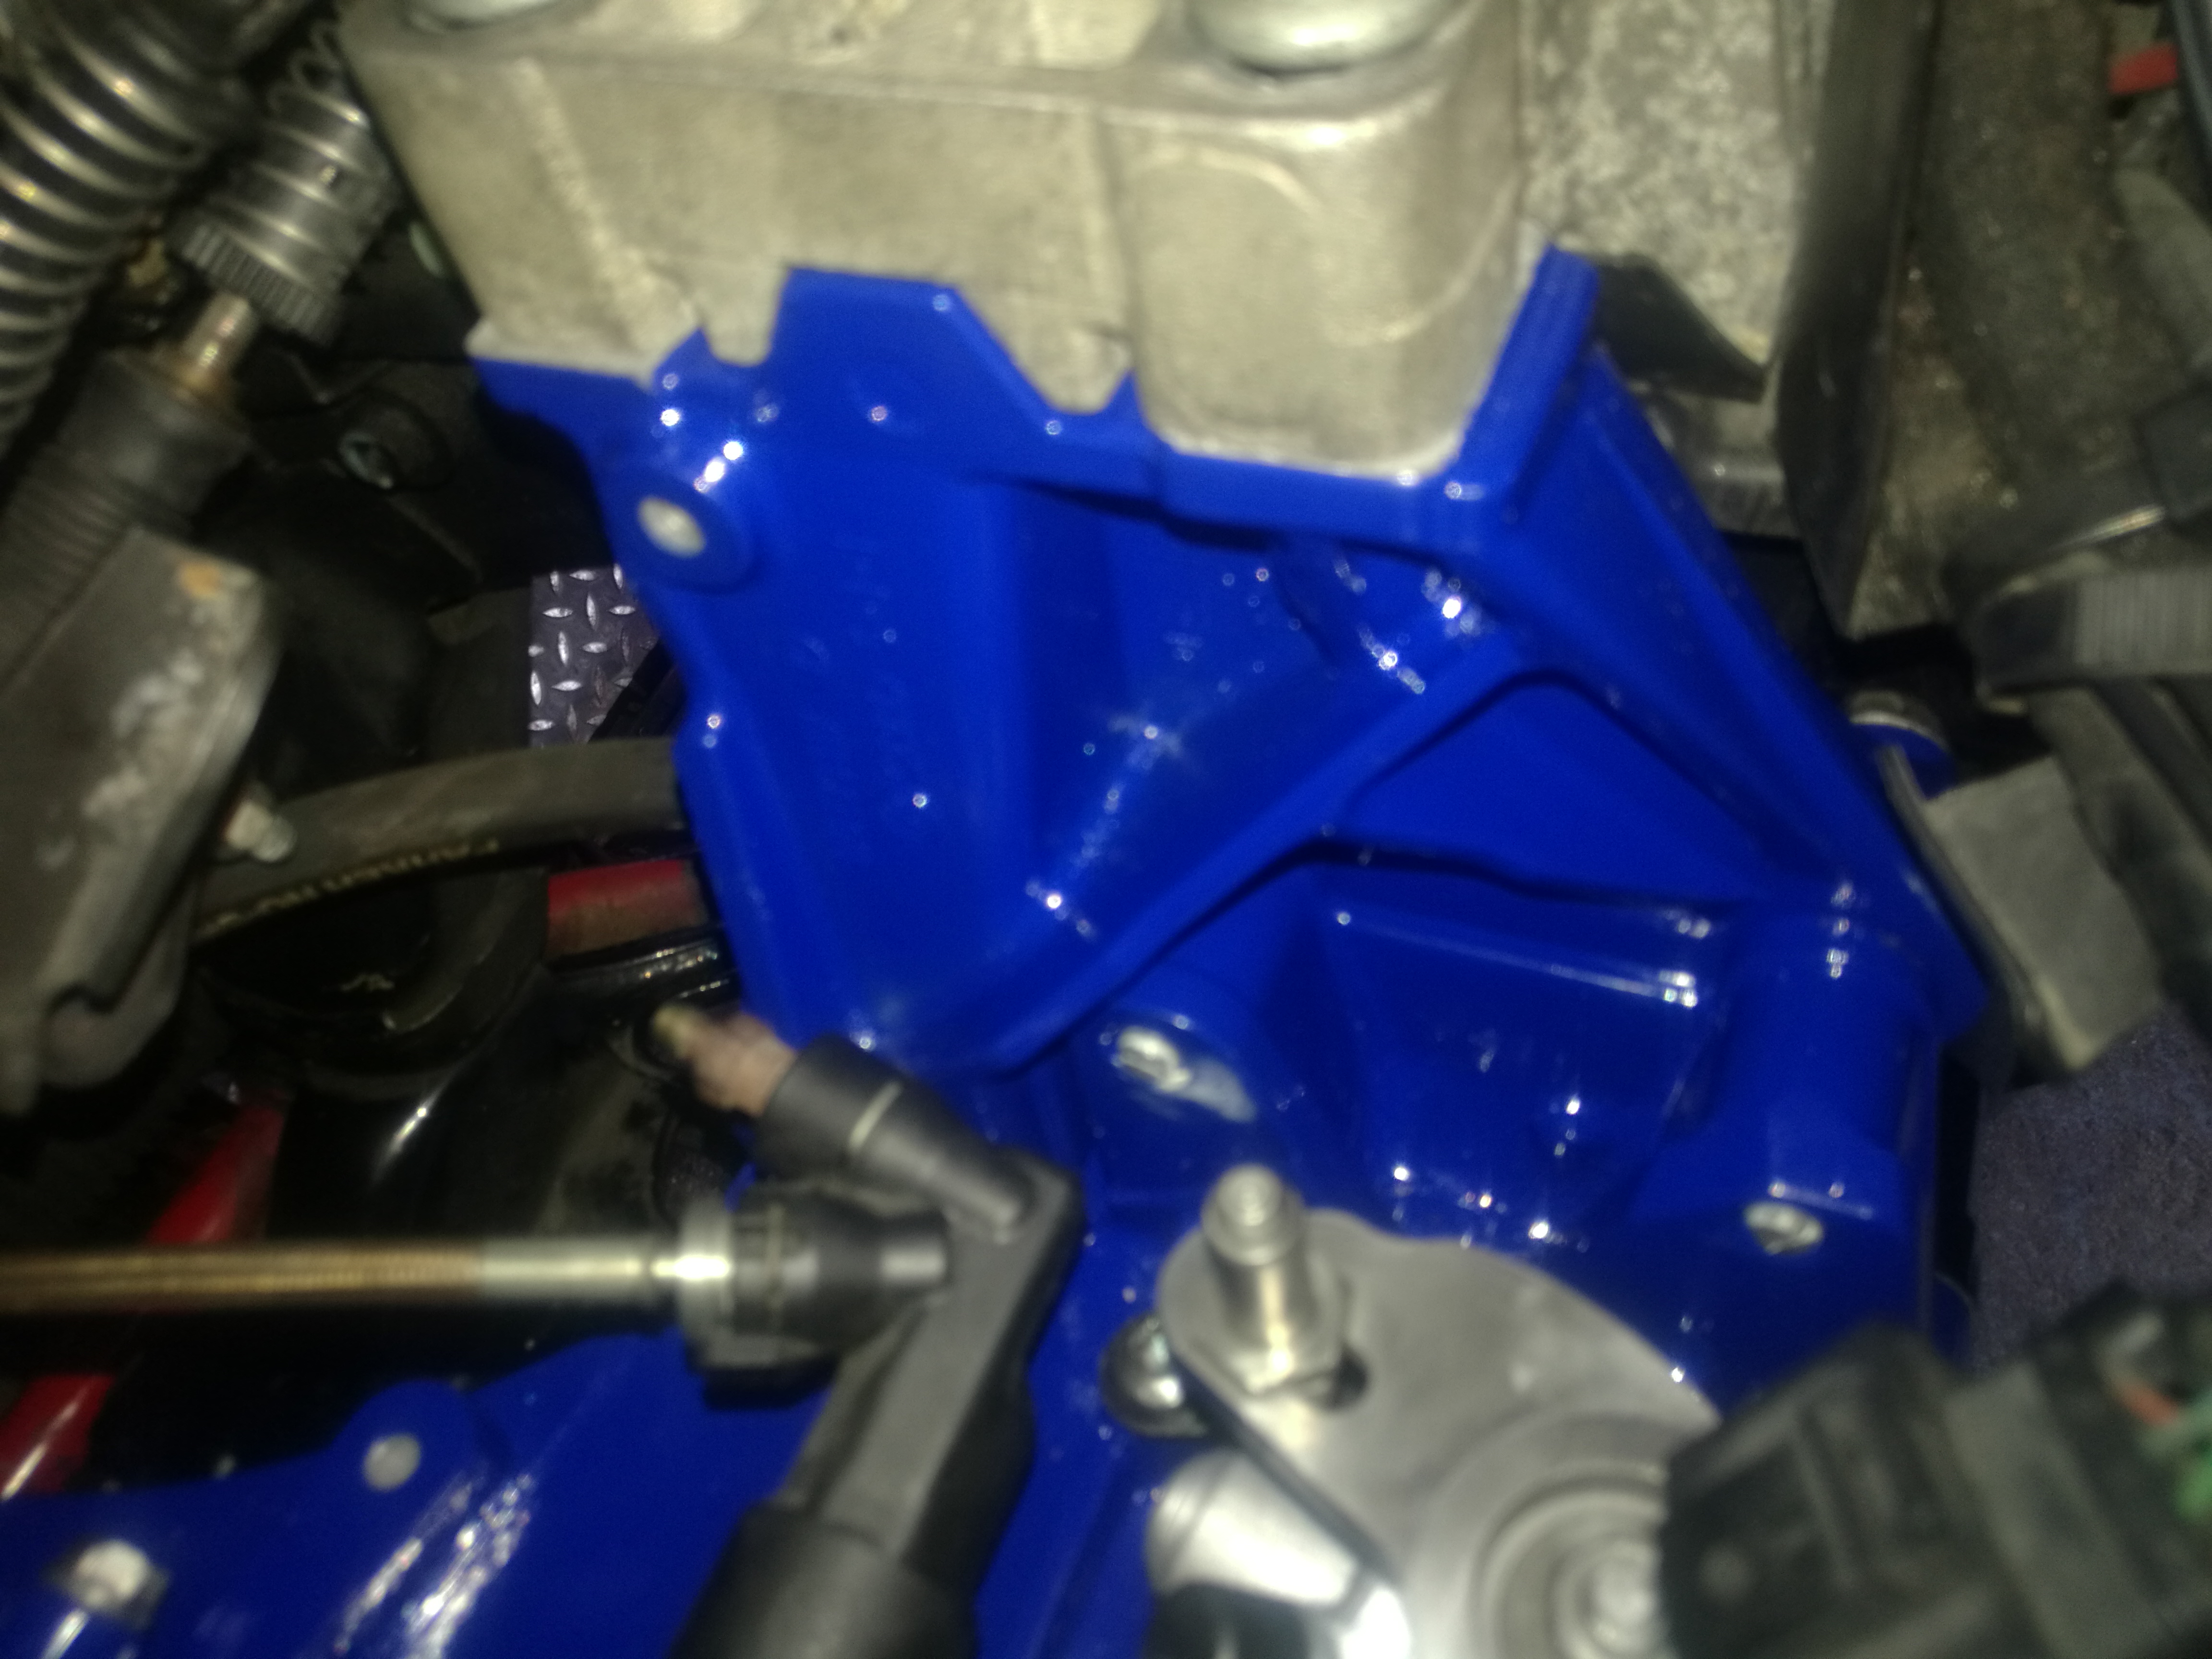
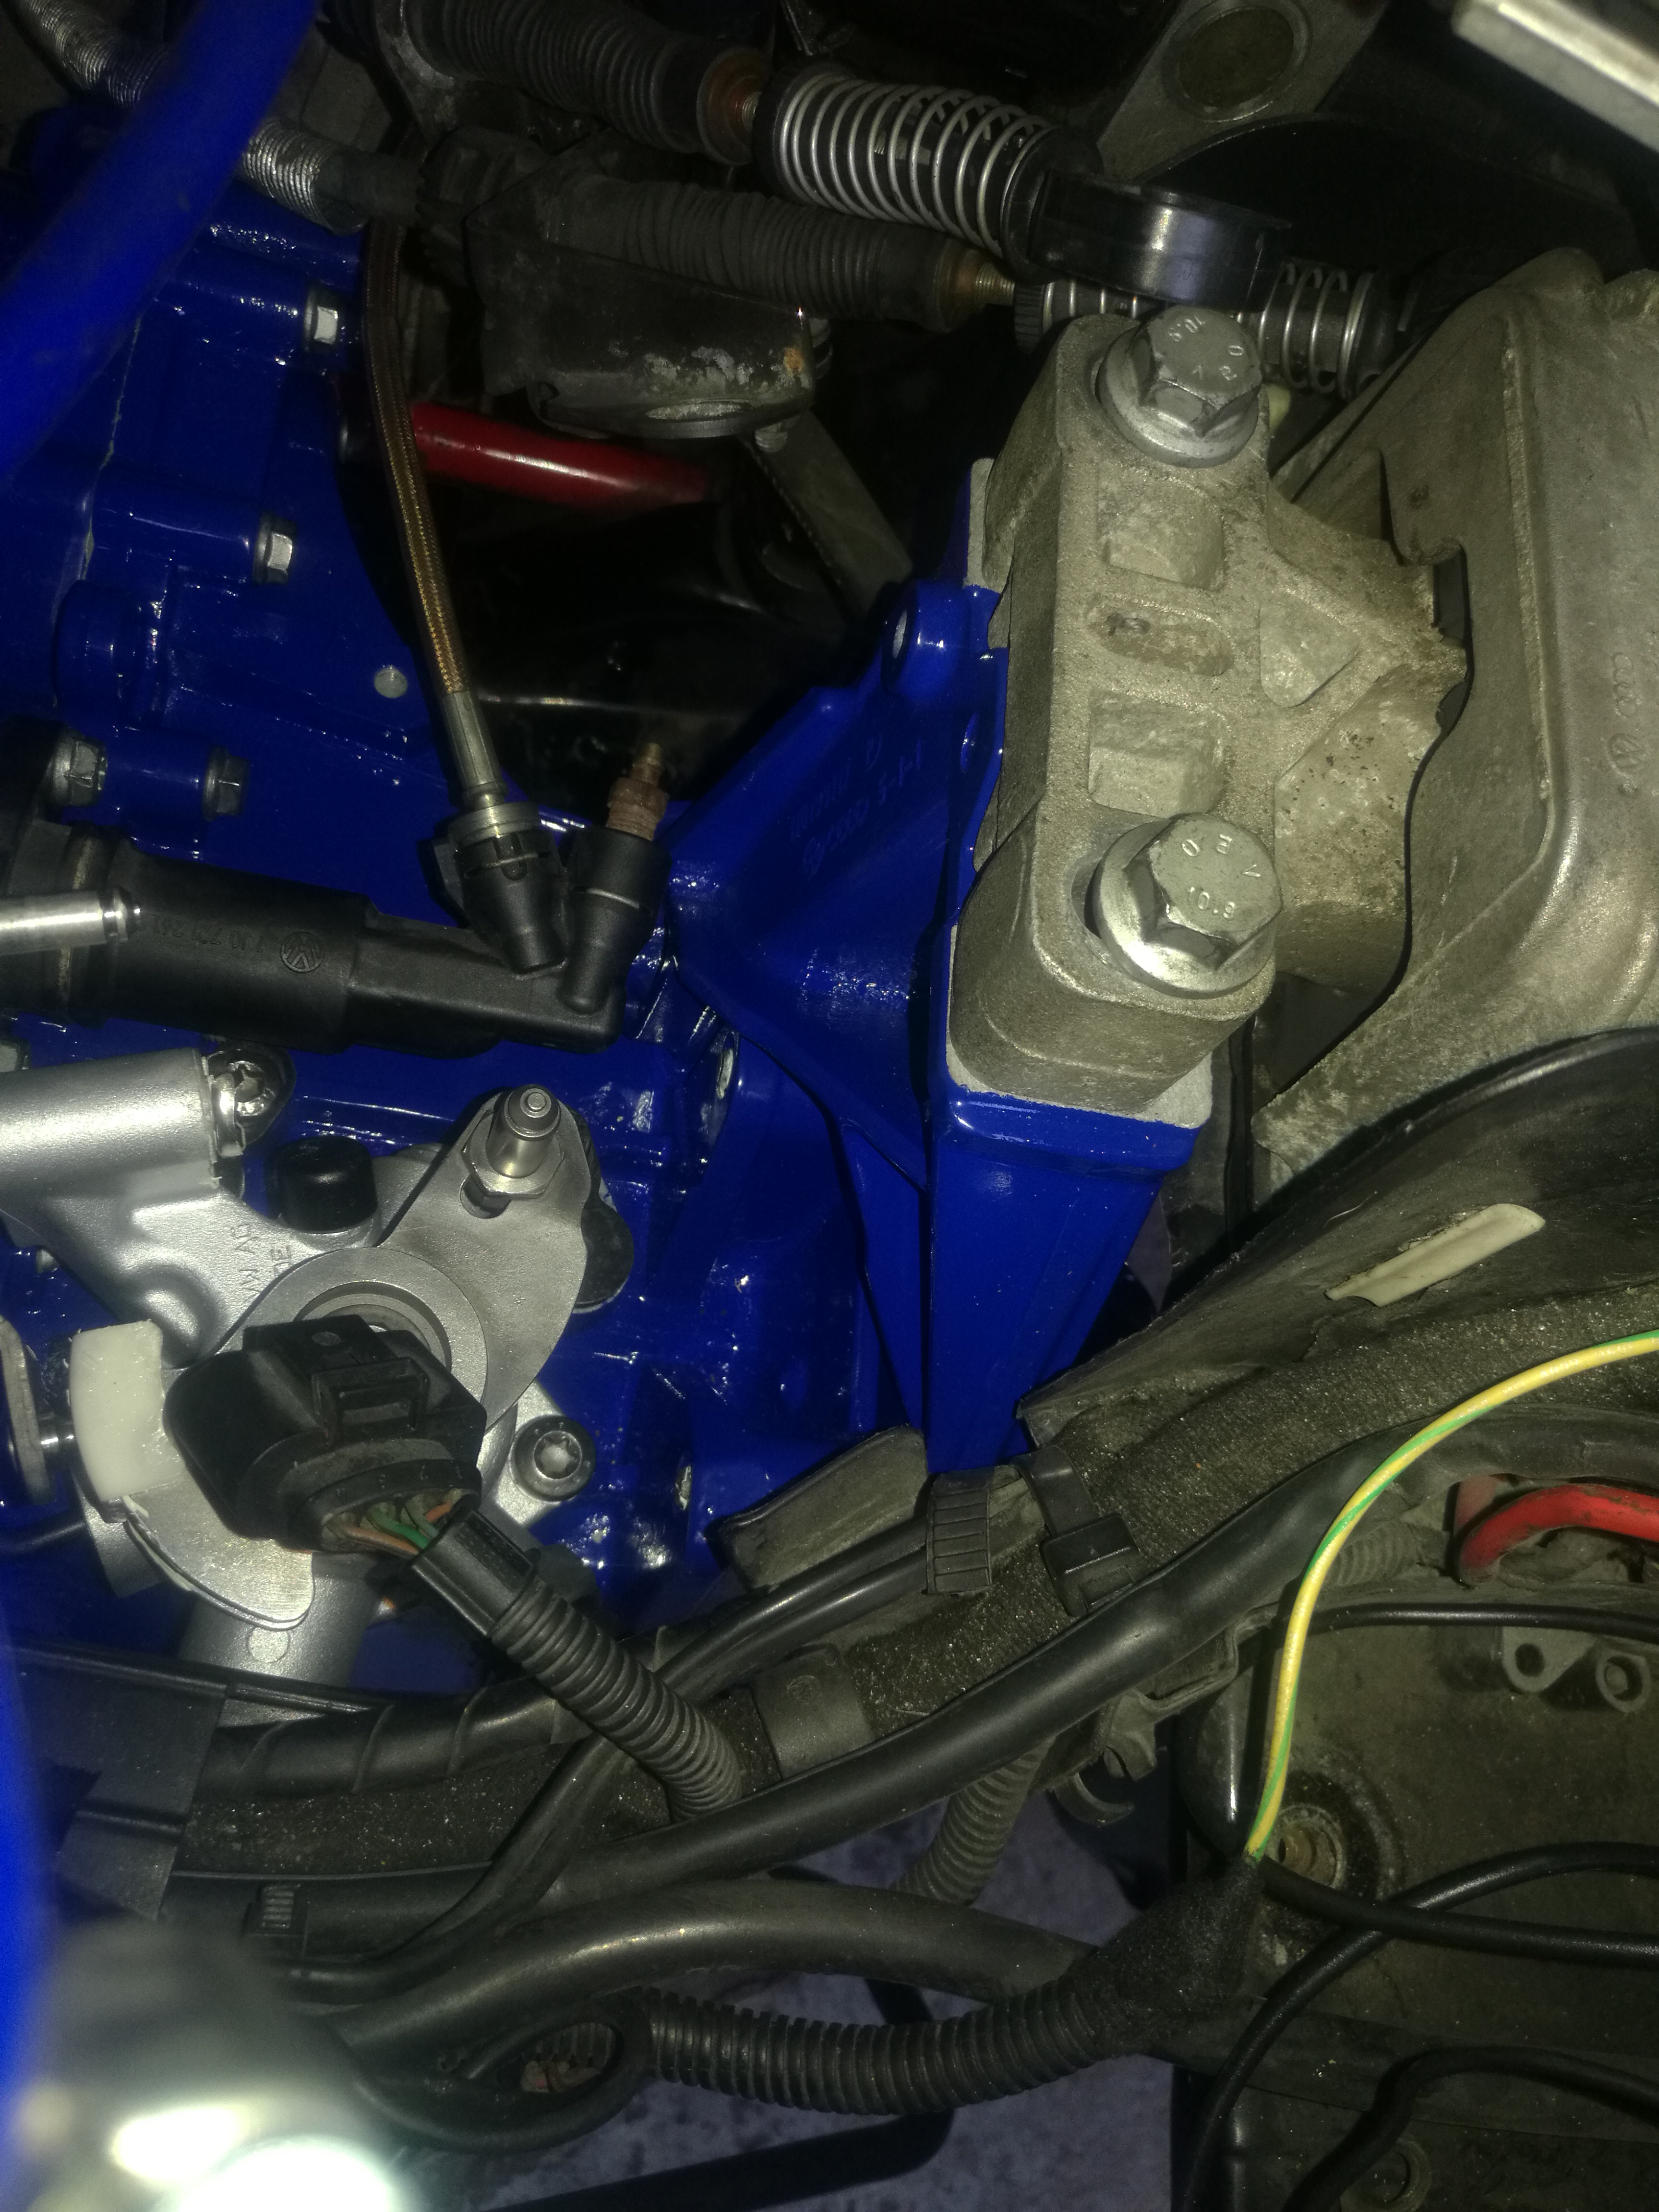
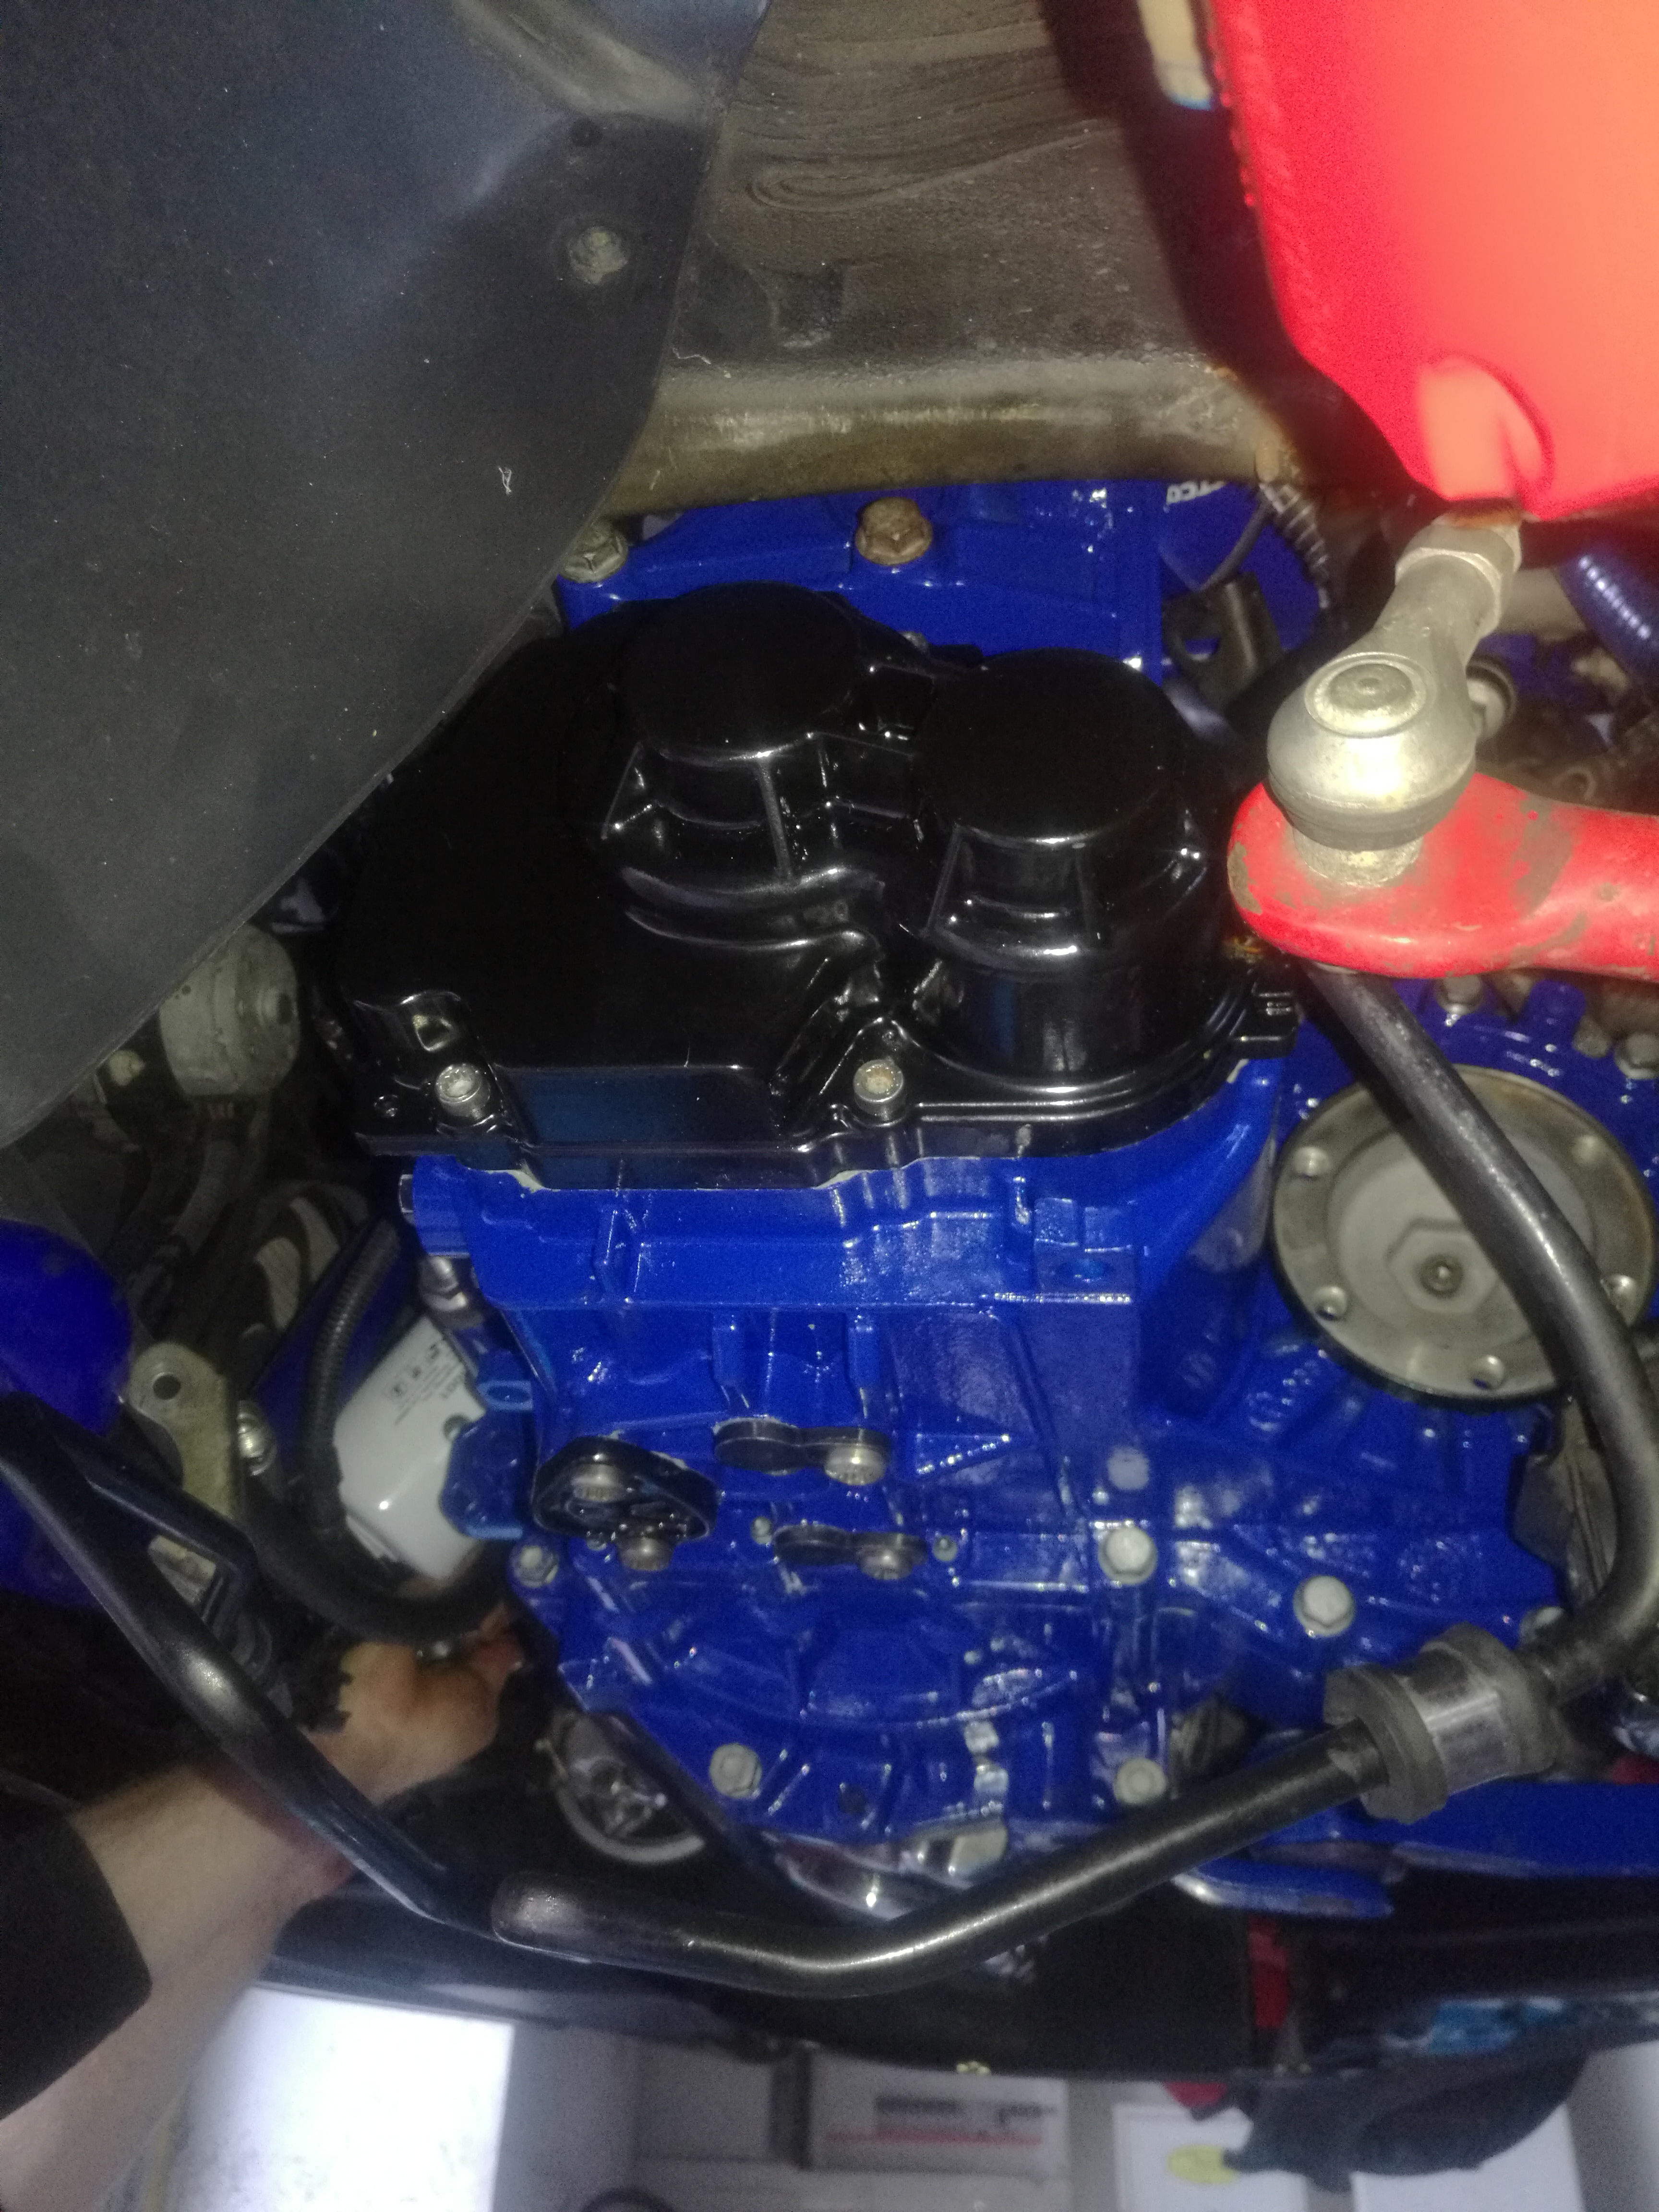
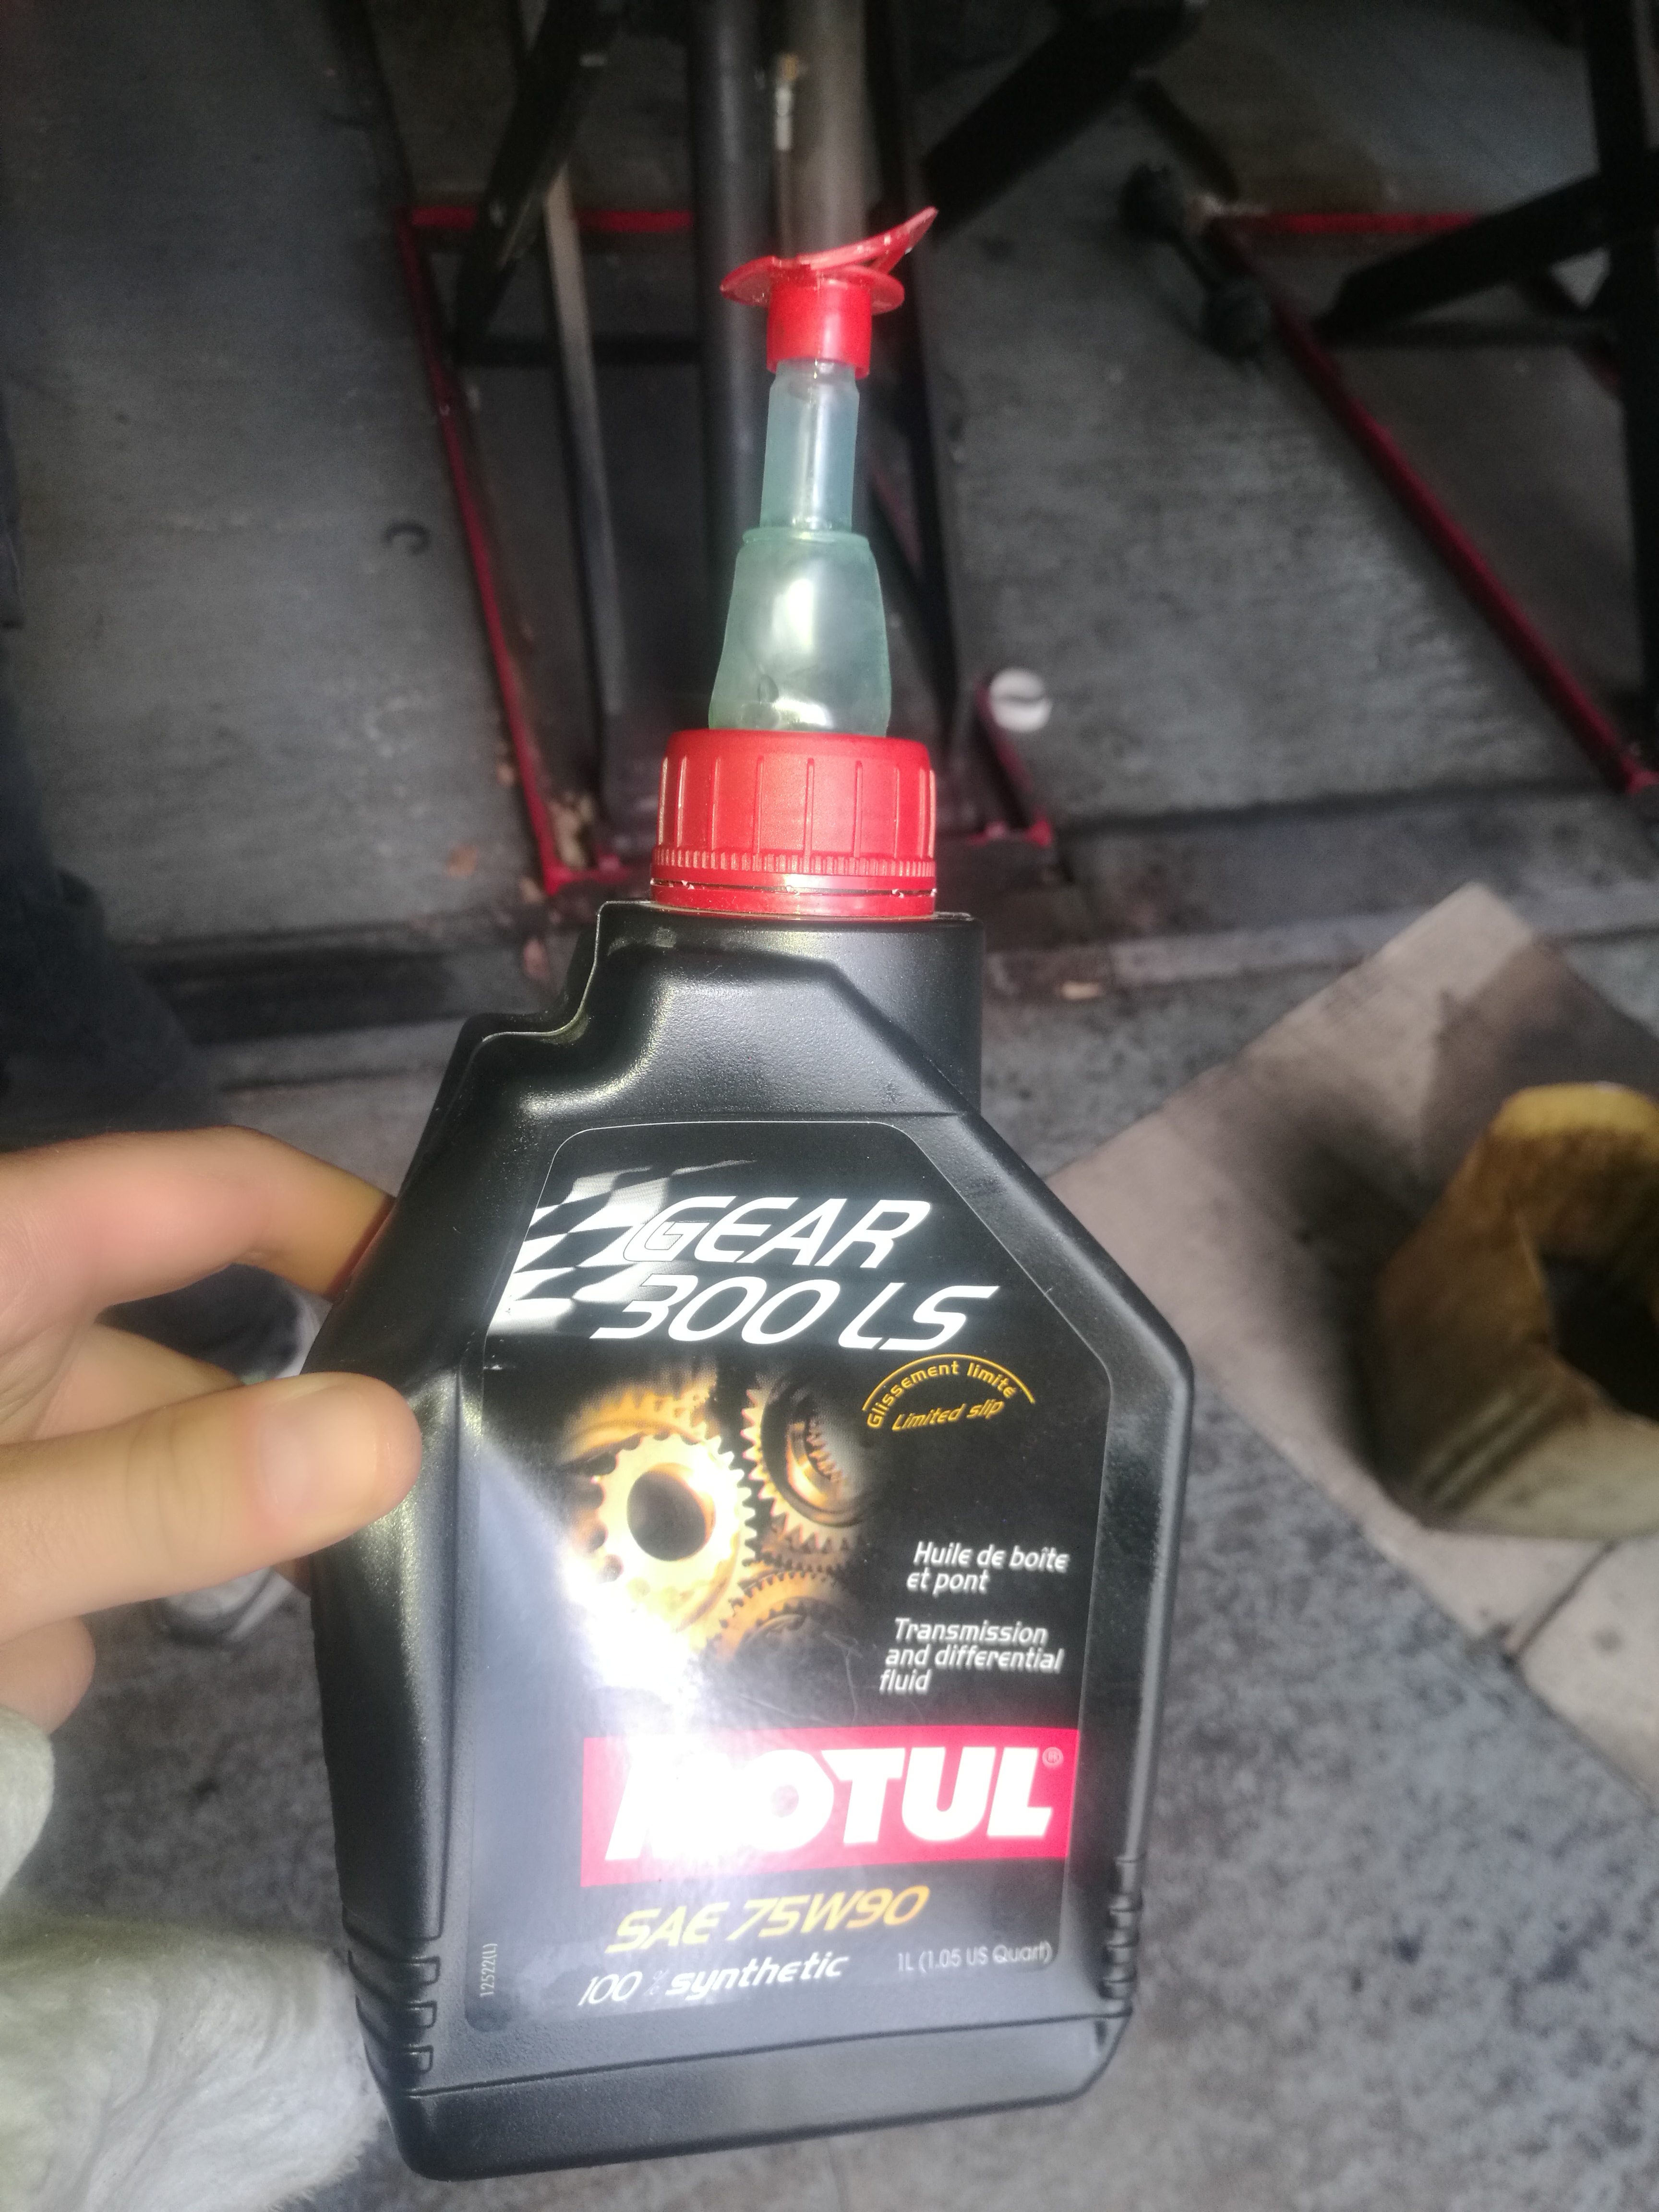
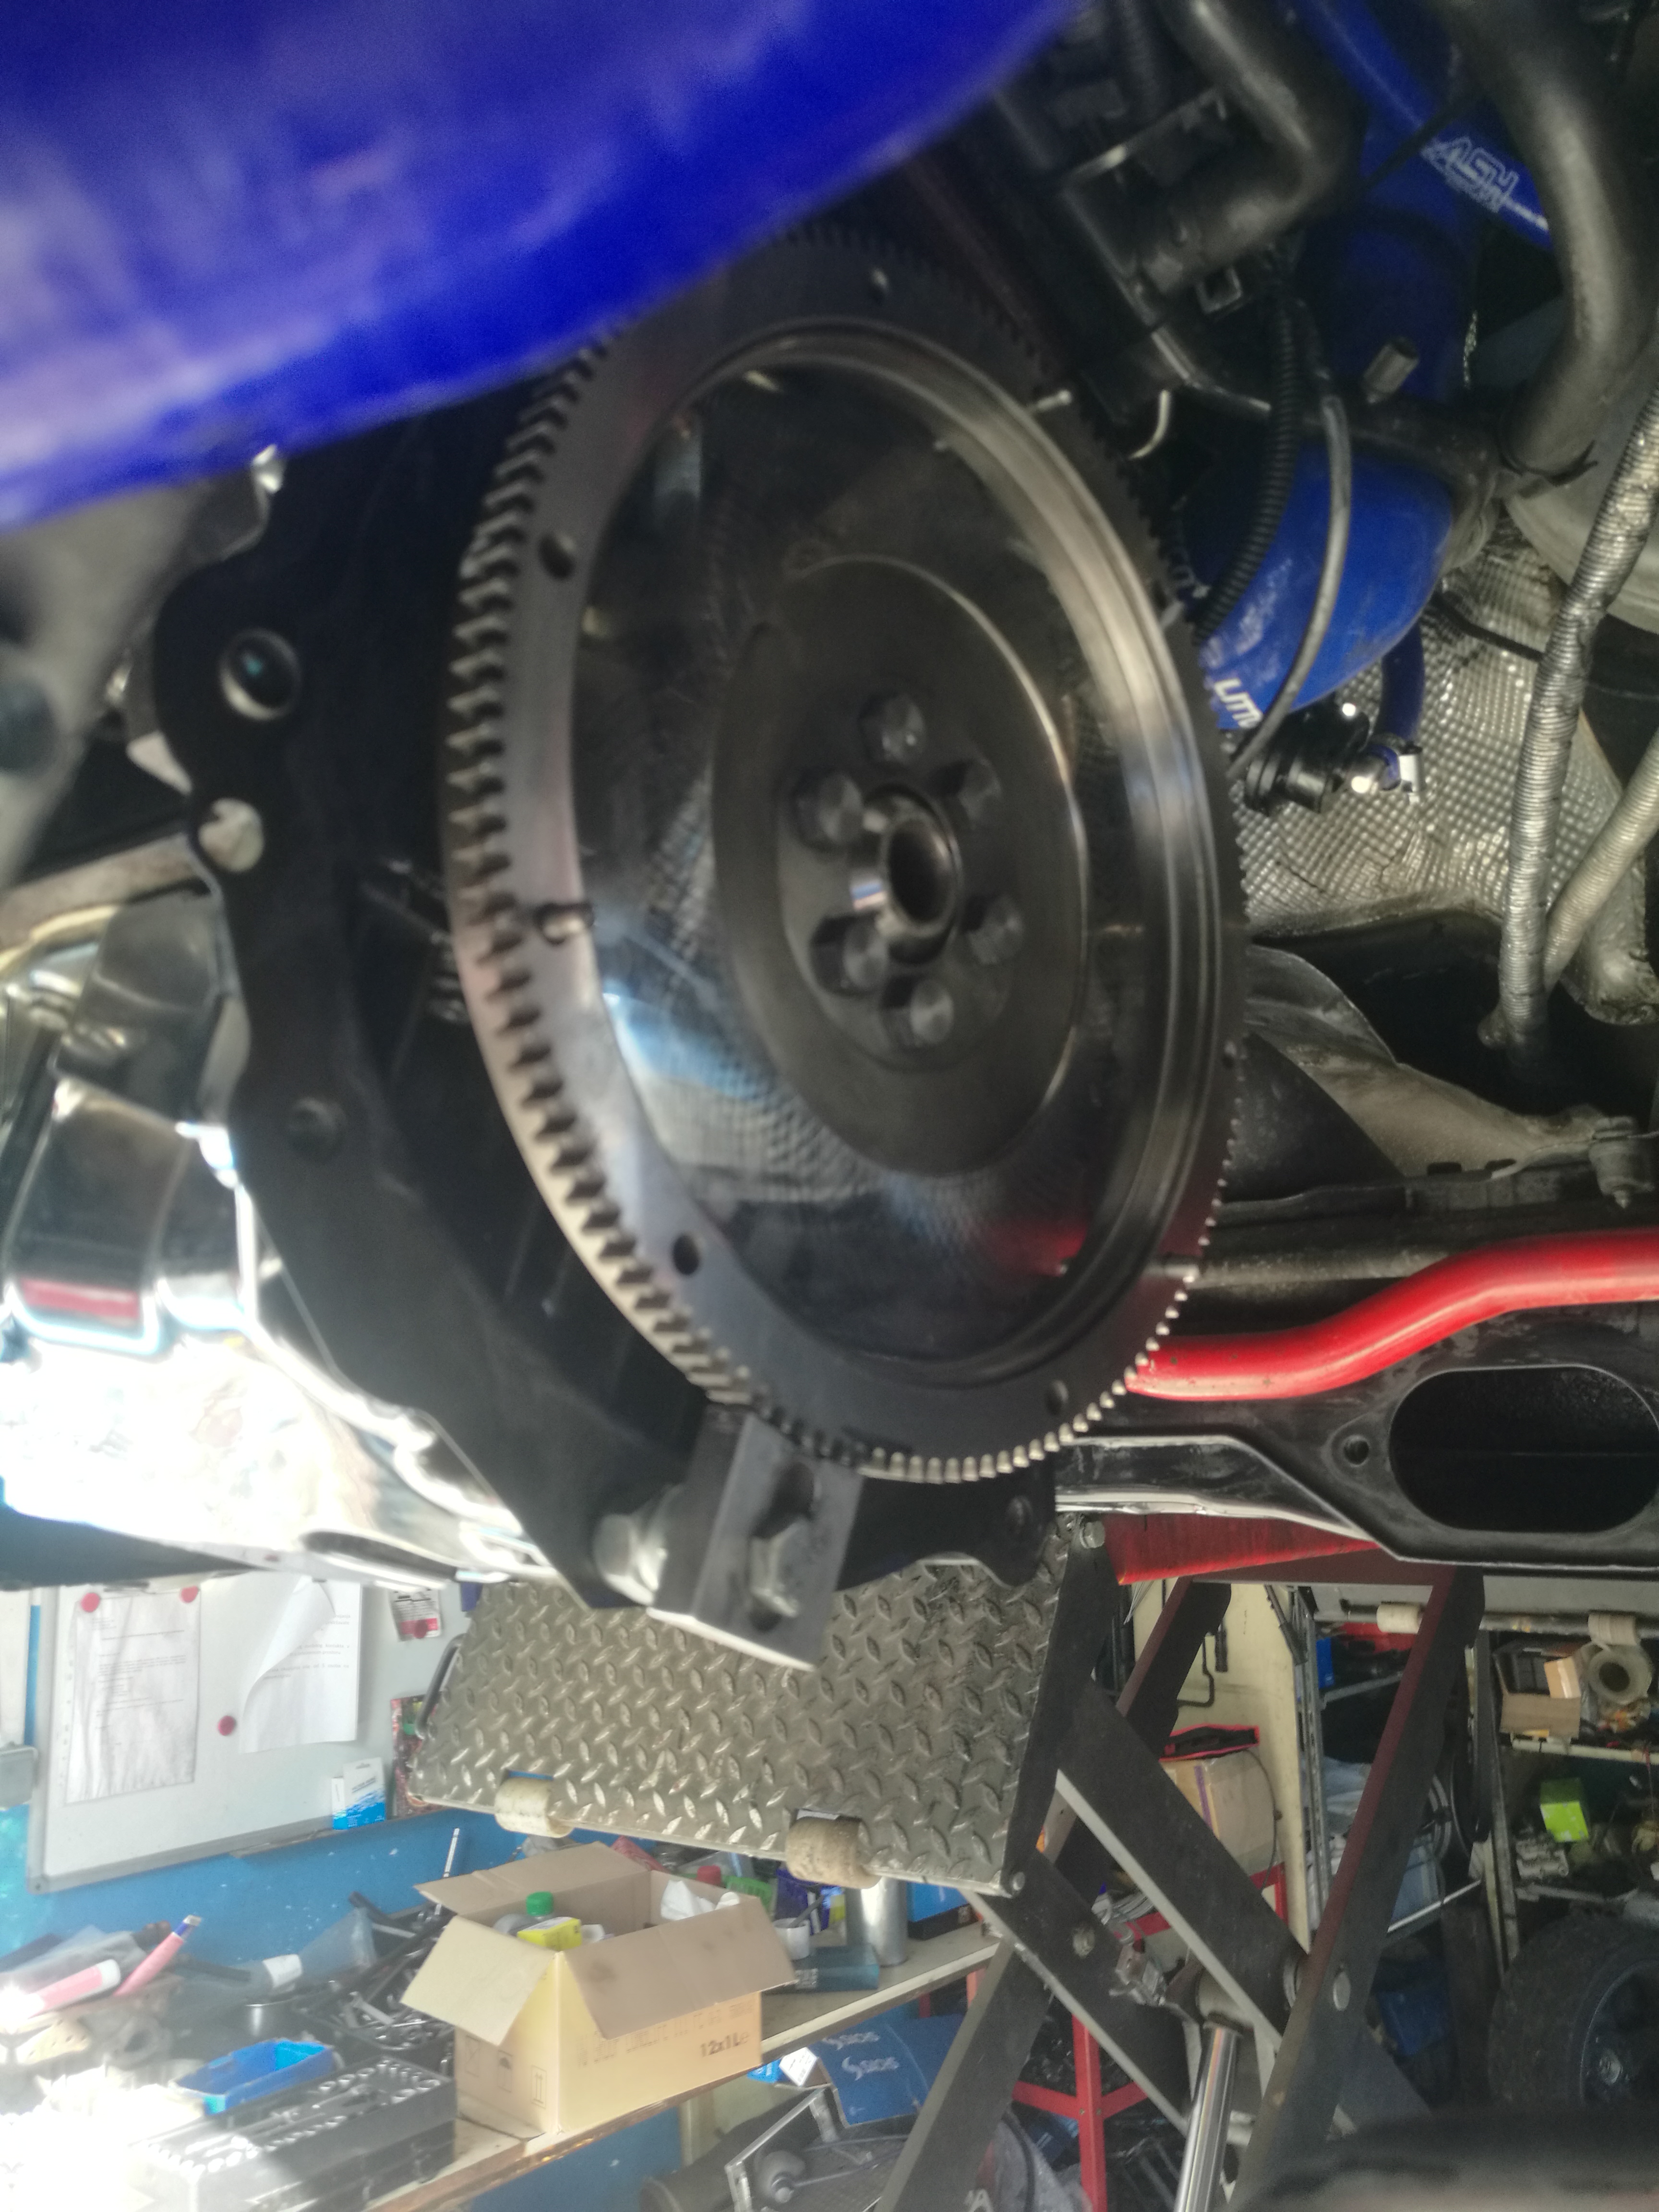
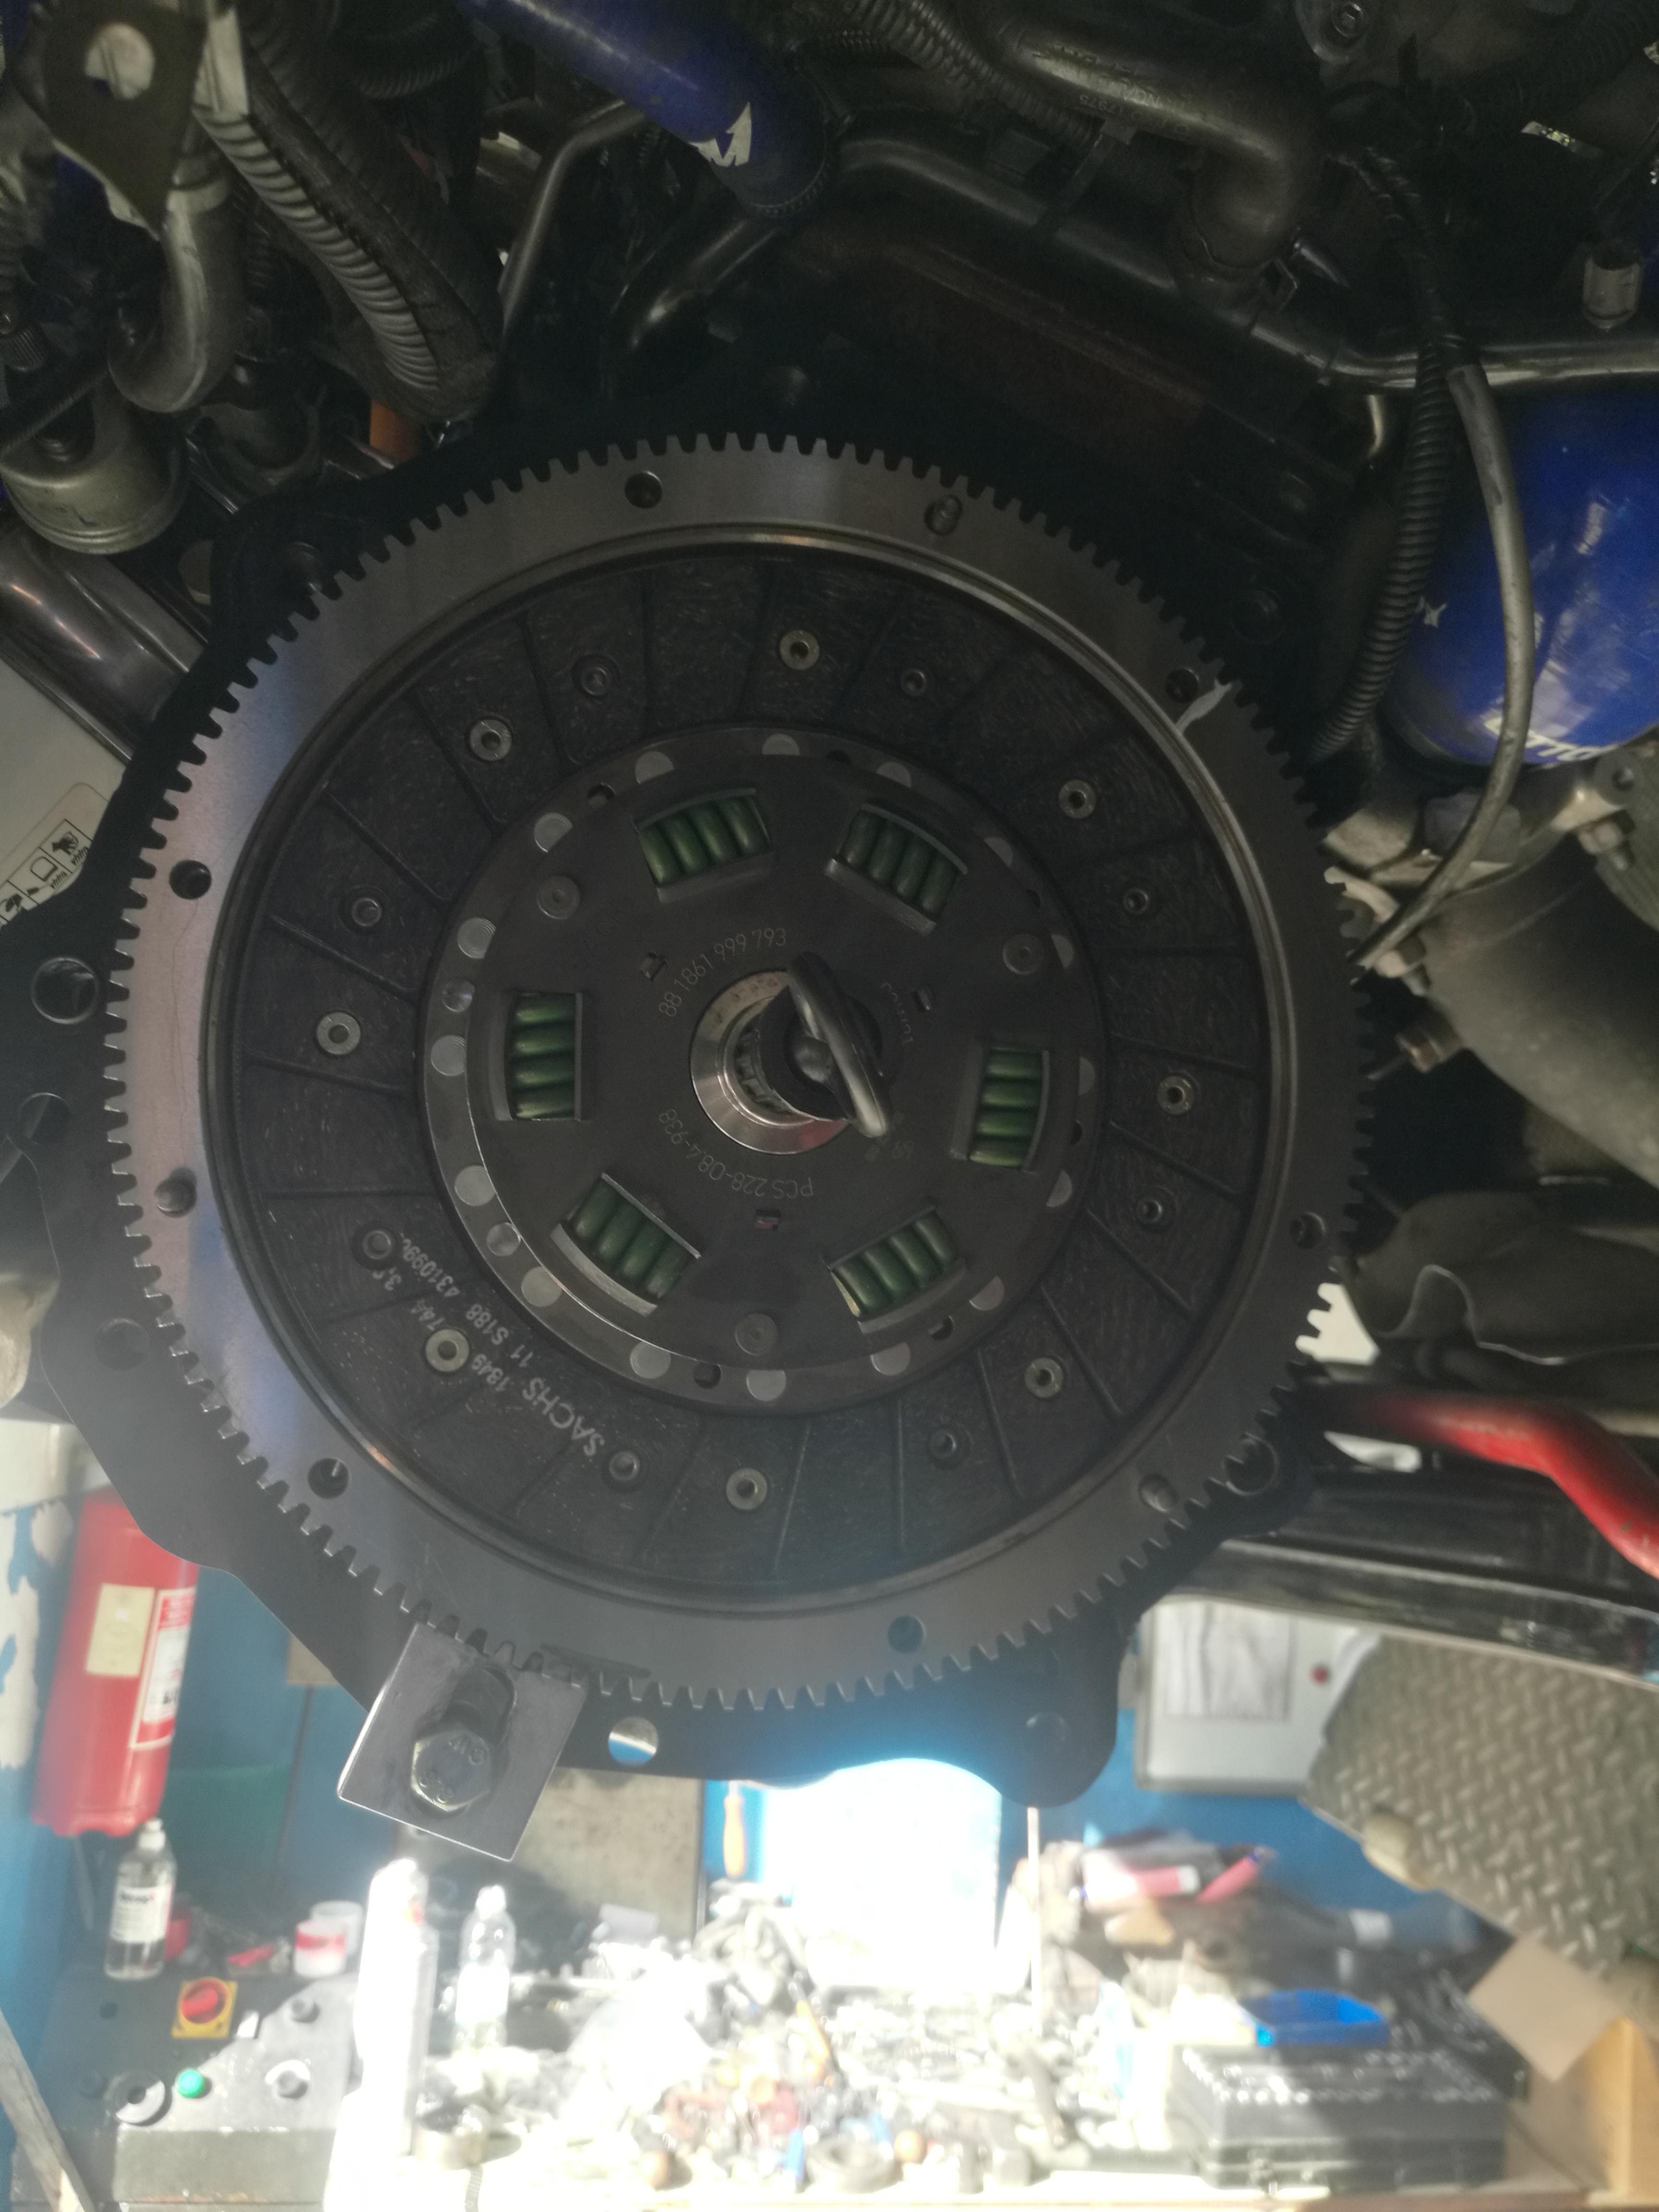
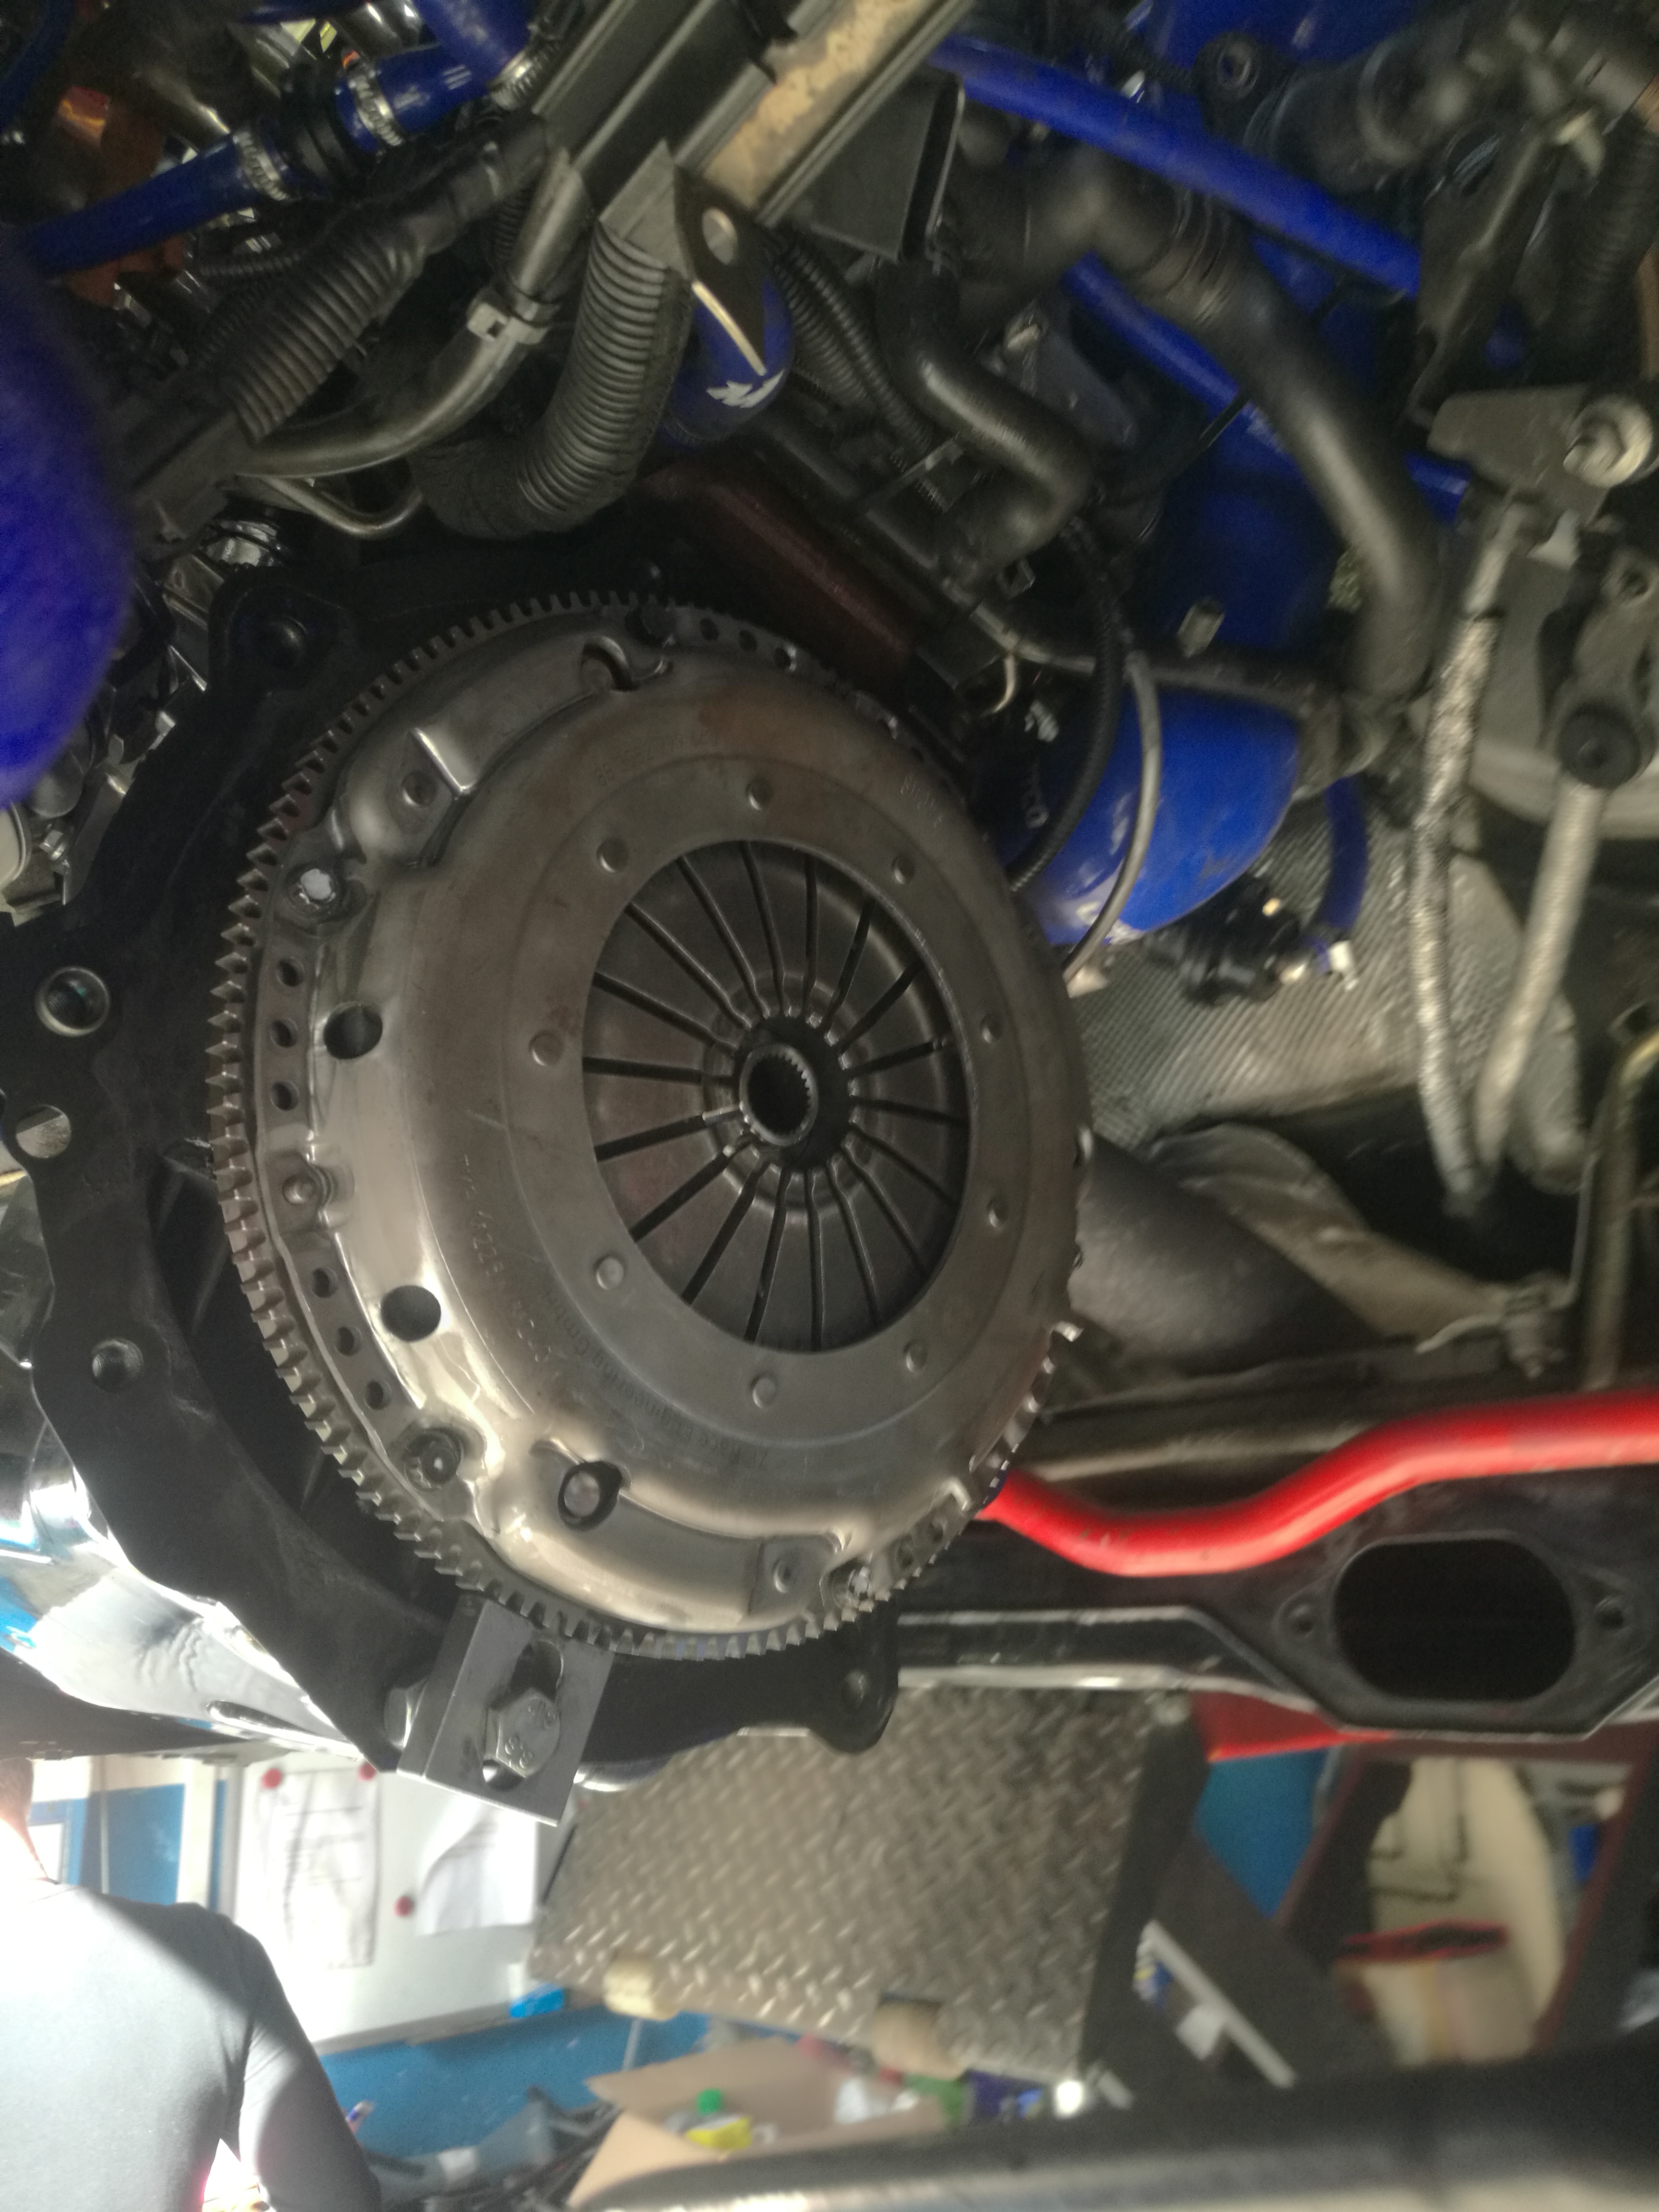
 As I already wrote it's not about brute power but how to deliver it to the ground,smothness,go kart like drivetrain,monster breaking force etc. Blue colour is not tuning that I mentioned,only touch of class, but main thing is there are silicone hoses,ss braided hoses and top quality AN fittings. As for breaking 300hp it broke it already. Look at the dyno chart. 304 if I remember correctly👍👍. Much more power is usless for 0-100kmh, only after 100kmh it make sense so no faster startups With FWD and 500hp...but aiming to do that via forged stroker, CNCed head,and forged valvetrain,G25-550....Flywheel bolted in place with new M10x25 1 pitch class 10,9 (couldn't found 12,9 and original ones from Febi that are 12.9 were to short-19mm only-less than 5mm protruding out from flywheel) so I went for the adequate lenght instead of 12,9 class. Had the same for decade without any problem. Sachs performance organic friction disc and pressure plate also in place


Important Information
Welcome to BRISKODA. Please note the following important links Terms of Use. We have a comprehensive Privacy Policy. We have placed cookies on your device to help make this website better. You can adjust your cookie settings, otherwise we'll assume you're okay to continue.