Jump to content

paddymallon

Finding my way
  • Posts

    10
  • Joined

  • Last visited

Profile Information

  • Location
    Castlebar, Ireland

Car Info

  • Model
    Superb L&K DSG
  • Year
    2015

paddymallon's Achievements

Rookie

Rookie (2/17)

  • First Post
  • Collaborator
  • Week One Done
  • One Month Later
  • One Year In

Recent Badges

2

Reputation

  1. I had no contact cleaner so used methylated spirits, also had no conductive grease. not a hard job to do if I need to repeat it. Would conductive grease be a big benefit?
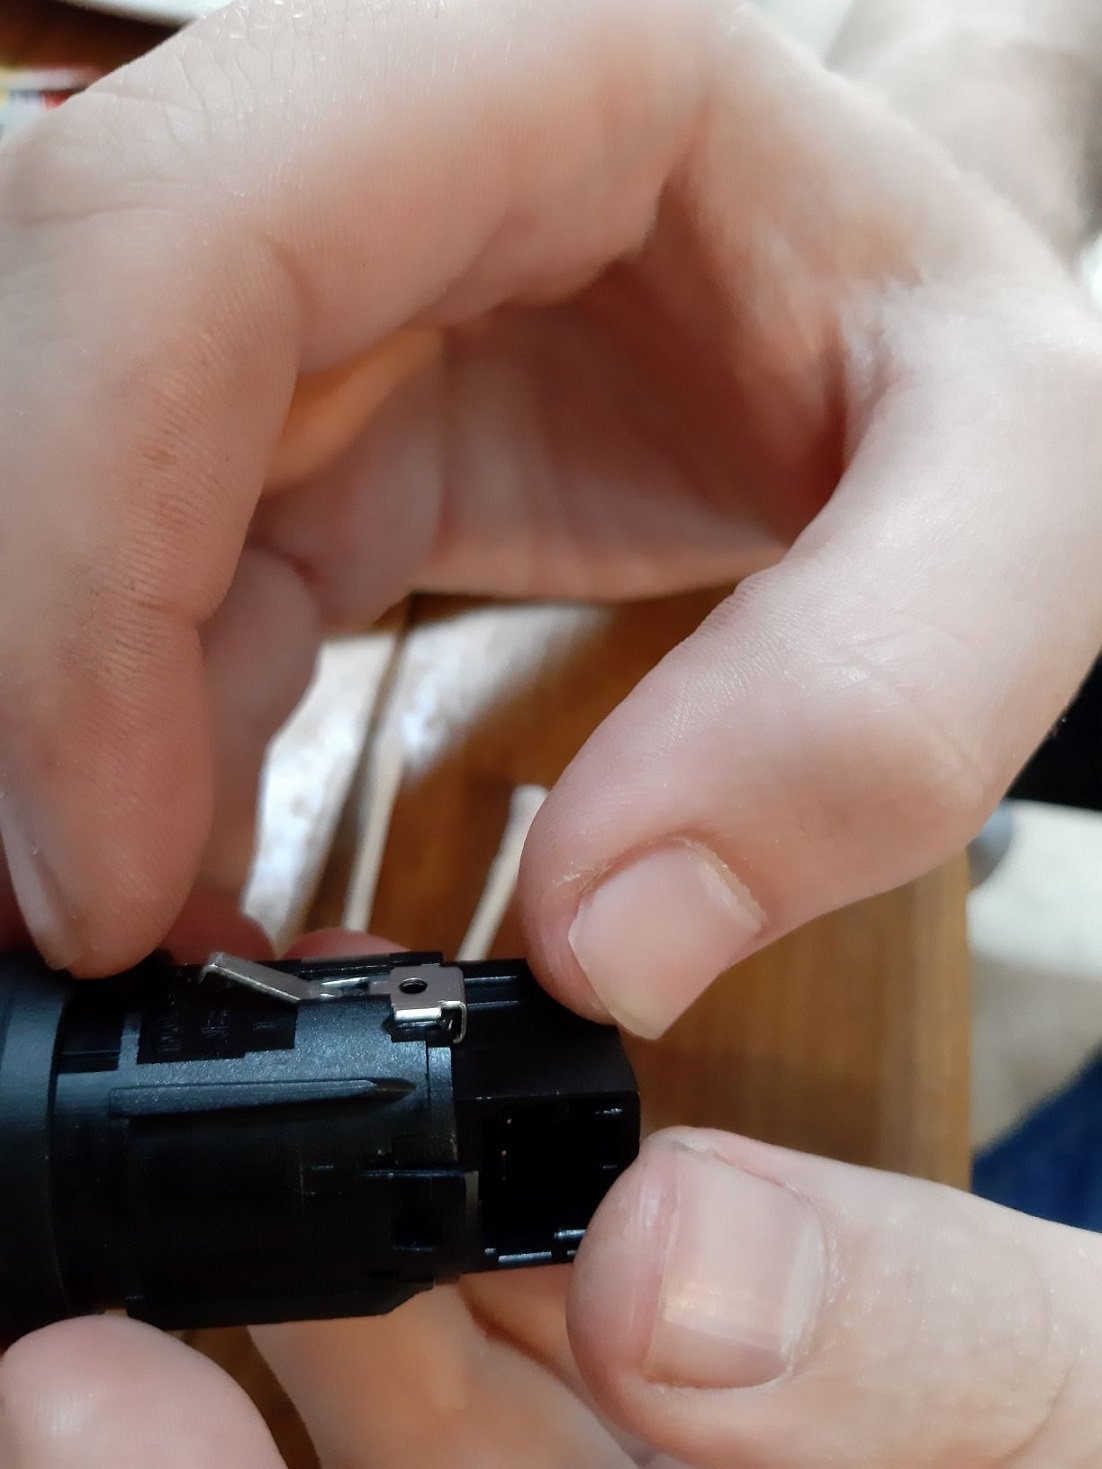
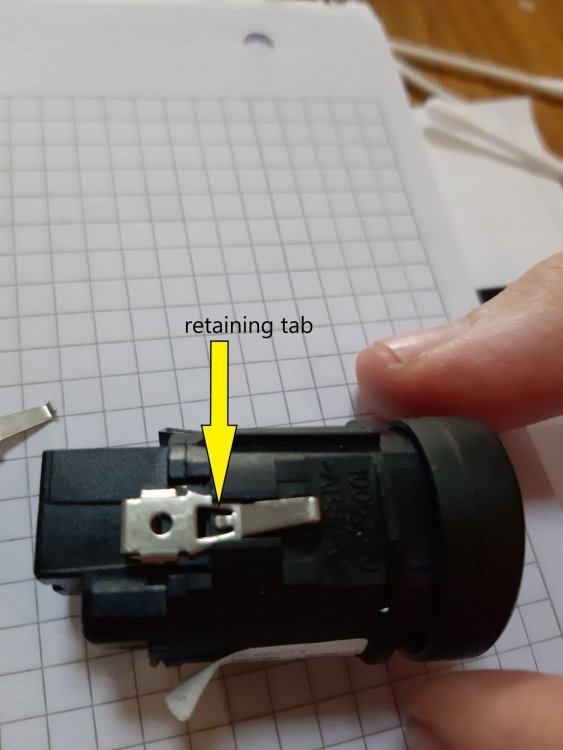
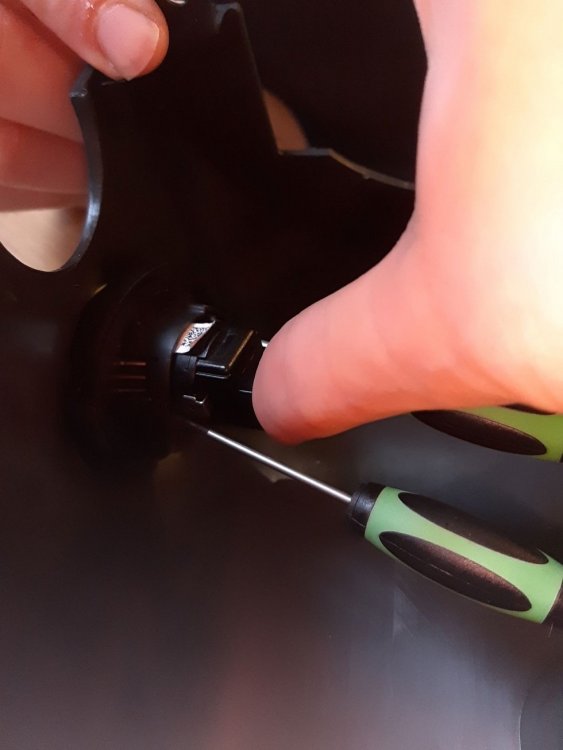
  2. when re assembling ensure the retaining spring retaining tab engages, if not bend it out a bit.
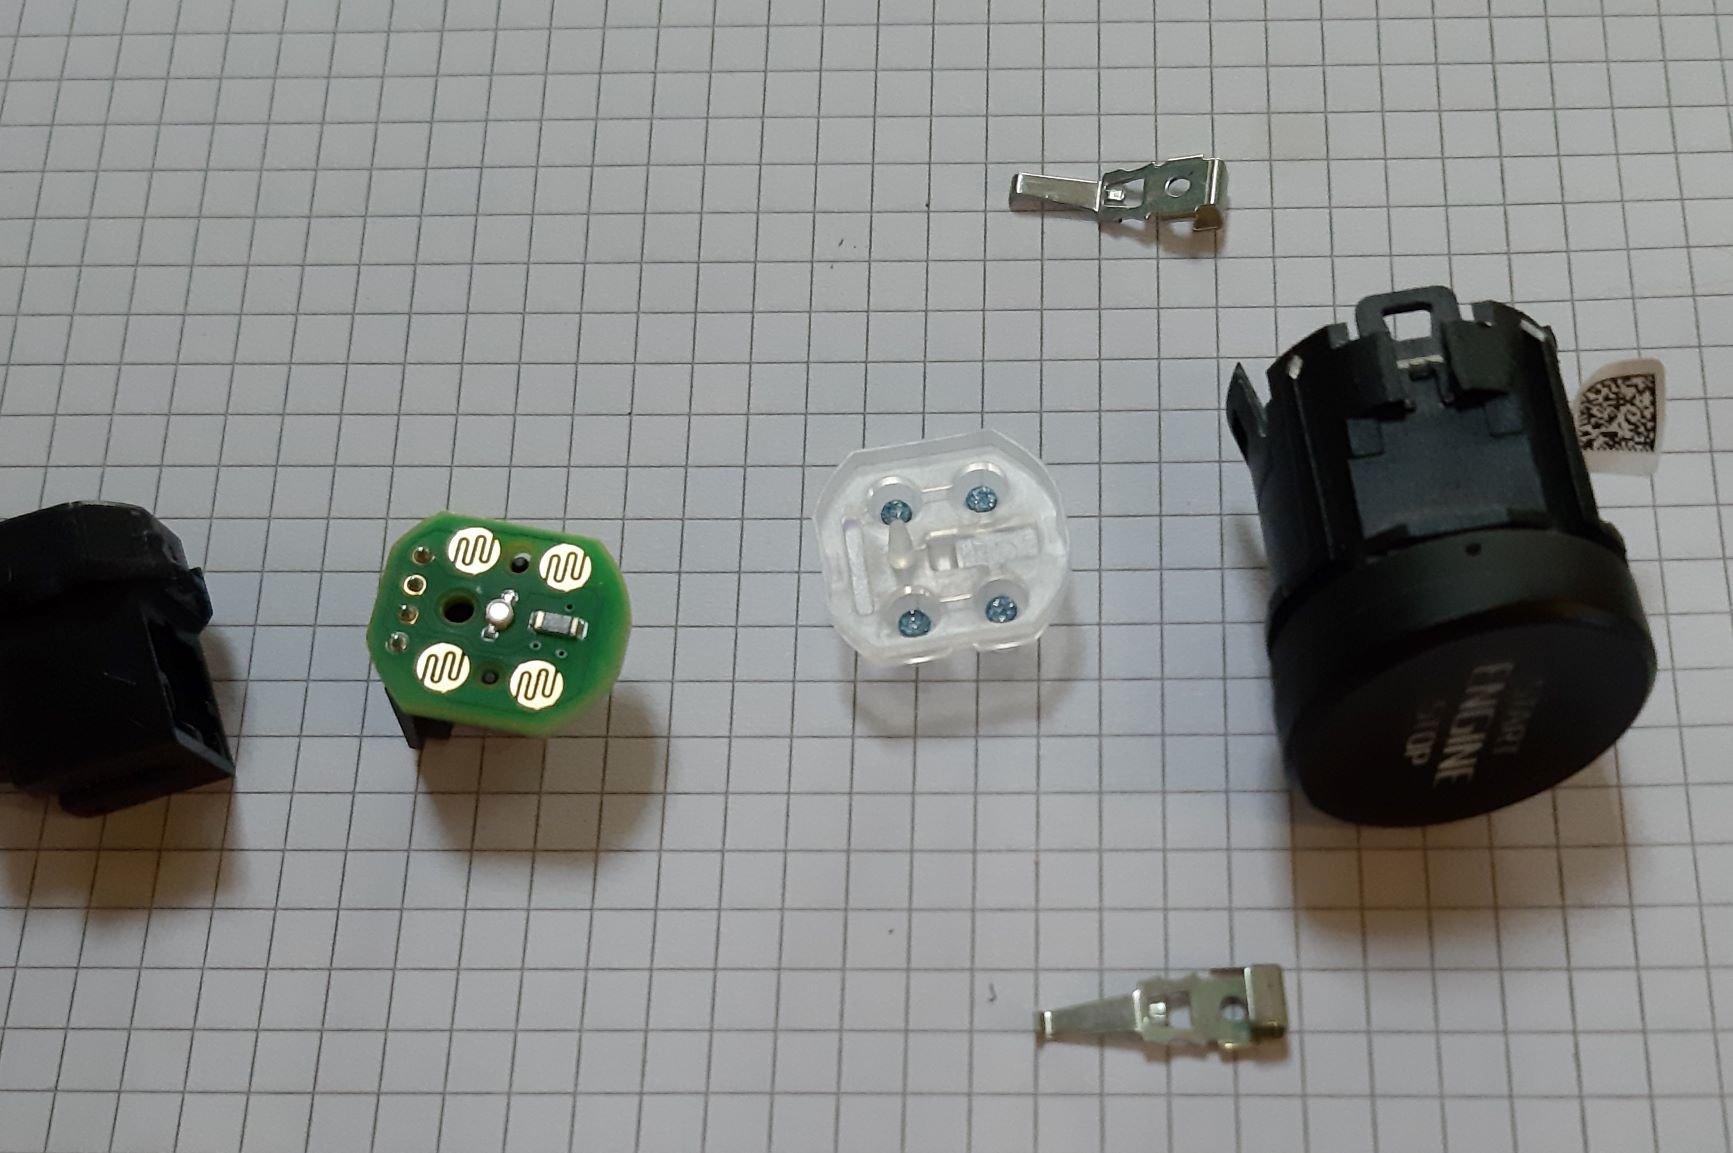
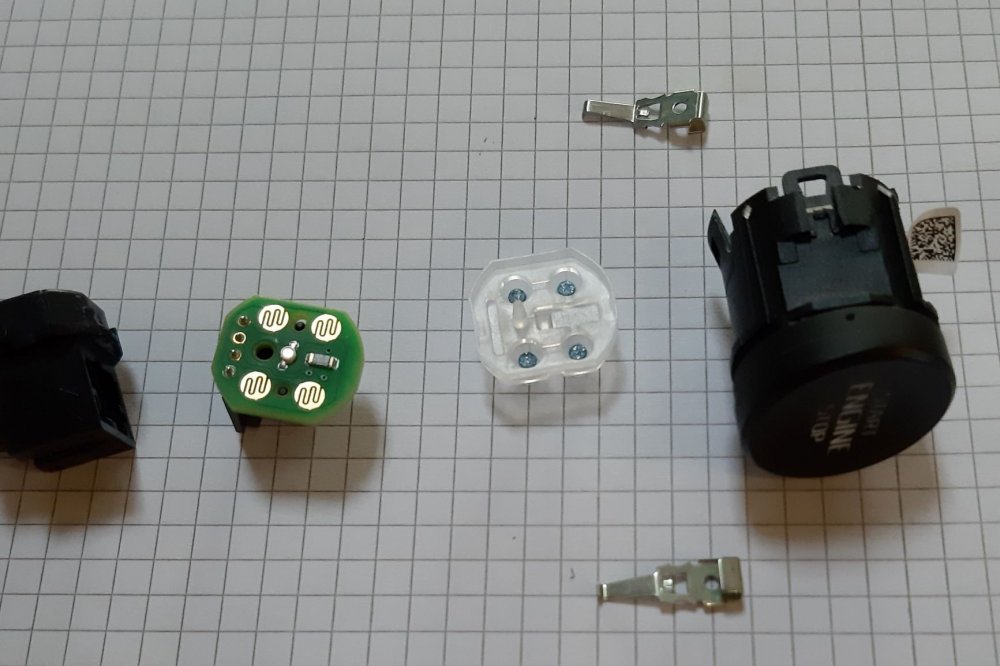
  3. the dissasembled switch, note the orientation of the switch pad
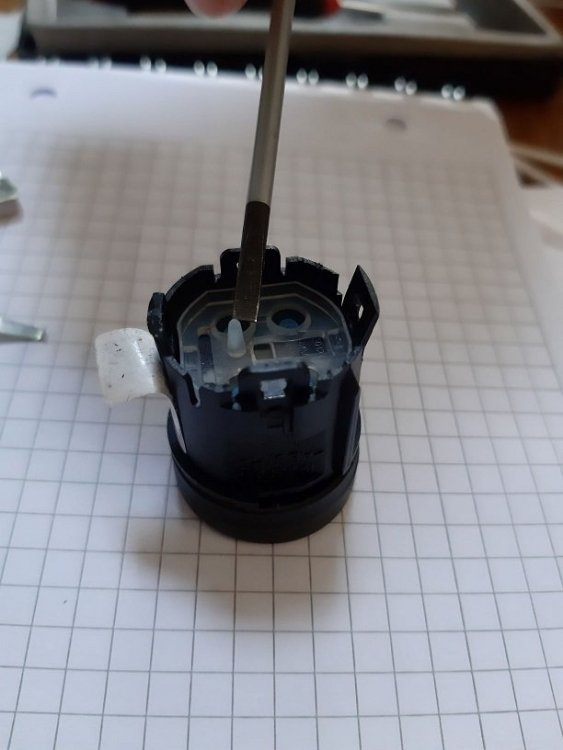
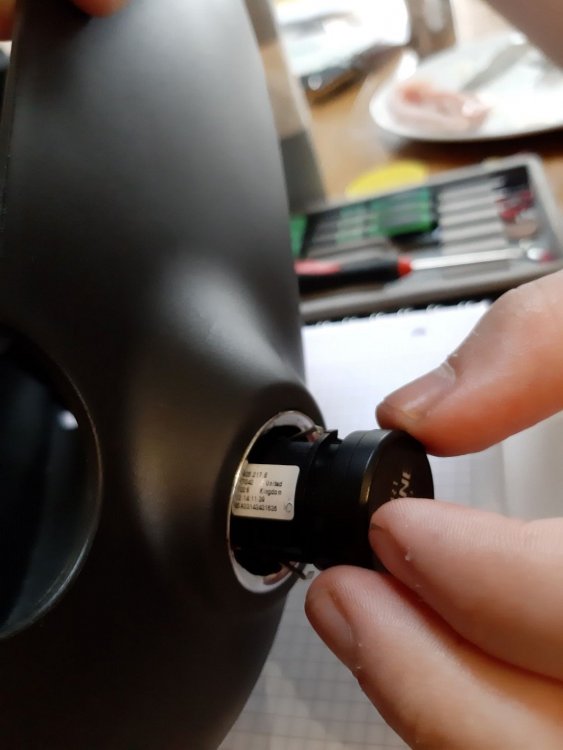
  4. you now need to remove the retaining springs to reveal the plastic clips, there are four, one hidden behind the label.
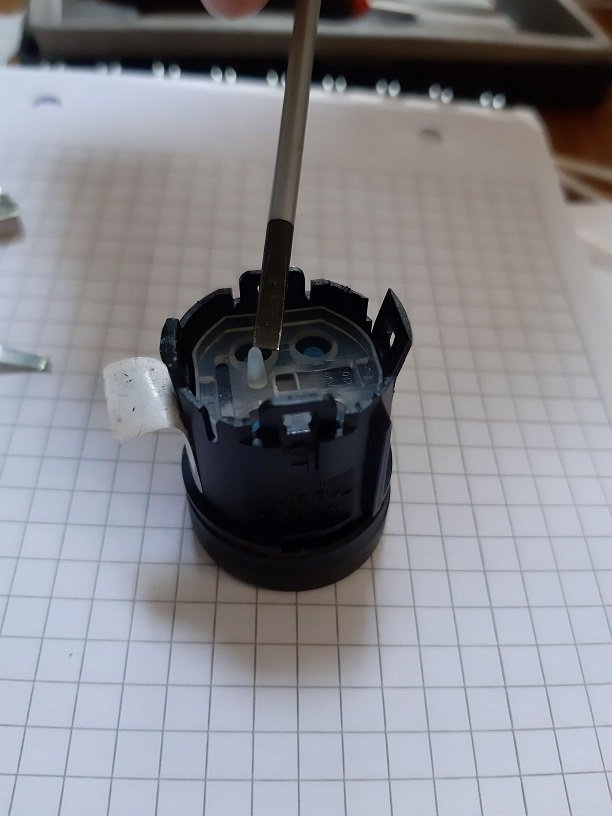
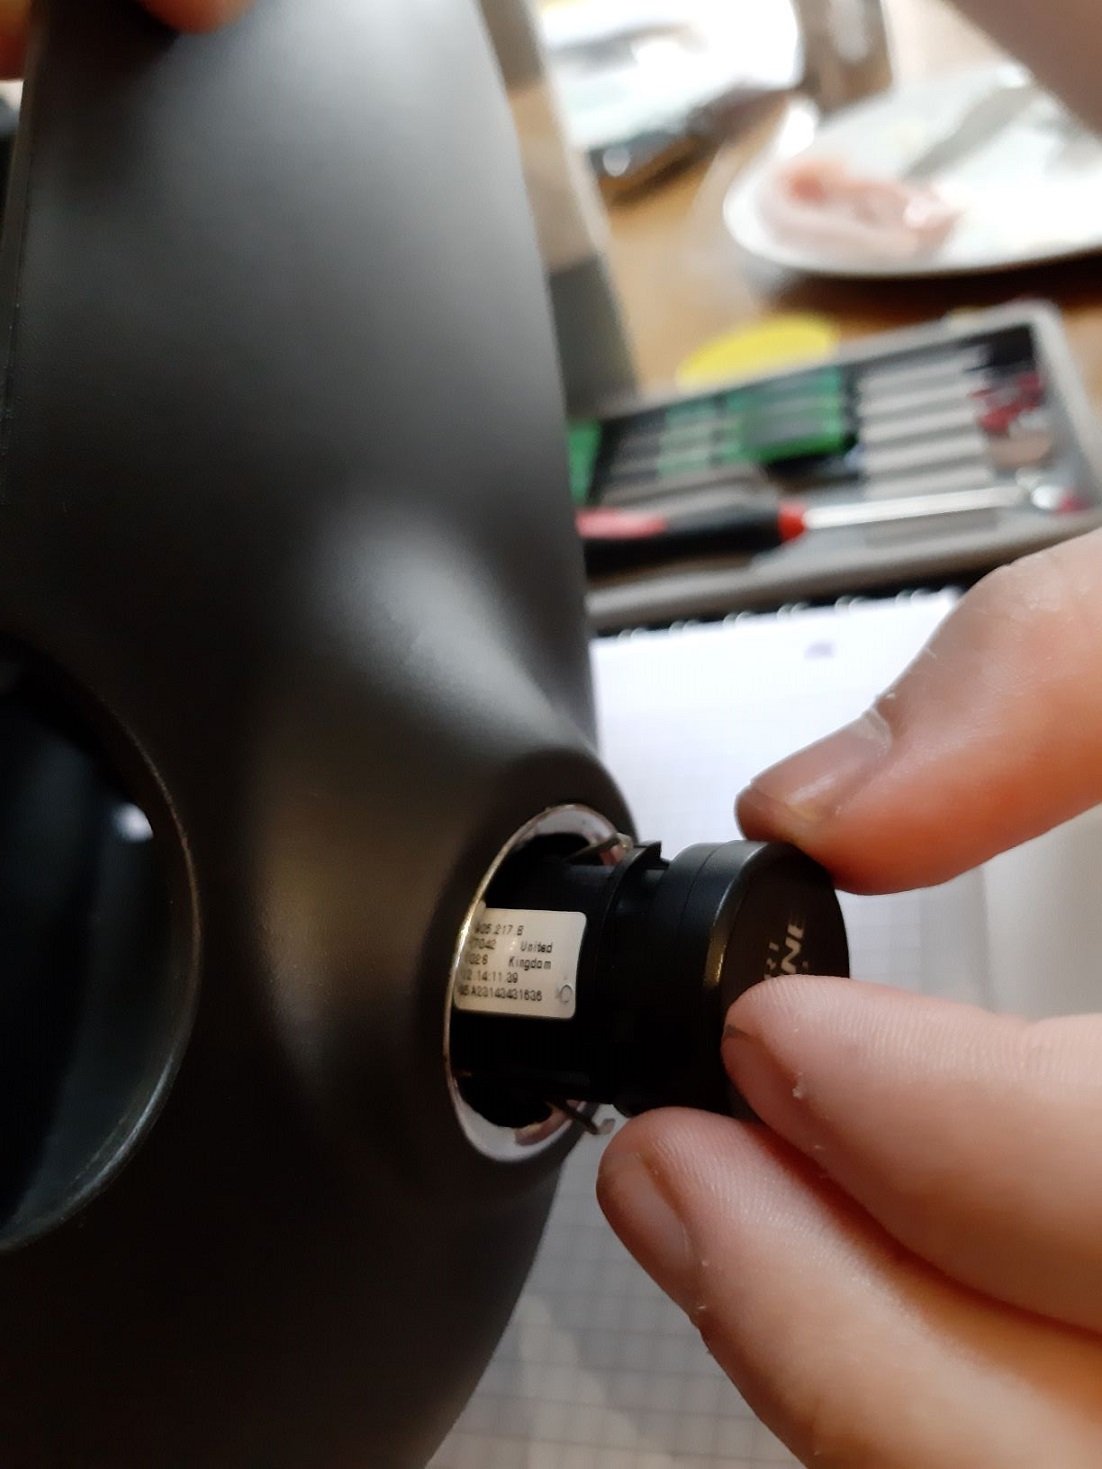
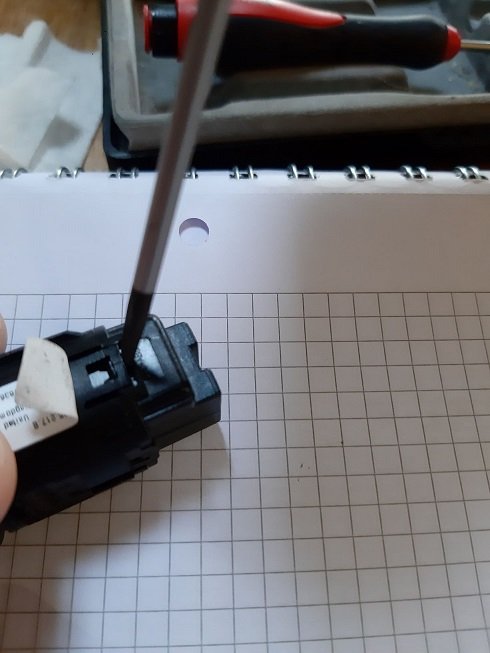
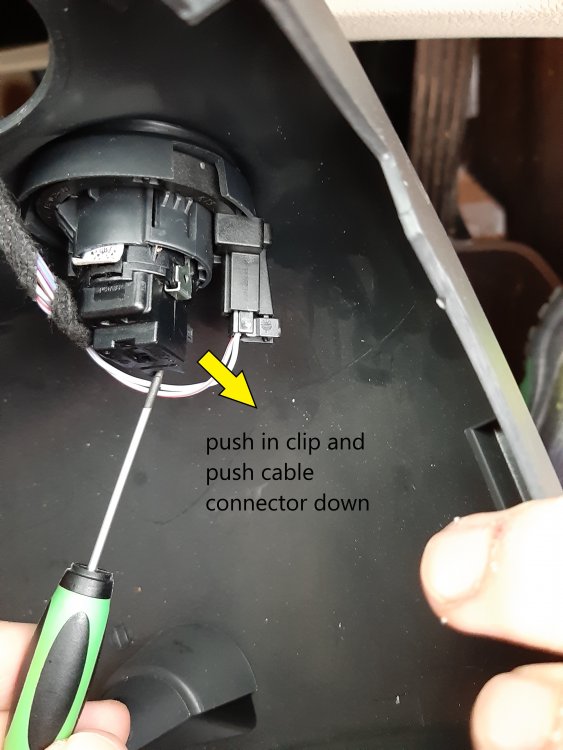
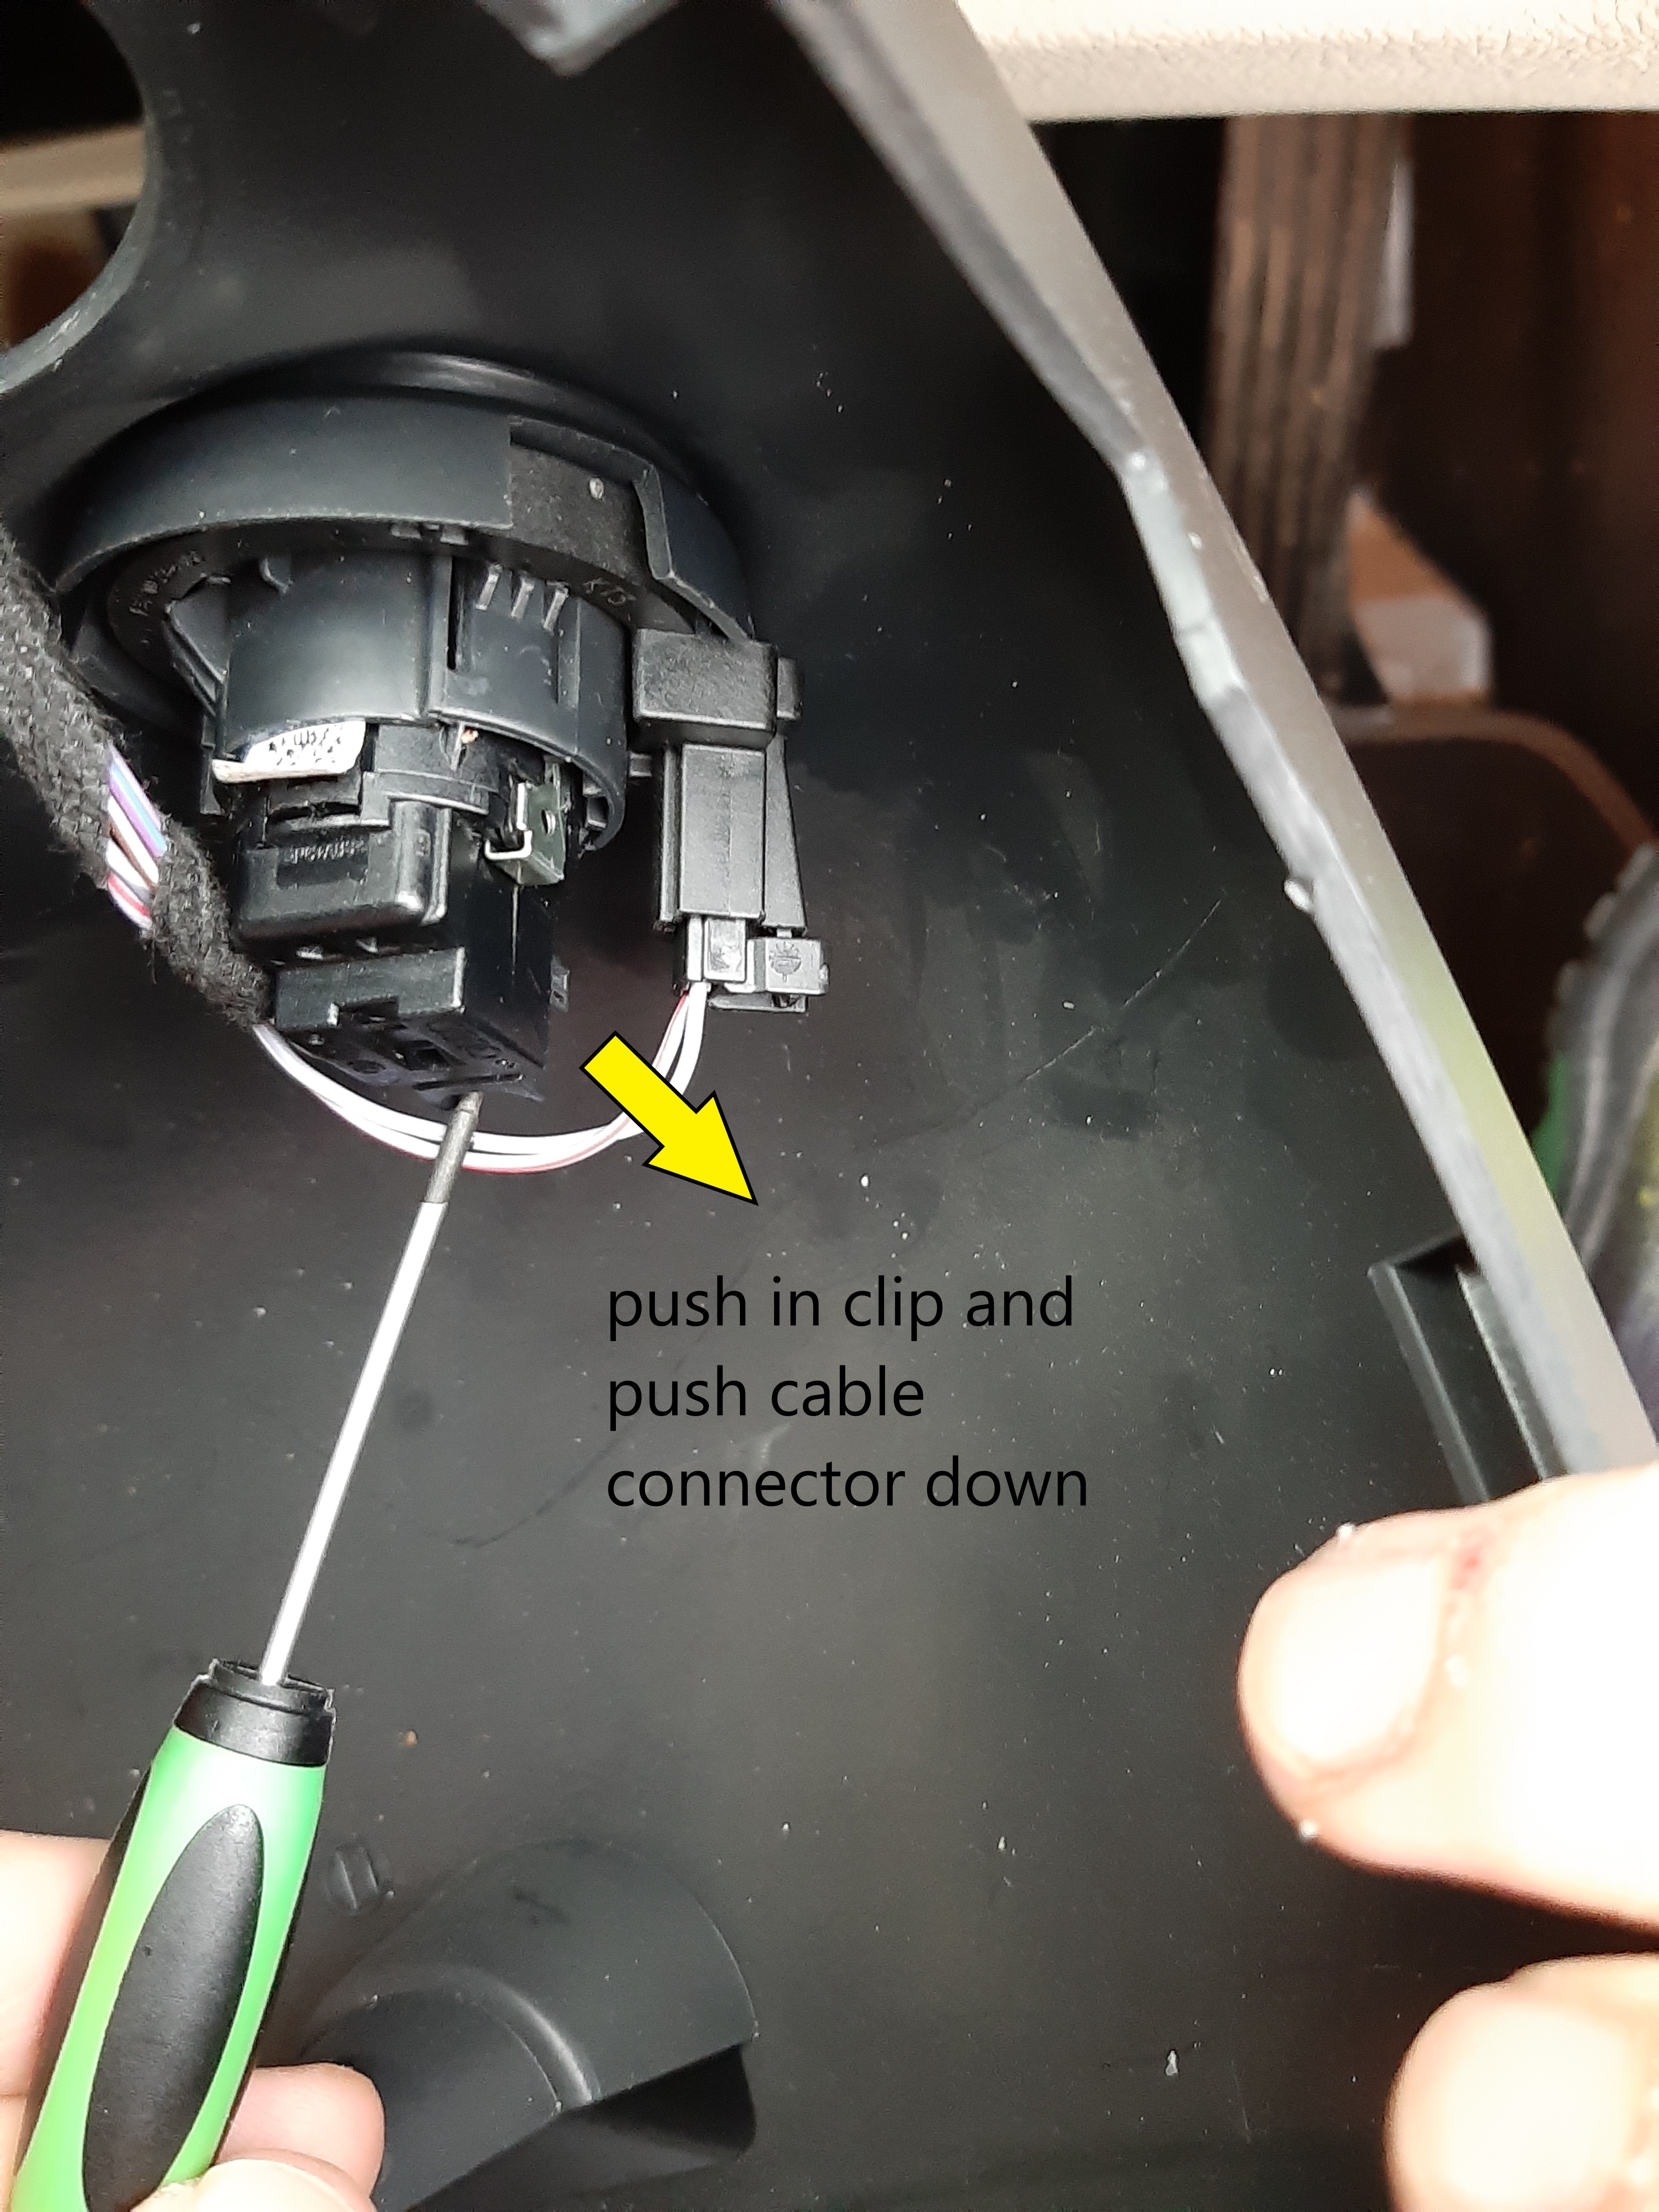
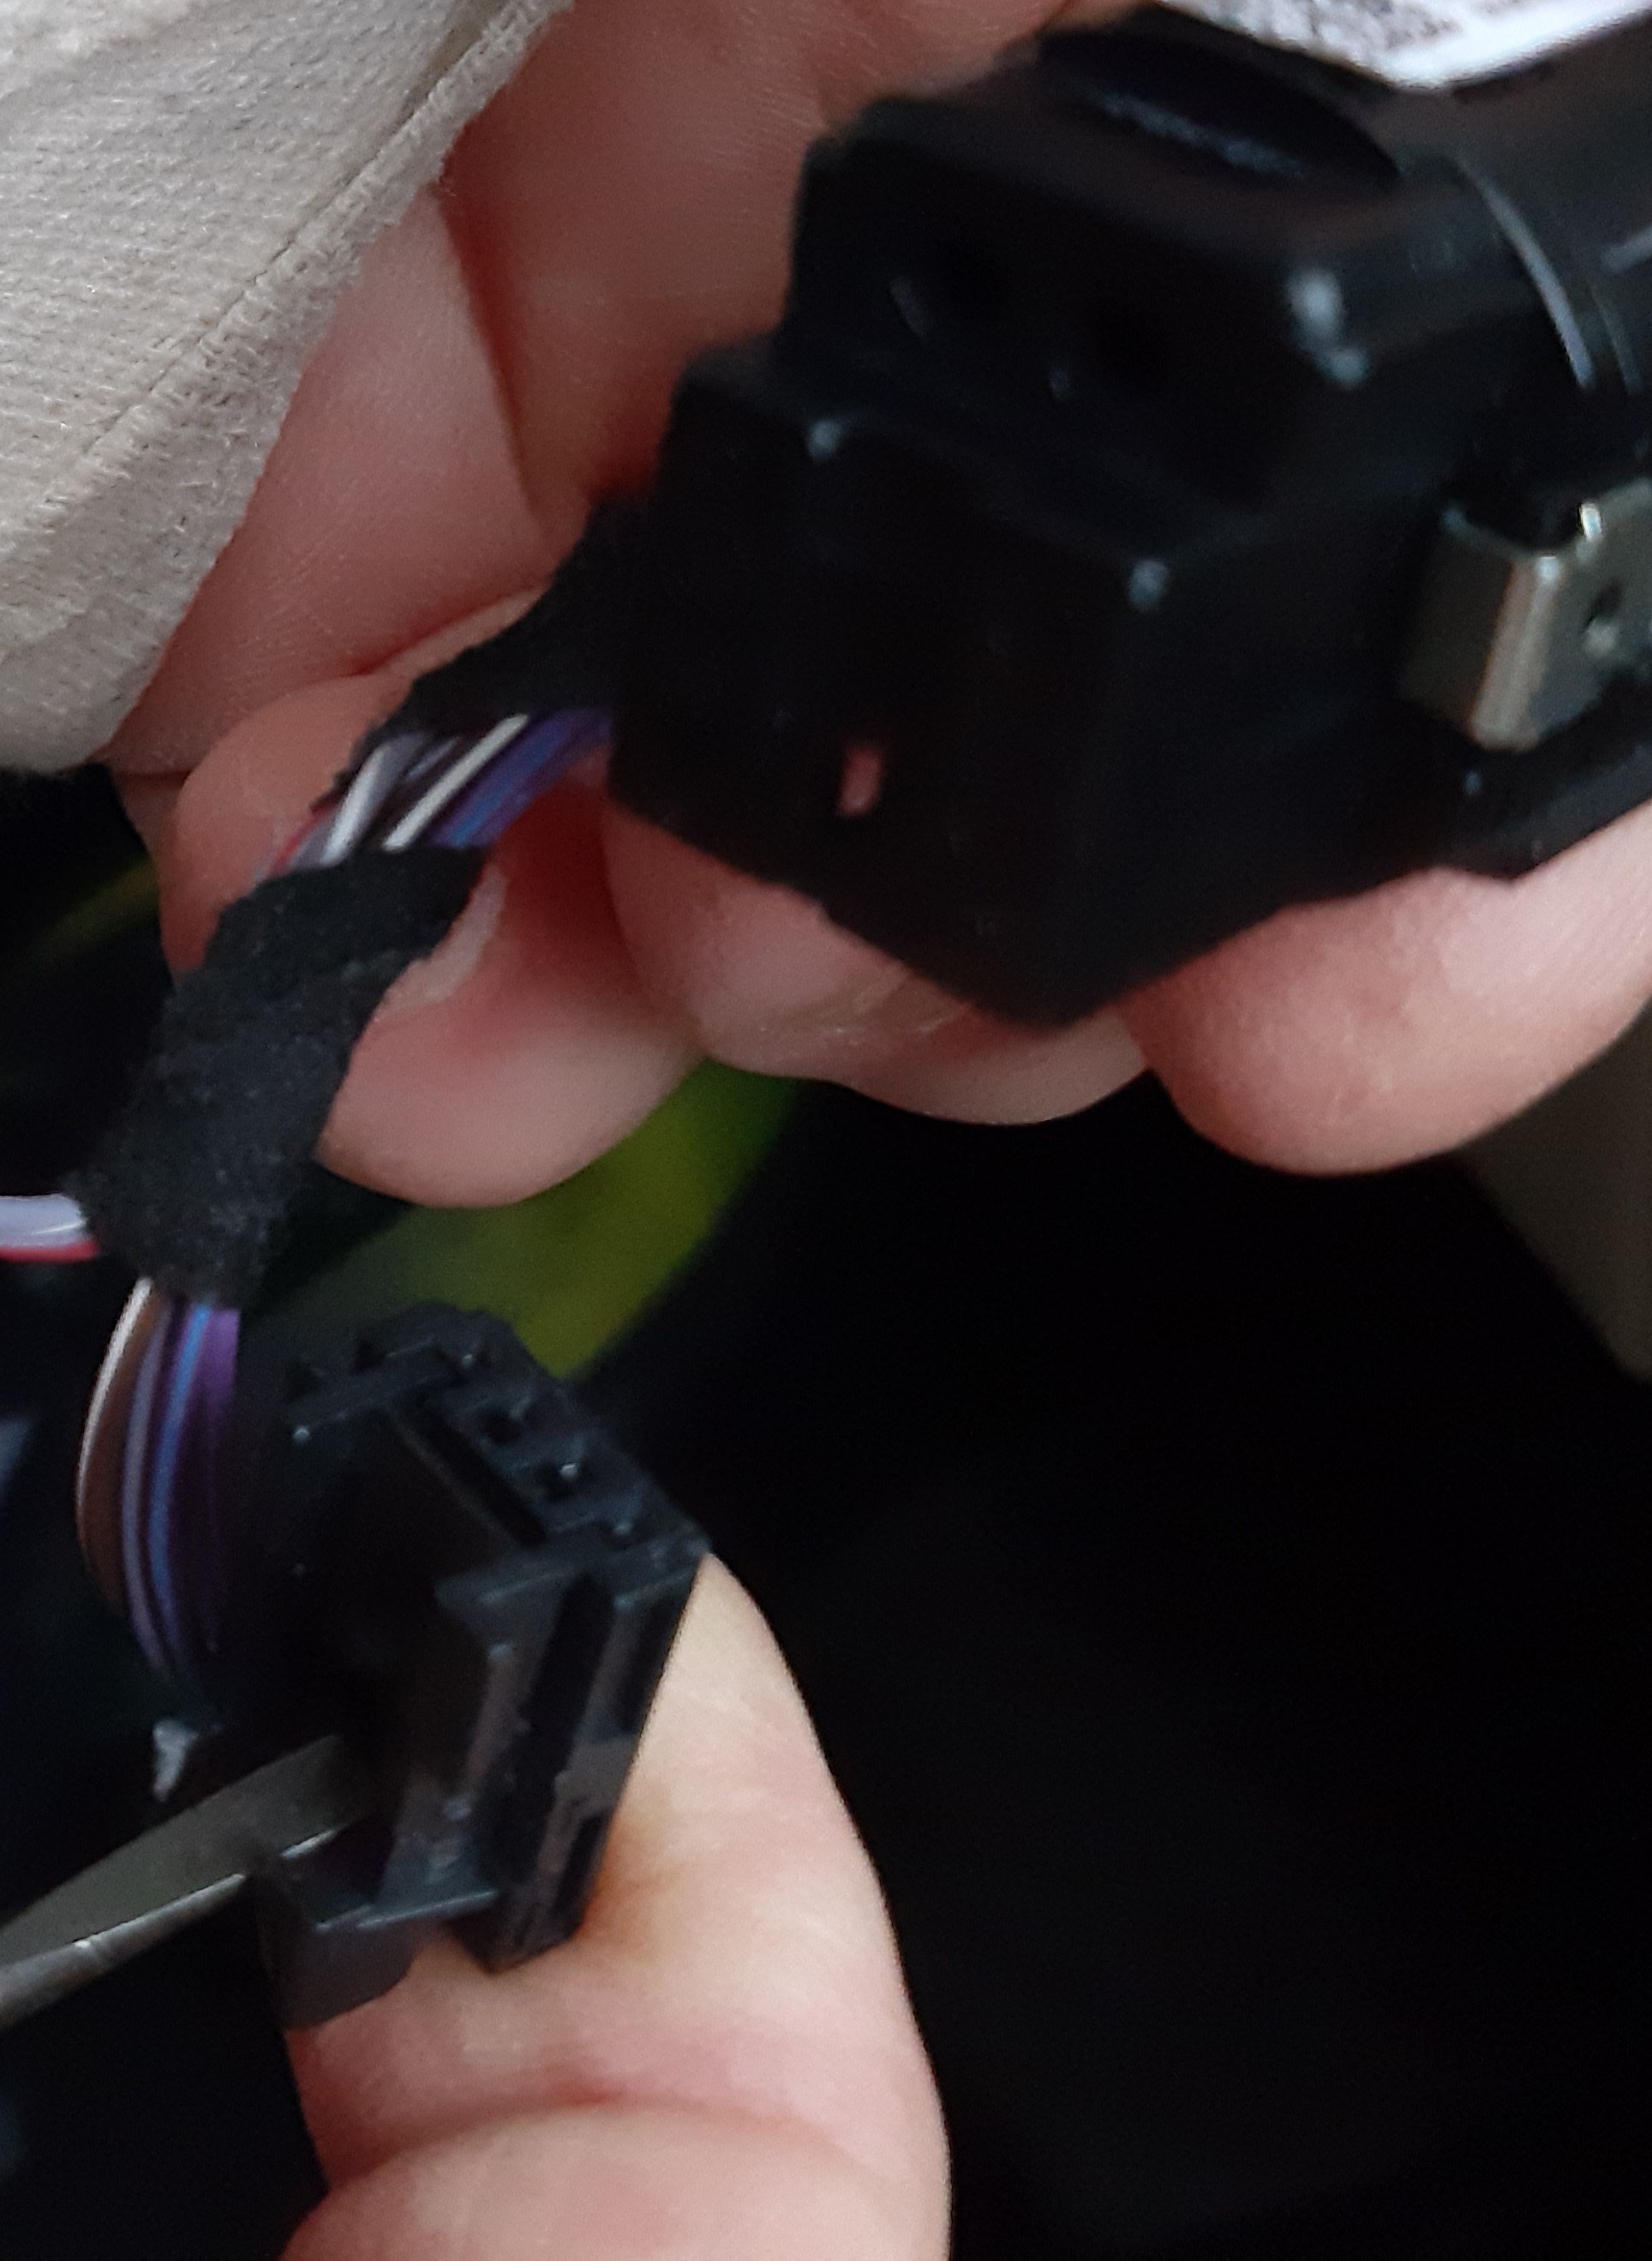
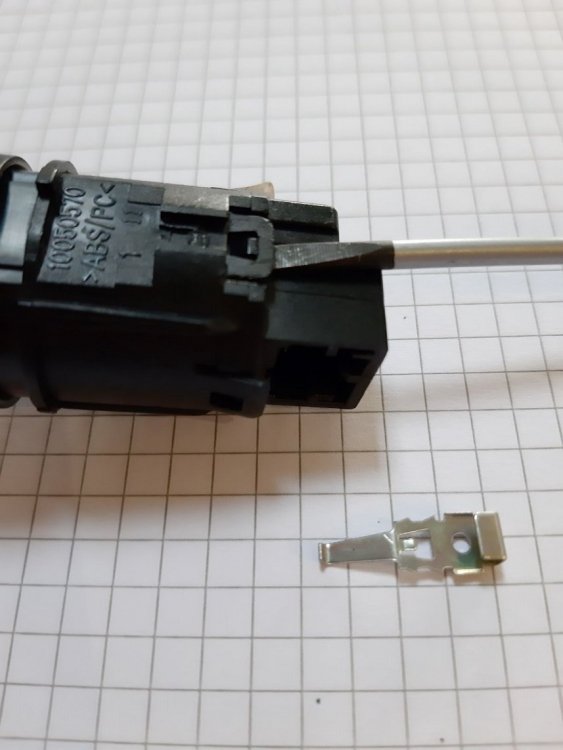
  5. in addition to JFCarters instructions the cable connector is side mounted so you push down and away when you have released the cable clip.
  6. Hi Pesmog, I have had 2 Super's with this problem. I checked and replaced all the bulbs in the rear and tailgate and still had the problem, both had the twin-door wiring problem, you can find linked to the repair on the site. I would allow yourself a 2-3 hour window to do the repair if you are a competent DIYer or 4-5 hours if a novice. better to do this repair while you can still open the big boot. I left it on the first one till the boot would not open and it was a right pain. Plan ahead and have enough wire at hand to do the job. I would plan to split the loom and bring the wires down both sides of the bootlid, reducing the chances of a recurrence. don't use oversized cables this only makes the job harder and increases the chance of recurrence. To get the supplies, two gauges of wire, shrink-wrap and loom tape, take off the cover from the small boot lid and you will see the size of the wires you will need there are two sizes. I drove to my local MAPLIN store and had one of the staff come out and have a look. plan to cut and repair all the wires. The wires travel down the left side of the lid, I split tem and re directed half of them up and along the top and down the right. the routing across the top was a bit of a fiddle, I used a stiff wire to negotiate the route inside the frame at the top and then used it to draw through the new wires, I replaced the wires down the left side also, they were not long enough to take the repair section away from the hinge point. get a supply of shrink wrap to suit the wires you bought. Stagger the solder joins in the loom and make the joins as small as needed so you don't end up with a lump in one place. I used loom tape to bind the new wire bundles before I routed them, this is like non adhesive thin insulating tape, I also sprayed the inside of the hinge channels with light spray grease to help the new loom move inside the channel. On the left-hand side make sure you do the joins well away from the hinge section or it will be hard to get the loom back into place. I had help routing the wires to avoid scraping off the insulation as I pulled the wires through the channels, one feeding in the other gently pulling. good luck.
  7. I have exactly the same problem. started in the frost last week, I am going to try wd 40 or g80 with silicon and see if a bit of fettling will work otherwise I think its off with the door card and get fiddling.
  8. I wonder if this could need a twindoor wiring fix. see the thread. http://www.briskoda.net/forums/topic/286139-superb-twindoor-wiring-fix/
  9. Excellent guide, I had put some photos together for one last year but the phone got nicked. I had tried doing it without extending the leads and got the same problem back a few weeks later. My repaired wires were too thick to move in the semi circular pipe at the hinge level. I then did a staggered repair with each cable fixed at a different location extending all the wires and after sealing with heat shrink I covered everything with white spray grease including the tube. If I was doing it again I will consider splitting the loom and bringing half of it down the other side of the boot lid.
×
×
  • Create New...

Important Information

Welcome to BRISKODA. Please note the following important links Terms of Use. We have a comprehensive Privacy Policy. We have placed cookies on your device to help make this website better. You can adjust your cookie settings, otherwise we'll assume you're okay to continue.