Jump to content

dubzter

Members
  • Posts

    39
  • Joined

  • Last visited

Car Info

  • Model
    Superb SportLine+ Estate 272 4x4
  • Year
    2019

Recent Profile Visitors

The recent visitors block is disabled and is not being shown to other users.

dubzter's Achievements

Contributor

Contributor (5/17)

  • First Post
  • Collaborator
  • Reacting Well
  • Conversation Starter
  • Week One Done

Recent Badges

47

Reputation

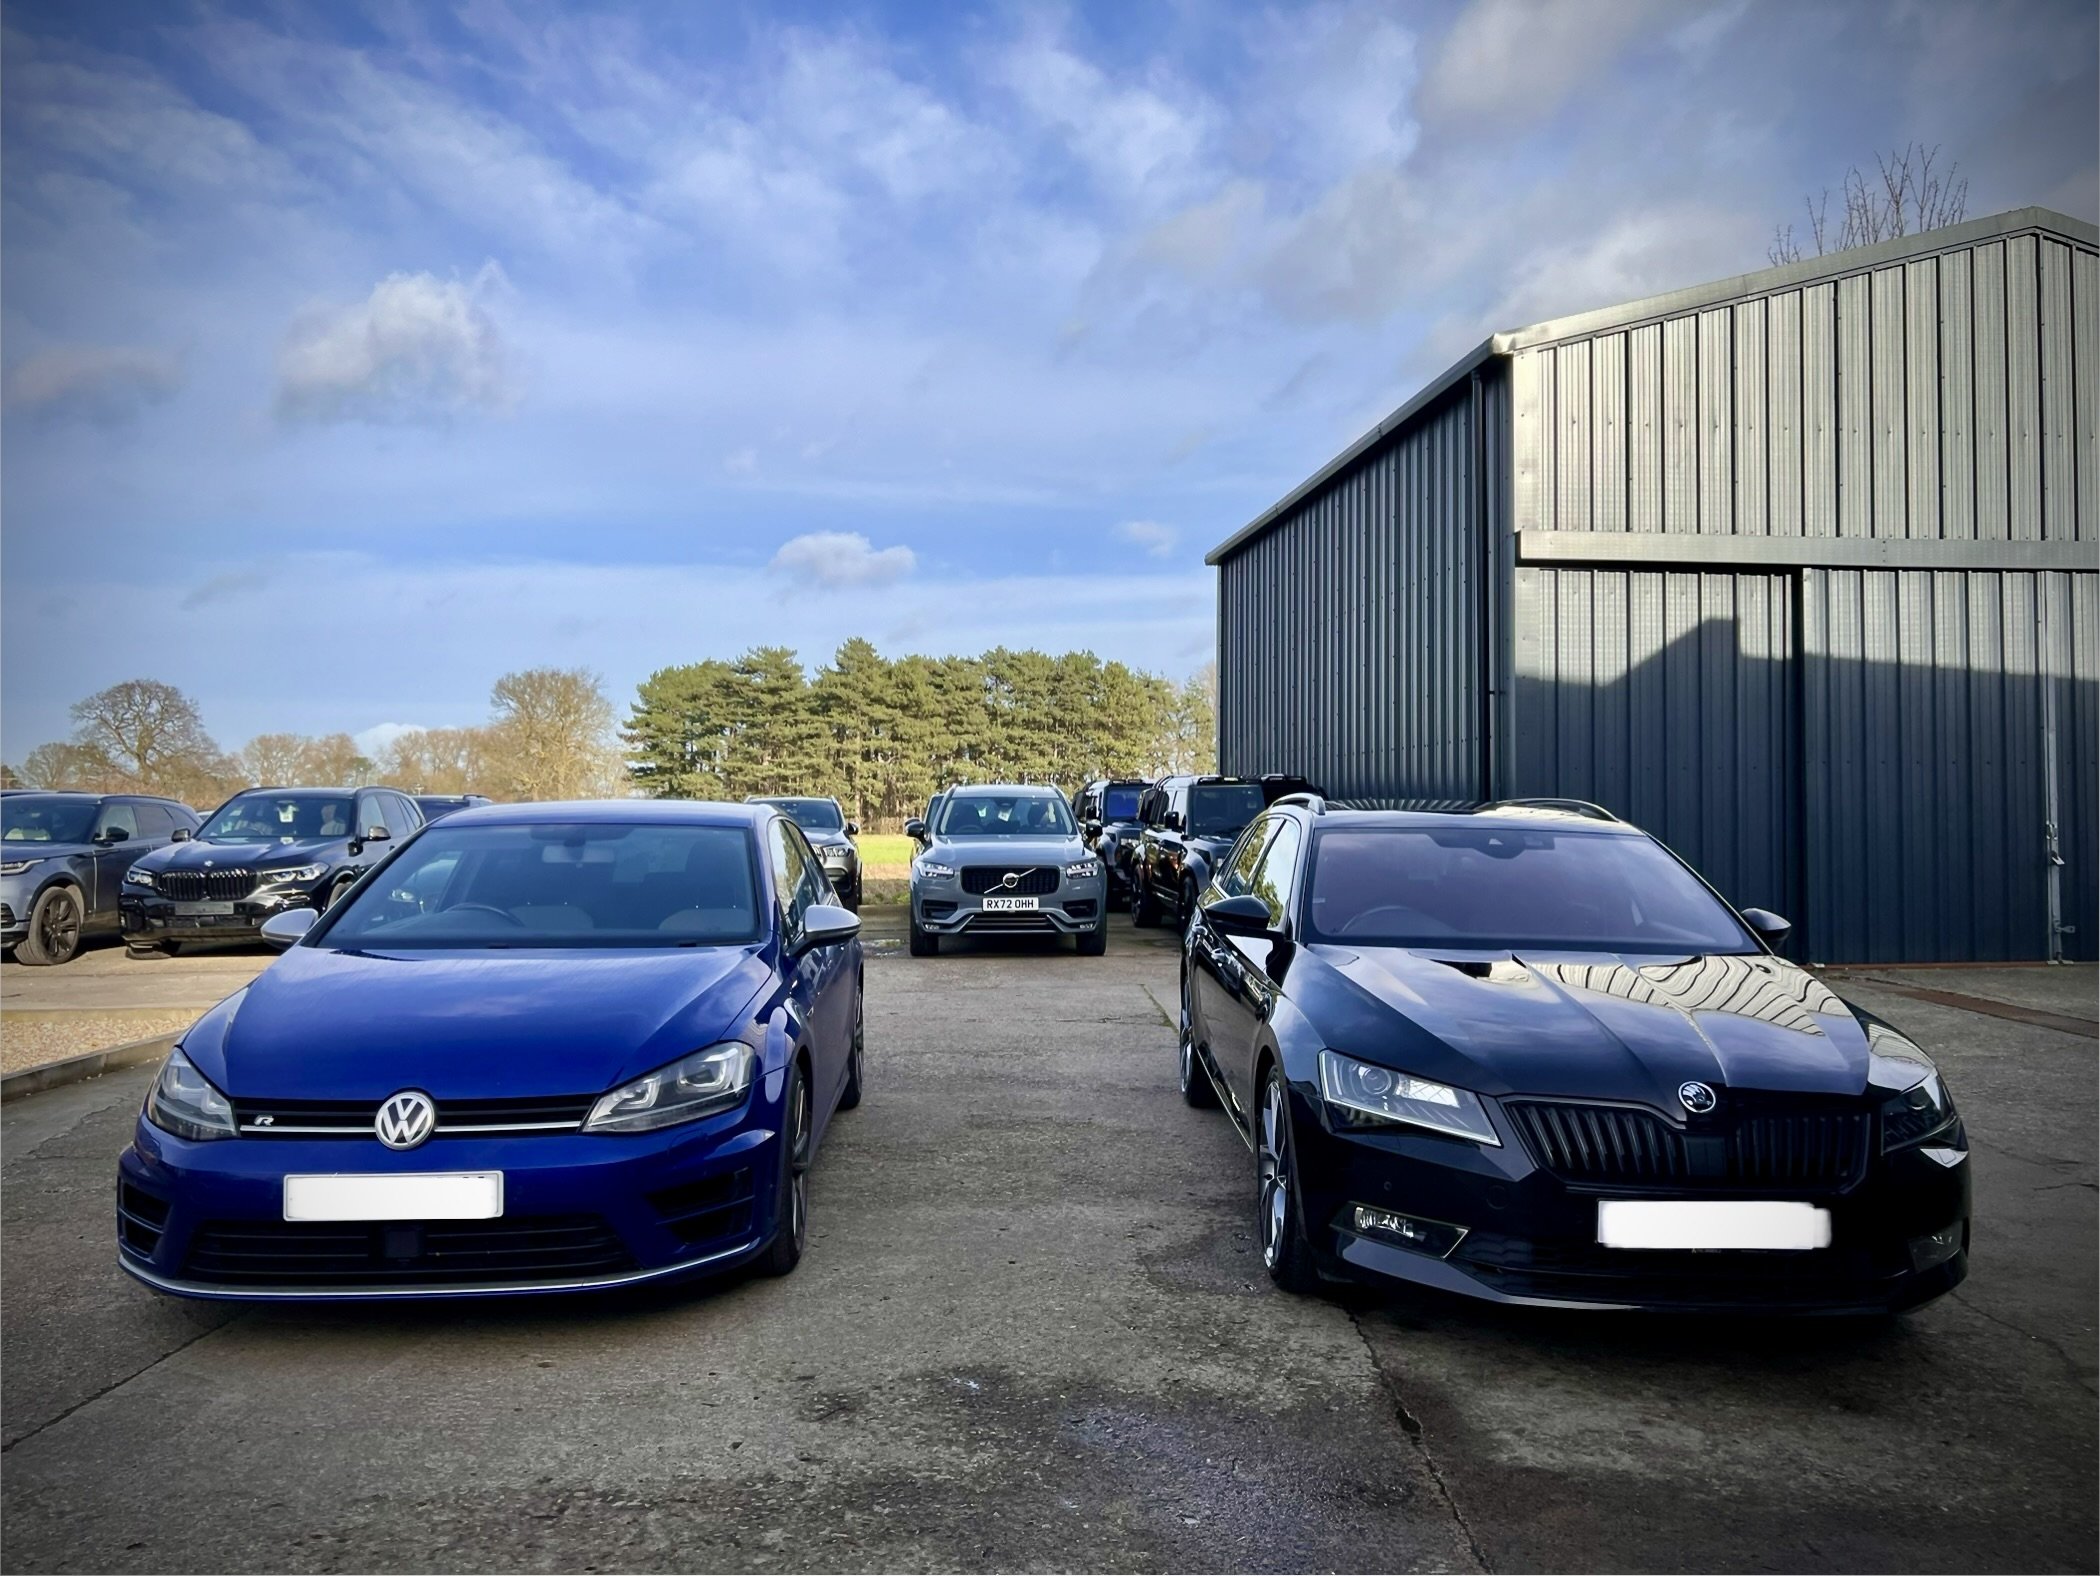
  1. Hey all, back after a few years away, got myself a new to me Superb Sportline + estate 272 4x4. It's been a few years since I had my 2017 Sportline estate 190 derv. Loving being back in the Superb after spending time in my T6 transporter and a Golf R, traded the R for the Superb. Anyway back to business and I'll need to dig out the mudflap fitting guide I wrote back in 2017
  2. @Chas51 nice write up and glad the guide helped, I haven’t been around much since but happy to hear it is still helping folk.
  3. I've got the 775 foot pack plus 118 cm wing bars with a single Halfords bike carrier plus I have an old Thule Euro something or other 2 bike tow bar mounted carrier.
  4. I've got a similar intermittent fault with the left front indicator. Same symptoms and same results i.e. clears after a restart. Got an oil change service coming up in the next month so will get them to chthe do it over then.
  5. It's a Thule Euro something or other. Had it for years. Mounts on the tow bar and is pretty secure. It tilts backwards to allow access to the boot. Think the new Thule tow bar mount ones are crazy expensive but I'm sure there are alternatives. Will be looking for a three bike tow bar mounted before long once the youngest learns to go a bike.
  6. Fully loaded overlooking the Isle of Skye from Camusdarach Camp Site. http://www.camusdarach.co.uk/
  7. @freelunch I'm sure something can be arranged and to be honest it's my favourite tipple. The 21 year old is outstanding but there aren't many left and prices are going up.
  8. Cheers, looks like someone moved it for me. Apologies if I posted in the wrong place.
  9. @FloatingBrick these were taken in a place called Staxigoe in the Far north of Scotland. 2 mins from my front door
  10. Decided to fit the OE mudflaps today, pretty simple job and didn't take longer than 30-40 mins. Heres the lowdown. If you follow this guide you do so at your own risk Car is a Superb Estate Sportline 4x4, photos are from front passenger side and drivers rear. Part numbers Front - 3VO 075 111 Back - 3VO 075 101 Tools needed Torx 25 bit and ratchet Pliers Electric drill (right angle if you have one) 7mm drill bit The mudflaps come with all fittings required. Front Mudflap fitting I managed to fit them with the wheels still attached, a right angle drill would make it much easier. 1. Put wheels on full lock 2. Remove 2 x torx screws attaching wheel arch liner/wheel arch 3. Remove plastic plug (little plug in the middle of the photo) holding undertray to wheel arch liner (I used pliers for this) 4. Separate undertray from wheel arch liner and fit captive nut (from the fitting kit) where the plastic plug was. 5. Offer up mudflap and mark location of hole 6. Drill hole with 7mm drill bit 7. Offer up mudflap and hope the hole you drilled is in the right place. 8. Fit 3 x torx screws 2 (original) fit into the wheel arch/wheel arch liner and 1 (new from fitting kit) fits underneath into the new captive nut. 9. Fit plastic plug (from fitting kit) into your correctly located freshly drilled hole. 10. Job done now do the same again for the other side of the car. Rear Mudflap fitting The two sides are slightly different. I'll add comments where it differs. 1. Remove 2 x torx screws from wheel arch liner/wheel arch 2. Remove 2 x trox screws from sill and underneath the car (not required on passenger side) 3. Passenger side only, fit 2 x captive nuts (from the fitting kit) to sill and undertray 4. Offer up Mudflap, ensure that the hook at the top hooks inside the wheel arch 5. Insert 4 x tork screws, 2 original into wheel arch liner/wheel arch, 2 new (from fitting kit) into sill and underneath car arch liner. 6. Job done, now do the same again for the other side of the car. Quite please with how they look, looking at the car normally you can hardly even notice them.
  11. Gave her a wash today and also fitted some mudflaps, will do a write up on the mudflaps later.
  12. Fitted ny amazon special bumper protector today. It's a carbon effect foil and cost a grand total of £11.30. Quite pleased with how it looks and think it fits in with the sportline style with the black grill, roof bars, etc. Took on a bit of time to fit but went on not too bad. Make sure the bumper area is spotlessly clean, wash, clay bar, solvent cleaner and buff dry. Wet the area where it is to be applied with a soapy solution and wet the sticky side of the foil. Put into position and sqeedgy out the excess moisture. Then take a hairdryer to it until it is sticking in place. Time will tell if it stays in place and continues to keep its looks but for £11.30 I'm willing to take the gamble.
  13. Took me a few months to find my one with a factory towbar and hence the 1000+ mile round trip to pick it up. Haven't towed with it yet but when I do it will be mainly a trailer rather than a caravan but it will also be used for a thule 2 bike carrier.
  14. @Albourneboy this was the spare as provided with the car, I just bought it, it's a 3 month old ex sales managers car.
×
×
  • Create New...

Important Information

Welcome to BRISKODA. Please note the following important links Terms of Use. We have a comprehensive Privacy Policy. We have placed cookies on your device to help make this website better. You can adjust your cookie settings, otherwise we'll assume you're okay to continue.