




CormacVrs
Finding my way
-
Joined
-
Last visited
Everything posted by CormacVrs
-
I changed the cambelt and water pump at home a few years ago on my vrs tdi, wasnt really too complicated, plenty of videos on youtube from start to finish. Had the engine resting on a trolley jack when i removed the engine mount, hardest bit was probably lining the engine mount back up with the car when your doing it yourself, might be easier having an engine support bar on top rather that the trolley jack. Id have no issues recommending anyone doing it themselves all you need is a good set of tools
-
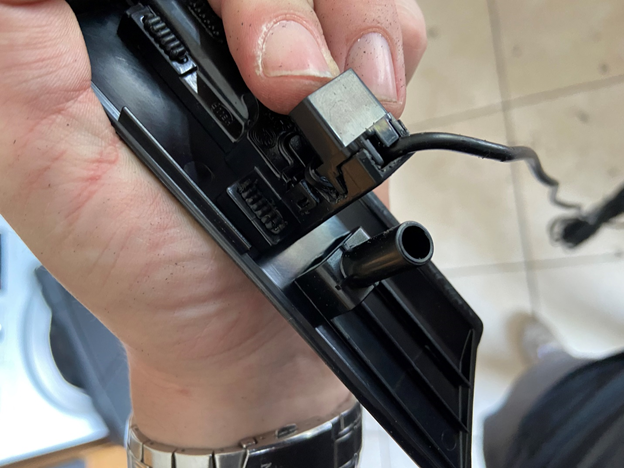
Hi AV8 Its the blue connector top right of pic and as Warrior says its connected in the glove box unit and not the HMI pic radio.jfif
-
Hi JakubN I'm sure you did this but did you check adaptions in Control unit 5F, then Car function Adaptions Gen 2 and activate the Menu display pdc? Can you remember which settings you needed to change to get the drive button selection on screen as i have the same issue
-
Ah it was just a pic of where too cut but if you compare it to the one that came off you’ll see
-
You just need to dremel the plastic lugs off beside the temperature display and it will fit no problem Hvac.docx
-
Same issue happened to me on my 2015 vrs, replaced the fan and it worked for a week or so and now the issue is back
-
https://github.com/Mr-MIBonk/M.I.B._More-Incredible-Bash Ask in the discussion page there, someone will help you out
-
Can you post a link to the ambient kit you bought, so I can see how it’s wired.
-
By seals do you mean door cards? If you want the wires hidden you’re going to have to remove the door cards. I don’t know what way your aftermarket lights fit but I’m assuming they squeeze into the gaps on the door.
-
I done mine last weekend, first time I done one. If you have a couple of trolley jacks and the right tools, torque wrench, locking tools and plenty of patience, it’s doable. Just all depends on how confident you are in your skills.I wired mine into the footwell lights and they work no problem CormacYeah there’s no difference between themsuperskoda or kopacek as its now called is where most people buy them, a bit expensive but the quality is 100%Theres an earth point just under the carpet on the door sill about 3 inches towards the rear from the bonnet latch.Hi I’ve a vrs diesel and have seen the same discolouration in the coolant, I replaced the expansion bottle and topped up with new coolant. The sediment in the old expansion bottle looks kinda like rust.
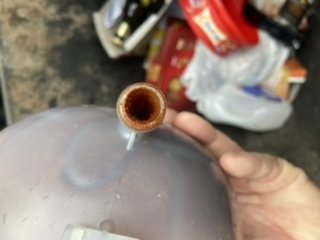 Any pics of where the water is gathering?https://www.aliexpress.com/wholesale?catId=0&initiative_id=SB_20210710104537&SearchText=wireless+car+play I hav'nt got one myself but i heard they are very good.The app used to control the modules is called lotus lantern and it connects straight away to the modules using blue tooth. Once you change the colour it changes on both sets at the same time. As I'm an iPhone user I cant get the app displayed on carplay but was thinking of purchasing this so I could and get wireless carplay as a bonus. https://www.aliexpress.com/item/1005001692528940.html?spm=a2g0o.productlist.0.0.69003587nN6aNL&algo_pvid=null&algo_expid=null&btsid=0b0a555b16197552979351560e1bb2&ws_ab_test=searchweb0_0,searchweb201602_,searchweb201603_For the footwell lights i pretty much done the same as the door cards by stripping down the led's just to there chips and mounting them in the original footwell lamps casingThen for the wiring, for the front doors I used the extra grommet to route my cables and for the rears I drilled a hole in the door plug, I know its a bit rough but was eager to get them installed. The supply I was using for the two app controlled modules was the output that controls the footwell lights. Pin 72 on Connector C of the BCM. I found it easier to remove the speakers in the doors as I needed to keep the cables tidy as not to foul on the window mechanism.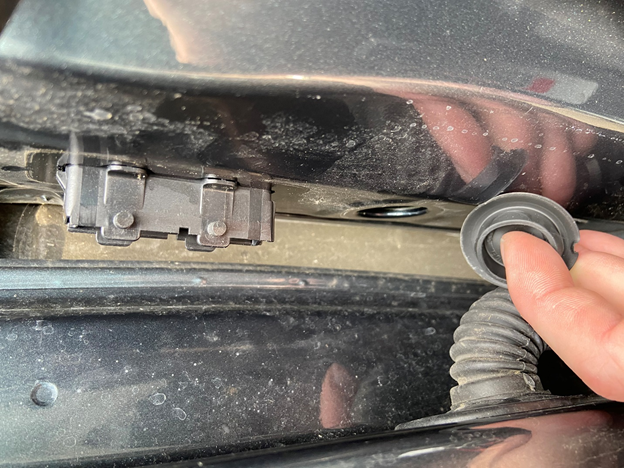
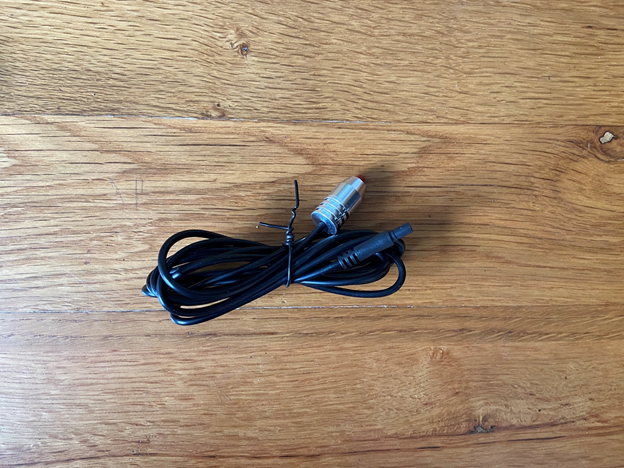
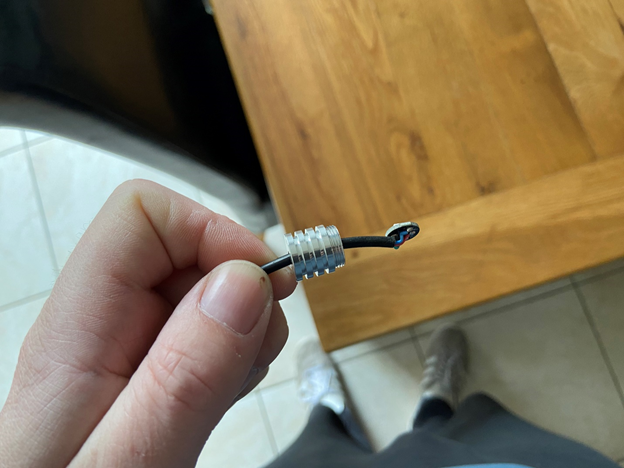
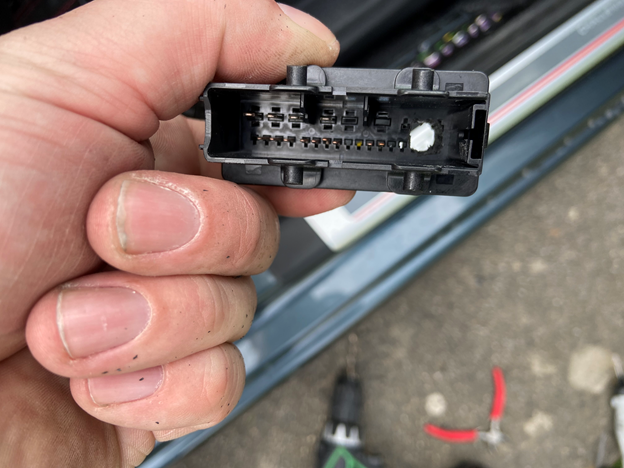 Door trim part numbers: 5E0867068 s17, 5E0867061 s17, 5E0867062 s17, 5E0867067 s17. Bought from here http://skoda-acc.com/. The two RGB Led kits, the first one i bought was from this crowd in Germany https://www.benzinfabrik.com/de/led-auto-innenraumbeleuchtung/led-ambientebeleuchtung/7972/rgb-led-ambientebeleuchtung-4er-set-6-meter-mit-bluetooth-app?c=7432 They are expensive and I have found a very similar set and the set I used for the footwell lights on amazon for cheaper. They both use the same app and the only difference between them is that on the ones from Germany you have a connector on each LED leg which you can disconnect. It makes it easier for wiring into the doors but not worth the extra. https://www.amazon.co.uk/Interior-Multicolor-Automobile-Atmosphere-Lighting/dp/B08QJ5TS4L/ref=sr_1_1_sspa?crid=2MDMJYQ2XD4W8&dchild=1&keywords=ambient+lighting+car&qid=1621801191&sprefix=ambient+light%2Caps%2C180&sr=8-1-spons&psc=1&spLa=ZW5jcnlwdGVkUXVhbGlmaWVyPUExU1NYUkI4SVdNRlNJJmVuY3J5cHRlZElkPUEwNzE5MzEzMTdSUFFRTFBaTkdXUyZlbmNyeXB0ZWRBZElkPUEwMjA0MjAyMUNNSU1FTk9RNVNGNSZ3aWRnZXROYW1lPXNwX2F0ZiZhY3Rpb249Y2xpY2tSZWRpcmVjdCZkb05vdExvZ0NsaWNrPXRydWU= Step 1 was to remove the original Led chip from the door trim and make way for the new one. You just need a flat head screwdriver to pull up on the tabs and it should pop out. Then need to file a bit of the plastic to make room for the cable. Then unscrew the projector off the led that comes with the kit and cut down both sides of the aluminum to remove it fully from the cable so your just left with the chip. You can then put the chip on the plastic holder where the original one was and make sure that its lined up with the square opening. I then clipped it back into the door trim and tested to make sure it was lined up properly. It did clip back in properly but i added a cable tie just to be sure. Then I removed all the door cards, the plastic welds on the old trim needed to be drilled so it could be removed and a hole needed to be dremeled out of the door card to make room for the connector. There is also a clip that holds on the trim so that with some double sided tape was all that was needed to secure new trims.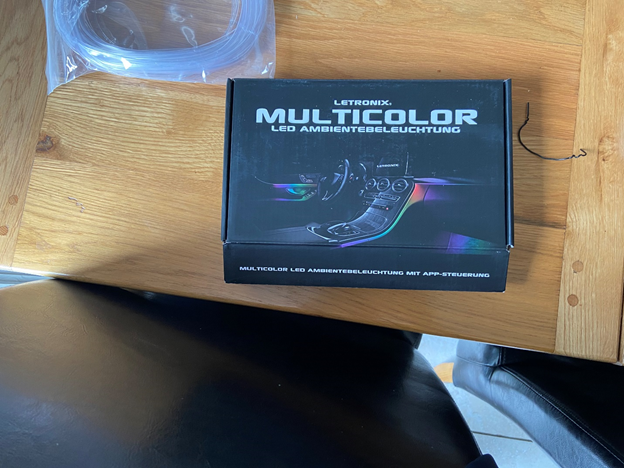
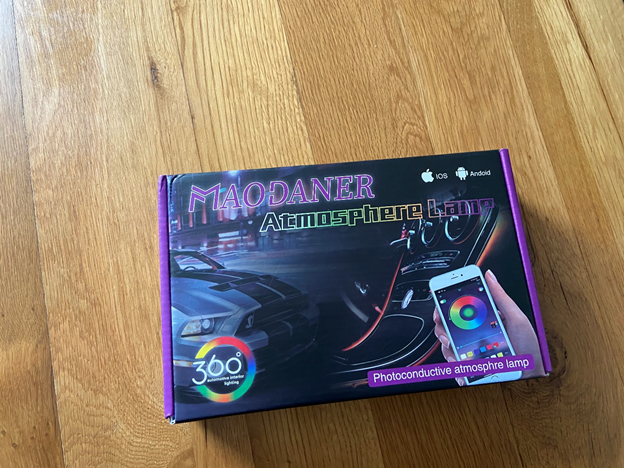
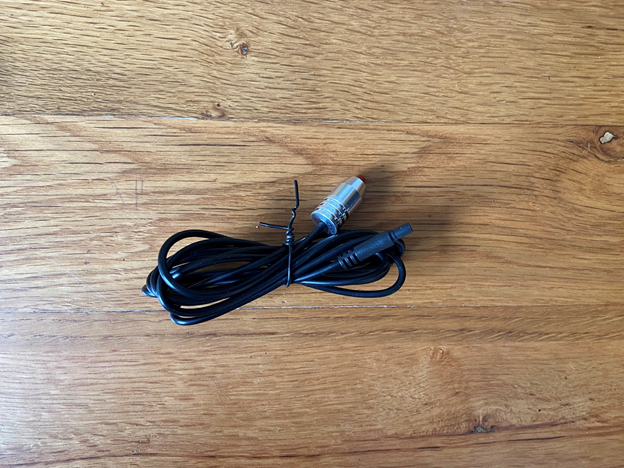
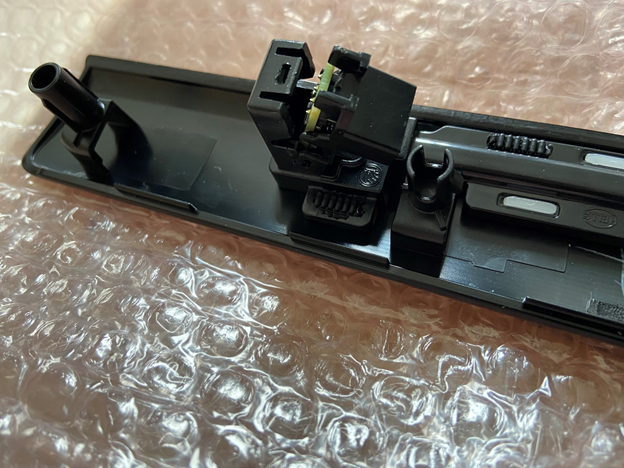
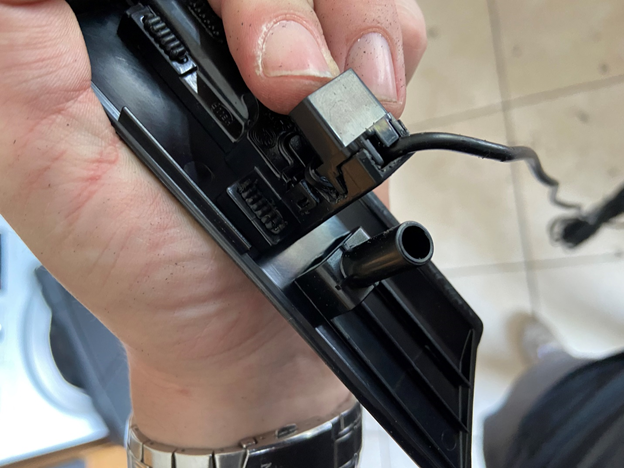
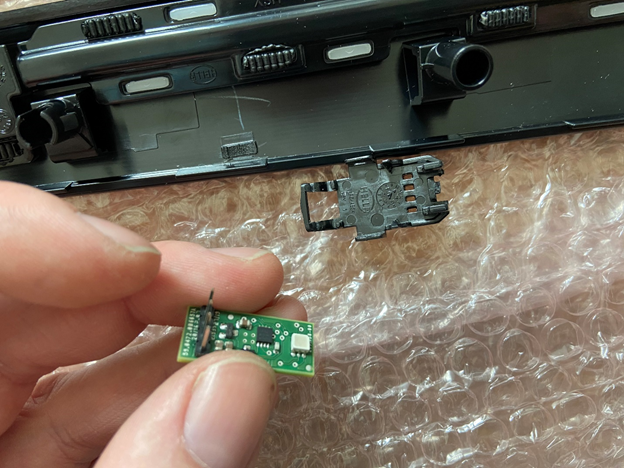
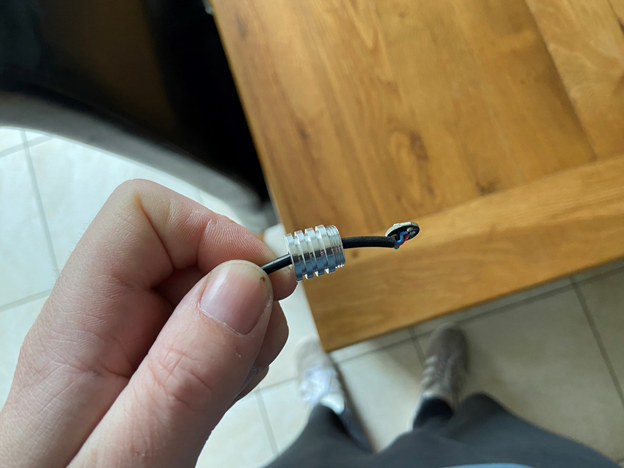
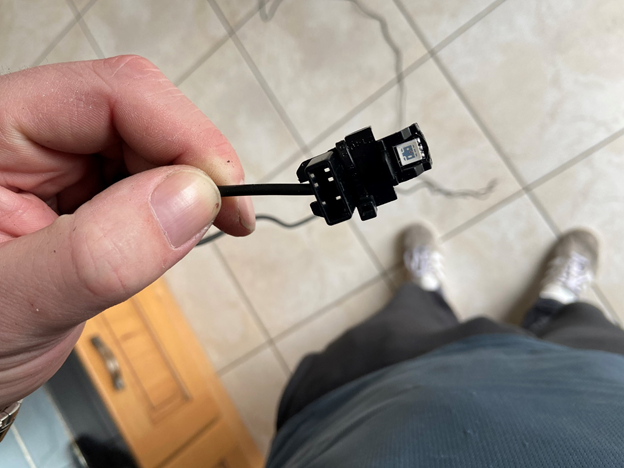
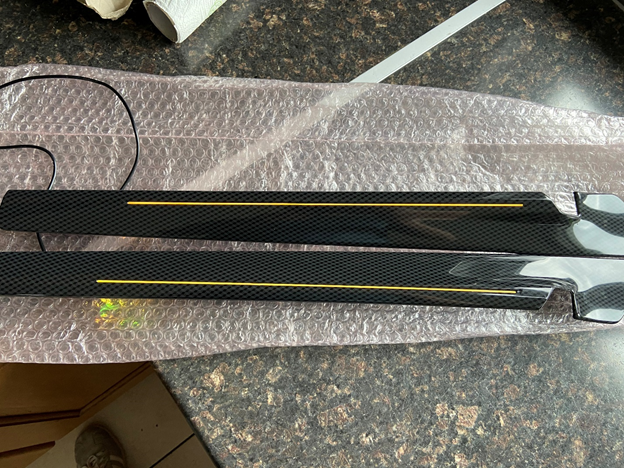
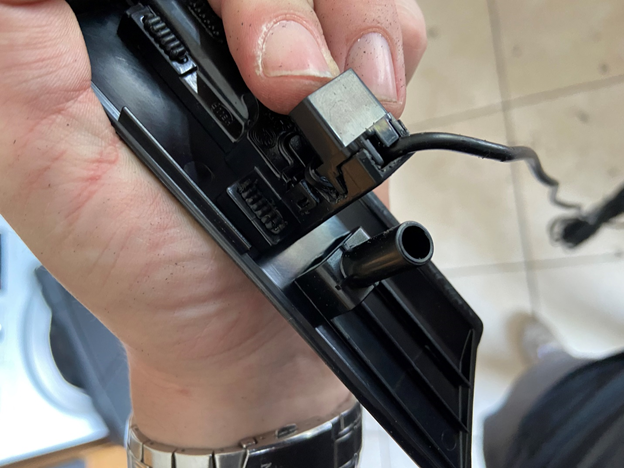
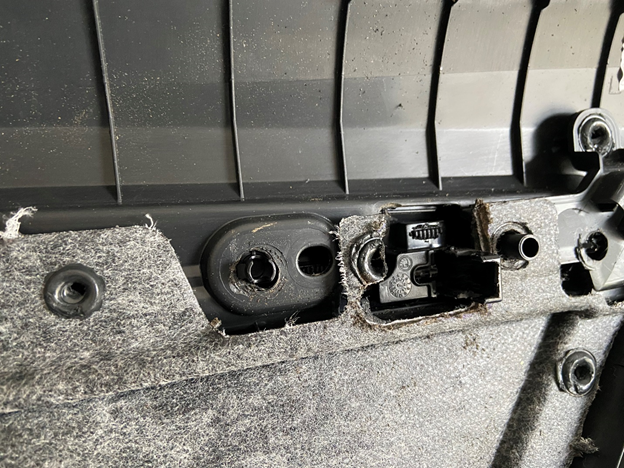
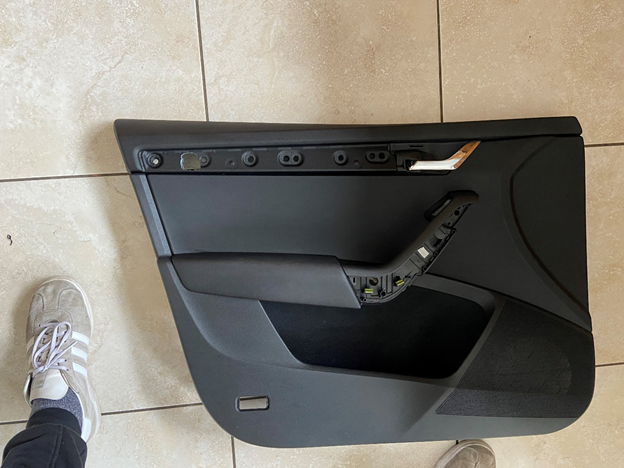
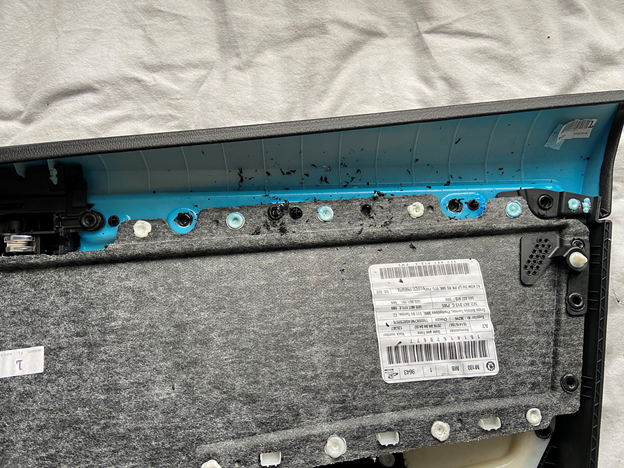
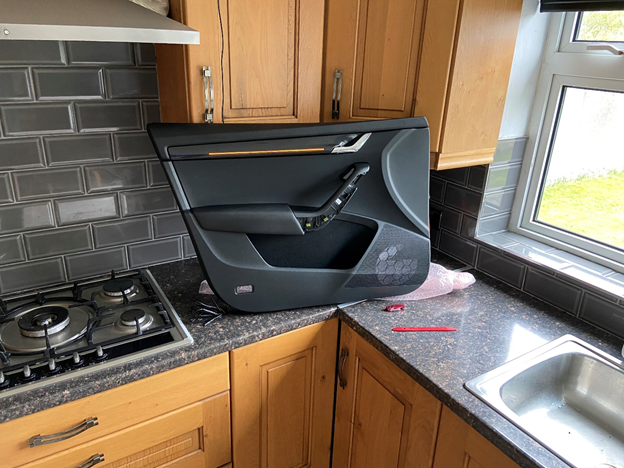 I done the same with the footwell lights and your able to group both set of lights within the app so both change to the same colour at the same time.I bought two RGB kits that are supposed to give a similar effect by shining a light down some clear plastic. I took the led chip out of them and replaced the original chip on the door trim with them. I have carplay so I cant get the app on the screen but i think there is a way to achieve this.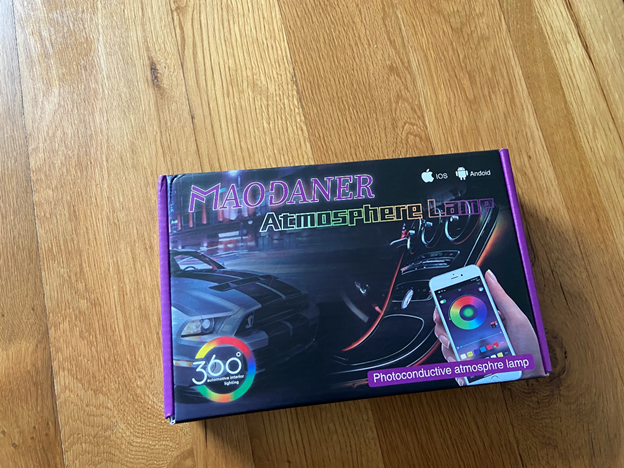




Important Information
Welcome to BRISKODA. Please note the following important links Terms of Use. We have a comprehensive Privacy Policy. We have placed cookies on your device to help make this website better. You can adjust your cookie settings, otherwise we'll assume you're okay to continue.