.jpg.add35da7a0ad7993ecbcafdfb20a6d19.jpg)
DieselMonte
FREEDOM
-
Joined
-
Last visited
Everything posted by DieselMonte
-
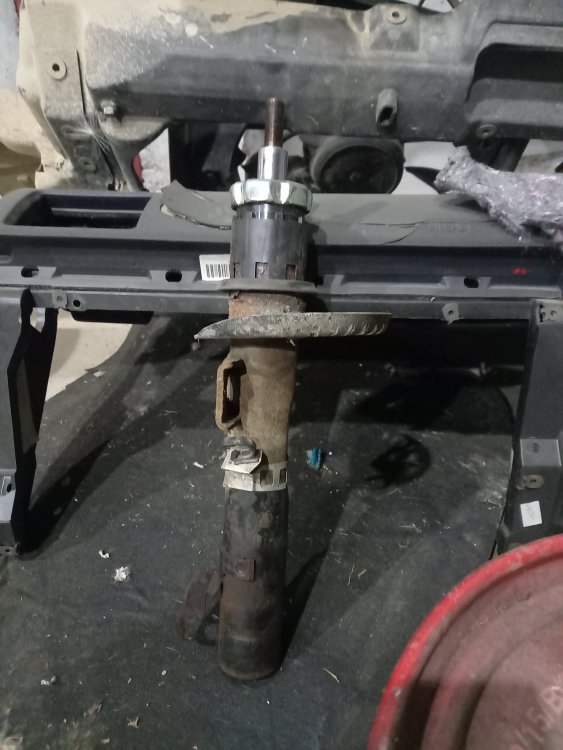
I'd take a look at the pinch bolt first and see the state of it. The pinch bolts on my mk1 were fine enought to reuse but I'm amazed I managed to reuse the ones on my mk2, they were very crusty and I thought I'd have to cut them off and take the ones from the mk1. If I realised they would take so much time to remove I would have just bought new ones for a few pounds and been done with it. Also the top mount bolts would be fine to reuse, I think I either reused the ones on my mk1 or the used bolts on the coilovers I put on either way perfectly fine. And if you're changing them yourself get a proper spreader tool, you can do it with a chisel, an 1/8" drive wedged into the hub and turned 45 degrees works to an extent too. But a proper spreader tool will save you SO much ballache trust me.
-
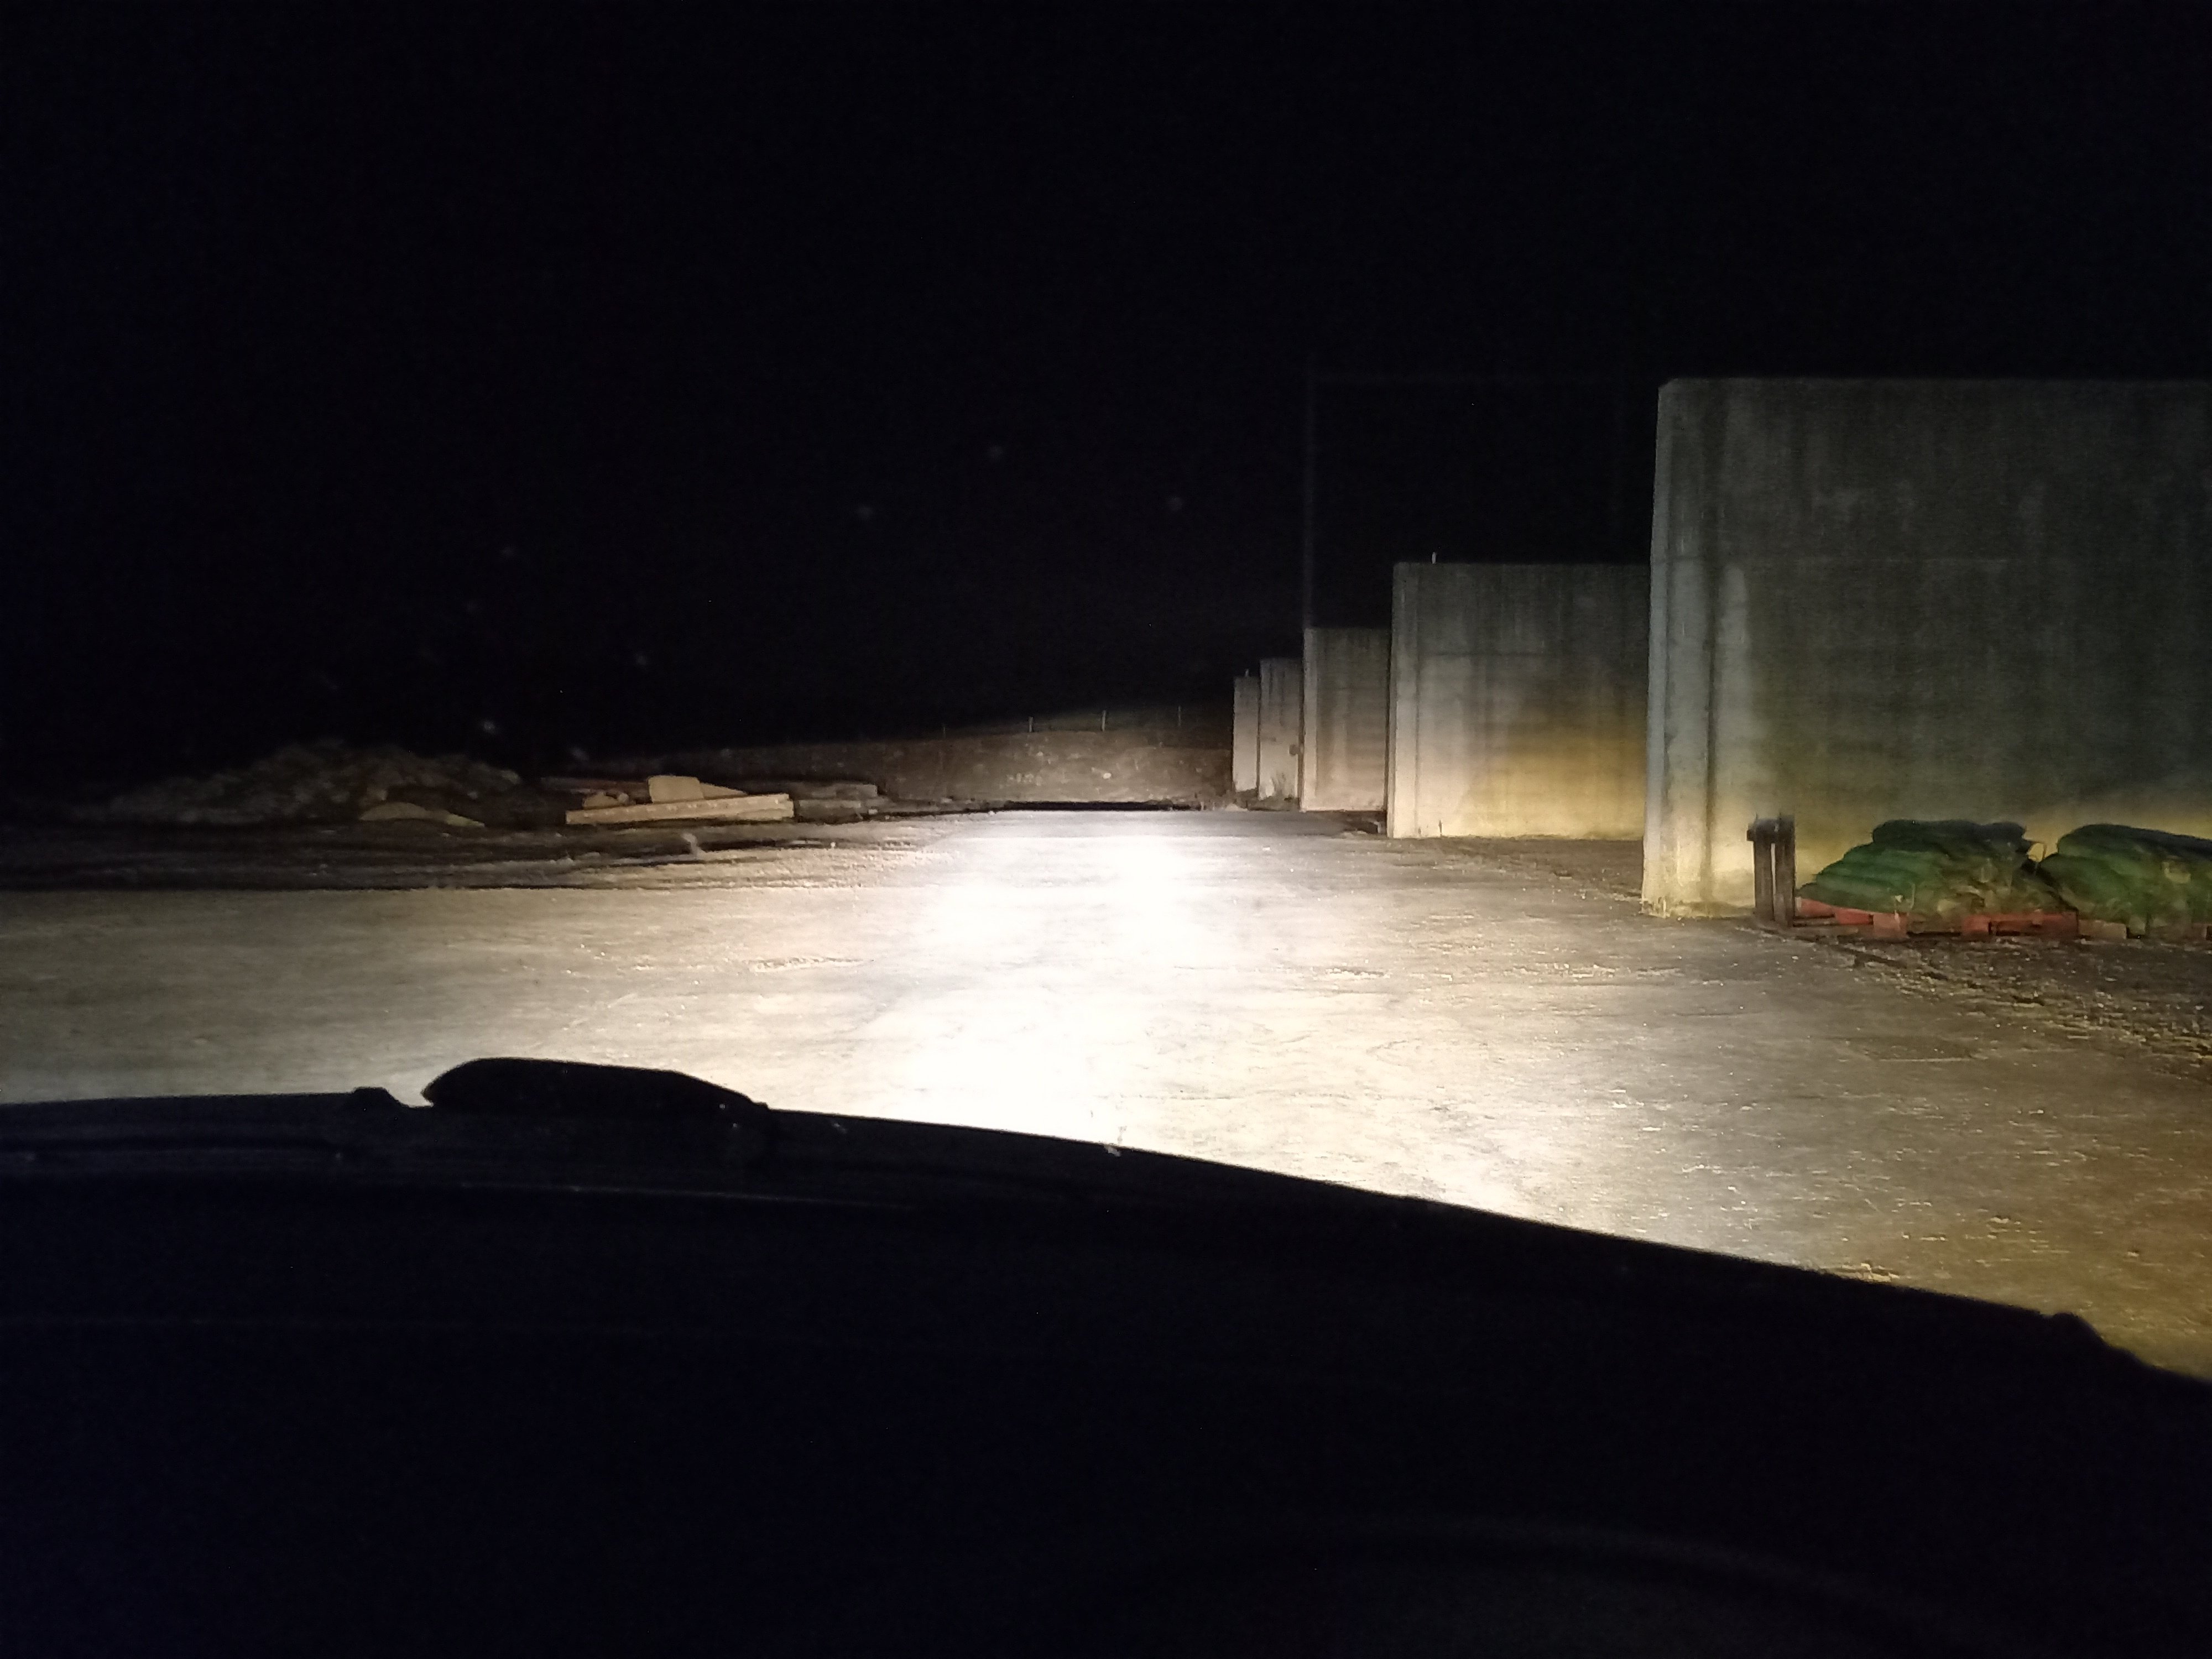
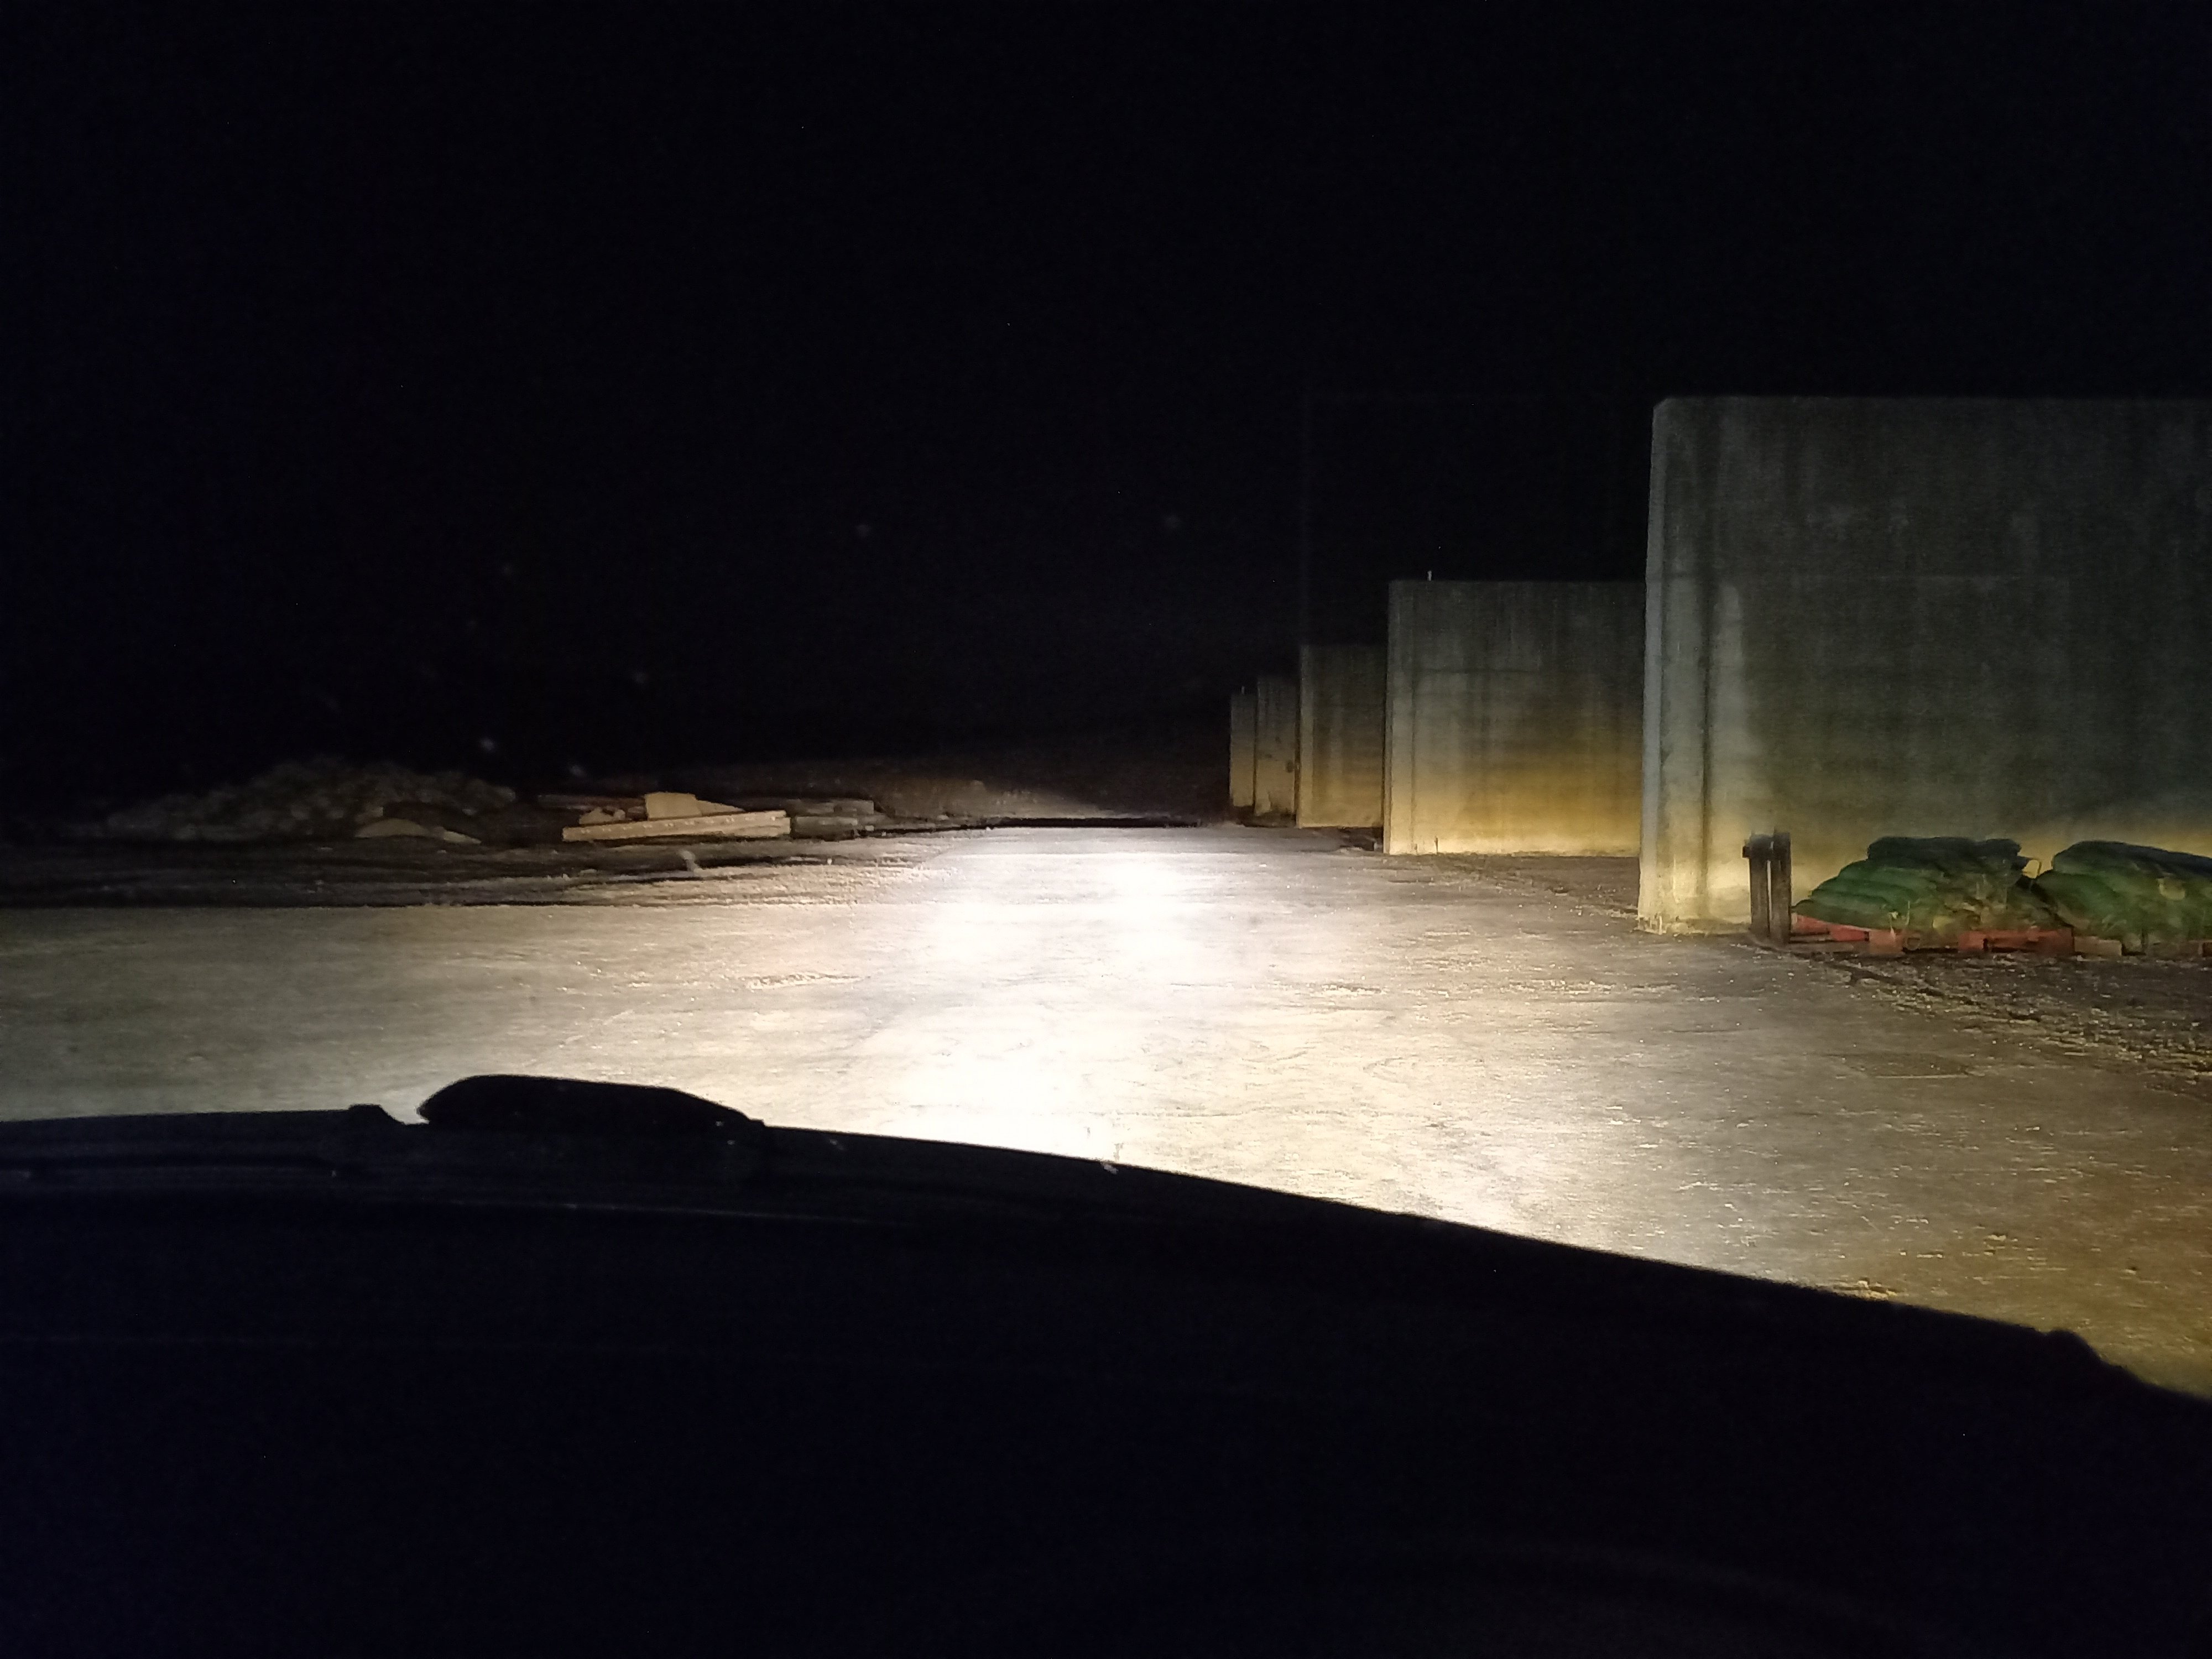
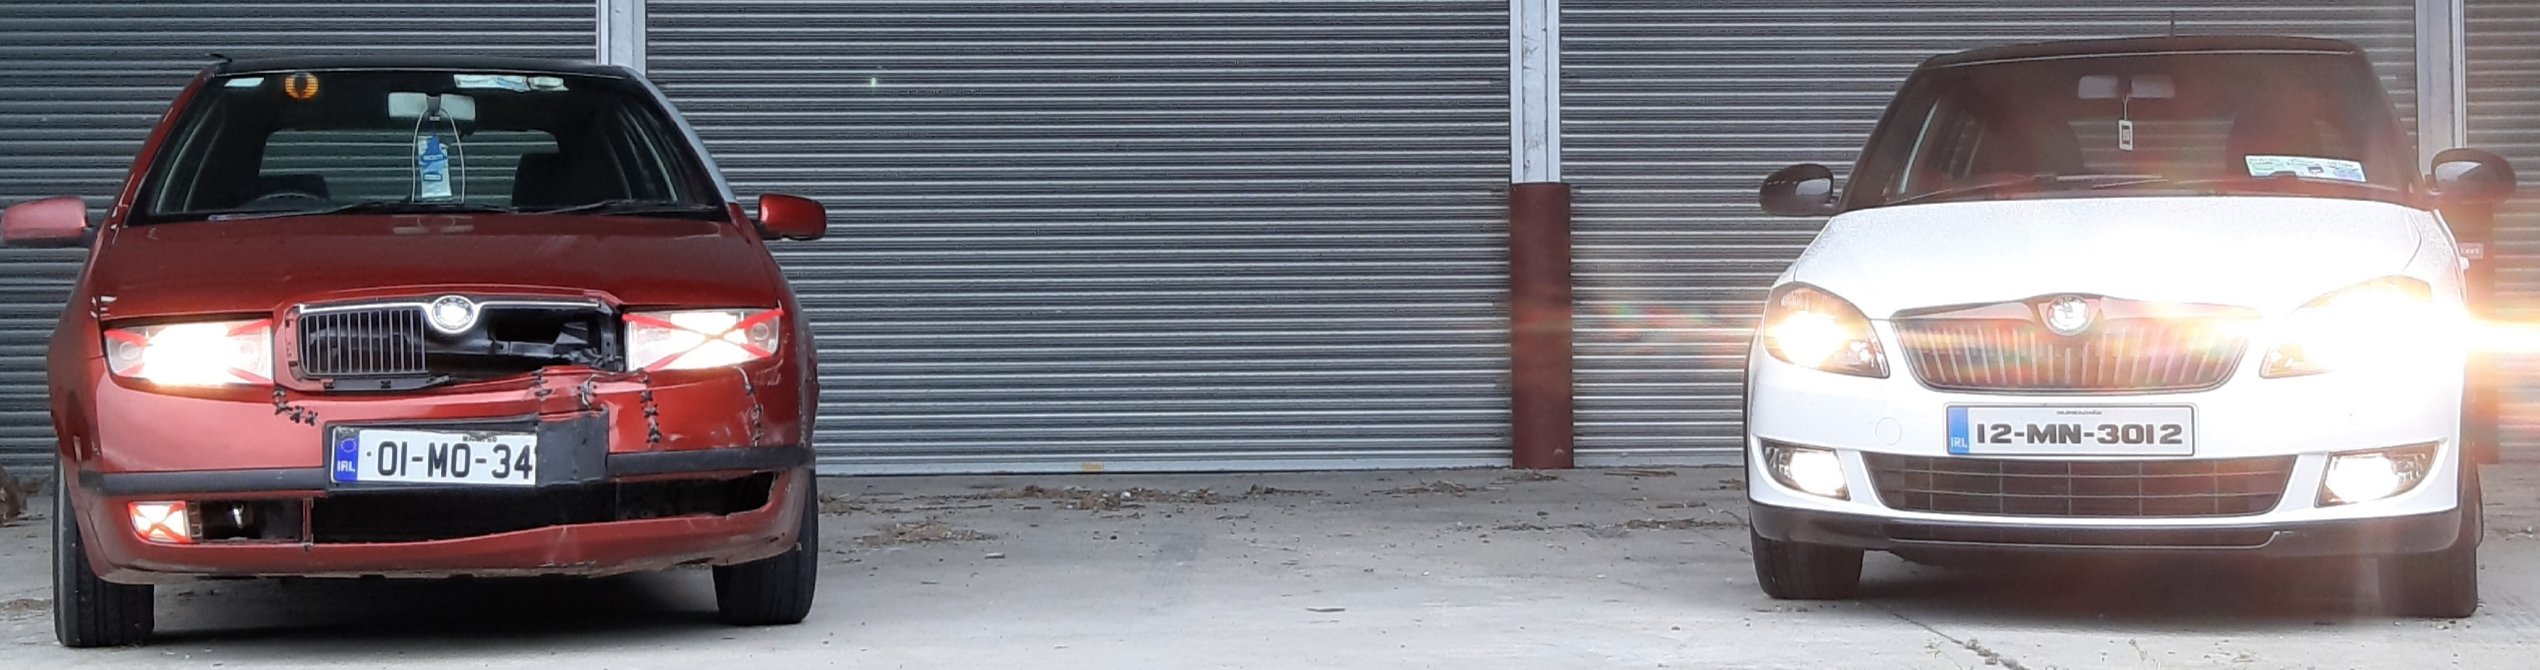
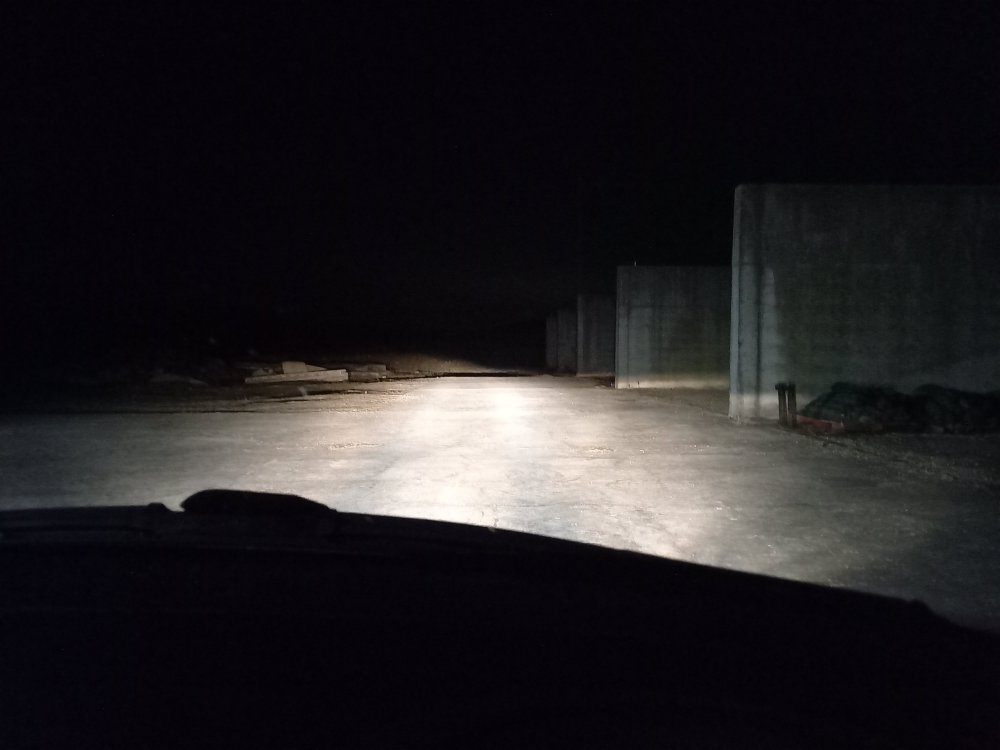
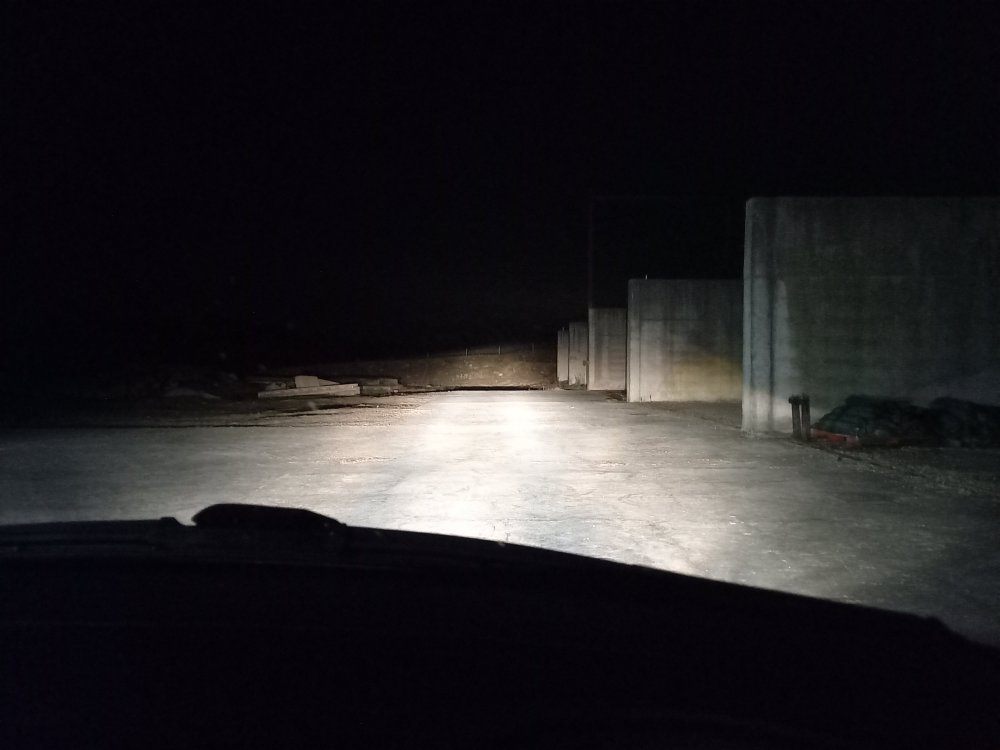
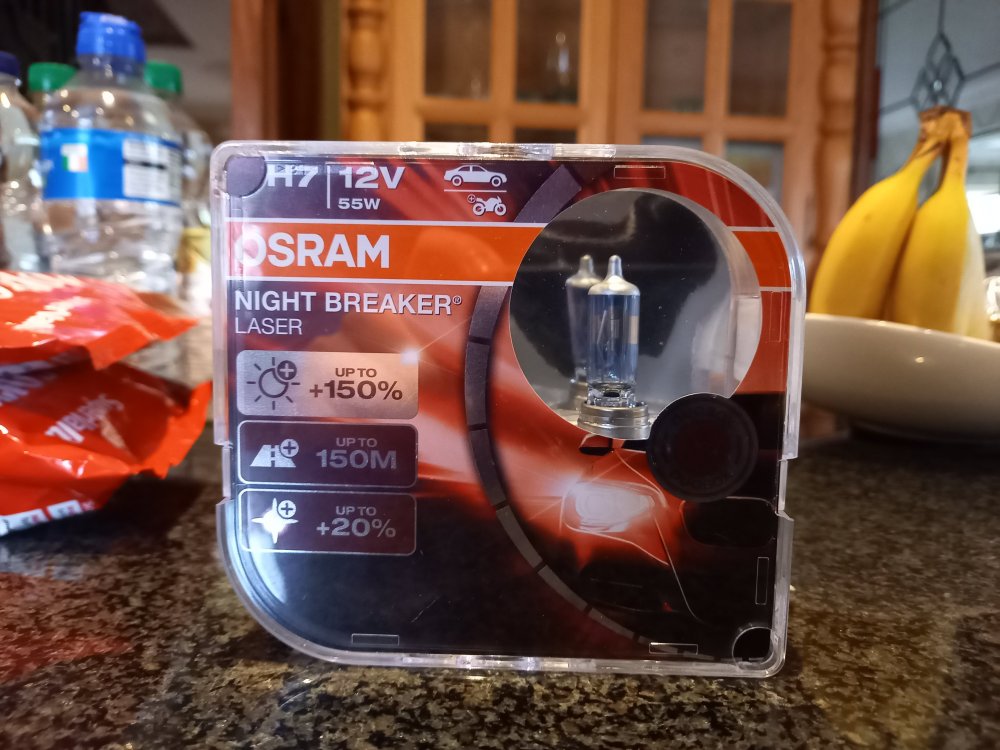
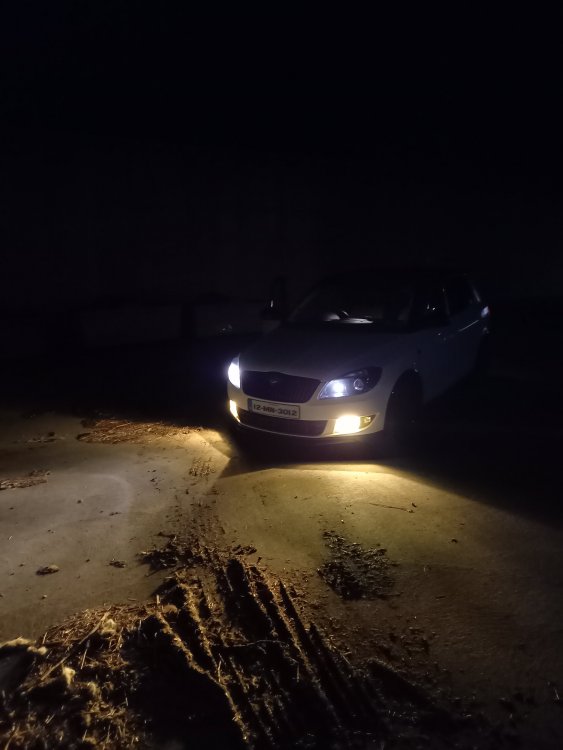
Those fogs are yellow 3000k bulbs so yellow on purpose. Big help in bad weather. Certainly had quite a few nights where theres been seriously bad fog and I ended up relying only on the fog lights to see through it. But yeah the nightbreakers seem to do a great job of lighting up the road compared to the originals definately will be using them going forward.
-
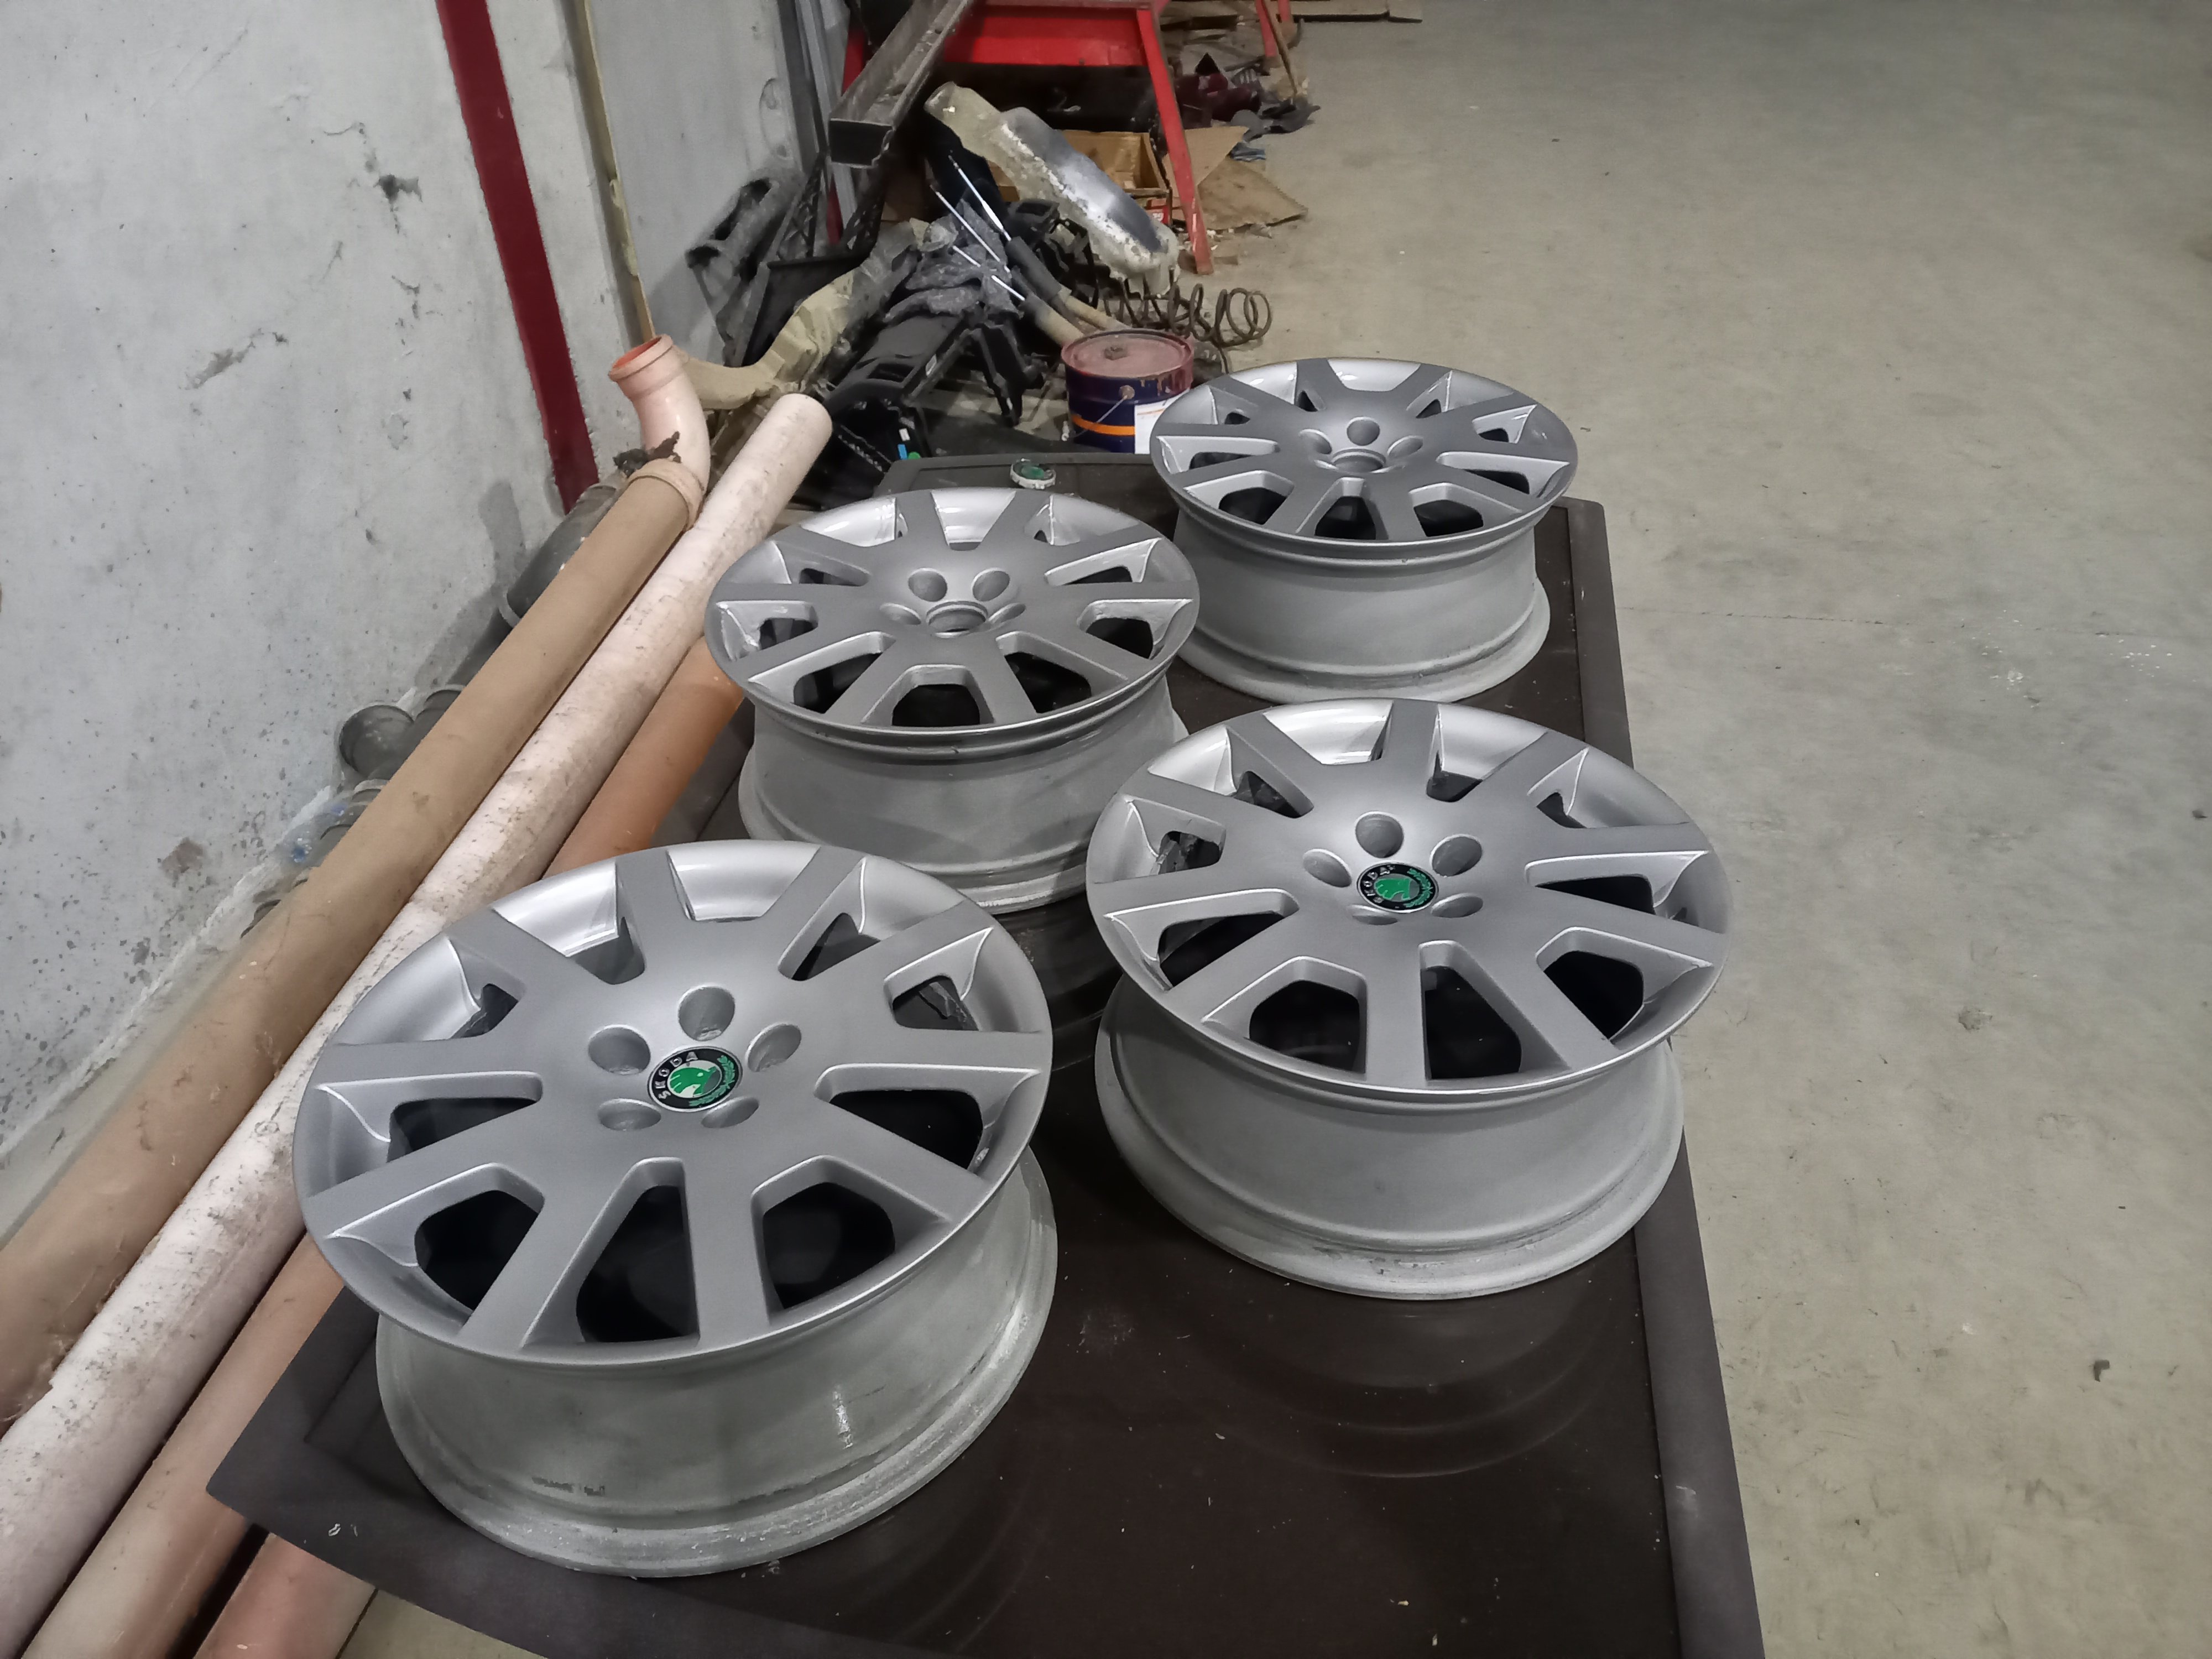
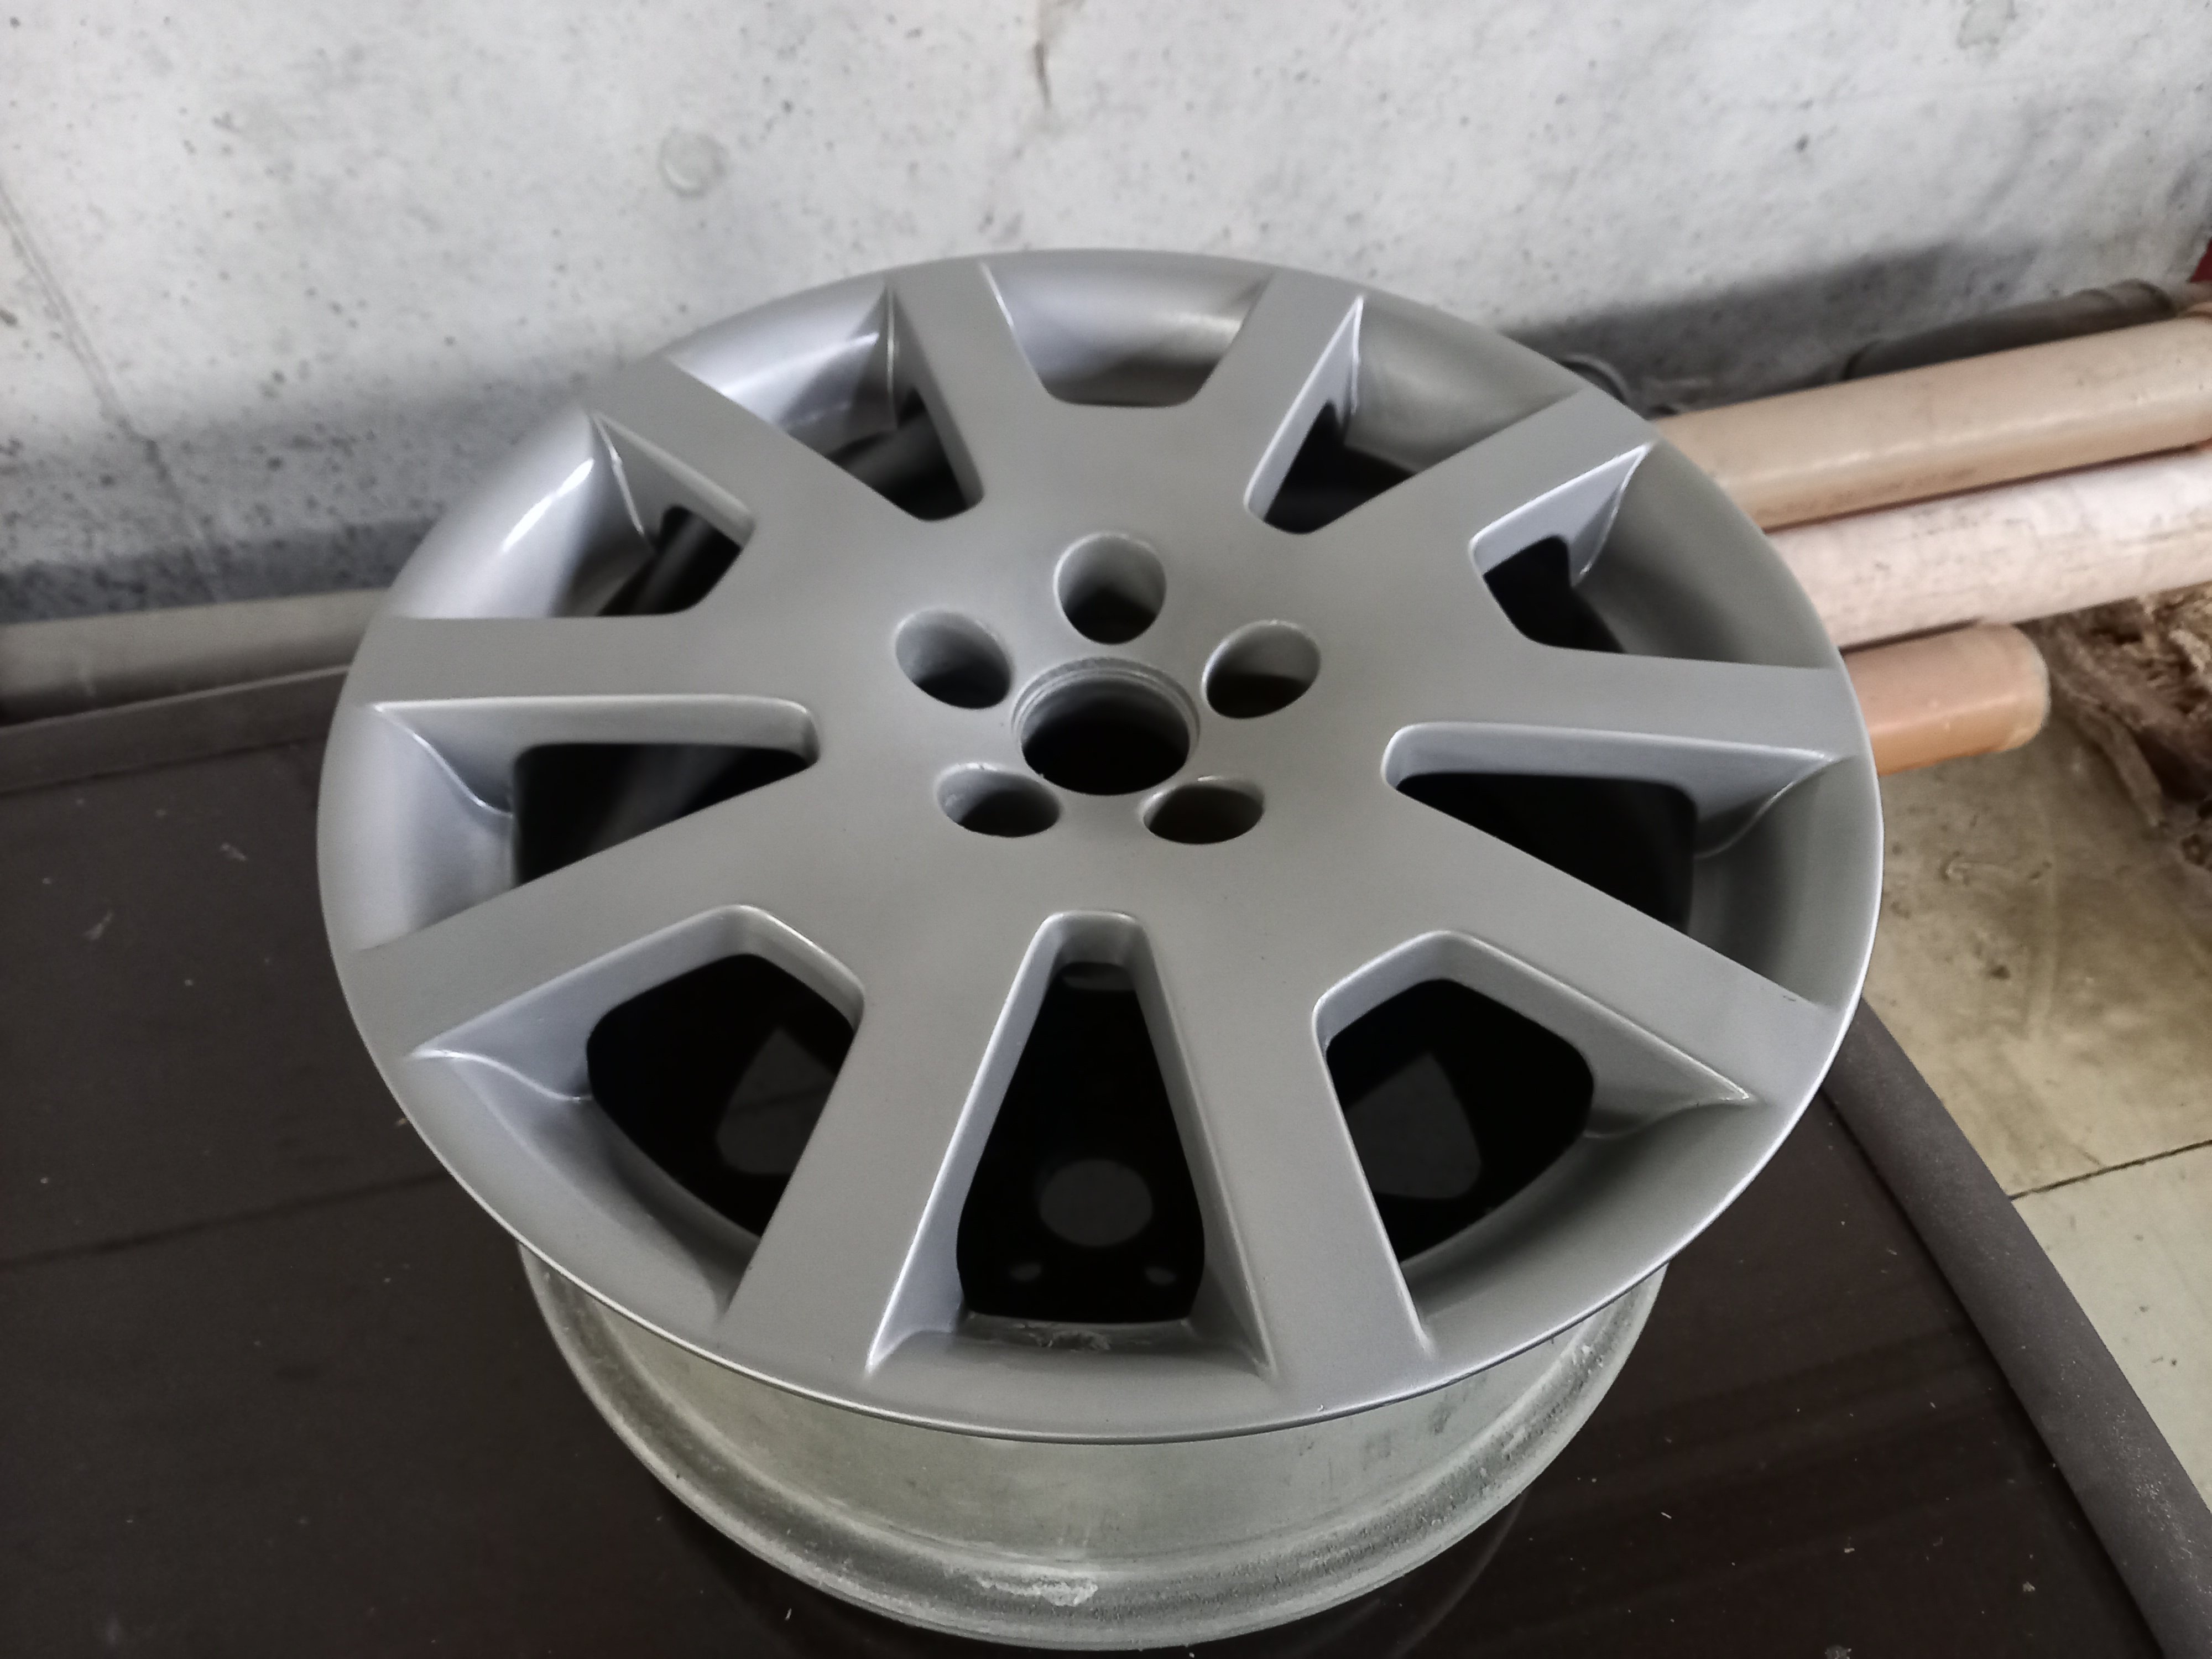
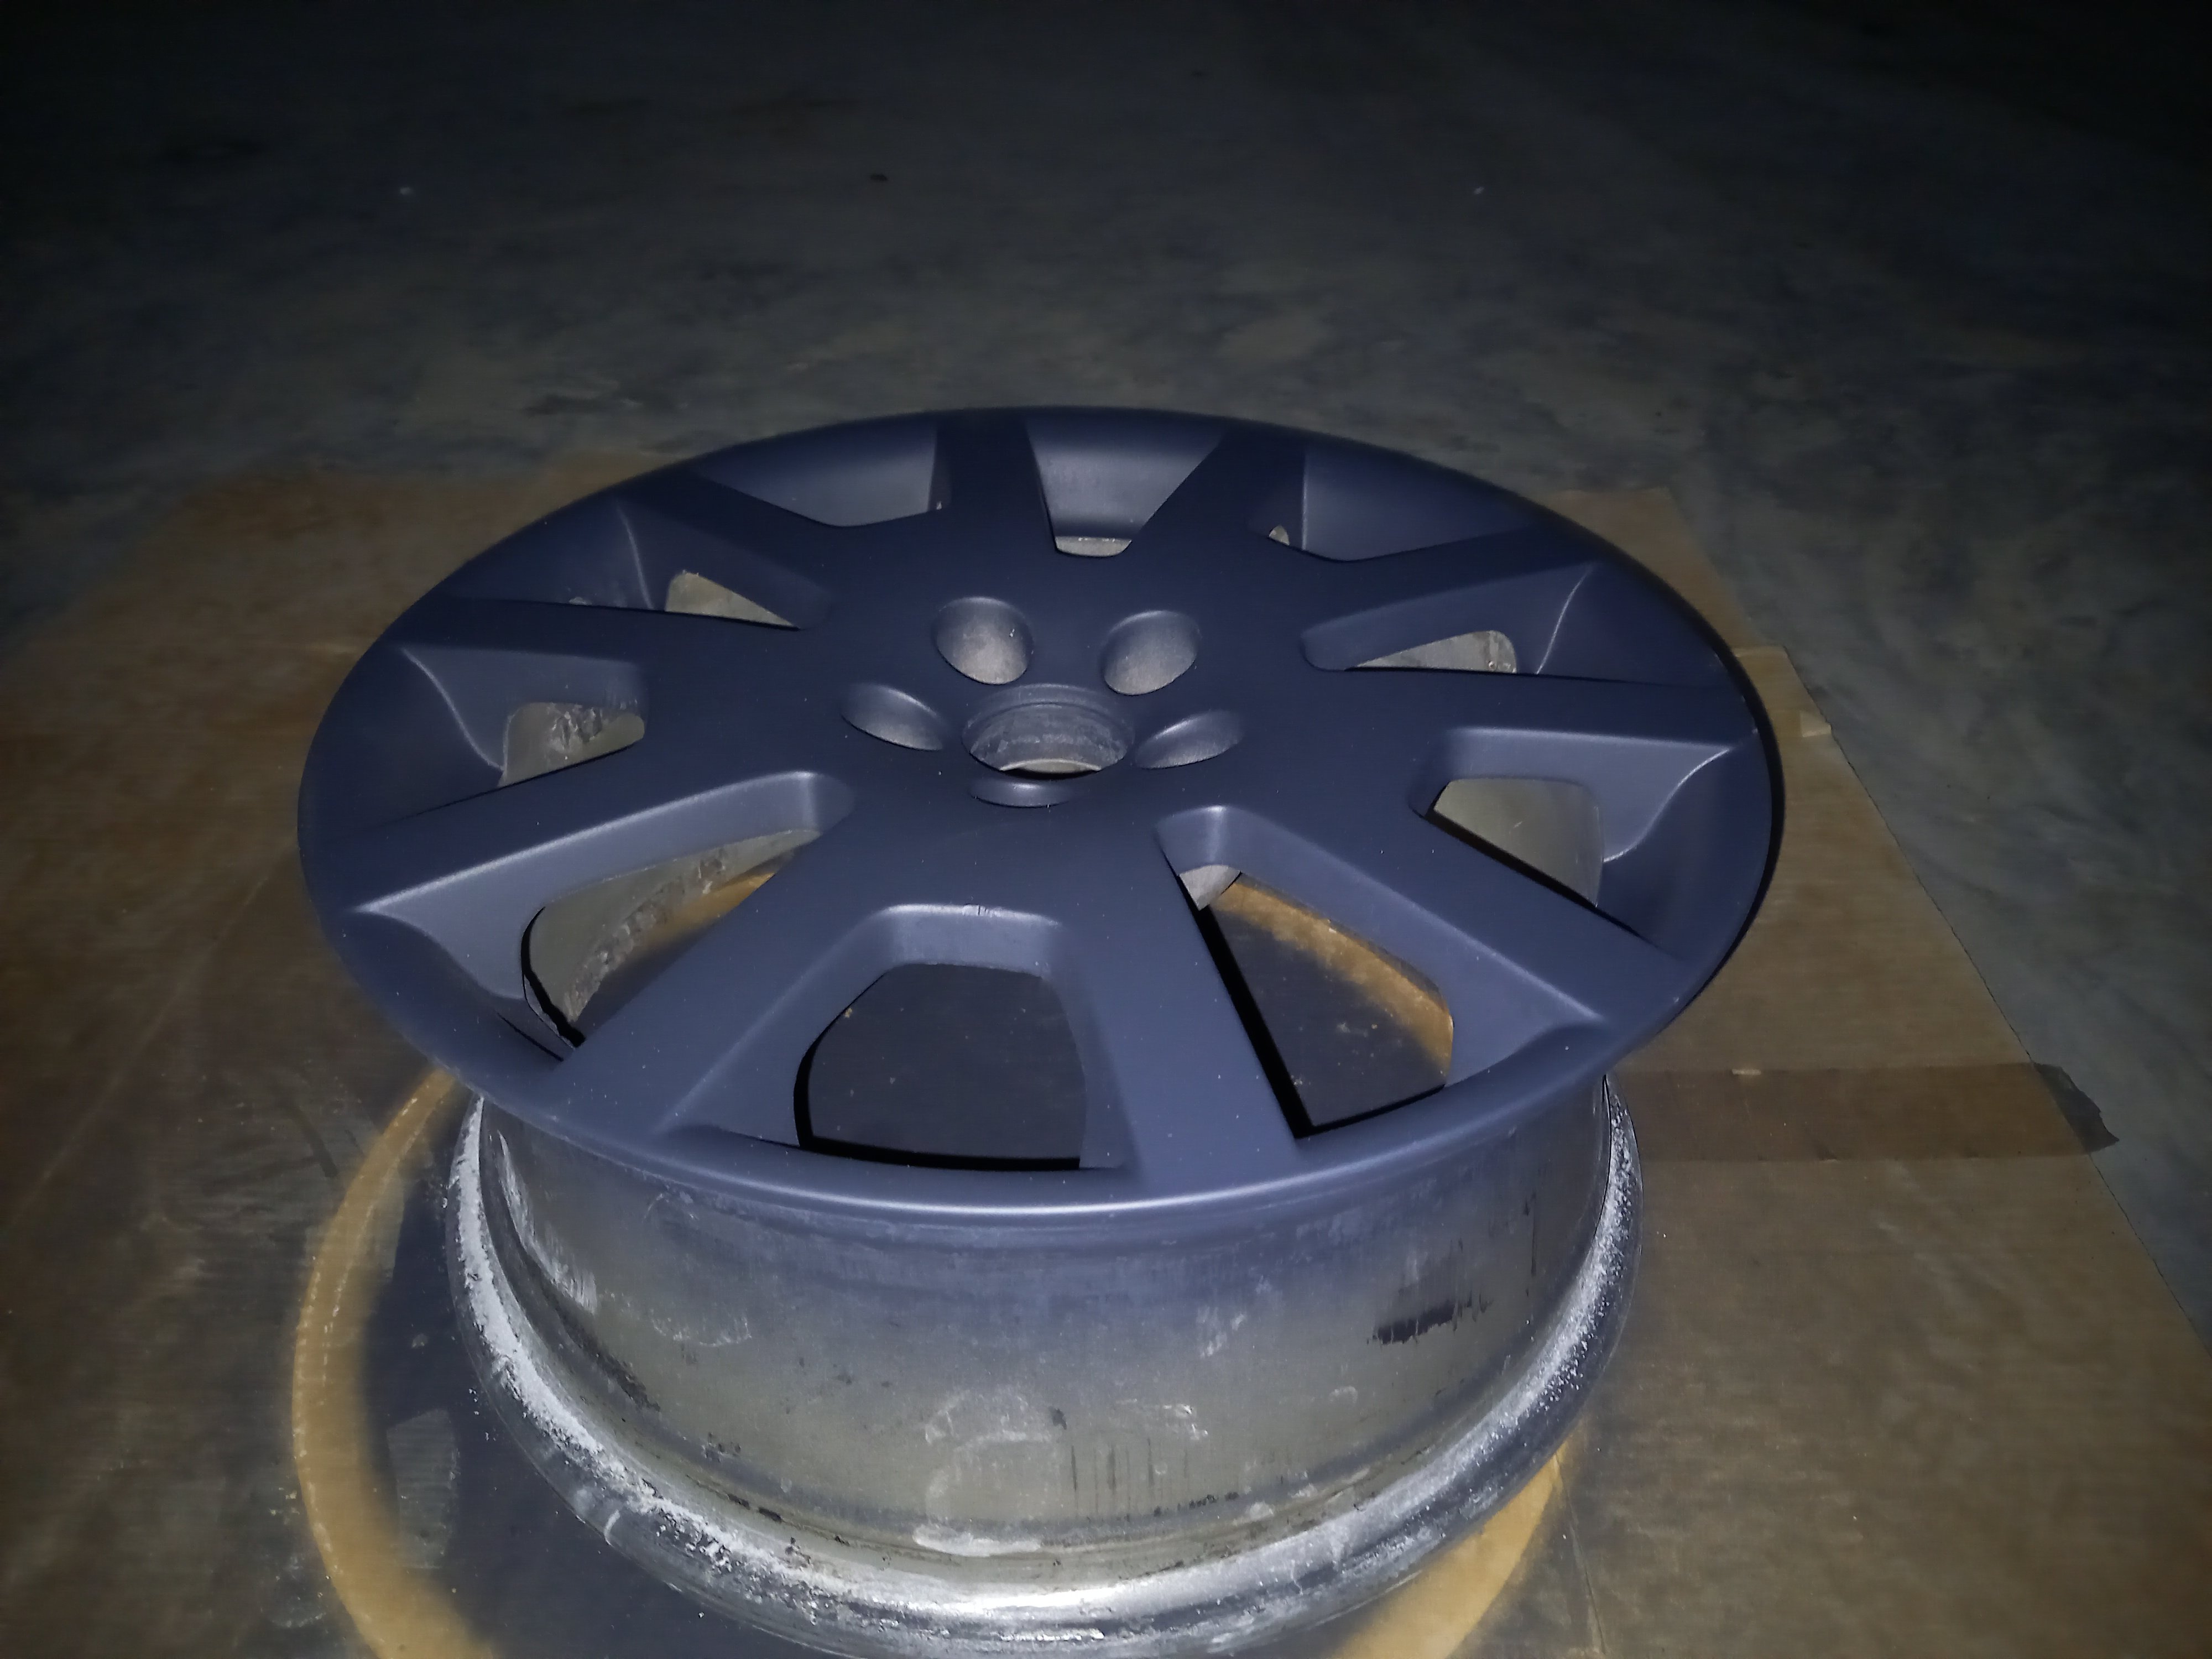
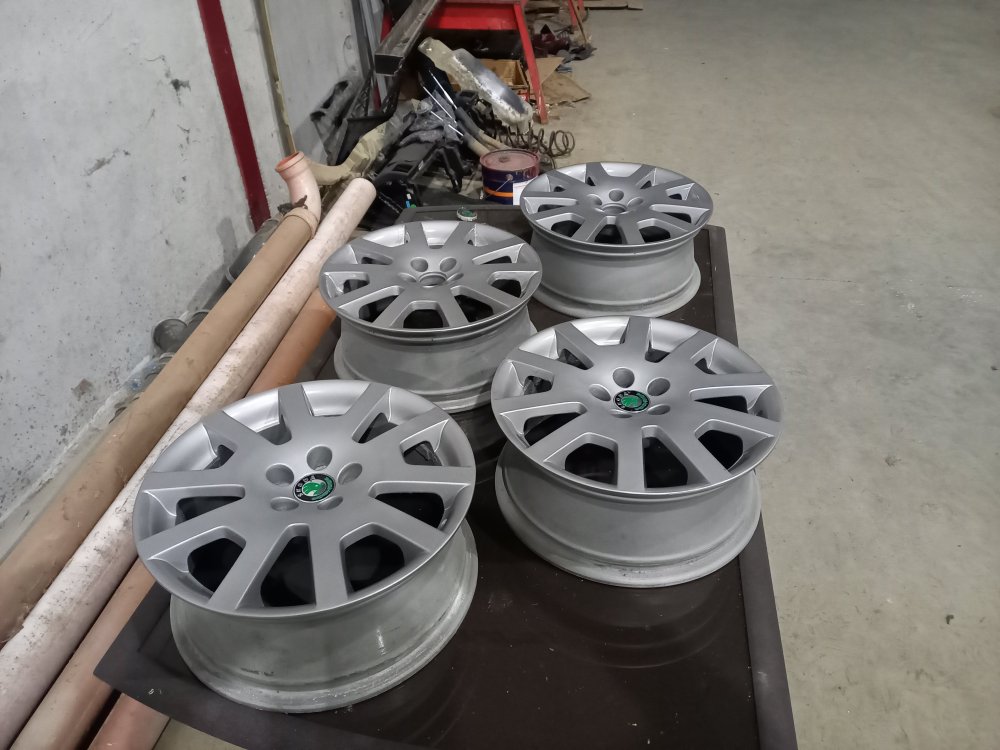
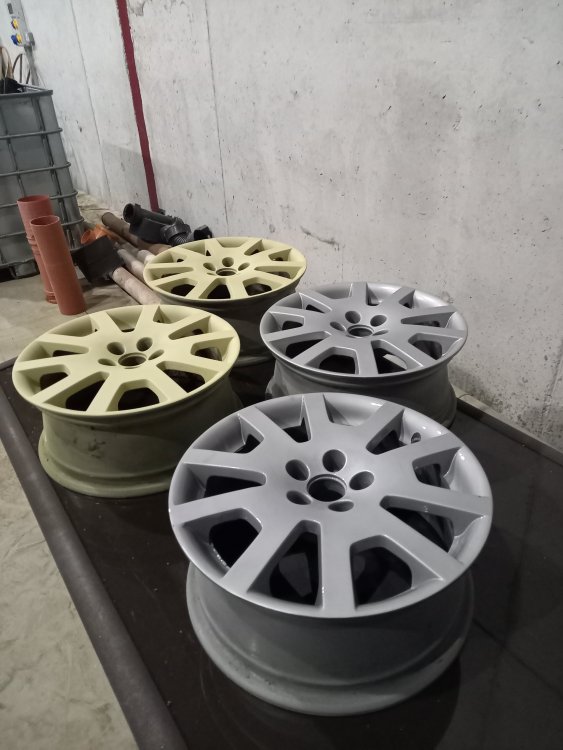
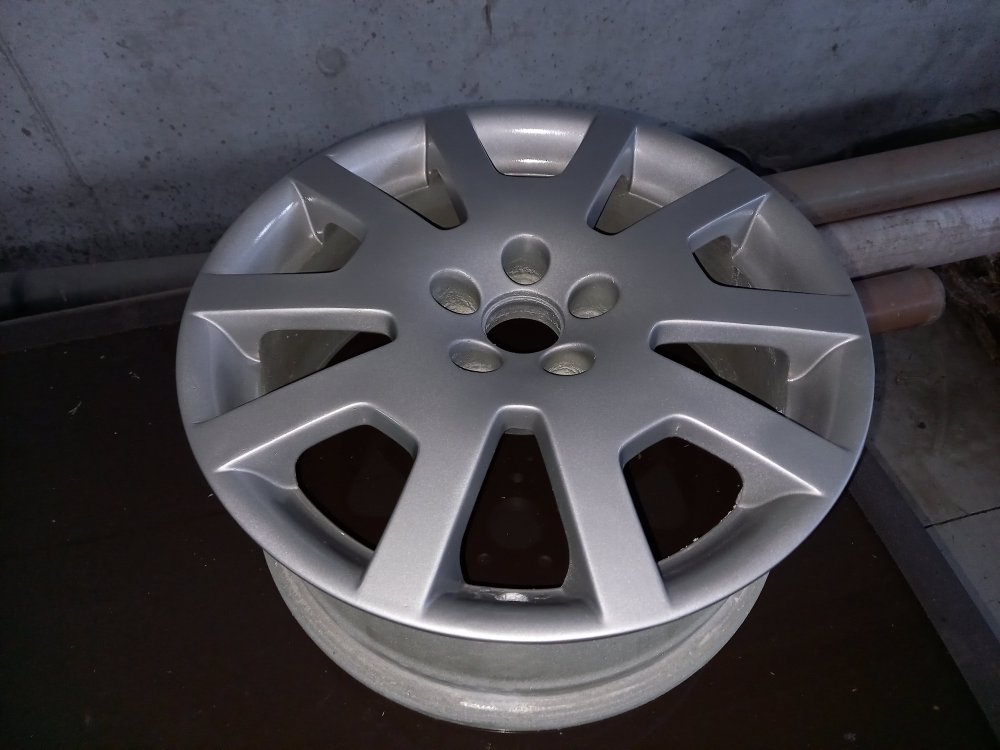
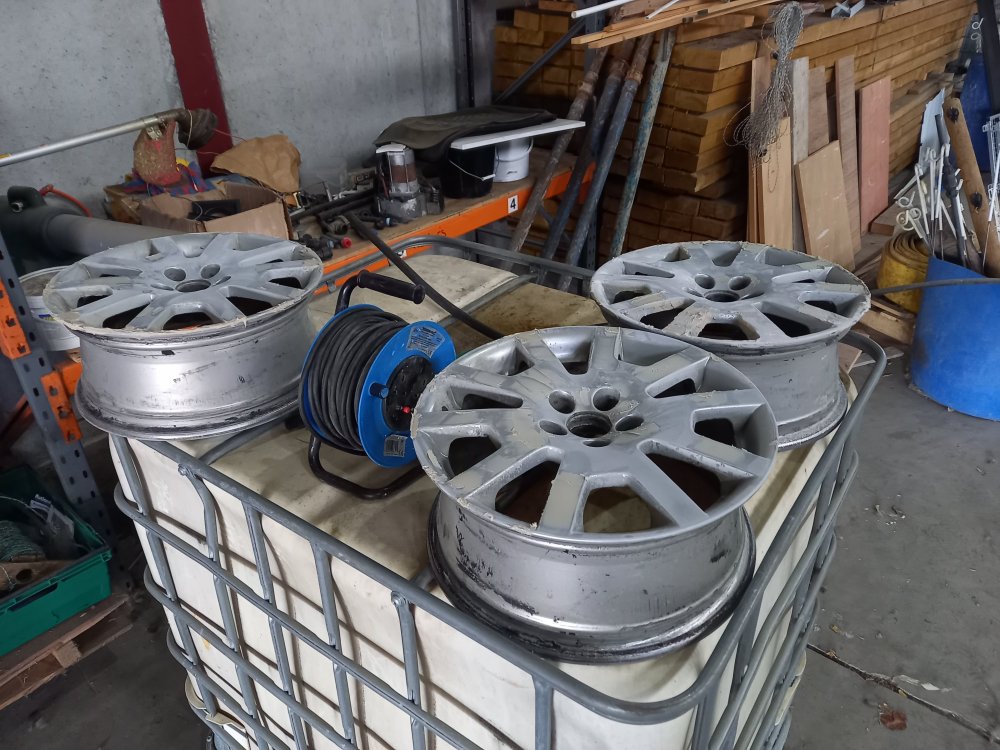
And all 4 are painted now.
-
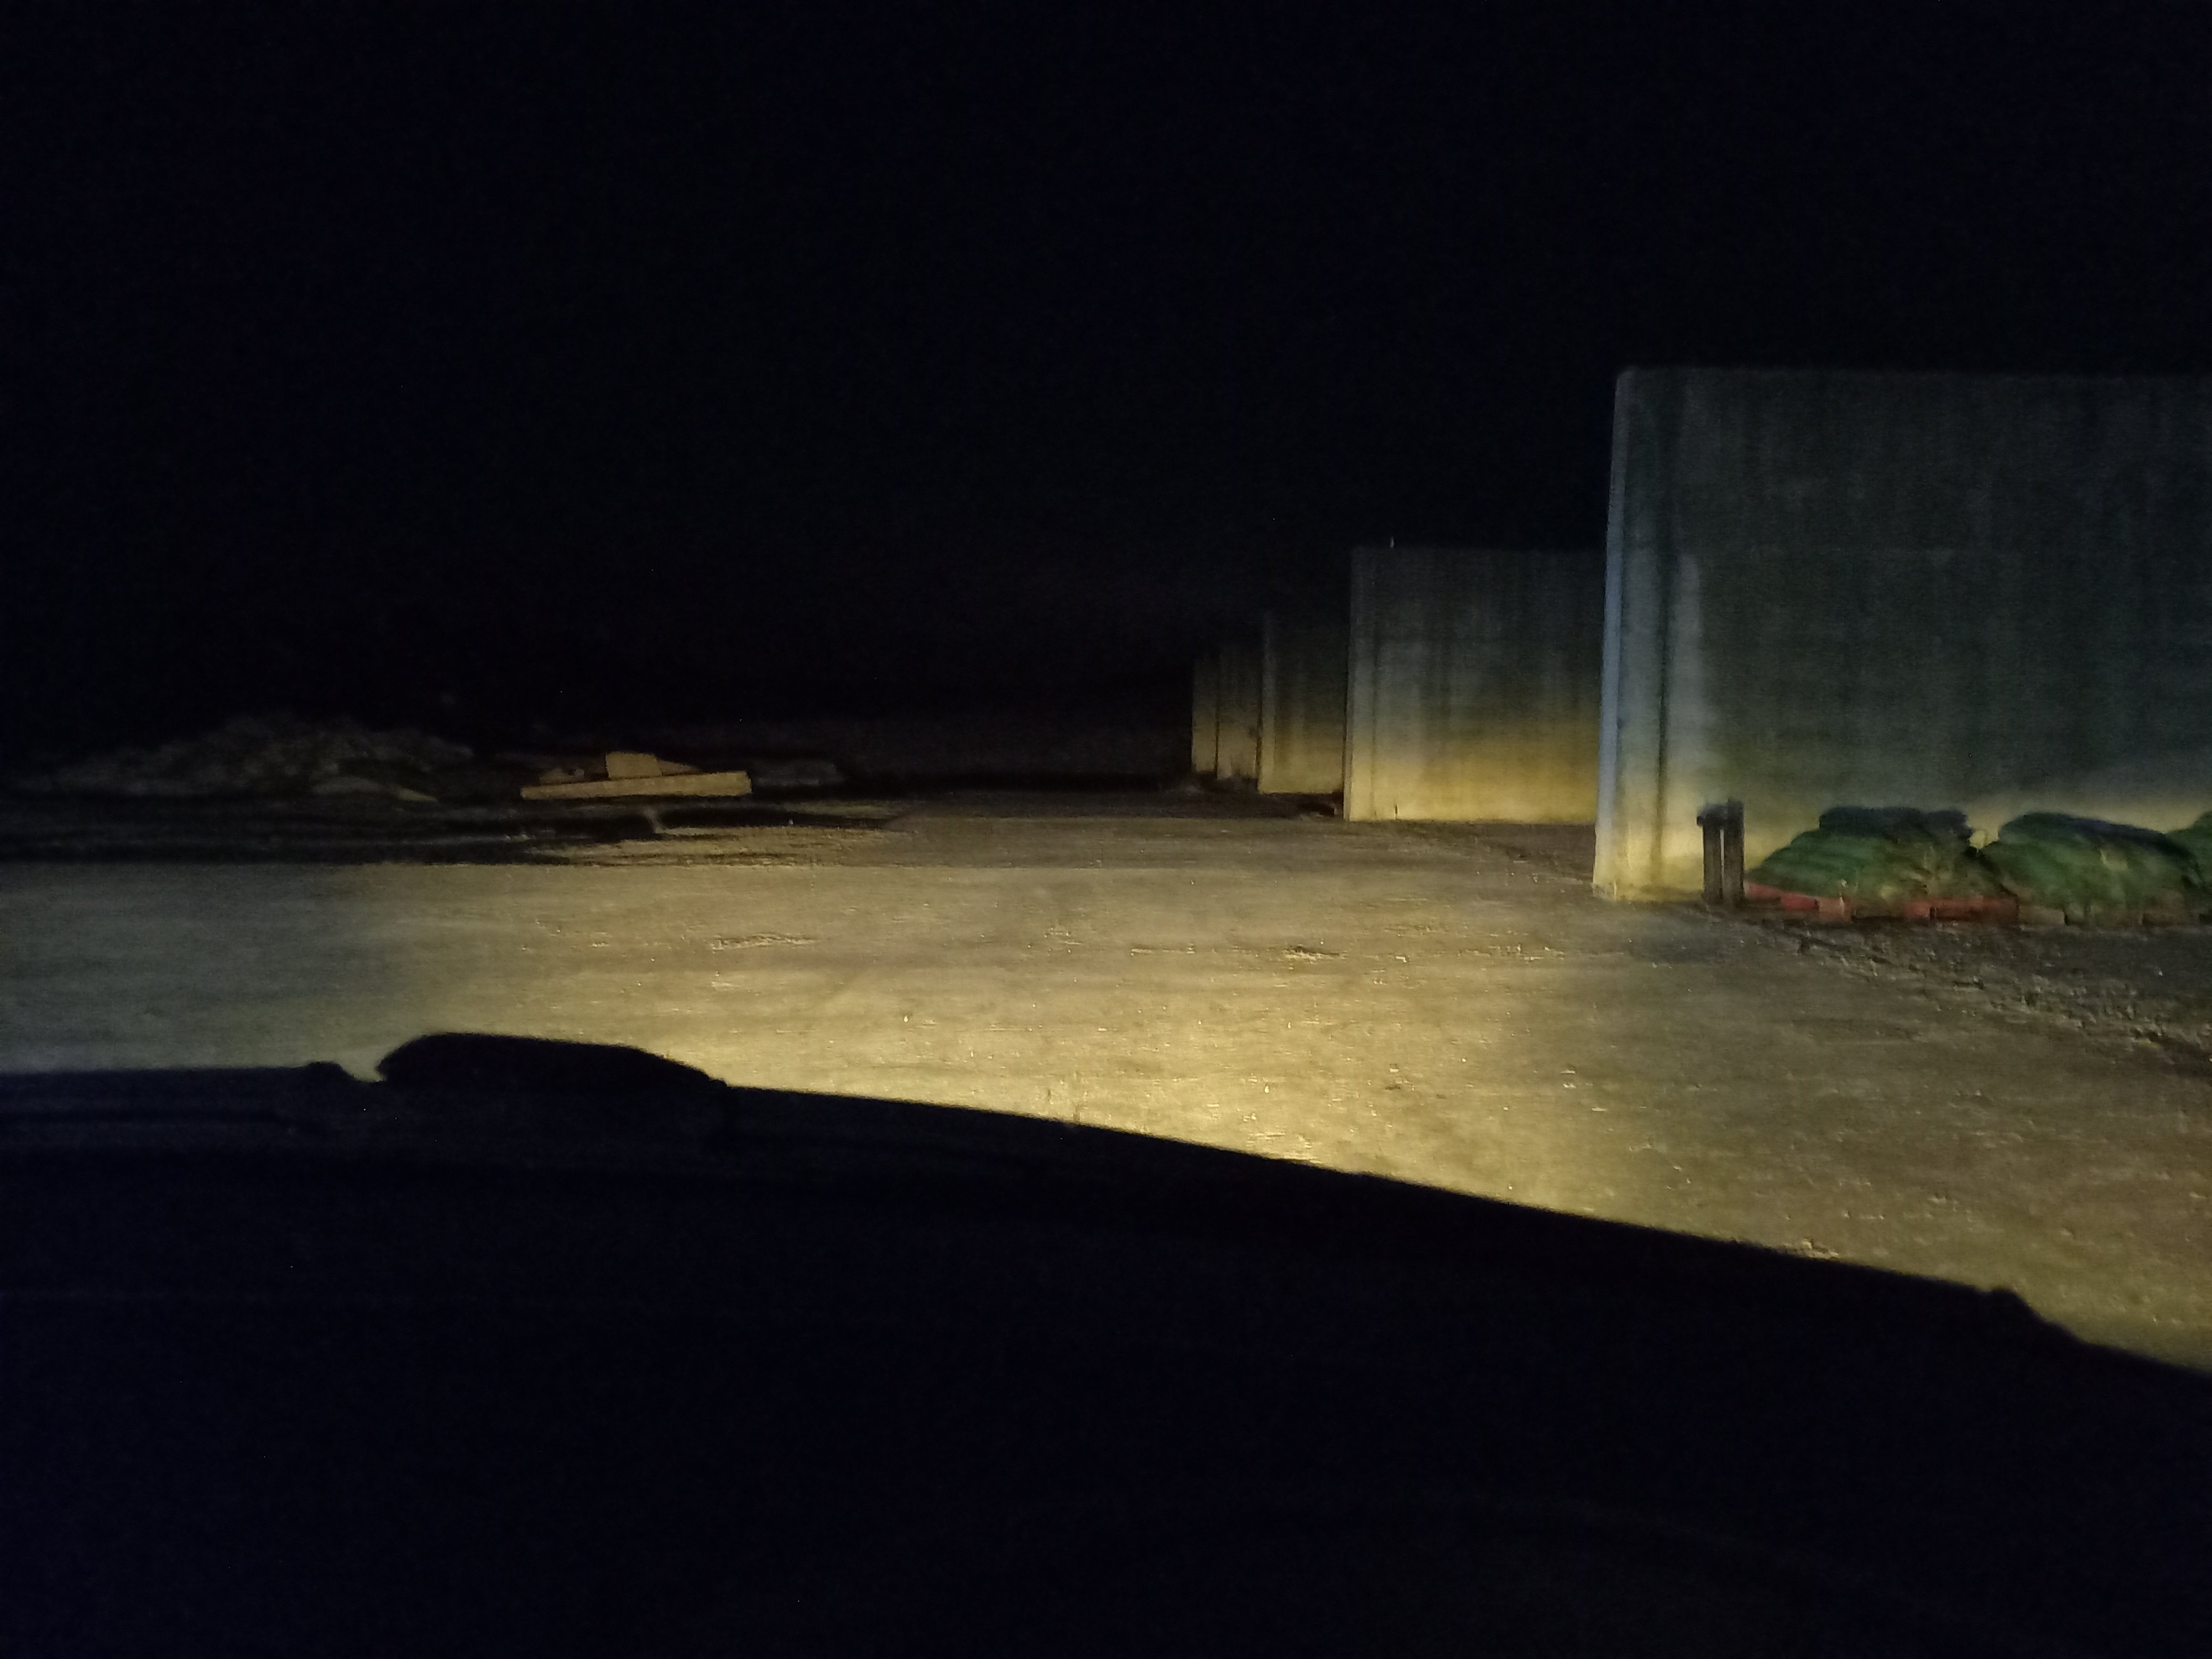
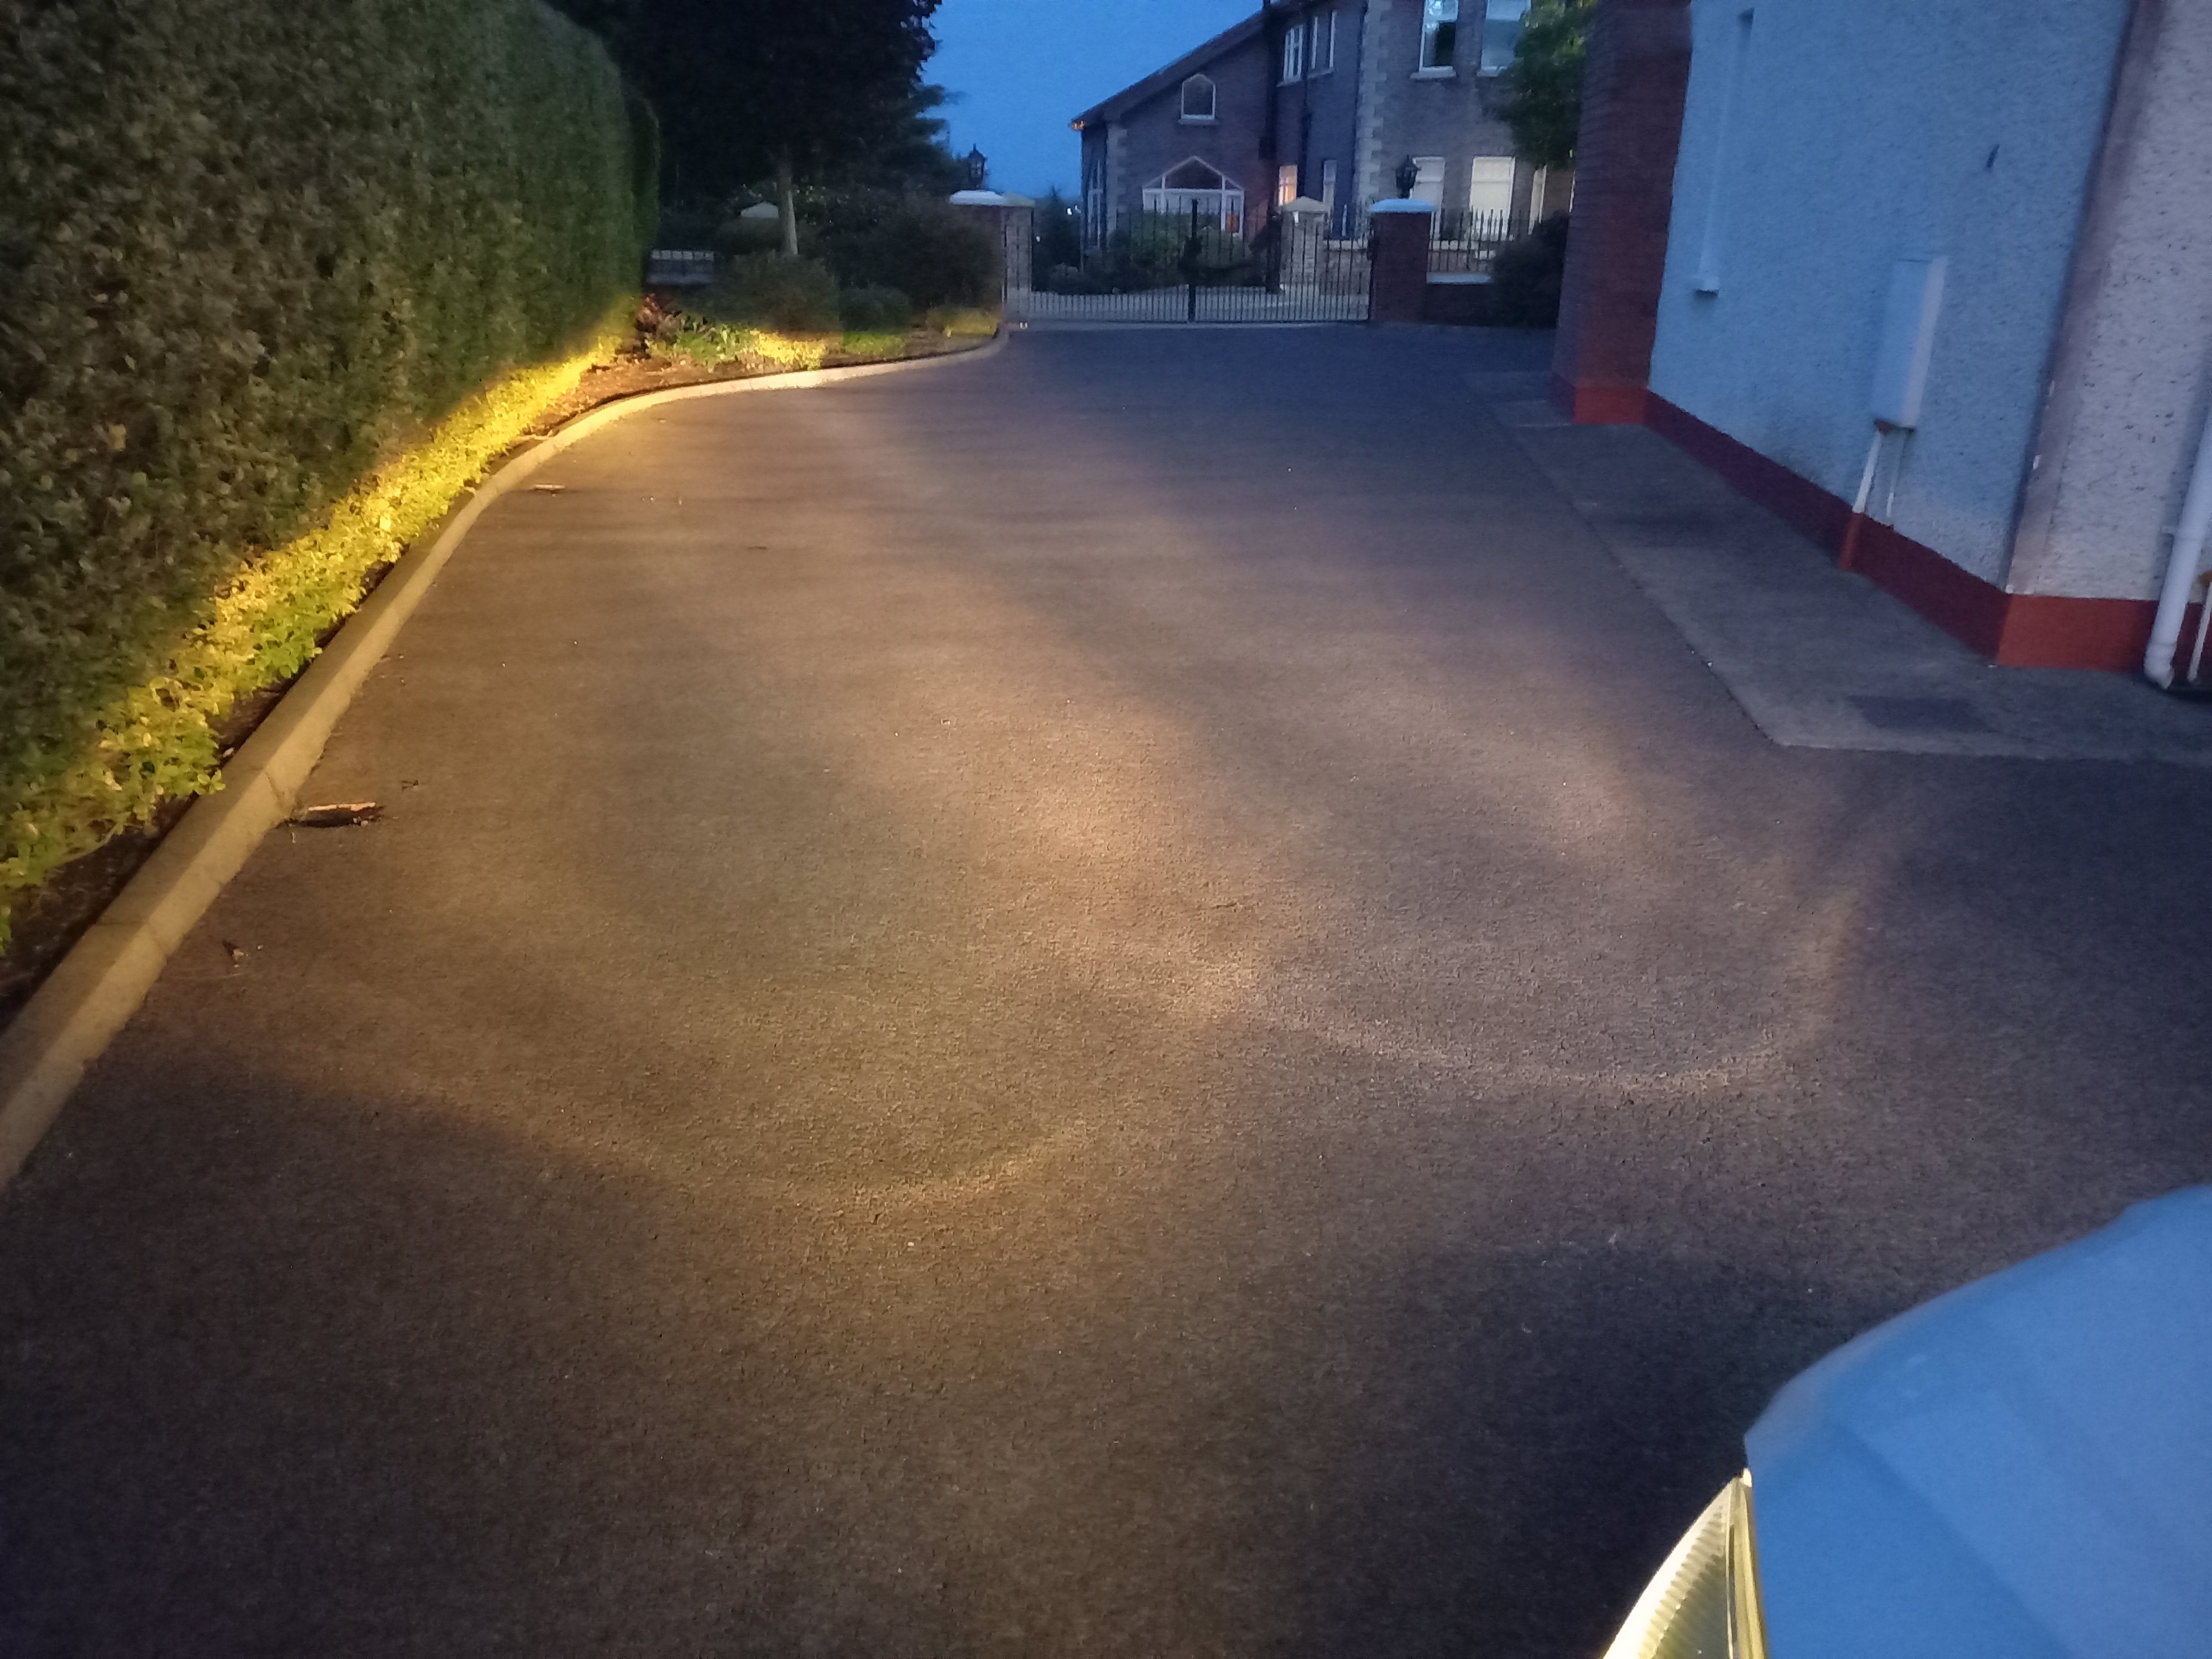
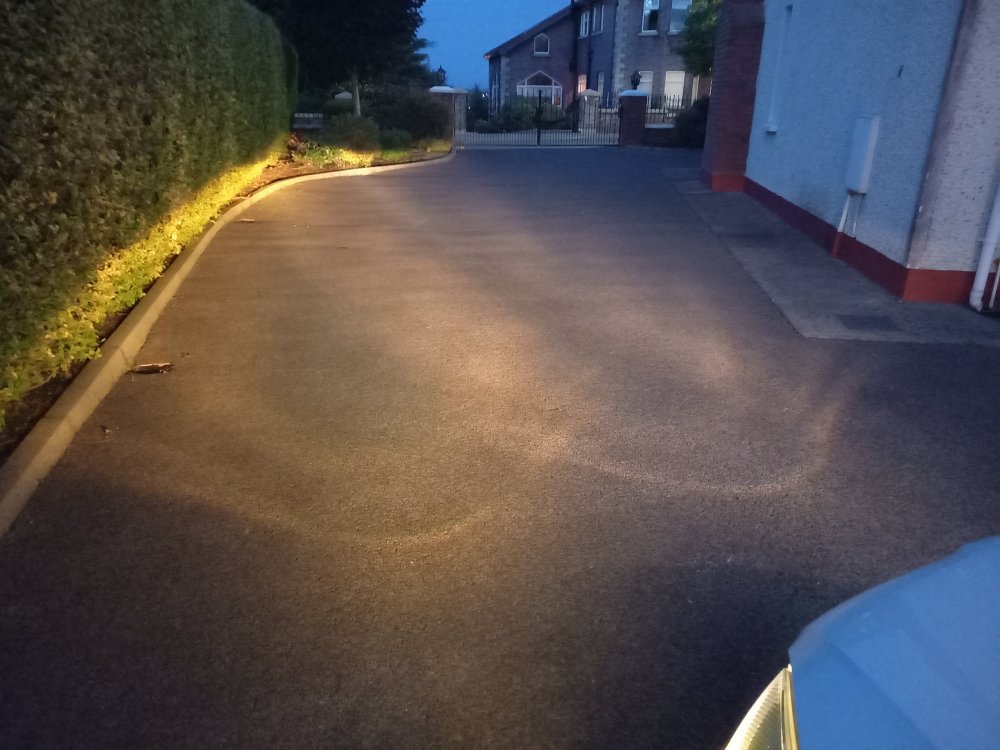
Well I took some photos with my phone positioned on the dash, on top of the gauge cluster. In a completely unscientific test I put the front tyres on a crack between 2 slabs on the yard and aimed for a pile of dirt at the far end of the yard. First up is just the Nightbreakers on low beam. Second up is the nightbreakers on low beam with fogs on. Next is the Nightbreakers only on Full beam. Finally is the Nightbreakers on full with fogs. Feel like I should include pictures with the fogs as thats how I (And every one else in rural ireland) drive. They do help a lot illuminating the sides of the roads, just last night they saved me twice from foxes running out on the road. And this is just a photo with fogs only for reference. This part of the farm had no lights on so there was no lights interfering with my "test". They are a definate improvement over the normal bulbs from what I can see. The Michiba yellow bulbs are in the mk1 so next time I take it out i'll get a photo of those.


-
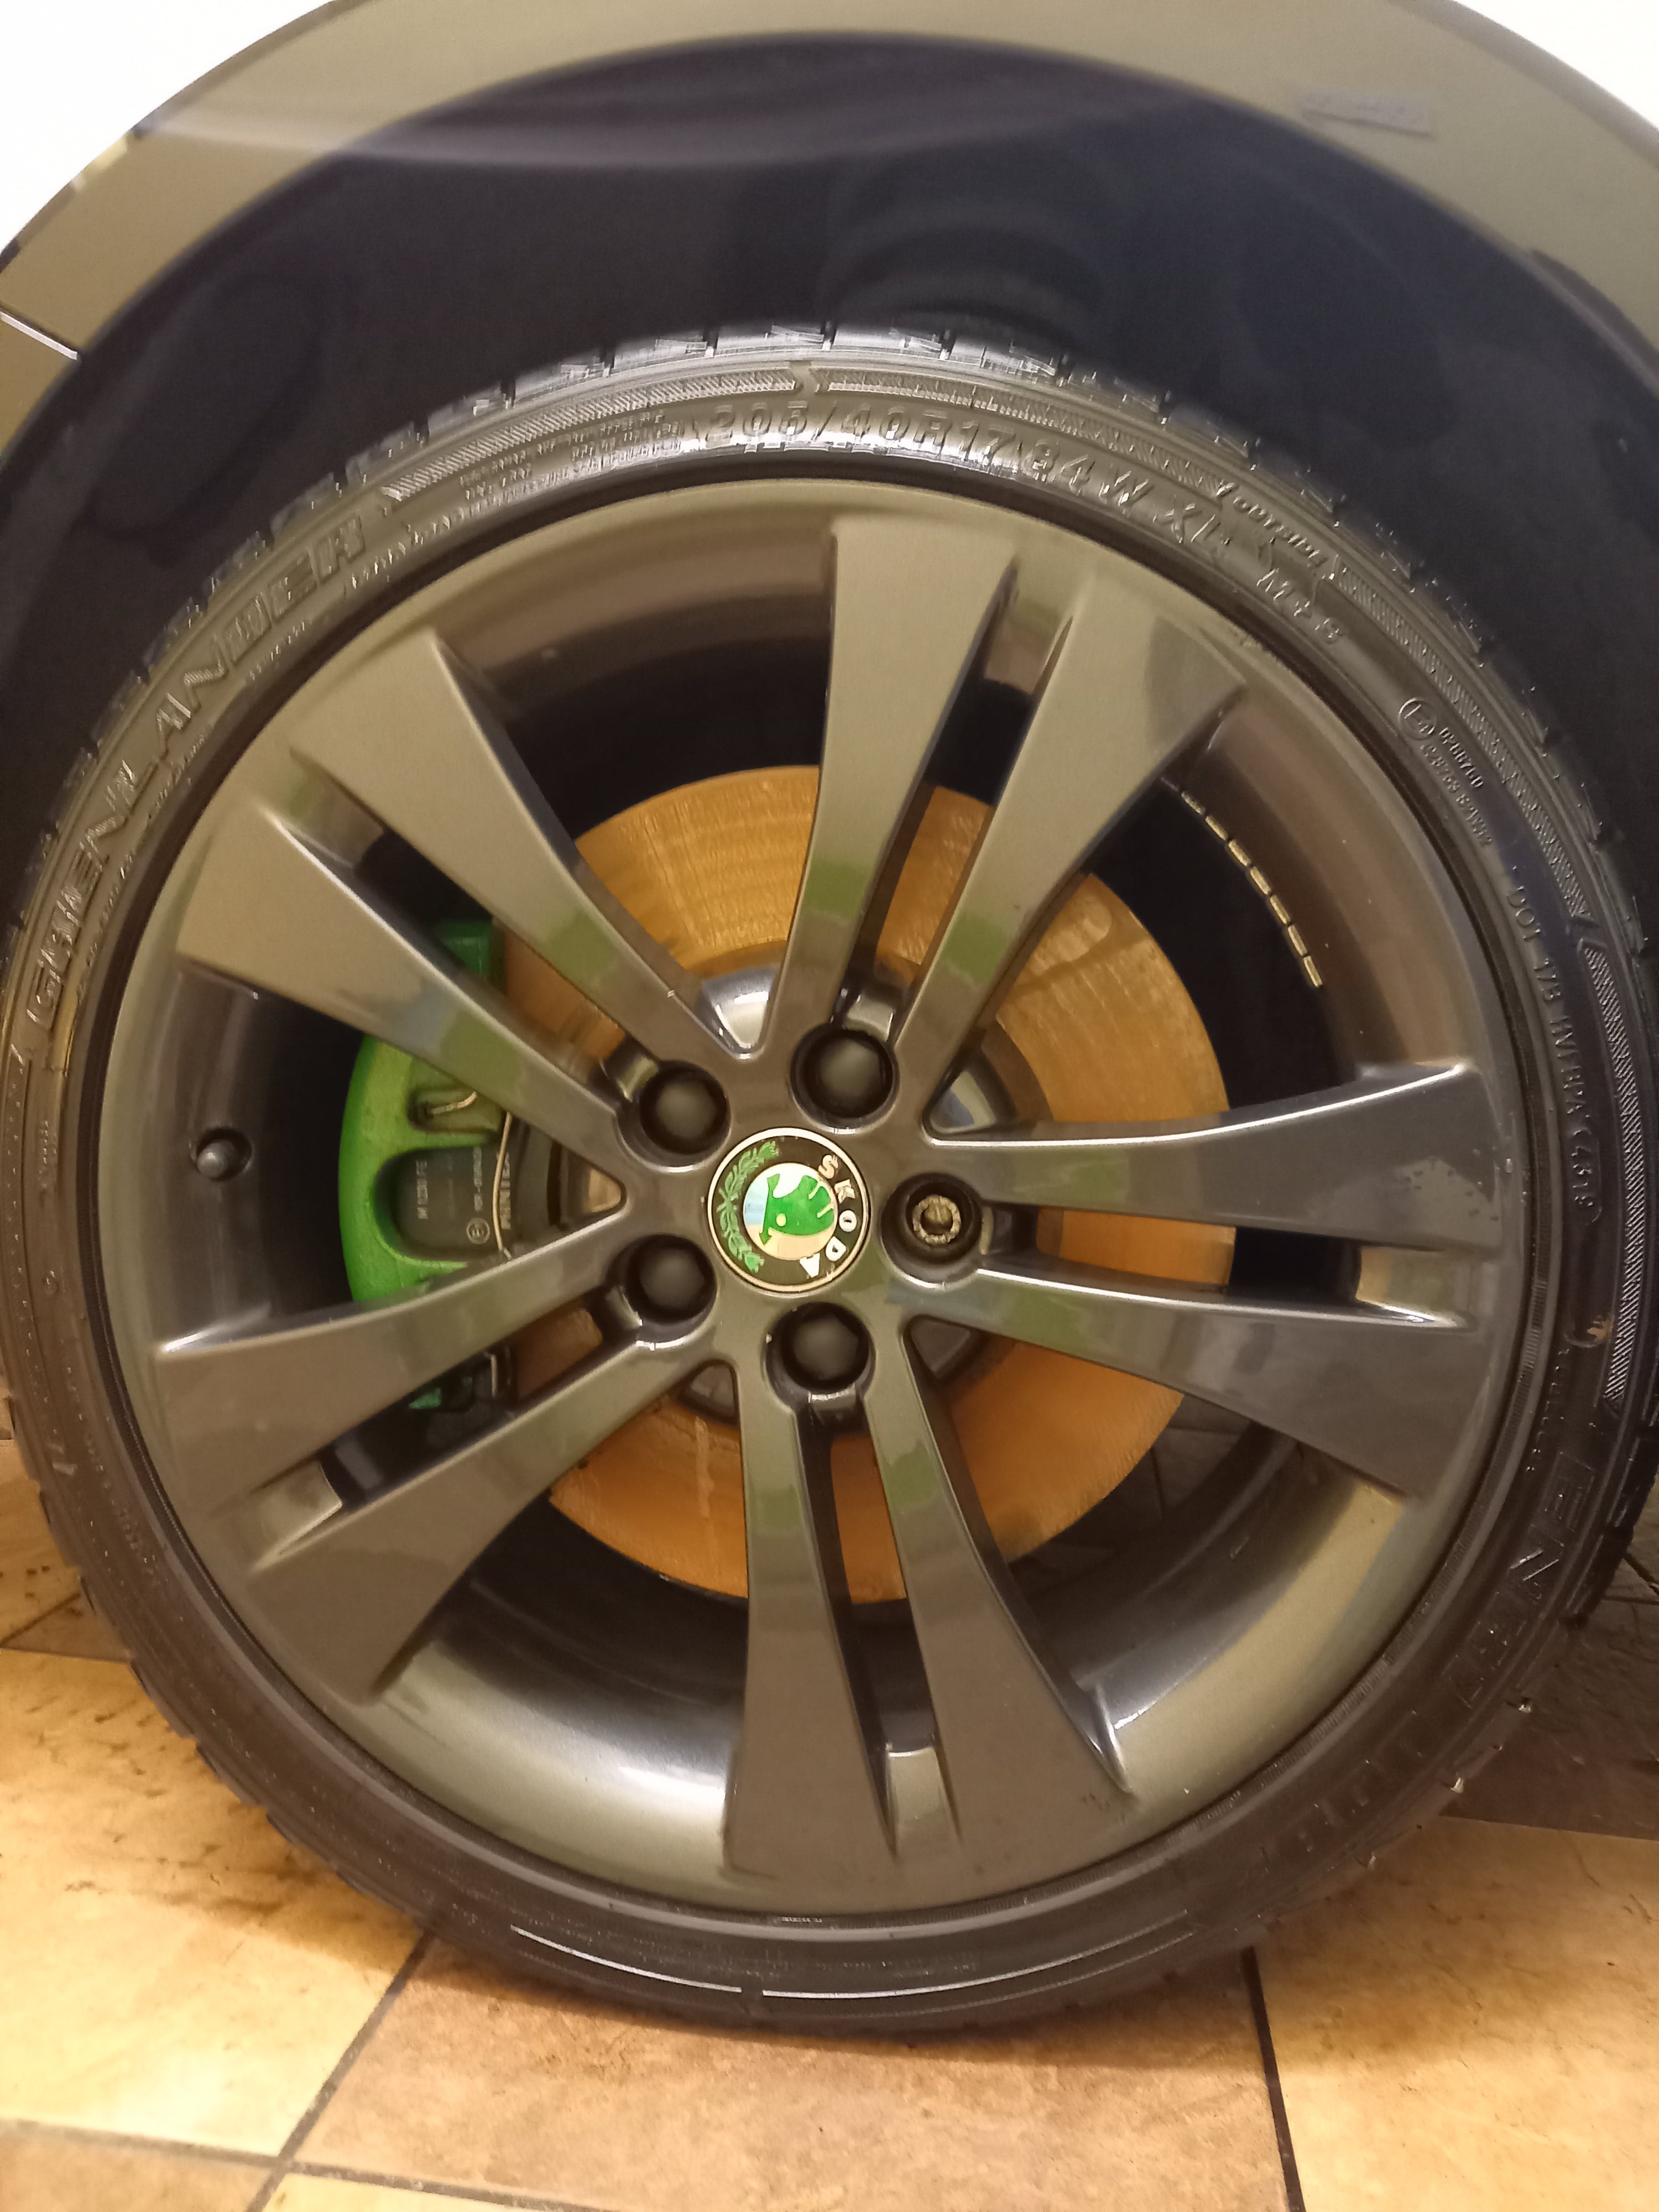
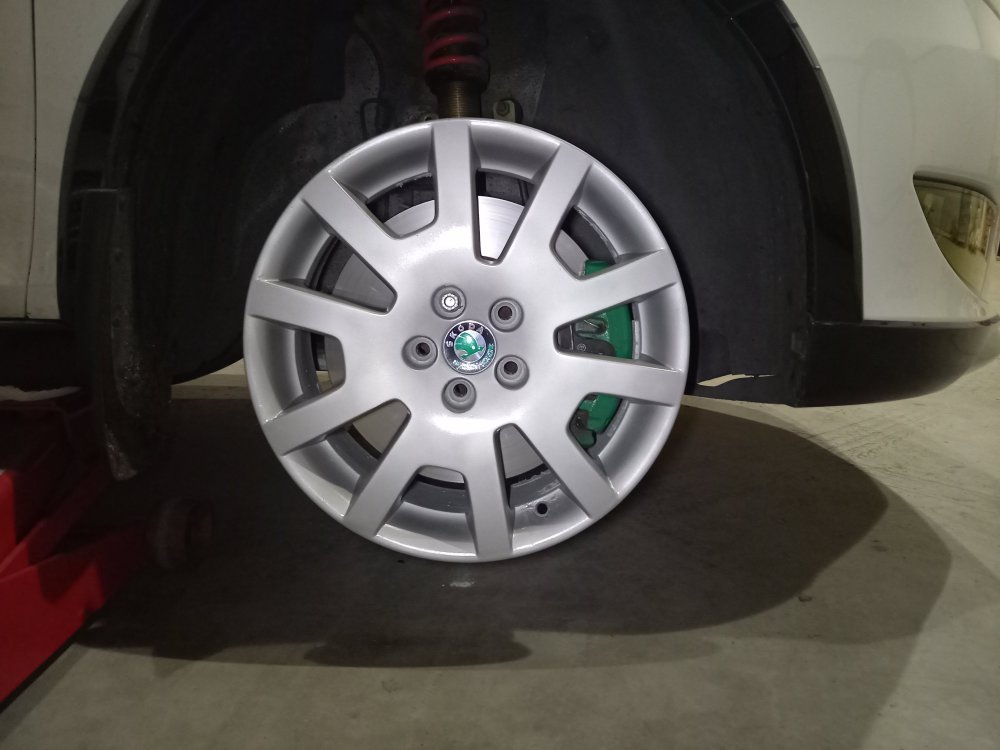
The 16s are hopefully just "on loan" from the mk1 for Winter use, should be going back on the mk1 come spring. Test fitted 2 of them this evening while the others are curing. Looking decent on the car, not much room under em for the 312s though. Other 2 are cleared now and just curing. Basically ready to get tyres on them whenever. Reckon these will look great with some chunky tyres on em. I dont have any pictures of the difference no, but I can get a pic of how these new bulbs light up the road if thats any help?

-
Ha! I don't think you'd say that if you saw them up close! I probably would have a go at painting some wheels again but ideally ones in better shape to begin with. Although having such rough wheels to start with meant I havent set extremely high standards for the finish of them, once they look halfway decent I'm more than happy. That hycote paint is very good , great spray from it and its almost a dead match to the original silver. Might have a go at test fitting the two I have finished this evening and see if all my hard work has payed off.
-
2 down, 2 to go! All I have to do now is paint the other 2 and clear them so they will be done tomorrow. Did a bit of experimenting with bulbs, the secret bulbs came quick as expected, a pair of 3000k Michiba bulbs. Now I liked the colour of these, and they are legal judging from the NCT guidelines. One problem with these is that my car only has the one bulb for high and low beam, but they had the same range as the original cheapy white ones in it. Of course the nightbreakers came in the next day, but I waited for a few days to give the yellow bulbs a chance. I put these in this evening and they are definately a big improvement over the original white ones. Lovely crisp pure white light from them.
-
Check the plug is in properly, if its not in all the way it'll do that.
-
What did you replace the bulbs with?
-
Probably should have made a comparison video before posting that pic, would have been neat to include with the coilover post. Fortunate again I have spare suspension to compare it to. Again with the rear shocks the mk1s are in better shape, although not quite as much of a difference in them compared to the fronts. Was a nice distraction to do while watching paint dry anyway. Wonder they seem so weak and yet arent leaking.
-
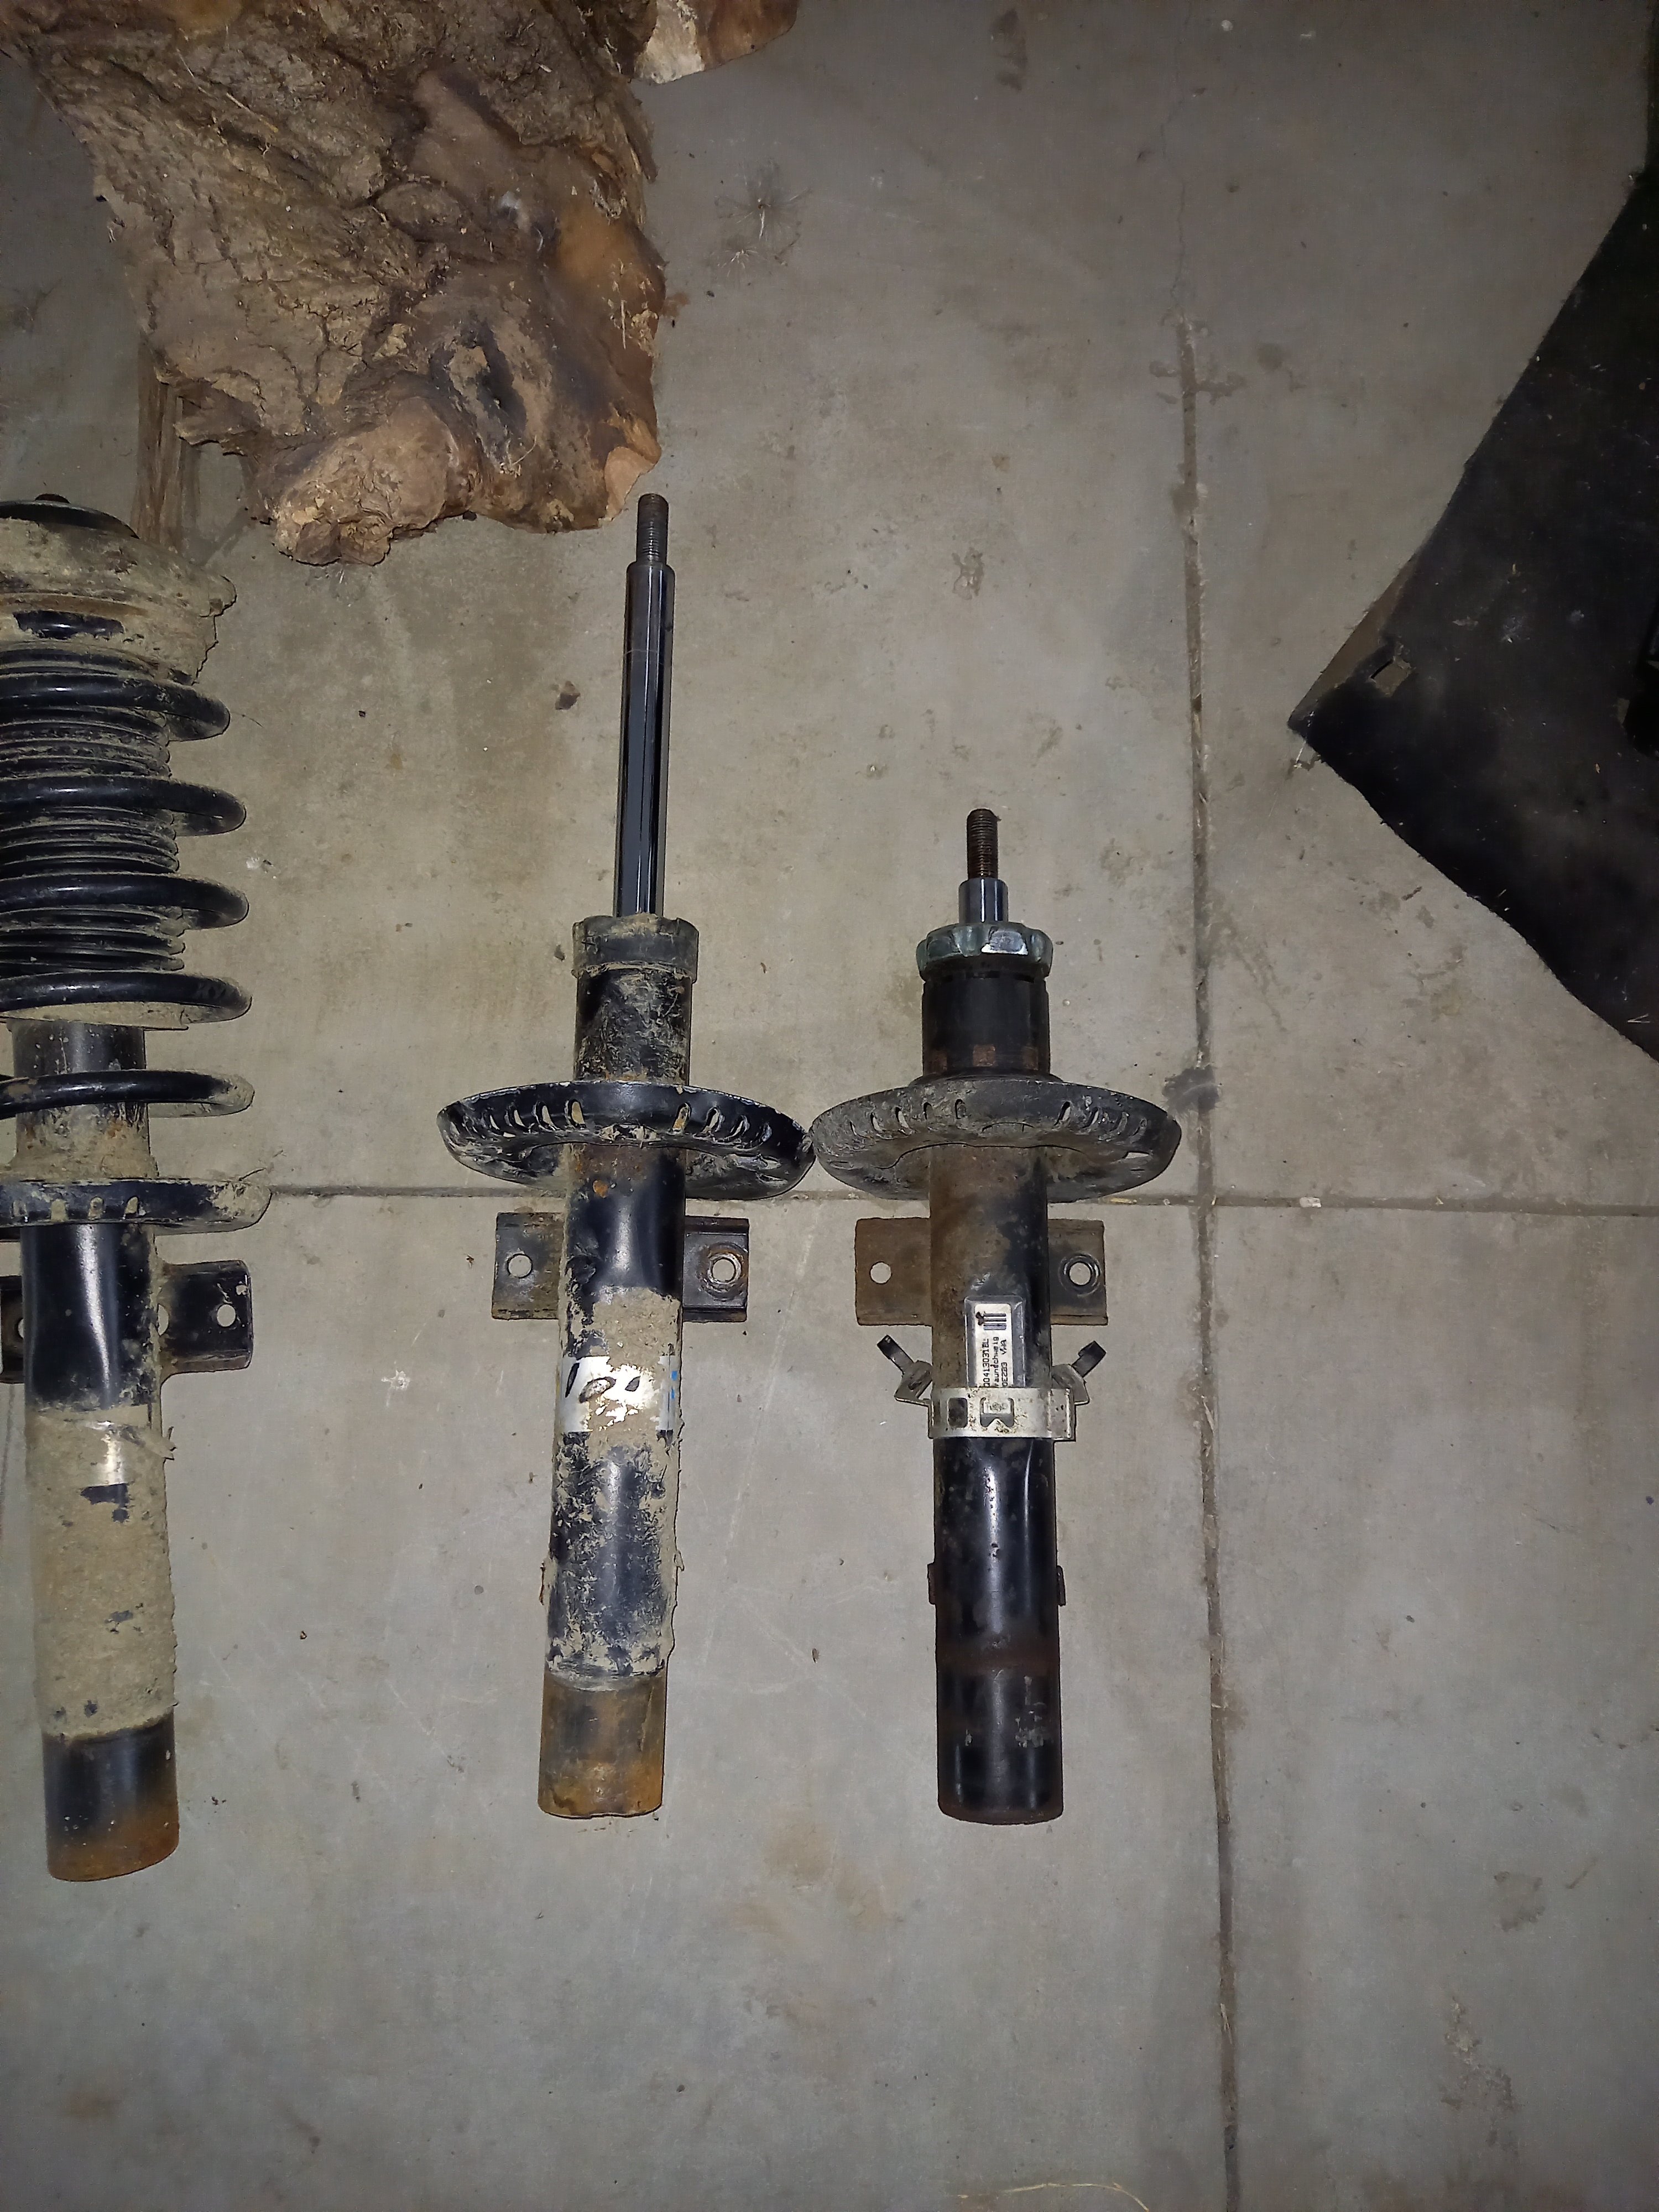
Instead of watching paint dry, I did a wee experiment of my own. In this video I put both one of my Mk1 fabias shocks and one of my mk2 shocks into a vice and pressed down on them. First one up is from the mk1 and from the video its plain to see its got more life in it than I had given it credit for. Second one up is the shock from the mk2. Now do you see my point? Obviously I can't explain my point well, but showing it is much simpler.

-
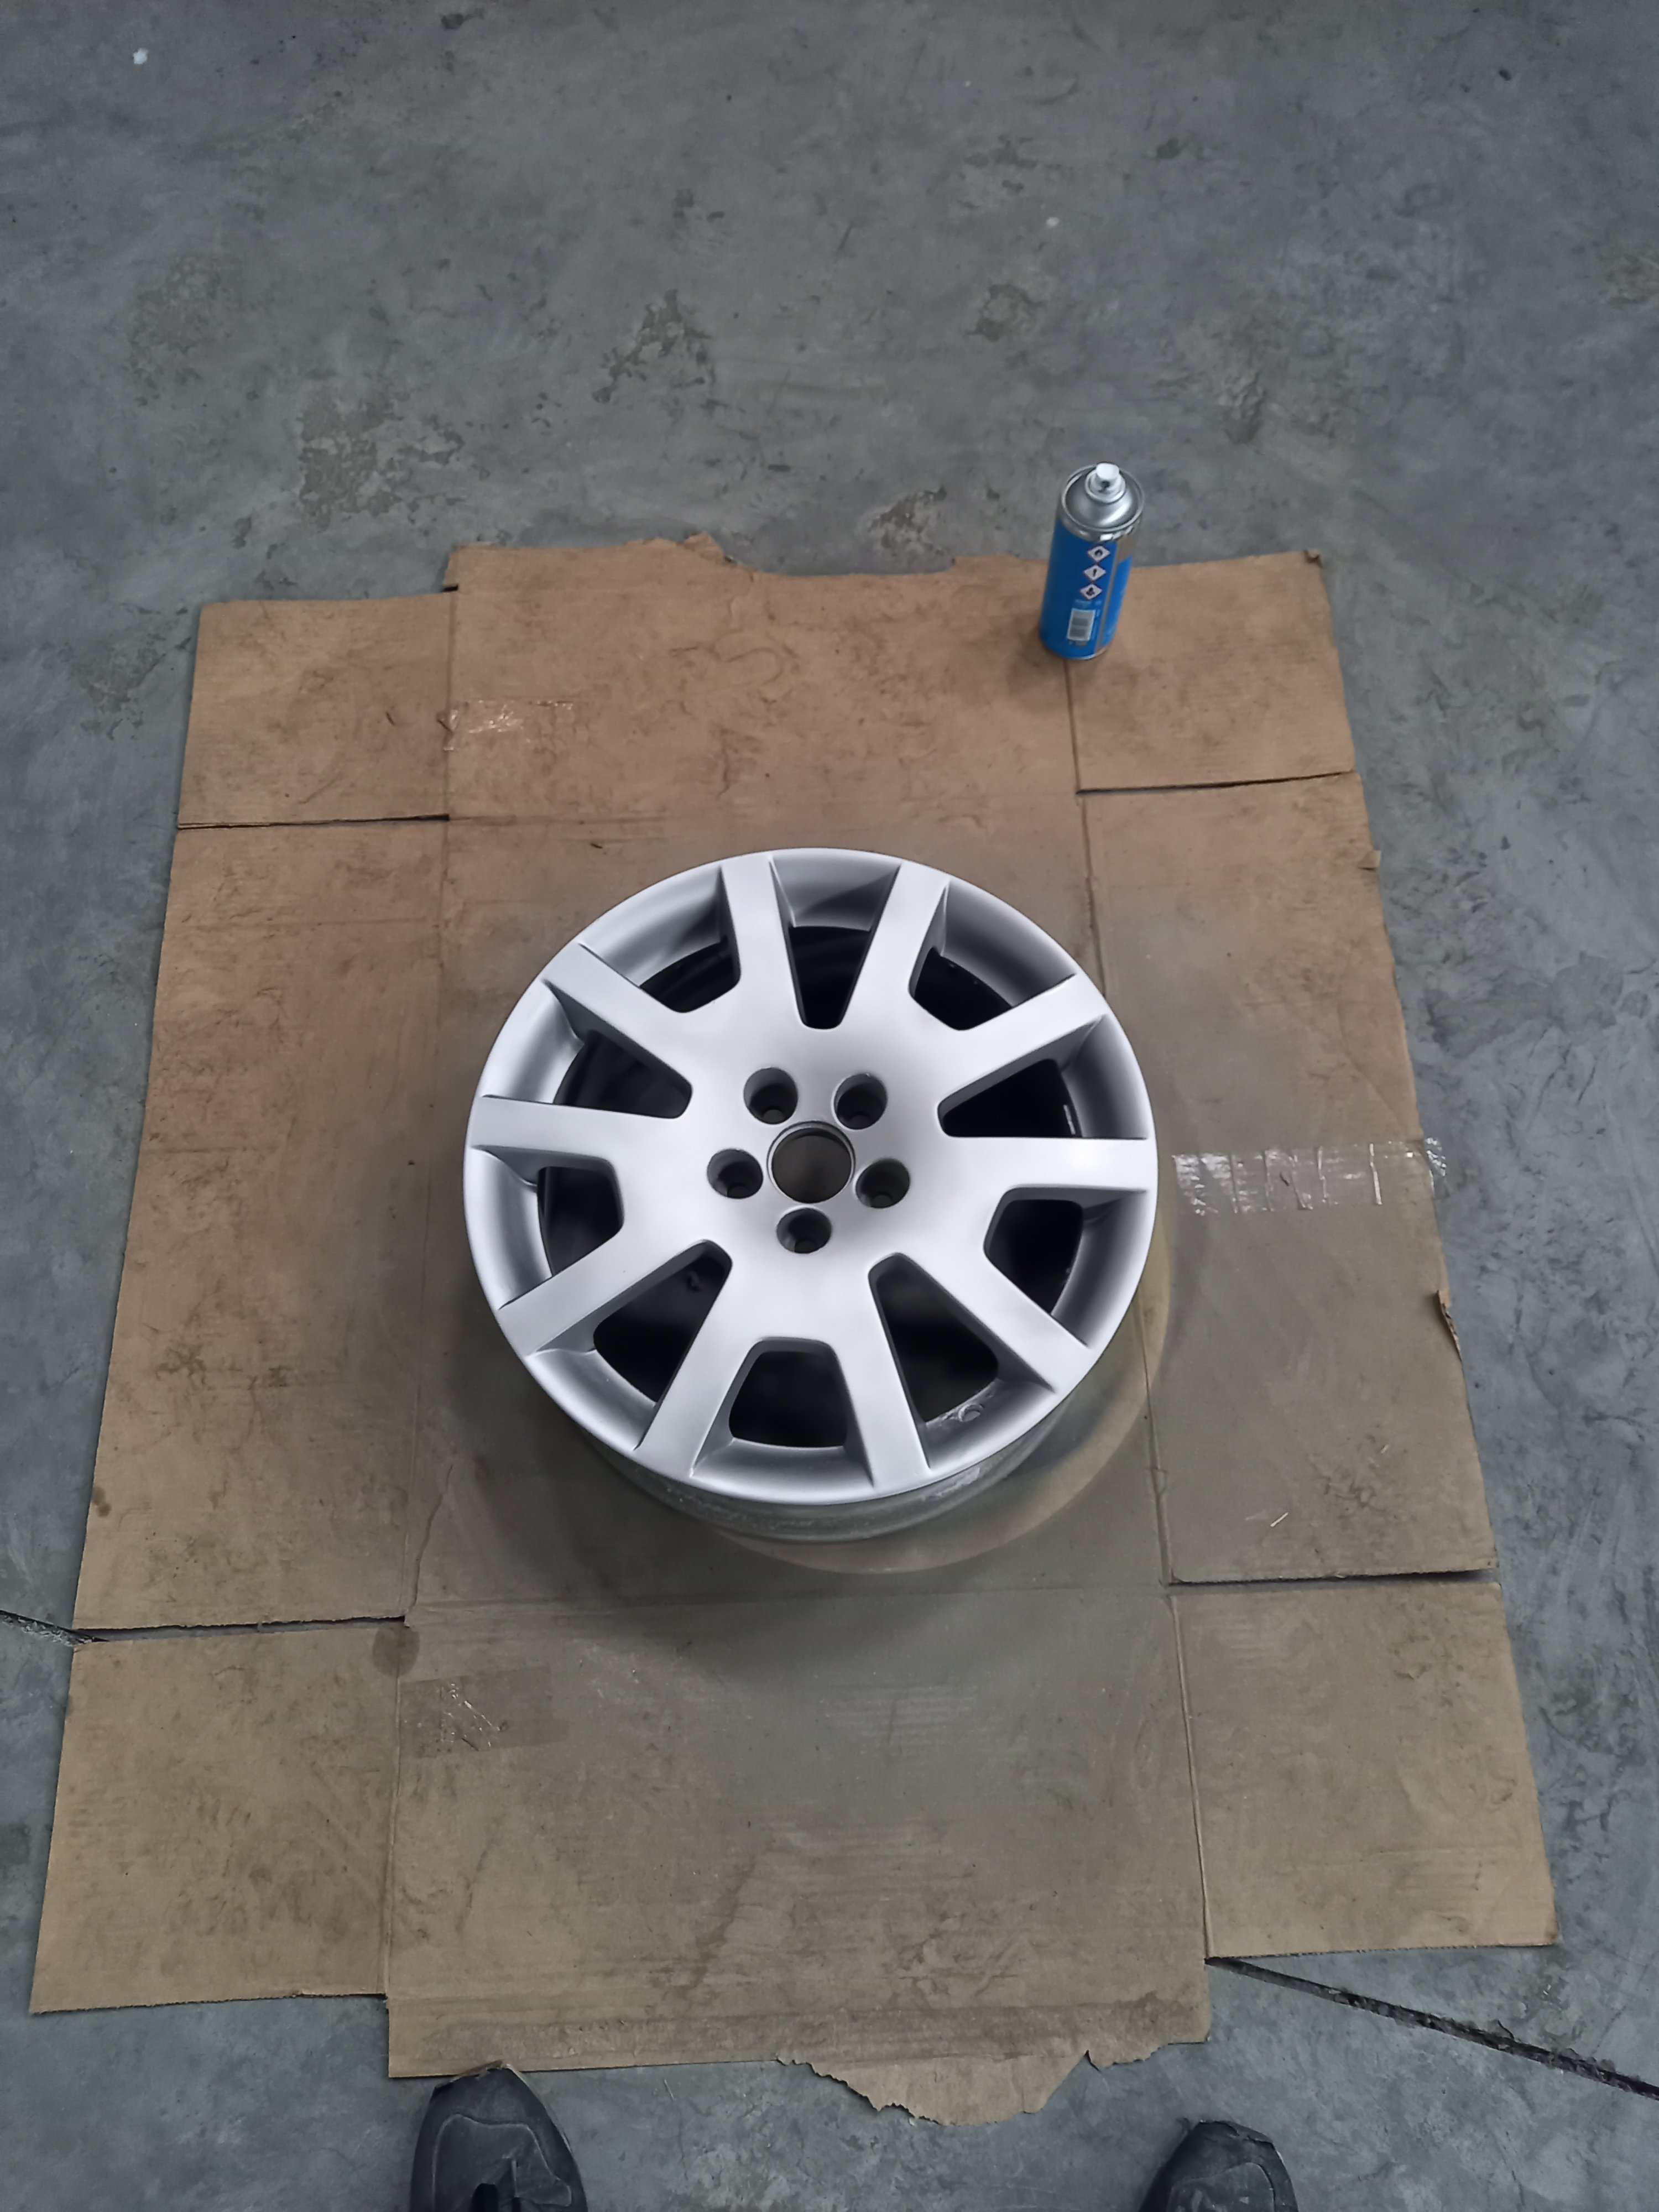
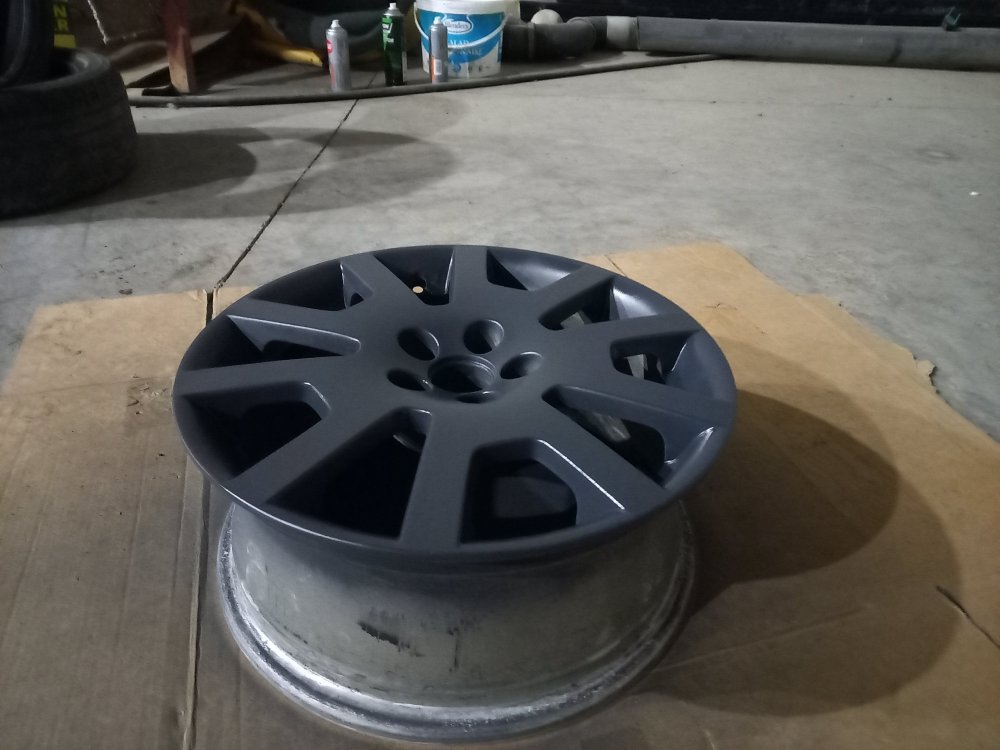
1st wheel finished. First pic is after the 2nd coat of colour. Looks very well but it was matted, obviously thats where the clear came in. Here it is finished, 4 coats of clear on it. Still a little matte but after a bit of wetsanding and some polish once the paints cured, I reckon this one will come out golden. Second ones just an extra shot of the same wheel with flash turned on. Far from perfect but it doesnt need to be. Have another wheel etch primed and another with knife putty on it ready to be sanded and primed. Doubt they'll come out quite as nice but heres hoping! Oh and I went and ordered 2 sets of bulbs. Ordered the nightbreakers and all was fine until I got a message saying estimated delivery was the end of October, somehow it takes 3 weeks to ship some bulbs from Germany to Ireland... Well I know that the bulbs I have will be fine, but I said screw it and bought some bulbs from a crowd up in Belfast that should be here start of next week, same crowd I bought the foglight bulbs from. The ones from belfast are some that I've wanted to try for a while, and apparently they're legal to use here to boot.


-
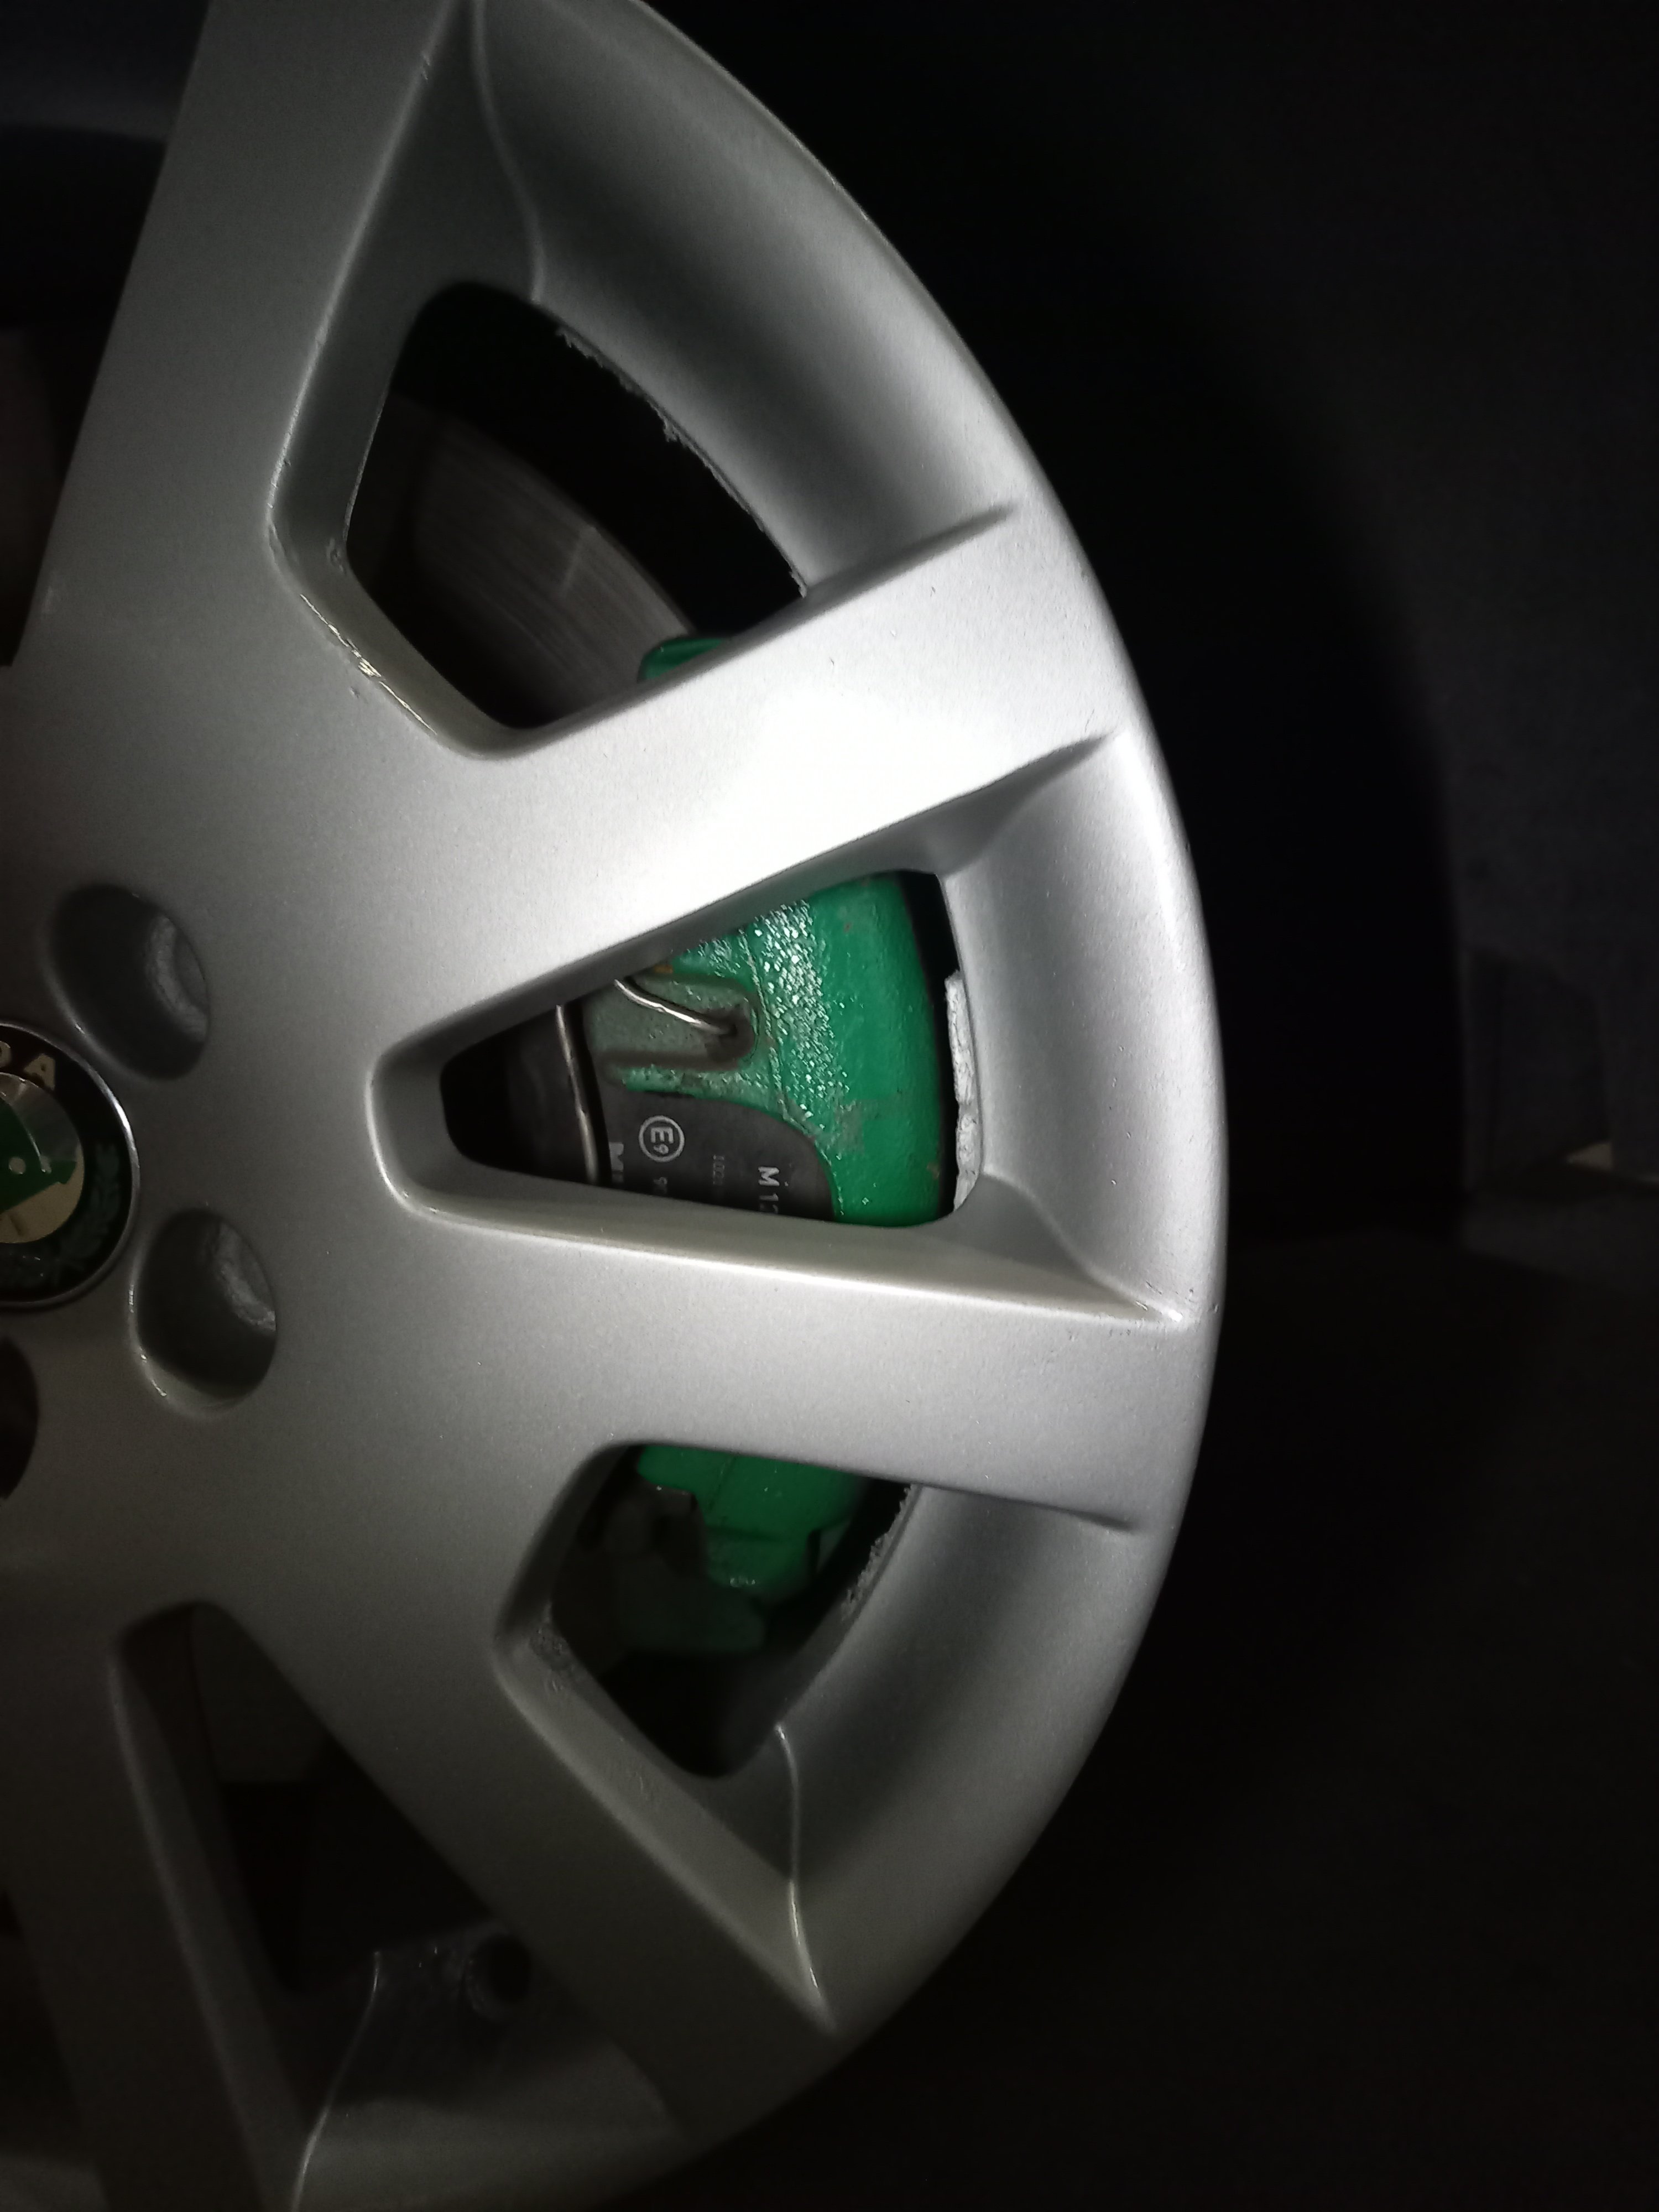
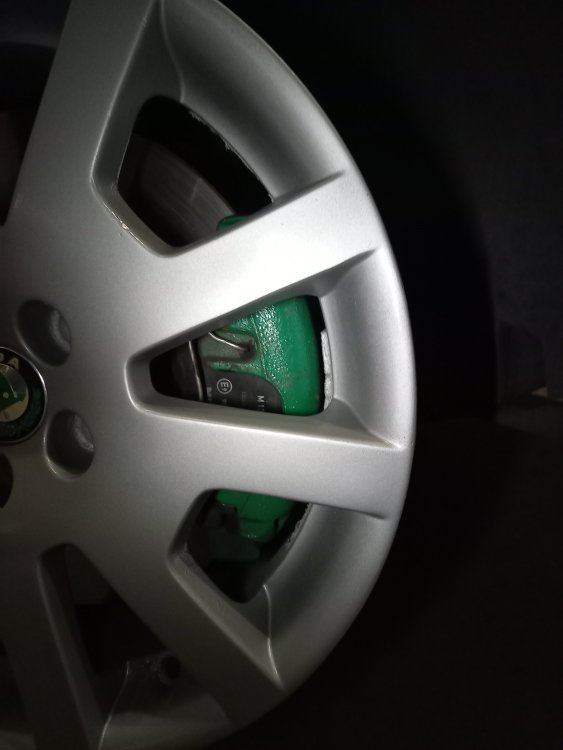
Ha! I do the same, except for the passengers wheel. For some reason the wheel nut caps on mine werent on right and one came off not long after I got the car. So since its missing a normal bolt cap I have it at the top. Always bugs me when I get new tyres on and the centrecap gets misaligned! Oh and the centre caps are 57mm iirc

-
Yeah they have the sensor so the car knows the temperature, it just doesnt have a gauge to show the driver. I'm guessing you want to wire a gauge to read straight from the coolant sensor then?
-
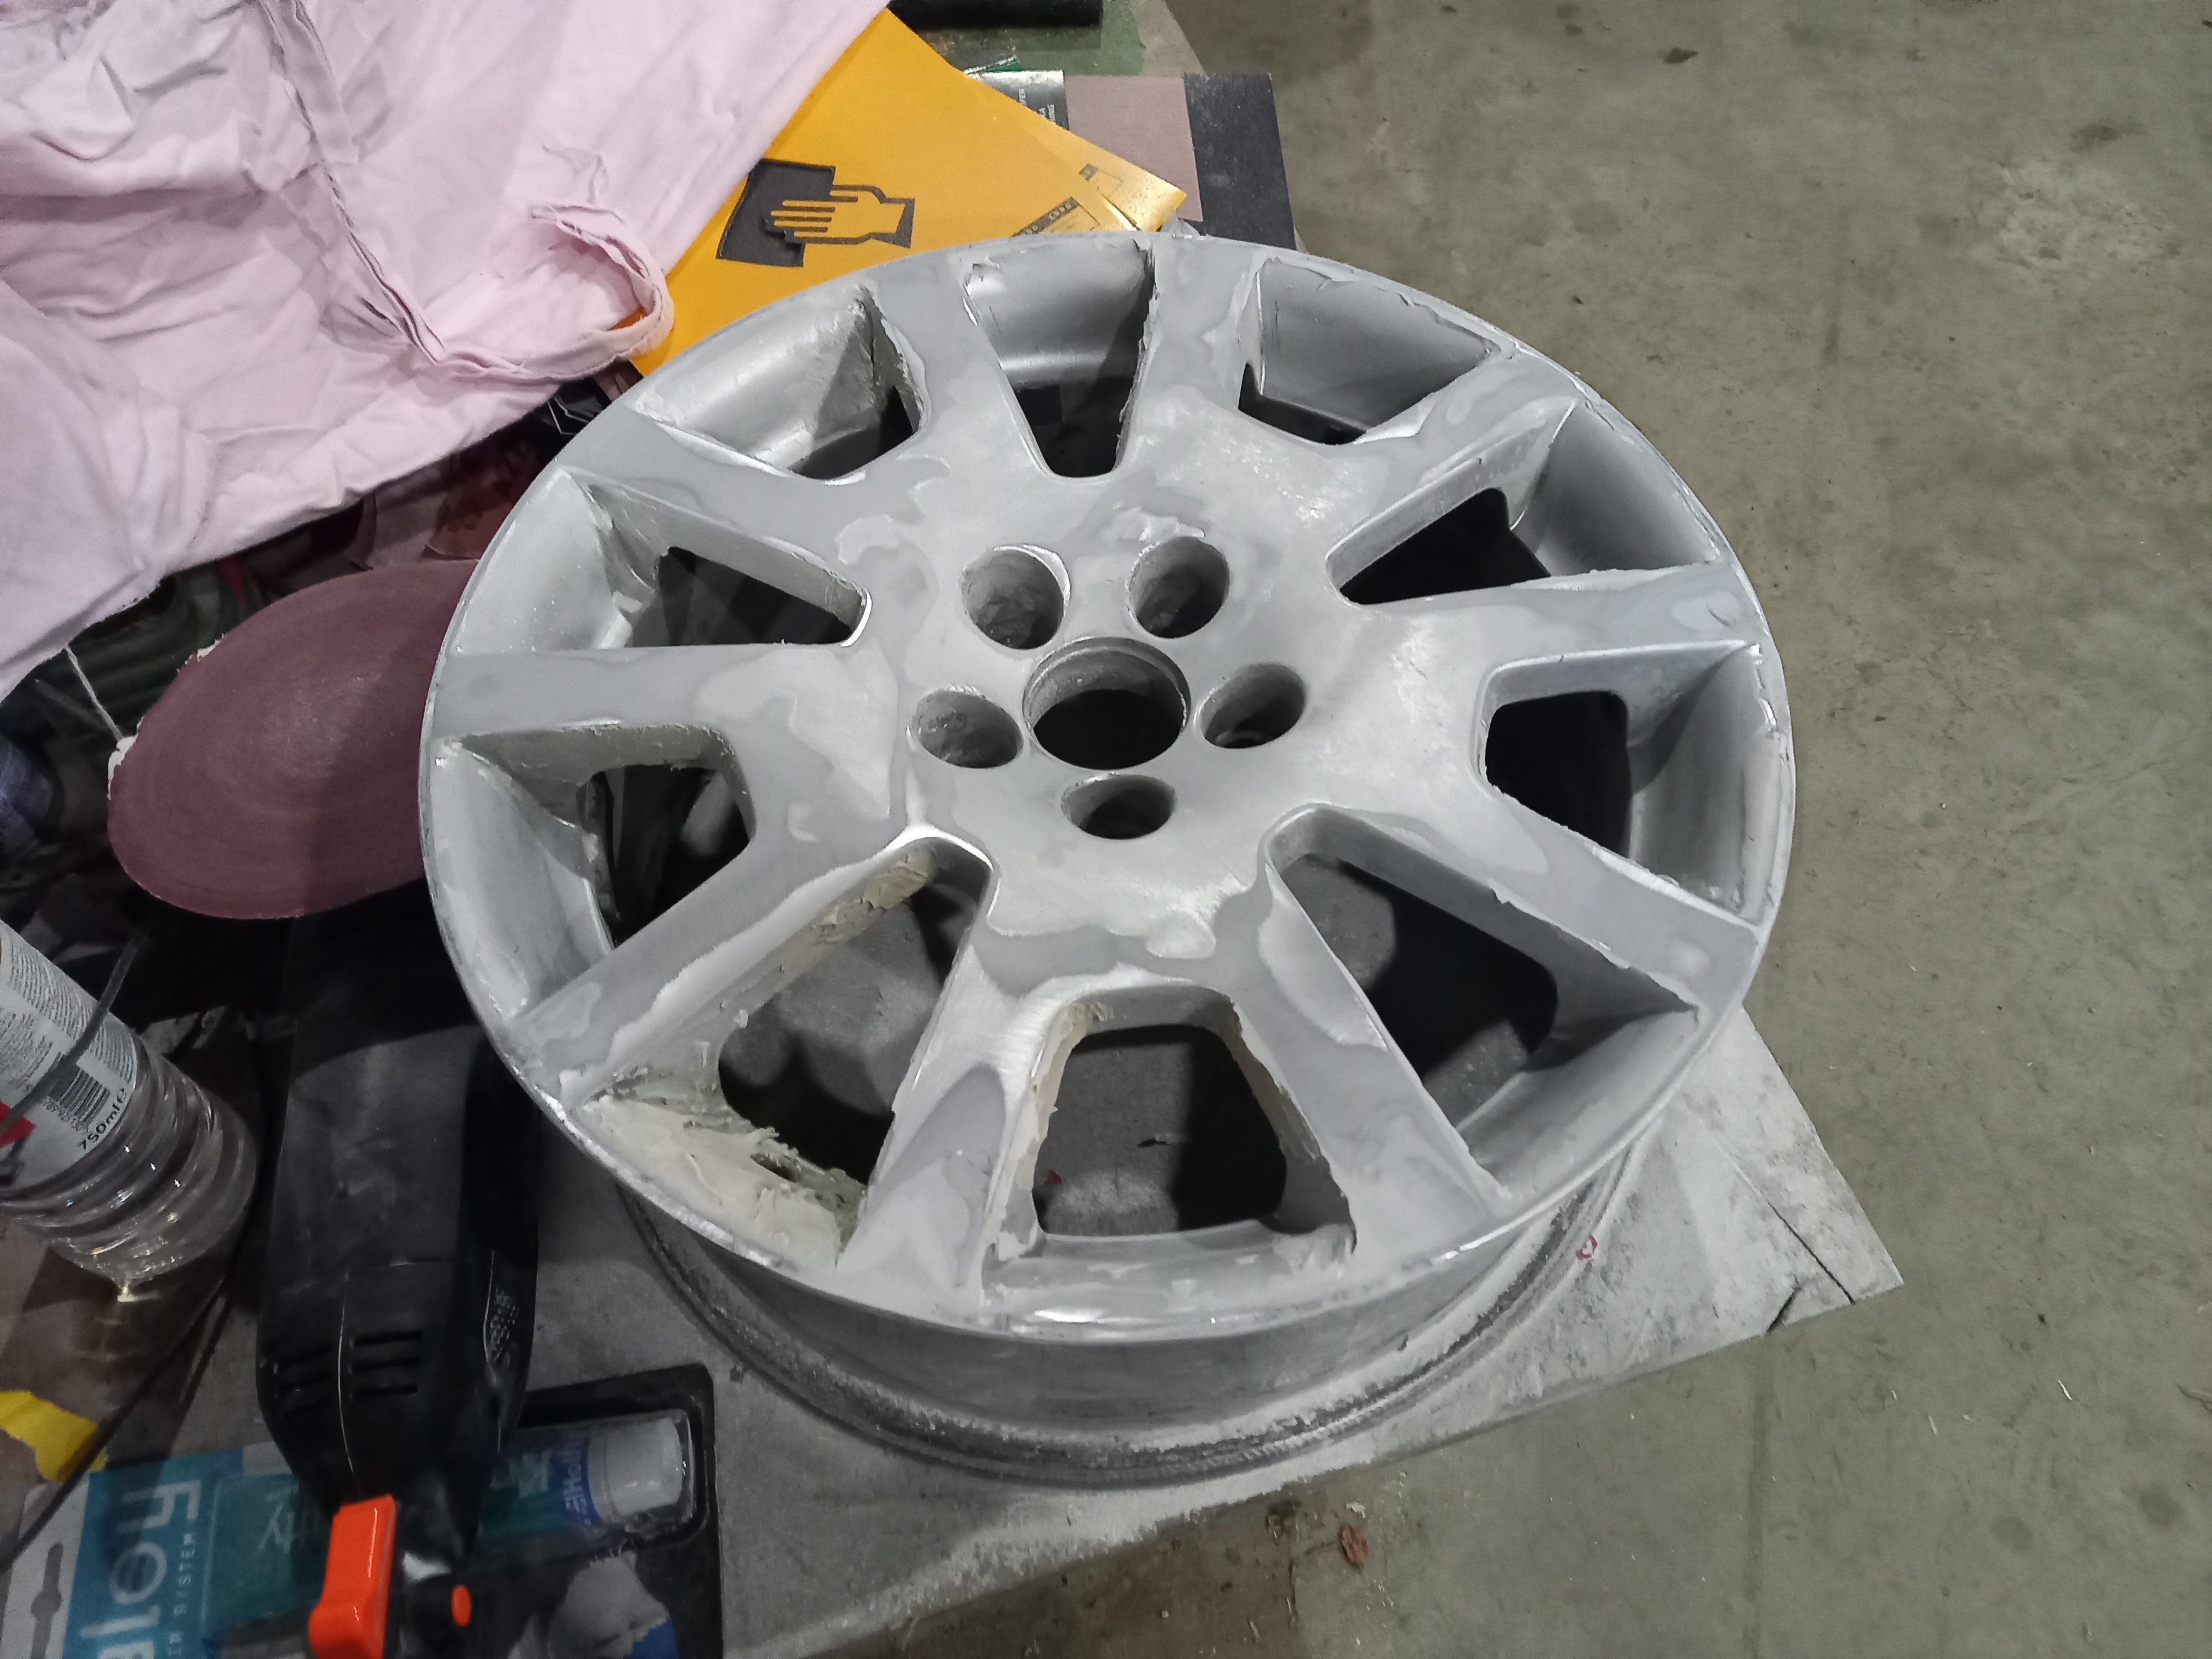
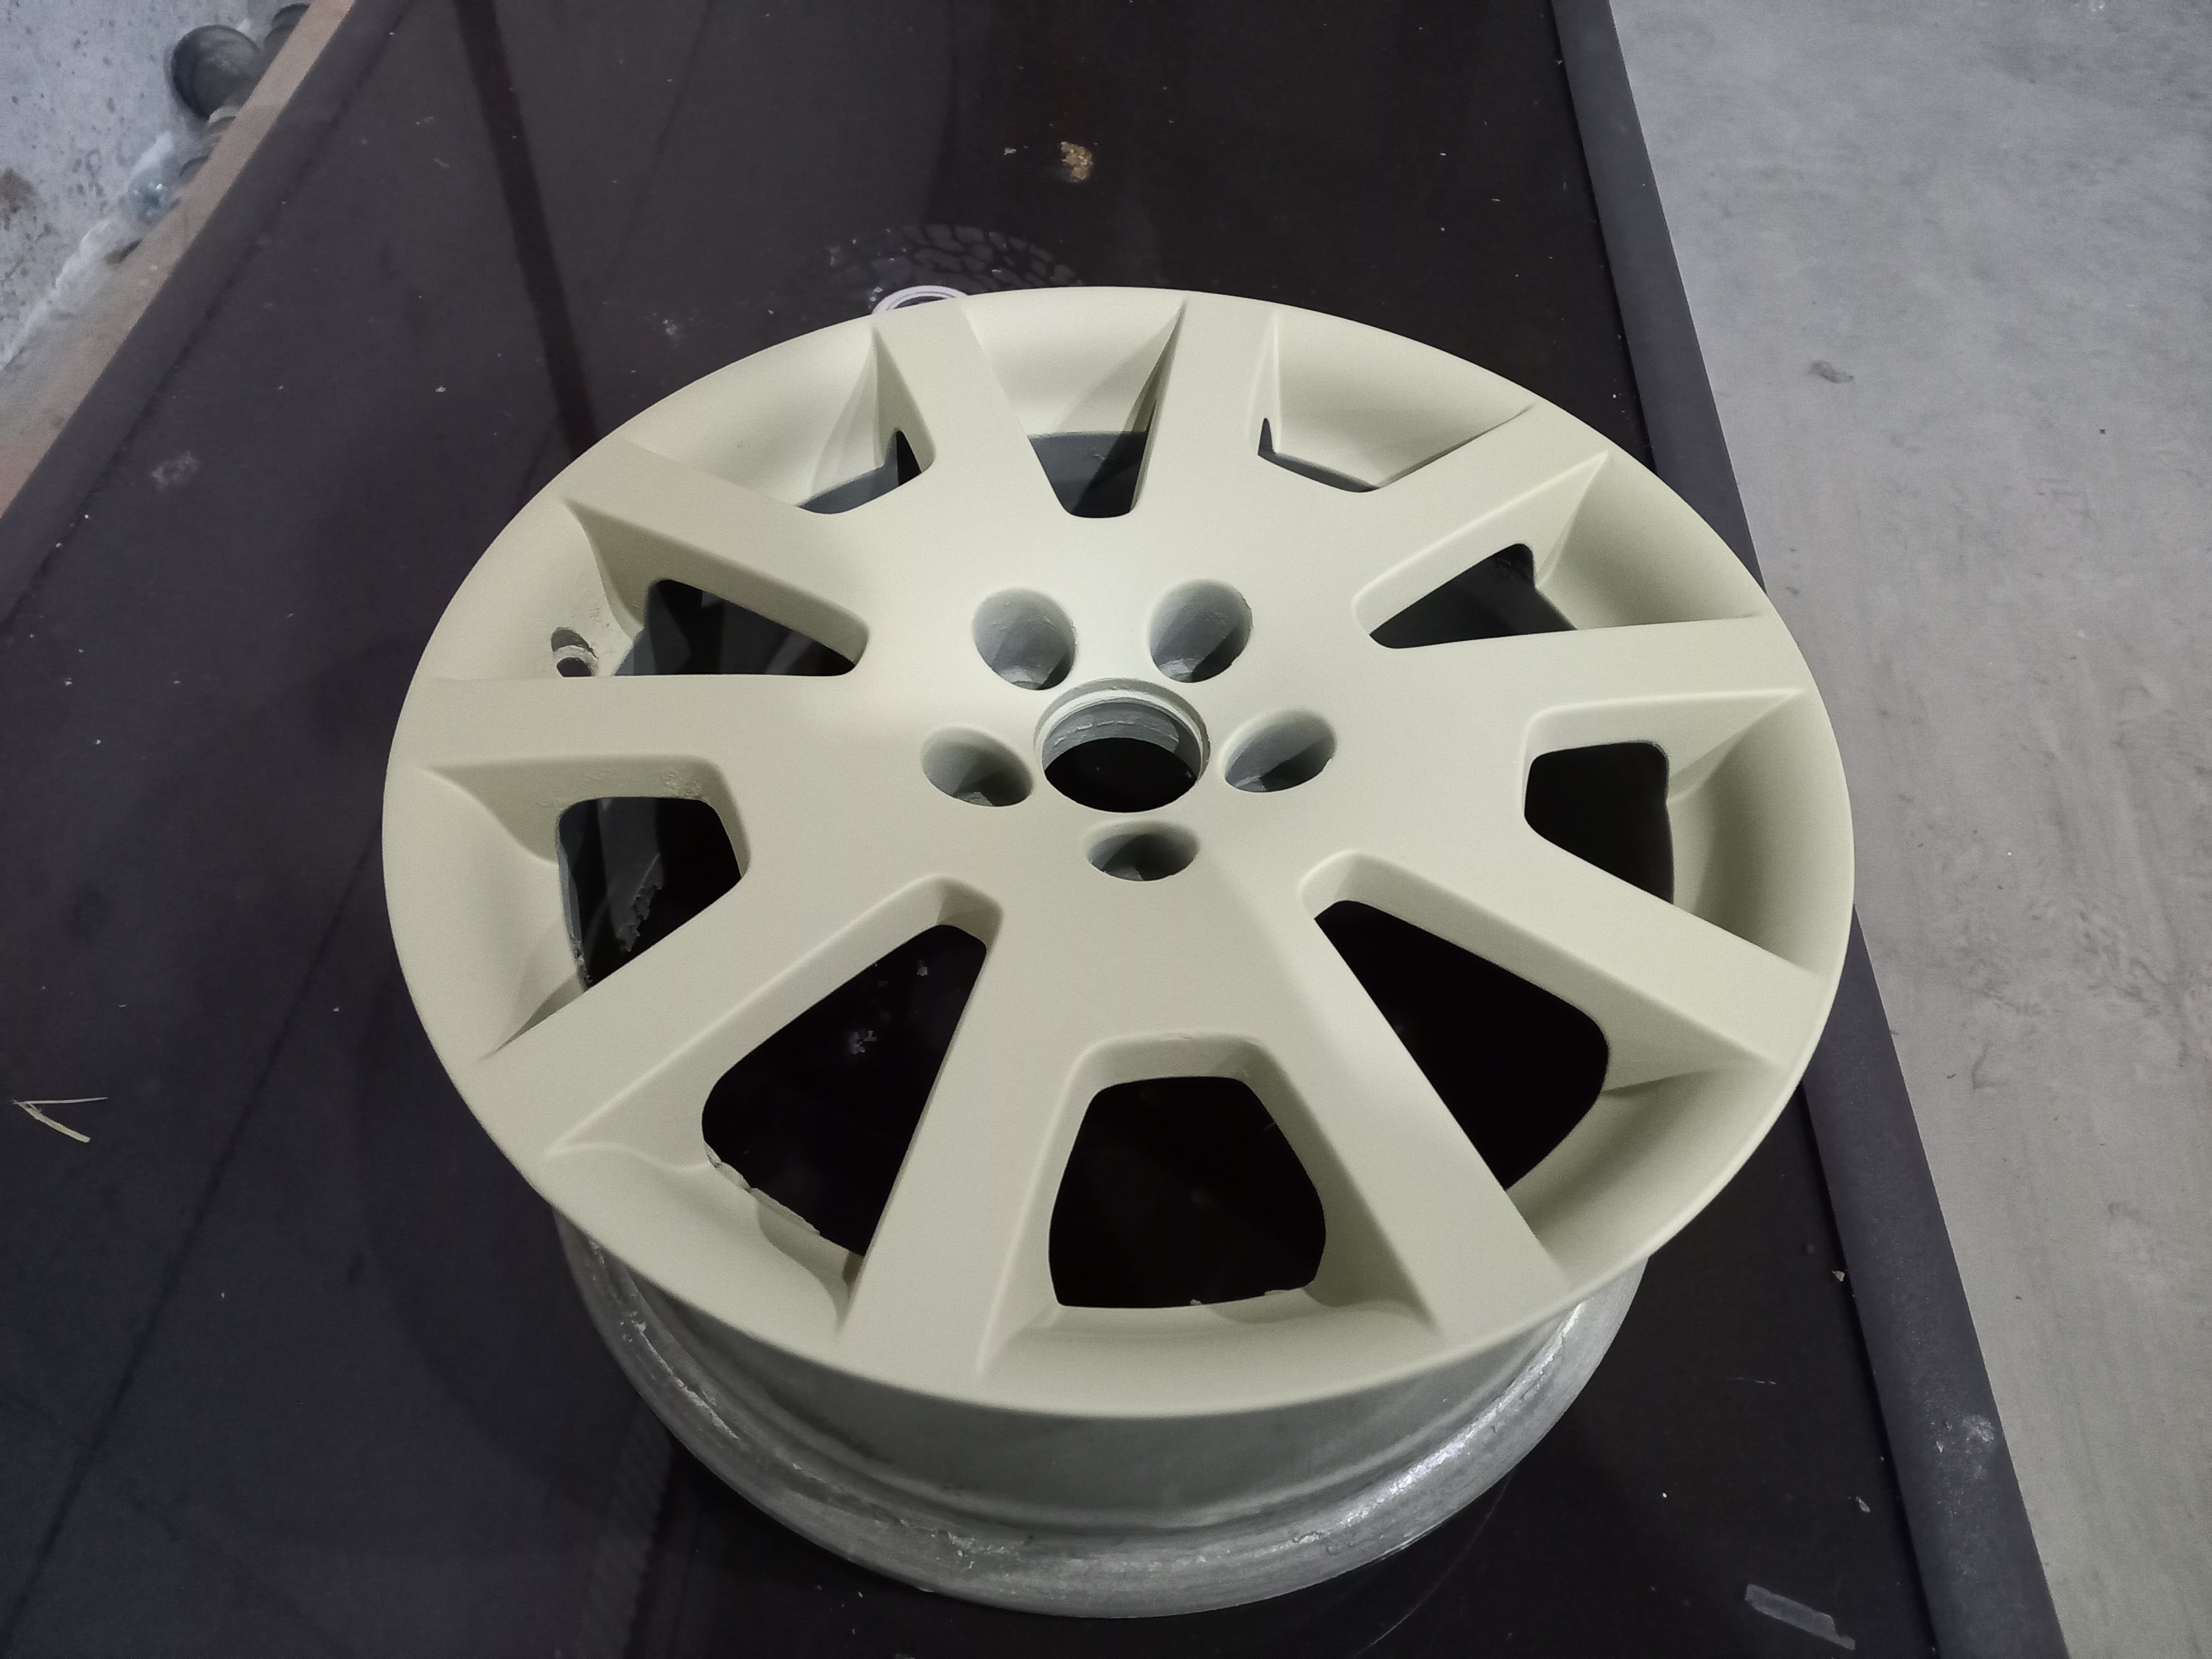
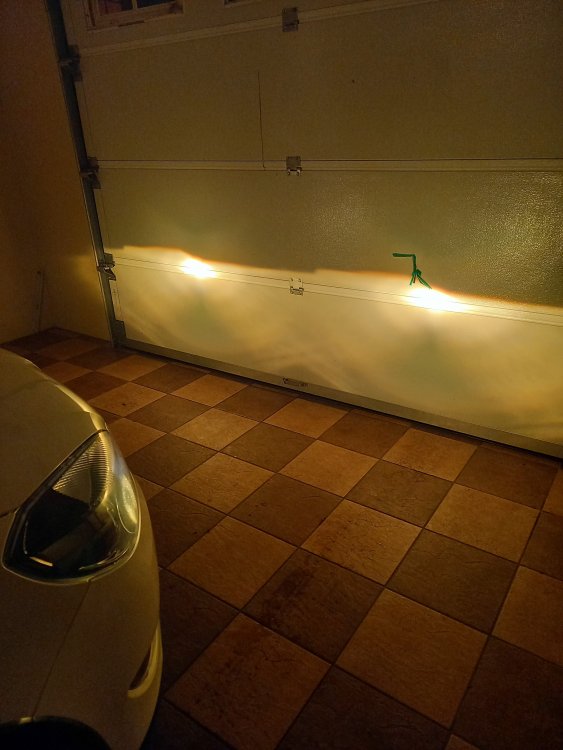
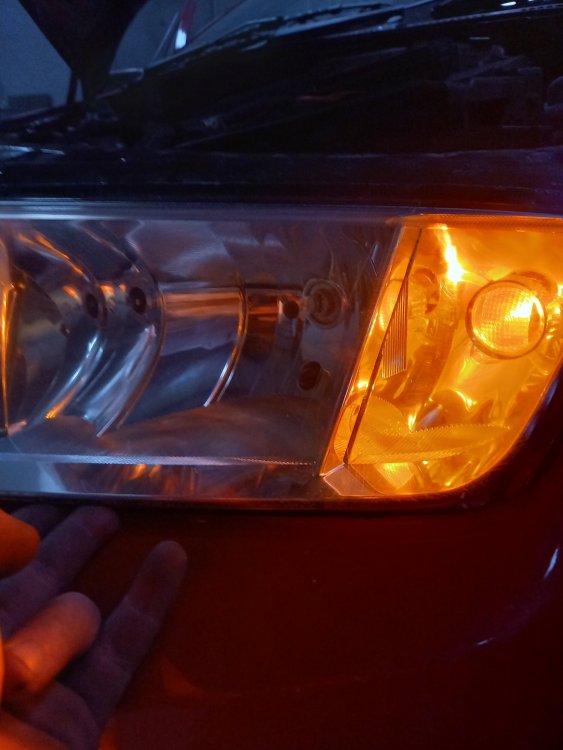
More progress again today, Brought out the rotary polisher with a 120 grit pad and sanded the filler down in no time Had to fill a few small imperfections with knife putty so I stopped there on that wheel. As you can see, the wheel I etch primed last night came out awesome, But I decided to use the high build primer over it anyway. Poor lighting on my part, but here is how that wheel sits now, letting the primer set overnight and I think i'll just sand it with 600 grit next day and spray some colour on ideally. Bit odd the high build primers a cream sort of colour and the etch primers black/really dark grey but looks like I got full coverage anyway so nothing to worry over. Again these won't be perfect but so far this one looks like it will come out great. As soon as I wrapped up, I was greeted with this. Was worried for a moment but after a bit of searching around the projector light on these only uses a H7 bulb, same as the main bulb on a mk1... So I "borrowed" one from the mk1 for now and I'll order a set of decent bulbs (Not leds, Not HIDs) to swap in whenever they arrive. The ones in it were cheapy ones and I thought the light output was fine enough, but given how much people rant about Osram nightbreakers and the likes I must order a set for myself and see how good they are.


-
That higher spec gauge is called a "maxidot" display. Probably is possible but would be easier to use an app called torque pro like I use, or put an auxillary gauge on yourself. I've been using torque for quite a while and it does the job well. Much cheaper than putting in new gauges I know that much.
-
Do they not come back up on their own eventually?
-
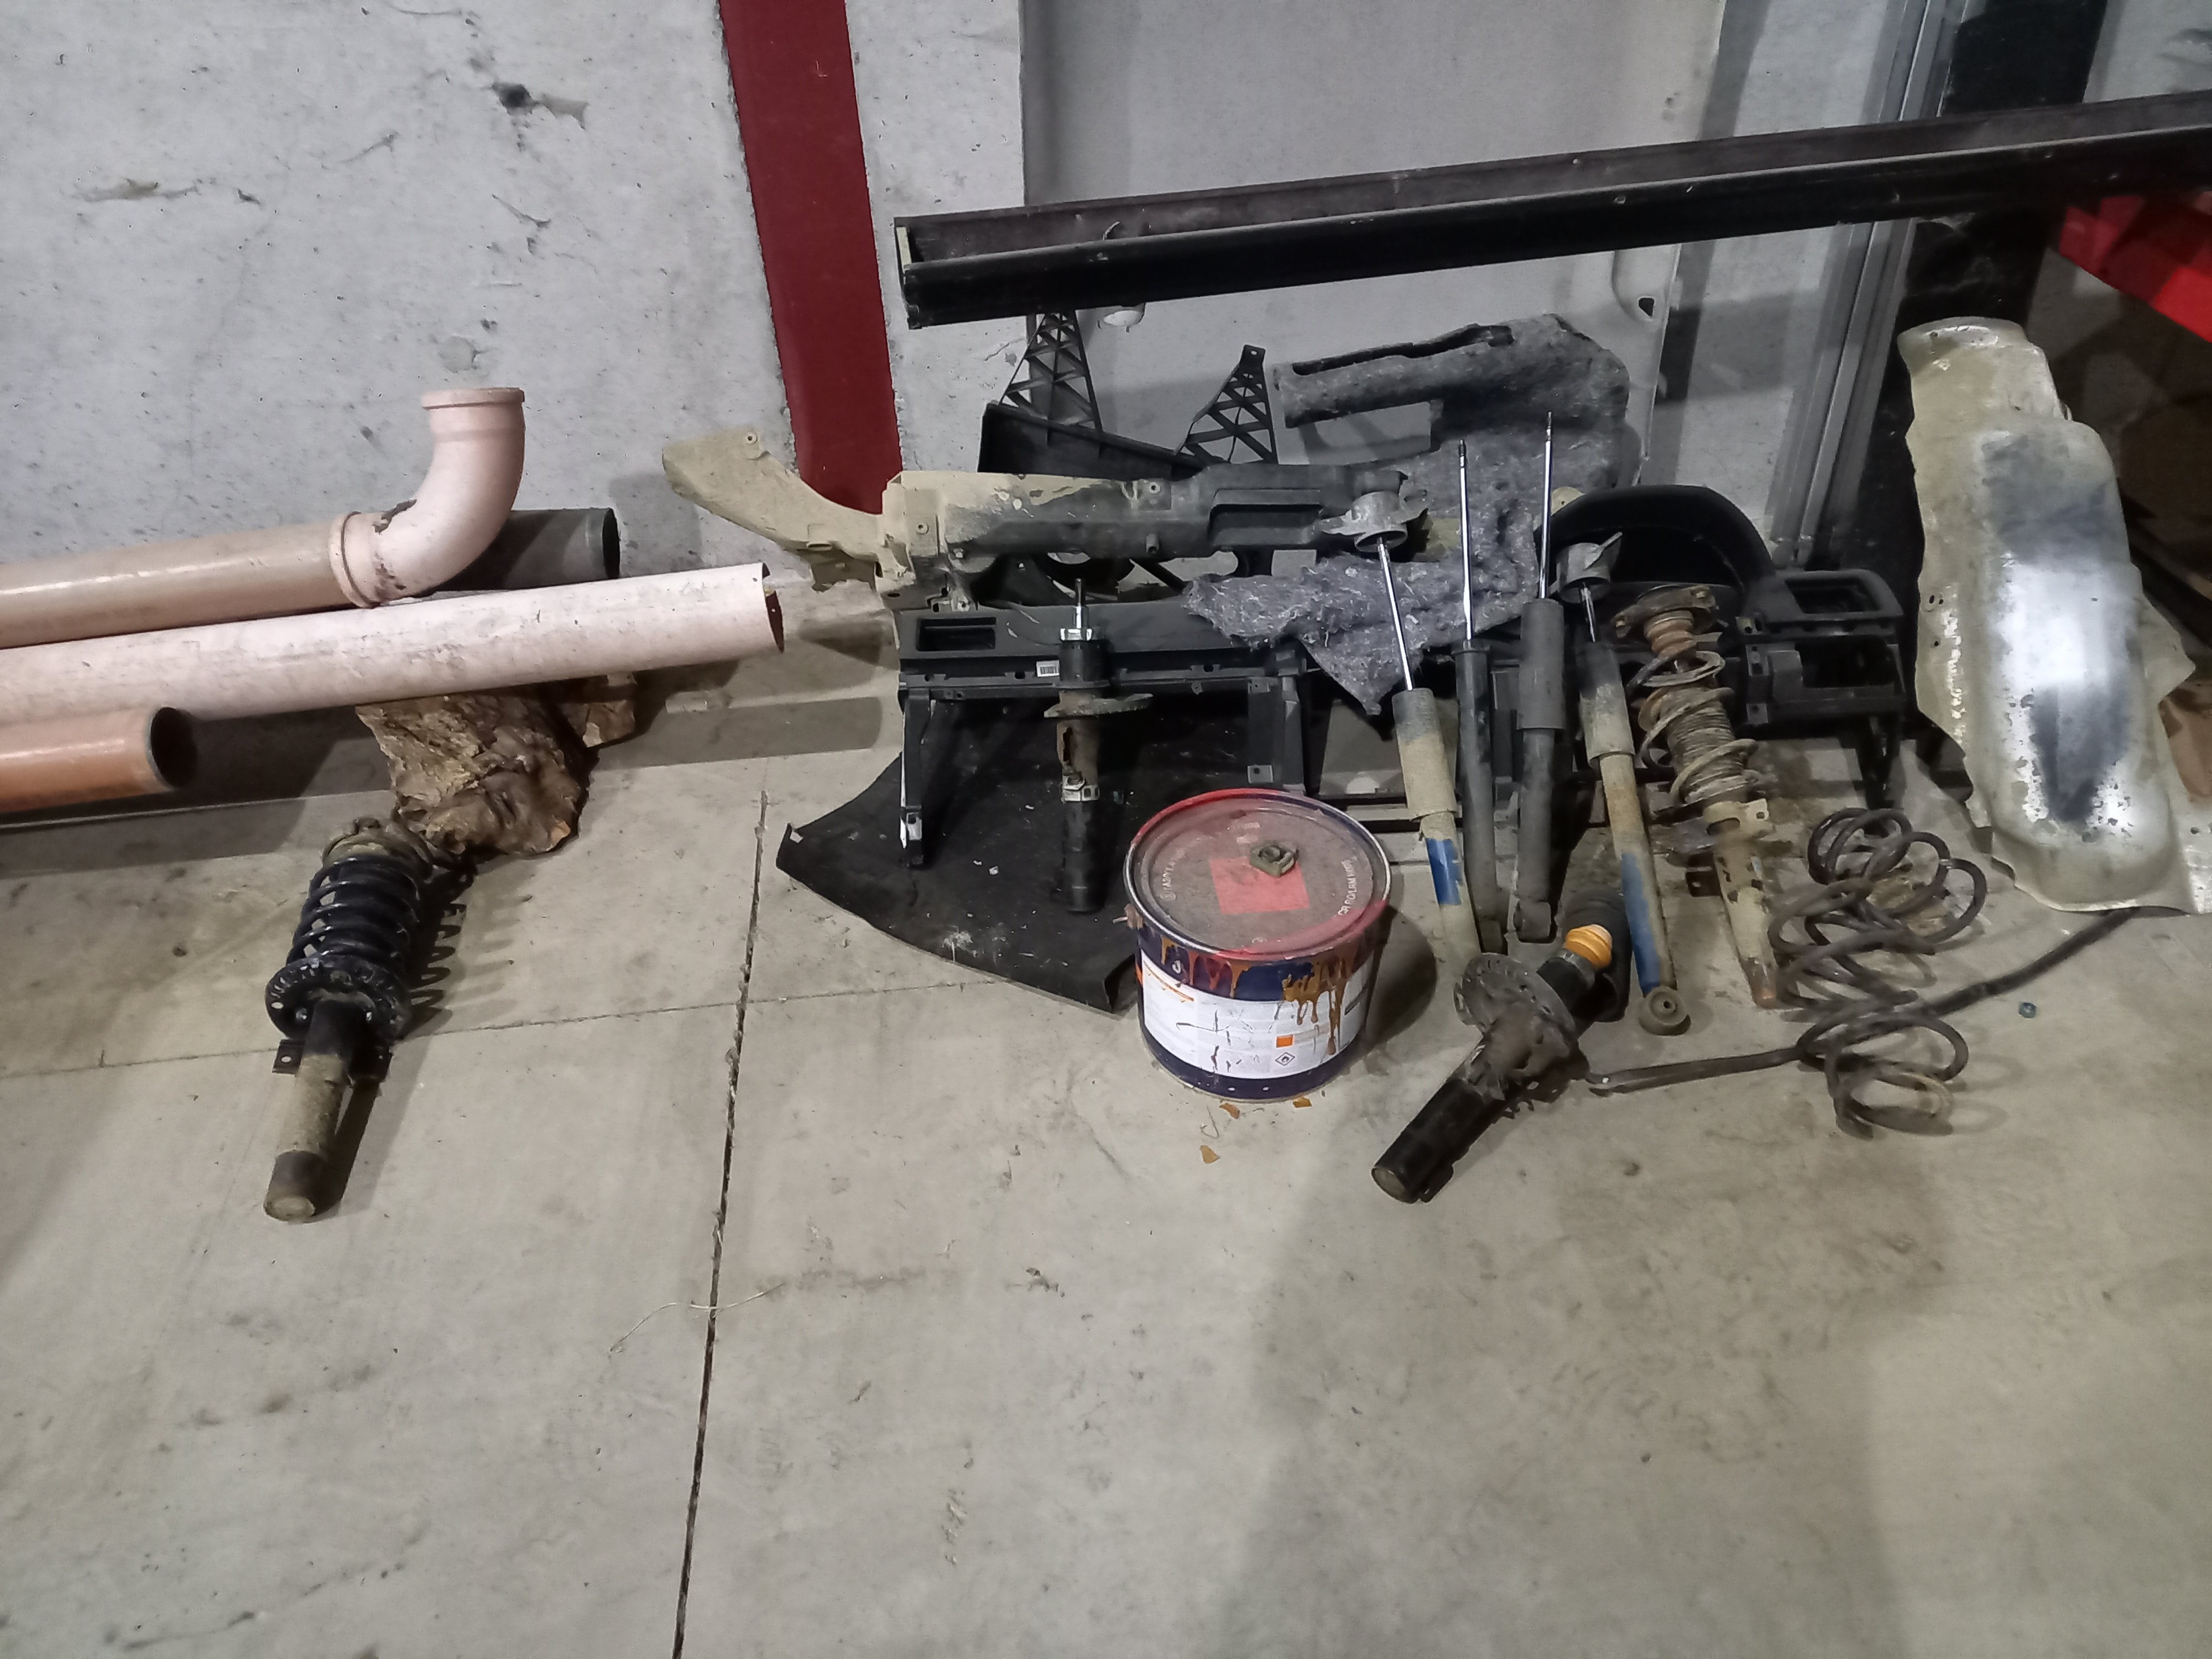
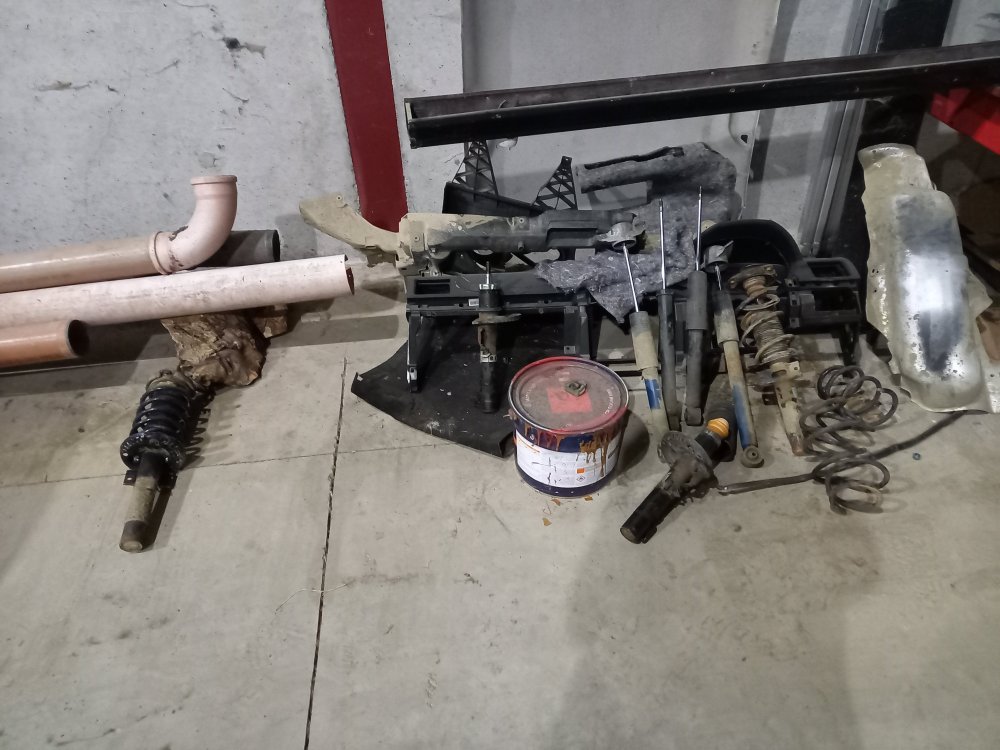
Oh and one more thing, I pushed down this old shock of the mk2 a week ago and its still stuck down. Safe to say these are toast. My pile of junk shocks and springs. Other side of the shed has my pile of rear springs that I have somehow amassed over the last few months.
-
Wonder what powdercoating would cost for these wheels? Obviously I won't get close to the finish of a powdercoated set, but they'll look more than fine for my cars. That primers sprayed really well, and I know the paint I bought also sprays really well so I'm confident they'll come out decent. Only trouble is i've never used that clearcoat before so I'm a little nervous to clear them, but I know that I need to get some clearcoat on them if they are to withstand any sort of abuse.
-
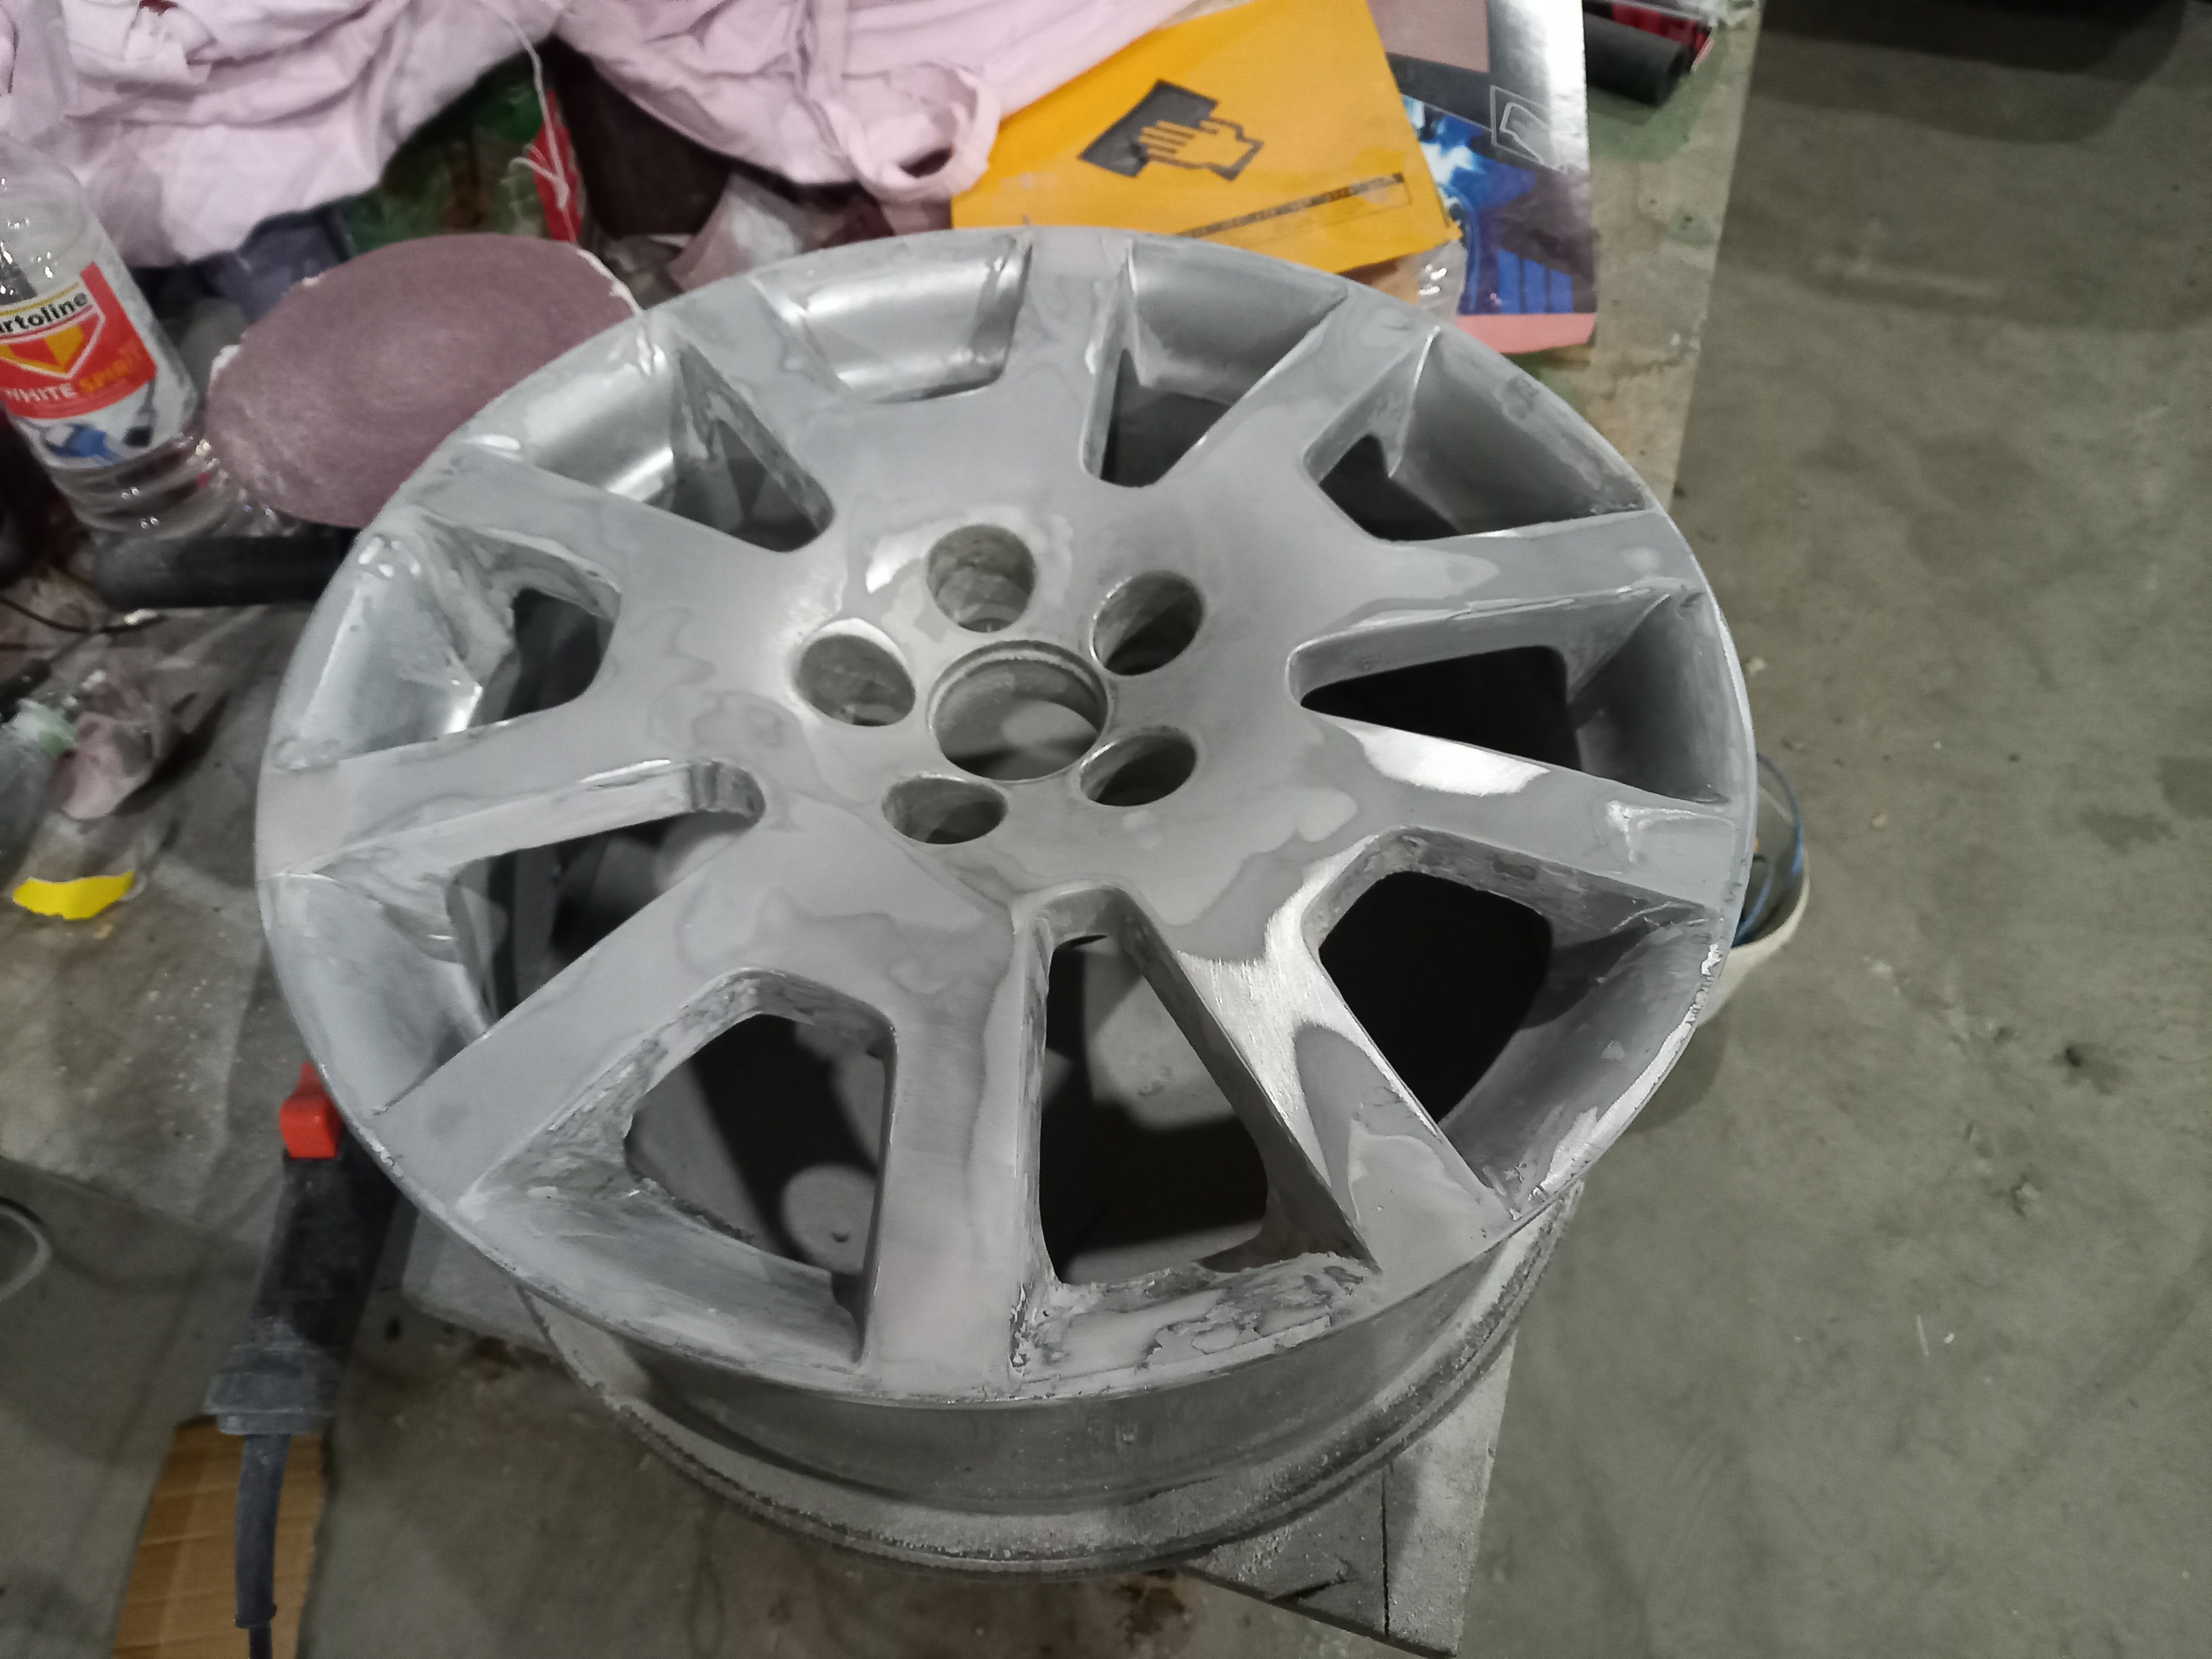
The grey is just Upol etch primer. Not my cup of tea but it did come out really well. Bit darker in person than in that photo.
-
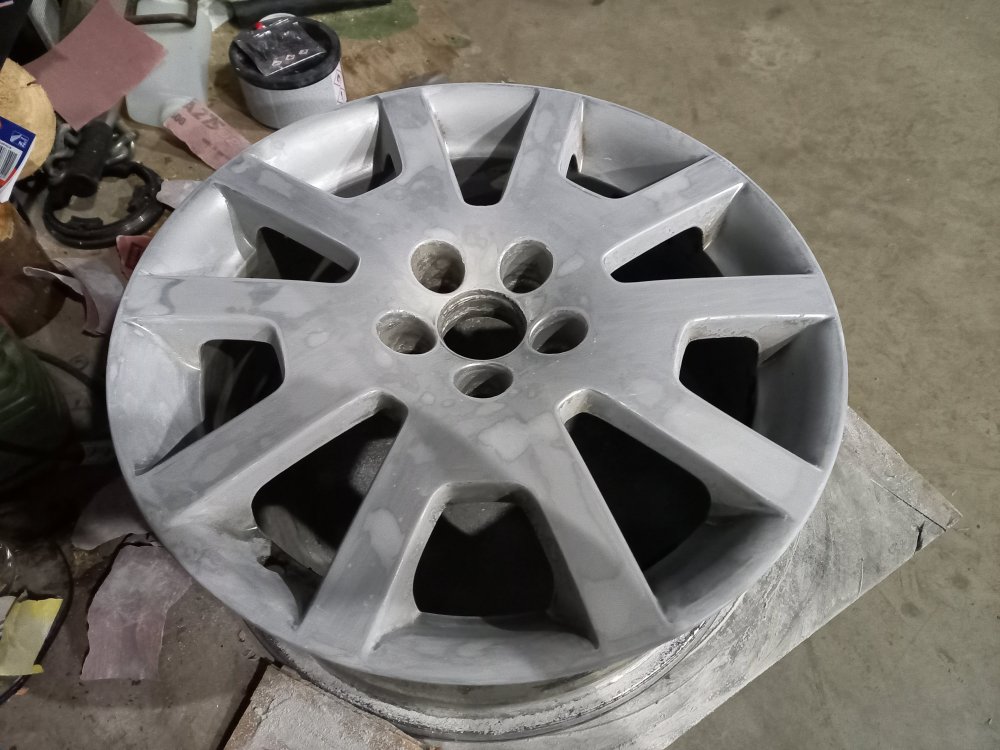
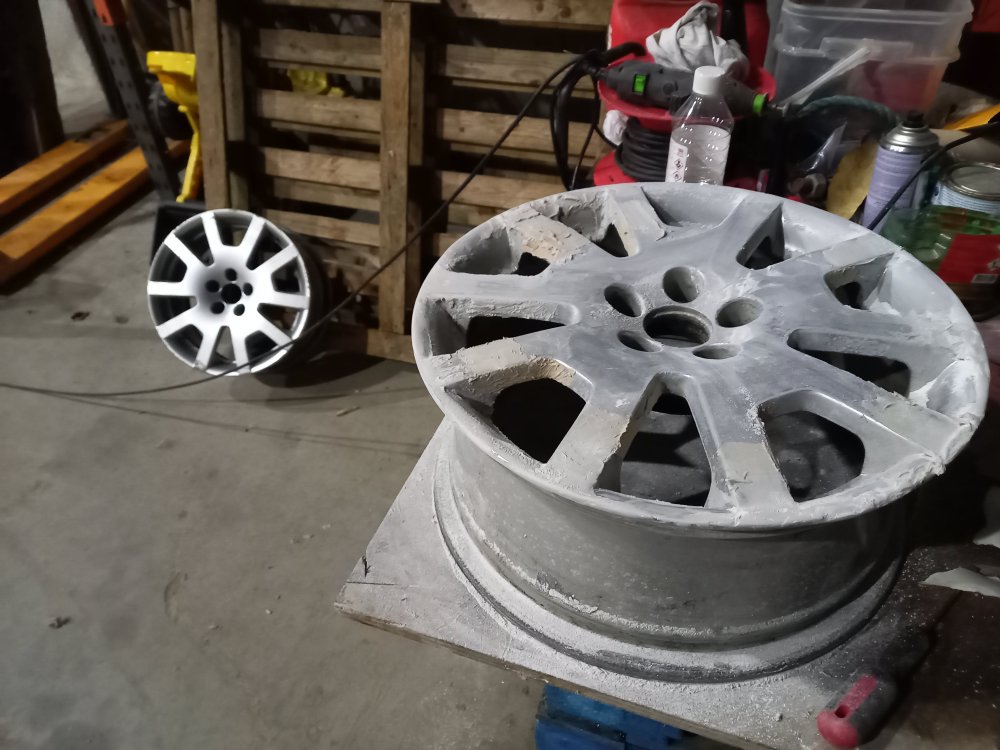
Right, so another €42.50 spent on paint and supplies. Totals now €97.50. After an hour or two of sanding, this wheel was ready for primer. I sanded the filler down with 80 grit until it was almost even with the rest of the rim, then went with 240 grit, 320 grit, 500 grit and finished with 600 grit. Blew off the massive amounts of dust with an air compressor and then wiped them down. After 3 coats of Upol etch primer it came out like this. I bought filler primer just in case, looks like this wheel wont need it. These two however.... Well I have my work cut out if these are going to come out halfway decent. I used WAY too much filler but its nothing that a few sheets of 80 grit and a few hours won't sort.
-
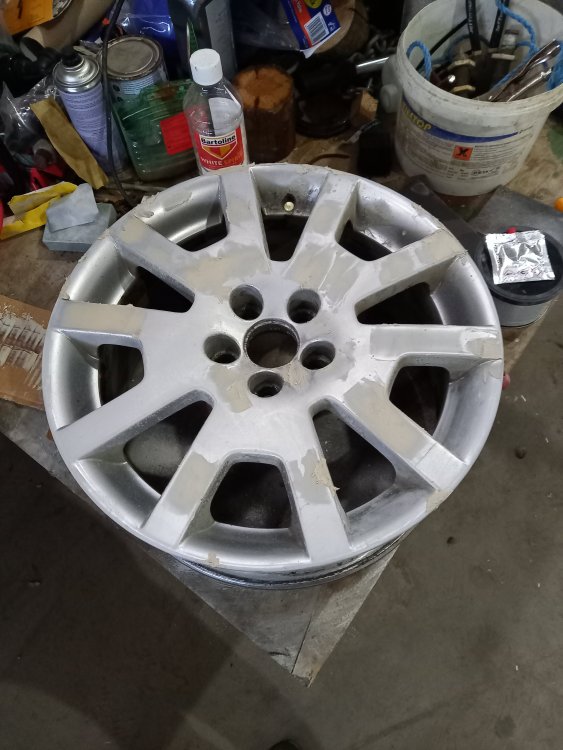
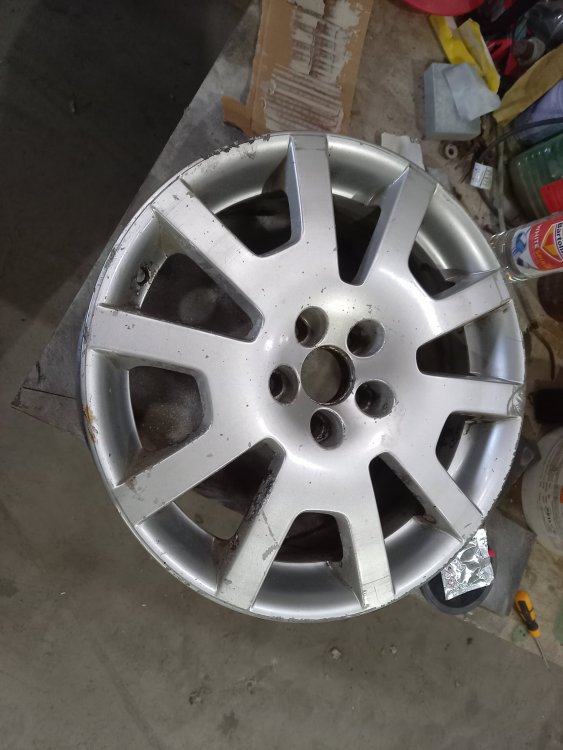
Got three wheels rubbed down a bit and filler applied before I ran out of sandpaper. No harm leaving the filler overnight to set though. Only this wheel left to rub back and fill, probably second roughest out of the 4 as a lot of those kerb marks are quite deep. Don't really know how to sort the marks on the wheels where the paint has just come off, hoping if I sand it back it will be enough for some filler primer to fill them up?
-
I think the problem with mine was that the cable had come out of where it goes into the fuel door, put it back in and it works.
-
My mk1 has a locking door but it was broke and wouldn't latch, fixed it since. Mine is a comfort though so has a few extras on it as standard, probably why it has the locking door.
-
Its pretty annoying that the mk1 has a locking fuel door but the mk2 doesnt. Bit of a pain having to unlock the fuel cap every fill but I find its a good reminder beforr you set off to make sure its on and locked.
.thumb.jpg.06721e8c8b33ed0eea16572ff131b291.jpg)