



Binx1310
FREEDOMLite
-
Joined
-
Last visited
-
Currently
Viewing Topic: Bixenon Headlights auto-adjustment problem
Everything posted by Binx1310
-
Ah ok. There were a couple of holes in the plastic under then felt on mine. Manage to route the cable through to the bit one. Great idea for a neat set up. Thanks
-
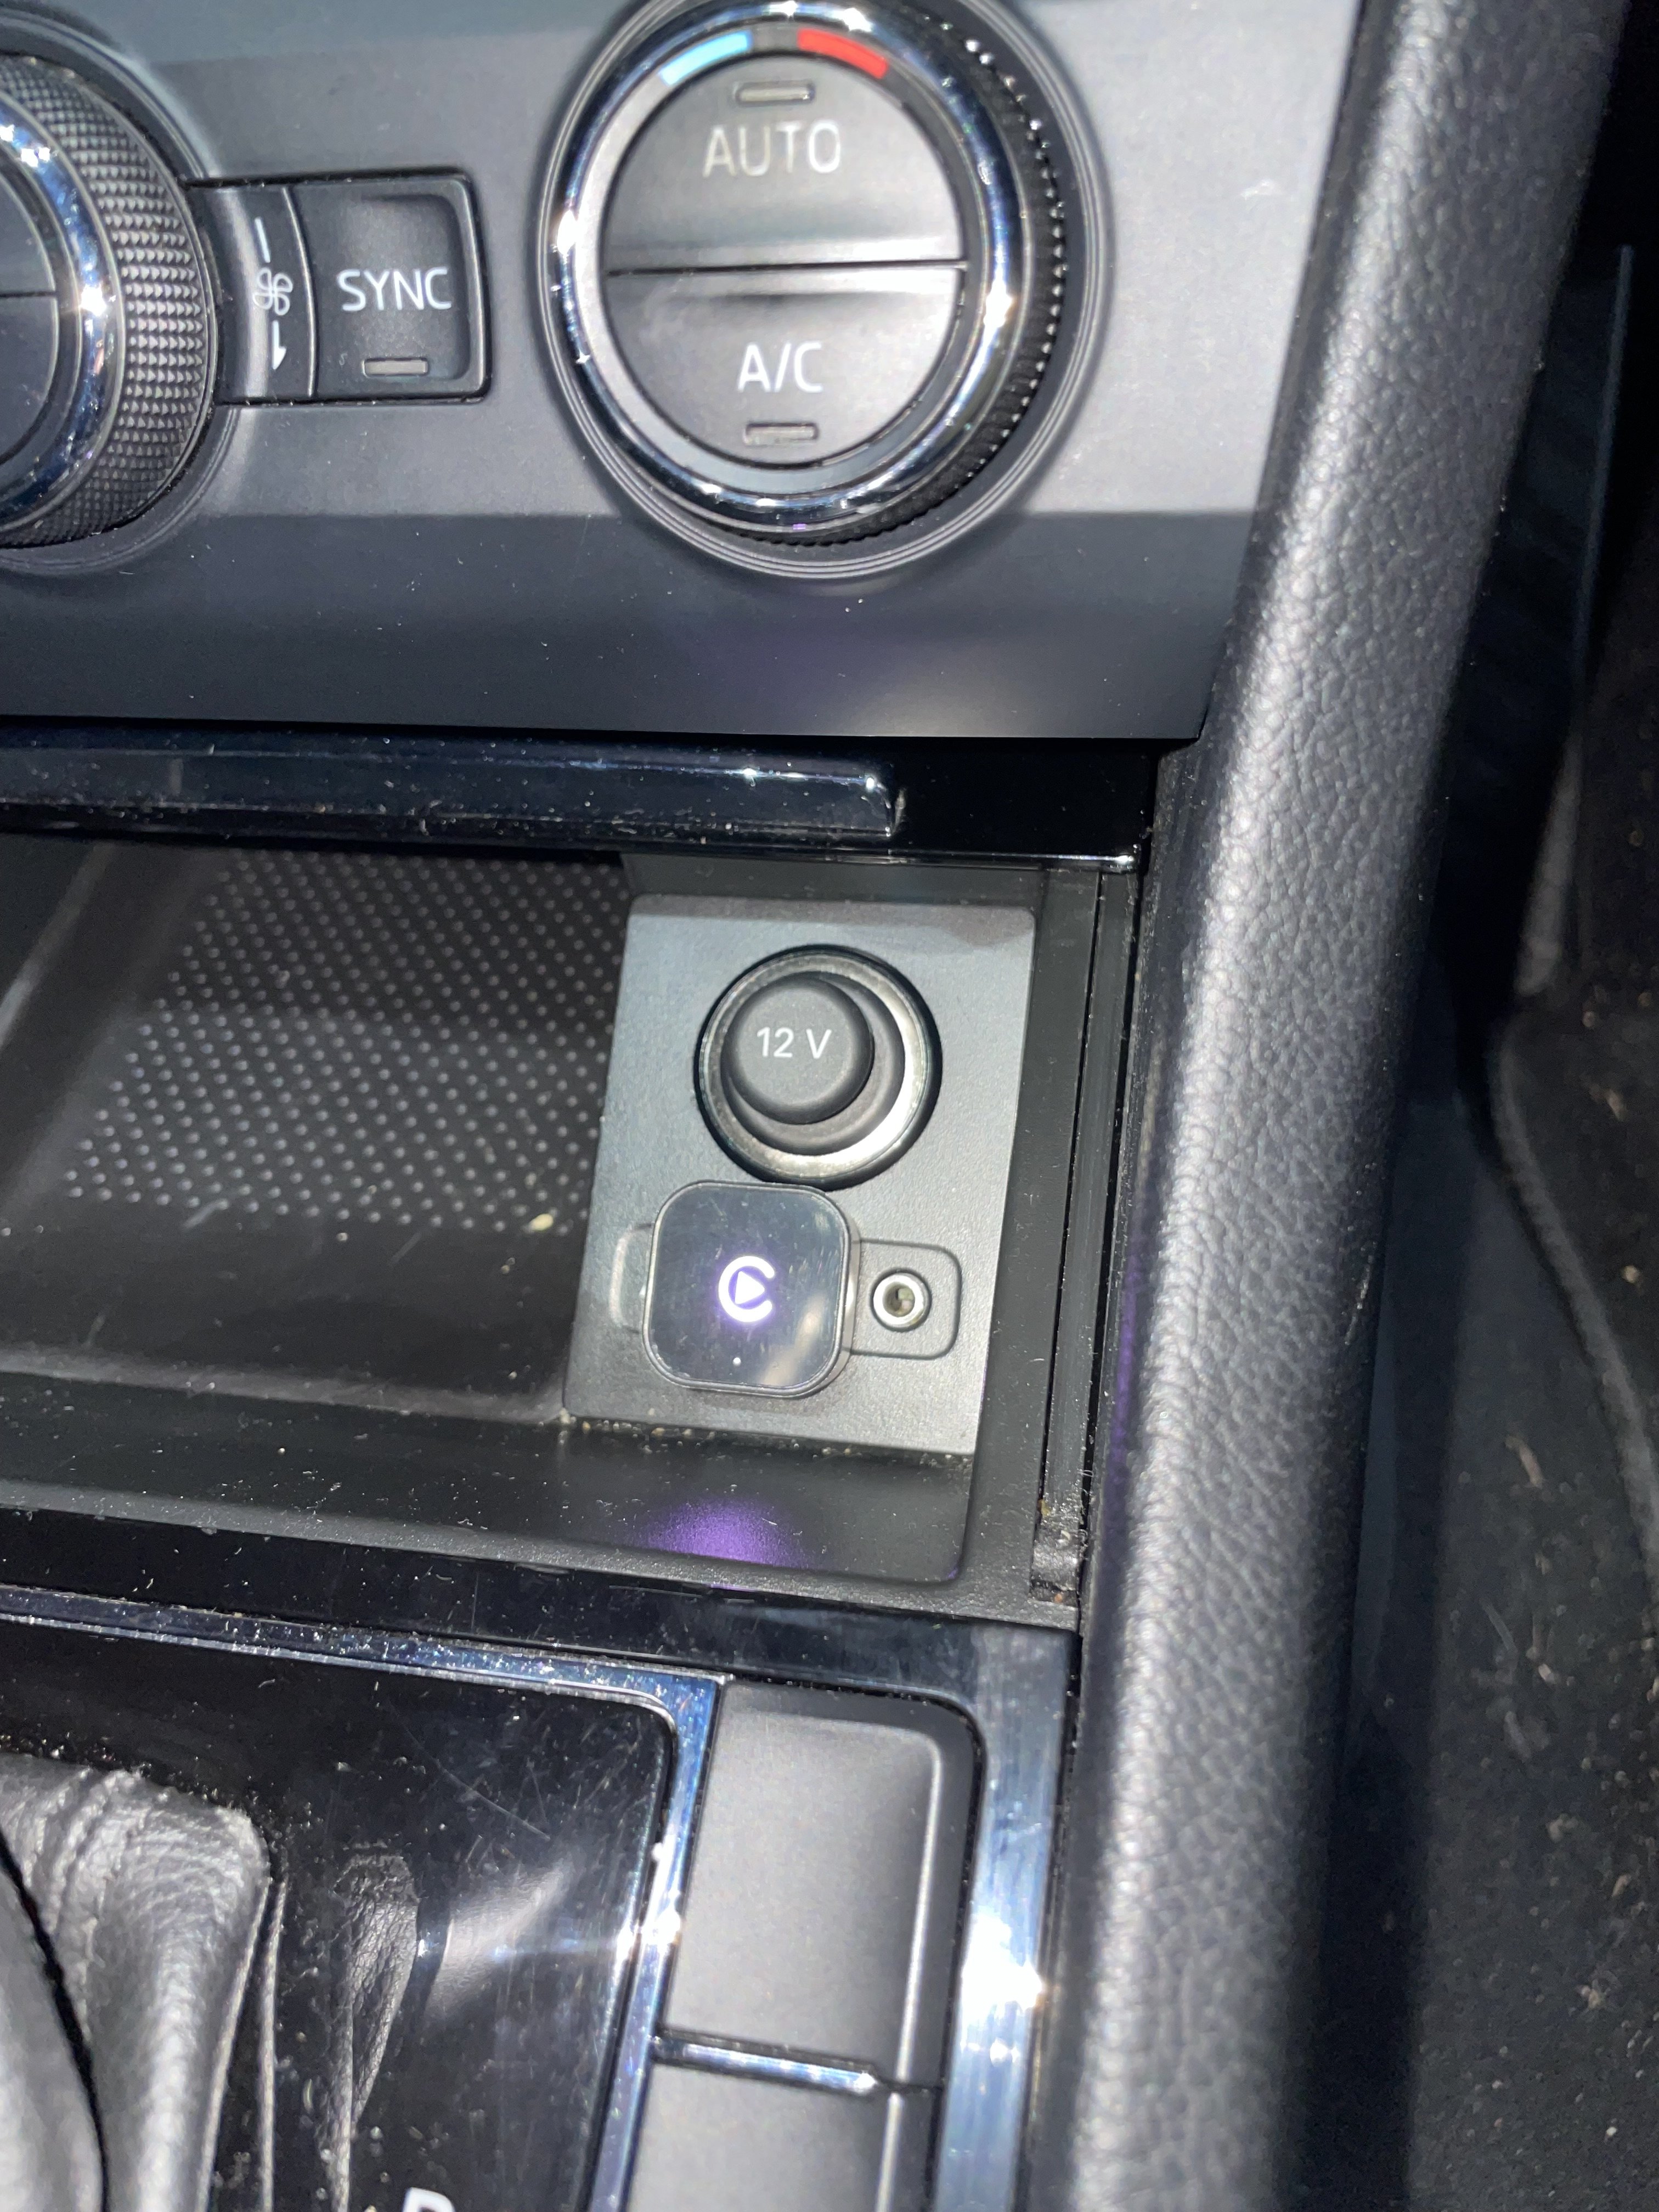
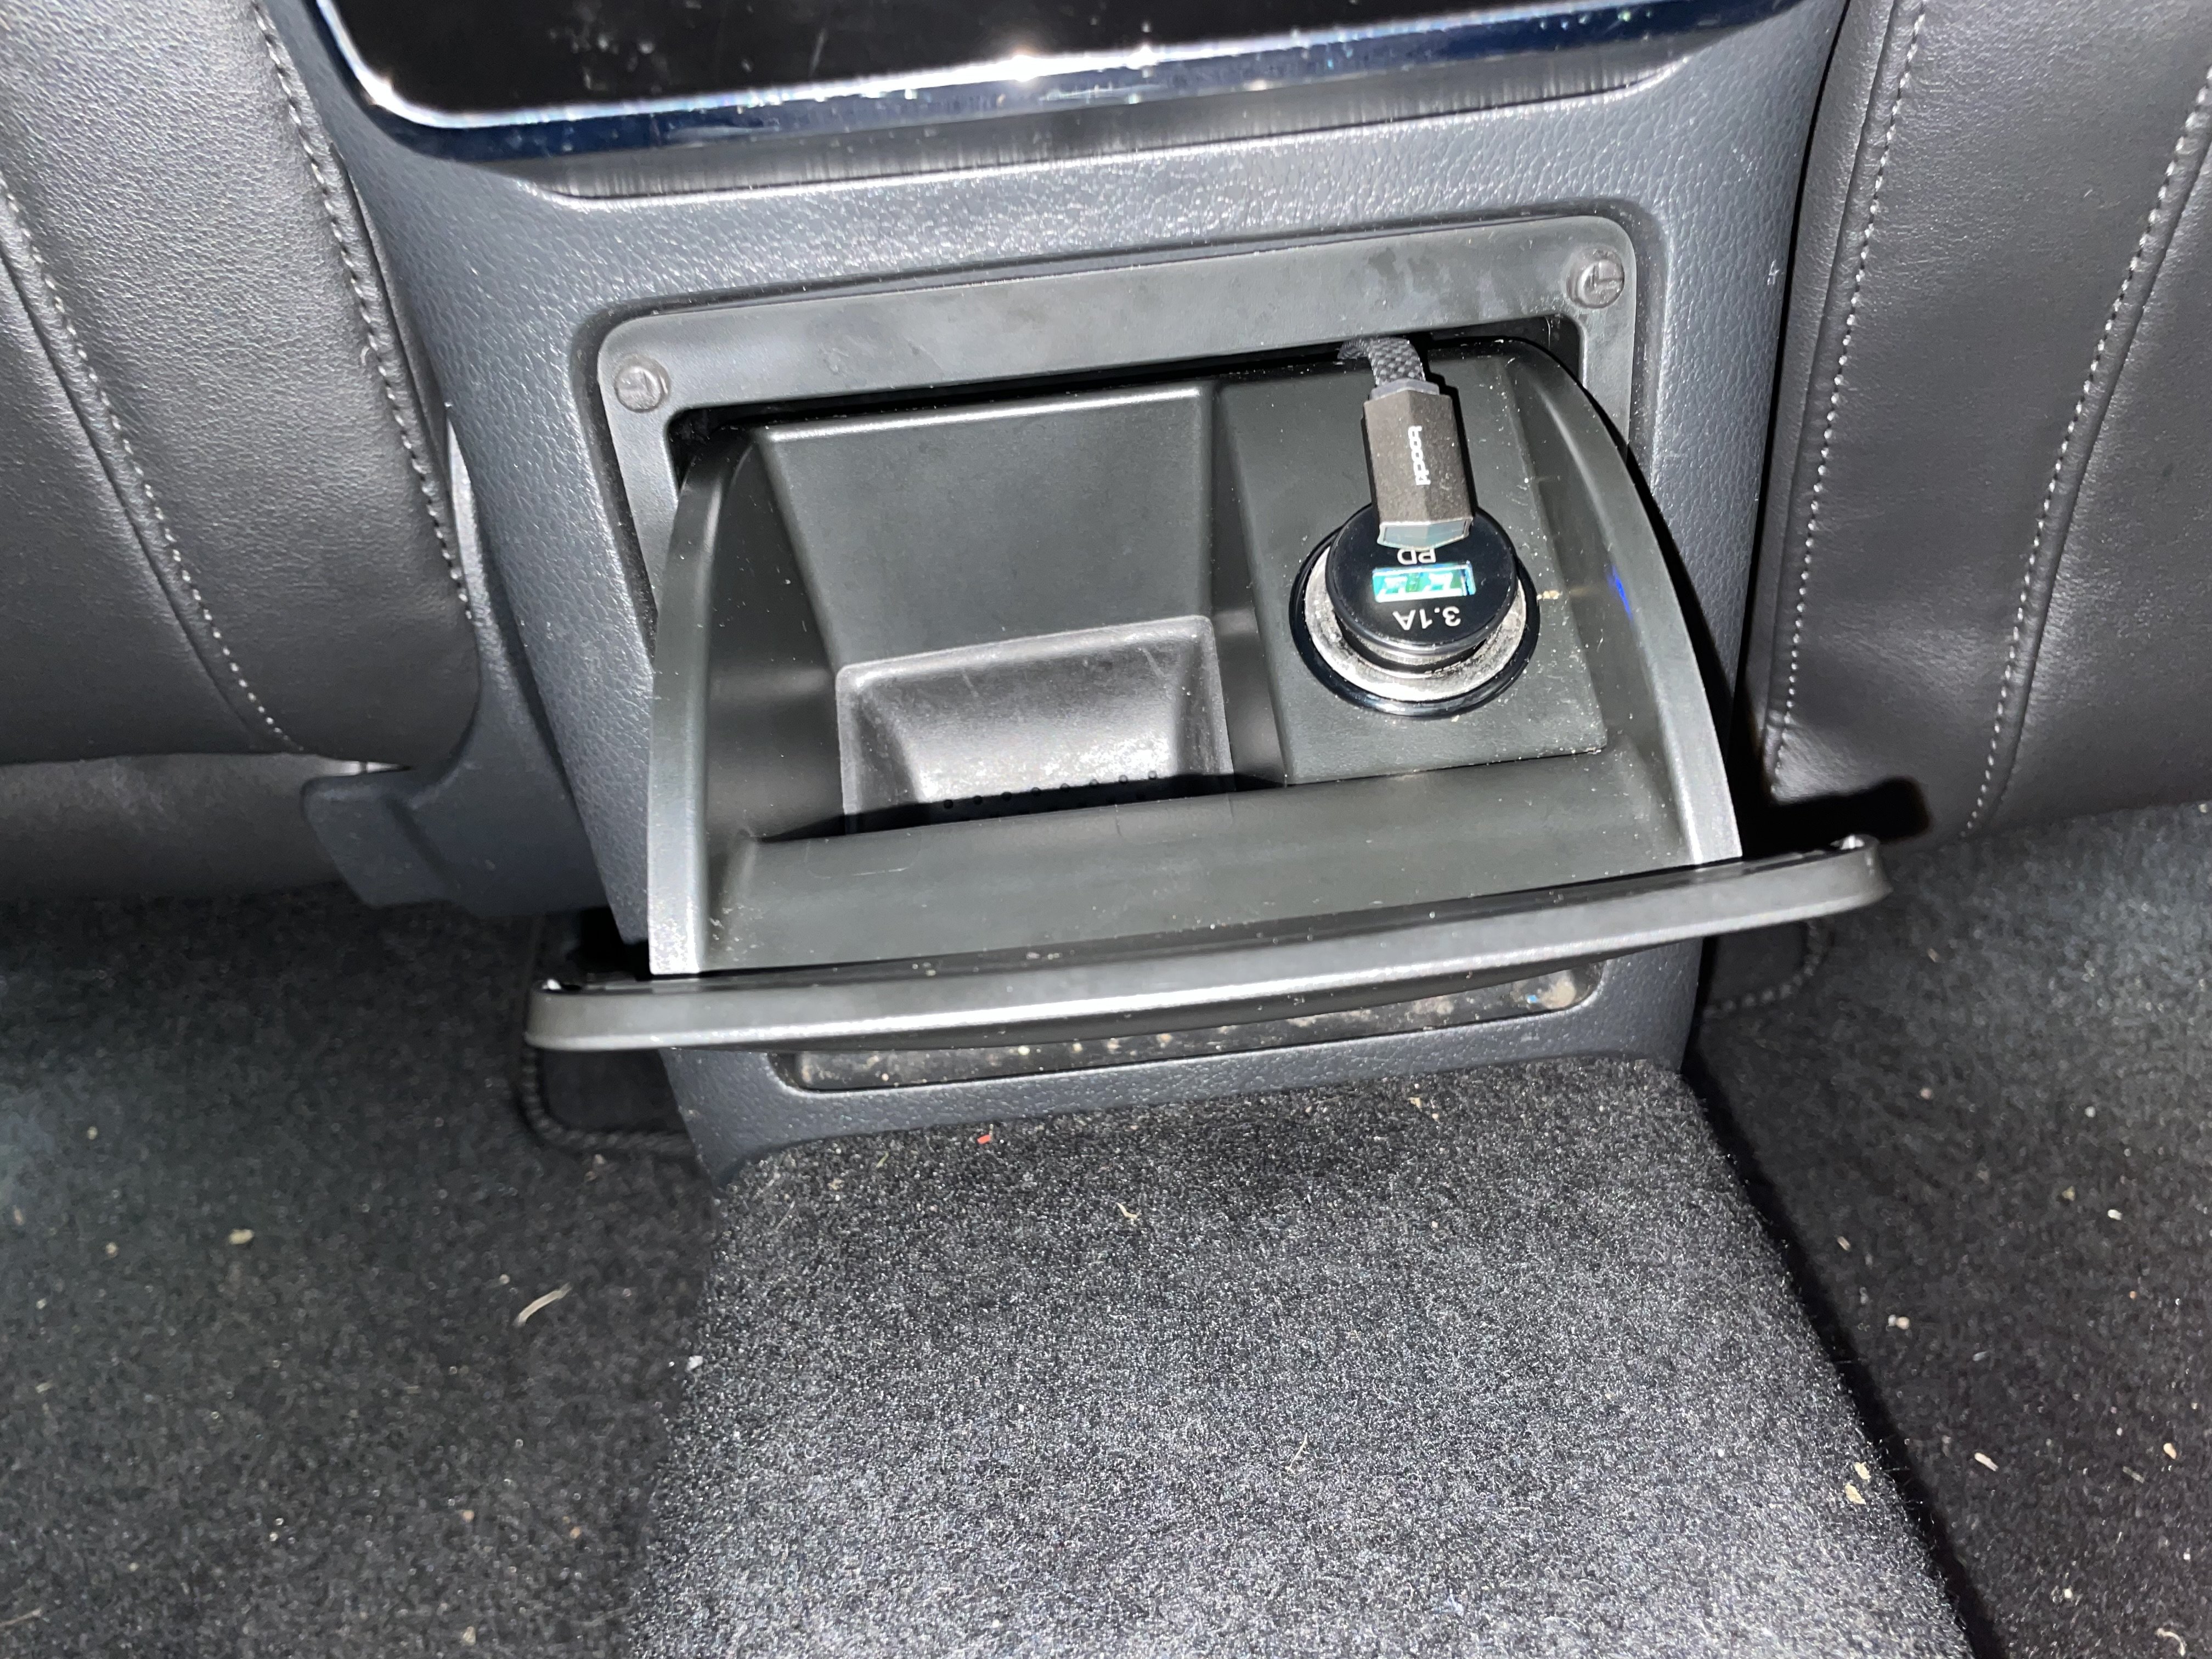
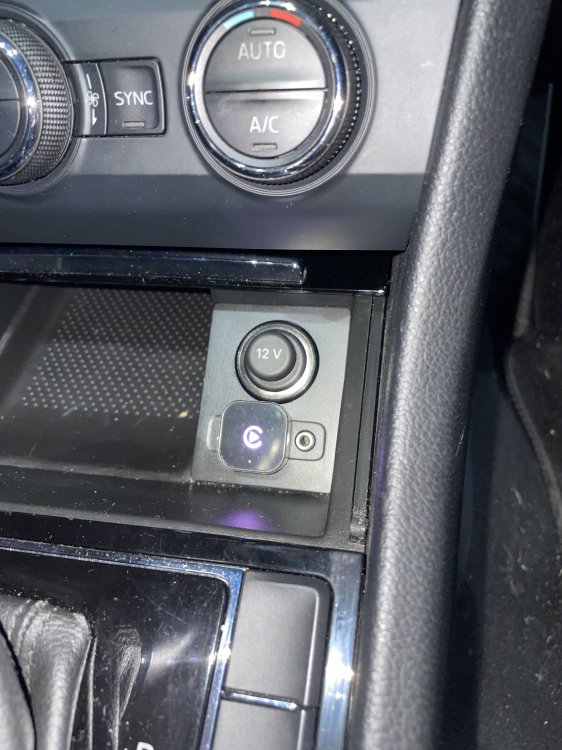
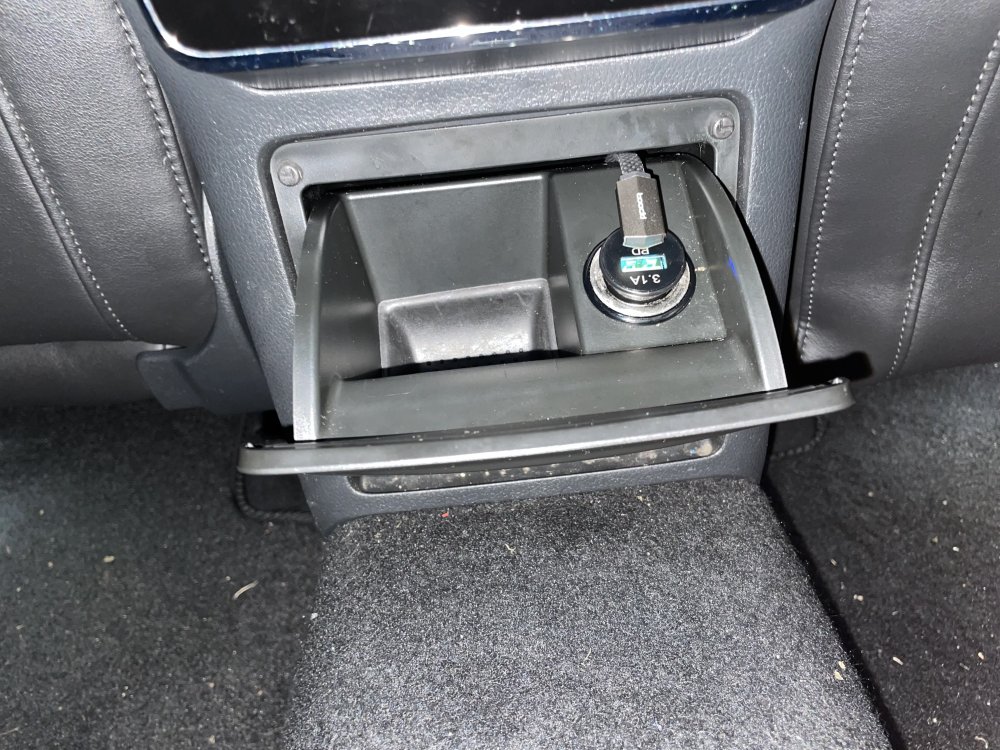
Don’t worry. I worked it out. Managed to feed it through from one hole to the other without taking any other trim apart. all up and running. Wireless CarPlay is surprisingly good for £4 from AliExpress! And the compact design of the module and the wire means the standard power in the front and the other usb in the back can still be used. And the door closes over the top of the module too!
-
JR - did you have to make a hole to get the cable through? Or can you lift the soft covering and pass the cable through? Got wireless CarPlay working with the £4 Ali express special. Now just need to route the cable and I’ve replicated your configuration.
-
Ok thanks. Will have a look.
-
When I had the door cards off today I noticed some water in the bottom of the doors. Between the inner and outer skin. It rained last night so I’m not overly surprised. I just wondered if it should drain straight out or if a little bit sitting in there is normal? Also where is the drain hole on the door so I can check it’s clear. I couldn’t find it.
-
No didn’t know about those. But they’re significantly more expensive that what I went for. And would need riveting in. At least with the adaptor rings I use you can get to the back to bolt them in before the speaker is fitted.
-
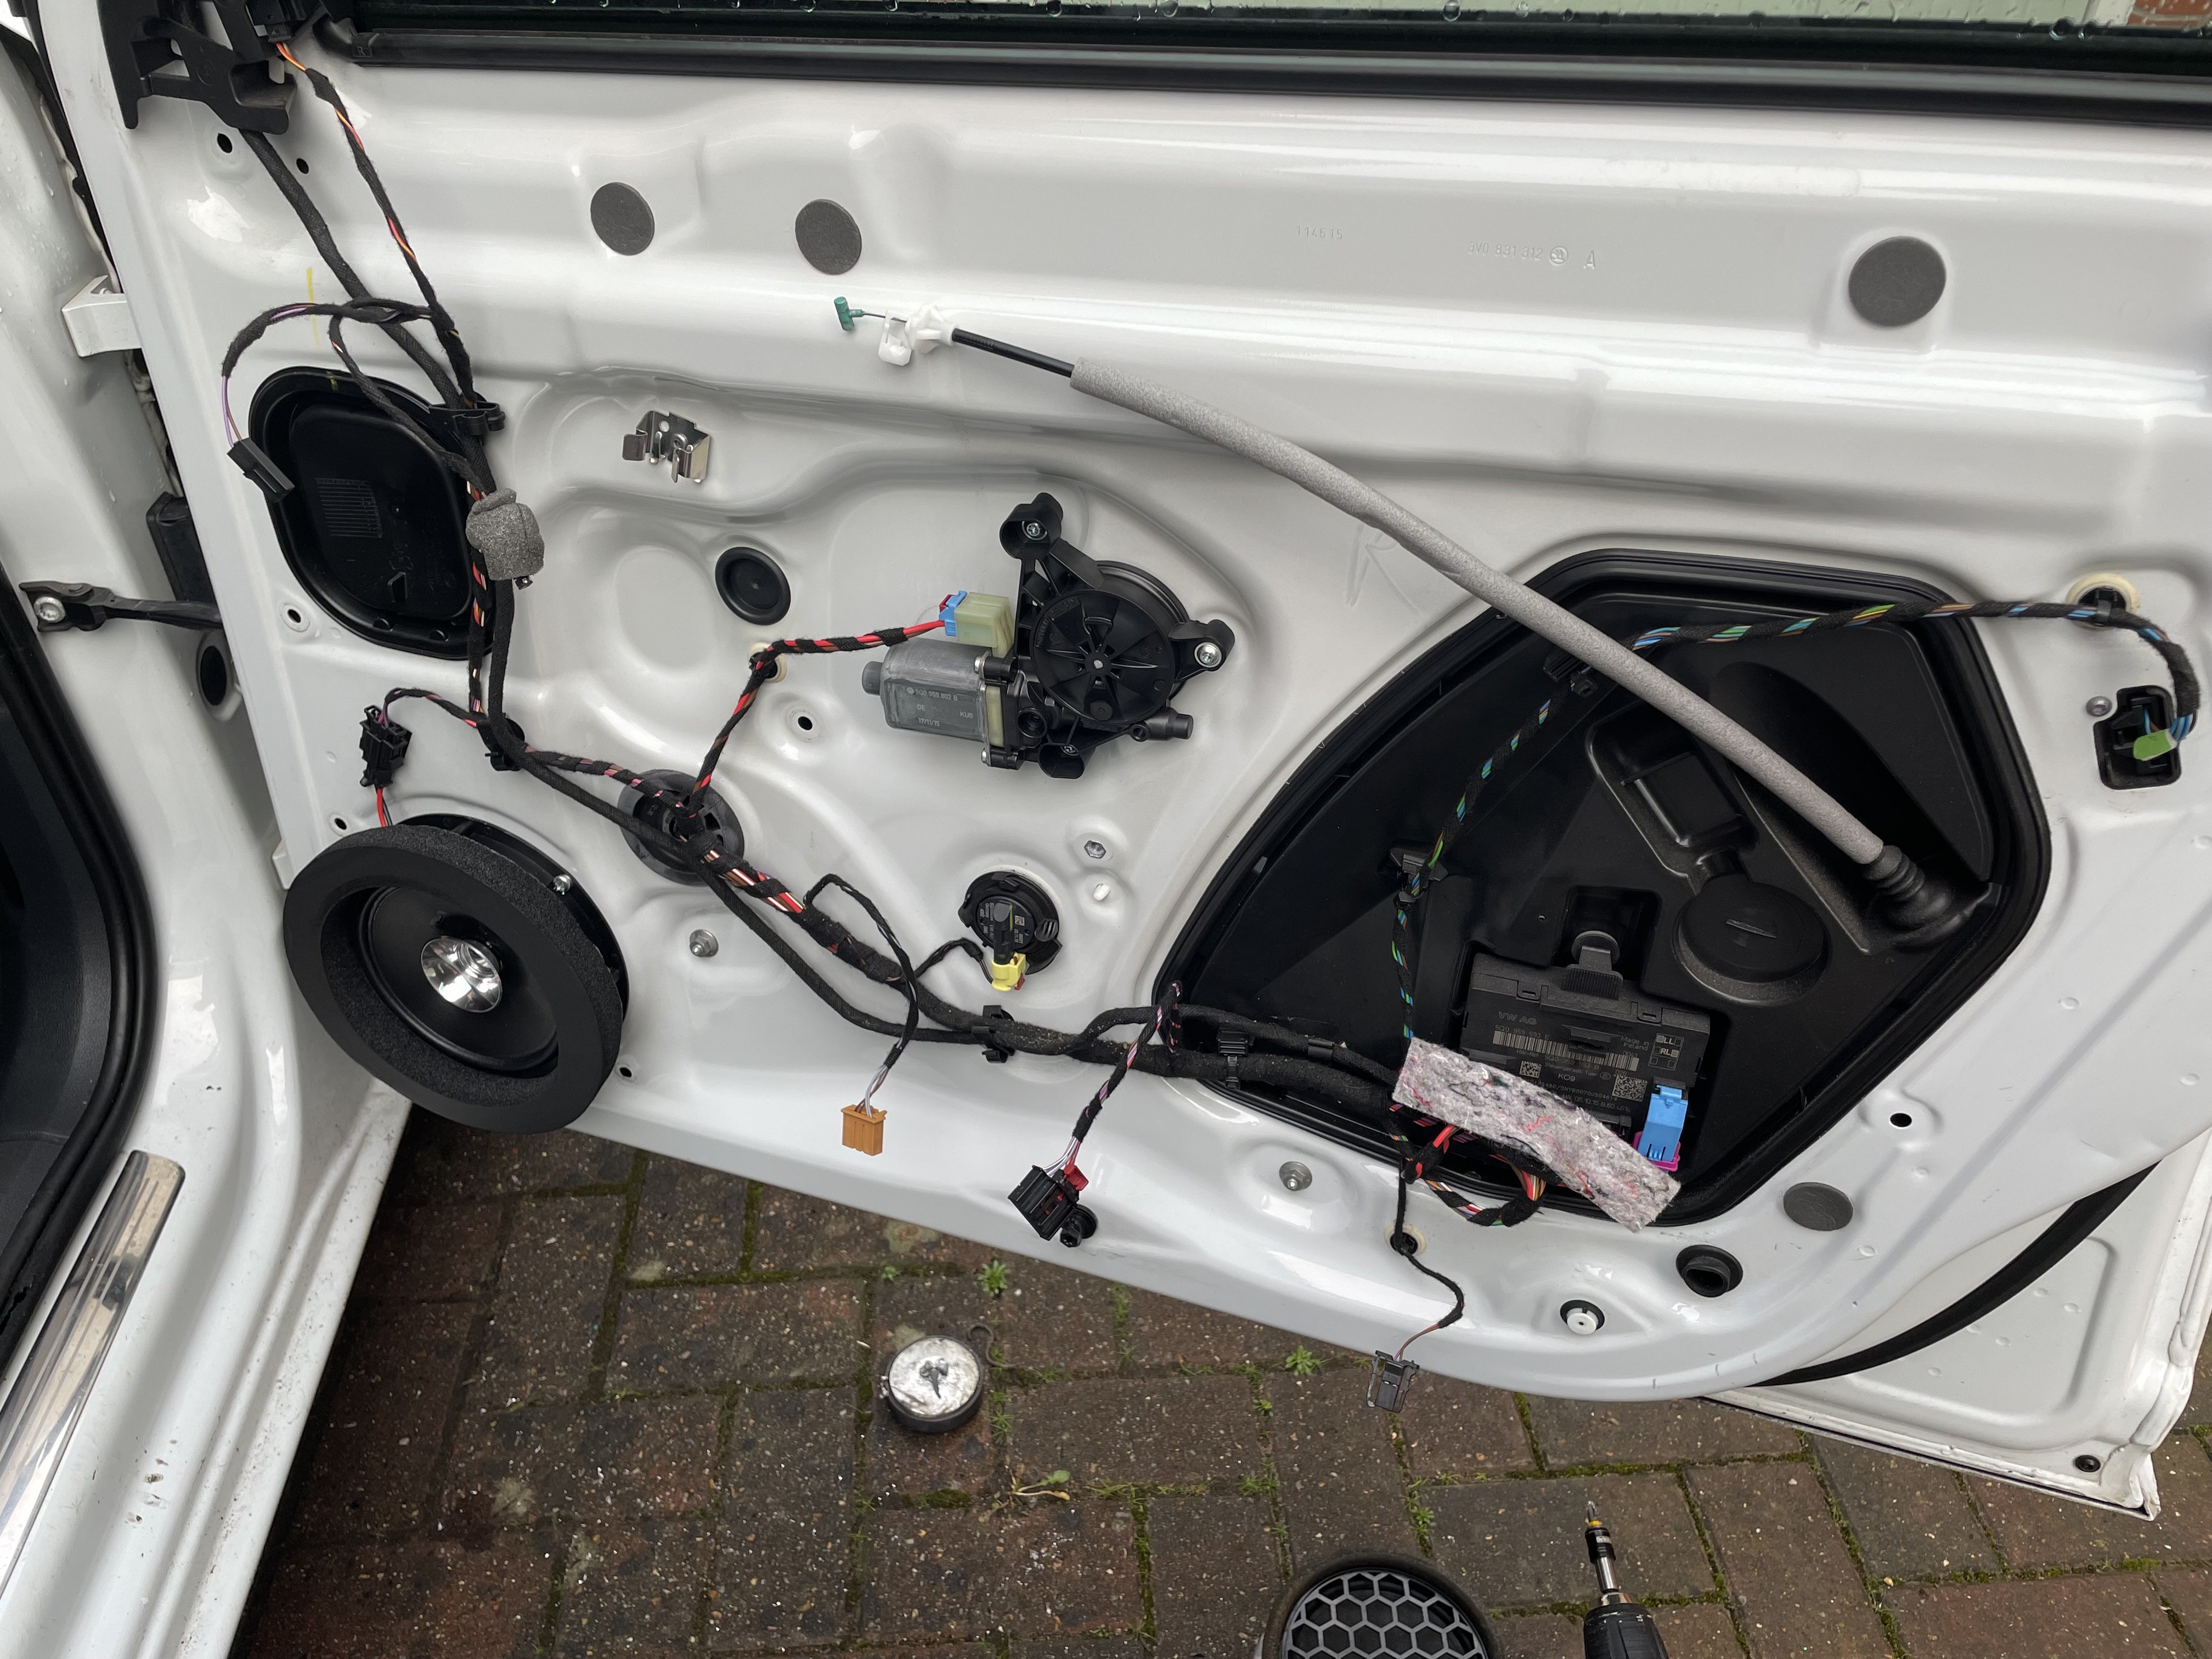
Today’s job was to replace the front door speakers which weren’t working. Thought it worthy of its own post.
-
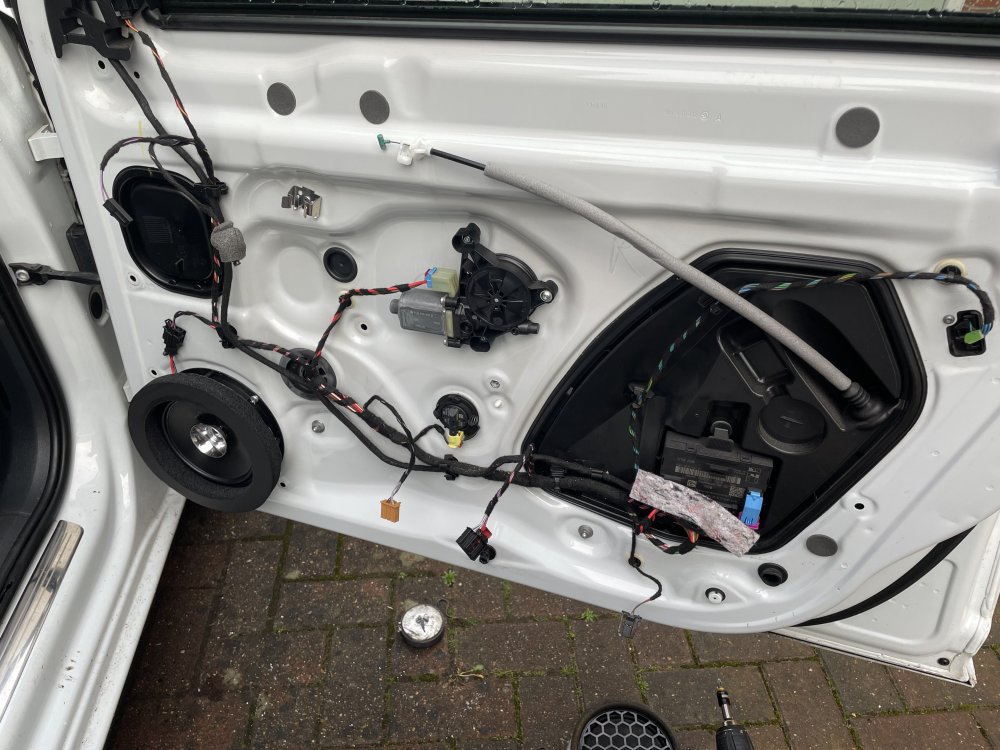
I had one speaker not working and the other very crackly when I bought the car so today was the day for the speaker upgrade. Thought I would write it as a bit of a how to/ how I did it post for anyone interested. I wasn’t aiming for a significant upgrade, more a replacement so I actually had a bit of bass in the music. I knew the audio was already split so didn’t want to get coaxial speakers as the tweeter would be pretty redundant. I chose these speakers: https://incartec.co.uk/product/pioneer-ts-g1710f-6-5-g-series-dual-cone-car-speakers-280w This fitting kit: https://incartec.co.uk/product/Skoda-165mm-6-5-Inch-front-rear-door-speaker-upgrade-fitting-kit-SFKU-SKO01-165?srsltid=AfmBOoq5Y4bVhgm-VHjXMRIz6i9xjxSMSXPjPpqMCMTggDuQCZcx55rH And got these foam rings to feed the sound through the door card and also apply a bit of pressure to the door card so it doesn’t rattle: https://a.aliexpress.com/_EHv7xCk Removal of the door card was a bit nerve racking as it needs a strong pull to undo the clips. This video is a brilliant guide of removal and refitting: Once the door card is removed you have to drill out the pop rivets holding the speaker in. Top tip I learned from an engineer at work is you get a small (4mm) drill bit and use it as a punch and hammer the centre out the pop rivet. It makes it much easier to drill out. I used a 5.5mm drill bit then had to hammer the remaining parts out of the door metal. Be sure to retrieve the bits of rivet that fall into the door. I could then use M5 bolts with nylock nuts to install the adaptor rings. The speakers then screw into these nicely. Take note to correctly position the cut out in the adaptor rings for the wiring. I then added a bit of self adhesive Velcro to the back of the plug and stuck it to the door so that it doesn’t rattle. I then stuck the foam rings onto the front of the speakers and it was time to refit the door card. Be sure to check all the clips are in the right position as per the video above before refitting the door card. It wasn’t too bad but just a bit fiddly to make sure all the wires went back through the right holes. Then repeat for the passenger side, which was slightly easier as there were less wires to worry about. Both doors took about about 2.5 hours including tidying up etc. The original speakers had catastrophically failed so much so that the magnet had come right off one and was stuck to the inside of the door! All in all a decent upgrade. I’m sure it’s probably not a massive improvement over OEM but it’s definitely an improvement on non-working speakers!



-
Yes. I went through tailgate to left side rubber grommet. Out d pillar and over headliner. Down c pillar (watch out for the airbag above c pillar. Has to be in the right place to put c pillar back) tucked in under leather down side of bench and then along bottom of door sills and up behind radio. Worst bits were routing through tailgate and rubber gaiter. It’s also tricky getting all the wires tucked in behind the radio. There may be a cable tie on the wires for the radio to the frame that prevents you pulling the radio out. You can get to it to cut it through the gap just above the fuse box.
-
All the ones I find on AliExpress say left hand drive only. I can’t find any for rhd.
-
Yes the yellow lines move with the steering. No import fees to UK. And no splicing of wires with this one. Really is plug and play. Speakers I’ve just gone for basic dual coil pioneer ones as I’m only changing the bass speakers in the front doors as one doesn’t work and the other is crackly. Ordered fitting kit from InCarTec which comes with wiring adaptors and the plastic mounting rings, and then ordered foam rings for the front of the speakers from AliExpress. this is the wireless CarPlay I went for. I got it for £4.90 on a bundle deal. Cheap enough to give it a shot. I’m still not convinced it won’t be a hassle in that I forget to plug my phone in to charge on long journeys. https://a.aliexpress.com/_EGM97na
-
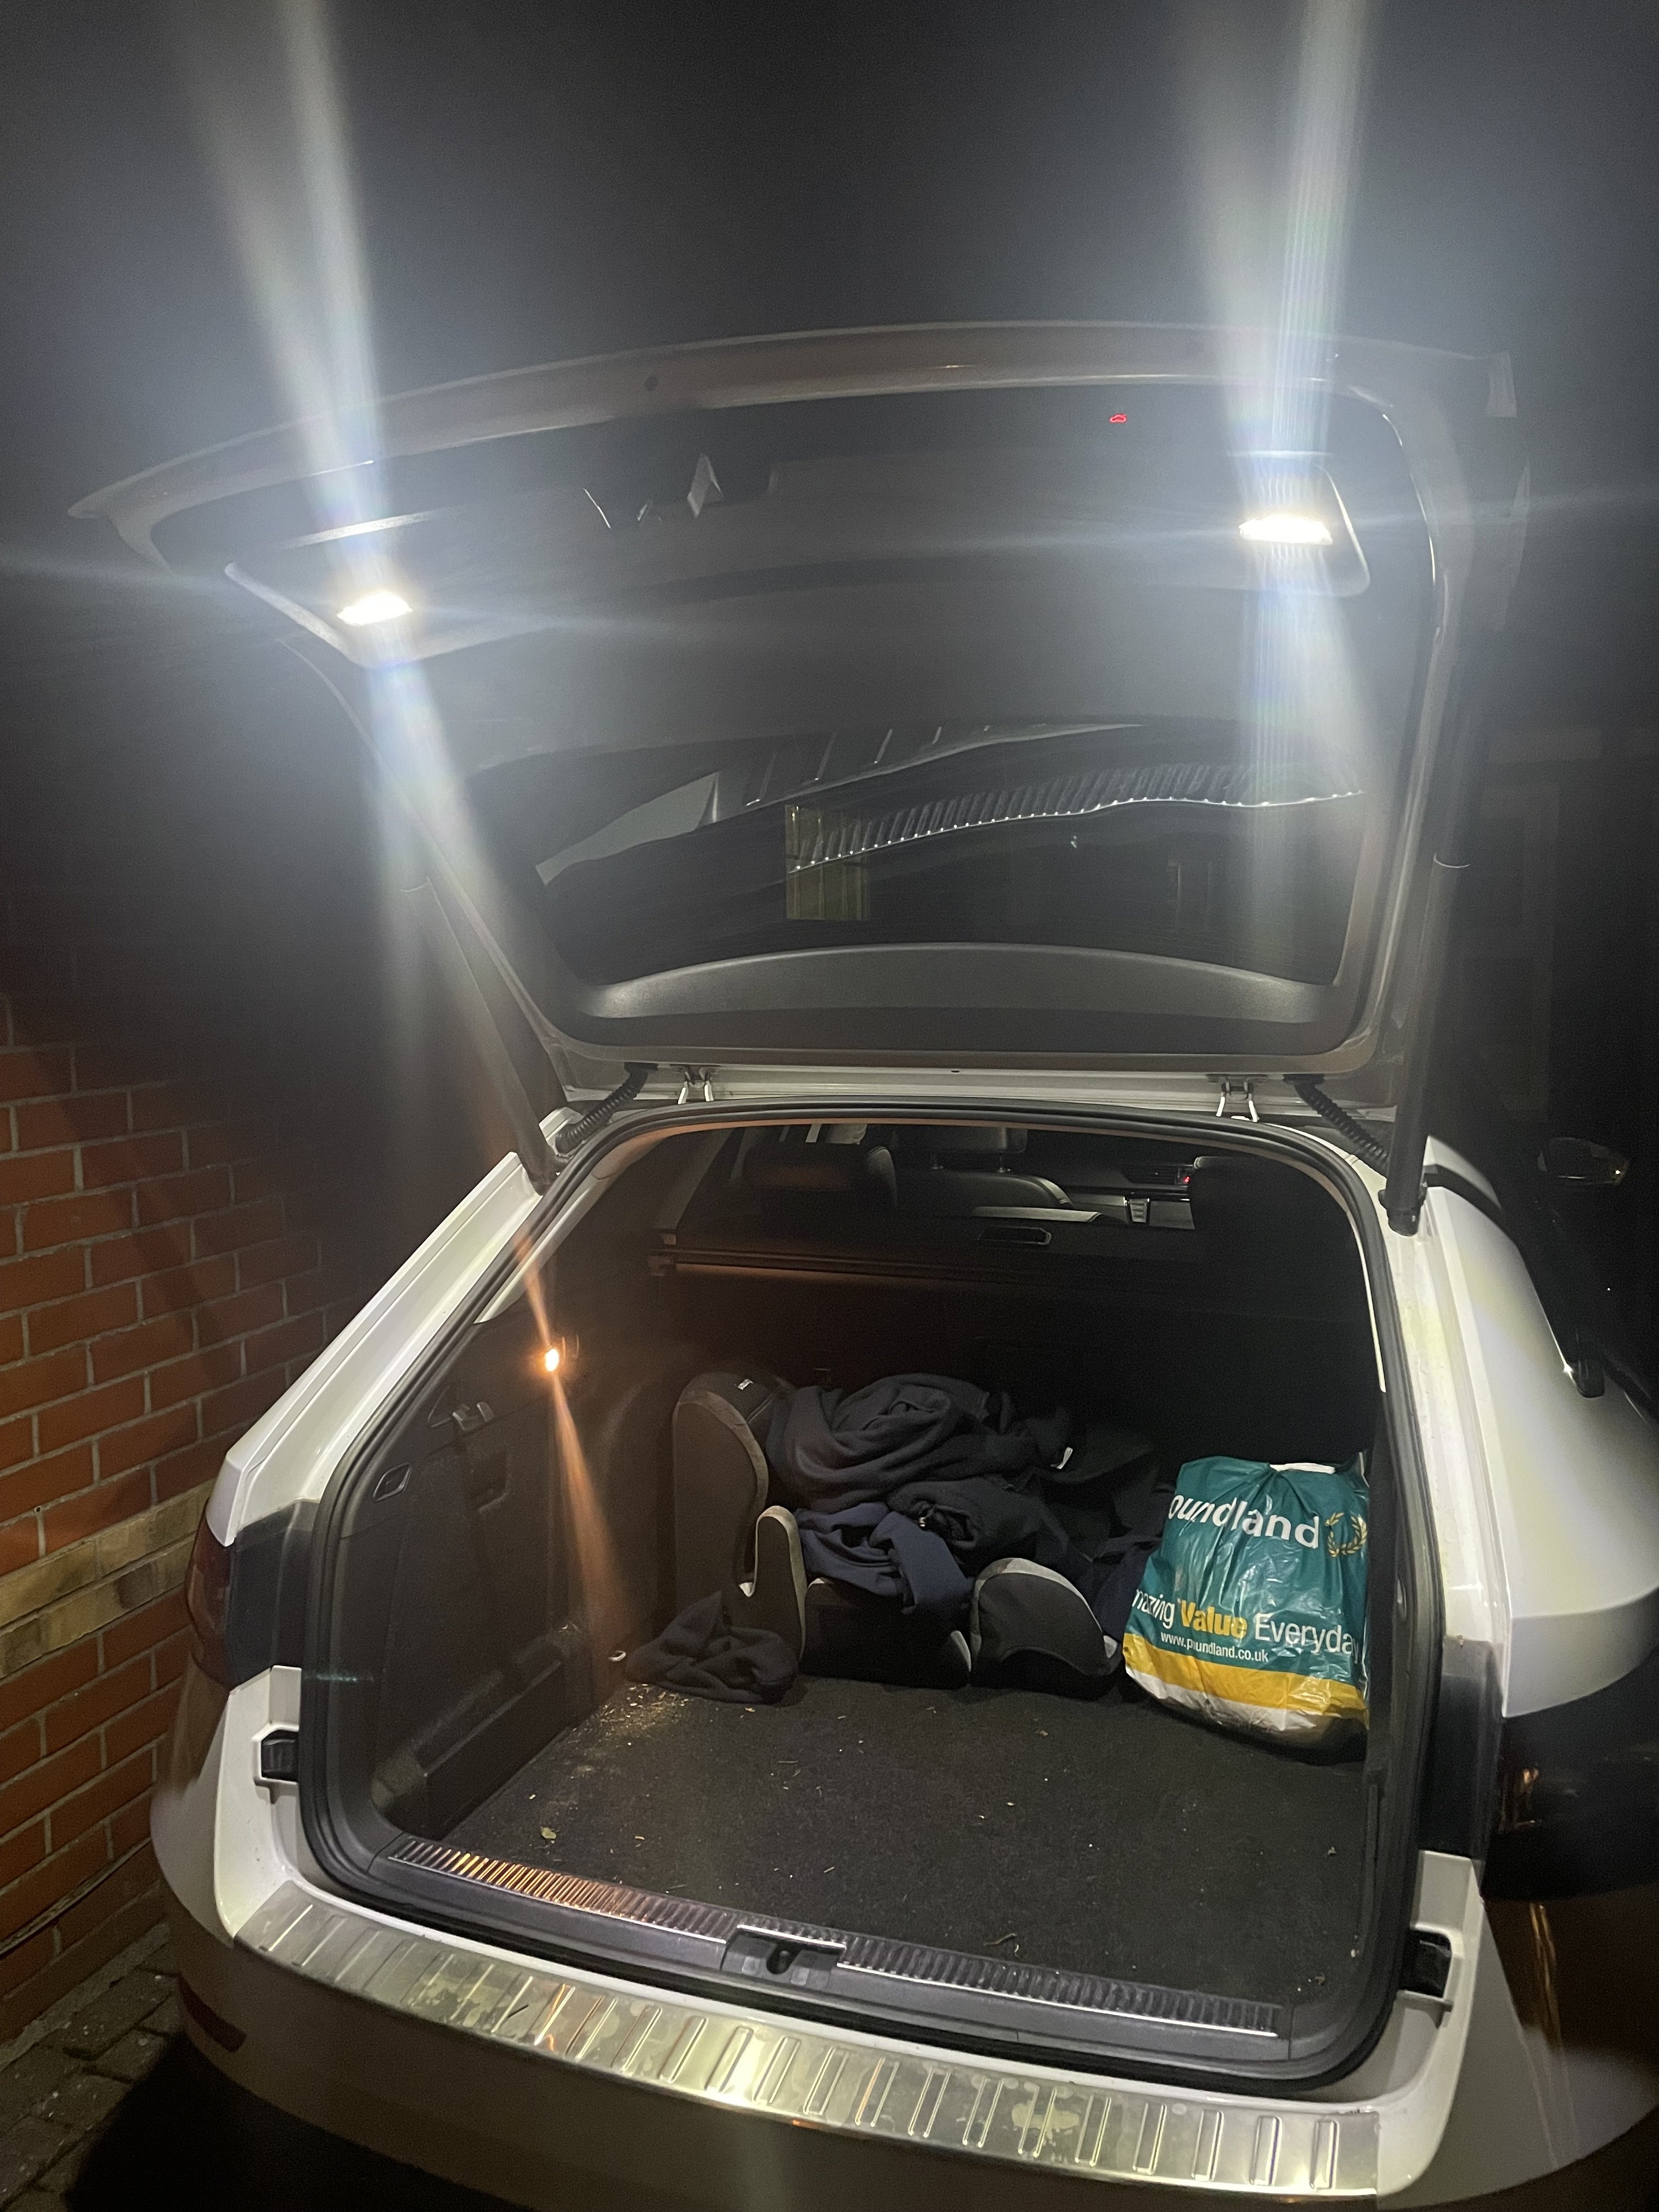
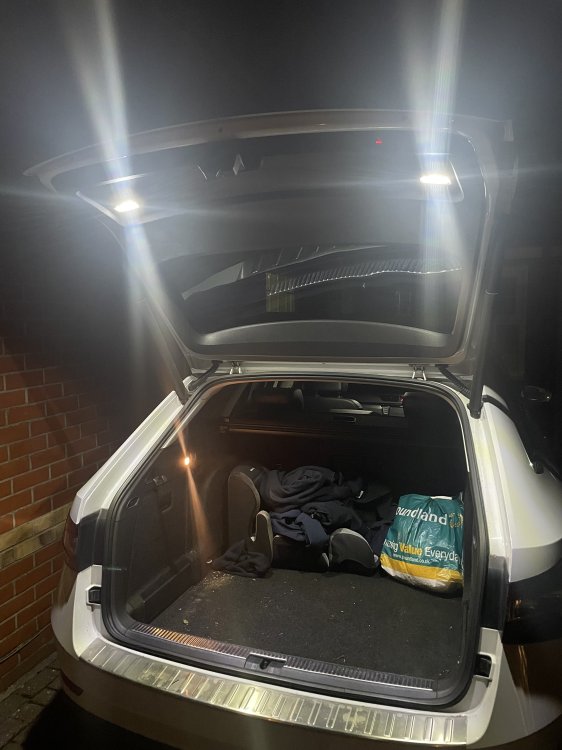
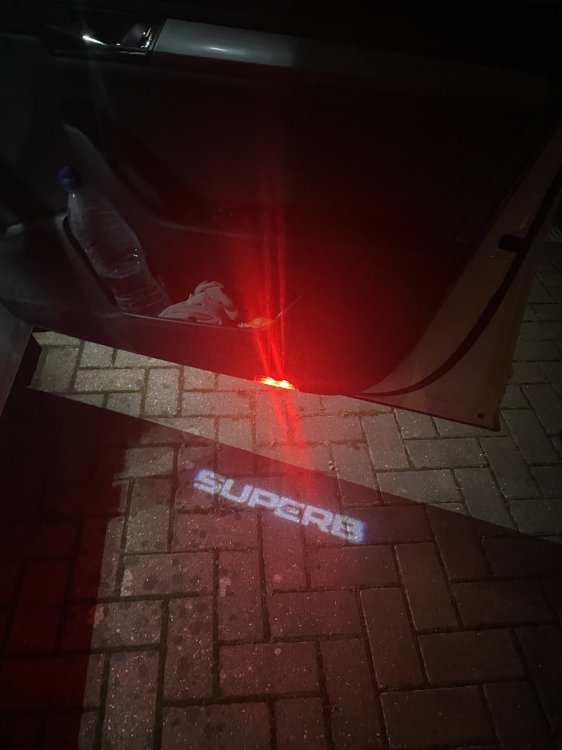
A couple more AliExpress upgrades today. The LED lights in the tailgate are very bright. All the light in that photo is from them. Next up will be front door speakers once they get delivered. And then wireless car play.
-
just ordered the parts from AliExpress to replicate this.
-
Fought my nemesis again this afternoon. Pulled a new wire through from plug under tailgate trim right back to plug behind trim on the left of the boot. Seemed much easier to navigate the route this time. To get through the rubber gaiter I taped the wire to a plastic chopstick, removed the rubber from the bodywork both ends and pushed it through. Lights now working well. Just waiting for the AliExpress super bright ones to be delivered.
-
-
Not on your model but I just installed an aliexpress camera and it was pretty straightforward and truly plug and play.
-
Hi Did you upgrade the speakers? I am looking at doing this, just some decent aftermarket 6.5" into standard wiring as one isnt working and the other crackles badly. Any advice? Thanks
-
I realise I am jumping onto an old thread here. If you only need one port to be data then theres posisibly a couple of options. I wonder if its possible to depin the front original USB port connector and leave just the power, then extend the data cables through to the armrest and piggyback power from the rear cigarette lighter (Or run new power) to effectively make the front USB power only and the armrest USB the data one? Or is that not how USB cables work? Equally could you effectively dismantle the existing port and just hide it away somewhere and plug a male to female cable in to it that, and reroute this cable to the arm rest, then replace the existing port in its normal position with one just connected to a power supply. or even if you can get a neat enough cable, just plug one in to the port but then route the other end of the cable to the arm rest.
-
No. Im pretty sure I damaged a wire when pulling the cable through for the camera. It was really tight getting it through the rubber and I got a bit angry and pulled hard on it. Not ideal.
-
Well it would seem in running the cable for the camera through the rubber gaiter by the boot hinge, I have damaged some cabling for the interior lights. Lights work ok until boot opens to full height then they go off. Have to close boot and lock/unlock for them to work again. I assume the BCM notices the break and cuts power to all interior lights and the lock/unlock reboots it. With boot part open I can wiggle the rubber faster gaiter and they go off so pretty certain the break is there. Found the red/blue wire in the wiring diagram and ordered some 22Awg wire and some crimp terminals. So sometime soon I will pull the trim off and trace wire in the loom to either side and try to find somewhere suitable to splice a new wire in. It does mean pulling yet another cable through the already very tight rubber gaiter!
-
I have this too. Any resolution to the issue?
-
Great thanks. So 3V0 035 411 K seems to be the ones to go for.
-
Hi. One of my front door bass speakers has no sound and the other is crackling badly. Does anyone know the correct part number as there seems to be at least three or four variants 3V0 035 411 (A, J, K or L?) Or as I’m in there changing speakers is it worth going aftermarket? Car is 65 plate SE L Executive 190 TDI DSG with standard (not canton) speakers.
-
Hi. I had this intermittently and just bought the bypass kit from aliexpress. Cost about £30 and took about an hour to install. A bit fiddly but not too bad. Check carefully the part number, as there are two for the white top gearbox where the part number is the same except for one doesnt have an A at the end. Im pretty sure the one without A is the one you need. This is the exact one I bought: https://www.aliexpress.com/item/1005009808126126.html Have a play with the plugs before you install so you can work out how they release, and get yourself some decent trim removal tools. You will also need Torx 10 and Torx 8 screwdrivers (I think) From memory this was the process: Ignition on and shift to N. Ignition off as much as you can. Remove trim from around gear stick (The trim with the buttons including parking brake etc) Push out from this trim the small surround for the gear stick Disconnect all wires from these trims and wiggle the larger trim off to give more access, then pull the small trim up until the leather gaiter is inside out. Pull up mounting for 12v socket/USB and disconnect all wires (This was quite tricky as every plug seems to have a different catch system) undo 2x torx 10 screws holding in "ashtray" and remove. Undo the interior light wire from this or I just tucked it to one side and left it hanging. I had to rip out some bits of foam from around the top of the gearbox for access. I just placed these back in place once done. Using a long thing screwdriver push the blue tab on the connector just in front on the left of the gearbox top to release the original plug. Then contort fingers in about 20 directions to connect the new plug and the existing into the bypass kit. Undo 3x Torx 8 screws on top of the white plastic and fit switch using supplied longer screws. Loosen off the two screws in the slider slots on the new switch Shift to P Pull switch hard against the gearstick shaft and tighten up the two slider screws Move from N to P a couple of times to check operation. You should hear the relay clicking in the fusebox. DON'T be tempted to turn the ignition on, as you will get a whole host of errors as all the buttons are disconnected. They clear once all reconnected but did make me panic a bit! Refit all the trim panels in the reverse order of above making sure wires are tucked out the way of the trim clips etc. Start car and operate park brake on and off a few times to clear any errors. Shift to P and make sure its happy! Unfortunately I didnt take any pictures as I was doing it. I might do whenever I work on the car in future so that I can post here to help others. Also while you are in there might be worth installing the start stop memory module. Well worth it in my opinion. https://www.aliexpress.com/item/1005009424334938.html
-
thanks. my issue with the AA/carplay wireless is always the "what about charging" issue. My phone battery is pretty poor now so the charging from plugging in every time is needed. I was thinking of rerouting the standard usb port to the arm rest to remove the need for trailing wire but this is a really neat solution.