Leaderboard
-
FlyingSpanner
Members11Points186Posts -

xman
Resident Member8Points7,537Posts -

silver1011
Resident Member6Points23,782Posts -
.jpg.1006585dfe4e2977315b67c3d642e37b.jpg)
Guest_
FREEDOM4Points83,824Posts


Popular Content
Showing content with the highest reputation on 06/01/19 in all areas
-
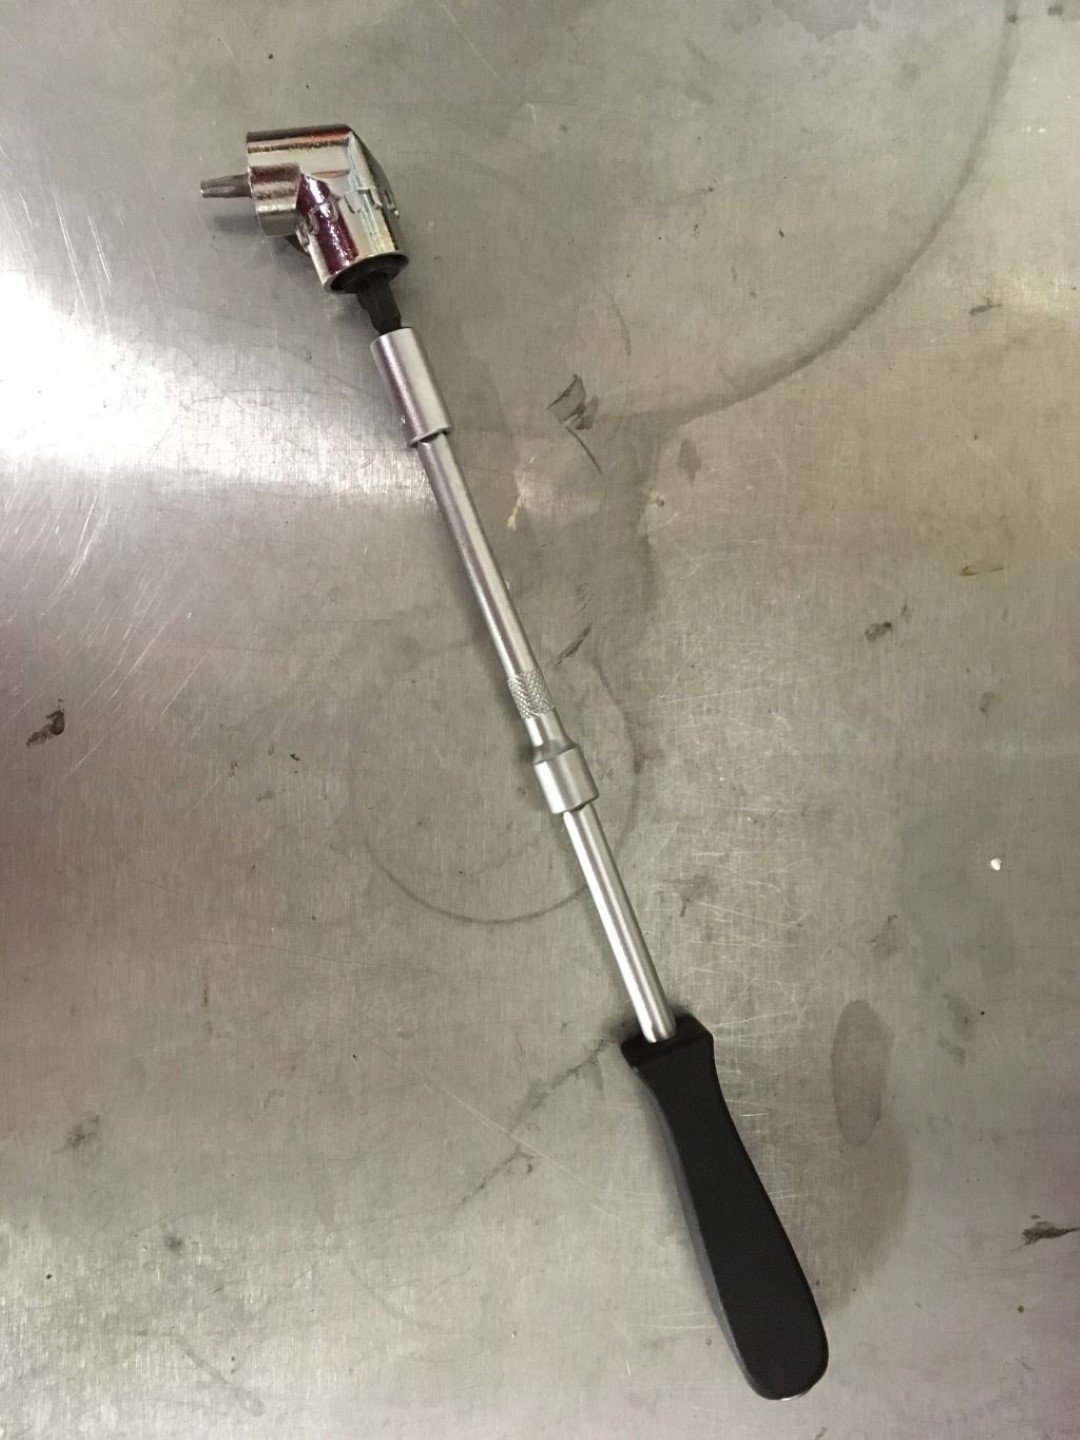
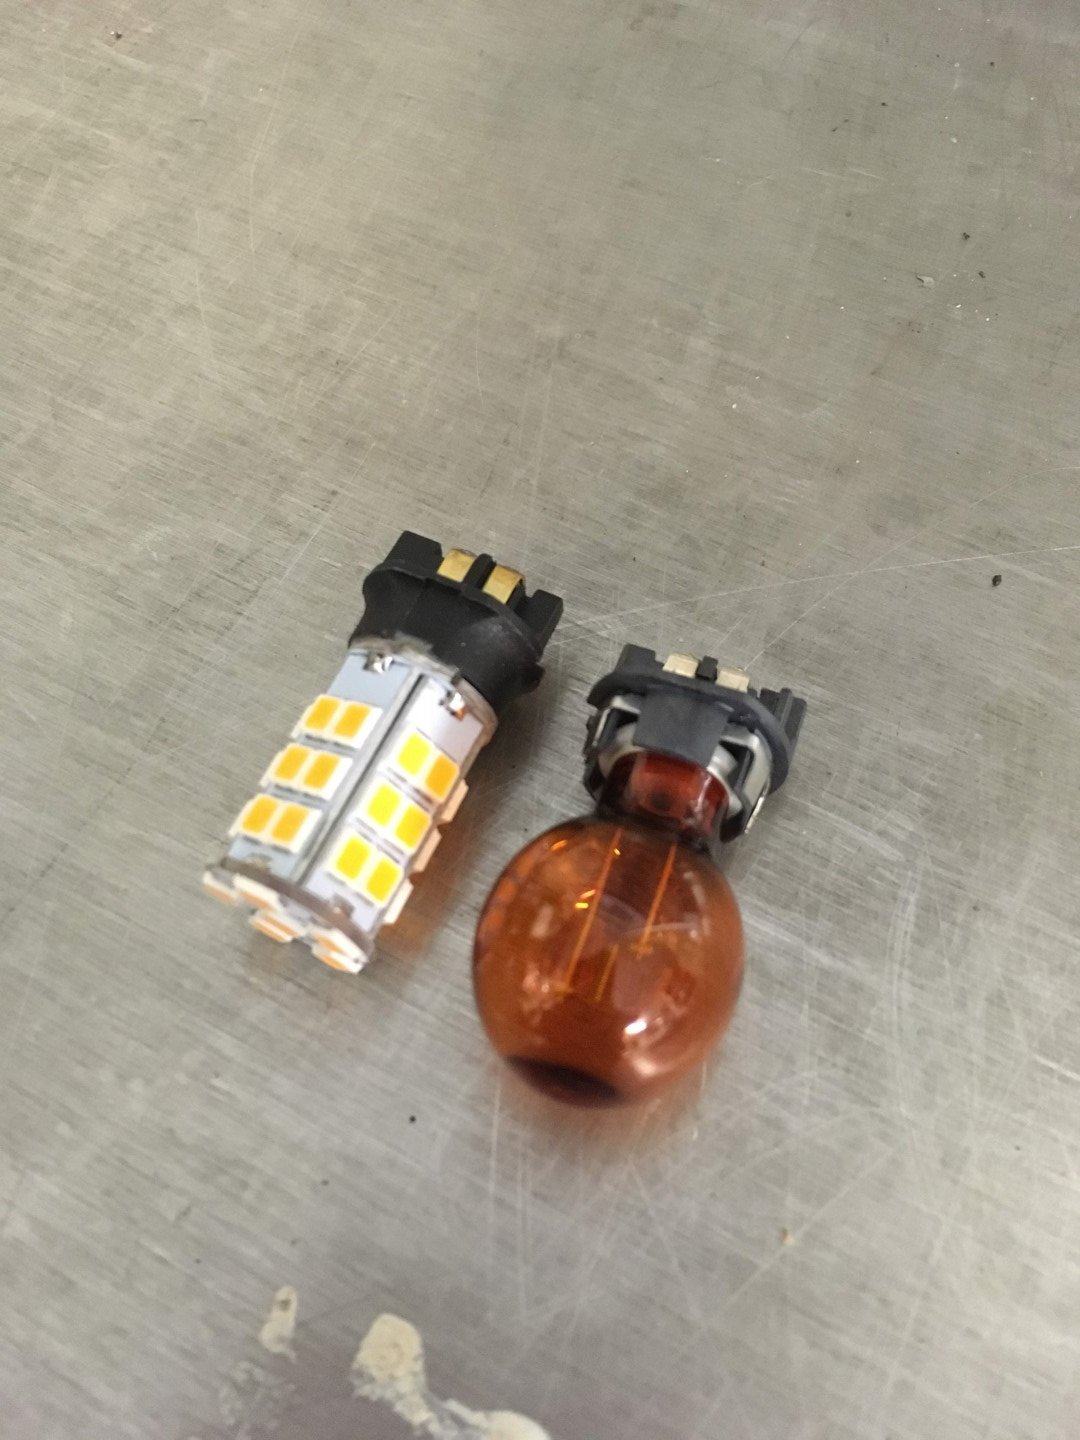
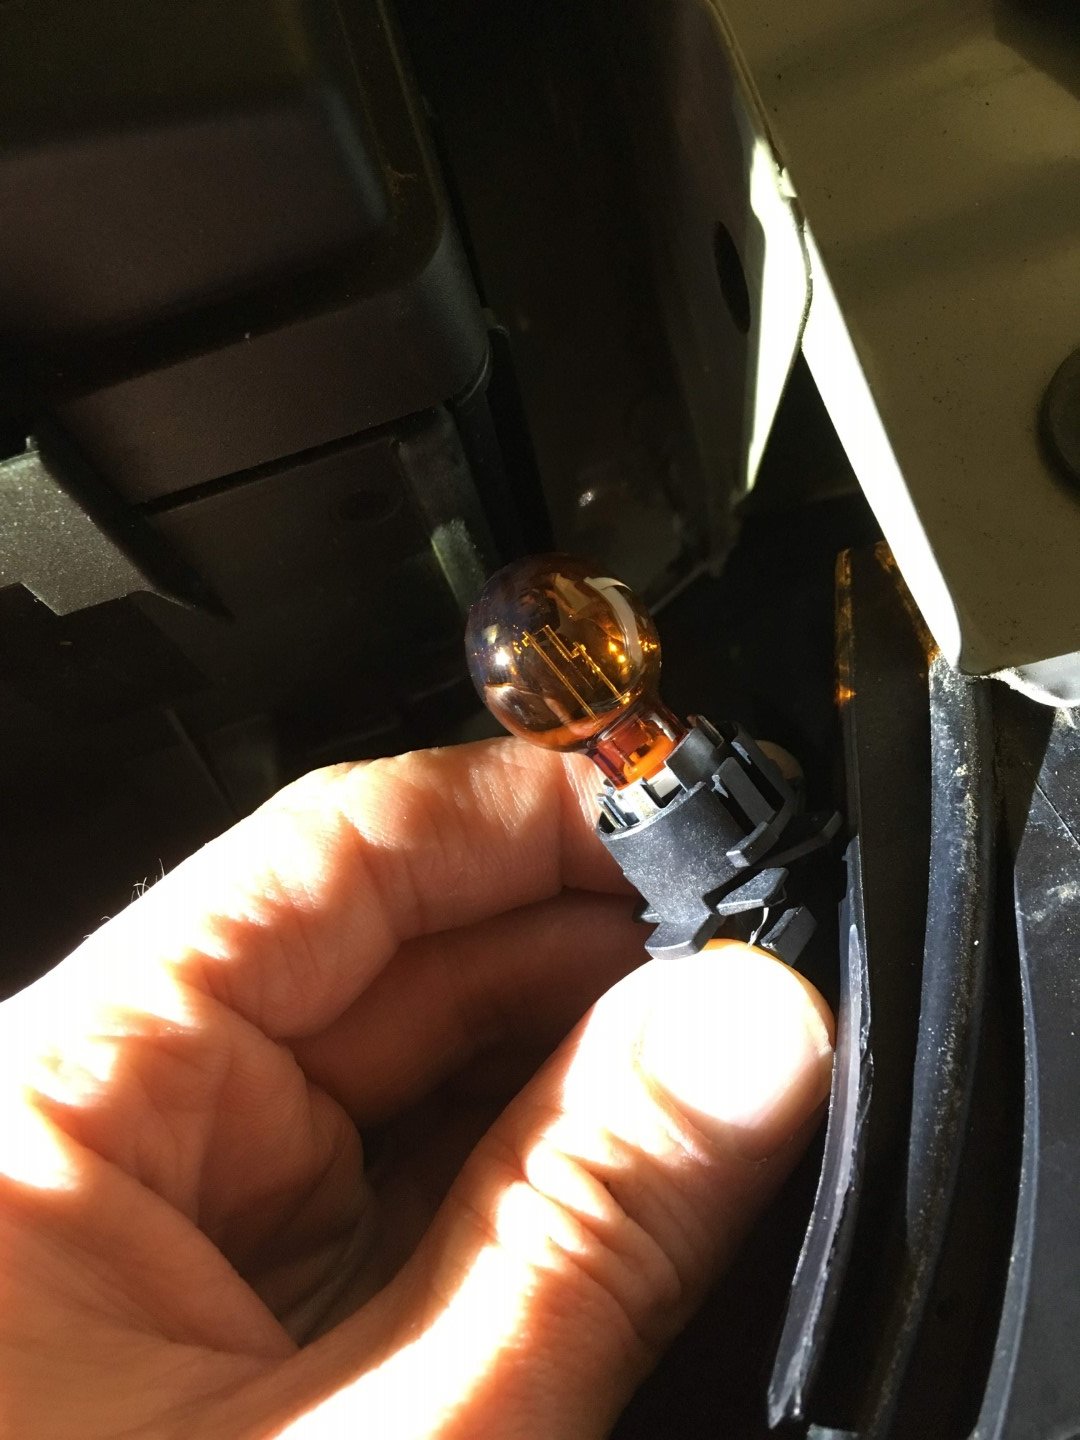
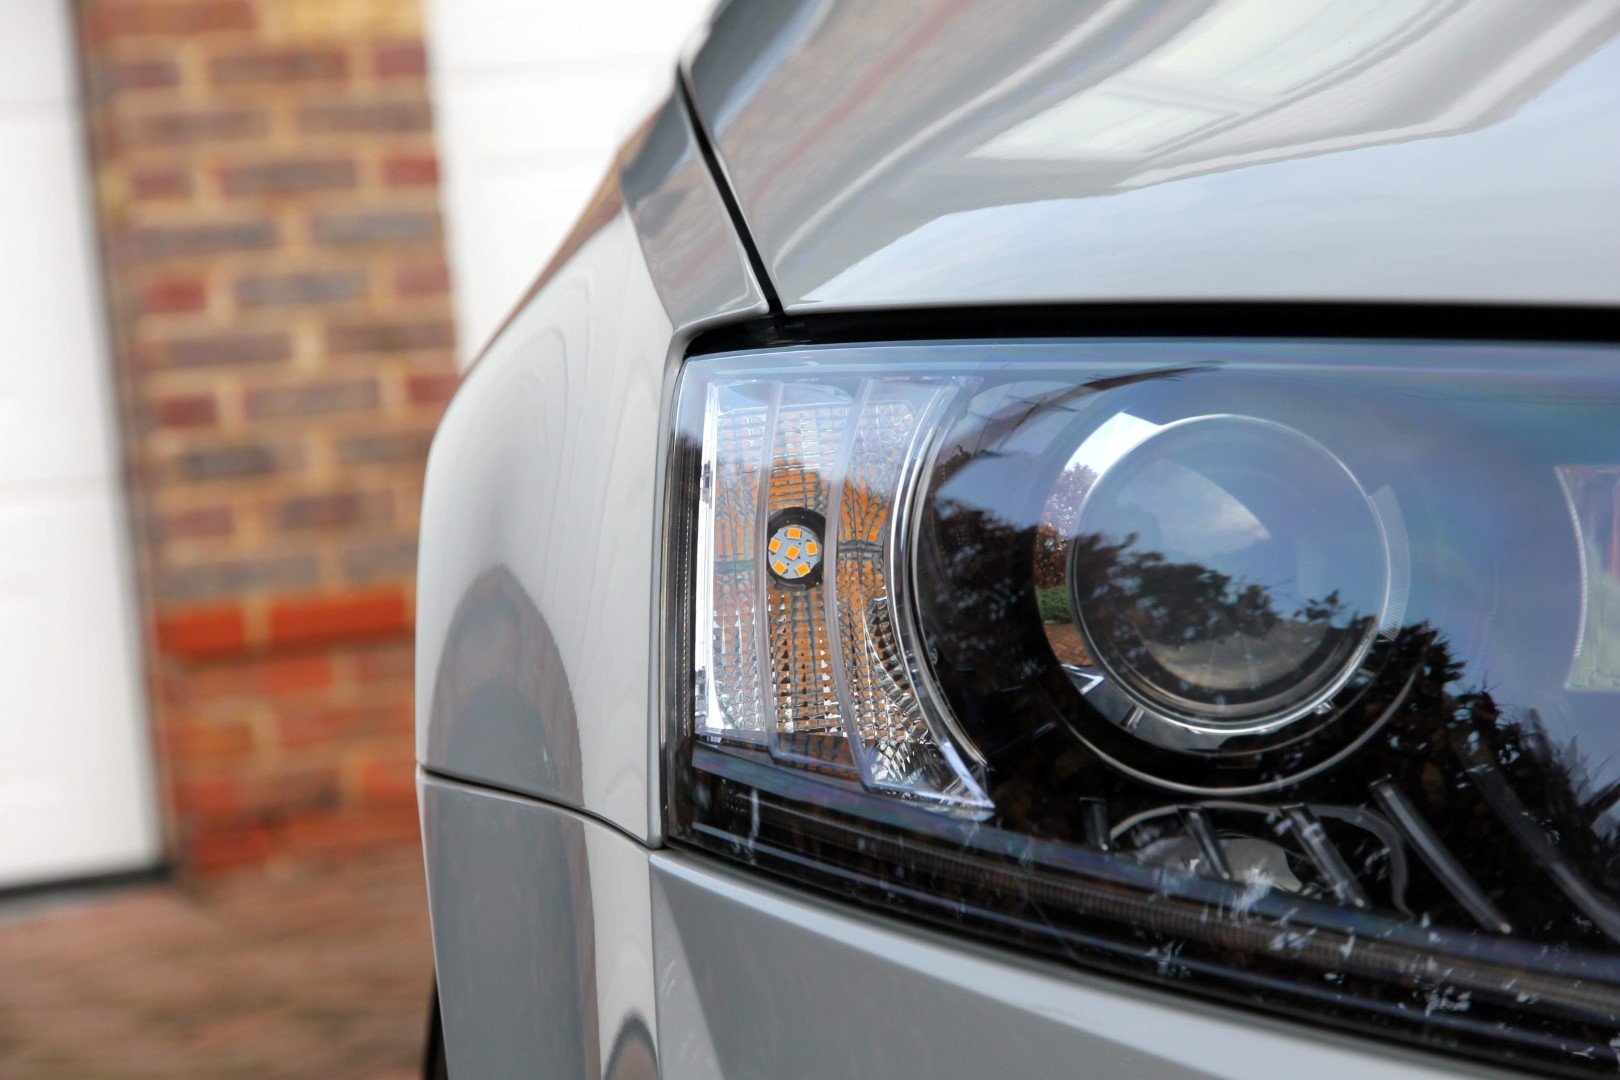
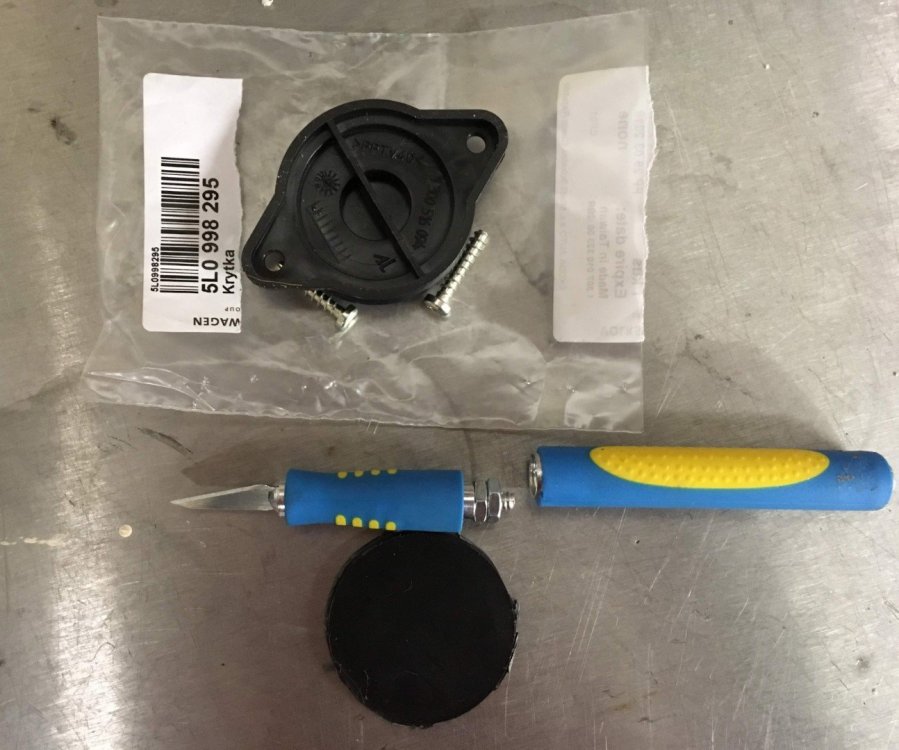
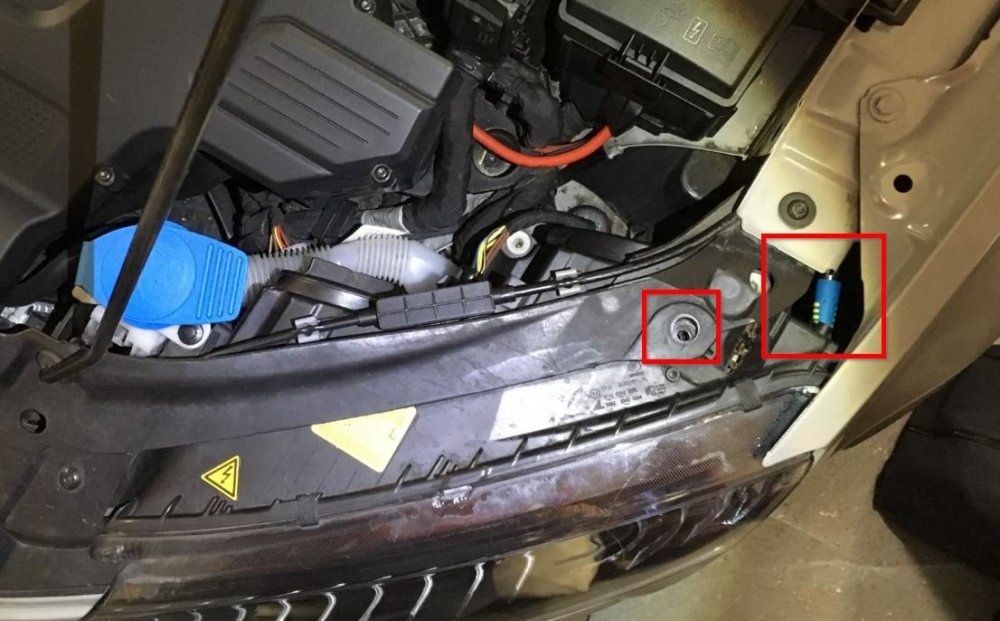
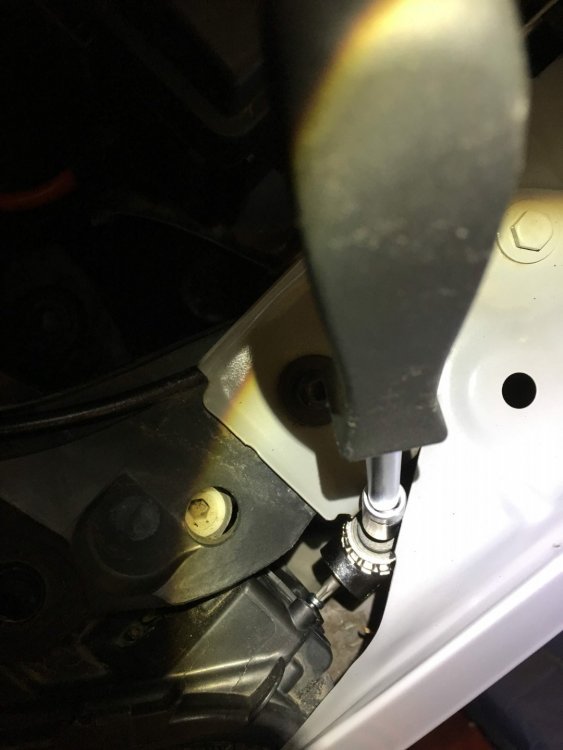
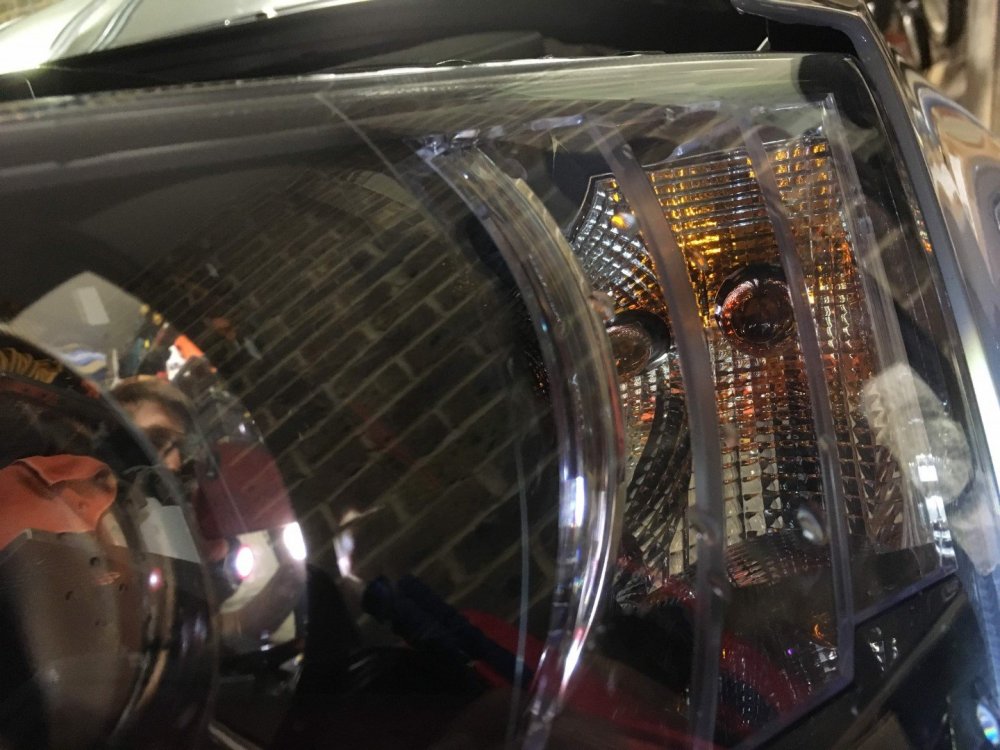
This is a pain to do, and certainly not a road-side job, but for those who dislike that orange glow in the headlamps as much as I do it was a necessity! I had to scour the forums before I was confident enough that I knew what was involved, so I thought I'd share my findings in the hope that it'll help others. Let's get at this pesky bulb Tools Short scalpel blade holder (or other short-handled cutting device) 1/4" drive screwdriver handle and a few straight extensions 1/4" right angle extension (I used this one: https://www.ebay.co.uk/itm/2pcs-Right-Angle-Drill-and-Flexible-Shaft-Bits-Extension-Screwdriver-Bit-Holder/163441824481) Parts x2 Skoda indicator repair kit (part number 5L0998295) x2 replacement PW24W bulbs I used these as they're a similar length to the original bulbs and emit amber light in all directions: https://www.aliexpress.com/item/Pair-Yellow-Amber-Automobiles-PW24W-PWY24W-LED-Bulb-DRL-License-Plate-Light-Canbus-12V-24V/32832137299.htm Steps I recommend starting on the driver's side as there's more space behind the headlamp there. The photos below show the passenger side. Locate the round service panel behind the indicator bulb on the headlamp unit. Note that it has a recessed channel around the edge - this is your guide for cutting (the black plastic disc shown in the photo above, below the scalpel, is what you're aiming to remove). Get your cutting tool in behind the headlamp and slowly work it around the recessed circular panel to cut it free - note the location of the scalpel below, and that I've removed some of the headlight retaining bolts to shift it forward as much as possible (you may not need to do this depending on the size of your hands). Once you have the circular access panel removed, twist the bulb holder and pull it free to access to bulb Fit your new bulb into the holder and insert it back into the headlamp with a twist to lock it (this is a bit fiddly but there's only one way it can go back in, so be patient and you'll get there) Take a repair cap and place it into the hole behind the bulb, position your screwdriver with the right angle extension however you can and drive in both torx bolts Repeat on the other side! The end result:


 1 point