Leaderboard
-
Lee01
FREEDOM255Points36,958Posts -
.jpg.3745ef413bb0c636456d024dfd5d2fd7.jpg)
Evolution13
Resident Member220Points3,222Posts -
Lady Elanore
FREEDOM152Points25,085Posts -
skomaz
FREEDOM128Points11,426Posts
.thumb.jpg.9dd3f612ba7f13d10be5c518d3c8d255.jpg)



Popular Content
Showing content with the highest reputation since 23/09/26 in all areas
-
8 pointsThe Jag is bold but that Alfa, wow. It'll look amazing on the back of a recovery truck8 points
-
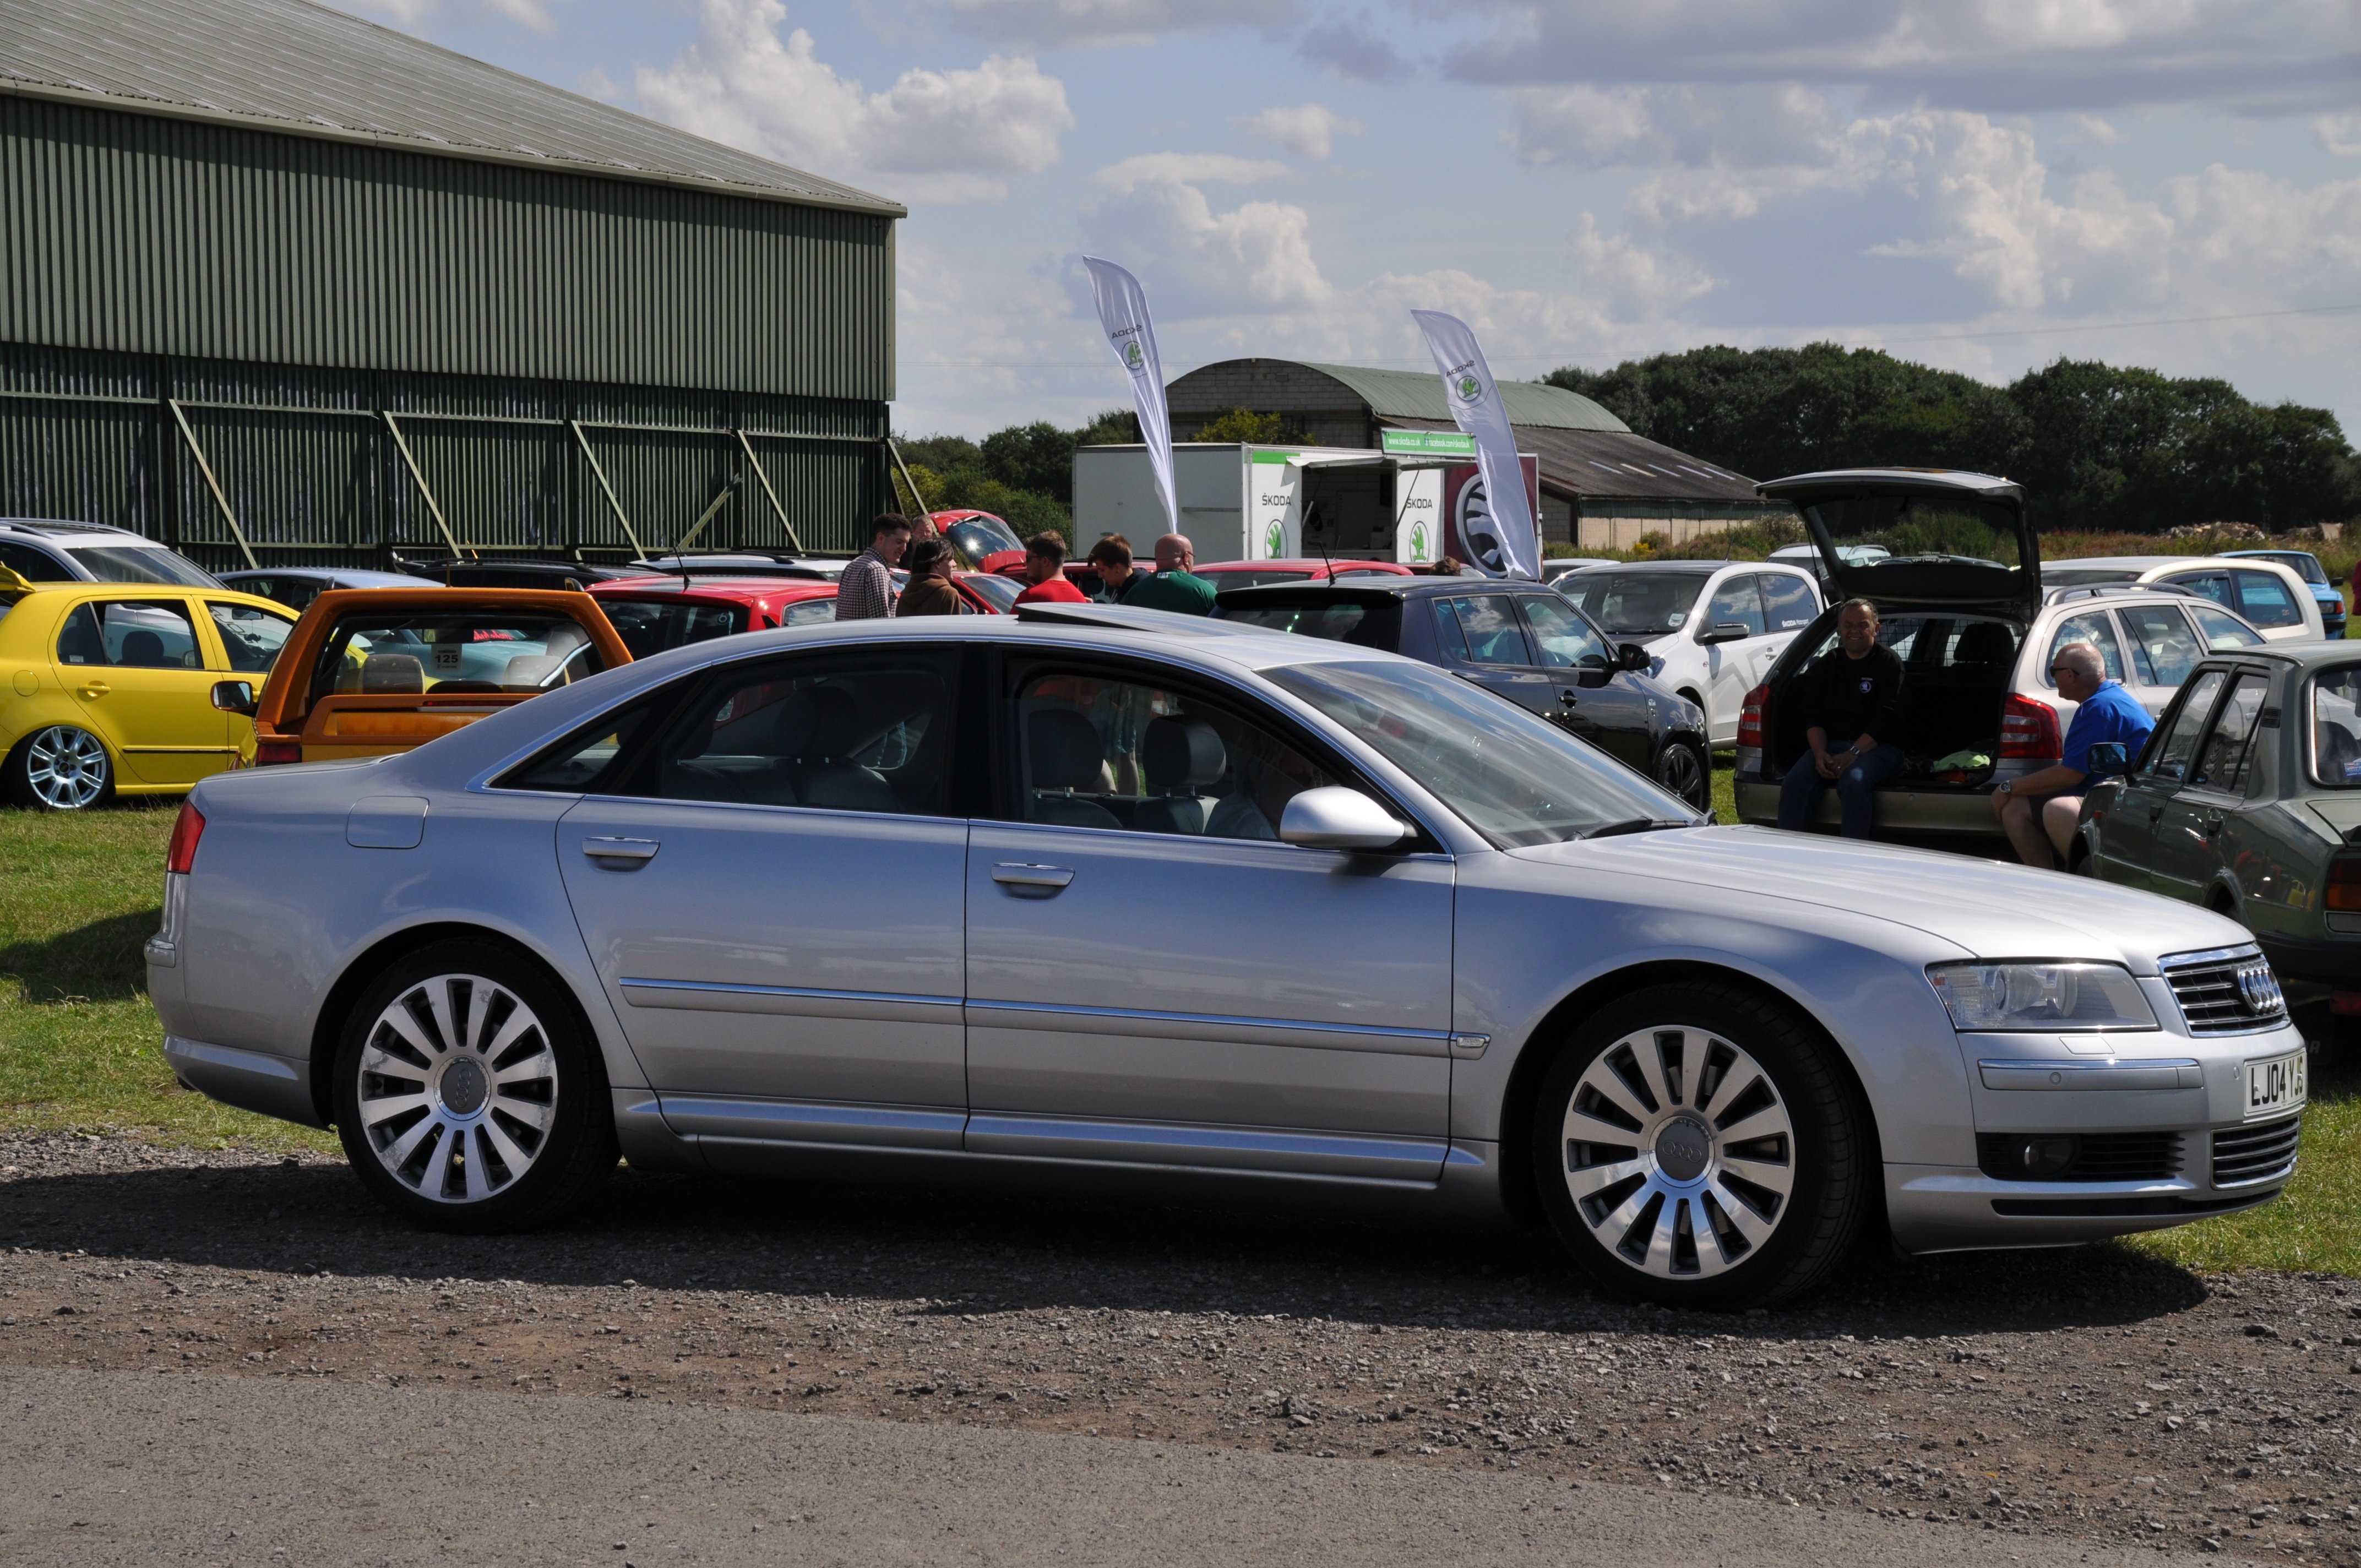
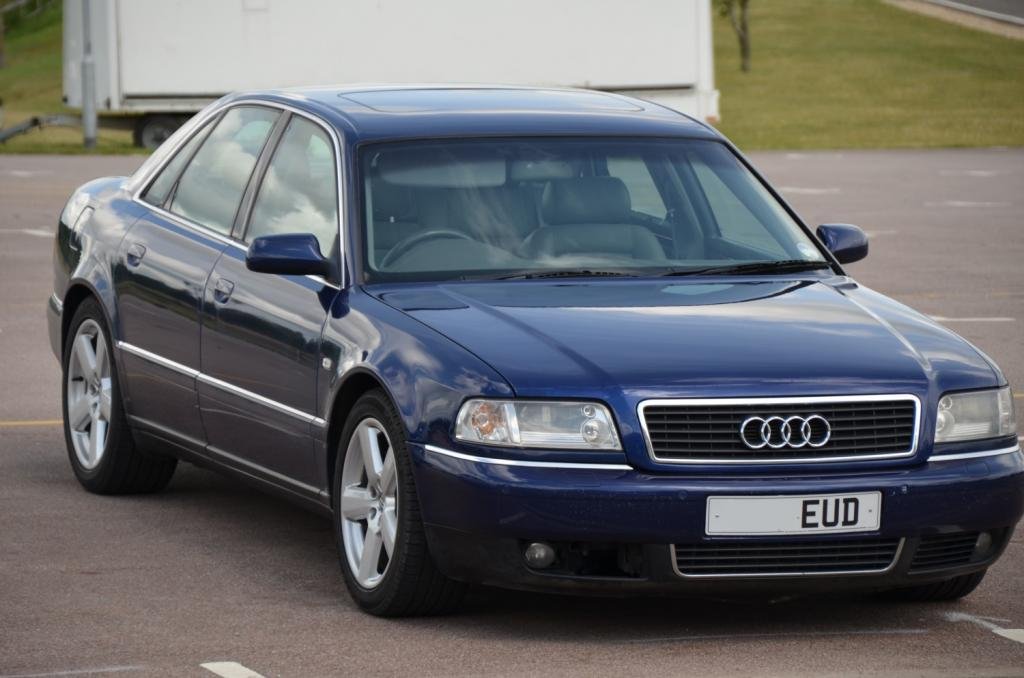
It's been a very long time since I posted anything here. Over the last few years, life has thrown a lot of curveballs my way, both good and bad. Some may remember me from the very early days of Briskoda, from what I remember I think I am something like member number 6. I was very active for a very long time on this forum, I started with my Mk1 Octavia vRS, one the first imported into the UK, then got a MK2 Octavia 1.9PD and then a Mk2 Superb. From there I had a couple of Audi's. Then life got in the way, both my Parents passed away, I got made redundant from my job in Dorset and times were tough for a long time. Today I am back in my home town, have a job working for a previous employer, and became a first time buyer in my late 50s after years of renting. My present car is a 2017 Volvo V90 Inscription with 2.0TD engine. I got it 5 years ago with 28K miles on it, and it now stands at 71K. So I am still around, I am not going to post much, but just saying hi. Here are two of the Audis, both taken at Briskoda Meets. Once is at Gaydon and the other was up noth somewhere.
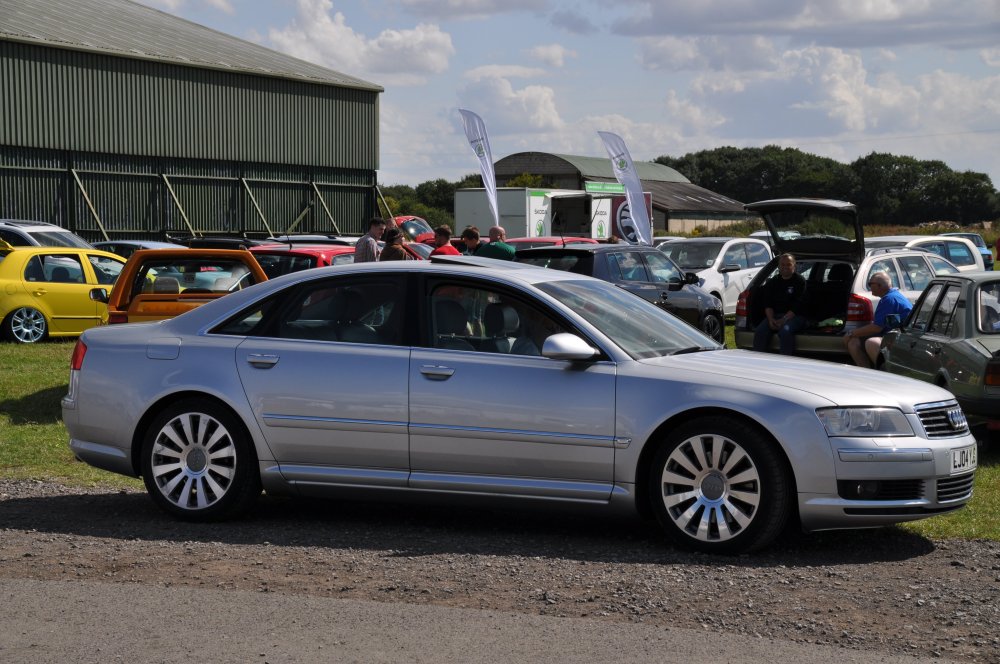
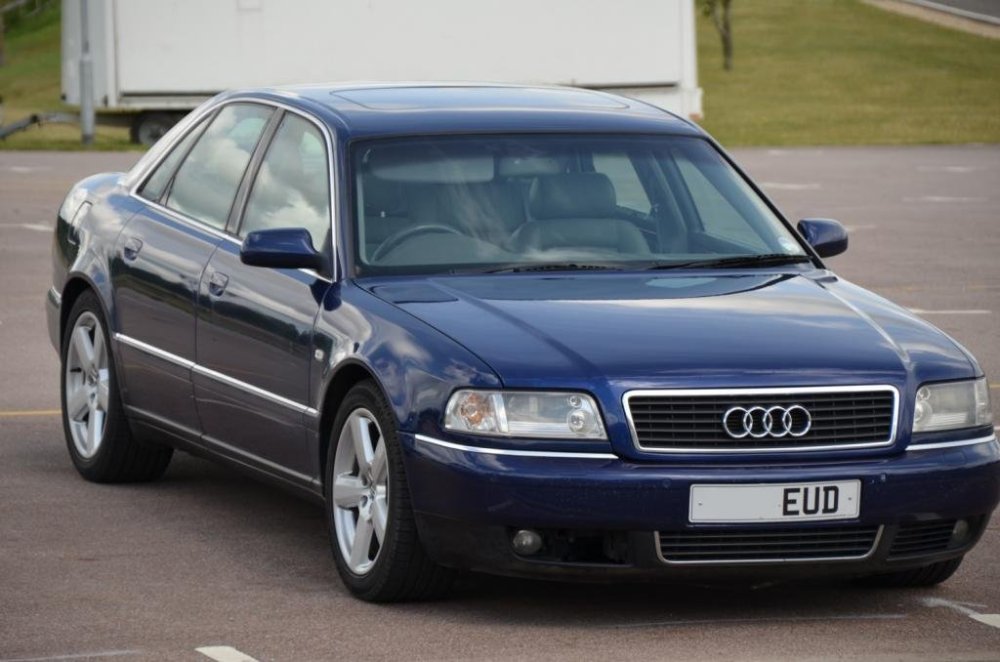 8 points
 -
6 pointsHave to agree with others... Theres nothing about it that 8 find particularly attractive or inspiring... It's certainly not a car id aspire to own... Unlike some older Jags.6 points
-
6 pointsWell, been on here for over 4 years now, contributed some, and learnt a lot more. But time to say goodbye. But not to Briskoda, just this forum. I am getting a 2026 Skoda Karoq delivered tomorrow, so will be migrating over to that forum. Thanks for all advice given here, it's helped a lot.6 points
-
6 pointsLooks like the new Jaguar launch is tonight at 01:00! It's in 'Murica, hence the daft time. Great British brand, owned by India, launching in America. Well at least we are keeping it in former colonies.6 points
-
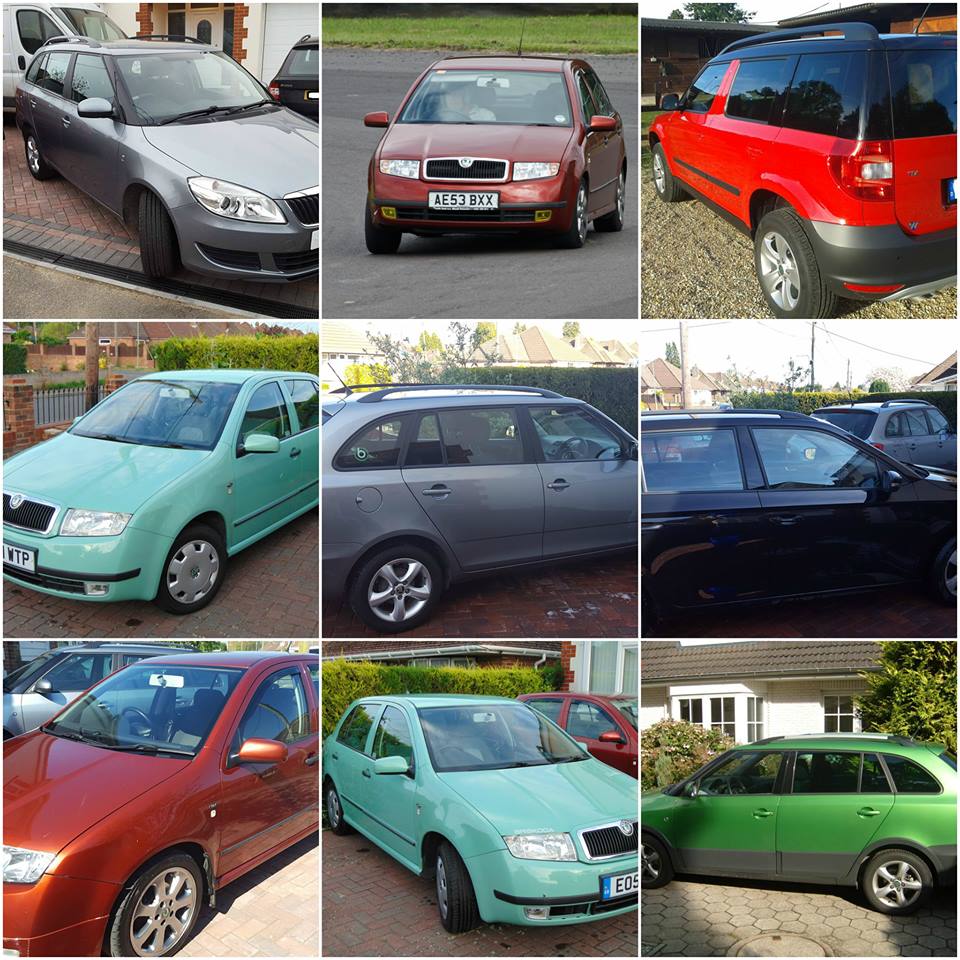
Completed an 18-day, 2,100 mile loop to Prague and back via the Chunnel. Took my Škoda back to the place of its birth. Never seen so many Škodas. Car ran like a clock. Took the big red bus in for its 10th service and M.O.T. and collected today: passed and no advisories. Best car I ever had. The mechanic offered to buy it, but I'll keep it for another year at least, or until it gives me trouble. I think there's a hybrid in my future if the government doesn't price me off the road...5 points
-
5 pointsI don't think Jaguar is deluding themselves that the car is elegant, I'm pretty sure it is simply making an incredibly bold statement. I don't get most modern art, or say, Captain Beefheart, but there are many who do, perhaps that's what Jaguar is aiming for. They are not looking for big sales, that's for sure. There will be crossover tech from this car and some of the innovative engineering solutions will be carried over to their other upcoming cars, so there might be a little more method in their madness than just to shock everyone. Personally, I don't think the world cares if there is a Jaguar or not, it hasn't cared for many years, regardless of the excellent cars it's made over the last few decades. I'll wait a few years and see if the gamble pays off. One thing for certain, I'm super excited to see one in the flesh, which in itself speaks well to the interest this car has evoked.5 points
-
5 pointsIMO you could put a BYD or Jaecoo badge on it and I'd believe it to be one. Nothing about it screams Jaguar but perhaps that's just me?5 points
-
5 pointsGoodness me, I want to like it, I want to feel something positive about it (and the brand). But the more I look at it, the more I think 'Oh dear', and those words just keep surfacing ☹️ In the mid 80's, I borrowed my Brother's XJ 4.2, and it was lovely, old, but sumptuous. In the late 80's he let me have a long drive in his American (twin headlights) XJS 5.3 V12. While I found the sitting position something to get used to, the car itself was awesome 😎 I look at this new one with a relative level of unbothered, and it just doesn't inspire. At all. Gaz5 points
-
5 points
-
5 pointsI’m pretty certain this thread is no longer about individual versions of the “truth” about electric cars.5 points
-
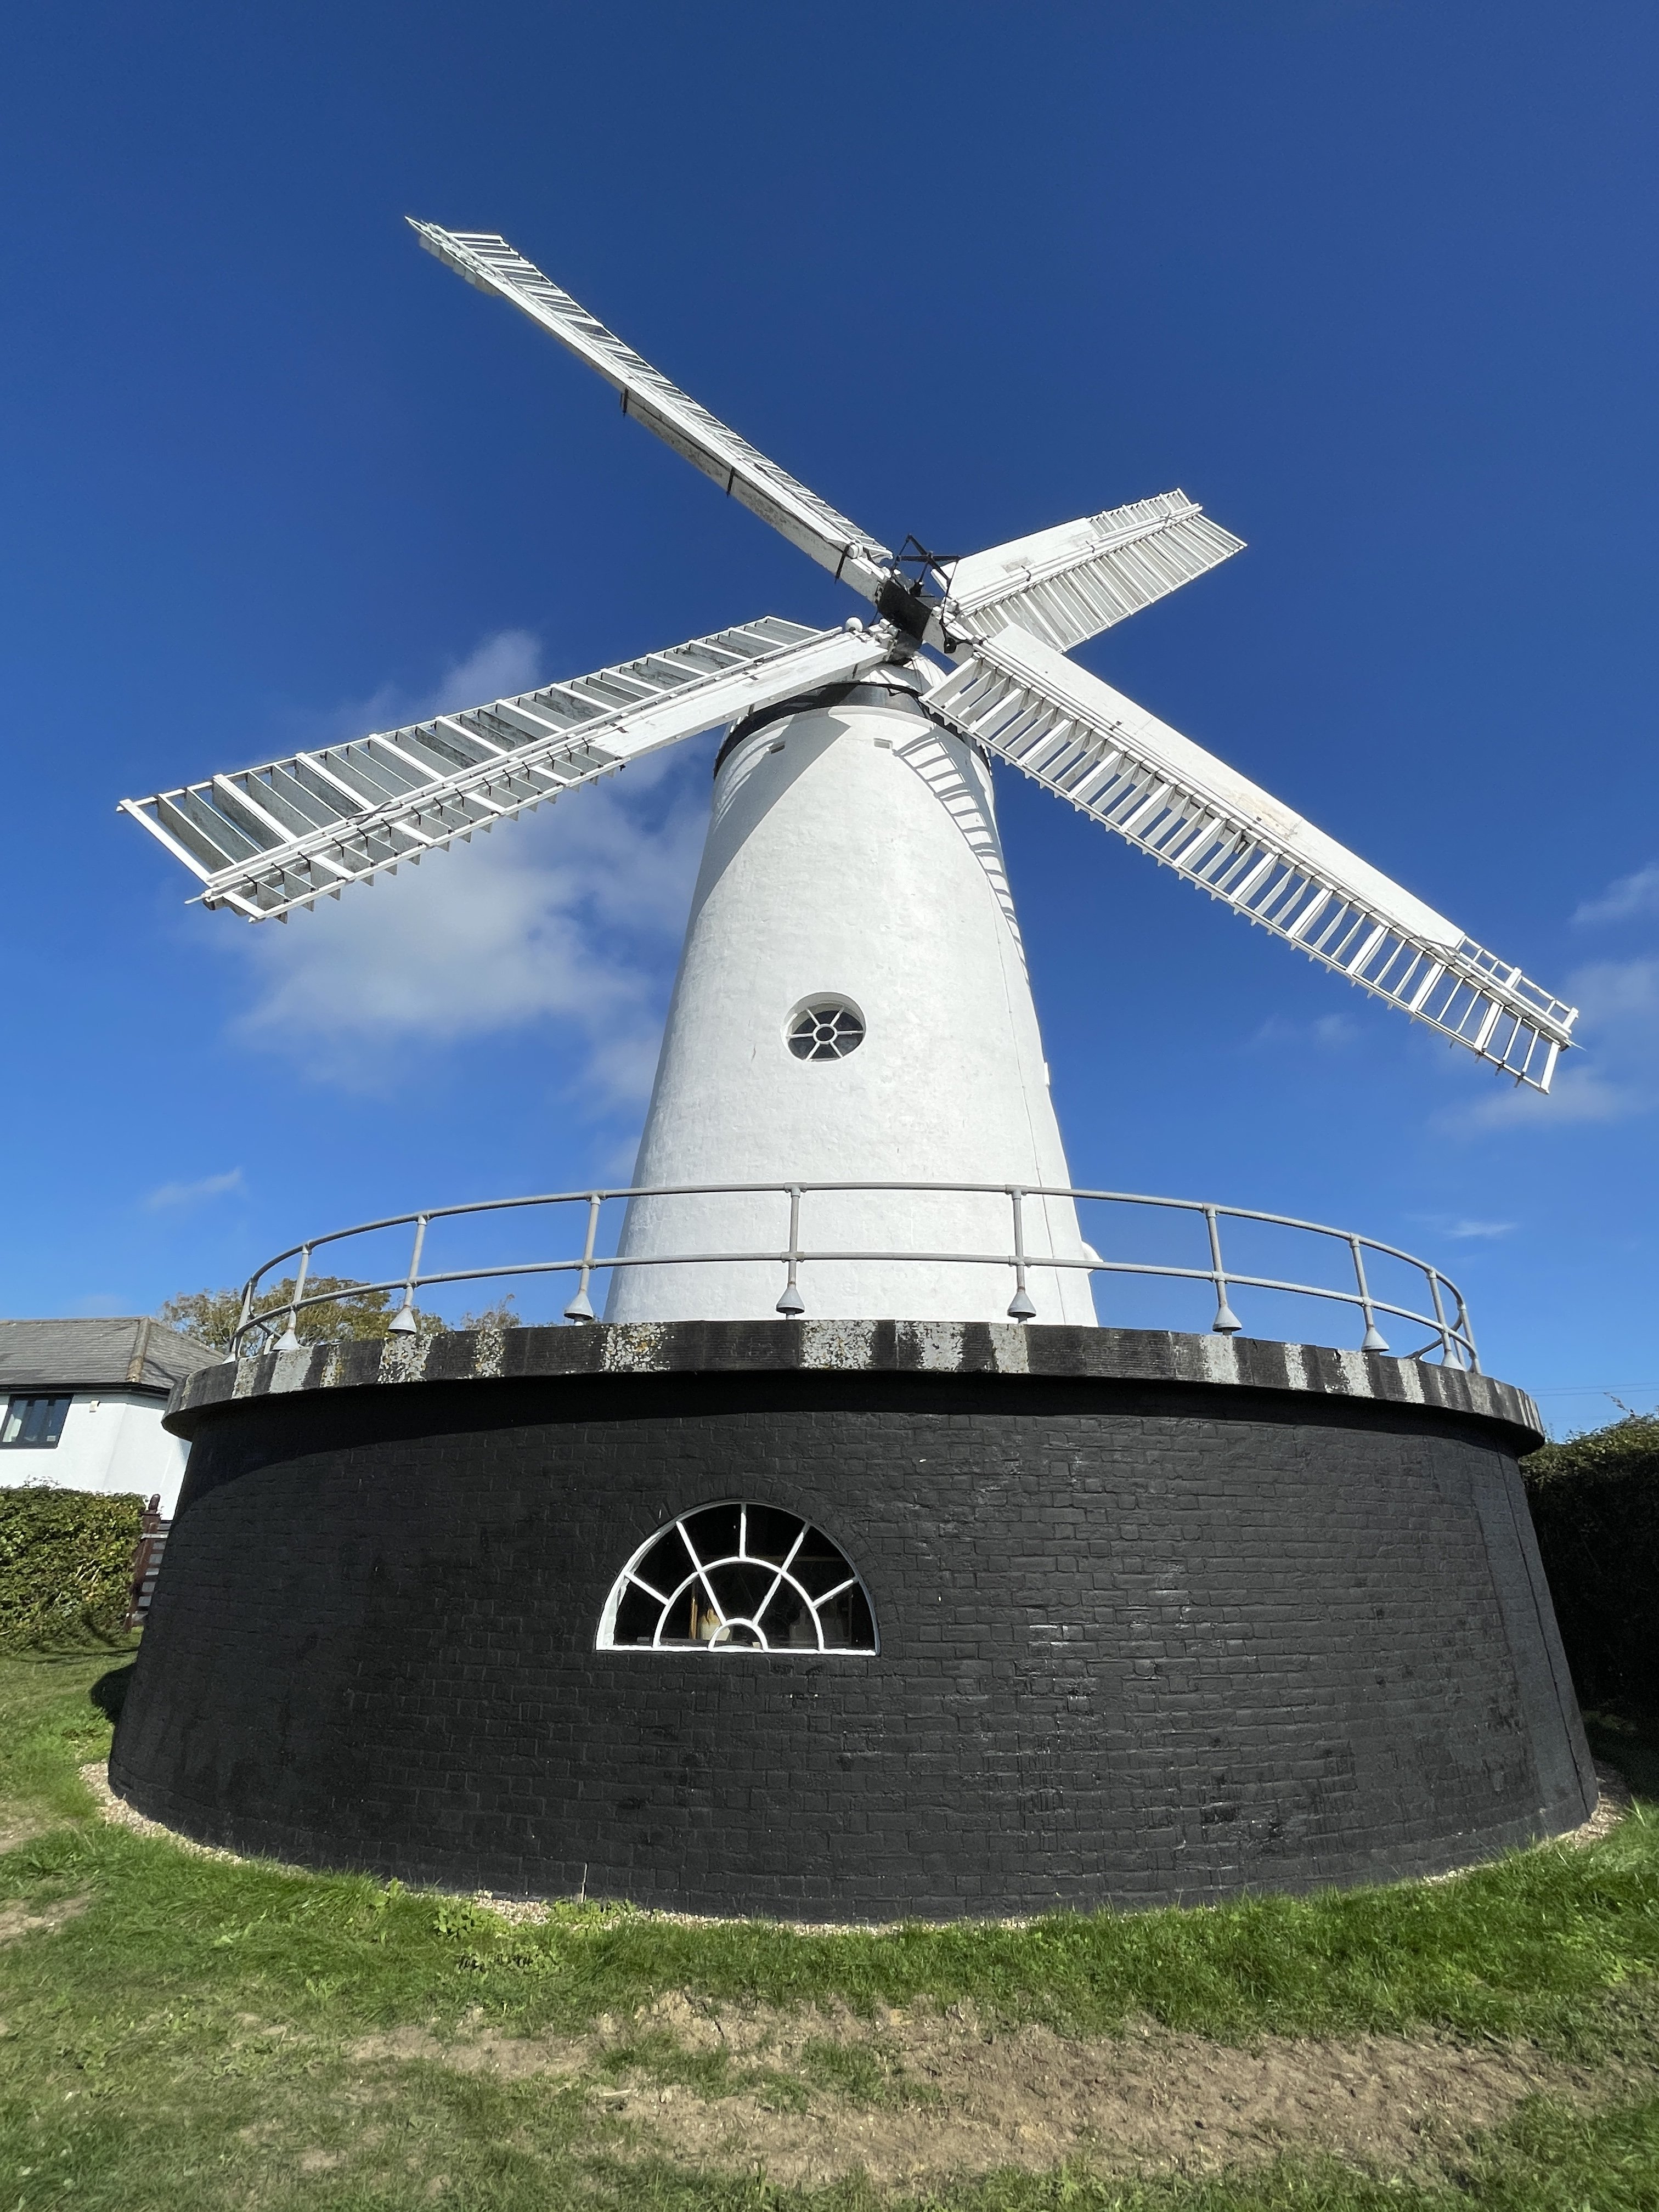
5 pointsStone Cross windmill looking rather splendid in this afternoon's Sun: And on the way back I counted 67 Coot and two Great Crested Grebe on Shinewater Lake: Oh and not forgetting these two: Didn't expect to see them, otherwise I'd have taken some food as they came over to me, so seemed interested. Gaz
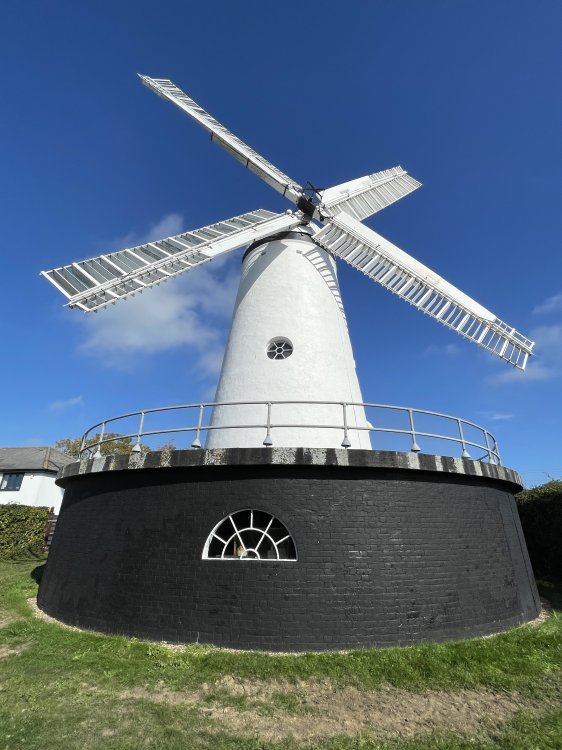

 5 points
 -
5 points
-
4 pointsNot sure what it's known as but there was a distinct beam of sunlight straight up from where the sun had set a few moments earlier
 4 points
 -
4 points
-
4 pointsComing up to 13 years of ownership from new. The 1.2 tsi Roomie apart from servicing and replacing consumables has only needed an offside headlamp and registration plate bulb. I have had no dash warning lights or any other gremlins. The paint is still in showroom shine and interior showing no signs of wear. I am so reluctant to change it..4 points
-
4 pointsI likewise am experiencing this problem. My Skoda Octavia 2024 1.5 TSI (manual gearbox) cuts out between gears at low rev. The car was bought new in 2026, but was pre-registered at the dealership at delivery in 2024. I am the first owner to use it and the problem has persisted from new. I have reported it to Skoda customer service as a manufacturing fault that represents a safety issue, requesting a reference number from them. I will then report it to the DVSA. Google Gemini tells me that registering the issue with the DVSA will not appear in any records for the vehicle (i.e. it won't dissuade any subsequent purchaser). For better or worse, this at least means those suffering from this safety defect should not feel wary of registering it. If an actual recall is triggered, then it shows against all vehicles of that make and model until the individual vehicle is brought to the garage in response to the recall, at which point the recall alert is wiped from the vehicle's record.4 points
-
1980 Jeep Wagoneer spotted at the supermarket today. It's BIG even by todays standards.
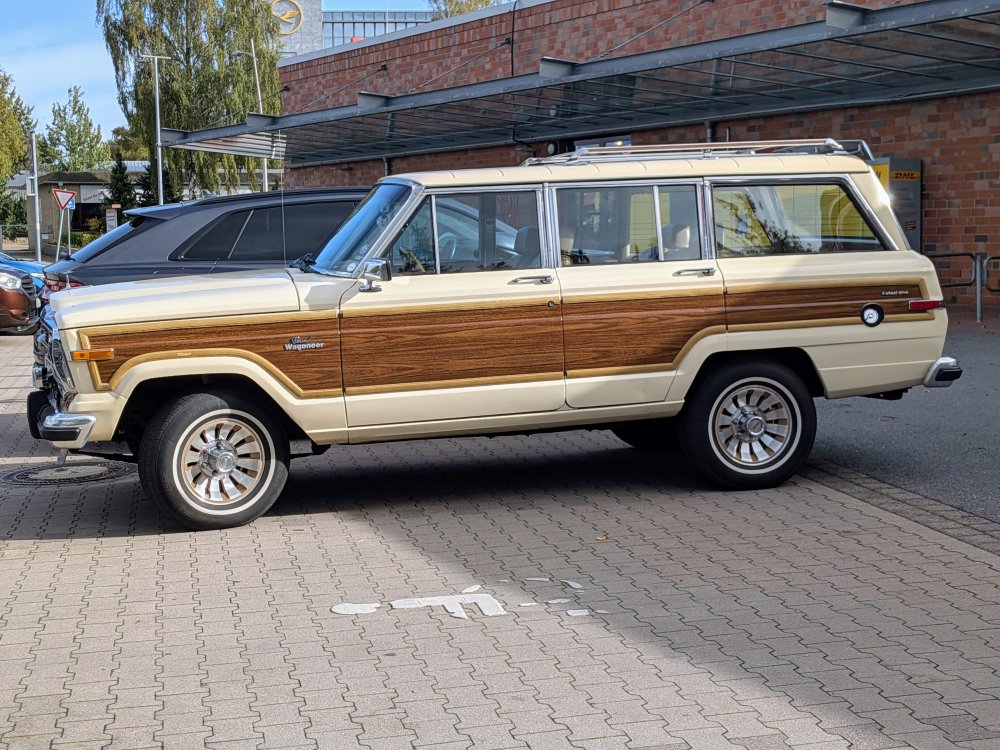 4 points
 -
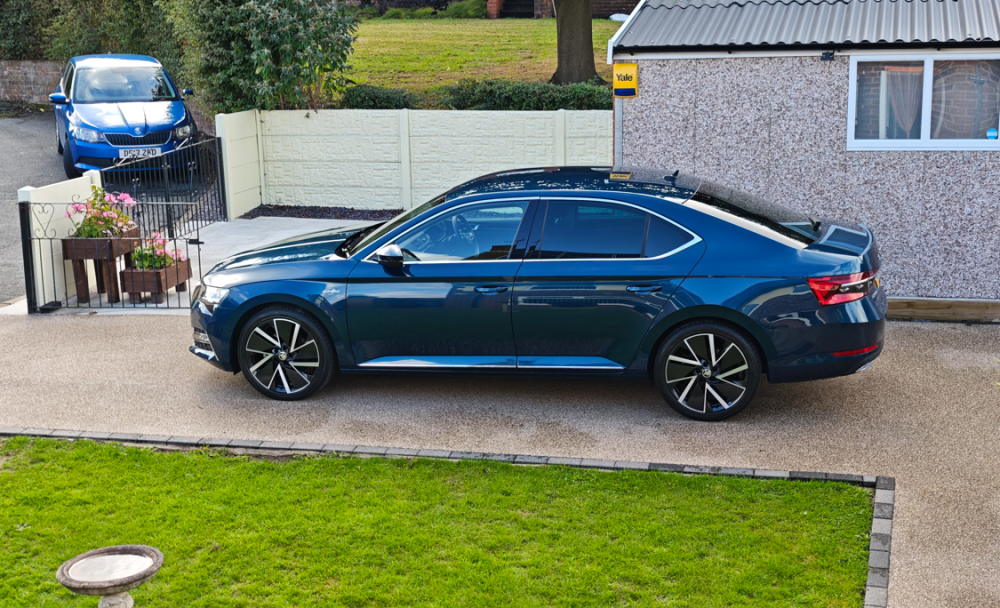
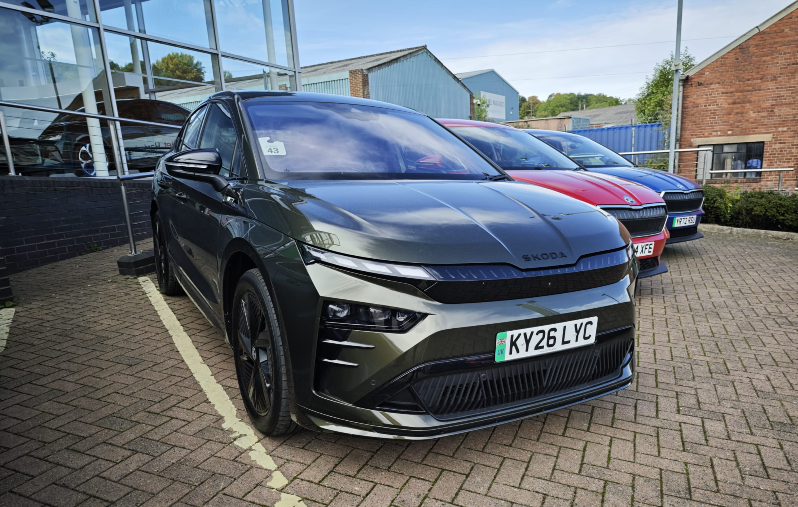
4 pointsSad day. Today I signed on the dotted line and my Mk3 will be part ex. One of the last Mk3's 2024 registered 2.0TSi L&K with Factory Optioned 19's and Massage Seats and only 11900 miles currently. Fully paint corrected and ceramic coated, not a scratch or swirl mark. It's never missed a beat. So why is it going? We have a holiday home on the coast and a few days away is now costing £50 in fuel. I have solar at home and can charge for virtually nothing with favourable weather or £6 for 300miles otherwise. And I fancy a change. So next week I'll be collecting an Enyaq Coupe vRS. 340PS 679NM 0-60 5.2 sec. (Our 19th Skoda from Rainworth)
 4 points
 -
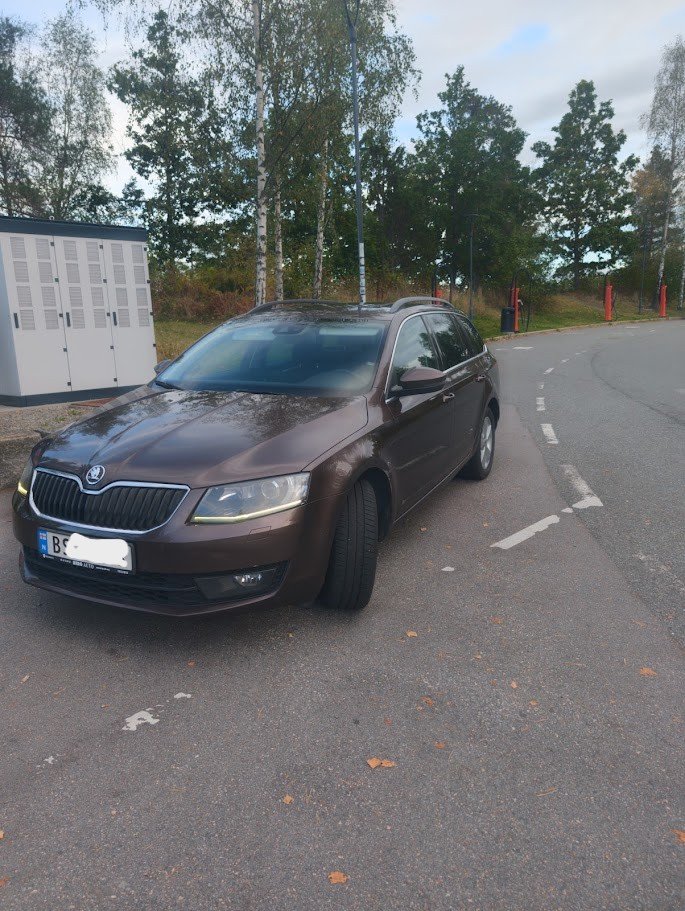
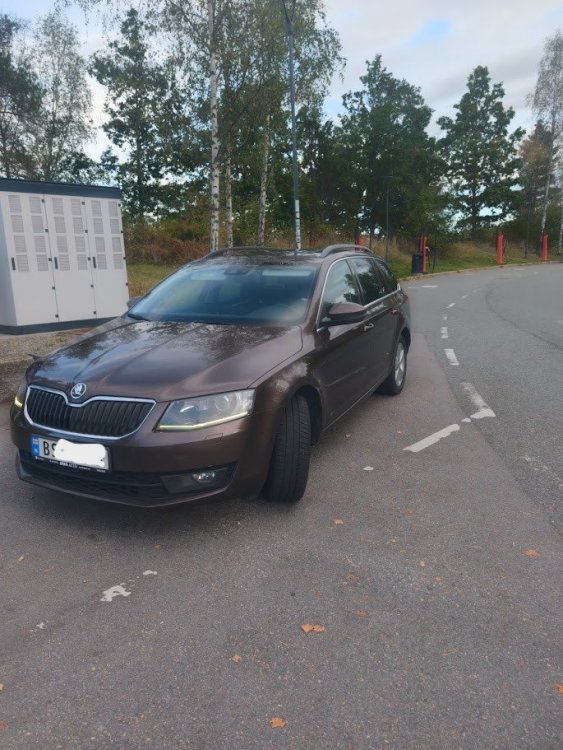
4 pointsHello there! First of wanna say thanks for this forum, figgured it was time to finaly make an account as this forum have been a good resource iv kept stumbeling uppon as im fixing up this "beater octavia" i got for dirt cheap a month ago. She might look pretty in the picture, gets up and move pretty well with the 1.8tsi 180hp, 4x4 and dsg - a plessure to drive i must say, plessanly supprised with how nice she is to cruise and thats me comming from a a6 c7 allroad, audi e-tron etc. But she have issues, there are rust, dings, scratches and general signes that she had a though life. The car was bought on an impulse a friday morning a month ago as both me and my sister needed a backup car for a little while, my audi and sisters subaru (rustbucket!) was due for its bi-yearly "road legal inspection" the same week. both need a fair bit of of work, especially the subaru where i need to reconstruct a good chuck of the rockers and inner structure (takes time for a it guy where the welding skill is "can somehow stick metal together"). And my schedule have been crazy lately so spare time to work on our cars have been more or less non existant. Back to the project Skoda! I got here cheap as the guy i bought it from had given up, had "engine noice" and check engine light he could not figgure out. he even did a timing chain kit... The Skoda jumped the repair queue as it looked like a farly quick doing and the inspection was due on this one aswell. When i looked at it before buying I had a suspision that it was the vvt solinoid causing the noice and engine light - It was!, there was also a coolant leak from the waterpump and a connecting piece, did new rear breaks, 3d-printet a repair for the handbrake (Thank you forum member here!) - and she passed here inspection ;) These cars are know to rust a bit in norway, and she have door handel and rear quarter rust. ignored the doors for now but the inner finder, rearquarter and rear sub fram got a full spa treatment and while the body had some rust the octavia is solid and after some treatment should last for a good long time. Now she is street legal and a absolutly fantastic car to drive! Almost thought of keeping this beater for my self replacing the A6 allroad for daily driving, did not help the A6's case that in the past 3 weeks the air suspension have started to leak and im having transmission trubbles... Its "only" done 285.000km, a bit early for a VAG dsg trans to have its first issues, right? 🤣 While the engine sound and pulls nicely, all is not well. After replacing coolent parts and while bleeding the cooling system i got low oilpressure warning... done some minor stuff to hoping it would solve it, and yesterday i did an oil pump. still have some hot idle pressure issues that needs further investigations but that is for later and a dedicated post. Well this turned in to a long post.. But again, thanks for the forum!
 4 points
 -
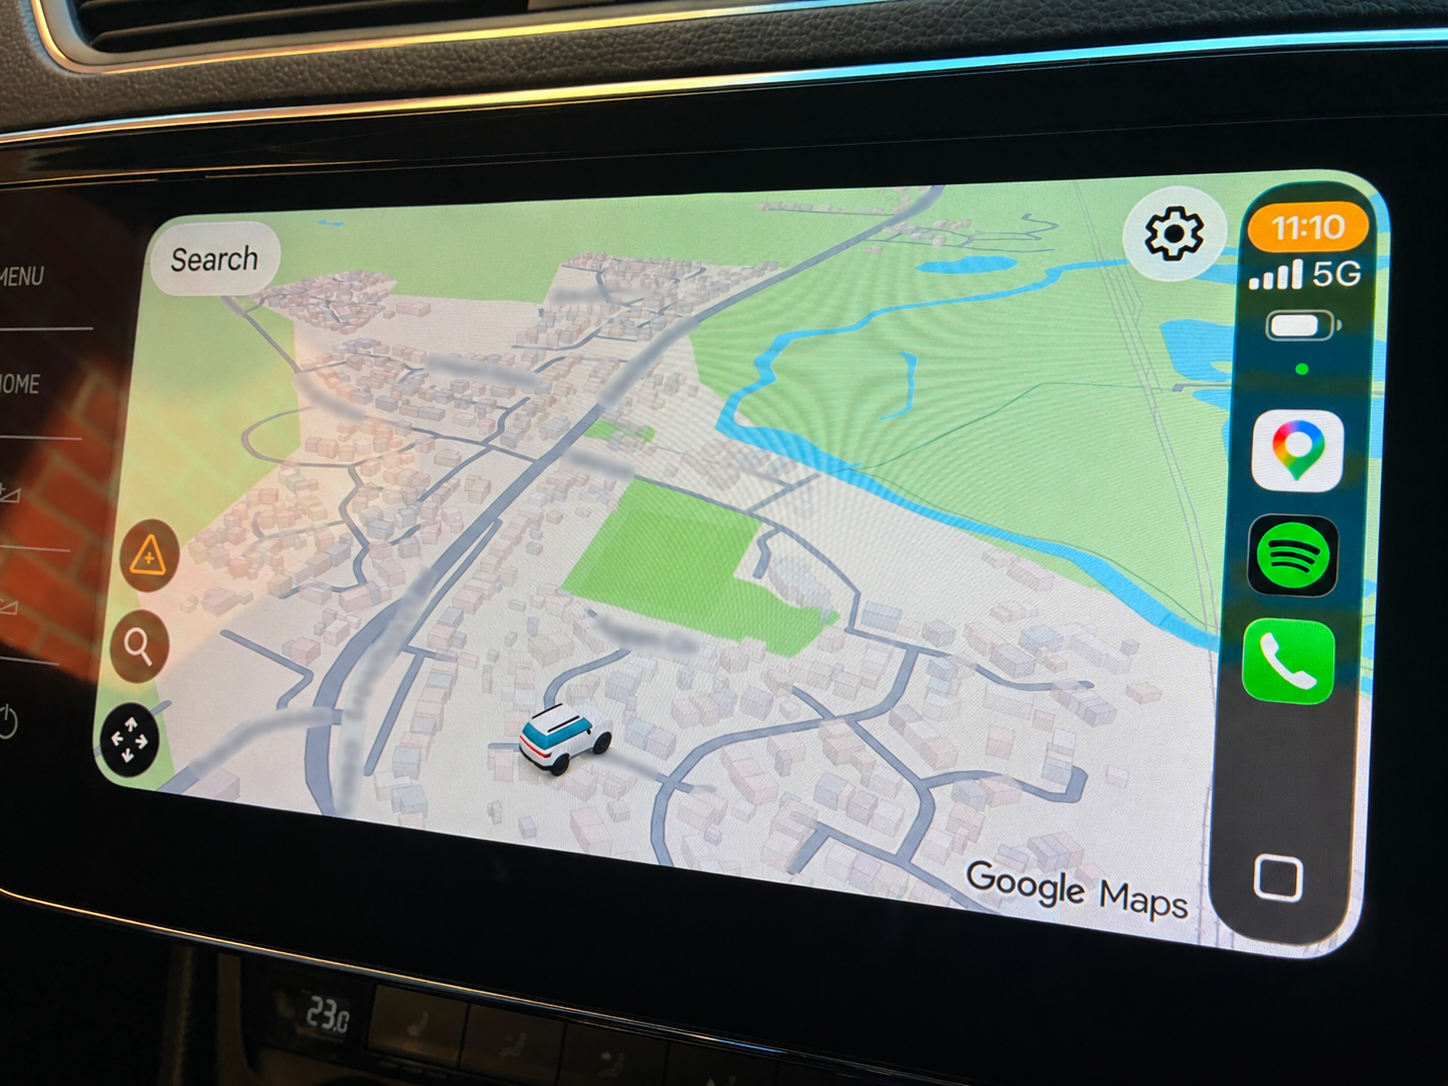
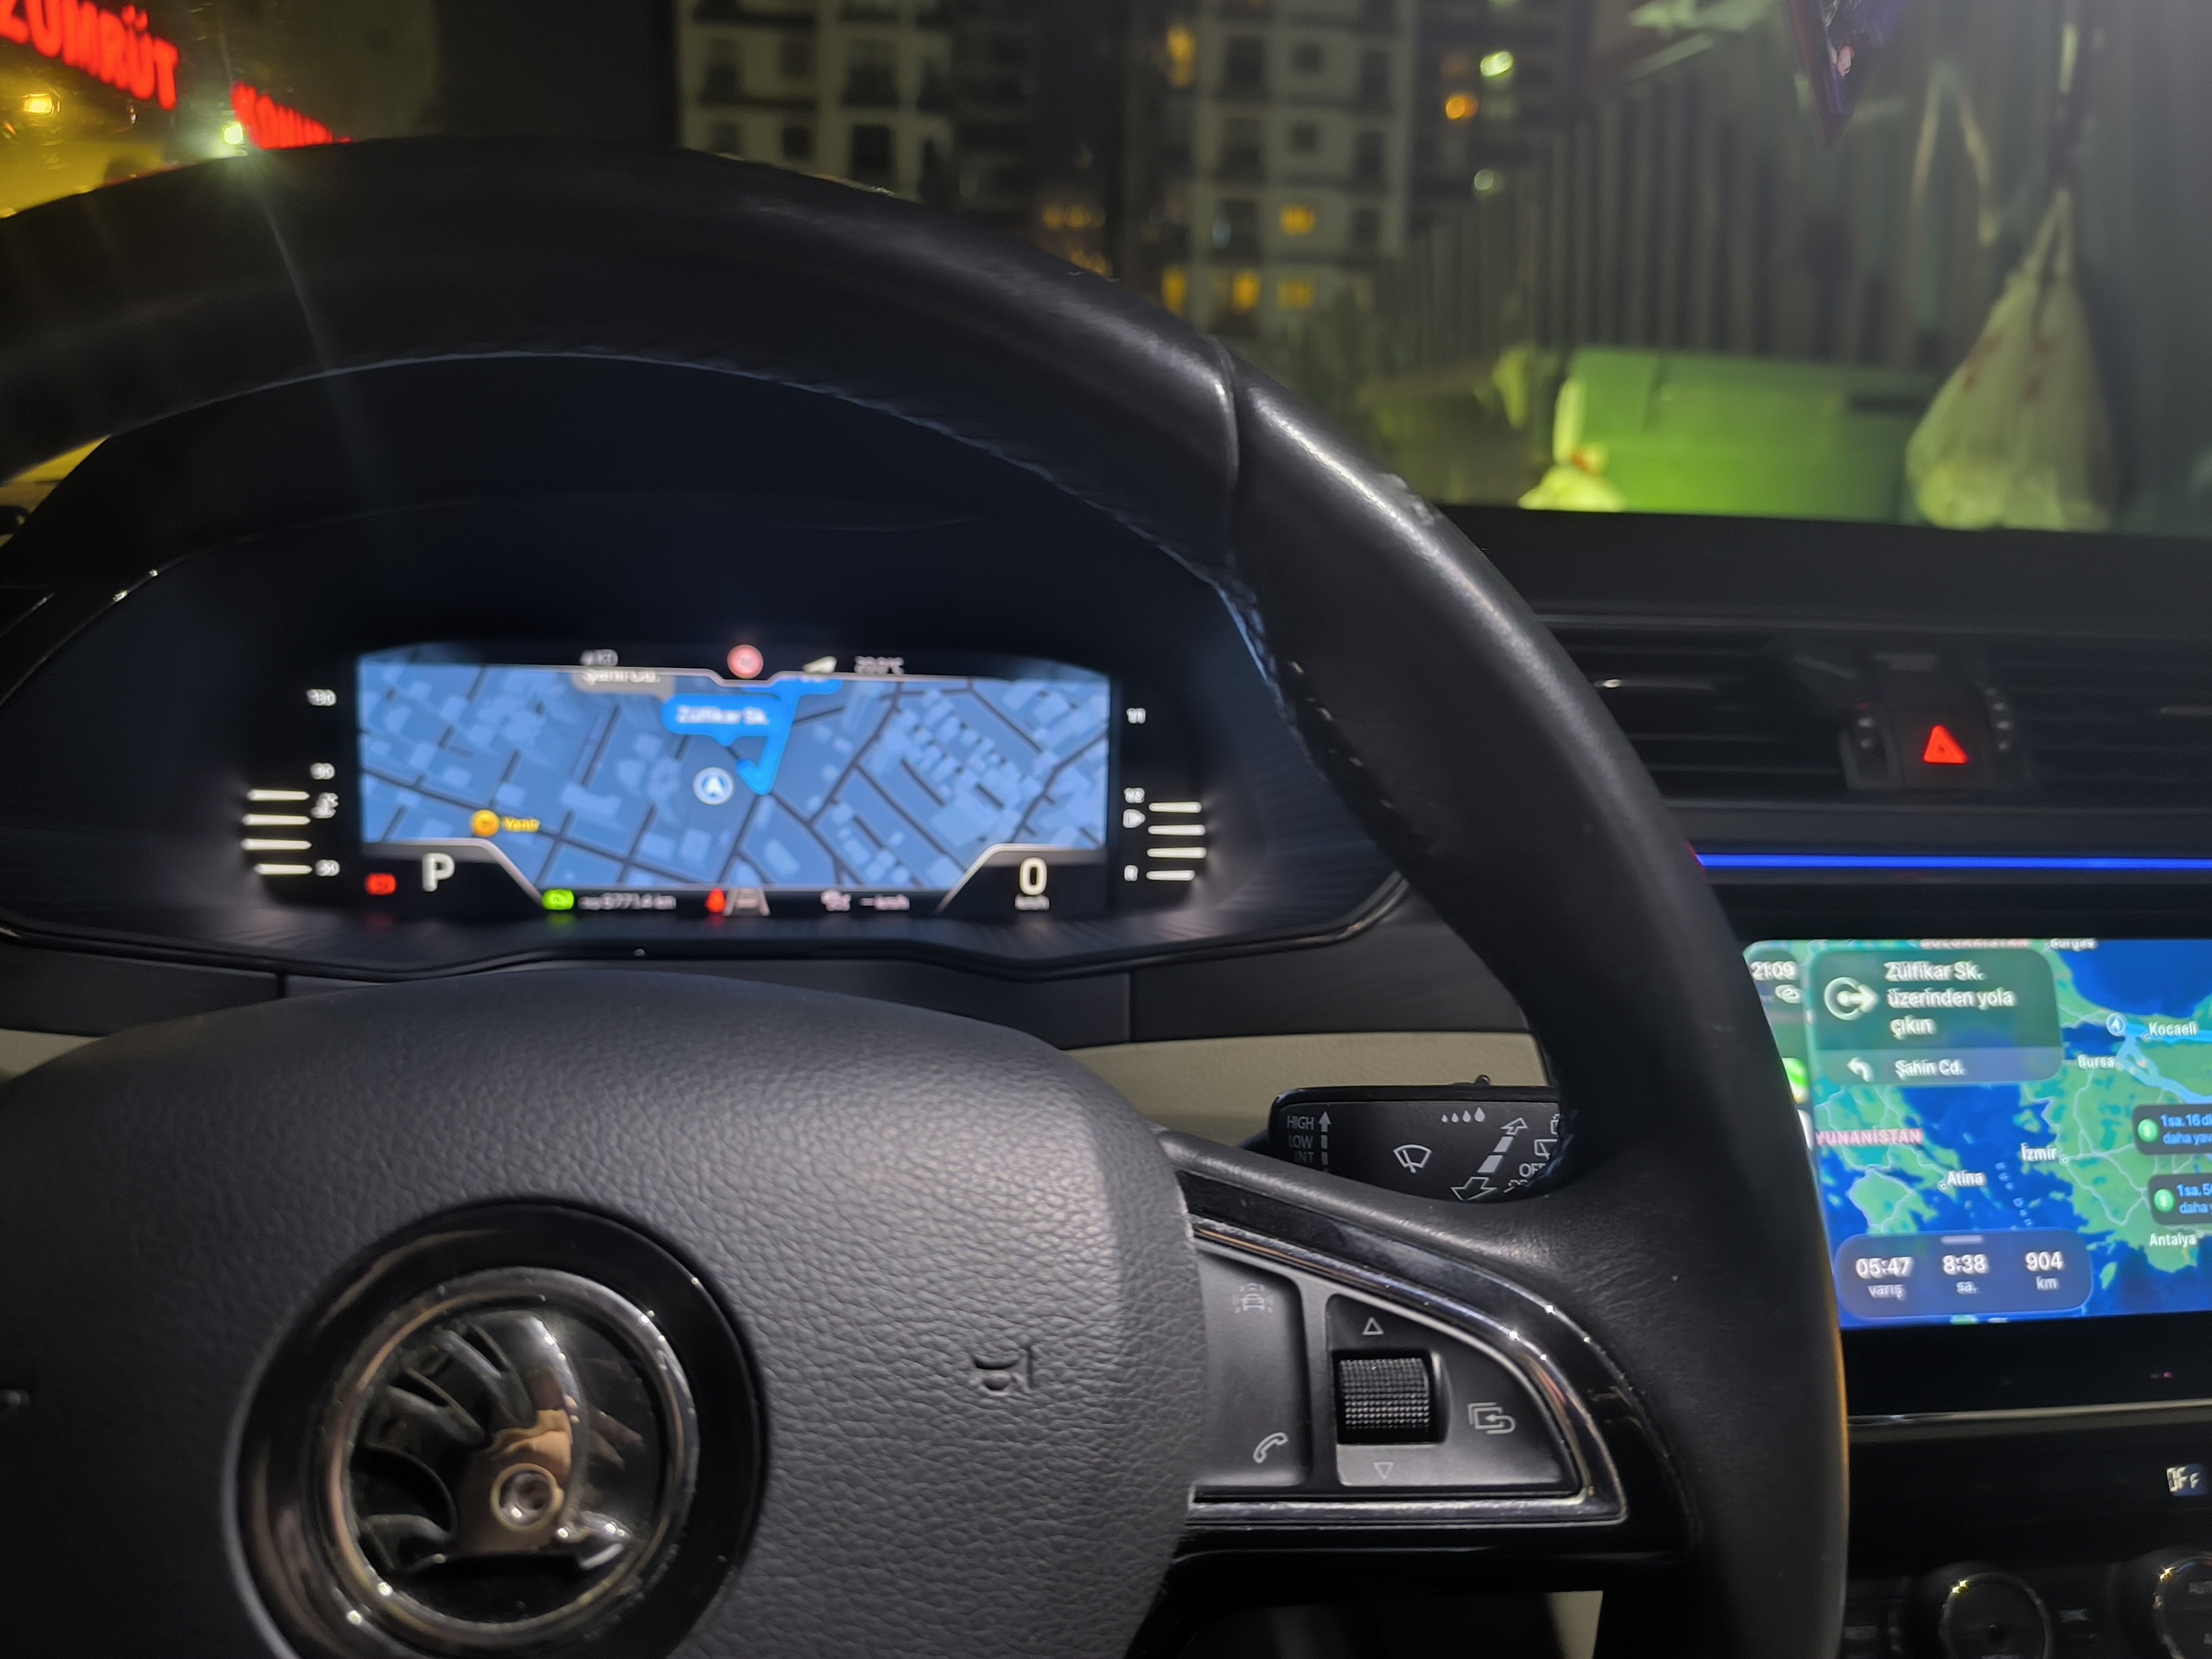
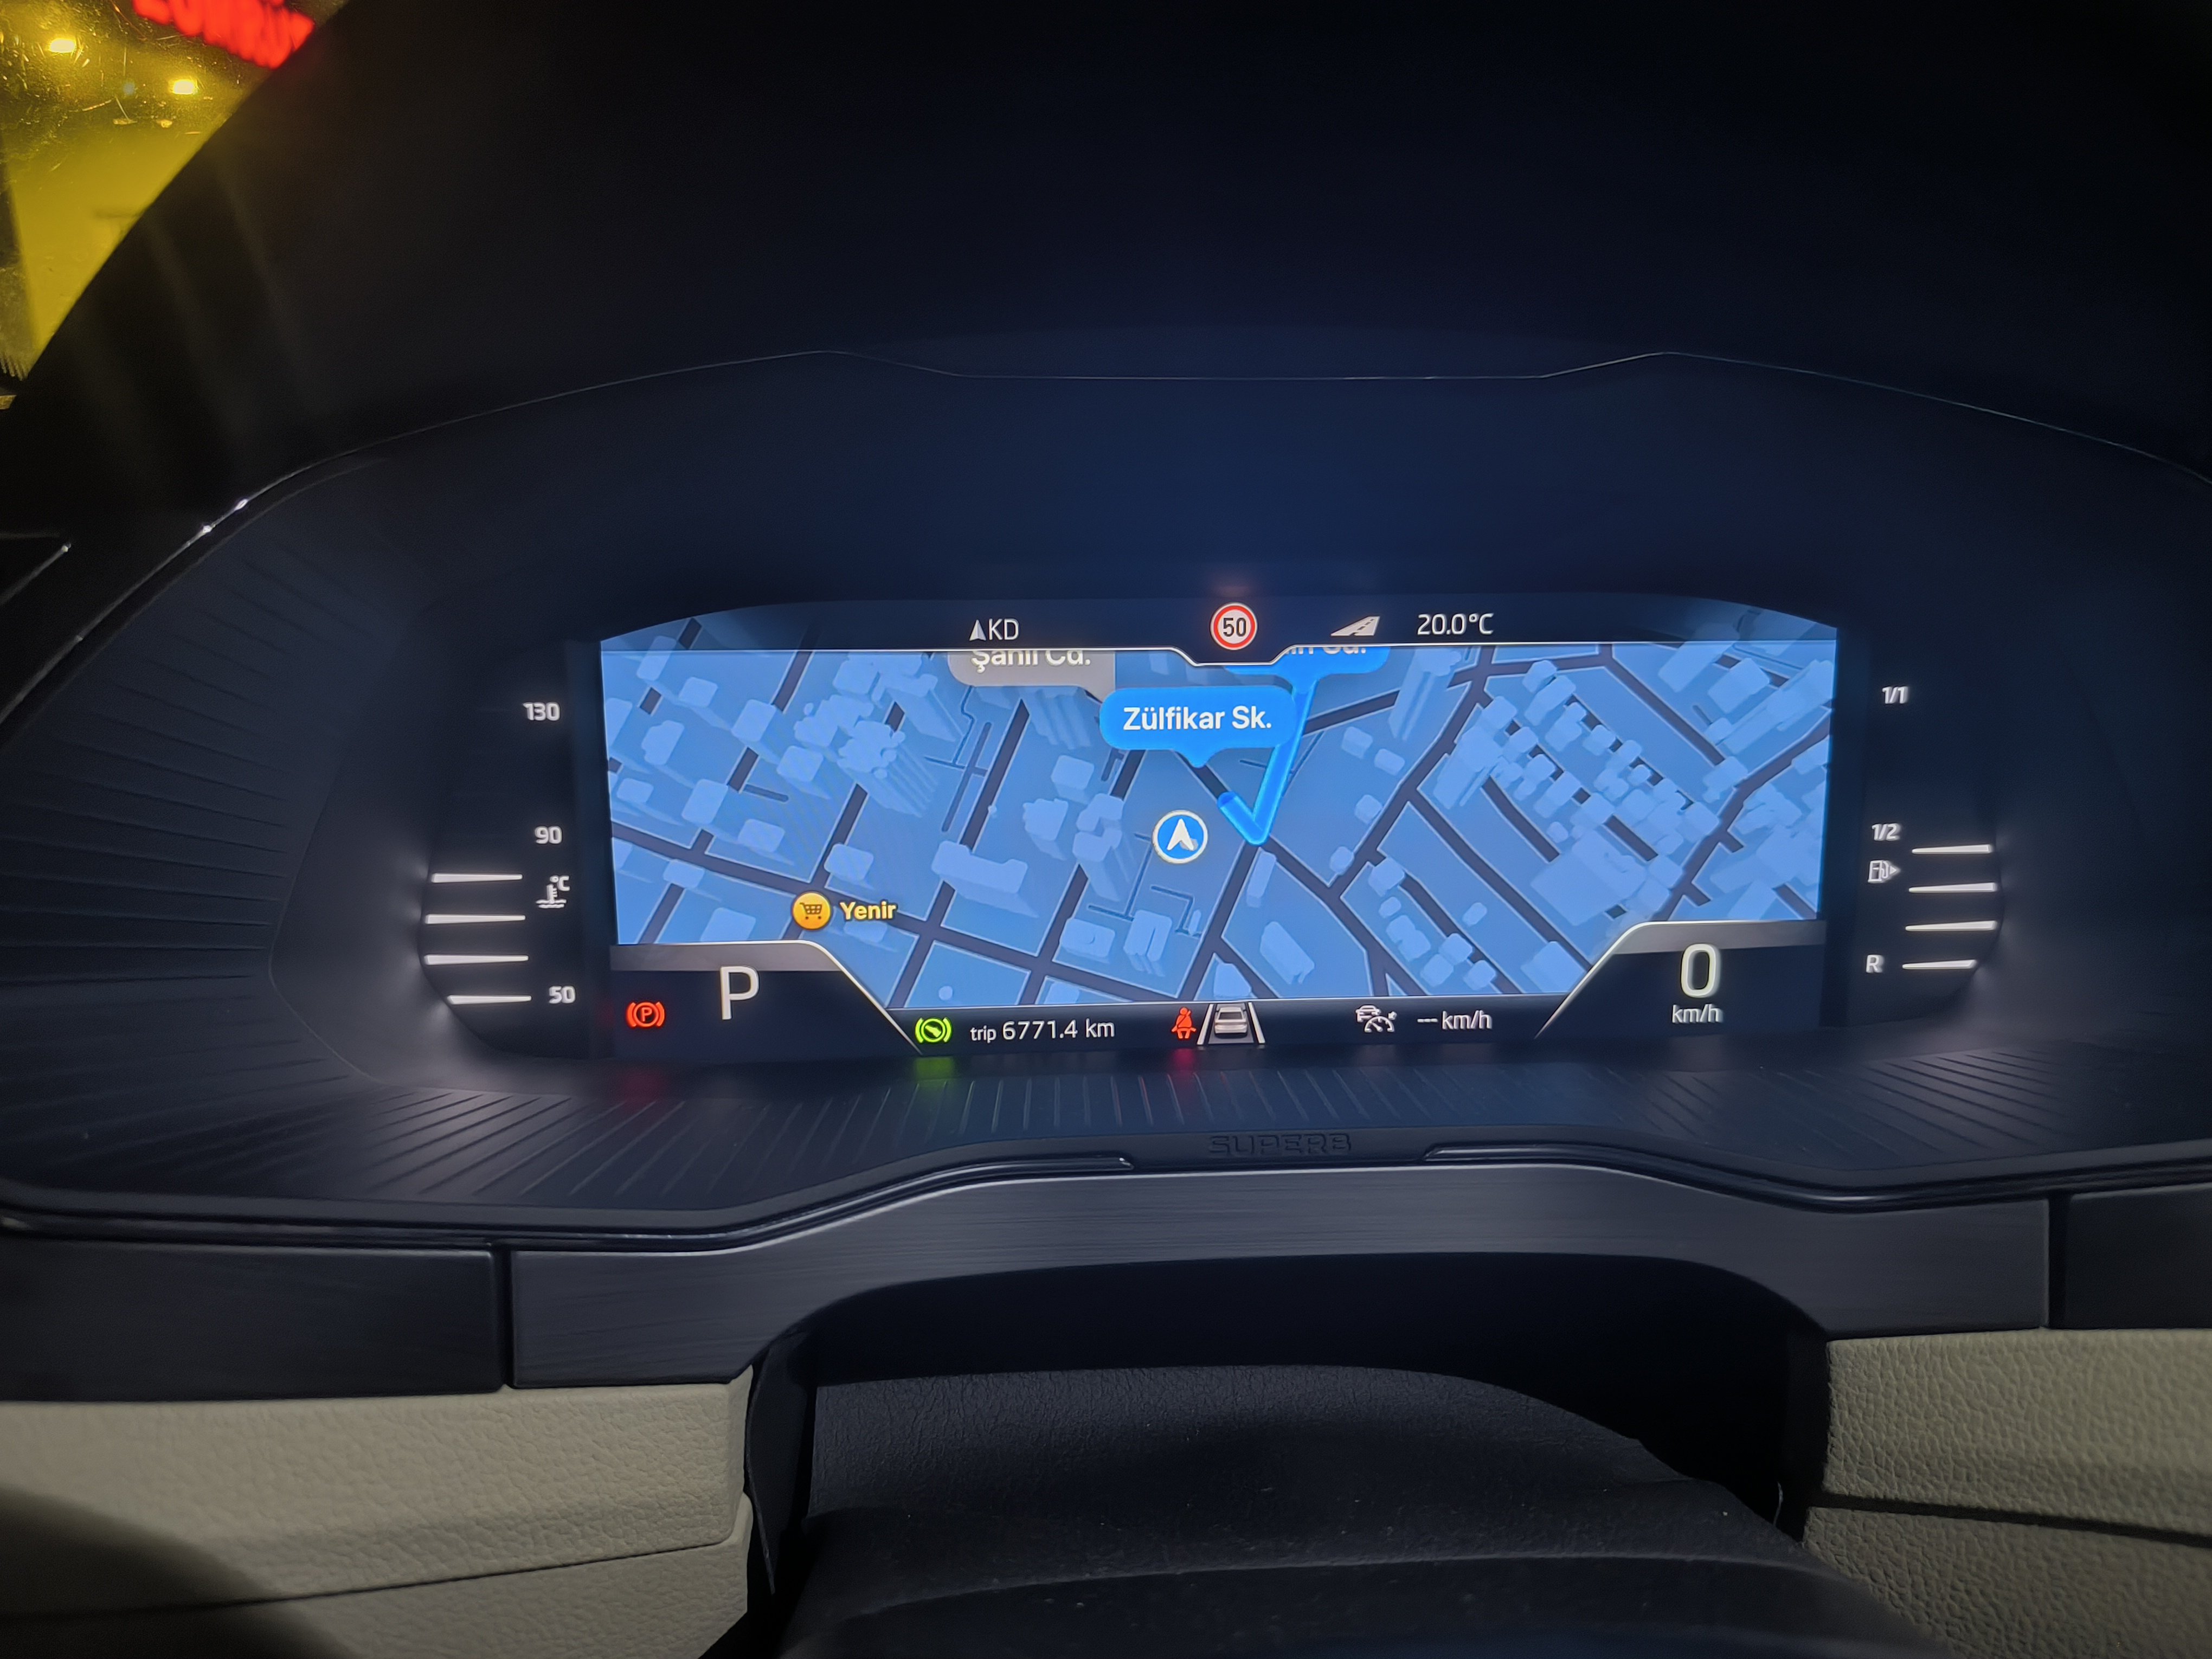
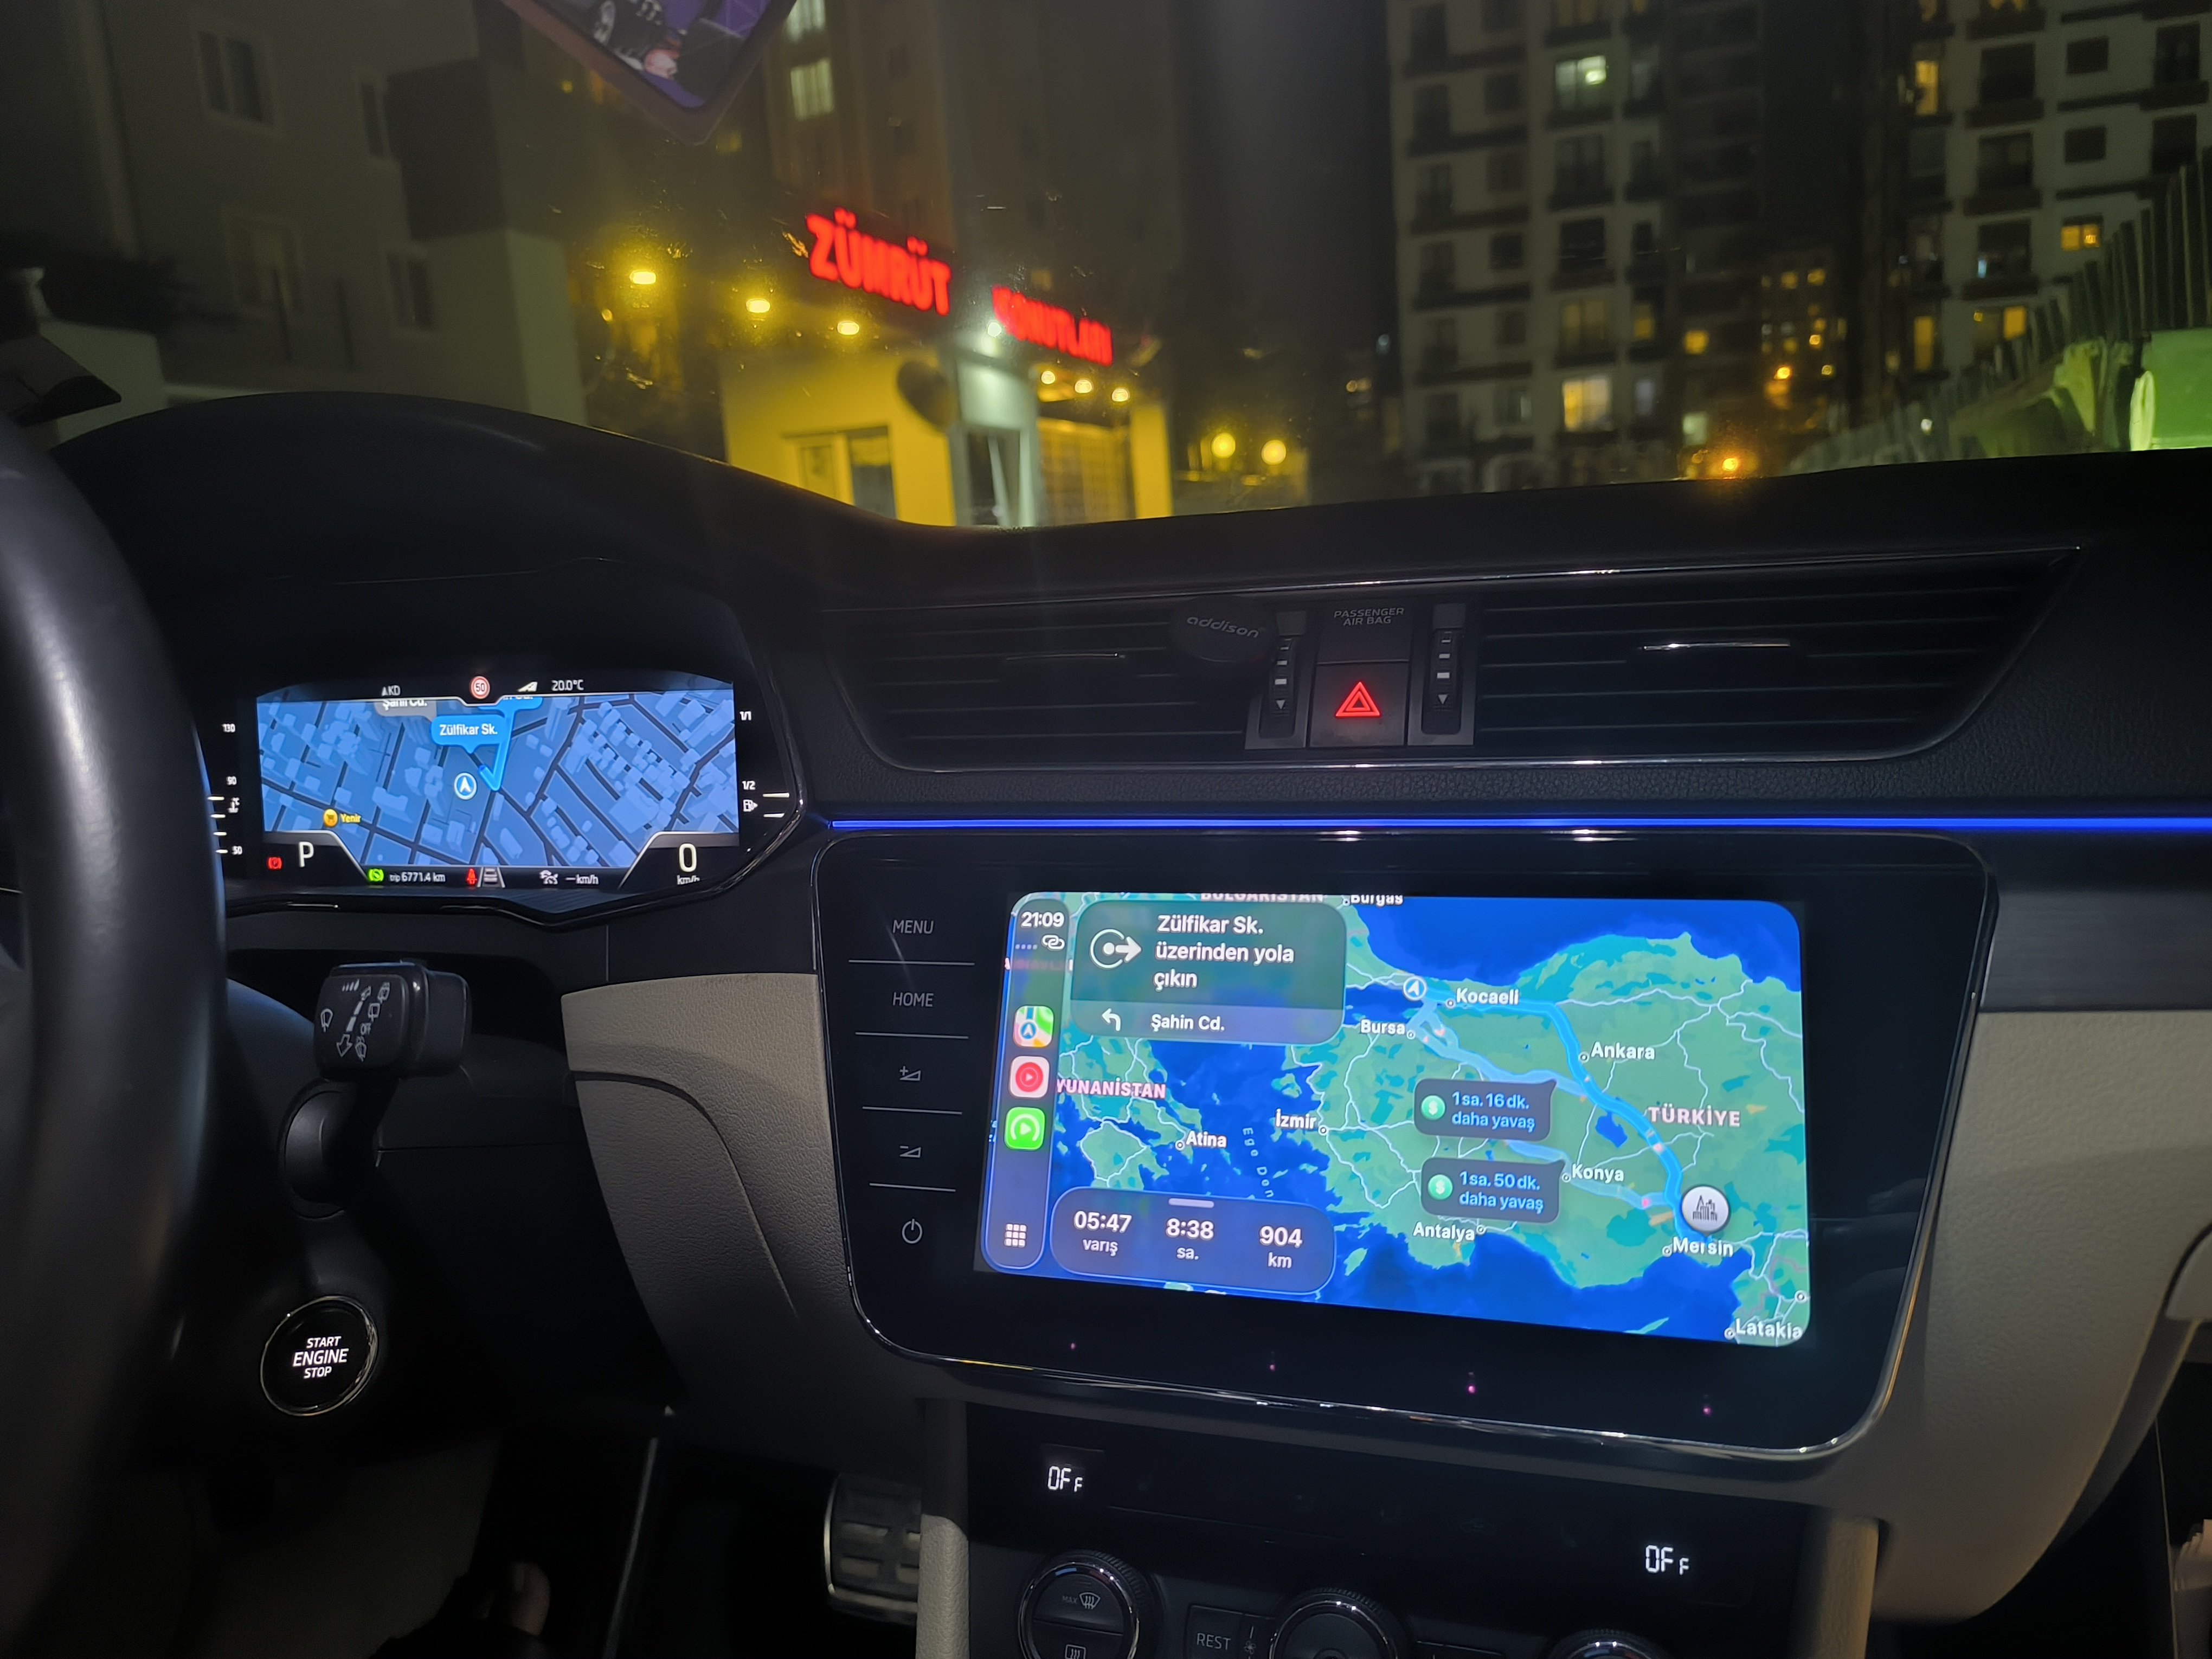
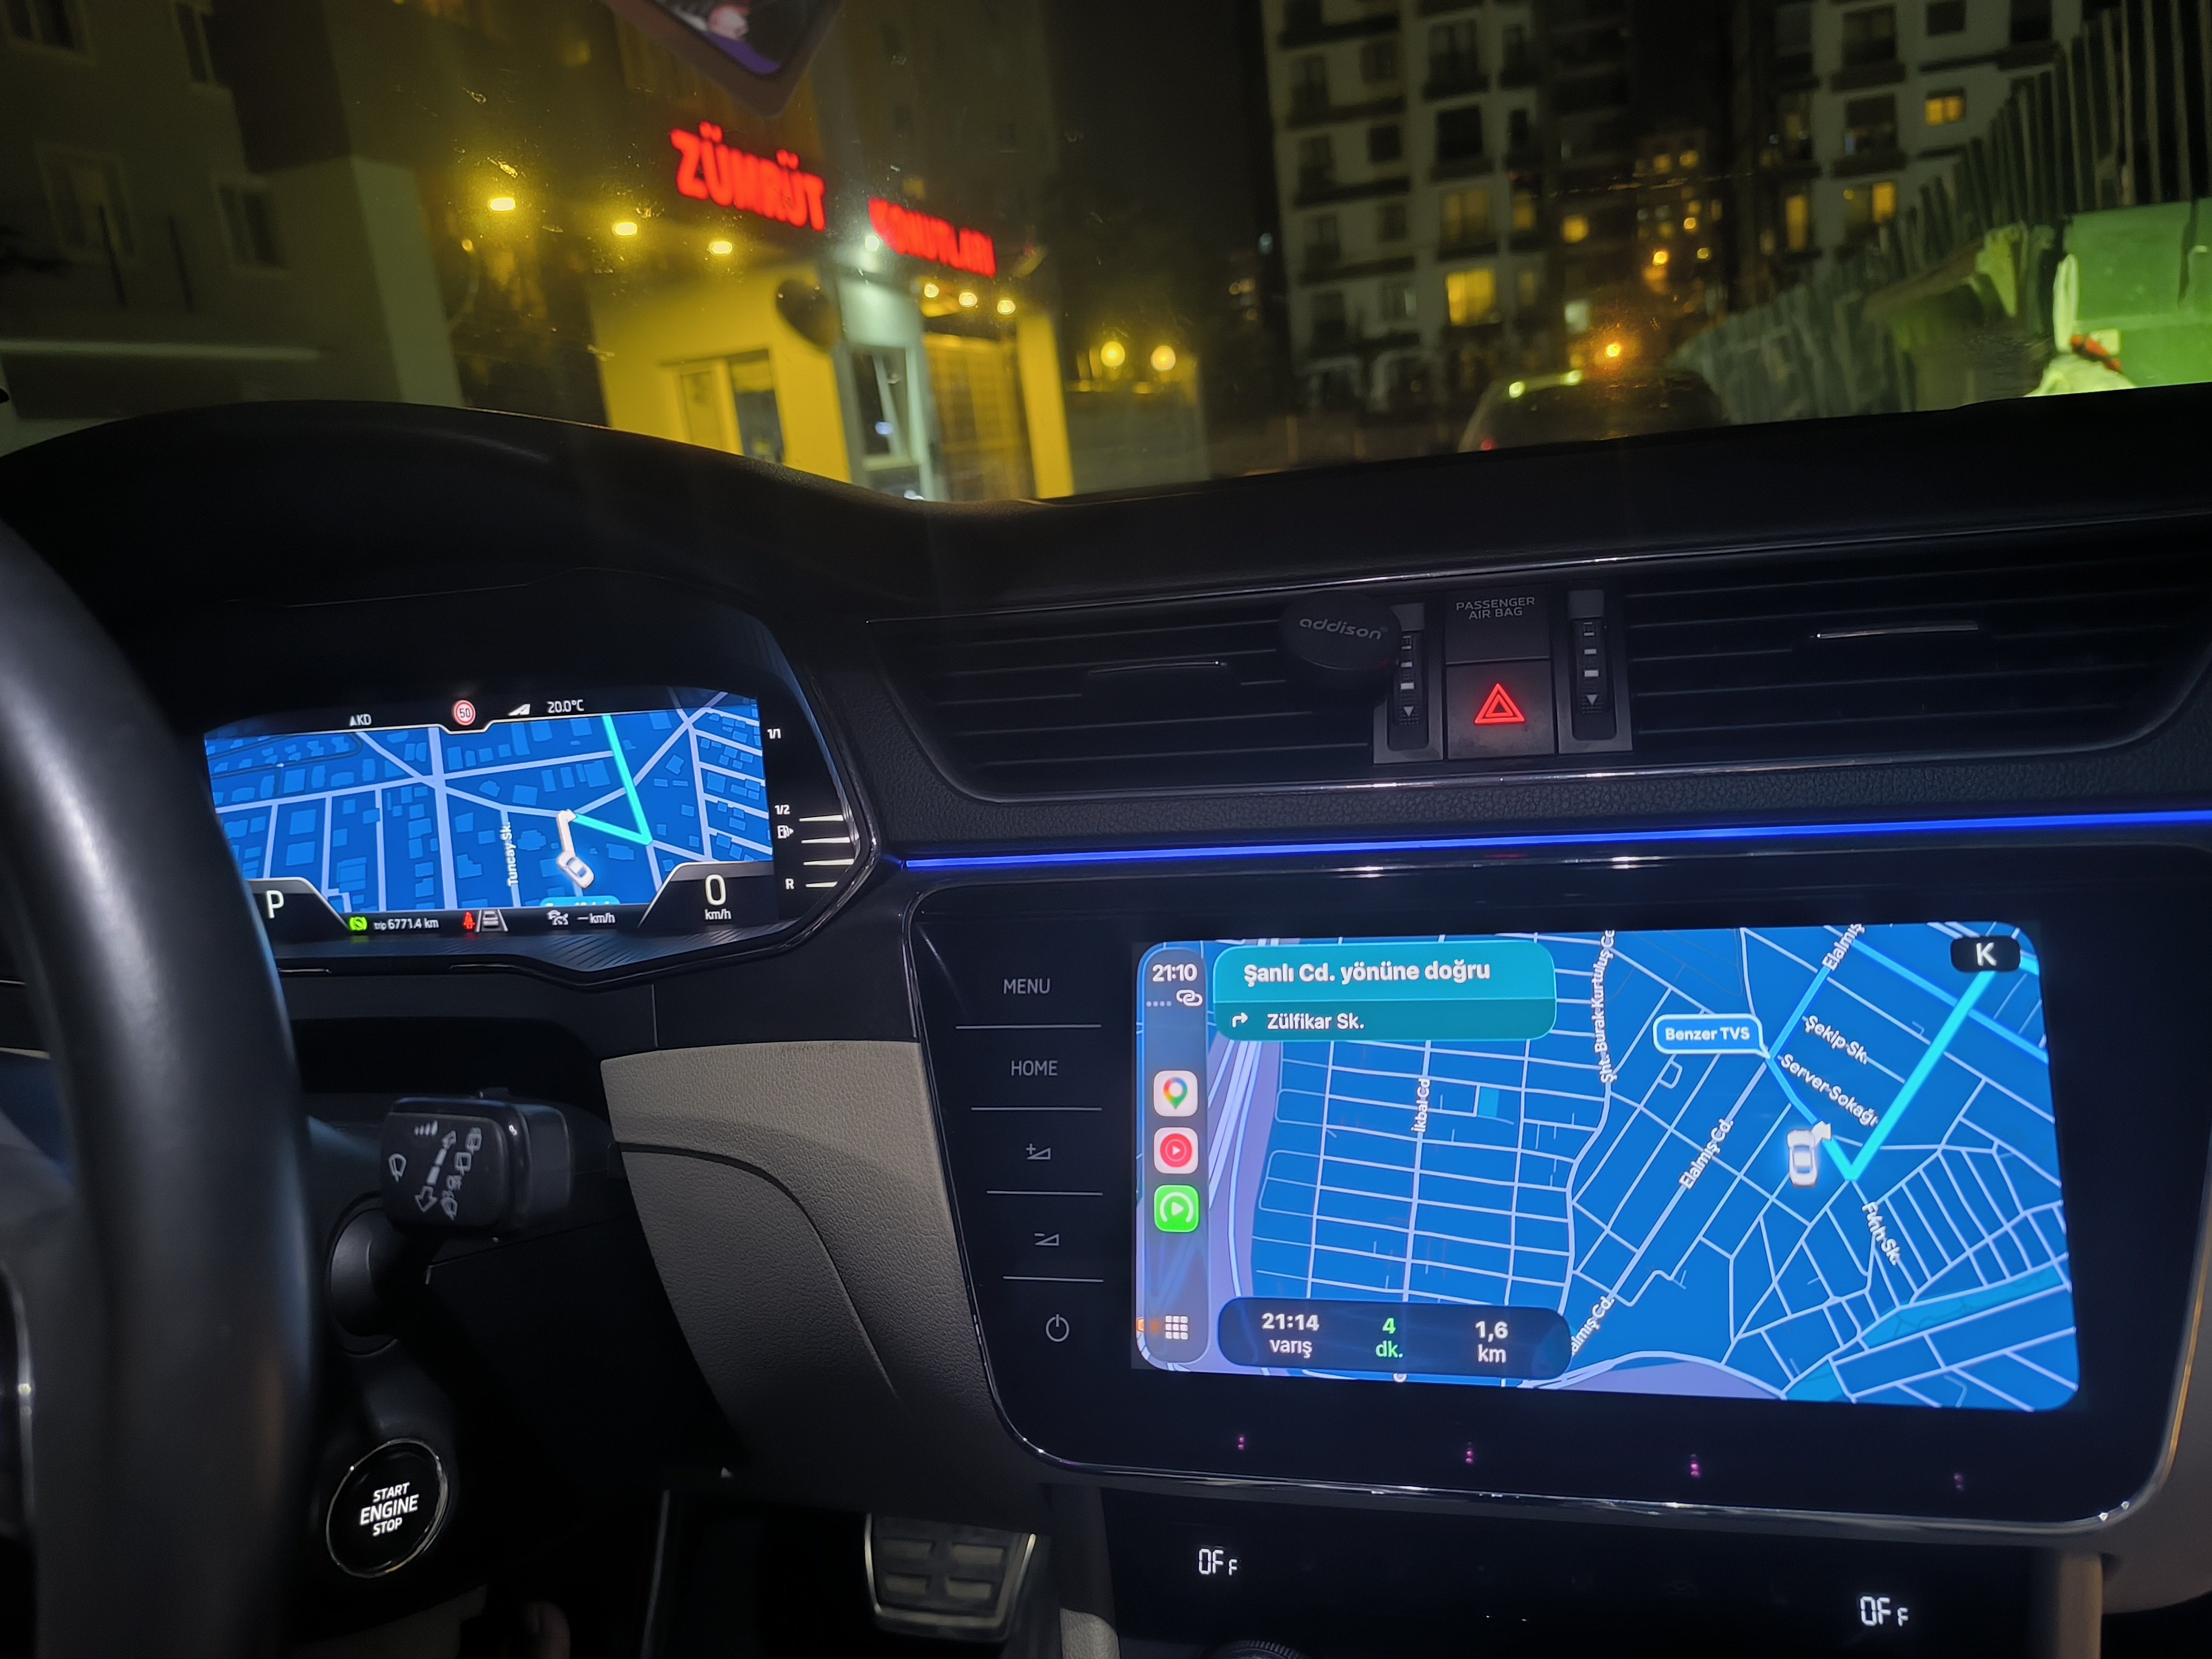
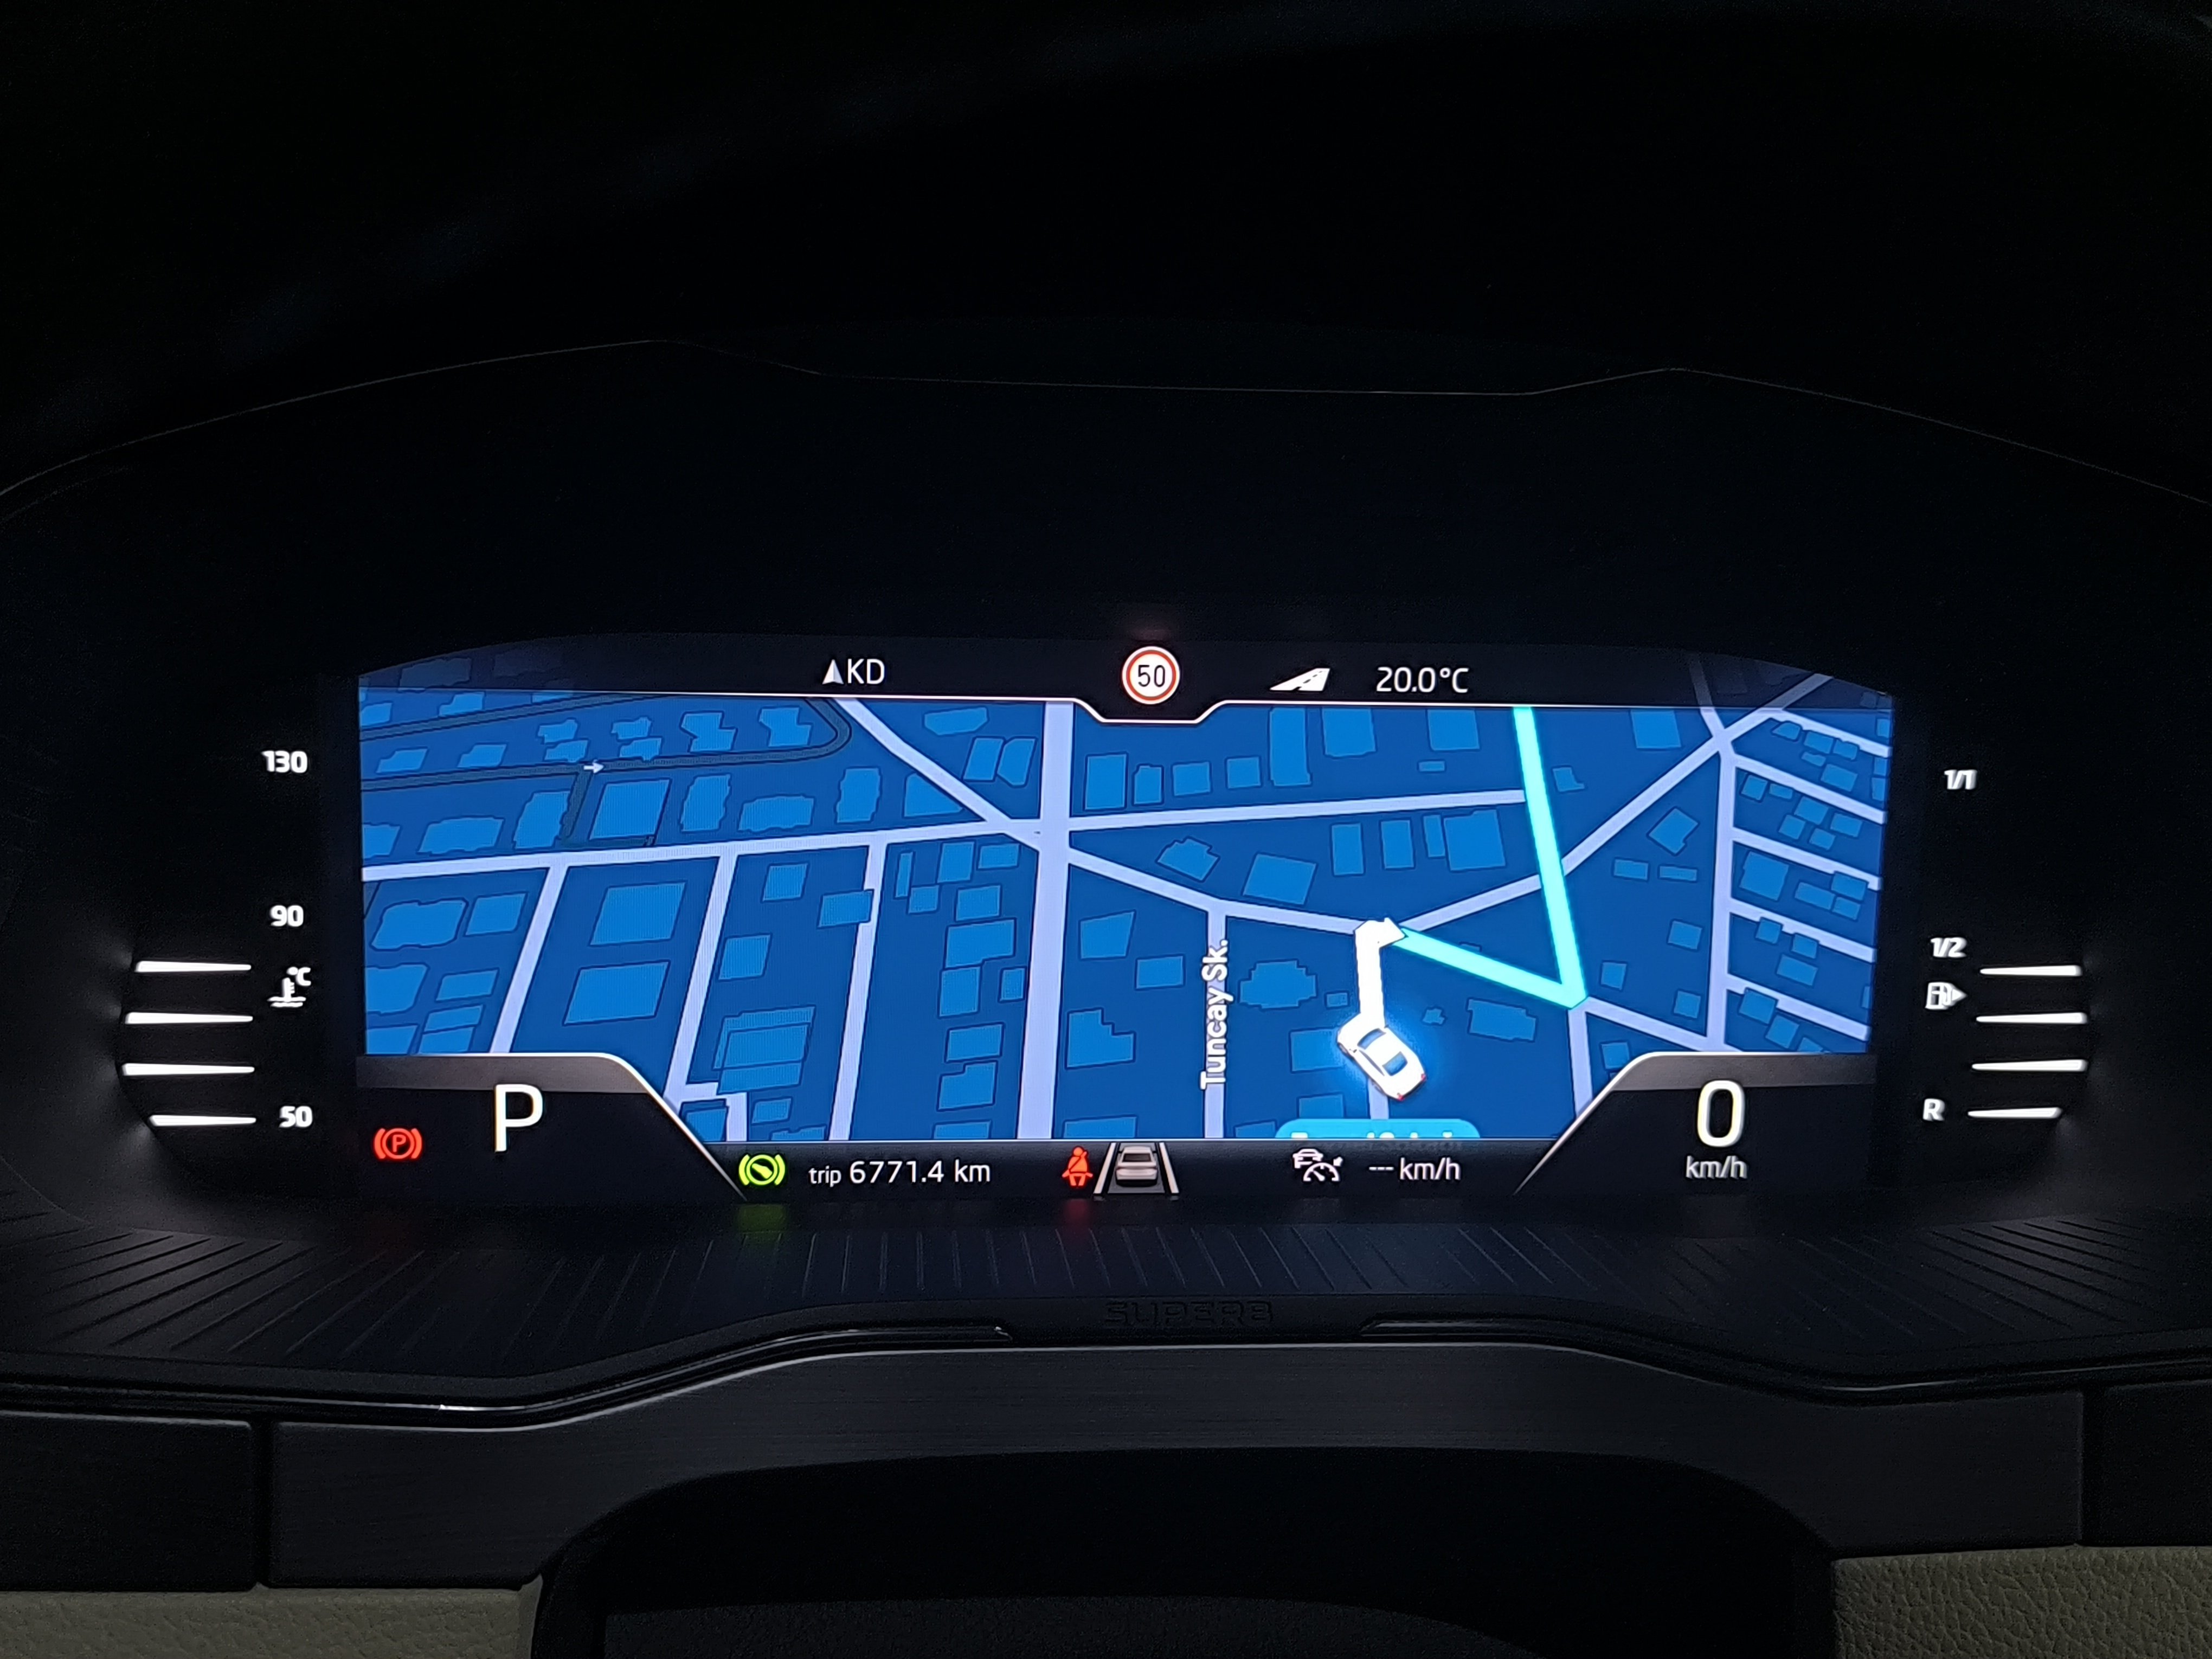
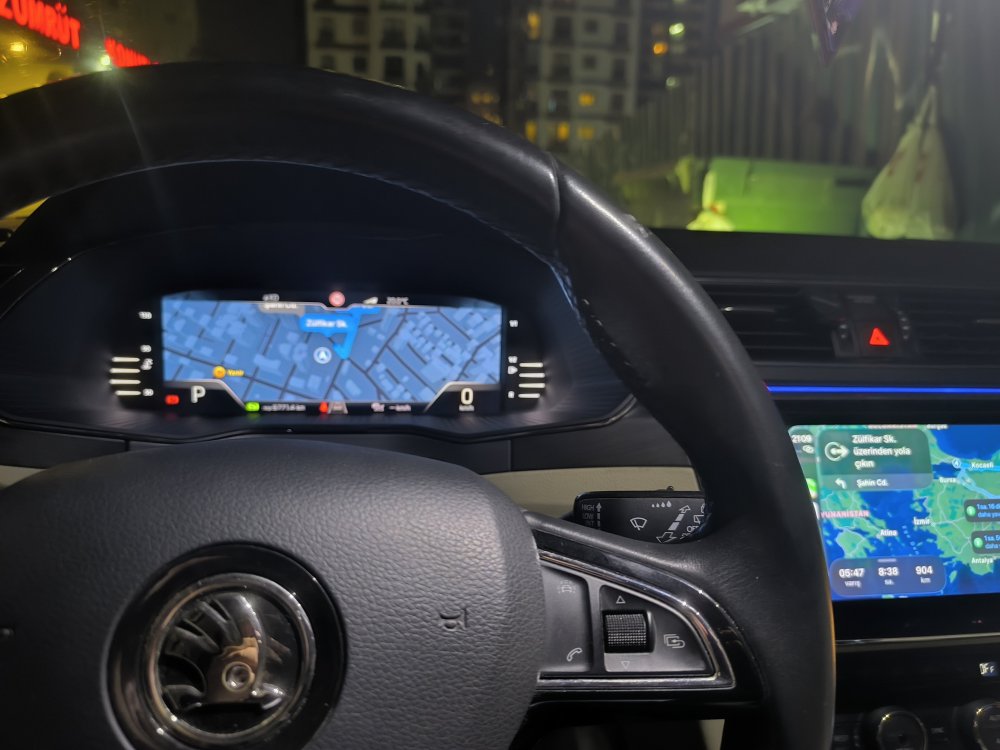
4 pointsI set it up on both Google Maps and Apple Maps, and it works.
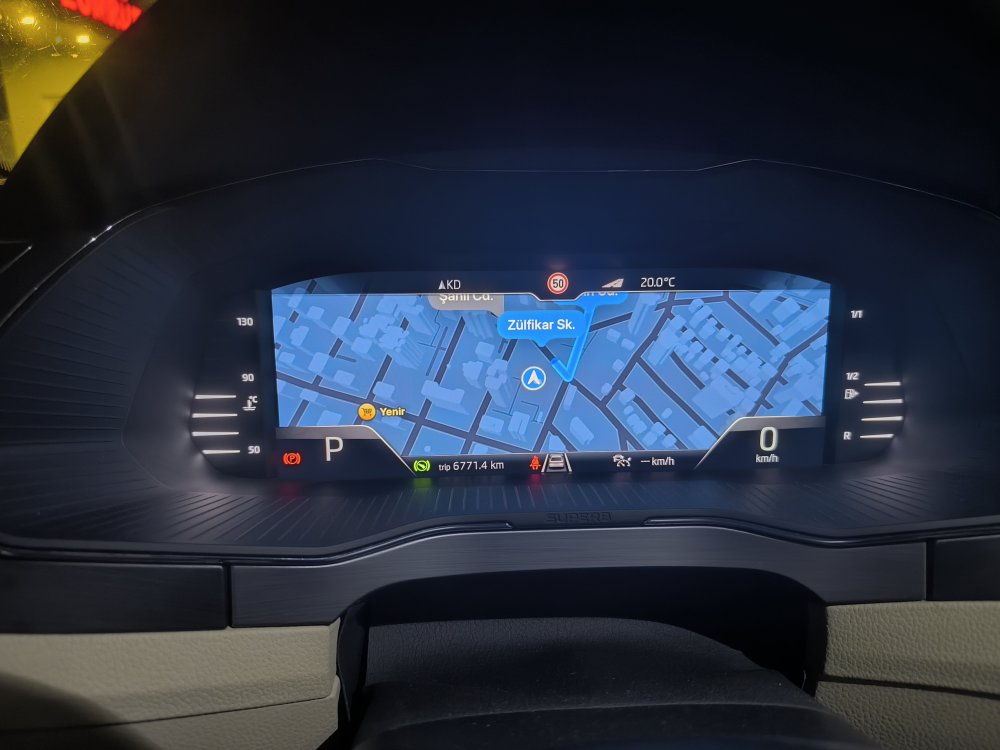
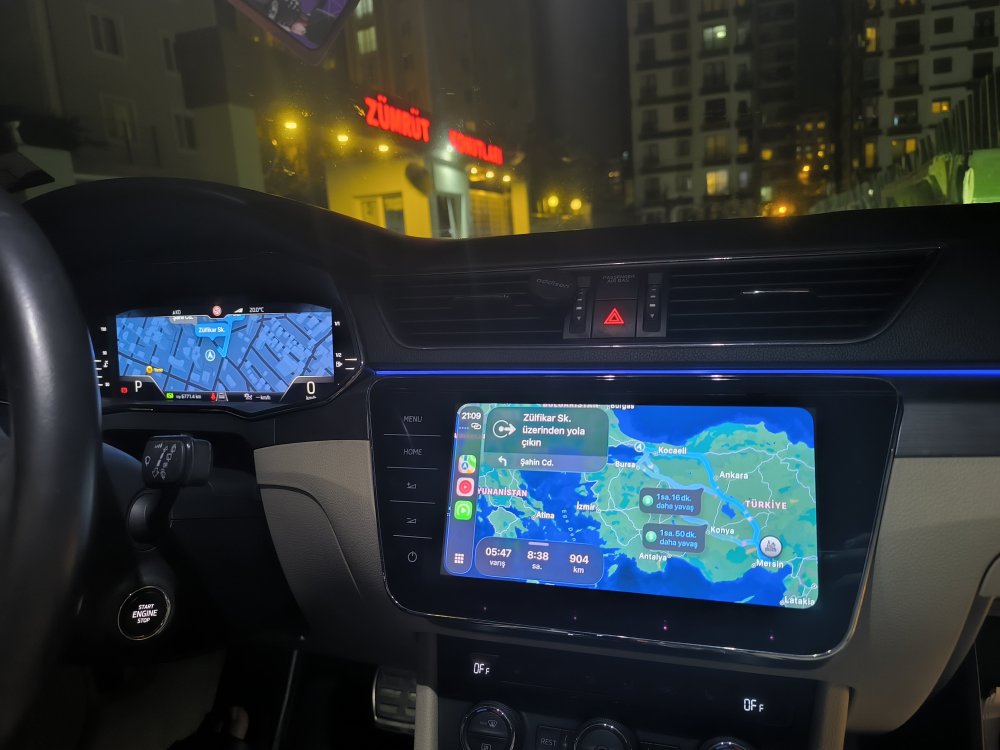
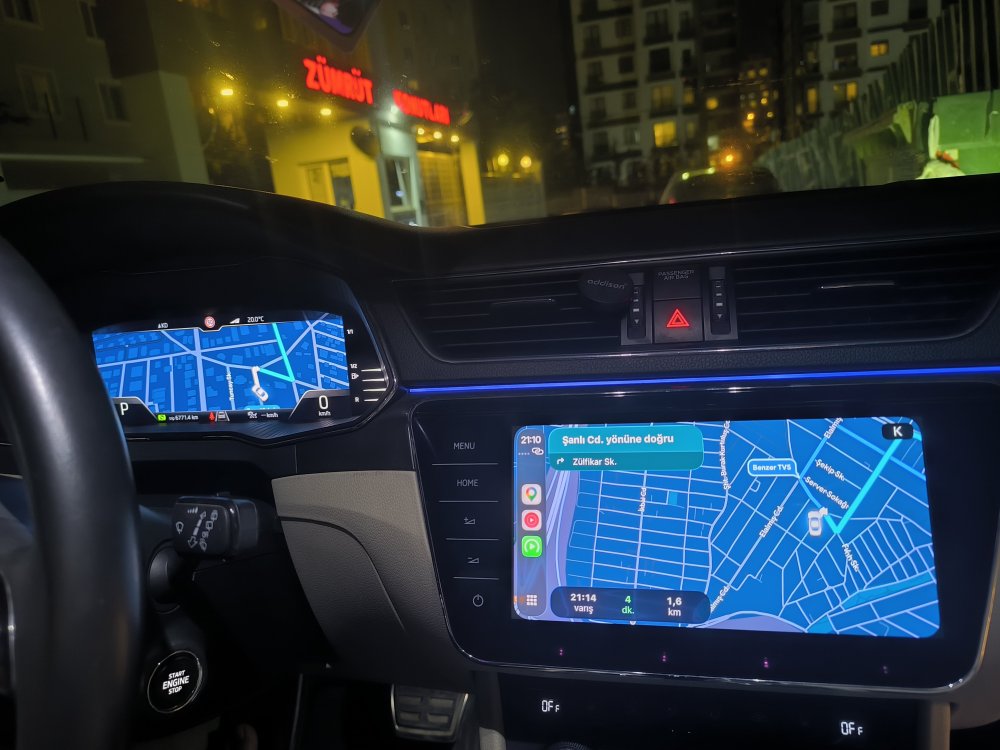
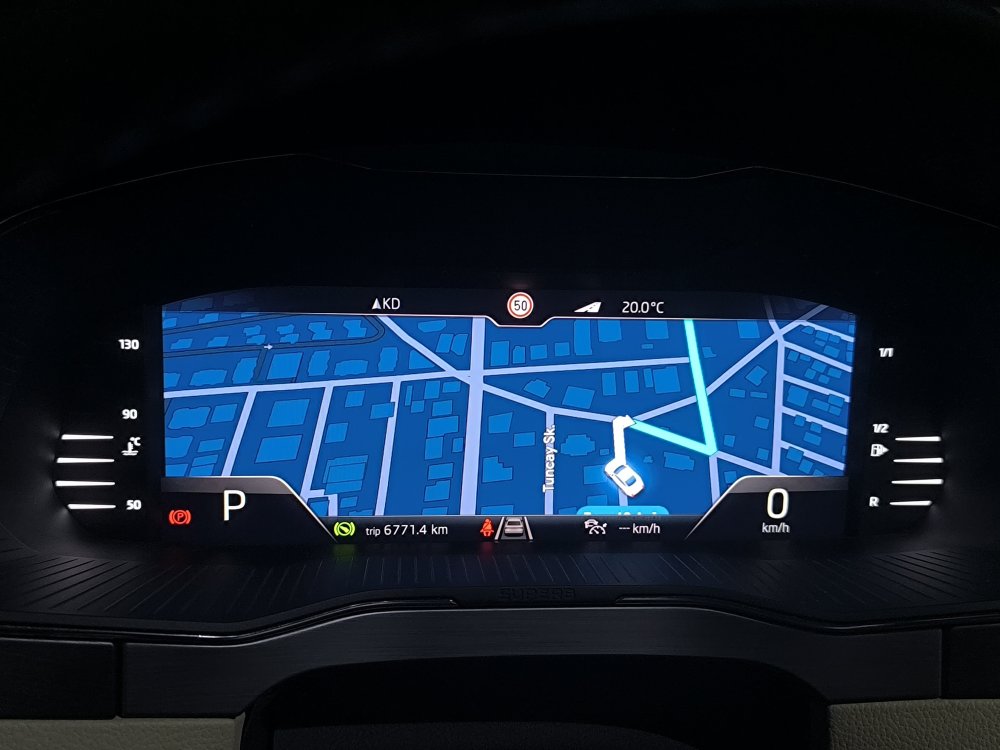 4 points
 -
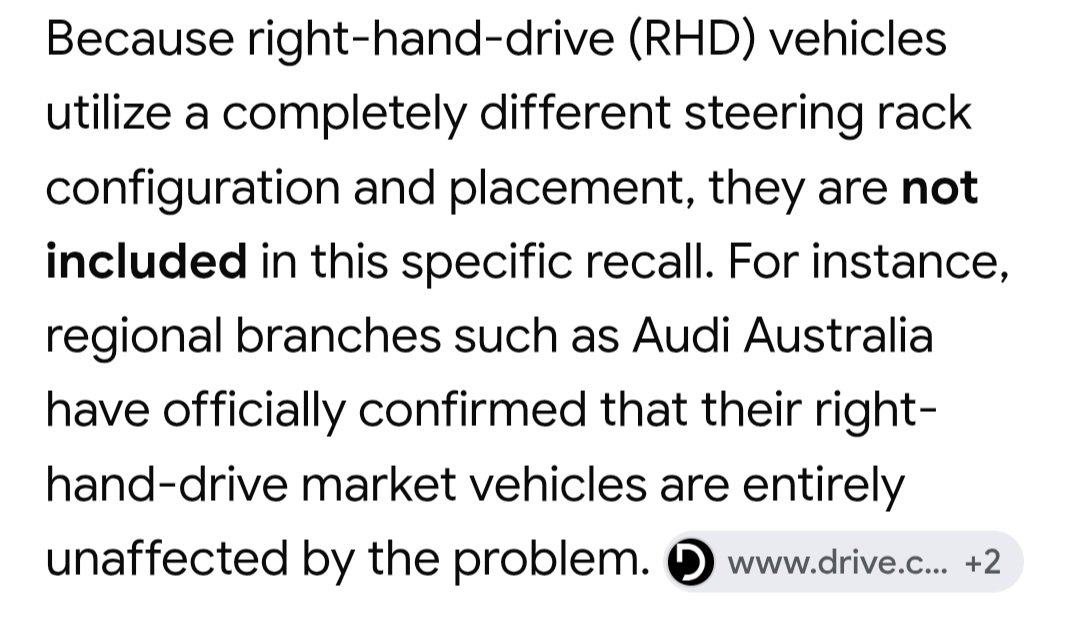
4 pointsTrawling through the net, it appears that left hooks are affect. Right hand drives are OK. However a VW spokesperson added that 'the nut on the steering wheel is still the biggest cause of accidents'😉
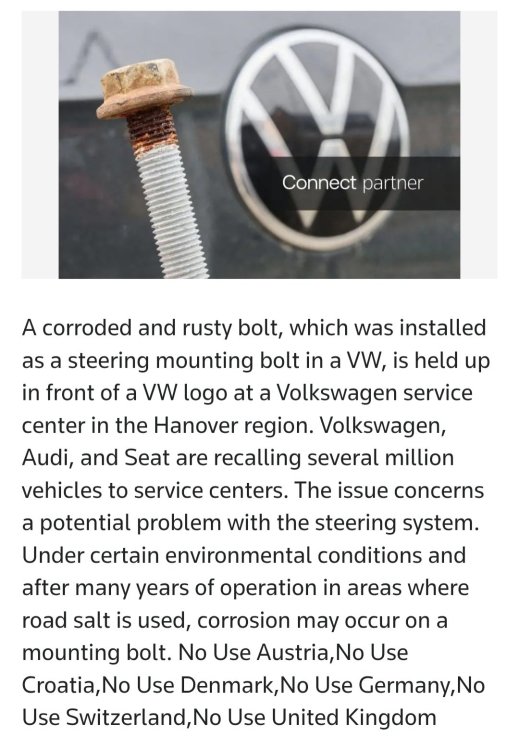
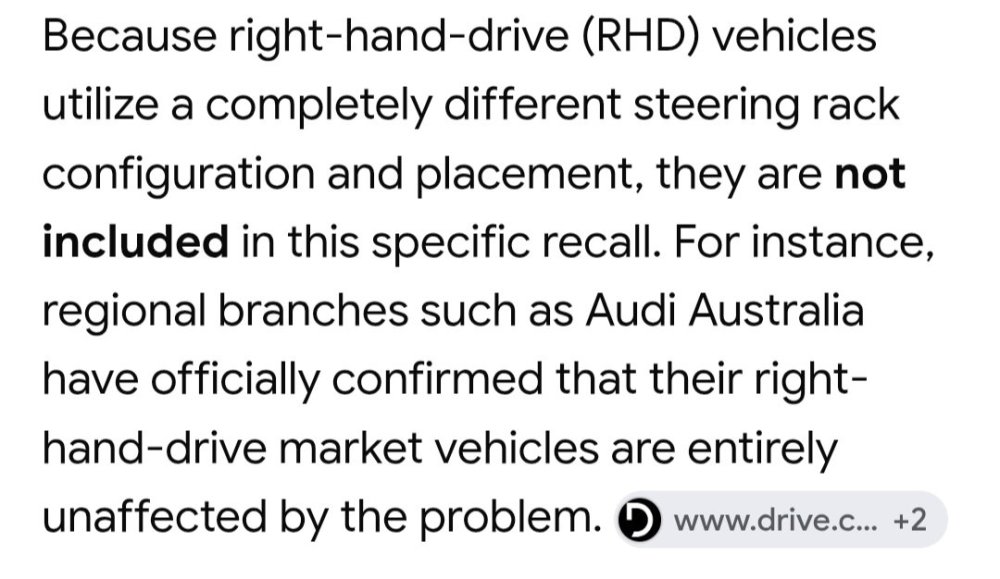
 4 points
 -
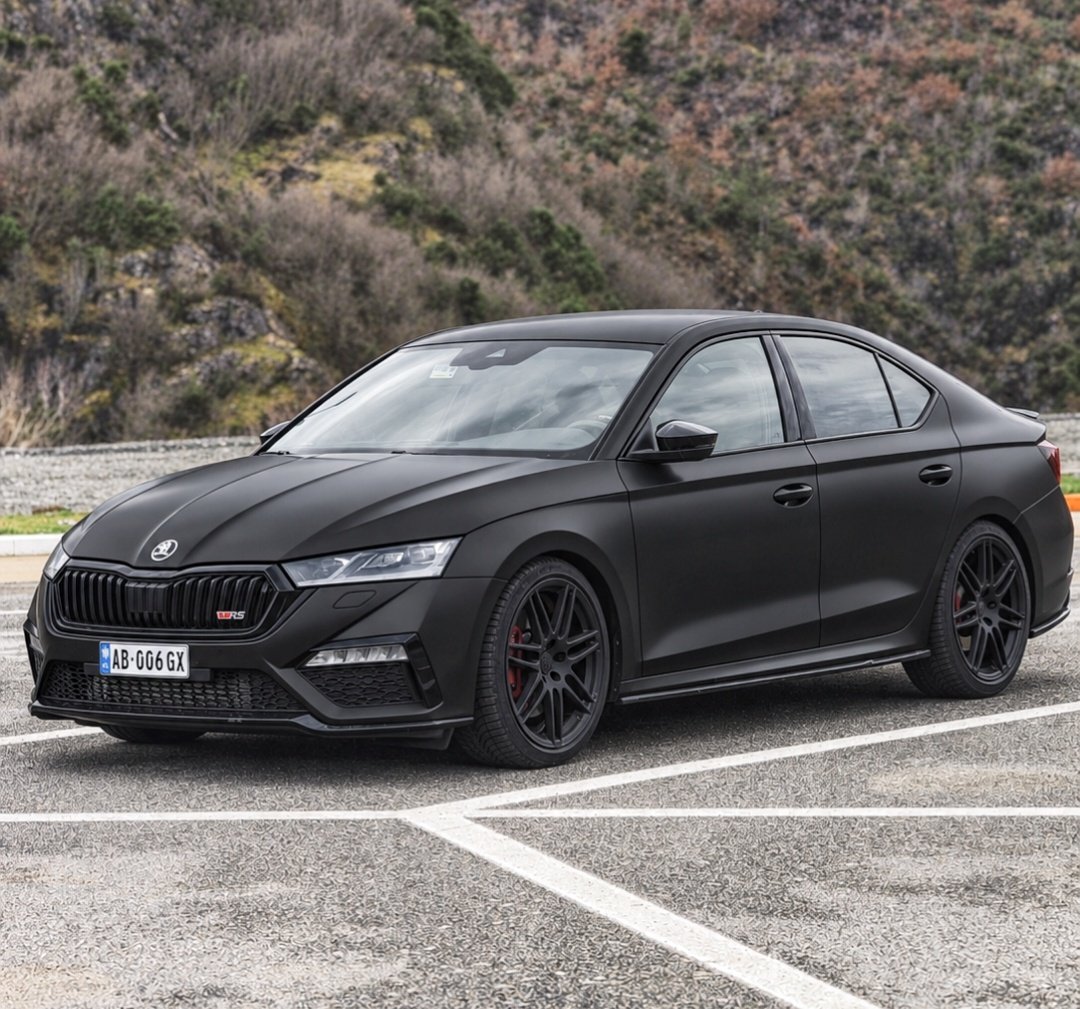
4 pointsGoing for the matte black instead of the red. Looks mean! Stage 2, +300ps, +500nm, now on Michelin PS5, 245/35/19. Next on the list: Sachs performance clutch, upgraded turbo (Garret G2260) and Bilsteins B8
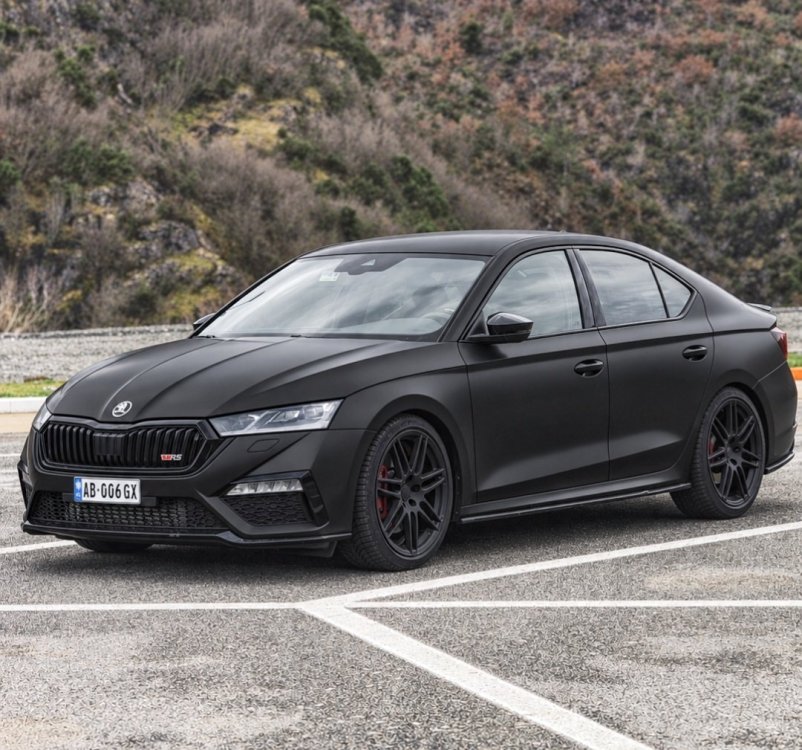 4 points
 -
4 pointsBut not one most people can afford just on a whim or with immediate effect just because petrol and diesel prices have gone up for a few months... You really don't get the fact that many people are not in your privileged position... I do and can sympathise.4 points
-
4 pointsSeriously??? Are you trying to tell me that a £150 PCP lease on a Dacia Spring / Leapmotor T03 / Citroen Ami or similar is an equivalent replacement for what I currently drive? Don't be so stupid. Anything worthwhile as a replacement is multiples of £150 per month and would also require a hefty up-front deposit of thousands... plus as a PCP I'd have a very hefty final payment to make at the end of it otherwise the vehicle would have to be handed back. So effectively just throwing money away. As for repair costs out of warranty - my personal experience is that they are very minimal if you choose the right car carefully.4 points
-
Sorry - read this last night and then got sidetracked. Please let me know if I've missed anyting. A FL Octavia vRS 230 does not have the VAQ diff. The easiest and most foolproof way to check is to confirm that the interior stitching is white, and that you have solid rear brake discs (which will be 272mm), rather than vented (310mm)? Did you get a good deal? How much did you pay, and what is the mileage? I'd normally avoid buying from Cinch as the majority of their stuff is part-ex/leasure return stock obtained from BCA and WBAC (their parent company). If it's a good deal, however, then that's a different story, provided you know what you're buying. An EPC light can mean a million things. In the simplest form, it means the car has detected a fault with the throttle, engine management or the electronic system. The first step is to see what DTCs have been thrown. I doubt it's the battery, given your description of events. My money would be on an ignition coil having an issue under load, a boost issue, or potentially a fuelling issue. At high RPM (above 5k) these cars can also suffer with oil pressure problems. Reading everything, it does potentially indicate a car that hasn't been cared for that well. Two cut tyres, one over-worn and one being the incorrect size... none of these are good things! The oil seperator is interesting though, as that's part of the PCV system that is a) known to be an issue and b) could be relevant to the EPC light. The boost pipe is also intersting, see my above point on a boost issue. I'm a bit confused about the first point on their list... leaking engine oil, so the water pump/therm housing was replaced? Eh? For context, these engines, along with many, many more, have a plastic housing on the thermostat/water pump. Over time, and many heat cycles, this housing becomes weak, cracks and leaks coolant. I think my car (a very tidy 2020 on 40k miles) may have this issue developing. Okay, sure, the housing is right next to the oil filter, etc, but there's no relation. I think the car had a coolant leak (hence the new pump) and an oil leak (hence the new VVT seals and timing cover). What would I do? That's a tricky one. I purchased my car as part of an agreement with a main SEAT/Skoda/CUPRA dealer as a replacement for a previous car they sold me with hidden crash damage. I wouldn't trust them as far as I could throw them, and checked everything myself, before having my mechanic tear the car apart too. Hell, I was sat on the forecourt running diagnostics and checking the specs list against the PR codes and VIN. It's good that you've done your research and checks. None of these issues are great, but they're also not terrible. Crap tyres, leaky shock, knackered water pump and some dinged body panels are par for the course on an eight year old Skoda. I would see what they say about the cause of the EPC light, and go from there.4 points
-
I couldn't find any suitable tools to use the same approach as OP, so after work today I removed the rear bumper completely, reconnected the valance / under tray with the bumper off the car and reassembled. Probably took 30 to 45 minutes in total, and was quite straight forward. I took the valance / under tray off in the first place to allow access to replace a faulty parking sensor, but doing it that way was a complete pain. If I ever have to replace a another sensor I will absolutely just remove the bumper from the outset. As an aside, my local Skoda dealership wanted 2 or 3 hundred quid just to investigate the parking sensor issue I had, and another independent garage I went to refused to change the faulty sensor for me as their scan for faults didn't show an issue with the parking distance control system, even though I was convinced one sensor in particular was broken. I bought a new sensor from eBay for 35 quid and changed it myself, and all is now working perfectly. Just glad I pushed through my apprehension and did it myself for minimal cost and a whole load of satisfaction 👍🏻4 points
-
4 pointsSome shots from the east coast and a poor attempt at a landscape shot with my iPhone.




 4 points
 -
4 pointsThere are 5 high speed dual charging station at a small retail park around the corner to us, they worked for approx. 2 days after opening before being covered over as "unavailable", 5 weeks on the covers slashed and leads had been cut off, been like that now for 6 months. It's no wonder me getting an EV is receding in my mind. I believe the infrastructure supplying the retail units was underrated for the chargers in the first place, excellent planning4 points
-
4 pointsYeah, that's pretty much what the service manager at my dealer said regarding driving it to get the SOC back up, unless you're doing a multi-hour trip on the open road at decent (or indecent...) speeds. Far better to occasionally charge put it on a tender, a lot less hassle and expense. This is a good explanation of the differences between EFB and AGM batteries: Do you need EFB or AGM Battery?| VARTA Automotive BatteriesEFB or AGM? Find out which battery suits your vehicle best ► Compare VARTA® battery technology for start-stop and high-energy vehicles.I think Skoda/VAG just tried to save costs fitting EFB batteries with the smart charging system, given the amount of electronics on these cars, particularly the higher spec models an AGM is a much smarter choice IMO.4 points
-
I have great news! The issue was caused by a defective oil pressure control valve (N522) that measured an incorrect electrical resistance (0.8 Ohm). After replacing the valve, the fault code is completely gone and the car operates normally.4 points
-
4 pointsA few trips only of the length you describe may very well not restore the battery charge sufficiently, given the predominant use. Unfortunately, the smart charging alternator strategy does not appear to recognise intermittent vehicle use and adapt the strategy to bring battery SOC to a higher level - overriding strategy seems to be fuel saving. IMO, current VAG smart-charge strategy can lead to increased plate sulphation through persistent low SOC unless the vehicle gets regular long runs along with substantial energy micro-recuperation. My Octavia has a similar use to yours and I use a Ring smart charger occasionally to maintain battery health. I do this at 2-monthly intervals during winter - and approx. 4 to 6-monthly intervals during warmer part of the year (whenever SS stops operating consistently) Works for me as my 10-year old Moll EFB still tests at almost 90% healthy.4 points
-
4 pointsProvided that all vehicle modules are in sleep mode, 12.1 V standing voltage is about 55% SOC - I'd be very surprised if a genuine battery condition test, properly applied, would give a 'good condition' health report on a battery in that state!4 points
-
4 pointsI'd strongly recommend getting the battery fully charged and properly tested before replacing it - and test the alternator output.4 points
-
4 pointsMine does it too and according to my main stealer it’s because the car isn’t used enough to keep the battery fully charged. Bear in mind these days that even if the car isn’t used just sat there it will have something somewhere using a bit of power. I just give mine a 20 to 30 min run every couple of weeks4 points
-
4 pointsThis, and as somebody who this summer took delivery of a brand new Kodiaq after test driving a multitude of other manufacturers (a special mention to Kia who make it infuriating, with the settings buried behind 4x menus!), the ADAS systems on Skoda aren't anywhere near as intrusive as other brands. 2x (or 3x if you want lane assist off also) quick presses of a button on the steering wheel and it's off. No rooting around menus. We have it easy.4 points
-
4 points
-
4 pointsHi, I've been on Briskoda for just over 4 years but on the Superb forum. Tomorrow I am getting my 2026 Karoq 1.5 TSI SE L Edition delivered. 3 Months old ex demo, so will be on this forum now a lot, to learn about it, and perhaps contribute a bit.4 points
-
4 points
-
4 points
-
4 pointsYou've changed from an EFB battery to AGM. You really should get it coded as the charging requirements are a little different. If you can't do it yourself with VCDS, ObdEleven, Carscanner or similar there must be someone on here who's near Guildford and can help. Failing that do you have a friendly local independent garage/mechanic ? Anybody in the trade should be able to do it.4 points
-
Only the Forward Collision Warning sensitivity can be turned down (Low or Late, not sure which is the wording used by Skoda). This setting is saved between ignition cycles No. Stop with the engine running. AEB requests a deceleration, so with an automatic gearbox this implies the gearbox will downshift to match the vehicle speed. In a vehicle with manual gearbox, the signal for Brake/Deceleration Request from AEB might be used by the engine ECU as a "Torque cut-off" signal, to supress the engine trying to increase the speed, thus adding additional stress on the drivetrain* Most likely, yes. If vehicles use the same platform (Octavia and Golf), there might be small changes to each AEB configuration (tuning parameters), but don't expect major differences in behavior * Not sure if you read the manual, but there are ways to abort a wrong AEB intervention, either by pressing hard on the acceleratior pedal or by a sharp turn of the steering wheel (depends on the scenario, which option is more suitable).4 points
-
3 pointsStretching the thread a little here, but my worst bong was a week after taking delivery of a Polo. This was accompanied by the message "S6 Battery Critically Low". Pulled over & trawled the manual & internet for what S6 meant, without success. Car started OK so I decided to push on with the 75 mile journey home, fretting that the car would die at any moment, but it didn't. Next day the warning had gone. Then the penny finally dropped, it was warning about the battery on my Samsung S6 phone...3 points
-
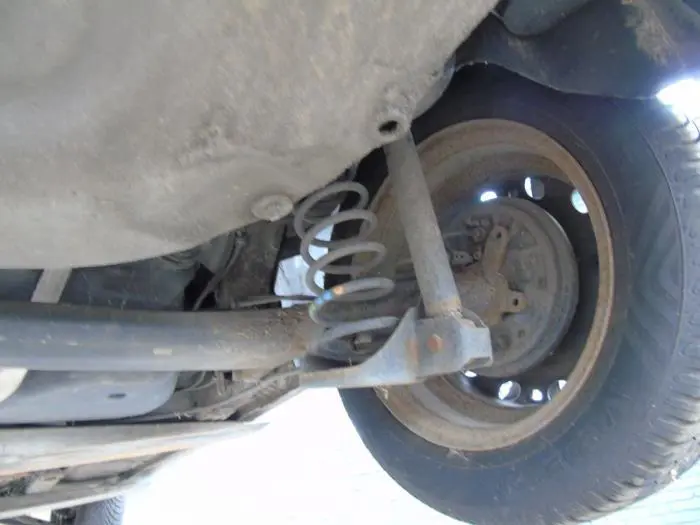
yes, only handbrake cable on drum goes on lower part od axle and disc brake on upper part, but cable can be fixed with strong ZIP ties, that is not a problem. and disc version have 2 disc bracket holes. you can ignore them.
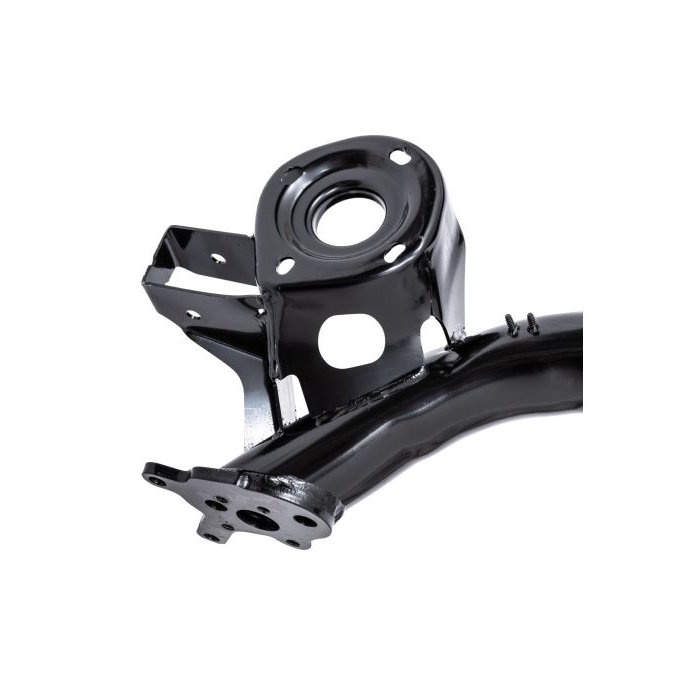
 3 points
 -
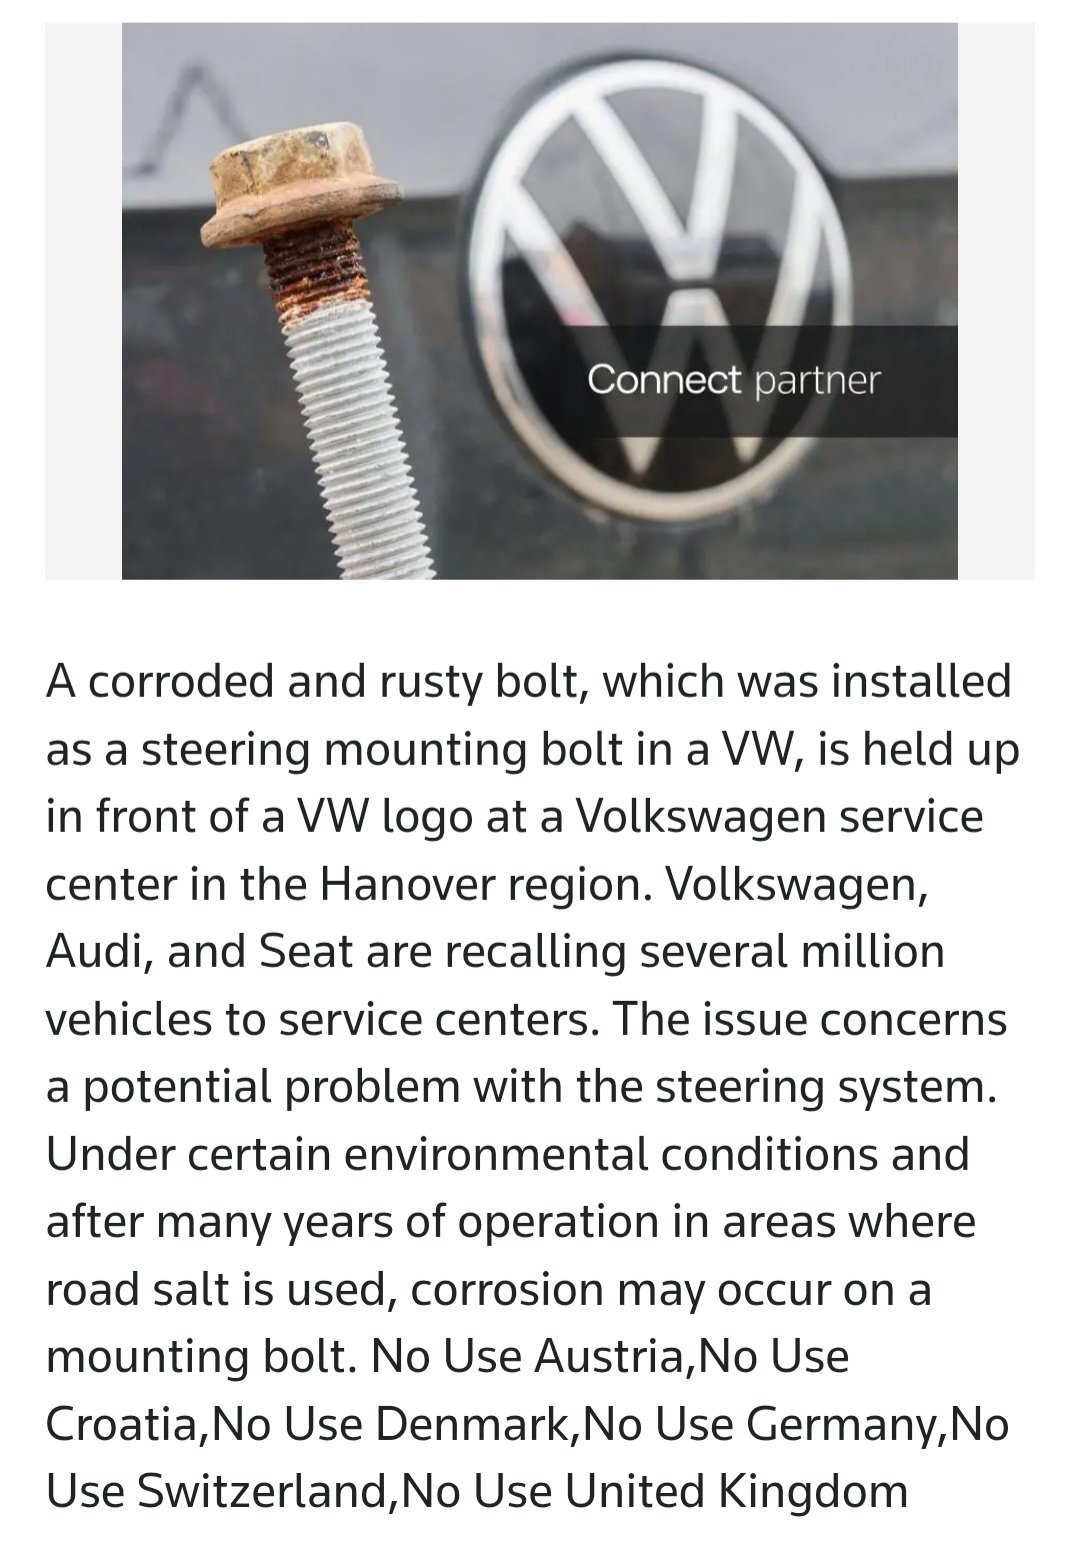
3 pointshttps://www.reuters.com/legal/litigation/volkswagen-recalls-4-million-cars-handelsblatt-reports-2026-09-25/ Anyone seen any details on Skoda vehicles participation in this safety recall? From: https://www.focus.de/auto/ratgeber/auch-skoda-modelle-offenbar-von-lenkungs-rueckruf-betroffen_7a5080c8-2ee3-4841-bc6c-afddd4de4064.html (translated by Google): "A Skoda spokesperson told FOCUS online: “Internal quality checks have revealed that certain vehicles in some Škoda model series (Octavia, Superb, Kodiaq, Karoq) may have a deviation from the standard in the steering bolts.” The affected production period is week 11/2015 to week 8/2026. In Germany, this affects 370,879 vehicles." (As of now, neither the Skoda Group nor Skoda Spain-specific recall websites match my VIN, an April 2020-manufactured last of the MkIII Facelift Scout).3 points
-
3 pointsI think at this point I'd be concerned where they put it, rather than presume it being a case of administrative ineptitude 🤔3 points
-
3 pointsI tend to read the reviews on here before buying tyres. Not bought winter tyres yet but it helped when my daughter wanted all seasons. https://www.tyrereviews.com/3 points
-
3 pointsTrying to get the SOC back up by driving the car, especially with the present smart charging is not a great idea IMO and just a waste of fuel The family, Jan 2026 Polo,only seems to keep the SOC around 72/74% and a round trip last May dropping someone off at the Airport bears out the very low charging rates. The average charging ignoring engine off time and starting load was ~ 3.9A at 13.51V and, even after 23 miles the charging rate was less than 4A on overrun at 14.8V (SOC still only 72%). However, I will let it soldier on, the other 7.5 year Polo now passed down the line previously operated almost the same as this one and if I can get 8+ years out of the battery in both I will be happy enough I think, stop/start always works when requested so perhaps running at ~ 70% SOC isn't that such of a disaster after all?. LOG-261C10532-logged Airport Battery Data2 74%.xlsx3 points
-
3 pointsNot in the UK it doesn't. Putting on the indicator simply tells the system you intend to move lane, and it temporarily deactivates the Lane Assist and Travel Assist combination.3 points