bmbmdmb
Members
-
Joined
-
Last visited
Everything posted by bmbmdmb
-
I know! The crank was at the far end of its cycle. No wonder it has bent valves. Car has been started and the damage done. TDC is probably not achievable due to mangled valves. I cranked by hand and it was fine, no resistance before starting car up. No damage heard when starting. I ringing around garages now as I'm back at work next week. Local garage says they gonna take head off, replace valves and replace head and do compression test. Didn't quote me, any ideas on costing?
-
Long lasting damage if valves replaced? This is unfamiliar territory. I might want to hand this job over to a pro or get someone out. Any recommendations in S Yorkshire or W York's, I'm near Barnsley?
-
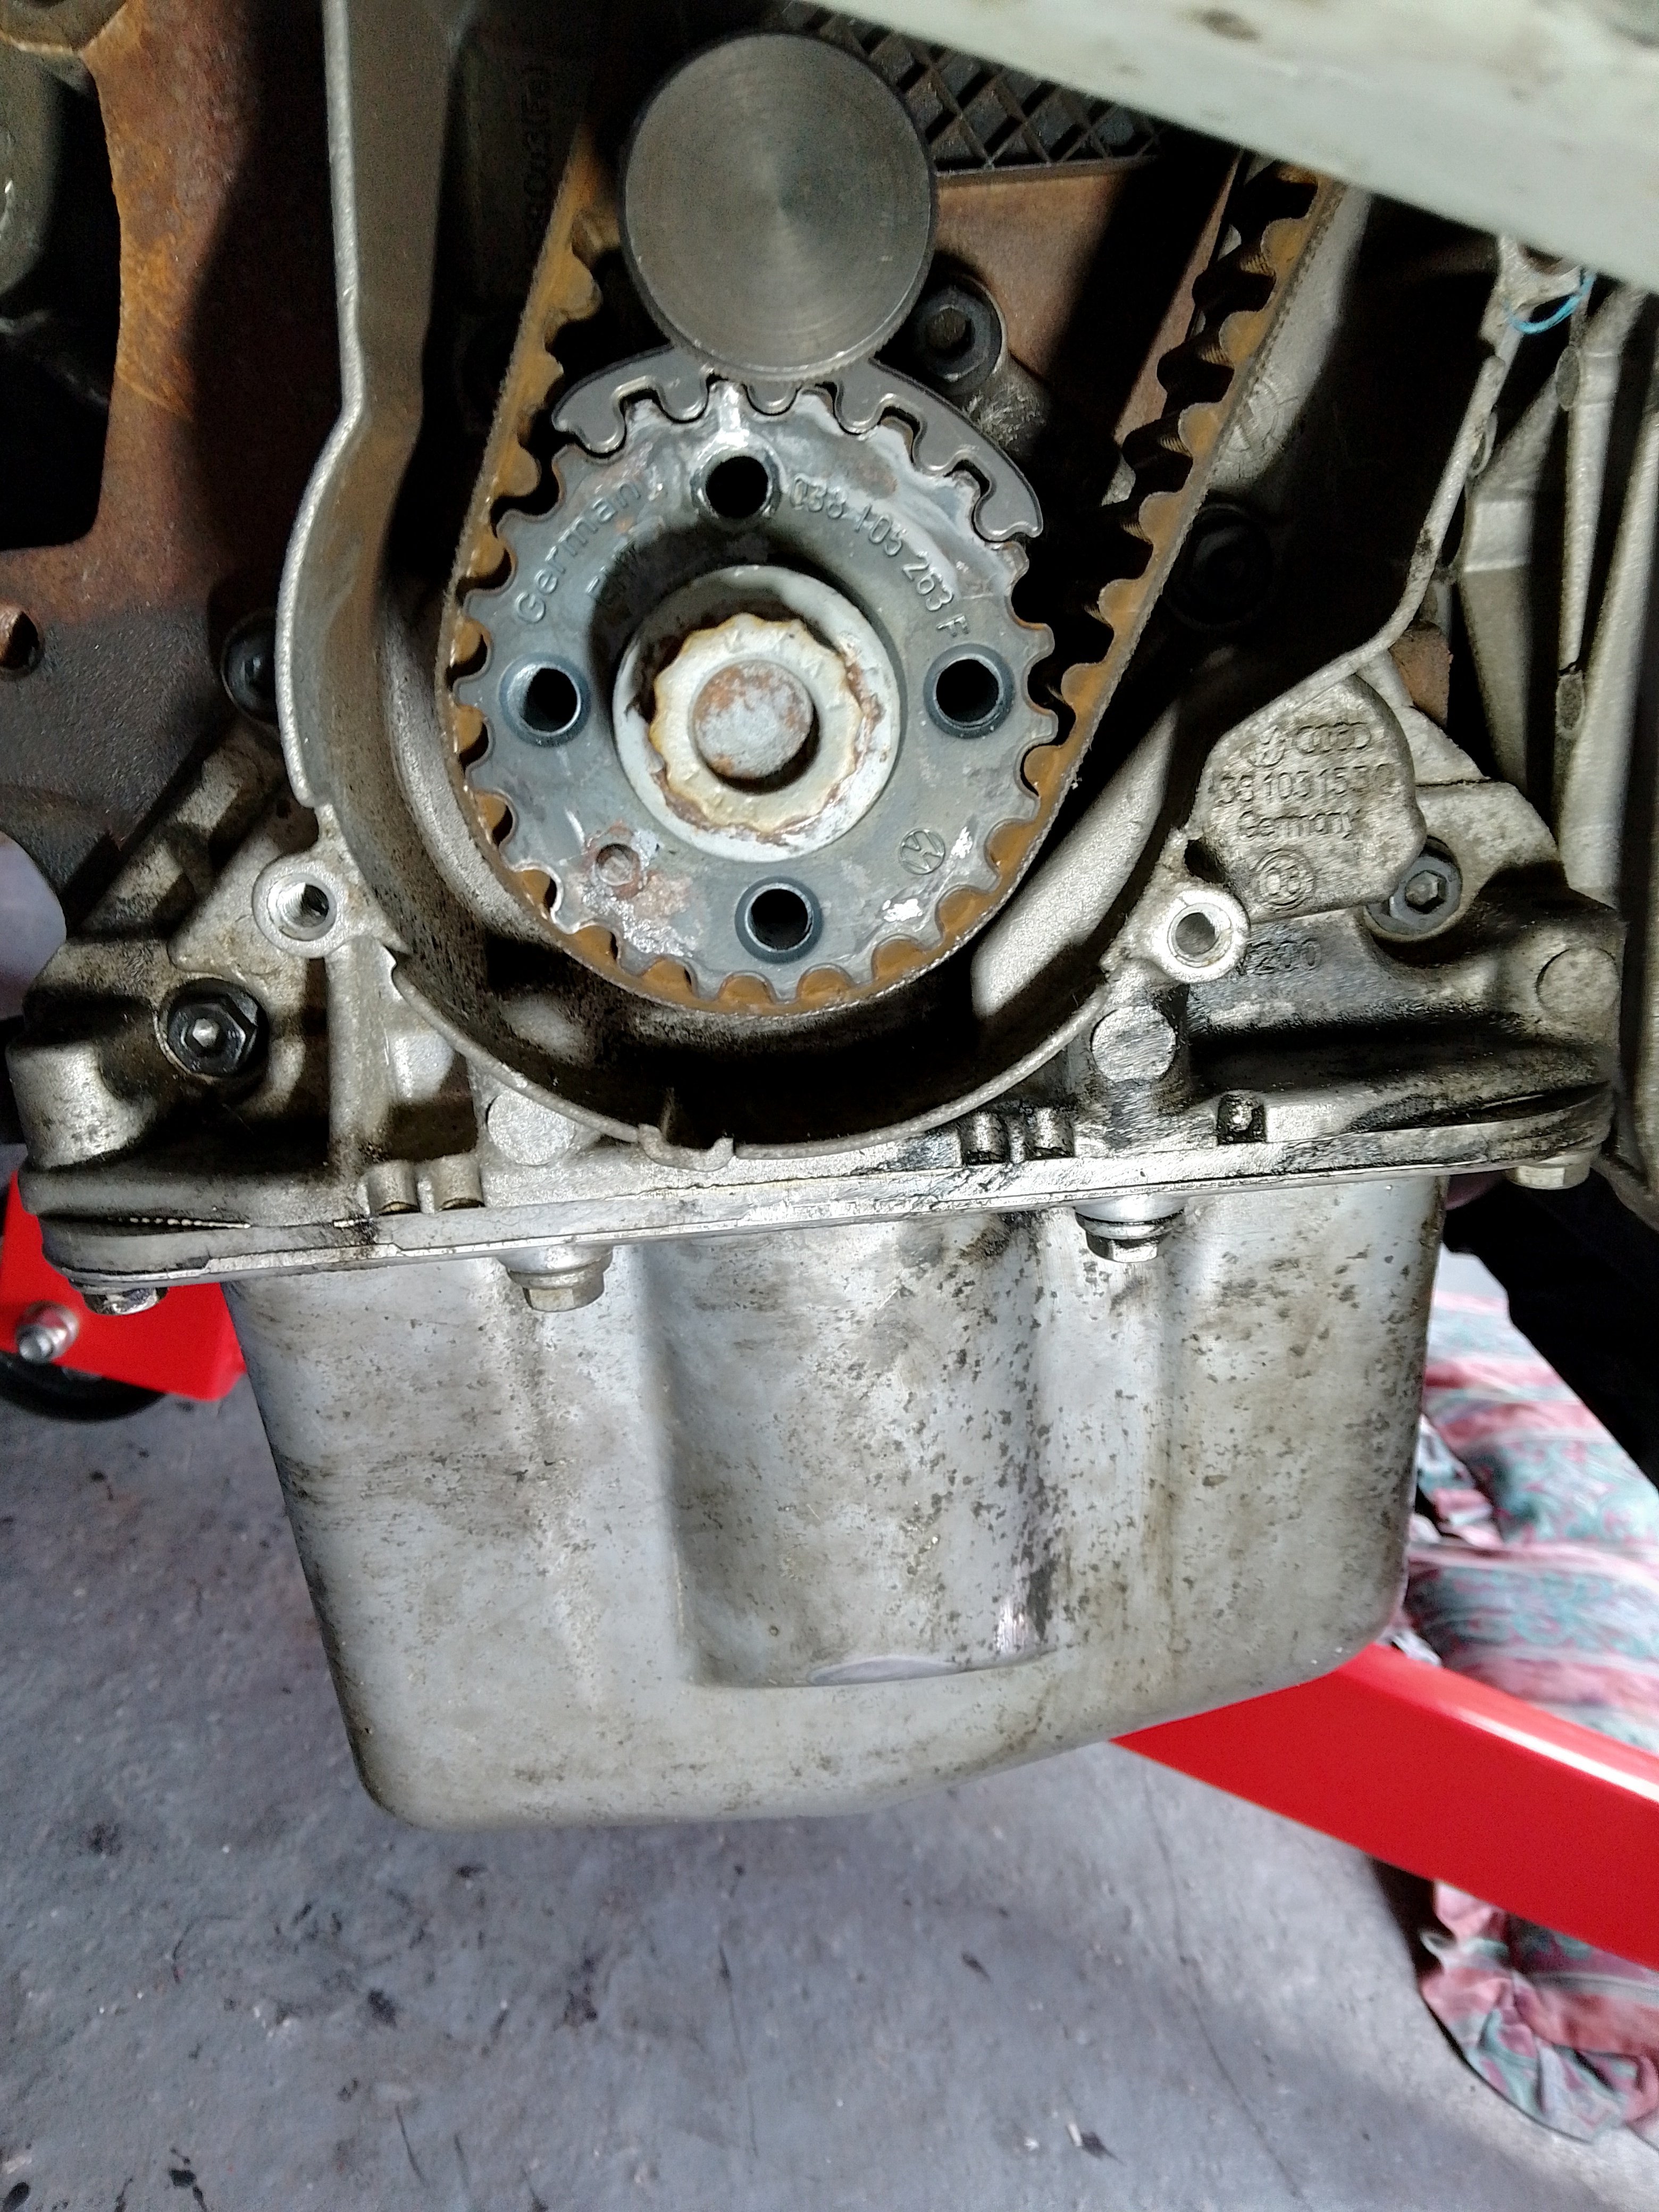
I have locked cam pin and removed belt. The crank won't get TDC either clockwise or anti clockwise. It stops short a tooth away meeting resistance. I guess the engine is fubar. This resistance is probably metal on metal. Scrap or rebuild?
-
It looks like it, but I've had a good look and no damage. Must be a shadow. I used phone light and torch to illuminate or a recess behind belt.
-
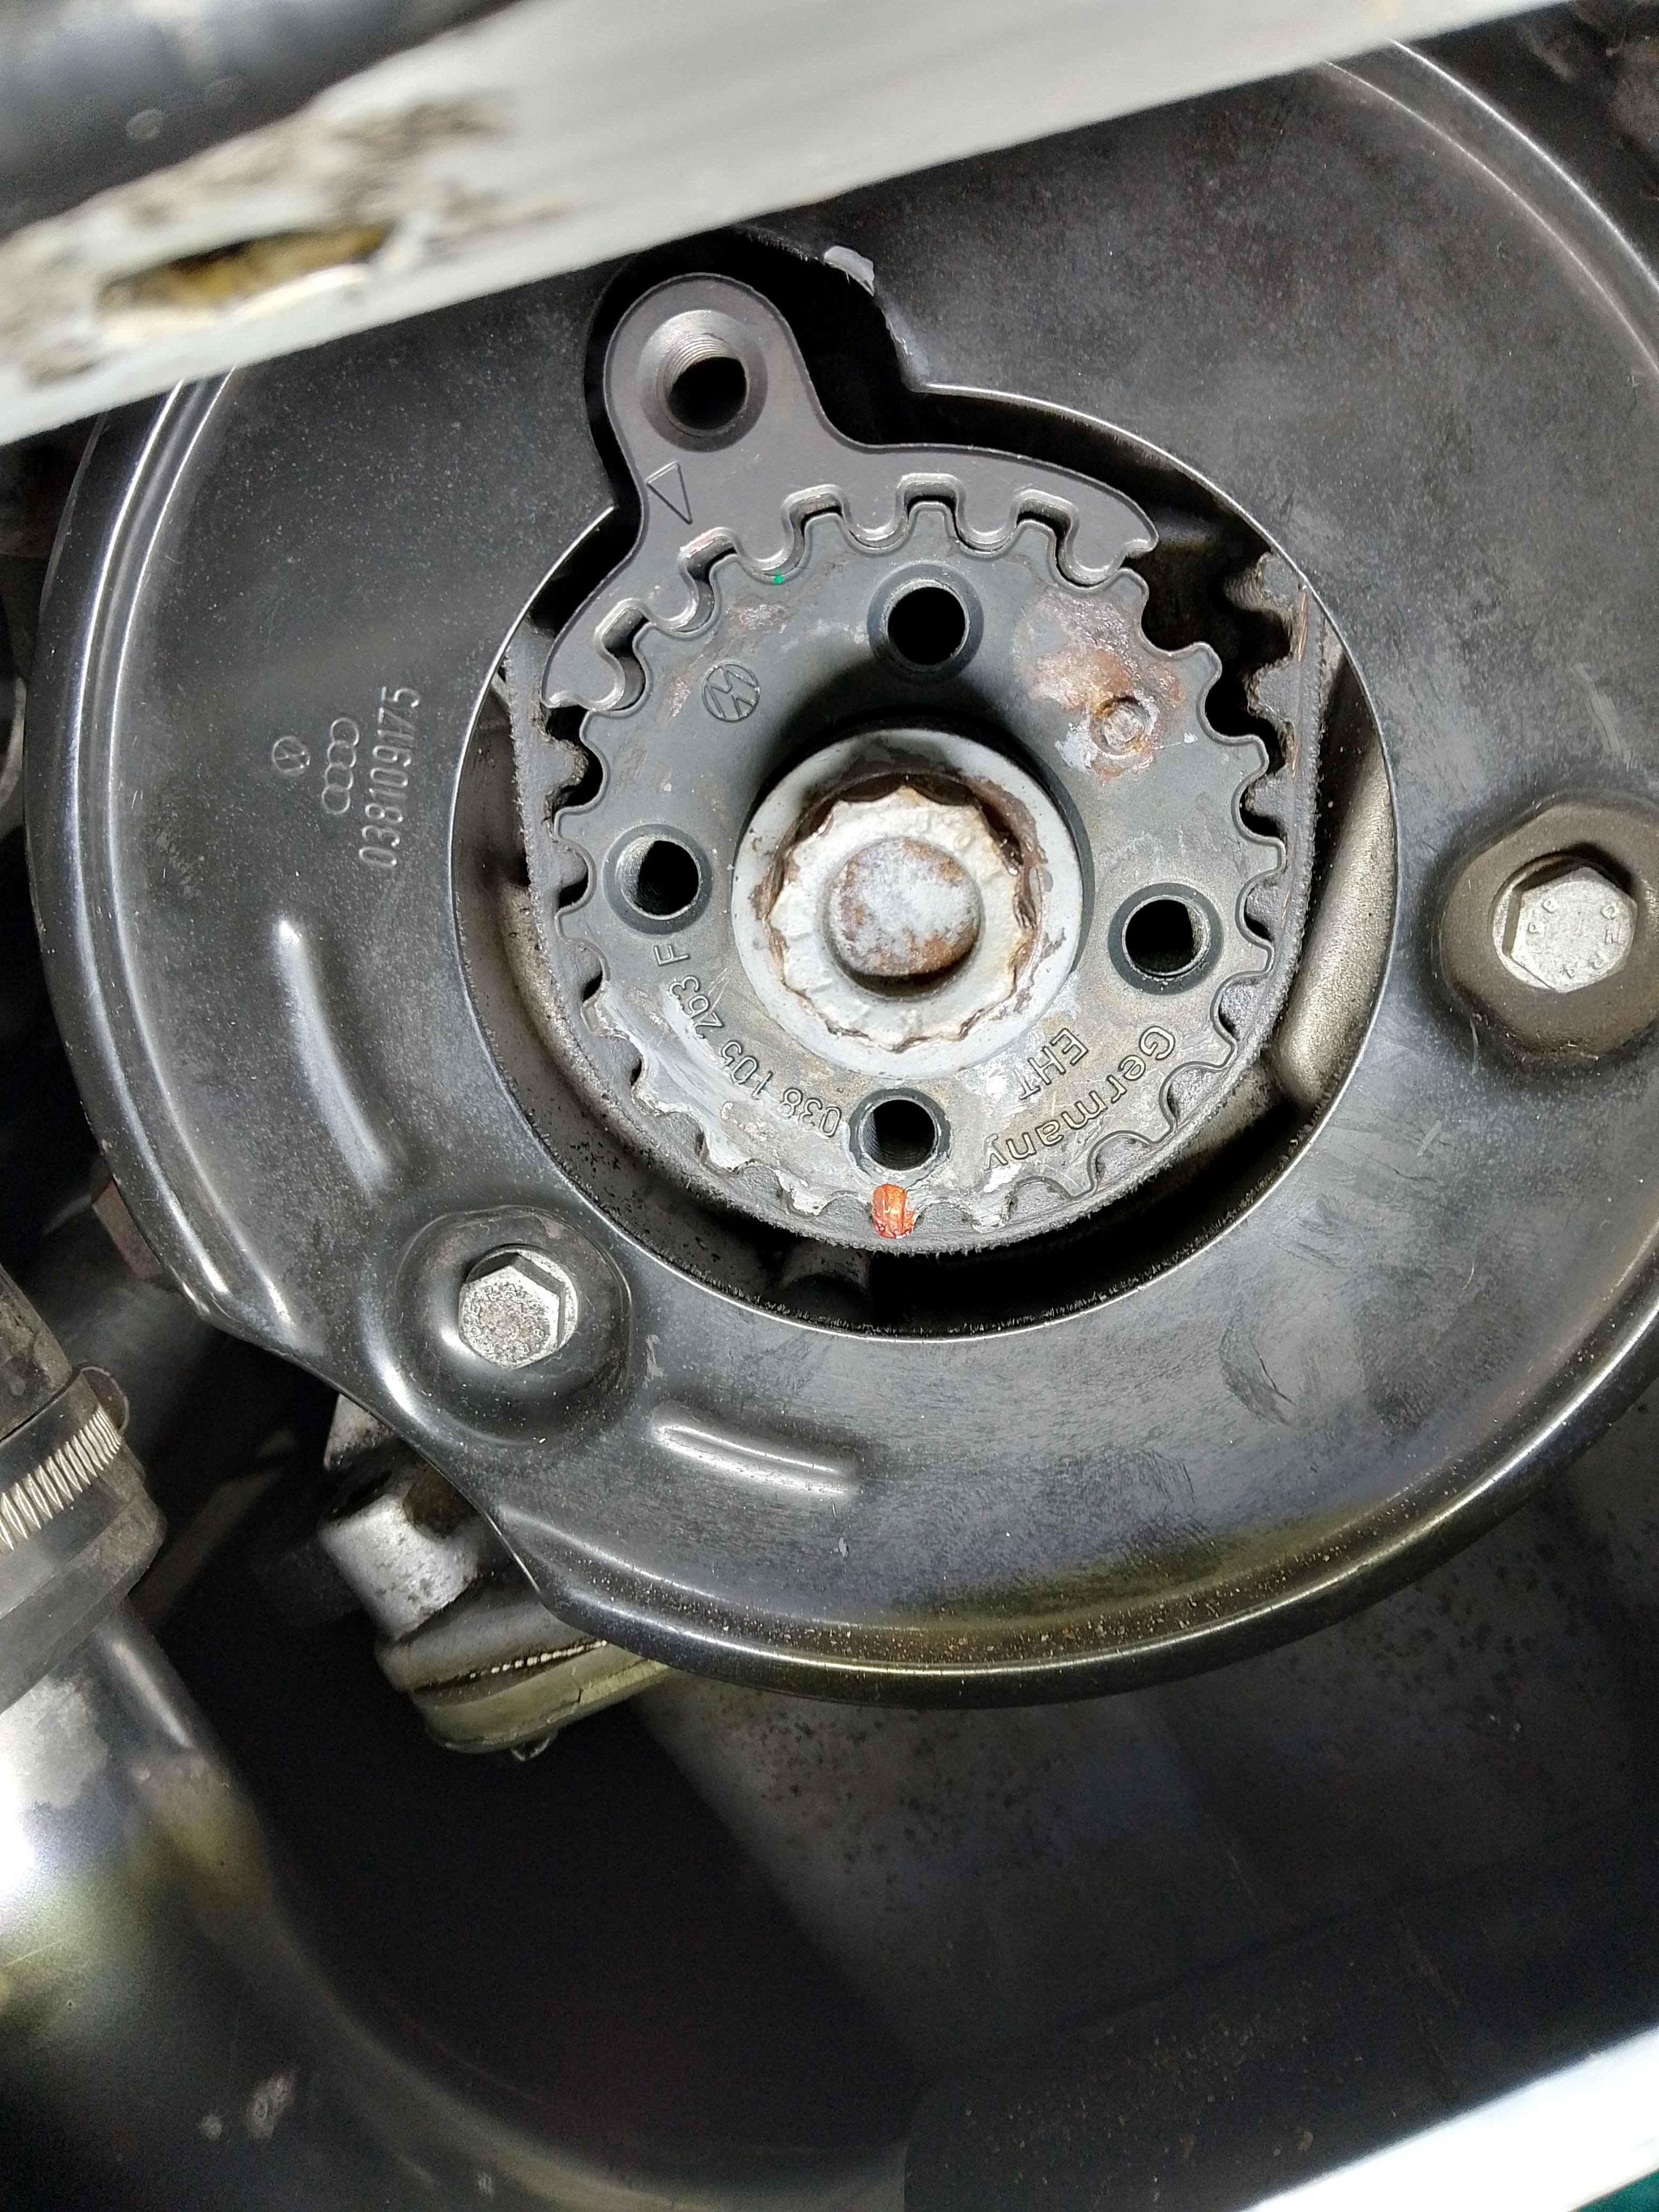
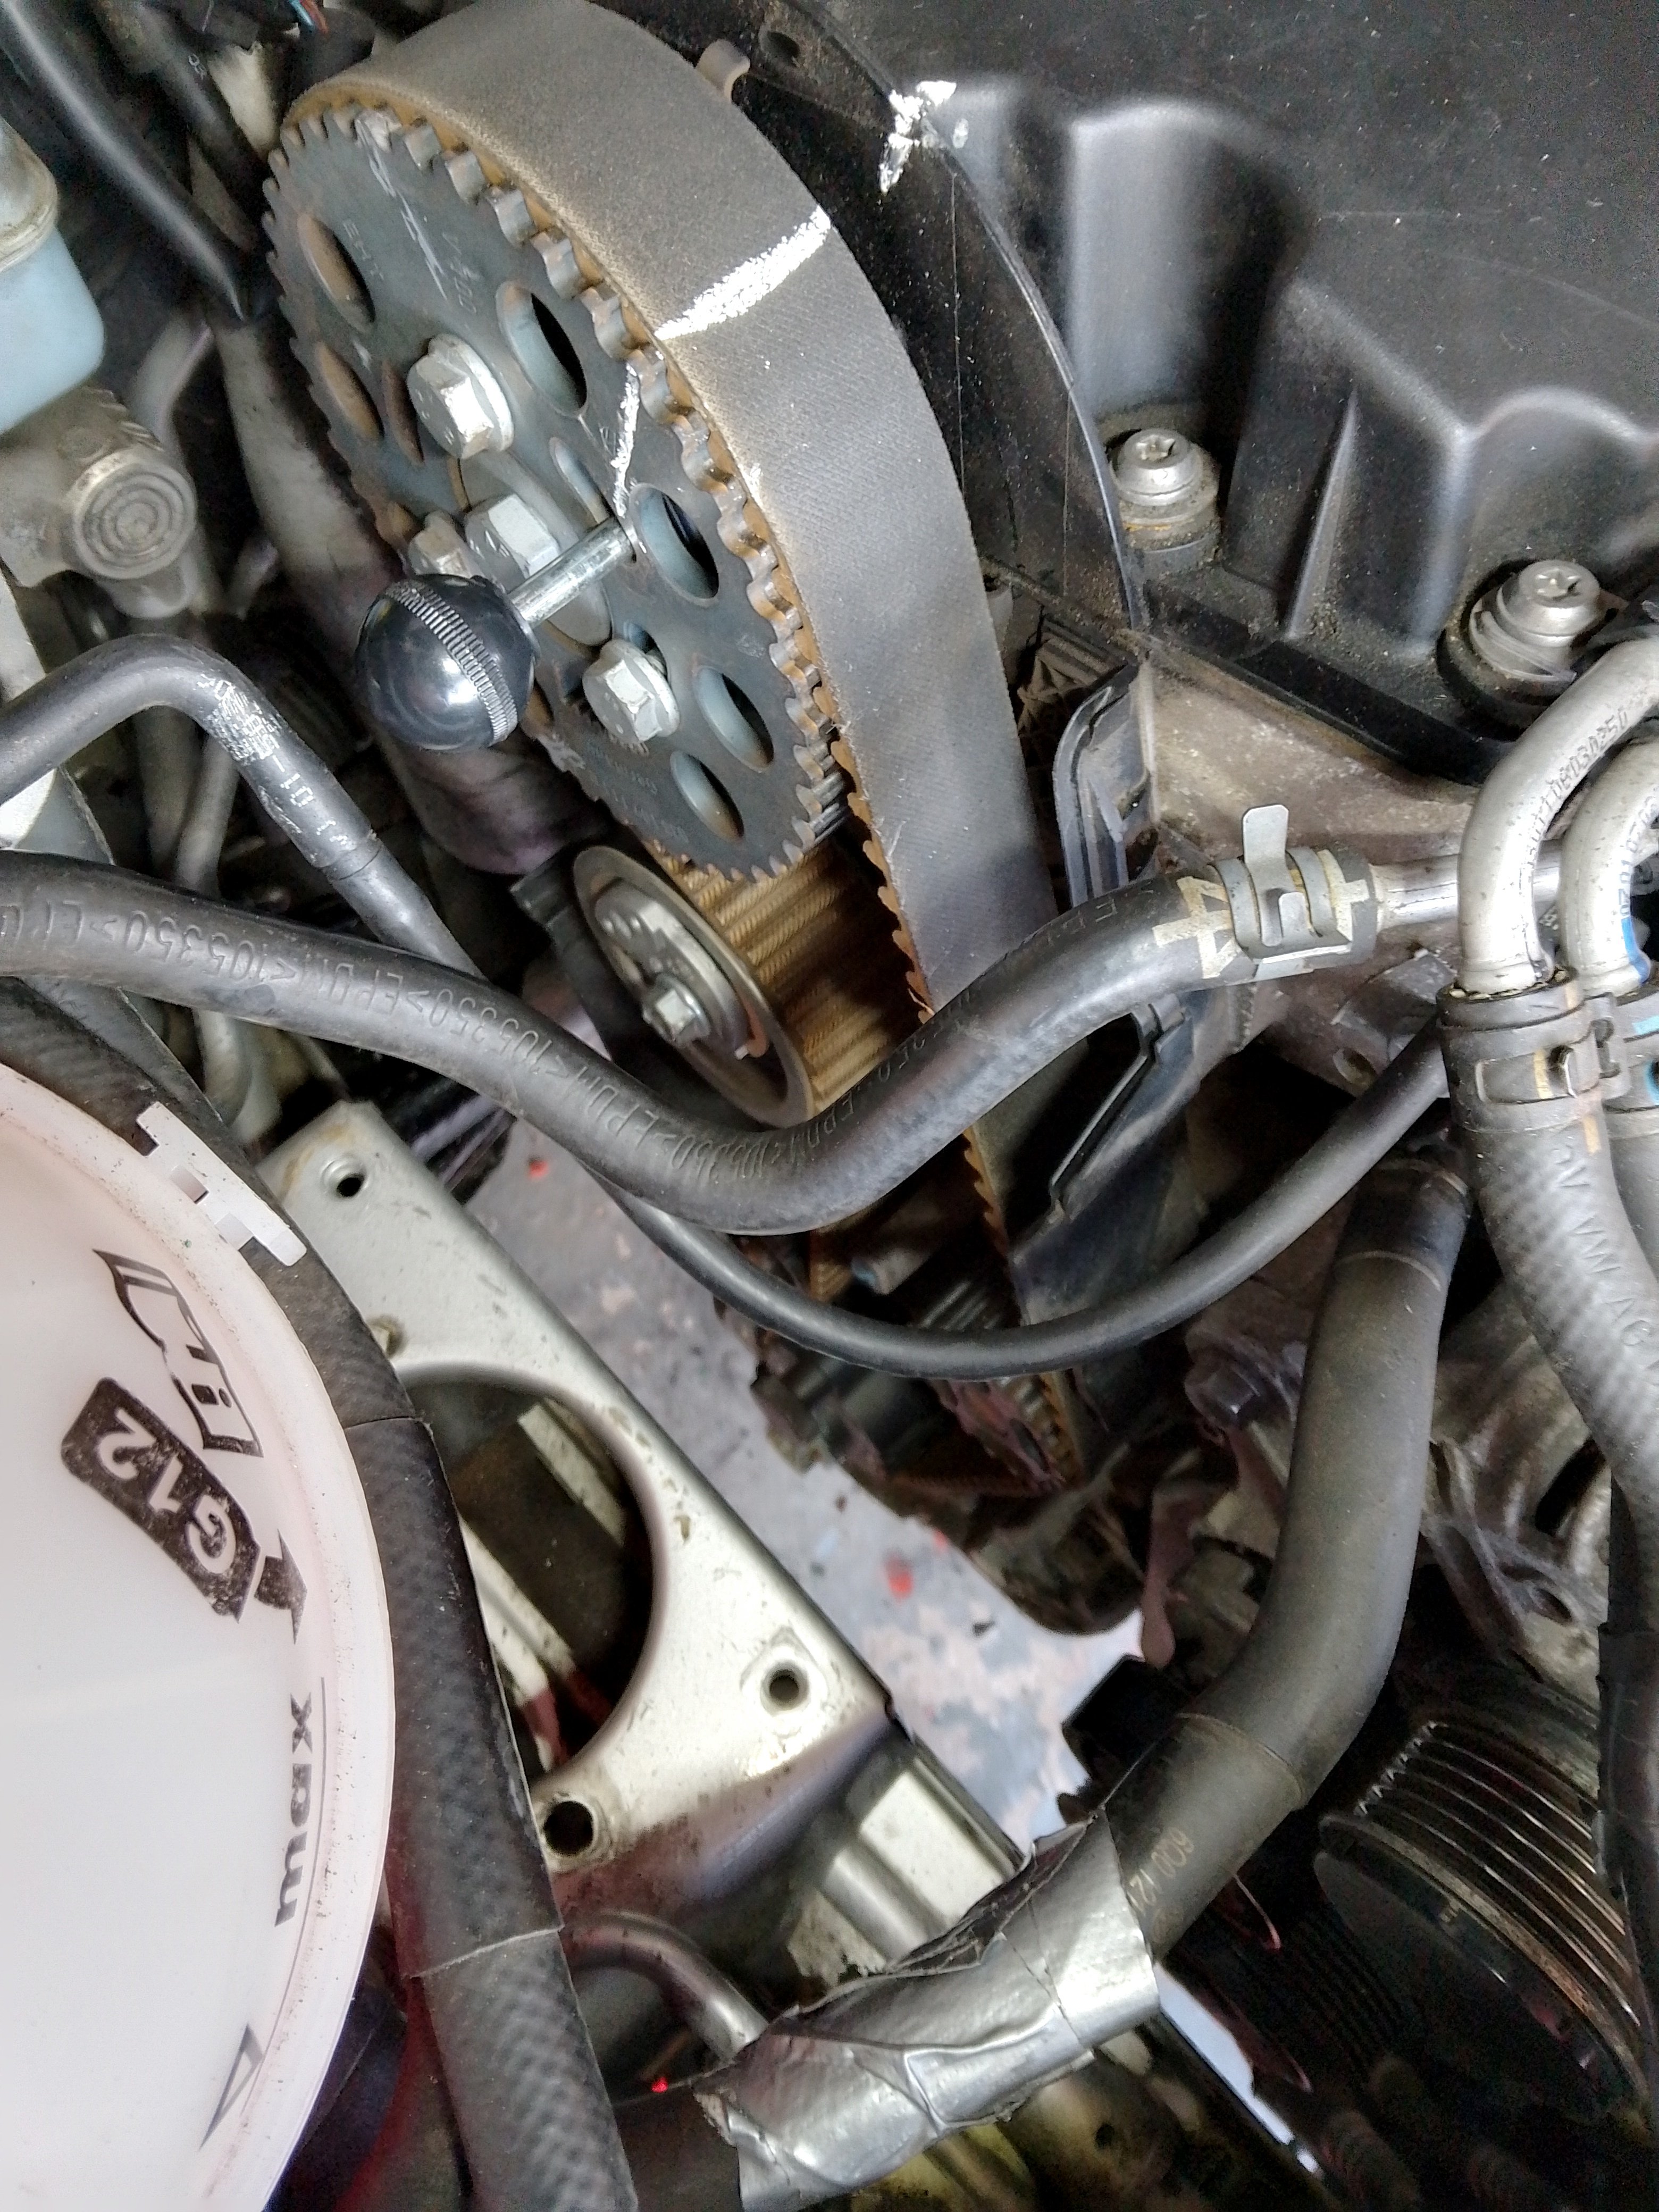
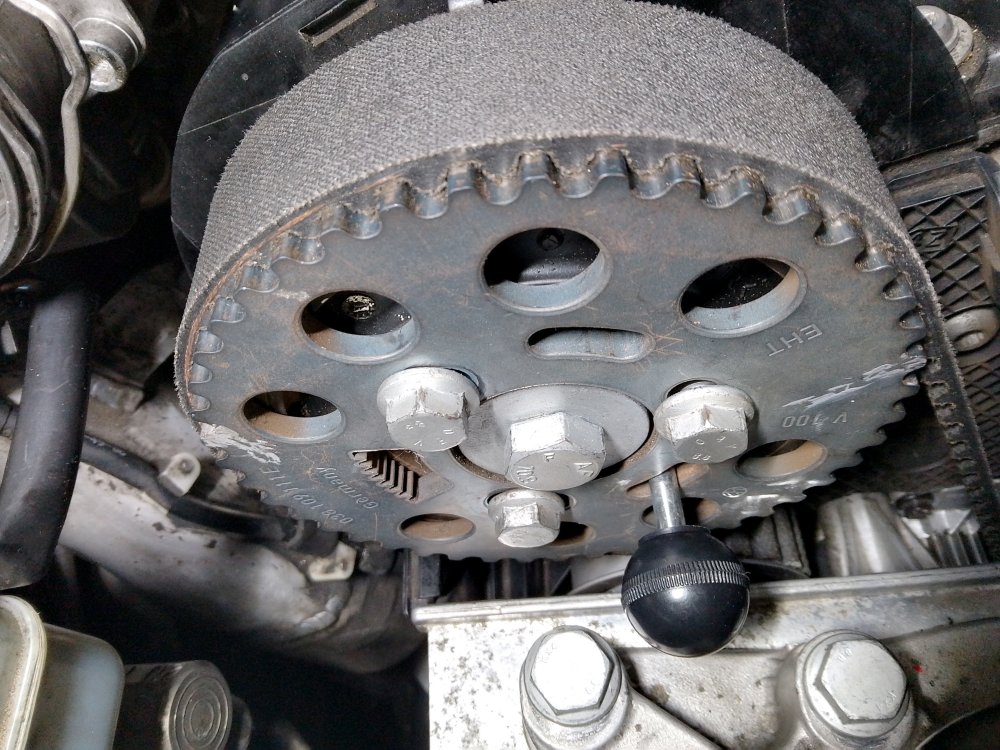
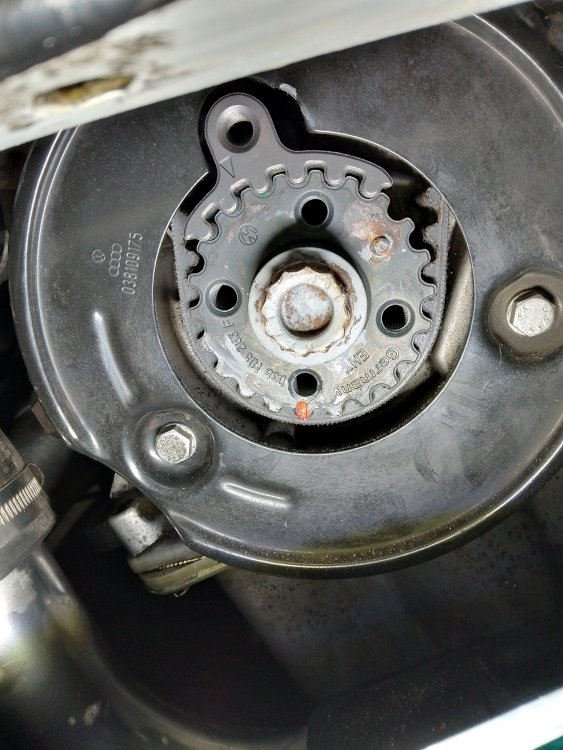
The cam pin wasn't in the correct hole. Here is a photo of it locked in head through cam at about 4 or 5 o'clock. About 13mm of metal pin is protruding. It took some finding. With cam pin locked in the crank is way out, 9 to 10 teeth out (lock not fully inserted in photo btw) See photo. Red mark is the TDC mark. To get it back I guess I will need to strip everything and take out belt? Is the engine likely damaged? Appreciate the prompt replies and help. Thank you.
-
For anyone following this, the old Dayco belt at 43k miles looked undamaged, although the Dayco tensioner I correctly set in 2014 with arrow in between window / slot (4yrs overdue) had slackened off. The tensioner bolt was tight (20nm plus 45 degree torque). Car had high idle revs on cold start, perhaps connected. Fitted INA tensioner kit this time. This kit comes with new tensioner bolt and idler bolt although I didn't have guts to remove. Need to get two nuts and counter force them if that works to remove stud. Video on it available. The tool is to measure length of protrusion of stud to ensure stud is fully inserted into engine block to stop cyclic wear. Aluminium engine and steel cause corrosion that loosens end of stud. Sheared stud then occurs... Interesting read https://autotechnician.co.uk/ina-vag-stud-tool-now-available/
-
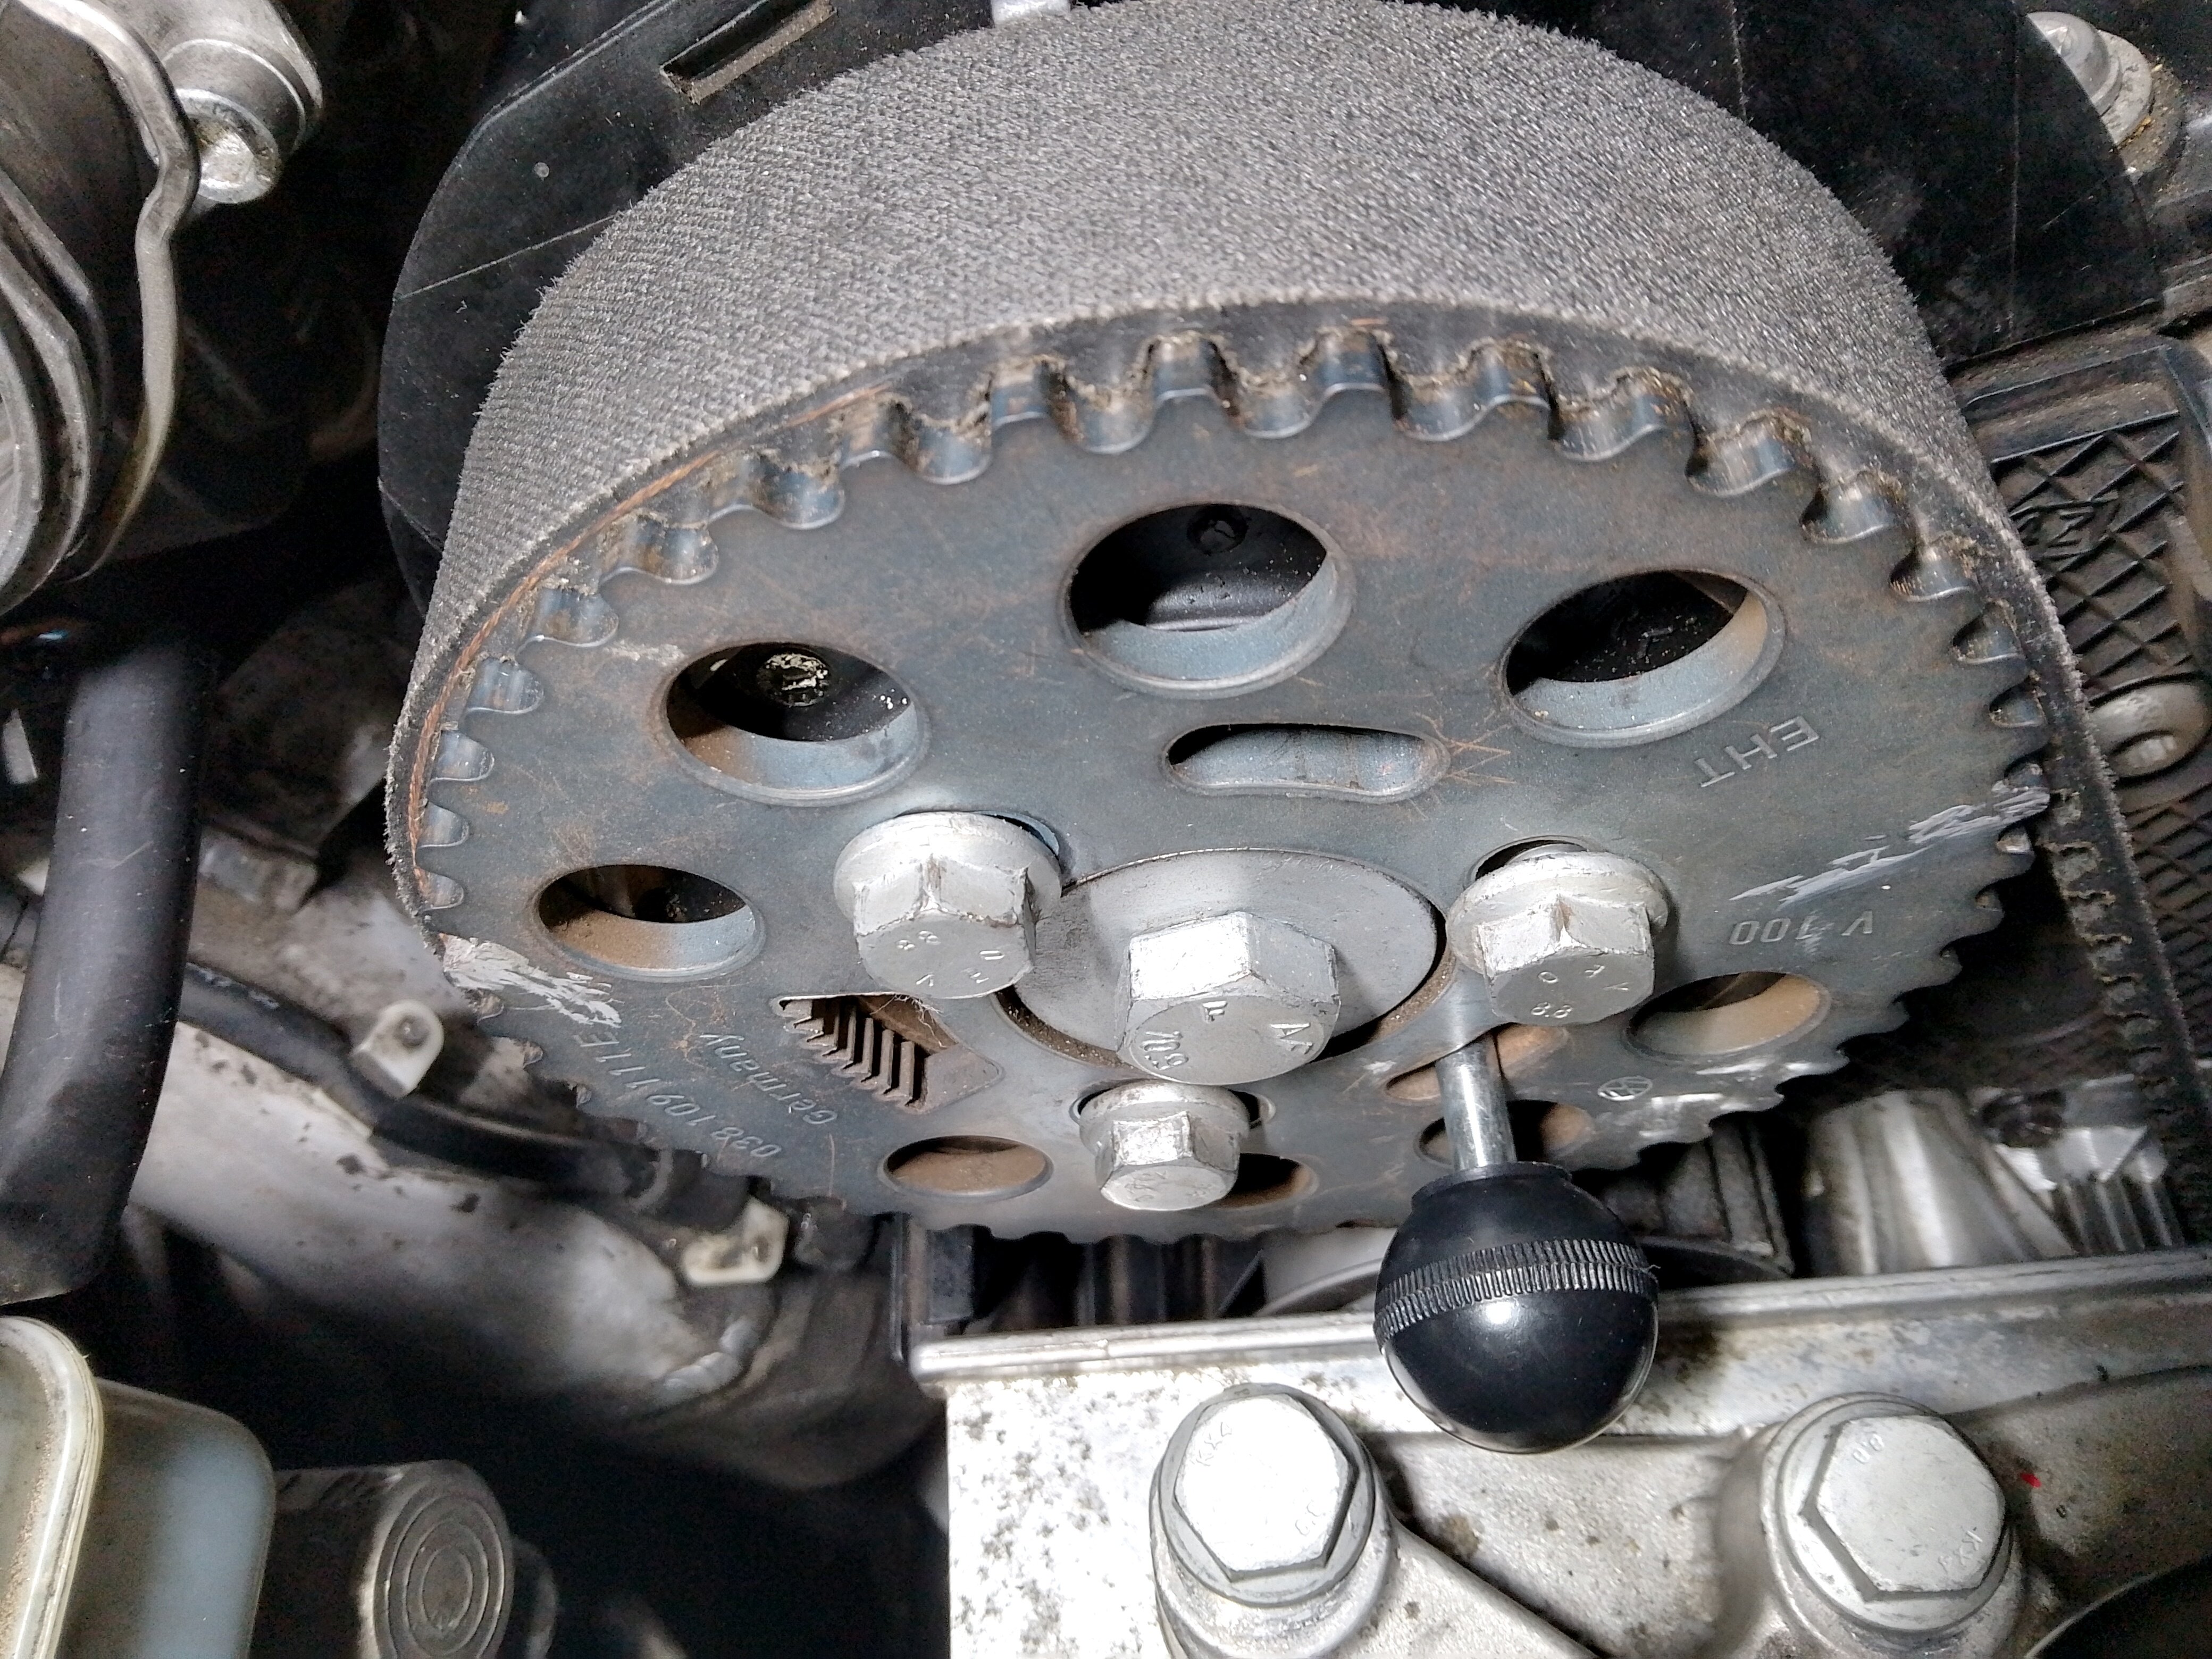
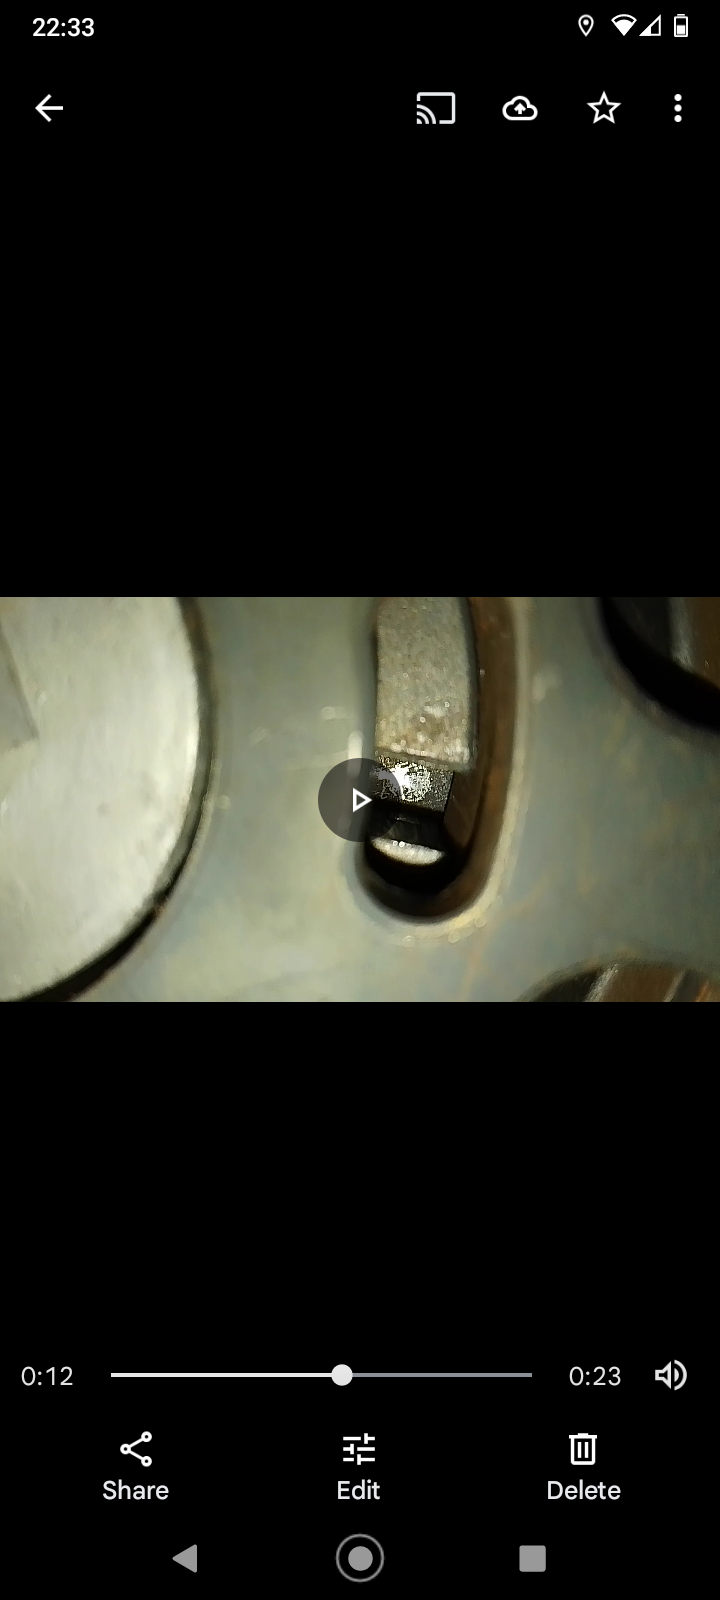
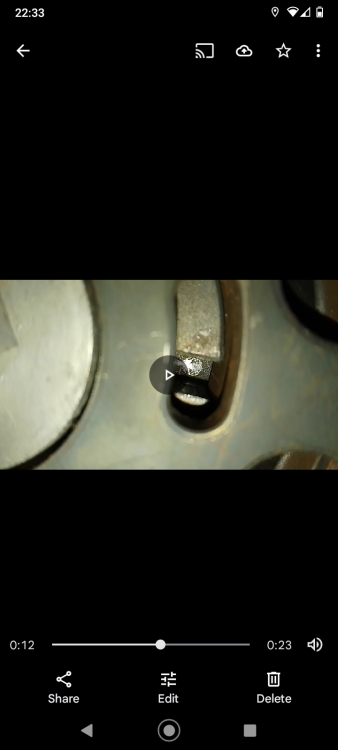
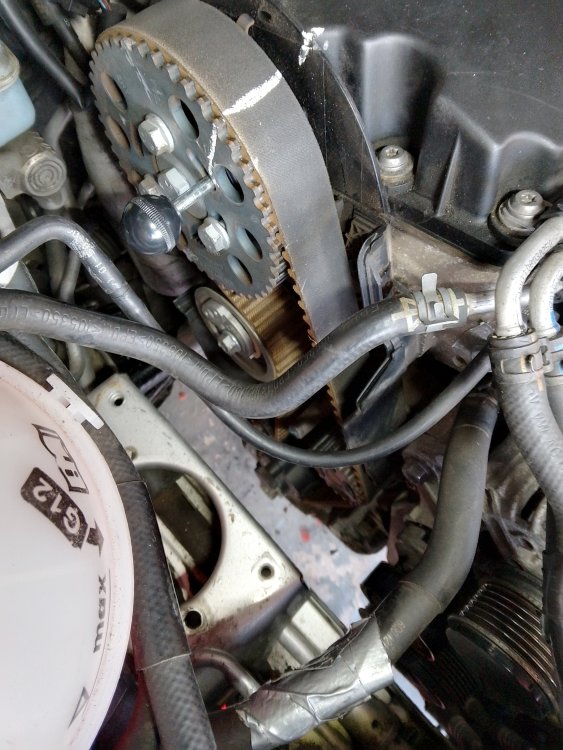
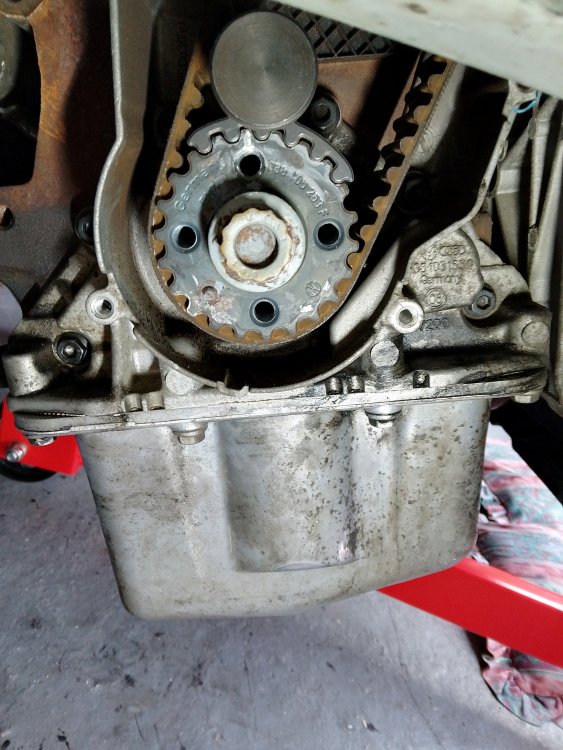
Sep - ok, tomorrow I'll took off alternator belt and pulley over crank and set lock pins. Thanks for clear advice. More details for anyone struggling to follow. Sep can you clarify the cam lock pin hole(s) and the Q about the hole in the 'crown' both on cam sprocket. Previously, both locking pins were in. See crank lock below. White line at 11am. Barrel of lock behind that knob on lock key engaged into hole behind it, 'locked in' Sep - this is the bit I'm confused about. The cam lock pin hole, are there two positions? this is a photo of the cam locking pin slot where a hole for the cam locking tool is visible - is this correct? Are there two??? I can see two , one per slot. There are however, two 'slots' and a hole can be seen through both slots for the cam lock like the 2nd photo above. The cam lock pin did fit the slot. The third slot is the 'crown'. - see photo earlier on in first post. According to the link the hole shown in photo in first post needs to be in middle of the crown? Is this correct? It seems adjustment of cam sprocket clockwise so crown hole moved left and centralised allowed someone with similar issue to start engine. I have made this adjustment, but not started the engine. It would be wise to follow your instructions which I will do. I used one of the 2 slots for positioning the cam lock tool. Both allowed the lock tool same depth. The cam pin lock is not as secure as the crank but it stayed in throughout. I used the slot bottom left of bottom of crown like in skud missiles guide (looking at guide photo) , if it makes any difference which of the two slot holes on cam sprocket to use?
-
How so? Thanks
-
Could I damage valves when I turned over engine by hand? I did at least two or three belt rotations and the the ones I did previously as various bits were put back on, ie timing belt covers, aux belt. When hand cranking - Felt same as before with old timing belt and thereafter after attempting to start the car. VCDS - I read normal is plus3 to minus 3 and engine oil needs to be hot when setting. Clockwise on cam makes it more negative (so I read). Until car starts I can't get a value. Yeah cam position sensor error means it is throwing back no data 0 on torsion. So fire the car up? Going to be tomorrow.
-
Hi Steve, no smoke, no spluttering when starting. There is no ignition, car is not biting when turning key at all. Battery fully charged etc. Fuel filter was not touched, I managed to work around it. Question is, do I try starting it after adjusting those 3 x 13mm bolts on cam sprocket. The hole is now in the centre of the crown. My other question is if I can turn over the engine using the crank 19mm star socket will this mean there is no risk of interference between moving parts on engine? Thanks
-
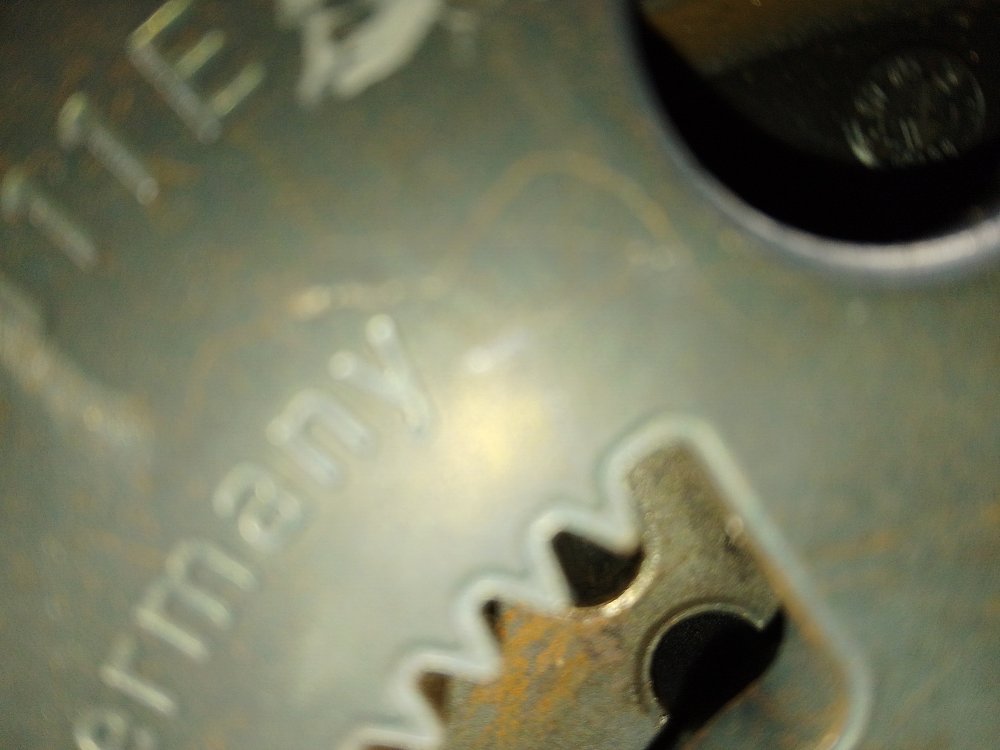
https://www.briskoda.net/forums/topic/285959-wont-start-after-timing-belt-change/ 2nd timing belt change done by me again. I changed the timing belt and idler, tensioner and aux belt on Fabia MK1 BLT 07 and followed the guide by skudmissile. This is the 2nd time I changed timing belt on this car. It is turning over by hand fine using 19mm star socket at least 2 or 3 belt rotations. I started the car and it turns but not starting (my heart drops). I used the crank and cam lock tools. Last time I didn't loosen the 3 cam 13mm bolts just loosened tension and then did up and rotated crank and relaxed tensioner and did up tension so different parts of belt got tensioned more evenly. This time I loosened the 3 x 13mm cam sprocket bolts and followed instructions to letter. The belt is correctly tensioned. VCDS doesn't give any torsion values if car doesn't start but on 3rd try I got cam position sensor fault 19464 and low oil pressure light. No bad metallic noises btw. Following the link above I have looked at crown on cam sprocket , see photo, and hole is offset to right before adjustment. I have undone the 3 13mm bolt on cam sprocket and turned cam to centralise it, there was room for adjustment. I have tightened 3 x13mm bolts and turned engine by hand using 19mm star. It turns as well as before. I haven't started it yet. I don't want to risk any damage. Mechanic said very unlikely to damage valves citing timing belt failure on same model on motorway at speed. I'm not so sure. If there is any interference between pistons and valves, would it not be possible to turn over engine by hand (19mm star on crank)? Help greatly appreciated.
-
Yes, that is what I read with silicone, dielectric greases. I've read https://www.w8ji.com/dielectric_grease_vs_conductive_grease.htm Summary - what you just said above. There are conductive greases using metal particles suspension in grease. The metal coats exposed metal contacts with a thin film. A problem with them is galvanic corrosion if the metal react. No ox ID (very pricey is one eg) I'm going to buy a higher melting point grease. I read nyogel is a good dielectric grease.
-
-
Thanks. Now the can of worms...will silicone grease not just interfere with the electrical connection? It is dielectric grease (insulates). I pasted some on car door latches not too long ago as a lube and result was that the car didn't lock. Cleaning it off allowed the doors to lock. I could try it, however, I don't want the airbag activating, so I would have to reassemble before knowing it is a success and then the long term test of oxidation prevention.
-
Hello I have an issue with a Vauxhall astra H steering wheel electrical connector. I have two Skodas but the answer is of interest to all enthusiasts. Q - is there a grease that can be applied to electrical contacts that still allows conduction but prevents oxidation of the contacts? (Trying to save me doing this job again in 1 to 2 years sat for hours dismantling steering wheel) Background - Vauxhall used aluminium instead of copper (former being quite a reactive metal and rusts easily ) in a multiple pin electrical connector. This has been subject to a recall but the repair fails to deal with the issue underlying and reoccurs. Rust don't conduct and the problem has reoccurred affecting battery drain (ruined a 2 yr battery due to 150mA drain) and stops horn working, blew two dipped beams on auto mode once also. PS I posted on Astra networks but it seems there are very few Vauxhall enthusiasts compared to Briskoda who are in the know! It was this site that steered me to my first Skoda in fact. Thanks.
-
By time pads are worn the discs will not be far behind. I think it false economy. I read that new pads should always be fitted to new discs. The suggestion indicated was that friction material is transferred from new pads to disc and a more even surface contact occurs preventing hot spots and avoiding possible warping of discs during bedding in of the discs. Hearsay (I'm not old enough to remember) but prior to 2001 brake discs contained asbestos, they lasted longer apparently and the suggestion to me was that you could get two sets of pads out of the discs. If old pads were used there might be noise as the whole area would not be in contact until bedded in. However the two surfaces would not be a vertical face on contact. I think using old pads is not ideal. Having said this I had a Mazda 3 in family. It failed on pads. They replaced pads only, 500 miles on I changed discs and used 'old pads'. No issues. The caliper carrier bolts were seized and I got that nice job. The discs had rust on back and needed changing.
-
Short version - I'm not much help. The sealant worked and ABS light was cleared and has not returned. Car passed MOT. I recently put my summer wheels on and had a look at the part number as promised. It was hard to read I am only clear about a few characters/digits. 1SQ 975 I was going to disconnect the other abs connector to get a better look but the plastic felt rigid and brittle and guaranteed for the clip to break, like the other side. Since you suggested that updated part number the eBay vendor has a numberplate compatibility of that part. It does not fit it now states. Not sure if this is relevant but the Wiki Ross Tech site had a warning against ABS fault codes read by VCDS, namely that using the wrong cable/ part number to the ABS sensor (even though) the connector fitted) produced ABS fault codes. Maybe the gauge/bore of the cable was less than original OE cable? Of interest was the difference in normal braking with the ABS system showing an error vs fixed and working normally. Not sure if the ABS works well before any wheel locking up and sliding is apparent.
-
Thanks for that. I'll see if I get that part number off the connector and report back in next few days.
-
I didn't look for the part number on the connector when fixing my car, but after sending out a few messages using my car details I got back part number 8T0973702 The shape looks correct, but this item is not wired. https://www.ebay.co.uk/itm/143368743457 The other searches either don't offer number plate matching or list the cars that do match, all early Skoda Octavia models and then VW Golfs etc. I private messaged you my registration. Any suggestions of where to look? PS There is a tool used to 'pin' the wire, loads of various shaped flat tooth pick end like metals. Looks like fiddily work. Thanks
-
Hard to get to? The silicone will probably hold up, plumbers gold stuff is good adhesive as well as a sealant. This option above sounds doable I have crimps, heat shrink and I could use sealant to encase the joint. Tell me about it. This is cheap compared to... a Peugeot convertible door handle sensor to drop windows 1cm to clear folding roof. £170 new. 2nd hand part £15 failed, so I had to bite the bullet. Thanks
-
Hi, Short version. Anyone know where the wire ends that leaves wheel arch (top corner) belonging to the ABS harness from ABS sensor mounted in hub of wheel? The new part £73 (wire harness only) has bare wire at other end. I am competent with crimp electrical connectors but don't want to buy a part that requires taking fuse box out/to pieces etc. Another story - if you buy the electrical connector they don't come from Skoda with the two wires in place (this was the expansion tank connector). Parts guy told me the workshop pin wires in place when they do this work. Anyone know of a tool that does this? Soldering would melt the plastic etc. Long version ... Read on. ABS ESP light illuminated after startup. VCDS identified fault 00285 to front right ABS sensor, implausible signal. I replaced hub, wheel bearing and ABS sensor 3 years ago. The wiring quick release connector tab broke. It has been held in place with silicone sealant. I guess the inclement weather had taken its toil. I took wheel off and disconnected quick connector and cleaned with electrical connector oil, dried, wiped and reassembled with silicone around the overlap of the connector. The DTCs were cleared and no errors today. Time to buy a new part. MOT next week.
-
-
I'll give it some elbow grease first. I just didn't want to make things worse. Sometimes a break can be a blessing in disguise. A Peugeot wasn't sealed at bottom properly from the factory , the windscreen fitter brought it to our attention. Windscreen didn't fog up as much thereafter during driving in rain. Even worse was a Ford Focus that developed wet front floor carpet when parked downhill. Windscreen replaced under warranty.
-
I have a sack of bicarbonate. I heard people use it to regenerate plastic headlamps. Is this too gritty? I watched a series on Prime renovating a Pontiac Trans AM (Smokey and Bandit's car). They used something to remove scratches and buff up the screen. Can't remember what they used though. Thanks
-
Thanks for suggestions. New wind screen is £75 A waste as they are minor scuffs on glass. Jewellers rouge £6 (fine iron oxide powder/ rust) - maybe similar to T cut in grittiness or finer?) Ceriglass £15 - a tad pricey for me. I have T cut. Any experience with T cut on glass anyone? Bicarbonate is probably too gritty - good for cleaning metals I hear.