Leaderboard


Popular Content
Showing content with the highest reputation on 24/06/20 in all areas
-
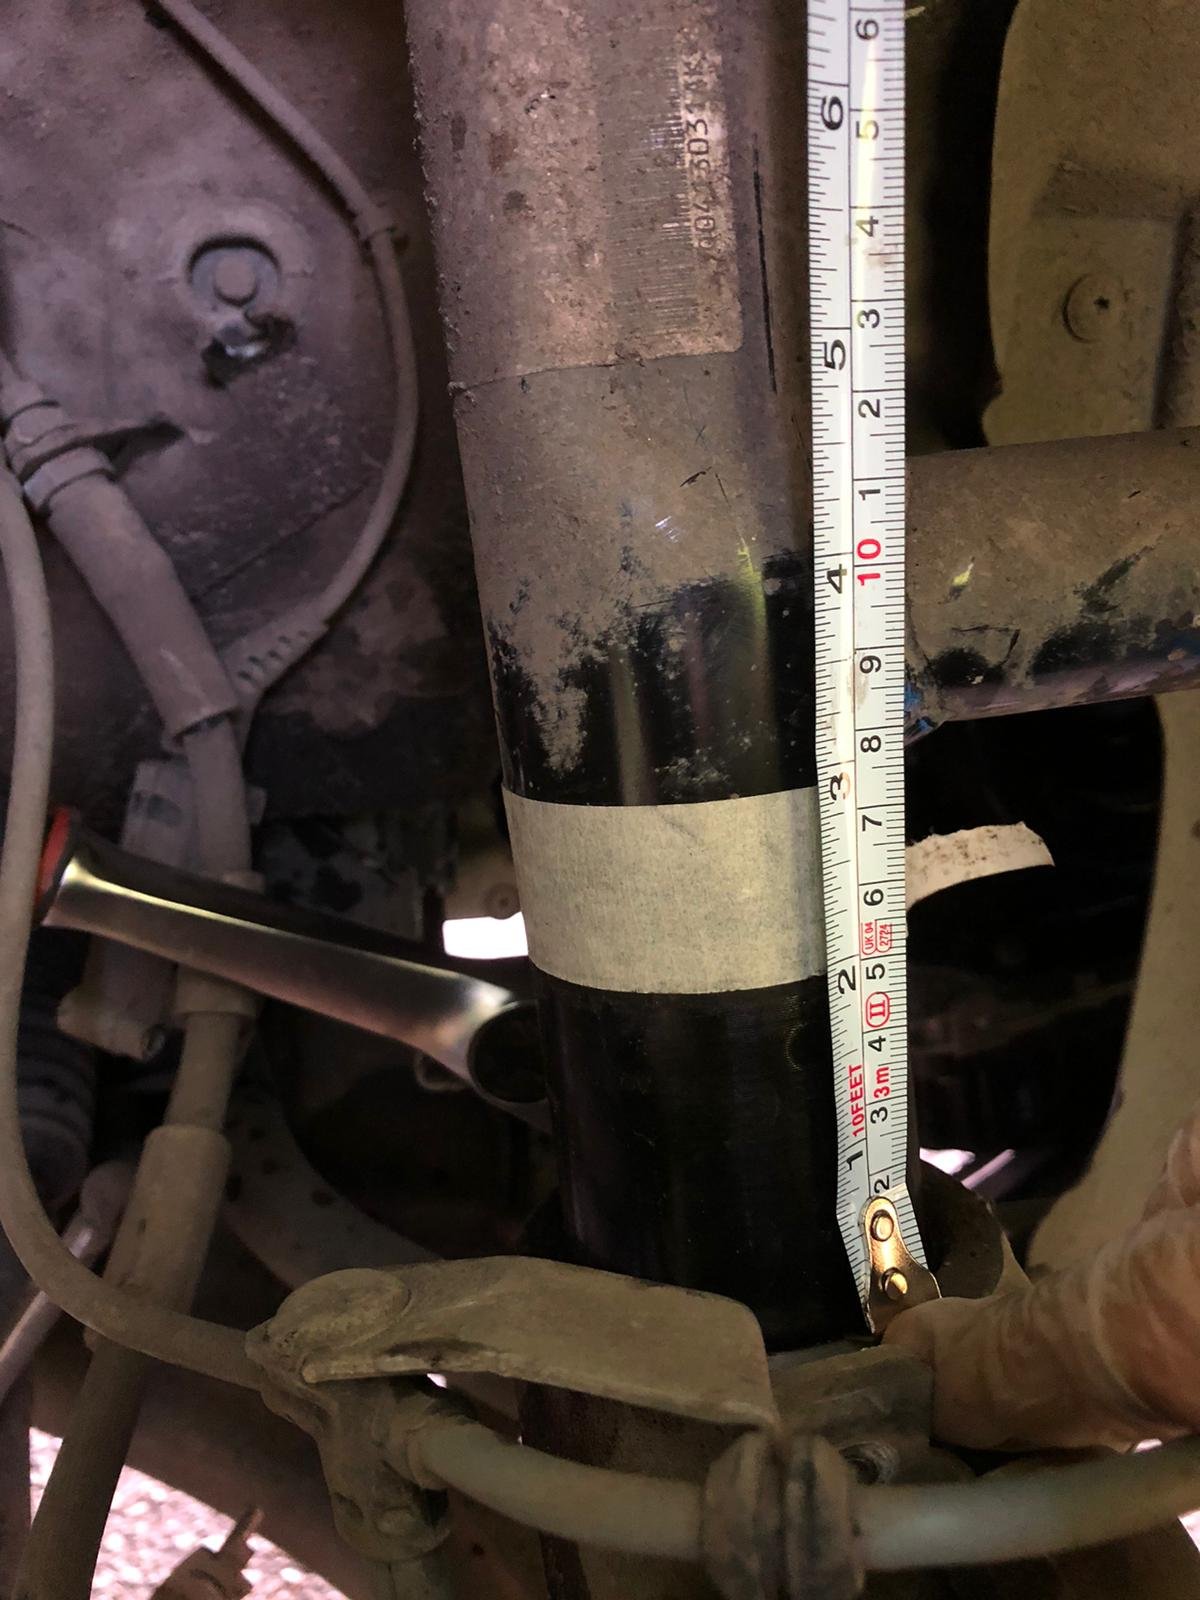
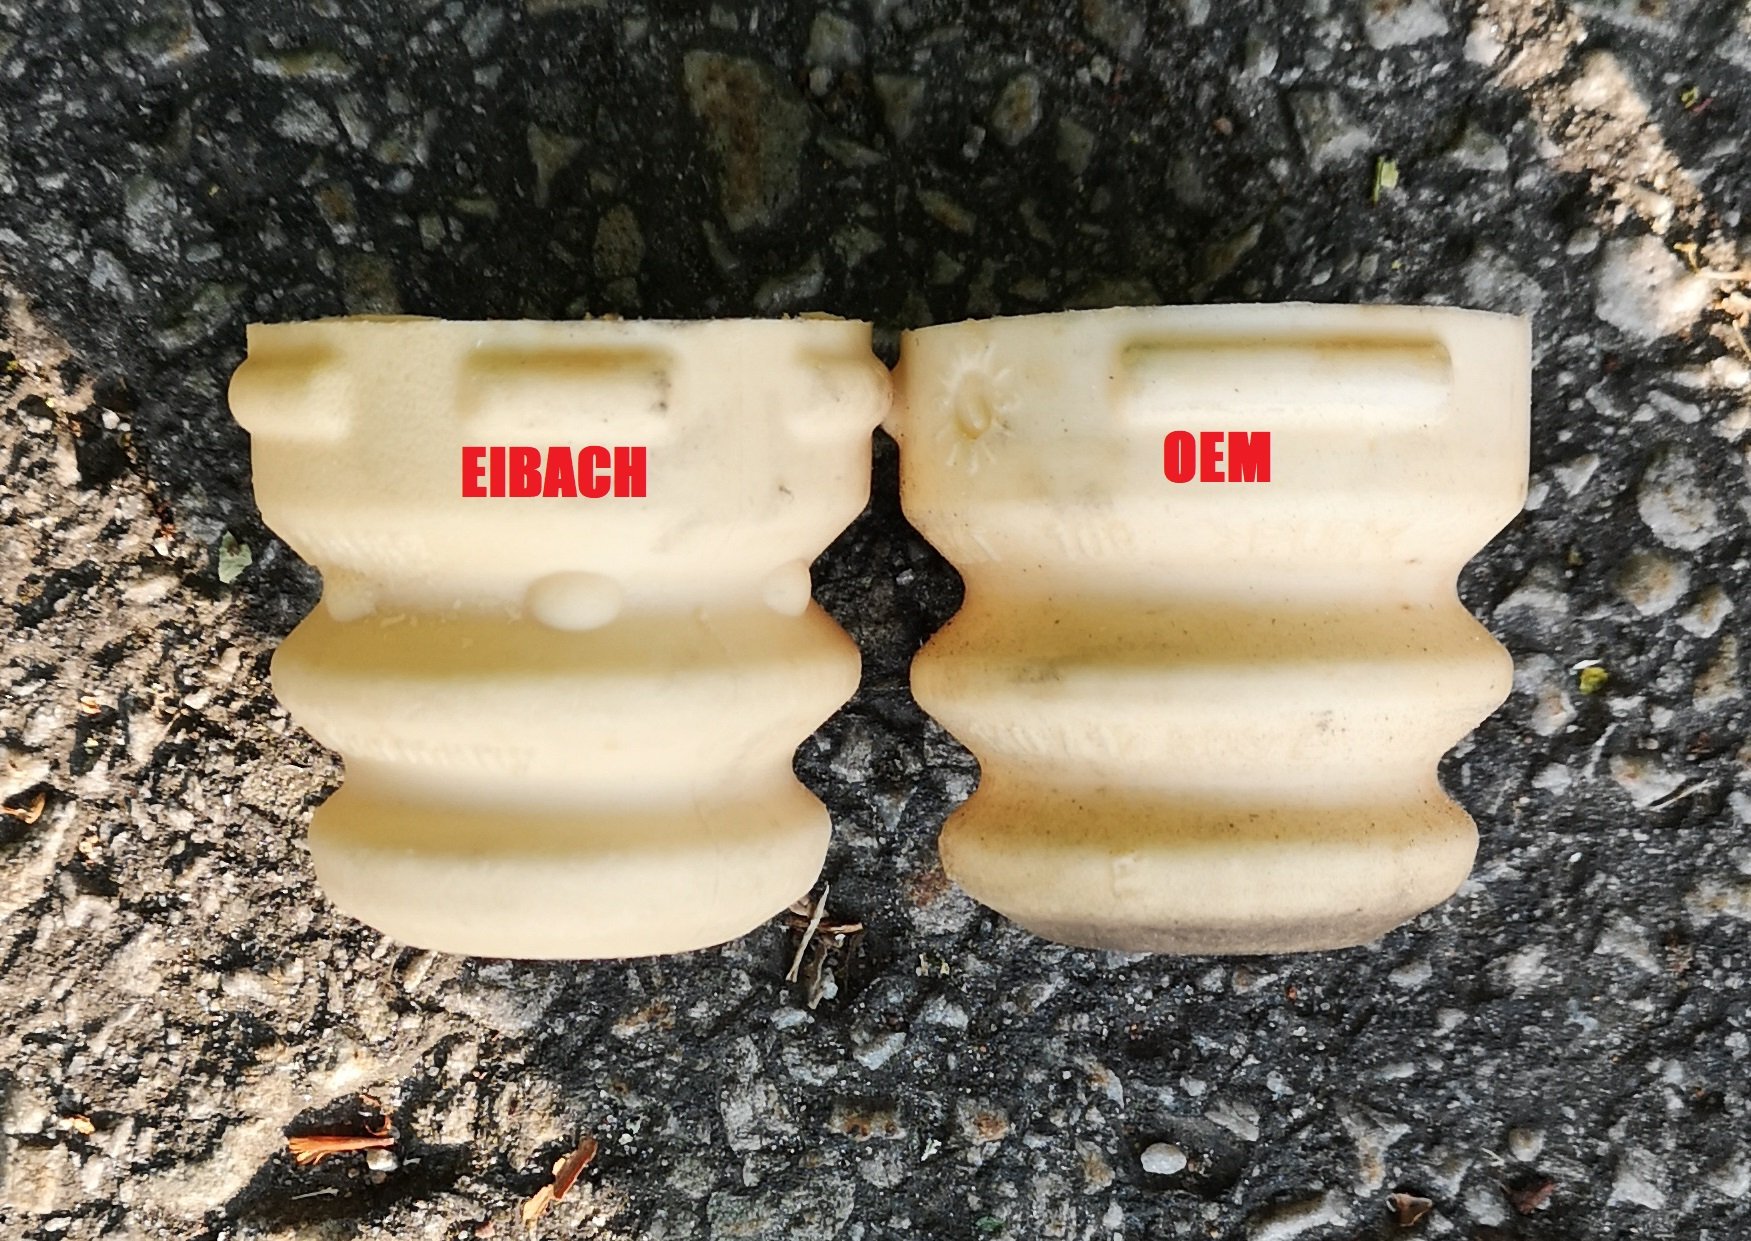
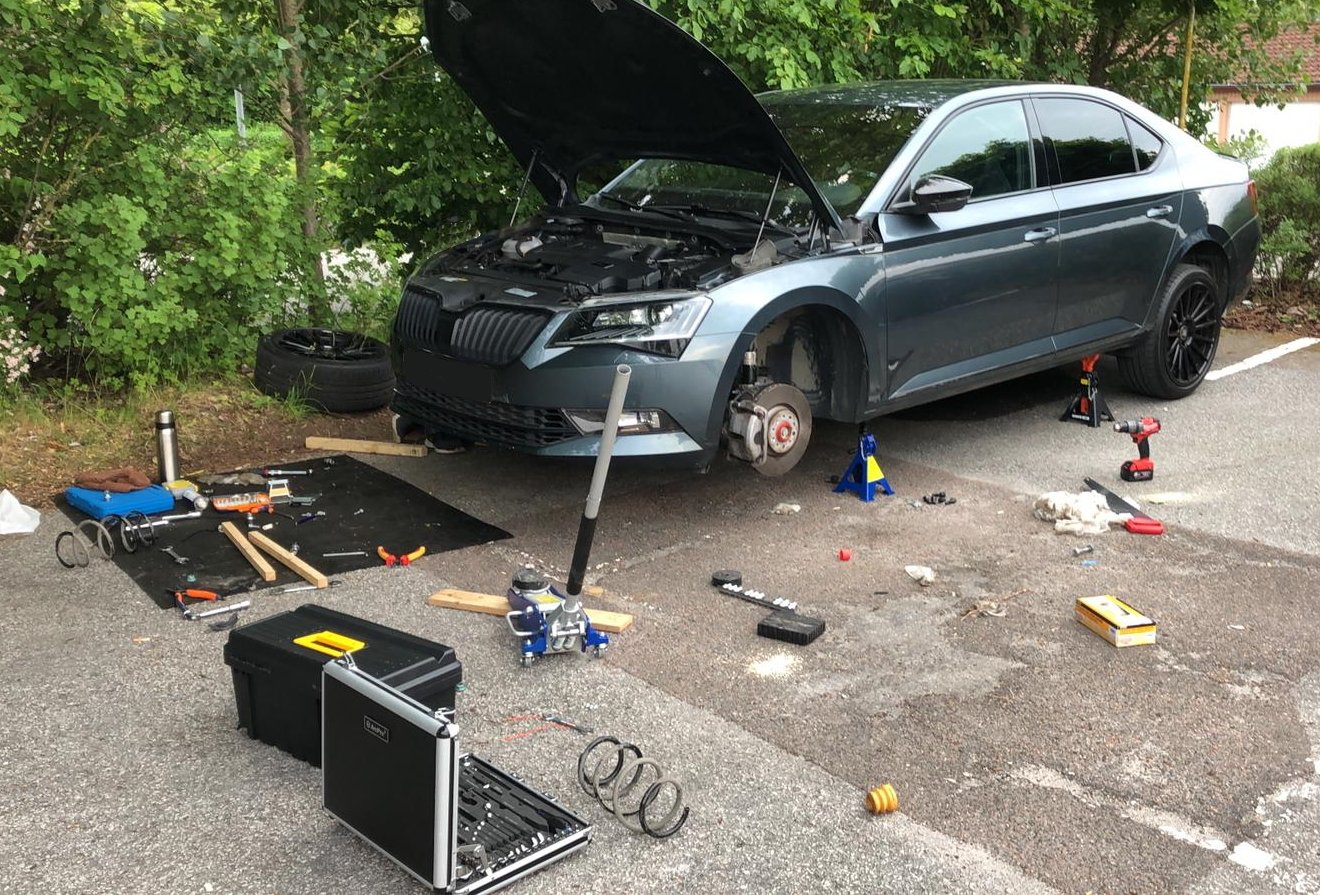
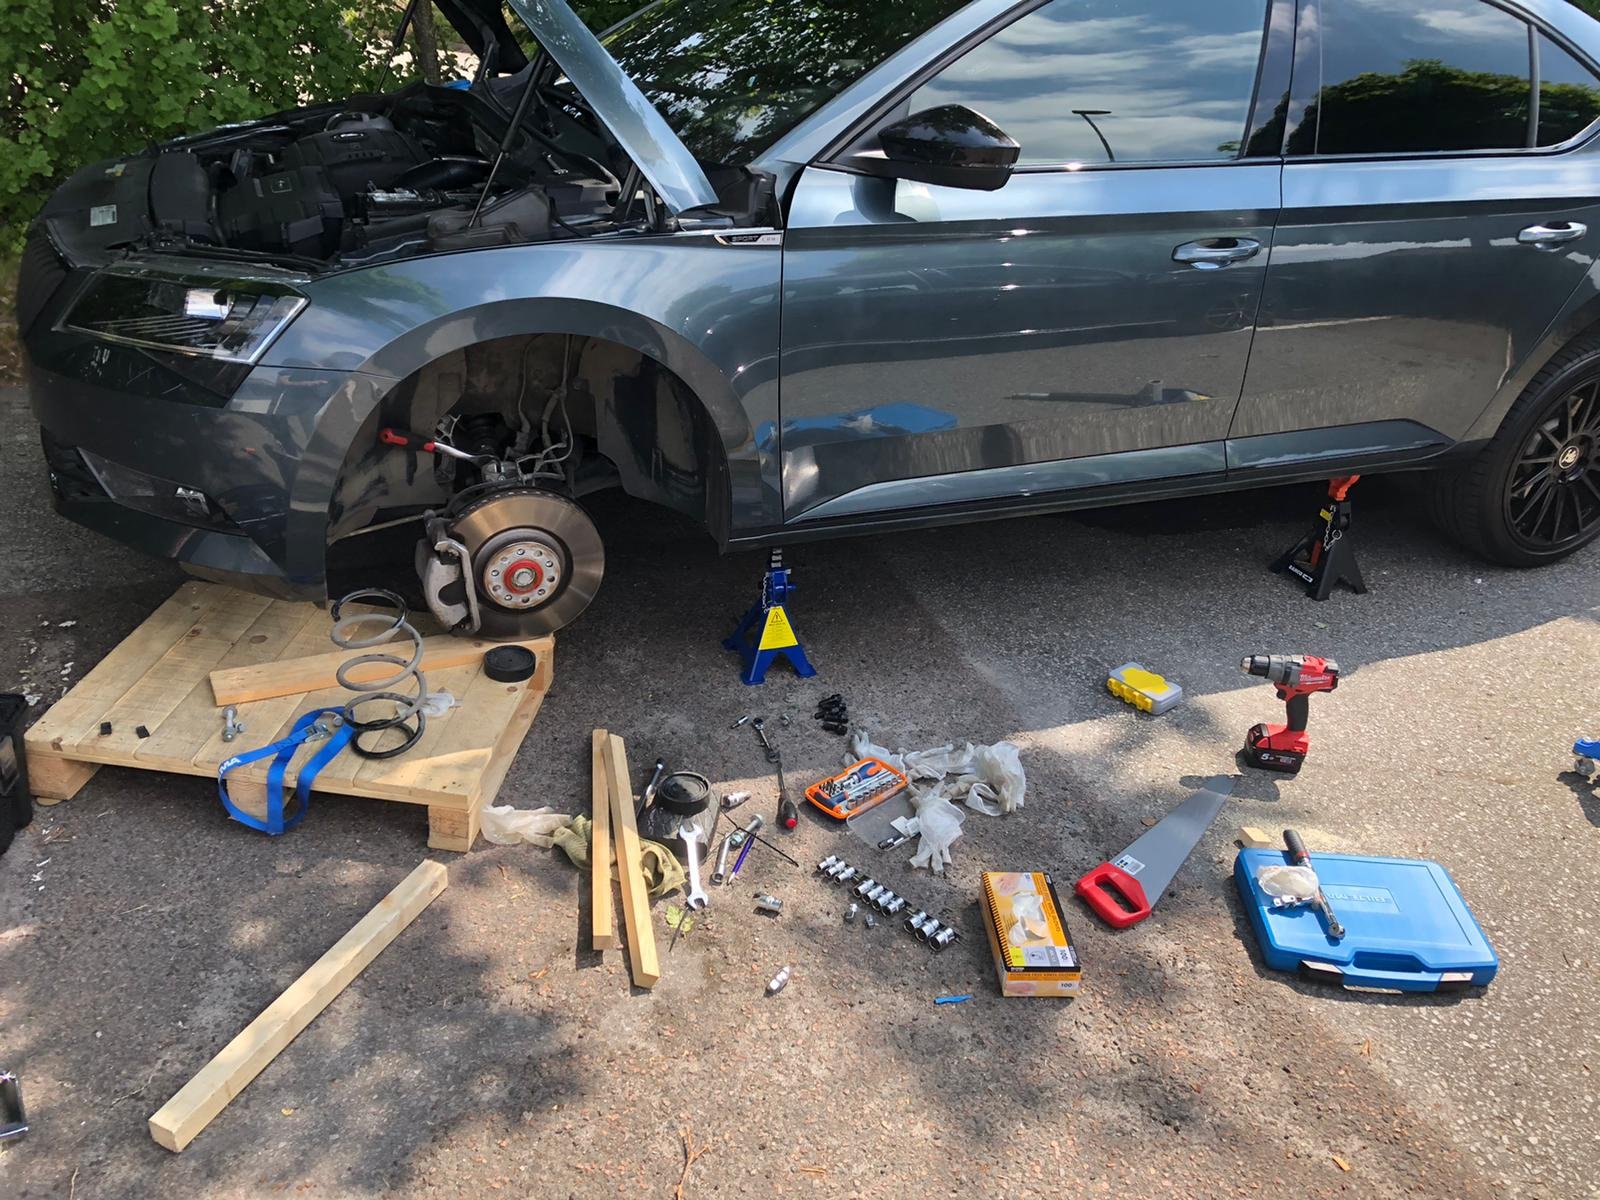
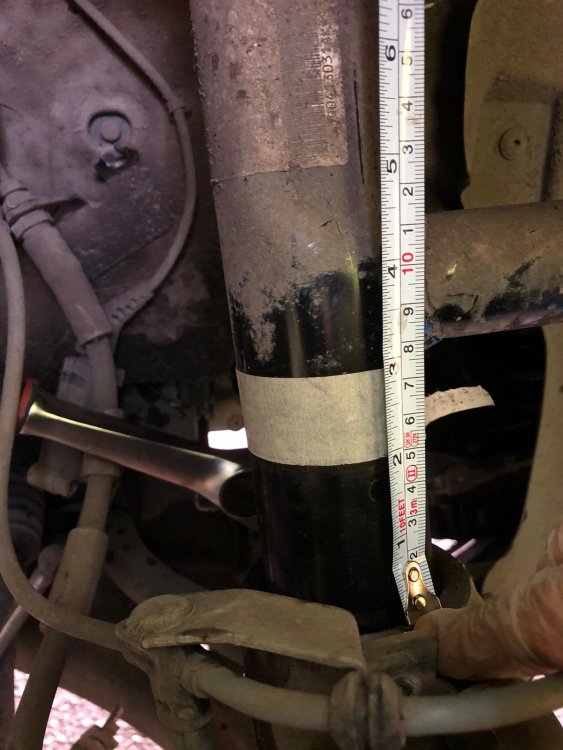
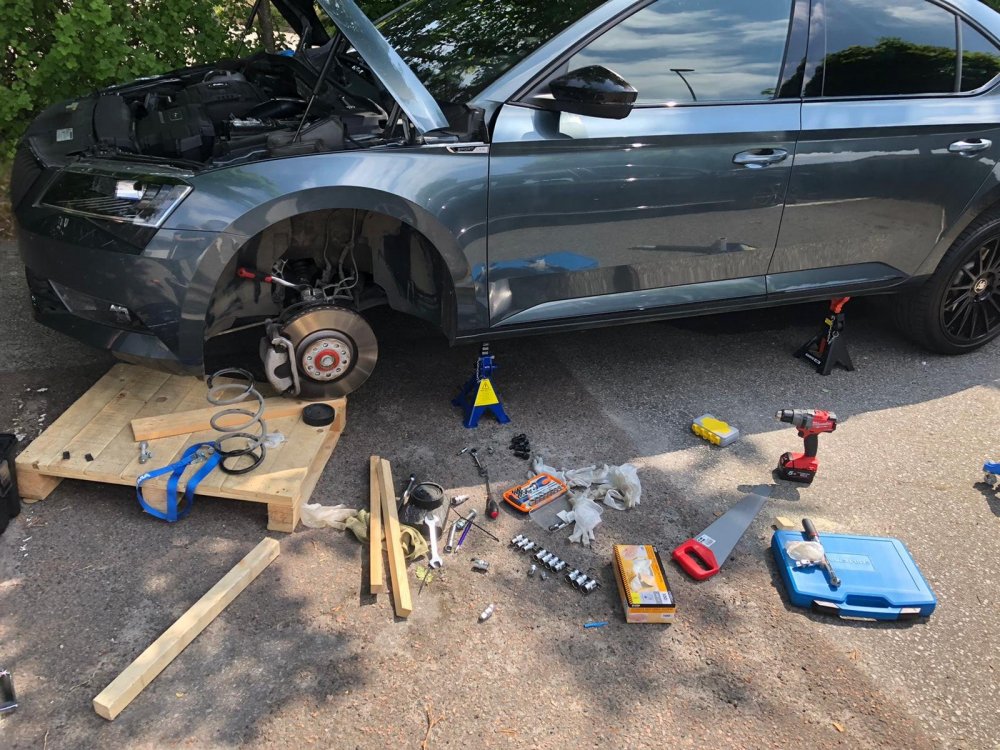
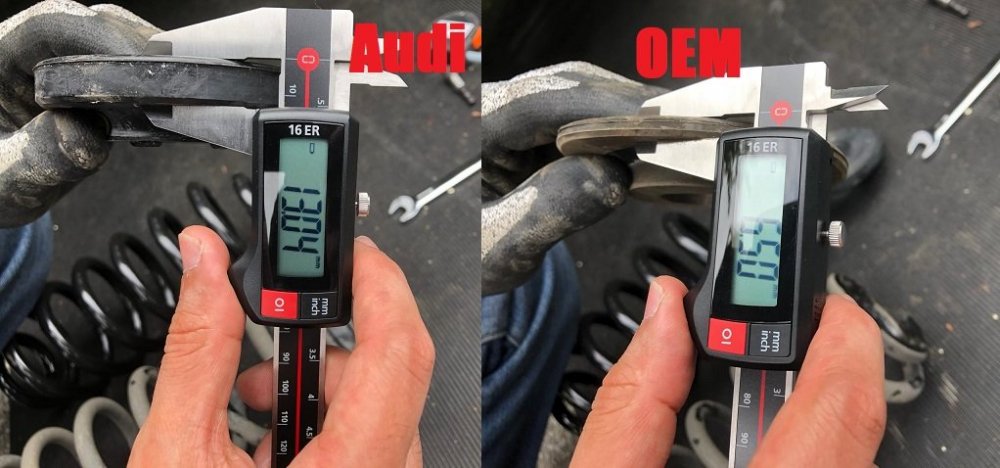
Ok so I wanted to put up a mini guide for this as all my info for this prior install came from MK7 Golf GTI's and R 's which are 95% the same but not identical. There's a few threads on the internet and YT where you can gather the big picture of the amount and type of labour involved in this job (l will link them below) and I don't plan to repeat all of it but rather build upon it with my own DIY oriented tips and findings on the 272 (280 is the same). Also because we struggled a lot at some points (probably because it was my first time messing with springs on my own) so If I could save another guy's time and trouble doing this for the first time I'd be very glad. It's a PITA job if you haven't done it before, especially if you follow the "easy" 2x4 method that seems to be so popular online like I did. As someone said it's half art half science and you have to work by feel at certain stages otherwise you might be stuck with a half removed/installed strut... It took me and a buddy that was helping me out close to 6-7hr for the two fronts but that's because we got stuck at some point, I'm pretty sure I could get them done again in 4hr max now that I know the tricks. Rears are really easy, 2hr is probably all the time you need so around 6hr in total. Getting the strut out: So the start was really easy: I removed wheel, lifted the front of the car (i did both ends to avoid working at an angle), and unscrewed the plastic leveling arm bracket, the brake line bracket on the knuckle and the DCC plug (both sides). Then I just undid the end-link nut and the triple square bolt and nut that keep the strut in place on the knuckle and ready I was for the 2x4 method. This refers to a 2x4 inch wood block, used to lift the strut up and out from the knuckle (by attaching it to the strut and jacking it up with a jack) without needing to drop the axle too low or undoing any drive shaft or ball joint bolts or brake calipets etc. It's the approach with minimum fasteners replacement so I guess that's why it's popular with the DIY-ers but retrospectively I'm not too sure it's actually quicker than removing the shaft from the knuckle, especially the first time, and especially during the re-install stage which is where we got stuck. This video shows it very well: My comments on this: * Before you start dropping the lower control arm: put some masking tape to mark the height at which the strut is seated inside the knuckle. You'll thank yourself later when it will be going in very slow and hard and you won't know how much more you should continue to drop it. Here's mine while going back in, the bottom of the mask needed to go down to the top face of the knuckle seat (50mm more at that point) * Install your spreader or 1/4" ratchet at the knuckle as shown in the vids and guides, and start wiggling the LCA via the brake disc (pull towards you and push towards the inside of the car) so that the LCA starts to drop as the spreader keeps it loose. It should do quite easily at the beginning, like 2-3cm immediately. Then reposition your spreader lower, below the strut's little tab at the back (you'll feel it blocking further drop back there) and repeat and you should have the strut out/LCA down by a total of 6-8cm (3"). The little tab will be fully ABOVE the bolt hole. Only then proceed to the 2x4" otherwise you'll need to compress the spring dangerously high. * Don't use an actual 2x4 piece (not even the guy in the vid uses one i believe), it's going to be too big for the available space. I went with a rectangular 45x45mm (1.75x1.75") piece and it worked a breeze, much easier to get in and out and position as close and as parallel as possible to the strut which is what you want in order to avoid going in at angle and end up snapping it mid-way. * Install your piece of wood as parallel and as close as possible to the strut (sorry no pic of that). Also drill as small a hole for the bolt as you can (12mm is fine, i did a 10mm and slowly "ate" a couple mill around it with the drill bit for a snug fit). That way the wood doesn't even need to lift the strut itself, it's all done via the hole and the bolt and it's still very rigid. * Now, have a friend SLOWLY jacking the wood up and keep wiggling the brake disc to help release the strut. Even with the spreader, the knuckle probably won't be that loose to simply lift the strut out by jacking so go slow and patiently. If it's not right you'll start lifting the entire LCA with the strut (and the whole car) up from the jack so back down, reposition your spreader at the top if needed, and repeat jacking and wiggling the disc. It should soon come out. * Once it does, rotate the knuckle away from the strut's axis so that it's got room to decompress once you release the jack. Then just undo the 3 small bolts at the top and the strut should drop right out. <<< STRUT OUT, that's 20% of the whole job done >>> Now on to spring removal: Videos show the GTI/R springs simply extend 1-2 cm with very little force so no spring compressors needed. The Superb however sits higher from factory, even the Sportline. I expected the release wouldn't be so light and i was right. When the last thread is out the springs decompress a couple of cm and shoot the top mount and nut a few meters forward. It's probably not going to kill you but you definitely don't want to stand in its way and trying it, it's a fiercer release than on the GTIs and Rs. Still I wouldn;t get compressors when doing it again but make sure you do as I did and have the axis of the spring clear for the release, be above it and step on it steadily and use a standard ratchet (not some sort socket) so that your hand is away from the spring's shooting path, here's a short clip of that: Re-Installation Nothing to note here, remove spring, install new spring and seat it correctly on the rubber base, use Eibach's supplied bump stops (they look identical to OEM), put back the spring bushing and top mount, ALIGN them properly by checking the alignment marks! and start screwing the top nut (you can simply compress the spring by hand for the first few mm needed. Here is where it pays to have a special 21mm pass-through socket and a 7mm Allen key as you won;t be able to put the exact amount of torque (the damper piston with the inner screw will be spinning. I didn't so I had to improvise, I tightened it up to where it felt really snug and also noticed there were installation marks from factory and I was already maybe half a turn past them so they should be good. No funny noises/clanks after anyway Once the strut is assembled again, vids say "just follow reverse order". yeah, reverse order my ar53... Notes: * DON'T tighten the 3 top mount bolts as you'll never be able to tilt the strut to the required angle to sit in the knuckle again, just a couple of threads to prevent it from dropping should be fine. * Re-insert the spreader if you removed it before, re-attach your wood to the strut, jack it up to clear the knuckle, rotate the knuckle and align the strut and knuckle as concentrically as you can by eye, then lower the jack SLOWLY so that you ensure the strut starts seating properly. Unfortunately it won't just go back in by the spring's force. First time we had a tiny small angle between strut and knuckle axes which was enough to stop anything from moving further. Moving the jack below the LCA and trying to jack it up to force the strut to drop in resulted in jacking the entire car up... After lots of swearing and re-trying we figured it out: * After the strut is in a few mm, and ONLY IF you see it;s going in straight and not at an angle, move the jack below the LCA and SLOWLY jack it up while at the same time wiggling the brake disc the same way you did for releasing, so that the strut is allowed to drop deeper every time. Re-position the spreader as you go so that you don't obstruct the tab to drop and it once it's fully in (your marking tape will tell you that without doubt) you're done. Re-tightening the bolts and connectors is straight-forward and that's 40% of the job done. The passenger side is another 40% and the rears I'd attribute a mere 10% of the total time needed for each one. A nice mess mid-way... REARS Those are probably 3x easier I'd say (actually 4x according to my time estimation above ). One leveling arm only as well as the DCC plugs το disconnect and you can start undoing the 3 bolts needed: a) end-link bolt-nut b) shock bolt-nut c) wheel bearing bolt-nut. * I'd recommend starting from the end-link on the inside and working your way out as i feel doing that last will put too much force on the end-link after everything is loose and the spring still pushing. * You will need to use your jack to align the different holes to facilitate the re-mounting as you're fighting vs the spring at that point. The arm to wheel bearing joint is a really tight fit so a screwdriver will be most probably needed to do some micro alignment for the screw to go in and out properly. >>> I opted to replace the top spring pads/bushings with the Audi TT ones (OE part number: 8J0512149 ) as suggested in some threads to avoid reverse rake. Those are ~6.5mm thicker so the rear sits 6.5mm higher. It turns out it was a wise choice as you'll see Coming back soon with photos of the end result and the handling changes


 1 point