JR RS
FREEDOMLite
-
Joined
-
Last visited
-
100% agree - it's so so so daunting doing anything M.I.B!! One wrong press n the unit could b potentially bricked!! I was trying to figure out how to update FEC codes for a friend when I came across this. This skin image mod was a easy to do. Meanwhile I haven't had any success with the FEC codes!! Grrrr
-
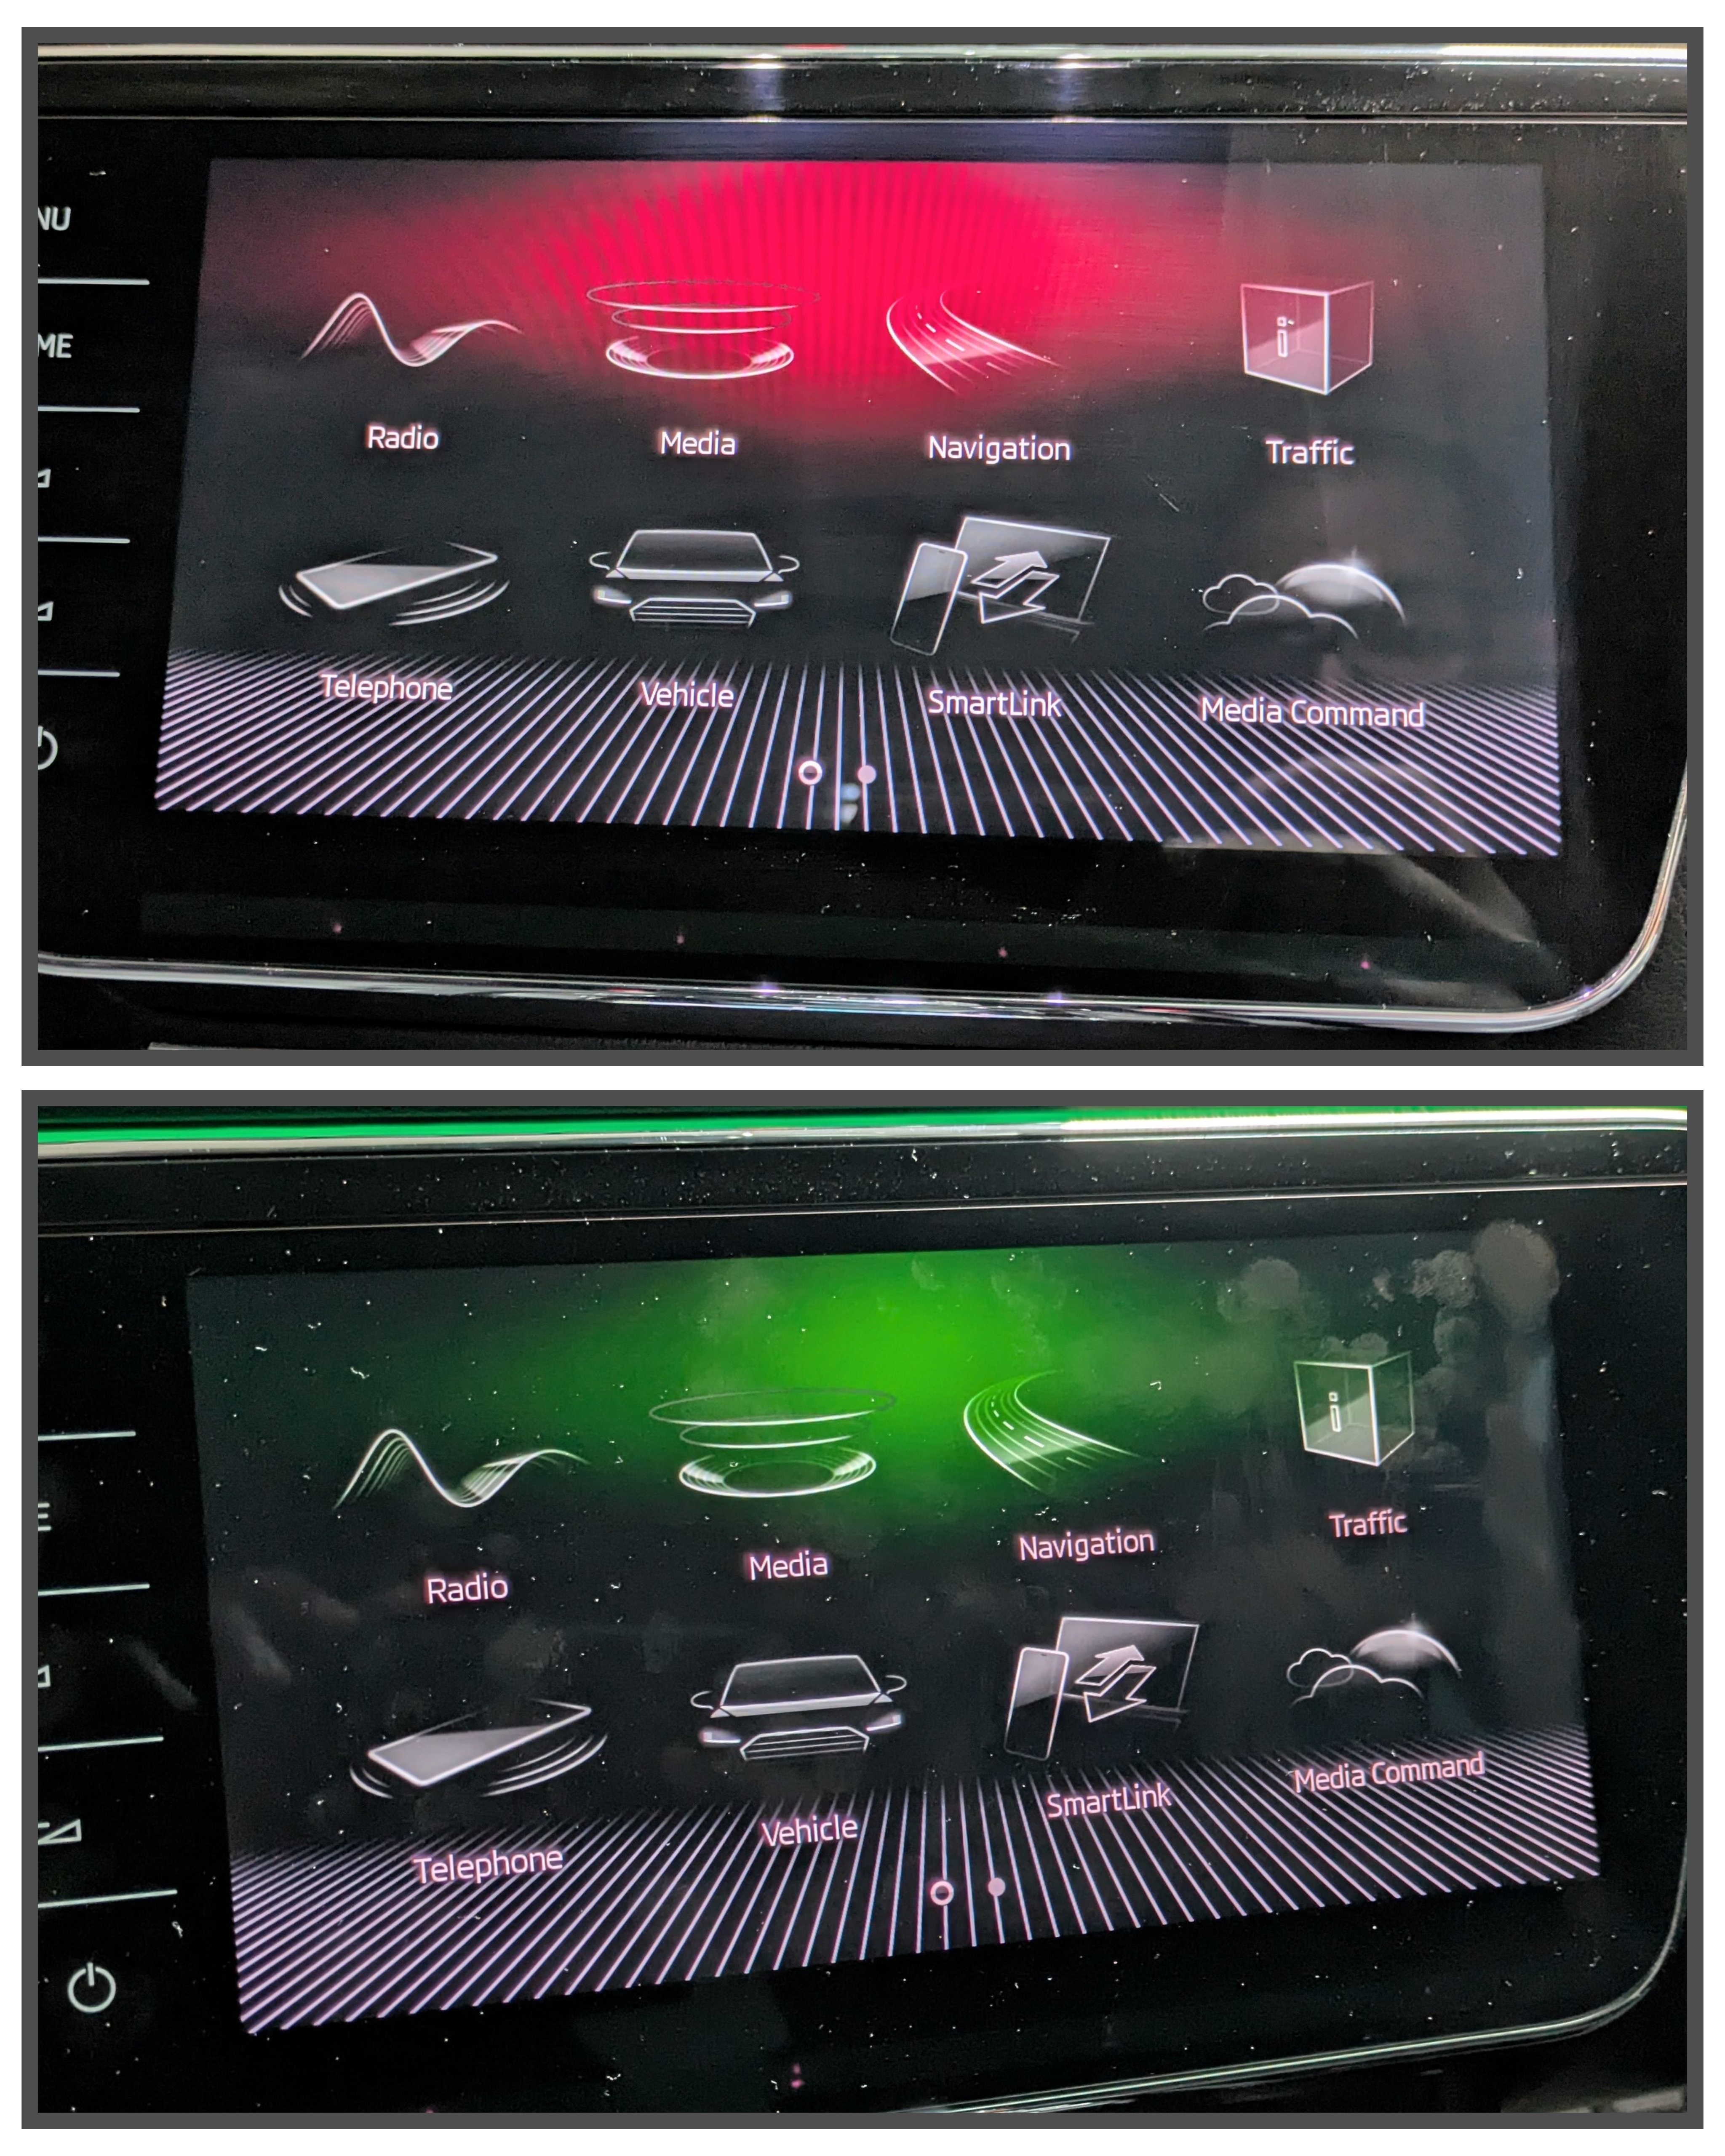
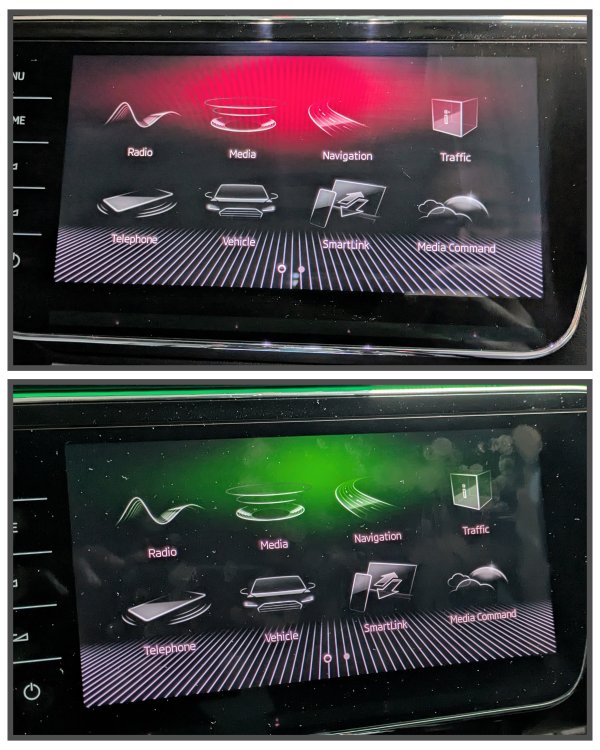
I did some "incredible bashing" earlier today, changing the skin on Gandalf's infotainment screen. It's nothing life changing. Just changes look of the Menu items by changing the logos. I like the new look. More info here - SKG13 Skoda MIB2.5 Image Mod.
-
Do u have a sunroof?
-
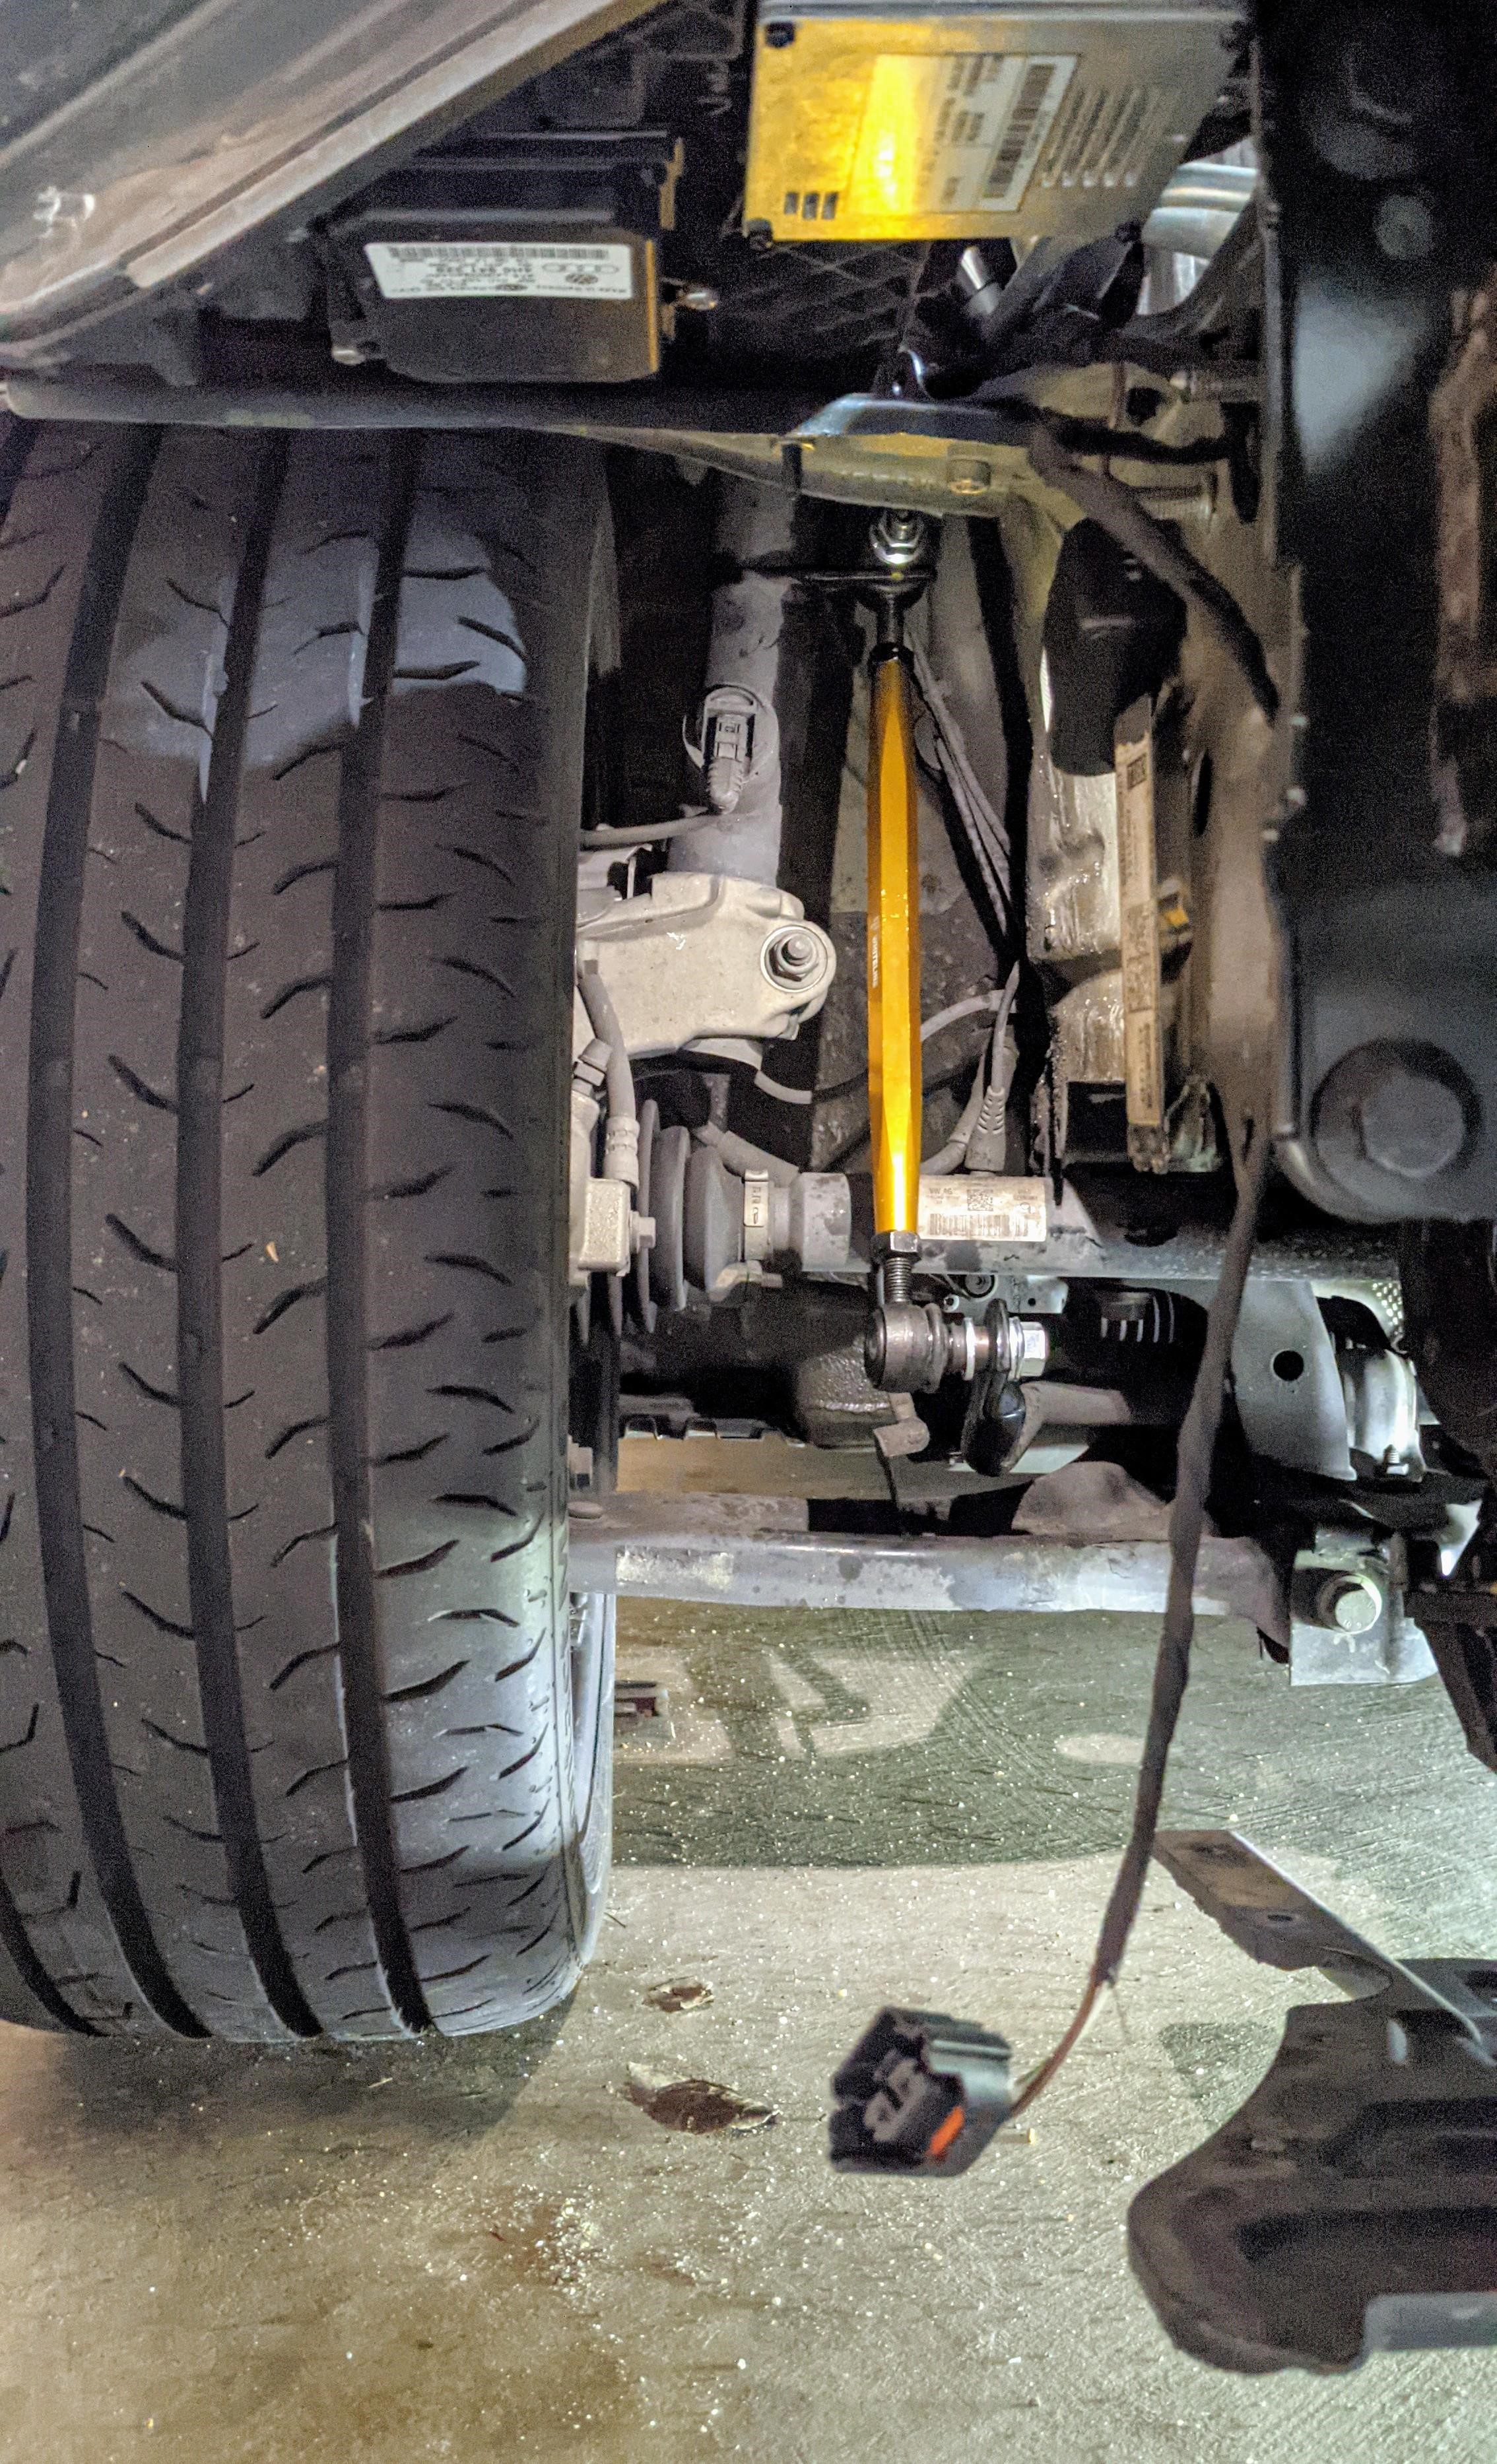
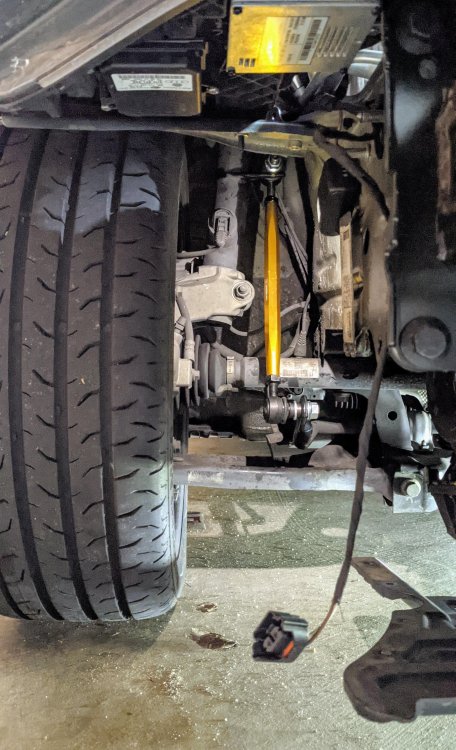
Weird. U sure it wasn't like that before the endlinks were fitted? I didn't have any change in suspension height when I fitted my Whiteline frontend links.
-
A happy ending to the story! Tis a shame ur original MIB unit could not b recovered, but it's nice u were able to get help from Pab. Happy days now. Took me ages (almost 6 months) to source a second hand trim from the wreckers. Most Superbs here in Oz r Sportline version, which made it suppa hard to find a match for Gandalf.
-
I certainly don't regret it......as shown in my previous comment. I've test drove both the 280 and 220, back then, before I chose the 220.
-
Wat Model Year is ur Superb? I can give u the 4B parameter file.
-
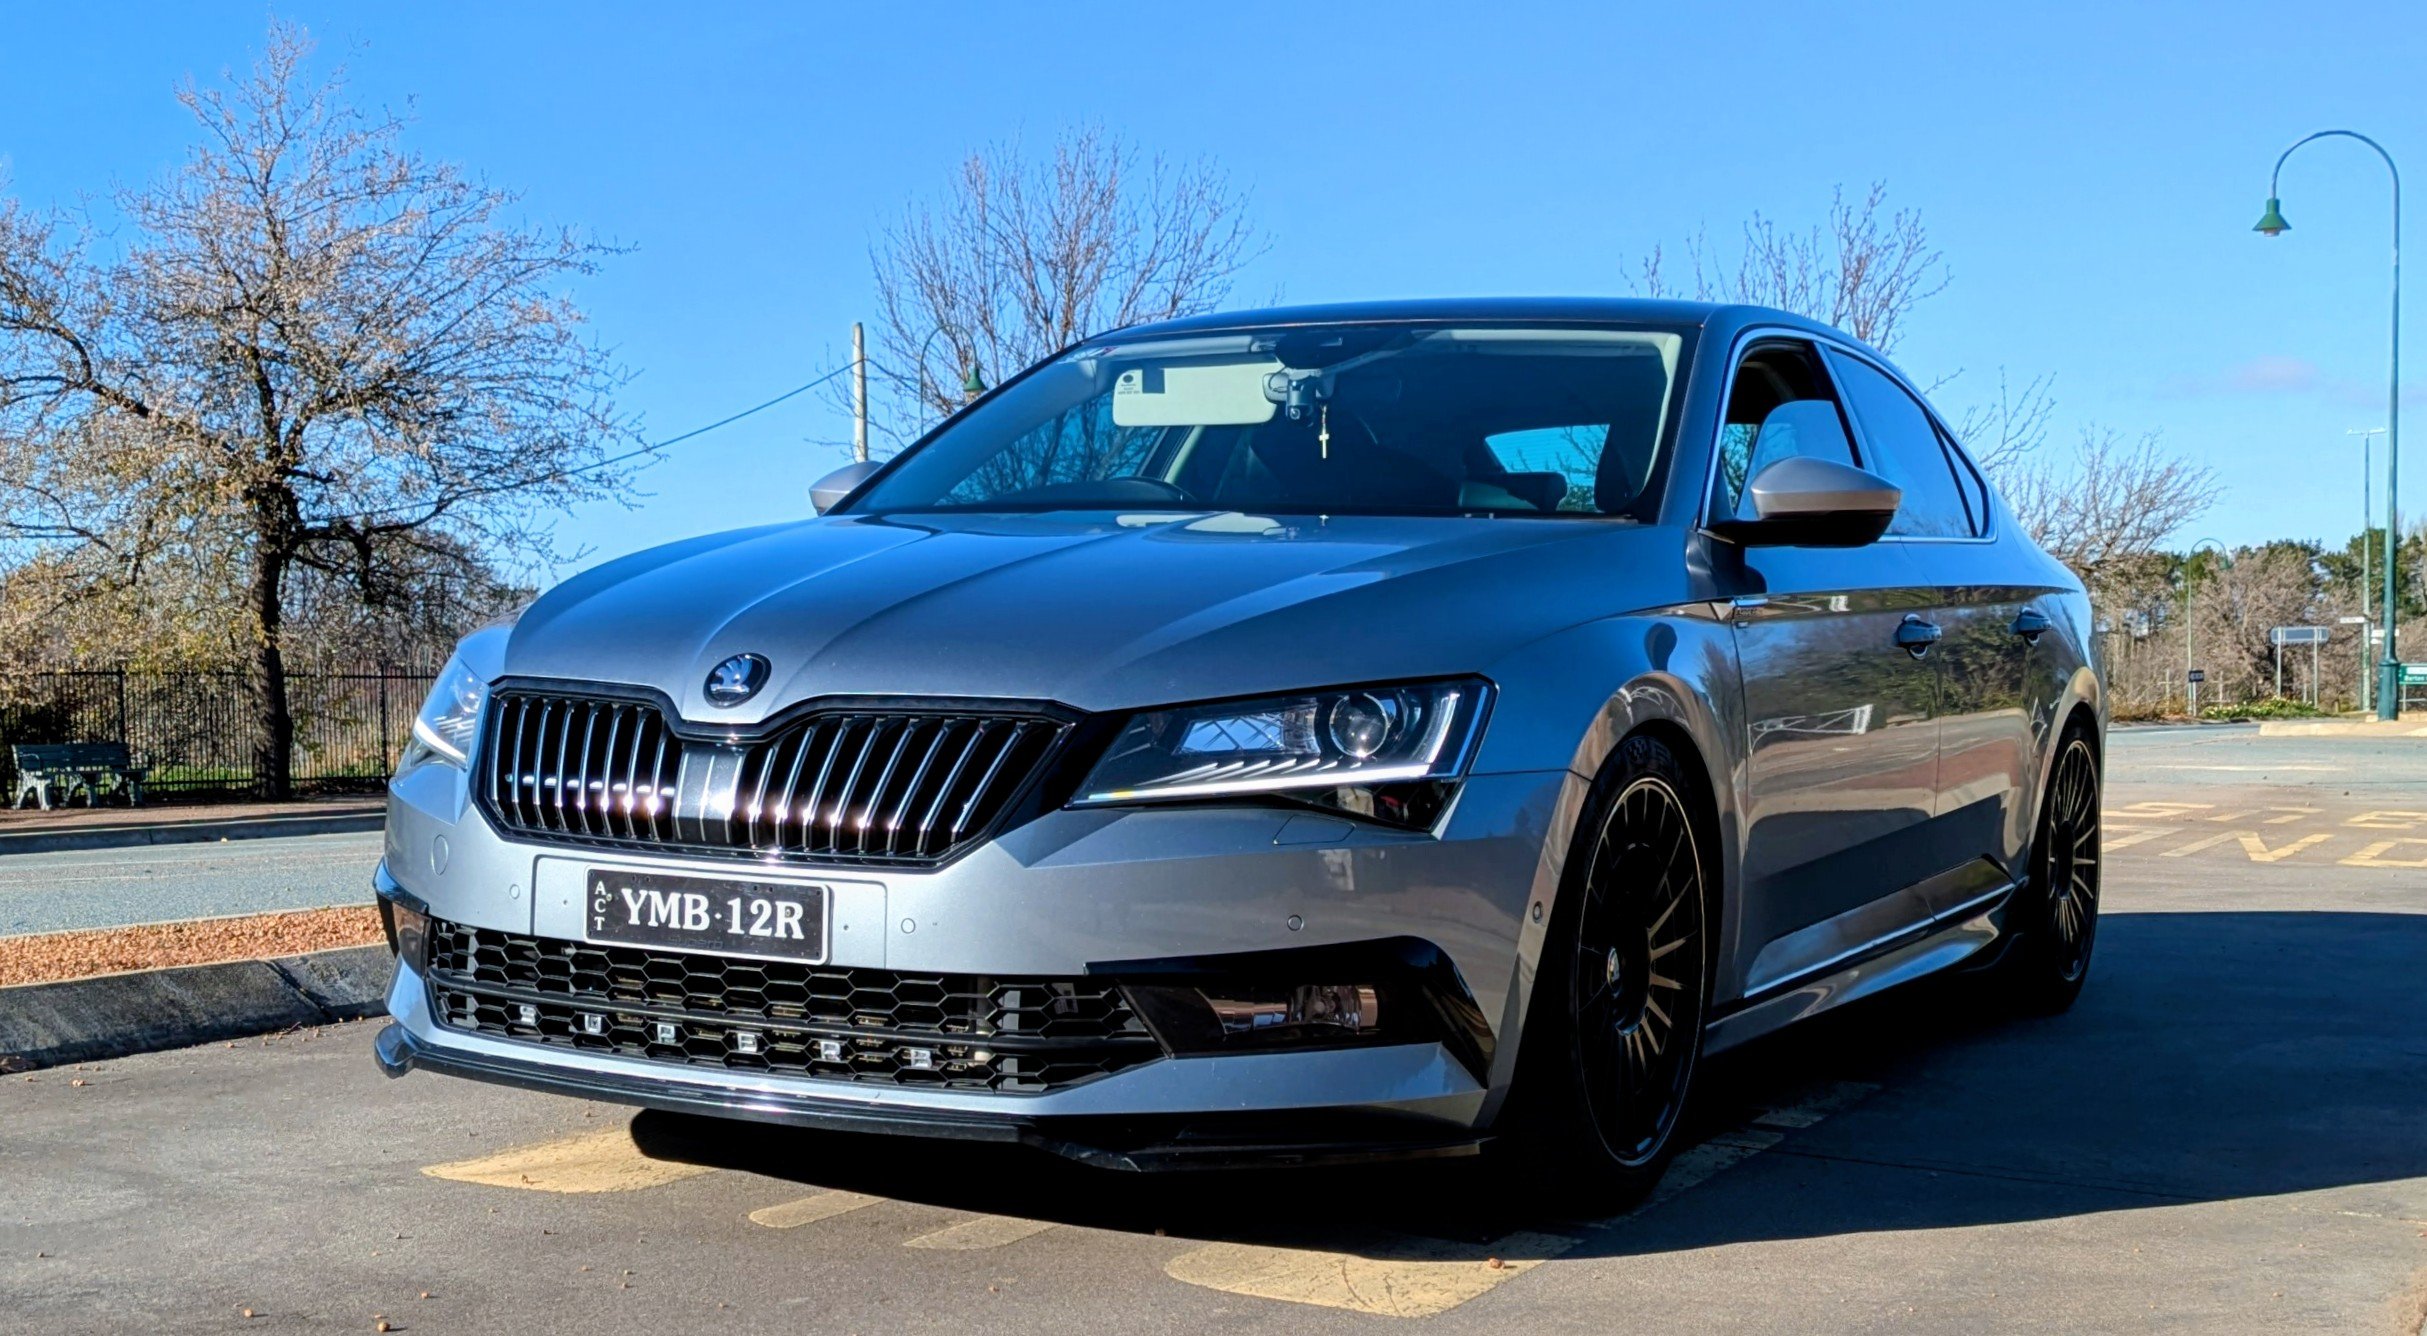
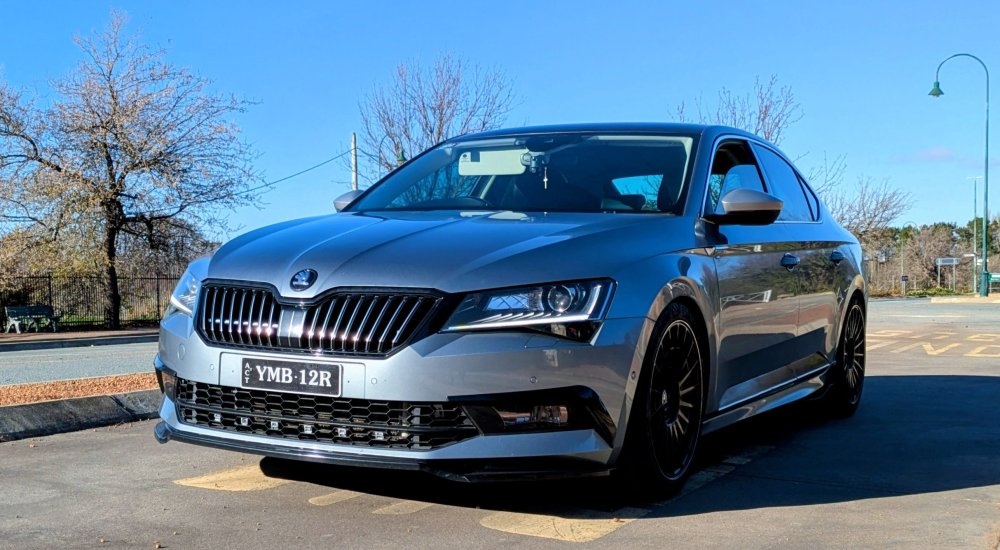
I have a MY17 2.0L 220 Superb, since new. It's been great thus far. Almost 10 yrs later it still puts a big smile on my face. It's more zippy than a 280, because it's lighter n has a smaller turbo. I don't have a variable boot floor, so can't comment on that. Mine is a pre-facelift version.
-
Bugger.....sorry to hear that. Hopefully the replacement head unit arrives soon and u can b back on the road again.
-
Here u go..... adpmap-6D-5Q0-959-107-L.CSV blockmap-6D-5Q0-959-107-L.CSV
-
@Adr85 - I've got a MY17 Superb liftback with the following electric boot:- 6D Deck Lid Control System description: HDSG-Modul Software number: 5Q0959107L Software version: 0261 Hardware number: 5Q0959107J Hardware version: H13 Serial number: 31249117700000 ODX name: EV_DeckLidCONTIAU736 ODX version: 001014 Long coding: 1008 Tis the exact same as urs. I should b able to get the admaps and blockmaps for u in the next day or two.
-
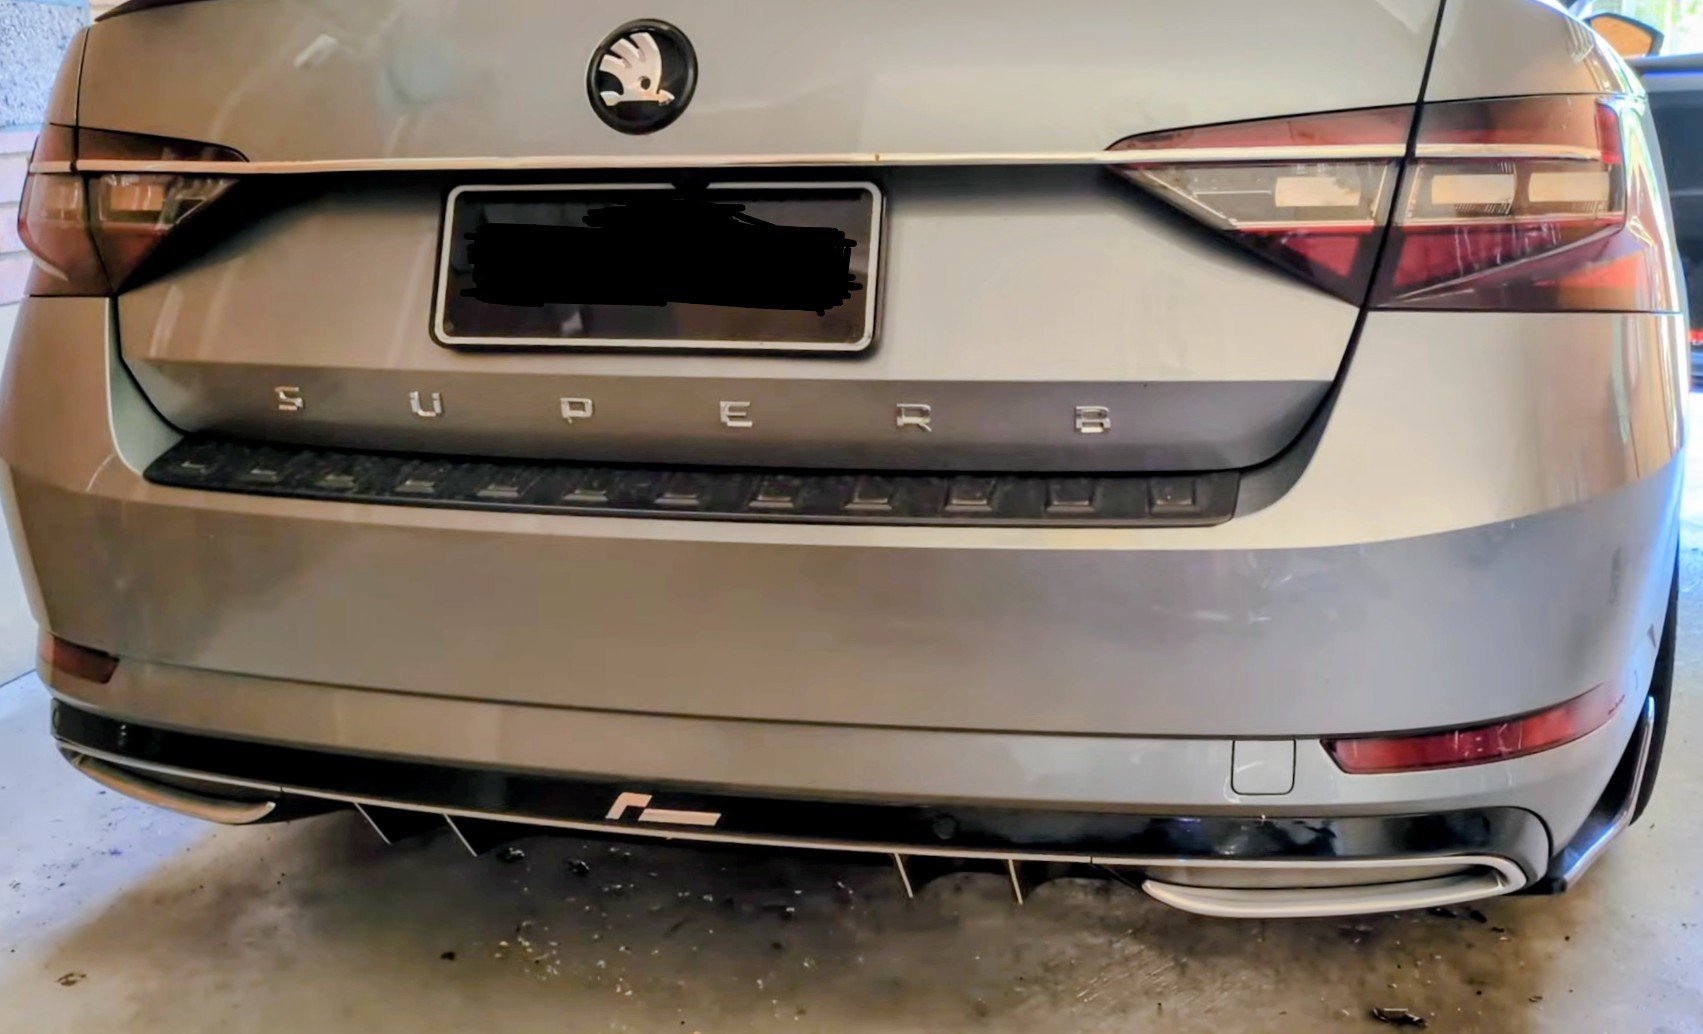
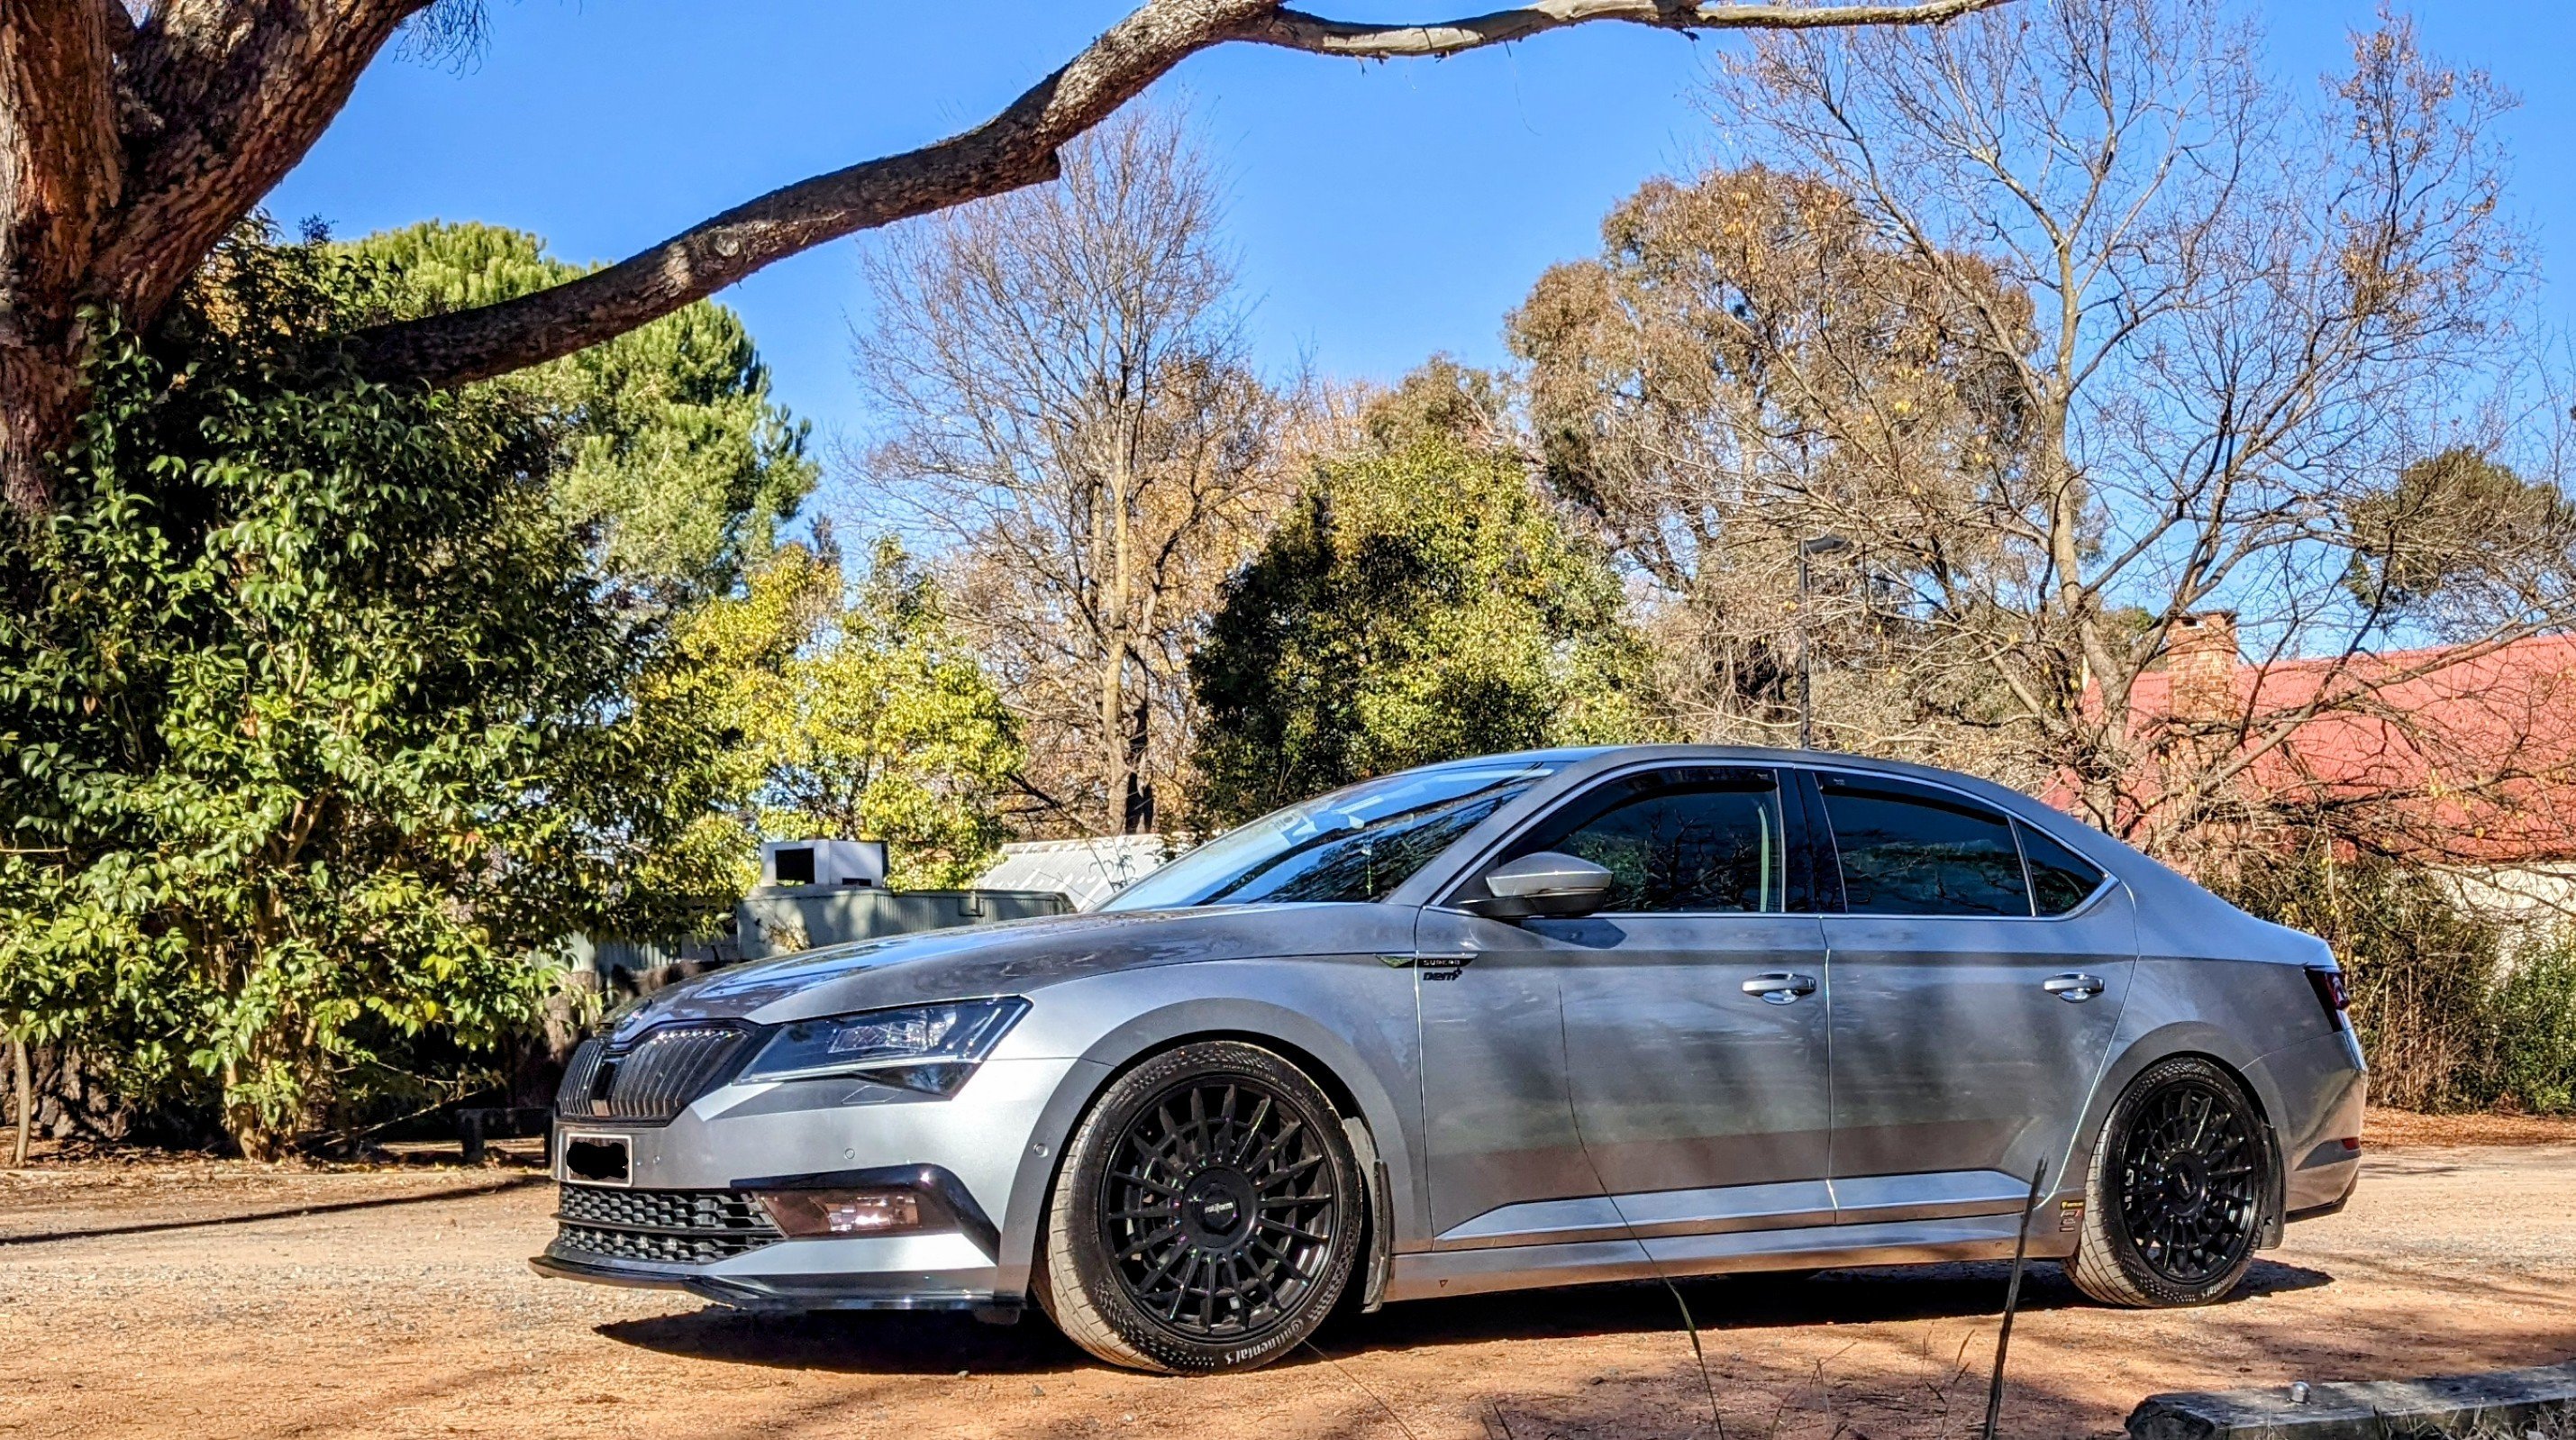
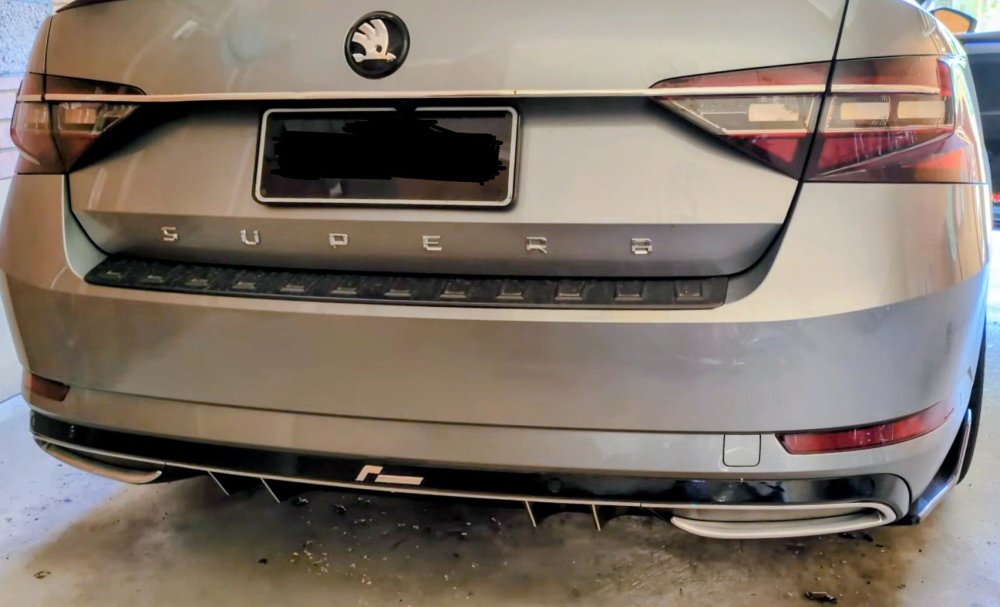
This type of rear diffuser, known as the Sportline diffuser does not come with exhaust cutouts. It comes with or without towball cutouts, and it comes in chrome or black trims. I changed my basic non-Sportline diffuser with no exhaust cutout on my 220 to a Sportline diffuser with no exhaust cutout, bout 7 yrs ago. The Sportline 280 4x4 and non-Sportline 4x4 both get a different diffuser, which has the exhaust cutout. They don't get a Sportline diffuser. Also, it's the same diffuser regardless of wagon or sedan. The bumper itself though IS different between wagon and sedan.
-
yes, u can fit the mufflers off a 280 on to ur 220, but u'll need to either cut out ur rear diffuser so the exhaust tip can stick out, or u need to change the rear diffuser to the 280 version. the centre exhaust pipe and rear pipes leading to the mufflers r different between the 280 and 220. the 280 having the AWD haldex routes different under the back half the car compared to the 220 without a haldex. the mufflers on the 220 point downwards. the mufflers on the 280 r straight out. BUT.....more importantly - u gain NOTHING by fitting the mufflers from a 280 on to a 220. ur better off getting sports mufflers, or resonator delete pipe and/or downpipe.
-
mine originally came with LED lights for the interior. only the boot had halogen versions, which i replaced with LED ones from Kopacek. perhaps u can look at Kopacek for interior "OEM" versions?
-
based on the hardware part number - u have a MIB2 Amundsen unit. the guide i created is for a MIB2 Columbus. hence i would refrain from using the how-to-guide i created. i don't know wat the firmware upgrade process is for Amundsen unit.