Leaderboard
-
Daveyeti
Members8Points105Posts -
shyVRS245
Locked6Points0Posts -
Arkaig
Members5Points1,039Posts -
Lady Elanore
FREEDOM5Points25,081Posts



Popular Content
Showing content with the highest reputation on 14/07/20 in all areas
-
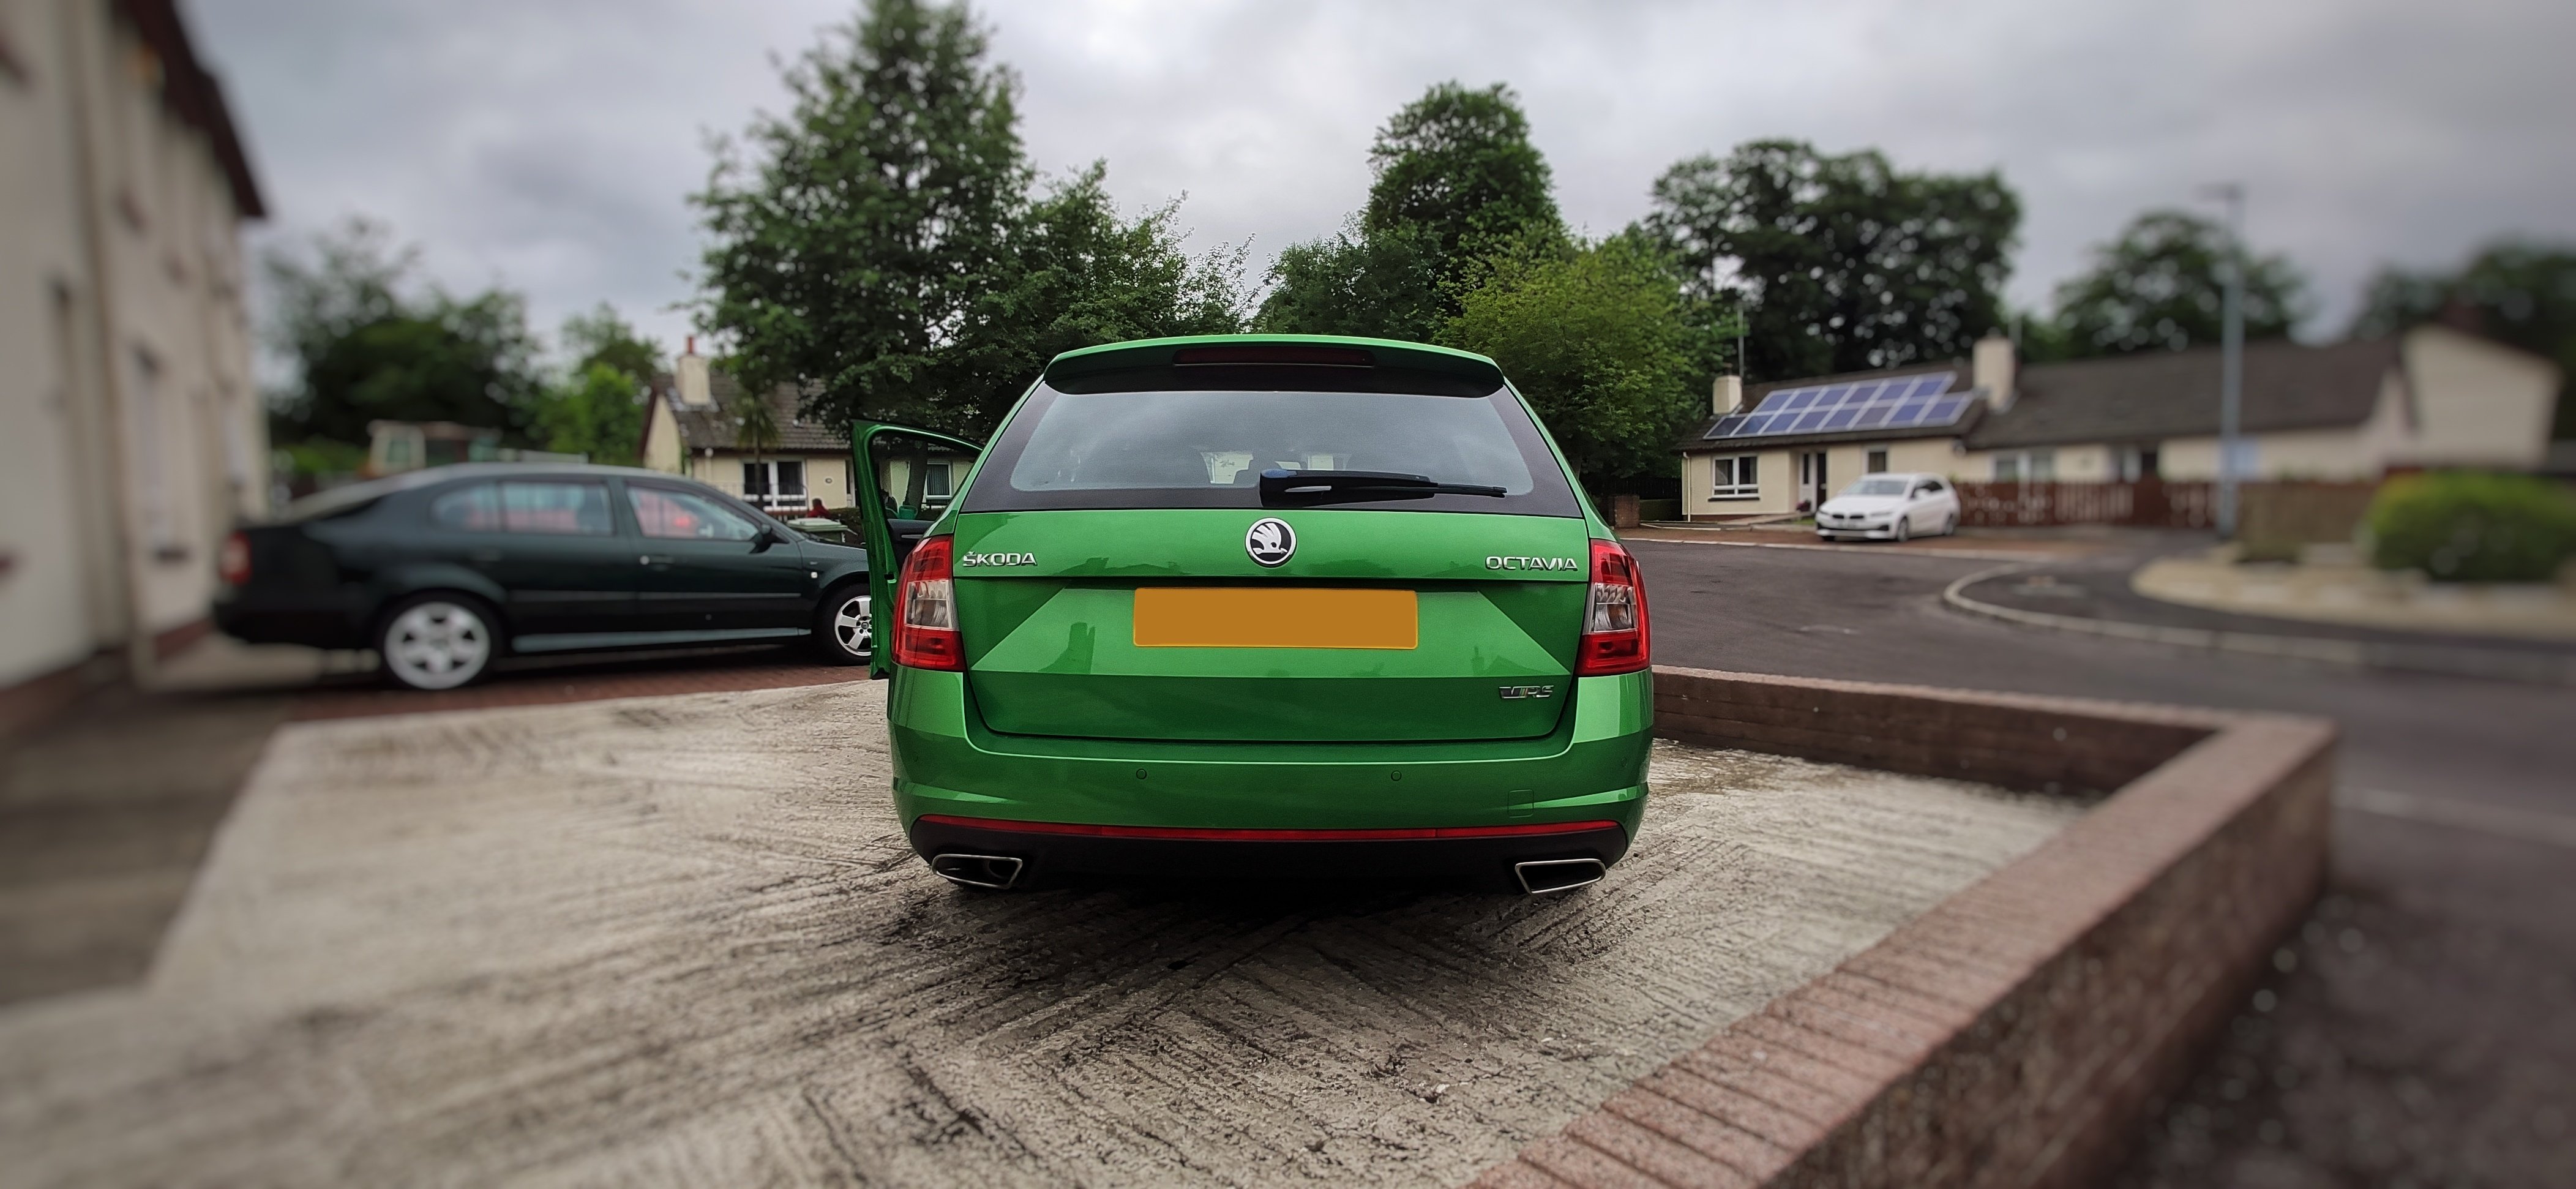
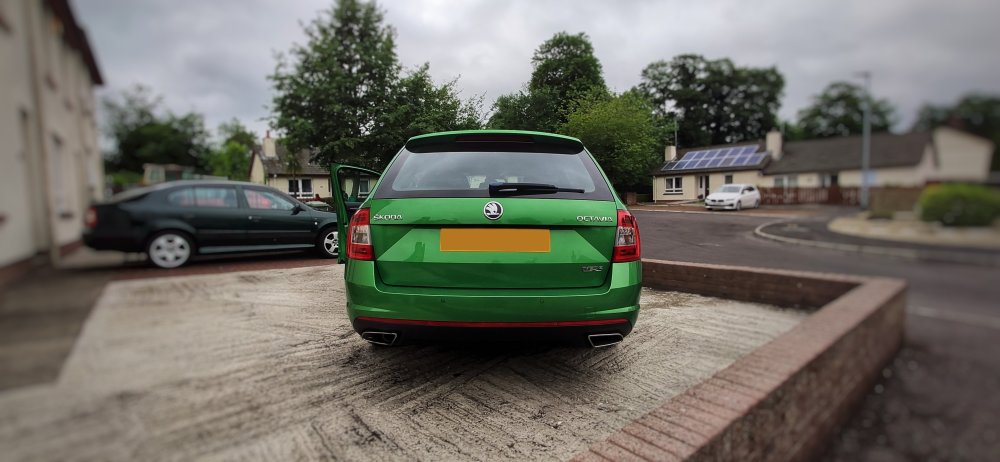
Wanted to add my building/retrofit/cool-stuff experiences. Always hard to find detail and pictures in the wild so hoping this helps others. Badge and Emblem Replacement - Major Reason - I think the Black looks much better on the Steel Grey body paint than the factory chrome. Tips/Tricks/How-To 1) Give yourself plenty of time and make sure its not going to rain......the warmer the better as it makes removal easier. 2) Hair dryer on a low-setting will help to "loosen" the glue. Well its not glue its more like double-sided sticky-pad material. My car is only a month old so it may be harder on older cars as the adhesive will have set and the padding may come off in little pieces instead. 3) I used dental floss to "saw" through the glue holding the badges and emblems in place. You can use minty-fresh or plain dental floss :-) The front and rear badge have A LOT of the sticky-padding so keep working away at it. I found using an old ATM Card allows you to pry it off and doesn't scratch the paint. There are also 3 protruding plastic notches on the rear of the badge so it won't come off as easy as the emblems. Be warned it is near impossible to get the badges off without snapping them. The joy of the black protruding notches is that it will only line up and fit one way......and that's perfectly straight. 4) I used blue masking tape (painters-tape) to line up the original emblems as once you remove the sticky-pad and the residual adhesive you WON'T see the outline of the old emblems. After the work and cost you don't want to screw it up and have the emblem not straight........it'll **** you off every time you admire your work!! 5) Cleaning off the residual adhesive I used rubbing-alcohol and a CLEAN buffing cloth. Its easier if you can grab a little piece of the pad and SLOWLY pull it off as it comes off in one nice movement without the need to scrape off the adhesive with a fingernail. 6) Shine a light and look for any imperfections, you want the surface to be spotless, clean and dry before fitting the replacements. The joy of rubbing-alcohol is that it dries quick and leaves no residue. They're pretty much the factory-part so remove the rear protective strip and then line it up and press hard on the individual letters. I also used a paint-roller to roll over the emblem before removing the protective clear plastic just to be sure it was stuck on nice and flat. 7) Link for the badges and emblems. You can buy individual or a "pack". I opted for the body-paint coloured front and rear badges and the 3-pack for the emblems. http://www.superskoda.com/Skoda/OCTAVIA-III/Octavia-III-original-Skoda-emblem-INT-version http://www.superskoda.com/Skoda/OCTAVIA-III/Octavia-III-original-Skoda-MONTE-CARLO-black-emblem-set-´SKODA´--´OCTAVIA´--´RS-245´
BeforeRear.thumb.jpg.8dc7b4eb185ffd9d07c3bbc858281d93.jpg)
AfterRear.thumb.jpg.e6896e18b469ff44d06d3d6563de3c20.jpg)
BeforeFront.thumb.jpg.7d194cc3458f686e4c0ce4430fa52c8f.jpg)
AfterFront.thumb.jpg.636dd8f093c1f4db383ec6bd1b06c2e1.jpg)
AfterFront.thumb.jpg.76b1cc454027e62f01cc462ab67bd3a4.jpg)
AfterFront.thumb.jpg.e1fef308d729b183d3d9acbae7e2a350.jpg)
RearOne.thumb.jpg.b534ecfcde62d9f0b7c7357241cccf68.jpg)
RearTwo.thumb.jpg.ab583828a796cecd3118808de7530259.jpg)
RearThree.thumb.jpg.677ed648f6d613c1b81908ece23514db.jpg)
RearFour.thumb.jpg.7eedbfb30133a4158d3754f5c30eef94.jpg)
RearFive.thumb.jpg.990f19e83c602c92a7458830c8aa7687.jpg)
RearSix.thumb.jpg.d0135dac7f67f776ce256e1849e90b97.jpg)
RearSeven.thumb.jpg.a93eab220a111867e0f25a72ddc25d80.jpg)
RearEight.thumb.jpg.b8d3f5da135306718195bda430a0fd8d.jpg)
Tools.thumb.jpg.59635d29f8588d33b2fbc0a056da9927.jpg)
RefResize.thumb.jpg.ca174e7a690e6135c83fa88a3802df47.jpg) 1 point
1 point -
I have been after a Dragon Skin Green Superb Sportline 280 hatch for some time and found 'the one' in deepest southernist England, then COVID happened and I had to wait and finally missed it. With all the uncertainty around work at moment, I decided to play it safe and went for something that would cope with a longer commute if I have to find a new job and cost a hell of a lot less..... So ater 2 years without a vRS (bus till a Skoda), vRS No.5 has been acquired. Money Pit section subject to continual additions over time (UPDATED 22/02/2022): Windows tinted Skoda main dealer timing belt&pump, AC service & Brake fluid change Official Skoda winter rubber mats Team Heko wind deflectors Front lower bumper gloss black trim piece Extra gemini alloy sourced and refurbed with the other 4 to all one colour (BMW A22 Sparking Graphite) 4X new Skoda center caps for the above refurb 4X Michelin PS4's on freshly refurbed wheels New colour coded and black round Skoda badges front and back Black rear vRS badge Rear lettering banished (have black lettering but not using it) My reg of course Start Stop deactivated Skoda LED number plate lights fitted and coded New front and rear cameras fitted and hardwired Additional 12V sockets and USB charging port / charge station installed in glove box New Pagid rear discs & pads Android head unit fitted (AliExpress job) Front splitter fitted (The AliExpress special) Official Skoda mud flaps front & rear New Bosch wipers all round New rear wiper motor, arm, blade, end cap and grommet (when in Rome...) New Varta battery (factory one retired due to age / fear) Skoda main dealer service & headlight alignment Dynamic LED wing mirror indicators dark tint Fitted carpet floor mats Reverse Camera / boot latch New drivers door window switch pack New fuel filler flap actuator 4X new vRS honeycomb style centre caps to replace the failed Skoda ones, that replaced the failed Skoda ones... DAB+ added to Android head unit Genuine coolant expansion tank without 'MIT SILIKAT' (went into main dealer for timing belt @ pump change and came back with different tank, didn't have silicone sachet in before, didn't notice for a year GURRRRR) vRS decal insert for dash pod
 1 point

BeforeRear.jpg.13bc54a5d94737a79da3b121ea0a5fac.jpg)
AfterRear.jpg.cca60ea68d94e79e4e95cfeda47bdde5.jpg)
BeforeFront.jpg.c95ce30a9156c62fc86a418d6e0a87a1.jpg)
AfterFront.jpg.a8a2b839b91046852811bedca06f8a26.jpg)
AfterFront.jpg.feace5c1630796c5ae1e81b0d2dfe3be.jpg)
AfterFront.jpg.810164502eaf716105bd0f61d3e272a7.jpg)
RearOne.jpg.fe7d87705a62a04394307fa183e88f66.jpg)
RearTwo.jpg.1c44334cdc6882eaebb1f47242c3d9ca.jpg)
RearThree.jpg.9f6d5b44dc527b53b91255175adb5e86.jpg)
RearFour.jpg.6341231d7e7943a3531562745ac0aa8f.jpg)
RearFive.jpg.7e4c580af1f9d74fc75014f3bc8c9796.jpg)
RearSix.jpg.26c75825c2315f869dccd76e11748792.jpg)
RearSeven.jpg.37806af489bb547d8d9616391c91351f.jpg)
RearEight.jpg.41200687f36f49a0f46b18569e4525a5.jpg)
Tools.jpg.0d2c218b14f9d17d0ac58b813b2d7d46.jpg)
RefResize.jpg.48304c36386319f1afe5eef204789dcc.jpg)