.jpeg.2be1ff23db65b1928106364ab86f4b3c.jpeg)
Binx1310
FREEDOMLite
-
Joined
-
Last visited
Everything posted by Binx1310
-
-
I got one from AliExpress for £30 and it’s been fine. But I don’t use it much as I use autohold all the time. https://a.aliexpress.com/_Ew2r8Gw
-
Yes. It would have been A LOT easier if I did but I just wrapped along the chrome and tucked/cut in around the mirror base as much as possible. I have no idea how well it will last but it cost me about £15 and a few hours to do so no major loss of it doesn’t last too well.
-
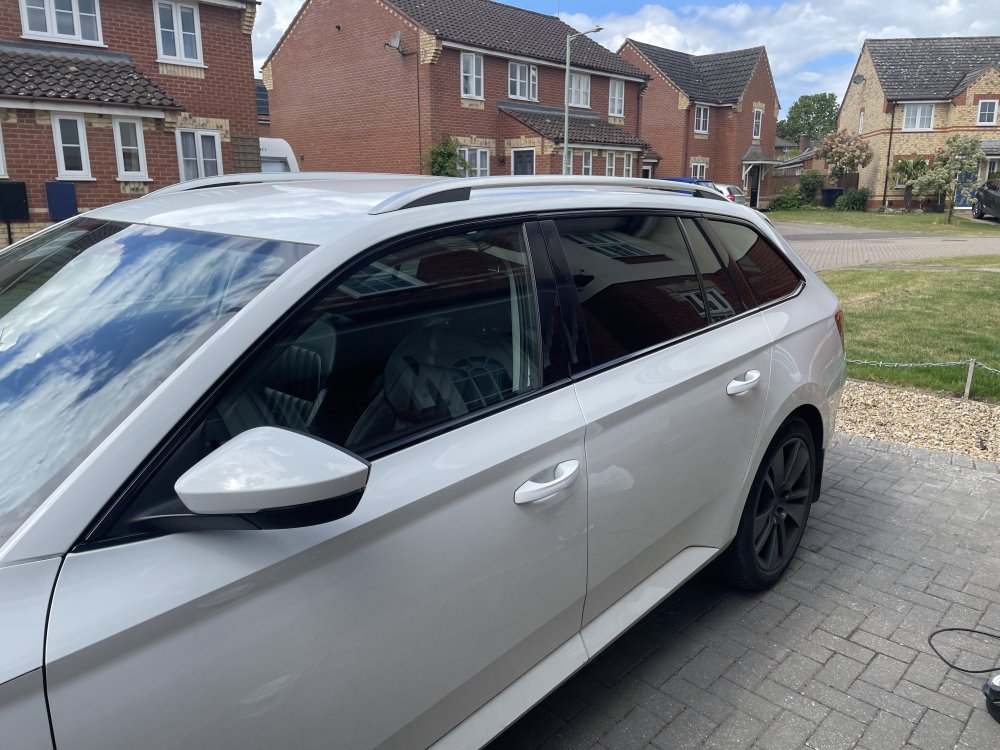
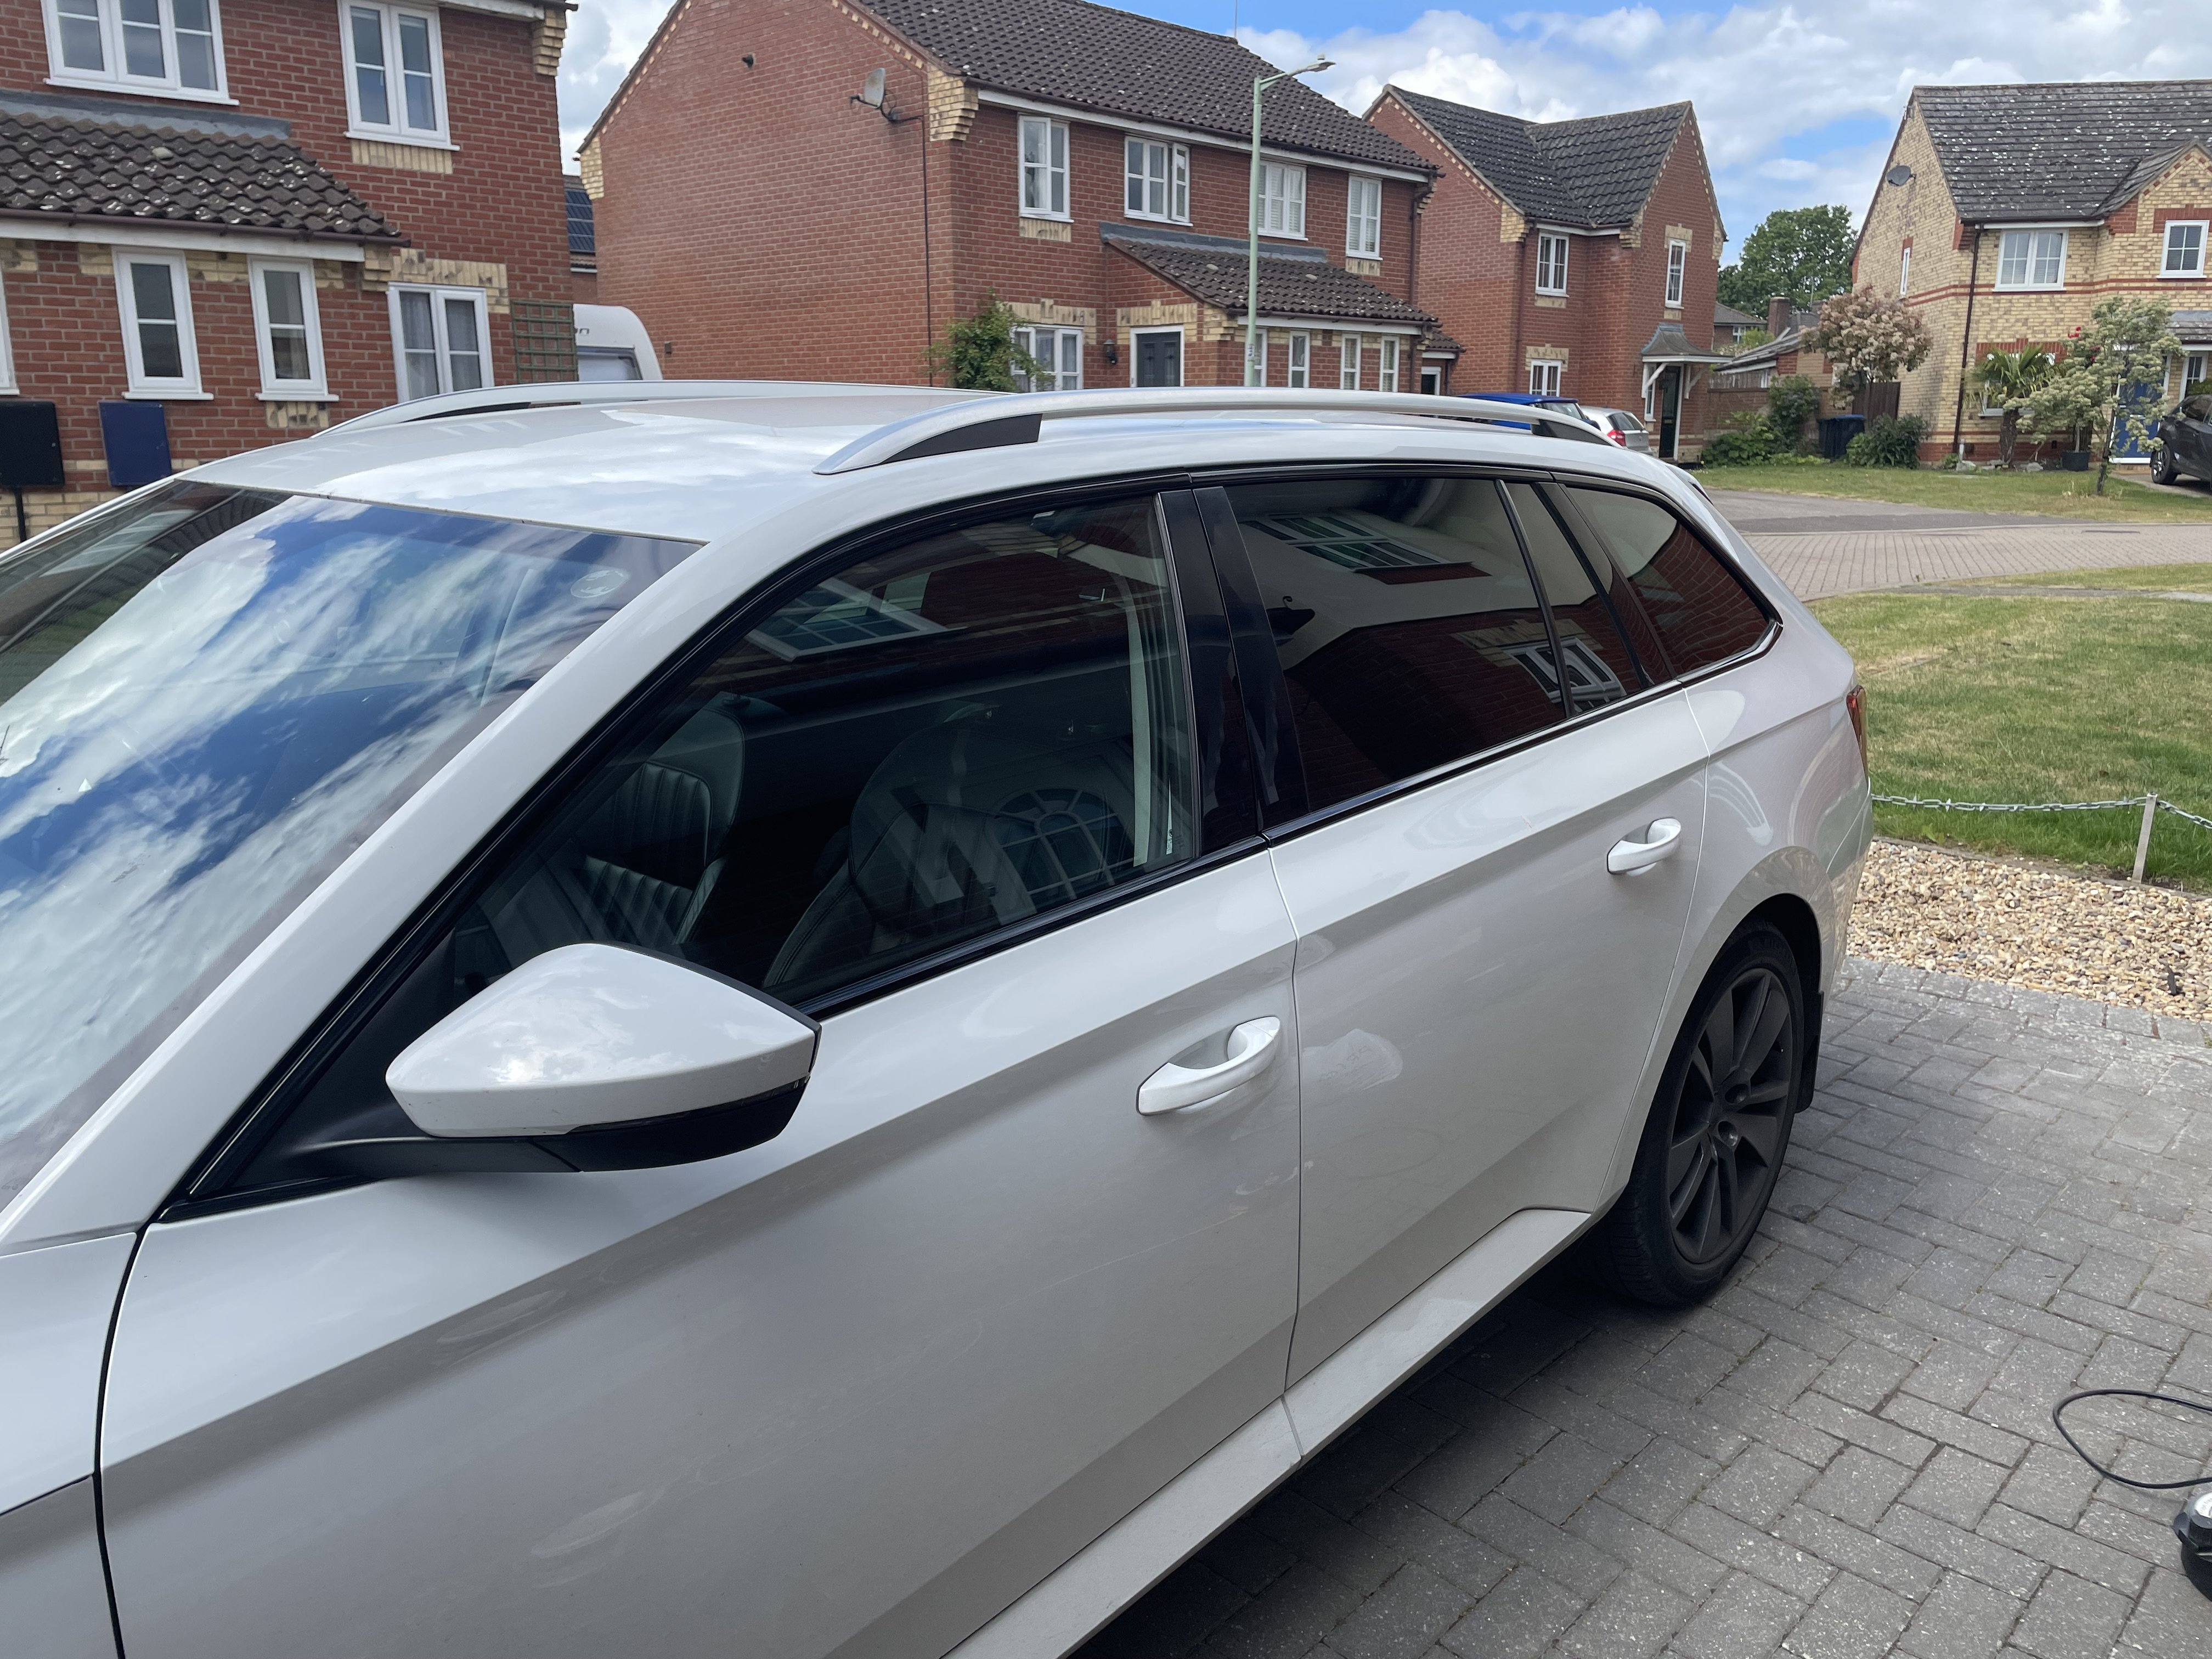
A nice bit of morning sunshine and no plans with the family meant I could finally finish wrapping the passenger side chrome strip. The rear quarter light has some dings on the chrome from an unknown event with the previous owner so that took about 4 failed attempts to get right. Eventually got it looking good enough with the only tiny crease of the whole project. It looks great from a distance, just don’t look too closely! As I say with a lot of my projects “Stevie Wonder would be pleased to see it” Just the roof rails to swap out and then the full dechrome is complete. They require a guaranteed dry day so may be some time before I attempt that!
-
That’s a wrap! pause for applause and general mirth A nice bit of morning sunshine and no plans with the family meant I could finally finish wrapping the passenger side chrome strip. The rear quarter light has some dings on the chrome from an unknown event with the previous owner so that took about 4 failed attempts to get right. Eventually got it looking good enough with the only tiny crease of the whole project. It looks great from a distance, just don’t look too closely! As I say with a lot of my projects “Stevie Wonder would be pleased to see it” Just the roof rails to swap out and then the full dechrome is complete. They require a guaranteed dry day so may be some time before I attempt that!
-
DSG service and brake fluid change today at 129,323 miles. As far as I can tell from the service history it’s the first ever brake fluid change and the second DSG service with the first being at 110,000 miles. The garage said the oil looked clean and nothing untoward so hopefully the lack of previous servicing hasn’t done too much damage!
-
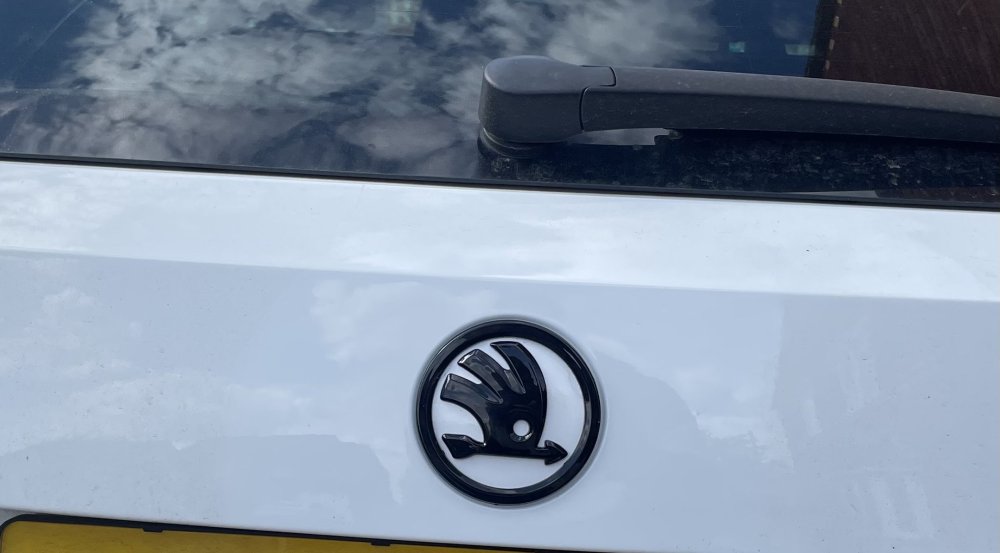
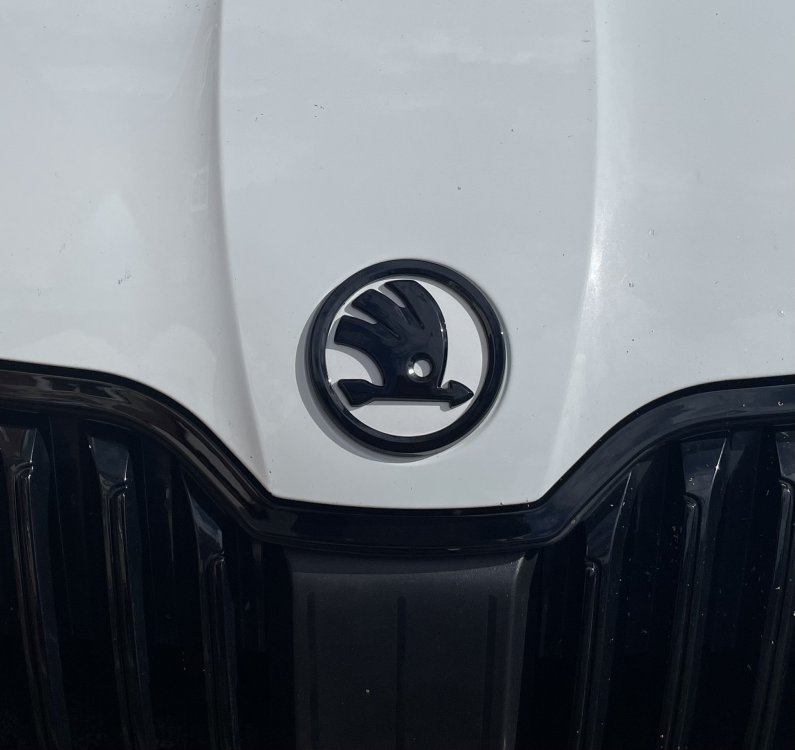
Now fitted on the car and much better clean look I was after.
-
Guide is here:
-
DSG filter was changed. Are you thinking about haldex filter screen? Mine is 2wd
-
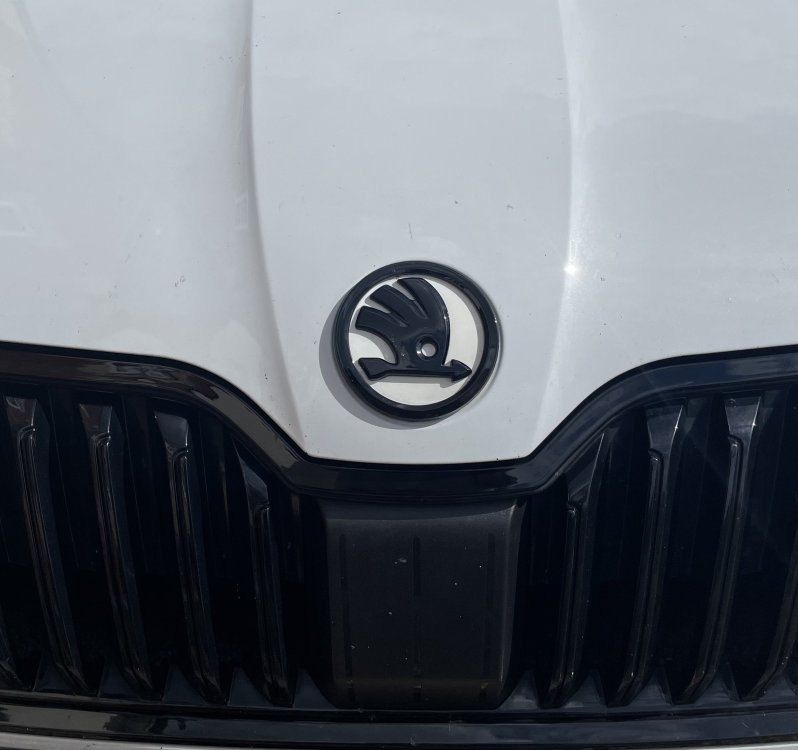
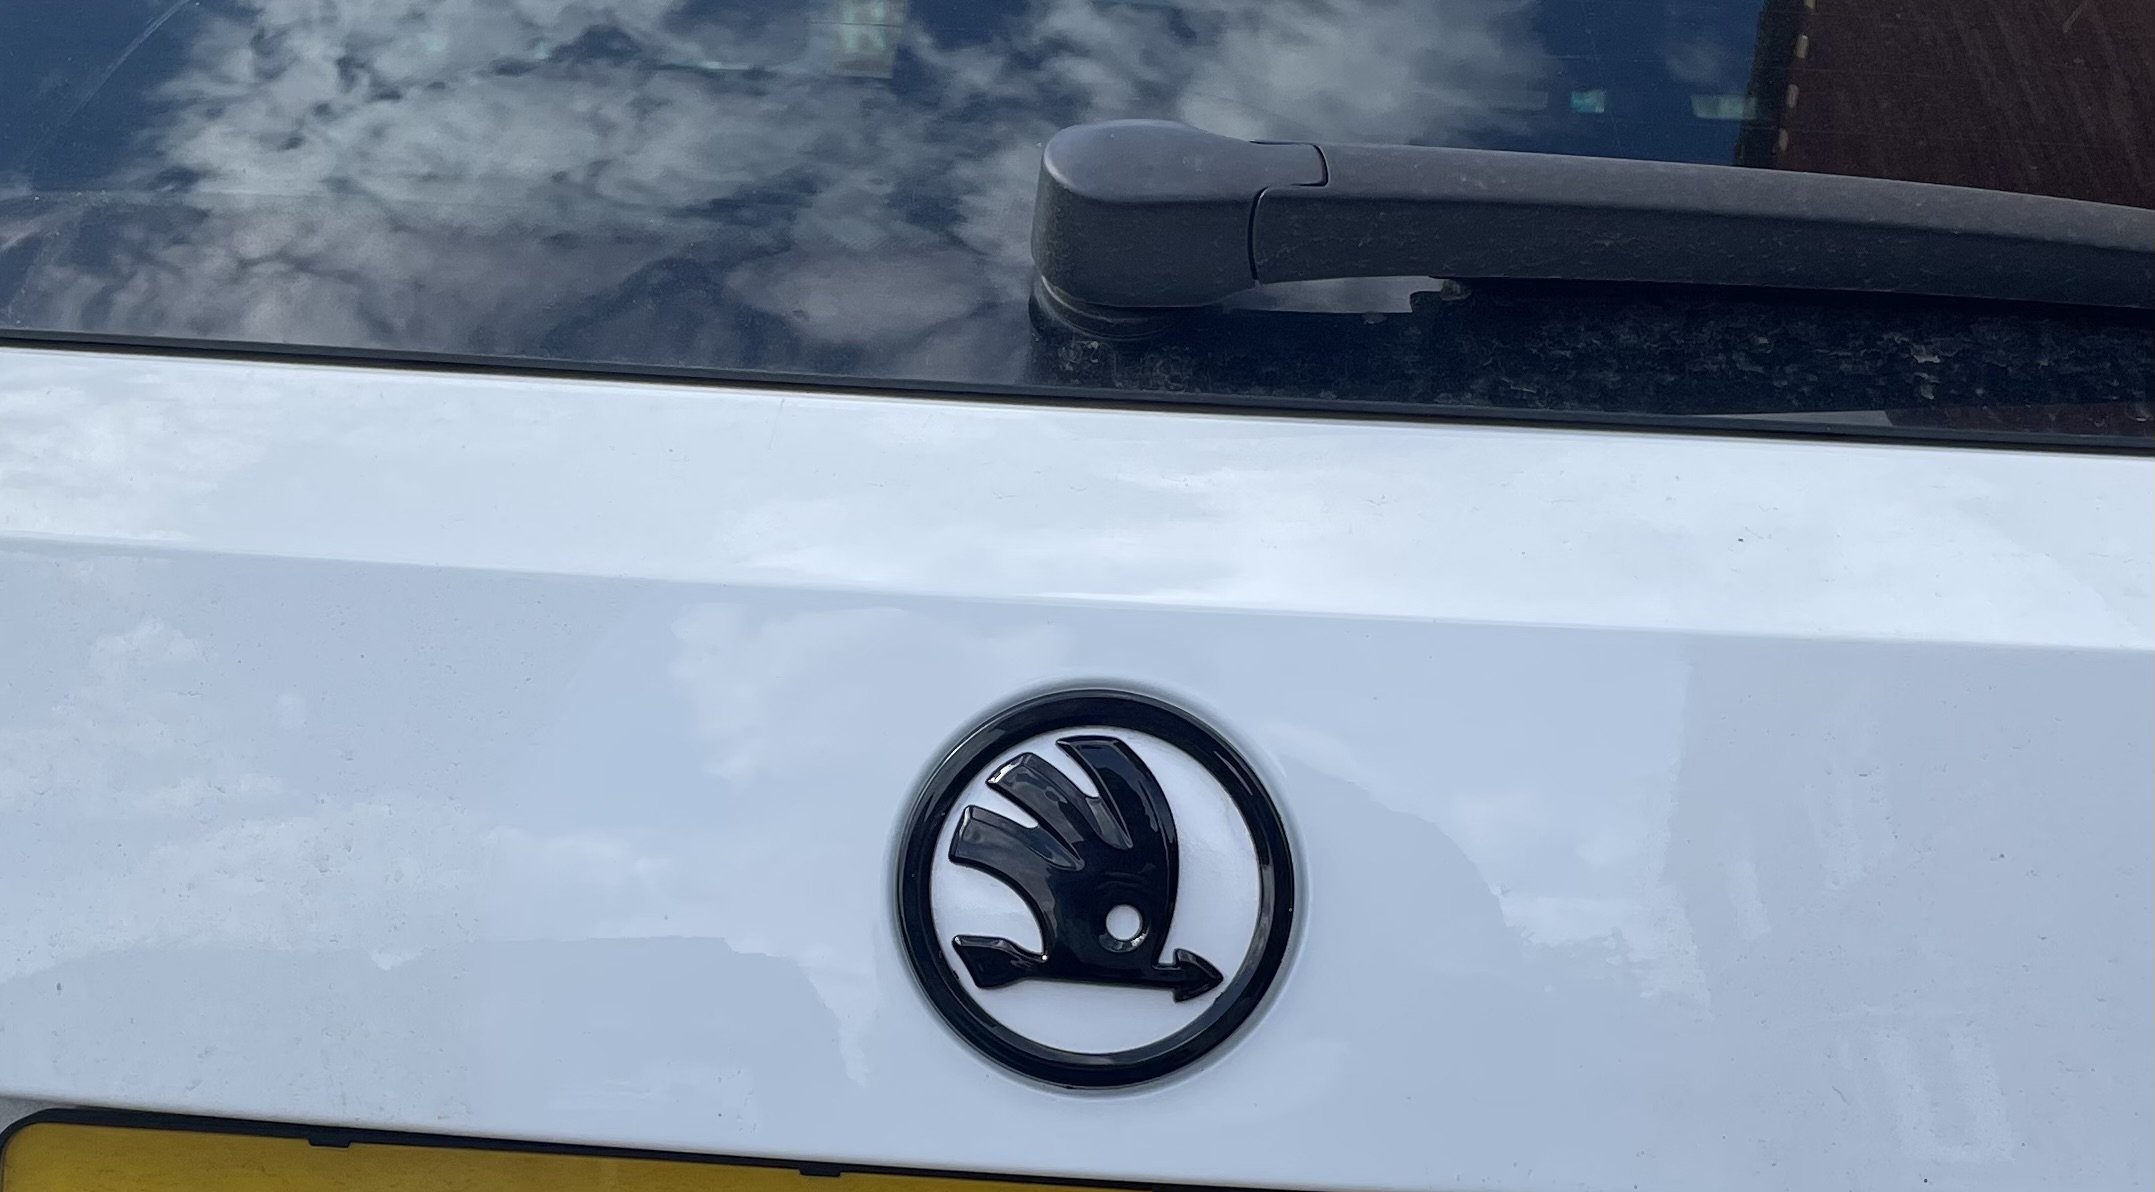
Now installed. Forgot to get a “before” picture of the back! Before: After:
-
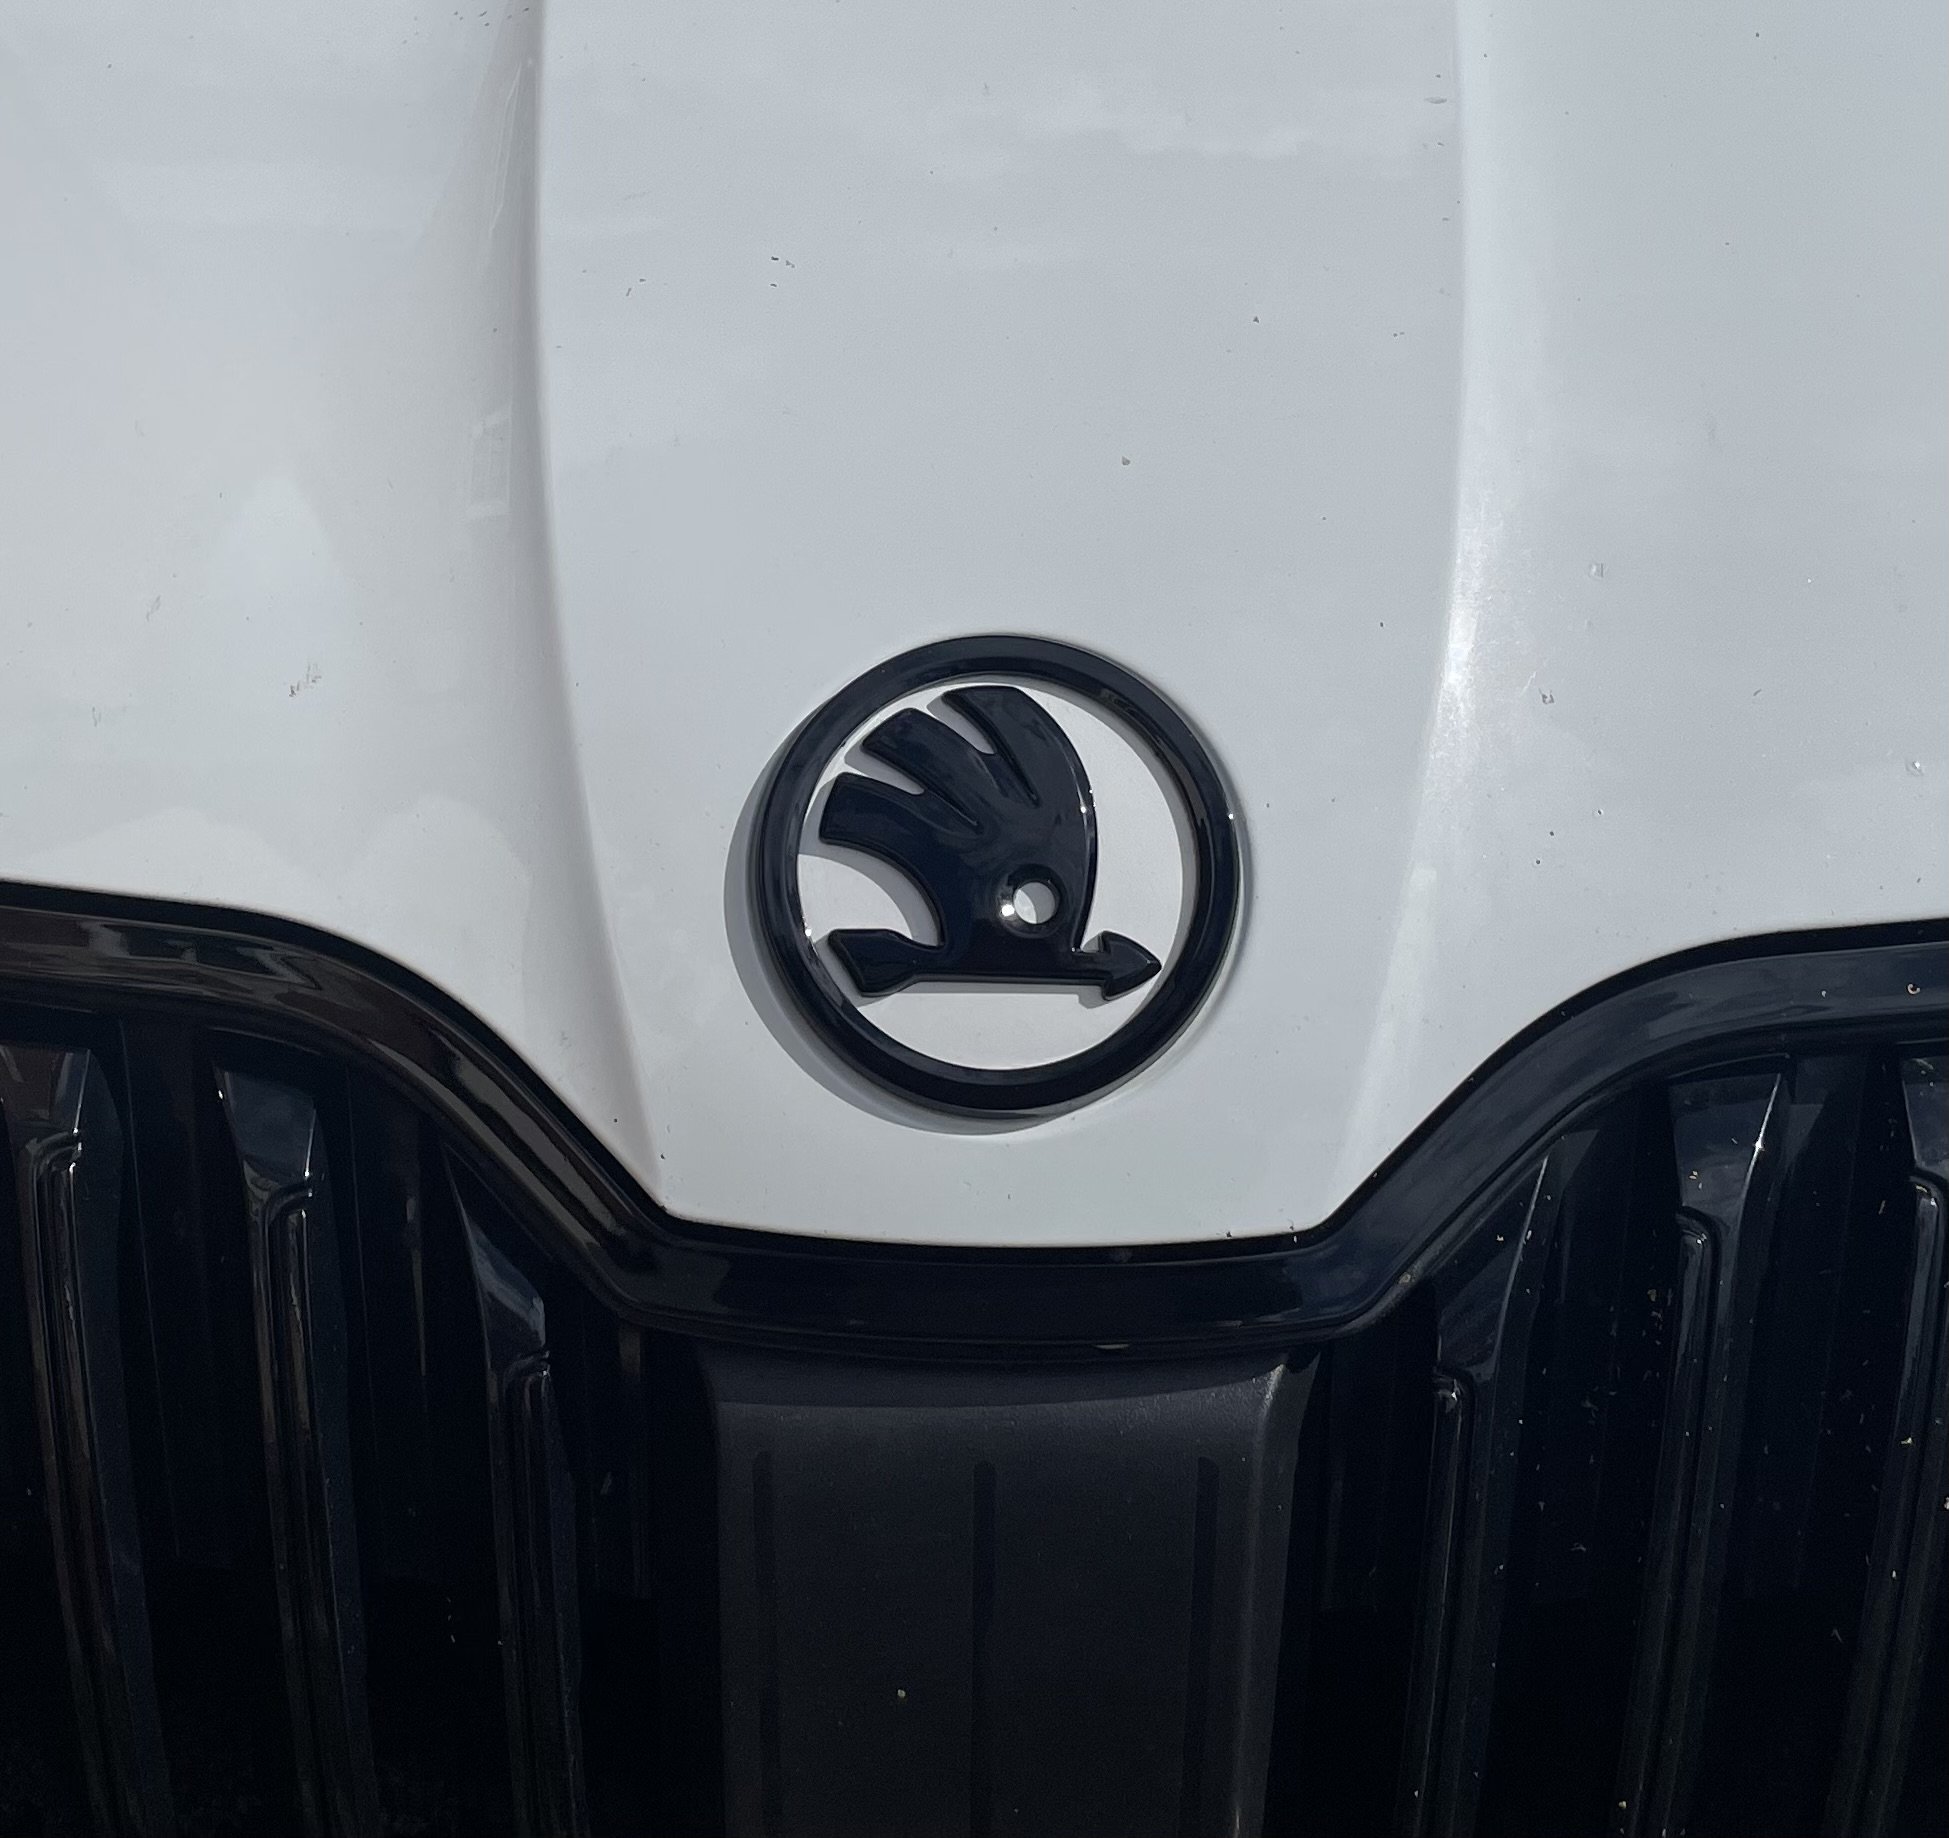
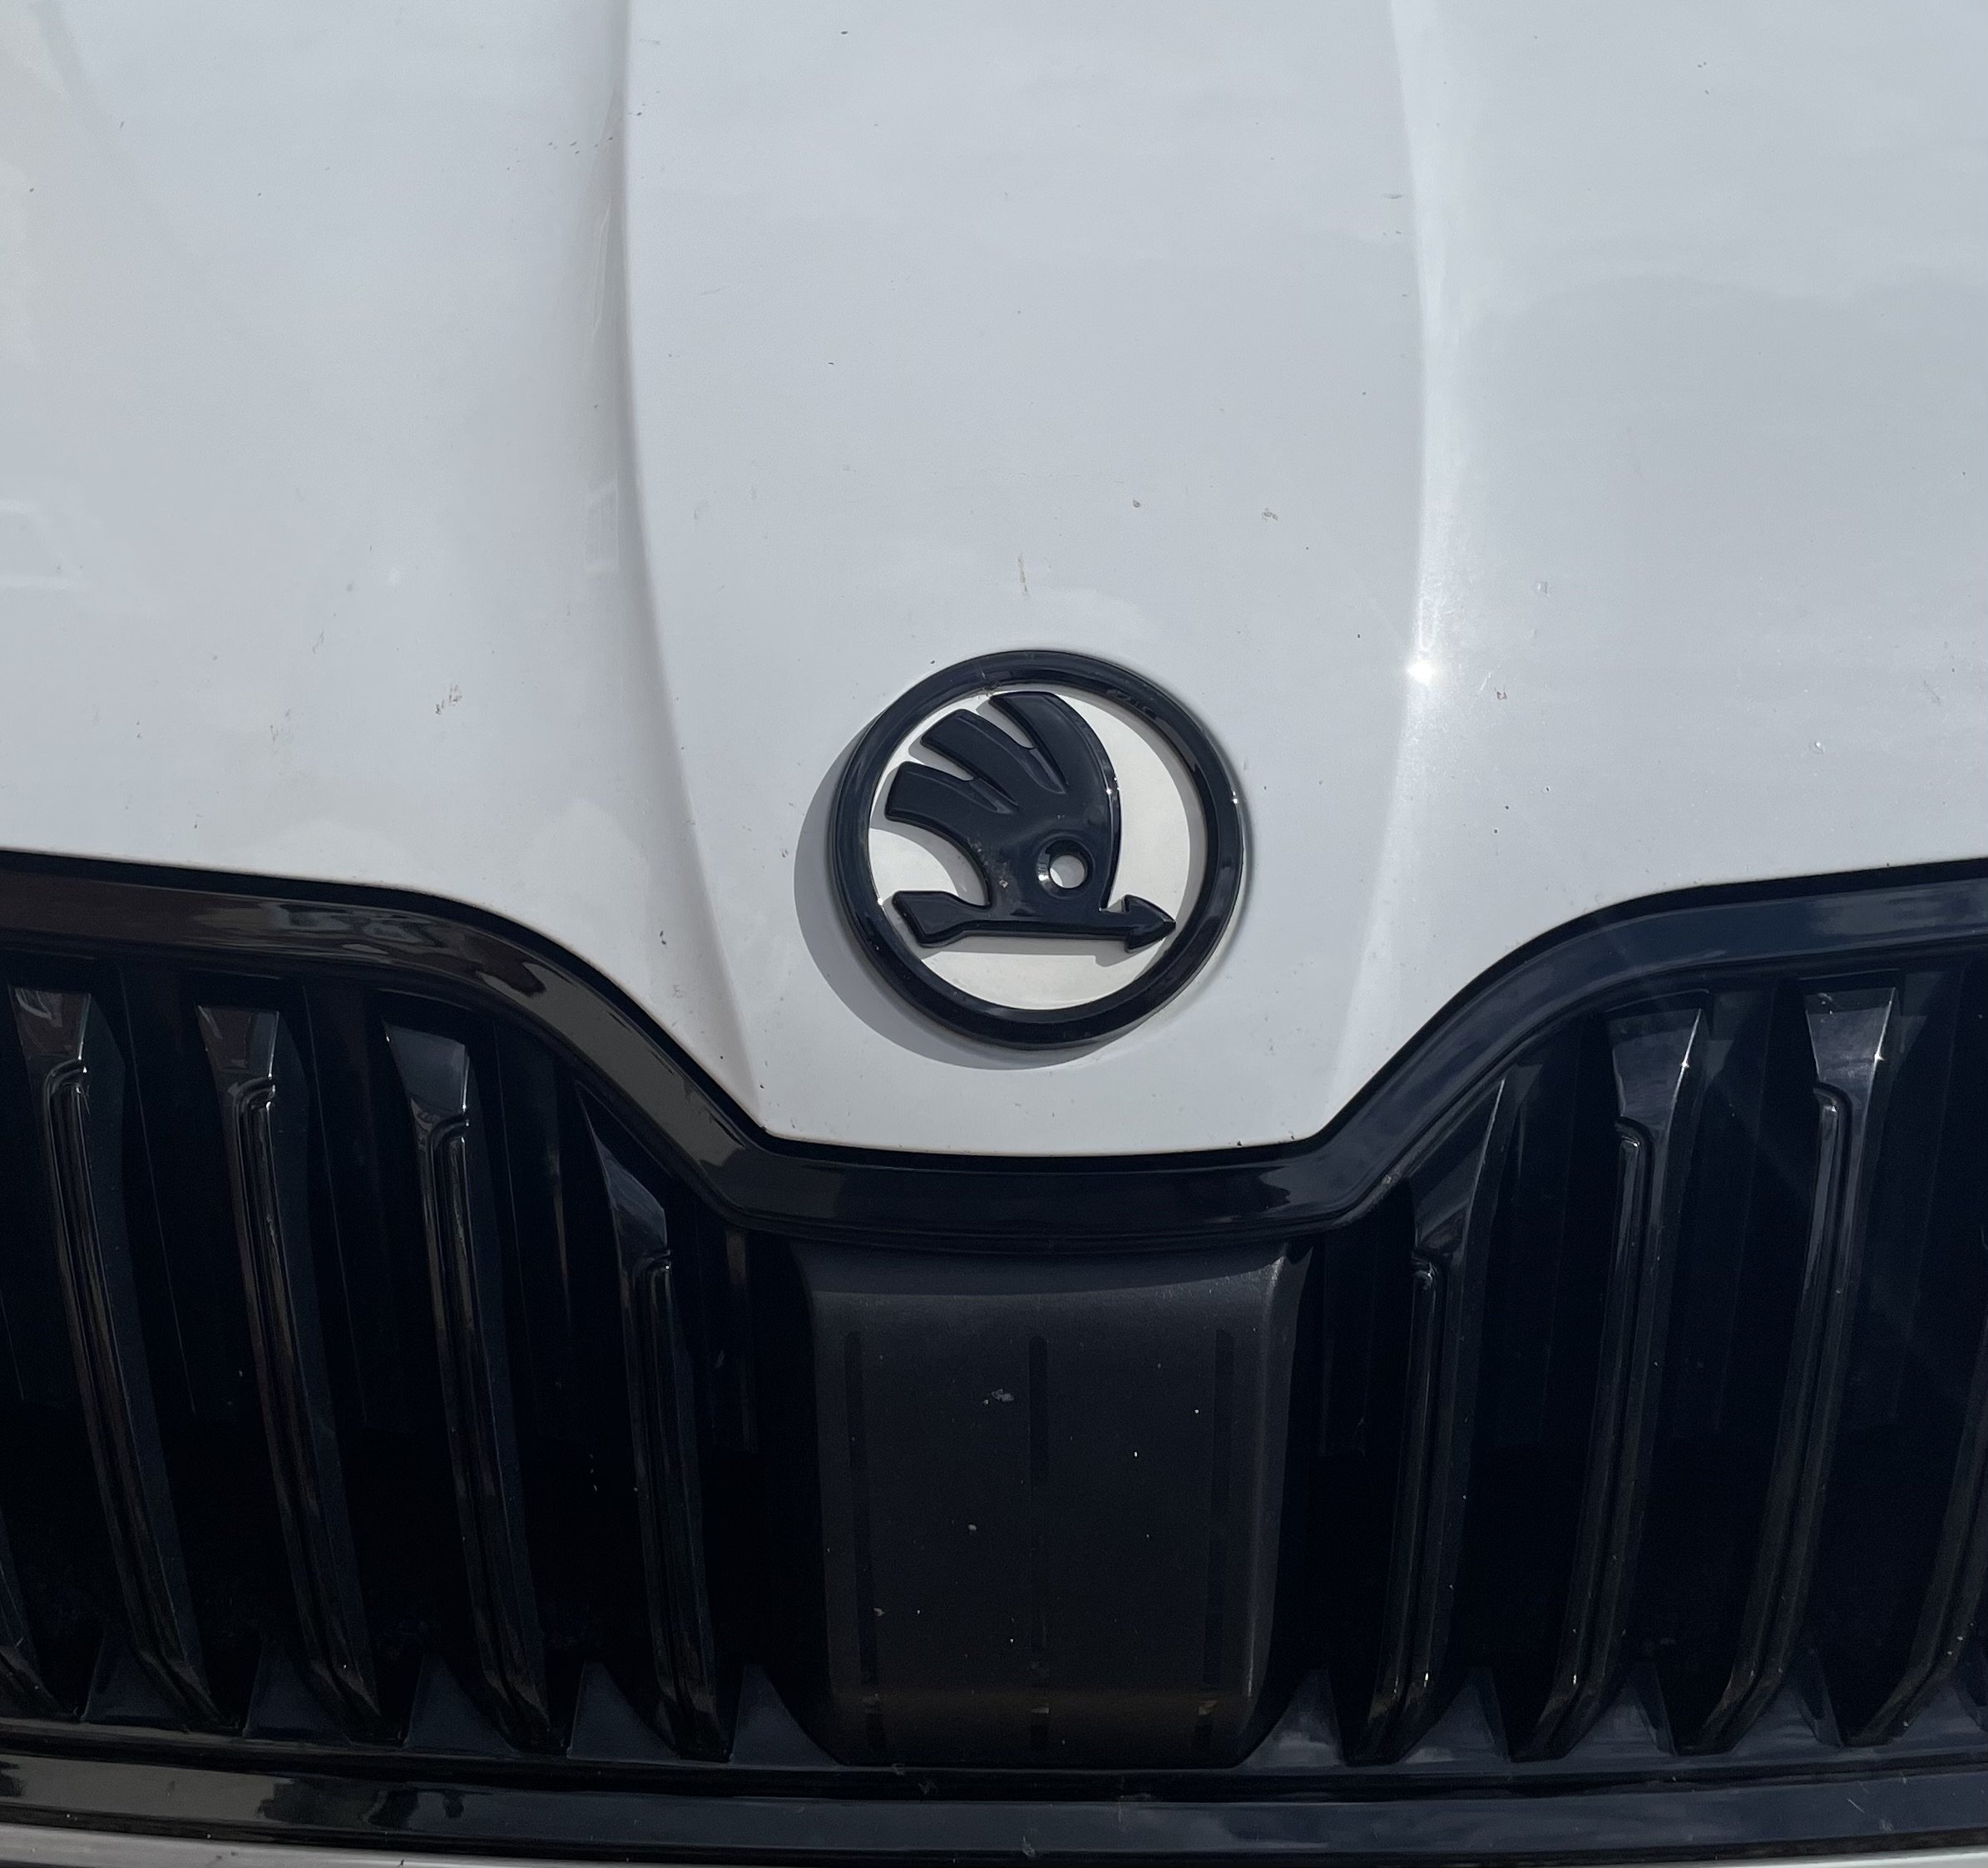
I got a chance to fit my DIY colour matched badges today. Look much better. Really pleased with the clean look now.
-
DSG service and brake fluid change carried out by the local VAG independent specialist. No obvious issues with DSG based on how the oil looks. Hopefully hasn’t suffered too much from missed services by previous owners. That’s now all the major mechanical servicing done so I’m happy I haven’t bought a complete lemon! Check out VW Audi Workshop if you’re in the area!
-
Not had to do it myself but am aware that a wheel alignment should also have an adas calibration done too. As all the assistance systems rely on the thrust direction of the car being calibrated to the systems. Alignment can put it off by a degree or so and at 80mph that can make a big difference. Have a look locally for independent adas calibration service.
-
All Credit to Bevinsee customer service. I sent details and photos of issue and a new pair of bulbs are being sent out to me on next day delivery for 50% discount so that I also have a spare. Lets hope this solves it!
-
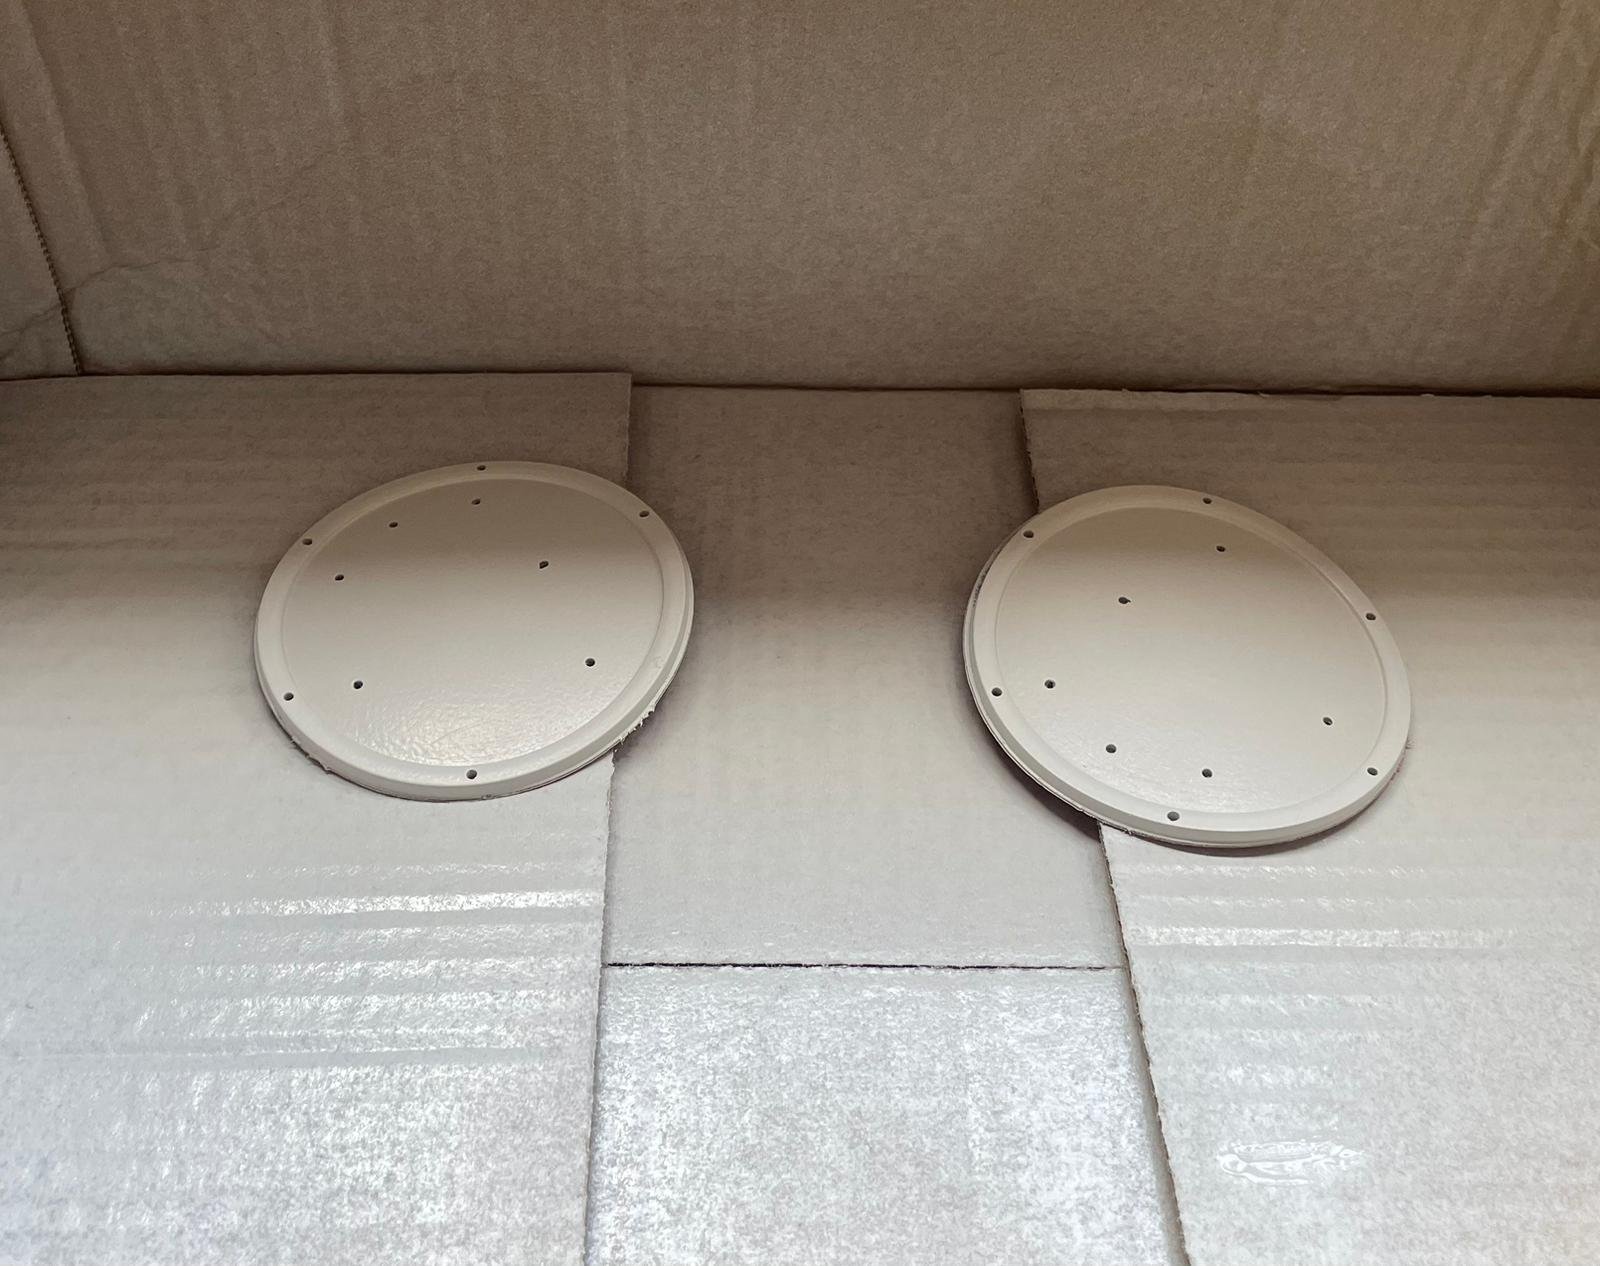
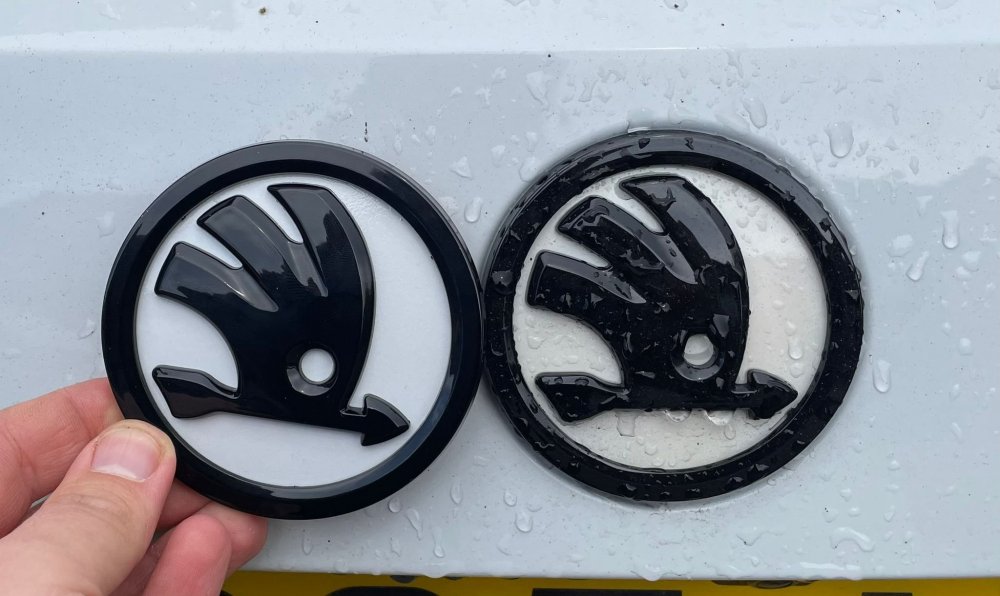
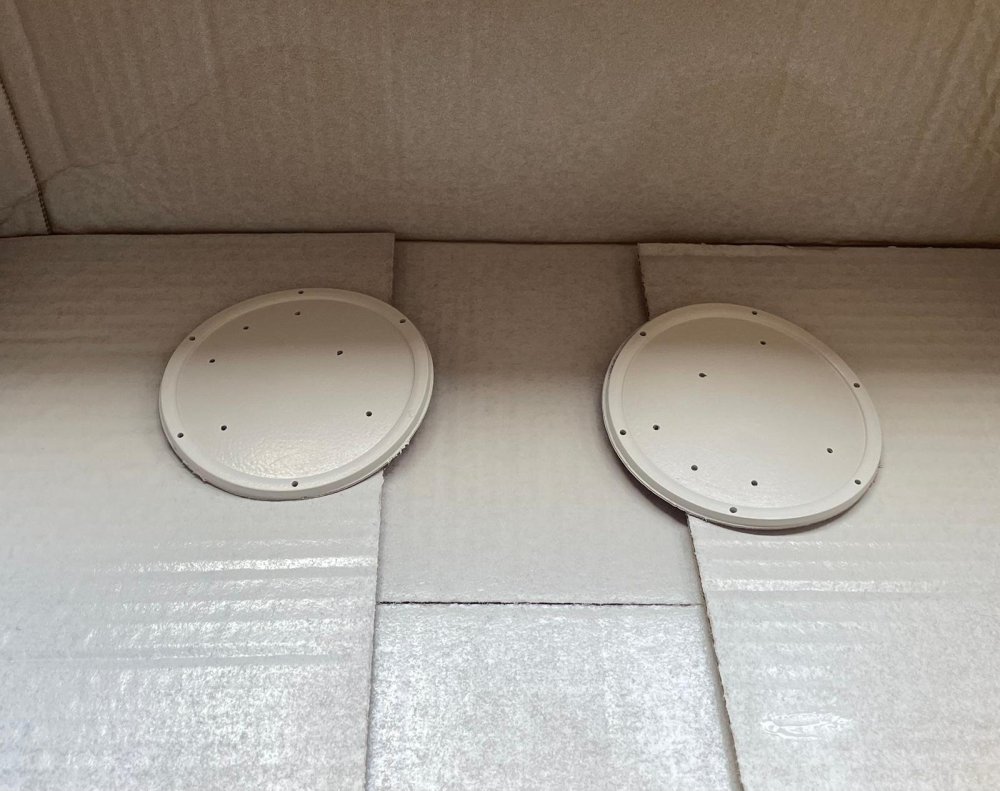
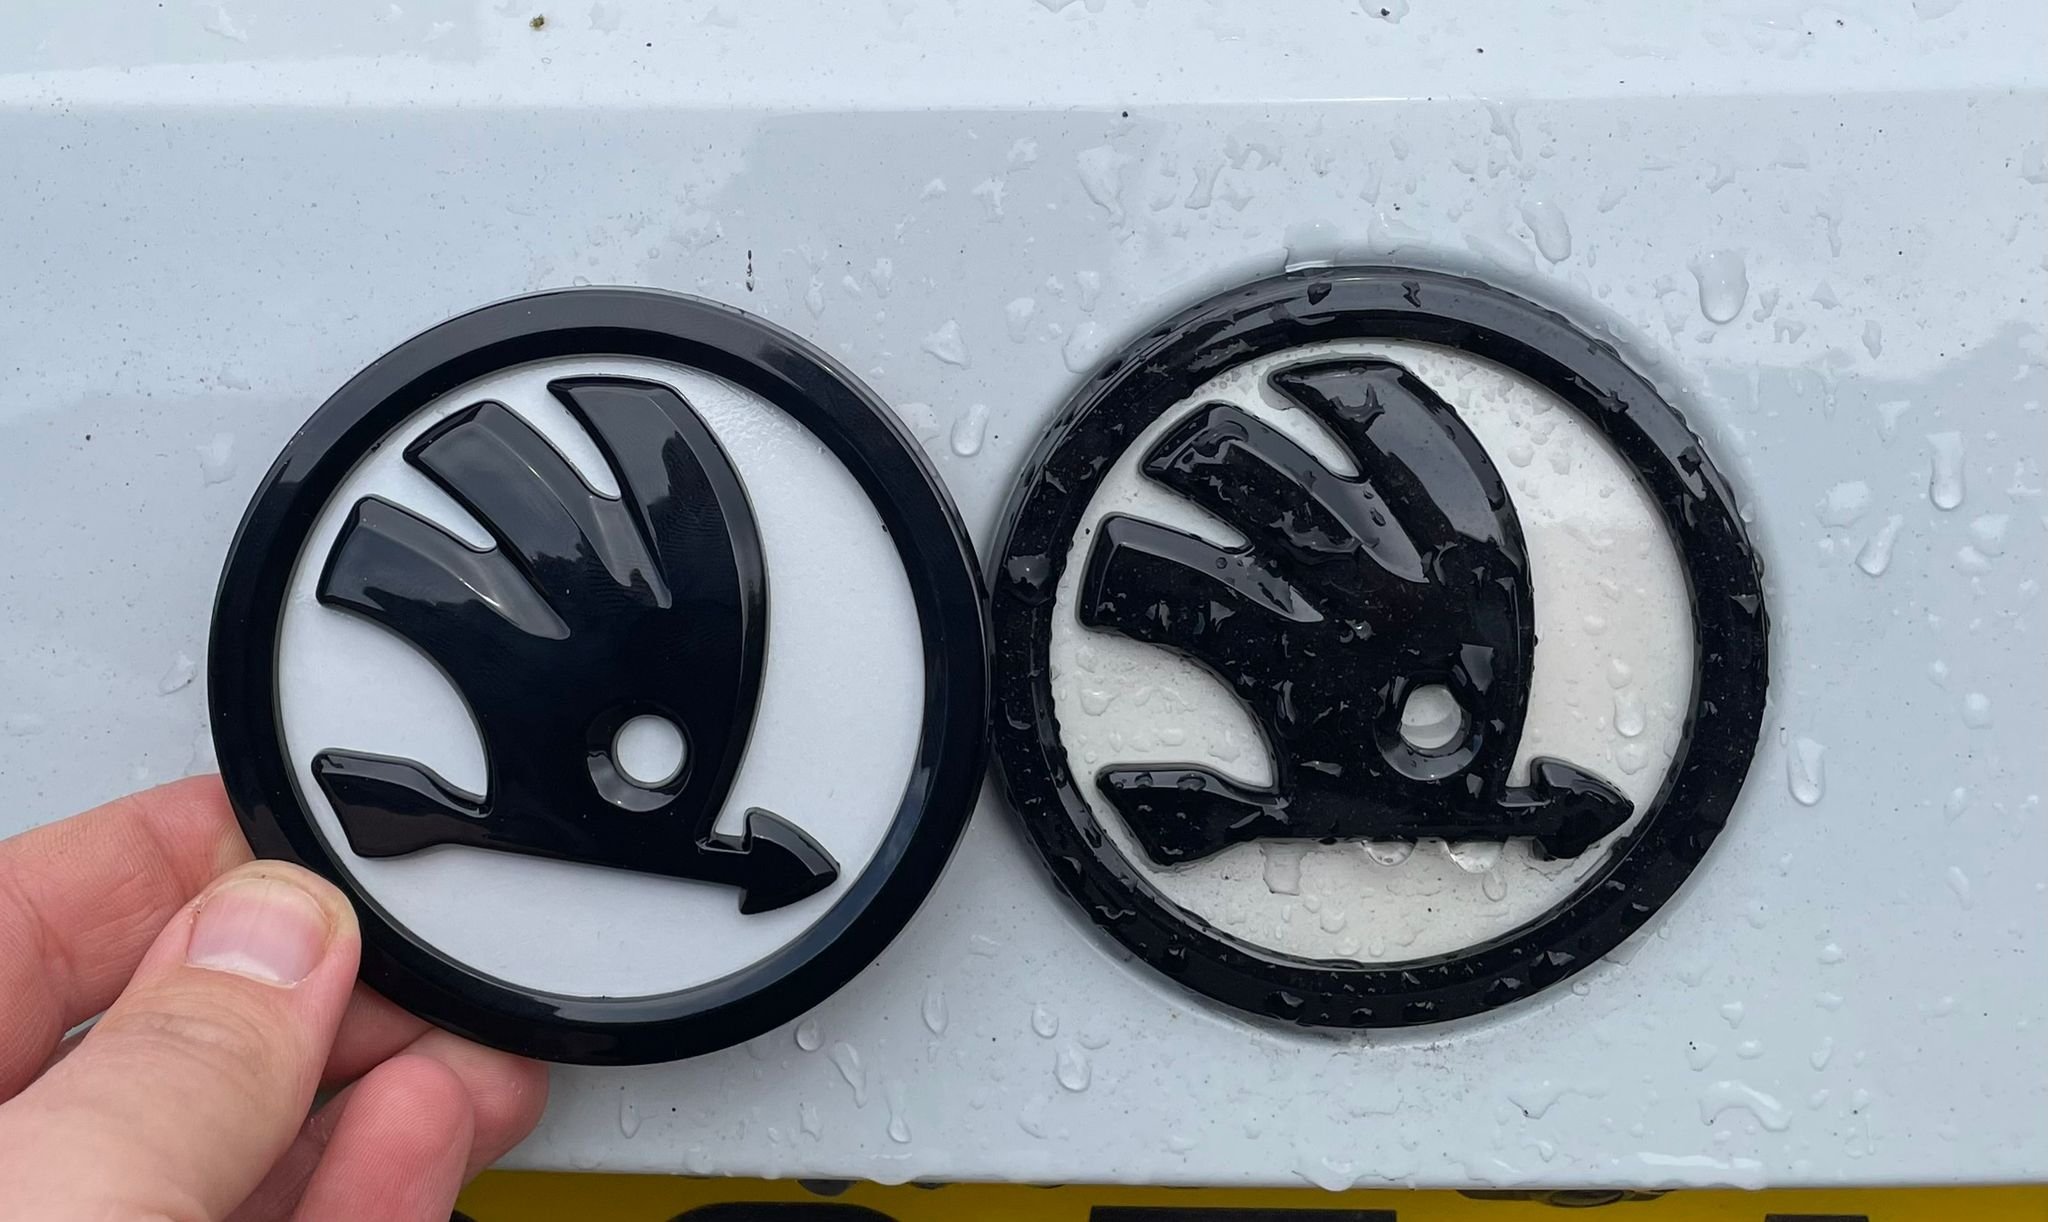
The white colour of the black/white Skoda badges from AliExpress I now have on the car isn't quite right (more like candy white rather than Moon White) and doesn't give the clean look I was hoping for. I refuse to pay £100 for two Skoda badges from Kopacek so decided to make my own. I ordered another pair of Black/White badges from AliExpress. I thought I would use the White background ones so that the paint had a pale base layer to go onto. https://www.aliexpress.com/item/1005009424974993.html I then ordered some colour matched spray paint including clear lacquer. https://www.ebay.co.uk/itm/166899014624 And finally some specialist hard plastic glue as SuperGlue doesn't work well on the ABS plastic these badges are made from https://www.amazon.co.uk/dp/B0001OZI5C First step was to dissasemble the badges. These come off quite easily with a slight bend of the back plate and gentle pry from a trim tool. I labelled each badge A/B and put the black parts in labelled bags so that they would reassemble properly. The whole of the white area of the badge as roughed up with some fine sandpaper and then wiped over with Isopropyl alcohol to remove any dust and residue. These then had 3 gentle coats of basecoat At this point I was slightly concerned that the colour didnt look much different so I painted a small portion of the cardboard with OEM touch up paint as comparison and it was spot on. This can be seen at the bottom right of the above picture, so I was happy to crack on. Next was two gentle coats of clear lacquer and this really brought out the colour and the metallic in the base coat. The photos really don't do it justice. Then came reassembly. The glue is the type that gets applied to both parts separately, allowed to dry for a few minutes and then assembled. These went back together well and will be left for a couple of days to fully cure. In between the rain showers I had to have a quick comparison with what I started with. It looks brilliant in person and hopefully shows up on the photo below. With the car clean, and not covered in rain, I think the colour match will be perfect and a certain improvement over the standard AliExpress badge. Total cost was just under £30 so cheaper than one Kopacek badge without delivery and took approx half an hour of work and a couple of hours of drying time all in. No real skill required other than a gentle hand on dissasembly and ensuring light coats of paint to avoid runs. Im not sure if OEM badges dissasemble in the same way, so this could potentially be done with an OEM Monte Carlo badge to ensure fitment to the car is perfect. I shall await some better weather and get them installed on the car and update with further pictures when that's done.
.thumb.jpeg.c96caf45993089d71e4228855247734f.jpeg)
.thumb.jpeg.2edfe75ee2886e2f3fad9b19cd06a9d6.jpeg)
.thumb.jpeg.a160e72fc69e3600ca70b2fe7832e293.jpeg)
-
I bought some black/white Skoda badges from AliExpress but the white wasnt quite right (more like candy white rather than Moon White of my car) and wasn't the clean look I was hoping for. I refuse to pay £100 for two Skoda badges from Kopacek so decided to make my own. I ordered another pair of Black/White badges from AliExpress. I thought I would use the White background ones so that the paint had a pale base layer to go onto. https://www.aliexpress.com/item/1005009424974993.html I then ordered some colour matched spray paint including clear lacquer. https://www.ebay.co.uk/itm/166899014624 And finally some specialist hard plastic glue as SuperGlue doesn't work well on the ABS plastic these badges are made from https://www.amazon.co.uk/dp/B0001OZI5C First step was to dissasemble the badges. These come off quite easily with a slight bend of the back plate and gentle pry from a trim tool. I labelled each badge A/B and put the black parts in labelled bags so that they would reassemble properly. The whole of the white area of the badge as roughed up with some fine sandpaper and then wiped over with Isopropyl alcohol to remove any dust and residue. These then had 3 gentle coats of basecoat At this point I was slightly concerned that the colour didnt look much different so I painted a small portion of the cardboard with OEM touch up paint as comparison and it was spot on. This can be seen at the bottom right of the above picture, so I was happy to crack on. Next was two gentle coats of clear lacquer and this really brought out the colour and the metallic in the base coat. The photos really don't do it justice. Then came reassembly. The glue is the type that gets applied to both parts separately, allowed to dry for a few minutes and then assembled. These went back together well and will be left for a couple of days to fully cure. In between the rain showers I had to have a quick comparison with what I started with. It looks brilliant in person and hopefully shows up on the photo below. With the car clean, and not covered in rain, I think the colour match will be perfect and a certain improvement over the standard AliExpress badge. Total cost was just under £30 so cheaper than one Kopacek badge without delivery and took approx half an hour of work and a couple of hours of drying time all in. No real skill required other than a gentle hand on dissasembly and ensuring light coats of paint to avoid runs. Im not sure if OEM badges dissasemble in the same way, so this could potentially be done with an OEM Monte Carlo badge to ensure fitment to the car is perfect. I shall await some better weather and get them installed on the car and update with further pictures when that's done.
-
Right. It’s definitely the bulb. And I managed to test it without taking out the arch liner! There was just enough room to pop the back off the headlight and just enough length on the cable to be able to plug in my old working HID bulb. That lights up fine. No issues no faults. I’m now blind from looking at it but now know it’s time for a warranty claim on the bulb supplier. Thanks @Cairus and @JR RS as always for the brilliant help.
-
swapped the ballasts. Problem stayed on the right side. So looks like it’s bulb or wiring. Weather is very hit and miss today but will see if I get a chance to swap the bulbs this evening.
-
Ah ok I didn’t know they were interchangeable left and right. Will give that a go first.
-
-
I will try and get a chance to swap the bulbs over tomorrow. Was hoping to avoid taking wheels and arch liners off again! Clearing the error doesn’t always make the light work so I don’t think coding will help. I’ve just been out to check the connection to the bulb and that seems fine. But watching the light it seems to come on at the third attempt consistently. Ignition on, turn light switch to on. Bulb pulses half second on and off very faintly 3 times. Light switch off then on. Bulb pulses half second on and off very faintly 3 times. Followed by a flicker of bright. Then off. Light switch off then on. Bulb pulses half second on and off very faintly 3 times. Then lights as normal. Dip and high beam work once it’s on. Does this point more to ballast?
-
Yes. Passenger side is fine and I know others that have used the same bulbs without issue.
-
I’ve got an intermittent fault with my drivers side headlight. I had a flickering drivers side bulb a few months ago so took it as an opportunity to upgrade to LED. Passenger side has been fine with no issues at all. Drivers side has continued to have faults. A bit sluggish to turn on sometimes and now I’m getting a Warning on the dash and a fault code: Right low beam headlamp bulb - Open circuit/short circuit to B+ Sometimes the light comes back on of its own accord even with the warning still showing. Sometimes the fault will clear and light still not work. Has anyone seen this before? Is it ballast? Maybe loose connection? Hoping to have some pointers before I undergo the mammoth task of dropping out the arch lining to get to the bulb! I’ve still got the old HID bulbs so may try swapping one out and seeing if the fault goes away.
-
I believe air care uses the recirculation flap. I wonder if it’s because you have a current fault code for the flap It prevents you enabling it @tombee
-
Some are on a worm gear so you won’t be able to move them if the actuator isn’t trying to move them too. If you carefully remove pollen filter you can see the flap at the back of it. It’s recommended to slip a bit of cardboard beneath filter to catch any crud that is sitting on top of filter otherwise it goes into the fan. Or just take it to dealer If it’s still under warranty!



.jpeg.9a17716612e7c9c2069275bdf62f97ad.jpeg)
.jpeg.4f93d171d8dfd5def4883e008097ccae.jpeg)
.jpeg.6a03edb79bc97ced3887dfa9d89fe33c.jpeg)