.jpeg.2be1ff23db65b1928106364ab86f4b3c.jpeg)
Binx1310
FREEDOMLite
-
Joined
-
Last visited
Everything posted by Binx1310
-
duplicate
-
The calibration thing sorted my stick recirc flap. This is just above the pollen filter so sometimes detritus on the filter can get stuck in it. I think mine might have been the extra wiring from the reversing camera fouling it too. But could be a failed actuator. Not expensive and pretty easy to change.
-
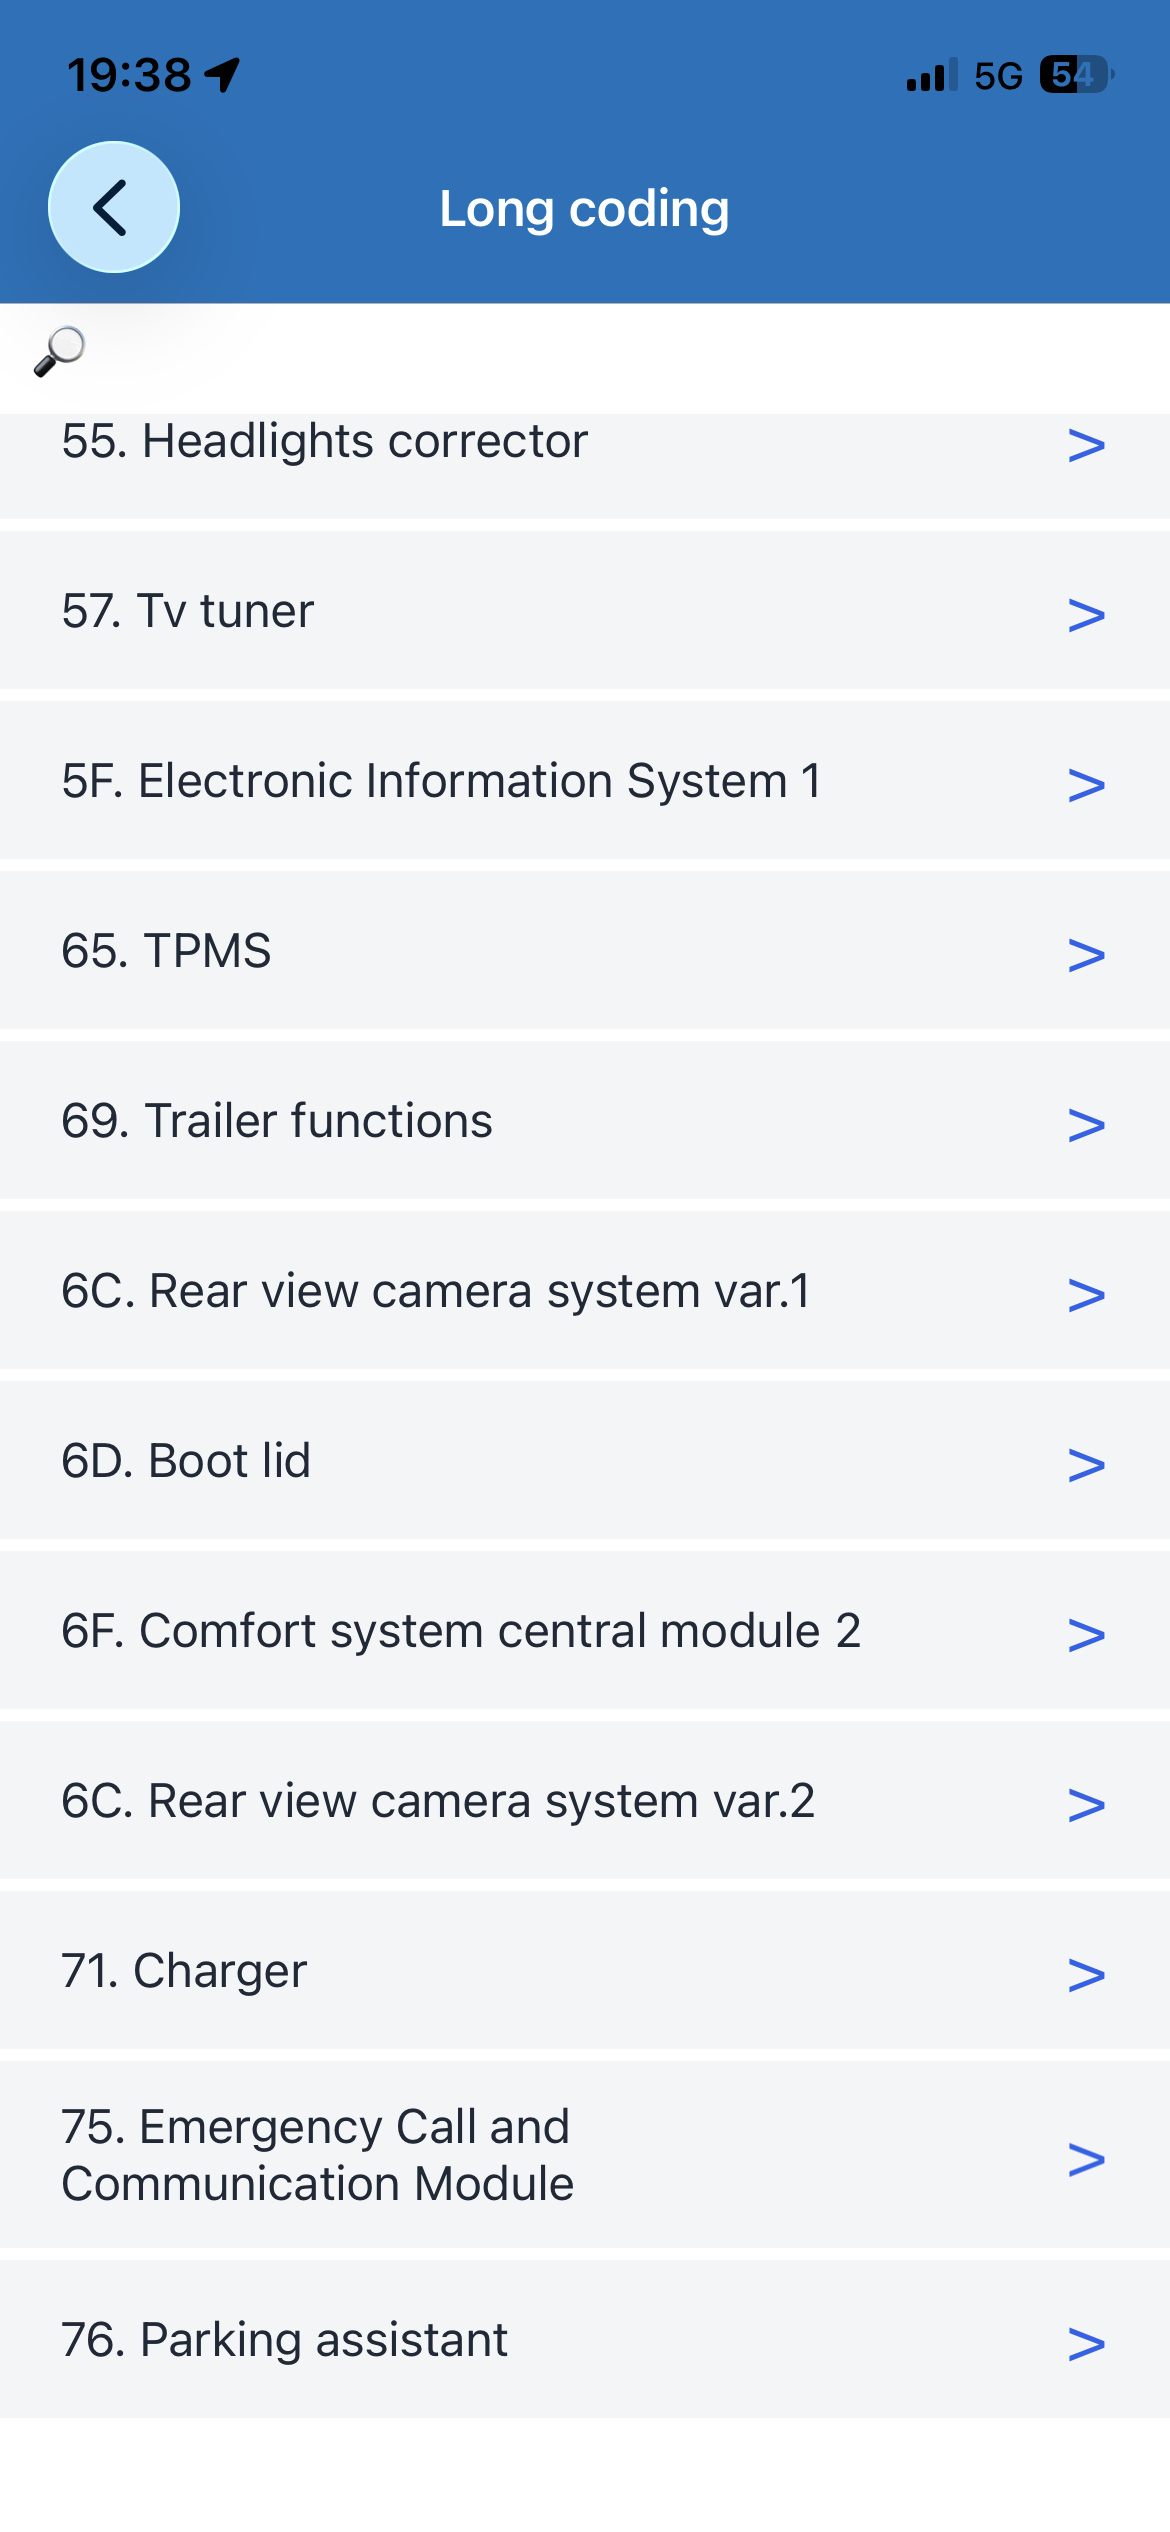
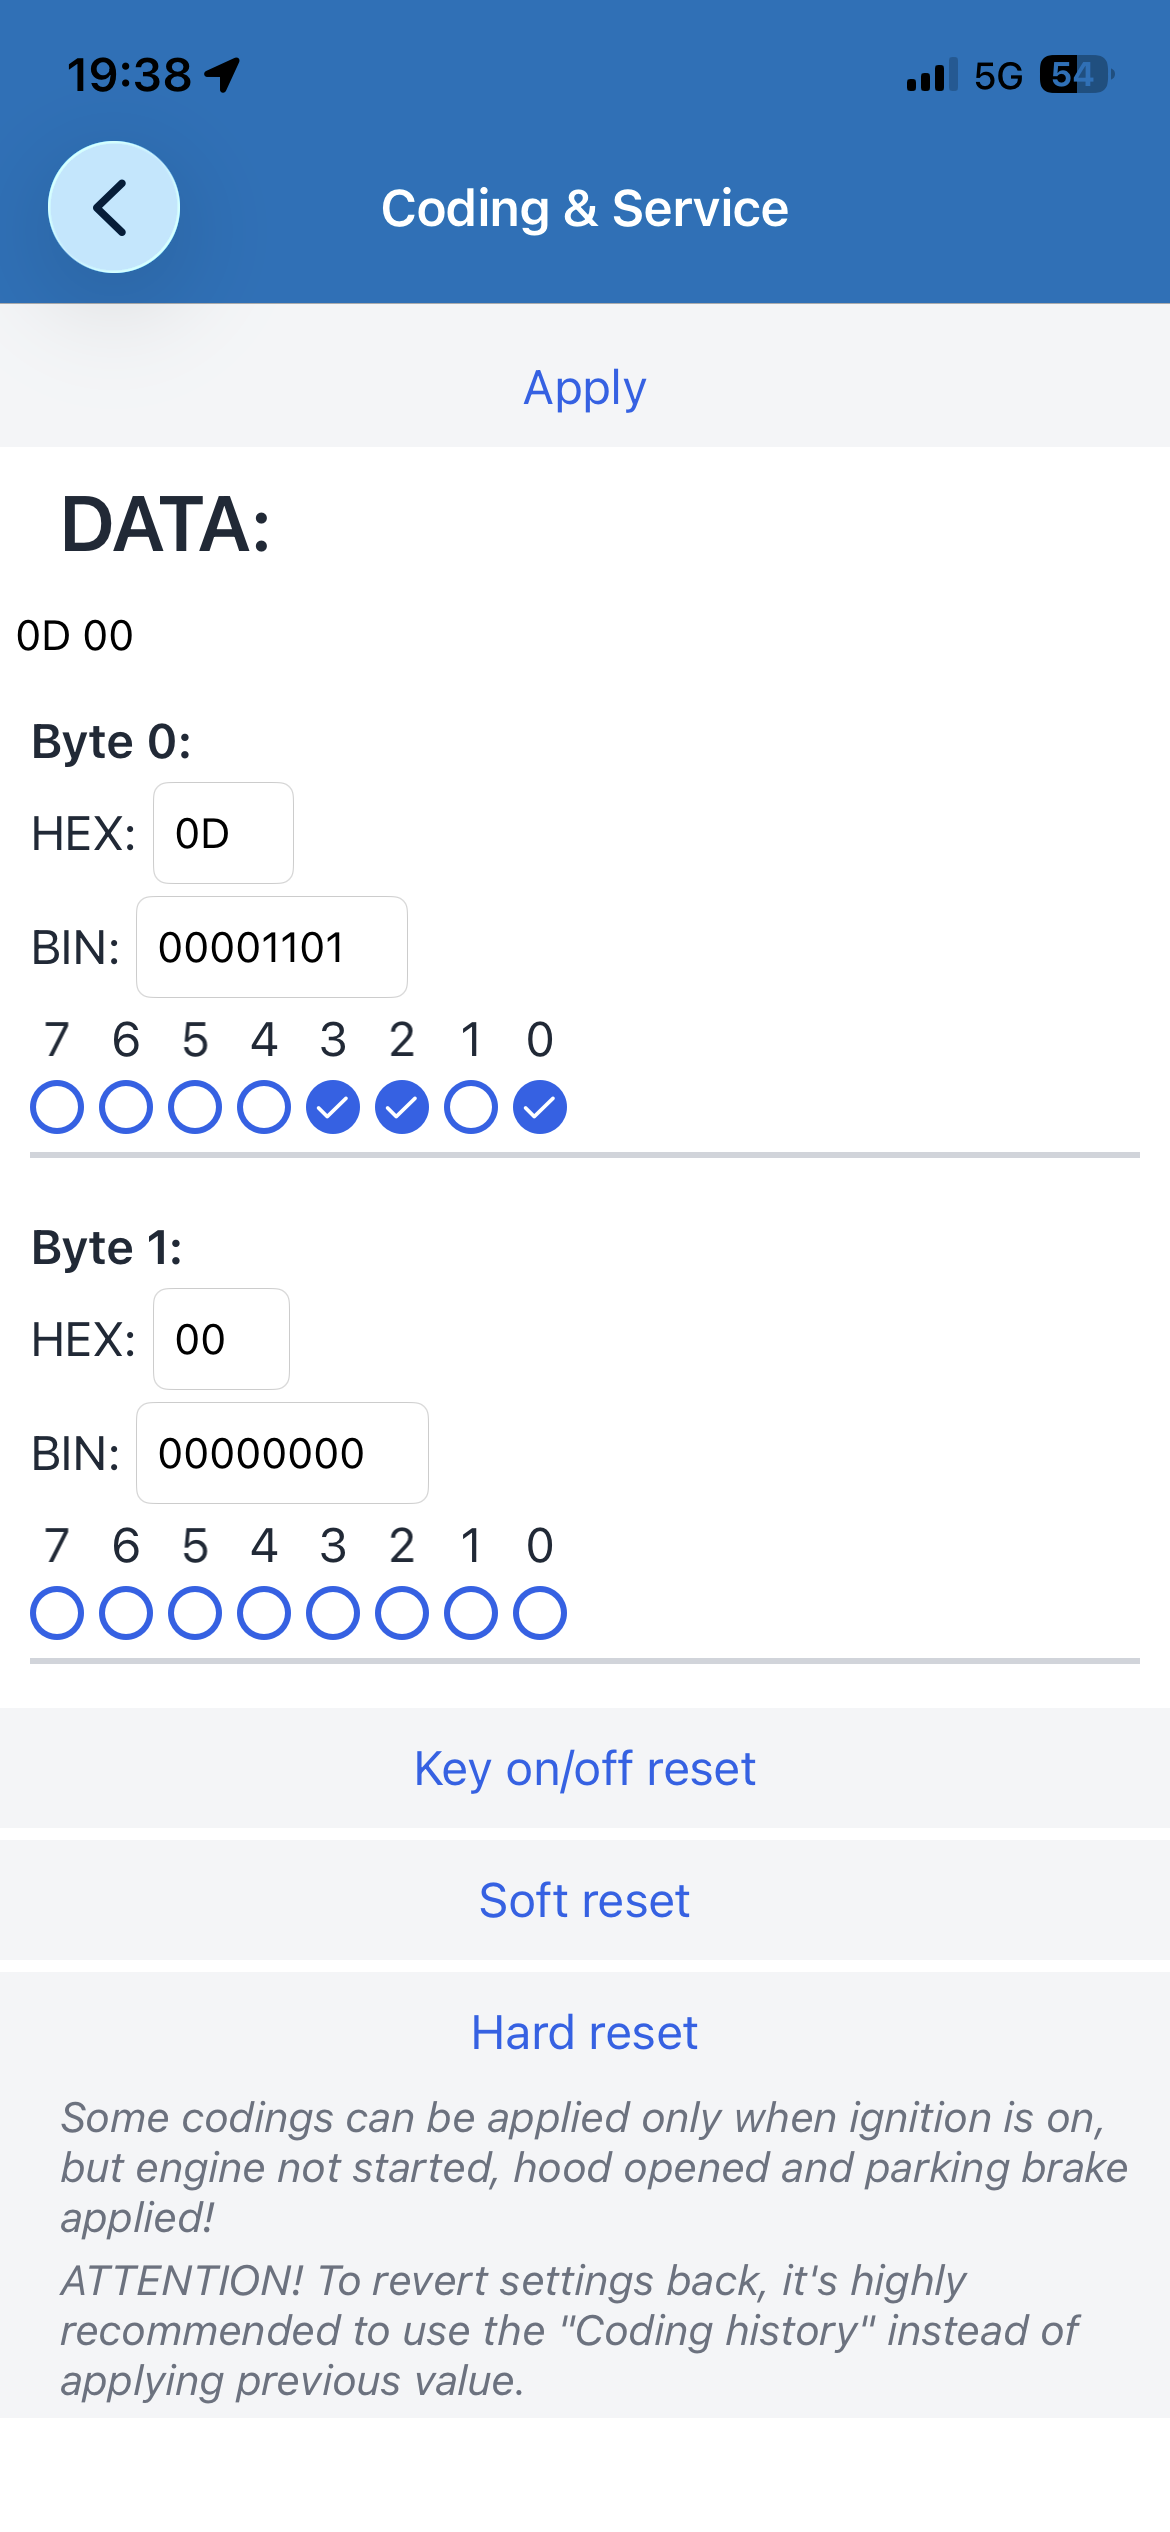
Yes. Mine was stuck. The flap is above the pollen filter above the glove box. You can try moving the flap with your fingers. But first try a recalibration. You can do it with carscanner or by holding AC and front vent button for a few seconds until the lights start flashing. If not then it will be the actuator. I had to change the one for the main diverter. £10 from Amazon for a non genuine. And about 20 Mins to change.
-
-
That’s just the trouble, People don’t think! I’m always super paranoid working around airbags and routing cables. It takes no more than a few minutes extra and some small Cable ties to be sure.
-
-
Worth a check with code reader. Sounds like BCM/ other control system is knocking power off to protect circuit. The reset process seems to suggest it’s some Kind of protection. Something might be shorting out. Will Hopefully show up a clue on the code reader.
-
-
Is the quoted version what you have or what you are looking to update to? If it is what you have then it’s the latest version. https://mib-helper.com/index.php?train=MST2_EU_SK_ZR_PO480T#details If it’s not what you have then enter your current version on to MiB helper and it will direct you to the correct version to download.
-
-
Thanks. Looking forward to getting a chance to change the roof bars too as I think will really finish it off.
-
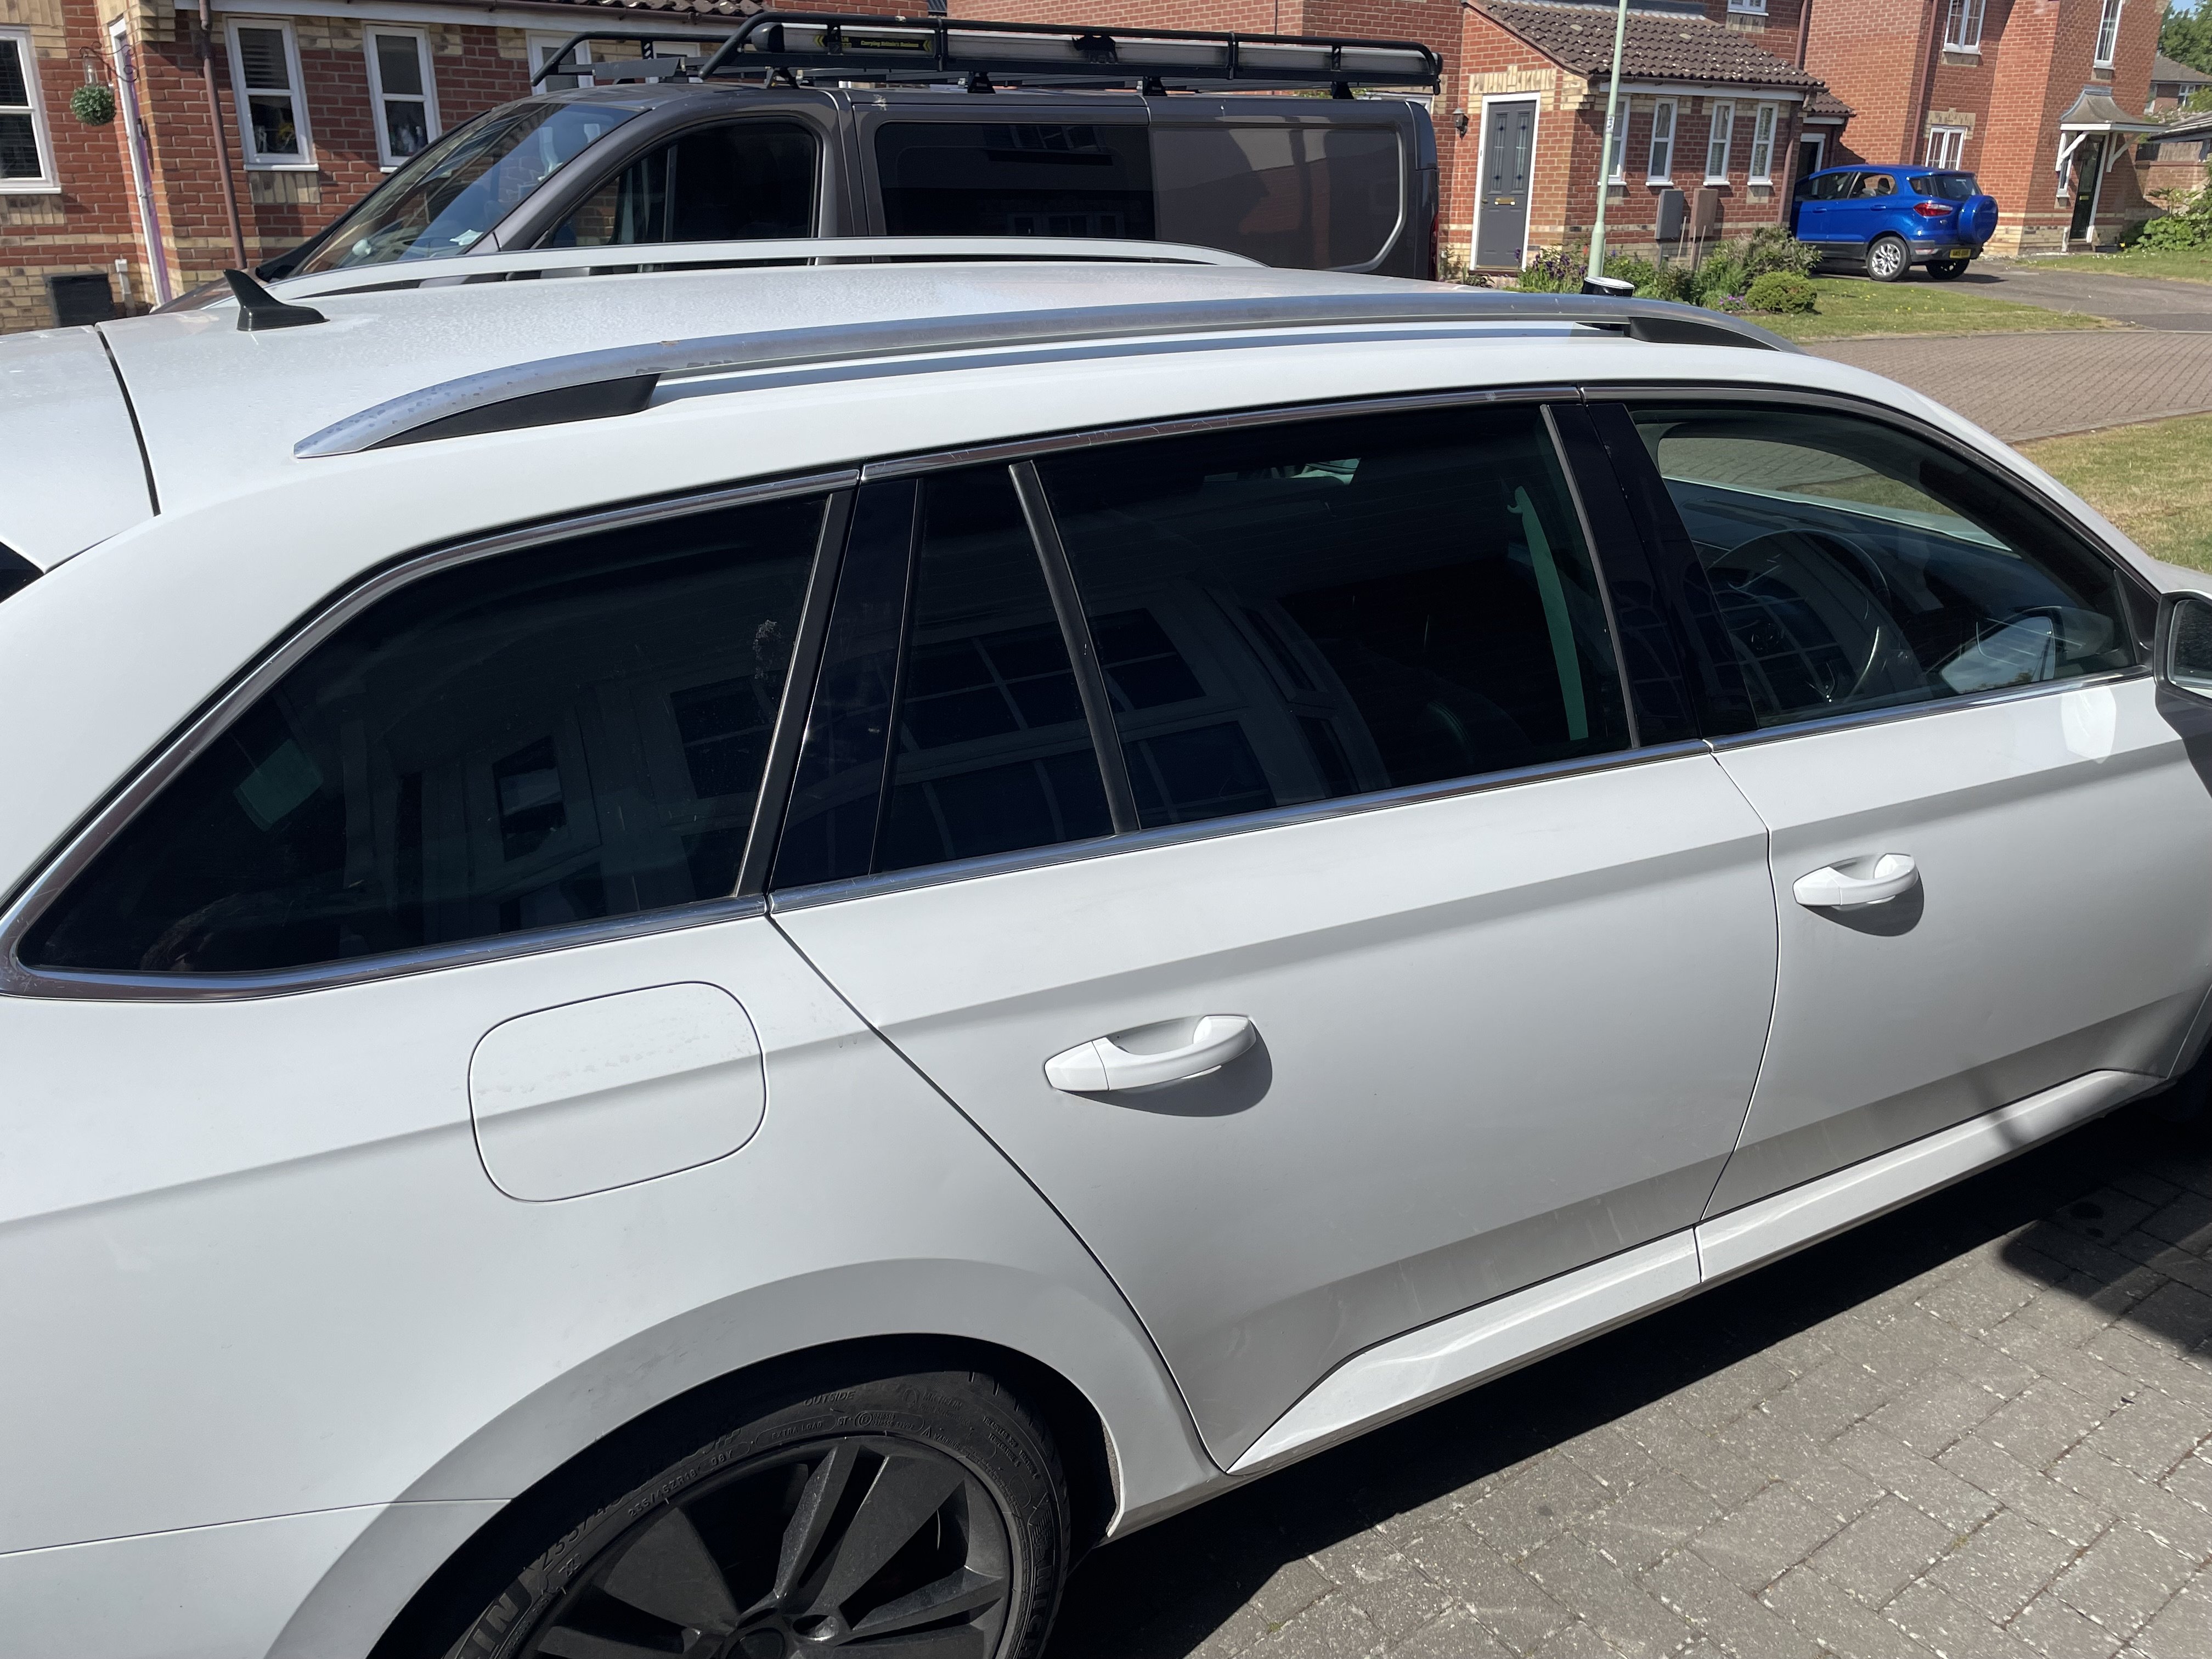
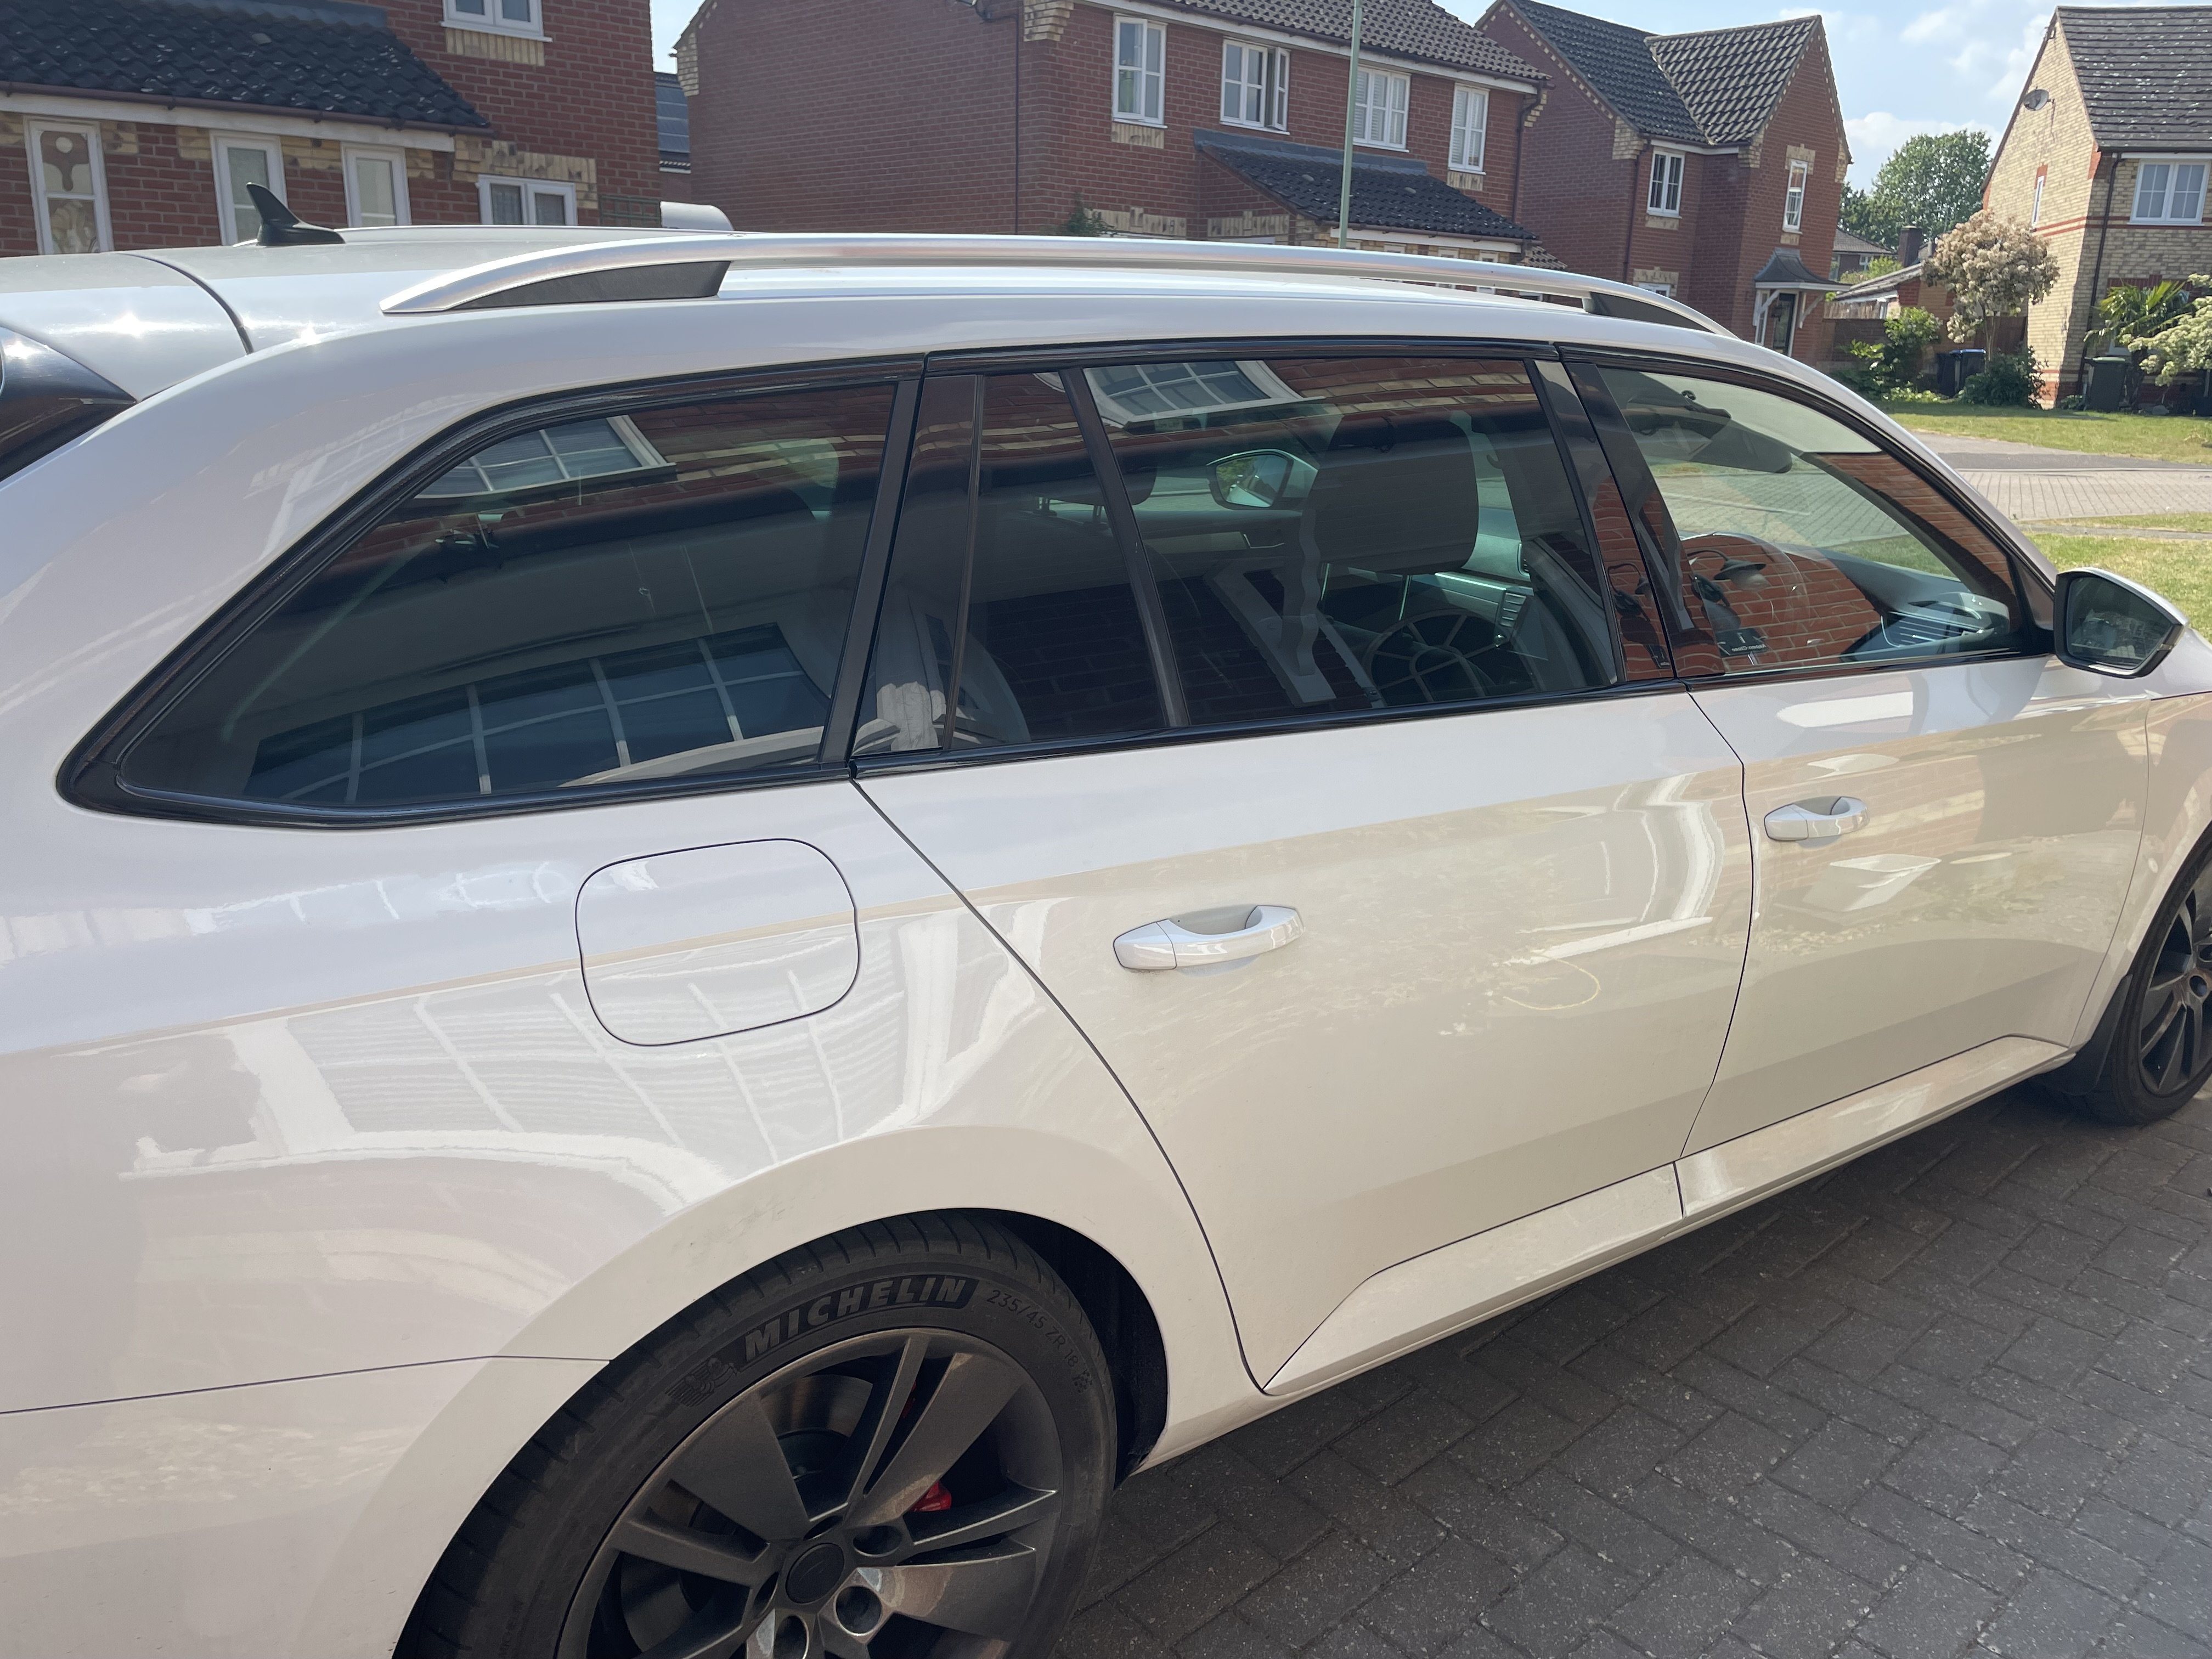
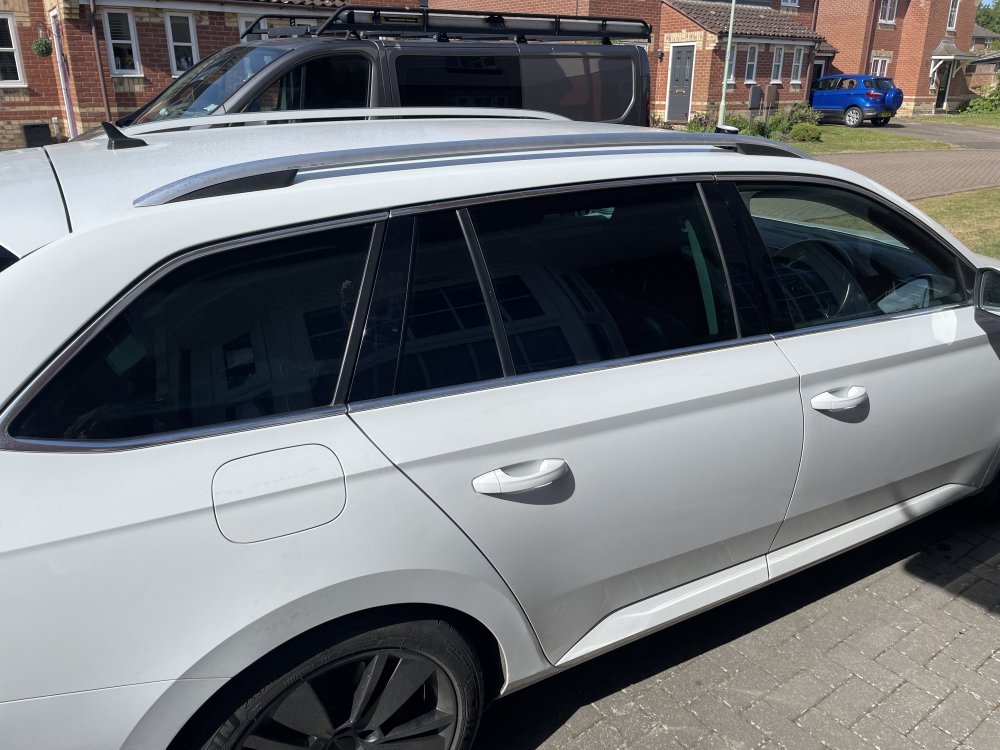
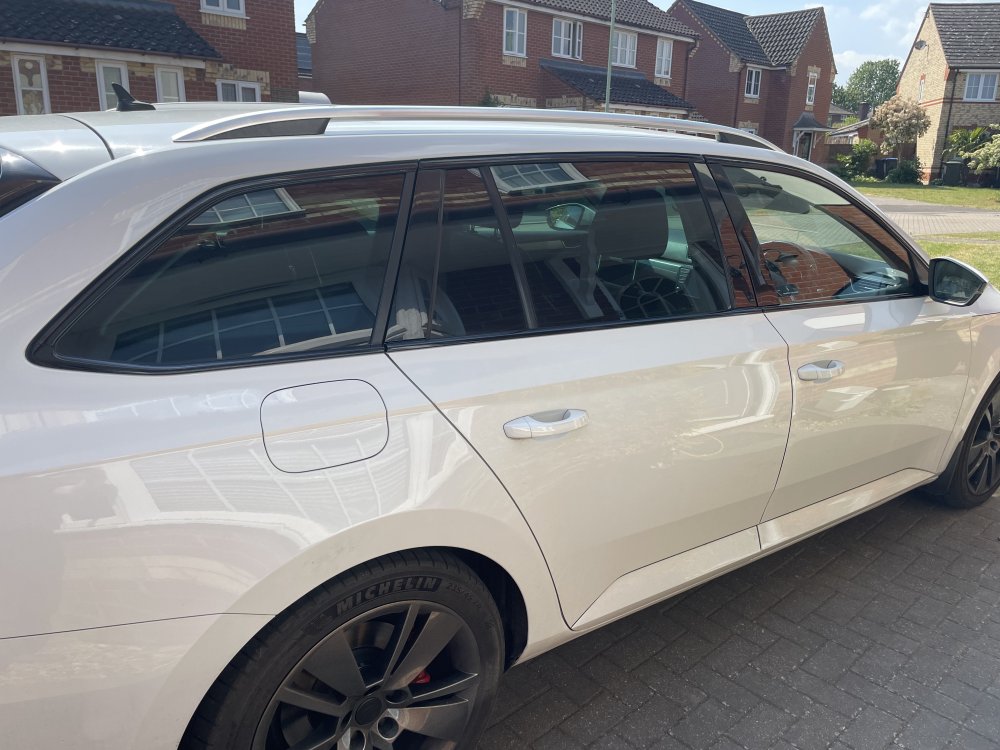
Some sunshine and a bit of downtime meant I could continue with the chrome delete project. I decided to start wrapping the chrome around the windows. Not too bad of a job and I’m really pleased with the result. Slow and steady is the secret. And gentle applications of heat in key spots. Drivers side all done. But I’m now out of scalpel blades so have ordered some up and will hopefully finish the other side tomorrow.
-
Some sunshine and a bit of downtime meant I could continue with the chrome delete project. I decided to start wrapping the chrome around the windows. Not too bad of a job and I’m really pleased with the result. Slow and steady is the secret. And gentle applications of heat in key spots. Drivers side all done. But I’m now out of scalpel blades so have ordered some up and will hopefully finish the other side tomorrow. I followed this guide which is good for the basics.
-
I find Spotify does this on my 2016 MIB2 using wireless CarPlay dongle from time to time. Only thing I have found is press pause before it disconnects. Not sure if it’s an iPhone issue or MIB issue but it seems to be intermittent as to when it does it.
-
Decent obd reader should give you the part number causing the fault code or at least point to it by name that you can then interpret.
-
Yes I did wonder that as it’s quite different to the ones on my wife’s MY21 kodiaq. They do have the part number and “made in Germany “ on the back not that that counts for much!
-
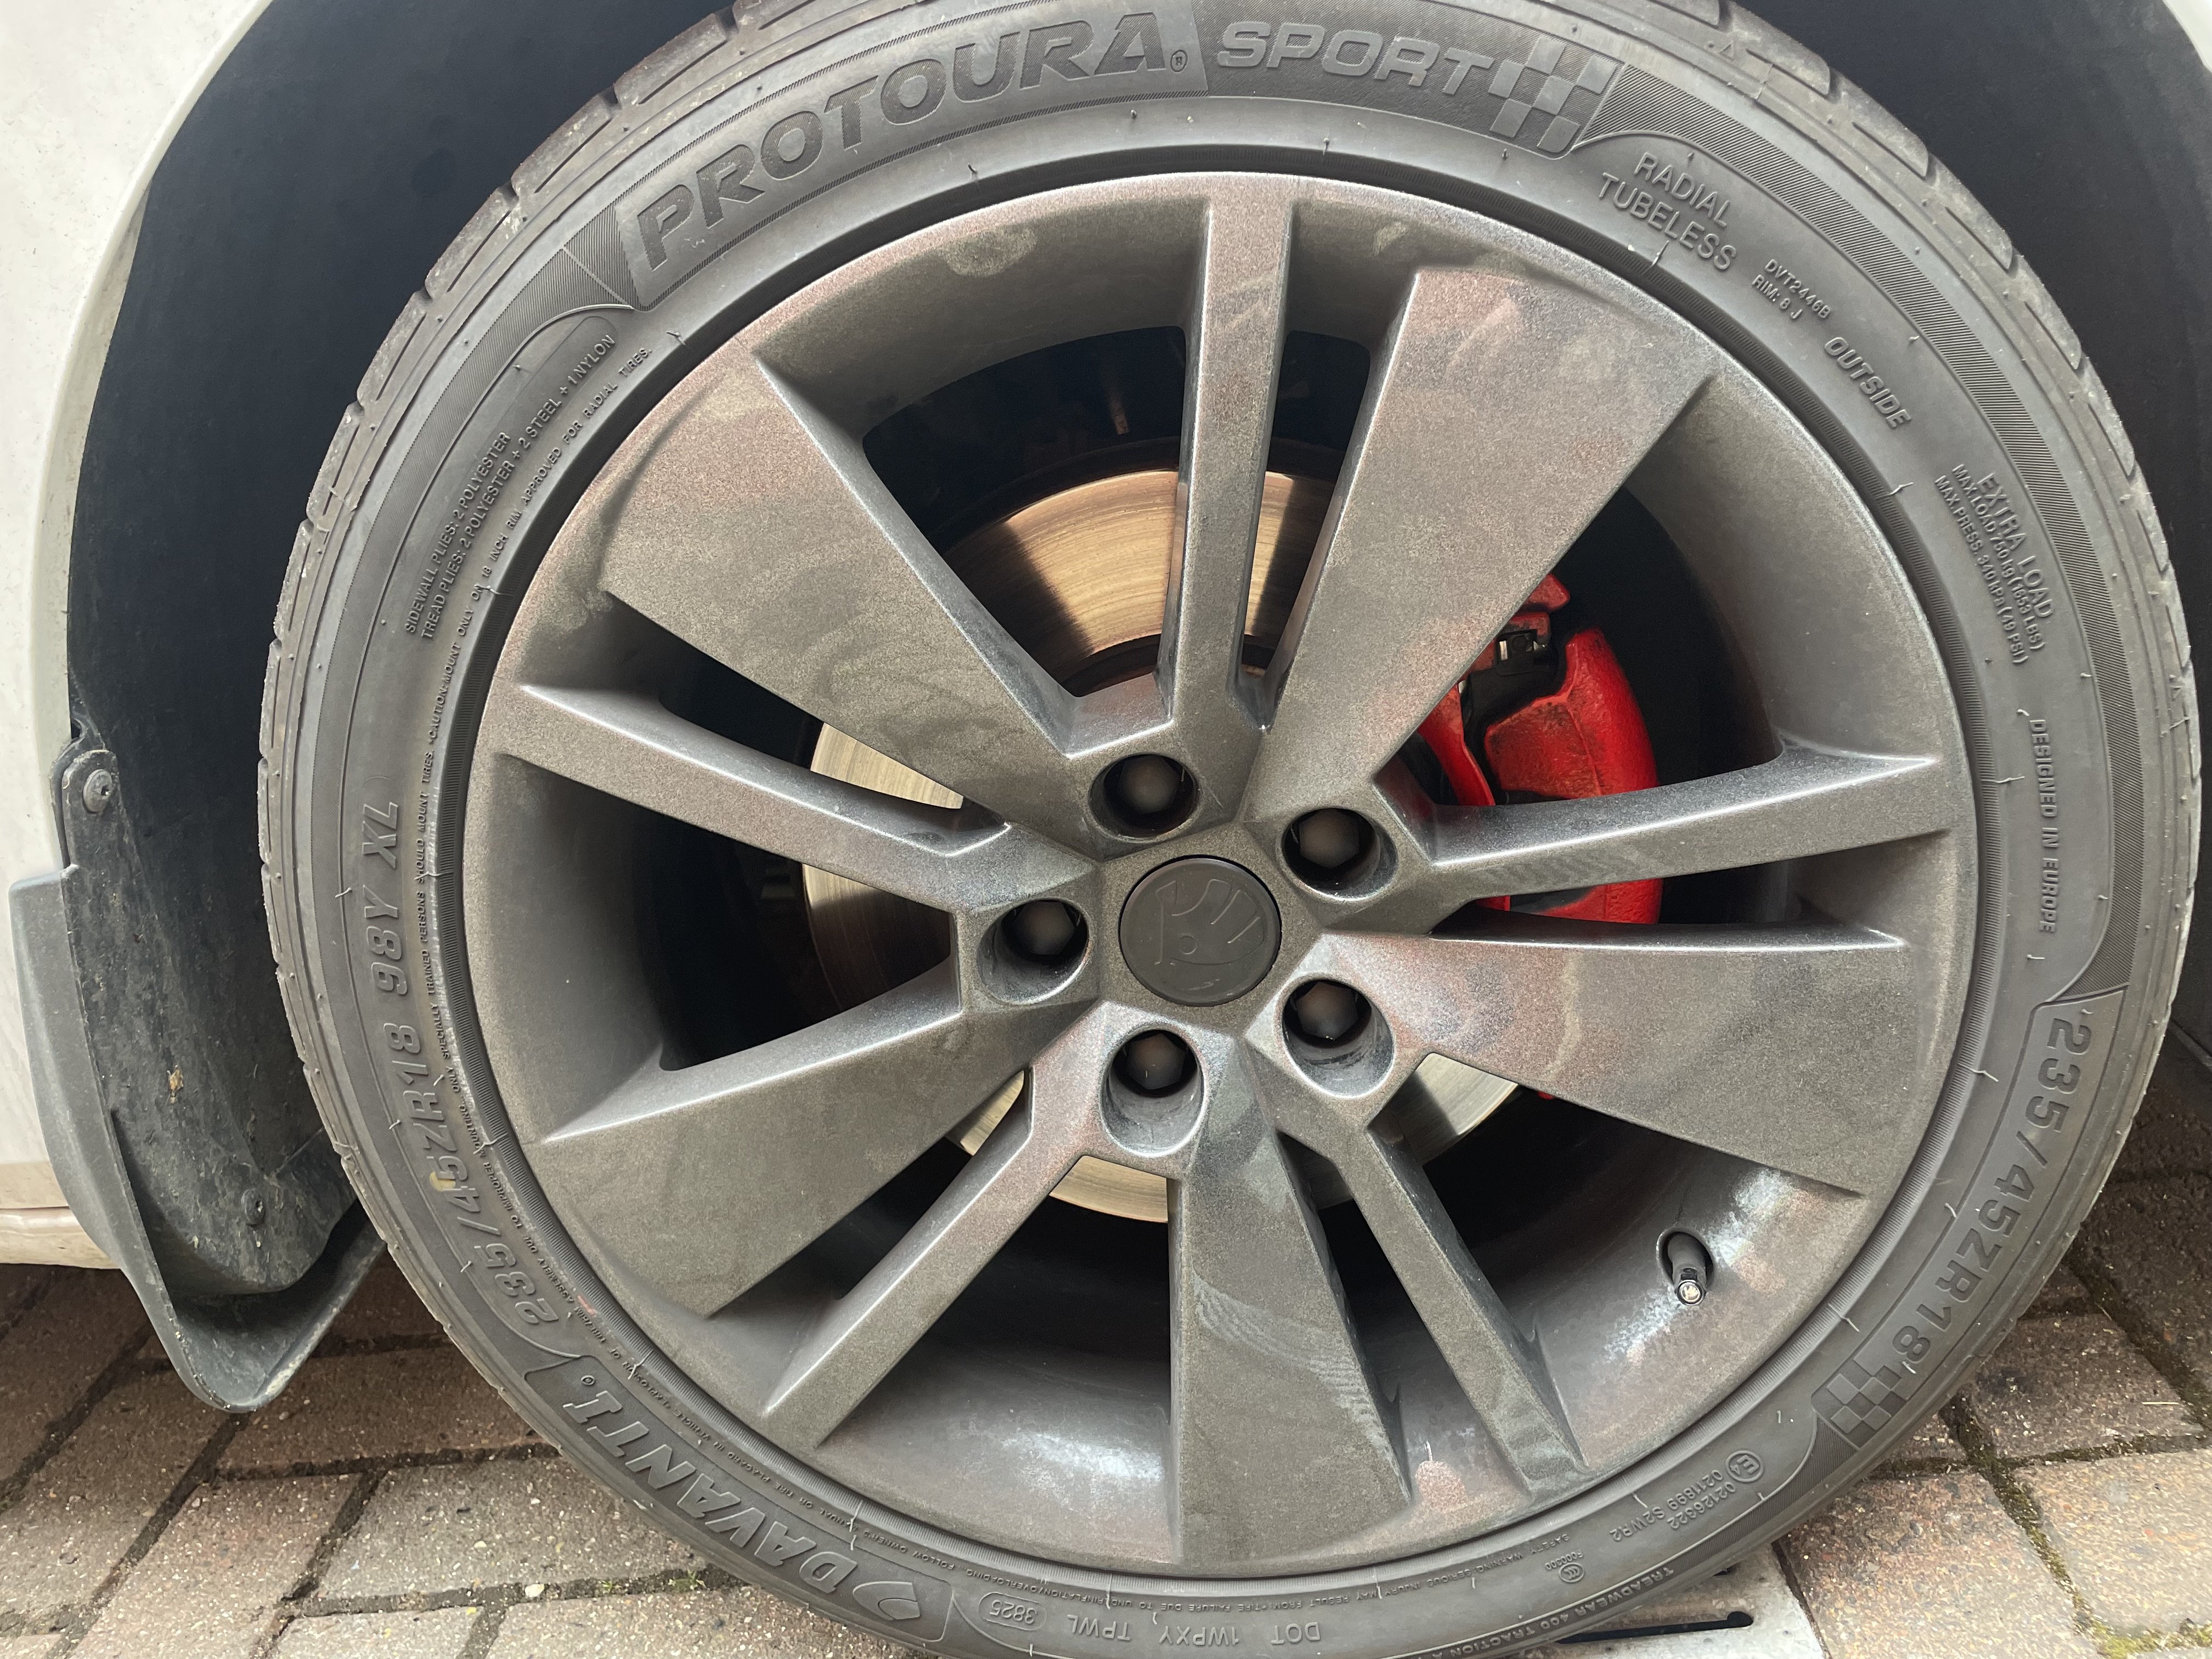
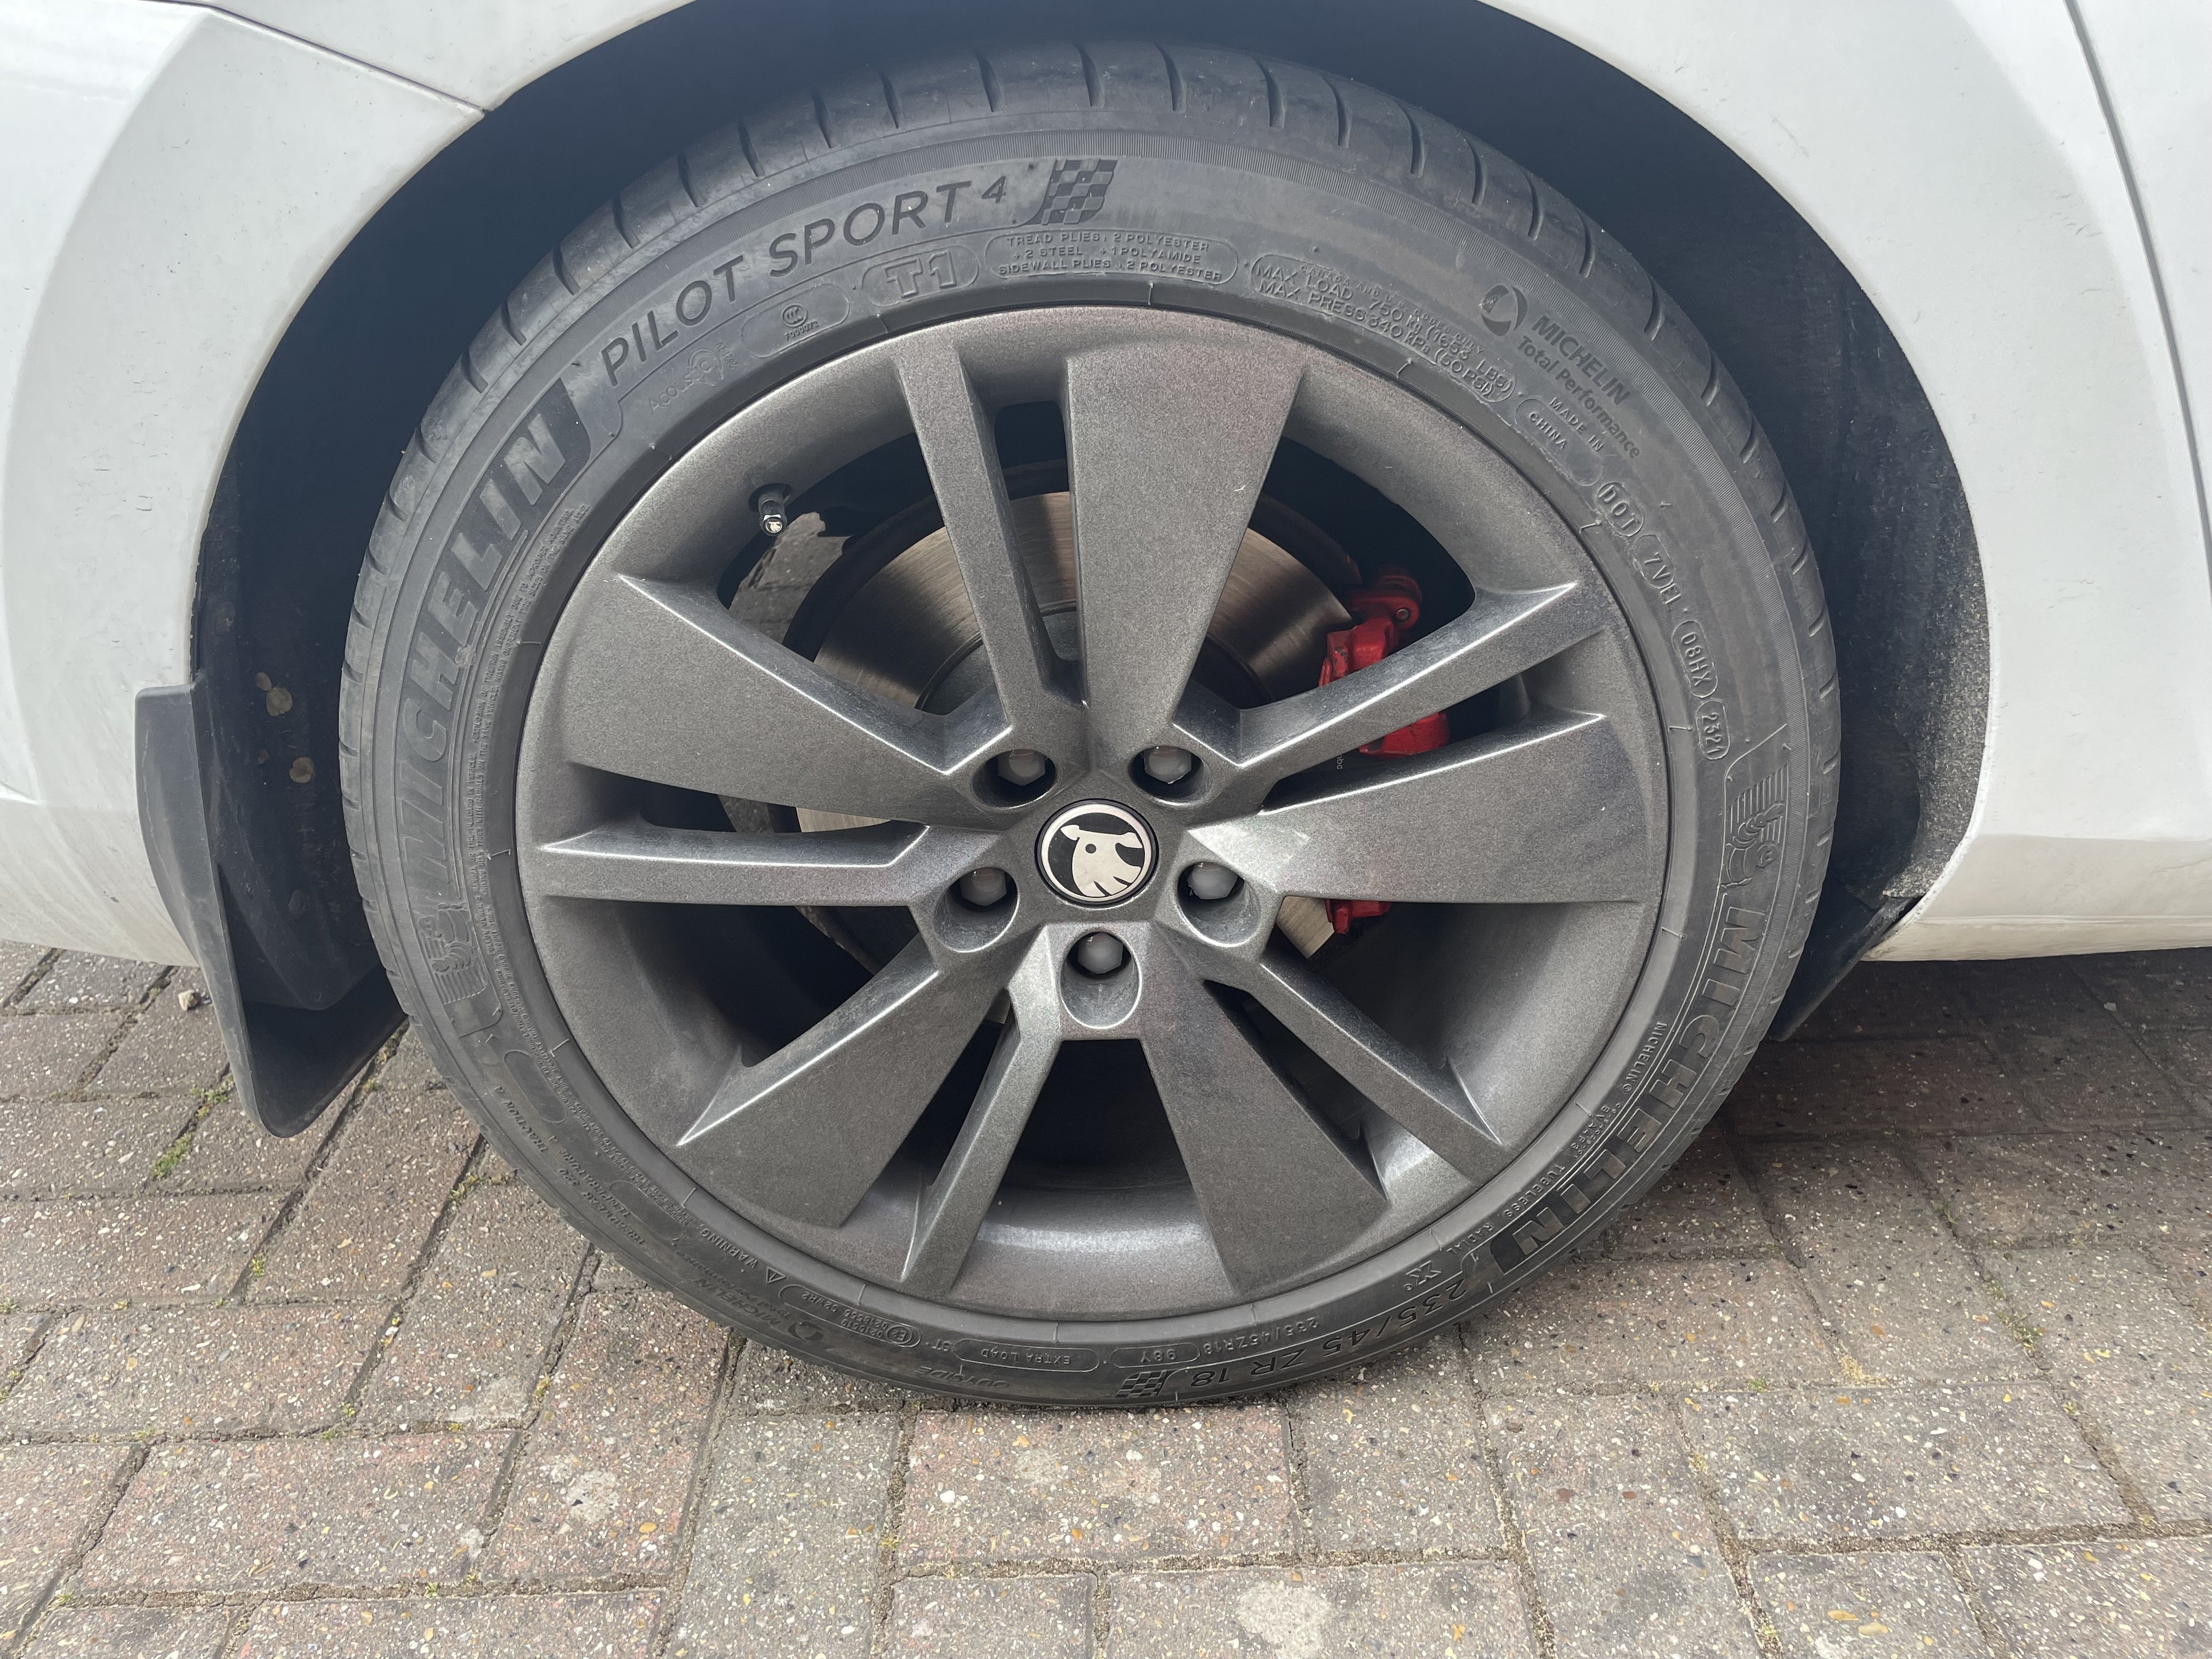
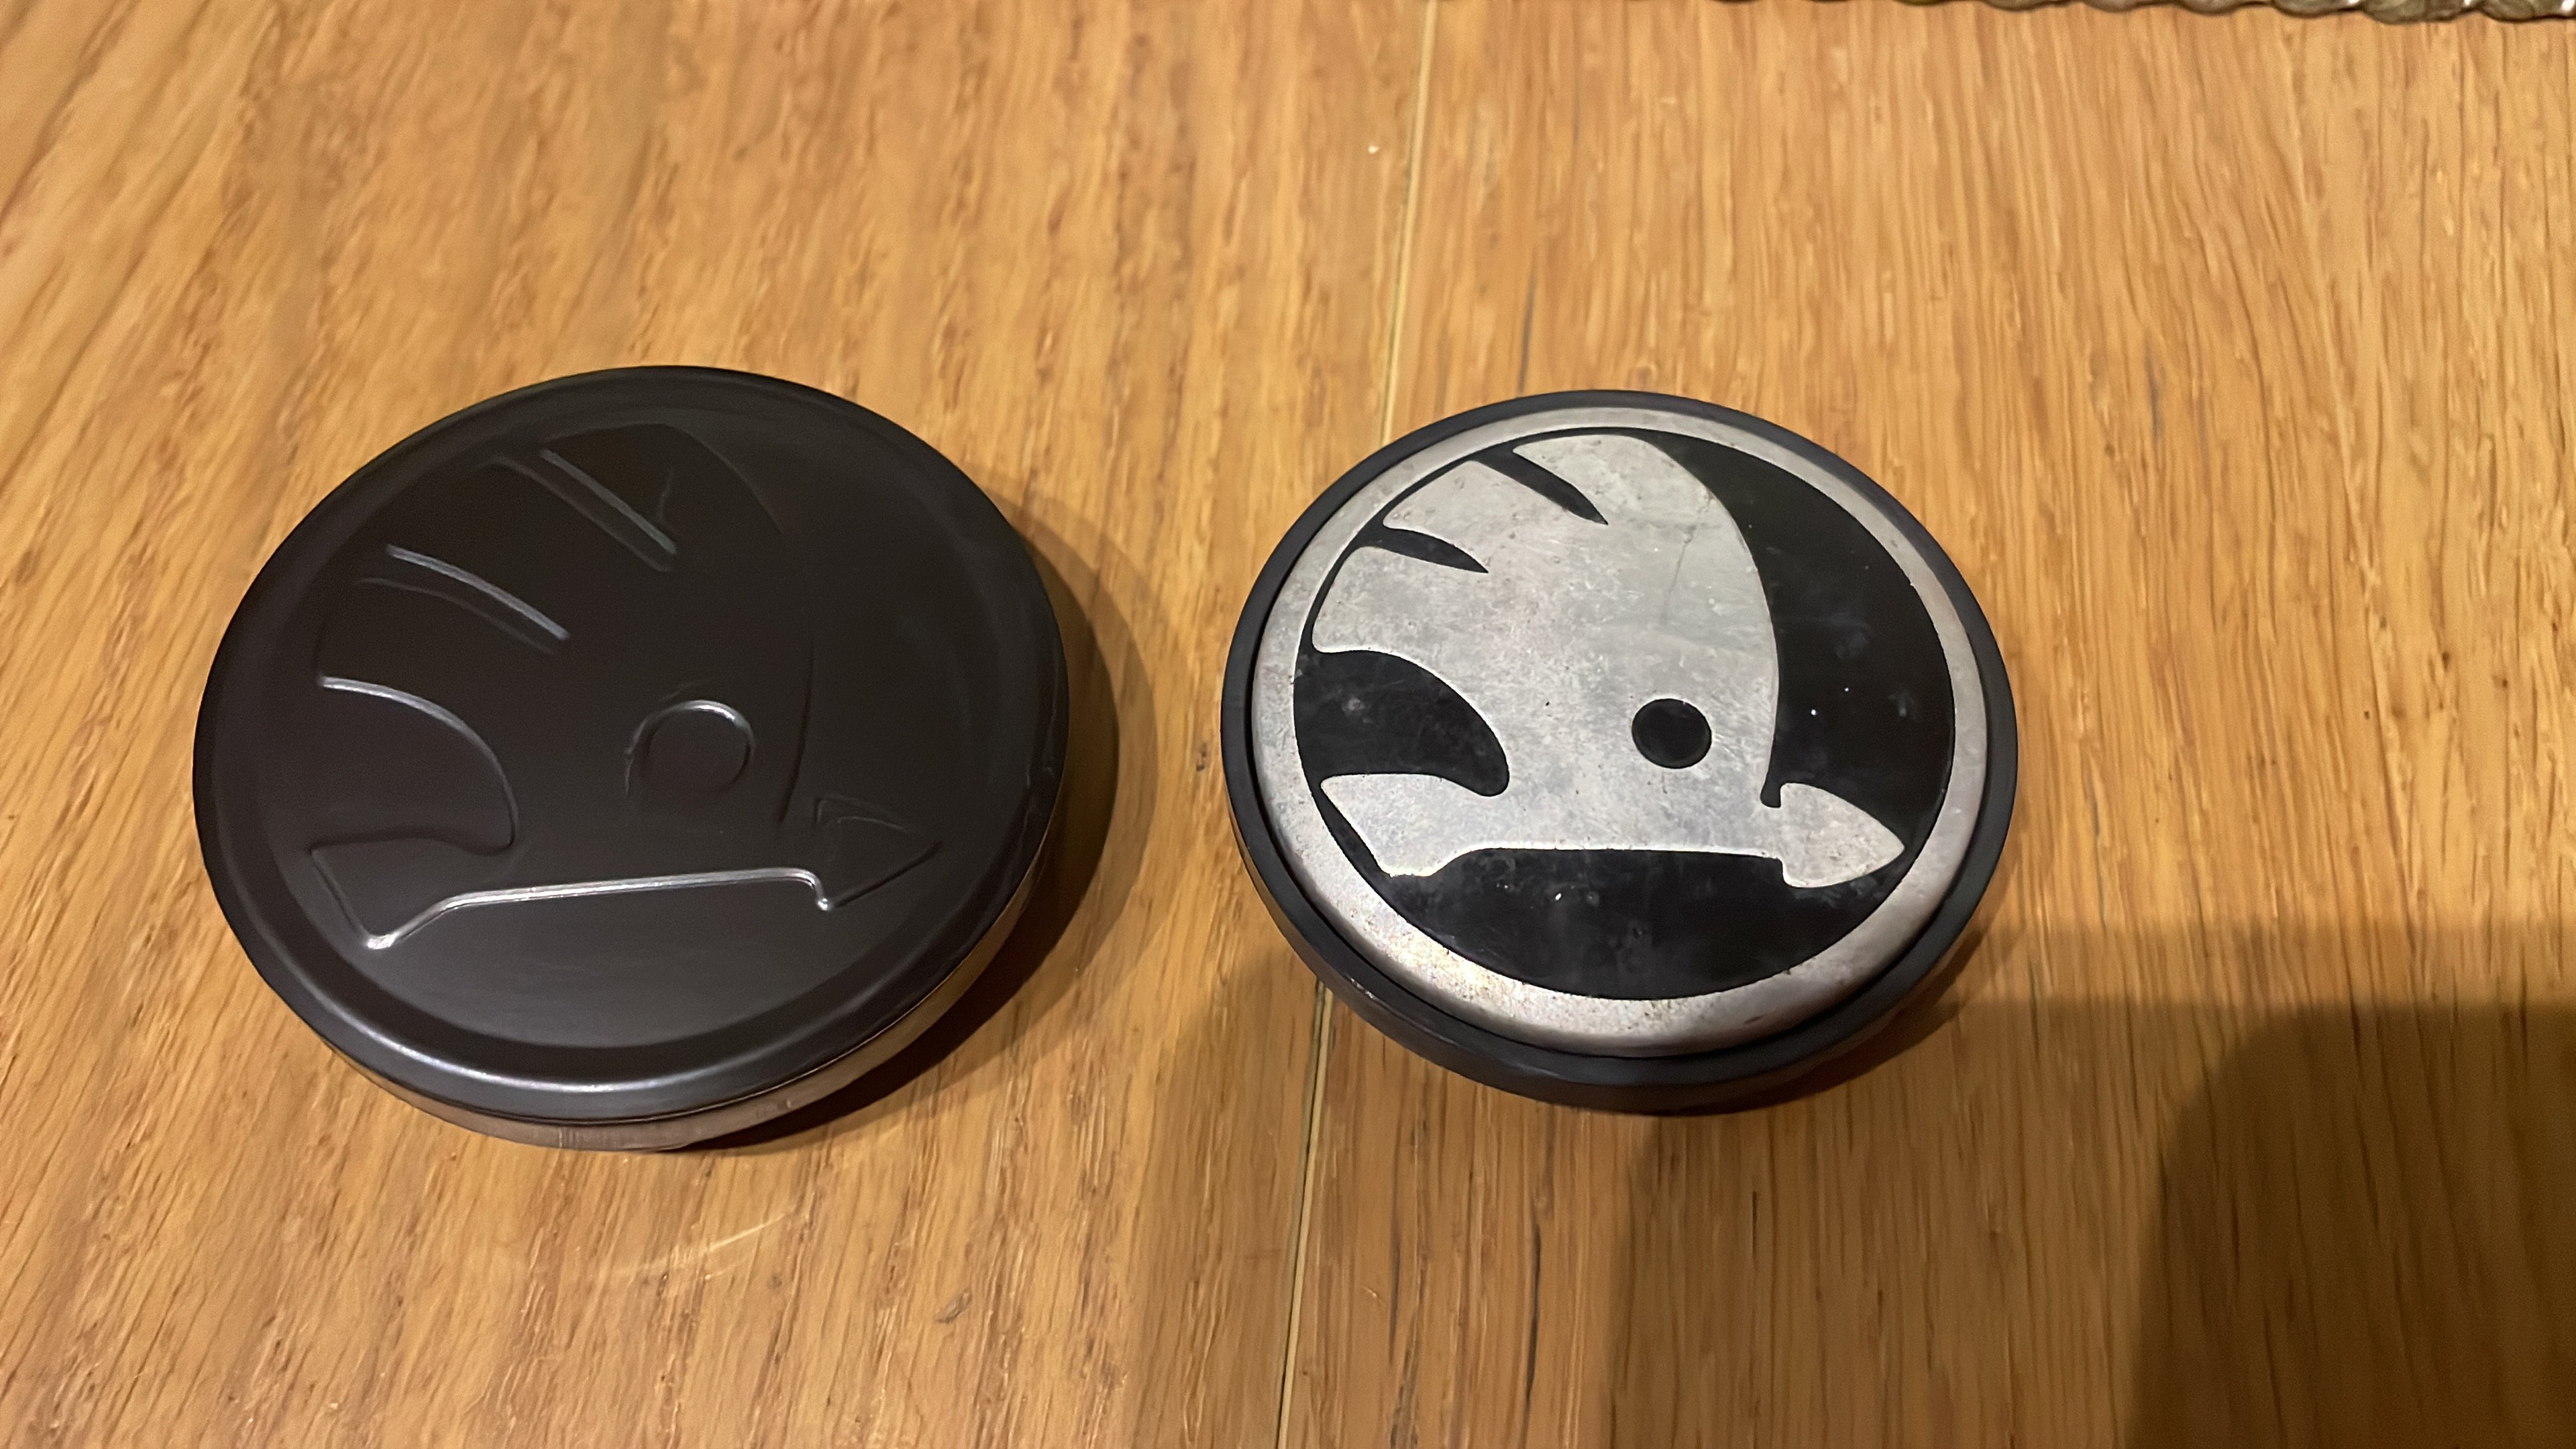
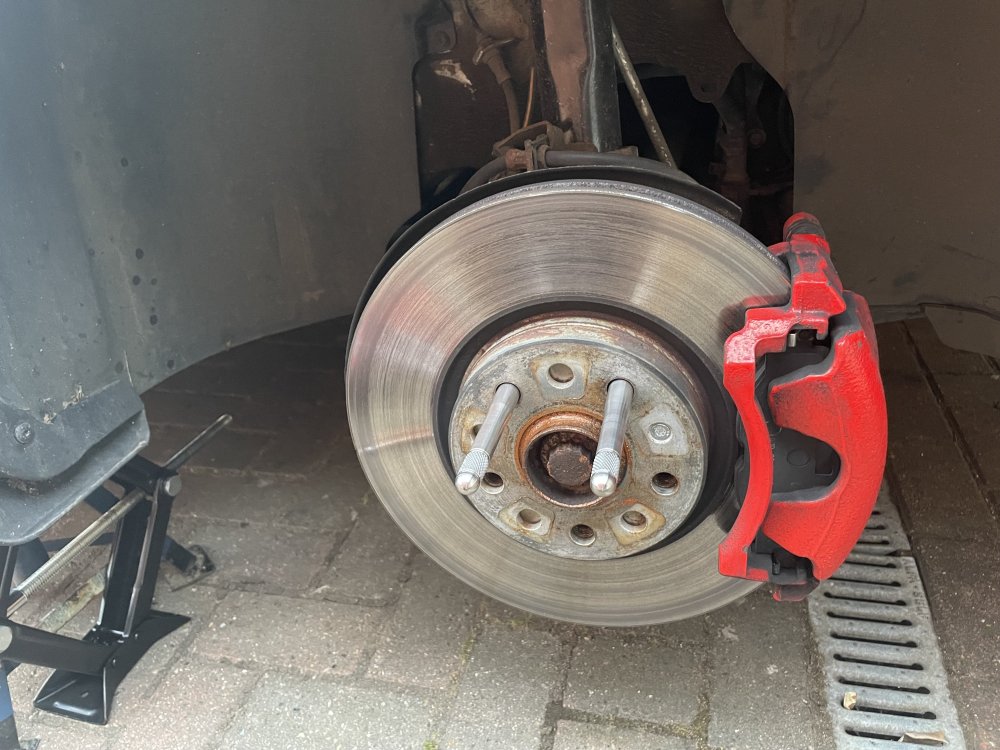
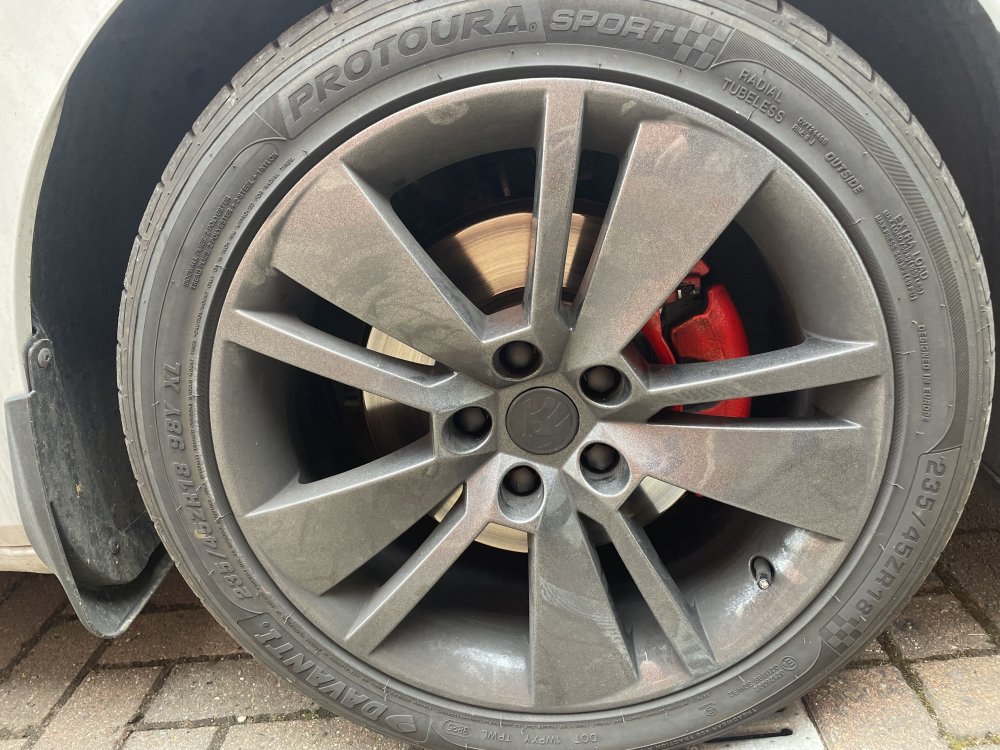
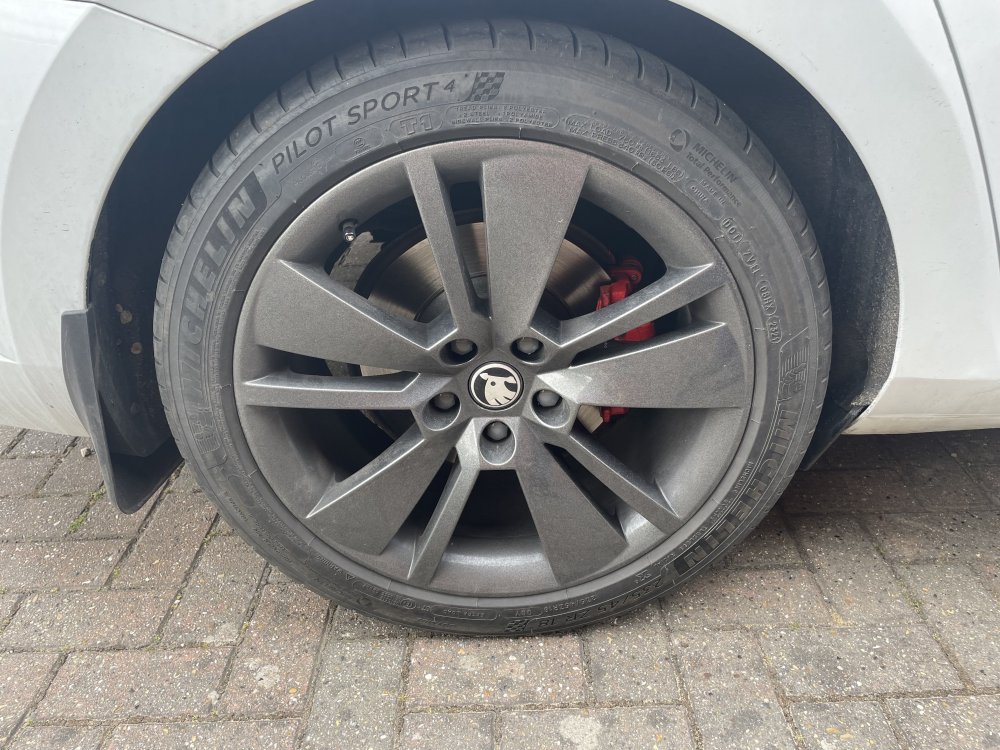
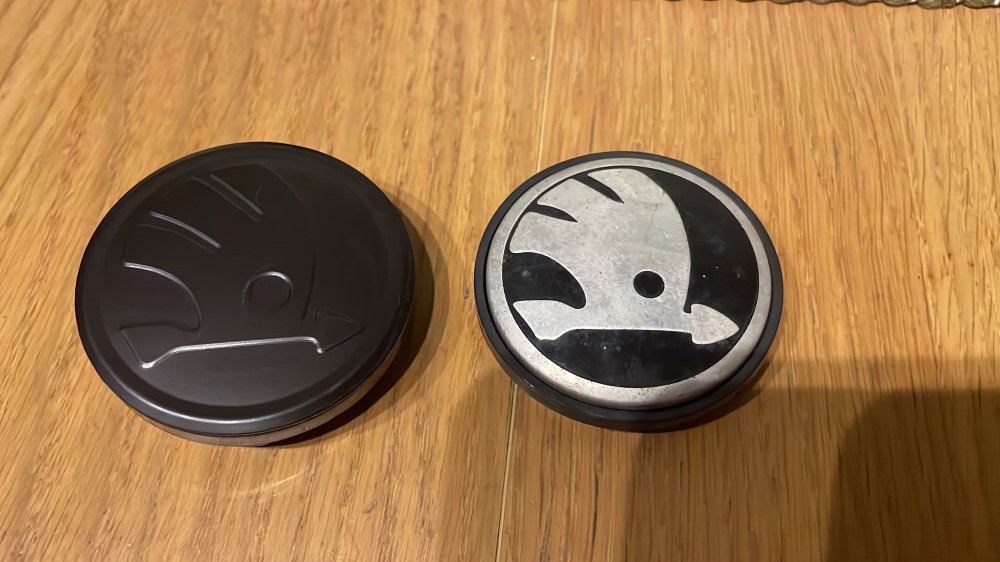
Fitted new black ŠKODA centre caps today. Didn’t look right with the slightly pale grey but caps so got some Matt black nut caps to match. The centre caps are slightly larger and stand slightly proud compared to OEM but I like the cleaner non-chrome (and non corroded!) look. Black Skoda Logo Centre Cap Stickers https://www.aliexpress.com/item/1005009034228022.html Black Blank Centre Caps https://www.amazon.co.uk/dp/B0D73BN87K Matte Black Nut Caps https://www.amazon.co.uk/dp/B094FCNTT2 Also bought some positioning pins to make installing the wheels that bit easier. https://www.aliexpress.com/item/1005006157081259.html
-
Fitted new black ŠKODA centre caps today. Didn’t look right with the slightly pale grey but caps so got some Matt black nut caps to match. The centre caps are slightly larger and stand slightly proud compared to OEM but I like the cleaner non-chrome (and non corroded!) look. Links will be on my project page.
-
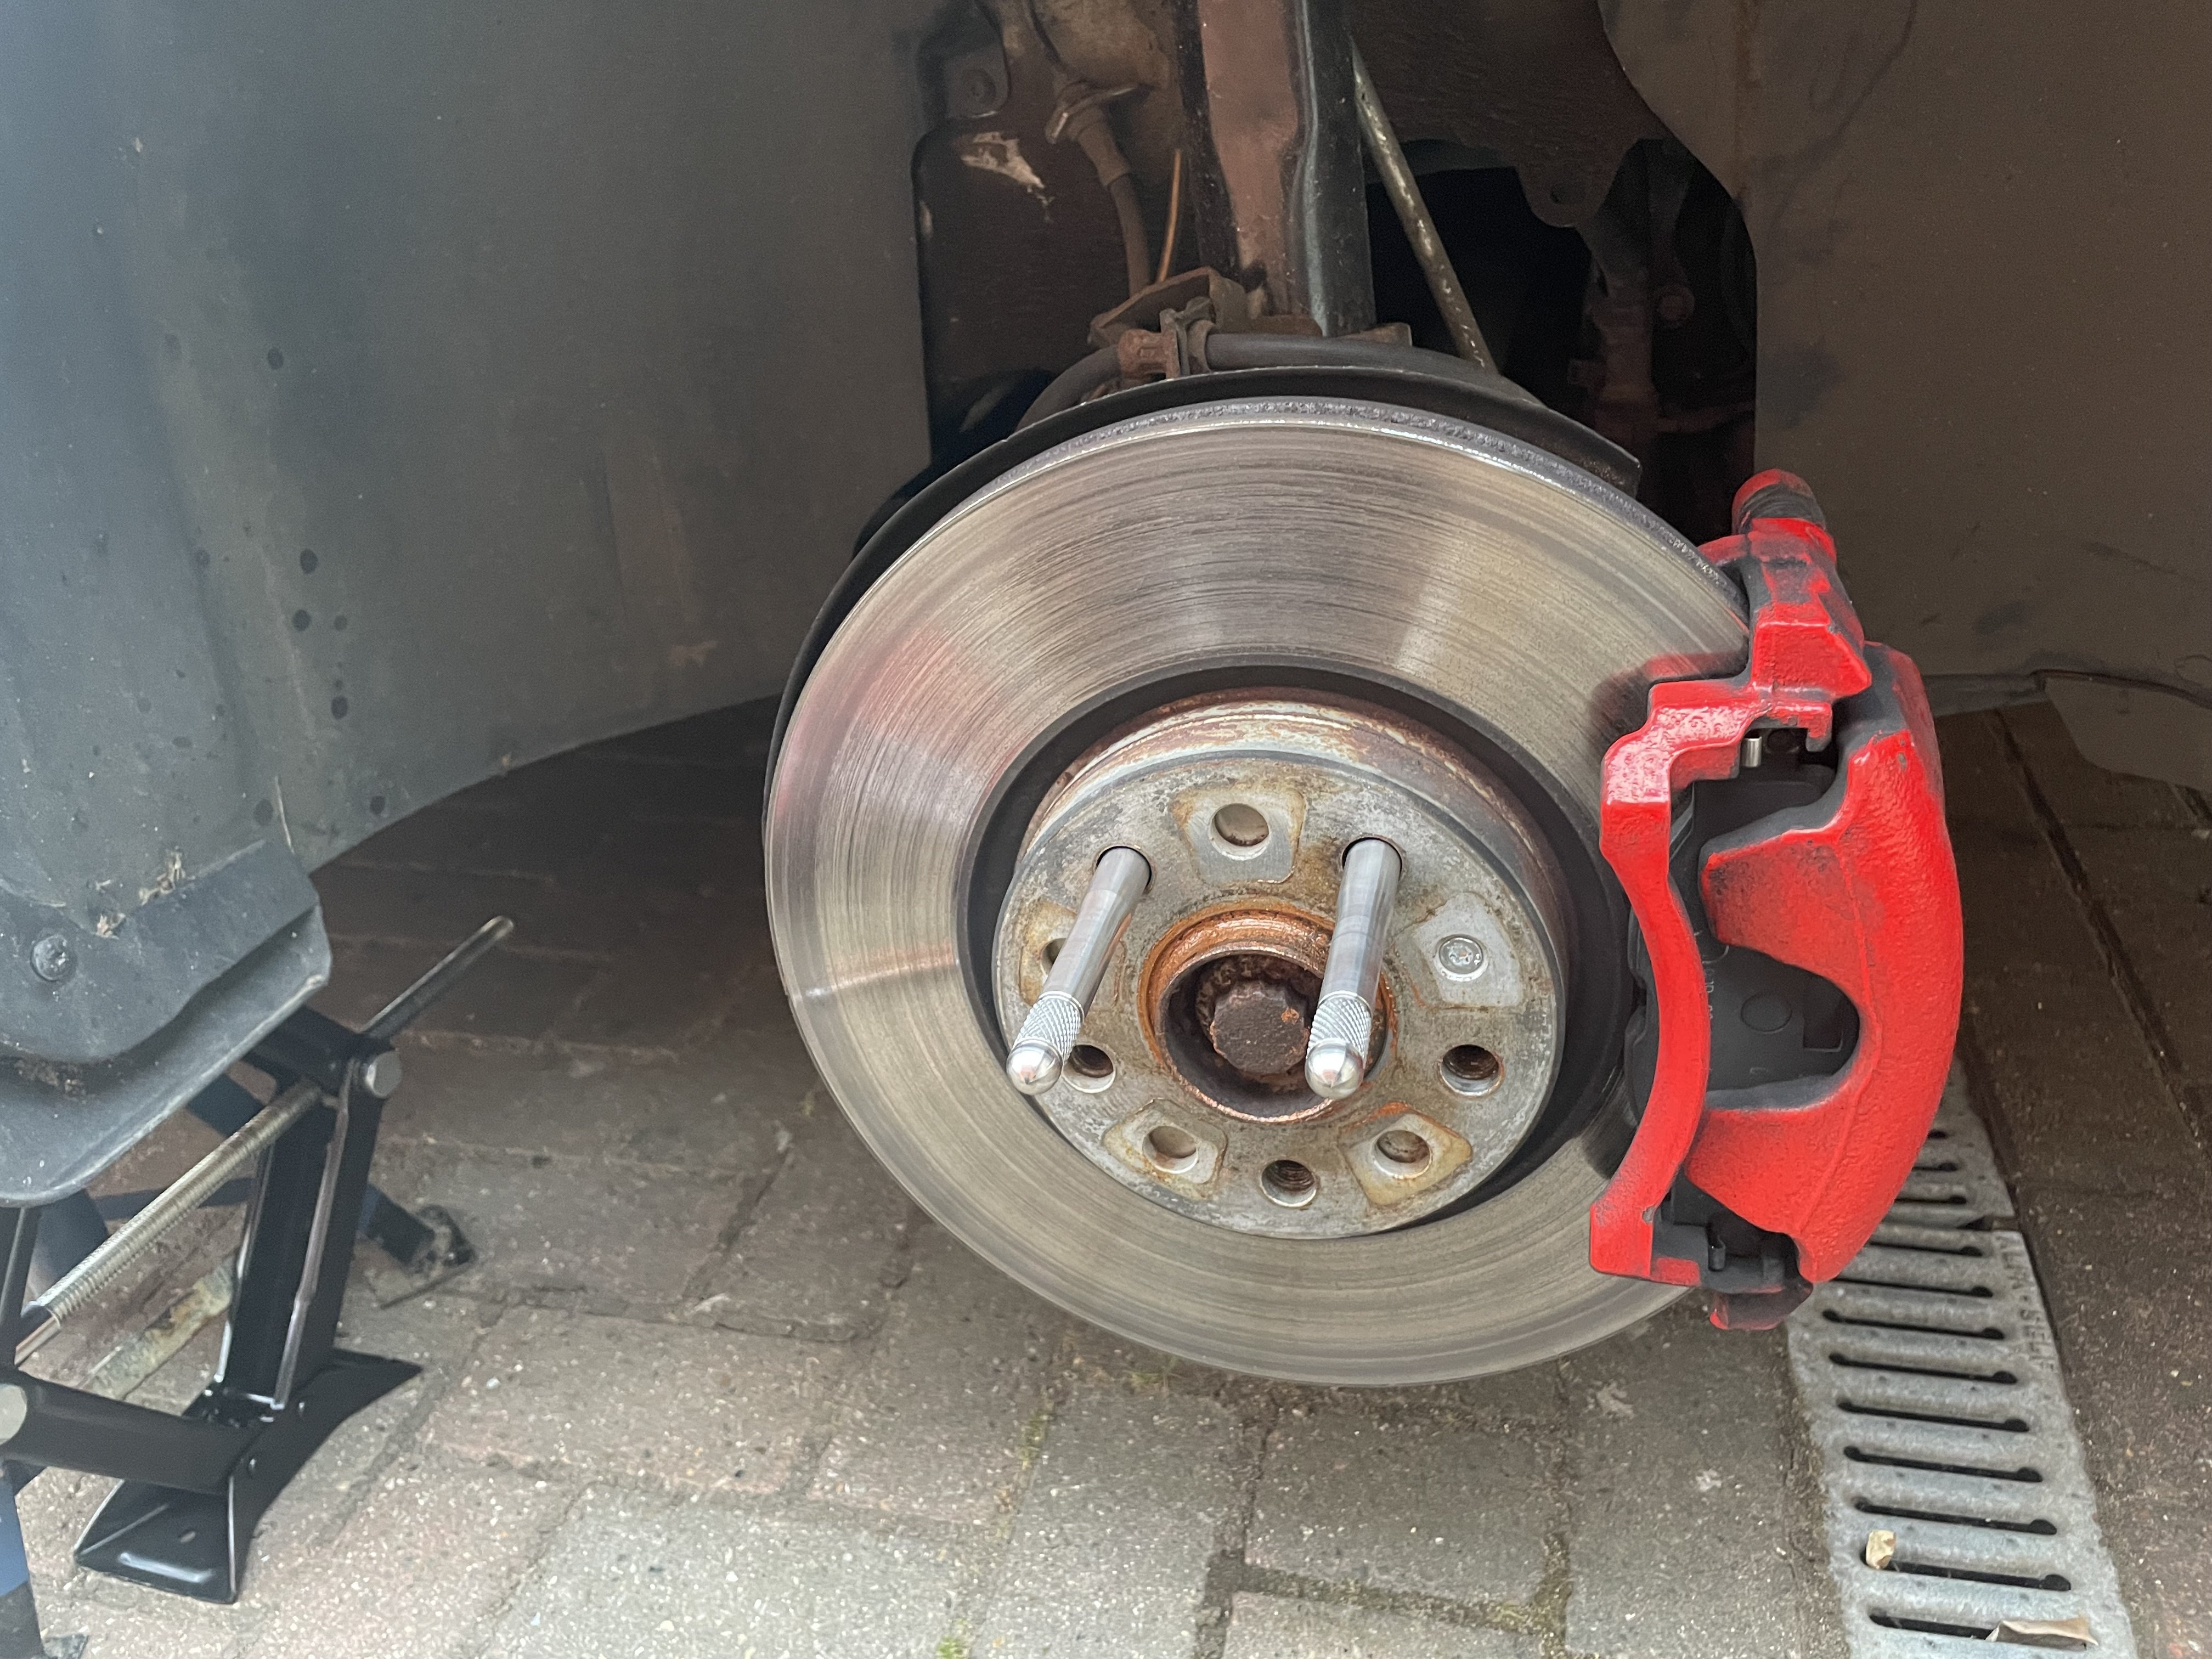
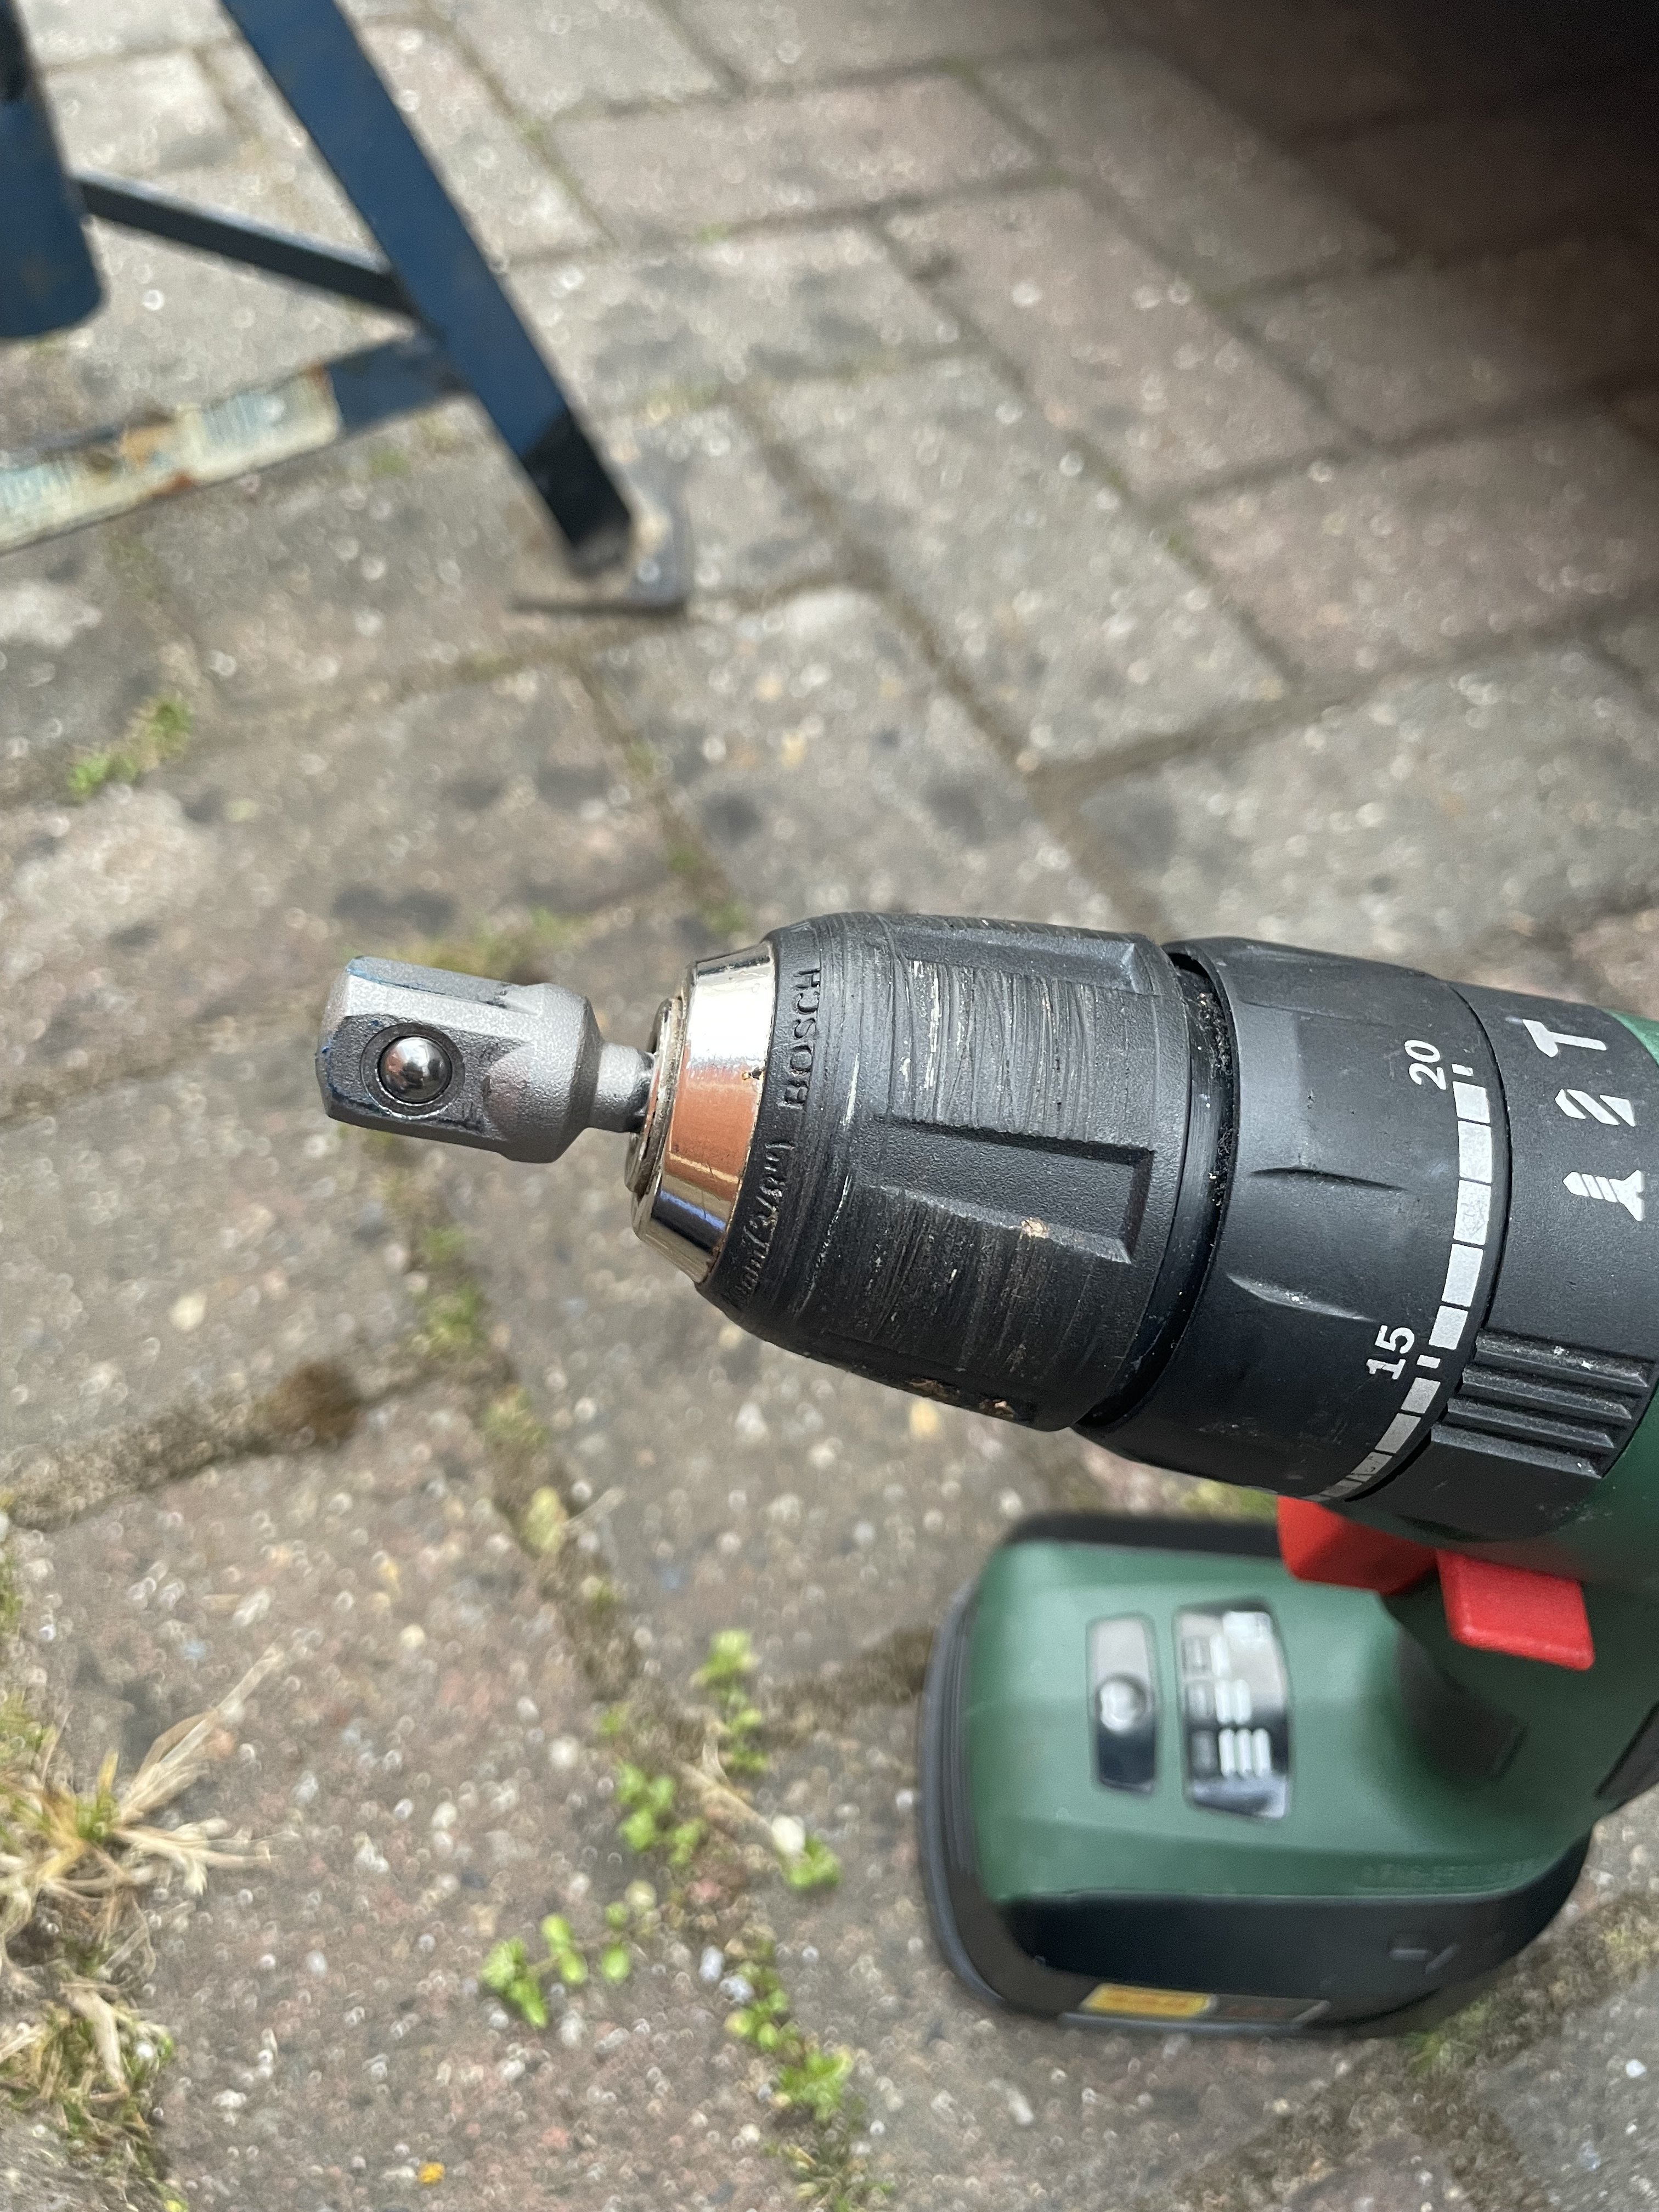
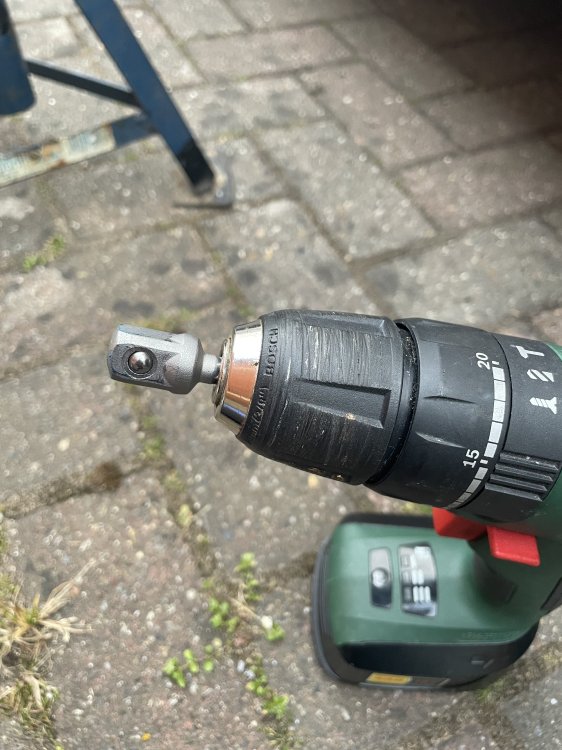
Took a wheel off to test fit the new black centre caps. Non OEM so expected they would need some fettling. Nothing a few rounds of insulation tape on the back side won’t fix. First time using positioning pins for installing the wheels. What a game changer! I also ordered a 1/2” drive adaptor for my drill as I don’t own an impact. That’s a revelation too. Very useful for running nuts in once started by hand, and out and also operating scissor jack. Effortless to lift the car
-
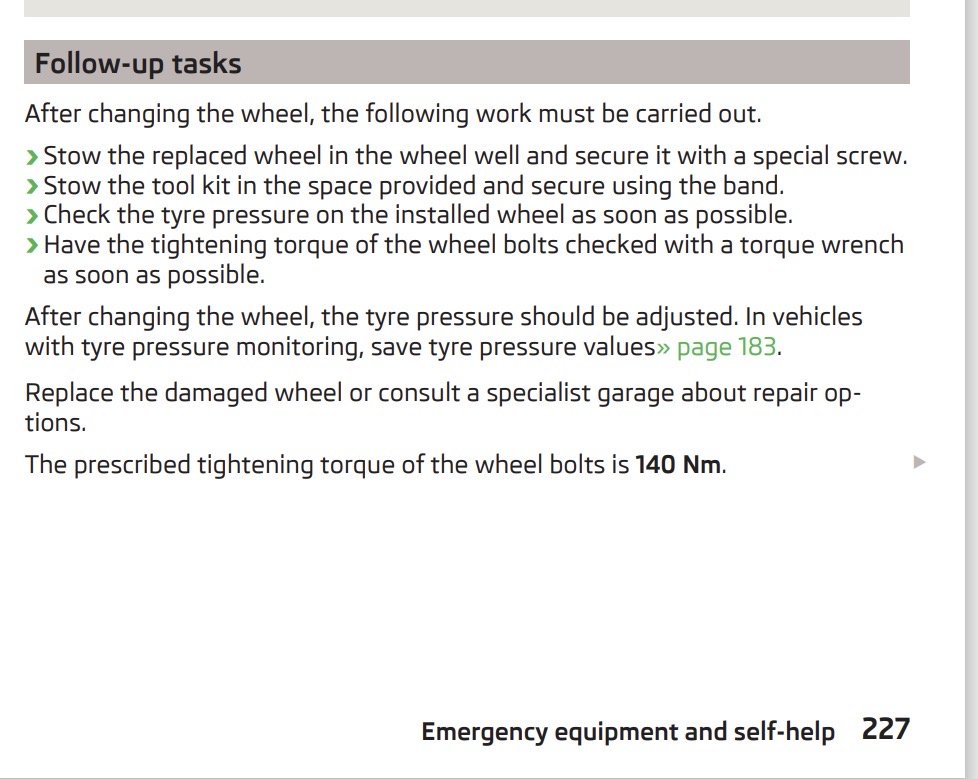
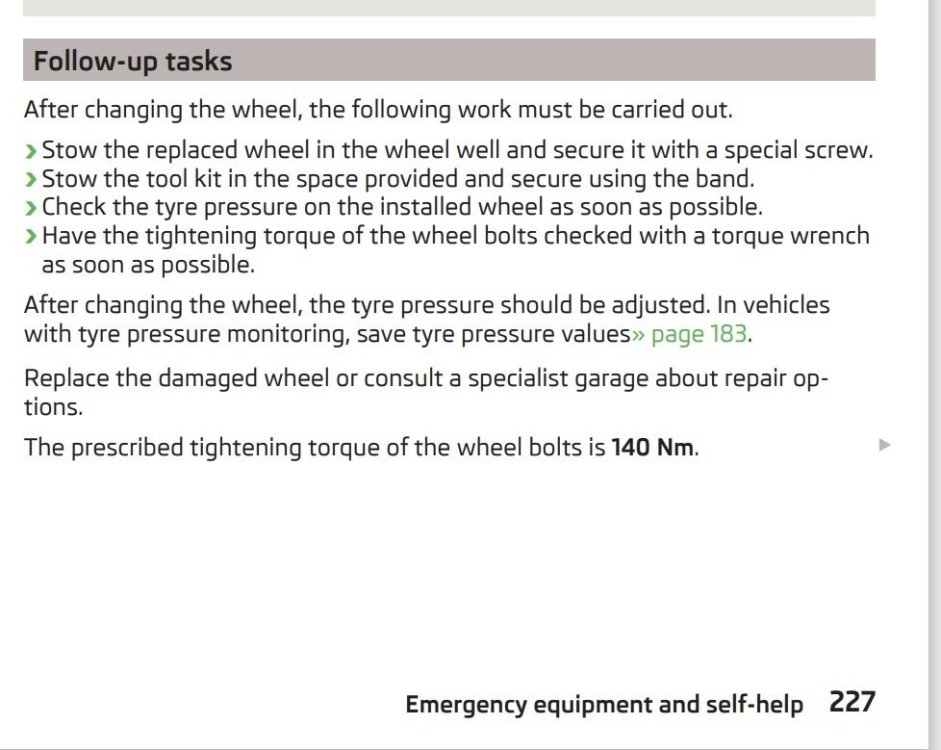
User manual states 140NM. Doesn’t differentiate wheel type or size.
-
I use 140NM for my 18s. Didn’t realise it should be 120. I shall have to check manual. I’ve now got 2 retaining pins and looking forward to changing the wheel at some point to try them out!
-
Ah ok. Guess you have the canton system. I was hoping it was an add on sub to the standard system!
-
Where did the sub mount and how was it connected to the stereo? Filled mine up today. £99 plus a few pence at 189.9p per litre. Painful.
-
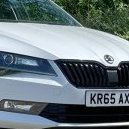
Superb 100% SE L Exec or L&K. Personally I prefer pre facelift as you avoid the intrusive ADAS. Blame @Kosin for influencing me! I’ve now ordered another set of badges and some moon white touch up paint to try to properly colour code the badges.
-
Have a look at the front and rear sub frames as they take the brunt of road salt. Also if possible drop out the inner arch liners at the front as you tend to get muck collect on the rear edge under the guard and corrode the front edge of the sill. Those errors are likely due to low voltage sitting at the dealer. I would ask for a new battery to be fitted. Probably overkill but might save you £200 further down the line.