JR RS
FREEDOMLite
-
Joined
-
Last visited
Everything posted by JR RS
-
Yes, same here - the interior LED stripes r not visible during the day time. They weren't designed to b visible in daylight.
-
That behavior is not correct - it shouldn't re-enable itself unless u've restarted the car, or u've changed the Driving Profile during ur drive.
-
Be careful with the Apps as they can do "other" things behind the scenes which can cause unwanted side effects, and make it difficult to fully undo/reverse any changes made by the Apps. With long-coding, u know exactly wat is done, step by step.
-
@Stunner good to hear u were able to get the DCC recalibration done on urs, and its made a difference. with regards to the level sensors - there r only 3 sensors - front left/right and rear left. these r located next to the control arms. there is no rear right, which is why its deflected value doesn't change from 33%. the DCC shocks determine the voltage required (for the valve control) based on these 3x level control sensors. each DCC mode (comfort, normal, sport) has its own mapping algorithm, combined with the input values from the level sensors, to determine the dampening level. with regards to the "theory" behind how/why its done, this is the info i found:- The calibration is done with all four wheels off the ground, so the DCC module stores the fully extended value of the sensors. Once the car is back on the ground the DCC module stores a "center" value. This part doesn't require using any of the various coding tools so possibly the module learns this value over a few power cycles or maybe just the first time that it's back on the ground. From that point it's able to do its thing based on the position of the level sensors, the accelerometers and your selected mode. With recalibration done, the DCC module will interpret your lower ride height (from installing springs) as suspension compression, albeit mild, and slightly stiffen all four corners, at all times. Depending on the drop this might not be significant. DCC will only allow you to run calibration (basic settings) with the suspension fully extended. It will only run if the level sensors are in the proper range. They should be when the suspension is extended. You can check each sensor (front left/right and left rear) in measuring blocks for a value that says calibration available (or something like that). It will say possible or not possible. All three need to say possible or else the basic settings won't run. Just because all the wheels are off the ground doesn't mean the values are within limits. it is necessary that the raw values are between the limits 1 and the limits 2 in rebound for each wheel except rear right which does not have a level sensor I don't know the actual full range for the sensors but let's call it 0 - 100. The DCC module expects each sensor to be within a certain range (with the wheels hanging) in order to perform the basic settings (calibration). As an example, let's say it expects a value between 20 - 40. If any sensor is not in that range it will not perform the calibration. In this example all of the sensor should read between 20 - 40 when the wheels are hanging. But if a sensor is broken (could be bent, broken, internally failed, wiring issue, improperly mounted, whatever) it may read a value that is out of that range. Having much shorter suspension (say coil overs set to their lowest) could also cause the value to be out of range (shorter strut means lower control arm doesn't hang down as far). So if the arm of the left front sensor on this example car was bent, it may read a value of 45 with the wheels hanging. That is out of the expected range, so calibration will not work.
-
Legend!! Thank u
-
Thanks for that. Do u have a similar thing for the rear brakes - PR Code is 1KU (300mm rotors)?
-
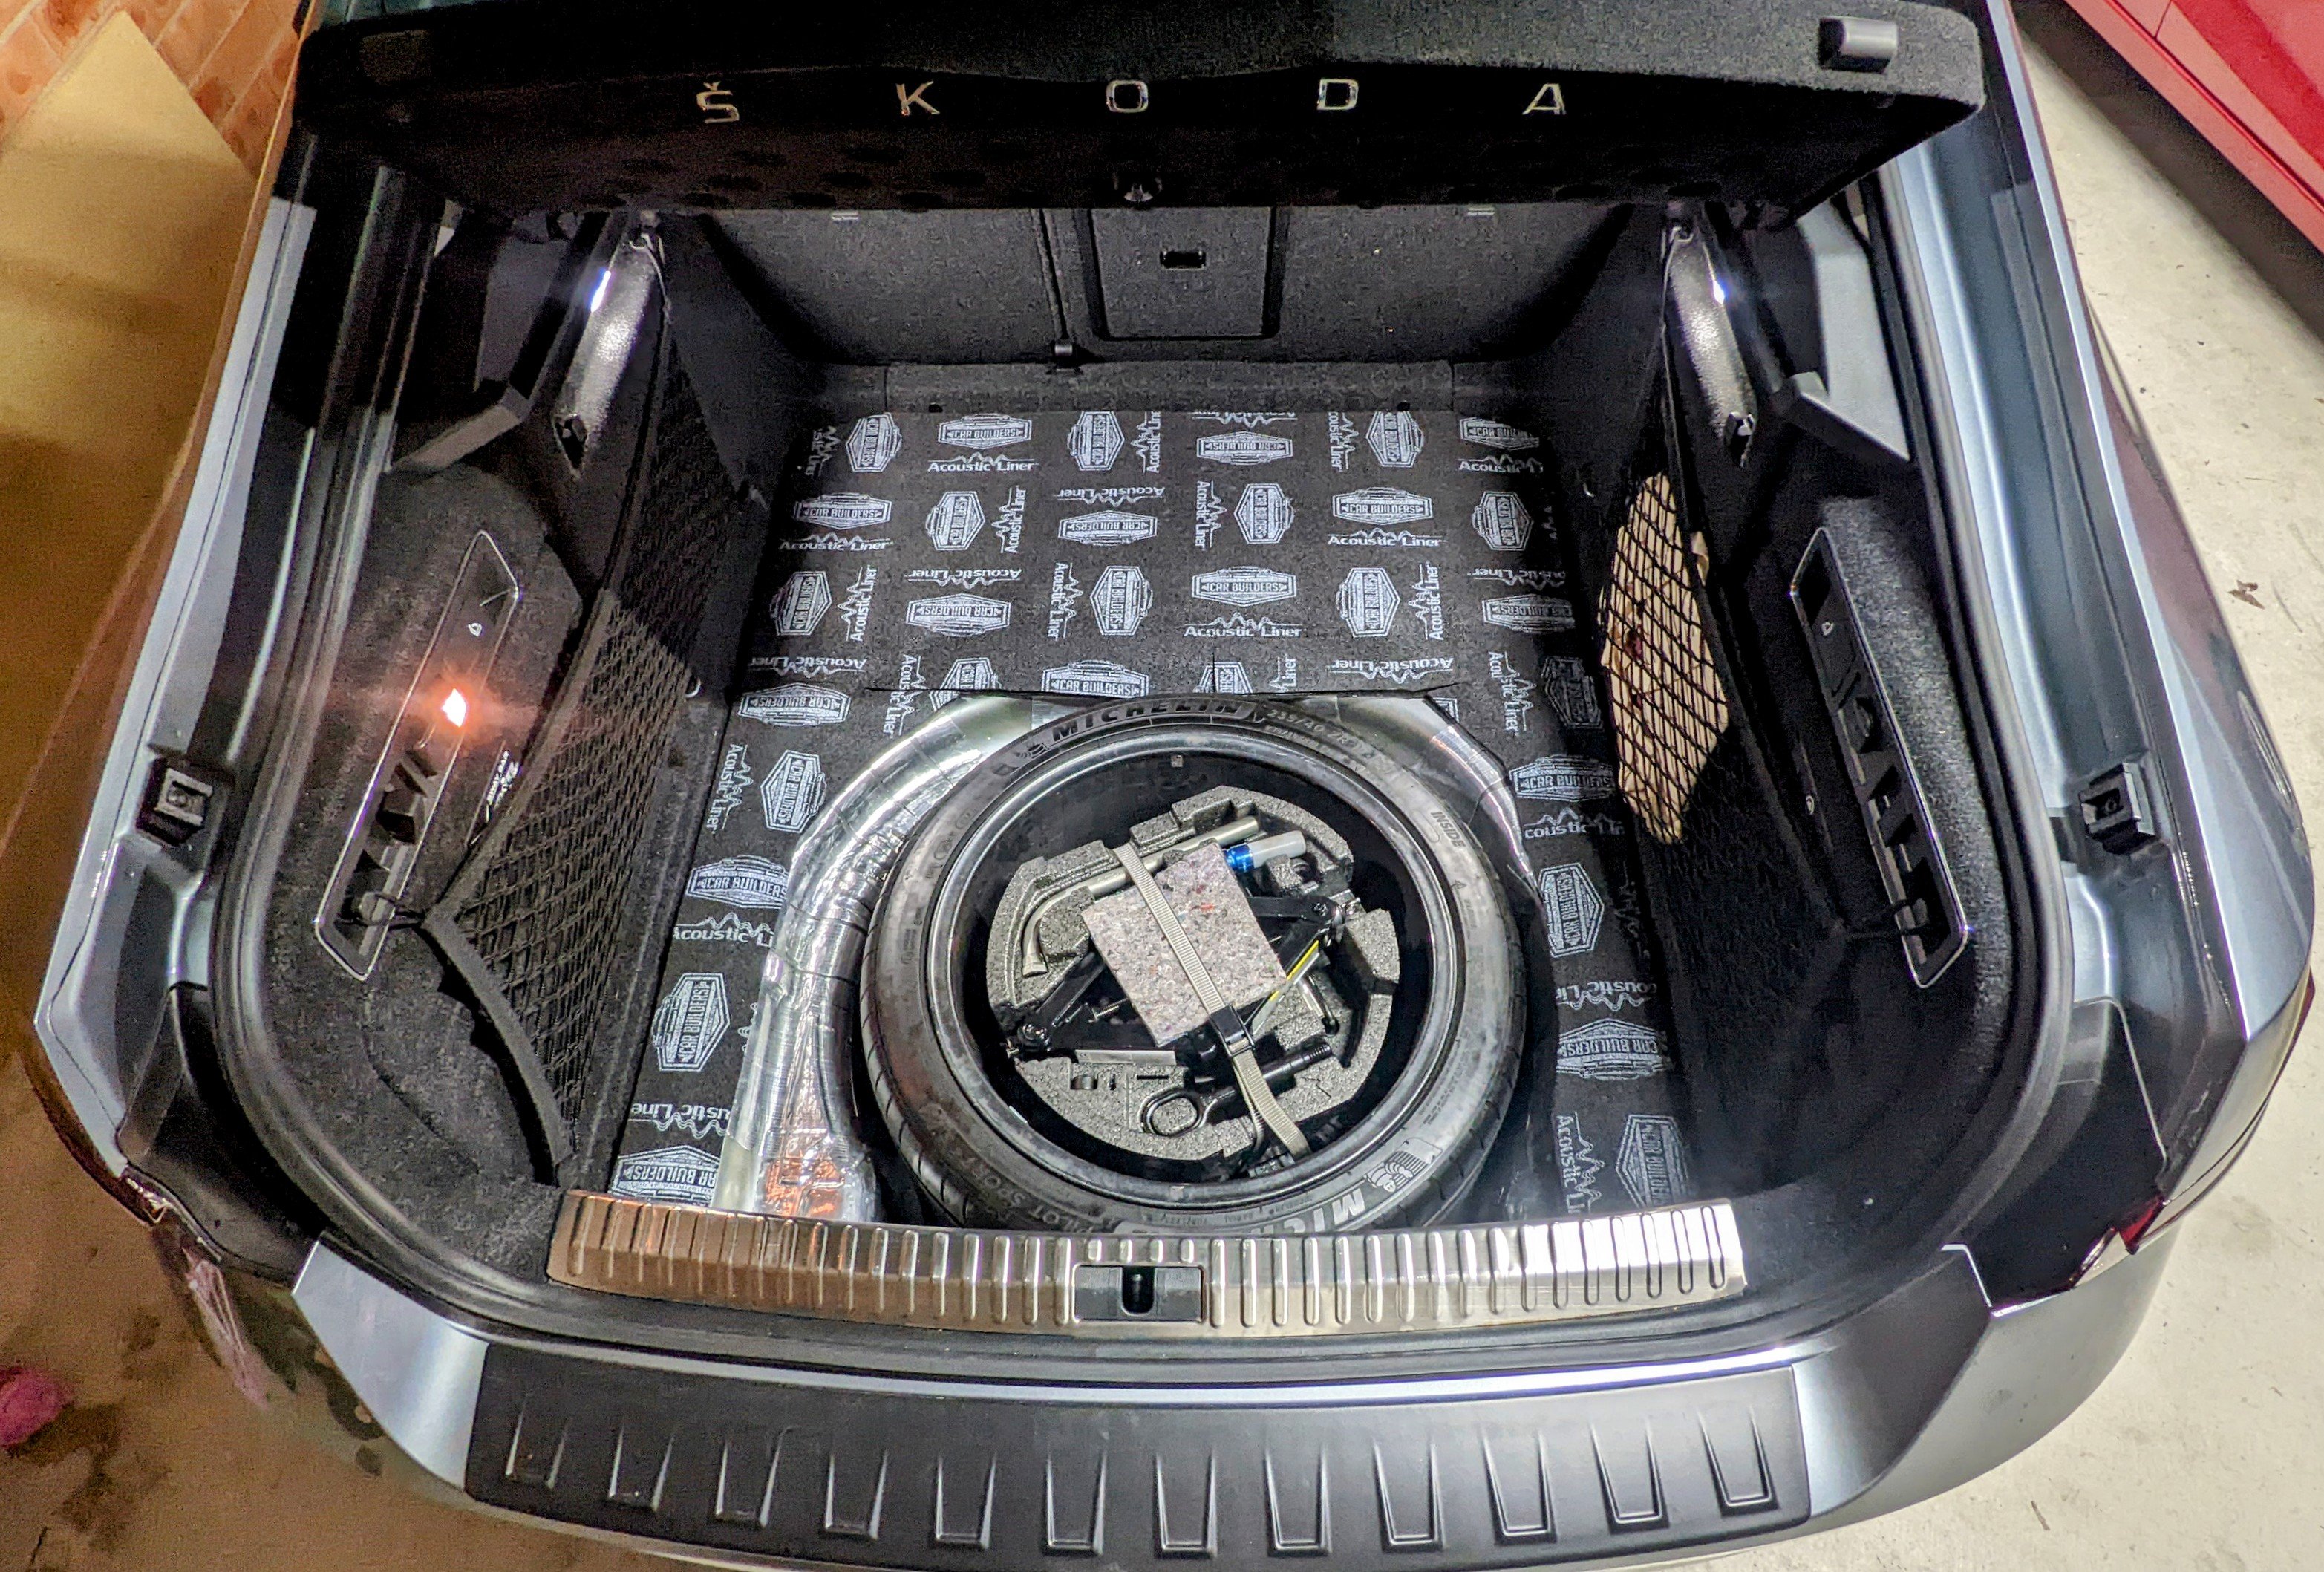
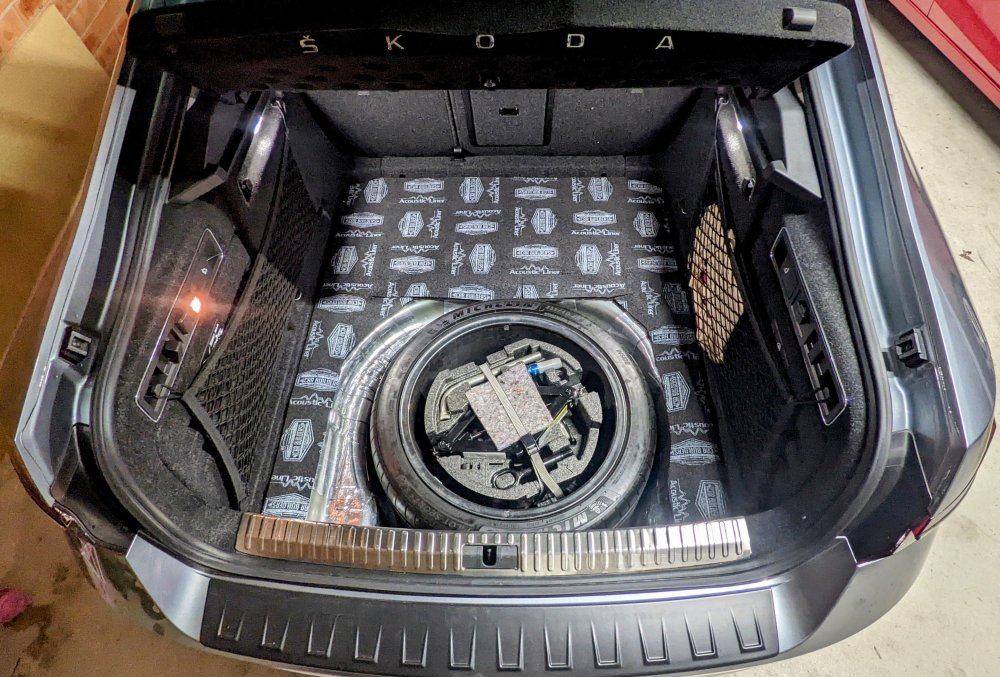
Why use a skinny space saver tyre when u can use a proper size spare like the ones @Carlston mentioned.... or even put a full size 19" spare. I have that in mine, and it has the 235/40/19 tyres.
-
When I had my 220 in for it's 75k kms service last week, they indicated the minimum brake thickness required is 3mm. Mine was measured at 7mm. So still plenty of life left in them after 64k kms
-
Can't view the videos. 😕 Also, in ur pic, the headlights r not aligned to each other. The left one is way off!!
-
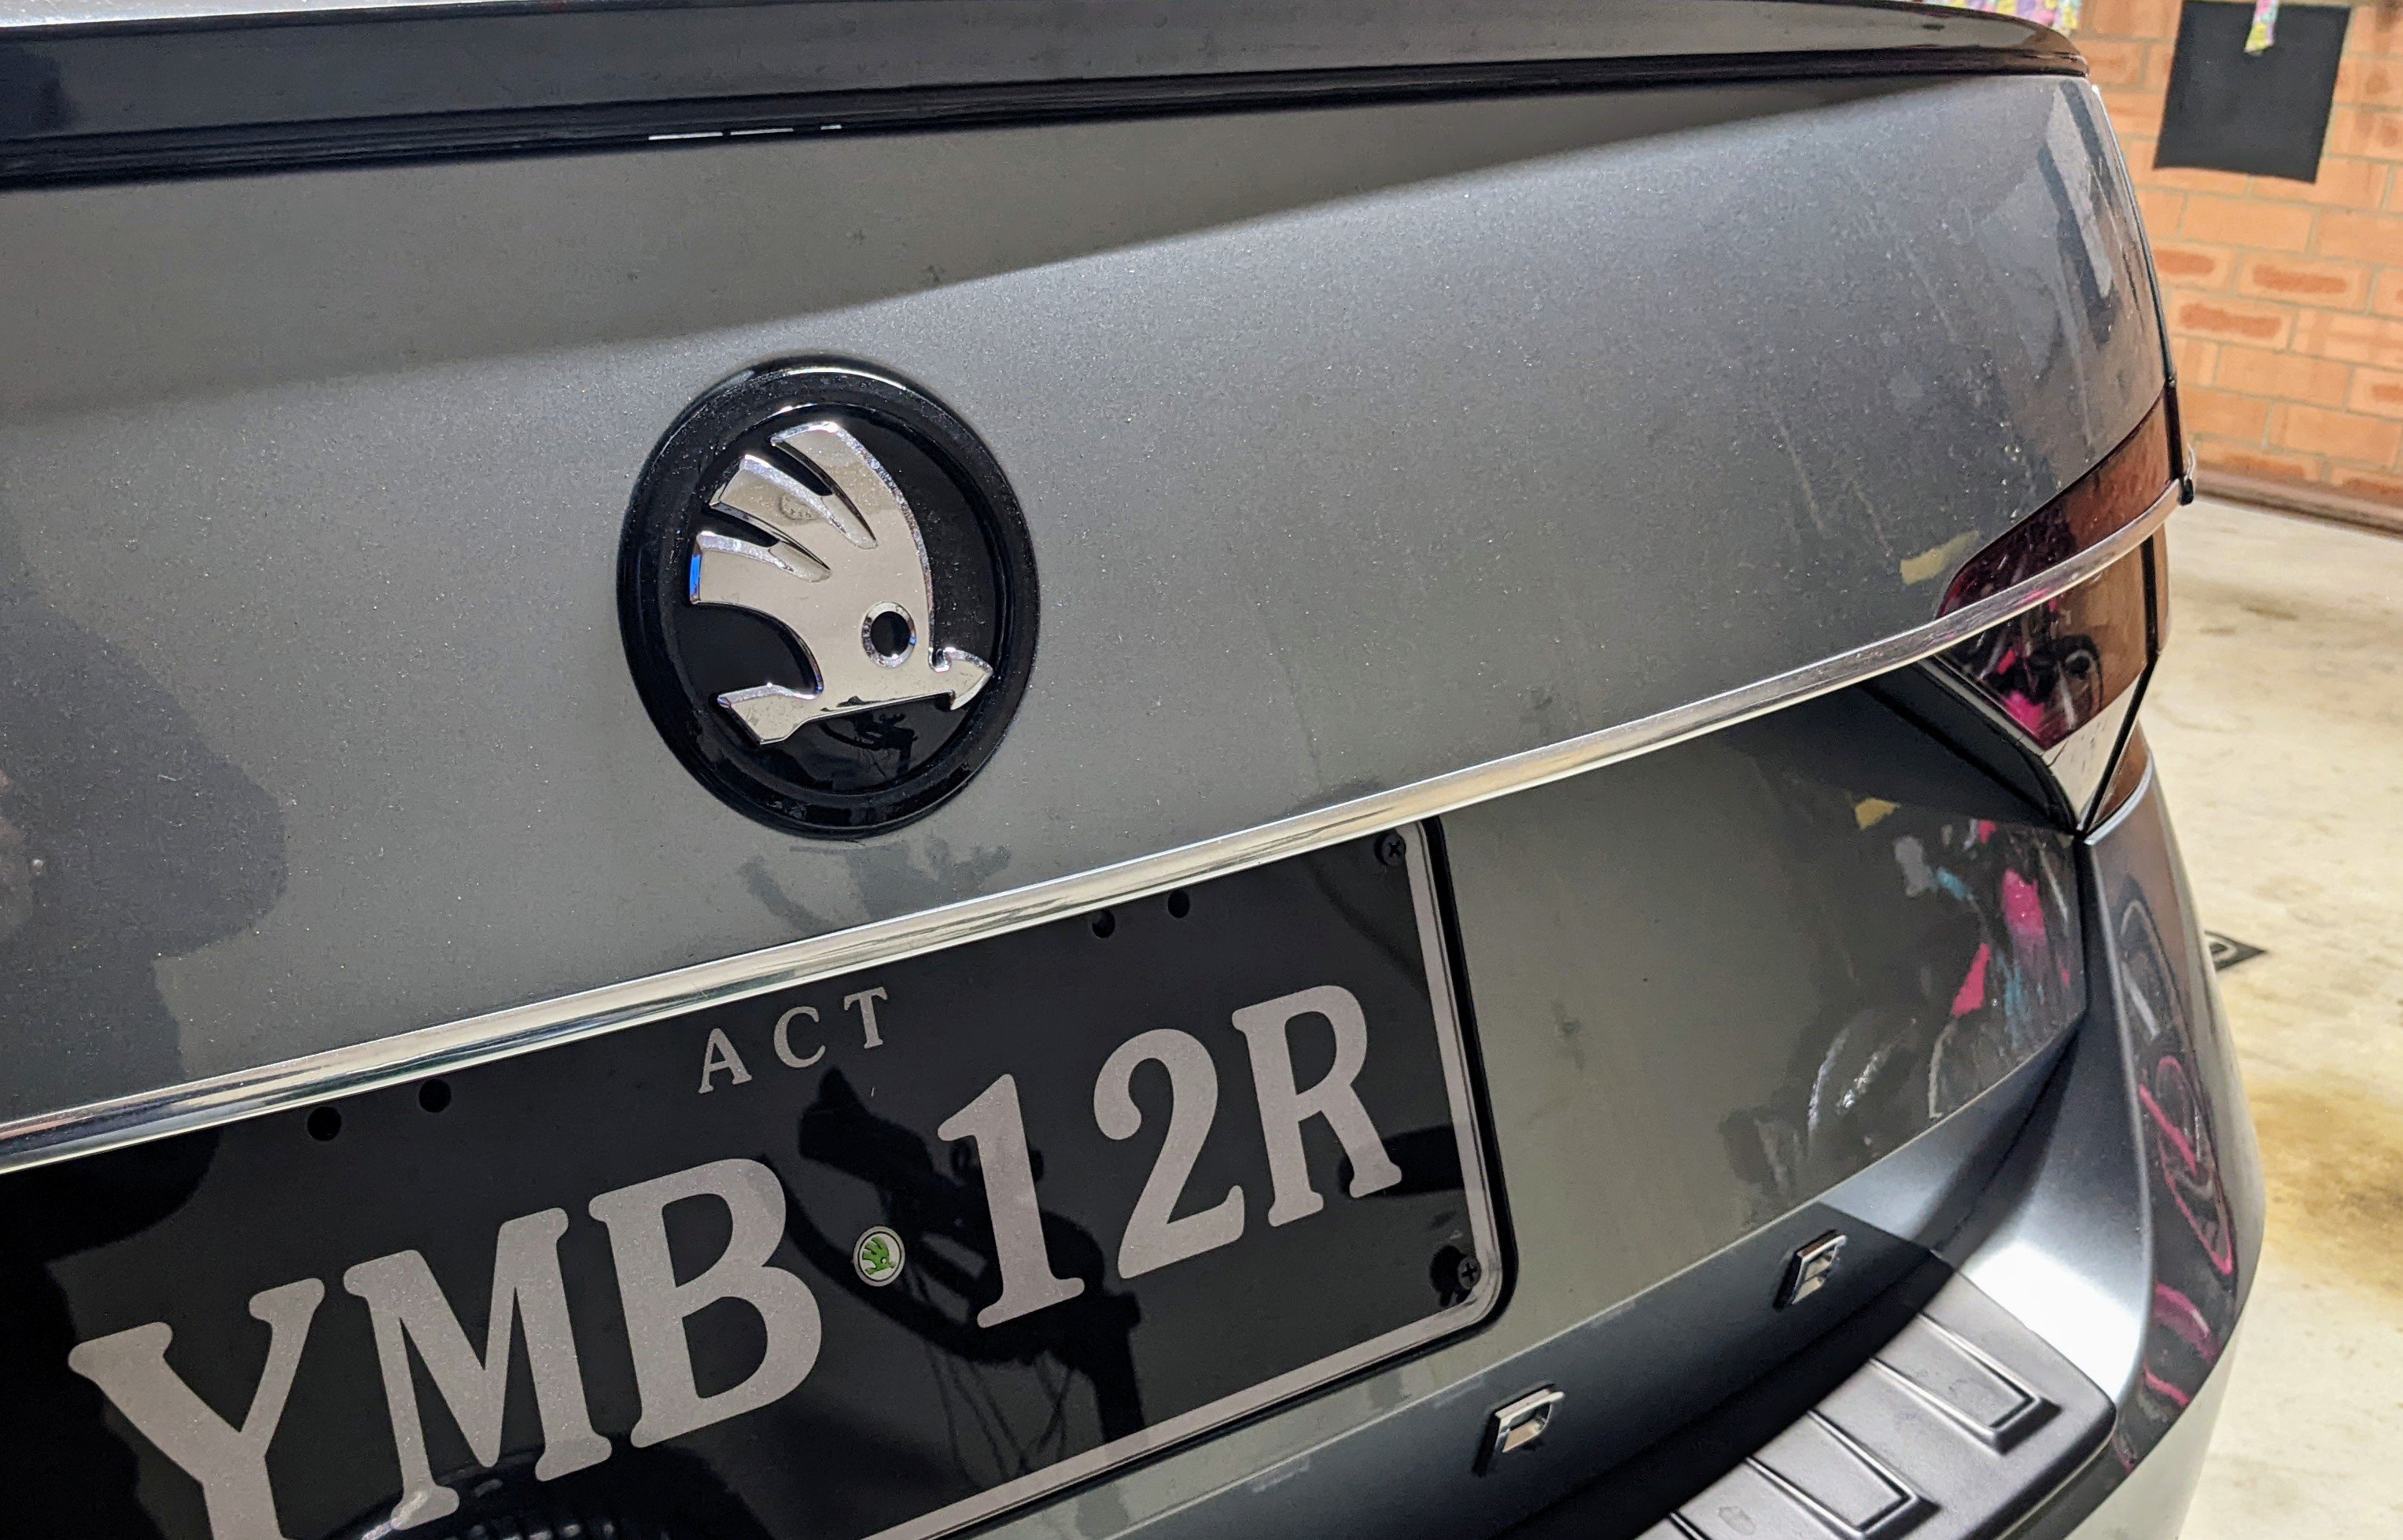
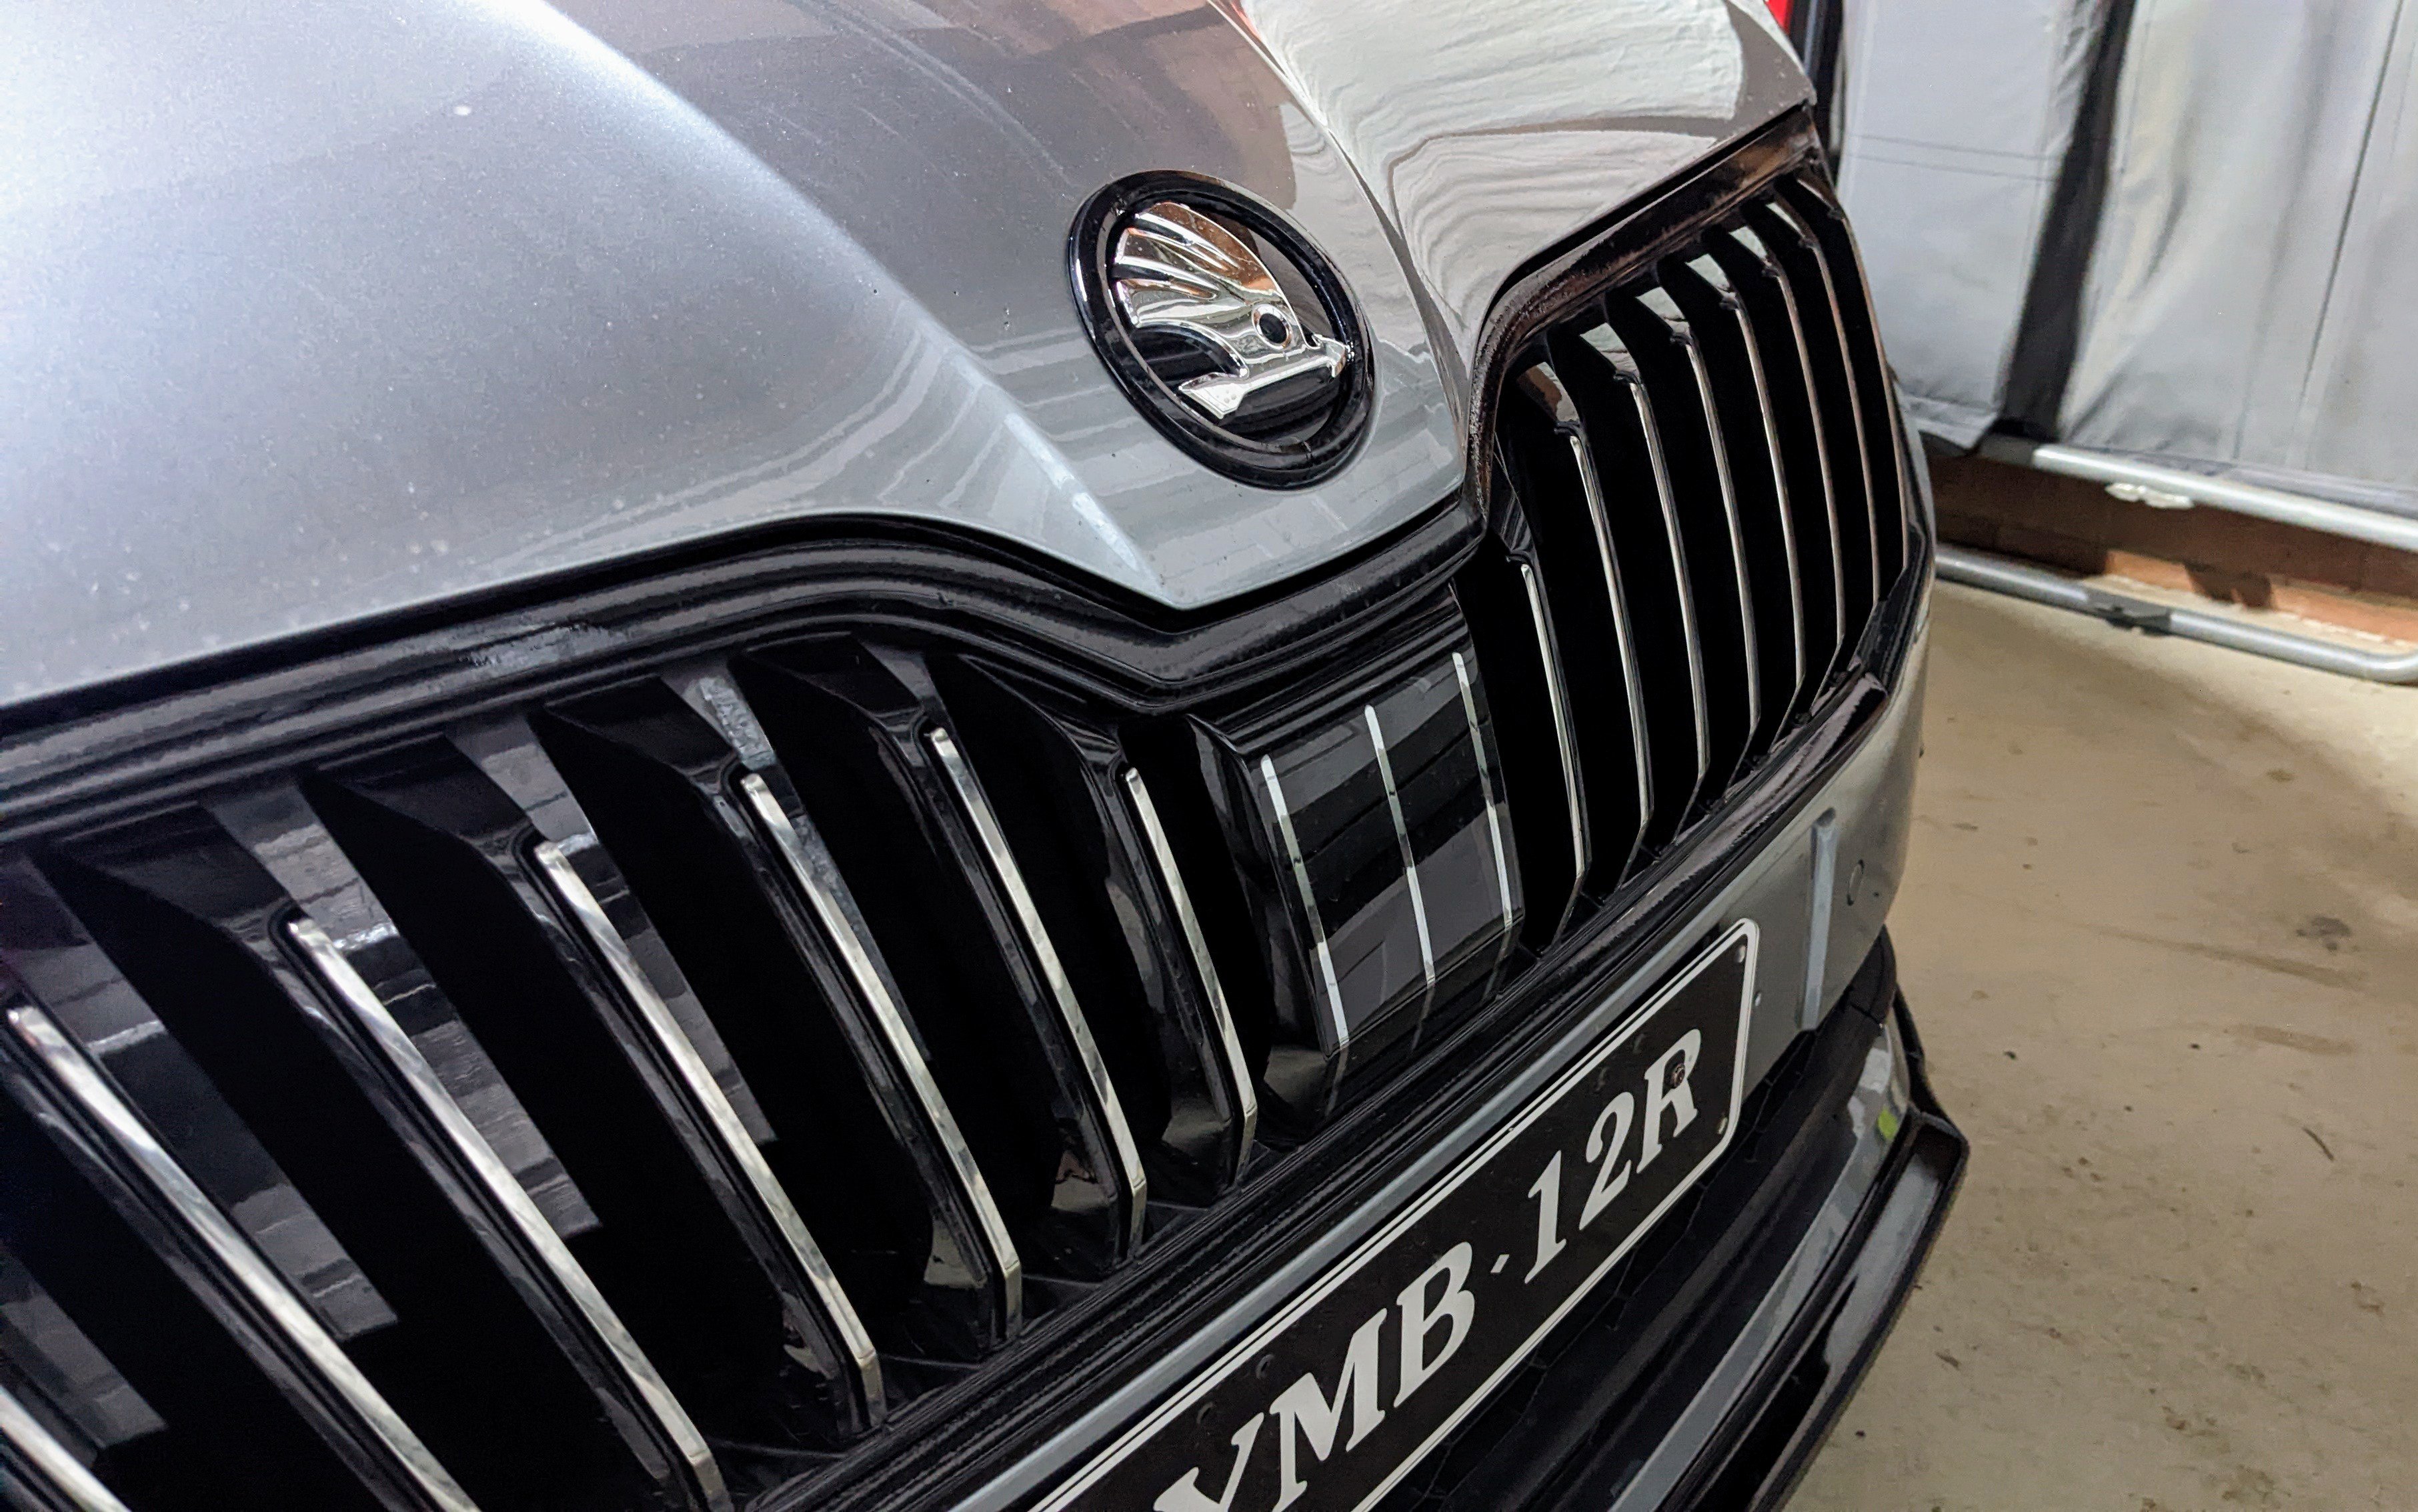
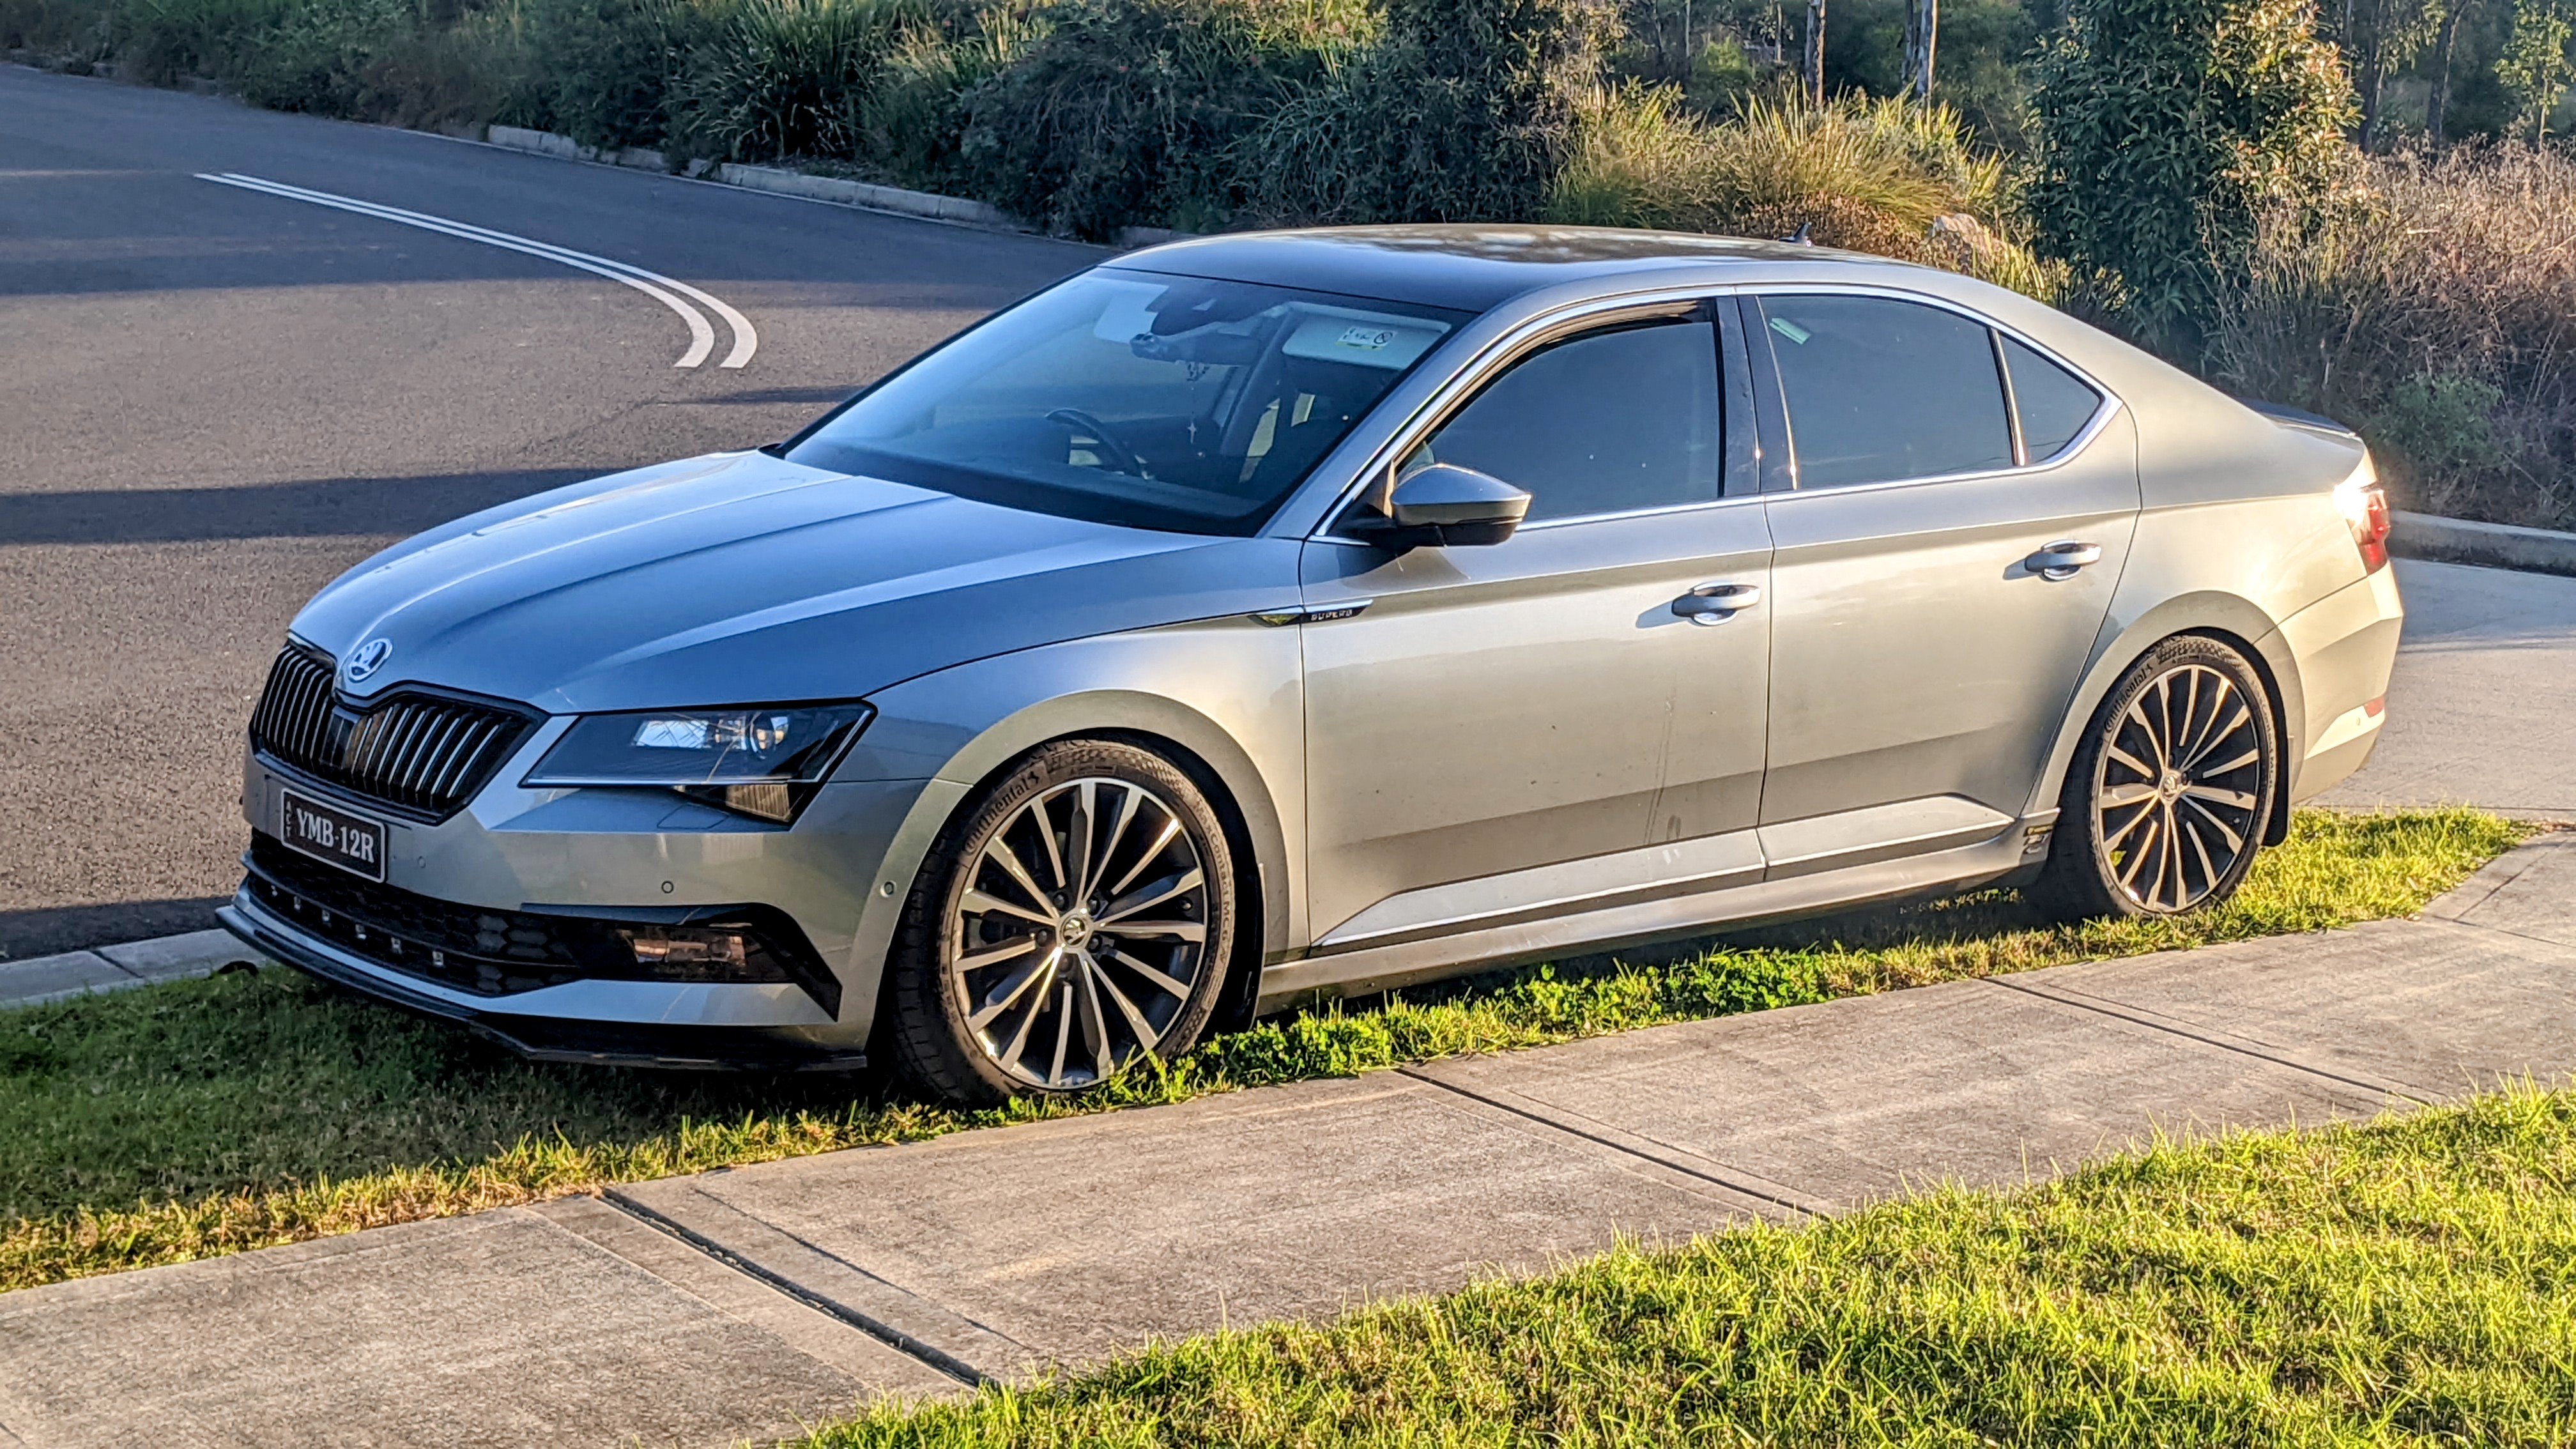
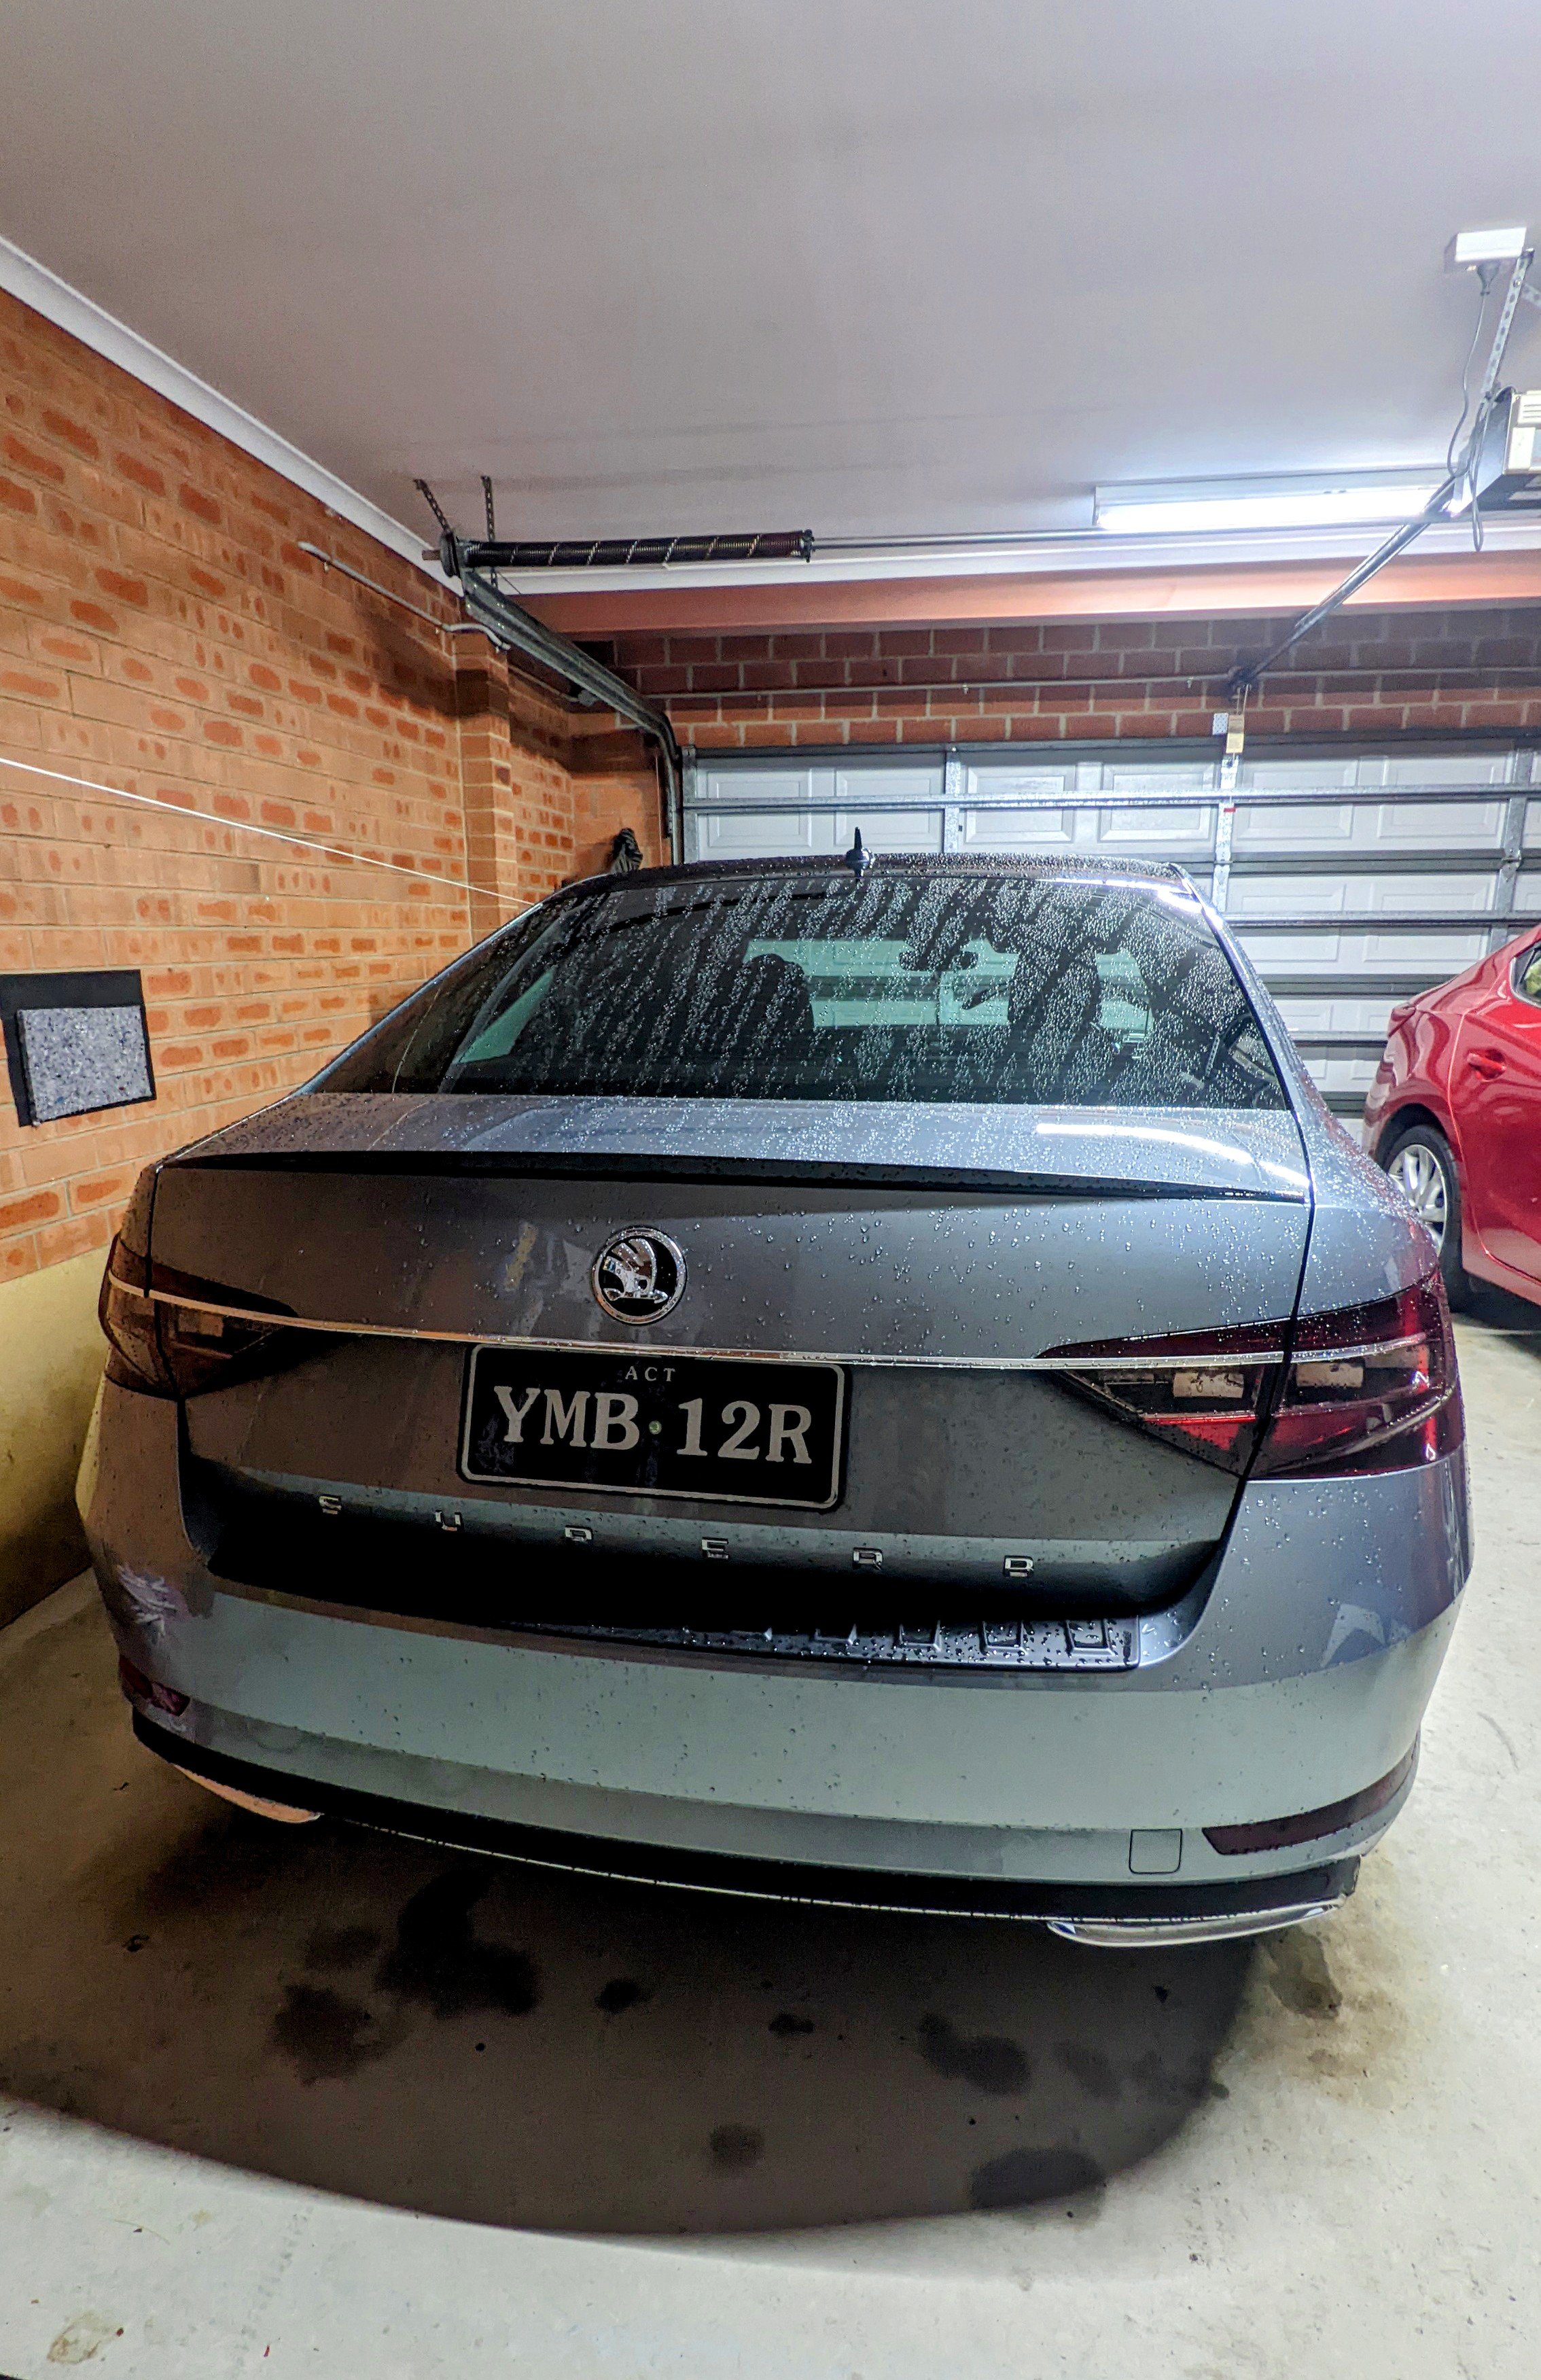
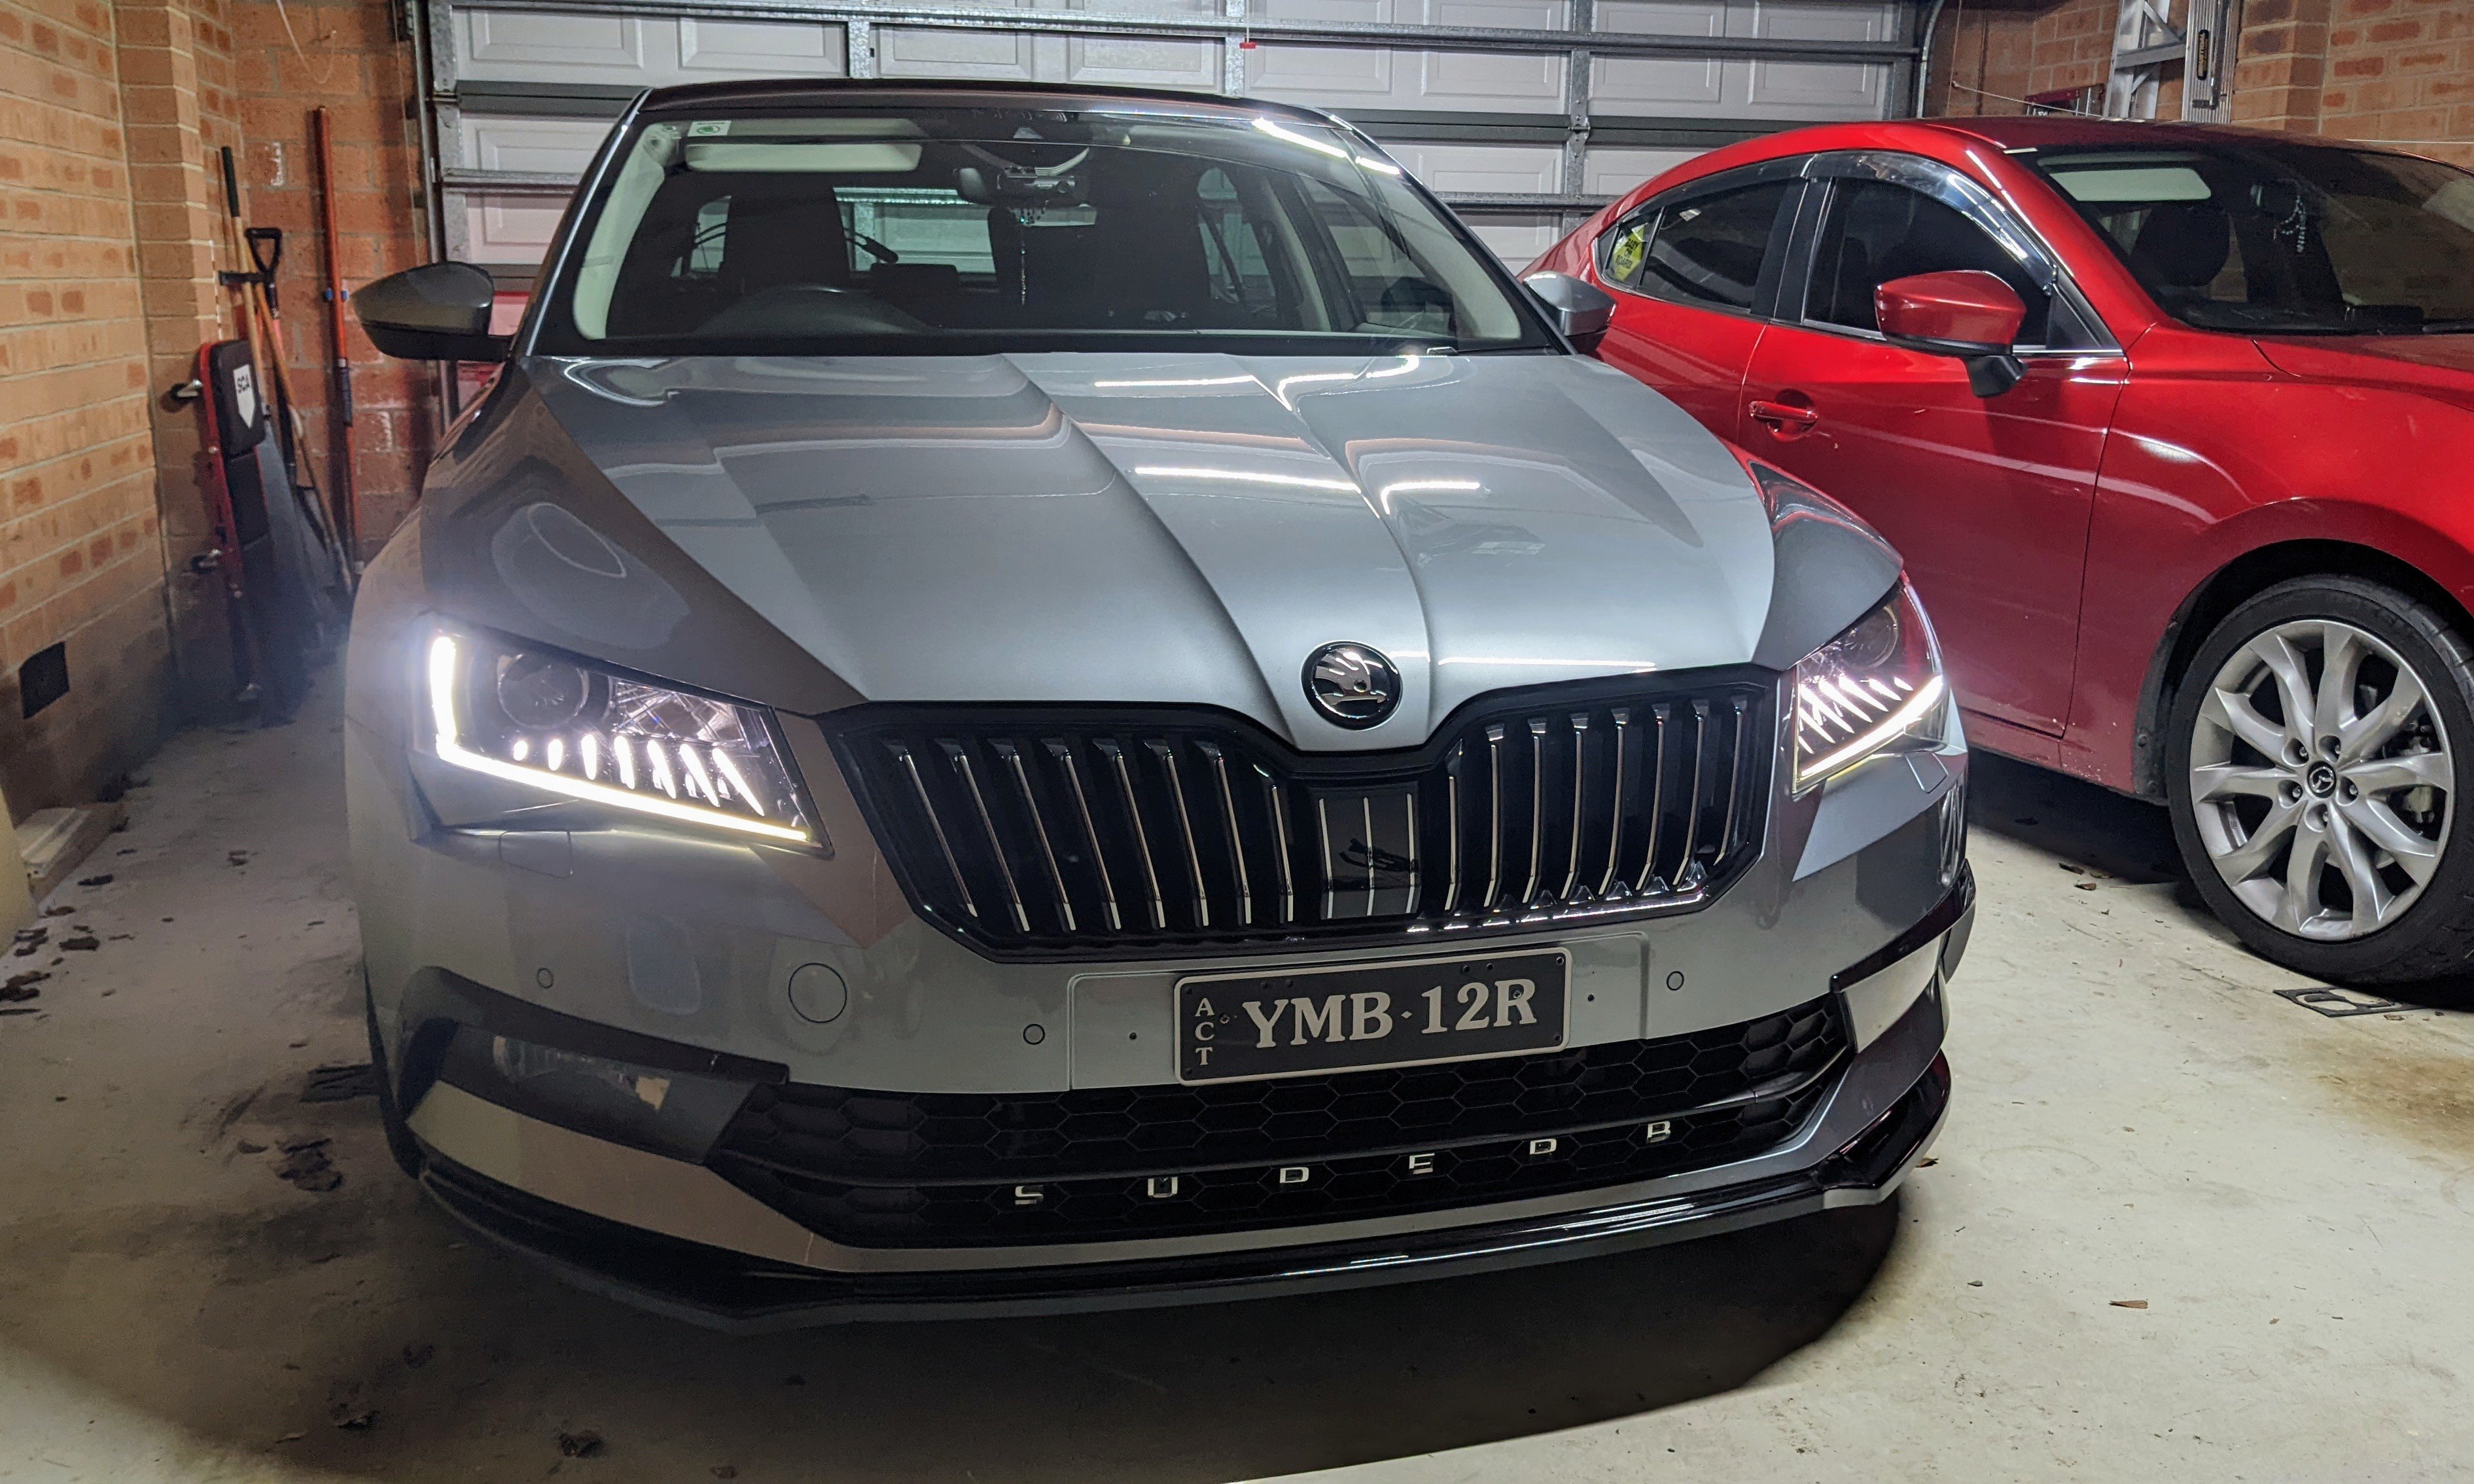
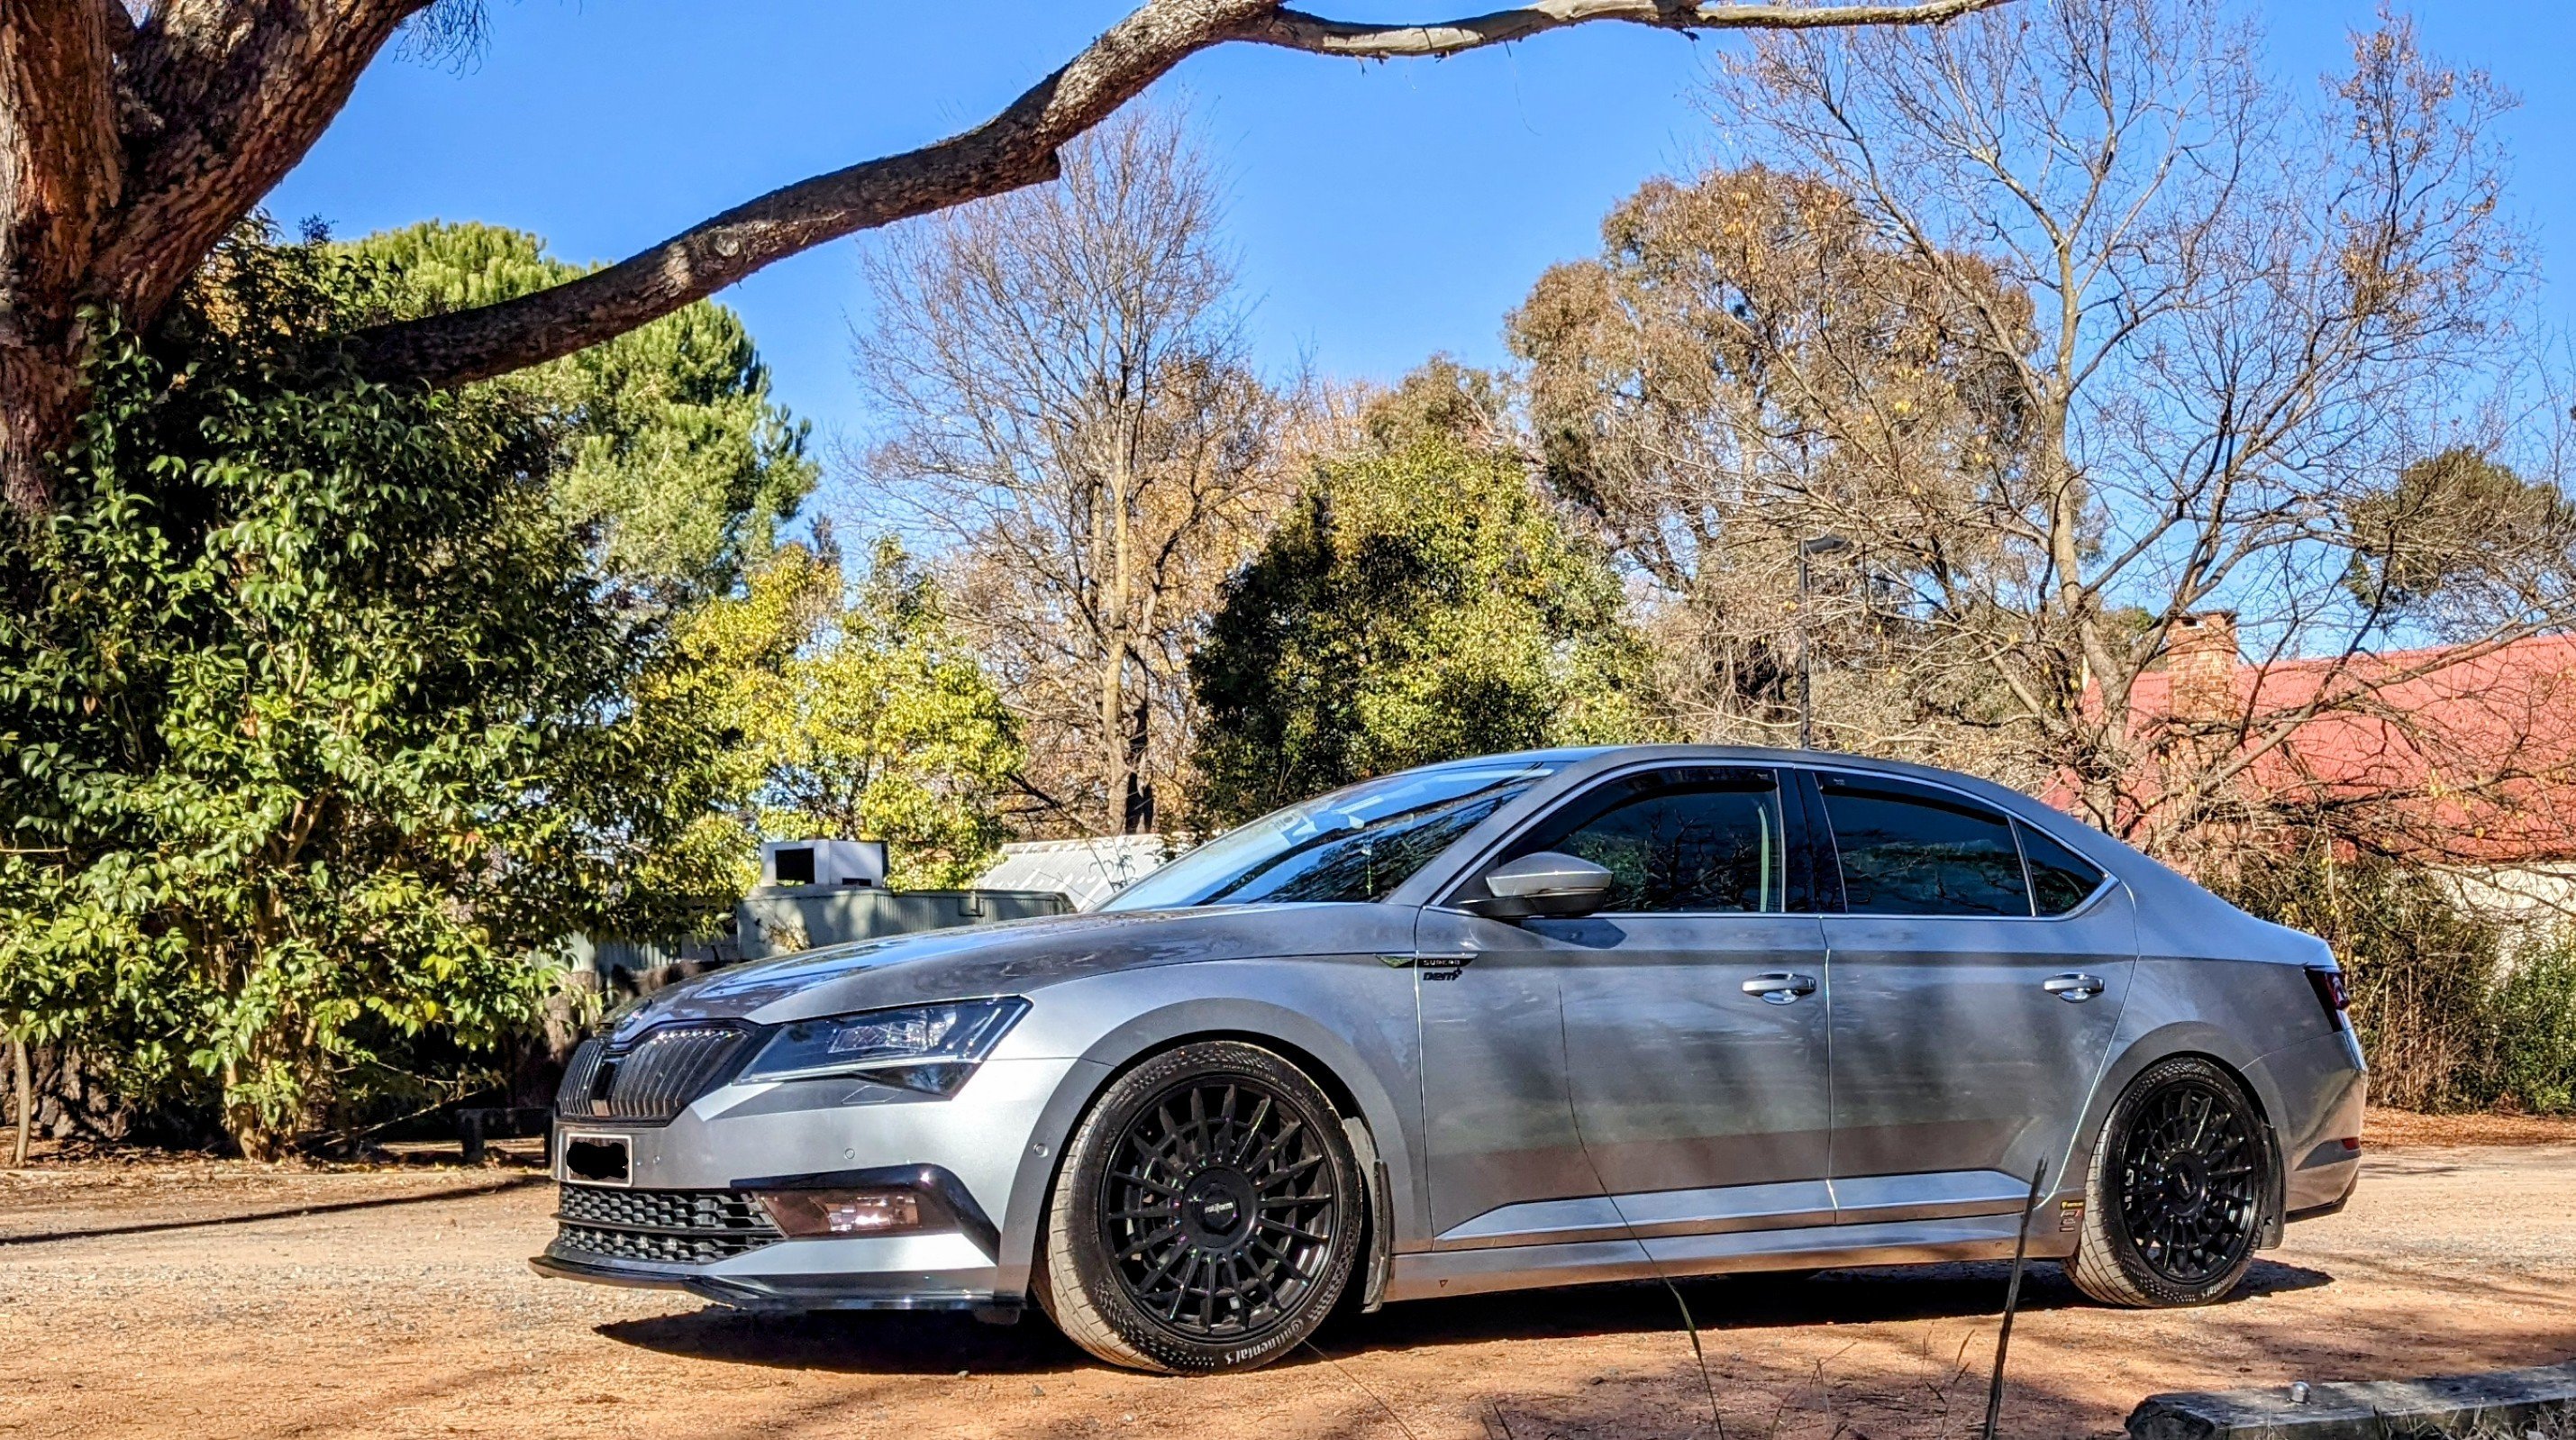
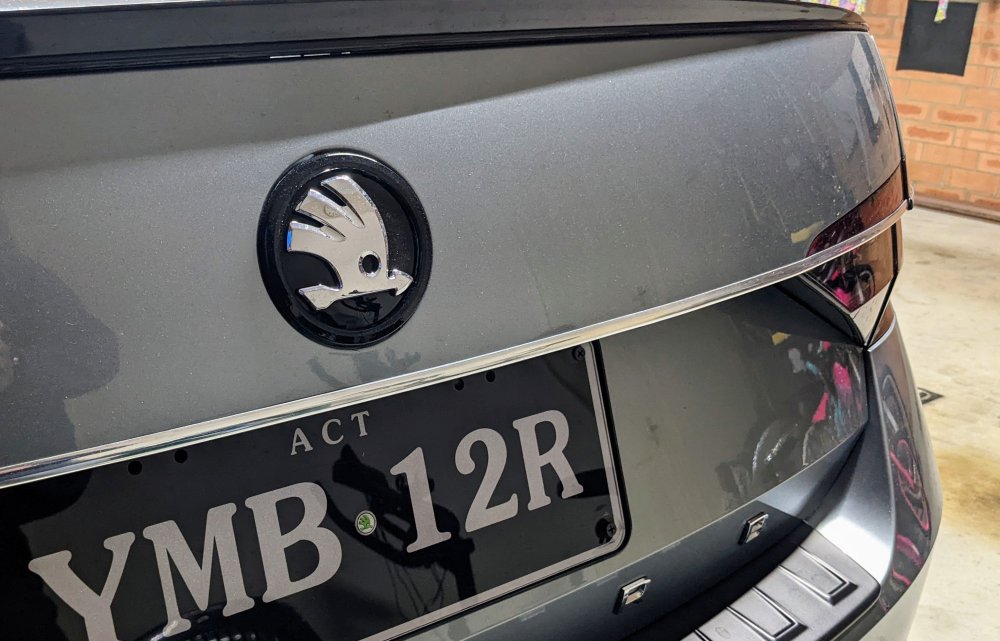
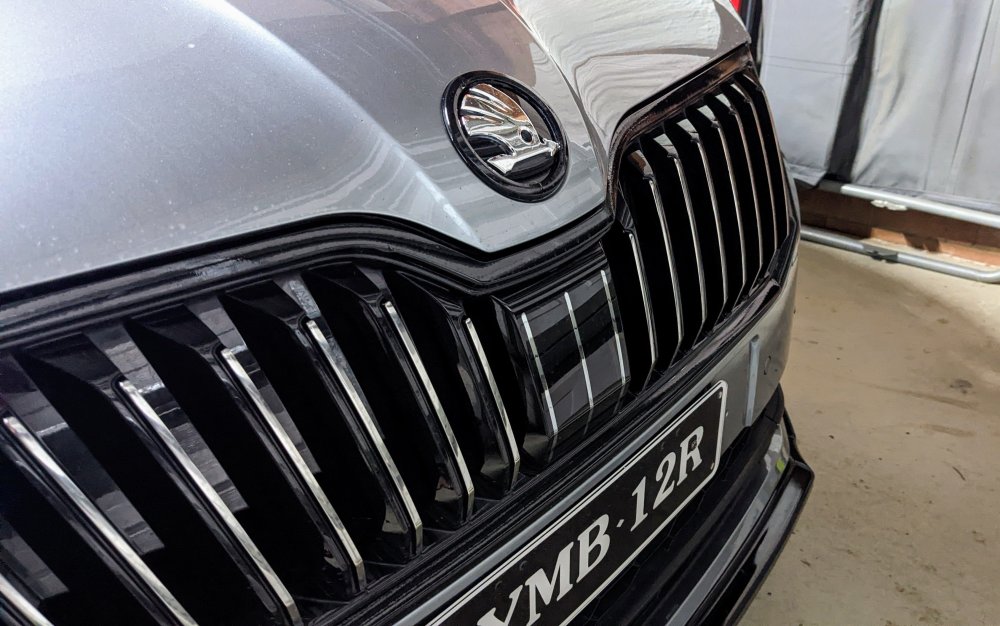
And that's a wrap.... ....gloss black vinyl wrap that is, on the chrome bits on badge edge and grille surround. Was a test run, being vinyl I could easily remove it. I like it, cause it follows the Grey-Black-Chrome theme I have going on Gandalf - so I'm going to get the proper gloss black trims and make it permanent 🙂
-
I haven't heard of that one before. Nor have I seen it discussed.
-
U don't need to enter into Service mode to do the map updates. Simply insert the SD-Card and go to Navigation settings and trigger the update from there.
-
Don't bother with a Carista - get an OBDEleven or VCDS (genuine). There is a whole thread about "tried and tested" coding for the Superb mk3. Use the search tool. If u have a facelift Superb - proceed with caution as SFP means a lot of things can't b tweaked/modified via code changes
-
from all the forums/research i've read in the past on the DCC re-calibration - some people have had success with OBDEleven. ODIS definitely can do it. VCDS is not able to do it. why? it is not known why. i had success using my OBDEleven.
-
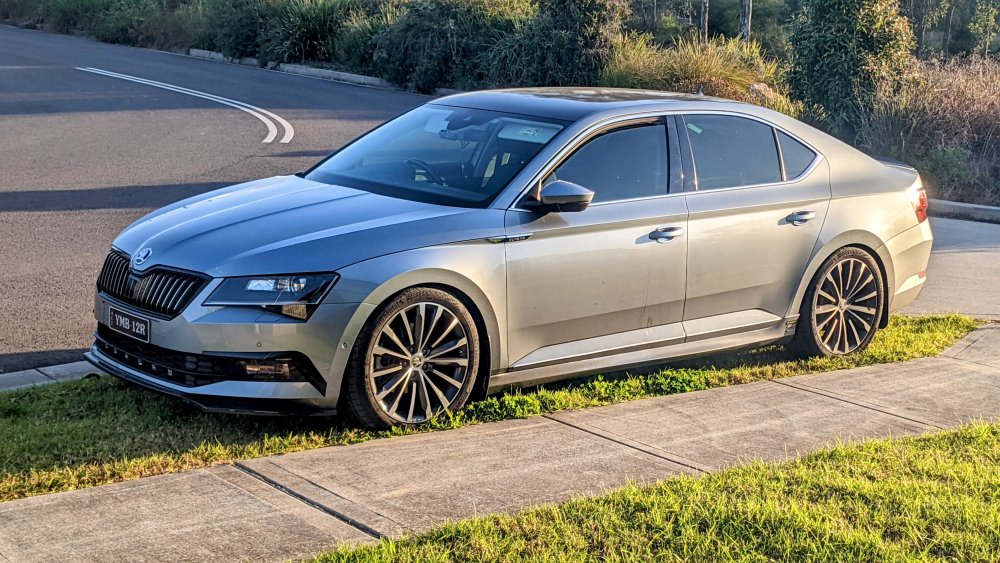
Sorry.....I missed this. They r the standard 19" wheels that come with the L&K model.
-
Oh bugger!!! U did call it though.
-
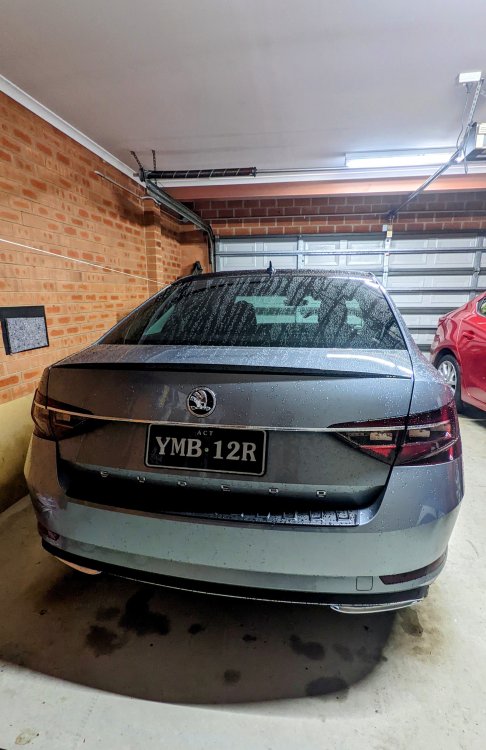
Heaps of choices from Kopacek - carbon, gloss, stainless steel, plain. I've got the plain version - looks OEM.
-
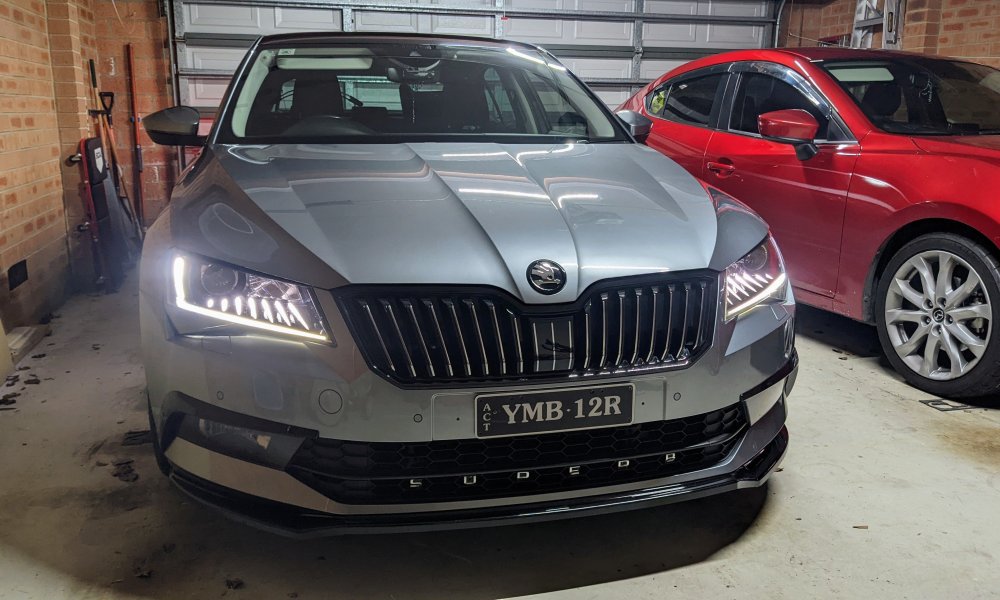
Gandalf went in for the 75k service today - clean bill of health. 👍🏽 Car has done 64k km. Plenty of life left in the factory rotors + pads. Guess I'll b holding off for a lot longer for those dba T2 rotors and pads. Brake fluid flushed and replaced. Tyres good (replaced last year). Battery good (replaced last year under warranty). Factory wipers still in good condition. My 5 yr warranty has come to an end. Here's to another 5 yrs 🍻
-
Yup, that's basically wat I said. MIB2 Columbus with the 8" screen was available on MY15 to MY17. I have it on my MY17. If u want proper VC with full function maps, then u want an MIB2.5 unit.
-
2017 has the MIB2 Columbus unit, with buttons and an 8" screen. 2018 onwards has the MIB2.5 Columbus unit, without buttons and the larger 9.2" screen. If u want the Virtual Dash cluster, u need to have the MIB2.5 unit.
-
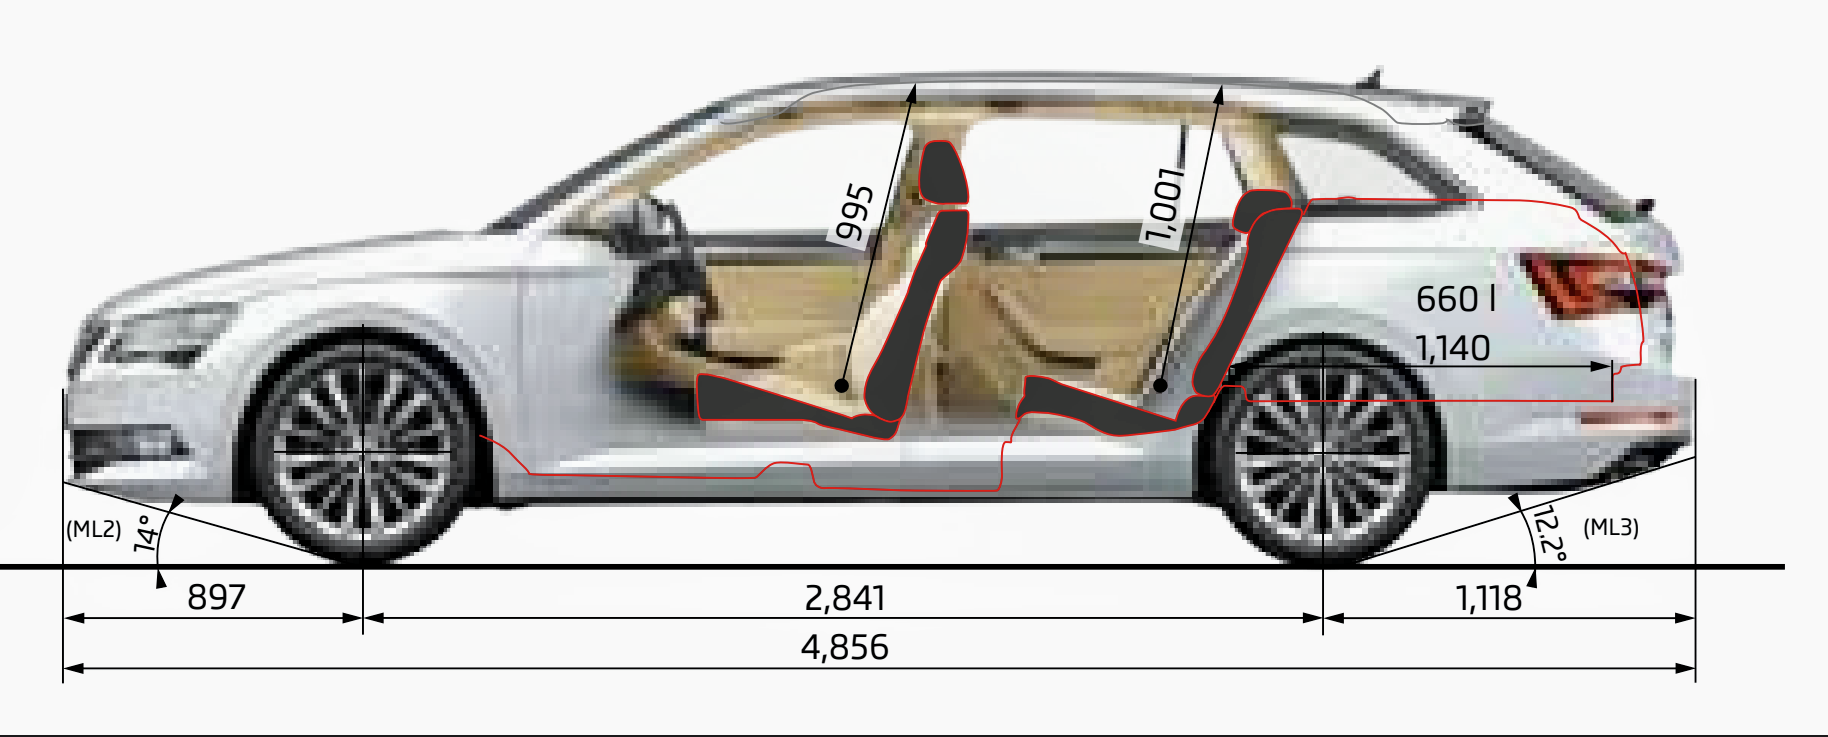
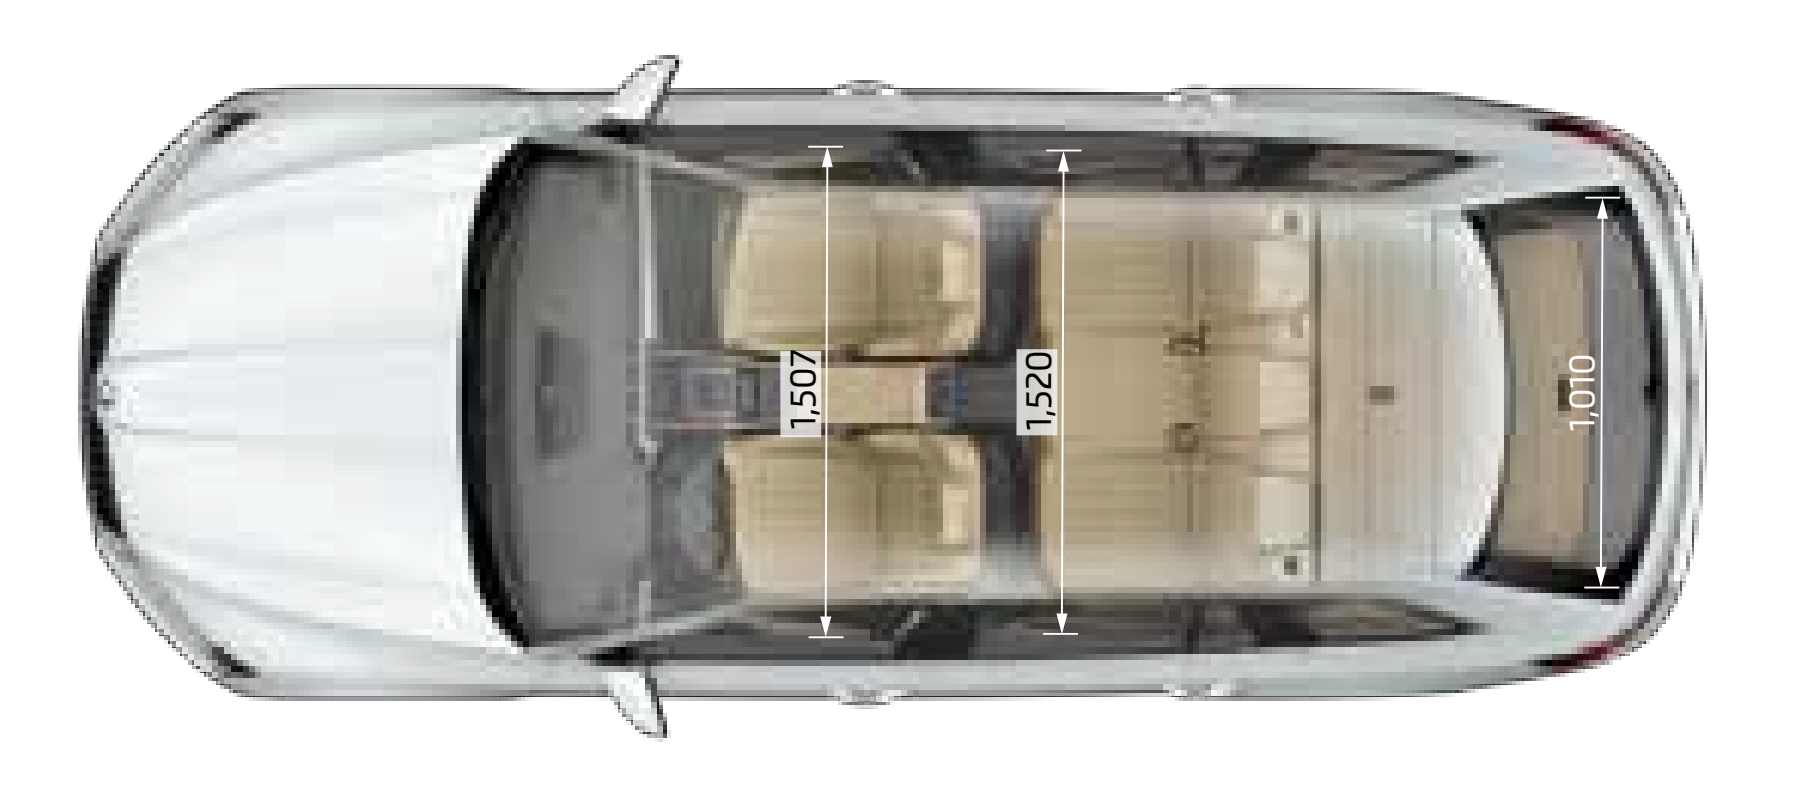
The Octavia is 1050mm...almost 10cm shorter than the Superb's boot length. Exact same width though.
2.jpeg.2272425ea02ff06e8f36a2871e110808.jpeg)
-
According to the brochure, the boot floor length is 1140mm.
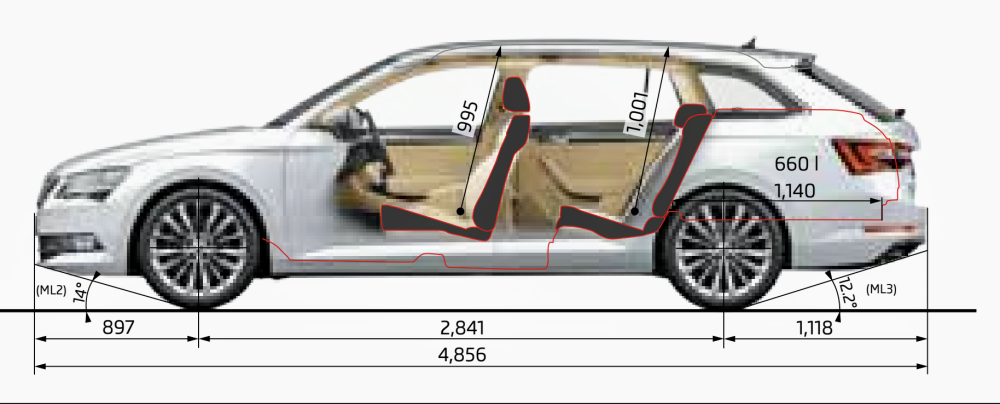
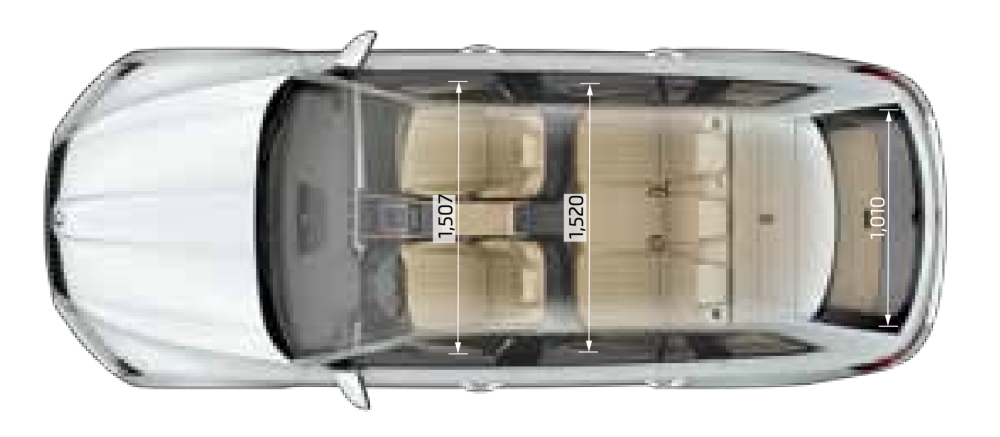
-
It applies to other briskoda members who still have factory 19s. Most of the Superb Sportlines come with the same spec 19" wheels. Doesn't matter if they're the Vega or Supernova or Trinity version - they all have the same width, same offset, wearing the same tyre profile (235/40/19).
-
Lol, I was going to mention the same earlier - "the mirror saw something it didn't like, and cracked itself!!!" 😆
-
It's the factory 19s, with the same specs, and tyres - so we're comparing apples with apples. Thought so. Mine is sitting at 668mm now, after being lowered. No, the Sportline with DCC and a non-Sportline with DCC, like mine, is the same height, i.e. 690mm, from factory, with the 19s. Anything DCC is lower than Standard. Likewise, Sportline without DCC is also lower than Standard. Standard means no adaptive (DCC) suspension.