.jpg.add35da7a0ad7993ecbcafdfb20a6d19.jpg)
DieselMonte
FREEDOM
-
Joined
-
Last visited
Everything posted by DieselMonte
-
I know someone who has payed £4500 for a 30k mile minter. Makes me realise I'm probably not getting my hands on a cheap rotter to reshell into my car anytime soon. My mk1 is less of a mess than that thing. And it rough as a week in jail.
-
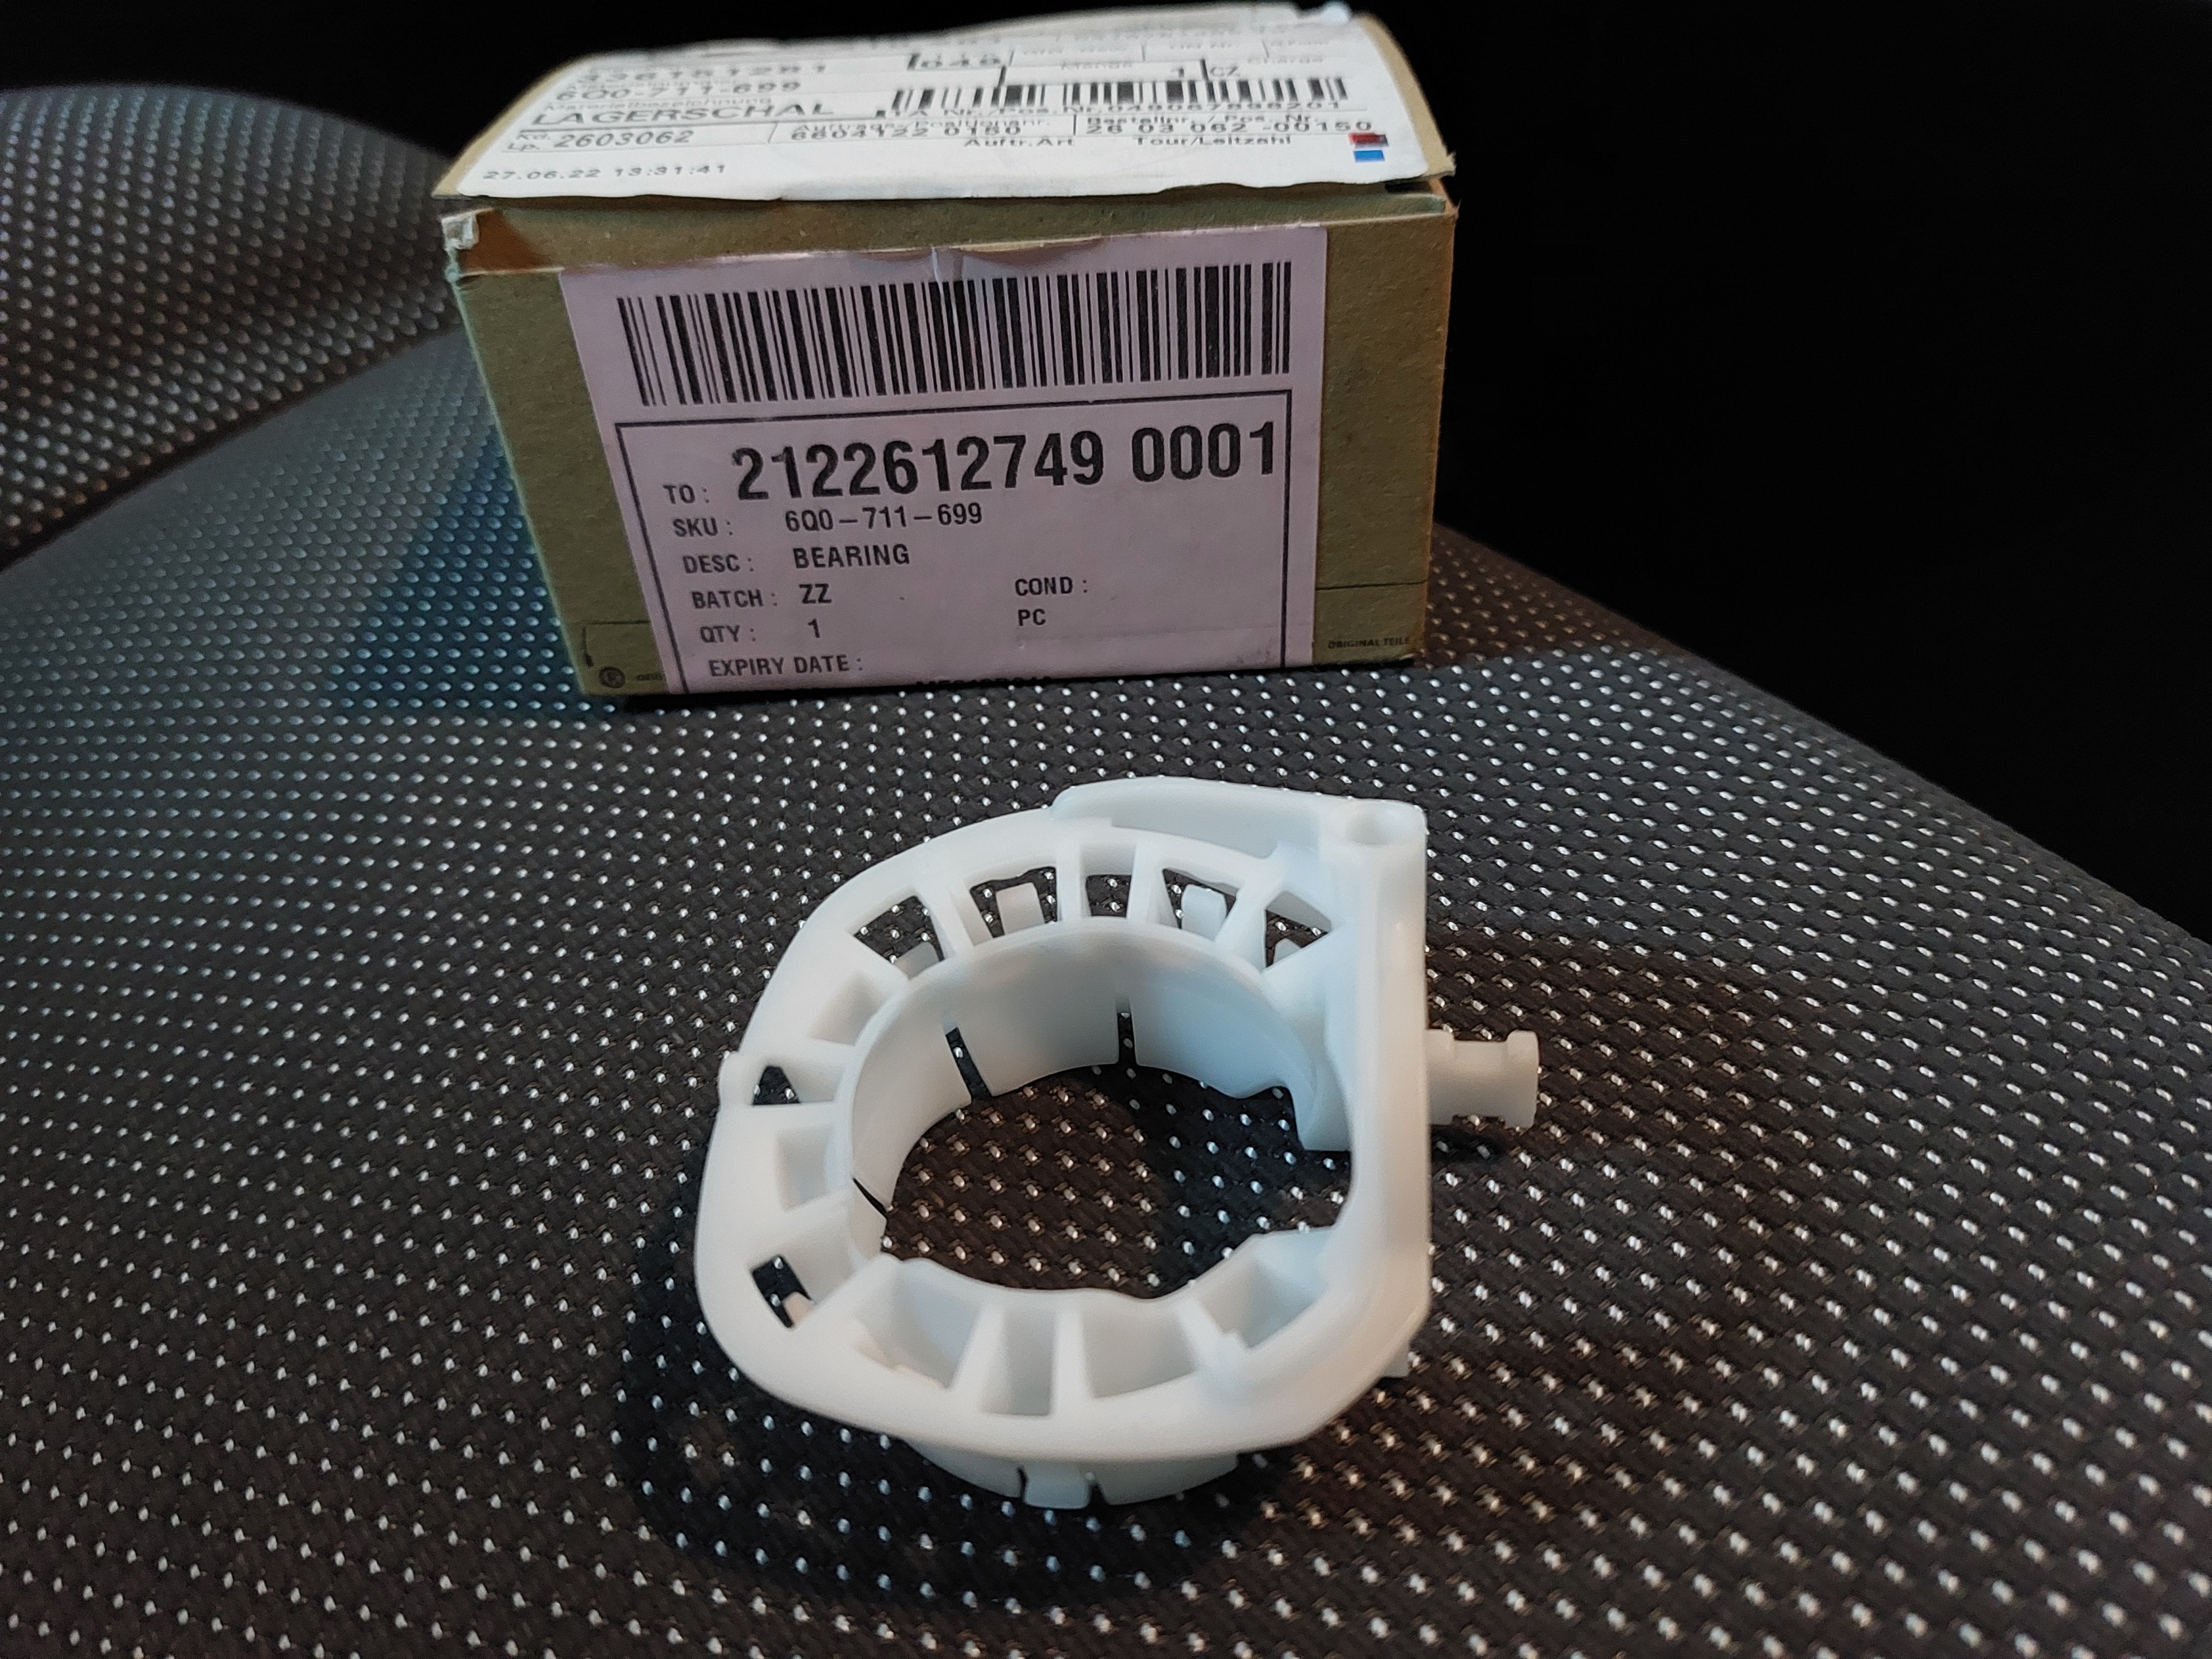
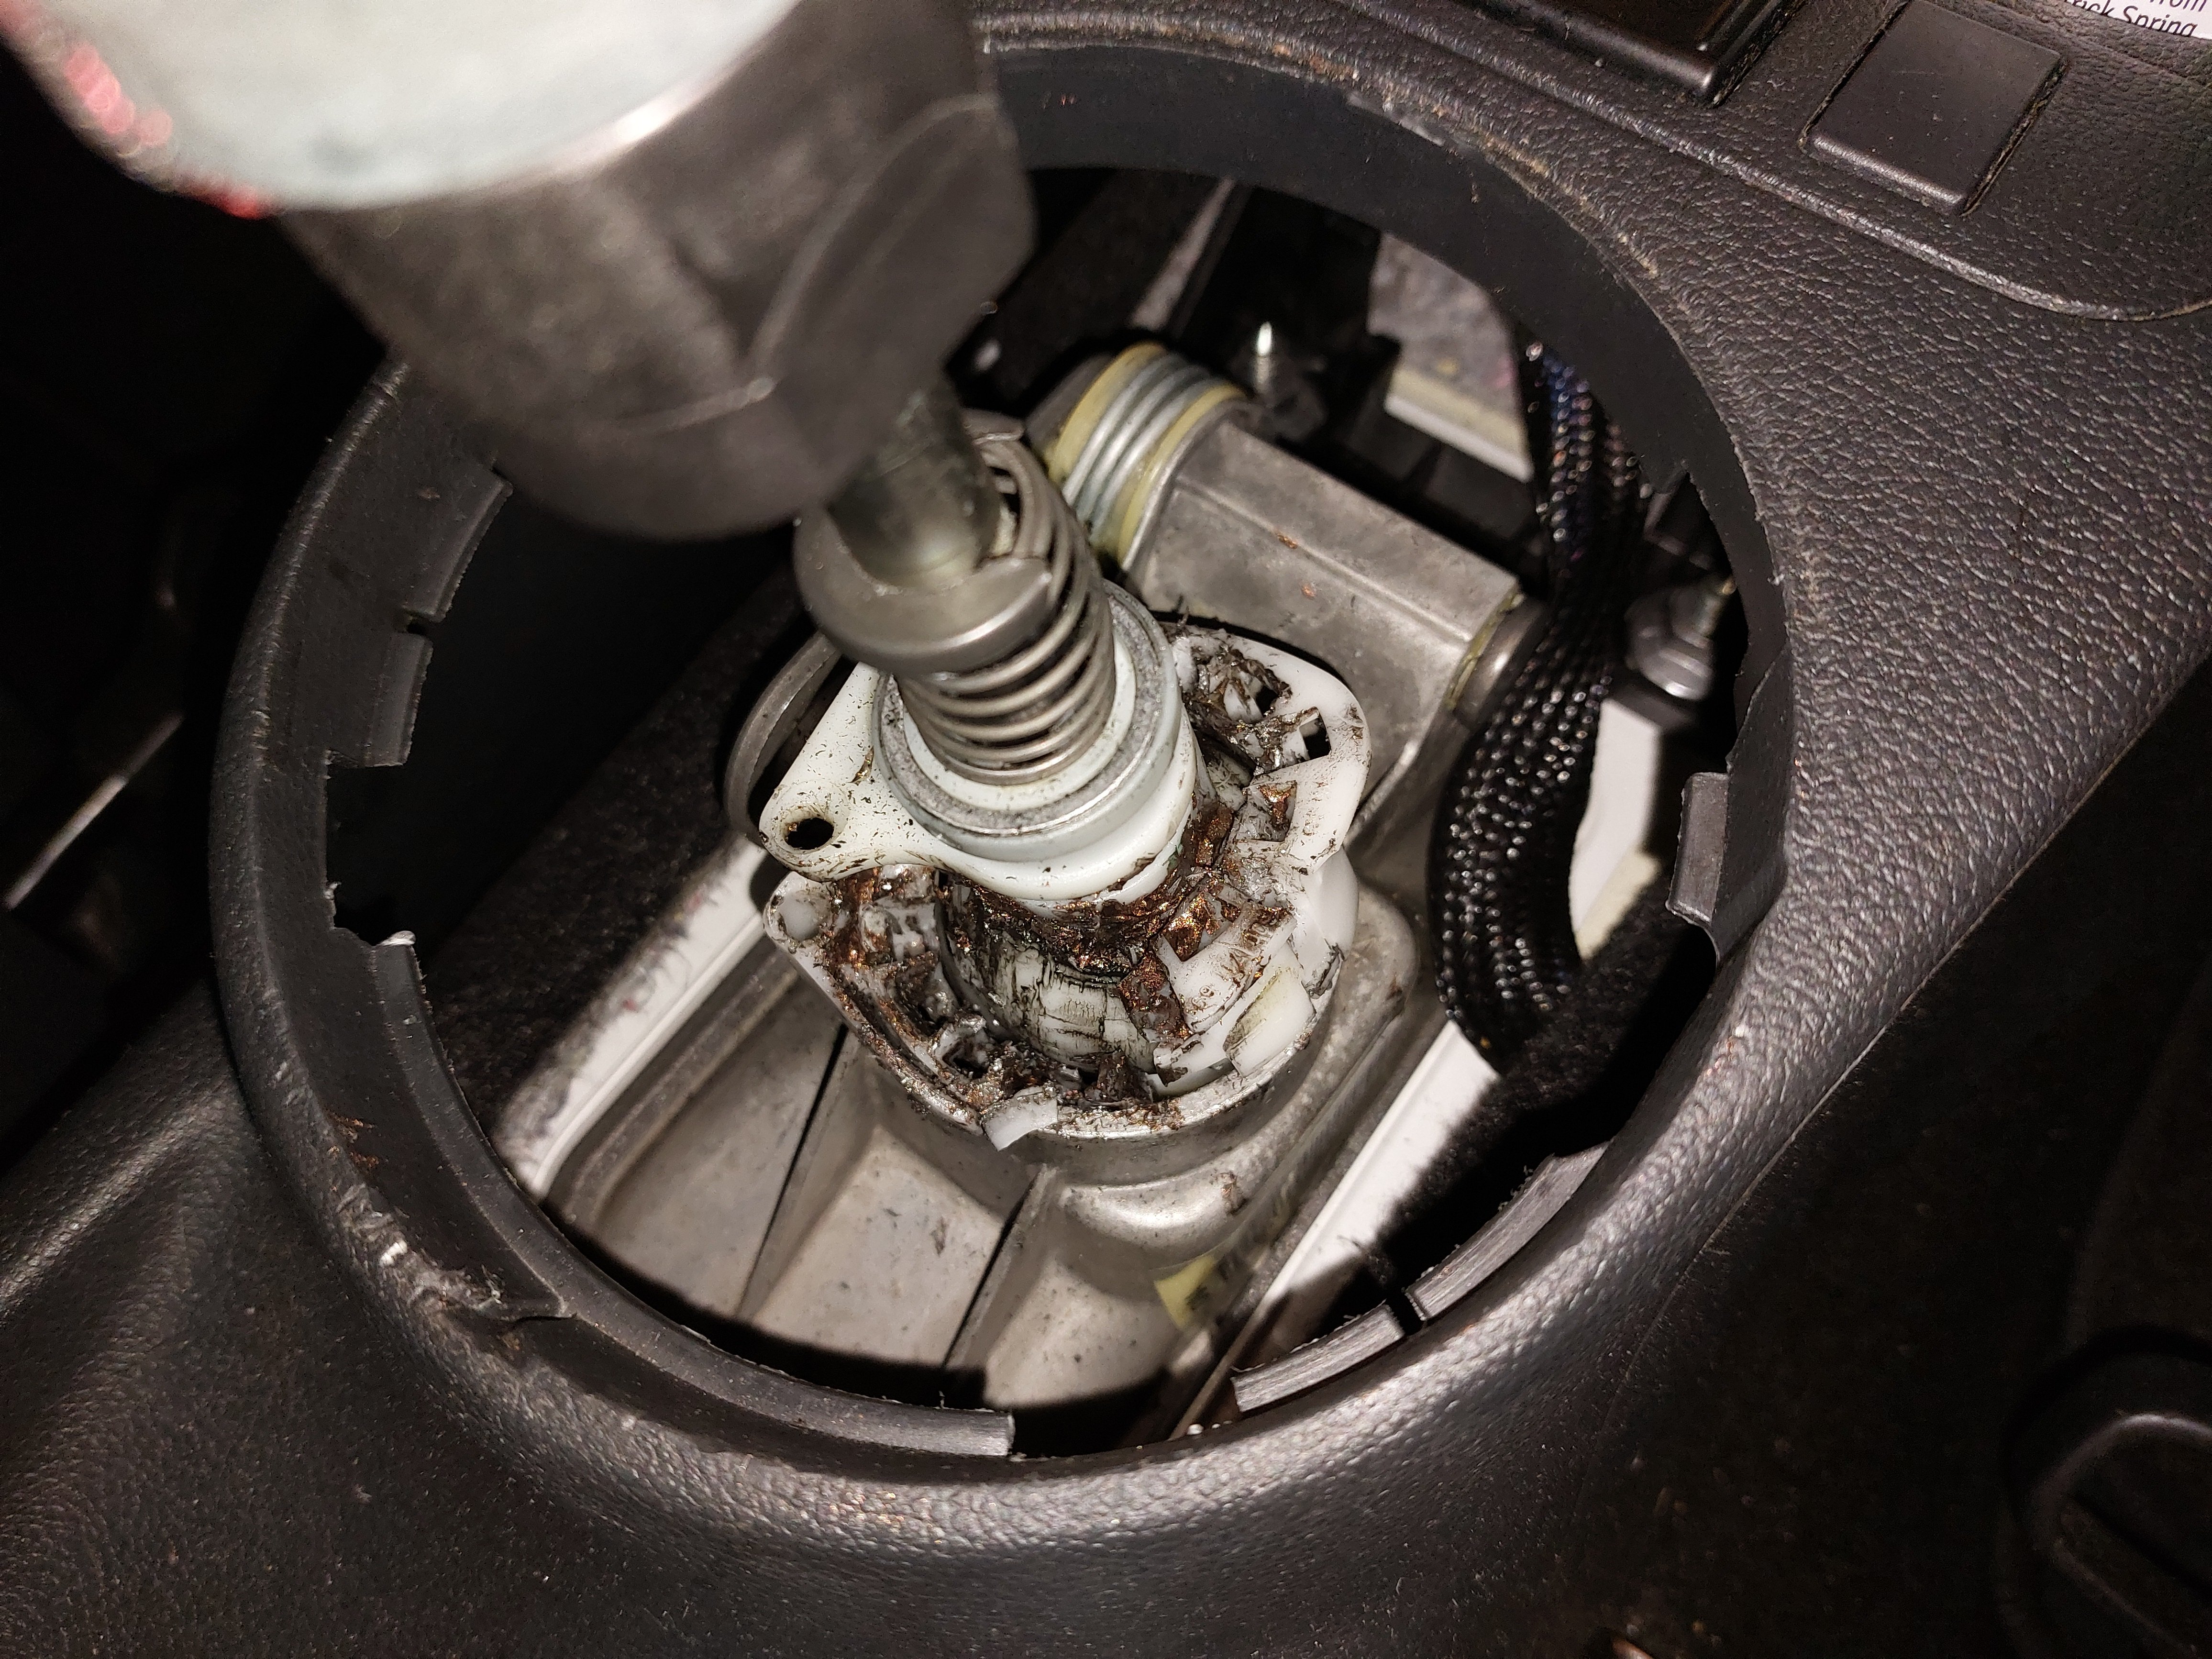
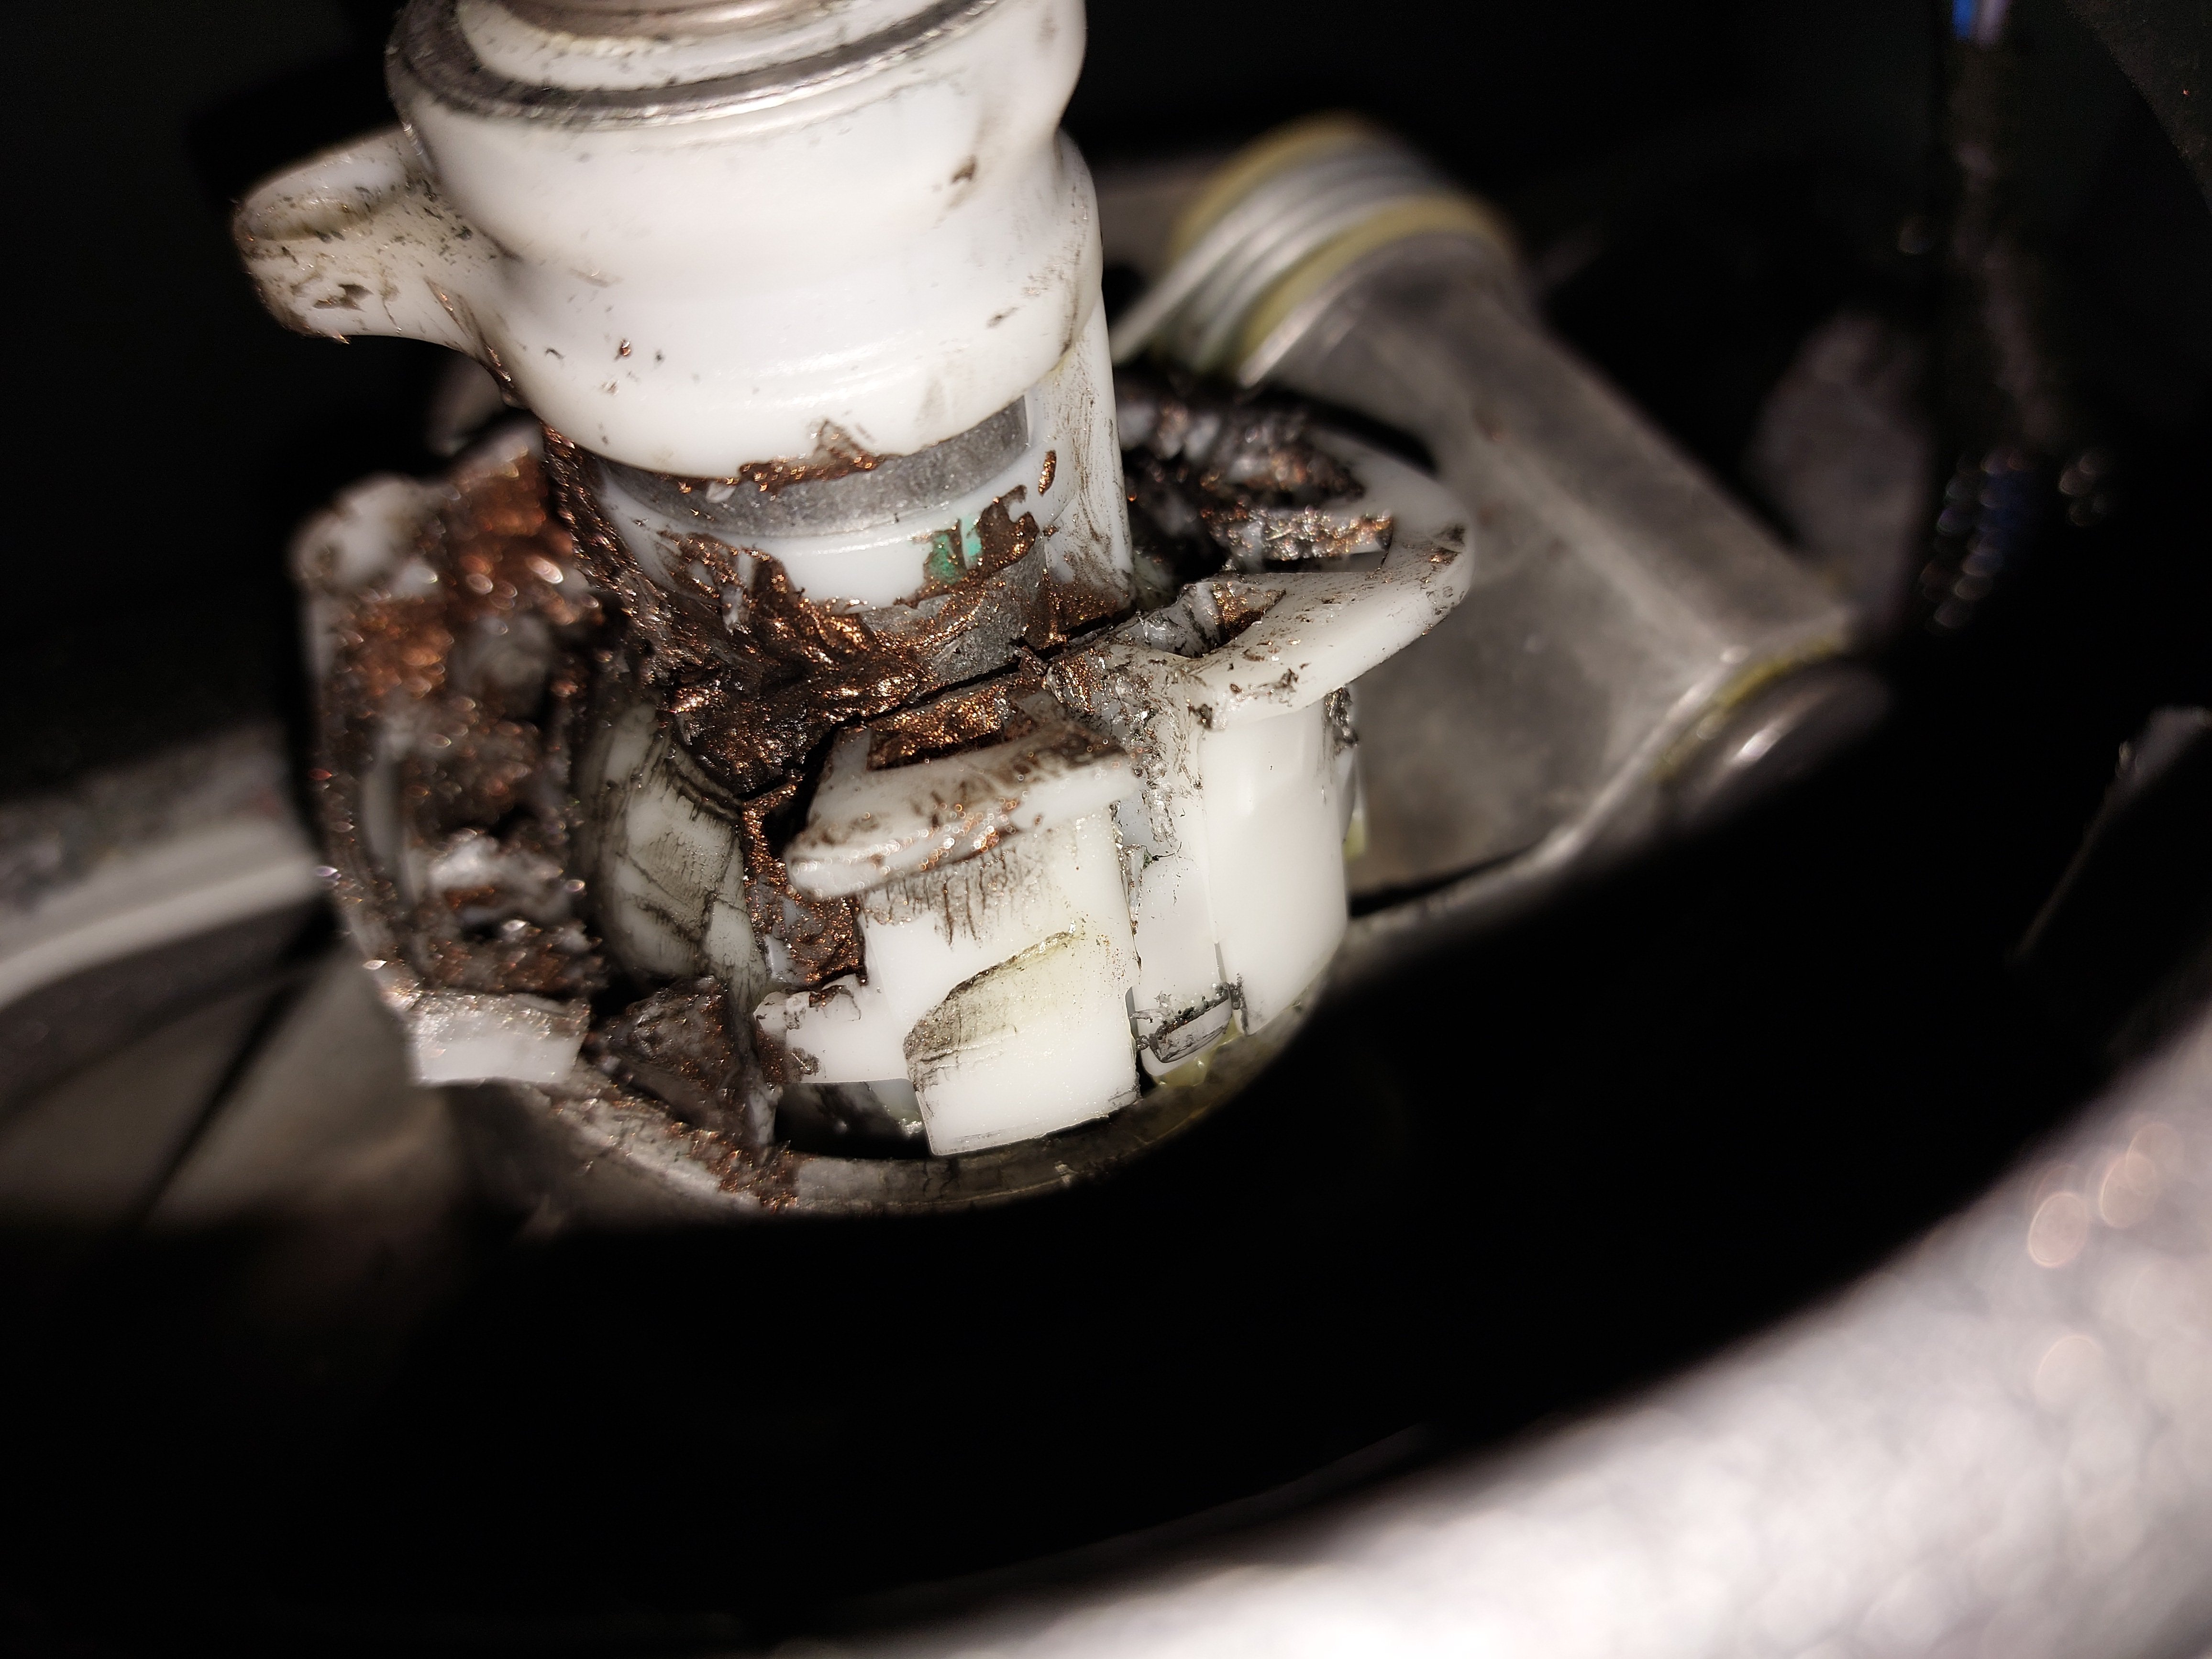
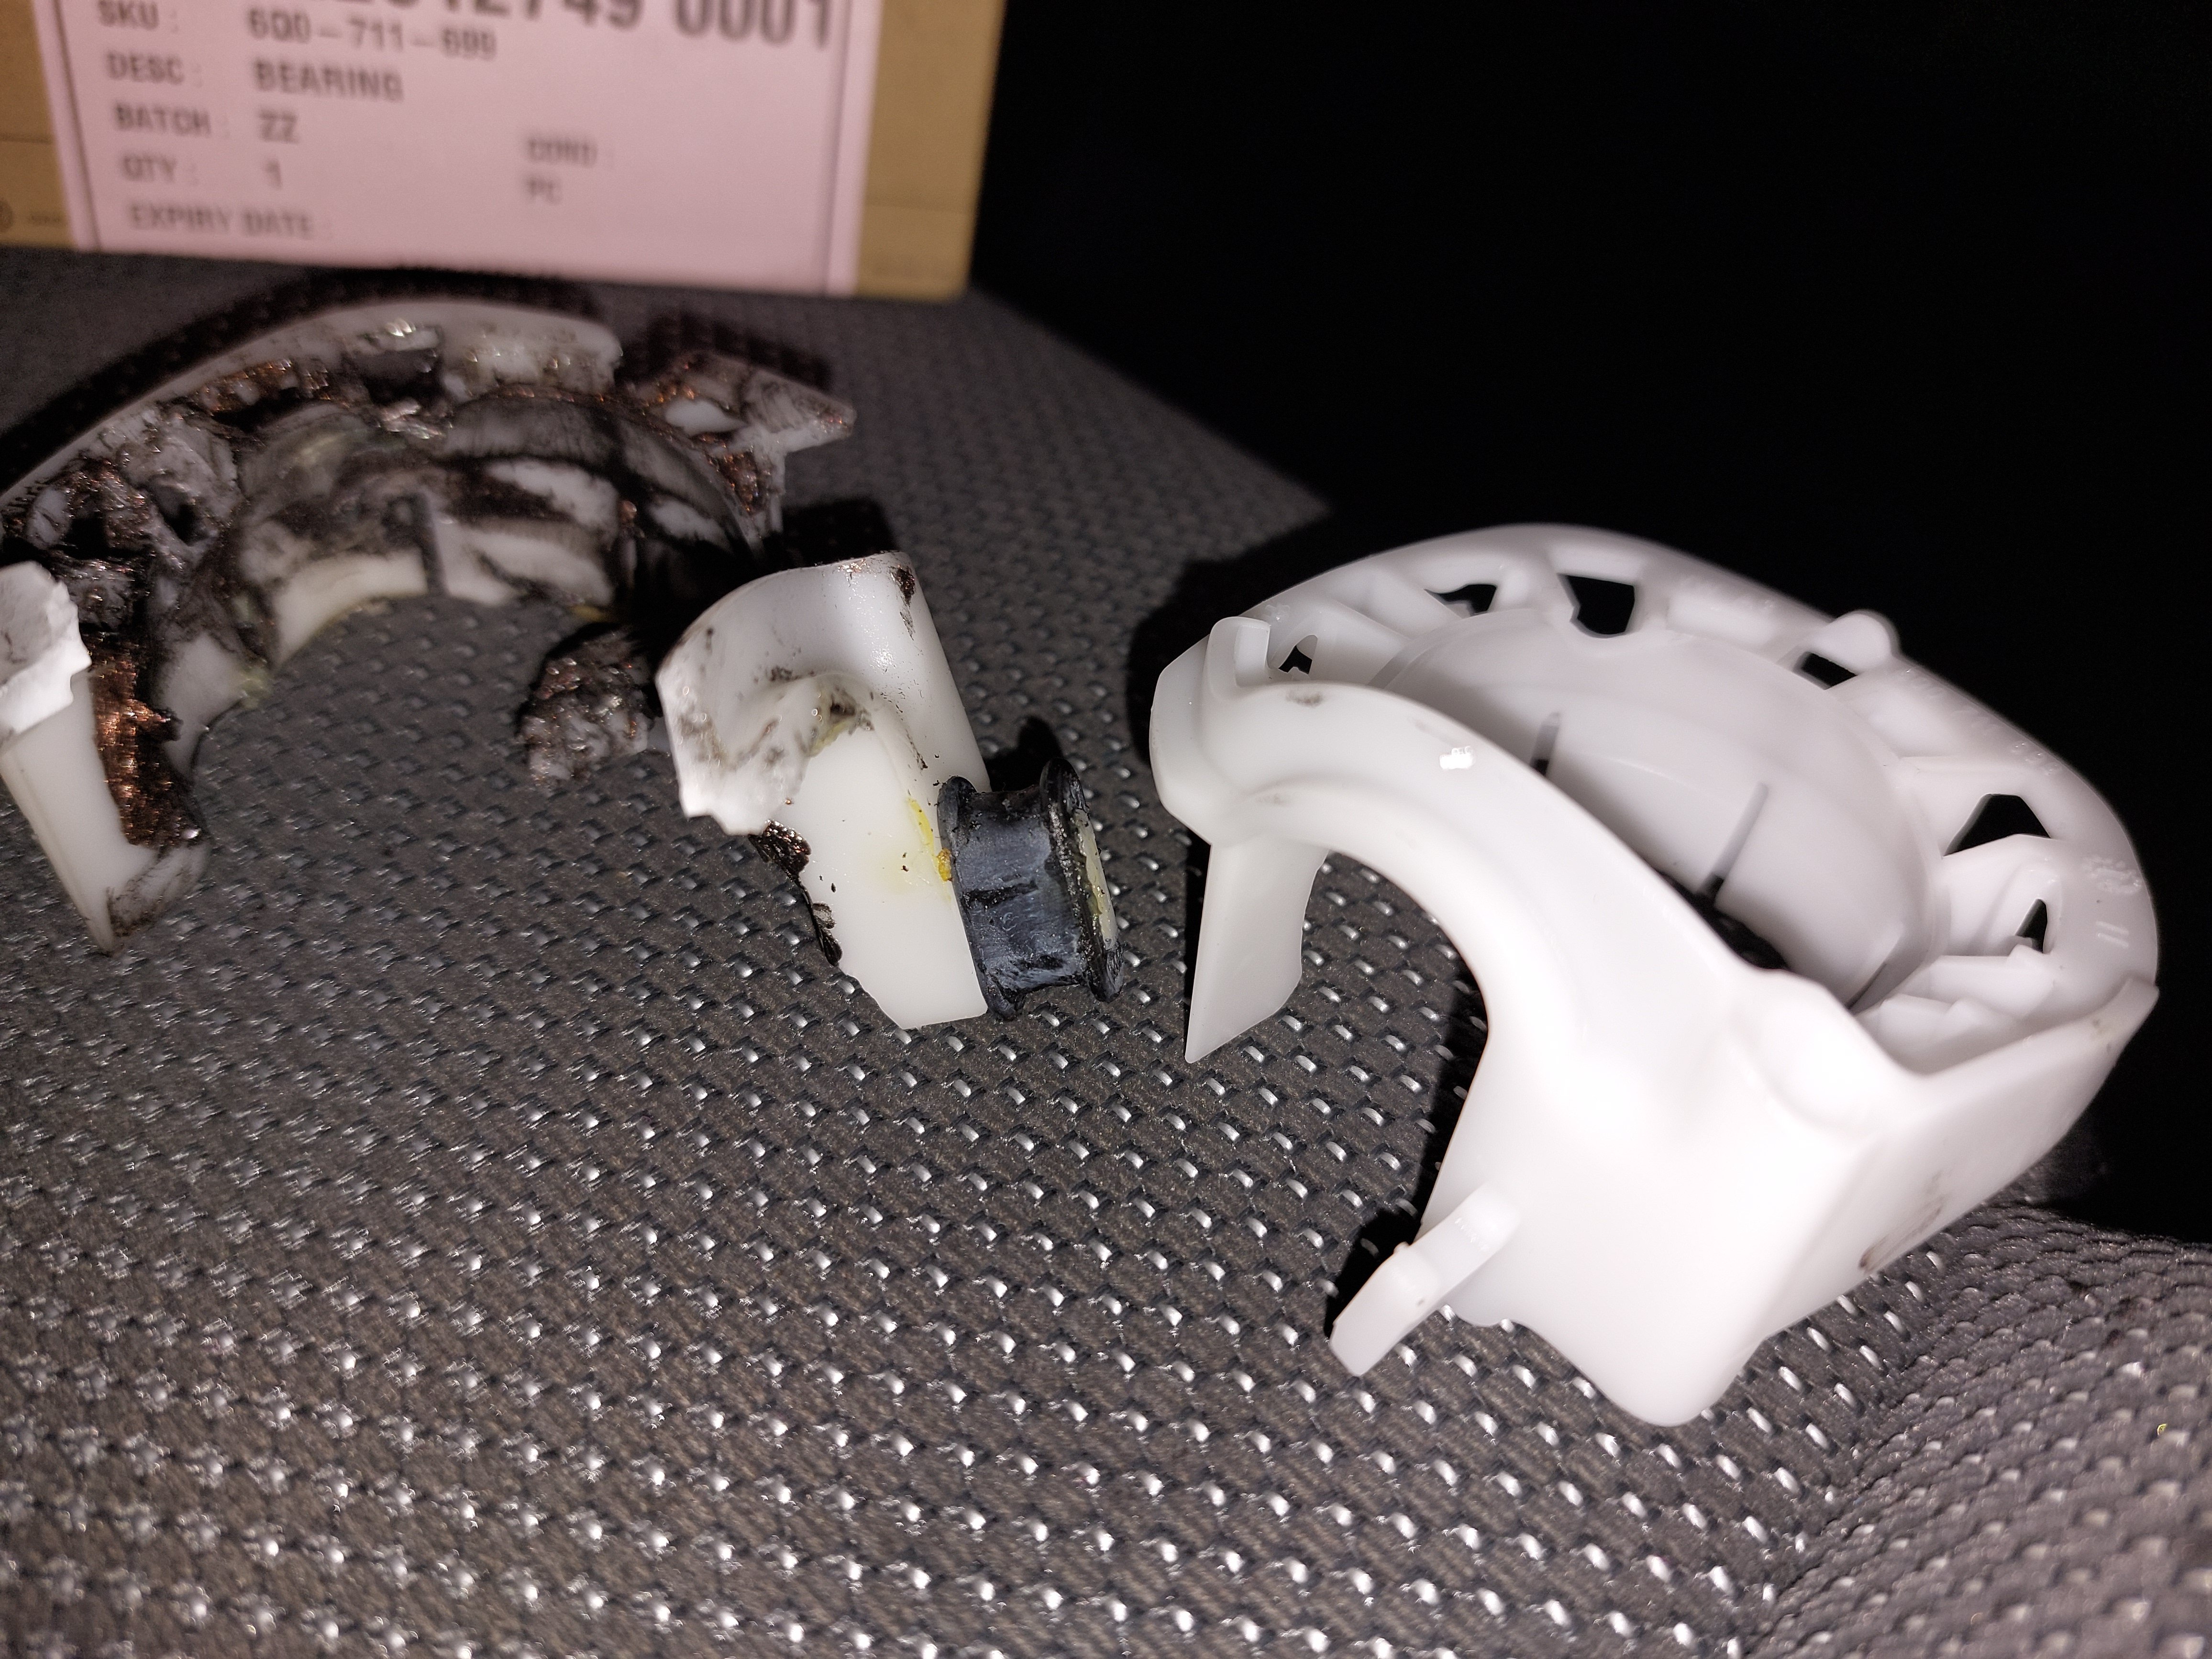
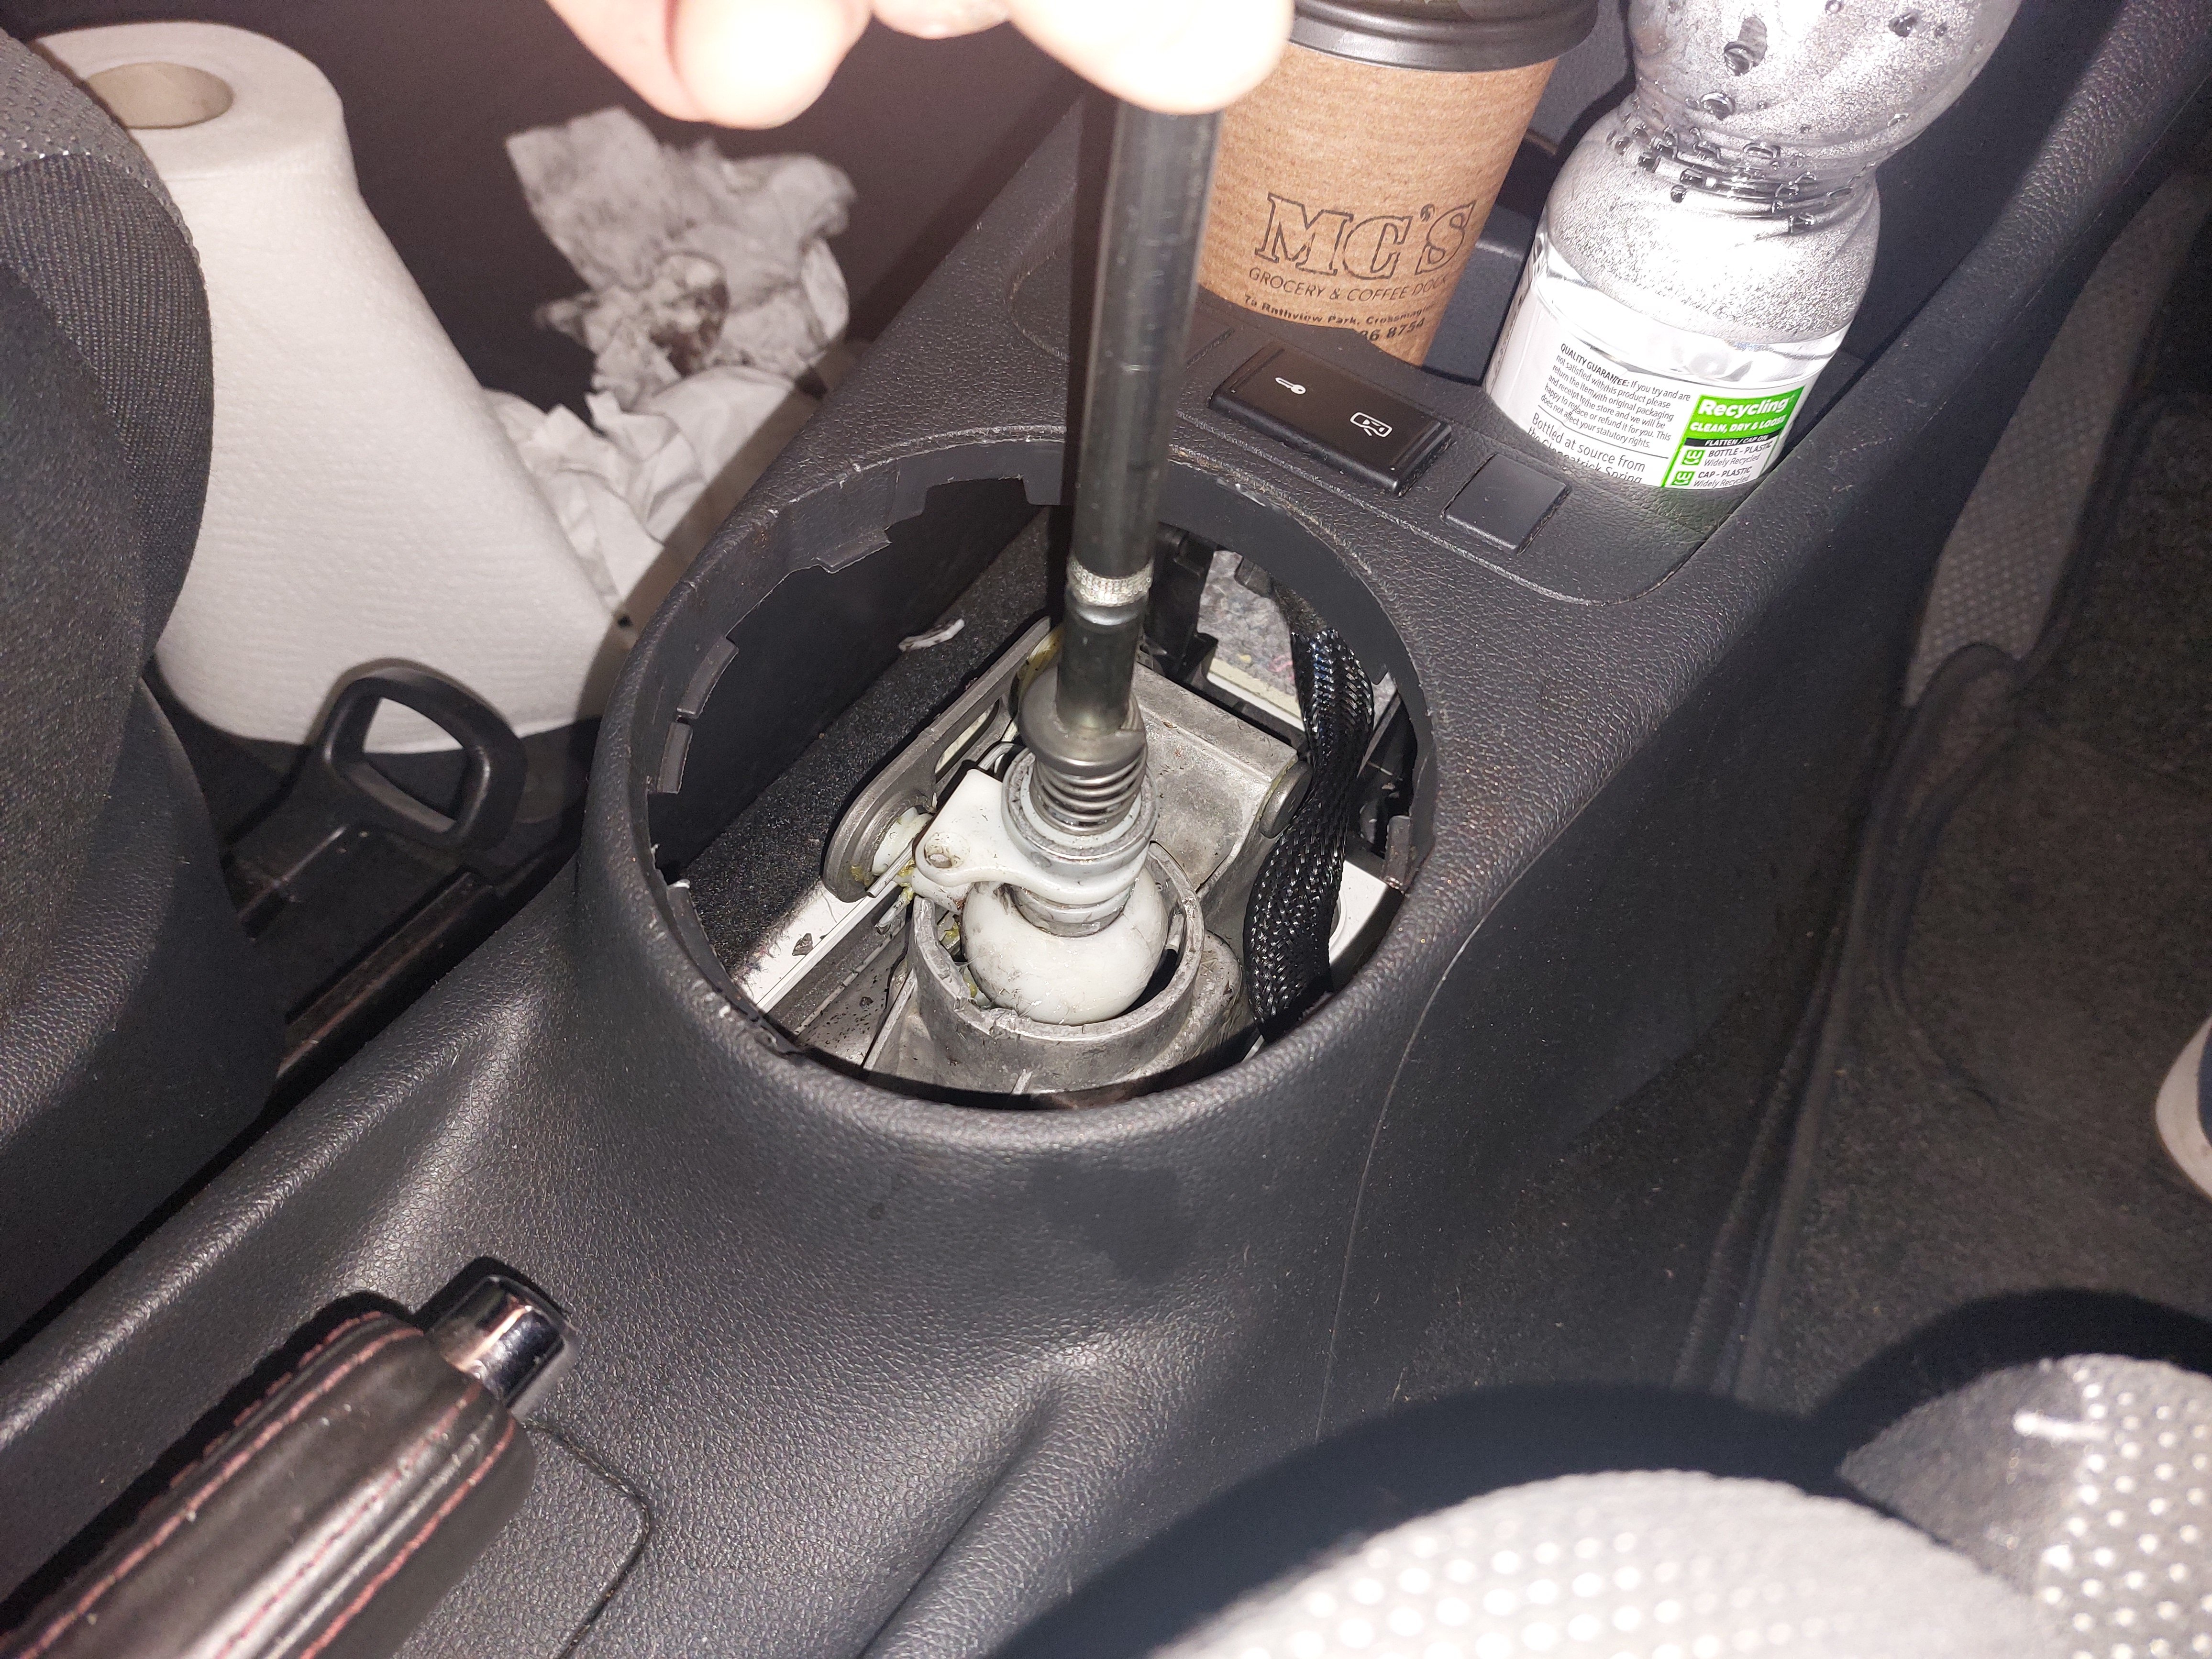
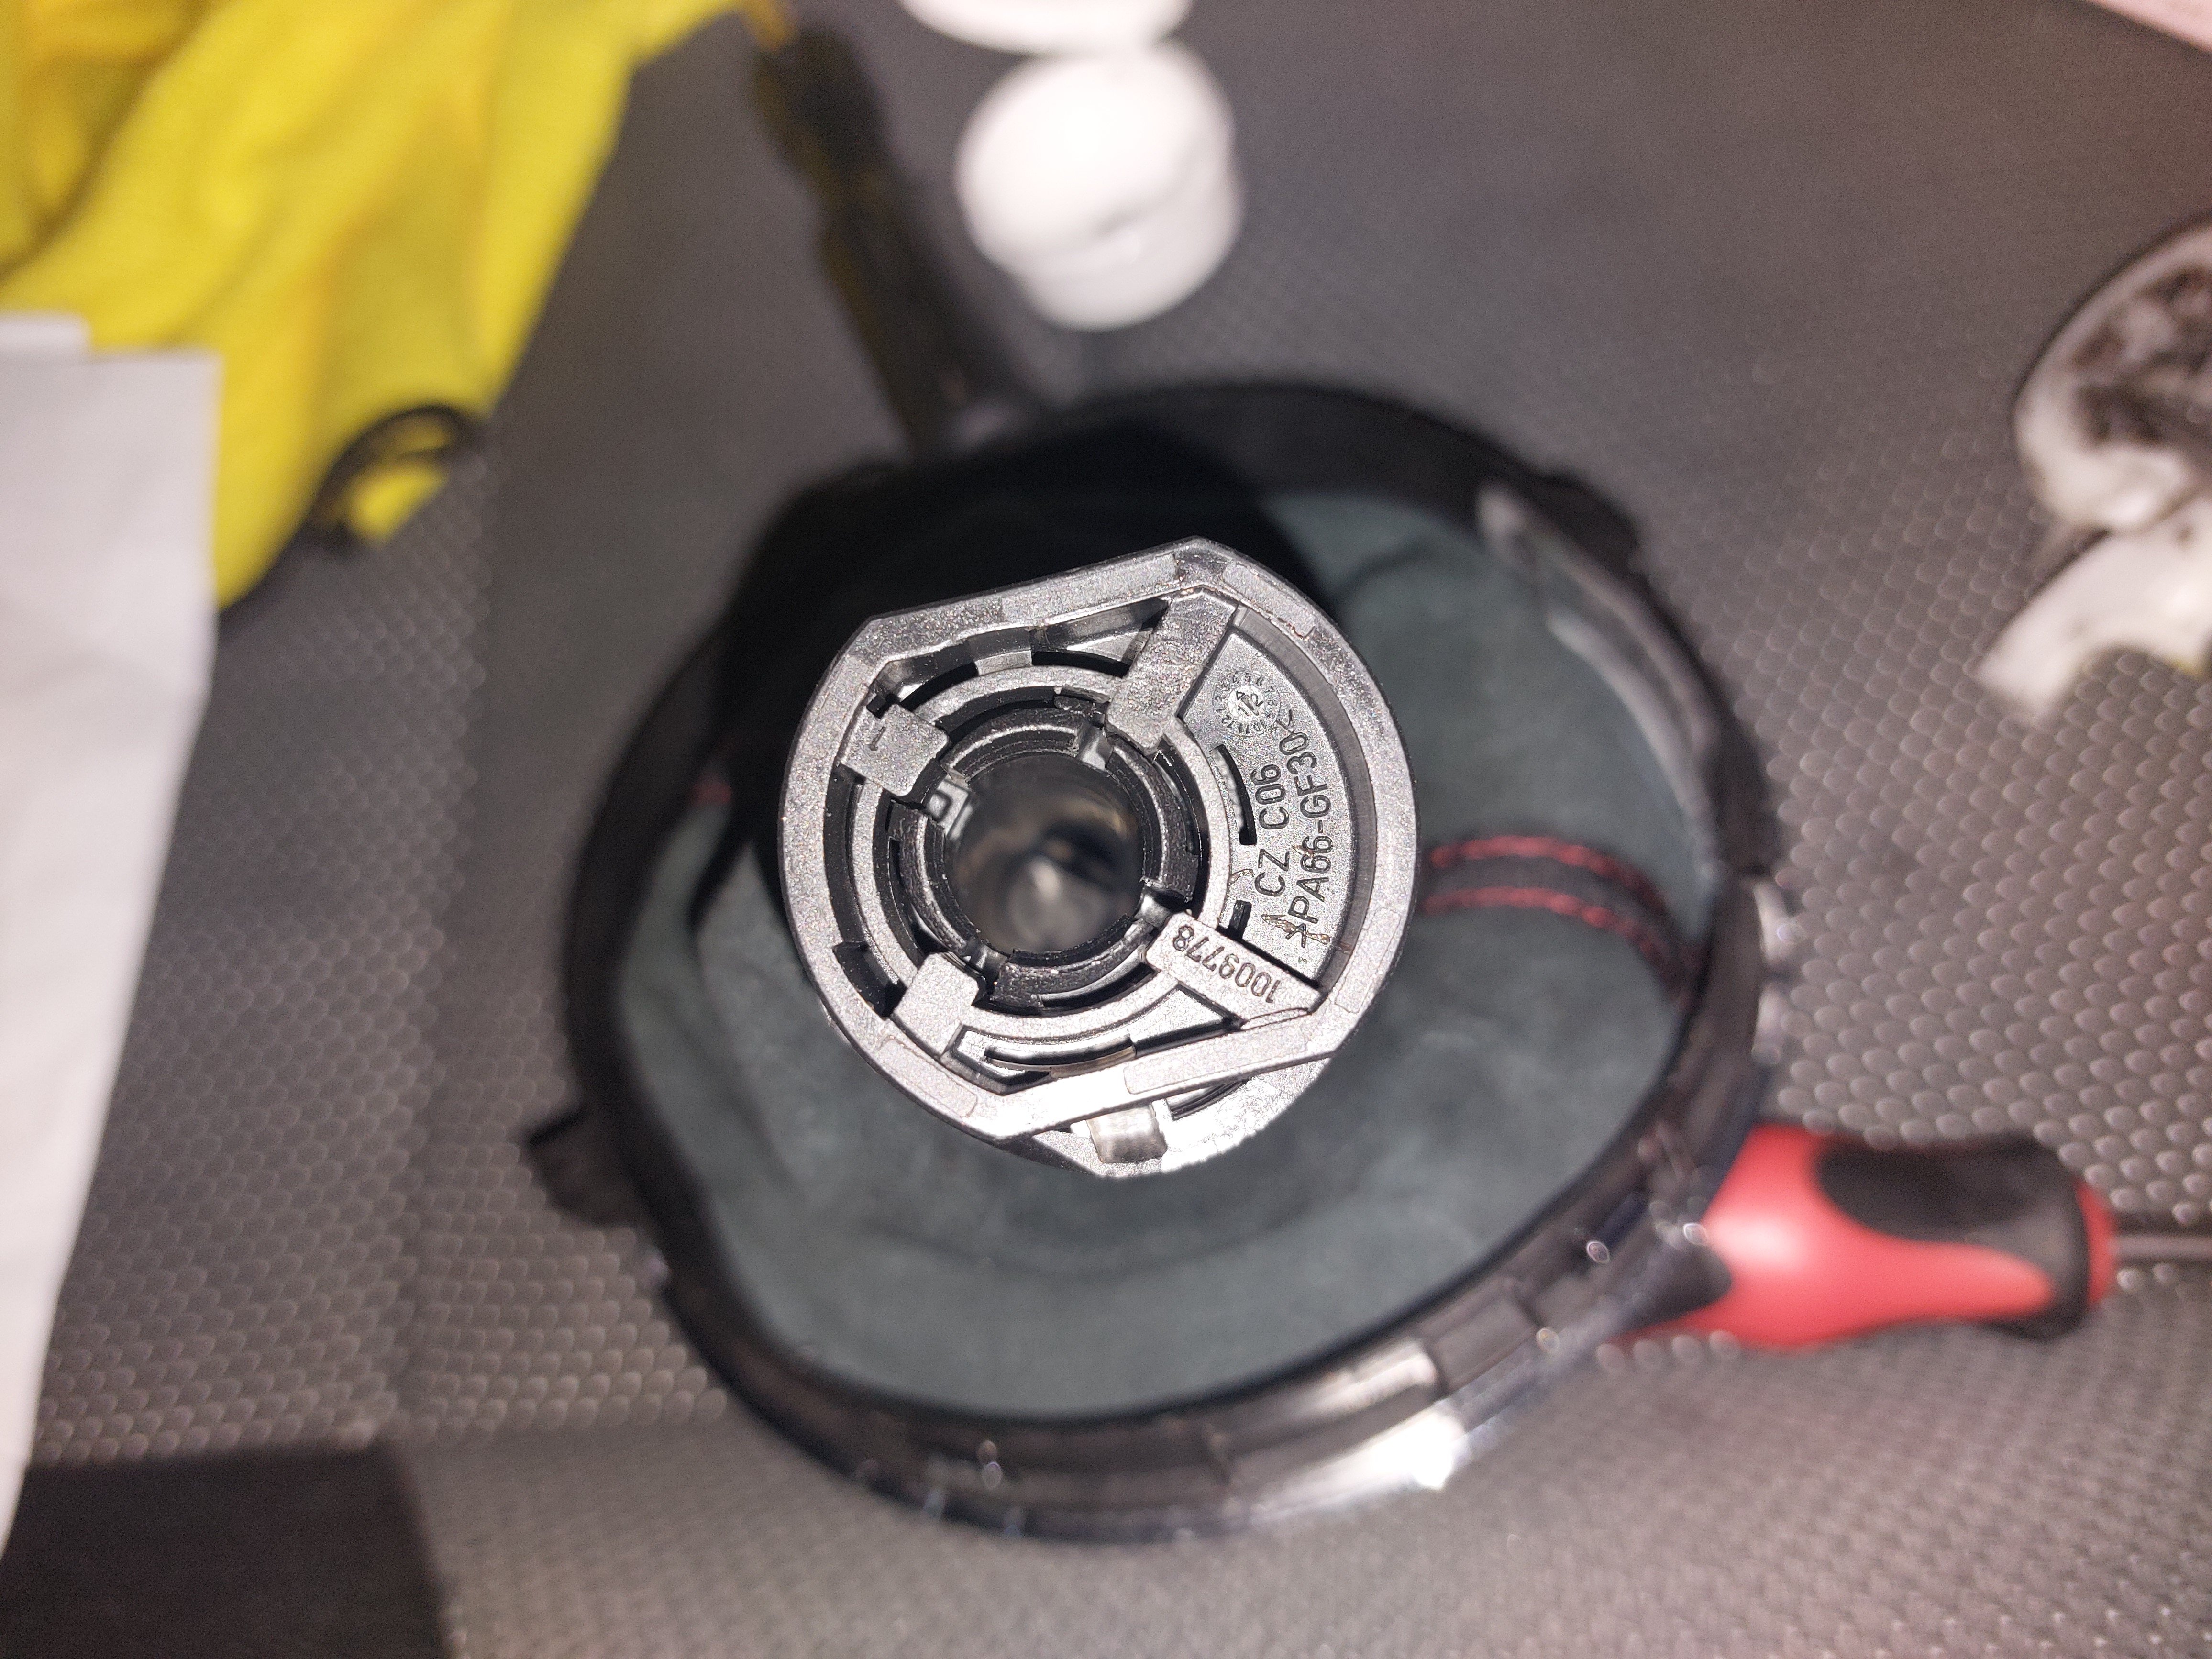
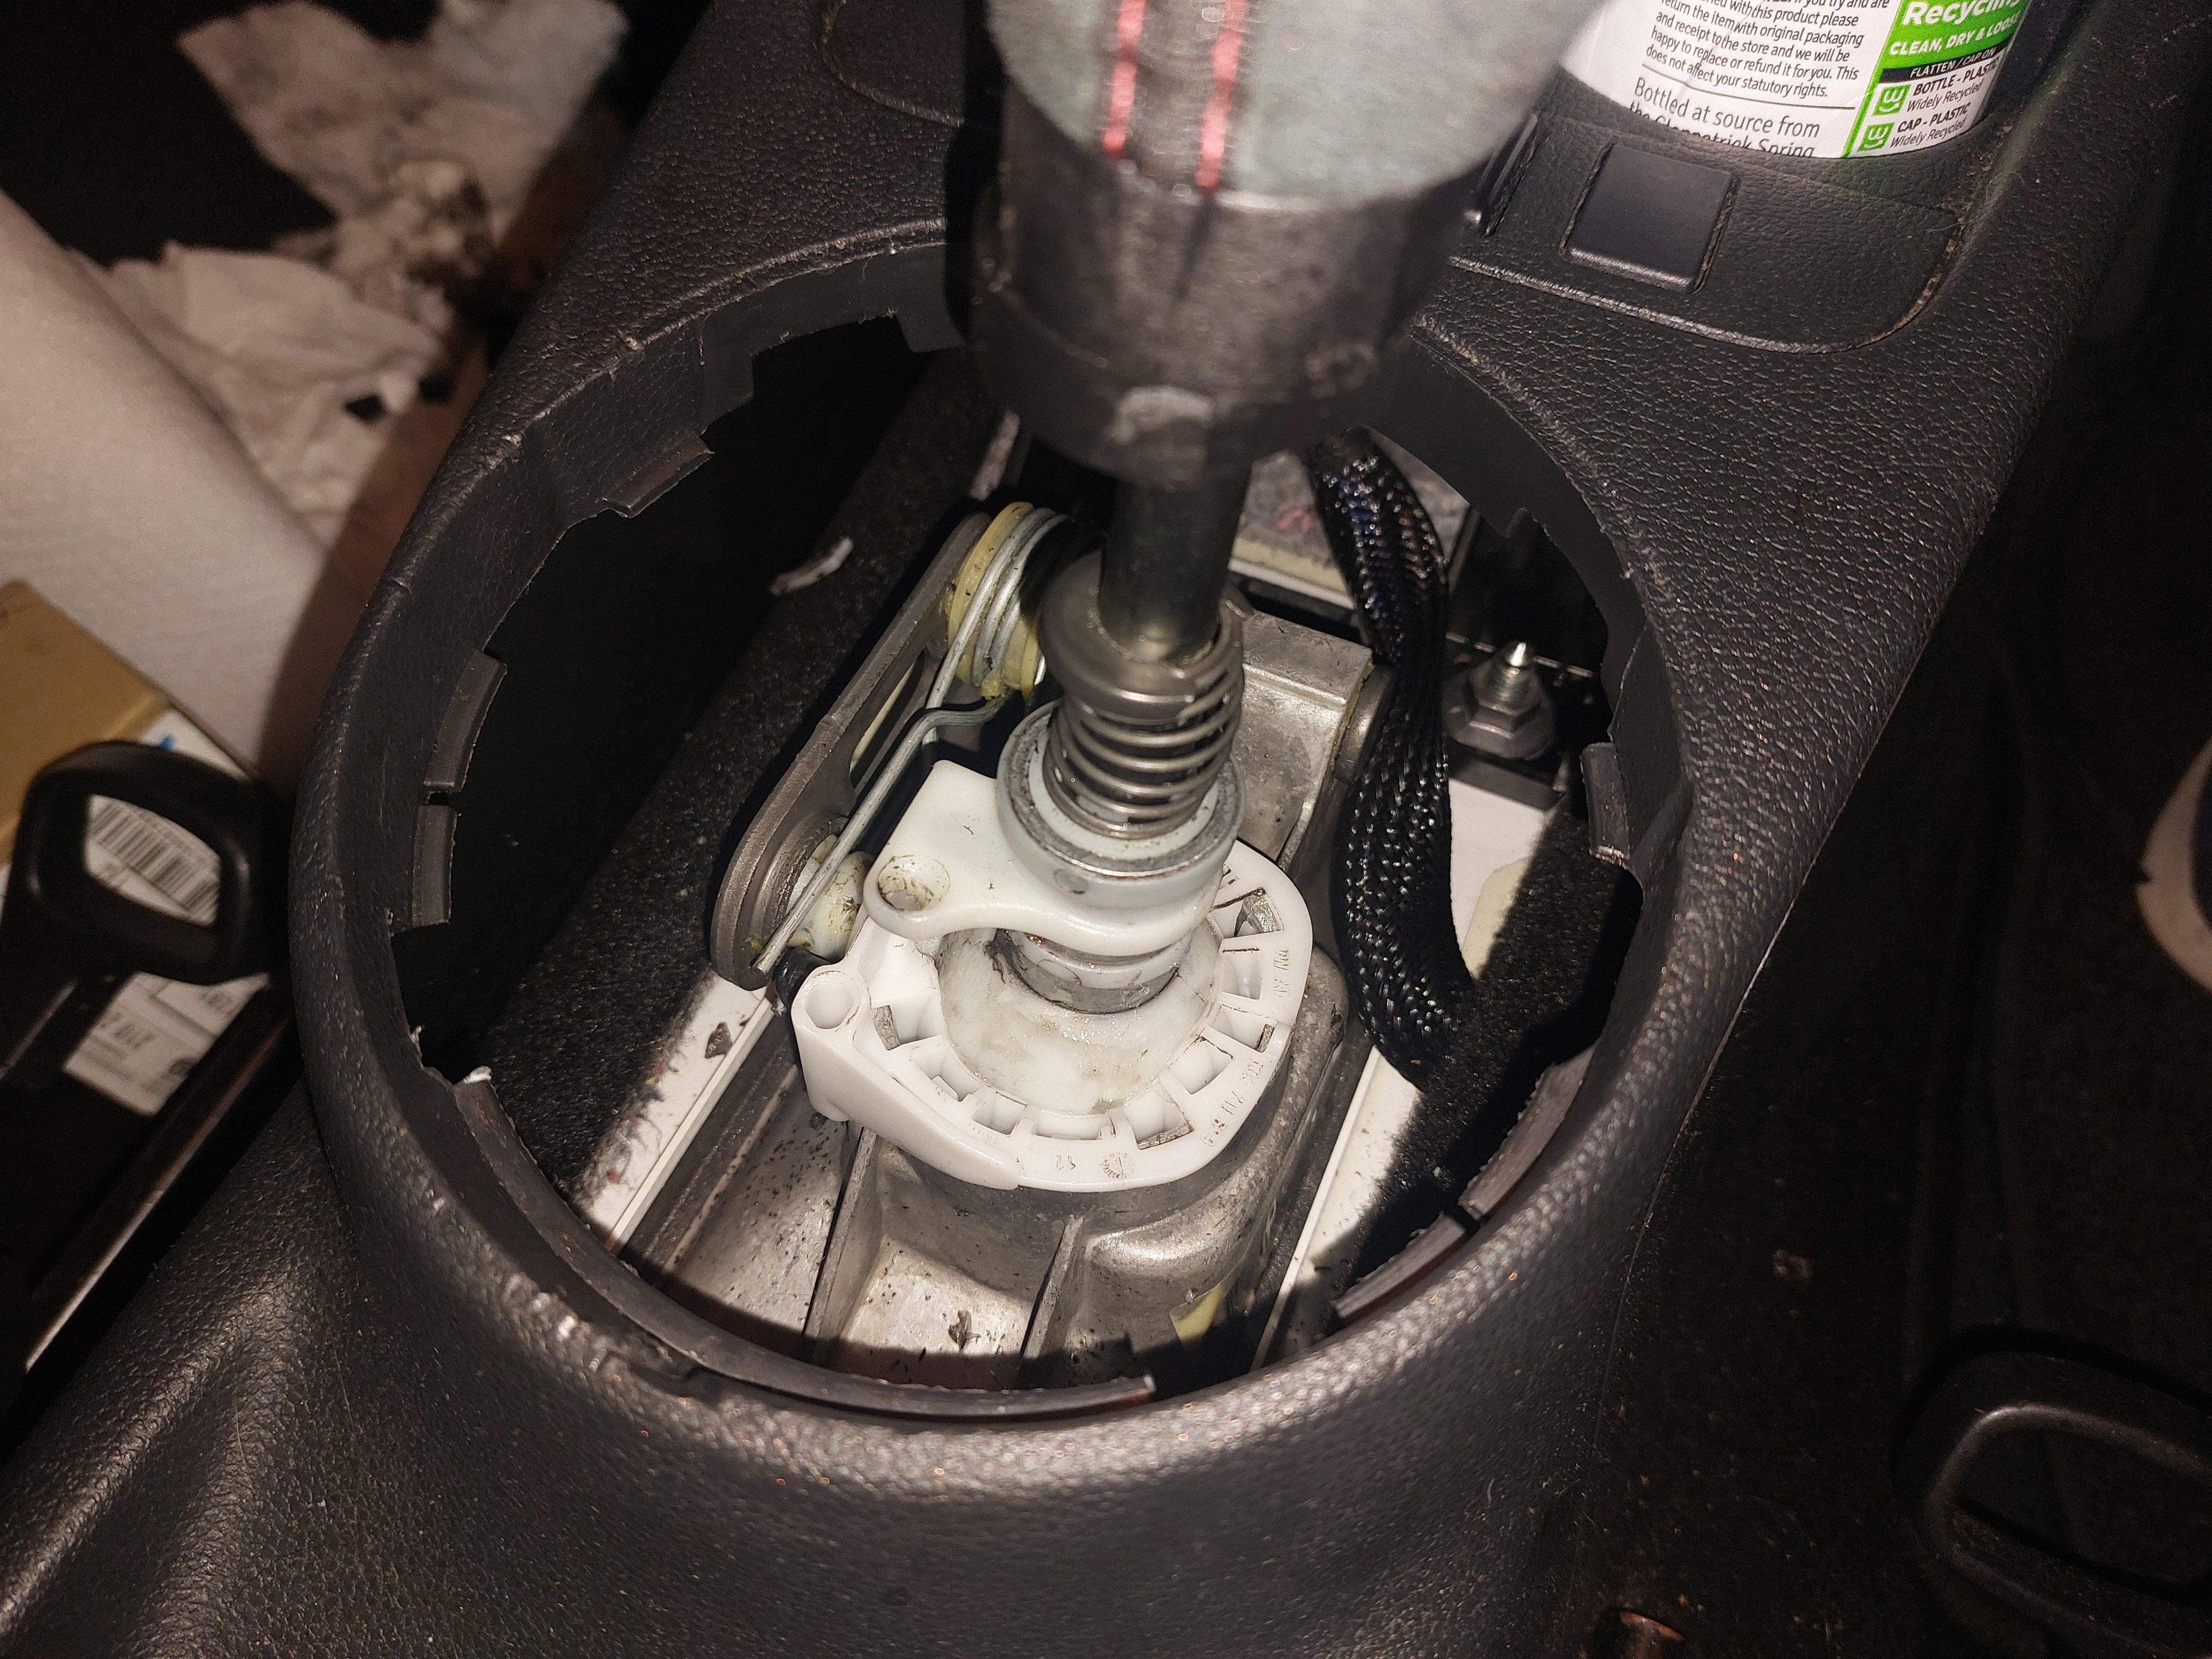
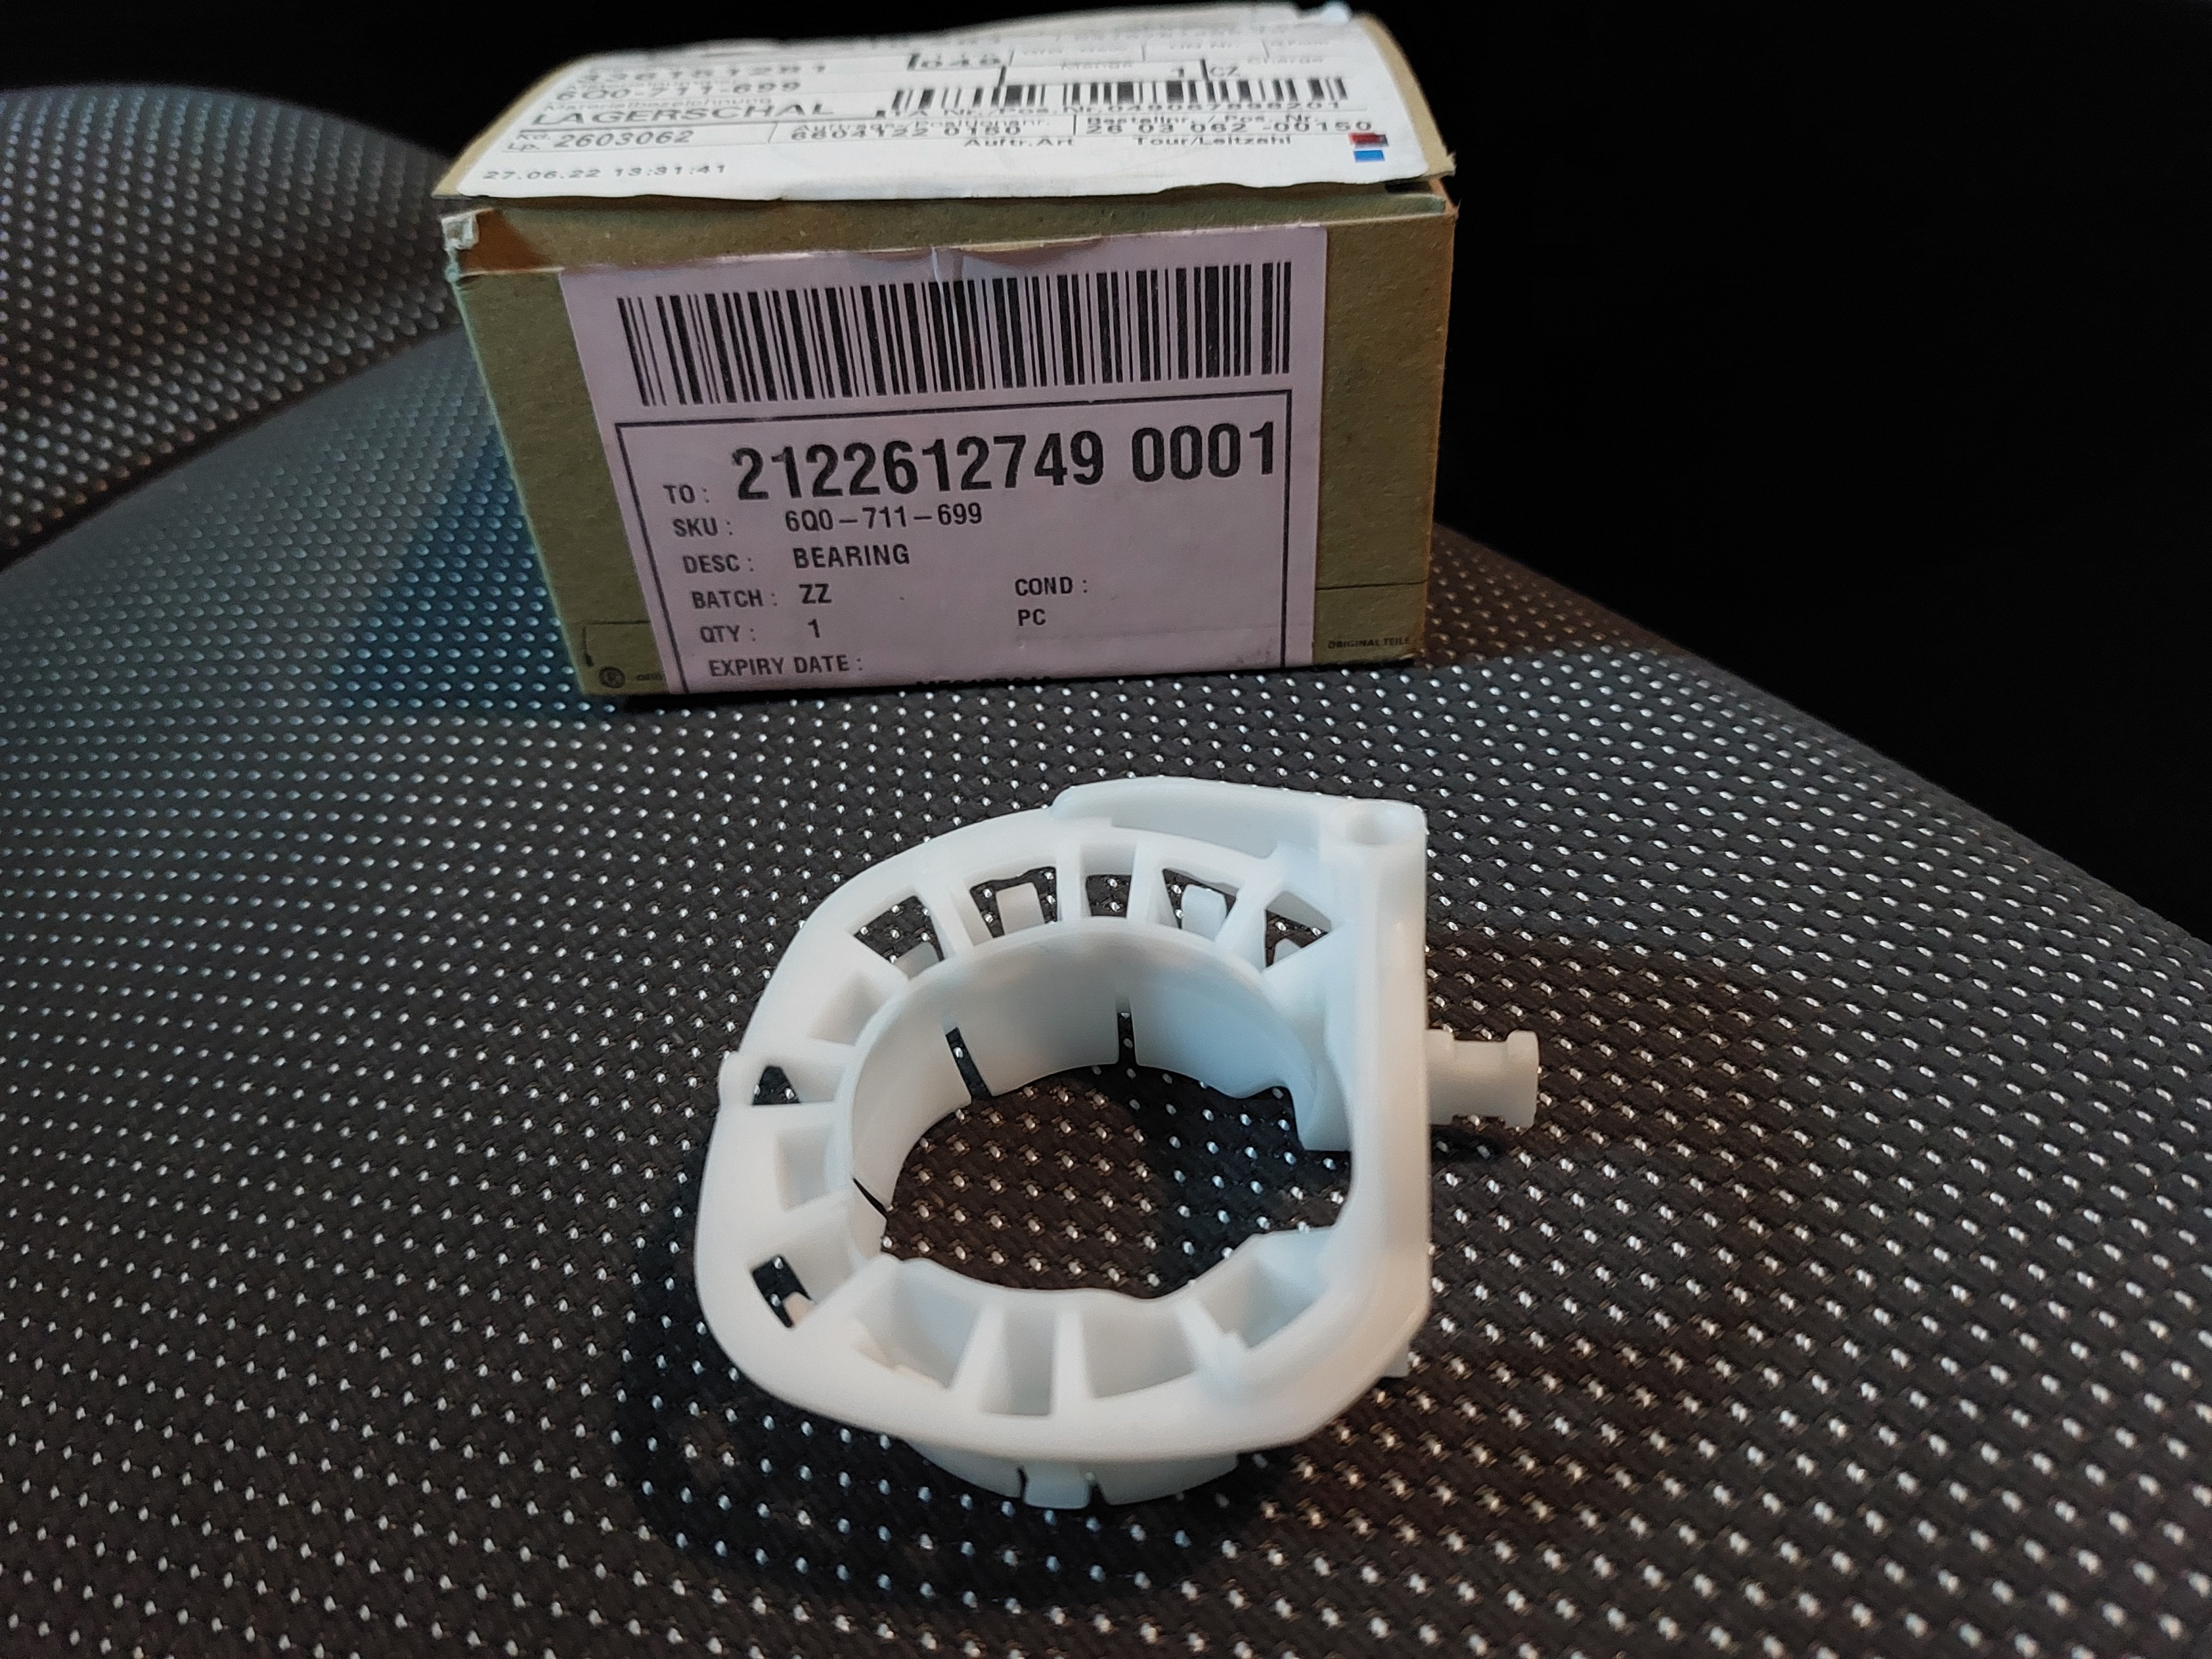
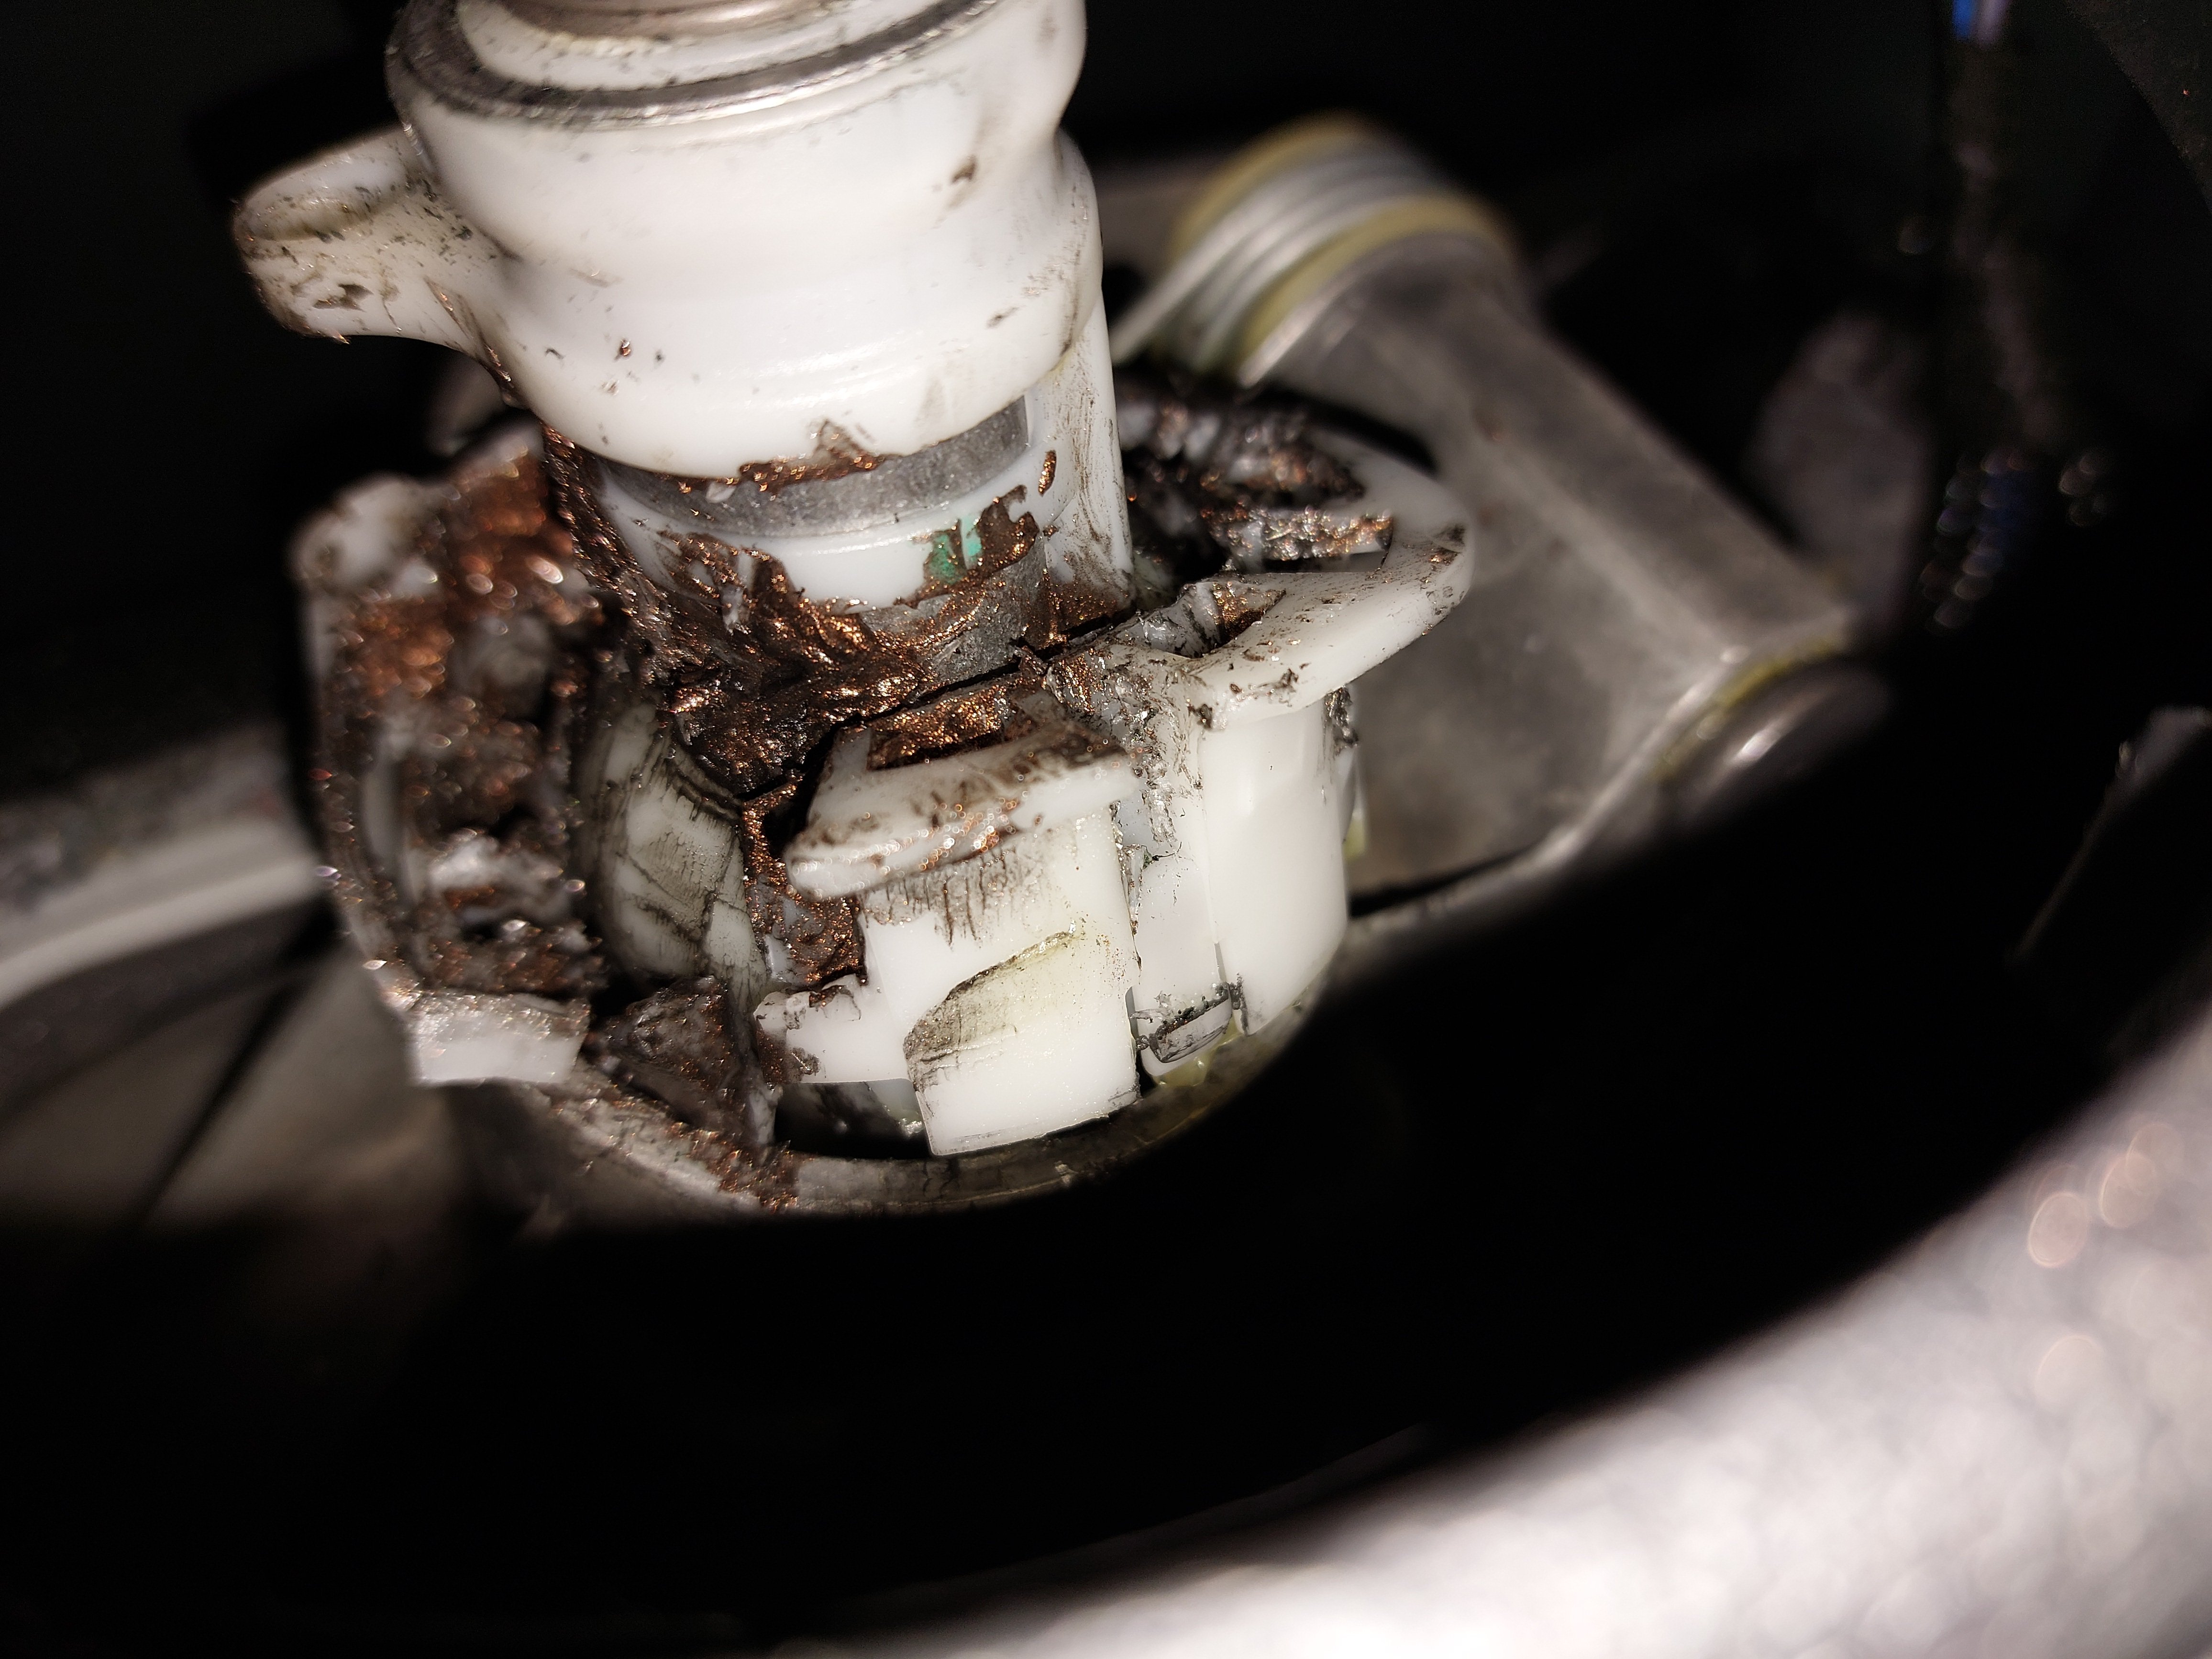
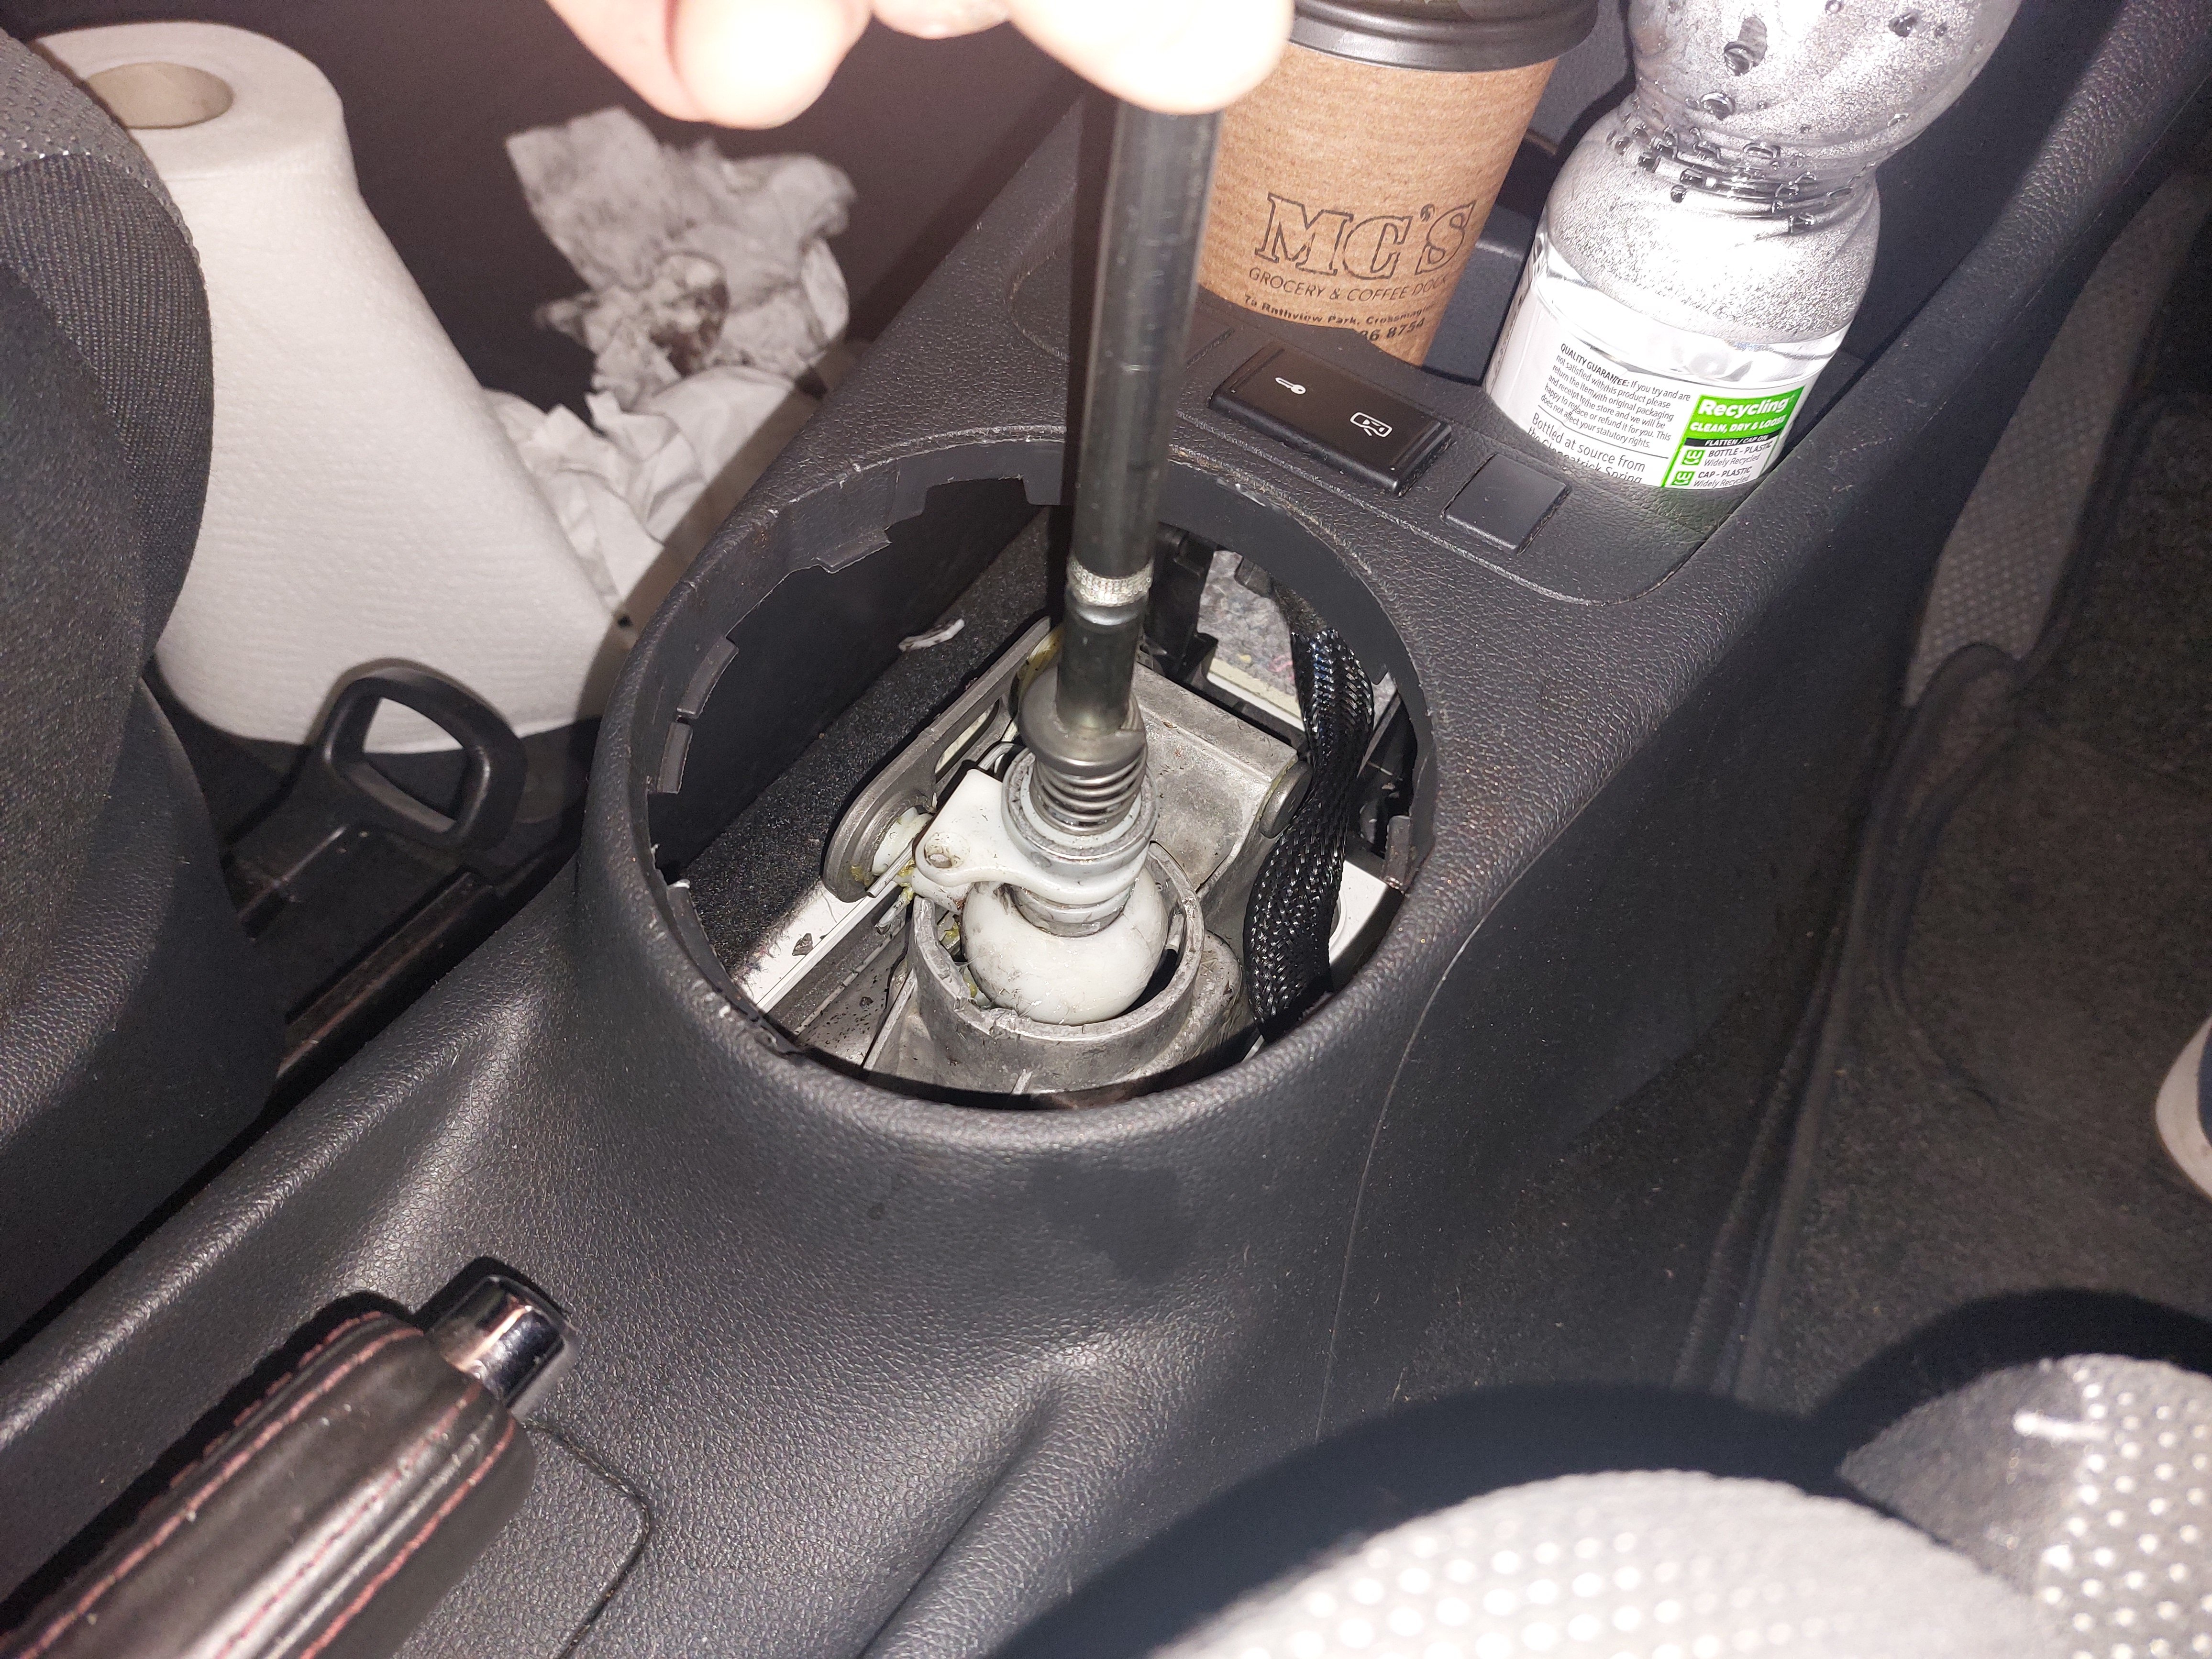
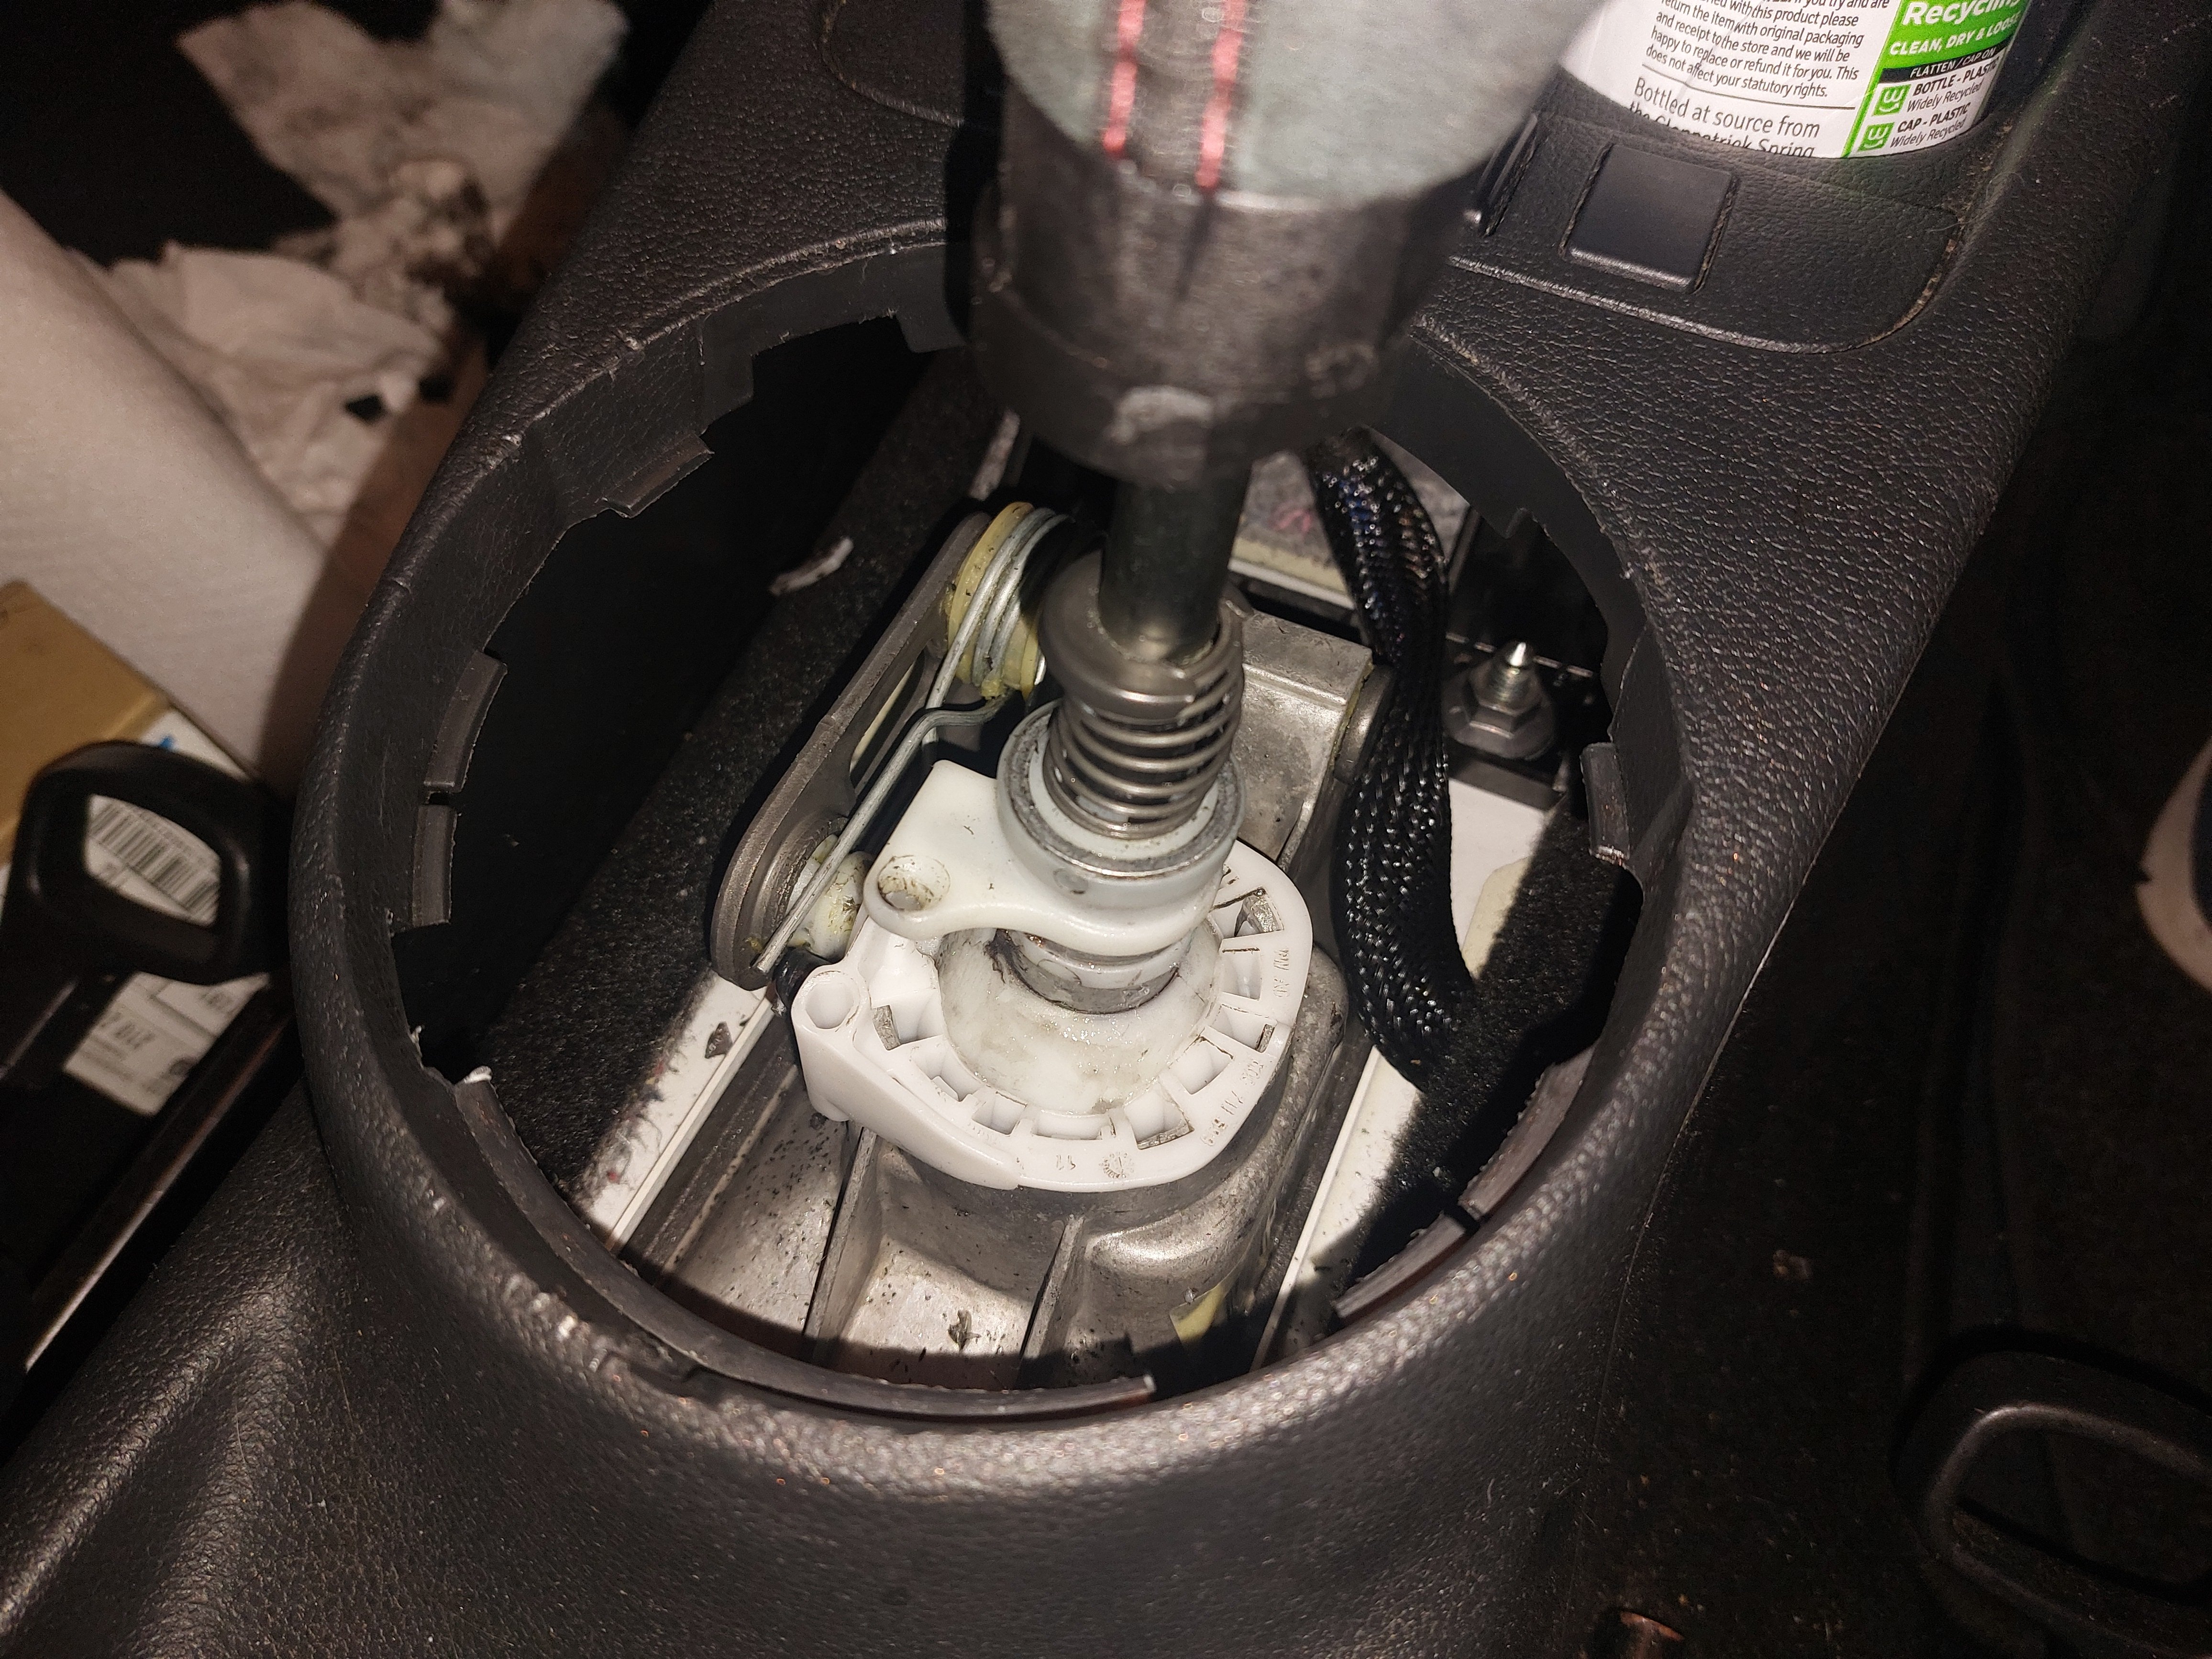
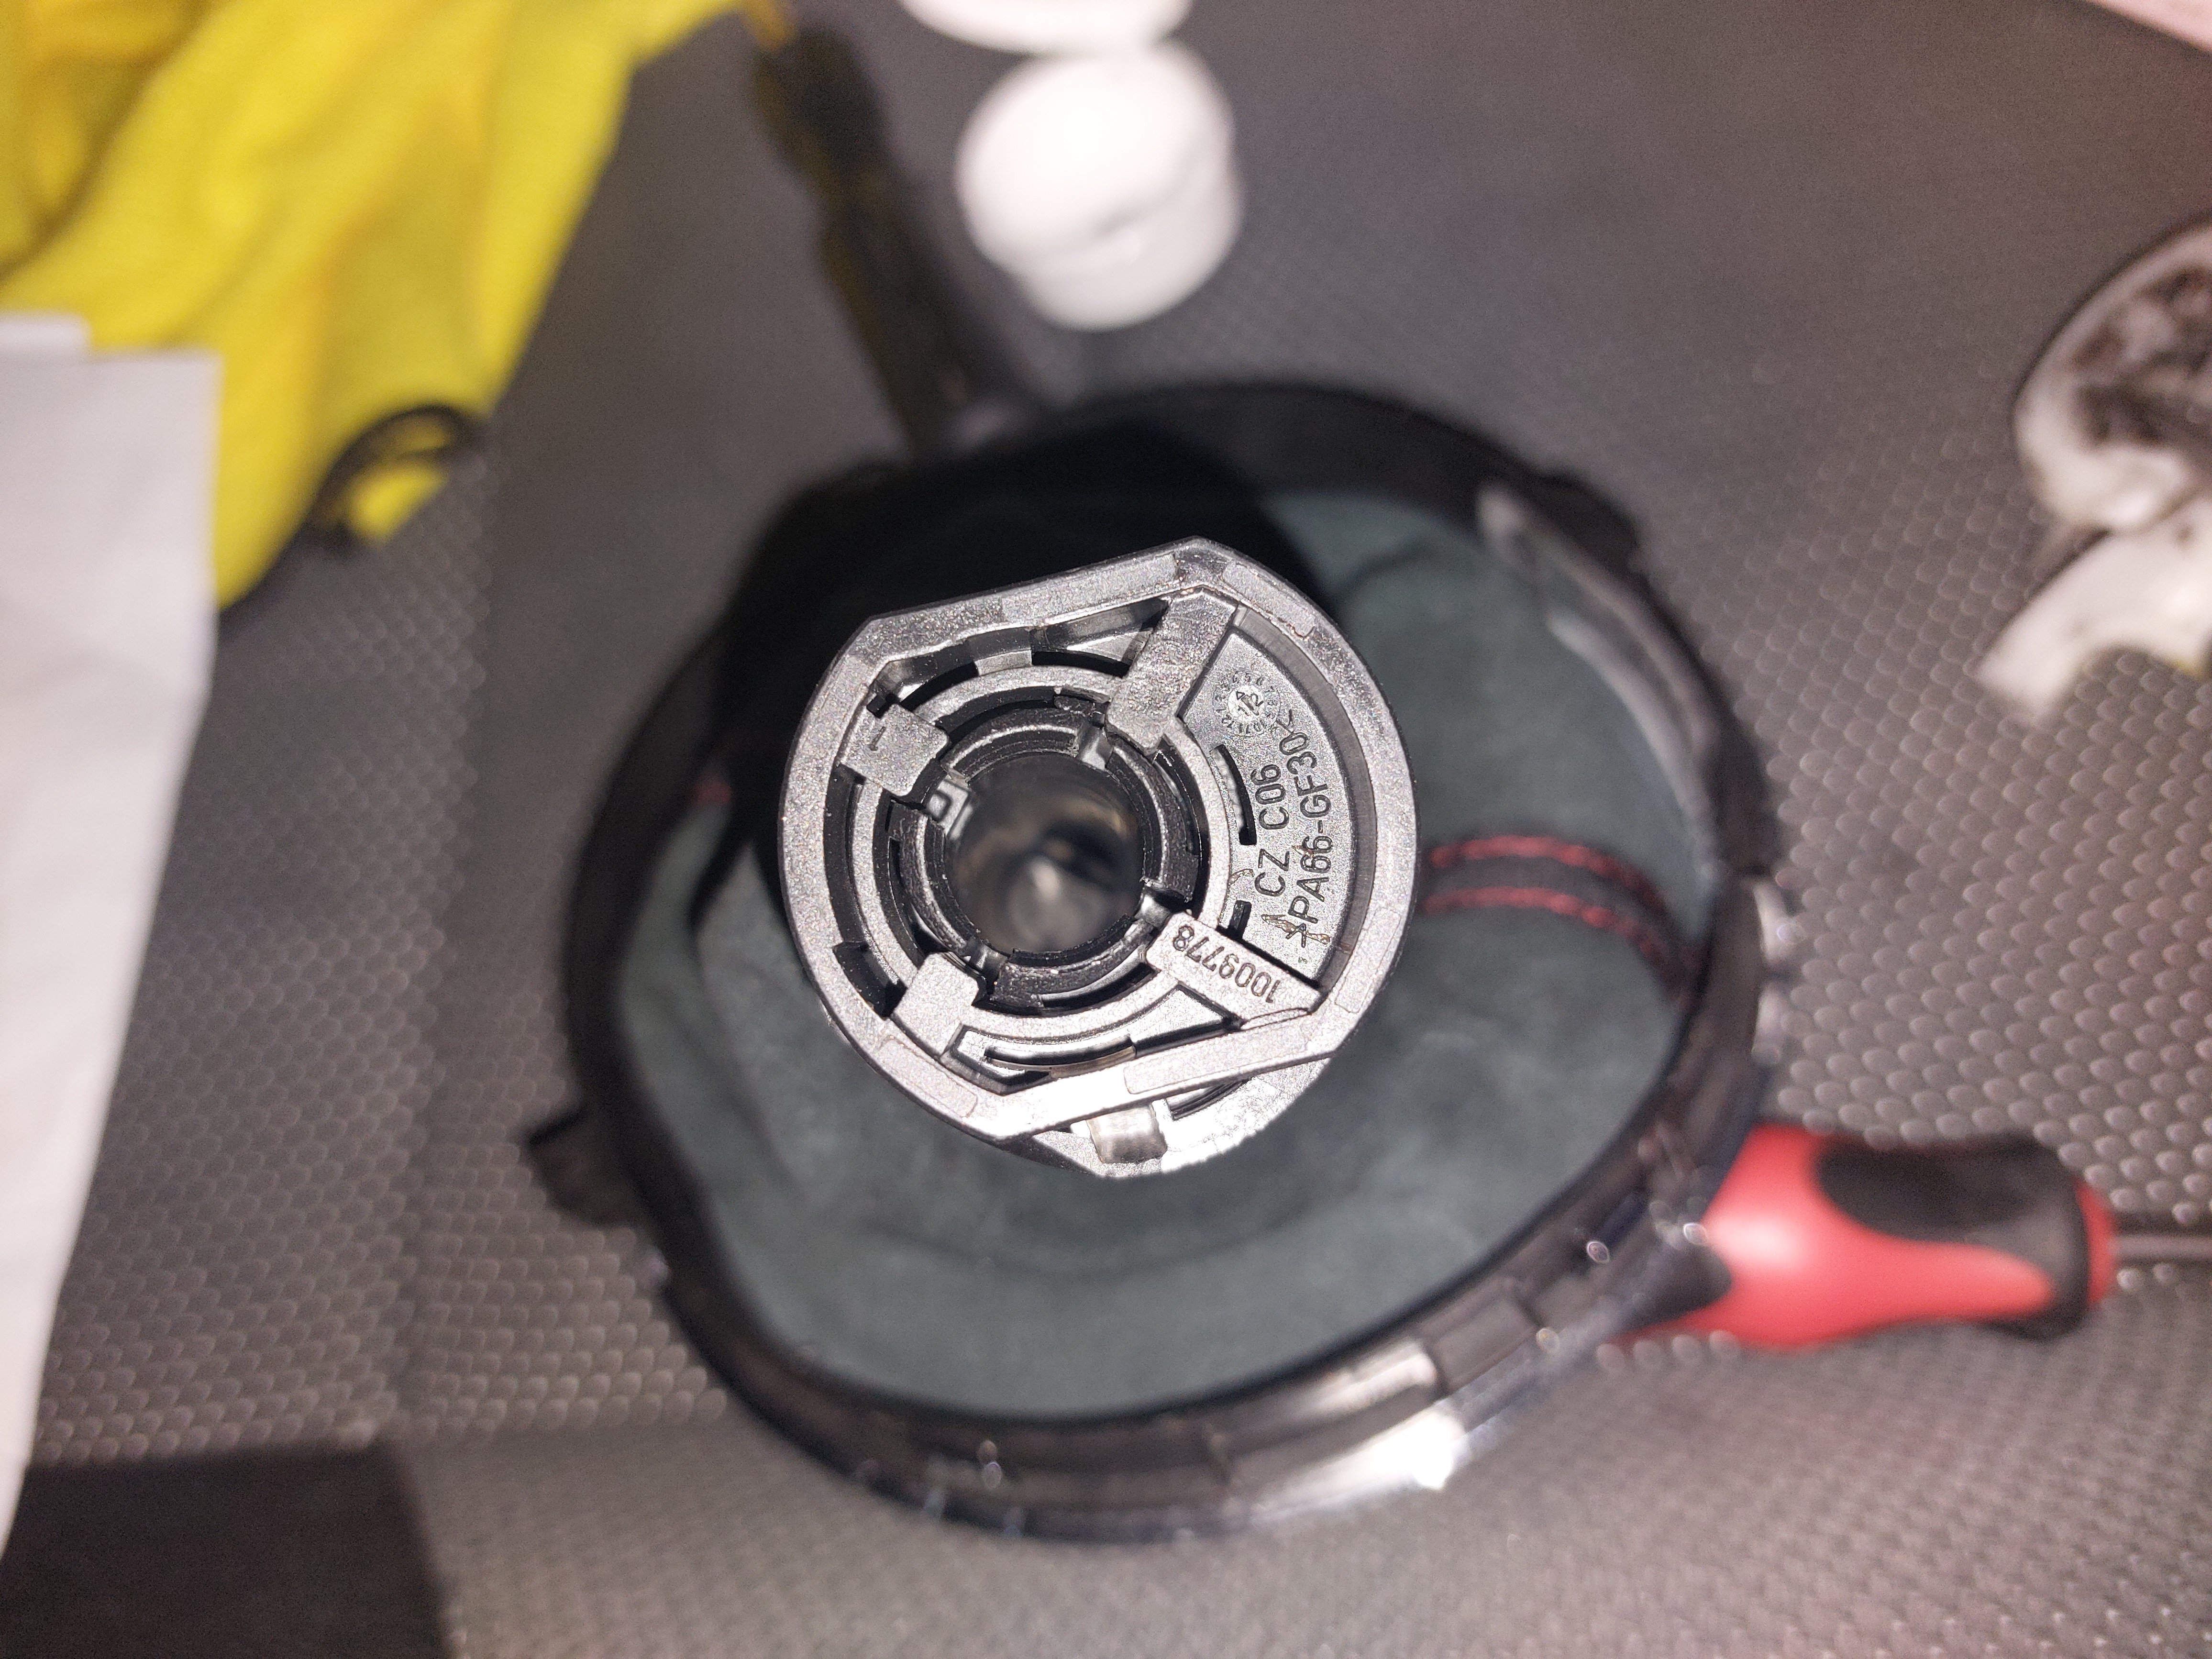
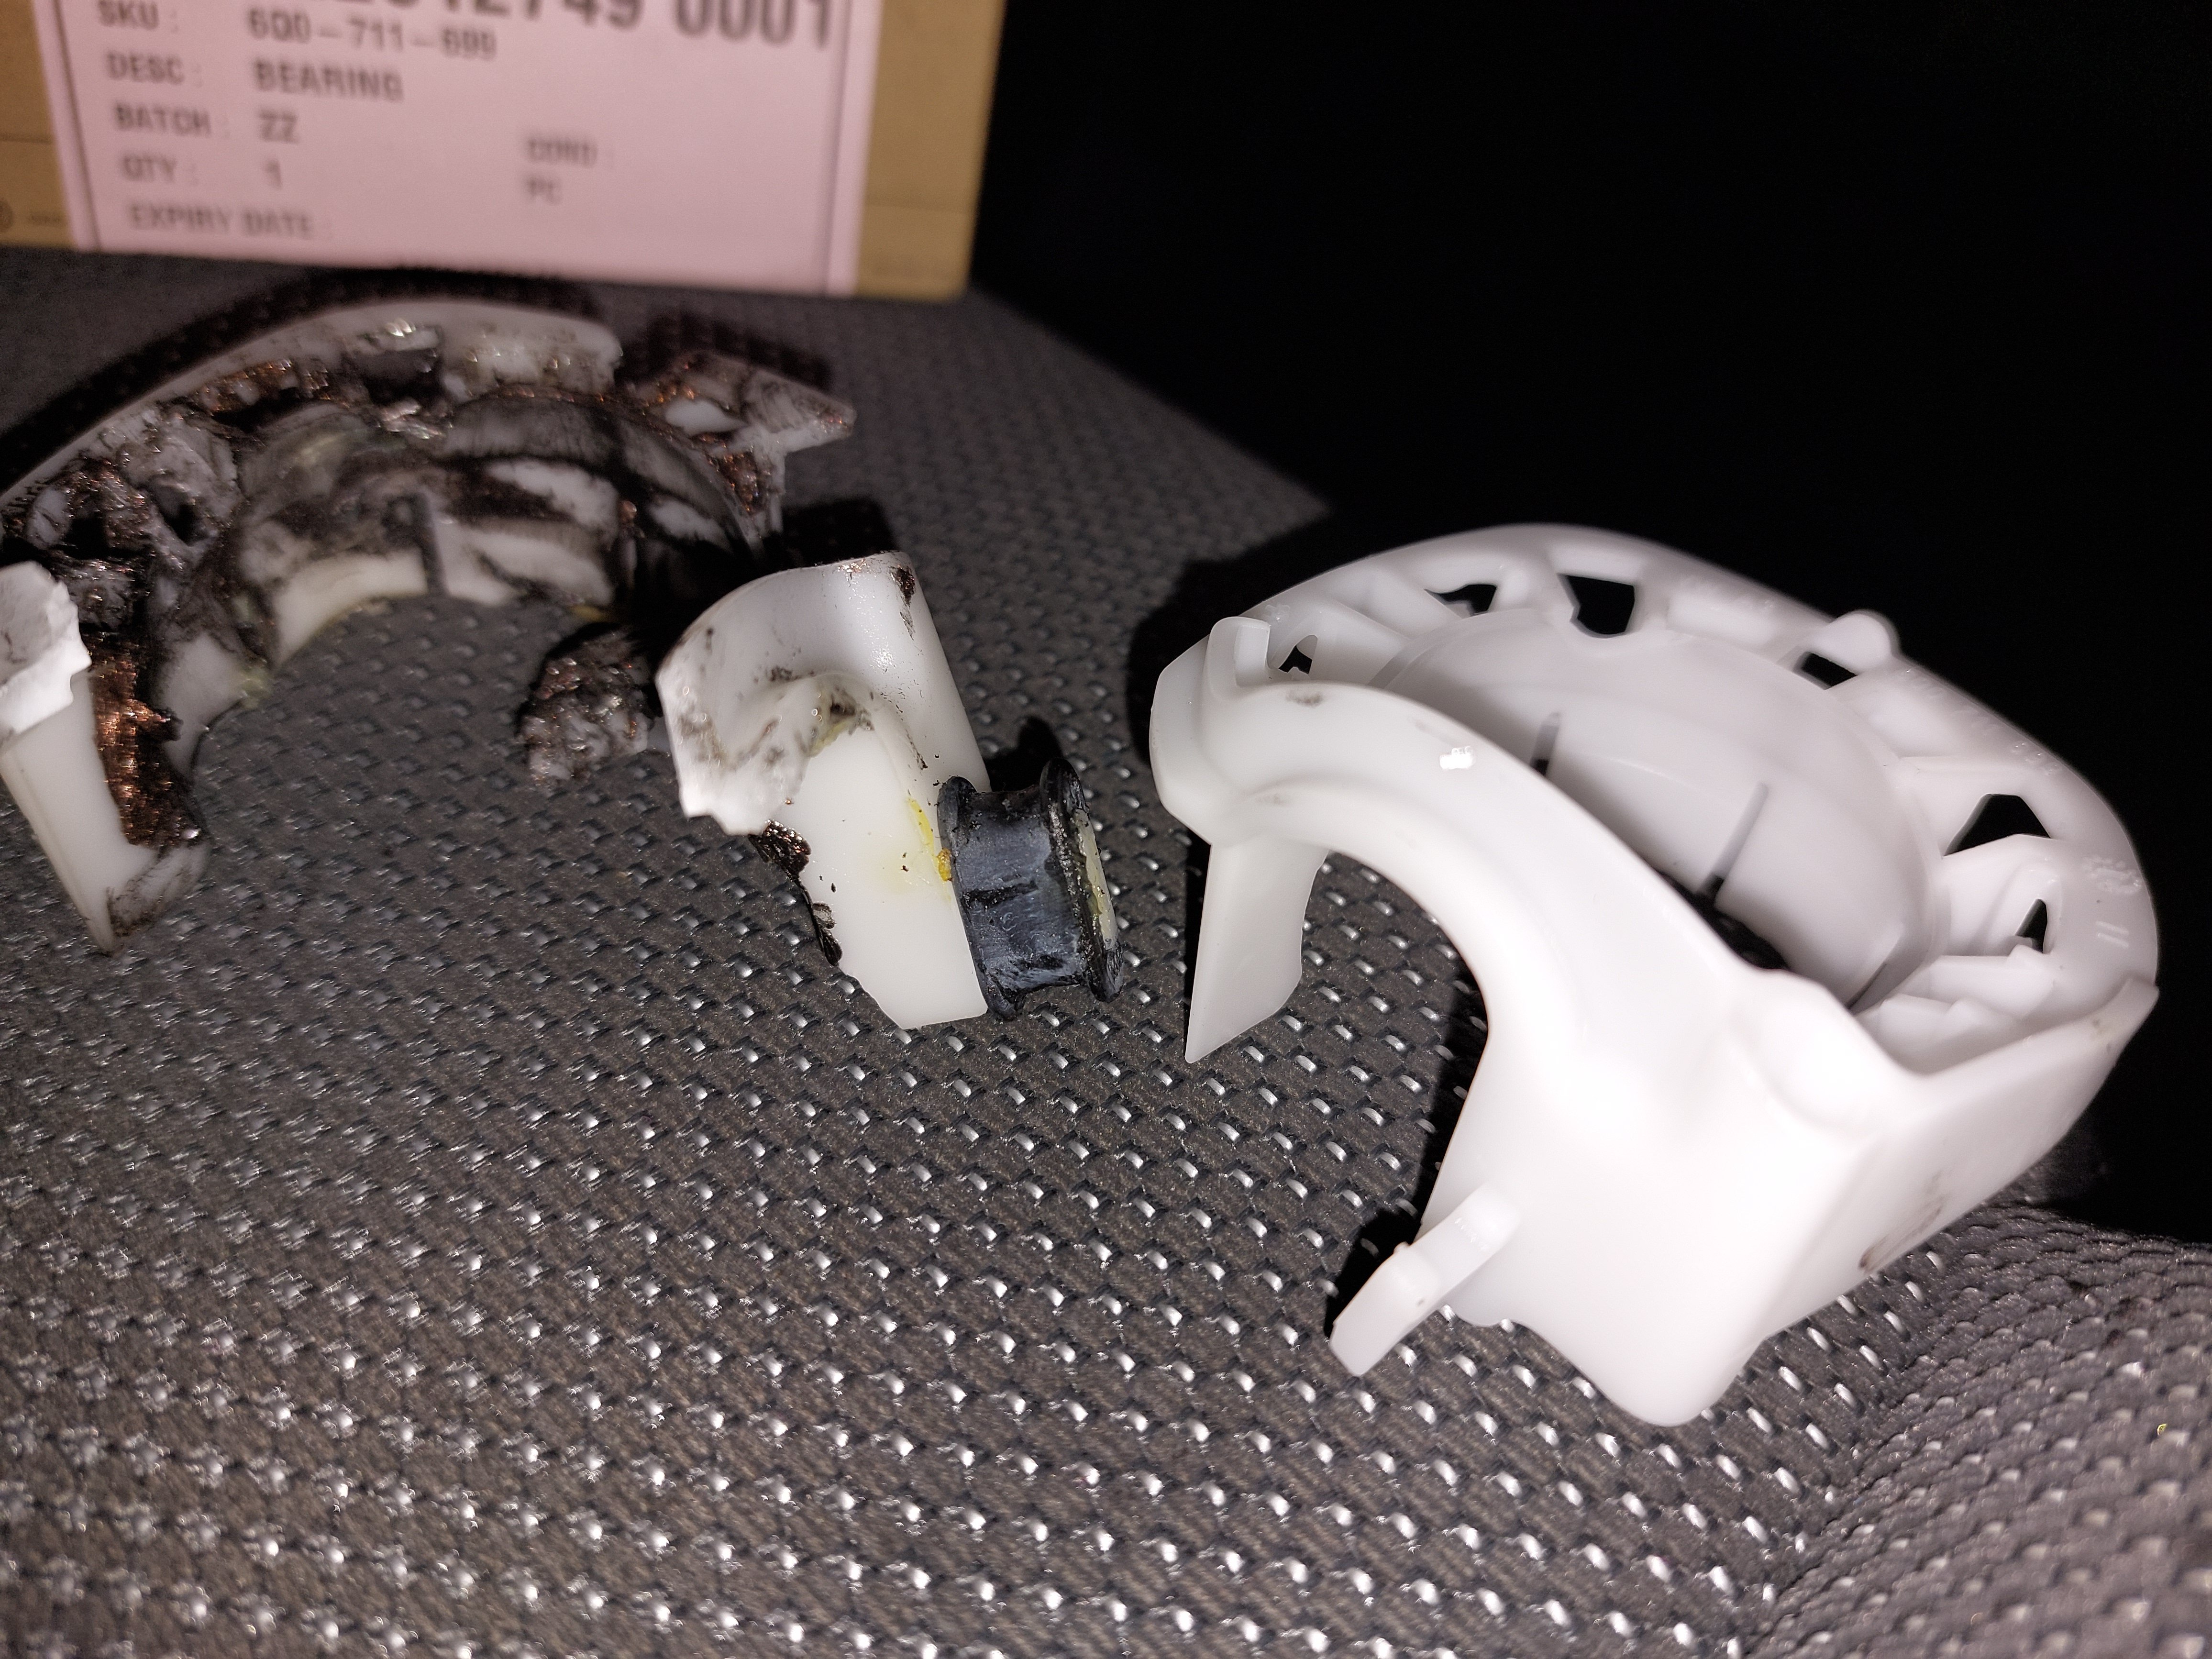
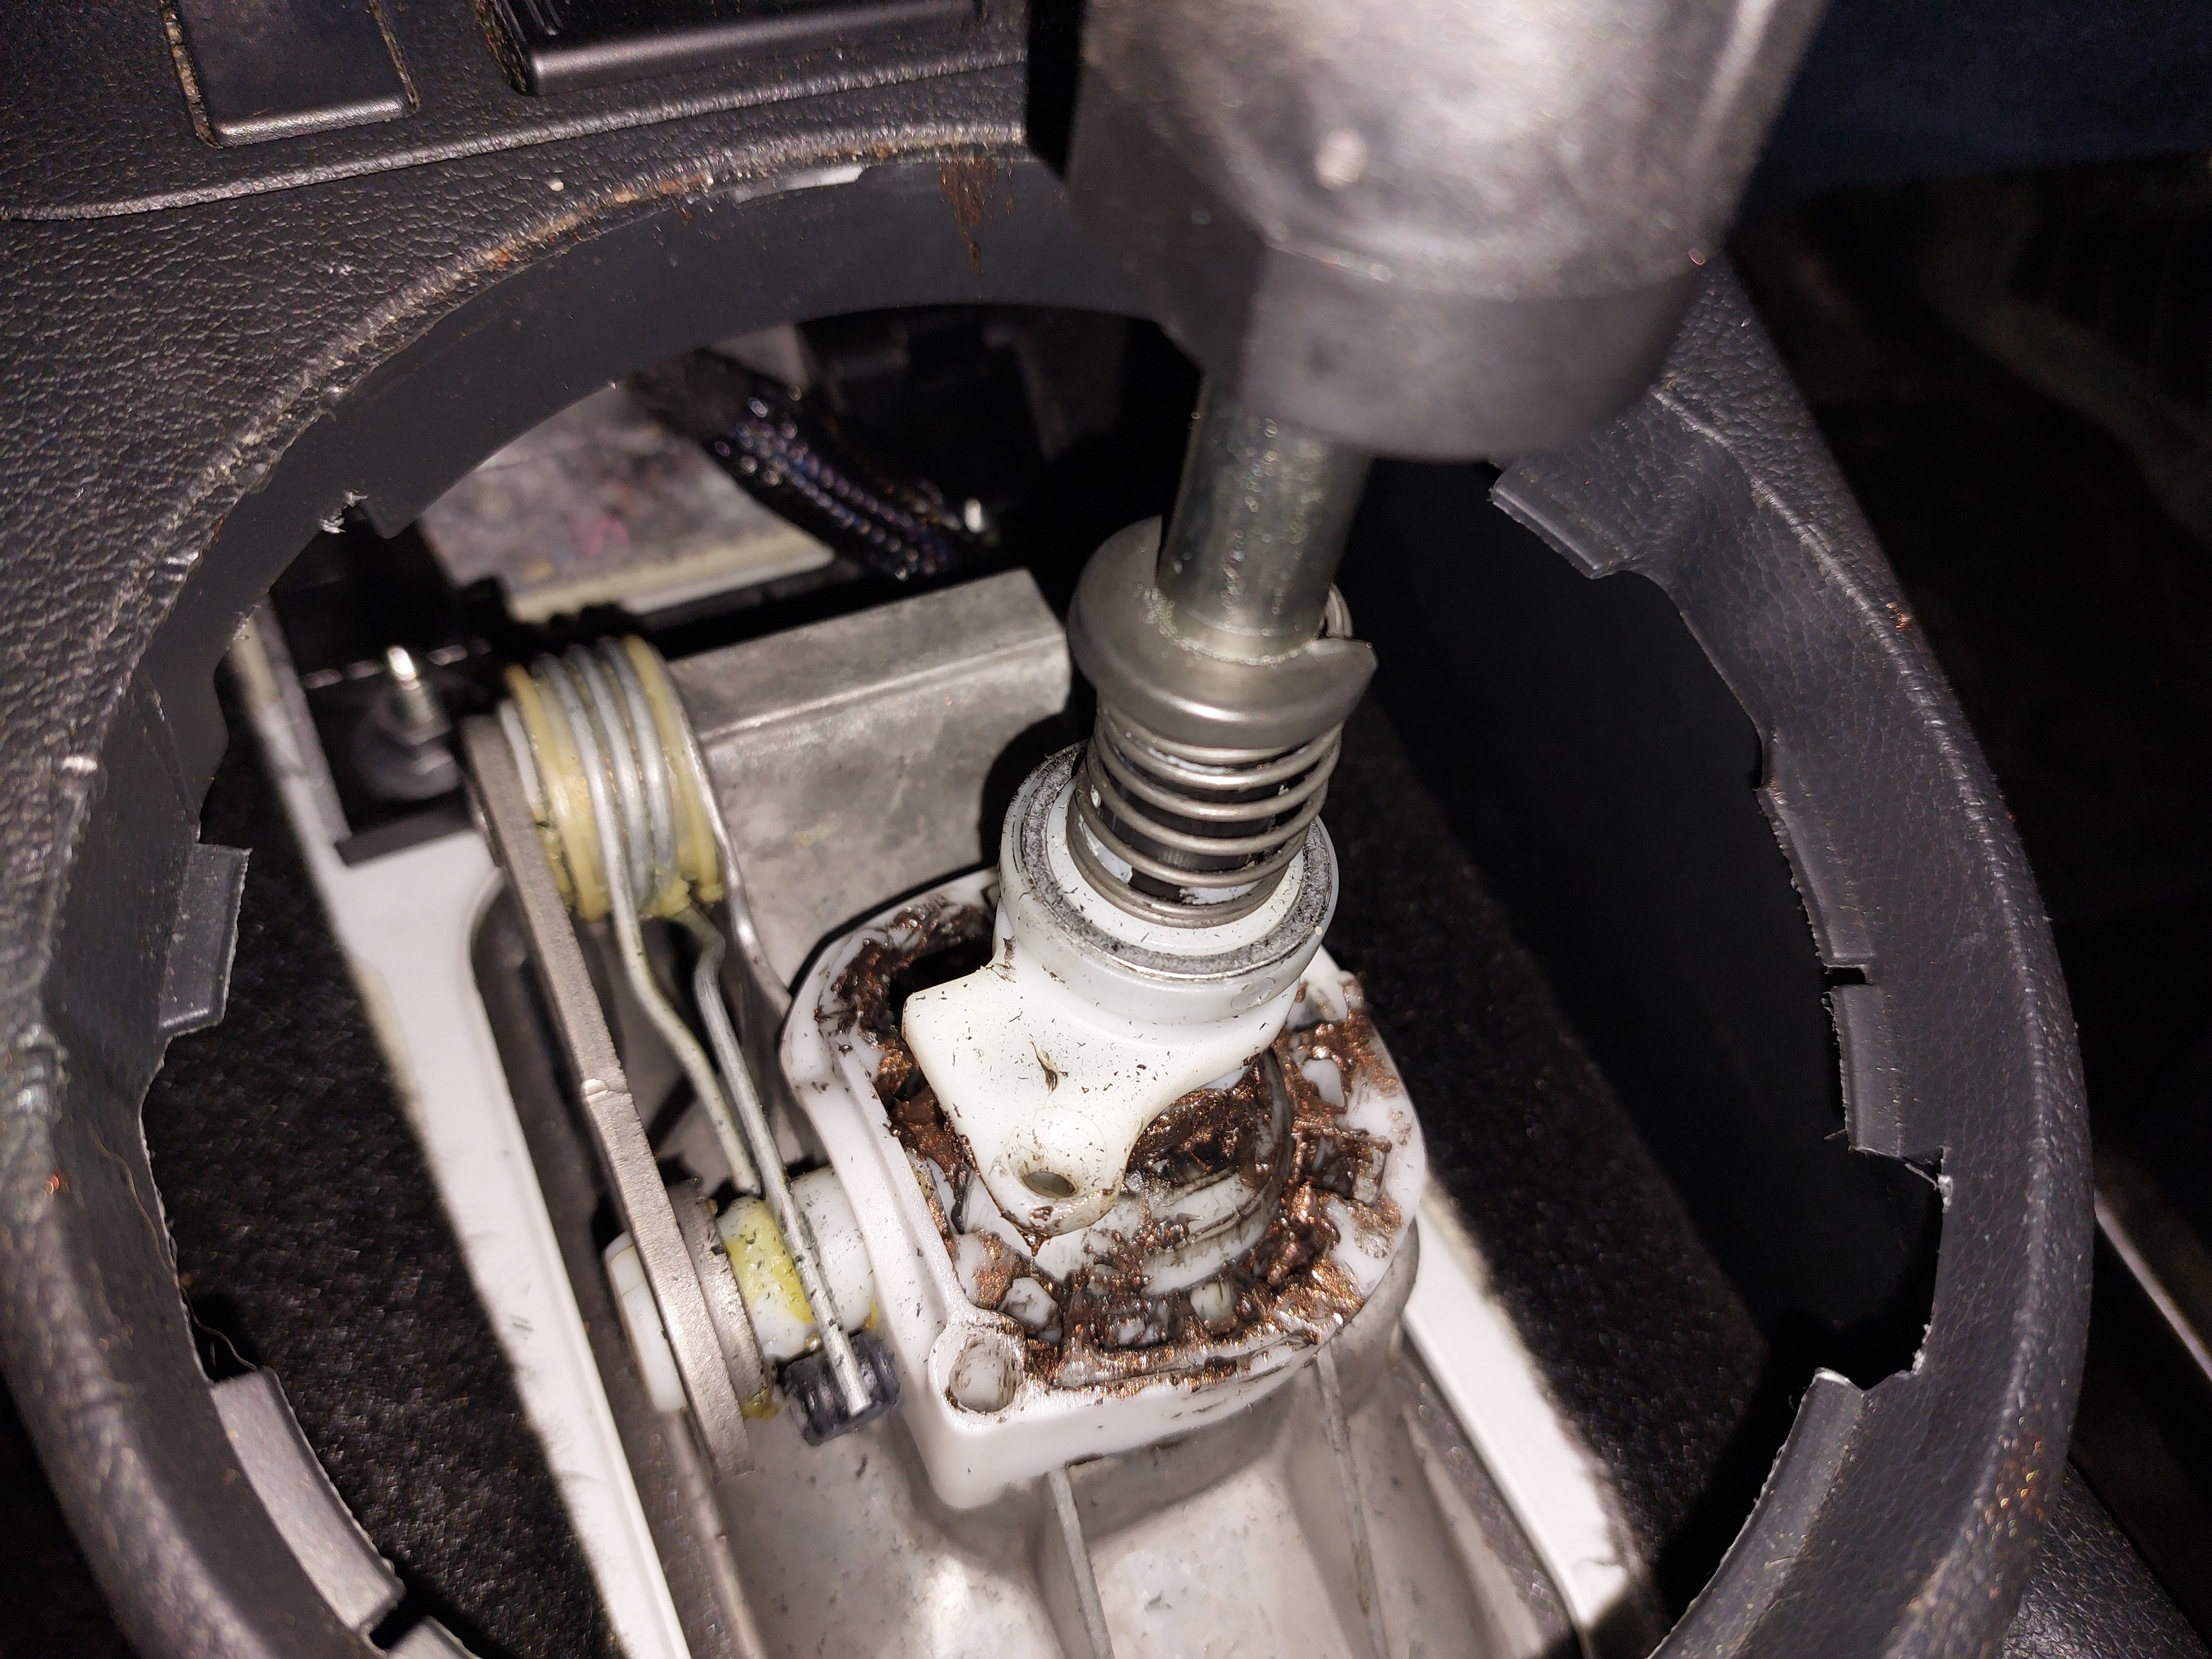
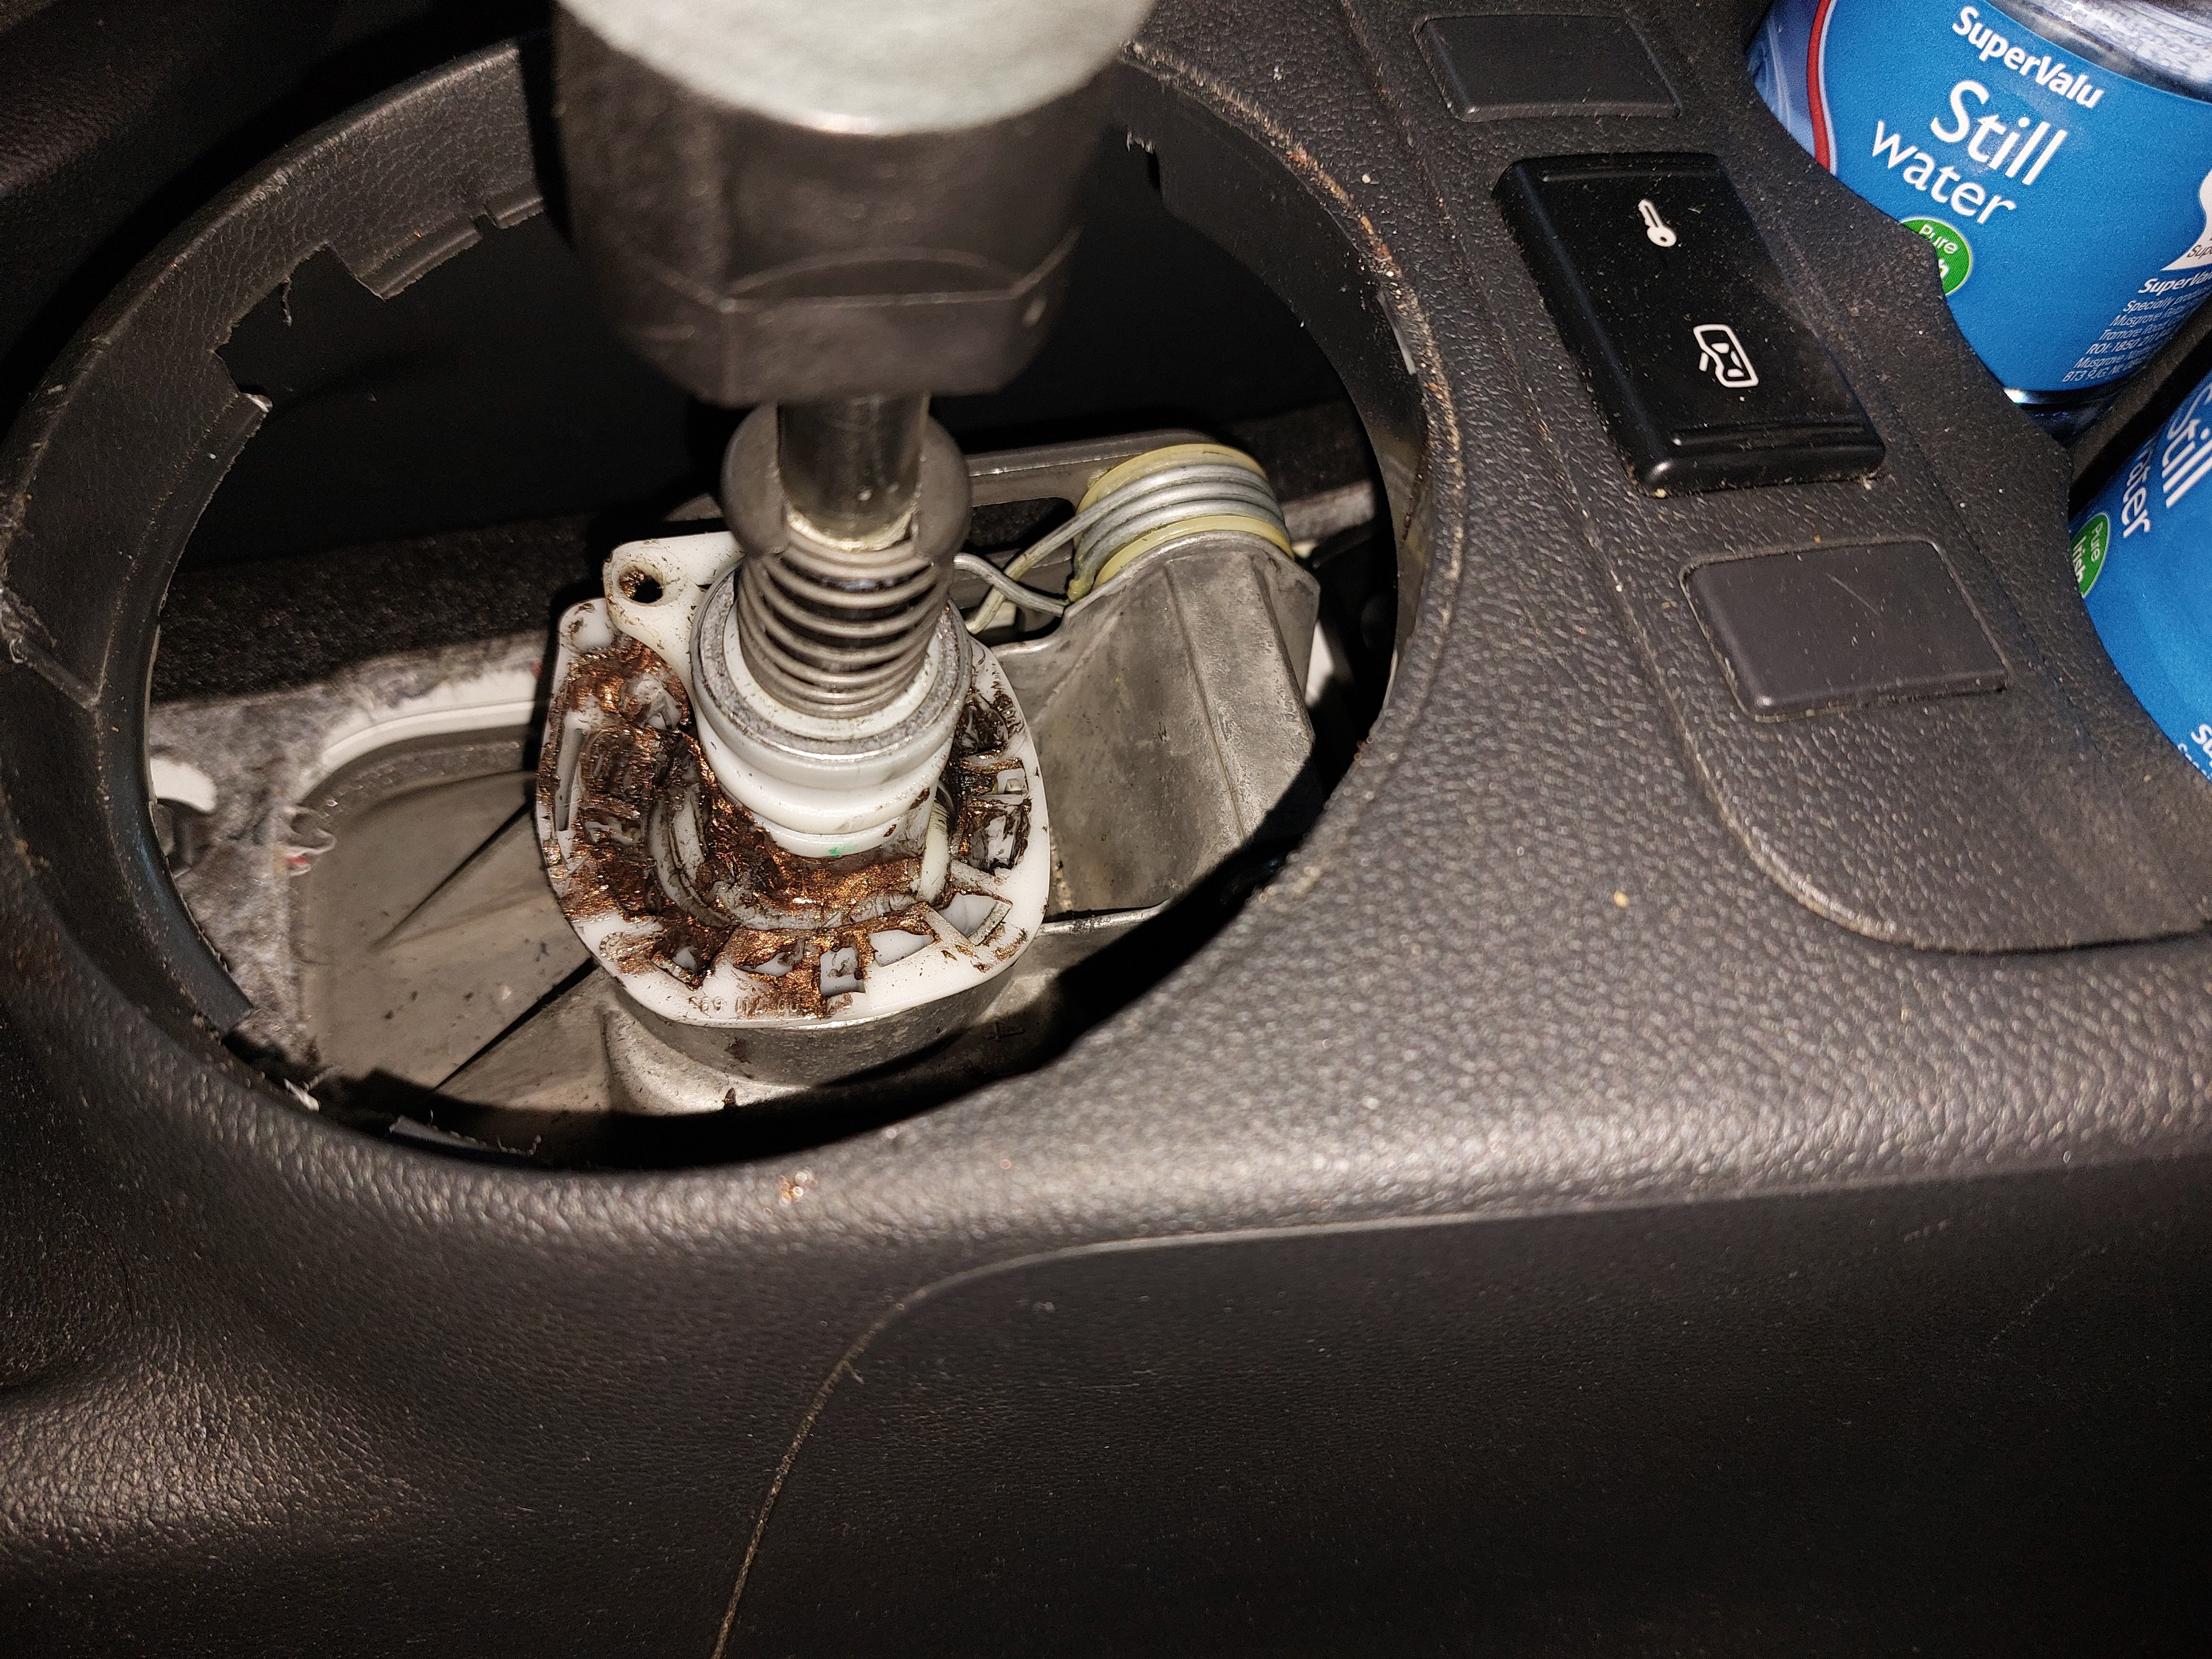
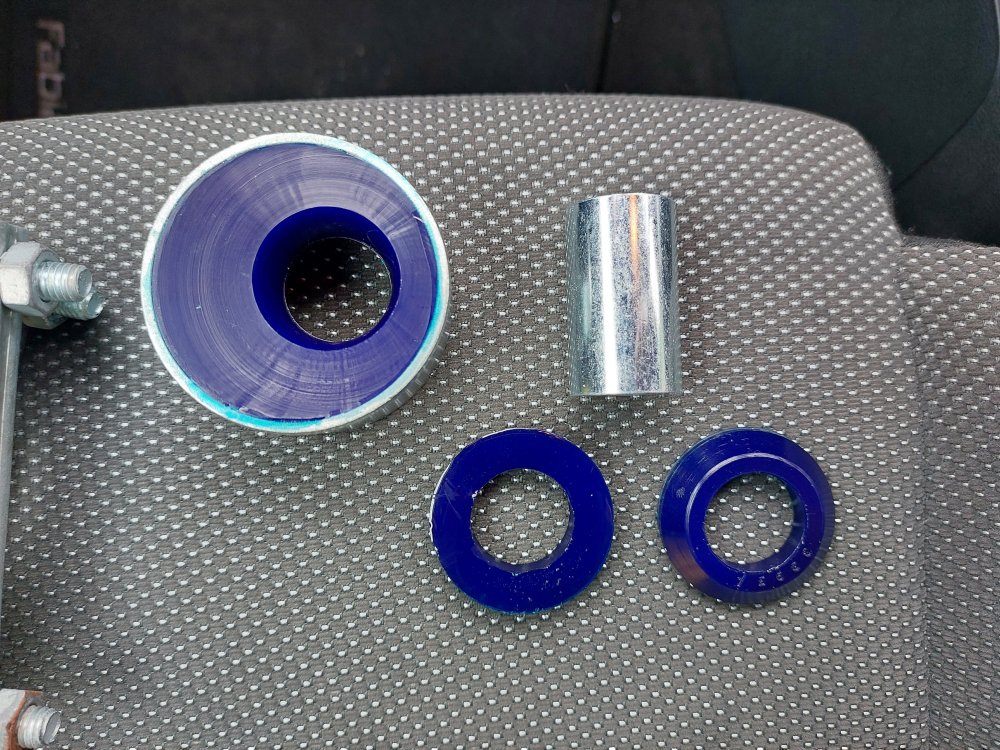
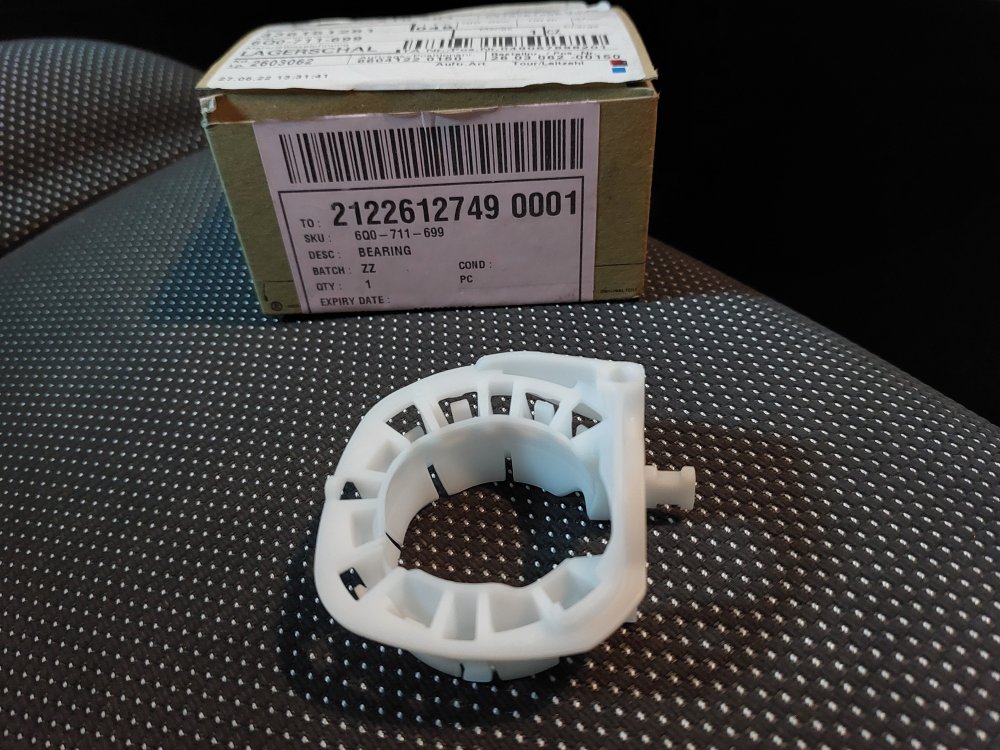
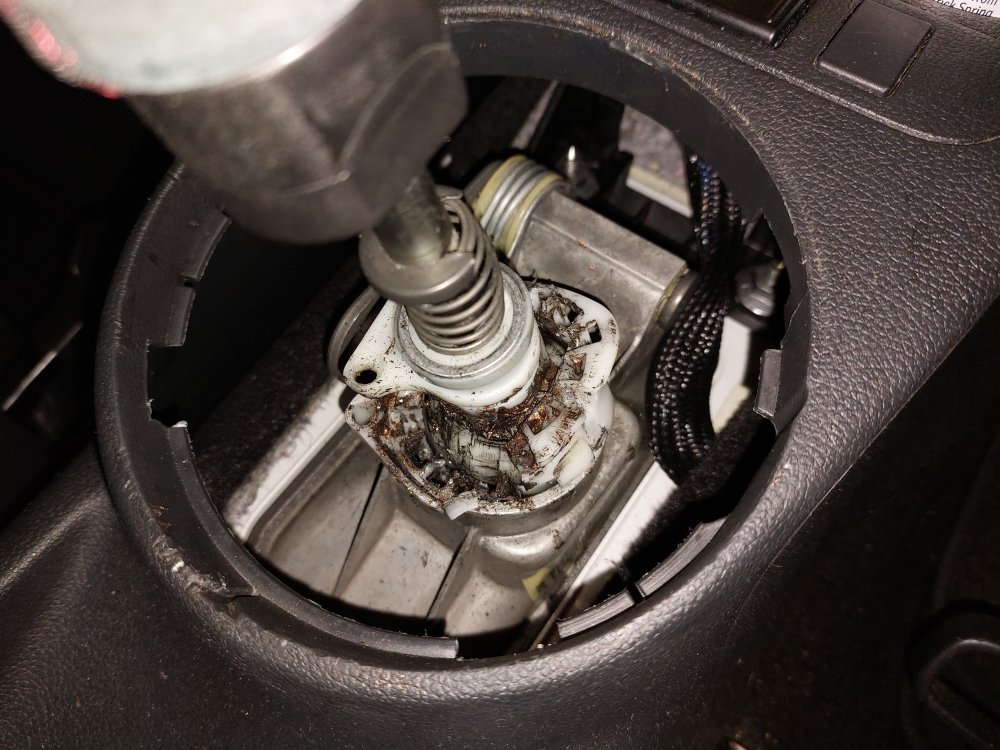
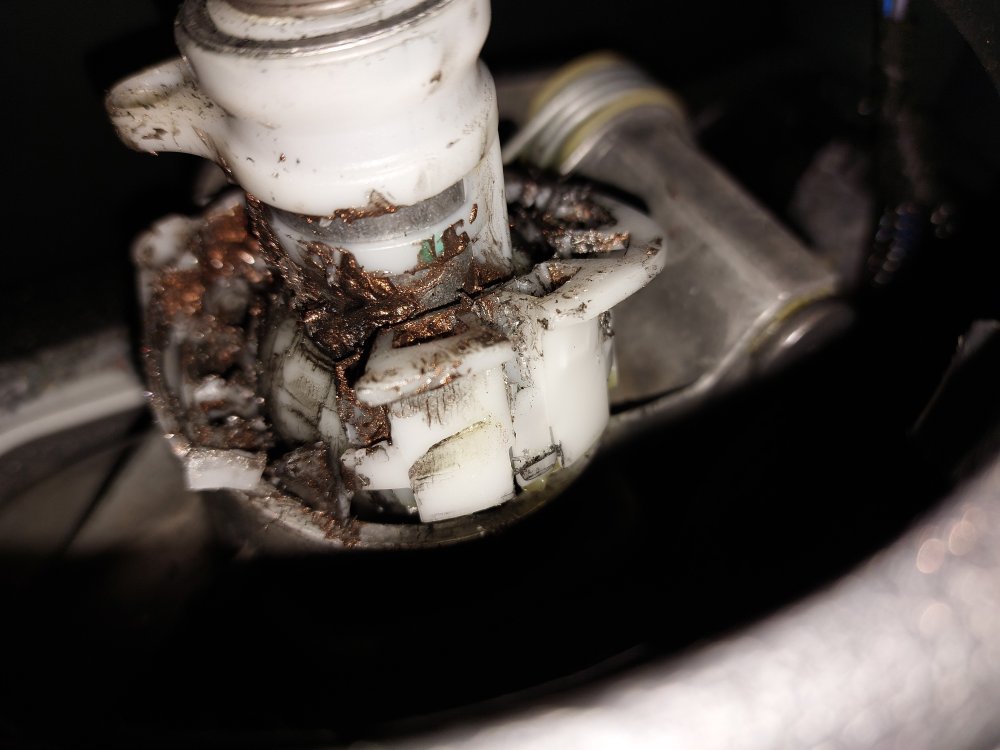
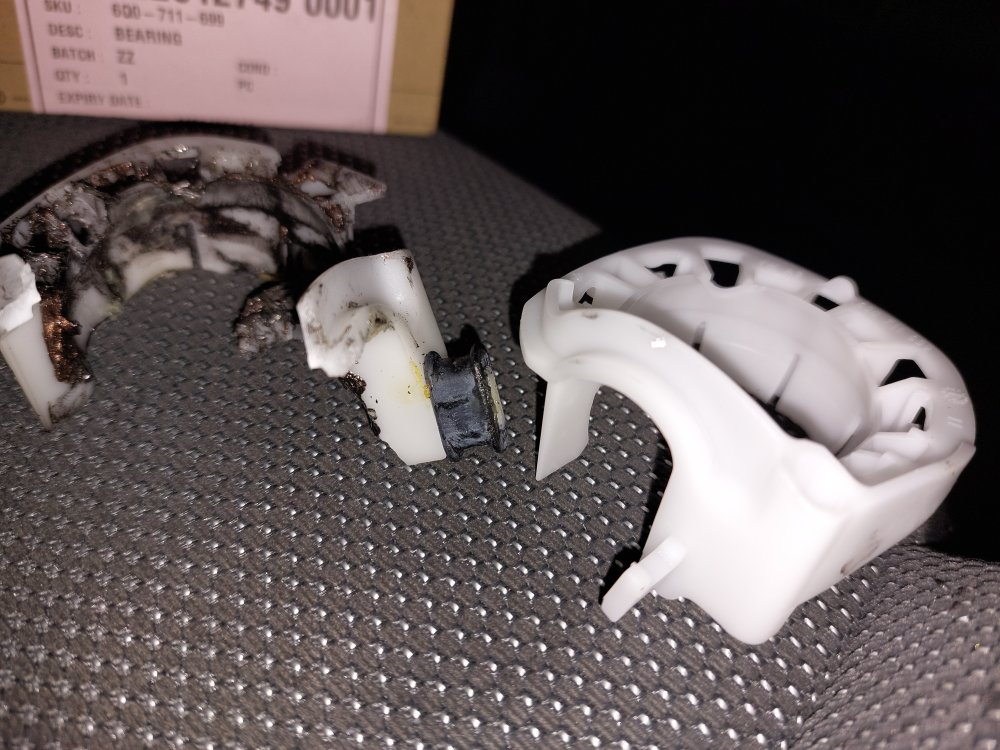
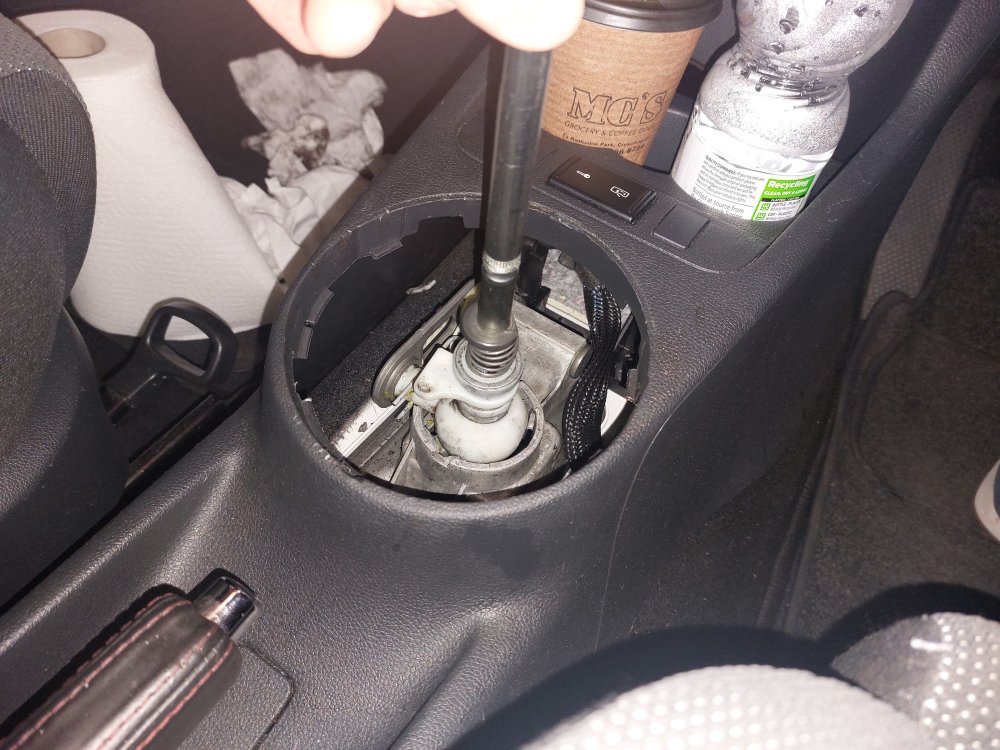
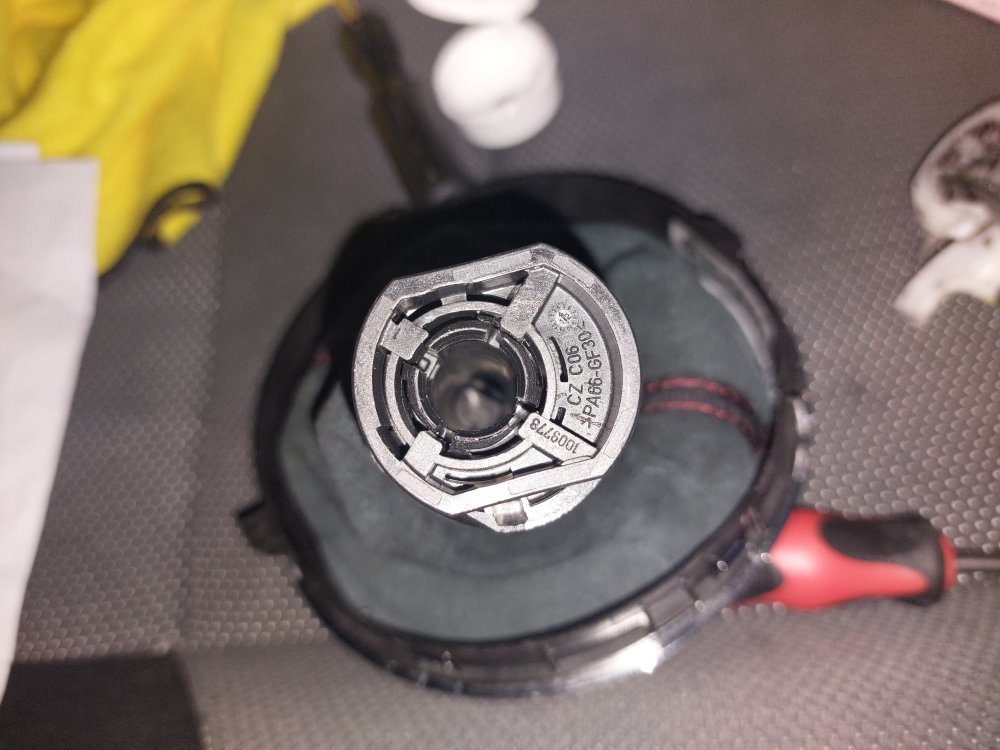
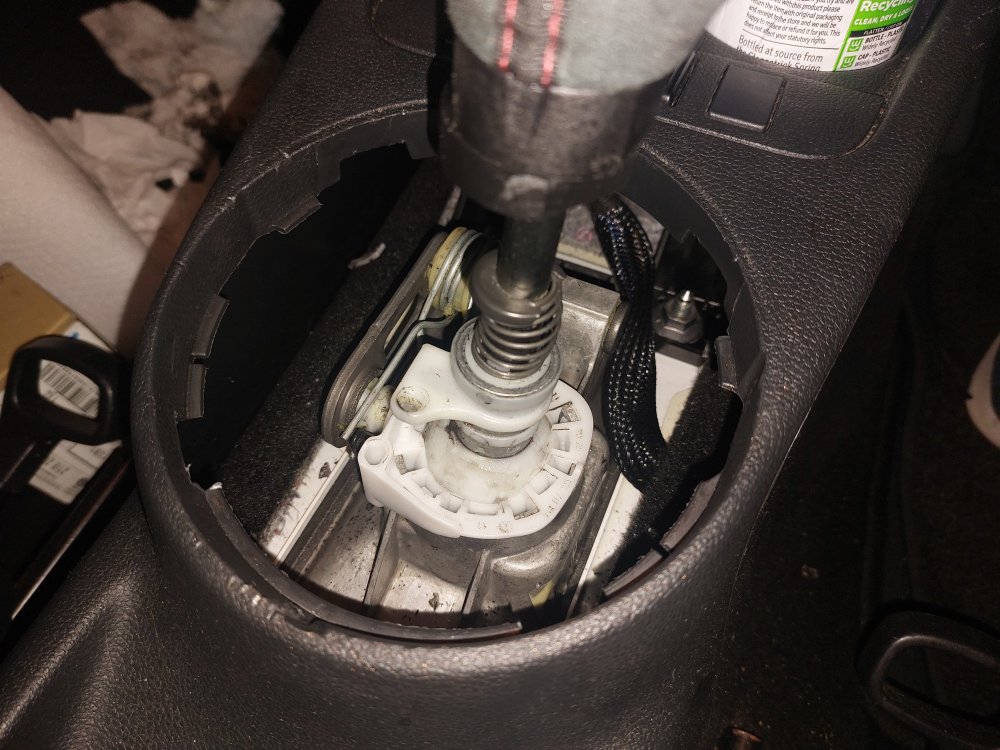
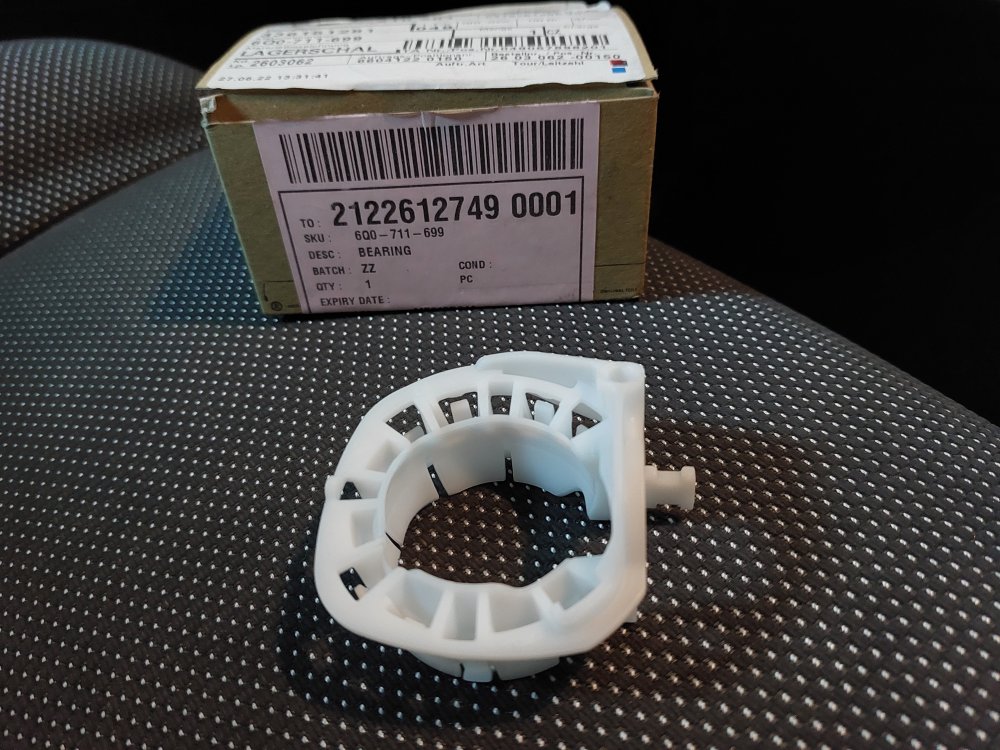
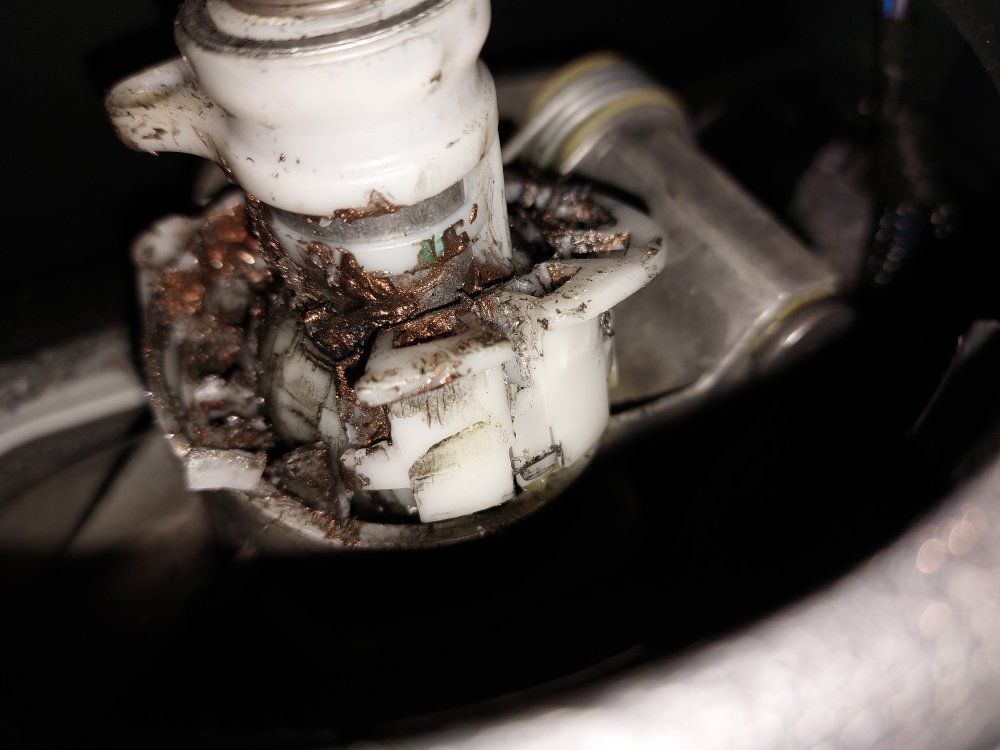
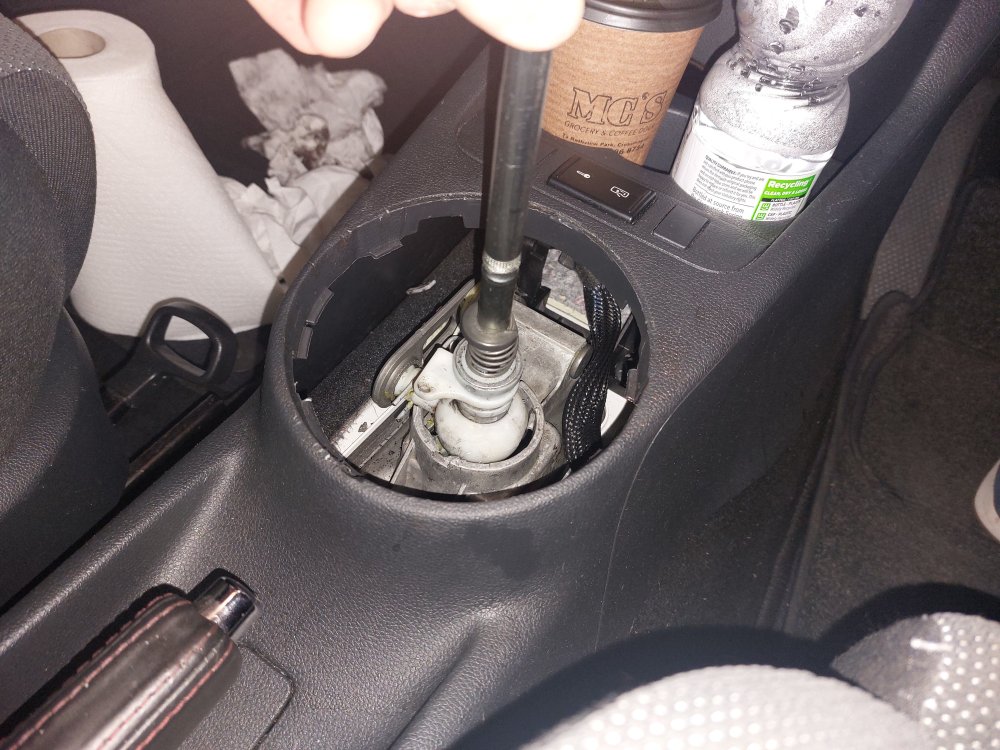
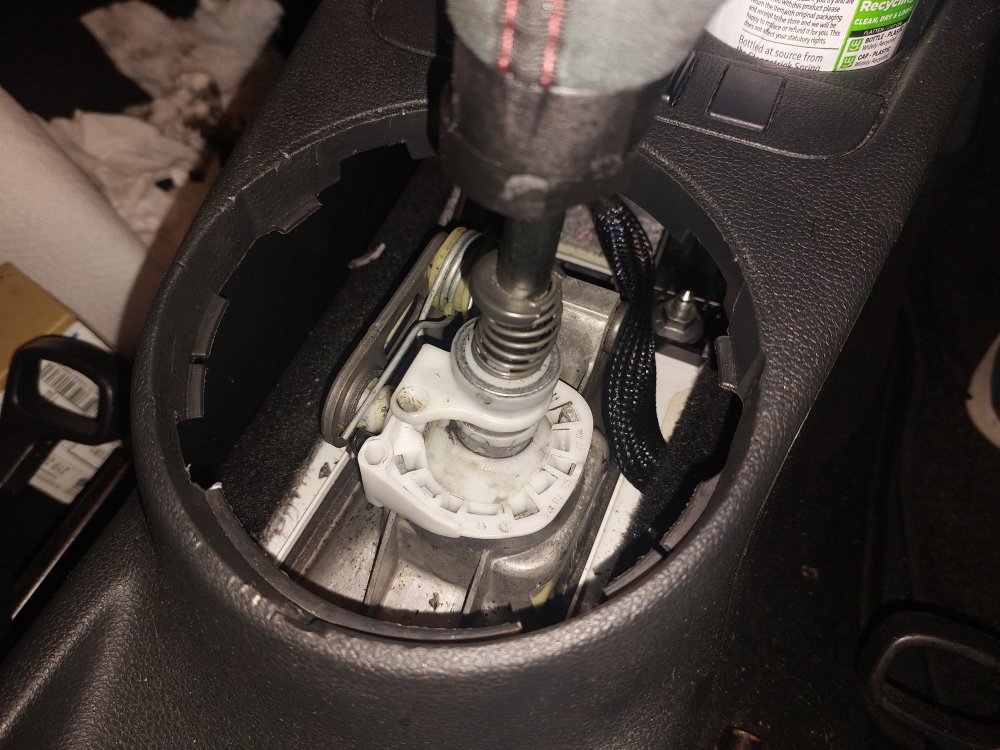
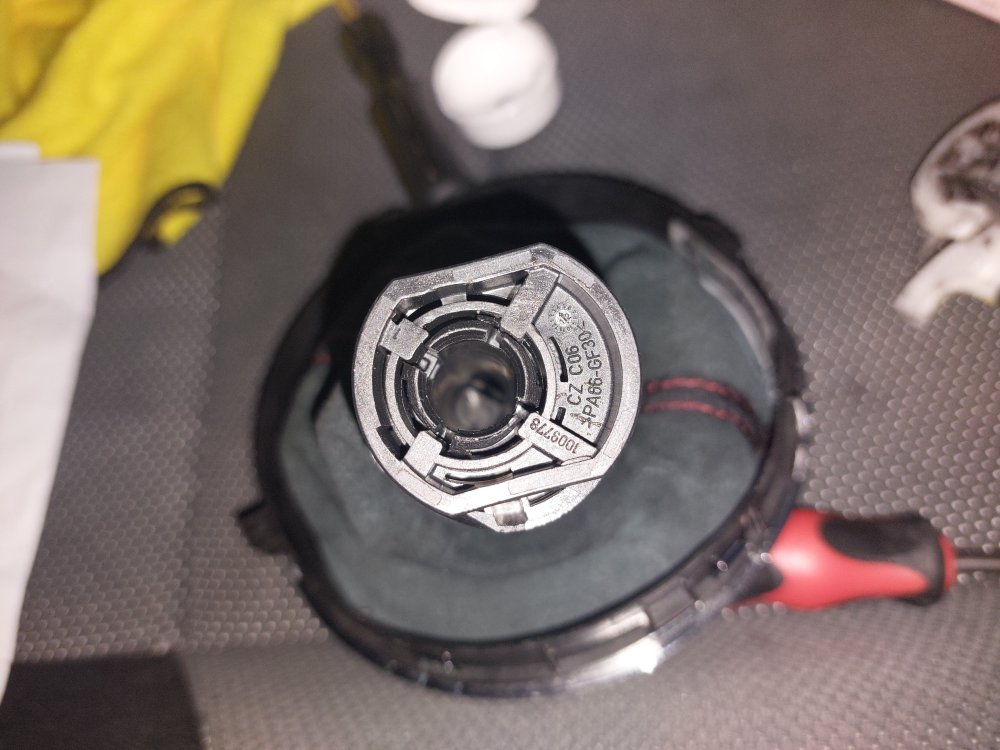
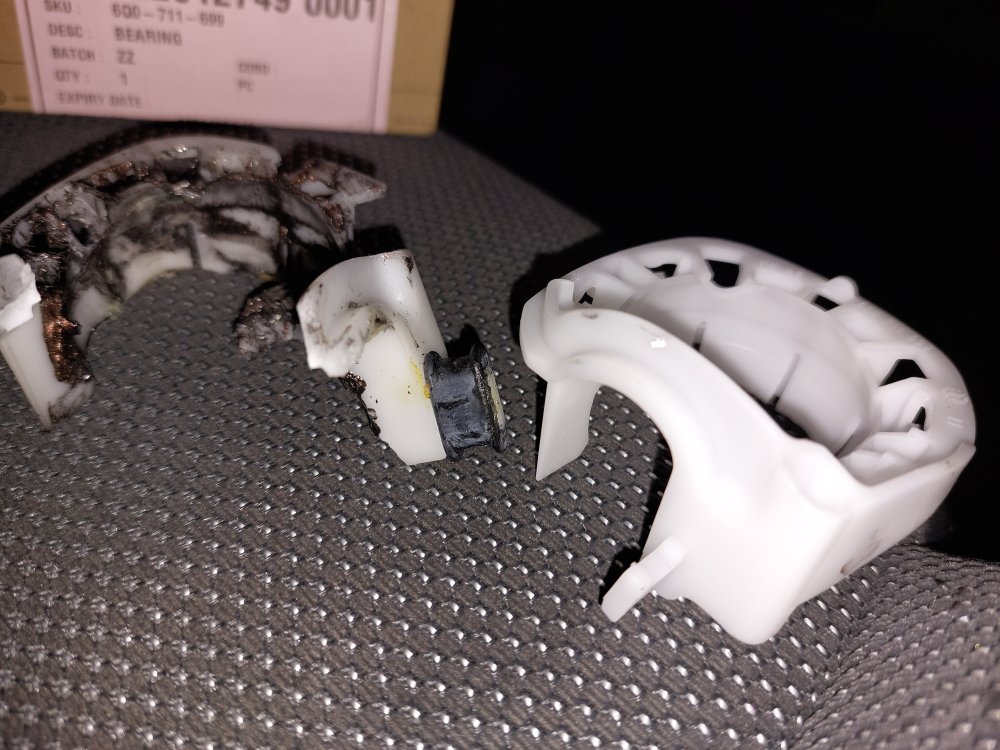
I've already posted most of this in a thread on the Mk2 forum but since I did it to this car, I may update here too. When I did the short shifter I noticed a lot of slop in the shifter assembly So after posting a thread on the main forum I got the part number for the bearing shell, and ordered it. It cost €11 and took about a week and a half to arrive. Part Number is 6Q0 711 699. The old bearing needs to be broken to remove it, no other way I can see to do it. I used some screwdrivers to Jam into it and twist until it broke apart. Be sure to swap over the black elastic band onto the new one, it doesn't come with one. You need to get the knob off to replace the bearing, easy on my car as it uses a weird clip to secure the knob on. Cleaned the copperslip off and regreased with silicon grease. Slip it down and push it over the ball first, then clip it into the shifter assembly. The finished result It's fixed 99% of the slop on the shifter and I'm very happy with that. A new shifter is over 200 euro and you need to drop all underneath the car to change it. This cost about €11 euro and took me about an hour. I've not had any time to go out and do any proper work to either of the cars lately, but I have been acquiring parts for both.
-
Hi all, I got the bearing yesterday from the dealers and fitted it this evening. Its actually not too hard, the Drive2RU link given above is pretty accurate and was a nice reference when doing it. -You do need to absolutely destroy the old bearing to remove it. Jam a flat screwdriver in and twist until a load of plastic breaks off, repeat until it comes out. Just be aware there is a small rubber band you need to swap over You'll need to remove the gear knob which on mine was simply turning a little clip sideways. I cleaned much of the copperslip off and used silicon grease instead The plastic bearing slips over the top of the gearstick easily and clips in. And that's basically it. Took me an hour and fixed 99% of the side to side slop on mine. For the sake of €11 from the dealers, well worth doing, was a lot cheaper than a new shifter and honestly fairly easy to do. For reference, this shifter is similar to the one found in Mk6 on golfs, its NOT the same as a mk1 fabia which is like a Mk4 Golf shifter. If anyone in the future is having this sort of trouble, this worked for me. Hopefully these photos are of some help to someone. Thanks all for the advice.
-
I had the same once in my monte hitting the 120 ""kph"" limiter in 4th gear (I was bored). Lift off and you could just see these red embers flitting out behind me. Cars fine obviously. Basically an Italian tune up, clearing out any bits of stuck on carbon.
-
Yeah it's been fine on my car, no issues stemming from it if that's what you mean. Clutch is fine at 120k+ miles, no slipping yet. Turbo and all that is OK too. I did have to replace an n75 valve but that was nothing to do with the map, mine just went a bit wonky. If you service it well and don't neglect it you'll not have any trouble. Mpg improved after the map, and if you're trying to drive economically it's a lot easier to get more mpg out of it, if that makes sense.
-
I'll send you some If you want mate. Wouldn't take money off someone for these because it's a bit hacked together.
-
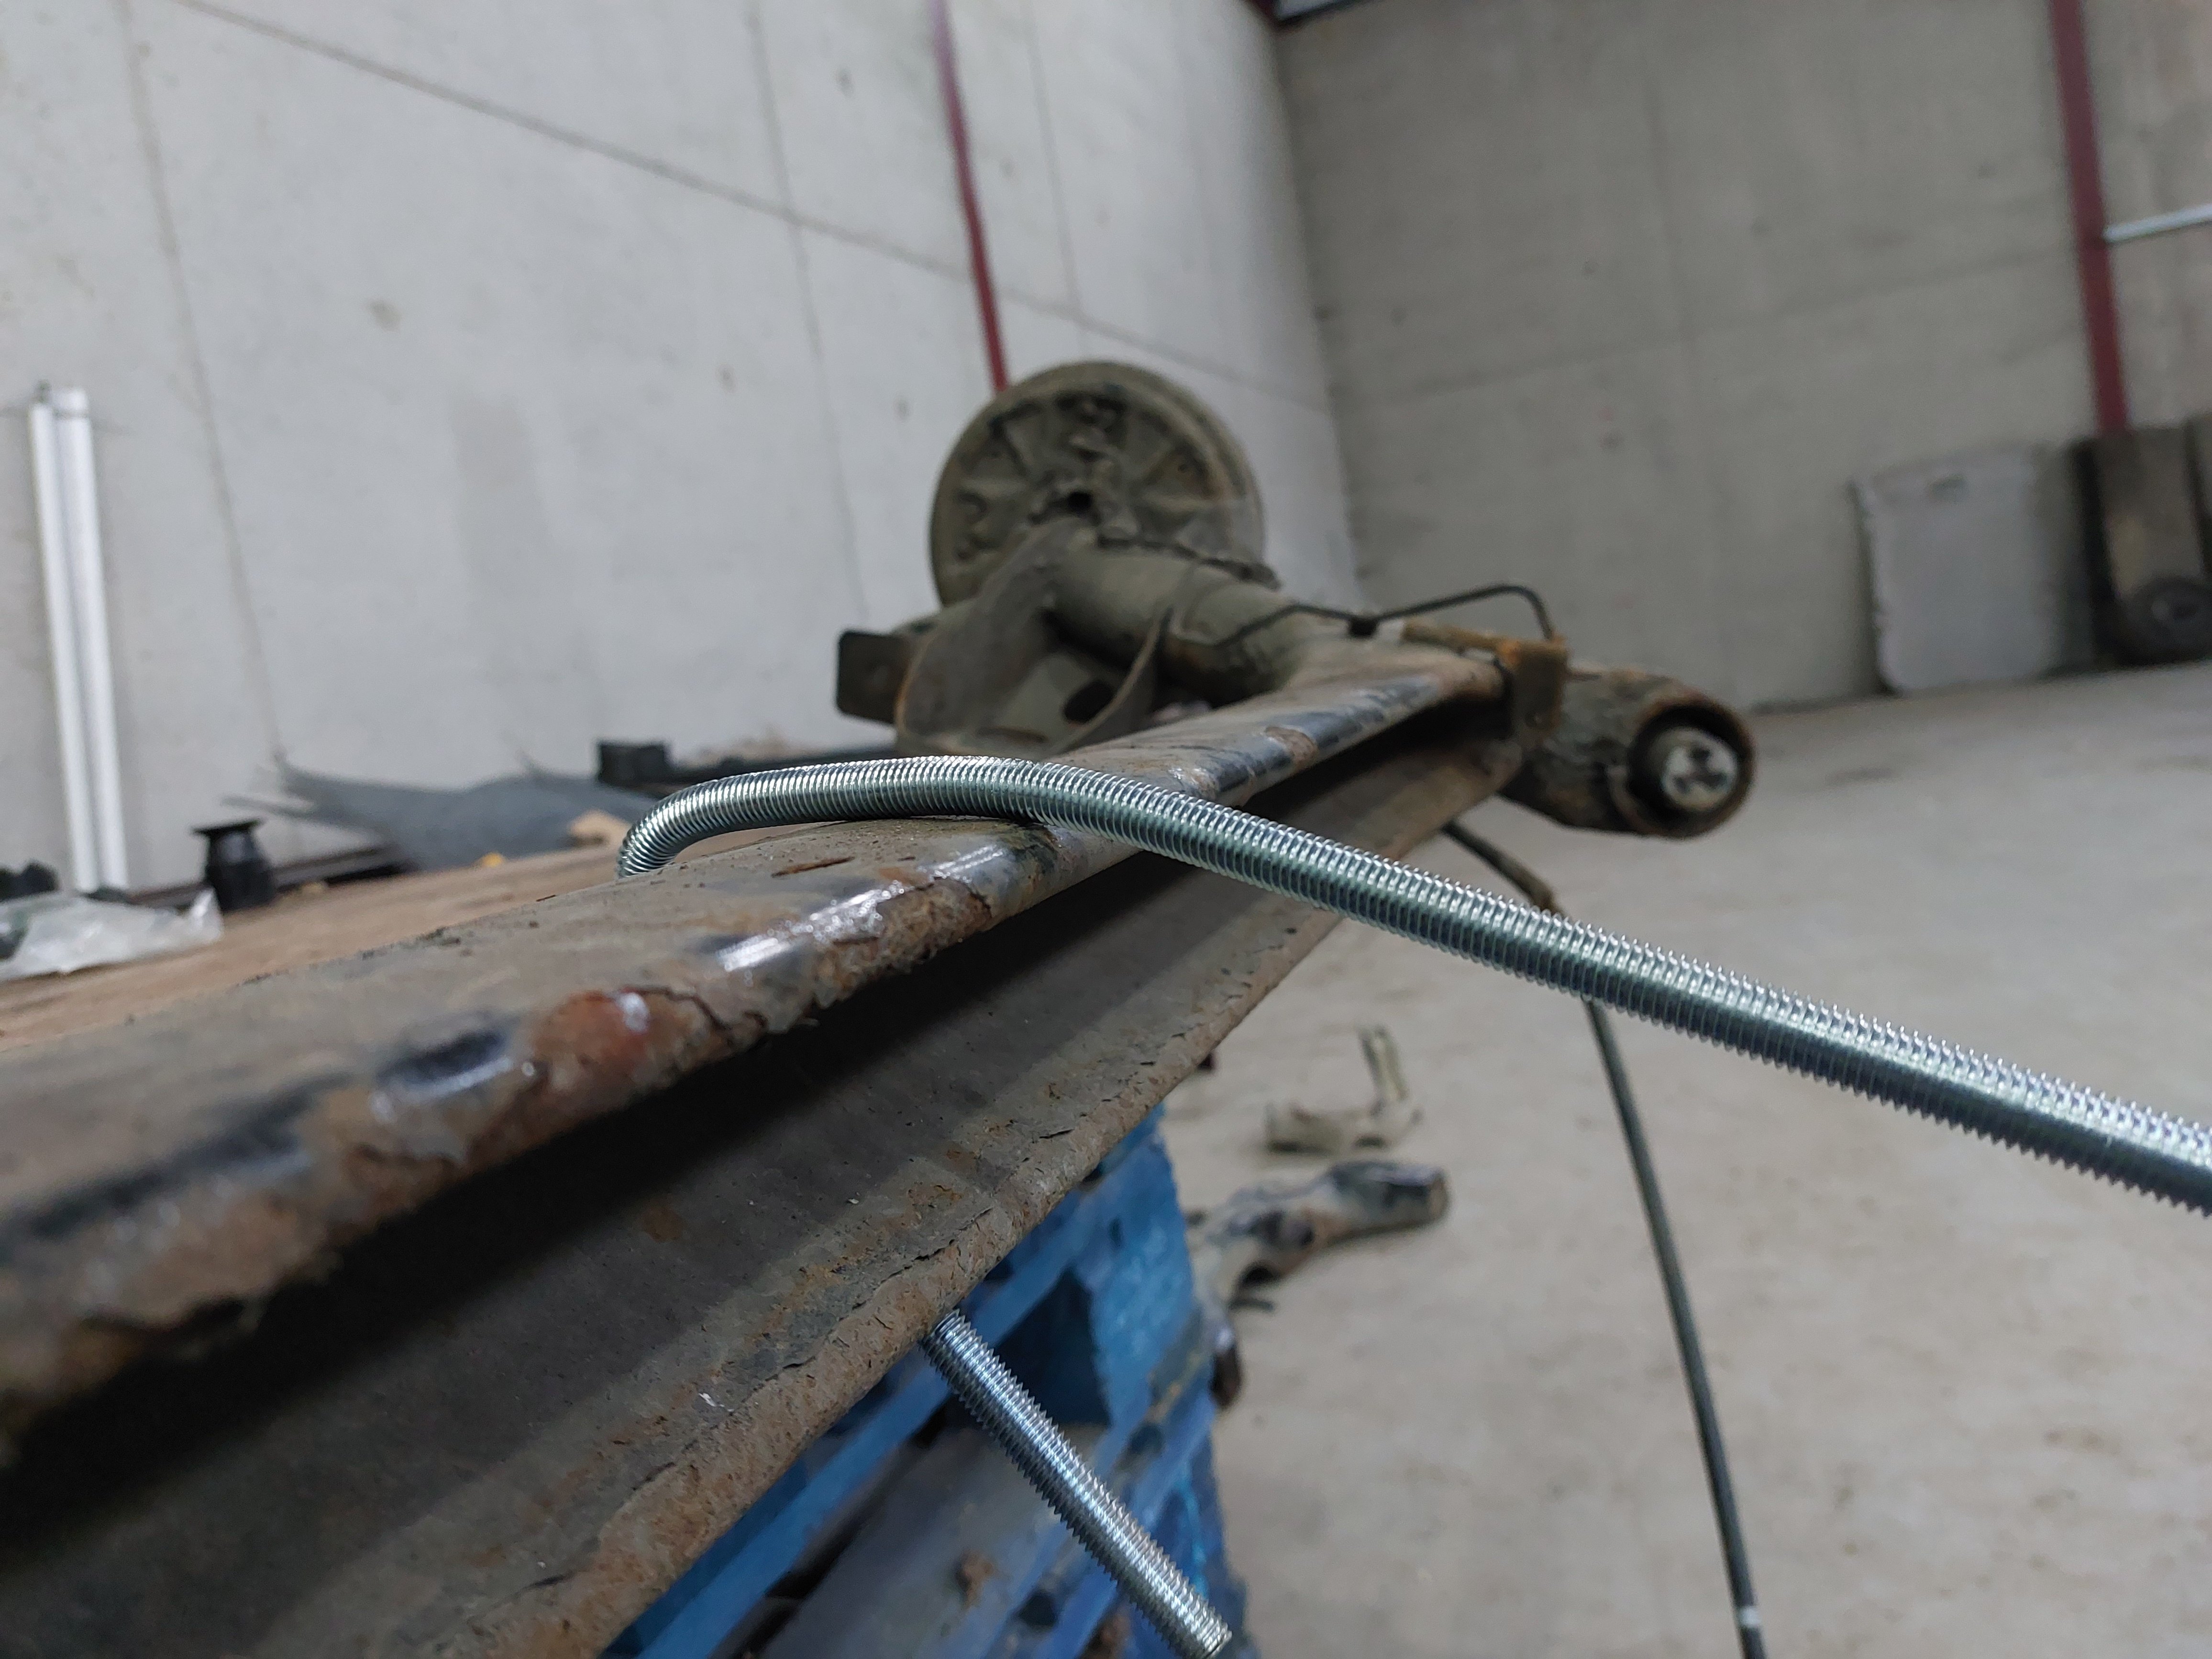
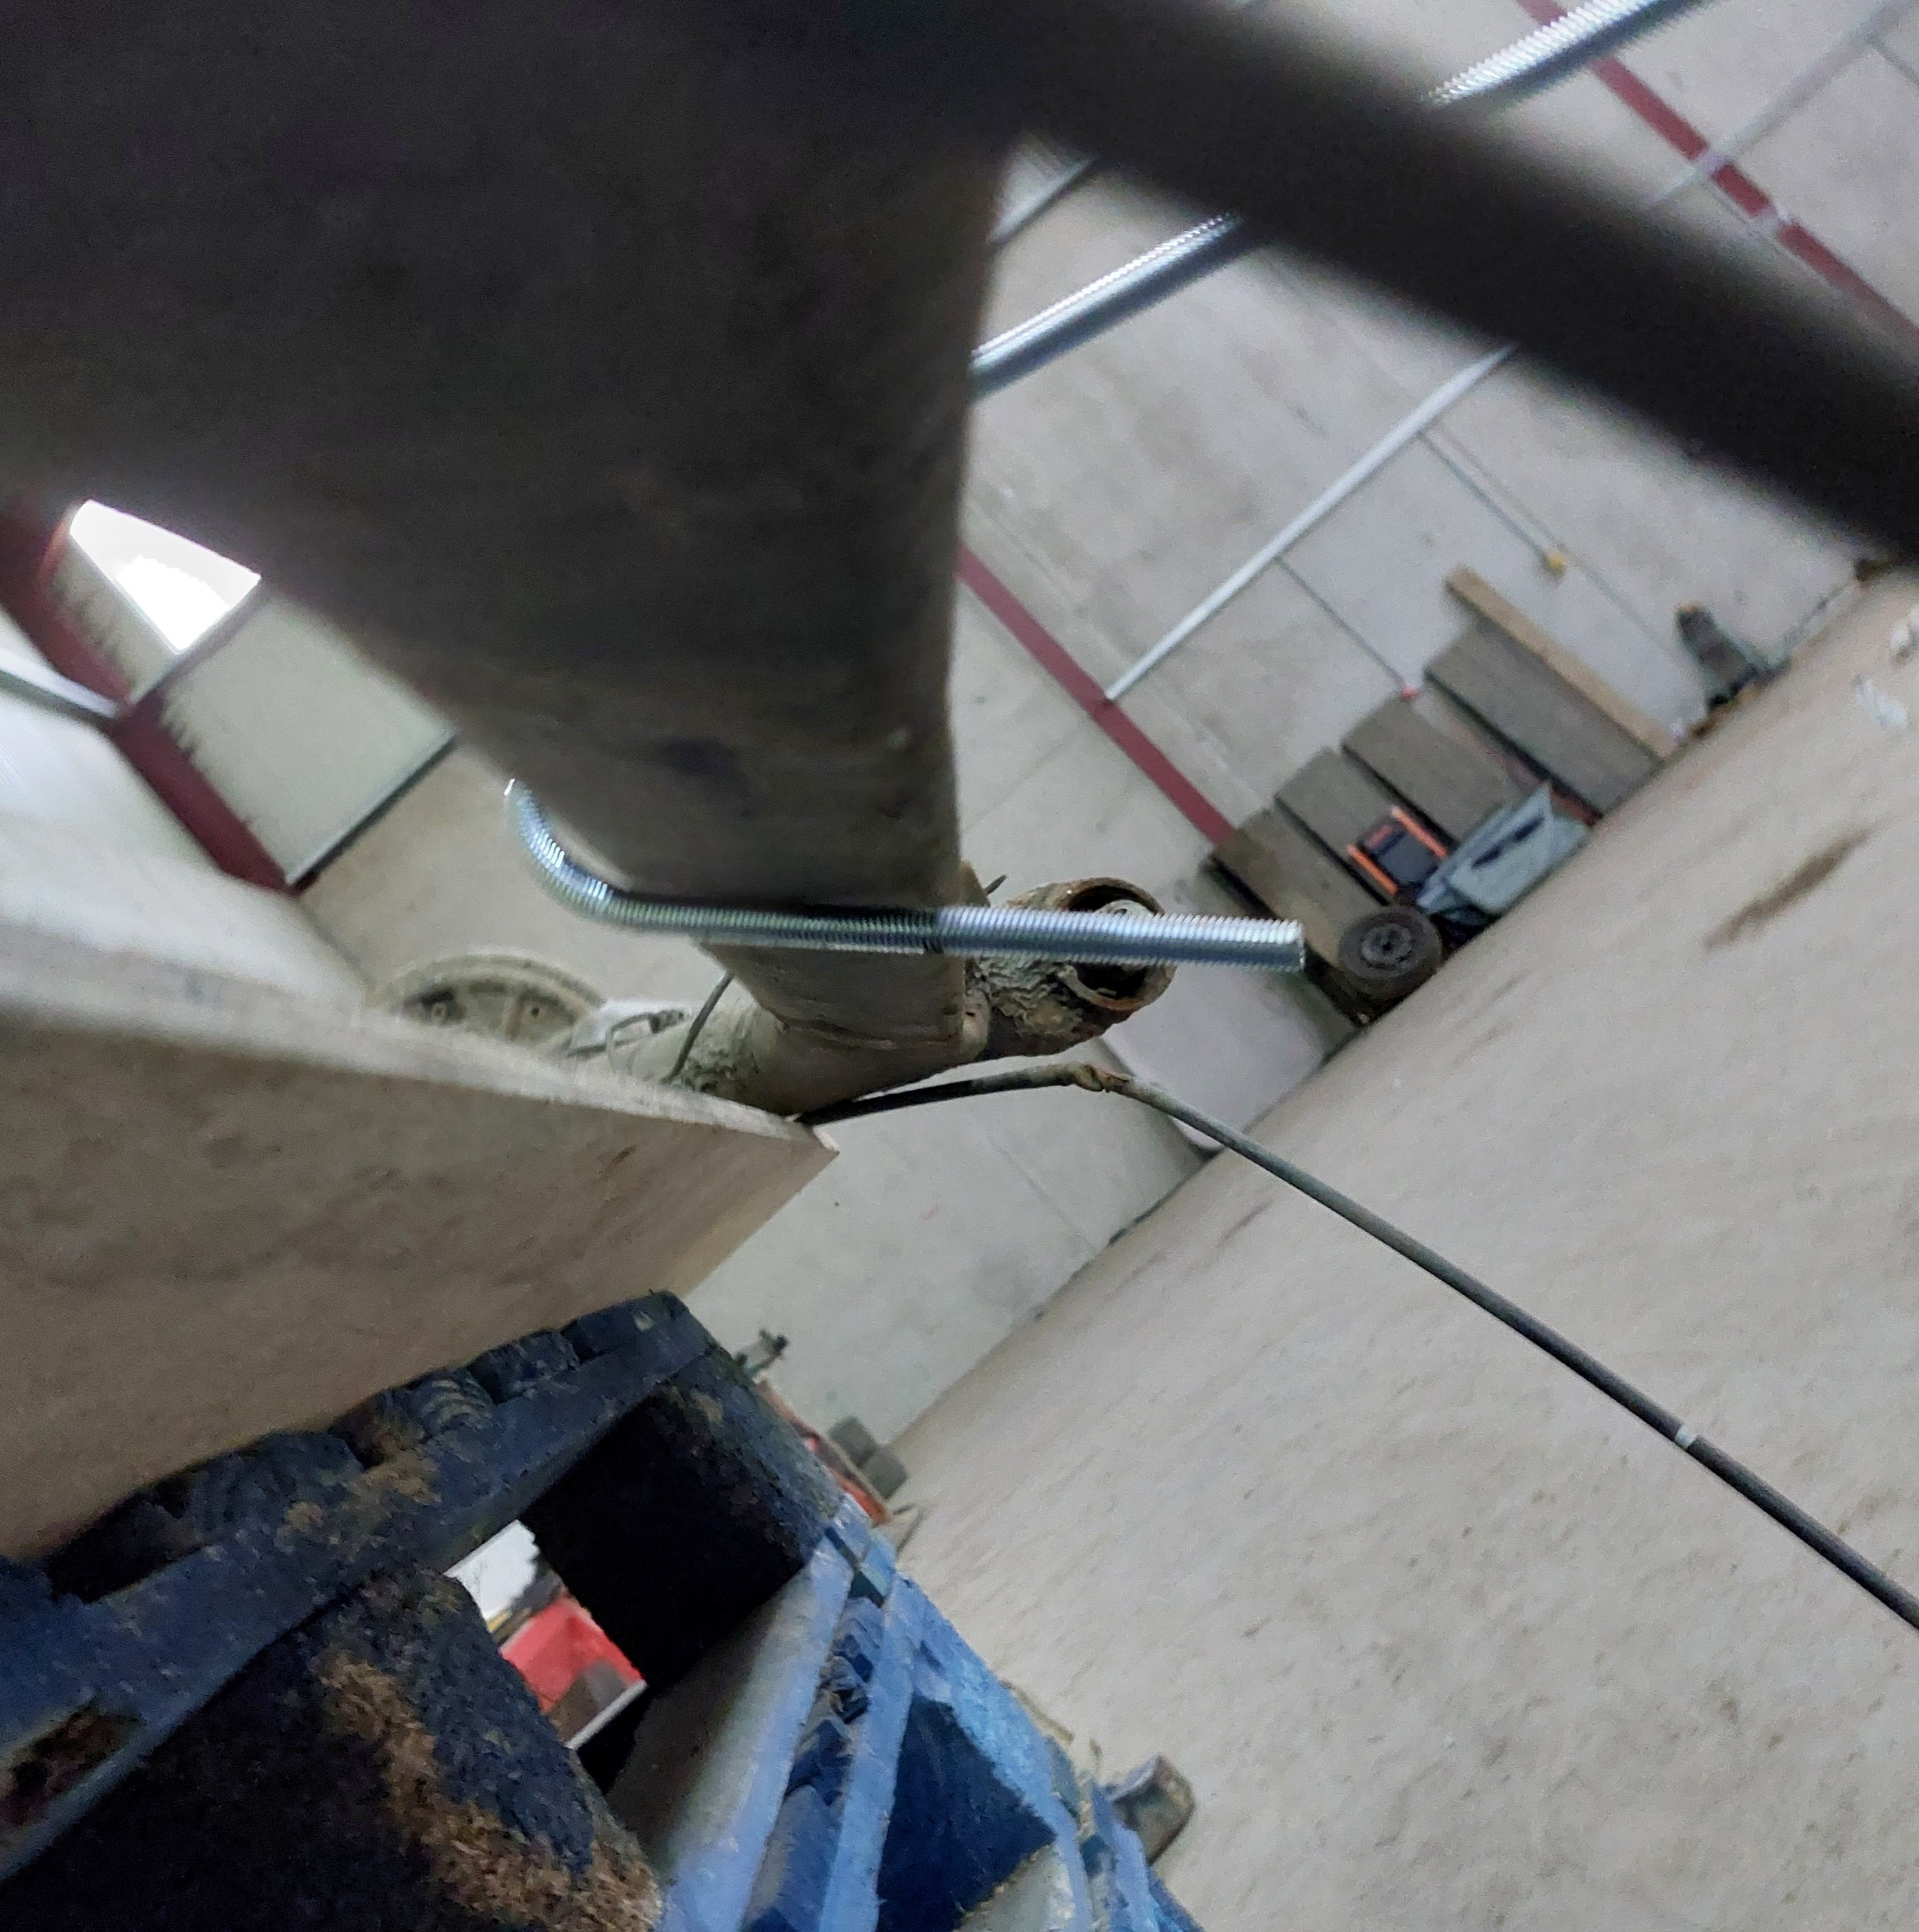
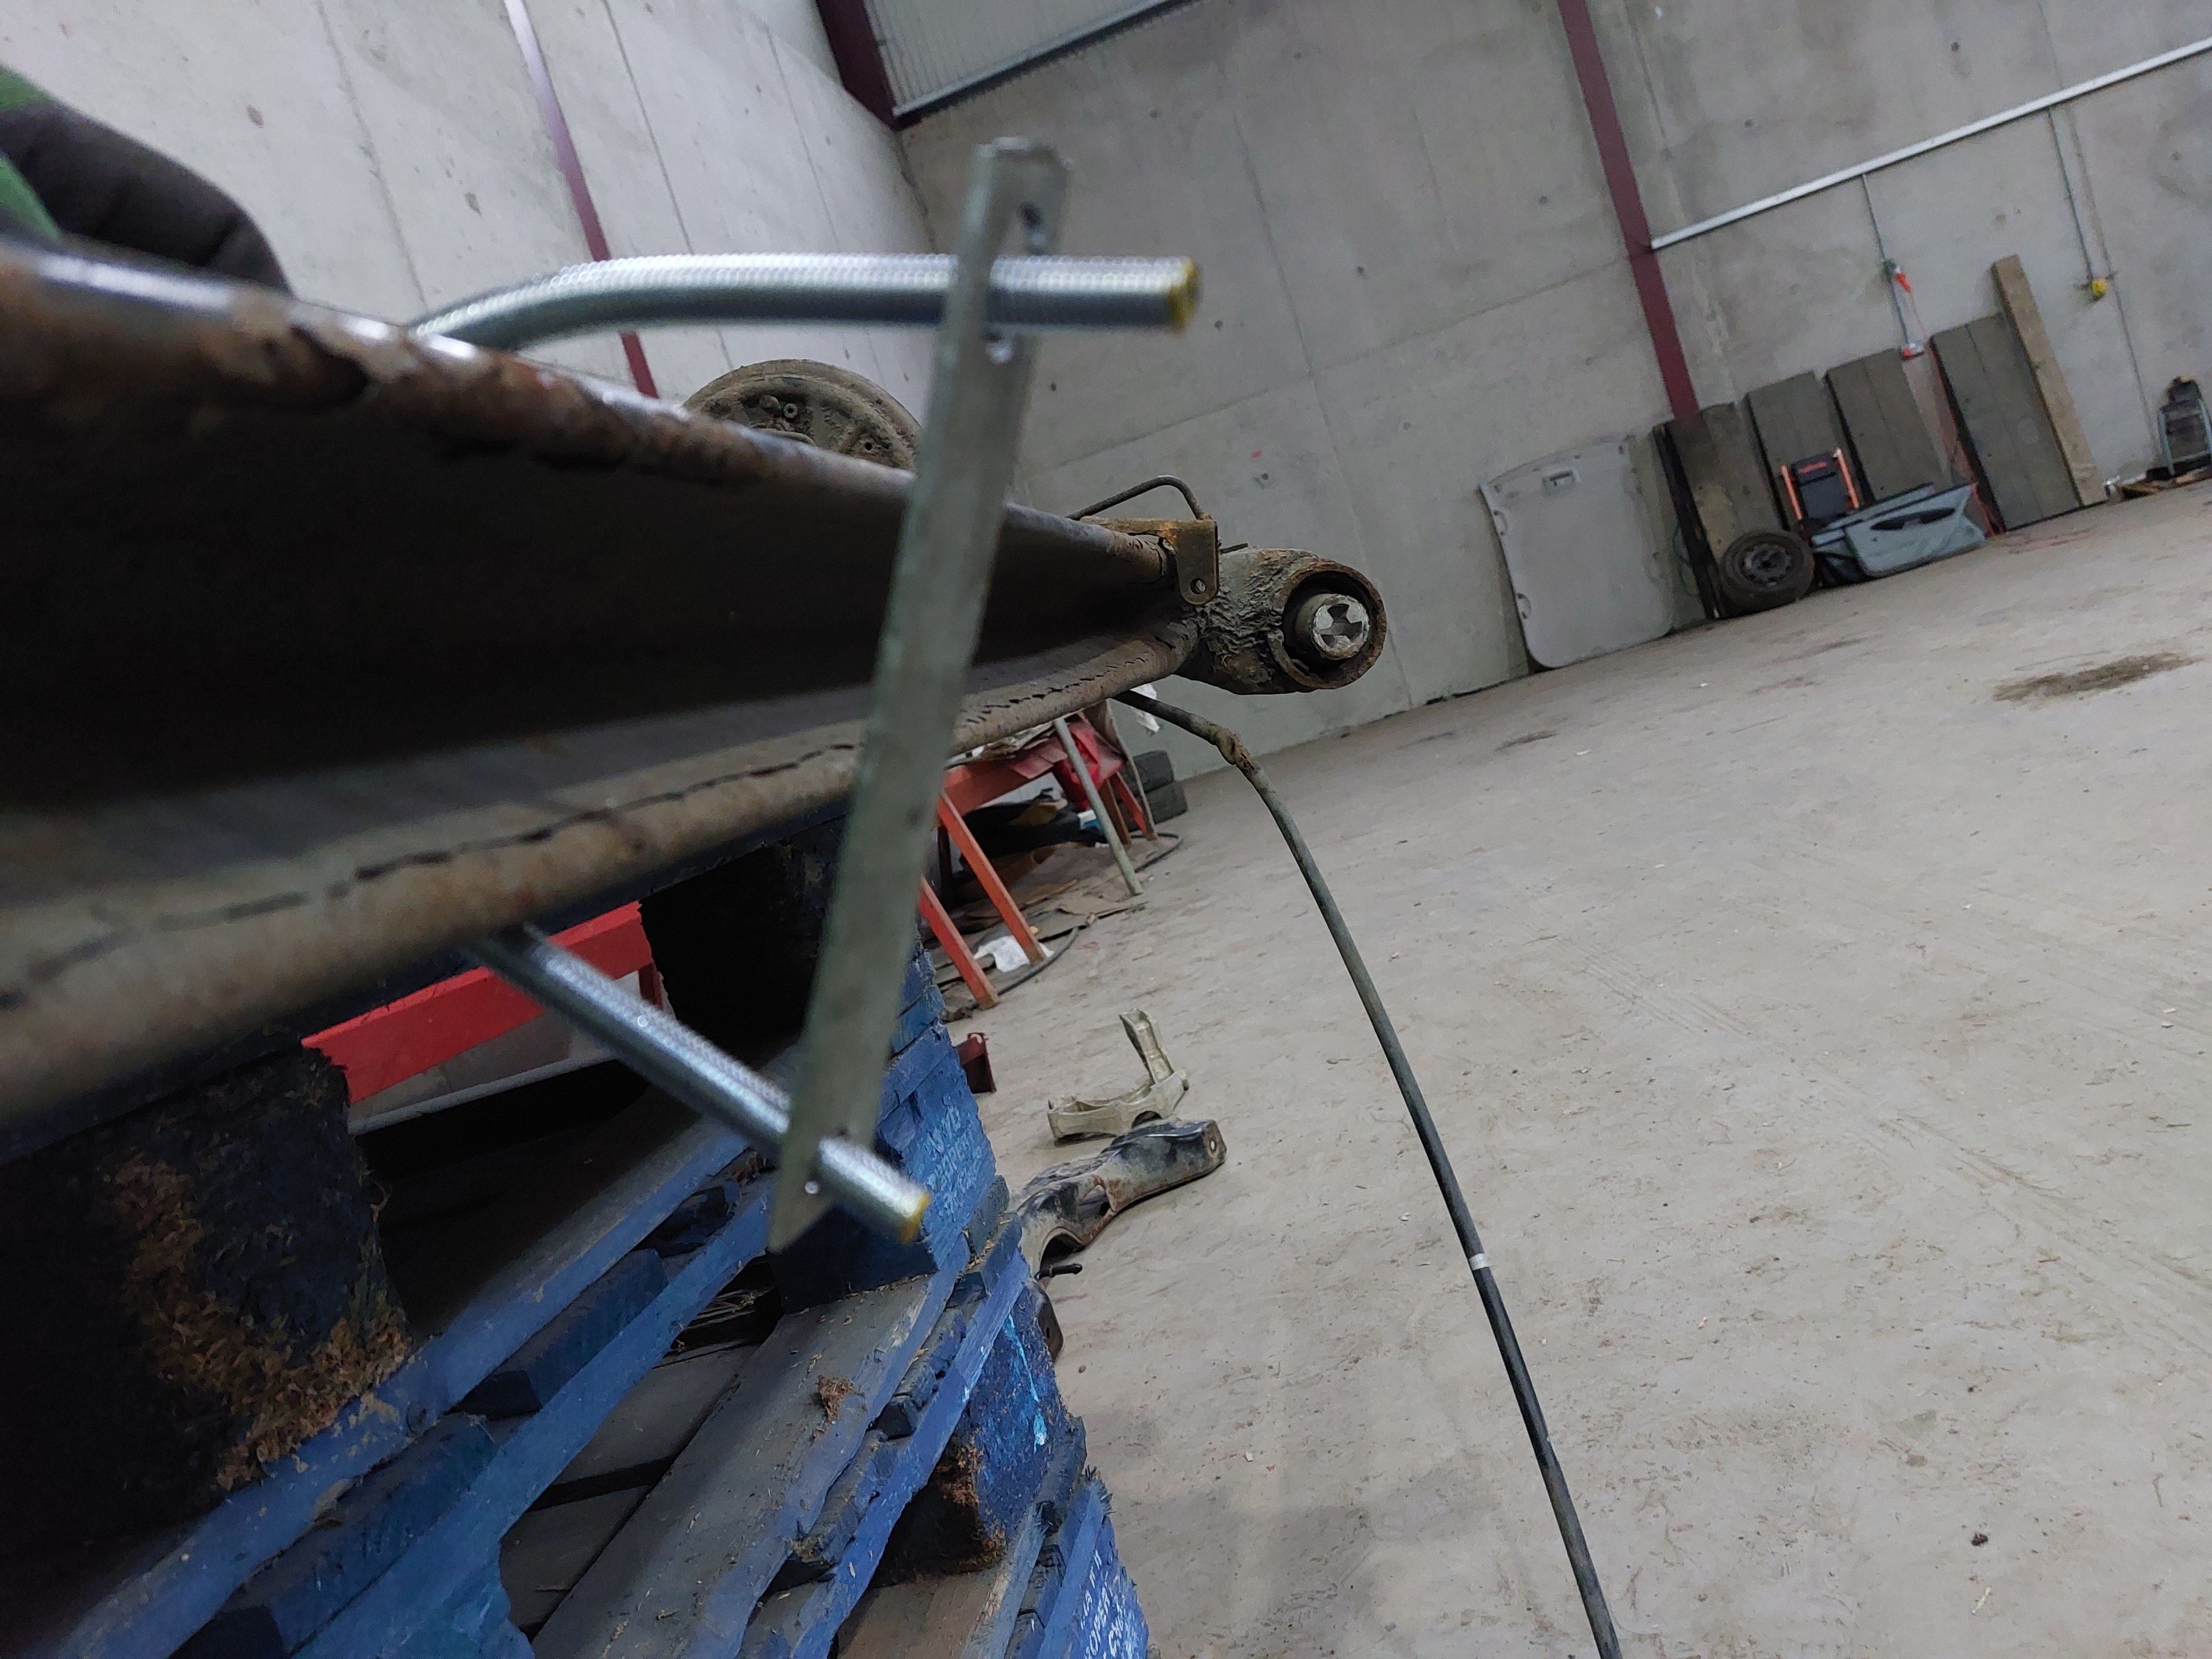
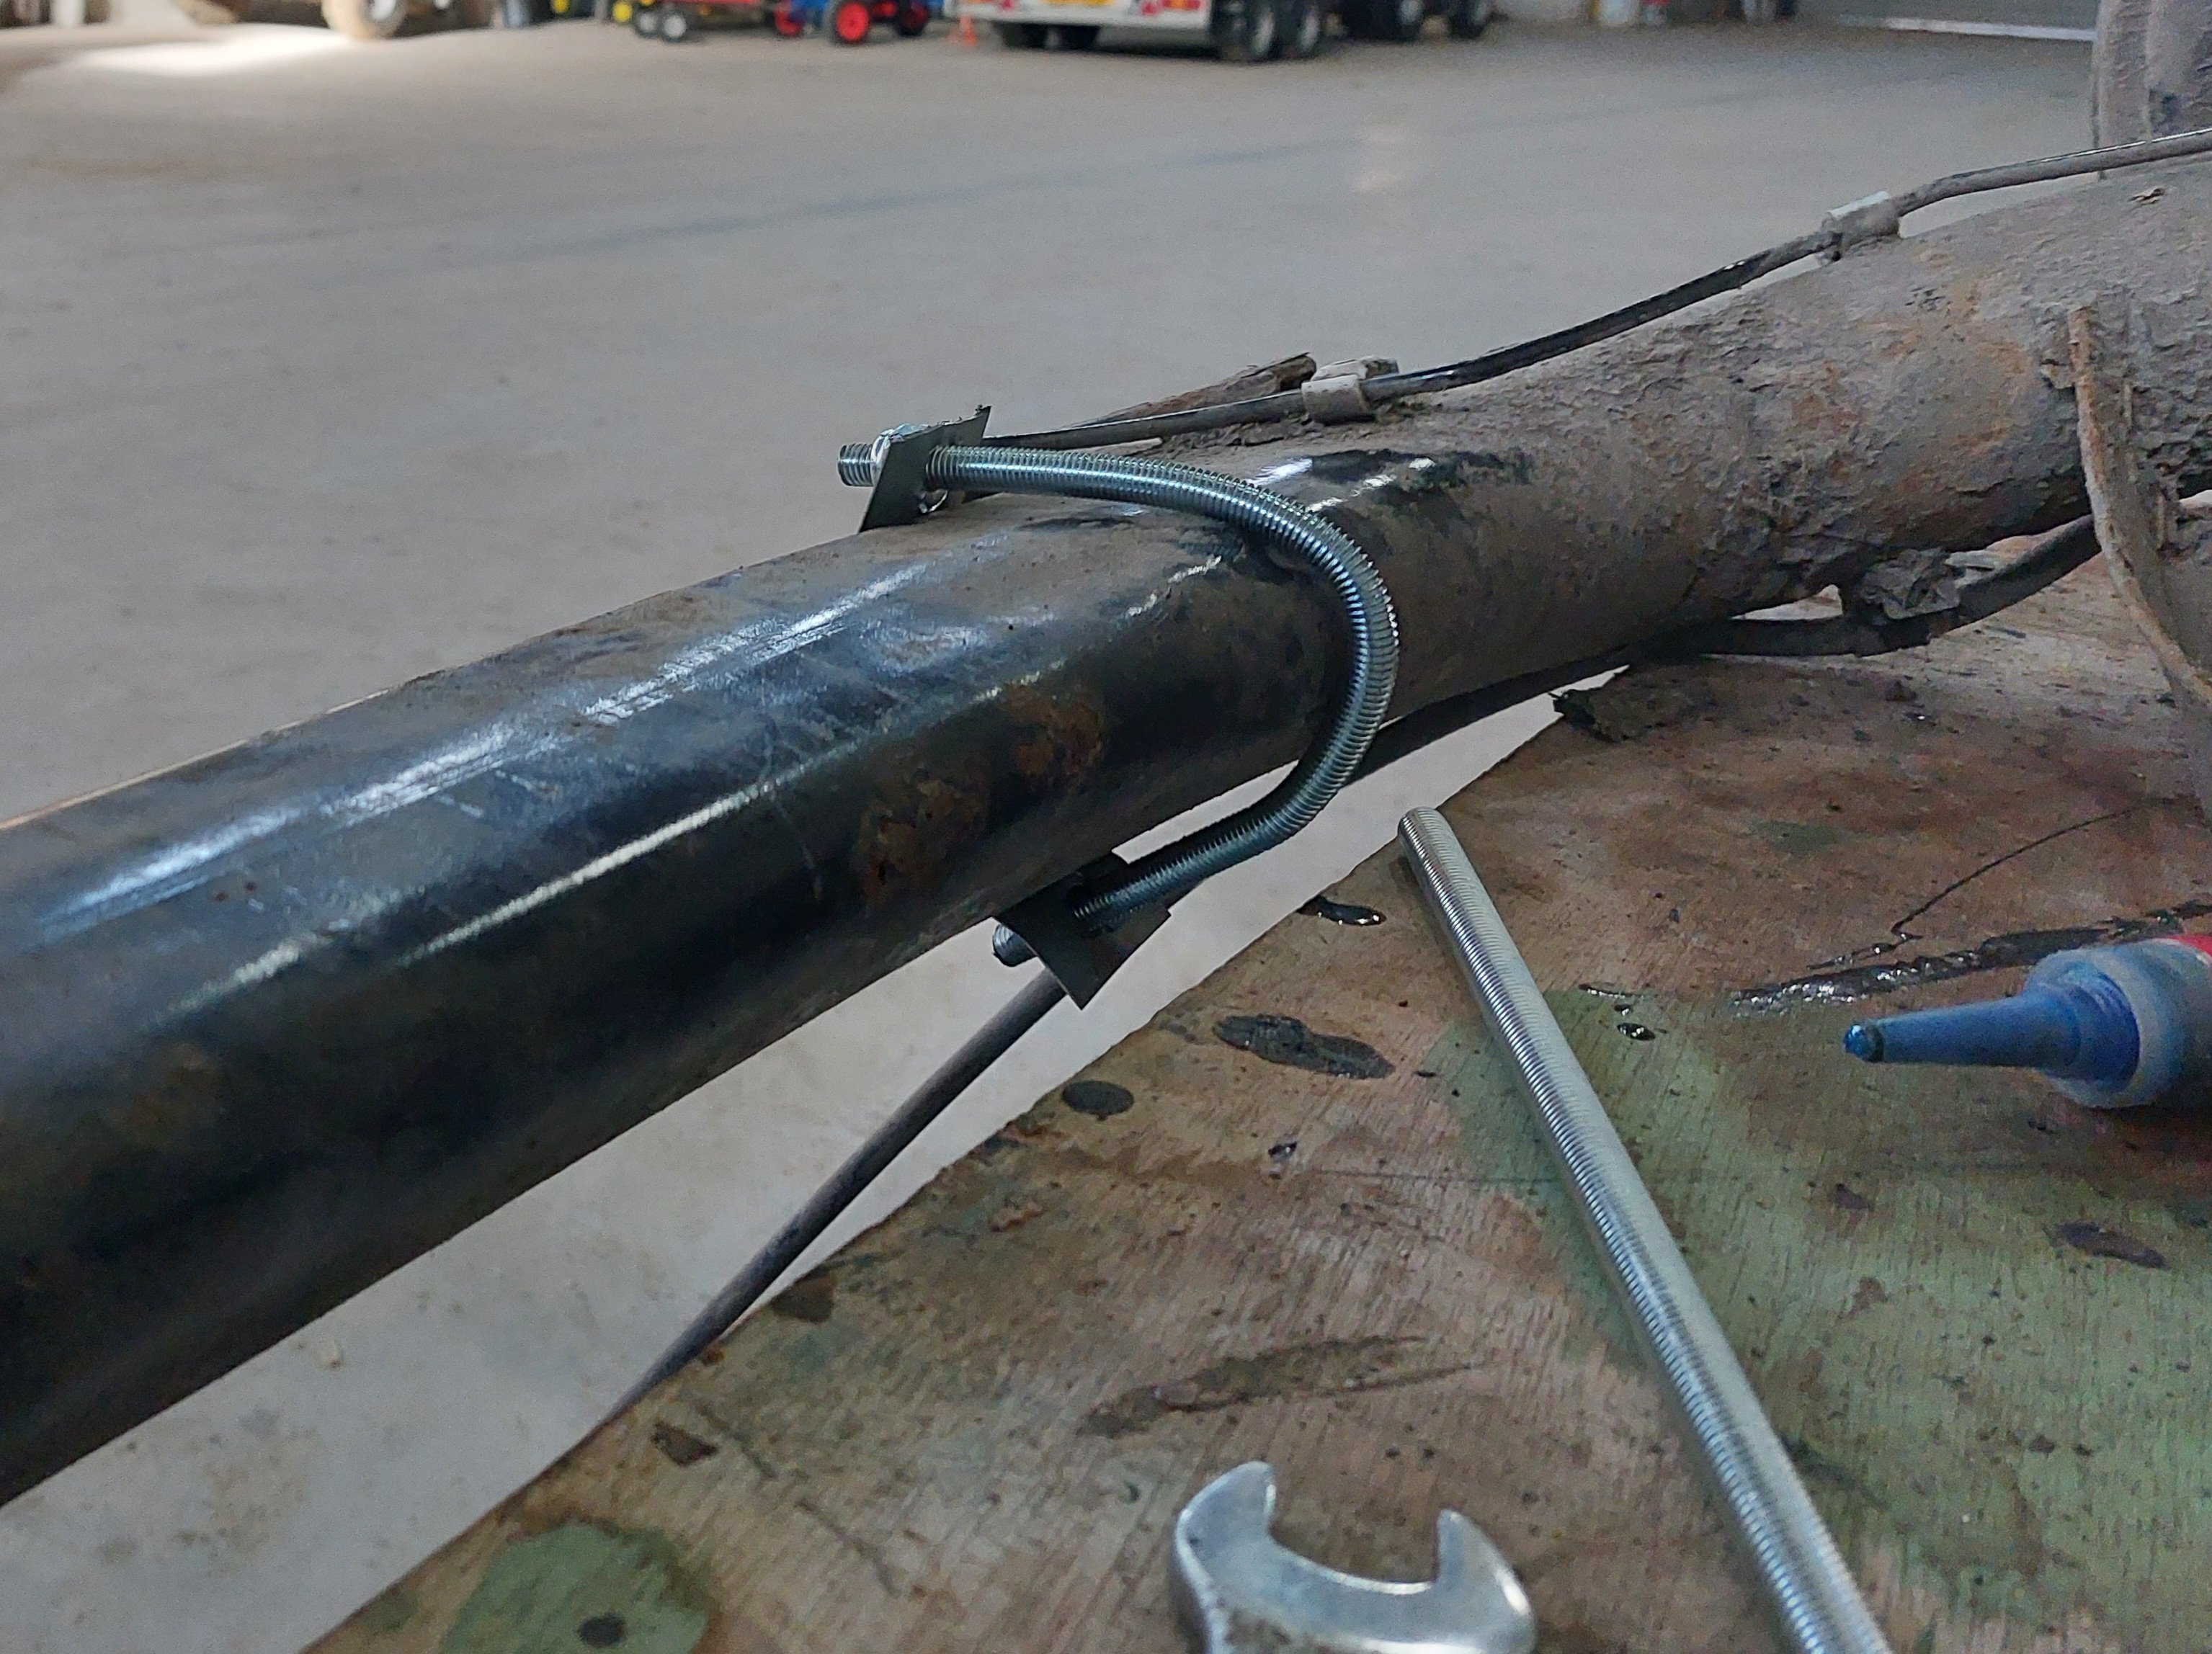
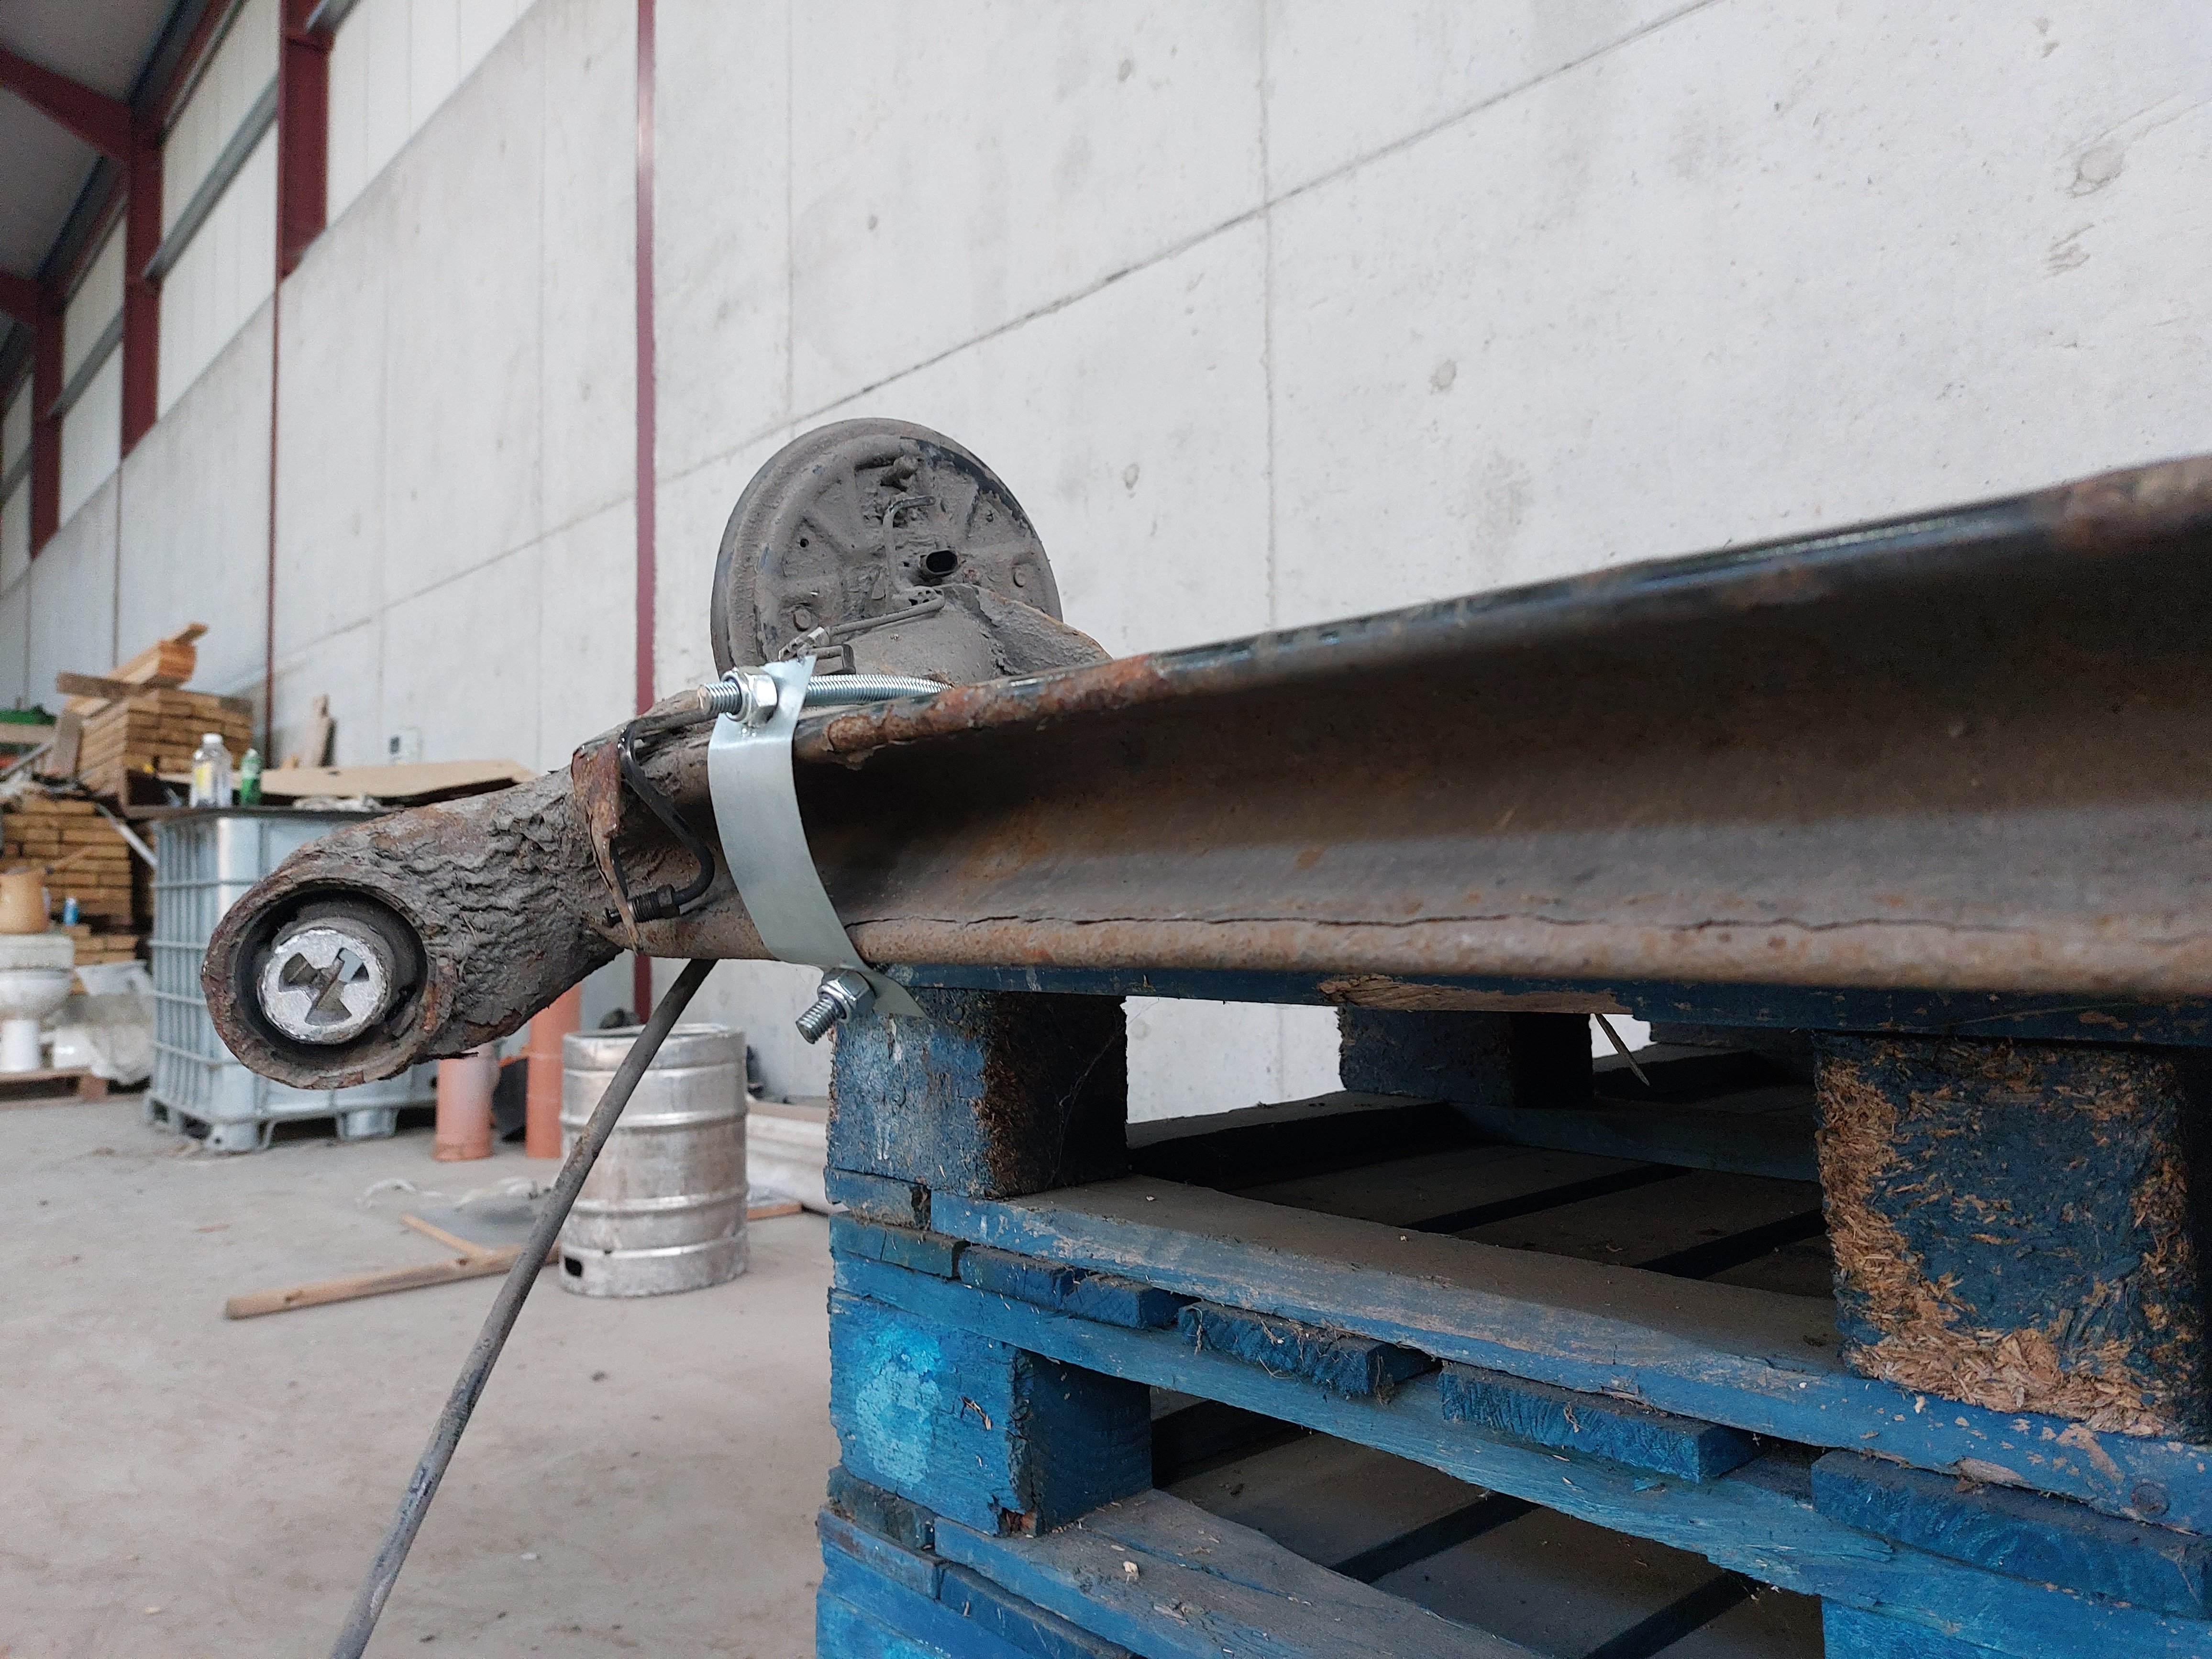
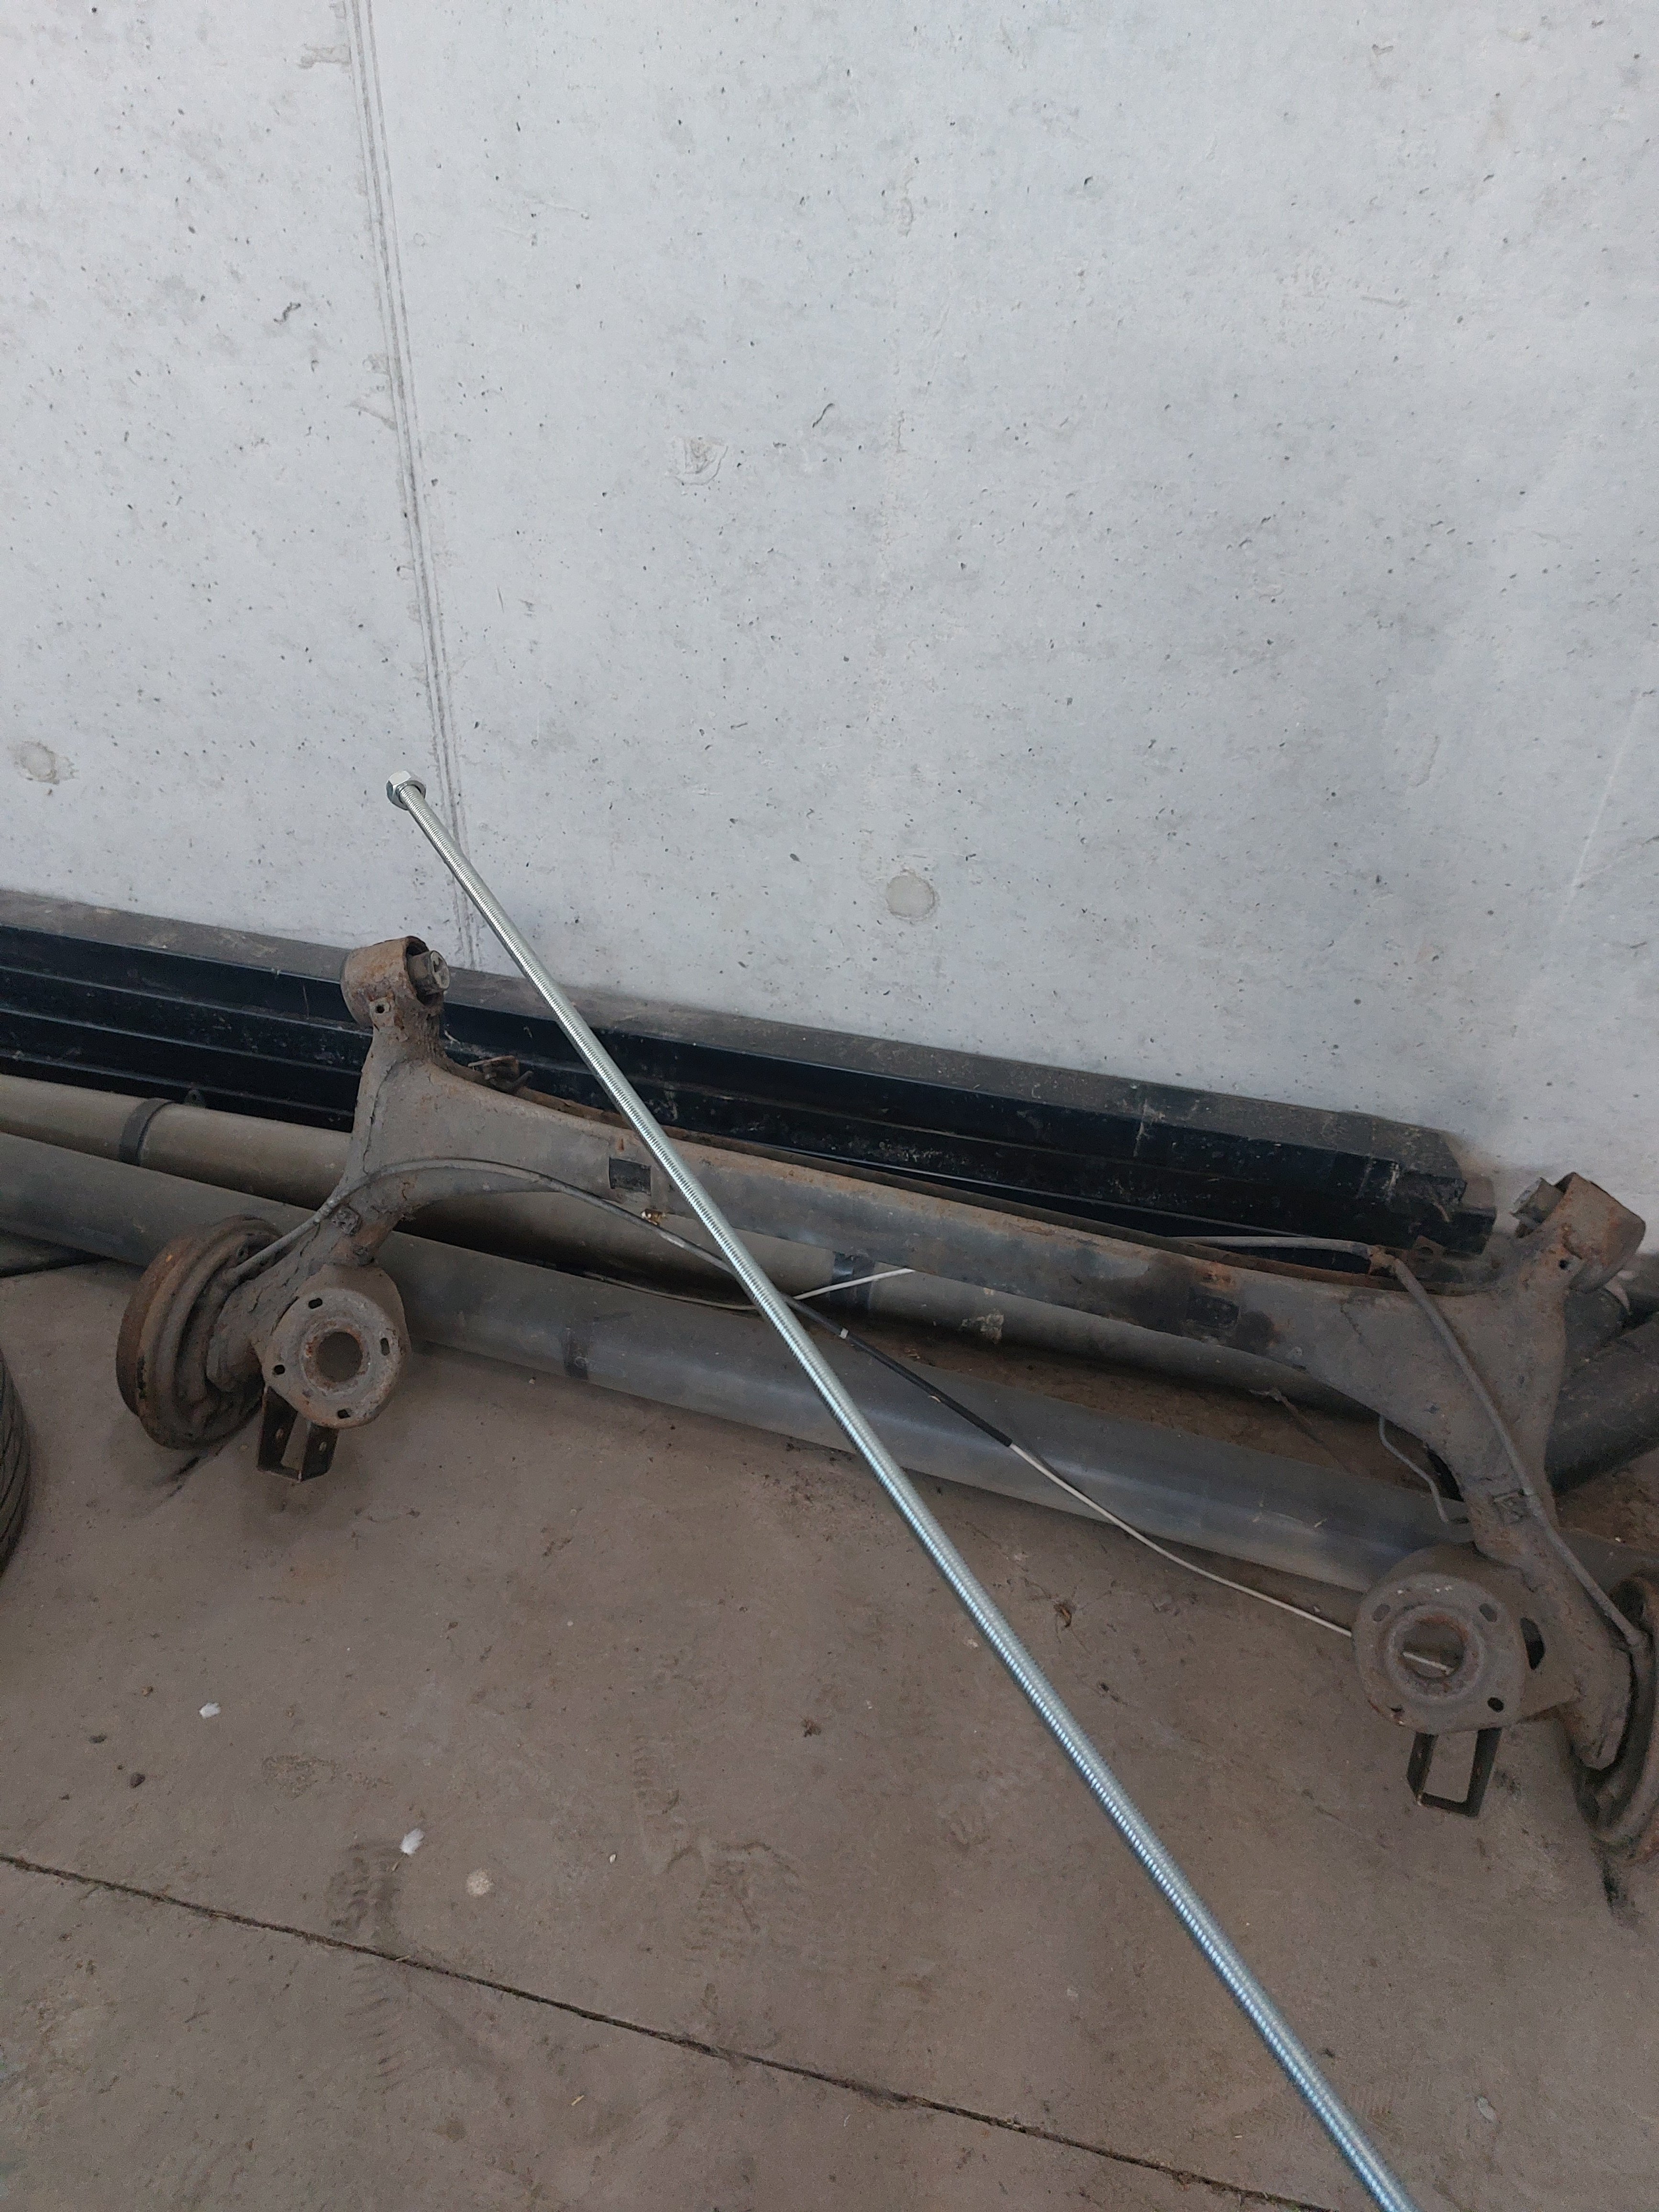
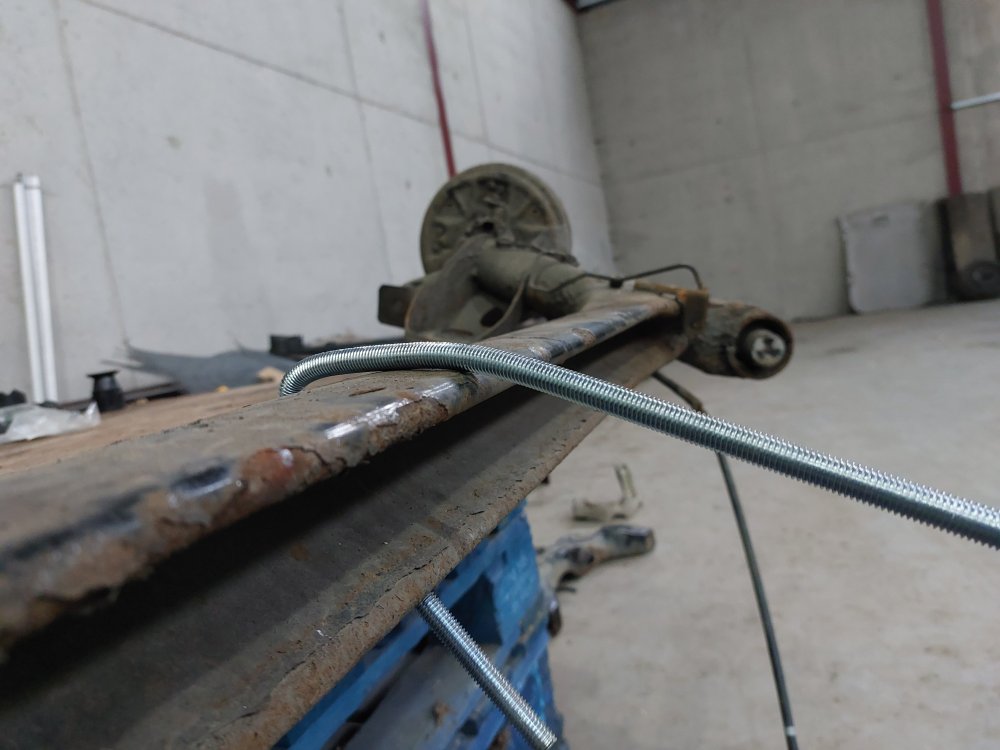
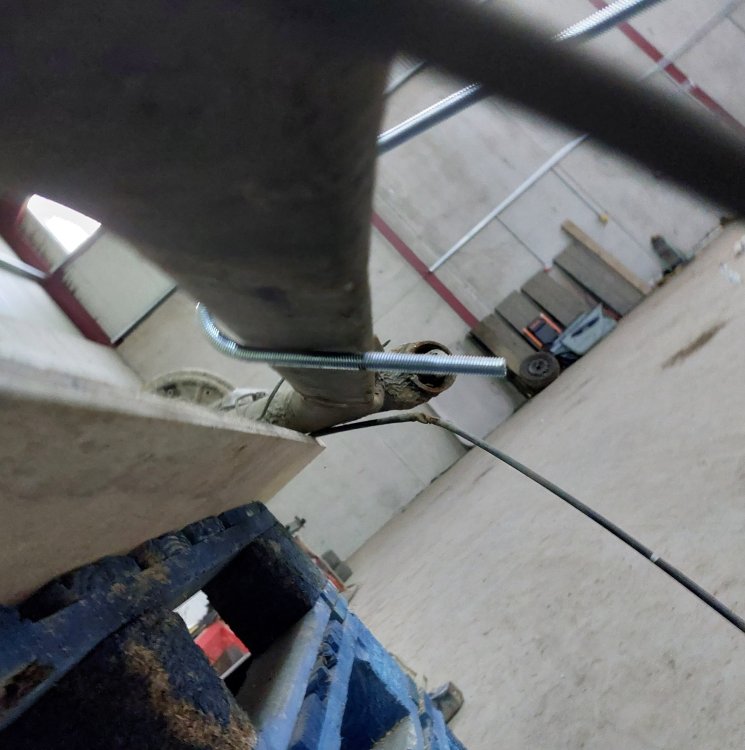
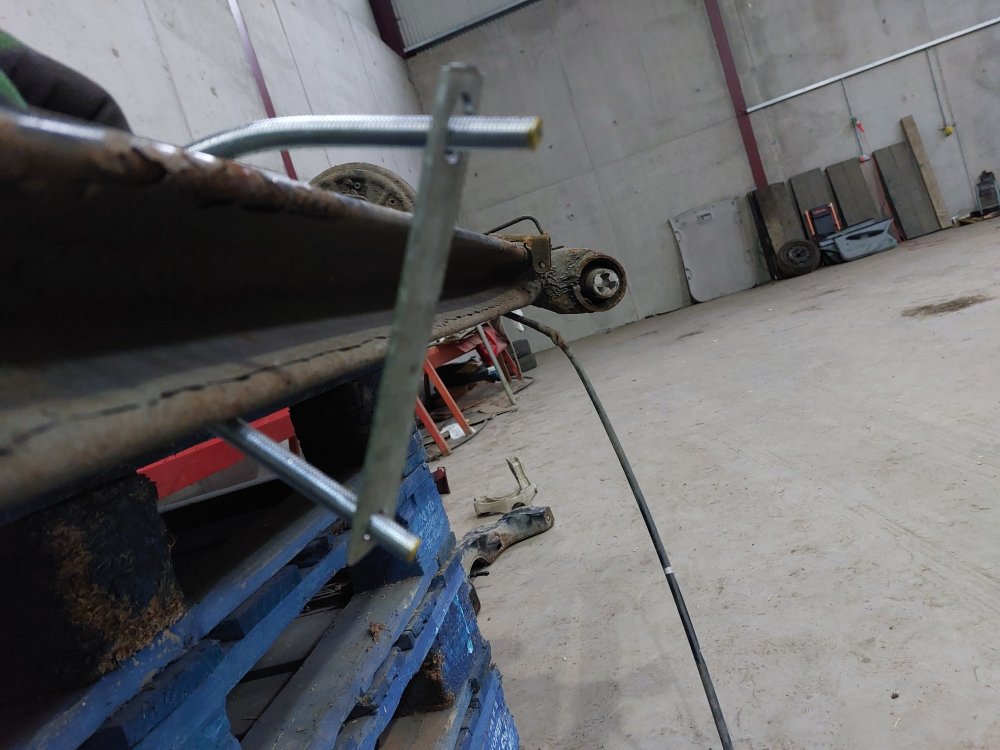
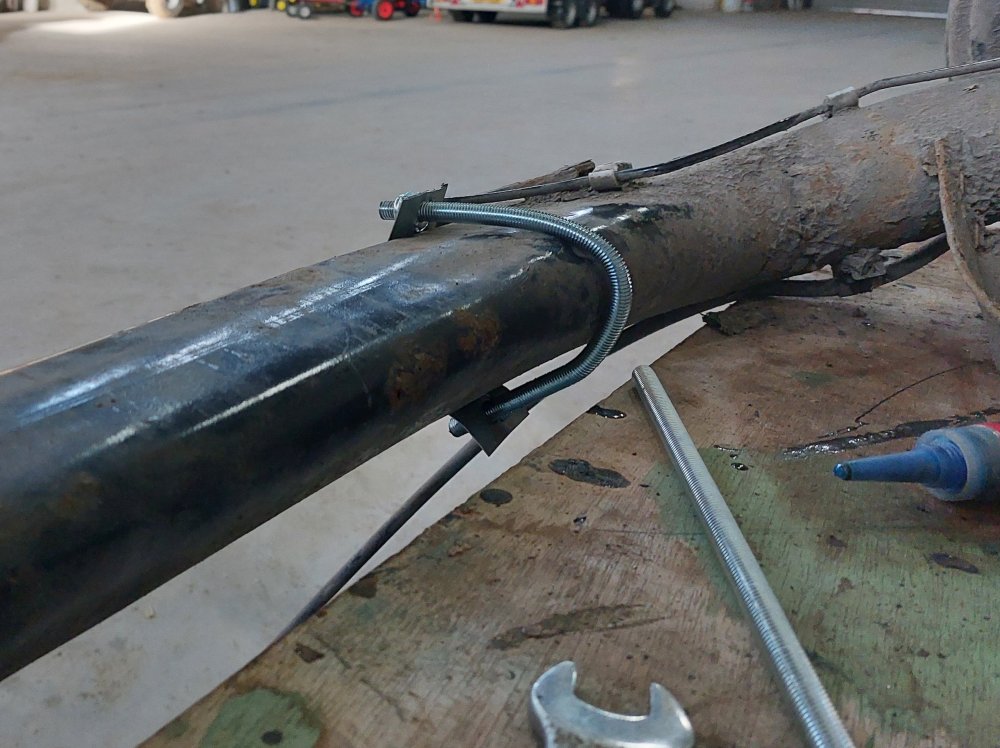
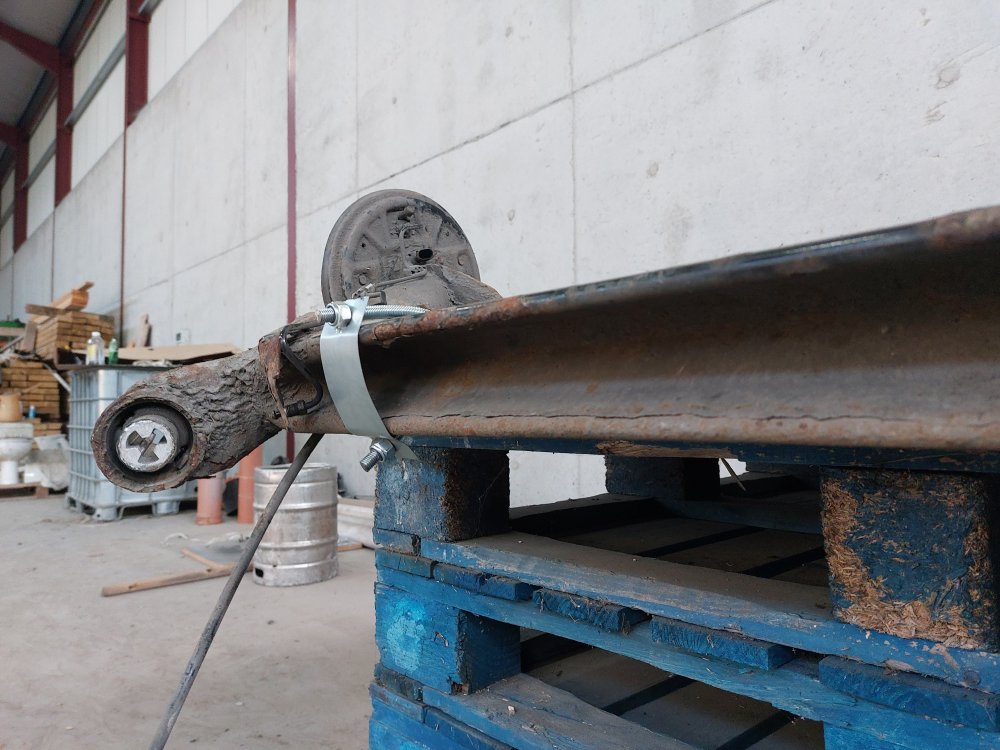
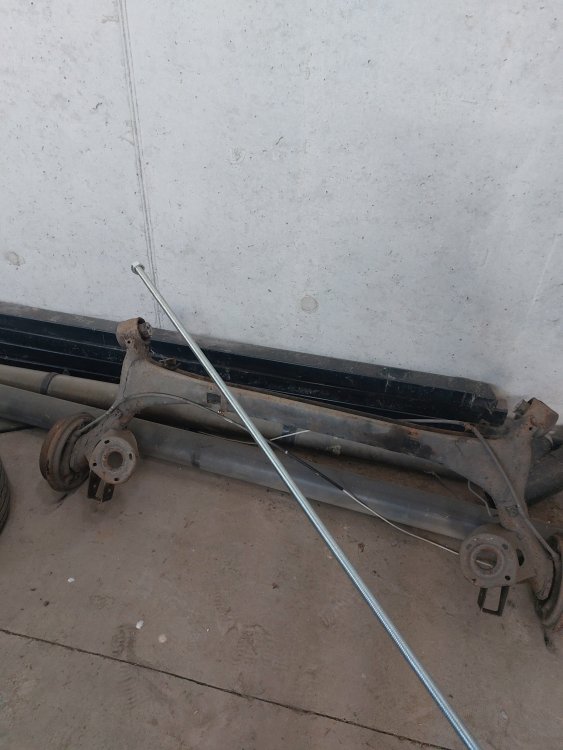
Been working on something for this, a way of improving handling without buying a rarb. Did some research and came up with some ideas on how to brace the rear beam. I liked this idea the most as it's very cheap to make, easy to fit and not permanent. The idea was to make a clamp out of some threaded rod and strips of metal to limit how much the beam flexes when cornering. I used the old drum axle off the Monte to try make a prototype. It's a Metre long M10 Threaded bar. Because it's so long I could use the length as leverage to bend the bar as I needed. You can sort of see what I'm trying to do. I drilled some flat stock to use to tie the top and bottom part of the clamp together. This stuff was a bit thick, a pain to drill through and not easy to fit onto the clamp, so I got thinner flat stock to use. To test these I fitted 2 to the rear beam on the Monte, even with the rarb it made a noticeable improvement. I'll make a few more to use on the mk1, working out a LOT cheaper (think a fiver at most for a clamp) than a rarb and still gives a similar effect. I think honestly you don't need to bend them like I did, maybe some large exhaust clamps would do the same job.
-
Don't trust the gauge if it's the non maxidot one, useless. When I drove over to England a few weeks ago I got from my house to where I was staying and then some before the gauge came off the top bar, 270 miles. I was driving careful, but not that much. And just this week it took a notion of dropping like a stone with barely any driving. Might just be My car ofcourse but it is pretty useless as an indication of how much fuel you have left.
-
My 2001 fabia has a serious amount of rust protection on it, still in decent shape rust wise 21 years on. Even with the state of mine, I'd agree that they're better put together than even the mk2.
-
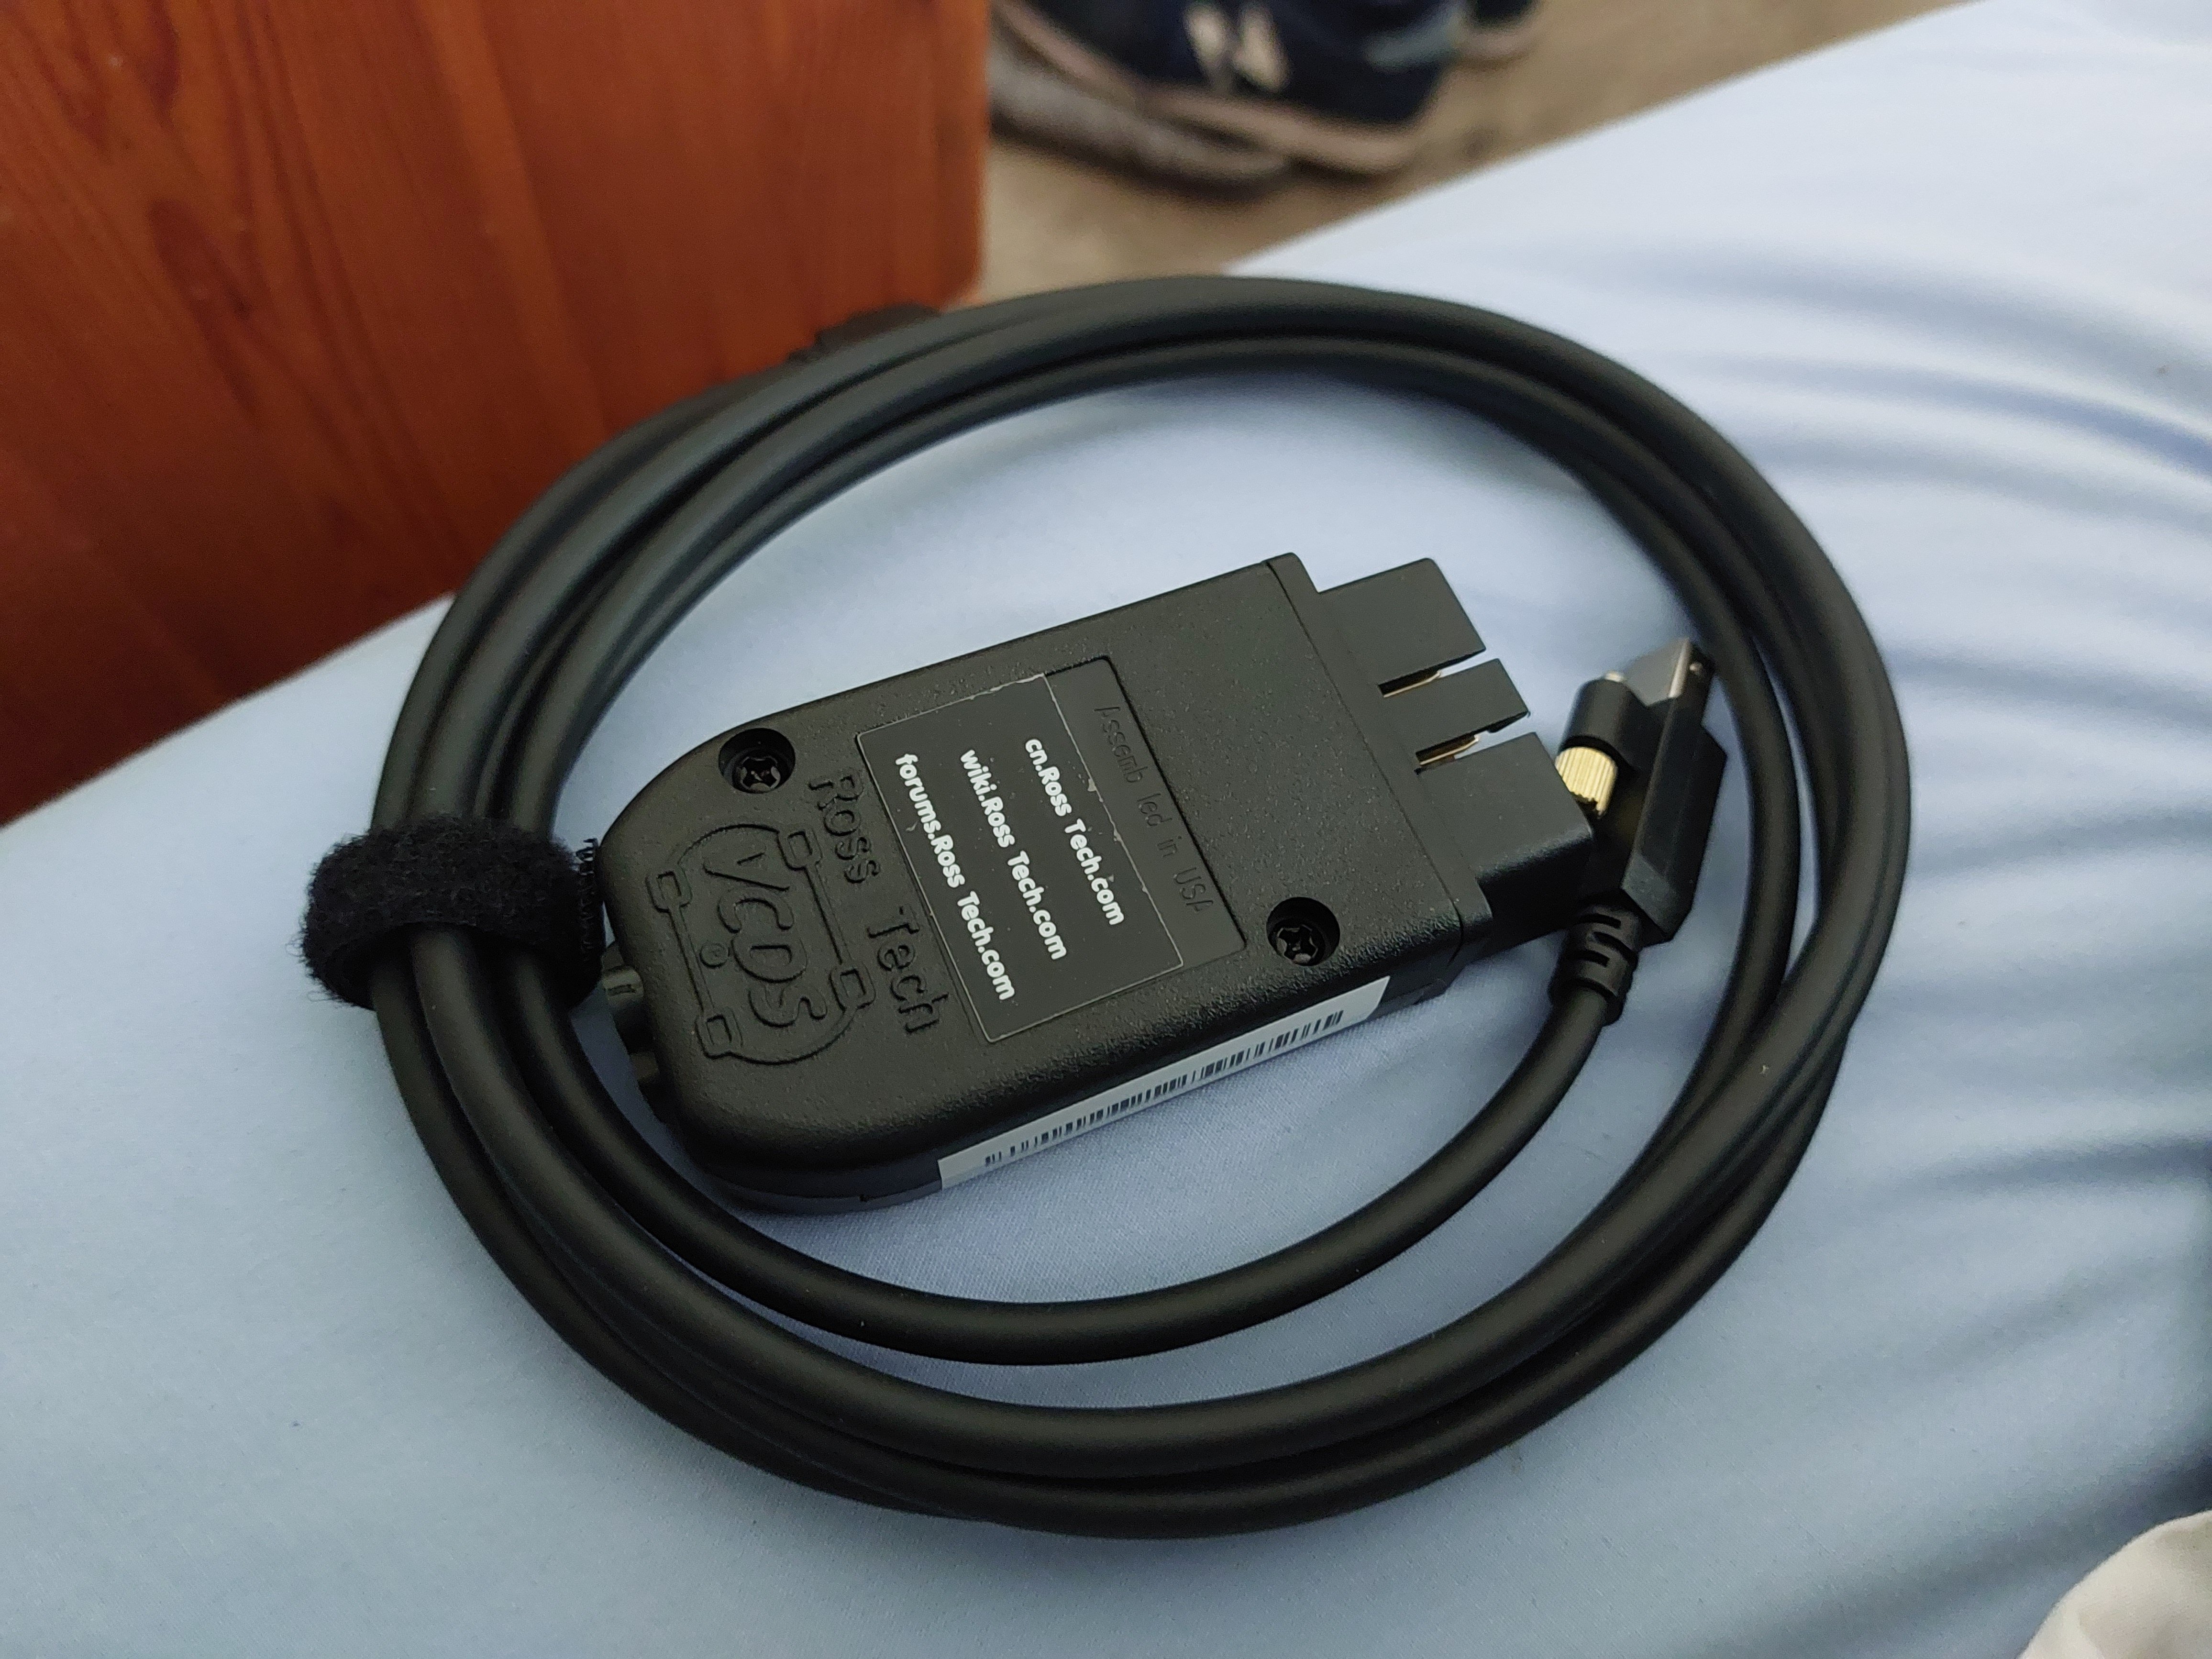
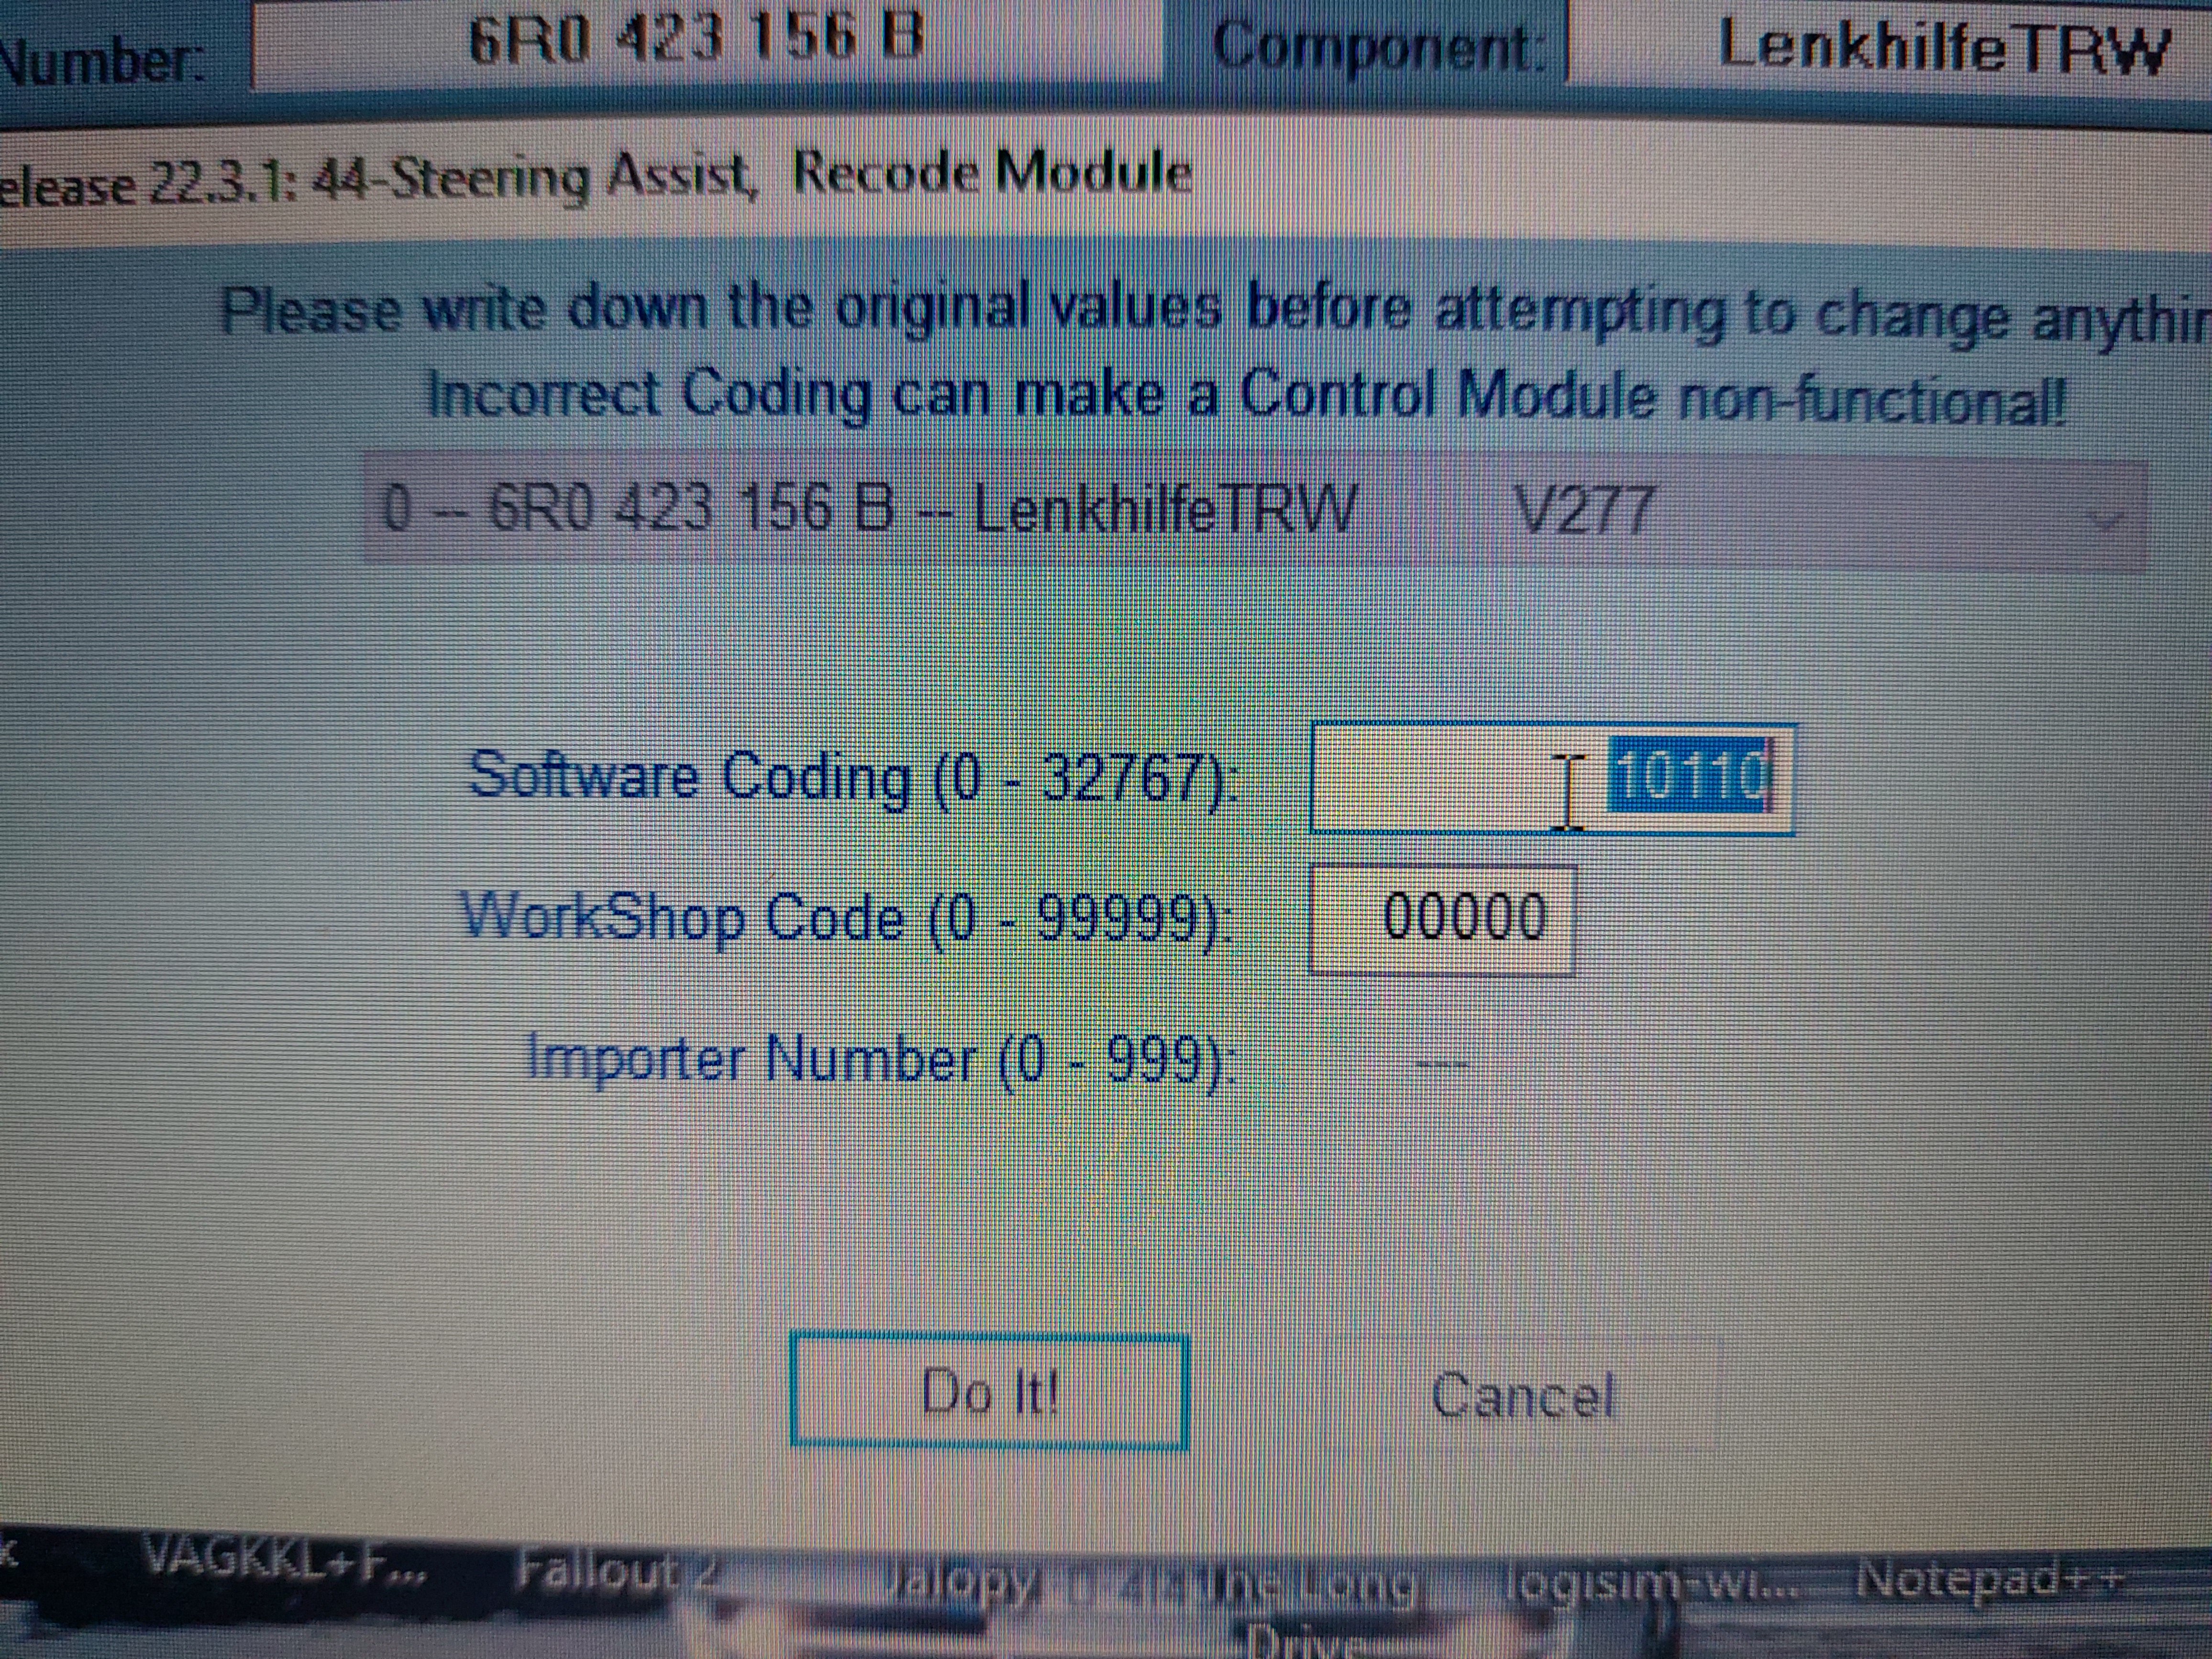
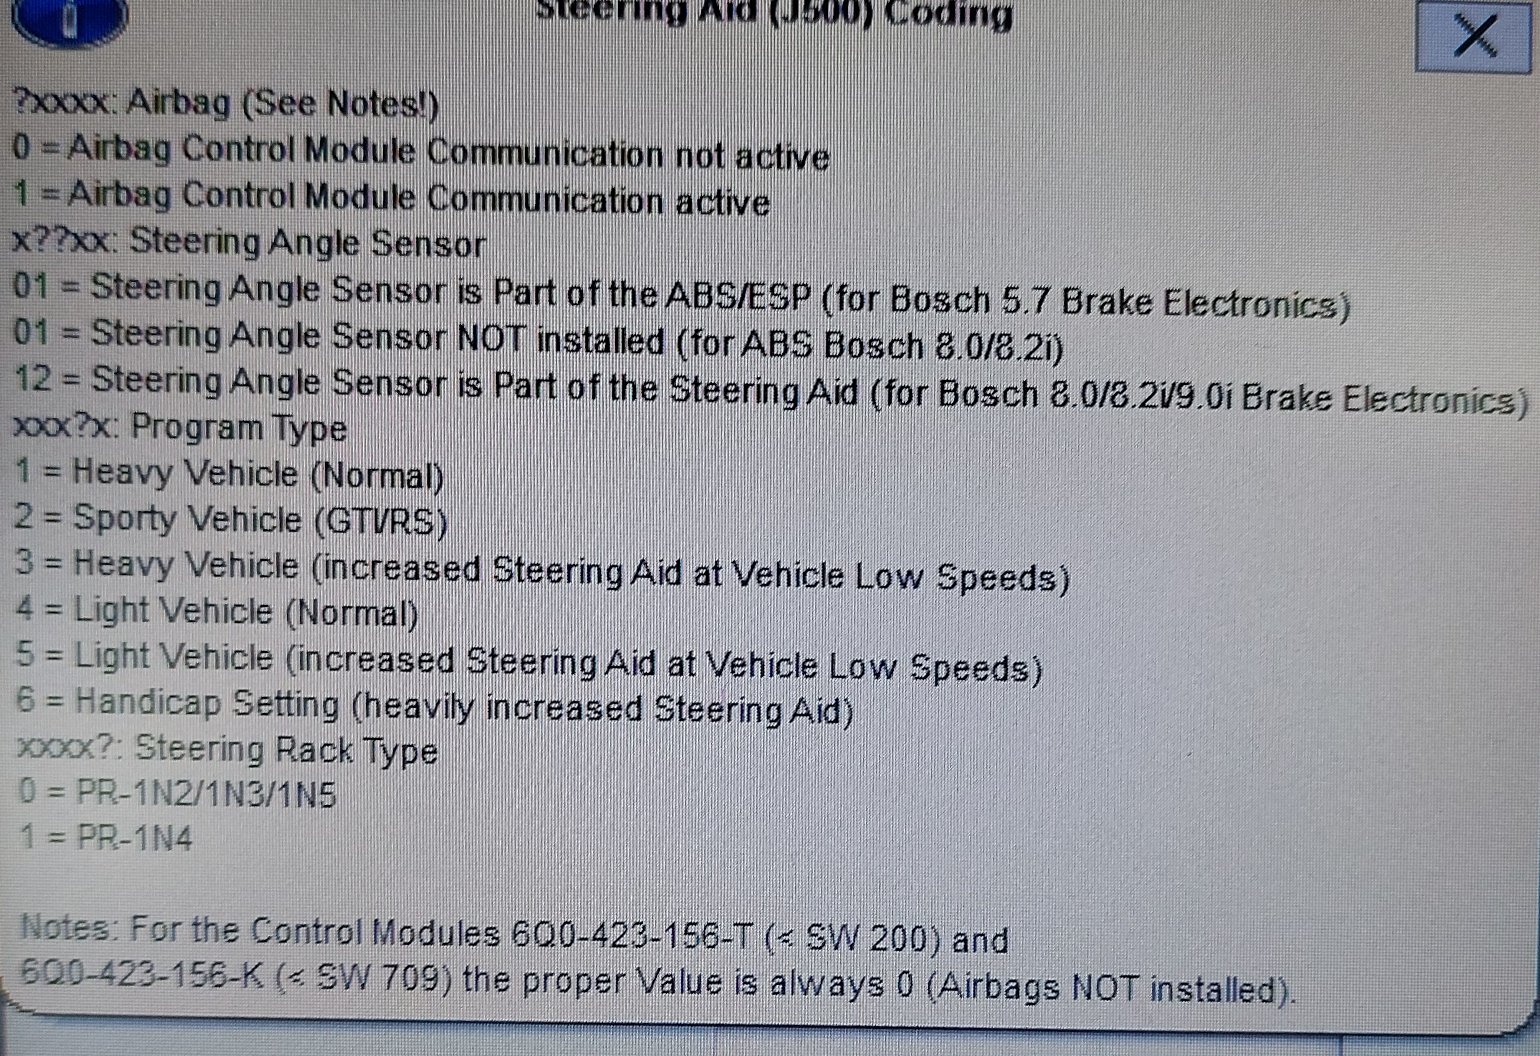
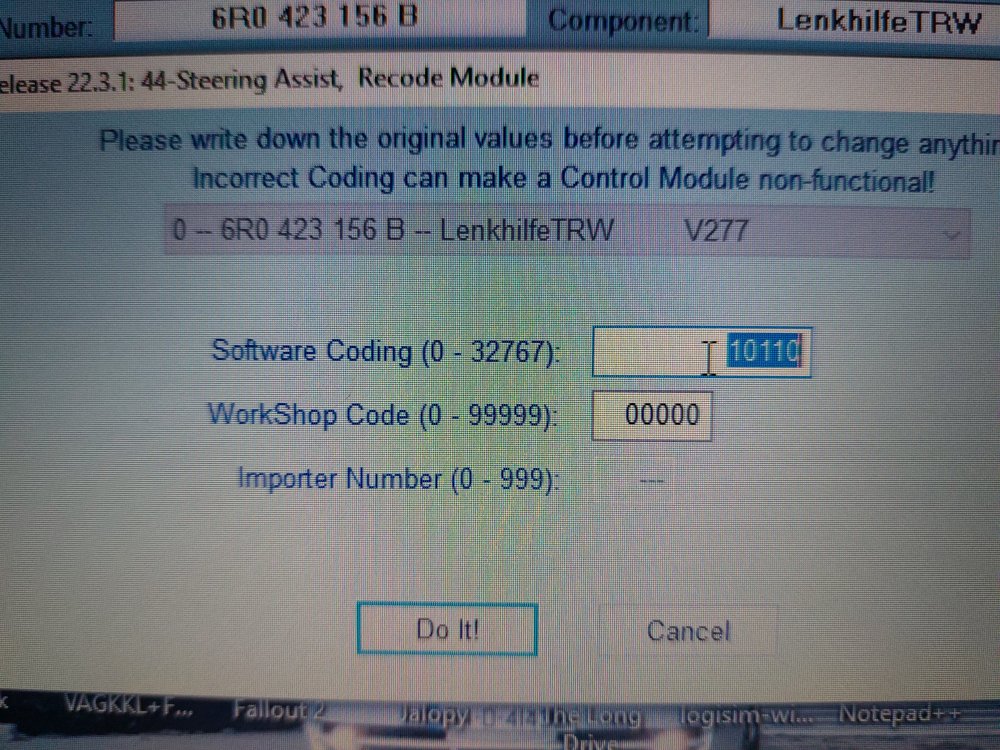
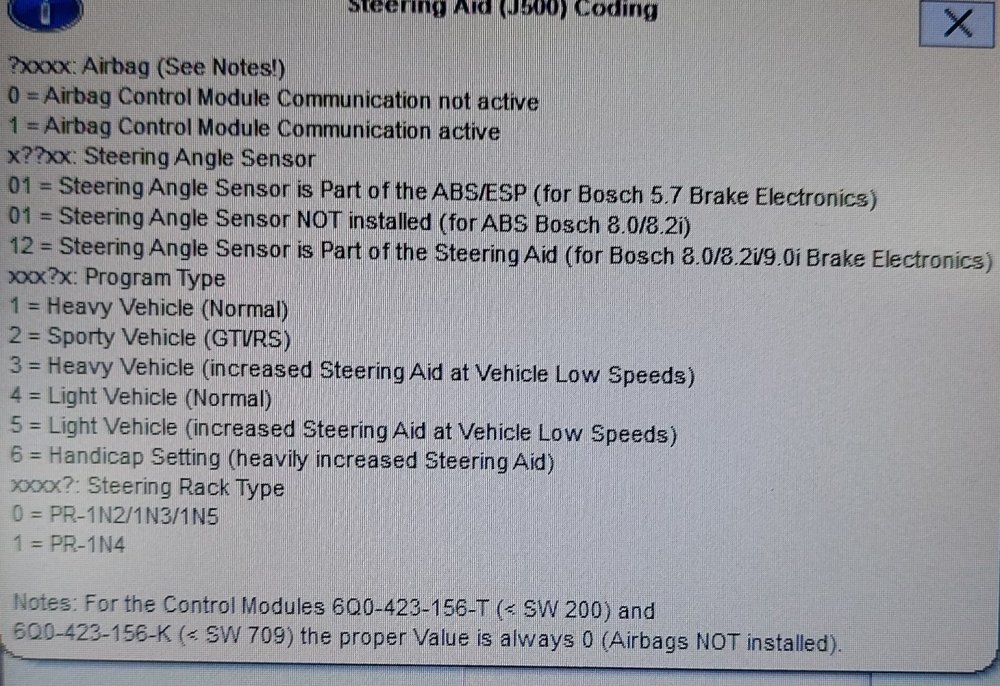
The power steering on this has always been a little odd, I thought it was down to it being a monte carlo and thus probably on a different power steering coding than a normal fabia, and I was right, sort of. I bought a (fake) vcds cable online and tried it out. It worked, flawlessly. Anyways, this is what my monte was set to: I tried most of the settings and settled on 10120, the setting for "sporty vehicles", 10110 is meant to be for "Heavy vehicles" so how it was set to that, I'll never know. I believe a normal fabia will be set to 10140 or 10150. The "Sporty" setting I landed on feels a lot better than the setting it was on originally. Hard to describe, bit weightier than before, now steers like you'd expect a car like this to. I'm dead happy anyway and it means I now have VCDS at my disposal for whatever I might need it for. I had ordered more bits for the suspension to try make the steering better, needn't have bothered it seems but I'll do it all anyway.
-
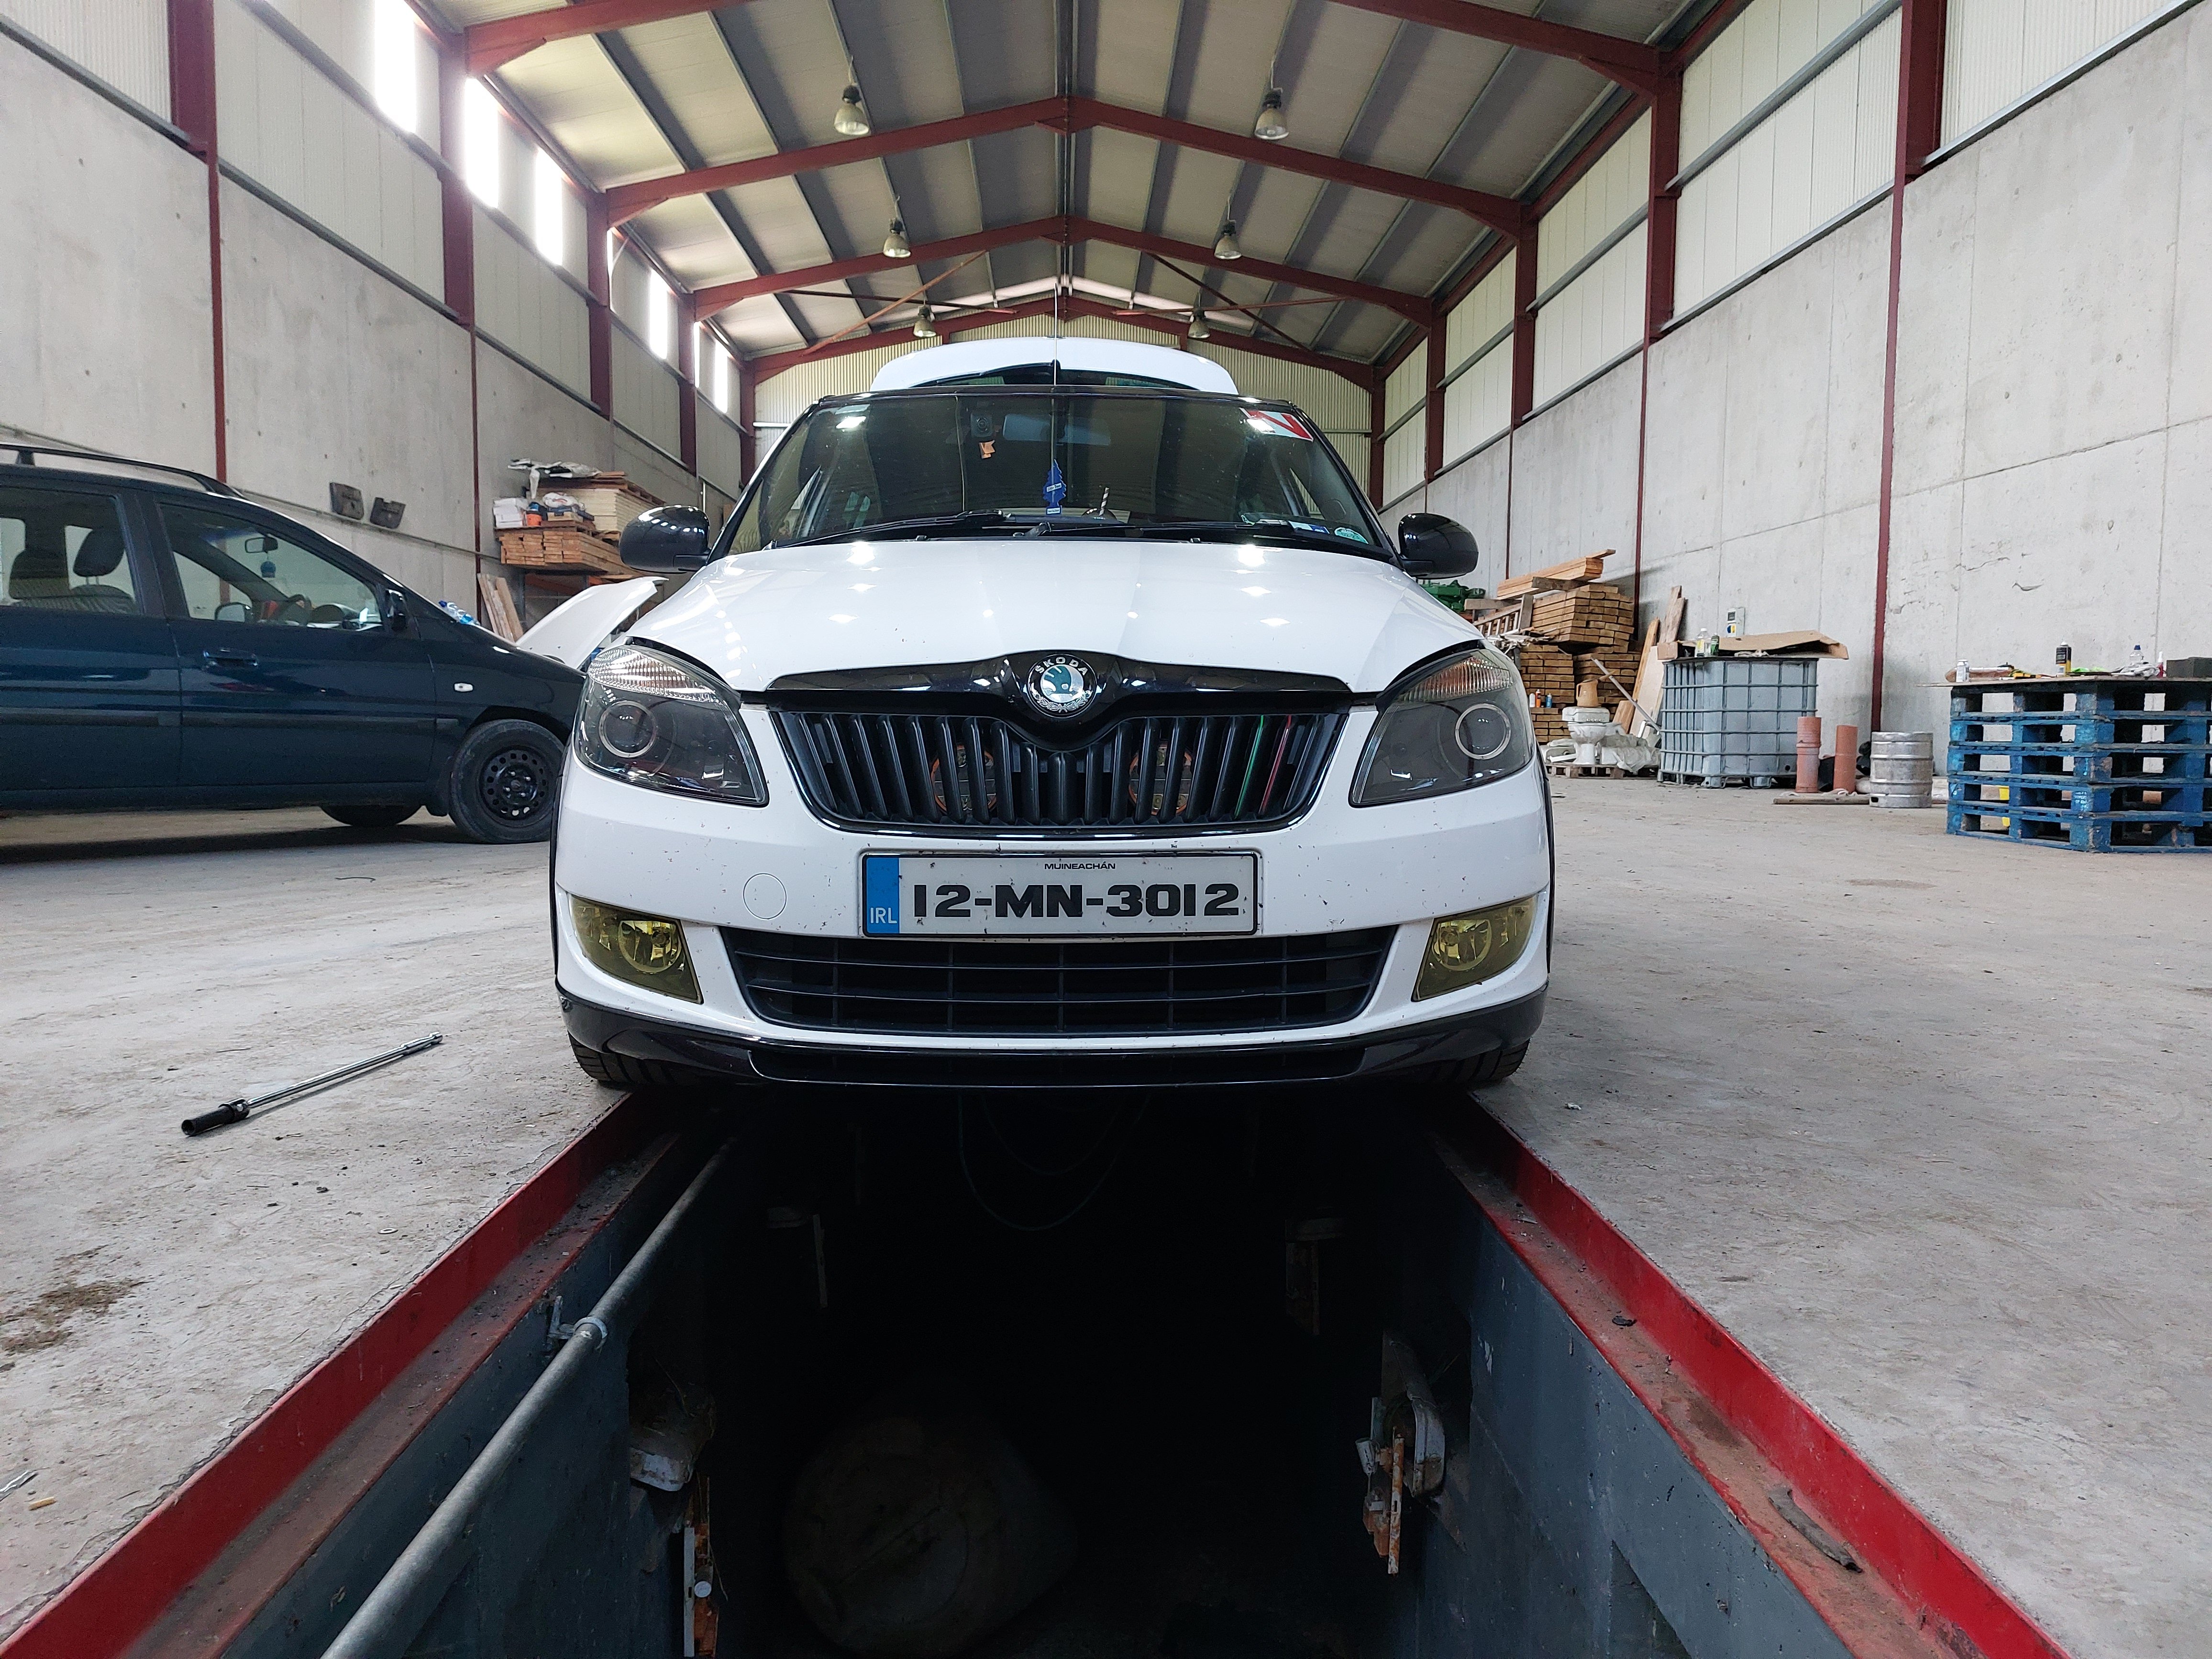
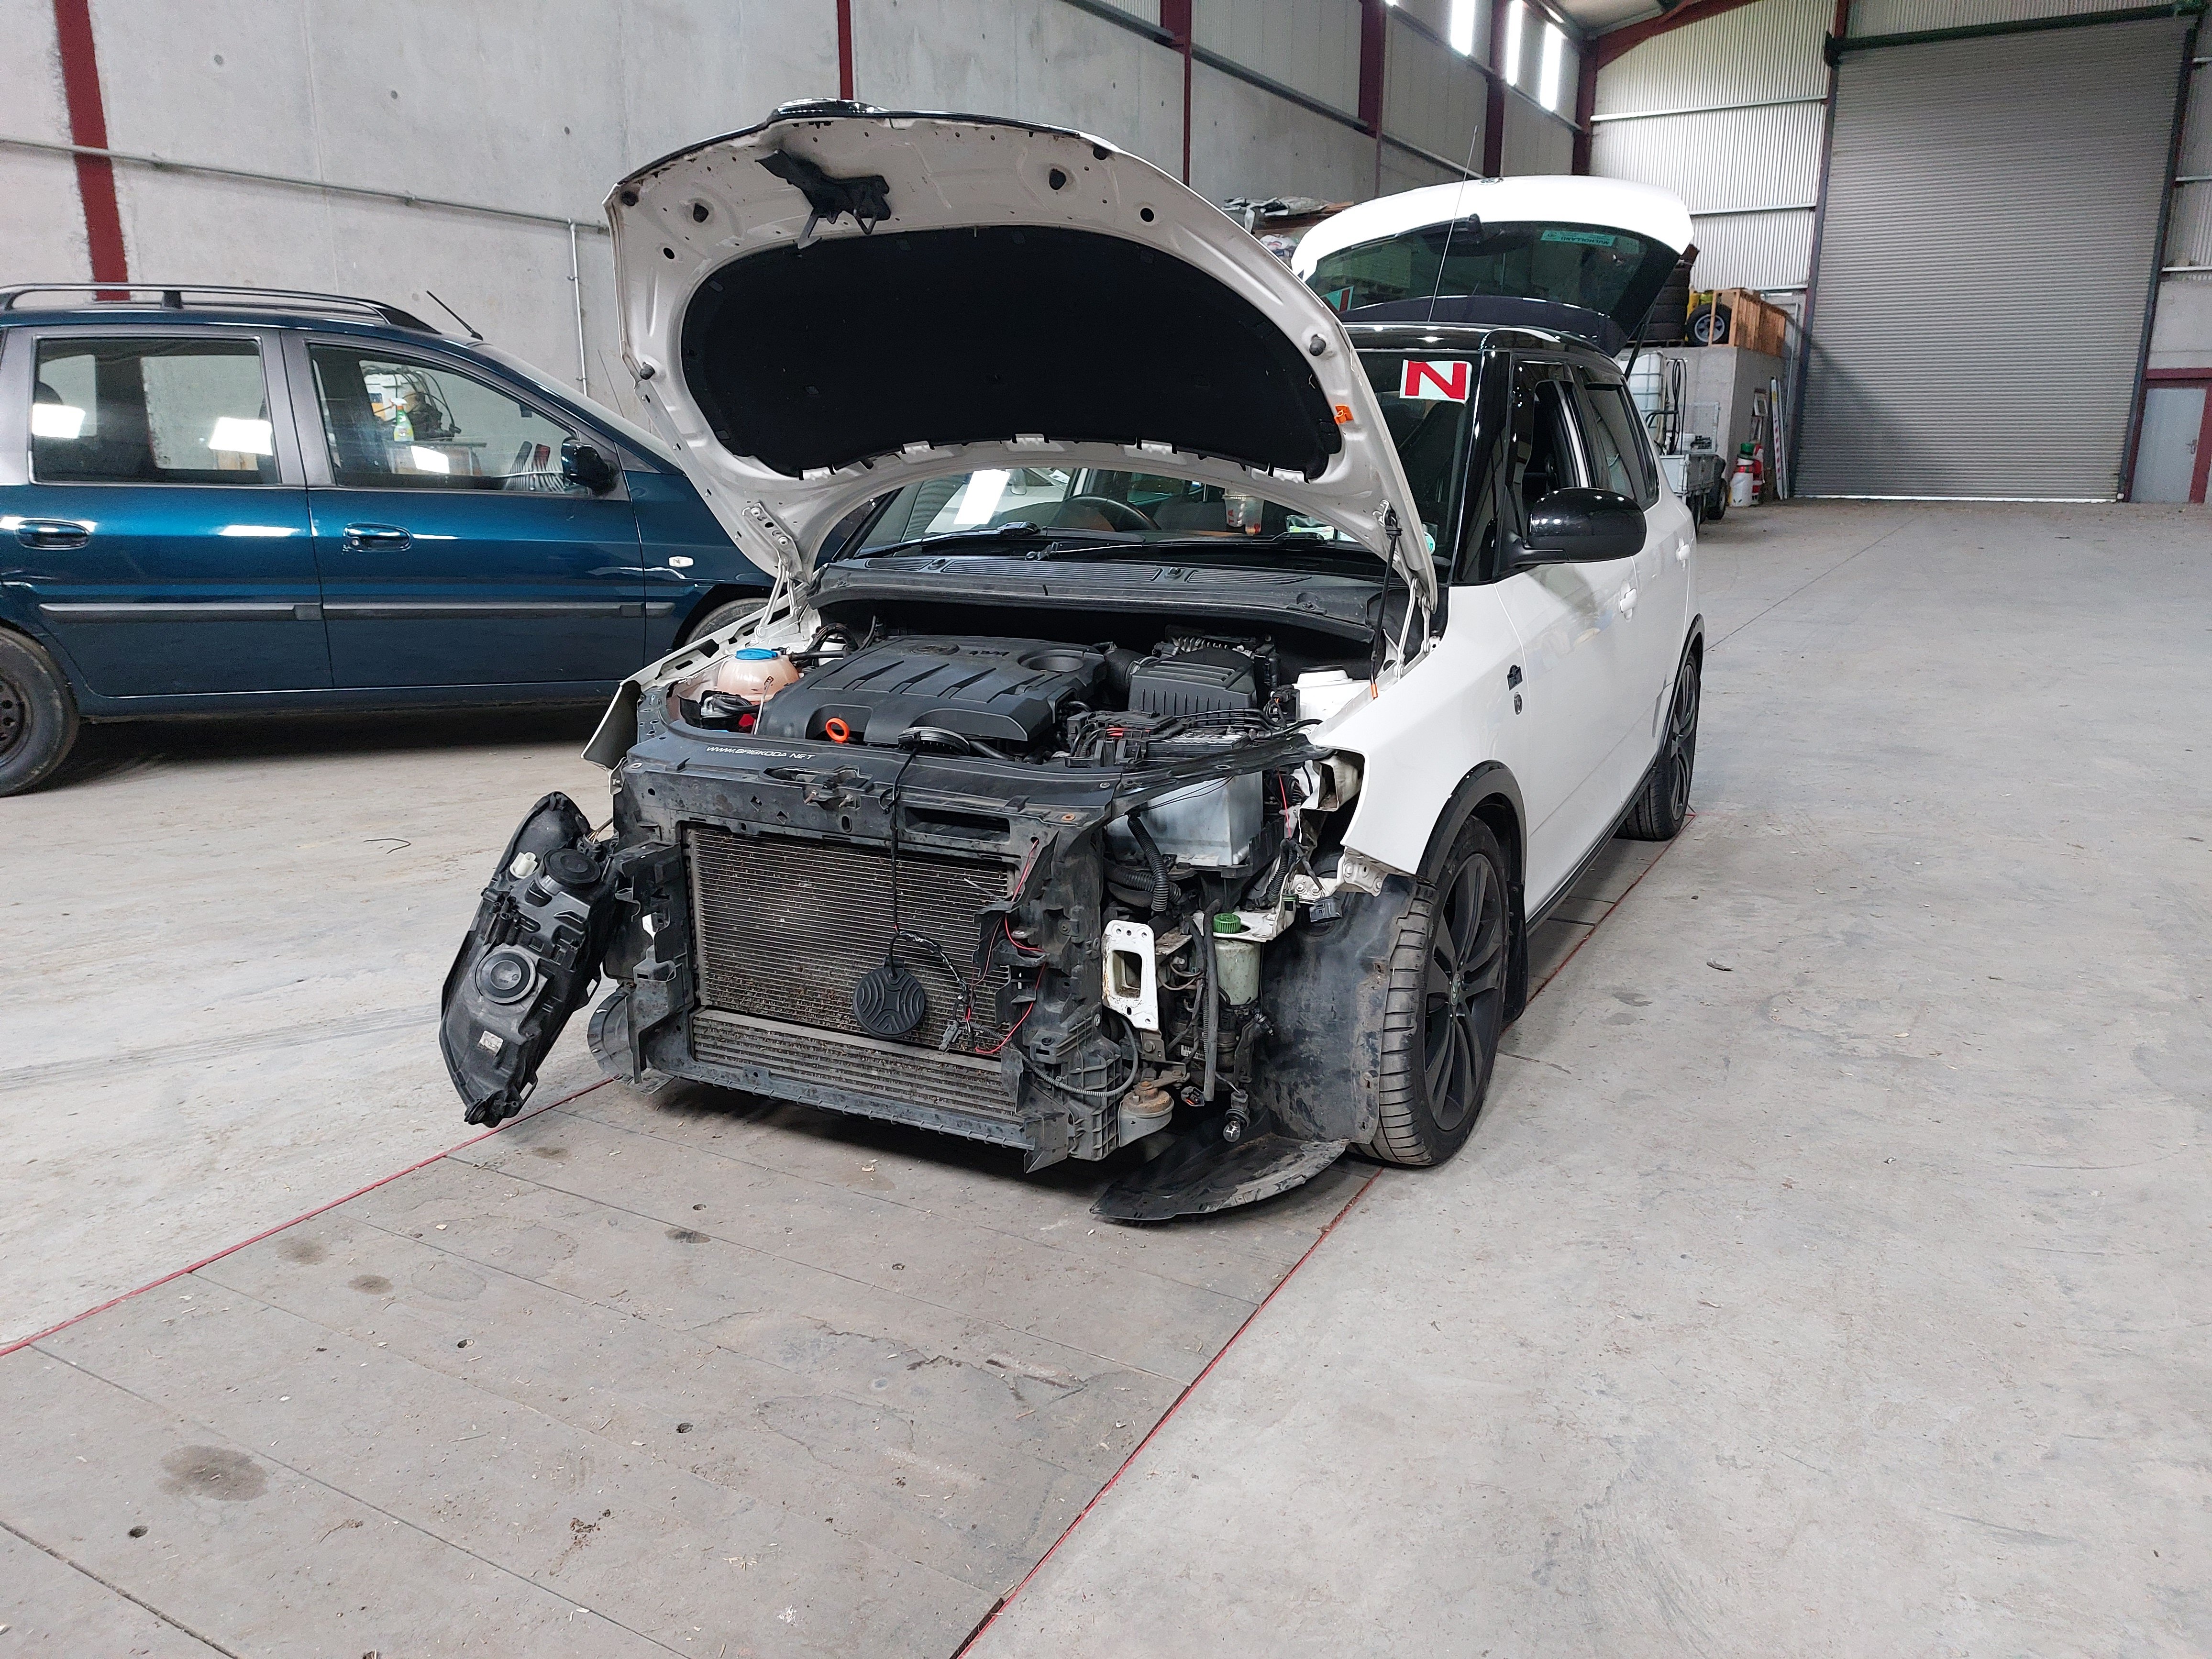
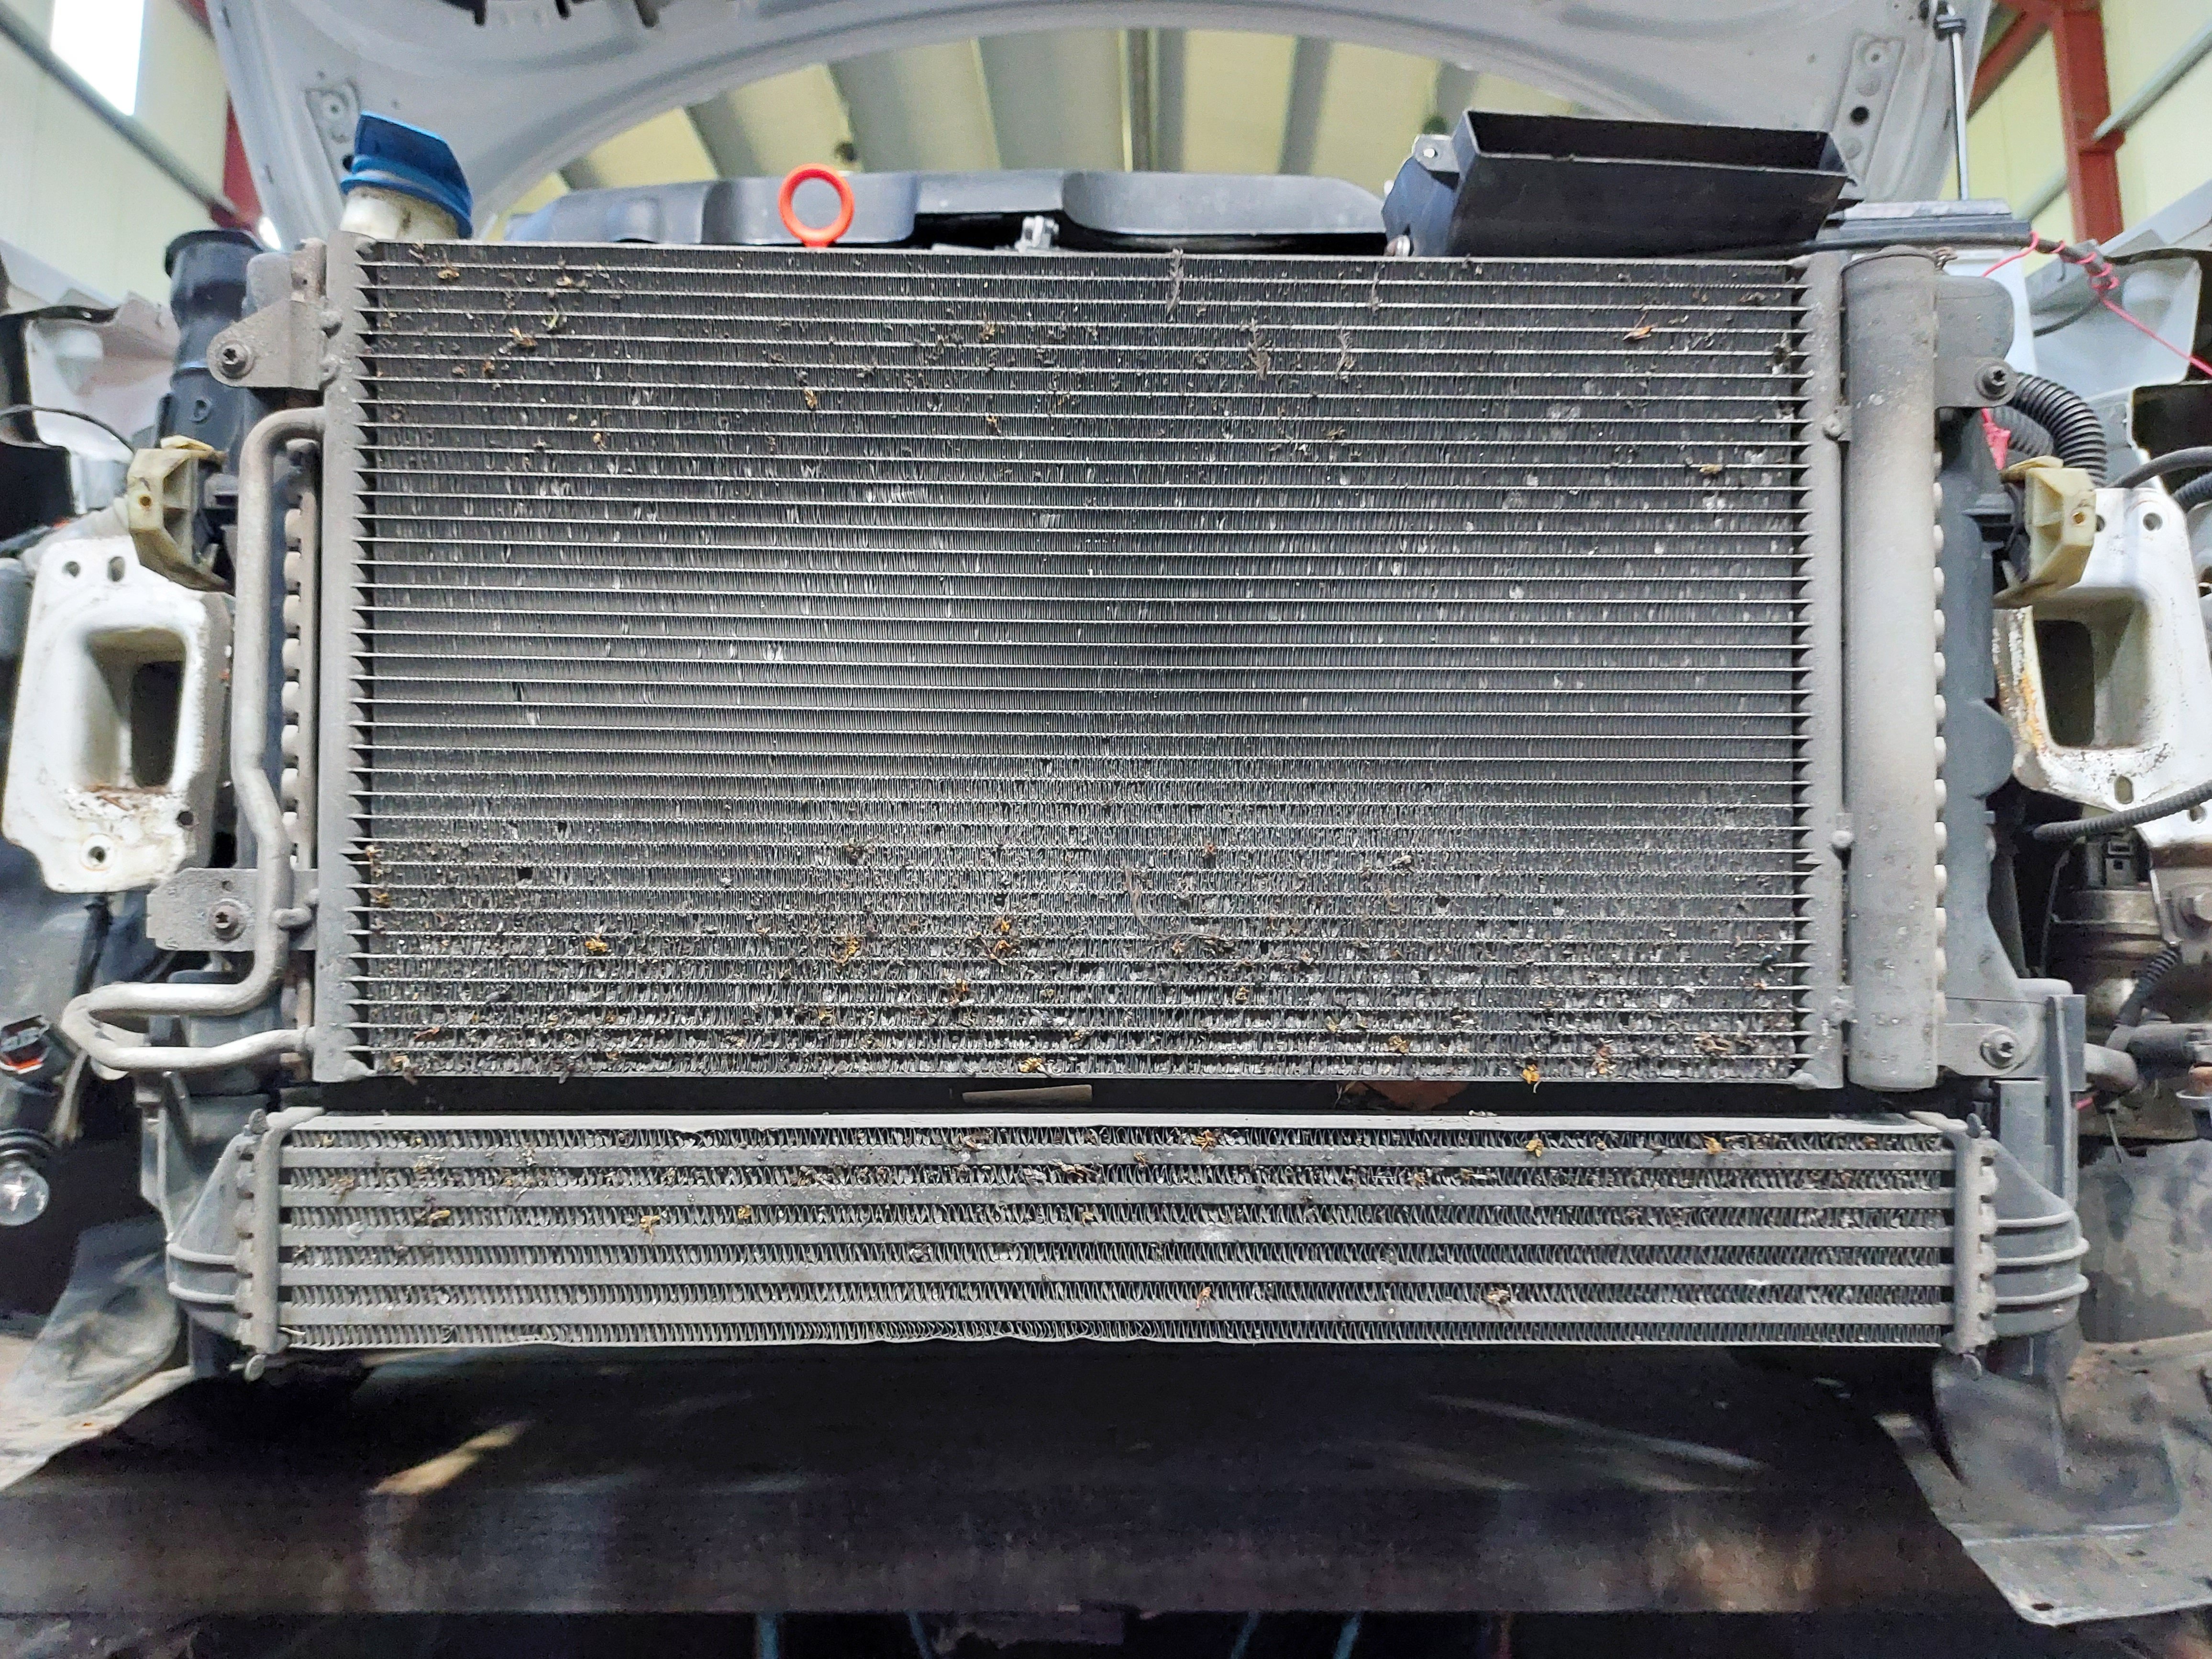
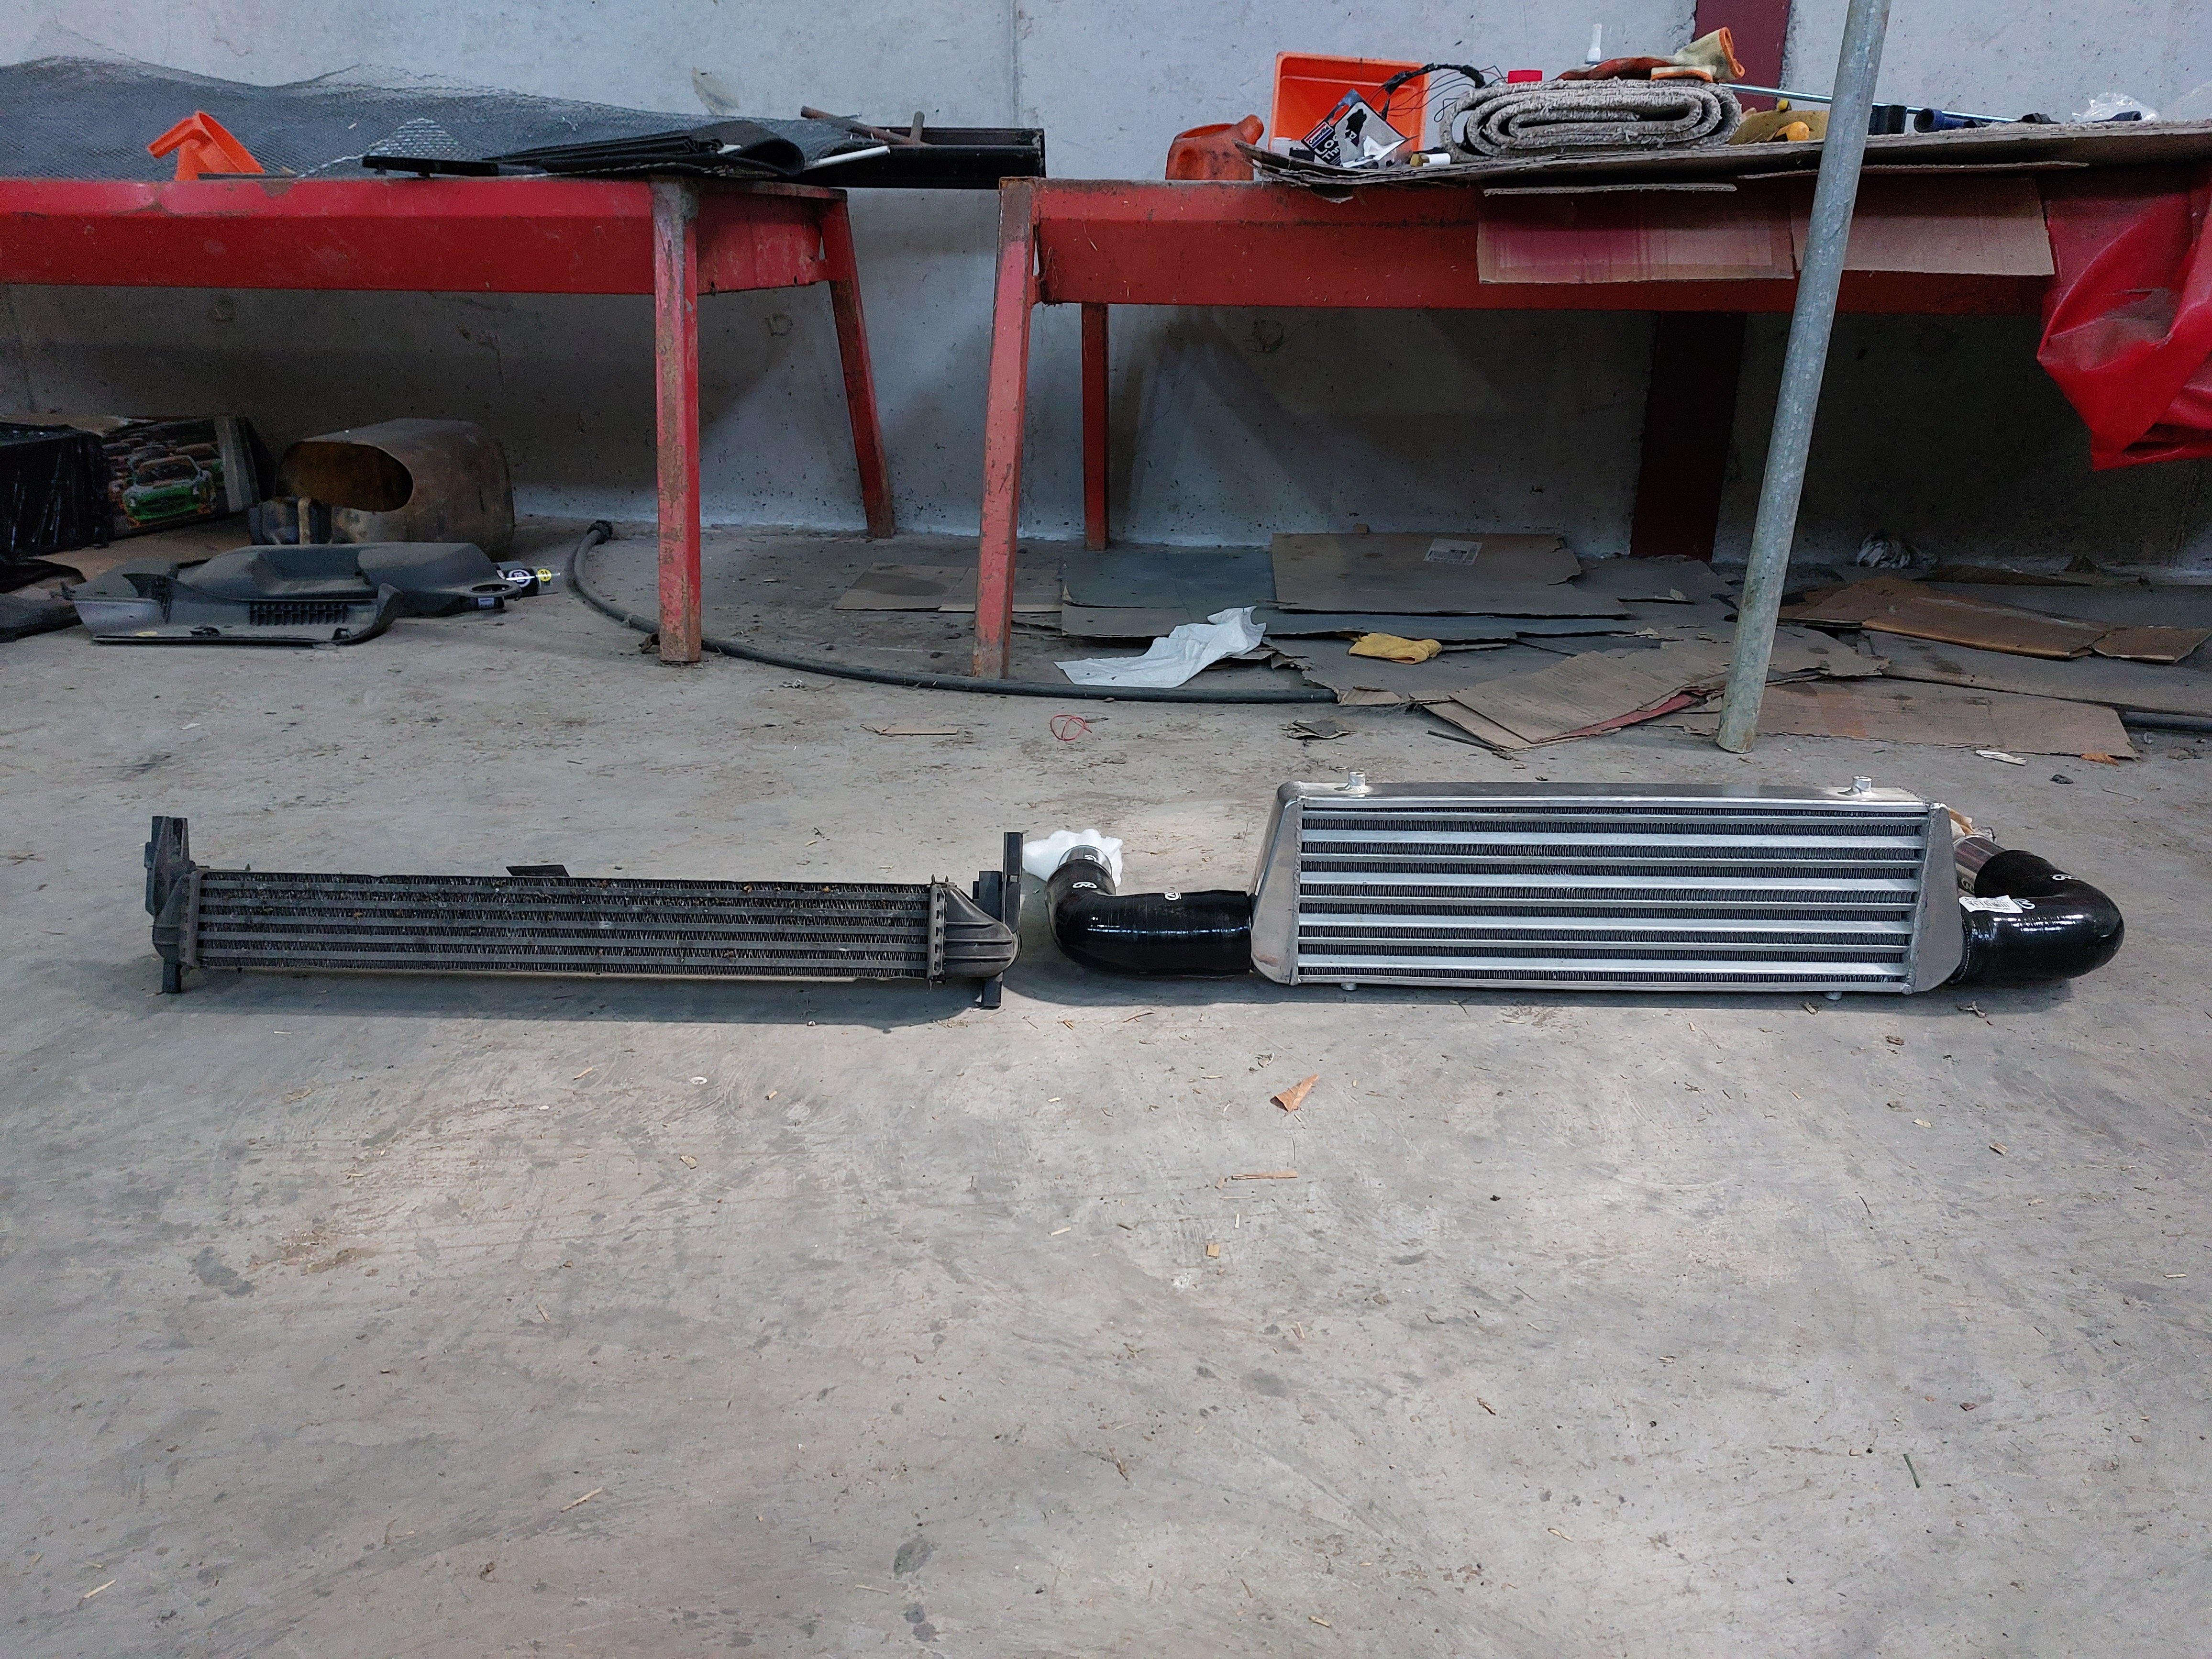
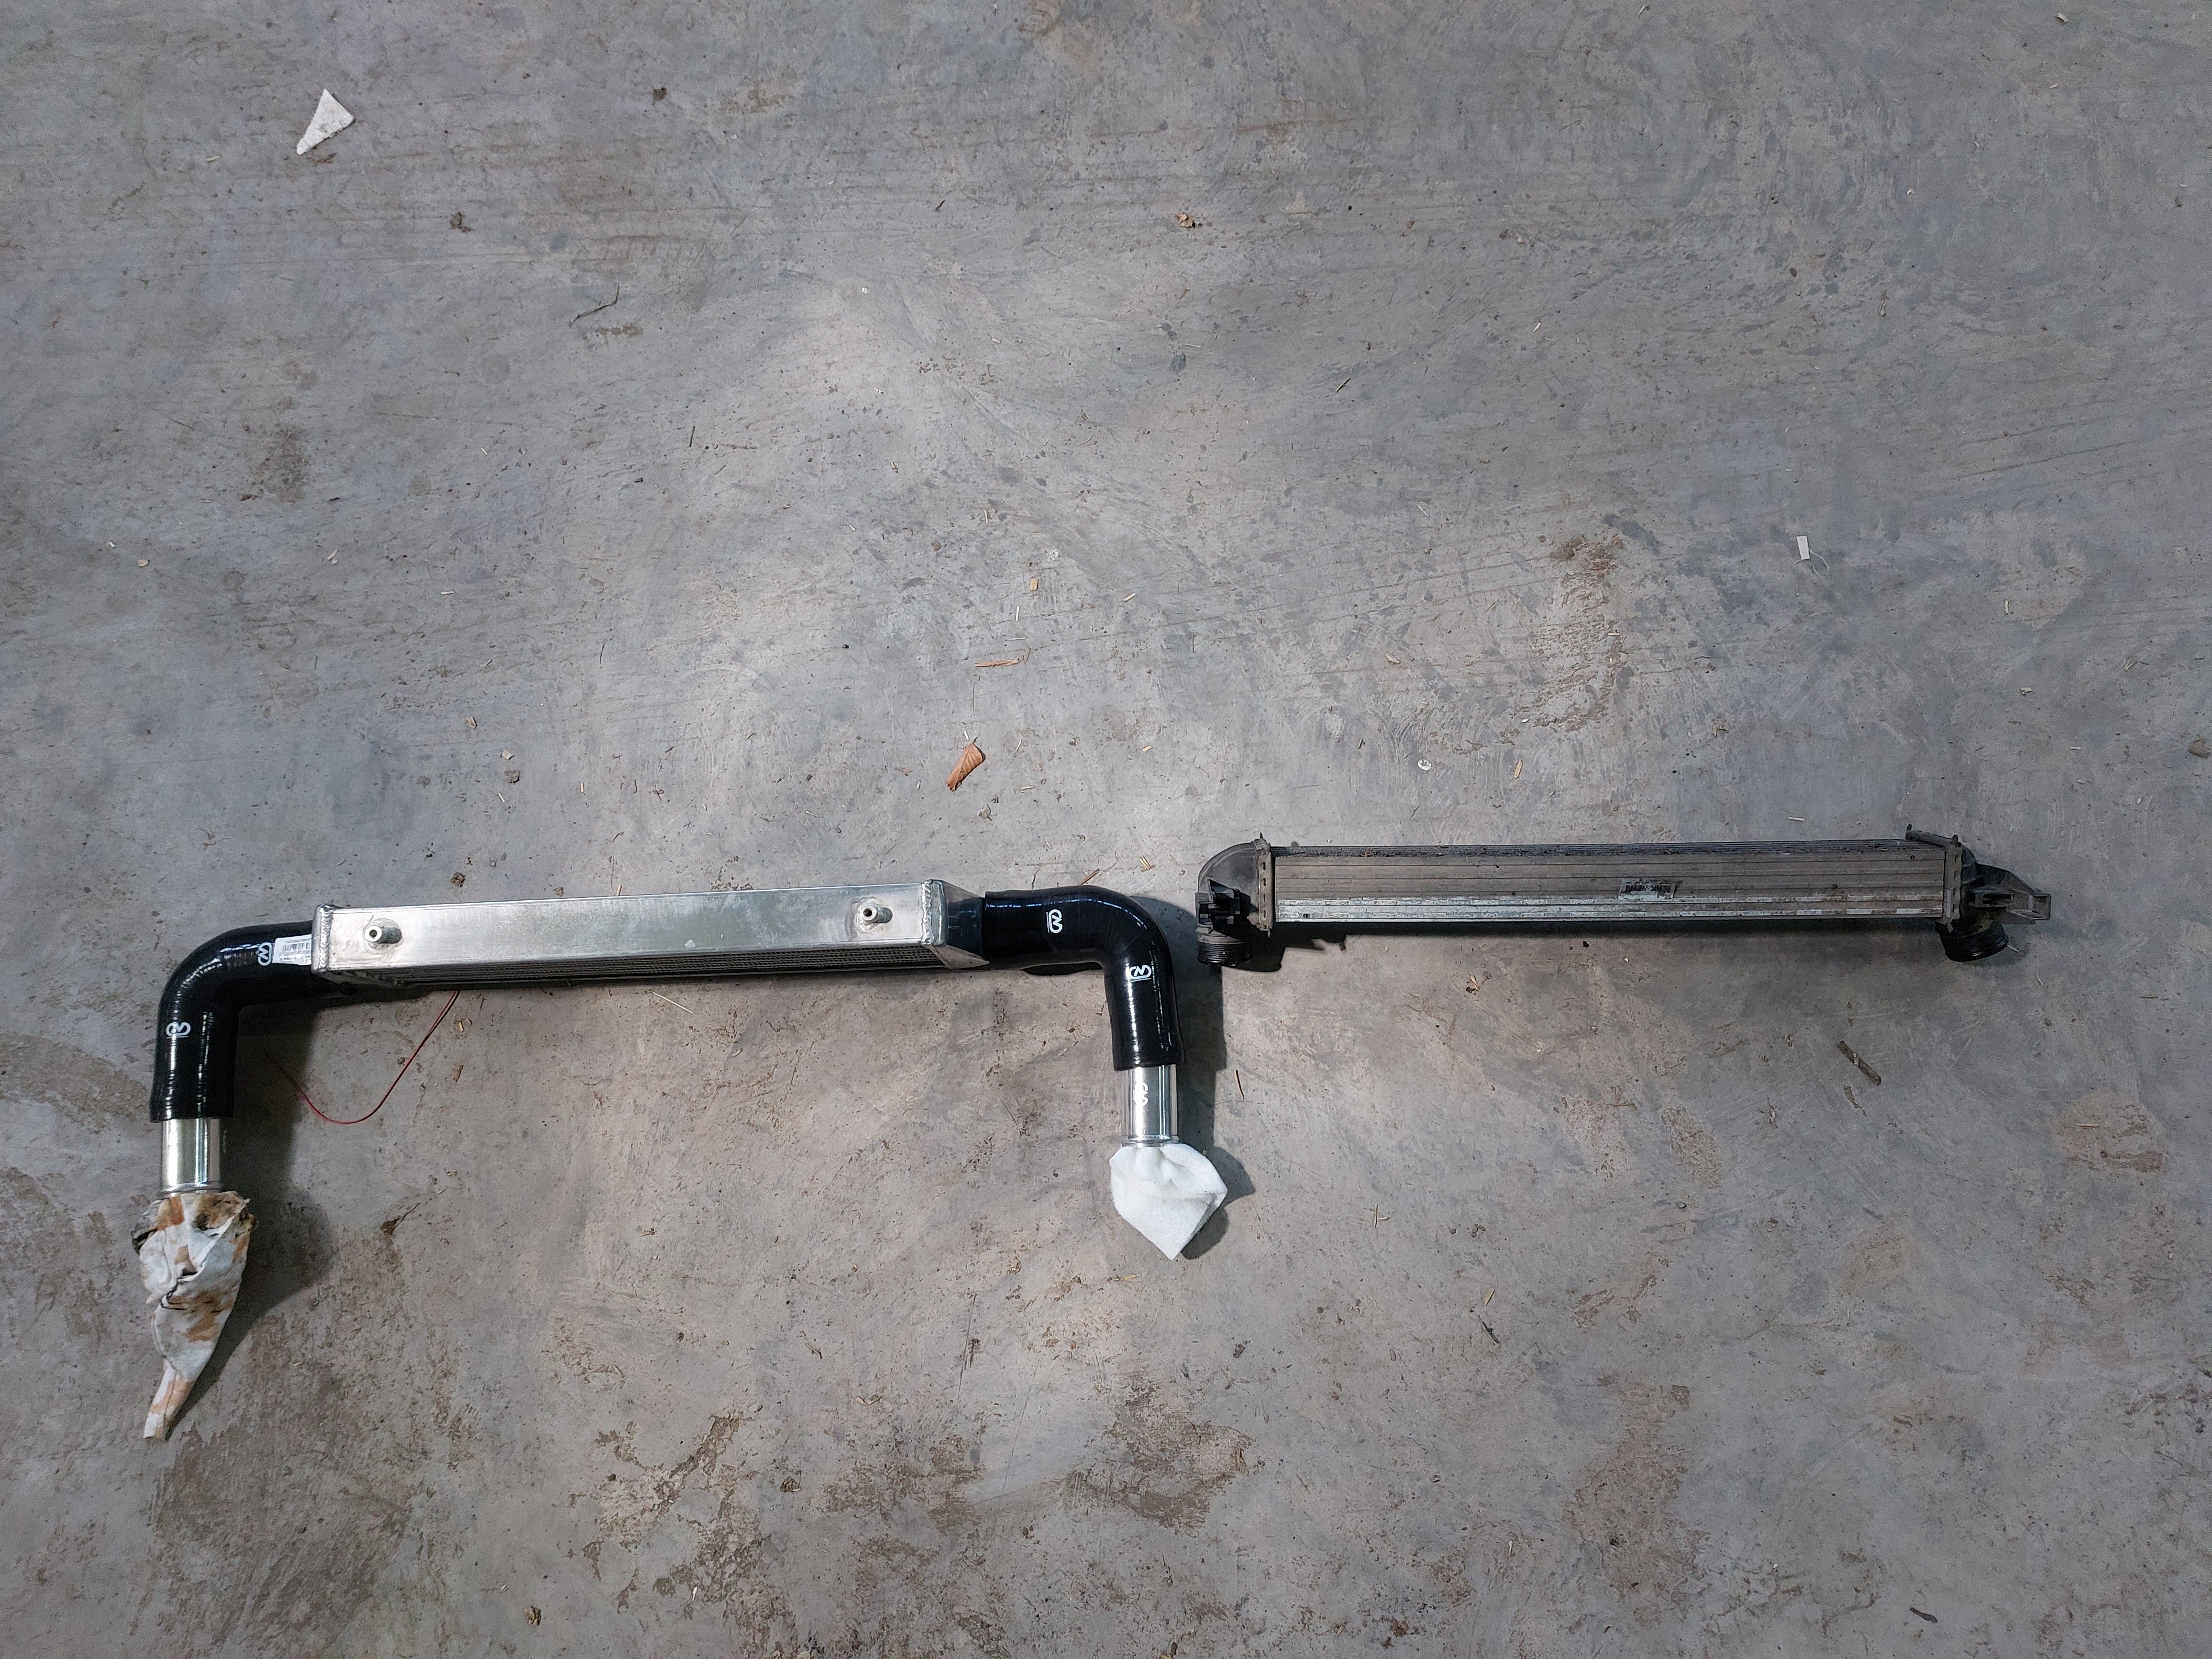
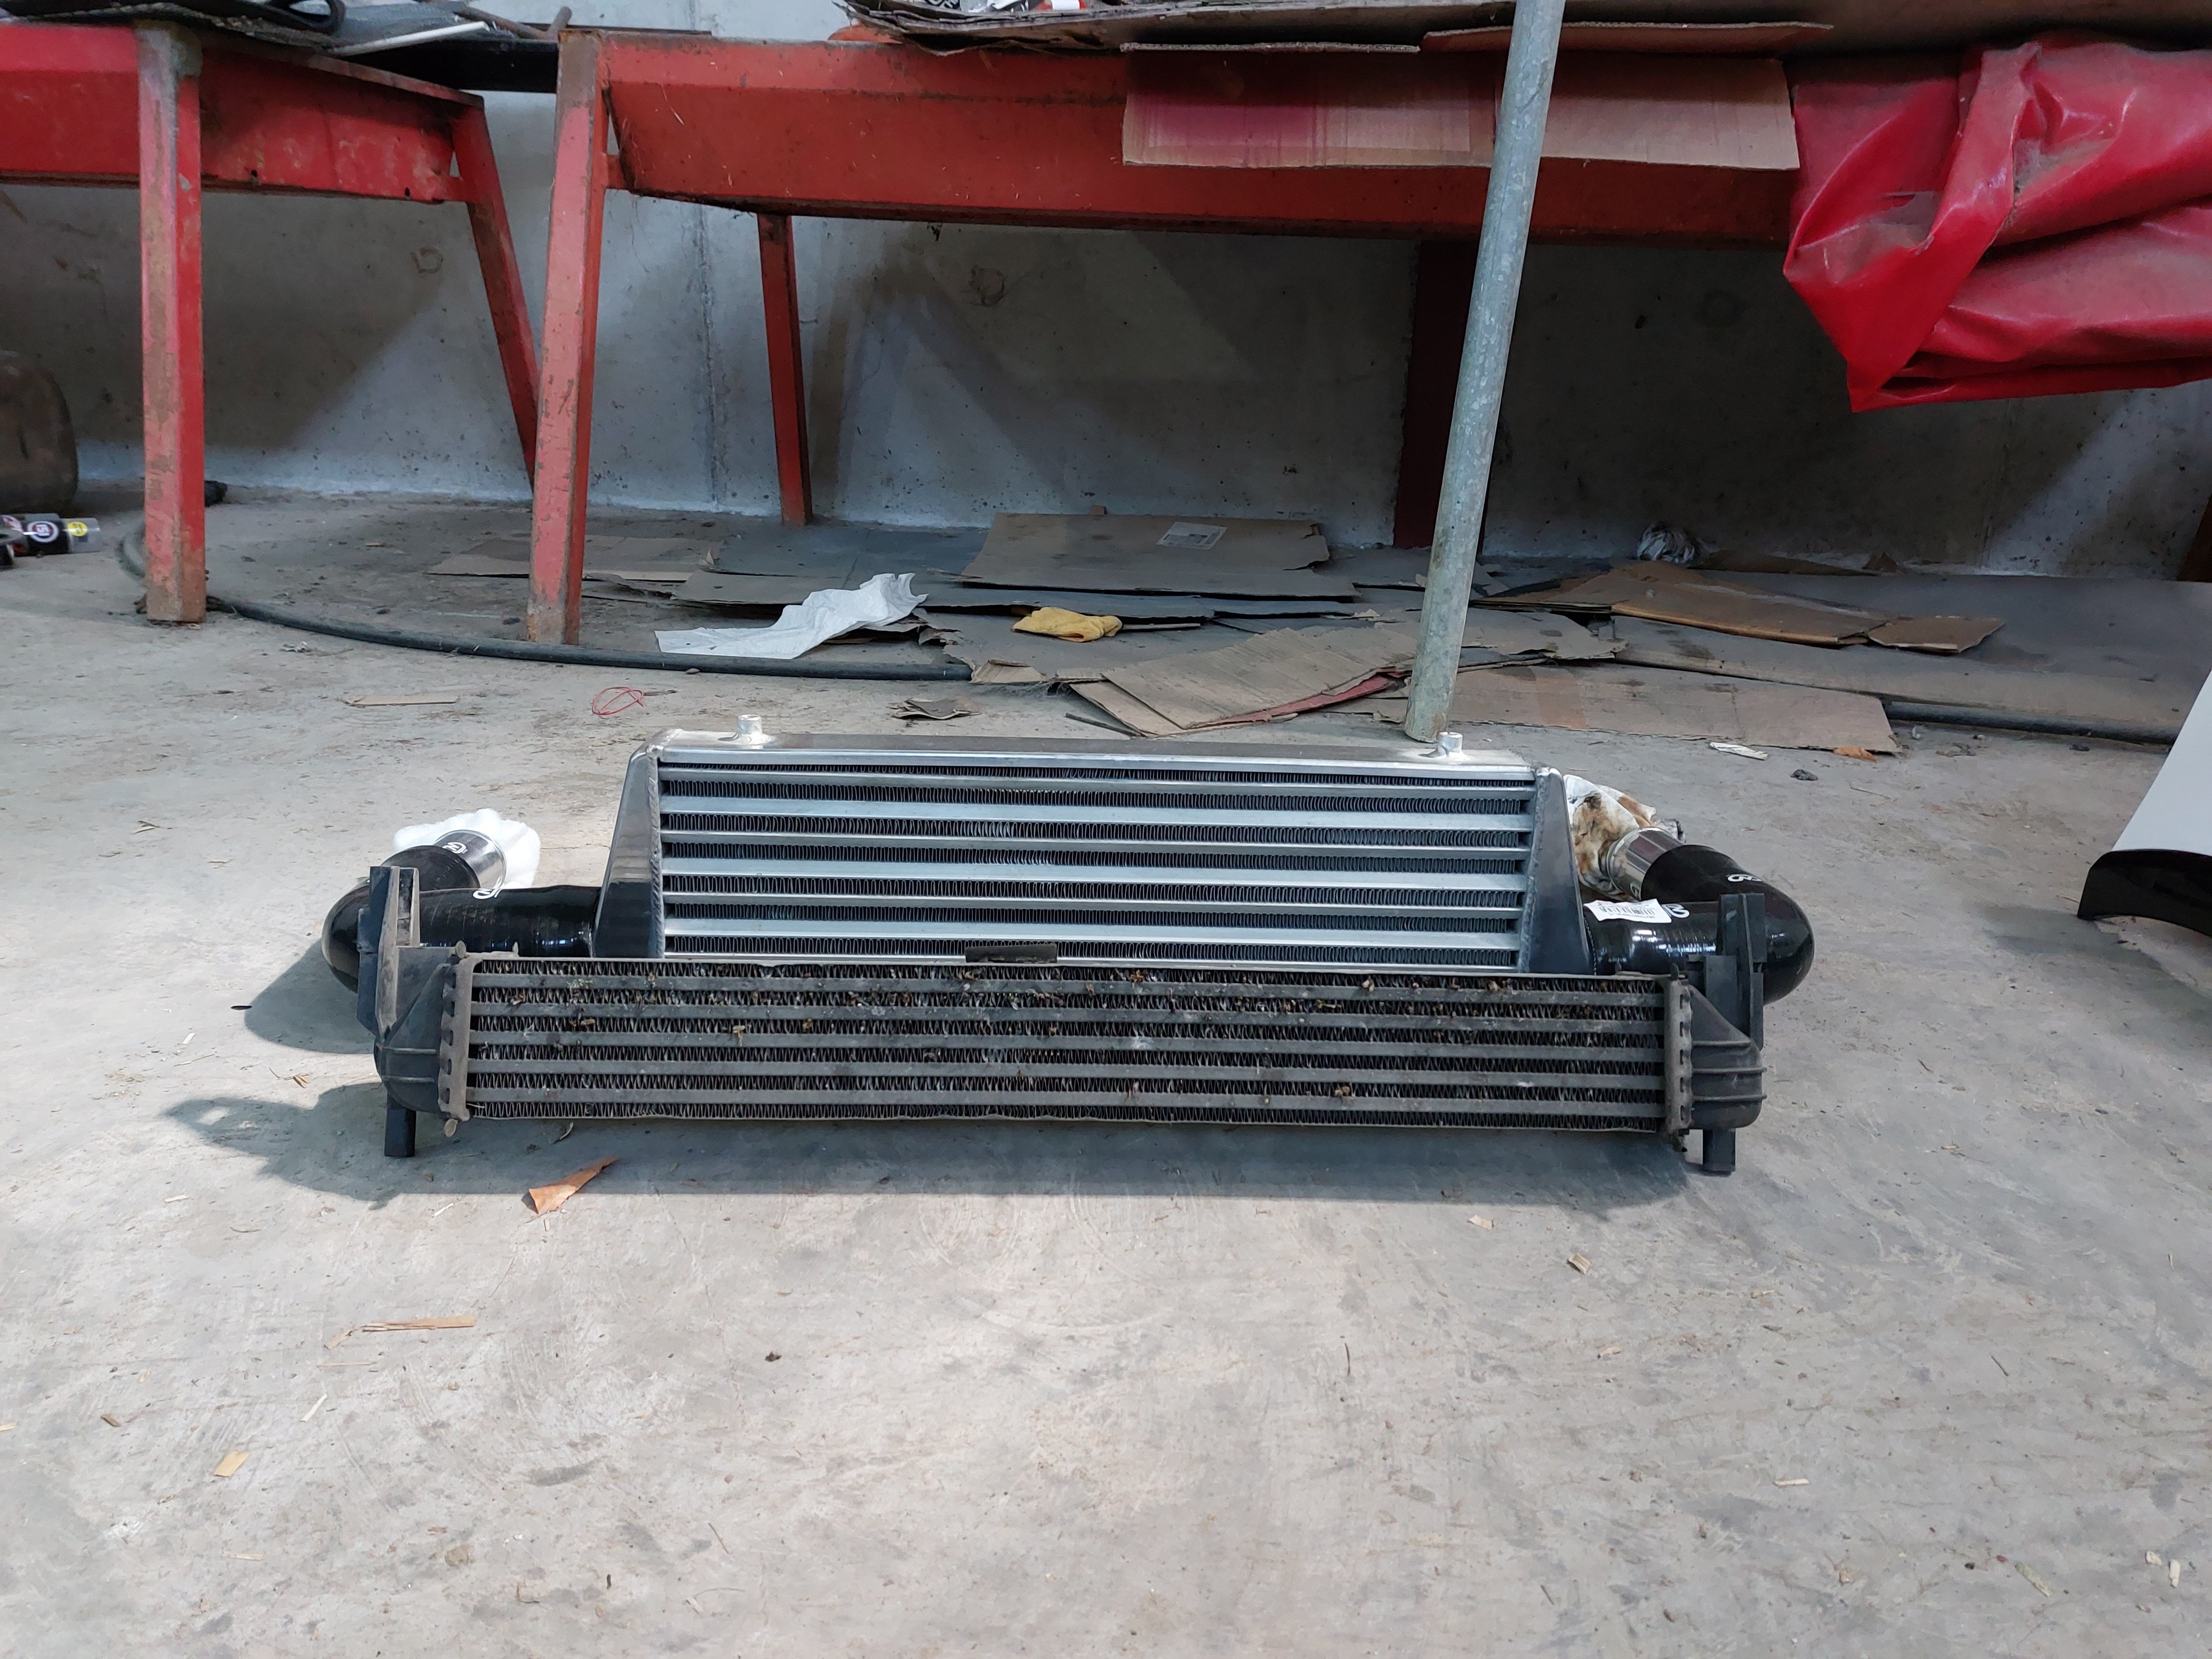
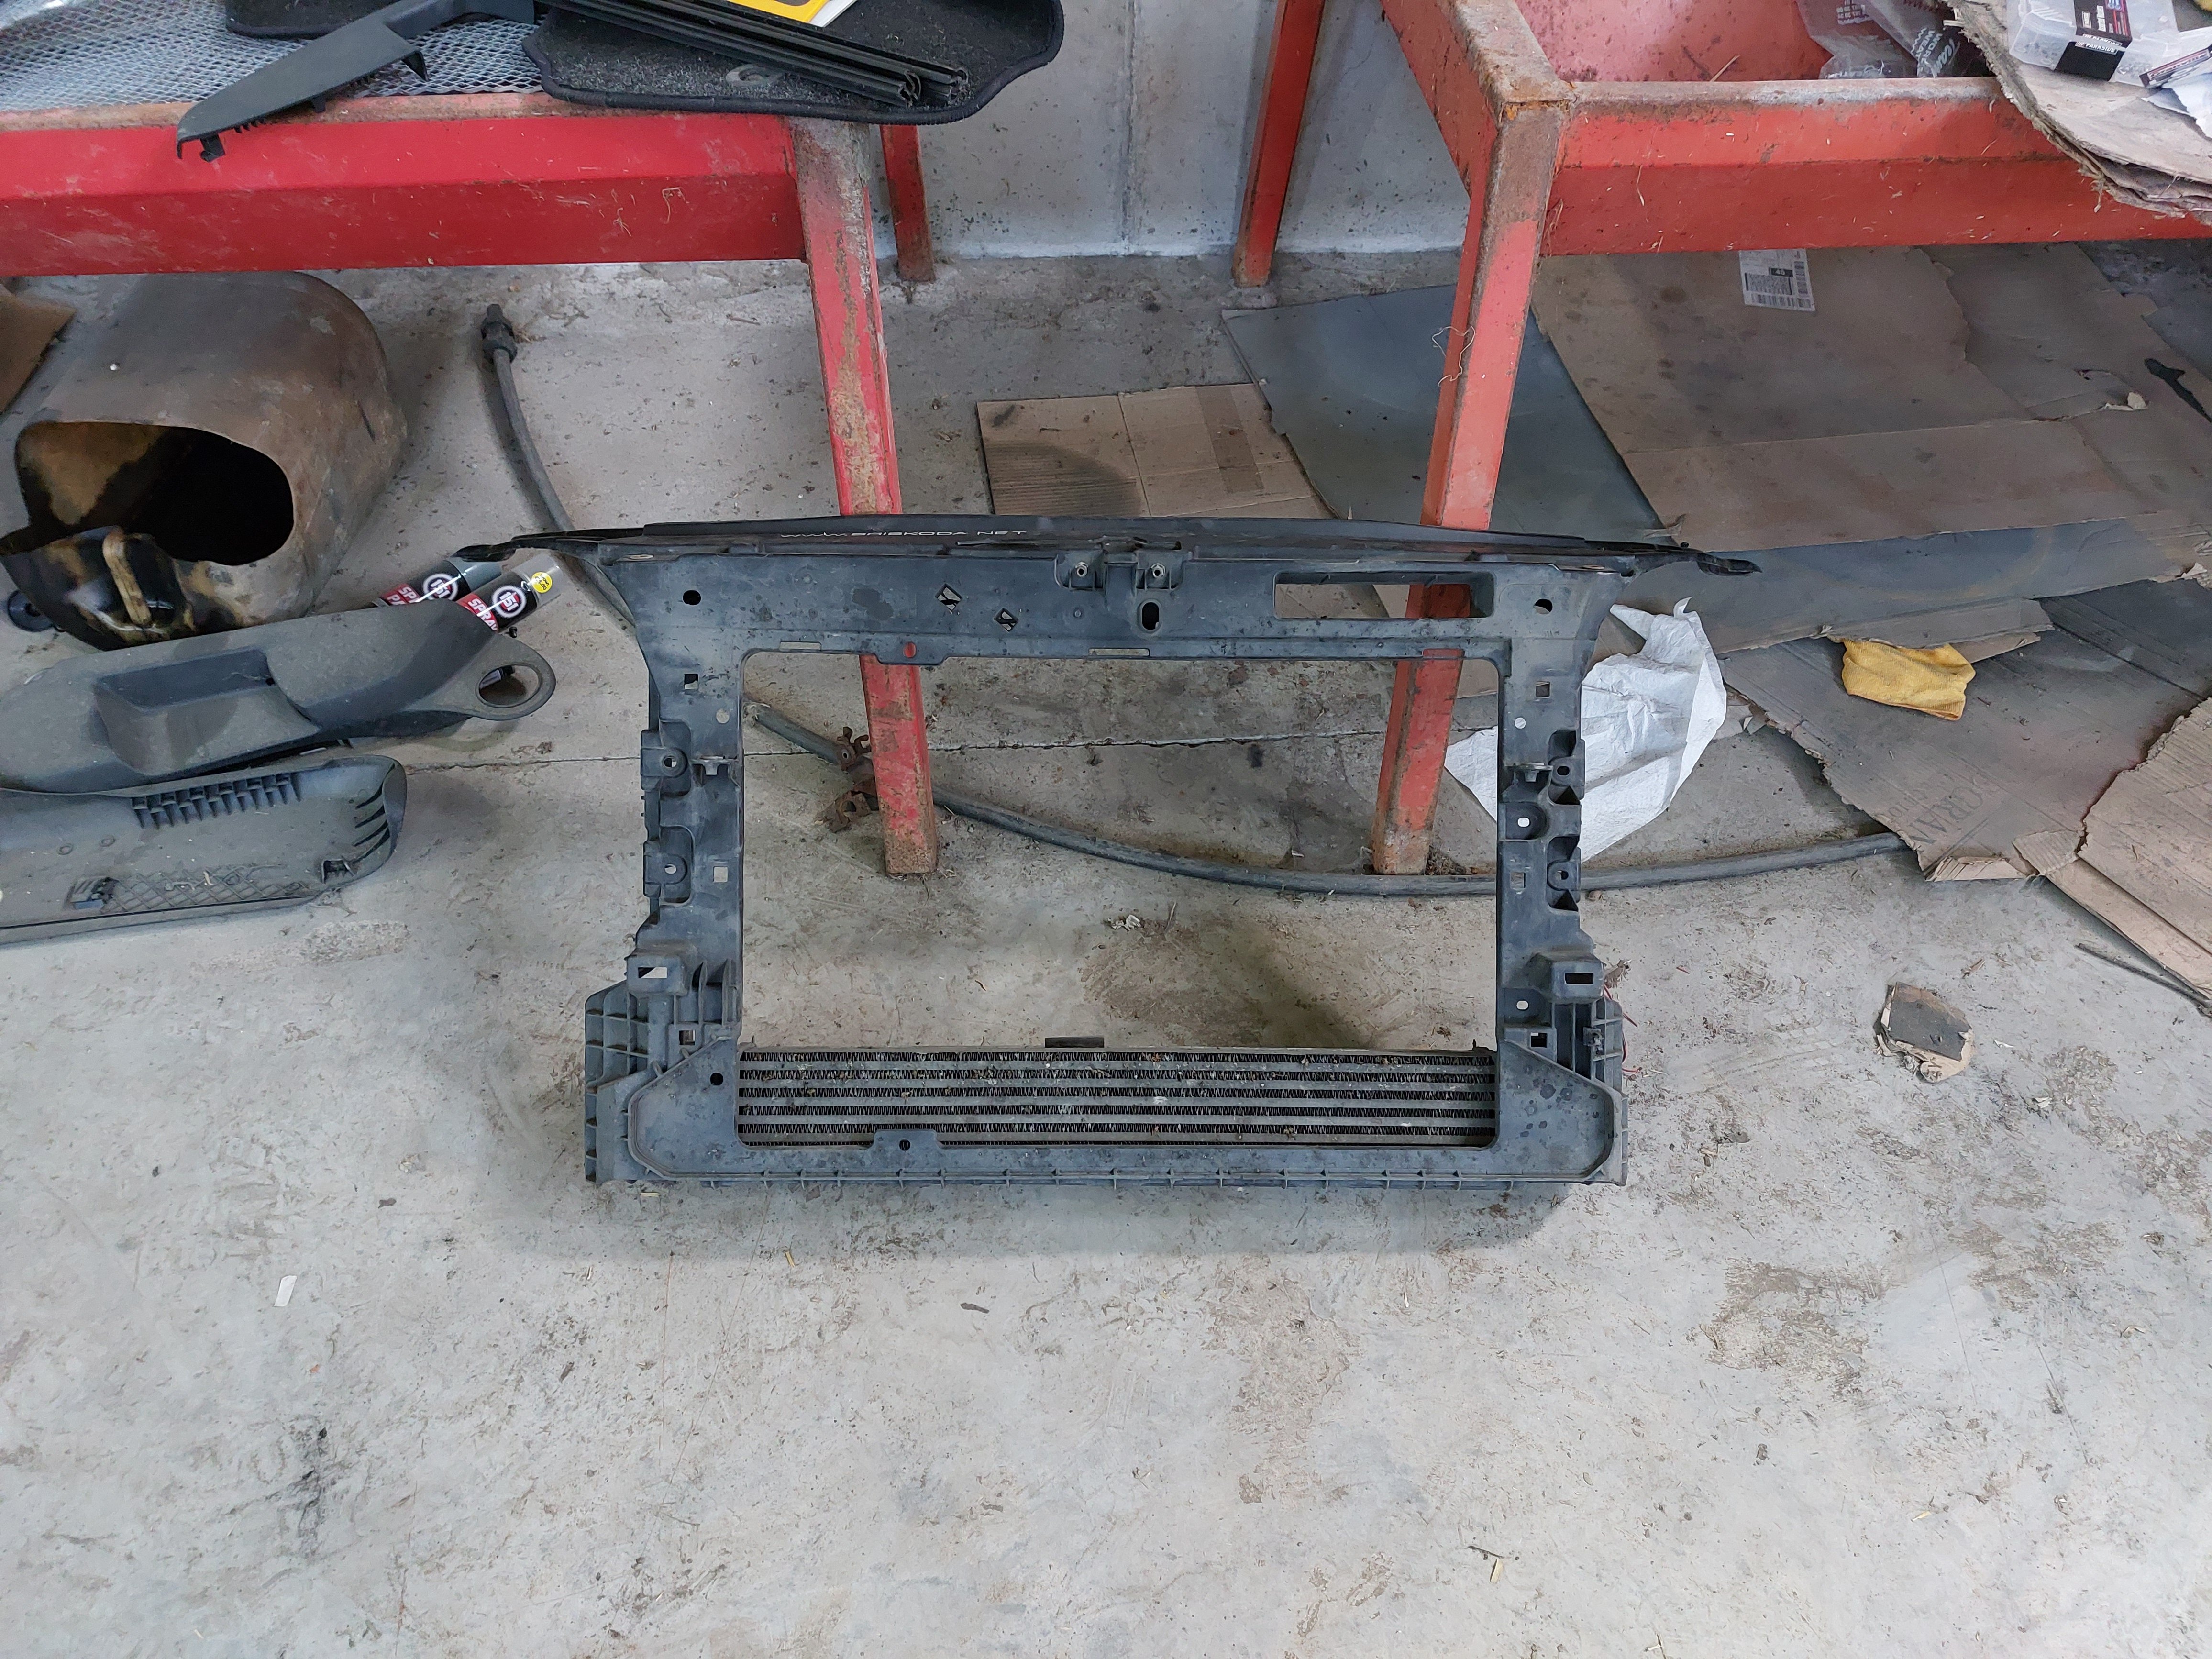
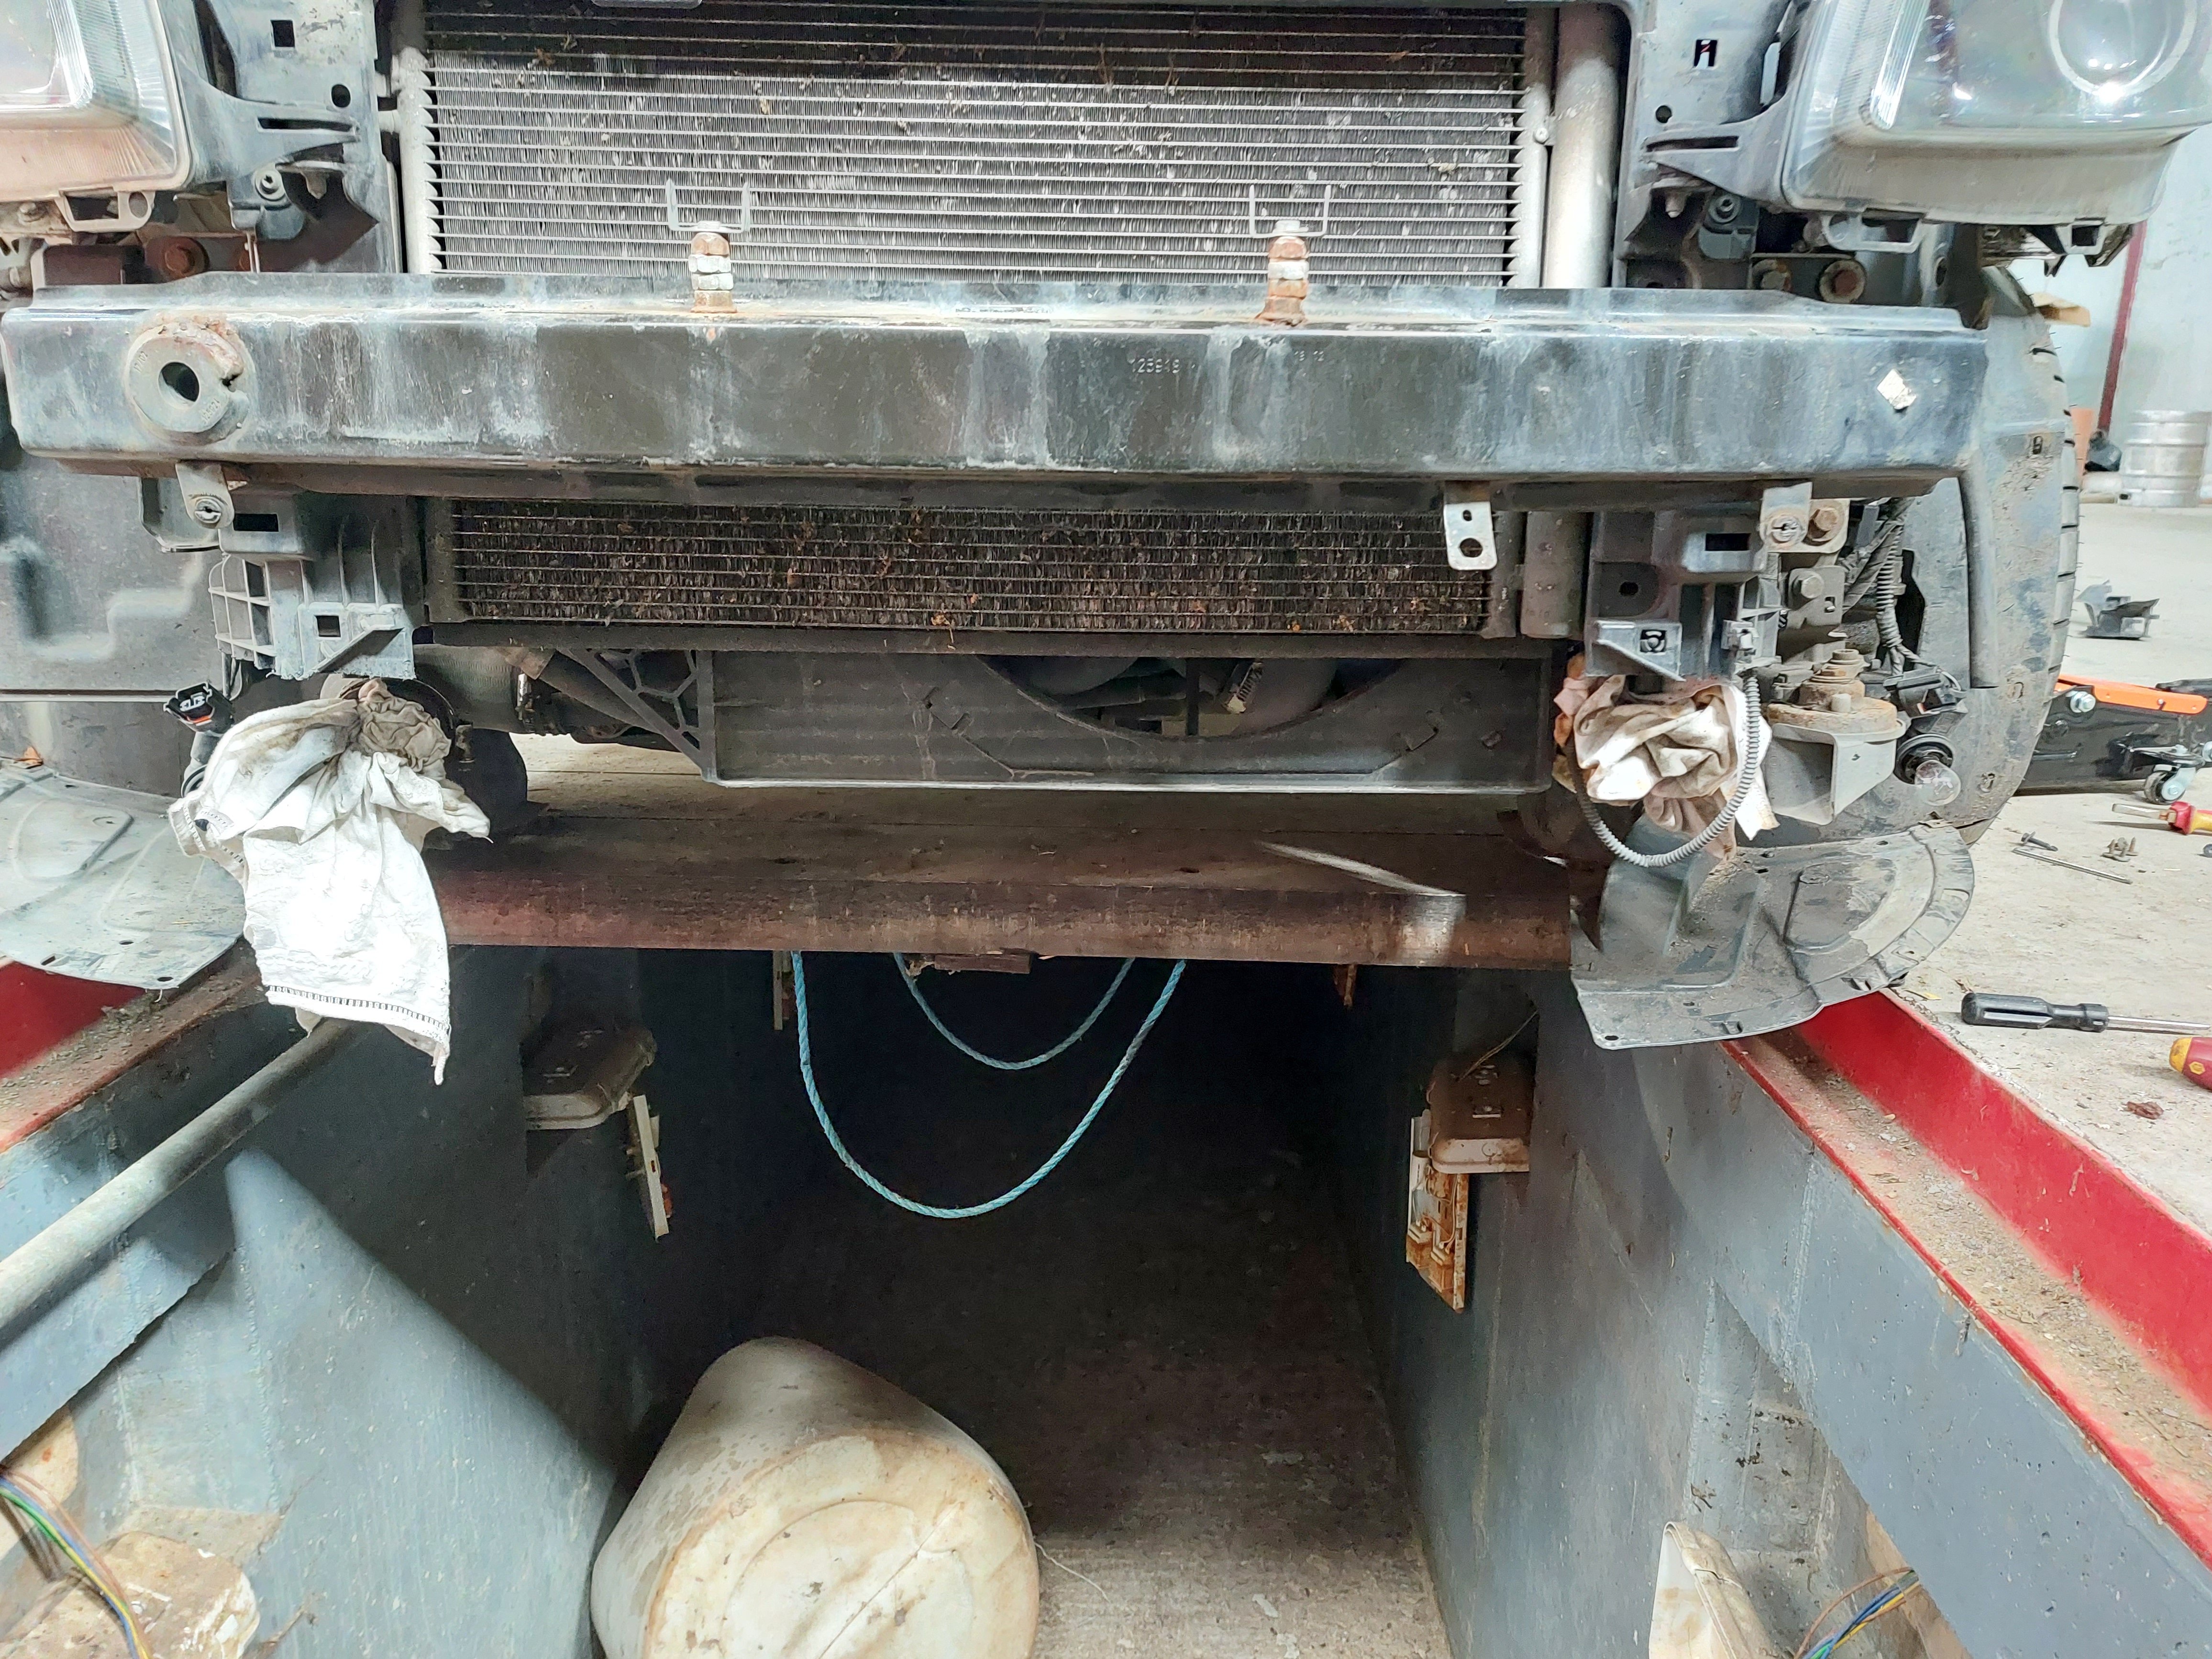
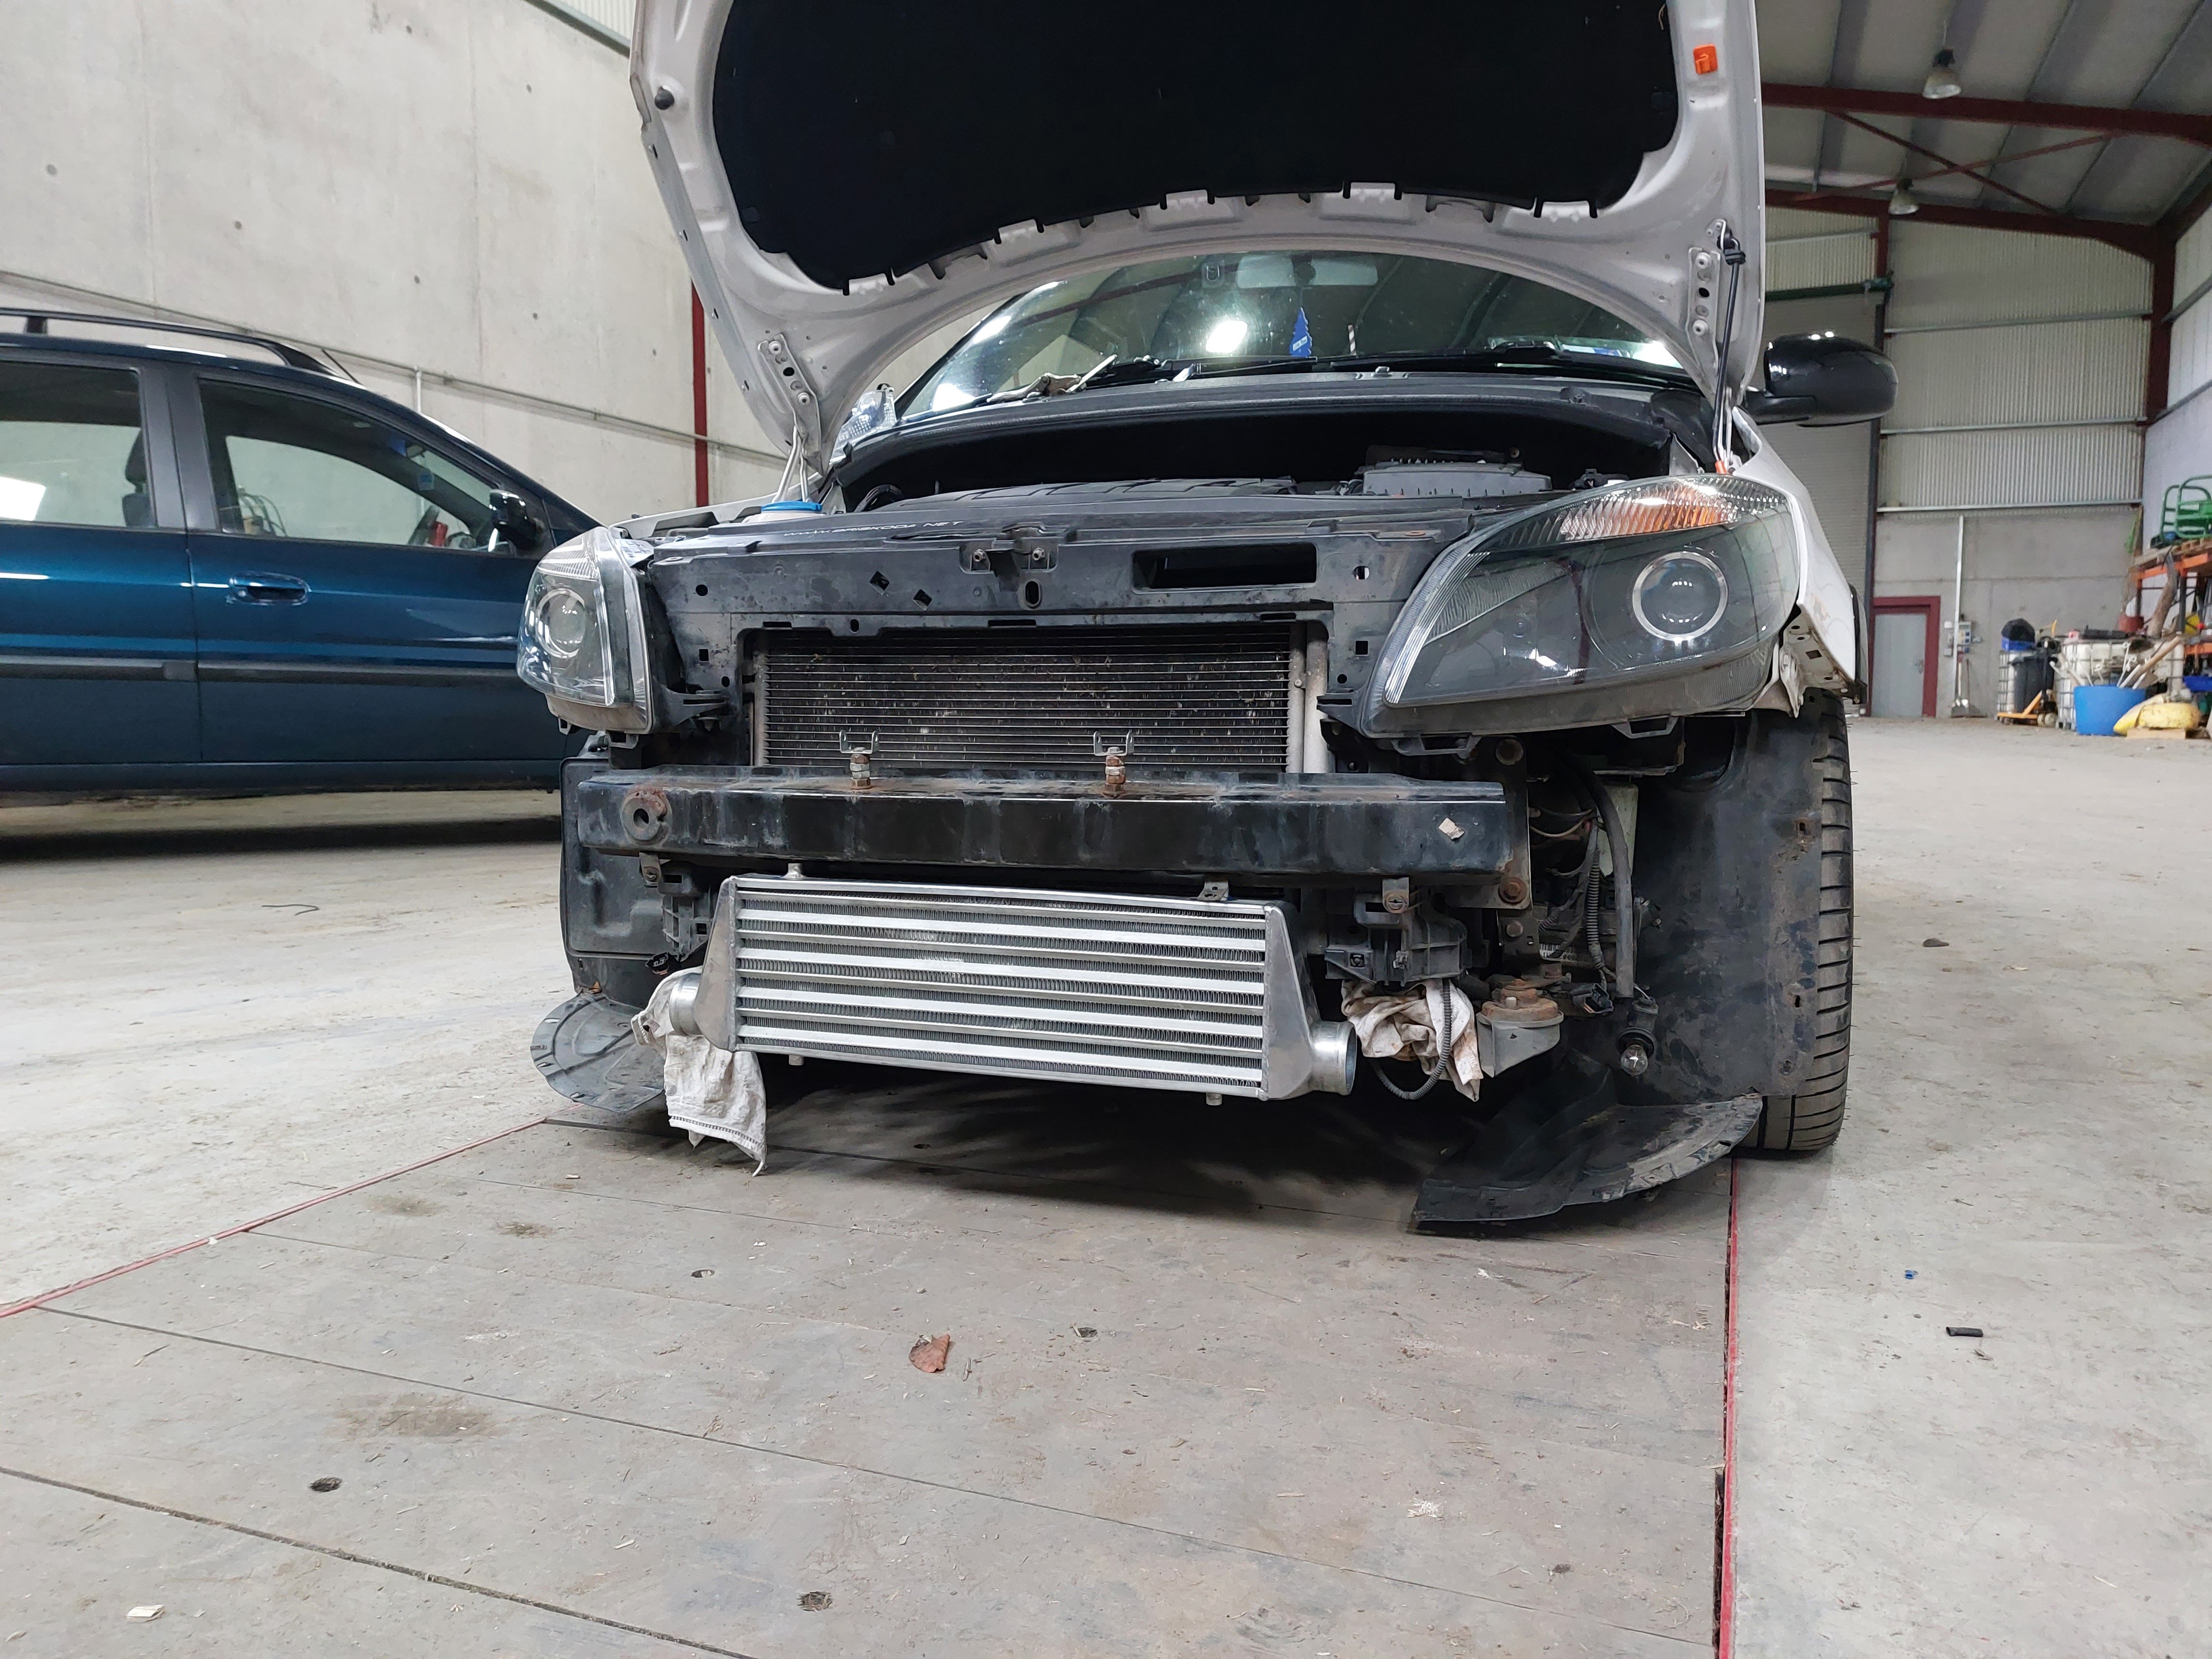
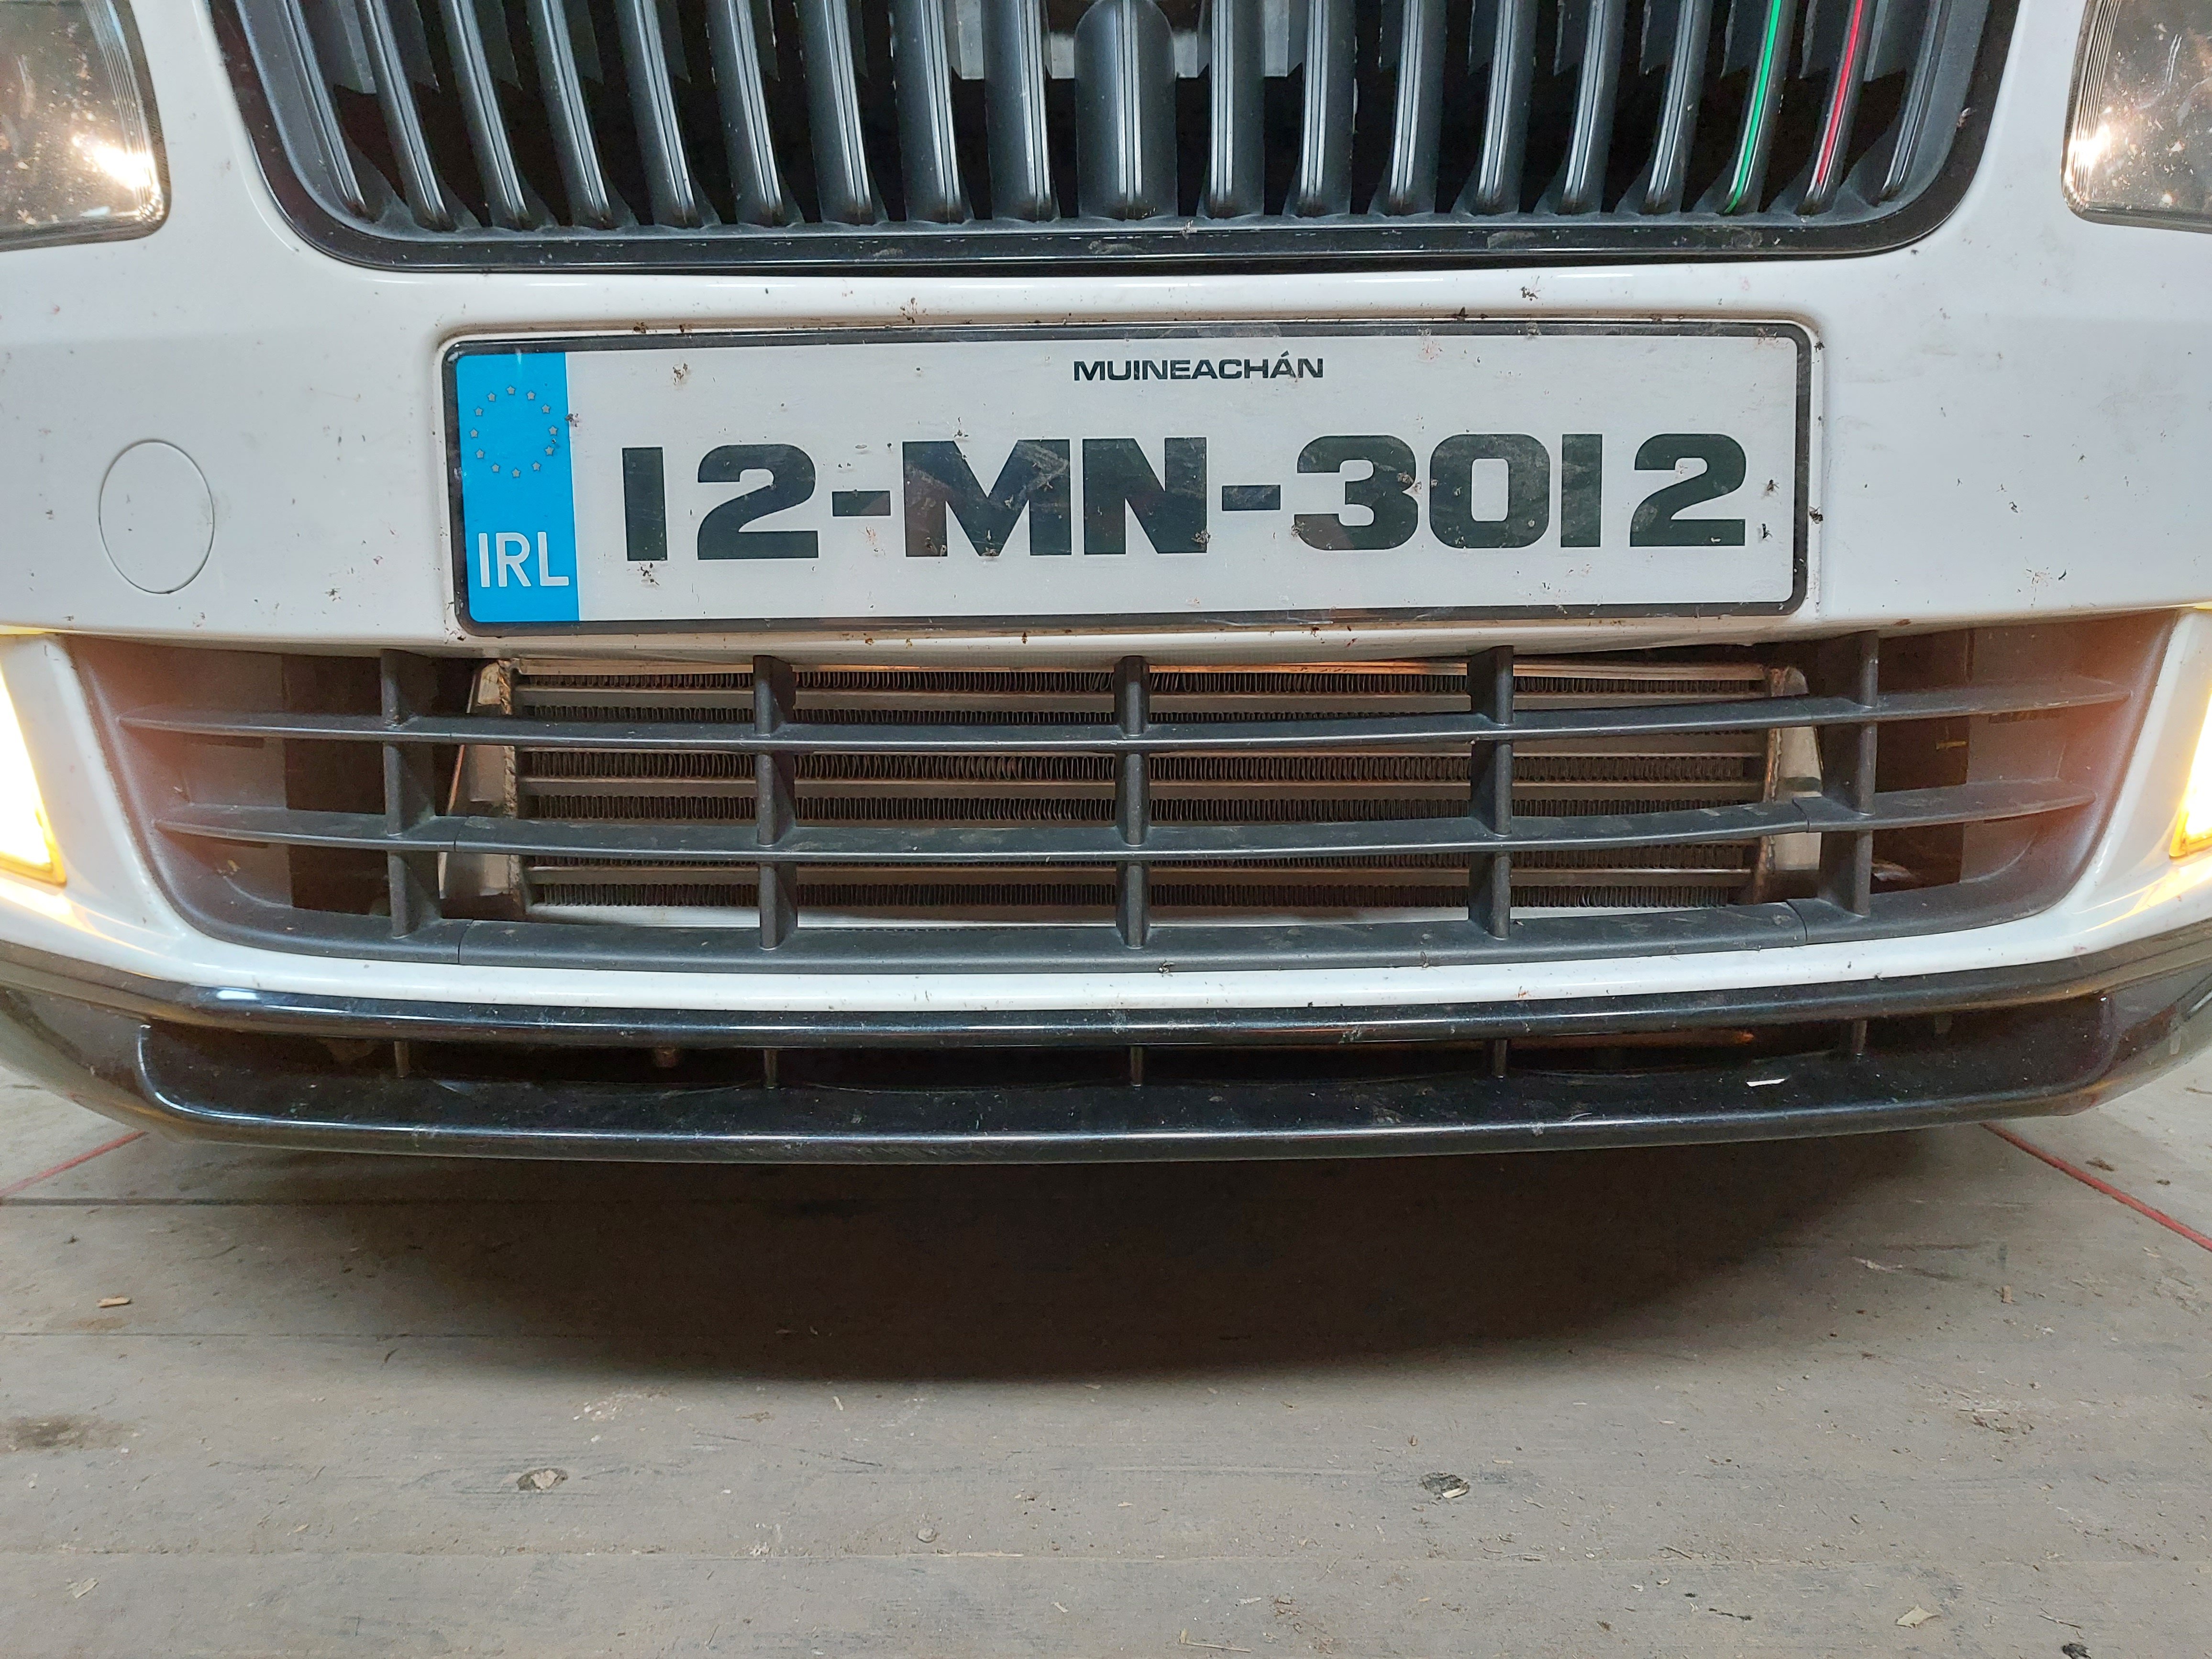
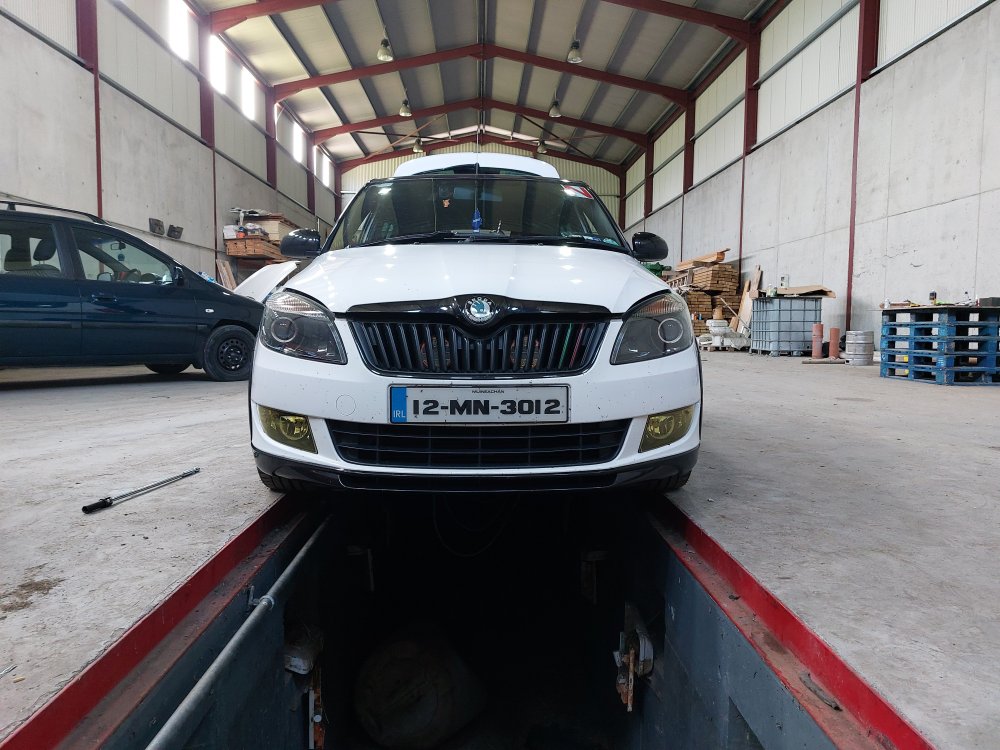
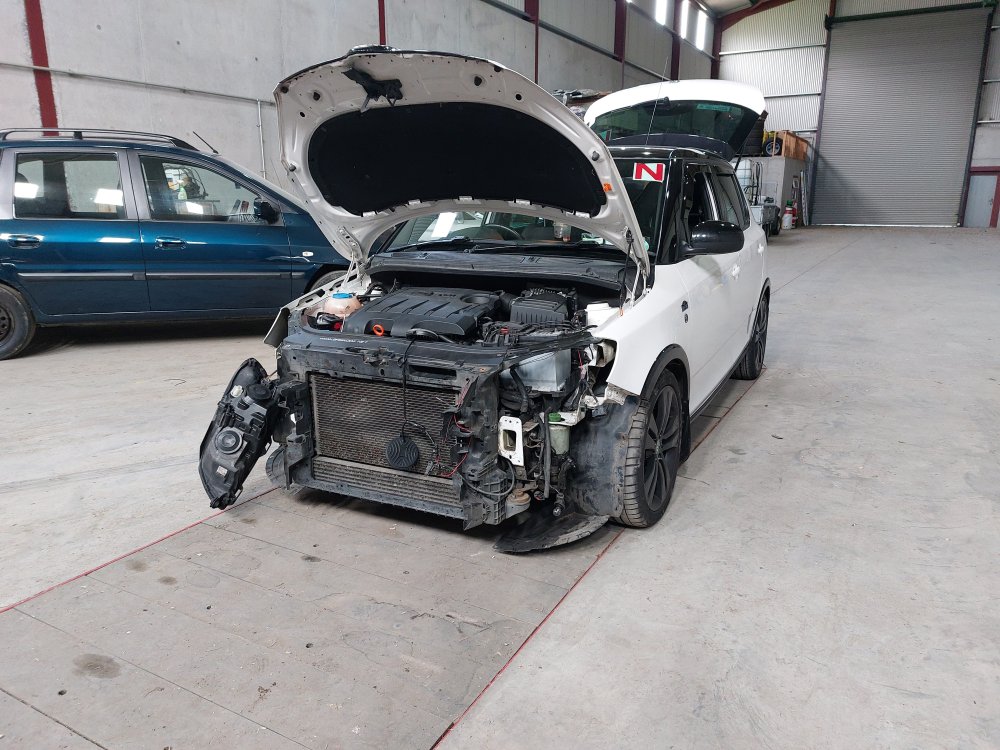
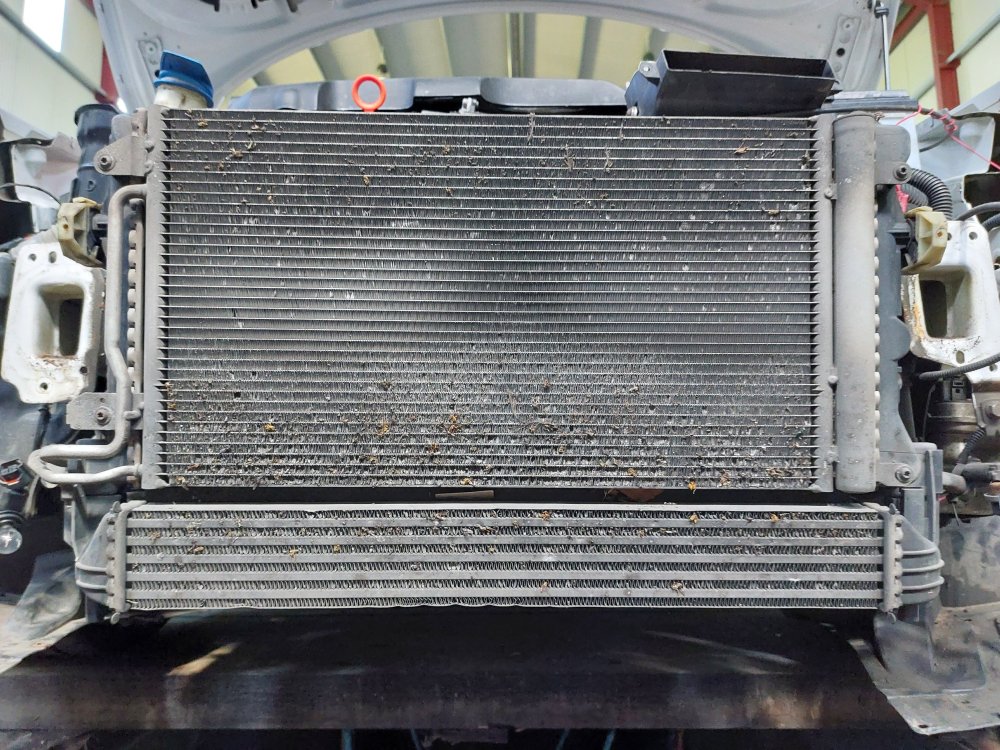
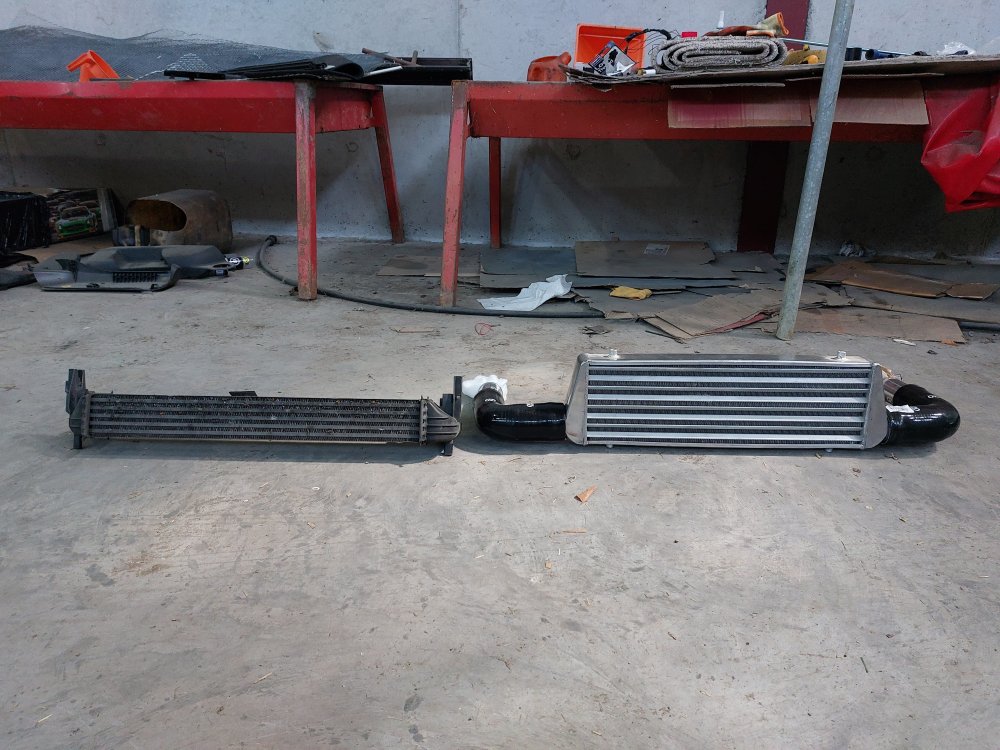
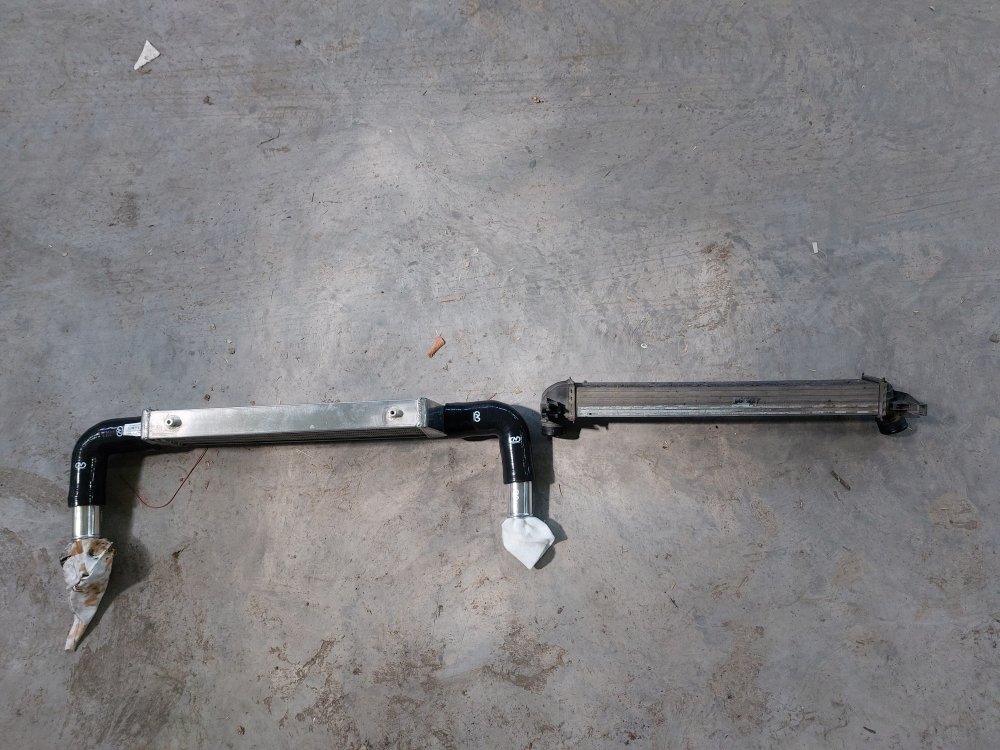
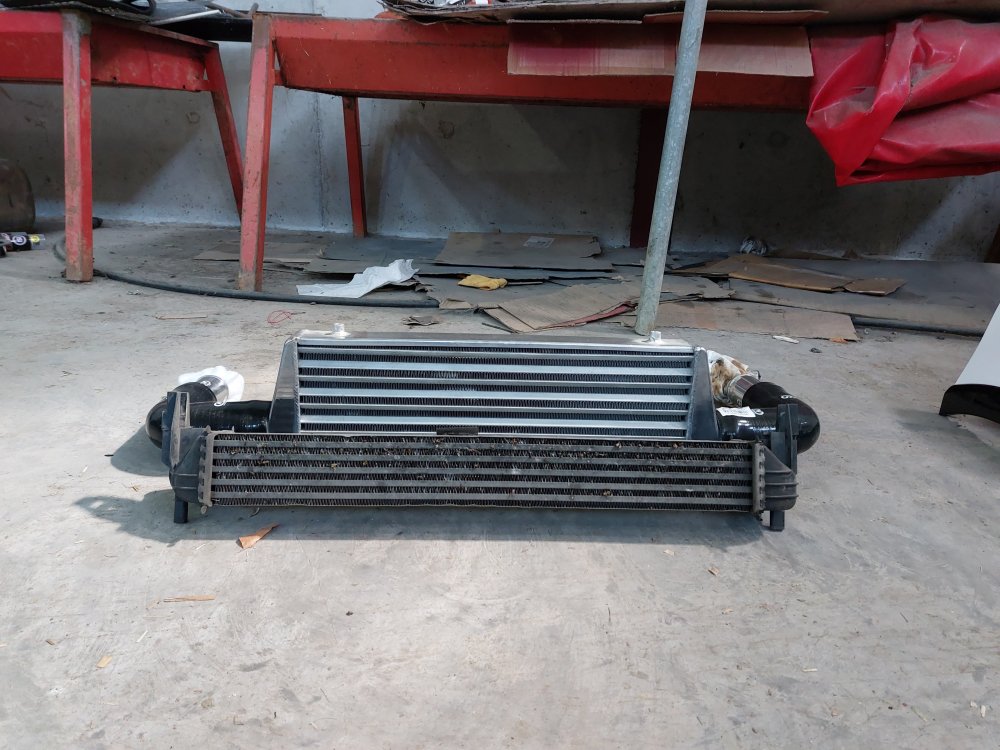
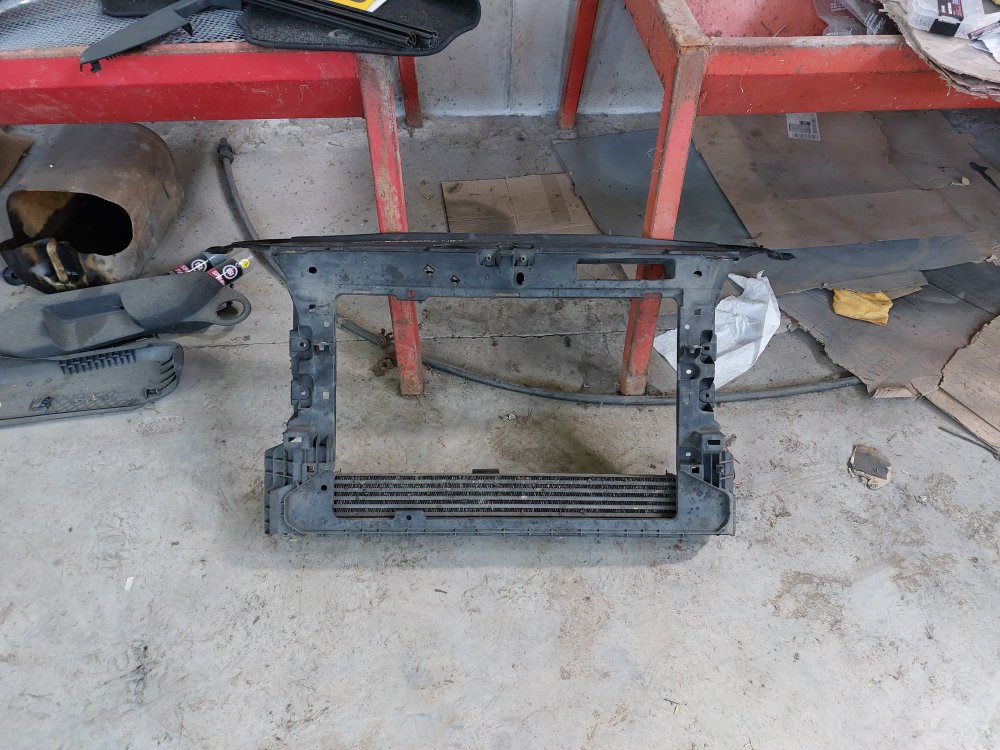
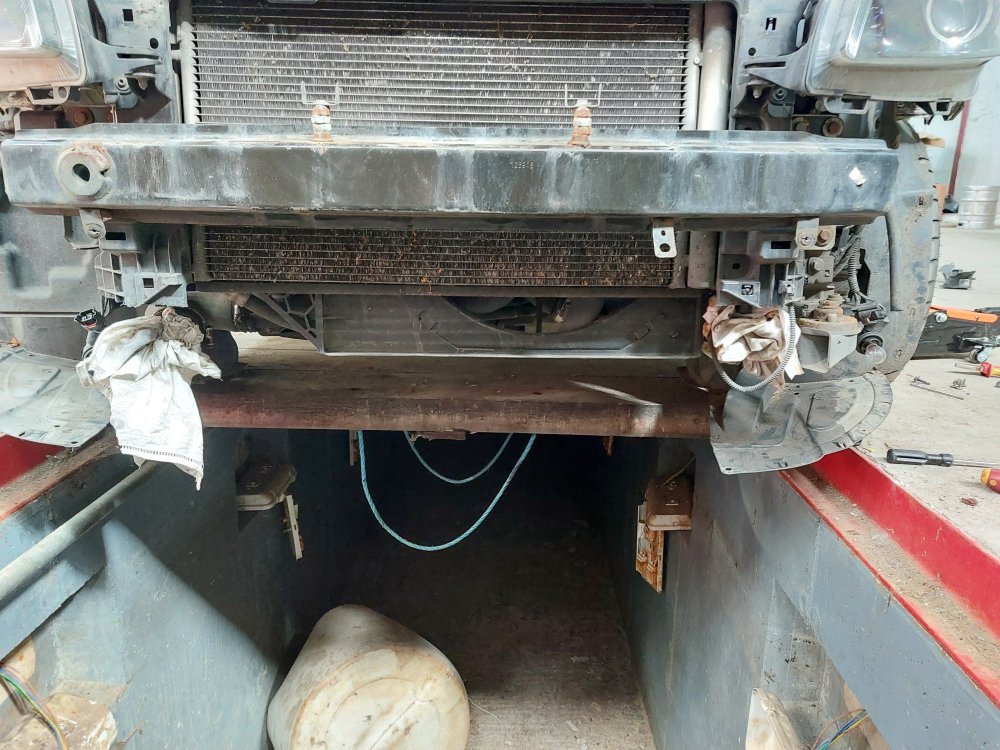
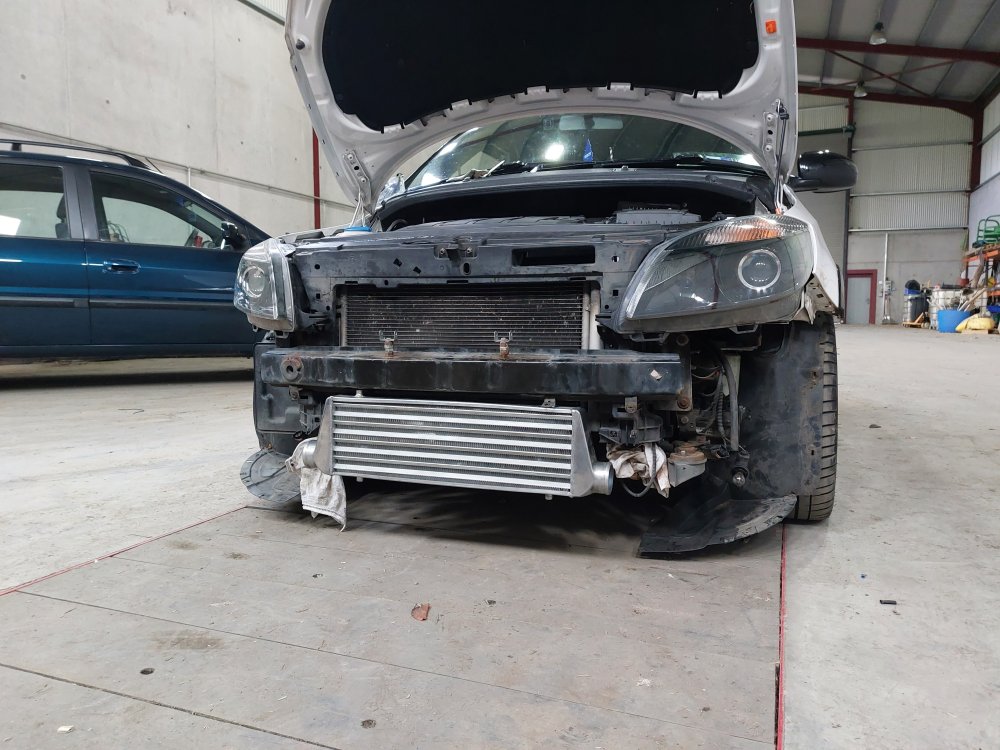
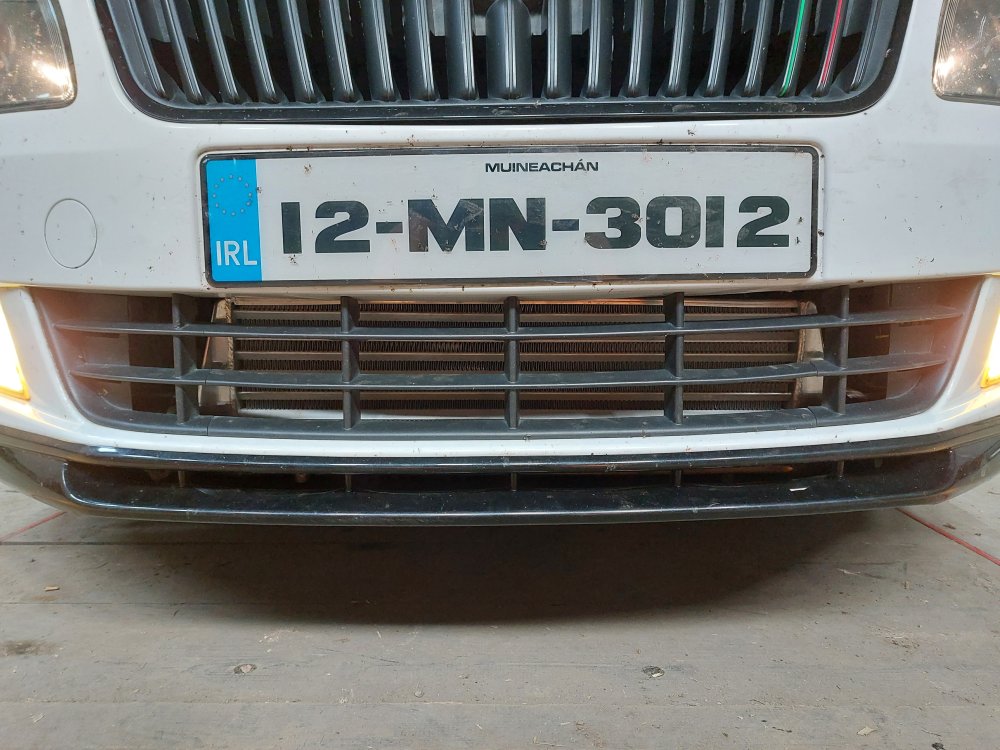
Did the intercooler today. Fairly big job all things considered but If I had known what I know now it would have been a little quicker. First thing I should say is that I was using a guide for an ibiza of the same platform as my car. https://www.seatcupra.net/forums/resources/universal-intercooler-guide.13/ This proved very helpful except for when it got to mounting the intercooler, here it seemed my car differed from the ibiza quite a lot. Wasn't too hard to get the bumper off, the two bolts on the inner wings are a pain however. The guide I was following said to remove the entire front of the car (more or less) so I did. Really, I didn't need to with how I mounted the intercooler to mine. I ended up drilling the crash bar and mounting it to that. Knowing what I know now, I would have saved well over an hour doing this. Anyway this pic shows how little intercooler there is that. would have any airflow going through it on the car. Now some side by side shots of the old and new intercoolers. New intercooler mounted in place (more or less) I ended up basically cutting the bottom of the flimsy plastic that holds the rad pack in place to make it easier to run the intercooler piping. Finished product. A lot more forward than the standard one. It looks a bit small under there but that's fine. Practically all of it is exposed to air going through it, so should do a much better job of keeping the intake temps nice and cool. Drive home showed intake temps drastically reduced, where they would be 30+°c before, now they are 20°c. I still need to remount my spotlamps as I removed them before taking off the crash bar. Overall this job took me about 6 hours to do, not including breaks. Well worth it seems, but definitely not a job for the faint hearted.
-
I have a whiteline on my monte Cannot complain it really makes the car feel how it should have felt when new.
-
Didn't realise that, thanks for pointing it out. I have silicon grease in the shed and all so I'll use it to regrease everything. Mk4 golf shifter is identical iirc to the one in the mk1 fabia, atleast looks identical to the shifter in my mk1. Mk2 is a bit different, more akin to a mk6 golf shifter iirc. Can't say whether or not a mk4 style shifter could be retrofitted. I ordered a bearing shell from the dealers so may as well change it out, for the sake of a tenner it's worth a gamble. I think it's funny how my montes shifter has so much more play in it compared to my mk1 which in comparison feels much tighter. I think there may be enough access for me to remove just the bearing shell in situ. If I have to drop all out then I'd be as well to buy a brand new unit to replace all with.
-
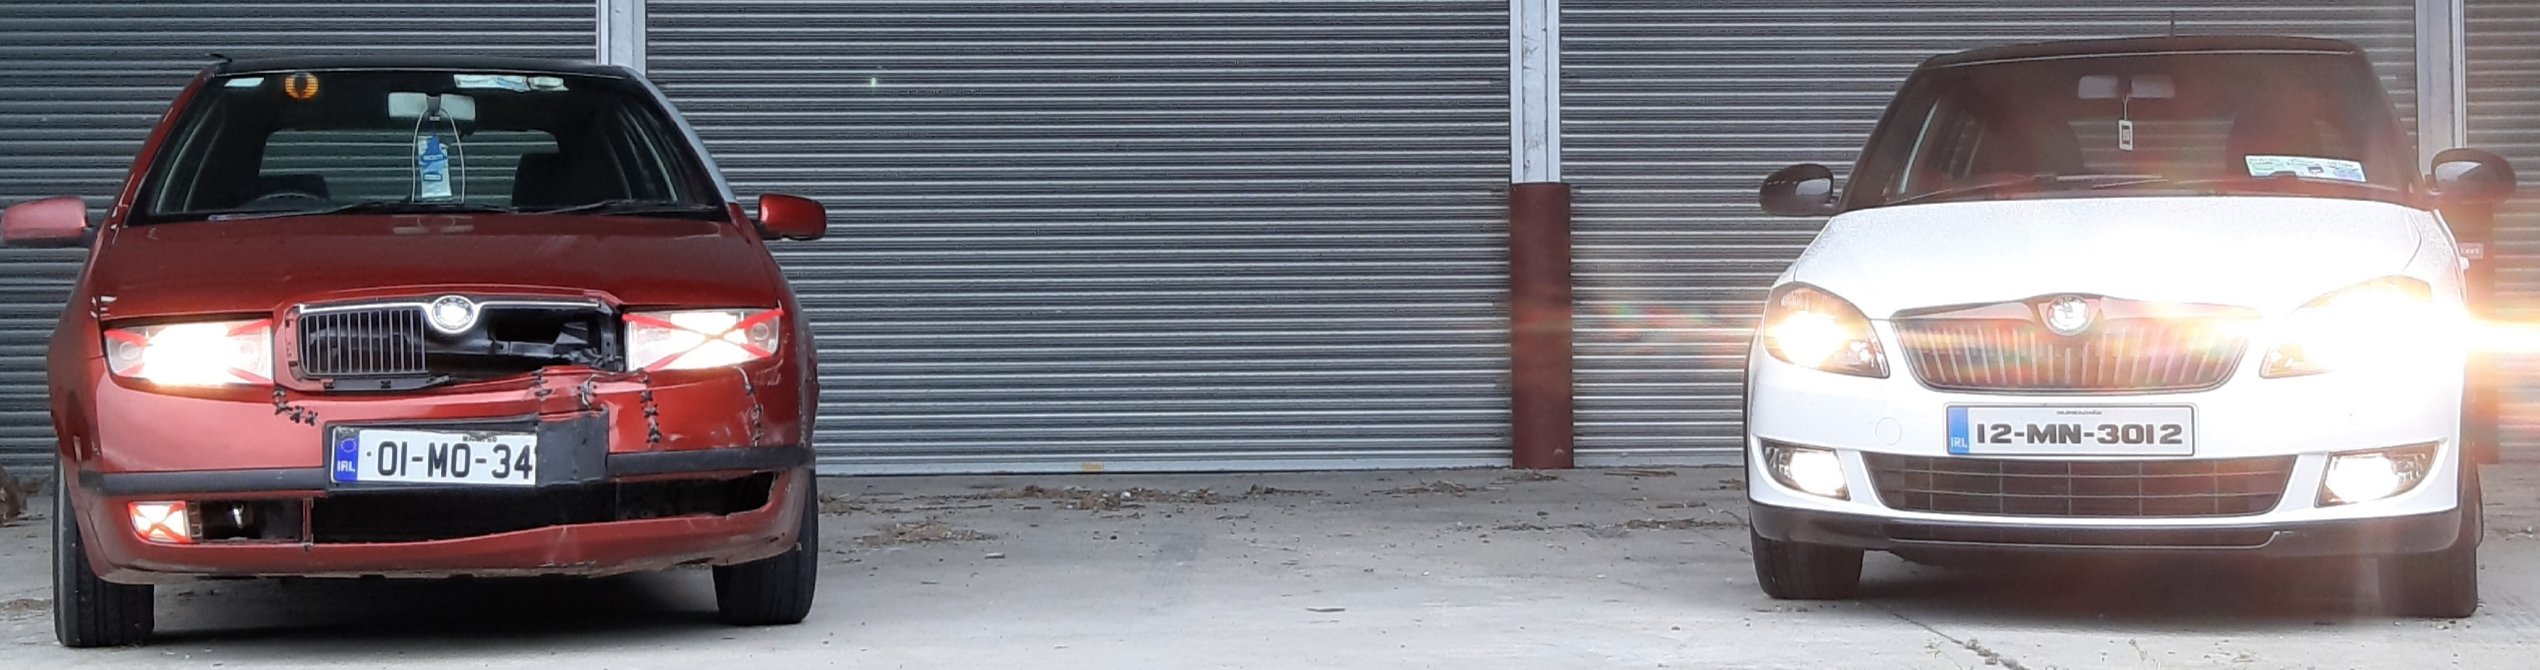
It mimics a dealer sticker placed like that I think. Oh and ignore the plate lights hanging off One of the plate lights on the Monte went out just before I left for England so I had to grab one from this.
-
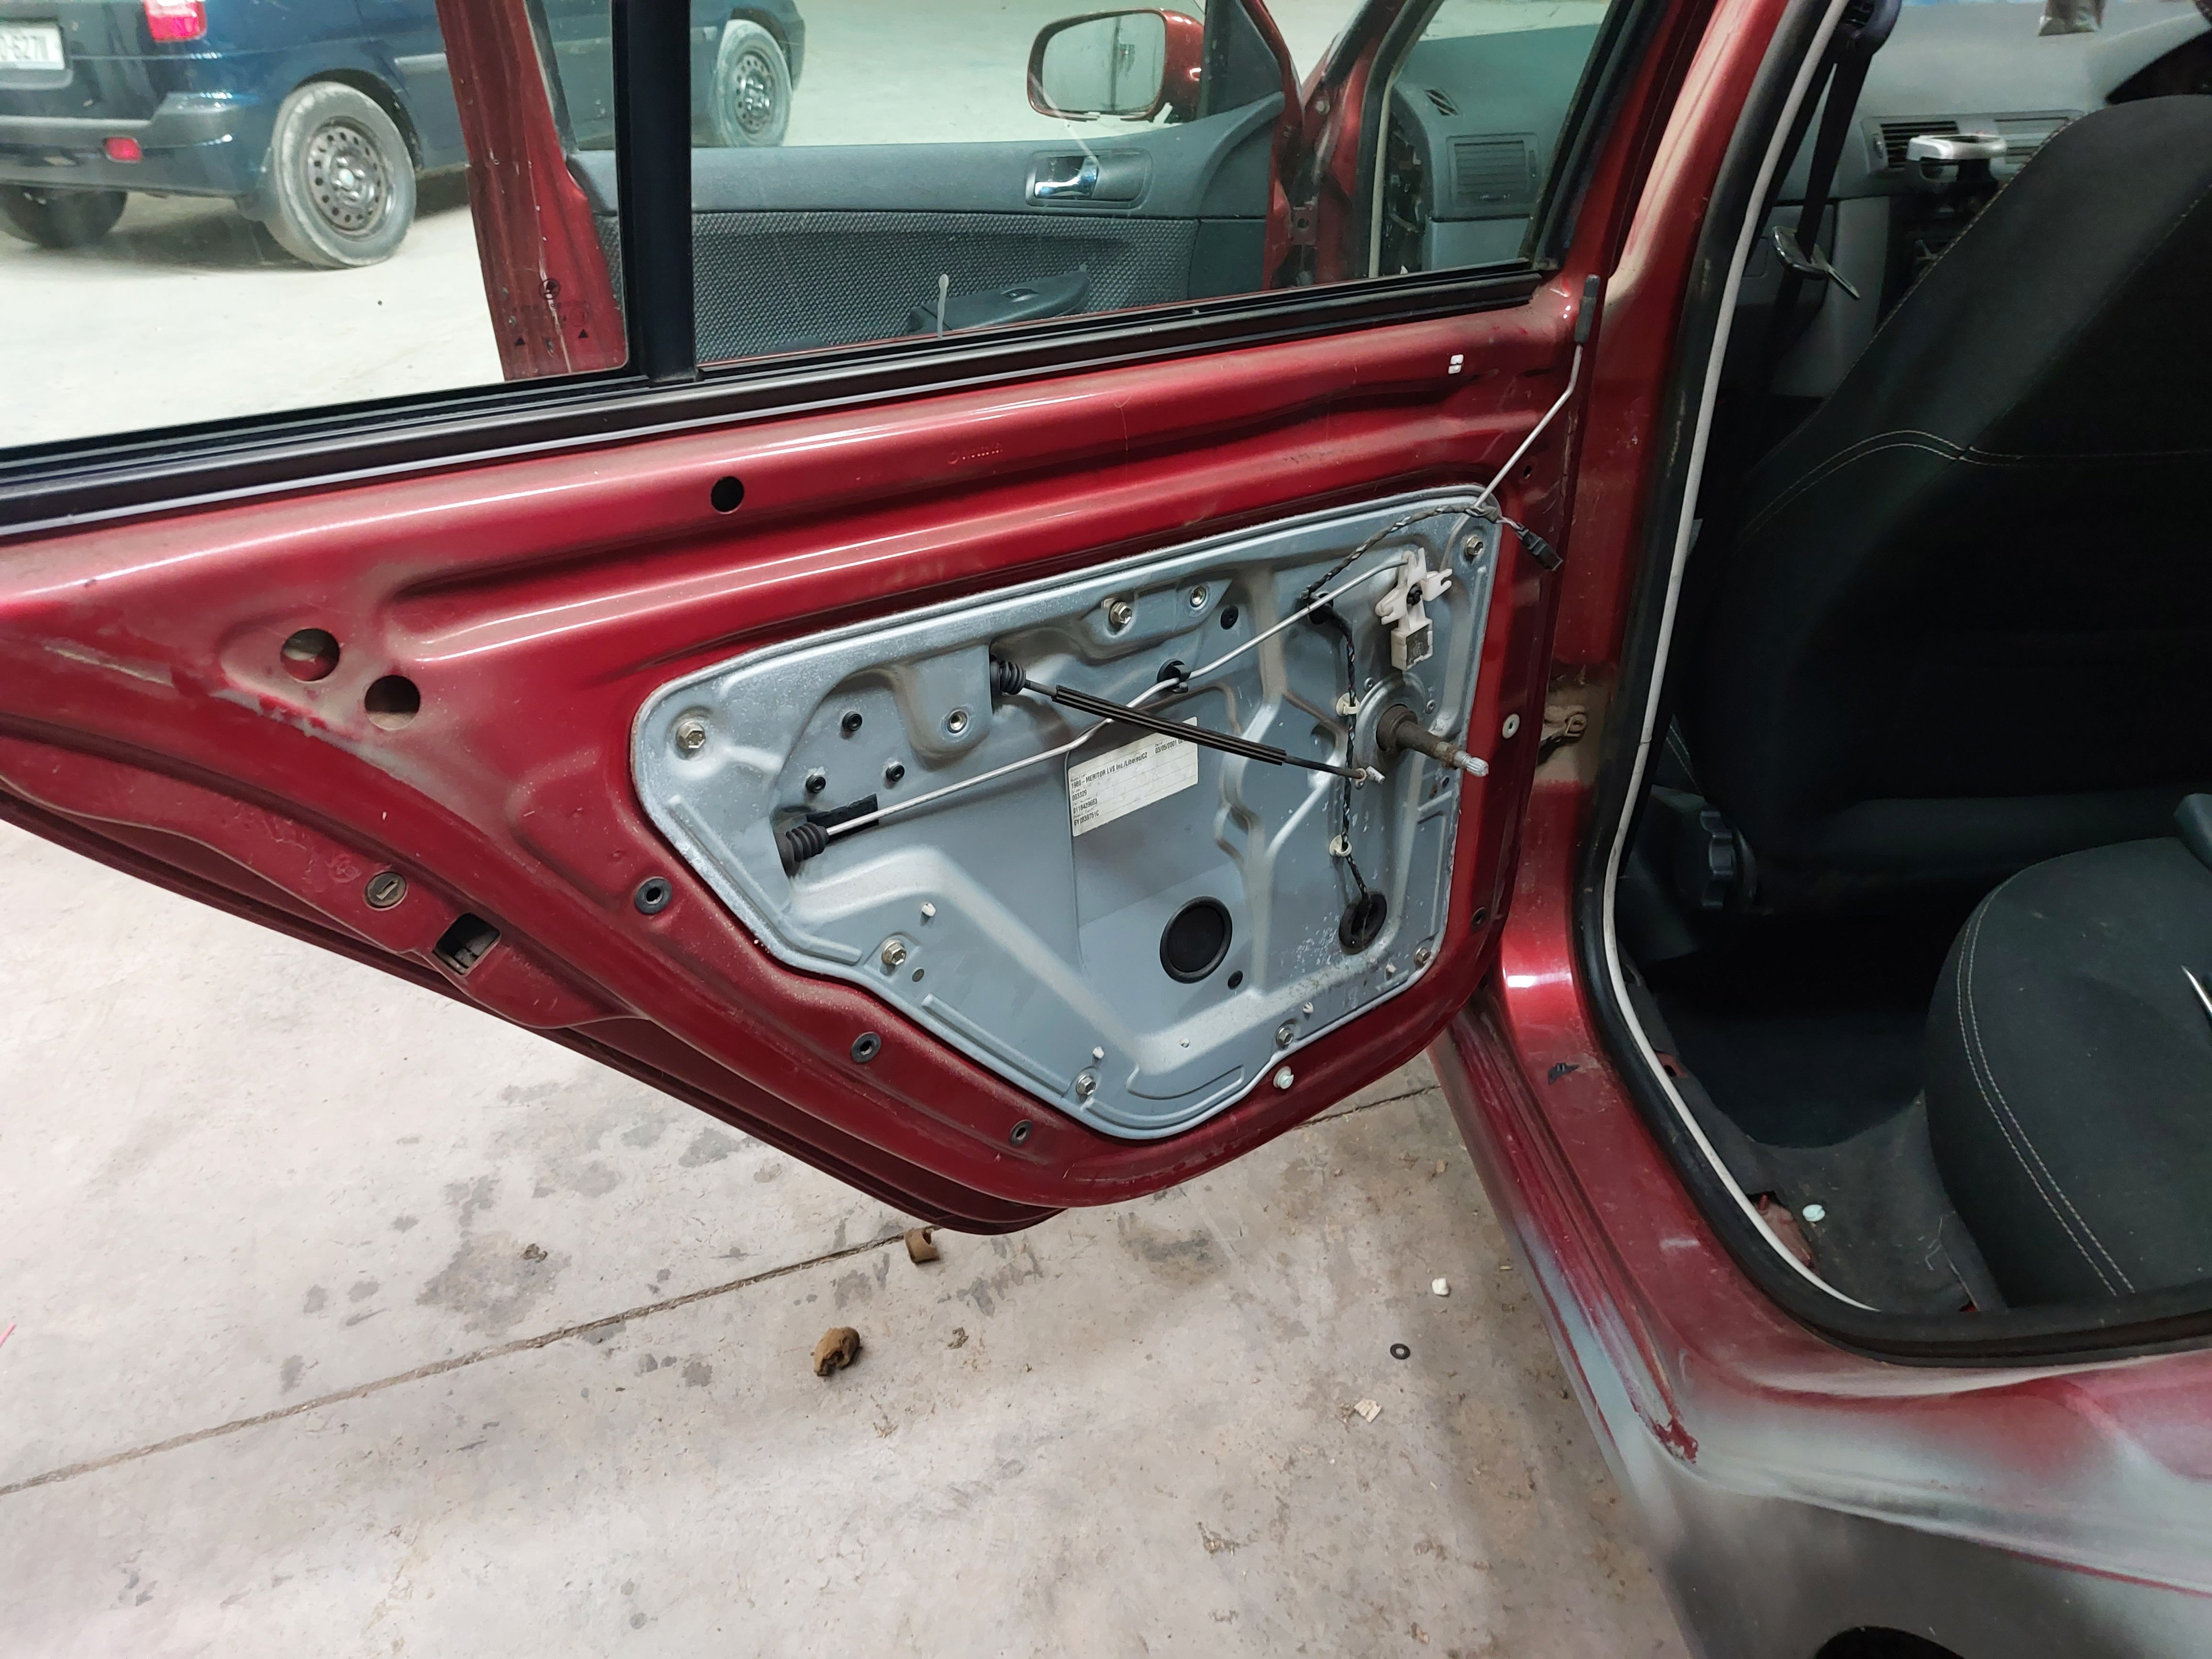
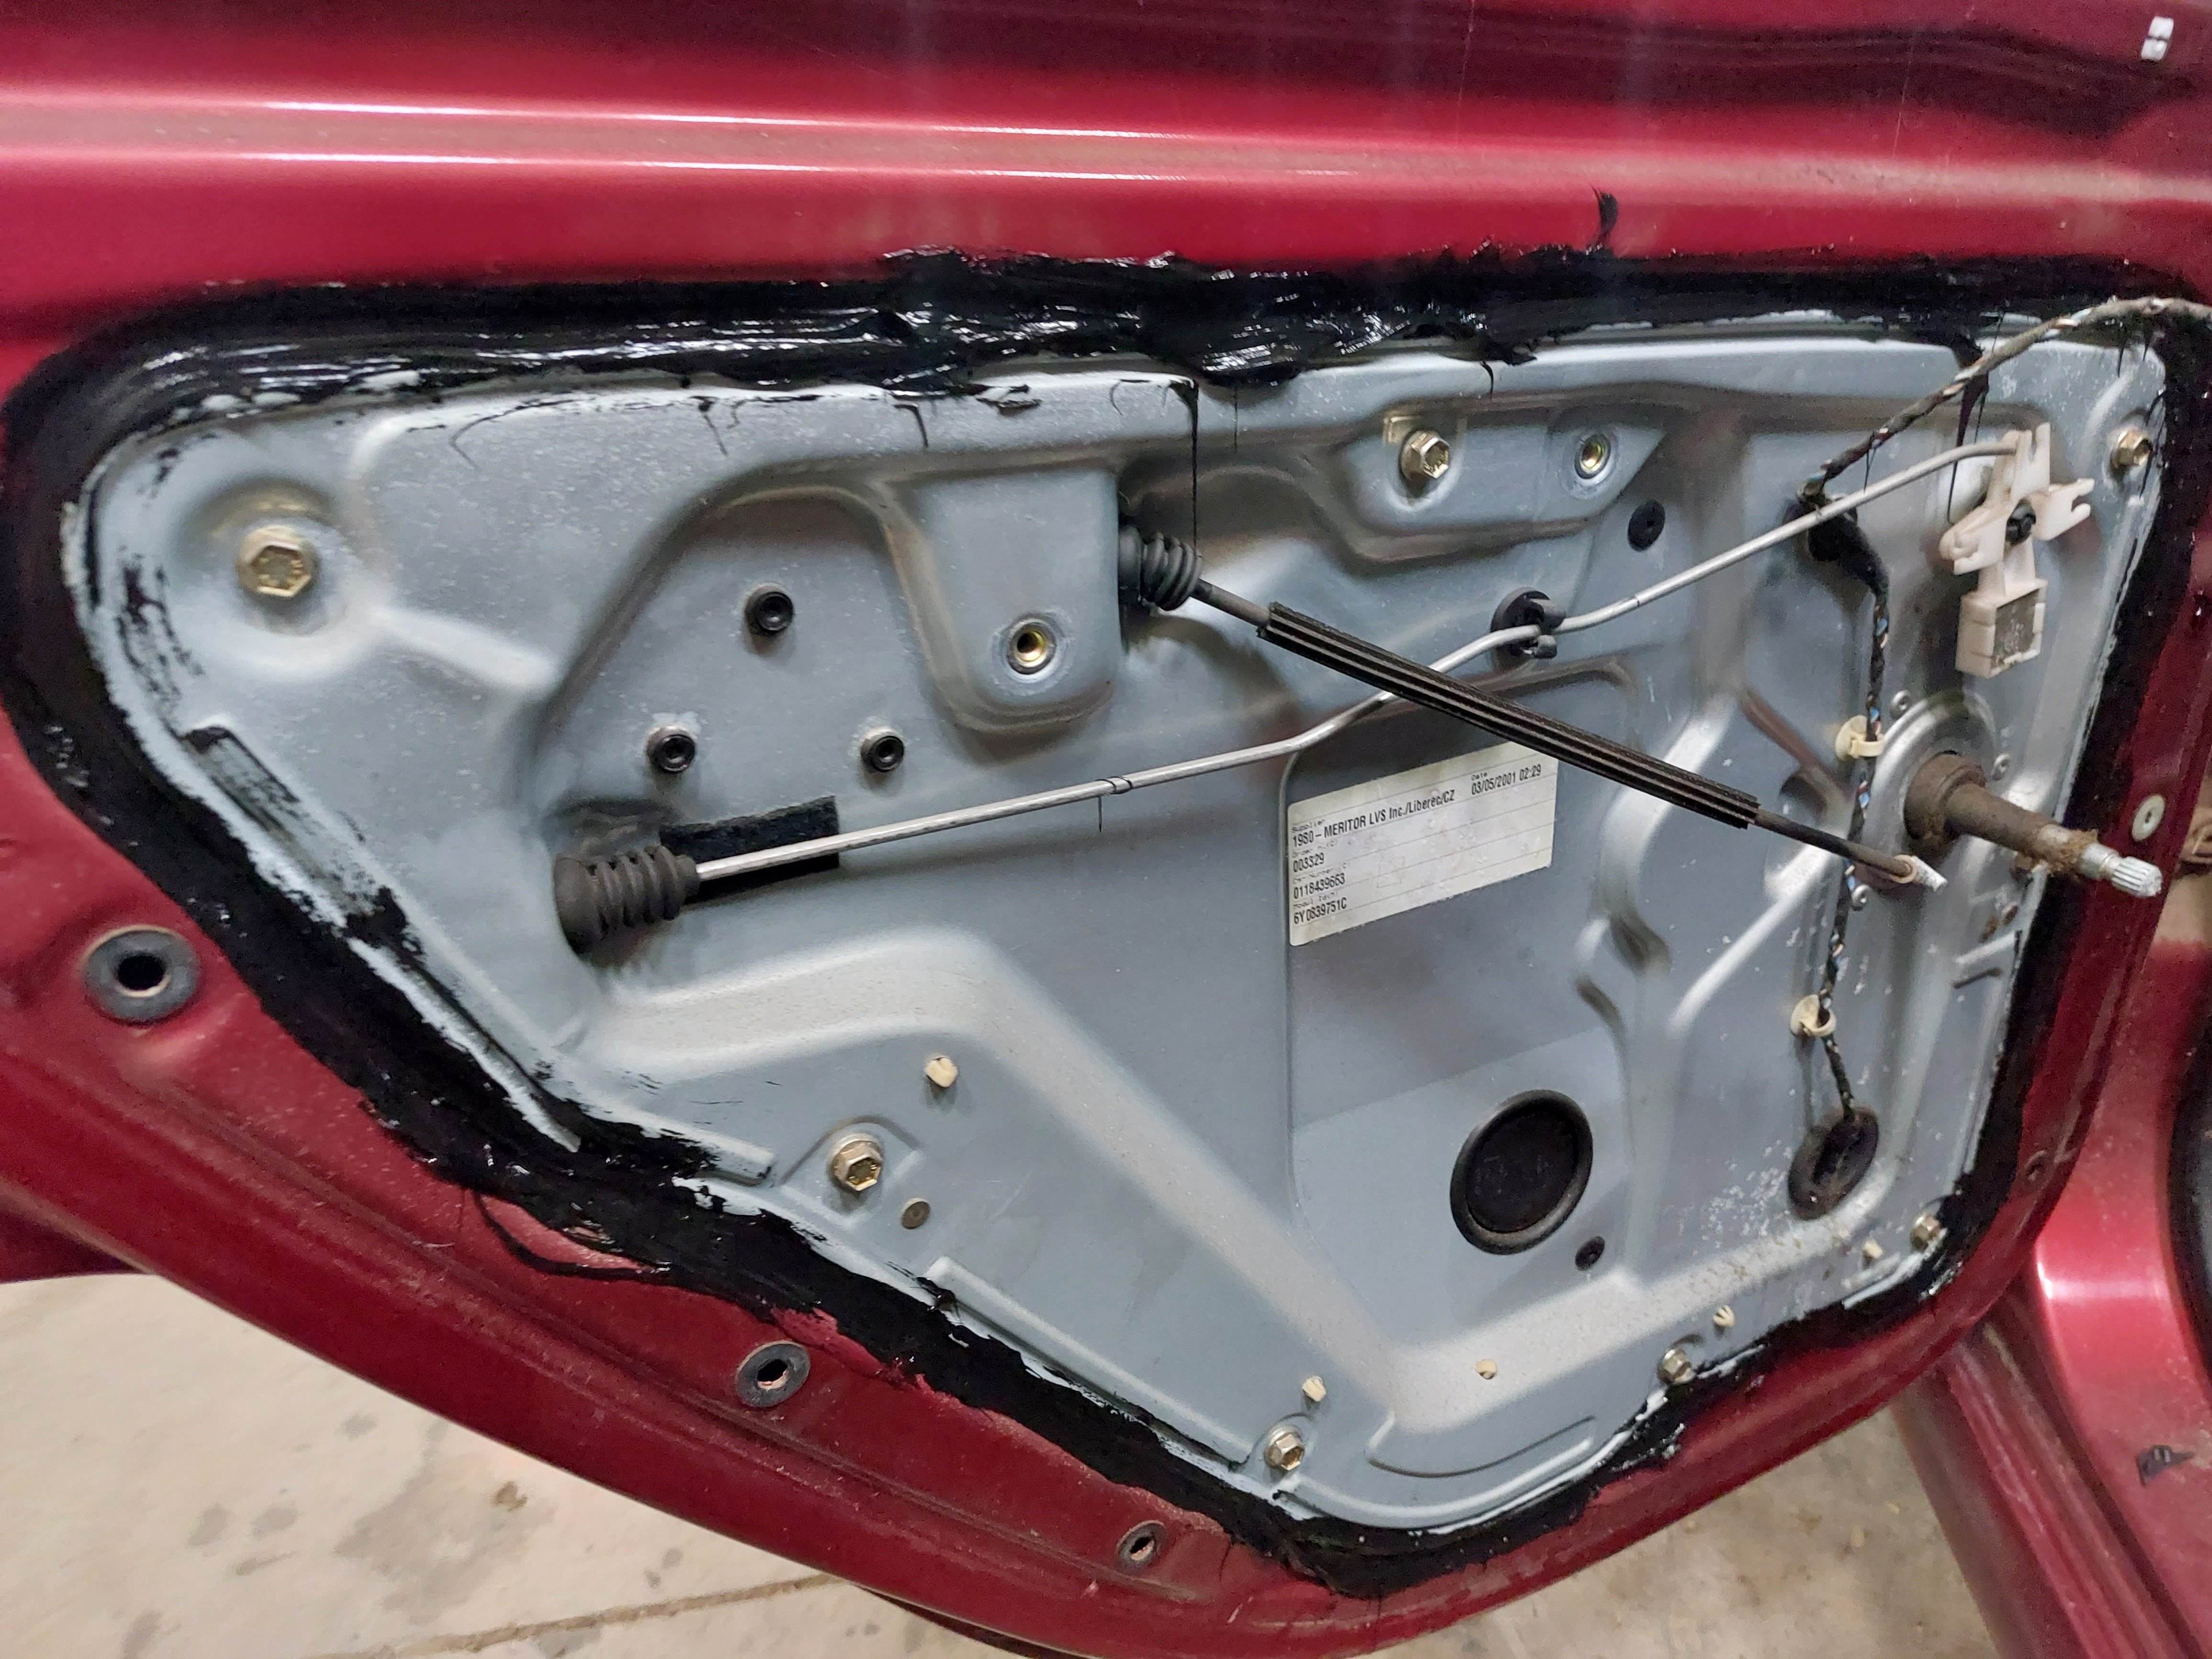
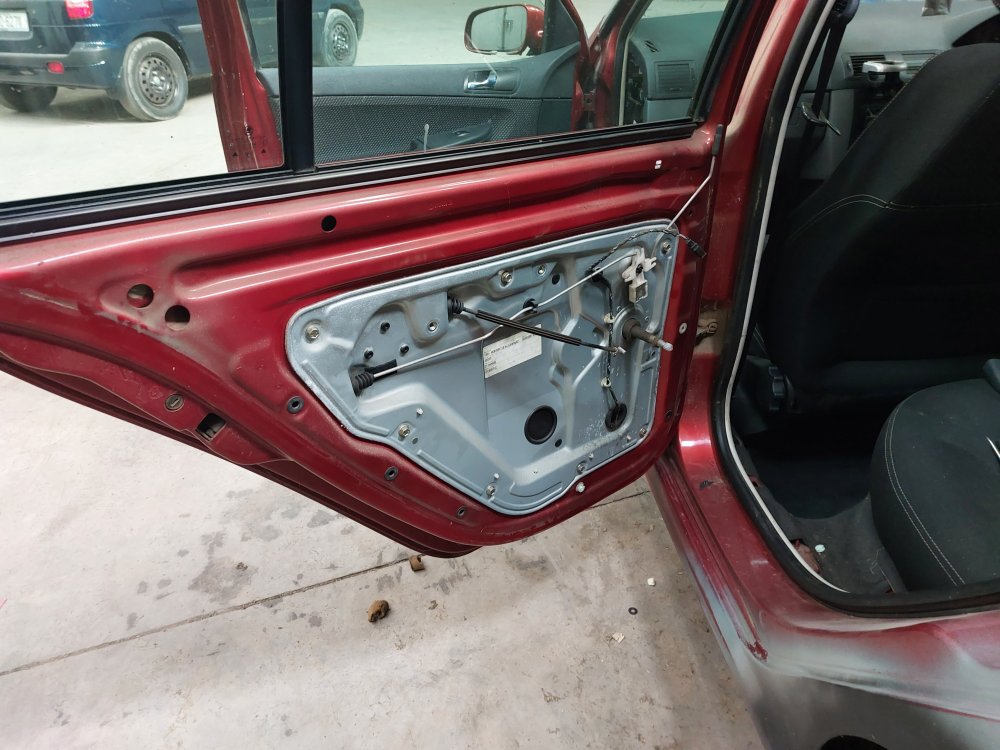
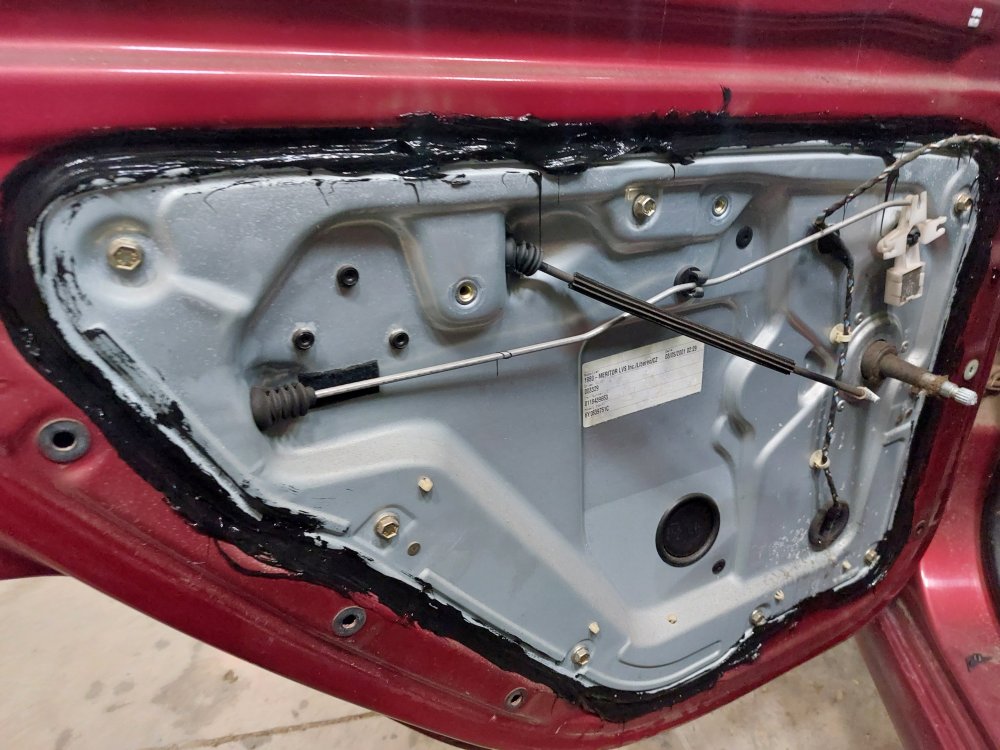
Should have posted yesterday but, when I was doing the rear doorcards I fixed the rear carriers. Hopefully means water and mould won't be such an issue now. Had to remove the rear door lock flags as the new doorcards don't have the hole for them, they simply hook out so it wasn't a big deal at all. Nice the rear doors have small pockets now. This was a very messy job, but necessary. Obligatory taking it for a run pics.
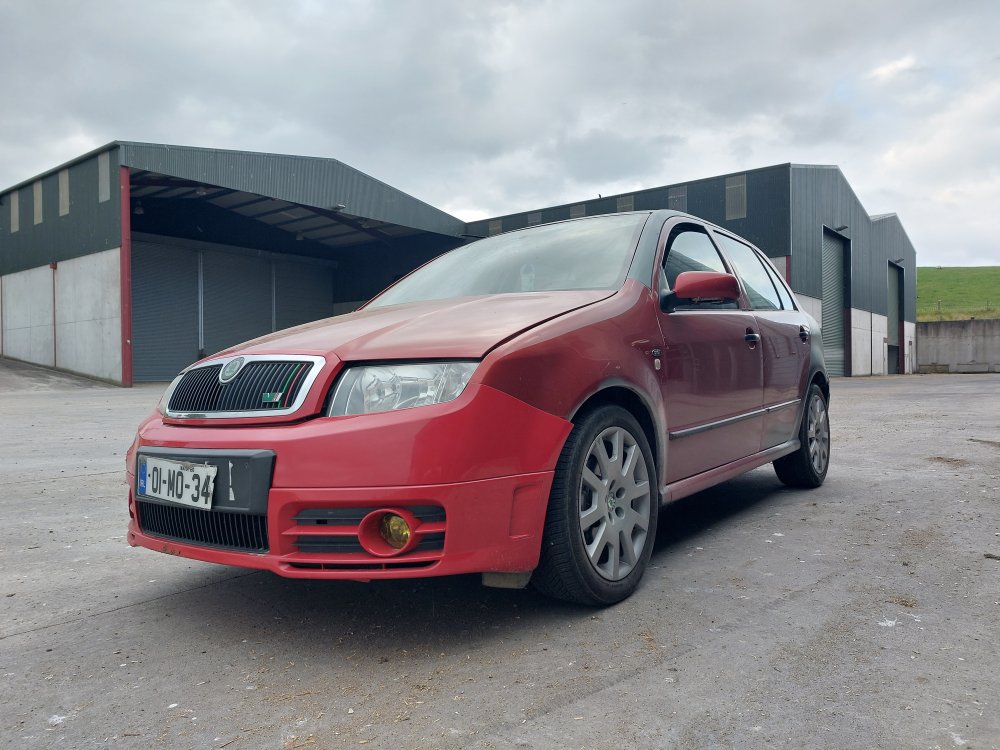
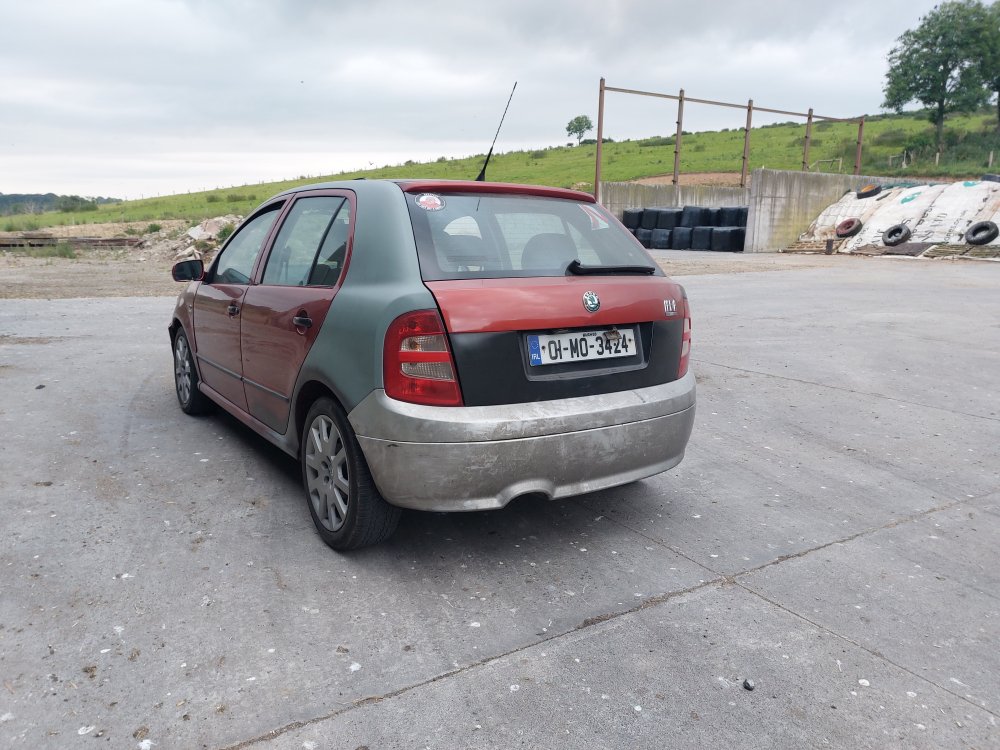
-
Thank you, I think I could get away with replacing just the shell. From what I can feel that is where most of the play is coming from. I'd rather rebuild the one in the car since swapping it out looks like a lot more work. I'll go into the dealers tomorrow and order that part, thank you.
-
Good afternoon all, I've noticed on my car that changing gears is fairly sloppy and not as nice as I'd want it to be. I've found most of the slop to be coming from the shifter. Video related: Ignore the grease, that was my doing a while ago. Does anyone have any good guides on how to strip this down and rebuild it? If so, where can I get replacement parts for it? Thanks.
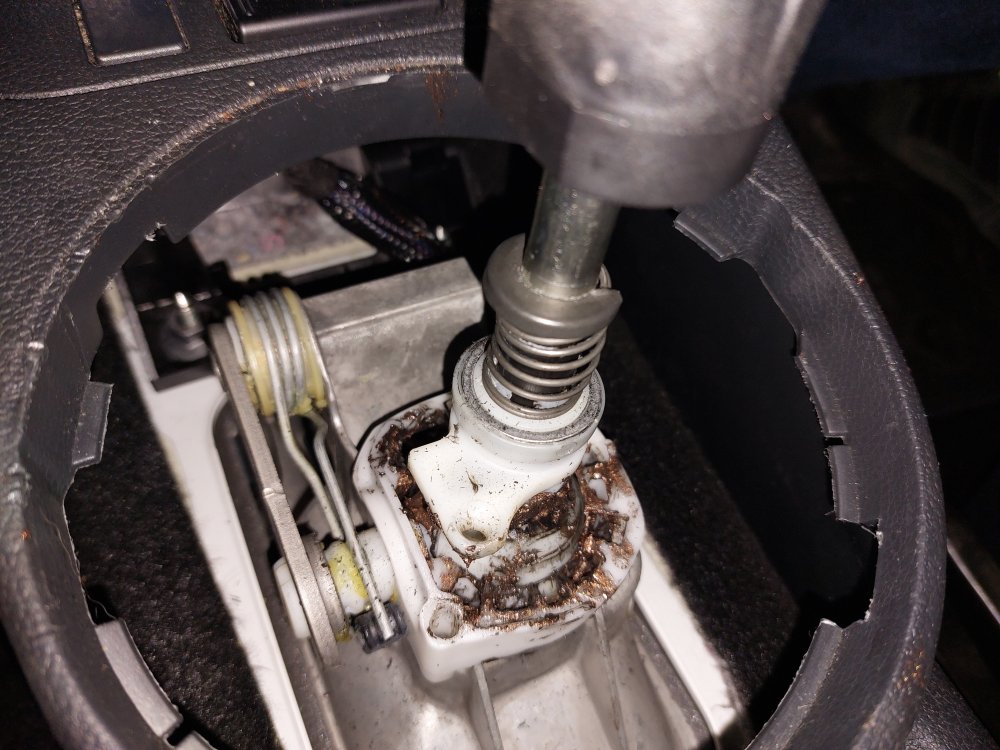
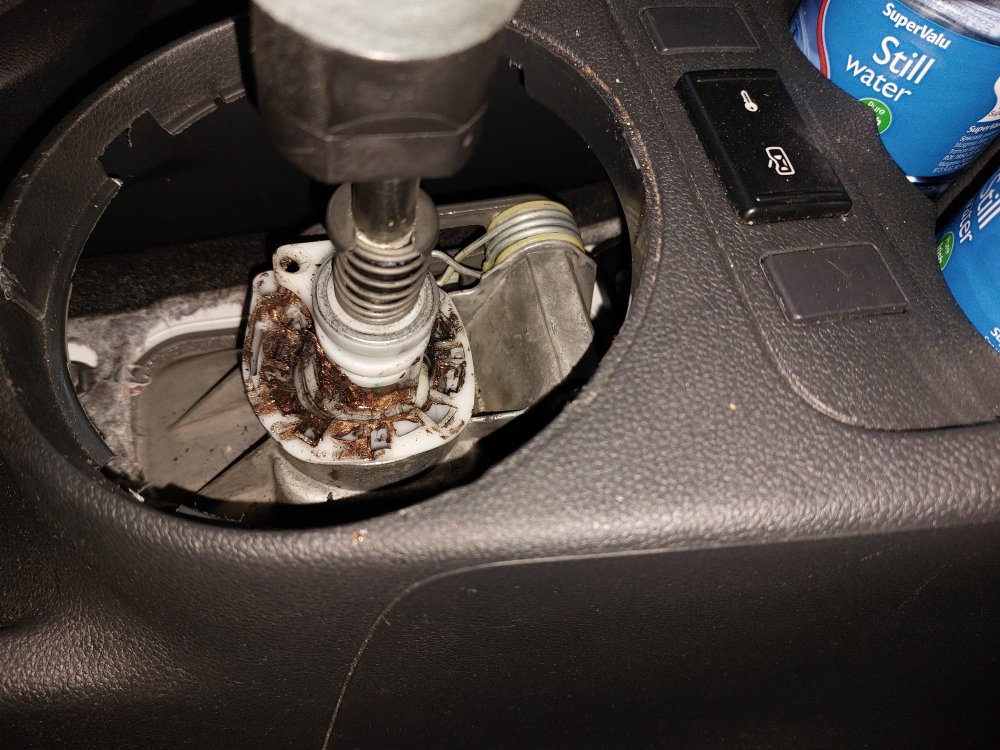
-
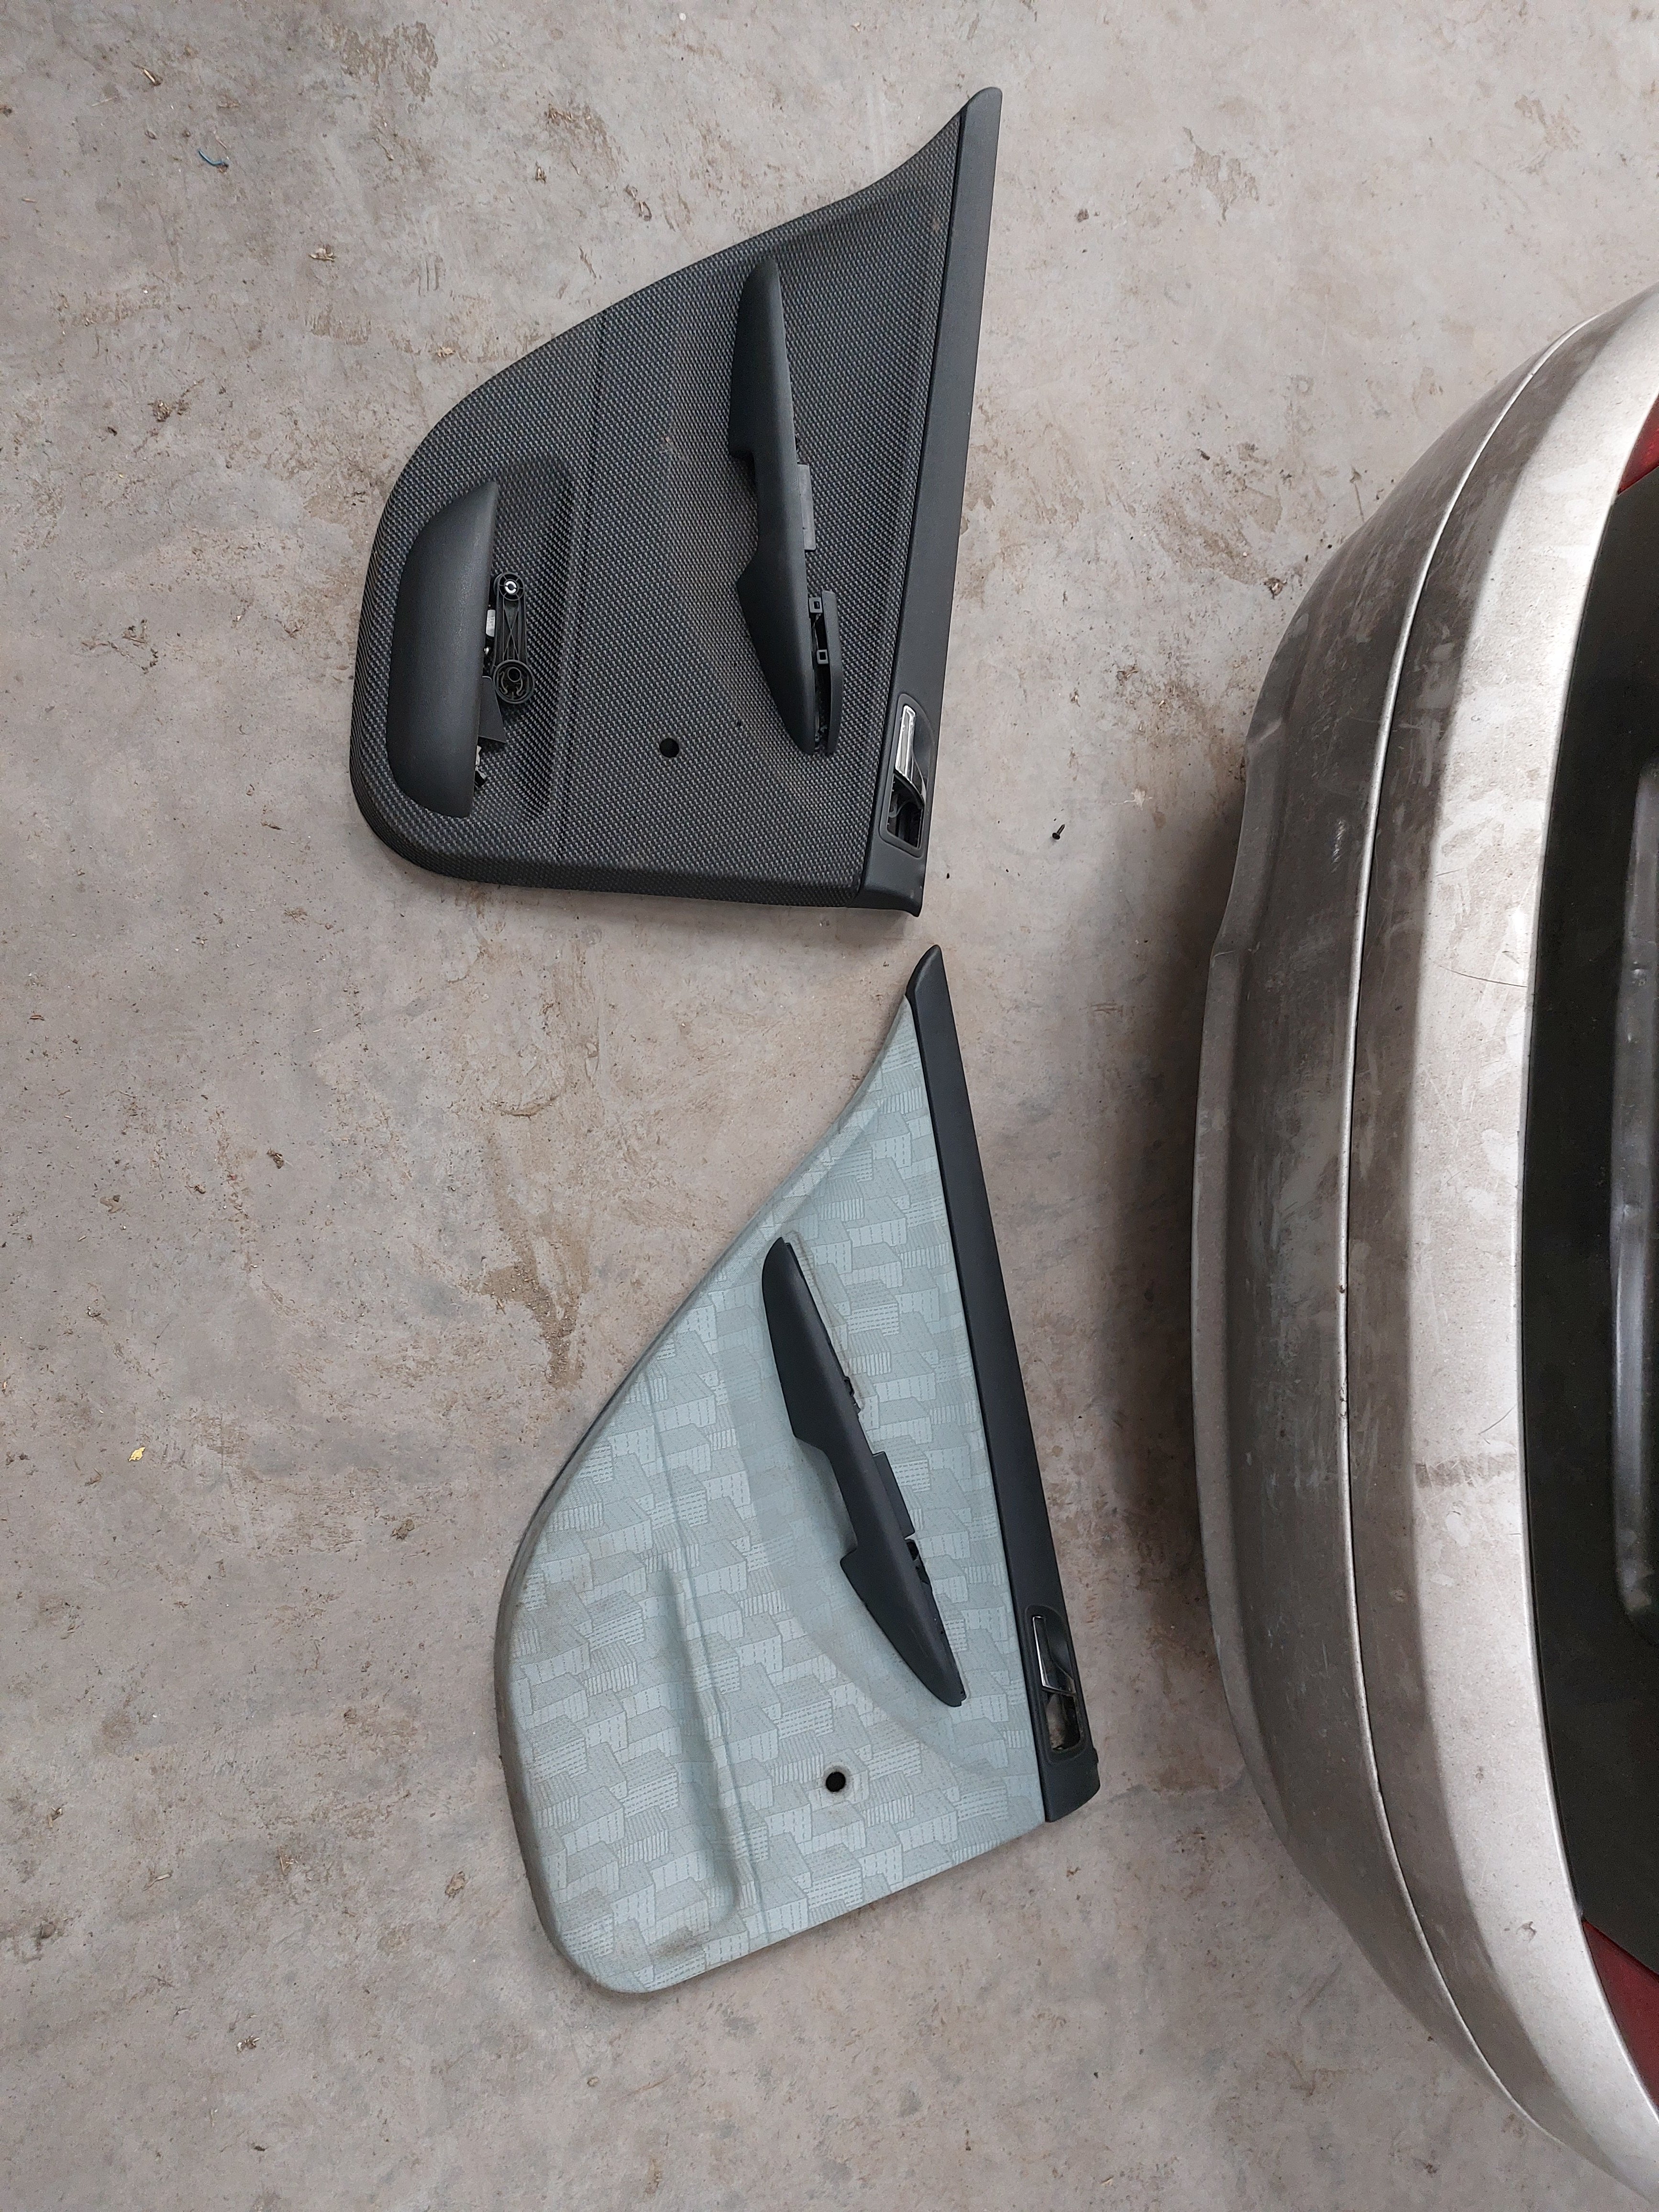
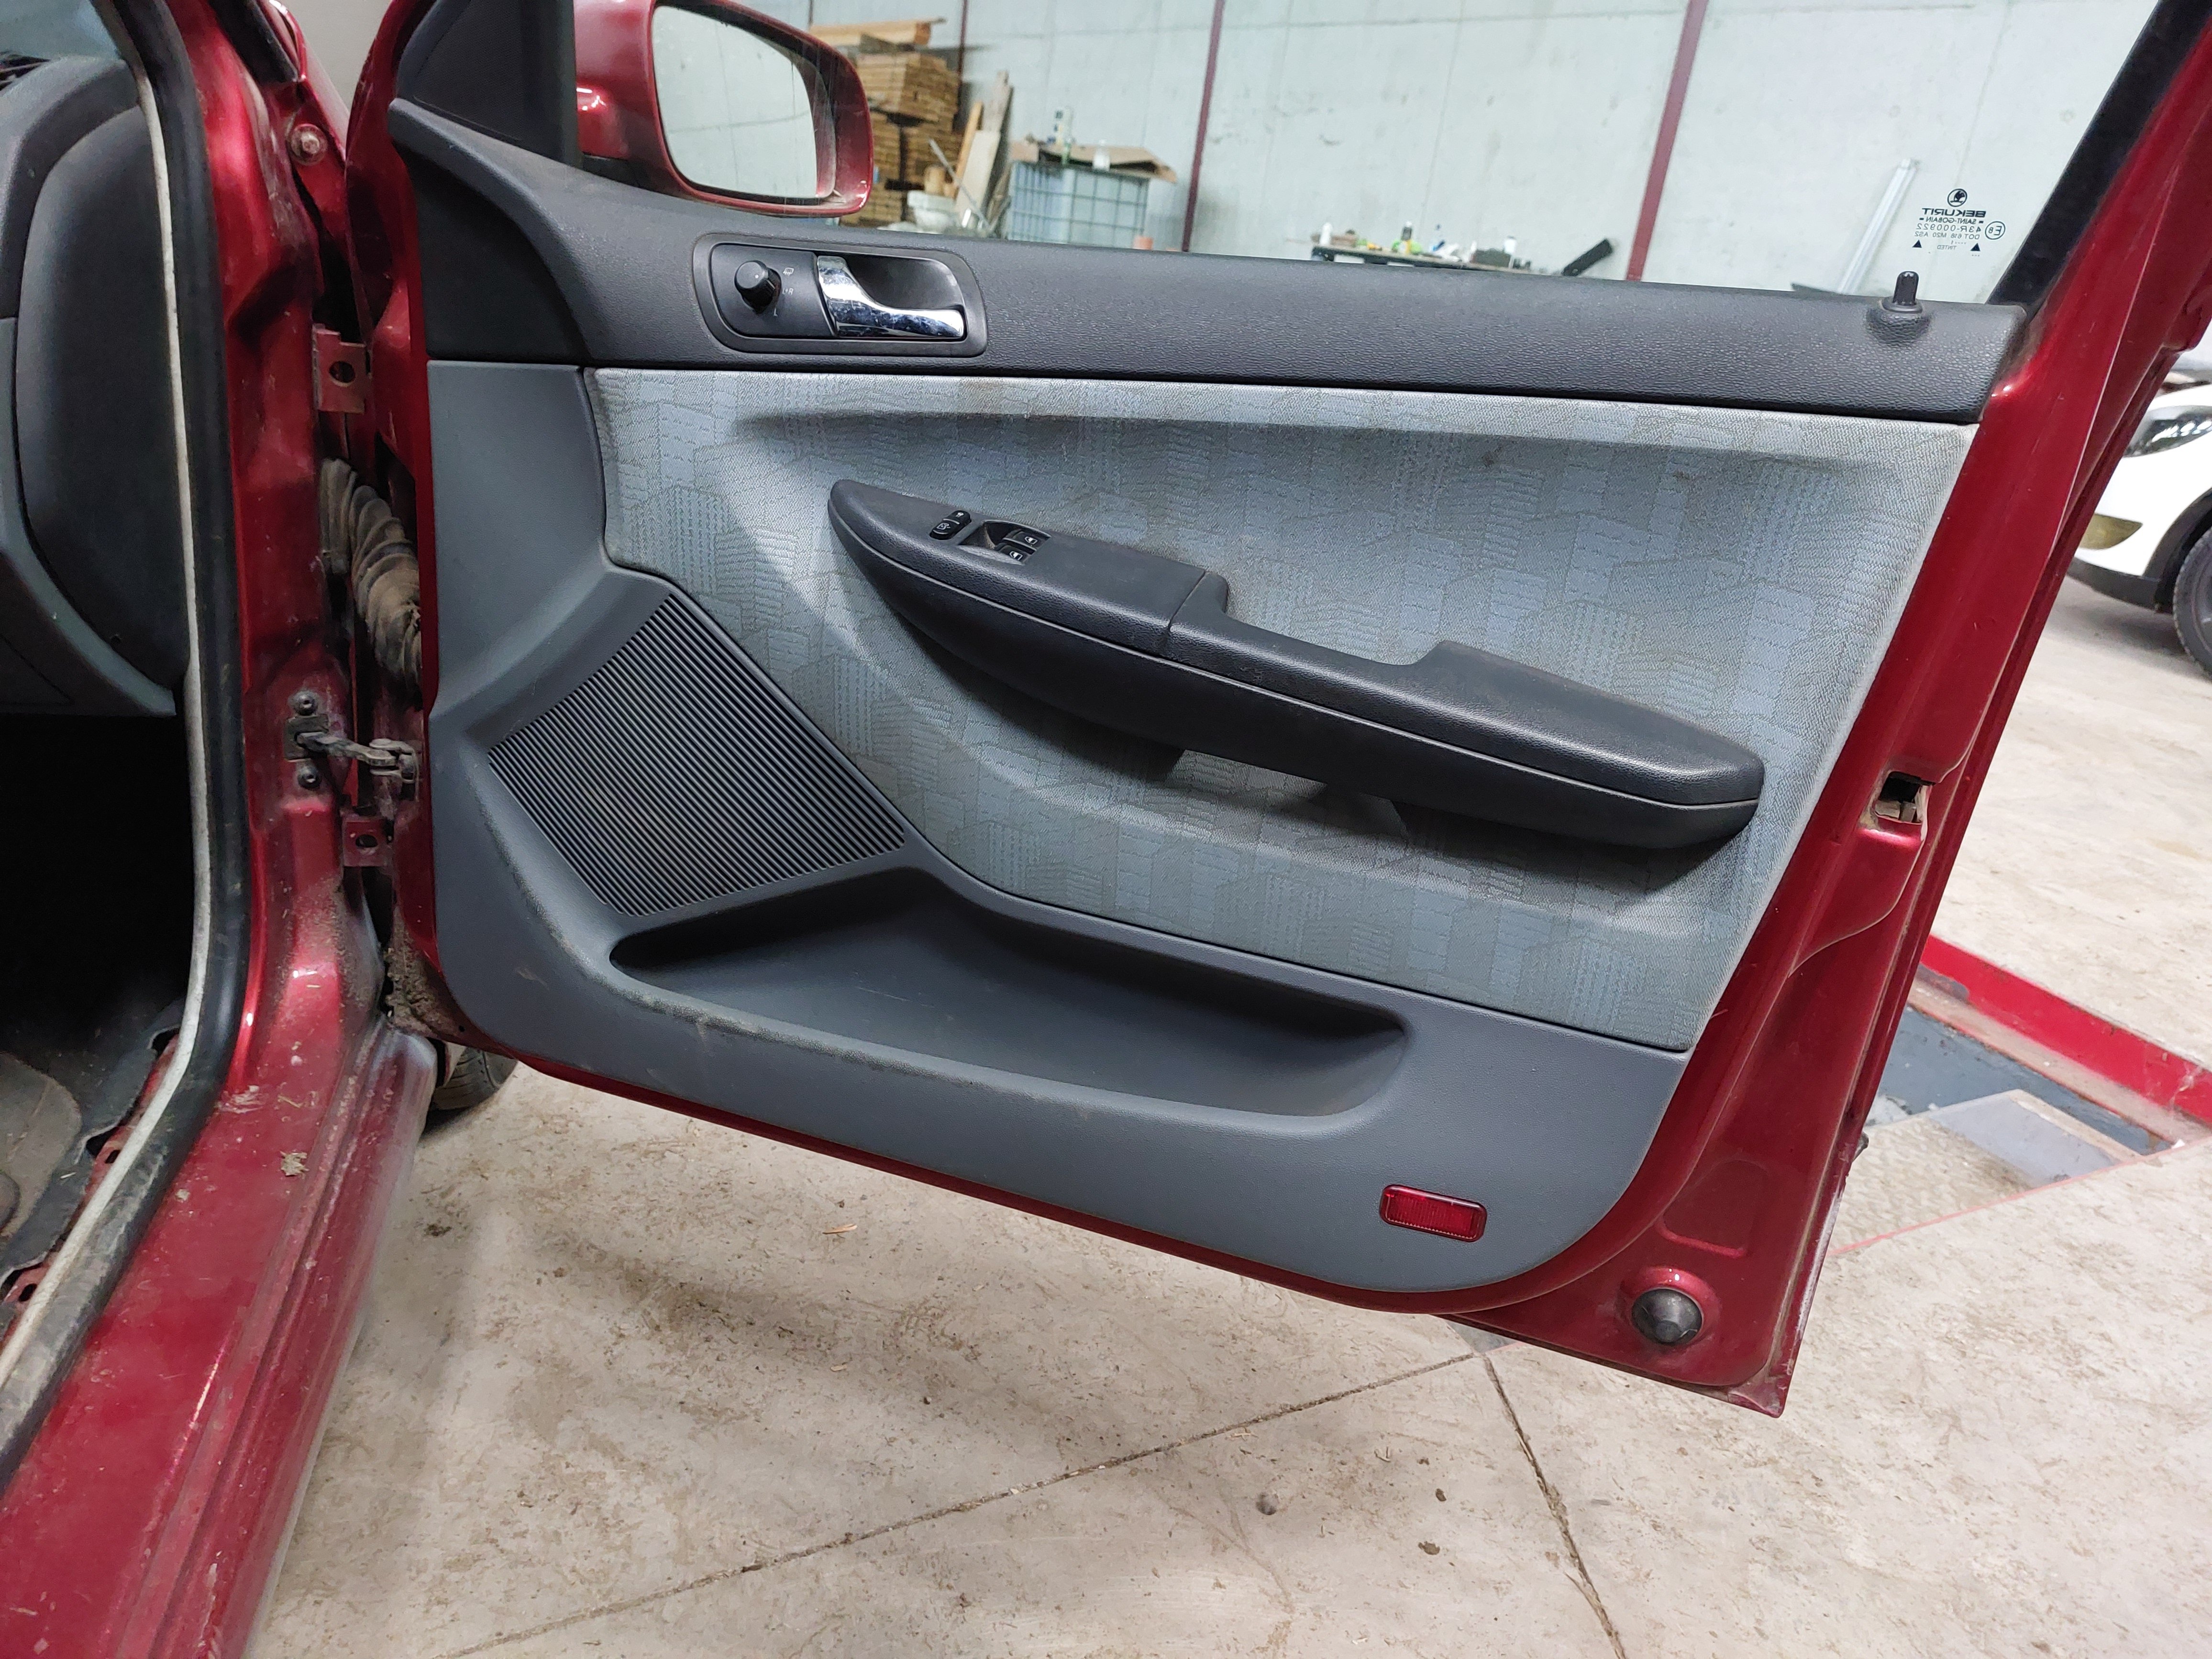
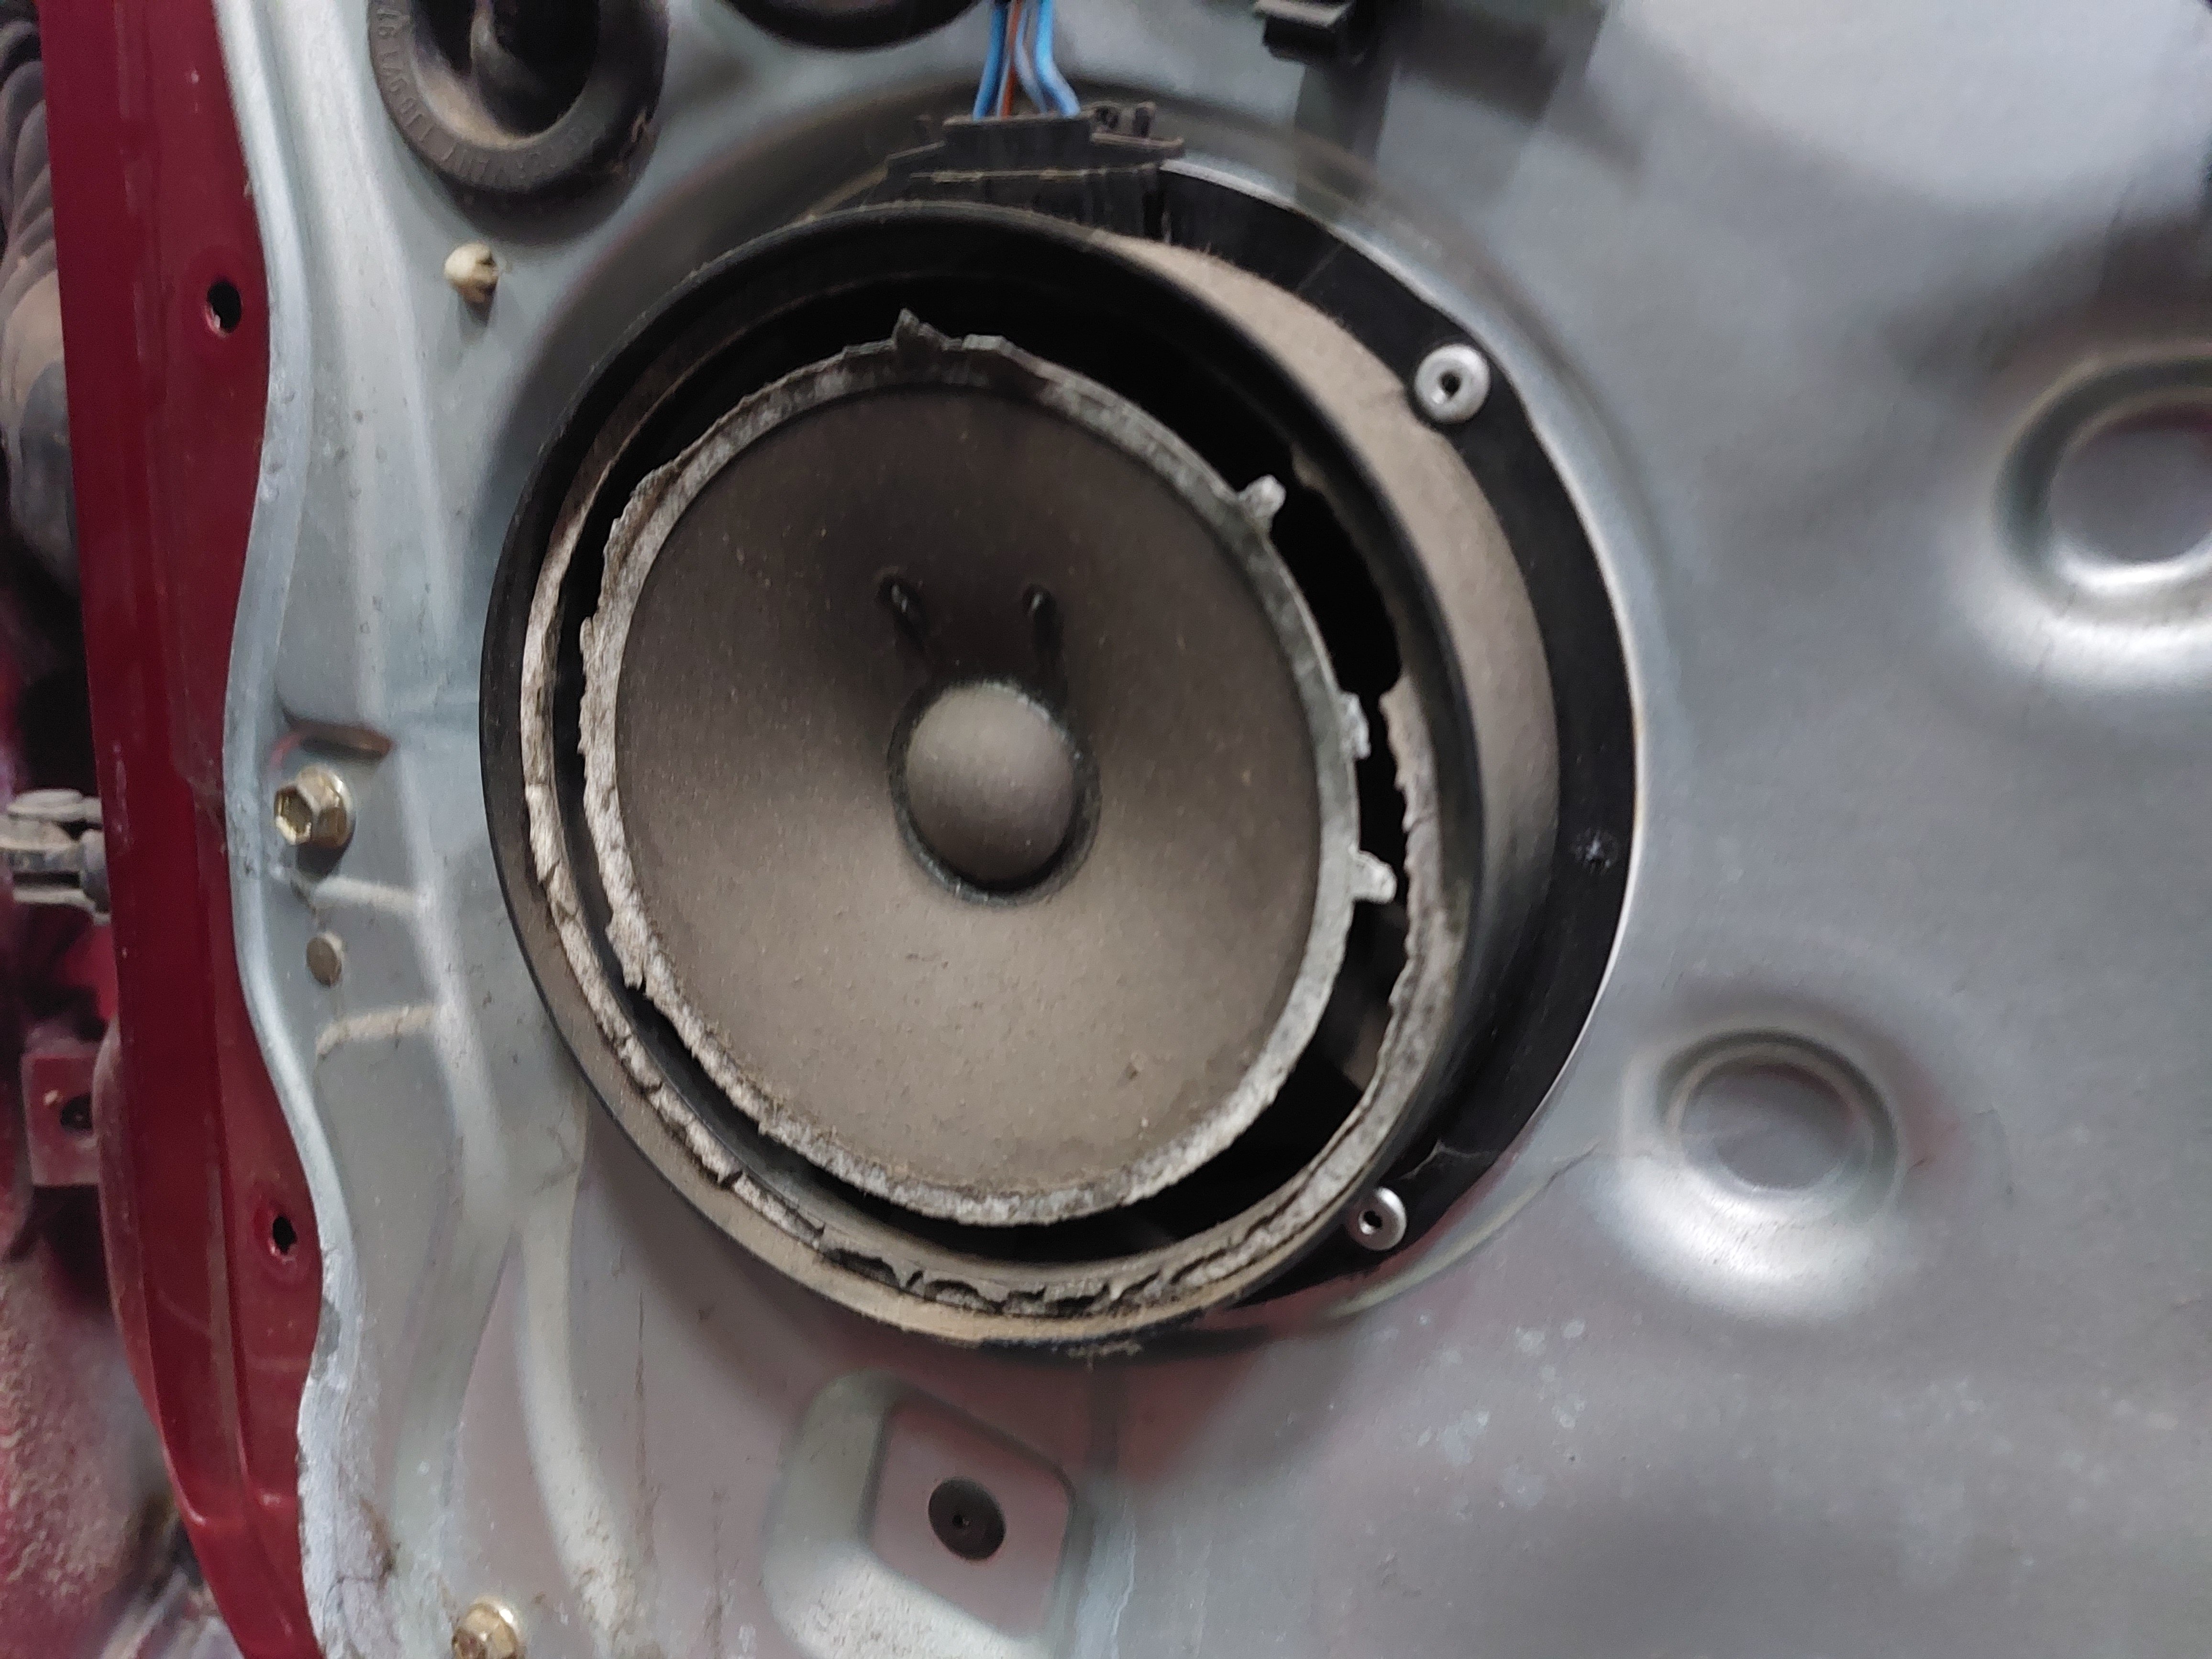
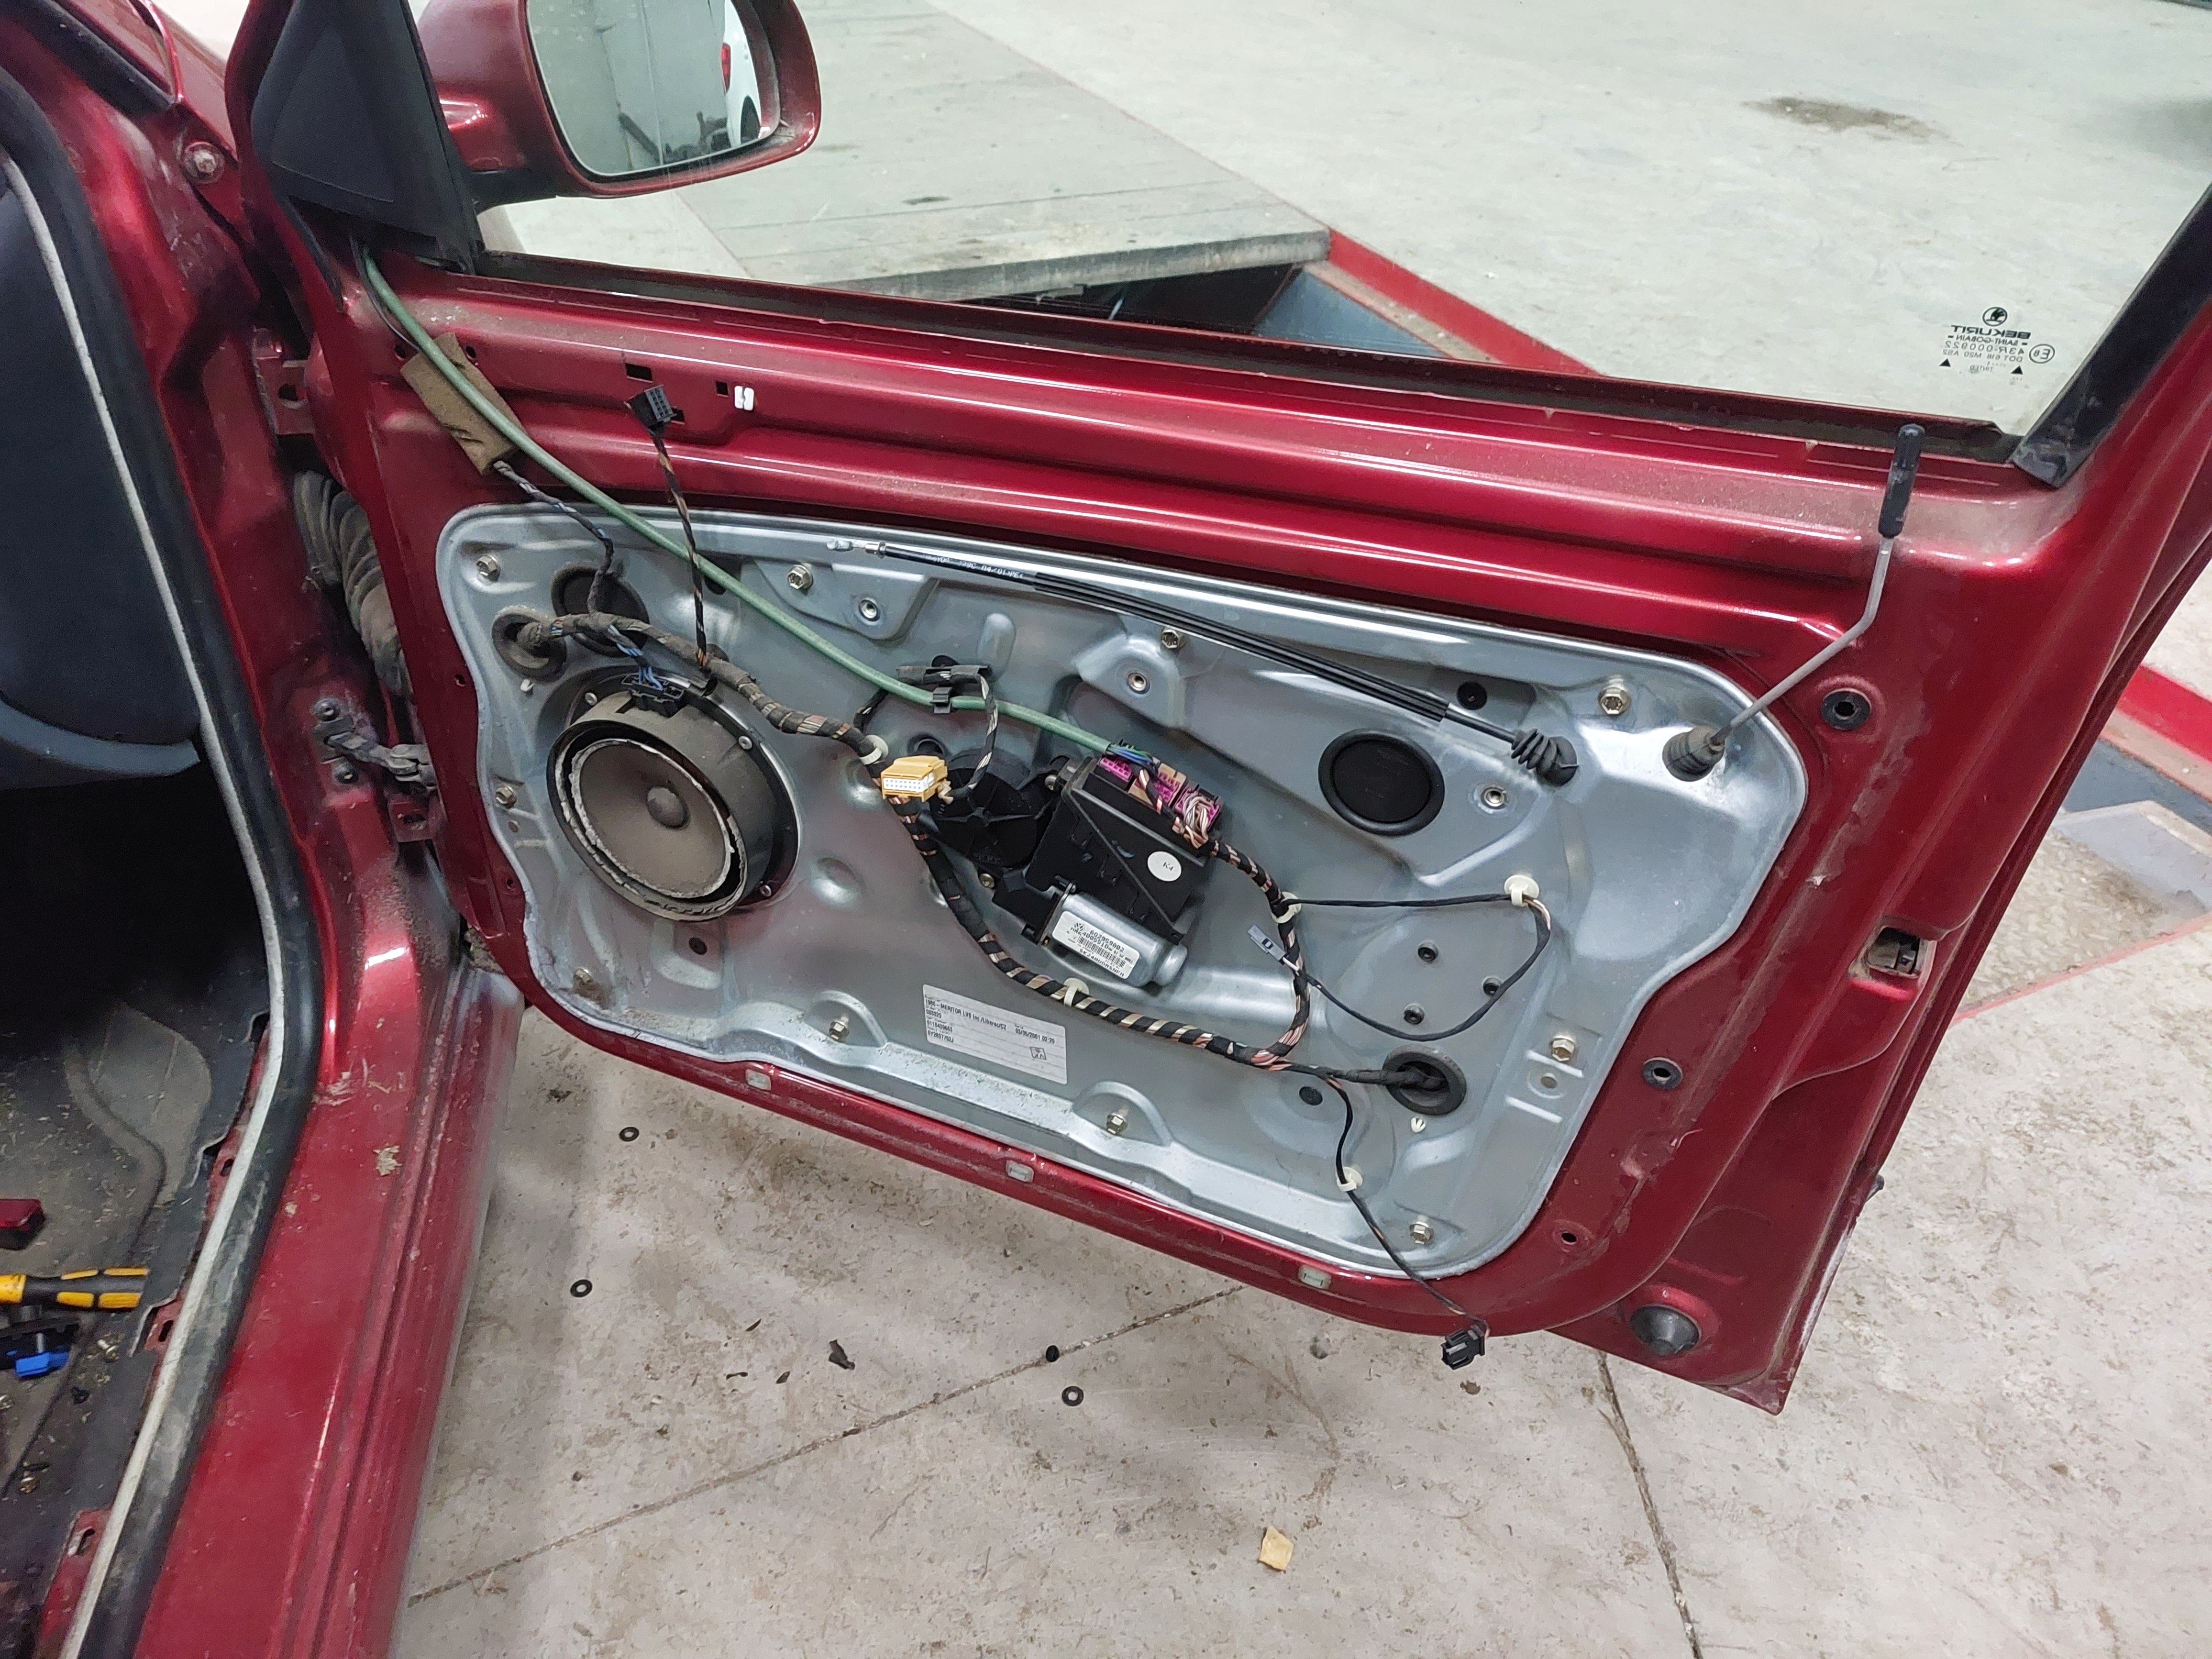
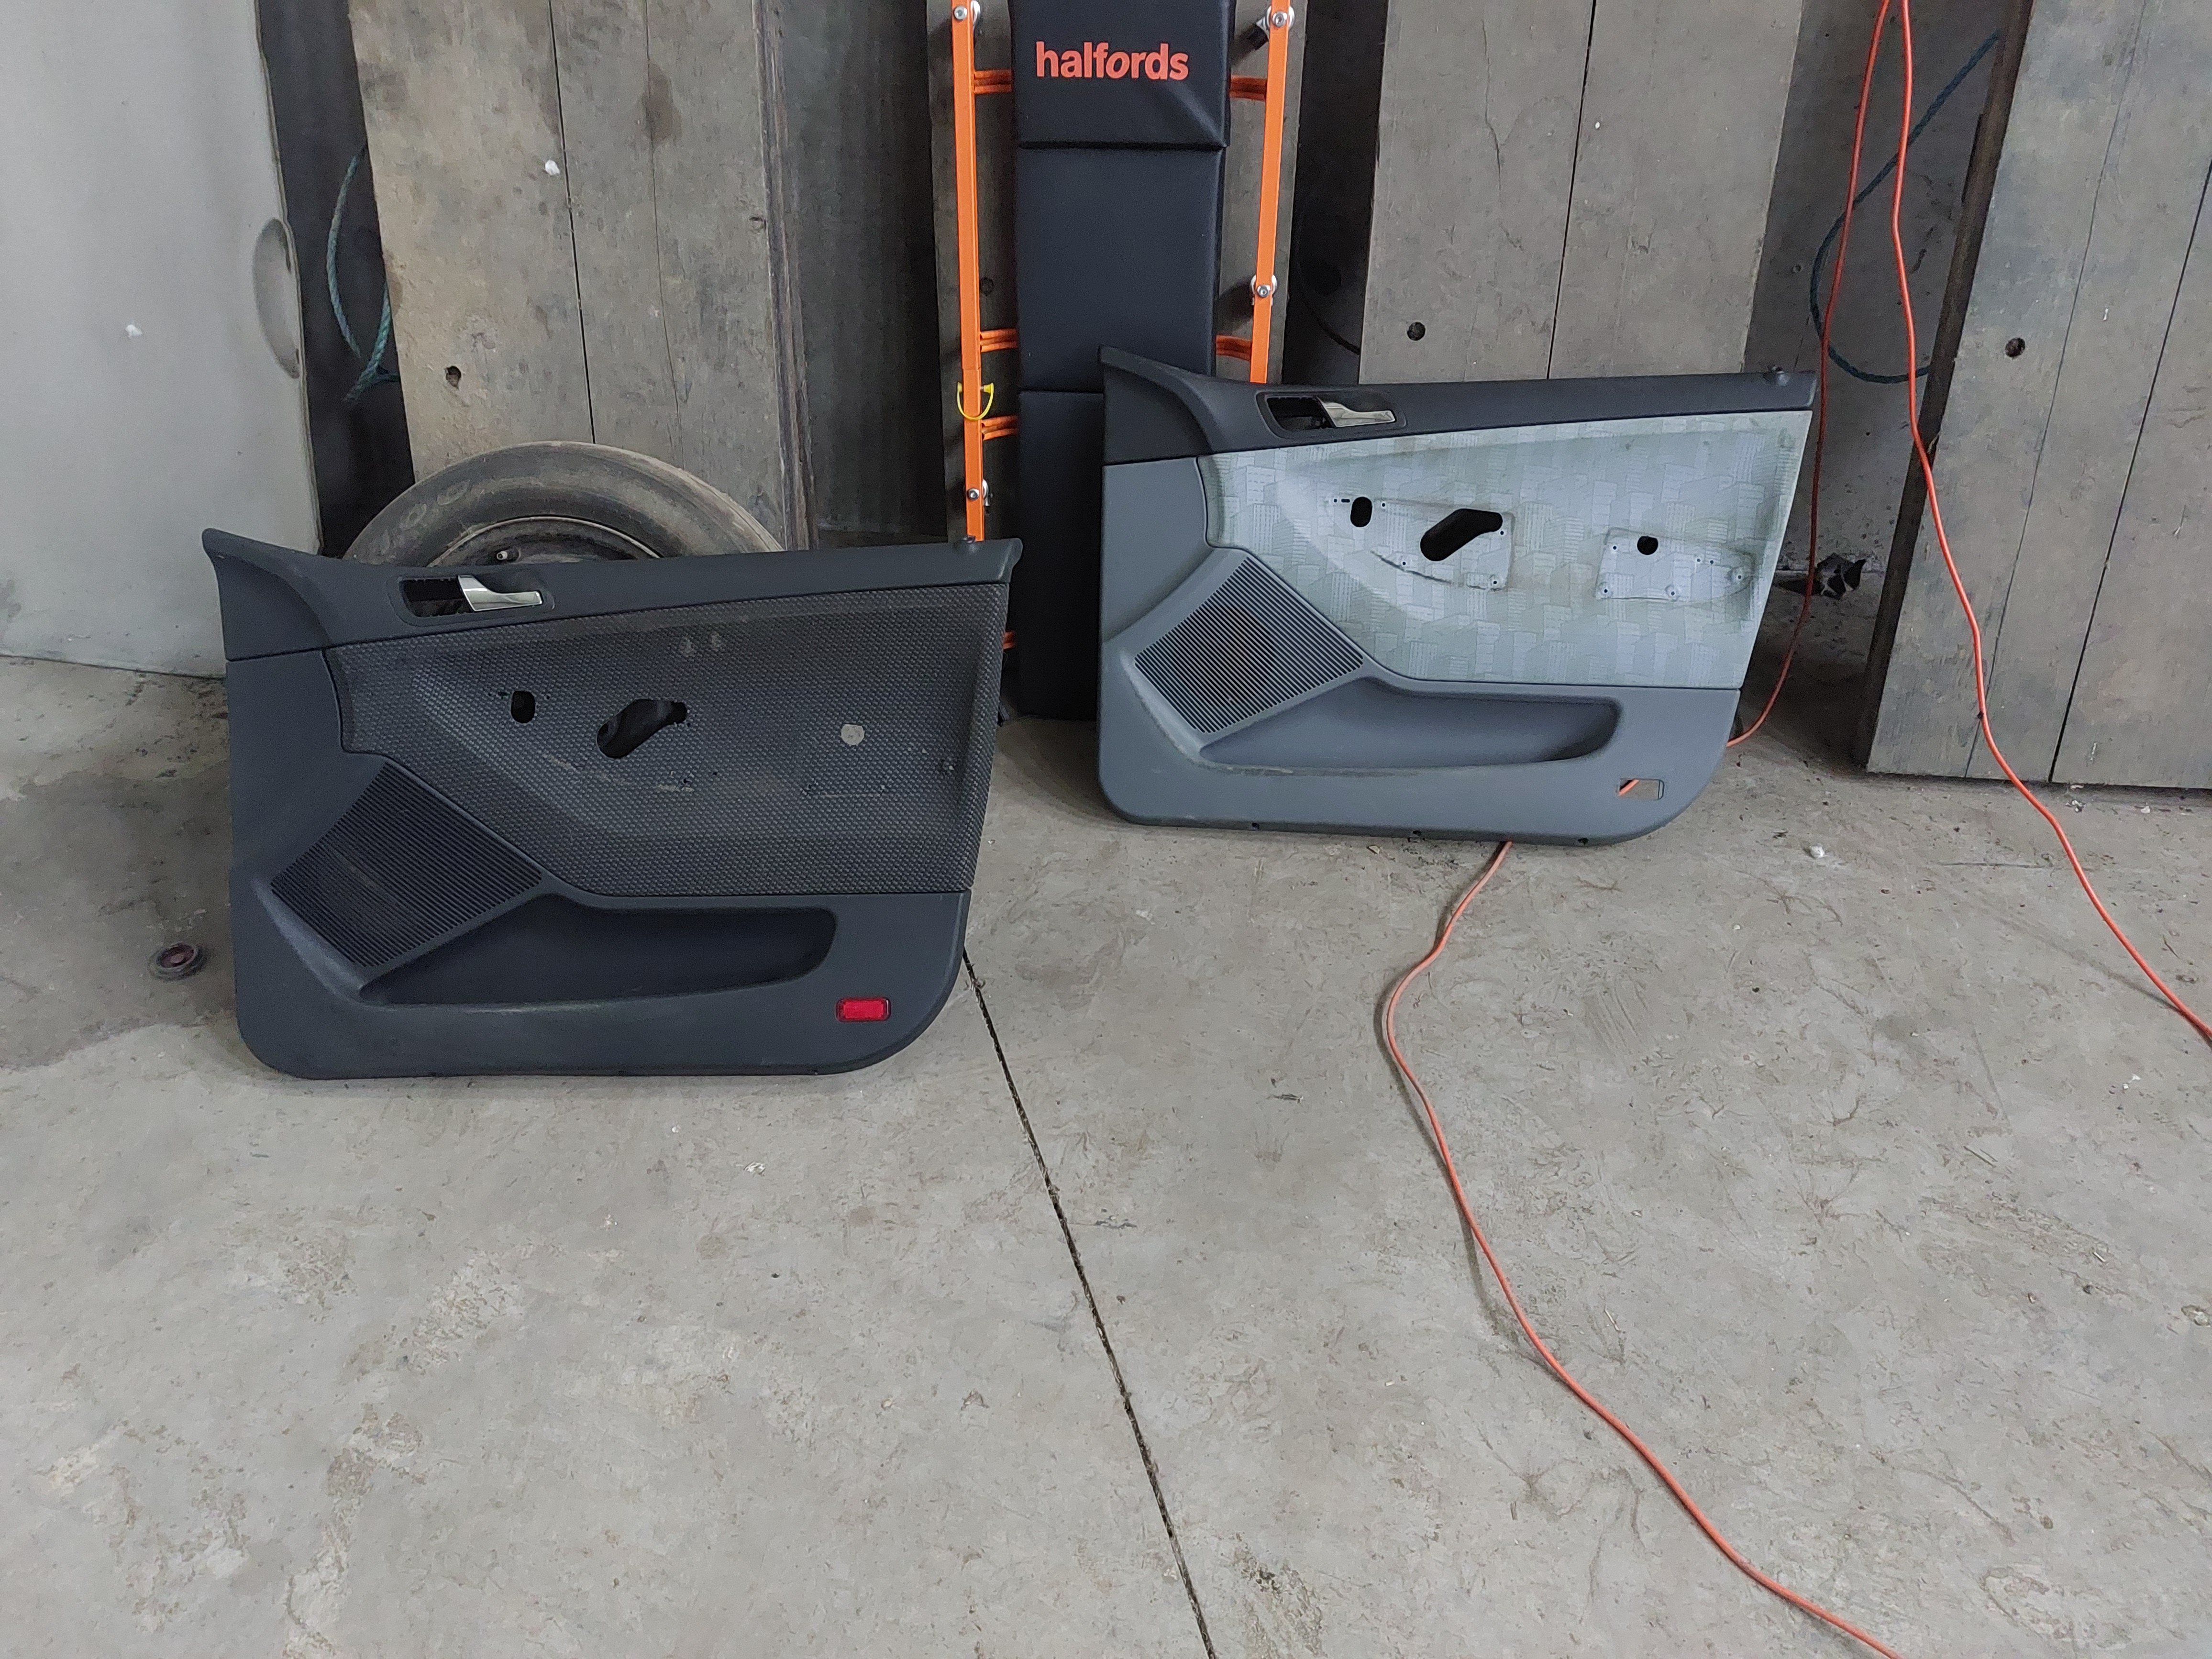
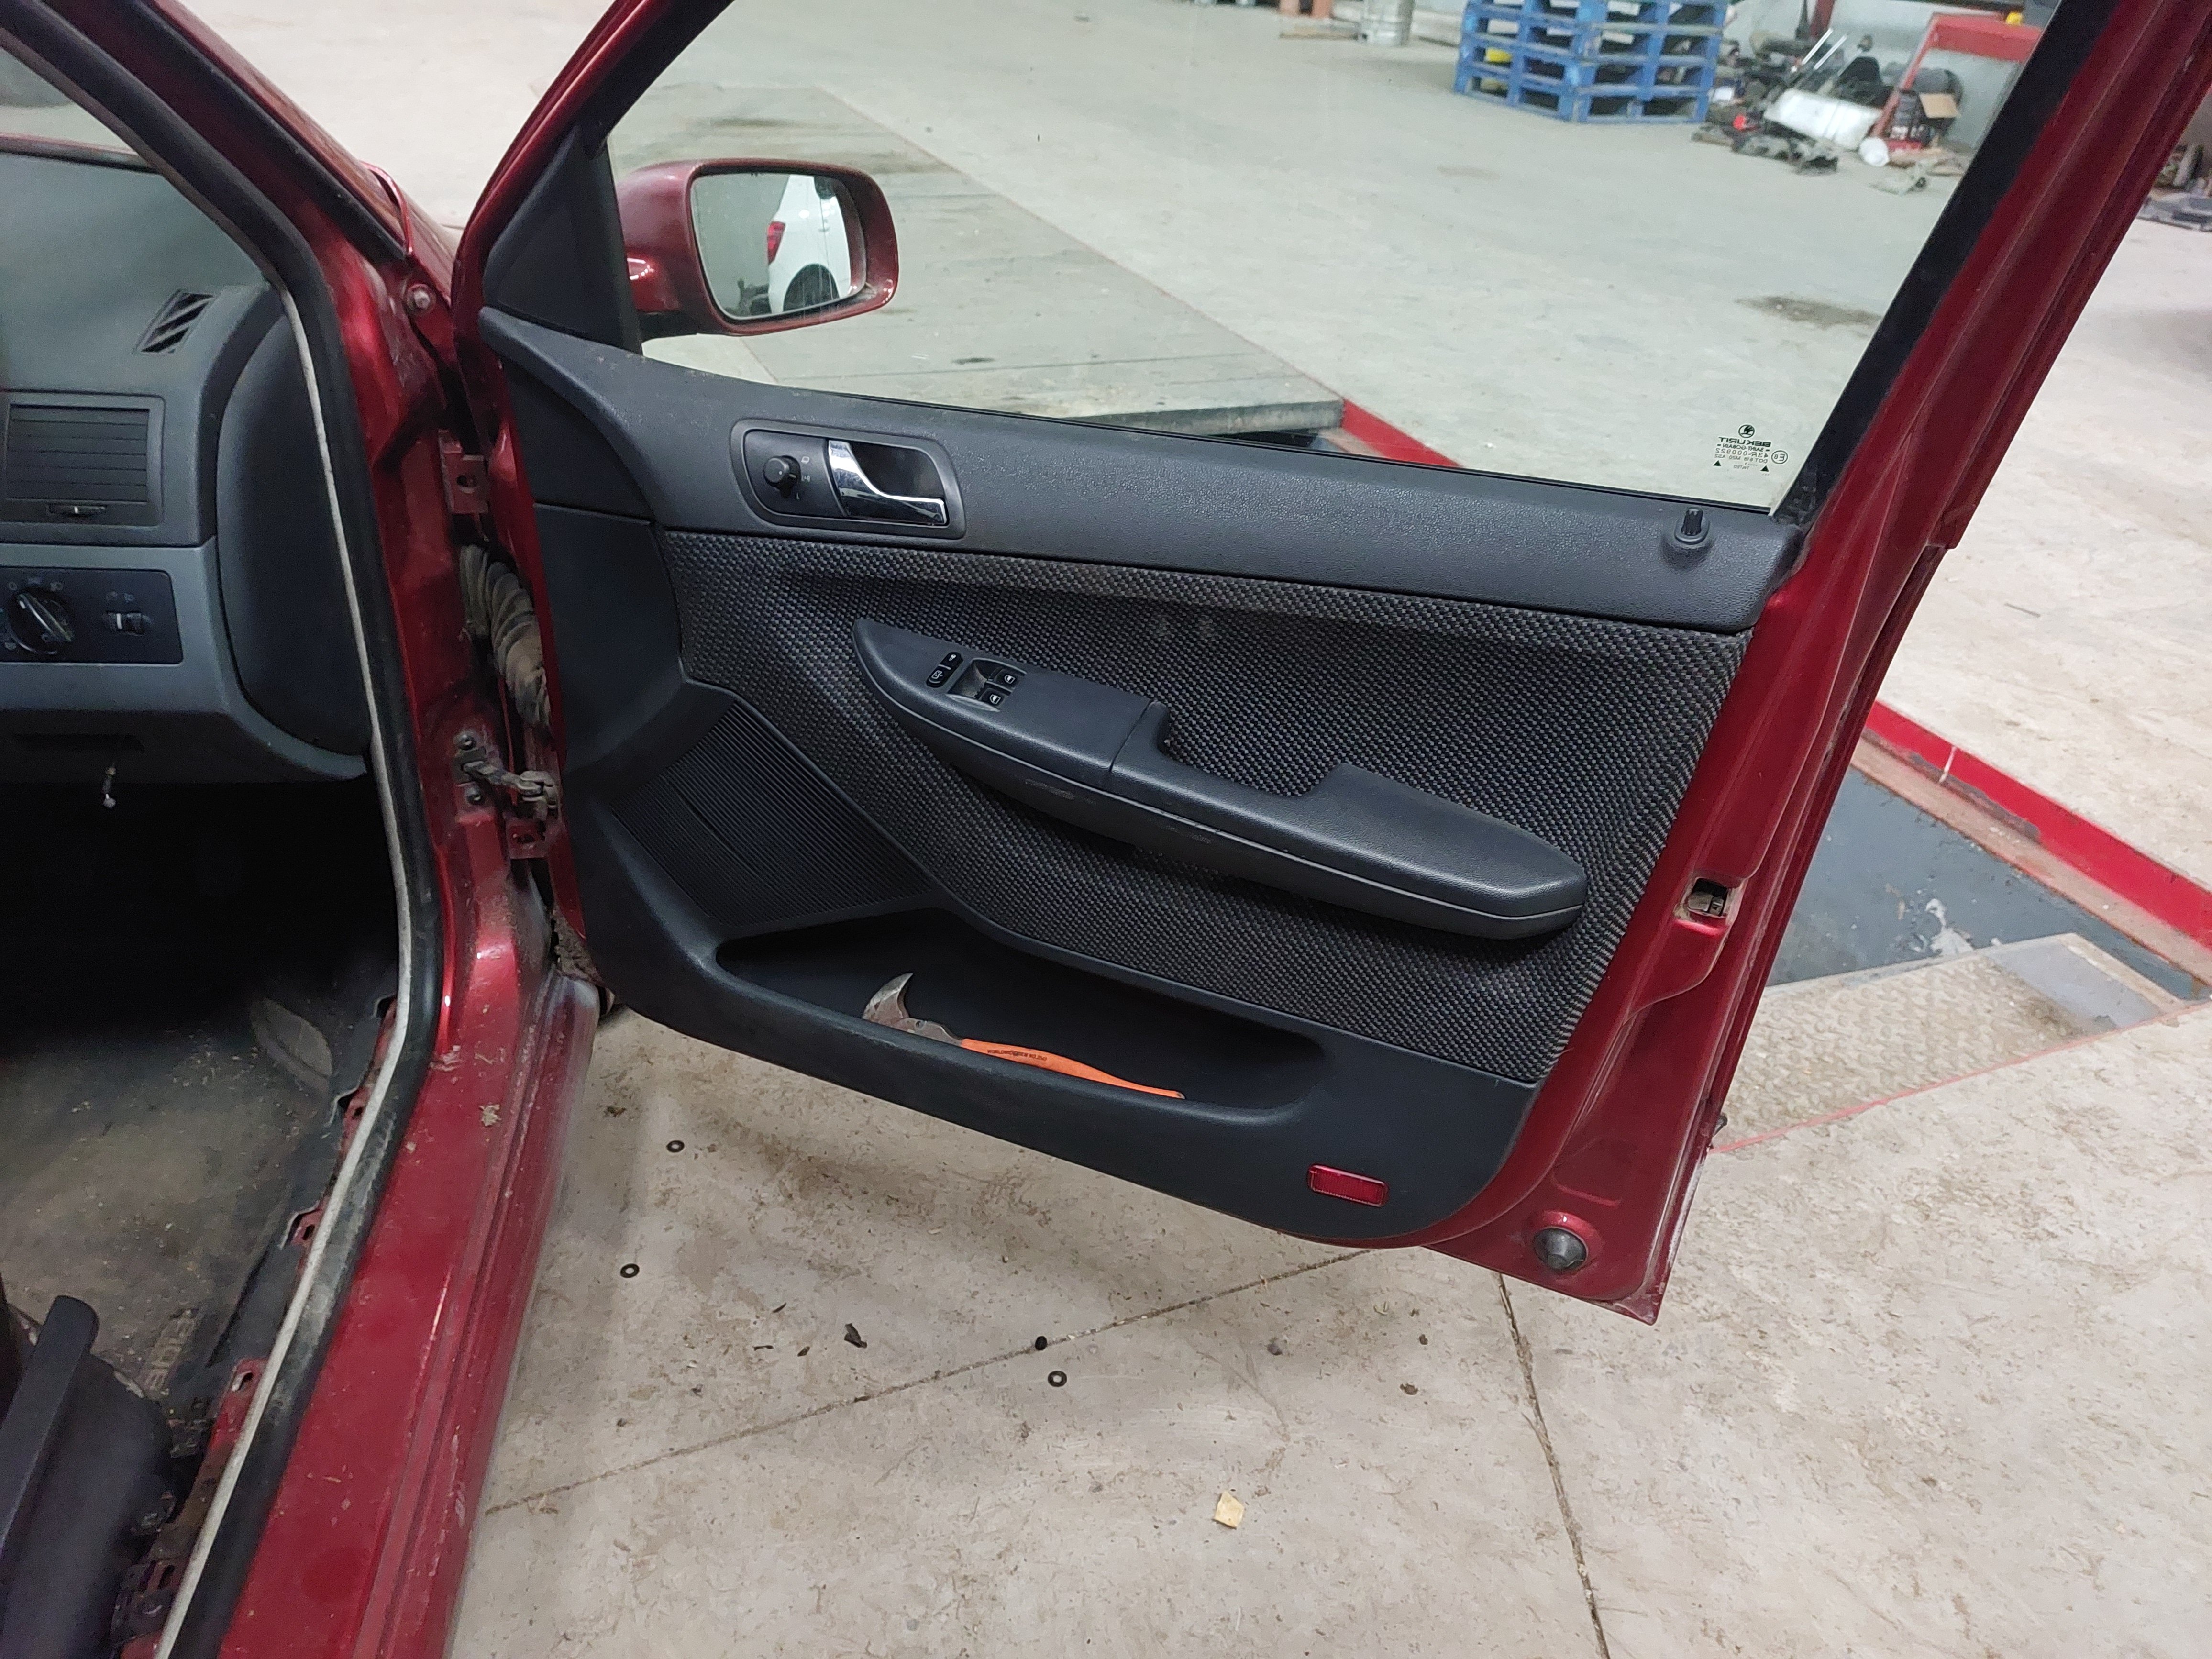
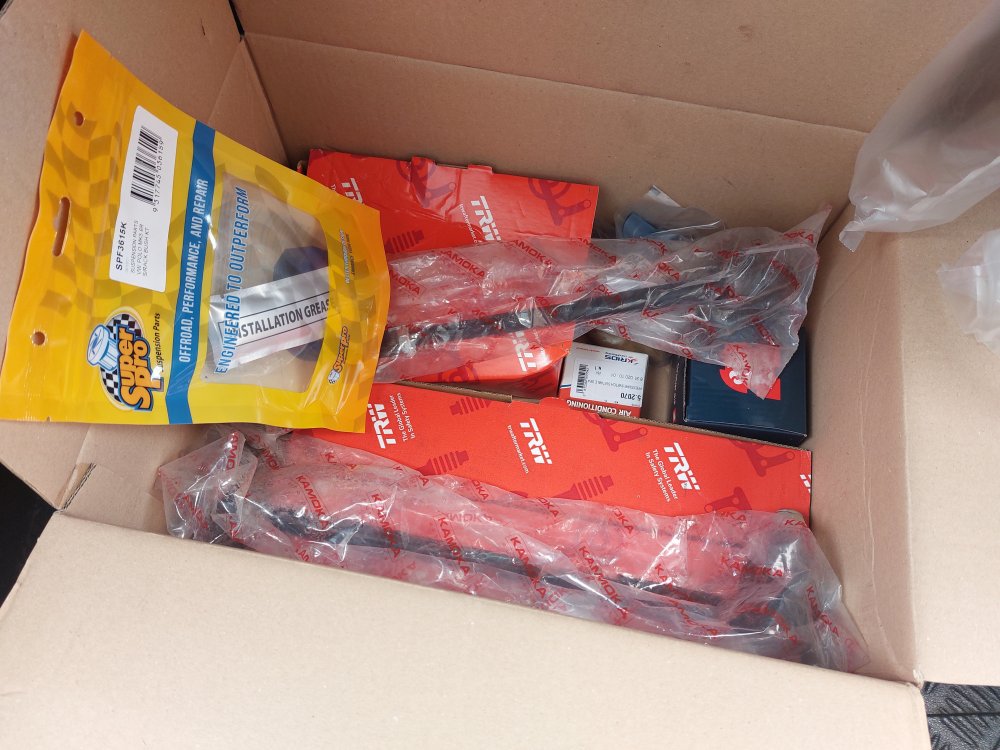
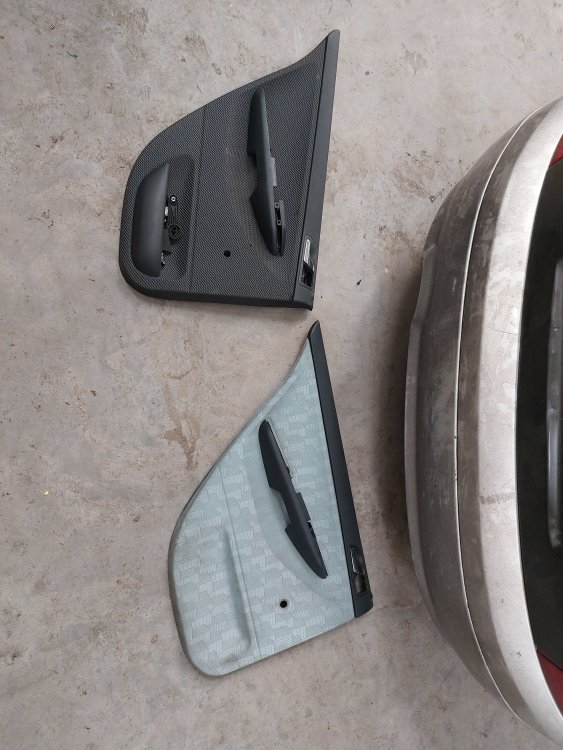
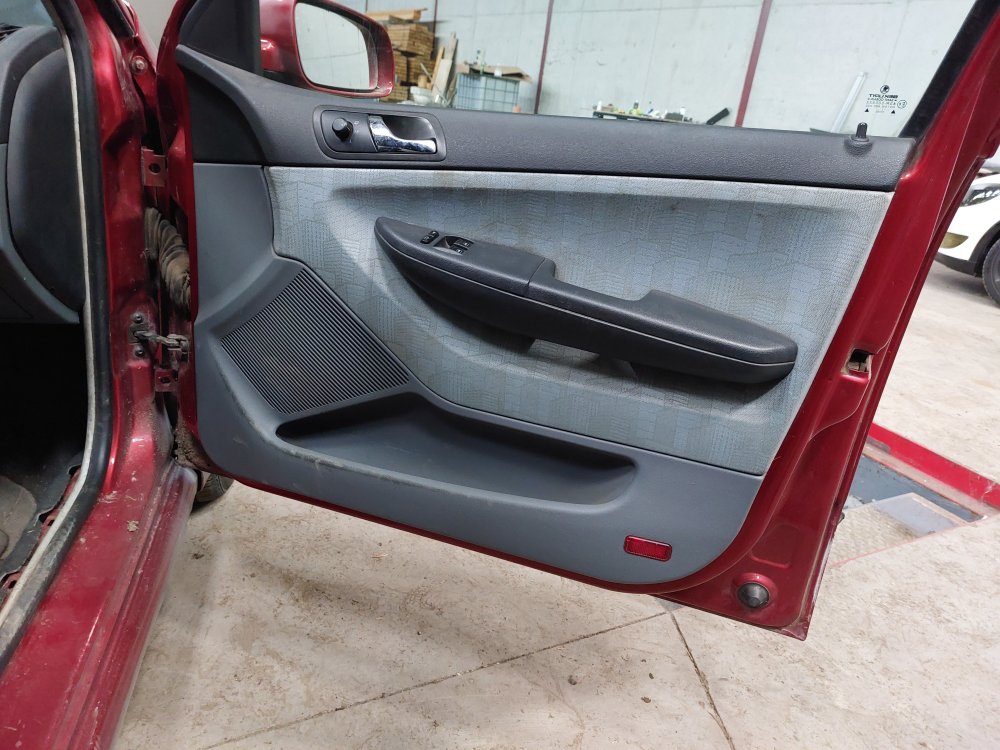
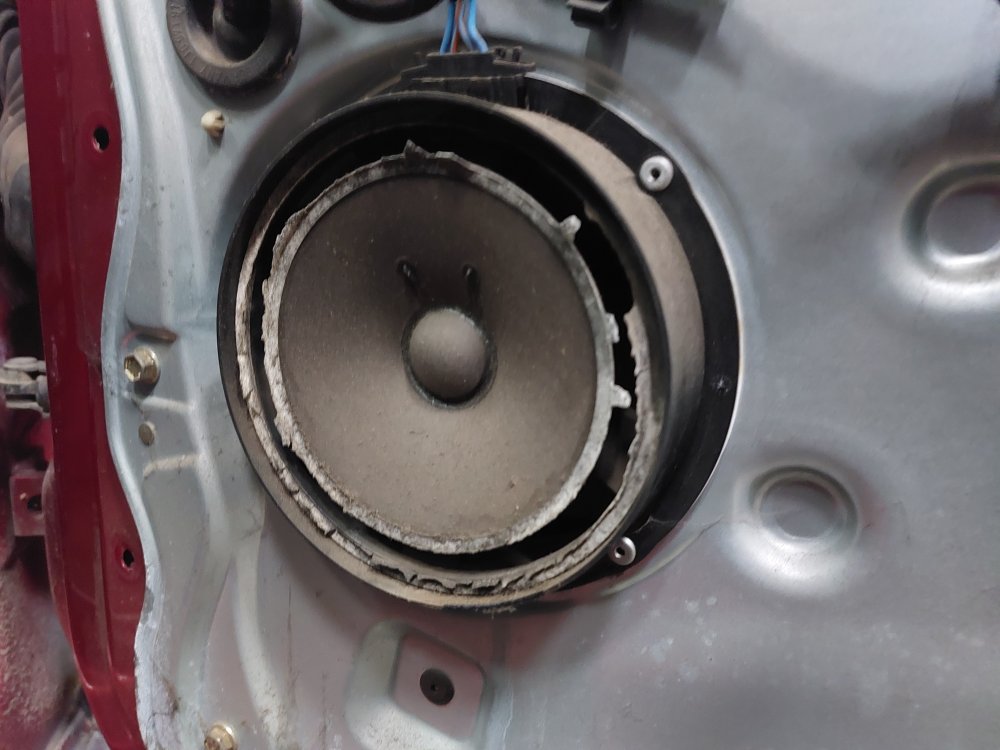
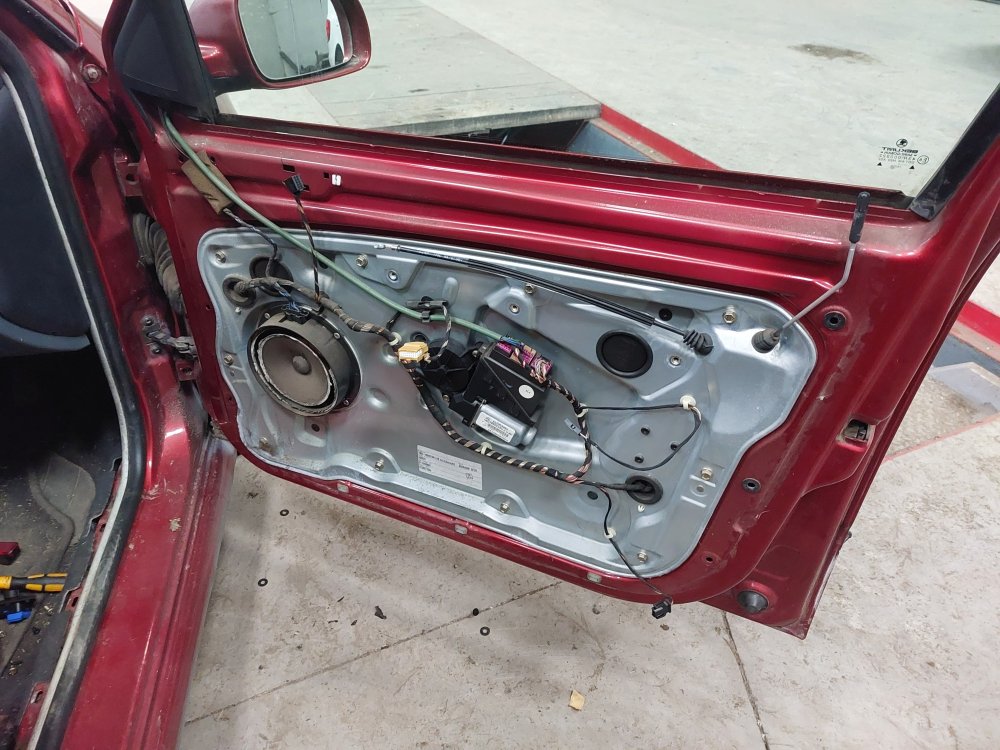
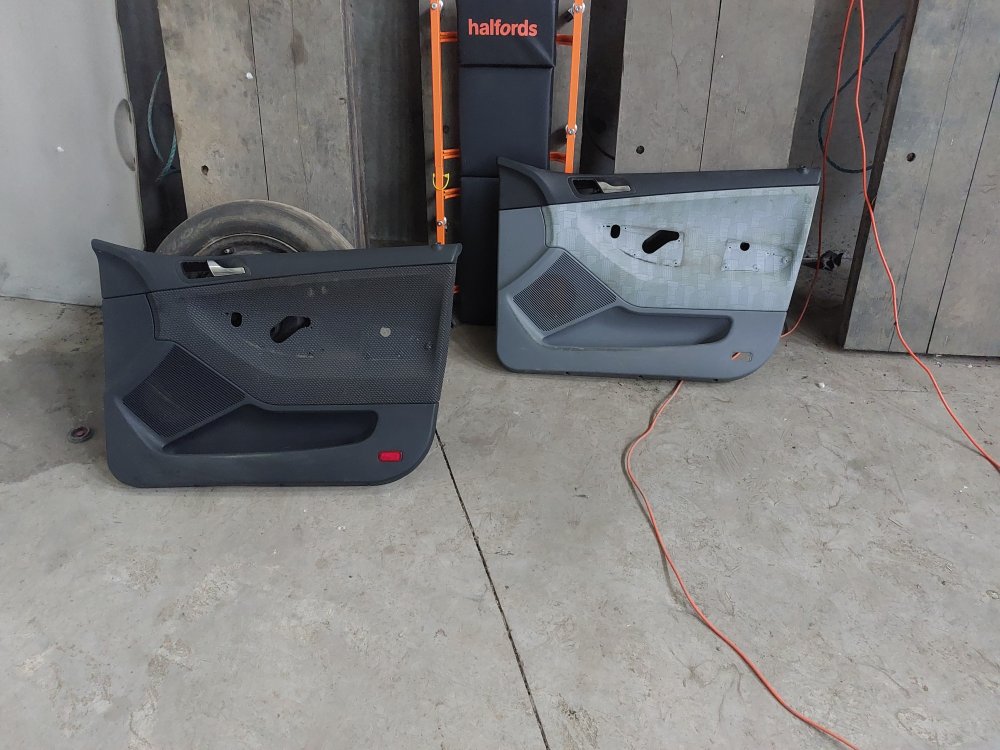
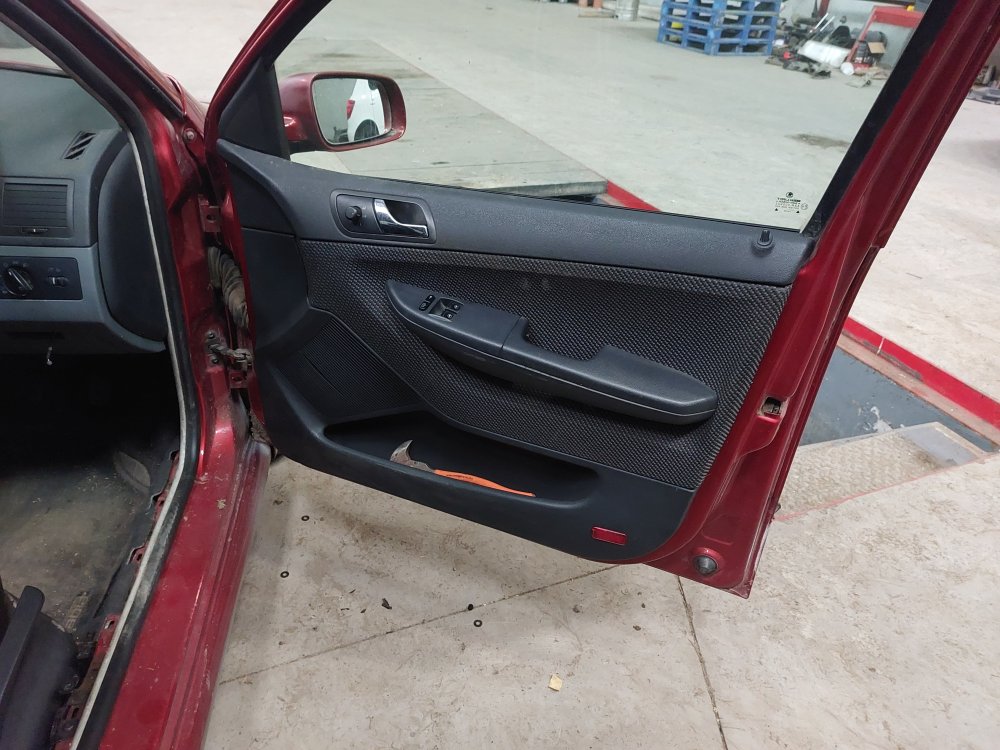
Changed doorcards yesterday: Found out why the audio on this was so bad. Comparing the old ones to the new ones And done Have more parts on order for this, should be here next week.
-
Montes and vRS have an add on spoiler to the hatch, the Maxton lip goes onto that. If you could get a spoiler(glorified lip really) from a Monte/vRS then it'll just be a case of mounting it and attaching it with tigerseal, or any super strong sealant.
-
I got my set in my nearest motorfactors. They've served me well for how long I've had em.
-
Triple square socket is a special socket VW use for things like the seats and other things like seat belts (safety stuff that you wouldn't want someone with a set of spanners messing with) Easy got though, they're basically a Hex bit but with 12 points on it instead of six Splitting the seat, I mean remove the back of the seat from the seat base. You need to remove the plastic trims on the seat and you'll see some 12 point bolts, 2 each side iirc. Remove them and the back of the seat separates from the seat base. Then the seat base more or less unclips from the seat base frame It's a lot easier than it sounds, just not terribly easy to explain.
-
Ah I see I also have a knock in the steering wheel when stopped. If you move the steering wheel left to right quickly you can hear a solid clunk. Been like that since I got it. Whatever it ends up being, I'm interested to see what it is.
-
Funny my MK2 is currently suffering from this exact issue. Not all the time mind, but often enough to make me want to get to the bottom of it. This only developed relatively recently and I have replaced pretty much everything on it since I got it. I think on mine it's a dodgy top mount bearing (mind this is a different style to the Mk1), but if it's not that it's probably a CV joint. Worth noting I suffered a much worse knock around Christmas under similar conditions which turned out to be a failing engine side mount.
-
Basically yeah, seat bottoms come off from the frames fairly easily but you need to split the seats and iirc you need a triple square socket to do that with. Remove foam with cover attached and swap them around. They fit in fine on the other side.
-
Was a pleasure meeting you m8, hope you can make Pub meet.
.thumb.jpg.06721e8c8b33ed0eea16572ff131b291.jpg)