Breezy_Pete
Sponsor
-
Joined
-
Last visited
Everything posted by Breezy_Pete
-
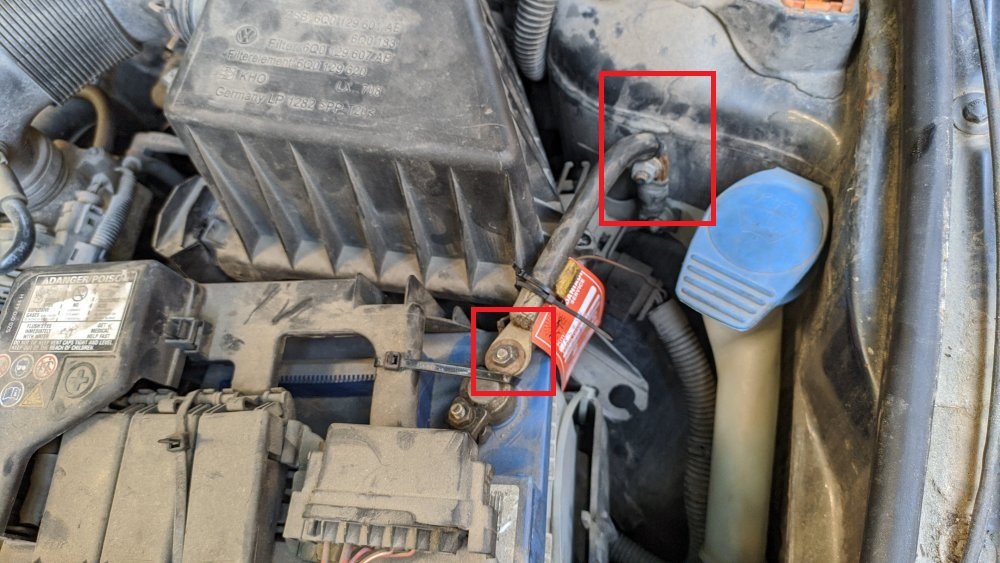
Another thing that looks non-factory is the main battery negative cable. Can you post a better photo of the end that connects to the car body? The battery post end doesn't look 'normal' either. It may be perfectly OK as it is, but worth checking I think.
-
Yes, except they're bolts, not nuts I think.
-
True, that.
-
I didn't read enough, sorry.
-
From what I've read, the majority of things you might do with VCDS don't require a VIN to be put in.
-
-
Found a part number match for your airbox, it's from a diesel SDI engined Fabia: https://skoda.7zap.com/en/cz/fabia/fab/2006-453/1/129-129040/ (item 7) Yours doesn't need any sensor in there, this is the correct page for BMD showing no such sensor https://skoda.7zap.com/en/cz/fabia/fab/2007-453/1/129-129015/ No need to change anything though, I don't think.
-
Hi Sam, welcome to Briskoda. Sounds like a good choice you've made there.
-
Look for part number agreements by navigating to the relevant pages in here: https://skoda.7zap.com/en/cz/fabia/fab/ Slam panel and glass will be in the 'body' group, airboxes in 'engine'.
-
So it can! A few threads of 'unscrewedness' visible in his pic.
-
Haha, had me going! 😂
-
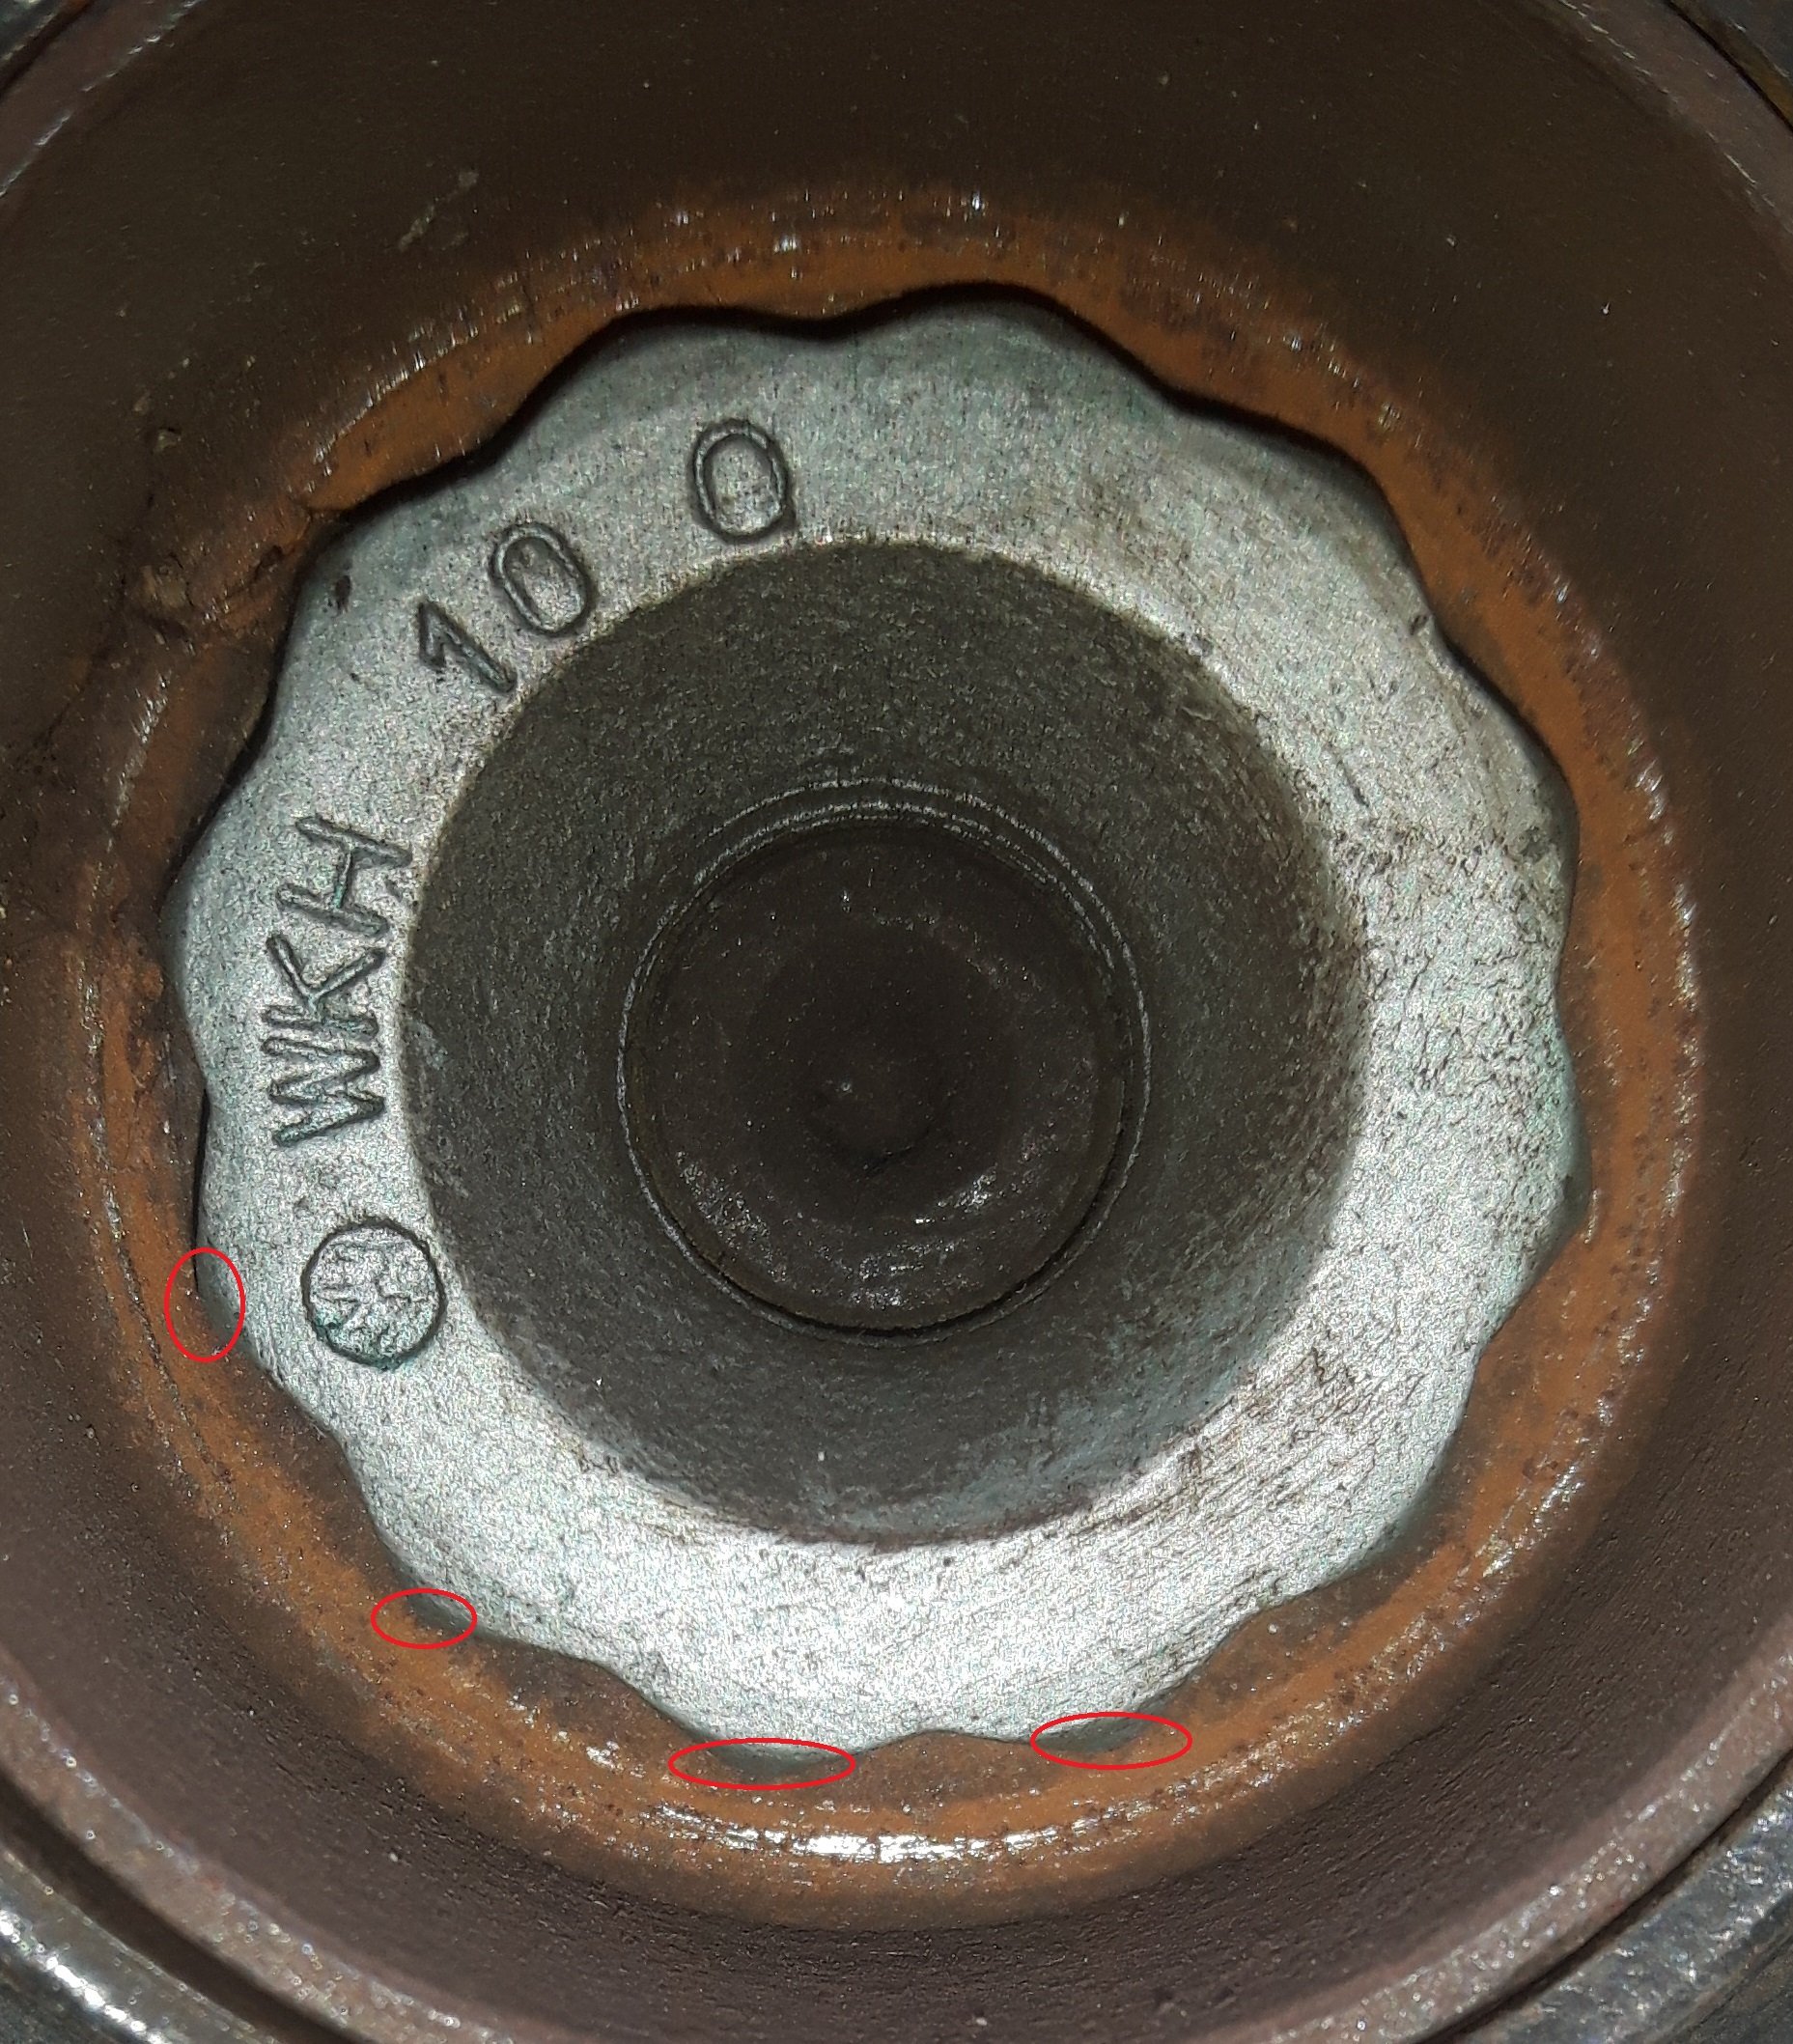
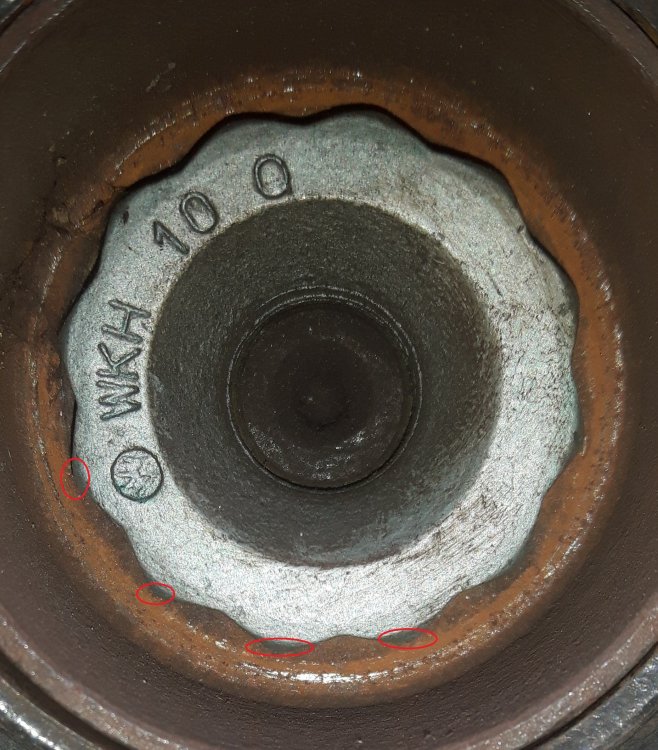
Sorry, no, I meant inside dims between opposite valleys or something, to see if there's 2mm difference. Here's a photo of my right front hubnut enhanced a bit with red rings around some of the darker pointy bits. May just be a photographic thing, but your pointy bits seem less obvious?
-
I'll pop out and photograph one of mine, but I've only ever used a bog standard 36mm 12-point.
-
It's hard to see from your photo, but is there any chance that nut has been rounded off? Comparing the image here, the points look pointier? https://www.ebay.co.uk/itm/Genuine-VW-Audi-Wheel-Hub-Axle-Nut-6Q0407396B-Polo-A1-A2-Skoda-Fabia-Seat-Ibiza/183230153311?epid=28019511407&hash=item2aa95e425f:g:NBIAAOSwQwxbqEnK Oh, and do some comparative measurements between the 34 and 36mm sockets to see if there's any chance the 36 has been marked up wrong.
-
What's the OD of the 36mm socket? Wondering if it isn't getting in far enough to grab the nut? Somewhere I've got a measurement for the OD of the one I use, I'll try to find it. Edit: Looks like I measured up back in May as follows:
-
I think the long-anticipated exhaust valve trouble may be rearing its ugly head on the missus's Fabia. AZQ-code, 1.2/12-valve engine at 174k miles. I bought a spare head about 7 years ago, after learning about issues with these engines: I think now might be the time to bring it into service. The engine has been sounding steadily louder/exhaustier over the last couple of years, despite many attempts to remove all possible leaks in the external exhaust system. Just recently it has got noticeably less smooth at idle, and driving it briefly yesterday morning, pulling away forward or backward at low revs feels like the engine's trying to jump out of the bay. 🙄 I suspect the idle unevenness is imbalance between cylinders caused by exhaust valve leakage; and this extreme jerkiness at low rpm is full-on, total misfiring of the affected cylinder(s). Anyone agree, or got alternative explanations? It still seems to run fine above idle, returning slightly above long-term average mpg, Hoping it will get home from its current location today, a reasonable distance. It's done same journey the last 3 weekends so I'm hopeful. Got a solid yellow emissions warning light halfway home last weekend with an upstream oxygen sensor code. Cleared and didn't re-appear during the week. Any way to inspect the exhaust valves nicely with head still on? I've borrowed a little USB camera that'll go through spark plug holes OK, but not sure I can get it to look upwards very easily, needs a teeny mirror that will have to go in ahead of it. What about with exhaust manicat off? Can't remember how much might be visible through the exhaust ports? I don't have leakdown test gear, whatever that consists of. Compression tested relatively recently with good numbers IIRC.
-
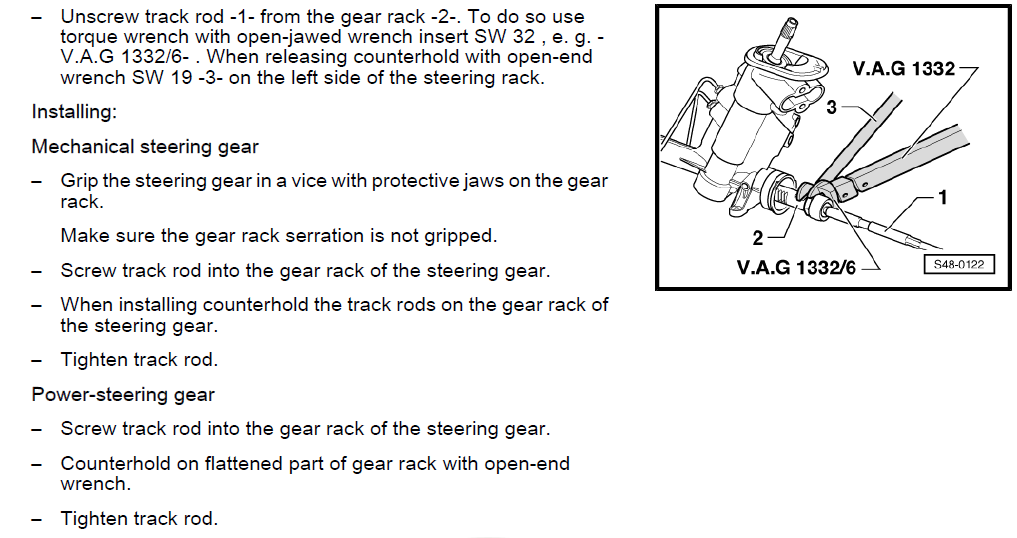
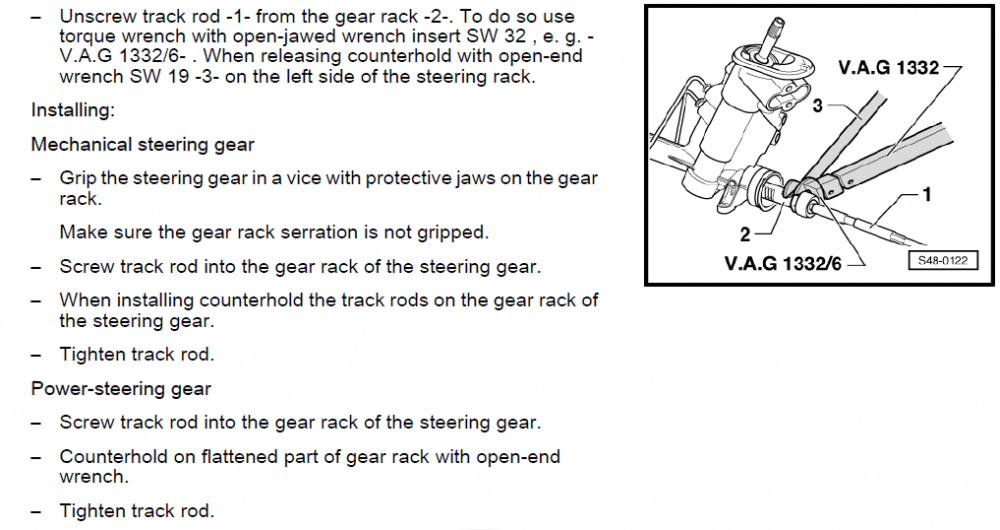
Hi folks, I'm faced with fitting a new inner tie-rod to the missus's mk1 Fabia imminently and was looking for guidance about one particular aspect. The 'book' instructions insist on full removal of the rack from the car which seems extreme (won't be doing that); and then, with the thing out of the car they say that the main shaft must be counterheld against the loosening/re-tightening torques using a spanner on some (19mm AF?) flats which is present only on the left hand end: It's the other end I'm replacing so I'm a little reluctant to bugger about with this as it means pulling the boot back on the side I'm not doing, and possibly needing another pair of hands to hang off a spanner somewhere in the deep dark recesses of the bay. What's the level of risk of damage, does anyone reckon? Preferably people who've done the job without counterholding, and driven many happy miles thereafter. Cheers EDIT: just thinking...the diagram shows a LHD rack, wonder if the flats are on the other side for a RHD one, i.e. a mirror image and the side I am actually doing? anyone know?
-
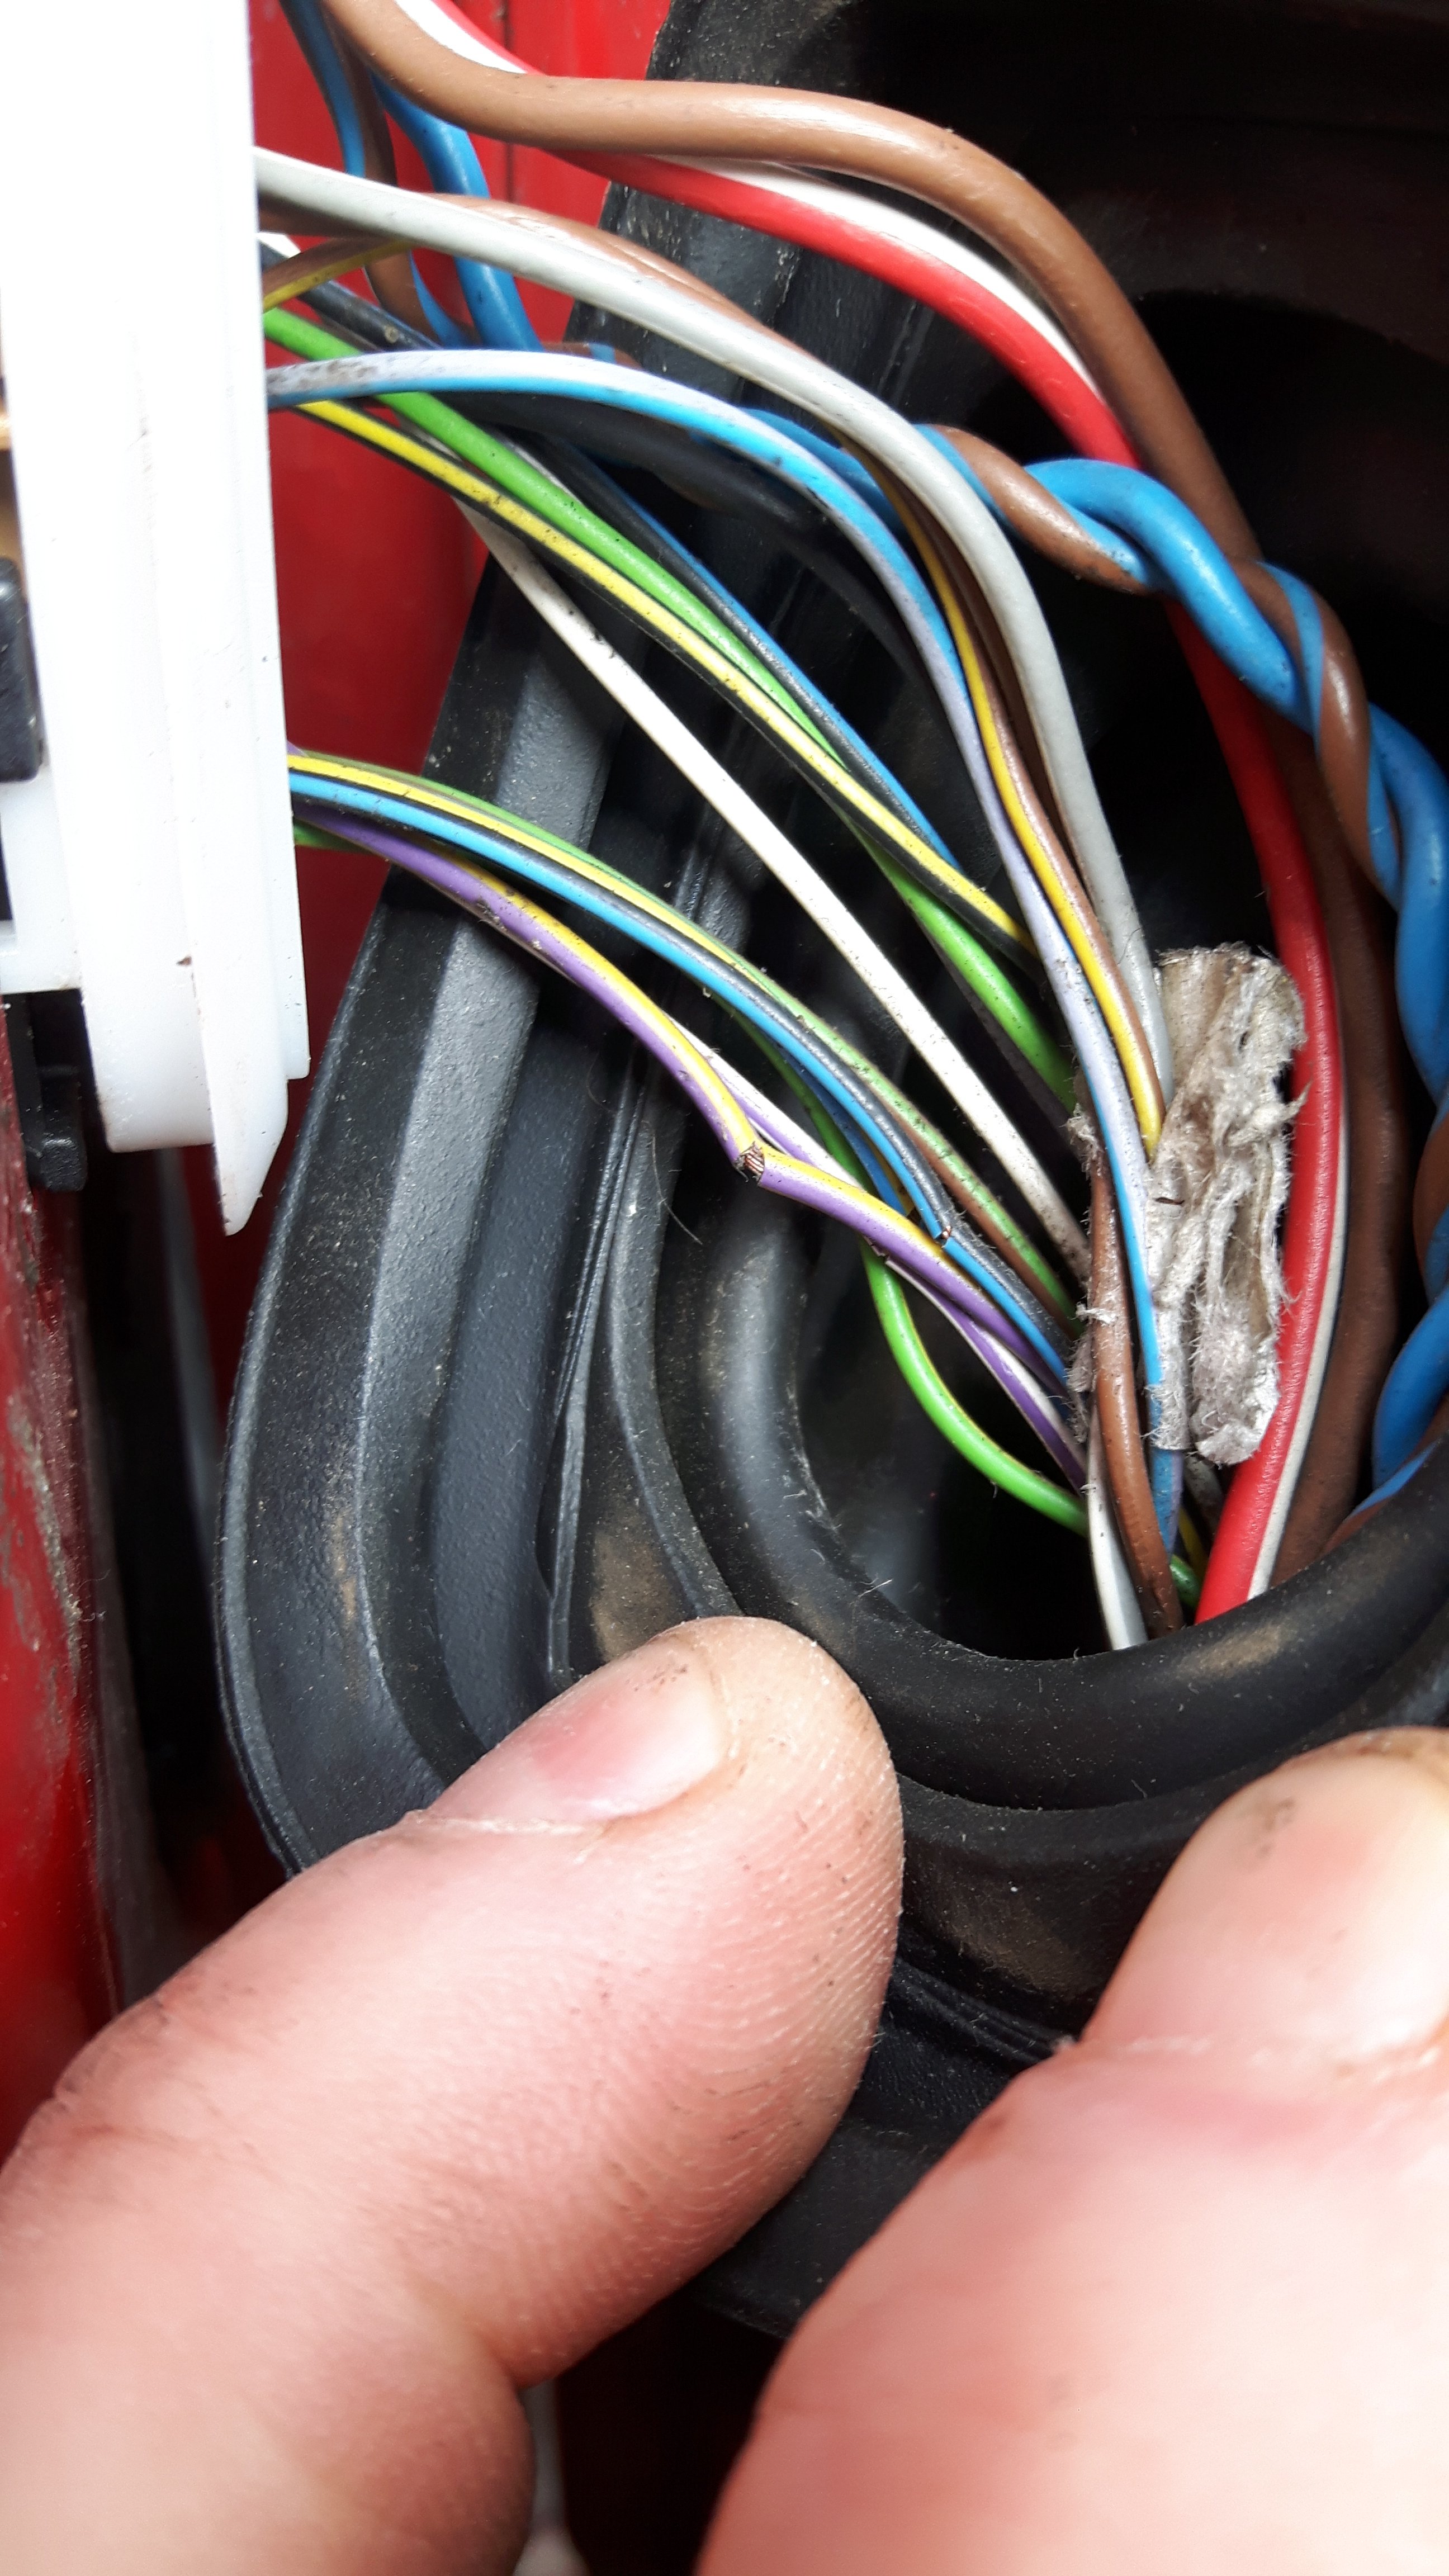
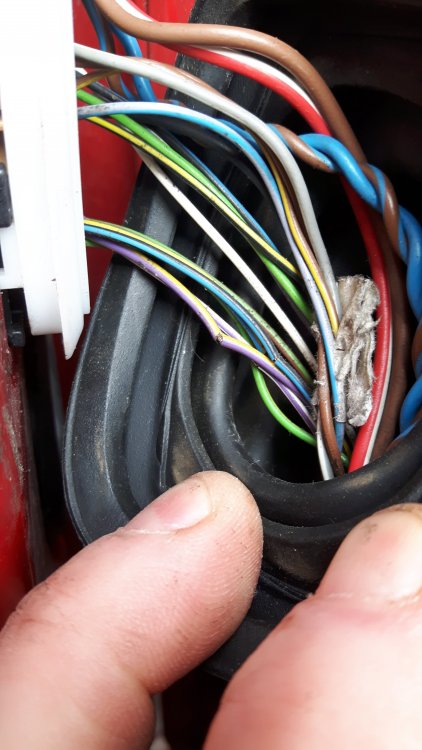
Had reports from the good lady that the doors have been locking themselves whilst driving (not programmed to do so), and have personally experienced occasions when the tailgate hasn't responded to the release button above the numberplate. Had a look in the driver's side bellows this morning and think I've found the problem(s); several cracked wires:
-
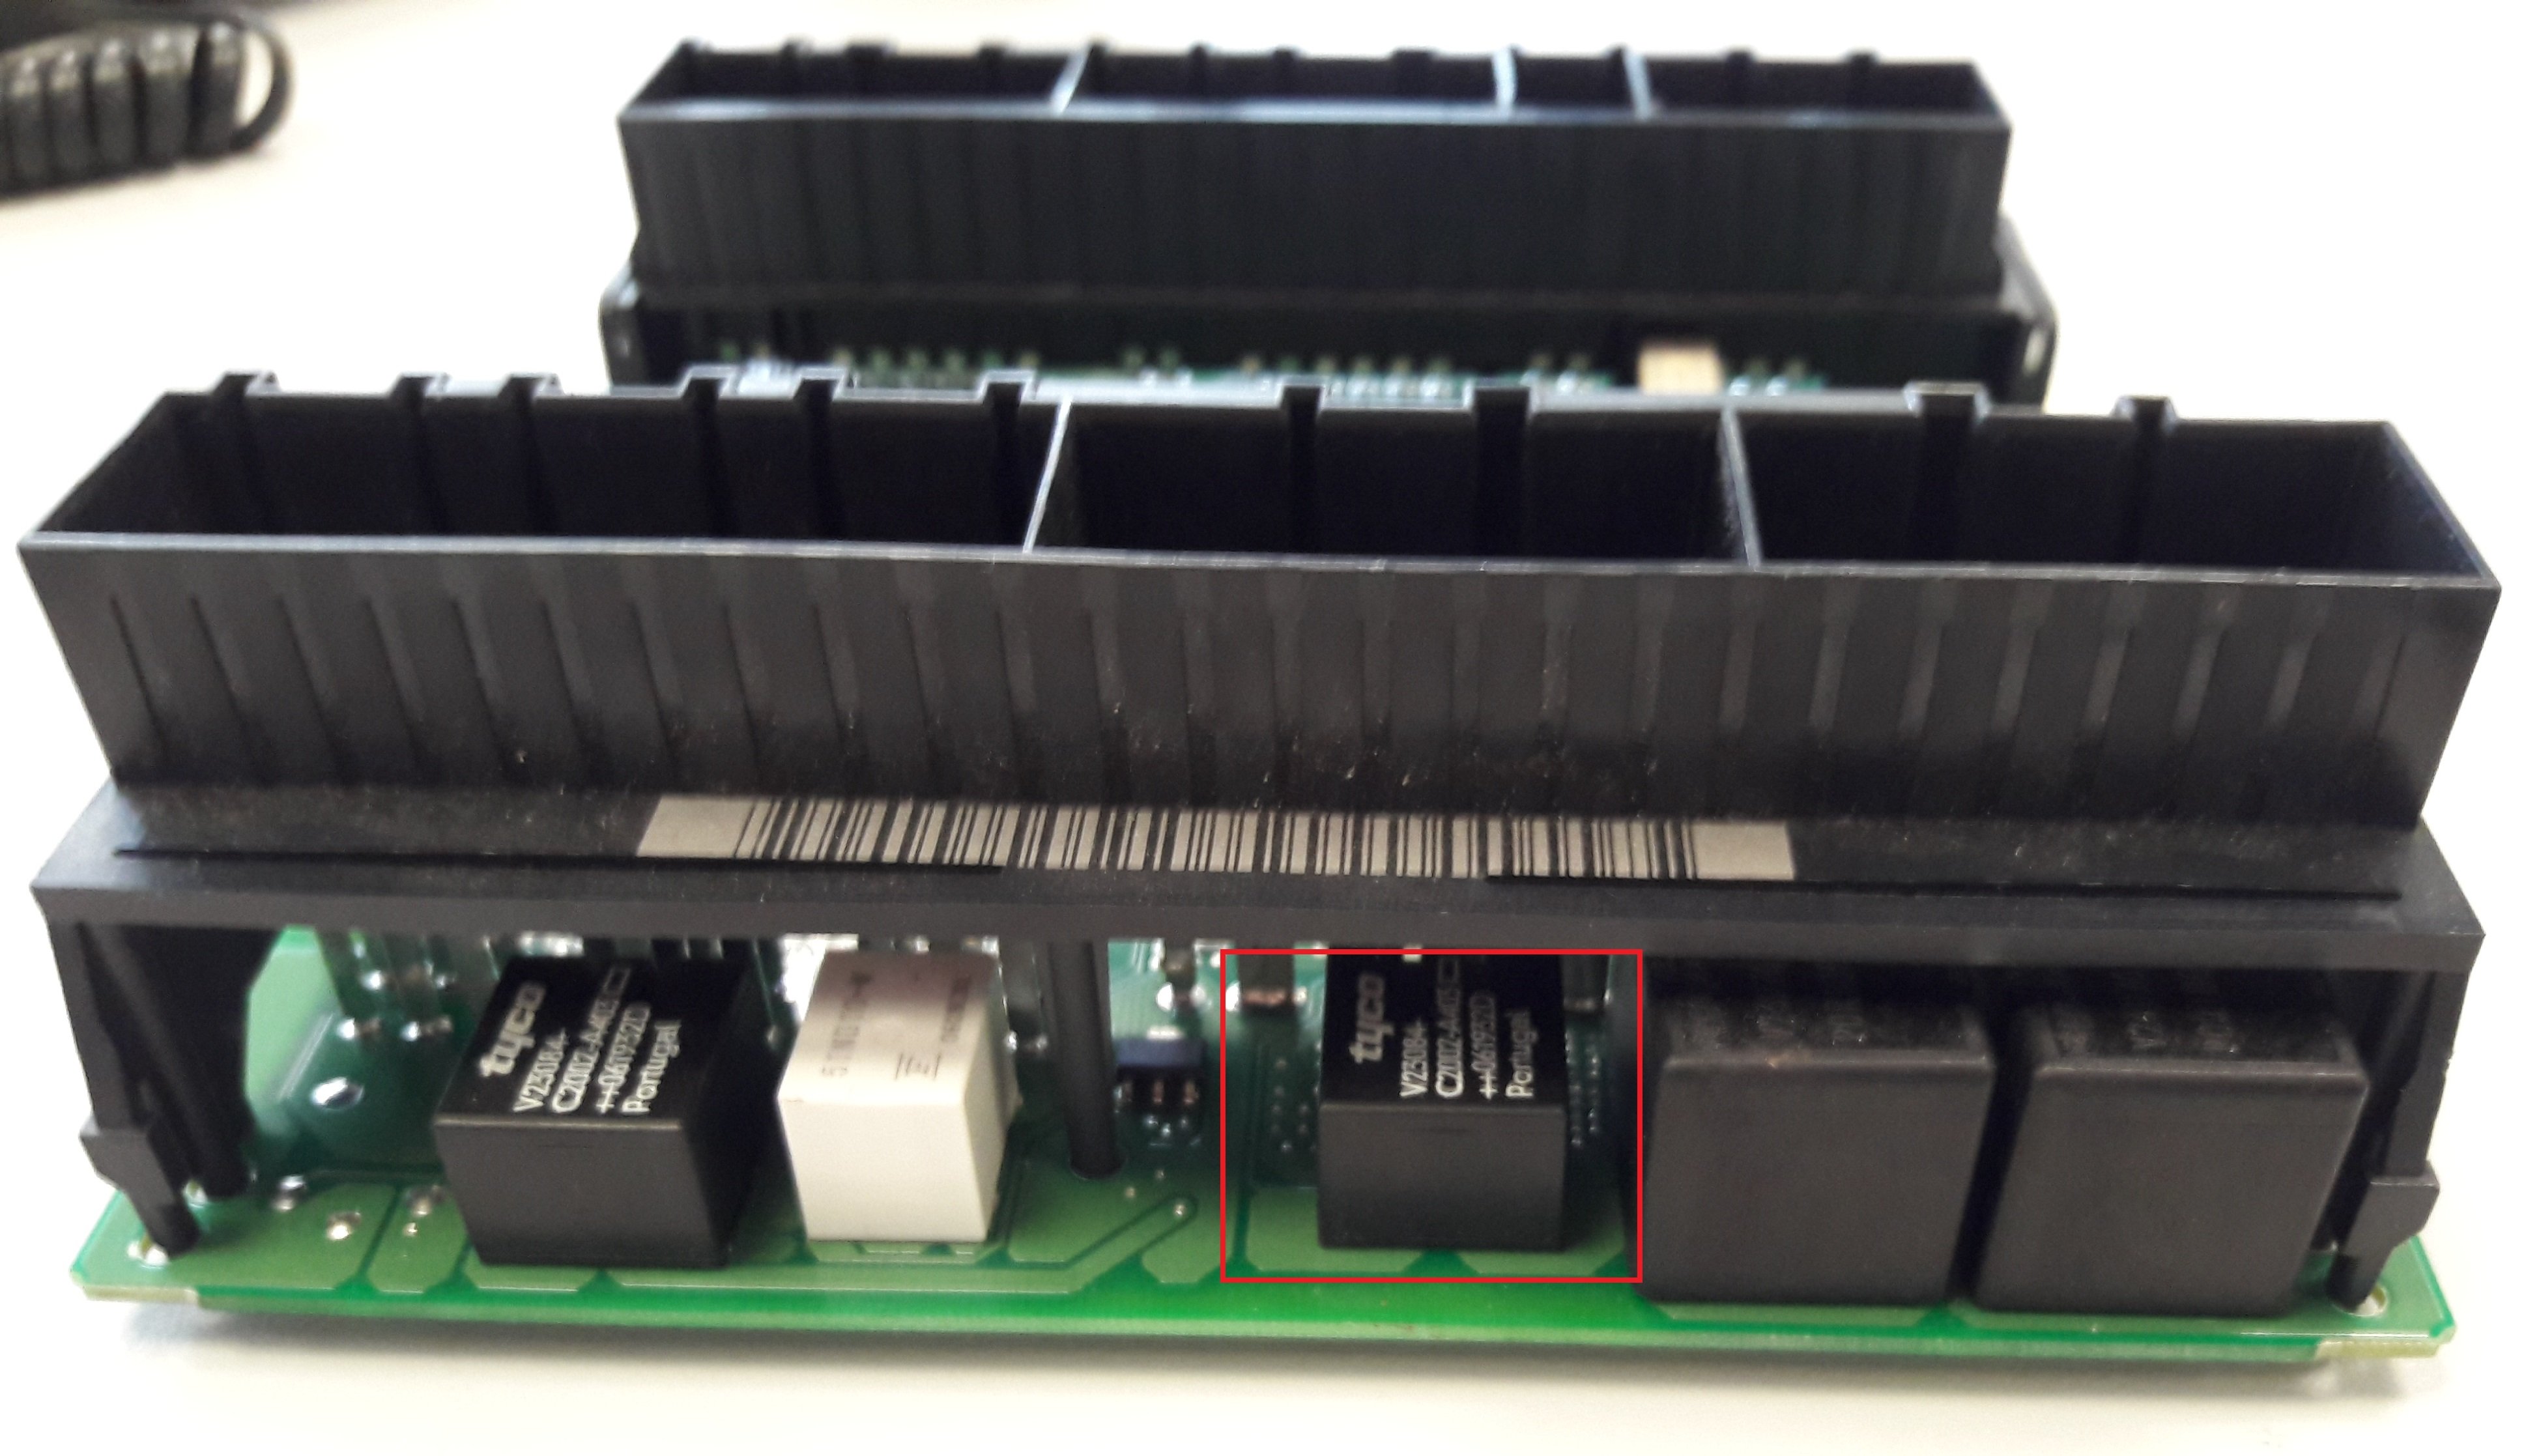
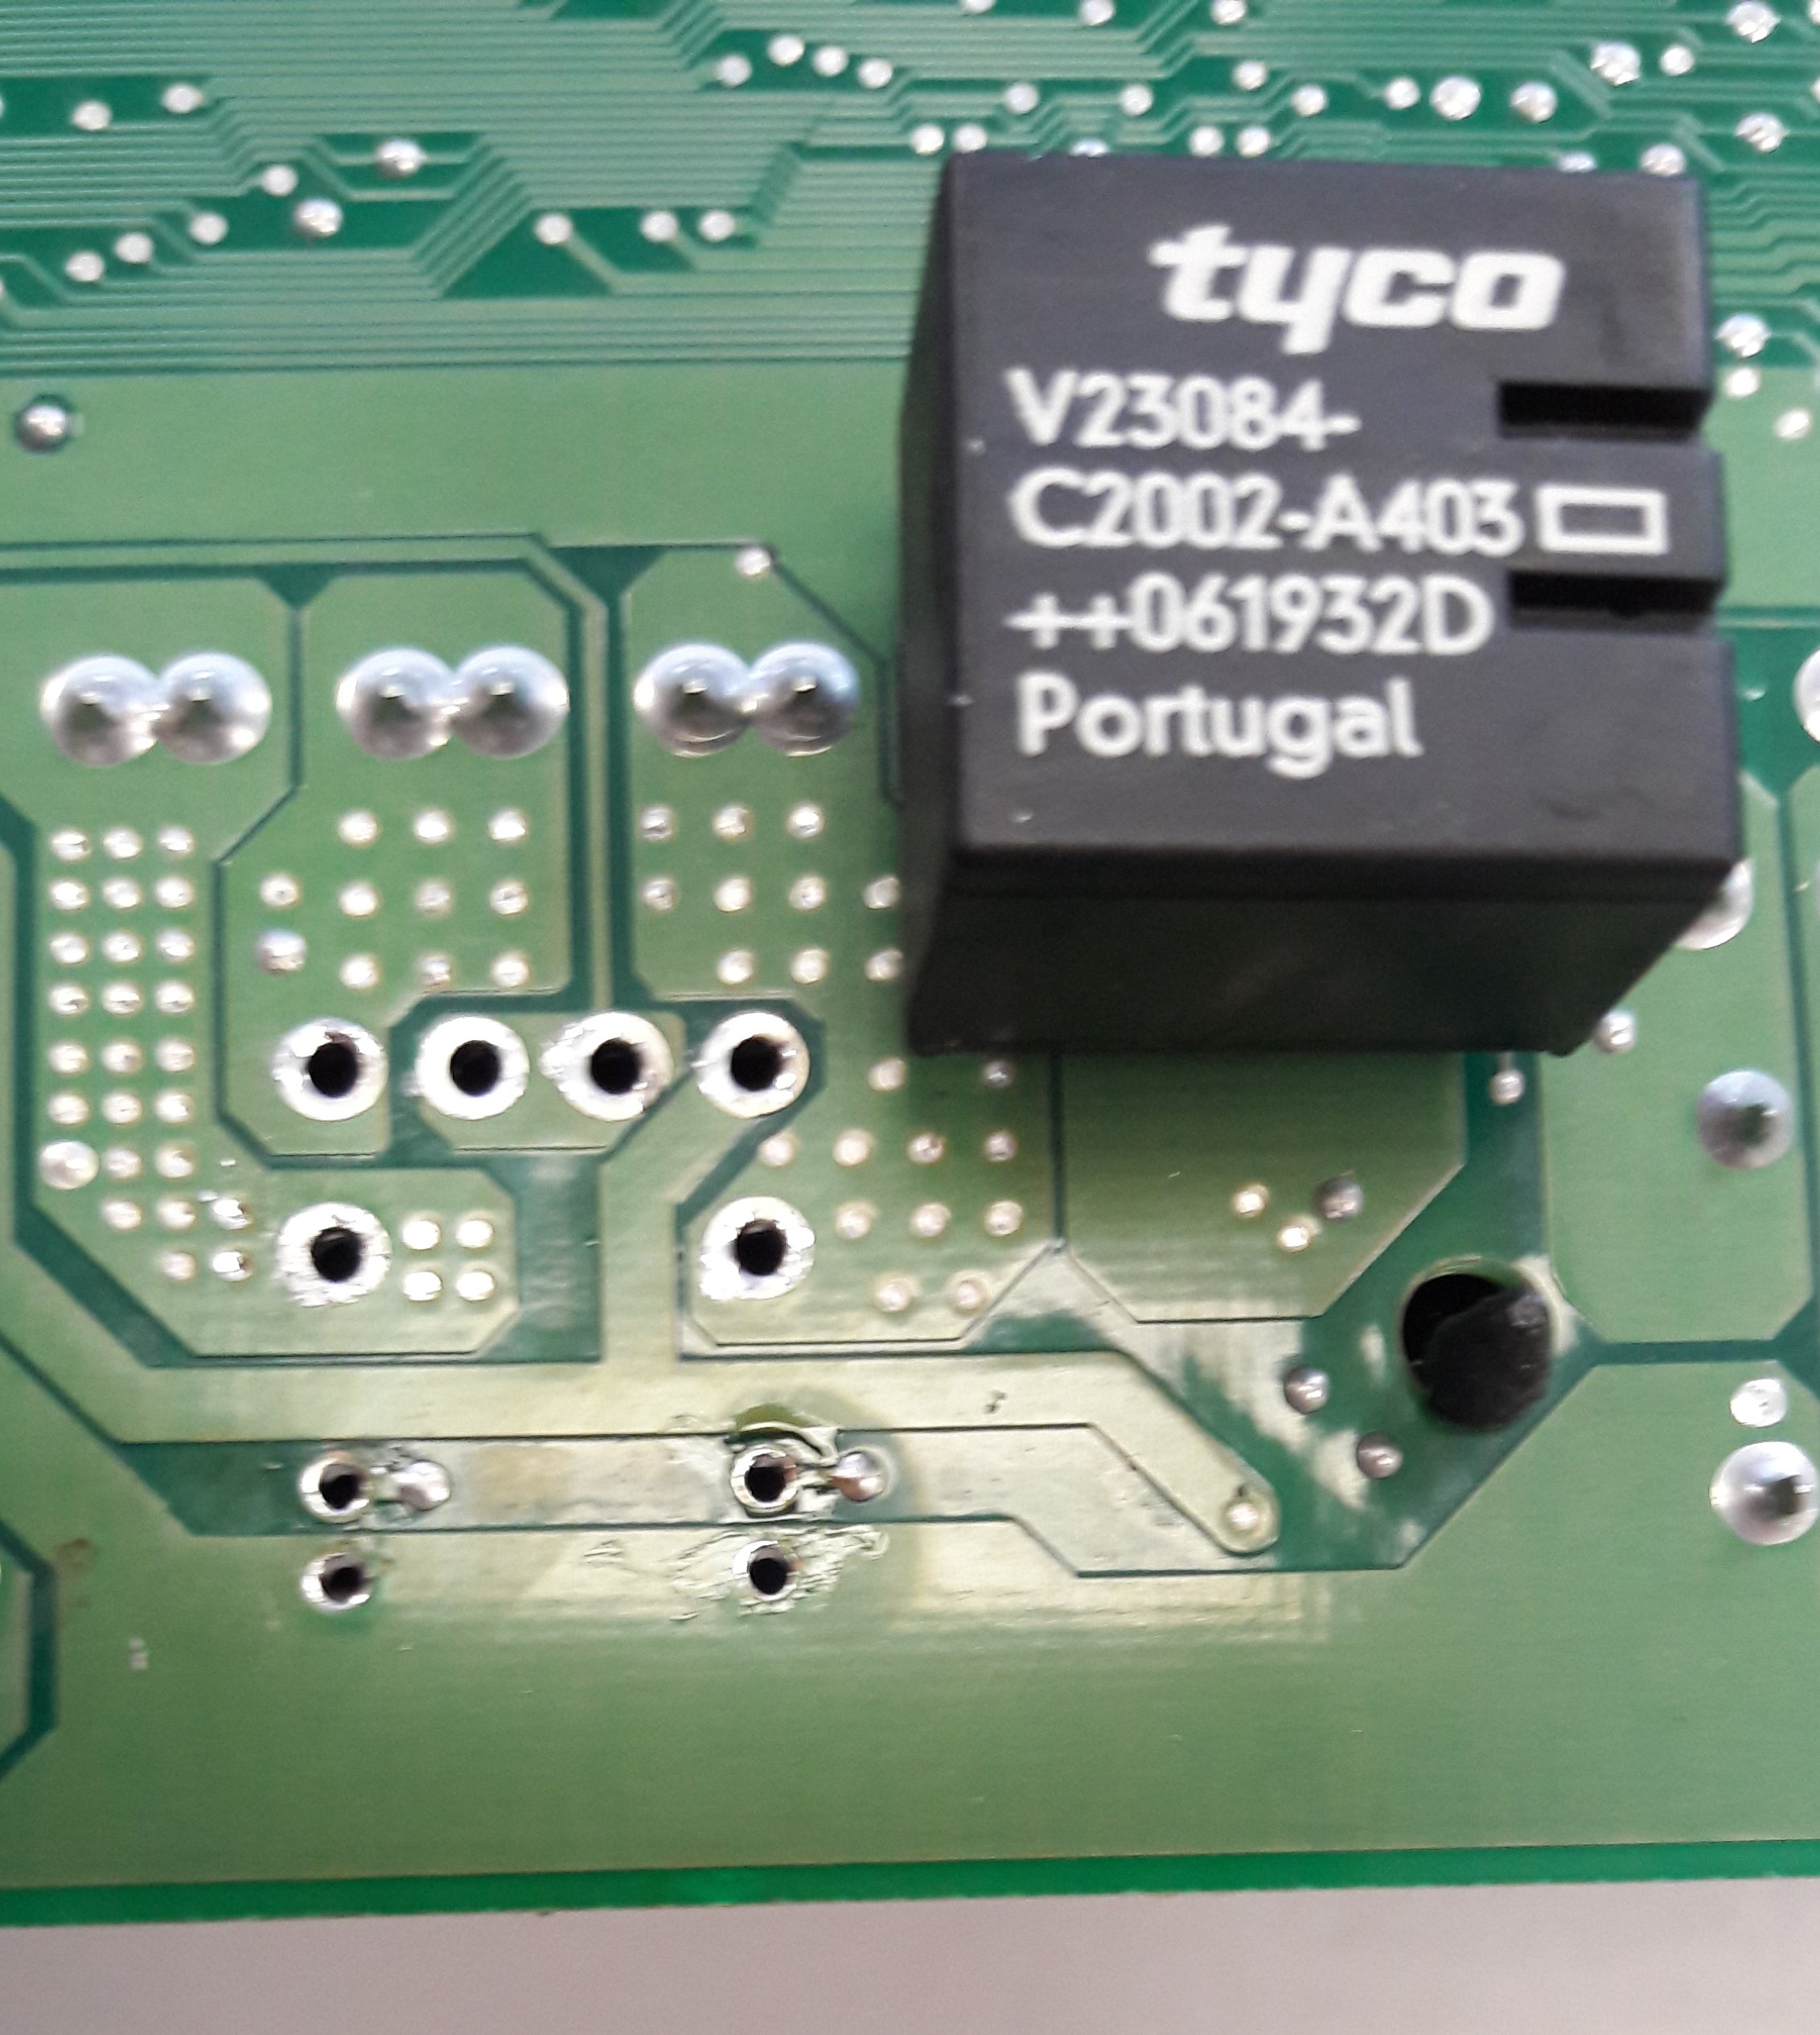
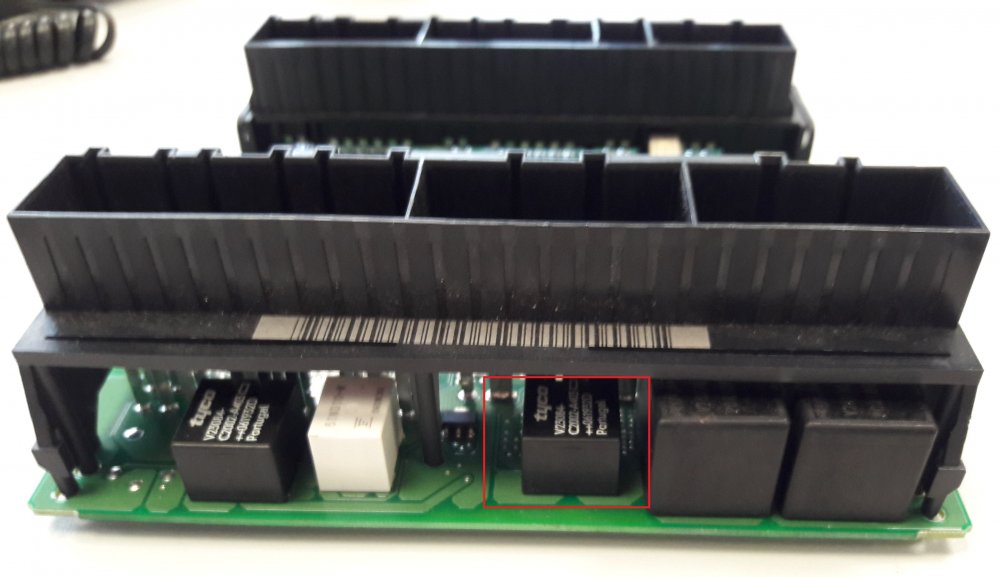
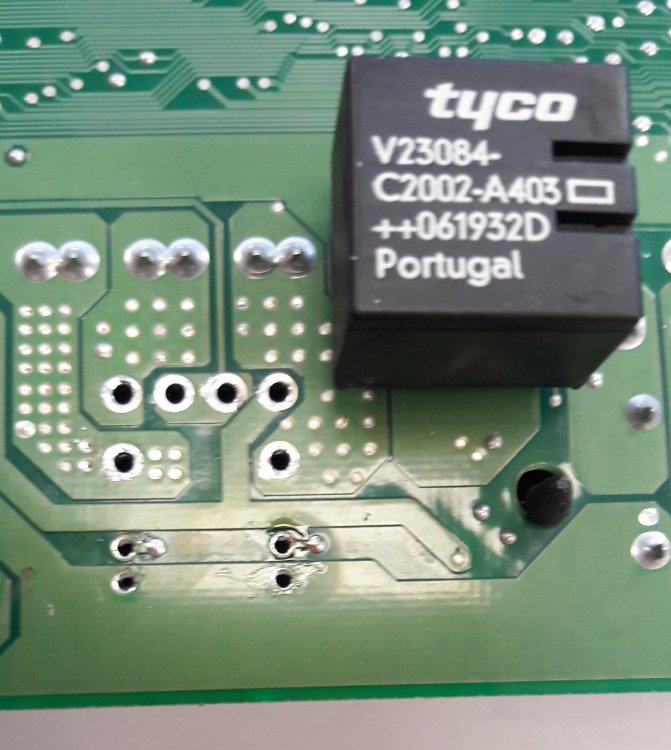
I thought this was topical, given the weather... Mk1 Fabia uses a circuitboard mounted relay to drive the wipers, which is great when it is working, but a little unfortunate when it wears out. The circuit board in question is in the Onboard Supply Control Unit, physically located above the accelerator pedal in RHD cars, clutch pedal in LHD (I guess). It tends to be known as the BCM (Body Control Module) in later cars, and is not the same as the Central Convenience Module (which does locks and stuff). The relay can be replaced, but must be unsoldered from the circuit board without damaging anything. I used hot air to do so, at work on my first try with a small, very expensive hot air gun. Later, at home on another, with a much cheaper more domestic hot air gun like you'd get from B&Q for paintstripping etc. Obviously, you need to get the local area of the board hot enough to melt the 10 solder joints, but not so hot as to catch fire or melt anything else too much. Not trivial, but not too hard. Here are pics of the location of the relay and one of it removed, the ten pin holes cleared out with a 'solder sucker' and/or 'solder wick', and the extracted relay to show part number etc. I found these available on ebay from Poland I think, not too much <£5 each. You're going to want to rule out all other possibilities first, like fuses, linkage issues, wiper motor etc. By the way, if you use the intermittent wiper setting, it wears this relay hugely faster than when on the constant setting. Every time the wiper starts a back and forth sweep, and finishes it, this relay has to switch on and off. When on continuous mode, it just operates when you first switch on, and when you finally switch off. Relays mainly wear out by the contacts getting pitted during opening/closing operations, rather than by hours spent in the energised state. -do=add#.url -do=add#.url I need to credit Briskoda member @anewman for supplying me with a known bad unit, in order to test my idea that relay replacement would fix it. He now has it back and may have it available for sale if anyone needs one...
-
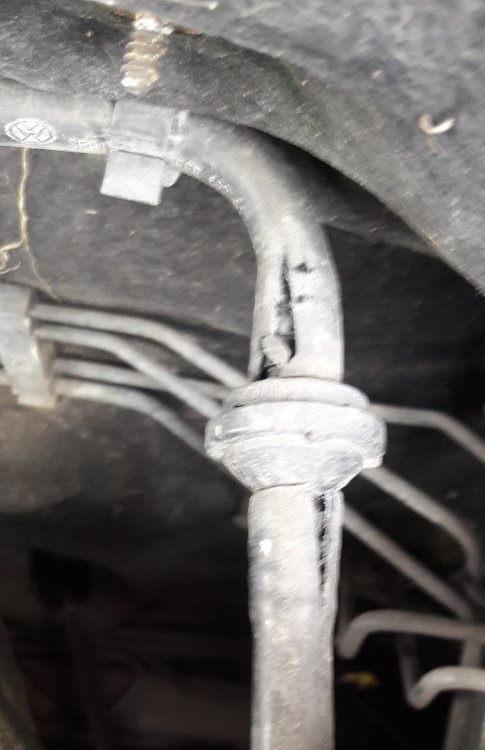
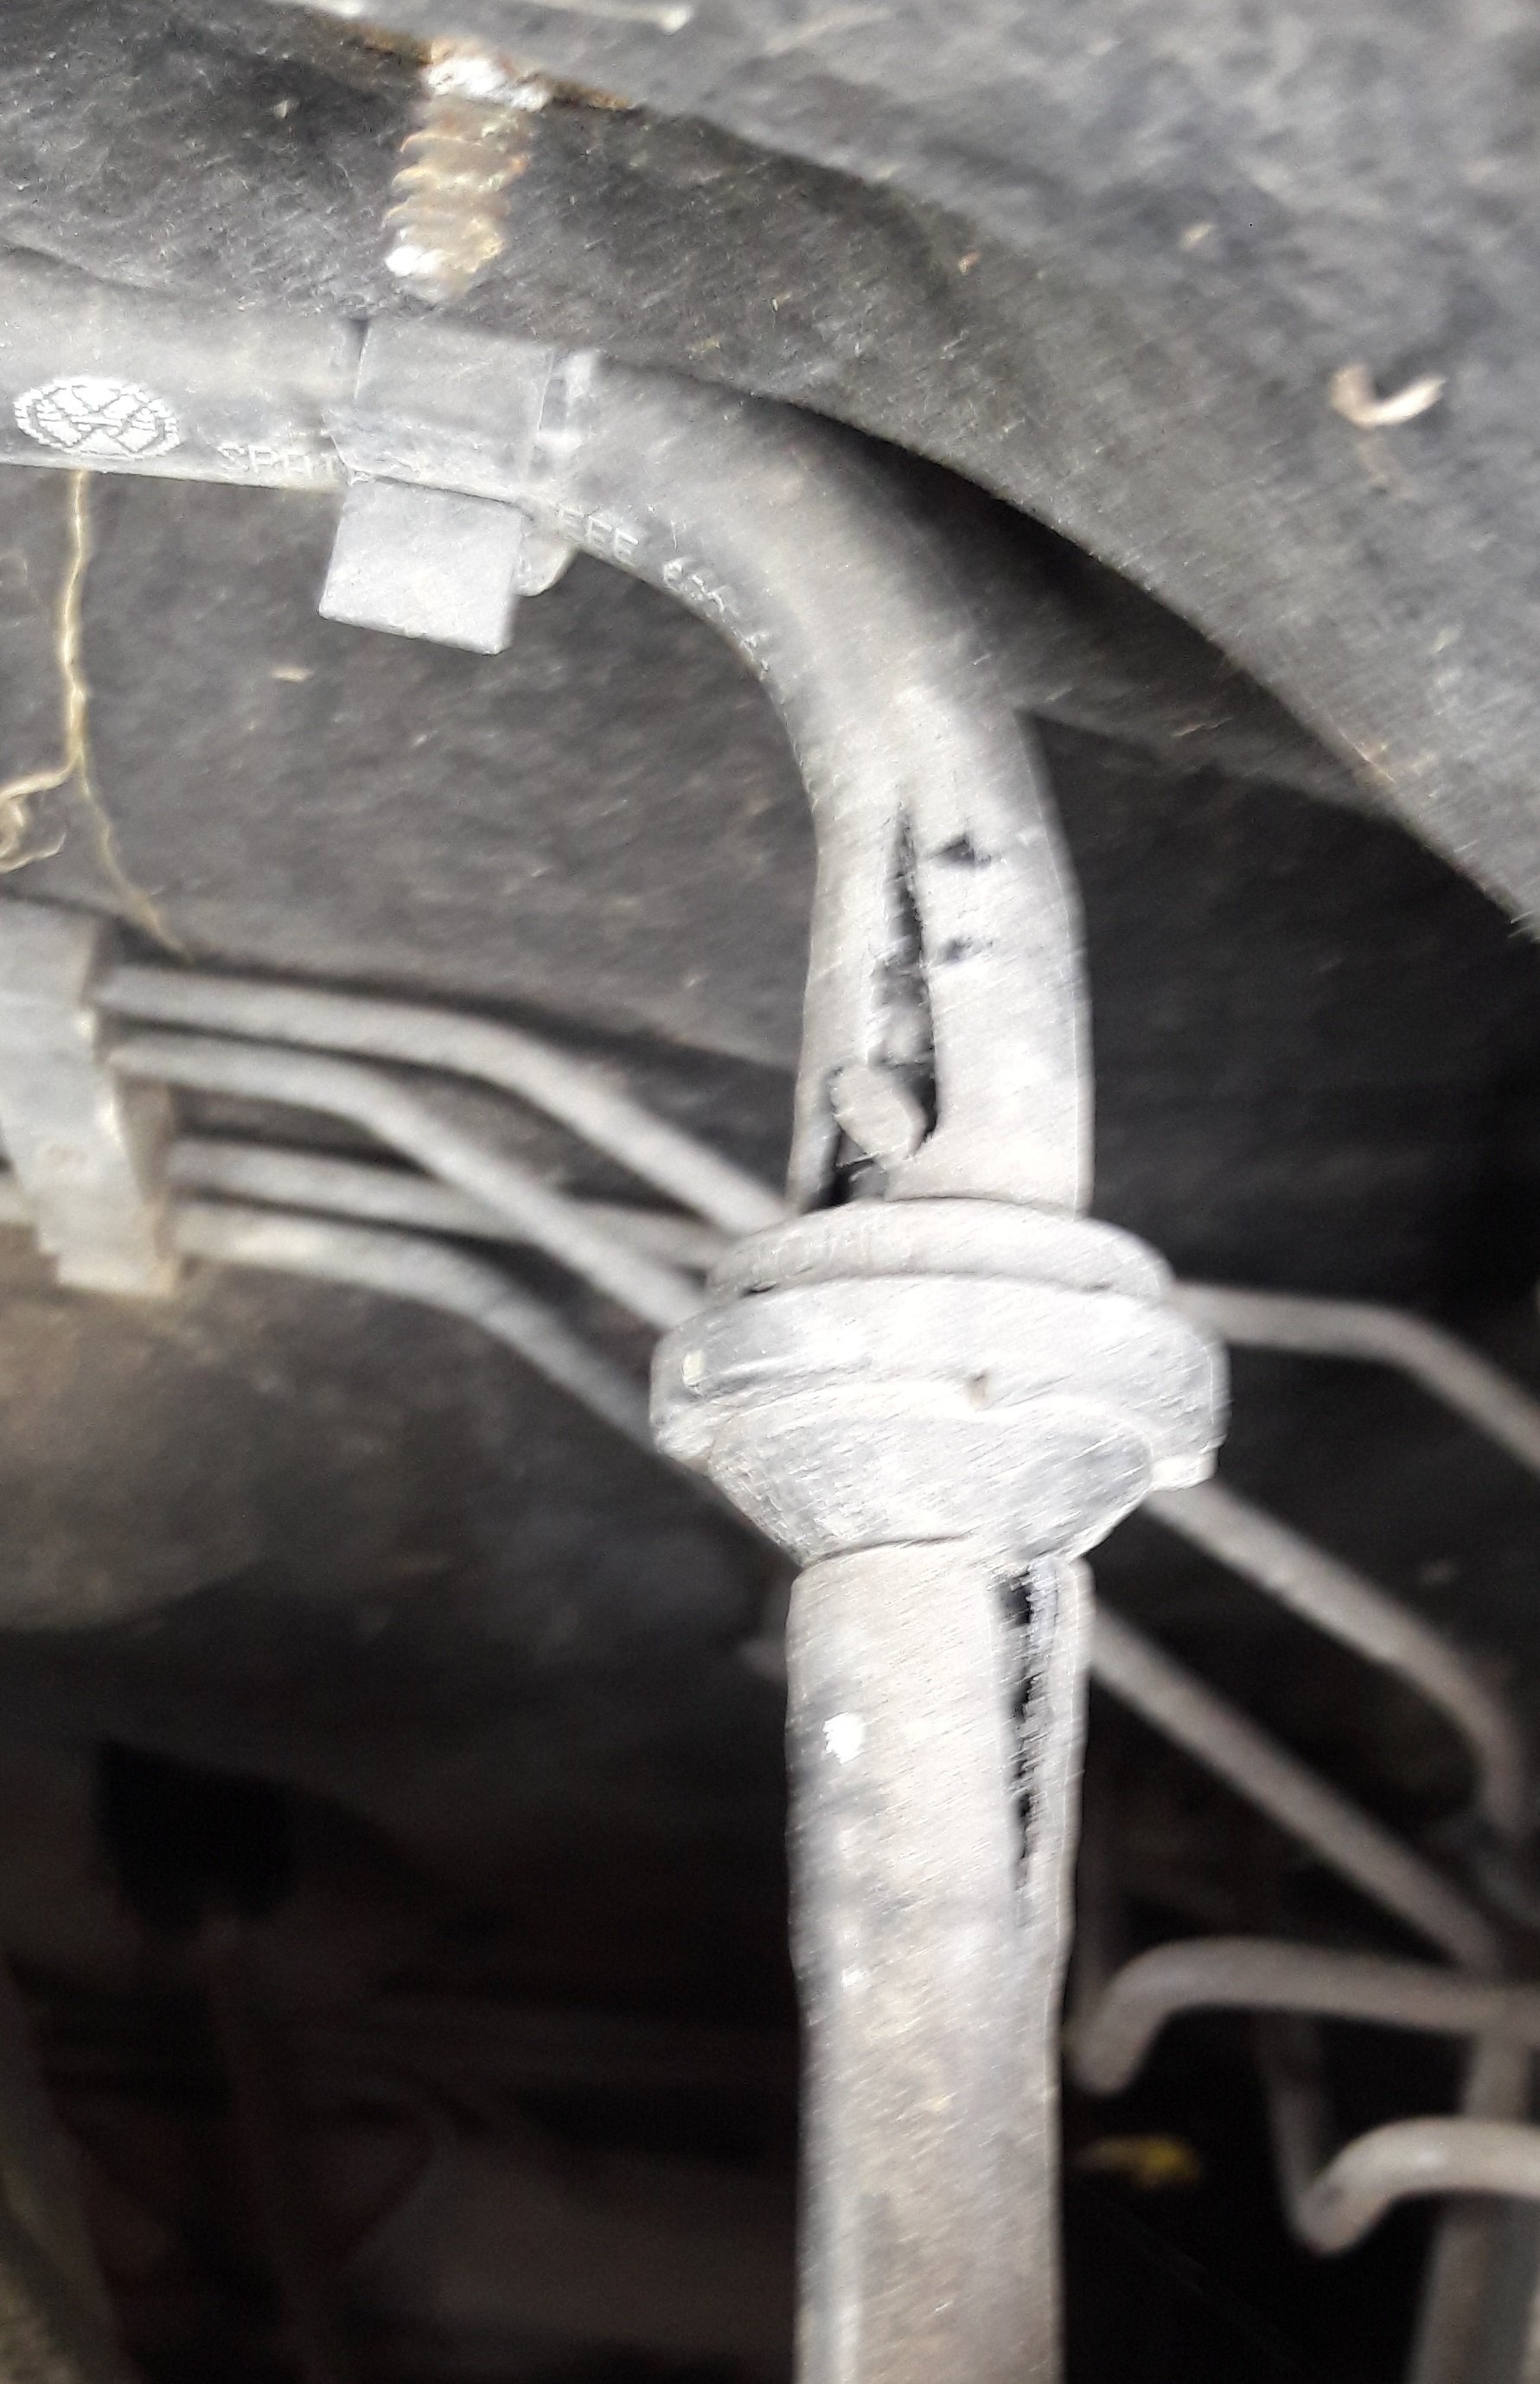
Found another beauty at lunchtime on a new workmate's 05-plate Fabia. Check yours today, cheapest bit of diagnostics/preventative maintenance you can do. Gaffer tape until pipe replaced if significant cracks are found. Part number is printed at regular intervals along the hard plastic part of the hose. Don't forget to run your fingers round the underside of those connections, they often crack out of sight on the road-facing sides.