JR RS
FREEDOMLite
-
Joined
-
Last visited
Everything posted by JR RS
-
I remember reading a while ago that seat memory will never store at the absolute lowest point. Likewise, it won't at the absolute highest. Something to do with protecting the mechanism. It's not just with Skoda - VW models do it too.
-
I use Pro Rack roof racks to carry the bike racks. Easy to fit/remove and adjust. It's not the 'aero' version, so it does get a bit noisy when driving at speed. Bought it back when I had my mk2 Octavia RS liftbacks. I can use it on the Superb now.
.thumb.jpg.0d720d005edb11afe2084e45db15e0ce.jpg)
-
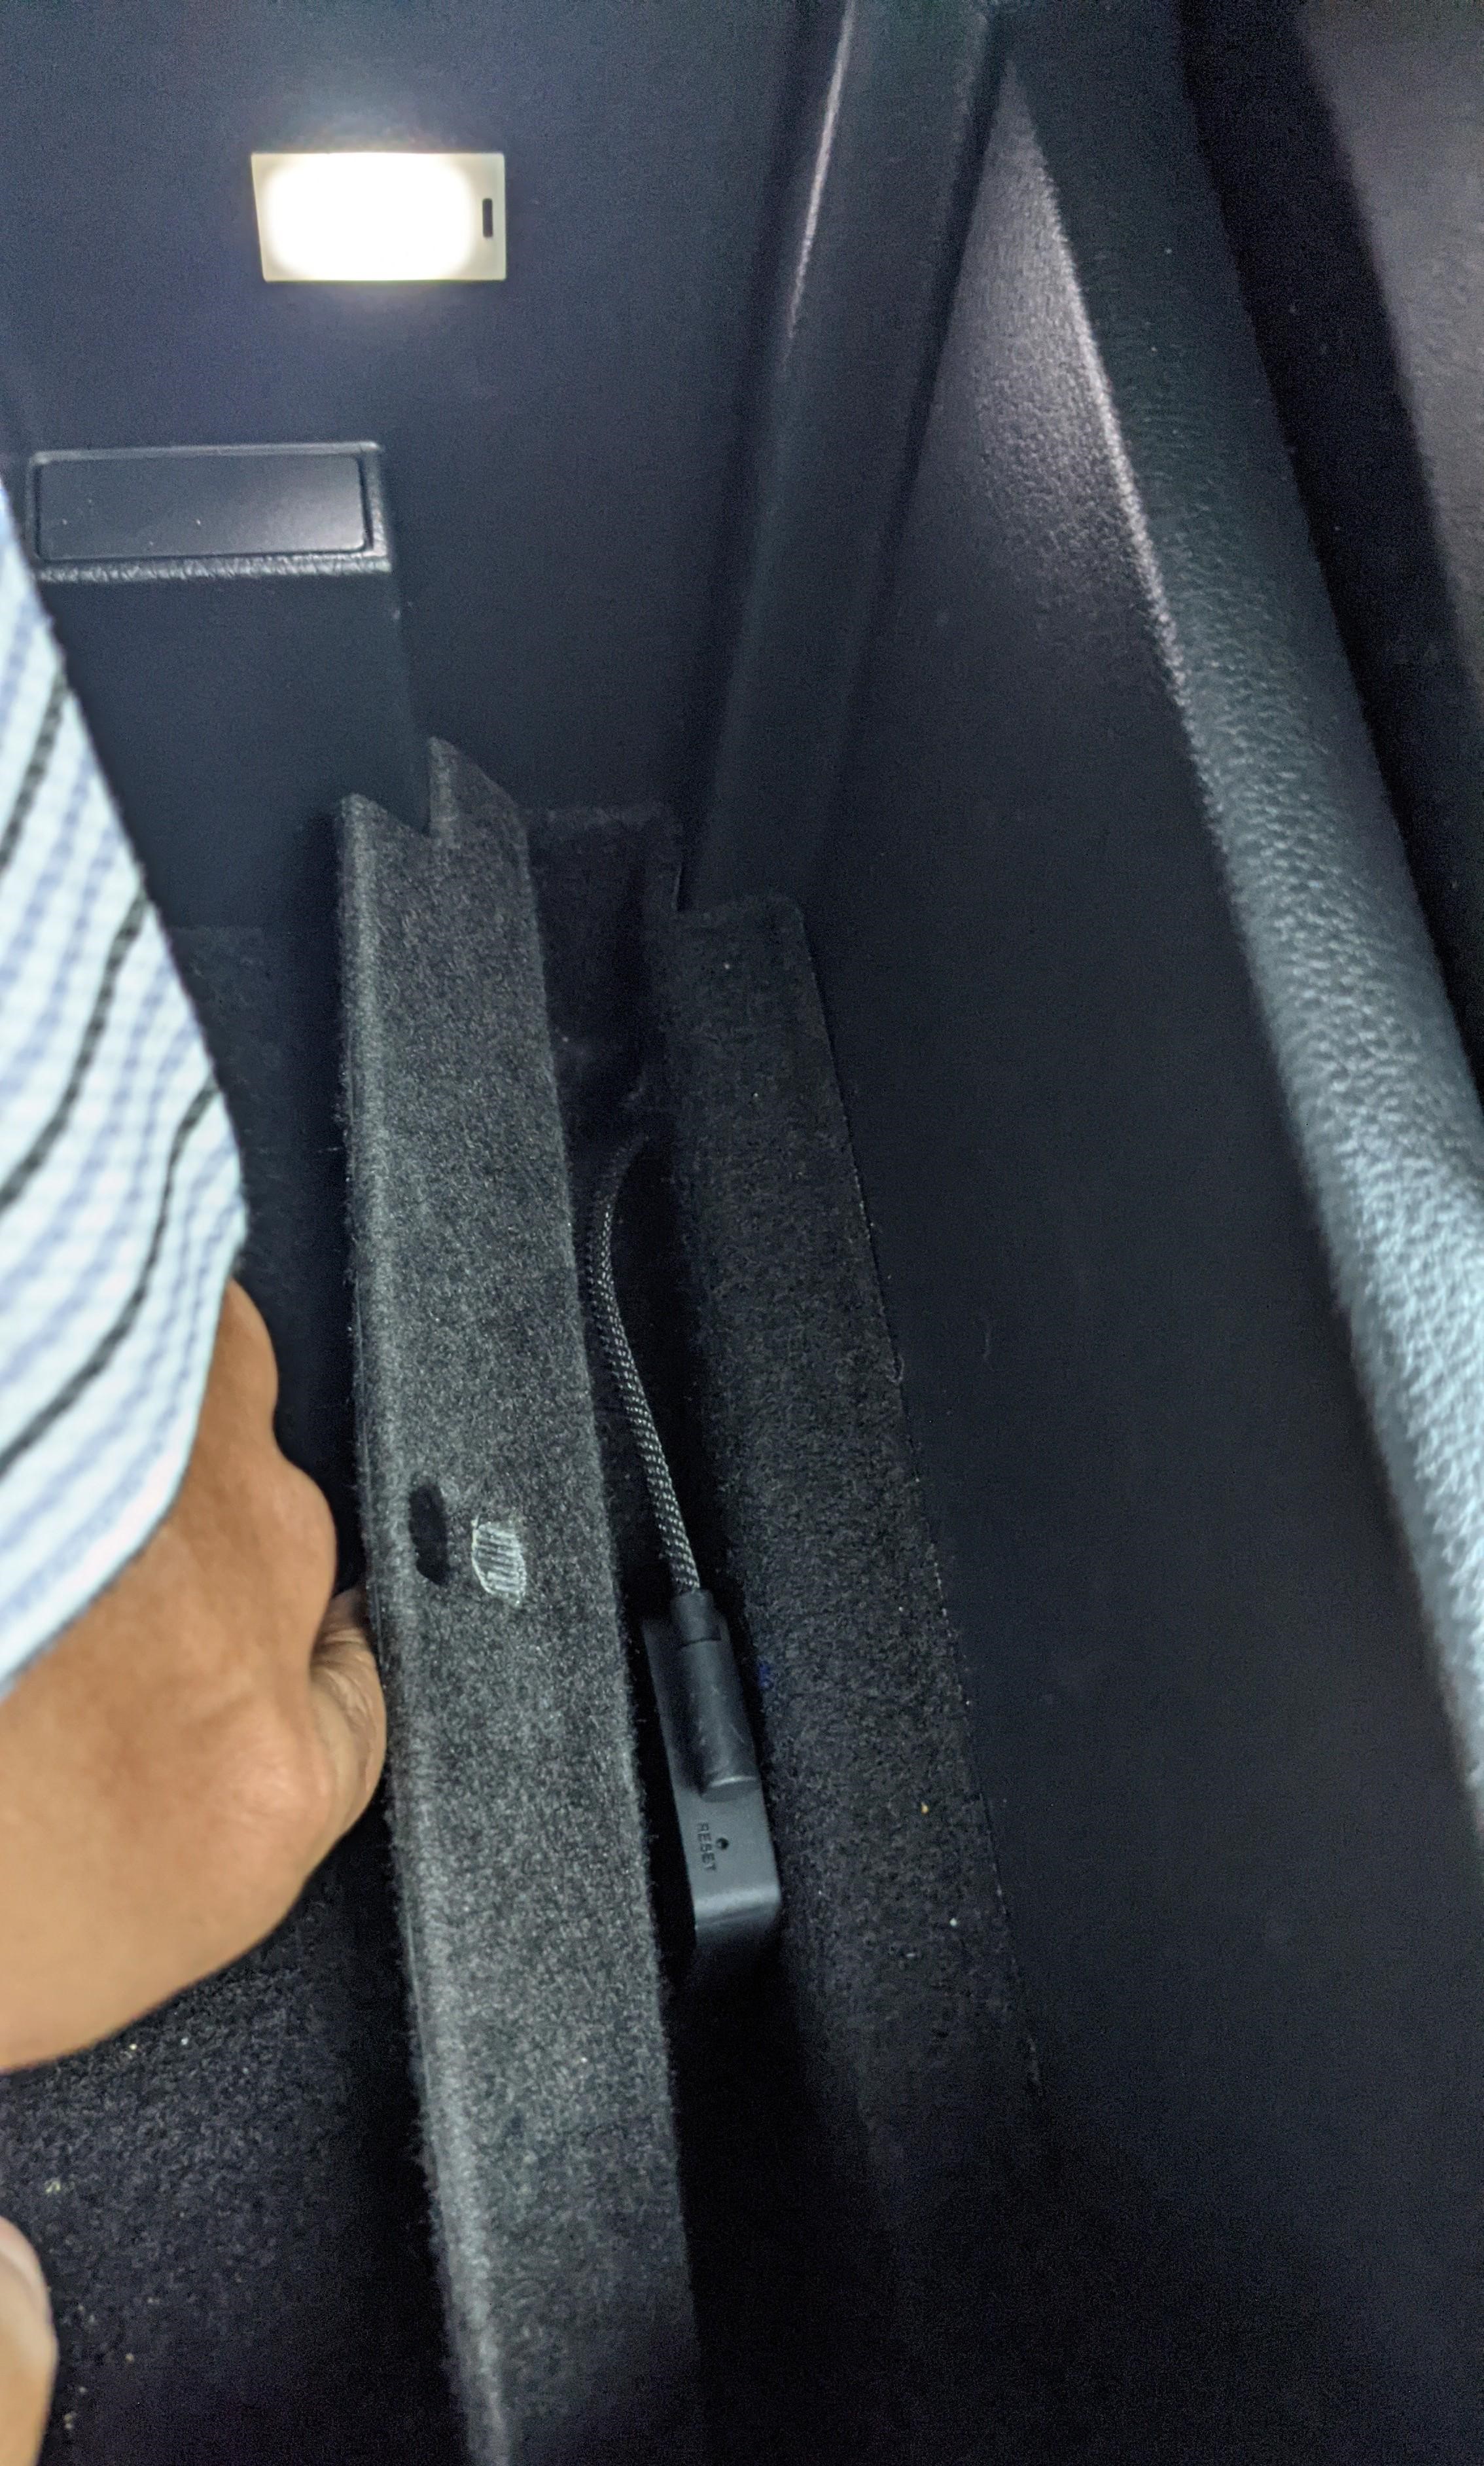
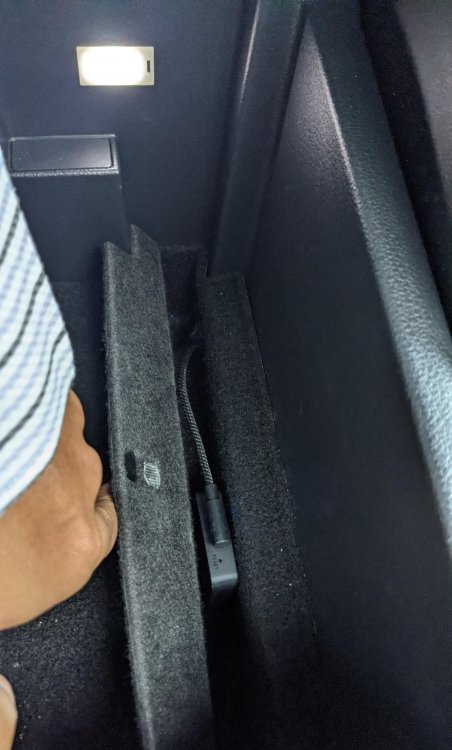
My AAWireless fits nicely inside the slot located under the armrest console storage area. With flap down, u'd not know its there.
-
mine is up an running within 20-30 secs after firing the car up. happy with that, as its ready to go before the car had dropped from its cold idle speed. sounds like u need to apply the latest OTA update.
-
Unfortunately the USB port remains live in Skoda. However my AAWireless unit turns off after the default 20 secs. I can configure it to whatever I want it to b, in milliseconds, under the AAWireless app settings. I'm thinking of changing it to 10 secs.
-
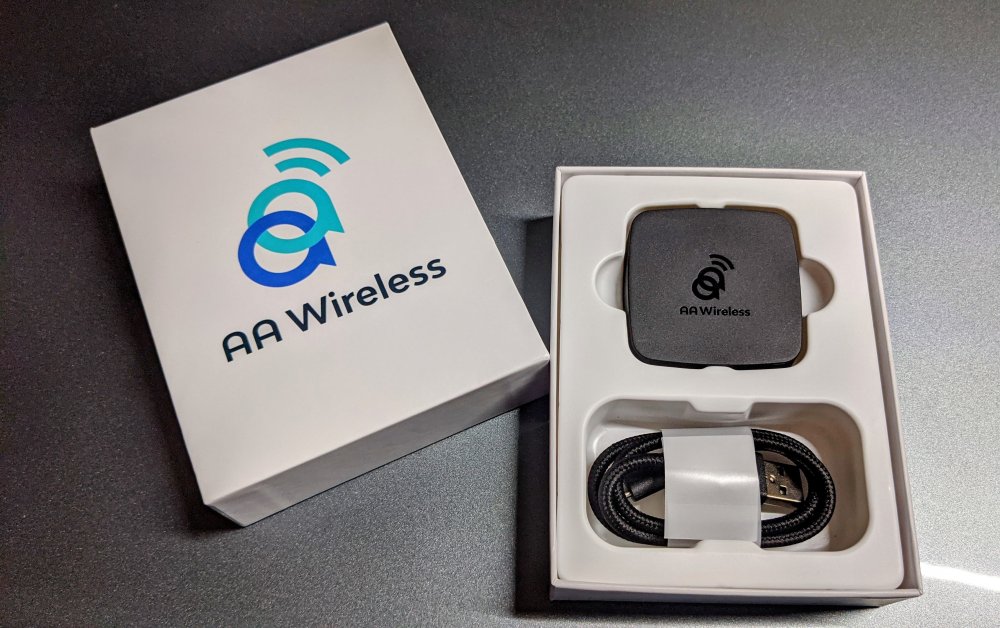
+1, I received mine today. Was very easy to setup and it's working very well. I've got an MY17 with an MIB2 unit, paired with a Google Pixel 5. Well worth the wait.
-
Bugger, that's a shame. I can definitely feel the difference with mine now. Prior to that I had DCC set to Sports all the time, except when driving on long highways/freeways, then I'd use Comfort or Normal. Now my DCC is always on Normal setting. I hardly use Sports. I can notice the difference going over the same speed humps and same undulating roads. It's far less bouncy and far more composed. Maybe the difference is more pronounced on non-Sportline DCC shocks, compared to Sportline DCC shocks.
-
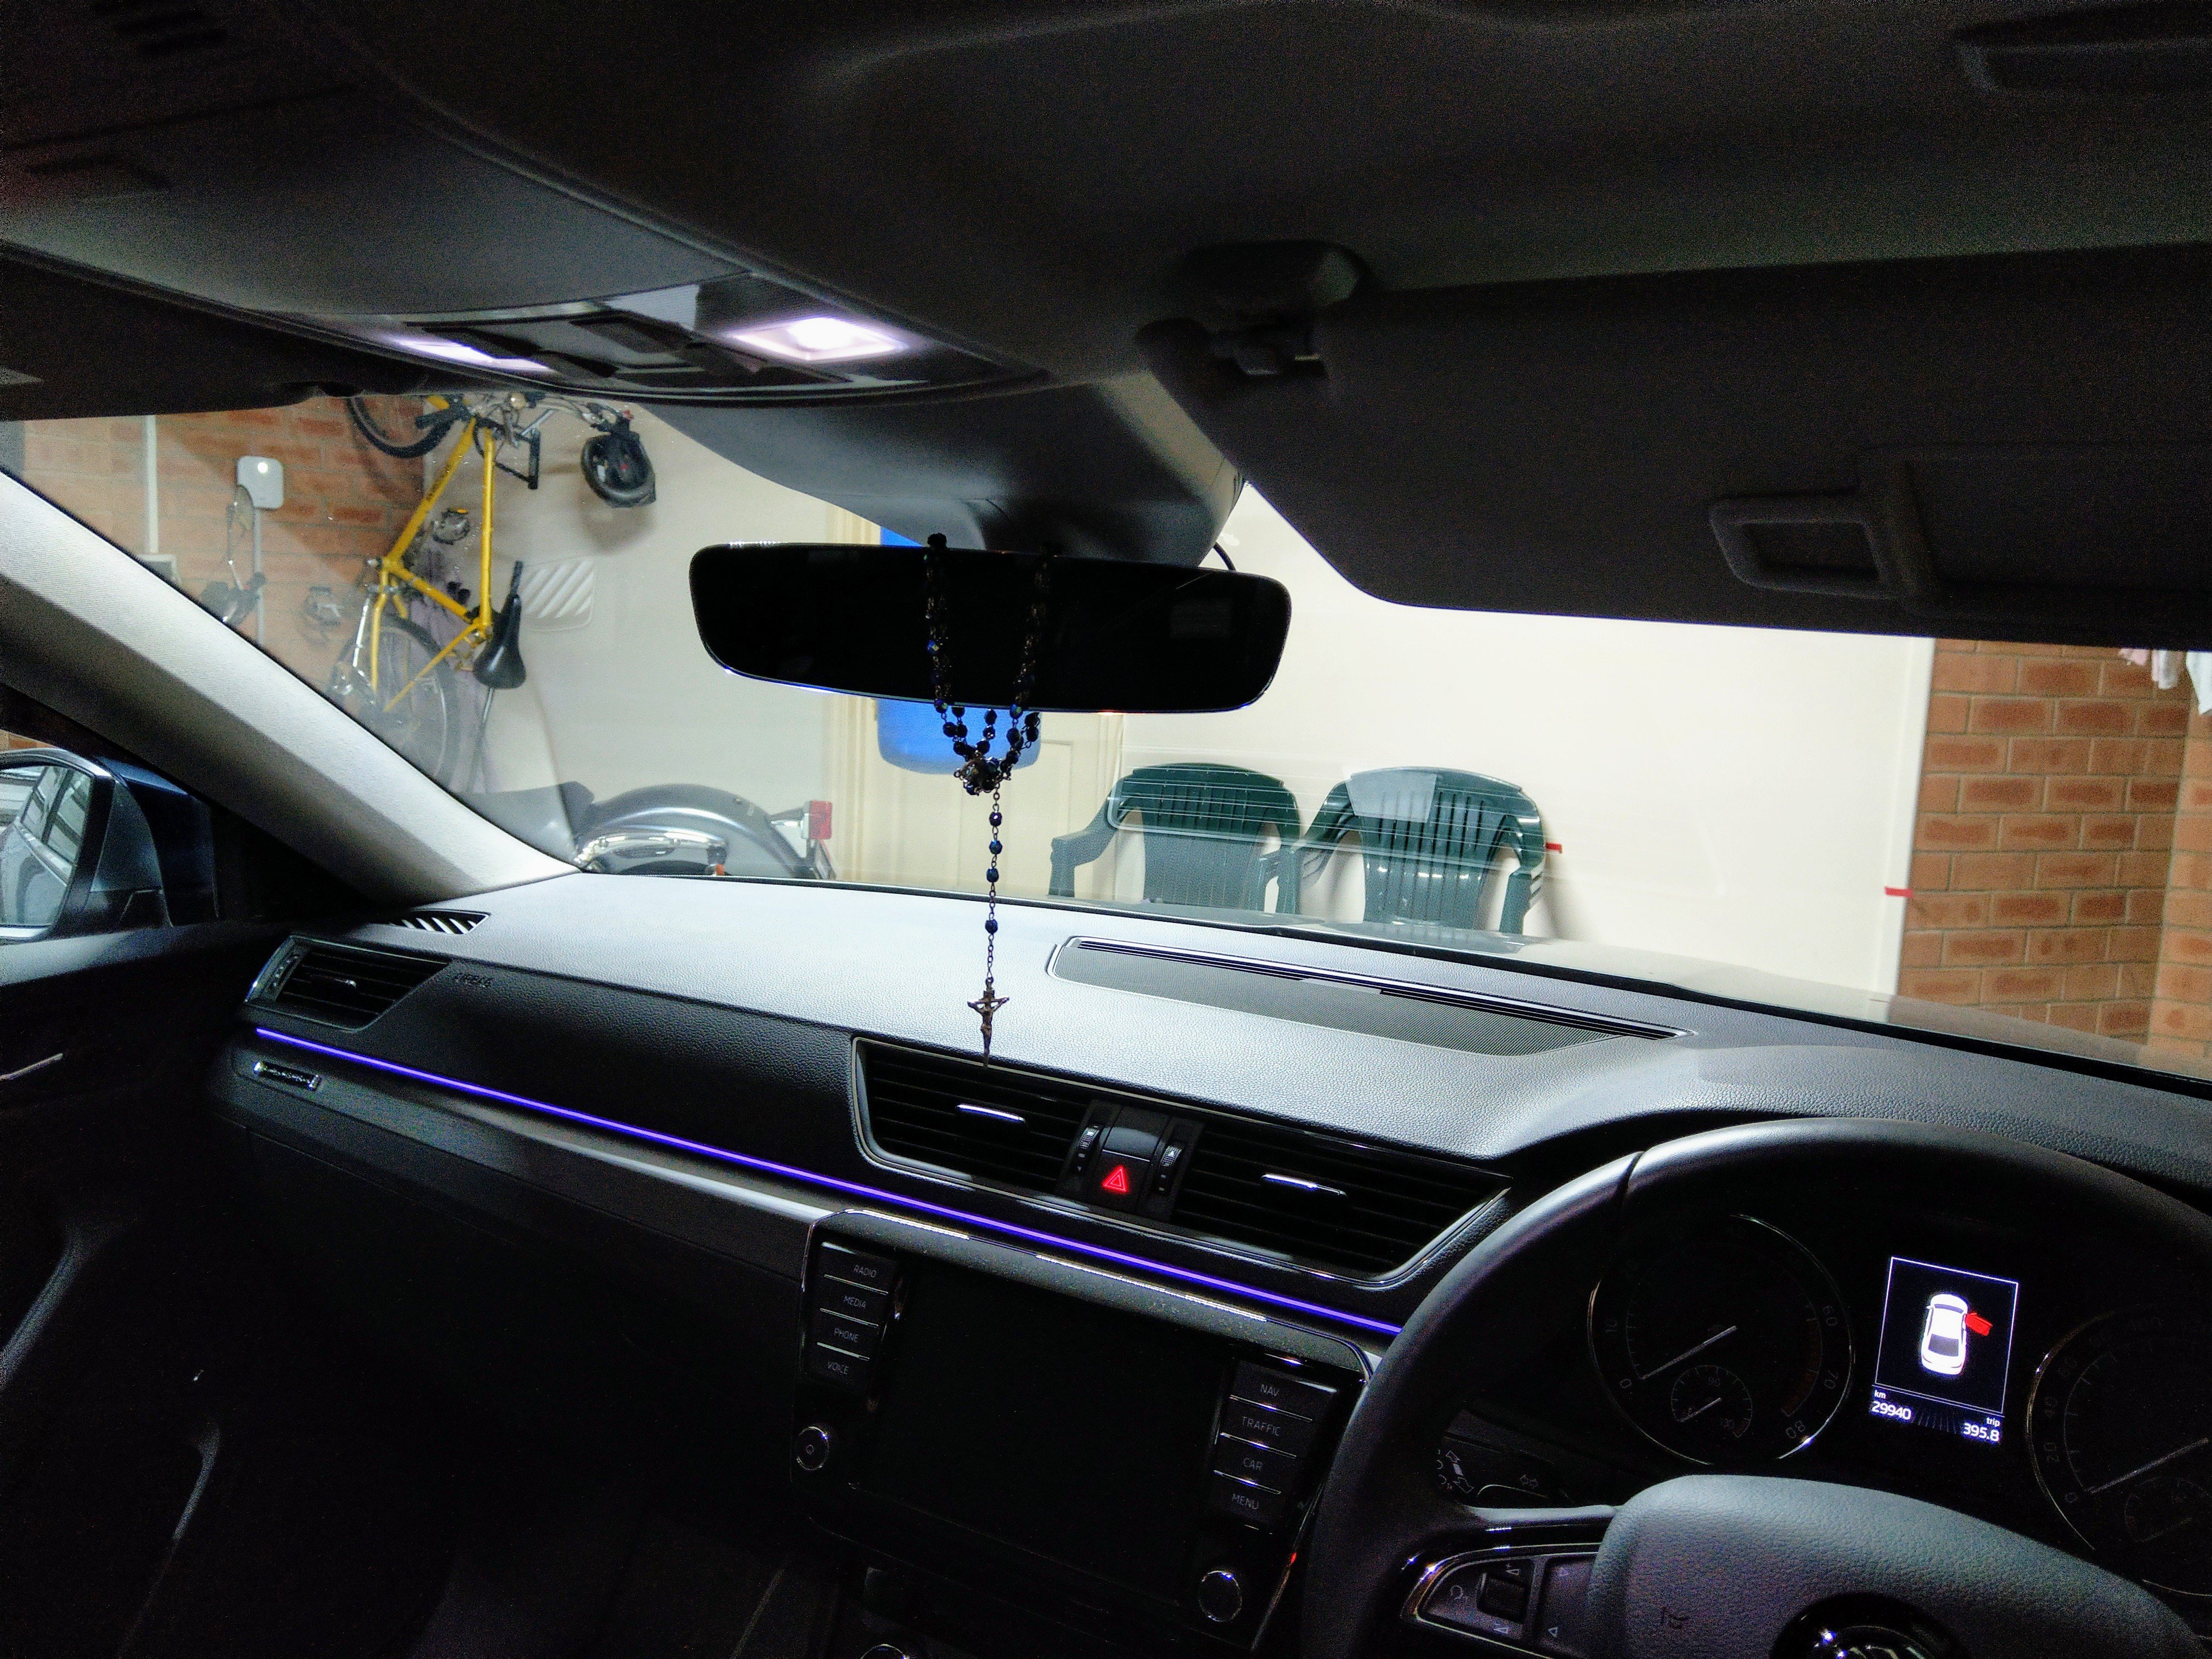
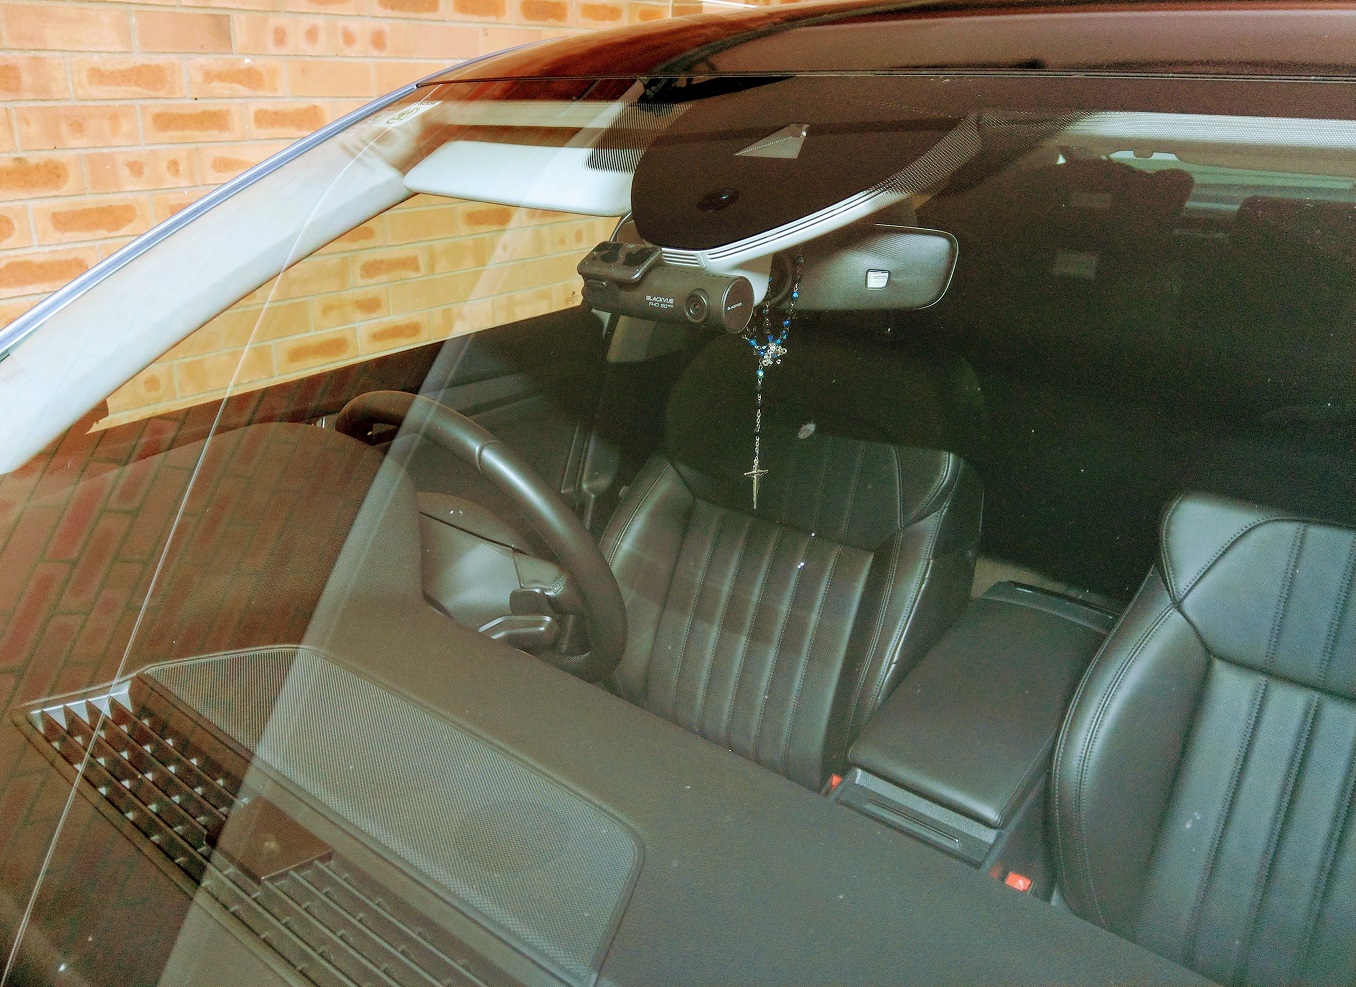
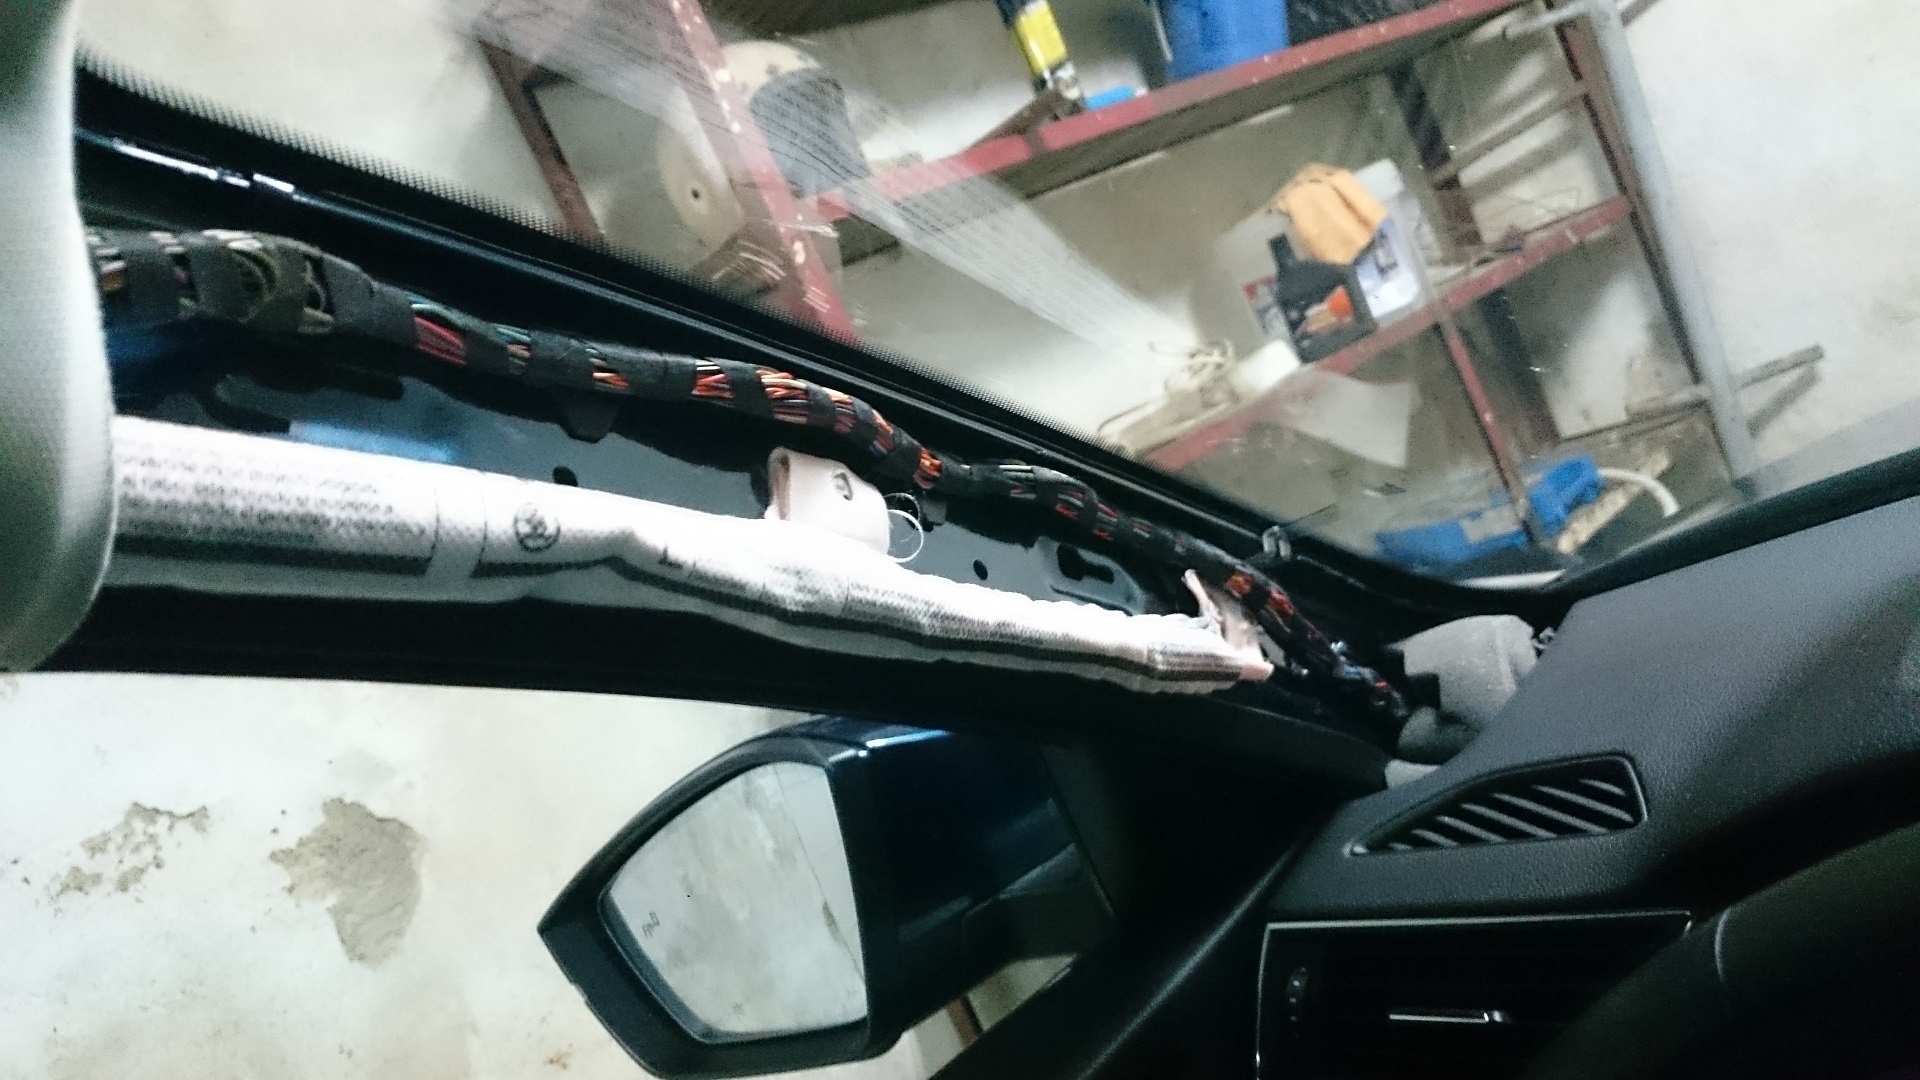
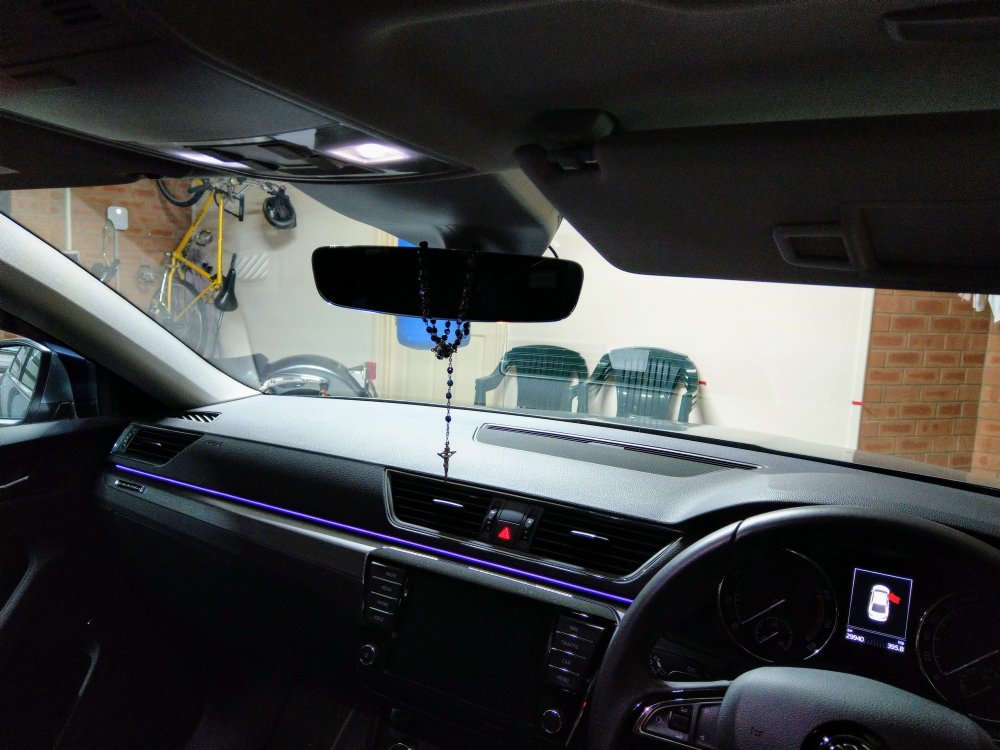
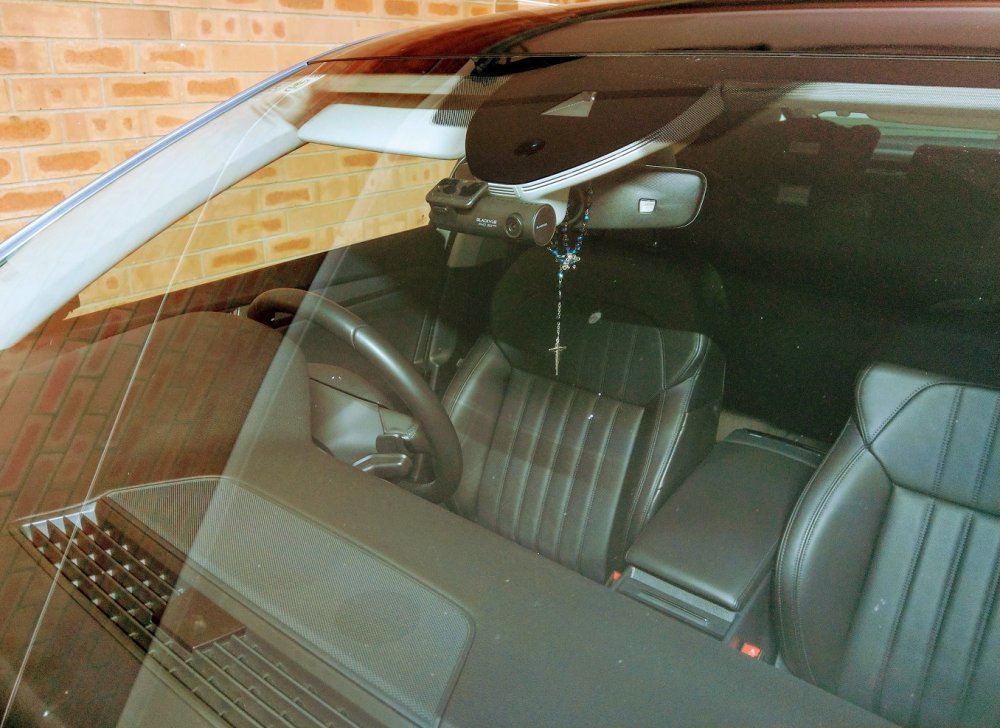
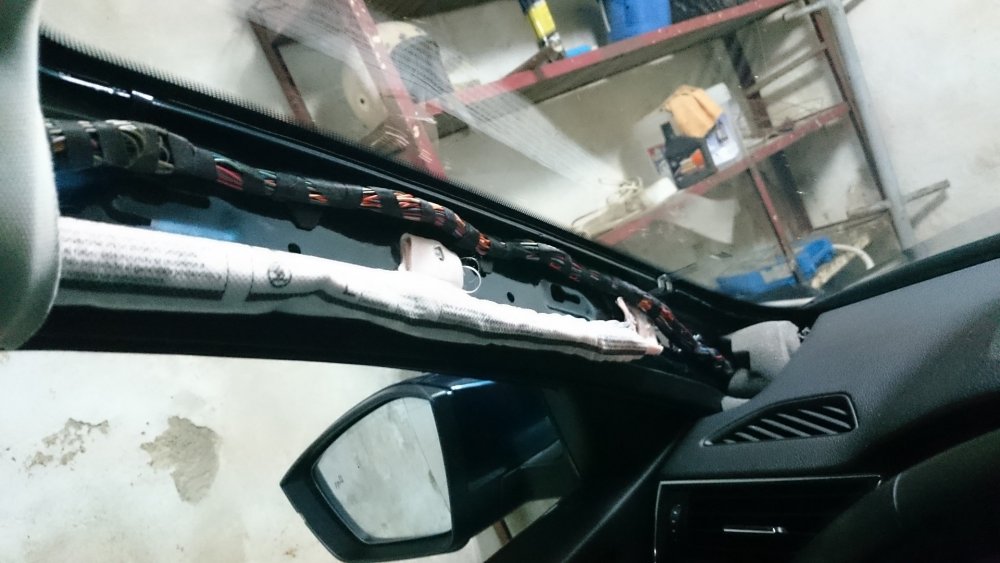
Mine is mounted below the A5 Camera. It's not visible from the driver's seat. I went along the roof liner, down the A-pillar and into the fuse panel behind the glovebox.
-
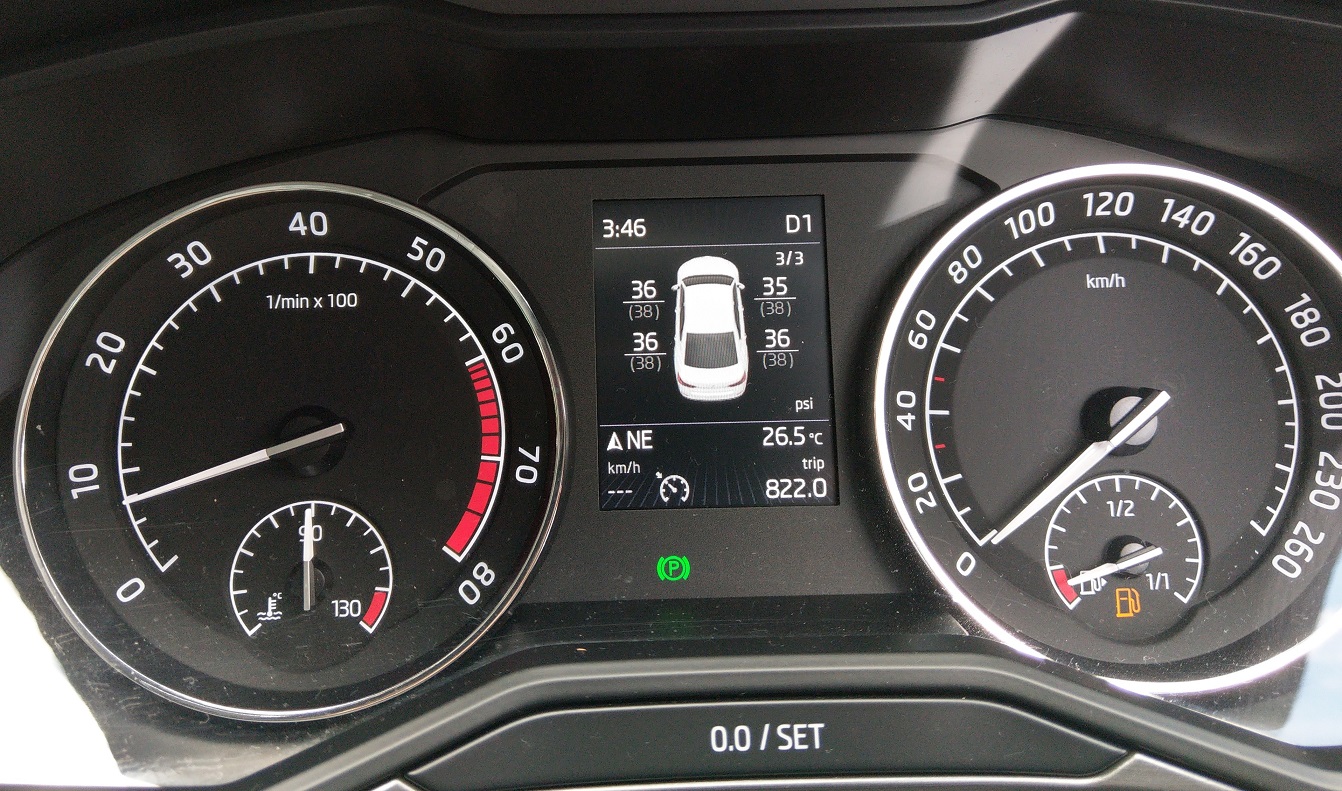
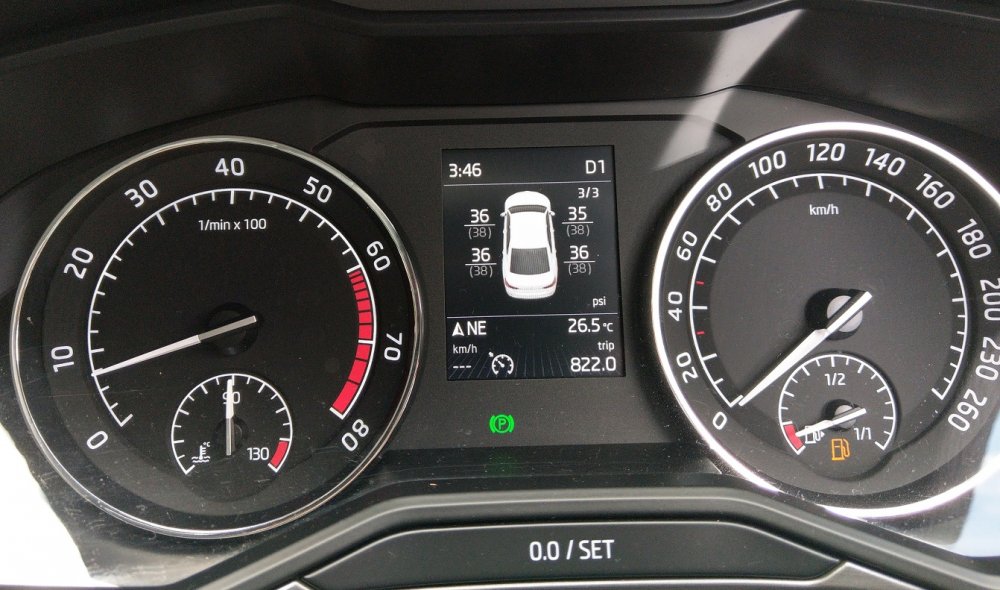
Hahahaha.....I'm not OCD like that. .....but recently I've noticed the tyre pressure in my left front consistently gets higher (2 psi more) quicker than the other 3 after I hit a nasty pothole a few weeks ago. They also start at the same pressure - 36 psi all round. I think think I need an alignment done. I wouldn't have picked this up if it weren't for the direct TPMS.
-
That's related to the DCC re-calibration. I did it recently (U can read about it here), and it's transformed the car's ride/suspension. The DCC shocks work so beautifully now with the Eibach Springs. Initially I was considering to get the Bilstein shocks in the near future. Now that I've done this, I'm pleased. Not looking at getting the Bilsteins anymore. I wish I had found out about the DCC re-calibration a long time ago.
-
As @langers2k mentioned, the TPMS hardware won't b fitted from factory. Plus ur wheels won't have the TPMS sensors. I'd assume it can b retrofitted to ur Karoq as it's not a module that requires component protection. The same TPMS module has been used in the Kodiaq. The same TPMS module is also used in a handful of VW models. I'm just not sure how different the coding and adaptations will b with the MIB3.
-
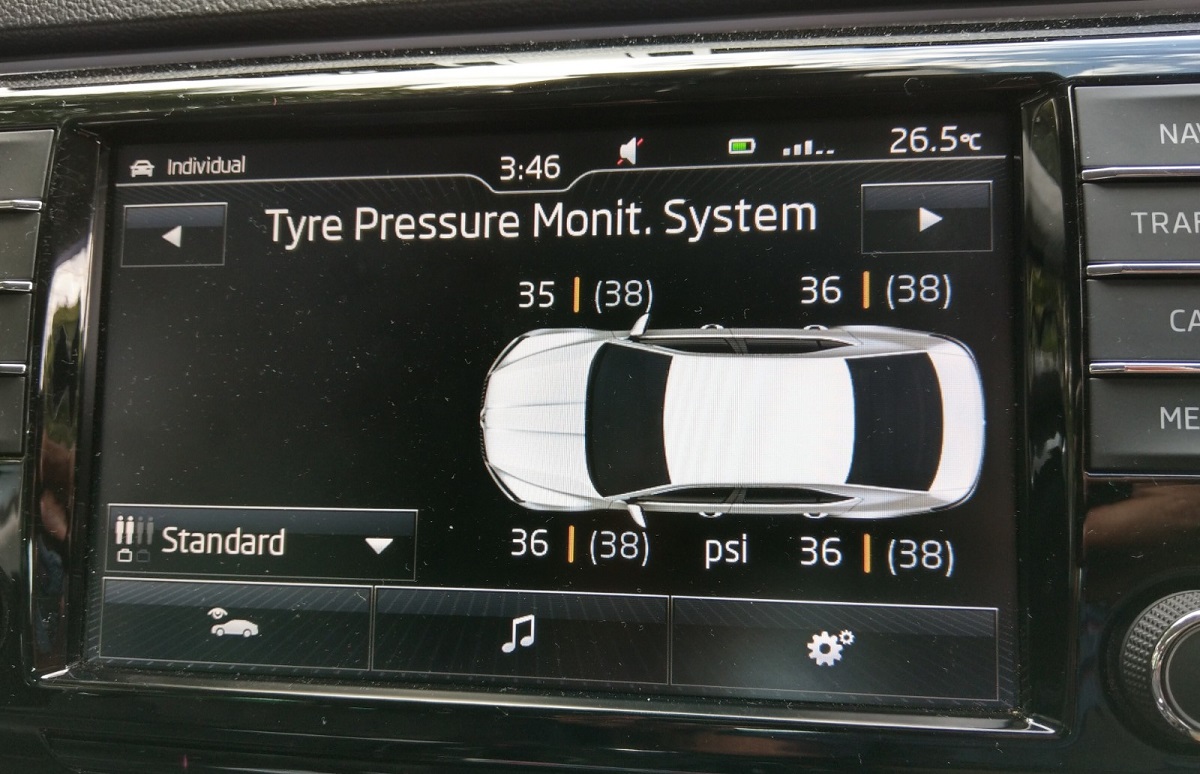
got my TPMS kit (1x module, 4x sensors, 1x wiring) from AliExpress. cost me approx. $190 AUD for it. got a tyre place to put the sensors in each tyre for approx. $20 each. as @langers2k mentioned, i did the install myself. u can read about it here. its not an "easy task", but its doable. i did this as a COVID-19 project retrofit.
-
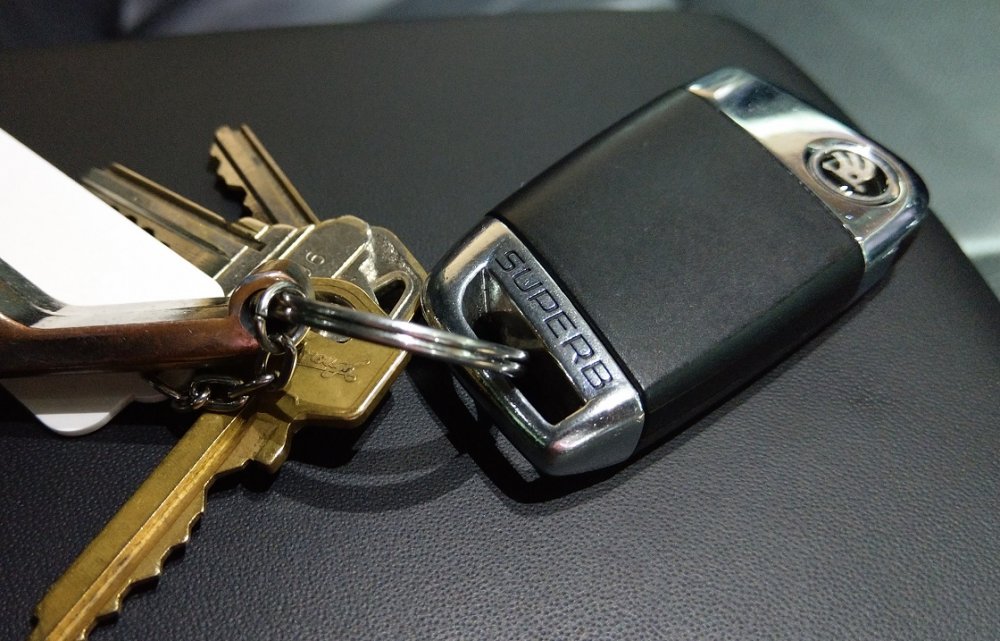
U now need to get the "Superb" version from Superskoda.....
-
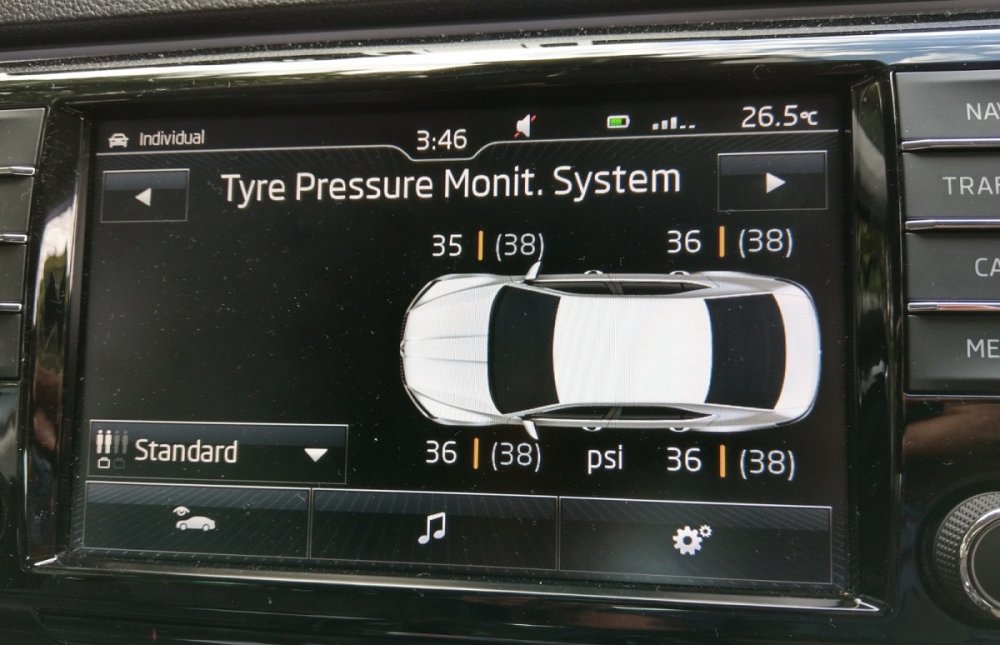
@defiant- no, it won't do that. the alarm gets triggered when the pressure, in any tyre, drops 3 psi or more from the preset value (the value in brackets shown in the pic i posted above). those preset values come in different sets/profiles. the one shown in the pic is "Standard" profile where i've set the preset pressures to be 38 psi all round. the actual reading is shown outside the brackets, in this case the tyres r reading 36 psi. if it drops below 35, it will set off the alarm. i've got 3 profiles loaded:- - Comfort (set to 34 psi) - Standard (set to 38 psi) - Fully Loaded (set to 41 psi) u can switch between each profile by clicking the drop down arrow.
-
Is that for the new facelift Superb? Maybe it's a factory option now. I retrofitted it to my MY17 Superb - works as shown in pic.
-
It is how VAG keep the delineation between Audi, VW, Skoda & Seat. Nothing new about this marketing strategy. If fitted (direct TPMS) in a VW or Skoda - it will only show the actual tyre pressure. The same thing fitted in an Audi will show the temperature of each tyre, in addition to the pressure.
-
The pre-facelift Superb comes with:- - halogen setup headlights - bi-xenon with DRL setup headlights - bi-xenon with DRL & SLA. The facelift Superb is a different design, requiring a different bumper. It uses LED lighting instead of bi-xenons. Someone with a pre-facelift has done this retrofit. I don't know wat was involved. As @SashaGracementioned - it's a massive job to retrofit bi-xenons. Too many other components involved like:- - AFS leveling sensors. 2x upfront,1x rear. - AFS module. - 2x AFS slave modules - wiring harnesses - upgraded BCM module I would recommend upgrading the halogen bulbs to better rated ones.
-
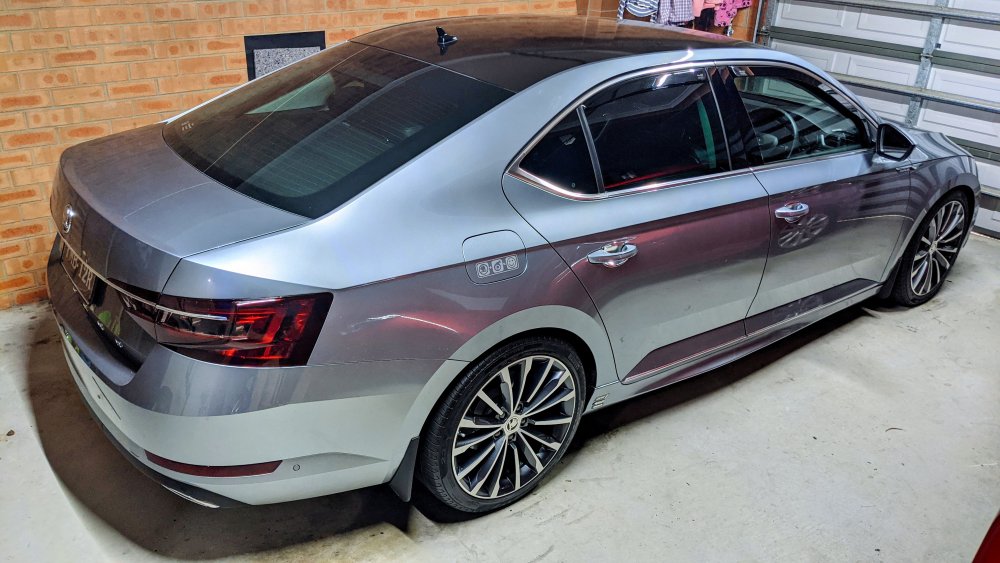
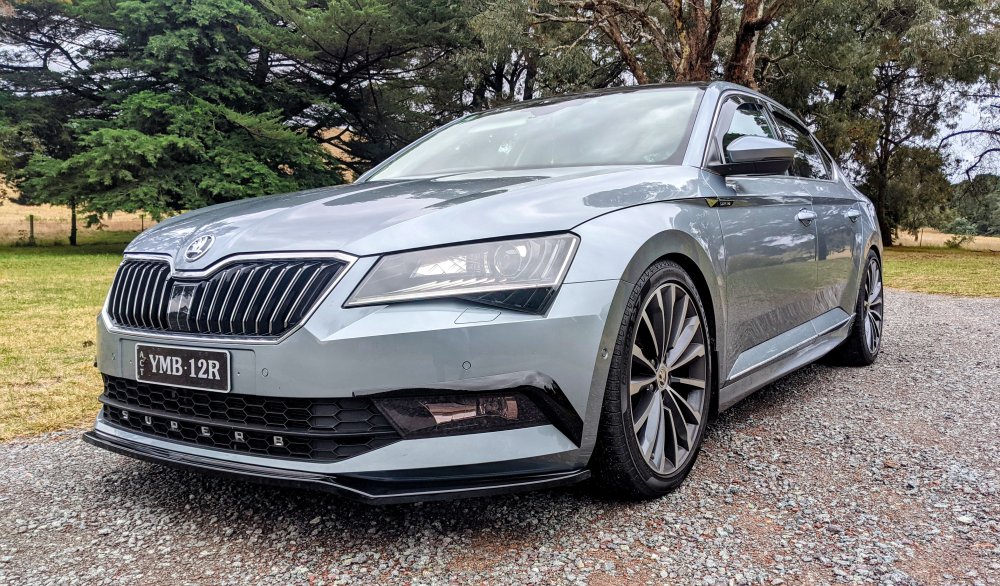
It's not a hard job at all to fit - remove wheel, place spacer on, put wheel back on. However, make sure the spacers r hub centric and the correct bore size. Also make sure u use longer bolts, usually supplied with the spacer, as the factory bolts won't cut it any more. I would also recommend that u don't go less than 10mm. Likewise don't go more than 20mm. N lastly, don't buy el cheapo ones. Get a good quality brand. I've got 15mm hub centric spacers on mine, front & rear. I have 19" wheels and it's lowered 25mm - the car looks much better with it. It's been 3 yrs now, and I've had no issues.
-
Sorry buddy but I haven't done a reverse camera install before, so I have no idea about the calibration or parameters involved.
-
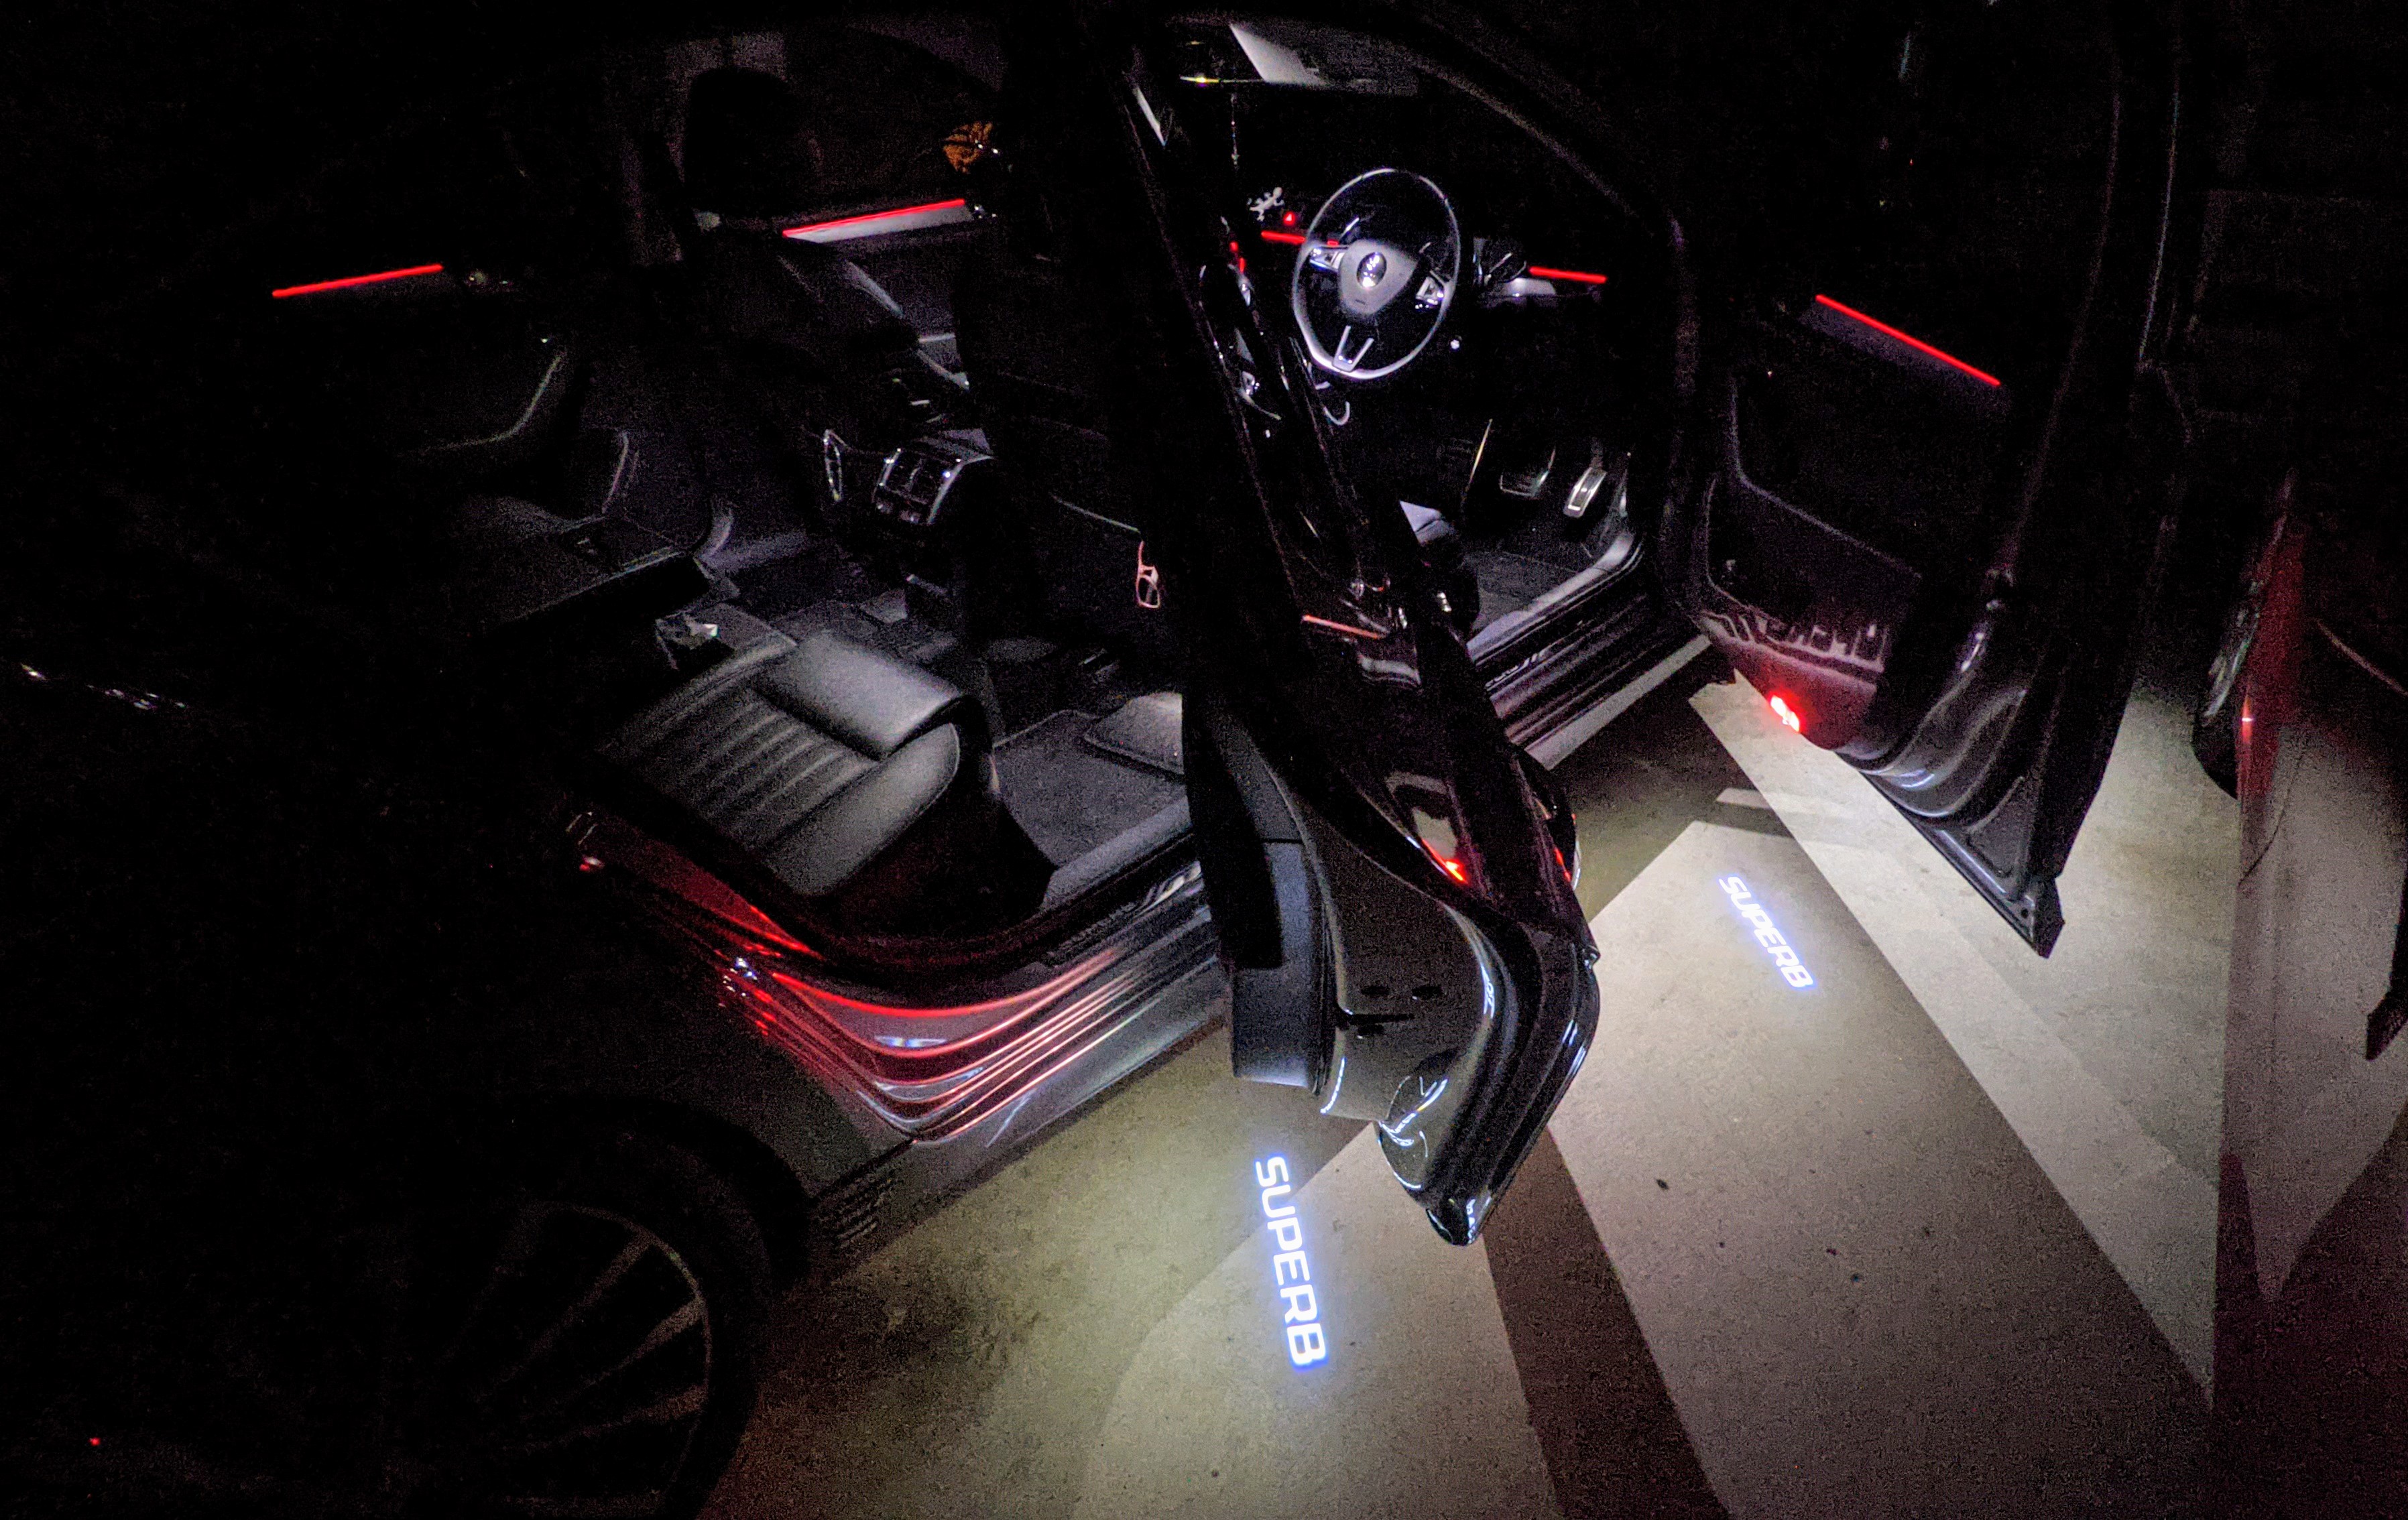
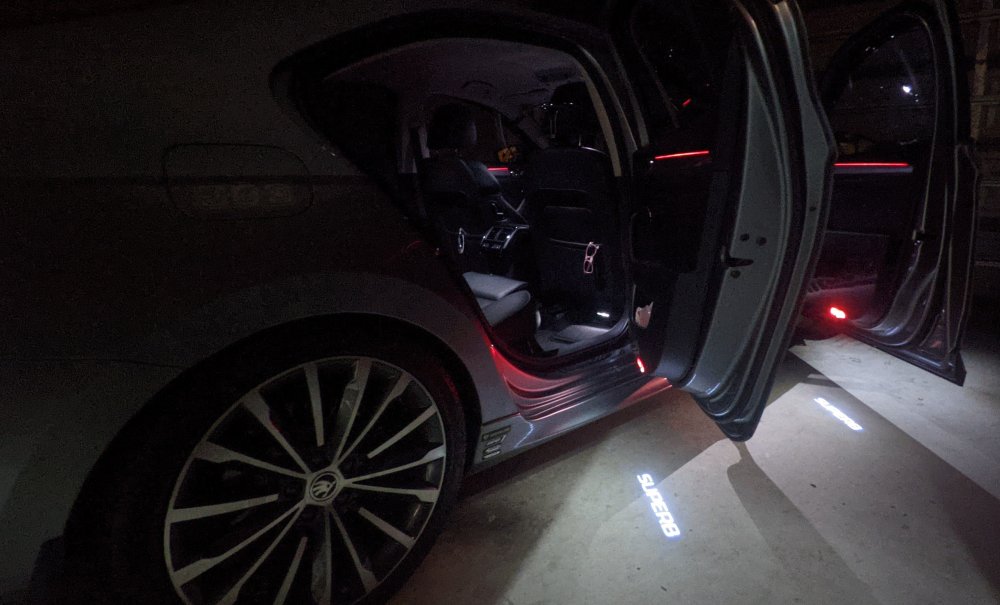
@whitevx- from wat I've heard (those who've wanted to retrofit it to their Superb) is that new door cards with the ambient lighting strip is required. It's not possible to get just the strips n add it to the existing door card. Not sure wat is involved wiring wise as it would most likely b non-existent on ur rear doors.
-
@whitevx- here's another angle...
-
apologies - i misread ur post. i didn't realise u were referring to the ambient door strip lighting. my Superb came with it. @SashaGrace would b more knowledgeable about retrofitting the that.
-
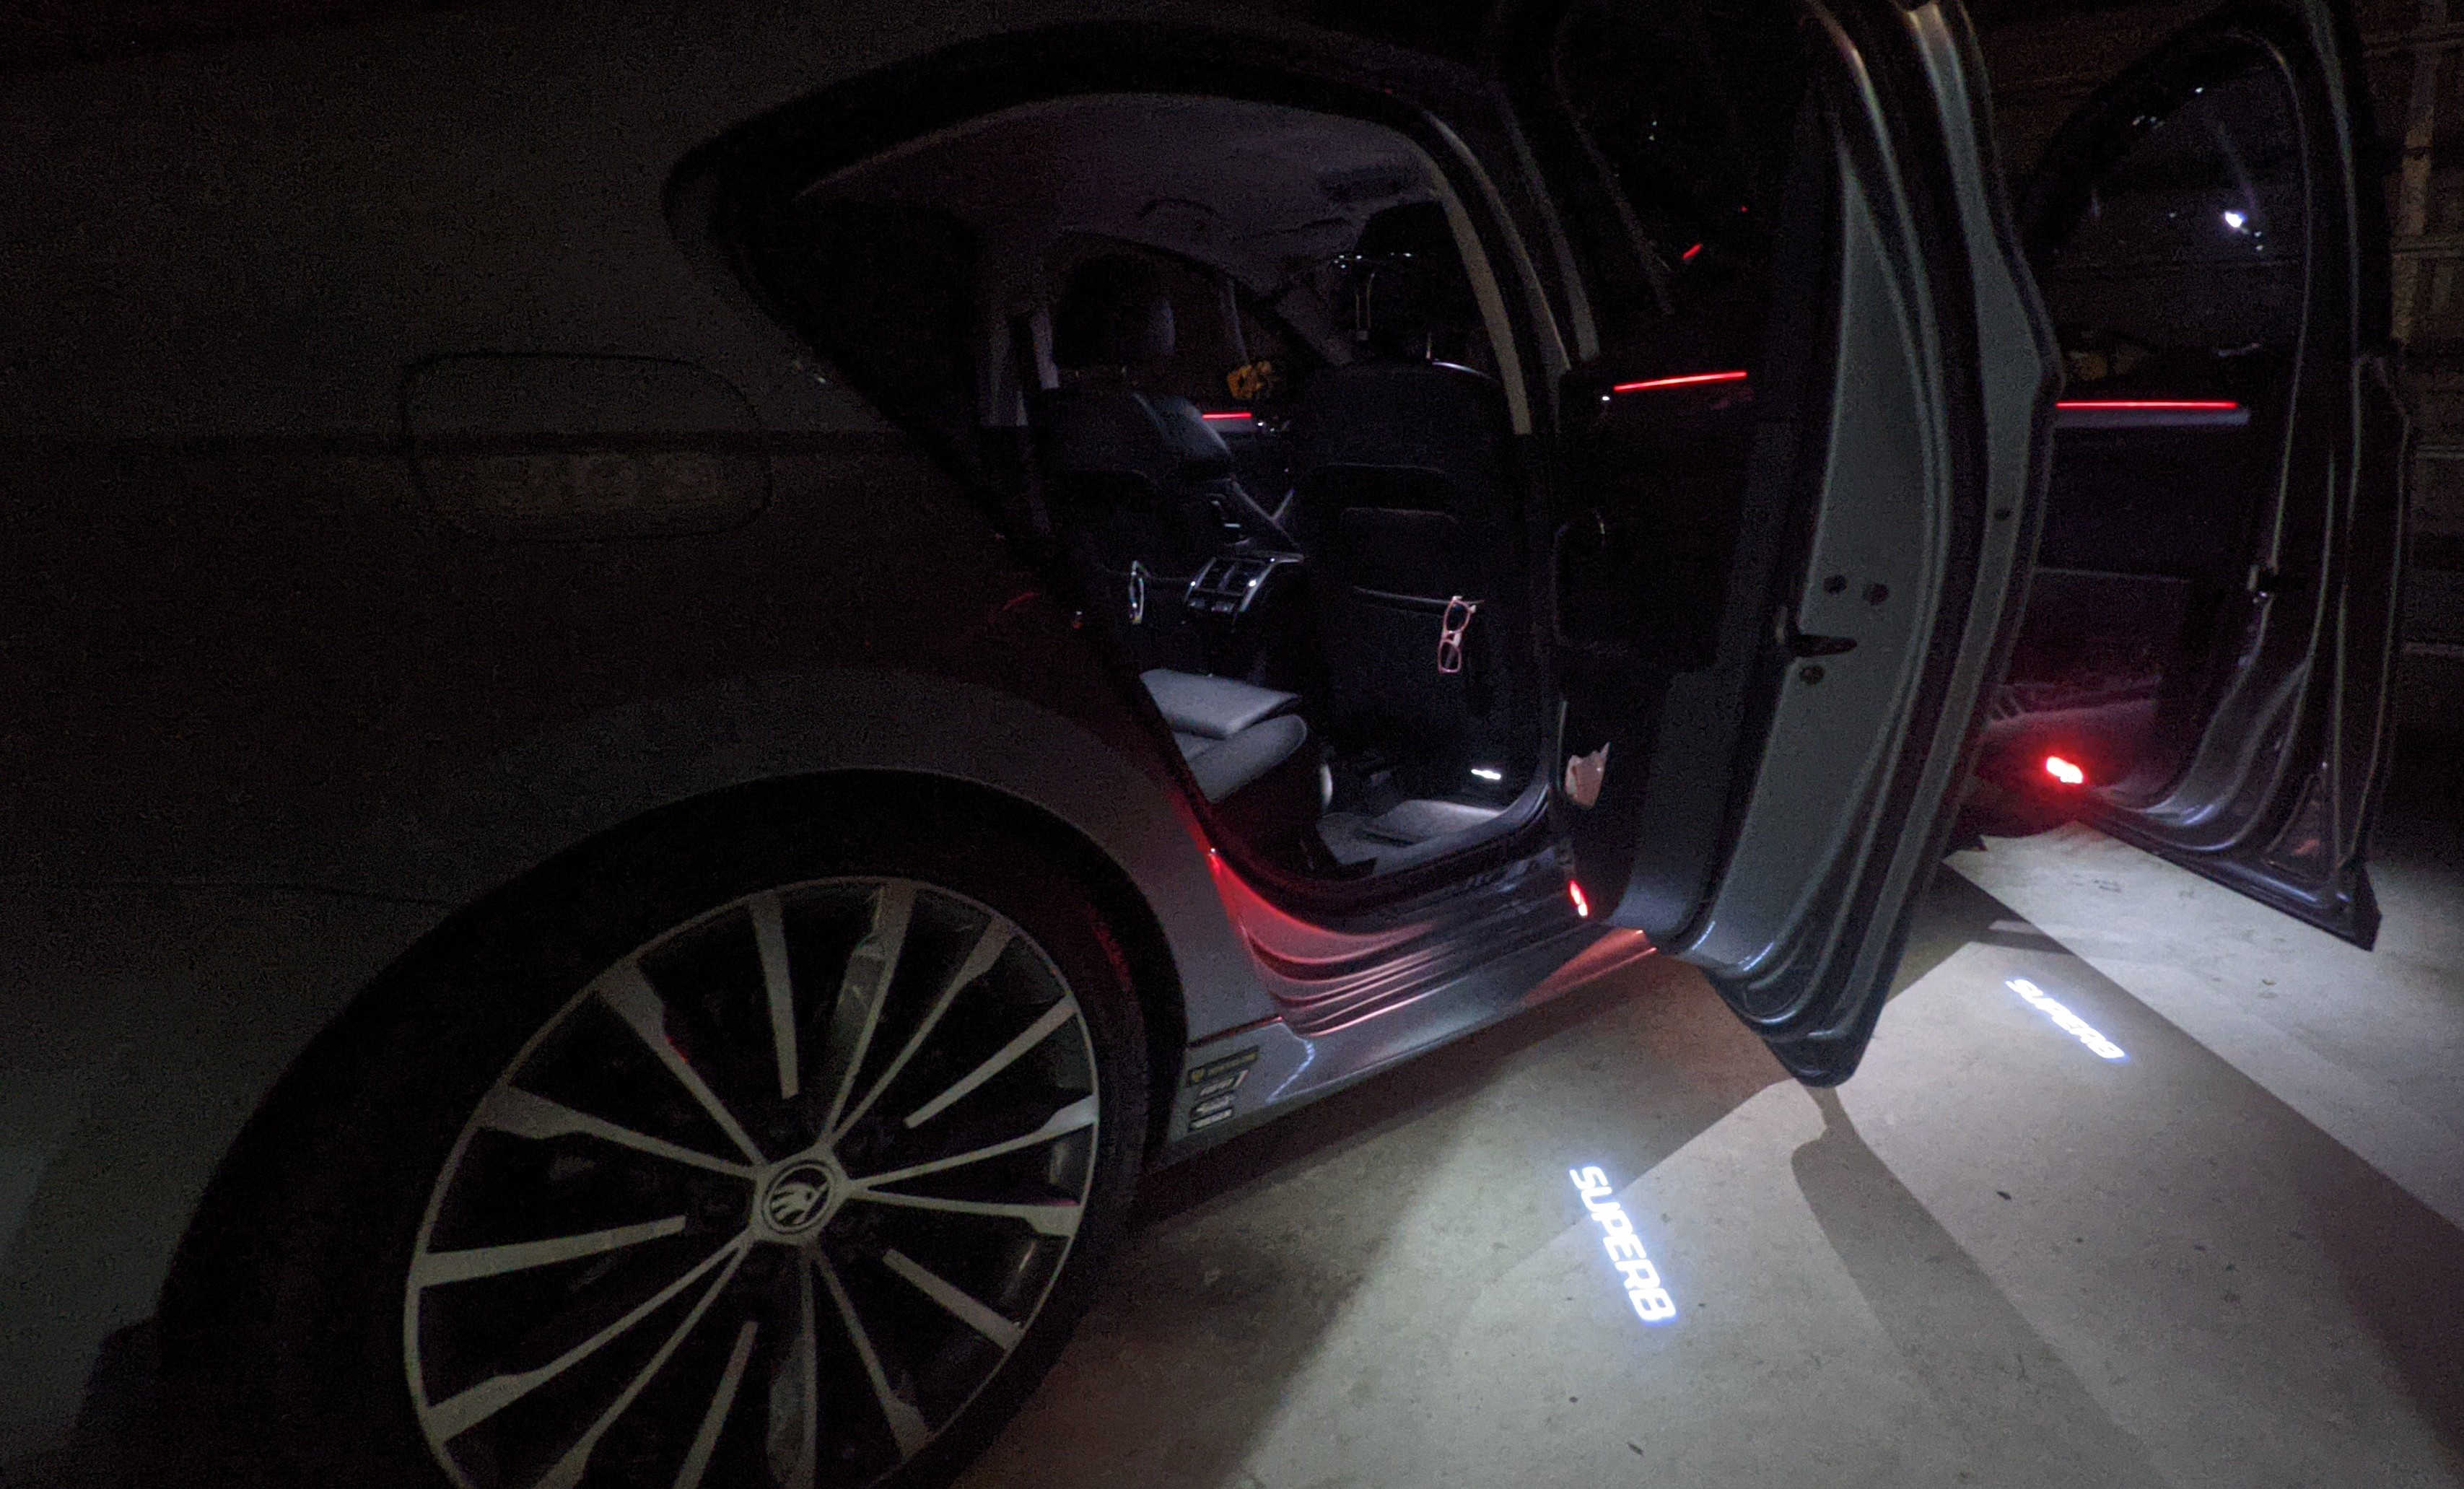
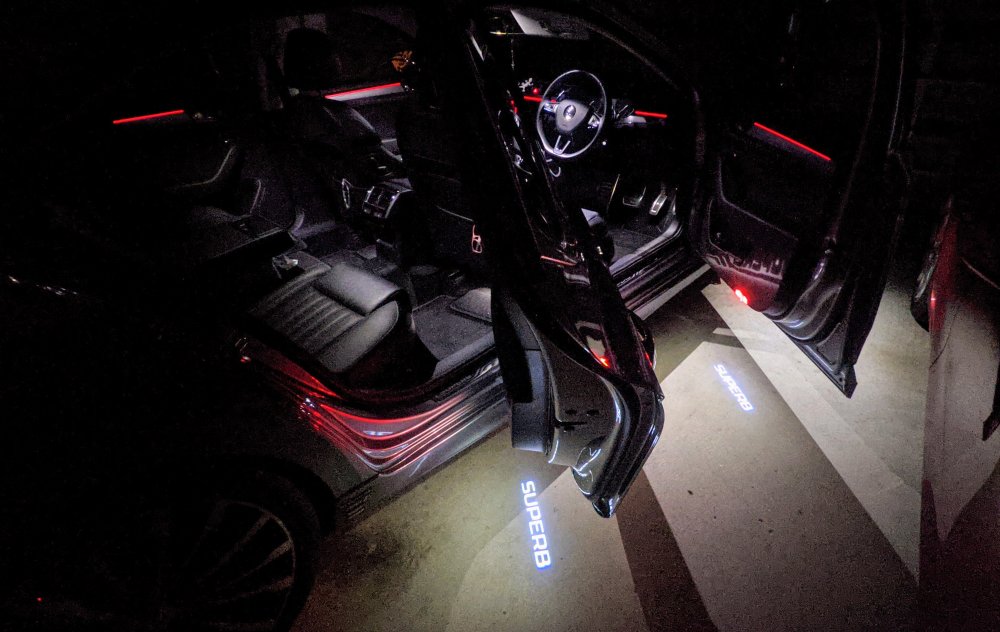
@whitevx - retrofit details for the rear door puddle lights here. not sure if @SashaGrace did a similar method, or different. i'd imagine the Karoq would b similar.
-
@SashaGrace, @David55 - the rear door puddle lights make a nice addition to the car. I'm glad I did this retrofit a while ago
-
I'm still scratching my head confused - my 19" in the wheel well still has room around it, that it will slide around!!! I need the lock nut to secure it. However others r saying its a snug/tight fit!!! Also, the tyre foam mould on mine isn't any taller than the 19" rim, hence didn't need any trimming off the top or bottom. If anything, it is much smaller in circumference, but the strap holds it in place. Either way.....as long as everyone gets their happy ending

.jpg.84aa59d529db998a261afe176d73e6a3.jpg)