JR RS
FREEDOMLite
-
Joined
-
Last visited
Everything posted by JR RS
-
👍 yup, exactly wat i was referring to earlier
-
Just remember that pulling the DSG lever back only engages the Engine/Drive to Sport mode. It's not the same as selecting the Sport Driving Profile, which is done via the Infotainment. The Driving Profile method changes other characteristics such as steering, suspension, lighting, etc. etc. This can only be done via the Infotainment, for the Superb.
-
-
Thanks. Was an idea I thought of and wanted to try. I think I like it. Hence I used gloss black vinyl wrap, easy to do and I can easily remove. Plasti-dip is too much work (prep) and time (too many coats).
-
That is normal behavior - u can't open or close the boot with the key fob from the inside. U can't close the boot using the centre console button either. U can however, depending on ur boot lid module version, enable the close using the centre console button. There is a whole thread about it.
-
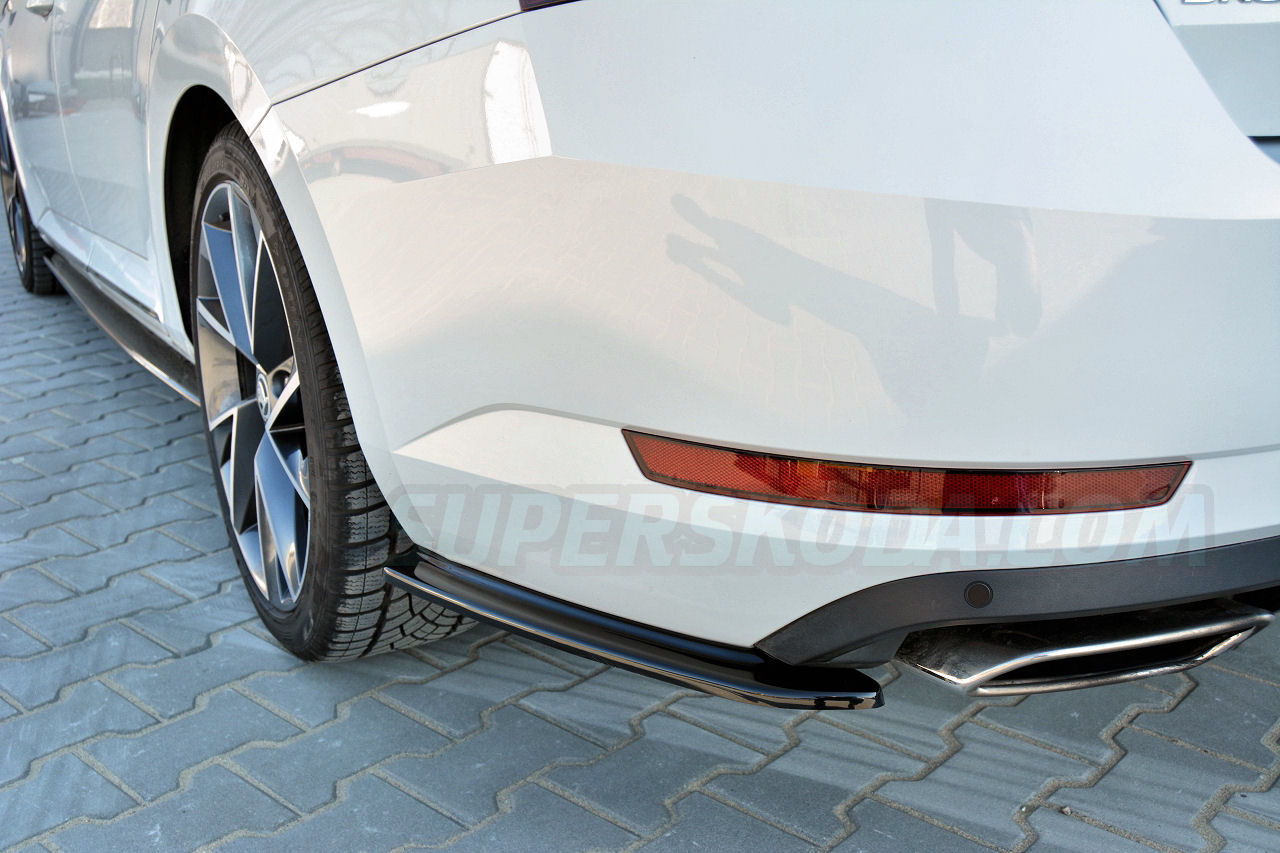
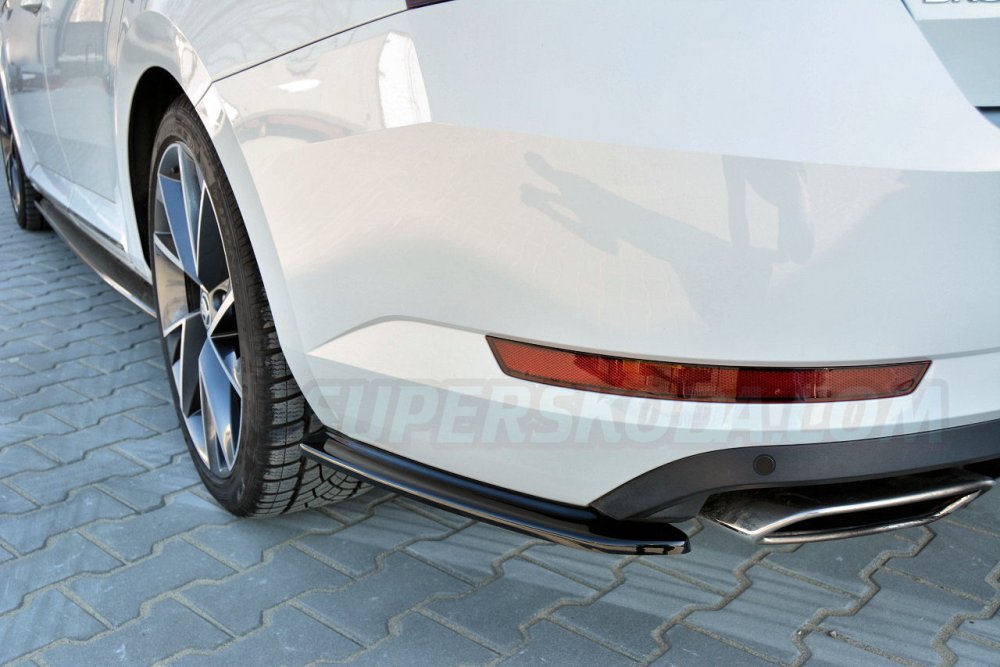
Those holes r used to fit under trays, as u have on the other side. But when there is an exhaust, u can't put an under tray. Those holes r also used to fit aftermarket rear bumper side skirts, such as these.
-
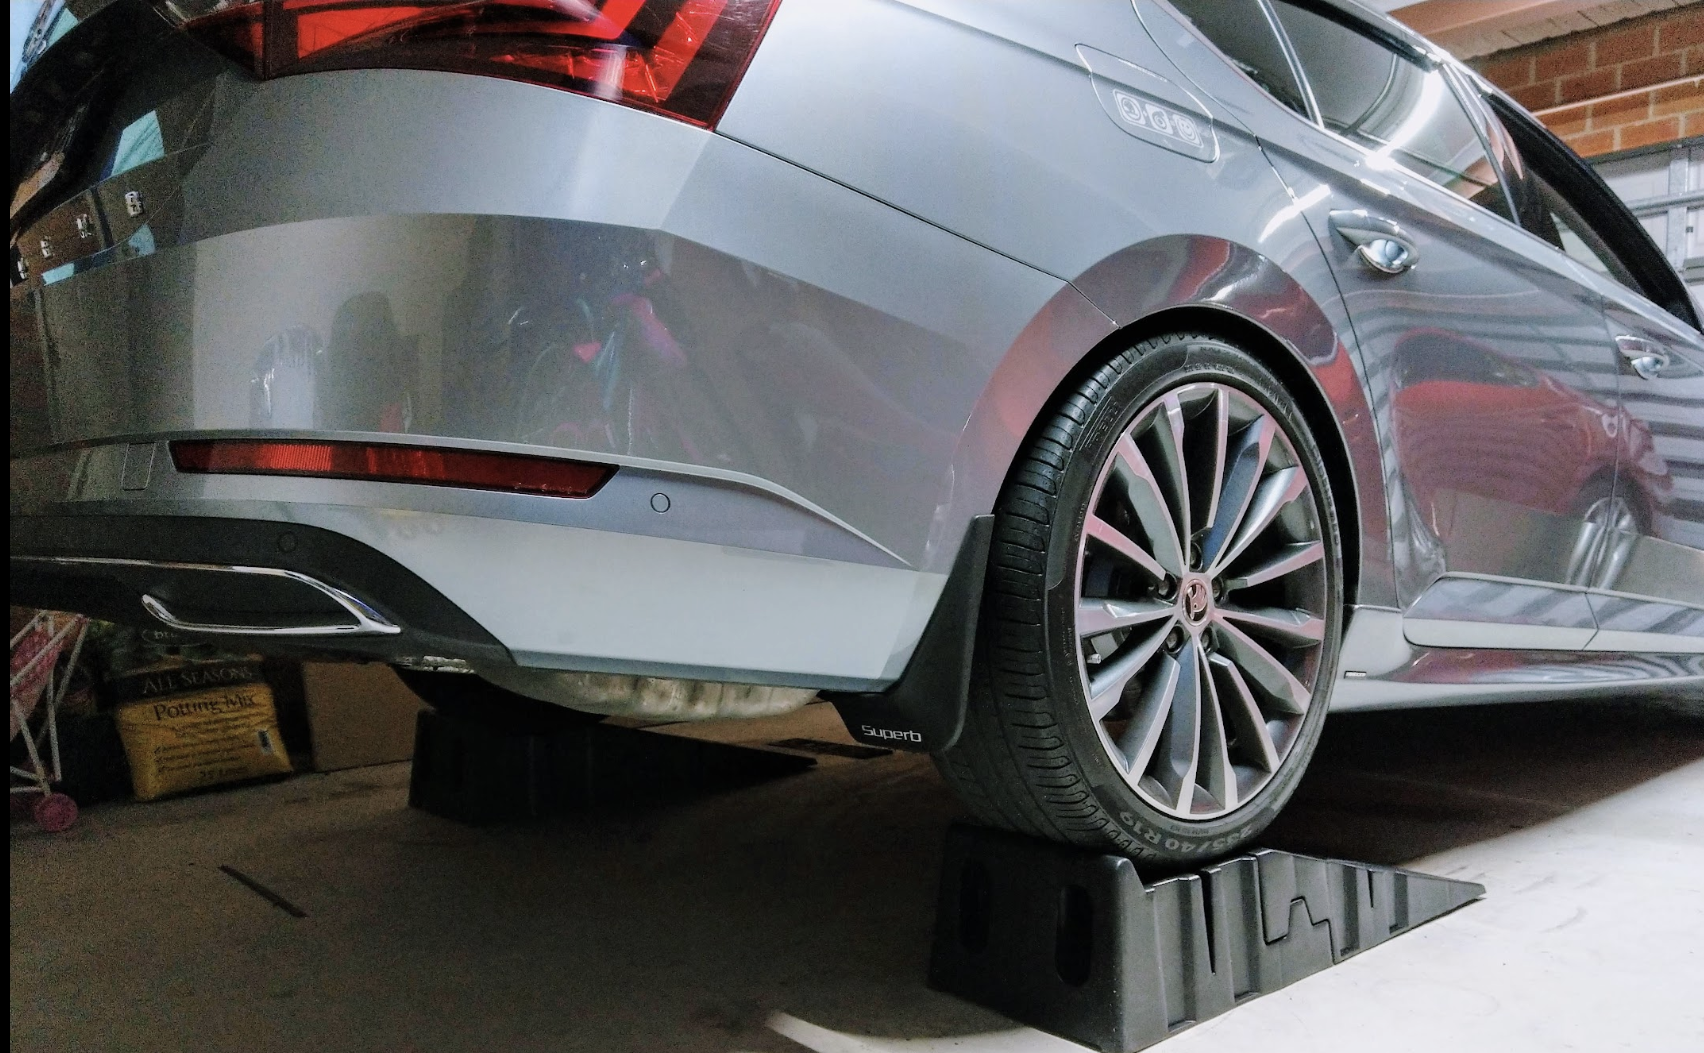
U will have no scrubbing at all with the ET35. I've put 15mm spacers on my 8x19 ET44 and they were fine.
-
The factory 19s that r available on the Superb r 8.0J x 19“ ET44. Hence the same size with an ET35 will stick out 9mm more. Compared to ur current setup, the Audi wheels will stick out 6mm.
-
-
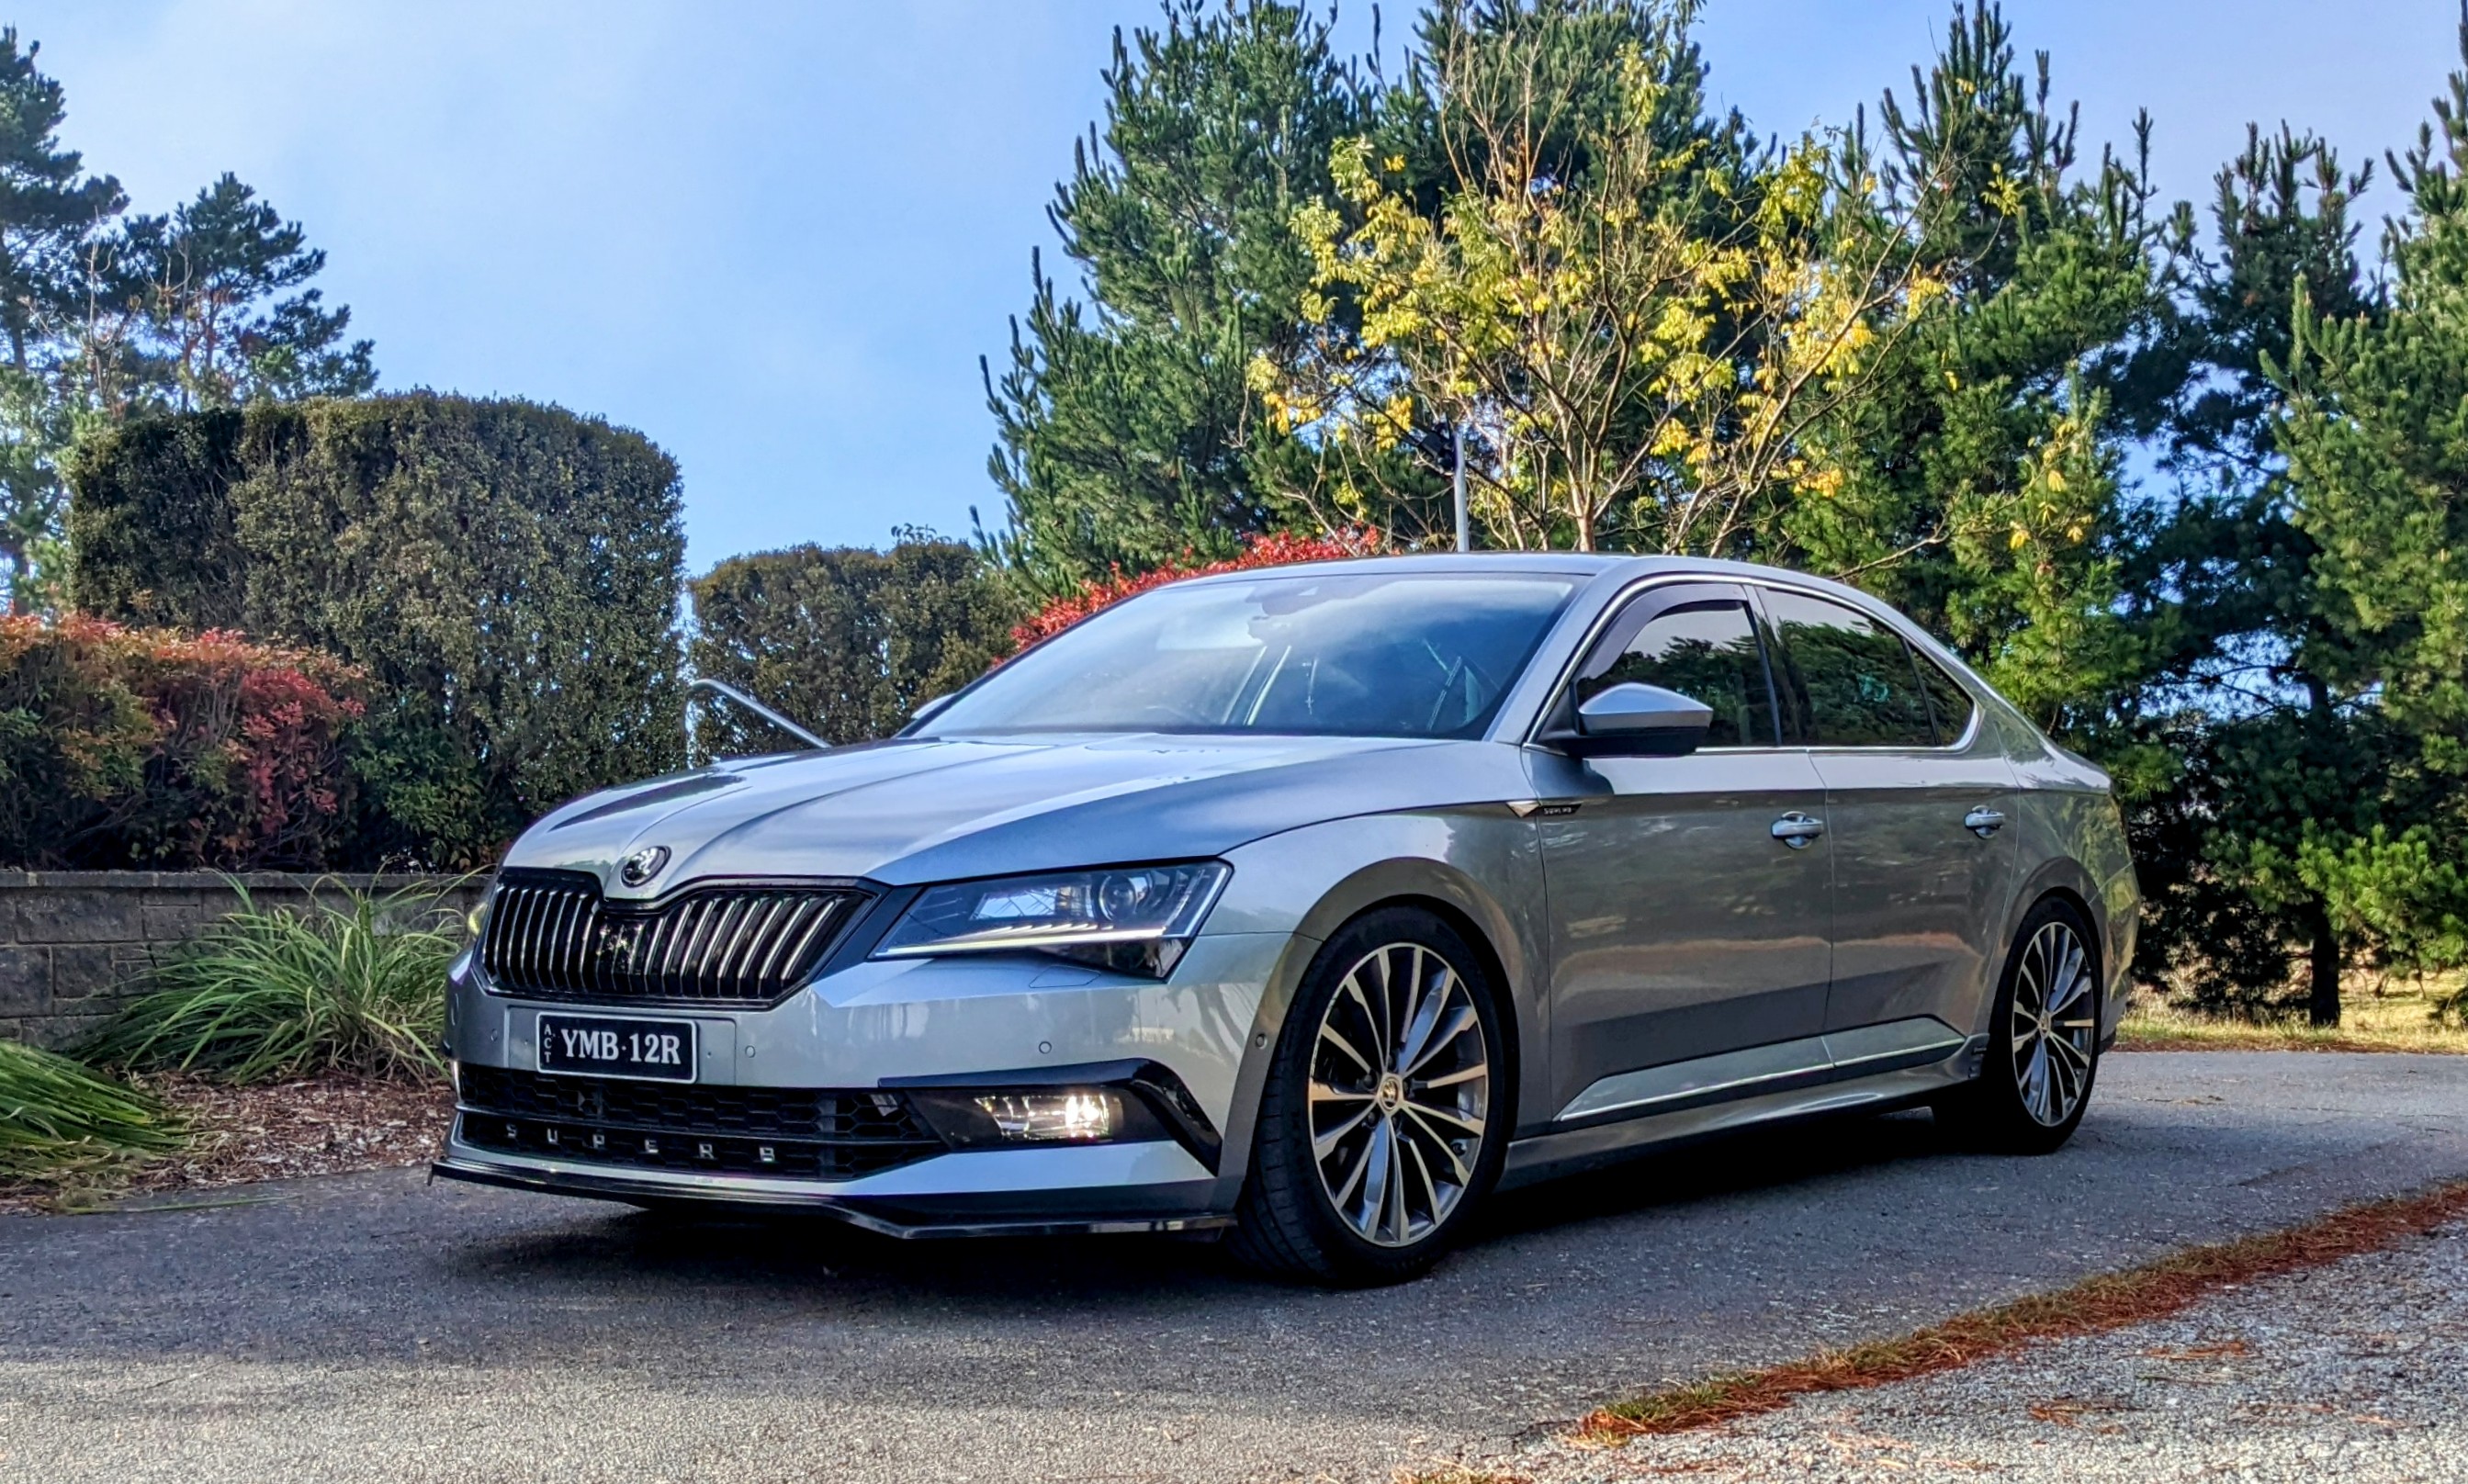
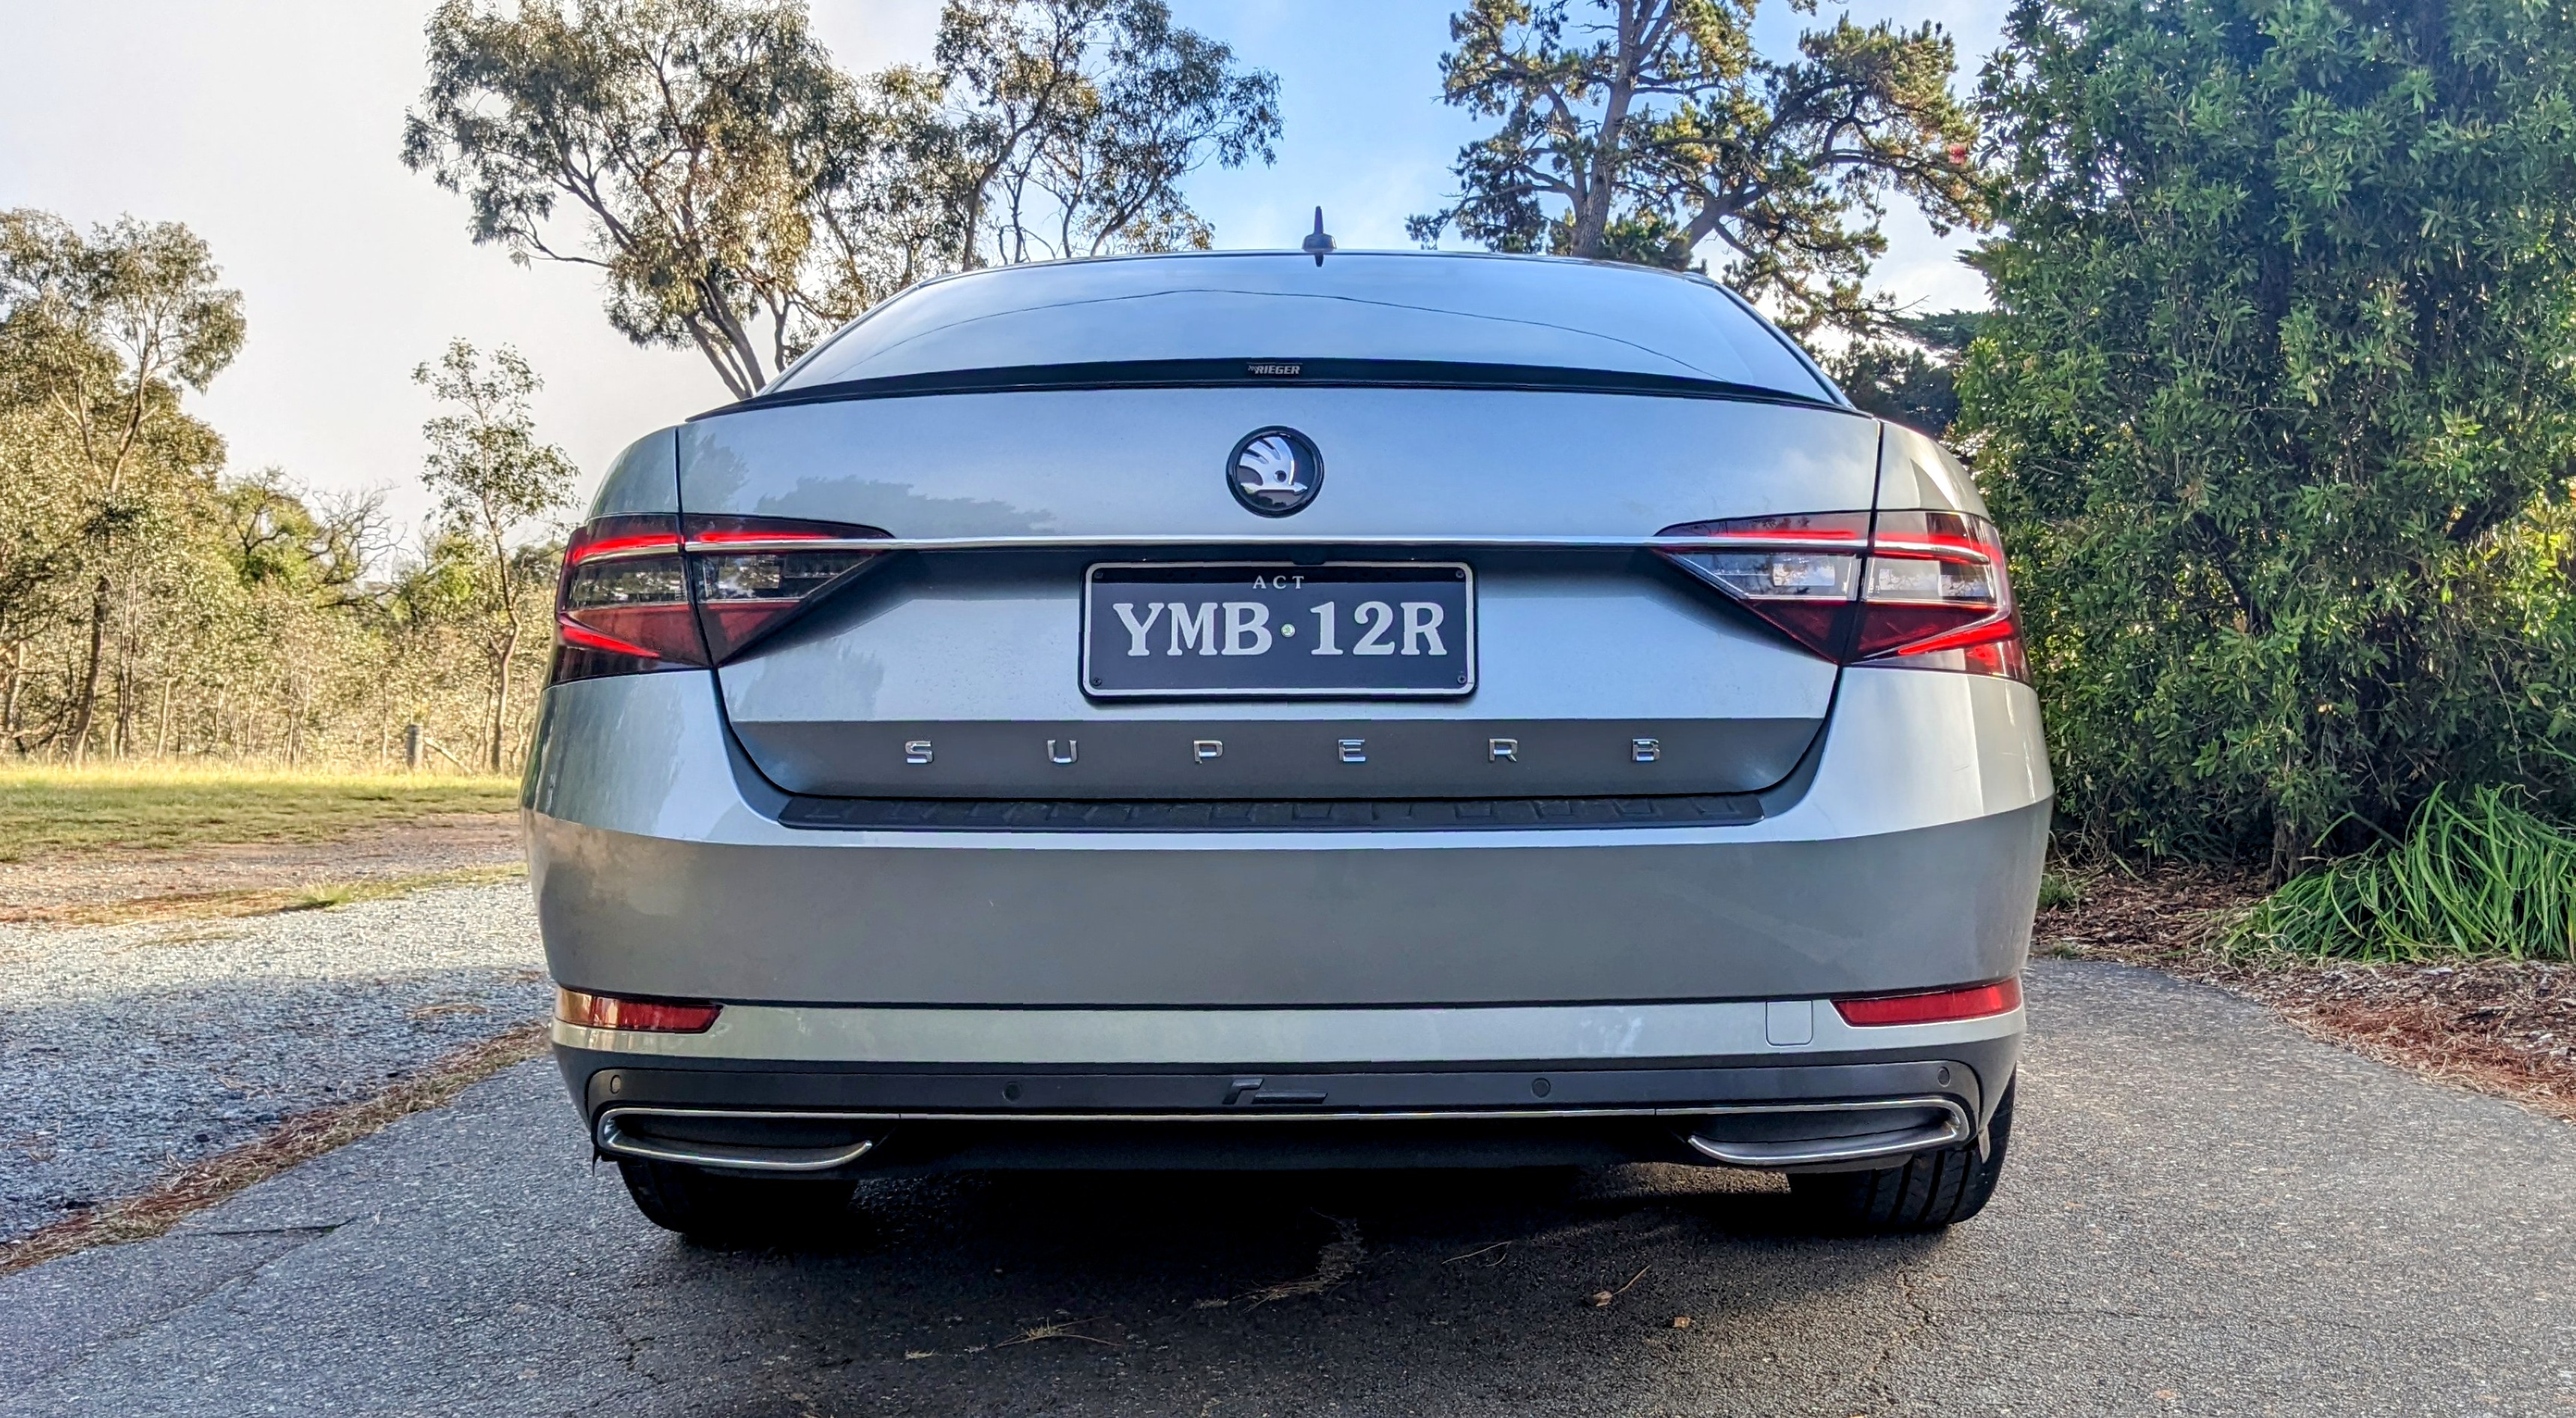
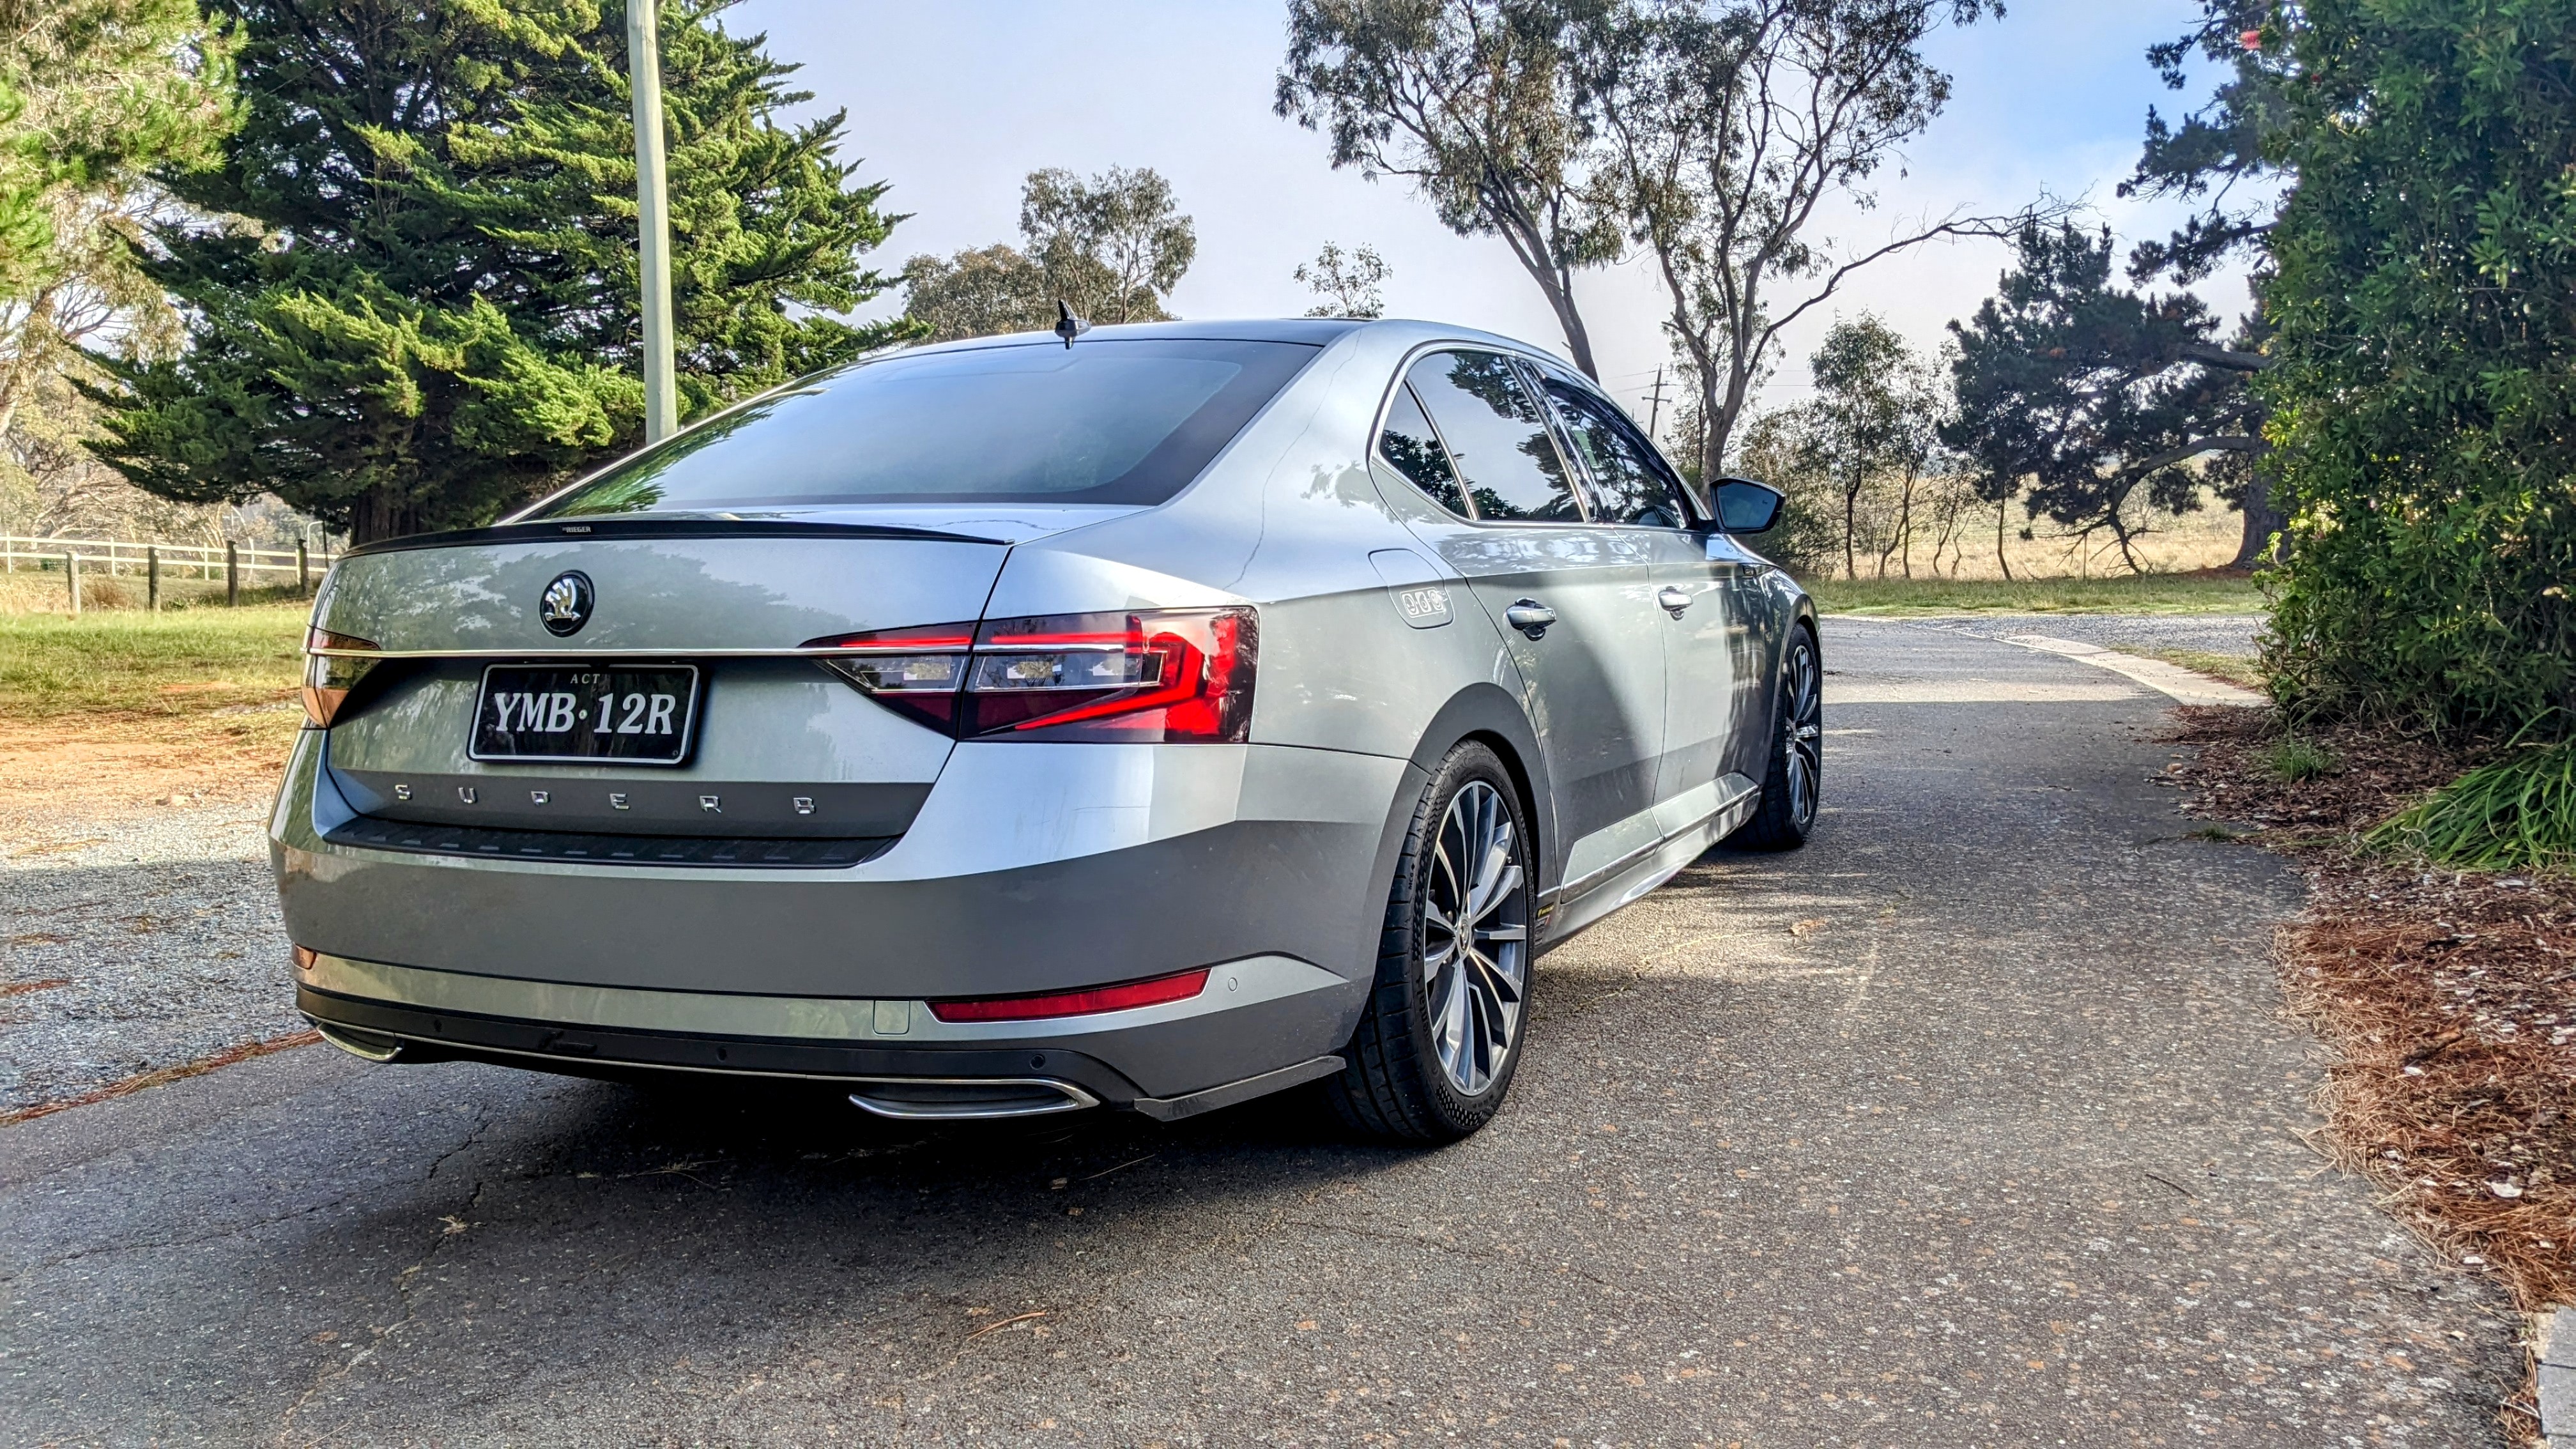
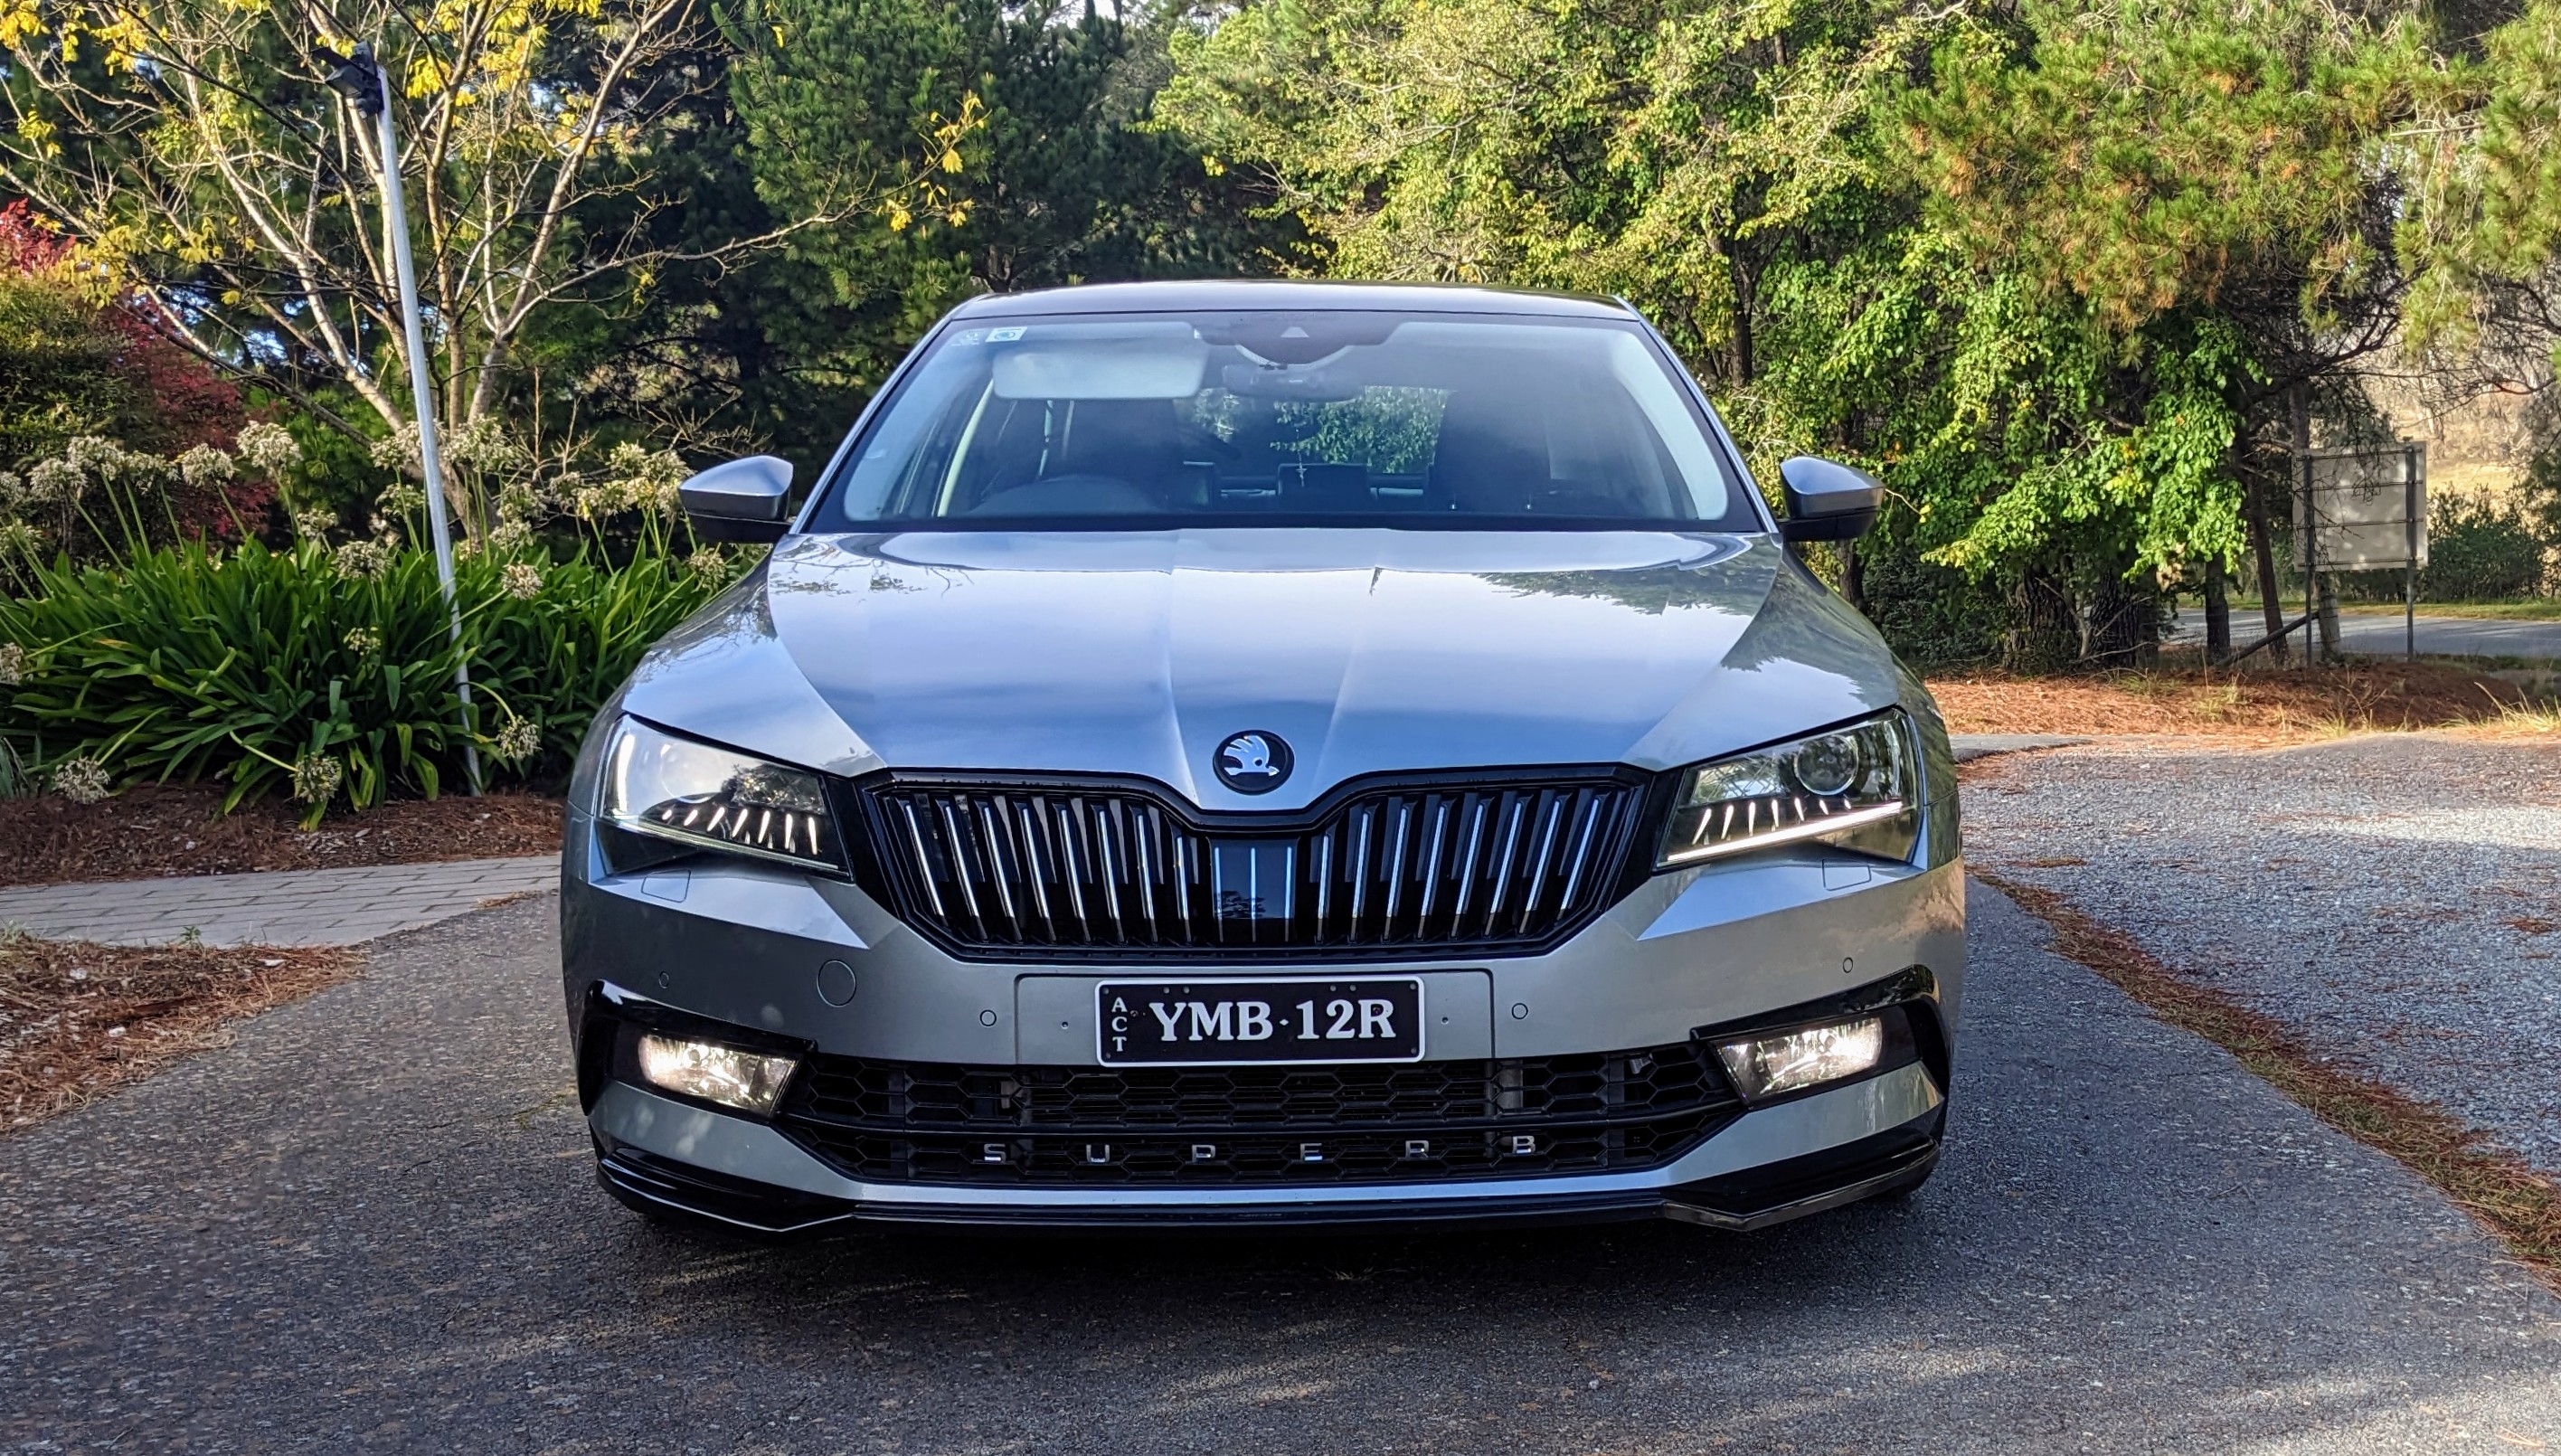
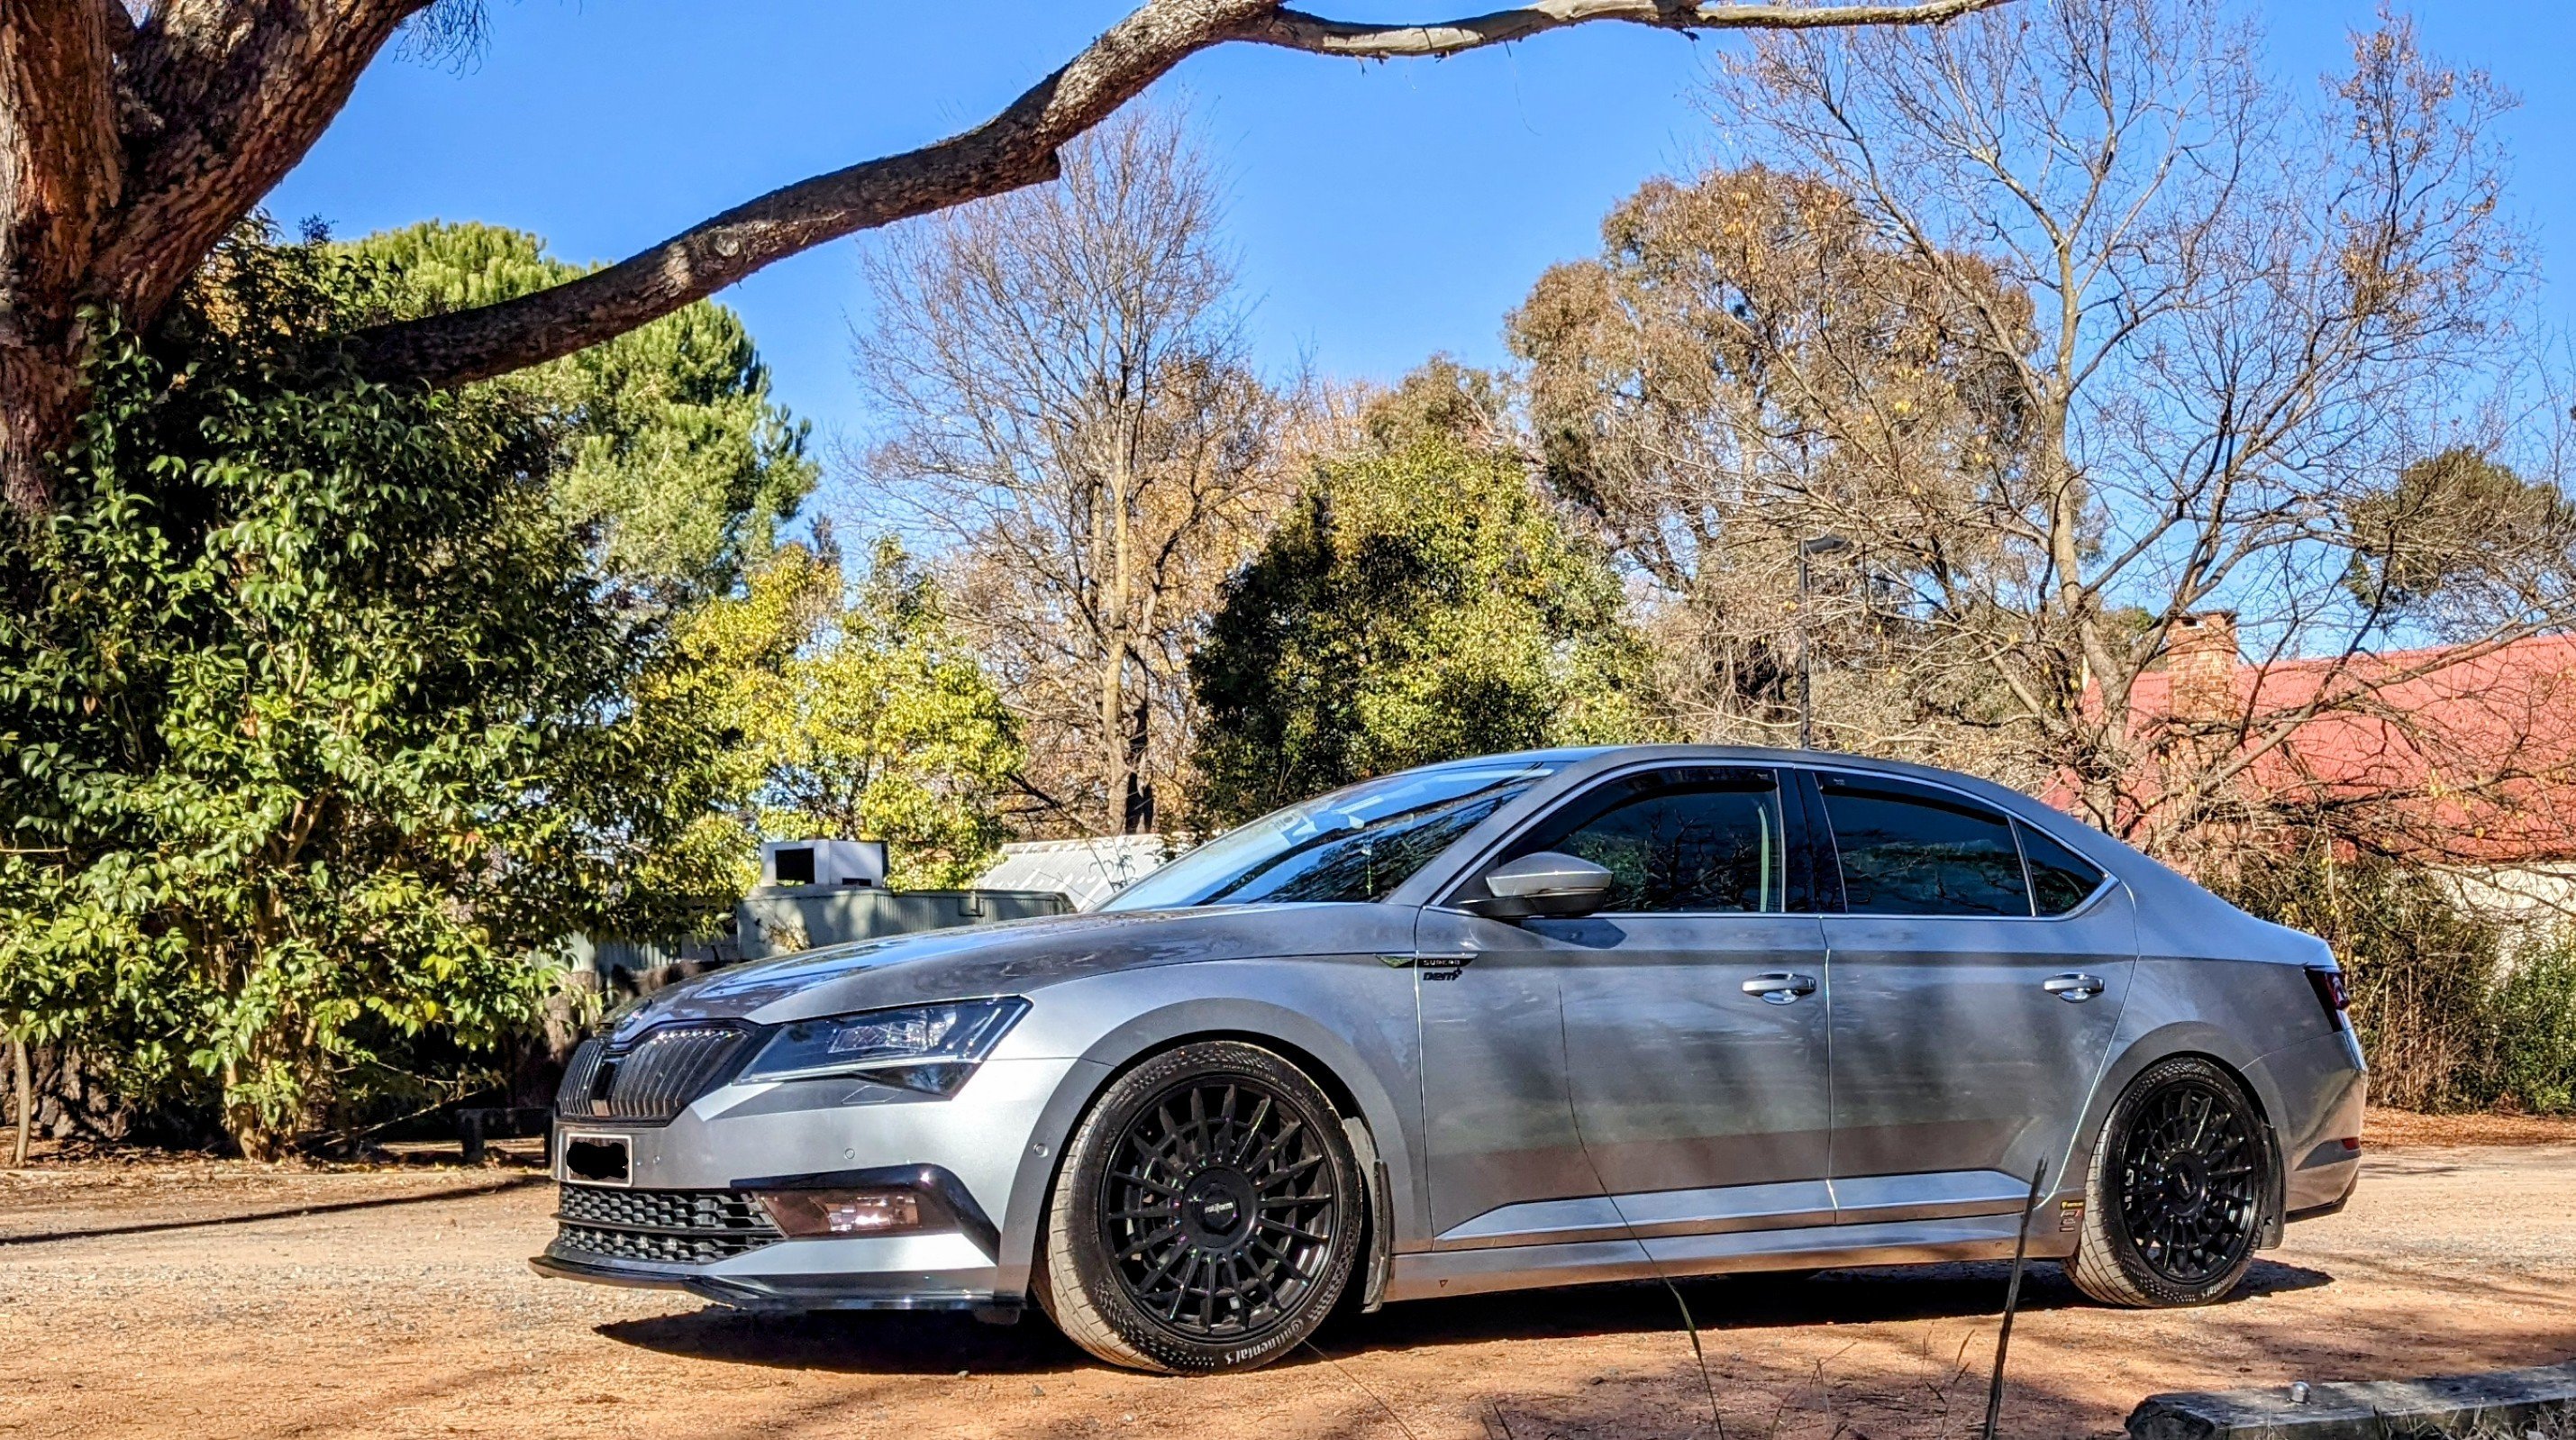
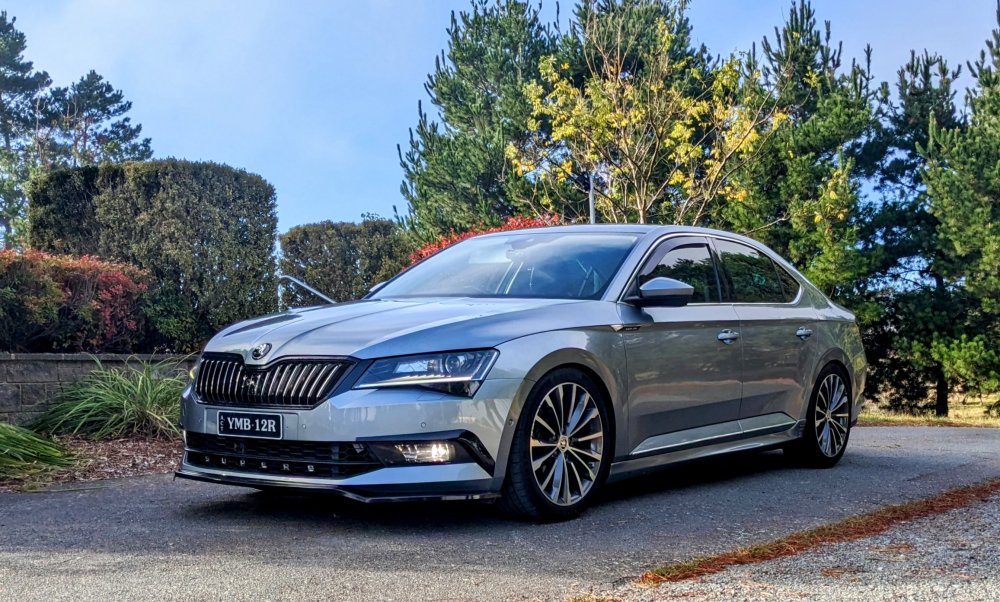
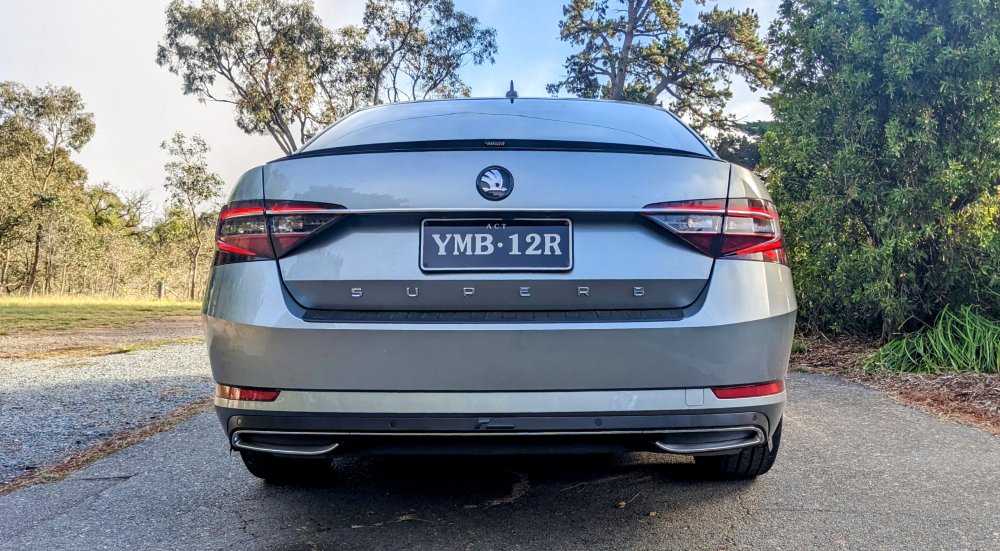
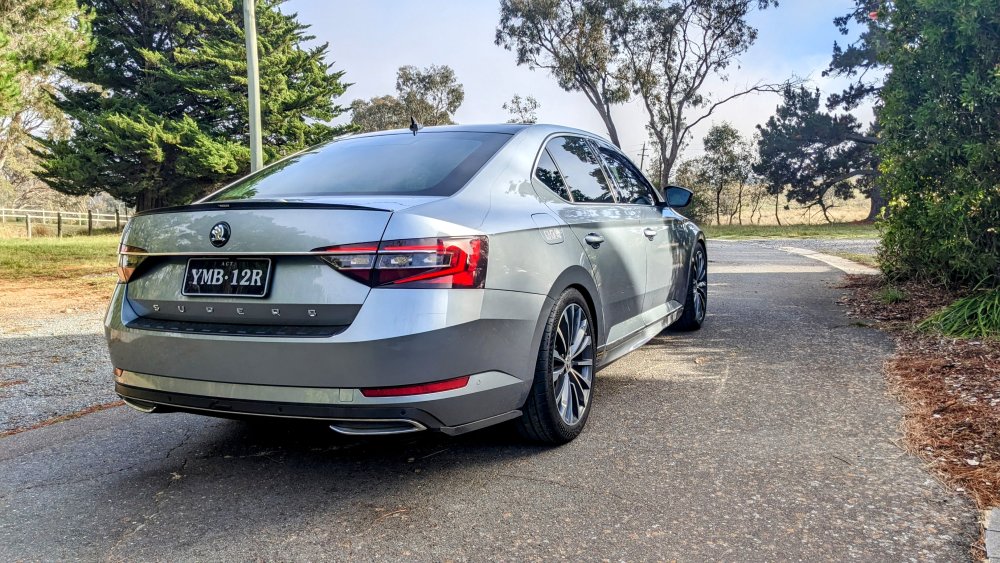
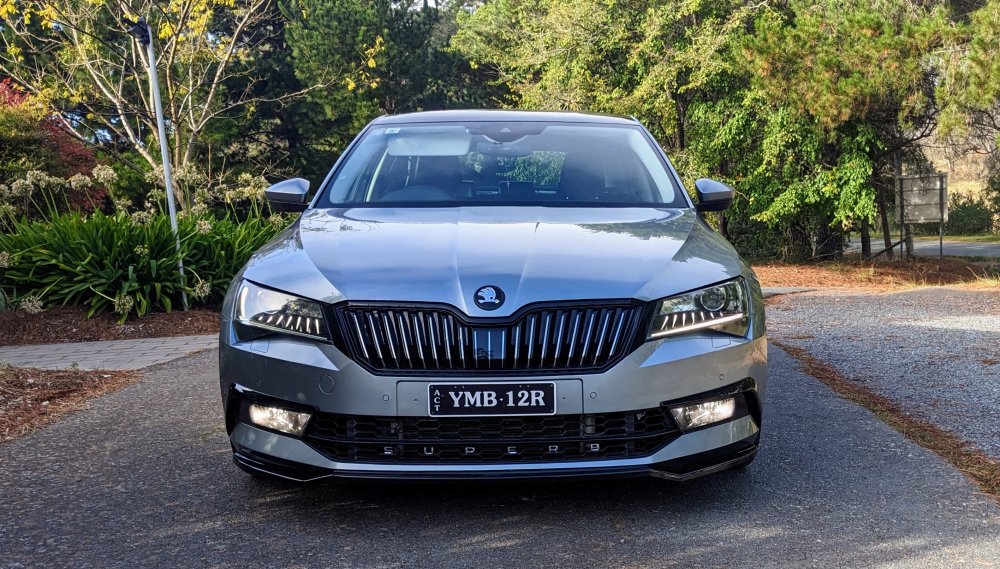
Some pics of Gandalf after a morning run....
-
Some pics of Gandalf after a morning run.....
-
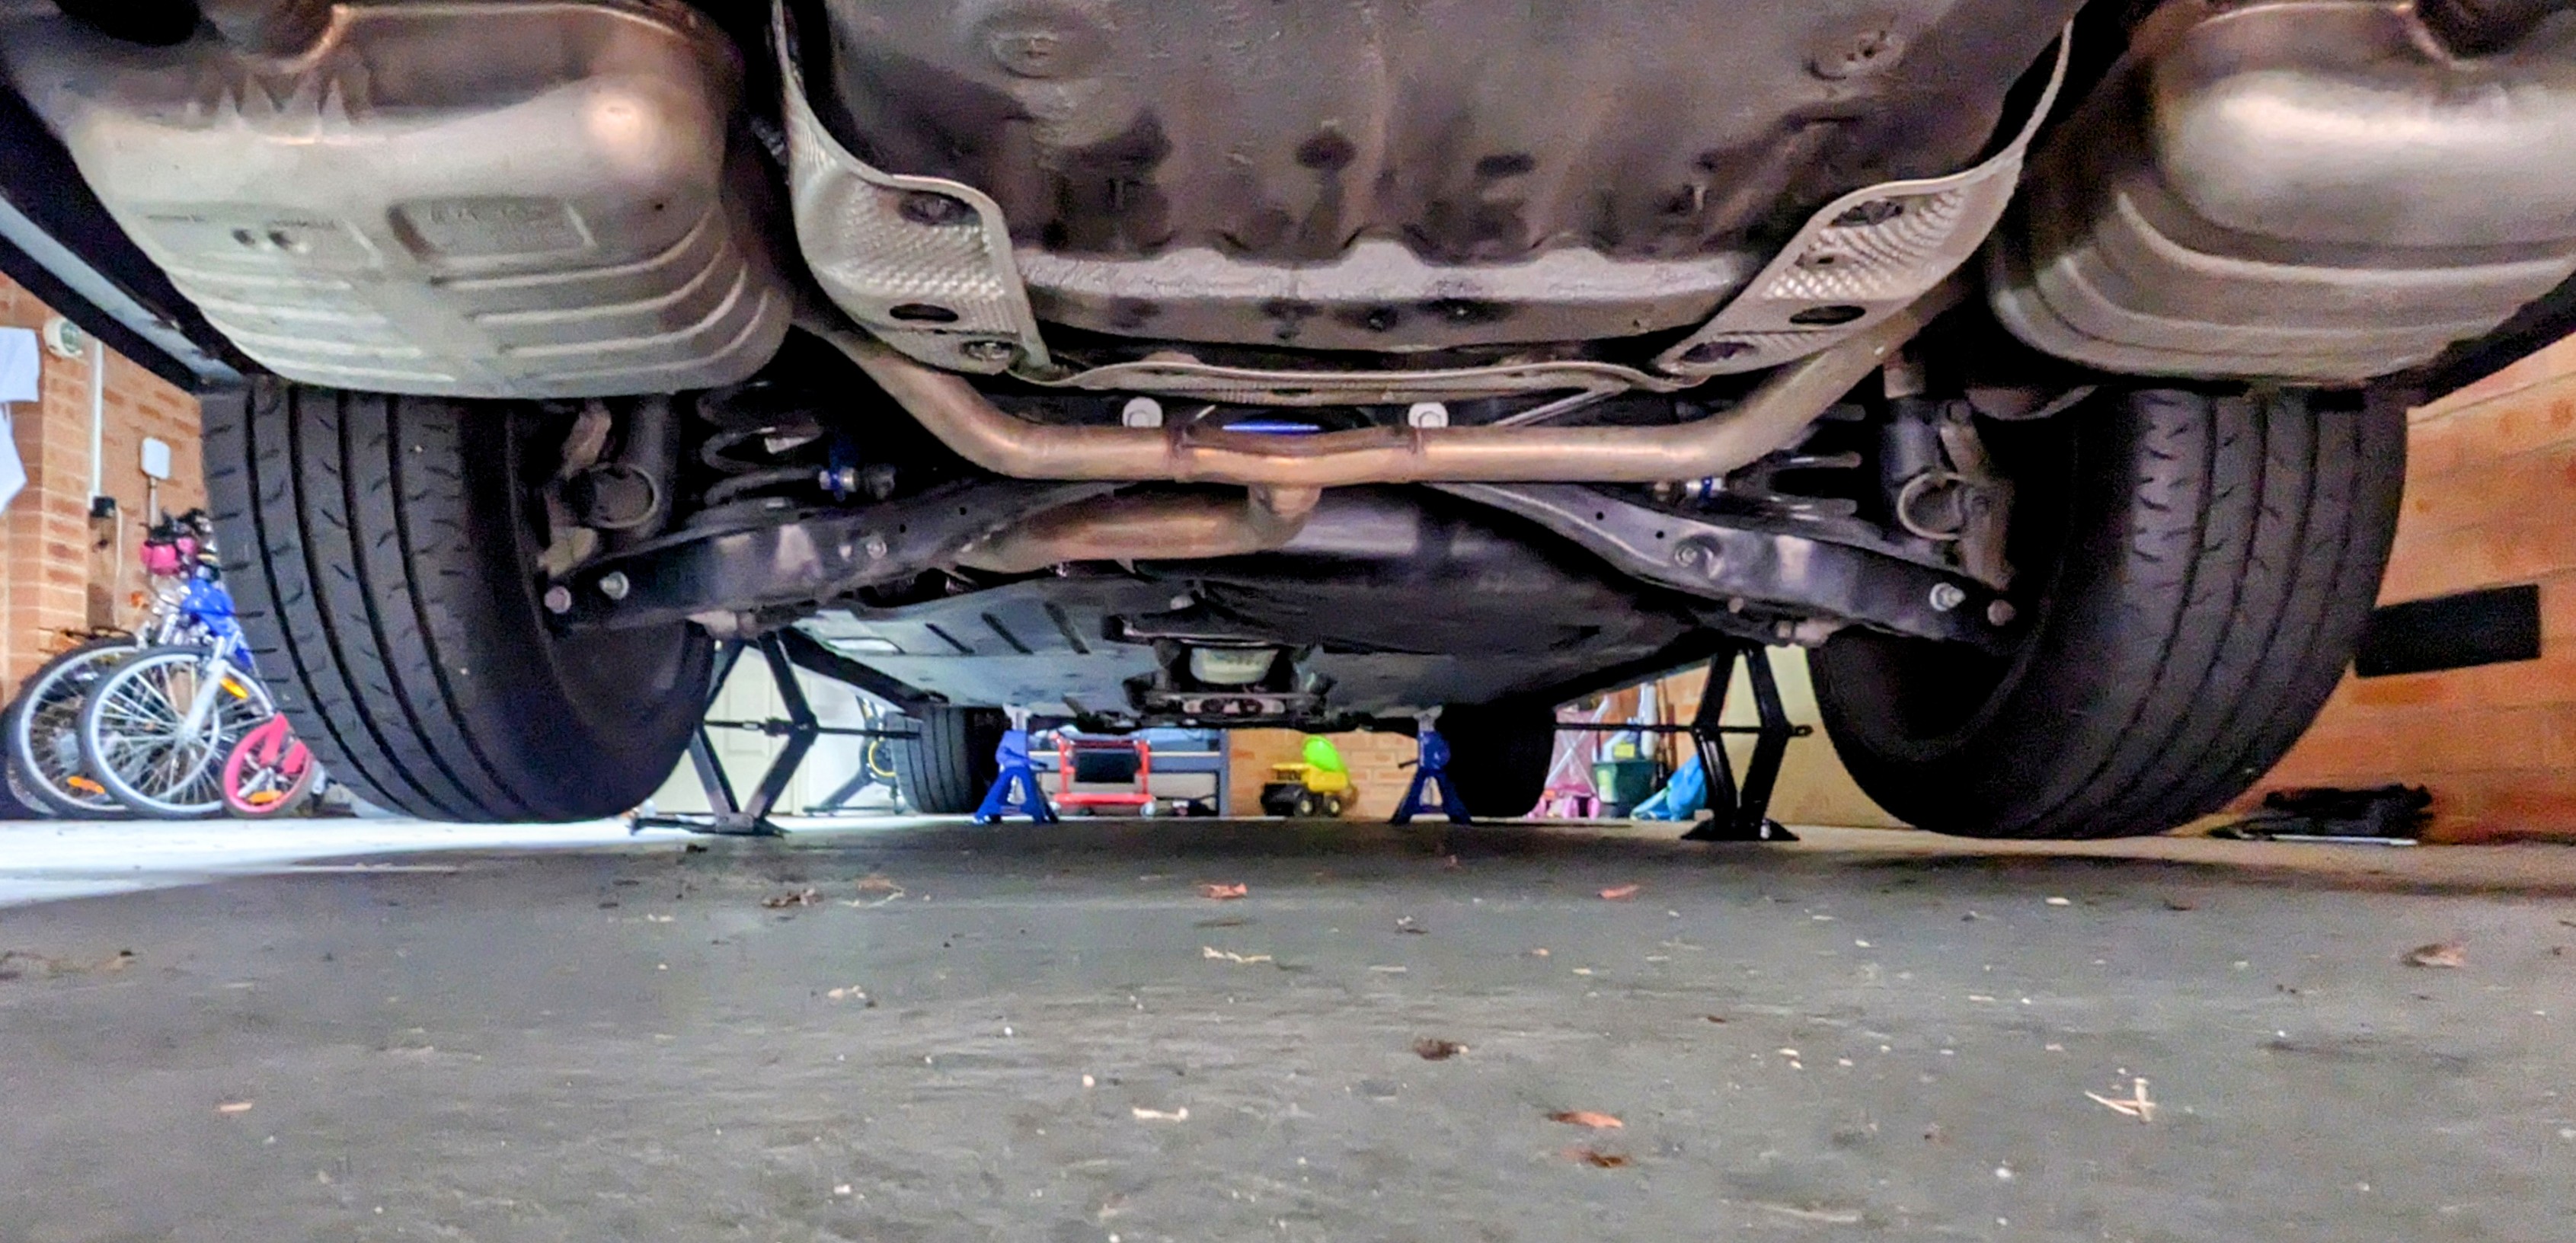
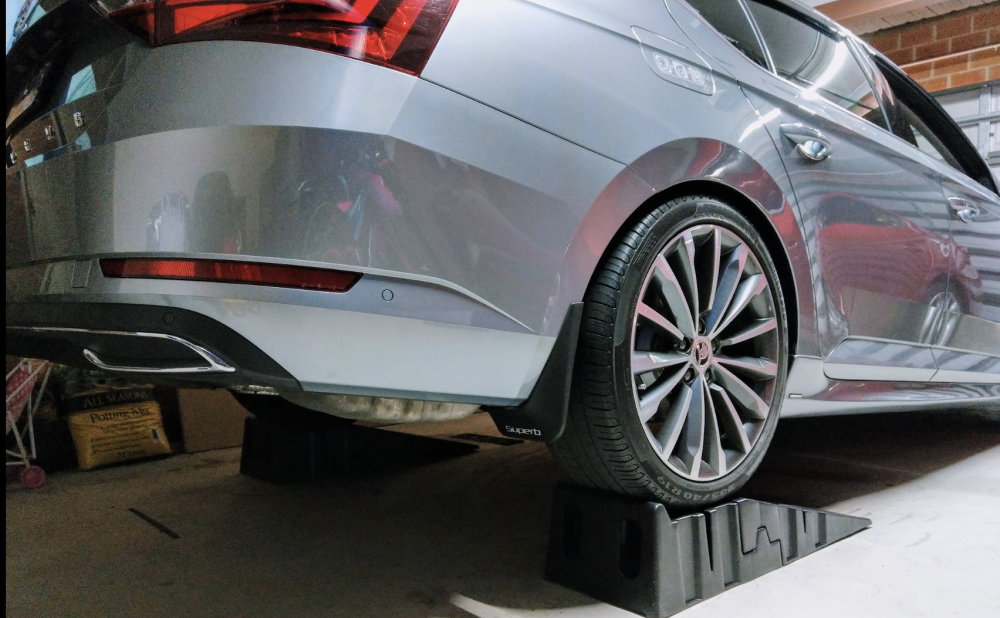
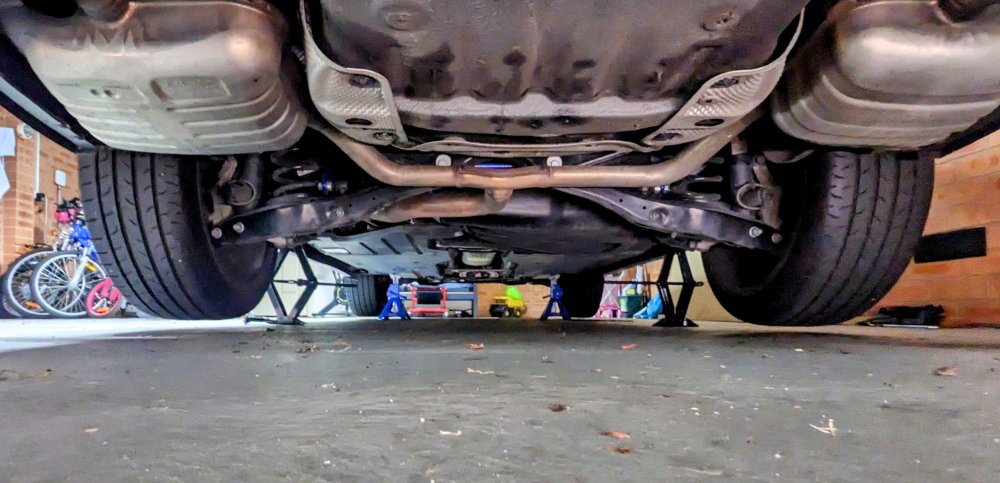
On the 220, there is no under tray or cover behind the wheel arches, on either side. The exhaust takes up most of the room. If ur wheel arch liner is properly secured to the rear bumper, then there shouldn't b much movement. Some slight flex, yes.
-
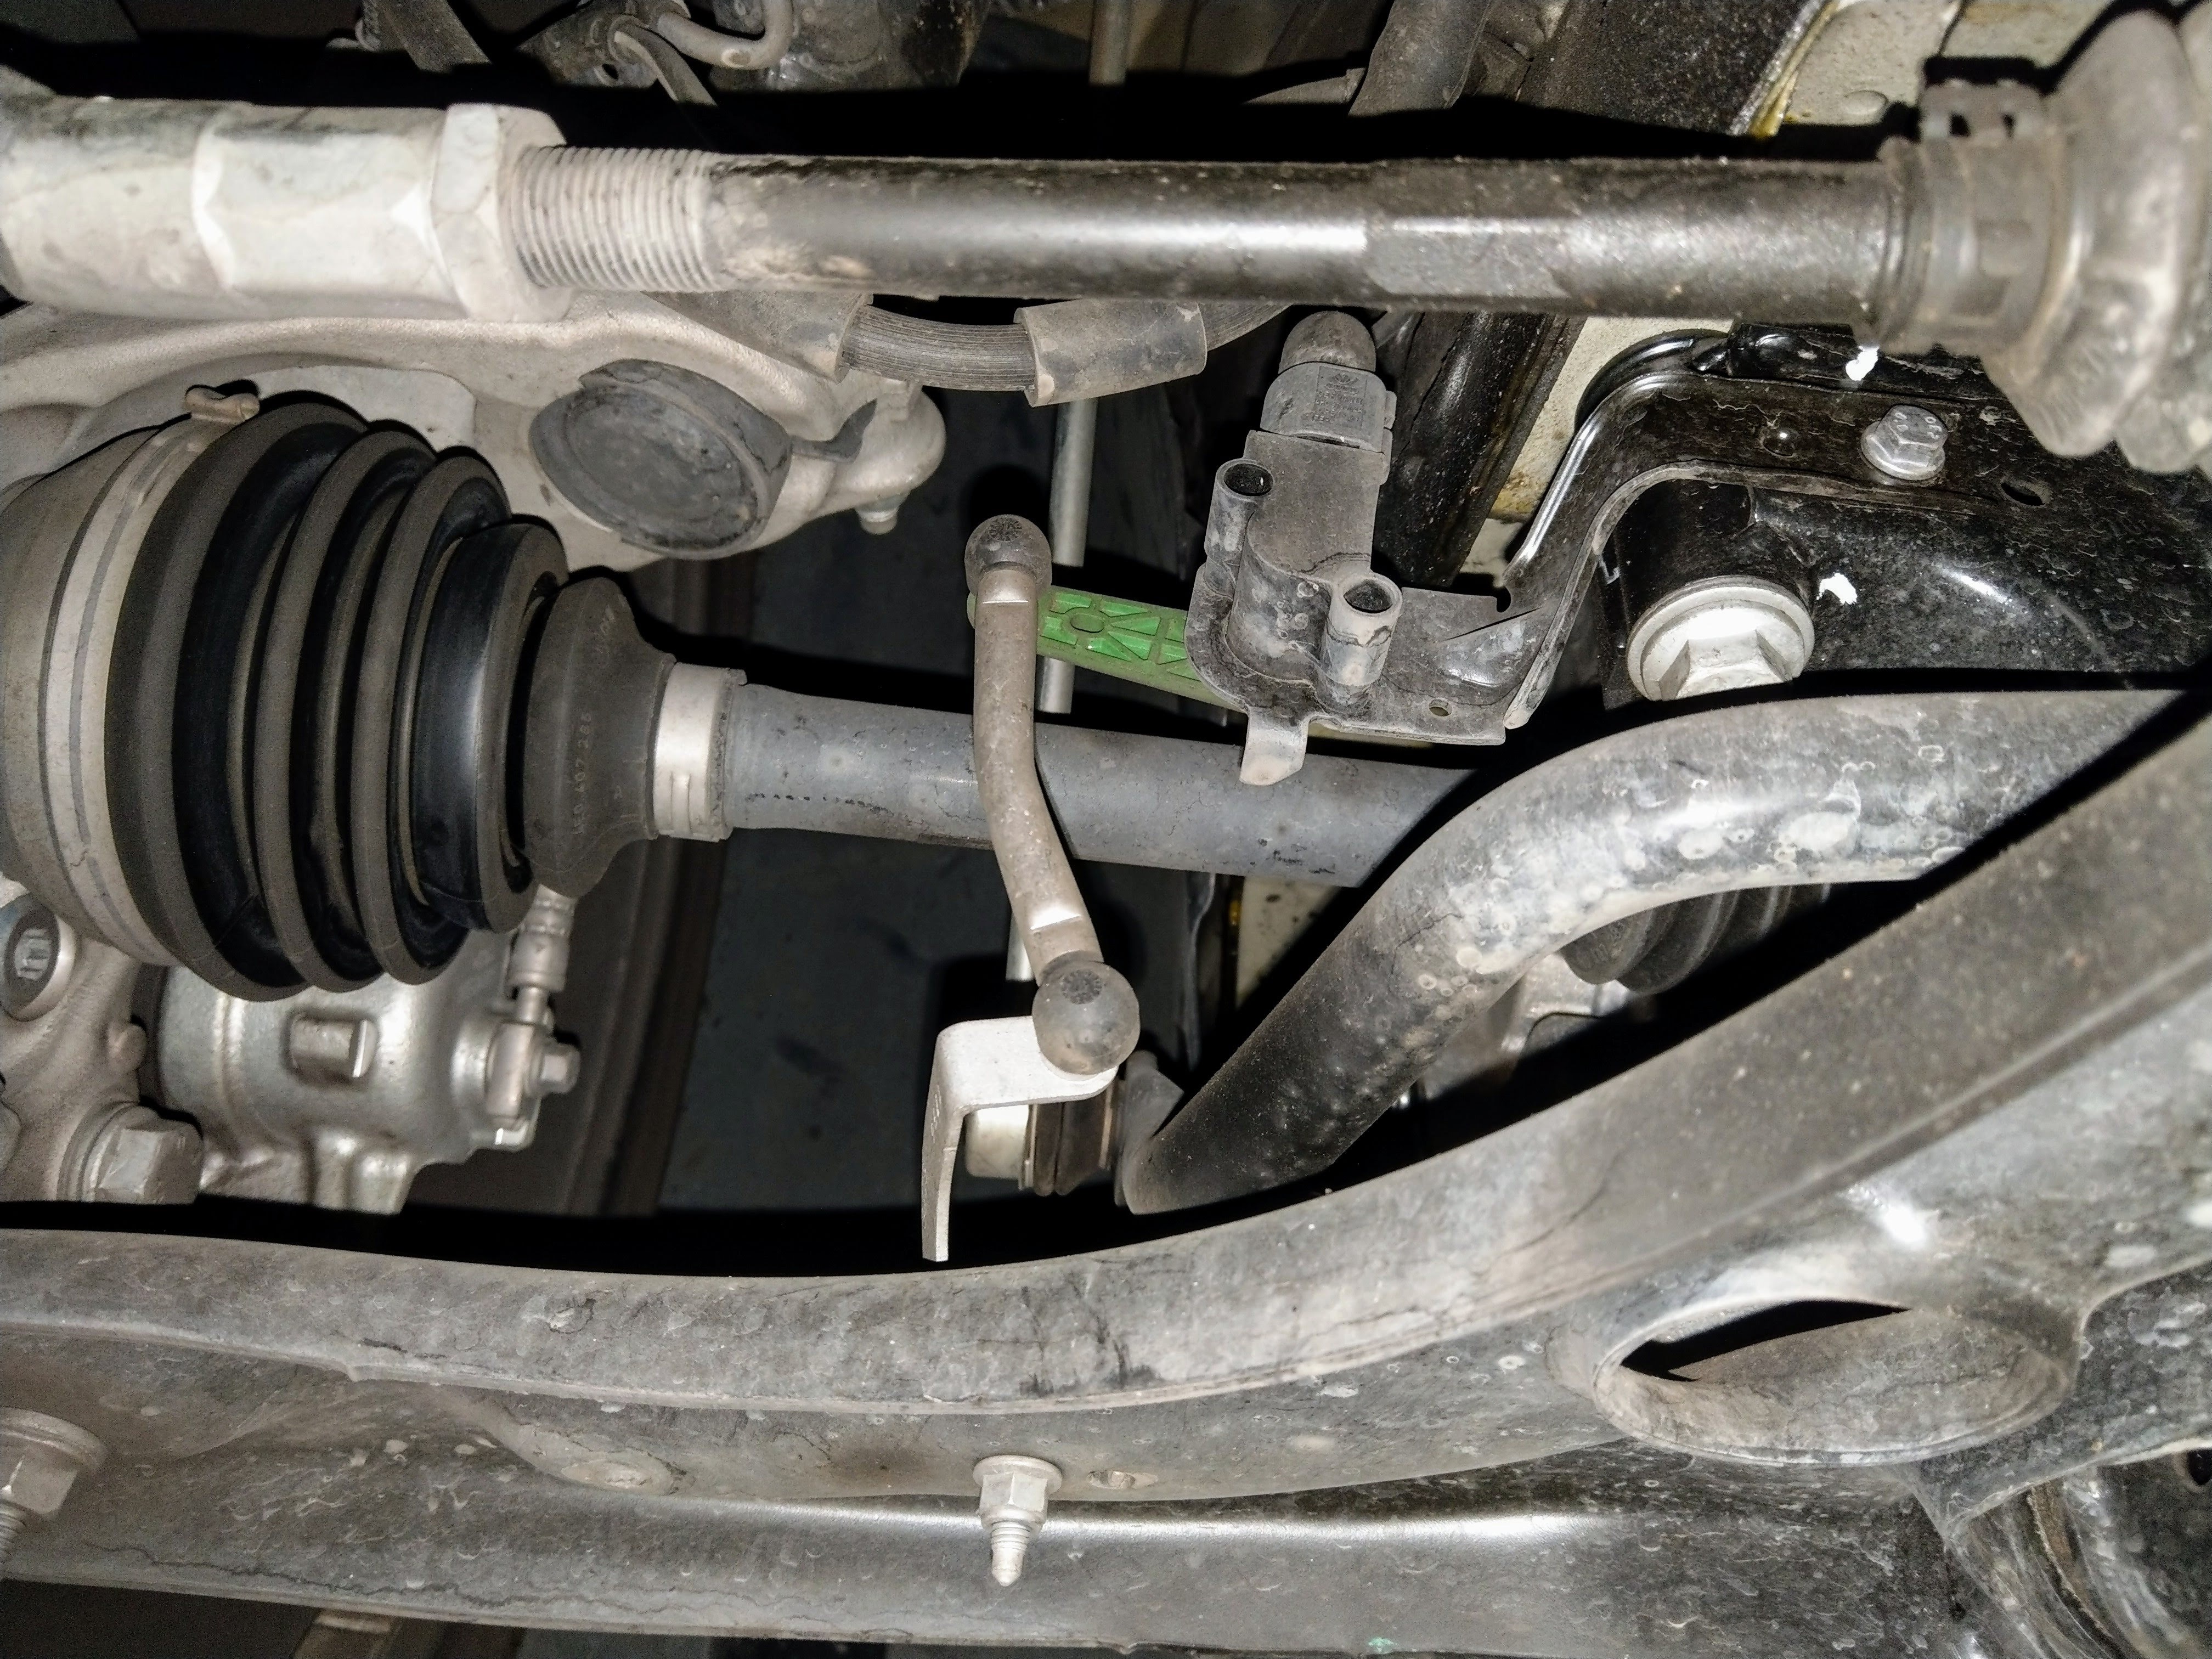
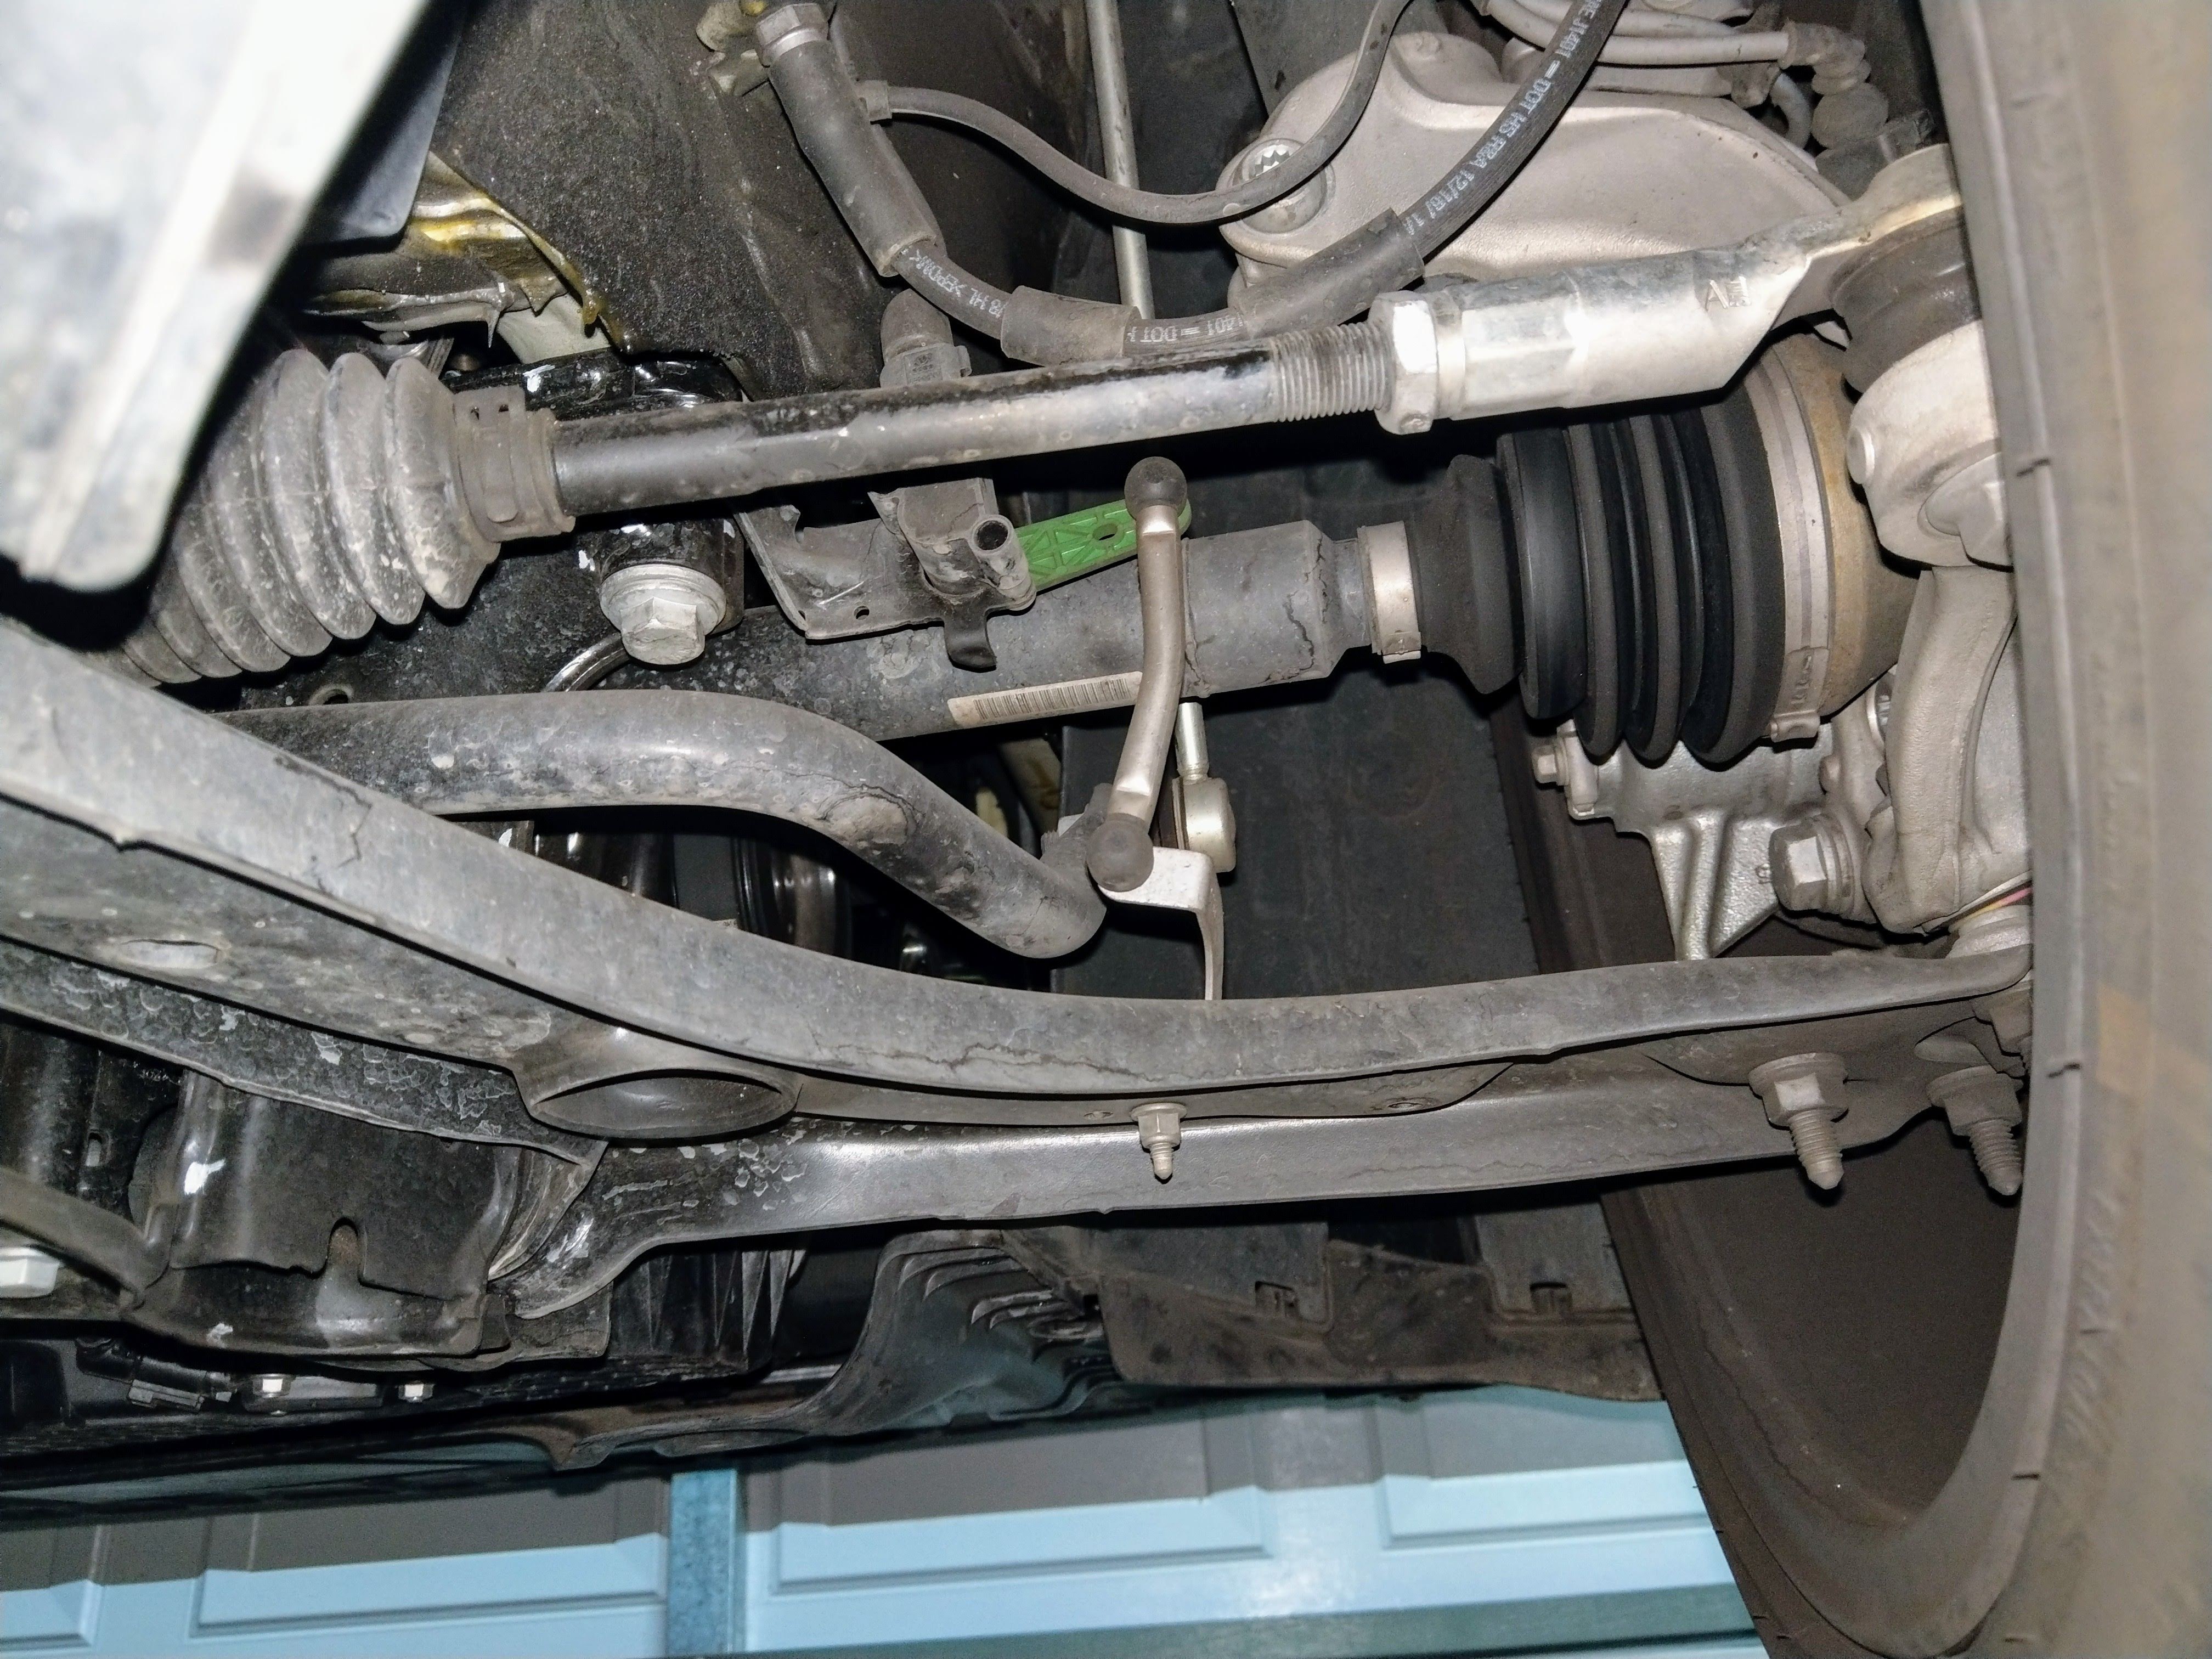
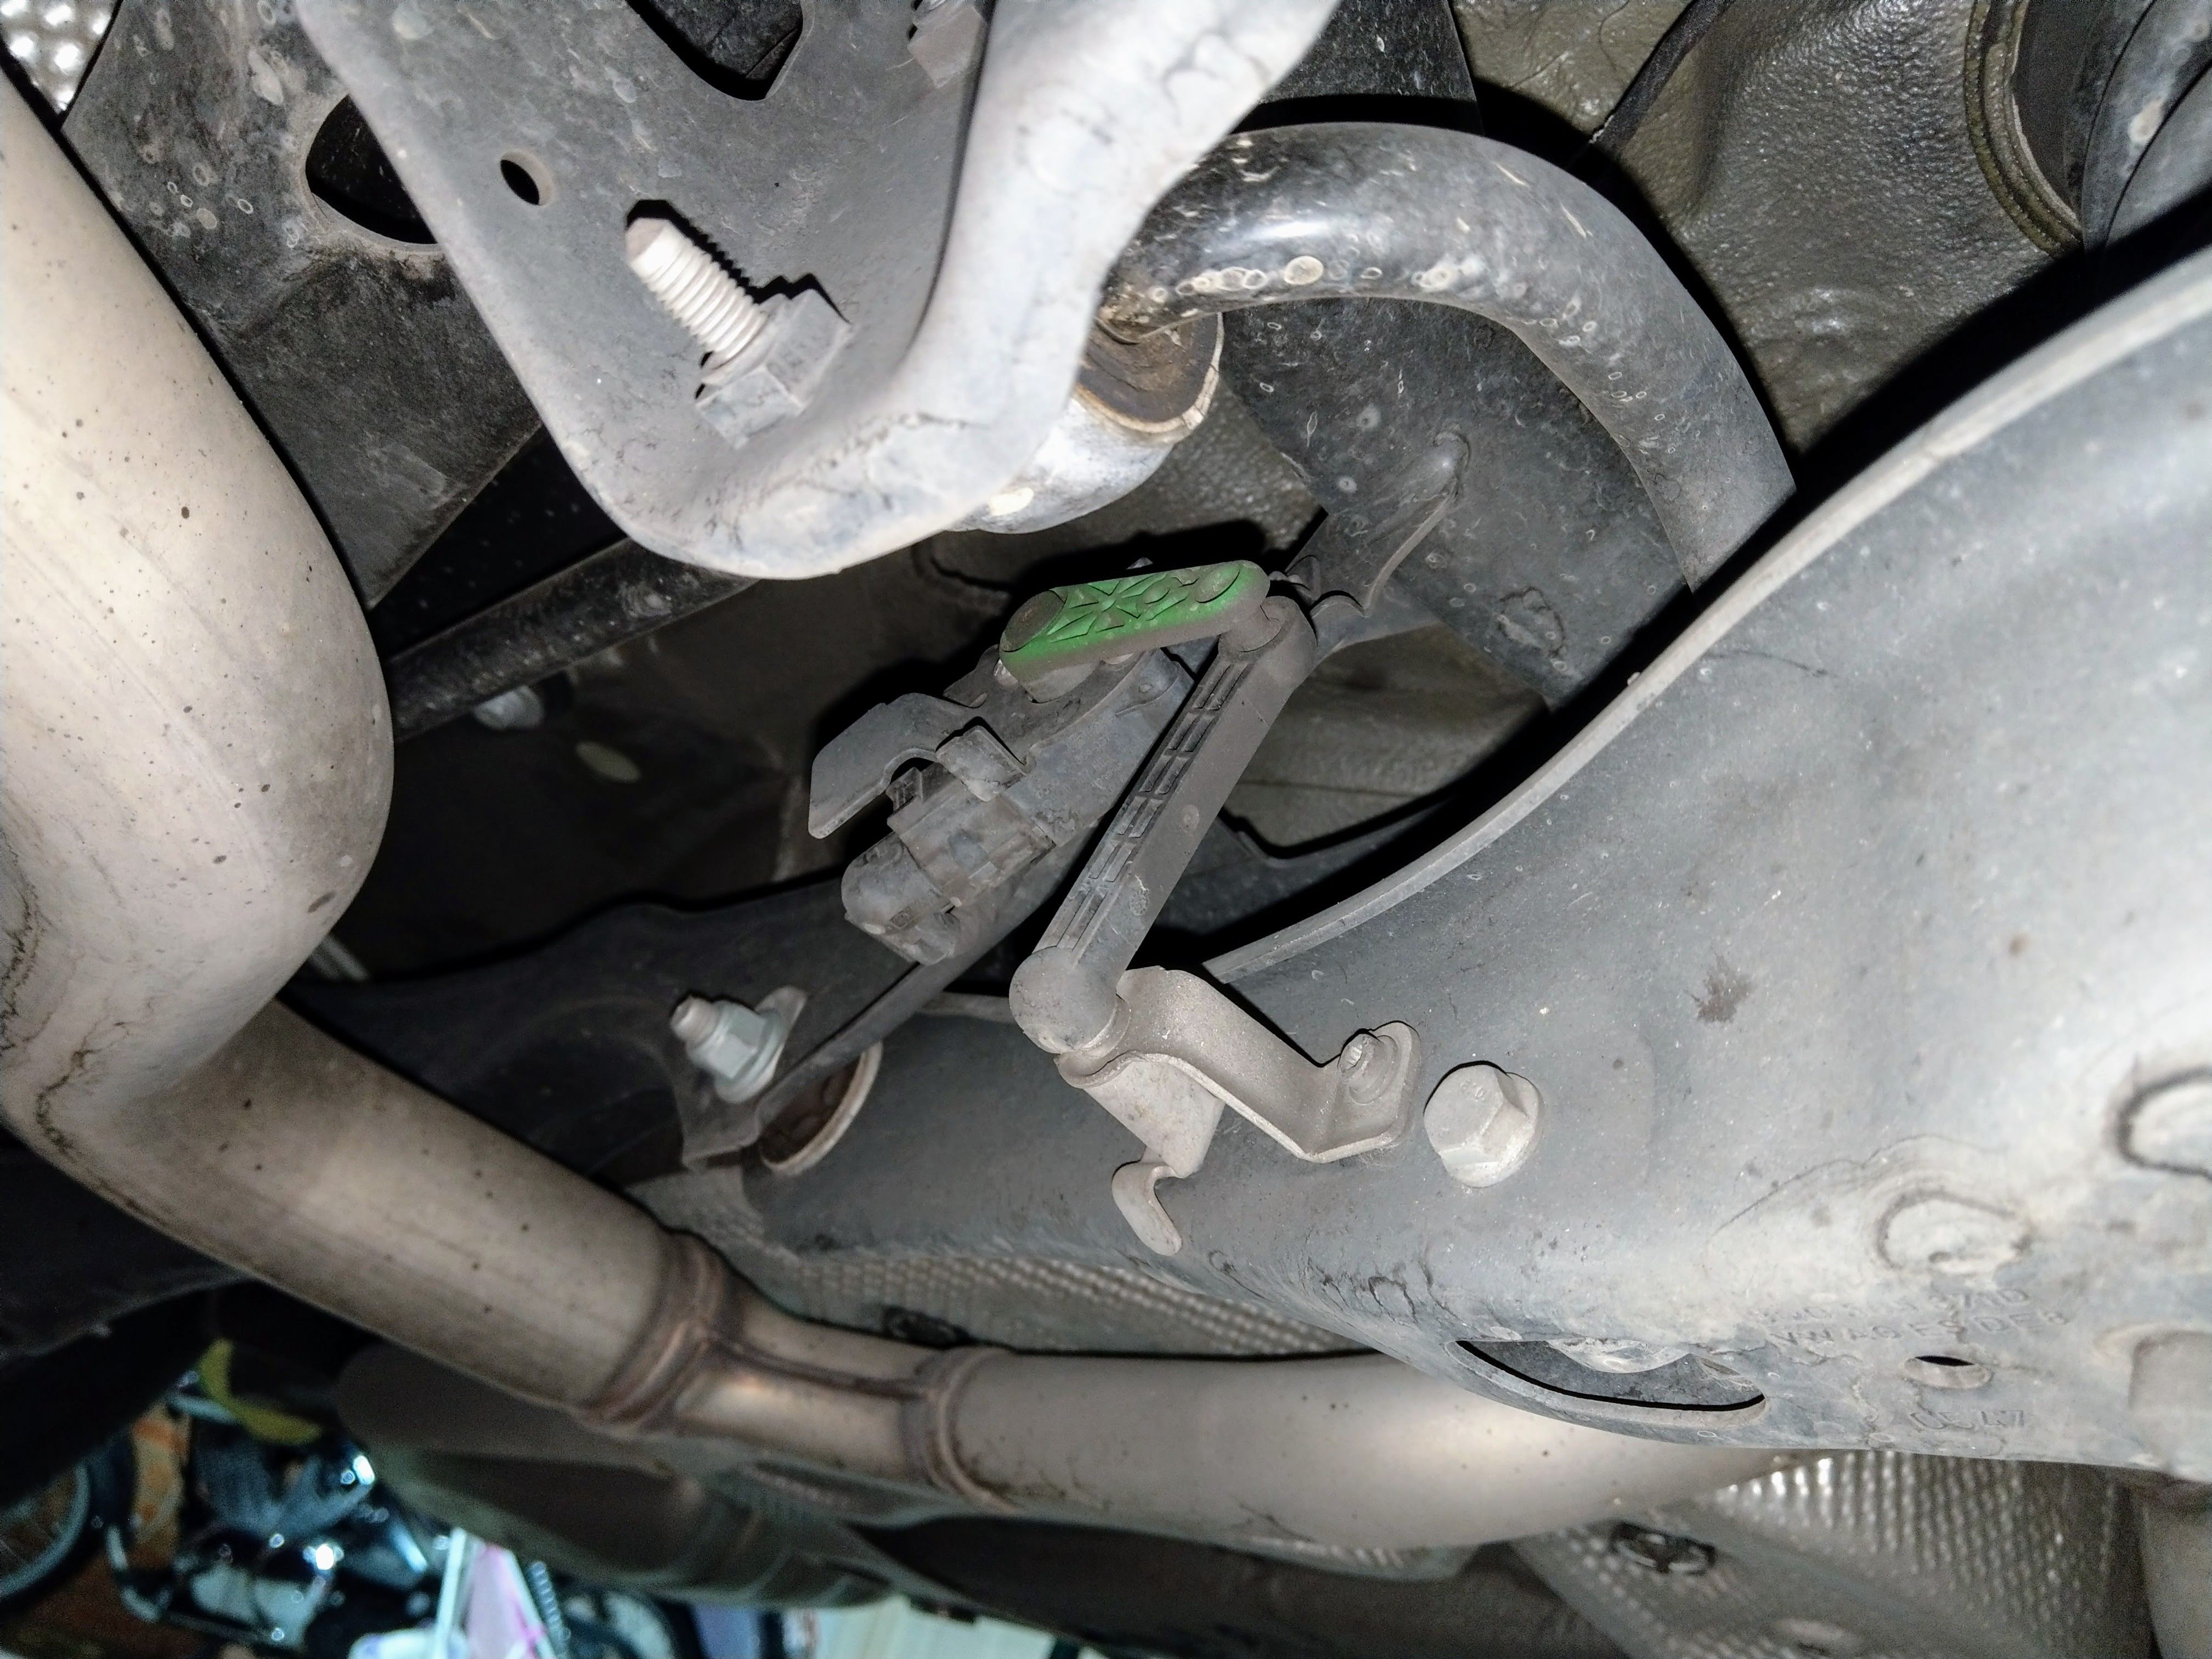
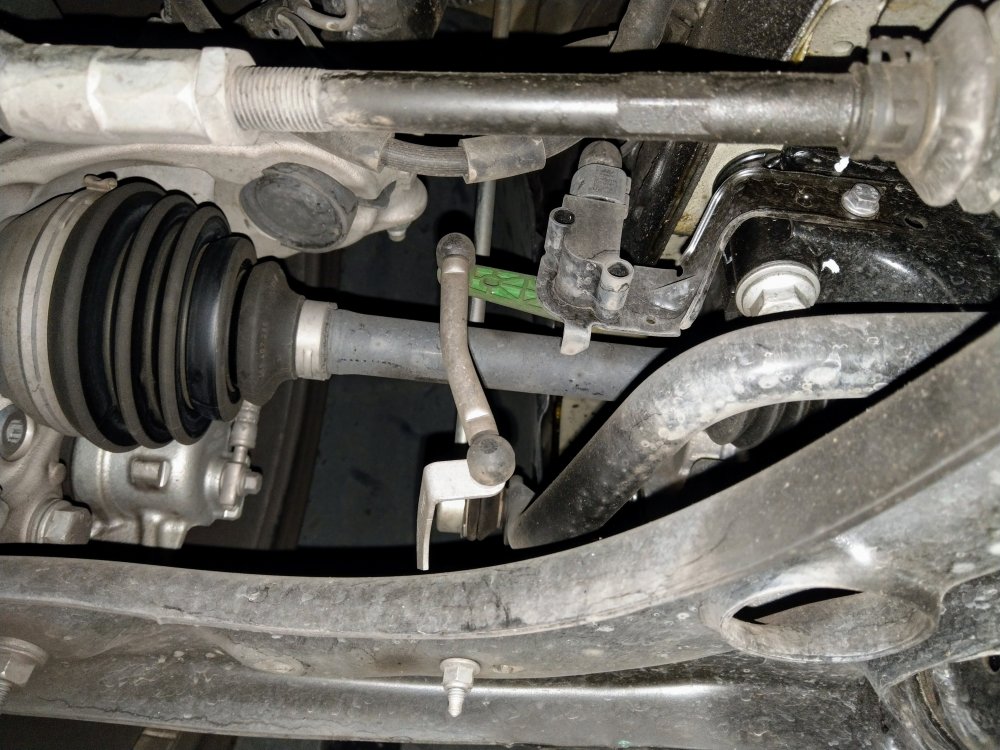
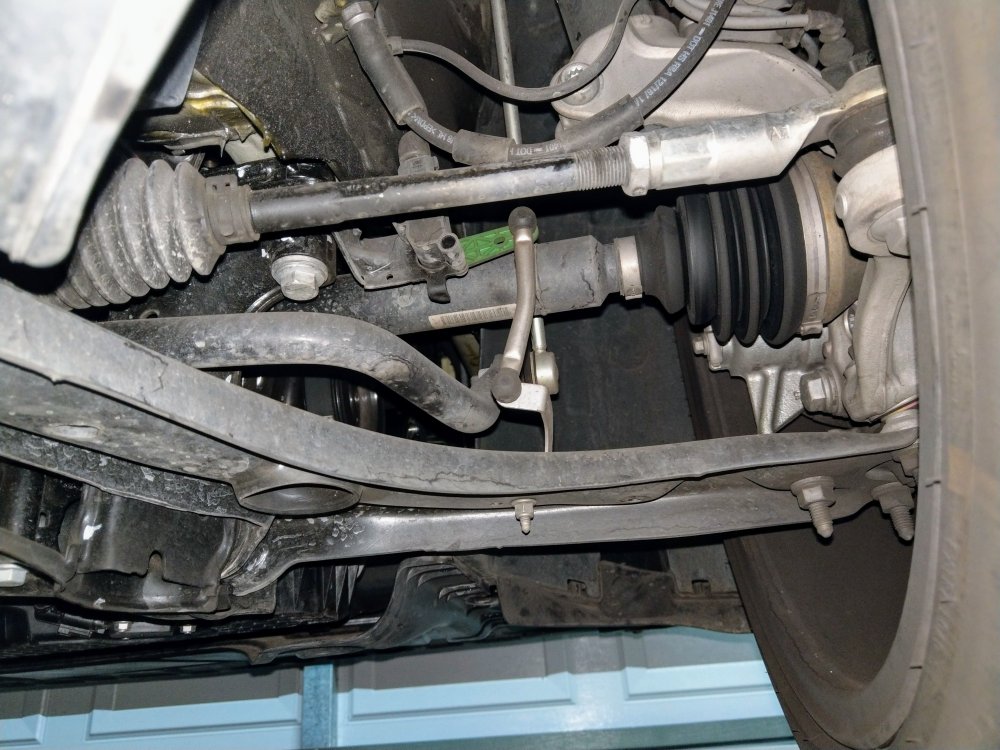
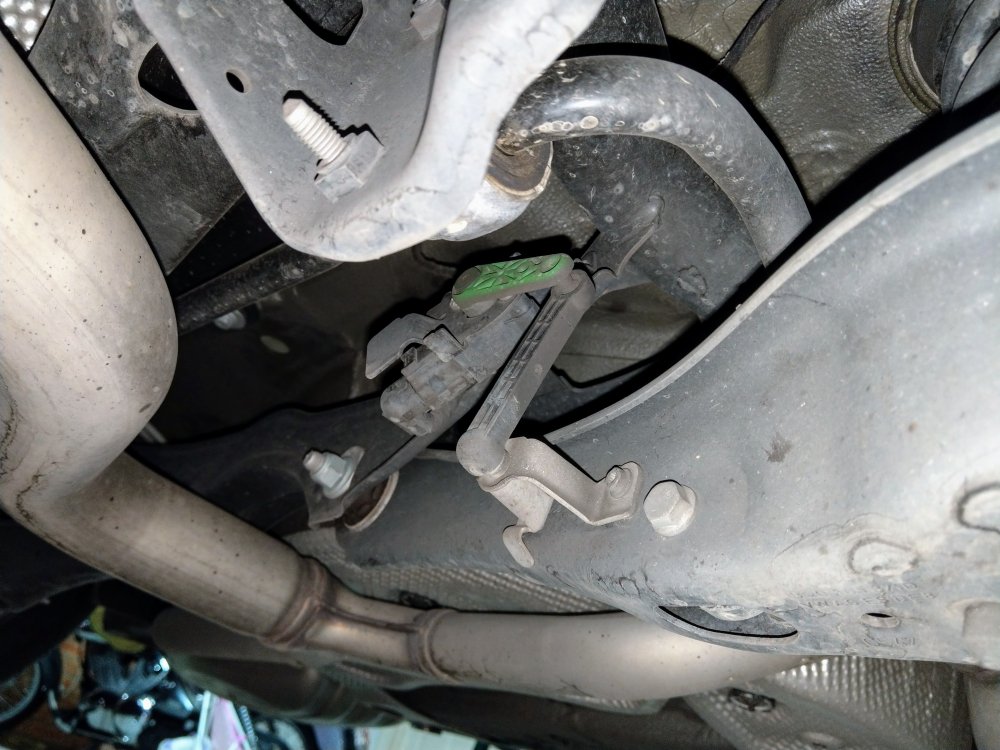
U really need VCDS or OBDEleven, or a mechanic/friend who has one n scan ur car for the actual error. Ur assuming it's the levelling sensor that is kaput. Maybe it is. Maybe it isn't. Have u physically gone under the car and looked at the sensors at least? Make sure they r positioned the right way. There r 3 in total. One on each front suspension lower arm. Then on the left rear suspension arm. Front left Front right Rear left
-
All good and good luck. Just b mindful that some haven't had much success with doing the DCC recalibration using OBDEleven. It might take a few attempts before u get a "Done" message. Make sure u make note of the live values before and after, to b sure it's done the recalibration.
-
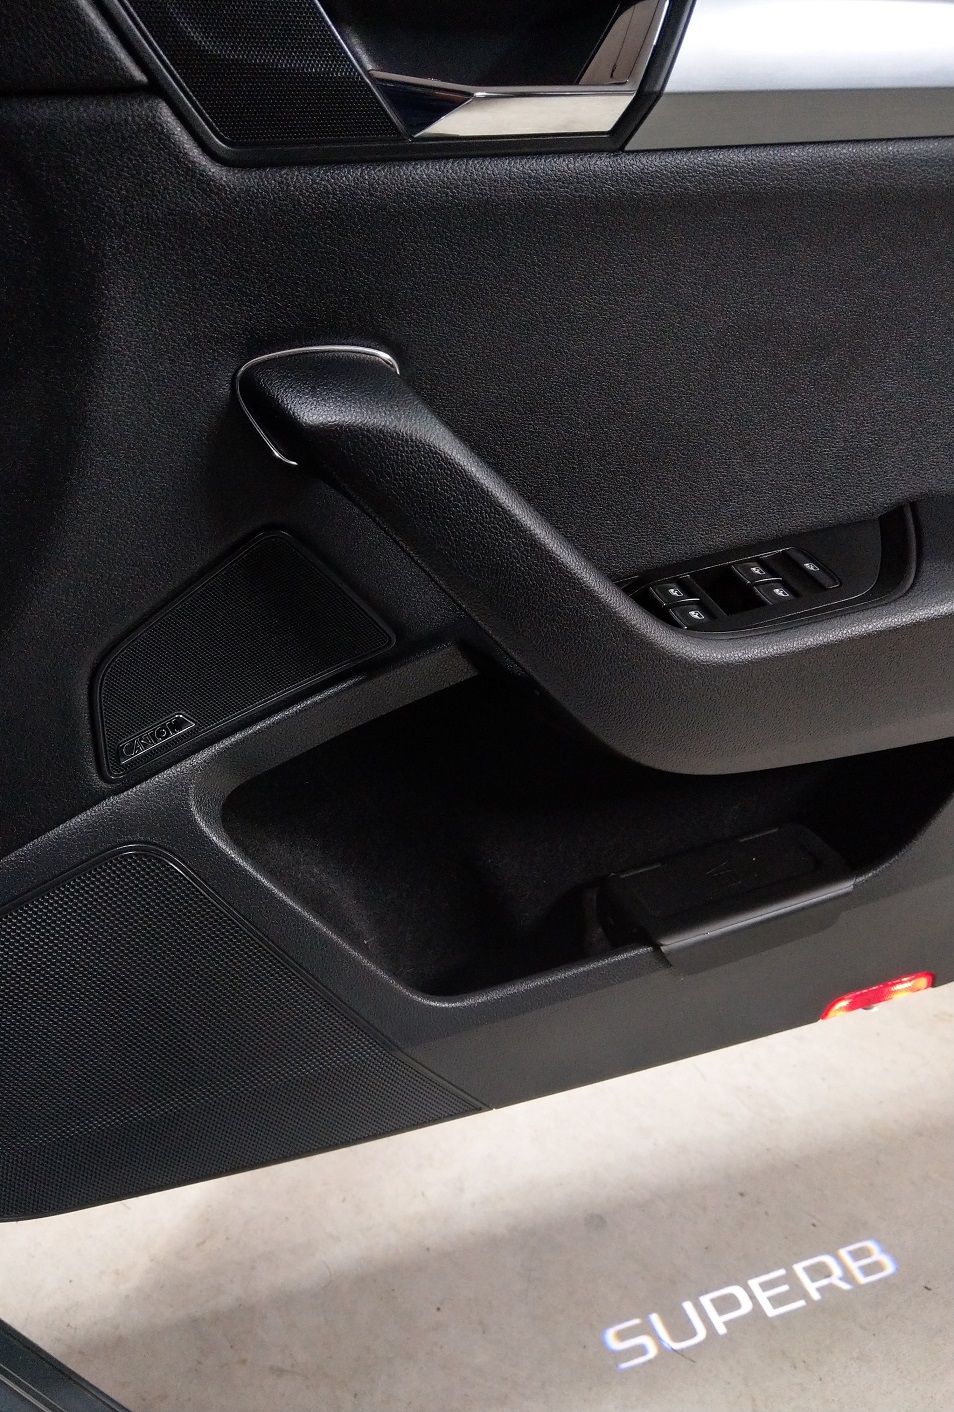
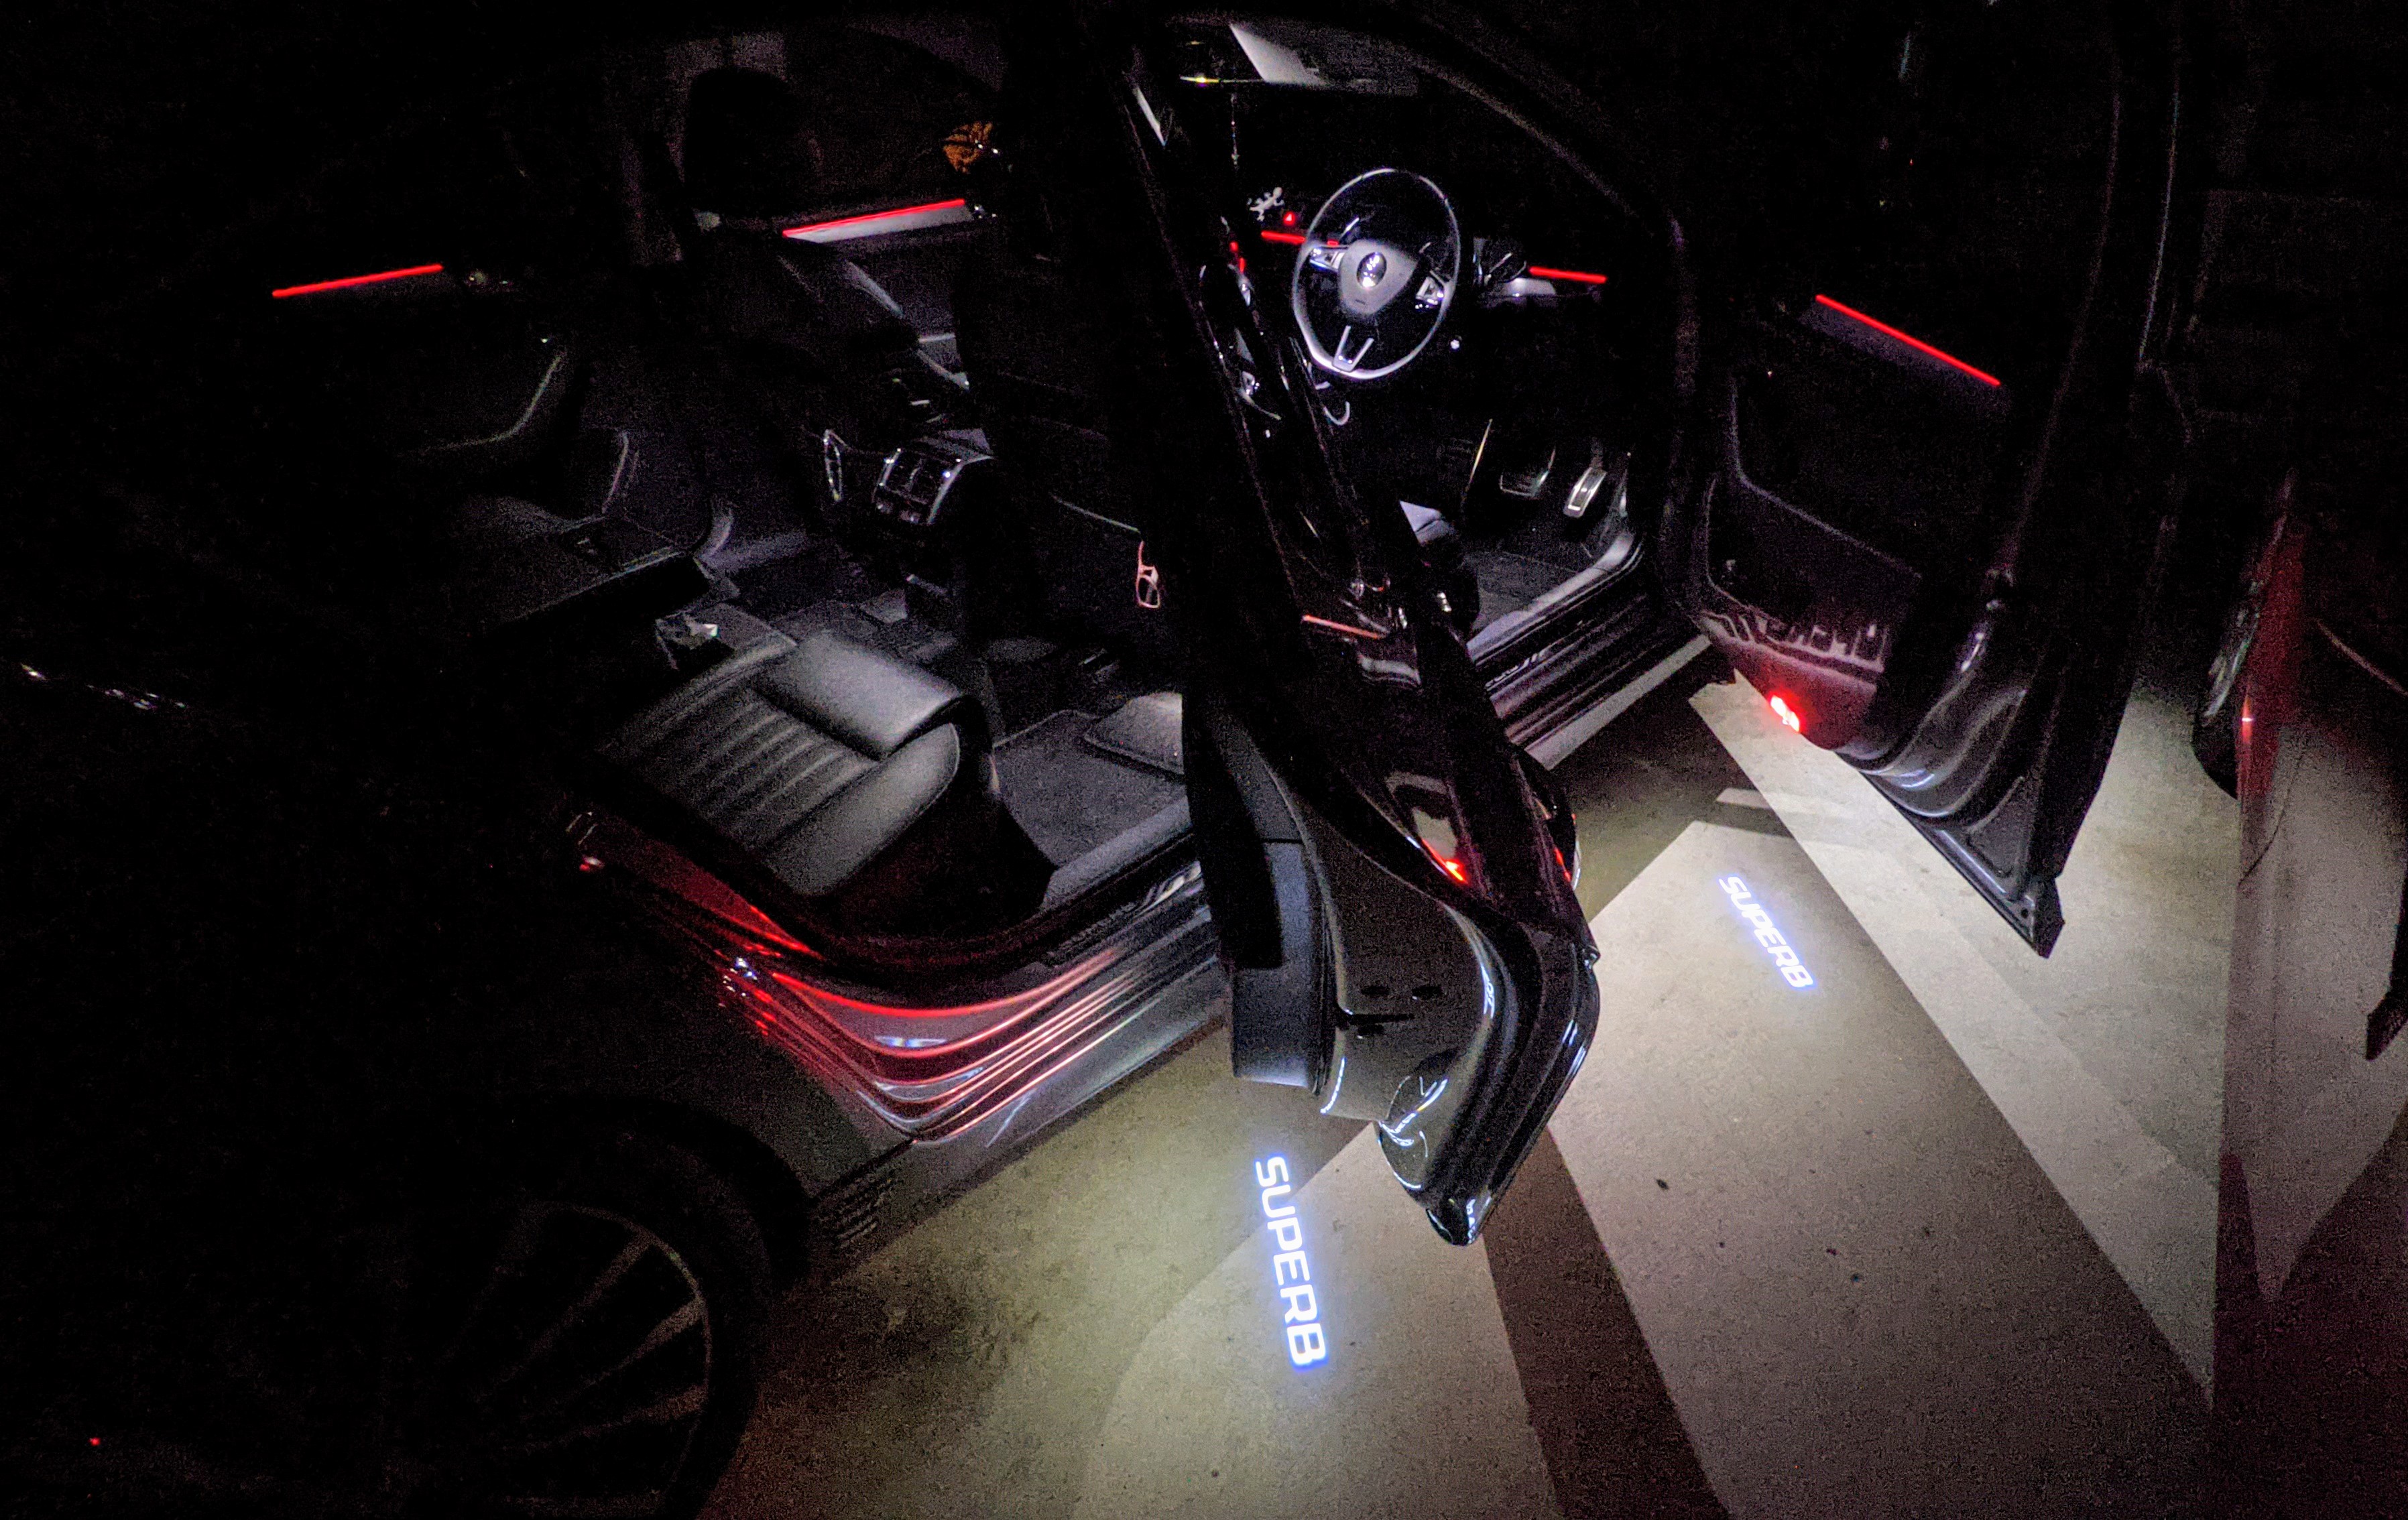
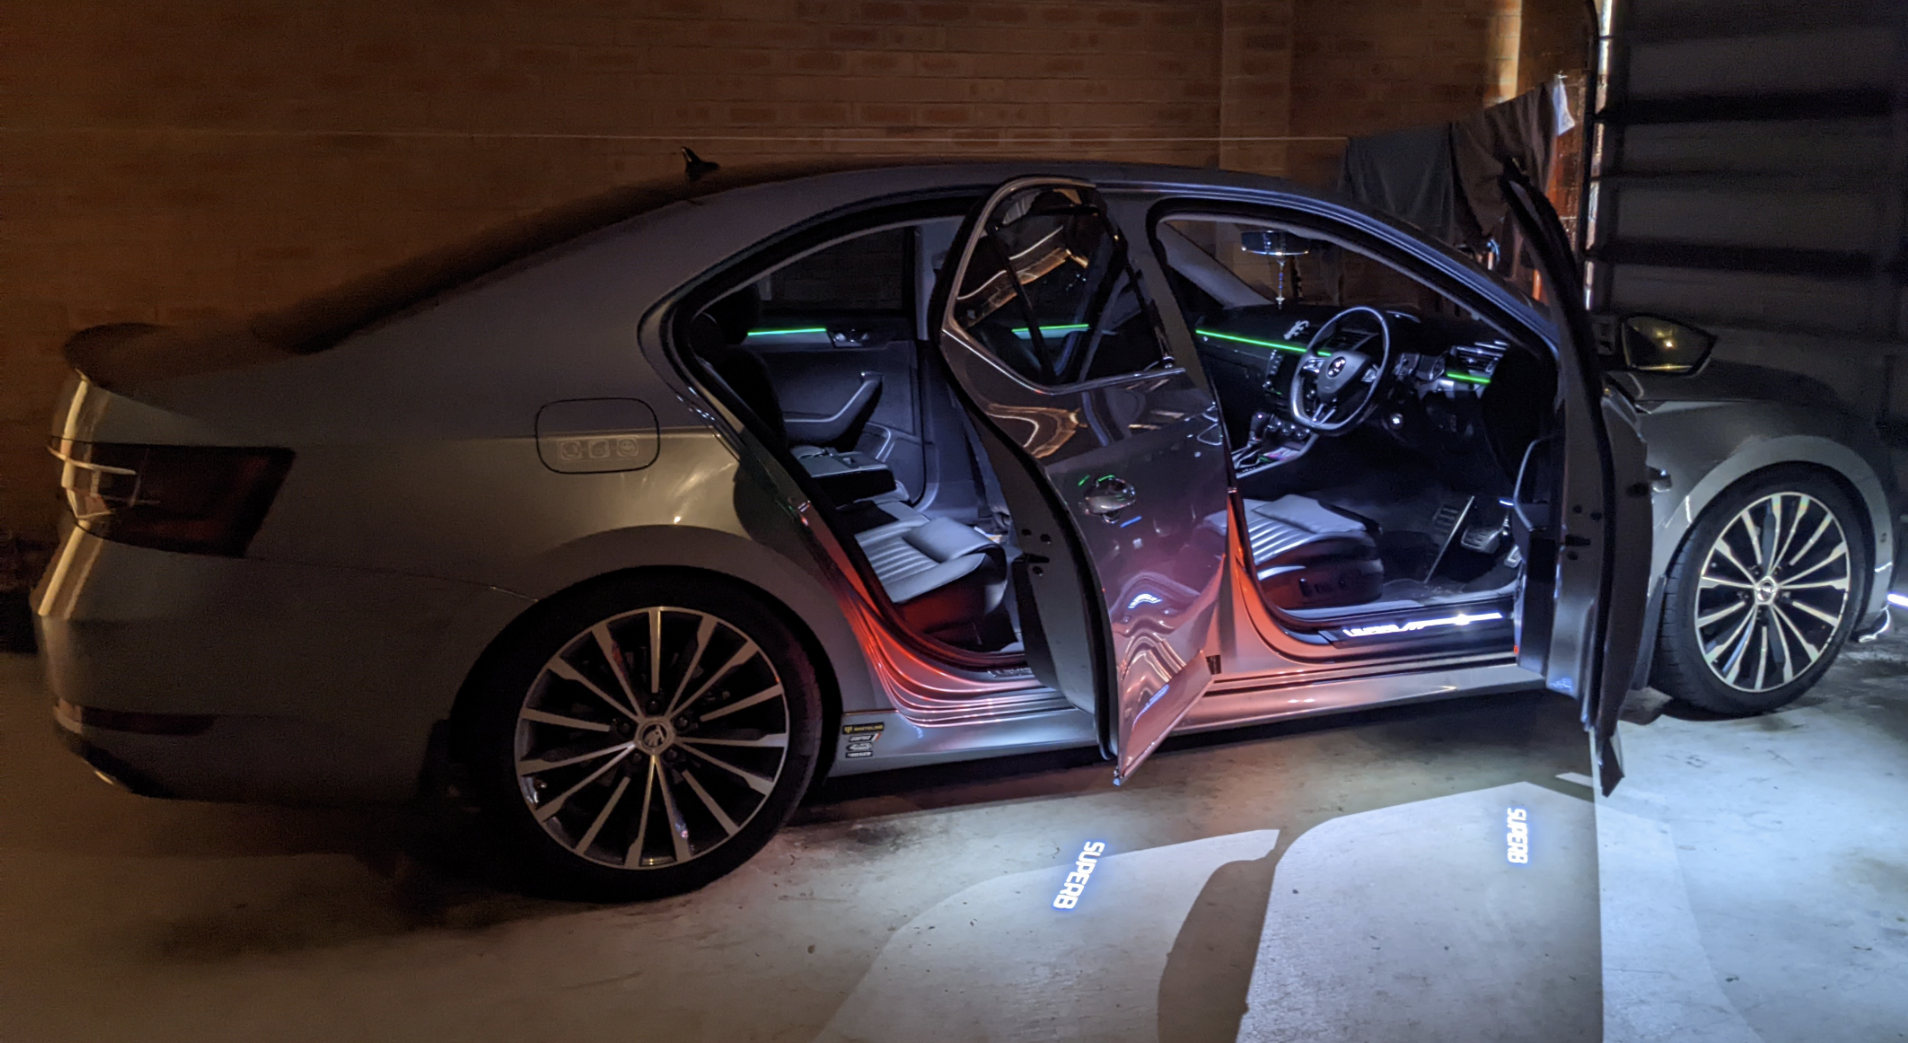
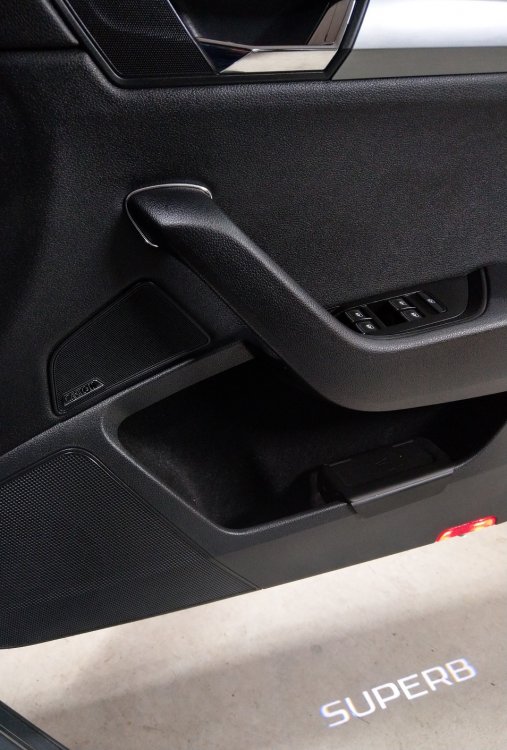
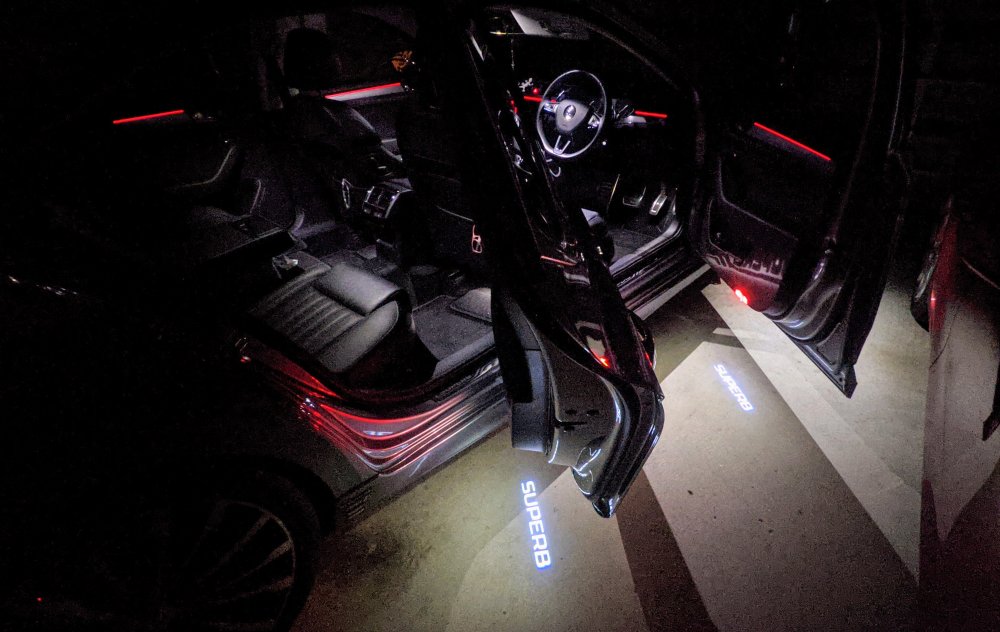
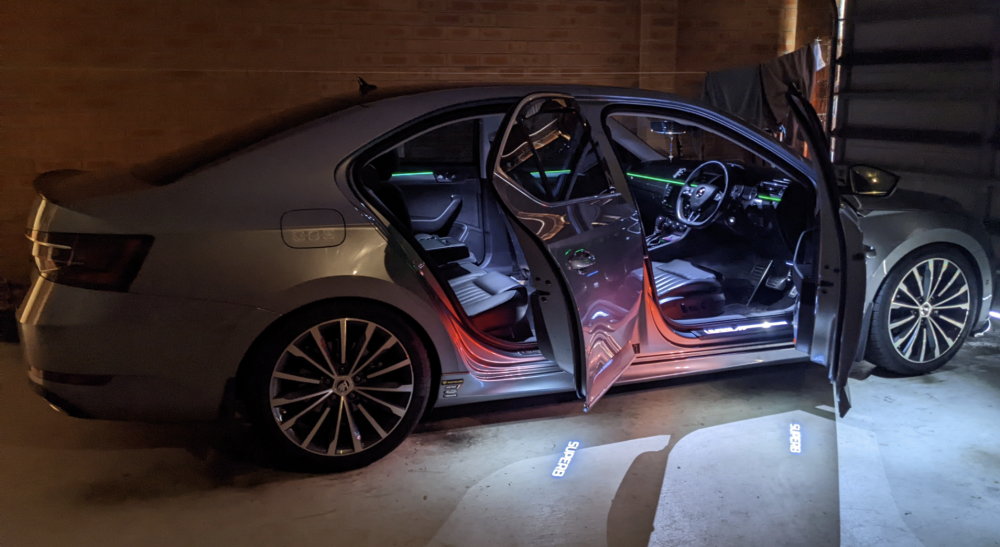
I highly recommend the "Superb Ghost" lights from Kopacek as they add a nice touch, without loosing any shine on to the ground.
-
Did u do the battery adaptation after changing the battery?
-
U don't need to have the DCC recalibrated. It improves the ride if u do it, otherwise everything will continue to work, just won't b optimum. I didn't get mine recalibrated until 6 months after I had the springs put in. It takes 2 secs to actual recalibrated. U just need OBDEleven, and 4x jack stands.
-
Yup, aware of that 🙂 I wonder how much smaller it is though on the AWD versions? Mine is 5.7L tank.
-
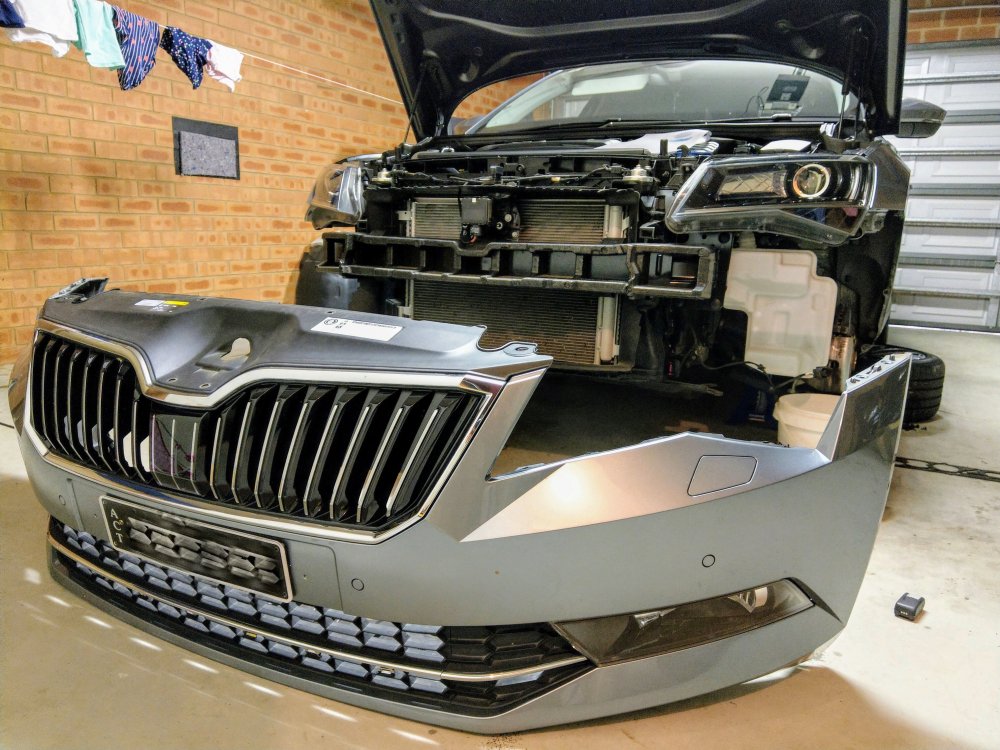
That's the DSG radiator that comes with the 280 AWD Superb. I think u also get that if u have factory fitted tow bar. Otherwise that's where the headlight & windscreen washer bottle sits, like mine....
-
Perhaps u should b asking this question in the Superb mk2 forum given u have a mk2 Superb. This is a Superb mk3 forum.
-
Nope, changing or removing the cover does not require recalibration. I've removed my front bumper a few times now - there is no recalibration required. It's quite clear they forgot to order the cover. Not acceptable. If it was my car, I'd make them replace the cover for a new one. Or order the part urself n send them the bill. Anyways.....ur car....ur choice.
-
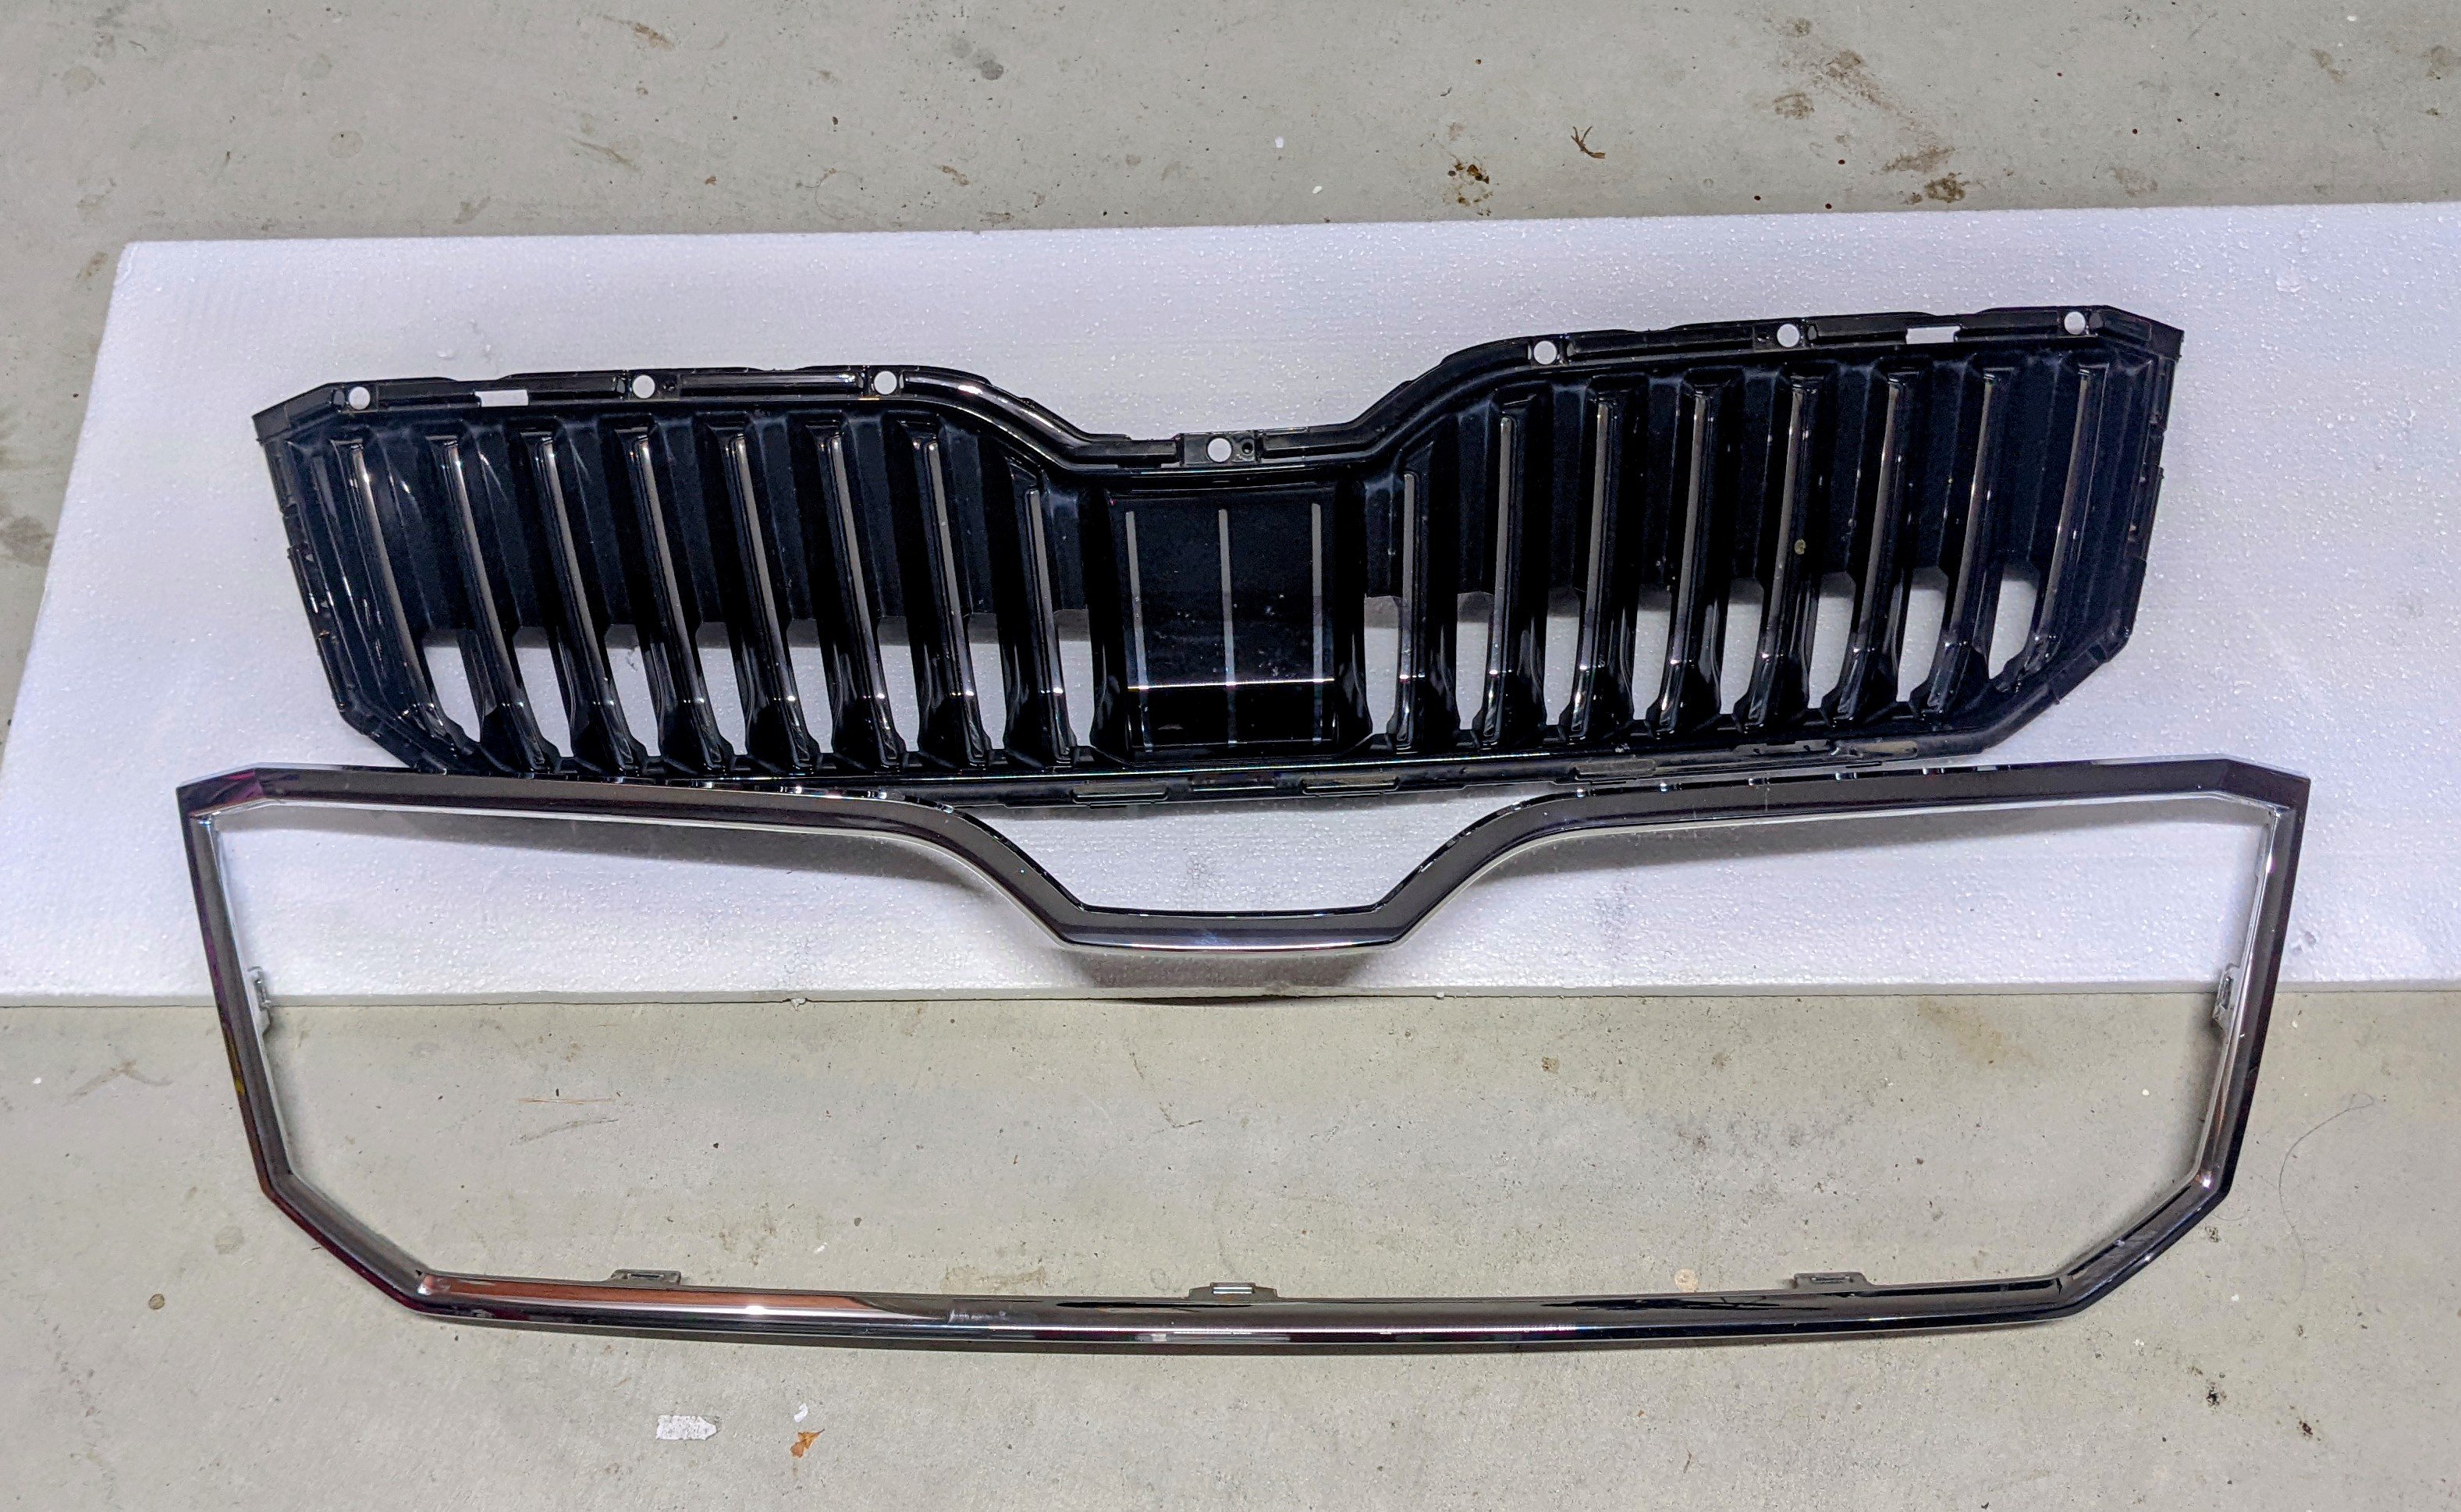
3V0853655F9R - Sportline Black Cover 3V0853655ACLL - Standard Chrome Cover
-
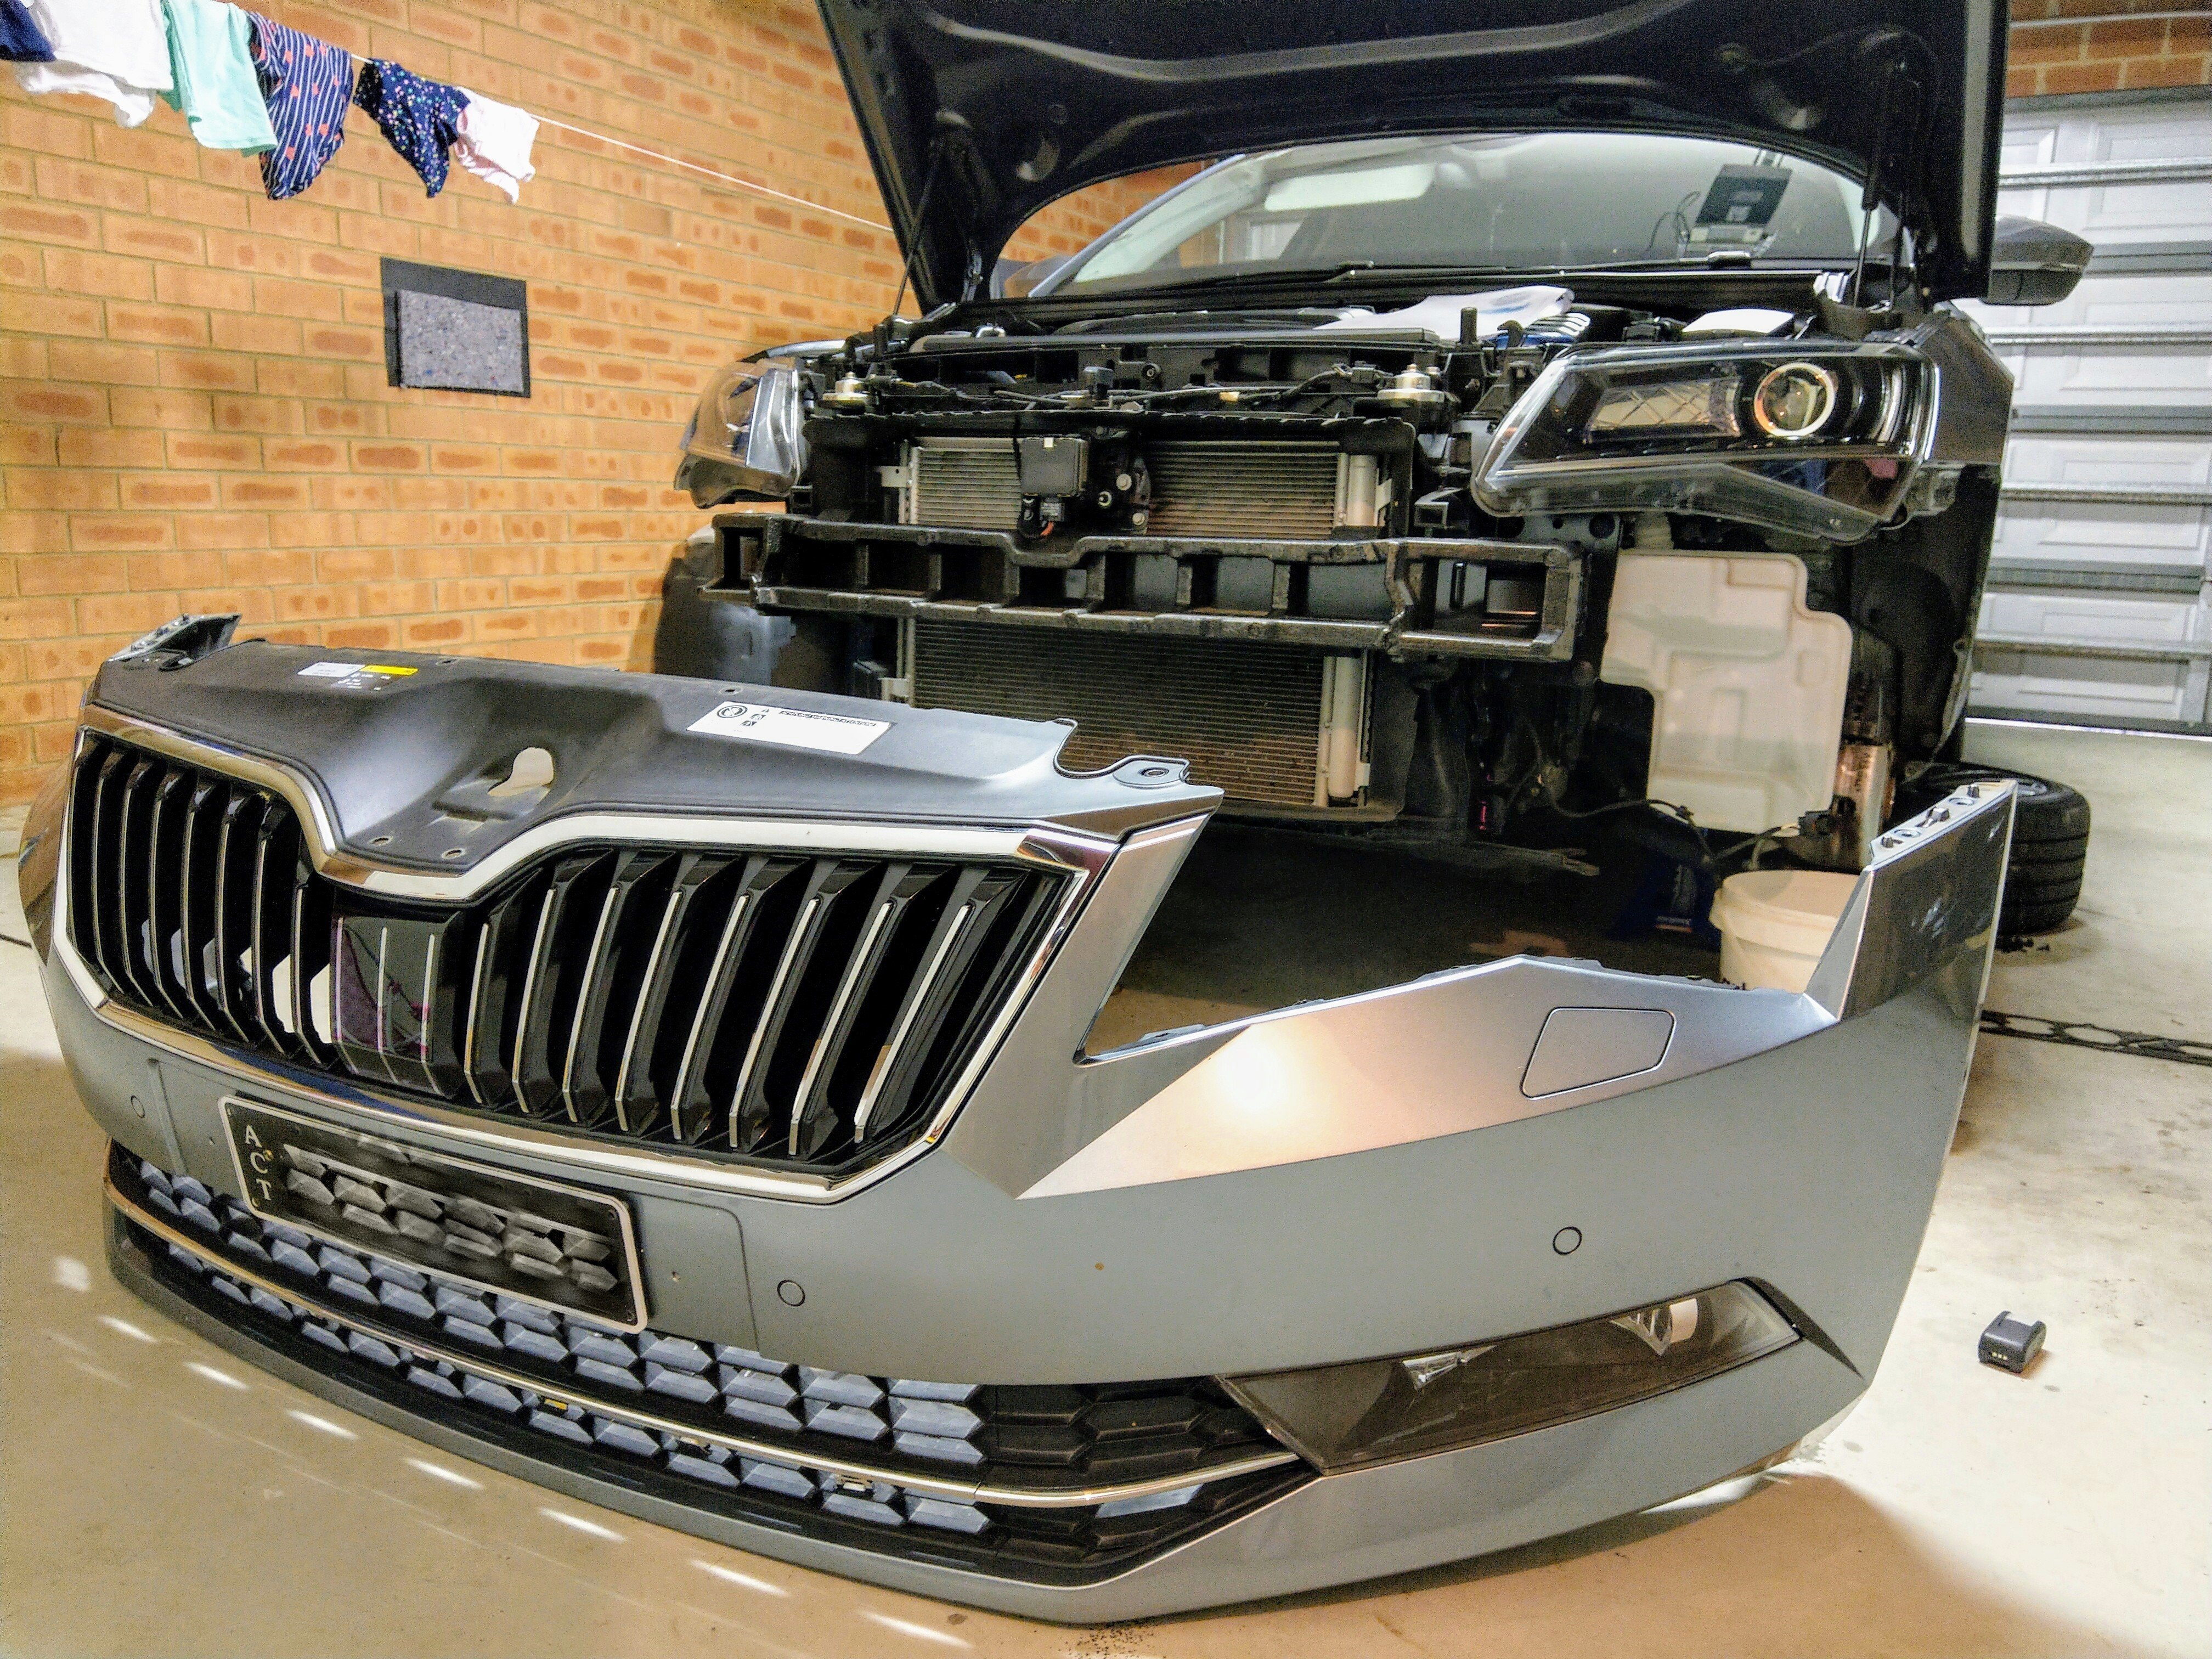
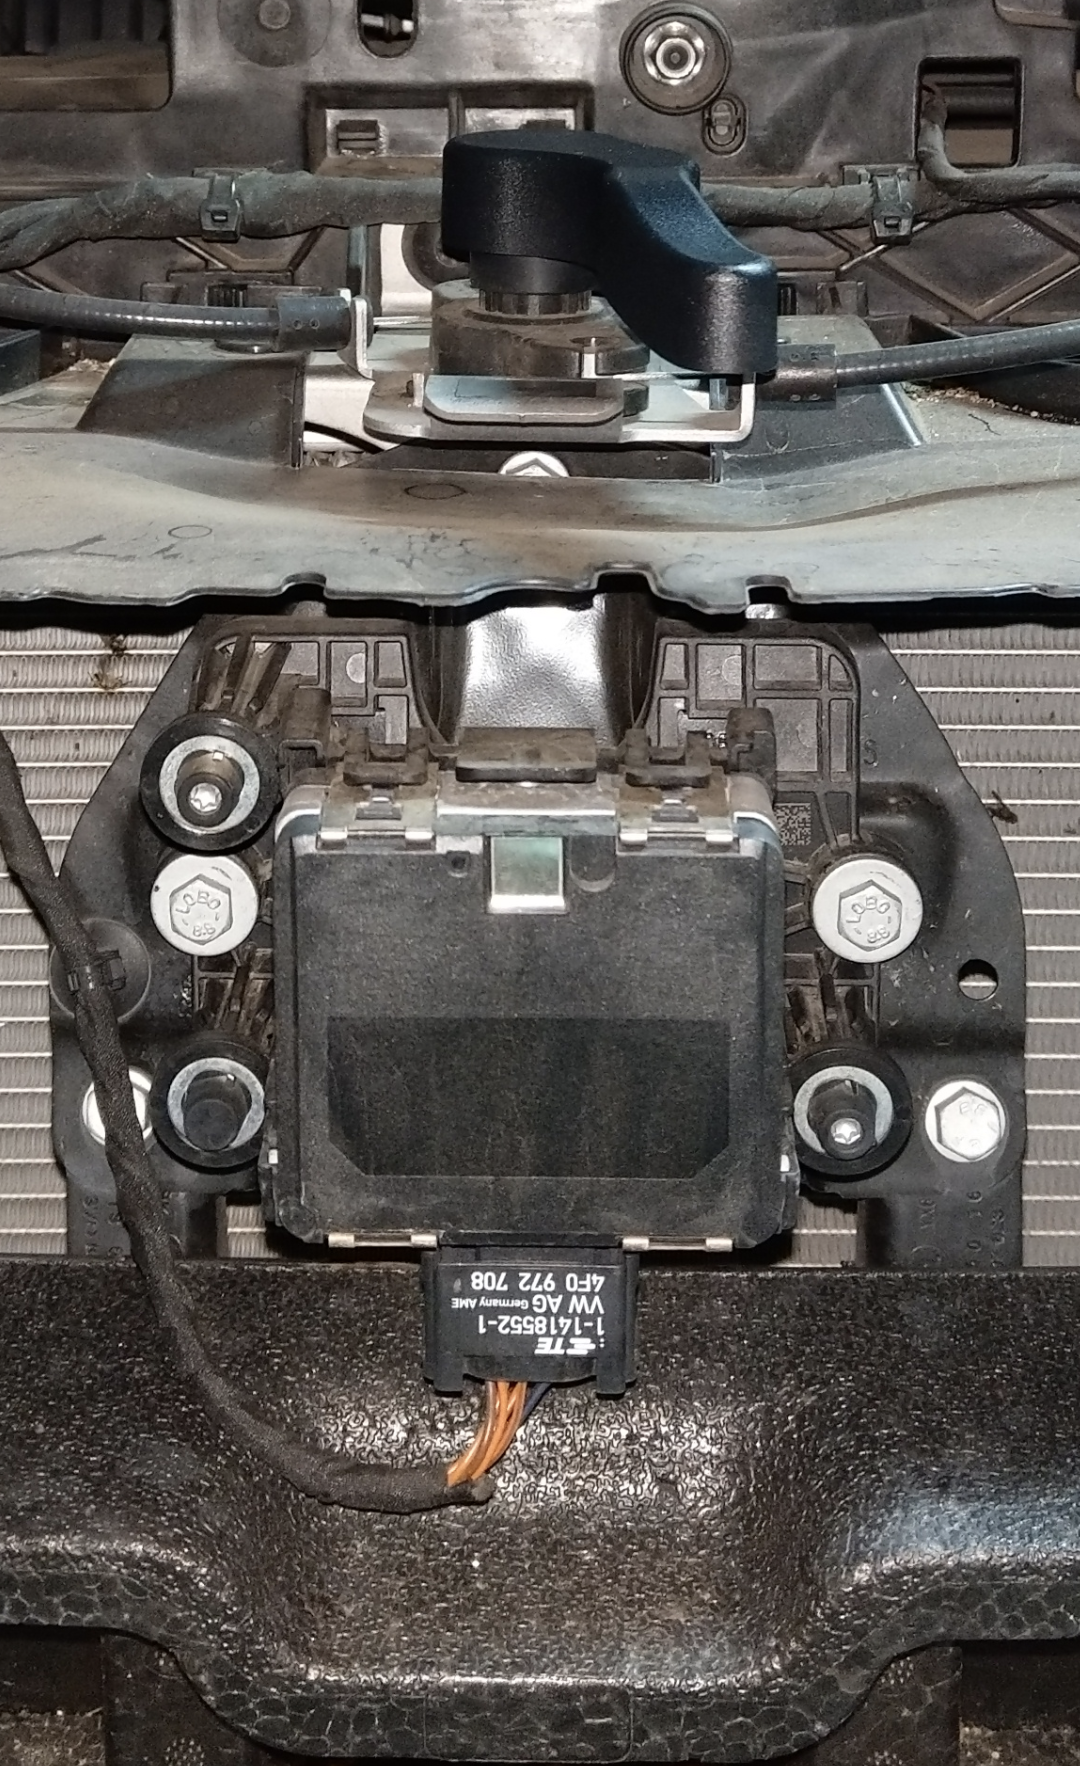
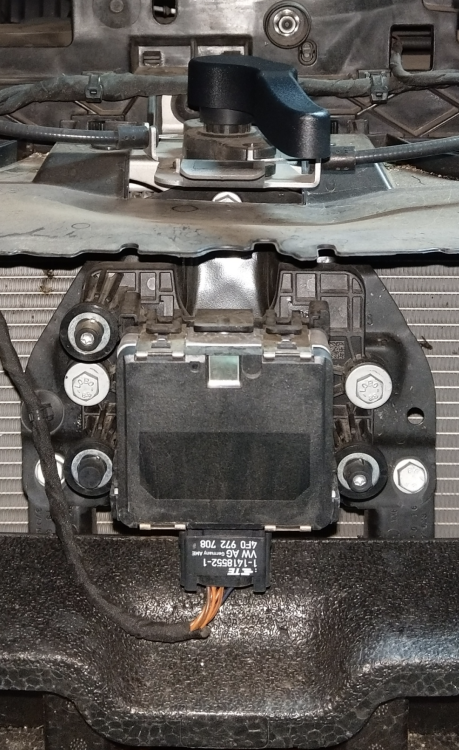
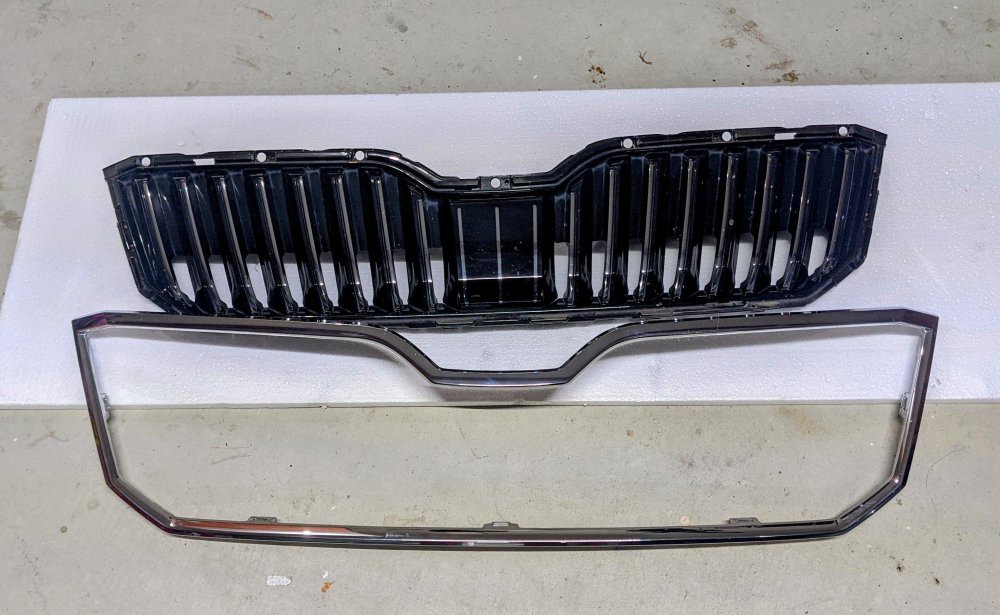
Its definitely a cover and can b removed on its own, as shown above. The cover is attached to the front grille on the bumper, and makes no contact with the ACC radar behind it. Having said that, when ordering a new grille, the cover is a separate item, and must b ordered seperately. There r two types, the one with chrome strips (like mine) and the one with black stripes (Sportline). Pretty sure ur guys forgot to order the new matching cover, and have had to chuck the old one on ur new grille. Front bumper removed. U can c the ACC radar above the crash bar, in the background..... ACC radar close up...... Grille separated from the bumper....
-
Exact thing happened to me many many years ago. Did all the the stuff mentioned - no luck. Car was under warranty then, so I took it back to the service centre and they fixed it by replacing the seat controller module under the driver's seat Part number before:- 5Q0959760B Part number after:- 5Q0959760C Been fine ever since.
-
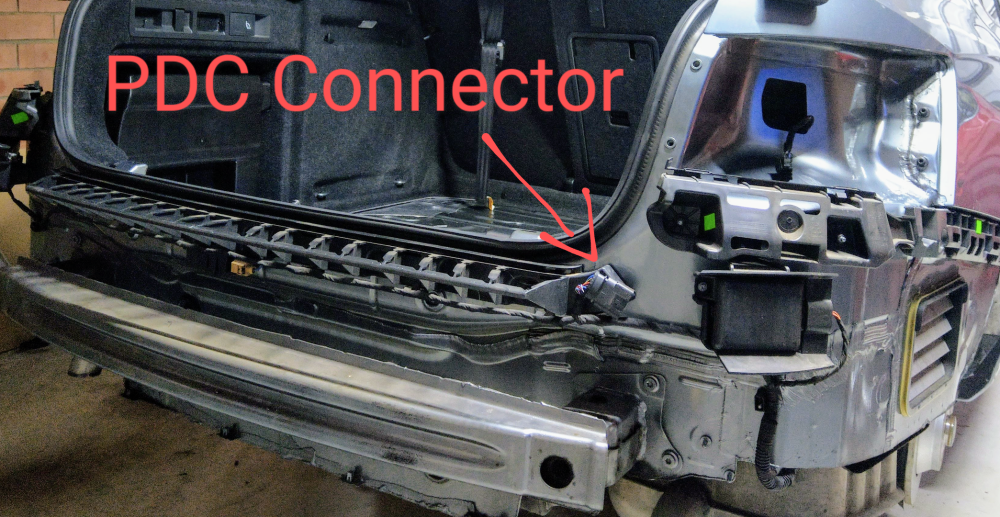
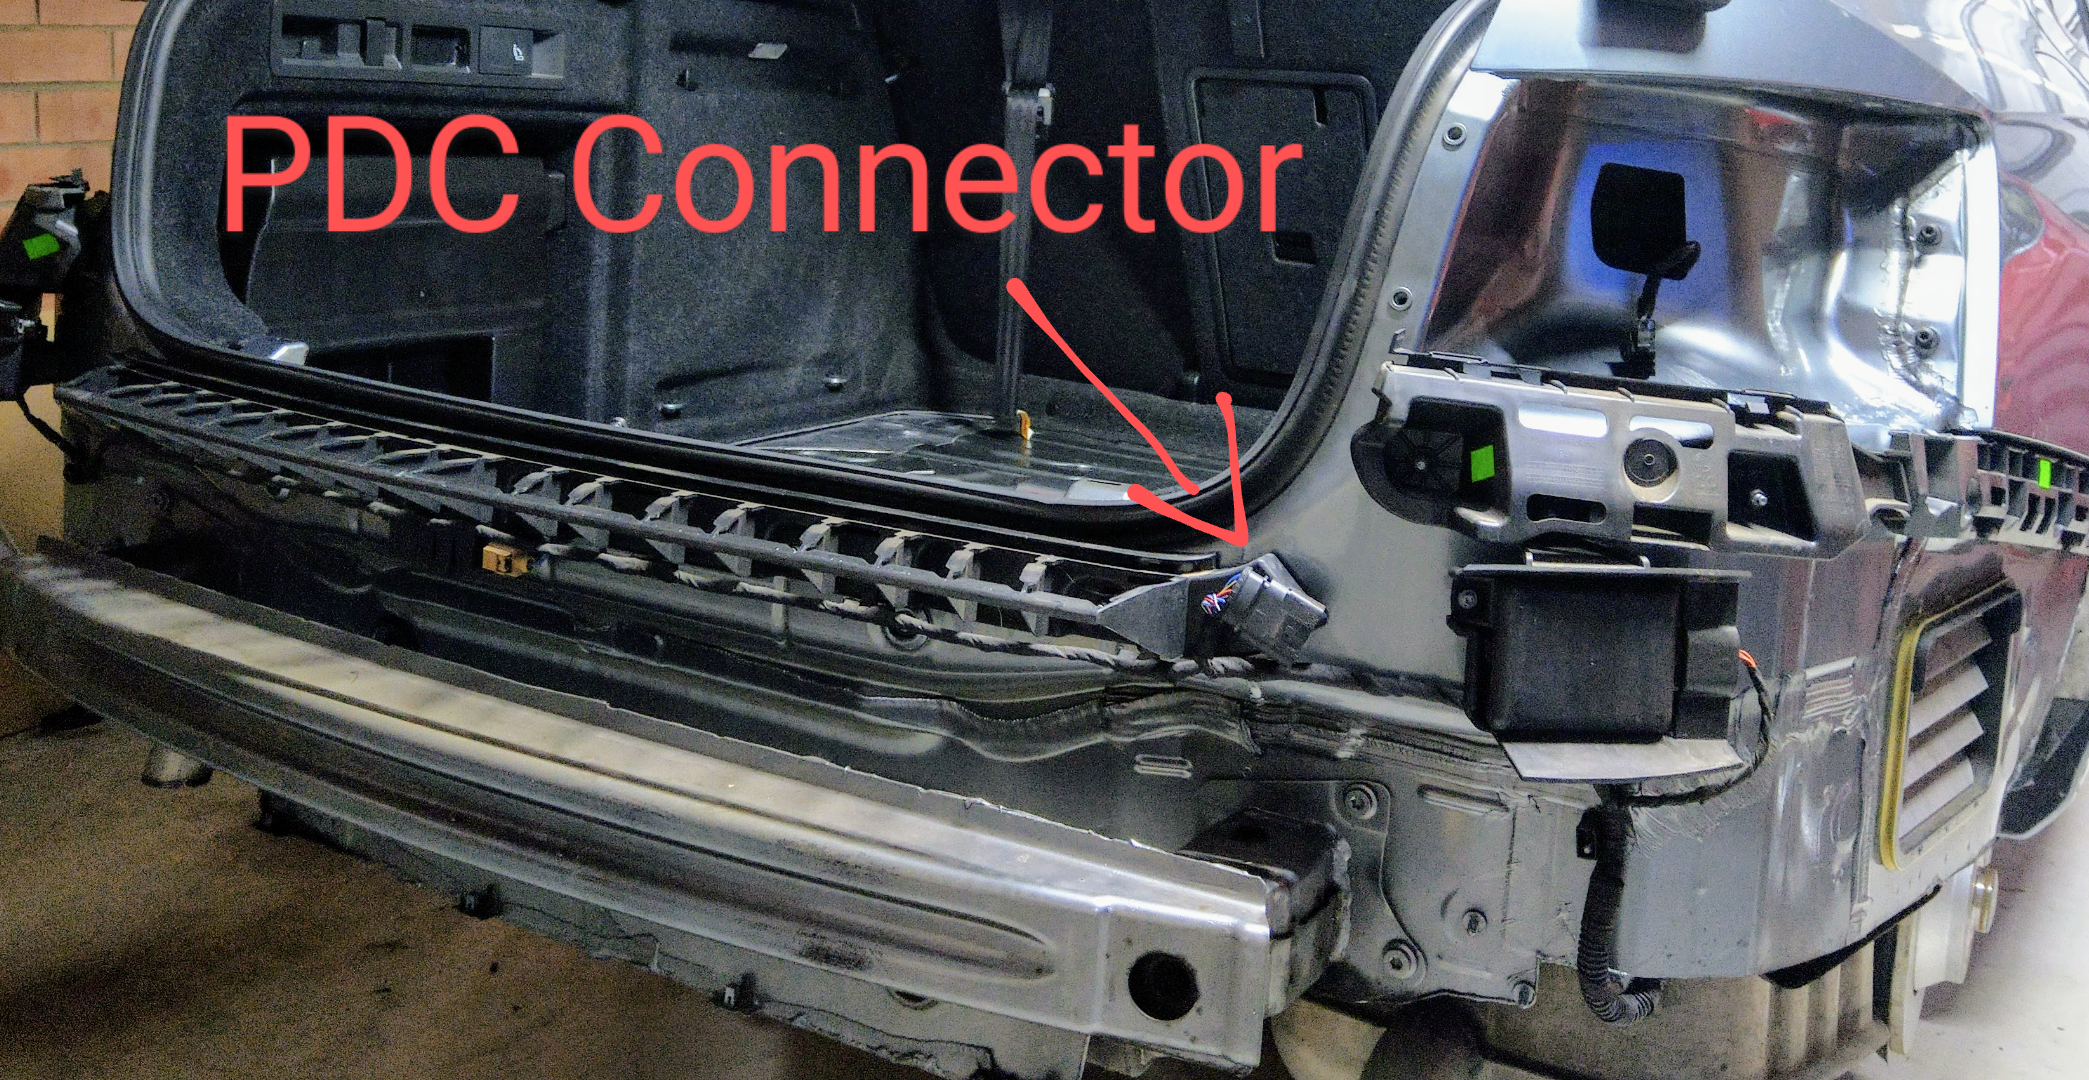
The PDC Connector is to the left of the BSM module, on the right side of the car. There is another connector on the black diffuser, so u can remove the diffuser without having to remove the whole rear bumper. See images below. This is the coding and adaptations of my boot lid module. Backup Control unit: 6D Deck Lid Control System description: HDSG-Modul Software number: 5Q0959107L Software version: 0261 Hardware number: 5Q0959107J Hardware version: H13 Serial number: 31249117700000 ODX name: EV_DeckLidCONTIAU736 ODX version: 001014 Backup name: 6D Boot Lid Long coding: 1008 Adaptations: Program opening stop: Program opening stop: 2010 Offset for maximum programmable opening stop: Offset for maximum programmable opening stop: 20 Minimum opening height of tailgate: Minimum opening height of tailgate: 600 Offset for opening height after basic setting: Offset for opening height after basic setting: 0 Detection area upper: Detection area upper: 10 Opening height in production mode: Opening height in production mode: 60 % Activating and deactivating all development messages: Activating and deactivating all development messages: not active Deactivate production mode: Deactivate production mode: Deactivating Production mode: Activation due to excessive pressure on rear lid: not active Opening height in production mode: not active Opening and closing rear lid: not active Tone sensor: not active Activation of rear lid with reduced speed: not active Calibration: not active Checking the rear lid button: not active Tailgate reverse path: Reverse path when closing: 7 Reverse path when opening: 4 Deactivation of tailgate: Deactivation of tailgate: active Dectivation of the luggage compartment cover: Dectivation of the luggage compartment cover: not active Deactivation of tailgate while in trailer operation: Release button in rear lid handle: active Using button to close lock. mechanism in tailgate handle: active Button for opening rear lid in luggage compartment: active Rear lid lock button in luggage compartment: active Sensor for rear lid opening: active Remote ctrl, opening with button for tailgate unlock. mechan.: not active Remote ctrl, closing with button for tailgate unlock. mechan.: not active Opening with button for remote unlocking of tailgate: not active Closing with remote unl.button of tailgate when using a trailer: not active Using sensor to open tailgate: not active Using sensor to close tailgate: not active Opening with button 2 for remote unlocking of rear lid: not active Closing with remote unlock.butt.2 of rear lid when using trail.: not active Ausstattungen aktivieren: Engine 2: active Motor 2, sensor system: active Tone sensor: not active Clamping strip 1: not active Clamping strip 2: not active Clamping strip 3: not active Clamping strip 4: not active Temperature sensor 1: active Temperature sensor 2: active Closing assist motor: active Luggage compartment cover, tolerance of the block counter: Luggage compartment cover, tolerance of the block counter: 0 Luggage compartment cover, maximum no. of block drives: Luggage compartment cover, maximum no. of block drives: 0 Luggage compartment cover, reverse path after obstacle recogn.: Open: 0 Close: 0 Luggage compartment cover, detection area: Detection area lower: 0 Detection area upper: 0 Luggage compartment cover, adjust. track tolerance: Luggage compartment cover, adjust. track tolerance: 0 Luggage compartment cover, number bloom drives: Luggage compartment cover, number bloom drives: 0 Luggage compartment cover, excess limitation in exclusion area: Luggage compartment cover, excess limitation in exclusion area: not active Mileage: 74509 km Date: 2023-04-20 14:19 -----------------------
2.jpeg.8850c8342c1aa1fcbeb3623617731c58.jpeg)