AGFalco
Resident Member
-
Joined
-
Last visited
Everything posted by AGFalco
-
It's alloy wheels and age not low profile tyres. Steel wheels also suffer, but from rust in the bead areas, especially wheels / vehicles that hardly move. Thanks, AG Falco
-
A type of gearbox. Thanks, AG Falco
-
If you only have one rear fog light bulb then it needs to be on the offside/drivers side. If both bulbs work, is there voltage at the bulb holder with the fog lights turned on? If no, then is there a fuse just for this bulb? Thanks, AG Falco
-
Nothing. It's not you it's the article that is wrong but the video is correct. There is a lot of confusion over this as you have seen in this thread. Thanks, AG Falco
-
And water pump housing at 44 seconds and TWO belts shown before at 17 and 25 seconds. Note the different part numbers. Thanks, AG Falco
-
This quote below from the article is wrong. ''Now, remove the water pump with the belt drive and after flushing out the cooling system to remove any debris and cleaning the water pump facing, reposition the replacement pump with the new belt, Dayco 941094, at the same time.'' This is the camshaft timing belt not the water pump belt which is on the gearbox side of the engine with the water pump and both thermostats in a housing. See here:- https://7zap.com/en/catalog/cars/Skoda/brand/17/0/Fabia/Fabia (2016 - 2019)/Skoda/bkxoUzRUbHA1YUk4czZBM29VVThKdz09--/ssd/universal/10107->10188->10191/723121050::121005 Thanks, AG Falco
-
Don't think this engine has been fitted in the Fabia III. Thanks, AG Falco
-
Cinturato P7's are Pirelli Tyres. Thanks, AG Falco
-
A bad wheel bearing makes more noise when you put more load on it. ( cornering ) Where is the noise coming from, front or rear? Ask a passenger to sit in the front and then rear. The noise might not be a wheel bearing. Thanks, AG Falco
-
Yes. If you can remove the tyres from the rim then:- A wizz with a wire brush ( attached to an angle grinder is my preferred weapon ) around both bead seating areas. A couple of layers of alloy wheel spray paint and your done for several years. A good tyre shop could do this when they fit any new tyre if you can supply the paint. Thanks, AG Falco
-
Skoda SSP-511_The_New_EA211_Petrol_Engine_Family Thermostat housing with integrated coolant pump. The thermostat housing is installed on the cylinder head on the gearbox side. The coolant pump has been integrated into the thermostat housing to produce the most compact cooling system design possible. The coolant pump is driven by the exhaust camshaft using a toothed belt. This is from a VW Service Training info PDF that I have. Thanks, AG Falco
-
What size tyres do you have? Does the noise change when you turn left or right? Thanks, AG Falco
-
If you have one touch and they go up windows then they need a anti trap sensor fitted as well. I think you can get Fabia III's with this but only on the drivers side door. Thanks, AG Falco
-
Don't bother with lockers. On both of my Skoda's I have replaced them with normal wheel bolts and the plastic bolt covers. Nothing to loose or break then. Part numbers:- WHT004899 for the Wheel Bolt 321601173BZ37 for the covers. But they come in several colours. Thanks, AG Falco
-
Now the wife has driven the Citigo for a week she wont give it back to me. ☹️ Back to the Fabia then. 😀 Thanks, AG Falco
-
Not unless you replace the infotainment unit. ☹️ Thanks, AG Falco
-
One of the first car's I had was a 1966 D Reg Mini. I felt that the 850CC car was using more fuel than it should. After finding out how to work out the fuel consumption I calculated it to be doing 26MPG. It was an SU carb problem that was causing this excessive consumption. I now run 3 cars, all do more than 10000 miles per year and all fuel is paid for by me. 30000 miles at 26 MPG at £1.449 per litre or about £6.50 per gallon is about £7500 per annum. 30000 miles at 58 MPG at £1.449 per litre or about £6.50 per gallon is about £3350 per annum. The other two cars in the family do better MPG than the Fabia. The petrol Fabia I have had since new and replaced a Diesel car with 133000 miles. I was hoping to average 50 MPG in this which would be worse than the previous car. The first two tanks in the Fabia were 50 and 49 MPG. By taking an interest in running costs and finding ways to improve this helps me financially. The journey time and average speed of my regular journey to work and back has not changed in the last five years. But I have improved fuel consumption by almost 20%. You do the math. Thanks, AG Falco
-
-
Newer cars have better air seals than older cars. This leads to less unassisted air flow through the car. This can lead to condensation. The same as newer houses with sealed doors, double glazing, no floorboards and no chimneys have a worse condensation problem. Both can be overcome by opening the windows. ( but this lets the heat out. ) In the house I live in I installed a PIV system which has stopped the condensation completely. I would highly recommend this to anyone who has condensation / black mould problems. Thanks, AG Falco
-
Which infotainment system do you have in the Fabia? Have you paired the phone to the car? On the infotainment system I have, you do the following:- Open Android Auto on your phone. Have Bluetooth on. Have Location on, if you are going to navigate. Connect the phone to the car with a good quality cable. Have the ignition on and the infotainment system on. Push the bottom Right button marked ' MENU ' Twist the right dial until you get to the smartlink app gui button. Select this then select Android Auto. See examples here:- Thanks, AG Falco
-
The car stops all fuel going to the engine when, in gear but with no throttle applied and the engine speed is above about 1400 RPM. I can see this in action on my car by setting the MFD to instant fuel consumption reading. On one road to work I can use this method for over 1/2 mile with no throttle. The road goes downhill and at the top it is a national speed limit 60MPH and has a 30MPH limit at the bottom. For most of this road the instant fuel consumption reading is ZERO fuel being used. Filled the car with petrol on 10th Nov and did 58 MPG since the previous fill up. This is working to out, not using the car's read out, which is fairly accurate. Thanks, AG Falco
-
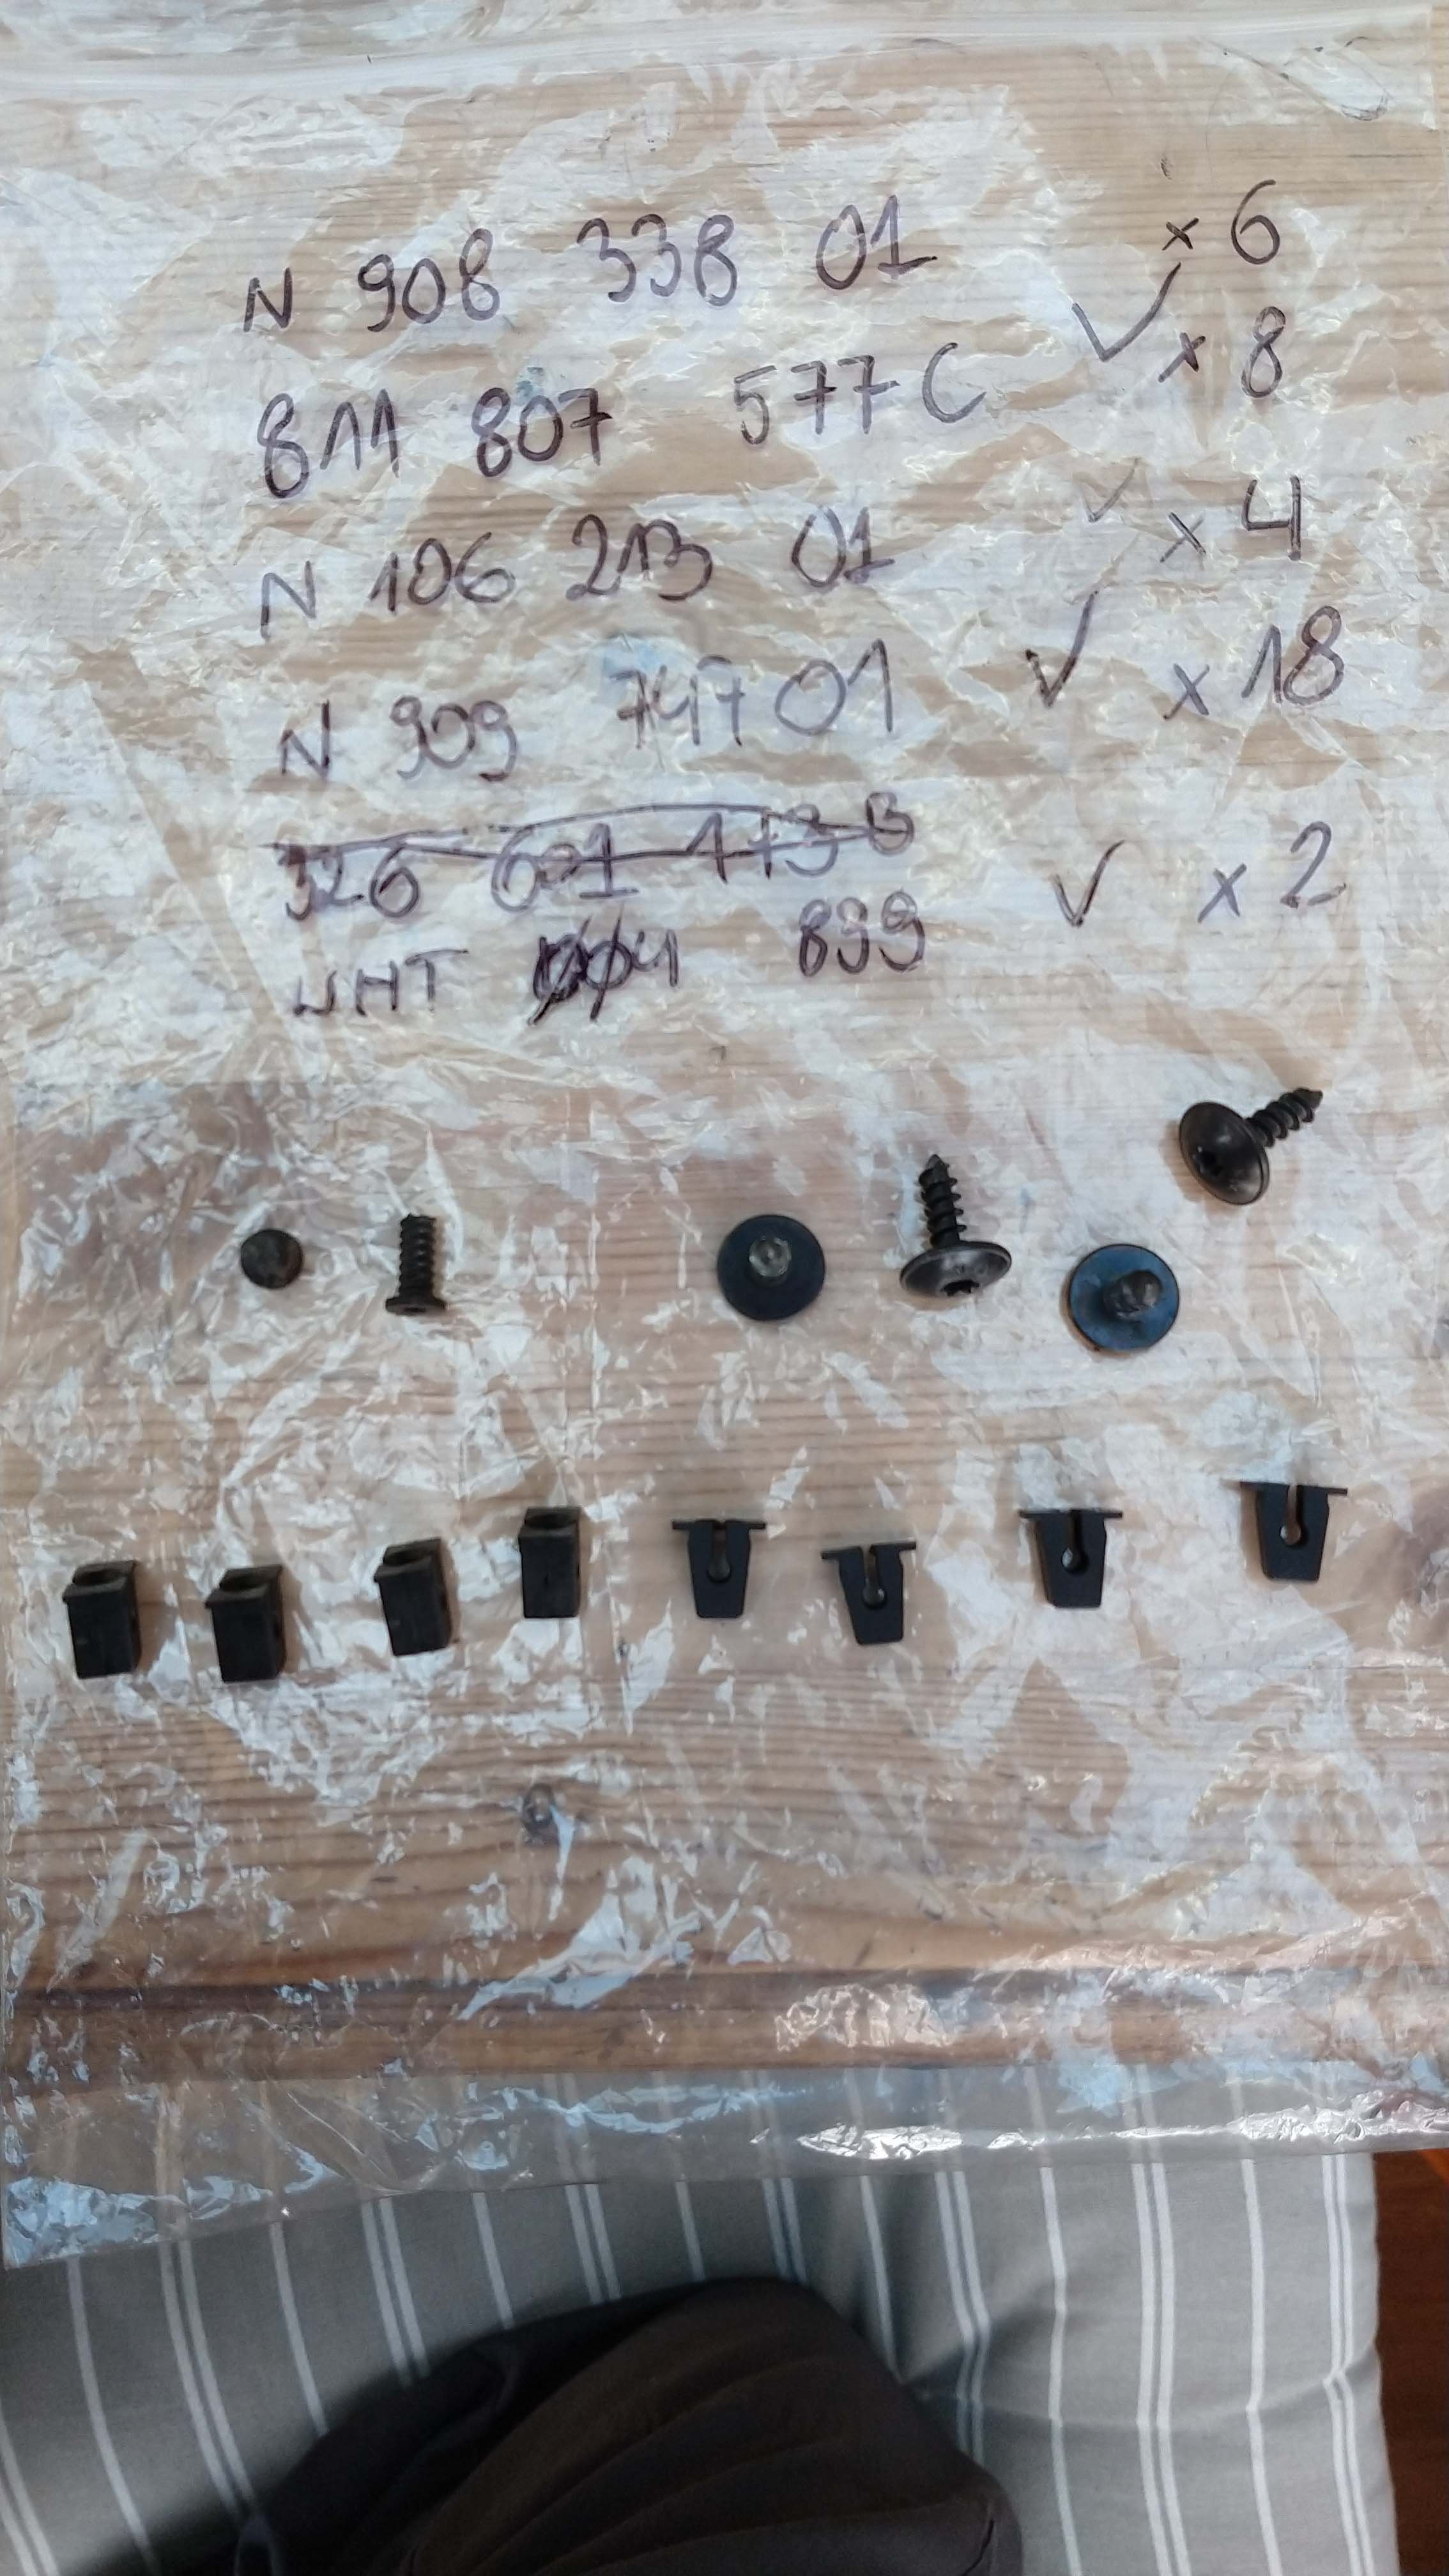
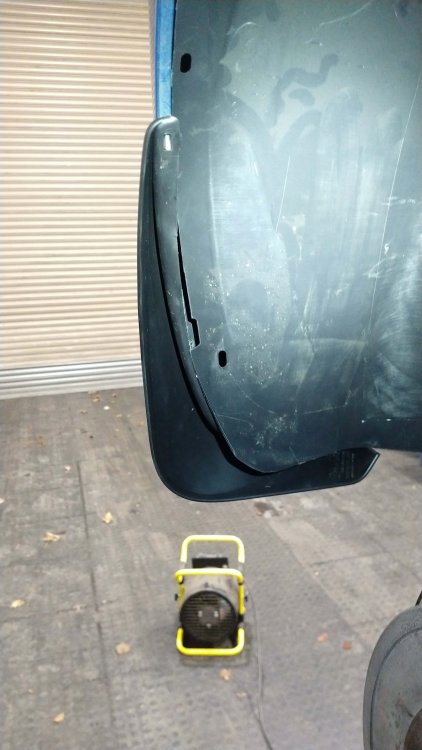
Parts bag and unused parts. The 8 chassis fittings at the bottom of the photo are wanting a new free home? 811807577C Screw insert for wheel arch liner X8. None used? Anybody want them, free? 3 x Inner chassis fittings left hand side. 2 X outer Chassis fittings right hand side. Rear mud flap and unmodified liner right hand side, with fan space heater on floor in background. Under bumper Torx 25 screw, left hand side. Thanks, AG Falco
-
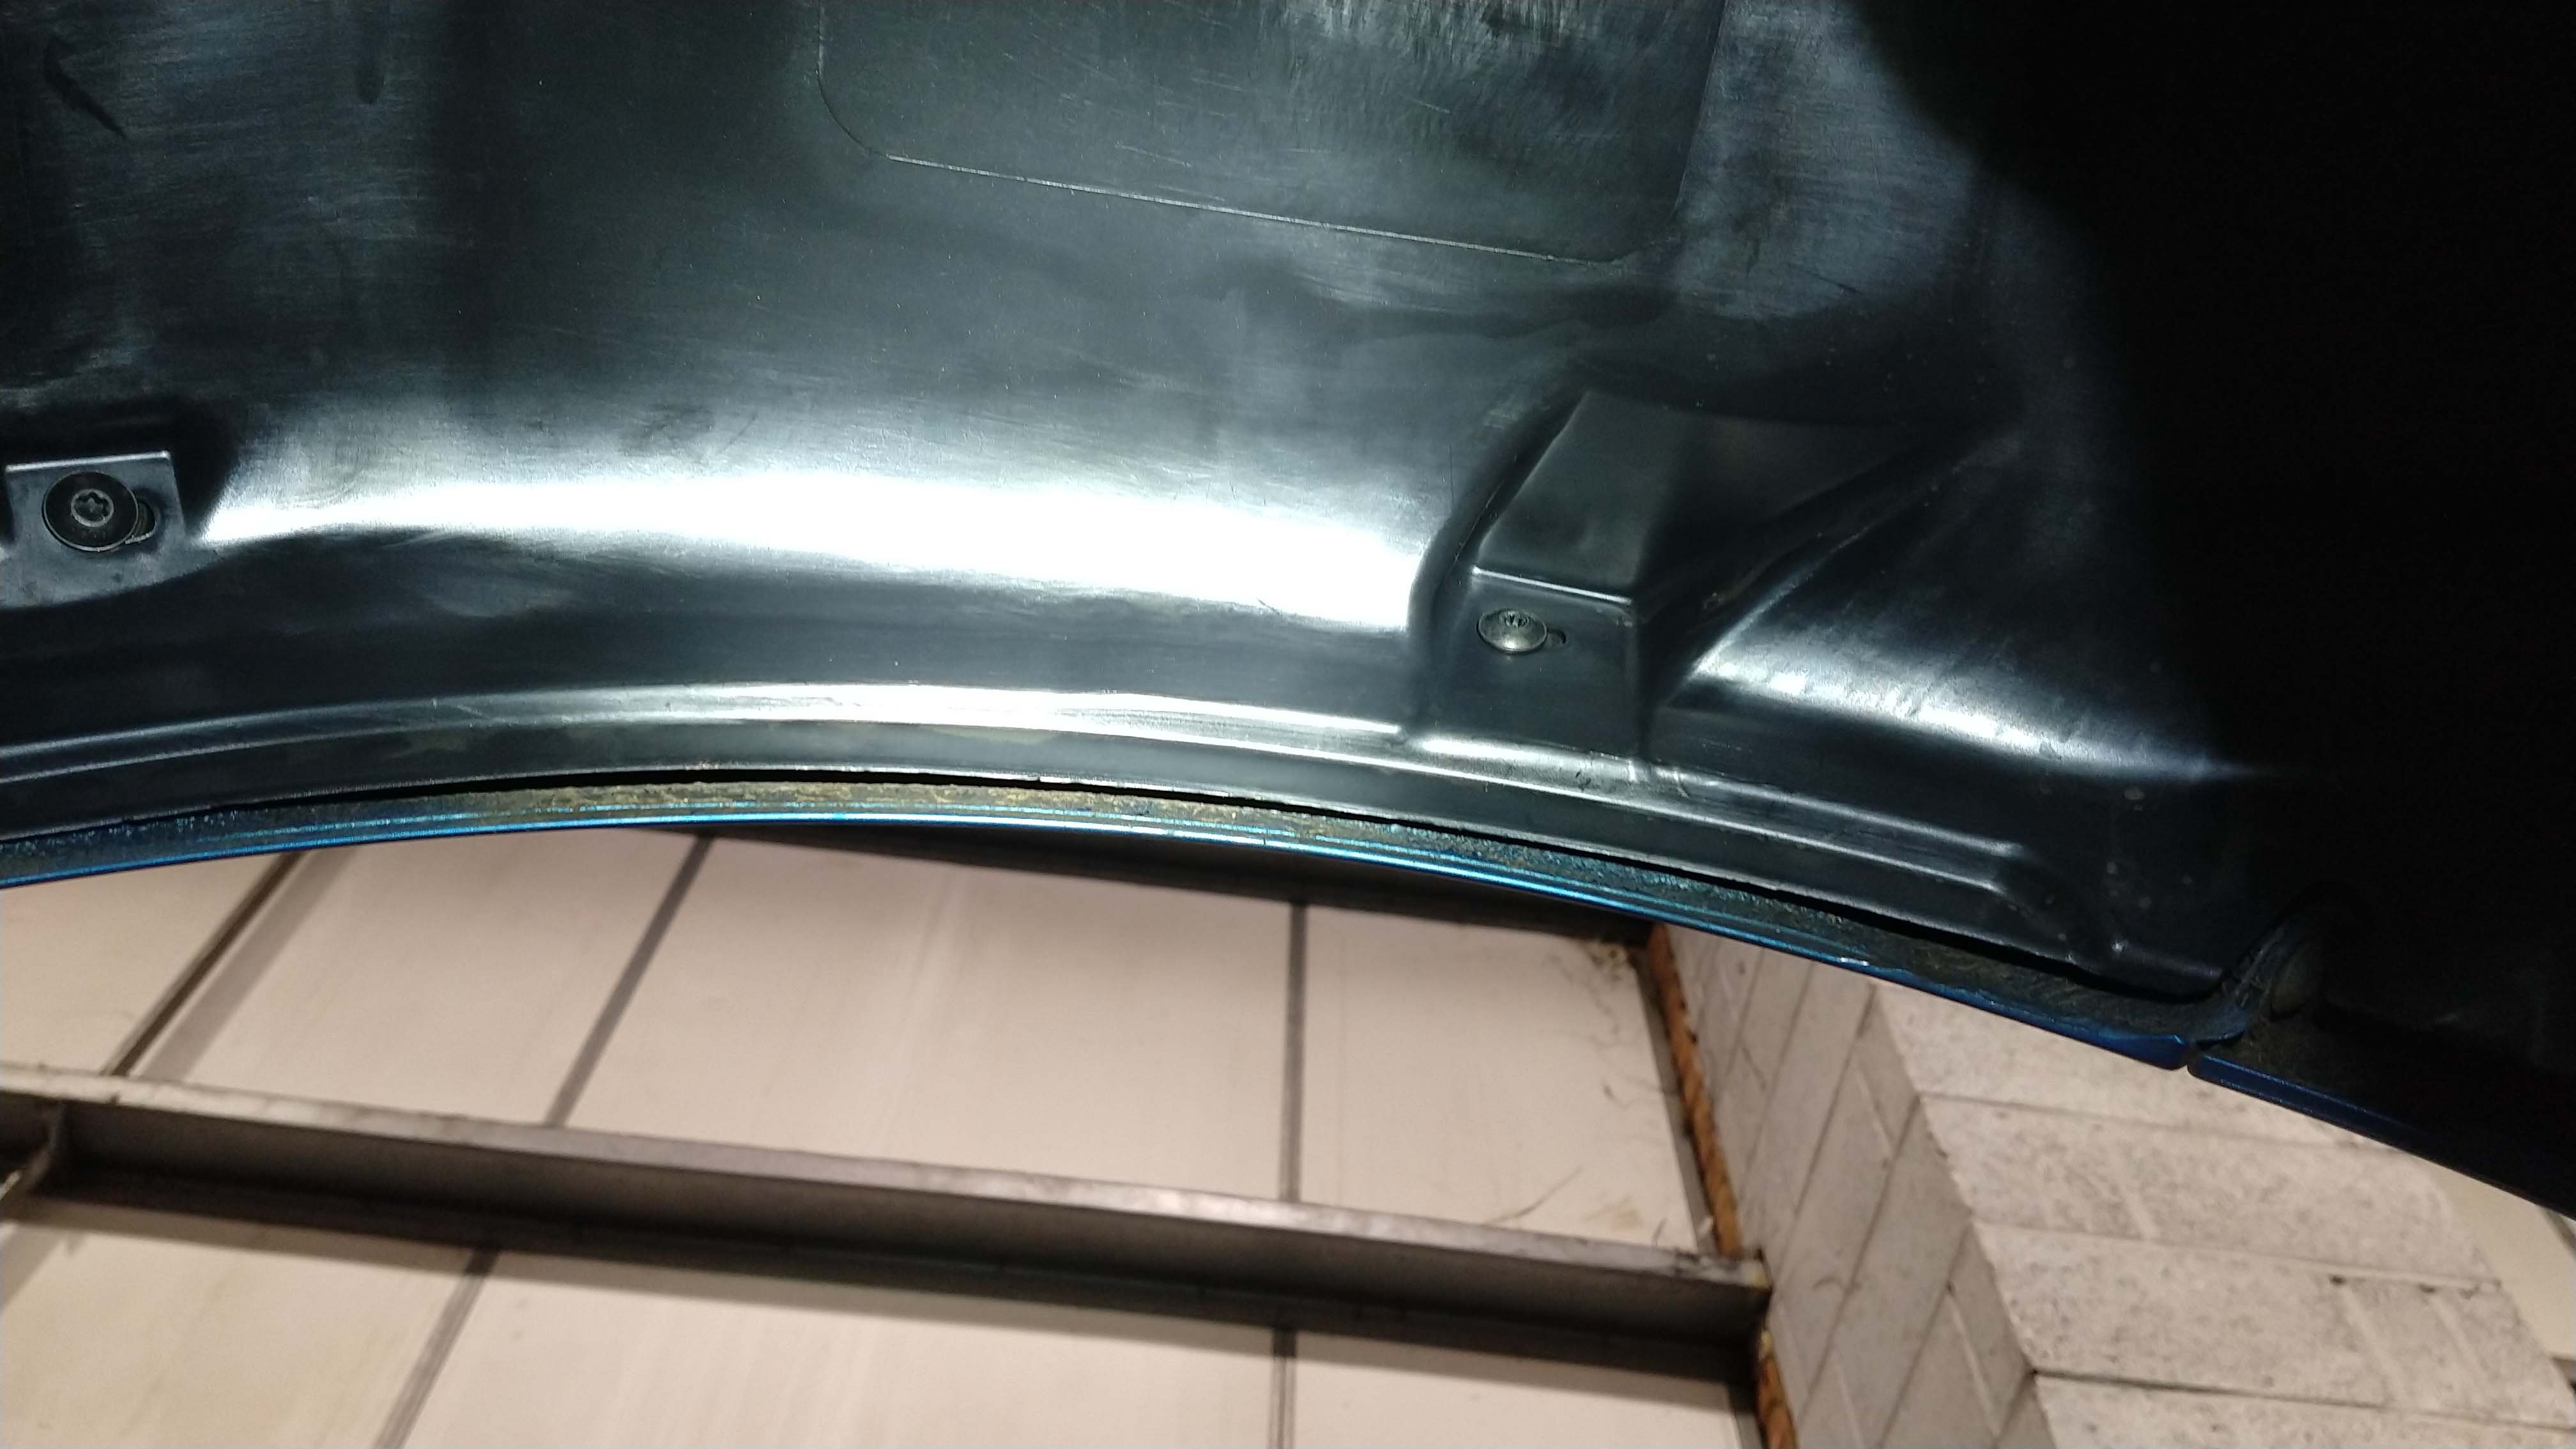
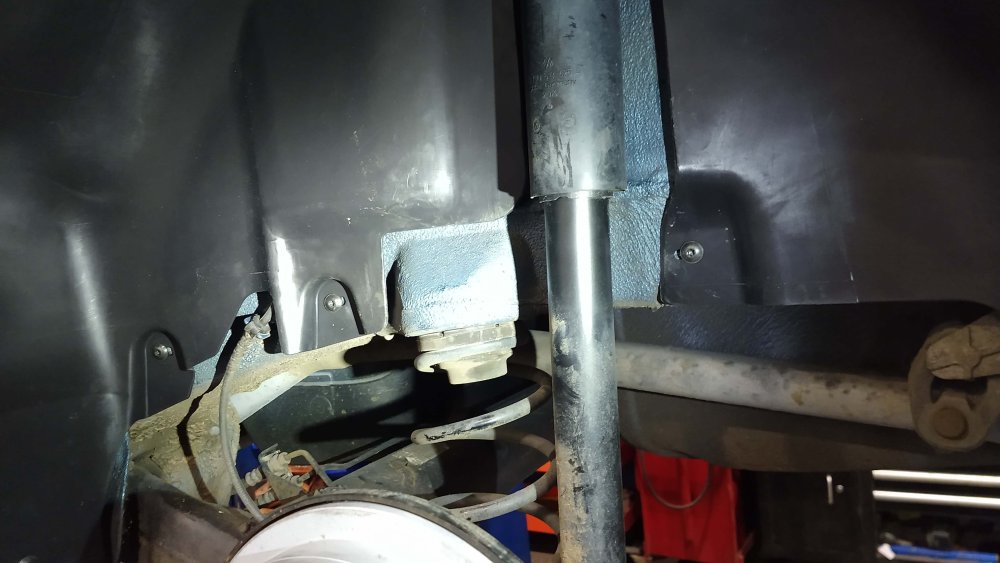
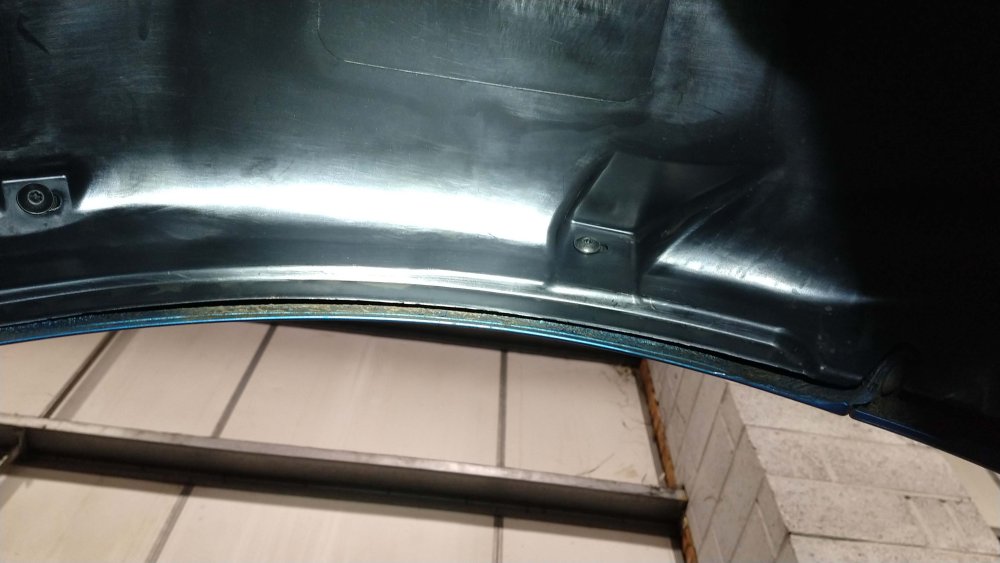
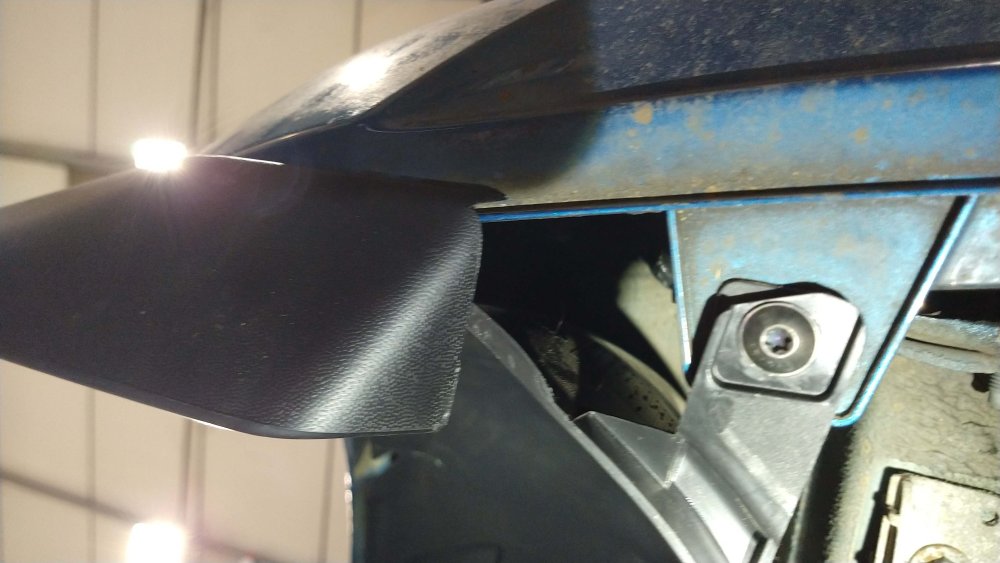
Fitted both inner rear wheel arch liners and rear mud flaps yesterday. Thanks to https://www.briskoda.net/forums/profile/32484-owens/ Lat week spent 1.5 hours jet washing the inner rear wheel arches only to find mud still above the fuel filler cap when I put the car on the ramp. Yesterday jet washed ALL the mud/dirt of the car's inner arches. ( Not a good day to do this with it snowing in the morning. ) I jacked the rear of the car up enough to get the end of the jet wash lance above the fuel filler cap from inside the wheel arch. I used a 90 degree chassis adaptor on the end of my jet wash lance to get the right angle of attack. Then proceeded to fit liners and mud flaps. I used a fan type space heater to help with any drying required. Parts list a follows. Note some new part numbers and some unused parts were delivered. 1S0810971C Inner wheel arch liner left. Now modified note the last letter of the part number is C 1S0810972C Inner wheel arch liner right. Now modified note the last letter of the part number is C 1S08109879B9 Adaptor lower rear left. The adaptors don't appear on the TPS diagram but is listed. 1S08109889B9 Adaptor lower rear right. The adaptors don't appear on the TPS diagram but is listed. N90974701 Screw insert for inner arch chassis holes X 6. ( 3 each side ) N10321301 Screw insert for outer arch chassis holes X 4. ( 2 each side ) N909747701 T25 Torx screw x 18. Only needed 14 ( 7 each side ) as you can reuse 4 from the removed front adaptors. 811807577C Screw insert for wheel arch liner X8. None used? Anybody want them, free? Link here to what they are. https://www.vehicleclips.co.uk/plastic-screw-grommet-audi-811807577c/ See photos in next post. The instructions above were useful and I would add the following for my Facelift version. The Citigo had a lot of mud/dirt in the rear arches from it's first three years of use. ( Two hours of jet washing to clean off ) There WAS just the first signs of rust/flaky paint around the fuel filler cap inside the wheel arch. I also gave this area several sprays of paint before fitting the liners. I used a small flat headed screwdriver to find make the holes in the chassis. I used a 1/4 inch extension bar to make the holes just large enough for the inserts to be fitted. I filled the holes with sealant before knocking in the screw inserts. ( tiger seal, https://www.amazon.co.uk/gp/product/B01AAN6LC2/ref=ox_sc_act_title_1? )smid=A3F3MRLZKKJ6Y6&psc=1 ) The rear of the wheel arch liners did NOT want cutting / modifying when fitting with the rear mud flaps. The screws you remove from underneath the rear bumper are a Torx 15 and are not reused. ( 1 each side ) More photos in next post. Thanks, AG Falco.
-
So try to dry the rear brakes before stopping and driving forwards first will help. Thanks, AG Falco
-
Guess. High Street. Station Road. Church Lane. The road that goes from 'A' town to 'B' town is often called 'B' Road/Lane. Eg the road that goes to Shaftesbury from Gillingham is called Shaftesbury Road. Oxford Street in London is the A40 road that goes to Oxford. With Android Auto I can say:- 'Navigate to Tesco Shaftesbury' Job done. Who's Laura? 😉 Thanks, AG Falco