ApertureS
Resident Member
-
Joined
-
Last visited
Everything posted by ApertureS
-
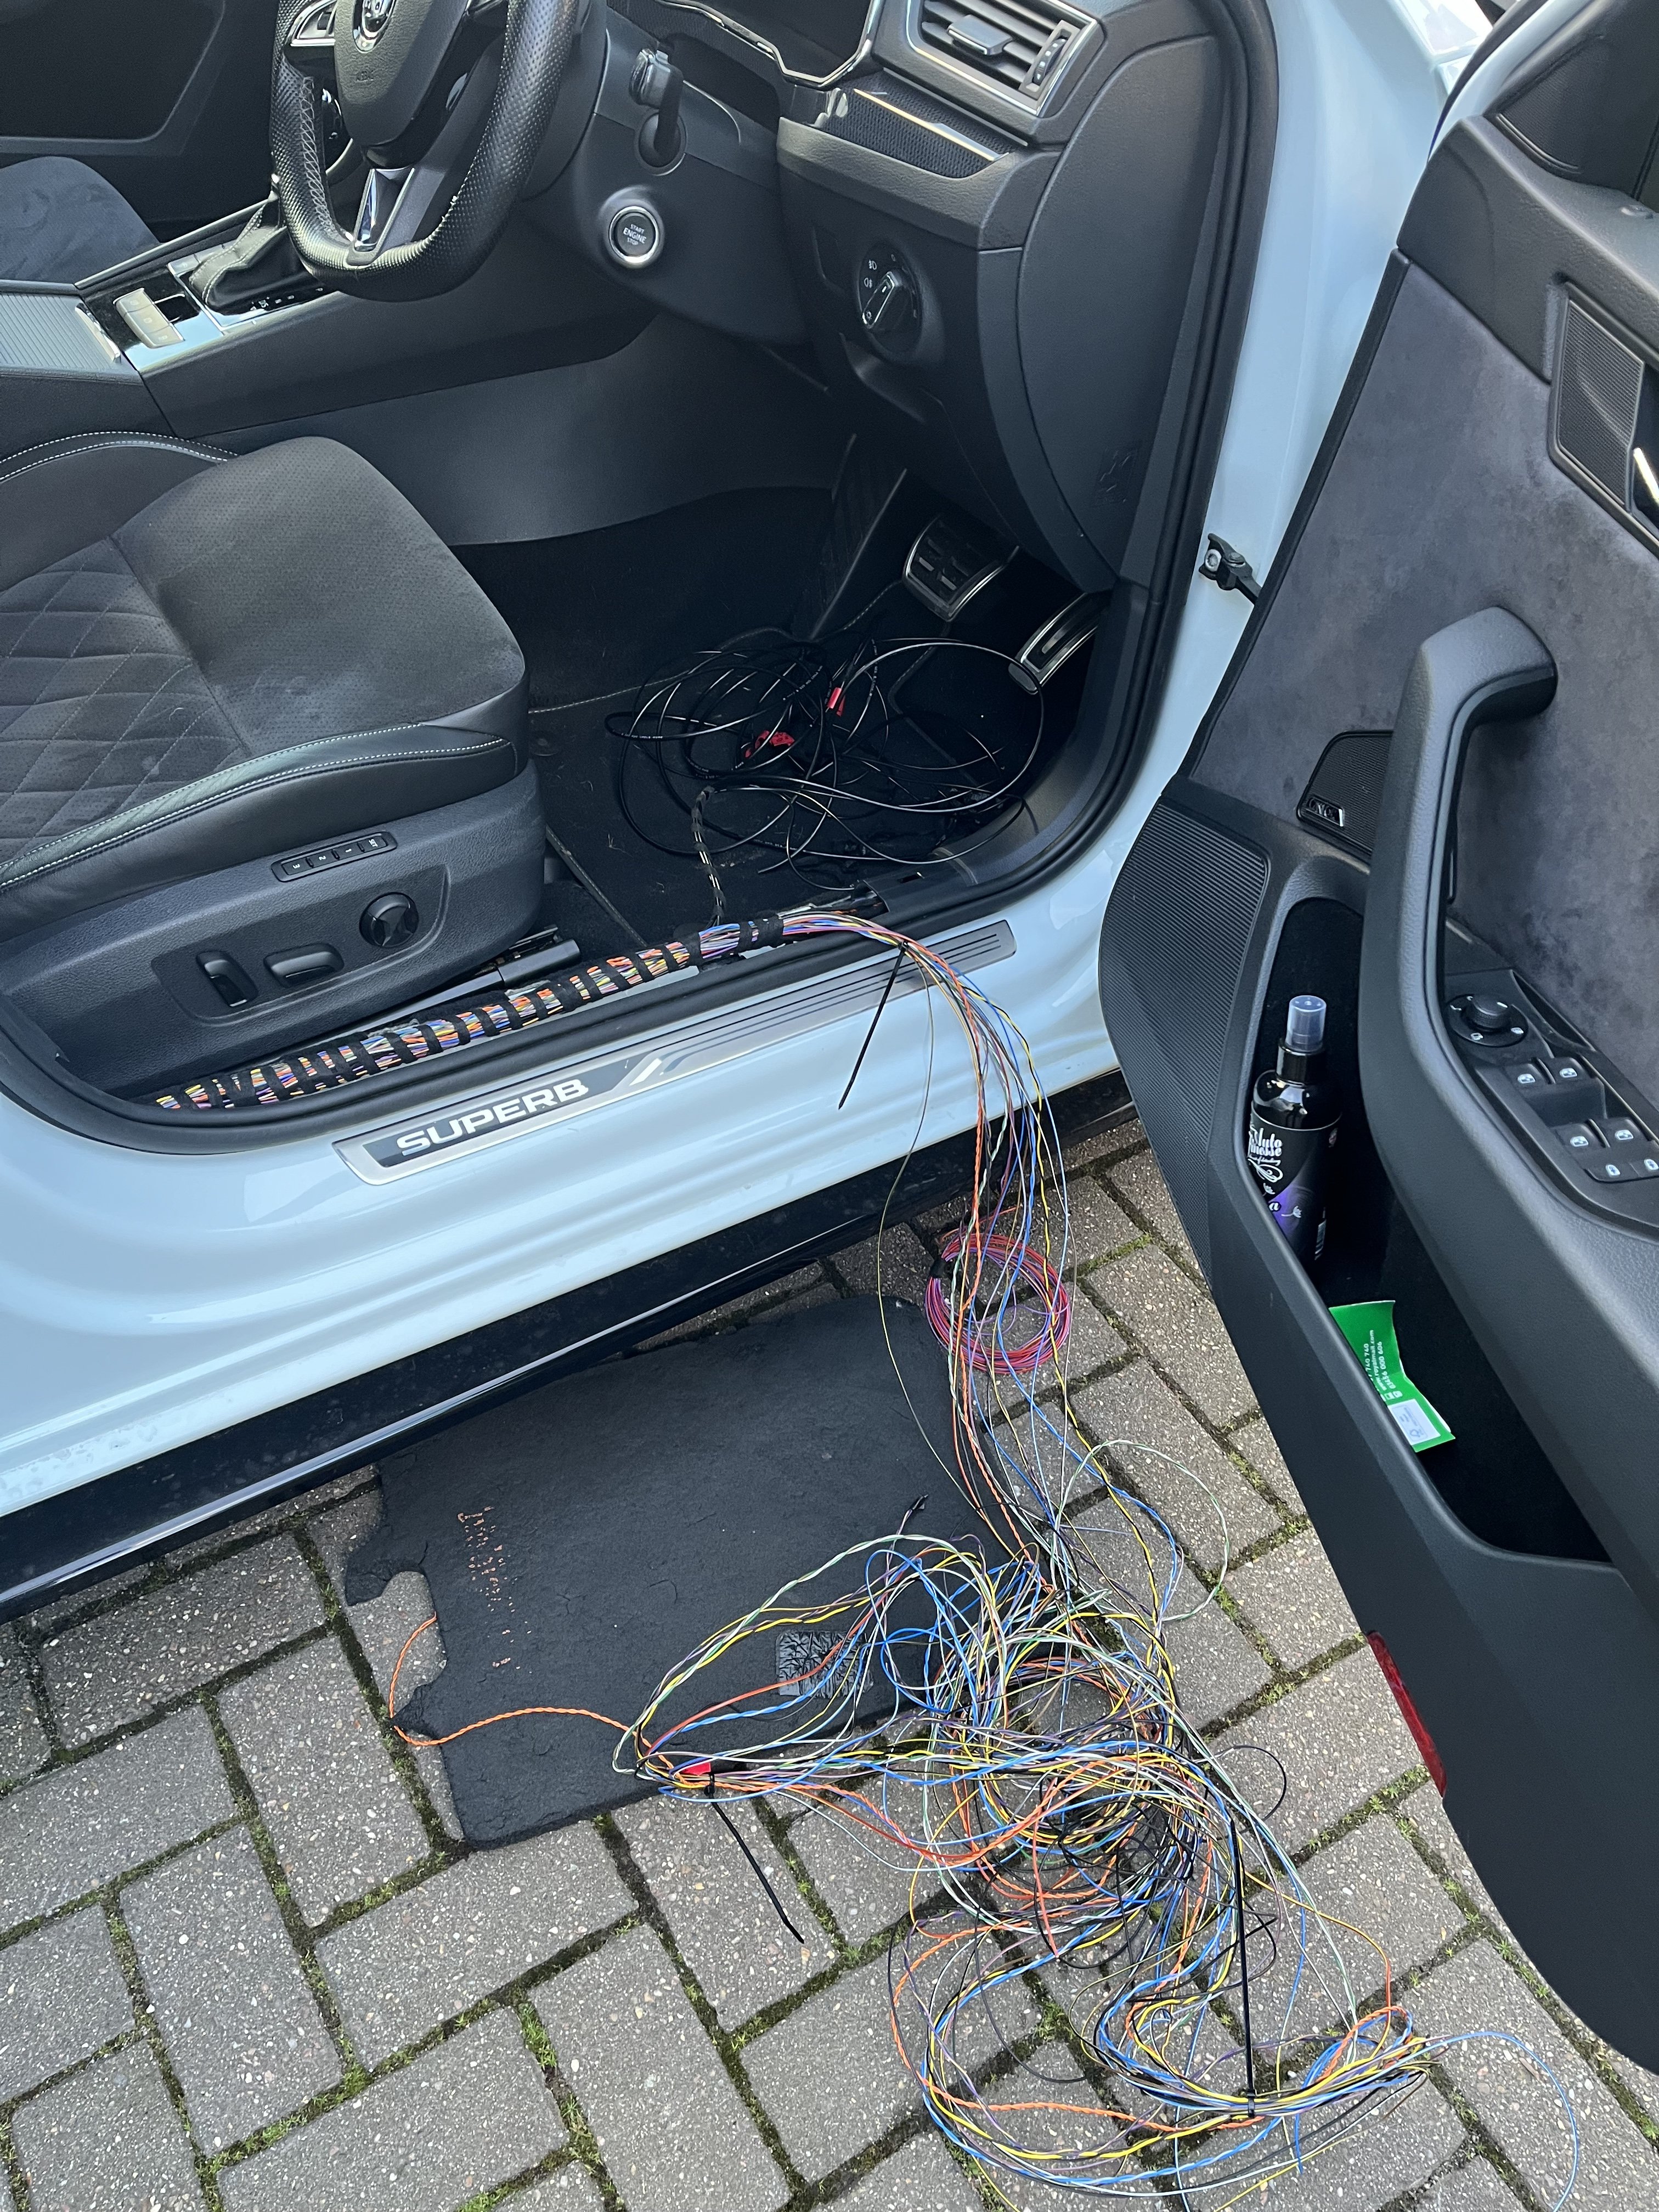
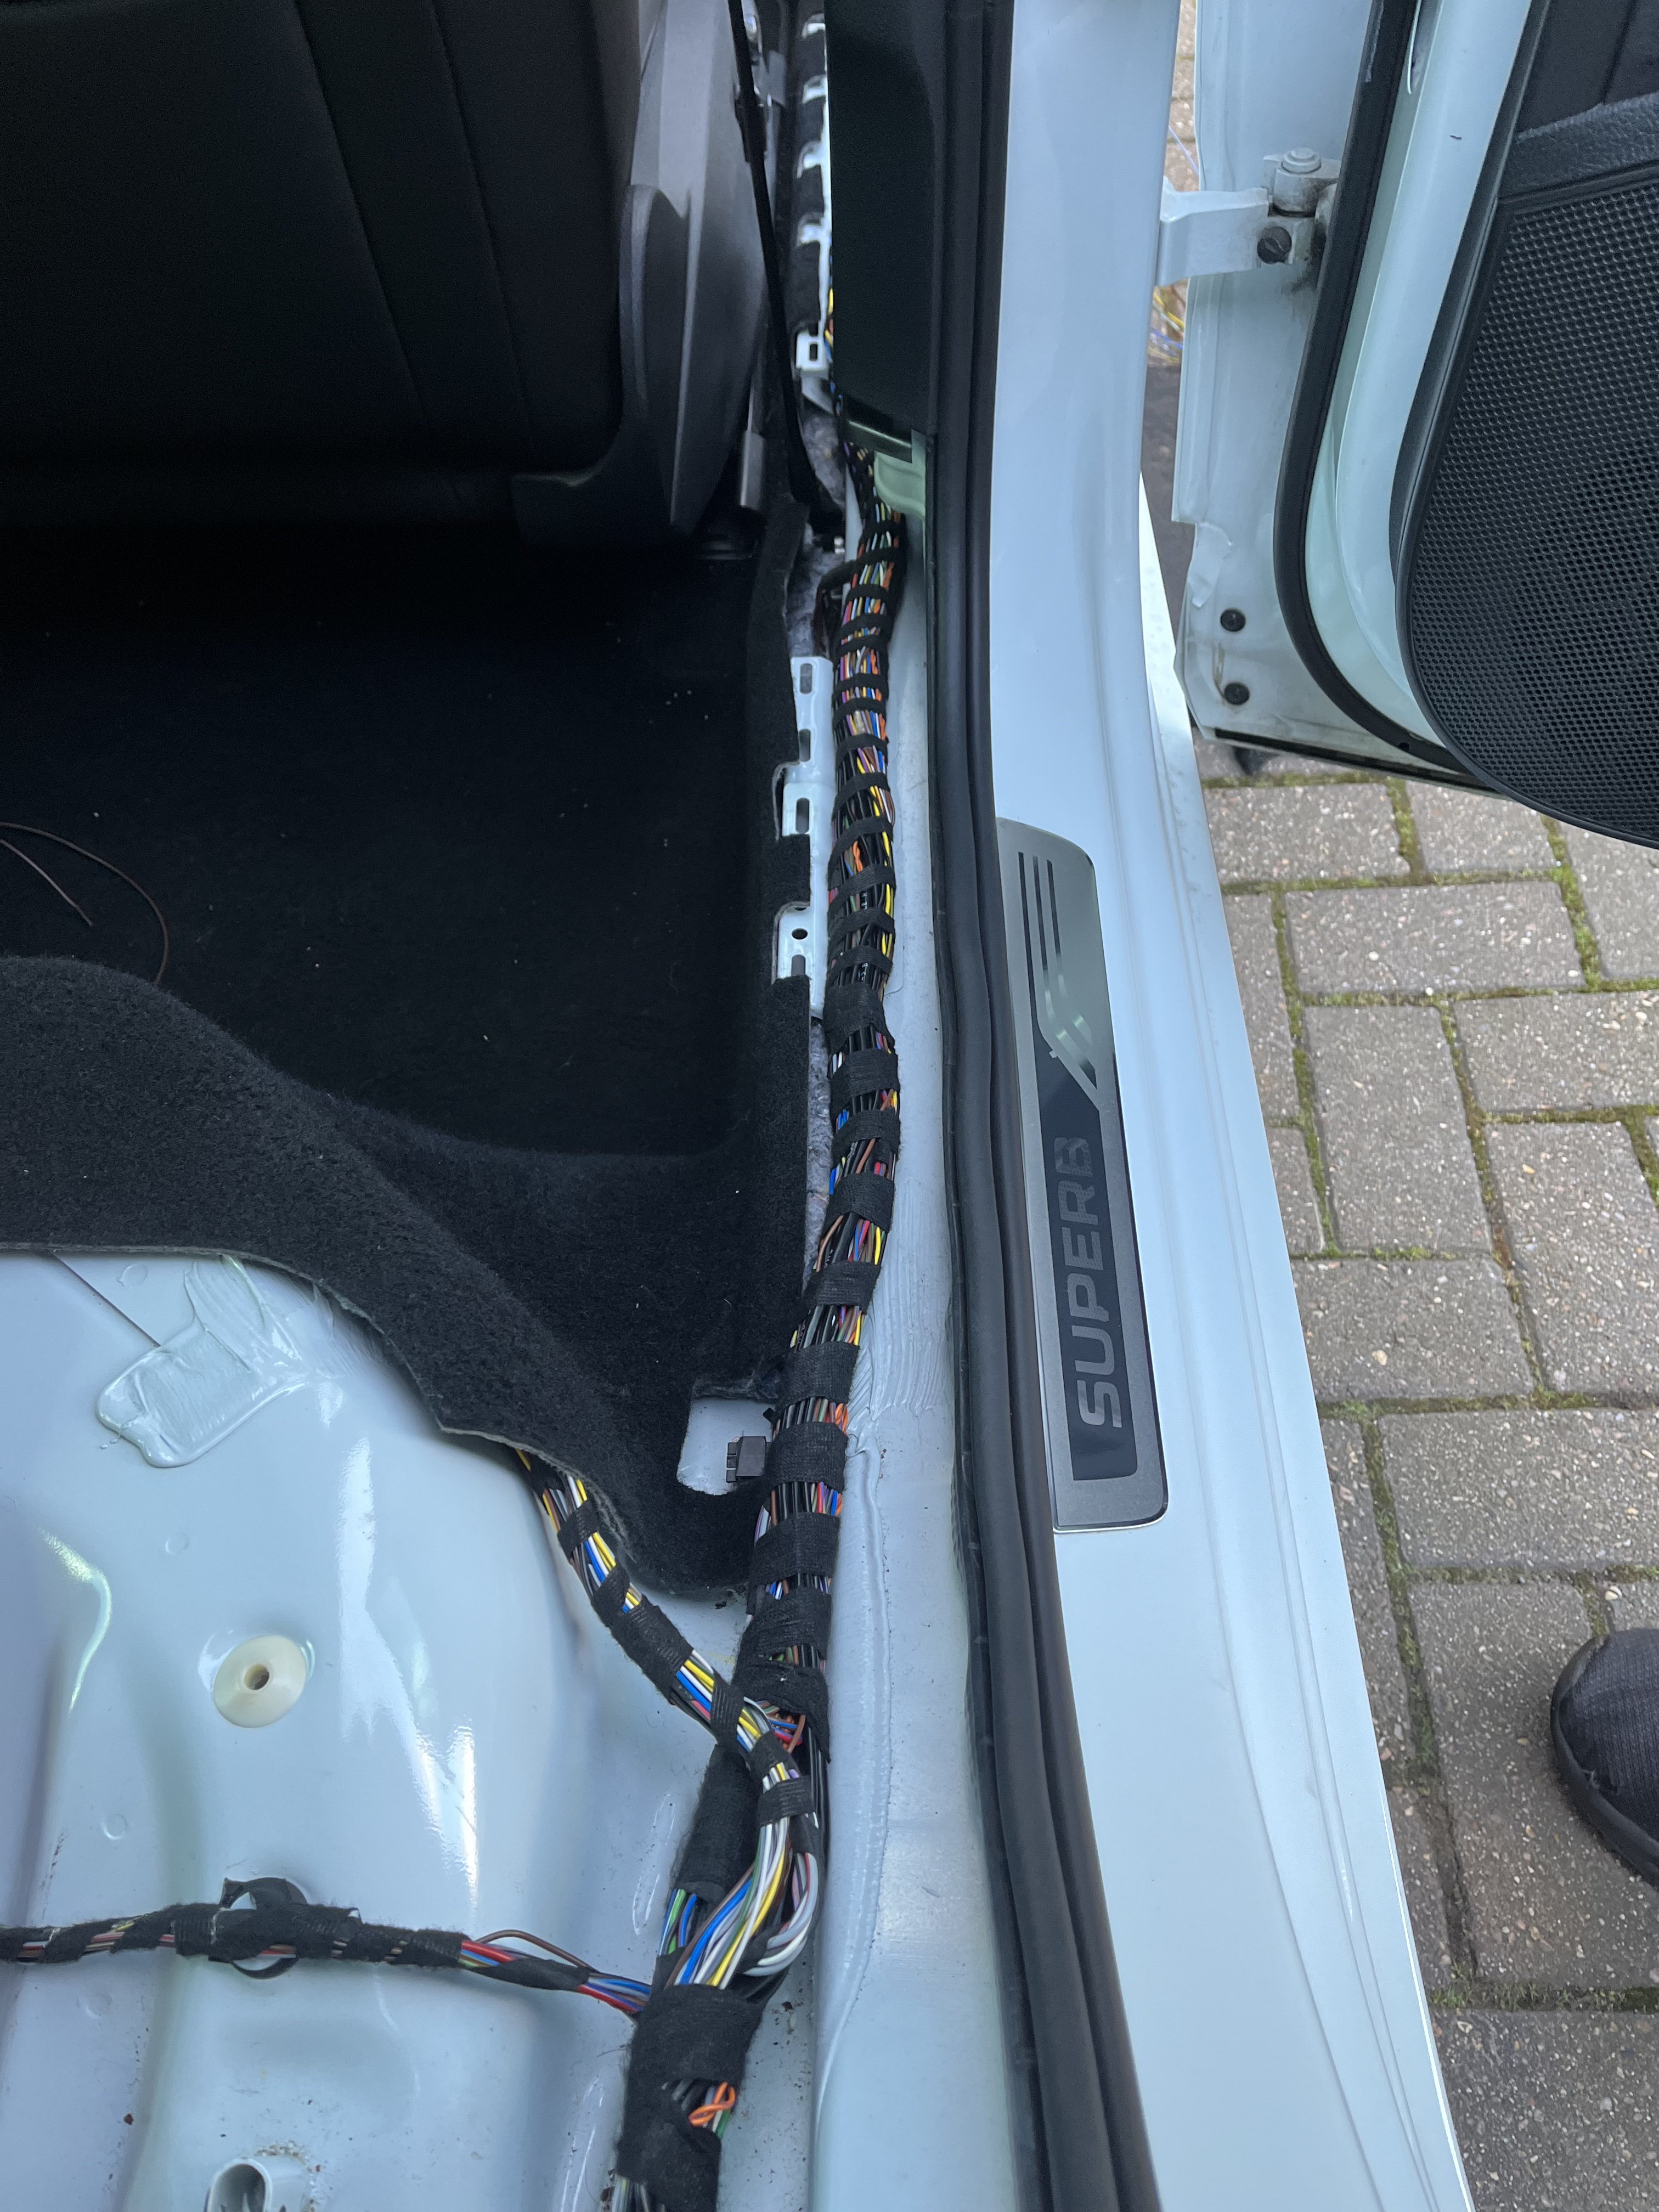
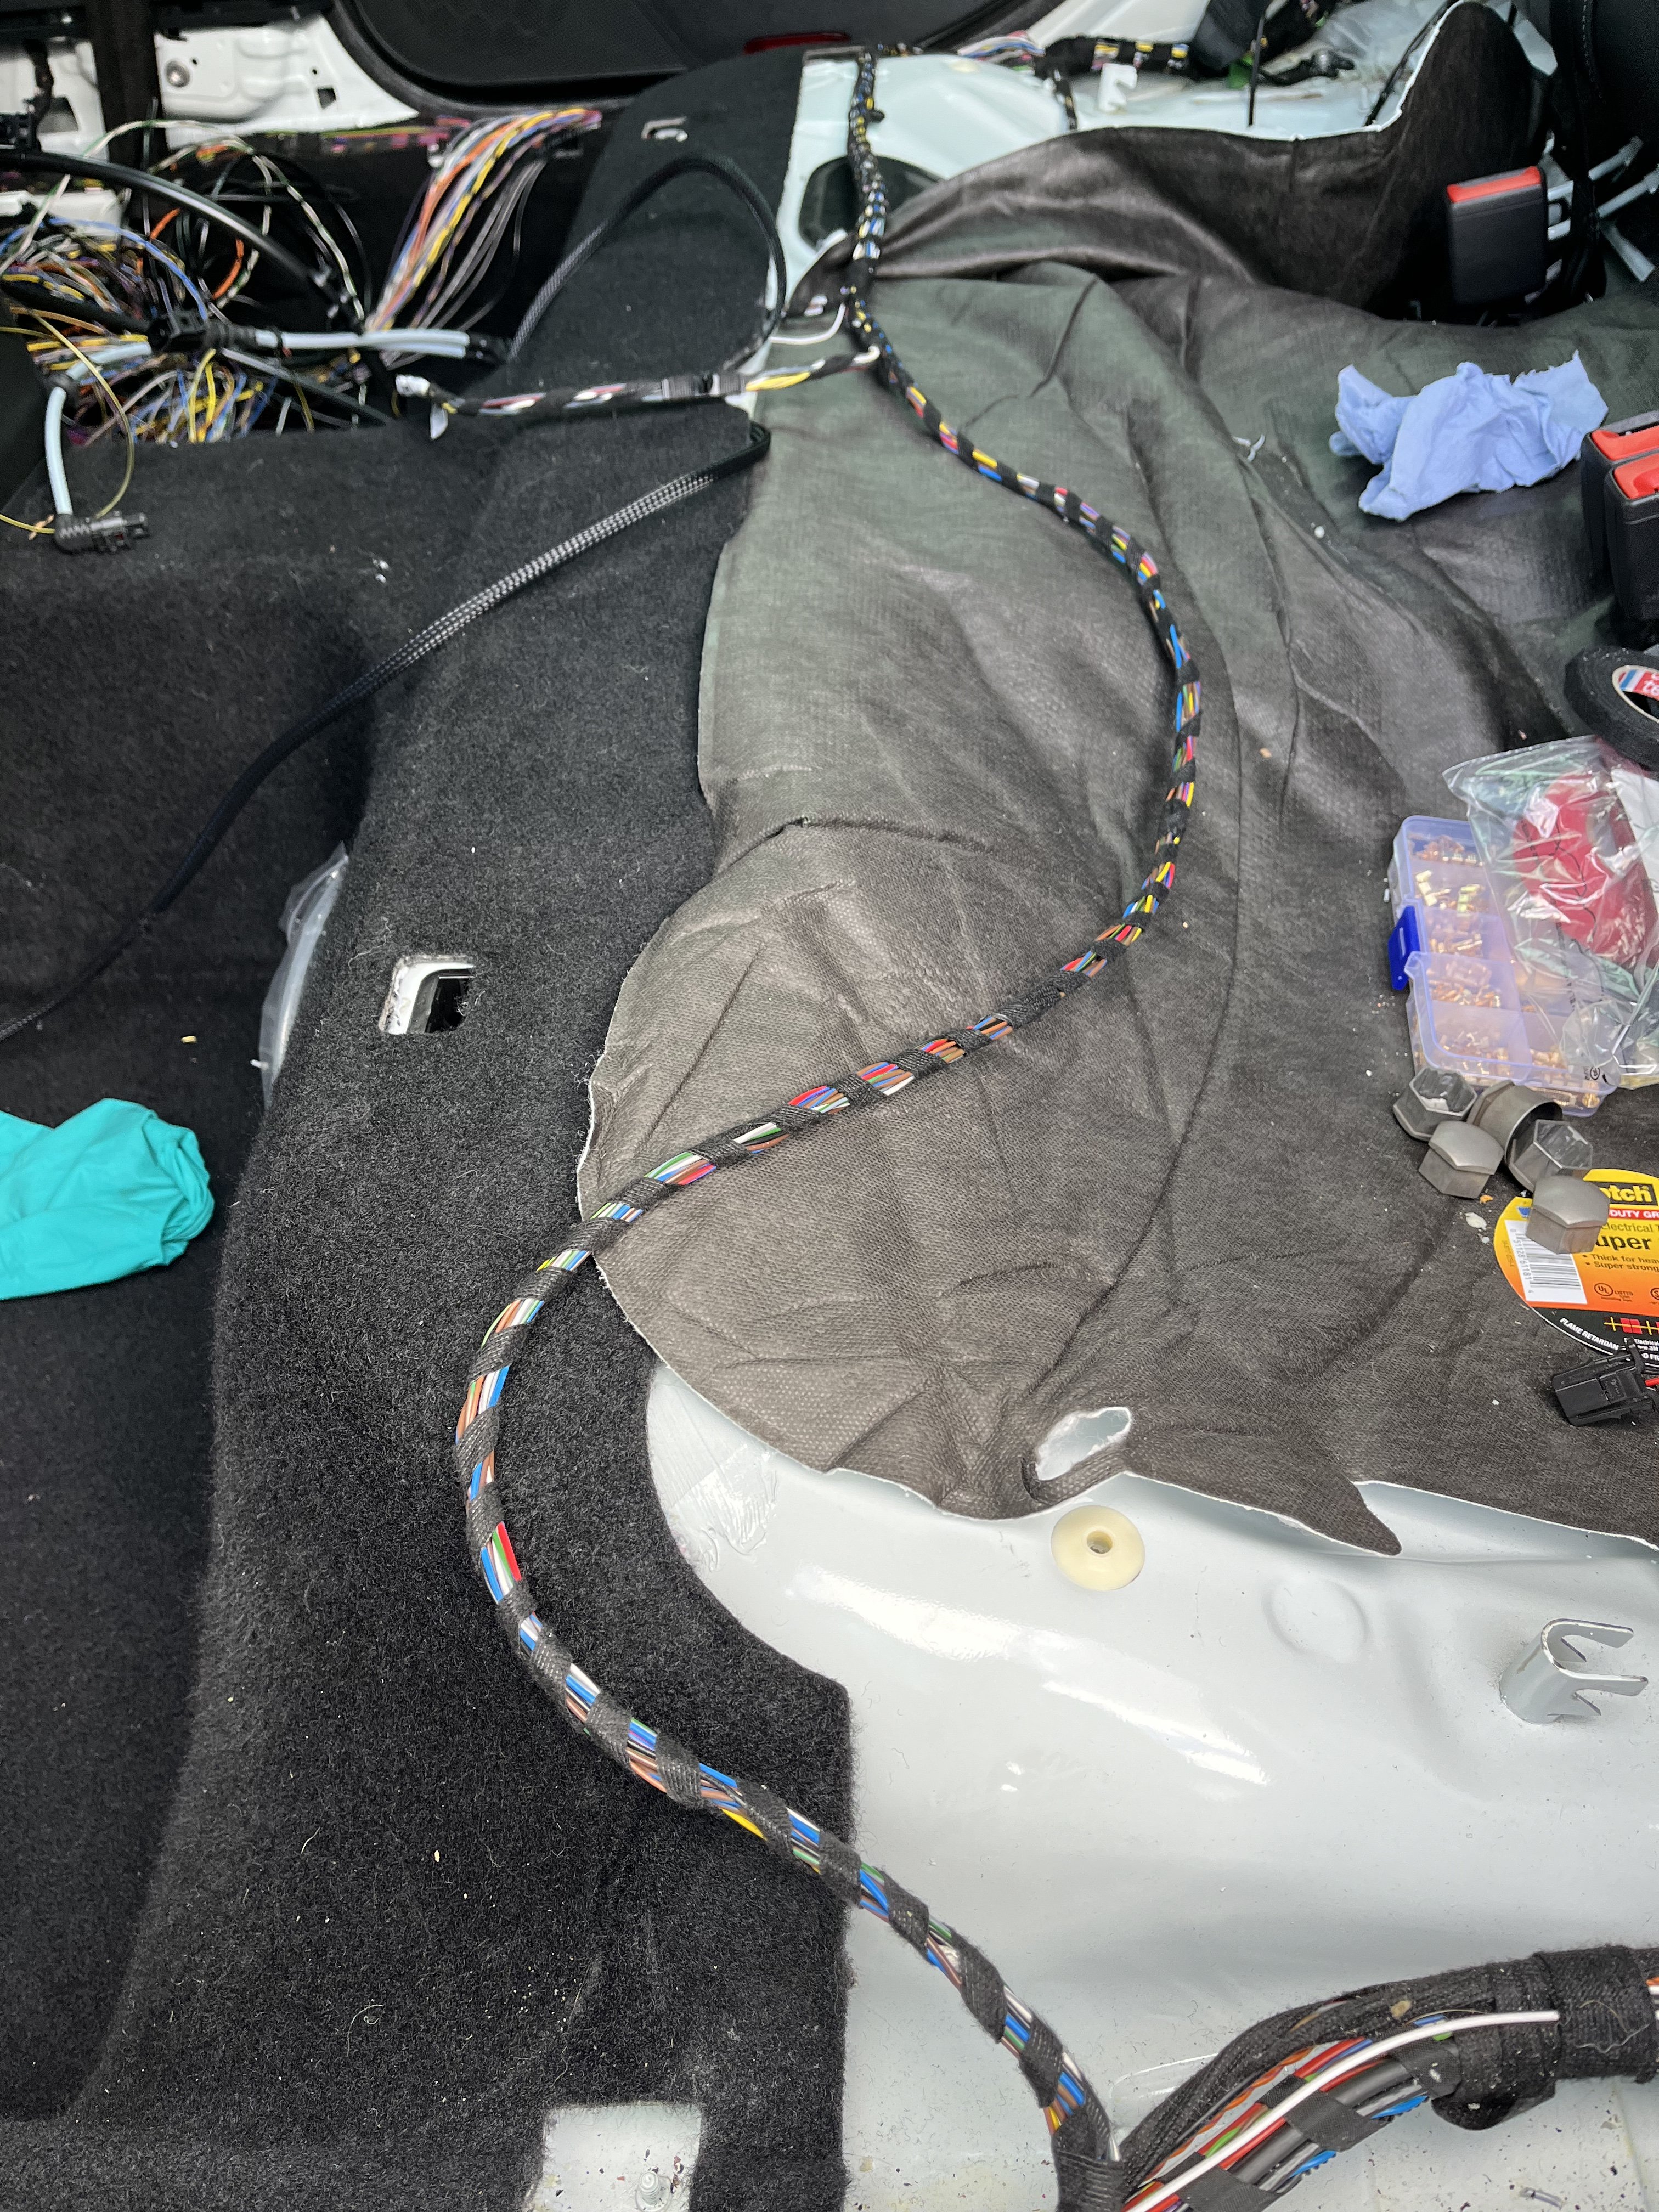
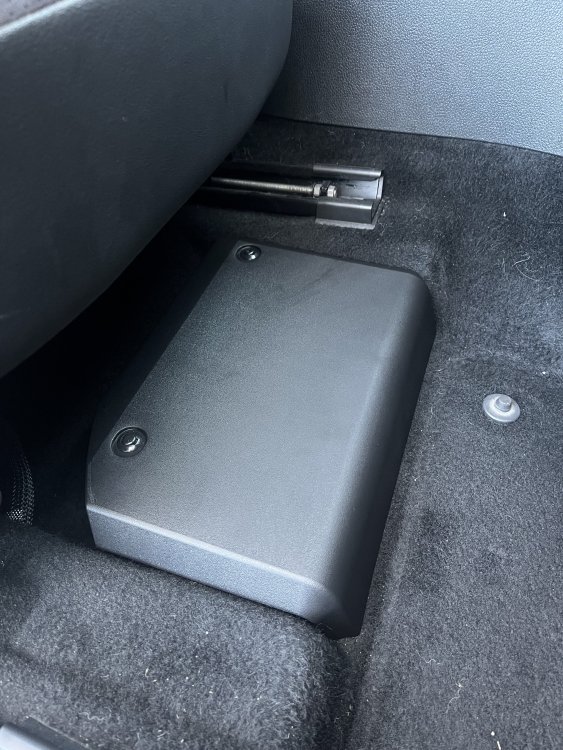
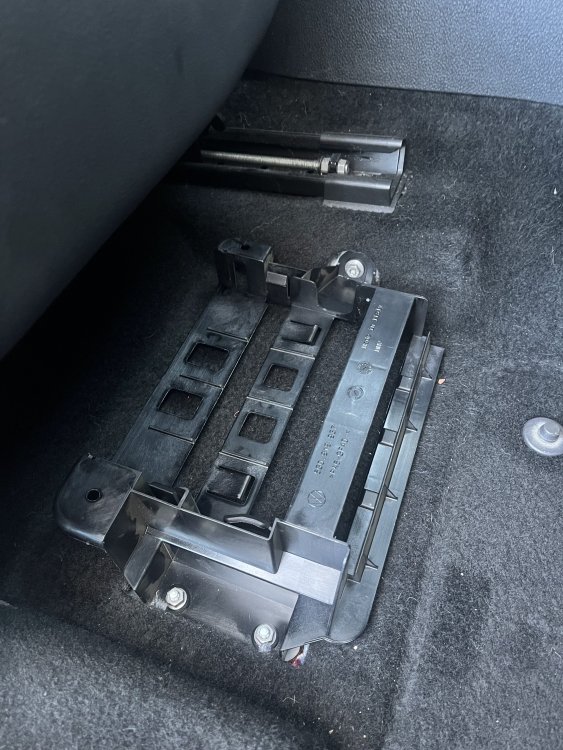
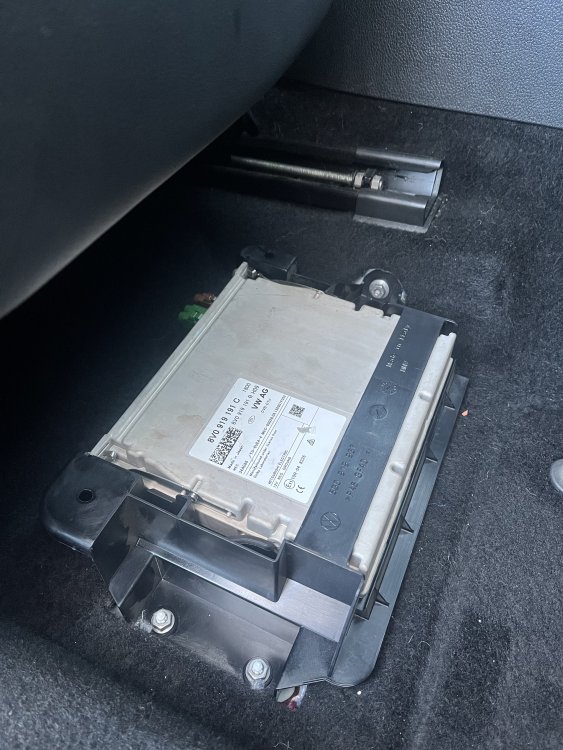
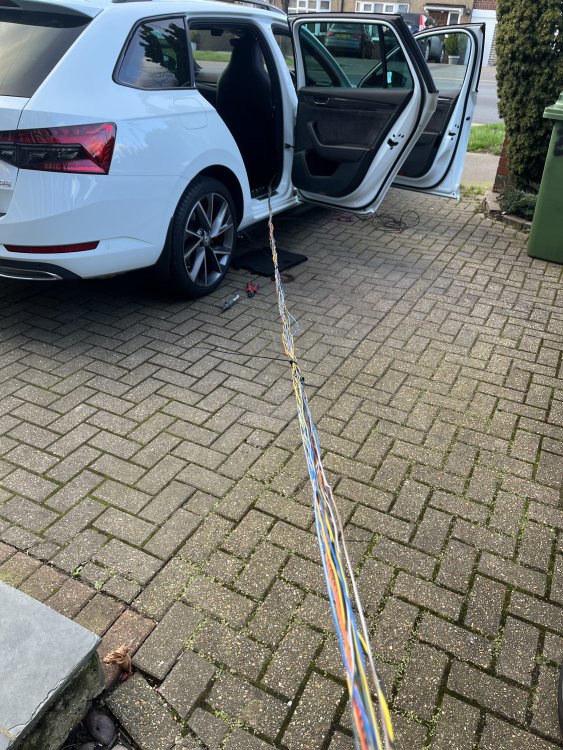
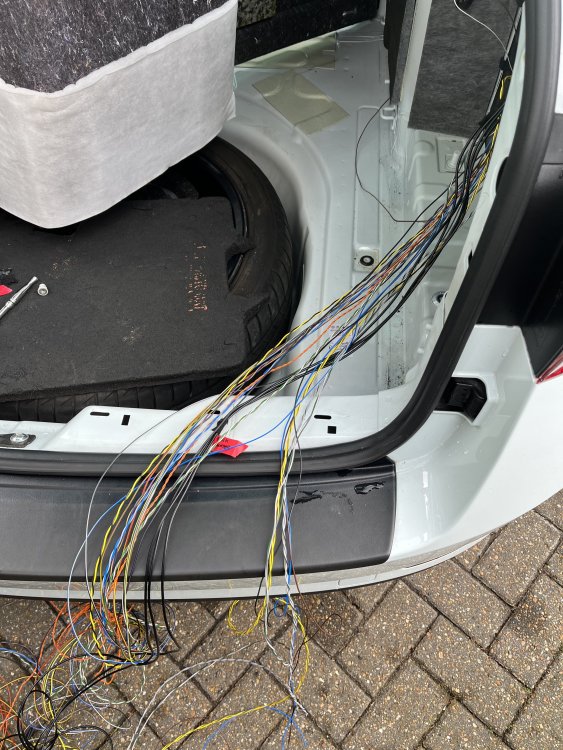
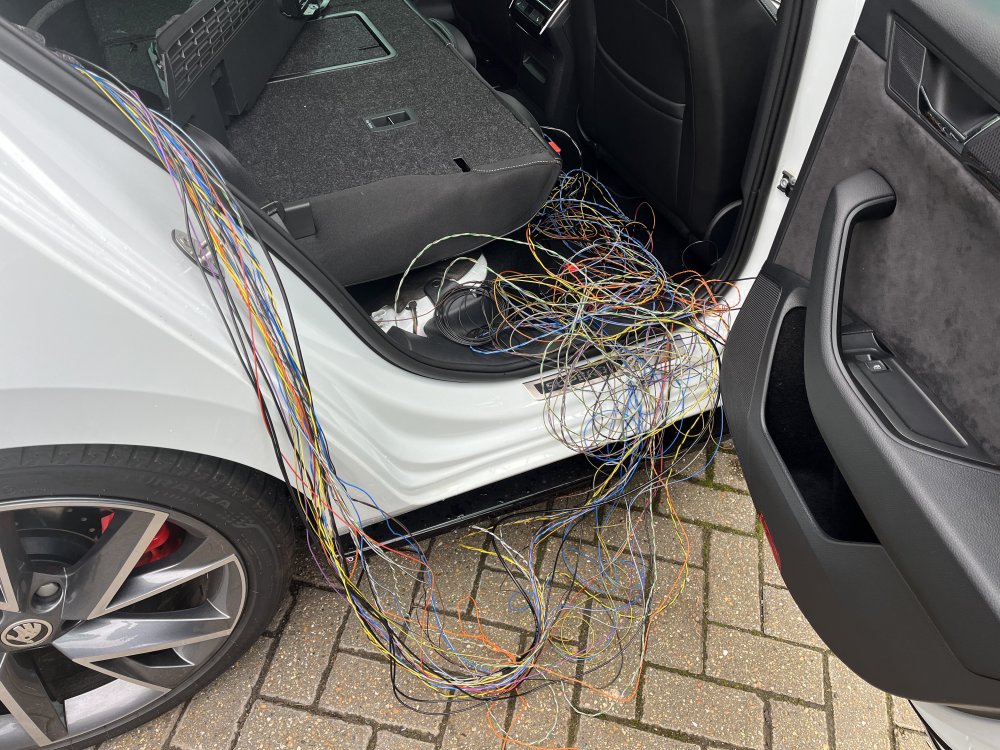
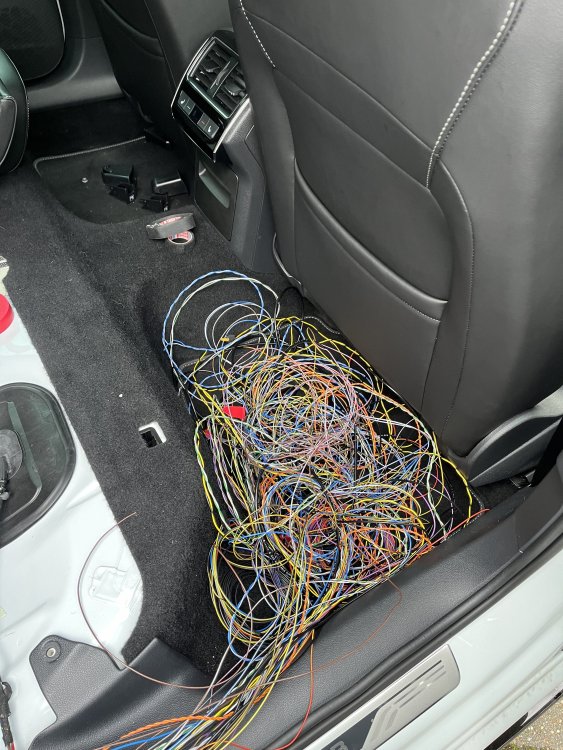
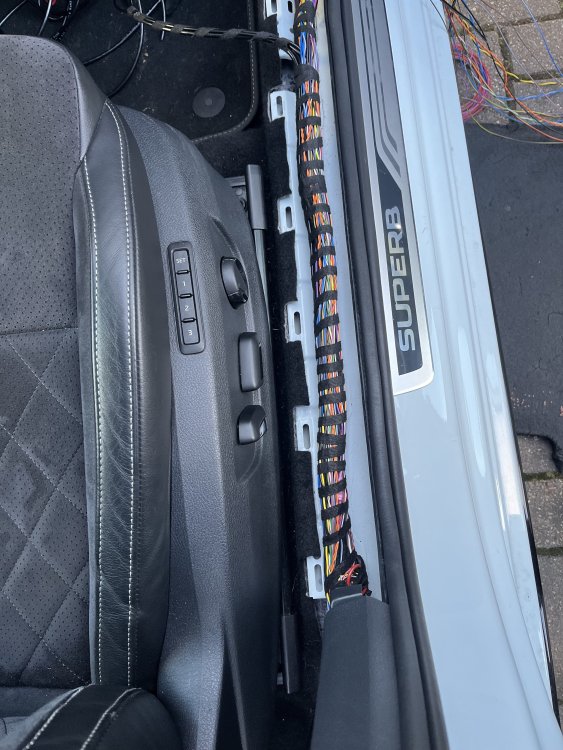
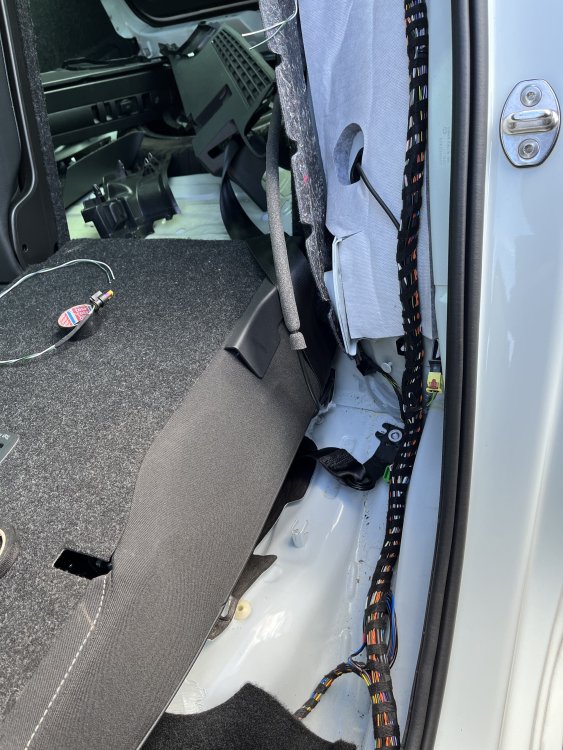
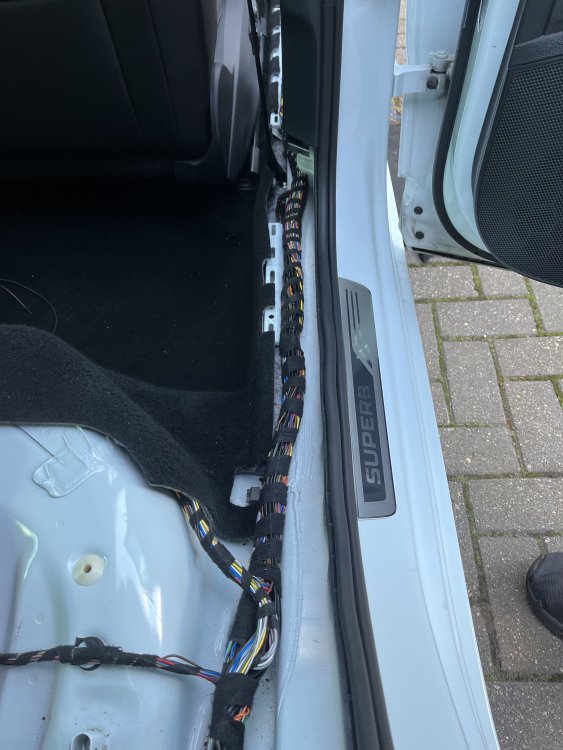
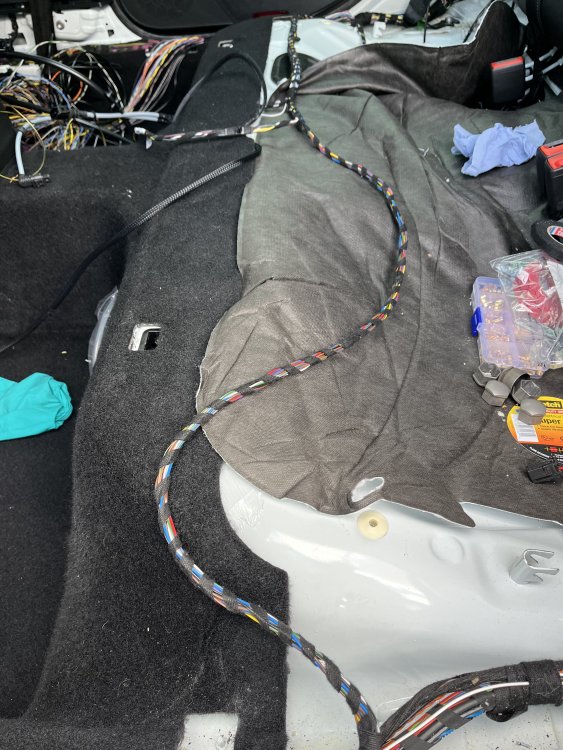
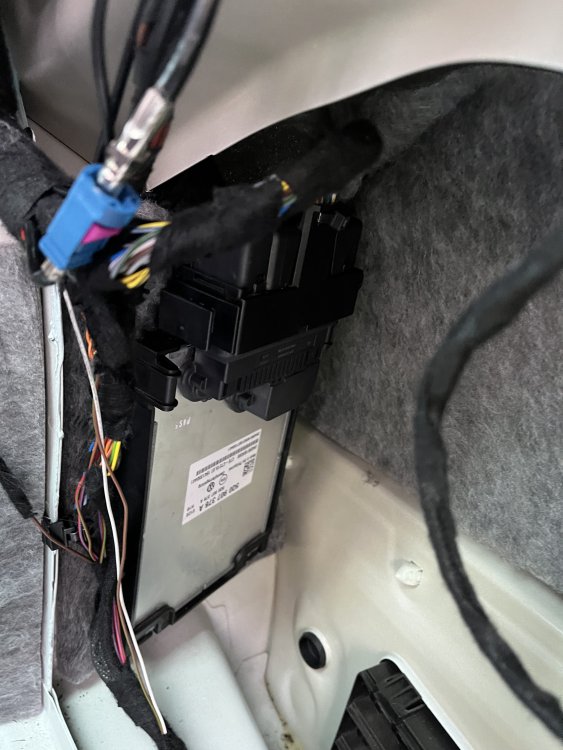
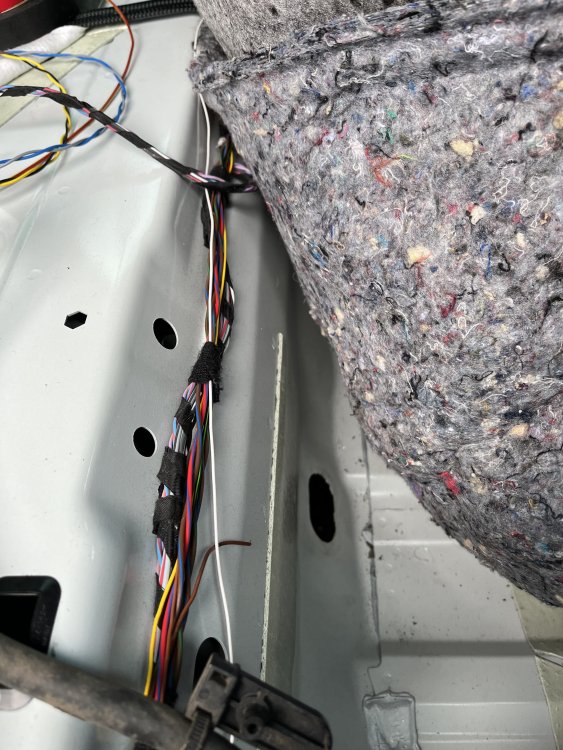
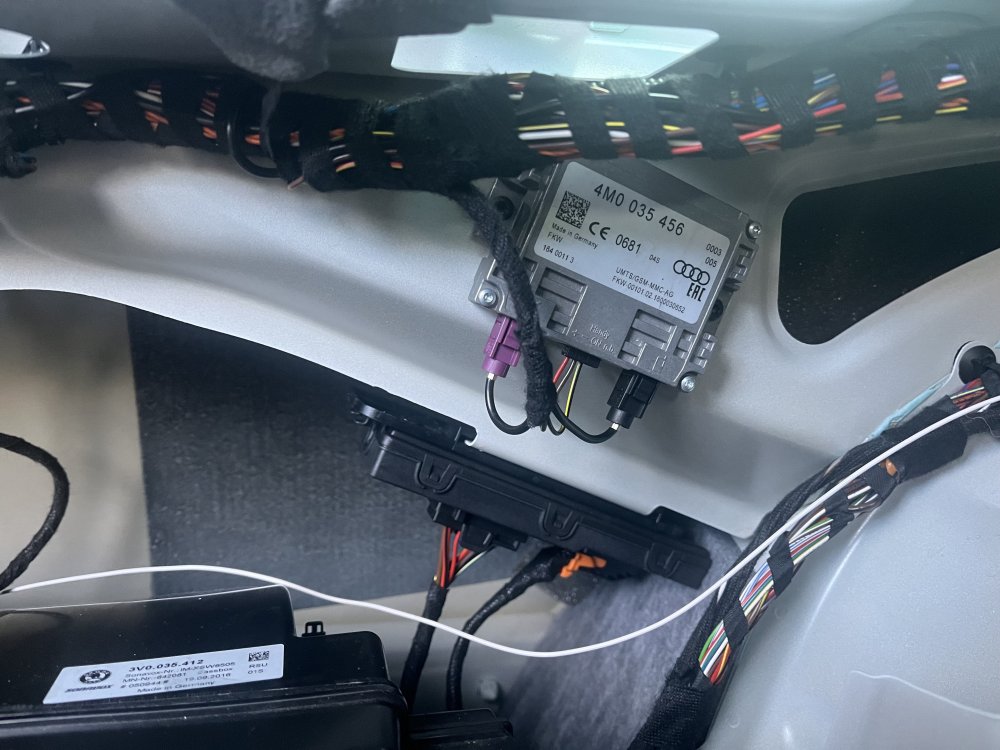
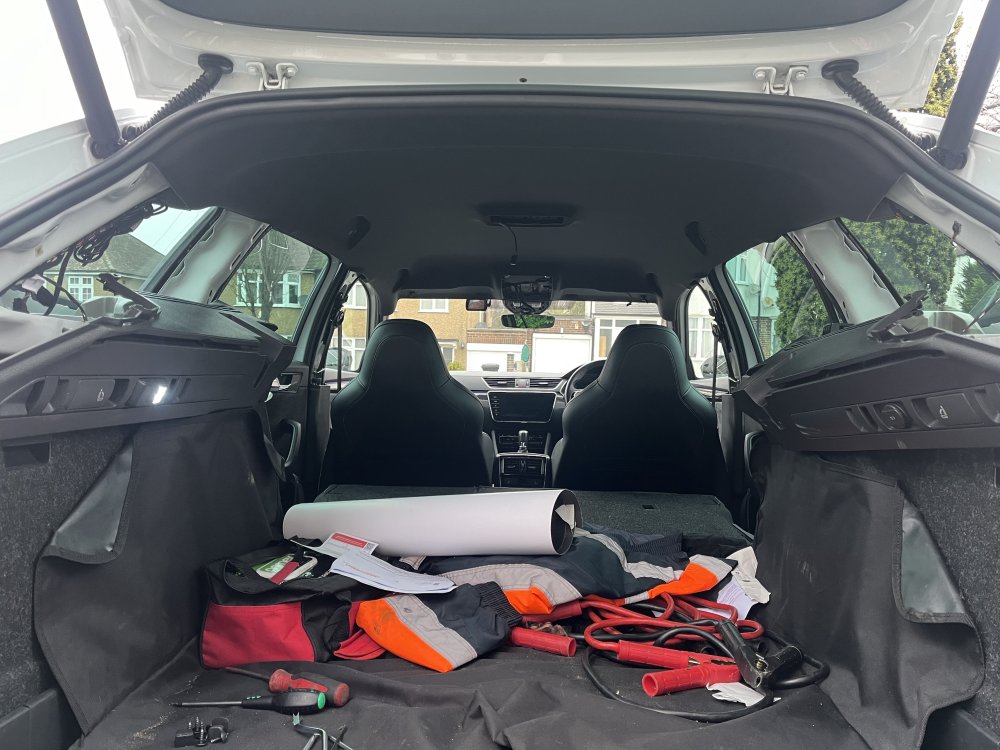
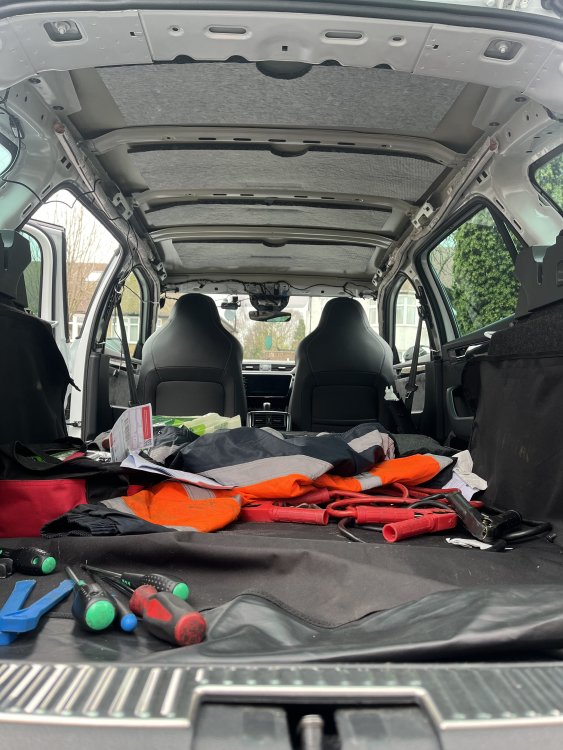
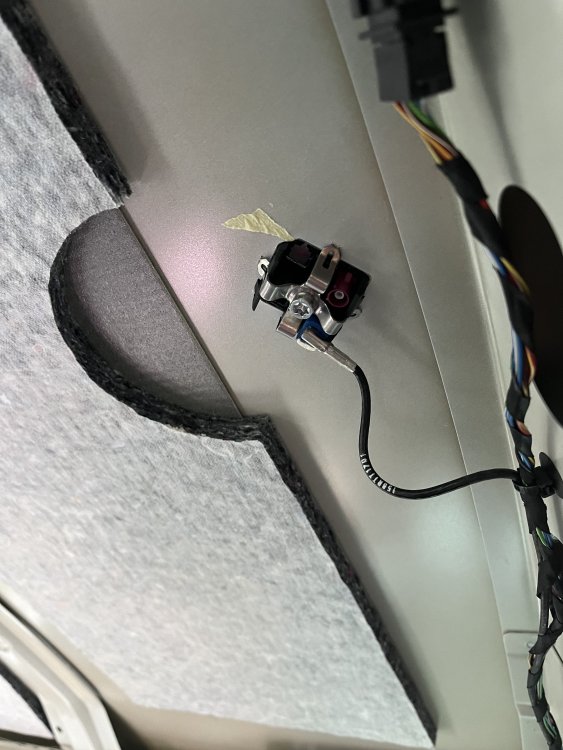
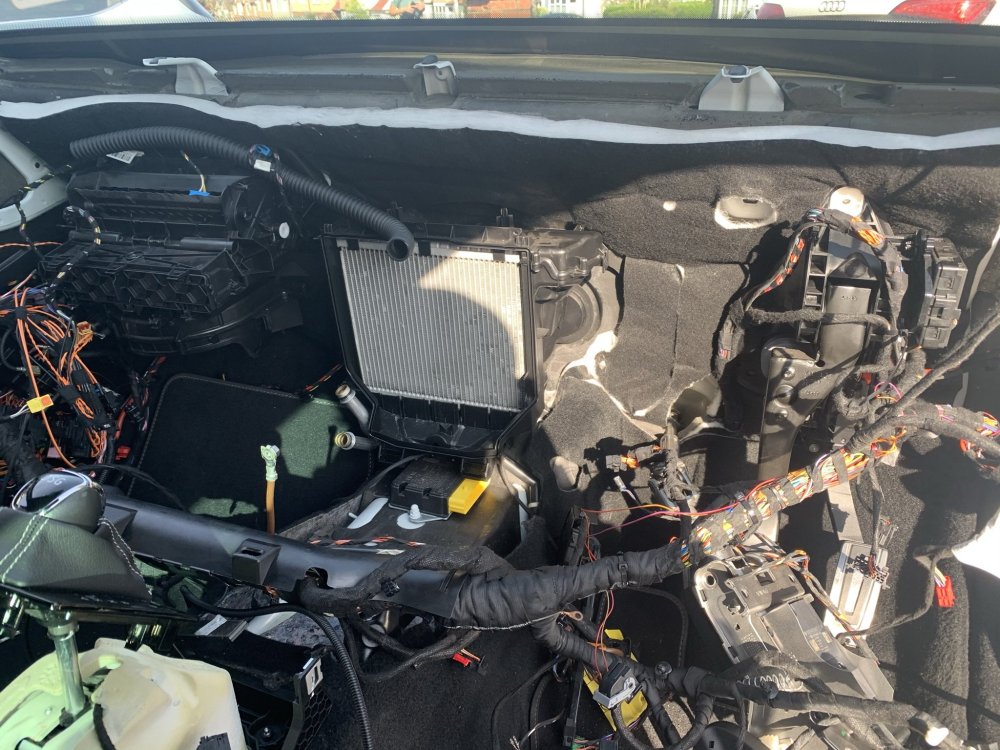
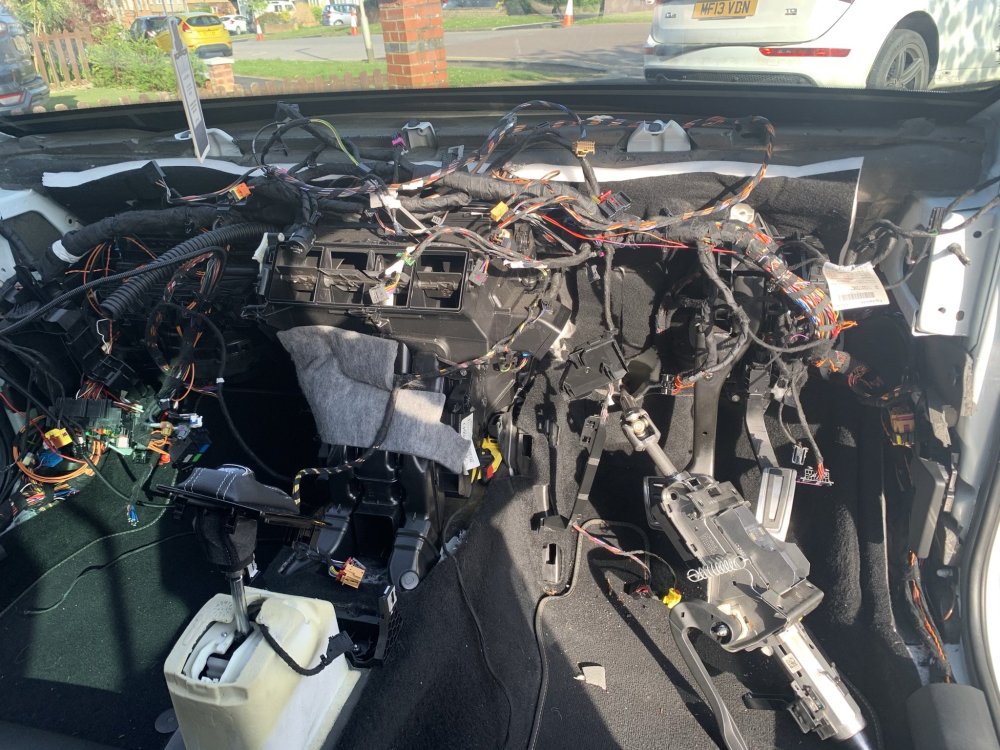
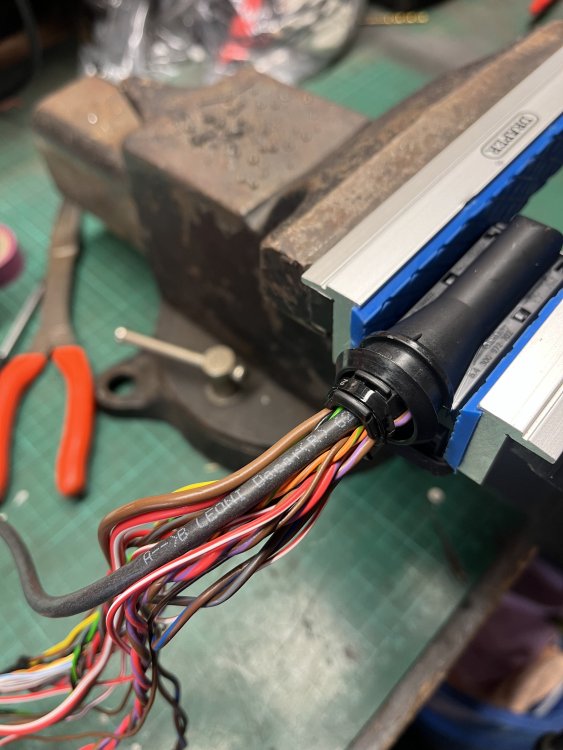
Continued: The TV tuner was next to fit - this is a bit more complicated than just fitting as the place under the OSF seat for the tv tuner is also where the 360 camera module is fitted - so to work around this, The plan is to cut the carpet under the TV tuner and mount the 360 module under the TV tuner, Ill possibly use some thermal paste/pad against the floorpan to prevent any possible overheating. The TV tuner bracket is fitted with 2x M6 nuts and a hexagonal threaded insert with a 10mm bolt. TV tuner slid into place and the cover was then fitted with 2x pop rivets. Now for the spaghetti that is wiring.... A conservative guess for the wiring fitted this weekend was around 250 meters, so just a little bit.... Wiring was ran from the boot area from all modules, the tailgate, the rear antennas, the rear arch wiring and then this all needed to make its way forward down the left and right side of the car. The factory looms were stripped of their original wraps and the new wires bound tightly within. The loom wrapping stopped inline with the front seats and the wires tucked behind the A pillars behind the dash. The aim here was for the wires to look factory, fit perfectly and not have any chafing issues. A range of fixings were purchased just in case the original loom fixings broke, out of all of them, only 1 clip broke. To start - some photos of the messy wiring! The majority is ran down the offisde and then it transfers to the nearside front corner behind the dashboard. The nearside had around 5 wires compared to the 50 or so on the offside. Now some photos of neatly wrapped wires that would you believe it, contain all them wires in the photo above plus the original wires. I think I used roughly 3x 25 meter rolls of loom tape (varying widths and abrasion resistance depending on the areas). Now that was a productive weekend! Got a few more snags to sort out tomorrow morning but then i think I'm due a beer and to rest my back.

-
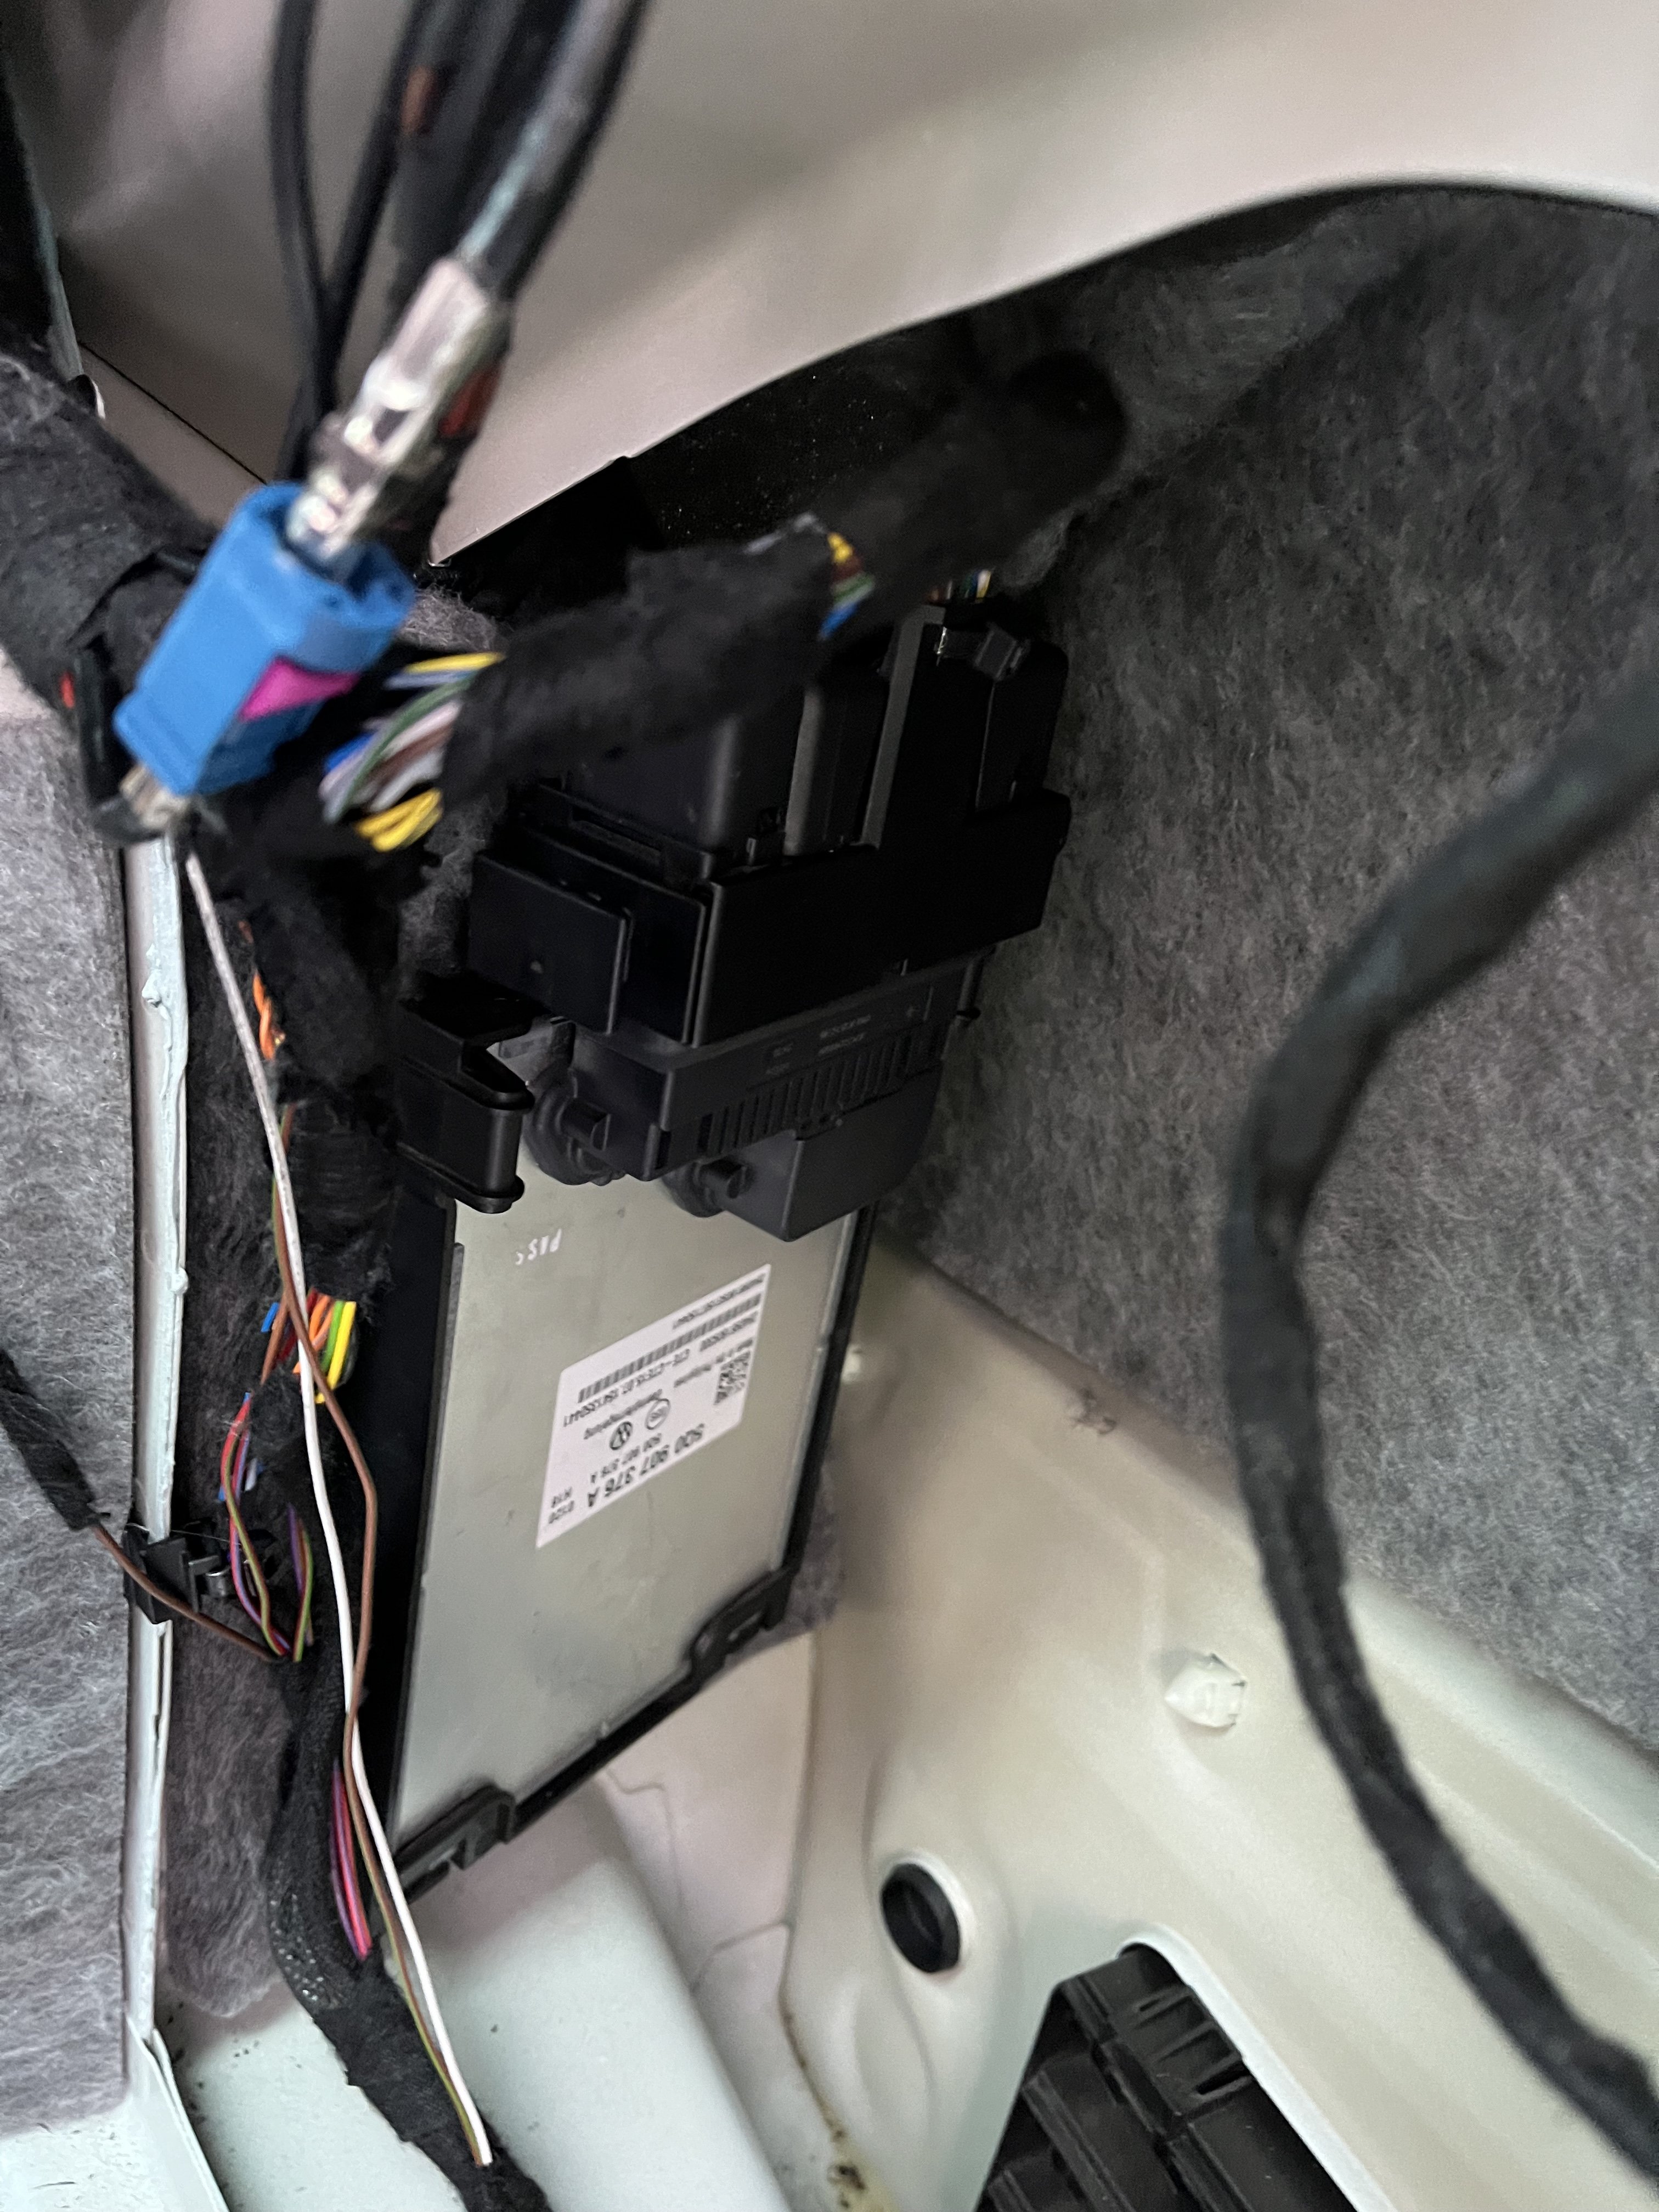
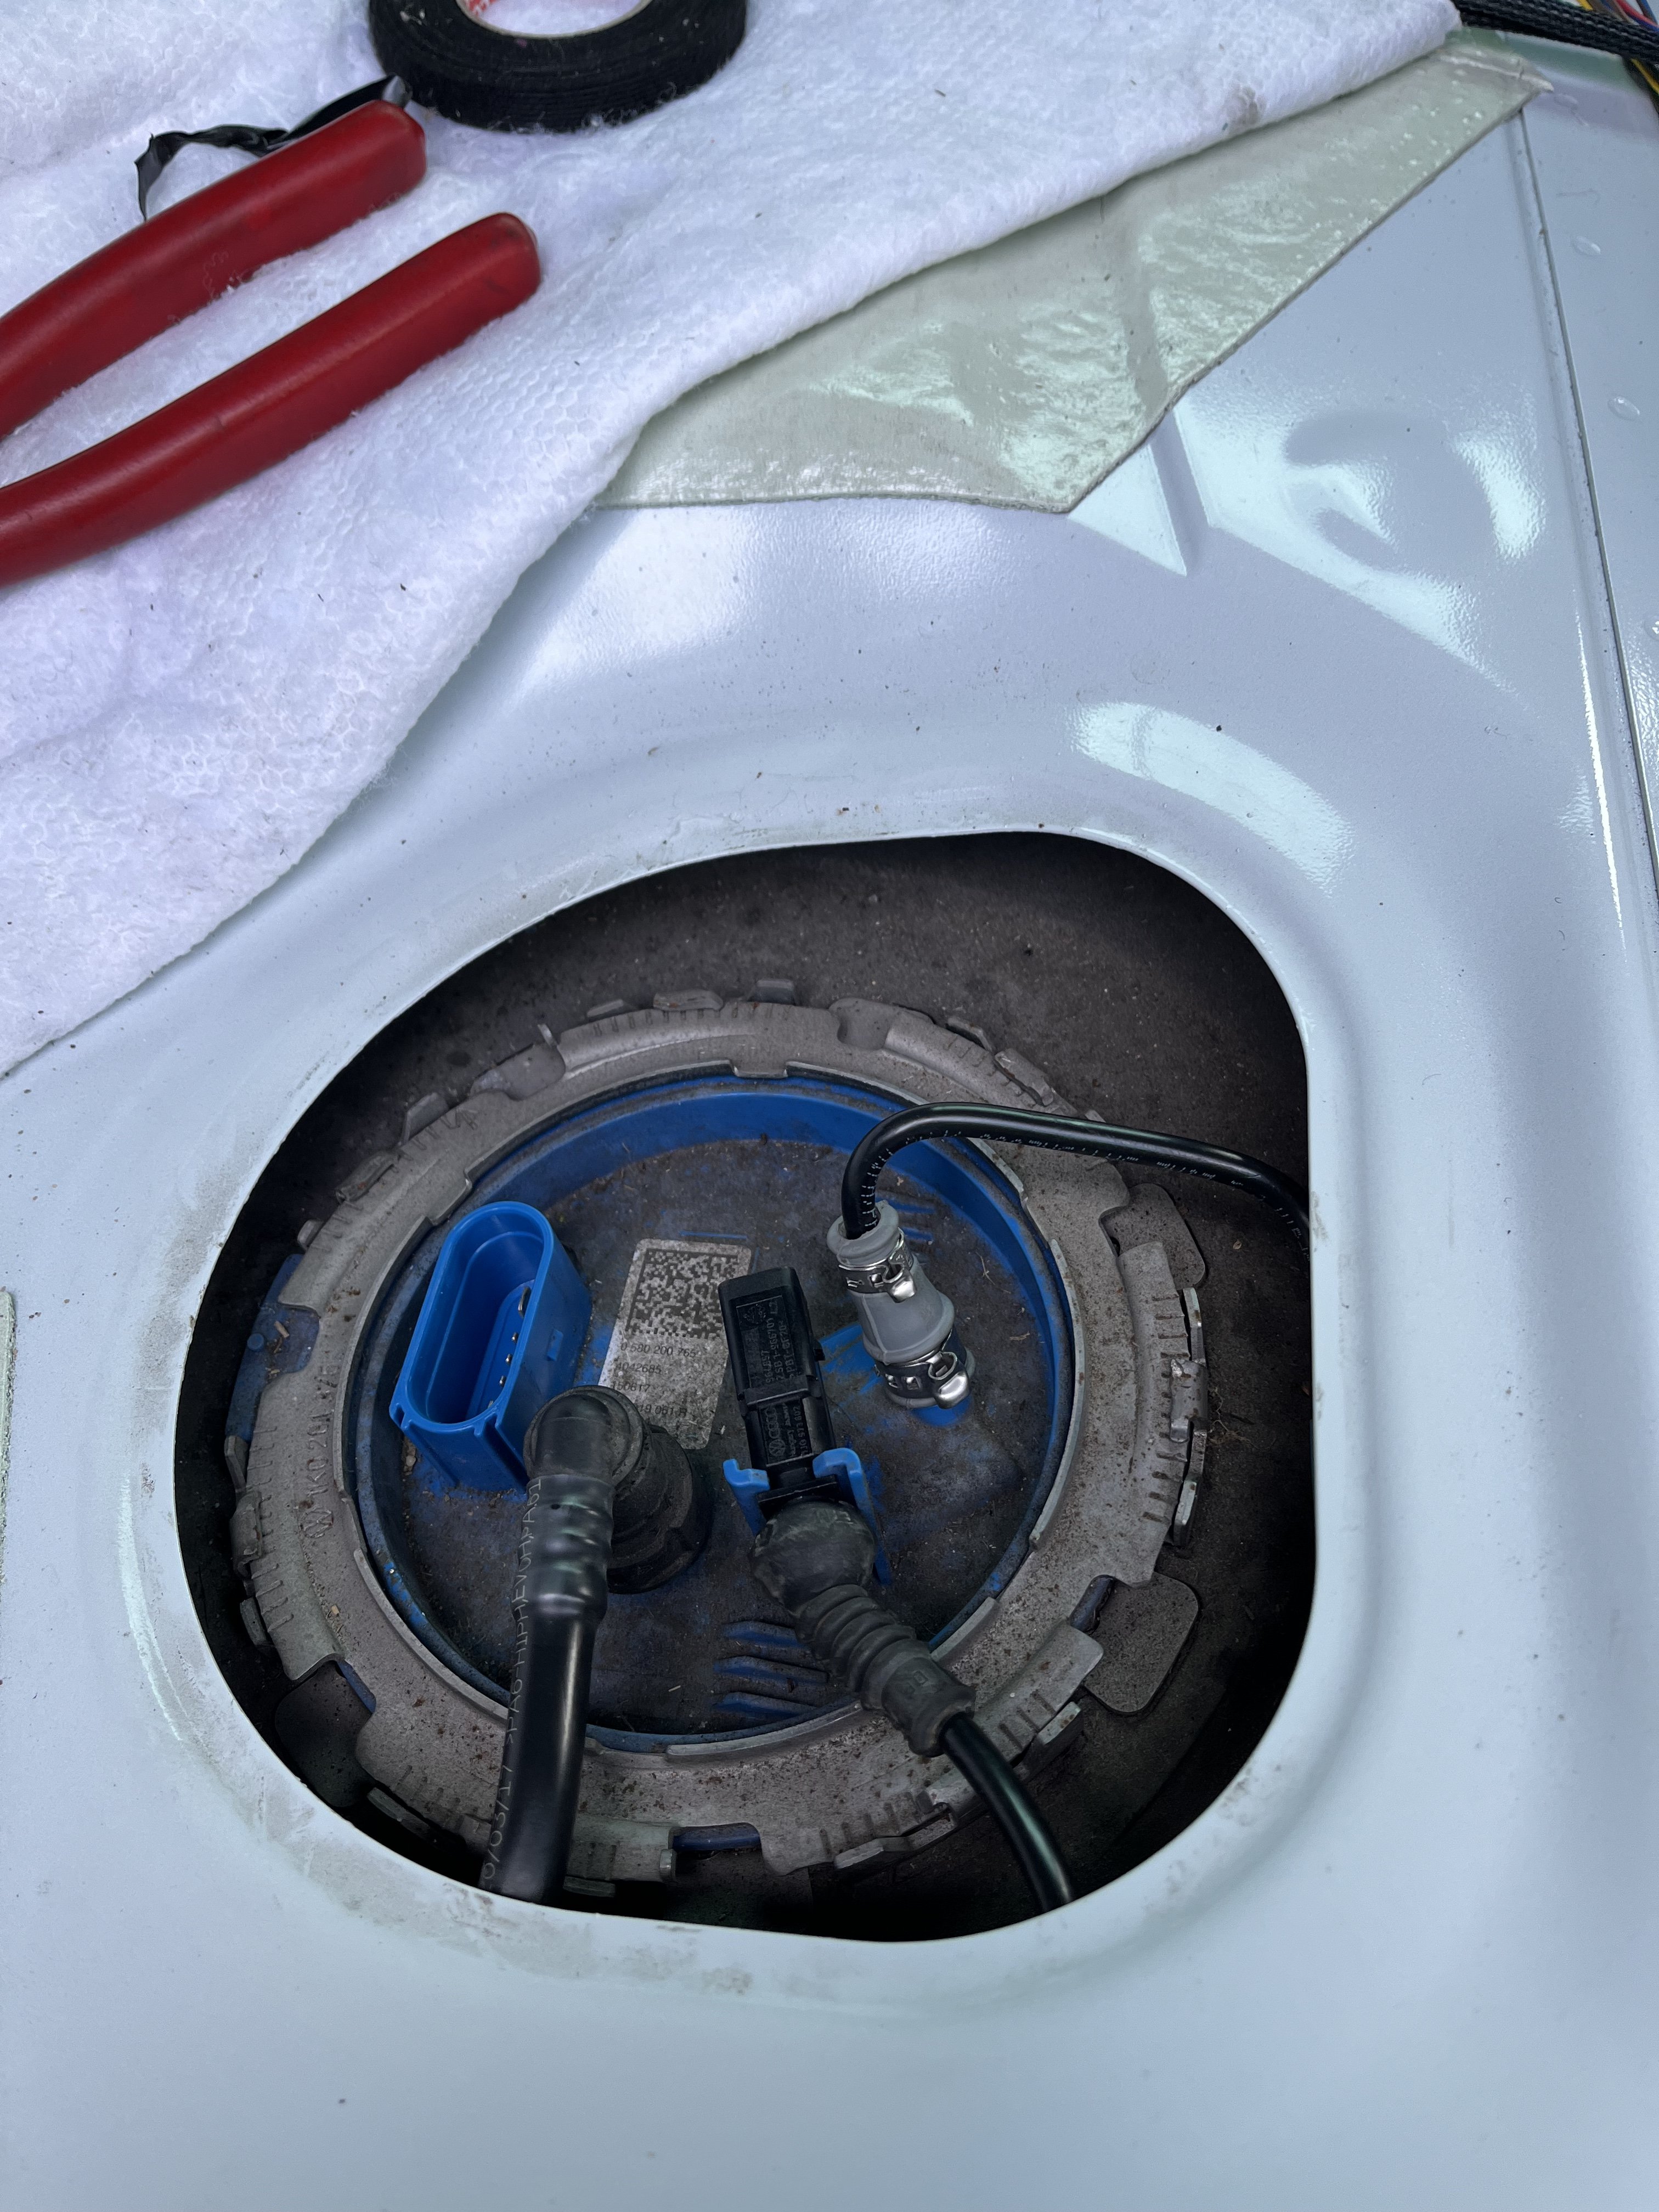
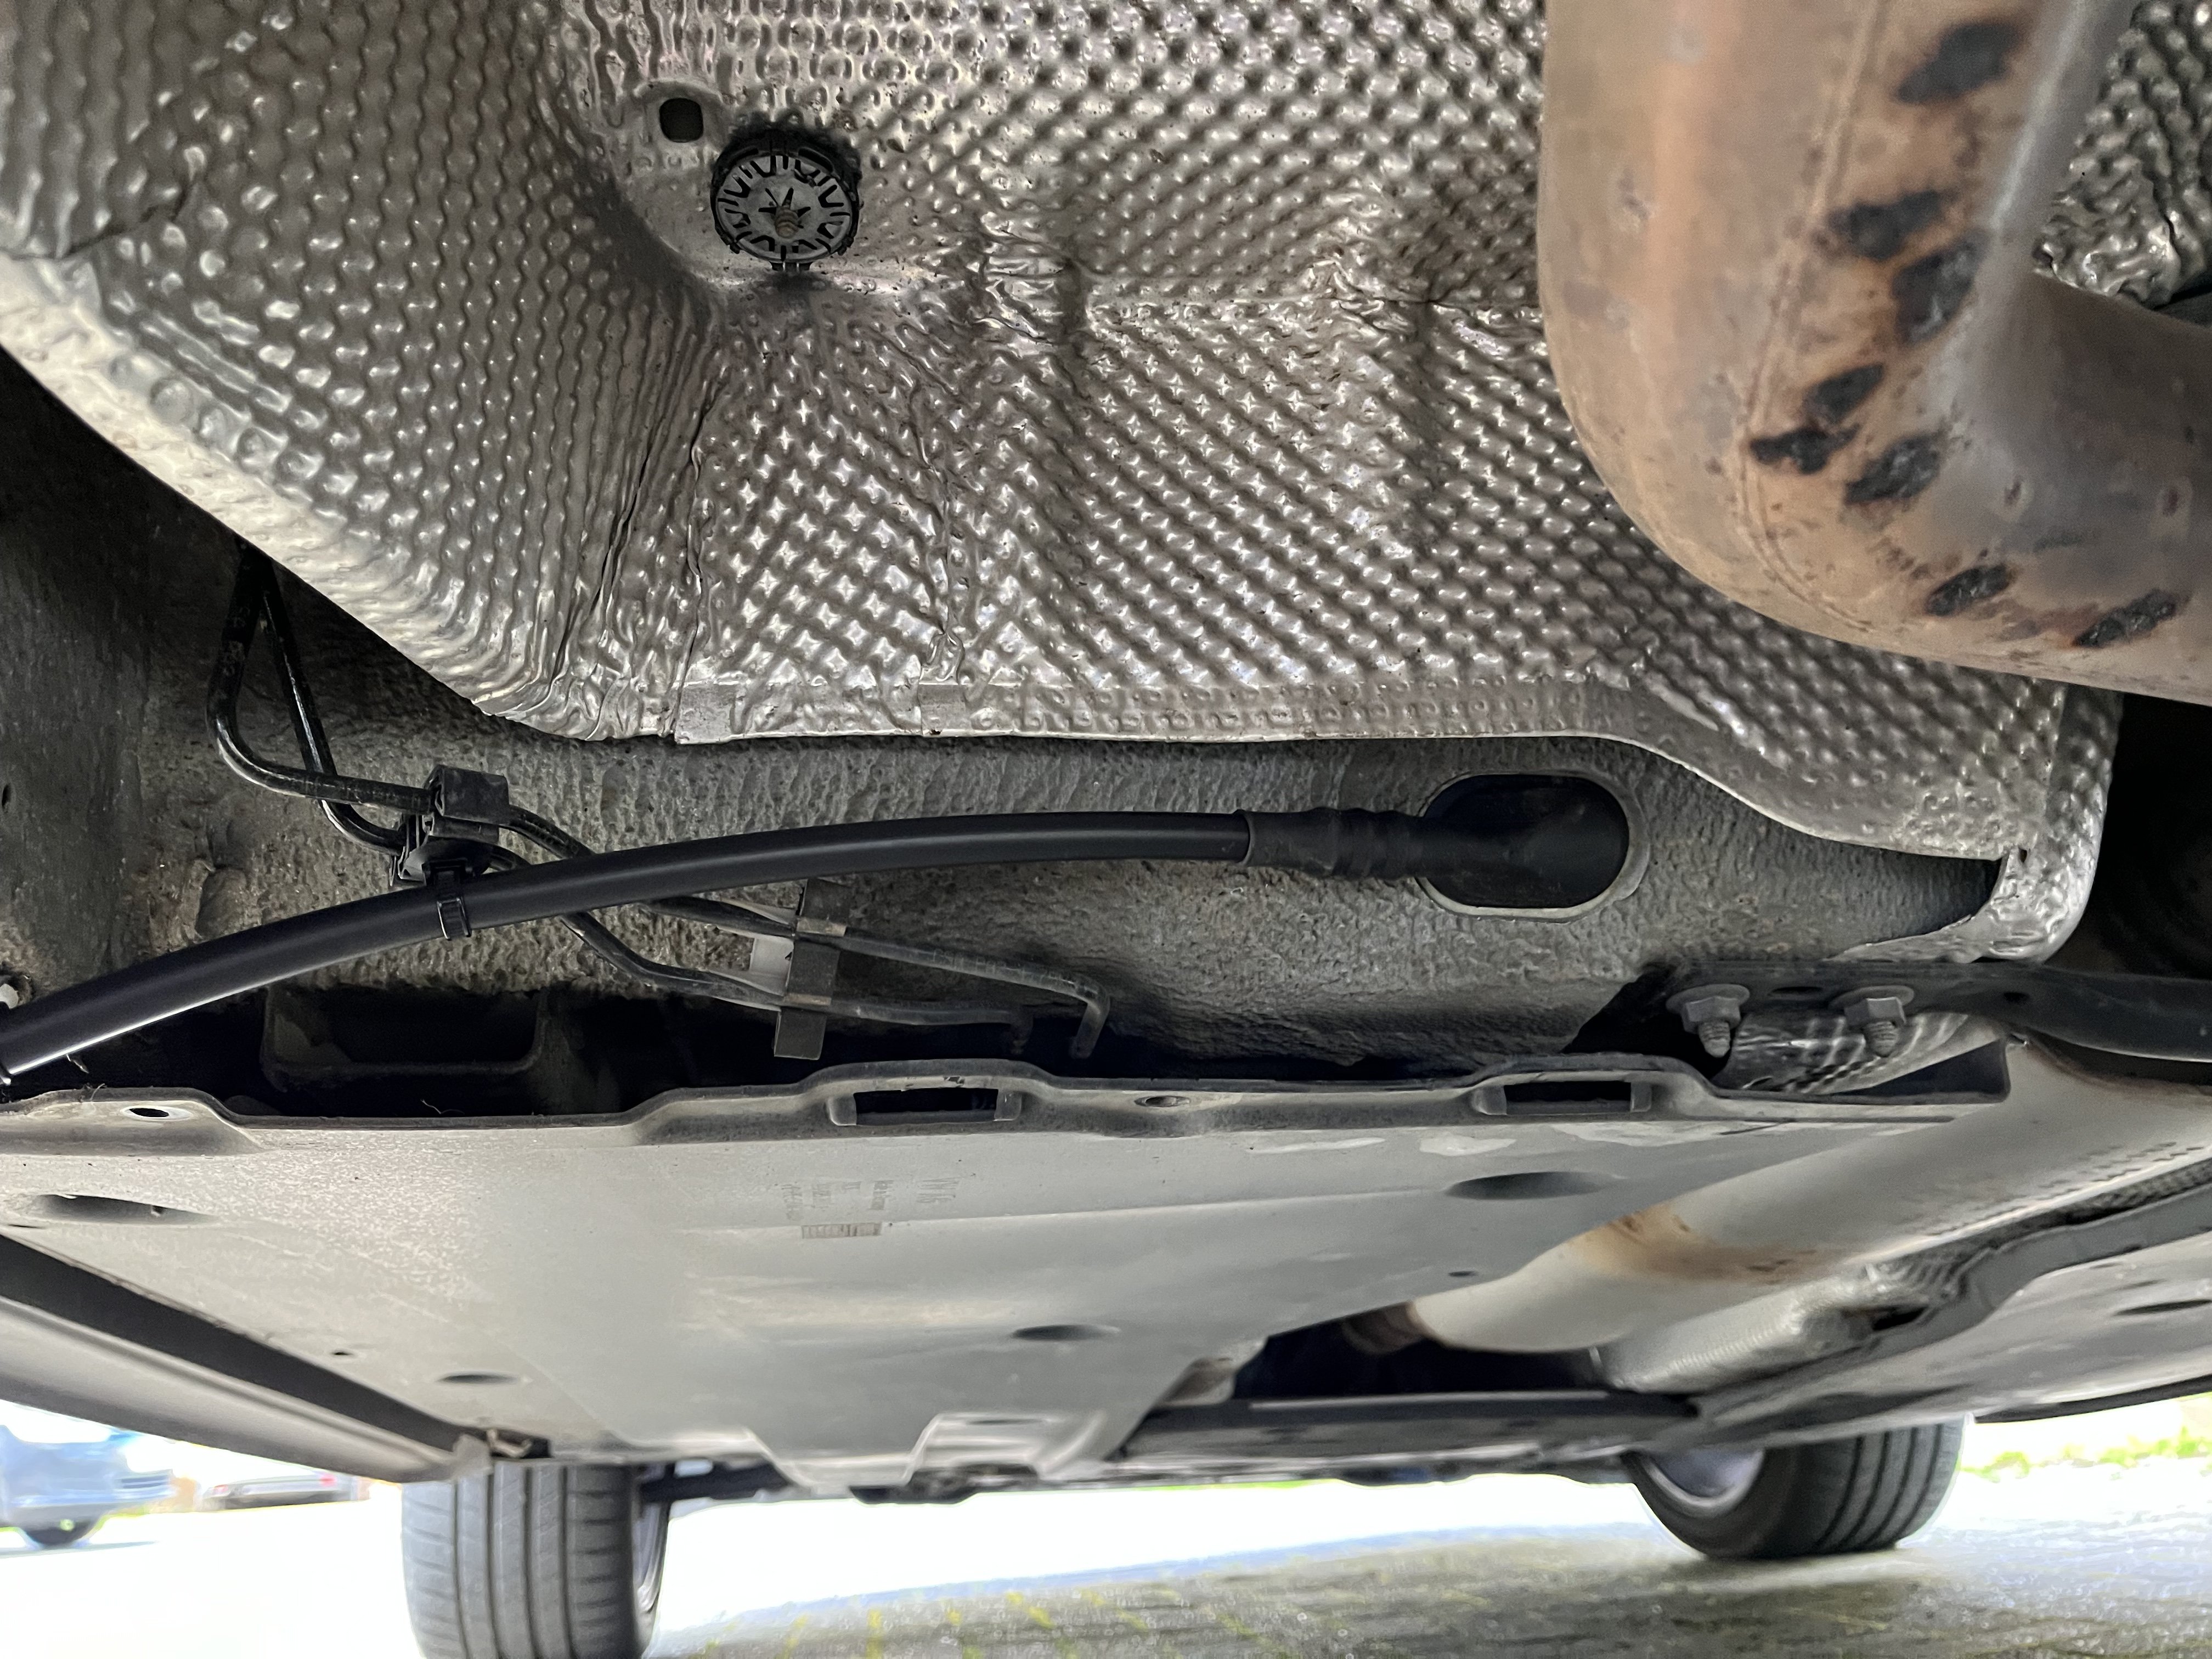
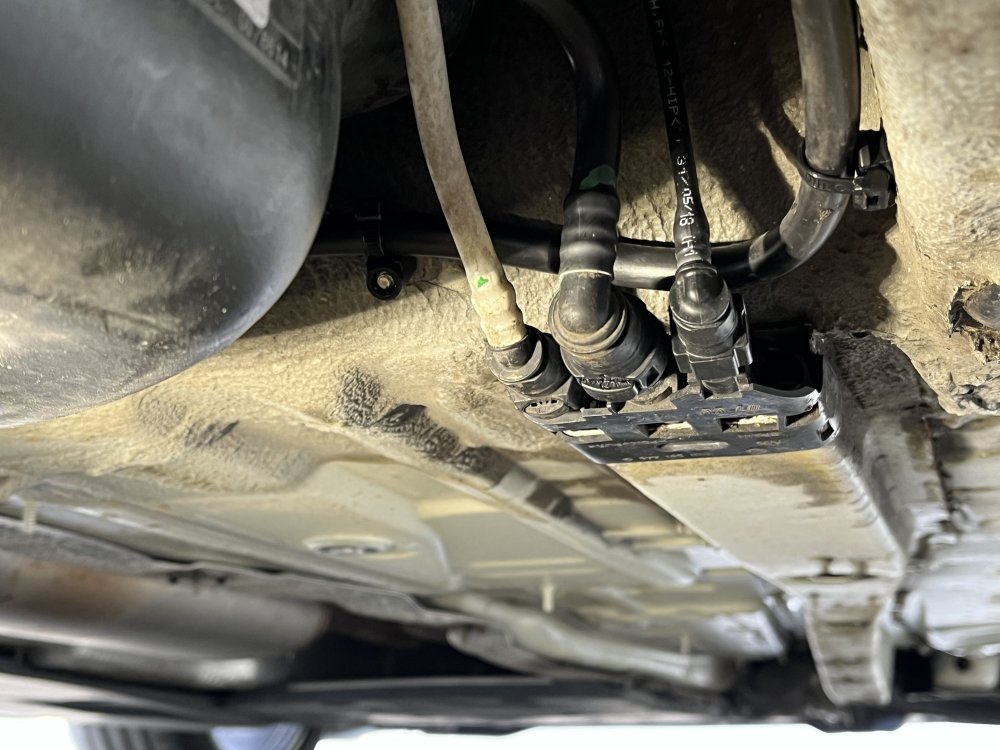
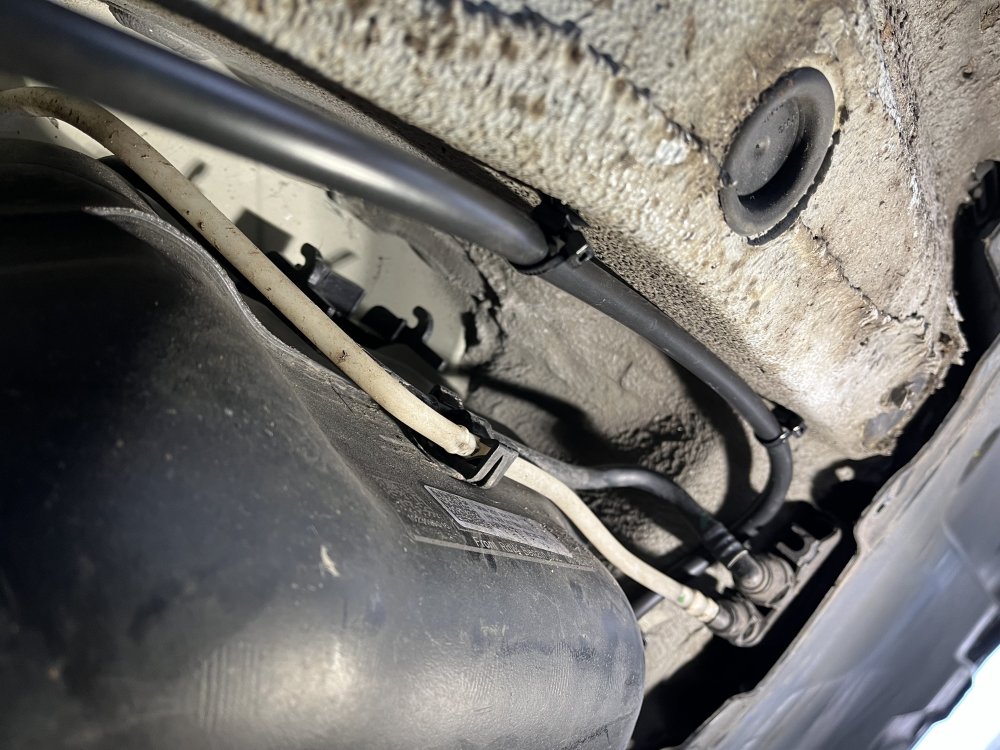
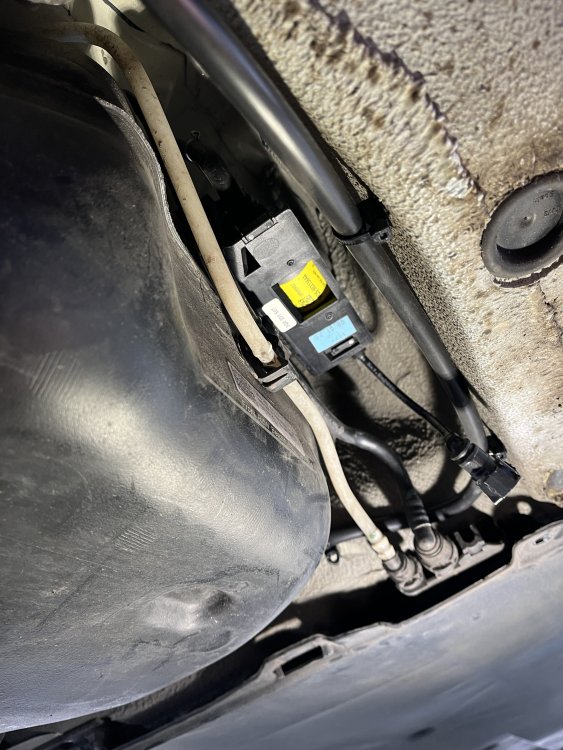
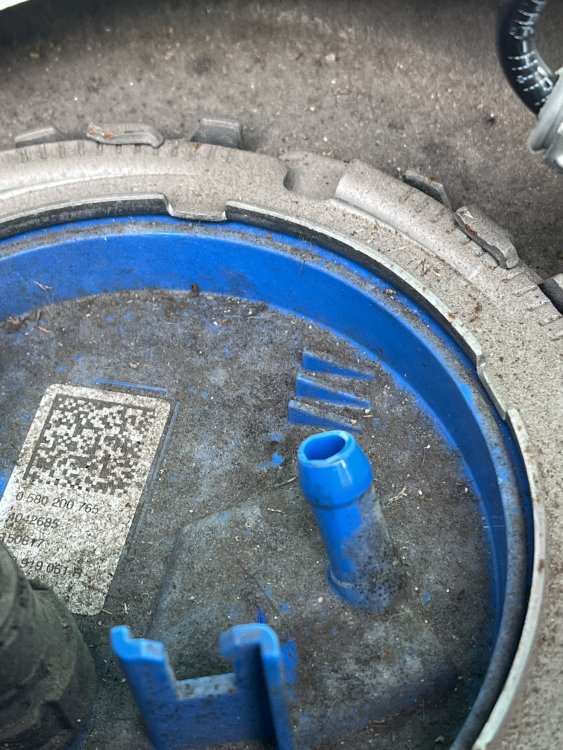
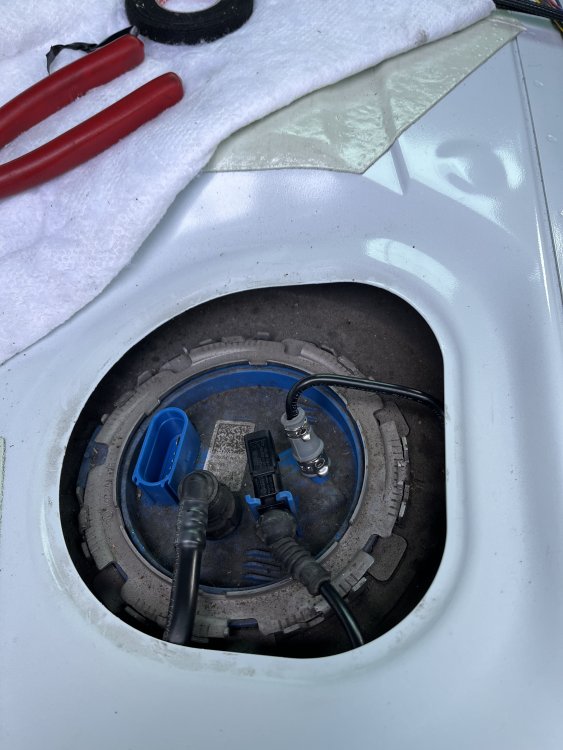
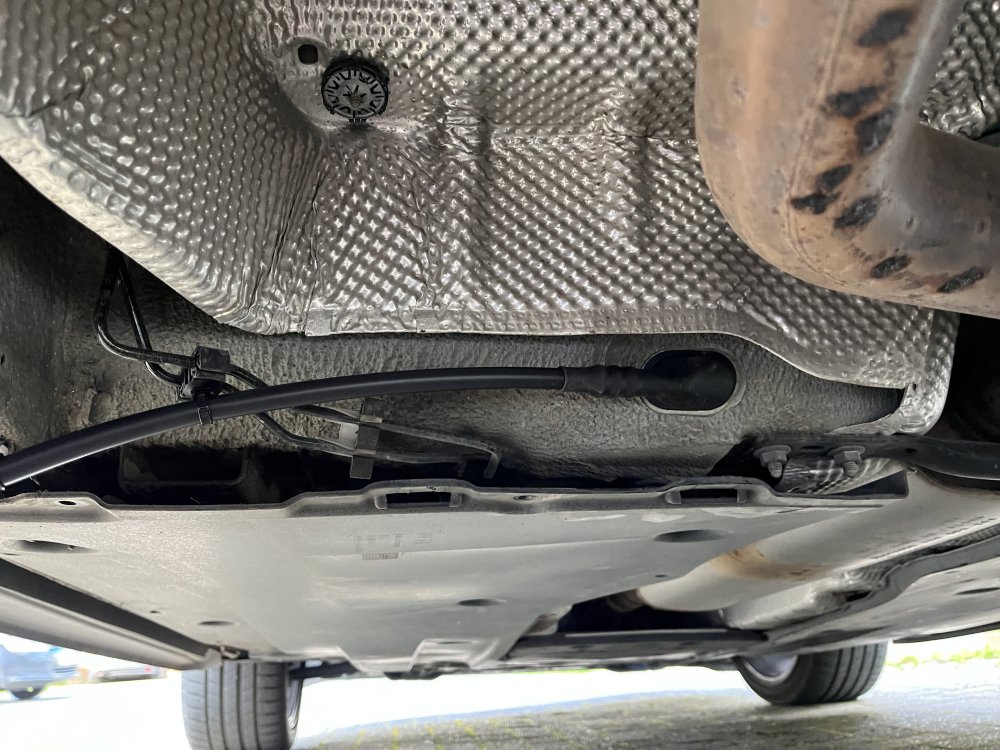
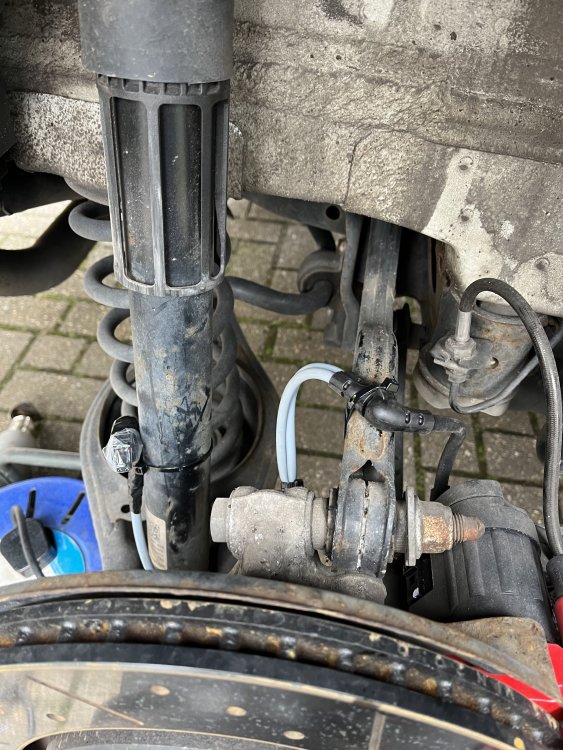
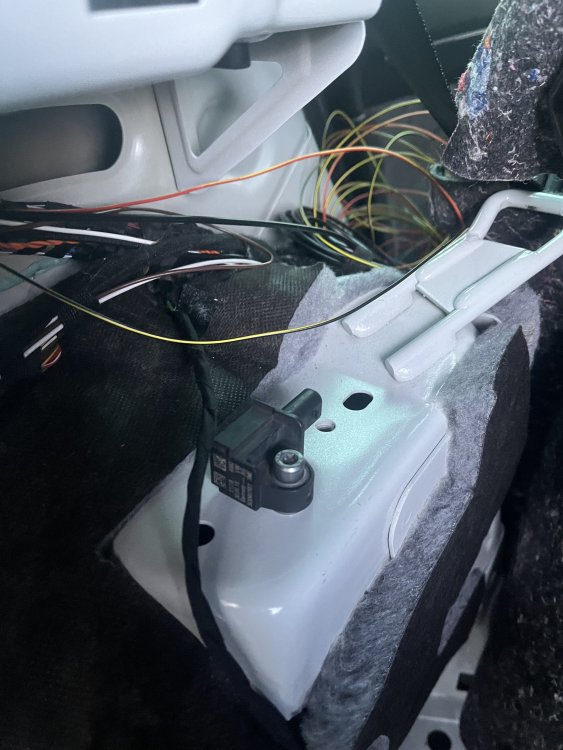
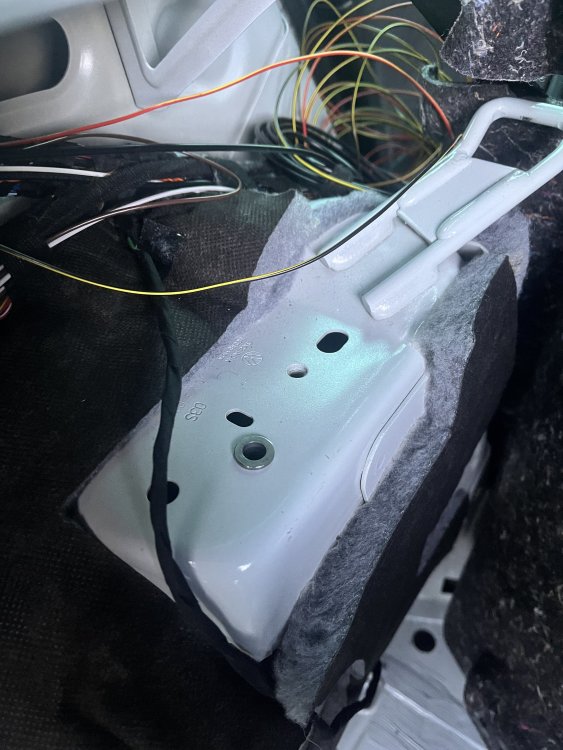
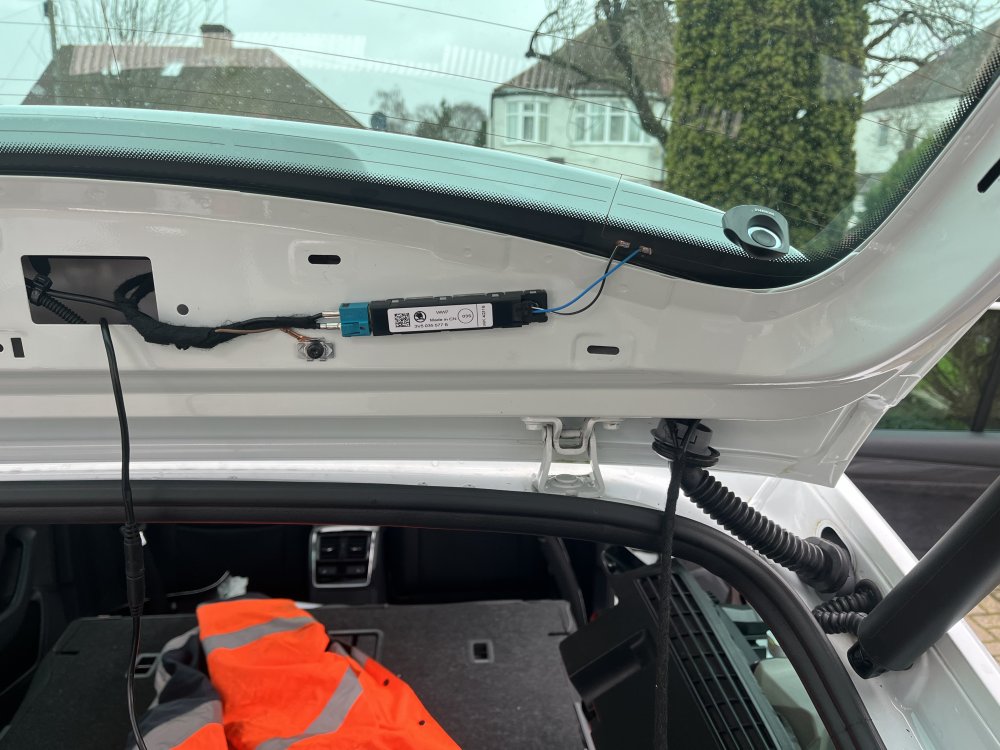
This weekends work may span 2 posts.... So the plan for this weekend was: -Run the rear to front wiring -Fit rear modules -Fit TV tuner module -Fit fuel lines -Fit webasto fuel pump So lets get started! Weather: Odd spots of rain but very very windy - meant no gazebo and had to work outside in the cold wind. The rear modules we had to fit were the 2-way amplifier for the signal booster, the DCC module and the webasto remote start control module. All part numbers on show for anyone that needs them. The fakra connectors for the remote start and 2-way were terminated and connected. The 2-way fakra was connected and ran down the nearside of the car towards the front. Next up the webasto fuel pump and fuel lines were fitted - the fuel pump and lines vary by petrol/diesel/hybrid and FWD/AWD so my part numbers are for petrol FWD. Pump 3Q0201607 Fuel lines 3Q0200059BF Officially you are meant to drop the tank slightly to fit the pump but I managed to run it up and over the tank without dropping it. Once on top of the tank, cut the small blue nipple off and fit and crimp the rubber fitting. The fuel lines, although they seem daunting, they were incredibly simple to fit, disconnect at the rear of the car and remove the plastic retainer, then pull them off their bracket at the front and all 2/3 fuel lines slide out the front as one. Reverse for fitting. (Note - the front fuel line connector is a PITA - to release it, you need to push it inwards till its flush, then press the tiny black tabs in on either side and slide it off, dont use force or tools, youll break it!) The wiring was also ran through the waterproof connector and terminated. Whilst the rear of the car interior and the underside was partially stripped, the rear arch wiring was ran - again this has a few options depending on FWD/AWD but for FWD the part numbers are as follows 3G0927902B and 3G0927902K. The only difference for these were the DCC connectors and as much as I could run my own DCC wires and connectors, I want it as OE as possible. These come through grommets in the rear footwell area and run to wires running just under the front edge of the rear bench. The DCC connectors were waterproofed and cable tied up for now. I was also missing the small plastic brackets that hold the wires to the top arms, these have also been ordered (5Q0614167B) The rear DCC sensor was fitted just below the NS seat belt - A threaded insert was fitted and the DCC sensor fitted - this sensor needs to be pointing forward with 10 degrees of accurary.

-
For those that want a bit more - this is just from what ive seen, read and my opinion (also another car to add to to the list is the arteon which many owners on the facebook group are saying has this issue) The master cylinder is the exact same as one for a manual car, the only difference is the clutch fluid output for the reservoir is heat crimped shut - not an issue, it was even how it was done on my 1999 VW Polo. The proximity of the exhaust to the crimped connection is causing it to melt and open up and drop all the brake fluid. The fix is a heat reflecting mat between the exhaust and the reservoir. In terms of failure, if the brake fluid warning comes on, stop immediately and check. You hopefully and shouldn't loose full brake control as the system still has fluid and will allow you to stop normally. How something like this made it through quality control and their testing I have no idea!
-
A diagnosis will (hopefully) be much more than a fault scan, that will give a general ball park which can be confirmed with wiring, data or visual checks depending on the fault codes. You are welcome to check the diagnostic forum section for a list of vcds users near you (skill levels will vary and some may charge) and they may be able to provide a fault scan or look into it further for you depending on their expertise.
-
For the record they are technically screws 😛 a bolt has a nut on the end, a screw goes into a fixing/formed hole. Nothing to do with the head or thread But removing the rear lights for the first time is often quite a tight fit. my trick is to put a plastic wedge in the rear of the lamp and rock the light. Make sure the wedge doesn’t move at all else it will damage the paintwork.
-
You’ll have an issue with the MOST network then, either connection or coding. are you sure the direction or the most bus is correct? As it needs to run in a loop. and is most enabled in the instrument cluster coding too?
-
Youll need to plug it in to start with and check for fault codes. There are quite a few operating conditions that need to be met before it will activate. Conditions for starting the auxiliary/auxiliary heater ♦ Engine type corresponds to heater type (diesel/petrol) ♦ The auxiliary/auxiliary heater is encoded in the data bus diagnostic interface ♦ No undervoltage shutdown ♦ No collision shutdown occurred ♦ Fuel reserve is not used ♦ There are no entries in the event recorder that would prevent the launch The one you wont be able to check without diagnostics is fault codes.
-
Well this is a long awaited feature, going to enable it tonight!
-
The system works off voltage and SoC, so even if voltage is good, if the values haven’t been reset and it still thinks there is a low state of charge it will flag it up.
-
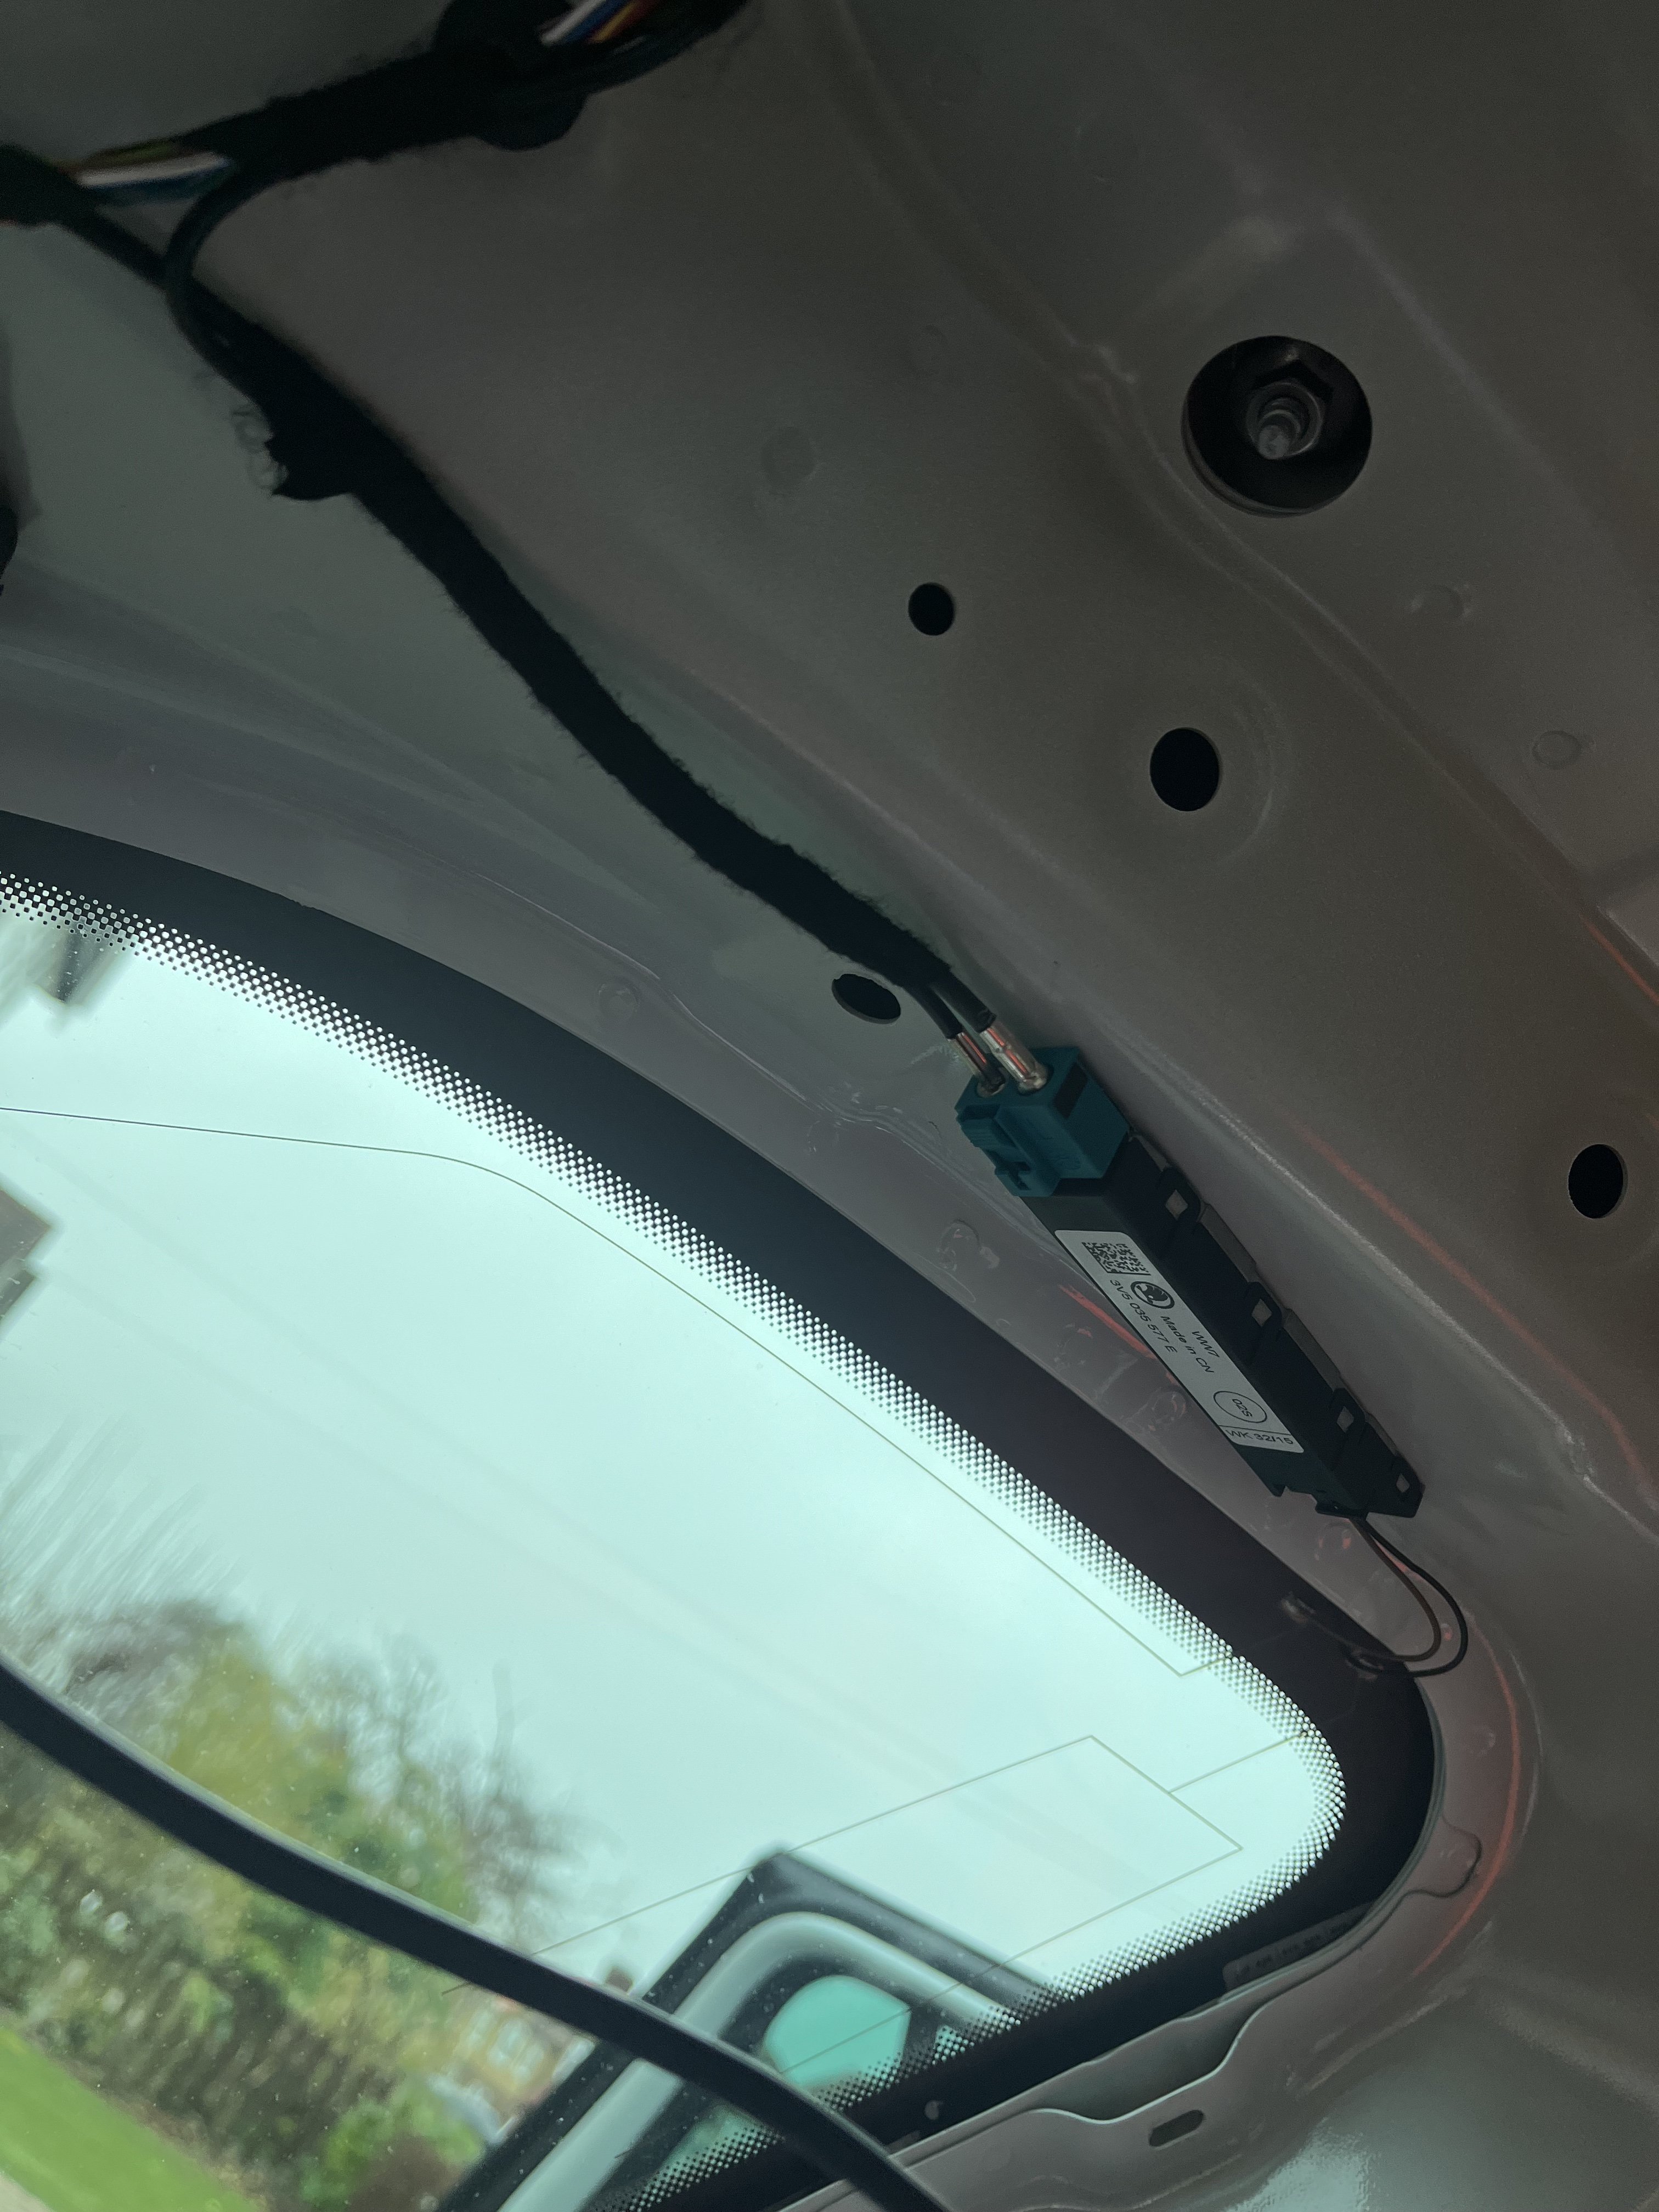
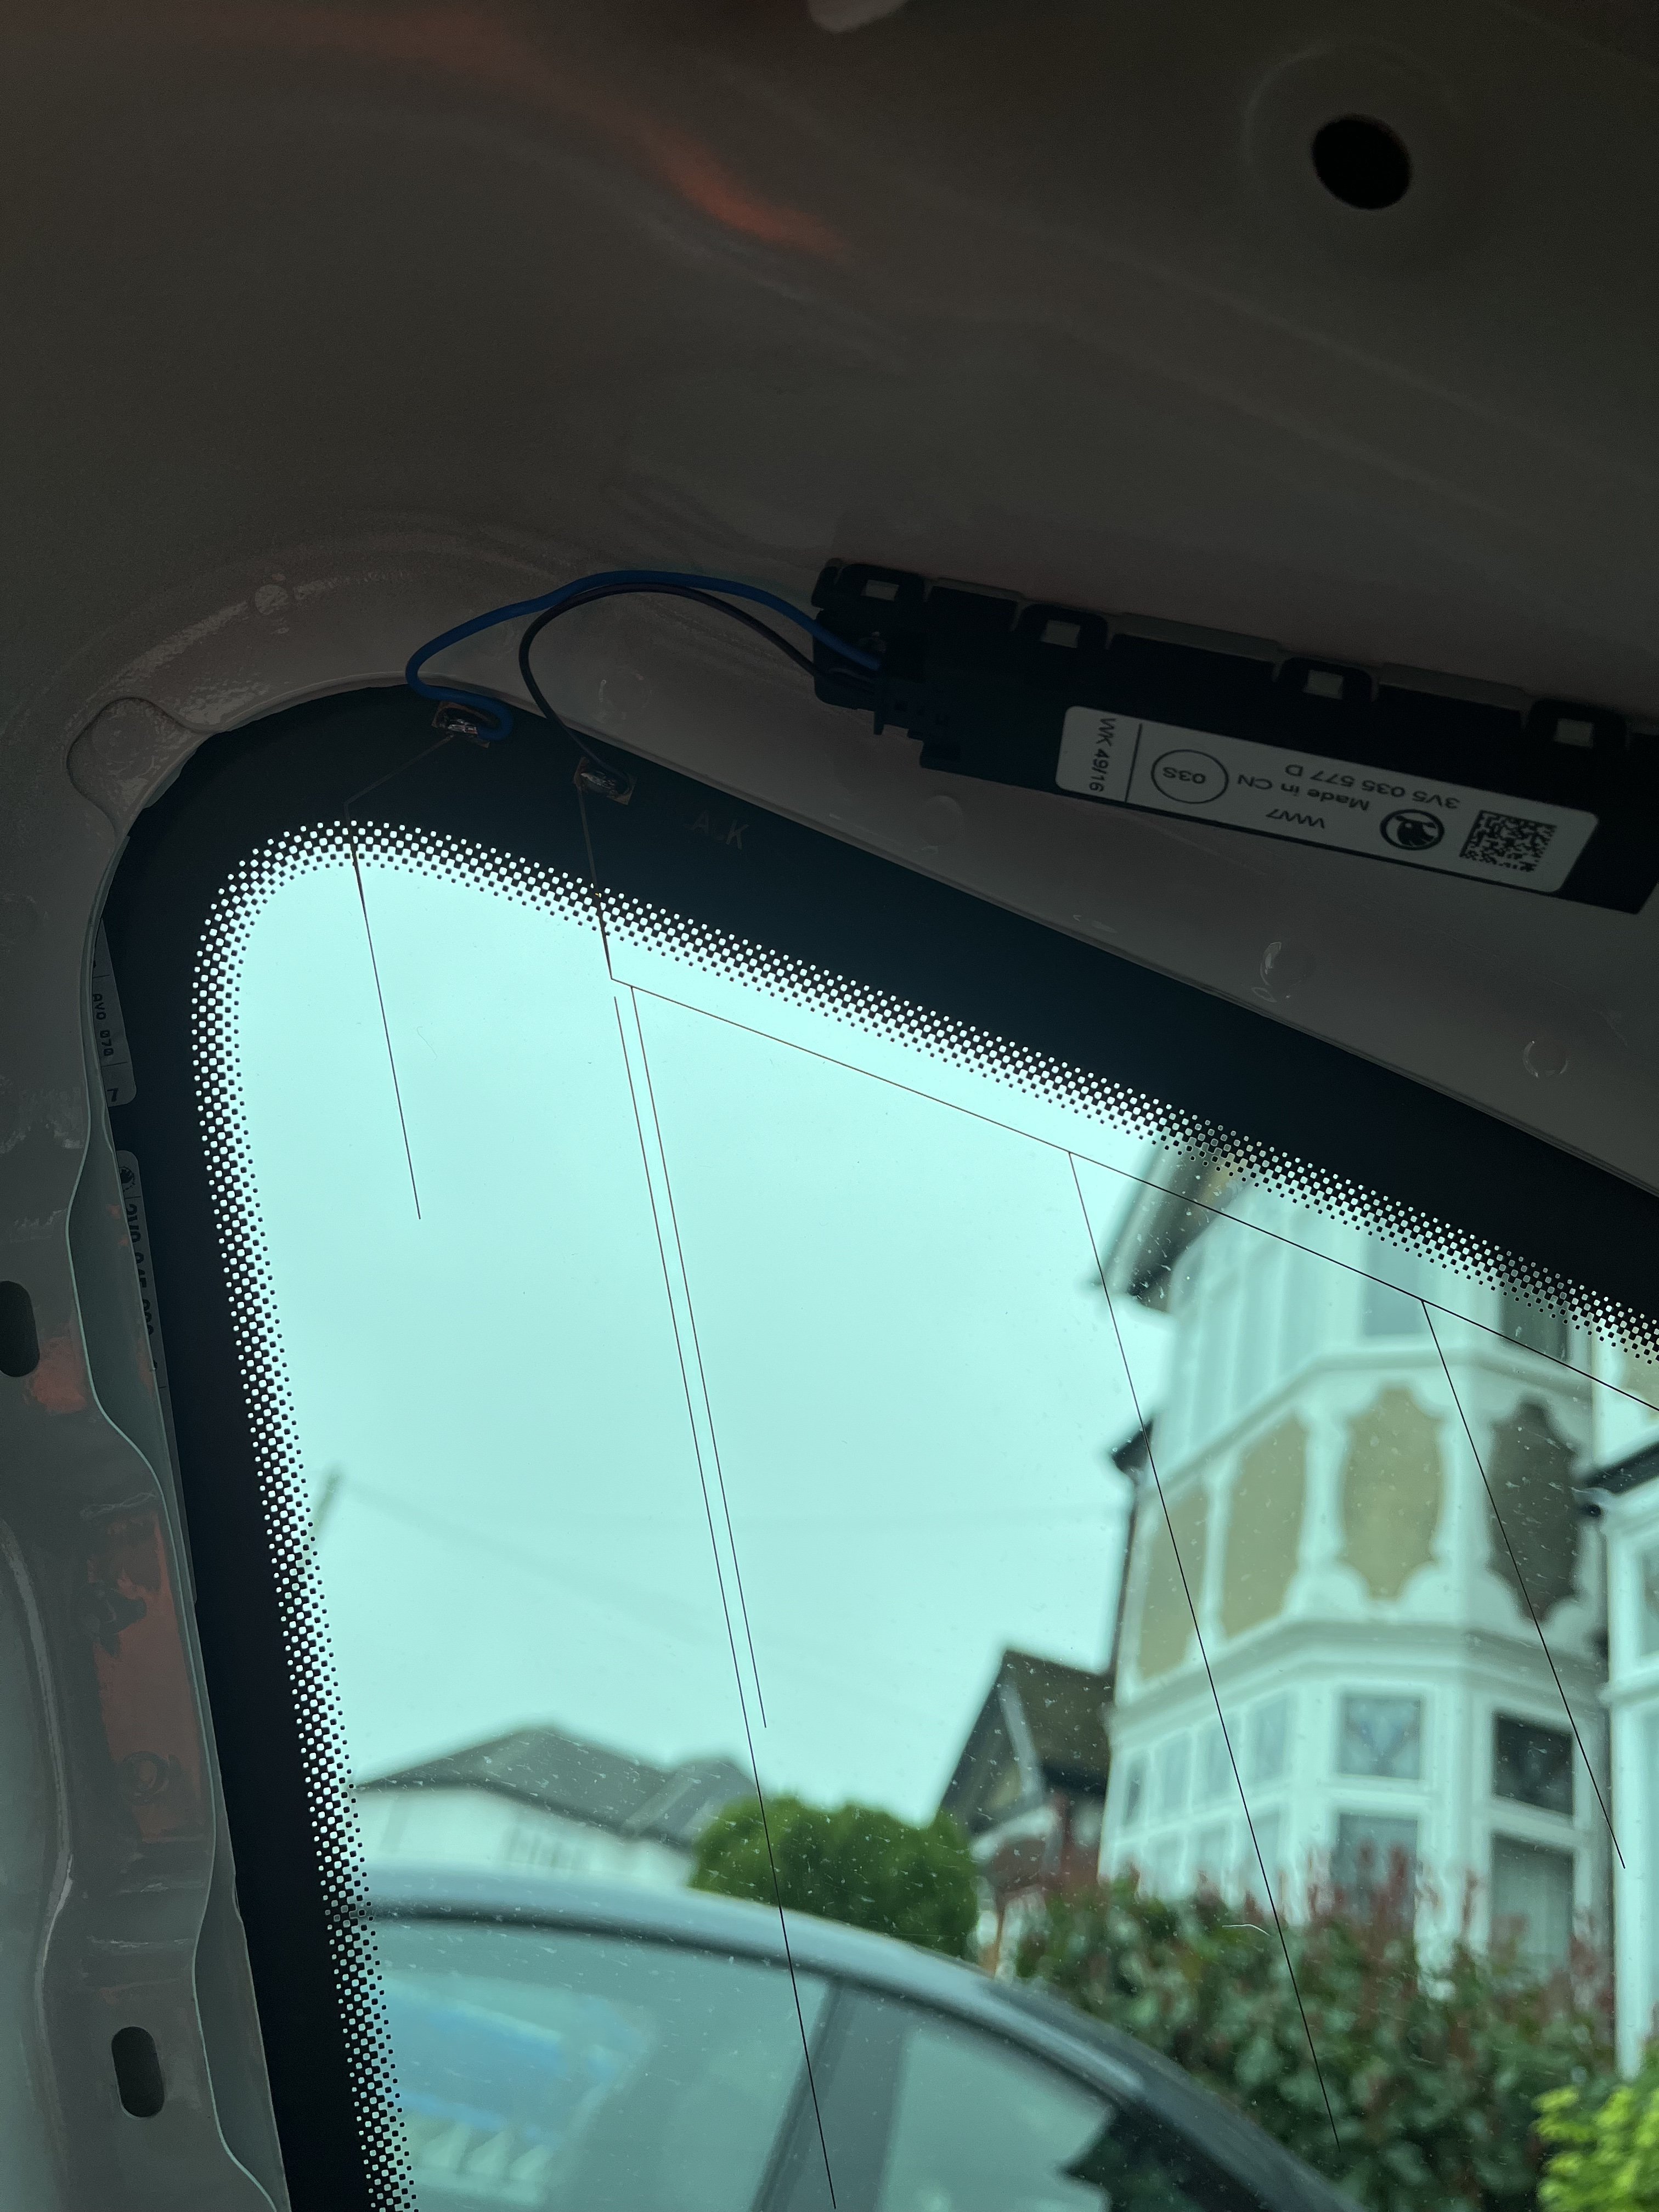
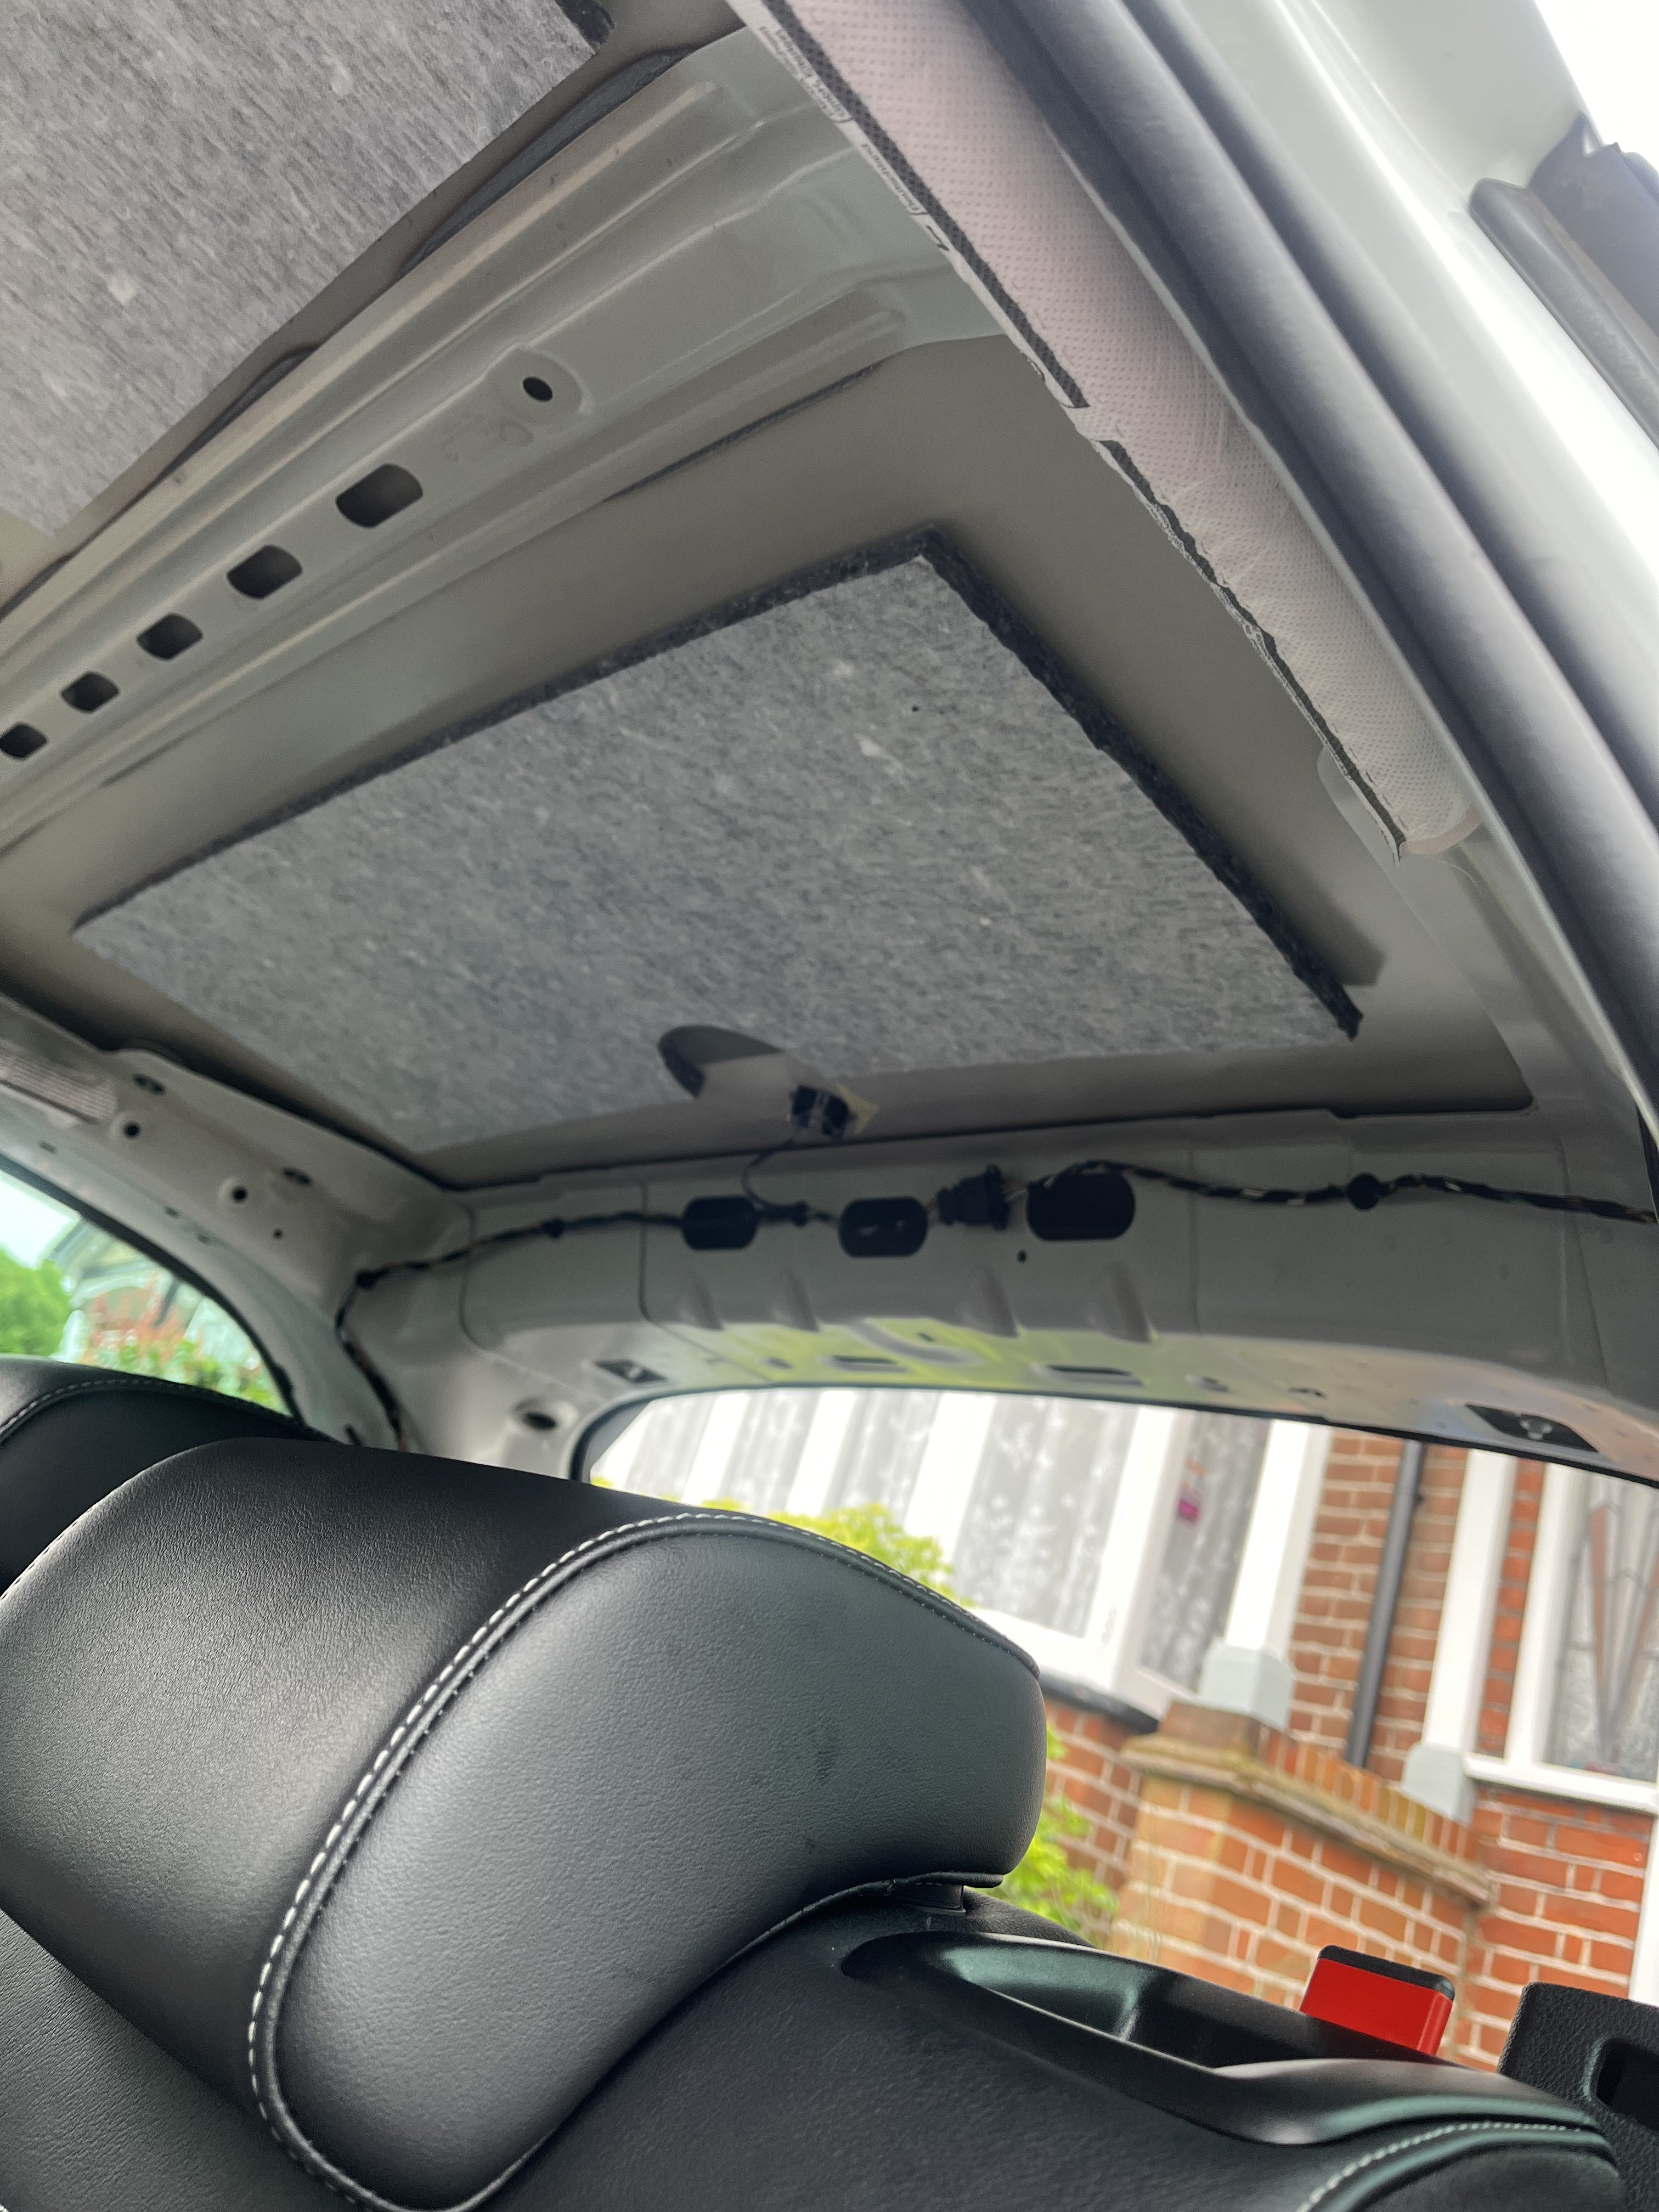
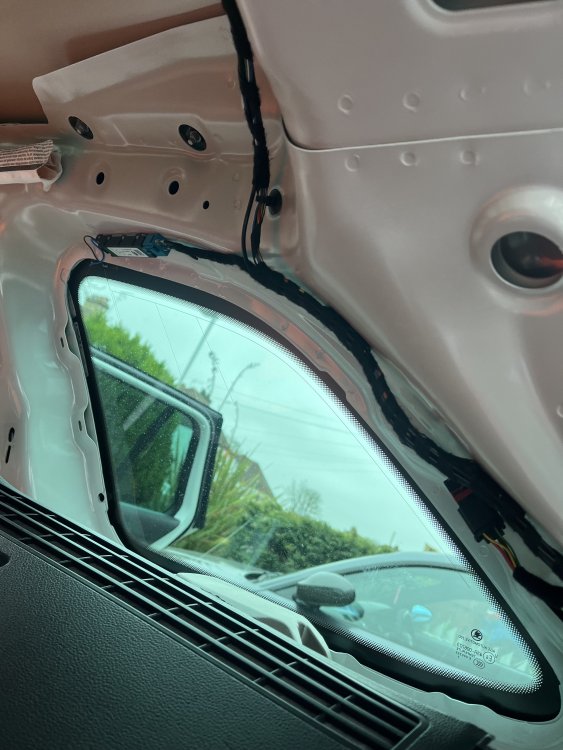
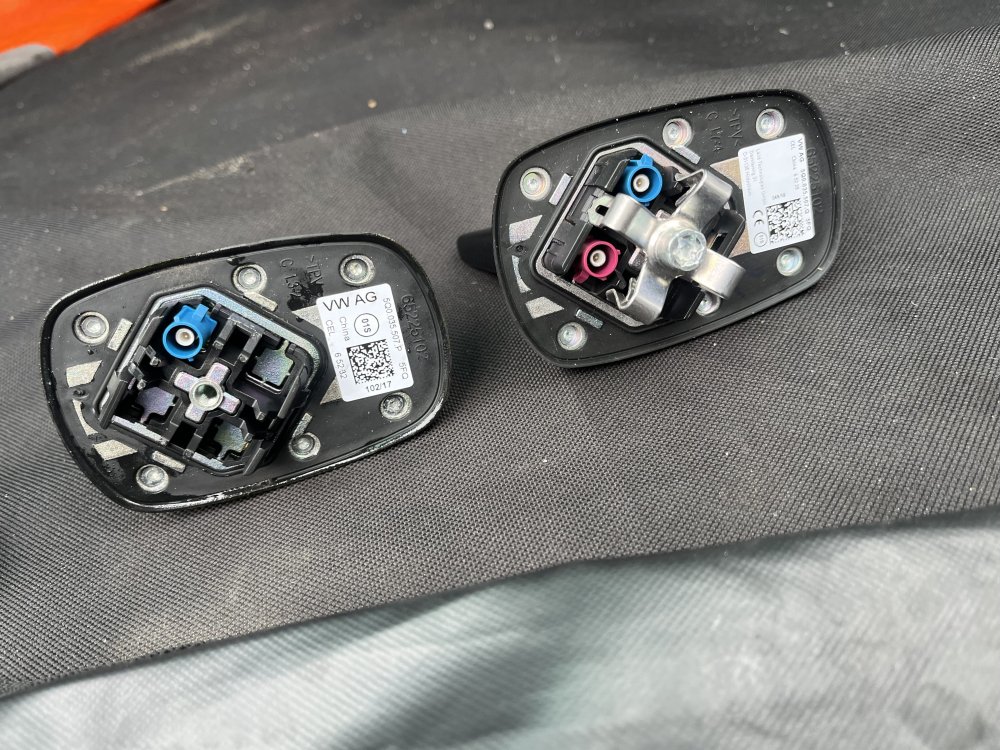
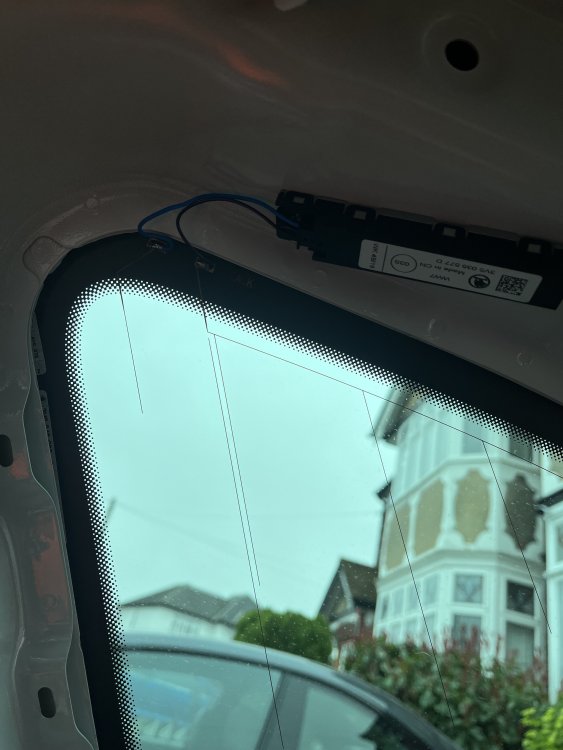
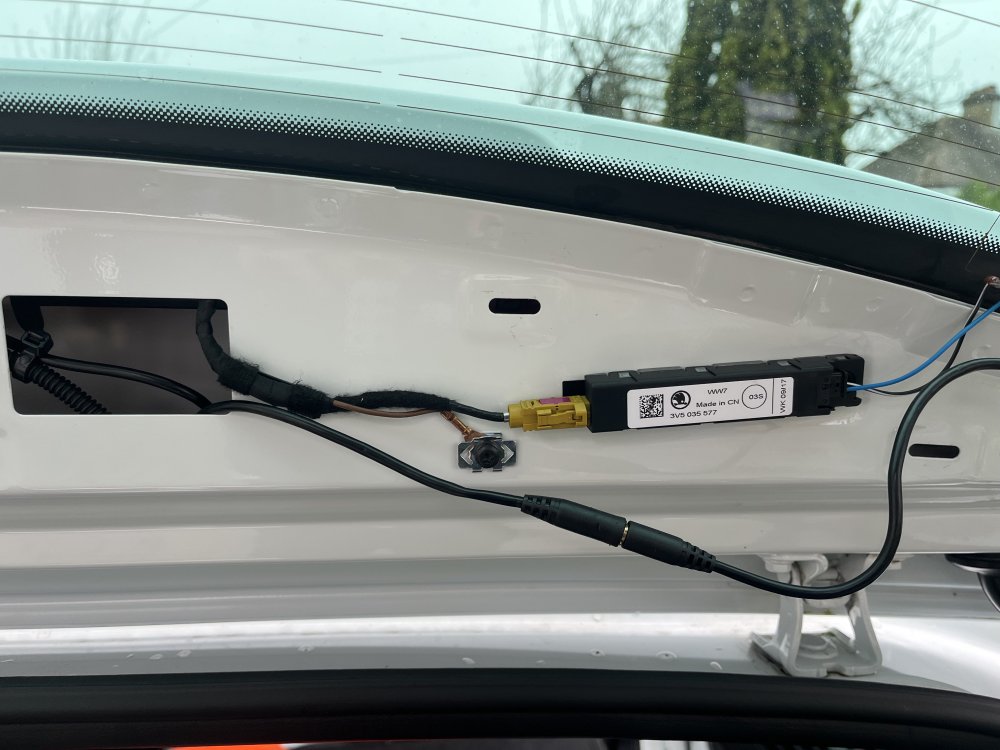
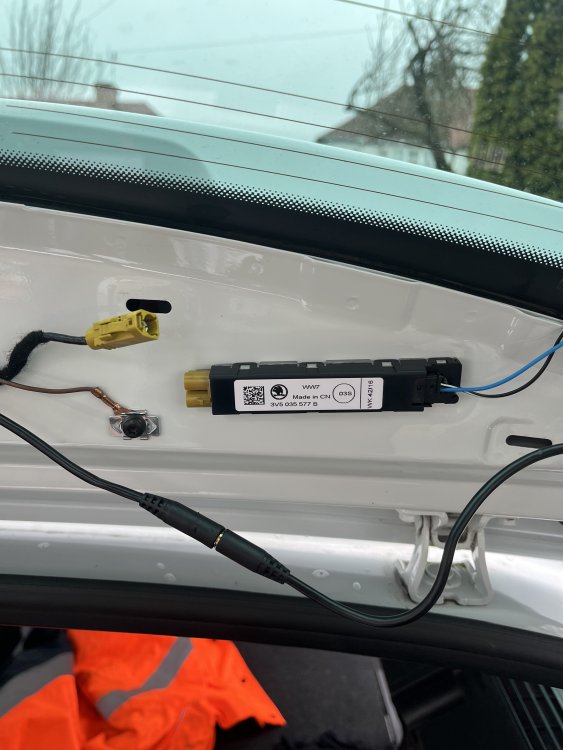
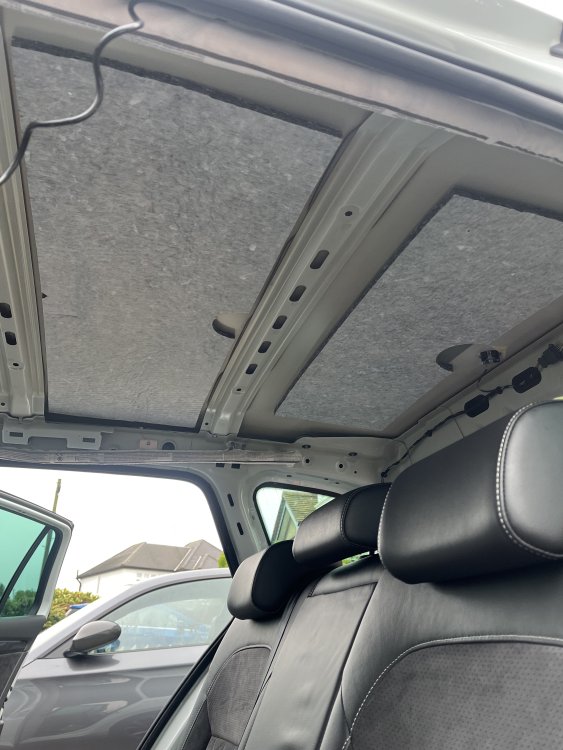
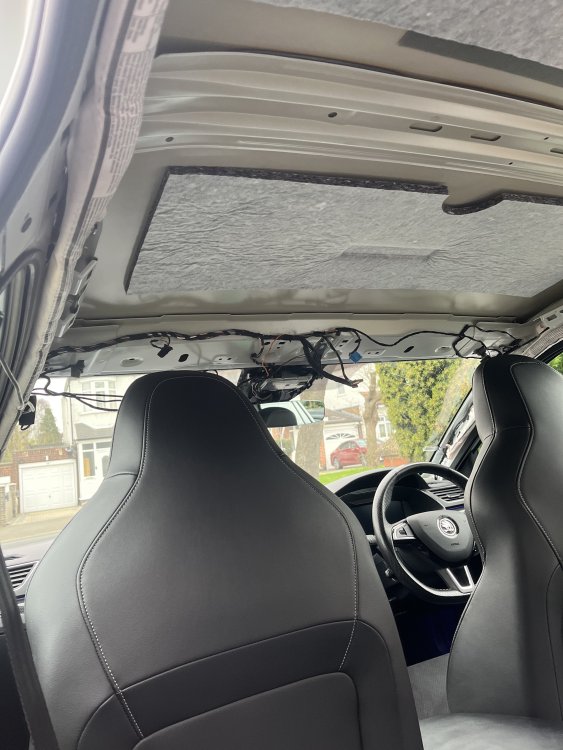
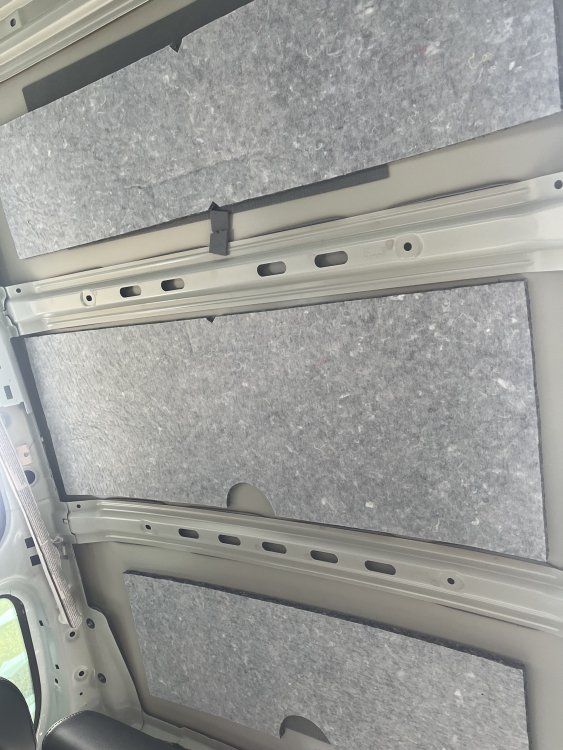
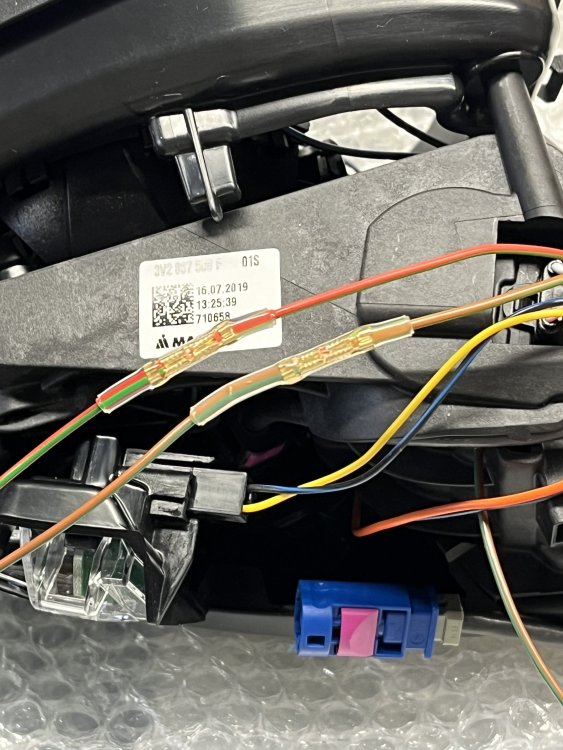
Today was a busy day, Im trying to cut down the work required for the largest part of the job so when I have time im undertaking the bits that can be done beforehand. This first meant the roof lining coming down as photoed This was to allow the NS antenna to be replaced from DAB to DAB/TV and its associated fakra cable running to the OS ready for routing to the TV tuner. The OS antenna didnt exist, neither did its wiring so a quick loom was made up in the factory black/blue colours and the antenna and its 2 fakra cables for TV and Webasto antenna were ran down the OS D pillar. The shark fin was replaced from GPS to GPS/Cellular - this new fakra cable was ran to the NS of the vehicle to meet up with the 2-way amplifer. After this, it was the perfect time to run the wires needed into the trunk: The first was the HSD connector which will end up connecting to the 360 camera system, this has been ran into the tailgate and cable tied out the way for now, the other end went down the OS D pillar with a male connector ready for a connection to run to the front of the car. The second was the final antenna at the top of the tailgate, this was FM2, it is now FM2/TV and needed the fakra cable running to the same as above, into the car, down the D pillar and now has a male connector to allow full disconnecting of the tailgate if it ever needed to be fully removed. Sadly to the keen eyed - the double fakra connectors are near impossible to source in anything except water blue/universal. The mustard, black and green ones are impossible to find in a one off quantity but as there are no other fakra connectors in the area, there is no risk of them being misconnected. Everything was then refitted and tested for any rattles or such, no new sounds and 6 new data wires ran to the lower sections of the car, hopefully the headliner is never to come out again! Bonus pictures for anyone wanting pictures of the inside of the roof:


-
Not sure who advised to take to a dealer for an adblue topup? Very easy to do yourself. And the manual will tell you to take everything to the dealer! The best option you have is - check on the dash the fill quantity, go to a truck stop/HGV petrol station and they have it on pump, fill the exact amount on the dash (not overfill), pay the bill, drive away happy knowing youve not been overcharged by the dealer. For what adblue actually is and its 'ingredients' - it is Urea CO(NH)2 + H20 and as long as it says ISO 22241-1 on the bottle, it is the exact same stuff whether it is branded Asda, Skoda, Ferrari or anything else.
-
1. Its hard to tell in your picture but i cant see a current monitor on the negative terminal - in which case your car needs a normal lead-acid battery and not this AGM one. 2. An AGM battery can be coded and it doesnt have to be a genuine battery - they clearly have no idea what they are doing 3. What is the timescale for them doing the job? If it is recently, reject it as not fit for purpose and not fixed the issue you paid to be fixed, if they dont play ball, give them (in writing) 14 days to refit the old parts and take the new ones back or take it to the small claims court. 4. What is the warning you talk of, do you have a photo? I assume something like "12v battery low - start engine or infotainment will switch off" 5. Have you got a more zoomed out photo of the battery, i want to see the terminals 6. If the warning is as I said in 4, then the battery needs testing, charge rate, idle voltage, resting voltage all need testing to see if its a car-wide voltage issue, or if it needs to be looked into further for a localised voltage issue such as a poor ground.
-
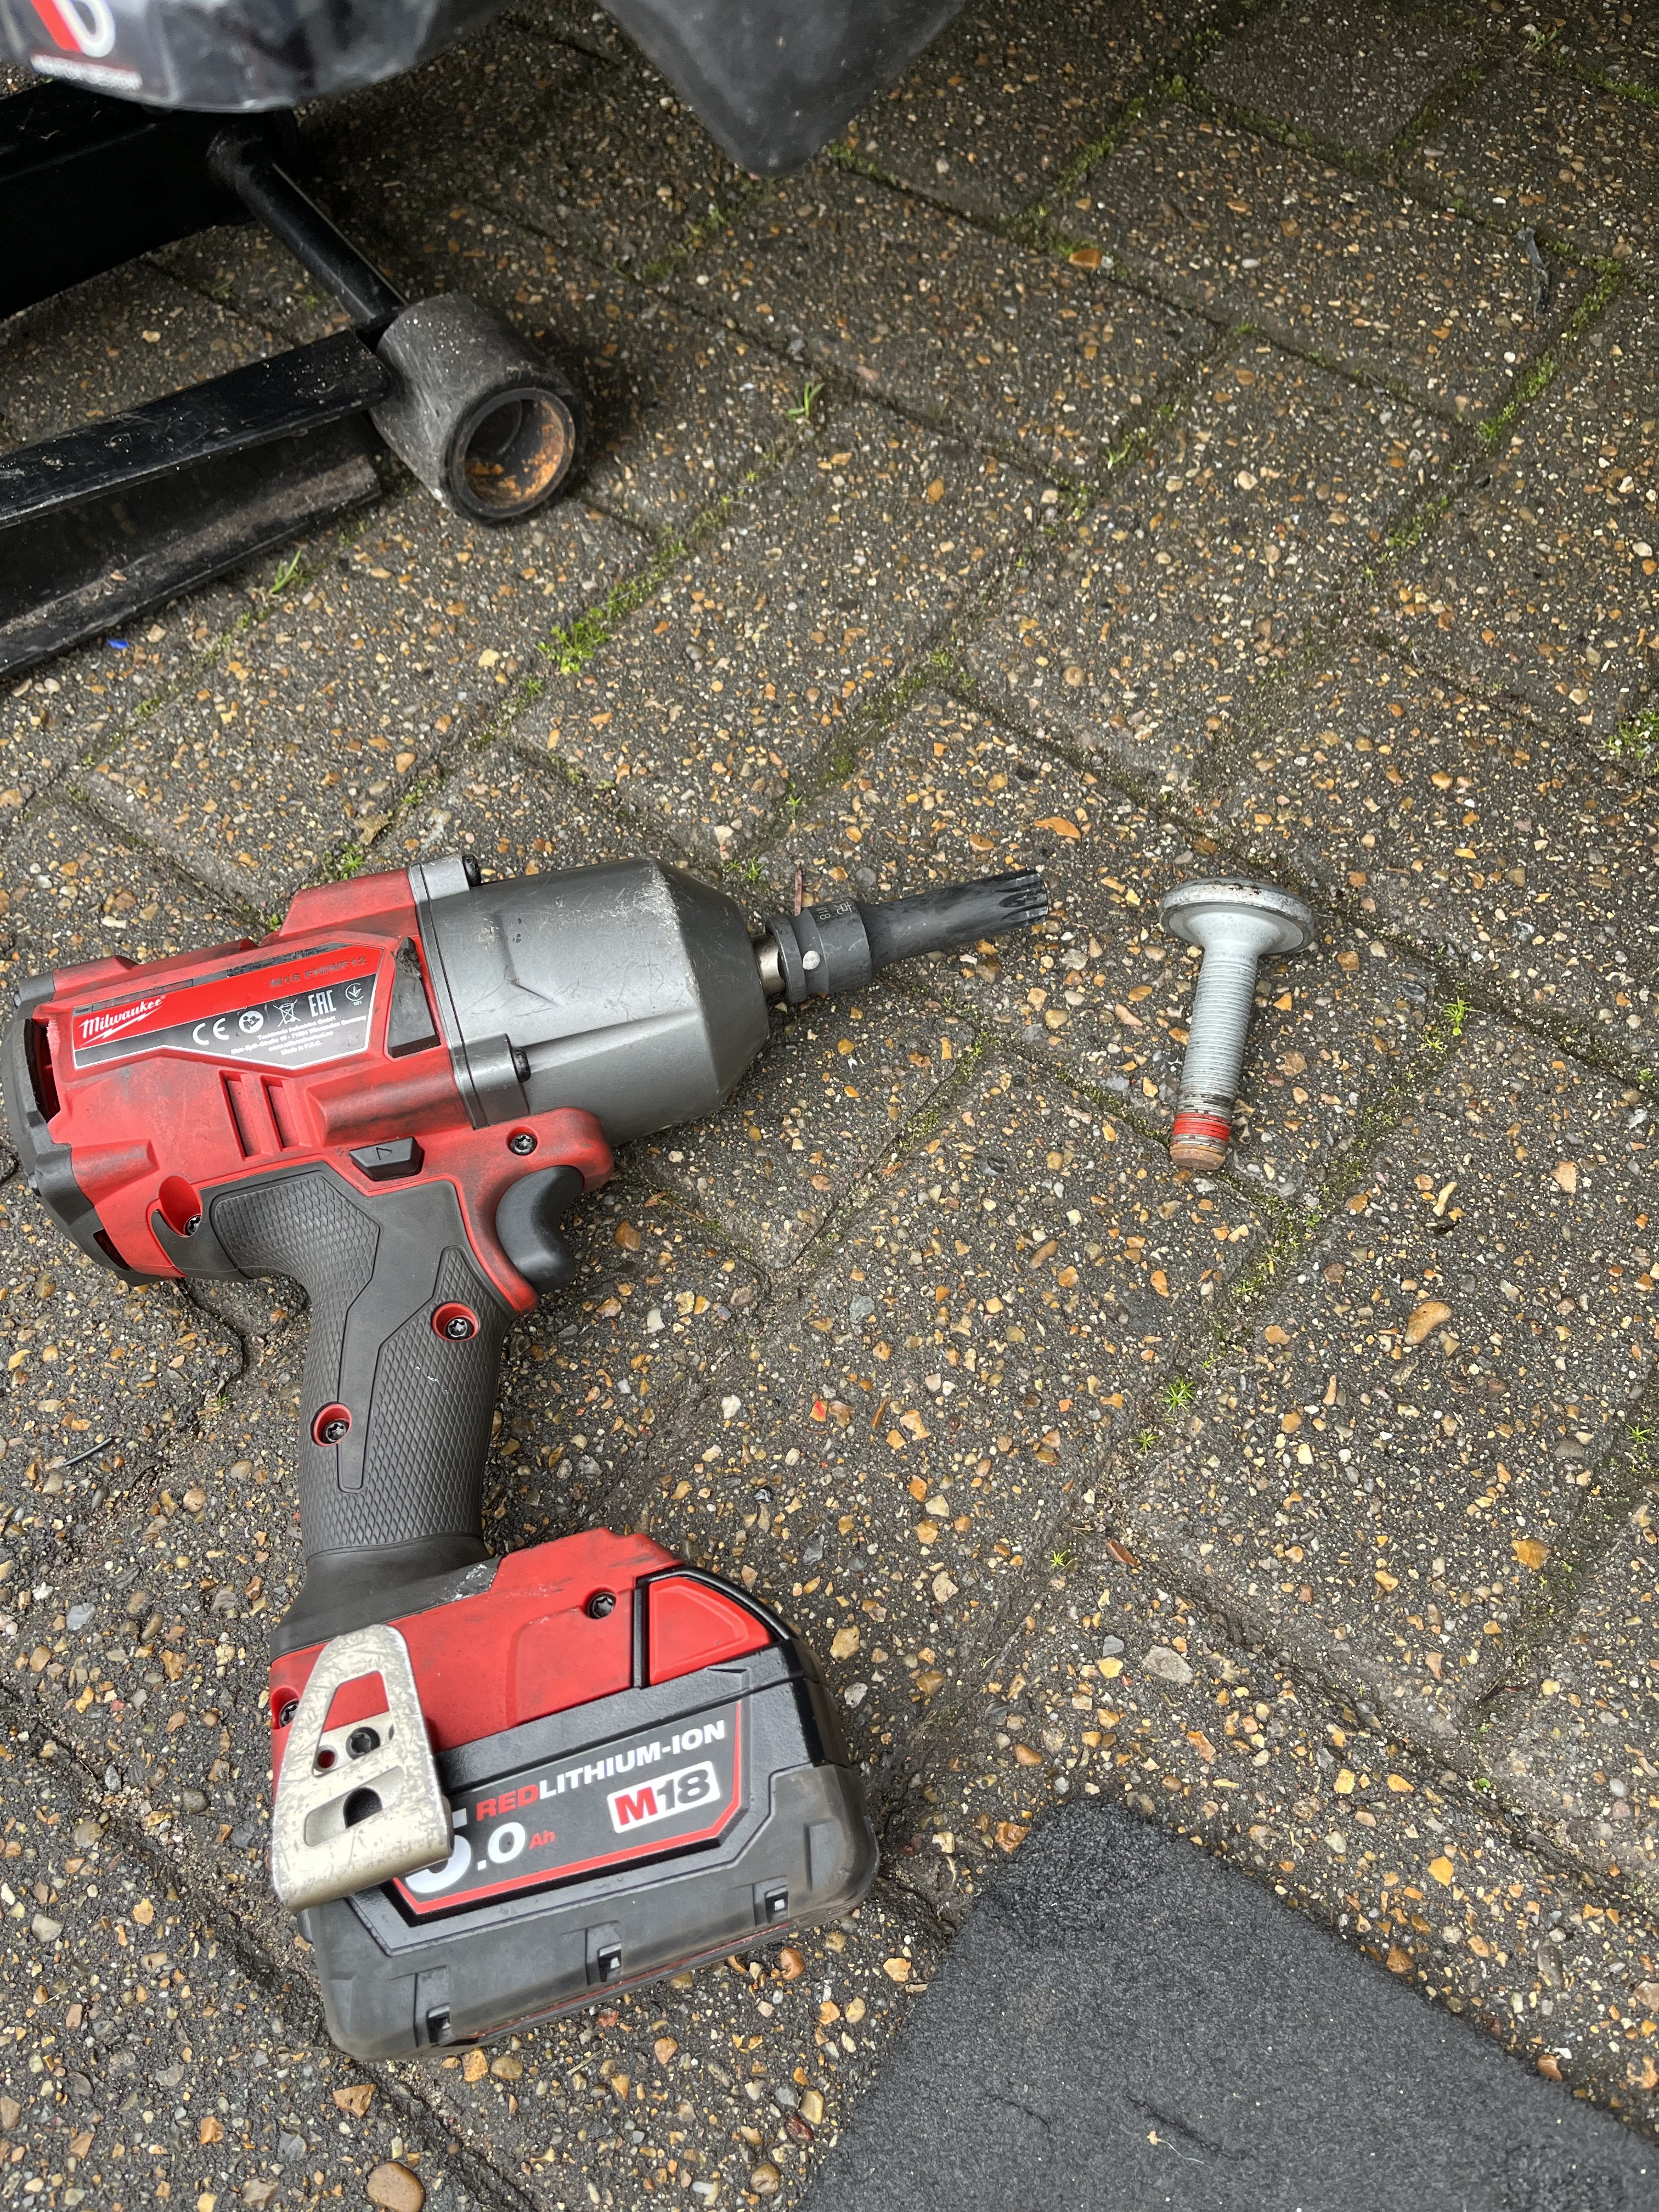
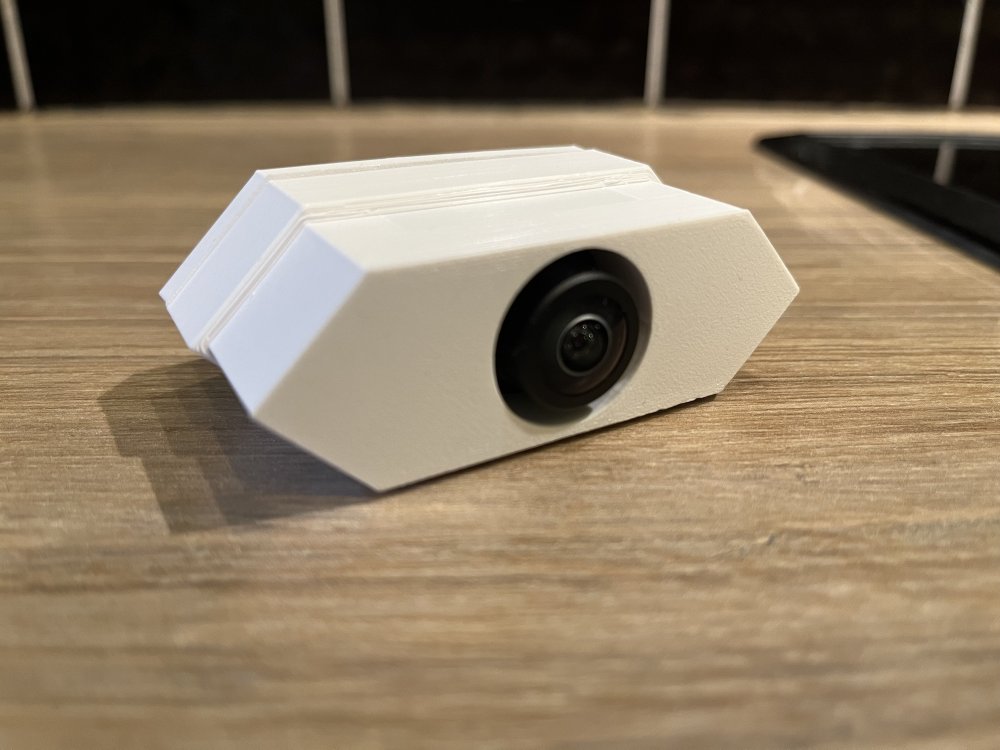
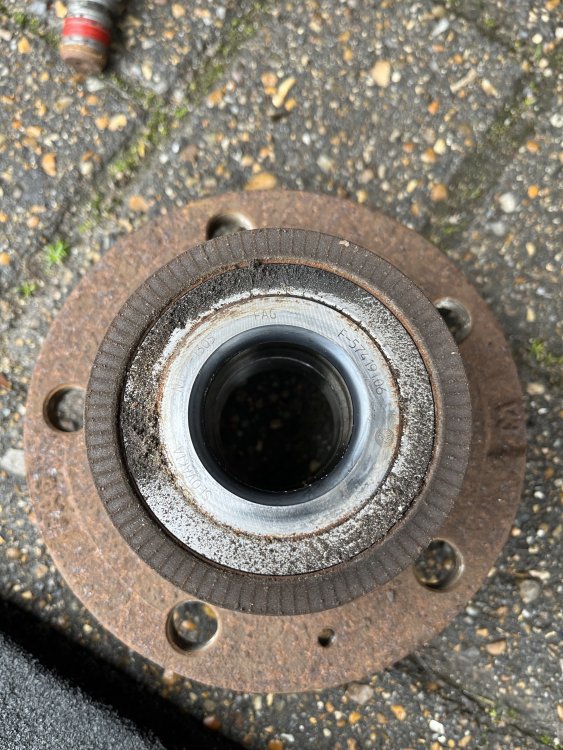
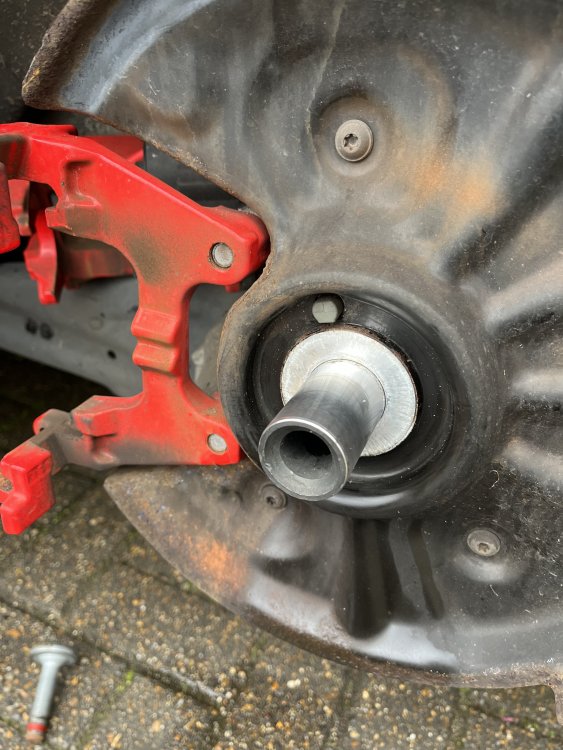
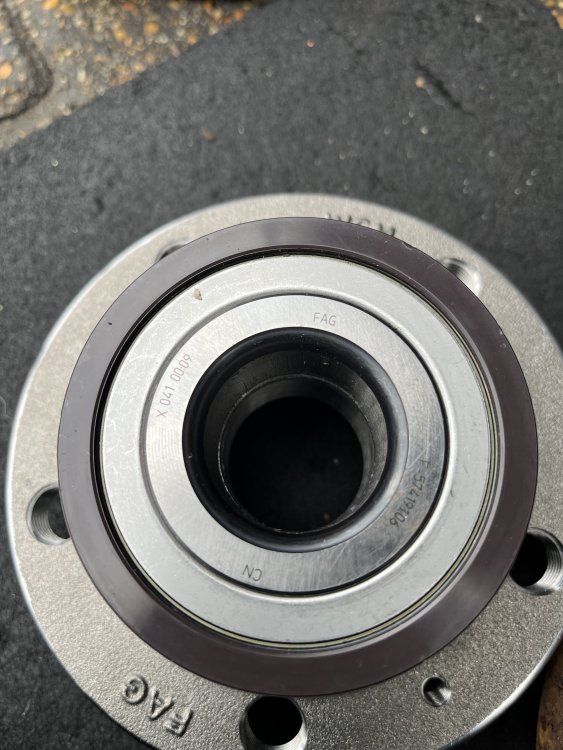
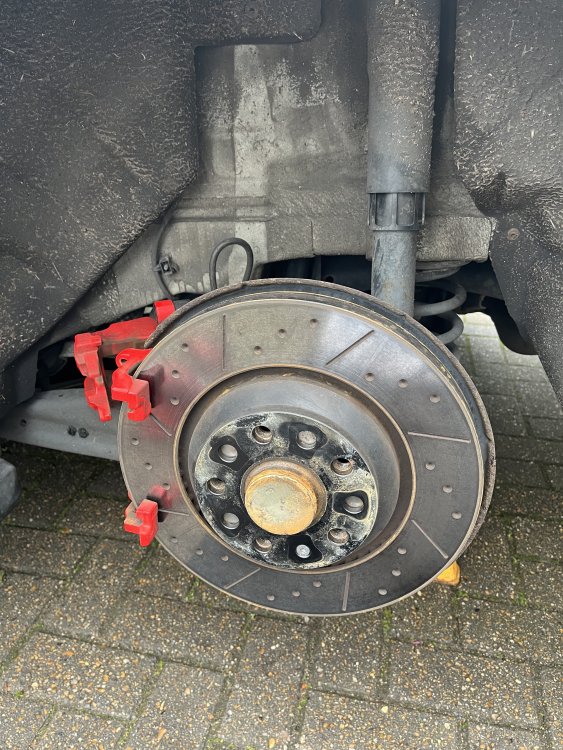
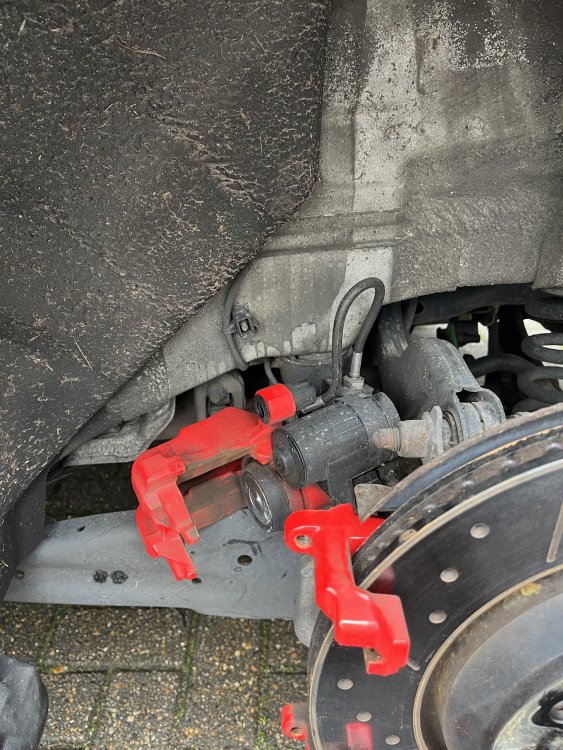
The camera mount I created was no good - but the joys of 3D printing is i can just start again The hole for the camera was too big, the entire body is too big to fit in the honeycomb, so ive had to start from scratch with a 3 piece design and bond them all together. Hopefully it works better this time. I then had the wheel bearing to sort out, nearside rear wheel bearing needed replacing, the genuine bearing is priced at £200 and made by FAG. A FAG bearing cost me £40. (Same part numbers on the bearing, OE is made in CZ, Aftermarket is CN) Replacing is fairly straight forward, release the handbrake to service mode, remove the caliper, remove the torx screw on the disc and slide it out from the carrier body and undo the centre hub bolt. Replace the bearing and make sure all surfaces are clean and dry (Dont oil them! You dont want the inner race to spin, thats what the bearing is for!), the bolt is torqued to 200Nm + 90 degree if its a silver bolt, or 180 degree if its the older black bolt.

-
I see no issues here I wanted the 3 zone climate control Its all going to be coming out again soon for the rest of the fittings.
-
It won’t be wireless carplay (although this can be done aftermarket) the booster boosts the cellular signal and the wireless charging pad is in the front cubby hole
-
The module won’t be a part of it, all that will be there is 2/3 connectors with no connection. To complete it you’ll need Towbar wiring from Towbar to module module switch to release Towbar switch mounting (depending on 5/7 seats) coding with SVM code All the other bits like larger fan and radiator would have all been fitted. that seems extremely expensive! But I suppose prices are different over there
-
How sure are you its 1D7, as his car has 1M5 Trailer hitch 1M5 Trailer hitch preparation So should have the pre installed harness. 1D7 doesnt seem to be a PR code anywhere ive looked offically. 1D0 is no tow bar prep. 1M6 is tow bar fitted from factory.
-
As @Warrior193 said, if you send me your VIN, I’ll send you a build sheet and check for Towbar prep. or if you don’t mind, post it here and I’ll reply with it.
-
Youll have to tag @ApertureS not @Freedom - Freedom is the forum rank 😛 But as for your fault : Do you get any radio station icons show up on the AID or any photos of callers - they should match the ones displayed on the MIB. Do you have the canton sound system or any other bits on the MOST network?
-
Bonus picture: First ever test print of the front camera mount, tomorrow we will see if the actual camera fits in it and hopefully if it fits in the front grill.
-
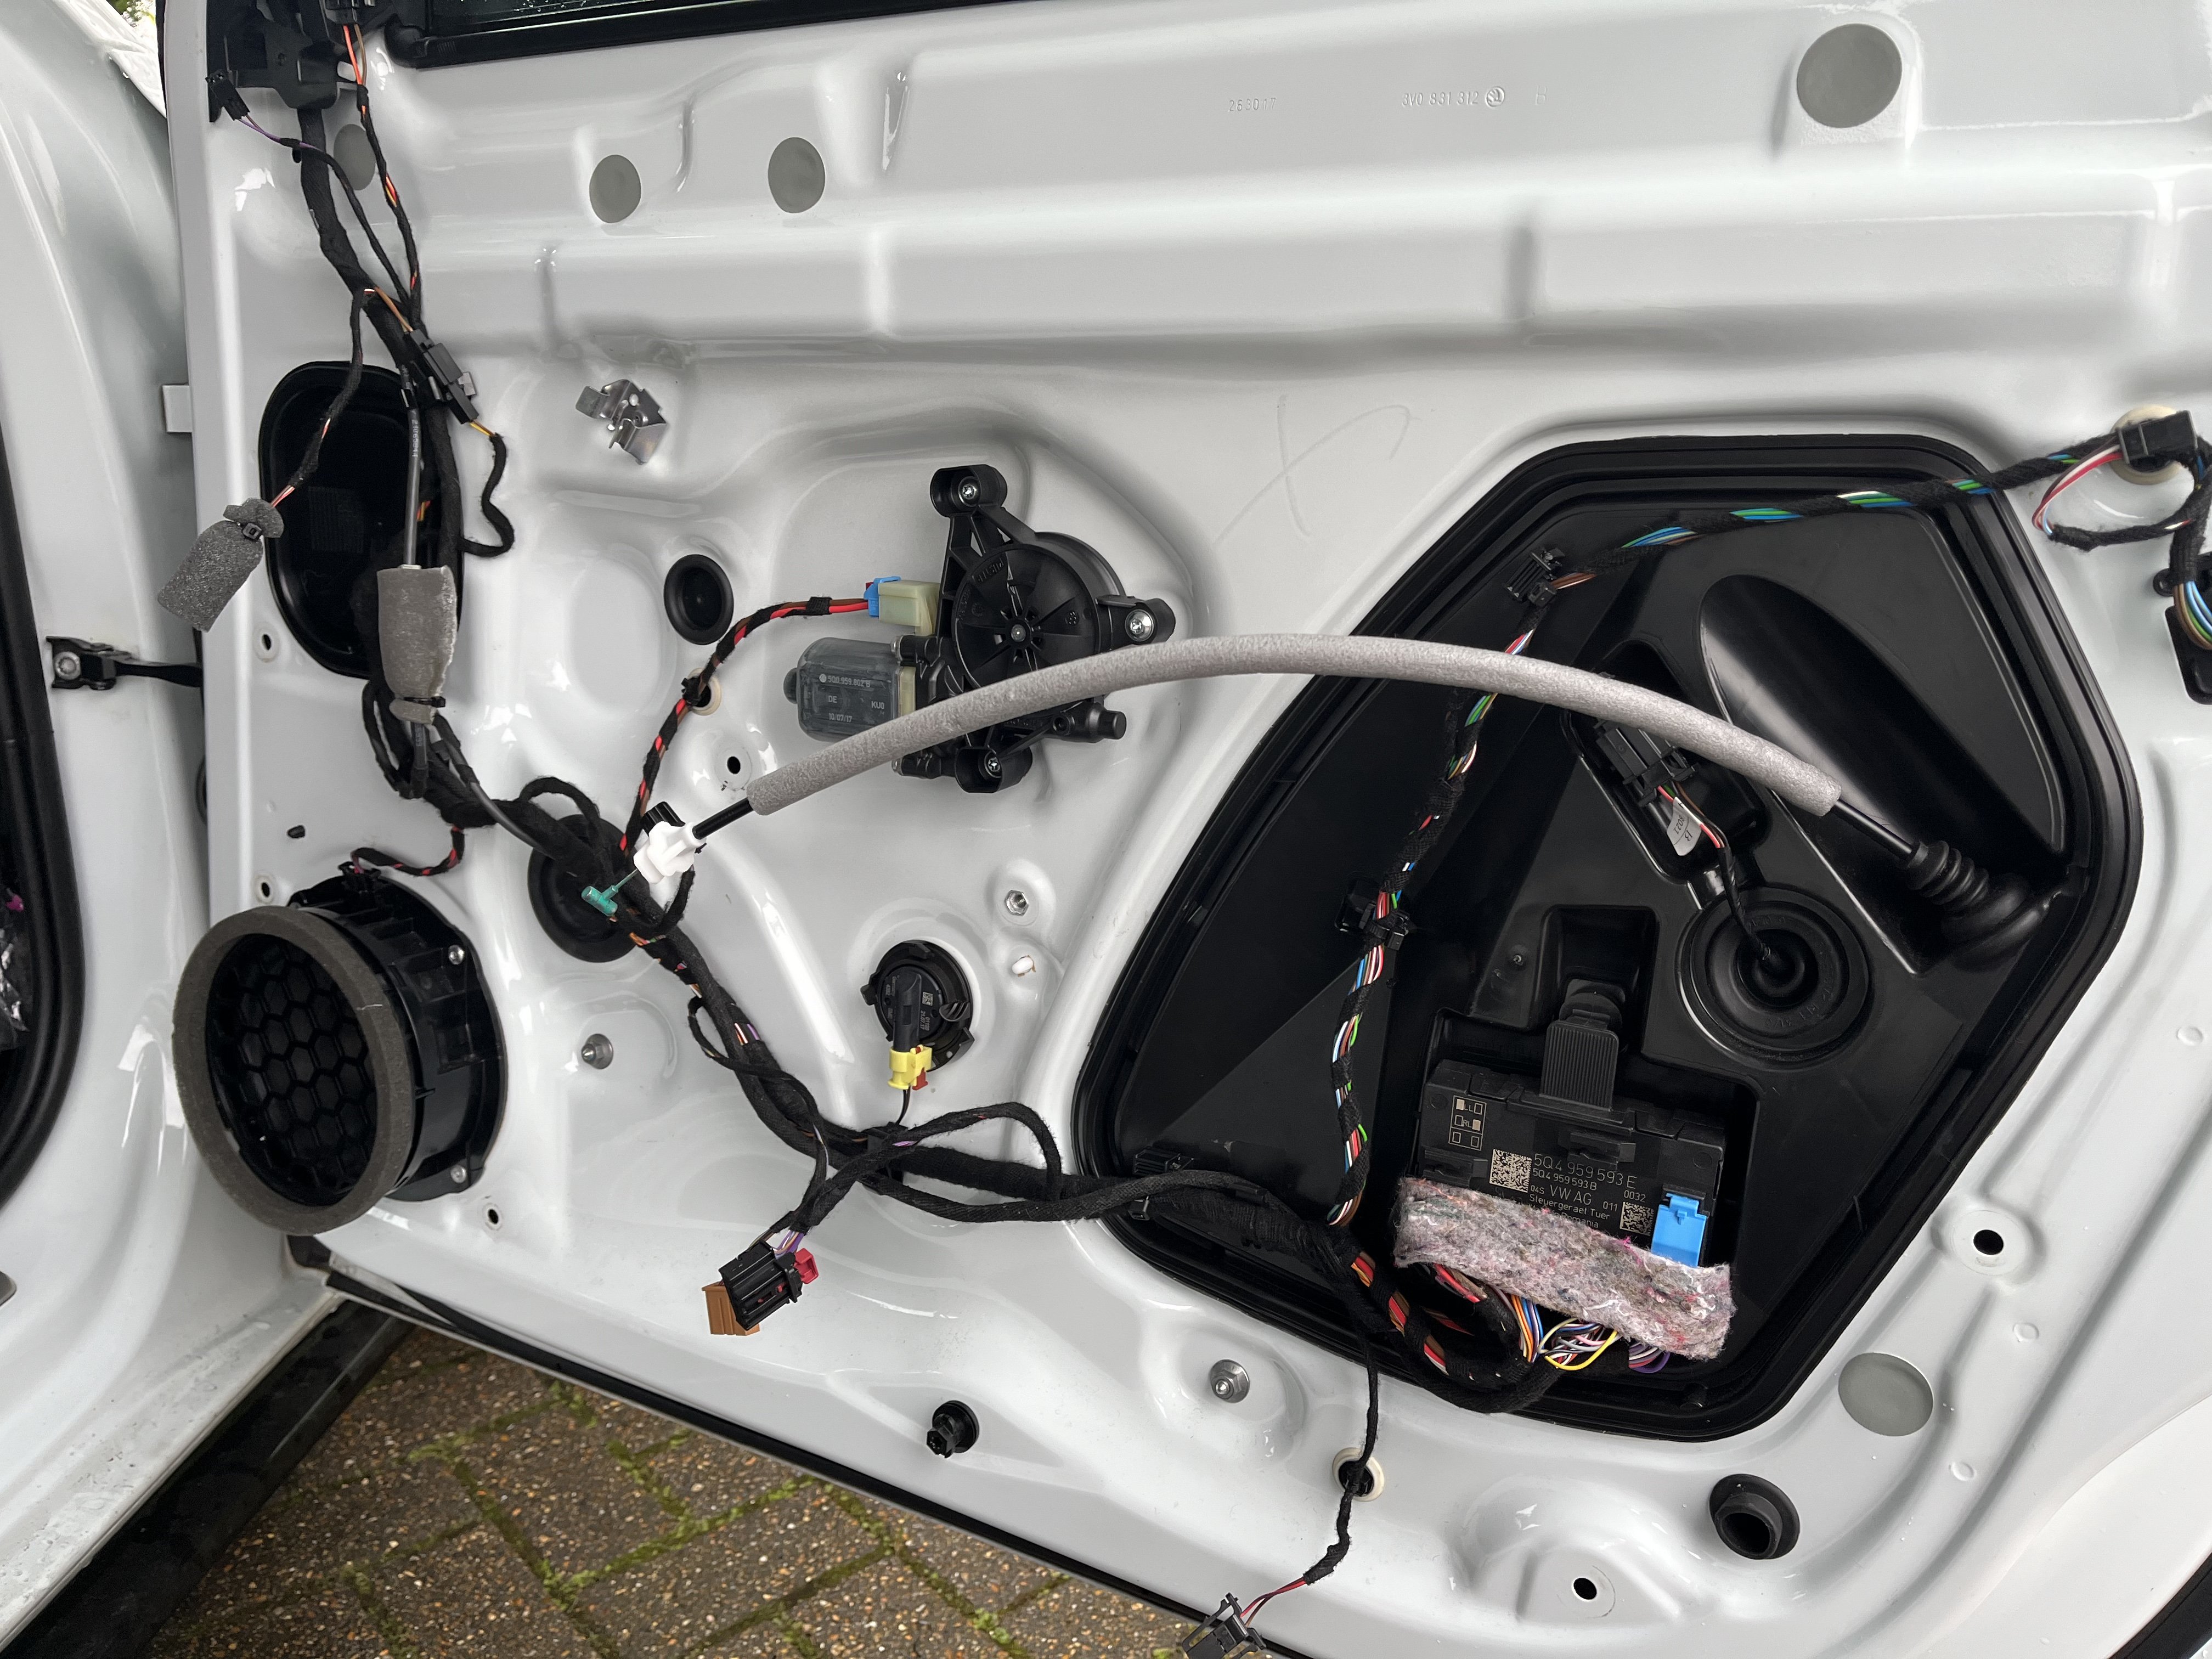
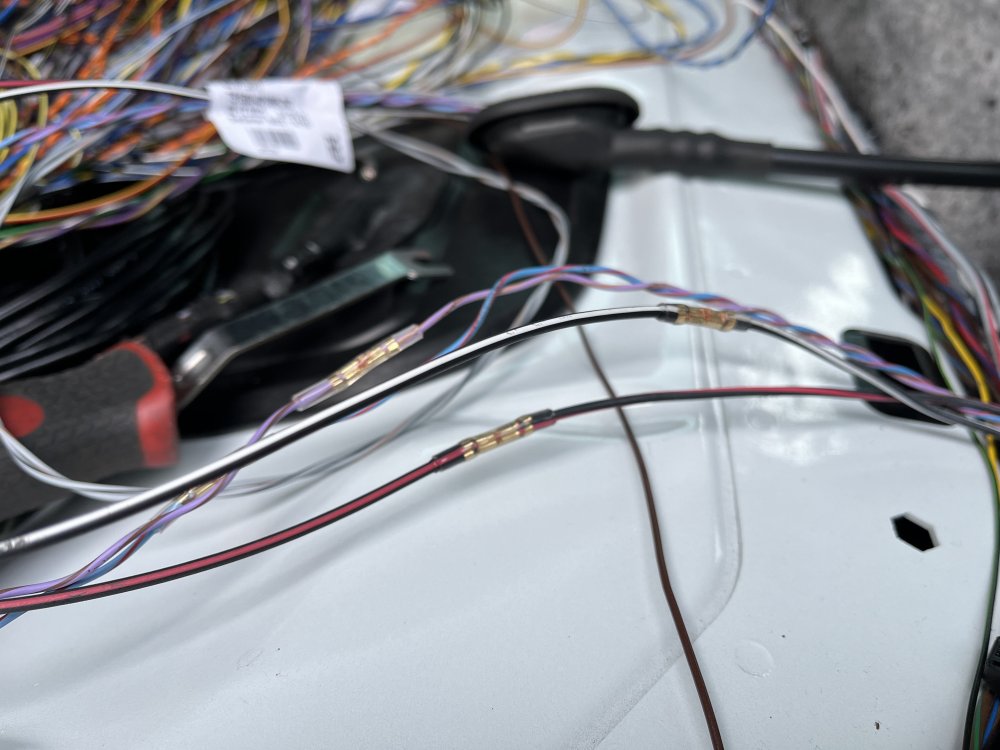
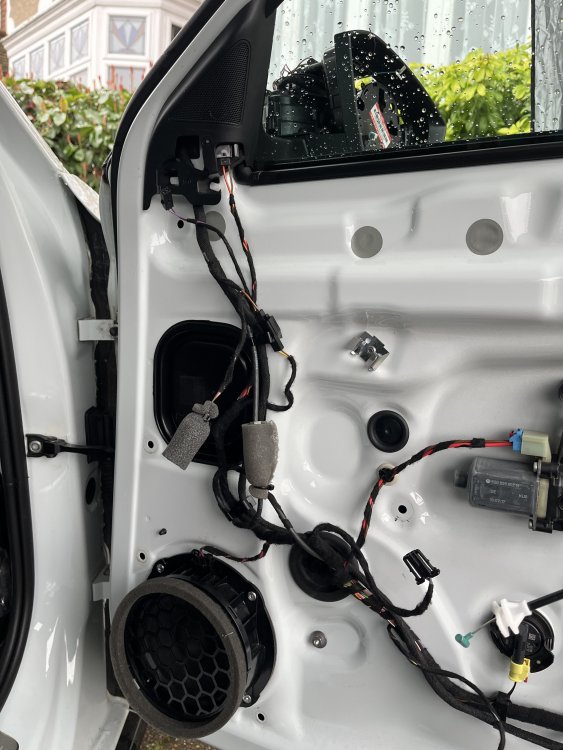
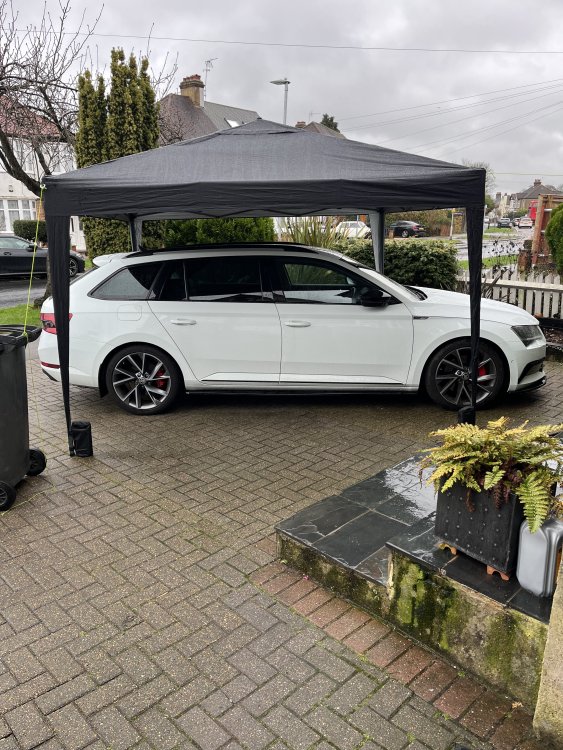
So thats both doors and mirrors fully complete. First was extending the wires for the blind spot indicator as mentioned before - as much as I wanted to run all new wires to avoid a join, it would of taken hours per side, so instead I decided to go for a crimp style connector and OE clear heatshrink supplied by skoda. Kept the join in an area that does not bend and we are all sorted. Whilst fitting the wing mirror I found a tiny spot of rust no bigger than 2/3mm but to be on the safe side, it was treated, sanded and a good dab of paint to cover it. The final connectors for the door jam were finished and the cables tucked away for now (not my prettiest loom taping job and it will get redone when the dash comes out.) The door looms were refitted and you can see where the HSD connectors and cables meet up now. One thing I will monitor is how tight the wires are that live in the door jam since ive re-wrapped them, hopefully we get no early fatigue but in 6 months or so ill strip the boot back and double check for any strain. And now.... the unsung hero that kept me going even in the rain. The gazebo! Best investment ive made for working on the car - rain or wind, put it up, throw the sides on it and carry on. Next on the list is to complete the other isolated areas to minimise how much needs doing for the main strip out, so next up is: - Tailgate wiring and antennas - Headliner down and new shark fin and rear quarter antennas fitted - Front seat strip down and fit of ventilation (will start with passenger seat incase I completely butcher it) And now ive finally got the correct socket, ill be fitting the new rear wheel bearing tomorrow morning (Old one decided it wanted to sing to me constantly)


-
You can use used parts - no requirement for them to be brand new.
-
No, without the animation wire you will only get dynamic indicators - no fade in or out animations.
-
Yeah, both exactly the same.
-
Front seat blower motor 3G0963345