Everything posted by JR RS
-
No it won't fit the 272/280 as it has an AWD setup. It uses a completely different center resonator box and the exhaust pipes routes differently. I know of a few 280 owners here in Oz who have bought & fitted the RPM Performance Resonator delete pipe that was made for the AWD Cupra/Formentor. Mine is a mk3 220 FWD, hence why I used the version made for the mk3 Octavia vRS, which is also a FWD setup.
-
@passatman62 - u r better off replacing the entire foglight unit on ur pre-facelift Superb. they r easily removed with just two screws holding them in. u can get brand new replacements from Kopacek. as above, the facelift frontend is very different to the pre-facelift. whilst a few people have converted their front ends, with companies that specialise in such conversions, it is a big big job. u'll also end up having to change BCM and Gateway modules, plus other bits n pieces. not worth the hassle.
-
MIB3 units, which is wat ur car uses, do not use or come with SD-Cards, unlike the previous MIB2 and MIB2.5 units. MIB2 - MY15 to MY17, SD-Card (glovebox unit), USB-A, 8" screen MIB2.5 - MY18 to MY20, SD-Card (glovebox unit), USB-A, 9.2" screen MIB3 - MY20 onwards, no SD-Card, USB-C, 9.2" screen as for door puddle lights - u can source them from Kopacek, or AliExpress.
-
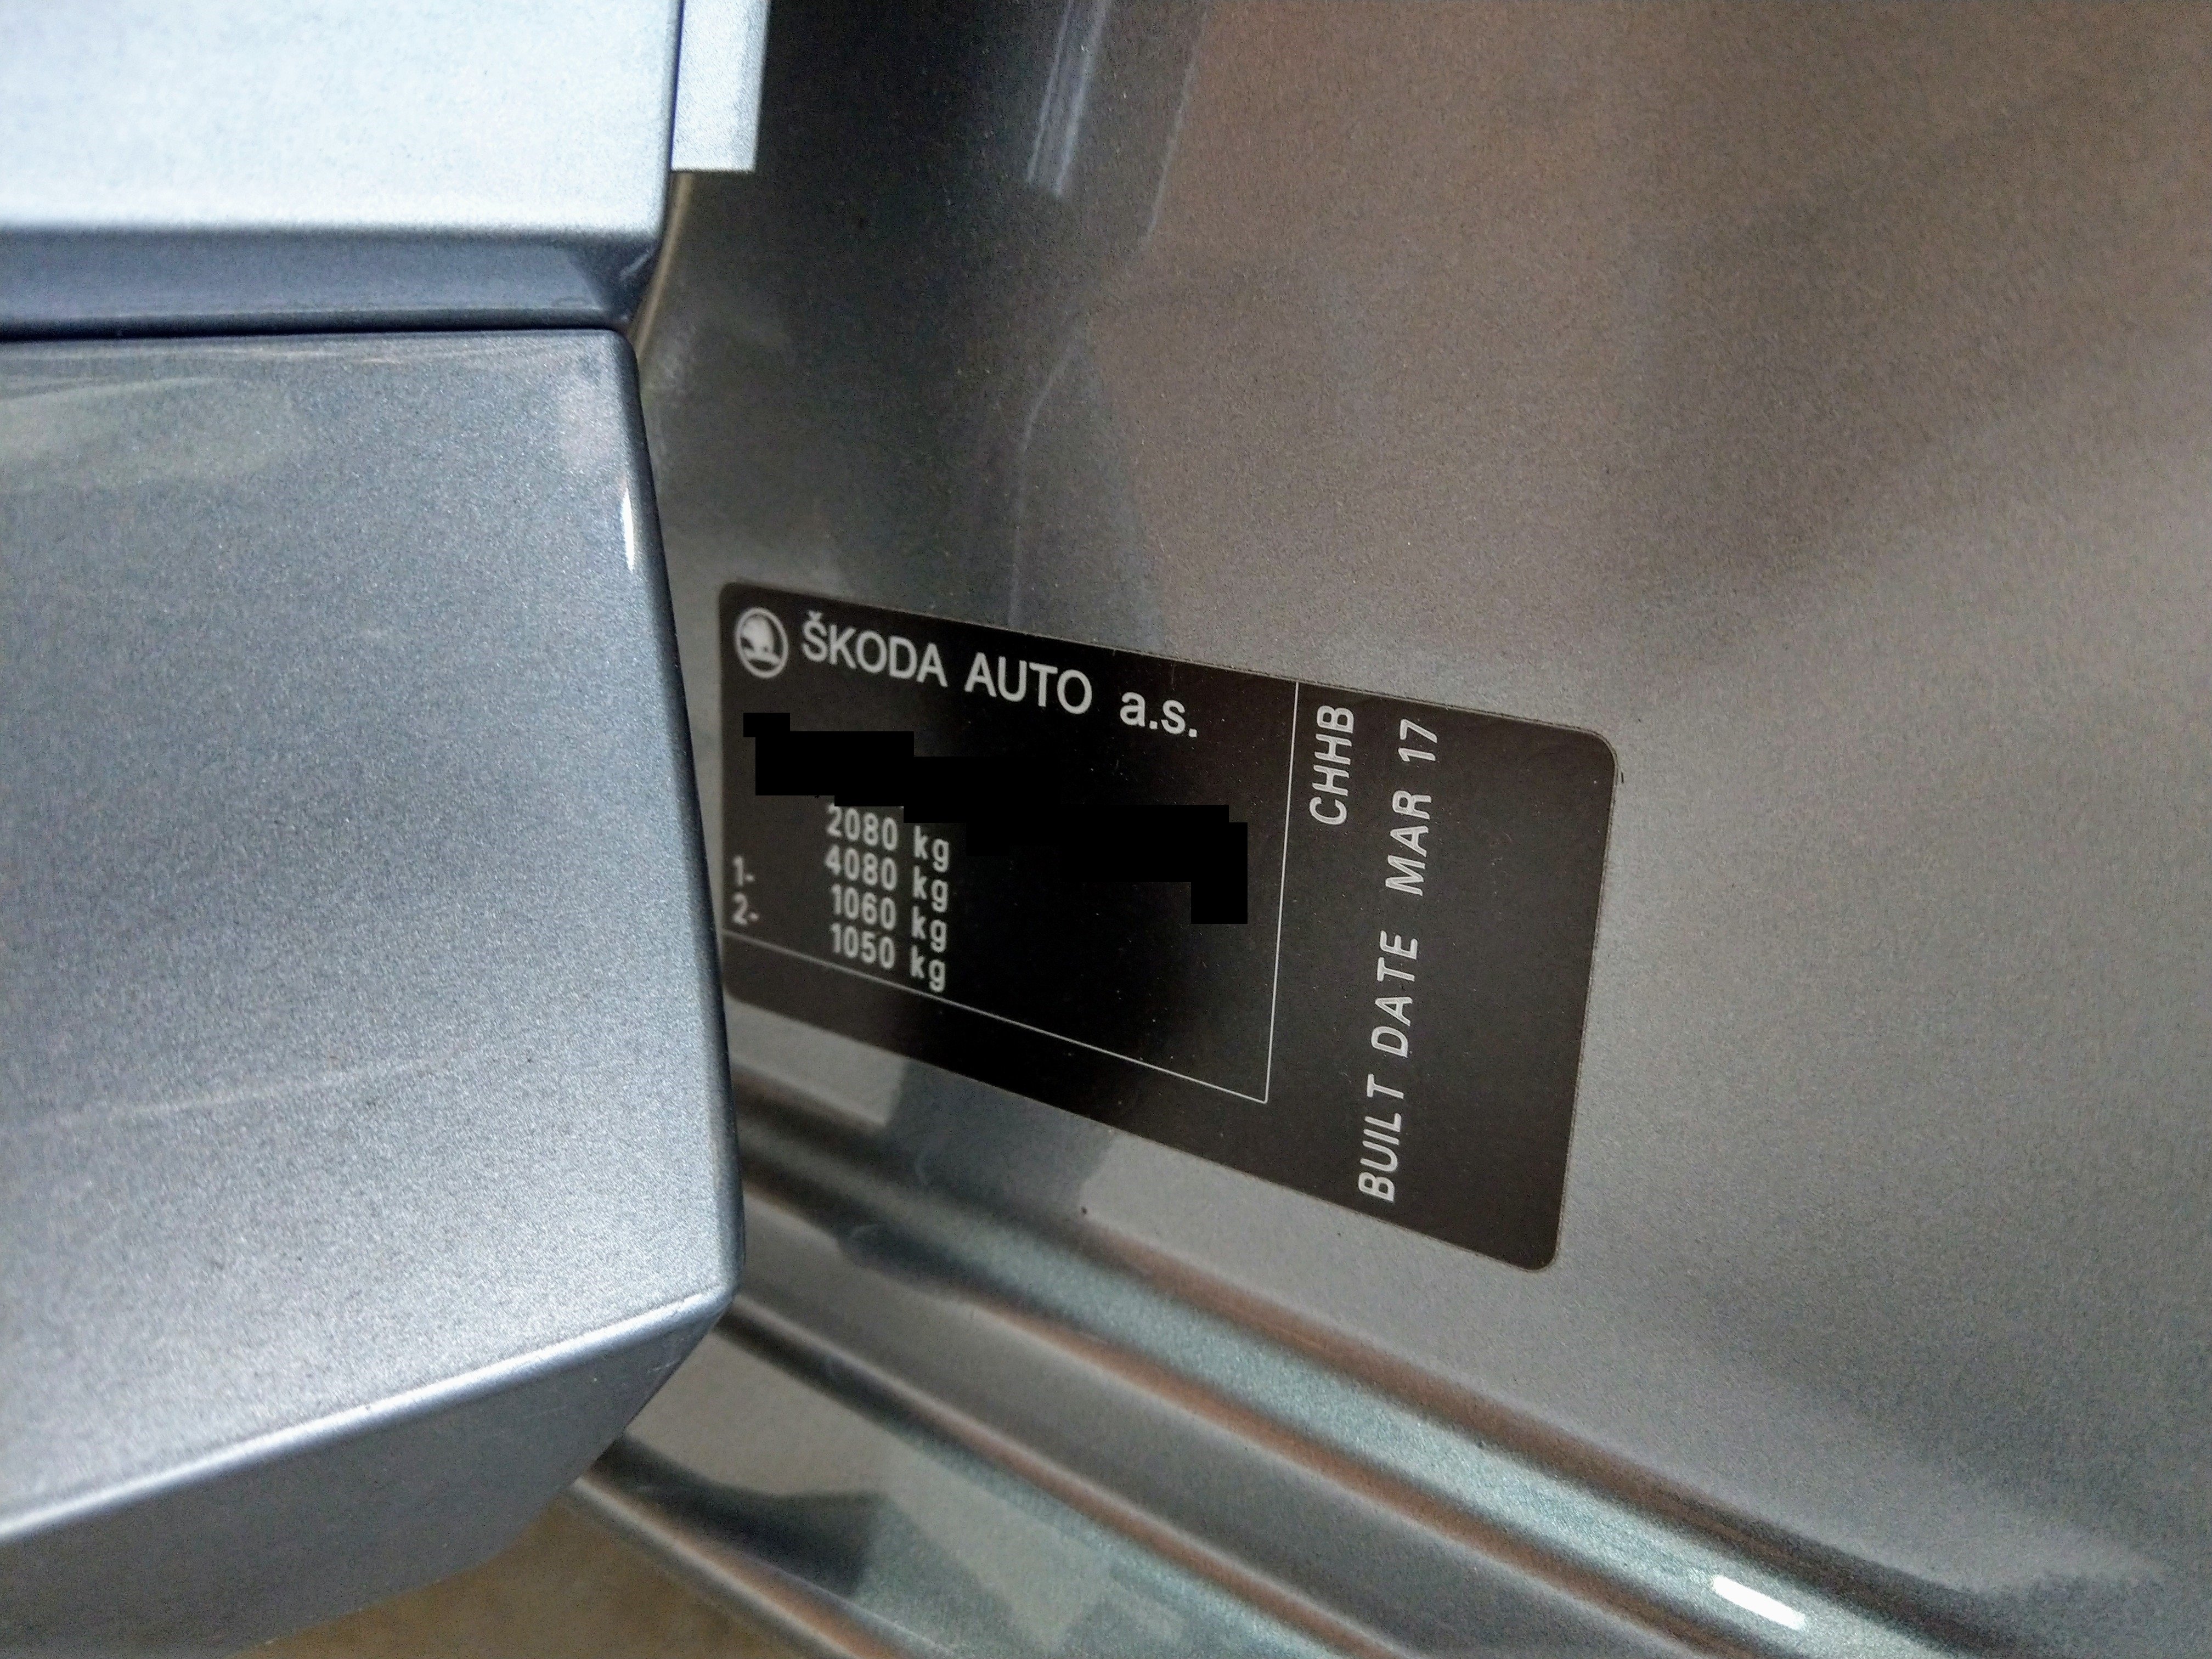
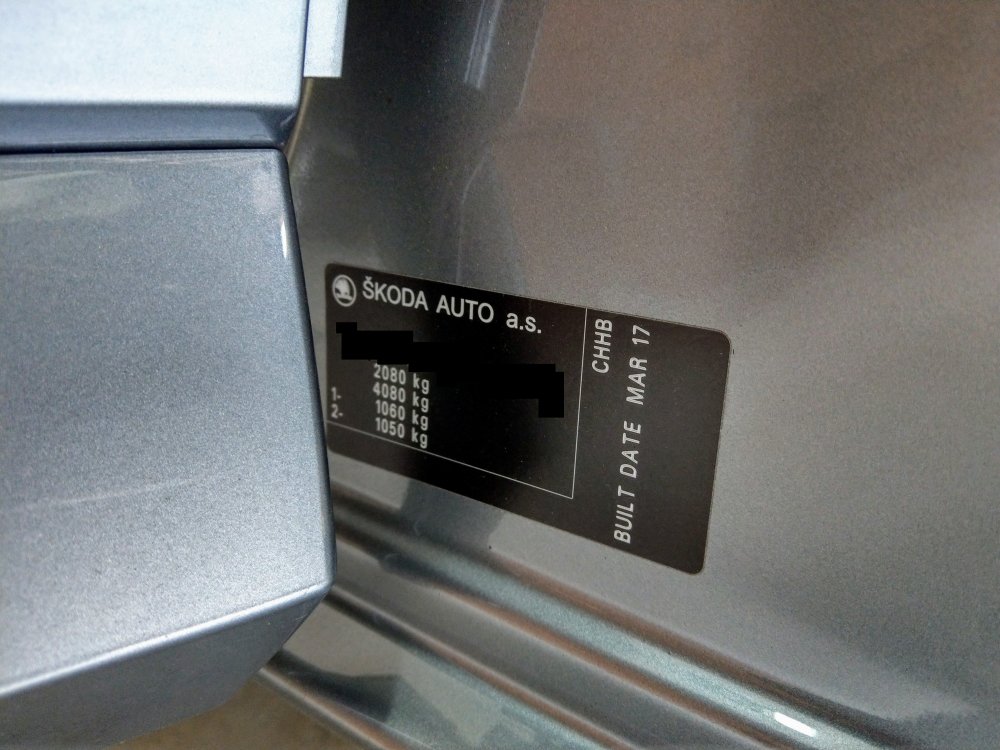
Open ur car door and look at the build plate - it tells u the engine code of ur car. In my case, it's CHHB.
-
Bad idea - I wouldn't do it for the reasons above.
-
I would say yes - MIB3 is a different system altogether, even the Canton setup is different to wat the MIB2/2.5 uses.
-
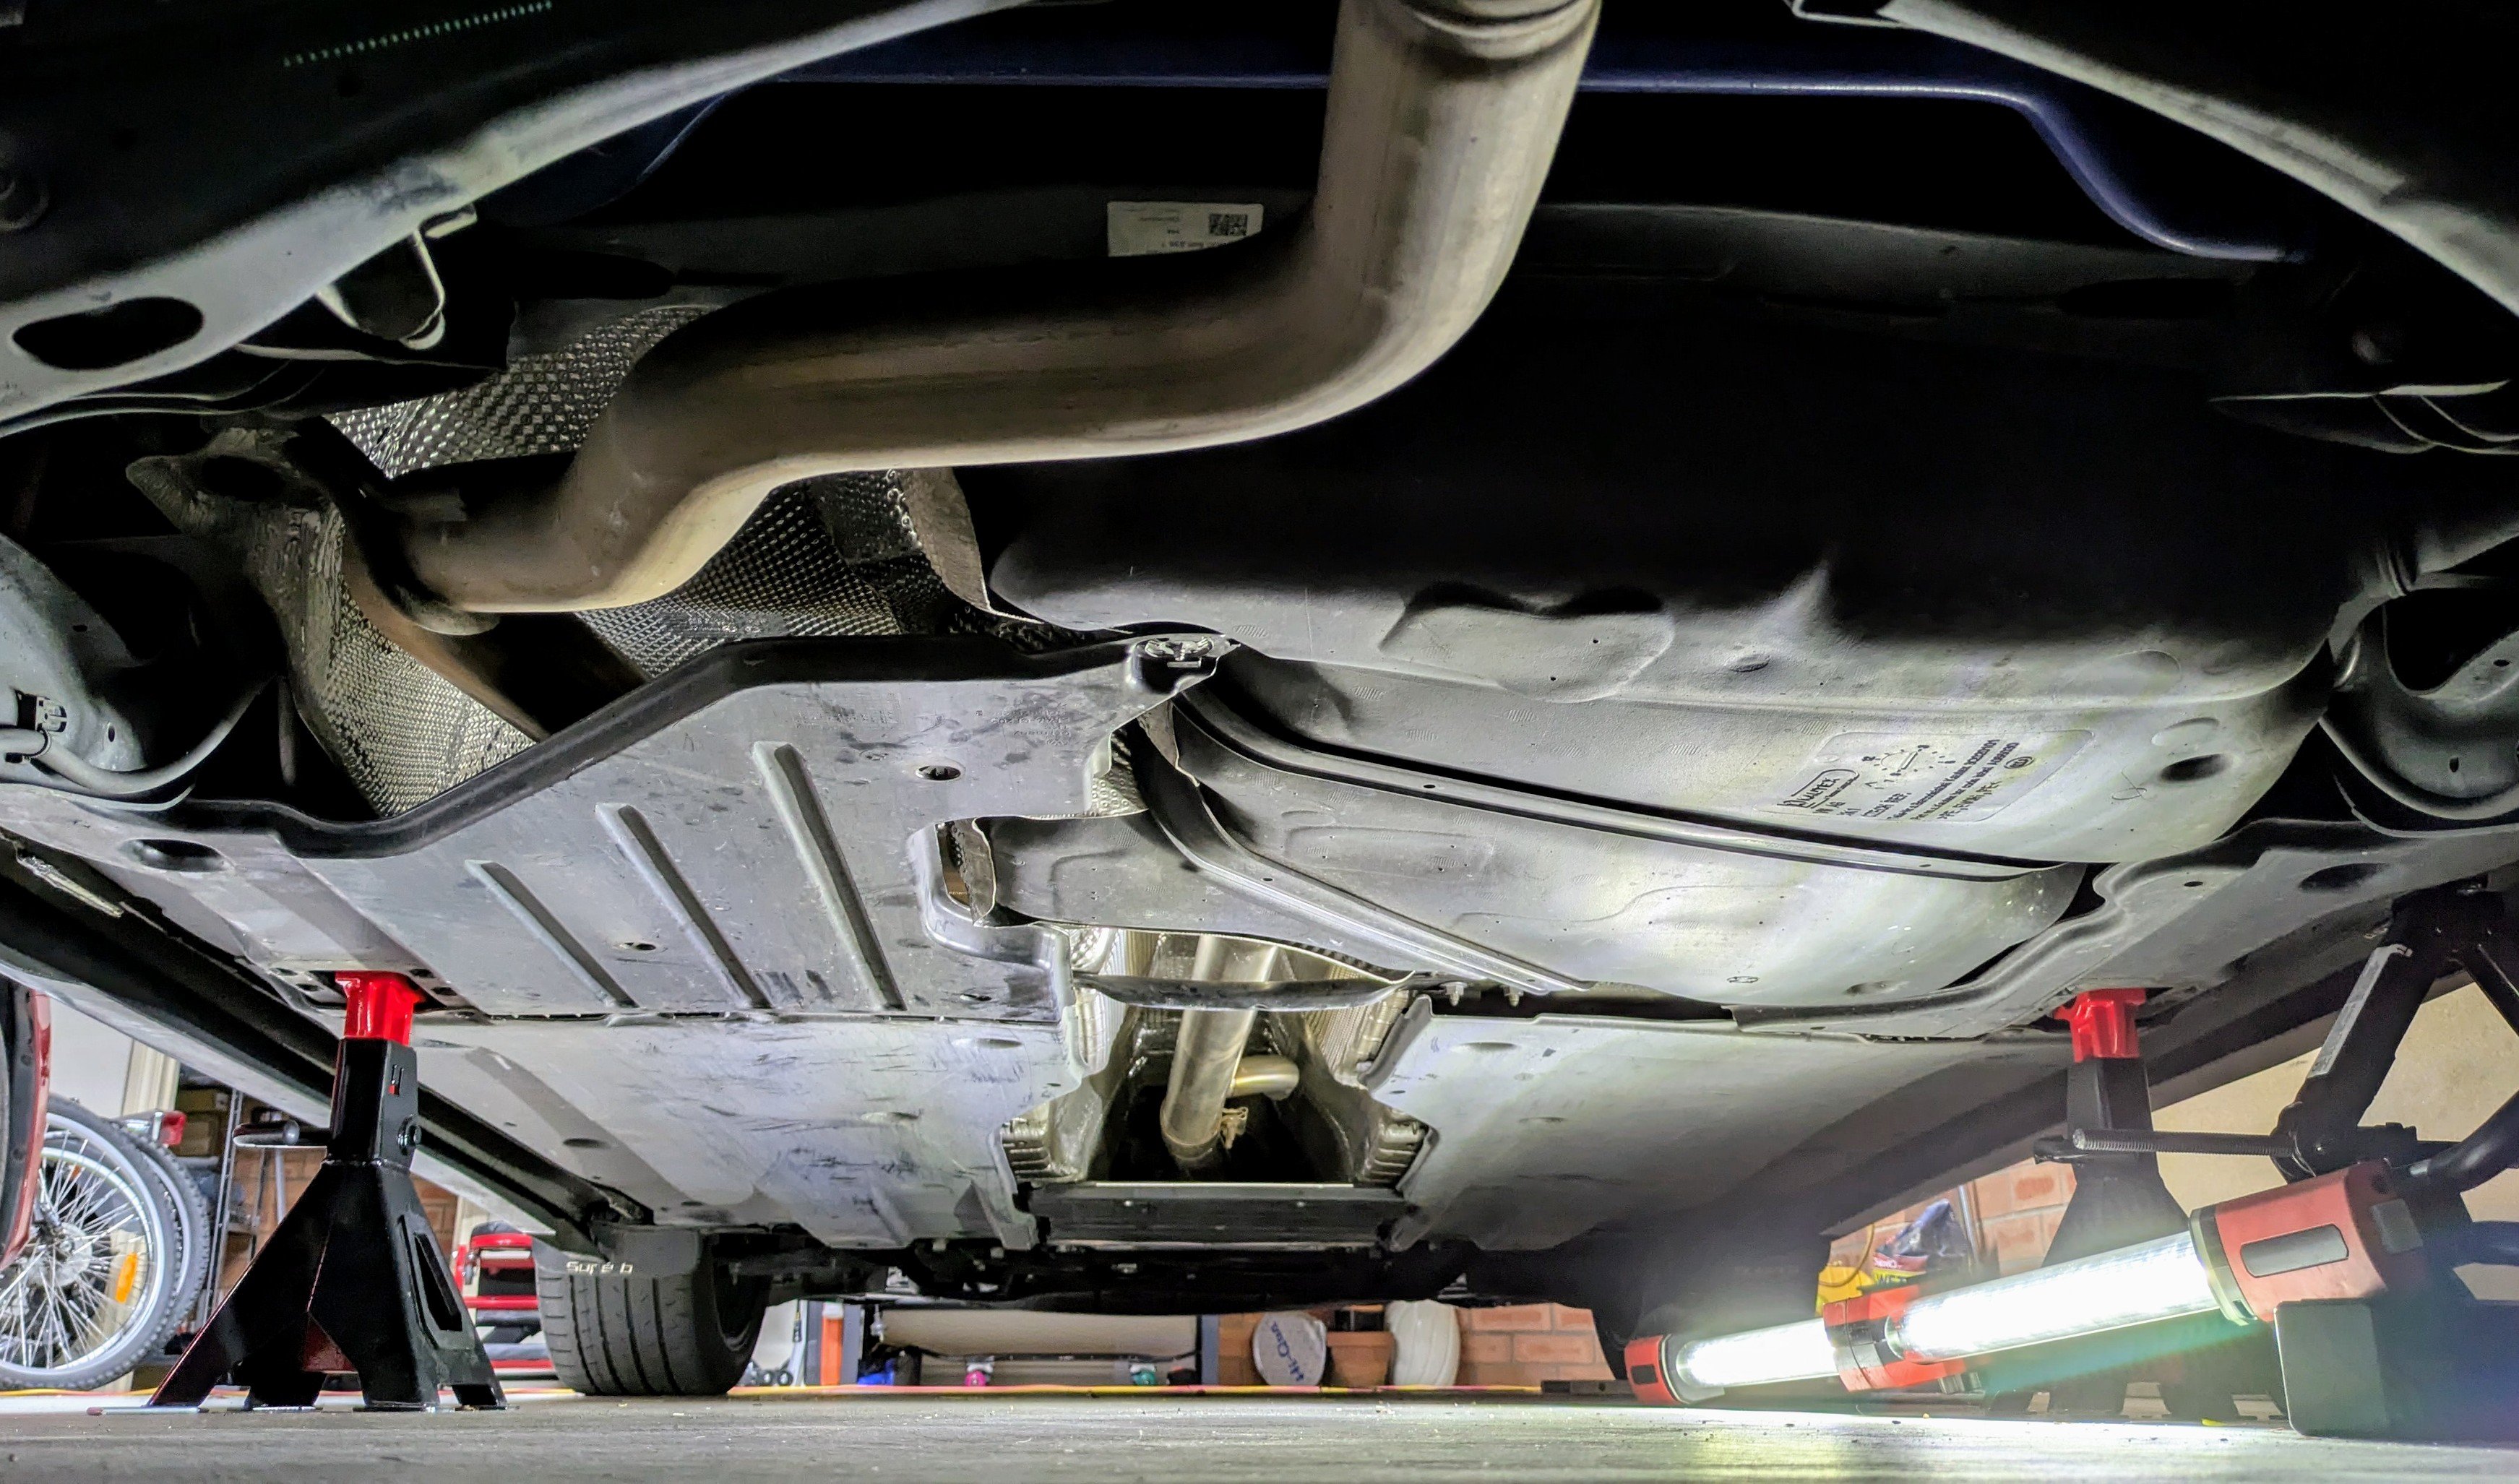
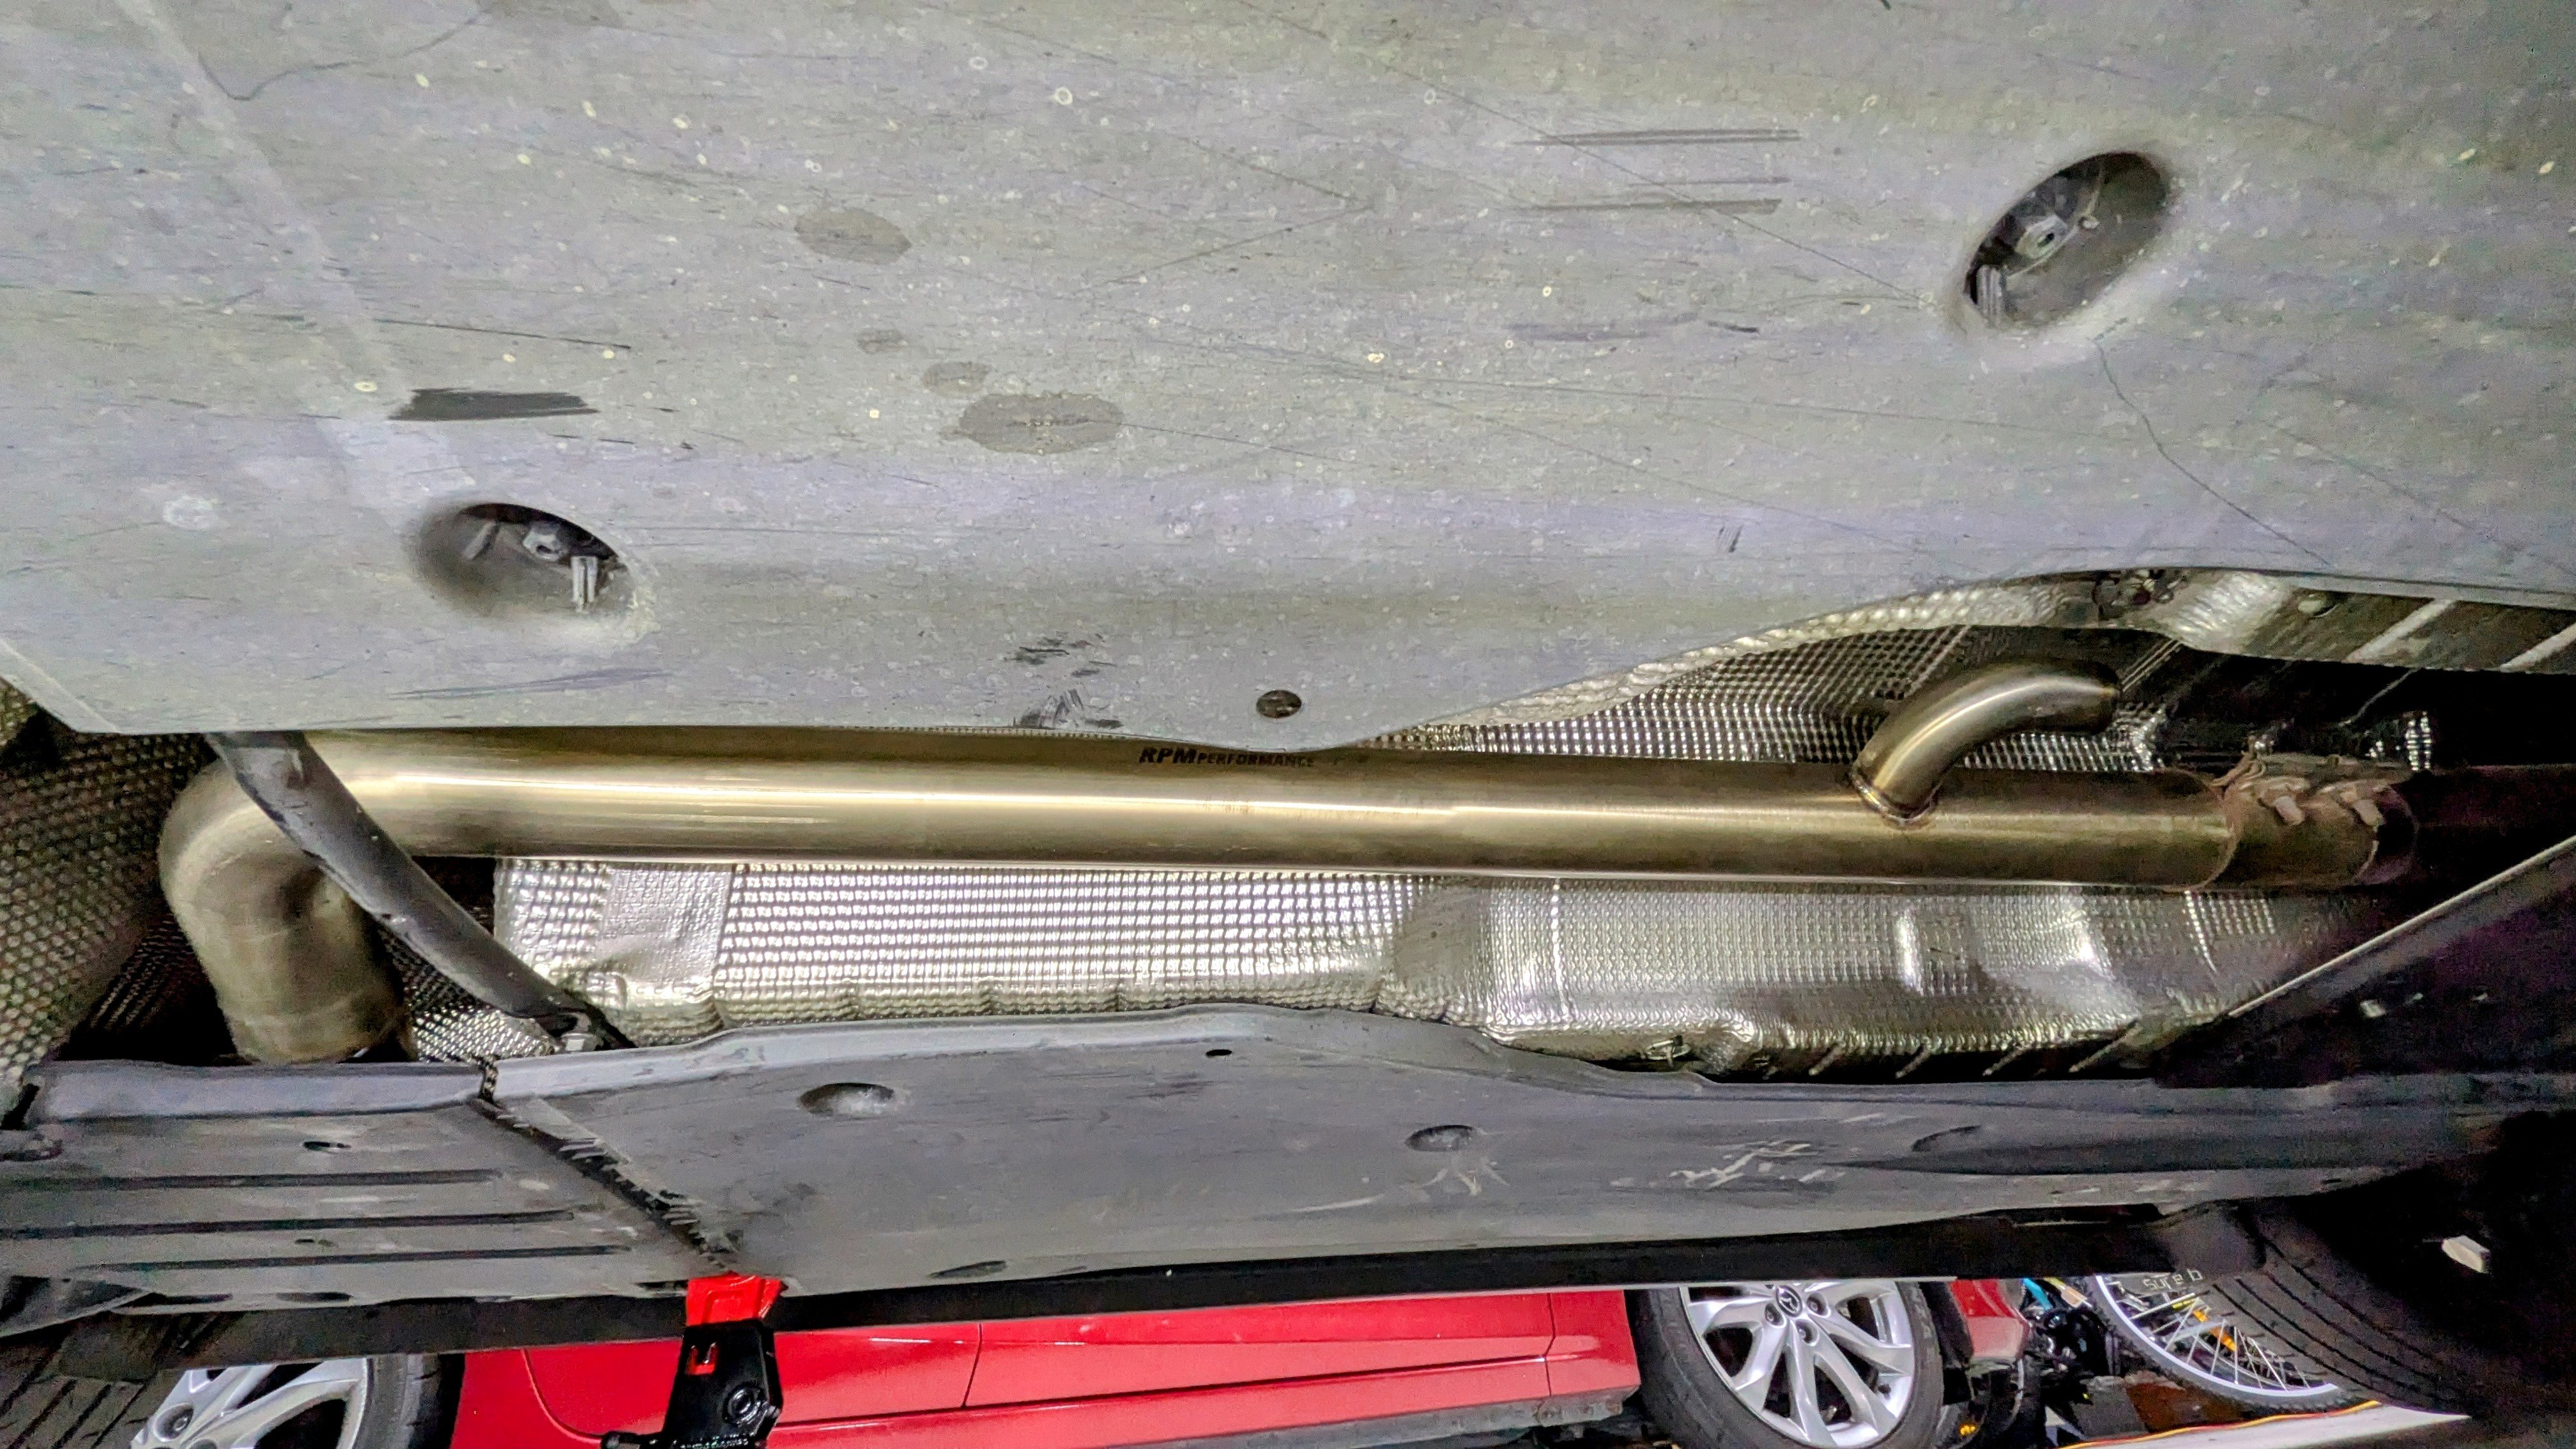
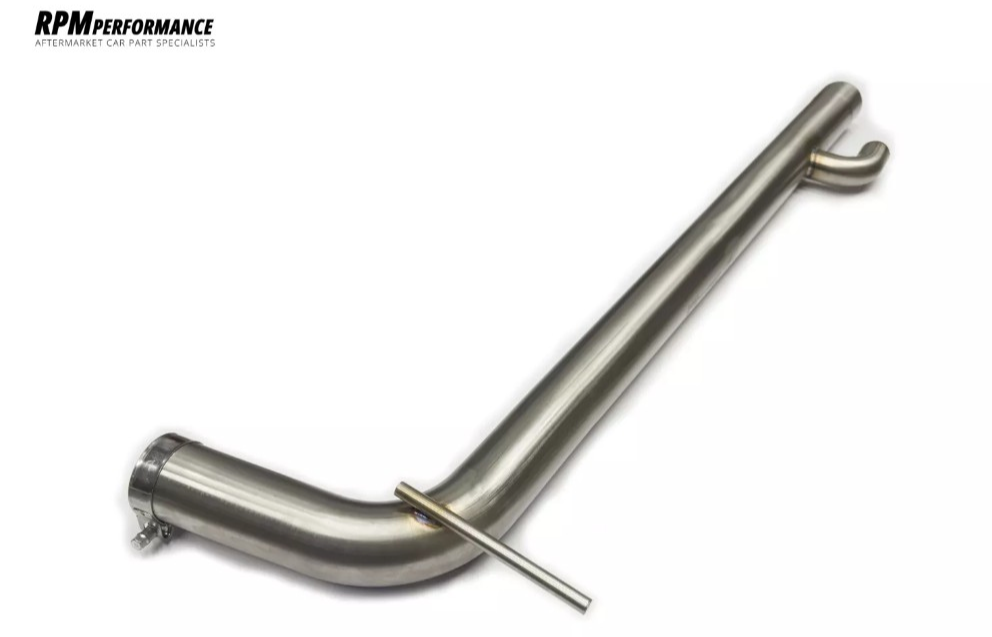
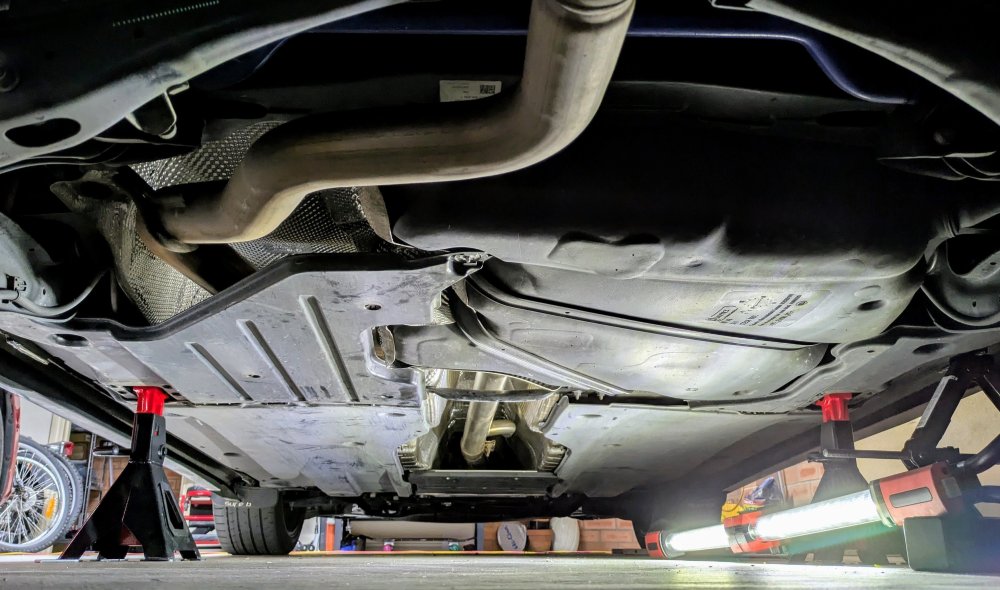
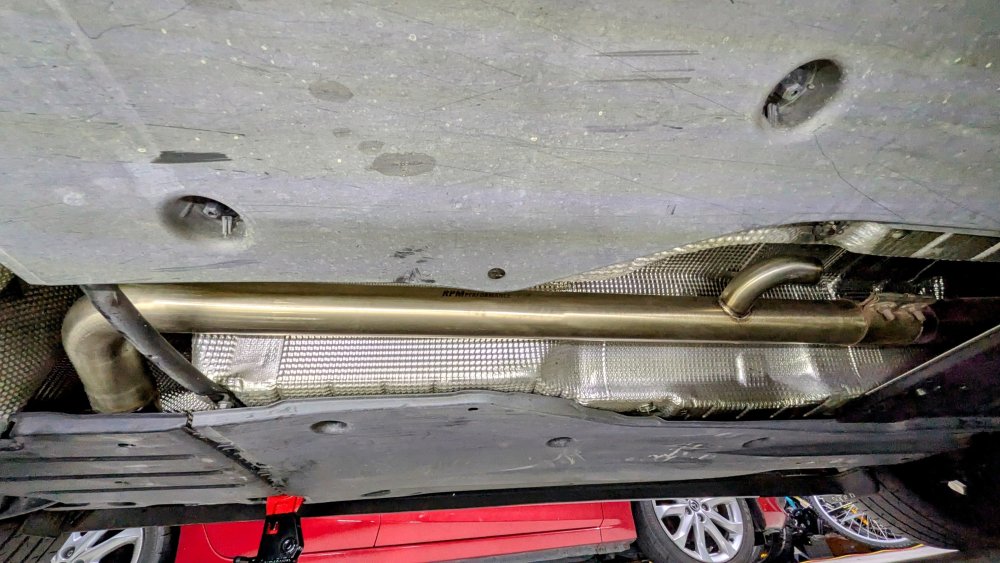
I did a centre resonator delete recently on my 220 petrol Superb - got an RPM Performance Resonator Delete Anti-drone pipe. It's made for the mk3 Octavia TSi. Good fit. Makes a nice little difference, nothing obnoxious, and best bit - no drone at all, even at highway/freeway speeds. Installed.... Video comparison....
-
looks like it, yes.
-
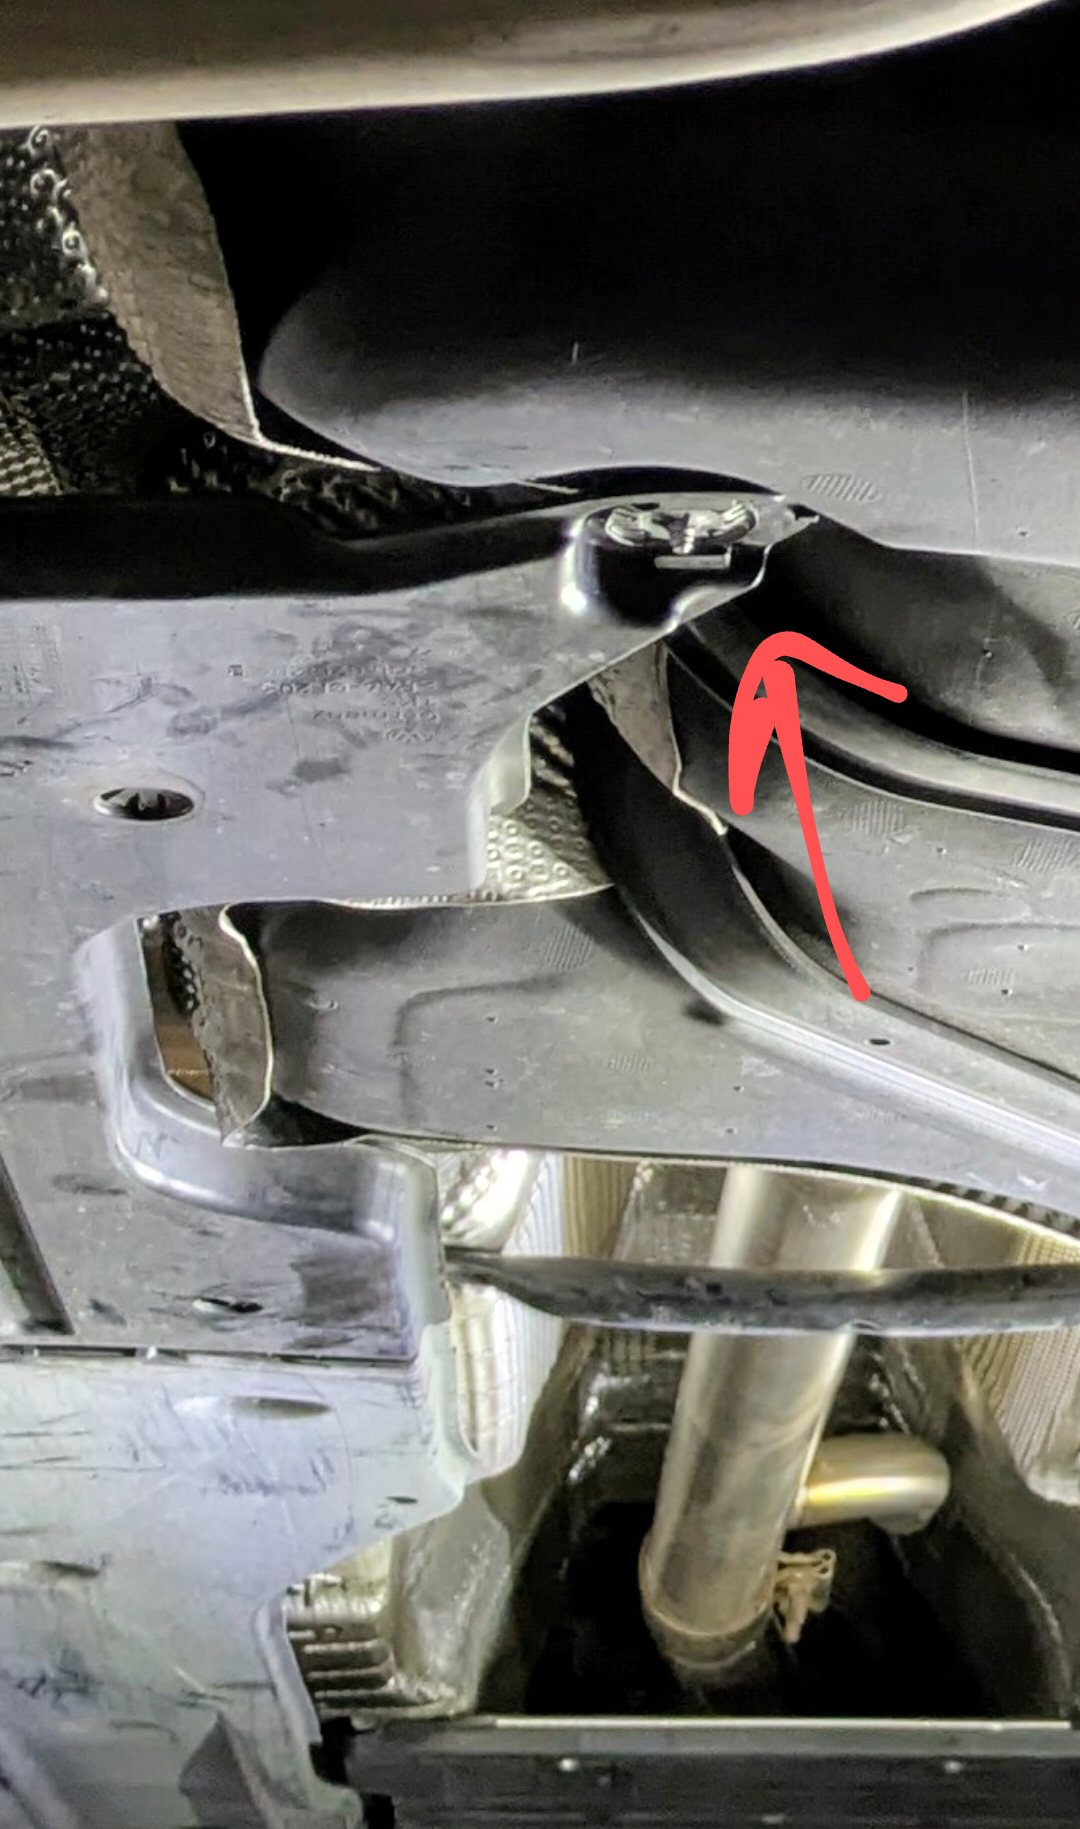
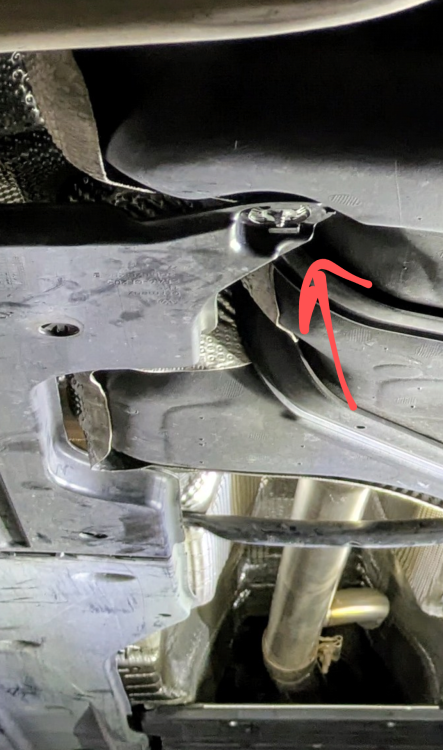
It should b a metal screw that pairs with that. It slots into the plastic undertray, which then screws onto that. Pic below is not great, but it gives u an idea of it.
-
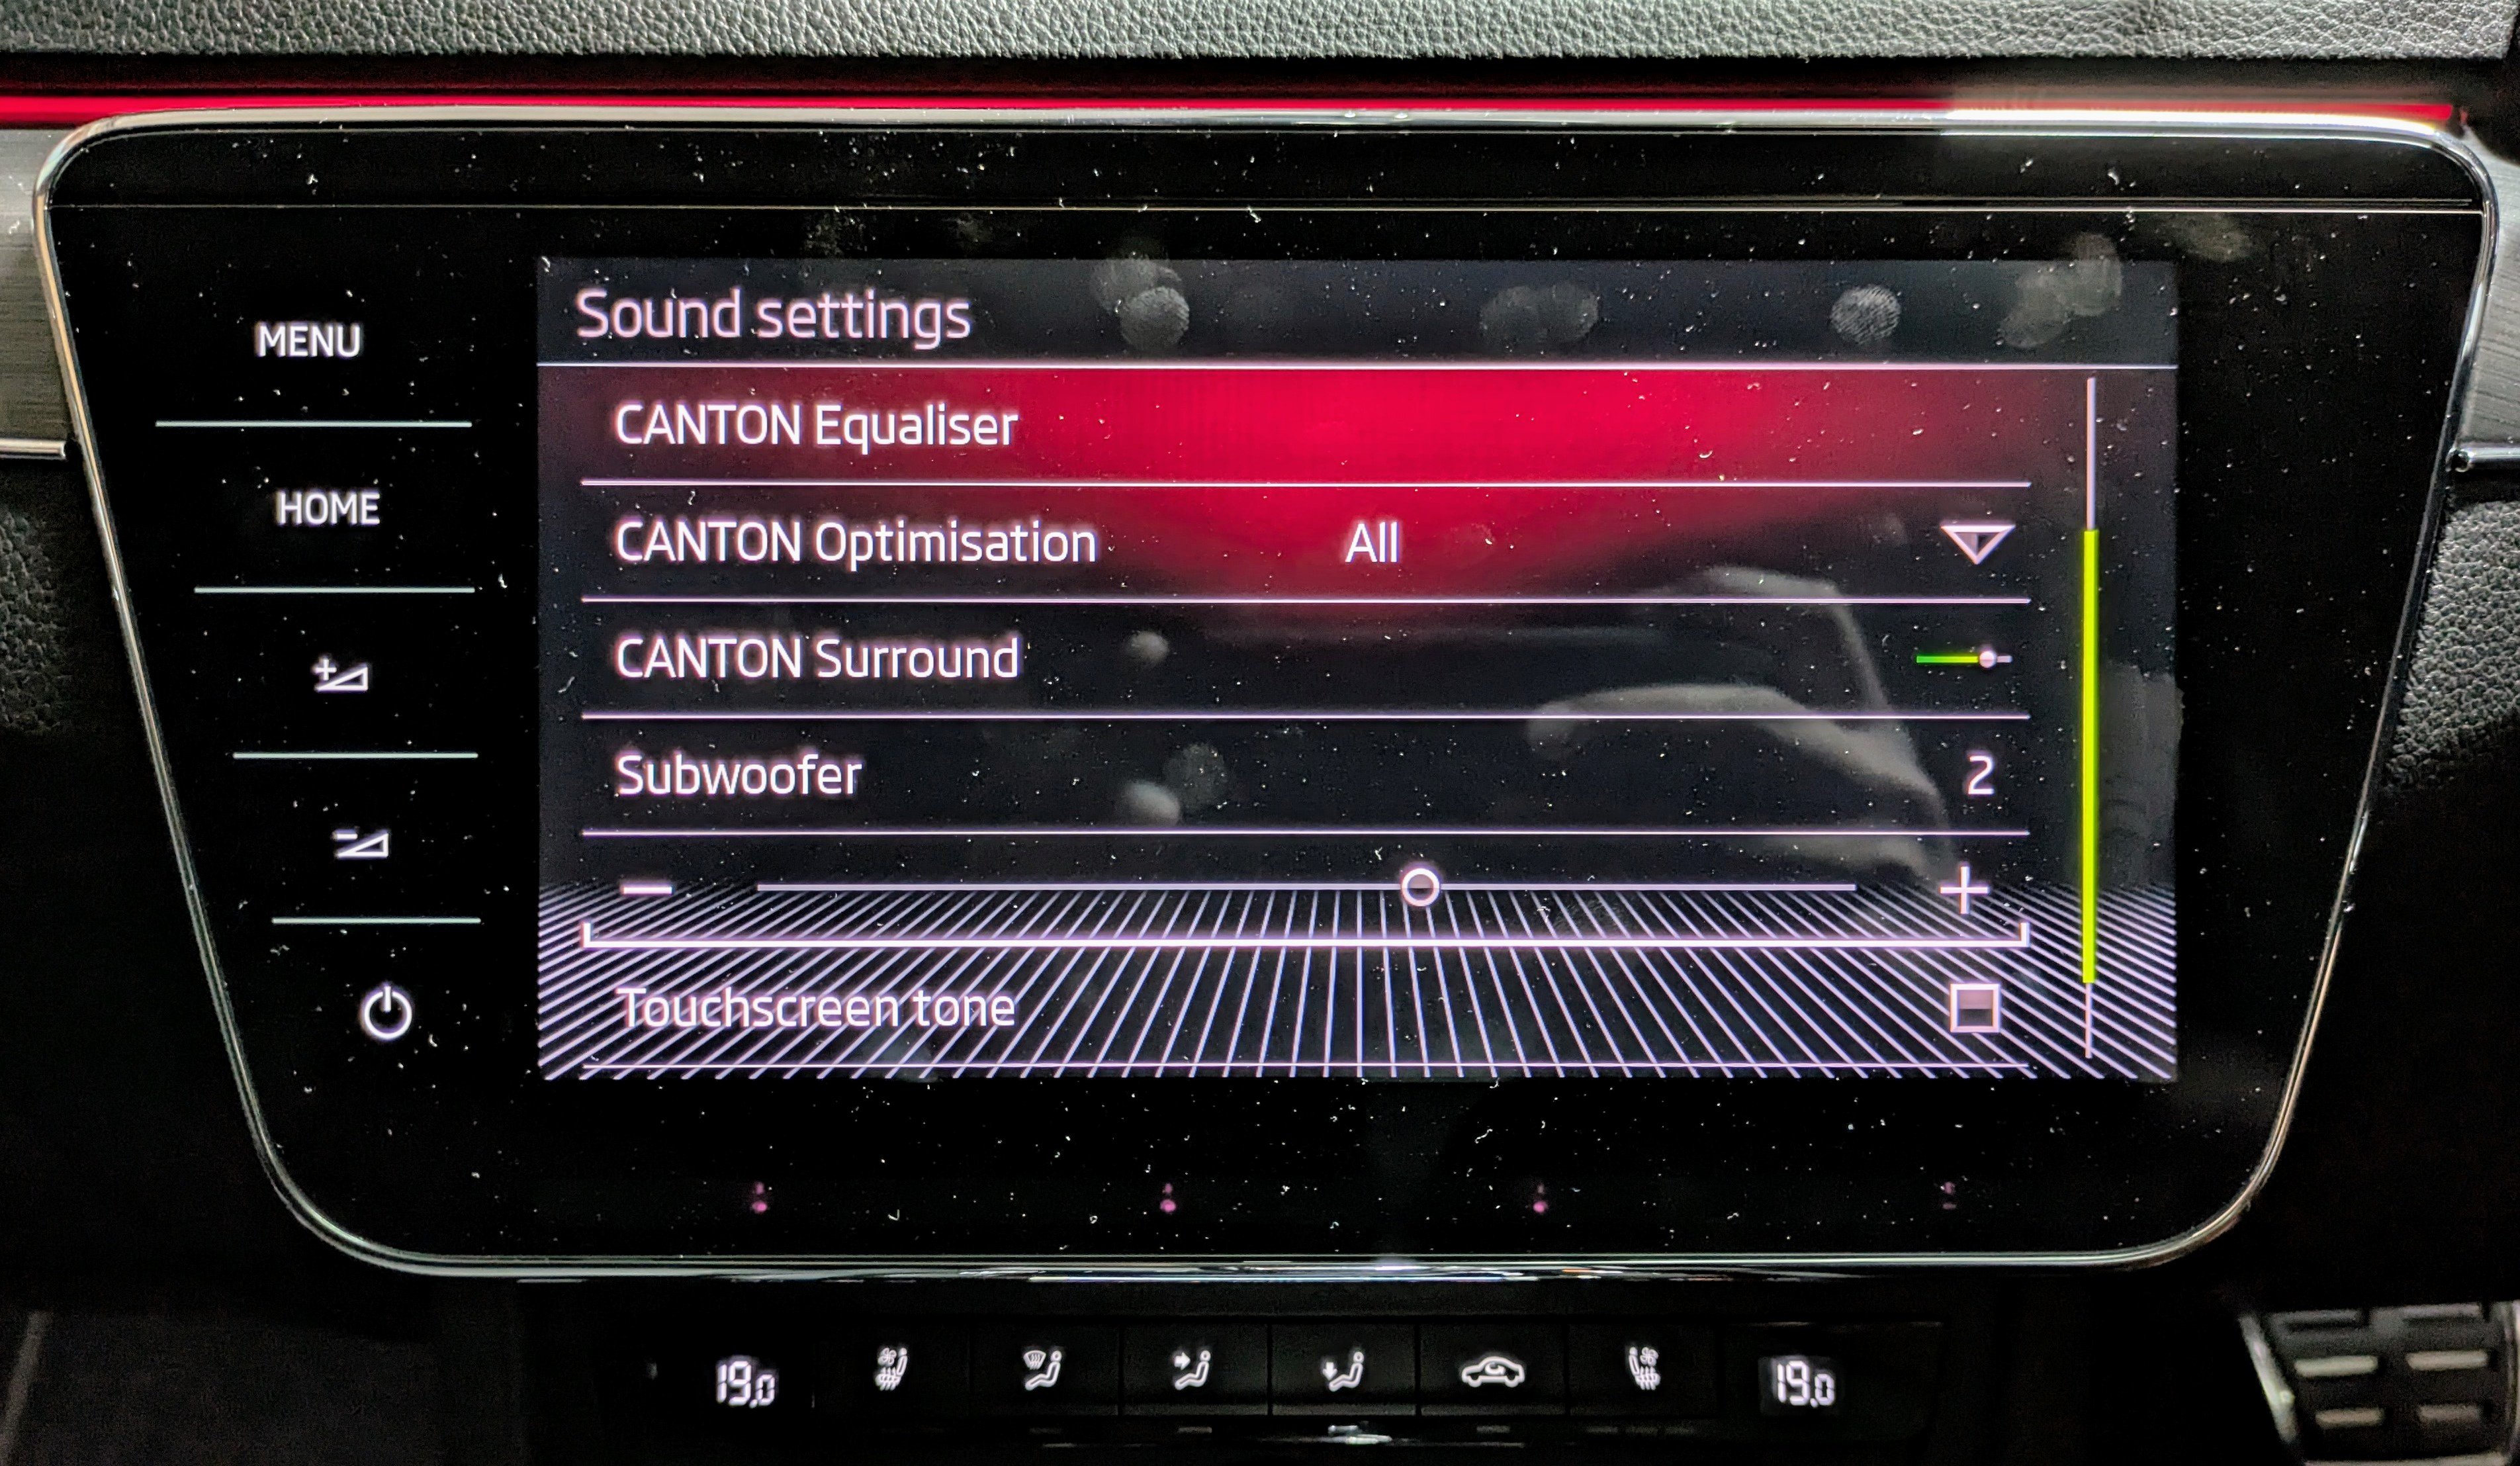
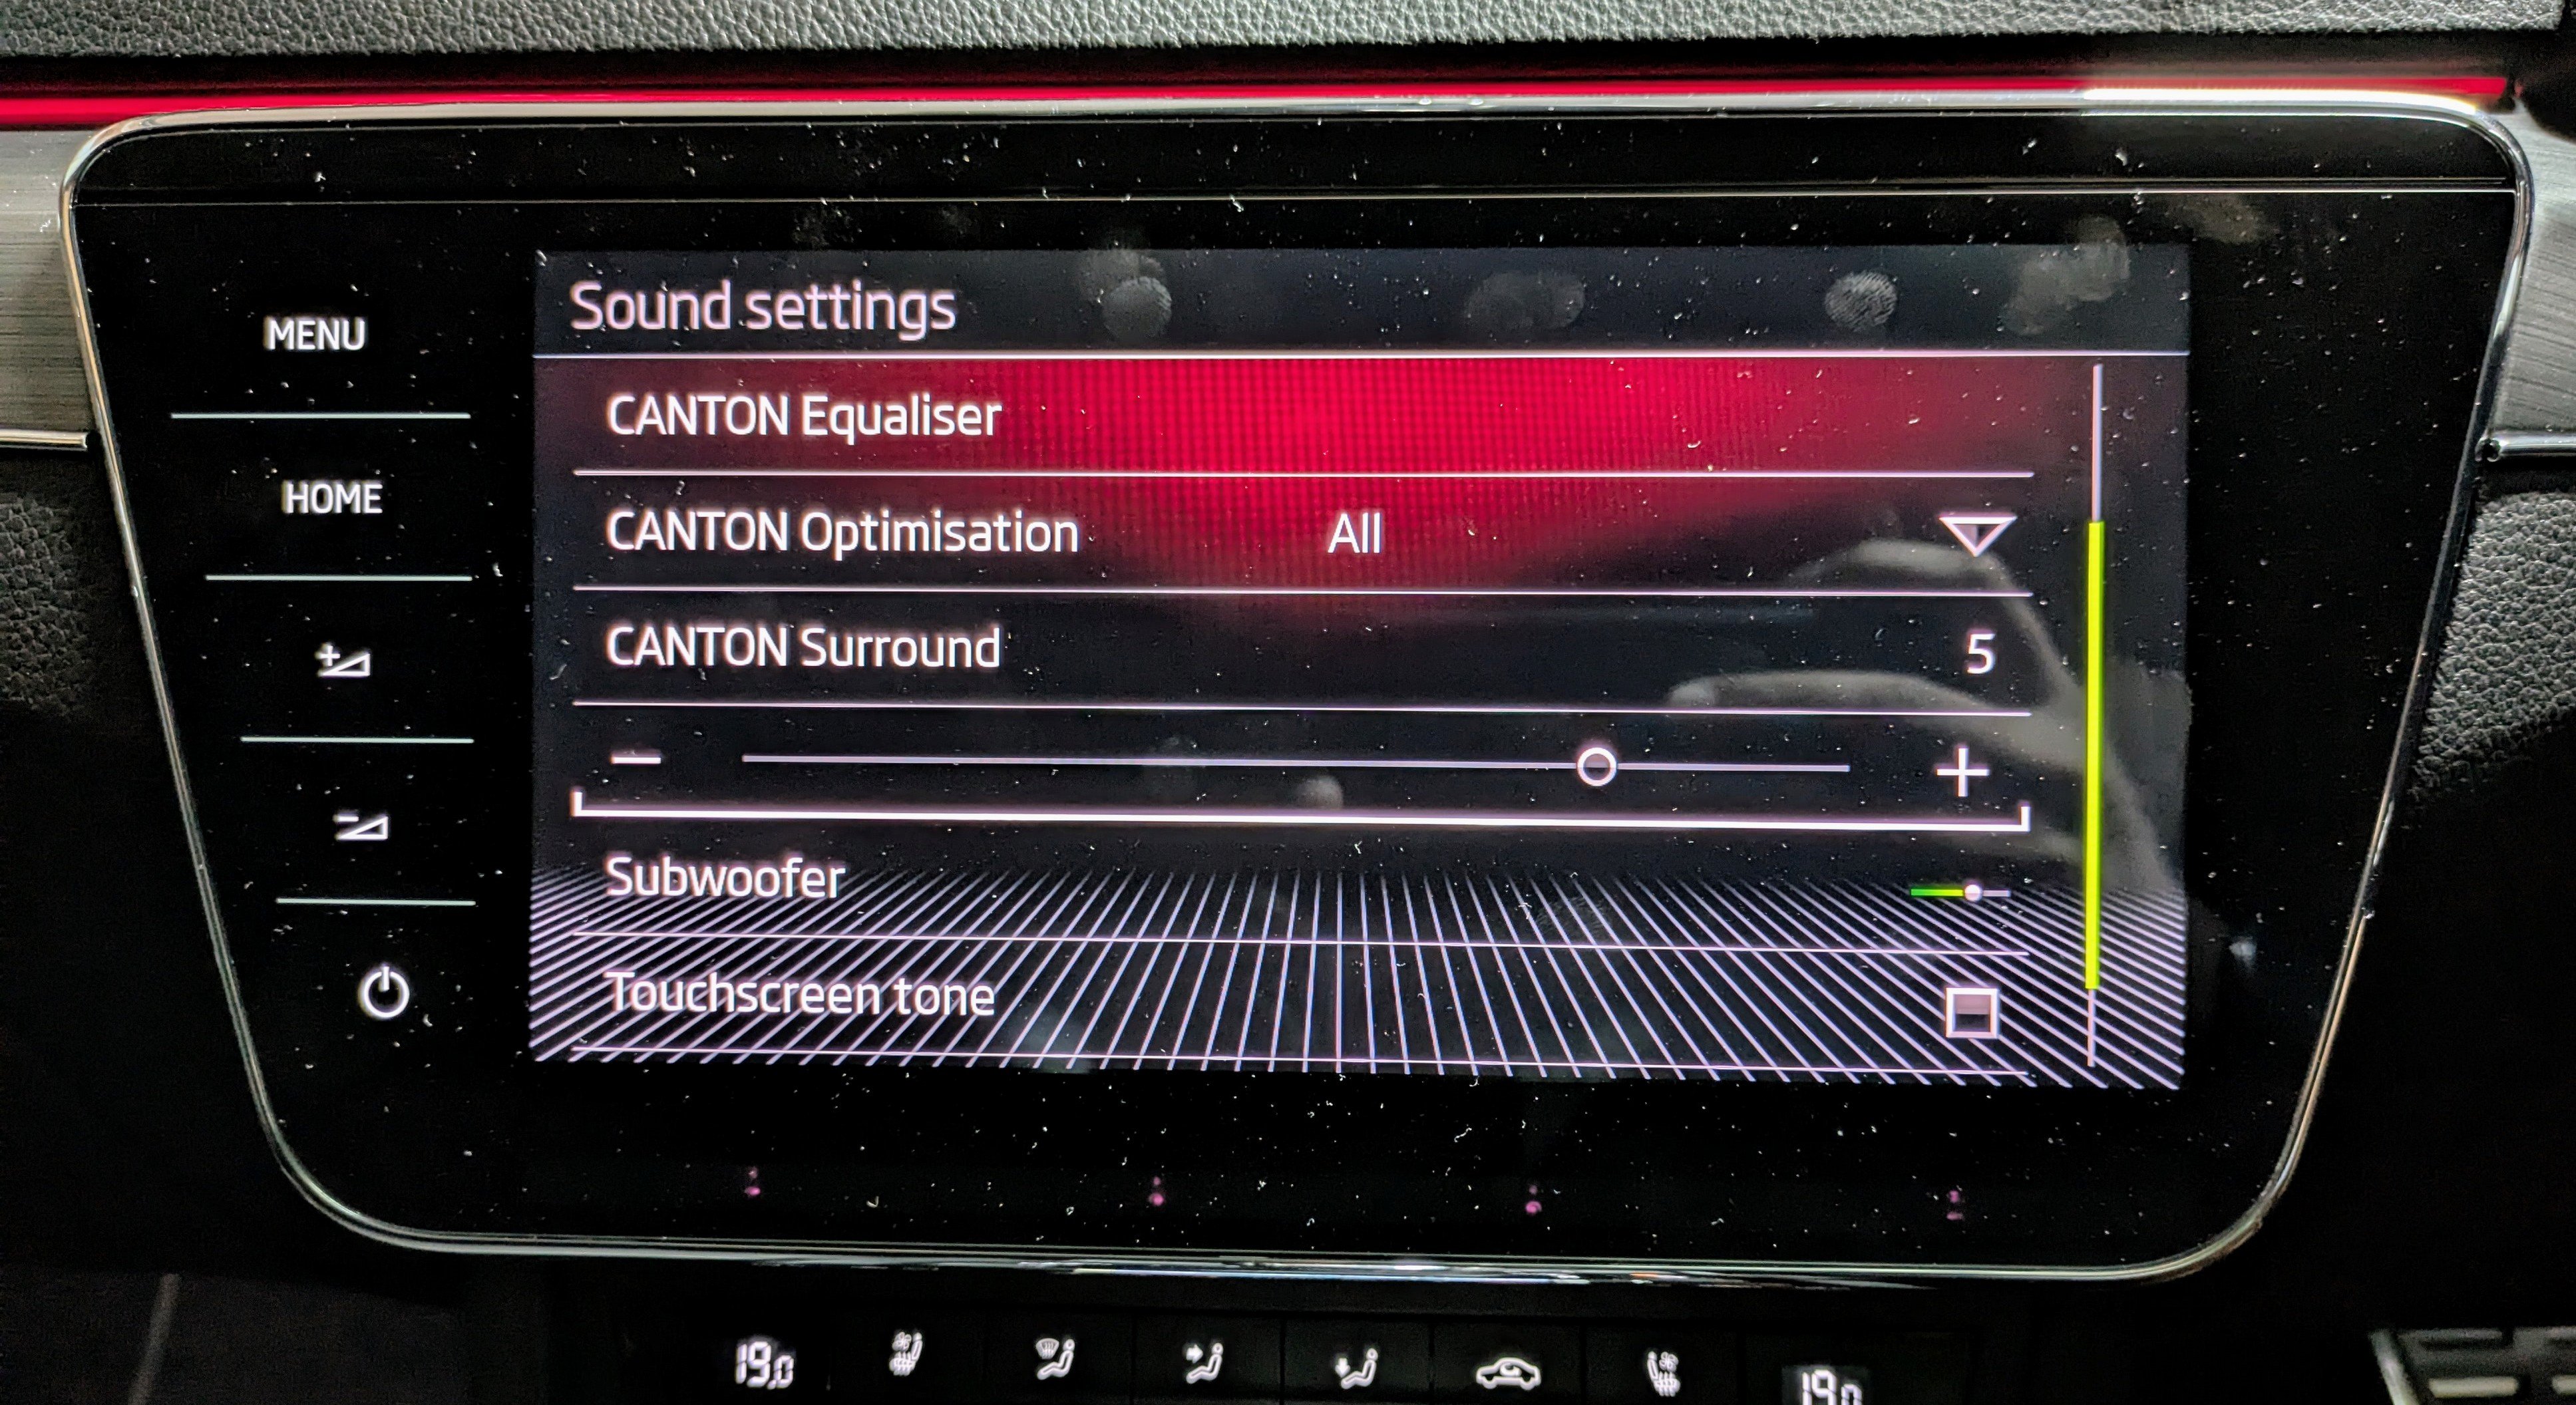
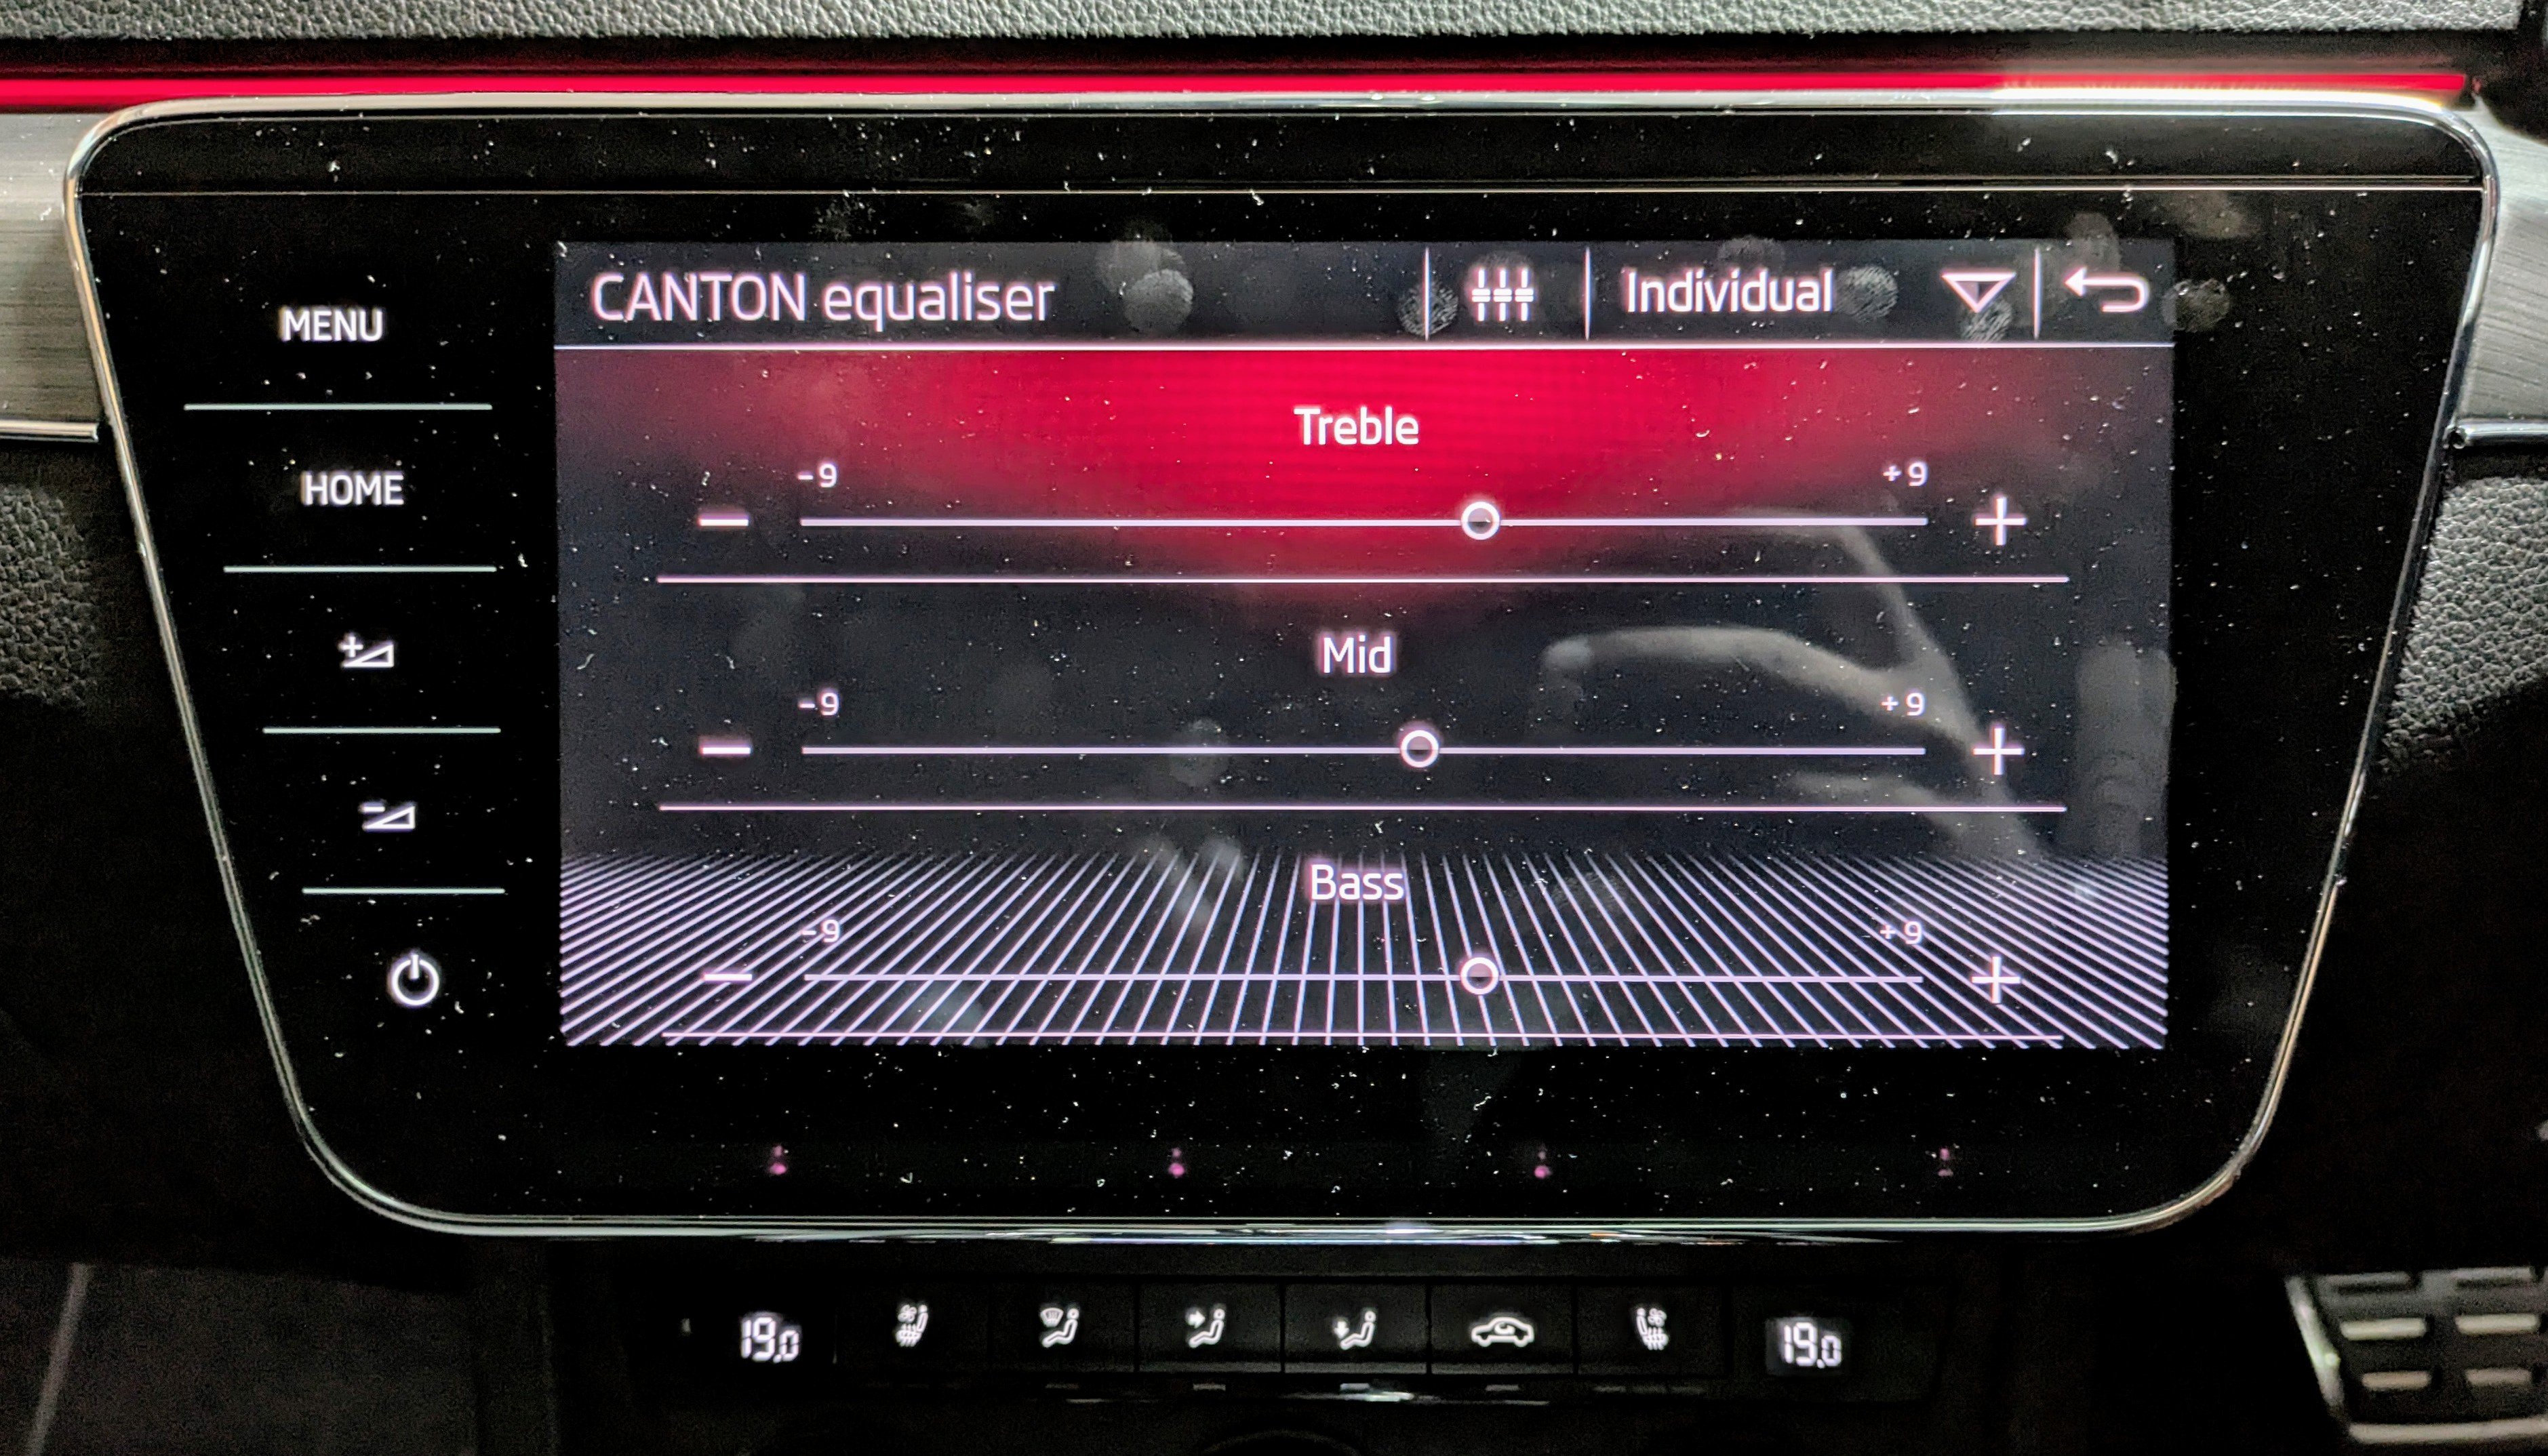
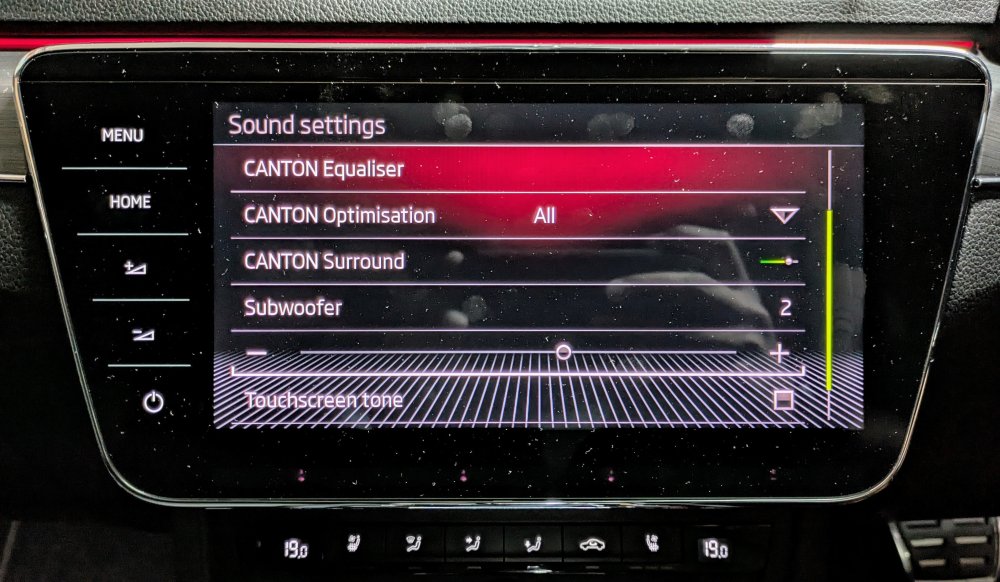
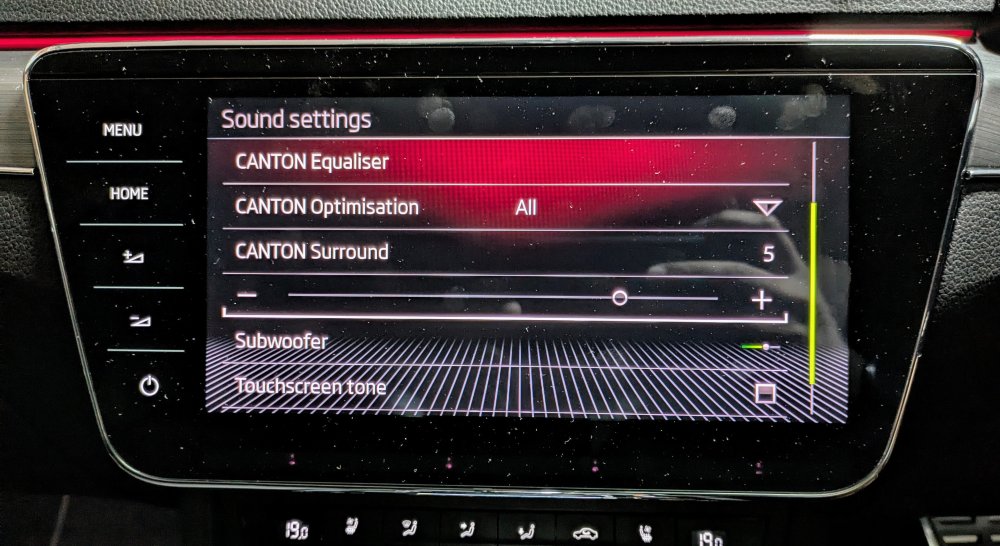
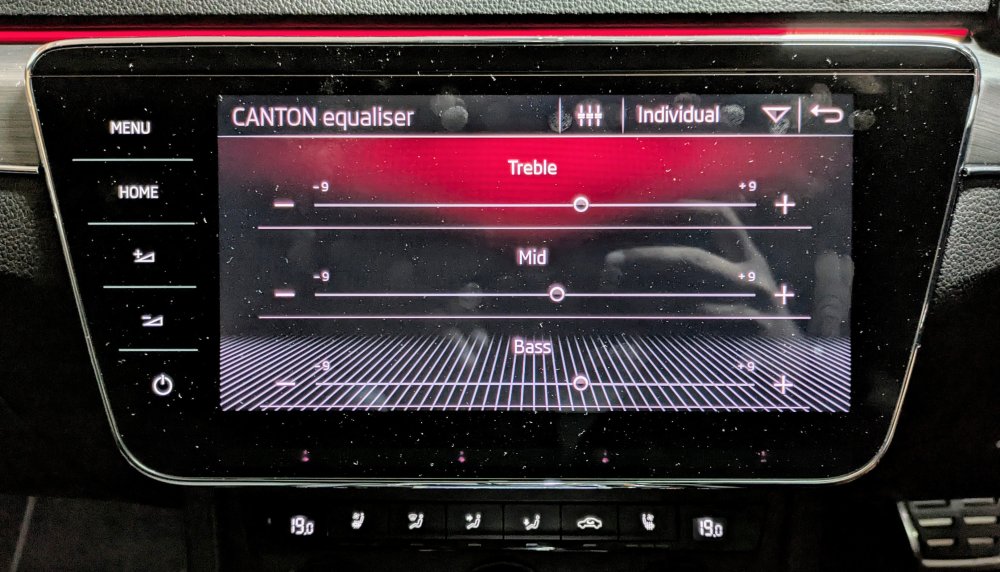
These r the settings on my Canton. I'm really happy with this setup. 95% of the time I'm playing music on Spotify. Sub Surround... Equalizer...
-
These r the settings on my Canton.... Sub is on +2 Surround is on +5 Equalizer
-
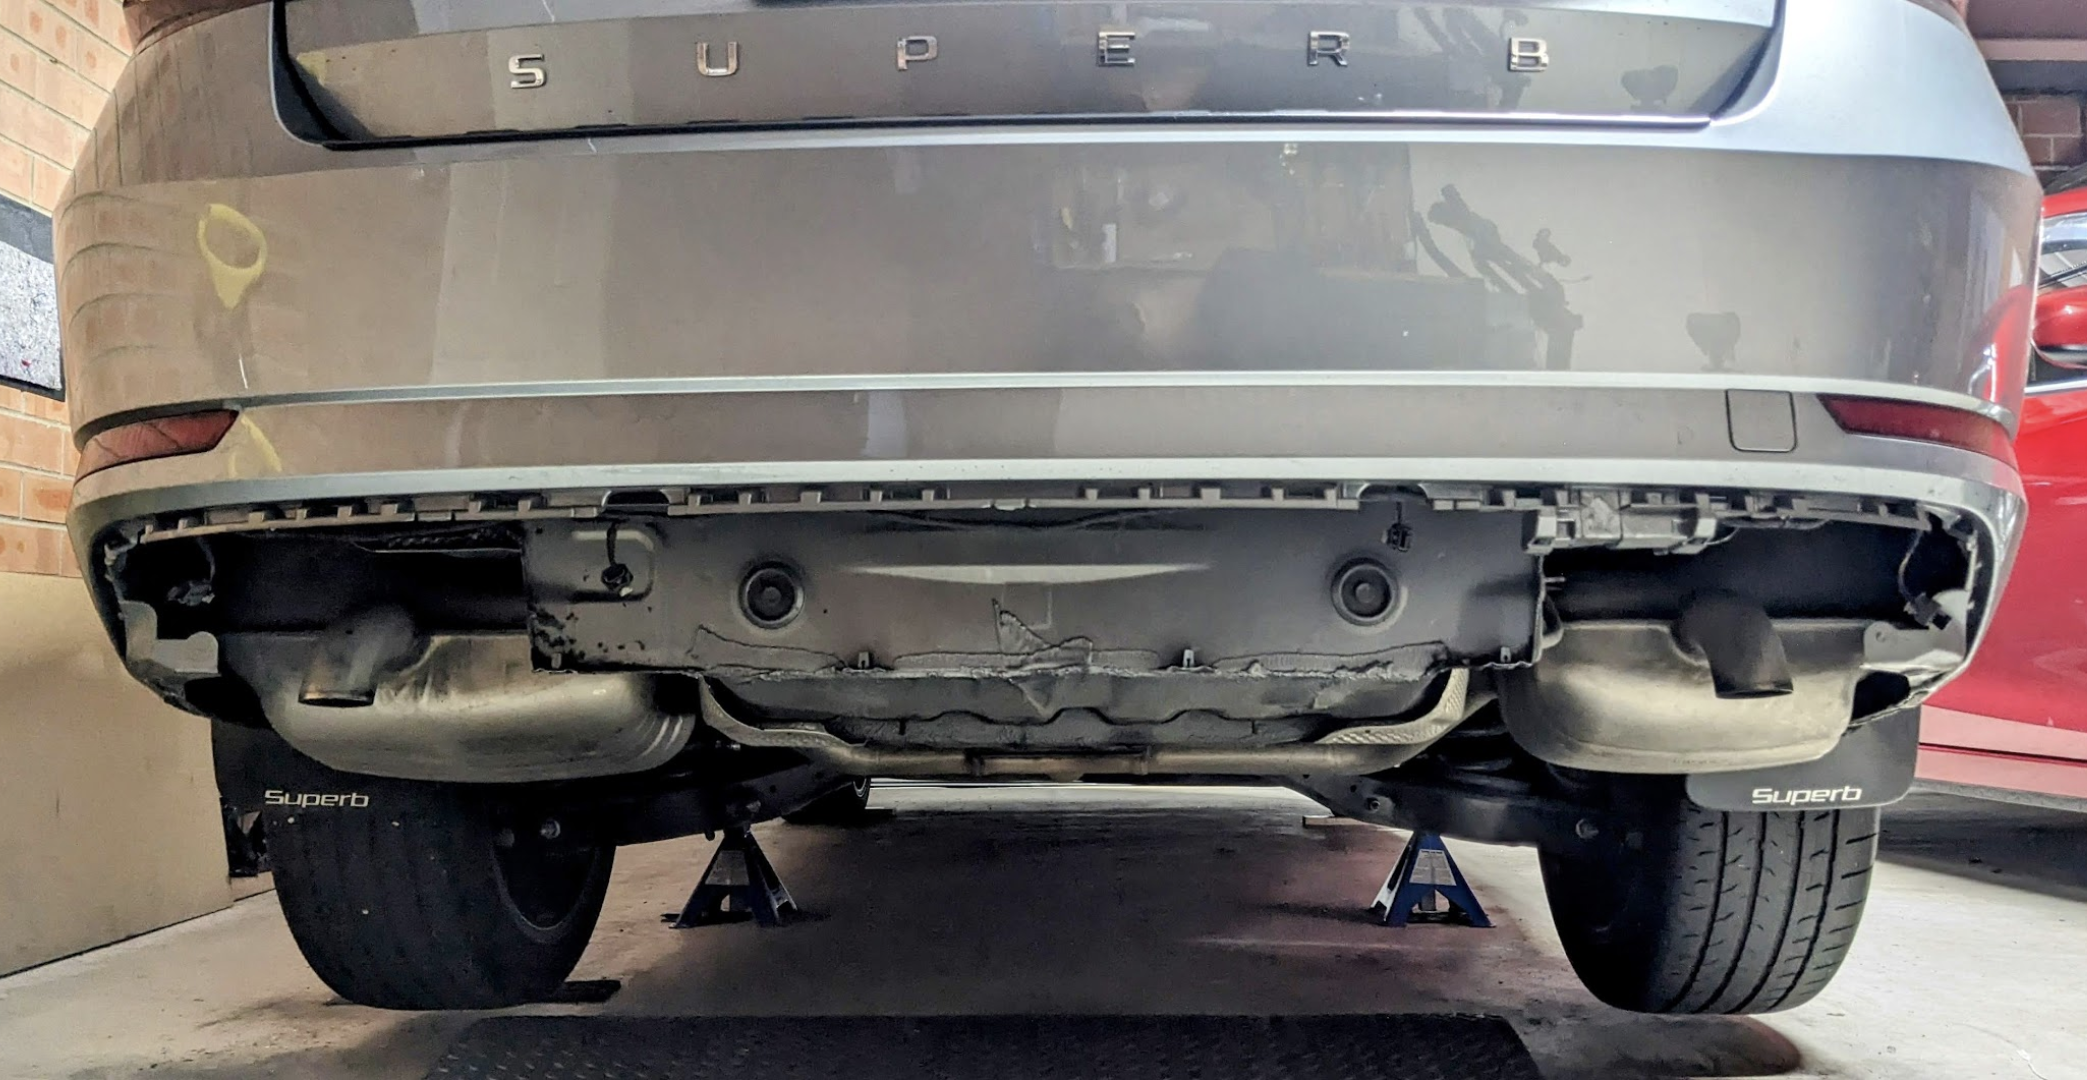
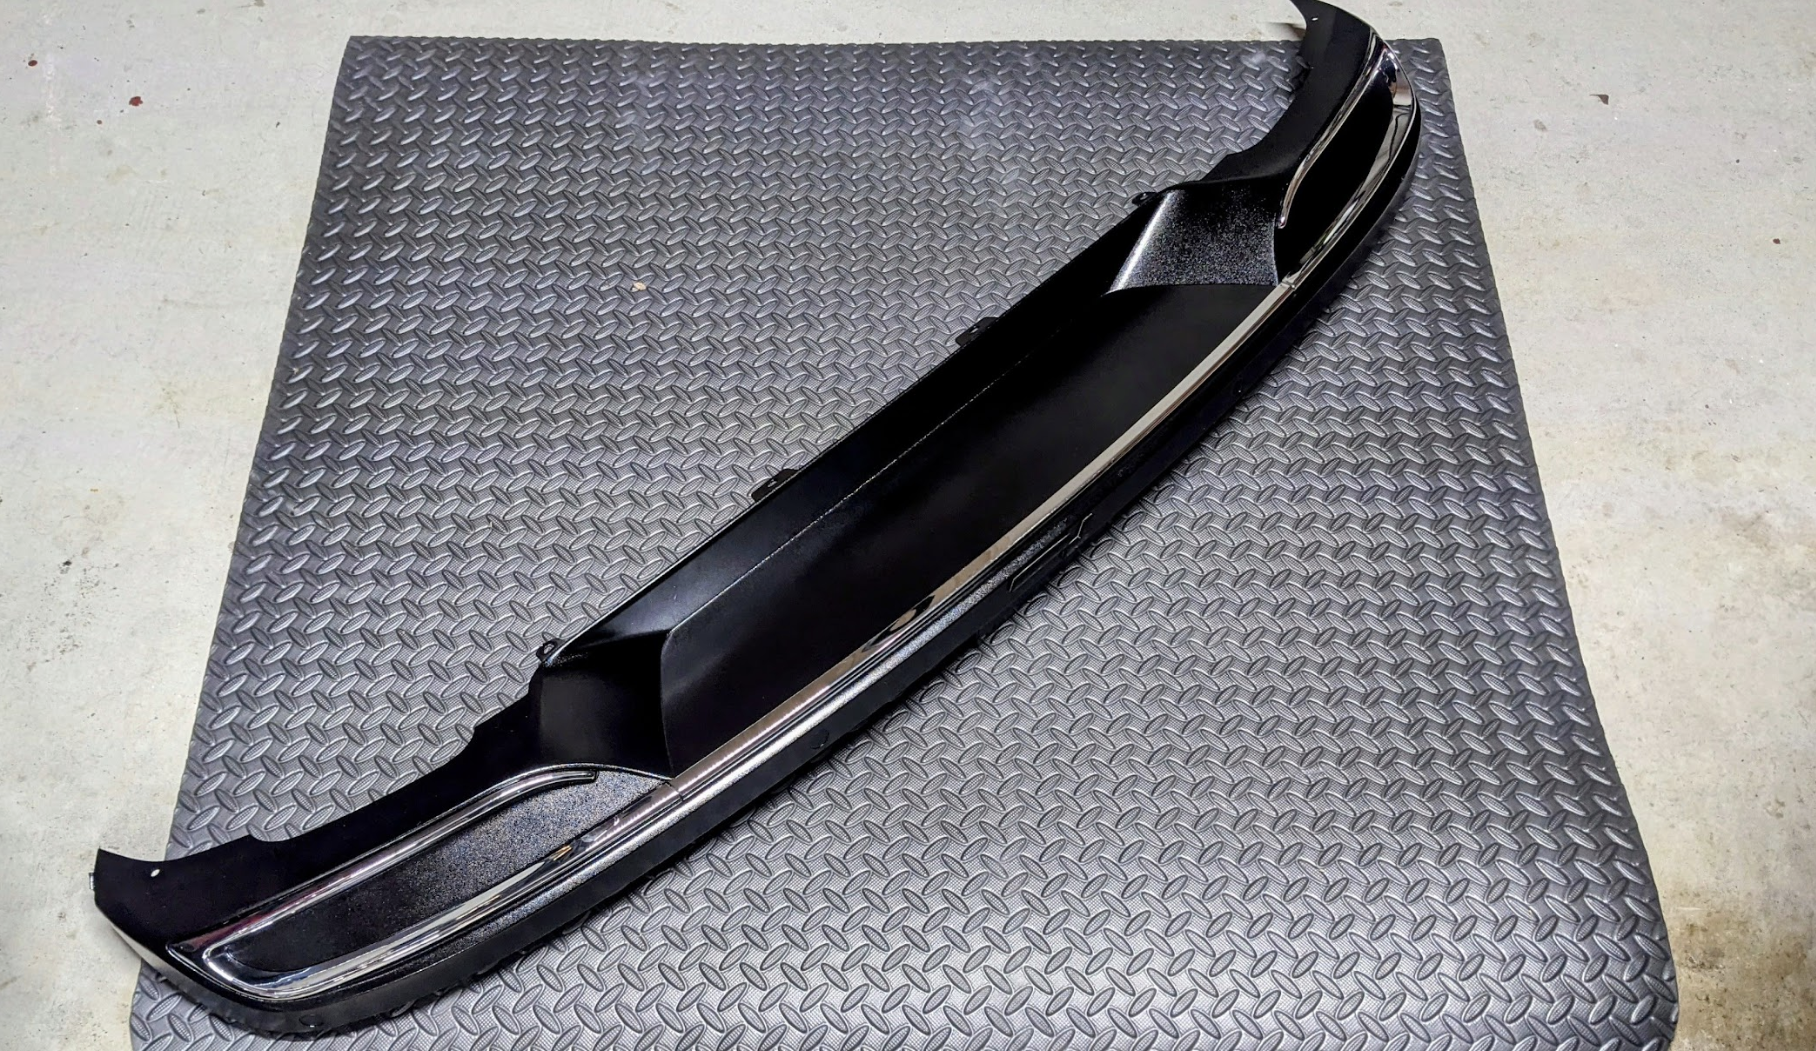
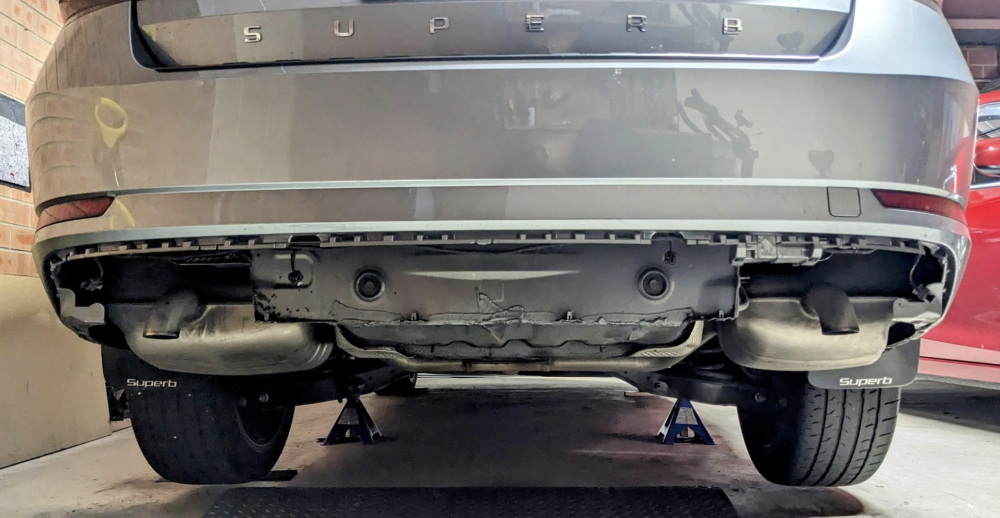
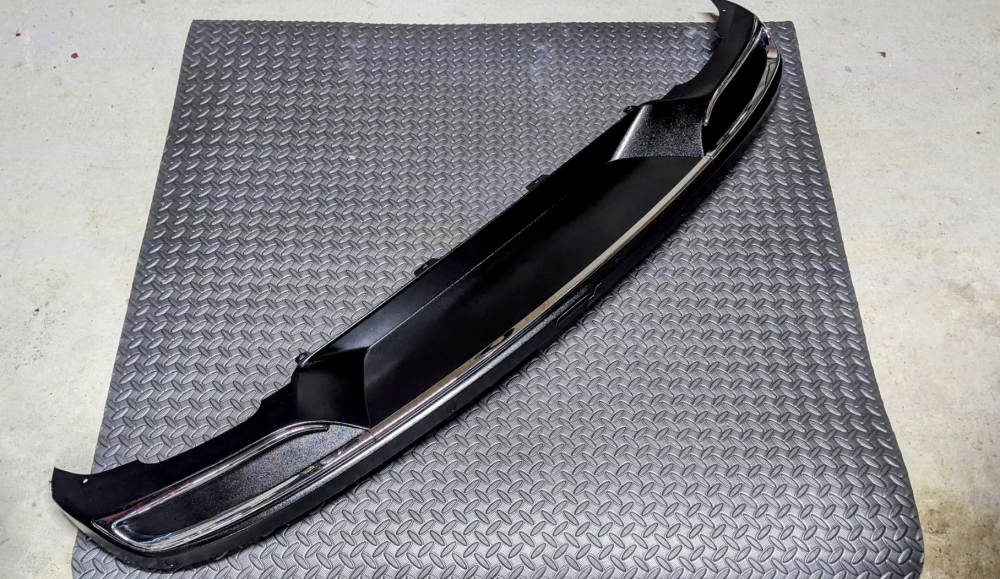
No, mine is not a Sportline. It's basically a 220 L&K like. It came with the boring black no frills lower diffusor - like the pic below. Hence why I changed it straightaway for a Sportline version. The whole rear black needs to be replaced. It separates (unclips) from the bumper itself, which 4 torx screws at the bottom. The rear parking sensors r located on the black diffuser bit - so these need to be moved. Likewise if u have the virtual pedal. Pic of the rear Sportline diffuser seperated.
2.jpeg.799ca3a05500b3ca31e08b66f6357ea8.jpeg)
-
i would b very very surprised if the AWD Superb stock rear swaybar is 19mm. for some reason i'm thinking its either 21 or 22mm. anyways, u'll find out soon. regarding the DQ250 - it can handle a lot of torque, up to 600Nm comfortably, with a TCU tune. once u start pushing north of 600 Nm, then u need to start changing clutch plates n other bits of hardware. mine is putting 530Nm at the wheels, with no complaints, side effects or issues, apart from losing traction if i push it hard.
-
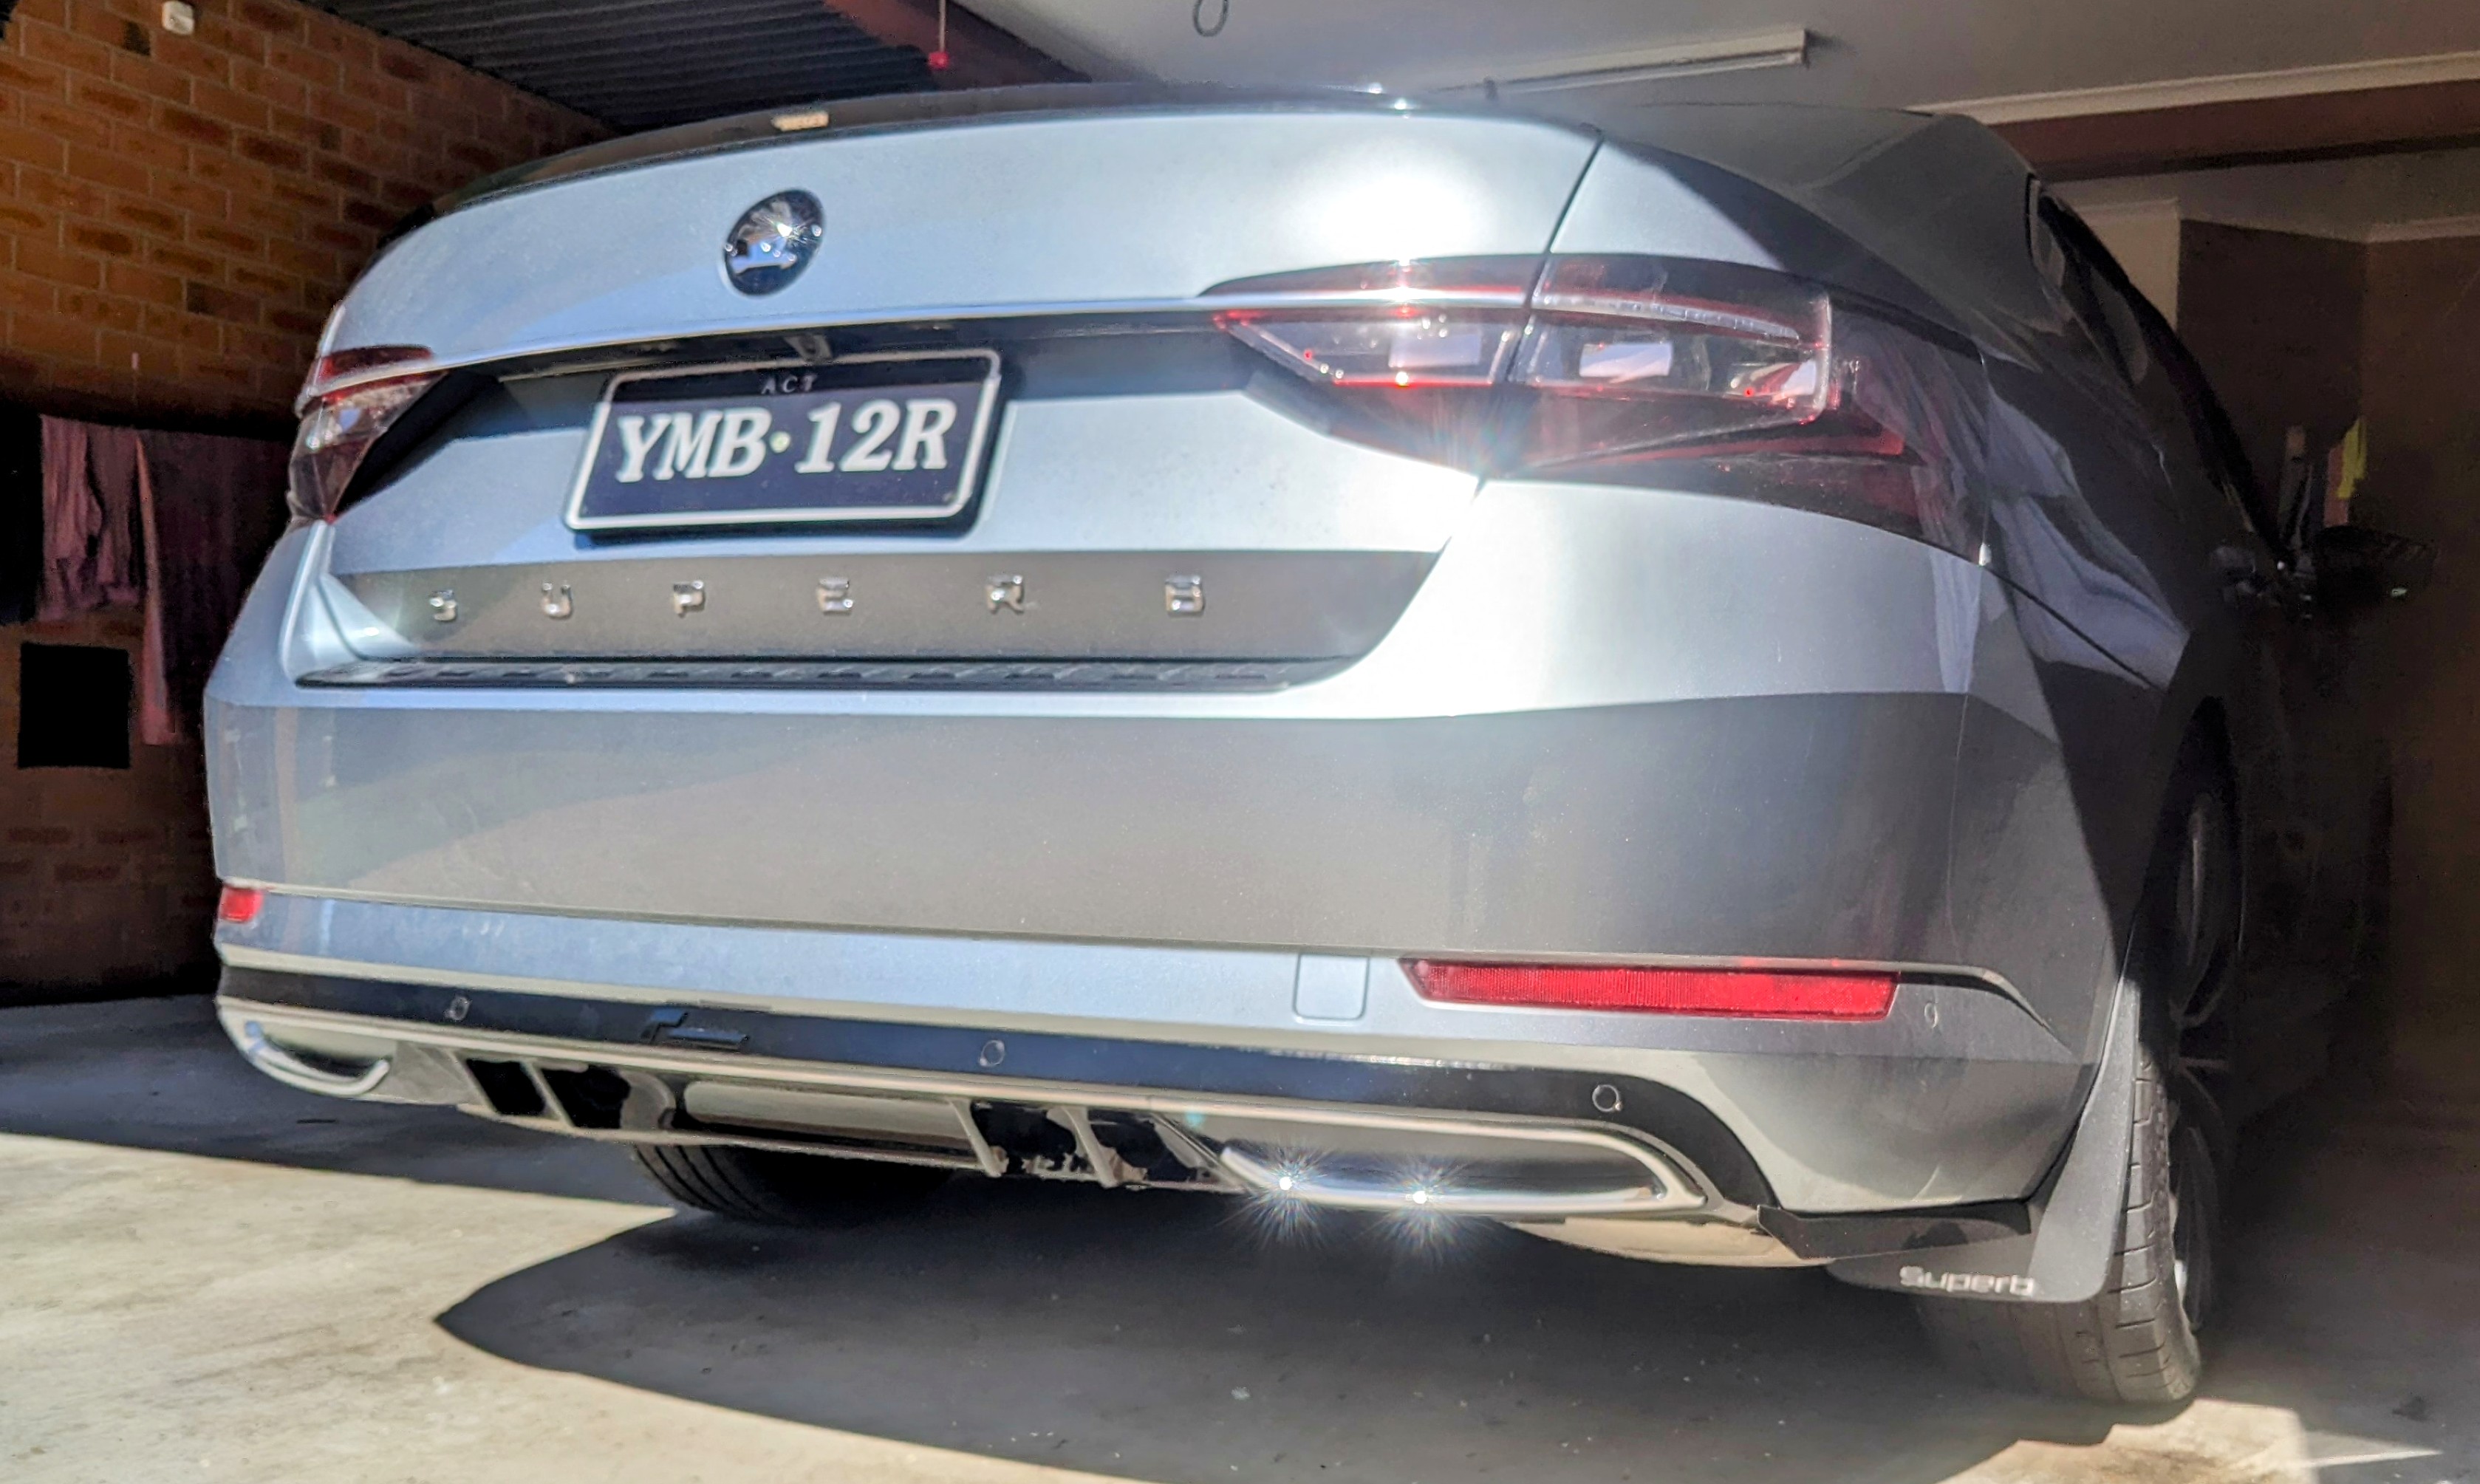
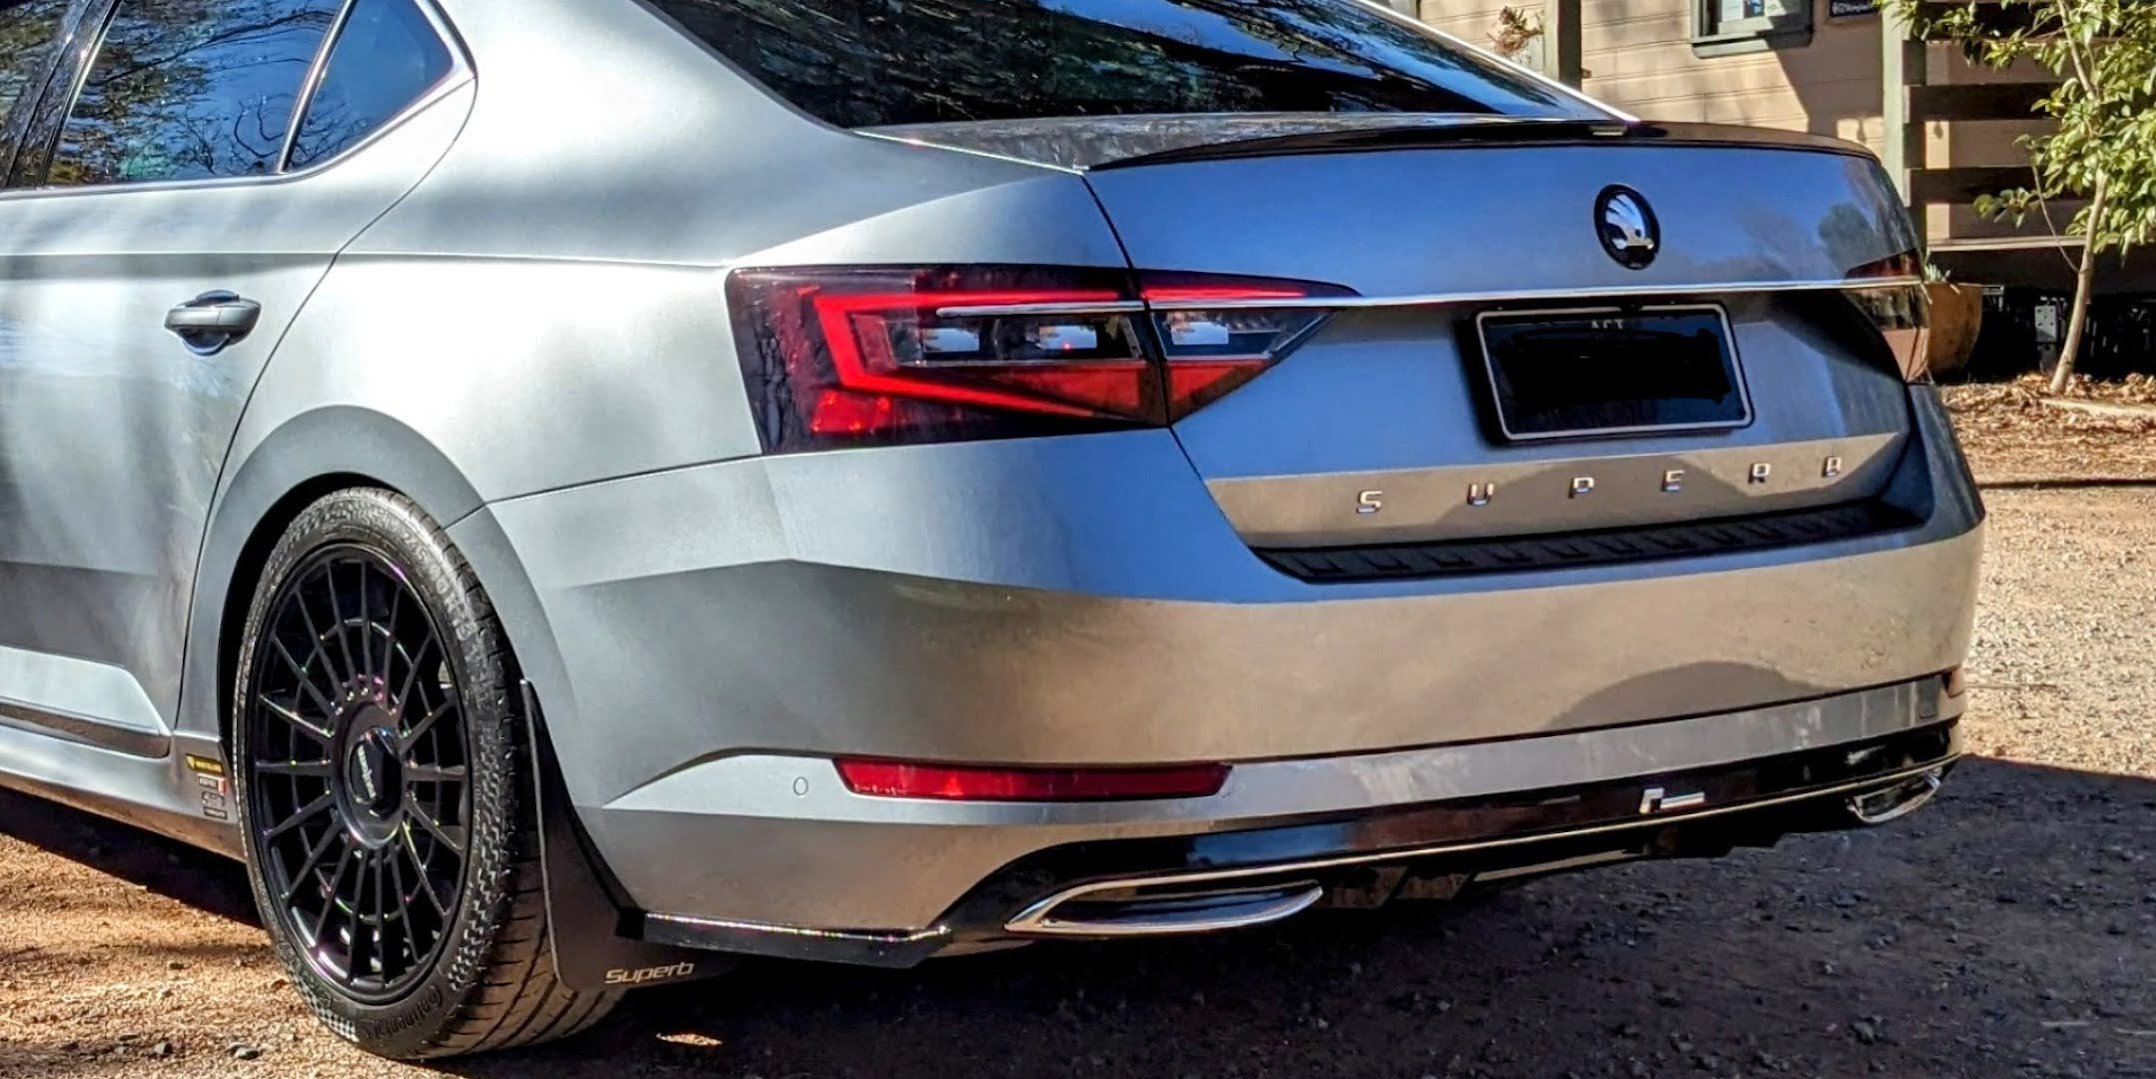
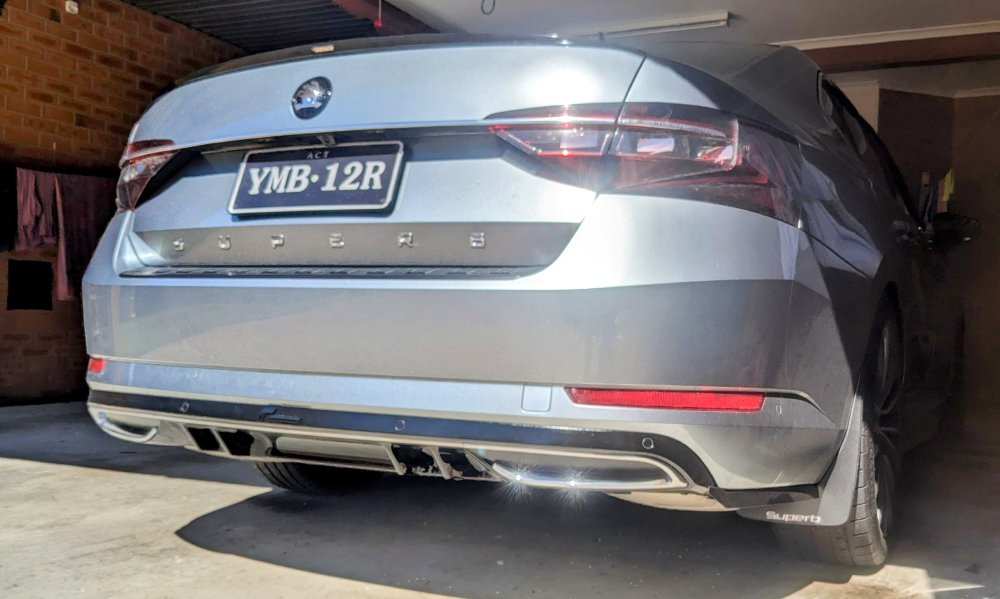
it is the Sportline diffusor, which i vinyl wrapped in gloss black. in the centre i have a gloss black diffusor "fins", from Kopacek. Maxton also have similar designs. nothing dramatic - just subtle changes, which is wat Gandalf is all about 🙂
-
Mine is MY17. I had to connect to the car's WLAN for the app to work. The MySkoda app is even more useless now. I stopped using it about 2 yrs ago. Yes, ur model year has neither SOS nor online capability. U need to at least have an MIB3 unit (found in facelift models), and living in Europe somewhere, for the MySkoda app to useful!!
-
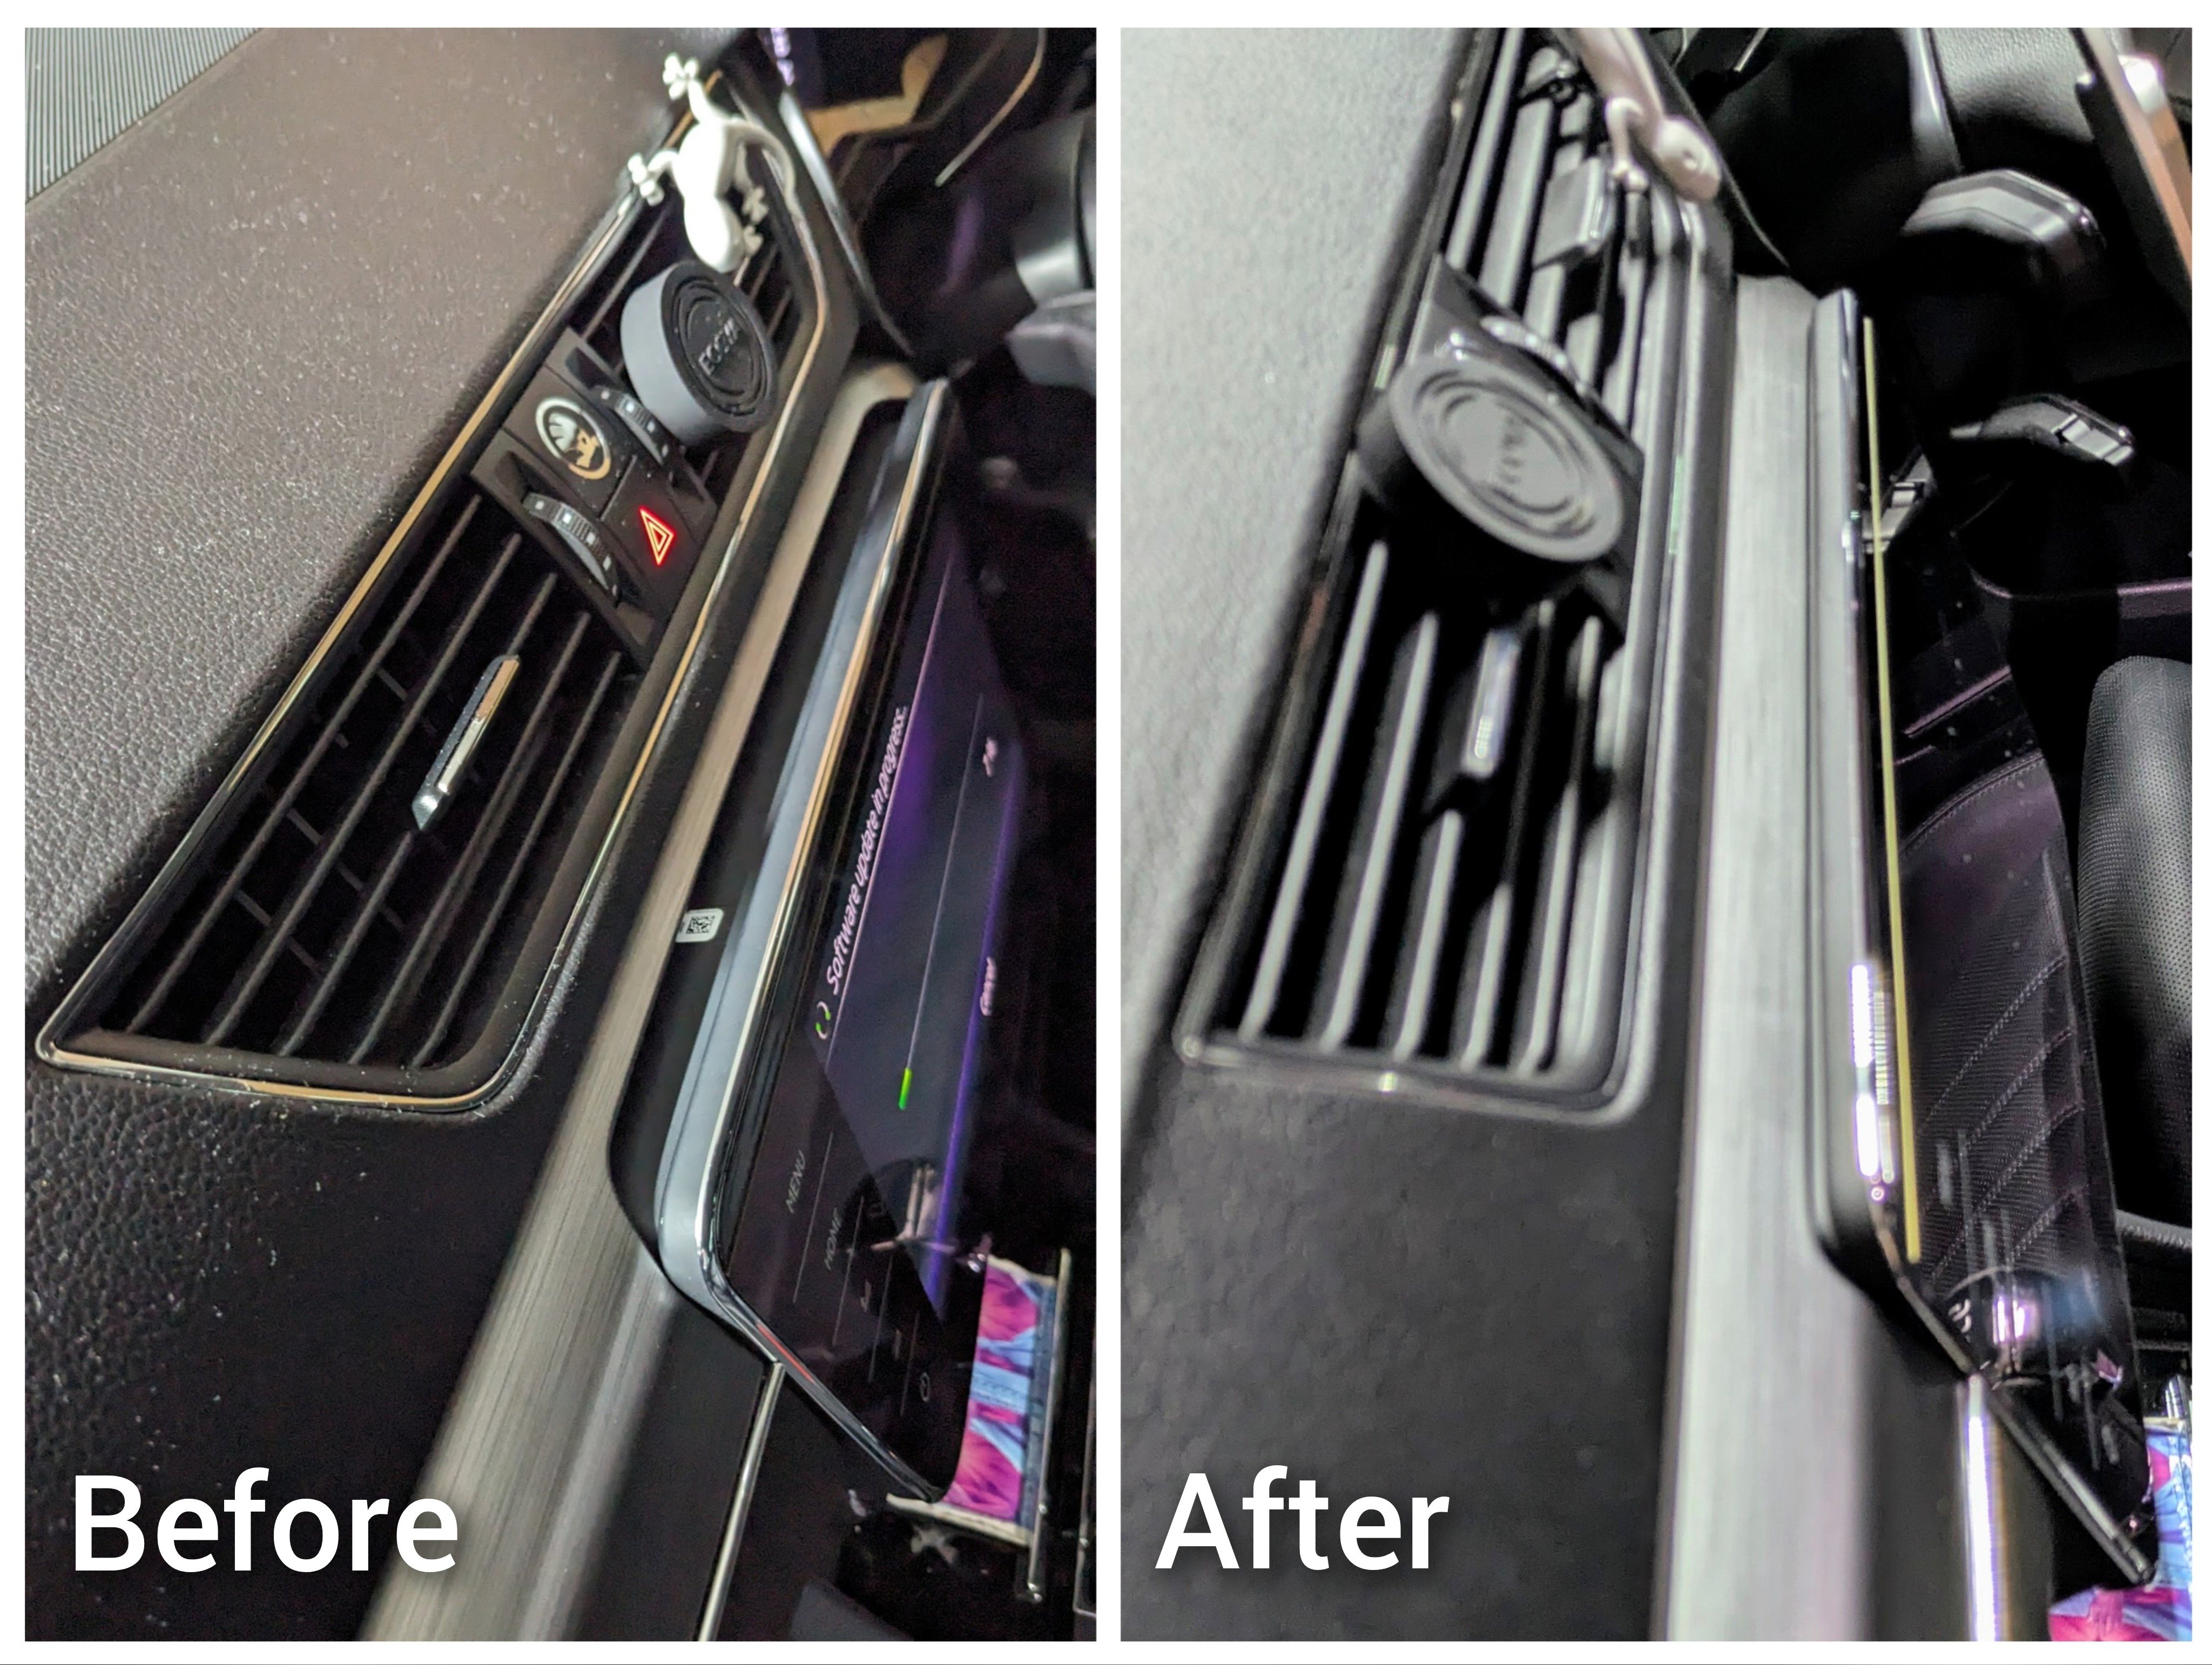
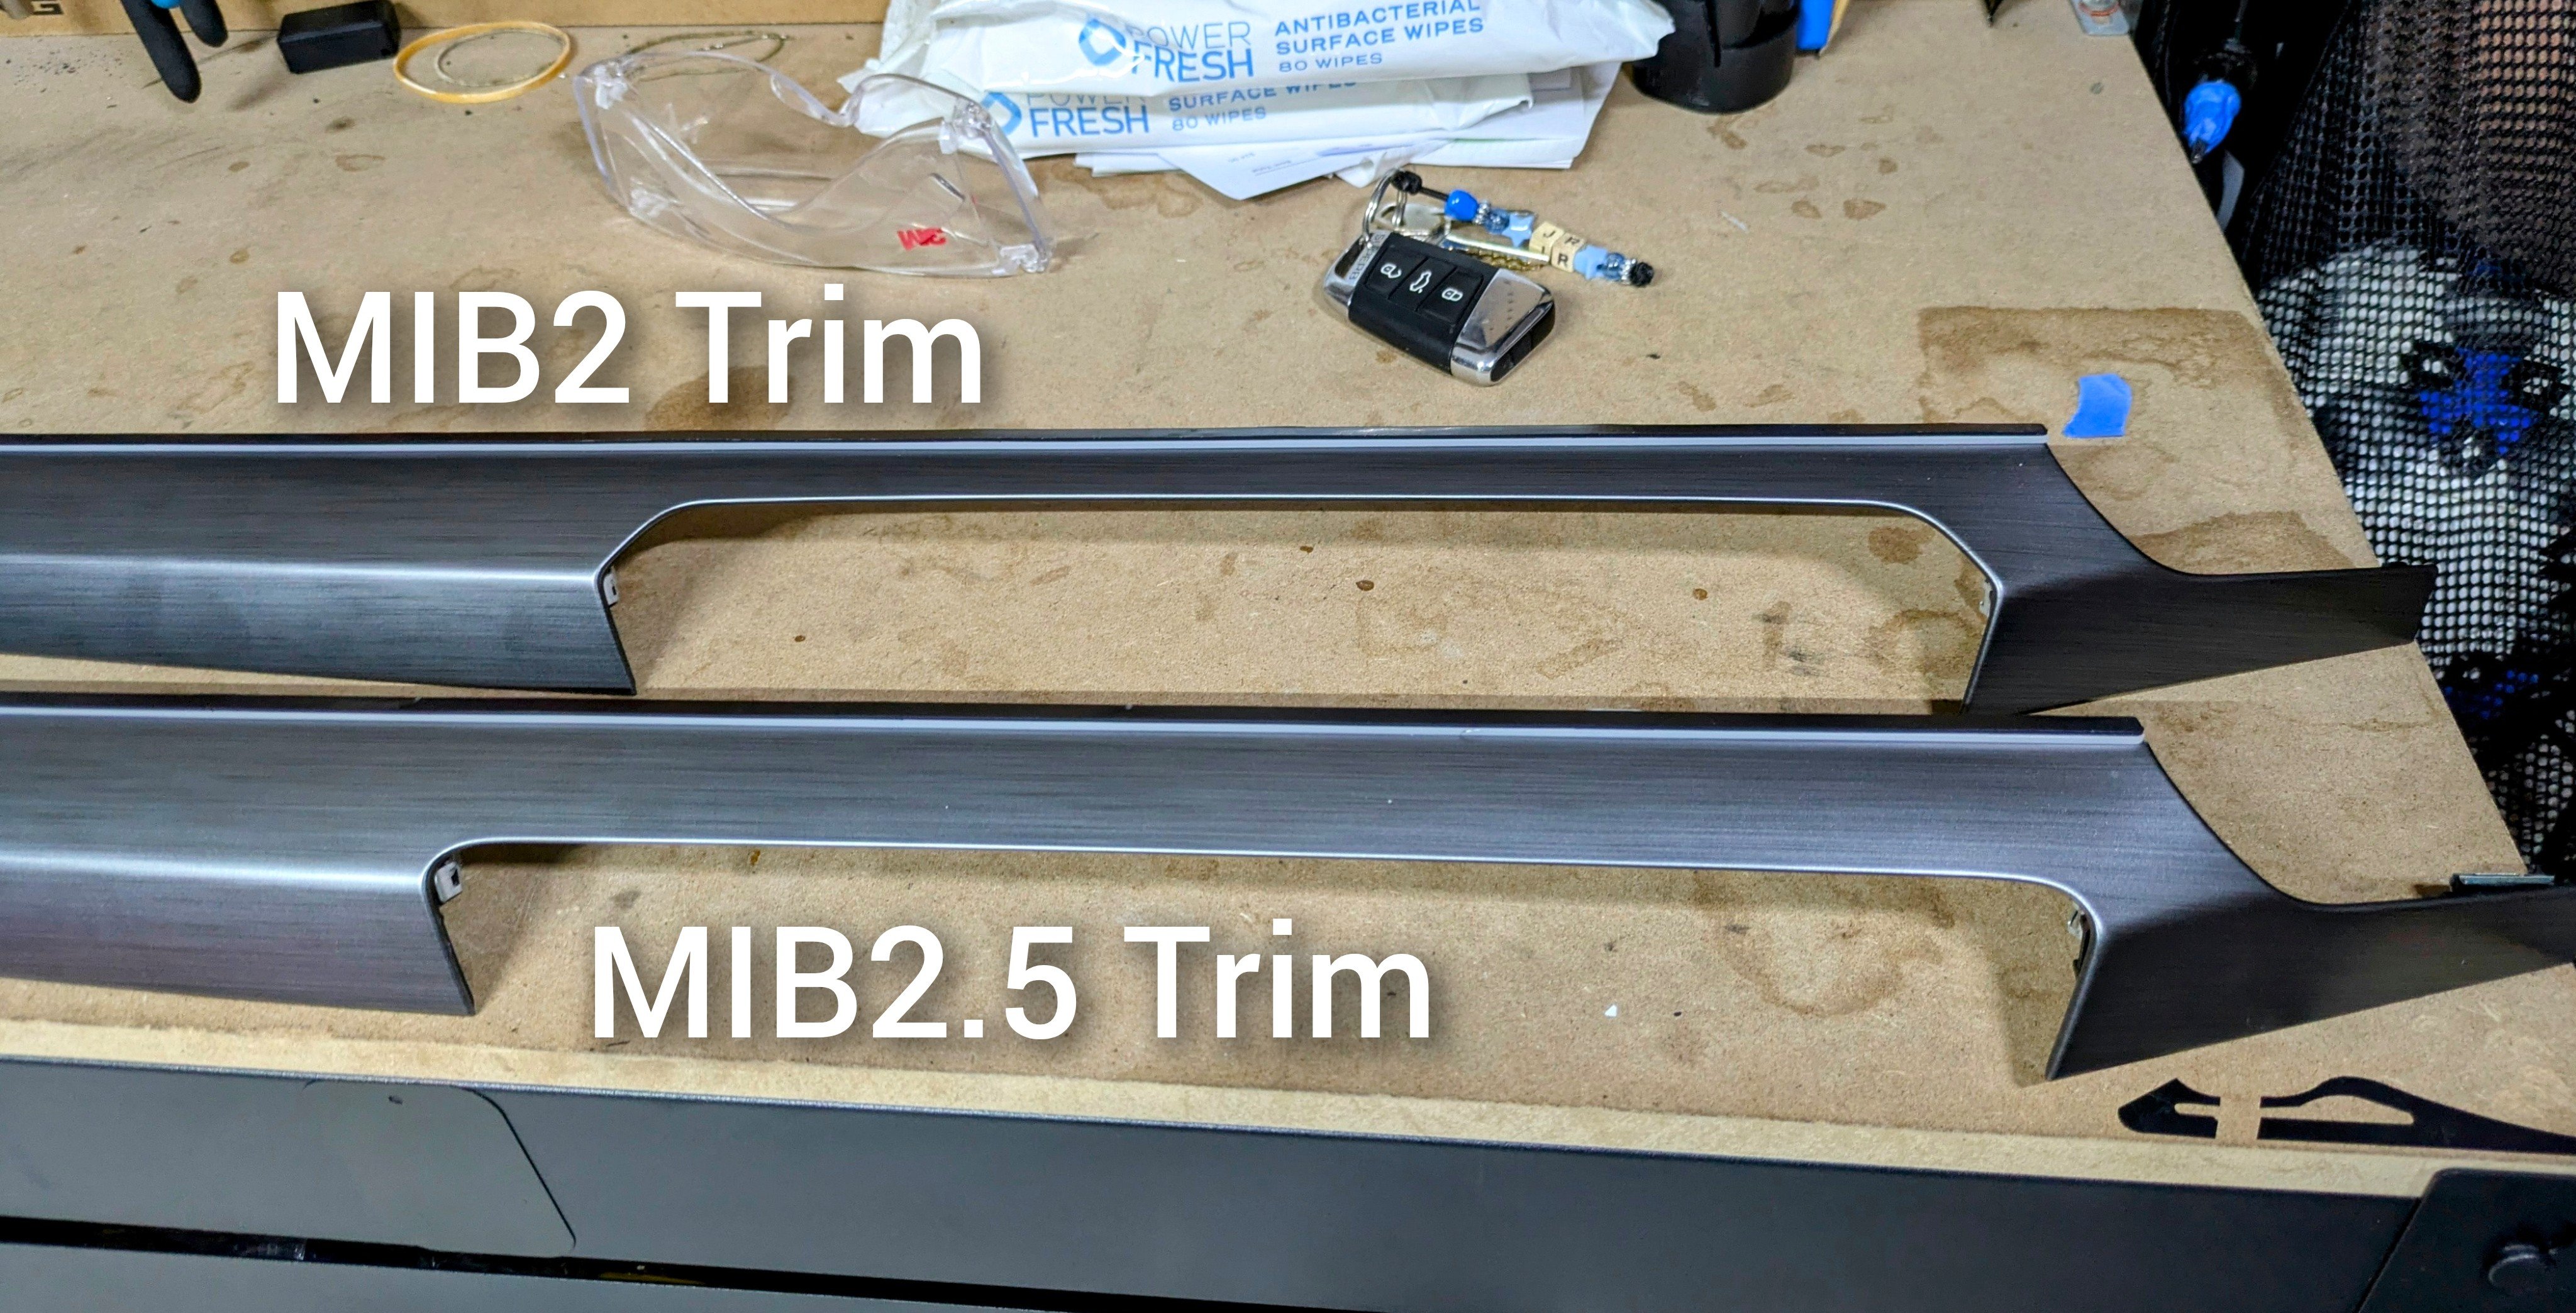
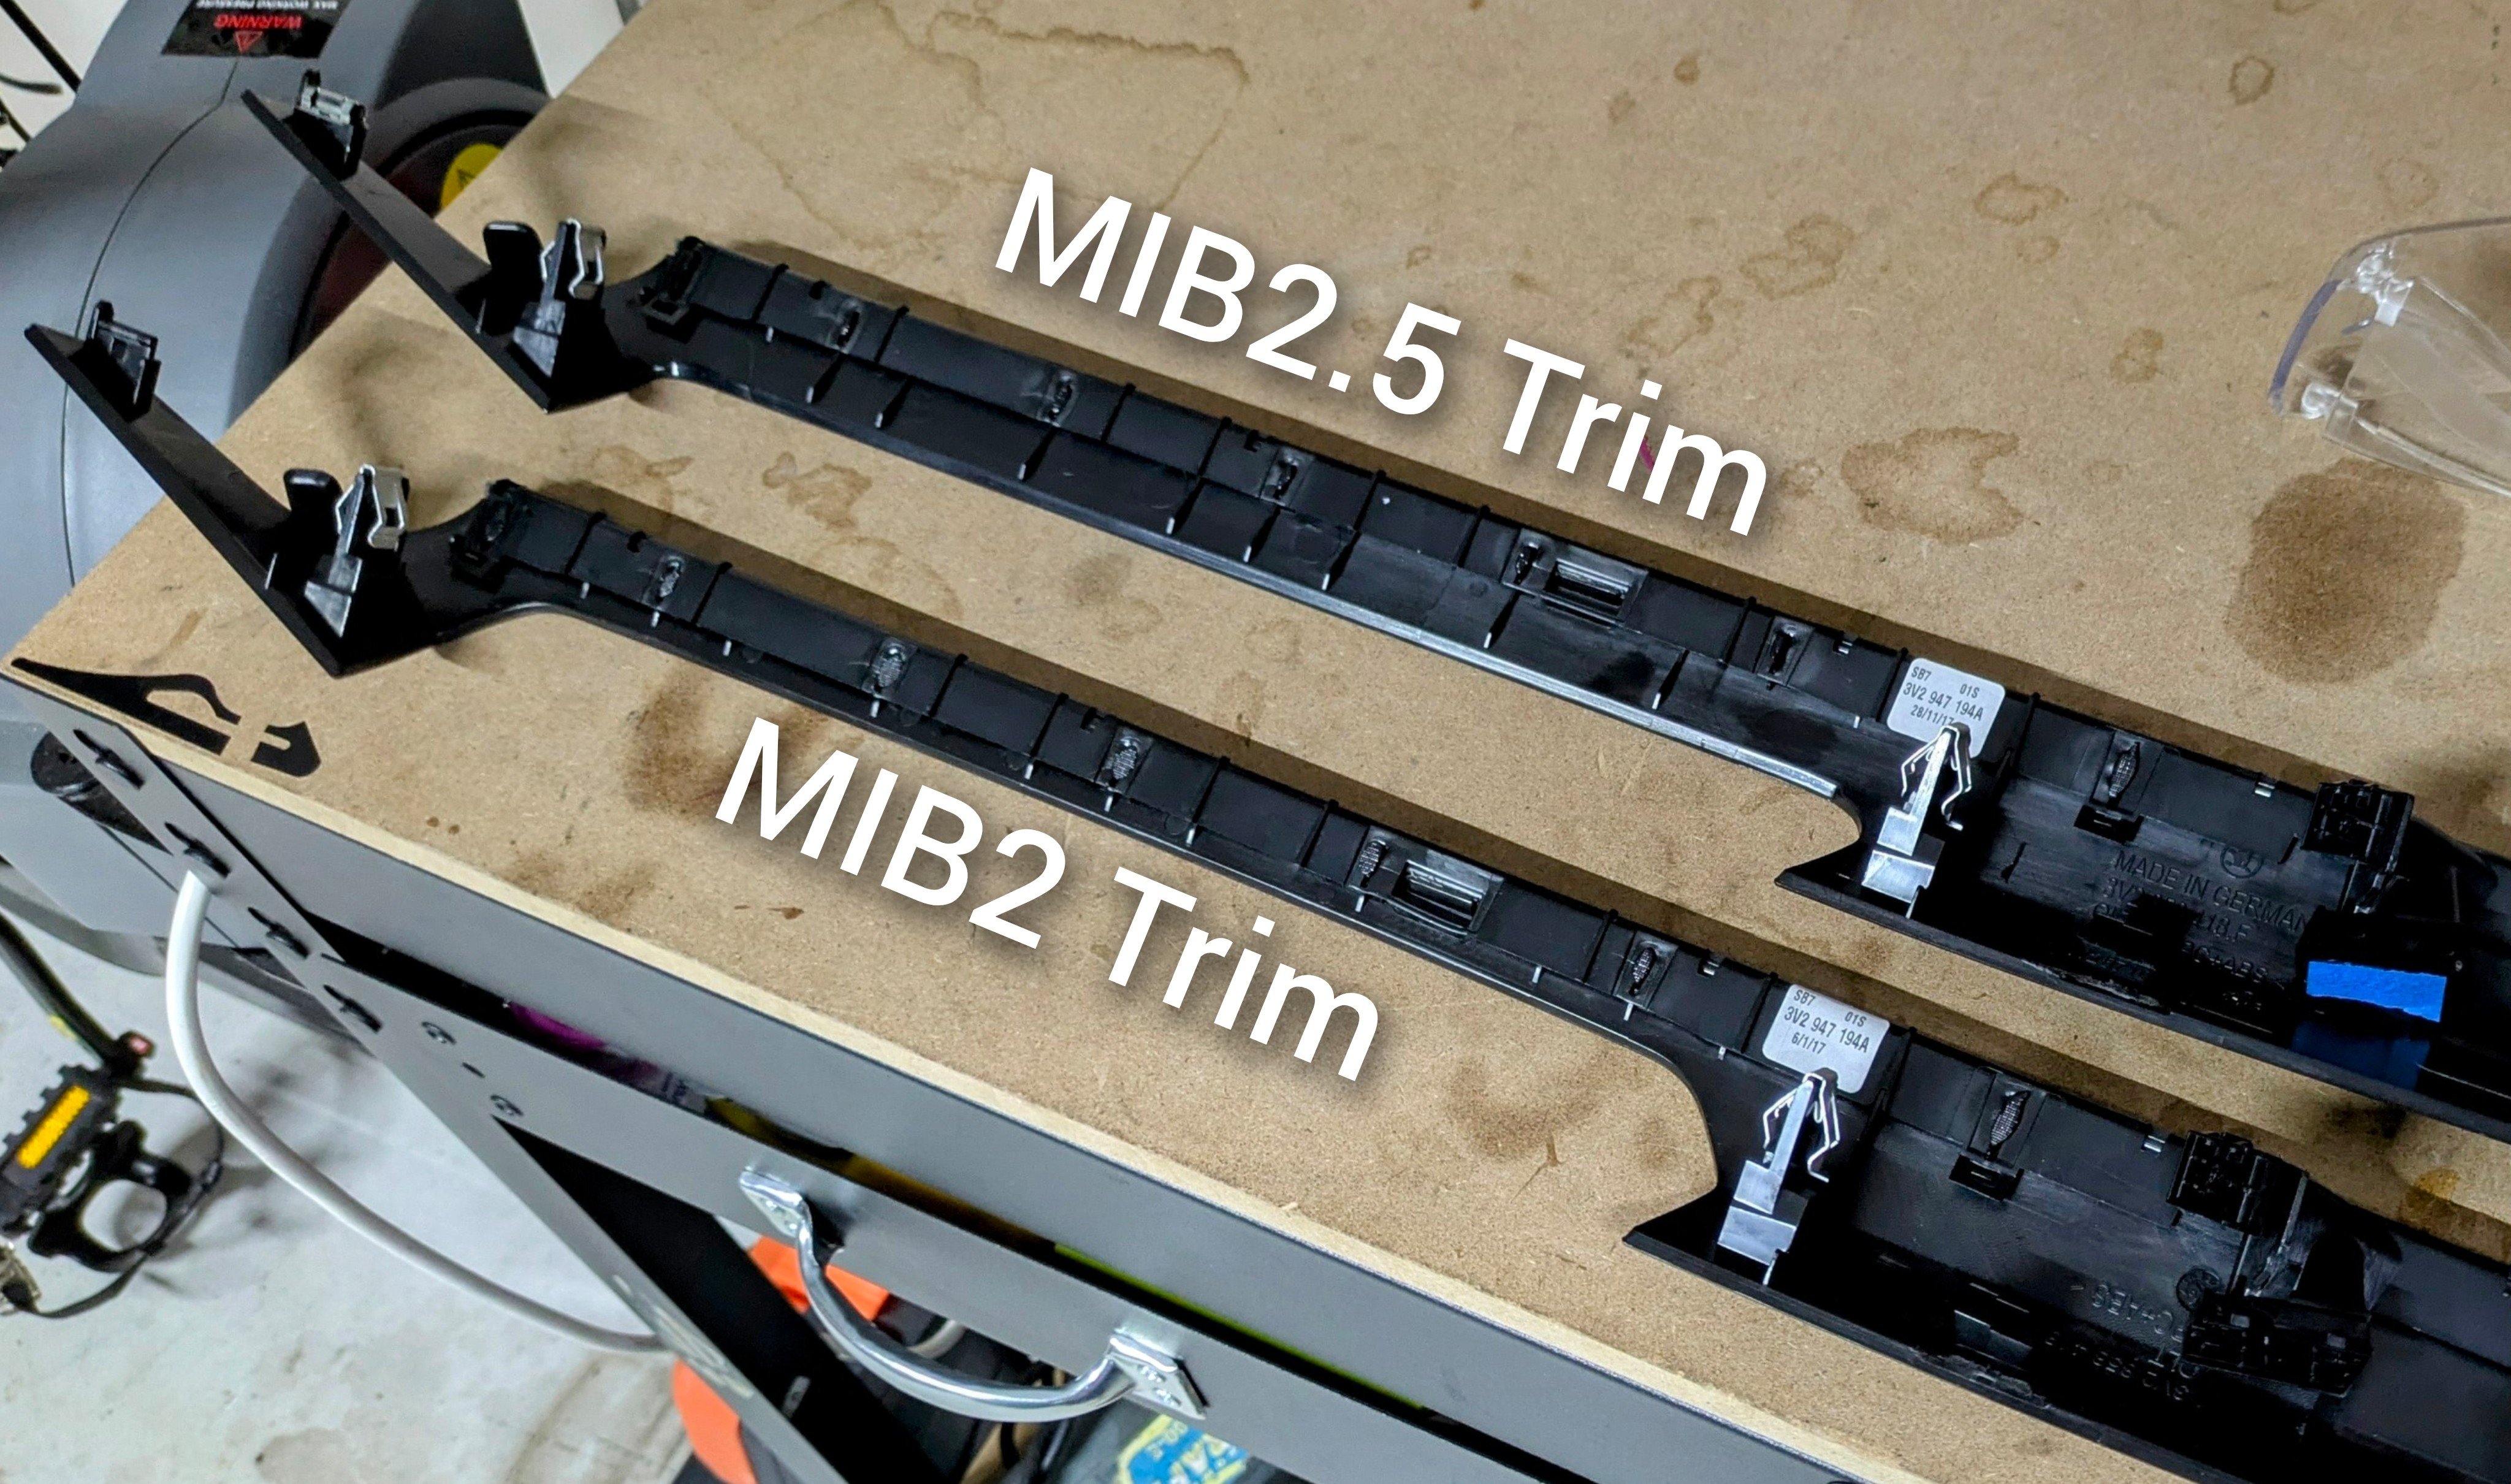
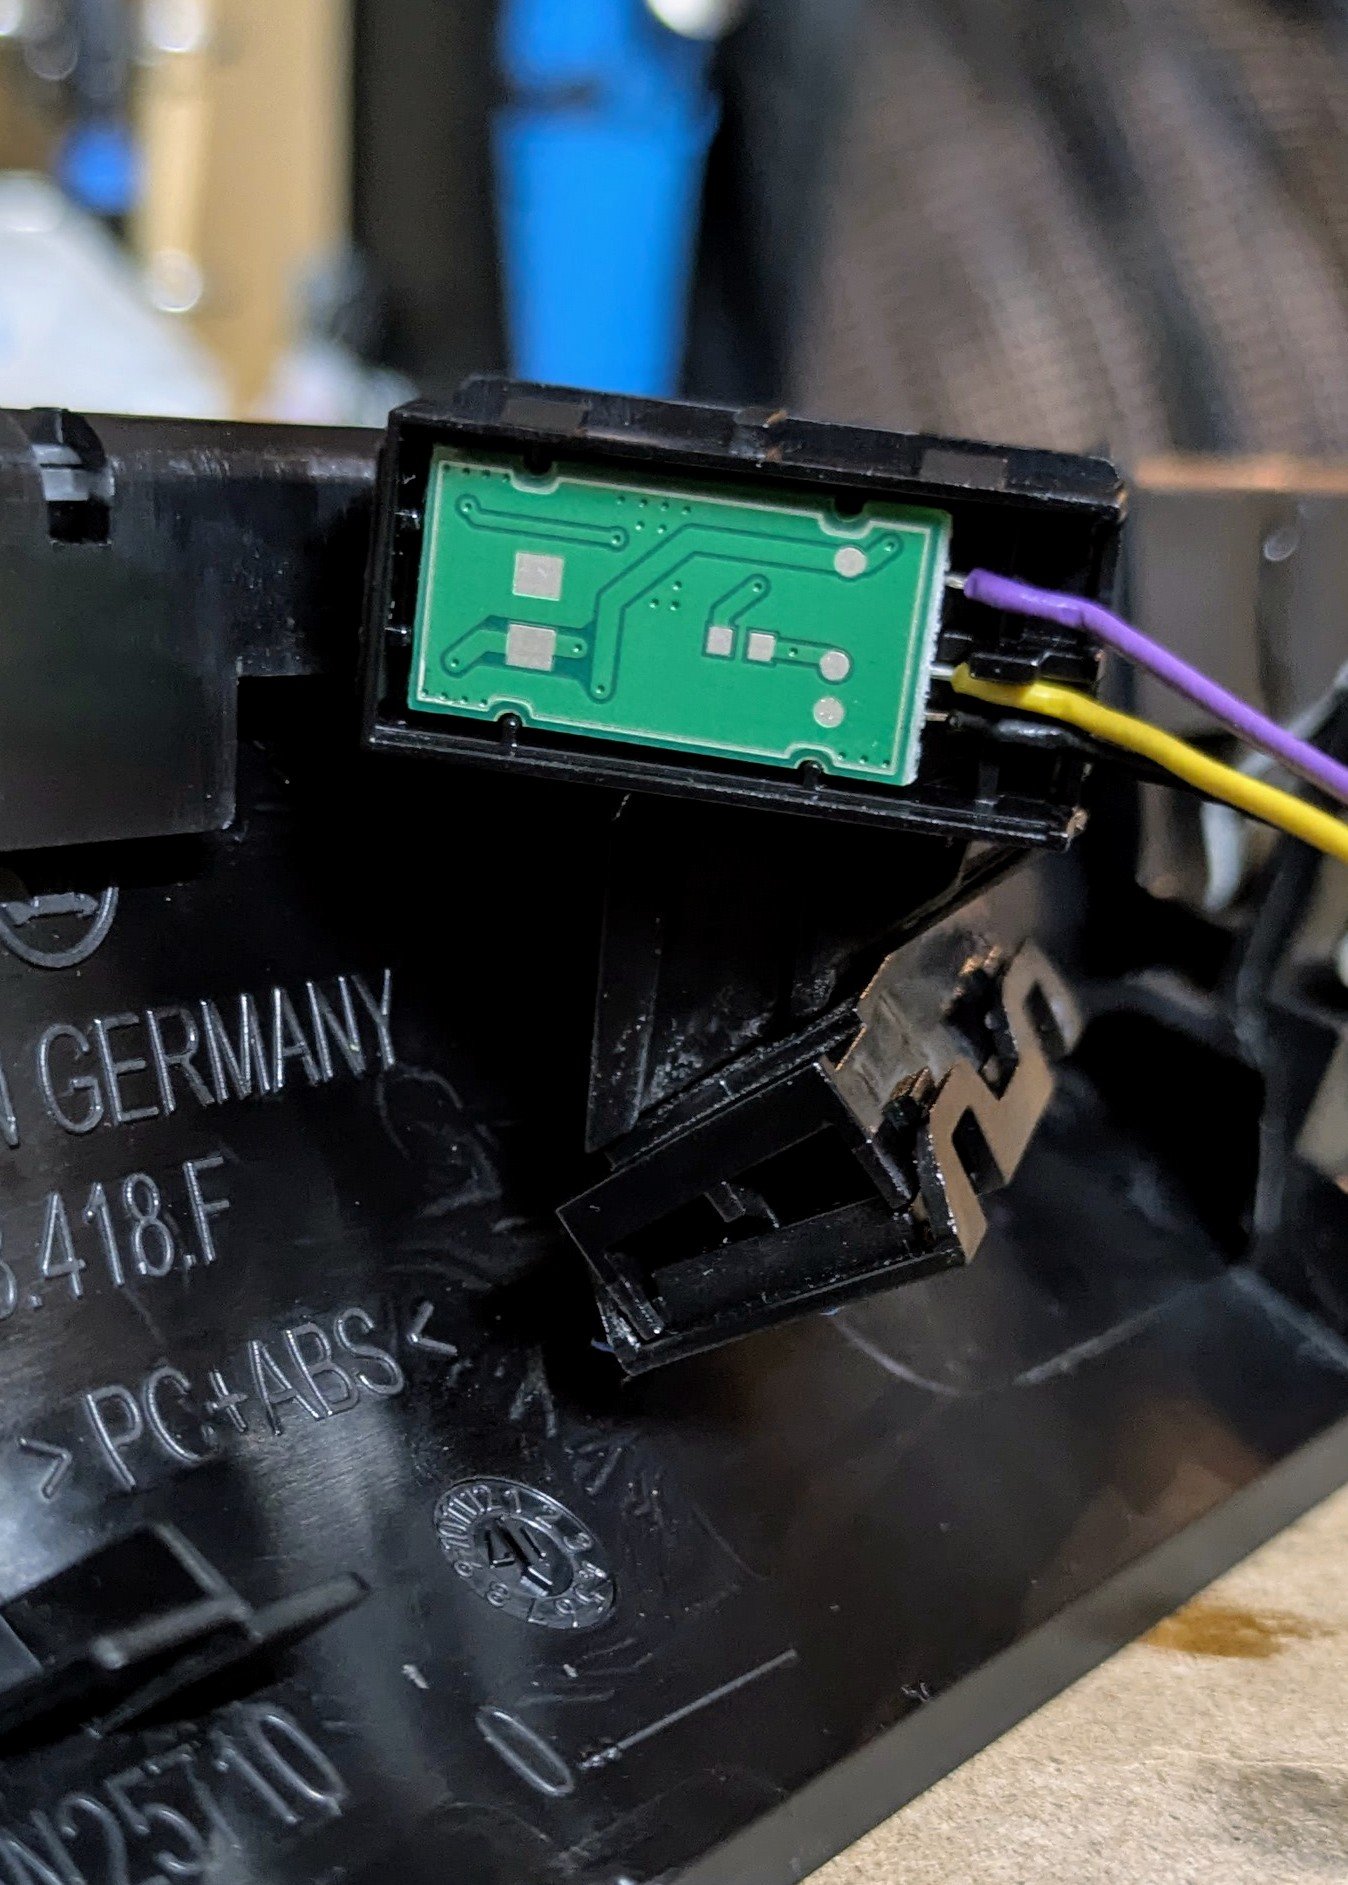
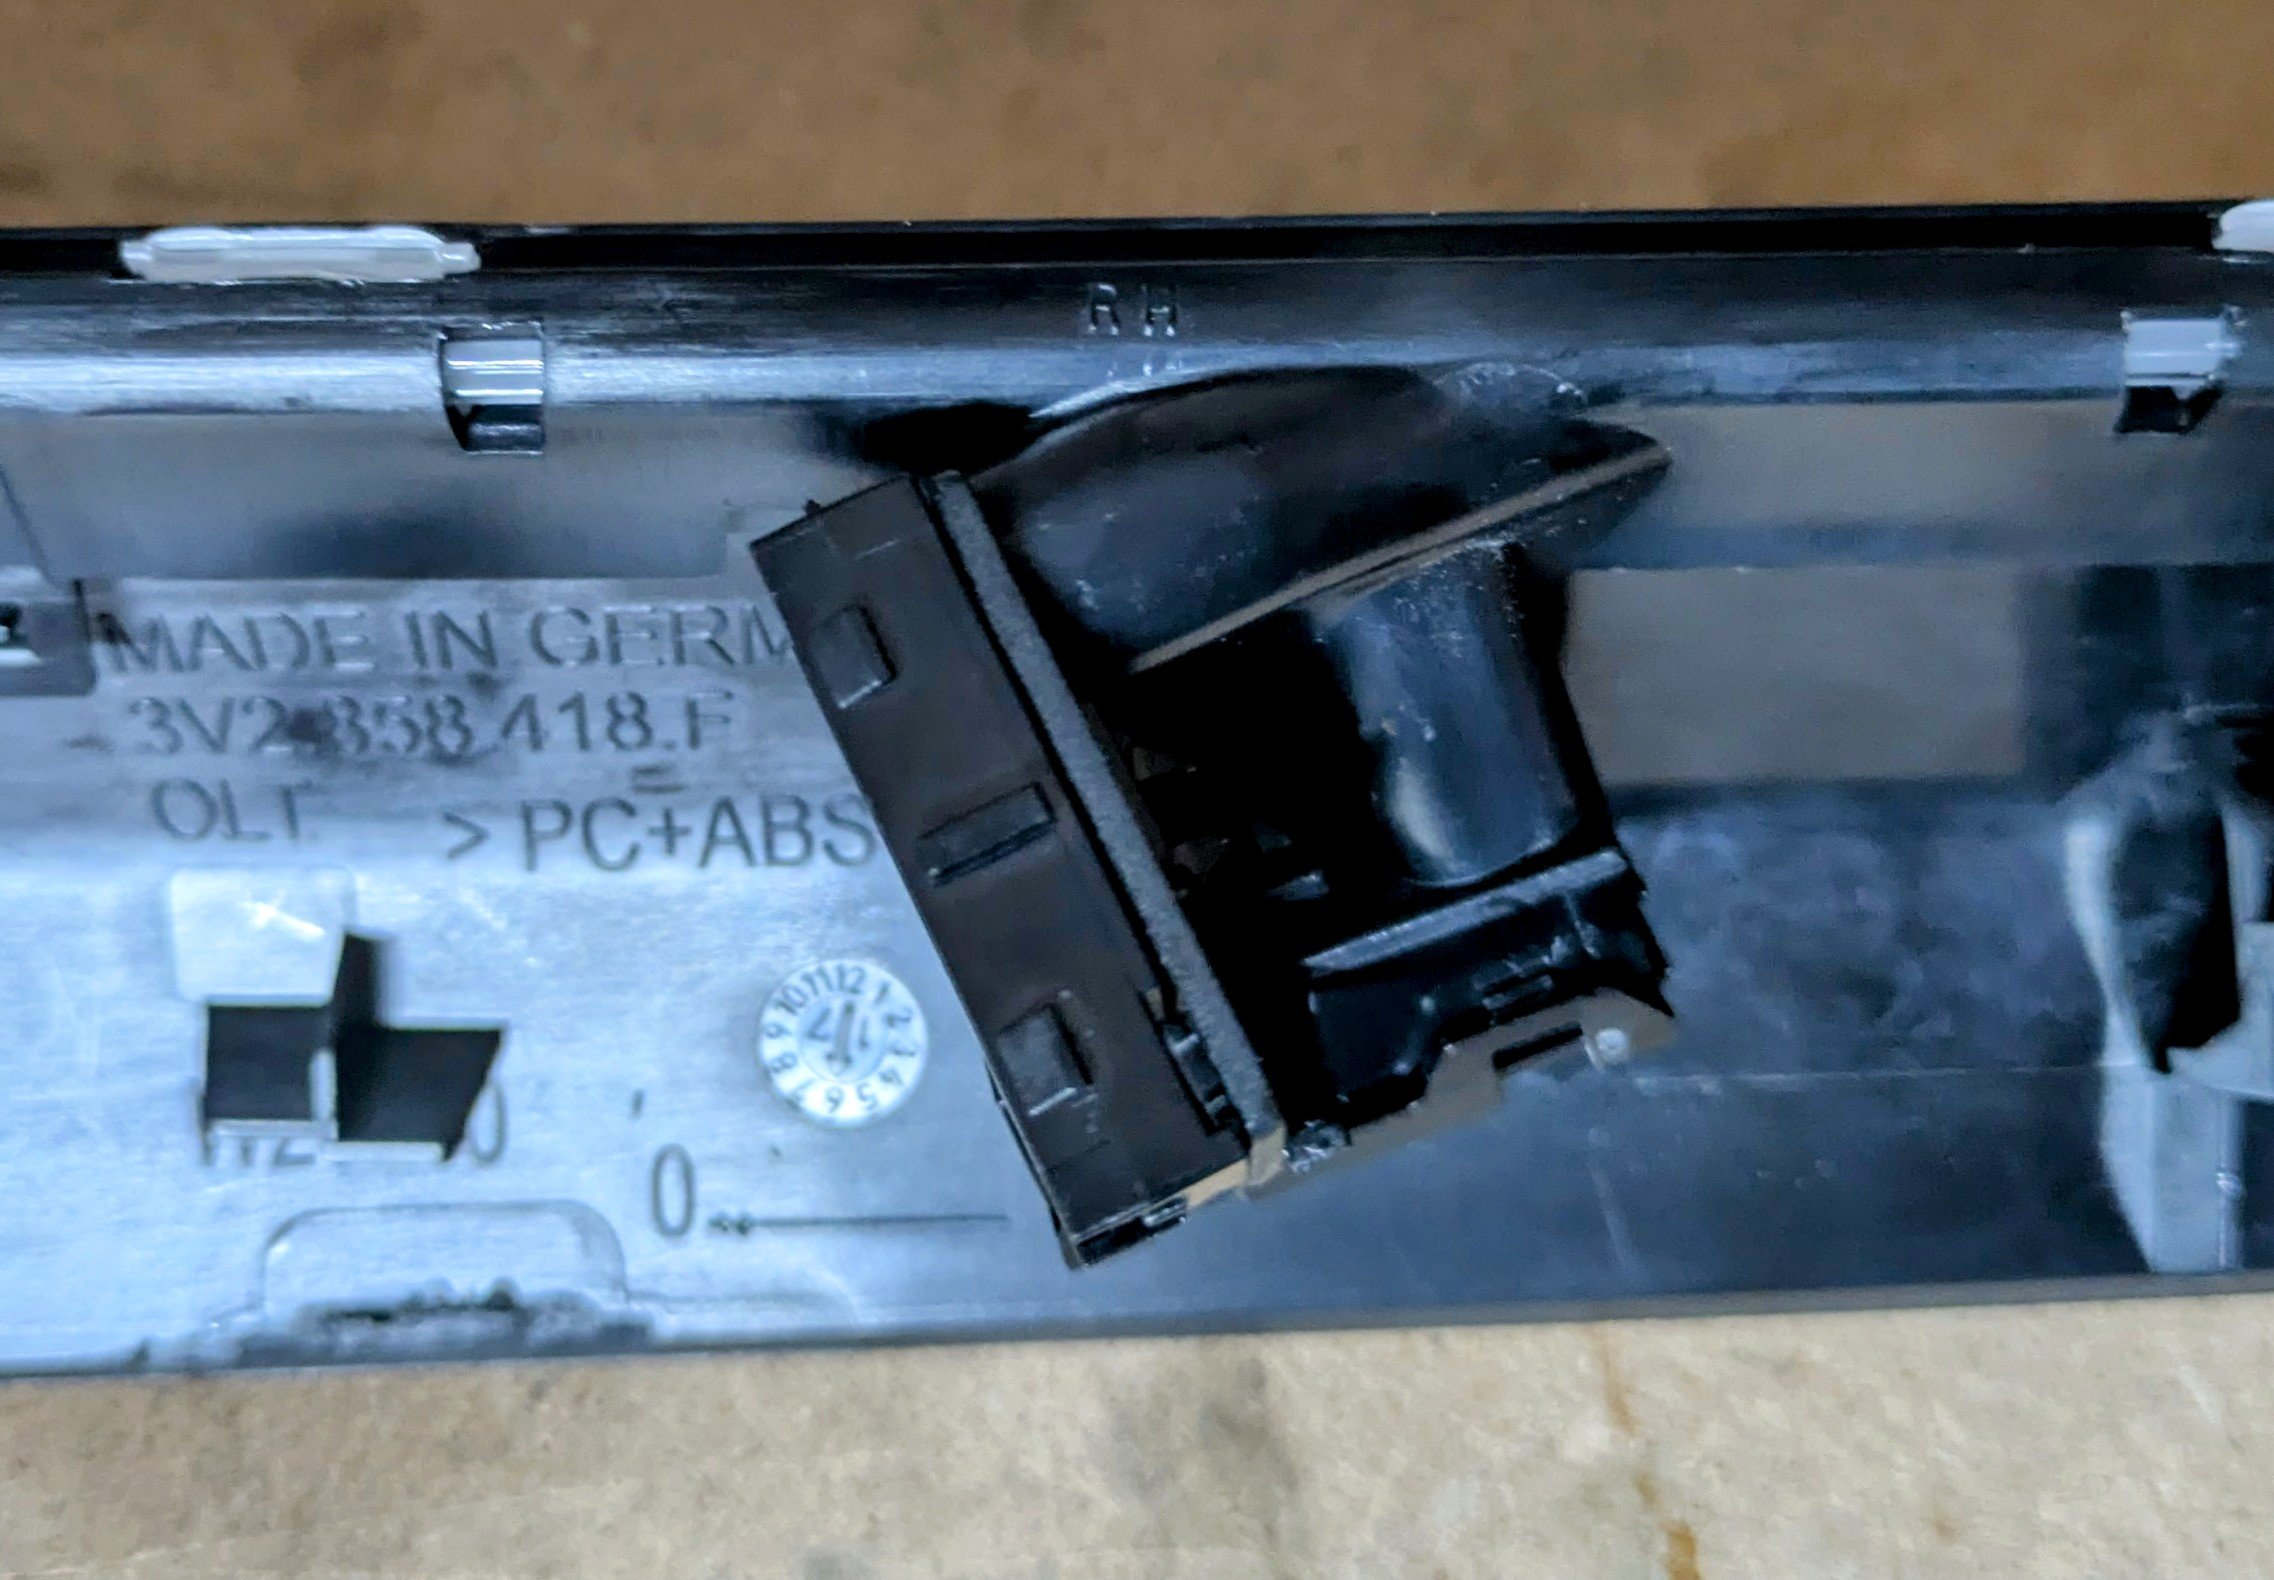
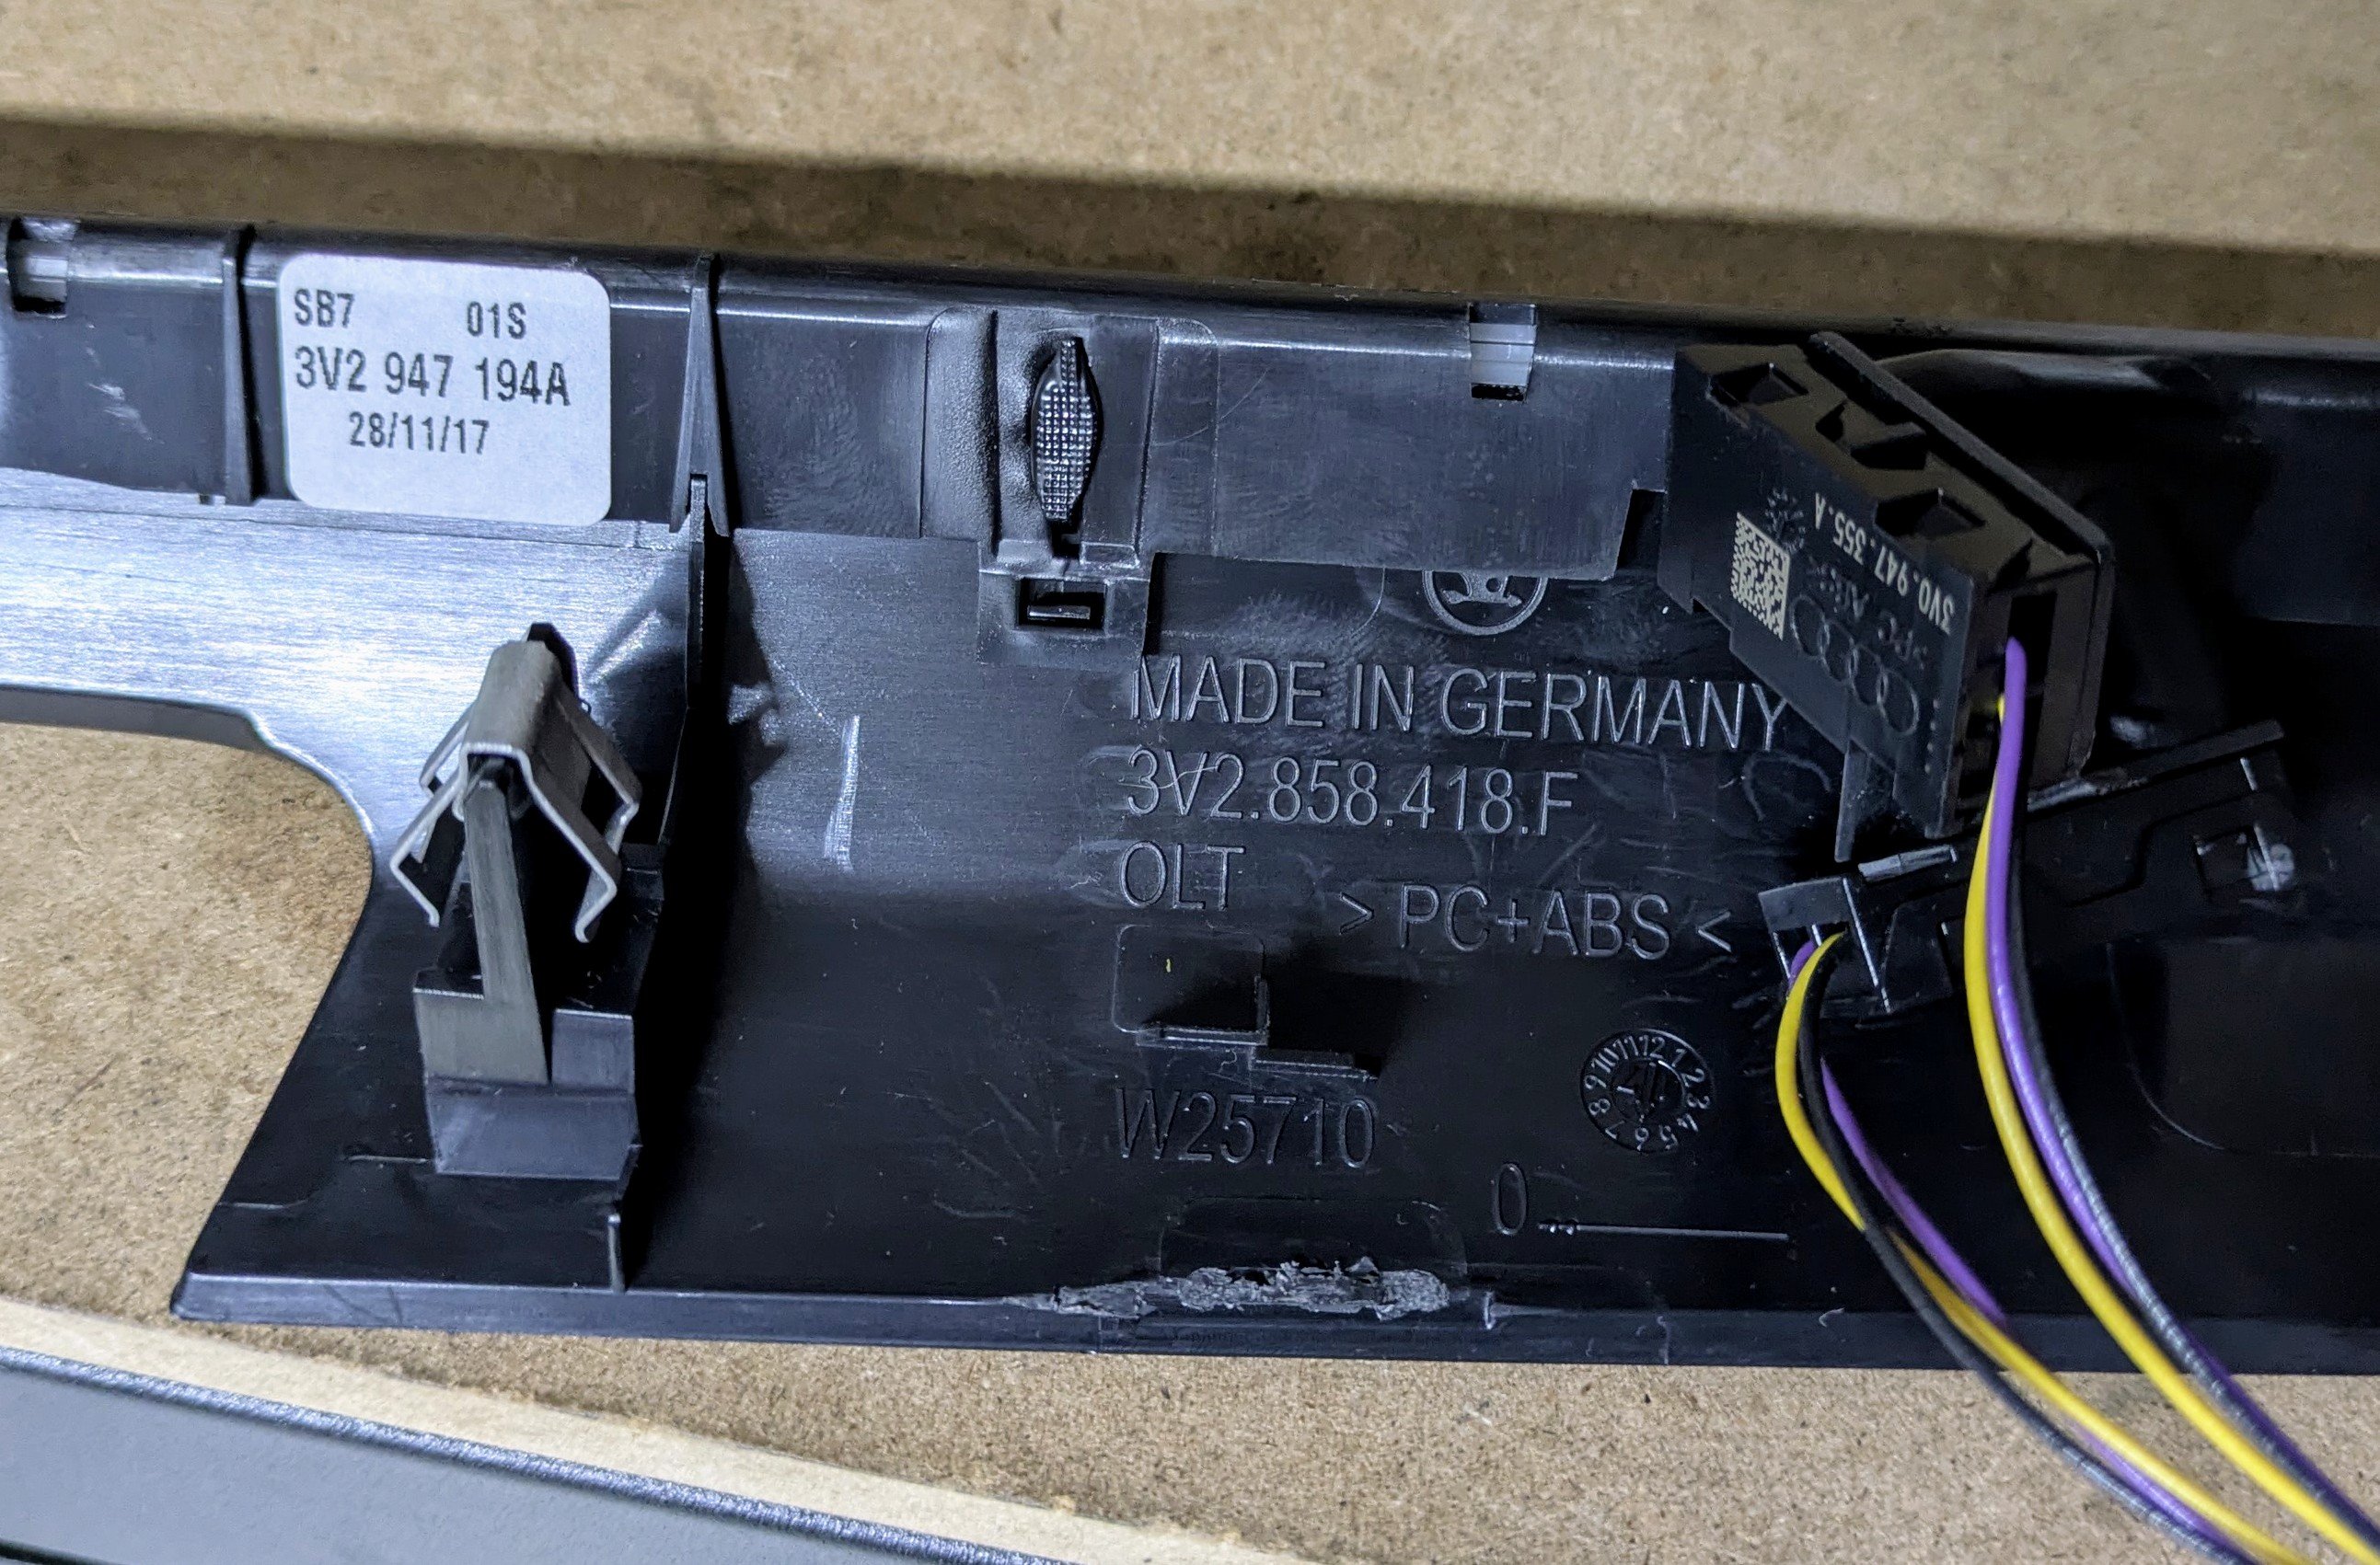
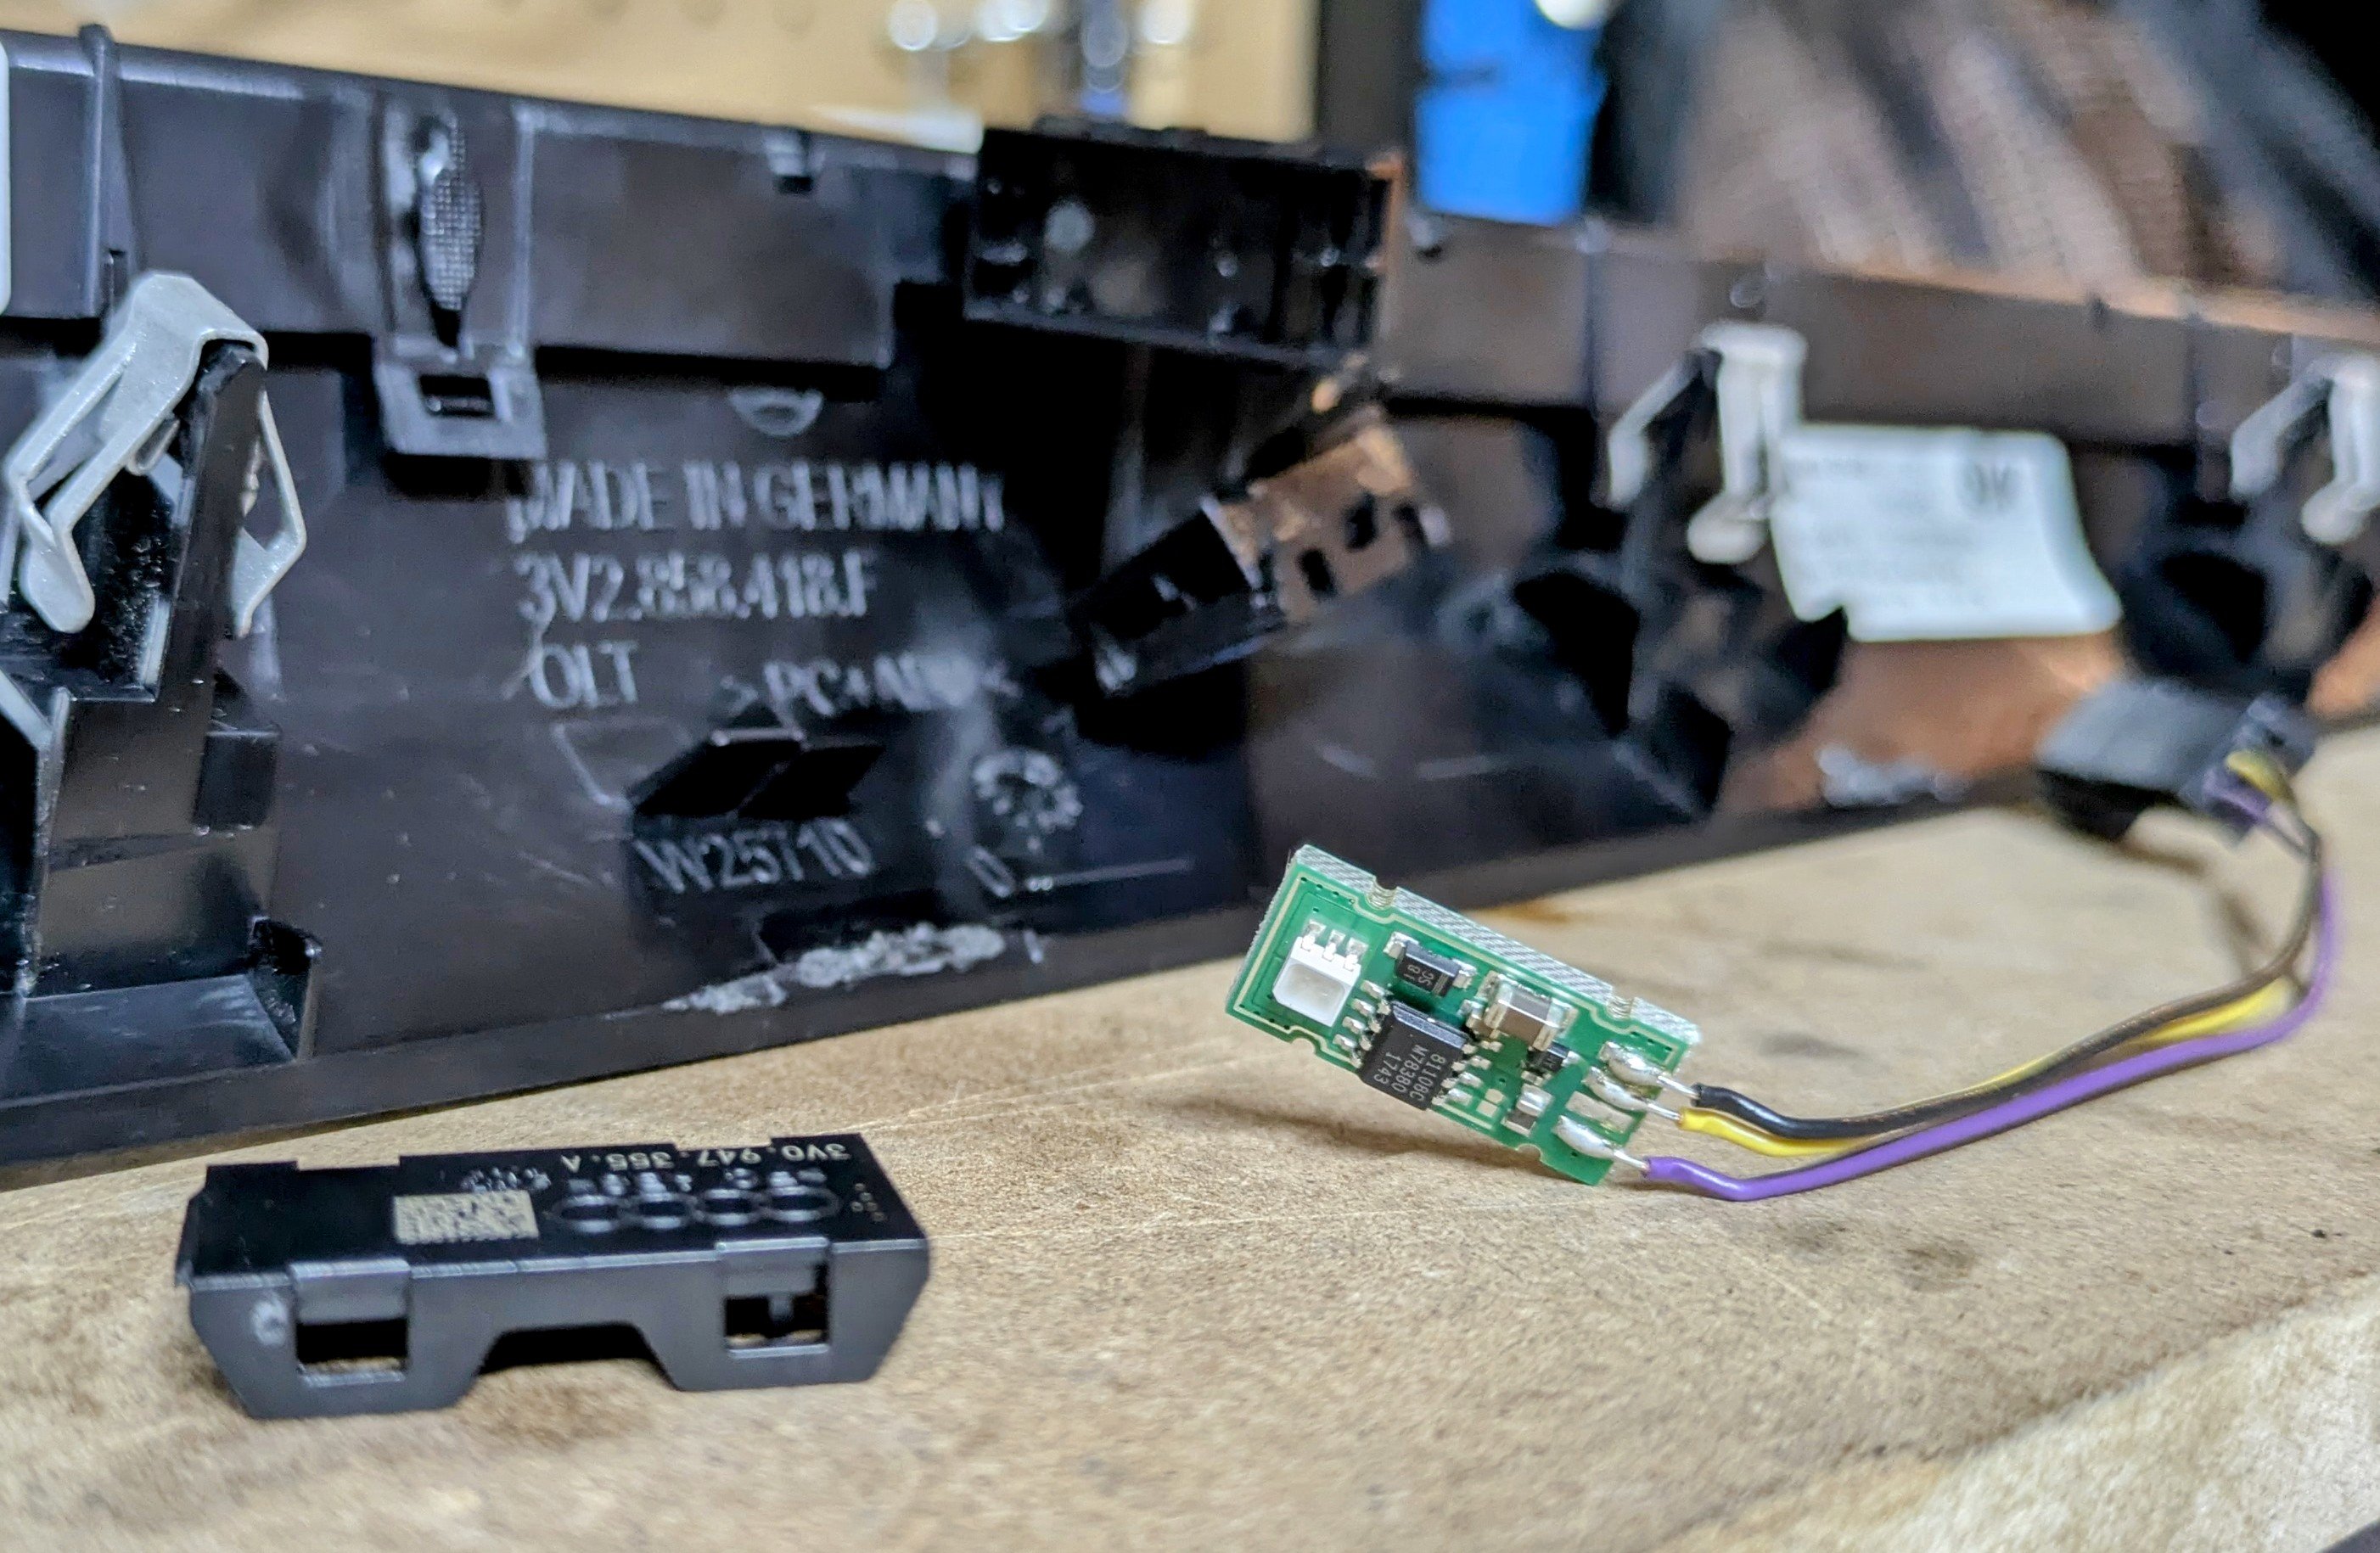
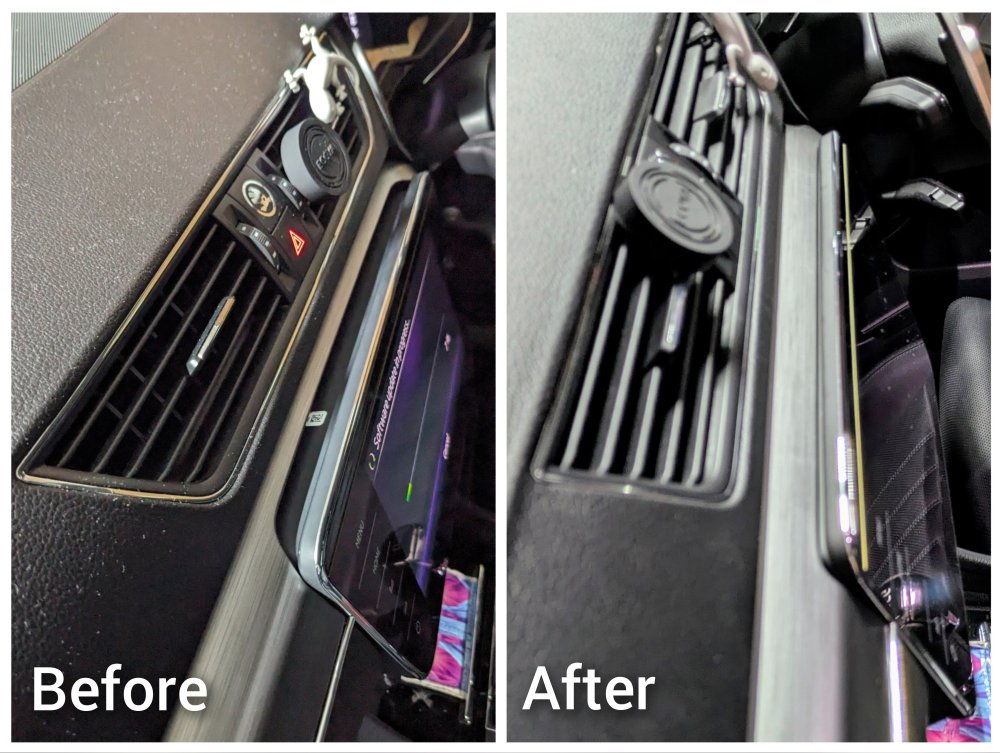
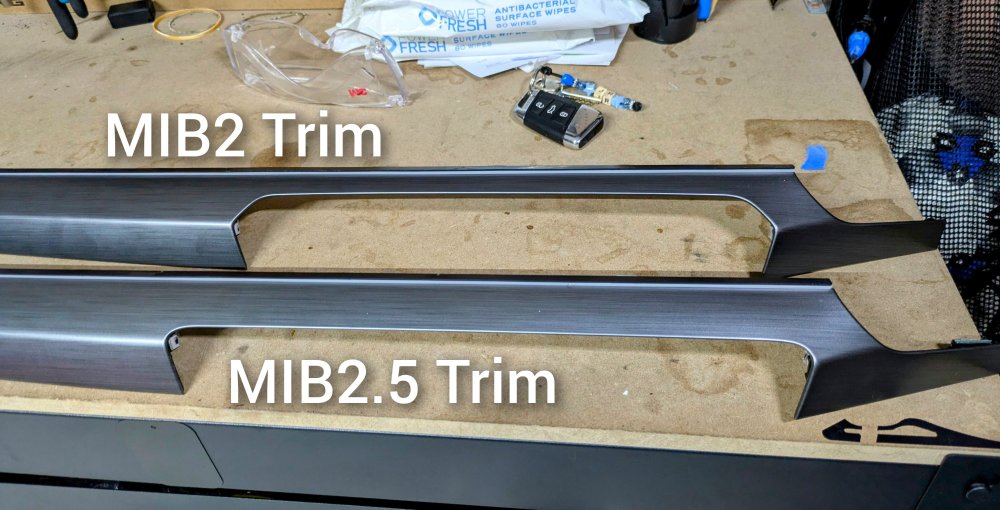
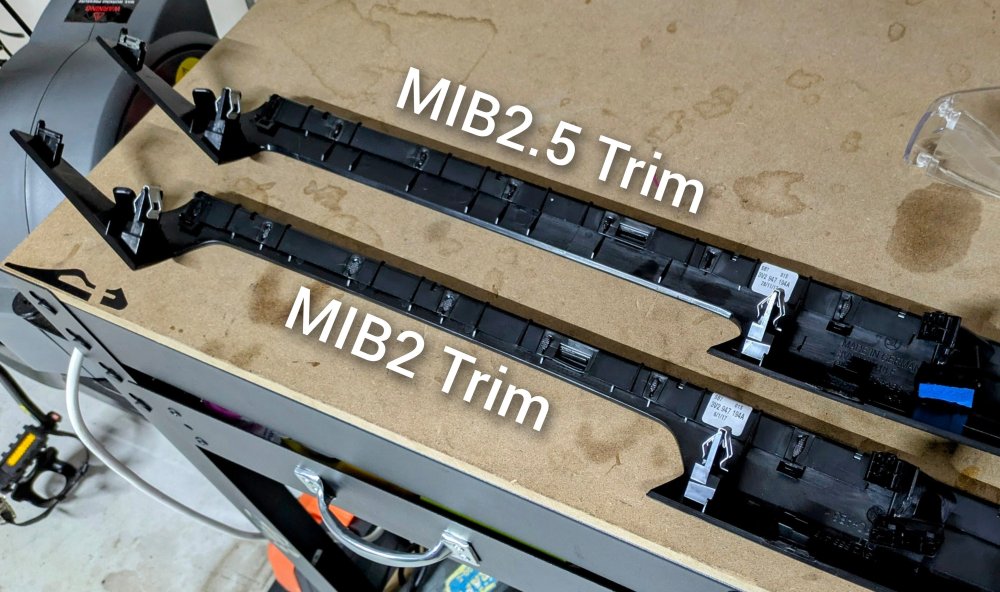
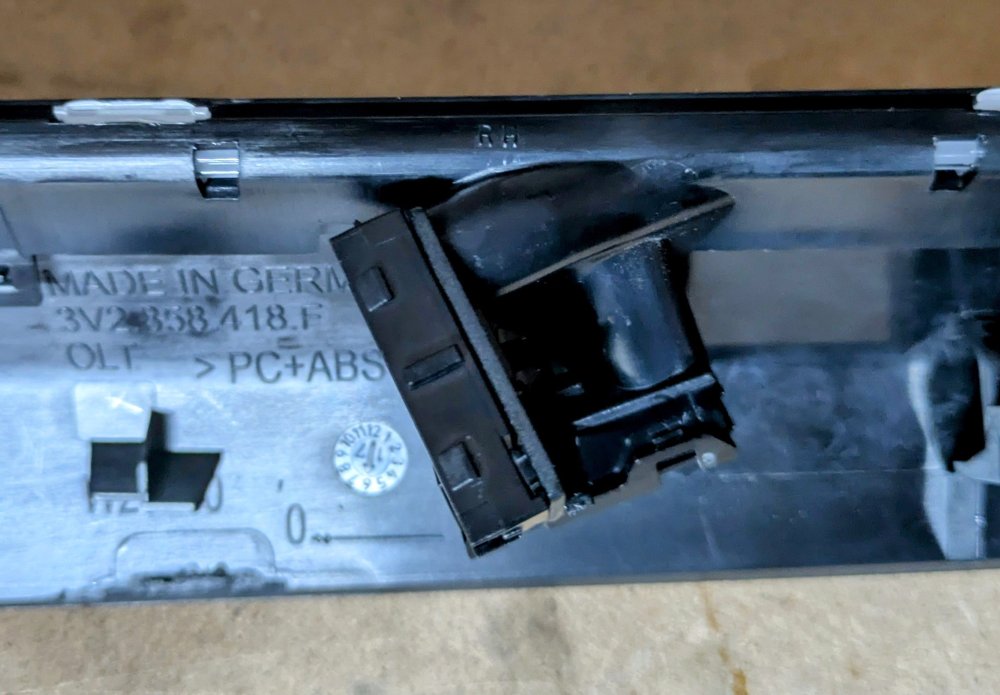
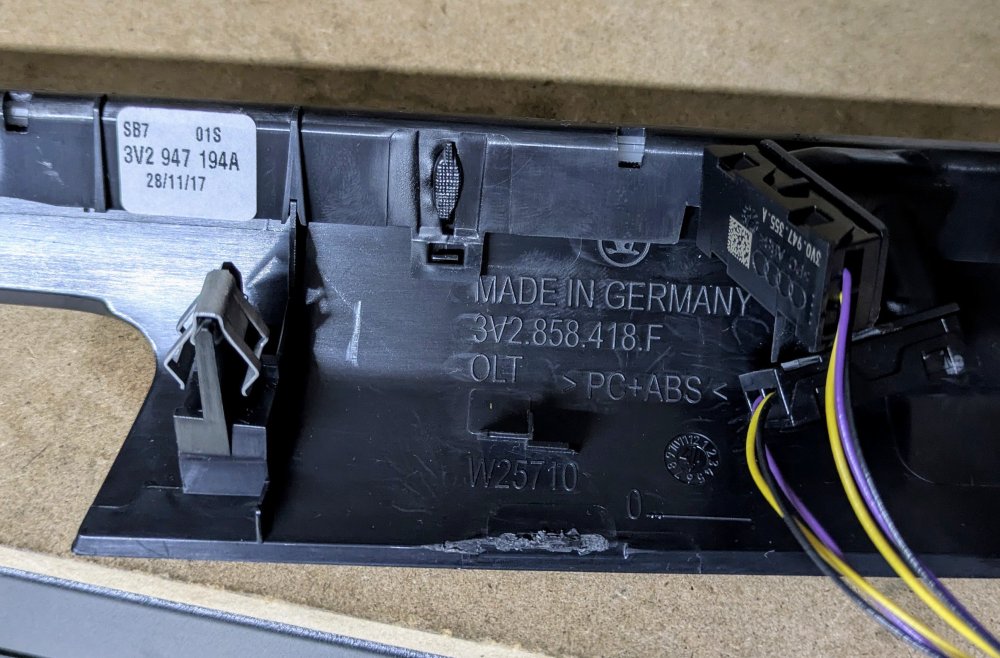
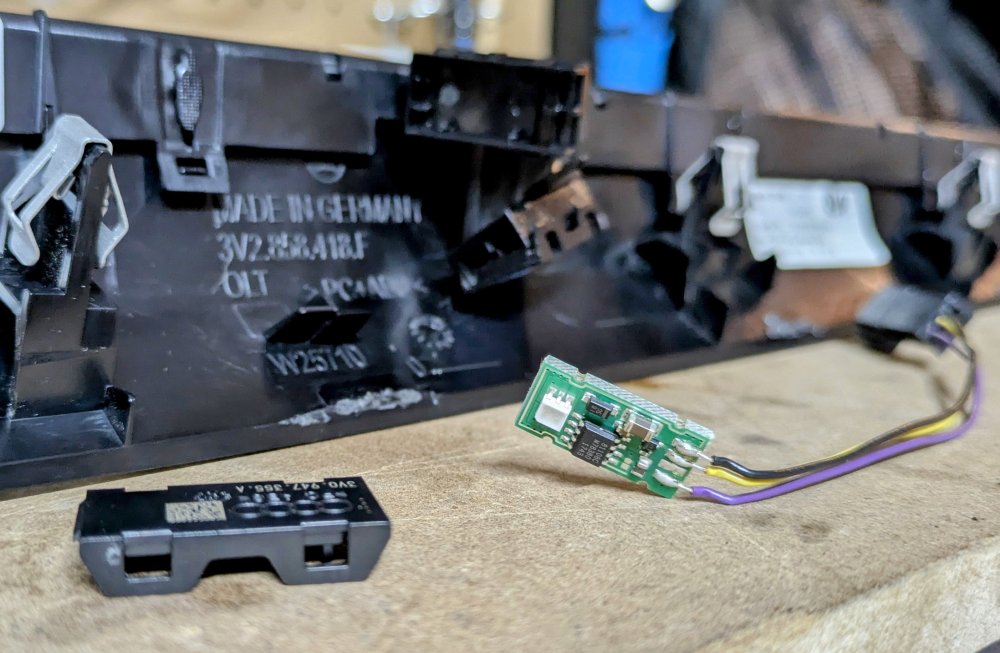
for the purposes of closure/completeness, the final piece of the puzzle was done - the centre dash trim piece. So 6 months later after converting my MIB2 unit to a MIB2.5 unit, I finally managed to get my hands on the centre dash trim suited for the 9.2" Columbus screen. MIB2 trim piece - 3V2.858.418.A MIB2.5 trim piece - 3V2.858.418.F The swap out process was relatively easily. Removed the screen first, then unclipped the old trim piece. I was unable to disconnect the ambient lighting strip connector as it was deep inside the dash trim and there was no way of getting to it!! So I unclipped the actual LED board and clipped it on to the replacement trim piece. Job done. There is two of them. One shoots light from inside to left, and the other from inside to right.
-
as above - clear the data and cache associated for the android auto app on ur phone. also make sure to forget/remove all cars in ur android auto app on ur phone, under Connected Cars. that should trigger the "fresh" first time use with ur car.
-
@enoktakenokta - i take it u have a Canton system. if so, it might worth checking the wiring connection to the sub in the boot. i've seen some posts about the wiring connection on the sub itself being weak/frail, and hence crappy connection, resulting in distortion or no bass. my sub is set to +2 and its still plenty punchy and lots of bass.
-
correct - i'm not chasing more power. 300bp and 530Nm at the wheels is plenty for a daily drive. there is only so much u can push out a FWD. if i had an AWD Superb, i would've gone with a different tuner. now it's about efficiency and reliability. hence the IE intercooler already done. i'm contemplating the Racingline DSG Cooler.
-
yes, mine (MY17) comes with 10 colours. MY15 and MY16 came with only 3 colours. MY17 onwards they came with 10 colours. i contemplated coding it to 30 colours, but i figured that would b too many and a waste of time.
-
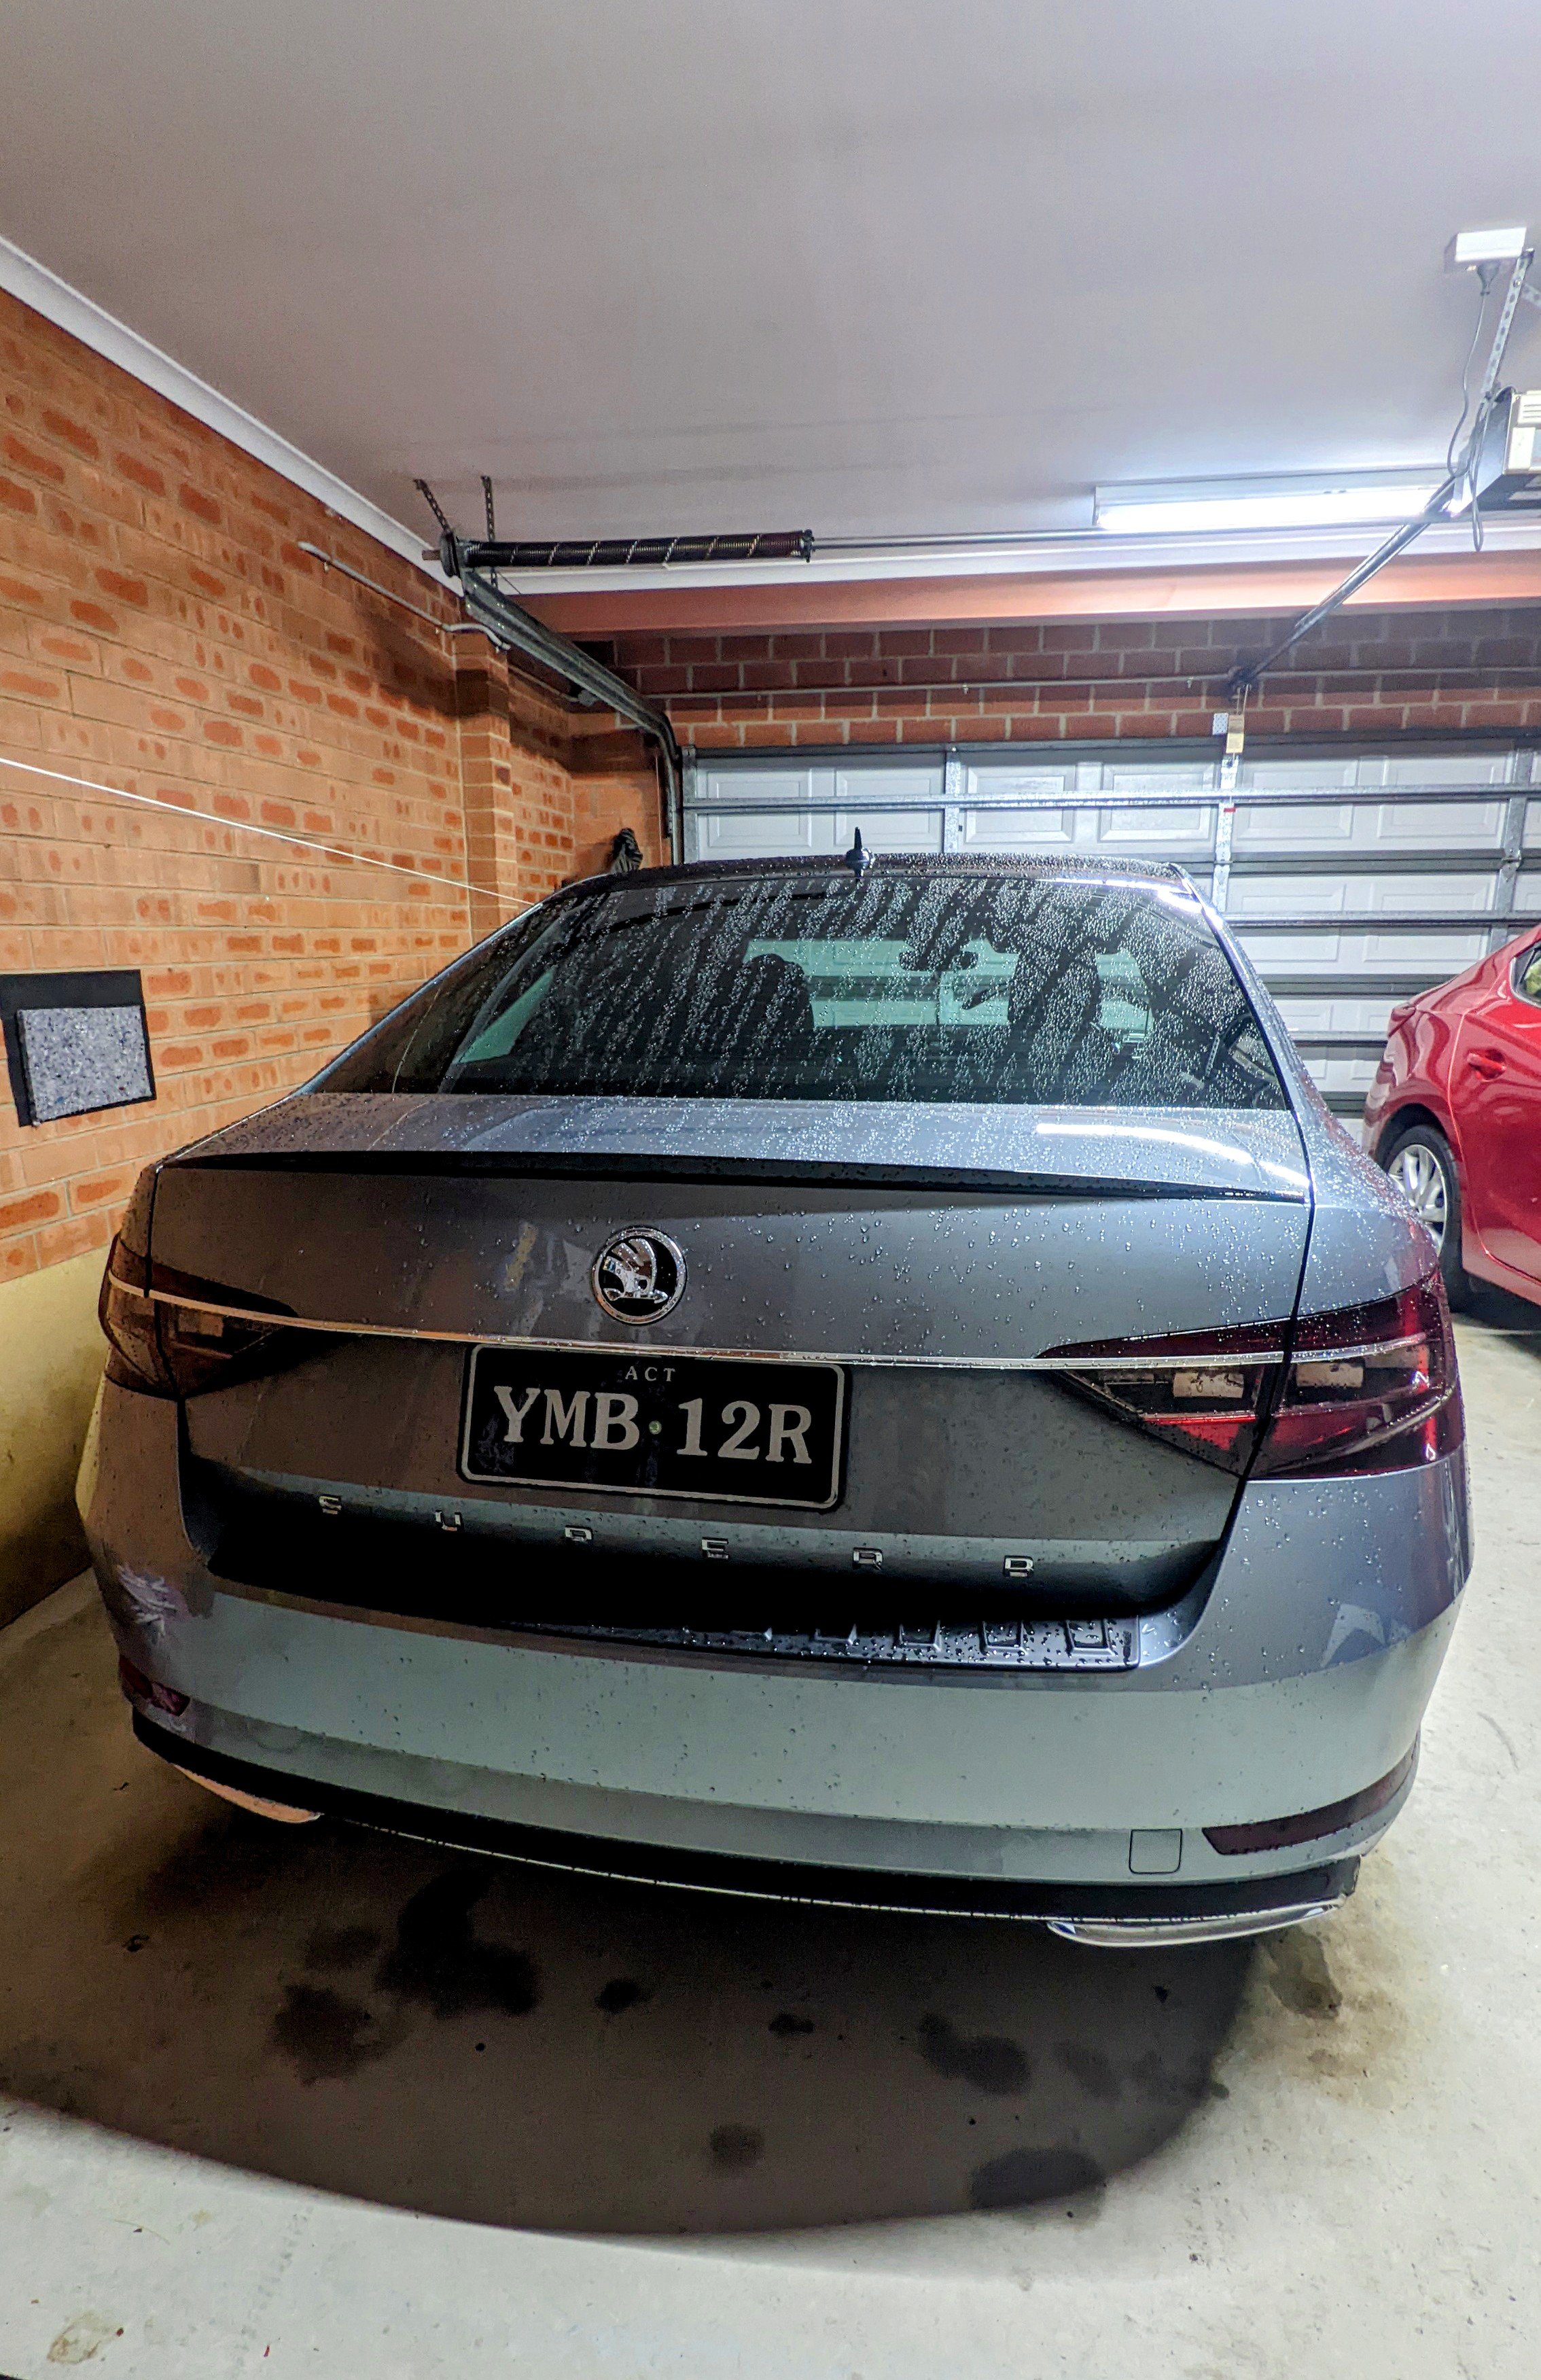
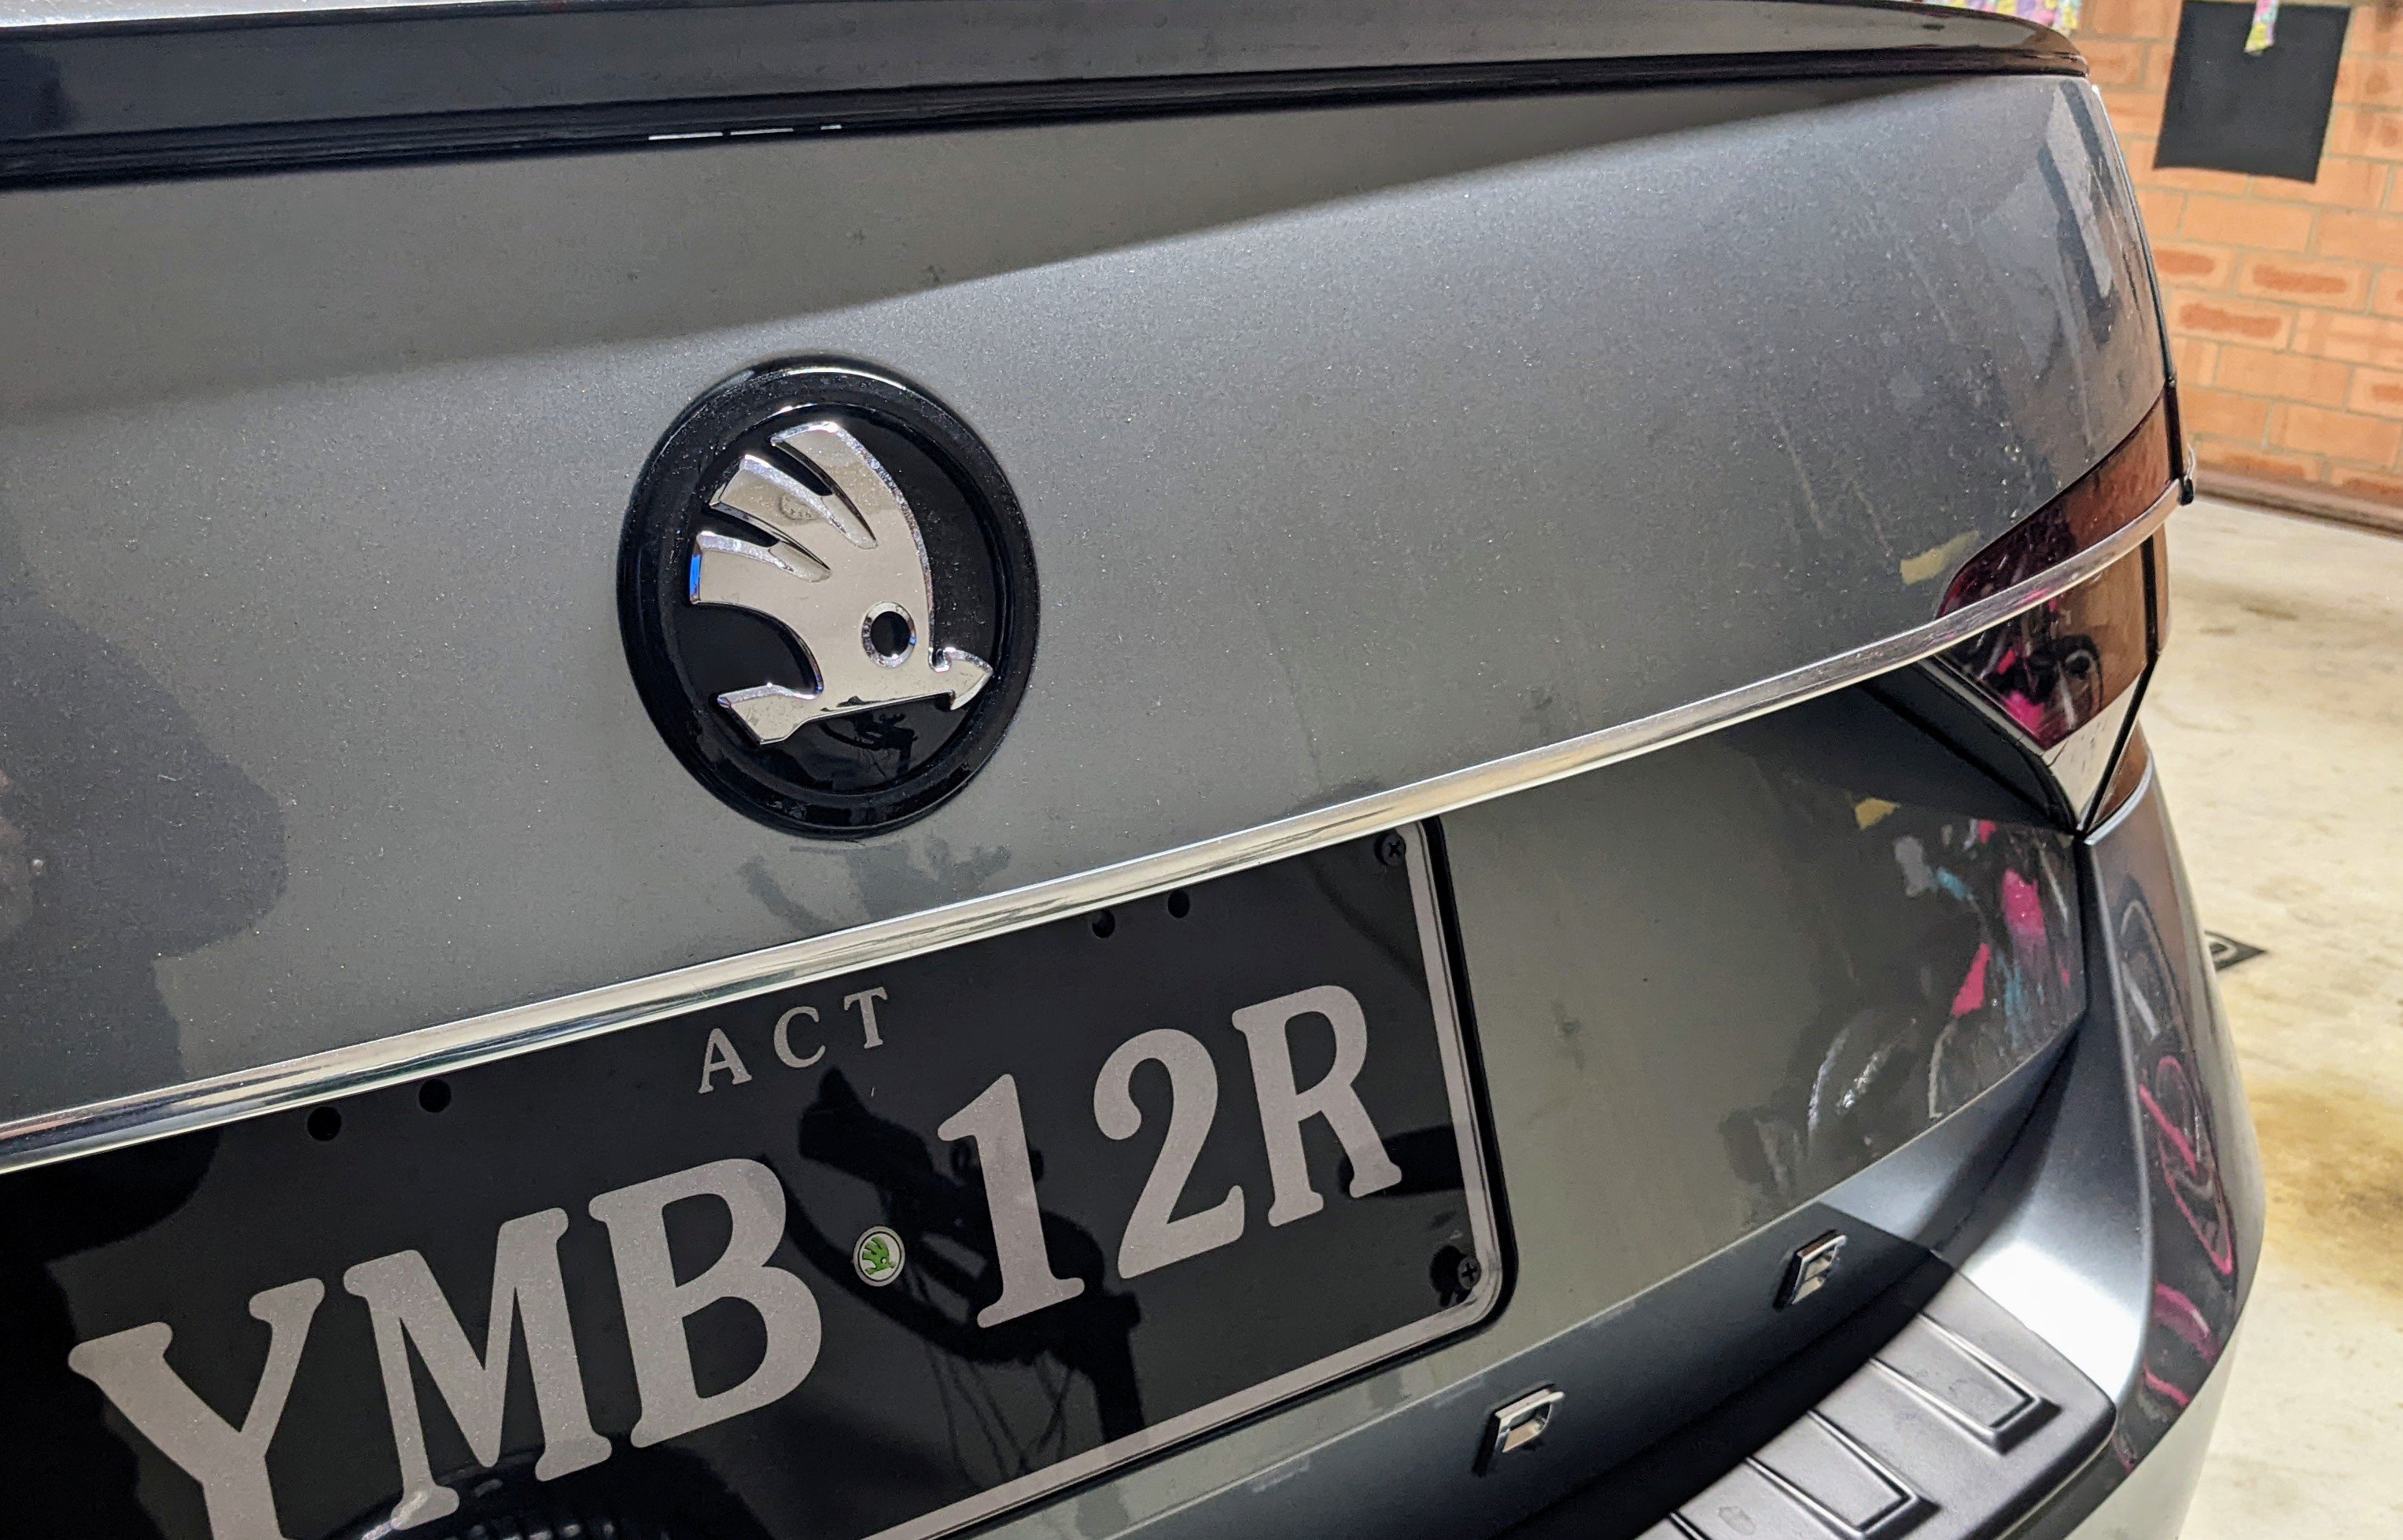
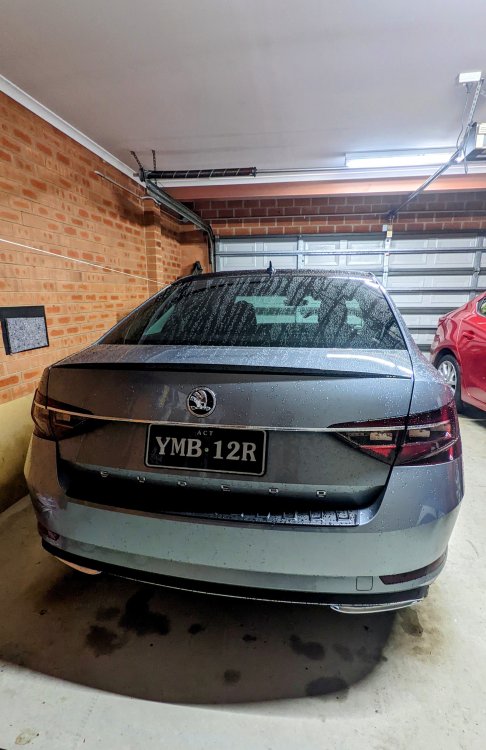
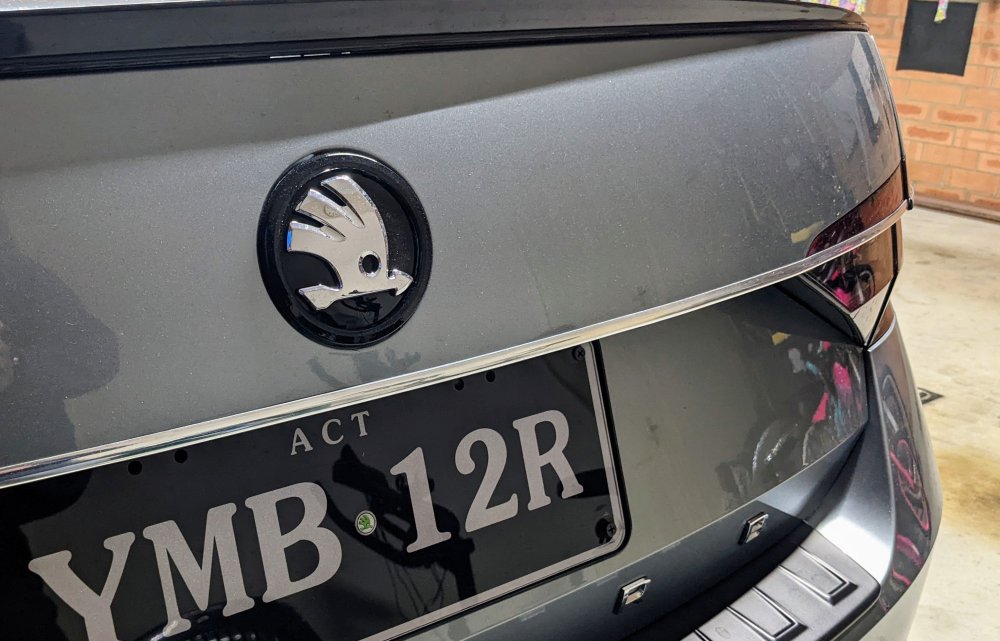
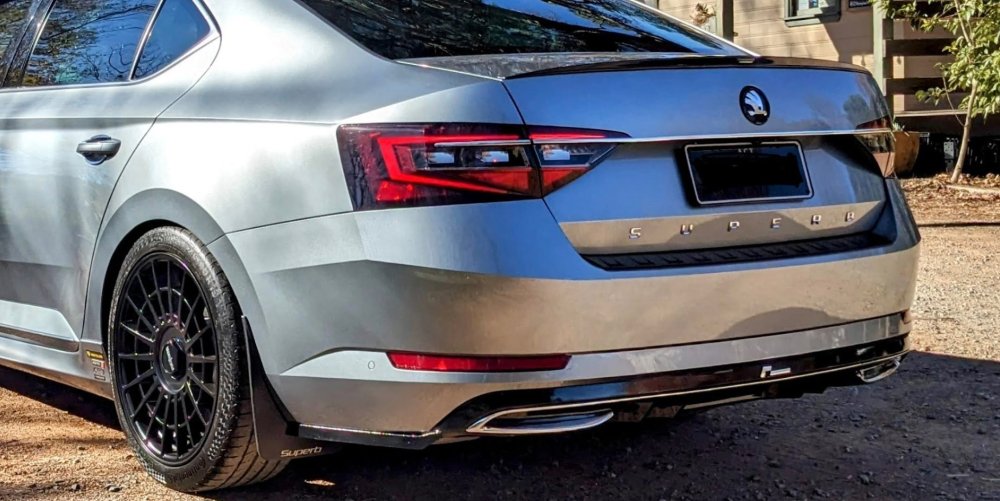
If u want the facelift chrome strip, u will also need:- - facelift inner and outer taillights - centre chrome strip trim - facelift rear camera - facelift boot handle I wanted the chrome strip, but it was too expensive of an exercise, so I improvised and made my own chrome strip, using an L-shaped chrome strip trim from AliExpress. It's been years since I did - still going strong and holding up well.
-
It's not a quick job as it needs back door tools/software. Also depends on how busy the workshop is.
-
@Craig0 - u need to take the car back to a Skoda dealer and get the SWaP codes reactivated/enabled again.
-
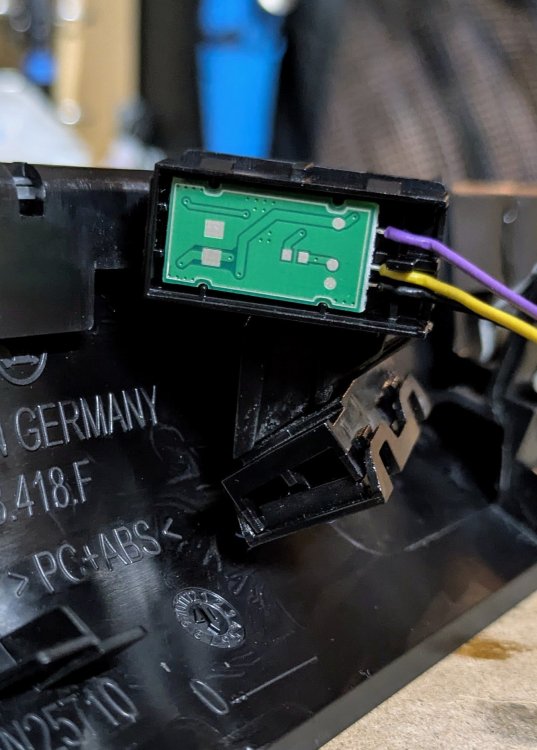
So 6 months later after converting my MIB2 unit to a MIB2.5 unit, I finally managed to get my hands on the centre dash trim suited for the 9.2" Columbus screen. Got it from an MY18 Superb being wrecked. Good price too. Was difficult to find a match with mine as most of the Superbs being wrecked were Sportline models, hence carbon or black finish trims. That's assuming the trim piece was available and not damaged to start with!! The swap out process was relatively easily. Removed the screen first, then unclipped the old trim piece. I was unable to disconnect the ambient lighting strip connector as it was deep inside the dash trim and there was no way of getting to it!! So I unclipped the actual LED board and clipped it on to the replacement trim piece. Job done. There is two of them. One shoots light from inside to left, and the other from inside to right. MIB2 trim piece - 3V2.858.418.A MIB2.5 trim piece - 3V2.858.418.F Comparing the two trim pieces... Seperating the LED from the 2x ambient light holders... Cover removed... LED board removed... Without the LEDs All done...
-
sadly the MIB3 units, which u have, r notorious for misbehaving like this. a firmware upgrade might b ur long term fix/solution.