


Leaderboard
-

Lee01
FREEDOM14Points36,166Posts -
pinkpanther
FREEDOM11Points3,913Posts -
.jpg.1006585dfe4e2977315b67c3d642e37b.jpg)
Guest_
FREEDOM11Points83,824Posts -
Stonekeeper
Resident Member8Points2,845Posts
.thumb.jpg.9dd3f612ba7f13d10be5c518d3c8d255.jpg)


Popular Content
Showing content with the highest reputation on 24/09/23 in Posts
-
3 points
-
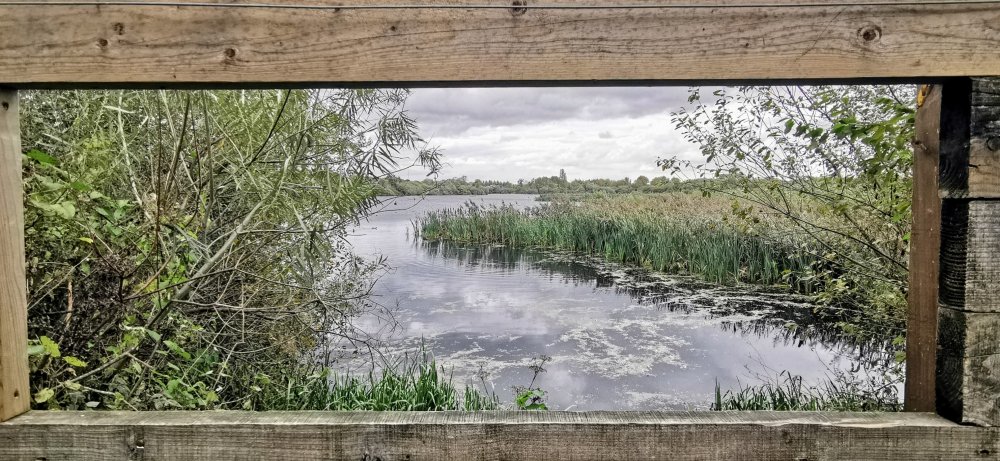
3 pointsA couple from Attenborough nature reserve - pretty windy, but surprisingly warm 🤷♂️


 3 points
 -
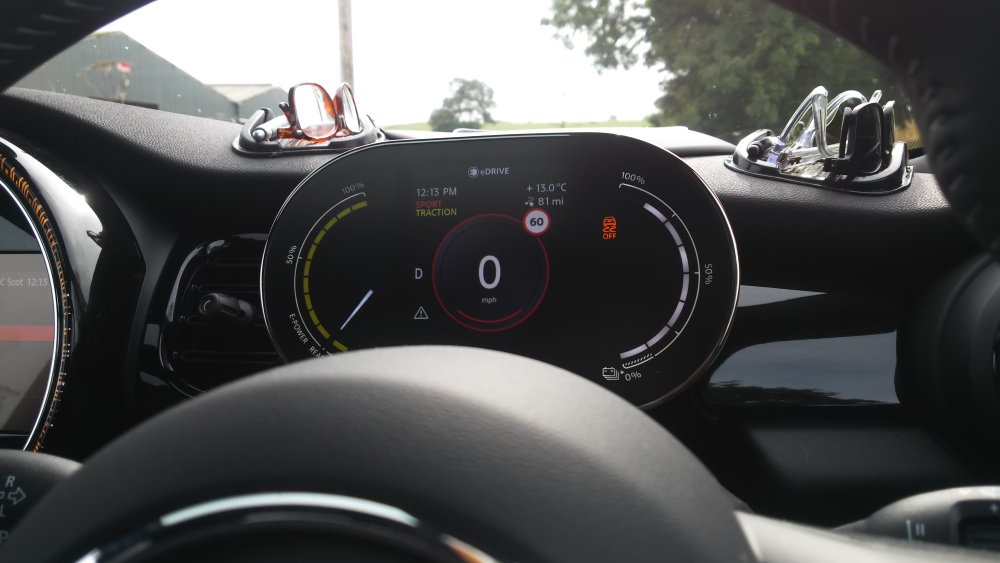
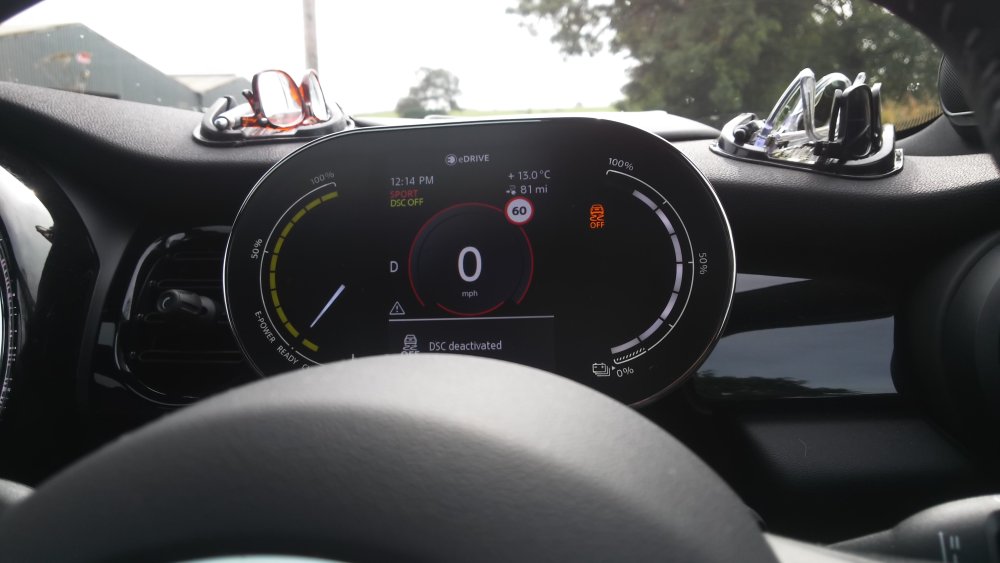
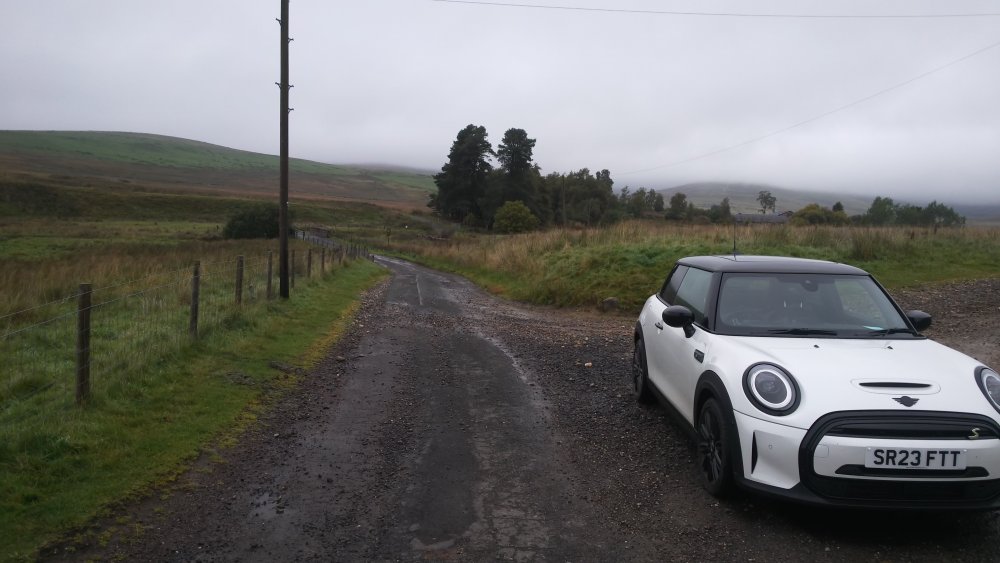
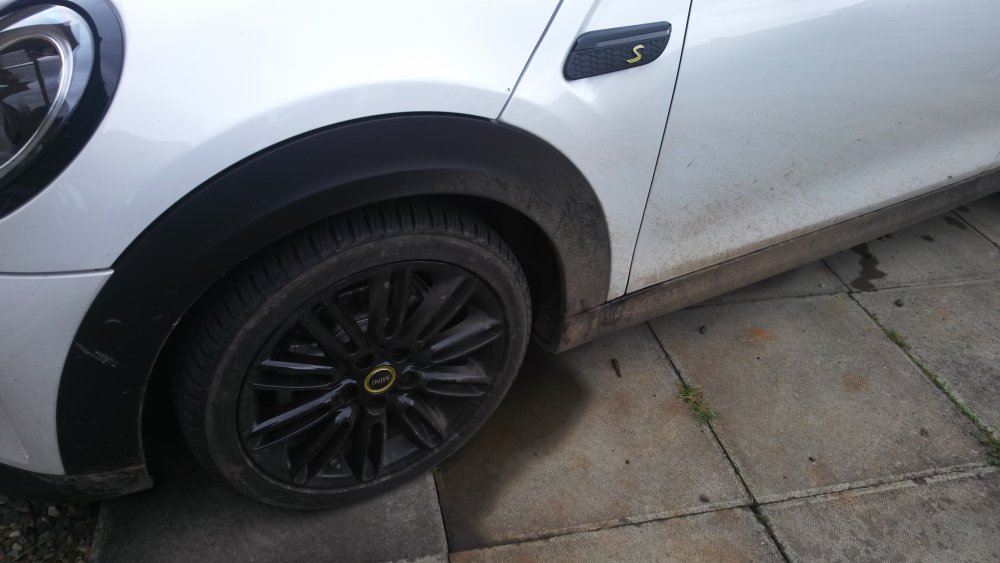
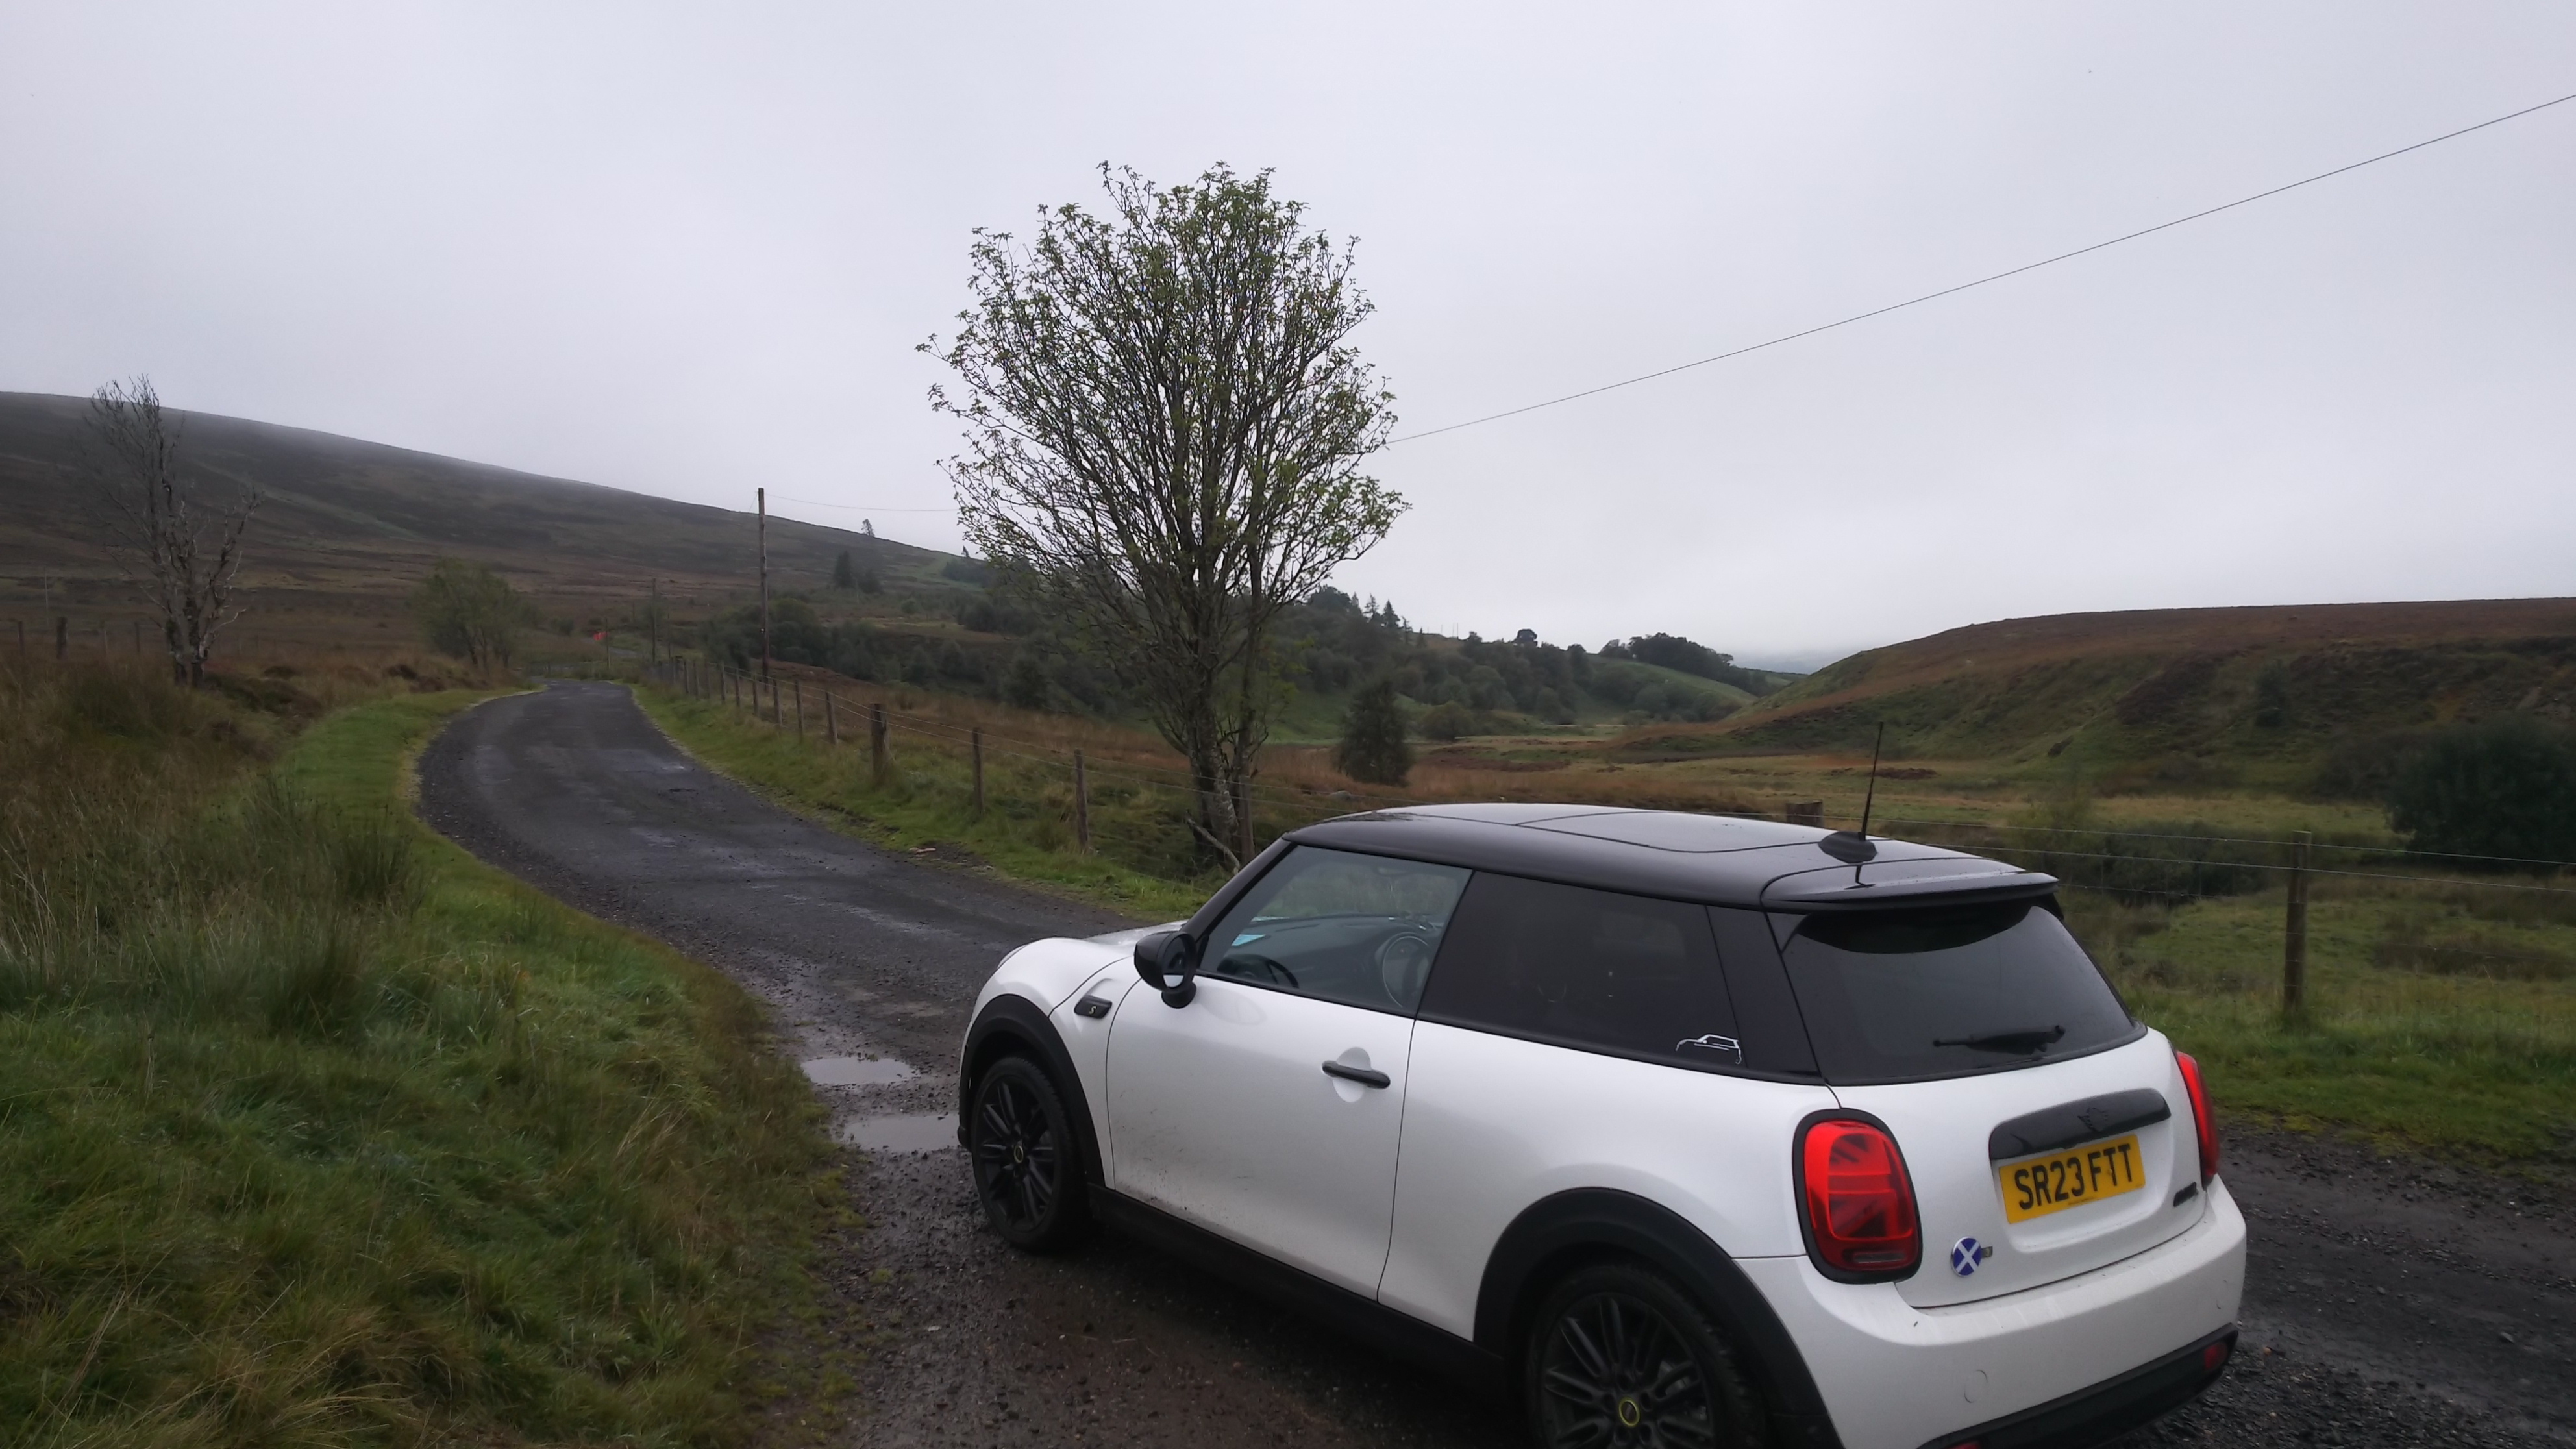
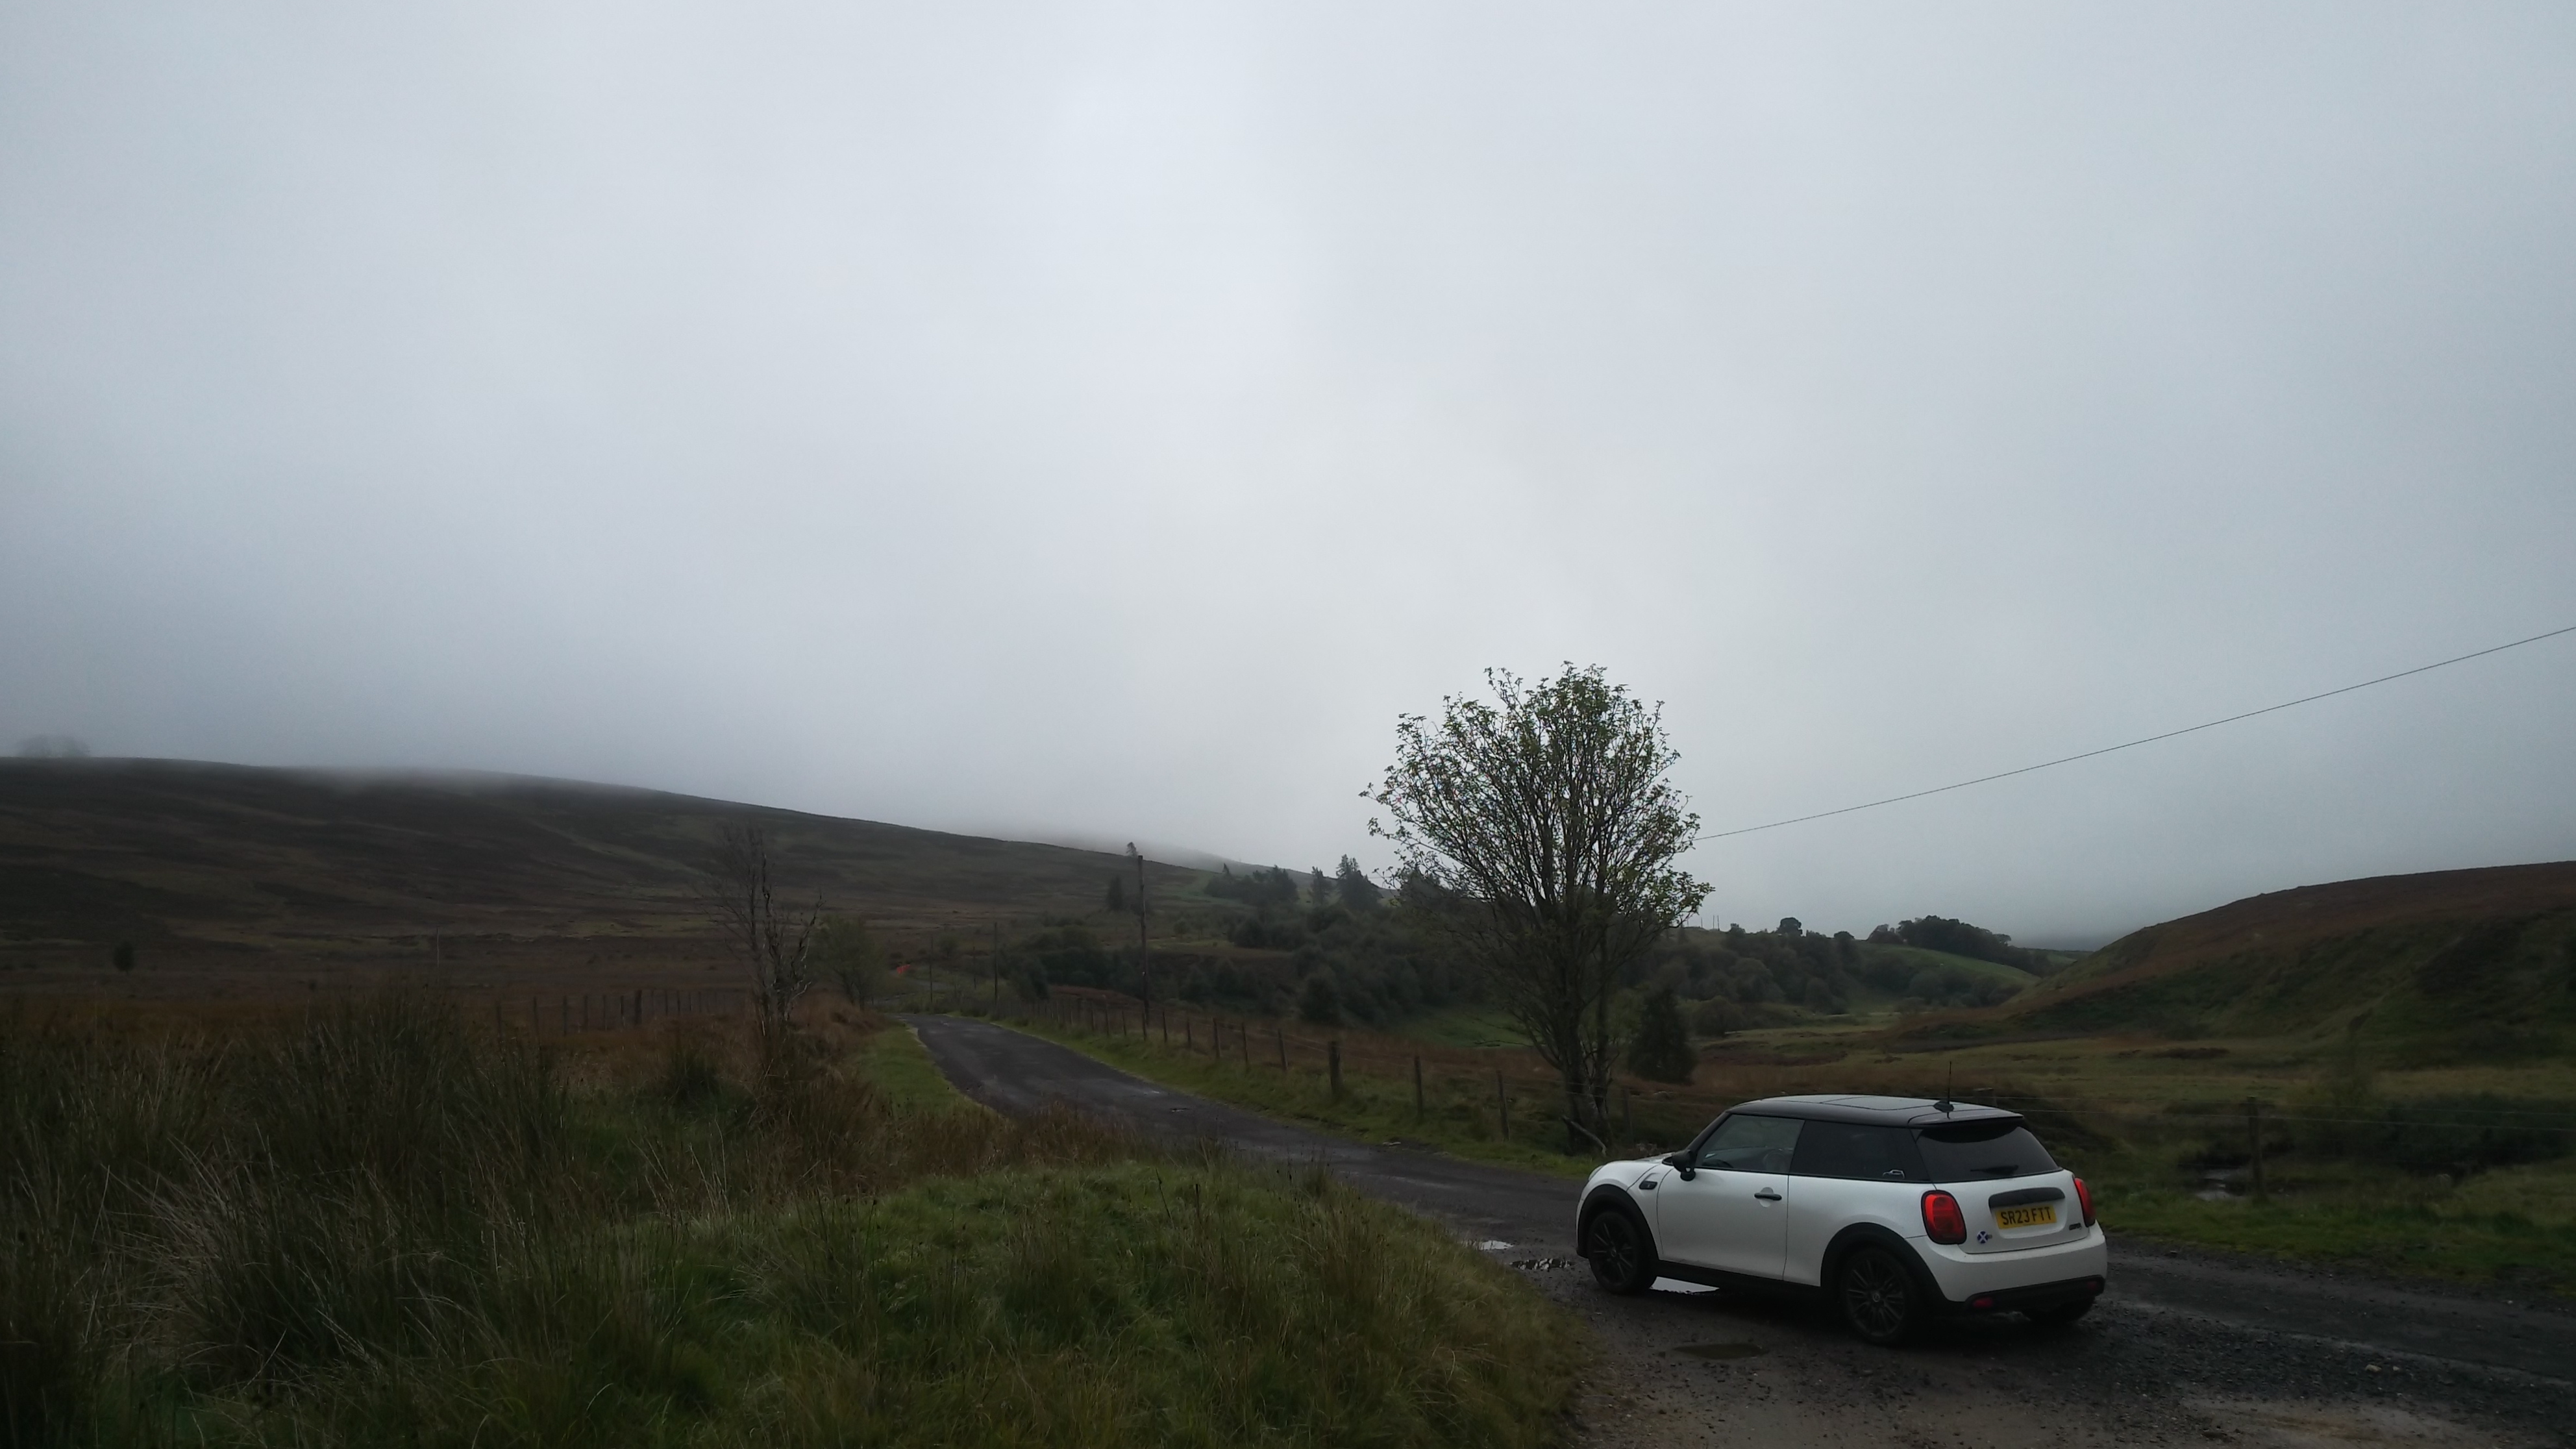
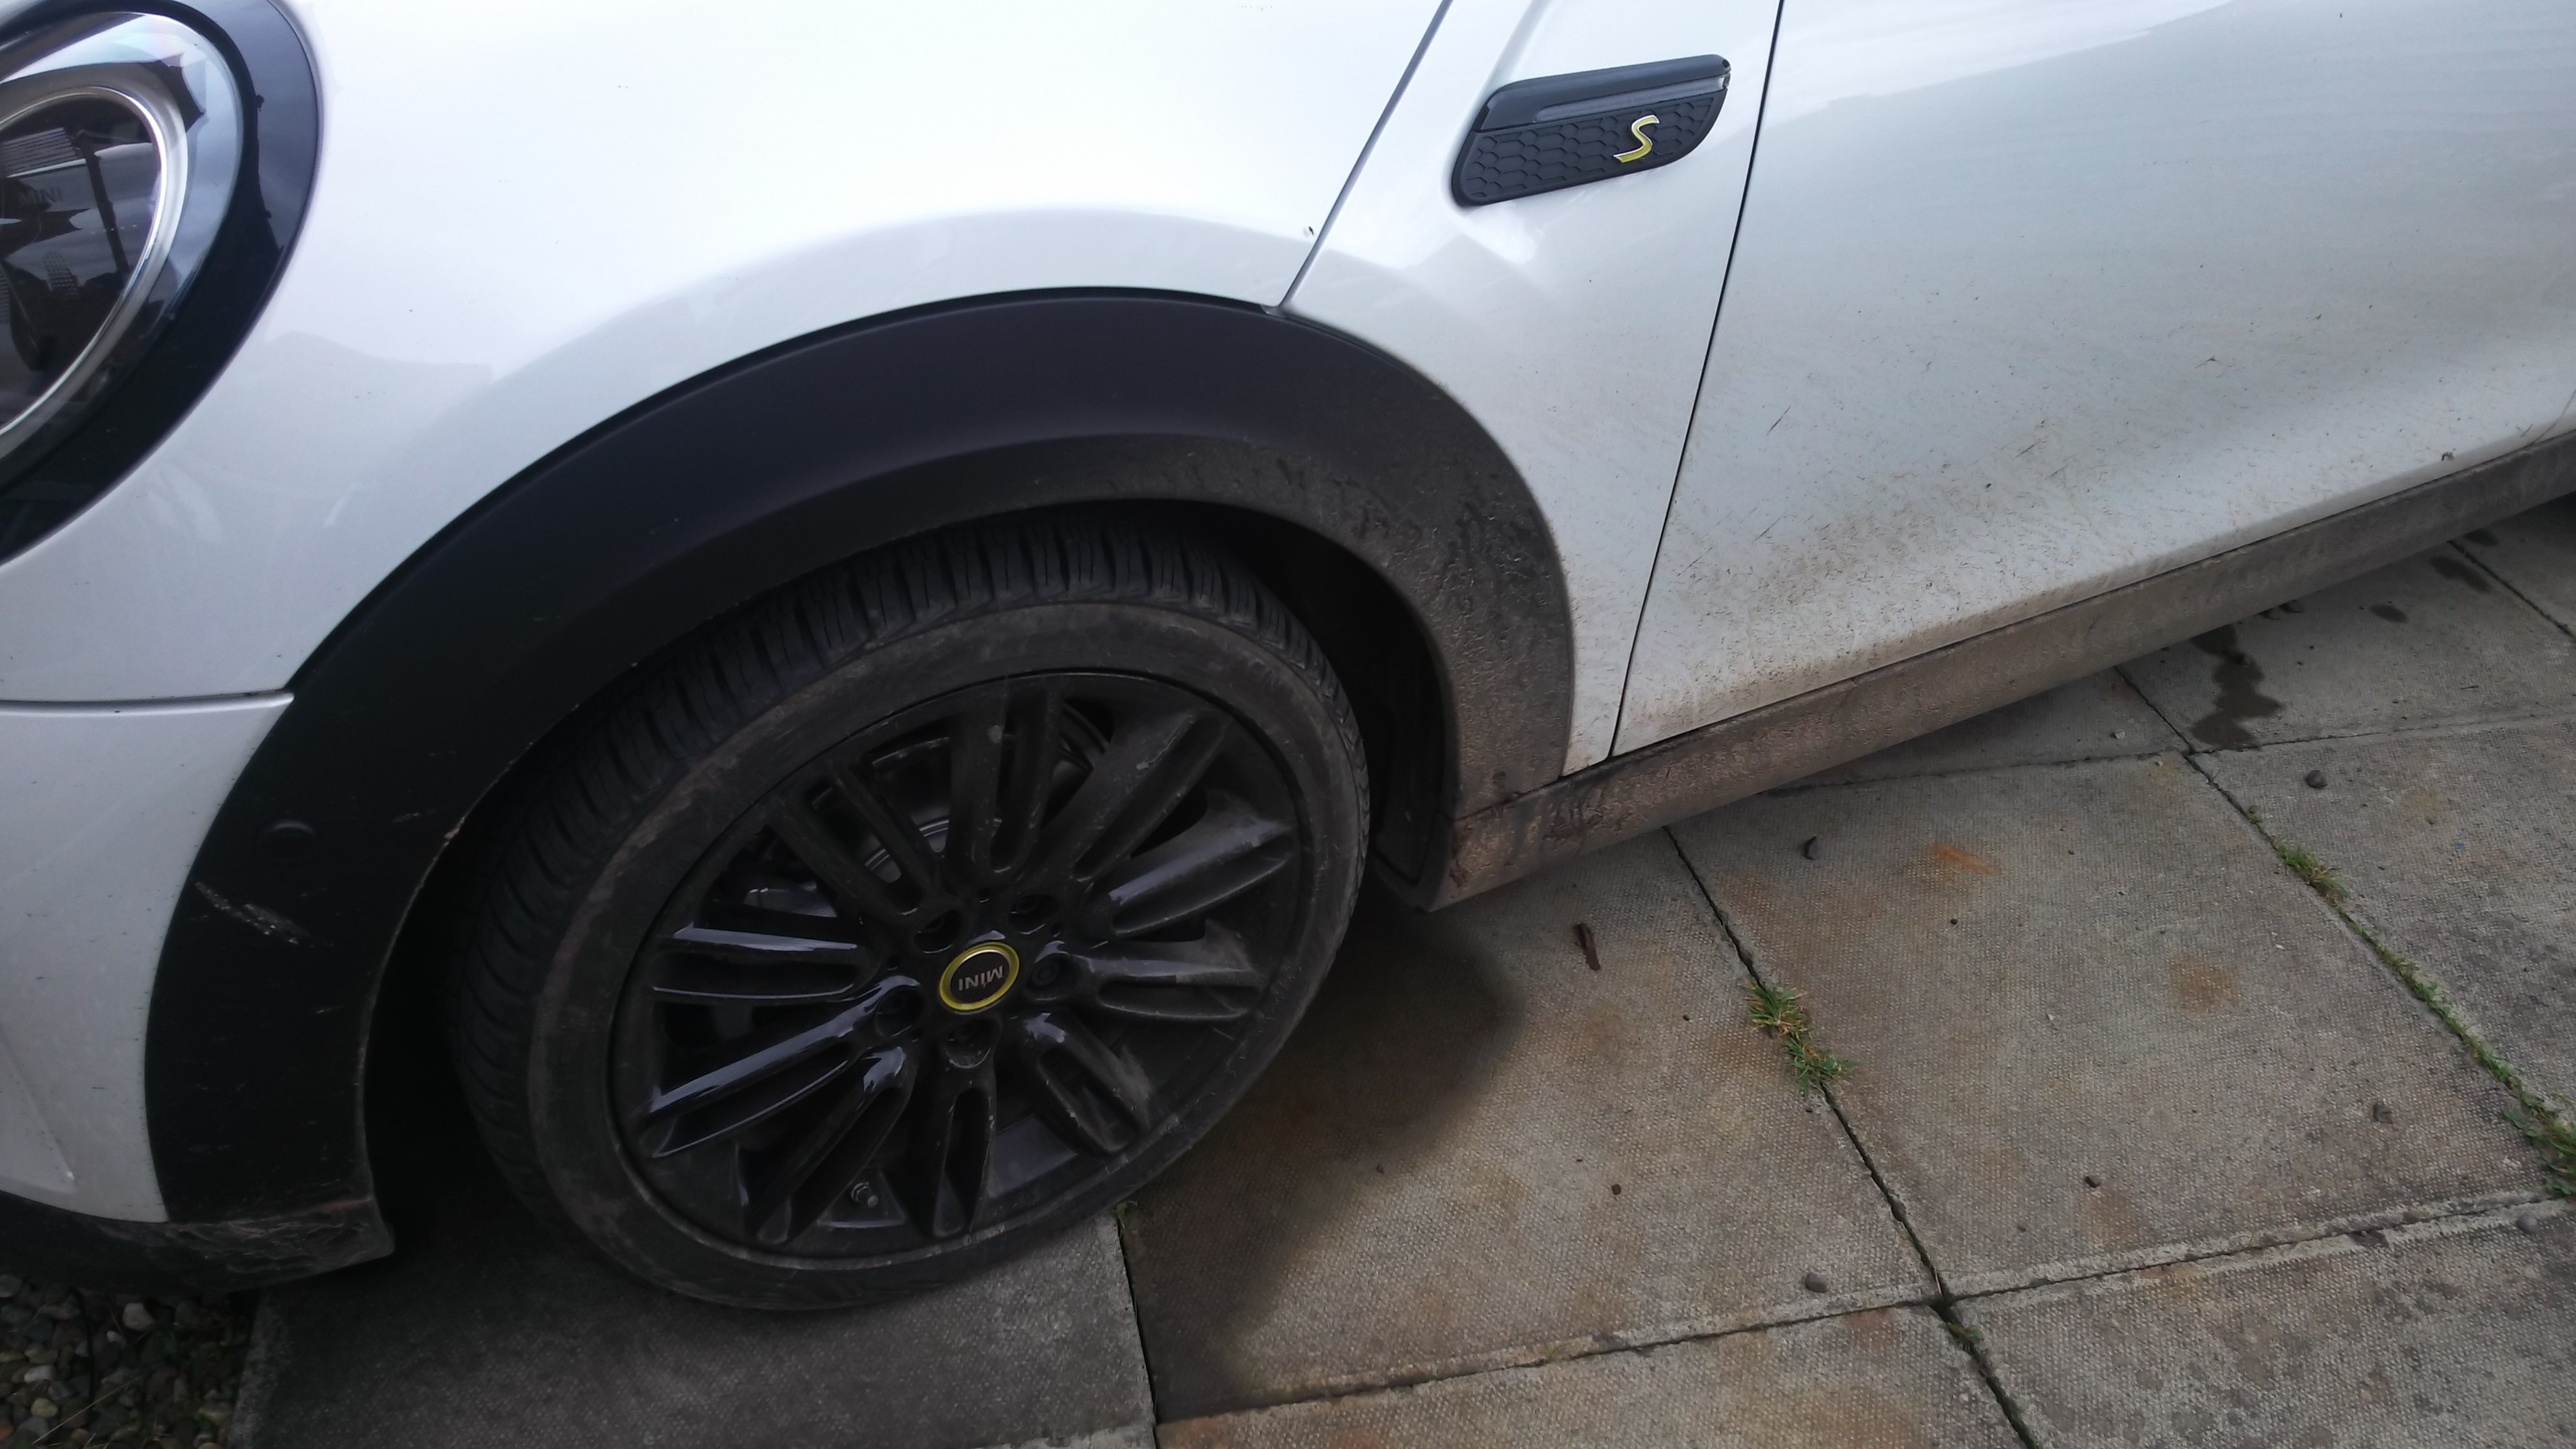
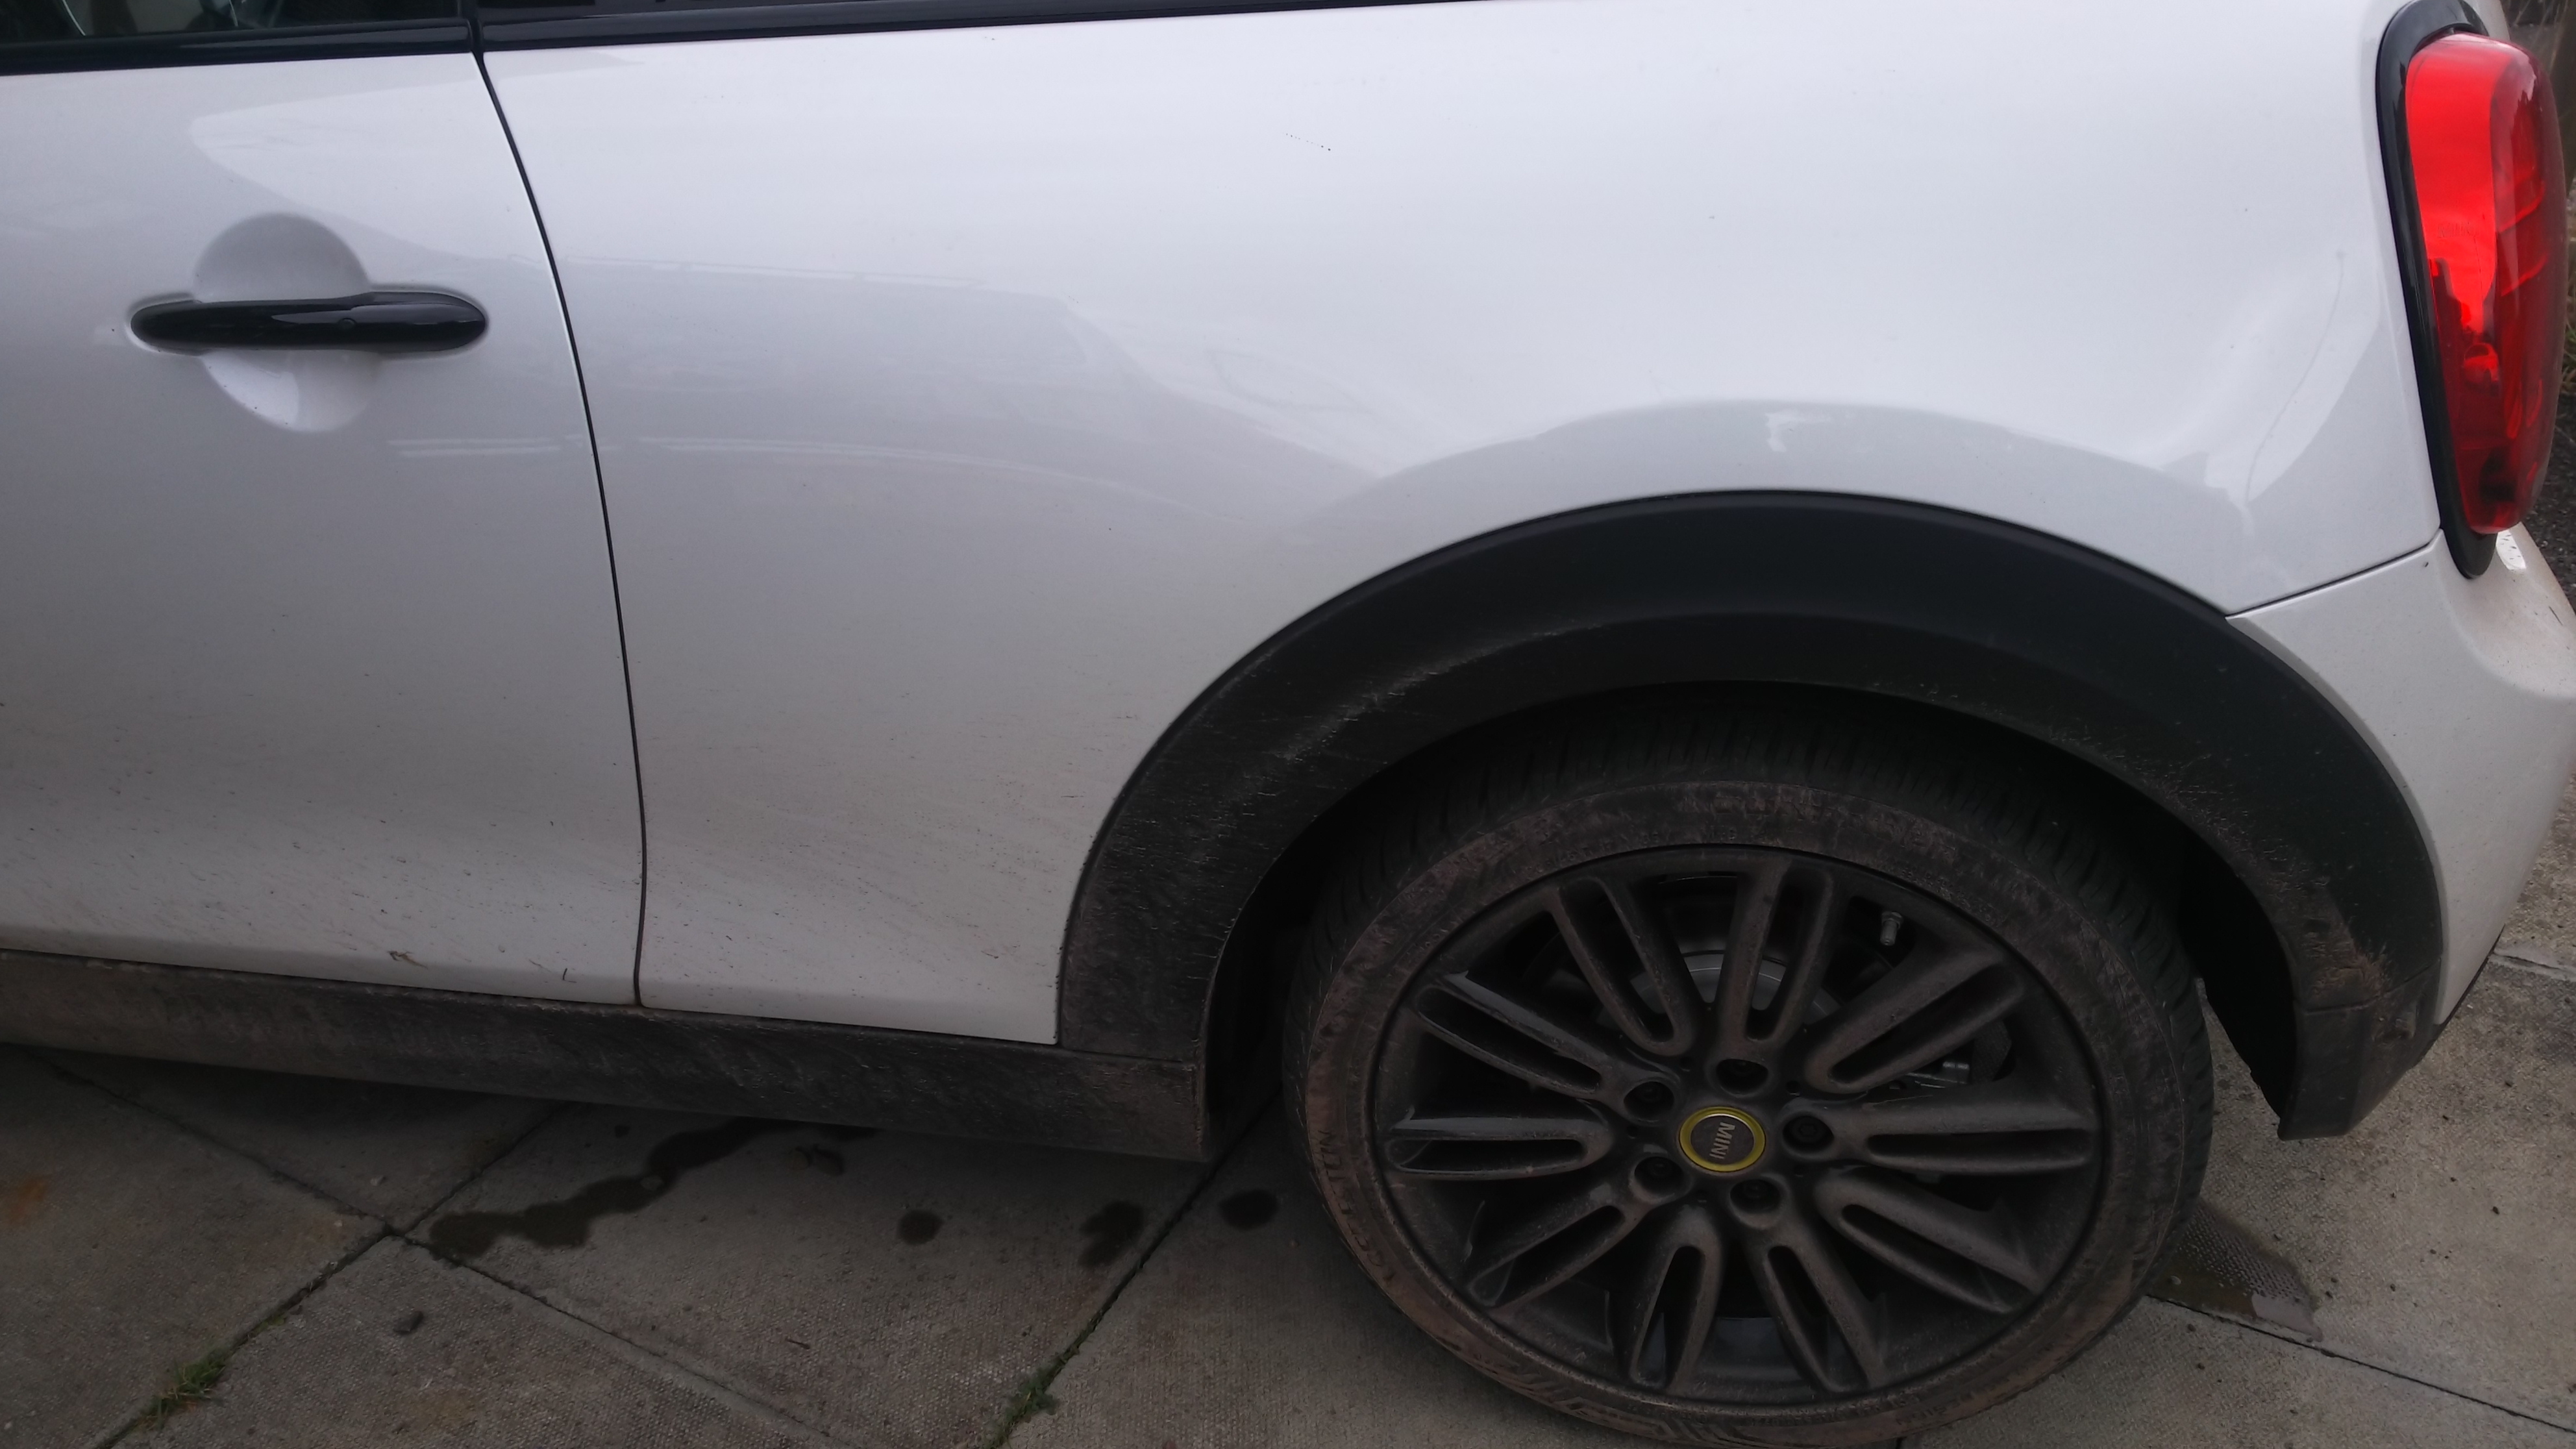
2 points2 pointsI had a wee shoot up and down a nice secluded Glen devoid of traffic, walkers, cyclists or animals wandering onto the road. Warm, damp and a bit loose surfaces in places and tight corners. Well with the Traction Control / Dynamic control in the 3 available setting i can say with certainty it will stay on the default setting until i try again on snow or a track / large space with nothing to hit. The all season tyres and lack of electronic assistance gave a few moments of squeaky bum time. Better just to proceed in a safe manner and let the car do a bit of controlling the wheel spin now that i am very much less than a driving god. 4 miles to the kWh for 30 miles with a bit of playing about is OK IMO. The Brake discs & calipers have not even the slightest of corrosion showing and i hardly touch the brake pedal. The Corsa electric,s brakes had started rusting within days of using it. I really might need to put on mud flaps but i need to see how it is when there is now and how it clears out of the arches or if it builds up and freezes in big lumps of ice.


 2 points2 pointsAfter going out yesterday I'm happy to say that the car is running A1, 100%. I'm just going to assume it was indeed poor quality petrol. The turbo is now definitely working, with hindsight I don't think it was earlier in the week. I don't know if poor quality petrol would stop the turbo working. Thanks to all of you for your comments/ thoughts with diagnosis. Steve2 points2 pointsScotland have an electric Fire engine https://www.scottish-enterprise-mediacentre.com/news/worlds-first-electric-fire-engine-designed-and-built-in-scotland-by-emergency-one2 points2 pointsThat Milk tanker was not an ev What concerned me in the clip is what was it that exploded on the side of the motorway next to it, obviously ignited by the tanker?2 points2 points@Graham Butcher What is the point about continually saying or posting that EV fires are dangerous and safety is required with EV,s Charging and installing charging points? That seems to be the case. It looks like nobody here are had any personal experience with their EV,s or has knowledge of anyone they know that has. The Manufacturers & Authorities and Emergency Services are all aware of the issue and still EV,s are being built, more are planned and that is that. At least you are warned that there can be issues and danger to life. So now i am off out for a blast in my EV and later i will charge it and hopefully i am not in an accident that is fatal or results in life changing injuries to me or others and that i meet not too many that need 'Guide dogs for the stupid'.2 pointsTest fitted the brakes today. Tried to do heatshields but the stub axle bolts wouldn't budge. So deleted them instead. Said before but old pads and discs on purely to get it moving. Will have new discs and pads when I can afford to.
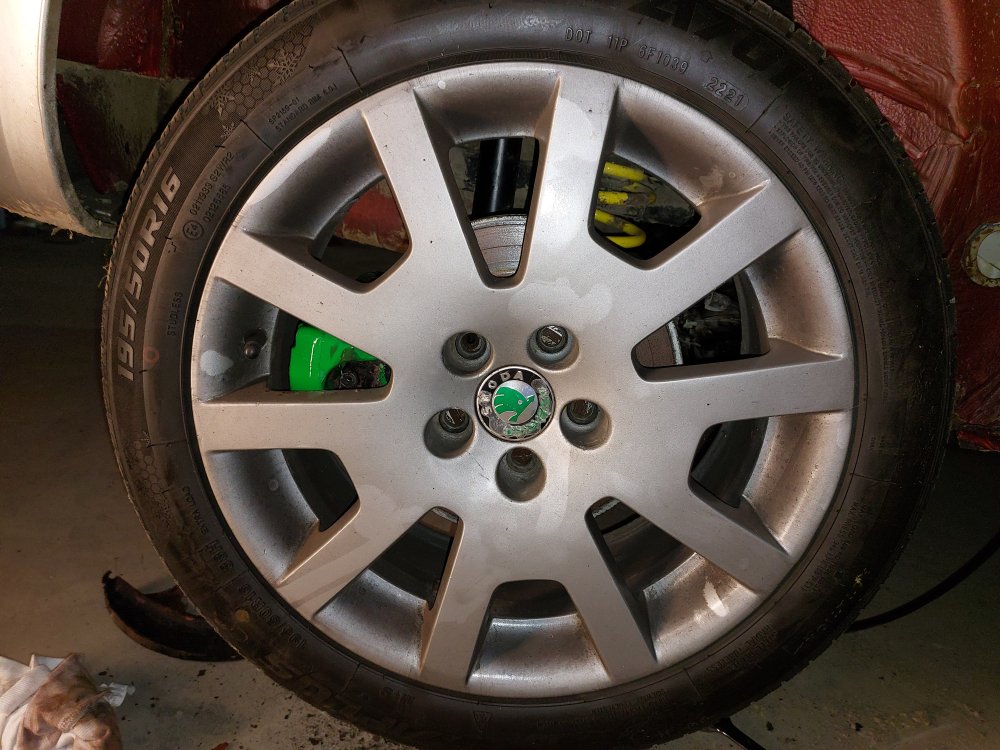
 2 points1 pointAfter being pestered by my Daughter for the need to charge a phone in the back seats of the car. I thought I would go OEM and fit the rear USB sockets in the centre console as my model of car didn't have them. Parts needed; I ordered these from www.skoda-parts.com, it took 1 week to deliver the parts from Europe. The only thing I didn't order from Skoda was the actual USB unit, as it worked out too expensive, it was £45 for the usb and extra for the cable. I got this from aliexpress instead as it worked out around £20 with shipping. https://www.aliexpress.com/item/4000454430275.html?spm=a2g0o.search0302.0.0.48f2d710S9U8kD&algo_pvid=d763b097-fa97-4d9d-84fc-cabfb2587725&algo_expid=d763b097-fa97-4d9d-84fc-cabfb2587725-26&btsid=0b0a555a16212796060048113e0e8c&ws_ab_test=searchweb0_0,searchweb201602_,searchweb201603_ These are the parts I ordered from Skoda parts. 5E0 863 284 D 9B9 Storage Compartment - Rear Škoda 1 × 21,84 EUR 5E0 863 229 9B9 Cover left Škoda 1 × 0,53 EUR 5E0 863 230 9B9 Cover Right Škoda 1 × 0,53 EUR 5E0 857 346 A 9B9 Cover Škoda 1 × 7,49 EUR 5E0 857 289 F 9B9 Center Tunnel Cover Škoda 1 × 11,09 EUR POST14.00 Shipping 1 × 16,80 EUR Total price incl. shipping and VAT 58,28 EUR The only tools i needed was a Torx tx20 bit and the ratchet to put it in. Small flat screwdriver to help remove the 12v cigarette lighter socket. A plastic trim remover might also help, but never needed one. A lighter socket removal tool would probably help too as I had to press the tabs in quite a bit, to get the socket out. So I first started off in the rear of the car moving the front seat forward to give me more room to work in, this is how it looked originally. First I removed the ashtray, just open it up, and give it a gentle pull towards you, it should unclip nice and easy. There is an area for an LED at the back of the ashtray which i'm guessing is used in some models but not in mine. Next up put your hands in the hole where the ashtray was up towards the rear vents, just give them a gentle push from behind and they will pop out, put these to one side. Next up remove the 4 torx screws shown in the following picture. Then again I just pulled the trim part towards me, you may use you trim removal tool there are two raised parts which clip in near the bottom shown in the picture. Next up round to the front seat, move the seat back as far as you can just to give you more room to work in. The next thing i did was to pull the bottom trim down this just need a gentle pull downwards and it pops out. again just to give a bit more space to work in. (be careful if left in place when sliding the chair forward as it can get caught up). Following that time to remove the cigarette socket, (It may be a good idea to remove the fuse or take the battery wire off as this socket stays live when the car is off and if you slip with the screwdriver may cause a short). There are two small black tabs near the top which need pressing in to allow the cigarette socket to out of the black housing. I had to press them in up to the point I thought I was going to break something I ended up bending the metal slightly but bent it back before I replaced the socket. So maybe the removal tool is the easier option. Next you want to unplug the socket from the wiring, and remove the black plastic ring. The loom you get with the USB plugs, just plug between the cigarette lighter plug and socket. so you can now plug in the loom to the car wiring and pull the red plug and wire down through the hole. and for now out of lower trim that was removed. The black plastic ring can go back over the new plug. And the cigarette socket can be plugged back in. I left it out of the trim for time being until i could test the usb. After this i fed the wire with the red plug for the USB unit back past the inside of the seat. Then moved into the back of the car, moving the seat forward to allow access. This bit was quite fiddly as my hands are quite large, I fed the wire up with my right hand and had my left hand in the hole where the ashtray was as far forward as it could go under the air vent pipe. it took a couple of tries but eventually felt the wire and managed to pull it through. out of the rear trim. You can see in the picture where it is going up into the trim (it looks like it is looped around the chair but it isn't I haven't pulled it taught yet). Then it was time to screw the new trim piece in put it back making sure it clicks in place then using the 4 torx screws that were removed screw them back in. Next up I clicked the USB unit into the small trim piece, it only goes one way and the aliexpress unit was a perfect fit, I could now plug the red plug into the unit and test it worked.! ....It does. So carrying on I routed the wire where I thought it should go, there was a small hook on the left hand side so used that. and clicked the second trim piece into place. the blanking pieces were next they were straight forward and only go in one way. And the vents were next make sure the vent pipe is seated right as it is loose in there and I had moved it when squeezing my hand in there. These just pushed straight back in make sure you hear them click in place. Also the new smaller Ashtray just clicks in the same as before. Following this i tucked the wire up inside the centre console, and clipped the front piece of trim back in place again it just clips in place nothing too awkward. and pushed the black clip and cigarette socket back into place. The last picture looks patchy its because i had just wiped my greasy fingerprints off of it.!! And Voila one happy Daughter can now charge her phone in the back of the car.
(Medium).thumb.jpg.6688e89b0c63420d94fe0fe1b3f14858.jpg)
(Medium).thumb.jpg.80e46995412b1f29a77887c06ece2f70.jpg)
(Medium).thumb.jpg.3c8c9228442b20201a5f64362ea3c0e3.jpg)
(Medium).thumb.jpg.5663d7810450dbe229e23d285495f1e5.jpg)
(Medium).thumb.jpg.098d0f2f34f3c6a118cd63fa025826fd.jpg)
(Medium).thumb.jpg.2c64e212d58043763669786d1a215c3c.jpg)
(Medium).thumb.jpg.8c4e26ad8c909c4f52f0475819a6e2e0.jpg)
(Medium).thumb.jpg.b9361d4367df025c35b5003c8d05a4dd.jpg)
(Medium).thumb.jpg.d39f8ccf17afebb5293c60a3f0d036df.jpg)
(Medium).thumb.jpg.97c7e4799c5354901245c53053bb9647.jpg)
(Medium).thumb.jpg.f8d640b5fbc1be3c6dc3cb488f3b4f79.jpg)
(Medium).thumb.jpg.09f035abed98cb6cd5b2ac1c1b13c220.jpg)
(Medium).thumb.jpg.c77a90493a1bd50aa374ba08bd6d9b10.jpg)
(Medium).thumb.jpg.71cf9ca808b4fbe753464786eb34fa4c.jpg)
(Medium).thumb.jpg.c58b54466ab242ddb86b9fc64c45f95f.jpg)
(Medium).thumb.jpg.832fd1b17ef10174cbf145c896633a56.jpg)
(Medium).thumb.jpg.85ce909f0f561aa9183bbe955fa339fa.jpg)
(Medium).thumb.jpg.6285e09f9e8d6f129c9f88a528e96e38.jpg)
(Medium).thumb.jpg.6134d597e622f2cd2ba3713be3ebd381.jpg)
(Medium).thumb.jpg.2768b9525fe4159206ef34fc4c83a307.jpg)
(Medium).thumb.jpg.dbc932225a24501736b7ccf9251317d7.jpg)
(Medium).thumb.jpg.62deb2908b1540829b74ccd5bceec512.jpg)
(Medium).thumb.jpg.f2eea7c6e8700ba9c731b75627c2fb46.jpg)
(Medium).thumb.jpg.1df60f214179eed23961ccfdeb0d3f7d.jpg)
(Medium).thumb.jpg.942730103777cbc2dbfe2bf5277de8e2.jpg)
(Medium).thumb.jpg.b6a6defdab135ca181ff14f88f43a05c.jpg)
(Medium).thumb.jpg.d8b9efcc1b06374ae4176ed29ab348c8.jpg)
(Medium).thumb.jpg.059a64aa80d49b0ae90c6e9c973906b3.jpg)
(Medium).thumb.jpg.07002ea95bce34532159f52097ea84e3.jpg)
(Medium).thumb.jpg.7b153c9829d516a761e880409de5a204.jpg)
(Medium).thumb.jpg.a2eb0c055b7e0dd66fc5bc903790cf3b.jpg)
.thumb.jpg.98a993b080ea68559724fbc18a15c173.jpg)
(Medium).thumb.jpg.b36ee1f2e524e536bcf57c7689acd4f8.jpg)
(Medium).thumb.jpg.d48f9fb7b38ab20364bb41085e635b92.jpg)
(Medium).thumb.jpg.f0dc44d0f0bc124af959ebff5e75a8d0.jpg)
(Medium)_LI(Medium).thumb.jpg.54220ce1ec6f8fe721ca1273e144f3af.jpg)
(Medium)_LI(Medium).thumb.jpg.6923ac60f148d97ef78625aa637fe191.jpg) 1 pointI love '60's Muscle Cars, this is a gauge panel from C2 Corvette. I wish i could remove my factory panel and install after market gauges ''Old Style" to look like these: I don't like that factory plastic cover, i wish i could have gauges like these with chrome ring and more close to me (vertical), ''Old School'' as they say.1 point1k miles later and the FIAT 500 has grown on me to such a degree I'm now wondering if I can justify adding an Arbarth variant to the family fleet 🤔1 point1 point5W30 and 0W20 are well documented to be better suited to colder climates such as the UK, with 5W30 been the viscosity of choice for most manufacturers for a long time. The more recent move to 0W20 is all about meeting stricter emissions targets, not engine longevity. Whilst 0W20 works better in really cold weather 5W30 is better at maintaining strength and oil pressure at higher temperatures and loads, which for me offers better benefits.1 point1 pointHow fantastic it would have been if the chargers here beside the Queensferry Crossing & Transport Scotland,s / National Control Centre had not been out of commission for more than a year to the public.
1 pointI love '60's Muscle Cars, this is a gauge panel from C2 Corvette. I wish i could remove my factory panel and install after market gauges ''Old Style" to look like these: I don't like that factory plastic cover, i wish i could have gauges like these with chrome ring and more close to me (vertical), ''Old School'' as they say.1 point1k miles later and the FIAT 500 has grown on me to such a degree I'm now wondering if I can justify adding an Arbarth variant to the family fleet 🤔1 point1 point5W30 and 0W20 are well documented to be better suited to colder climates such as the UK, with 5W30 been the viscosity of choice for most manufacturers for a long time. The more recent move to 0W20 is all about meeting stricter emissions targets, not engine longevity. Whilst 0W20 works better in really cold weather 5W30 is better at maintaining strength and oil pressure at higher temperatures and loads, which for me offers better benefits.1 point1 pointHow fantastic it would have been if the chargers here beside the Queensferry Crossing & Transport Scotland,s / National Control Centre had not been out of commission for more than a year to the public. 1 point1 pointYou are sounding like a Vogon. We would still be in the oceans thinking oh that land looks dodgy etc.1 point1 pointIt’s them getting old that worries me most, after 42 years as a mechanic some of the things I have seen people (including so called professionals) do to keep a car running would have ended in death if it was an EV. Take this taxi driver’s solution to the wrong battery shorting out on the inside of the bonnet, he didn’t even bother to double up and do the earth which still hit. Now imagine someone hacking a high voltage battery…
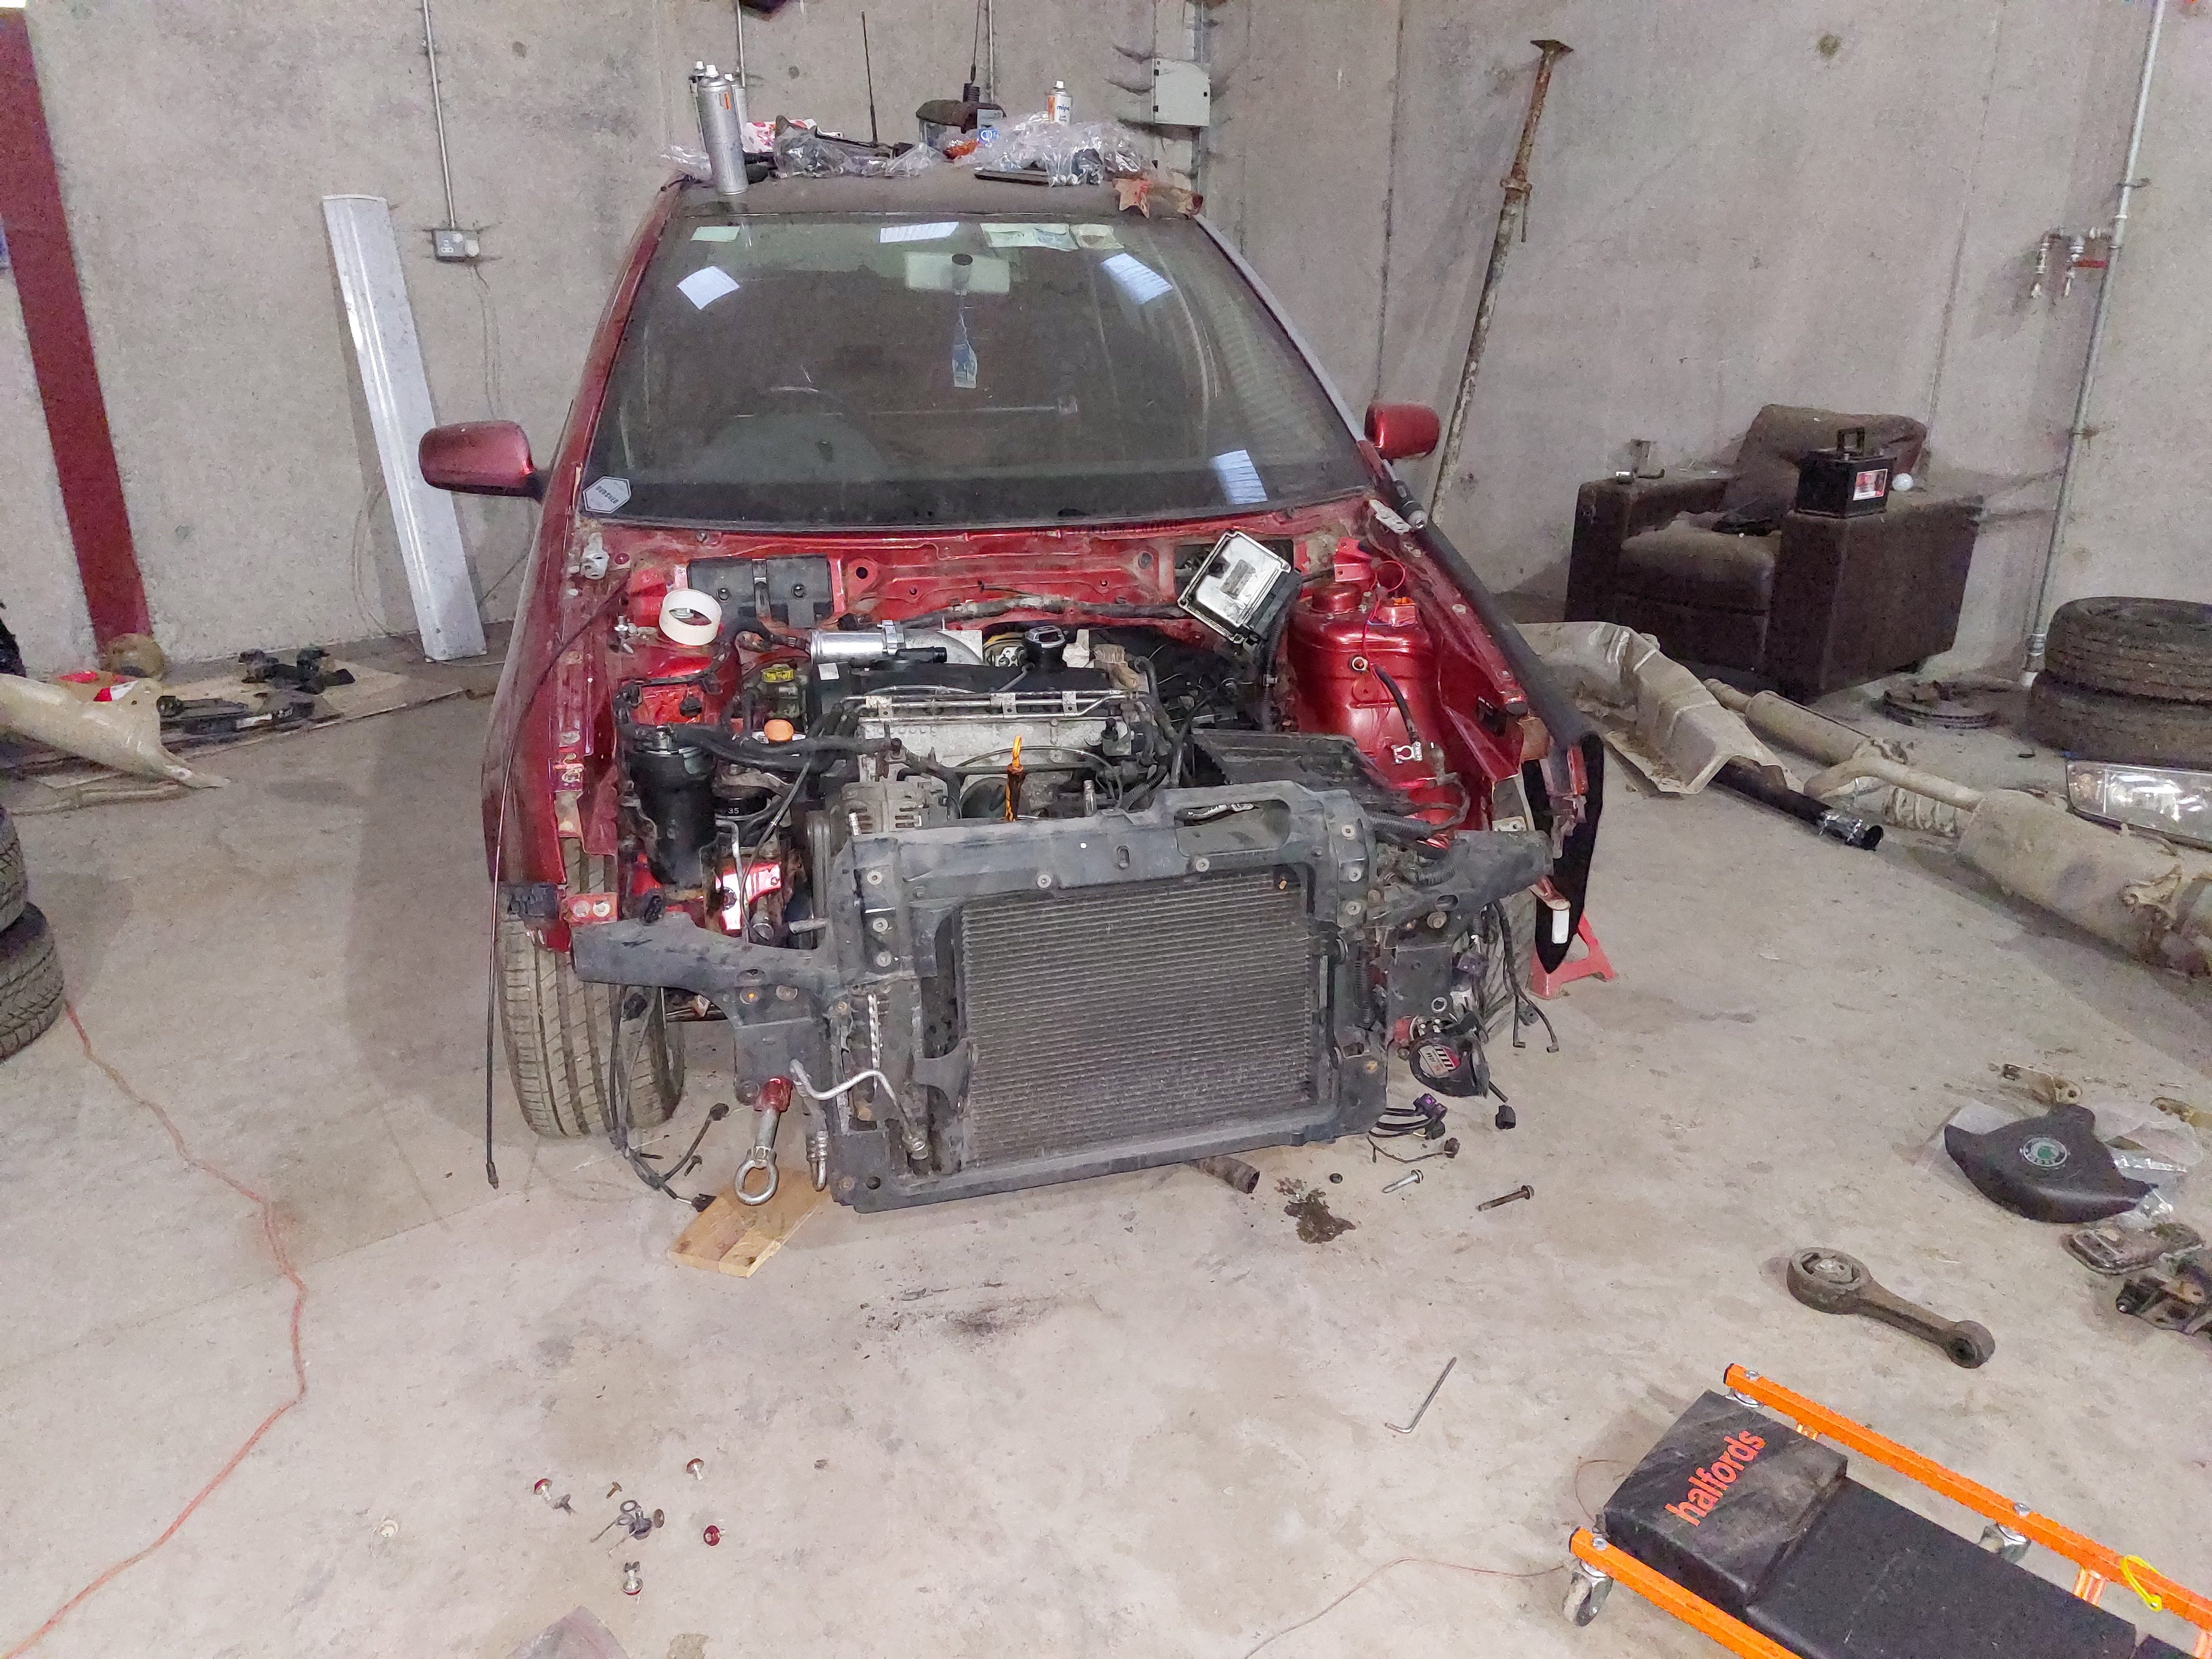
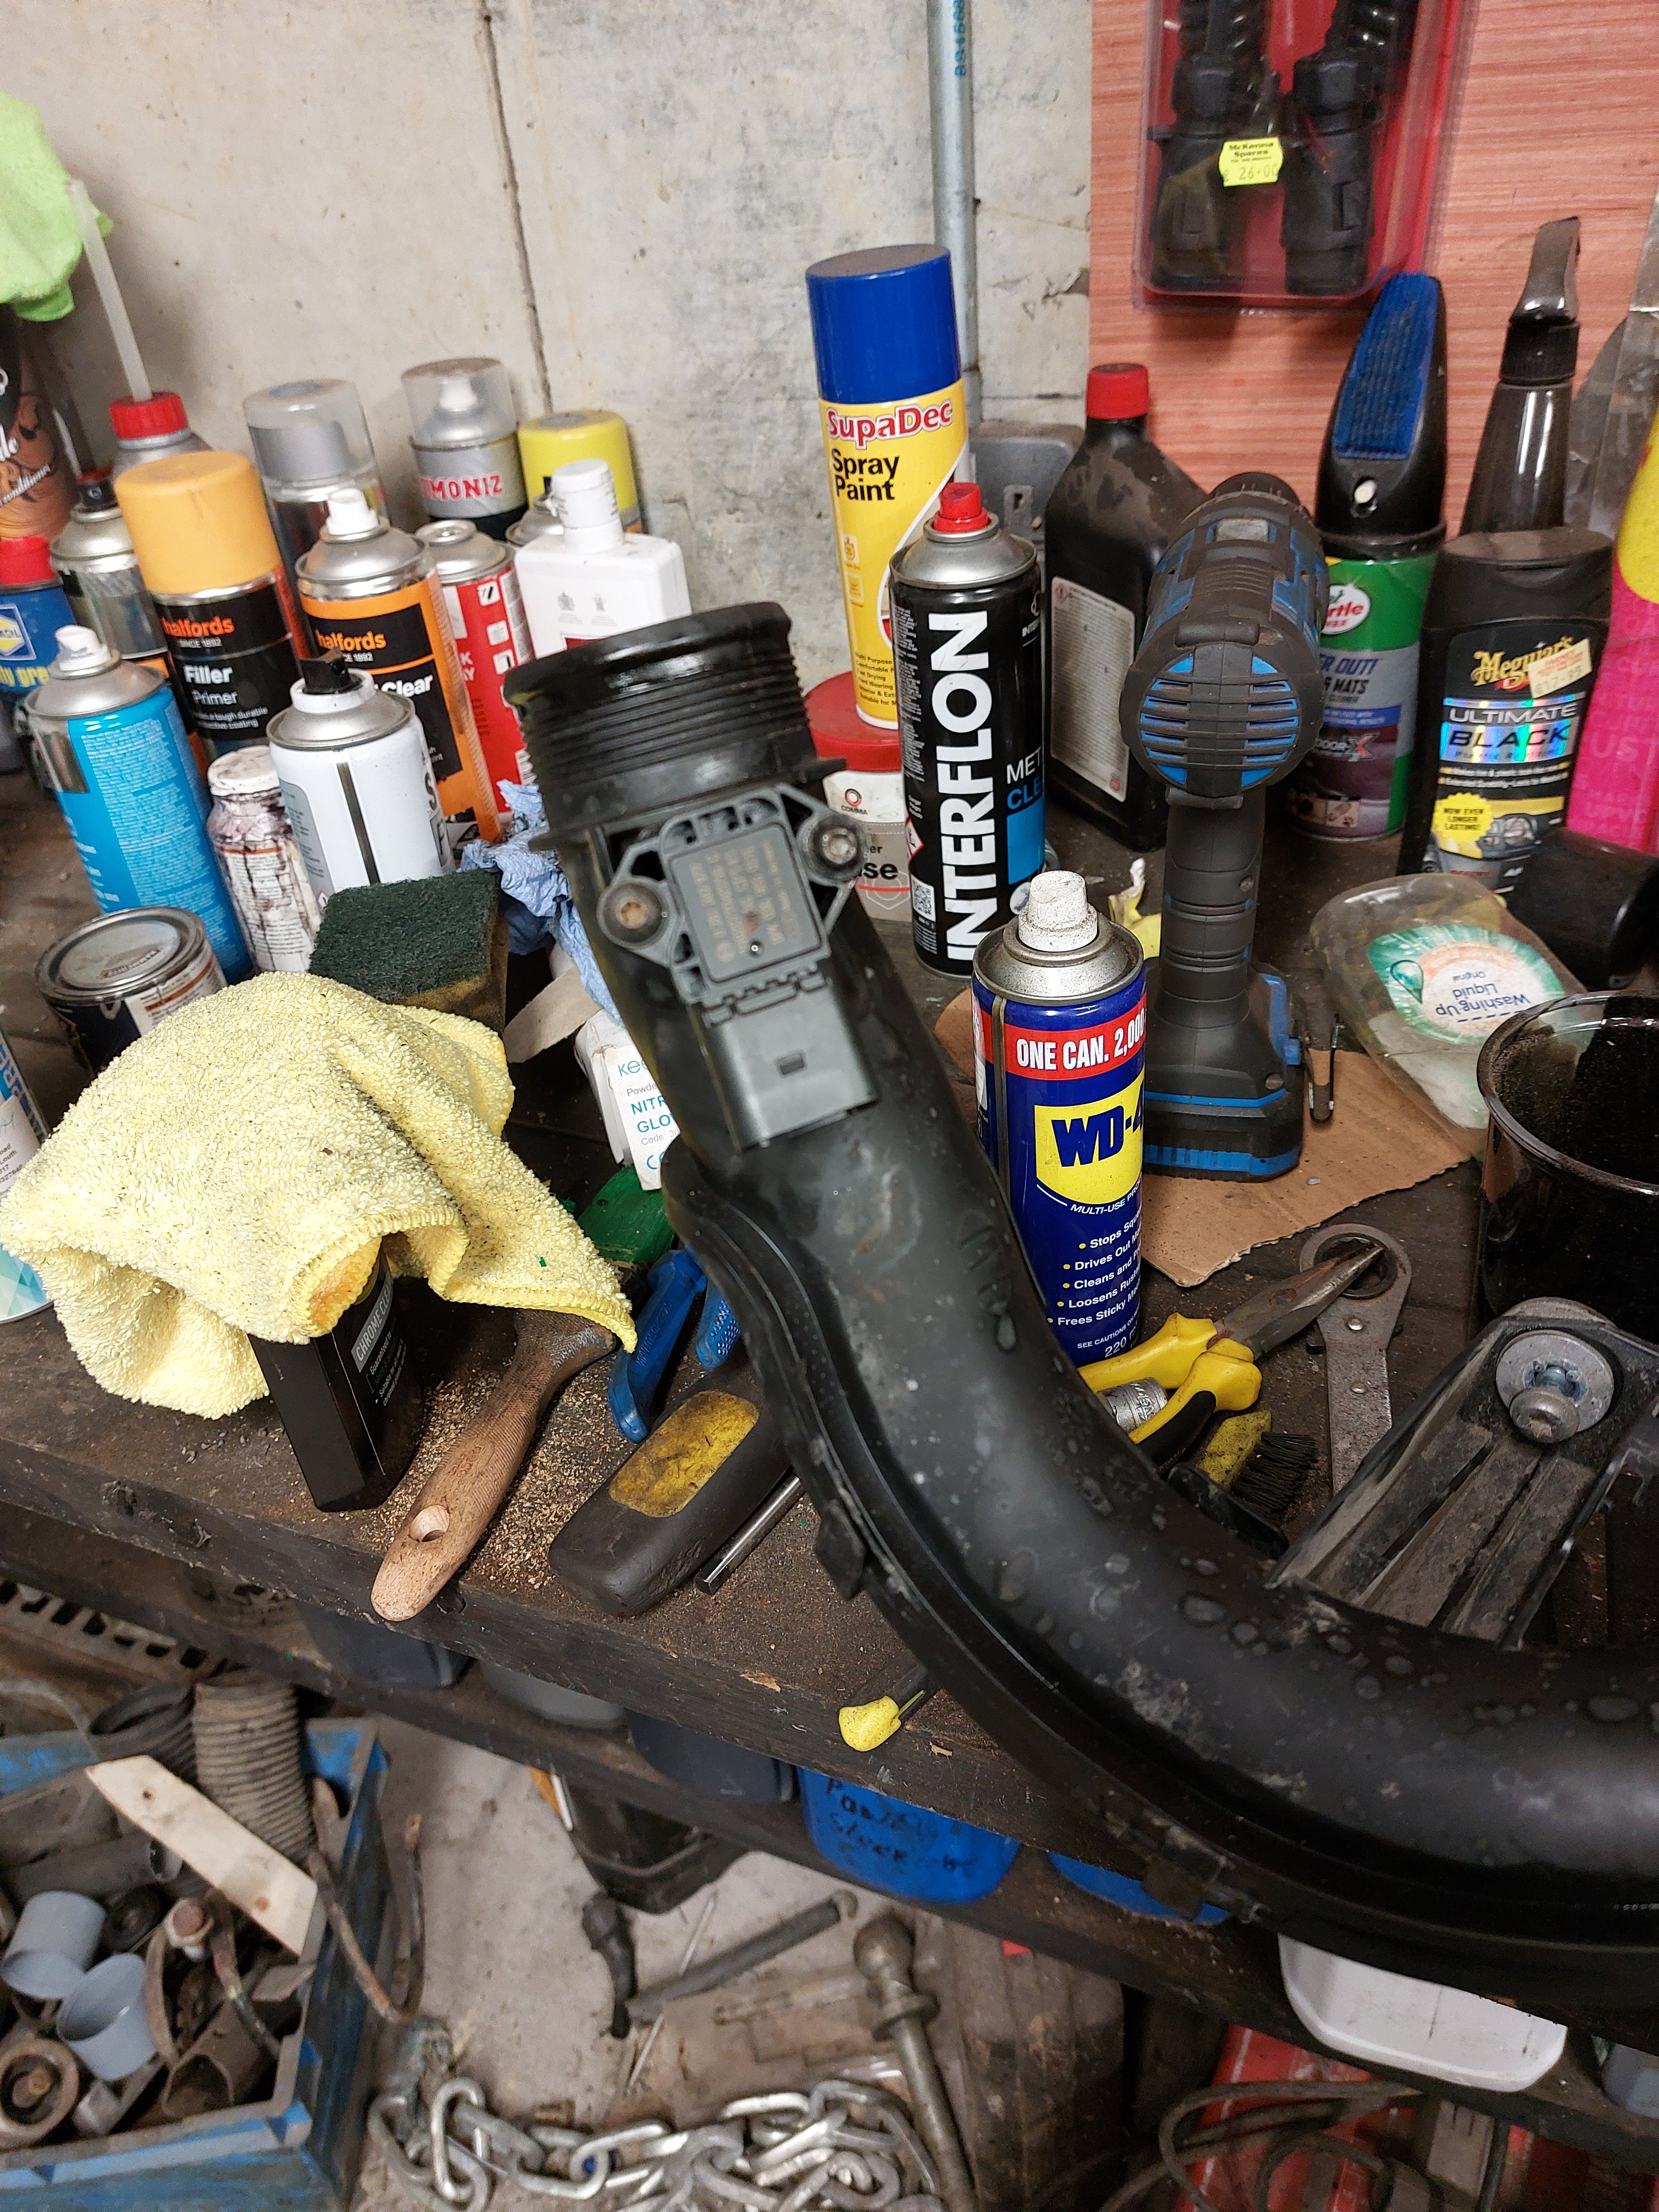
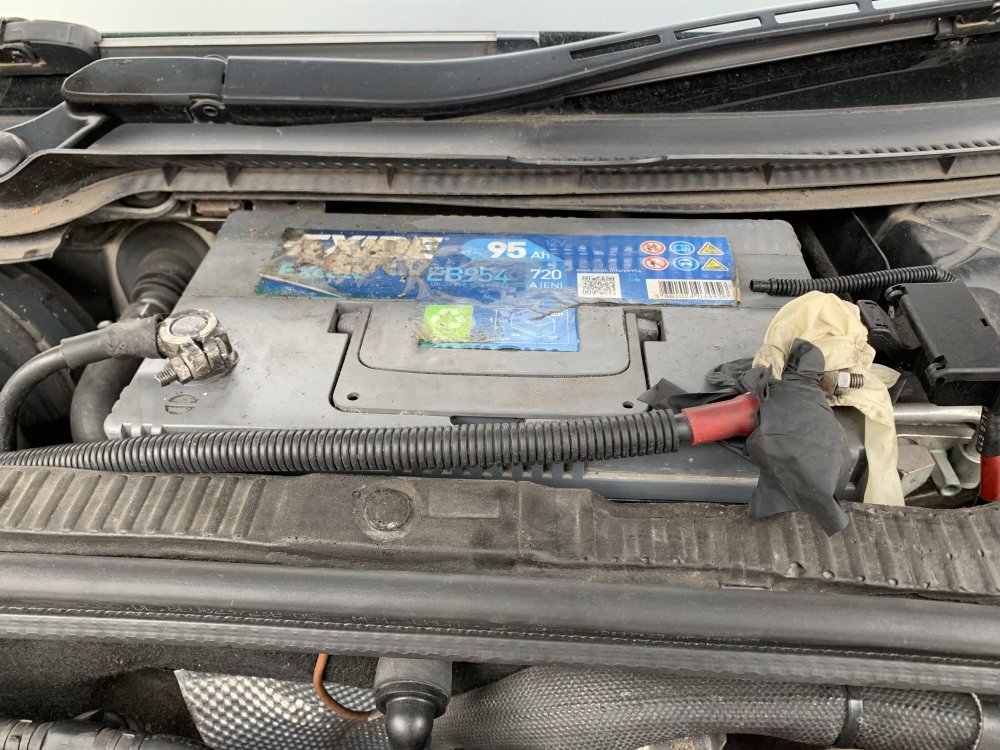 1 point1 pointUpdate: halfords ready mix is conductive enough to trigger the sensor it seems1 point1 pointApparently not when it comes to DQ381,s but we find out about things over 5 year old after 5 years have passed, maybe the DQ200,s are now a bit less risky since 2018. Vorsprung Durch Technik runs into problems when the Management penny pinch and spend more on promoting future models than actual R&D or addressing faults and snagging issues.1 point1 pointNot especially relevant to me at the time given I had no plans for a DSG. Are they now more reliable?1 point1 pointI haven't watched the videos yet, but I will, unlike some who won't. But I take your point about the kidology involved. Here in Essex each year we host the annual Ride London cycle race held over two days with many roads being closed for the racecourse and of course we suffer badly with some disgustingly massive potholes and poor road surfaces due to lack of funding from central government. The roads used for the actual race will of course have been fully repaired, potholes nicely filled in, and poor roads resurfaced just days prior to the race taking place. The usual cyclists can take their life in their hands but those in the race, oh dear, have to be treated like gods, can't have those riders having to dodge potholes, can we.🙄1 point1 pointThose of us who source our own EVs, some of us use our EVs for work, some of use will use mild and full hybrids as well but the big change to miles drive with EVs compared to ICE will be by goods transporters. My office at Heathrow uses EVs which pick up freight from the airline sheds to our off airport transit shed but the big change in use of EVs for moving goods is with companies like DPD who now have over 3,300 EVs used on delivery. DPD have teamed up with Glasgow HQ company Oncharge but using the DPD Bicester depot as a base. https://green.dpd.co.uk/ 50 kwh battery packs can be dropped off (must weight a bit) and used by those two thirds of drivers who do not have home chargers. Trying to find out more but sounds interesting. Presumably put inside the van during the night to do the charging and then Oncharge pickup in the morning. Questions like is it doing 7.4 kW AC charging rather than DC ?1 point1 pointI'm open to correction but I think that port supplies 1.2A. If so, that's your issue, the port cant supply enough. I've Garmin Dash Cams plugged in and it works.1 pointYou do now, that was the final straw that made me get the emissions fix rolled back 18 months ago, I have only been aware of 2 regens since then! IE fans running at switch off, high idle speed etc. I think that they rushed the emissions fix software and made some serious errors.1 point1 pointEmergency Services in Scotland, Local Authorities, Utility Companies and others have lots of EV,s along with Hire companies then businesses and private individuals. Public and commercial and private chargers / facilities. For a small country with a high EV use per capita it should be very easy to be compiling information on everything regarding EV,s. While there is an issue with the roll out of Public Chargers that is not just ones from Local Authorities / Councils and Administered by CPS. There are Commercial Sites / Hubs built and ready to get connected and powered up and they can not get the connections done by the Energy Companies or their contractors. It is more Commercial Chargers that are required because these have been held back while there was Free or Cheap Council chargers which many of are unreliable or no longer in service and where there are newer ones they are no longer cheap. .................. There was yet another EV Rally Scotland recently. It pees me off with the kidology of that when the Maintenance are at the stops / chargers to be sure they are in service before the event (ones that normally might be out of service for days or weeks) and that some on the event get to use Council Facilities that are normally not available to the public, and which get opened out of normal hours for that yard to let participants charge. Part of the con between Transport for Scotland and the Event Organisers and whoever. ,,,,,,,,,,,,,,,,,,,, Passing by in Long range cars which need not charge at locations with only one Rapid charger which often does not work proves very little about what living in that area and having to public charge or even visiting or travelling is about. 2021. Just a Con, pure and simple. ....................1 pointAdd a typical solar battery (Powerwall/libbi/Giv AIO) and you’re probably putting 15kWh in to get 13kW back, plus the car. Not such a summer bonus if you have solar, but very hand for a winter’s day. Trading will only get you 13x15p - 15 x 7.5 p = 82.5p, so not hugely work it. if you had a 60kW leaf with v2g you could do 42kWh (7x6= 42) so about £2.40 a day. Guess it’s a degradation question and a would a solar car port generate you more. Where you have solar and a battery and a car though… suddenly you can charge everything overnight to run off cheaper rate during the day and export all your solar.1 point1 pointIn Scotland statistics should be easy to compile since there is one Fire Brigade, the Scottish Fire and Rescue Service.& one police force, Police Scotland. Not that any figures from Police Scotland are likely to be accurate or joined up to anything The Scottish Fire and Rescue Service have. One has to go with what figures are available and in Scotland you can be sure one or other Political Party will be scrutinising them to prove or disprove point, and that will include Politicians not in Scotland and their friendly media.1 point1 point@StonekeeperI know the milk tanker was not an EV and in this thread there are other examples of road closures and fires with HGV,s and Busses and cars. There have been a few this past week in Scotland. Not heard of an EV fire this week and when there are ones in Scotland we will without doubt hear, there is no way the Scottish Daily Express or Scottish Herald will miss having an article.1 point1 pointNever really timed 0-100 but I think around 4-4.5 but I did time the 100-200 and that was 10secs1 point1 point1 point1 pointThe Aguri in question requires 5v/3a so just need to find out the USB output in case it's a cable issue .1 point1 pointI got fed up with the 10 minutes of advertising for torches and stuff, after 15 minutes he still had not got any further forward than describing a flying garage door in 20 different ways. I wont watch any of his stuff again after that.1 pointNew map sensor installed. Bolts were rusted beyond recognition so had to take the pipe off and try remove the bolts. Ez outs worked pretty well. New one in with bolts I had laying around. Didn't fix the code I was getting oh well.
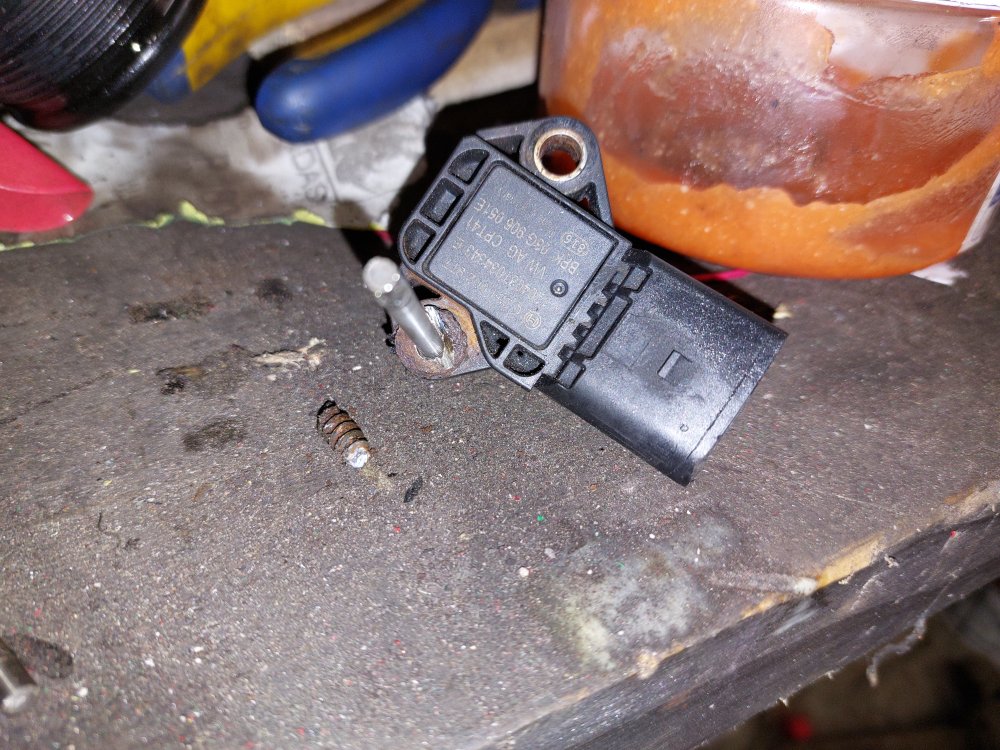
 1 point1 pointI've just never bonded with it and don't especially enjoy driving / owning it. Saying that it is averaging better MPG than my last TDi Yeti! The Karoq is complex in operation (electronic handbrake / infotainment etc) whereas the Yeti was simplicity itself and somehow more than the sum of its parts. Guess this was the reason I owned four Yetis in total! Suspect this will be the only Karoq though.1 point1 pointWhen you have sub-folders the trick is to put one track outside. Then press shuffle whilst that is playing So the structure would be Main folder "Music" one loose track Then Folders by artist or genre or album but with no folders within the second set of folders Music >single track folder folder So if the display is like the one in the link above Music would be what is in the top bar of the screen (A) when you press shuffle Not absolutely certain because i do not have that unit, but that is how my card is structured and it works that way in my car.
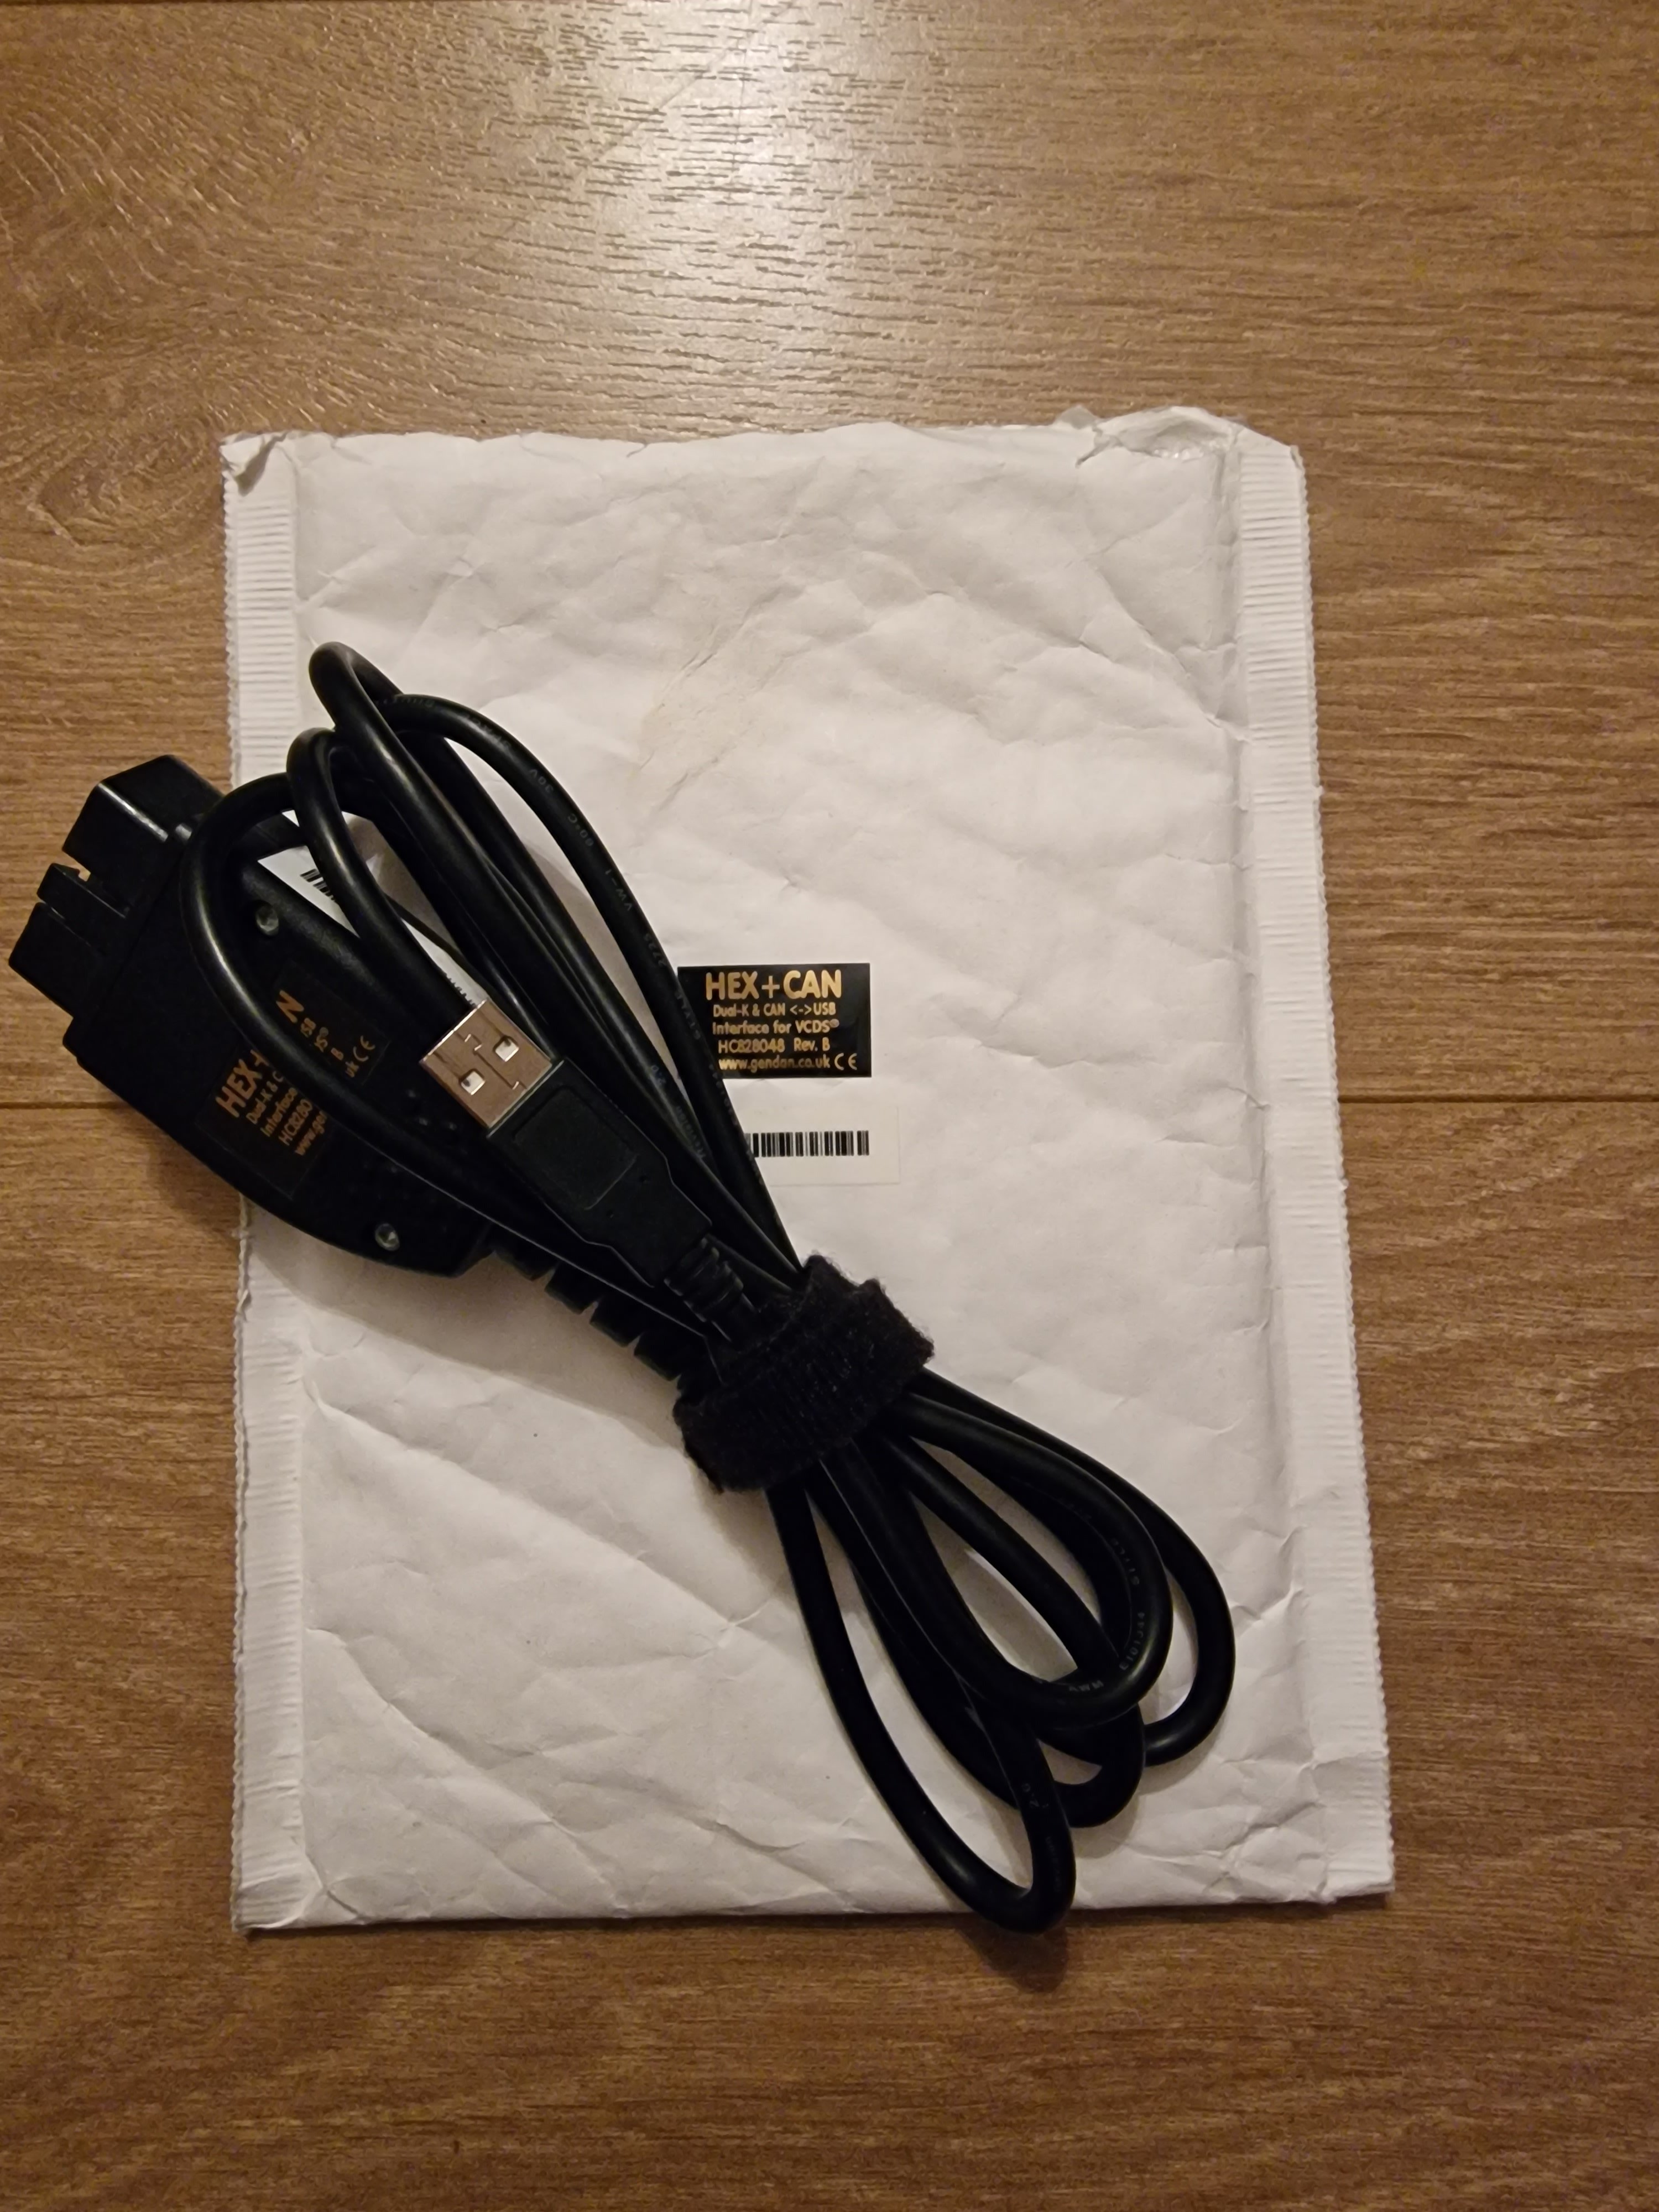
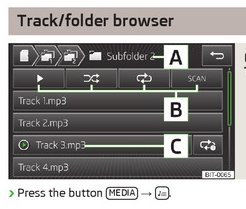 1 point1 pointIs the port supplying enough current (rather than voltage)? I had that when powering a Garmin Sat Nav in another vehicle from the built in USB port. Switching to a 12V USB cigarette adaptor supplied enough juice to run it. I can't see from a quick Google what current/voltage it requires.1 pointYes it's possible. The lane assist off message can be disabled too If you change it to adaptive lane guidance instead of lane keeping assist, it's much more useful and less annoying1 pointhttp://autocar.co.uk/car-news/best-cars/most-efficient-electric-cars Or not that efficient and what matters is when they are not being used in the very best of conditions and with occupants and heating or AC used.1 point1 point1 pointDefinitely plan to avoid hatch mounted options and have settled on Thule bars/ bike carriers for the Mii. Mileage will be minimal and fuel economy hit inconsequential 👍1 point1 pointI'd actually prefer to sacrifice a little handling sharpness for an even softer ride, not that the Karoq has a particularly hard ride, but it is a bit restless with mild thumping over ridges on broken road surfaces, even with my replacement 16" wheels & AW tyres. I must try a Kamiq, even though it does have a lower seating position.1 point1 pointDone them today, bought a ball joint splitting tool to make life easy, but it didn't fit! Doh. One came apart ok, the other was very annoying haha. All done, tracking done. All squeaks from going over bumps appear to have disappeared!1 point1 pointAll of your observations beg the question just why are there so many of these big beasts, regardless of their drive train, it has to be one of snobbery I feel, one-upmanship, look at me in my big ultra expensive car, just because I'm better than you and thus I can afford to let everyone know it.👿1 point1 pointOpie are a good reliable business👍. Prices OK too especially with free carriage 🙂1 point1 pointUnfortunately, chargers are currently out of stock. Suppliers have updated the PCB design, and now it doesn't work in the car. I'm currently searching for the right components and hope that chargers will be available for sale again soon.1 point1 pointGood evening. My brother and I have invested in a new HEX v2 the other week, so one of you has the opportunity to purchase my trusty VCDS HEX+CAN. I purchased this a little while back from langers2k, so I'd wish for it to stay within the forum. As the title says, it is an unlimited VIN version. It does not include one of the hard cases, only the original jiffy bag (see picture below). It works perfectly well on my mk3 Octavia, but I know it doesn't work on my mum's 70 plate Scala. Double check for yourself it is compatible with your car. I'm after £199 ONO. Price includes UK signed for delivery. It is only listed for sale on here. Any questions, please message.
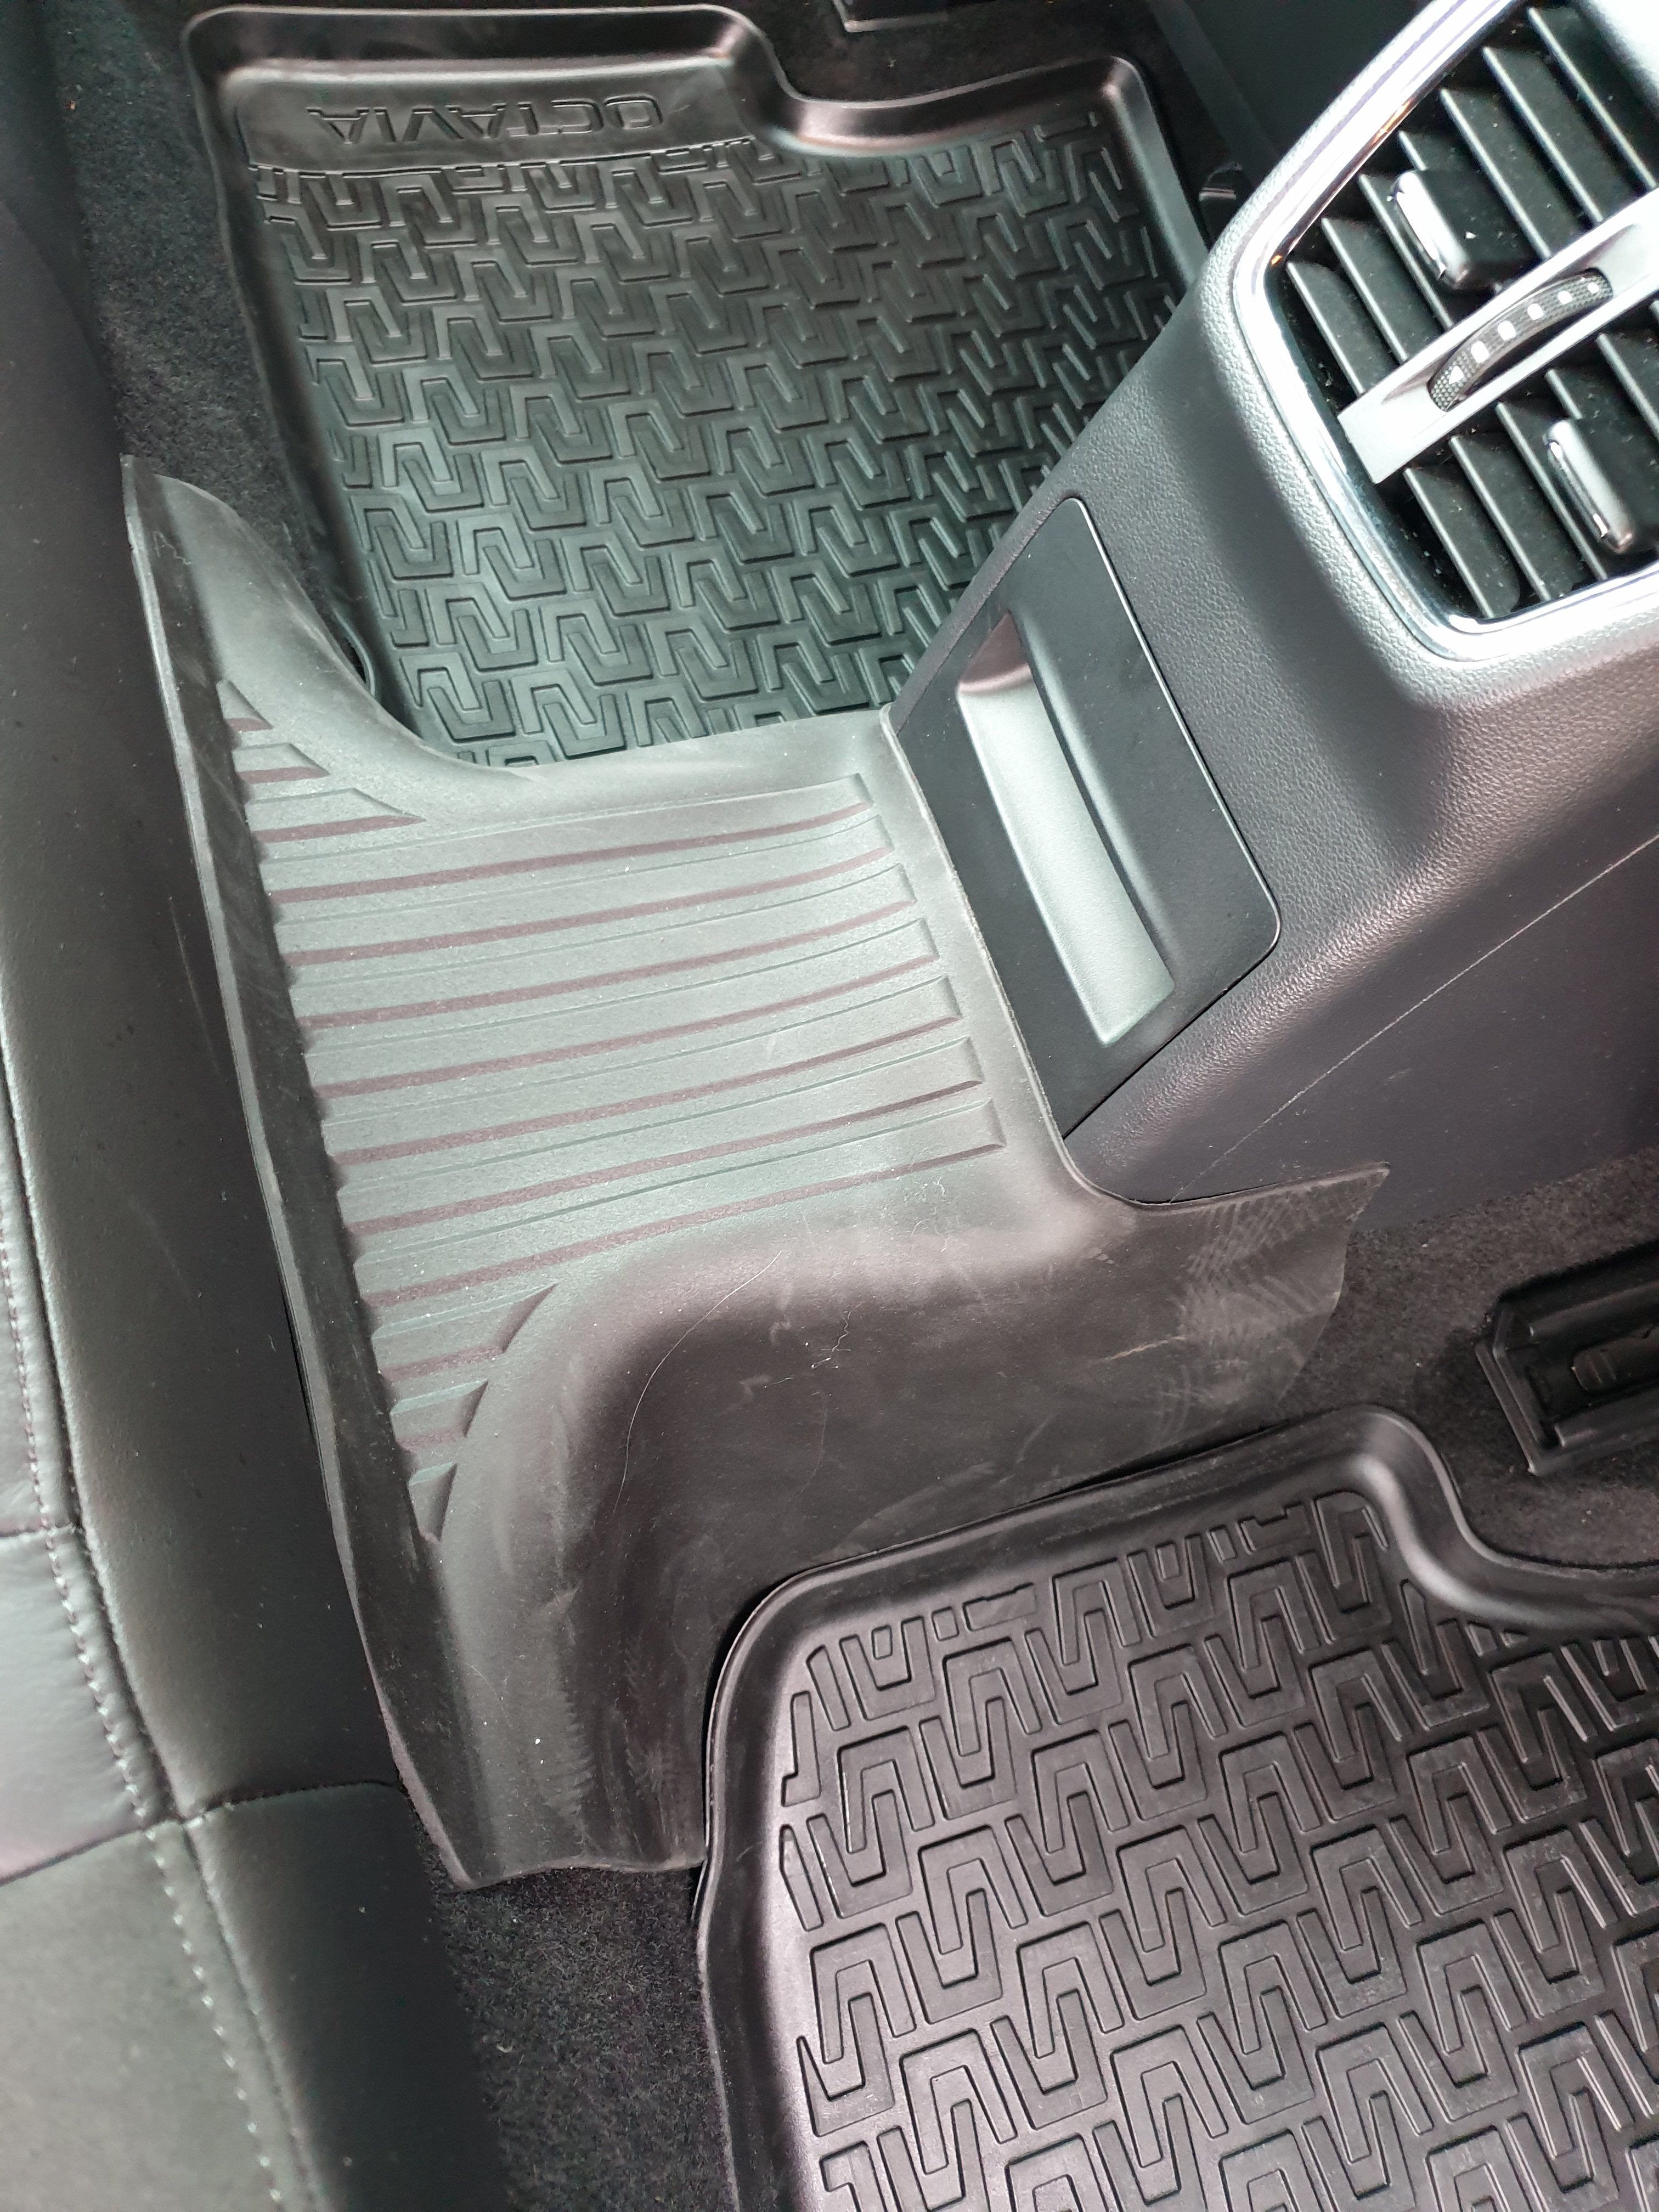
 1 point1 pointDCC or non DCC suspension? I replaced the terrible Monroe shocks with Bilstein B6 damptronic’s on my DCC equipped car, as have several others. I refitted the original springs as they were in perfect condition and I had no interest in lowering the car. These completely transformed the drive and comfort of the car and removed the bangs and uncontrolled knocks and bounce that you are describing. I then recently replaced the bottom front arms with superpro upgraded items to remove the roll from the bushes (which had actually allowed the arm to rub) and completely annihilated the creaking and grinding these factory bushes cause. At the same time I installed H&R front and rear roll bars. The car now drives unbelievably well. Actually not only retains the factory comfort levels but improves apon them in a way that can only be described as transformative. The car glides over road undulations that would have felt like a crater before, without even noticing they are there. The handling in corners is on a level with my wife’s ST250 and no longer try’s to push wide on roundabouts and tight bends. The handling and ride comfort now feel controlled and safe. I’m no longer concerned about manhole covers or the front end washing out on me, especially in the wet, and winter driving in the dark is going to be so much more relaxed than it ever could have been before. This isint so I can drive around like an R plater on coke either, it’s genuinely nice to just know everything is controlled and safe on leisurely drives and day trips out with my family, without having it ruined by what felt like the front end collapsing when driving over the slightest thing at all.1 point1 pointOK - I had already ordered the MKIV Octavia one, and only got the rubber mats today - so ignoring the fact it needs a good clean, I attach a photo of what it looks like. It does need the rubber mats to kind of hold it in and the fabia one above may be a better fit although with less coverage. I will live with it for a bit and see how it goes.
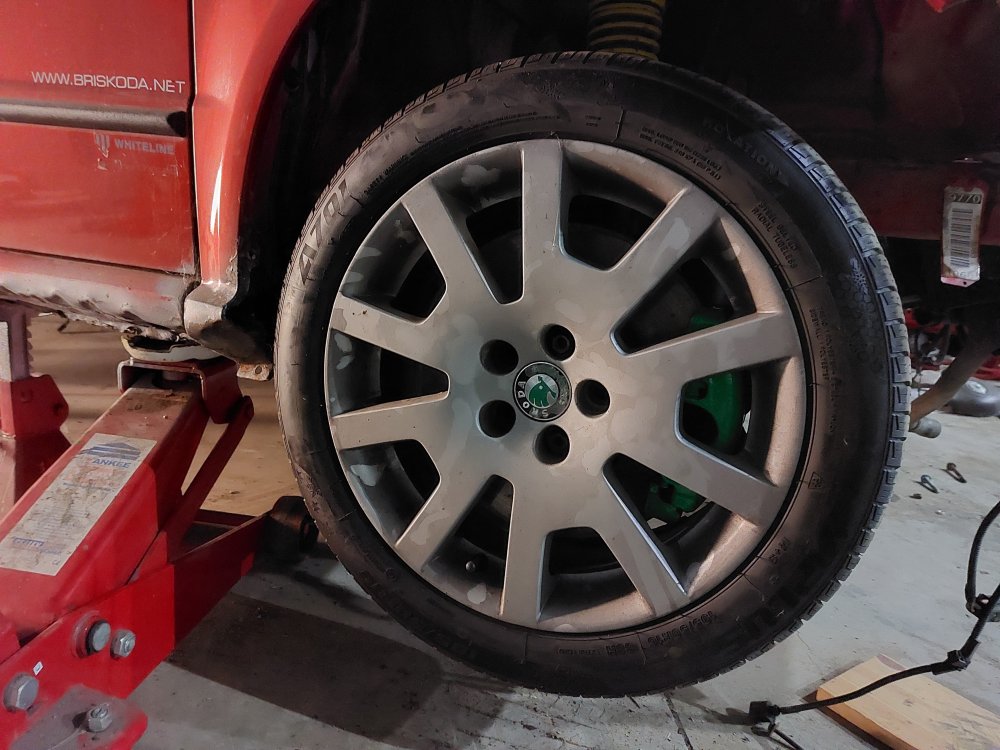
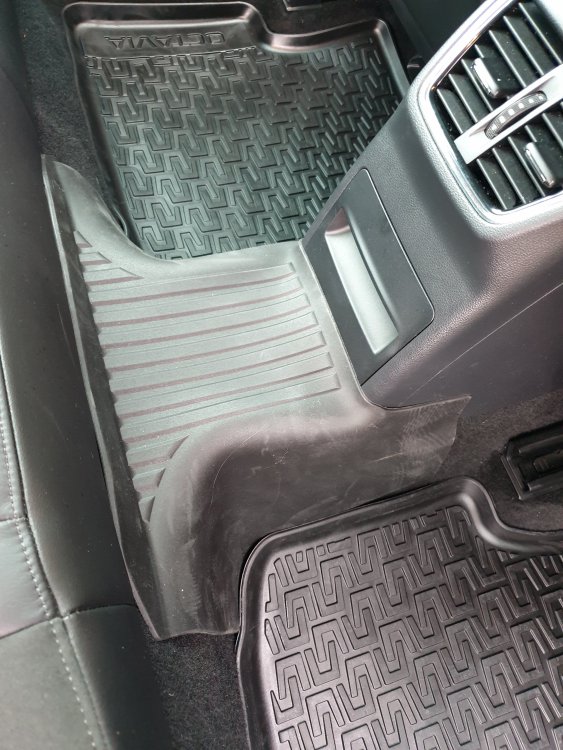 1 pointAs above - cam belt at 5 years; water pump if/when it fails. The water pump should last the life of the car but a few are failing prematurely. Mine failed at 15.000 miles and four years (a gradually increasing leak of coolant past the seals).1 pointYes cam belt at 5 years and water pump does not run on cam belt on the 1.2 petrol models.1 pointHi all ! I've changed the brake fluid on my Superb Mk3 few weeks ago. I fumbled a bit, but the maintenance manual found on cardiagn.com helped me a lot! Requested parts : - 1,5 to 2l of DOT4 brake fluid. Don't forget to get ESP compliant one. - Break cleaning spray - Difficulty level: 2 - Operating time: 1h or may be much more... (see below... ) - Number of operators: 1 - Required tools: ¤ A bleeder kit, including container for used brake fluid. ¤ A syringe (brake fluid resistant) ¤ A wrench of 11 ¤ Torque wrench and socket of 11 ¤ Jack ¤ Cloths ¤ Multigrip pliers ¤ A small torch. Possibly 50 cm of aluminum foil + masking tape ... (you will understand below) Tools: I've bought the following brake fluid bleeder kit: It can be found under different names of resellers and on different well known online shopping sites for ~ 55 to 60 €. A little tip, when making the choice, look at the opinions of buyers, because there are several diameters (even if there is a standard for European vehicles). For the one I chose, there were a few previous buyers who had used it on VAG vehicles. A good guarantee to avoid any bad surprises... A very simple and useful improvement before starting: make graduations on the used fluid container: A graduated beaker, an indelible marker and a strip of scotch tape (to mitigate risk of erasing by rubbing (Skoda... Simply clever! )). Well... I may drink half of pint or a soda can from time to time, but assess 20 or 30cl just in a glance, is way over what I'm able to do... or ... I should drink more often ... Well, here at least , one knows how much fluid comes out ! I did the same thing on the bleeder tank, to be able to asses the remaining quantity before I start flushing the last caliper: It prevents any air from entering the brake fluid tank . Otherwise, you may need to repeat the process on this caliper. Dealing the syringe, I've bought this one for ~20-25€ (also on a well know shopping website) : 1st Step: Preparation. First, check that the dip tube in the bleeder tank is correctly set and goes deep enough to the bottom to avoid any risk of defusing the system. The bleeder tank must then be filled with 1.5 to 2l of brake fluid. If you fill it with only 1.5l, place the tank so that the dip tube is really at the low point (not obvious in the engine bay, that it is perfectly horizontal, especially if you remove the wheels and use a jack) Keep the new brake fluid cans, once you've poured the brake fluid into the bleeder tank. You'll need them to collect the old brake fluid to bring it to a recycling center. Once here, start pumping to pressurize the bleeder system (still NOT connected to the brake fluid tank of the car) I've set the pressure ~ 1.2-1.4 bar. This is more than sufficient, even if the system is can be set up to 4 bar. Anyway, above 1.2 bar, pumping starts getting a little harder. Wait for ~30s and check there's no leaking. The pressure shall remain steady. If any leak appears, just tighten the bleeder tank cap a little bit (use multigrip pliers if necessary). When there's no leak anymore, press the pressure relief valve to make the pressure drop down. Now you can remove the brake fluid tank cap. Remove some brake fluid using the syringe, until the level gets down to the lower part of the yellow strainer. Then put the adapter cap onto the tank and tighten it firmly (with your hand is enough. And that's a good point, given the poor accessibility ). You can now connect the hose to the adapter cap: Pressurize the system again and make sure that there is no leak around the adapter plug on the brake fluid tank. (no small bubble at the bottom of the adapter cap). 2nd Step: Flush the calipers The bleeding order is the usual one: 1 - Rear Right / 2 - Rear Left / 3 - Front Right / 4 - Front Left. Considering it was the first time I flushed the brake fluid on a car, I rather removed the wheels for a better accessibility. But it should be feasible to do it without removing the wheels. In this case I would recommend to protect the alloy wheel with aluminium foil stuck with maksing tape (since very easy to remove). This is to avoid accidental damage on the rim paint. Therefore, without disassembly, we can estimate the required time to 1 hour. If you remove the 4 wheels, it is rather 2 hours. The bleeder screw is on the upper inner face of the rear calipers. It's now time to remove the protective cap from the bleeder screw. Then install the old brake fluid container, the small chain helps making the container safer (no reversal possible) : Before starting, spray some brake cleaner on the caliper and on the bleeder screw. Fit the rubber end of the collecting container securely, then loosen the bleed screw with the 11 mm open end wrench And... Here we go ... No panic, it flows very slowly ... With 1.2-1.4 bar, it allows you to take time .... At the beginning, the used brake fluid is quite dark, well ... here not that much. I really expected worse. Then, it cleared up progressively until it was really very clear ... So clear that I even said to myself: "crazy, it's even clearer than a Bud light or a Tsingtao!". .. That is to say ! Well, I give it to you, the used fluid wasn't dark as a Guinness either ! Check there's no air bubble in the system all along the bleeding operation. The recommended volumes for calipers are identical for both manual gearbox and DSG gearbox. Rear Calipers : 0,3L each Front Calipers : 0,2L each In the maintenance manual, you can also find the recommendation to bleed the clutch slave cylinder for manual gearbox only (with 0.15l). But after discussion with a professional, this seems very rarely done and is more risky since it may introduce bubbles into the brake system. So for manual gearbox owners, I let you decide to do it or not. Note that the maintenance manual does not specify whether these are minimum volumes or whether they already include margins. Even if the Brake fluid was already the right color well before reaching the recommended volume, I had rather to let it flow a little more. Therefore 1.5L is really a minimum quantity to buy! Once you think this is OK, simply tighten the bleeder screw gently with the 11-wrench. Remove the rubber cap from the bleeder screw and tighten at 10 Nm with the torque wrench. N.B.: If you haven't removed the wheels, it does not seem easy to access the bleeder screw with a torque wrench, unless you have a socket wrench (fork type)... Once the first rear caliper has been flushed, old brake fluid color is easy to check as the used container is being filled. When the 2 rear calipers are flushed, empty the old fluid container into the new brake flluid cans (but empty), which you kept from the beginning. This container has a too small capacity to process the 4 calipers, indeed For the front axle, the bleed screw is approximately at the same place, on the inner upper face of the caliper: 3rd step: Level adjustment Once the 4 calipers have been processed, the pressure in the supply tank must be released using the pressure relief valve. You can then disconnect the quick connector from the adapter on the car brake fluid tank. Warning! Pay attention to possible brake fluid drops, when you remove the whole system. Brake fluid is very corrosive on paintwork!!! Adjust the brake fluid level in the tank to set it between min. and max. marks. Don't forget to take the discs & brake pads wear into account (as mentioned in the workshop manual)! This being said, I've checked the discs and pads, they are at least 5mm above the minimum thickness and I'm almost certain that I'll have changed the brake fluid before the brake discs or pads. ! Use a small torch to try seeing the fluid level in the tank. But not that easy... When done, you can think of "finalization". Replace the brake fluid tank cap. 4th step: retarting Now everything has been tighten or closed, press the brake pedal several times. It should not go down more than 1/3 of its stroke before you feel resistance. Otherwise, the calipers must be flushed again, because bubbles may remain in the system. Note : the brake pedal may be hard with a very short stroke (1cm). But when you think you've reached the stroke end, you may notice a curious phenomenon: the brake pedal slowly fade under your foot ! Don't panic, it should go away after a test drive! A test drive will now allow checking the correct operation of the ABS system and that there is no obvious asymmetry when braking. Before starting, check that the brakes work from very low speeds. Then brake strongly to test the ABS unit and check it triggers normally. Normally, if you get here, everything is successful! Well done ! If you want workshop manuals, for maintenance and brakes, you can download them for cardiagn.com Enjoy !1 point


.thumb.jpg.06721e8c8b33ed0eea16572ff131b291.jpg)


(Medium).jpg.d5526a8d29f35bc76a57252e7686ecf3.jpg)
(Medium).jpg.8ee09c90fc5a9a8174328ce9091a2065.jpg)
(Medium).jpg.0c7b7810e9957e403b691d008410872a.jpg)
(Medium).jpg.b6536bad2a8b178c4b358f037c475881.jpg)
(Medium).jpg.6deb4e69f2dfdb2cdbbe85a4b94607ba.jpg)
(Medium).jpg.5bedbcb4c7fd5b2a215170d9701da4ce.jpg)
(Medium).jpg.7126d1b1749cd7eb970c38d13d01ec9b.jpg)
(Medium).jpg.866253fa925664b6748219868ae94693.jpg)
(Medium).jpg.d3f8e5ff346a54835171769a5faad379.jpg)
(Medium).jpg.58f7d40b6cadb135b7026f110e194c27.jpg)
(Medium).jpg.075a6b56322378cb394033c3d92f3d3d.jpg)
(Medium).jpg.f7e7842179ea02ef04405e9b1ea418e8.jpg)
(Medium).jpg.5bf6bdf346f76044f69c7f0cb74d7d38.jpg)
(Medium).jpg.90aa970a7e6e6b95fafbf6ef56cd8831.jpg)
(Medium).jpg.7ac6c64df1b5a2780014ee37d621697d.jpg)
(Medium).jpg.30a1bf68a17098b3c3133f2abec611fd.jpg)
(Medium).jpg.750d7986be5b5b3a4175f8dd076fd85f.jpg)
(Medium).jpg.d7de602802925fe46a6380f30a363cac.jpg)
(Medium).jpg.01618b7eb98a3d04af1aba421b6a3351.jpg)
(Medium).jpg.fe9fbea44f2e9f3604e9ea1788c3ab5b.jpg)
(Medium).jpg.6de2204c1acfdb6ed9480de8cd678da6.jpg)
(Medium).jpg.6b75306fd1cf7925669a1ad3936af261.jpg)
(Medium).jpg.ab985acf7ae385beff573f40cf47ef95.jpg)
(Medium).jpg.35256f0e11f7bde25cdc15e2541490f0.jpg)
(Medium).jpg.64bfdb698a6e69f82578436e0071c978.jpg)
(Medium).jpg.19b212682559b9dee773cdd8cefe004c.jpg)
(Medium).jpg.9942b828bd0a641636196cdf38aefc93.jpg)
(Medium).jpg.cdae4b9a8636032ce3e7f94f2991957b.jpg)
(Medium).jpg.095fd9fc2bd550e760d50c69478eb471.jpg)
(Medium).jpg.eebbe8ed00cf92b2d92c2c613aa26255.jpg)
(Medium).jpg.852b70f9676569f0d85925bacb0dd64e.jpg)
.jpg.1015e5e288a9b13da689b5ddc79d56ad.jpg)
(Medium).jpg.946199e8b6becff74c7849bc4cf6475a.jpg)
(Medium).jpg.25e521b1abc5d4606a9d83ac092f9c99.jpg)
(Medium).jpg.75f66cad7061802fbfc34ddfabd7aea1.jpg)
(Medium)_LI(Medium).jpg.1523f4b4f23e93b76bdc9b858cfafb73.jpg)
(Medium)_LI(Medium).jpg.6d1d6f4b9a9eb9e88a2da1c53182d56c.jpg)


Important Information
Welcome to BRISKODA. Please note the following important links Terms of Use. We have a comprehensive Privacy Policy. We have placed cookies on your device to help make this website better. You can adjust your cookie settings, otherwise we'll assume you're okay to continue.
Account
Navigation
Configure browser push notifications
Chrome (Android)
- Tap the lock icon next to the address bar.
- Tap Permissions → Notifications.
- Adjust your preference.
Chrome (Desktop)
- Click the padlock icon in the address bar.
- Select Site settings.
- Find Notifications and adjust your preference.
Safari (iOS 16.4+)
- Ensure the site is installed via Add to Home Screen.
- Open Settings App → Notifications.
- Find your app name and adjust your preference.
Safari (macOS)
- Go to Safari → Preferences.
- Click the Websites tab.
- Select Notifications in the sidebar.
- Find this website and adjust your preference.
Edge (Android)
- Tap the lock icon next to the address bar.
- Tap Permissions.
- Find Notifications and adjust your preference.
Edge (Desktop)
- Click the padlock icon in the address bar.
- Click Permissions for this site.
- Find Notifications and adjust your preference.
Firefox (Android)
- Go to Settings → Site permissions.
- Tap Notifications.
- Find this site in the list and adjust your preference.
Firefox (Desktop)
- Open Firefox Settings.
- Search for Notifications.
- Find this site in the list and adjust your preference.