26DIPP
Members
-
Joined
-
Last visited
Everything posted by 26DIPP
-
Are you saying that the French MOT / CAT requires by law a fog light on the left? Does it allow both sides? Do you have LED rear light clusters? Check your light cluster if you actually have a fog light on the other side. You can either pull a wire across and feed it into the empty connection place to check if the fog light lights up when activated. Close your boot lid to check. If your left fog lights works, simply pull a permanent wire across and leave the left disconnected or have both sides activated if that is legal.
-
Hi All, I want to replace the suspension arms on my daughter's FII from 2009. The VIN is TMBDC65J493165977. I have 2 questions. 1) I have found the correct shape arm, but looking on Autodoc they use the VIN in a way that I had issues with before. Their description for one of the arms is: Vehicle Identification Number (VIN) from: 5J-83172 974, 5J-8A502 657, 5J-8B503 032, 5J-8K450 961 does my FII qualify for this part? How do I read the VIN? 2) I also looked on buycarparts. They use another descriptor for the arms. They give a length: Length [mm]: 302 This length varies from 302 to 362.3 for the part number I need - 6R0407151. What does the length refer to? I guess it is short arm and long but what is the relevance for the FII?
-
If you want to retrofit a RVC and do not have the knowledge yet look up the instructions in the write ups on these. You will need to know some things as you will have your car appart to a fair degree.
-
I do not have PNs for the steering wheels with touch sensors, but it will be just like your 2 spoke steering wheel WITH the TA button on the right.
-
You need one with a travel assist button top right. It is blank on the SIII steering wheel if it does not have capacitance.
-
Does anyone have a admap file of their adaptations +/- codings of a 2023 Superb. I want to double check with mine as I have lost some adaptations. Can it be posted here or sent as PM please.
-
I want to replace the rear shocks on my daughter's Fabia. What shocks have people used as replacements?
-
I have wired the 2. fog light on our RHD 2023 SIII estate. I was pretty easy as described above. I had a look at the wiring diagrams before and it seems the same on LHD as on a RHD, just in reverse. I checked the left fog light first. There are 2 tiny LED elements in the fog on both sides when you look into it. I also checked for function first with a pin and loose wire and the fog light is still present on the left. I soldered the spare wire onto the grey / white wire in the 6 wire connector on the right and routed it to the left fog light connector / plug. I still had some spare pins from a previous retrofitting project. Above people mentioned that the fog light only works when the boot lid is closed. It can be coded that the fog light can be on when open. Coding in in Stg09 in Adaptations 07 Look for NSL - Nebelschlußleuchte (foglight) In the line "Lichtansteuerung" only if closed you can code to open. [VO]_Leuchte26NSL LA72: [LO]_Lasttyp 26: [VO]_43 - allgemeine LED [LO]_Lampendefektbitposition 26: 1C [LO]_Fehlerort mittleres Byte DTC-DFCC 26: 2F [LO]_Lichtfunktion A 26: [VO]_Nebelschlusslicht wenn kein Anhaenger gesteckt [LO]_Lichtfunktion B 26: [VO]_nicht aktiv [LO]_Dimmwert AB 26: 100 [LO]_Lichtansteuerung HD AB 26: [VO]_only_if_closed [LO]_Lichtfunktion C 26: [VO]_nicht aktiv [LO]_Lichtfunktion D 26: [VO]_nicht aktiv [LO]_Dimmwert CD 26: 0 [LO]_Dimming Direction CD 26: [VO]_maximize [LO]_Lichtfunktion E 26: [VO]_nicht aktiv [LO]_Lichtfunktion F 26: [VO]_nicht aktiv [LO]_Dimmwert EF 26: 0 [LO]_Dimming Direction EF 26: [VO]_maximize [LO]_Lichtfunktion G 26: [VO]_nicht aktiv [LO]_Lichtfunktion H 26: [VO]_nicht aktiv [LO]_Dimmwert GH 26: 0 [LO]_Dimming Direction GH 26: [VO]_maximize
-
I retrofitted the TA steering wheel. TA works. Lane assist (SWA) is different from travel assist. It warns if there is an object approaching from behind or next to you. TA keeps the car in the lane. I have the 2Q0 camera.
-
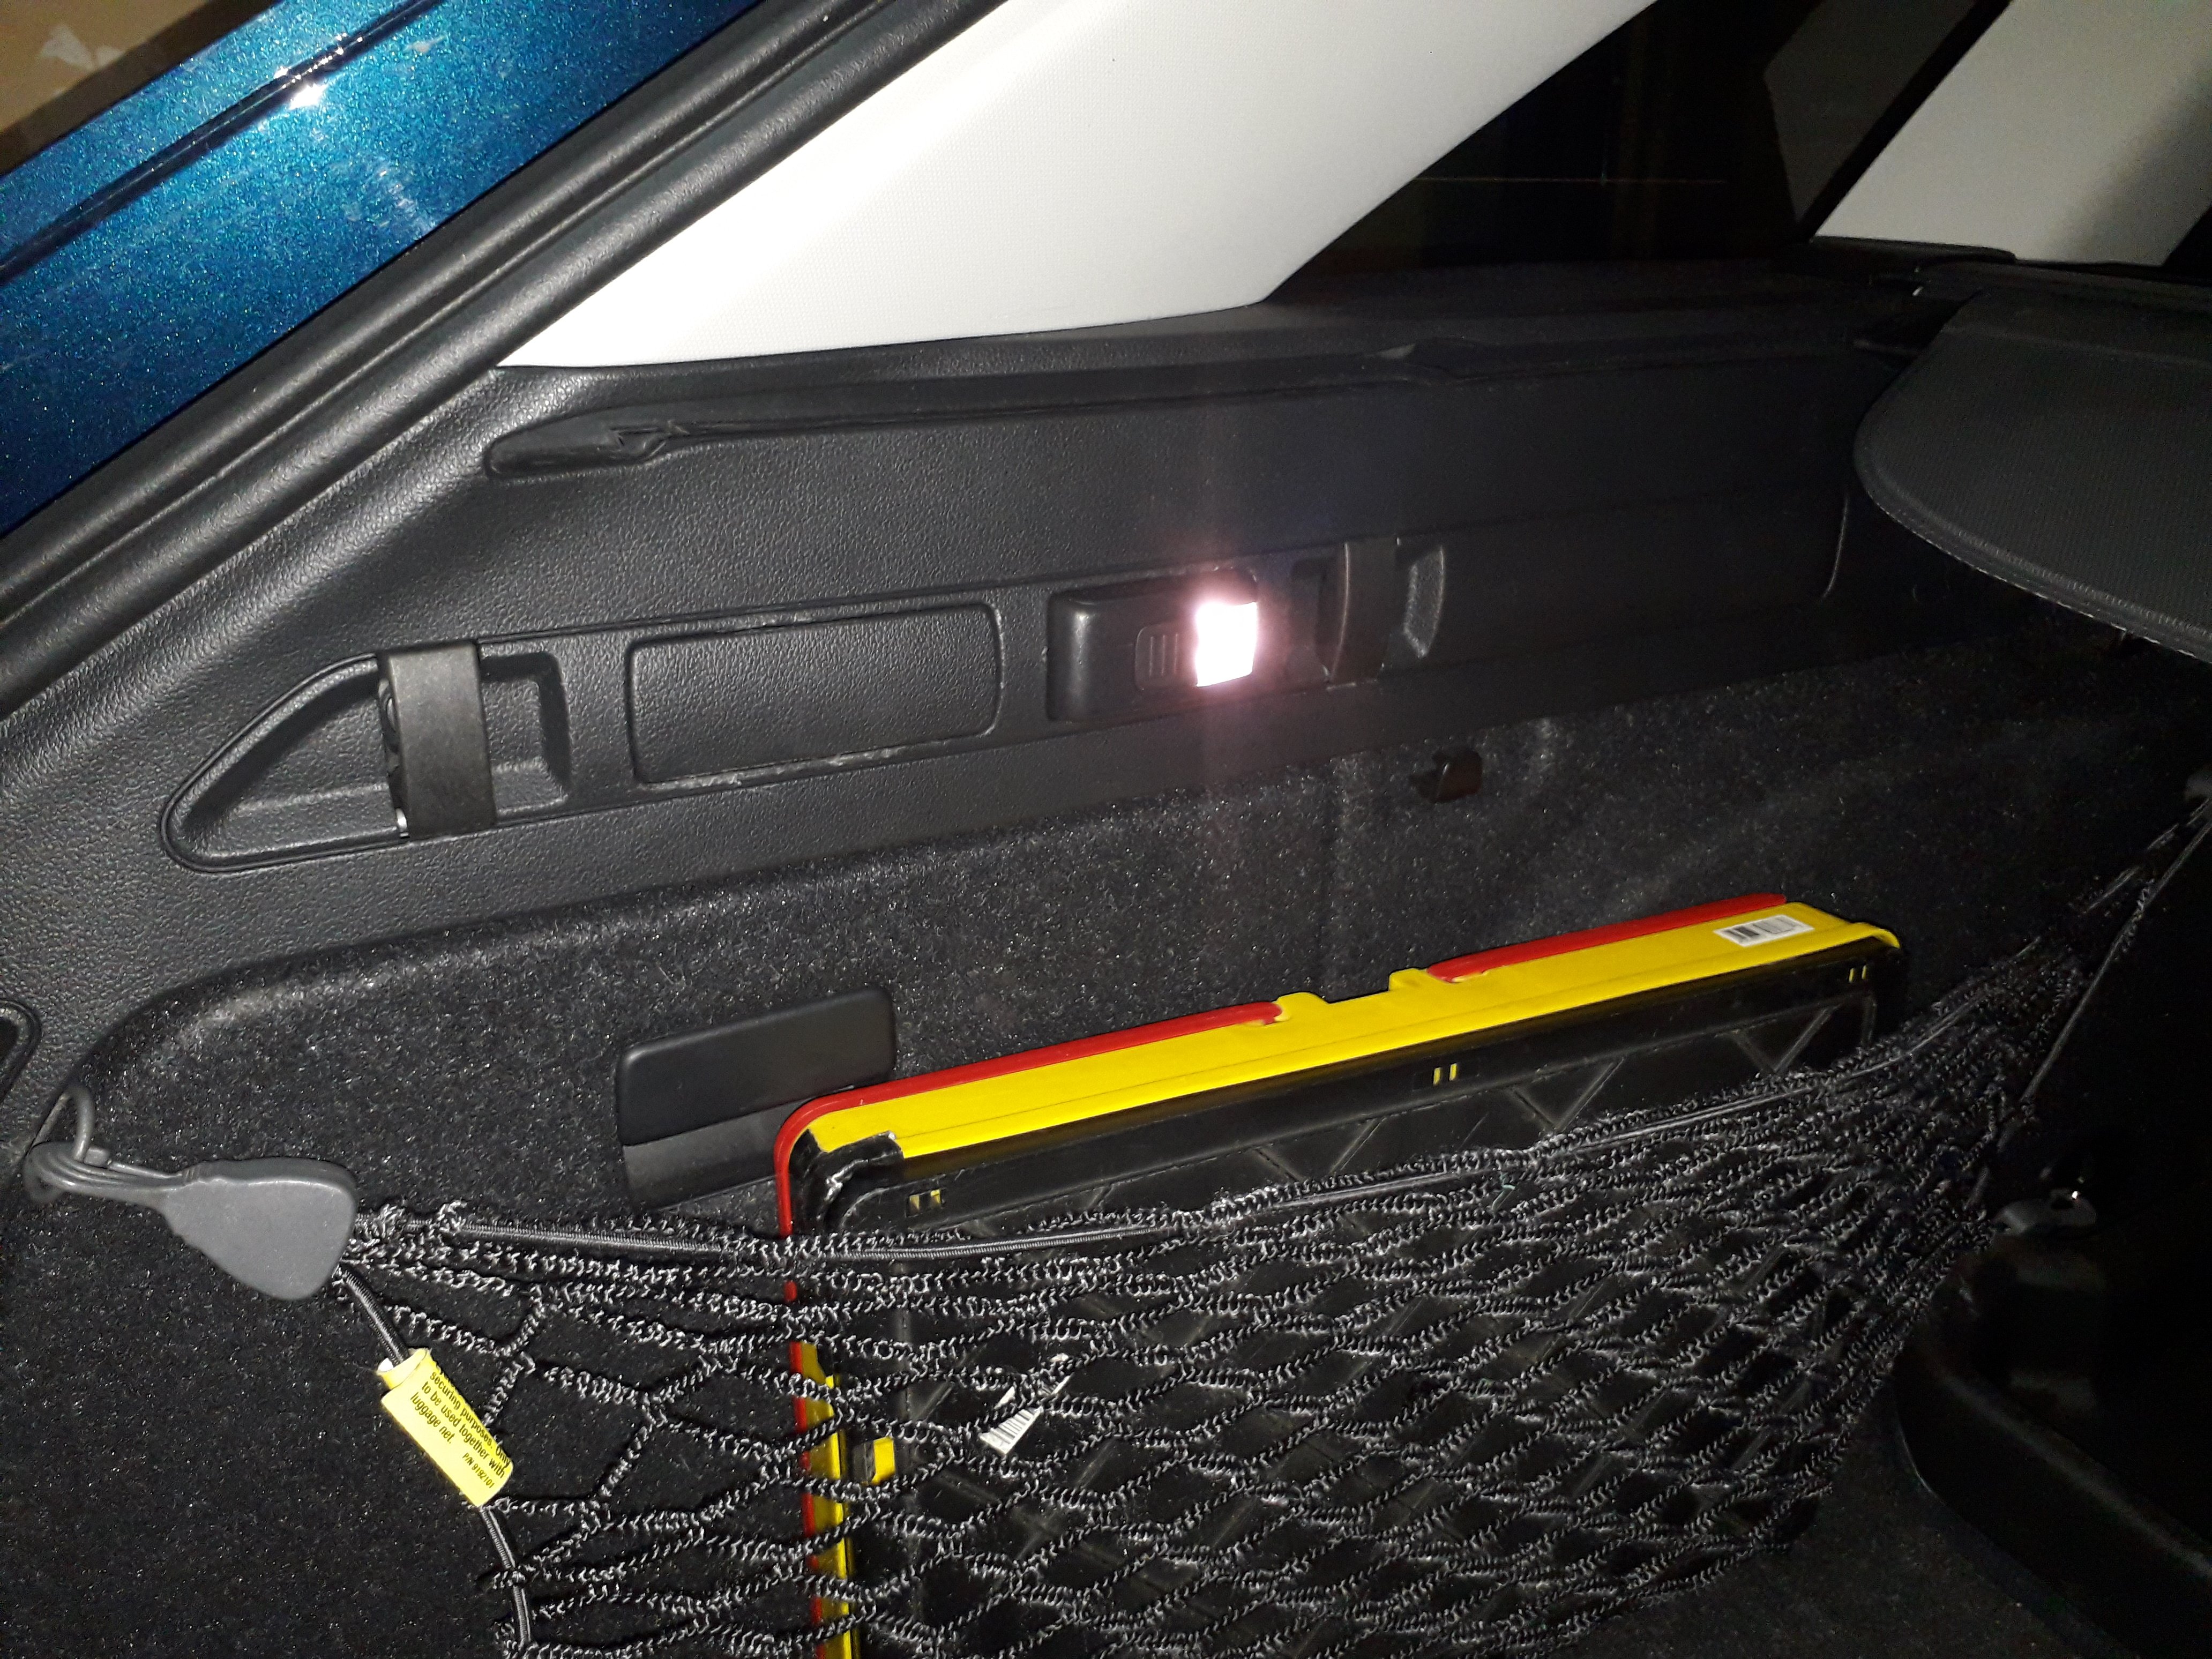
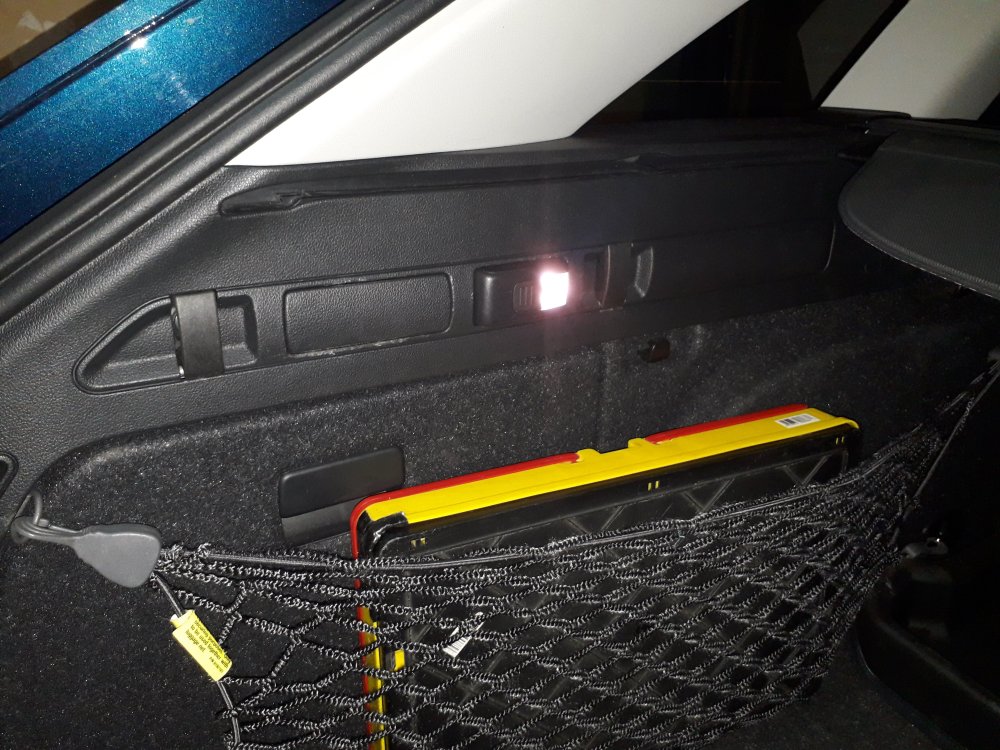
I have also retrofitted the boot light but I have not written that one up here. The wiring was a right pain.
-
I do not have the PN, but I am sure I have seen a write up somewhere here on the retrofit of a RVC in a SIII.
-
FL 2023, RHD, left side of road here. I have coded my HBA to be on as set when the car was switched off, so on most of the time even when driving on UK motorways. I never get flashed at by oncoming traffic on the right. The car is set to RHD in the menu. In STG 4B there is a setting for "motorway light" which has always been set to active. Another setting "Highway light" cannot be set. If you do you just get errors. When we went into France I set the light to right hand traffic, driving on right. On motorways even when there is no discernible barrier in the middle and I can see the lights of oncoming traffic I frequently get flashed by the traffic on the left of me and turn the auto HBA off. I have not really tried to drive in France with the car set to left hand traffic thinking that the settings have to be correct. Next time I might try keeping the lights set to left hand traffic. Unfortunately I cannot change this when driving. The car has to stationary to do the change.
-
Hi, If you can do a read out of DTCs or a full autoscan.
-
Does anyone here have an actually downloaded PDF manual for the SIII? Could they please upload it her please.
-
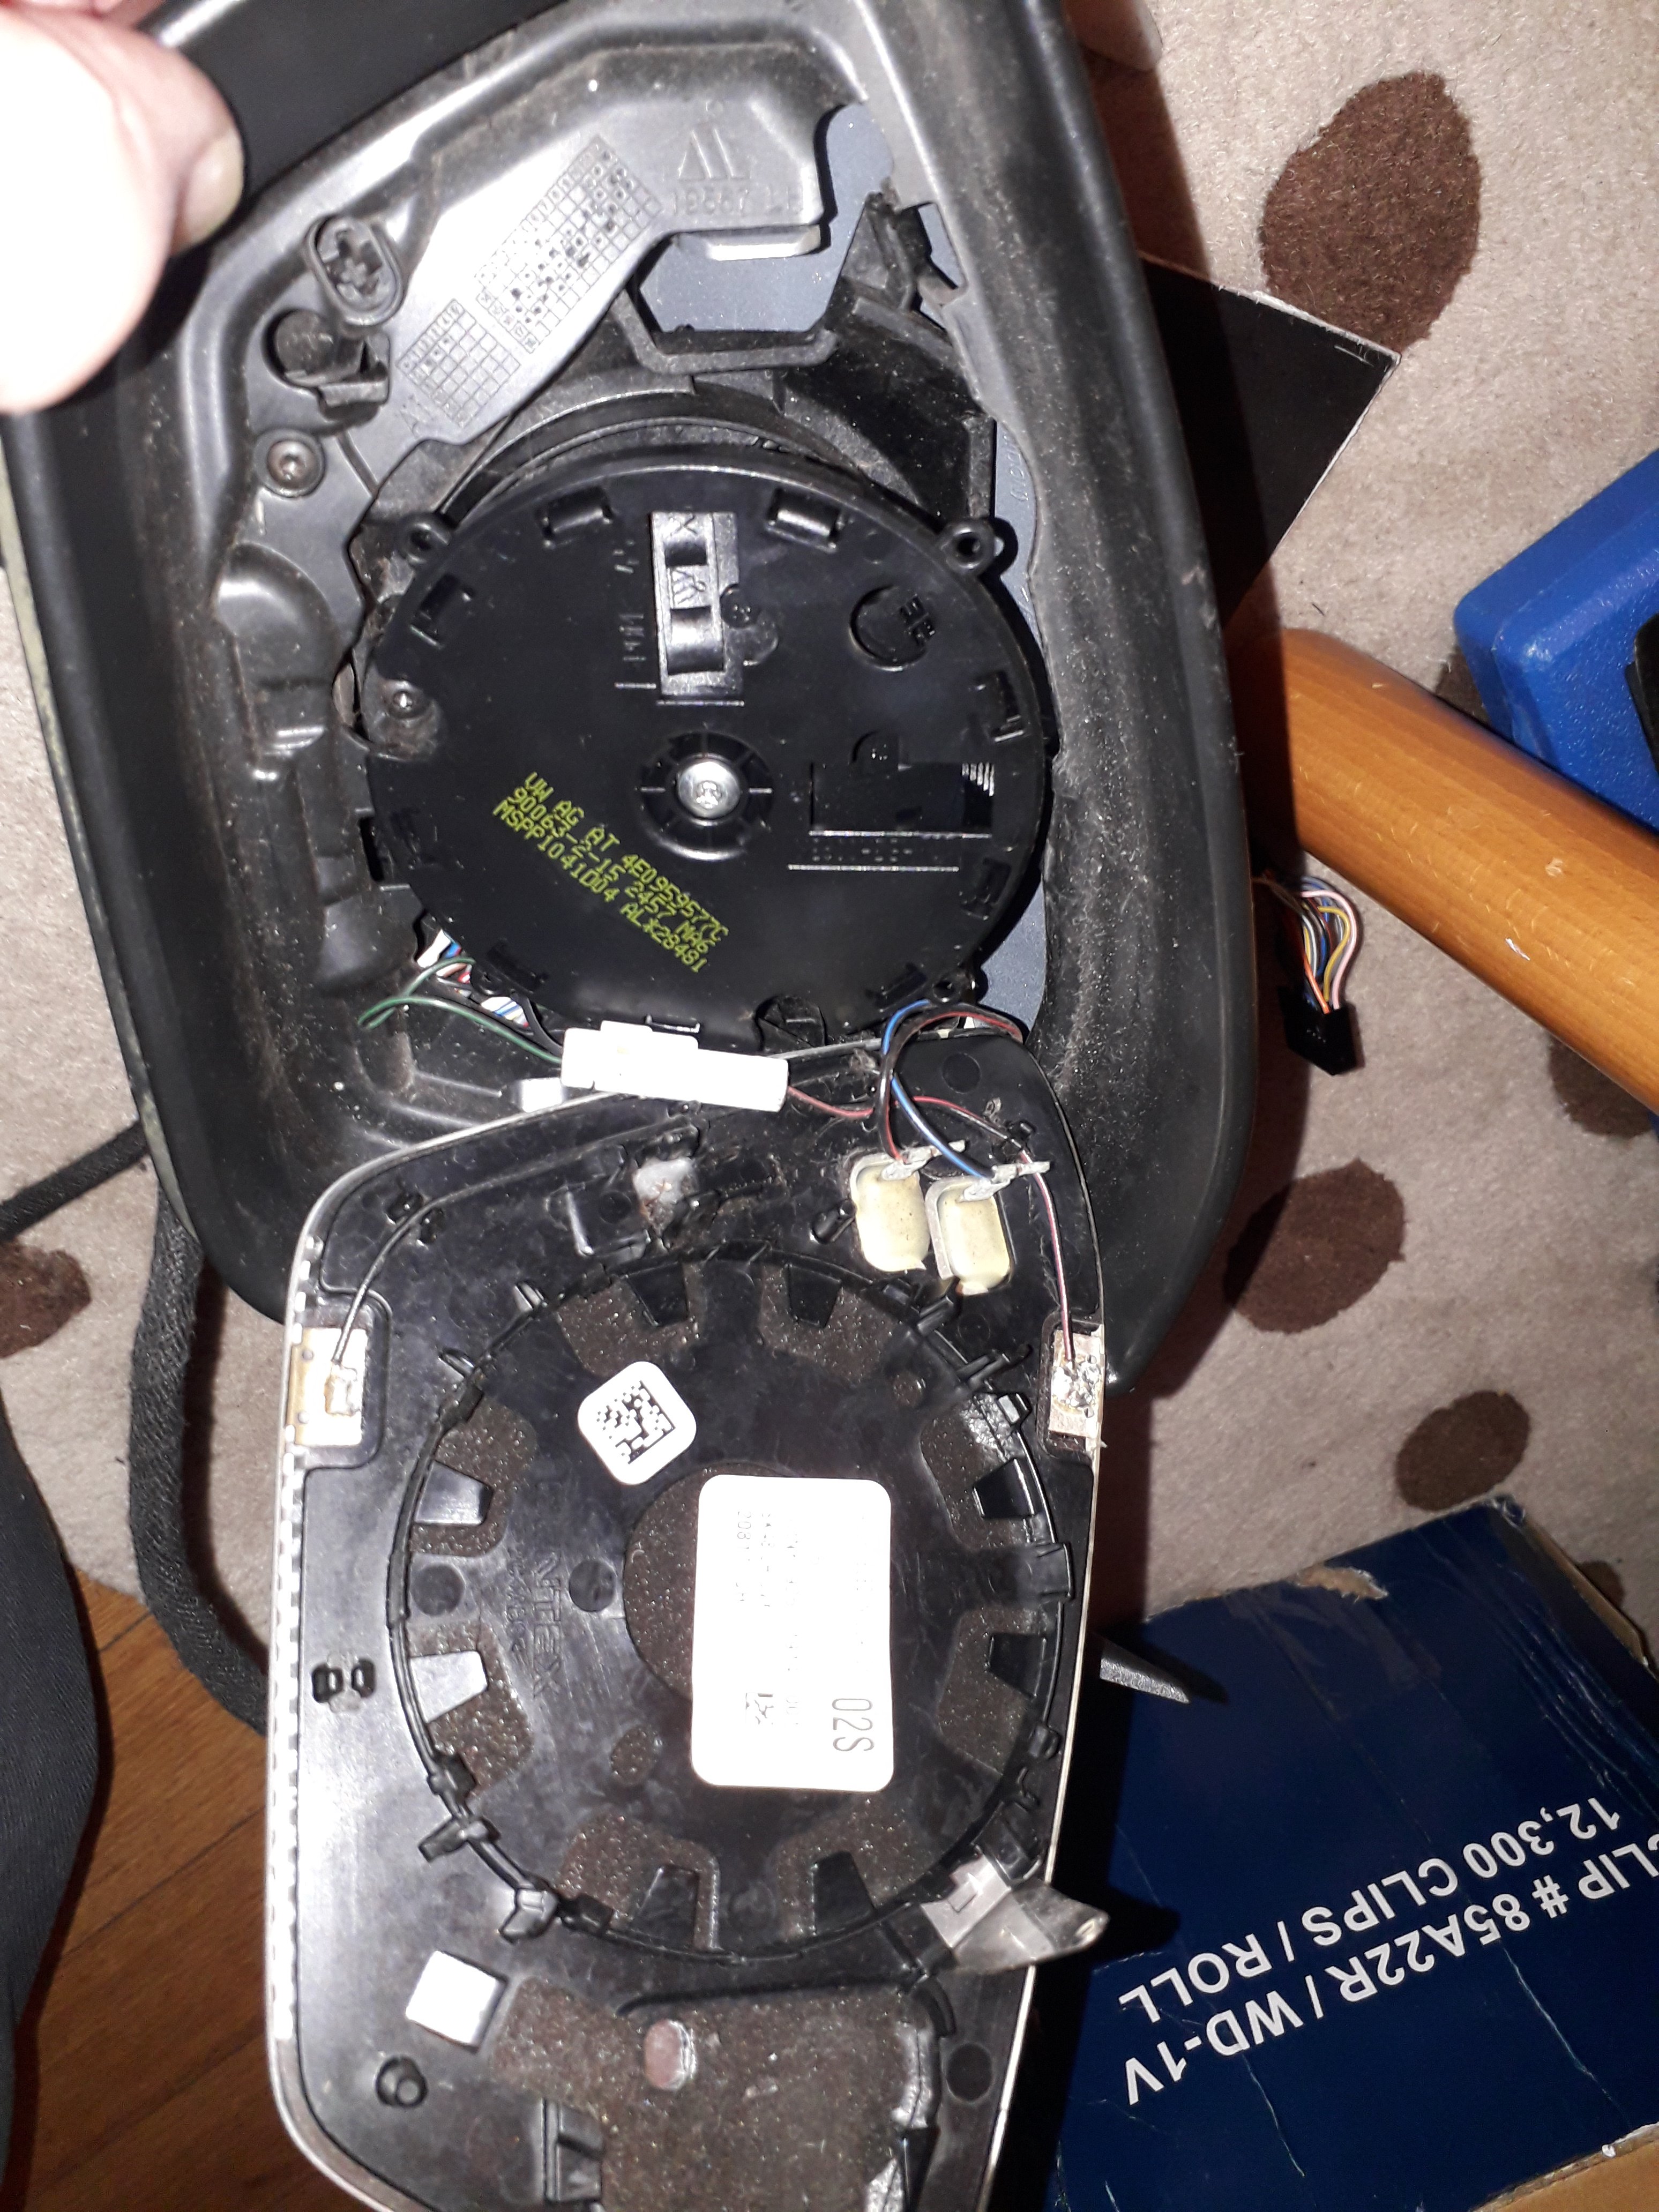
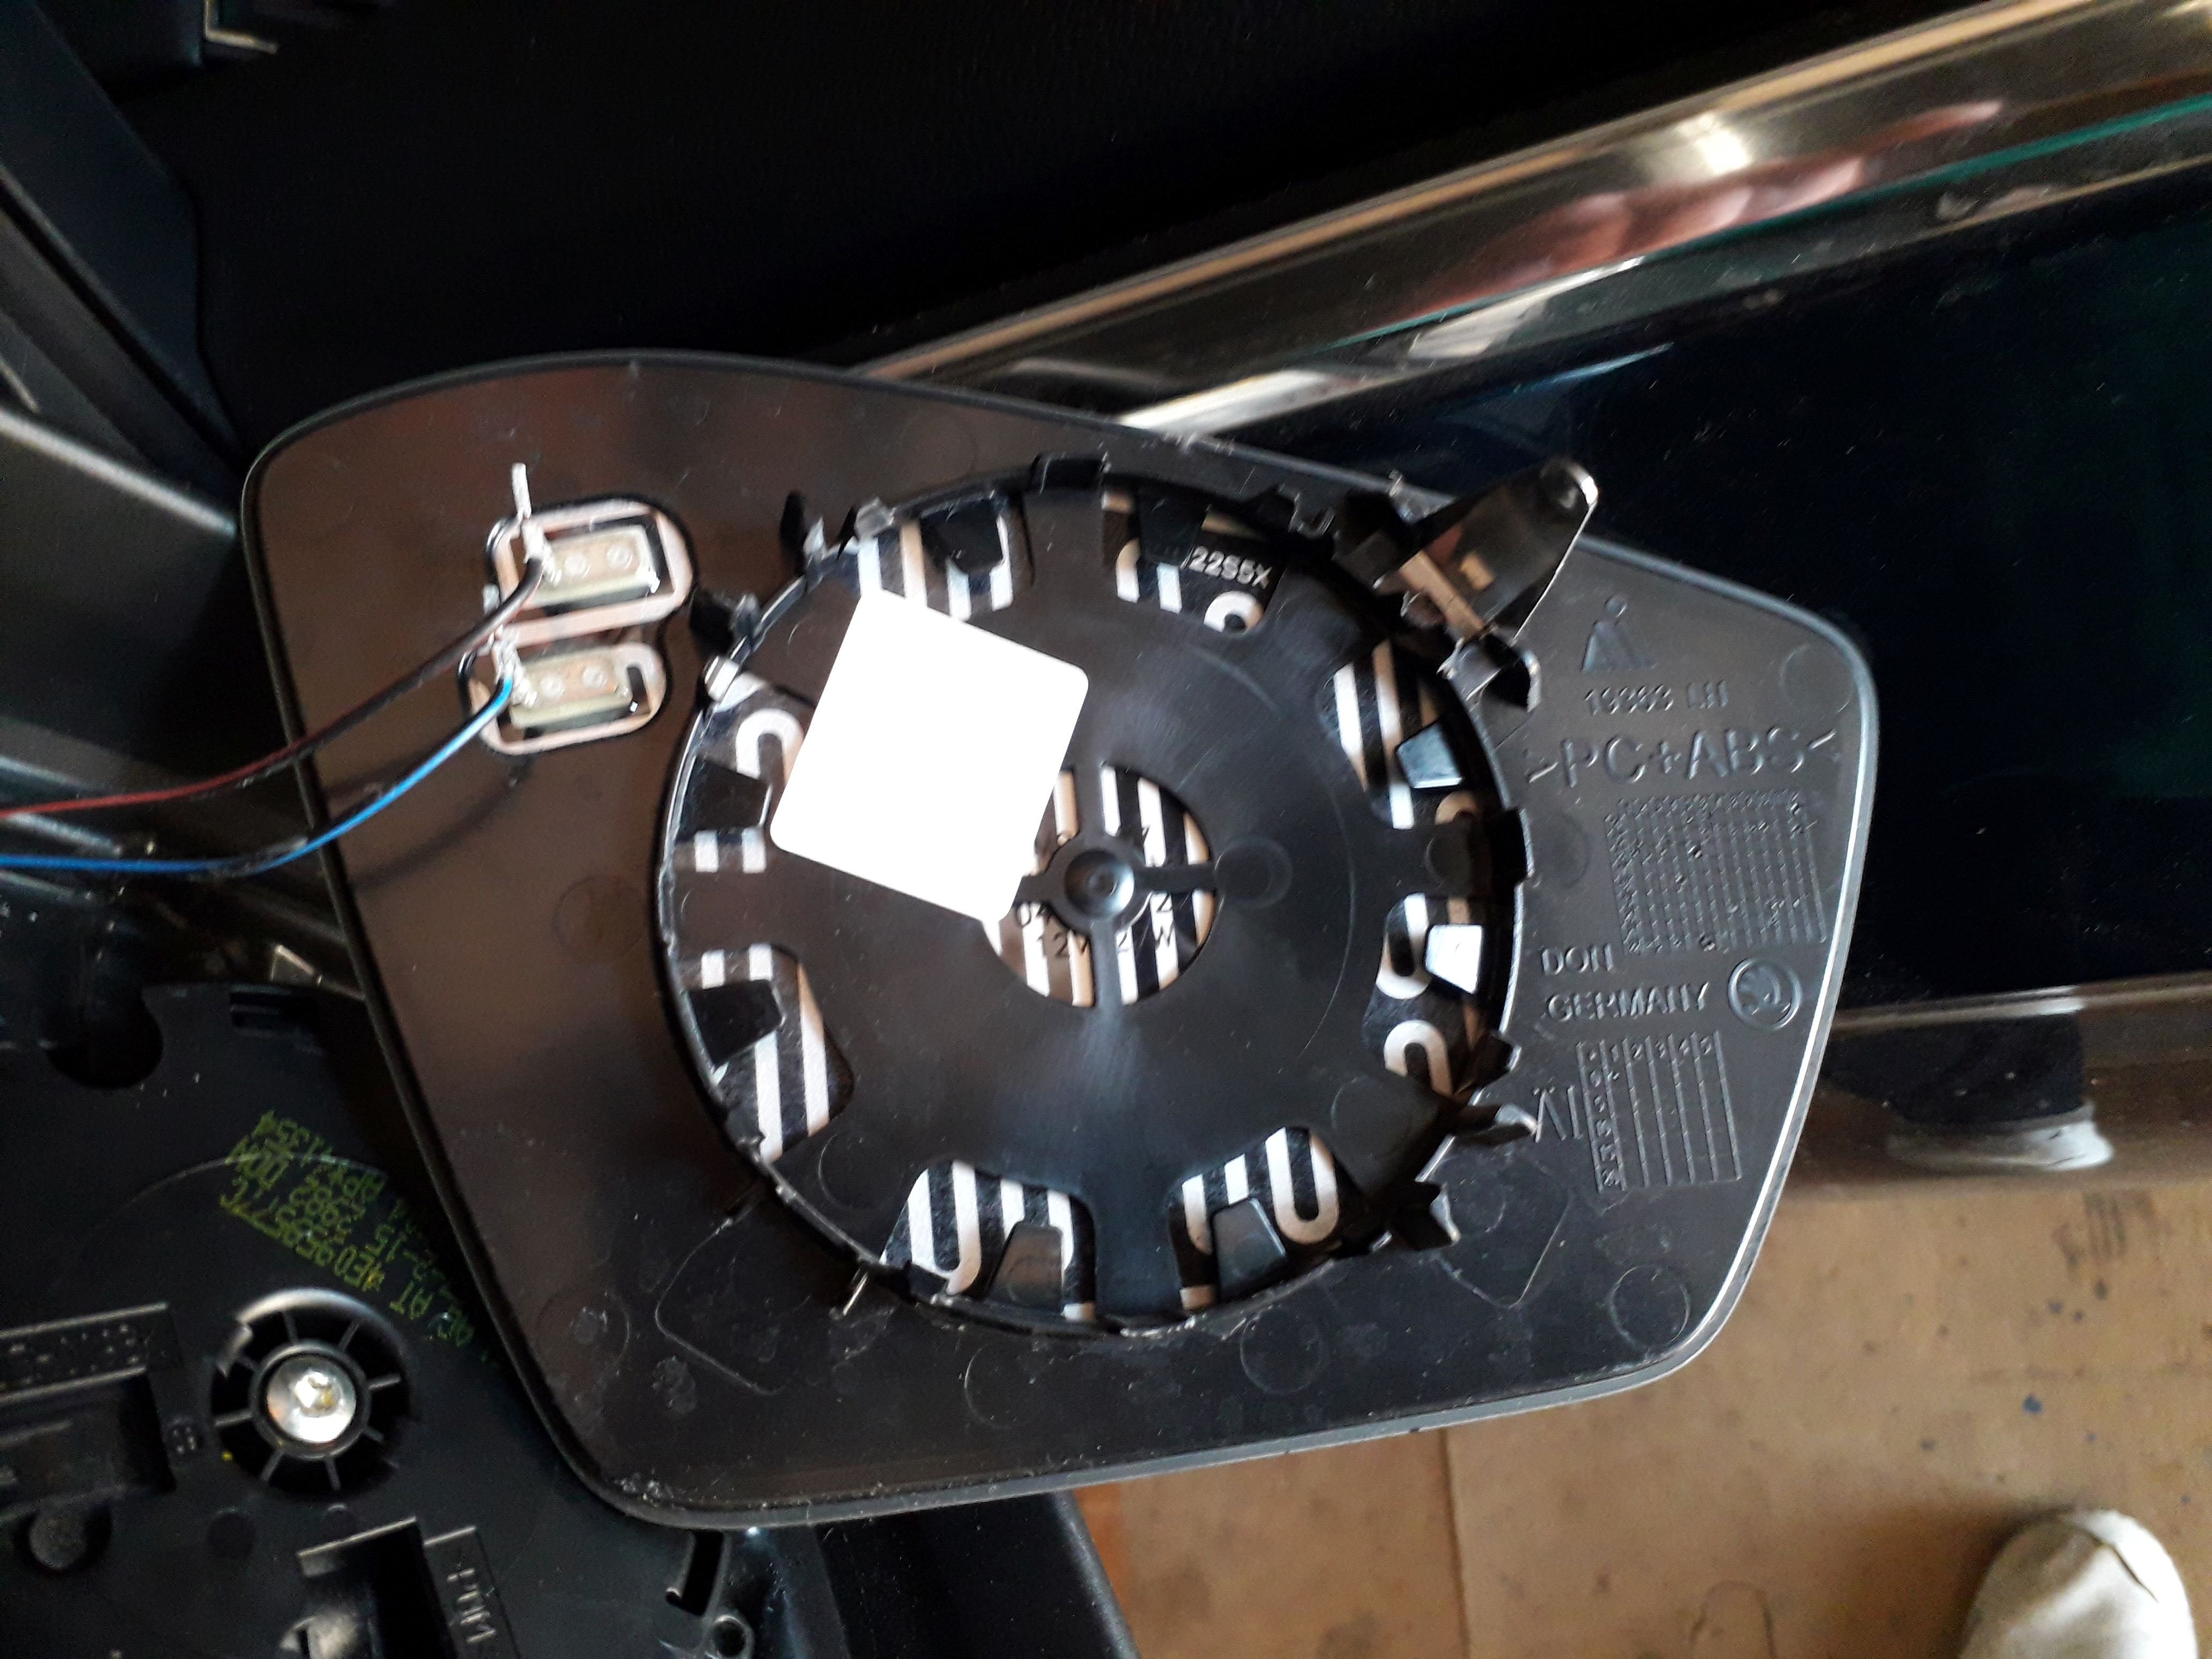
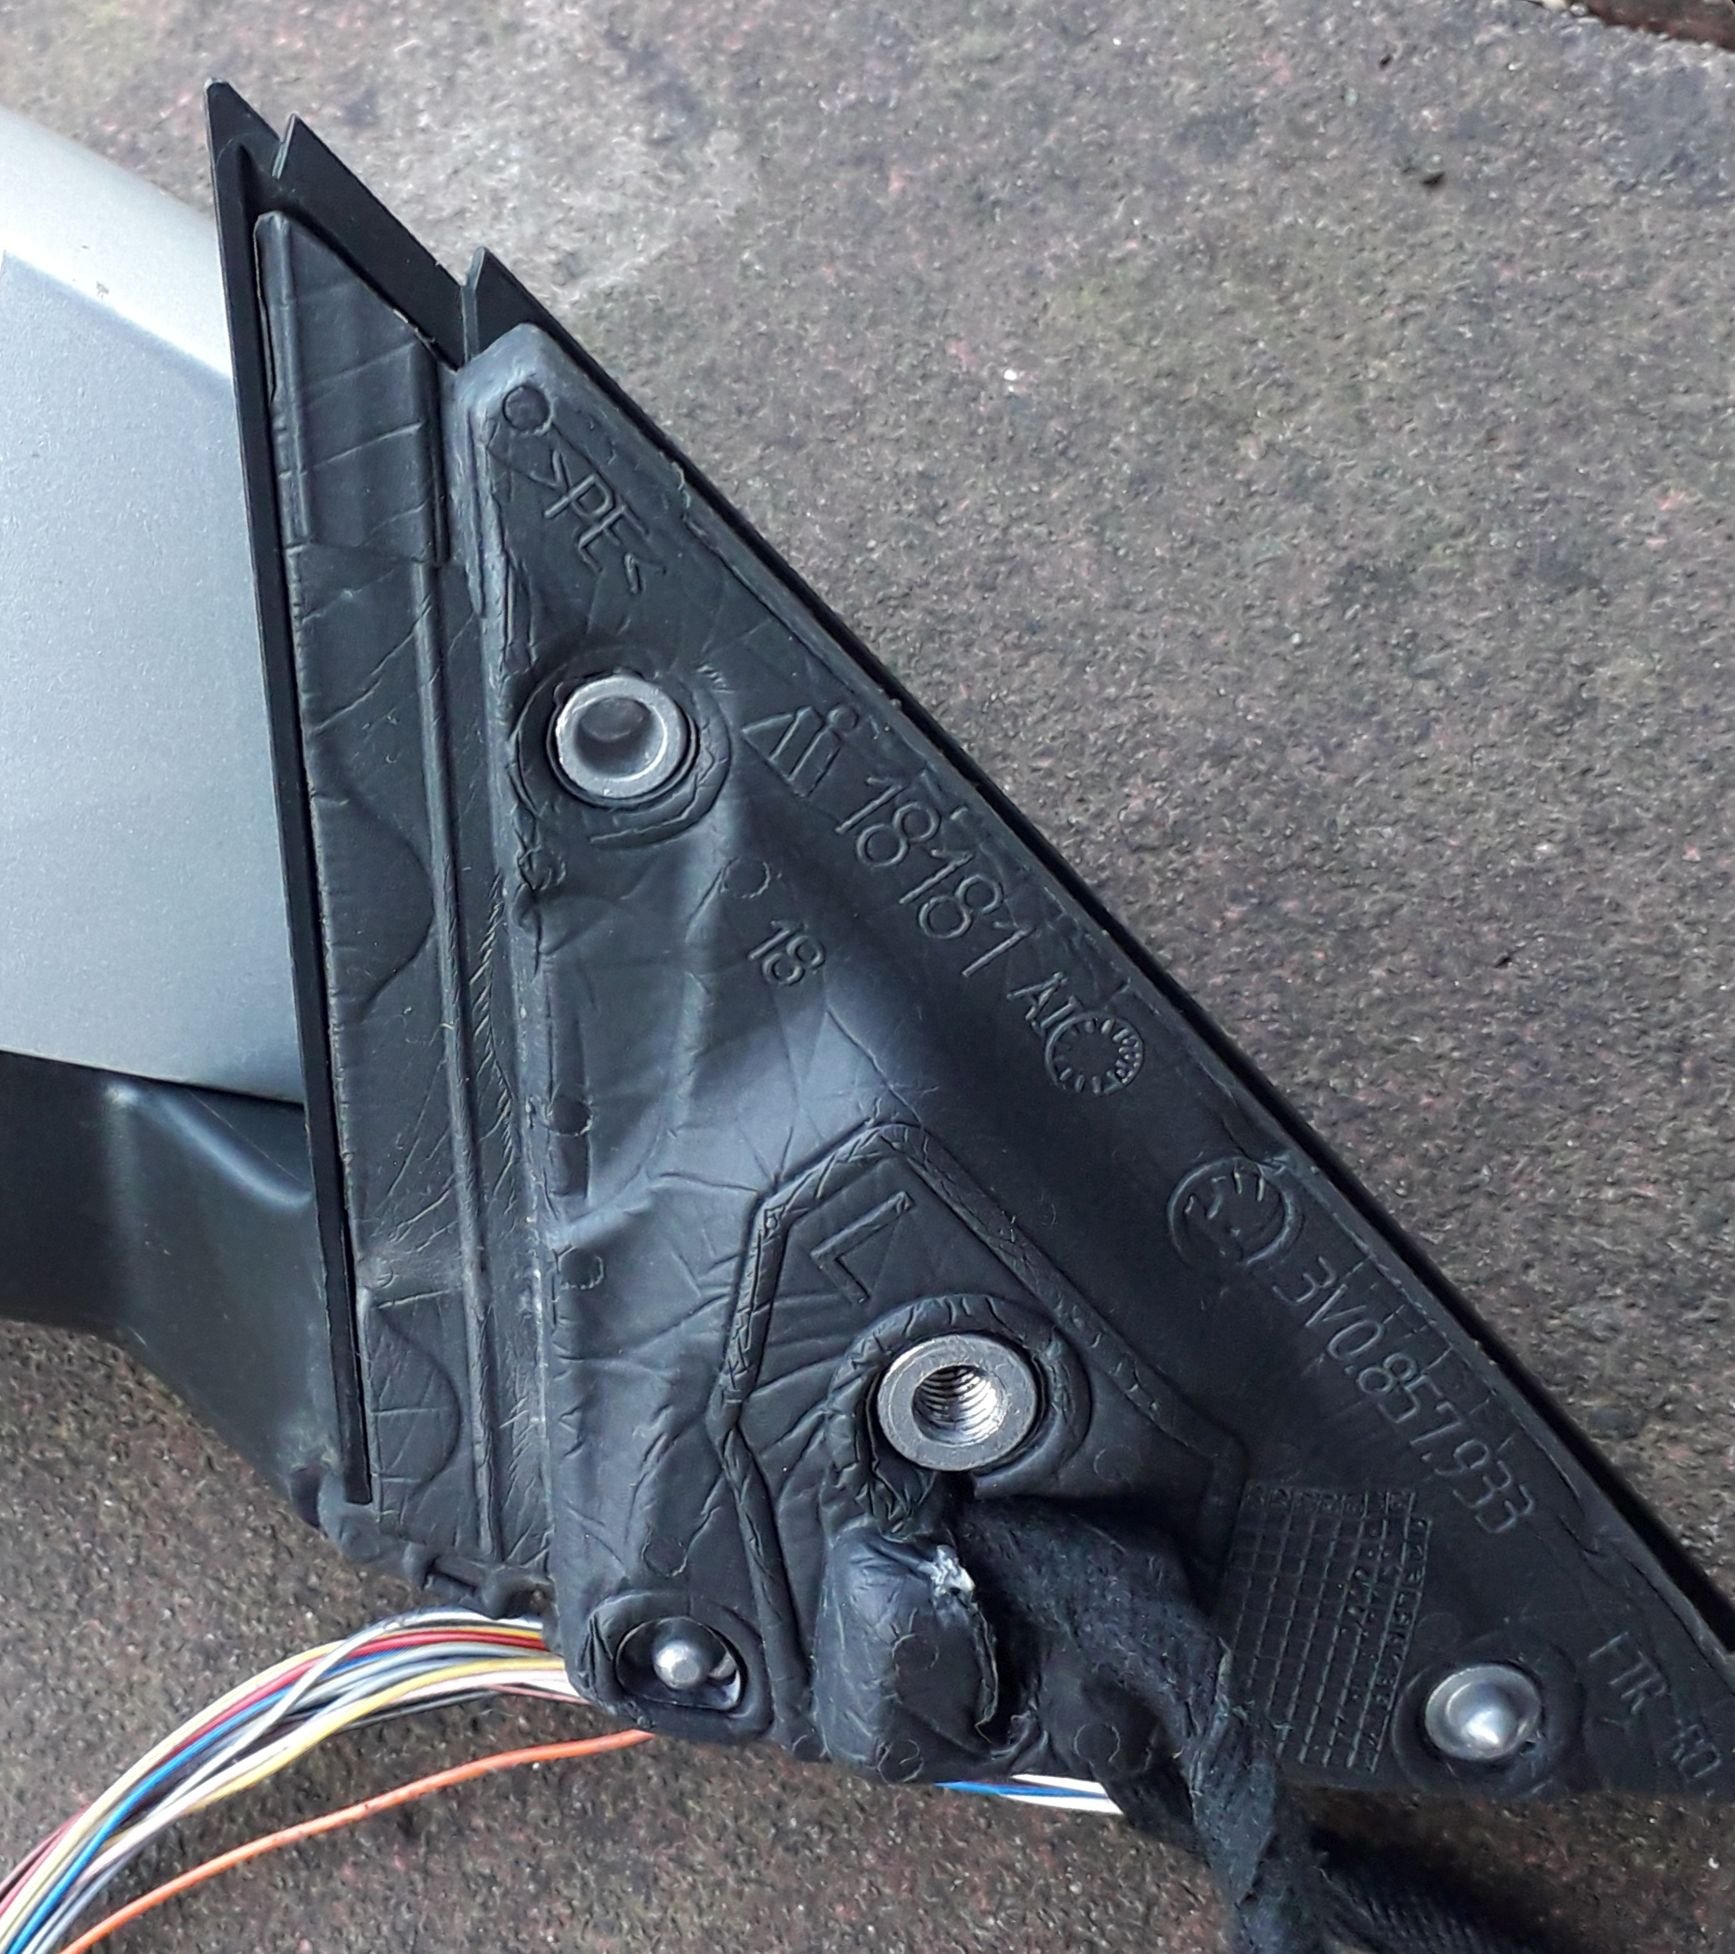
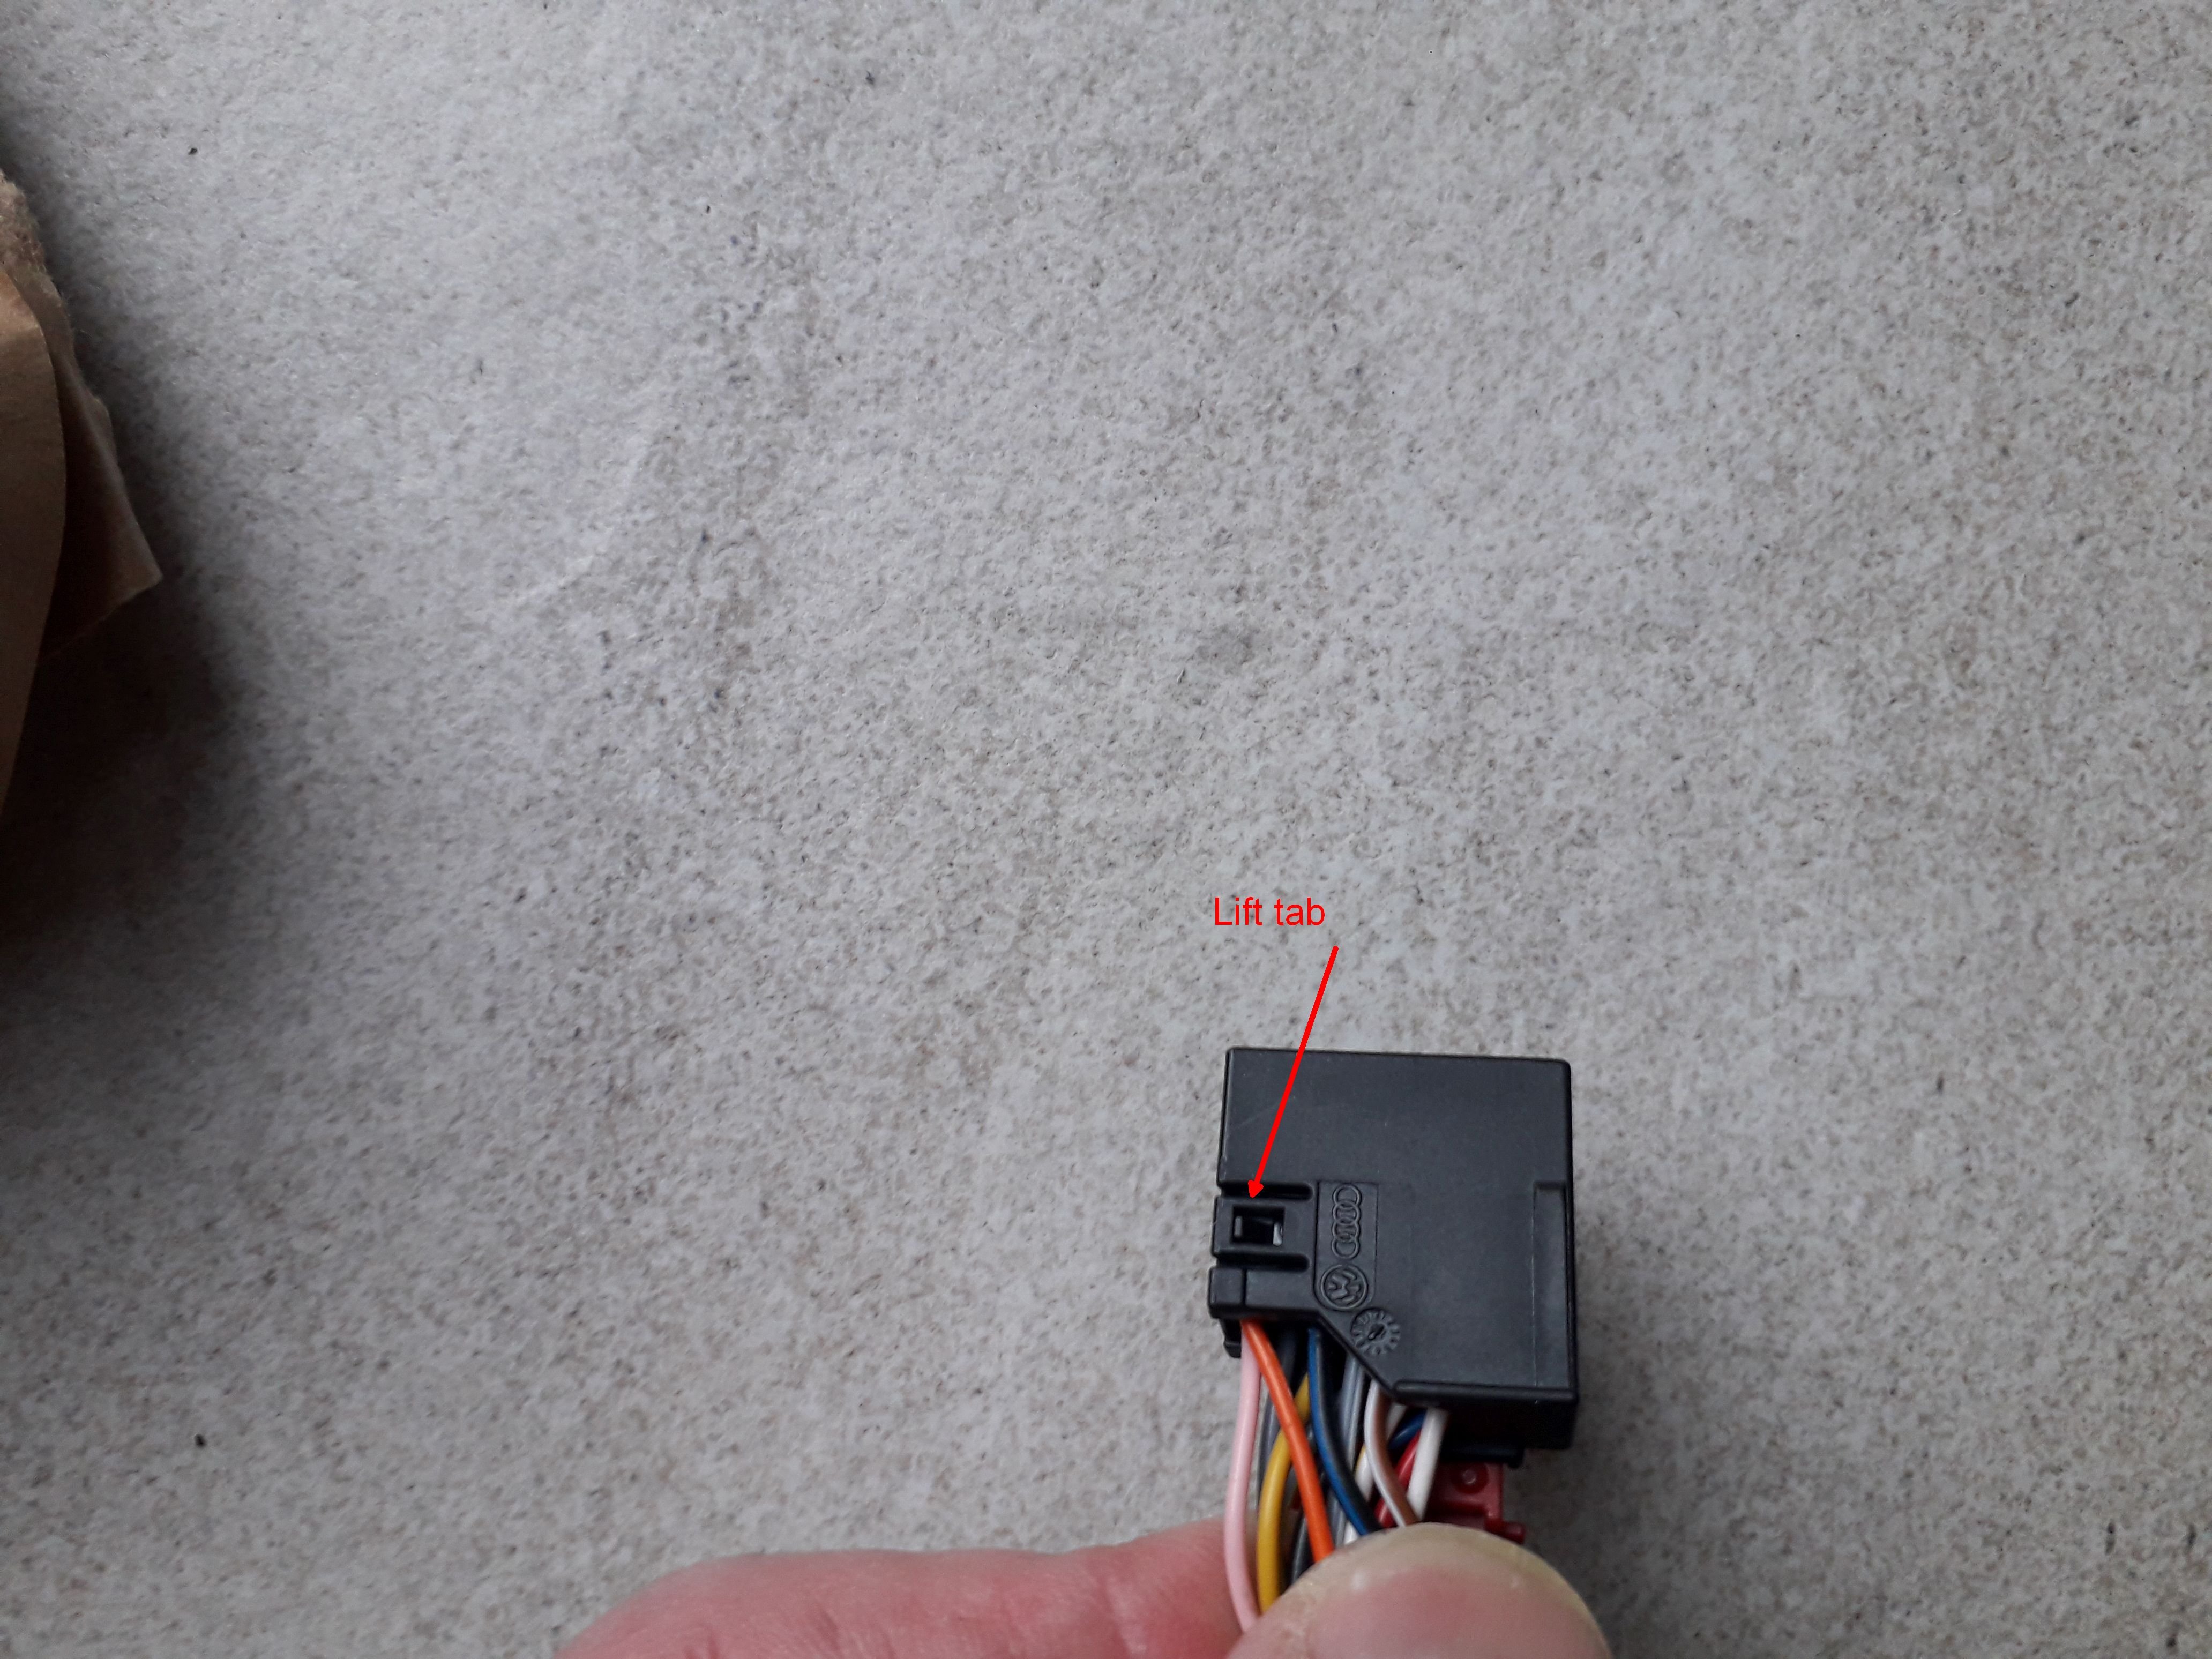
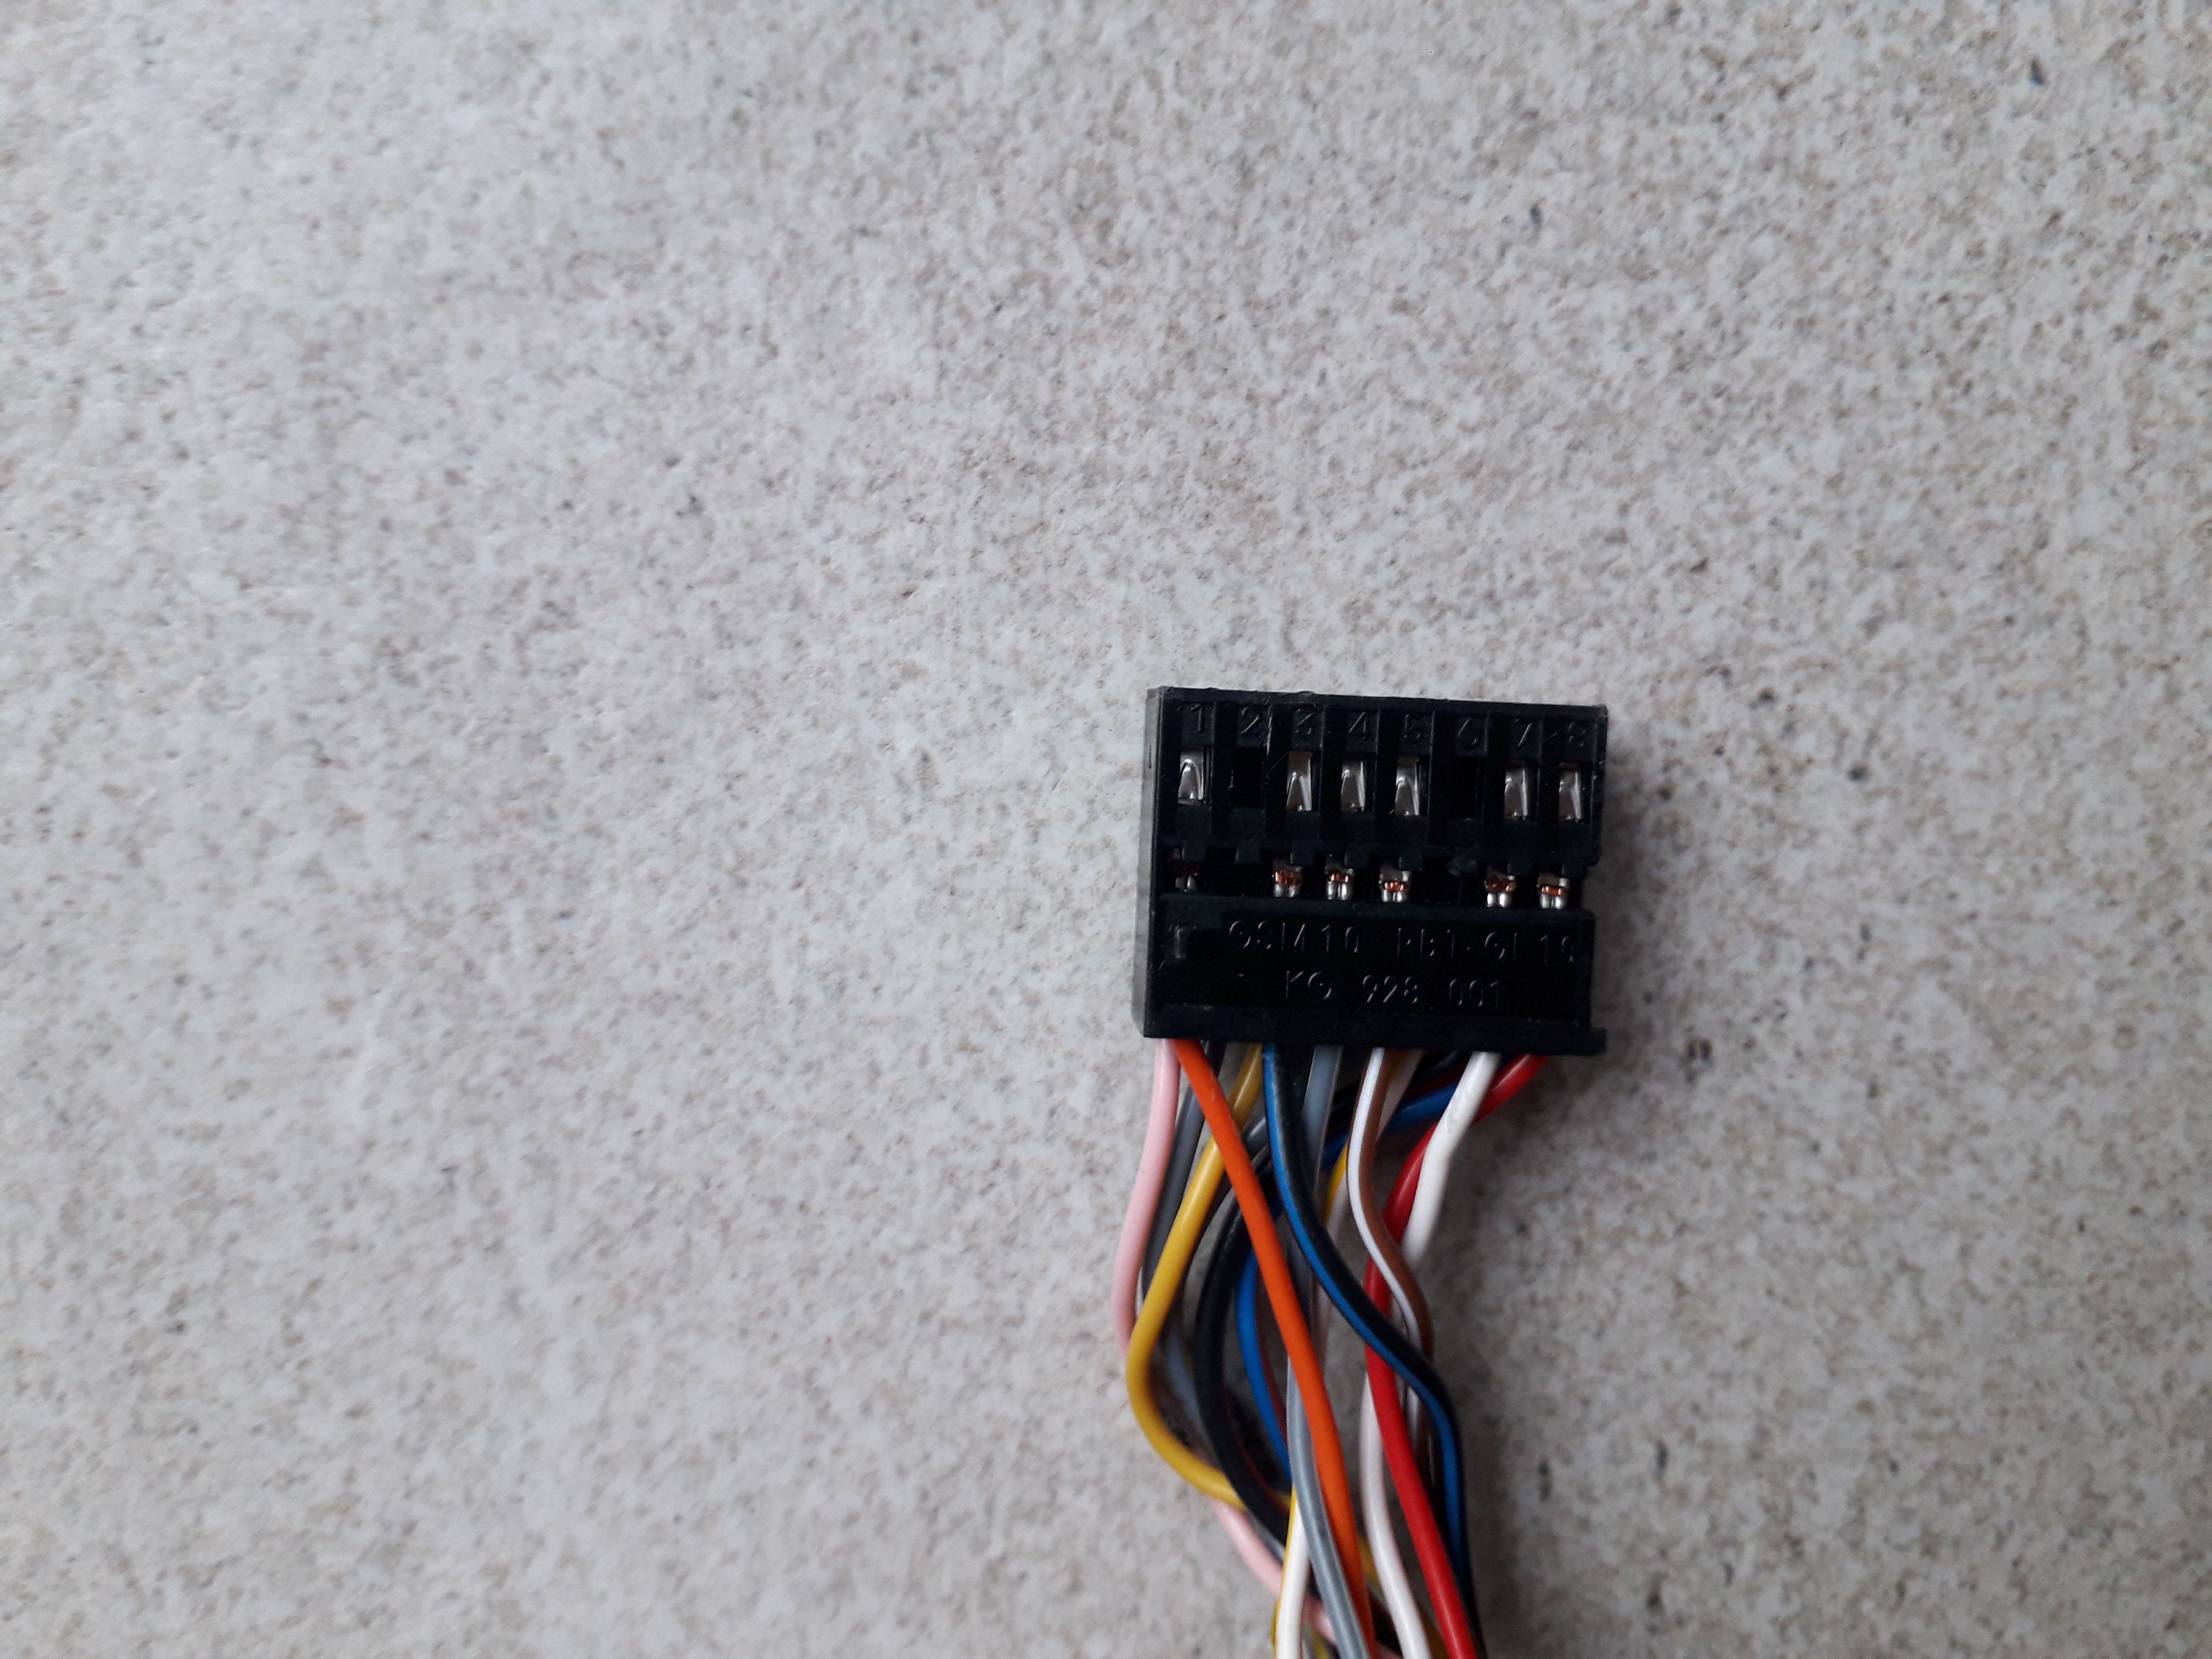
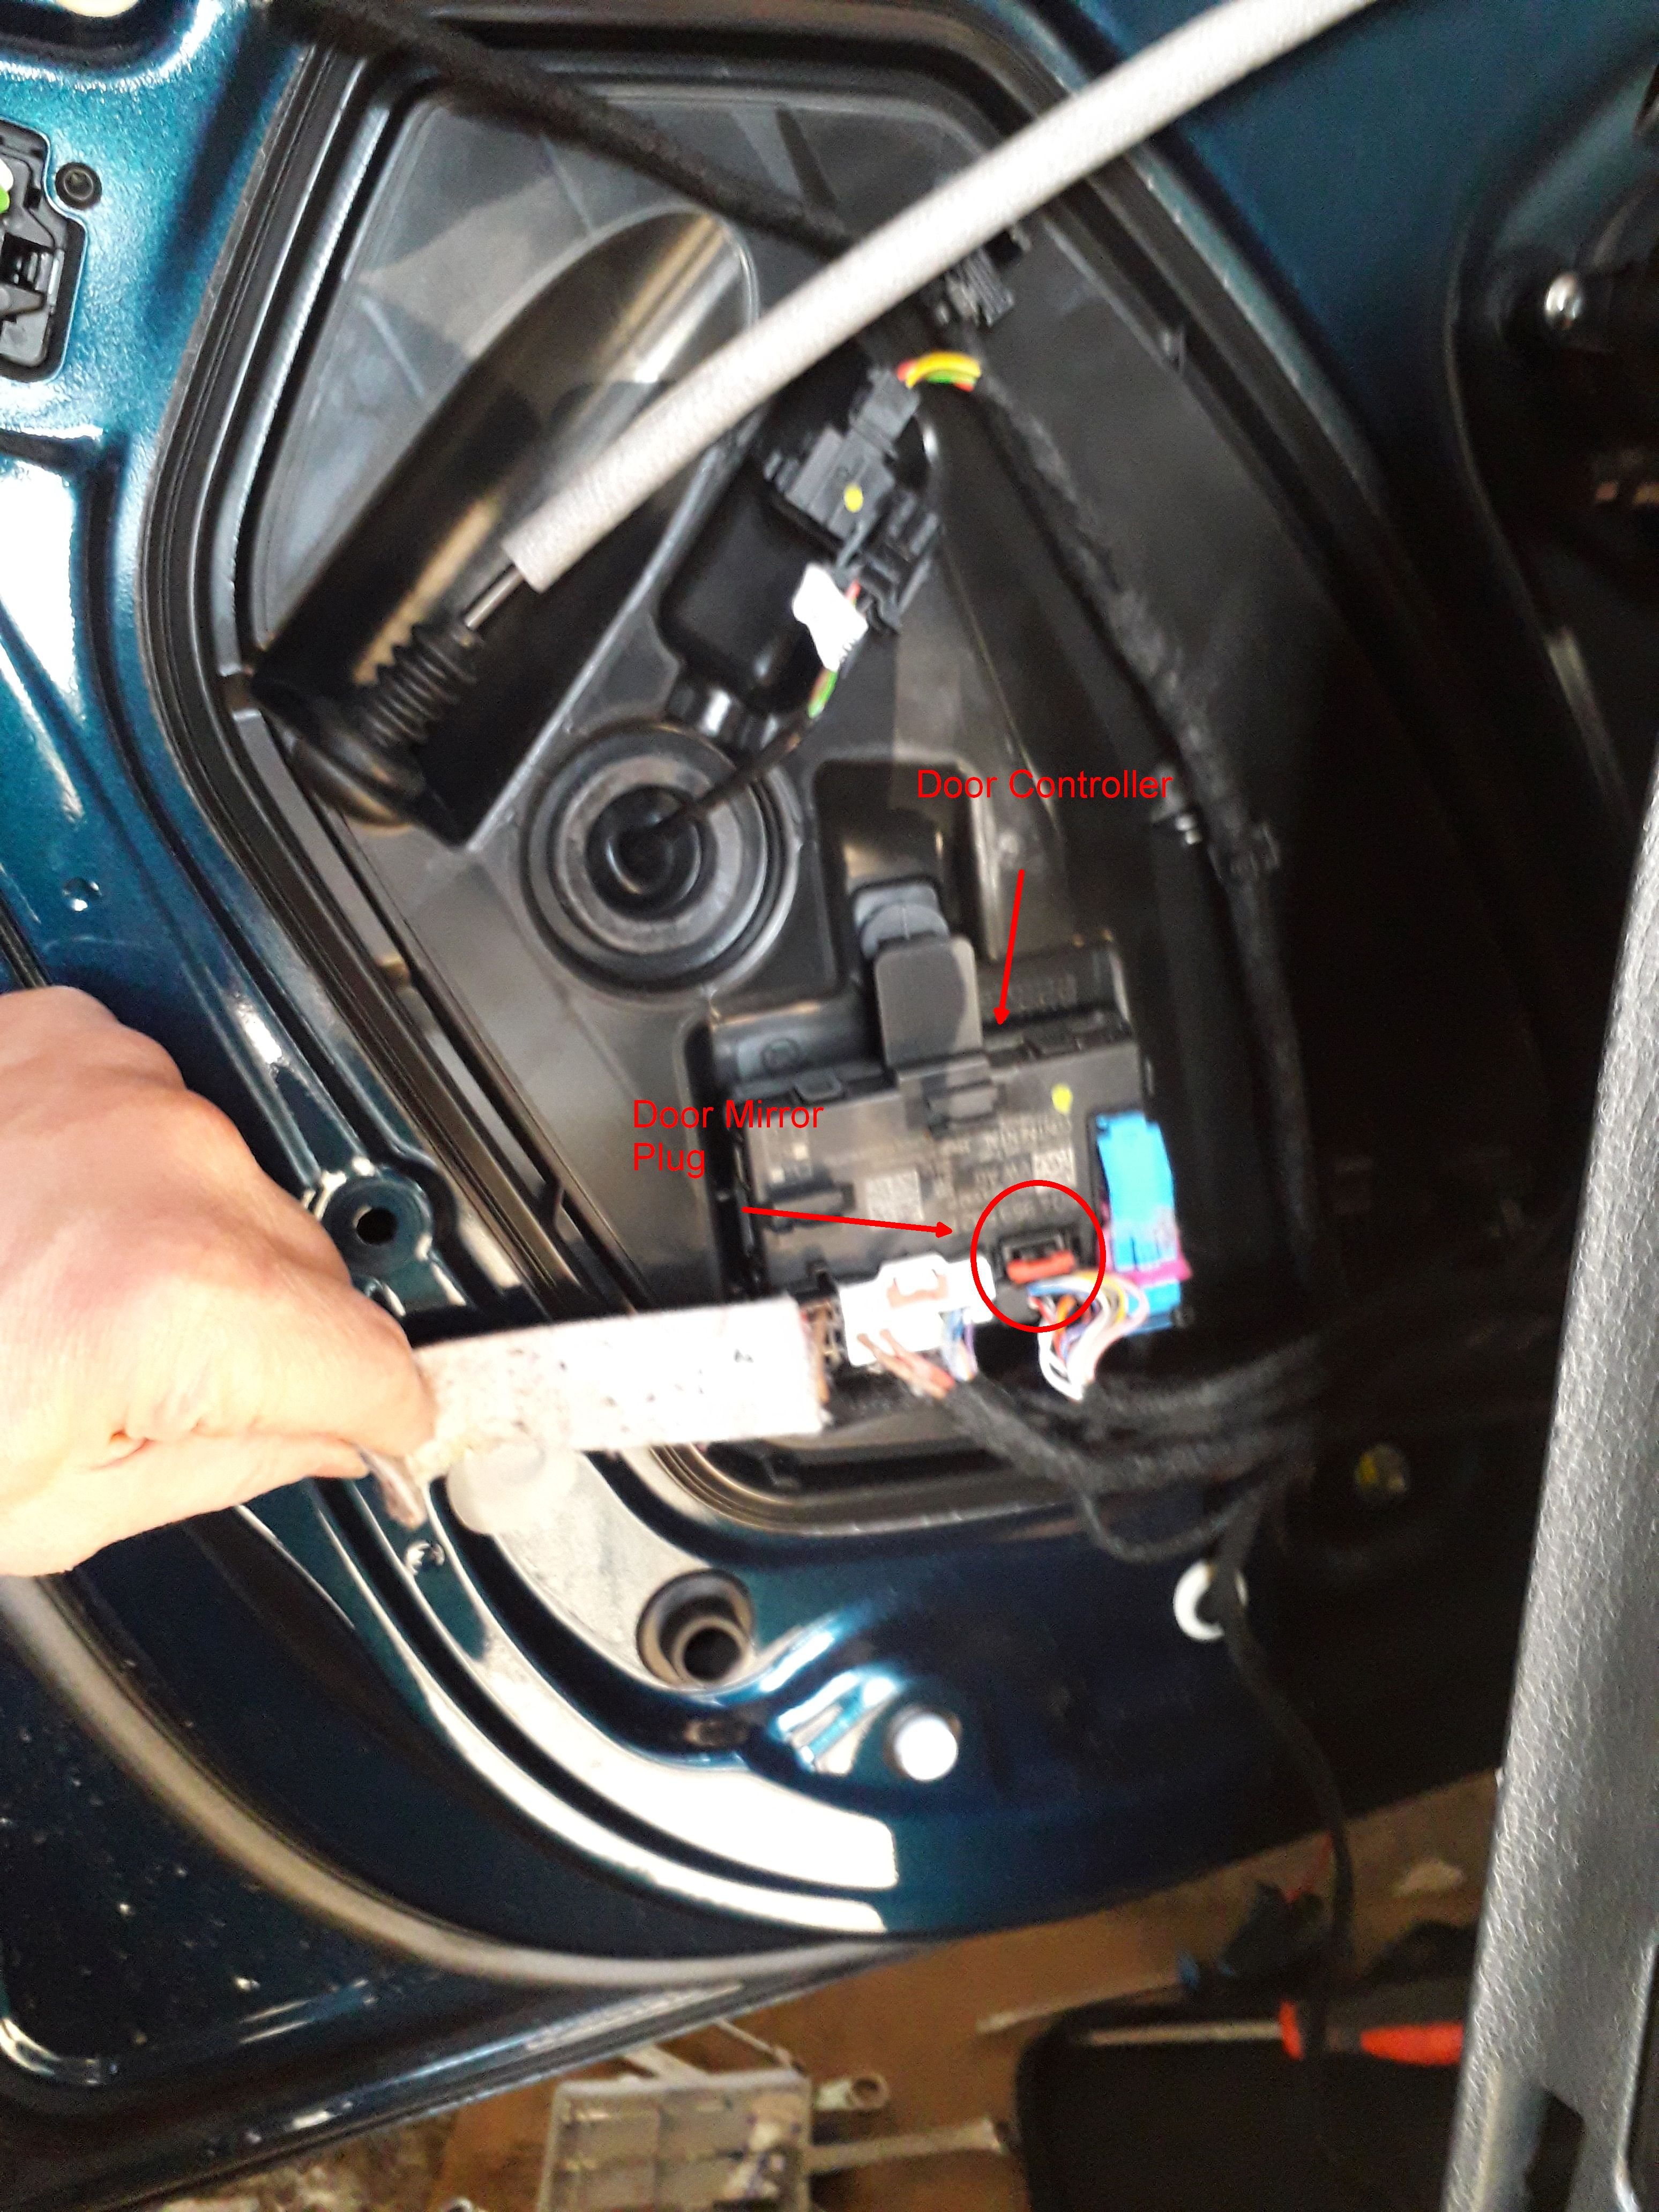
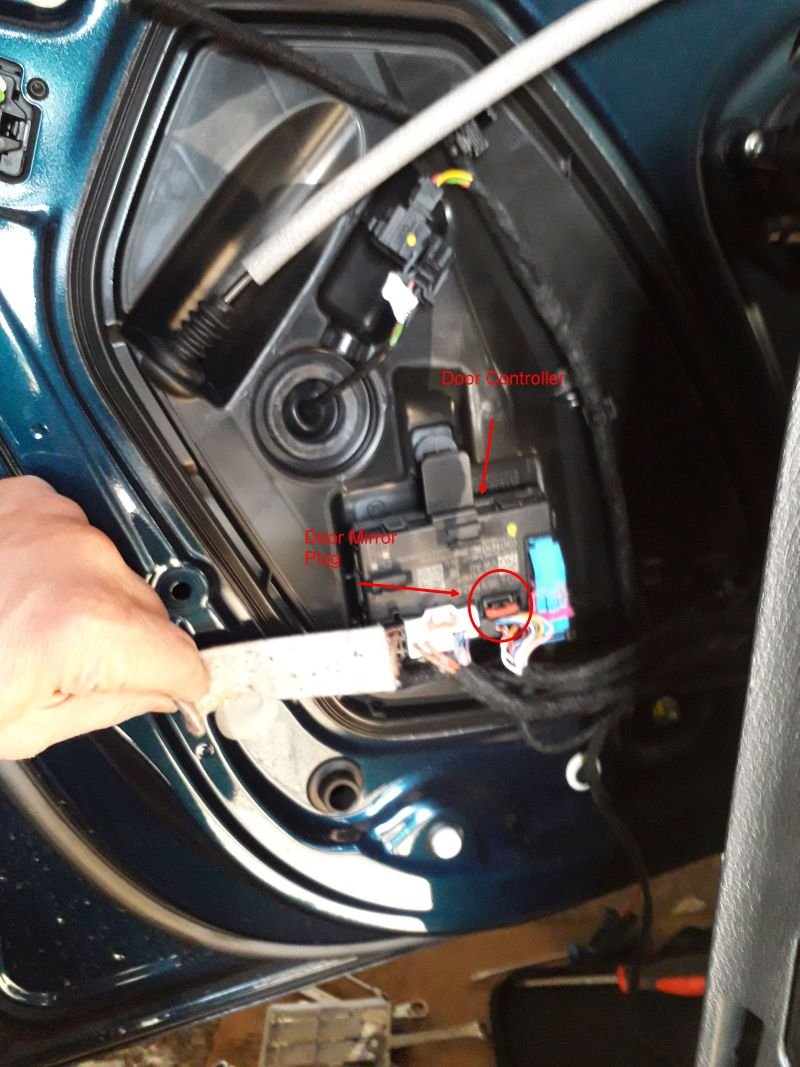
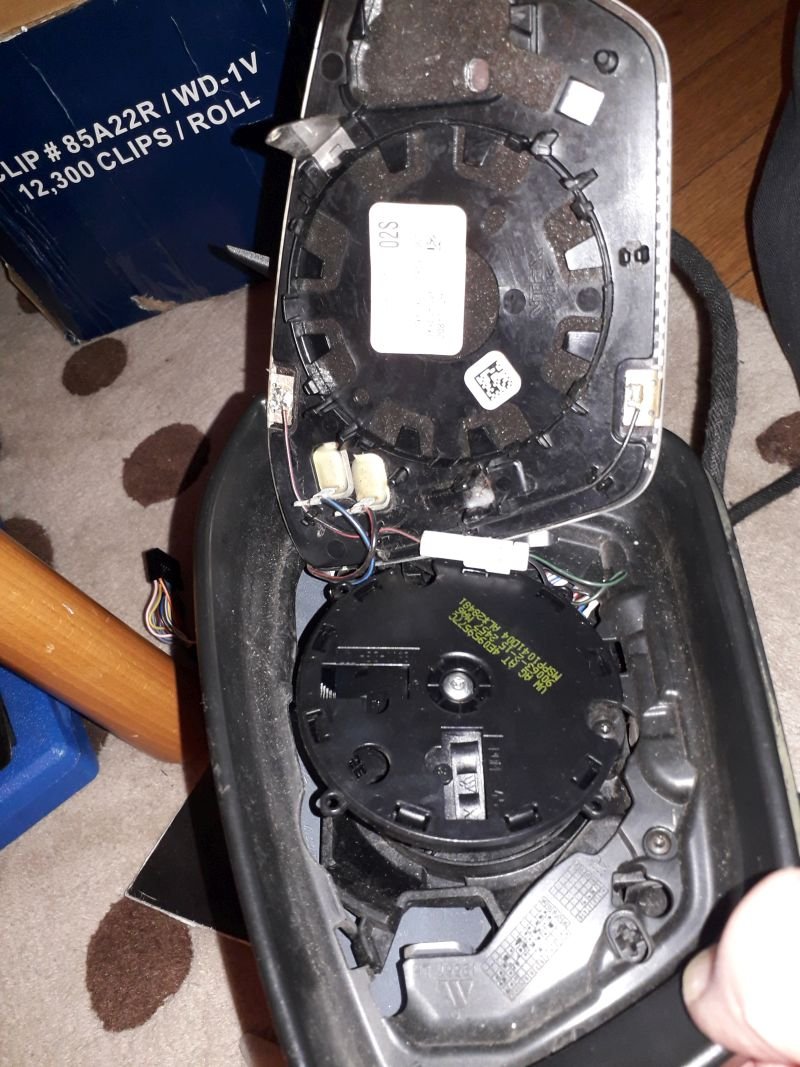
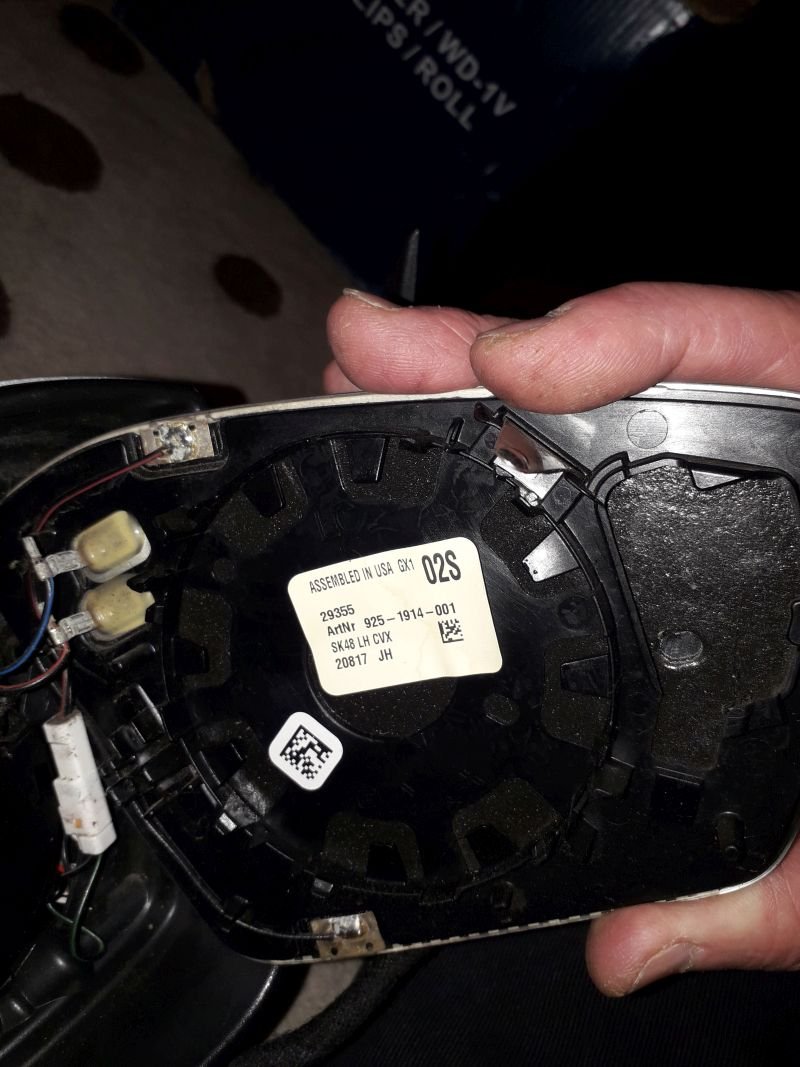
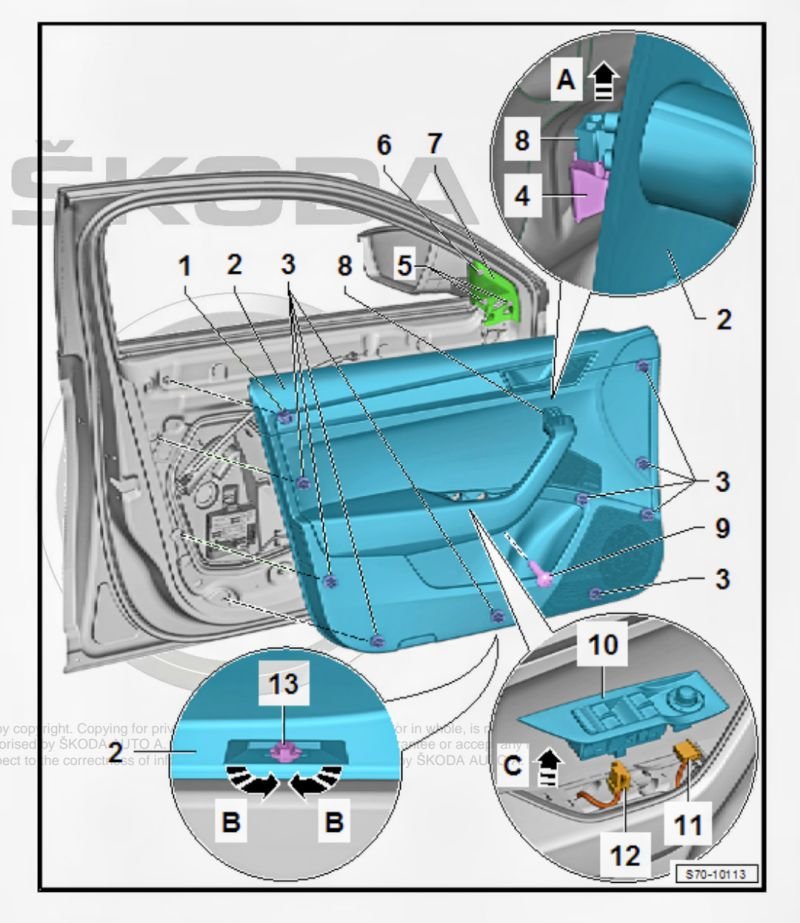
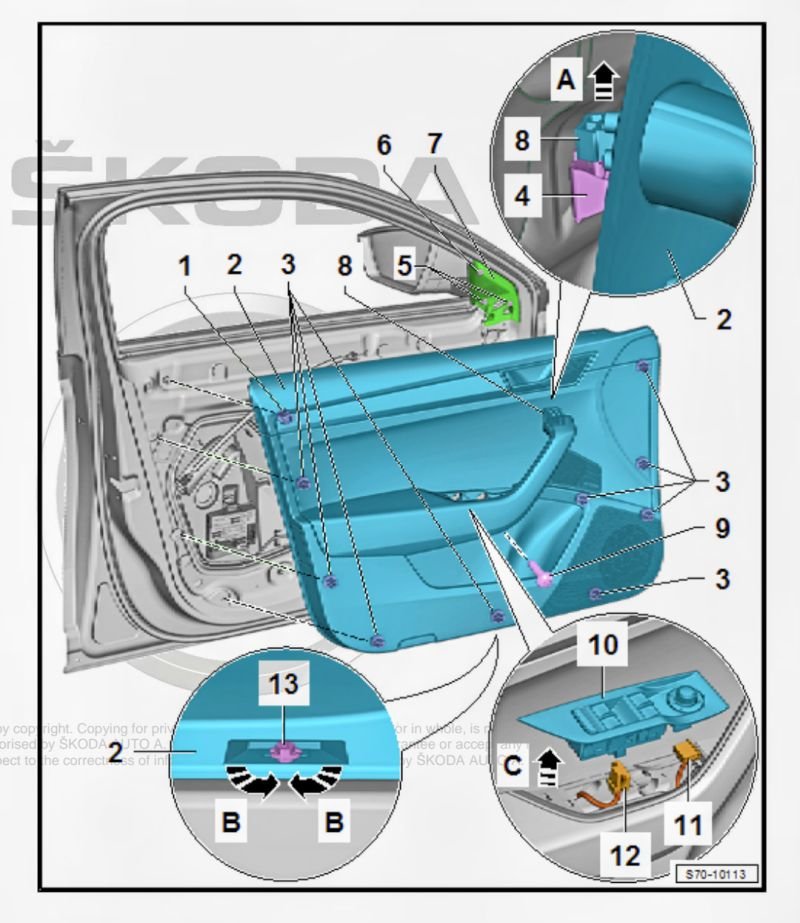
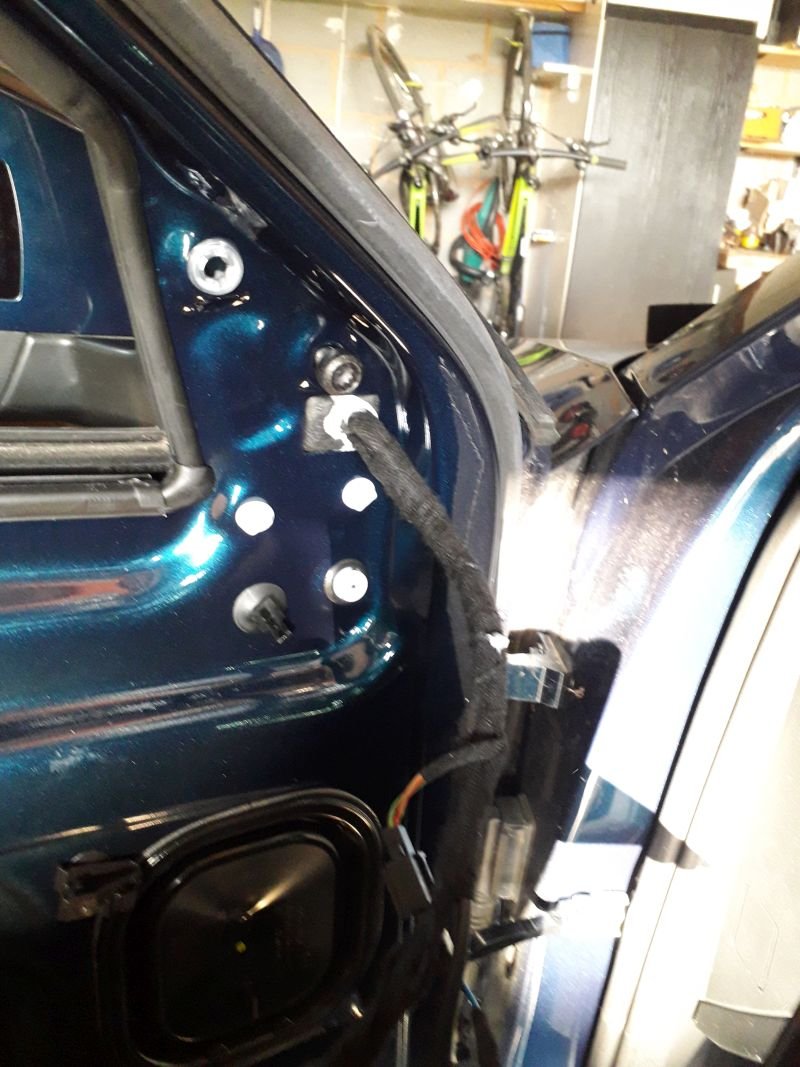
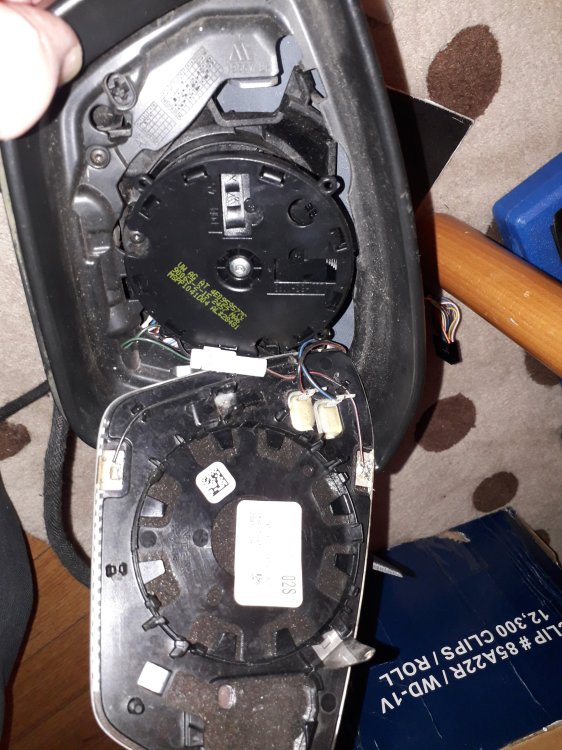
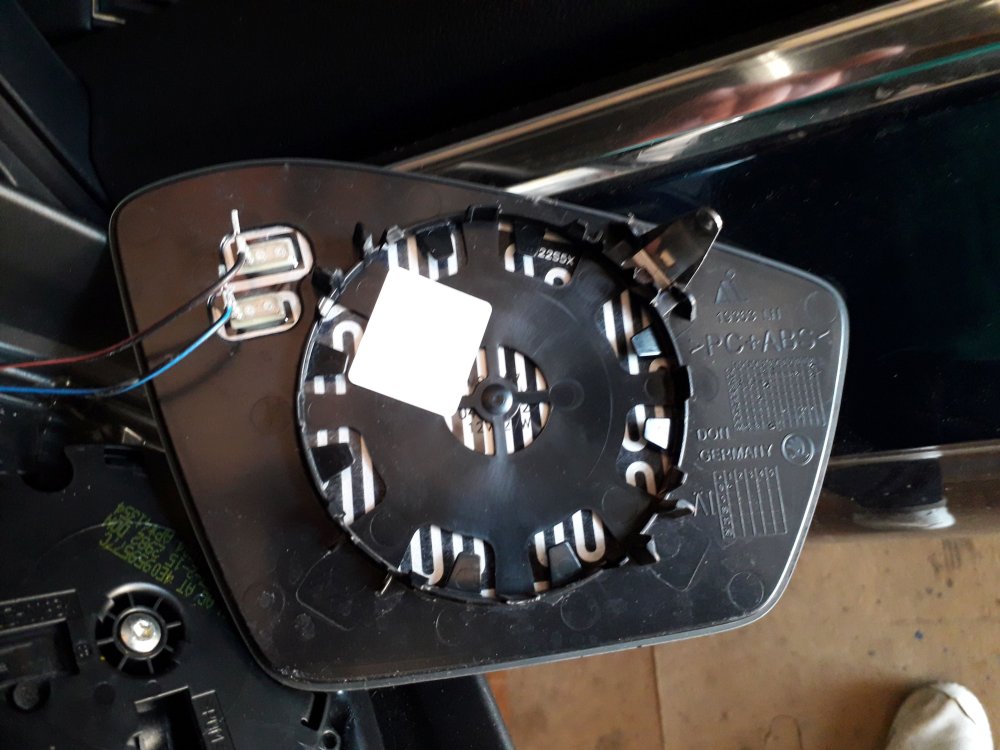
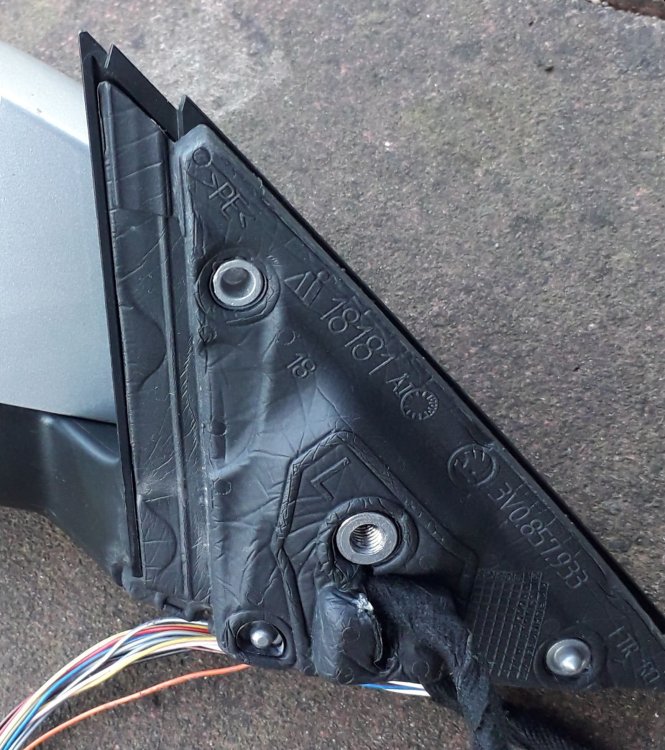
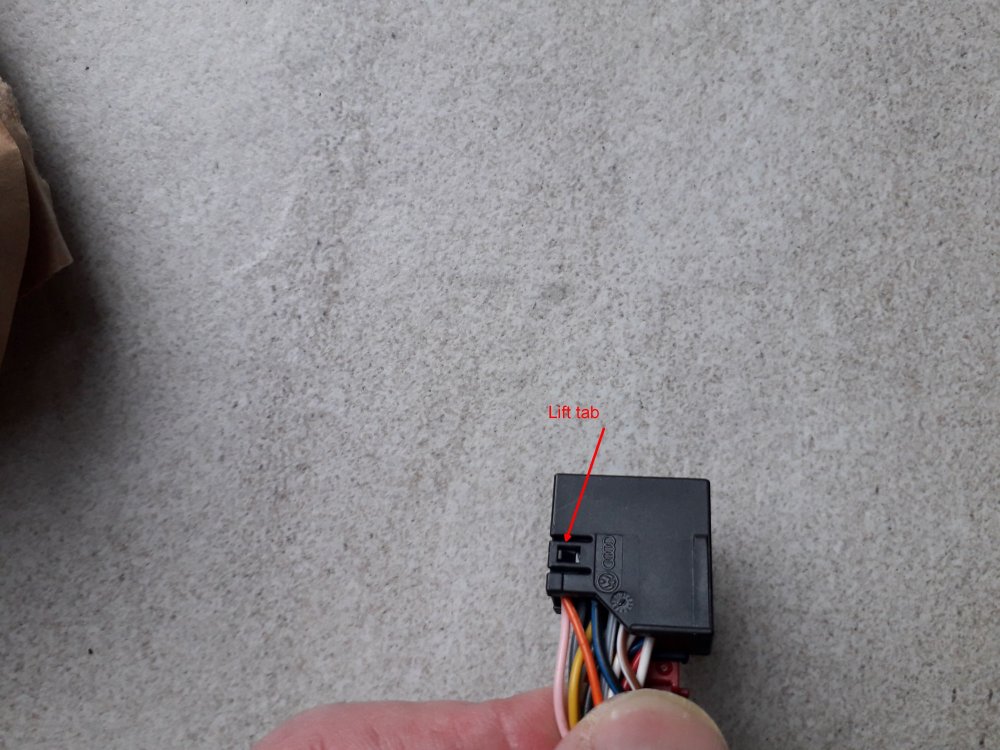
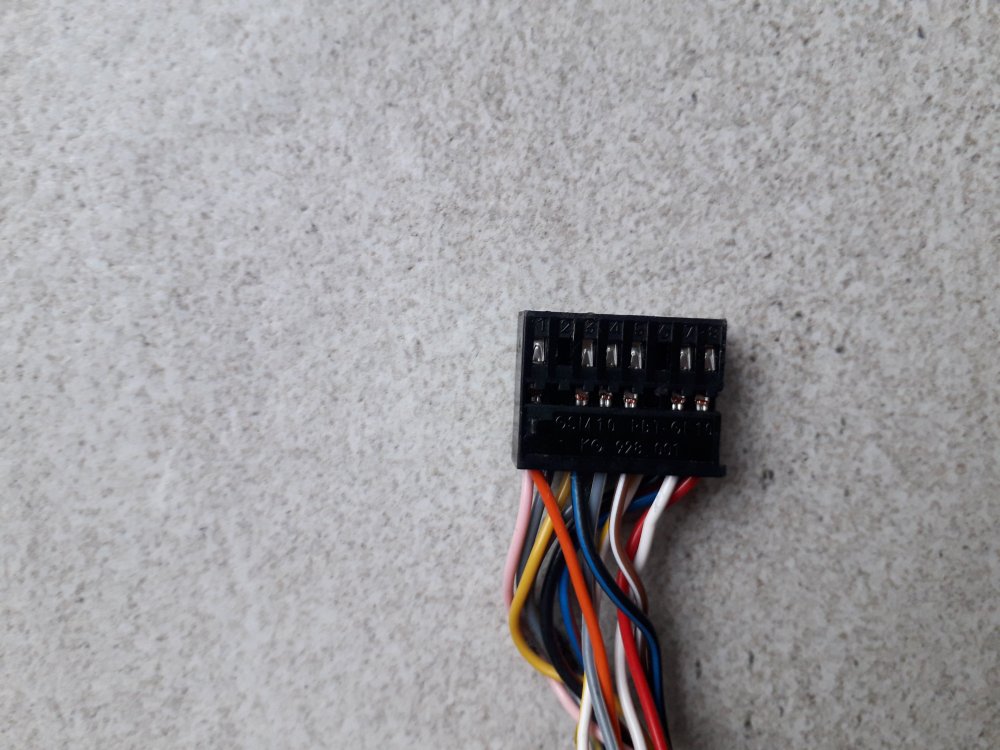
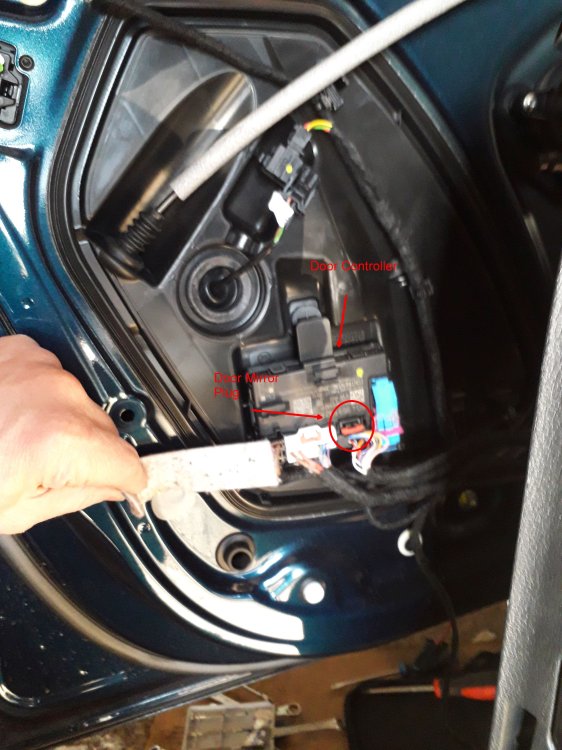
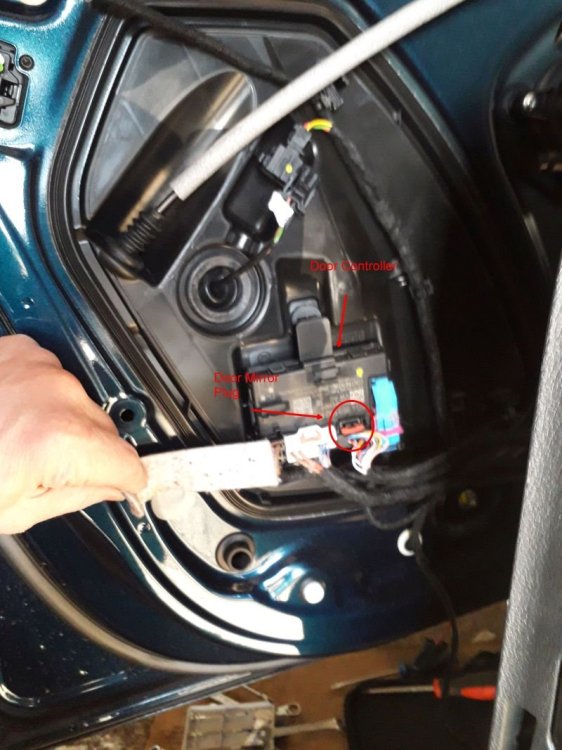
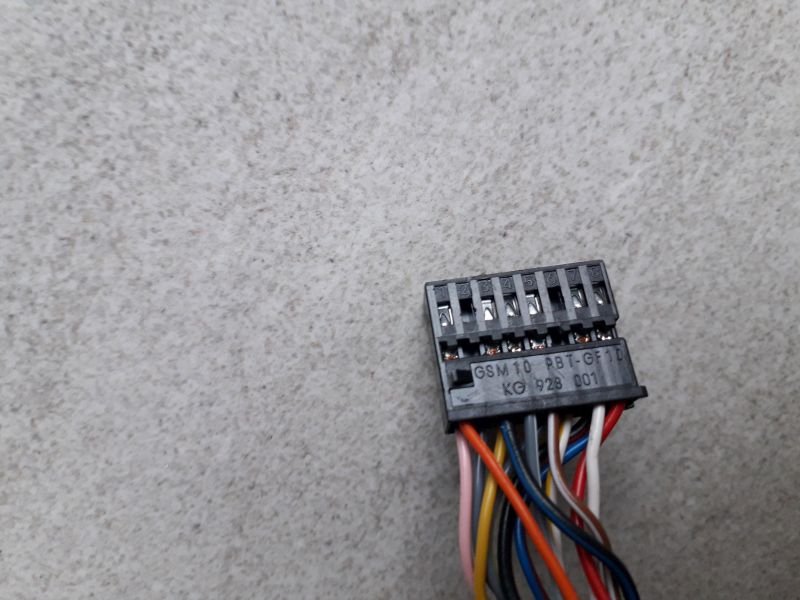
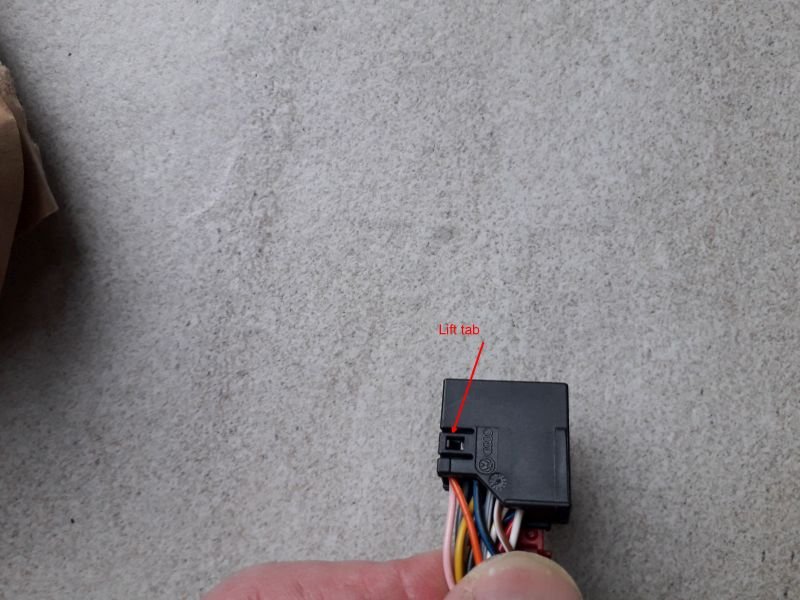
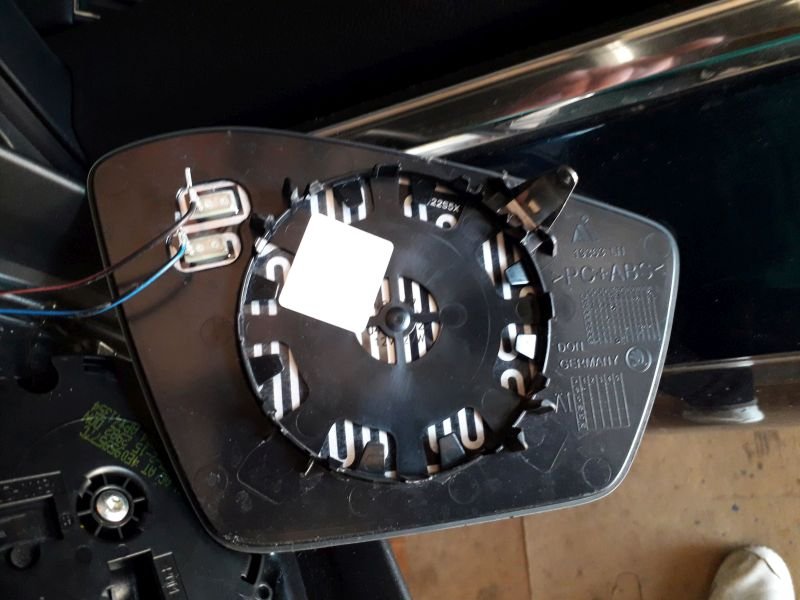
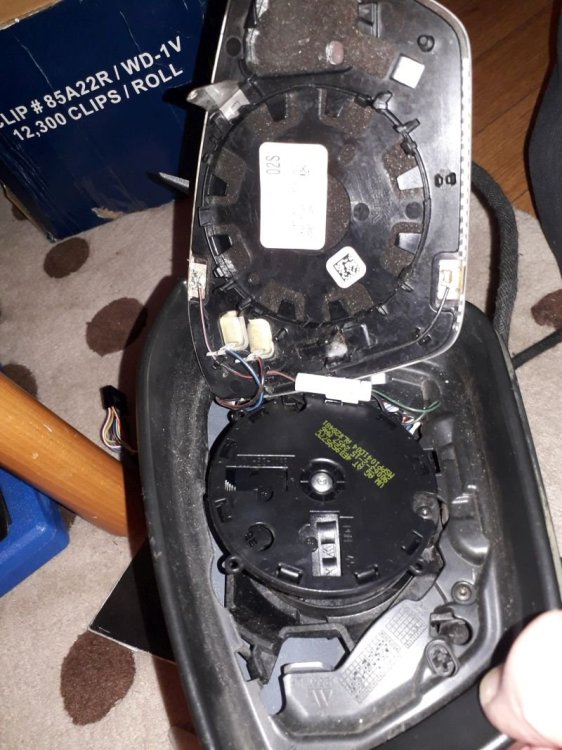
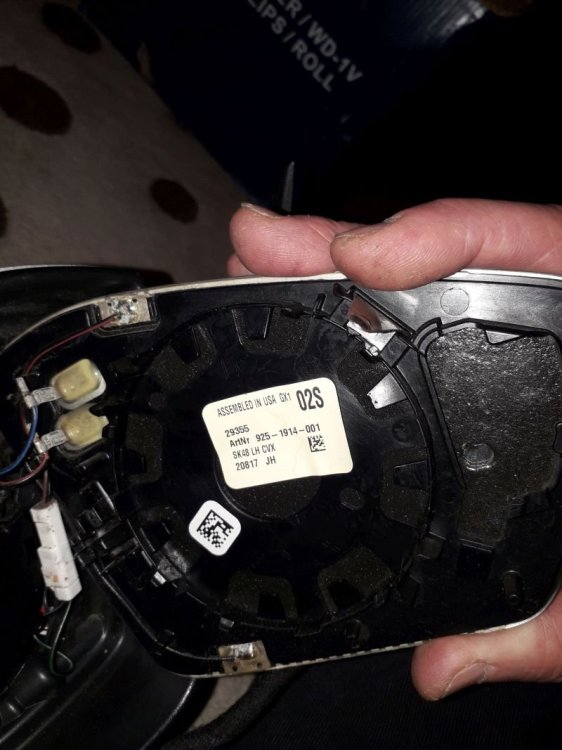
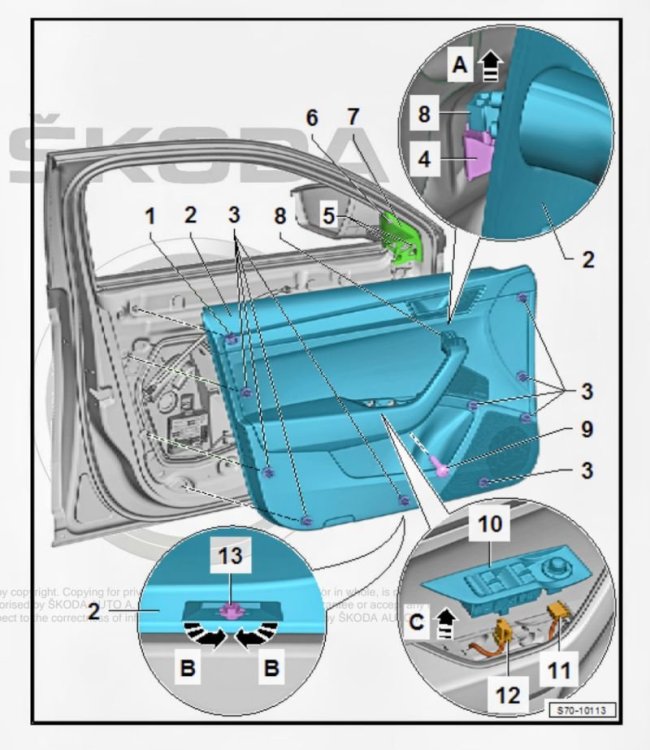
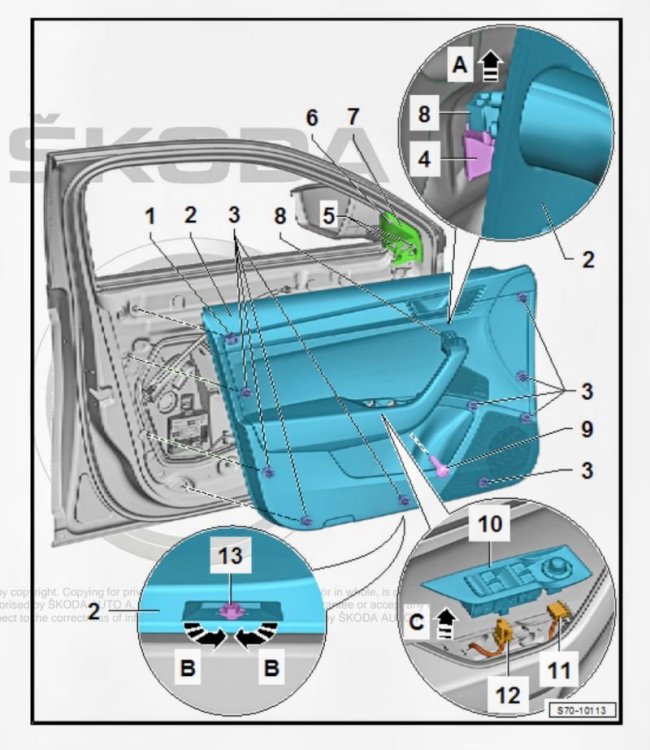
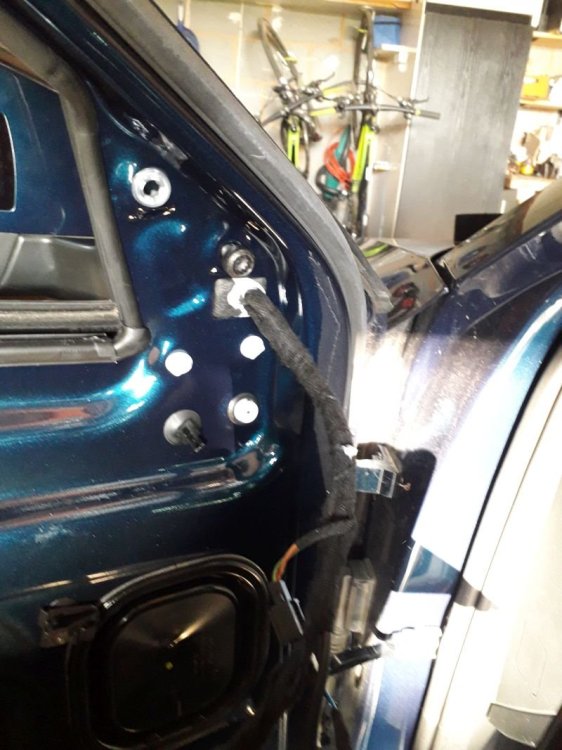
I bought a 2023 SIII last year and soon found that over my previous SII some parts had been scaled down by Skoda. One bit I did not pick up before was the passenger wing mirror WITHOUT the autodimming function I only found out when driving at night once. According to my dealer both mirrors included autodimming - a little dim on their side. I tried to buy a OEM retrofit mirror - none on offer from Skoda. I then found an instruction by Skoda.cz which is ONLY for LHD, i.e. continental European cars. My local Skoda dealer did not find an equivalent. Automatisch abblendbaren Außenspiegel nachrüsten.PDF So I decided to buy a preFL autodimming passenger mirror from a 2017 car without the lane assist (SWA) function. PreFL cars have a SWA icon in the mirror glass, mine has a yellow warning light in the plastic casing. I was not sure if it might fit into my mirror at all as Skoda seem to be selling different passenger mirror glasses at very different prices according to the kit fitted to the mirror. Also I was a little weary of cracking my mirror glass as the replacement prices for a new one are eye watering. I tested the autodimming before taking anything apart by putting 12V onto pins 2 and 6 - it worked. I could practice to remove a mirror glass on the one I bought. It comes out with a little bit of force when moved into the lowest position and levering with a wide plastic spatula from the top. It will also not just drop out as there are still wires attached on the inside for the heating. The replacement mirror (preFL) with autodimming has 2 more wires attached on the inside and an extra little bracket on the back of the mirror glass to secure this bracket. The fitting is exactly the same as on the non-autodimming FL one. After disconnecting the heating wires on the replacement mirror I took the mirror motor and the frame out. This is done by removing 5 little Torx screws, 3 going the the motor casing and 2 extra in the frame connecting it to the painted mirror outer casing. The black frame needs to be unclipped from the back casing which allows more access to the wiring. The back casing slides off the mirror easily now. I removed the cloth tape from the preFL wiring to be able to get the autodimming wires out of the loom. The autodimming wires are pinned into the 16 pin connector on pins 2 and 6. In my FL 2023 connector pin 2 and 6 are ........ yes you guessed it - empty. The wires are Black / Green and Black / Grey. To get the the wires through the mirror bracket that attaches it to the door you have to remove the black polystyrene which is only pushed in. It comes off easily. There is a little bit of grey sealant between the cloth tape and the polystyrene. To unpin 2 and 6 you have to take the plug apart. Now it was crunch time for my car. To fit the new old mirror I removed the glass first on mine to check for compatibility. Exactly the same. Now I removed the door trim - one large Torx below the armrest and a 10mm Hex at the bottom which needs to be turned 90°. The pull the trim off the clips. They all survived. Now detach some of the electrical connectors and the door opener. There is also the drainage for the umbrella compartment. I could not get the door trim off completely. 2 connectors were so inaccessible that I gave up, but the door trim DOES NOT HAVE TO BE REMOVED! In retrospect these connectors were from the window controller and this can be lifted out of the door handle. Once you can get into the door go straight to the door controller at the bottom left. Remove the adhesive protective cloth cover from the connectors and ONLY disconnect the door mirror plug. I pinned the new wires into the door mirror plug and connected it to the autodimming mirror to check if it working together with the driver side and internal mirrors. It did!! All the wiring is in the door right up to the controller. Now unclip the door mirror loom only from the clips in the door. Then remove the trim for the speaker covering the spline XZN screw holding the mirror. I did not remove the mirror completely as I did not cut the loom in the door out. It is very securely taped together. I wrapped this new 2-wire loom in cloth tape and taped it alongside the existing loom going into the mirror. I did the next steps with my son as one person was holding the mirror and one was working on the mirror. On my mirror the steps were the same as on the donor mirror. Loosen the polystyrene on the bracket side. I cut one tiny cable tie which got on the way. Remove the 5 small Torx scres holding the mirror motor and the black frame. Unclip the frame. Remove the back cover. Now you have access to the wiring channel in the mirror. This channel is quite full as I have SWA, 360° cameras, courtesy light and all the mirror motors as standard. I fed a small wire wire back down to be able to pull the white autodimming connector up into the back of the mirror casing. Then refit the back cover, screw in the frame and mirror motor, push the polystyrene back and take care to reseal the loom. Screw the XZN screw in to hold the mirror, refit the speaker trim and make sure to reconnect everything in the door card. Fit your new auto dimming mirror glass. The new old autodimming glass does not have a VAG PN. It only showed a number string: 19363 LH, 925-1914-001, SK48 LH CVX, 20817 JH. I think this is a Gendan number. Skoda seems to be selling lots of different mirror glasses at very different and interesting prices. Looking at the PR numbers I thought that some of these functions surely have to have different mirror glasses, but I think you are buying the loom too because only the loom determines the various functionalities. Looking at the parts I cannot quite understand why Skoda skimped on the AUTODIMMING. It cannot really cost a lot more over the parts used. I hope the new Superb IV will get a passenger autodimming mirror option.
-
-
Dynamic indicators is "Rollenblinken" in Stg 09. You are coding your side lights - SL.
-
#emird have you done a full autoscan? Can you attach it here please. As said above, in this controller everything is done with adaptations.
-
Do not change any of the "0" coding in STG 09 even if you manage to get access.
-
Hi, I do not have any experience with OBDeleven, but if it is a matter of basic settings it should be able to do this. In my car the D6 controller was missing in 4B. VCP could not code 4B. I needed ODIS for this.
-
Just twist the plastic blade. Hold the inner end with the left and twist the outer end down with the right hand. That way it stops juddering
-
O.K., I got the glass out intact. I used 2 wide plastic trim removers. Another one to get out still..
-
The "upgraded" Columbus in the MIB3 FL Superbs is a very bad development compared to older ones. Not simply clever.
-
I have removed a mirror on a V70 quite a while ago. That came off quite easy by moving it inwards and downwards and then only pulling with fingers. The Superb description is downwards only and then lever out with a wide plastic tool. The plastic tool bends but the glass is not budging. Where did you lever on your 1 for 2 series?
-
Hello, Can anyone tell me how I can remove the mirror glass from the SIII wing mirror WITHOUT cracking it. I had a look on ERWIN and it is described as - move the mirror down and leaver from top. I tried this and it felt as if I was applying quite a bit of force.