




Everything posted by Breezy_Pete
-
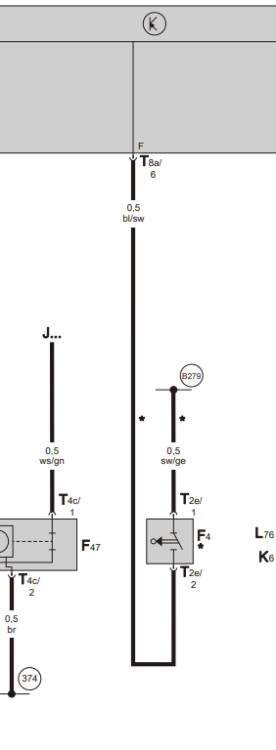
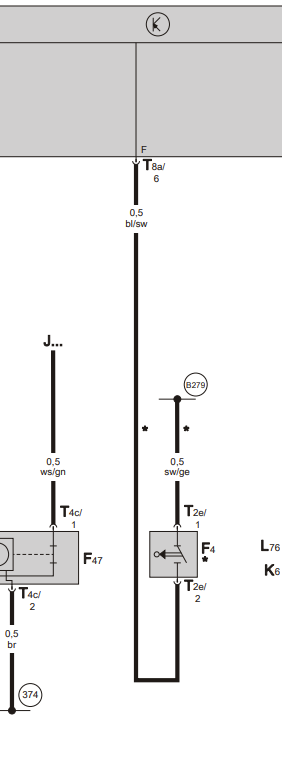
The only junction shown in the wiring it the one labelled B279, which the key describes as "Positive connection -3- (15a), in interior wiring harness" [my bolding]. Grey box at top of diagram is the onboard supply control module inside cabin. So both wires should run continuously into cabin, I believe. What colour are yours where they emerge from switch? Diagram suggest they should be black/yellow from fusebox and blue/black to control unit.
-
I wonder if someone has repaired before, using a new connector with wires pre-fitted, and grafted it into the original loom at this box? In which case check within. I doubt it's part of the original car.
-
Photo of junction box?
-
Tell me your VIN and I probably can.
-
Indeed: A common error with VAG part numbers - Handy Topics & Guides - BRISKODA If you'd like me to see if I can find anything out for you, @2stroke, message me with the vehicle VIN please. Not sure I'll be any help, but happy to try.
-
XZN, not Torx. 12-point not 6.
-
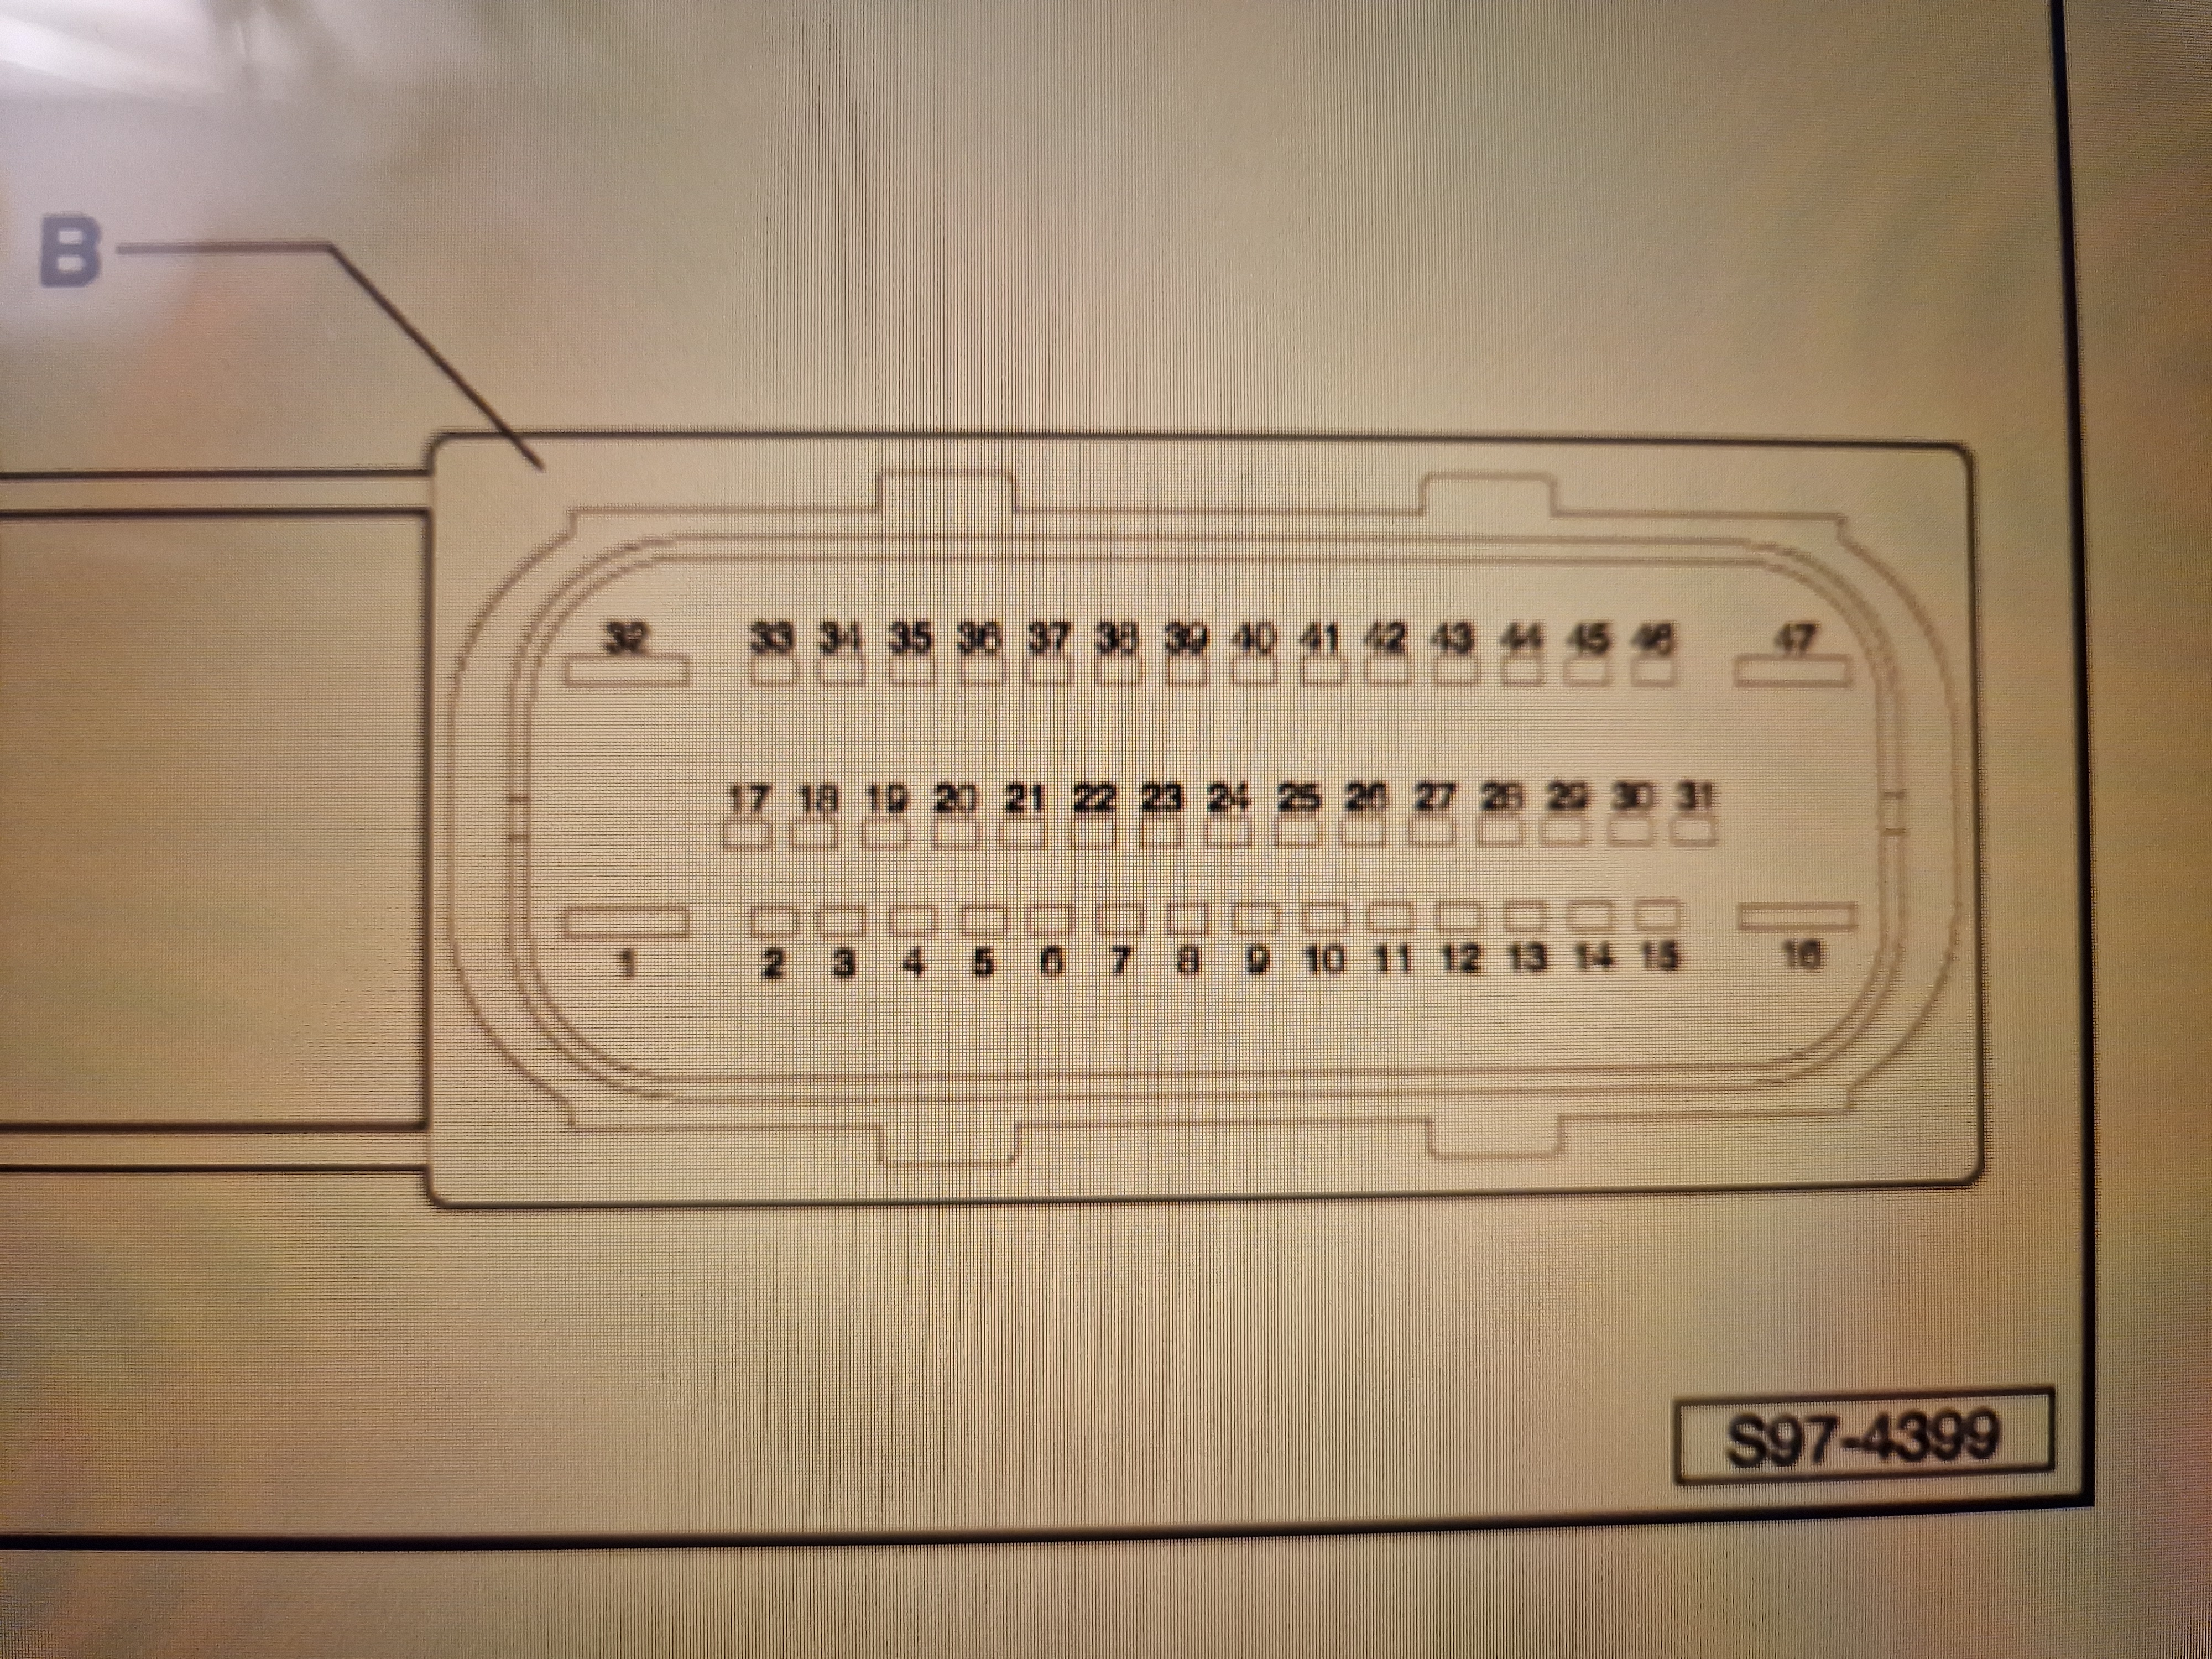
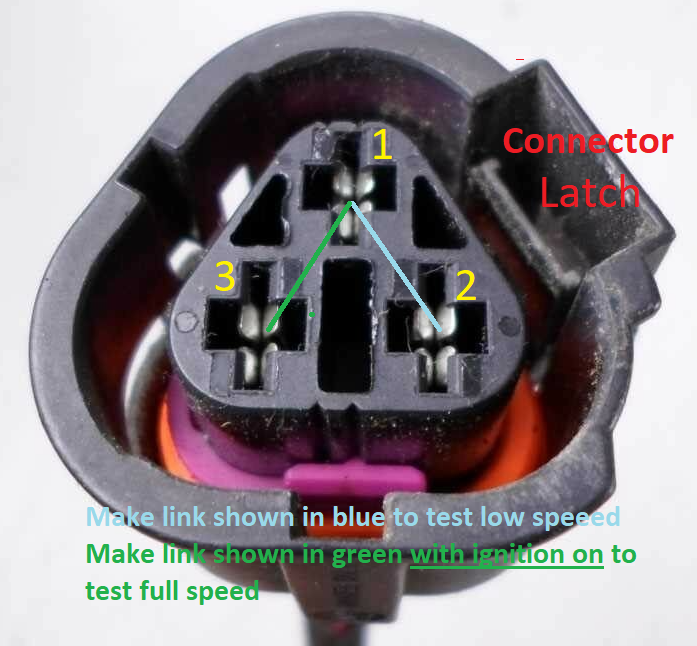
Next pair of black and brown to the right of the arrowed pair, I think. You have 3 rows of connections, so left rear is pins 36 (black wire) and 37 (brown).Scary delivery cost though. ☹️Dropped 3 years ago by Skoda, unfortunately. A whole new Felicia cap can be bought still from dealerships for about a tenner, 045103485A. Presumably that would come with seal? Edit. Hmm, seems like a bad presumption according to the red font here: Oil Cap Czech Republic 047103485A (skoda-parts.com)If you create a login for erWin Skoda you can view pdf lists of approved oils in all the various VW group oil classifications. (Link on homepage, lower right) 50400/50700 list contains many 0W30 oils as well as 5W30.50700 can be either 0W30 or 5W30.Welcome to Briskoda. What engine type does the car have, please?Not 100% sure, but PRoduction/PRoduktion code, I guess. One of a few dozen that specify in detail the way your car was made. See reply to your PM.VIN confirmed PR-code KK1, which indicates R134A. Had it read KK3 instead, that would have meant R1234YF.If low speed function fails, when A/C is on the fan tends to run in short bursts of loud, full speed action punctuated by not running at all. Is that what you're finding? Obviously most noticeable when car is stationary, idling. What should happen, if A/C is active/cooling is that the fan should run continuously at low speed (if ambient temperature is warm/hot).Scan for fault codes.Or your sticker isn't correct. Message me with your VIN if you like, I may be able to find something out for you.I would expect Febi parts to be OK, probably a safer choice than the very cheapest options. No reason to expect the replacement connector to have any trouble fitting. The most crucial part of using any of these kits is probably to make sure that all wires still go to original destinations after the work is complete. I saw a brand new loom on LLL parts for about £95, which might be quite a time and effort saver if you could DIY install it, compared to the repair kit. Either way I think - if memory serves - that removing the door speaker makes accessing the loom where it disappears into the door much easier. I'll add a link or two in a minute, just out walking in the sunshine 🌞. Skoda Wiring Set For Door 5J0971120HG - LLLParts A post with instructions for door loom replacement: https://www.briskoda.net/forums/topic/379347-broken-loom-wires-at-drivers-door-hinge-connection-fabia-ii/?do=findComment&comment=4461179I would expect so, but usually require some sort of tool, usually with a pair of stiff wire prongs an appropriate size and spacing. It might take a bit of finding, but I think a while back I acquired a connector like this with a set of pins, which I could experiment on with the various depinning tools I have. Was your plan to use the existing connector and most of the existing wires, but just de-pin the broken/damaged wires and replace with ones from the kit? Do you have an idea or photo of how many wires are damaged?The kits being referred to tend to be an unpopulated connector plus an ample supply of wires with appropriate pins pre-crimped to one end, ready to be just pushed into the connector housing. Typically then you'll get a supply of inline/butt crimps to make the other end's connection to the existing loom. This listing lacks the inline/butt crimps but shows the general idea. https://www.ebay.co.uk/itm/394789687716Mk2 Fabias are notorious for it. A few other Skoda models too.The idea with those repair kits is that you push the necessary number of wires into the relevant positions of the new plug, then splice-join to the existing loom somewhere well inside the door, so the joints do no flexing. I'm struggling a little to picture what you've described with the multiple smaller connectors at the A-pillar on a mk2. How does the rubber boot seal it all up against the elements?Correct on the 1.5, but according to this, 0.5mm is 20 gauge: Metric-to-AWG Conversion Chart | Technical Resources | Lapp Tannehill



Important Information
Welcome to BRISKODA. Please note the following important links Terms of Use. We have a comprehensive Privacy Policy. We have placed cookies on your device to help make this website better. You can adjust your cookie settings, otherwise we'll assume you're okay to continue.