Breezy_Pete
Sponsor
-
Joined
-
Last visited
Everything posted by Breezy_Pete
-
Data line is the grey/white wire labelled LIN. It goes into the main body wiring loom at pin 5 of each of the 28-way A-pillar connections (T28a, T28b). Rear door motors will have the same colour LIN wires commoned into the same bus connection. On this and previous generation of motors the LIN connection is purely between the two or four window motors, not to any central module. What is and isn't working with the windows?
-
OK, with correct VIN I'm now seeing 1K8 951 605B as the installed part number, now superseded by 1K0 951 605F; RRP is £215 + VAT. LLL look remarkably good value compared with Dealership prices, as usual: Volkswagen / Audi / Seat / Skoda Electronic Siren 1K0951605F - LLLParts
-
Edit. Ignore previous version here. Wrong VIN pasted.
-
On earlier Fabias, silent non-crank non-start was/is often caused by breakage of the starter solenoid wire adjacent to the connector where it goes onto the solenoid. Not sure which angle it might be visible from on a mk2 1.2 TSI, possibly easier to see from below.
-
Yes, same capacity, same technology (AGM), so least chance of any problems. Doom-mongers may be along soon to tell you that the battery management system will start damaging it immediately by treating it like the old battery (whatever that means) but I suspect most of that is unfounded in reality.
-
The Amp hour capacity is the relevant number in this context. I see the replacement is rated at 60Ah, but can't tell what the current one is from the info given. If the capacity is the same, or very near, there's less reason to bother coding anything.
-
VCDS is available from a few distributors in the UK. I've used Ilexa.co.uk recently and found them excellent.
-
To my disappointment I saw the voltage across batt terminals dip to 13.8 in that last high-load condition at warm idle, popped up just above 14 with a few revs. Room for improvement there.
-
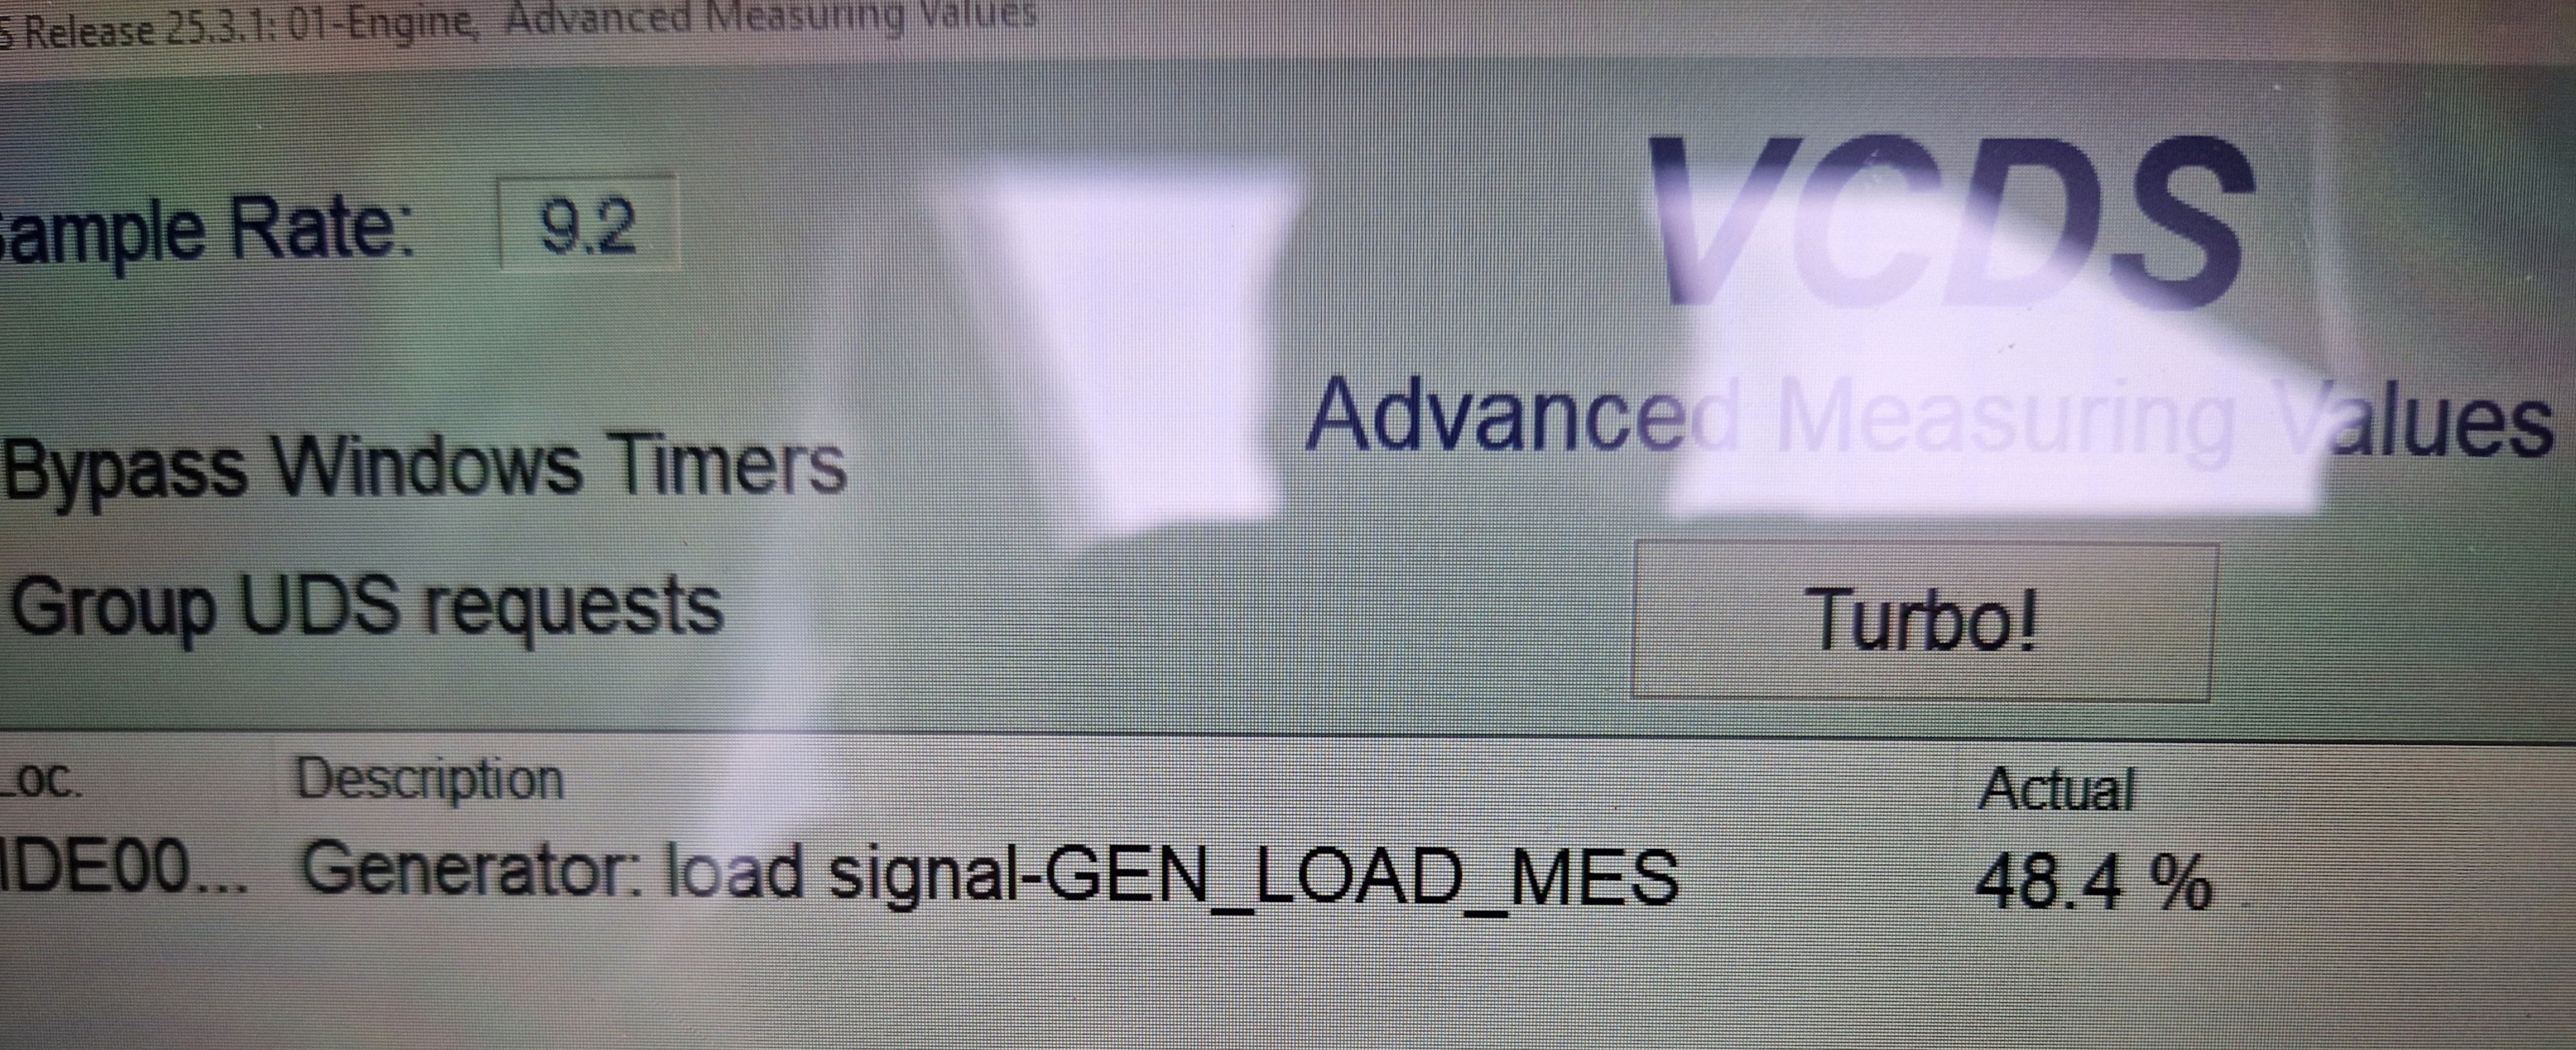
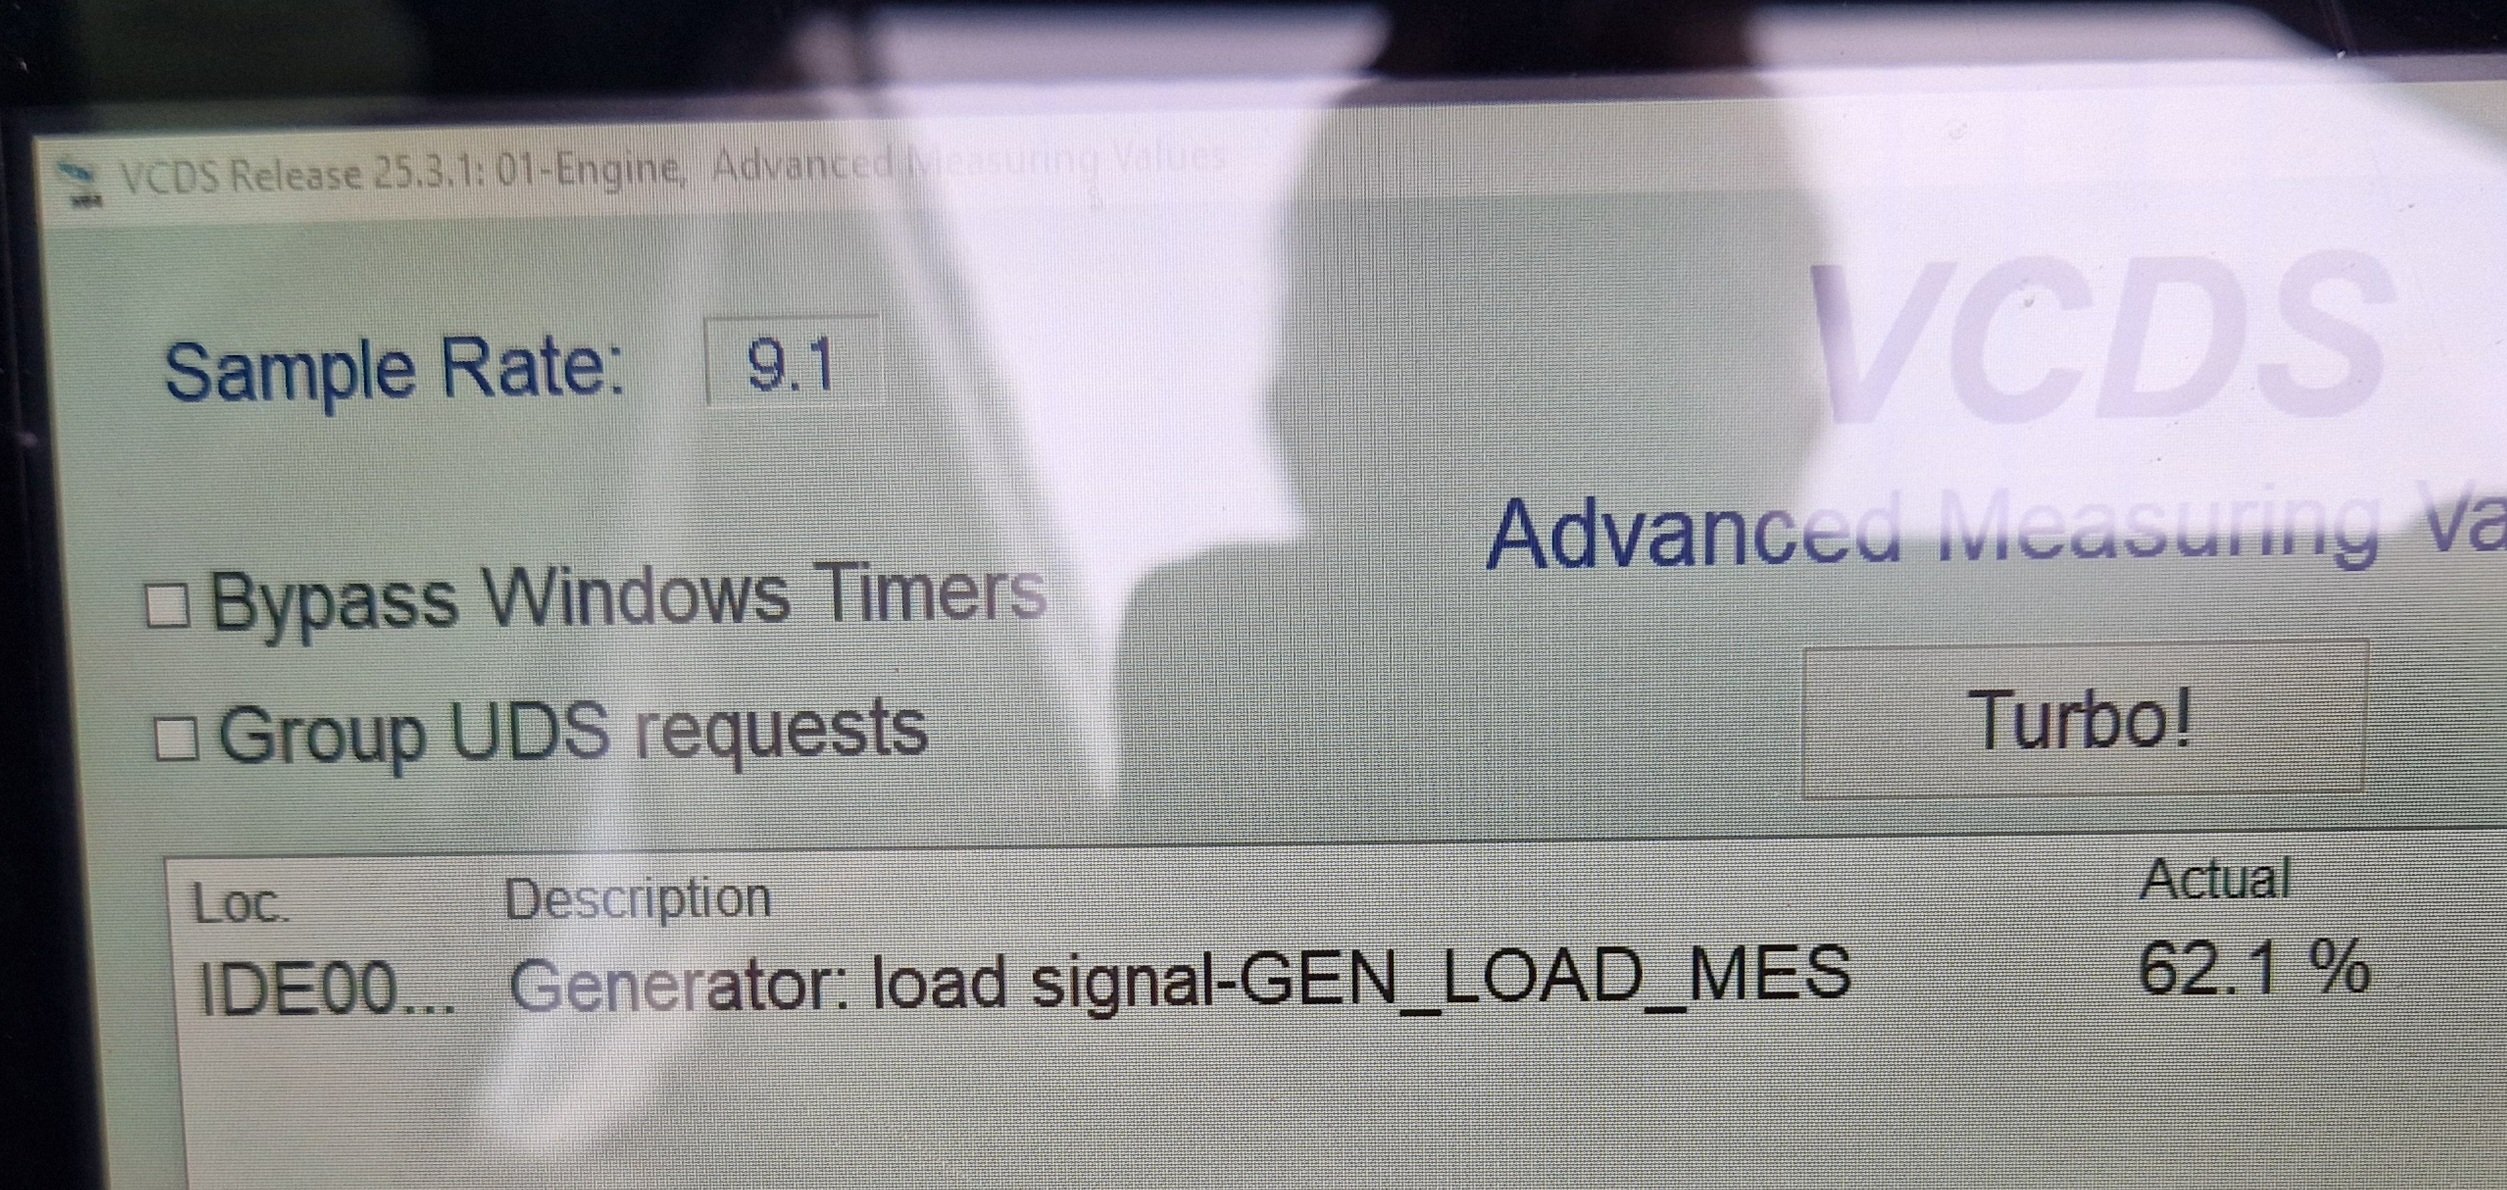
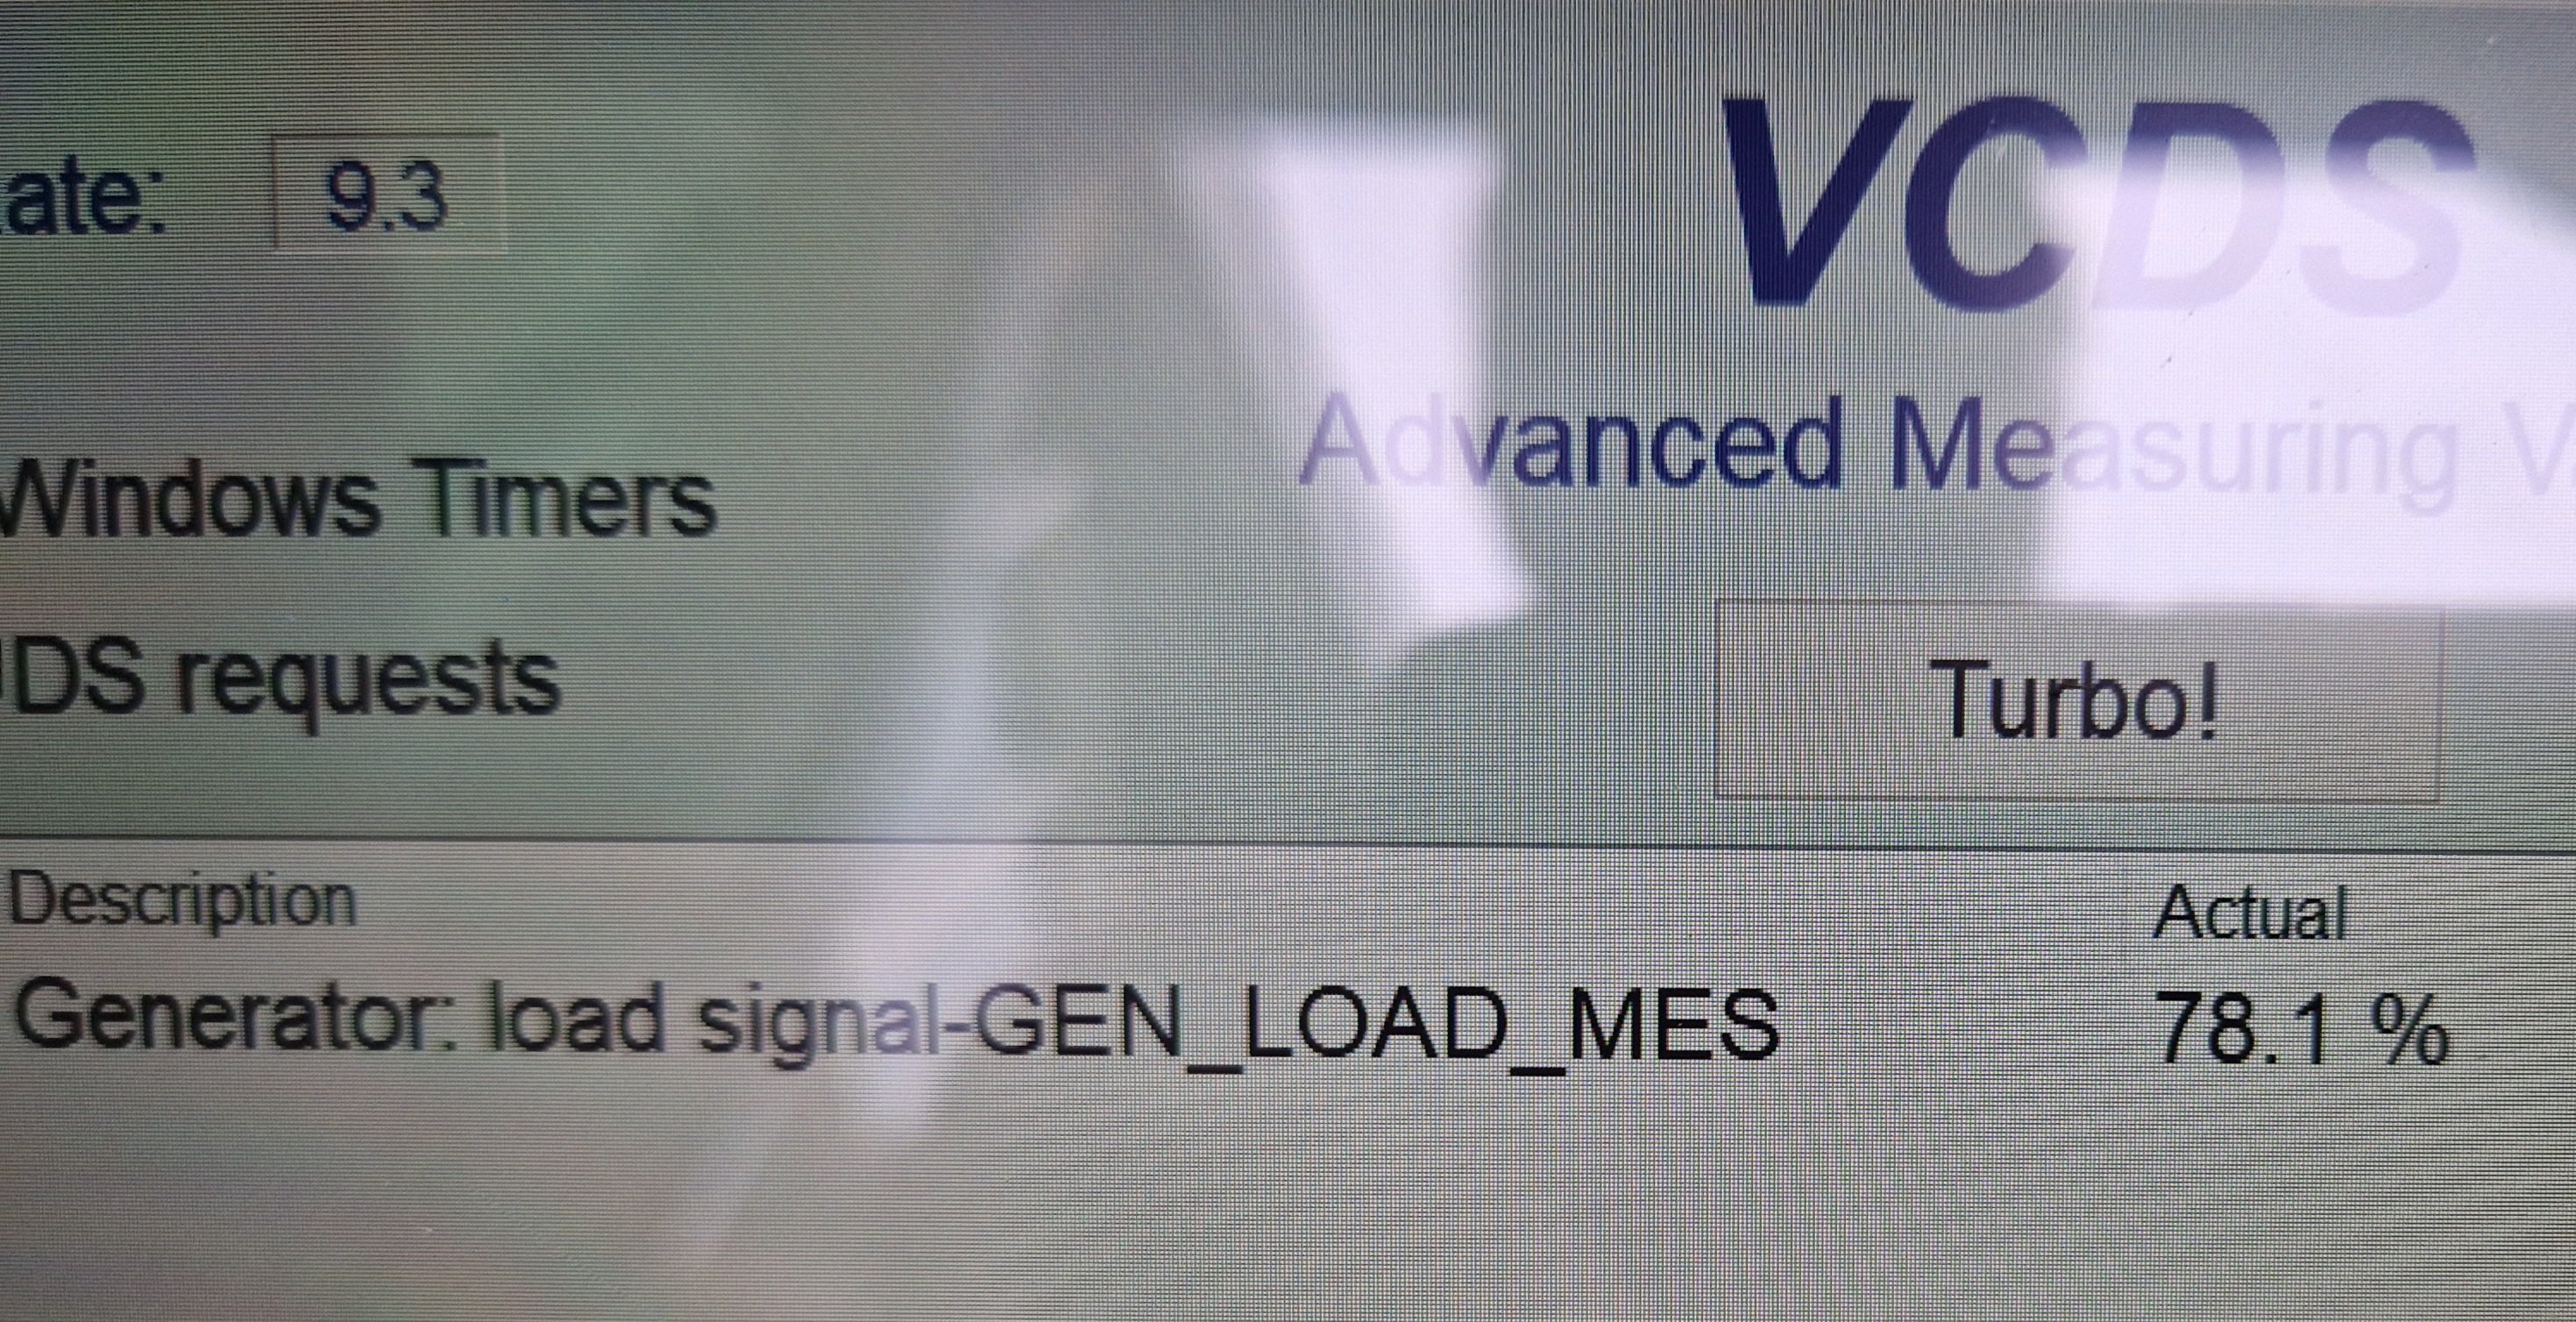
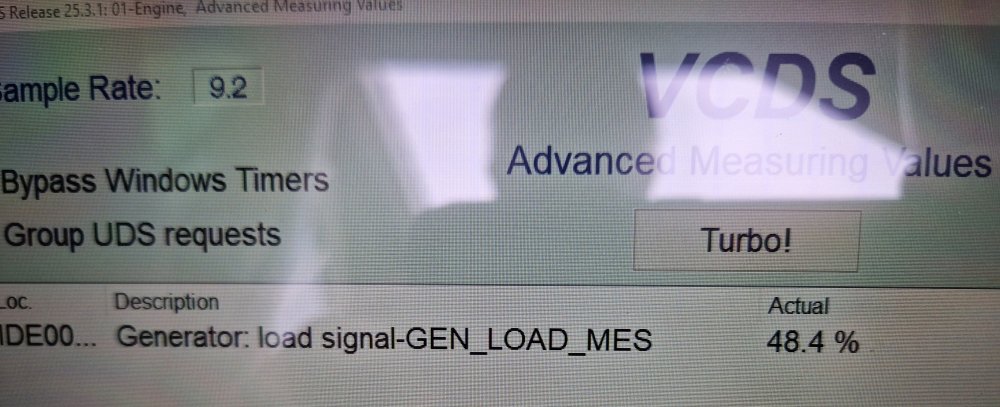
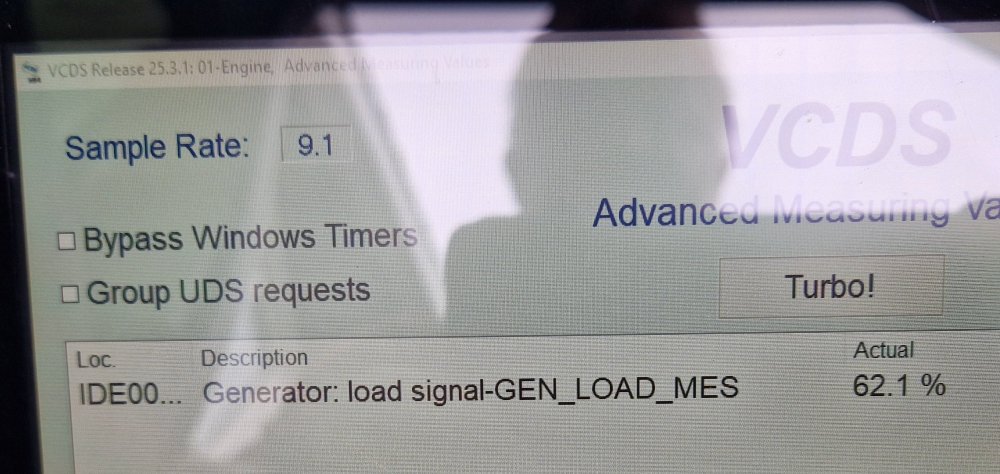
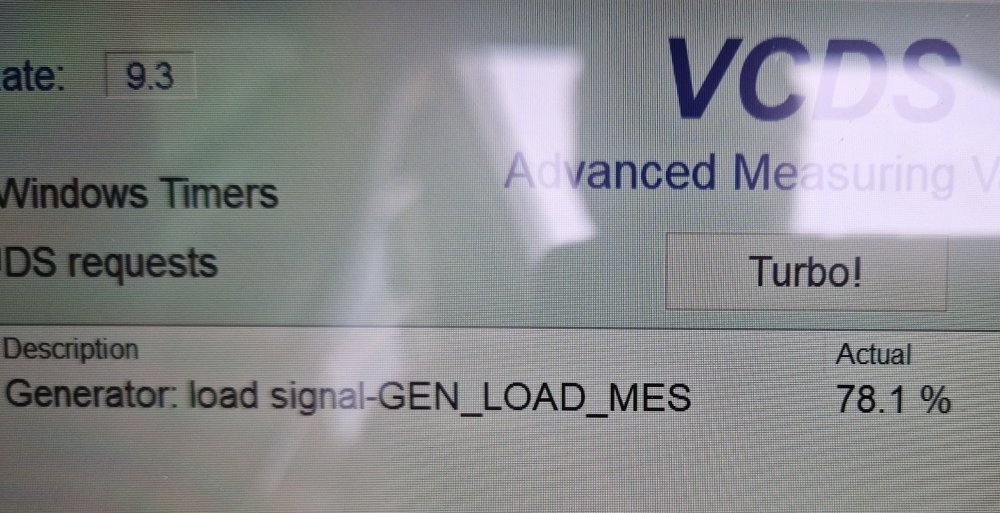
Roomster running again so I had a quick look at VCDS on the alternator load subject. Initially found - by searching - a measuring block entry called 'alternator load' but that read 0 no matter what. Then just looked down the looong list of advanced measuring values until I spotted 'generator load'. That's the one. First pic, just radio and blower on 1. Second pic, radio plus blower fan on max. Third pic headlights added. I'll pop out in a bit and measure voltage across battery posts in last condition, like I should have done at the time!
-
@briscaF1 Anyone near you with VCDS? Are you anywhere near me? Swindon or Oxford? 70K does sound low for worn brushes, I would agree. Nevertheless it would be interesting to see what the alt load is showing at idle.
-
Trust me. Can your OBD diagnostic thing look at measured values of things in real time? If so try to find a channel in engine ECU that shows alternator load percentage. (I'd look up which using VCDS on our Roomy, but it's in bits while I change the front pipe at the moment). Monitor at idle and higher rpm. It shouldn't max out at idle and cause the output voltage to be pulled down, unless you have a lot of loads switched on.
-
What do you mean by CM?
-
Voltage regulator should make the output voltage independent of rpm, so not sure what's going on there. Suggests that alt isn't able to output enough current at low revs to maintain its setpoint, with minimal load. Possible indication of too-short carbon brushes. What mileage on car?
-
Spec sheet of the aftermarket version of the voltage regulator on these alts: ARE3010 | Alternator regulators Voltage set point is 14.5V.
-
Measure directly at the alternator to see if there are any losses in the connections between it and battery. Red meter probe on alternator output stud (careful not to short to any nearby earthed metal), and black probe on alternator body. Compare with reading across battery poles in same conditions. There's a temperature dependency which means the value at alt should lower a bit as the engine (and so the alternator) get warm. Yes, those numbers you quote are the nominal territory to be expected.
-
Nice one.
-
Oh, no. It was a very destructive, hacksaw job to get in deep enough to even see what type of motor was in there. One of the options offered by GSF was just the pump part of the overall assembly - described as 'fuel pump swirlpot', but even that would be too much hassle for me to get involved with while there was an open petrol fuel tank, something you need to be very careful of and get closed again as fast as possible. Full, drop-in, pump plus sender was about £90 after discount. Various, unbranded aftermarket ones are on ebay for around half that. I needed a same day solution though. ECP had one at £214 which didn't tempt me at all! 😆
-
I suspect the loose contact improved during the previous repair was caused by uneven running and vibration as the motor struggled with inadequate reliable current supply due to sporadic brush contact. Just a theory.
-
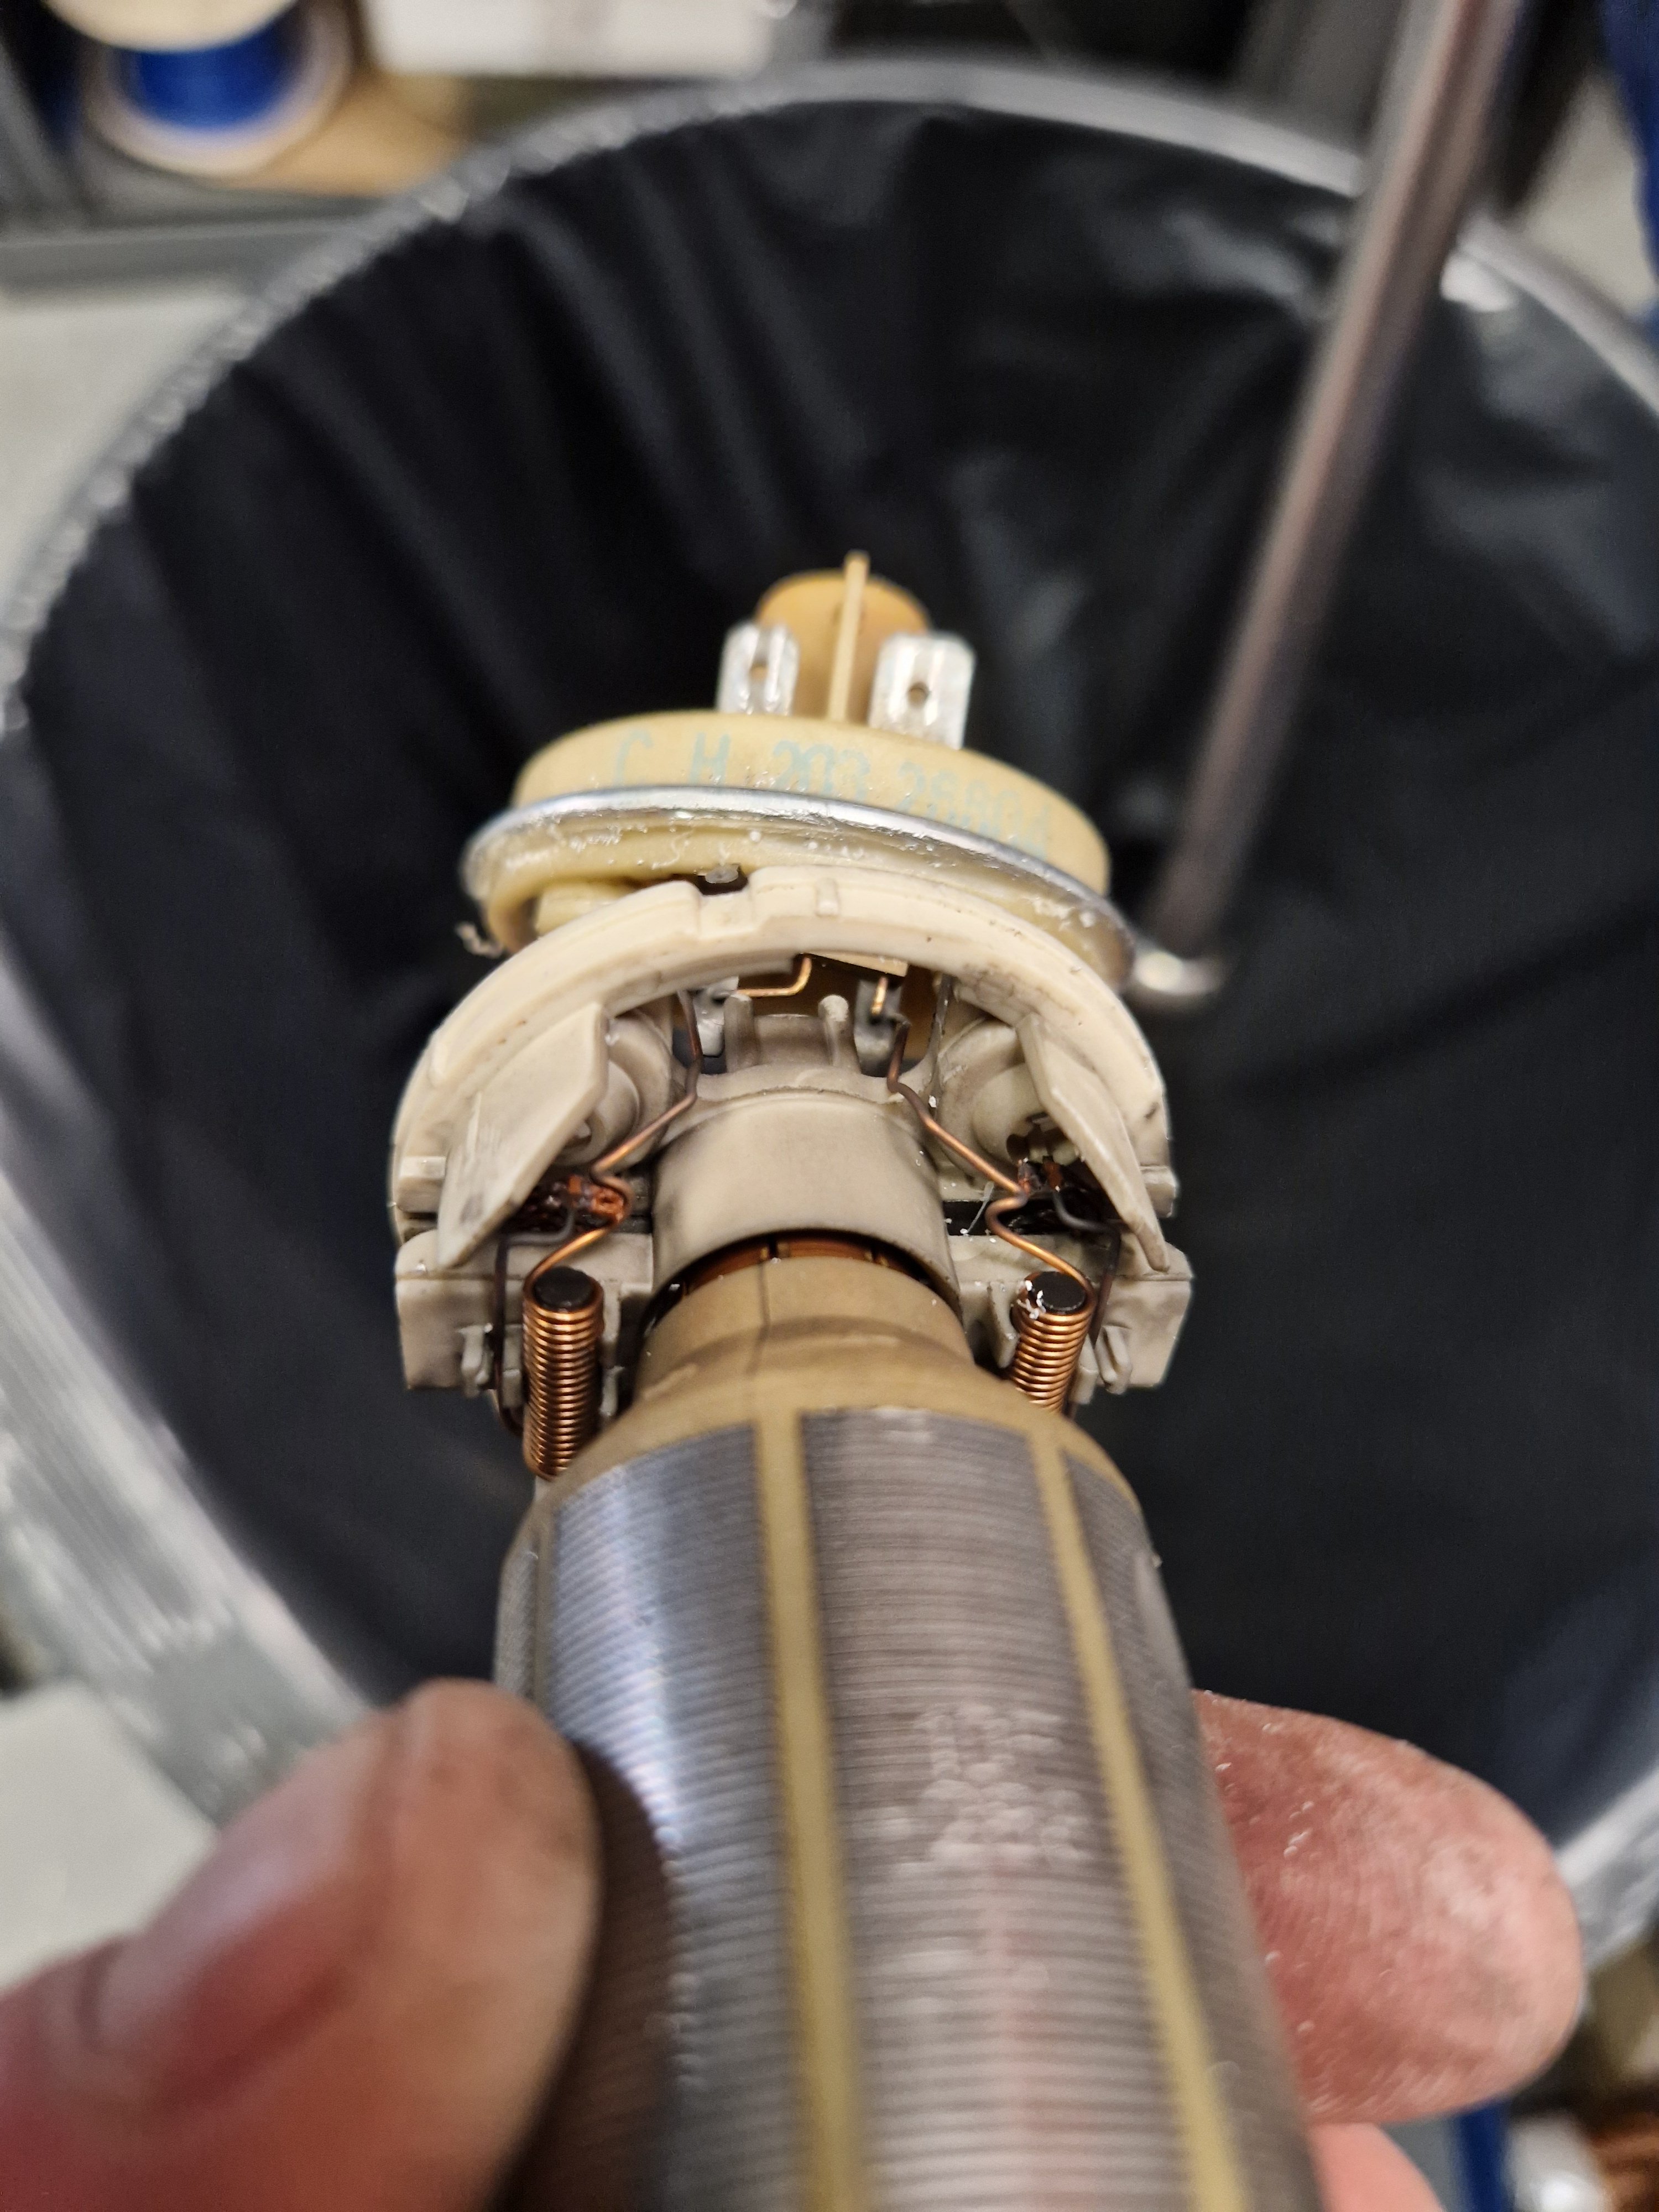
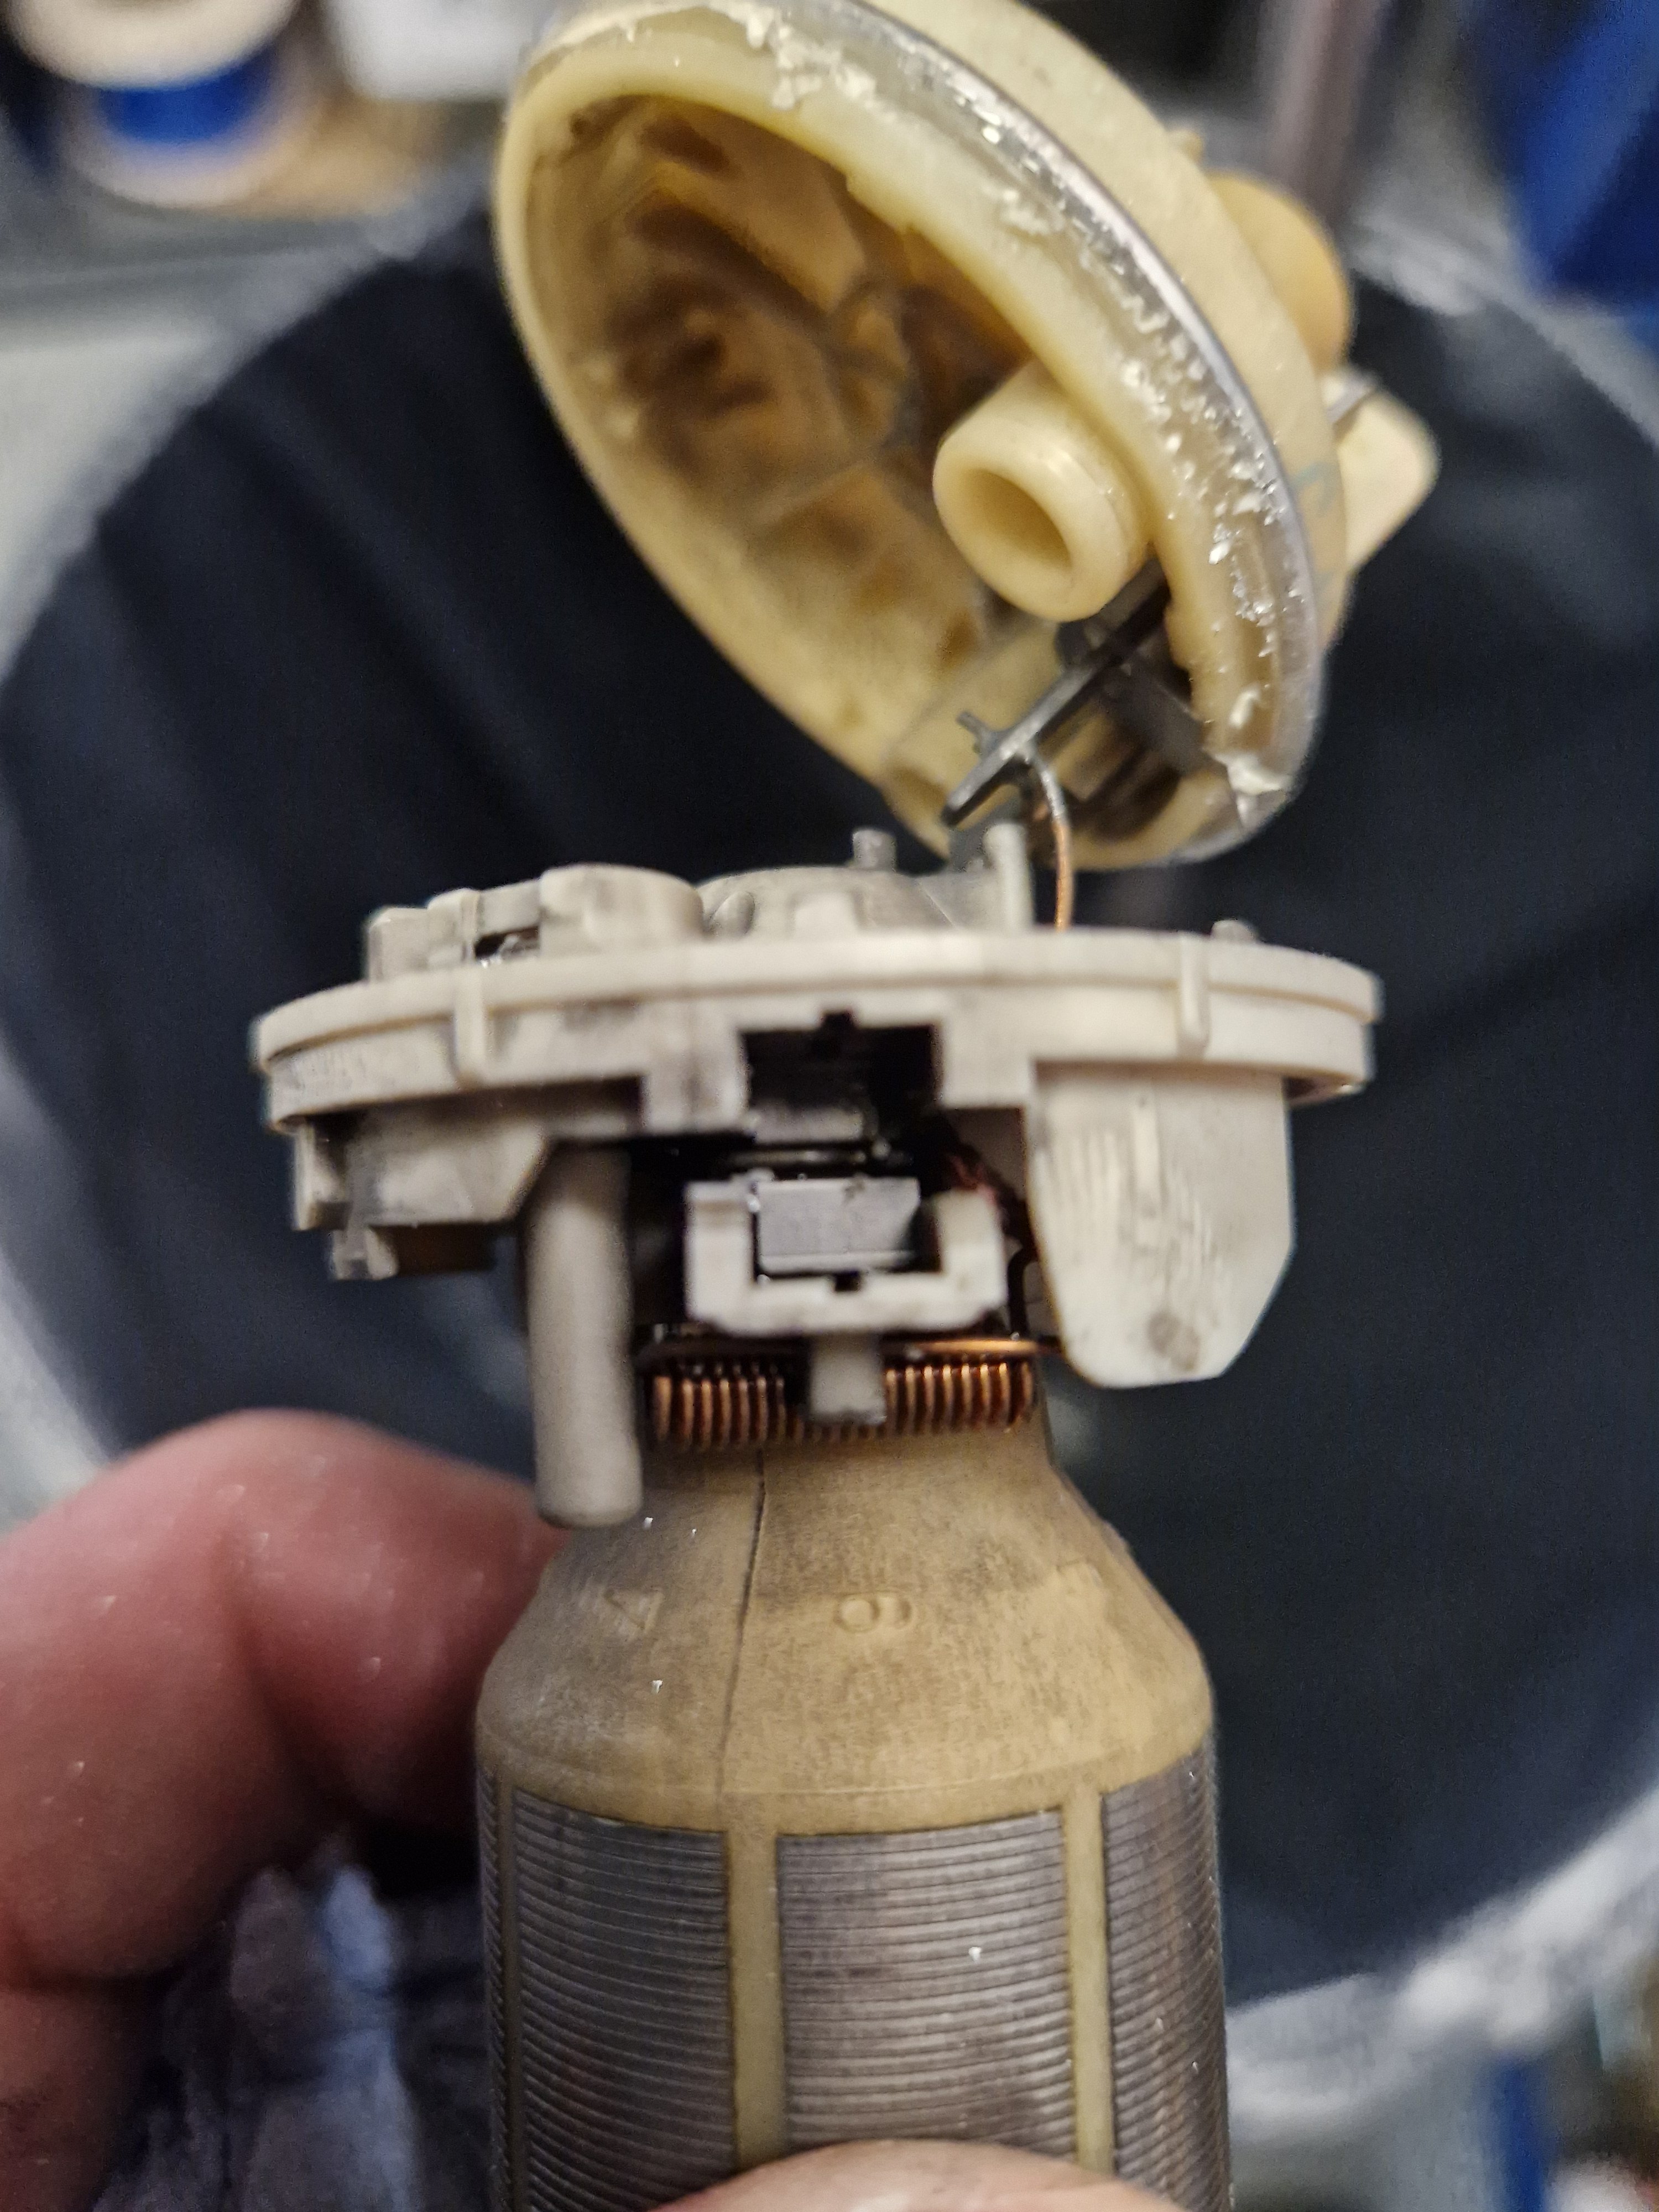
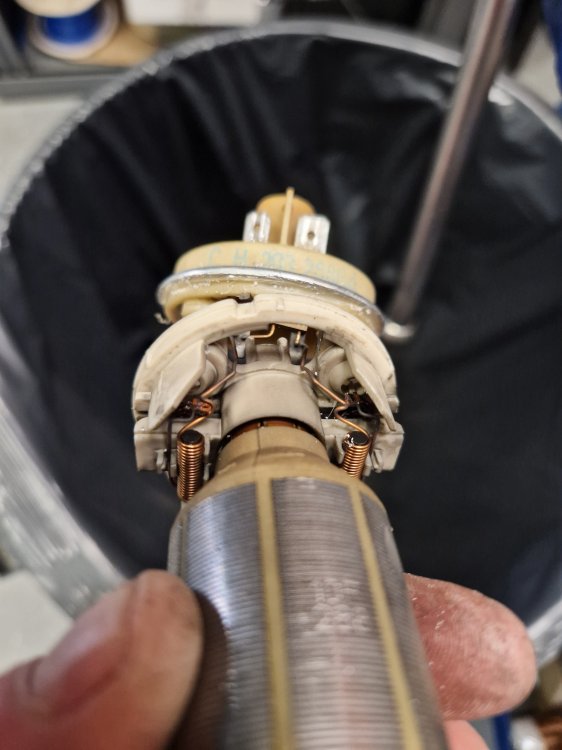
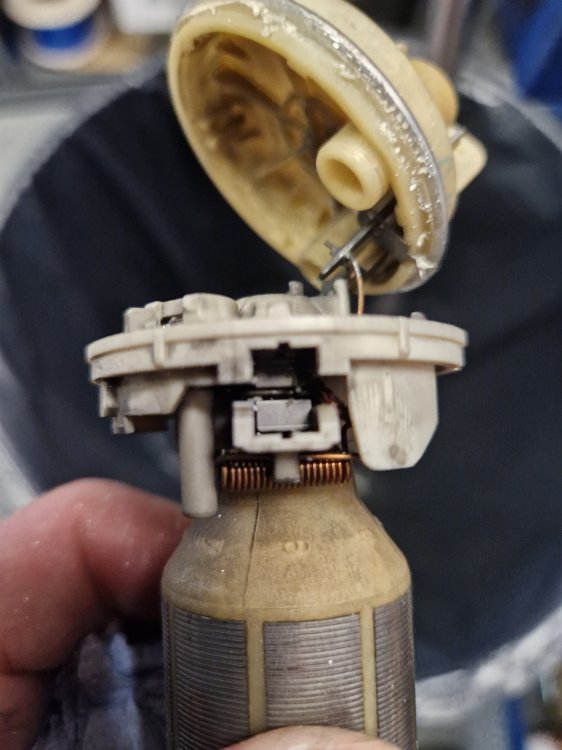
Ran a post mortem on the old fuel pump this afternoon. Quite nicely engineered bit of kit, but suffered the fate of all dc brushed motors given enough running. Worn out/short brushes. Can't really blame it after 20 years and a shade under 210k miles.
-
Bye Steve. No need to harp on, just go if you don't want to stay.
-
Build date was 23/12/2010. In car printed manuals are often insufficiently up-to-date, same with stickers of fuse info. Sometimes copy/paste on something like a VIN doesn't work because of unnoticed leading or trailing space characters. Try typing it into the site that @Stonekeeper kindly recommended, character by character. And make sure all the 0 characters are entered as numeral zero, not letter 'oh'.
-
Loving the irony of a bunch of retired fellas discussing the best way to get to work. 😁
-
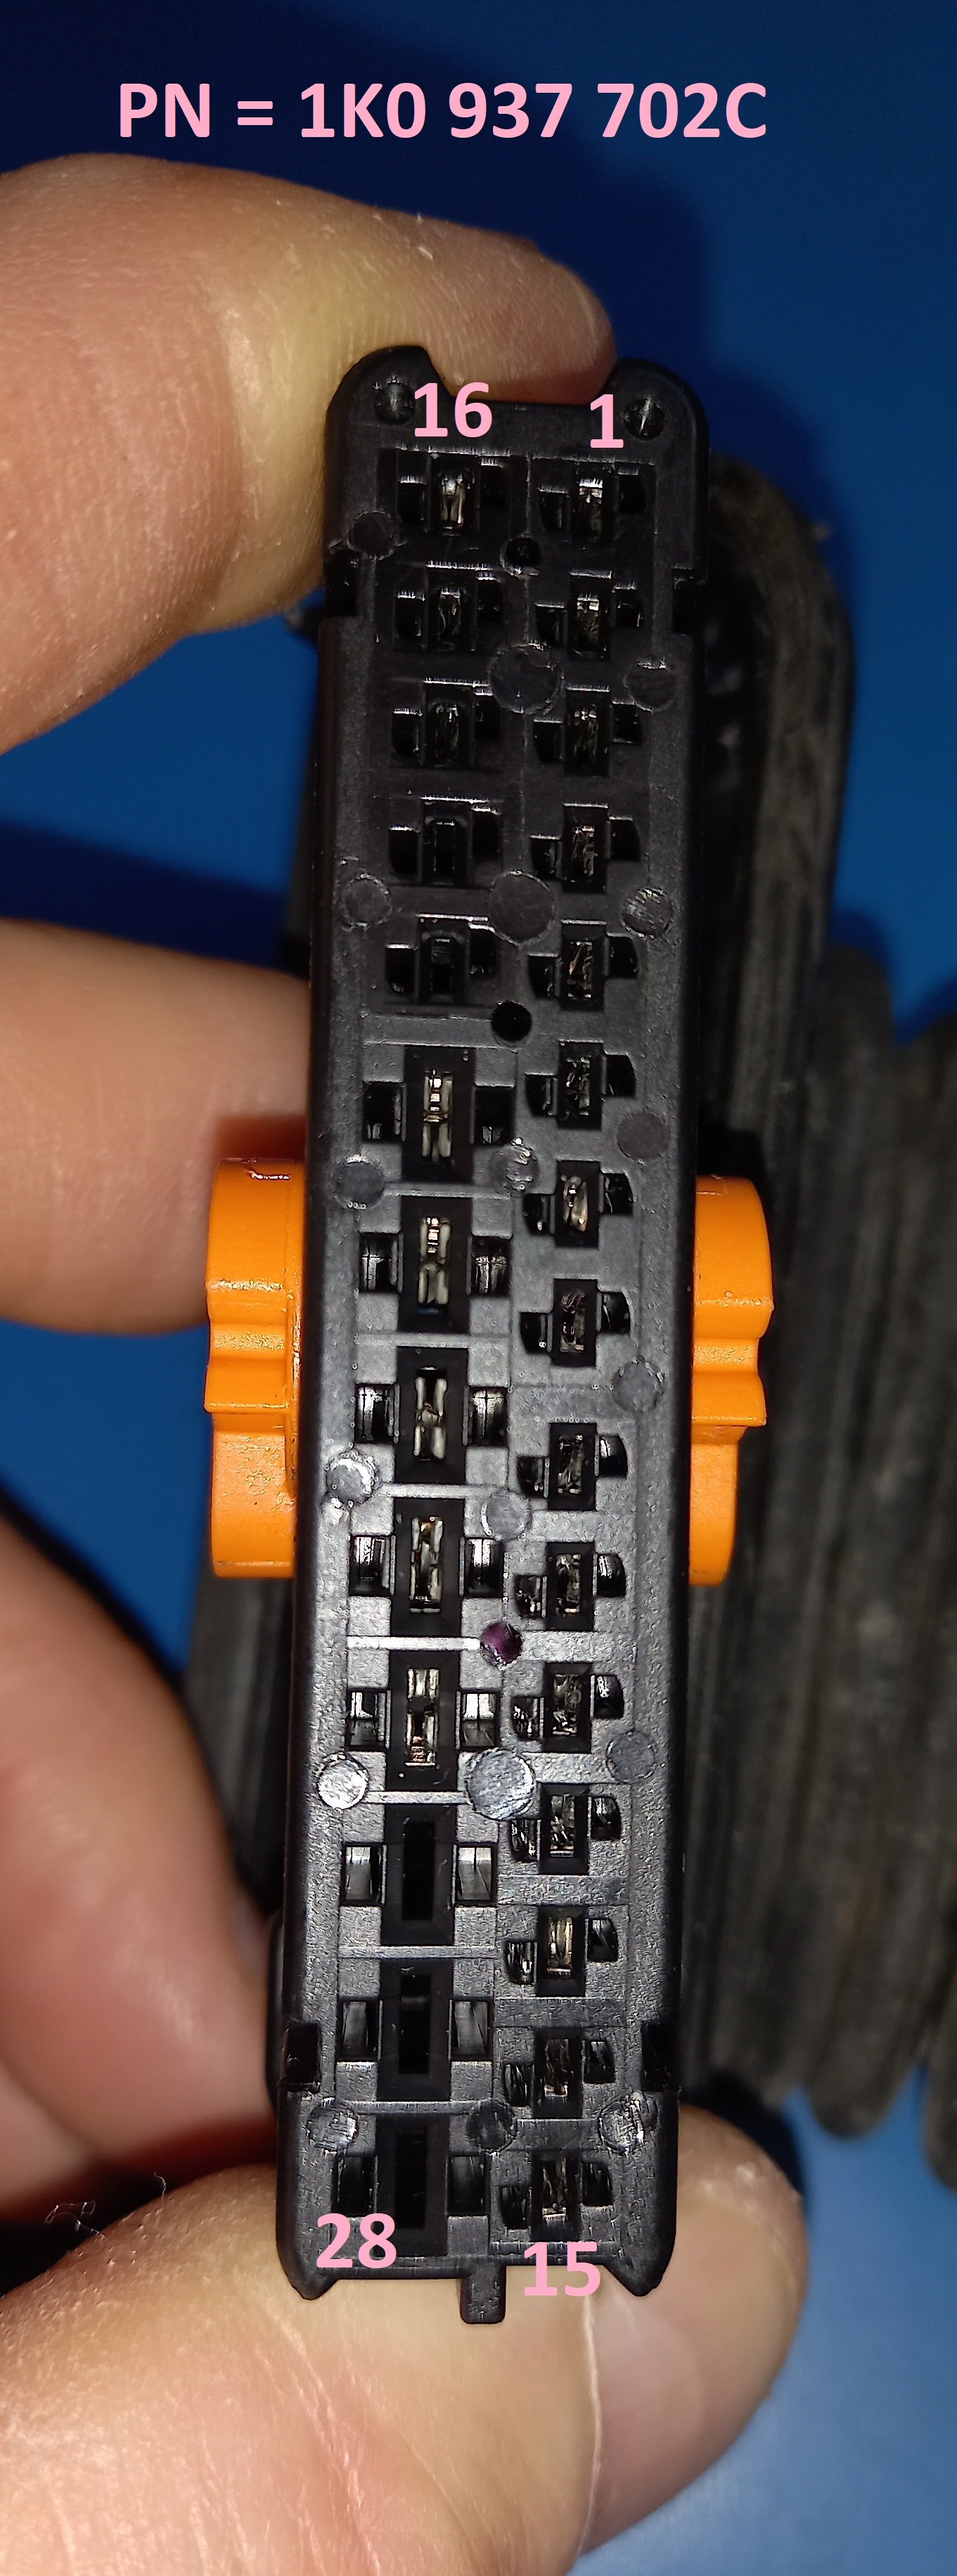
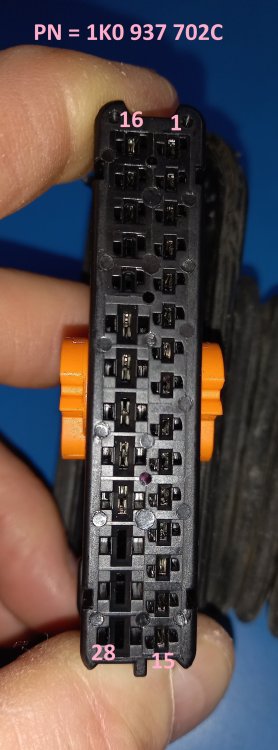
Pin numbering of the door loom connector shown here, on mating face:
-
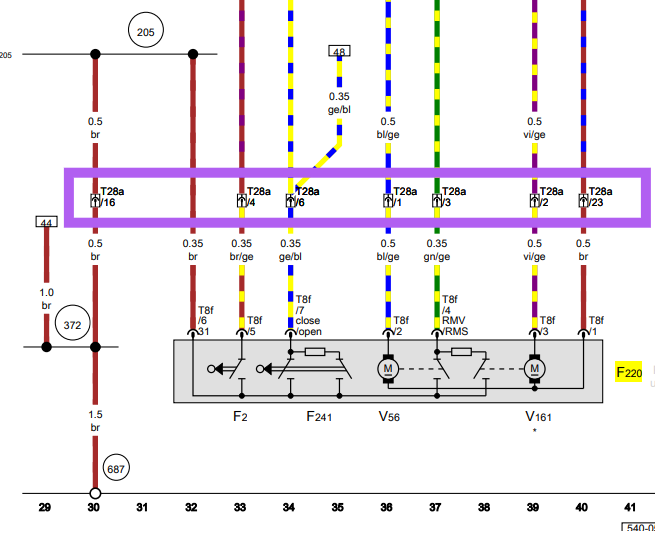
This diagram shows the wiring associated with driver's door lock (F220), particularly (highlighted inside purple rectangle) their pin numbering at the 28-way A-pillar connector. This should facilitate testing for continuity and short-circuits. The brown wire coming from lock module to pin 23 appears to be a candidate that would disable both lock motors if it were not intact. Is it possible that the 28 way connector proved difficult to refit (poor access, locking lever not fully open, etc.) and pin 23 of the male connector in the A-pillar is bent or damaged? Phone camera may be handy to be able to see where the head can't be.
-
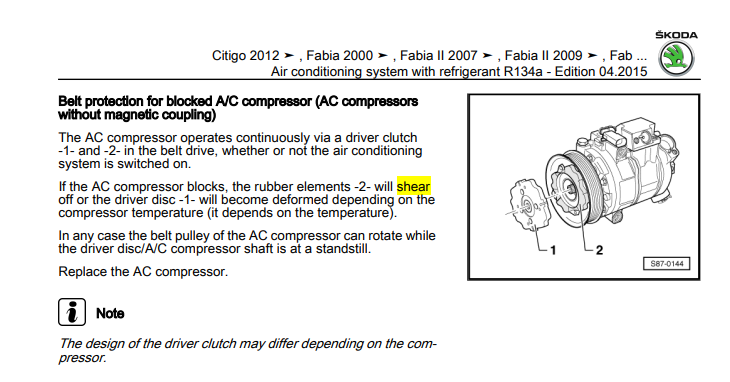
These compressors have a fail-safe system built in, so that if they seize up the pulley becomes disconnected from the shaft.