Everything posted by Breezy_Pete
-
A radiator fan over-ride switch might be a workaround, so you could pre-empt engine bay heat rise with an increase in airflow if you knew you were about to get heavy with the right foot. LHD versions presumably don't suffer from this problem?
-
Looks like the situation may be considerably simpler for Polo, just one option listed on what seems to be the relevant page suspension; shock absorbers - Polo/Derby/Vento-IND(PO) [EUROPA 2015 year] (7zap.com) Check for a match of 4 grey splodges followed by 1 red on the undamaged spring (probably still on both, but may be easier to see on the unbroken one).
-
Hiya Gaz, does the car have a build data sticker in the boot area or inside service book? Deleted previous attempt as I'd looked up Golf as opposed to Polo, doh! Back in a bit.
-
This same fault code was found to be caused by a missing fuse in a recent thread. See here, especially towards the end of the discussion https://www.briskoda.net/forums/topic/488885-terminal-30-relay/?tab=comments#comment-5489448 I'm not sure whether that will have any relevance to the other problems you mention though.
-
Either you and the garage aren't measuring it right, or something is staying on when it shouldn't. This may help, depending on the style of fuse you have fitted. Skip straight to the end for a download link for the document. https://www.briskoda.net/forums/topic/377587-technical-bulletin-about-parasitic-current-draw-measurement/
-
Yes, I think that is the best next step.
-
This thread may be relevant (or not) This page suggests that the spring-like plastic part at the top of the dipstick probably performs the sealing, rather than an o-ring: oil pump; oil dipstick Fabia (FAB) 2010 year Skoda EUROPA 115025 (7zap.com)
-
99% guaranteed to be a blown fuse.
-
The fault we had on our 1.2 was 17811 'EGR control difference'; which I believe means basically that it was sticking in some positions rather than closing properly when not energised. There is a recognised, fairly dramatic failure mode of the valve on the 1.2/12v engines, detailed here, but don't assume that has happened to yours without looking at it. Ours also showed some early signs of starting to leak at this core-plug, with the plug and orifice having become just-noticeably oval and slight signs of soot leakage: pg-si-0084-en-web.pdf
-
VCDS Lite, freeware, plus an FTDI cable (OBD2 plug to USB converter) is all you need. The latter should be under £20 even from highly reputable sources such as Gendan. (I have this one: VW Audi Seat Skoda USB Interface for VAG-COM 409.1 or VCDS Lite - most VAG 1996-2003 (gendan.co.uk)) You can safely ignore the bit where it suggests compatibility up to 2003 only, all mk1 Fabias are OK with it. How many miles has the car done?
-
Please confirm engine type; the typical EGR-related faults aren't the same on 1.2 and 1.4, according to my impressions. Cleaning the throttle-body end of the EGR pipe, or at least looking at it to see if it's occluded with oily soot should be a first step; and asking the garage what the fault code is/was, they should have a record.
-
How do you know it's EGR related, presumably not just a guess? It's going to be an EGR valve near the exhaust manifold rather than one near the intake manifold on your engine; whether that is 1.2/12 valve or 1.4/16 valve. The stainless steel pipe around the nearside end of the engine head conveys the recirculated gases from EGR at the front, to intake manifold just under the throttle valve. This pipe sometimes gets blocked at the intake manifold end, but mechanical rather than chemical unblocking is the way to go with that.
-
According to what information? You should consider investing in a cheap cable and downloading the freeware version of VCDS onto a laptop. Then you'll have the capability to read the error codes yourself. Probably nearly as cheap as the waste of money EGR spray, which you should return if possible.
-
Yep.
-
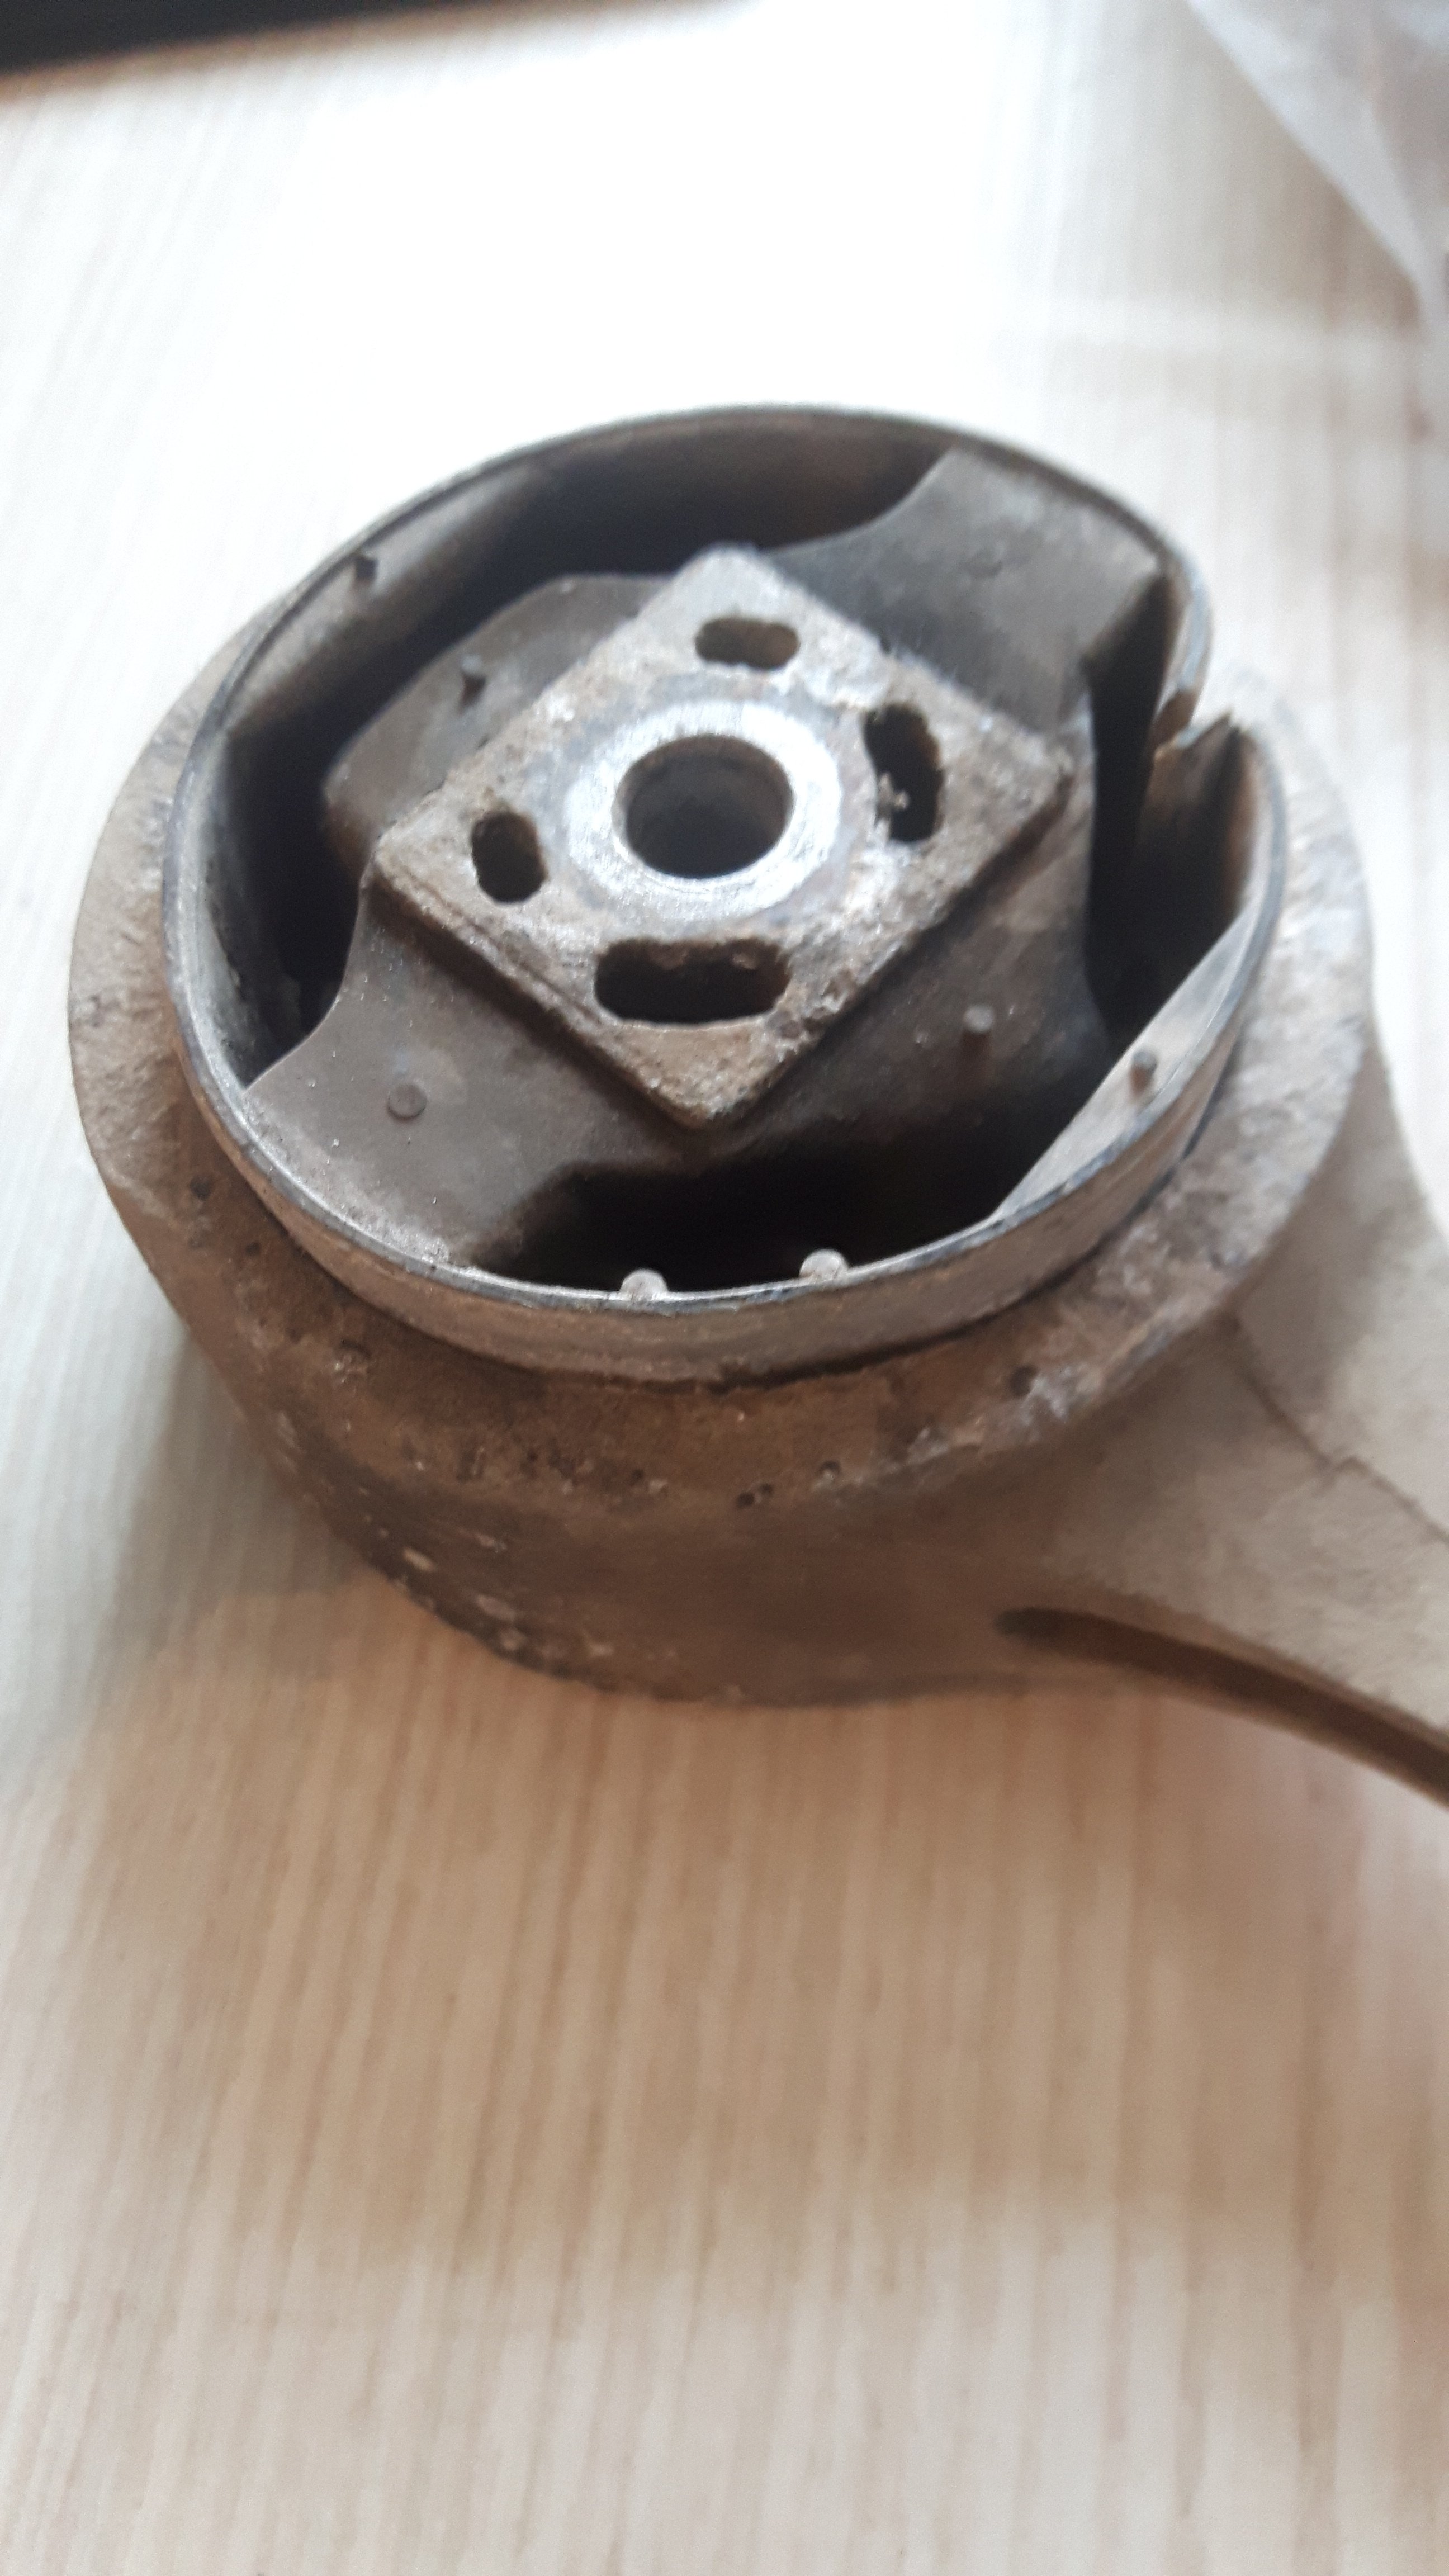
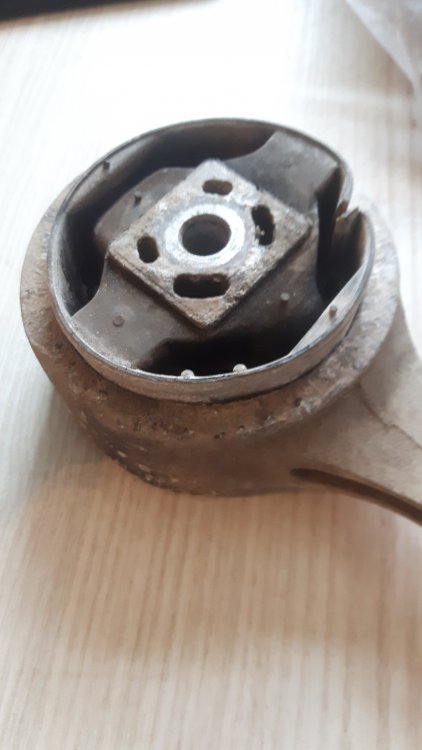
If only I could blame her; but I'm pretty confident that the damage to the engine mount was caused by the hideous jerking of the engine at clutch engagement that featured in the car's recent history getting on for a year ago. That same problem with the clutch that was almost certainly due to my own clumsiness when changing the gearbox a year or whatever it was before that. Making mistakes is part of learning. Gotta book it in for MOT now, hopefully that won't bring any new dramas!
-
It'll remember indefinitely. Stored in a type of memory that doesn't get erased by power removal.
-
Still not very warm out, but I just tried something on my car to prove to myself that it would work as expected. The blue wire is fed through a diode and 4 parallel 820R resistors (inside the Onboard Supply Control unit) from an ignition 12V supply . These resistors limit the current to the ballpark of 50mA into a short circuit. This means that you can test the excitation system, including the wire end-to-end, by shorting the relevant pin of the disconnected alternator connector to chassis through a current meter. If the meter read in the 50s of mA dc you know that the full excitation is available, and if the alternator isn't starting up, it isn't because of the blue wire. It's the pin nearest the rounded side of the connector. Don't forget to switch on ignition just before testing. I suggest this as a possibly useful test because the wire could have a truly terrible, very high resistance connection or corroded section where the weather has got in, and still be able to show a voltage close to 12V on a multimeter; because the input impedance of a meter is so huge. If your meter has a 200mA dc current range or similar (and you put the probes in the right holes, and set the dial to the right position) testing this current supplying ability is a much more thorough test of the wiring. I wouldn't suggest anything similar with the DFM wire, not sure what would happen with that one and it's irrelevant to the starting up of the alternator anyhow.
-
Try it tomorrow afternoon after it's all thawed out.
-
Thanks mate. I received the replacement dogbone mount (and bolts) yesterday so that went on this morning, in the coldest conditions I've ever worked in. Everything metal that I touched felt like it was freshly arrived from Antarctica! Anyway, the happy news is that I had correctly identified it as the cause of a nasty metal-on-metal hard/deep noise at idle, and was a bit surprised by how it had broken. The last one I changed, not long ago, on my Polo had become unbonded between the central ali bit and the rubber of the bush, this was worse... Engine now lovely and quiet and running sweetly.
-
Pin 1 seems to be the brake wear sensor so I can't really see that being relevant. Do you still have the cluster out? I'd reflow all 8 of those joints, and have a damn good look at all of the ones for the green connector too. Broken joints can be very hard to see without good light and magnification, at my age anyway! Circuits are available to download at erWin Skoda, though you have to pay a small fee for an hour's access. If you want to do so I can talk you through the process.
-
I either didn't zoom in enough, and/or didn't have my reading glasses, because when I look again I see that the ignition 12V supply is on pin 5, not 6. Will check what pin 1 is in a second.
-
0.3A is around ten times what is OK if the car is fully 'asleep', so you'll need to check that again.
-
Stuff all comes from Berlin or Szczezin in Poland, it seems. Same with buycarparts.co.uk; web address picked to look like it's UK local, but not.
-
Pins 6 5 and 7 of the 8-way need 12V (pin 6 5 ignition 12V, pin 7 permanent), pin 8 = 0V. That should get it going on the bench. Don't be too startled if after a few seconds of being powered up, the piezo tweeter suddenly gives you a long blast of noise! Can't remember if it stops or continues but if you're not expecting it it's loud!
-
Check cabin fuses 2 and 20 16 and 22 first, before any dismantling.