


Leaderboard
-
shyVRS245
Locked16Points0Posts -
Monkhai
Moderators15Points31,971Posts -
MikeTheThinker
FREEDOM11Points8,484Posts -
.jpg.1006585dfe4e2977315b67c3d642e37b.jpg)
Guest_
FREEDOM9Points83,824Posts


Popular Content
Showing content with the highest reputation on 29/12/20 in Posts
-
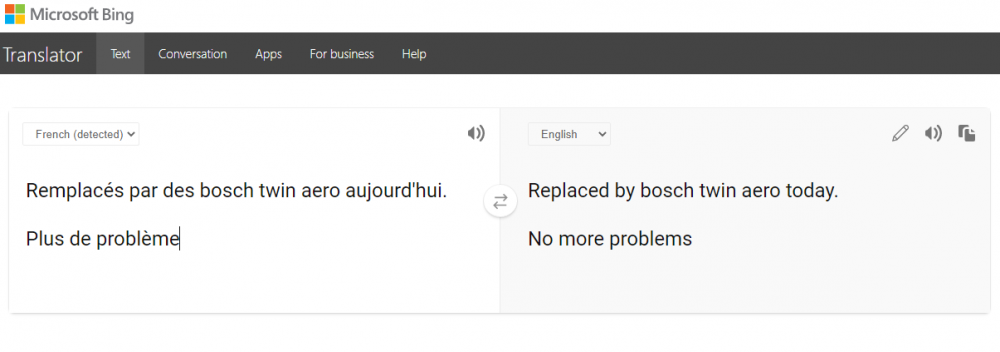
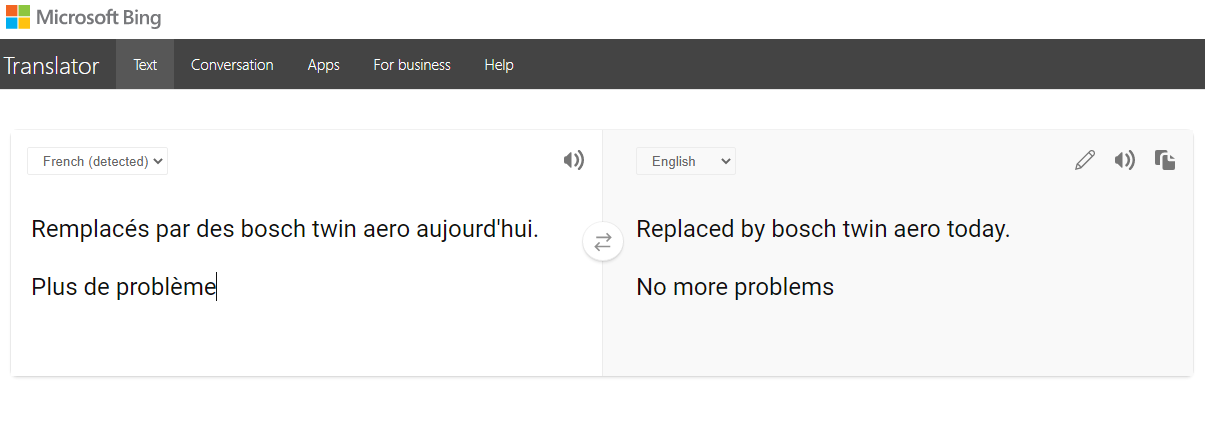
Phil345 is true no problem with new bosch aerotwins3 points
-
My God.... Bing is finally better than Google :-)
 3 points
 -
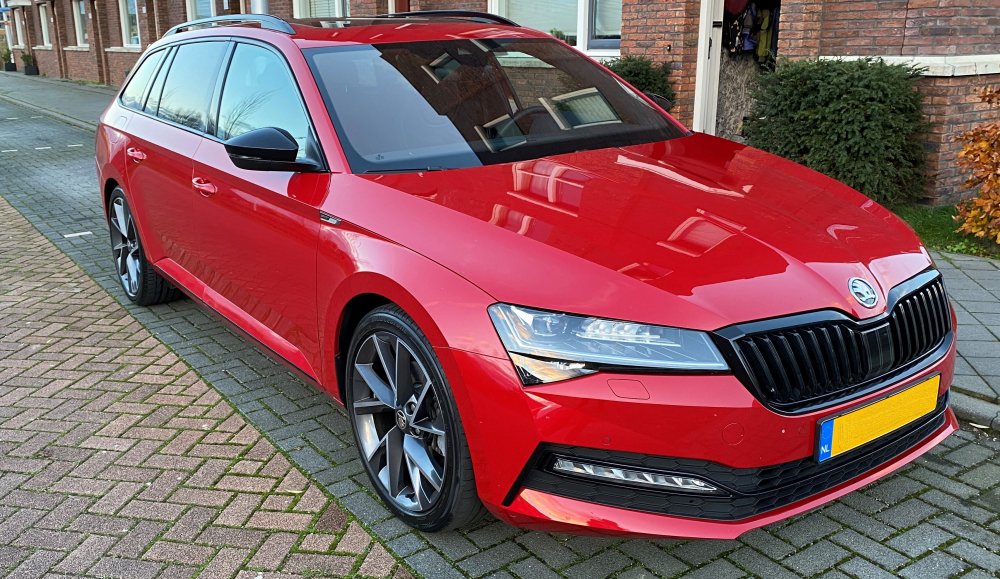
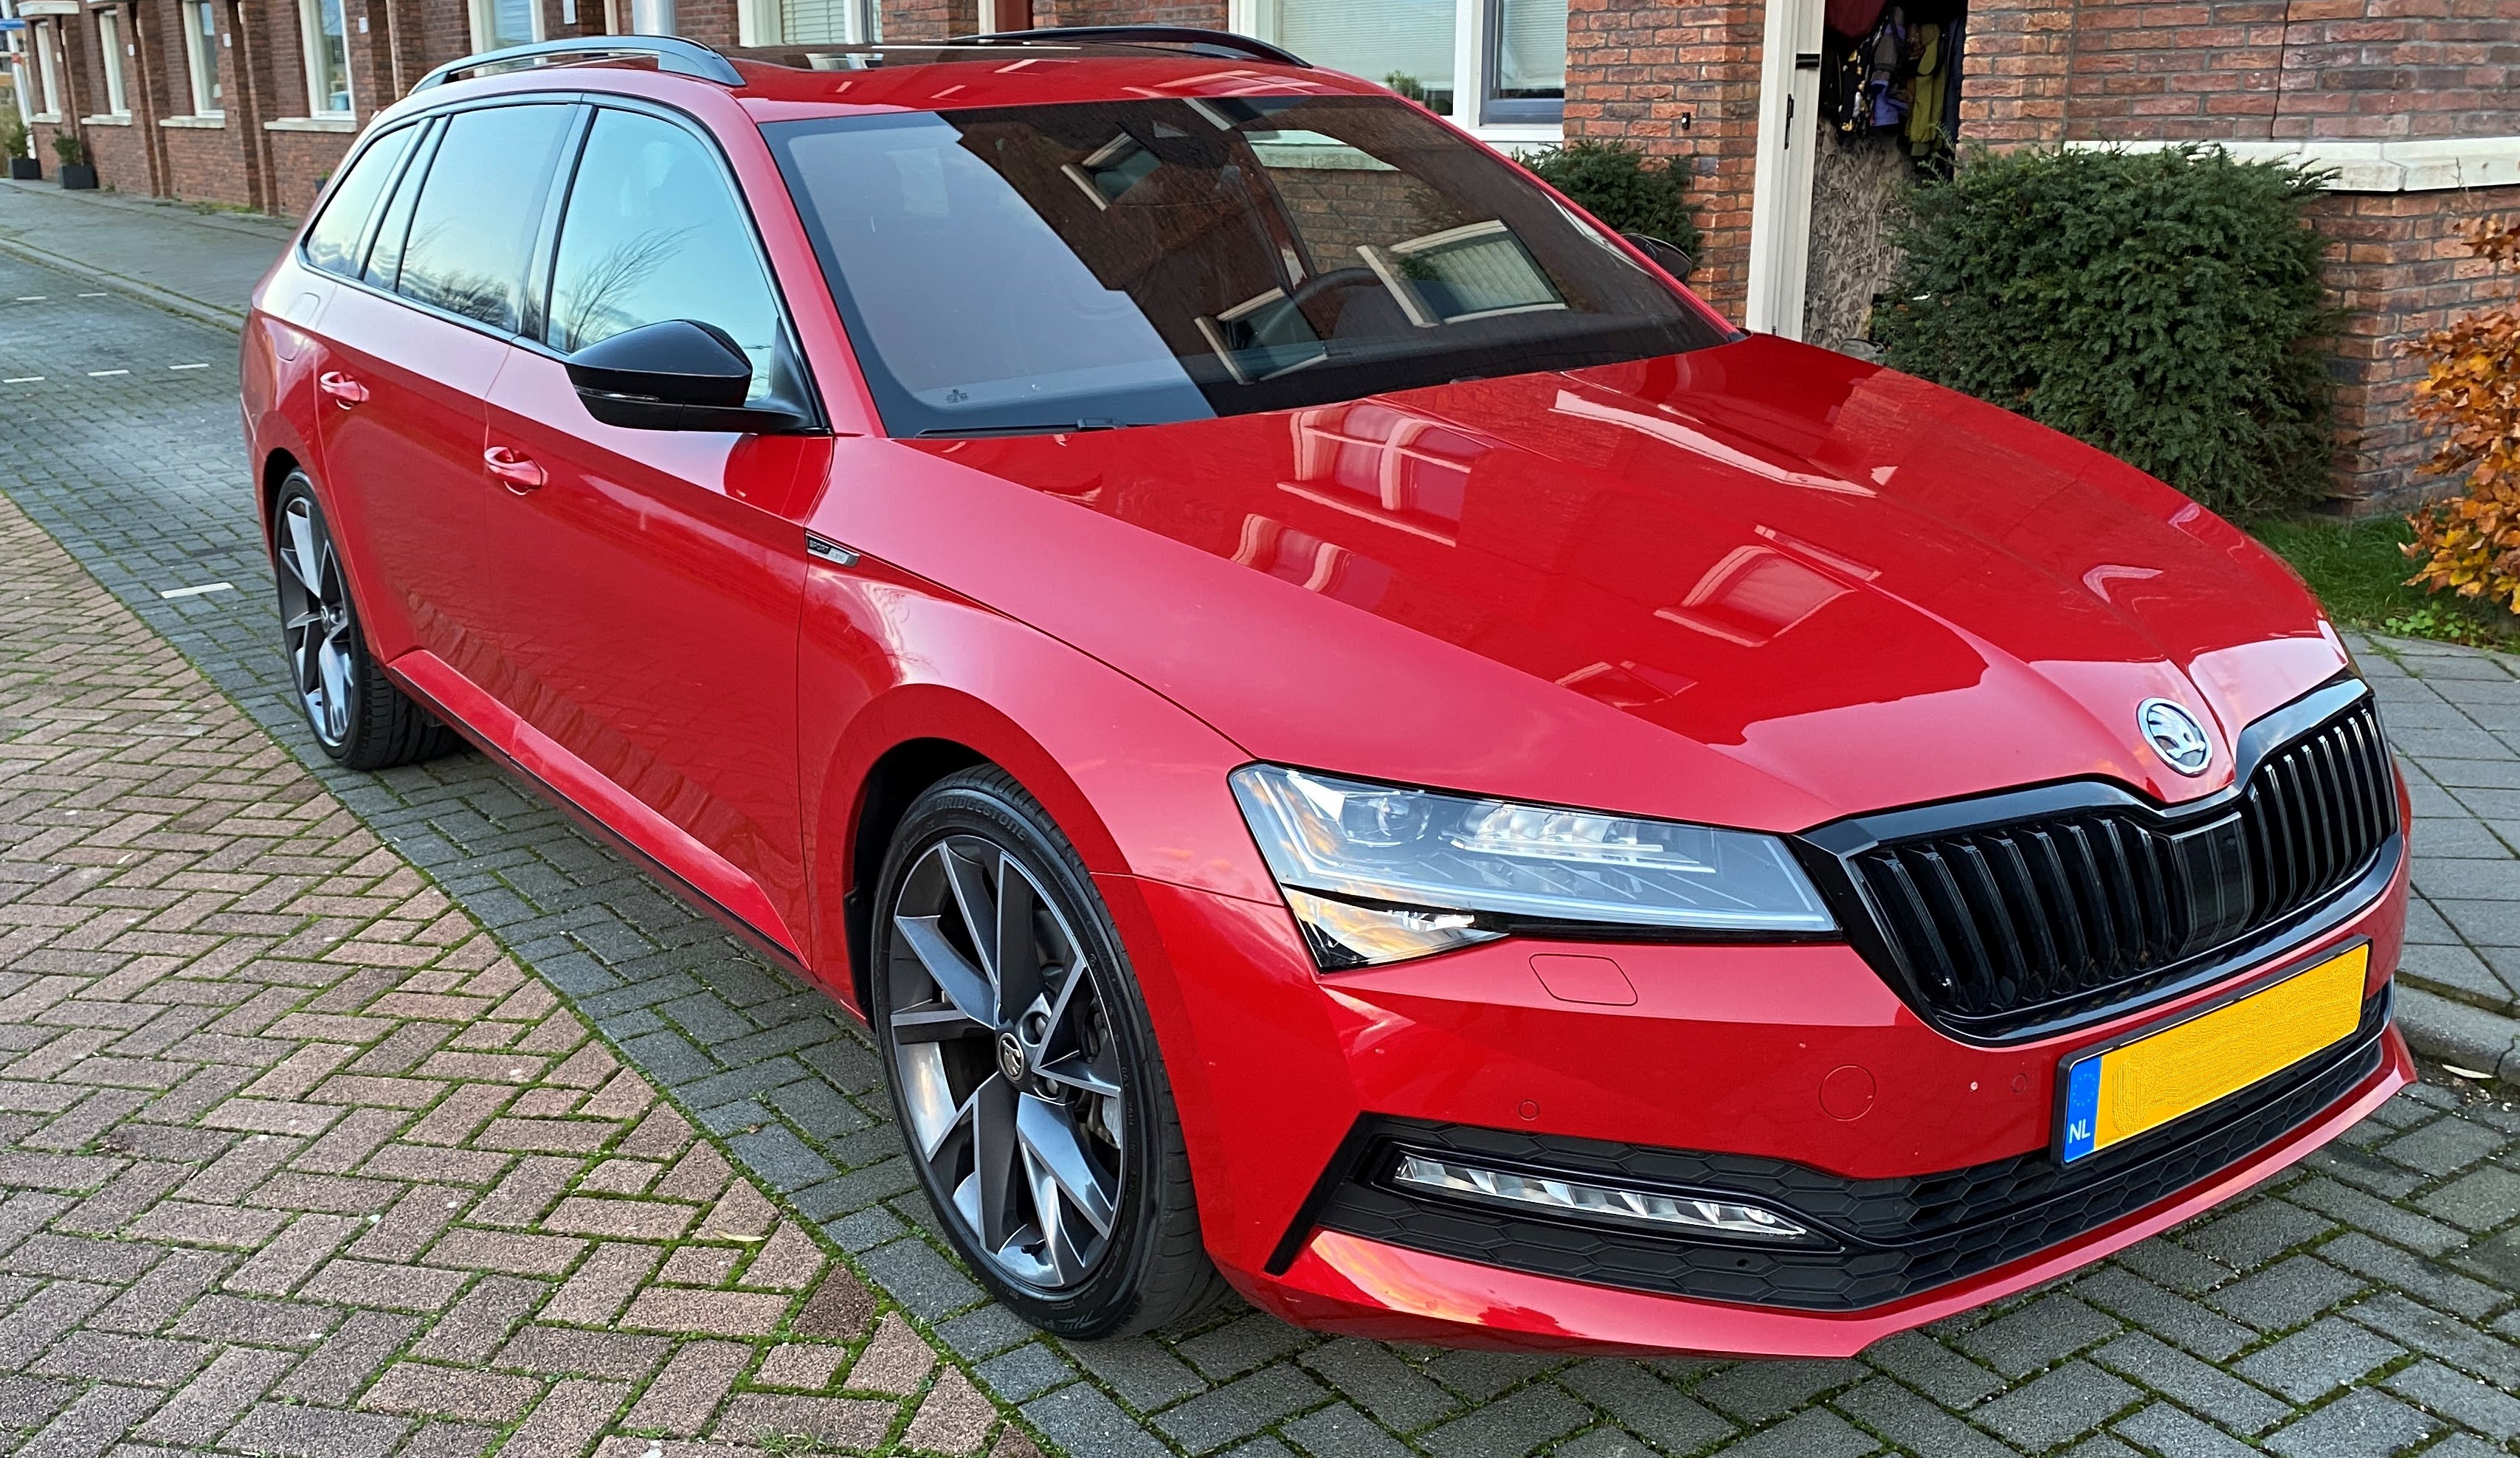
3 pointsGot the Skoda Superb Sportline 1.5 TSI DSG7 Red Velvet Pano roof - 19" wheels - Full LED Martrix lights - Canton audio - Alcantara seats (heated) - Electrical seats with memory - Full options Love the virtual cockpit and having the sat nav on the dashboard. Also great to have personal profiles with keys. My wife opens the car and the seat adjusts to her preference. Normally that means I wouldnt be able to get in, but if I open the car with my key the seat goes back into my position. The space is just such a luxury! We have a reversed baby seat in the car and in our Focus that meant the passenger seat had to be moved to the front quite a bit, not leaving any space to comfortably sit. It's hard to find things to complain about but after long consideration: 1. Why does the car have a full size gear stick for a DSG gearbox? (I know, it was a stretch to have something to complain about) 2. There is a bug in the Culumbus system: sometimes when connecting the phone to CarPlay the sat nav disappears on the virtual cockpit. (It should when you start using sat nav on your phone, but then a message appears the internal sat nav will be switched off, but that is not the case when you just connect the phone and ONLY the sat nav on the virtual cockpit stops, but the Columbus screen itself continues..)
 3 points
 -
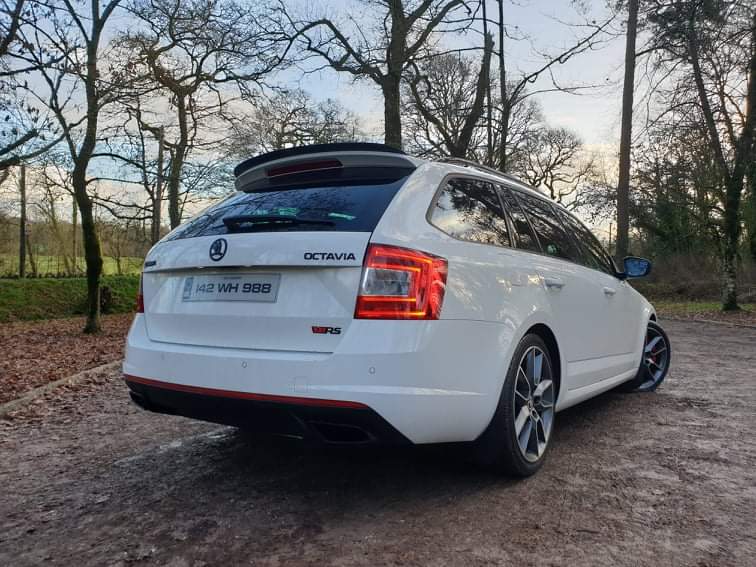
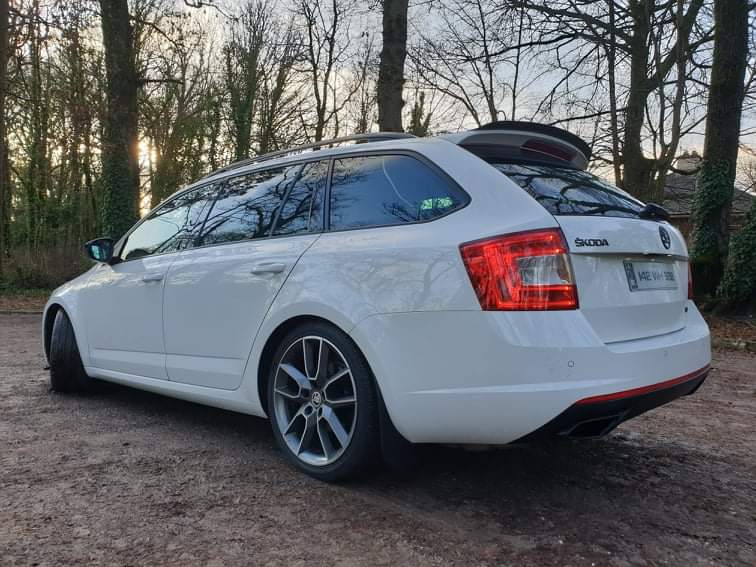
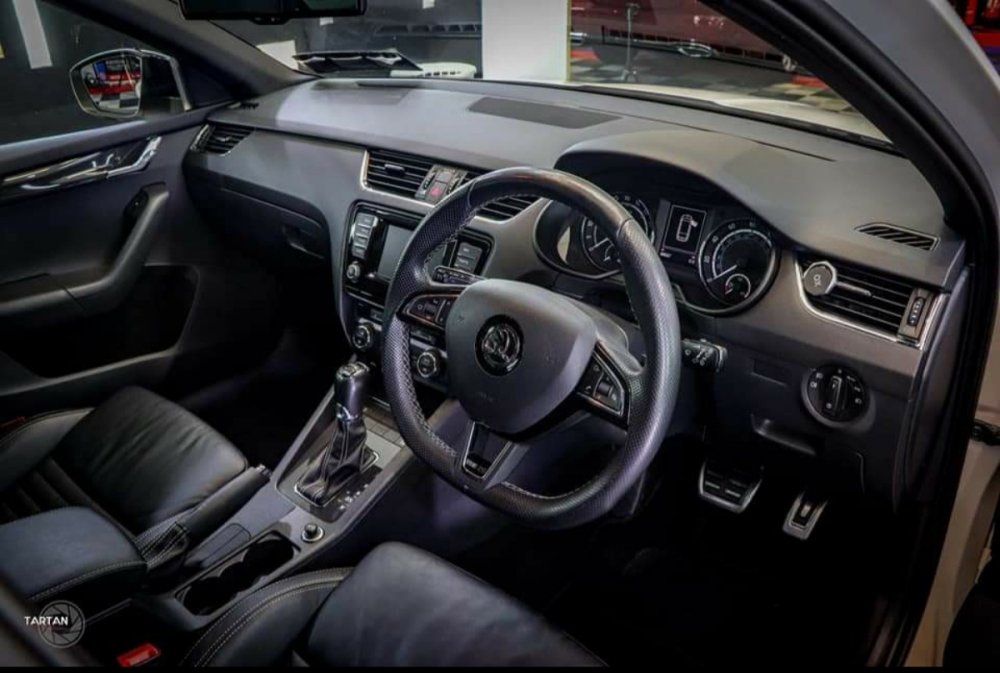
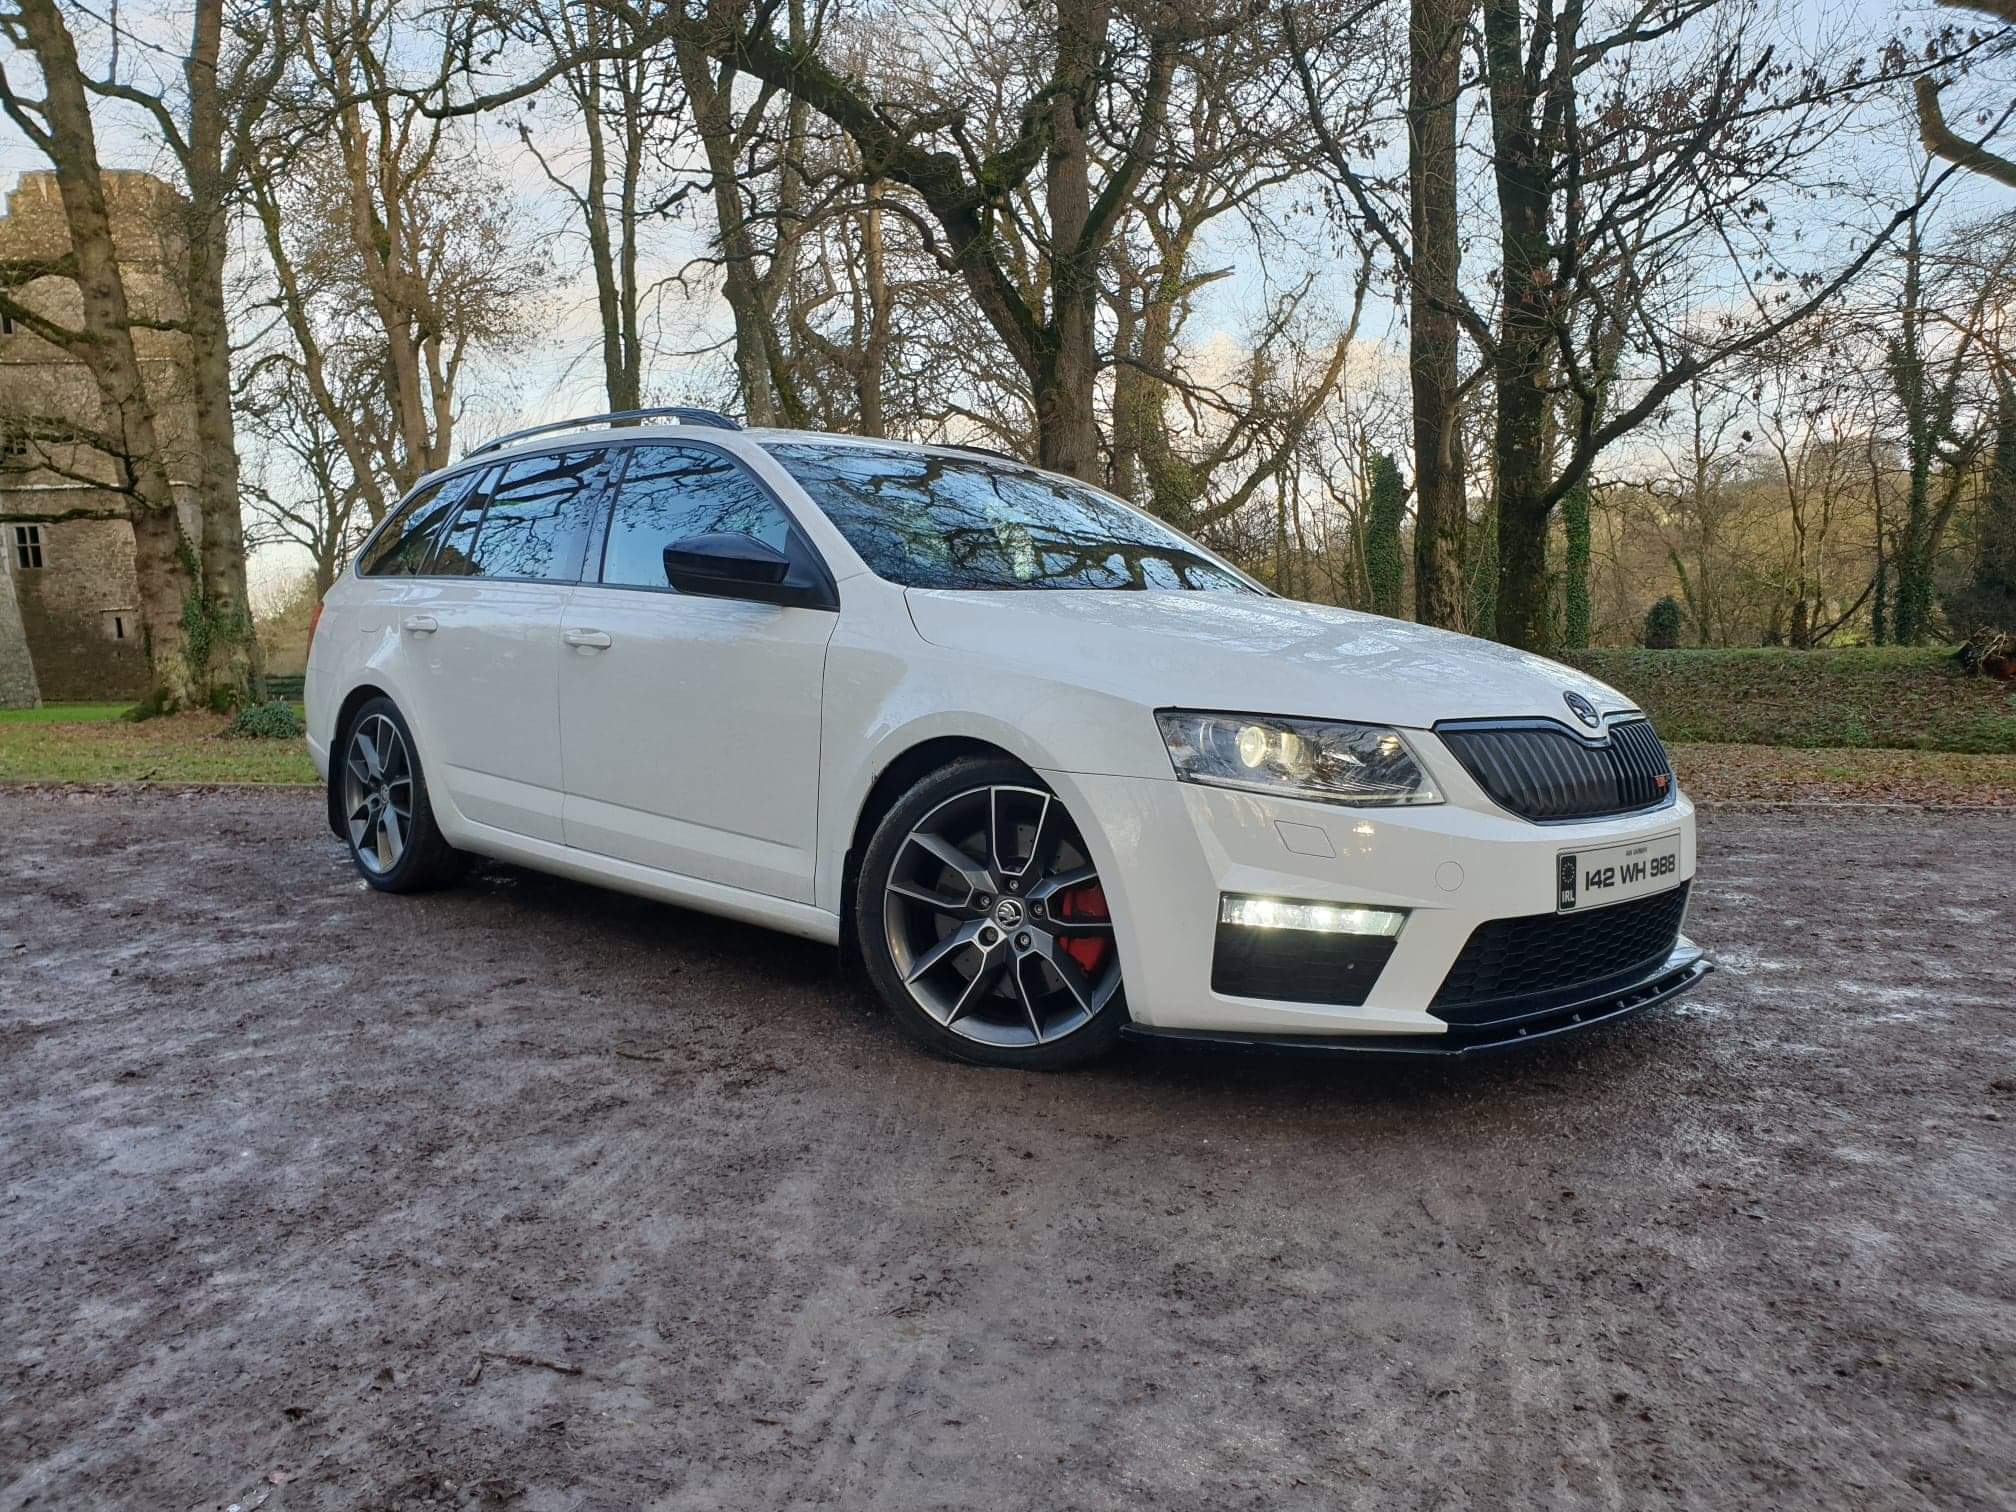
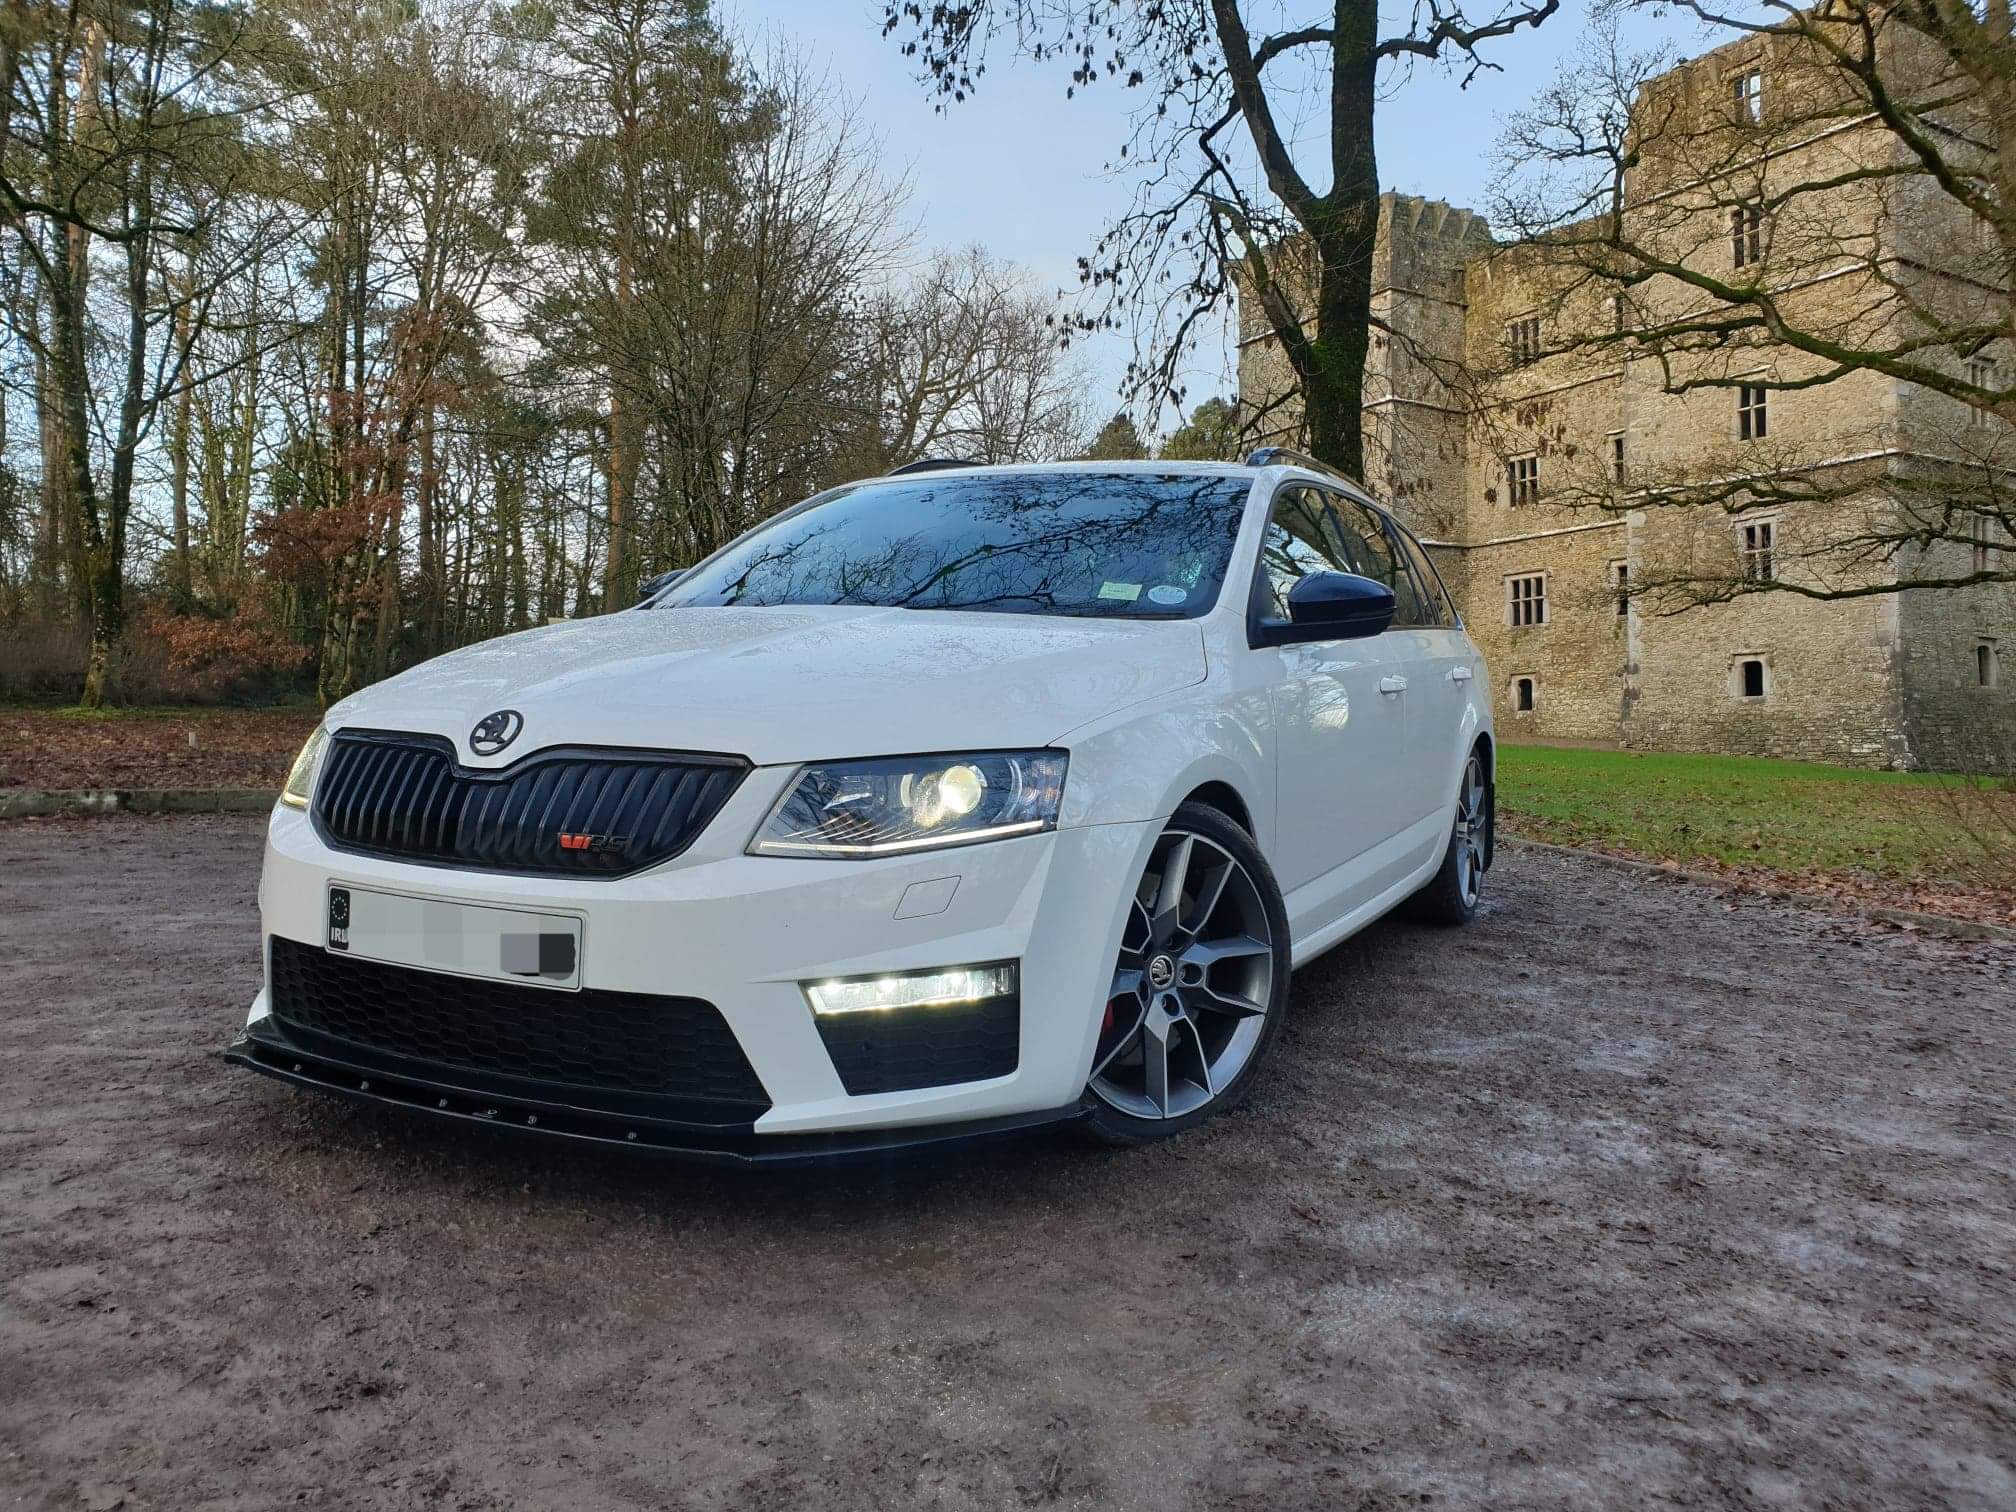
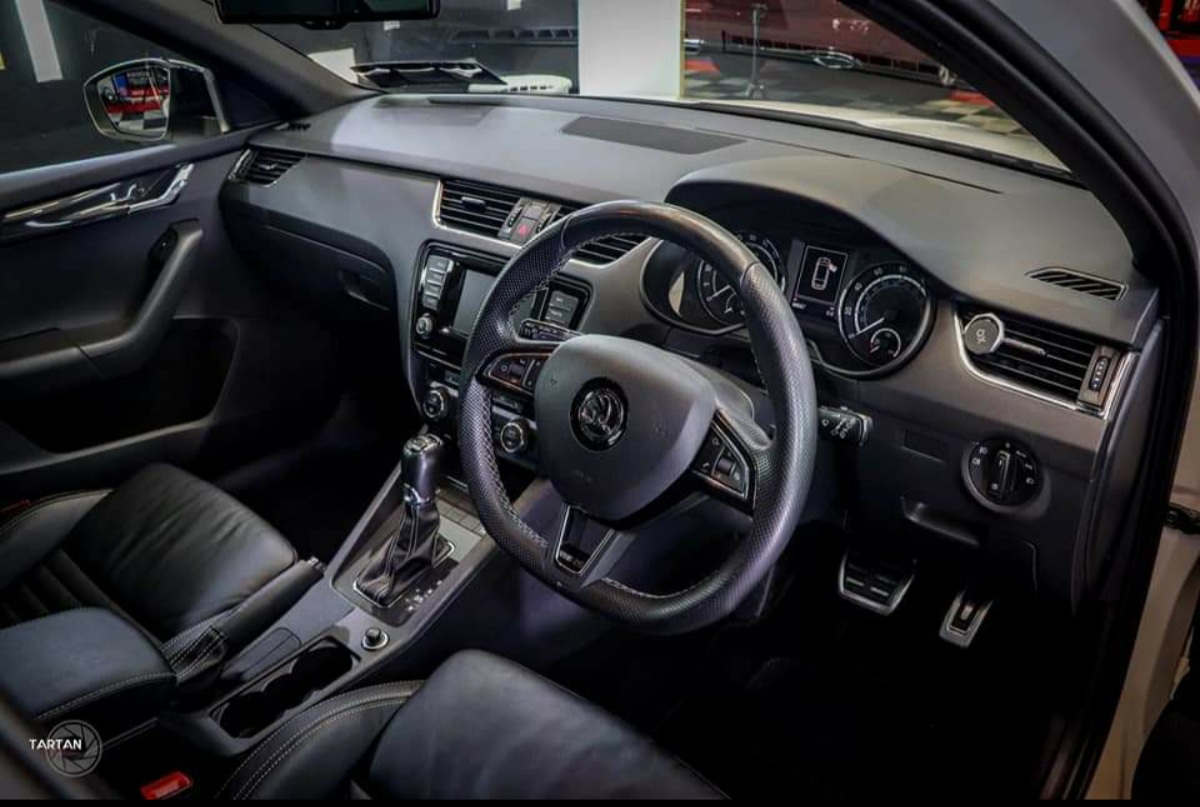
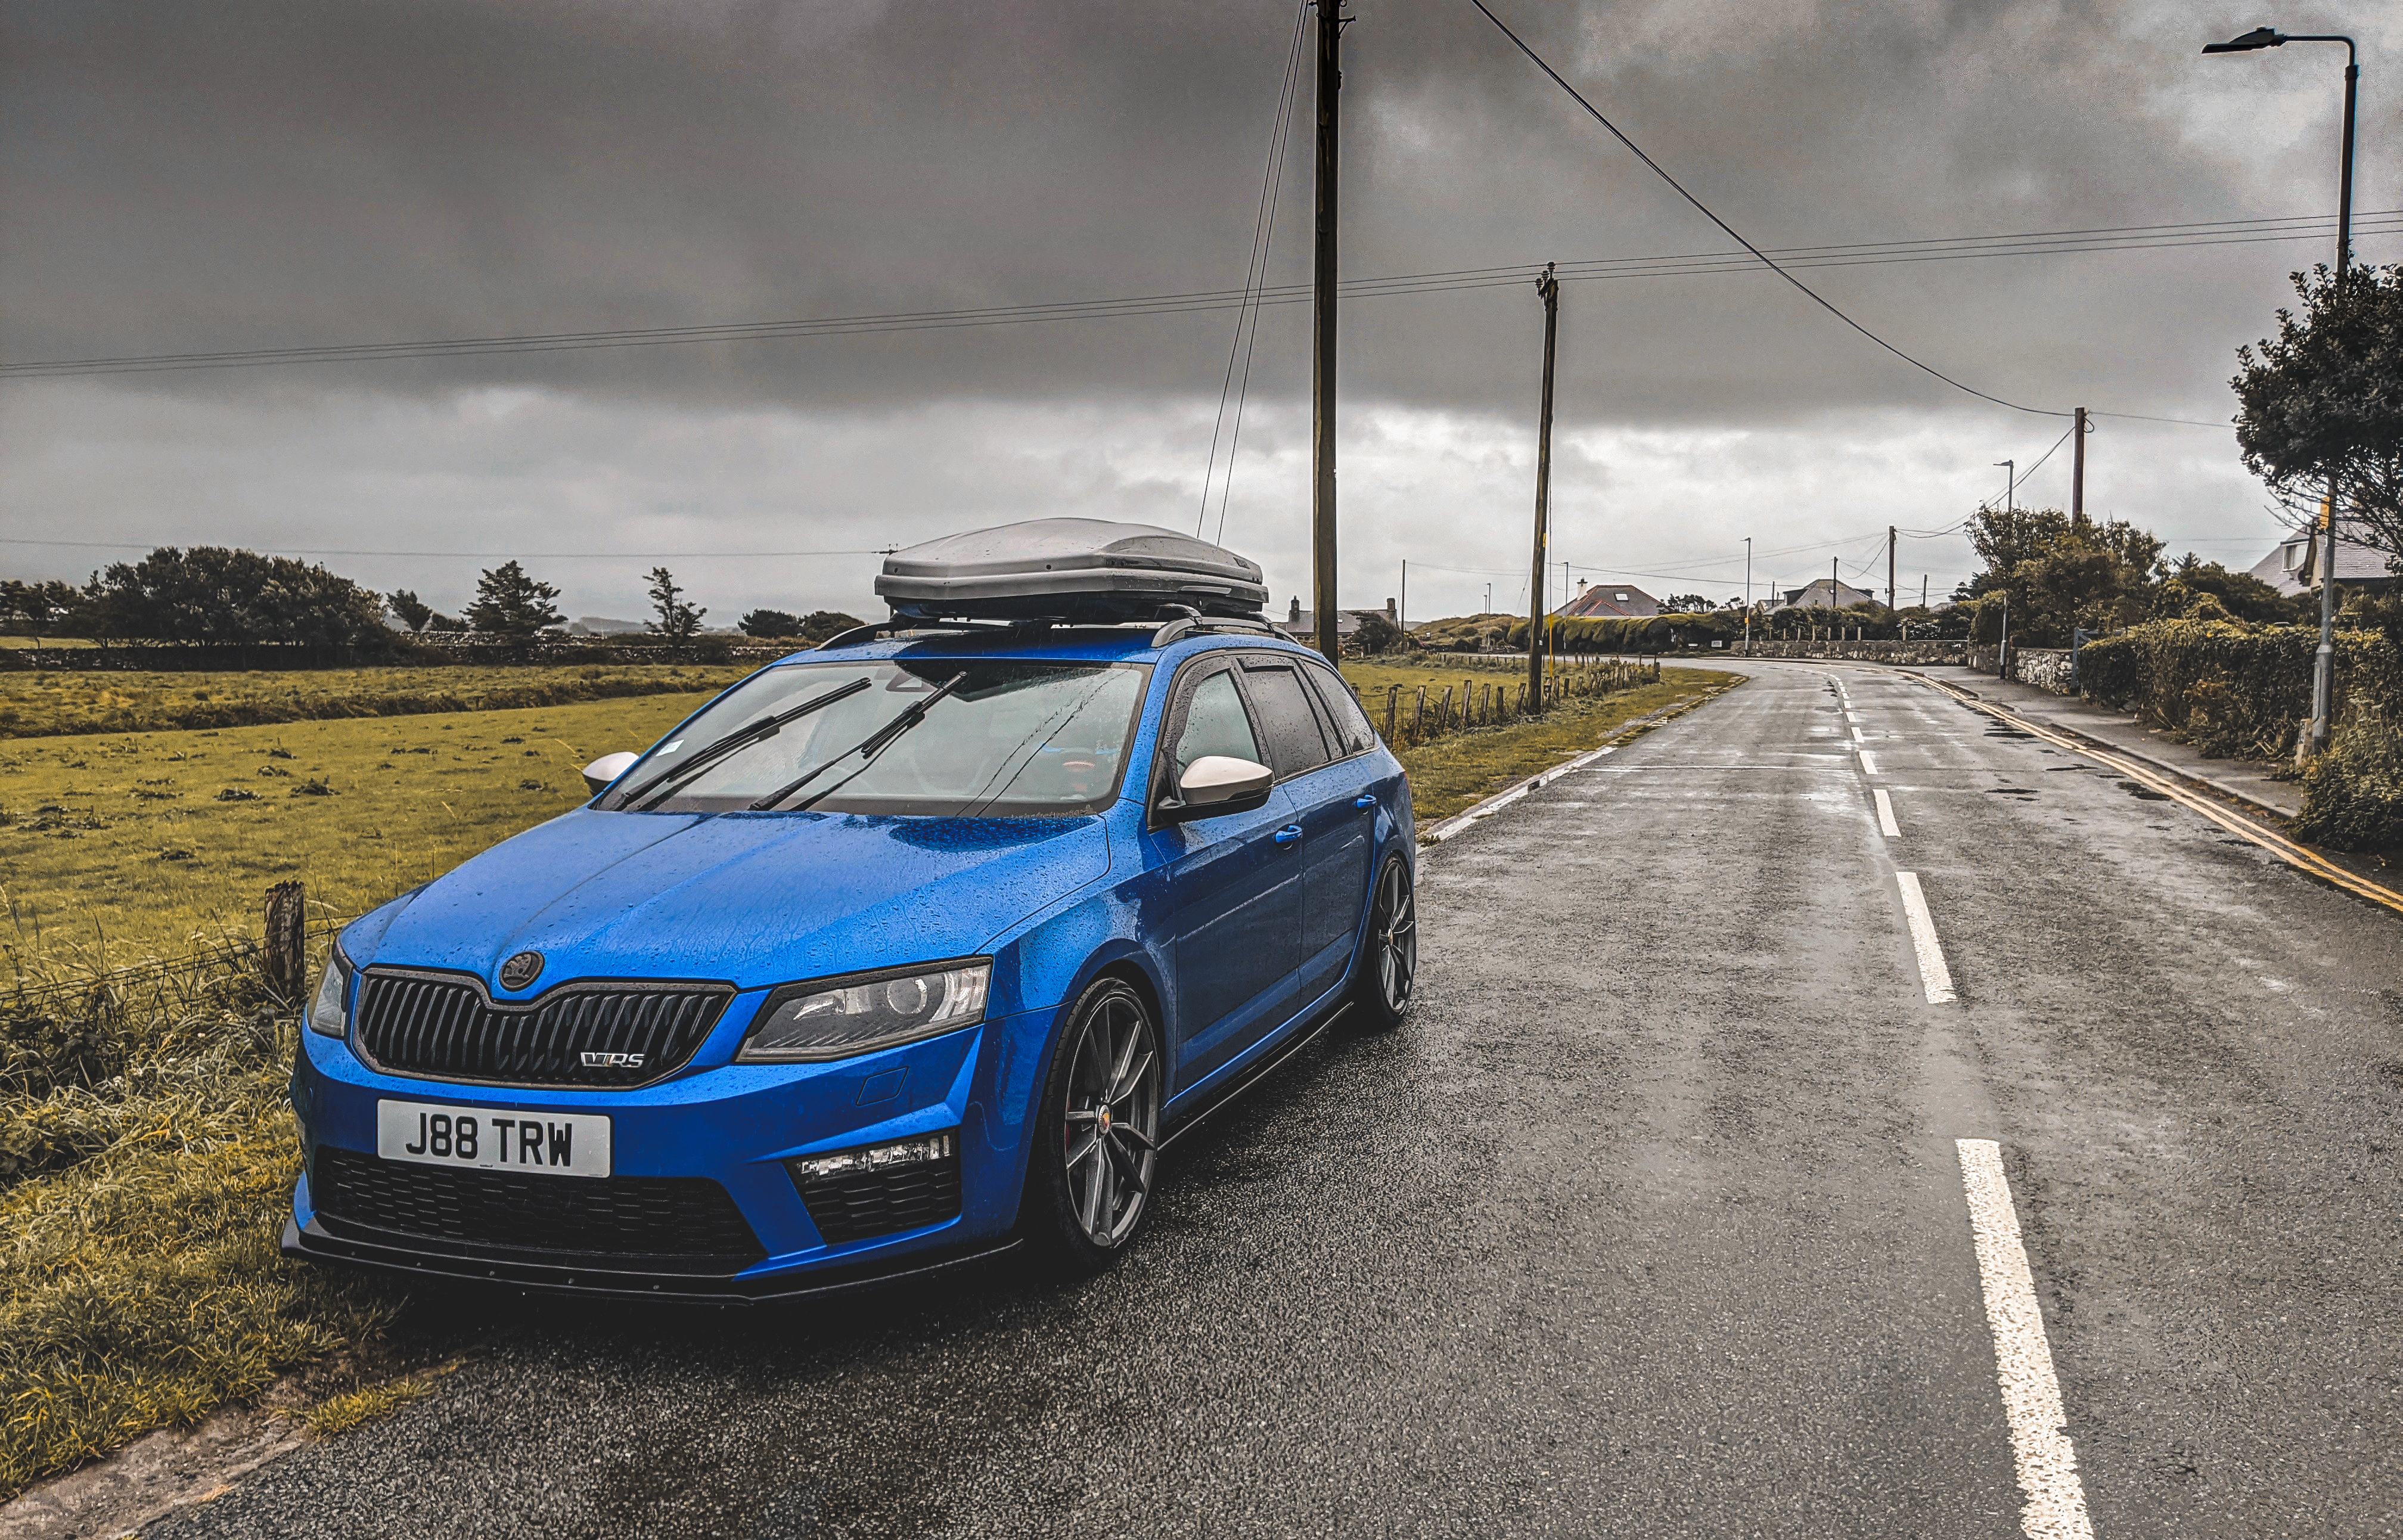
2 pointsMy early Christmas present this year, to end a chaotic year on a high. While this probably isn't really a project as I don't expect to be doing too much besides maintenance and maybe some small changes, I thought it'd be nice to have a thread as a sort of diary that I can look back on in future. 😊 So introducing my late 2014 (was a 64 plate car originally first registered in the UK in December '14) Octavia vRS DSG Combi in white. The car had 2 owners in the UK and came over to Ireland bone stock in 2019 with 42000 miles on the clock. It now has just shy of 70k on it and I bought it from the guy who imported it and carried out the changes. The car was originally supplied with; Black pack (grille, mirrors & roof bars) Winter pack (heated seats, mirrors & washer jets) Full leather Amundsen sat nav Cruise control Rear parking sensors All important DSG gearbox The interior photo was saved from the For Sale advert as I haven't taken any yet. Modifications so far include; Stage 1 remap to 217.2bhp Maxton V1 front splitter Maxton roof spoiler add on lip Audi-style dynamic mirror indicators SuperSkoda black badges front & rear 2020 vRS badges with red glow Exhaust trims powder coated gloss black Led front fog light bulbs Led number plate bulbs EBC Grooved front brake discs with EBC pads H&R lowering springs Flat bottom steering wheel Front & rear moulded mud flaps Various OBDEleven tweaks like oil temperature display, rear hazards on when boot is open, start/stop disabled The car came with spacers (15mm front & 20mm rear) in the boot so I'll be fitting them fairly soon. I also have a pair of led park lights on order for my last car so hopefully I might be able to fit them to this one. Other than that the immediate plans are to fit a set of wind deflectors, reversing camera and hard wire in a decent dash cam. I'm also strongly considering putting the standard springs back on for the less than forgiving roads i sometimes travel as I find the H&R springs a touch too stiff and the car can jolt over bad road surfaces. Wishlist 😁 Led interior lights Footwell lighting Auto fold mirrors with puddle lights Maxton side skirts and rear side splitters Reiger rear diffuser or Maxton rear splitter Bigger stereo screen (which probably means an MIB2 upgrade) Flappy paddle extensions Minor cosmetic changes So there we have it for now. Hope you all like. 👨🔧


 2 points
 -
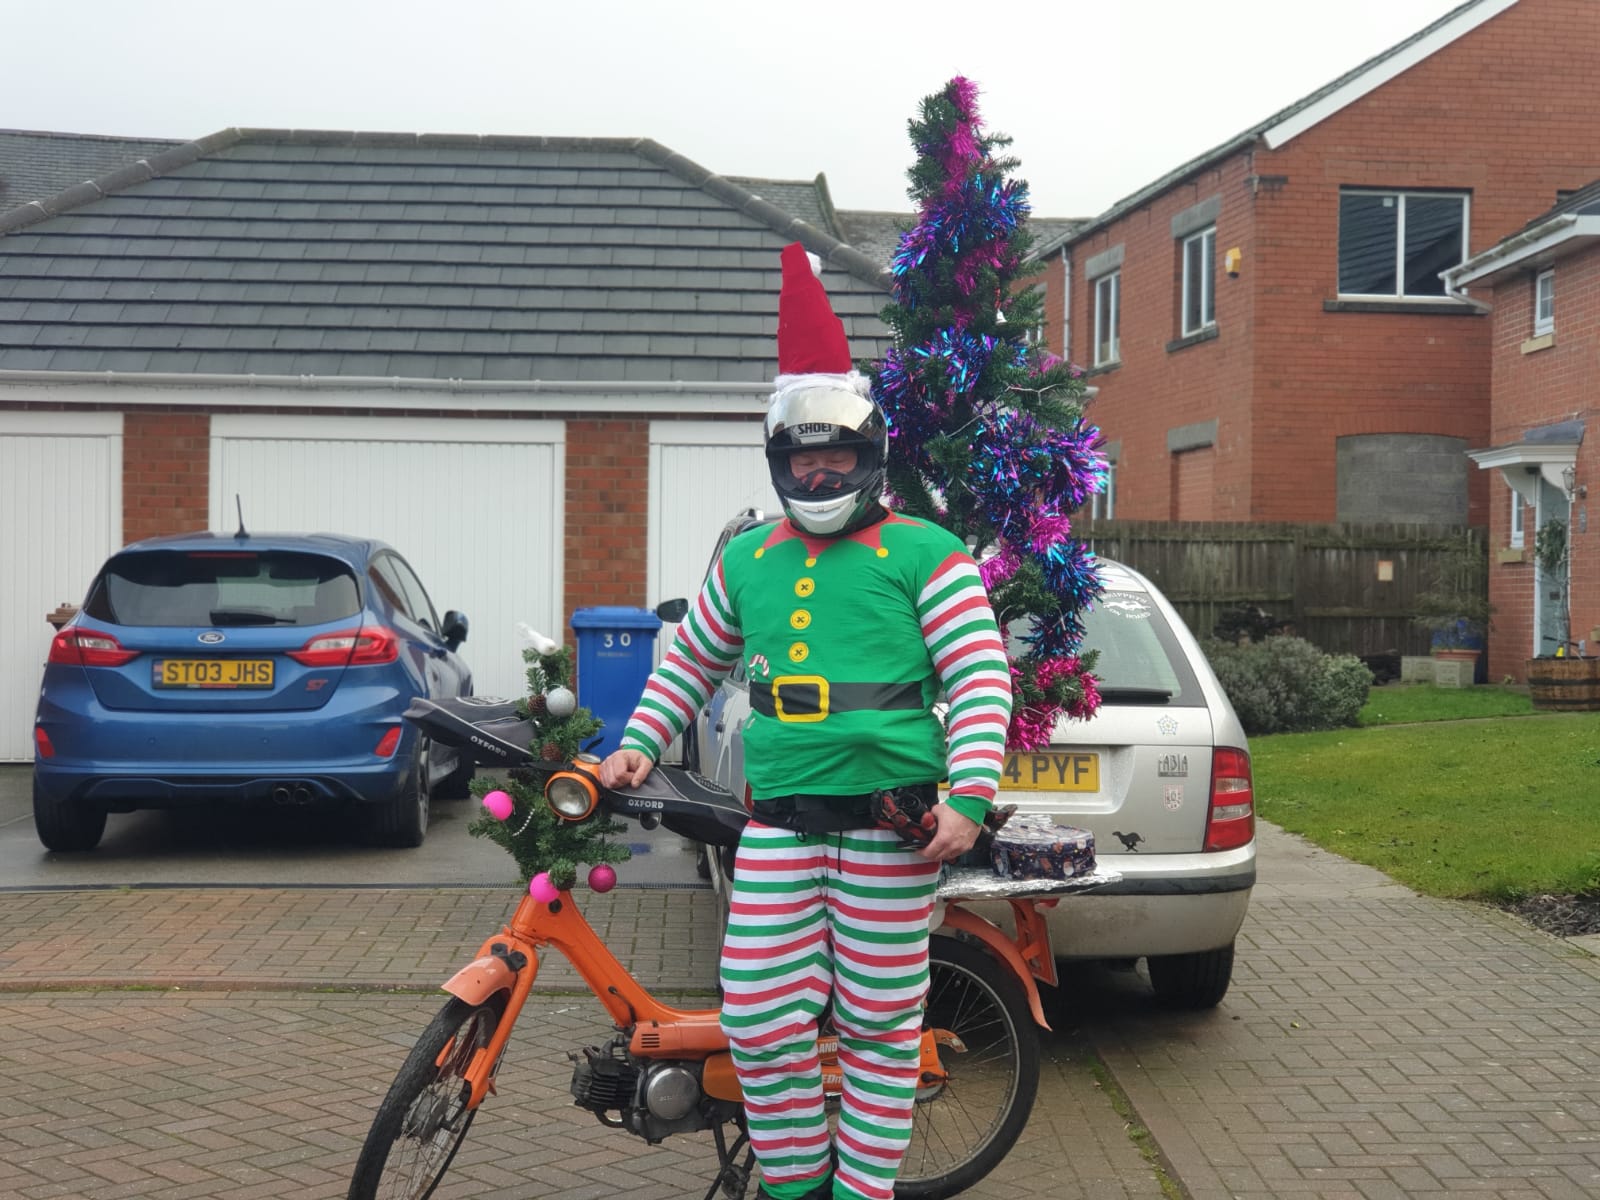
2 pointsXmas run on the pc 50s 4 of us all on 1970s honda pc50s was a good laff And yes that is a 6ft Xmas tree on the back ha
 2 points
 -
Dont rely on Google translate, he was saying "no more problem" In my early days here I said "plus de bière s'il vous plait" to the waitress thinking I was asking for "une bière de plus" and she replied "déjà fait!" whilst taking away my glass. Some lessons you learn the hard way but they are not forgotten!2 points
-
1 pointBargain on the Insurance! One of his vids that is my favourite is his trip in Italy in the Alfa he has sold. Pre Harry's Farm.1 point
-
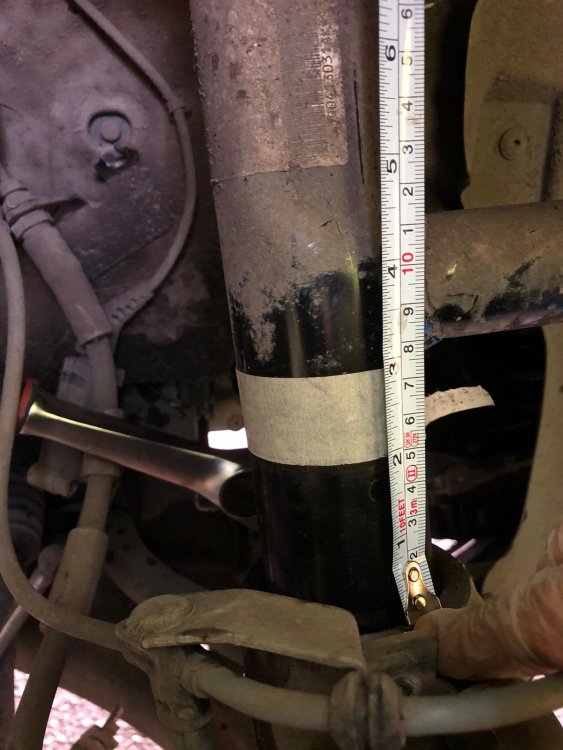
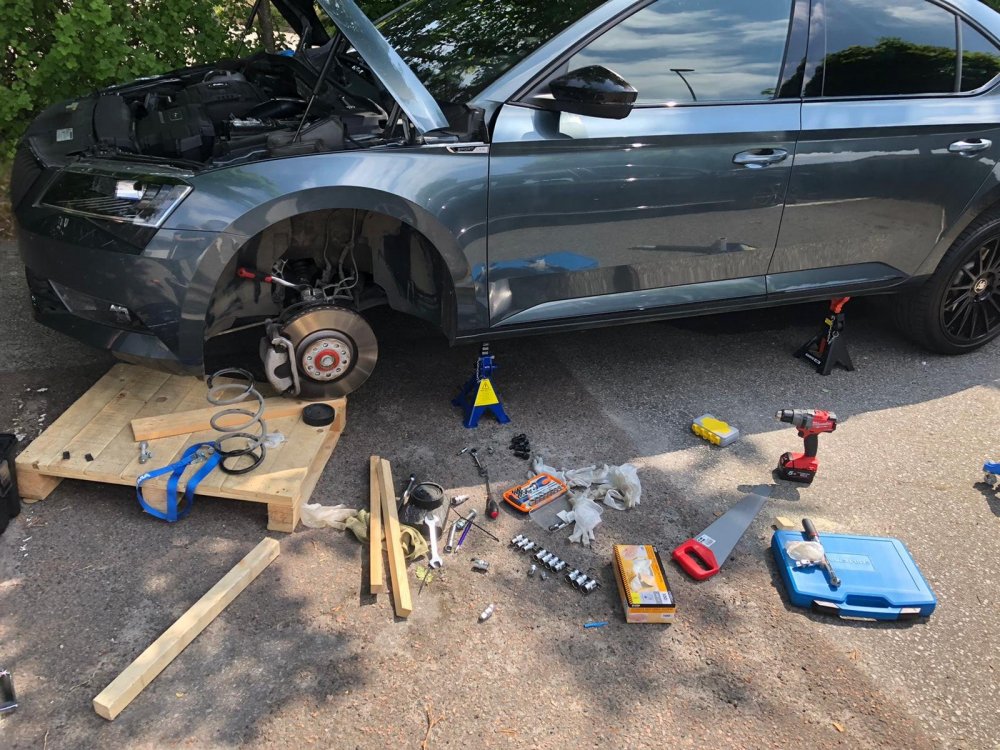
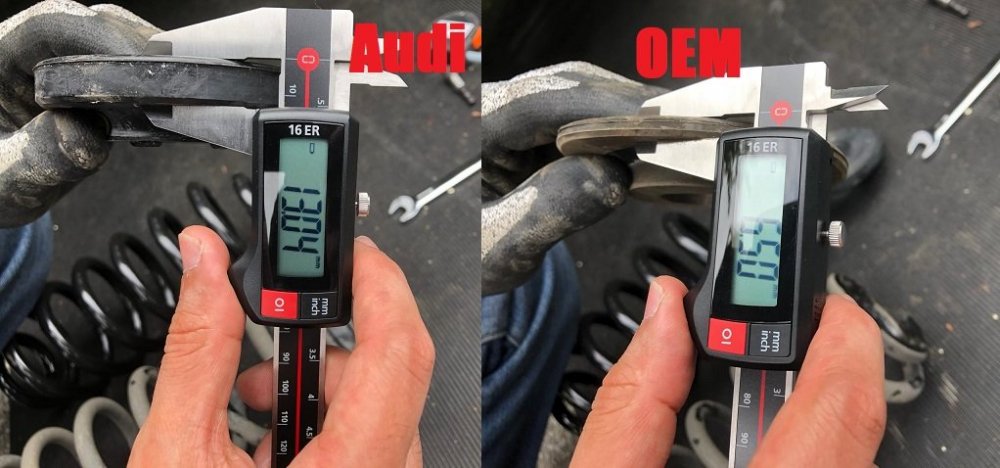
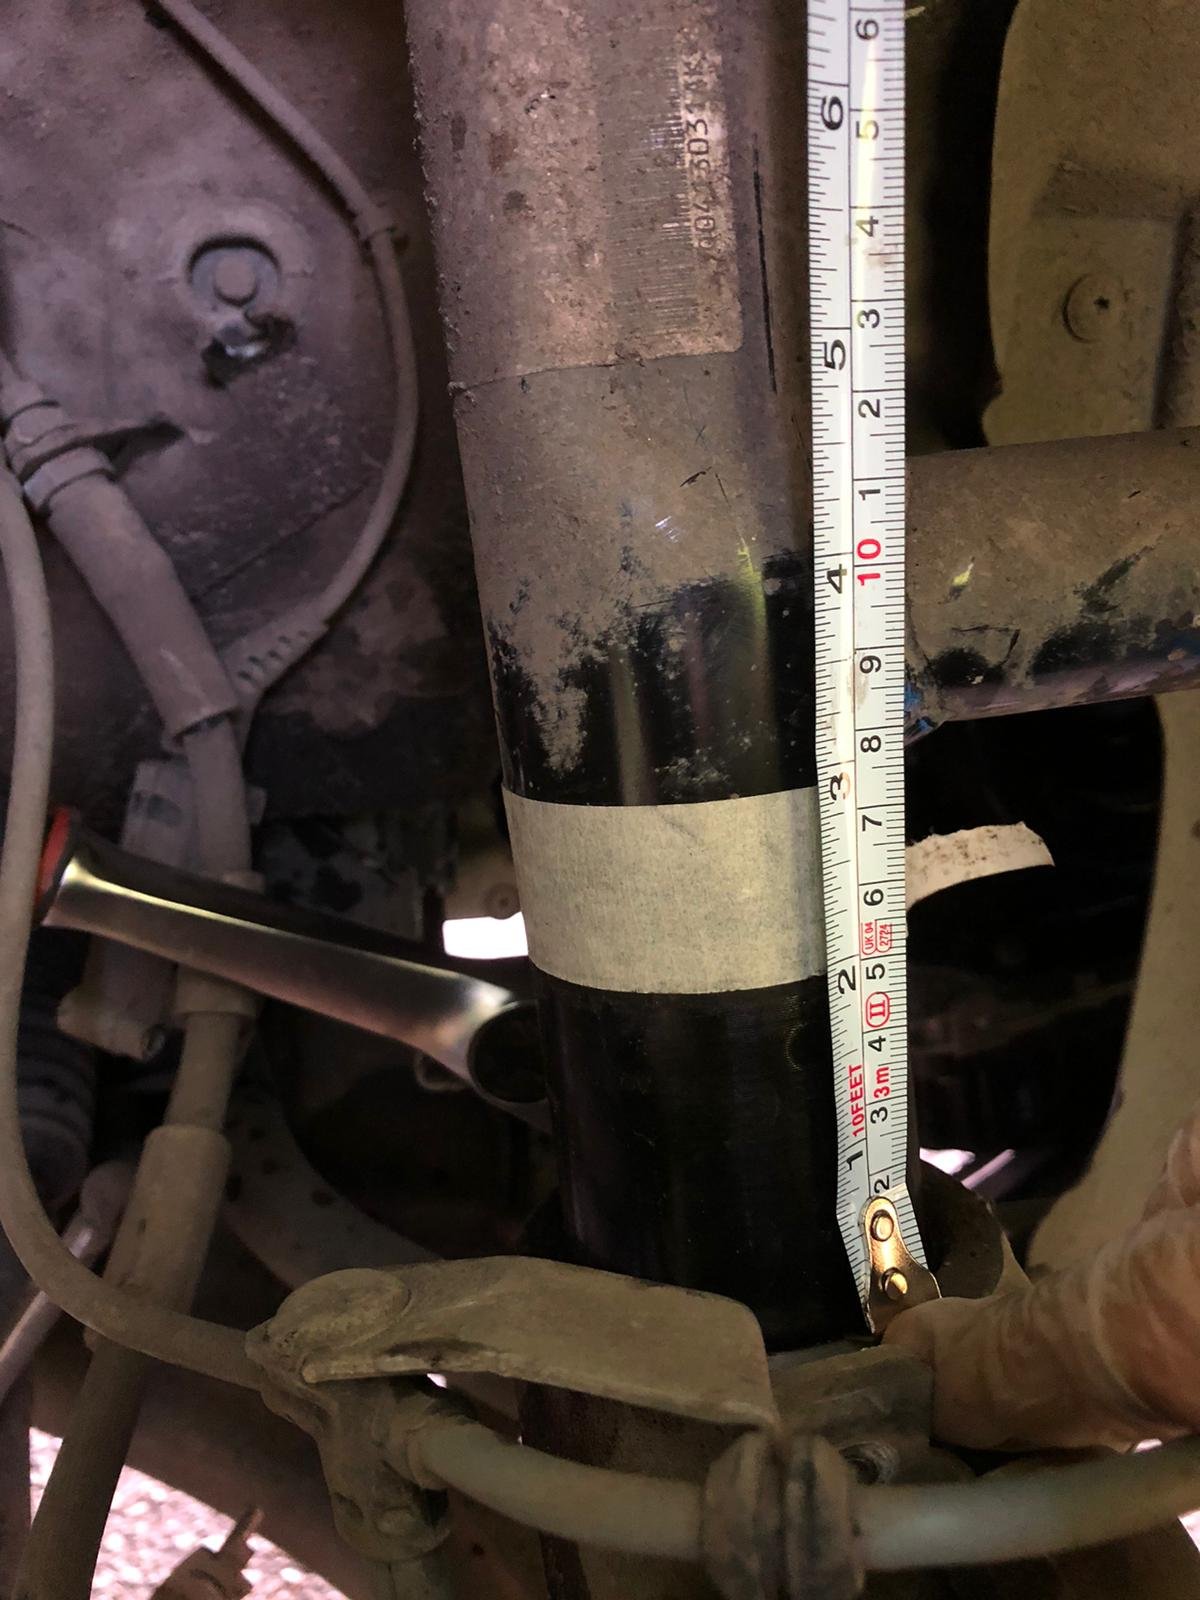
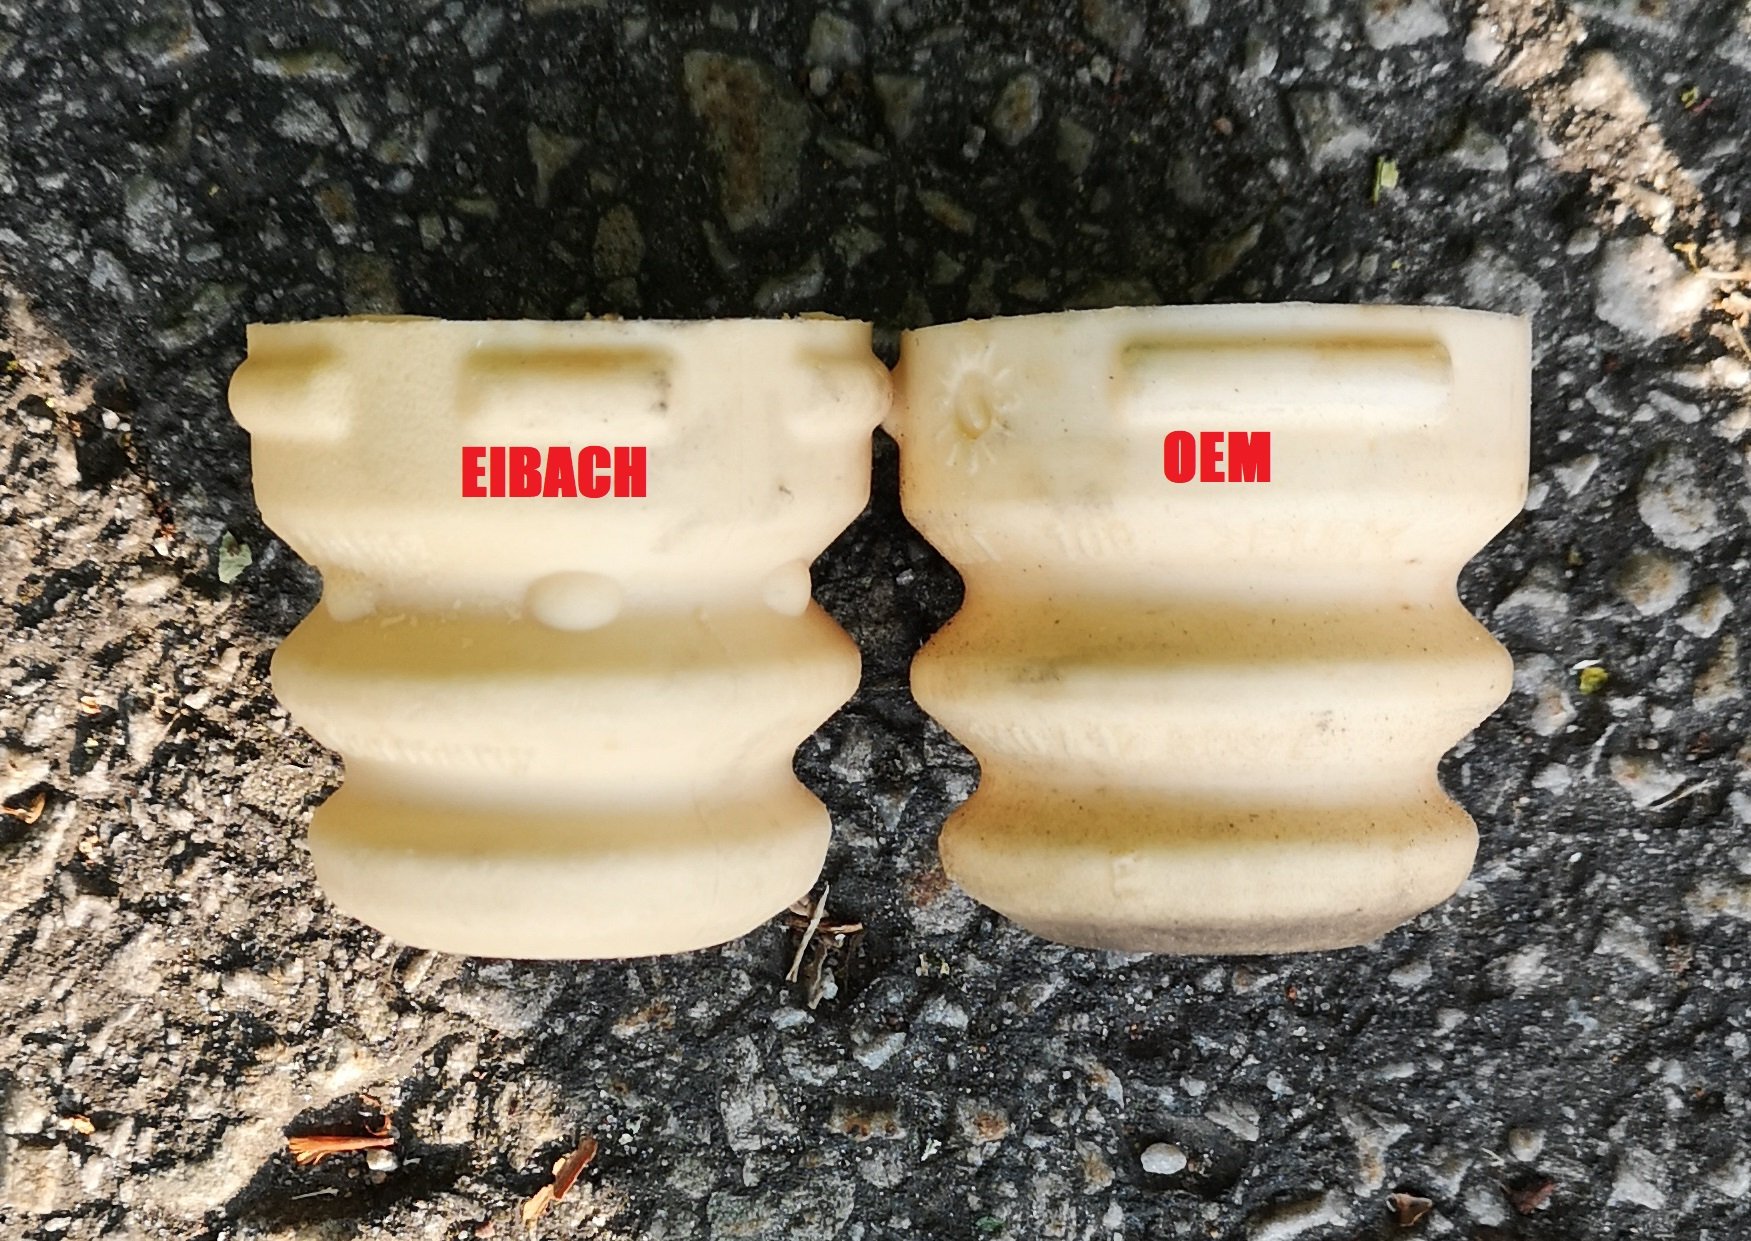
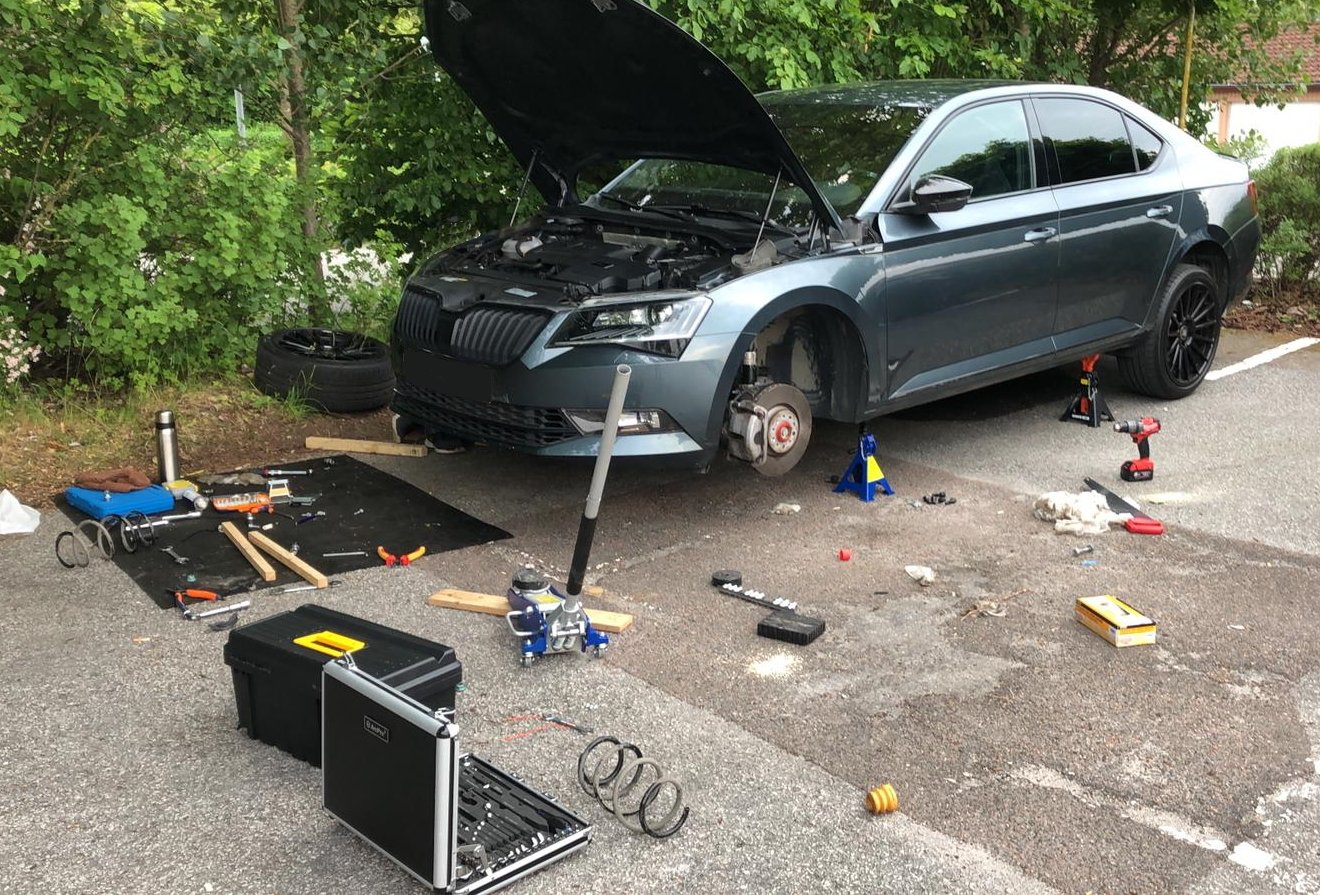
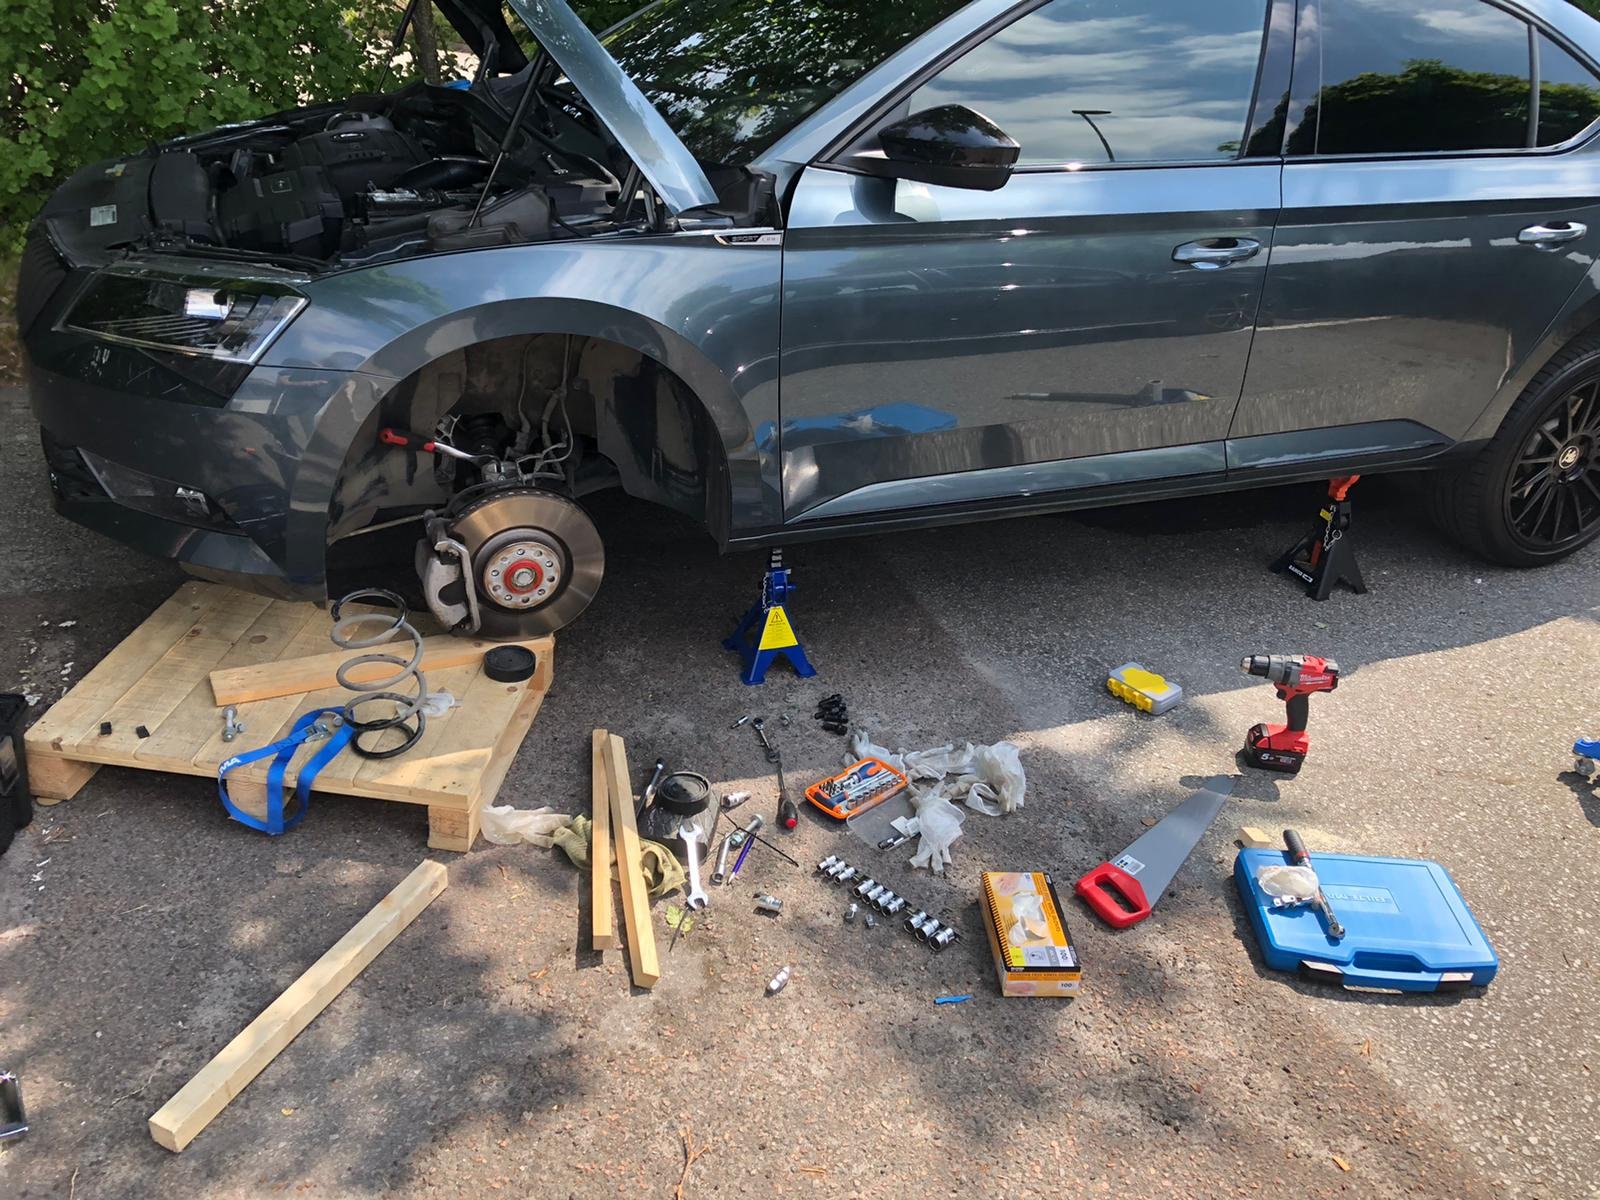
Ok so I wanted to put up a mini guide for this as all my info for this prior install came from MK7 Golf GTI's and R 's which are 95% the same but not identical. There's a few threads on the internet and YT where you can gather the big picture of the amount and type of labour involved in this job (l will link them below) and I don't plan to repeat all of it but rather build upon it with my own DIY oriented tips and findings on the 272 (280 is the same). Also because we struggled a lot at some points (probably because it was my first time messing with springs on my own) so If I could save another guy's time and trouble doing this for the first time I'd be very glad. It's a PITA job if you haven't done it before, especially if you follow the "easy" 2x4 method that seems to be so popular online like I did. As someone said it's half art half science and you have to work by feel at certain stages otherwise you might be stuck with a half removed/installed strut... It took me and a buddy that was helping me out close to 6-7hr for the two fronts but that's because we got stuck at some point, I'm pretty sure I could get them done again in 4hr max now that I know the tricks. Rears are really easy, 2hr is probably all the time you need so around 6hr in total. Getting the strut out: So the start was really easy: I removed wheel, lifted the front of the car (i did both ends to avoid working at an angle), and unscrewed the plastic leveling arm bracket, the brake line bracket on the knuckle and the DCC plug (both sides). Then I just undid the end-link nut and the triple square bolt and nut that keep the strut in place on the knuckle and ready I was for the 2x4 method. This refers to a 2x4 inch wood block, used to lift the strut up and out from the knuckle (by attaching it to the strut and jacking it up with a jack) without needing to drop the axle too low or undoing any drive shaft or ball joint bolts or brake calipets etc. It's the approach with minimum fasteners replacement so I guess that's why it's popular with the DIY-ers but retrospectively I'm not too sure it's actually quicker than removing the shaft from the knuckle, especially the first time, and especially during the re-install stage which is where we got stuck. This video shows it very well: My comments on this: * Before you start dropping the lower control arm: put some masking tape to mark the height at which the strut is seated inside the knuckle. You'll thank yourself later when it will be going in very slow and hard and you won't know how much more you should continue to drop it. Here's mine while going back in, the bottom of the mask needed to go down to the top face of the knuckle seat (50mm more at that point) * Install your spreader or 1/4" ratchet at the knuckle as shown in the vids and guides, and start wiggling the LCA via the brake disc (pull towards you and push towards the inside of the car) so that the LCA starts to drop as the spreader keeps it loose. It should do quite easily at the beginning, like 2-3cm immediately. Then reposition your spreader lower, below the strut's little tab at the back (you'll feel it blocking further drop back there) and repeat and you should have the strut out/LCA down by a total of 6-8cm (3"). The little tab will be fully ABOVE the bolt hole. Only then proceed to the 2x4" otherwise you'll need to compress the spring dangerously high. * Don't use an actual 2x4 piece (not even the guy in the vid uses one i believe), it's going to be too big for the available space. I went with a rectangular 45x45mm (1.75x1.75") piece and it worked a breeze, much easier to get in and out and position as close and as parallel as possible to the strut which is what you want in order to avoid going in at angle and end up snapping it mid-way. * Install your piece of wood as parallel and as close as possible to the strut (sorry no pic of that). Also drill as small a hole for the bolt as you can (12mm is fine, i did a 10mm and slowly "ate" a couple mill around it with the drill bit for a snug fit). That way the wood doesn't even need to lift the strut itself, it's all done via the hole and the bolt and it's still very rigid. * Now, have a friend SLOWLY jacking the wood up and keep wiggling the brake disc to help release the strut. Even with the spreader, the knuckle probably won't be that loose to simply lift the strut out by jacking so go slow and patiently. If it's not right you'll start lifting the entire LCA with the strut (and the whole car) up from the jack so back down, reposition your spreader at the top if needed, and repeat jacking and wiggling the disc. It should soon come out. * Once it does, rotate the knuckle away from the strut's axis so that it's got room to decompress once you release the jack. Then just undo the 3 small bolts at the top and the strut should drop right out. <<< STRUT OUT, that's 20% of the whole job done >>> Now on to spring removal: Videos show the GTI/R springs simply extend 1-2 cm with very little force so no spring compressors needed. The Superb however sits higher from factory, even the Sportline. I expected the release wouldn't be so light and i was right. When the last thread is out the springs decompress a couple of cm and shoot the top mount and nut a few meters forward. It's probably not going to kill you but you definitely don't want to stand in its way and trying it, it's a fiercer release than on the GTIs and Rs. Still I wouldn;t get compressors when doing it again but make sure you do as I did and have the axis of the spring clear for the release, be above it and step on it steadily and use a standard ratchet (not some sort socket) so that your hand is away from the spring's shooting path, here's a short clip of that: Re-Installation Nothing to note here, remove spring, install new spring and seat it correctly on the rubber base, use Eibach's supplied bump stops (they look identical to OEM), put back the spring bushing and top mount, ALIGN them properly by checking the alignment marks! and start screwing the top nut (you can simply compress the spring by hand for the first few mm needed. Here is where it pays to have a special 21mm pass-through socket and a 7mm Allen key as you won;t be able to put the exact amount of torque (the damper piston with the inner screw will be spinning. I didn't so I had to improvise, I tightened it up to where it felt really snug and also noticed there were installation marks from factory and I was already maybe half a turn past them so they should be good. No funny noises/clanks after anyway Once the strut is assembled again, vids say "just follow reverse order". yeah, reverse order my ar53... Notes: * DON'T tighten the 3 top mount bolts as you'll never be able to tilt the strut to the required angle to sit in the knuckle again, just a couple of threads to prevent it from dropping should be fine. * Re-insert the spreader if you removed it before, re-attach your wood to the strut, jack it up to clear the knuckle, rotate the knuckle and align the strut and knuckle as concentrically as you can by eye, then lower the jack SLOWLY so that you ensure the strut starts seating properly. Unfortunately it won't just go back in by the spring's force. First time we had a tiny small angle between strut and knuckle axes which was enough to stop anything from moving further. Moving the jack below the LCA and trying to jack it up to force the strut to drop in resulted in jacking the entire car up... After lots of swearing and re-trying we figured it out: * After the strut is in a few mm, and ONLY IF you see it;s going in straight and not at an angle, move the jack below the LCA and SLOWLY jack it up while at the same time wiggling the brake disc the same way you did for releasing, so that the strut is allowed to drop deeper every time. Re-position the spreader as you go so that you don't obstruct the tab to drop and it once it's fully in (your marking tape will tell you that without doubt) you're done. Re-tightening the bolts and connectors is straight-forward and that's 40% of the job done. The passenger side is another 40% and the rears I'd attribute a mere 10% of the total time needed for each one. A nice mess mid-way... REARS Those are probably 3x easier I'd say (actually 4x according to my time estimation above ). One leveling arm only as well as the DCC plugs το disconnect and you can start undoing the 3 bolts needed: a) end-link bolt-nut b) shock bolt-nut c) wheel bearing bolt-nut. * I'd recommend starting from the end-link on the inside and working your way out as i feel doing that last will put too much force on the end-link after everything is loose and the spring still pushing. * You will need to use your jack to align the different holes to facilitate the re-mounting as you're fighting vs the spring at that point. The arm to wheel bearing joint is a really tight fit so a screwdriver will be most probably needed to do some micro alignment for the screw to go in and out properly. >>> I opted to replace the top spring pads/bushings with the Audi TT ones (OE part number: 8J0512149 ) as suggested in some threads to avoid reverse rake. Those are ~6.5mm thicker so the rear sits 6.5mm higher. It turns out it was a wise choice as you'll see Coming back soon with photos of the end result and the handling changes


 1 point
 -
1 pointHi all, Picked up a 2011 Octavia estate just before Christmas. Loving it so far. Back to the Skoda family, my dad had two S110R back in the day followed by a few different Estelles. My first car was a Chocolate/Bronze Estelle. Things are a bit different now. Looks to be a great resource, hopefully I can contribute and not just sponge information from you all Have a great new year. Martin1 point
-
I don't get any vibrations at the front that would be sorted by slightly thicker pads, you must be having in mind something different i think.1 point
-
1 point
-
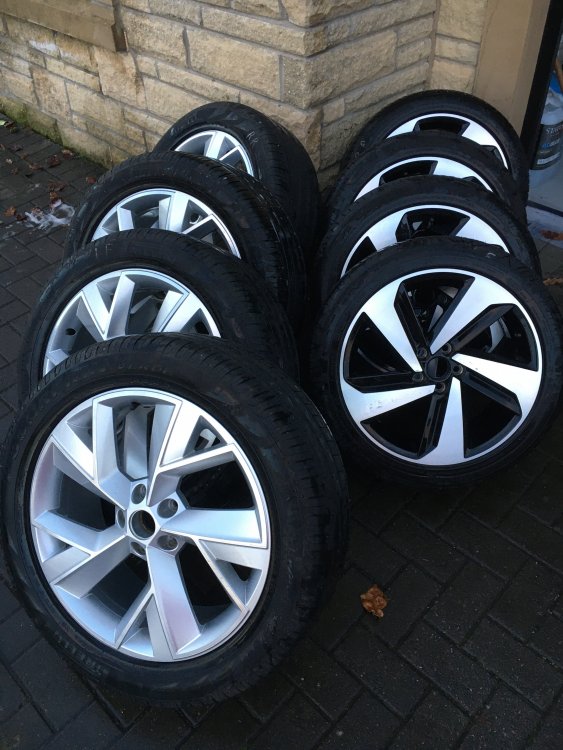
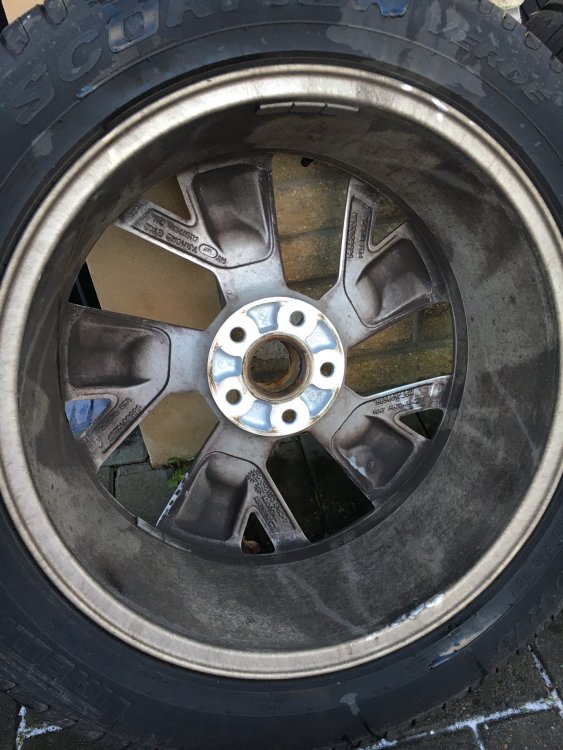
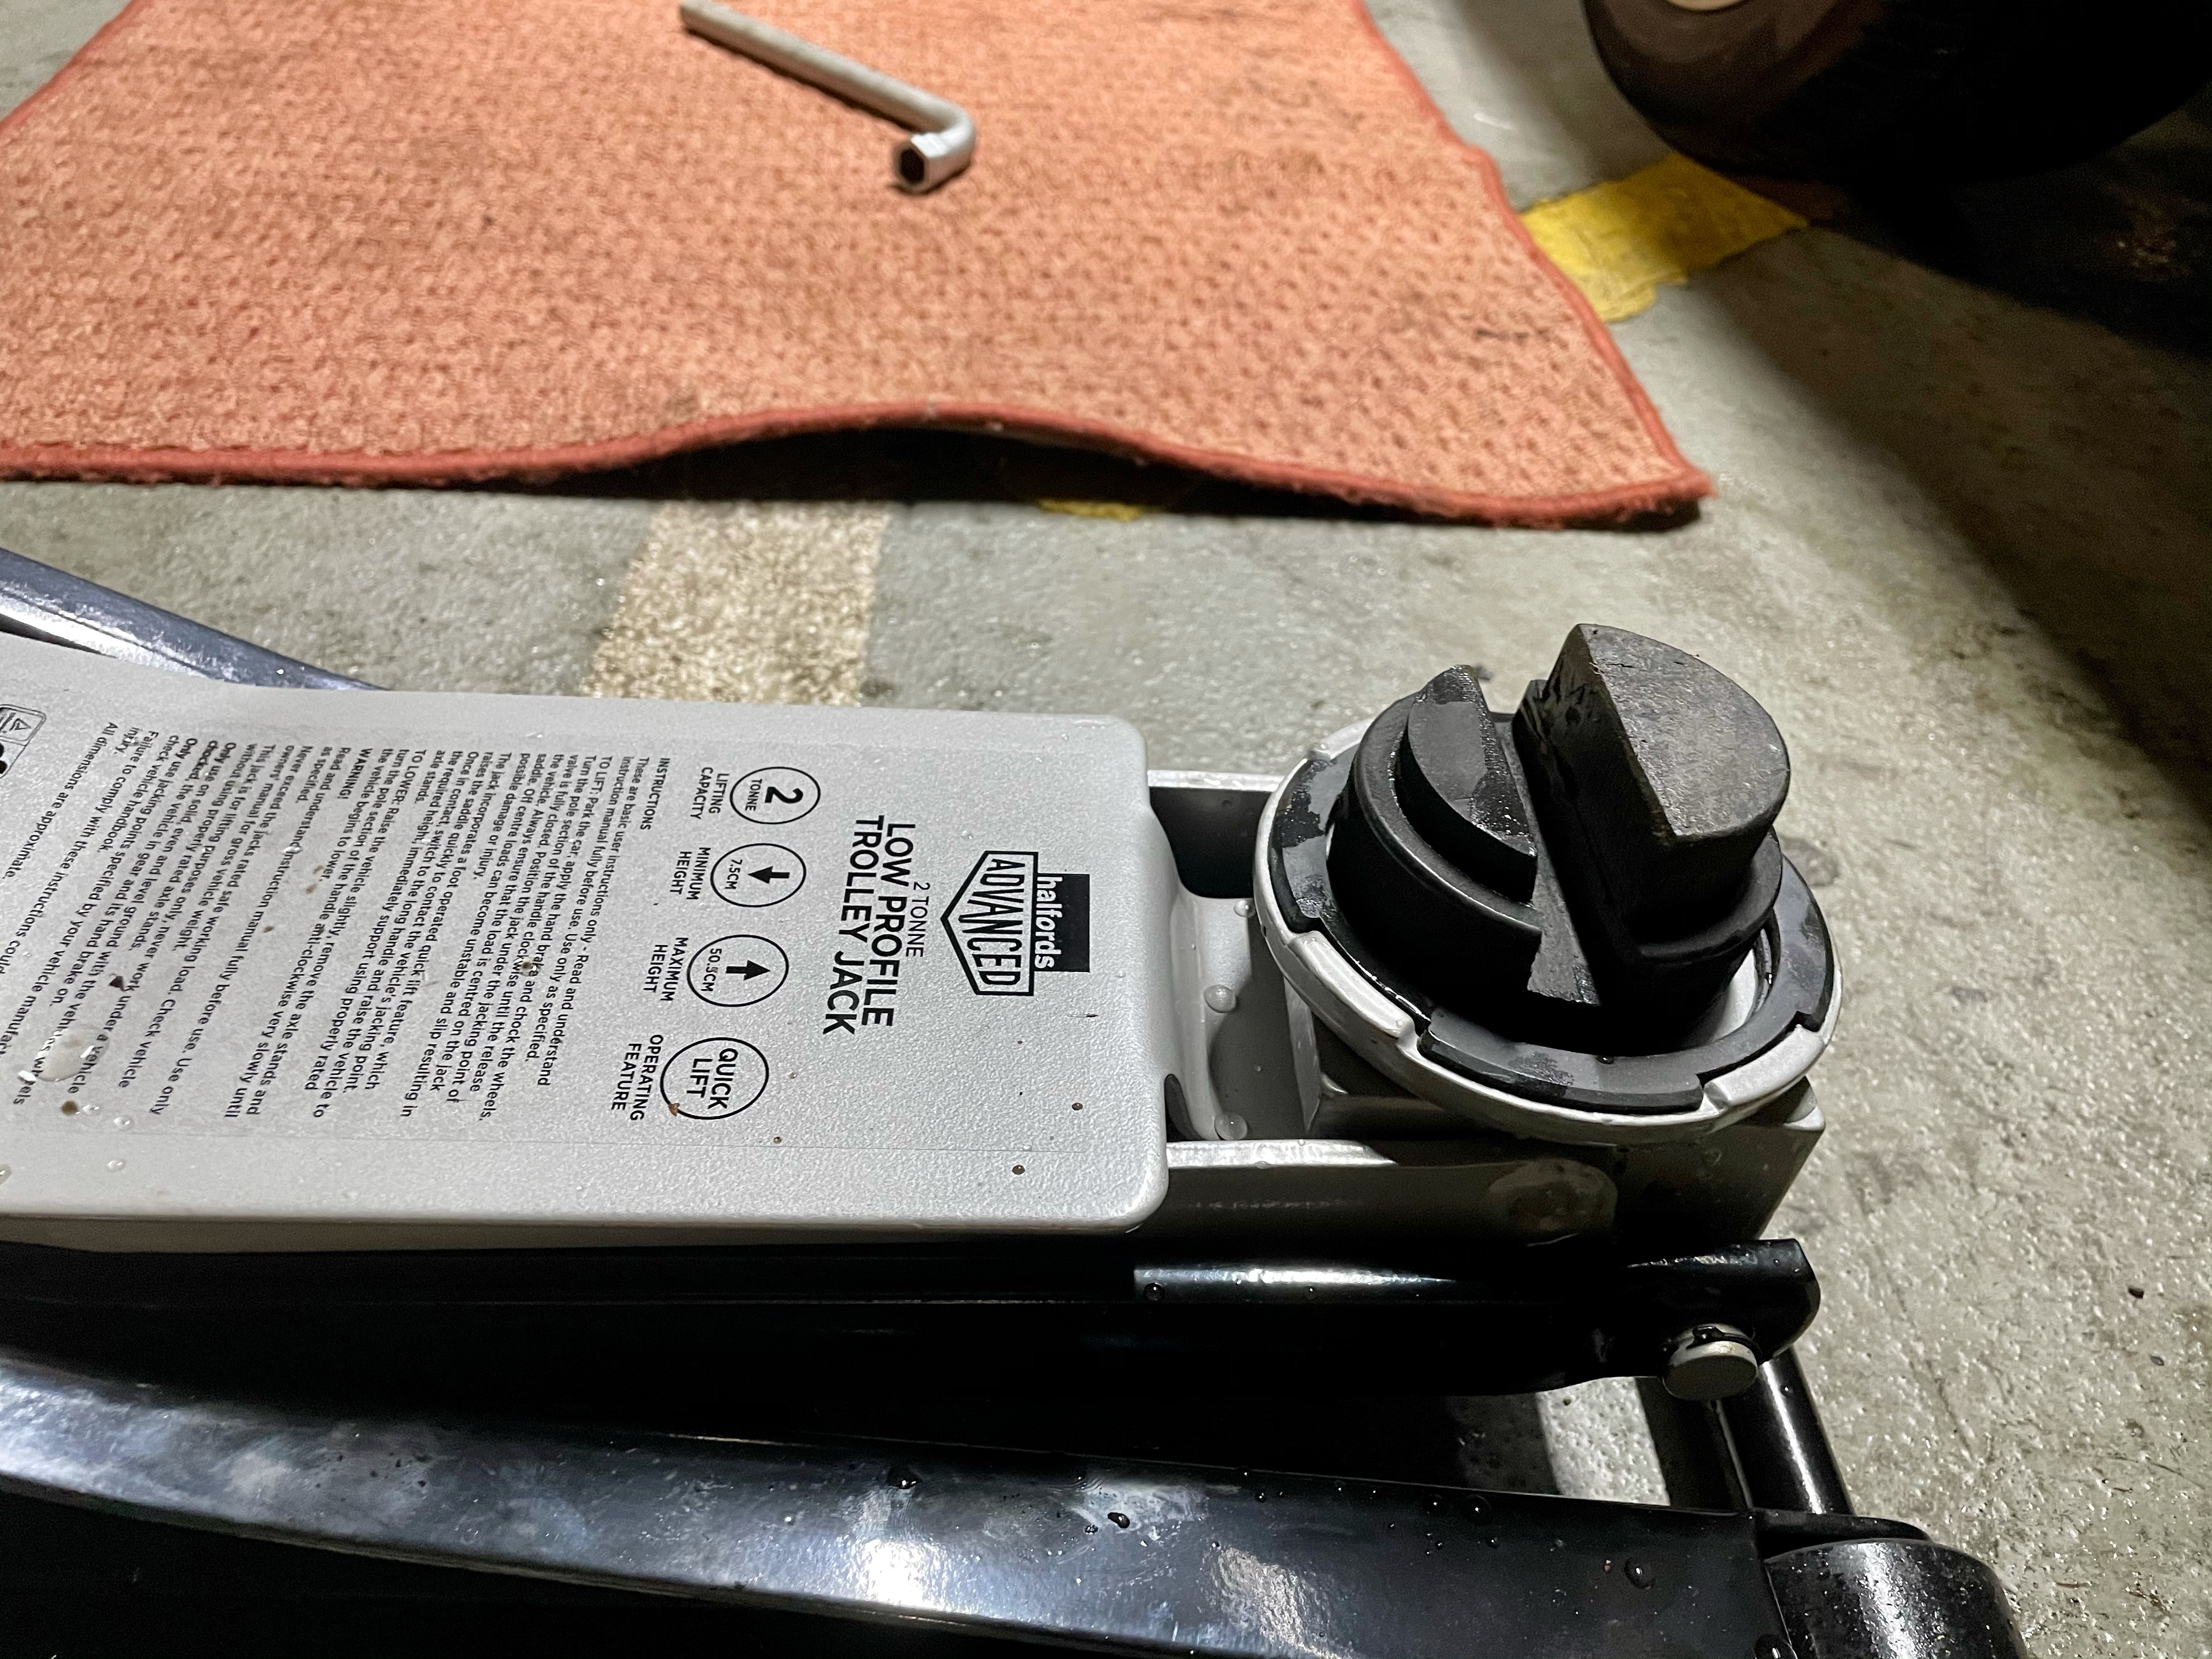
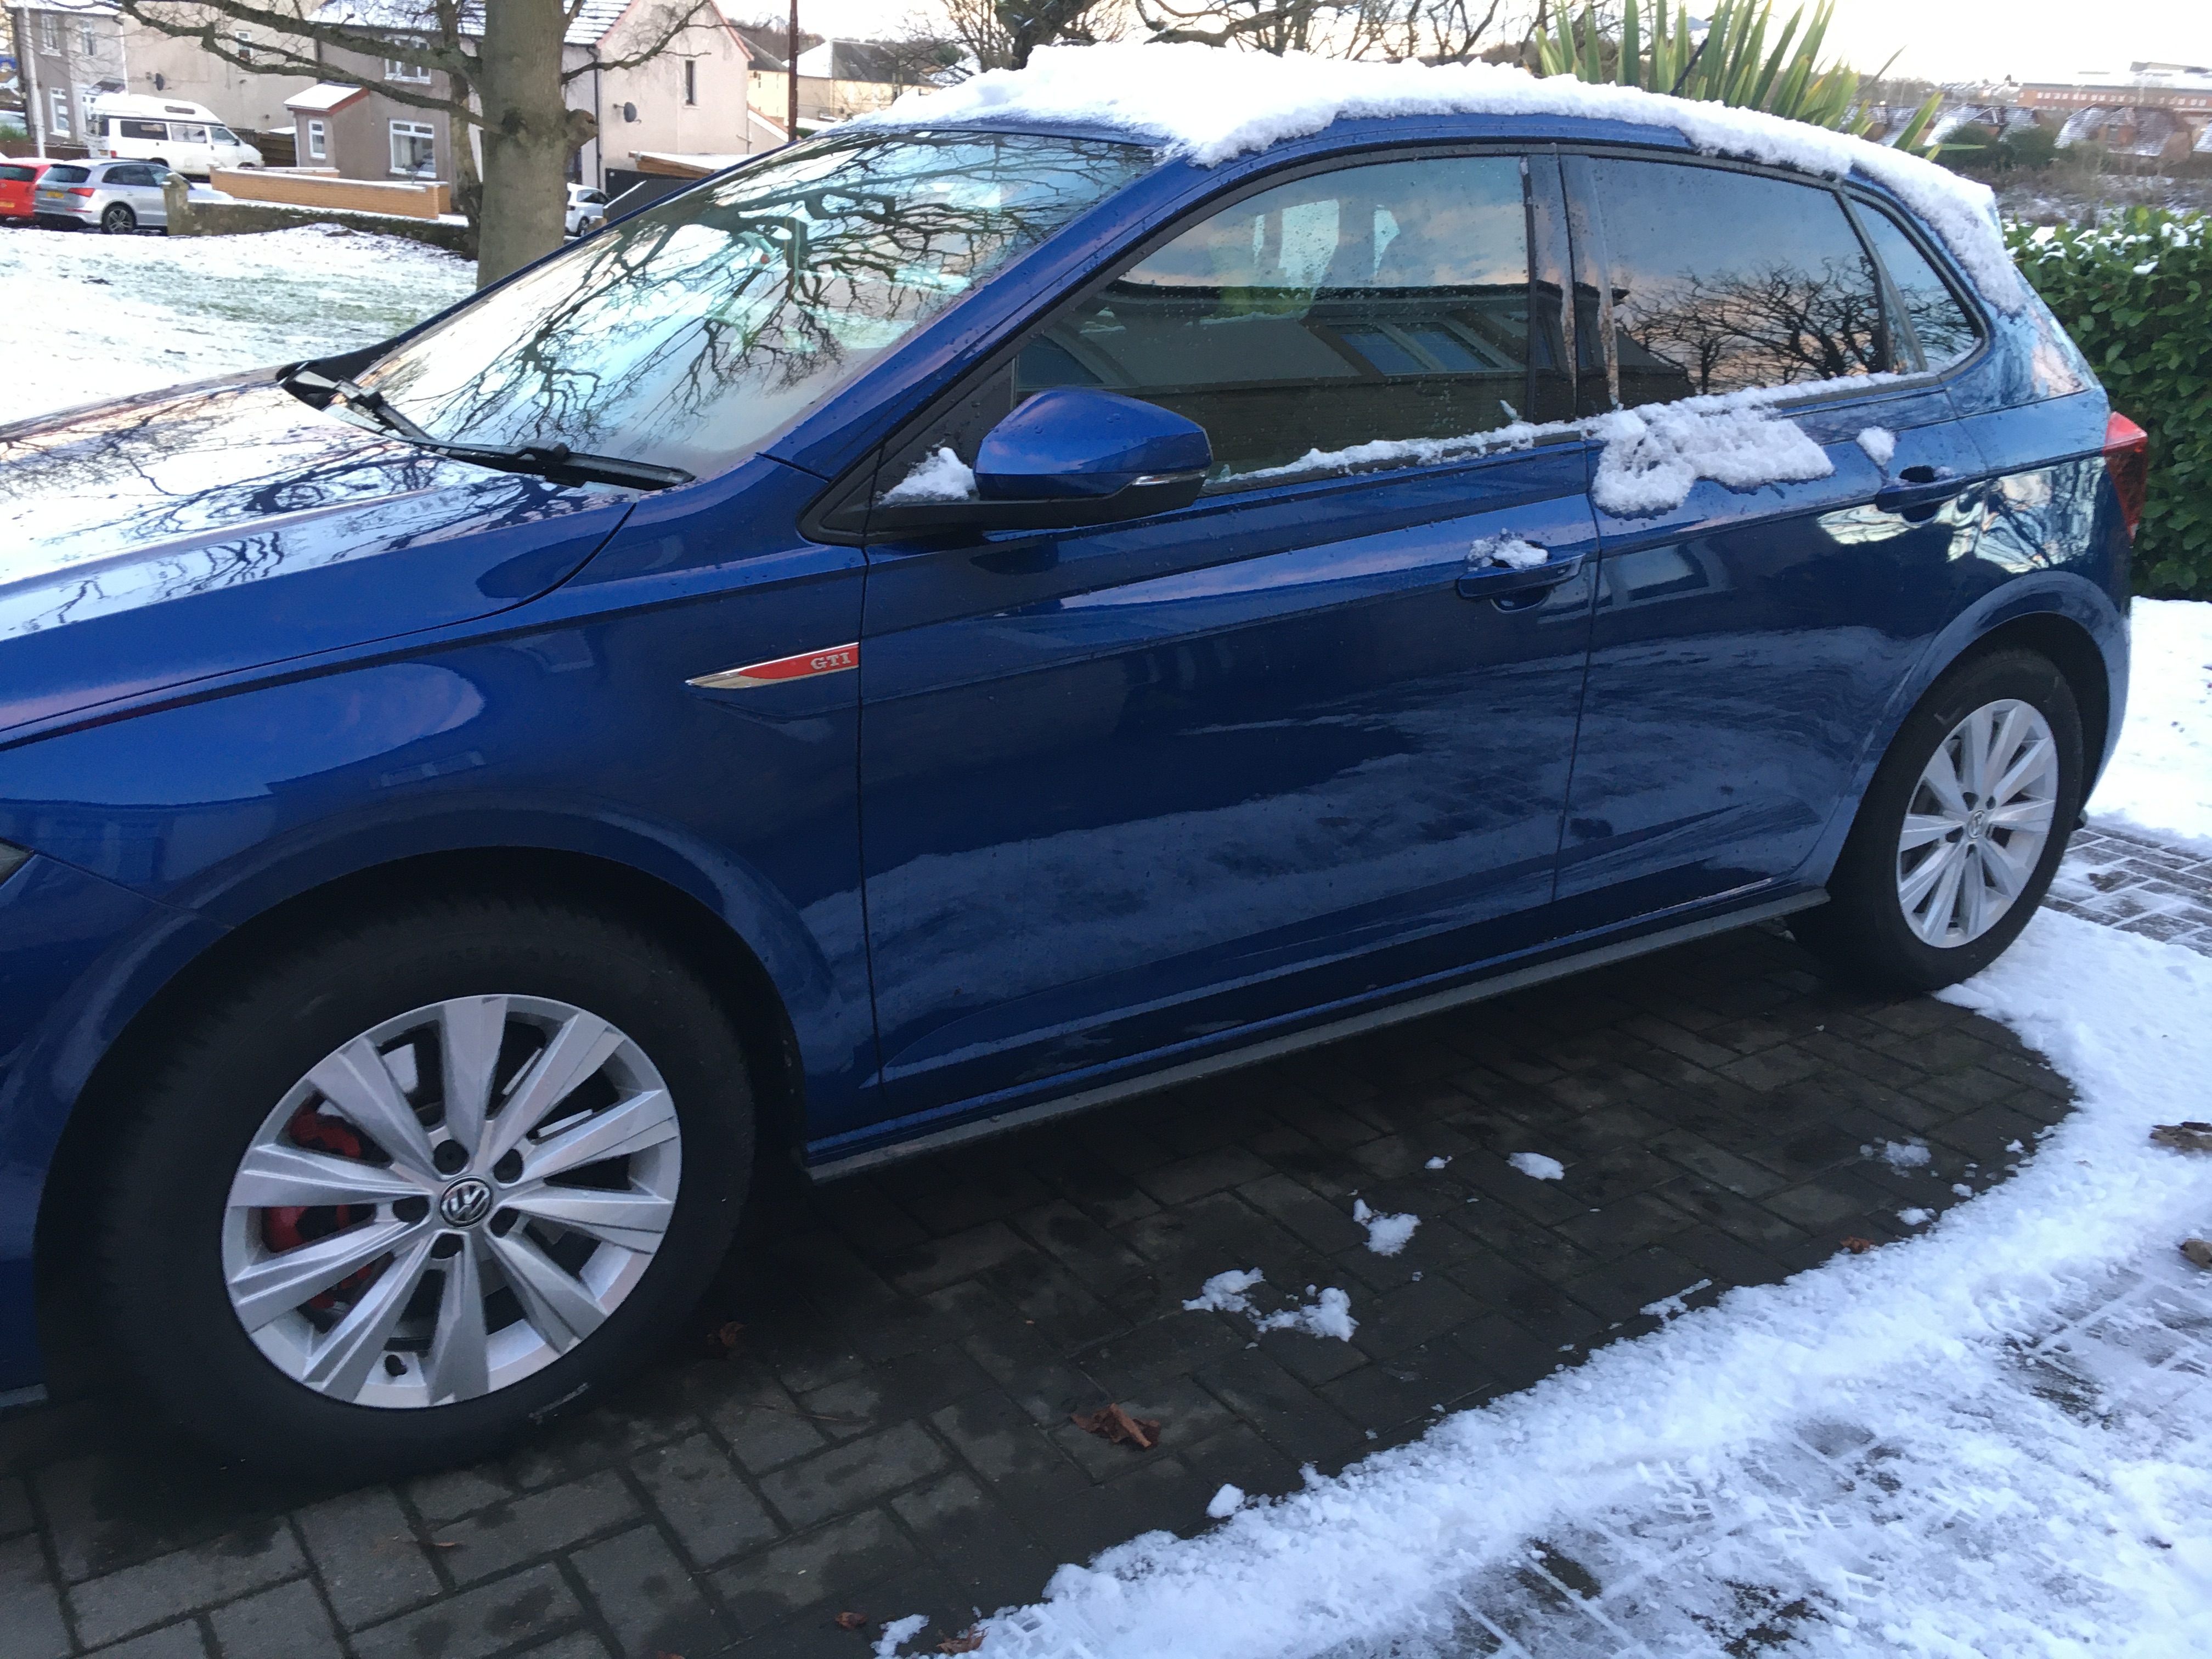
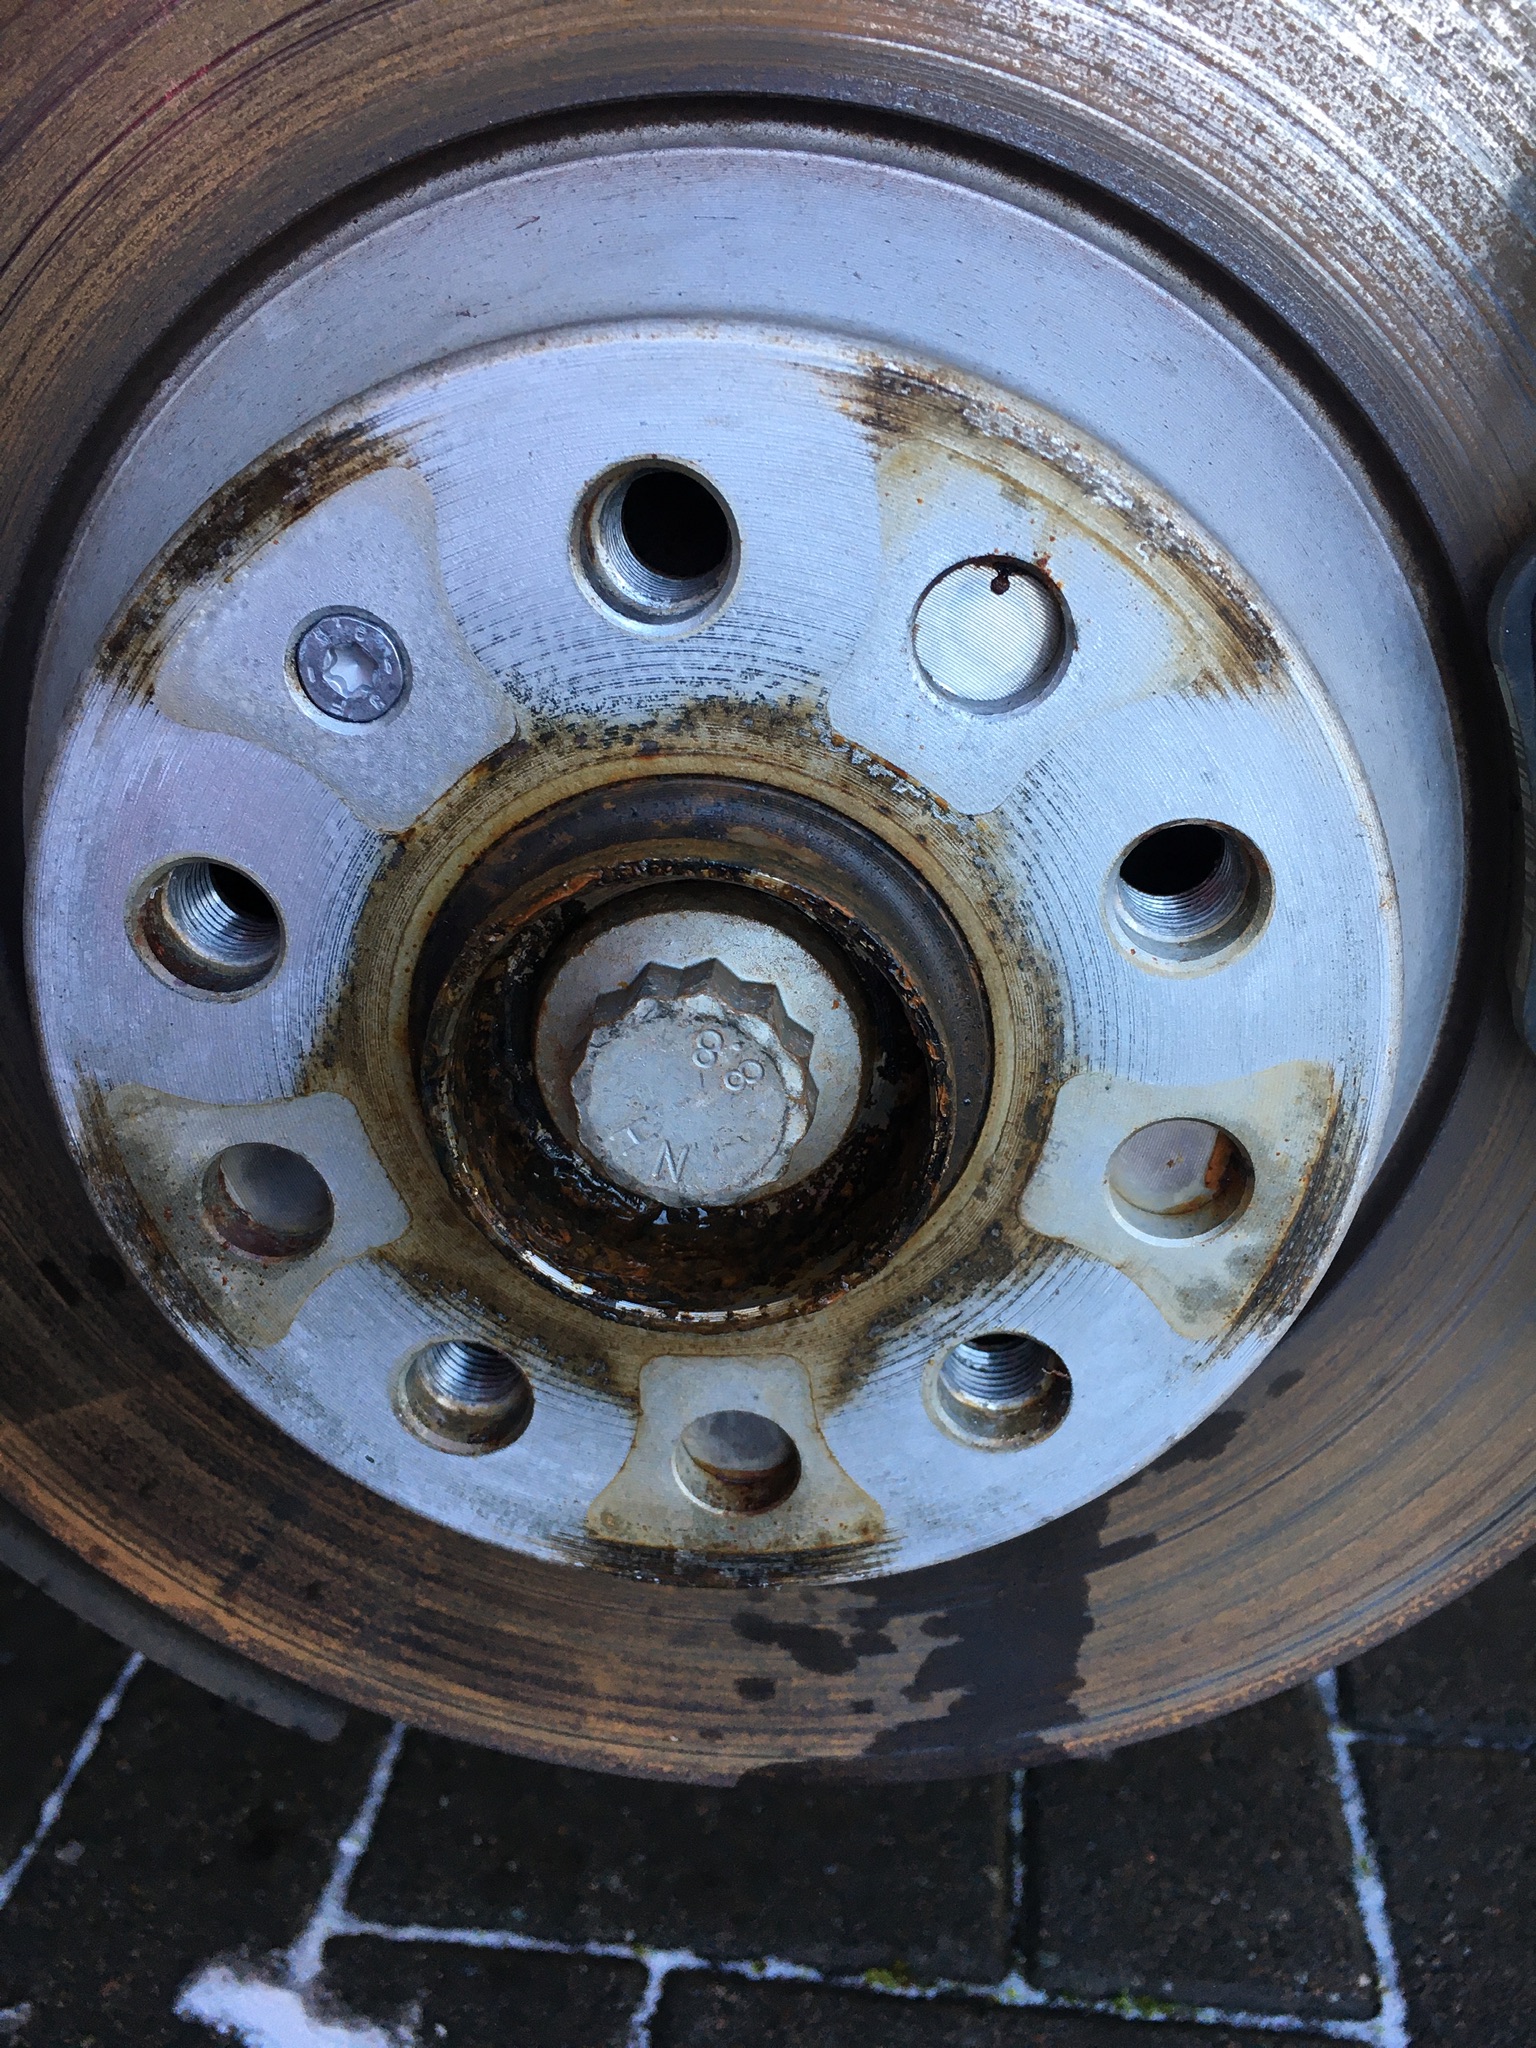
Woke up to a beautiful day. Was reminded I should fit the winter wheels. So that was the afternoon job. Times 2. Hubs & wheels look like rusty crap as usual. Only done 9 months and 4,300 miles. OEM wheels cleaned up nicely with half a bucket of elbow grease. Just need an oily rag to finish them off and stack ‘em for a few months. 2 stacks of wheels make a nice storage table 😀


 1 point
 -
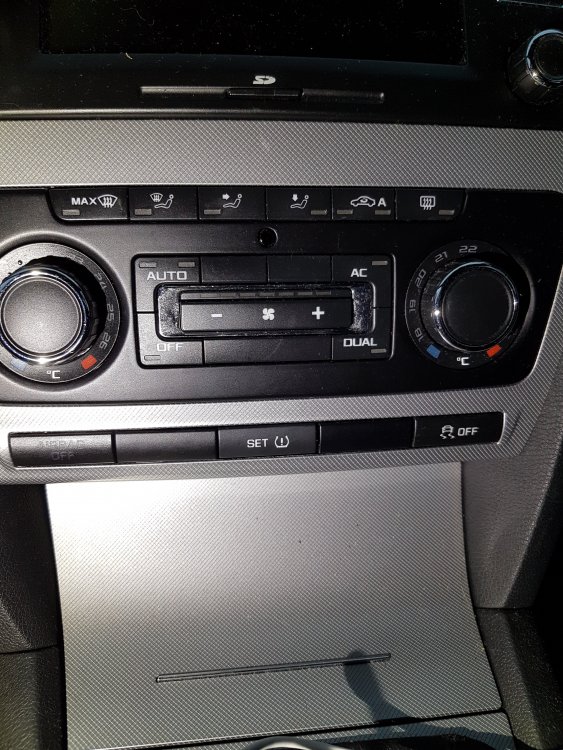
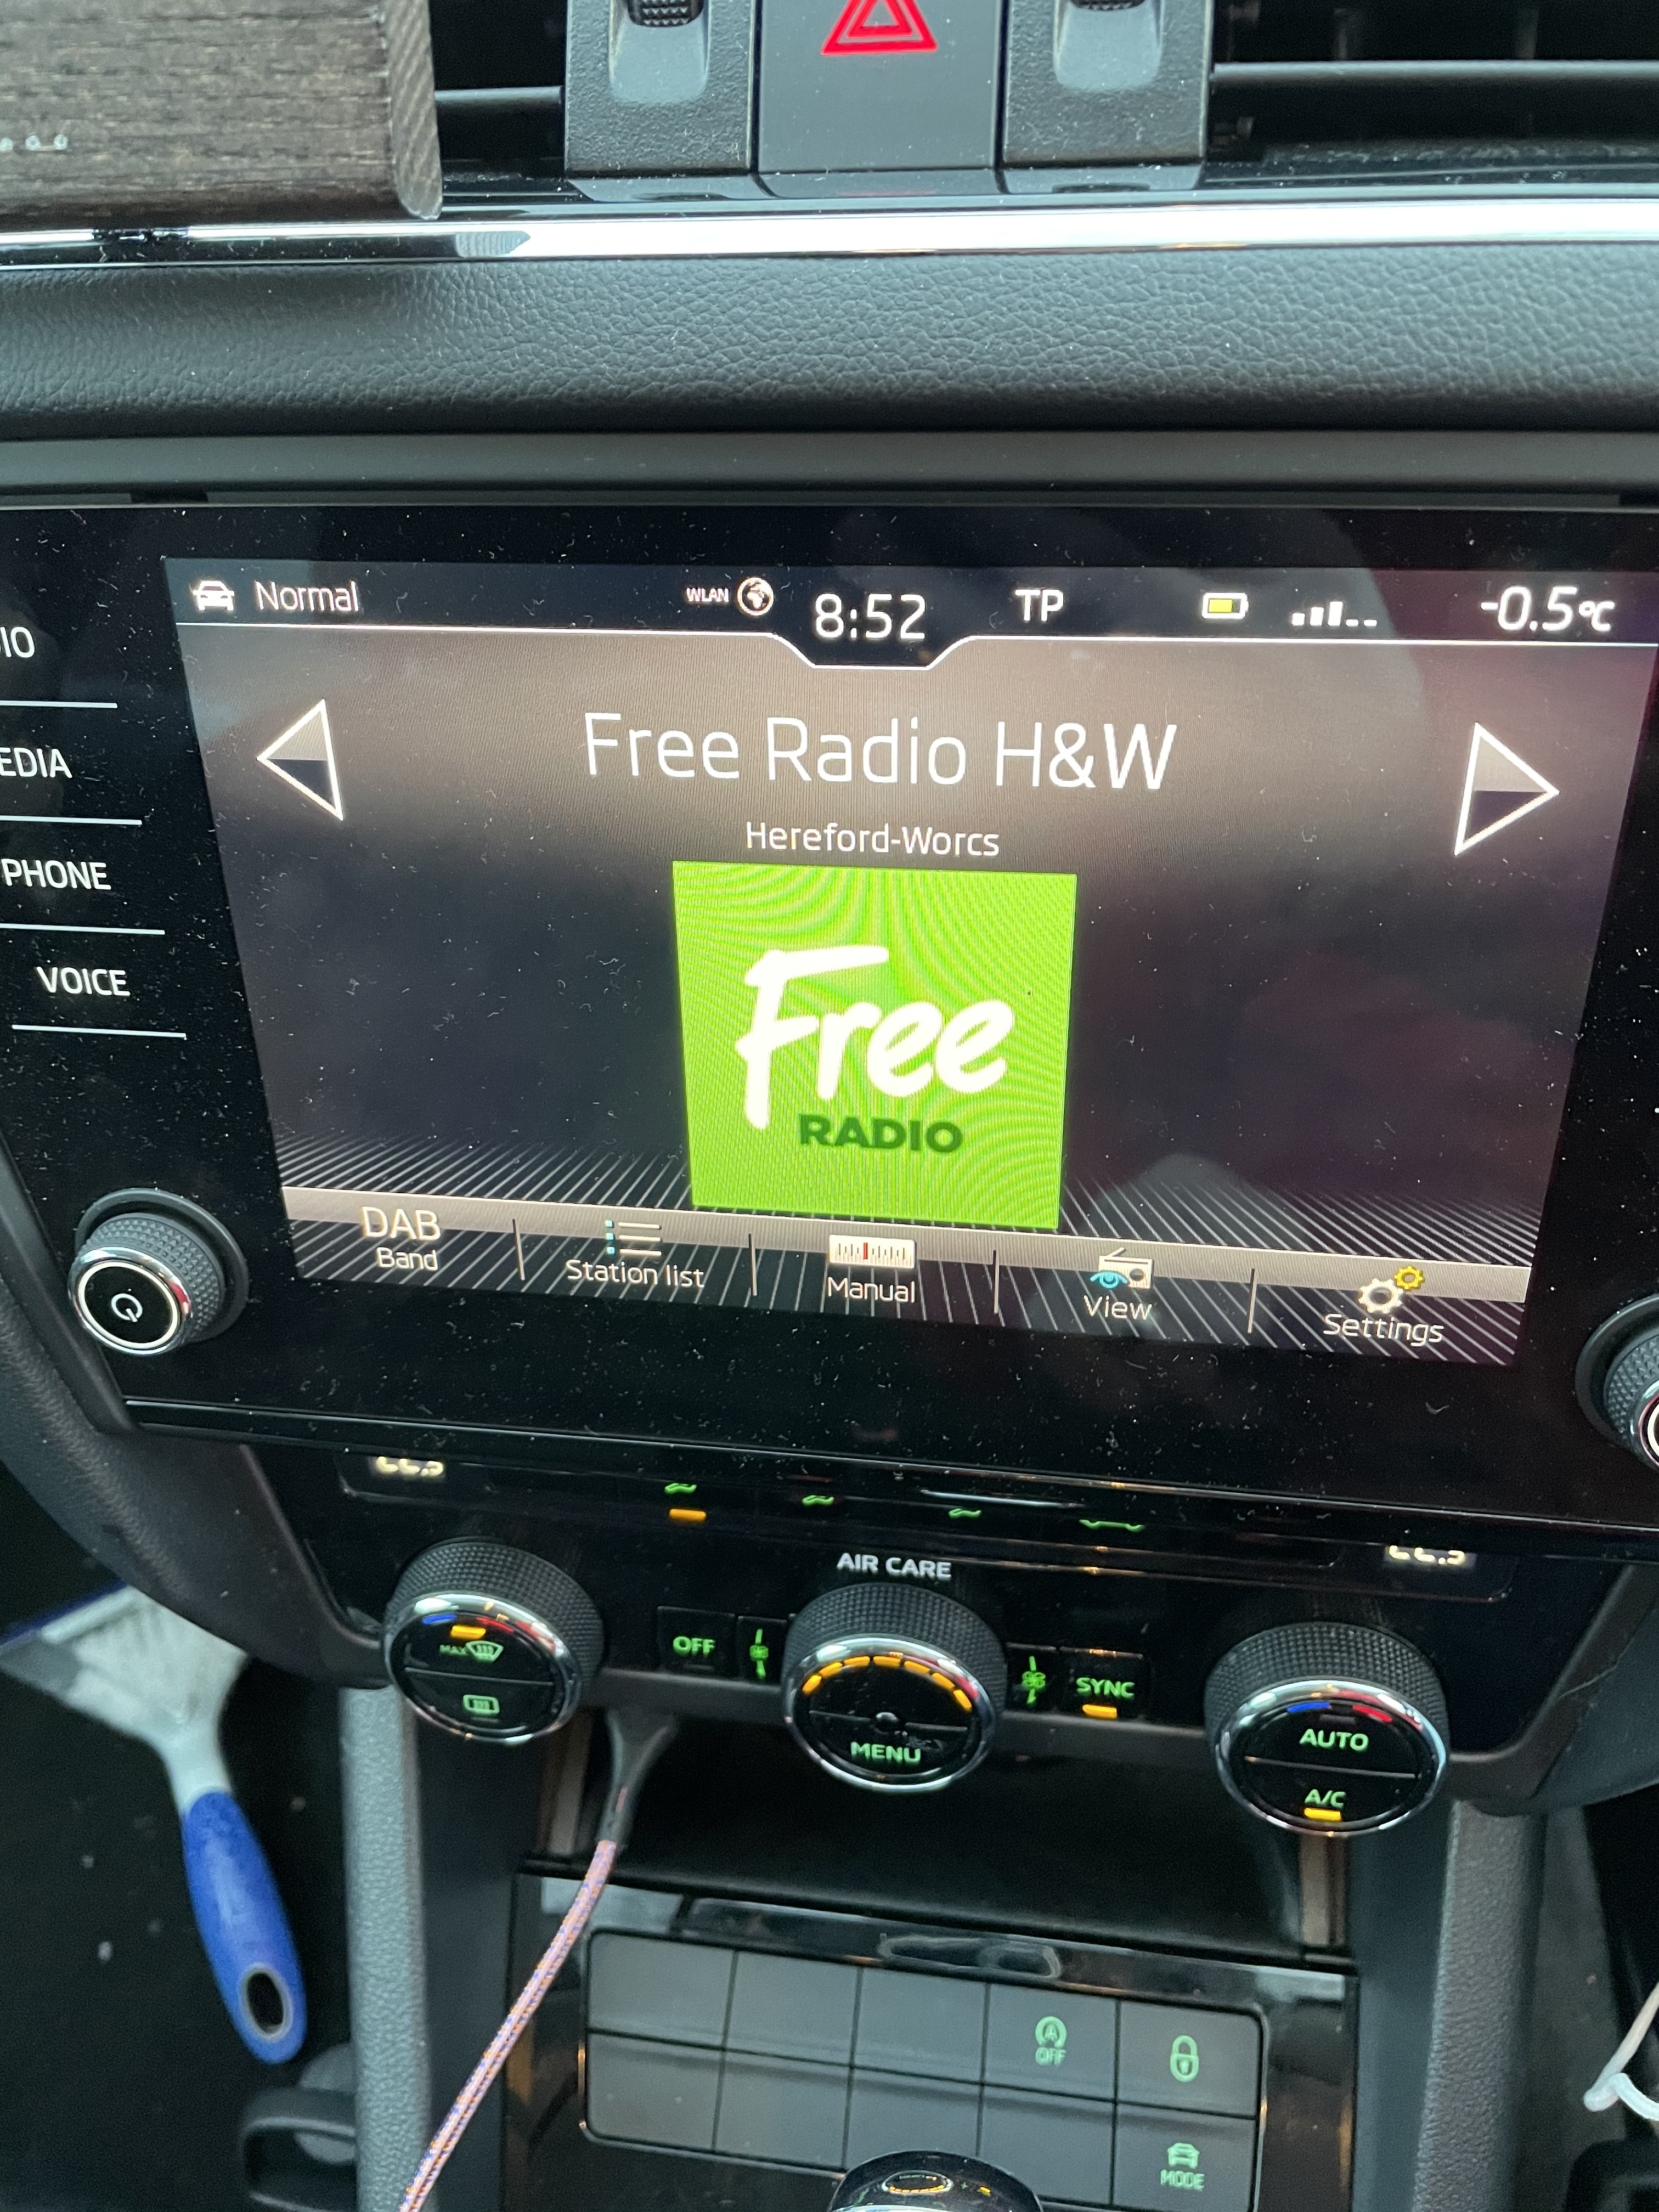
Try fuse 46, listed as:- Front and rear window washer, operating lever under the steering wheel. Thanks, AG Falco1 point
-
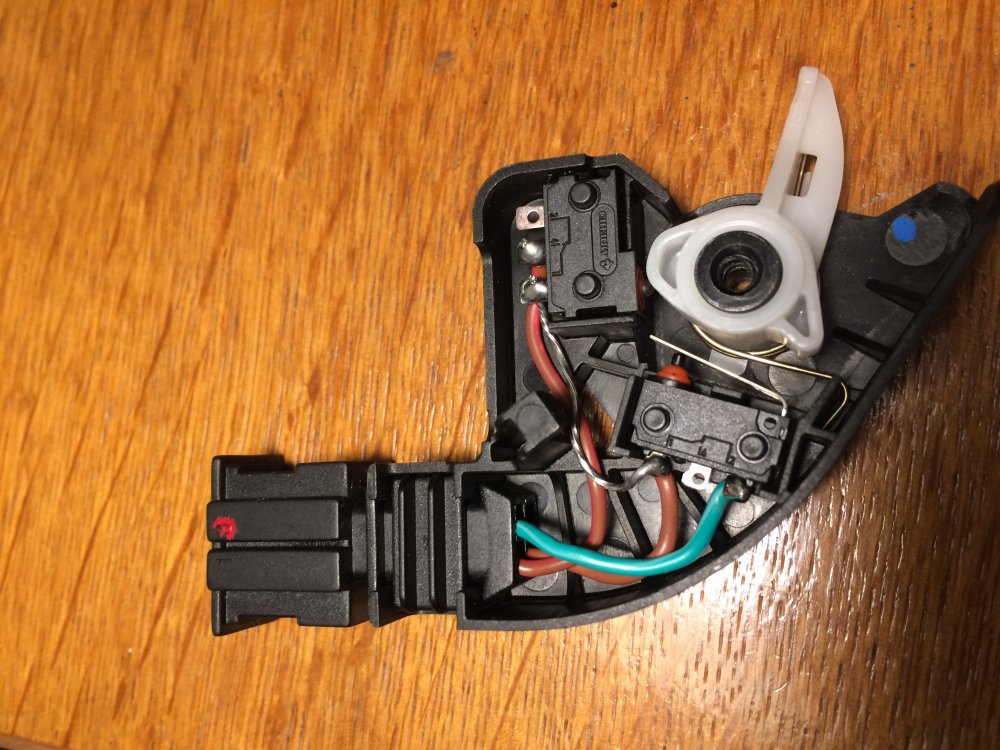
I’ll have a look at my existing part in the morning as the replacement had the same reference. The number is stamped on the orange latch component on the metal just near where it sits in the tailgate. Imagine sitting on the inside of the tailgate then look up to the latch.1 point
-
1 pointHi, I have an OBDEleven ( https://obdeleven.com/en/) which works well and I believe is a lot cheaper than VCDS. It uses a blue tooth dongle and app on your phone. I have had mine a couple of years now and cost under £40 for the basic version and about +£25 for the "professional".1 point
-
I summarised as much information on the rear suspension setup on these cars as I could find in the post linked below: 1x White 2x Orange is the part number you found (1K0 511 115 BH) for PR 0YD which is weight range 4 (very low). I would suggest in the first instance if your suspension is sagging that you replace the dampers. These have a sealed gas capsule in them that adds some spring stiffness and ride height. Eventually the capsule leaks and the dampers sag which makes the car sag. Your car is probably the standard chassis which is PR 1JA for damping meaning the p/n for your dampers is 1K0 513 029 JE. You'll need to replace the bolts securing the top of the damper to the body, and the wishbone pinch bolt at the bottom (I can't recall p/ns offhand for these but a dealer can get them easily for you). I found even with new springs and dampers on my car, it was still sagging a little, as it's only weight range 6 and carrying a towbar. I added a set of MAD helper springs as suggested by @3T51704x4 in one of their threads on suspension. They have restored the rear to its correct ride height.1 point
-
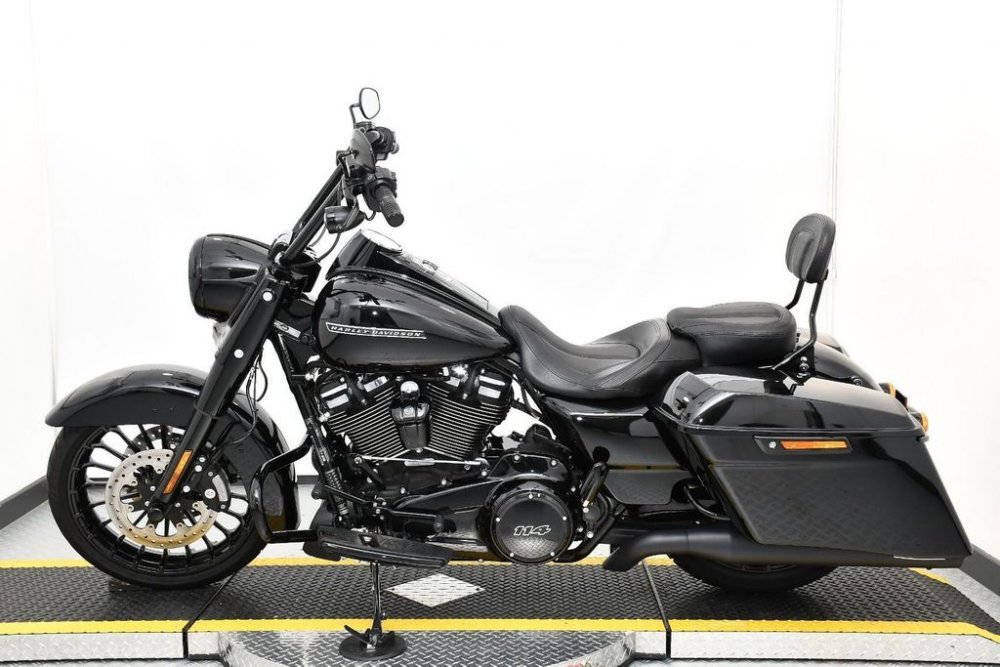
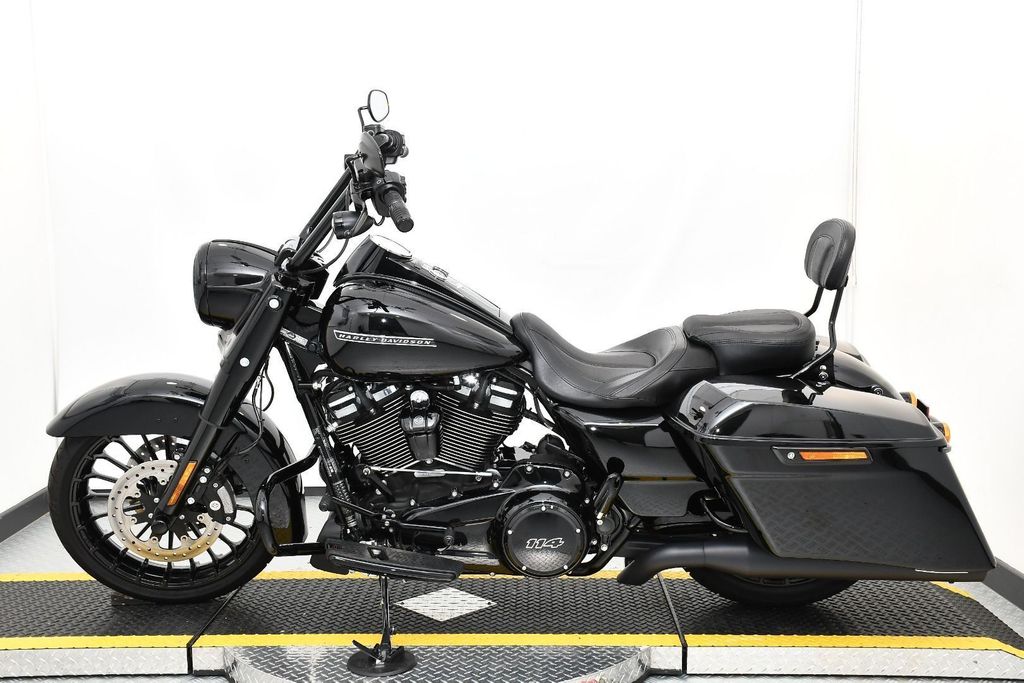
If I was ever in the market for a Harlley and RKS would be the one I'd go for, looks fantastic in black.1 point
-
I thought I’d update you with what I have found out. The photo shows that there are two micro switches in the electrical connection on the back of the tailgate latch. This part has just been unscrewed from the back of the latch. From my research about when the boot light will not work, there is confusion as people think there cannot be a fault with the latch switch when the boot light does not work if the warning on the dash still illuminates. I have worked out that when the micro switch in the photo near the green wire is depressed by the white nylon cam the dash light illuminates and the other micro switch operates the boot interior light. So one works by being pressed in and the other one relies on the internal spring pressure creating the contacts as the cam moves away. This is the switch for the interior light and so if there is poor internal spring pressure for some reason then poor contact results and the interior light will not illuminate. I had hoped to just buy a new electrical unit as the mechanical part of the latch is perfect. However, you have to buy a complete latch and electrics which is a shame. A replacement 2nd hand part from EBay may suffer from the same problems long term. Hope this helps someone in the future
 1 point
 -
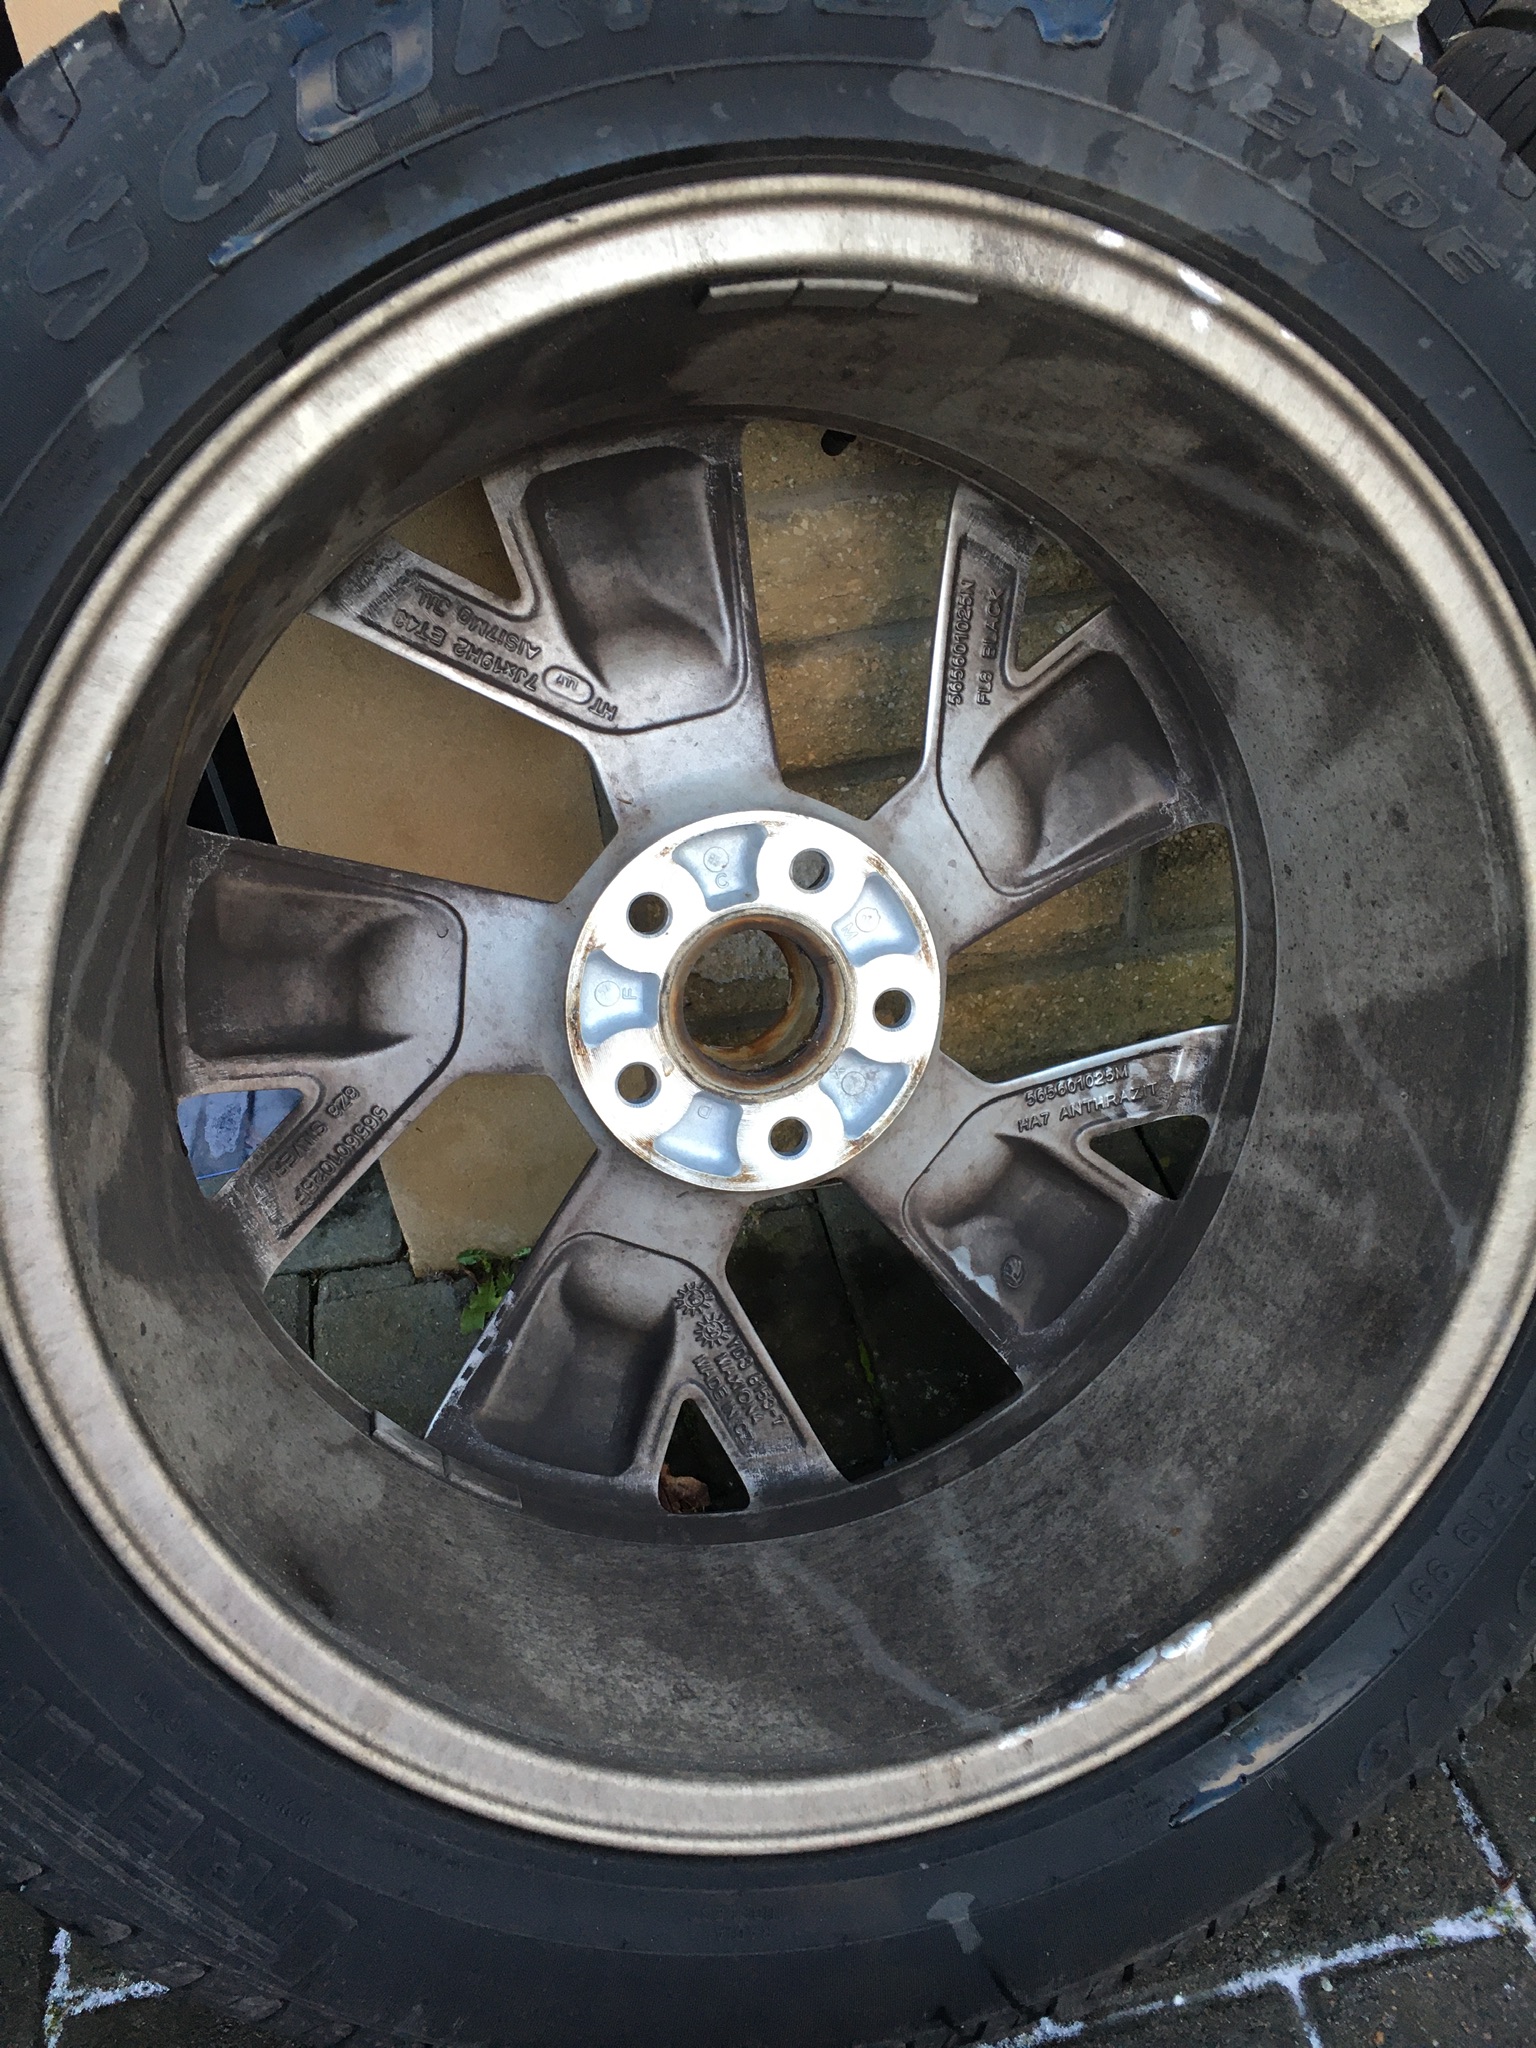
The OEM number of the rims is 5E0071498E HA7 So the last three digits is the paint code, ie. HA7 HA7 Touch-up paint 50ml bottle https://www.ebay.co.uk/itm/Lackstift-Skoda-HA7-Anthracite-Metallic-schnelltrocknend-Tupflack-Autolack/254744479381?hash=item3b4ff44695:g:WB4AAOSwfaZfgXfD HA7 Touch-up paint and lacquer 50ml bottles https://www.ebay.co.uk/itm/Touch-Up-Skoda-HA7-Anthracite-Metallic-Clear-Coat-Je-50ml-Car-Paint-Base-Se/254787059679?hash=item3b527dffdf:g:wLAAAOSw22Zfe5zo1 point
-
1 pointDealer told you that... Hmmmm. Get it in writing mate. If you ever did have a slow puncture, say on the motorway at 70mph and you were told to ignore it then, if you had an accident then they might be laying themselves open to being liable for any damage and/or injury. I suspect they will not confirm it - in which case tell them to sort it. It is a safety feature that is there for your own safely not their inconvenience. If necesssary they can replace all the sensors and the wheels (and the tyres if the sensors can't cope with thier supplied tyres). Don't let them fob you off. You never know when you might be grateful for that sensor.1 point
-
If you struggle to find the code for Skoda, as I did, try searching for an Audi/VW code. Seems most of the wheel colours are identical across the VAG group but there are a lot more posts and forums for Audi/VW which may help you work out the colour code you need. Worked for me, also discovered my code, 8Z8 brilliant silver, is used by Porsche.1 point
-
Thank you both for your words. This is more reassuring. My friend will probably err to safety and get the job done shortly for peace of mind. The car has been highly reliable since owning from new with more than 60mpg regularly achieved.1 point
-
I usually buy a 5L oil pack, which will leave plenty left over for top-ups, should the need arise. If I still have some next time round, (i don't burn much oil) a 4L bottle will suffice and the left over oil from previous will make sure the level is correct. So, yes, you will need at least 4L and be sure it is low saps oil. Change at proper intervals and don't try to eek out extra miles. As for how much exactly... There may always still be residual oil inside the engine/sump, etc so although you need a guide, ALWAYS go by the dipstick level. fill with a good 3L, leave a while, say ten mins, check level. If above min, run the engine a mine or two, to flow the oil around the new filter (Don't flimp here, either) then re-check the level. give it a few mins to settle, top up to just below the upper limit and then run the car again. Check there are no leaks during this process. If all seems ok, use the car for a few days and check the level again. Top up as and when...1 point
-
1 pointMy son wanted to buy me one for xmas, kept looking for my initials or name and combinations, soon realised I didn't want a registration that instantly displayed my name or initials, plus they're expensive. So thought of an NI plate with the 4 numbers representing a number that was personal to me, which I did. Also a lot cheaper. Mine originate probably close from you, Fermanagh, I have relatives Bailieborough Co. Cavan. Carrigart, Co. Donegal and Belfast. So it means its less conspicuous that a UK AANNBCD reg1 point
-
1 point
-
1 point
-
1 pointHi, they’re the original Bridgestone Dueller HP Sport tyres 225/45 R19 92V Dealer and Skoda Technical have no idea now they check everything and reset it and just say “hope it doesn’t come on again “, they’ve even told me to ignore it!!1 point
-
1 point
-
Maybe "enquire" with a proper refurbing centre and see what they suggest as a proper fix or quick fix. If they are friendly they might offer up what they would use as a tactical fix I.e spray can paint and colour. But it will never be durable like the original finish. Another possibility is a mobile smart repairer with A decent reputation.1 point
-
The two can bus wires should be obvious enough, they'll be the pair twisted together. You'll probably find the colours on the tpms wiring also match them so I'd try that first. If you still want the wiring diagram, you can get it from https://erwin.skoda-auto.cz/erwin/showHome.do for a small fee.1 point
-
Very nice,to be honest looks great as it is. Any performance mods planned?1 point
-
Thanks for this - yes it has had the work done. Found the date, 2016.1 point
-
1 pointThis might sound daft, but check all the tyre depths, and if not the same, might be worth swapping wheels front-back (or diagonally if not directional tyres). I take it that any differences in tyre type (if any) would have been spotted already. Once came across a case of someone who got false readings, when driving along roads with lots of big puddles, what I think was happening was the puddles were cooling the tyres on that side, thus the temperature-volume-pressure ratio was changing. Didn’t occur in dry weather. The Ops comment that it can be any tyre or all 4 does suggest a system fault, detecting all 4 tyres together is a new one on me.1 point
-
1 pointWelcome. Maybe the PHEV might not be allowed to have a tow bar for towing because VW says it can not while SEAT, VW or Audi hybrids can, just as happened with Mk1 & Mk2 Fabia vRS were not Type Approved to while sister cars from the other brands with the same drive trains could.1 point
-
Maybe take the opportunity to change them for 7Jx17 rims with 225/45R17 tyres. This will better protect the rims from kerbing damage. These look like your rims. However, I've no idea what the paint code is. Maybe email Skoda's technical department giving them the OEM number of the rims, ie. OEM number 5E0071498E HA7 7.5Jx18 ET51 Gemini Alloy Rims Anthracite metallic 5E0071498E HA7 https://eshop.skoda-auto.cz/cs_CZ/kolo-z-lehke-slitiny-gemini-18-pro-octavia-iii/p/5E0071498E+HA71 point
-
1 point
-
1 point1 pointWas out on my Contis yesterday to see what they were like now things have turned a little wintery. Happy to find on both compacted snow and ice all was good. I even pulled over into a forestry access to see if I could get some wheel spin on sheet ice, wheel stubbornly refused to spin! Hard braking, where safe to do so, also didn’t even get the ABS kicking in! Well happy.1 pointI honestly would always do fixed servicing. It's just better for the engine. In my opinion variable servicing was only brought about to save the dealers money when a car has a fixed service plan.1 pointThere are often people breaking mk1 vRSs on the Facebook groups1 pointBrake Energy Recovery in detail. 3 seperate recordings of voltage and current on the VAG “Smart” alternator. Very interesting the wide scope of both voltage and current across the 3 seperate runs. Equipment used to takes recordings was Fluke AC/DC Volt meter and Fluke DC current meter. Both meters able to record live data. Voltage data recorded directly from battery positive terminal and negative earth connection on the firewall. Current recorded directly from main positive cable 100mm from positive battery terminal. All three runs were over a total of 100+km distance incorporating Urban, highway, and back street roads. SKODA RUN 1.pdf SKODA RUN 2.pdf SKODA RUN 3.pdf1 pointI have sourced parts from breakers using Google search Shop.1 point1 pointYou can when it's a dateless Northern Ireland registration. NI plates are three letters, and 4 numbers in the range of 1001 to 9999, with no indication of year of registration or age. In my case the three letter combination started issue with 1001 in June 18 are sequentially upto 9999. After which the next three letter combination will start at 1001.1 pointA month on and there's a small update vid on Youtube. It's all about how the wheel arch extensions were made. Not sure if the end was a teaser or a red herring. This is the guy they mentioned in the vid. https://www.youtube.com/user/superazote1 pointNot yet....after holidays I have some actions planned. Will keep you posted. Cheers and Merry Christmas to all of you!1 pointNot sure this was the right week to add a large capacity touring motorcycle to the fleet. Delivery in Jan
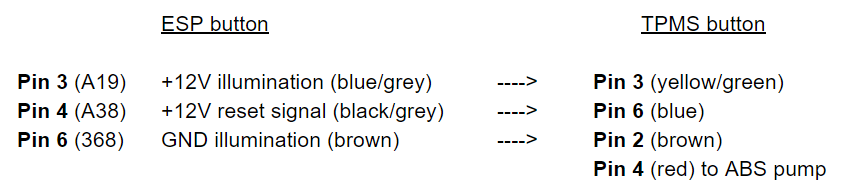
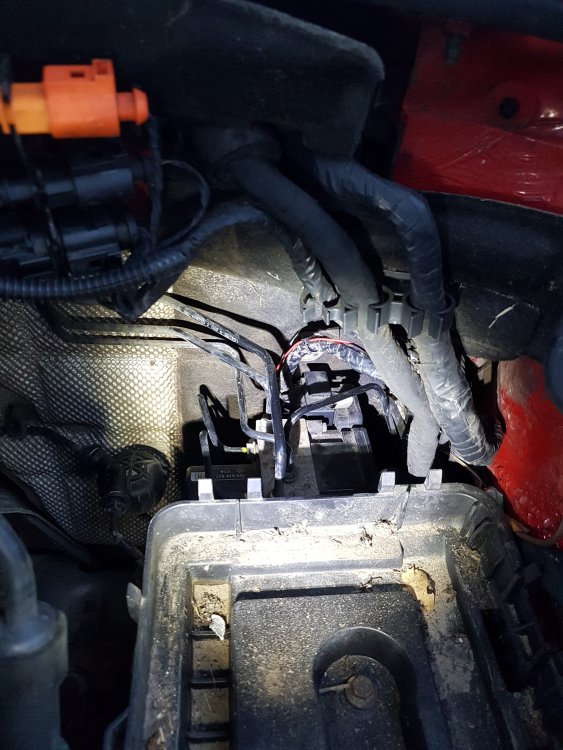
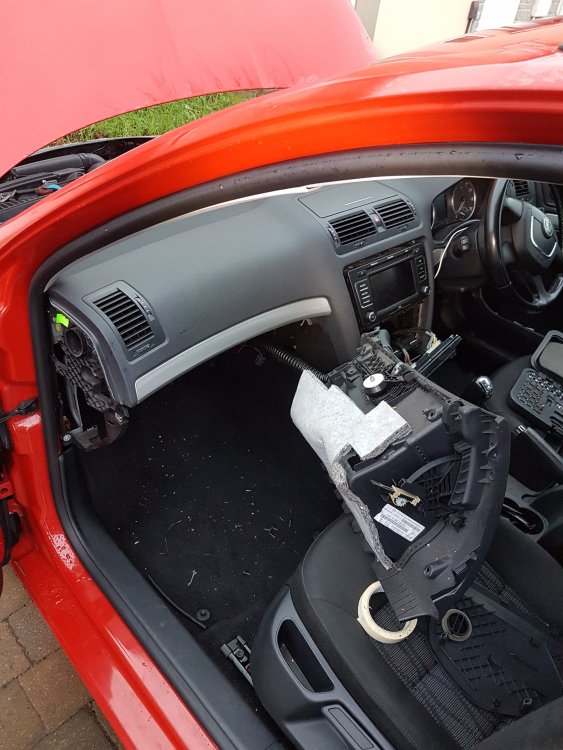
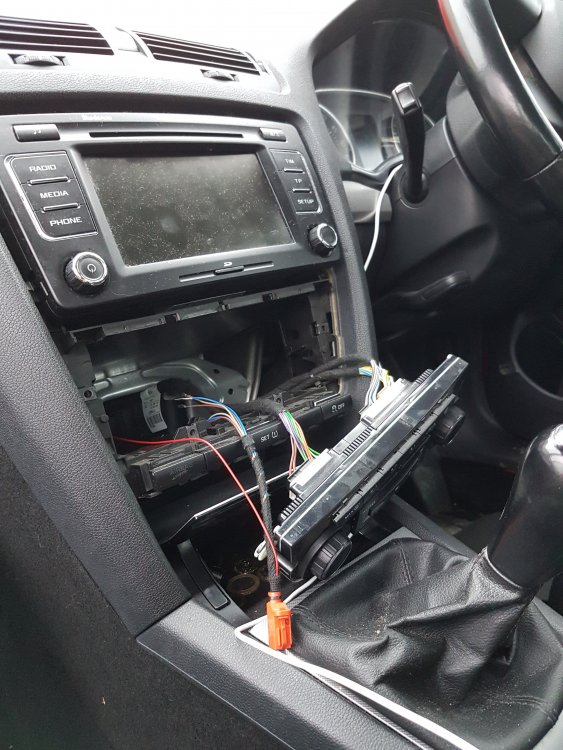
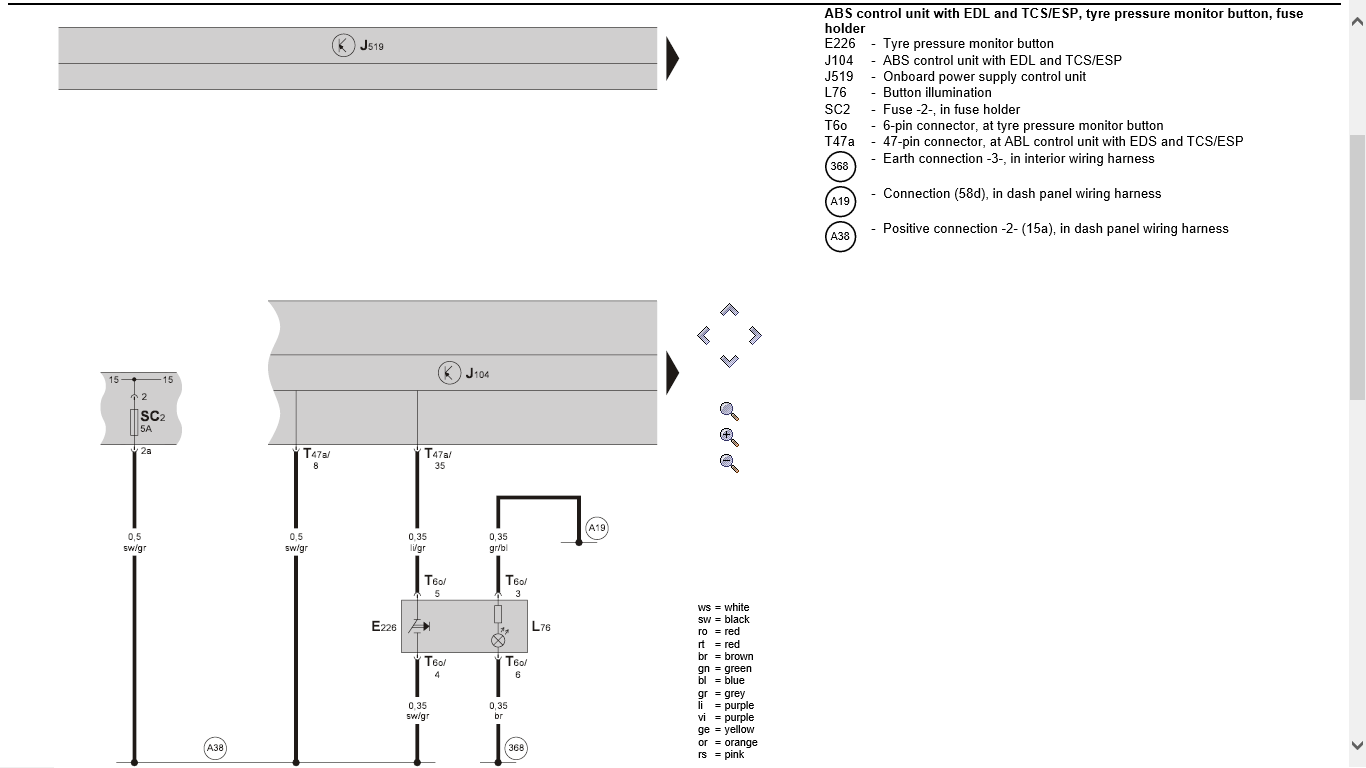
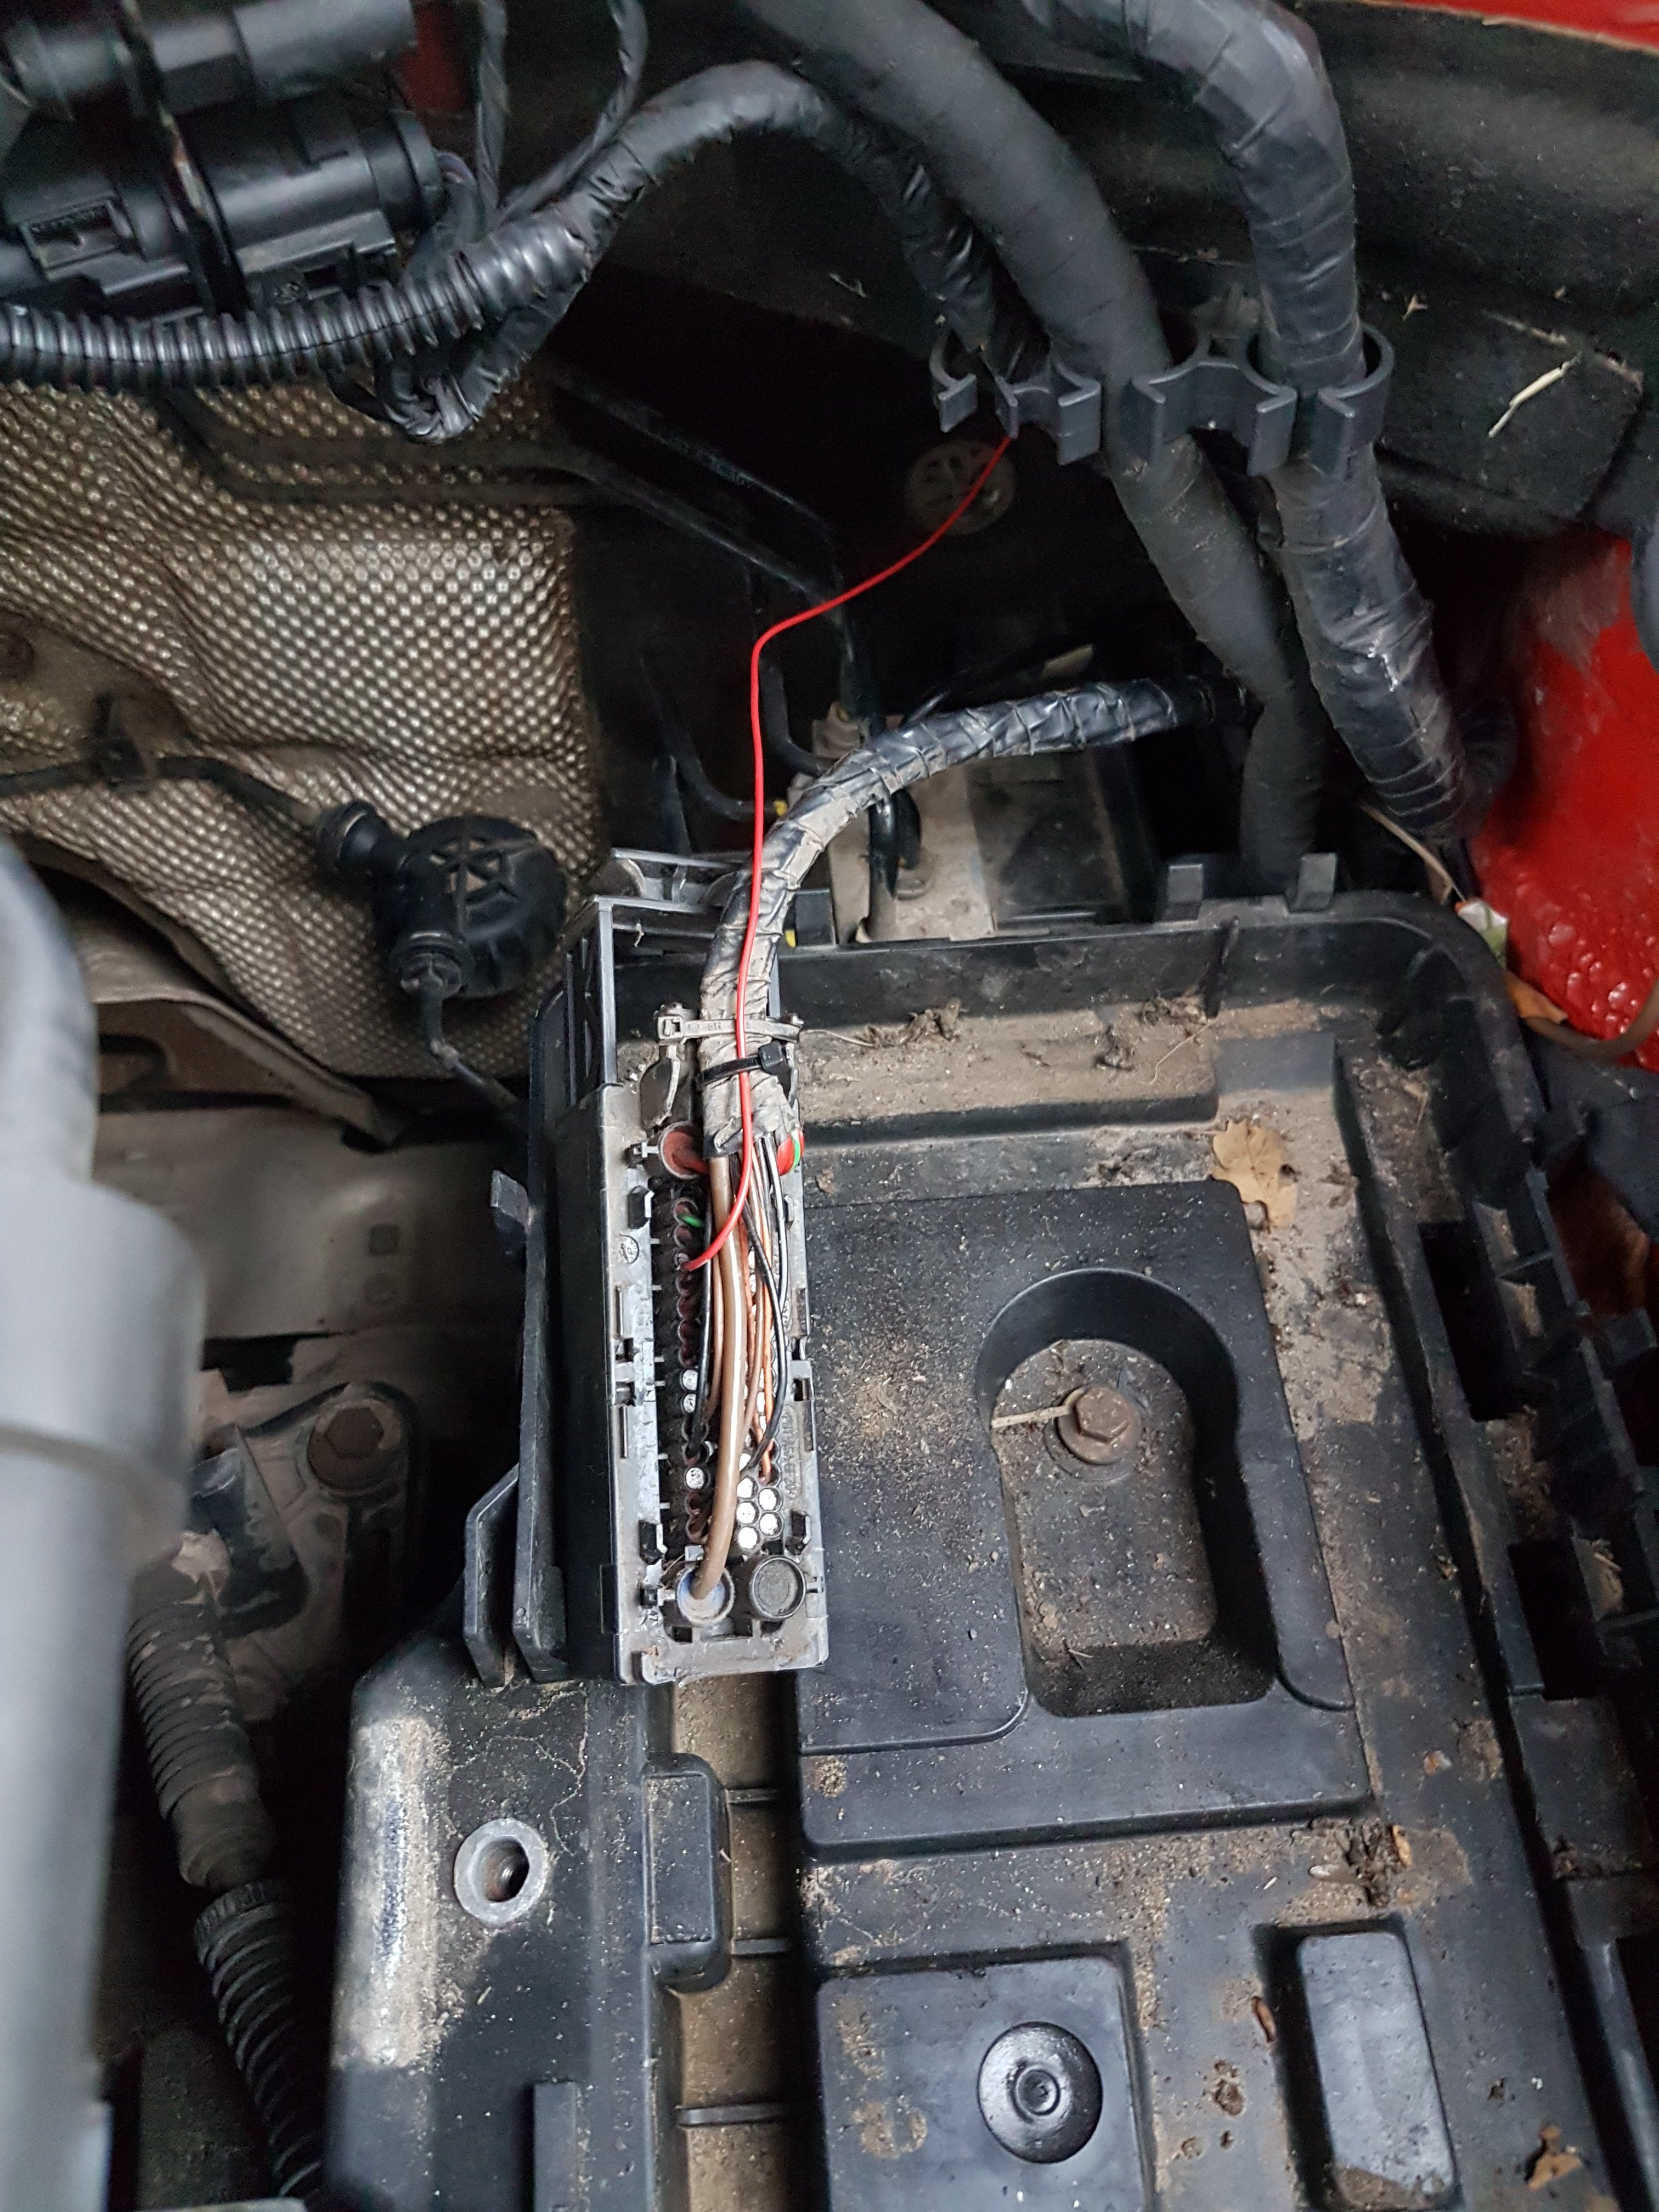
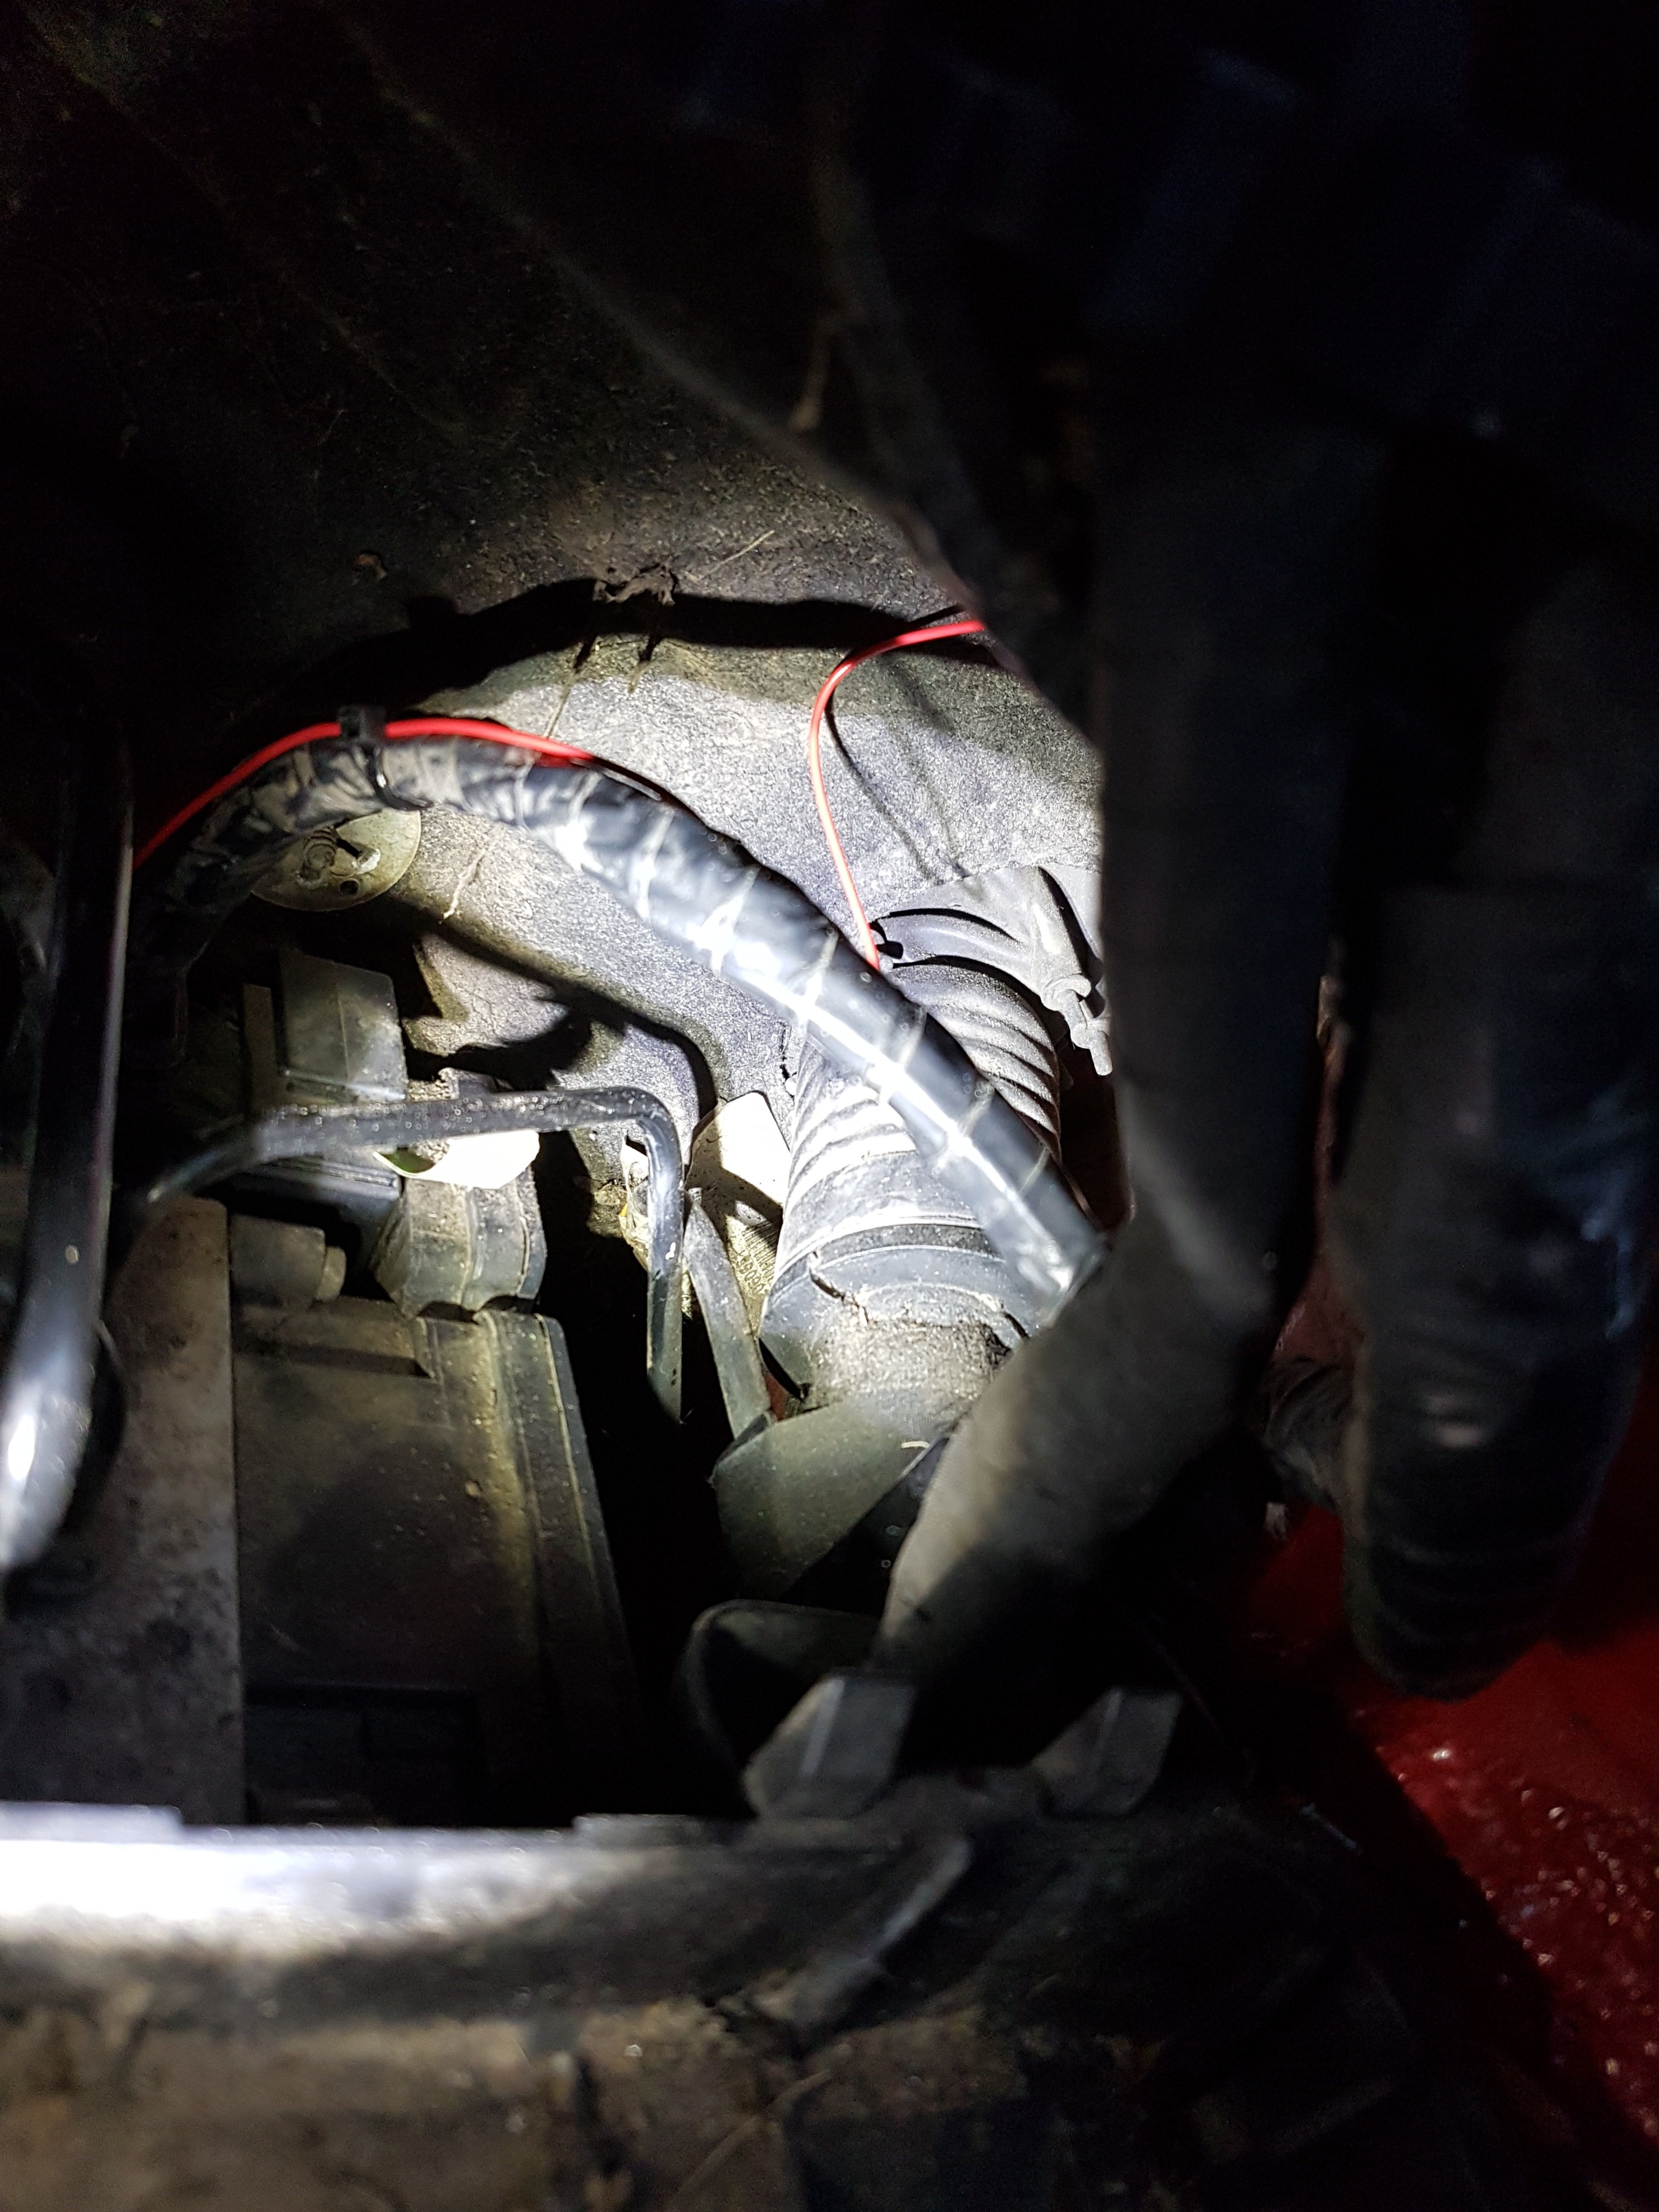
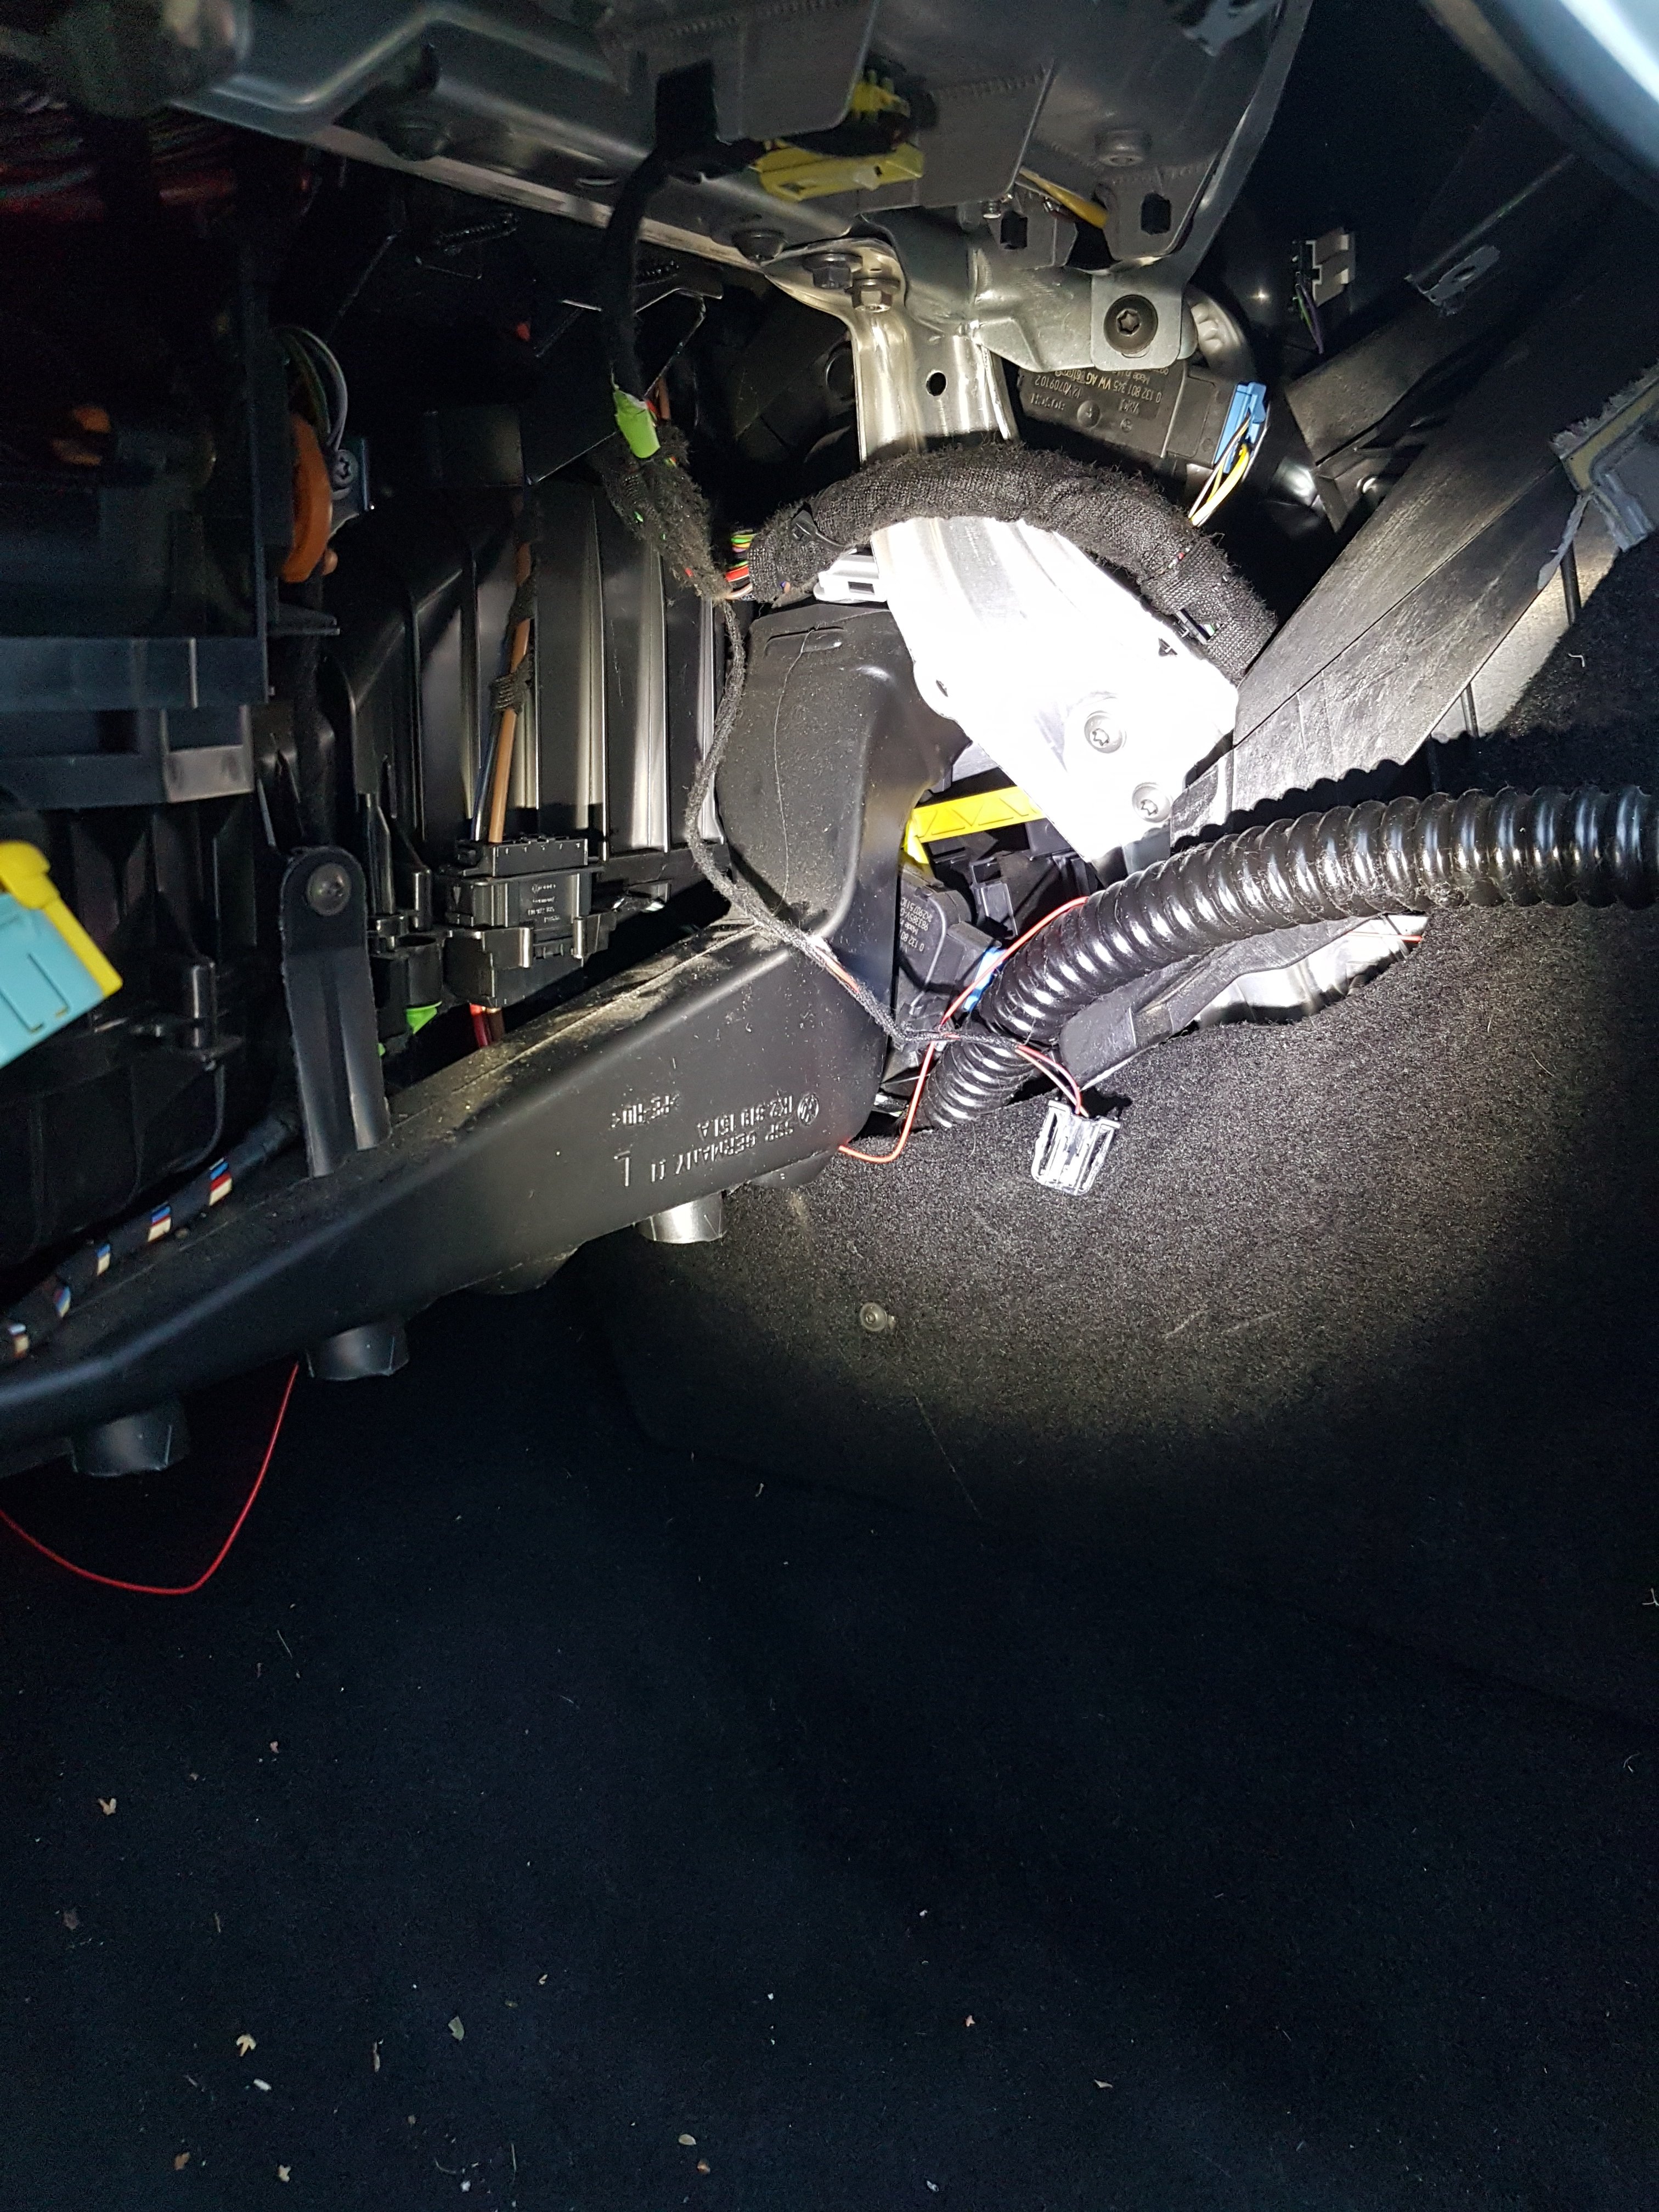
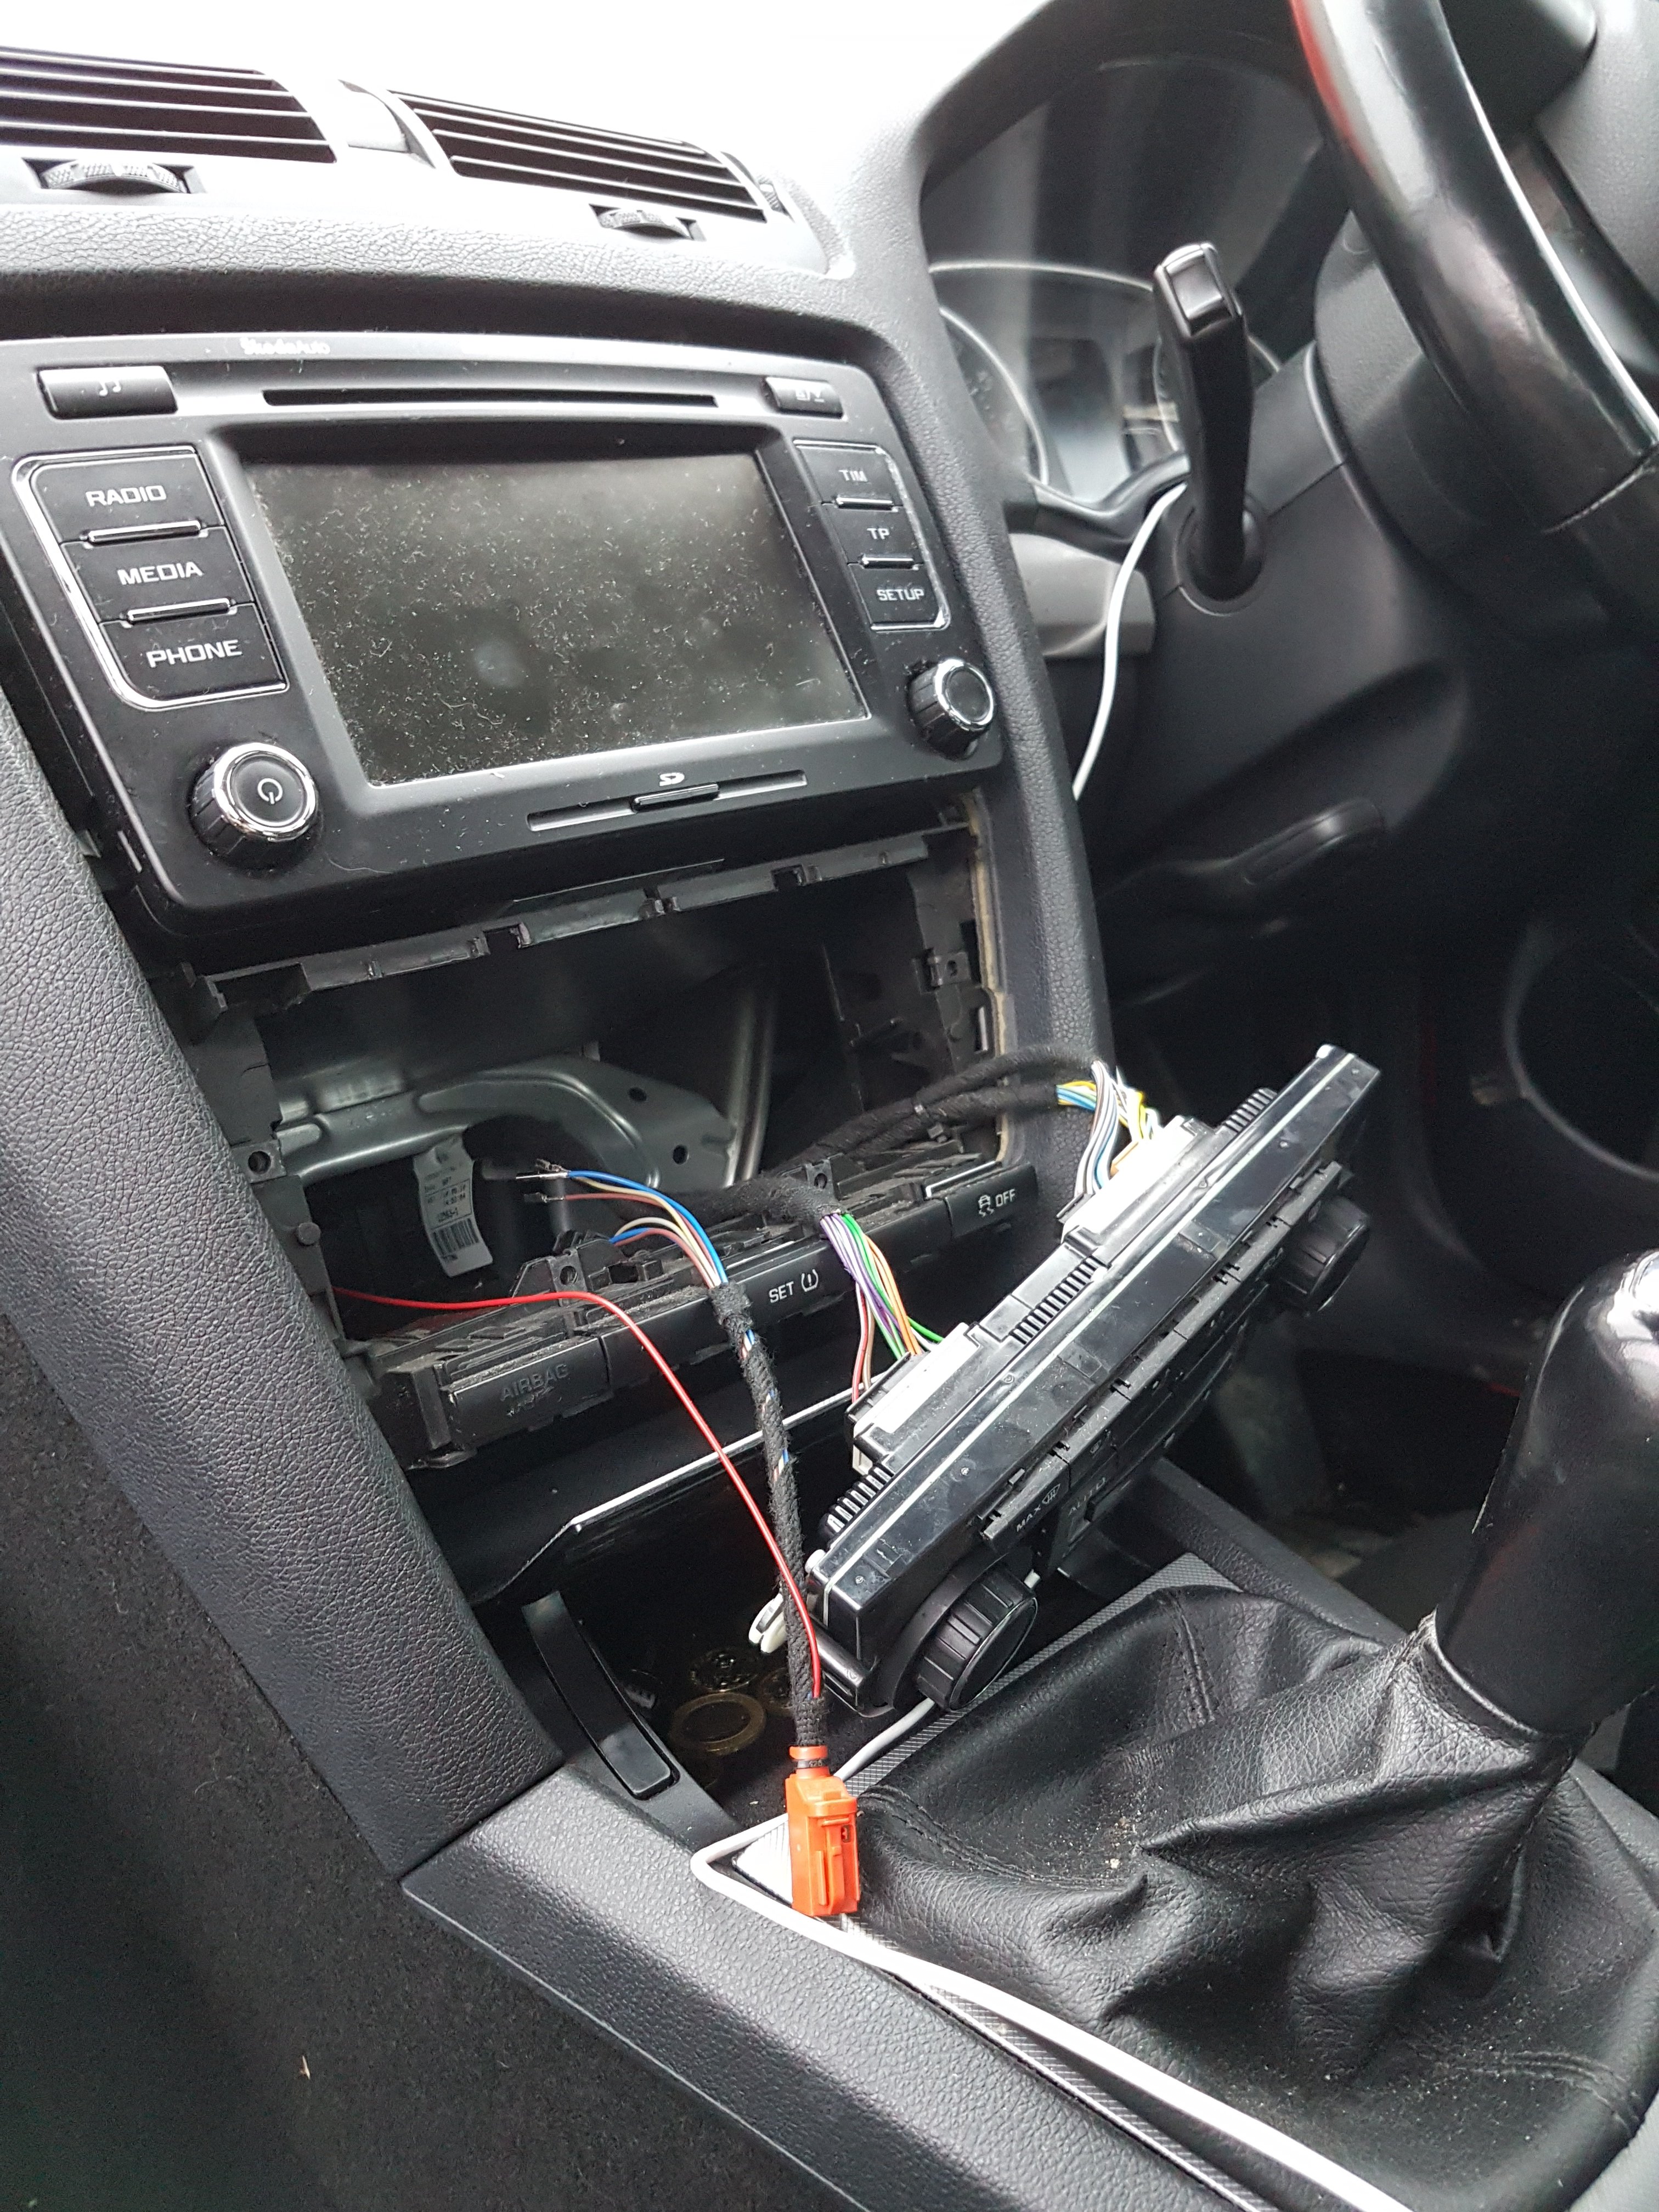
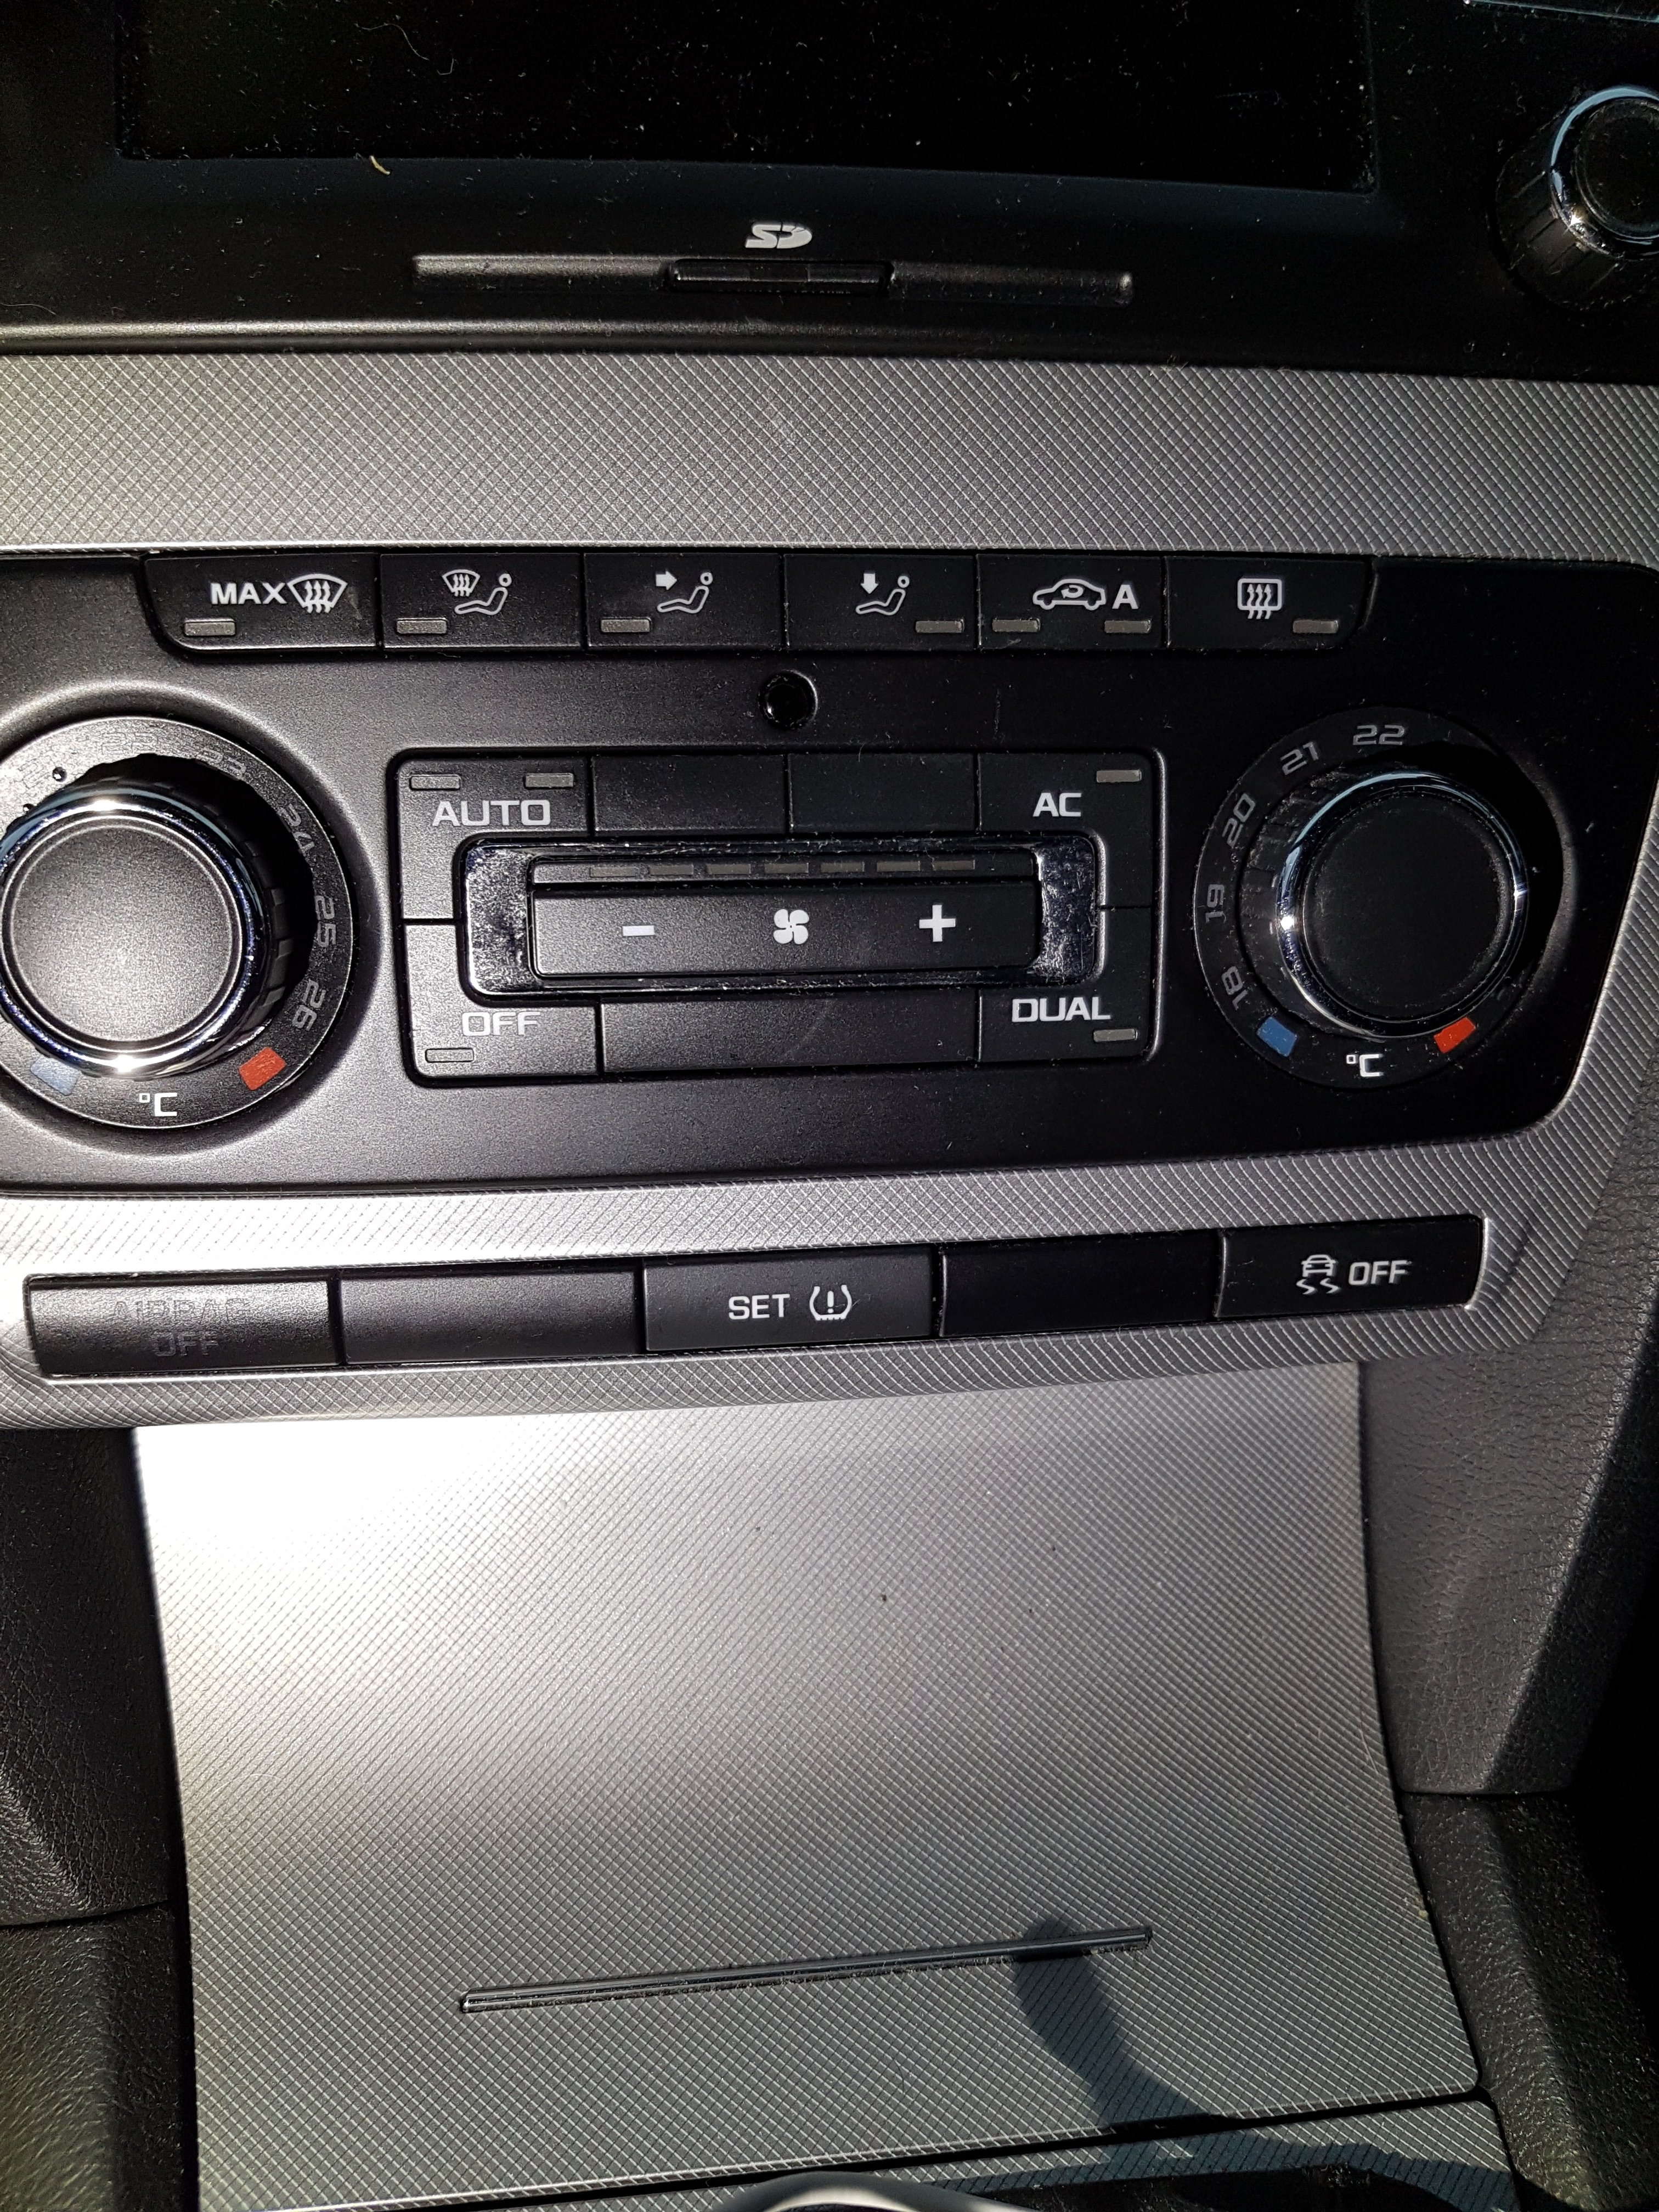
 1 pointI retrofitted the indirect system on my FL. I used this kit from ebay: http://www.ebay.co.uk/itm/263004775932 It took me about 2 hours to do the whole job and most of that was spent removing and reinstalling the glovebox which in the end I realise wasn't necessary. The wiring in the kit piggybacks off the ESP button for its 12V power for the button illumination and also the TPMS reset signal (and ground). You will need to remove 3 wires from the ESP button connector and insert them into the new connector that comes with the kit. Then insert the wires from the kit loom into the ESP button connector. I seem to remember the wiring loom as I received it had the connector for the TPMS button wired wrong, but I studied the wiring diagrams for the car and corrected it. Next you need to feed the long red wire through into the engine bay. There is a grommet through the bulkhead in the passenger footwell up high and to the left. I removed the glovebox to get to it but it is possible to do it without. Reinstalling the glovebox is a PITA and I wouldn't want to do that again. In the engine bay remove the battery so you can access the ABS pump. Disconnect the large plug on the side and disassemble it so you can get to the connector block inside. If your ABS pump is an MK60EC1, you need to connect the red wire to pin 35. You'll have to push out a tiny rubber bung that's in the connector. Put the connector back together and reconnect it to the ABS pump making sure you lock the connector on. In VCDS under ABS controller you need to enable I think Byte 3 Bit 0. There are at least two other checkboxes on other pages about TPMS, those are for the direct system, so ignore them. Once coded you should see the TPMS warning light briefly illuminate when you turn the ignition on. Press and hold the reset button and the light will illuminate and then extinguish and you will hear a chime. That means the system is going to learn your current pressures. I apologise for the photos being terrible


 1 point1 point1 pointI fitted London colour hid's in my2007 roomster's projector headlights some years ago. No errors and pass MOT. I tried all sorts of upgraded bulbs including Nightbreakers and although an improvement still not as good as the HID kit I have but they are still nowhere near as good as our Daihatsu Sirion with bog standard H4 bulbs. Someone at skoda or Volkswagen should have got a severe beating for those headlights1 point1 pointThanks man. LI am lttle surprised not more people are Reading/commenting/likeing my thread. There are cars far less technically advanced and are read more for about 4000 reads. I am wondering what does these people look for. This is first MK4 platform world wide (as far as I know-if there is any You can coun't them on one hand maybe) with water cooling. It is not just put big turbo and get 390hp and that,'s it. Shallow People. I bet my car will kill it on the track with almost 100hp less power and much older chasis. So, strange world. For sure I can coun't on you my friend🙂🙂🙂1 point


Important Information
Welcome to BRISKODA. Please note the following important links Terms of Use. We have a comprehensive Privacy Policy. We have placed cookies on your device to help make this website better. You can adjust your cookie settings, otherwise we'll assume you're okay to continue.