Breezy_Pete
Sponsor
-
Joined
-
Last visited
Everything posted by Breezy_Pete
-
Ah, I think you may have mis-read 7zap. According to the LLL link I posted above, the previous version to 1K8951605B was 1K0951605C.
-
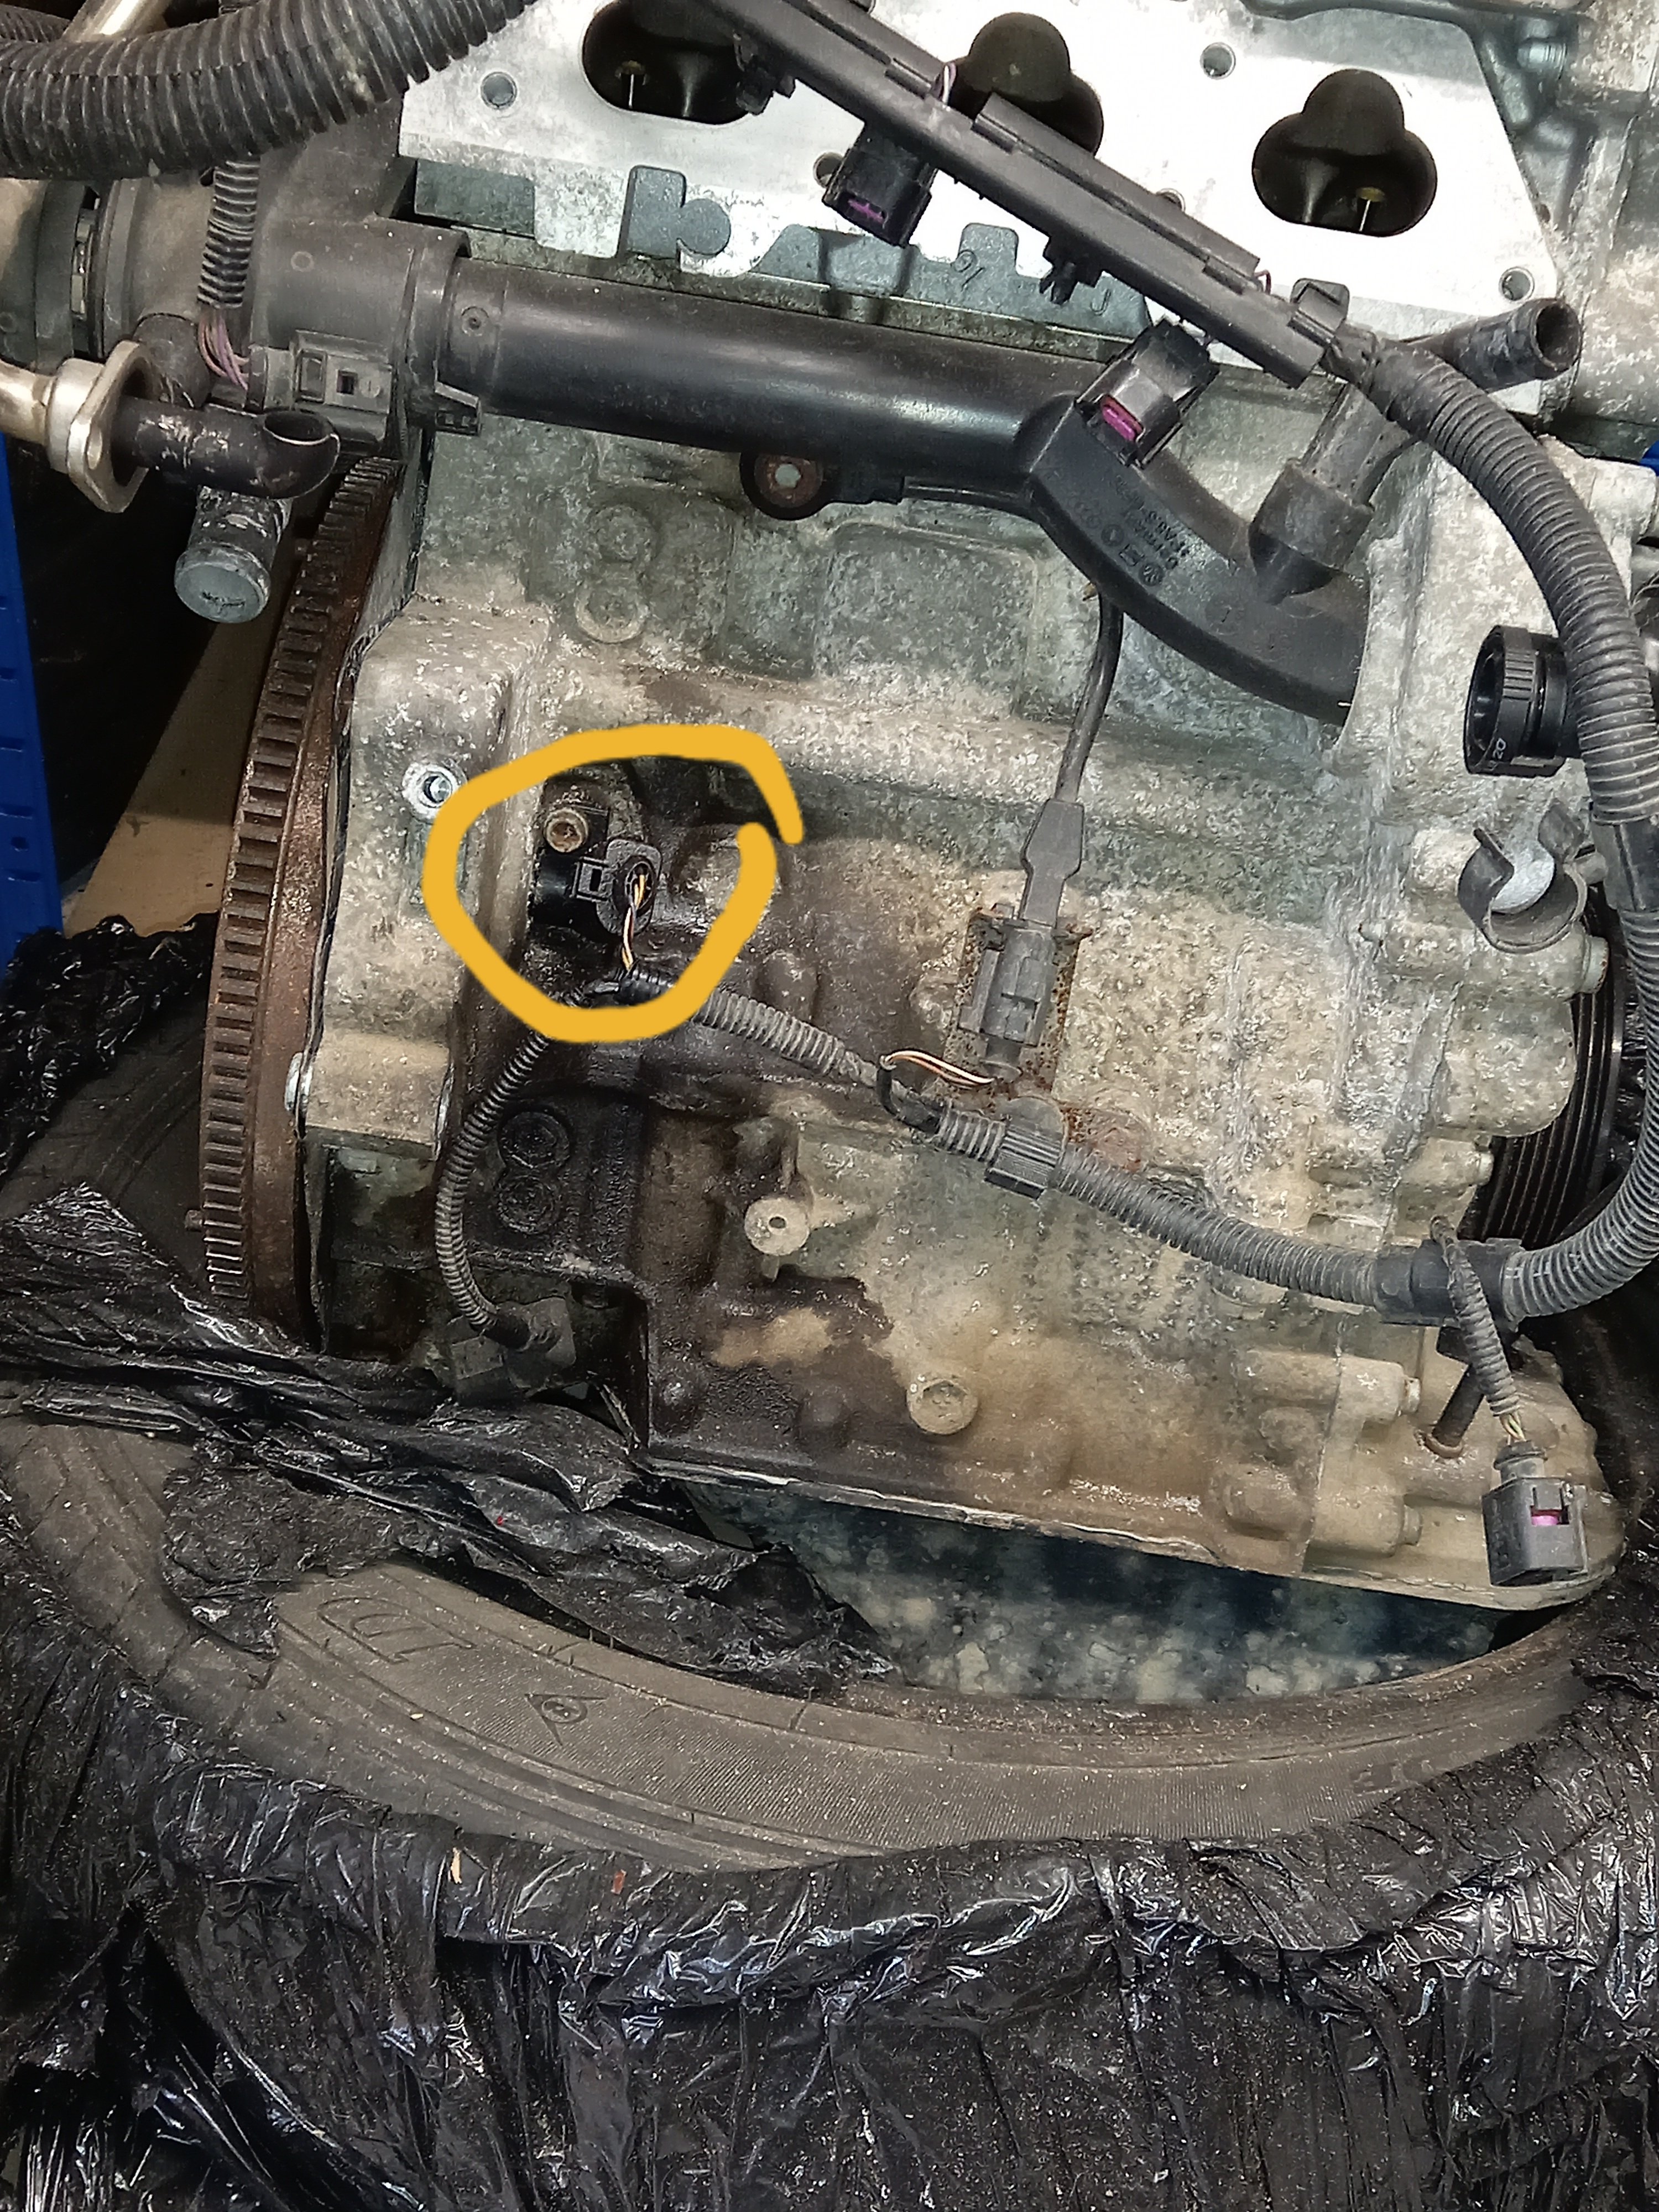
Not really visible from anywhere but below when the engine is in the bay. You can probably touch it though, blind.
-
Does the latter definitely exist?
-
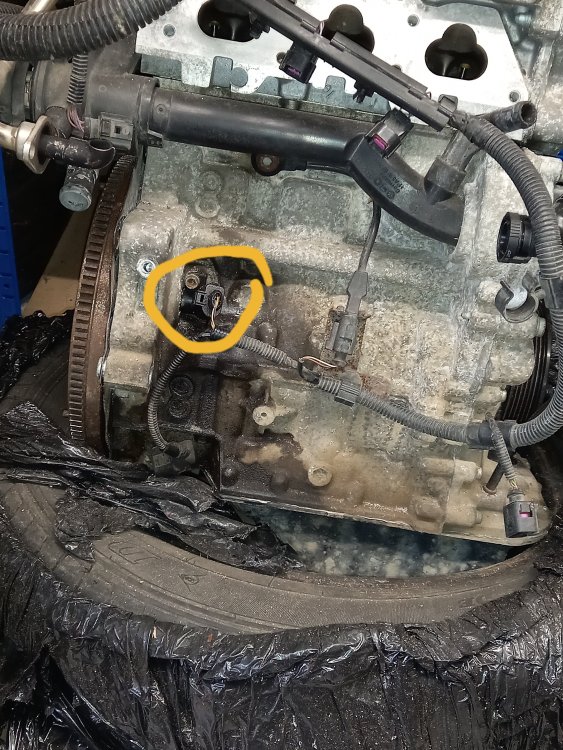
Back of the block, pointing at the inside face of the flywheel. It's only a guess that it might be iffy though.
-
Who are TMS? I could send you a crank sensor to try, but you'll probably need help swapping it in, access is grim.
-
ETKA seems to suggest it's one of the top two part numbers, either side of the dates shown (and prices approx as shown on the right, not sure where you get the 1k8951605C number from? LLLParts Skoda-parts.com shows a lot of part number equivalents (including both of those in the first link) in grey near top of page: Alarm Unit Škoda 1K0951605F (skoda-parts.com)
-
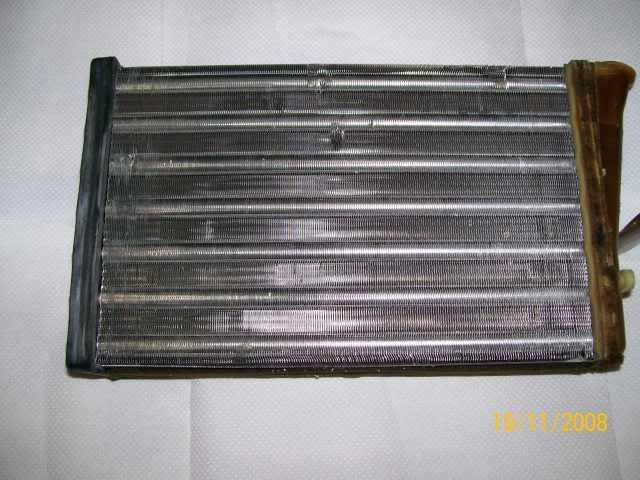
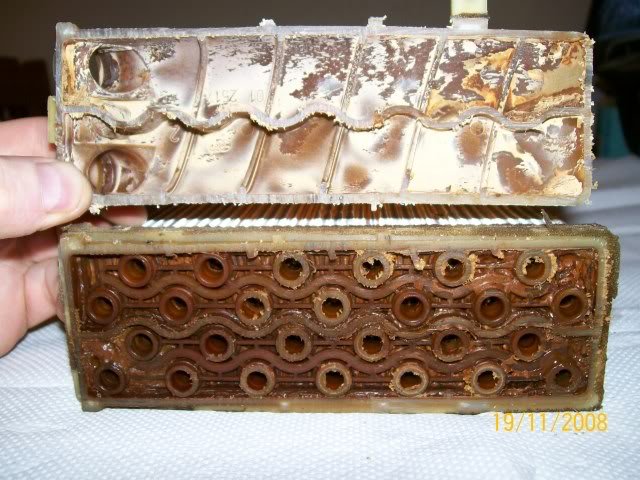
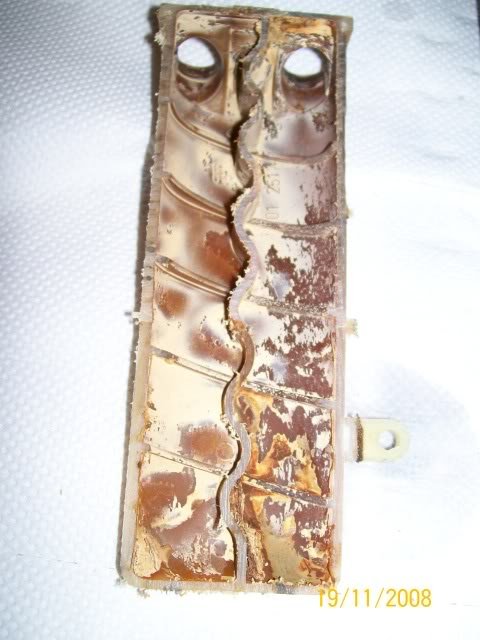
You'll never get all debris out, because within heater matrices the incoming and outgoing large-bore connections split up into many smaller bore pipes which are all in parallel. If any of these are partially or fully blocked with debris, your flushing fluid will preferentially go through others instead. Here are some pics of a Vauxhall one I cut up many years ago:
-
From the same website (Carbon Footprint Calculator, Carbon Footprint, Carbon Footprint from Cars - Fleet News), an easy way to see what your car actually produces by way of CO2: "Burning a litre of diesel produces around 2.62 kgs of carbon dioxide, whereas petrol has a lower carbon content and produces about 2.39 kgs. Older engines might lose a few percent due to unburnt fuel, but otherwise technology can have little effect on this chemistry." Not much use when/if aiming to buy a new-to-market car, but fuel economy data from the likes of Fuelly.com or Spritmonitor.de will tell you the reality for existing models. Much better data than any figures published by the manufacturer.
-
I haven't been on erWin for ages, but what you're looking for is the 'vehicle data'; is that not in the 'vehicle specific information drop-down after you've paid your flat rate?
-
Could also be an actual short to ground, say from water having got into the connector and shorting pins together. Or a bit of loom wire with insulation worn away against some unpainted metal.
-
Hmm, might be a cheap/easy fix, but if you're happy driving a car that you know isn't roadworthy, up to you.
-
Compulsory fit since 2004 according to a quick googling. Where do you get your MOTs?
-
I suspect your ABS is broken, and the dash light has been obscured to conceal the fact. Look under the engine ECU for the ABS module.
-
What makes you think it doesn't have ABS?
-
Look for broken wires between chassis and each door, starting with the most used one.
-
It's a(nother) good reason for looking after your teeth, by both diet and teeth-cleaning habits.
-
Would probably end up more powerful. 😊
-
That opposite one doesn't look to have been far behind. Would be interesting to do a tensile test to failure in its current state and see what it goes at? Looking like a serious design oversight, isn't it? Edit: or just possibly an assembly time error if there was supposed to be a load of waxoil-type stuff squirted in there.
-
Remind me of the status of the car's EGR system please? The MAF reading is/should be affected by what the EGR is doing, so if the EGR is playing up, or absent, the ECU will not see the changes expected when it tries to use recirculation.
-
I put old and new the wrong way round at the start of that calc, by the way, so readings +/- are all opposite what they should be. Speedo will read closer to reality than when fresh out of the factory, rather than further from reality.
-
If profile is same on both at 35, then you've increased both height and width. 235/35-R19 vs 225/35-R19 Tire Comparison - Tire Size Calculator | Tacoma World Only about 1.1% diff on speedo though, allegedly
-
Those two part numbers seem to be equivalent, see all numbers near top: Brake Light Switch Škoda 5G0698459 (skoda-parts.com) Which is odd considering the price difference shown here LLLParts
-
Yep. I wonder if the wording 'repair set' implies a known issue??
-
Item 100 here, I think (on the right side anyway) LLLParts Other side on this page: LLLParts, same conn. The three pin/wire sizes appear to be helpfully listed in the 'note' column.
-
Why the need to replace the male conn? Corrosion (some evidence at bottom of your pic) or pin breakage? Is there a problem with door function that is being attributed to pin corrosion/damage? I'll try to look up a part number for you, since my Fabia info appears to be a bit irrelevant in hindsight.