Leaderboard
-
pinkpanther
FREEDOM11Points3,911Posts -
gadgetman
Honorary7Points26,889Posts -
Aspman
Resident Member7Points21,151Posts -

ColinD
Administrators6Points16,745Posts


Popular Content
Showing content with the highest reputation on 05/03/21 in Posts
-
Got a quote inbound, should have it by monday, will pit it against the insurance excess and decide from there2 points
-
2 pointsThe old Audi Quattro stright 5 sounded pretty good Me old ZXR400 4 cylinders, 396cc and 14k of revs. He hits the limiter at about 40sec2 points
-
Bit of a quieter month this one, but still going strong. 2tonnes co2, and 160 trees. Here are your trees -> https://ecologi.com/briskoda?treeId=6042020d0be9e4001d36fb76 Hopefully from next month, we'll be adding a UK tree. In a scottish forrest. I'm trying to come up with a way of putting that tree in someone's name. We'd get a geotag and photo, and in theory you can even go and visit it, so the blurb says I'm thinking like a monthly prize Someone from freedom will be that tree's "virtual owner". This is rough and I'm still working it out, but one can hope2 points
-
2 pointsAh....the "free" coffee from the smiling blonde, the plush waiting room with "free" wifi, "free" newspapers etc and "Complimentary" wash......... As labour rates whizz onwards & upwards of £100 an hour..... We take our vans at work to an excellent local garage with three extremely knowledgeable mechanics. Sadly nothing there is "free"......... But the labour rate is £40 an hour + VAT......2 points
-
2 pointsOk So I've just now today had my towbar fitted by PF Jones (was supposed to be a couple of weeks ago but finally came now), and this appears to be successful. As above, the towbar itself and the electronics kits is exactly the same as the Mk3, and the Golf/Leon etc. It cost £600, but I do feel a bit better about it now that the guy (freelance not actually employed by PF Jones) was at it for nearly 6 hours, most of which was fiddling with electronics. He mentioned the towbar prep and said it was much easier to fit to cars that had it (mine doesn't). But since they don't ask you or charge any different for cars that do and don't have this, that's not my problem so essentially the towbar prep is a waste of time. No problems with the coding - I tested it pretty thoroughly, I had trouble with my last car every time you selected reverse and forgot to turn parking sensors off it auto-braked hard. When trailer attached graphics change on the screen, rear parking sensors and autobraking are disabled, rear foglight disabled (on car) Certainly no problem with the bumper, there is a cutaway marked already, although he cut a smaller area than this (ie the minimum that was needed).2 points
-
2 pointshello all new to here thought id pop in say hello had this for about 6 months love it very nippy motor nice jump from a MK3 fabia monte Carlo. Now going to enjoy many more years with this 😊😊
 2 points
 -
Hi all The Superb Mk3 AWD is fitted with a 5th generation Haldex. Regarding VAG Group, and Skoda in particular, it also equips: Octavia 3, Superb 2, Karoq, Kodiaq. It may also apply to Scala and Kamiq, unless they're equipped with 6th generation. I actually don't know for these latter. Since I have limited trust in garages in my neighborhood and because I like 'DIYing' on my car, I've decided to change the oil of my Haldex system on my own. If one follows Skoda recommendations, workshop manuals (see cardiagn.com) only mention a simple oil replacement every 3 years and that's it! But when you start diving into documentations or in youtube videos about 5th gen Haldex, you can notice that the oil pump has an intern strainer, which trends to get really dirty, whereas it's never cleaned ! Hence, here is this humble tutorial ! I apologize, if there are any vocabulary issues... I'm French. Firstly, here are all elements, that we're going to look at: #13 : Bleeder screw (M10x30) - P/N N 910 827 01 (tightening torque 38 Nm for Superb Mk3, but on other VAG model it may be 32Nm - Have a look to the workshop manual corresponding to your car. See cardiagn.com) #14 : Filler screw (M10x1x10) - P/N N 902 818 02 (tightening torque 15 Nm) #3 : Retaining screw (M6X35) for the Haldex Control Unit - P/N N 105 540 05 (tightening torque 9,5 Nm) #11 : Retaining screw (M6X35) for the Haldex hydraulic pump - P/N N 105 540 05 (tightening torque 9,5 Nm) #9 : O-rings for the pump - P/N 0CQ 598 305 (⚠️Note : This P/N is a kit, which includes both O-rings, but also both retaining screw #11! Don't by these screws twice!) Gear Oil : According to ifinterface.com: P/N G 065 175 A2 or According to what dealer sold me: P/N G 60 175 A2 - 850 ml (~29.9 fl oz) By the way, don't forget to check that the oil can actually contains 850ml through the gauge on the side of the can. Indeed, just for the short story, the oil can I had bought only contained 750ml, though brand new and still crimped . I had to go back to the dealer to exchange the oil can. The requested volume for the maintenance operation is usually around 700-720 ml (24.6-25.3 fl oz), thus it leaves little room for error (and even less if the can is not filled correctly). The total bill was ~75 € for all parts (without screws #3, which you don't need to change). - Difficulty : 2 - Time needed : 1h30 approx. - Number of person needed : 1 - Necessary tools : ¤ Screws #3 and #11 : Torx T30 or 10mm Hex socket, if you don't have Torx ¤ Screw #13 : 8mm Hex ¤ Screw #14 : 5 mm Hex ¤ For Hydraulic pump strainer screws : Torx T10 ¤ Ratchet or classic wrenches for disassembly ¤ Torque wrench(es) to apply specified torques: (9,5 / 15 / 38 Nm) ¤ Short and intermediate extensions for ratchet or torque wrenches to enable easier access to screws ¤ A small flat screwdriver ¤ Oil drip tray ¤ Rags ¤ 1 wooden toothpick ¤ Lifting means ¤ Syringe for oil filling Dealing with the syringe, I've bought this one for 20-25€ on Amazon. It makes the job perfectly! Step #0 : Preparation You need to lift the car high enough to get under the car and to get enough space to move your arms comfortably. In my case, 370mm (~14.5") of ground clearance were enough. Note: Though you've lifted the car, it needs to remain horizontal to make a proper filling with right oil level (see step 5). If this case, I had to compensate the natural slope of the ground. Step #1 : Oil draining Start with the filler screw (#14 / blue square) removal for more safety. Indeed, if it's stuck, you won't be "snooked", with a completely empty Haldex oil tank and no way to refill it. Once you've removed the filler screw. Don't get rid of it immediately. You'll need it again temporarily for Step #4! Now, you can remove the bleeder screw (#13 / red circle). There's no difficulty to remove these 2 screws. There are 2 good news for this step: - The drain screw is long enough, so that you won't get surprised, when the thread gets totally disengaged from the housing. - Even if the drain screw has an horizontal axis, there's only a small quantity of oil, and since it is very fluid, it flows well vertically from the edge of the hole. Little chance of getting trapped with the oil, which flows suddenly and farther than the drip tray. Phew! However, it takes several minutes to really let all the oil drain: Step #2 : Hydraulic pump removal Whereas oil is still dripping, start removing 2 retaining screws (#3) for the Haldex Control Unit. They are quite easy to access with a small 1/4'" ratchet. After that, you can rotate the Haldex Control Unit, to bring the connectors on the top upside down. This simple operation will help you saving a huuuuuuge amount of time ! But this tip is explained / told nowhere!!! Otherwise, you will have to disconnect the pump connector 'blind'... And if you do this operation for the first time, You hardly understand how to proceed. Decency leads me to shut up the time that I spent trying to remove this µ%£$@&# connector before I changed my mind on the operating process. Pump connector before Control Unit removal : Once the 2 retaining screws of the Control Unit have been removed, you can easily access to the connector: Now simply insert a small screwdriver in the notch (red circle) and push in the arrow direction. Very simple... Then, you need to unclip the black plastic wire protection, which keeps the pump wiring away from the propeller shaft. It's clipped in 2 locations on each side of the shaft, You just need to pinch the 2 lugs at their end to make them go back through the hole in the housing. Left side (Control Unit side) : The upper red circle in the mirror shows what you hardly see in the lower dotted circle... It's clearly the circled part, that has to be pinched and then pushed/pulled in the arrow direction. Right side (pump side), just proceed the same way : The pump wire is now fully free. You can now remove the 2 retaining screws (#11) of the hydraulic pump (#10). Very easy too. Warning from this point, it will be 'Apocalypse pump' ! Please keep children and sensitive souls away from following pictures! Pull in the pump axis direction, while rotating it around its axis in one direction and then the other to ease the removal. Be very careful, when the pump is about to get out completely, not to strike the contact surface of the housing, nor to strike the pump strainer. FYI, the strainer is not sold alone. It's sold with the pump, which approximately costs 180-200 € (w/o VAT) ! And there, under your dumbfounded eyes , here is the sinister spectacle that awaits you: A strainer almost entirely clogged with sh**t! And the pump housing is not even better... FYI, this Haldex is only 2.5 years old and has only 45000 km (~28000 mi) on the clock. And considering the way I use my car, I don't think the Haldex faces a heavy duty use. Therefore, as I already mentioned somewhere on this forum, one can only notice that the oil replacement process in the maintenance manual for the Haldex 5th generation is clearly incomplete ! By the way, look at this video below from ~28 mn, you'll see the impact of the strainer cleaning on the pump demand signal ... It's clearly a proof that w/o a strainer cleaning, the pump unnecessarily faces severe conditions and that sooner or latter there's a risk of pump failure... Step #3 : Pump cleaning and reassembly Since the pump is now removed, you need to remove the strainer. Use a Torx T10 for both screws: Then wipe the pump dry with a rag, being careful not to get the dirt into the ports. Fort the strainer, a cleaning with some white spirit and a soft paintbrush. But be careful, not to brush to hard to avoid tearing the strainer mesh, which is very thin!!! Eventually, a simple soaking in a small glass of white wine ... sorry , I mean... White Spirit should help removing most of the dirt and finishing finely with the paintbrush. Let the strainer dry, while you remove both O-rings around the pump, using a wooden toothpick as a lever. It will avoid hurting the grooves. You can now, clean the area between both grooves with white spirit. Once everything is clean, you can mount the strainer back onto the pump. Be careful ⚠️ ! I didn't find any information about their tightening torque. Thus be sure to tighten enough to firmly place the strainer on the pump body (to make a good seal against dirt), but not too hard to avoid risks of cracking the plastic. Shall I remind you the price of the pump, just in case ?!? Now, pour some drops of fresh oil in a small container. By the way, FYI : Haldex used Oil 2.5 years old & 28000 mi on the clock / Haldex fresh oil Put few oil drops on both O-rings to lubricate them and install them onto the pump. Keep using the wooden toothpick if needed. The pump is now ready to be mounted back onto the car : Now, you can clean the housing with rags before putting the pump back in place: Don't forget the bearing surface, where the threads of the retaining screws are located. Here you can see some dirt left, that I removed right after taking the picture... You can now put the pump back into the housing. Be careful, not to pinch both O-rings . Once there's only 5-6mm (1/5 -1/4") between bearing surfaces of the pump and the housing, it gets a bit harder to push in by hand. This is probably caused by O-rings, which may act as a slight "bead" to efficiently seal. You now realize how clever it is, to lubricate both O-rings to prevent them from rolling inside out and to make this operation even more difficult. When the pump stops into the housing, you can put 2 retaining screws back in place (#3 - tightening torque = 9,5 mm) Put the black palstic pump wire protection in the correction position and clip it into both holes. Be careful, you still work 'blind' (unless you have a small mirror) . Reconnect the pump connector on the Haldex Control Unit and rotate the Haldex in its normal position. Watch out to rotate the Control Unit in the correct direction not to twist unnecessarily the pump wire. Put both retaining screws to fix the control unit (#3 - tightening torque = 9,5 Nm). For the lower screw, the propeller shaft flector is slightly in the way and leads you to put the bit with a small angle. But you can still manage to have enough grip with the bit to tighten. You can now install the new bleeder screw (#13 - tightening torque = 38 Nm). Step #4 : Oil filling According to the workshop manual, the filling shall be performed with an oil temperature between 20°C and 40°C (68°F / 104°F). If the ambient temperature is to low, put the oil can in a bucket filled with hot water for a while to bring the oil at the right temperature. You can now inject fresh oil in the filling hole (see blue square, on the 5th picture) with the syringe. You have to fill with oil, until it overflows. This should be approximately 650ml (~22 fl oz). Put the OLD filler screw back in place temporarily and tight it slightly. Yes, you've been told to keep it upon removal at step #1! Do you remember? ! Etape 5 : Oil level adjustment and ending Start the engine and let it run for ~1mn, to let the hydraulic pump fill with oil correctly. Shut the engine down, then remove the old filler screw again (#14 / still the blue square on the 5th picture ). Top up with oil until it overflows again, and you can put the new filler screw to finalize the operation (#14 - tightening torque 15 Nm). That's it! Fresh oil! Clean pump strainer! Happy Skoda owner! ... You can put the car back onto the floor now ! Now it's up to you!1 point
-
1 pointSo the time has come to move my beloved Octy on and I’m super pumped to say that I’ve paid my deposit on this lovely lean green machine 💚 It’s a 2019 Superb SportLine Plus 2.0 TDI 150 DSG with the following options Variable Boot Floor Folding tow bar Exclusive Dragon Green paint That’s all it has for now but there’s a laundry list of retrofits to get through on it in time. It’s having a service and DSG oil change currently along with a full prep this week for collection in early March. I legit can’t wait to finally be a Superb owner!!!!1 point
-
https://www.pistonheads.com/news/ph-features-sheds/skoda-roomster-scout-shed-of-the-week/43834 Generally quite a positive response but plenty of typical Piston Head comments too!1 point
-
1 pointHi After owning Mazda 3's for the last 7 years I'm 2 days into my Skoda adventure with a new Octavia sel 1st edition. Lots to read and learn but wow what a lovely car. Hopfully i'll still be this happy in a years time, By then i might even have my head around the infotainment system. Thanks Daveb1 point
-
1 pointI'll check again tomorrow but I have a feeling that I have 1688 already. I'll report back though with a full image.1 point
-
1 pointI'm a long time subscriber to his channel. He's very far from a Tesla fanboy. The issue he speaks of is very real and it's a problem for all non-Tesla's on the road today: the rapid charging infrastructure. End of last year, I had to sign up to Polar/Pulse instant to charge because the charger contactless wouldn't go through. Paid first £5. A few weeks ago, I topped up another £5 to use a different Polar/Pulse charger, because need balance more than £5 to start charge. But the charger would not start remotely through the app, had to use contactless. This kind of teething problems is really annoying and really deters mass adoption of EV's. Over 3 years of EV ownership and I still feel anxious when driving to a public charger, things haven't really improved. It's just this video is too drawn out on the single issue...... He's not big on driver assist. I think Autopilot on his Tesla isn't working, he mentioned it in passing in his winter roadtrip consumption video.1 point
-
1 point
-
1 point
-
1 pointSwapped my Superb Estate for this brute this afternoon, Sportline Diesel. Very impressed already. Lets see how it stands up to the double threat of my 2 under 5's and work as an operational vehicle for the Electricity Board!
 1 point
 -
1 point
-
1 pointI used to live near a guy who had a genuine Lambo Countach V12 in his garage and I would stand and stare if he was going to fire it up. Pure car porn.1 point
-
1 pointI remember the old Ford V6, it was a great sounding engine with the right exhaust I thought the TVR engine sounded a bit 'meh' to be honest. It only sounded OK when you trying to kill it...which wasn't so hard They were quick though and looked amazing All imho of course1 point
-
1 pointFor the spare the steel wheel I have is a 7.5J x16” ET45 with a 205/55/16 tyre. It came with my car. May help your search. I bet a 6.5j will also fit. My mirrors alao fold fold in and out by hand which is nice when you want to just do one temporary.1 point
-
1 pointTo fold the mirrors, either turn the mirror knob to the fold symbol, or hold down the lock button on the remote when locking, and it will fold in. When you start the car they'll unfold.1 point
-
1 pointAlways loved the flat 4 in the scooby. The V6 turbo in the Renault gta turbo was a fantastic screamer, and as you’ve already mentioned, in a recent car, the V6 F Type when on song is glorious.1 point
-
1 pointI remember working at Cadwell park and hearing the Norton bikes. They sounded amazing. Sort of a mix between the 2 strokes and 4 strokes but only choosing the best sounds from each. Apologies to the bike riders as I had forgotten your engines ..."my bad", as they say1 point
-
I am still hankering for one, I saw a few that were damage repairable auctions on a link from this forum last night, kinetiq or something. I had 2 Octavia Estates & they were very practical lacking only in height, I have a Yeti now, its a great drive but very impractical, lacking in depth and height, the vario-seats are good but would be much better in the Roomster. I would like to drive one to see what it feels like, I fear it would be like getting into a MK1 Polo after the Yeti. A friend in the UK has one of the PSA/Renault van derived fugly wagons, so soul-less that I cant even tell you what it is, he like me would change his cars more often than his pants and has stuck with it for a decade like I did with the Octavia, I knew it had to have something going for it and it does, very practical space, he can carry a full sized motorbike inside it, the Yeti is pathetic by comparison, I think the Roomster would be a compromise between the two. Dissapointed to learn that the Scout model is just spivved up with some plastic and no 4x4 or ride height increase.1 point
-
1 pointThat silver L&K is a bit overpriced IMO, a lot of them are compared to how they were at the end of last year. I’m not ready for an L&K, spec is awesome but the SportLine look is the one for me. My budget is a strict £350 a month with no deposit on a 4 year PCP so it probably won’t stretch to a £26k car.1 point
-
1 point@gaz had to read that a couple of times, thought you may of been talking about SWMBO Polo GTi, wonder how many of those are bumbling around, never going above 40Mph for their 1st owner life times. From the few I've seen round here... @Daveb691 solid things mazda's for sure. Like Audi used to be I don't think any modern car can be that bad. So long as it stops and I can see where I'm going on a lane at night, I'm generally forgiving other woes. Because I know they will be present on almost any other marque nowadays. Some you'd pay more for, some you'd pay less for... I thin skoda, still sits in a sweet spot; just about. Welcome to the community and Skoda1 point
-
1 point
-
1 pointWell that works, guess I'm shopping for one of those relays or a control module! Thank you very much for the assistance!1 point
-
1 pointIt probably is the relay, because when they wear out the problem is the contacts that carry the high current, not the coil. so just because you hear clicking doesn't mean there's an adequate connection being made. It does confirm that the stalk signal is being received and correctly acted on though. It sounds like you've ruled out virtually every other possibility except perhaps wiring damage between control unit and wiper motor. To check this you could unplug the relevant connector from the control unit (with everything off, keys not in ignition) and link two contacts of the loom connector to simulate the relay being switched on and conducting well. See here: https://www.briskoda.net/forums/topic/488162-strange-windscreen-wiper-behaviour/?do=findComment&comment=5480720 (see also my next post in that thread too, after I'd tried it on my car). If that results in wiper function being OK, you face either replacing the relay on the circuit board, or replacing the whole control module (needs minimal coding, none if the donor car has exactly the same options). Relay replacement is described here: https://www.briskoda.net/forums/topic/473170-wiper-relay-replacement/1 point
-
1 point
-
Most people who had one on here kept them for along time. Mine, 11years, and its still in the family going strong. 💪1 point
-
That's not an OE filter so it's already been changed and, no, it won't make any difference if you change it again. To be honest UK fuel is so clean compared to other parts of the world that it never needs doing on petrol cars.1 point
-
1 pointI also have on numerous cars fitted the K&N panel filter, I assume it's the panel filter you mean. Apart from a slight increase in induction noise, never had any improvement in performance. I actually did some tests on my Civic Type R EP3 years ago. I used a full on K&N Typhoon induction kit as well as a heat shield. Once V-TECH cut in, boy did it roar. Did a timed 0-60mph and a timed 30 to 80mph in 3rd. The firsts runs I had the standard air filter. On the second runs I had the full kit fitted. Did the K&N kit make it any faster, NO. Timings were just the same with or without the induction kit. However, I hated the roar of the kit at high revs so much, took the kit off and sold it on E-Bay. With a later car I did the same with and without the K&N panel filter. Same again, timings were the same. So what was my impression? I have bought a few K&N panel filters, just because they last a lifetime. I was always careful when I cleaned them and reoiled them, to not spray too much oil onto the filter and to wait before refitting for the oil to dry off. Don't want that oil on the MAF sensor, which by the way never happened. I now just fit original VW air filters and certainly get plenty of performance from them on my mapped Octavia VRS TSI 230, or 329bhp as it is now. They are not really too expensive either.1 point
-
1 pointIt sounds to me like the lack of remembering certain modes now is all to do with WLTP legislation. Having to revert to its “standard drive mode settings” must now be part of conforming to WLTP standards of measuring potential emissions. Ive also heard, on other threads, from our Irish members that you can’t even spec the pano roof or Canton because the these items apparently push the car over a certain emissions threshold, which I find absolutely incredible. Back to drive modes / settings and my current 5 series F11 2017, has never retained any of my previous drive modes after the ignition has turned off. It doesn’t even remember the Auto Hold, so every time I get in the car I have to press the button. Which I don’t mind doing because I am now used to that, but the point I’m making is, a lot of these issues are genuine software / hardware glitches, some are design innovations / flaws (subjective) and some appear to be gripes with changes to convenience elements that seem to be driven by external emissions measuring standards rather than Skoda withdrawing the functionality. Who knows, I may feel far less philosophical about it when I’m living with my new car, but six weeks since order and still no Build week, so I’m jealous of you guys who are already in your MK4’s! ✌🏼1 point
-
1 pointThat 26k one looks pretty good if it’s in your budget and the original one isn’t as expected plus it’s already got vc, the boot pedal and the camera fitted with only 6k miles!1 point
-
1 pointIn some ways, I feel for the dealer having to cope with Covid restrictions, however where they have chosen to relocate to middle of nowhere (I mean isolated on edge of town) it’s not great experience for the customer who has to hang around waiting either. Of course, the latest fixed menu servicing regime is to blame, if you have a car that has only done 1200 miles, why is a special low mileage inspection not available, parts which degrade over time ok to do, but some mileage related work clearly isn’t needed. After 12 months of Covid why is there still not a <4000 miles service option (not everyone does 10-12k miles per year which seems to be only option on those service charts). It is a also bit much to charge full rate if part of the customer comfort experience is withdrawn, more so if other parts included in the price like washing the car are also withdrawn.1 point
-
Agreed............Alignment on a beam setter to max allowable limits improves it massively as well as better bulbs. I use Philips extreme vision.1 point
-
1 point
-
1 pointMany of you have reached out to me wondering if there is an update and I’m relieved to say that there finally is. Dealing with Fords of Winsford has been like pulling teeth and whatever happens with the car I would never recommend them to anybody!! I’ve had to demand my deposit back twice just to get a date to even see the car but we finally have a collection slot, Saturday at 9am. However, because they are only offering a pay in full test drive and I don’t believe that their 100 mile no quibble return makes the customer whole should they return the car I have been forced to make a decision based on the cars condition and I’ve decided that if it’s anything less than perfect I’ll have to leave it there and buy a different car from somewhere else. So it’s not as certain as it was nearly 2 weeks ago when I paid the deposit but at least I’ll be able to make a proper decision at last.1 point
-
Ok, double confirmed, I'm surprised, like putting lazors on a milk float but at least you townies will be able to venture out of the streetlit suburbs without pressing your glistening faces against the windscreen.1 point
-
1 pointCorrected that for you - with smaller wheels the tyre profile usually needs to be larger (it's specified as a percentage of tyre width) to maintain the overall tyre diameter. The general 'rule of thumb' is that it should be within 2% of the original. There are plenty of online tyre calculators which will allow a comparison between the original wheel/tyre size and those being considered, I usually use this one1 point
-
1 pointIt's not lost its way it's just not looking to us Brits/Europeans to make money. It's looking East. Older cars sound better, it's a fact. I was going to scratch my V8 itch with a Jag XFR but various issues in life have ended me up in the RR.1 point
-
Hey Stenopus, I'm firmly in your camp... Cannot listen to the Canton system for good music. But unfortunately I won't be going for the cheap option to fix Car is going in for a full Audison DSP and amp system to drive Hertz Mille Legend 3 ways, including moving the mids and highs to the A pillars. Won't comment on other peoples ears, but if coming from high car audio the Canton just does not stack up, would hate to hear the stock system... Full details of the build will follow.1 point
-
Hopefully this works -https://a.aliexpress.com/_mORcqht Camera A was perfect fit for me. I used this thread as a reference - Hope that helps 😊1 point
-
Hi bud, I have a towbar fitted to mine with an switched live for the battery charging on the 'van, so I tapped into that as it is only live when the engine is running as I don't have a remote lead from the HU. When I get round to it I will be going direct from the battery with a digital voltage switch and dedicated heavy gauge wire as the amp don't like it at higher volumes and cuts out - looks like the power supply isn't as good as I thought, to be fair it is only to provide a trickle charge to a leisure battery, but for what I use it for it's ok for the time being. I would always recommend going straight from the battery with a good fuse and appropriate gauge cable for your amp. Hope that answers your question mate!1 point
-
Don't forget that the fitment of Beemer wheels will automatically disable the indicator function1 point
-
Snowfoam, long handled wheel brush and finish off with pressure washer seems to work well on mine1 point
-
A very good guide to changing the plugs in a 1.4 TSI / TFSI Twincharger. http://briskoda.net/forums/topic/462285-spark-plug-guide1 point
-
Hello, will it also work for my superb IV PHEV sportline (July 2020) equipped with a columbus? Thanks1 point
-
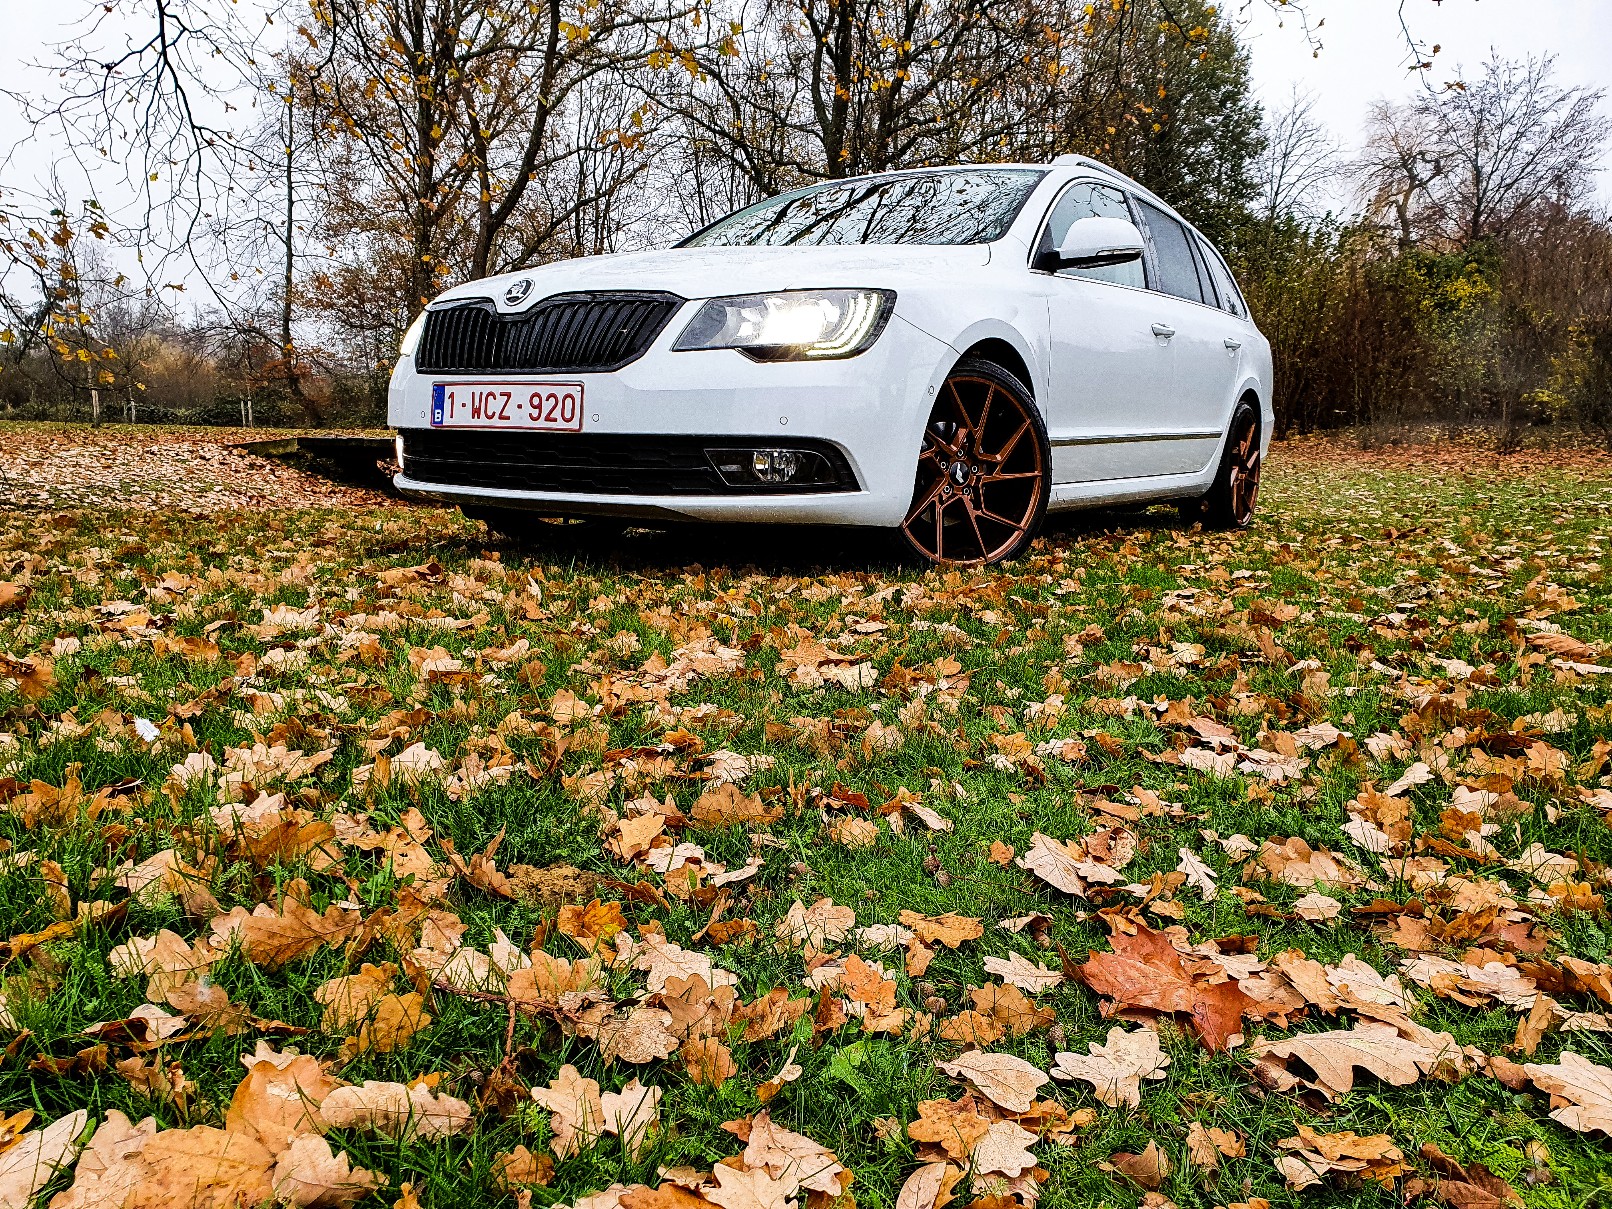
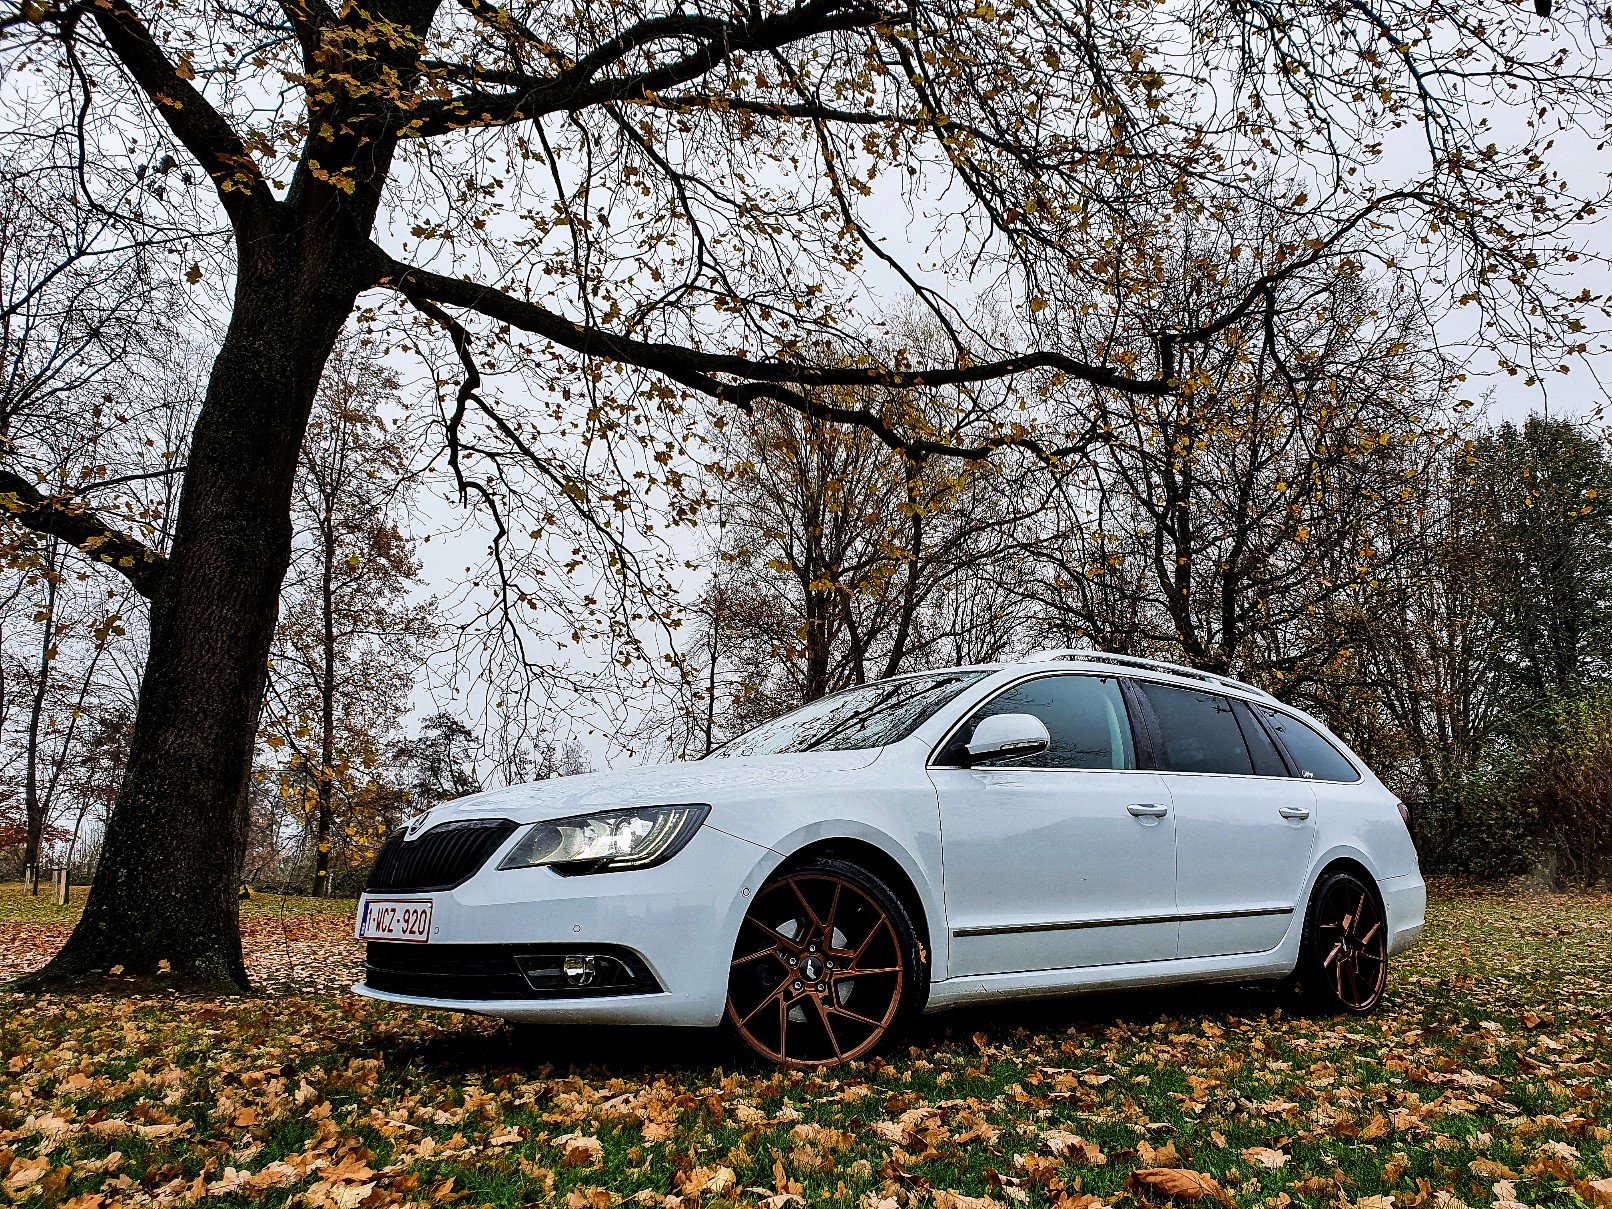
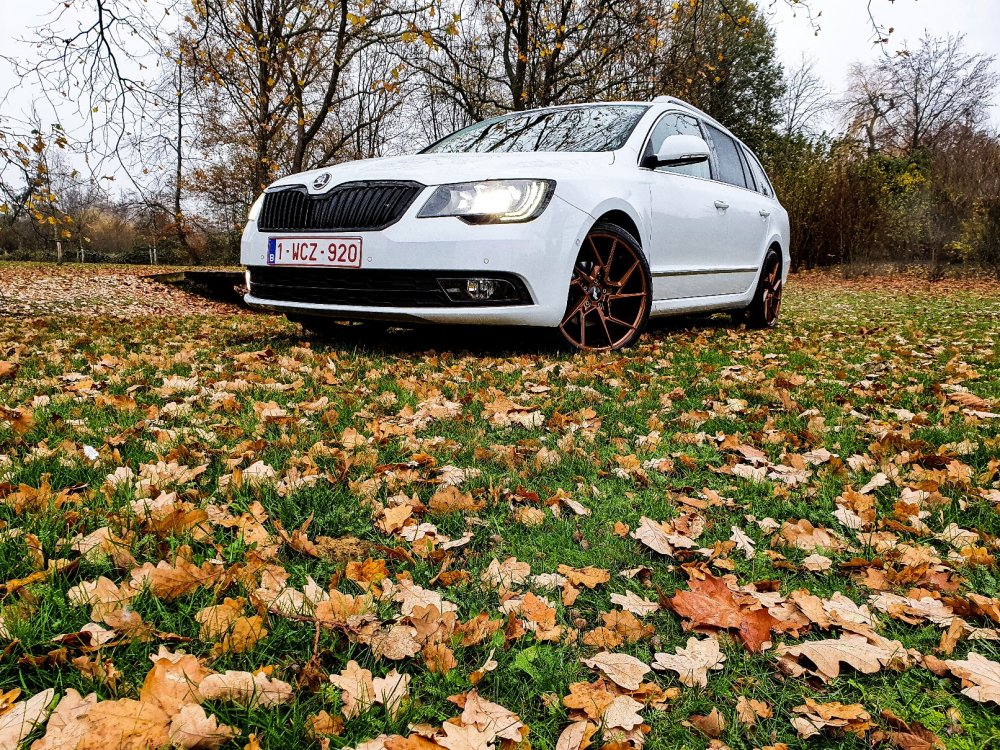
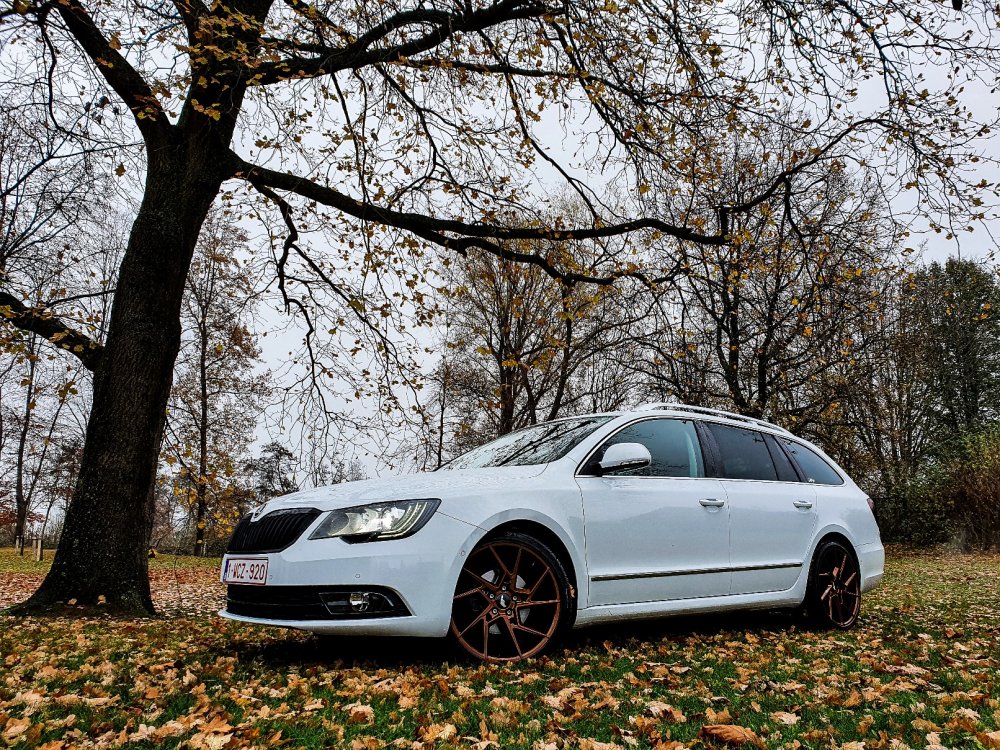
1 pointGot the grill, Xenon sprinklers and lower trim done in gloss black today, logo's wil soon be replaced with al black ones. Chrome delete on the Sidetrim is up next.
.thumb.jpg.6c495e3a34975be4a0bc3e507b61b63f.jpg)
 1 point
 -
1 point


.thumb.jpg.8e5f9e60c5cd7ea21f8e252ad8e03e8b.jpg)


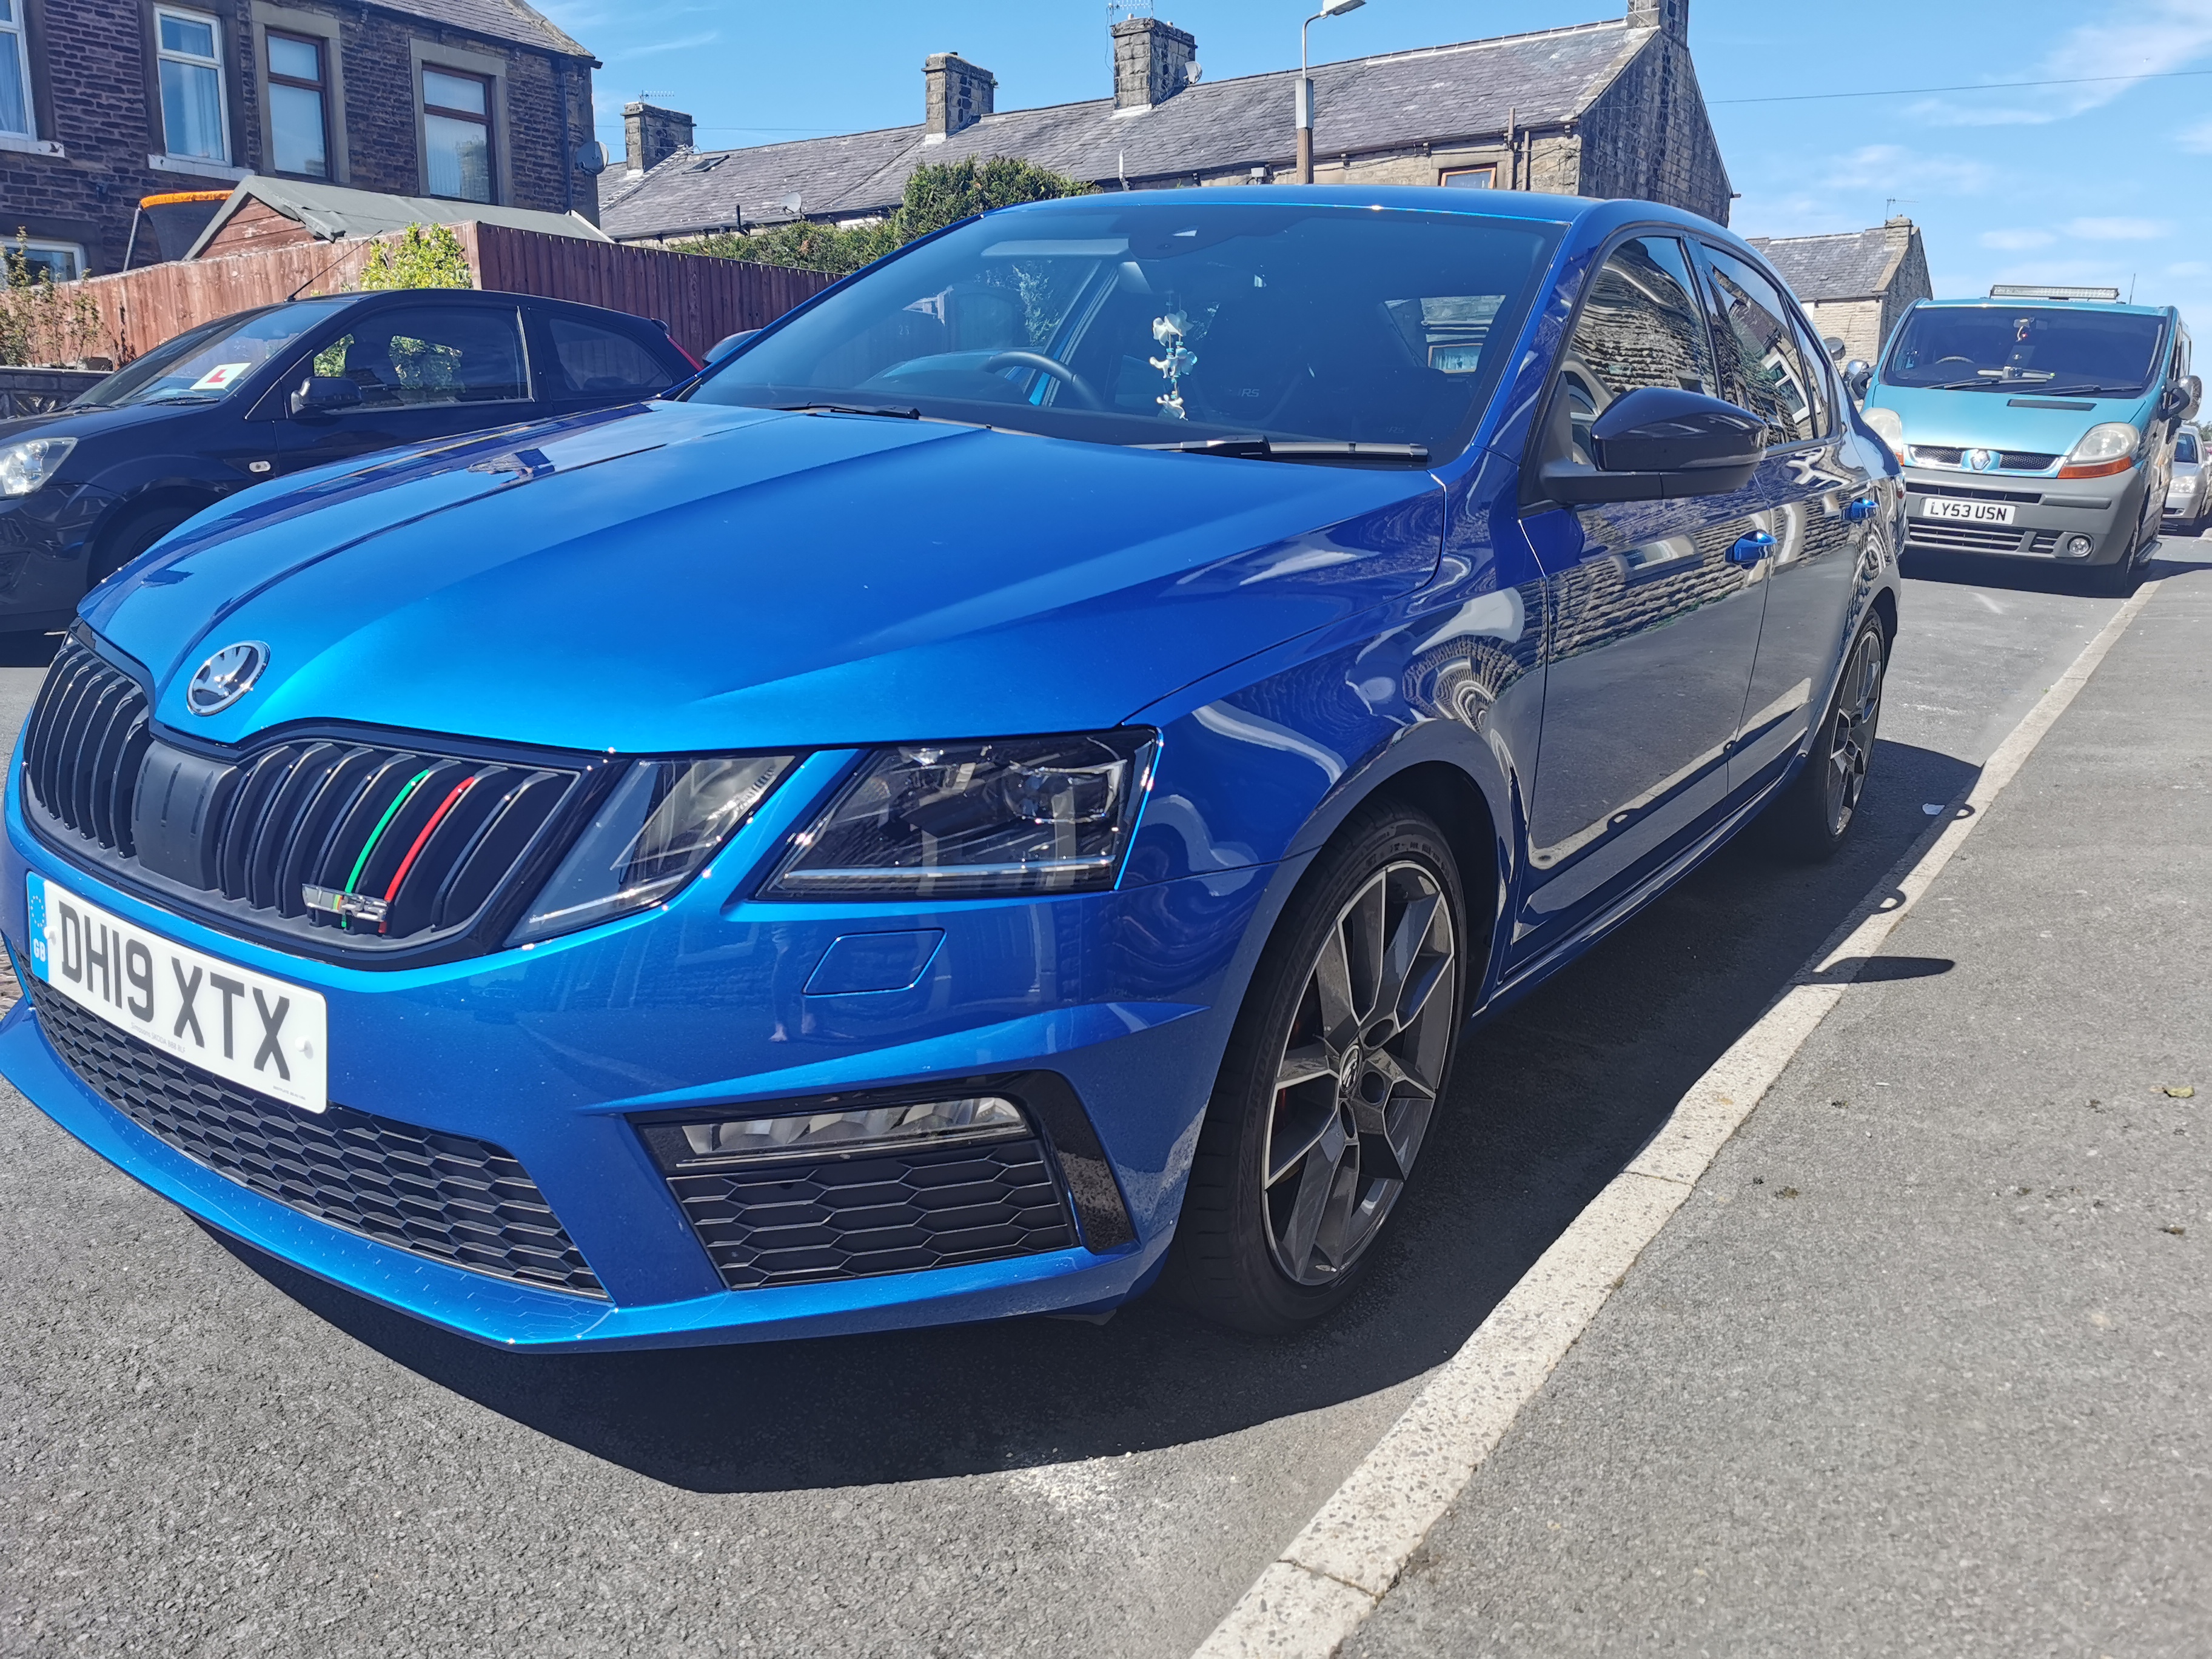
.thumb.jpg.f83a46b9b3c0d976b9dbffbb523c9874.jpg)


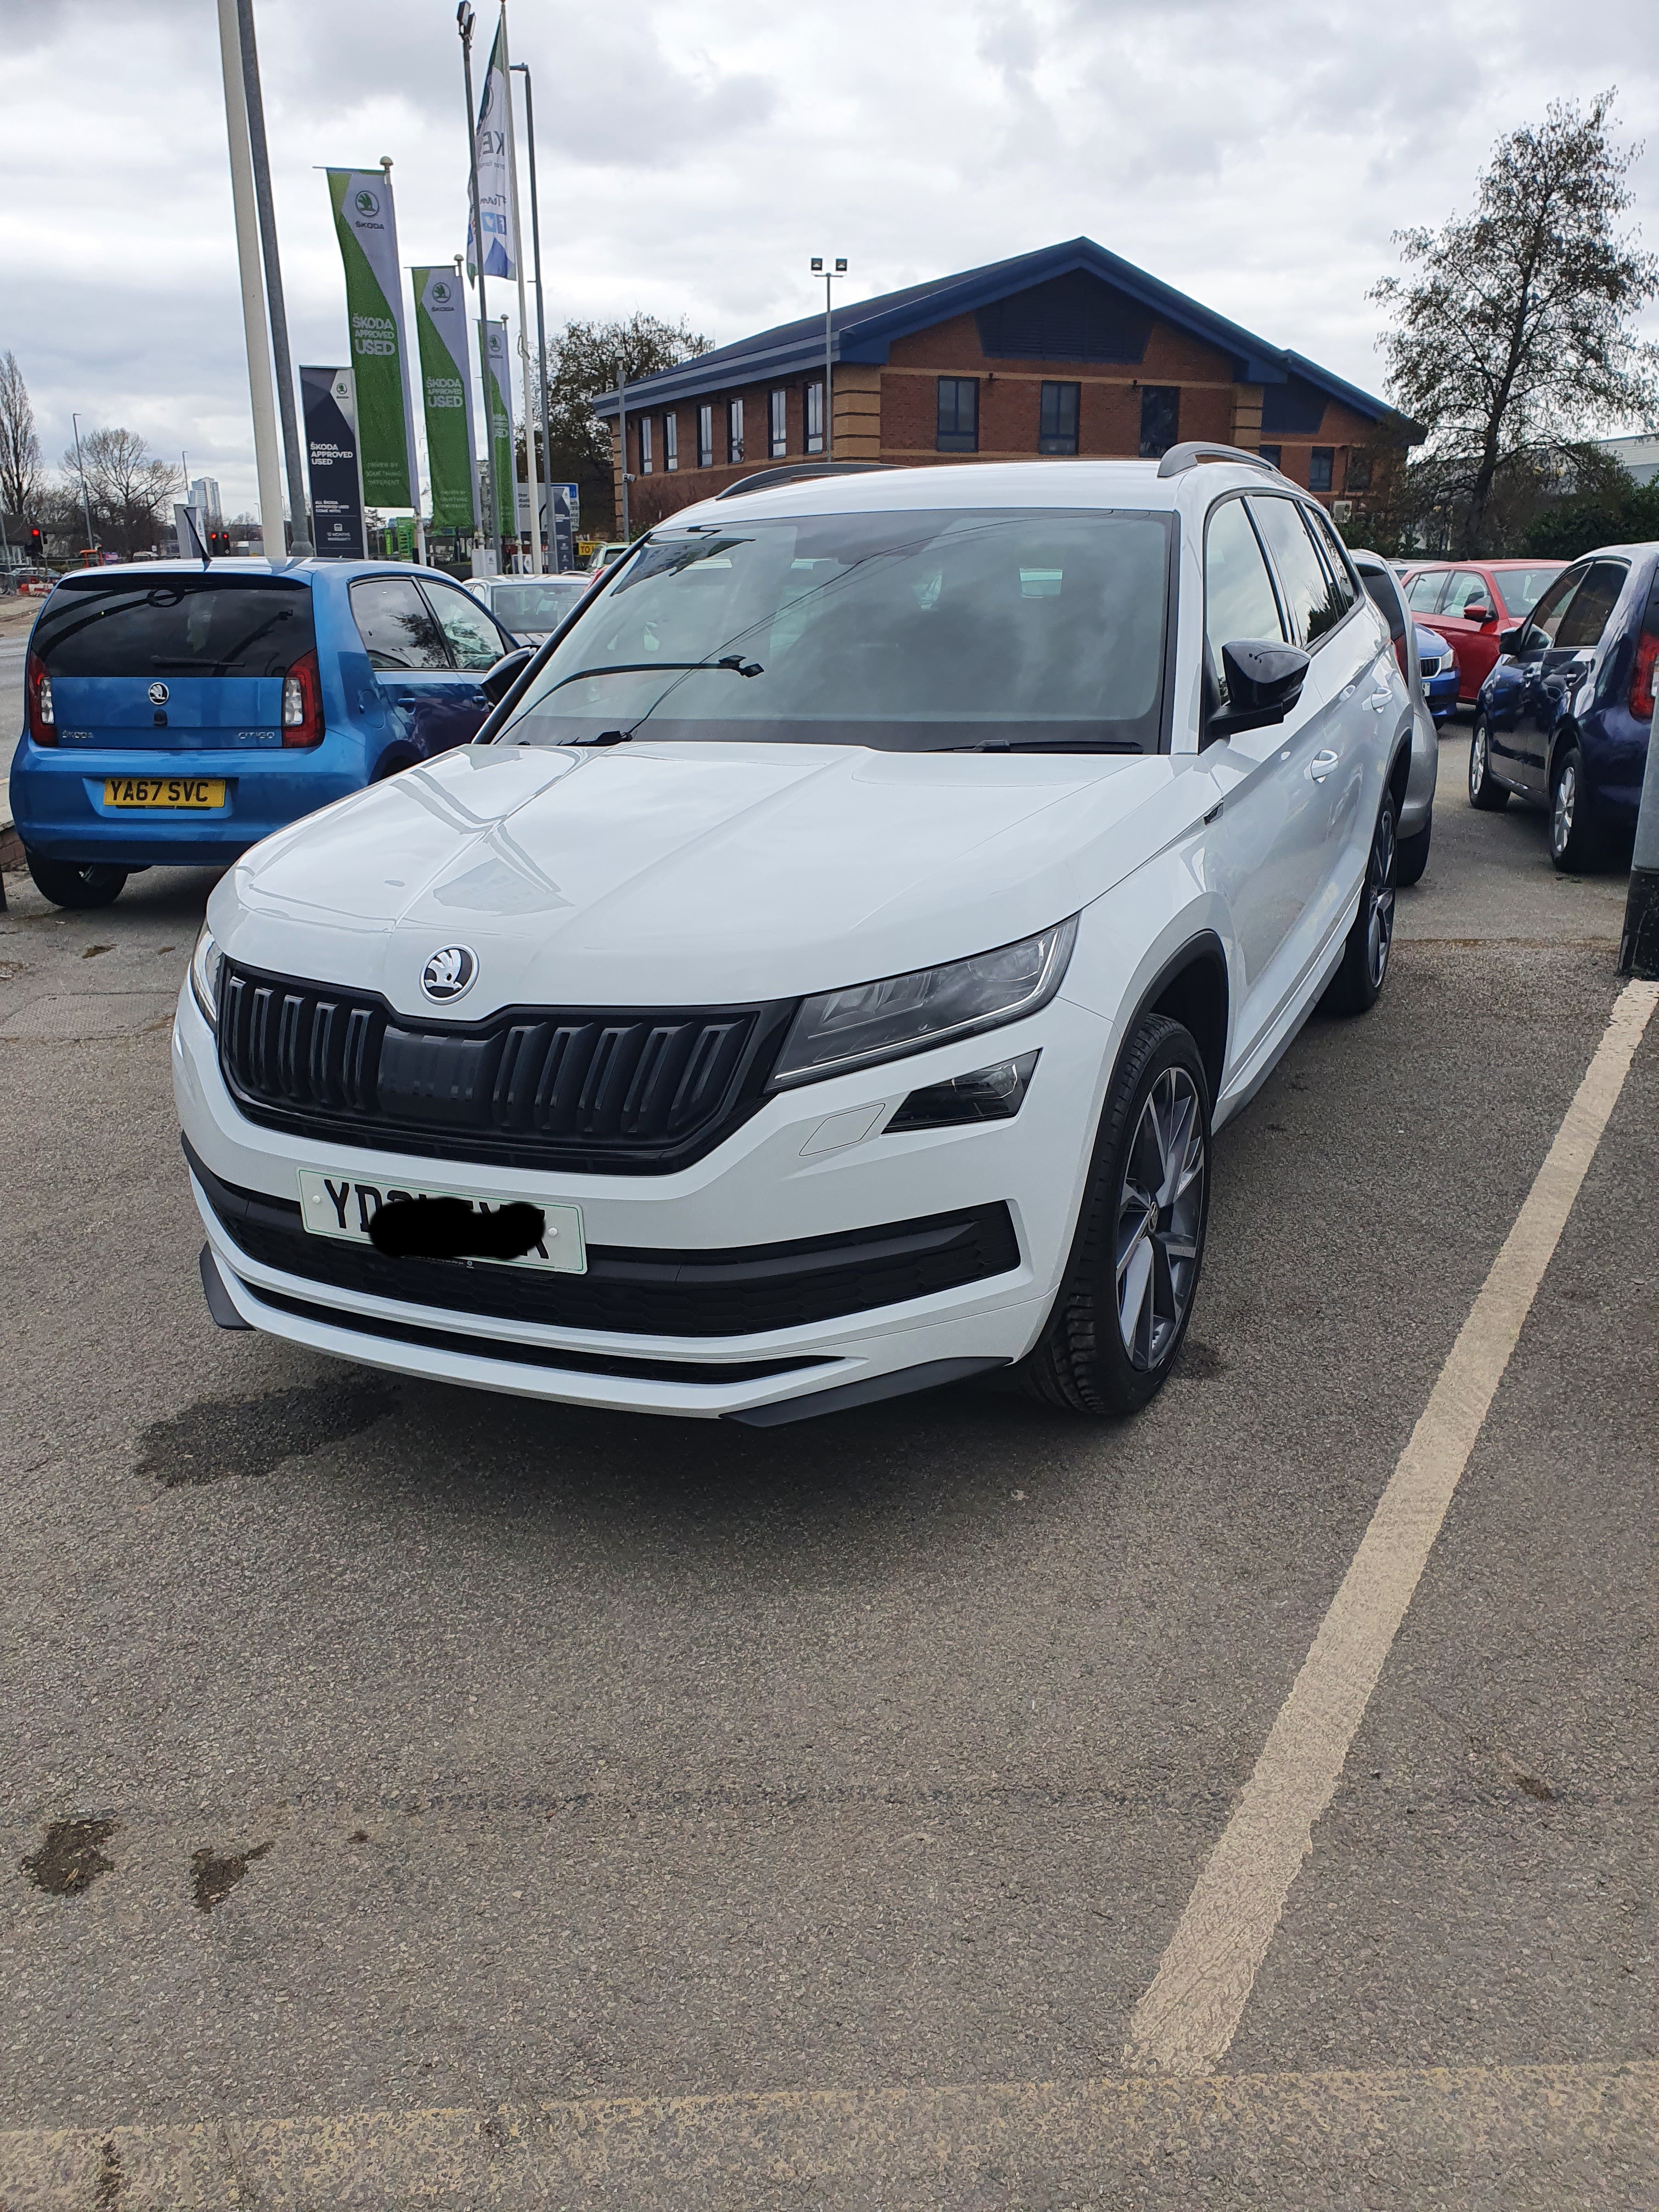
.jpg.ac8c49161999d1f8aa5ad8555ddbe184.jpg)