


Leaderboard
-
.jpg.1006585dfe4e2977315b67c3d642e37b.jpg)
Guest_
FREEDOM18Points83,824Posts -
MikeTheThinker
FREEDOM12Points8,481Posts -
Aspman
Resident Member12Points21,151Posts -

Guest__
Members10Points1,770Posts


Popular Content
Showing content with the highest reputation on 24/06/22 in all areas
-
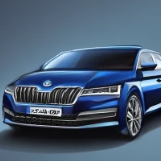
6 pointsMy Octavia VRS Estate petrol ordered July 2021. I am told today that it is complete and I should see it in the UK in about 4 weeks. So good news there is hope6 points
-
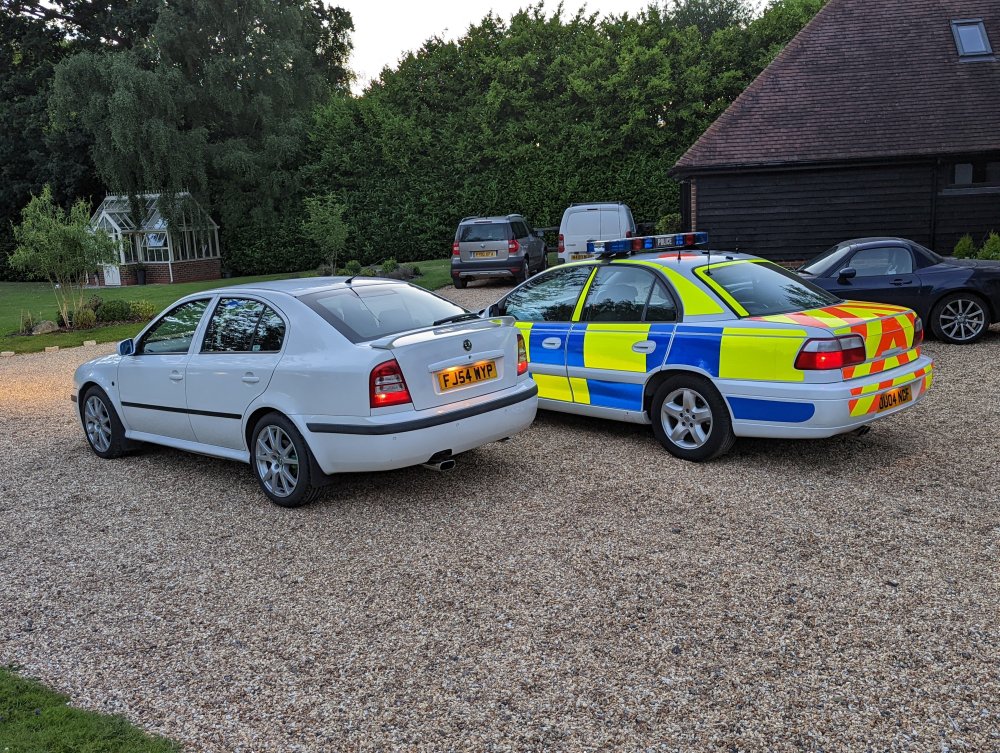
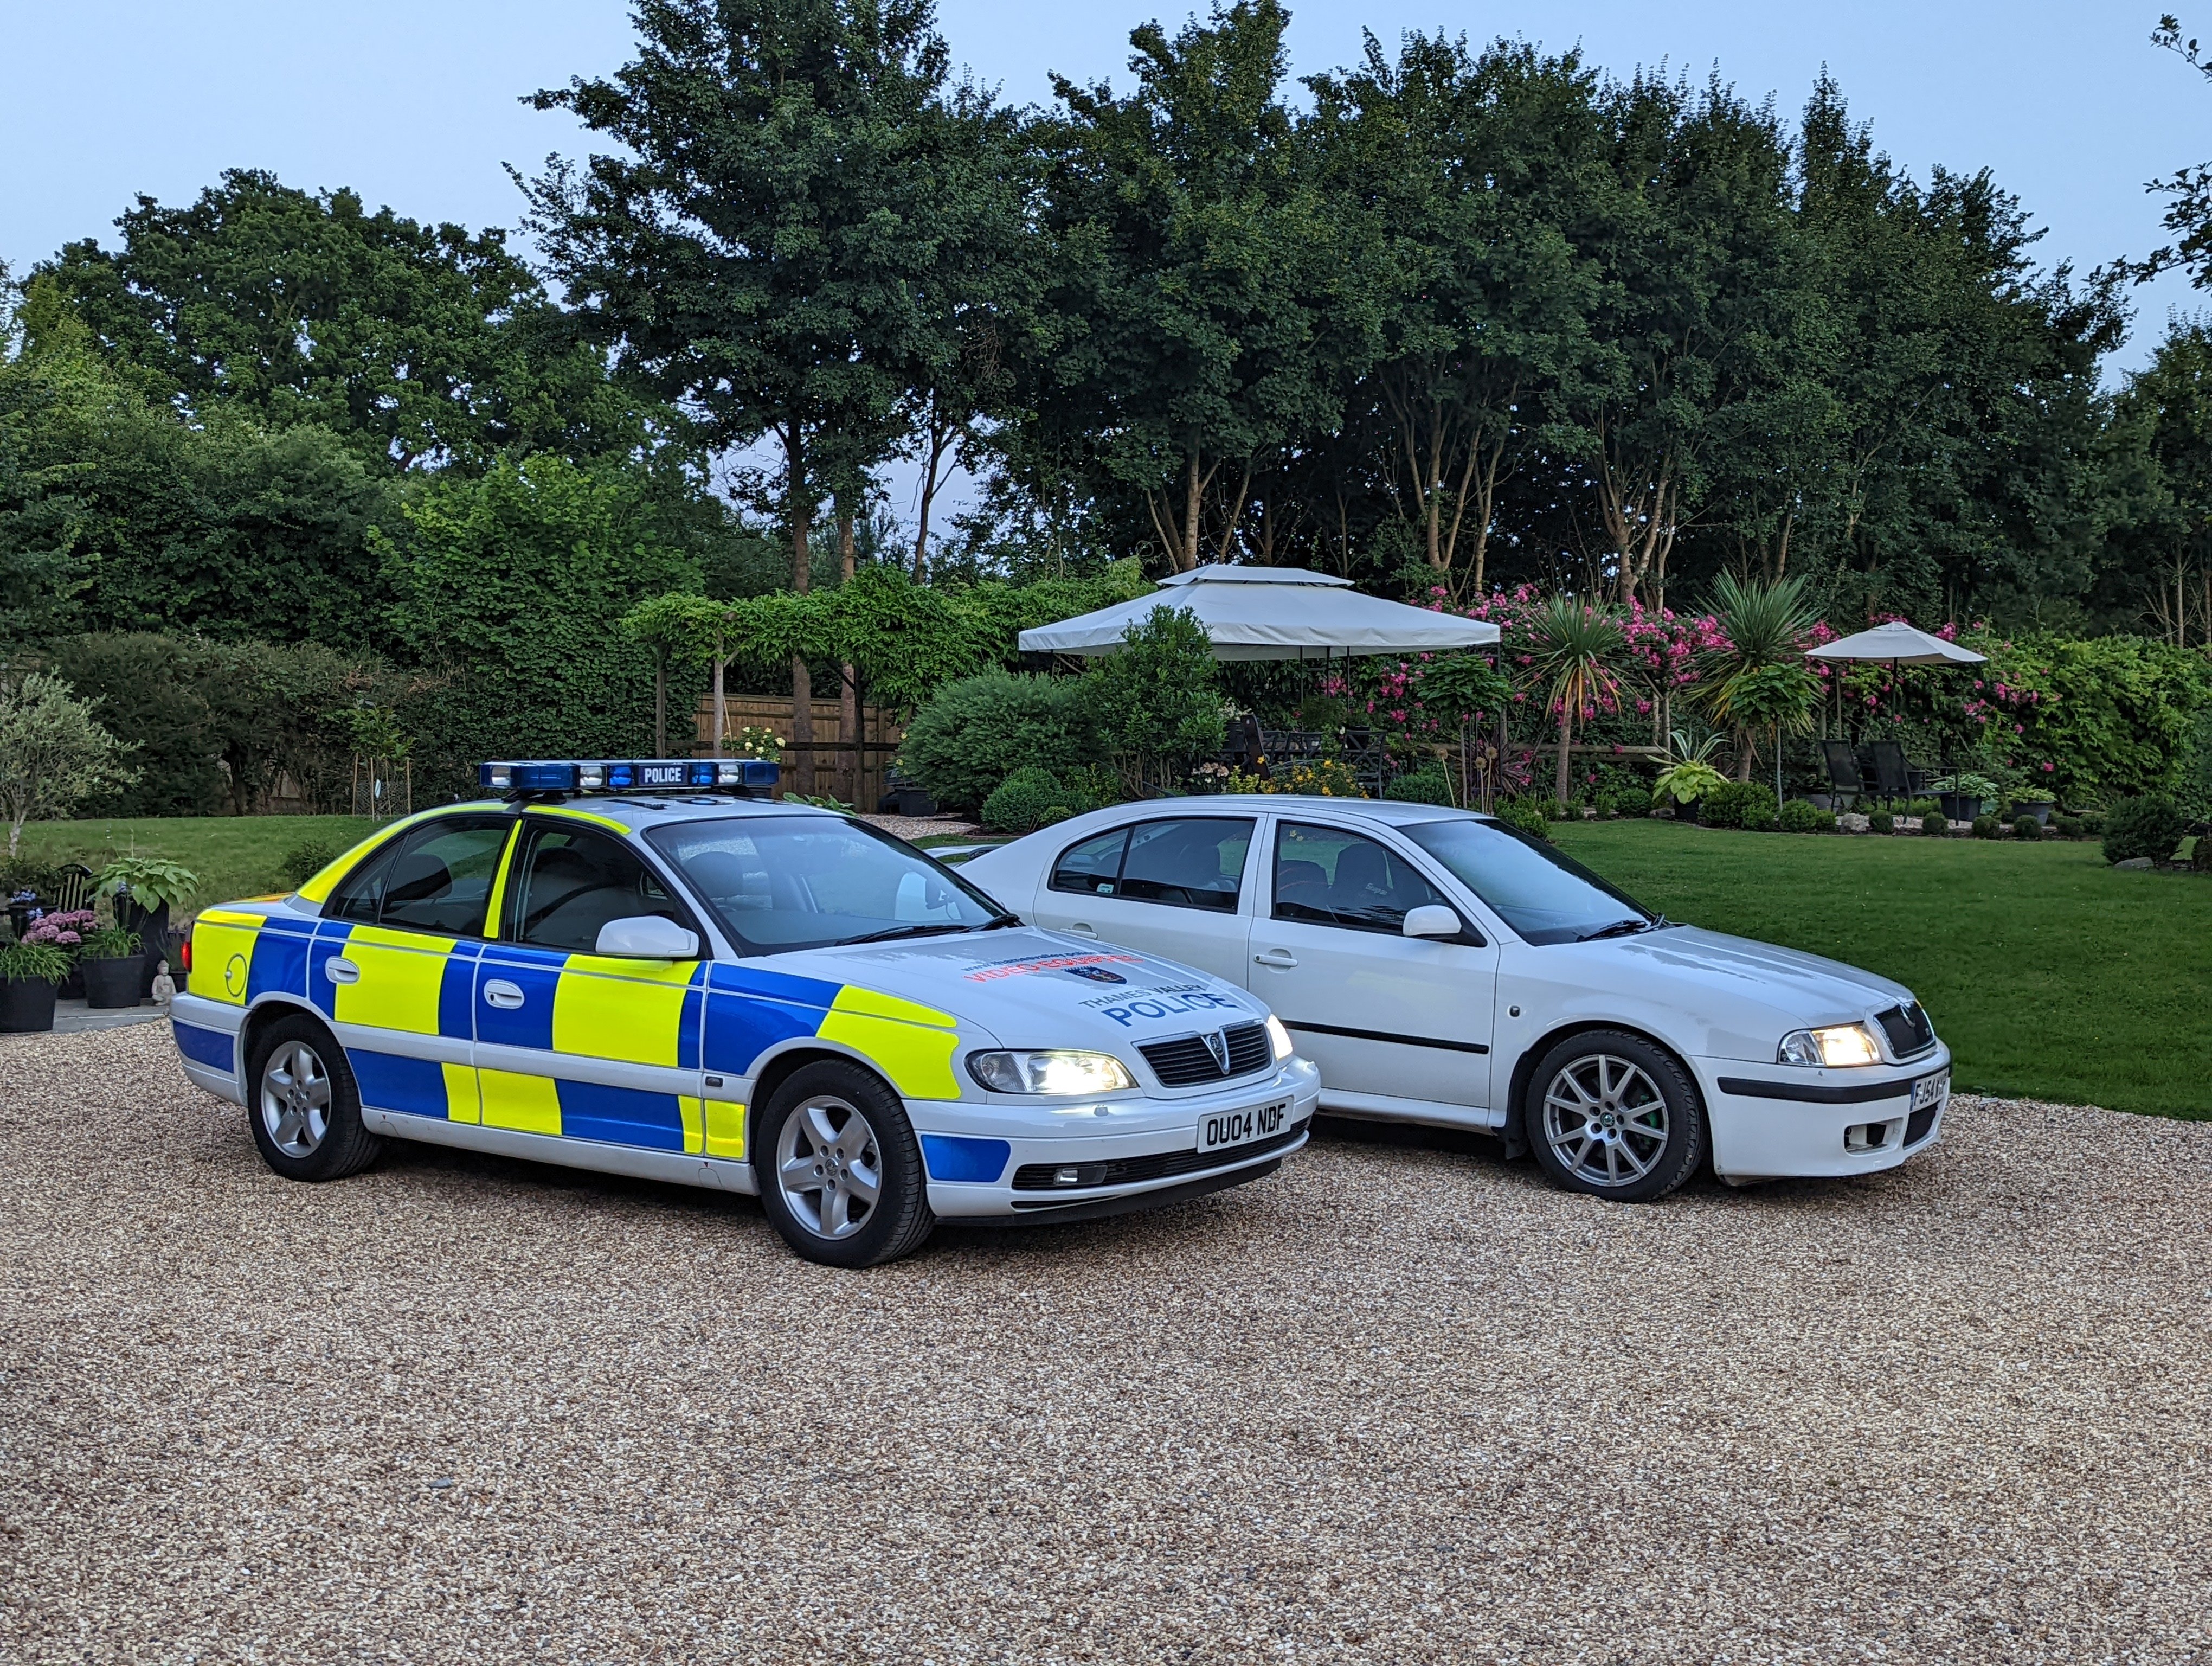
4 points4 points3 pointshi, hope you're better. the 2500 rpm is perfectly normal. its to protect the engine from overspeeding when it is not under load. When you go for a drive, it should be normal.3 pointsHad a catch up with a fellow enthusiast yesterday. The work he has put into his ex Thames Valley police Omega to bring it back to spec is outstanding.
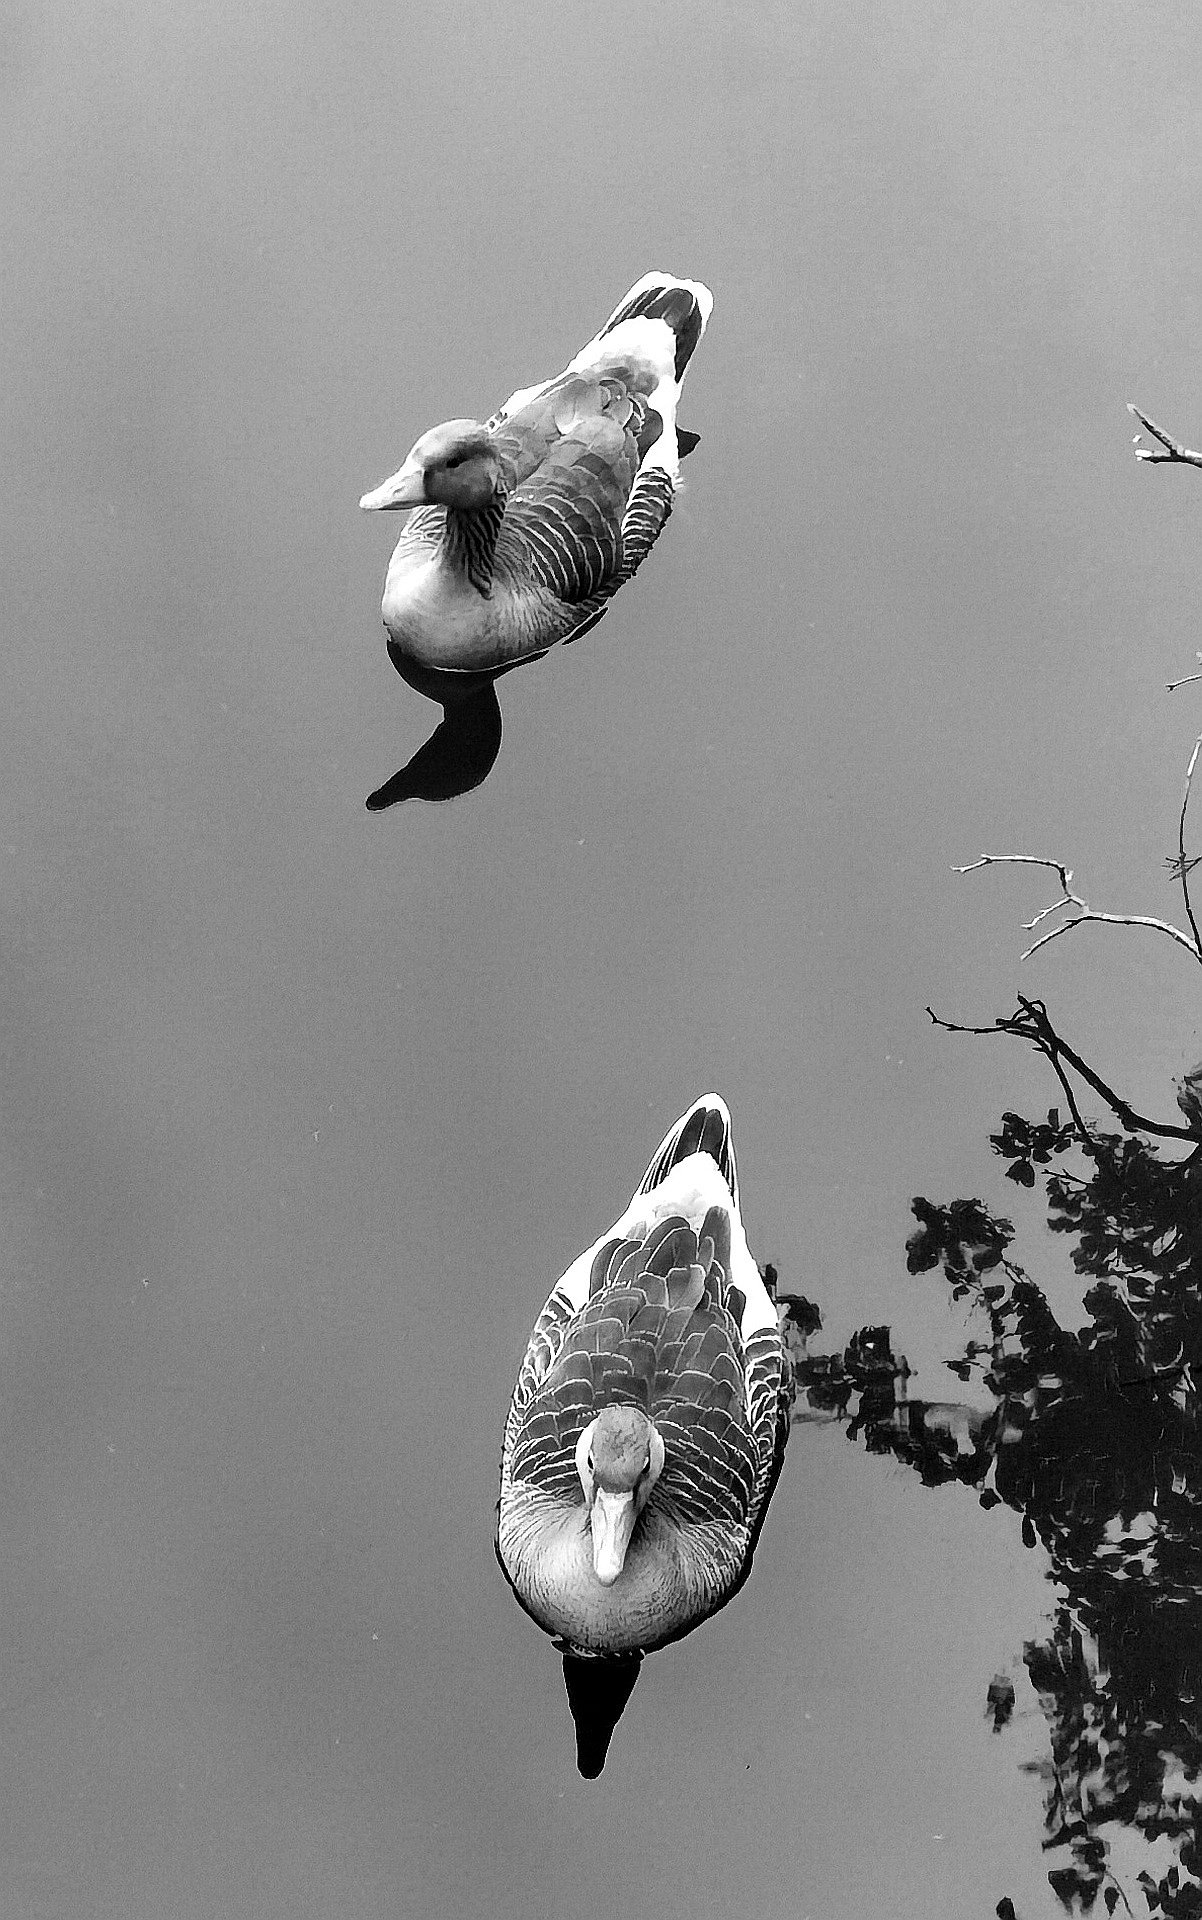
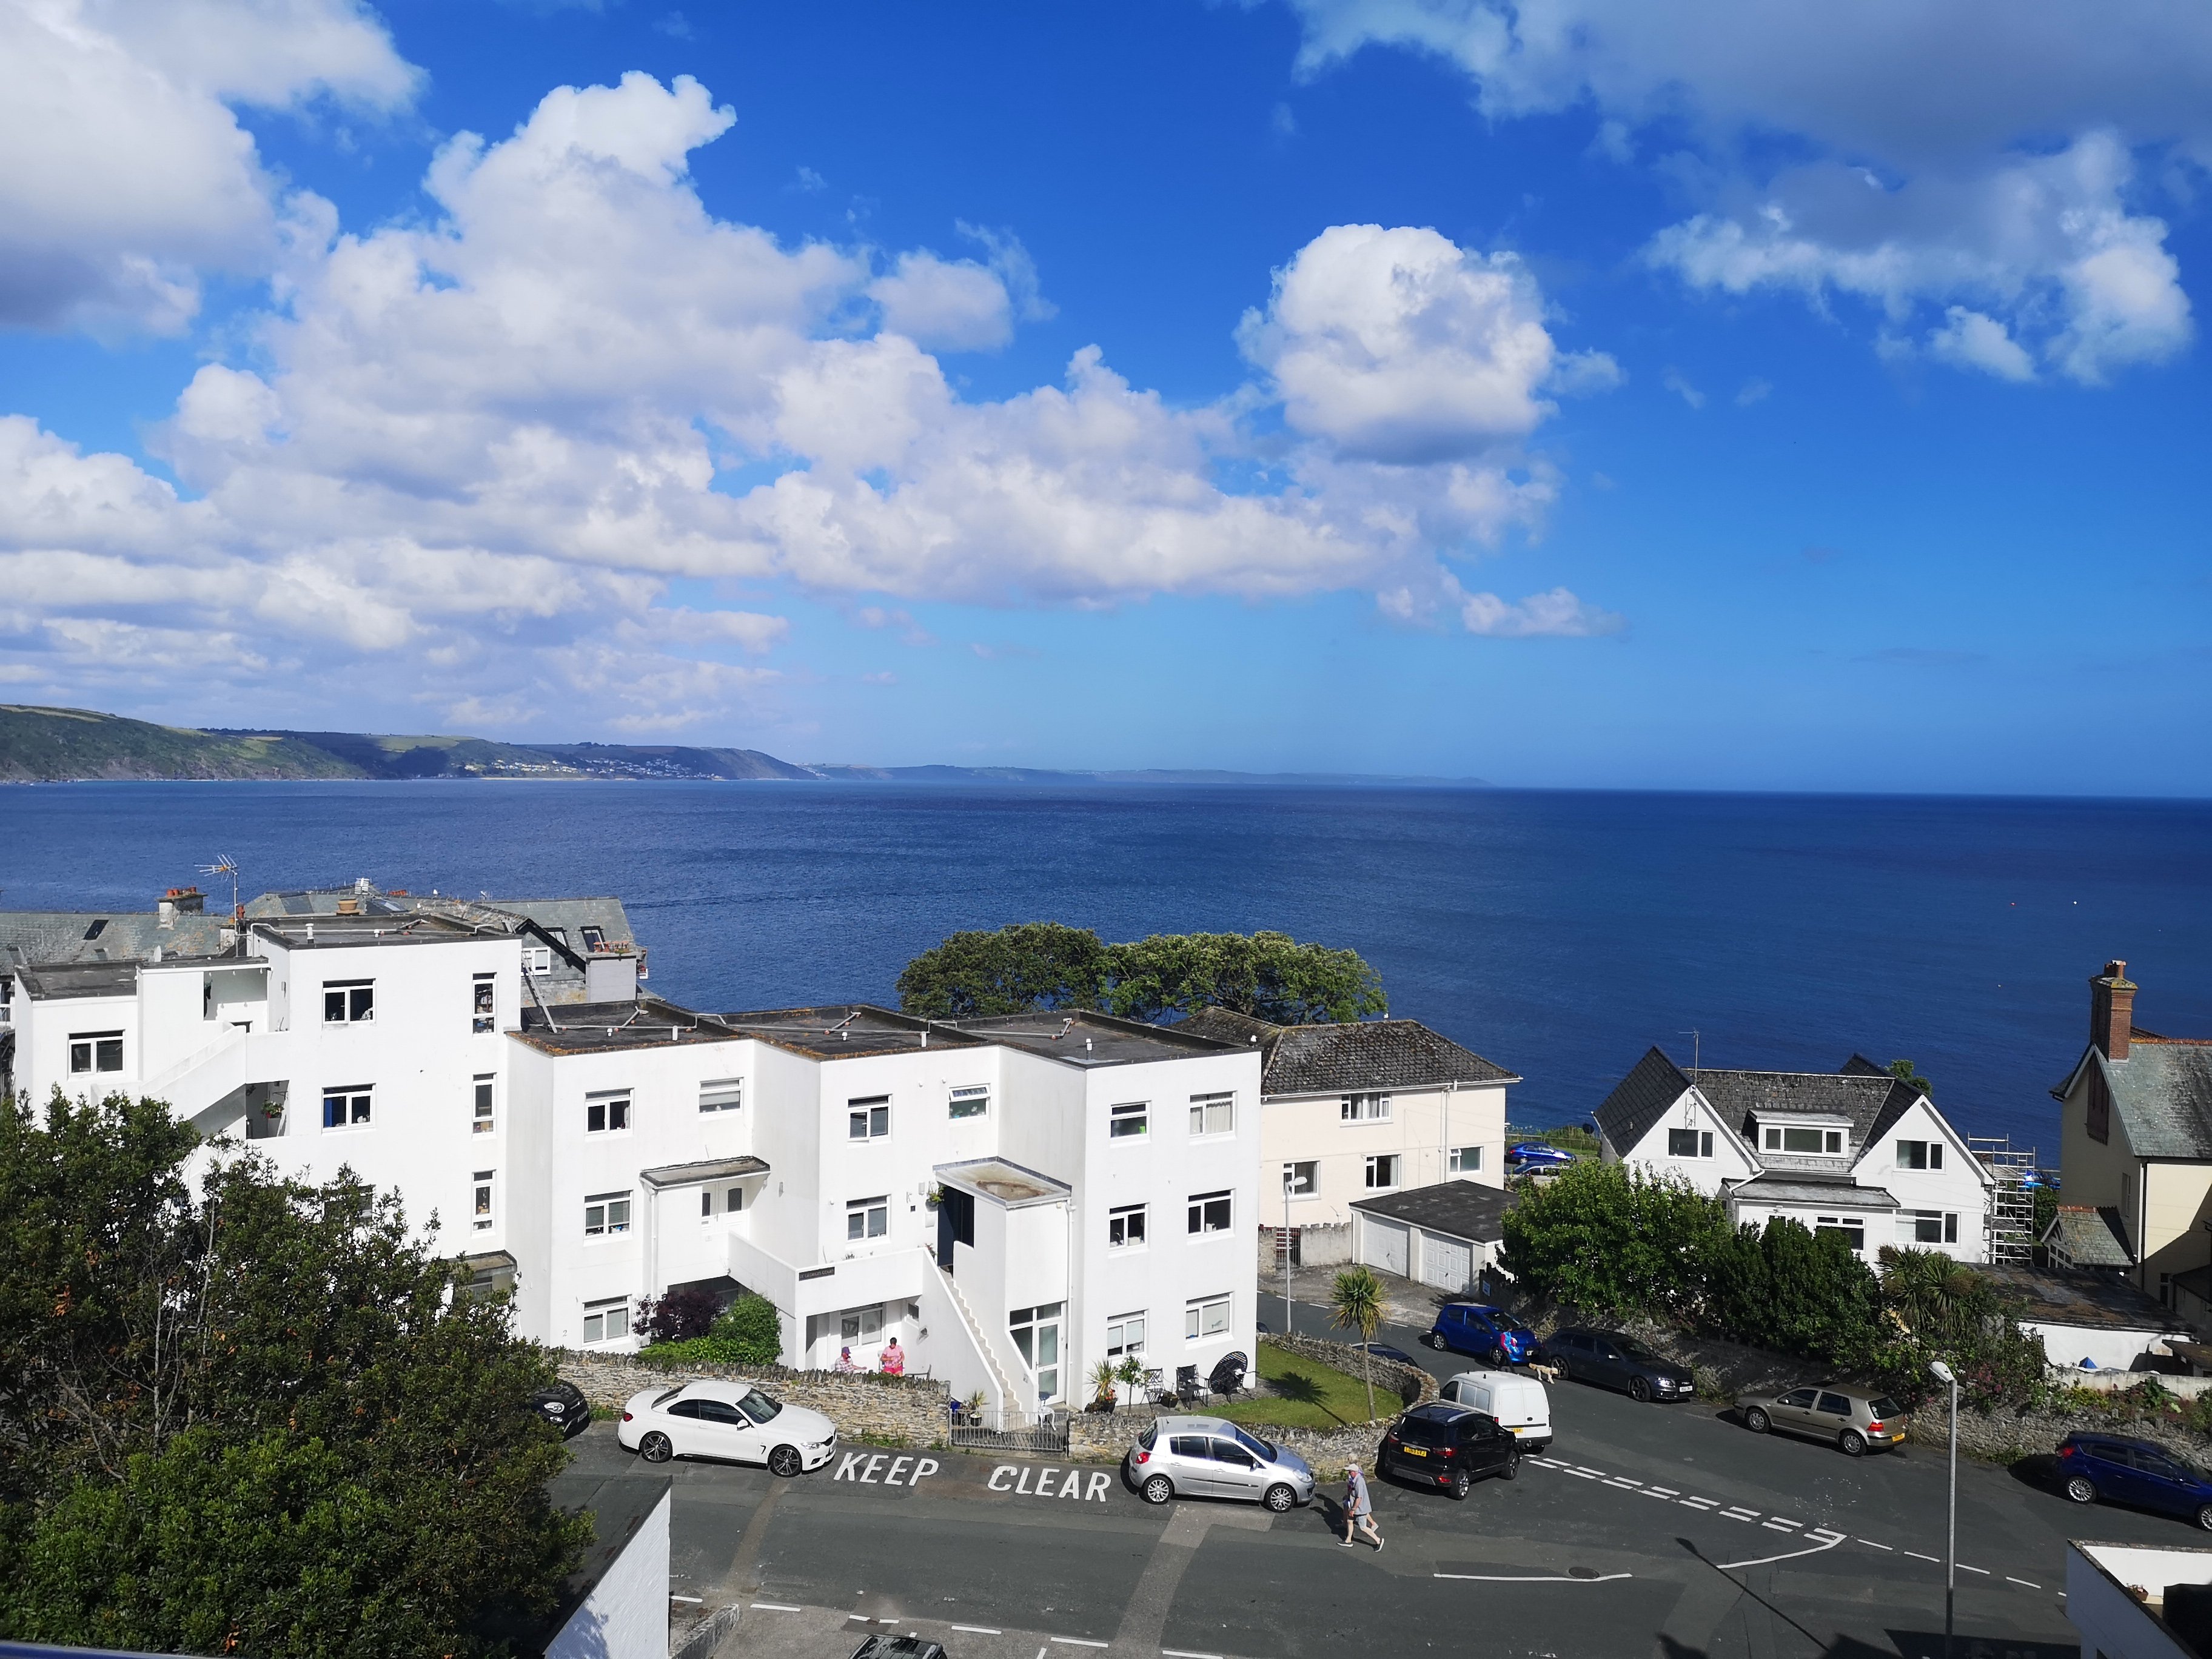
 3 points2 pointsWent to a bird of prey centre this morning for a photo session. I was the only participant so had a one to one with the pro togger. We ended up righting the wrongs of the world particularly broken Britain.. we decided it’s our fault because we feed the seagulls! Lol A few snaps below.


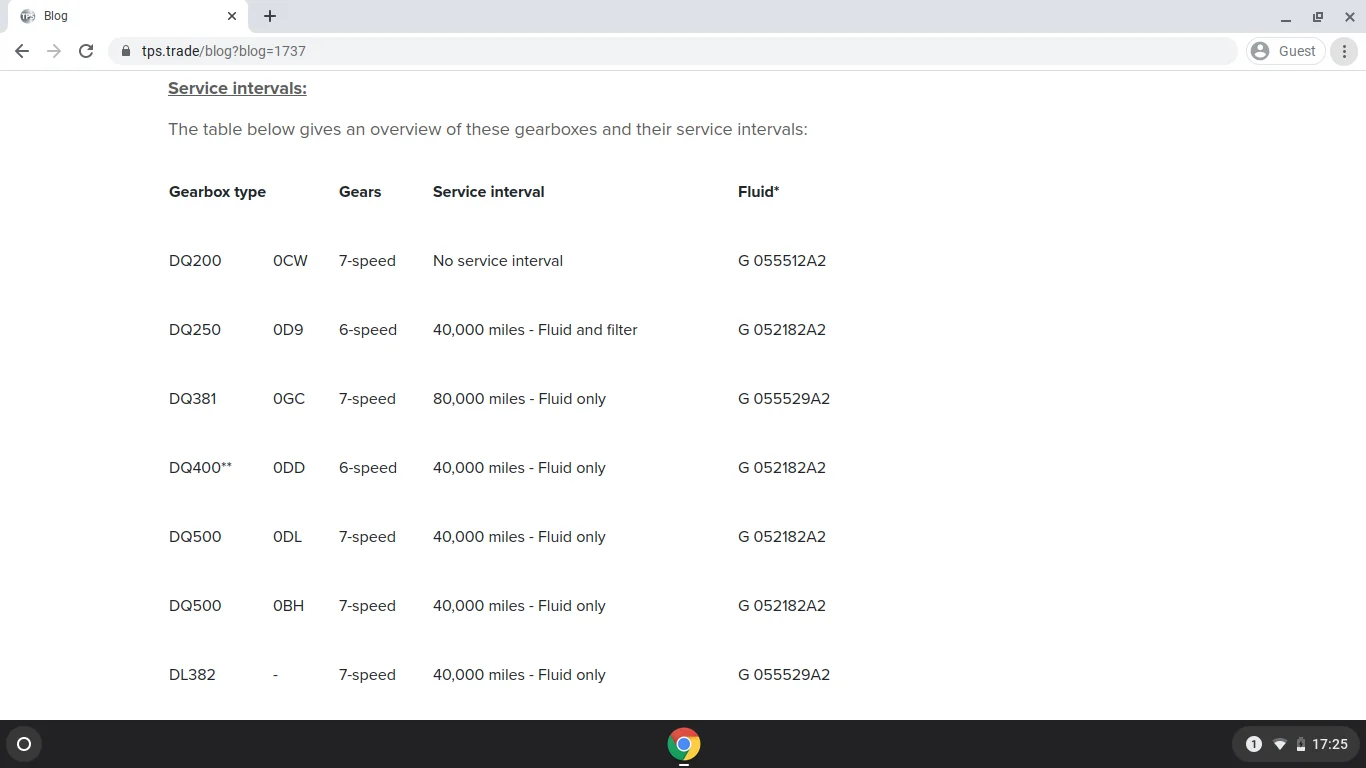
 2 points2 points2 pointsgot my weekly update pushed back until 22/07/2022 that makes it a day over 14 months since ordering the car 21/07/2021.2 points2 points2 pointsThat is not the paint being soft or hard. That is the keying of the undercoat with the plastic then. This is from me, a time served ex Spray painter, industrial & vehicle.2 points2 pointsNo I won't, I know that production date doesn't mean much, but it's better news than no news.2 pointsI don't see how they can know most (maybe any?) of this without stripping the transmission.2 points2 points2 points1 point1 pointThey also slightly improve aerodynamics (less air turbulence, so marginally less fuel used at speed)1 point1 pointI just went through the to the order page with the same item and when I put in my address it came up with 'As your country is outside of EU, we will not charge you VAT. You will be charged VAT and customs fees according to your local rules on delivery.' highlighted in the red too.1 point1 pointIf you intend to change that valve (which is not normally a troublesome failure point), you would be well advised to renew the lower pcv valve too. It is item number 6 in this diagram :- https://skoda.7zap.com/en/cz/octavia/oct/2003-252/1/103-103085/1 point1 pointEvery building getting planning & going up residential or commercial would need to start having solar on now regardless of if any vehicles park at them as the energy will be required for the parking in the area. The amounts of money required are never going to get spent in the next decade. Kilmarnock. http://emtecenergy.co.uk/case-studies/halo-hub Edinburgh Airport. http://solarpowerportal.co.uk/news/solar_plus_storage_plus_ev_charging_to_be_installed_at_edinburgh_airport A wind turbine at a car park is simple. Girvan Community Hospital. http://e-architect.com/scotland/girvan-community-hospital CRAZY but no battery storage, & no EV Chargers there yet but there should be as plenty other areas near have EV's for staff / employees. Police & Emergency Services areas and such should all have solar and wind turbines on site. Simple, every village or town, housing scheme, development should have one or more of these. They will all need them very soon.1 point1 point1 pointI don't get free coffee here in Portugal, but I do get a "free" car wash. I agree that I would rather have no amenities and, instead, have people that actually listen to my complaints and do their best to find the problems. I'm not a complete idiot when it comes to cars but this is how I'm treated when I go to the dealership. I've been complaining from suspension Boise from the right side but they can't find anything. On another situation it's come to the ridiculous of me showing a video with the cabin ventilation making a loud chirping noise (every colder winter morning!), left the car overnight in the winter and next morning they say they couldn't hear it... It's just frustrating...1 point1 pointSpeedgraphic sell loads of films..try them? Camera Film | Speed Graphic Ffordes also sell films.. Ffordes Photographic | For Purchase and sales of all Major Photographic equipment, world wide.1 point1 pointWhat did you need a hex head for? On my Vrs tdi rear brakes there are none. Might be a bit of a red herring for the op. M14 spline needed for the rear carriers, 17mm and 13mm spanner for callipers and piston wind back tool1 point1 point@Mark2LTDI? Is the car at an Automatic Gearbox Specialist that has all the gear and more than ideas? First and important is it a Wet Clutch 7 speed DSG or a DQ200 7 speed twin dry clutch dsg? A DQ250 DSG is not a 7 speed Dry Clutch DSG. *6 & 7 Speed Wet Clutch DSG's have one oil and it is in the box and the MCU.* What car / engine does your wife have? What age is it and how many miles has it done? http://briskoda.net/forums/topic/502781-gearbox-in-emergency-mode-no-reverse-gear So does your wife have with a DQ200 DSG 7 Speed Twin Dry Clutch DSG? These DQ200 DSG's have 2 oils in them in the Box and in the MCU. If it is from 2009-2012 was it part of Service Campaign '34F7' done since 2014 and did it get the oil change and Software update, or if a 2013-2015 service campaign '34H5' started in 2017 and a software update. Done because of possible heat and pressure issues and leaks / failures. http://skoda-auto.com/services/recall-actions '34H5' if outstanding does not always show here.
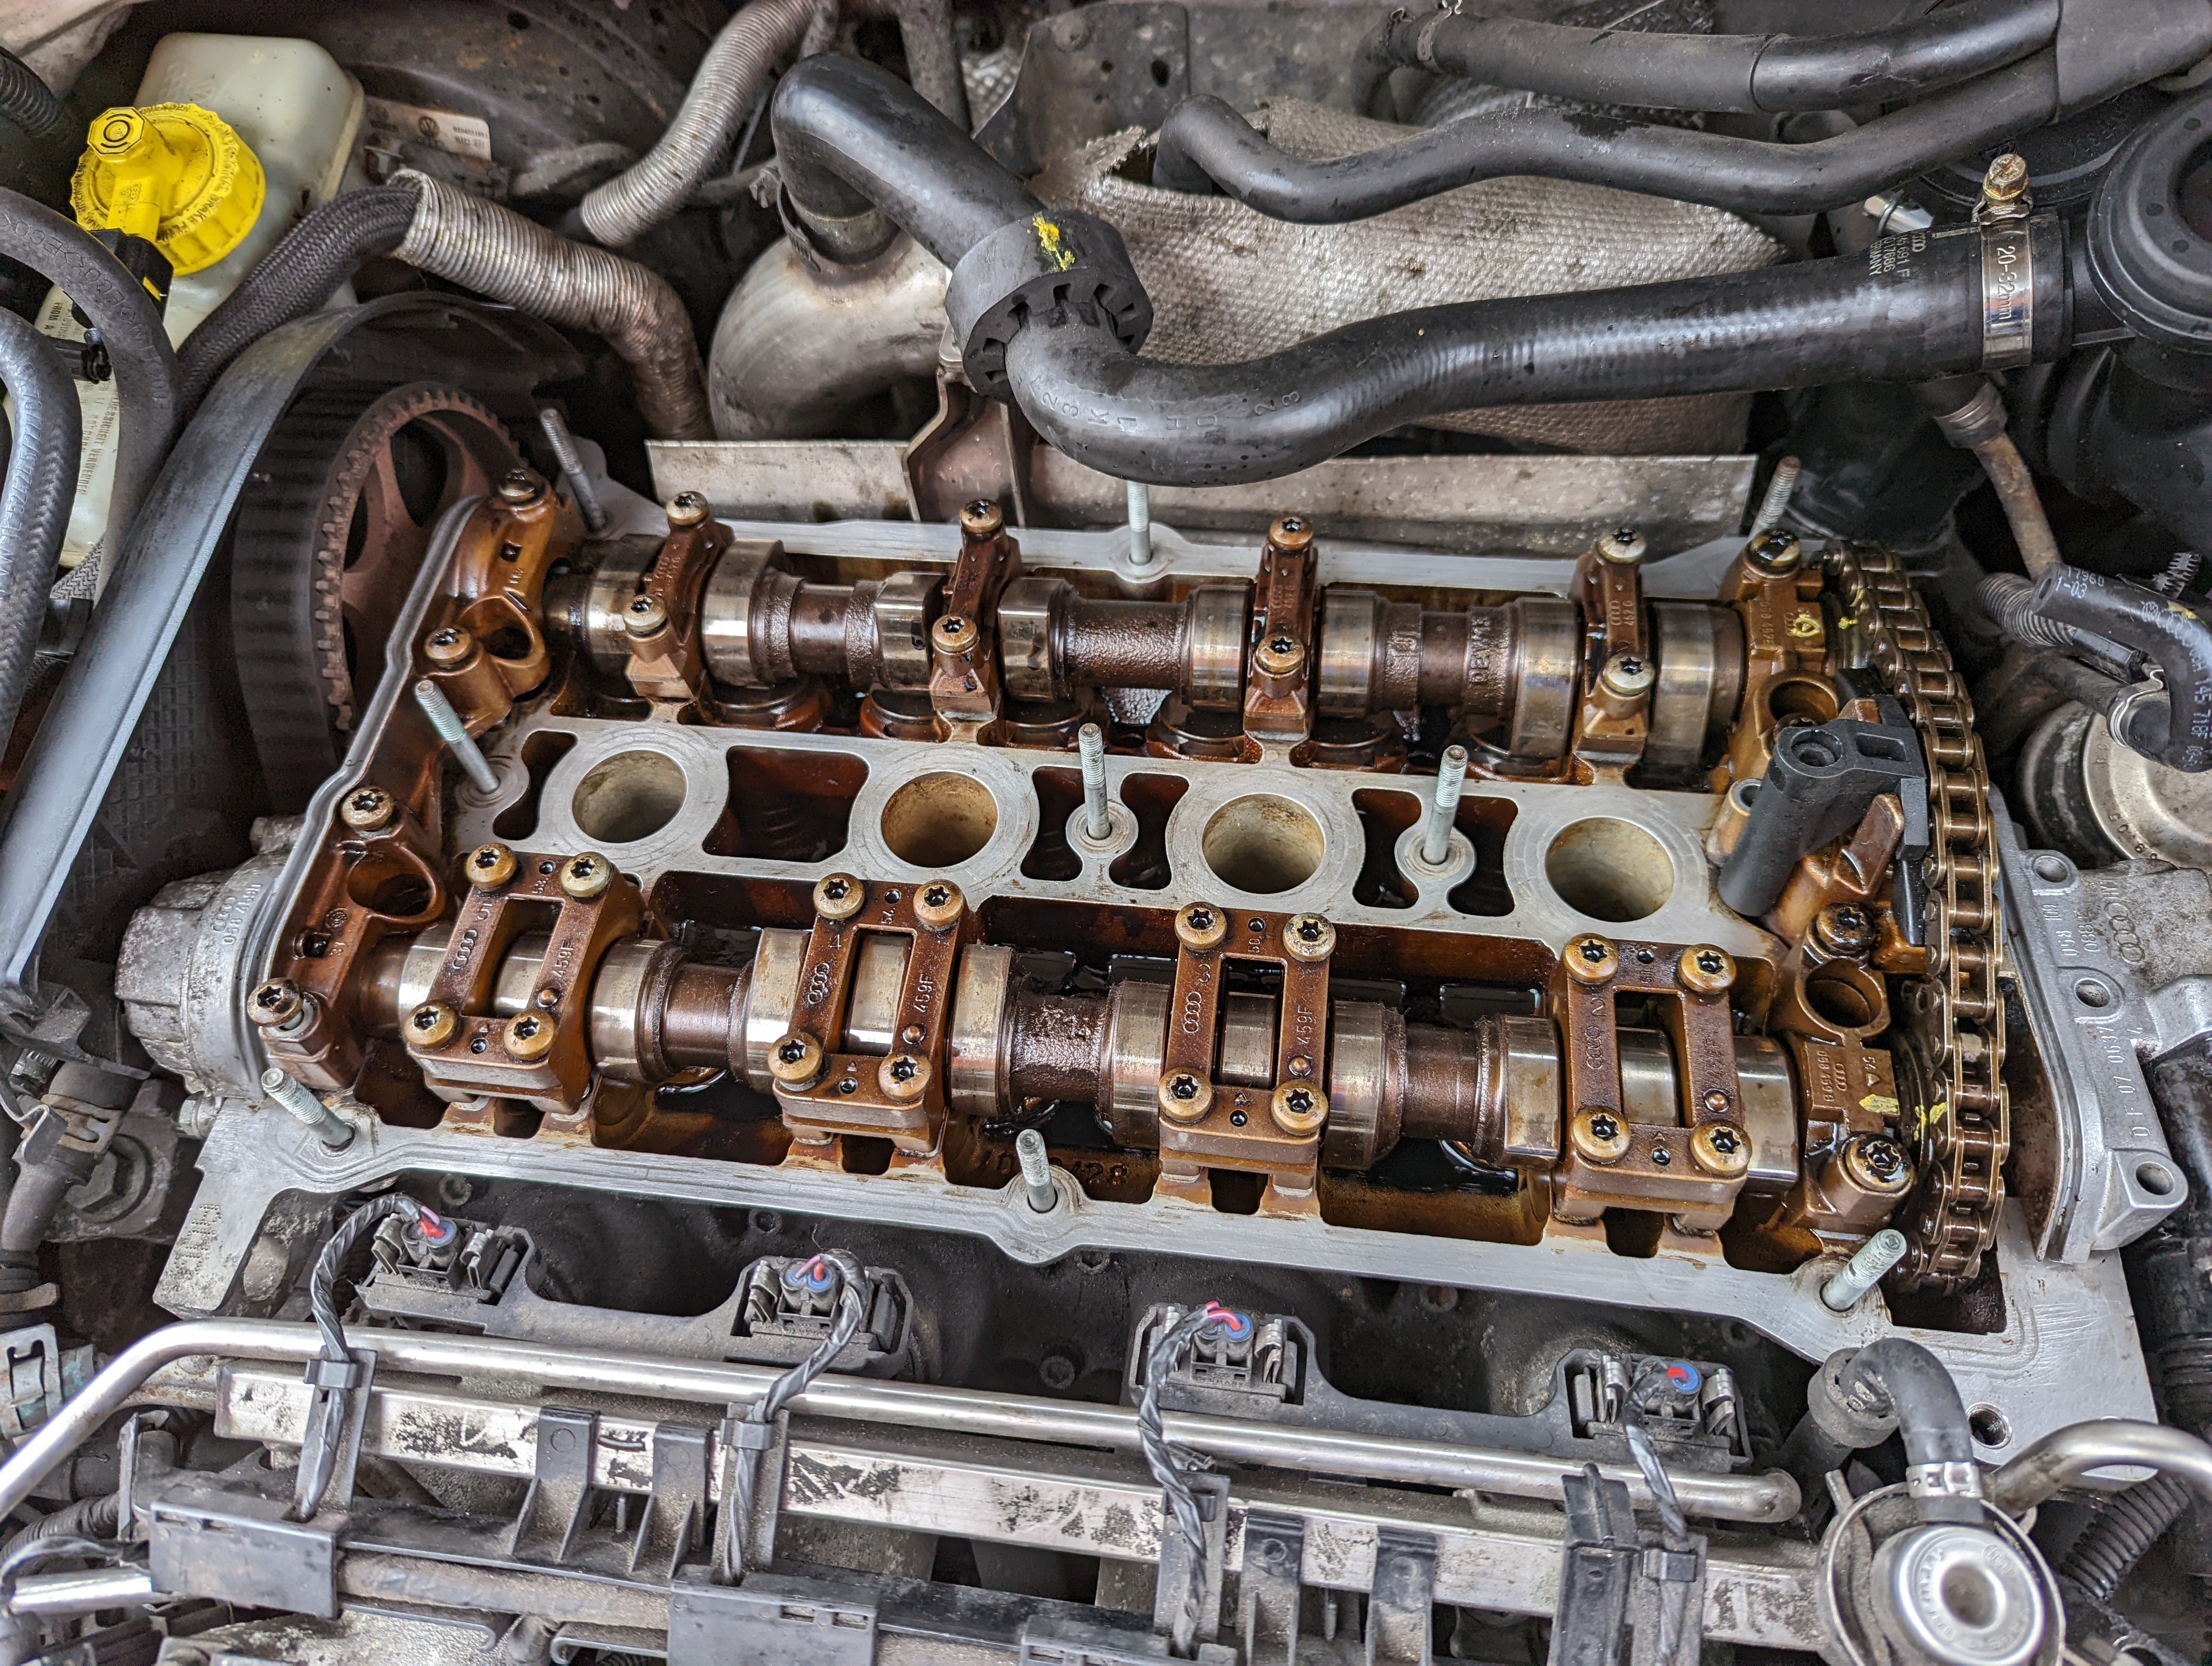
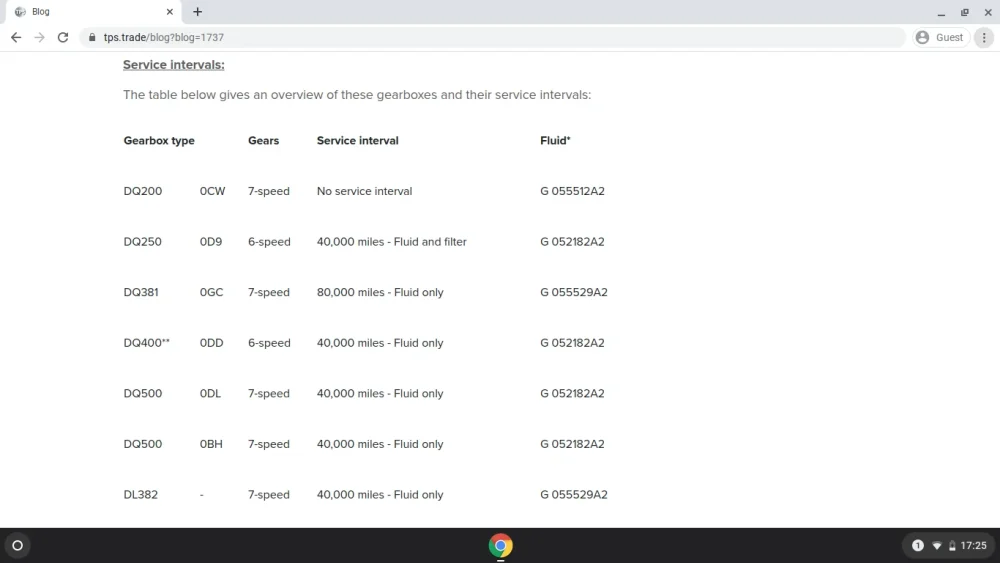 1 point1 pointEnter me in for 6 months + and likely to reach 1 year+ at this rate. Ordered on 28/08/21 for an Octavia Estate IV SE L DSG in Silver and have heard nothing. Parents have been waiting on a MK8 Golf R since last June, it was confirmed a build week of 23 but no updates since.1 pointYeah, I can go with weight and/or efficiency tax. Anything to get more efficient cars. I personally don't think there is a need for any EV more than 200 miles, even now. EV's are expensive now is because of the battery, bigger and bigger batteries are fitted is because of the misguided demand for range to match or even exceed fossil fuel cars. This mentality need to be stopped and changed. I've been reading up on this since switching to Octopus. I think it is exactly what you are saying, except in wind rather than solar form. This offset can make sense, I was thinking in my individual microgeneration ways. https://octopus.energy/octopus-fan-club/1 pointIt mimics a dealer sticker placed like that I think. Oh and ignore the plate lights hanging off One of the plate lights on the Monte went out just before I left for England so I had to grab one from this.1 pointSo think I got this sorted, manage to get the rebuilder to take a look and they agreed to help fix for zero labour. They claim the original installer didn't install an oil valve correctly and this prevented correct oil pressure which then broke the inlet and exhaust cam. They replaced for £780 parts and all the issues have gone, was starting and running lovely for 300 miles. Today I think a hose has popped off the Turbo as I've lost all the top end power and its hissing like a bus when I try to accelerate. I put a full post on the engine failures thread explaining the full story. In short do your research and get a reputable company to do the rebuild as one job, not 2 garages who blame each other.1 pointJust thought I would add my experience to this as a warning to others. I had a timing chain failure at approx. 70k which bent valve and bent cam etc... I had modified a fair bit up to stage 2 so there was no way Skoda would have help (I don't think). I was in a panic at the time and didn't know it was the timing chain that had gone so took it to one garage who just took 2 weeks to tell me they couldn't get any oil pressure and they couldn't help any further. I then took to a family recommended garage who spent a little time figuring out it was the timing chain and then gave up. They suggested I find a specialist to do the rebuild. I found a company in Kent that said if I could send the block they would refurb for £1800 and the website looked good, reviews were mixed but the good reviews were good. The garage took the block out and it was sent down to Kent. After a substantial extra amount for cylinders, camshaft and other bits it came back shiny and beautiful and the garage put it back in. I picked up the car and thought it sounded a little louder than before and had a louder than wanted tick on idle. The car drove fine so I just put it down to needing running in. 1000 miles in the the car starts chattering on cold start and the tick is still there, I take it back to the local garage. They say they think its oil pressure related and I need to get rebuilder to look. I get RAC to tow it down to Kent after a long argument that they only want to see the block and not the car. They take another £500 for replacement of sensors and gaskets they say should have been replaced when local garage re-installed and we start the blame game. Car is back but still having starting issues now where it sometime won't start for around 3-4 tries and still loud ticking. I give up at this point and decide to just put up with it. Eventually the comments from others about the noise, my own annoyance and the starting issues make me argue with the Kent company and they agree to look again. I take the car down and they blame the oil pressure issue on the local garage for not installing a valve correctly when they installed everything and the oil pressure has caused an issue in the head. They agree to look further and then advise the inlet and exhaust cam are toast due to oil pressure issue and agree for £750 to replace parts and go free on labour, I stupidly agree as I've just spent too much to this point to turn back. They claim to have done the work and the car no longer has the starting issues or ticking noise. I'm semi ok with things but I notice little issues like the oil is already a little dark, the filter looks dusty and today my turbo seems to stop working! It feels like I've been a mug and for others I would just say get your timing chain changed asap. If you do get the dreaded failure and go for the rebuild do your research and be prepared to pay the little more for a good result. If I was doing this all again I would have gone to the performance garage who quoted a fair bit more as I've ended up clocking up more now anyway.1 point1 point1 pointOut of interest what are you using for an aux input that can’t be done via usb? get the benefit of powering/charging that device too then1 point1 pointFrom personal experience they have always changed automatically when you reach the other side of the Channel. You get a message to say they have changed.1 point1 pointI assume when you mention greenline spoiler, you mean the "larger" more full one.. like below Part number for that is 5J6827933 The estate seemed to have the same as all the others to be honest
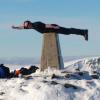
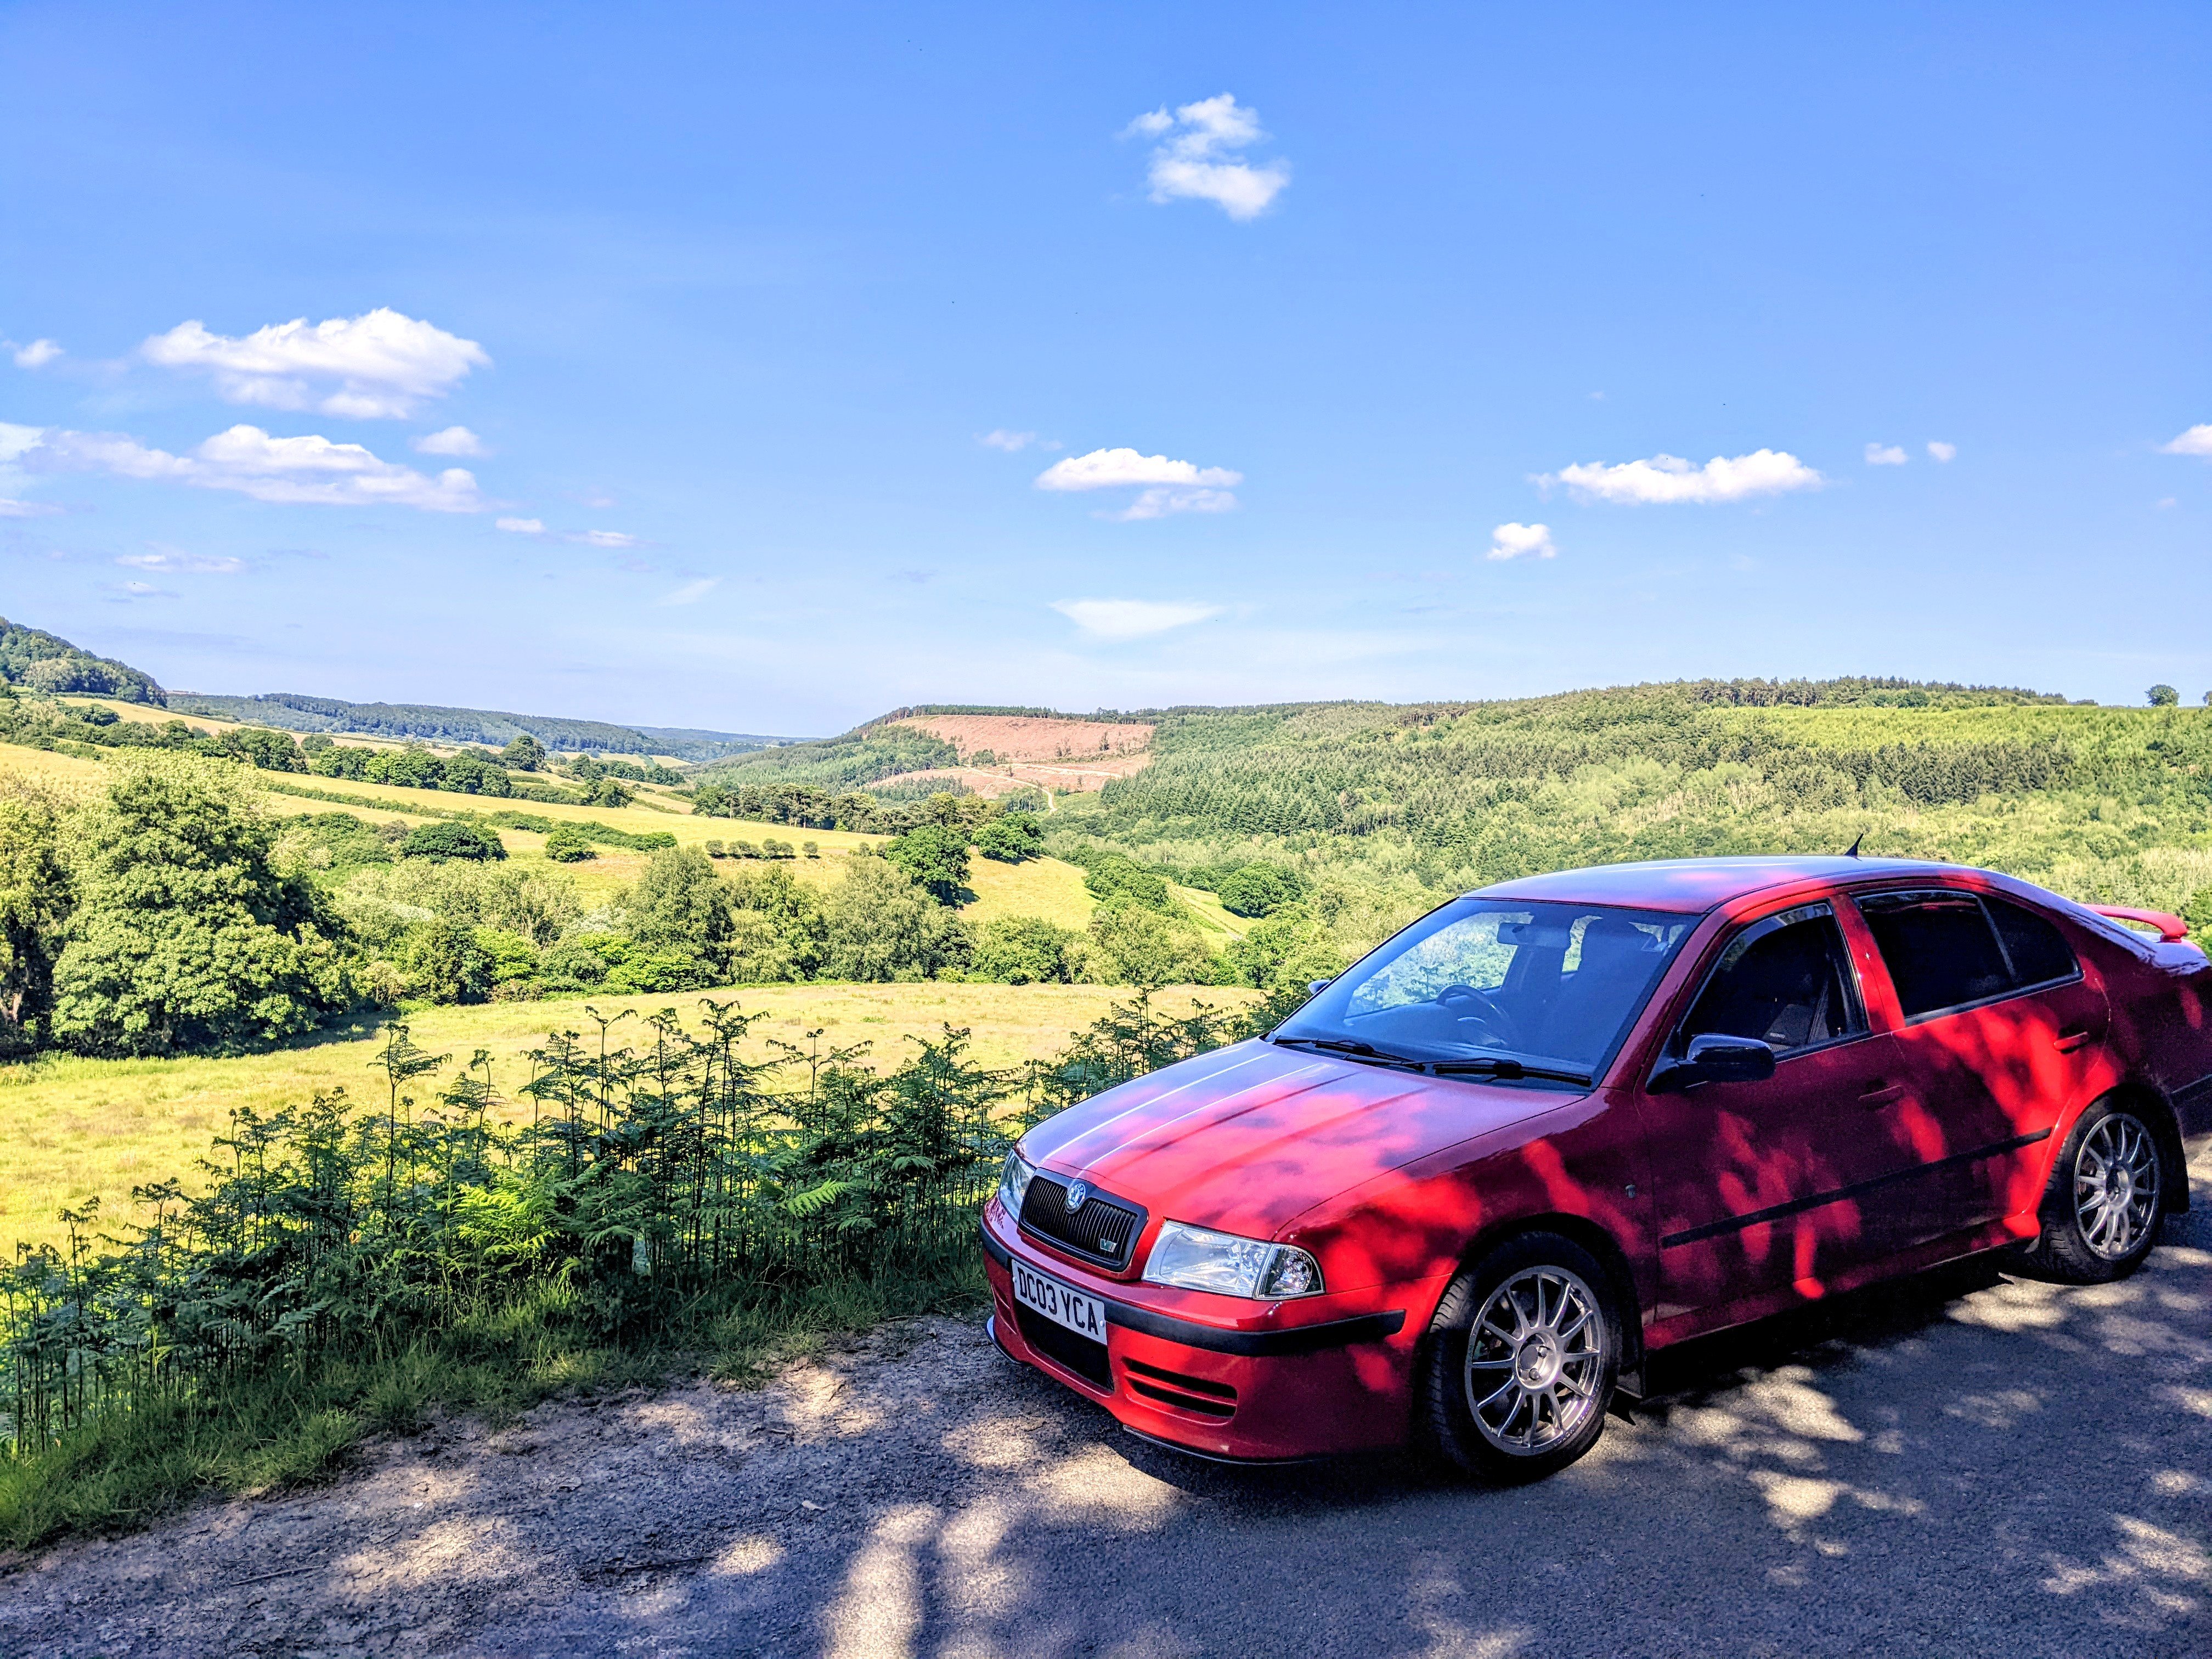
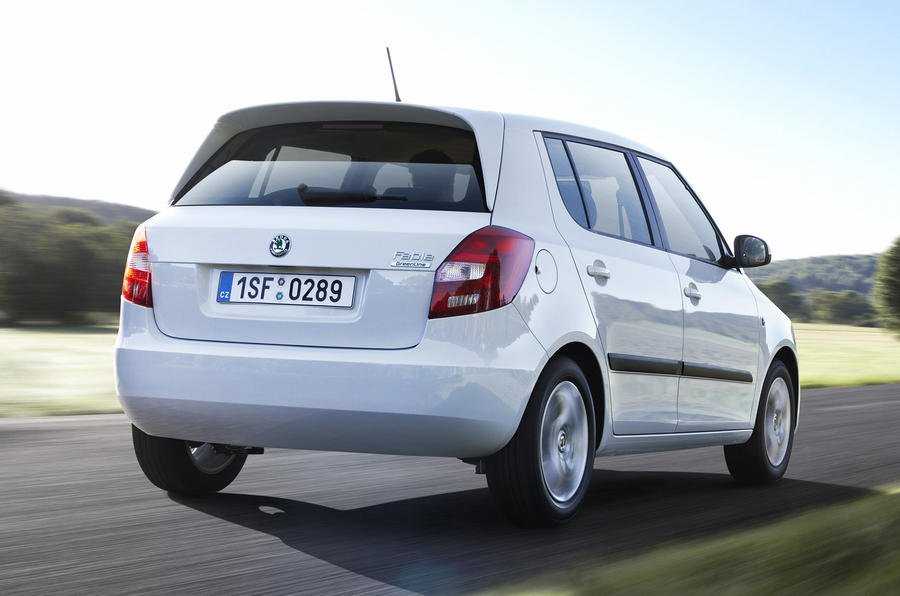 1 point1 pointYes it is...I did the how to guide on this way back in 2016....all info in first few posts in first page here:- How to retro-fit the 312mm front brakes to a Mk7 Golf | GOLFMK7 - VW GTI MKVII Forum / VW Golf R Forum / VW Golf MKVII Forum I do advise that you remove one caliper to look at the rear of the housing to make 100% certain it has "57" stamped on it.....as although VAG initially drilled the casting for 57mm pistons to work with the 312mm discs....when they bodged it & used the same piston size on the smaller 288mm discs the result was grabby brakes.....they later re-drilled the casting for a smaller 55mm piston for the 288mm discs..... My 2014 MQB platform MK7 Golf had the 288mm discs with 57mm pistons....so all I need to do was get the bigger brackets to space the caliper further out to fit the new 312mm discs... Also you will see that the brackets are left & right handed, & you will always find one side way cheaper than the other....buy two of the cheapest side & swap the pins around on the "wrong" bracket...as that is the only difference in the brackets...1 point1 point1 pointI'm a bit confused with the whole coasting thing. Let's say you're driving in "Normal" downhill and lift your foot from the accelerator. The DSG will "put" the car in coasting, and the ECO icon will appear on the dashboard. The feeling is like you've depressed the clutch pedal on a manual car. The instant consumption shows "coasting", but the engine is still running, so it definitely is using fuel. Yet, if you leave the car in gear (in the case of DSG just pressing the gear down lever), now it really feels like the engine is "properly coasting" downhill and the fuel is cut off... Am I getting this wrong?1 pointHere is the Link again kindly provided glad its helping people out I would of edited my 1st post with the new link but I cant due to the age I think, maybe an admin could change the link? https://mega.nz/file/h1dkiaQZ#yhdd--xrkMGjNMEMslkXjLo4VgNzqtHzG1jumO6PsIU1 point1 pointFilled ours this afternoon at Morrison's and the pump shut down at £100. Started the car and the needle is below full. Definitely scary times ahead1 point1 pointjust have to hope they dont go to the buttonless steering wheels and controls like in the golfs and other VW as these have been slated beyond belief1 point1 pointYou should see the other side! It's just as bad, except it has massive toe-out!1 point1 point1 point1 point1 point1 point1 pointOut in Spain currently but look forward to getting back and putting many miles on this over the summer. All 4 corners of the country to visit!!!

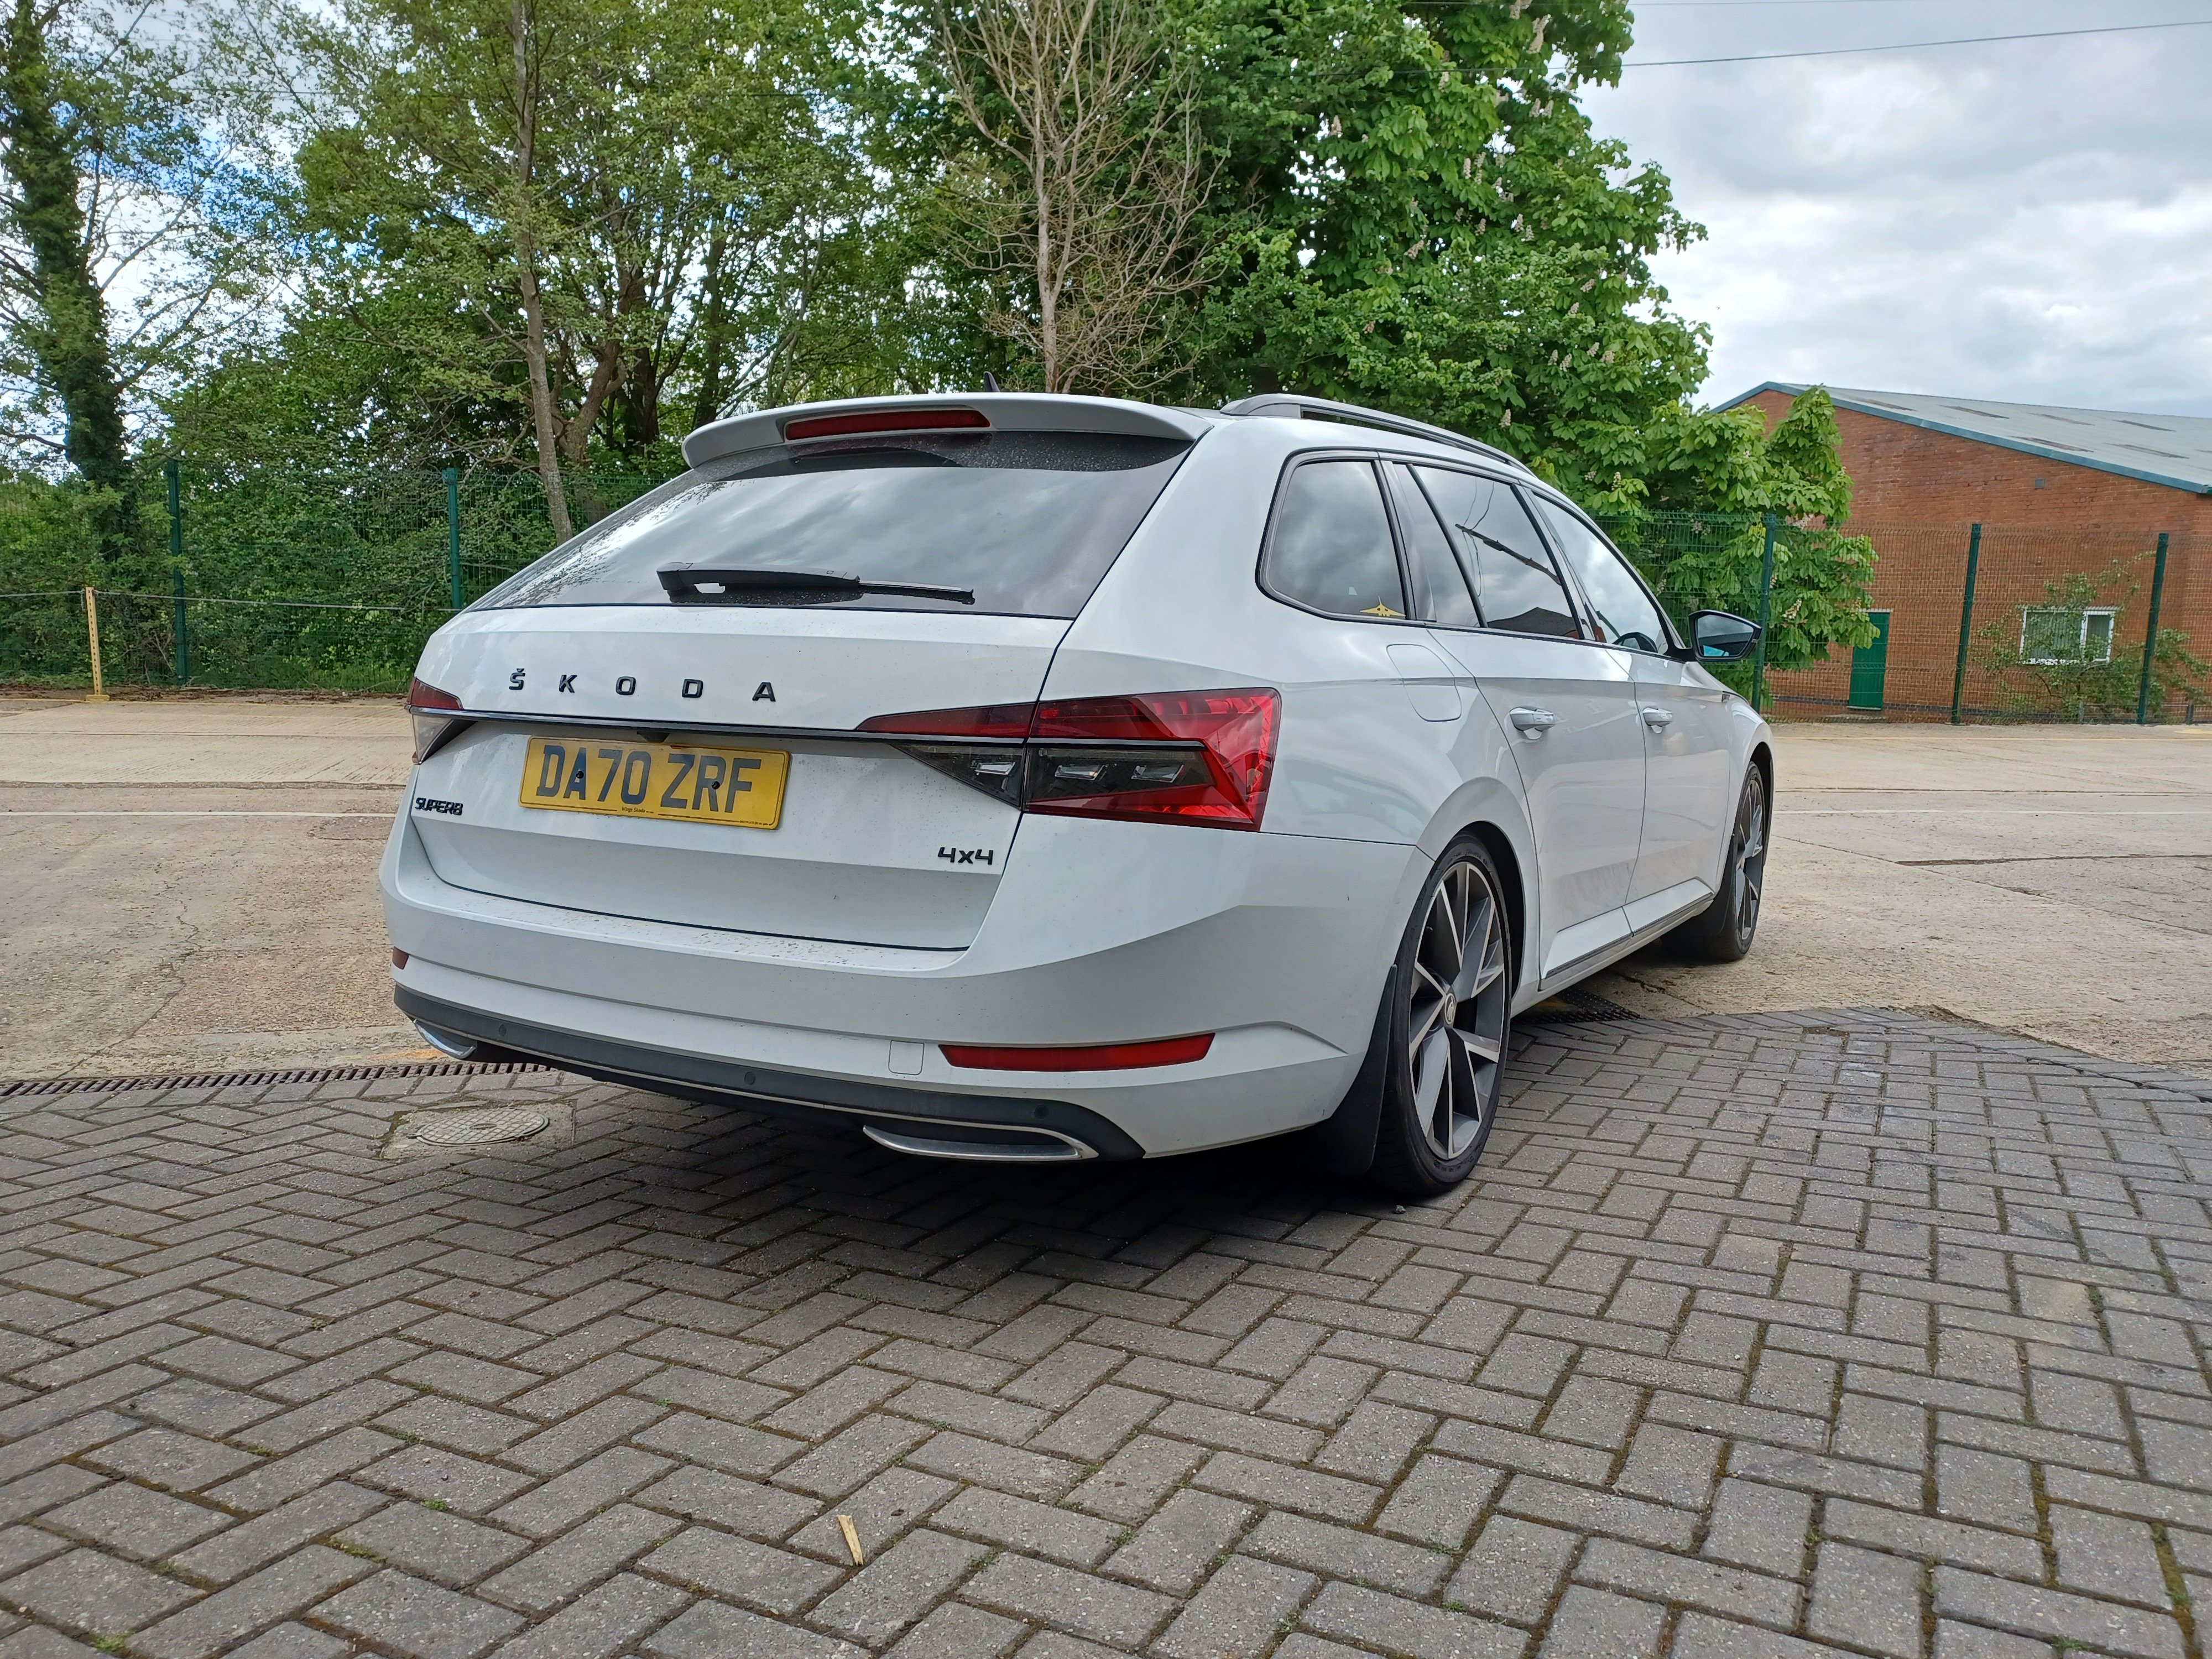
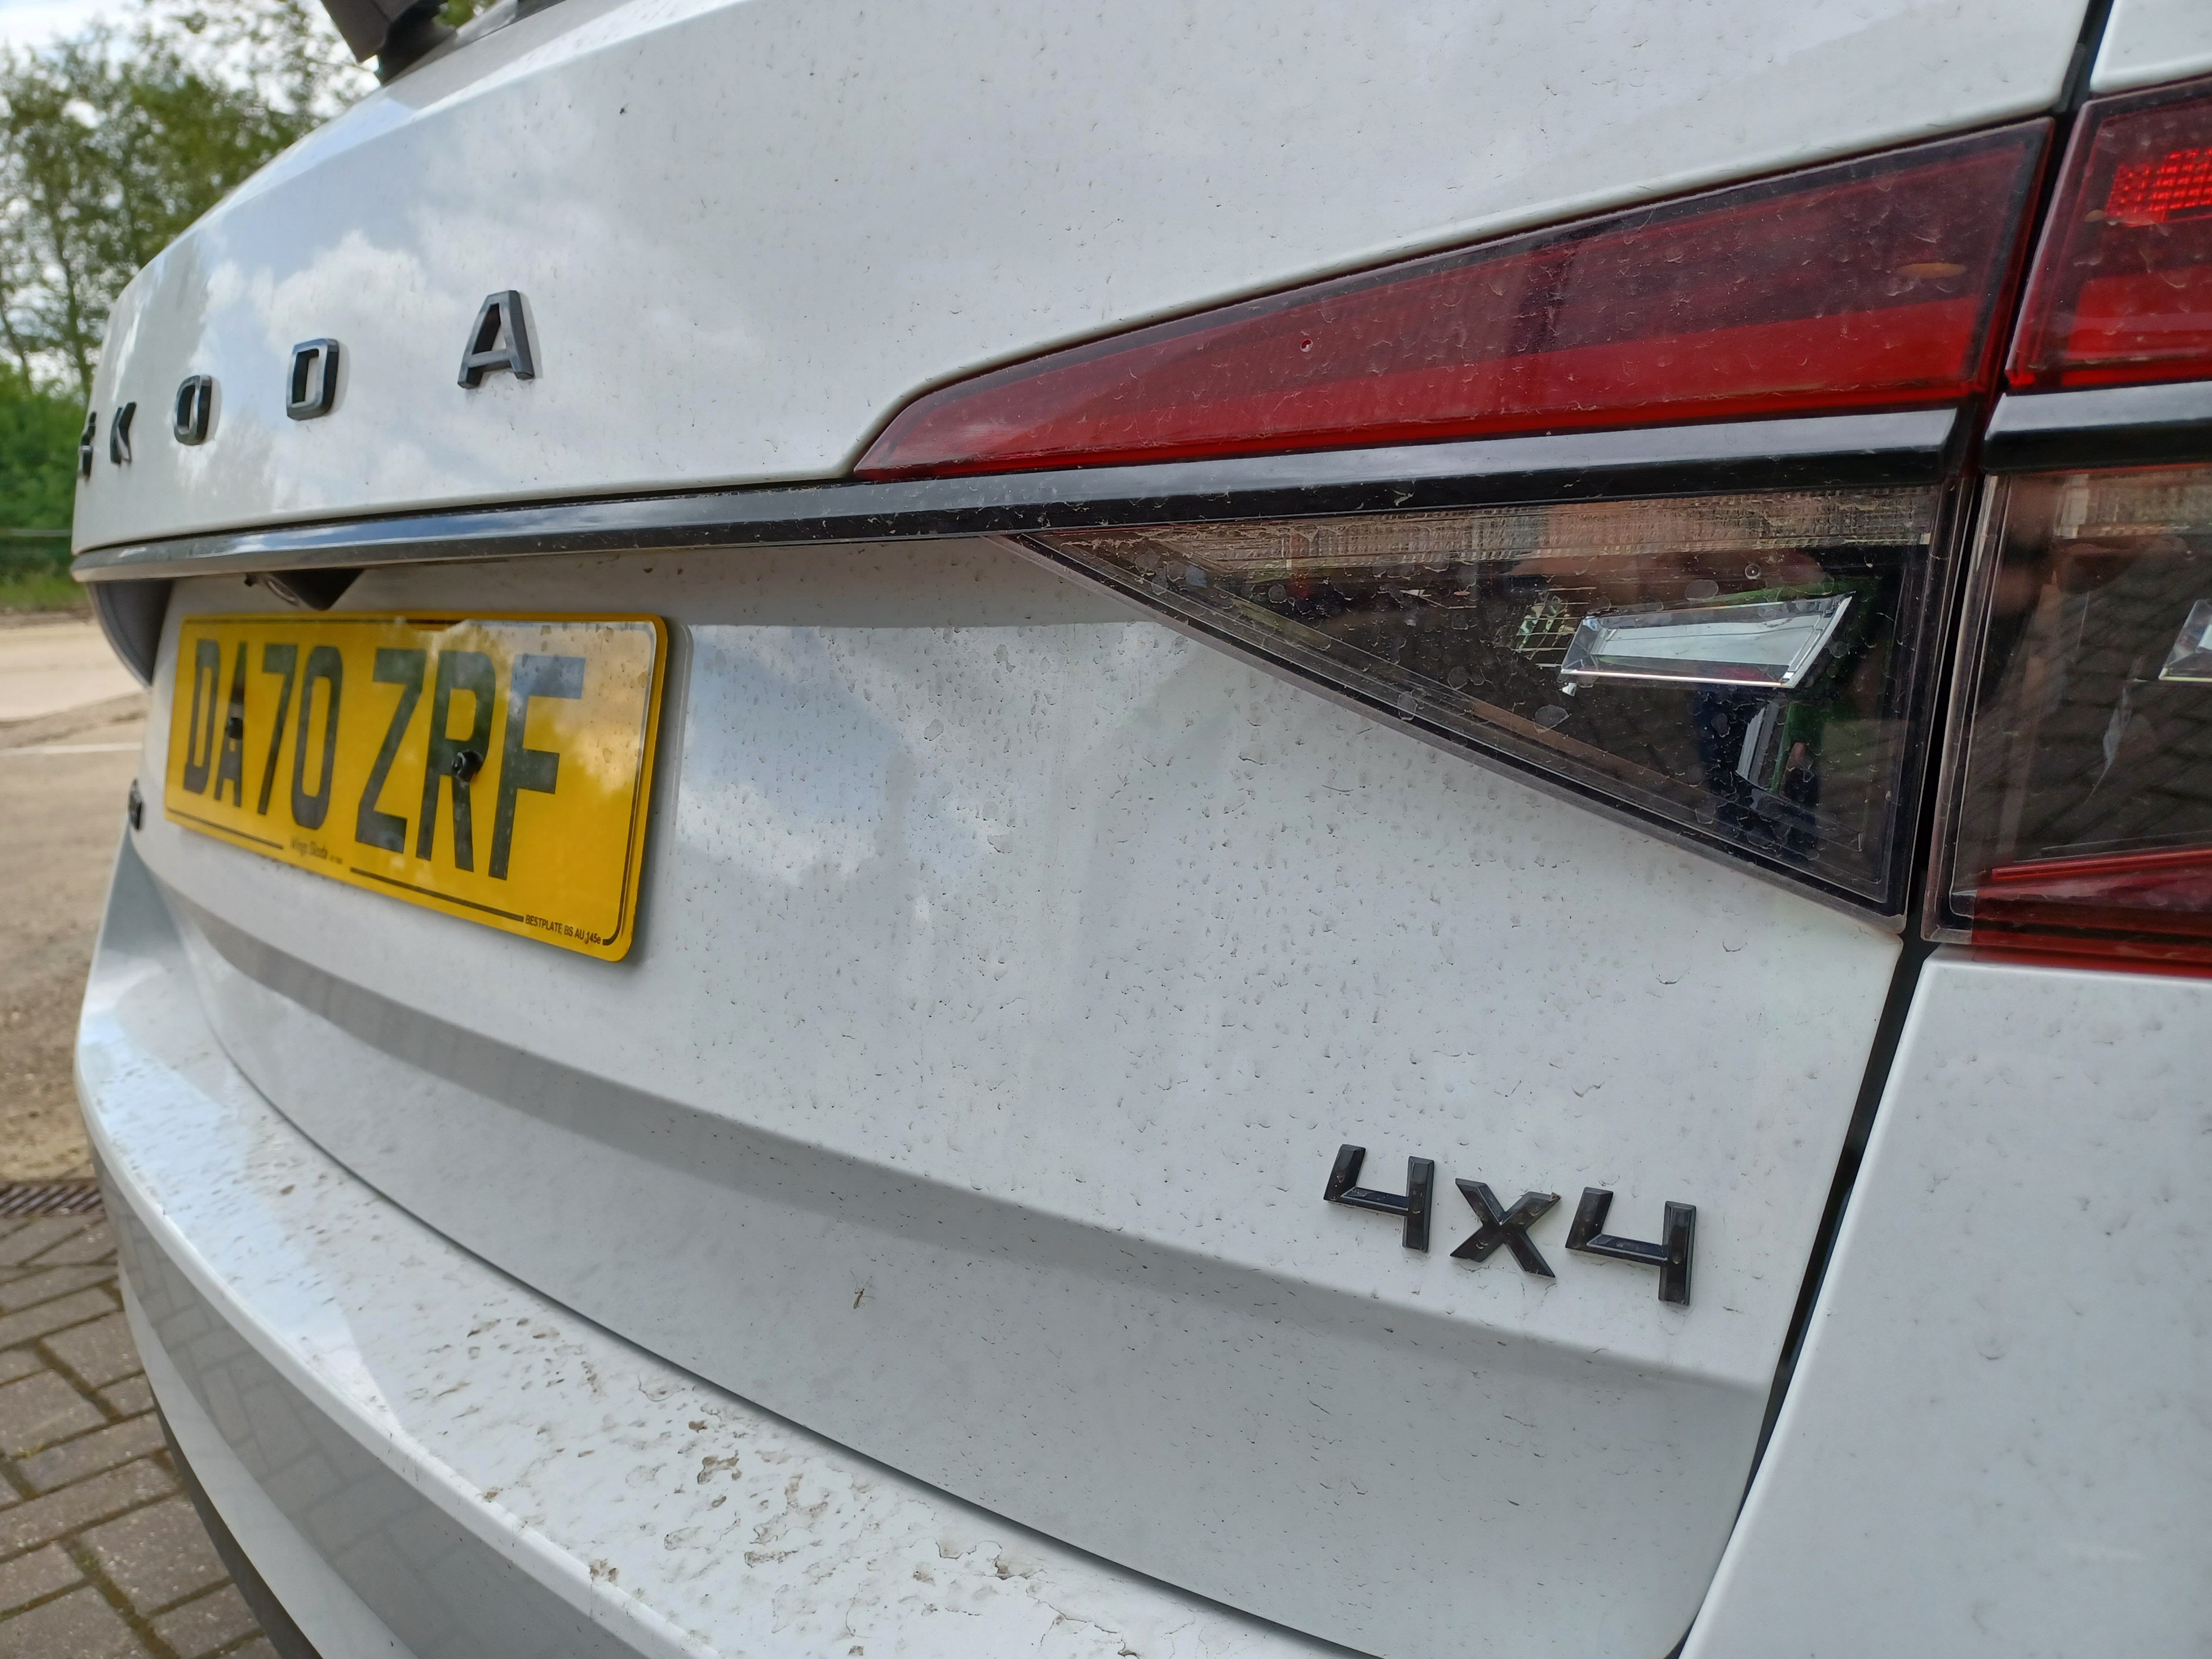
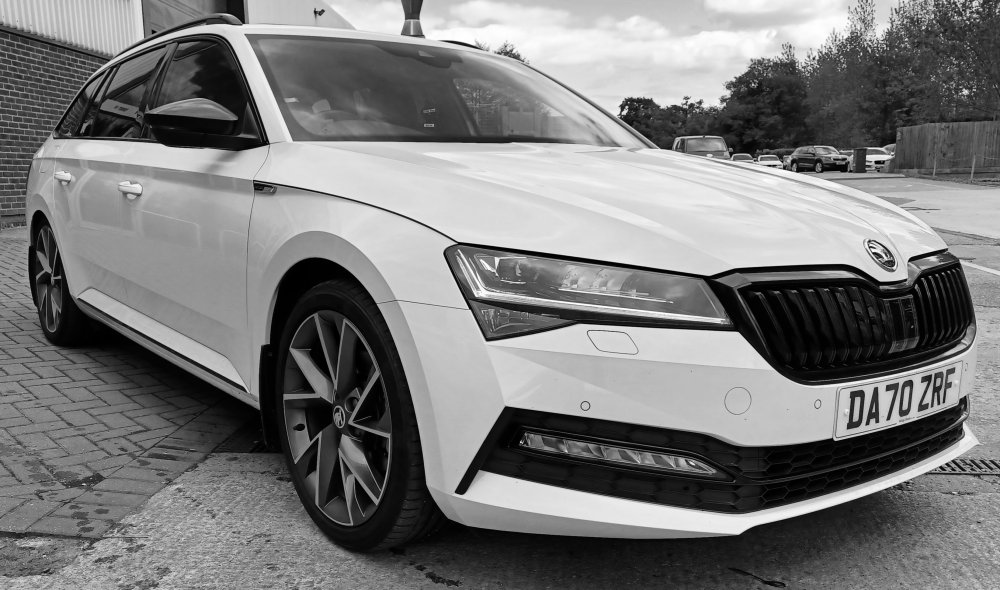 1 point1 point1 pointBilt Hamber for me! sprayed onto a soft detailing brush and around the badges and agitate then rinse . Surfex HD1 pointHere is a quick guide on how to remove and install the rear make and model badges / Emblems. What you need Adhesive Remover (Autoglym Tar Remover , WD40 etc) Trim removal tool or dental floss Microfiber Cloth Tape (Electrical or Masking tape) New badges / Emblems (Rapid in Black Magic and Skoda in Black Magic) or lesser quality but cheaper (Ebay Acrylic Skoda Emblem and eBay Acrylic Black Rapid) Step one Make sure the working area is clean as possible. No need to wash the car completely down, but give the area a quick wash with soapy water and rinse with clean water. Ensure the working area is completely dry before going any further and out of the elements / weather. Step two Using the masking tape or electrical tape, mark the area around the badge as close as possible. This will help when installing the new badges. If you're just removing the badges completely then there is no need to carry out this step. Step three There are a couple of ways this step can be done so pick which one you prefer. First, using dental floss (this is a favorite) in a sawing motion from top to bottom. Draw the floss through the adhesive backing until each individual letter becomes lose. This method will prevent any undue damage to the paintwork but can be time consuming. Second method is what i used. Using plastic trim removal tools, use the most appropriate tool and push it in behind the lettering. Ensuring to not use to much force, lever the letters away from the body of the vehicle. You may need to adjust the position of the tool around the same letter to lever sections off at a time. This is quicker but could cause damage to the paintwork if you're not careful. The final way is risky but is lots quicker and less messy if you do it right. Using a heat gun or hair drier, apply heat to an individual letter at a time to reduce the effectiveness of the adhesive. As it heats up the letter will become lose and can simply be pulled away from the body. Be careful as applying to much heat in one area could cause the paint to burn or burn the adhesive onto the paint leaving unsightly marks. If you use a hair drier the risks of burning the paint is much lower but will take a lot longer for the lettering to become lose and can still leave a lot of residue behind. Step Four You need to remove the left over adhesive. To do this, use the adhesive remove and apply small quantities either to a microfiber cloth if you have a bottle of the stuff or spray directly onto the adhesive remains if it comes in a spray bottle. Allow a few minutes for the adhesive remover to do its work and then using a microfiber cloth to rub the remaining adhesive away. You may need to use a plastic spatula to help remove some of the more stubborn material or just your nails if you're careful. The area behind the emblems will have residual road grime, this is nothing to worry about and can be removed, so be sure to give the area a good clean before moving on. Step Five If you're removing the badges / emblems completely then you can now remove the tape and you're done! If you're adding alternative badges / emblems then you need to give the area a clean down with some clean water to that no adhesive remover remains. This will give a good surface for the new adhesive to adhere too. Peel the backing paper off from the new emblems. DO NOT REMOVE THE CLEAR FRONT! This is what holds the letters equally apart and remains on until later. You'll then need to line up the new badge within the edges of the tape that you put on earlier. Be careful to hold the badge / emblem away from the body as it is extremely sticky and will grab immediately. (I can assure you that although the car is dirty, the working area was clean in this picture) Once lined up press the badge onto the body, ensuring to press all parts of the letters and not just the center area to ensure the adhesive has grab entirely. With this done you can now remove the clear front and all the tape. I would advise not washing for at least 24hrs to give the adhesive enough to fix itself. Now repeat on the alternative side.1 point


.thumb.jpg.06721e8c8b33ed0eea16572ff131b291.jpg)


Important Information
Welcome to BRISKODA. Please note the following important links Terms of Use. We have a comprehensive Privacy Policy. We have placed cookies on your device to help make this website better. You can adjust your cookie settings, otherwise we'll assume you're okay to continue.